The online session began this morning after a small hiccup where we could see but not hear; hear but not see and Mr Madine the Principal came to our rescue….. whatever he did he does not know, but we connected and were ready for action! Some magic was worked by Mr Madine and alot of magic happened in the classroom after!
The children had already begun on a task previously planned by Mrs Carolan and myself which was to follow on from our hand work from the real visit. This time though, the children were going to trace round their hand as it opened. So they began with a fist shape, then a full hand then an outstretched hand. The children showed me on screen their results, which were fantastic. While we wait for the images the children made -here’s some of the images I made to show the children:

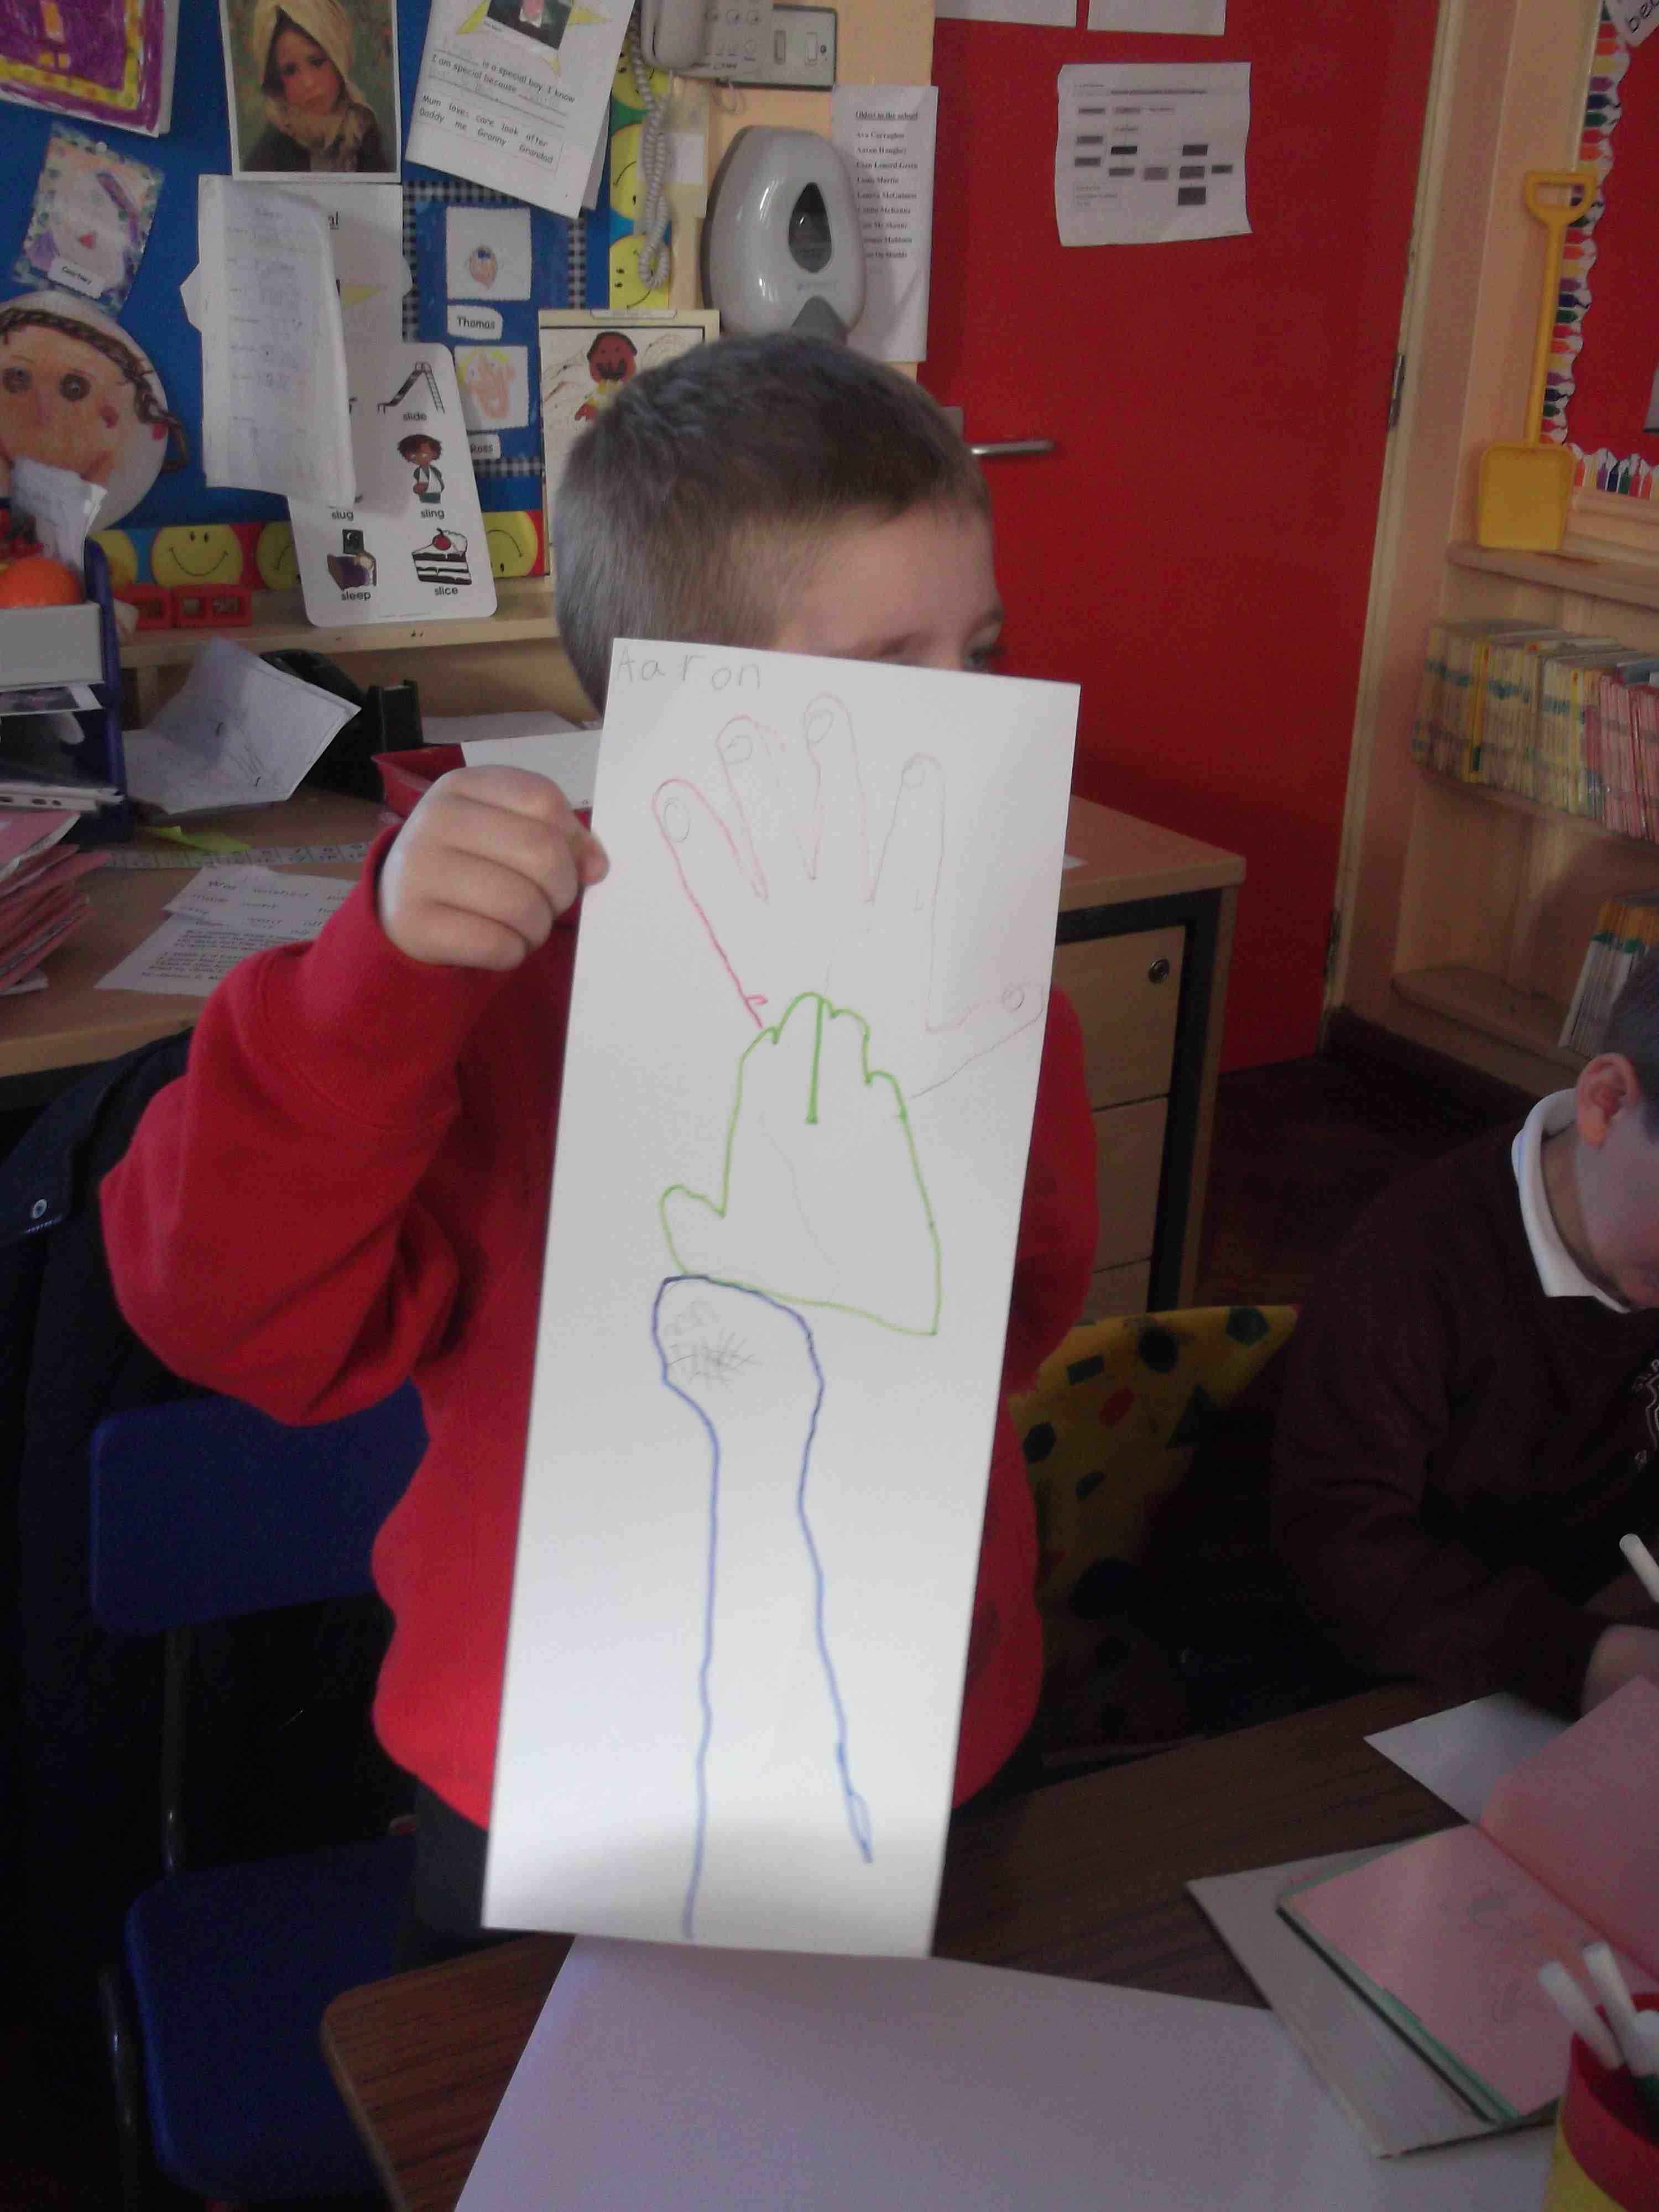
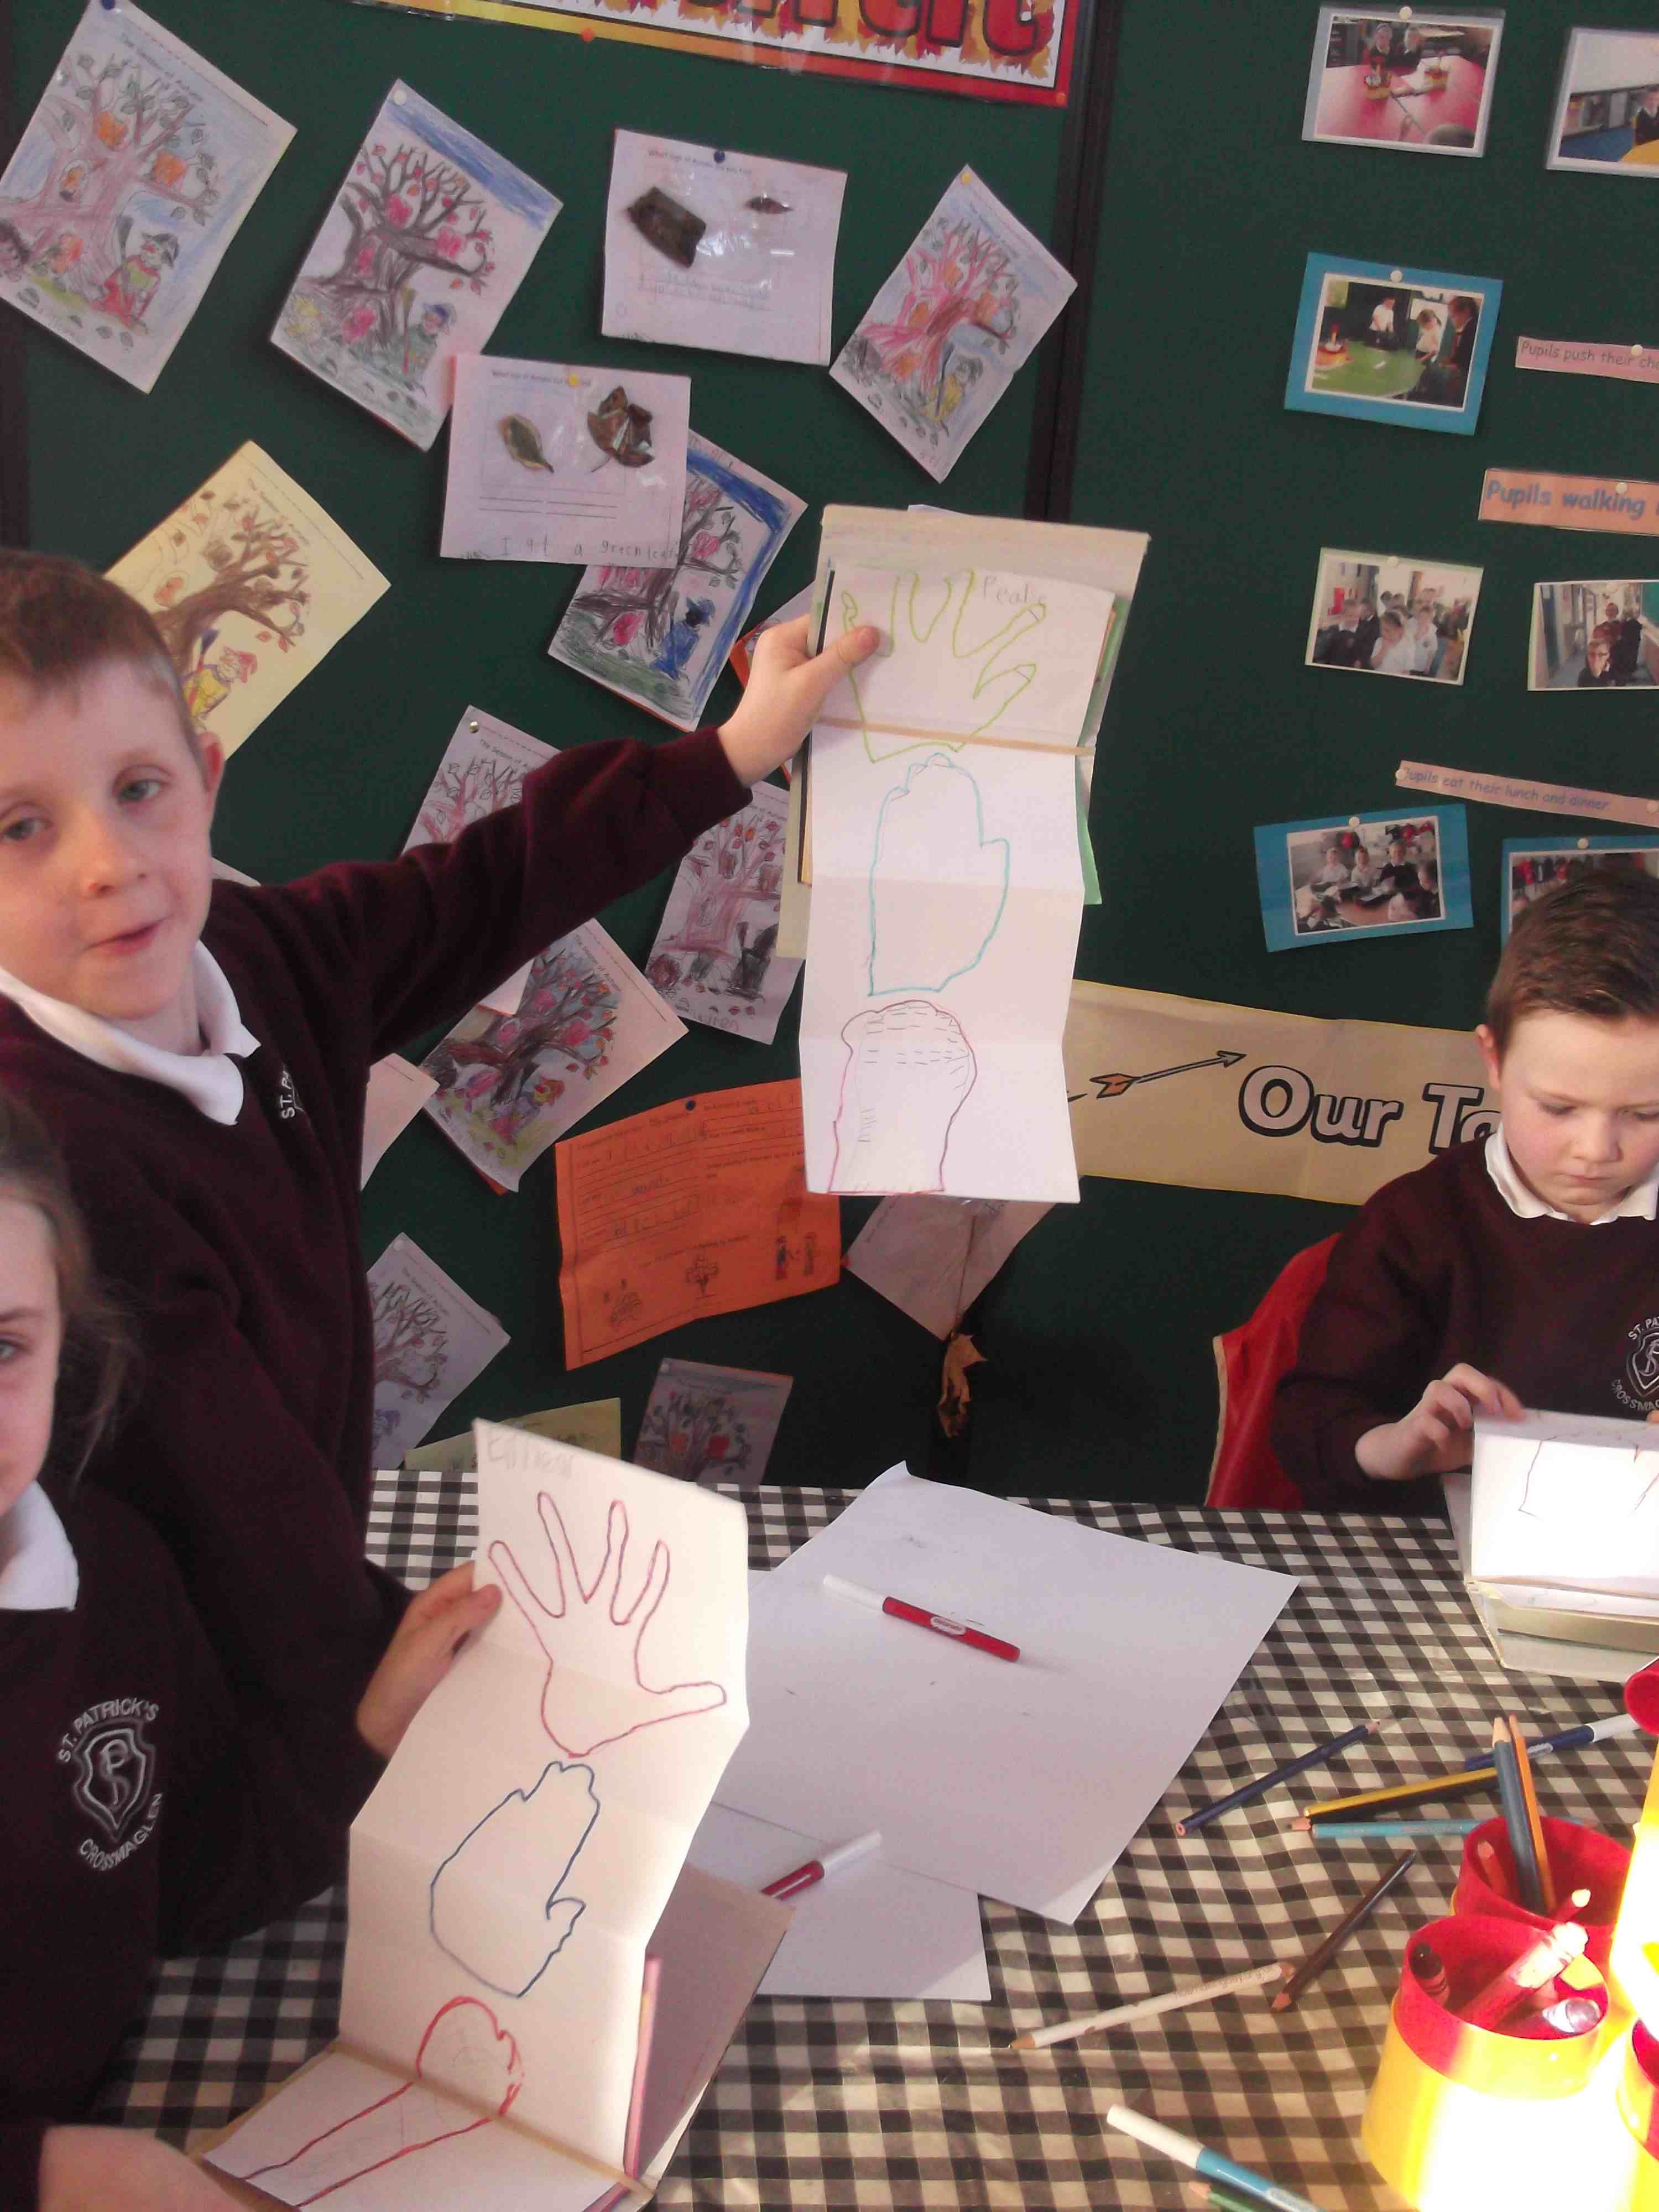
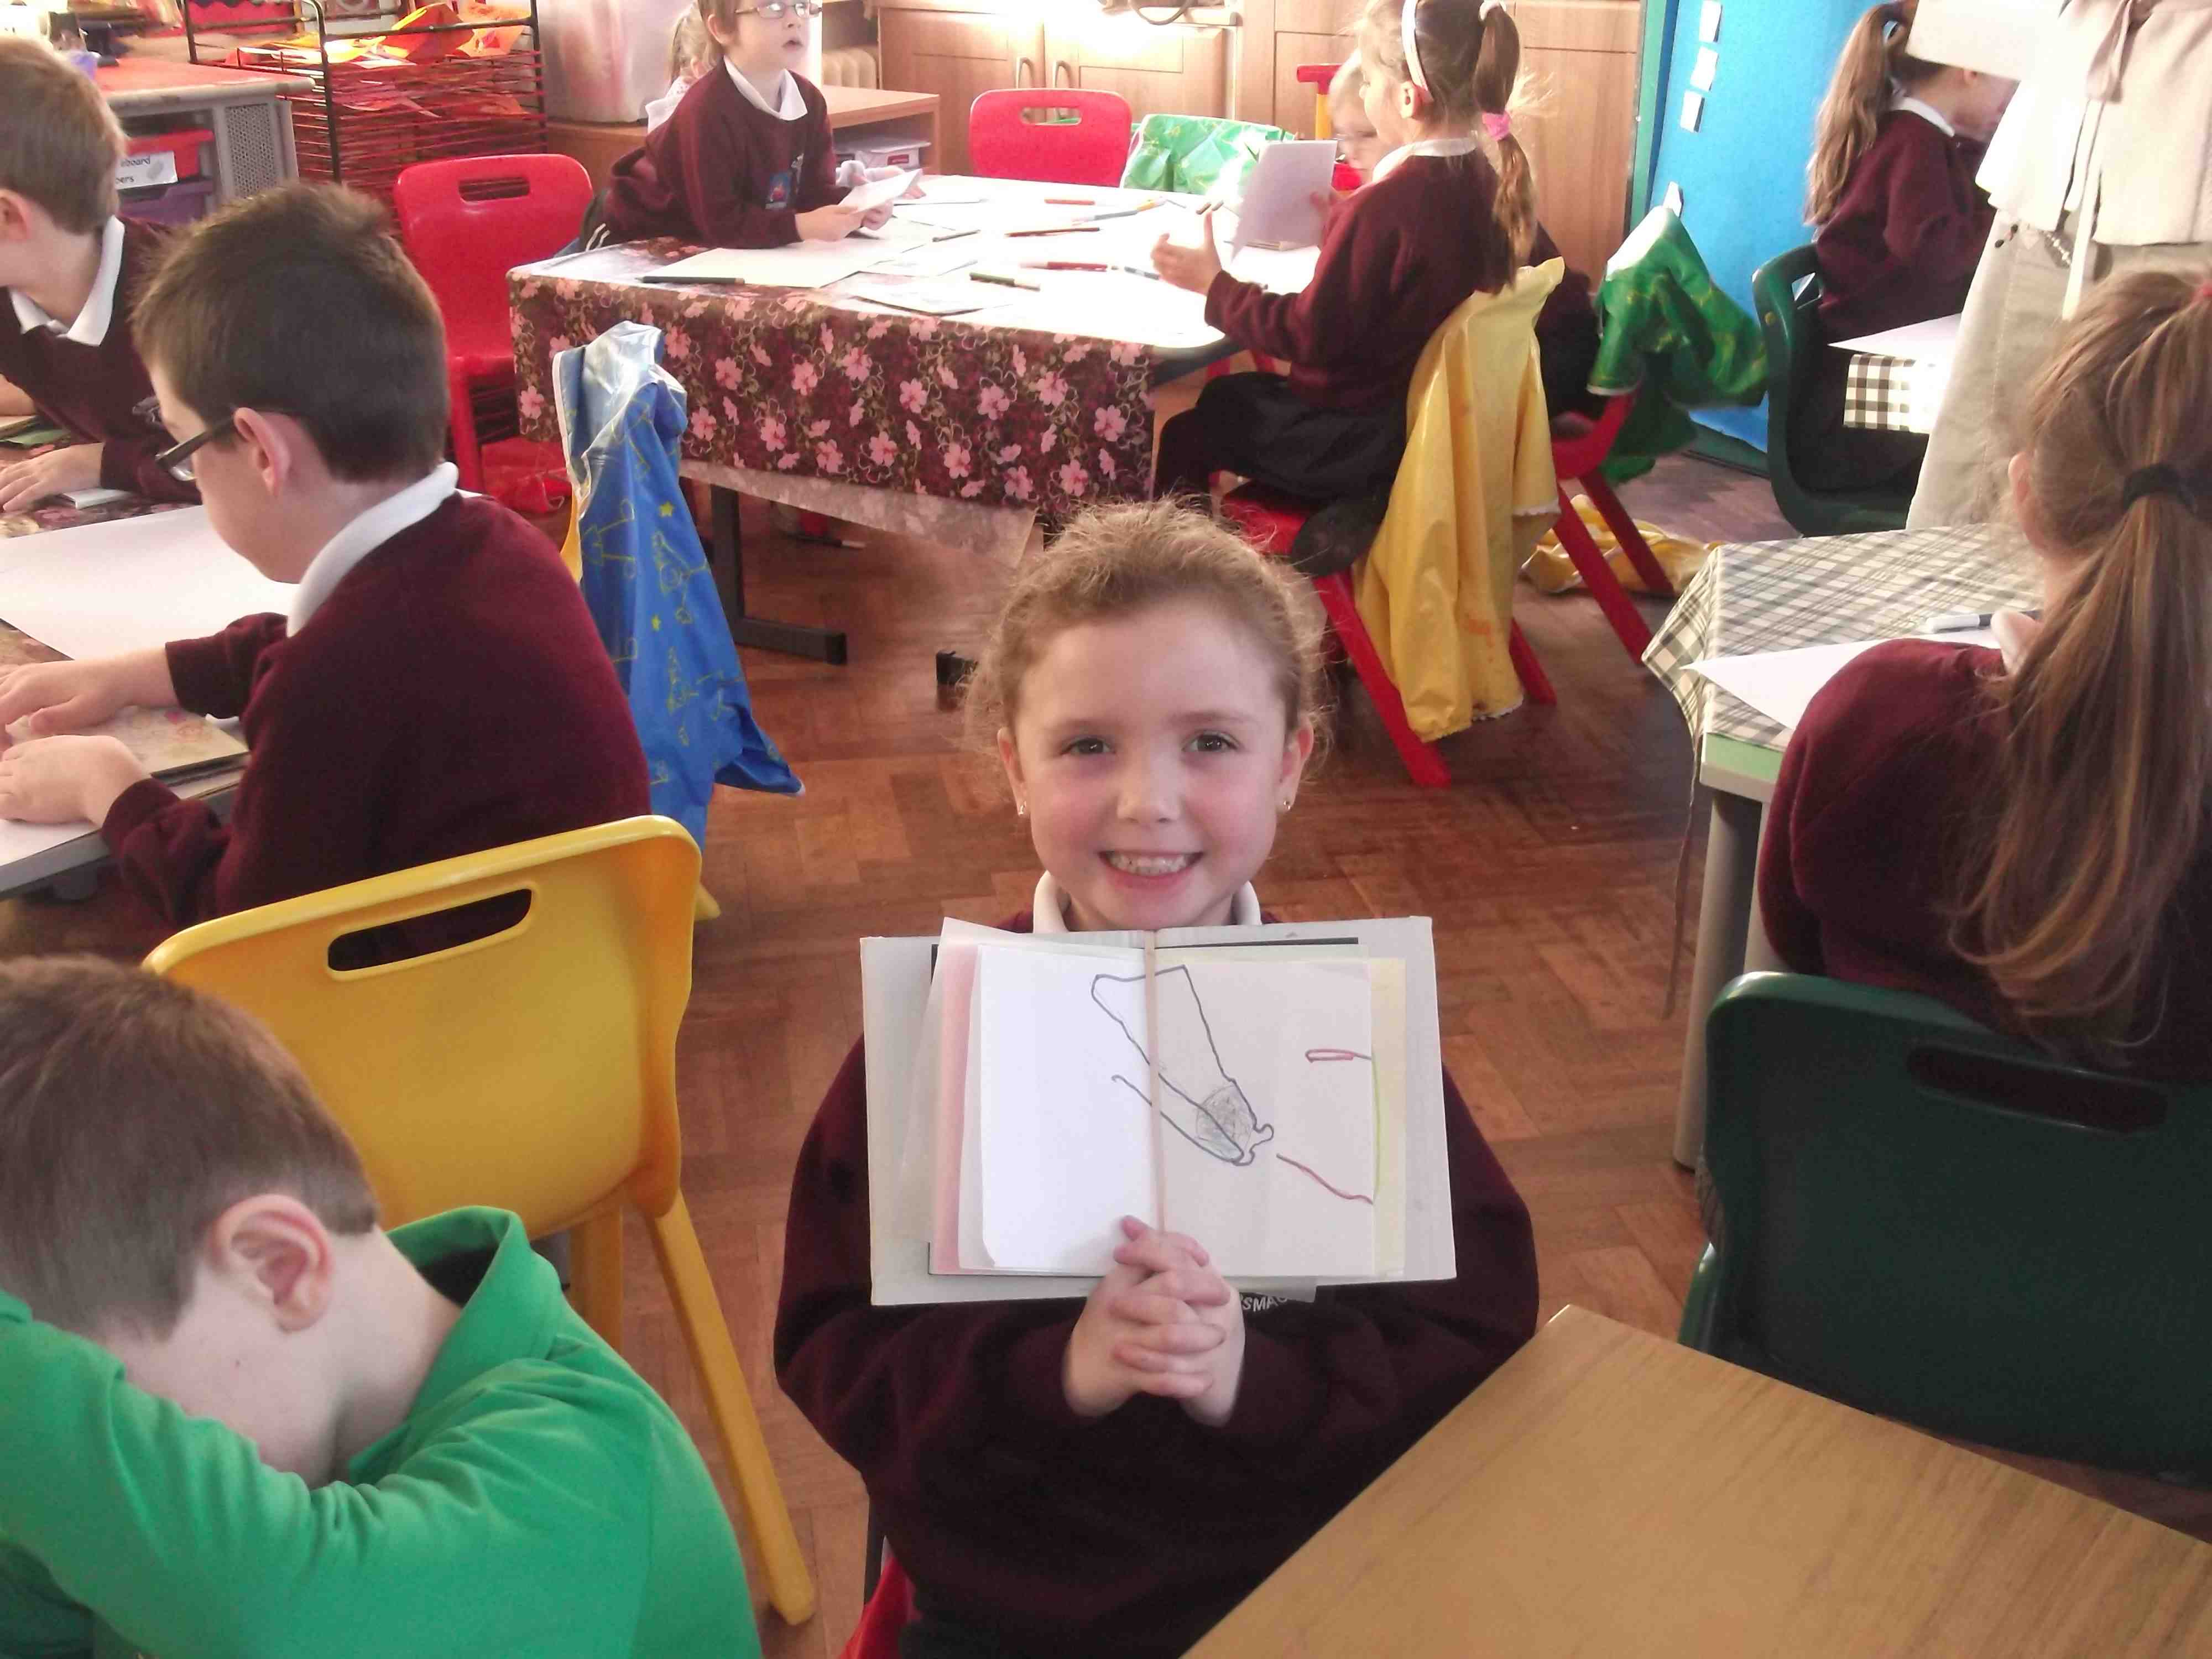
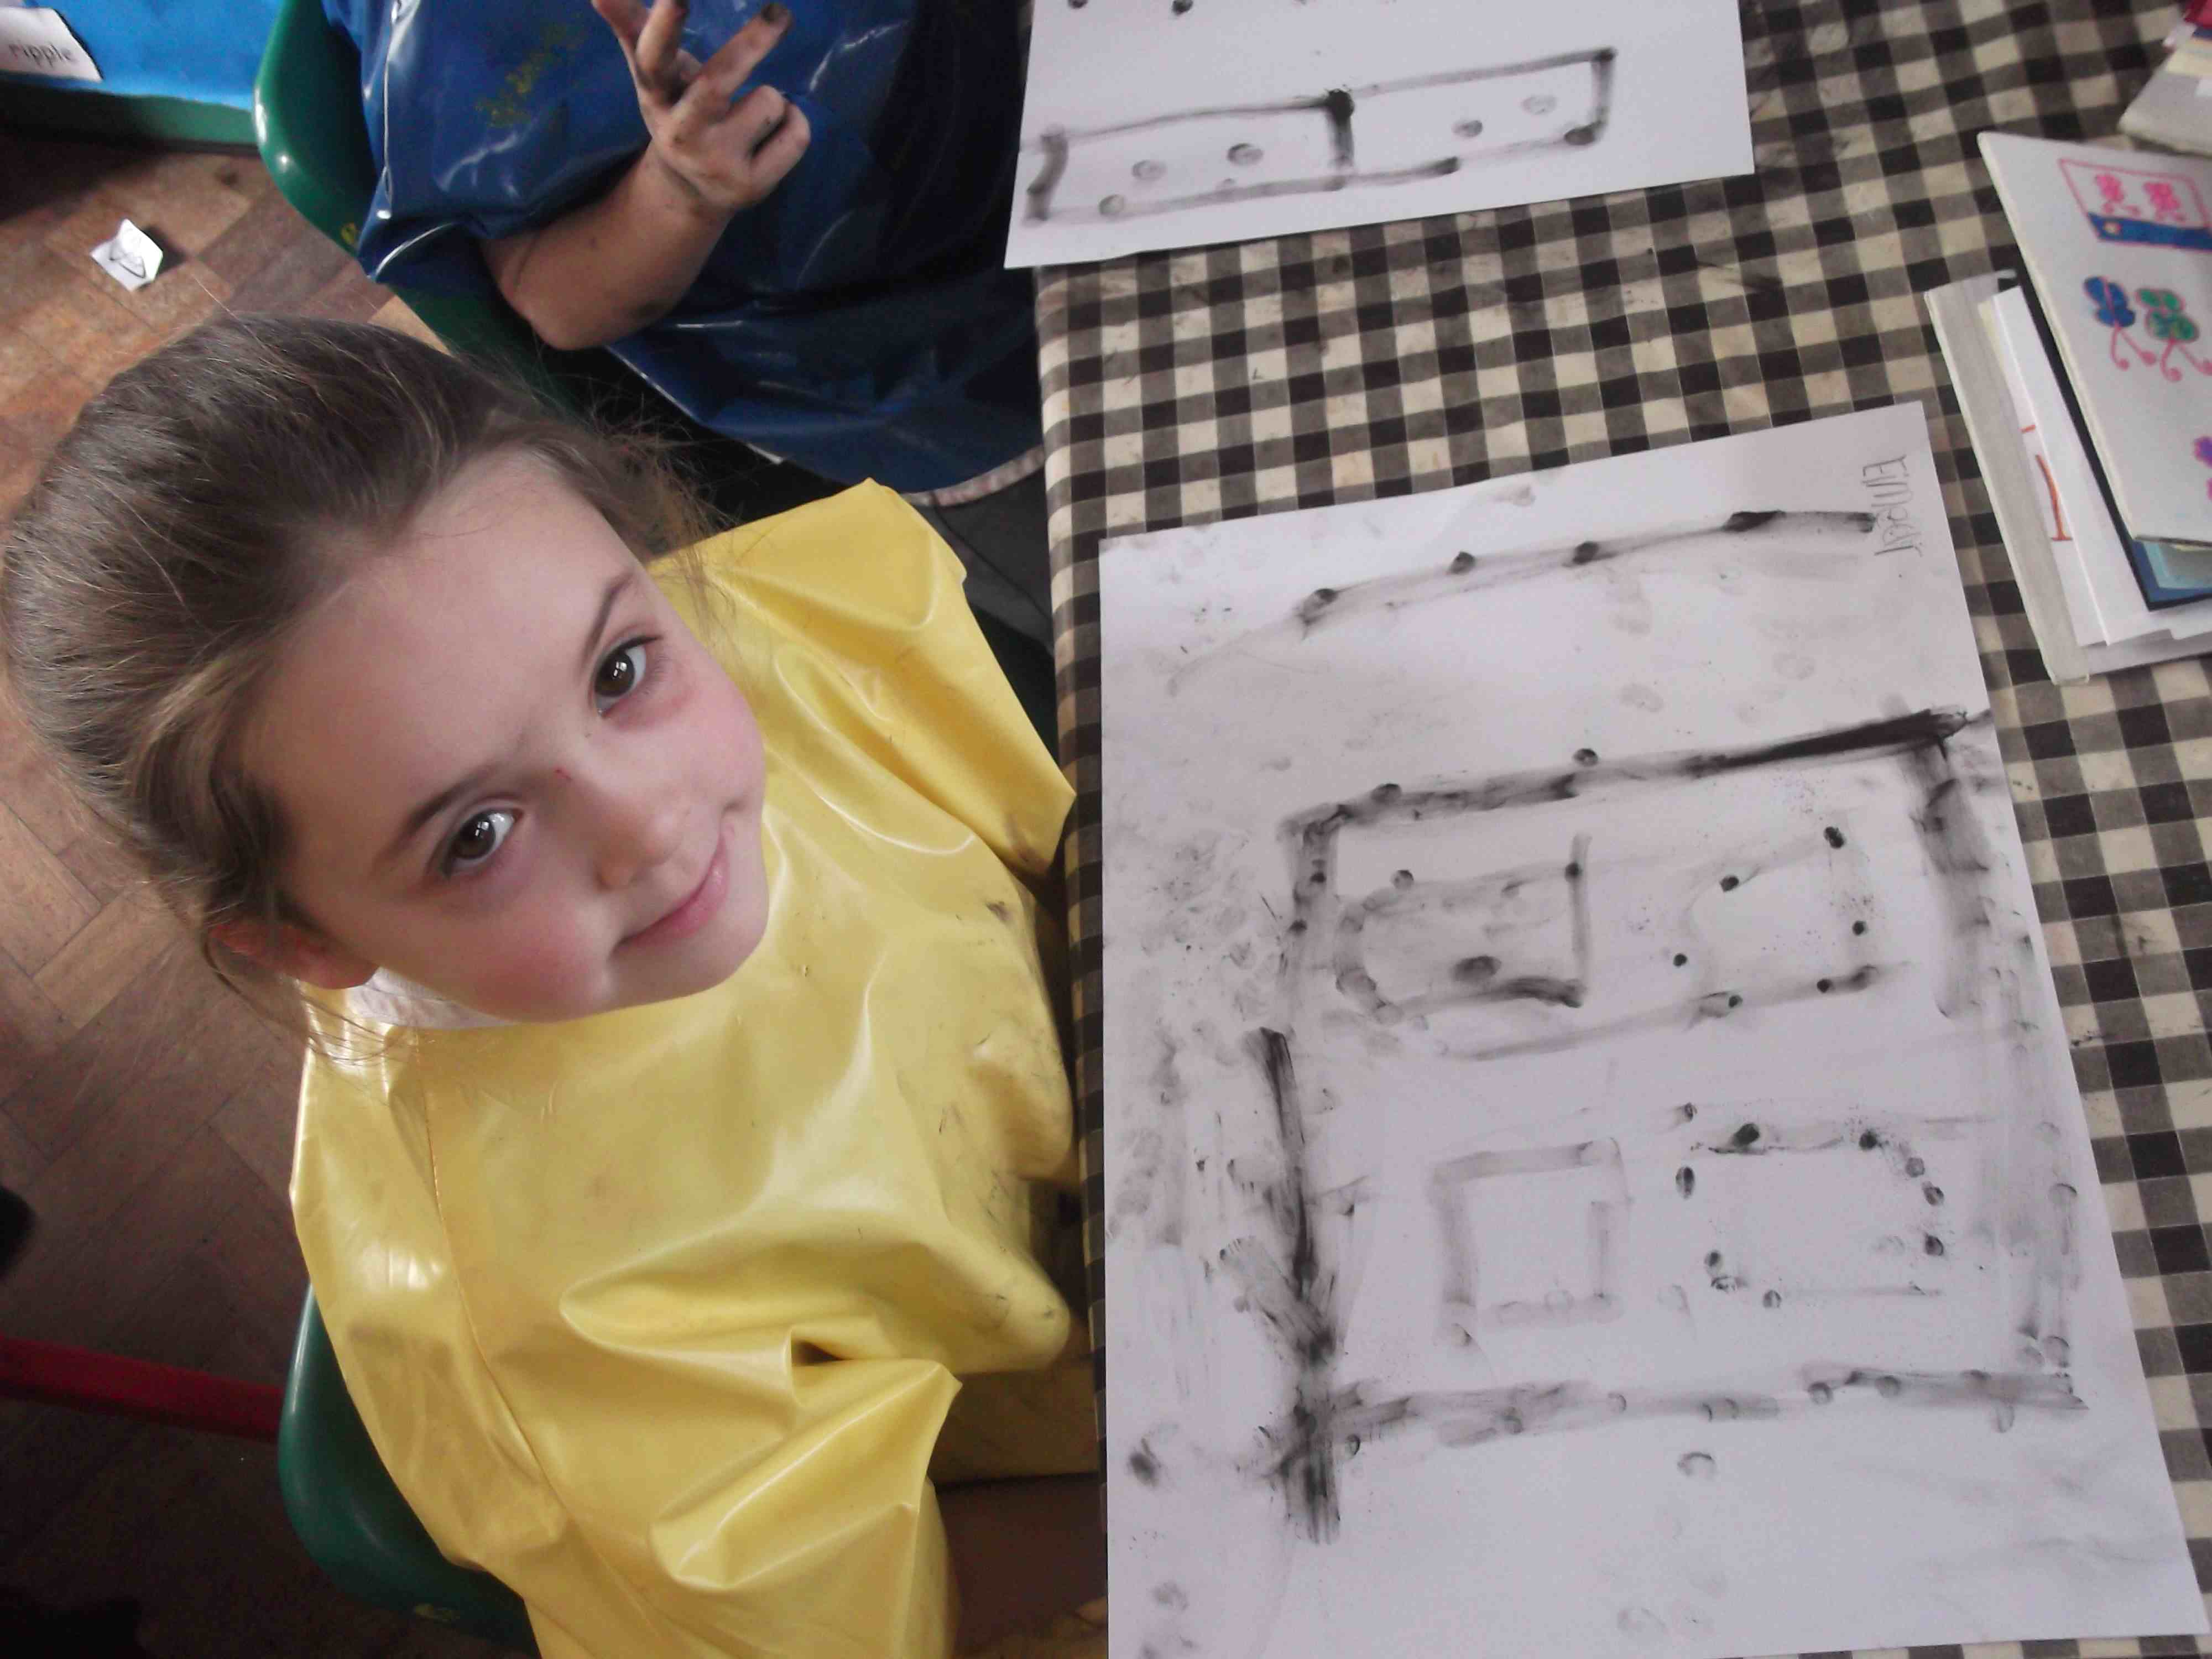
Out came the sketchbooks as I showed the children how to insert it into the book they made last time during the real visit. The children folded their paper (A3 cut in half lengthways) carefully in 3 places to create a fold-out page for their book. Then tucked it under the elastic band keeping the pages together and showed me their results.
Then I spoke to the children about special pictures made thousands of years ago by people on the walls of caves. We looked at a wonderful image of a horse made in a cave in France 10, 0000 years ago! It was made using coloured pigment / charcoal.

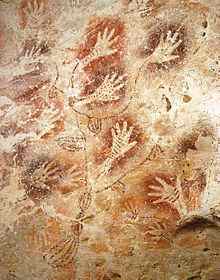
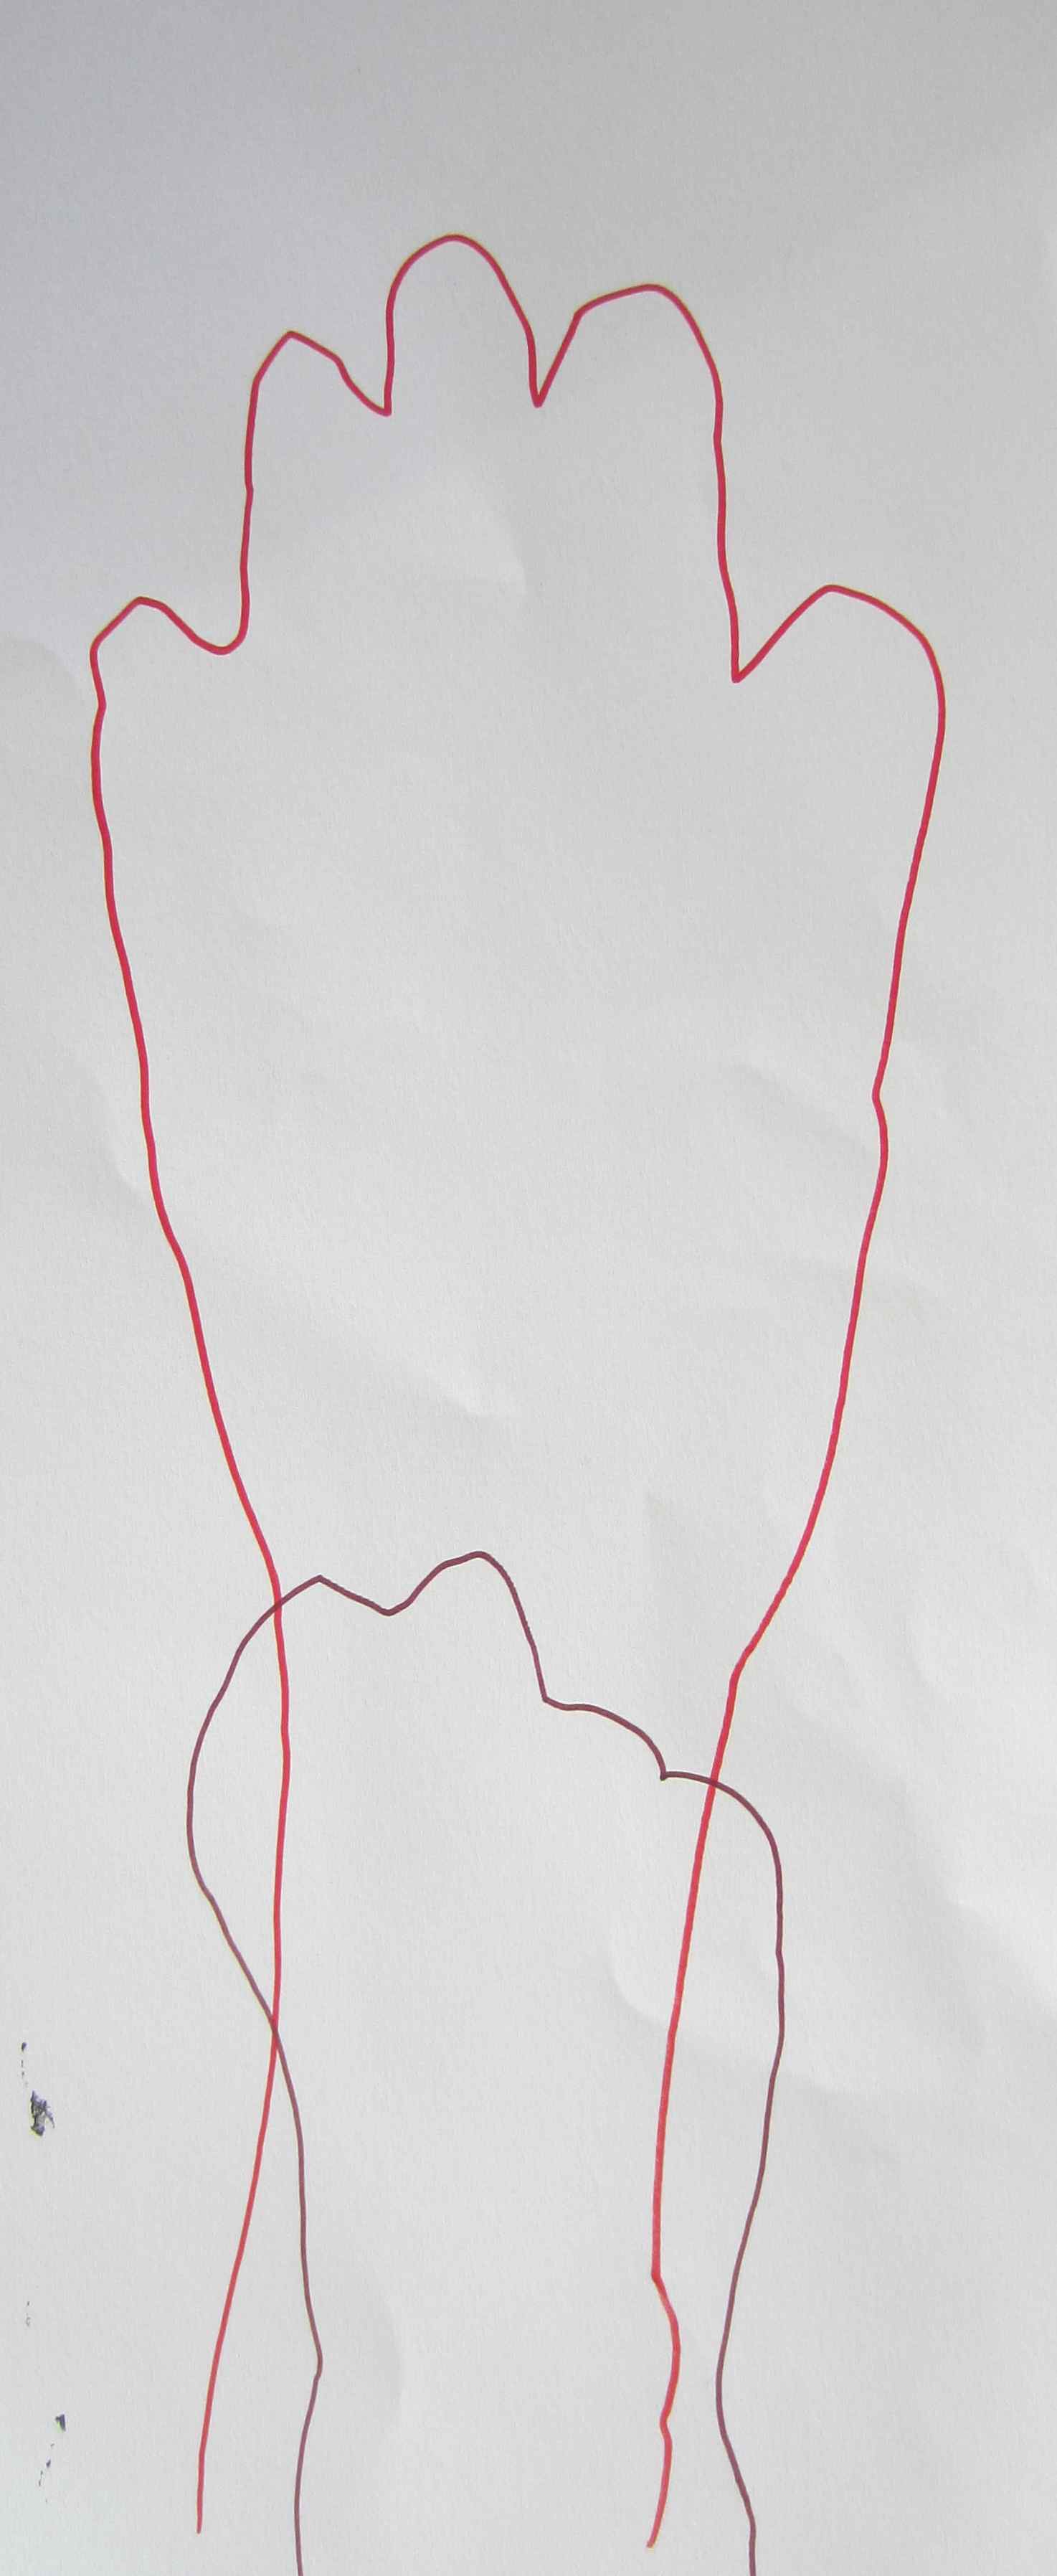
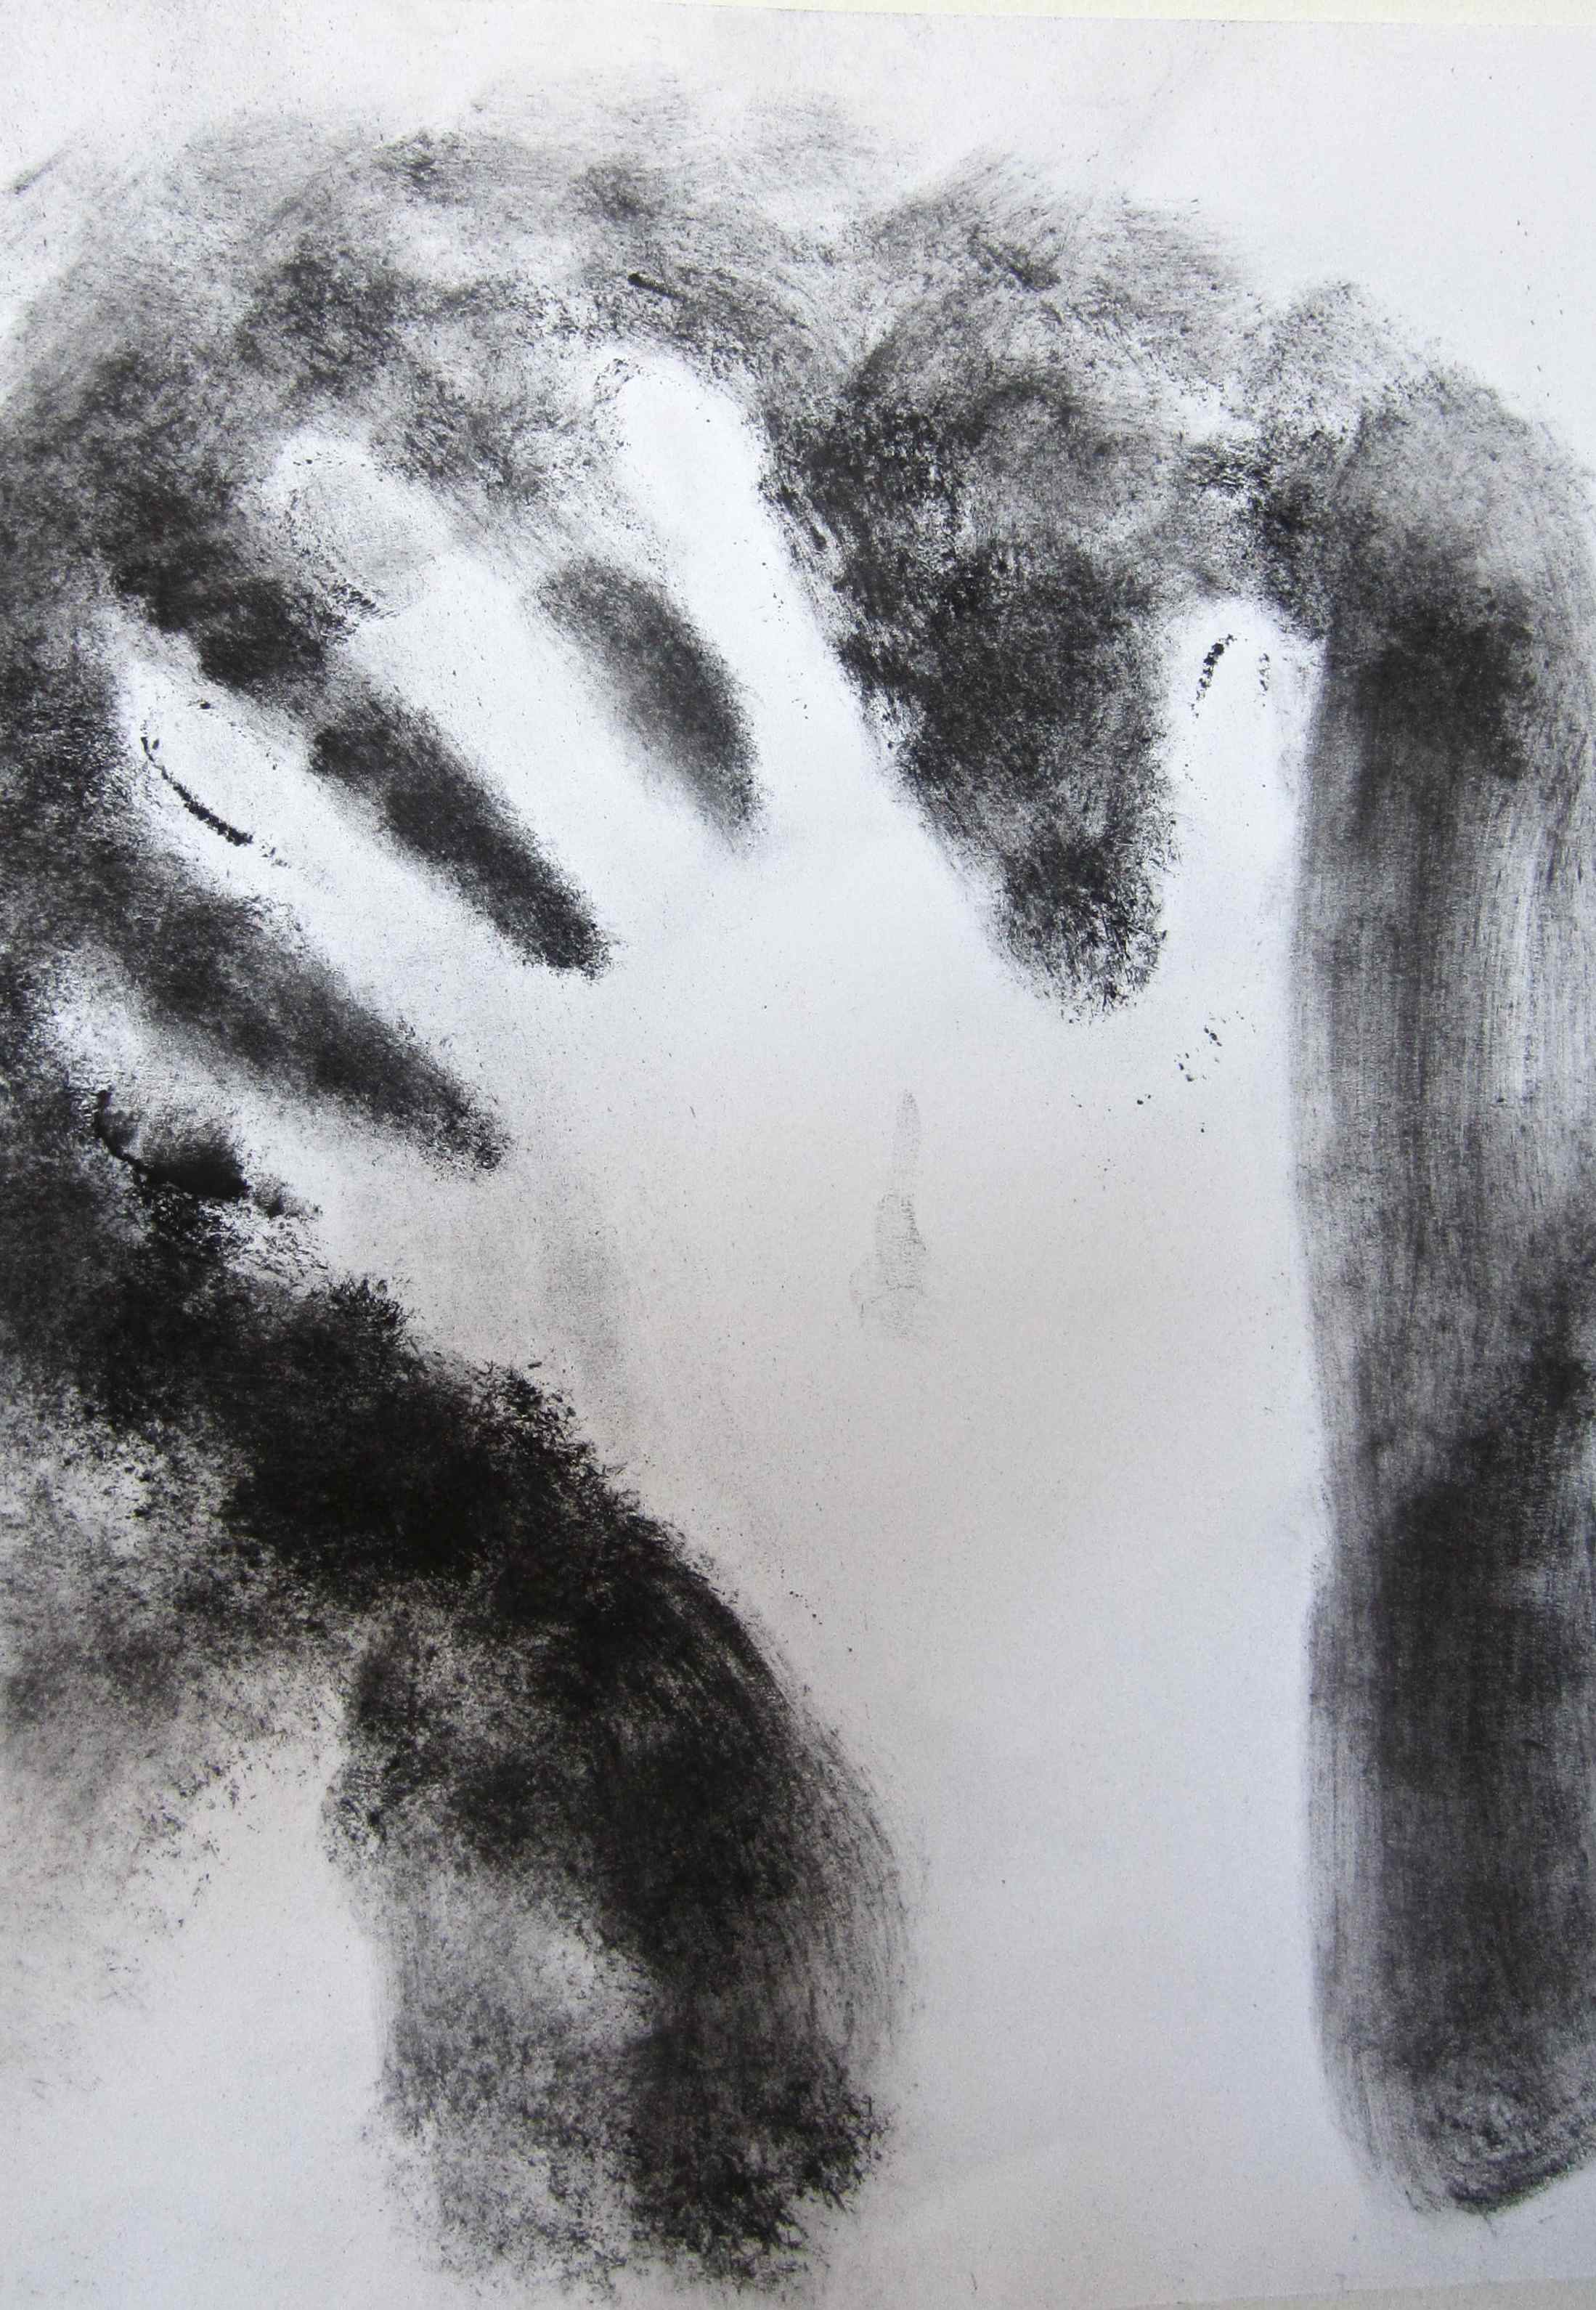
Then we looked at an image of hand shapes found in Borneo, Indonesia. Researchers from Cambridge University say these were made by a child of 5 – 7 years thousands of years ago!
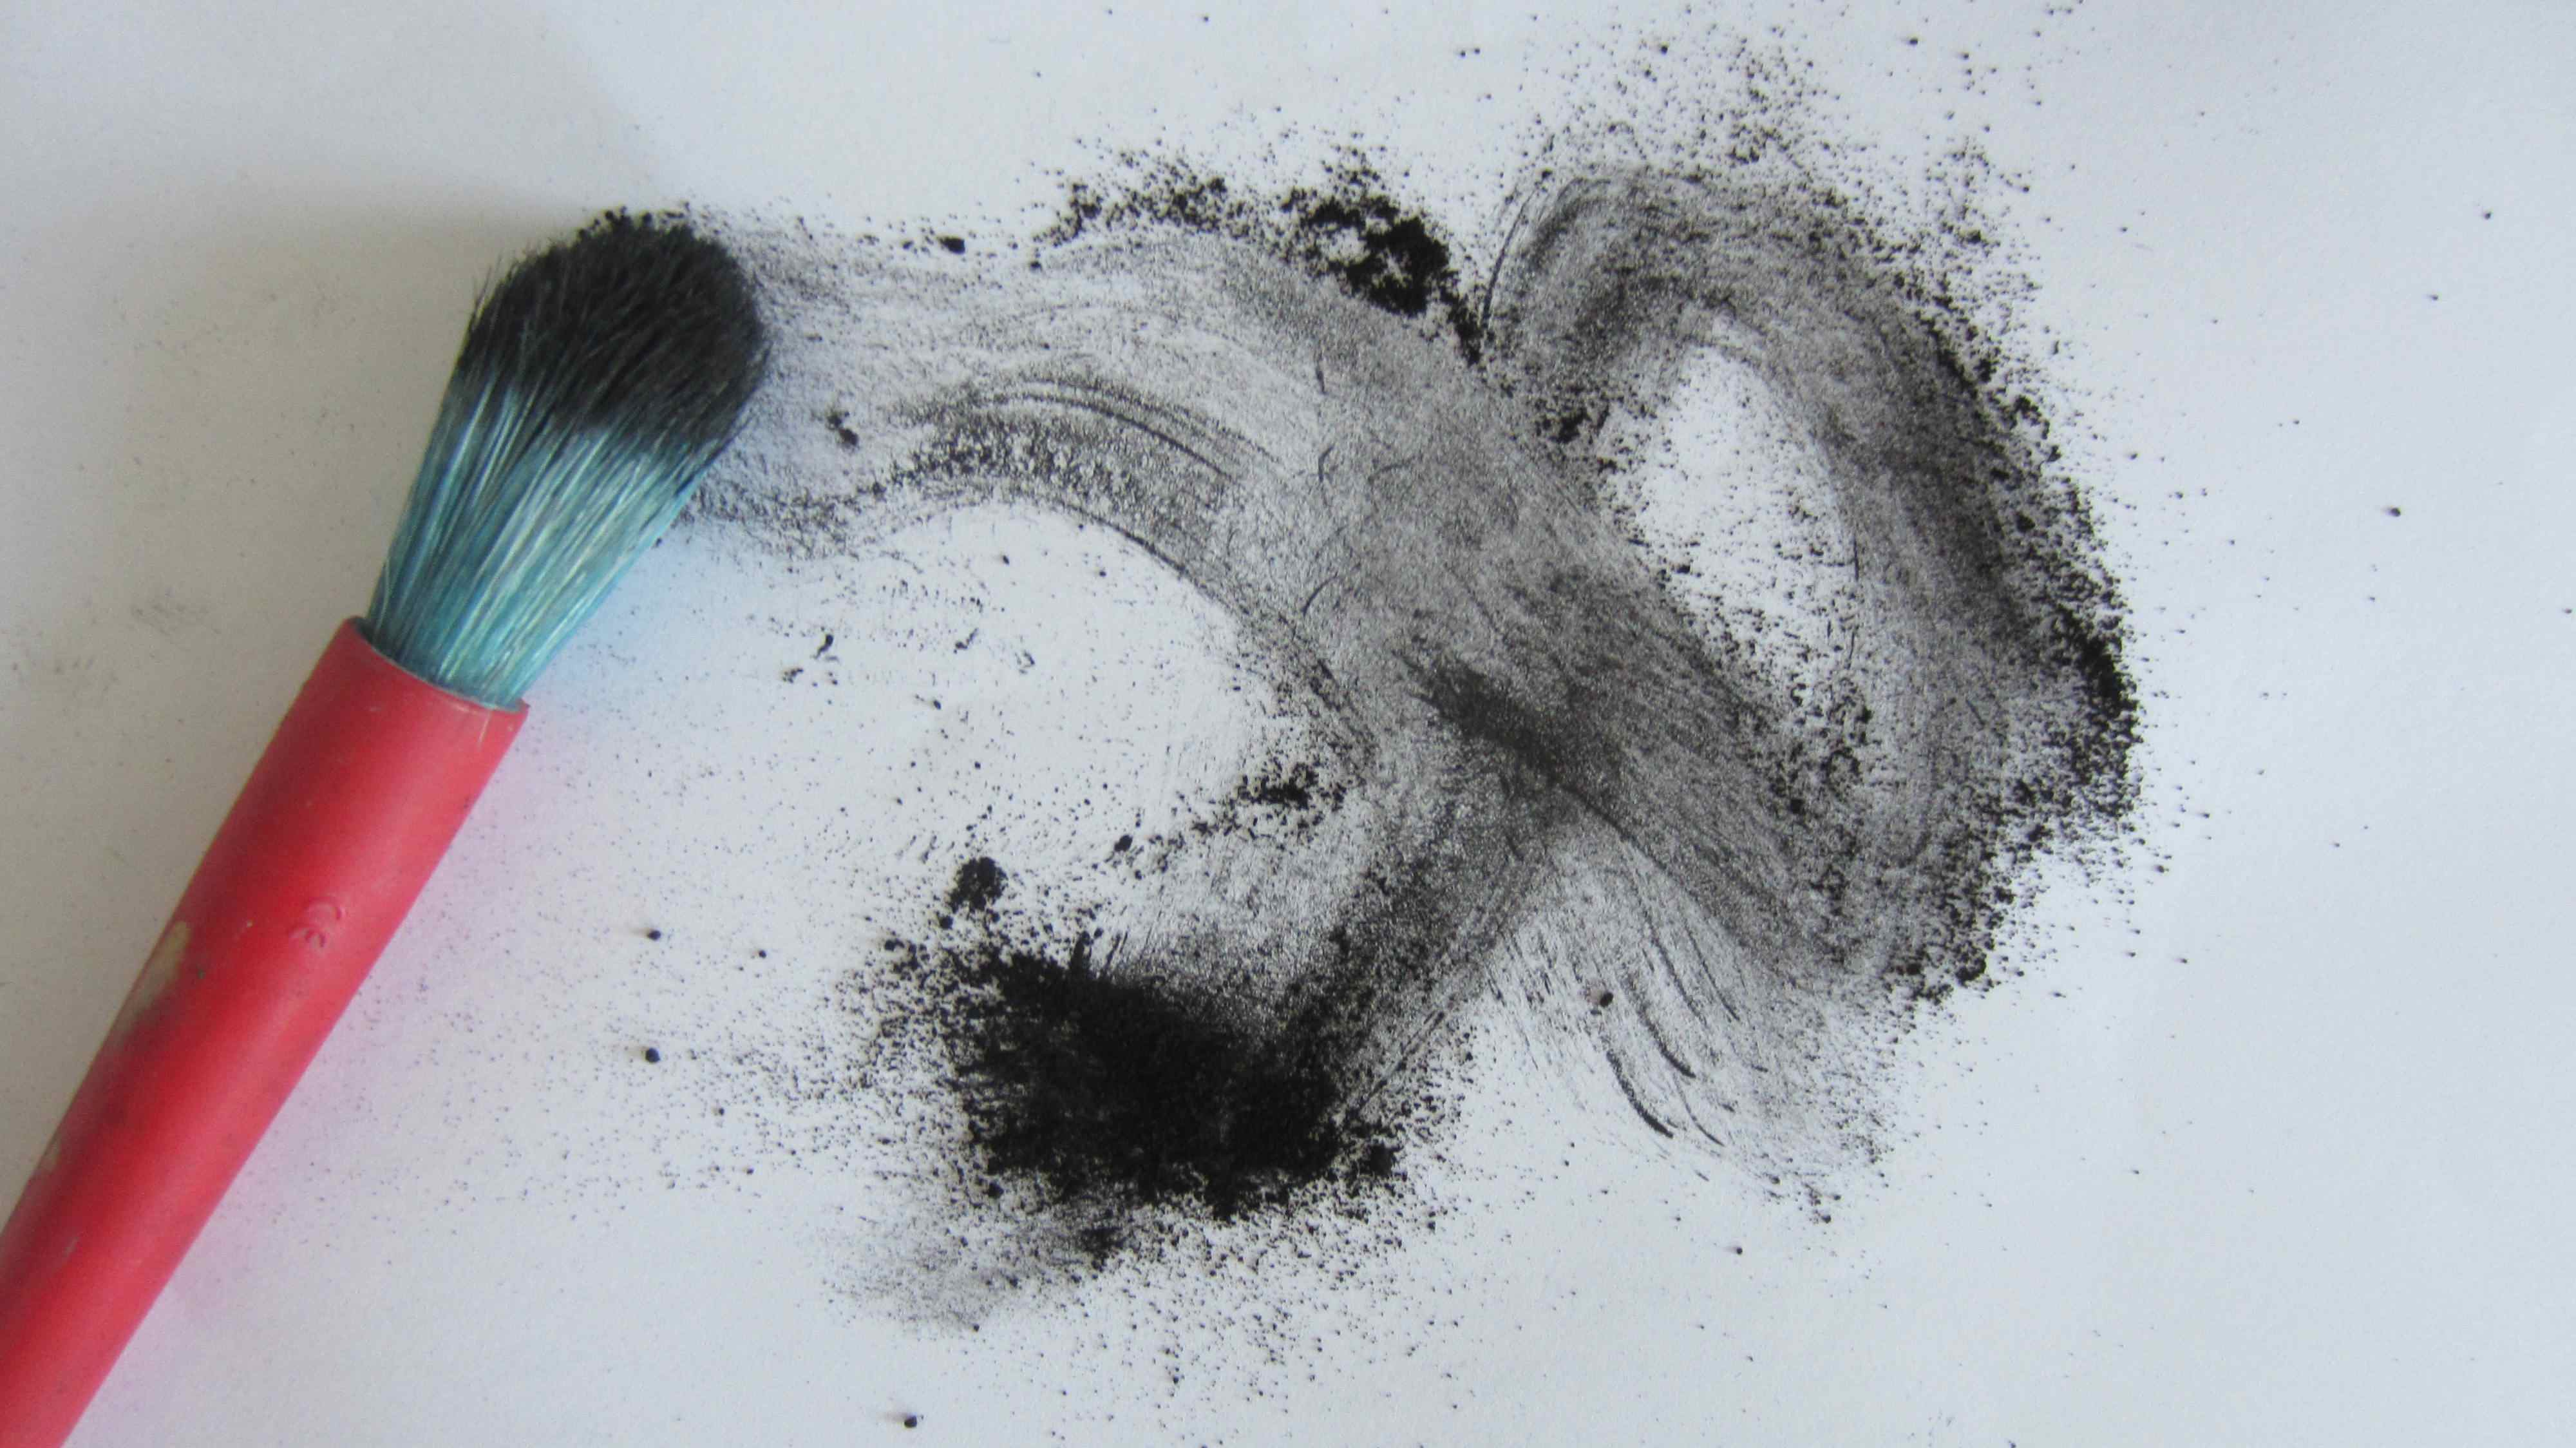
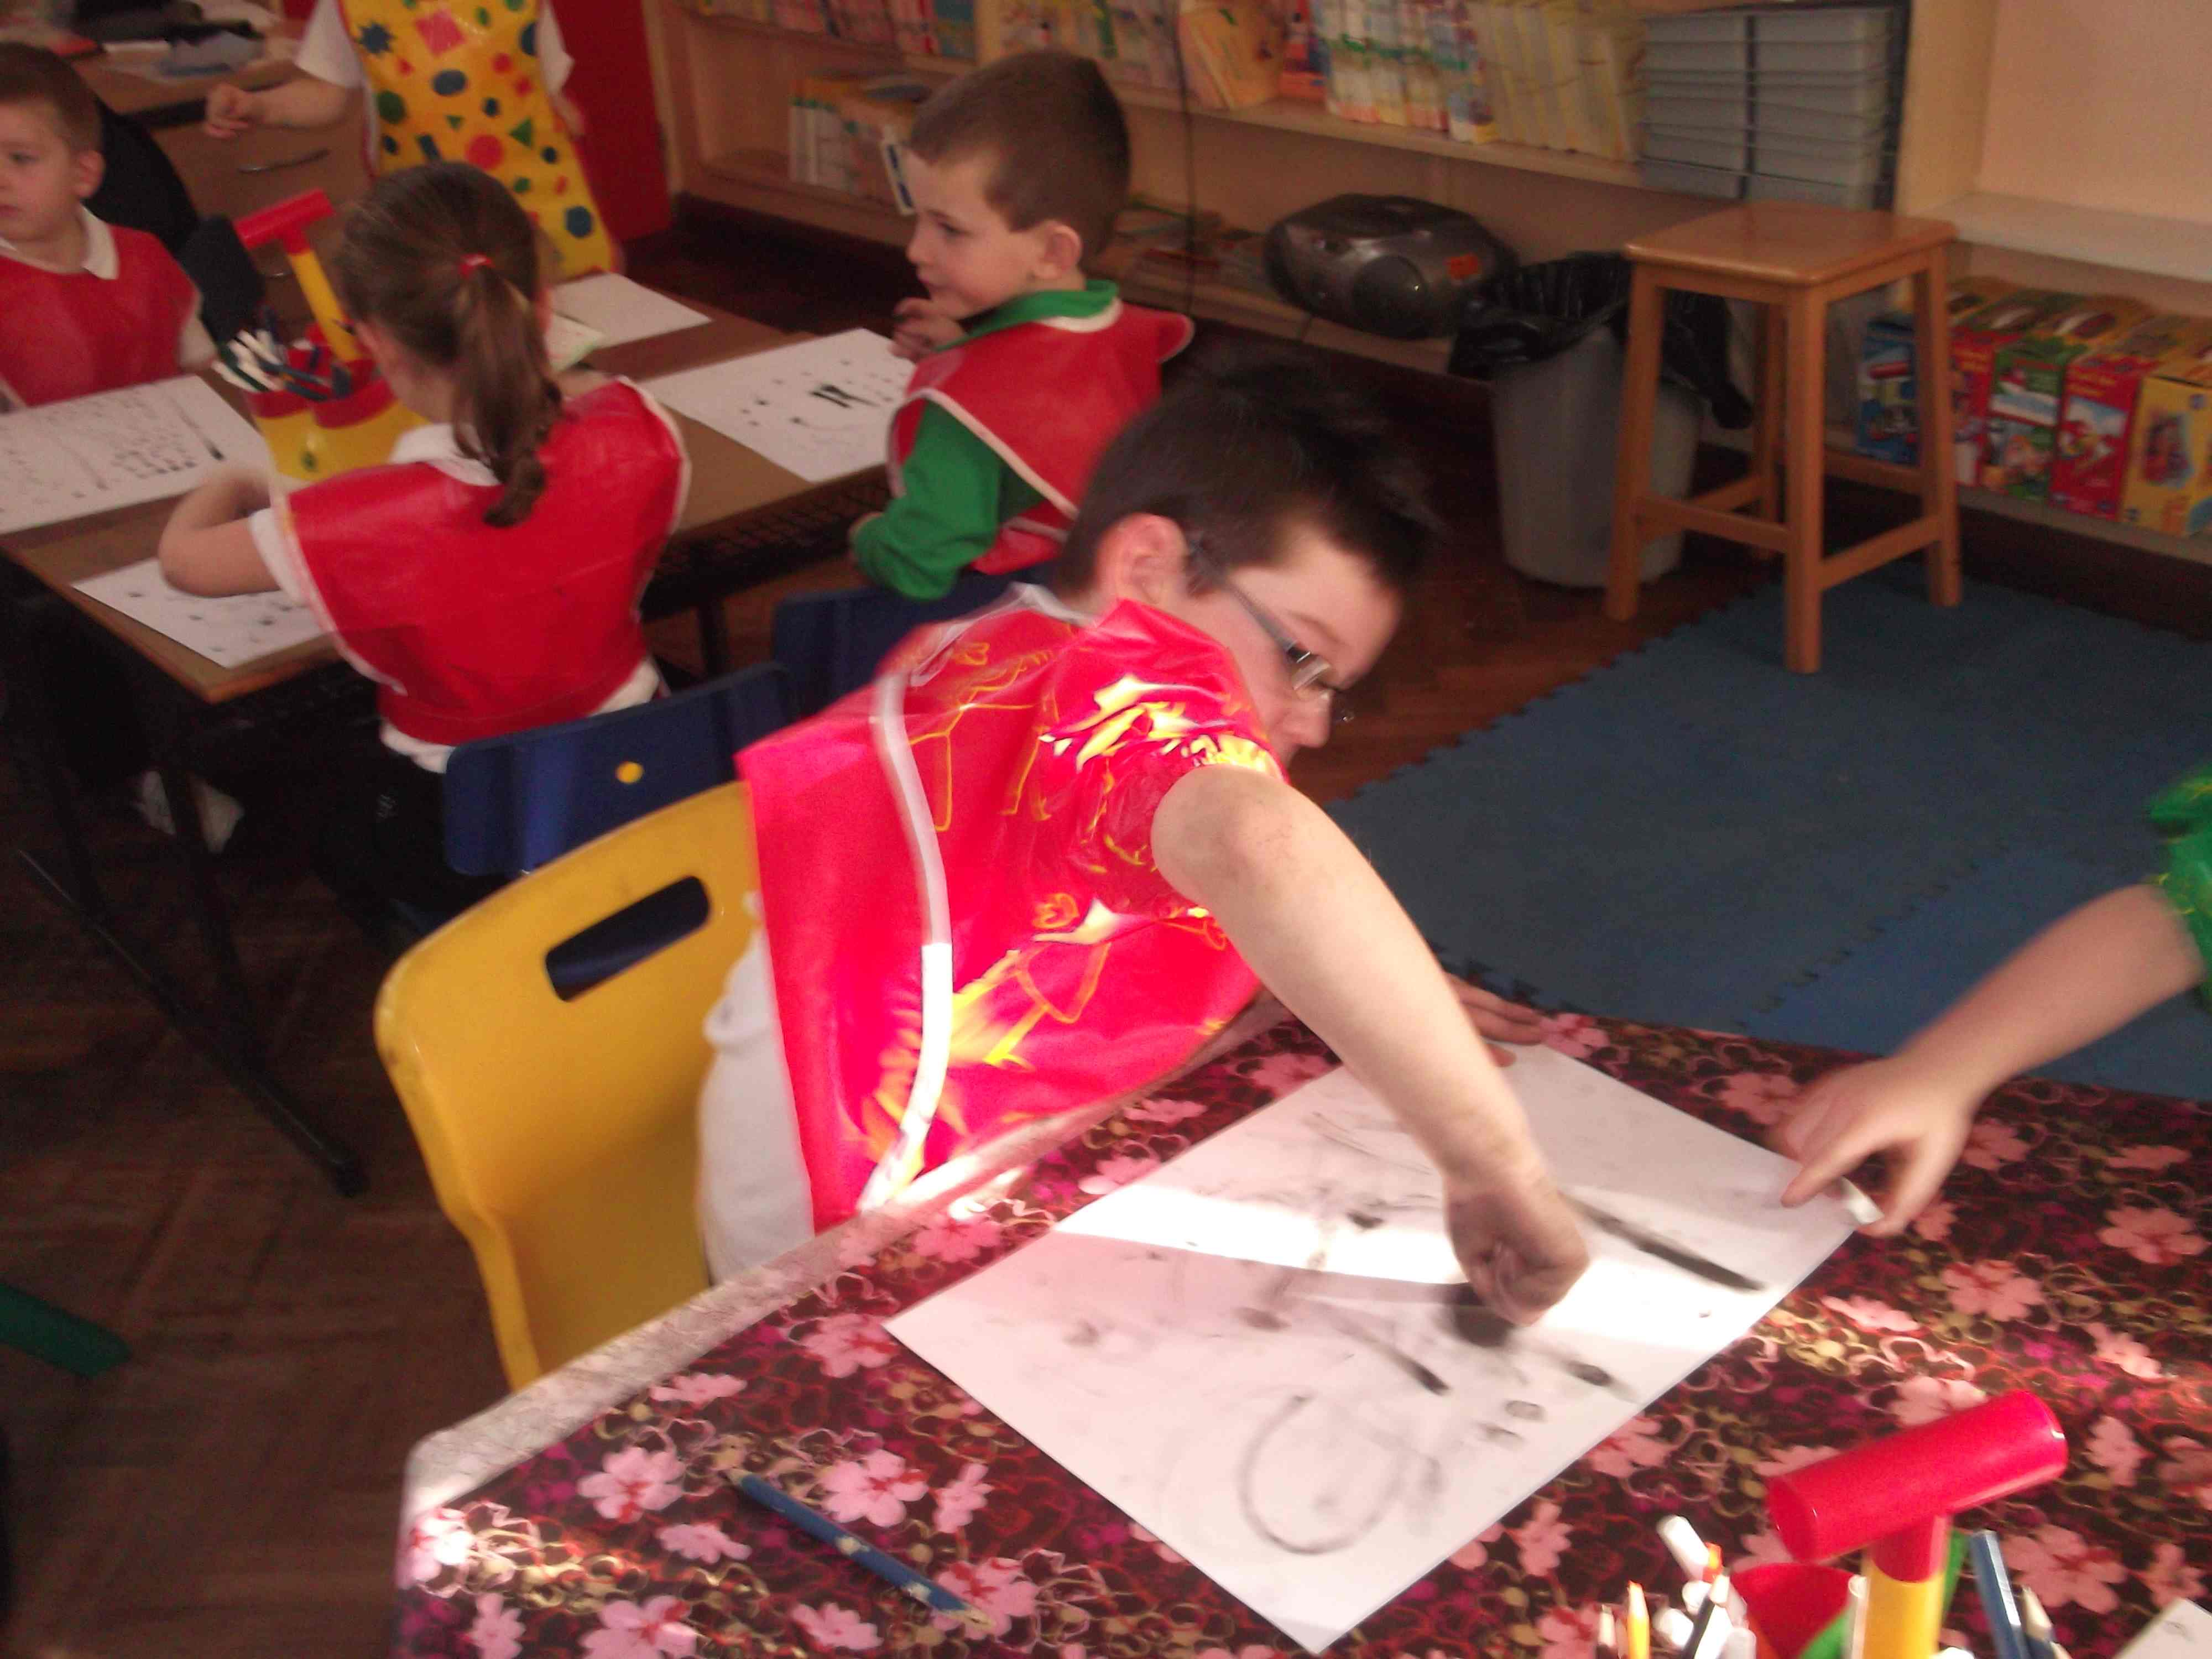
We talked about how the image was made using pigment like charcoal and what charcoal was made from. From charred (burned) sticks. It can also be used a a crumbled powder and like the graphite powder that artists used, we were going to see what that was like!
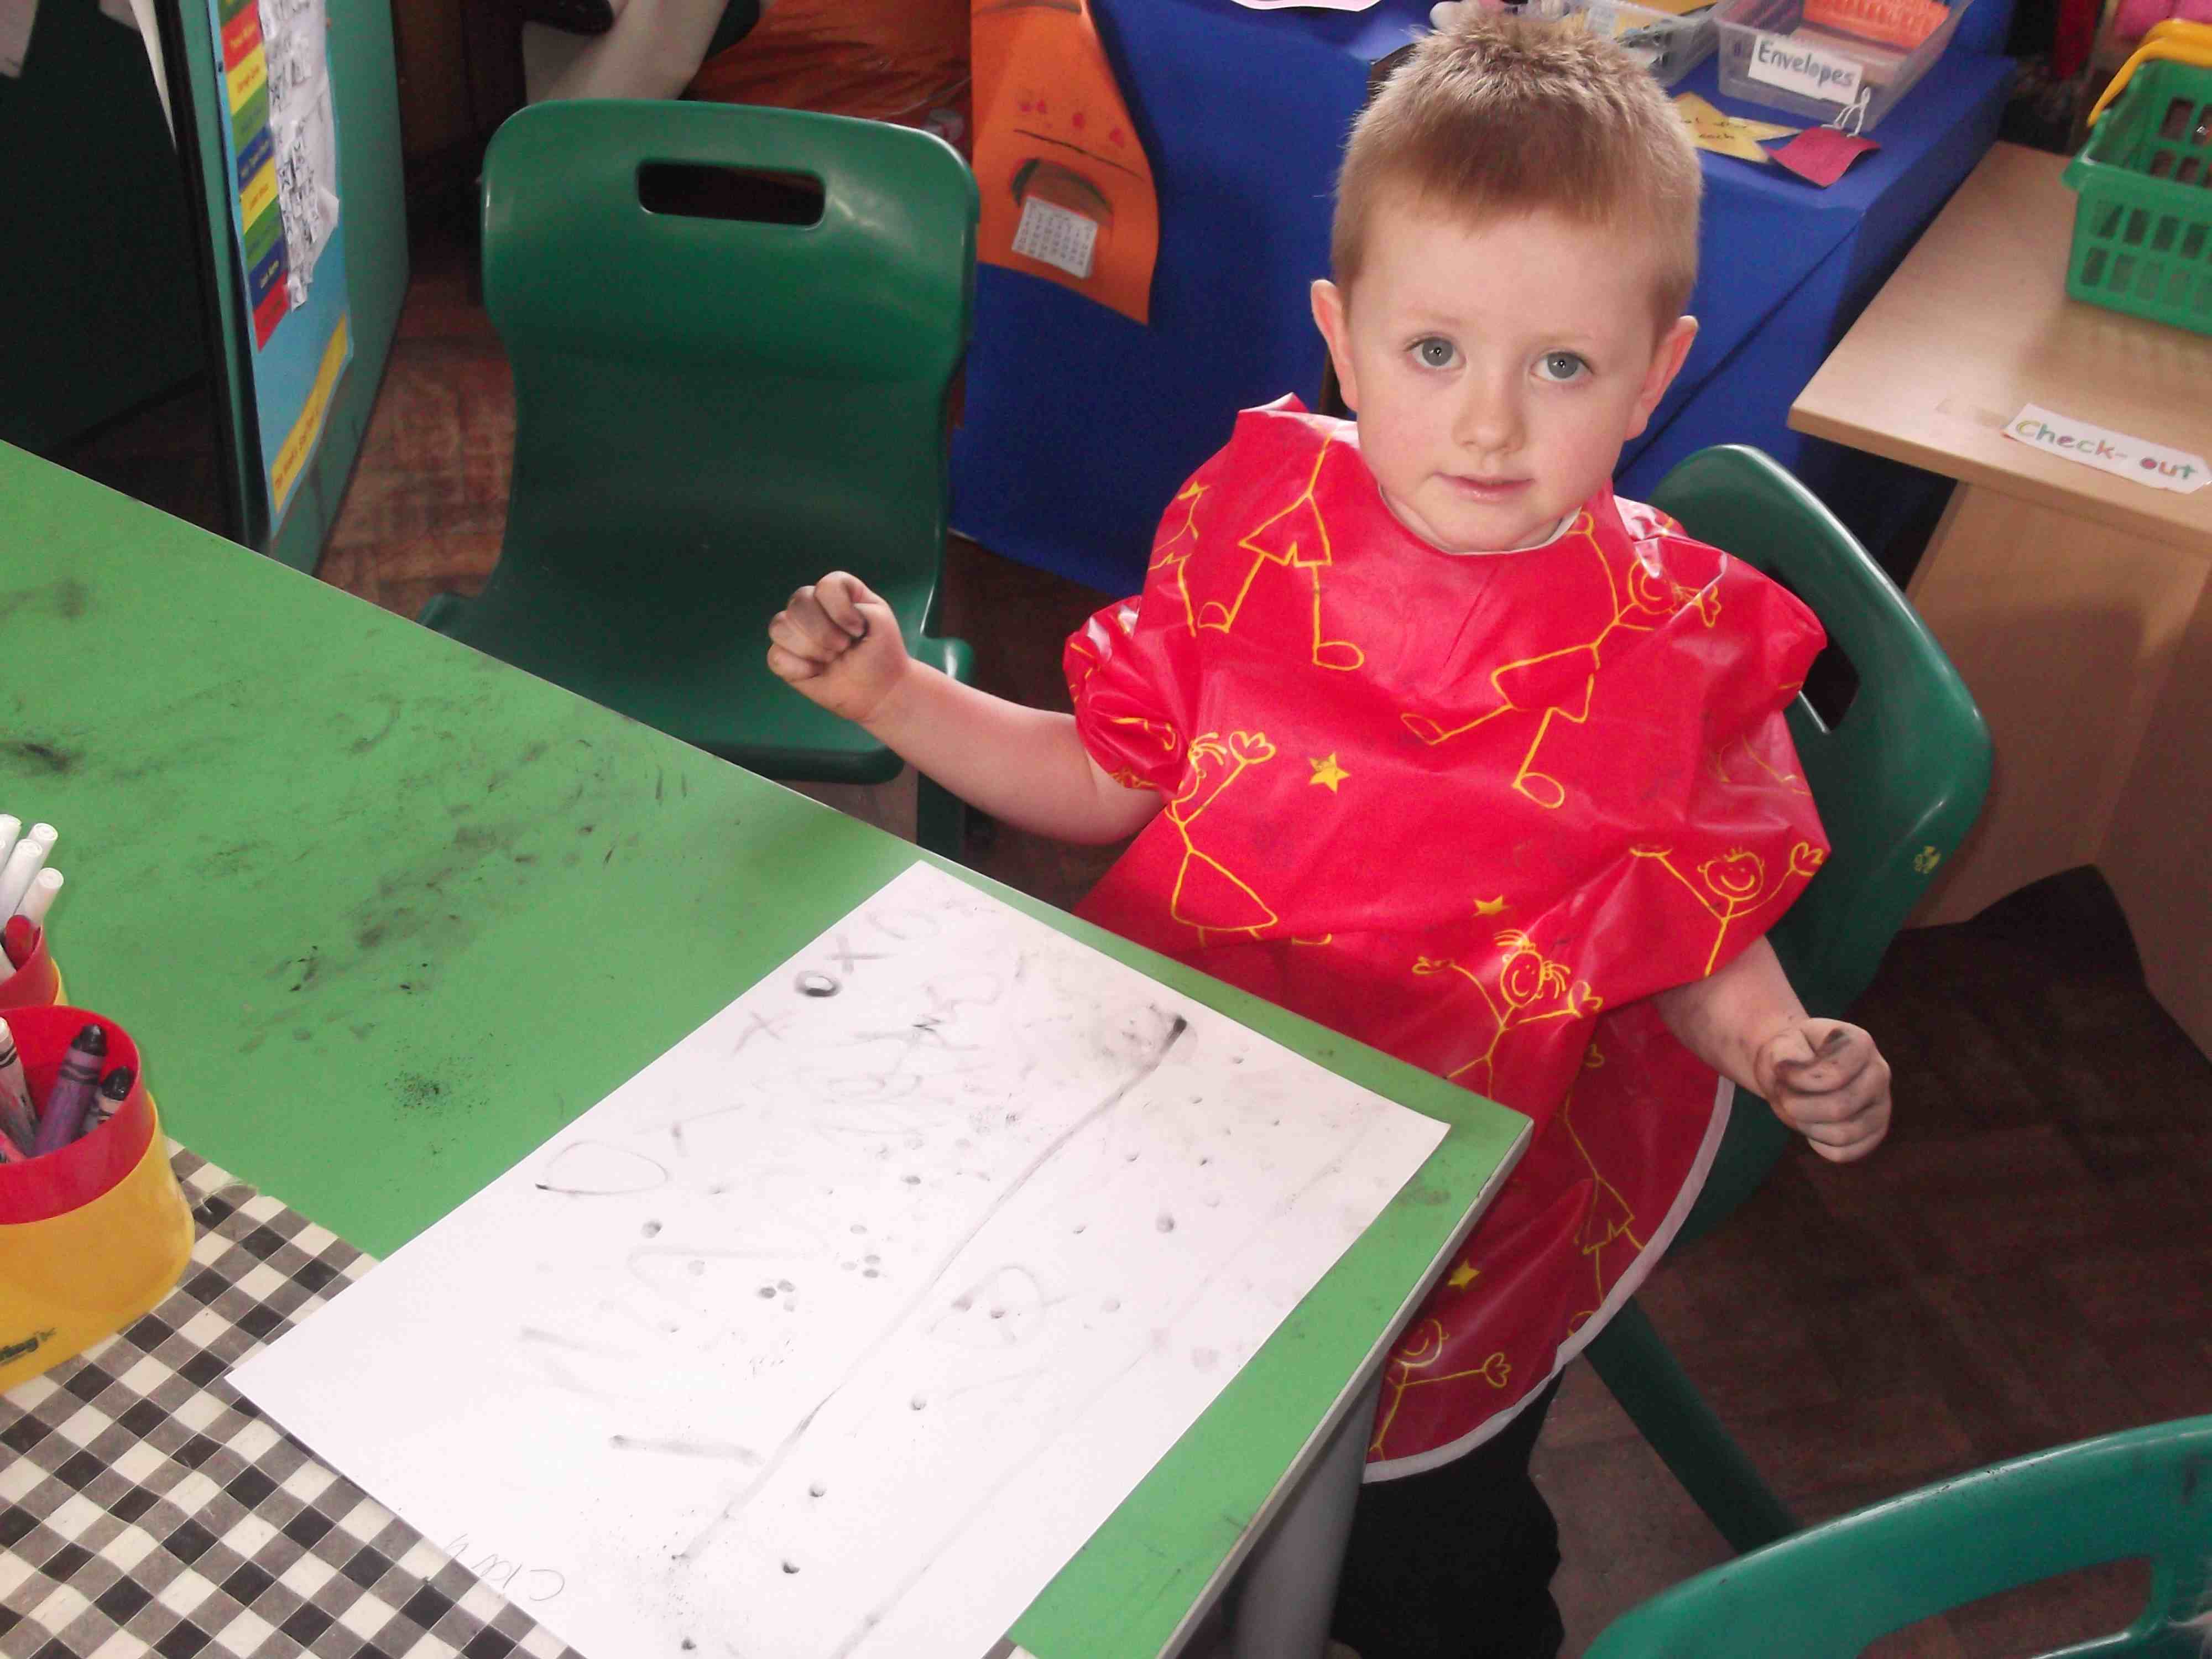
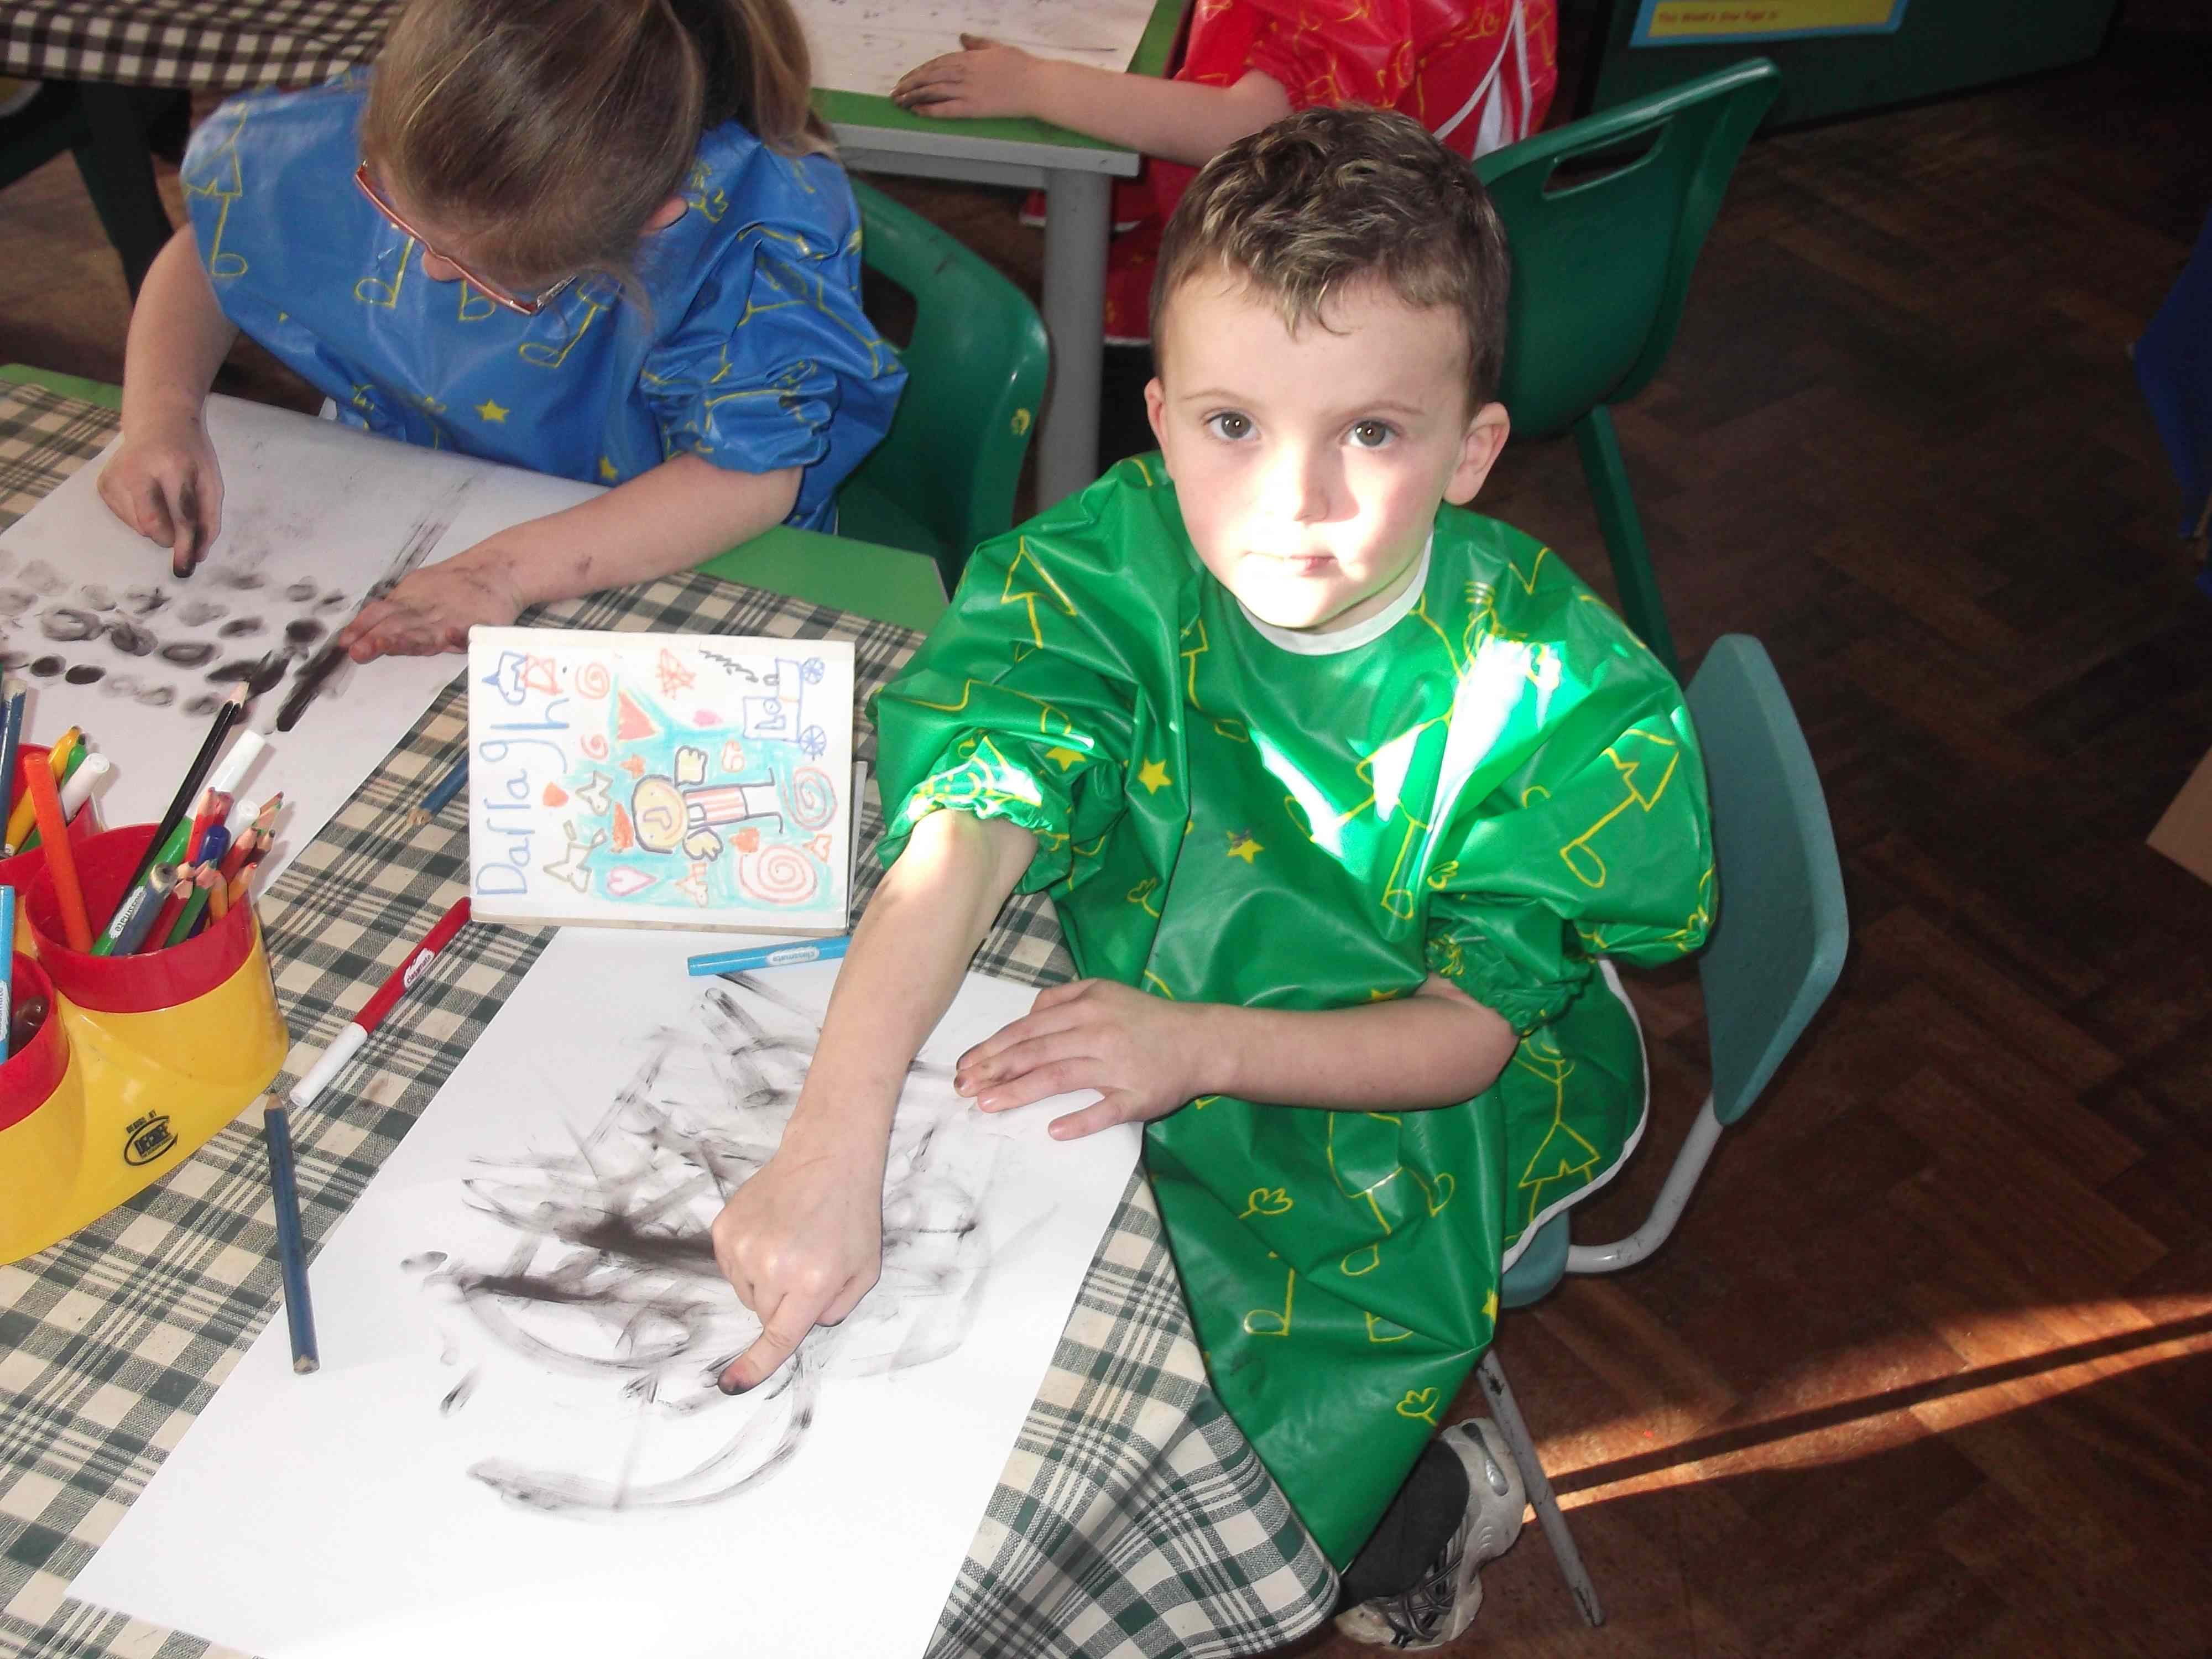
There was so much excitement as aprons were put on; jumpers dispersed of; sleeves rolled up, tables covered. This was going to be a messy mission……..
The first thing we tried was a NEGATIVE image, made by marking the space around the hand shape so that the positive shape of the hand could be seen!
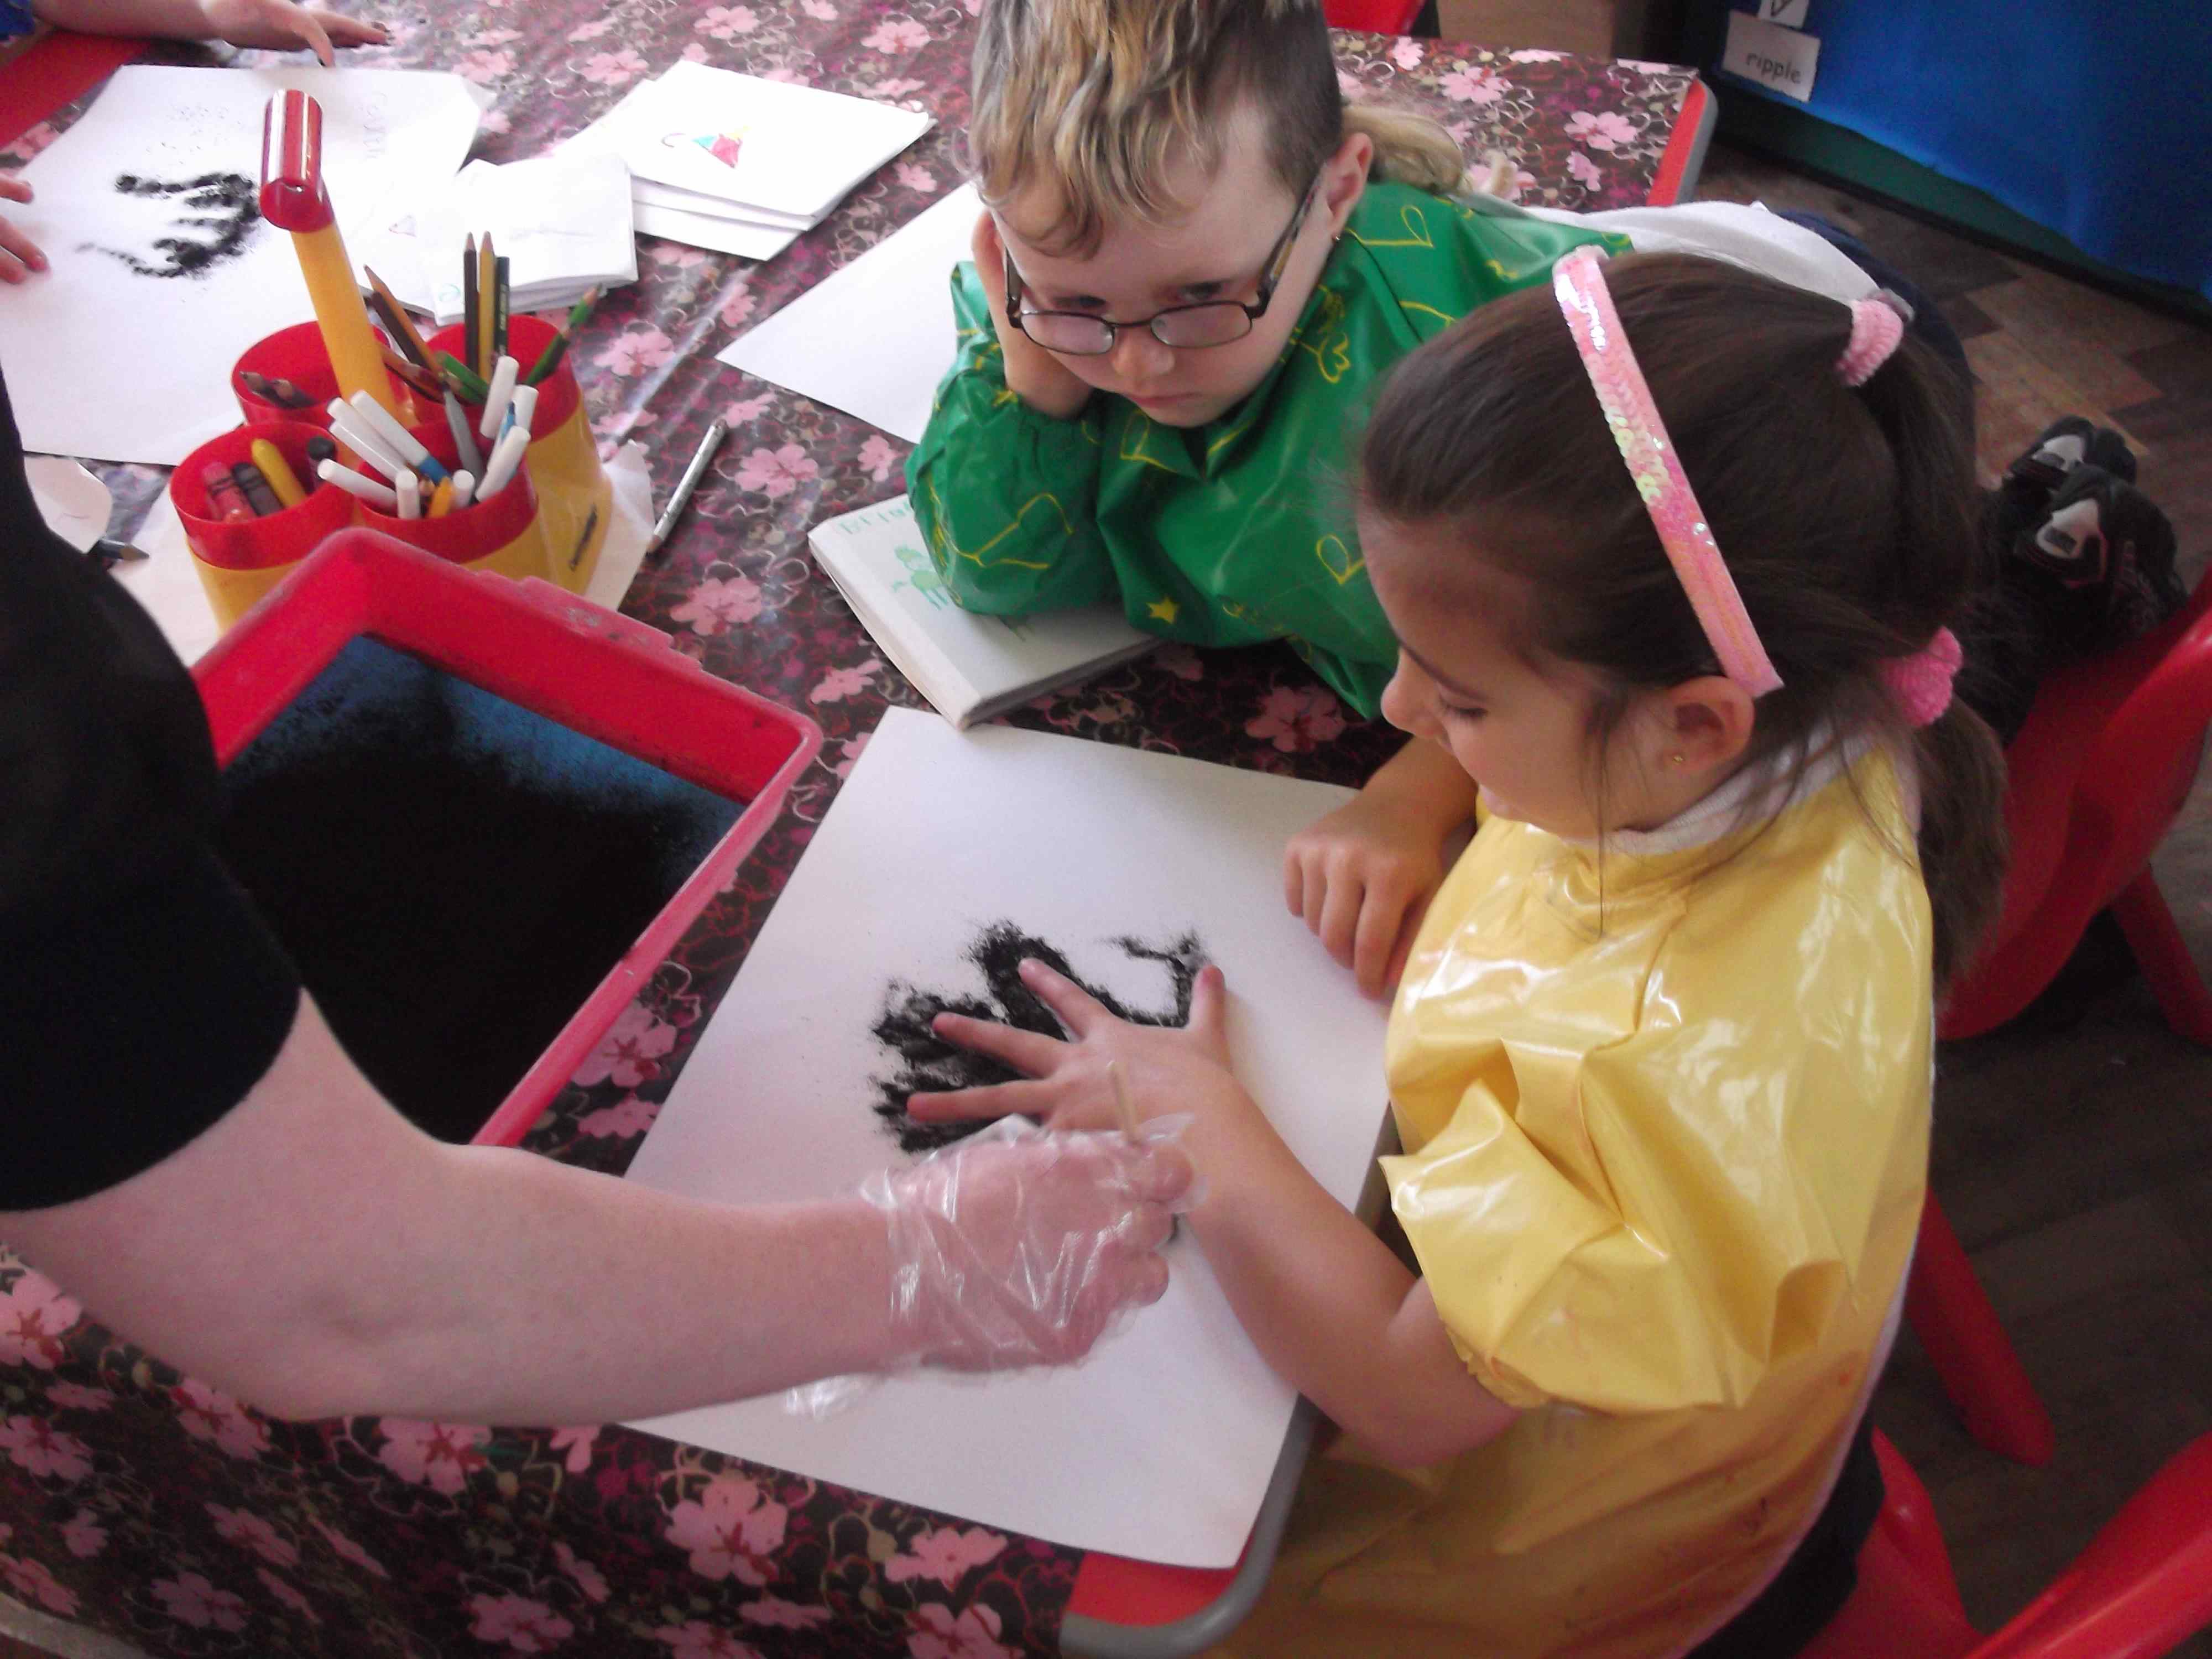
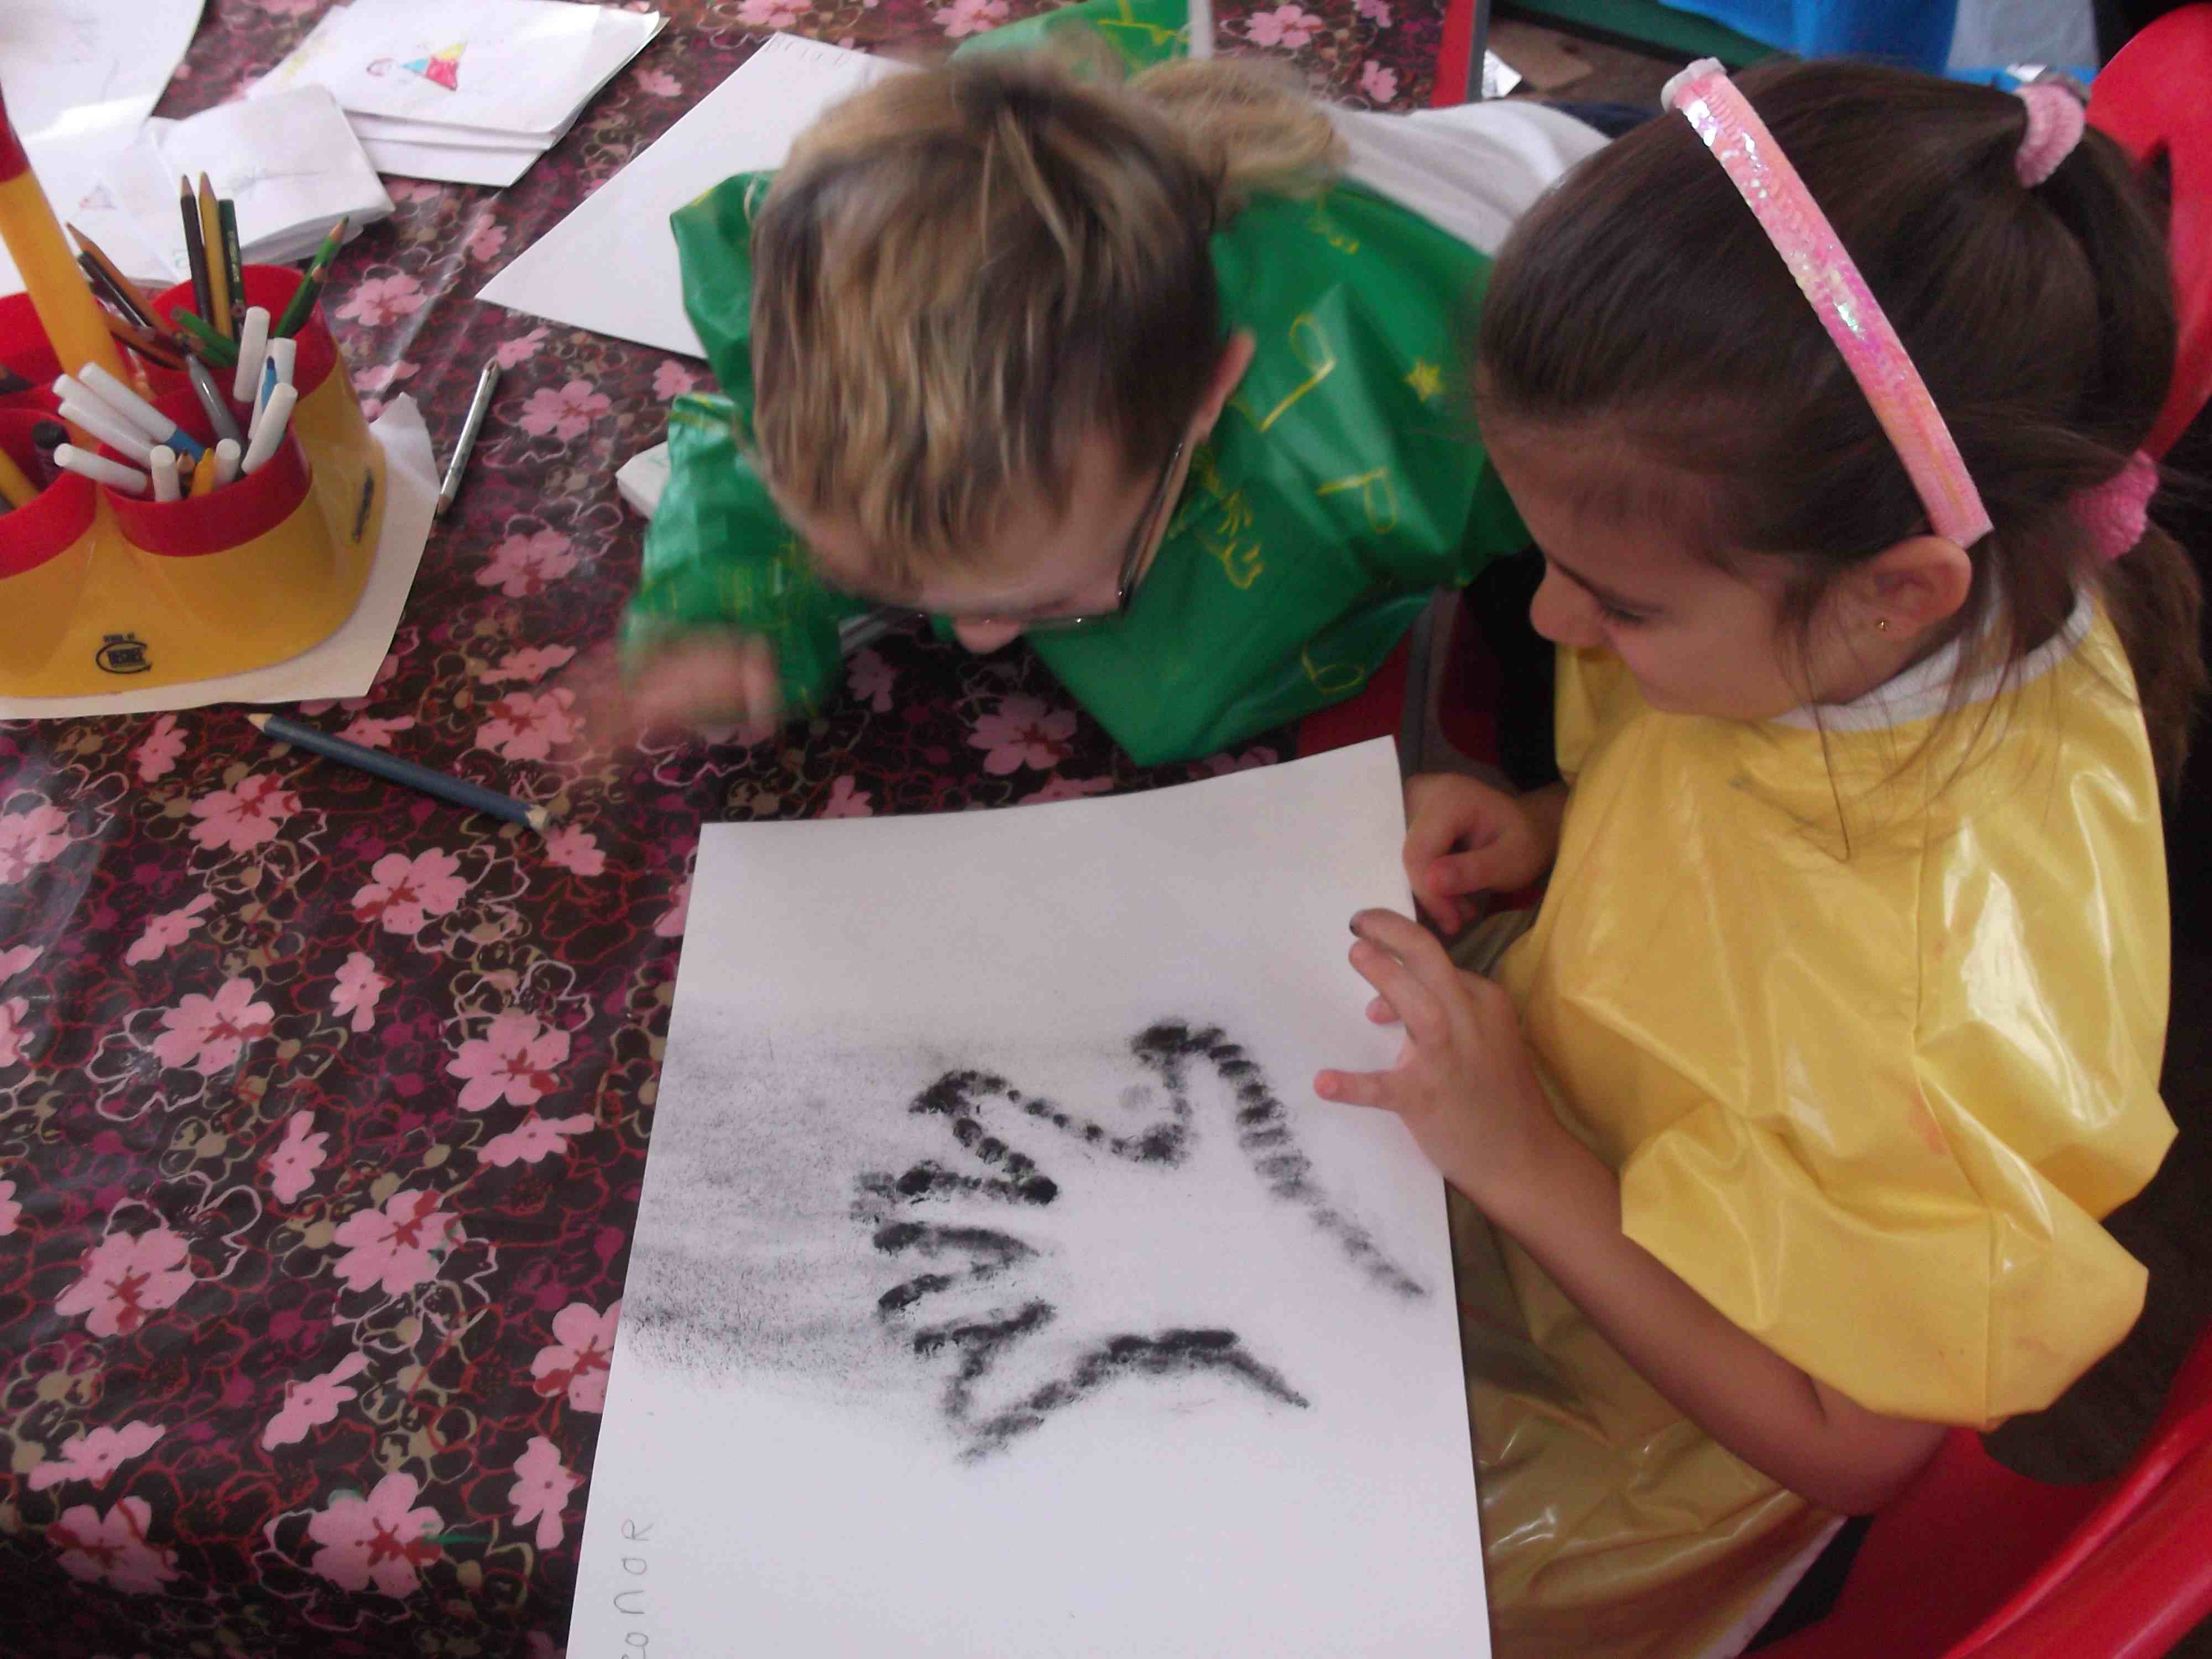
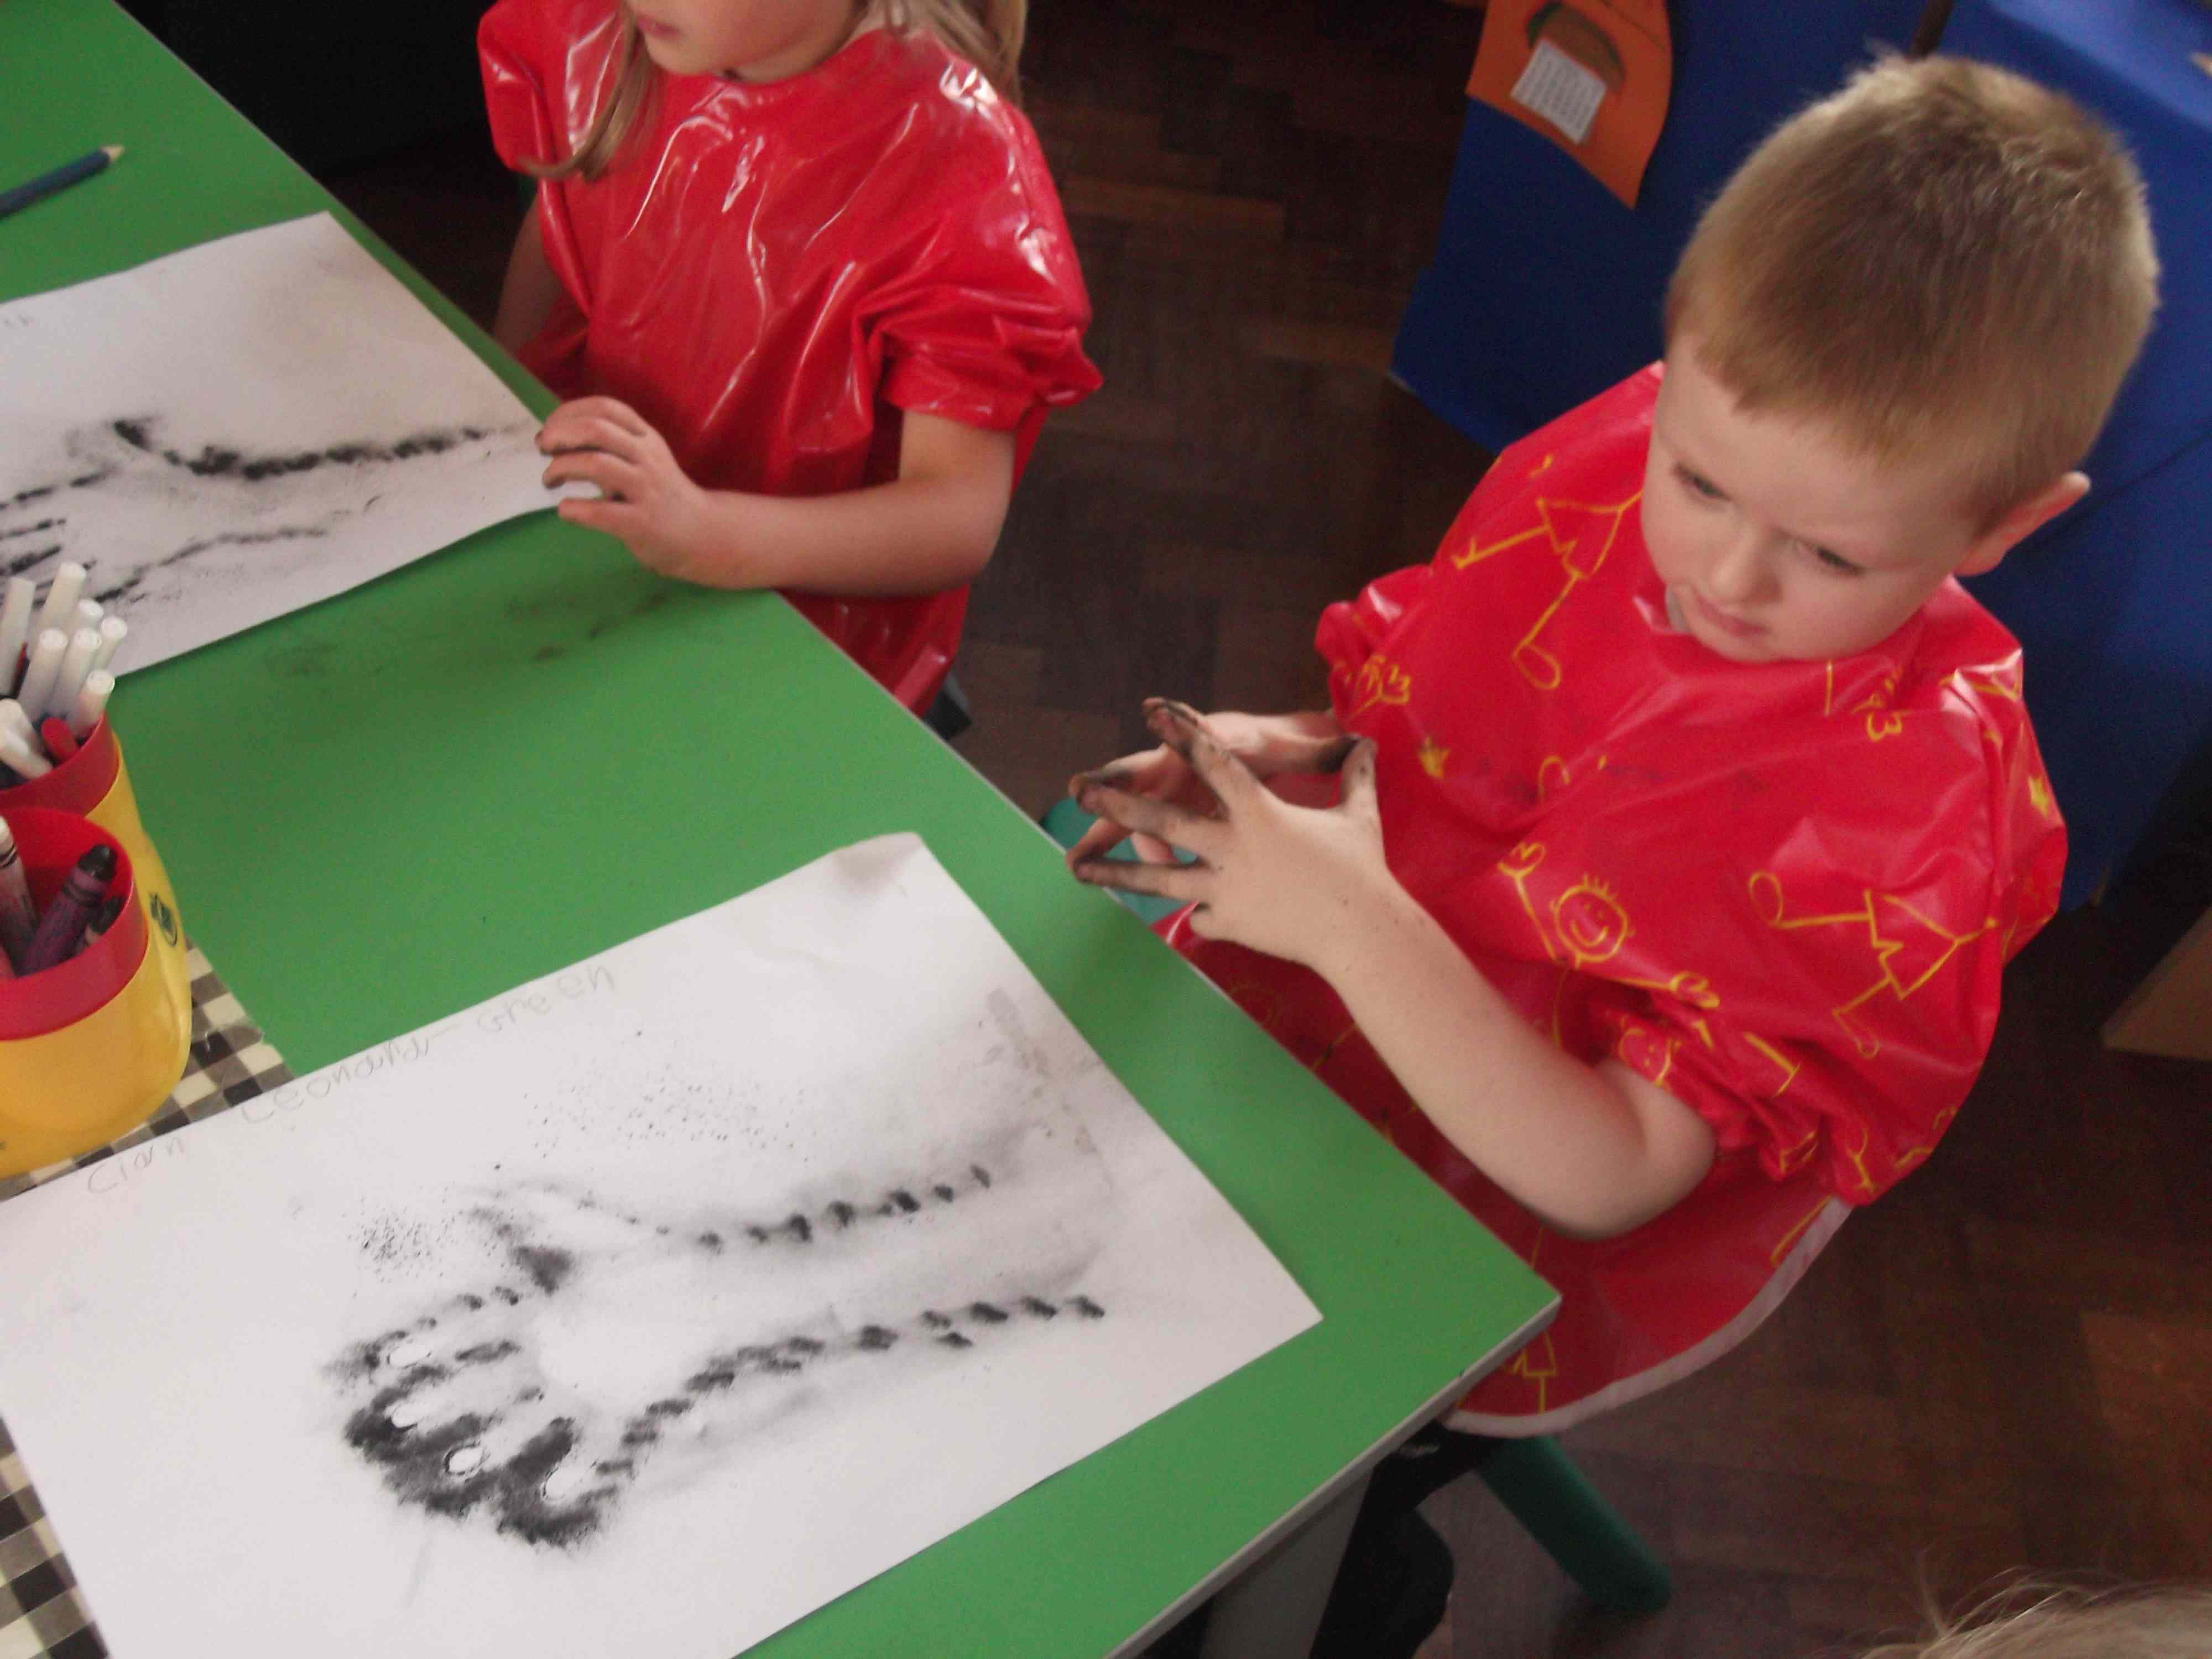
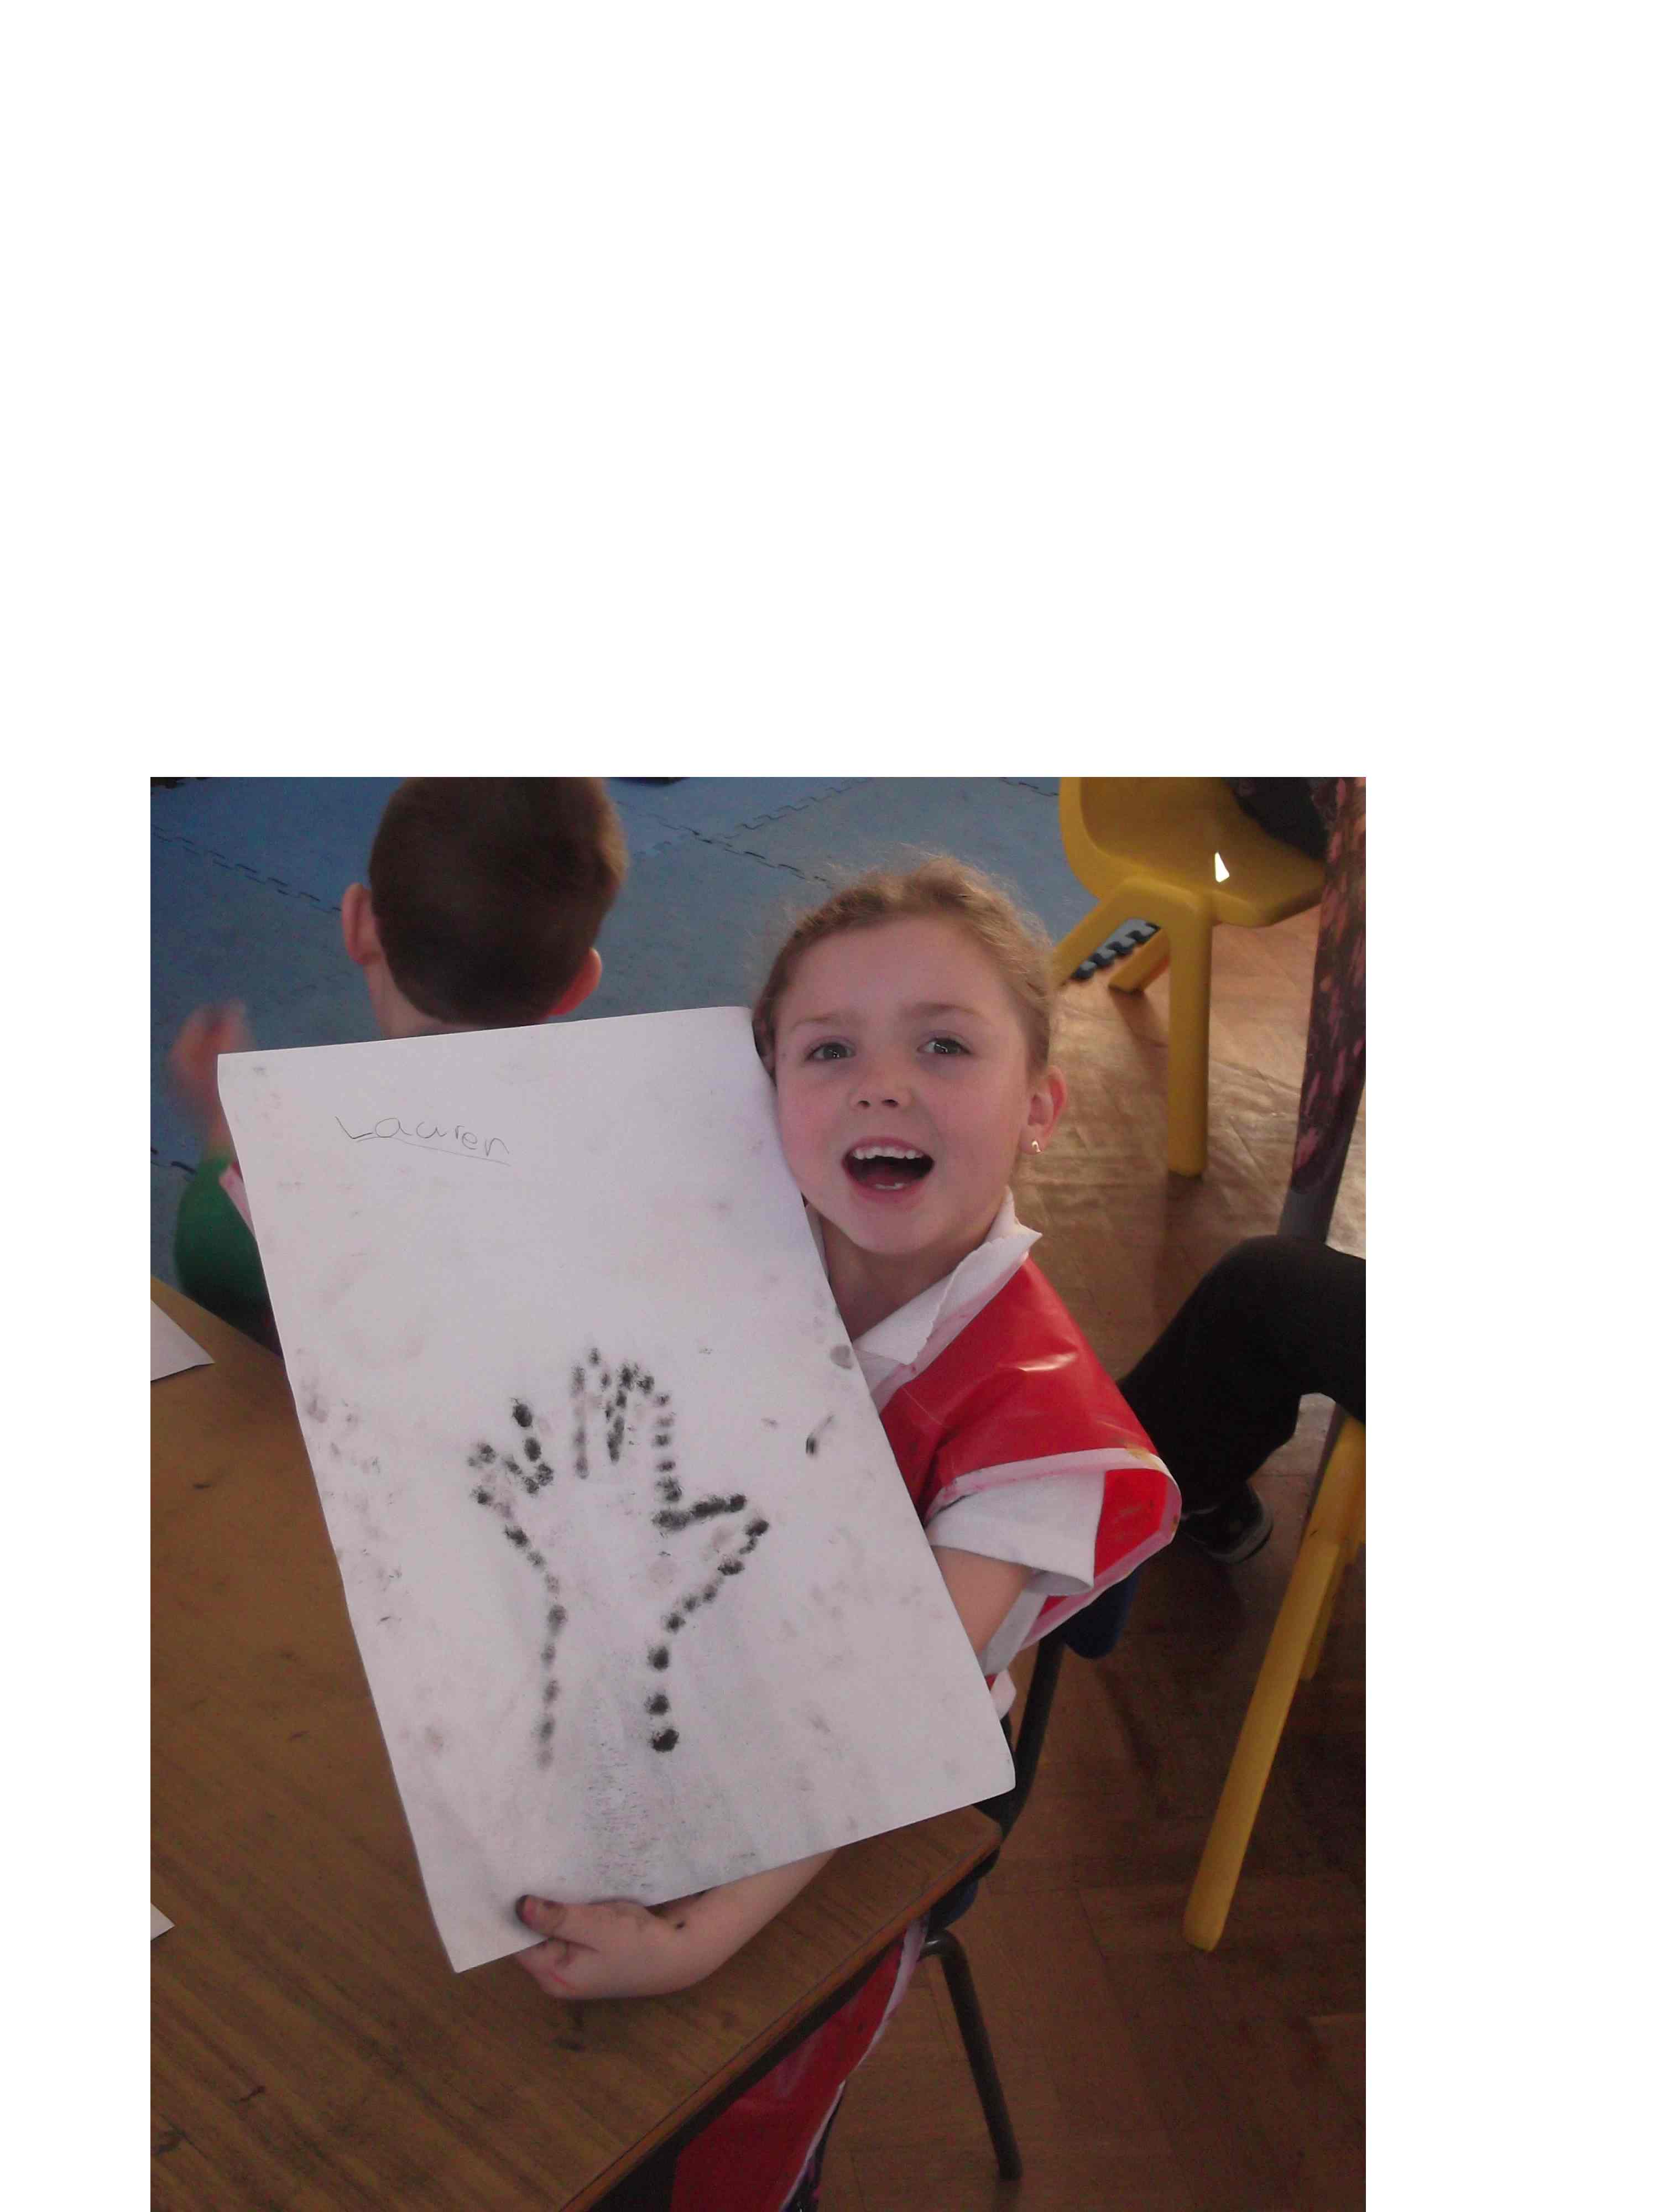
The children each had their hand shape stippled using the graphite powder and I listened and watched online as I heard lots of comments:
‘Its like magic!”
‘Its like an x-ray”
‘The dust is like the dust of smoke’
Mrs Carolan and the assistants were kept very busy going round helping the children. The excitement was wonderful to see.
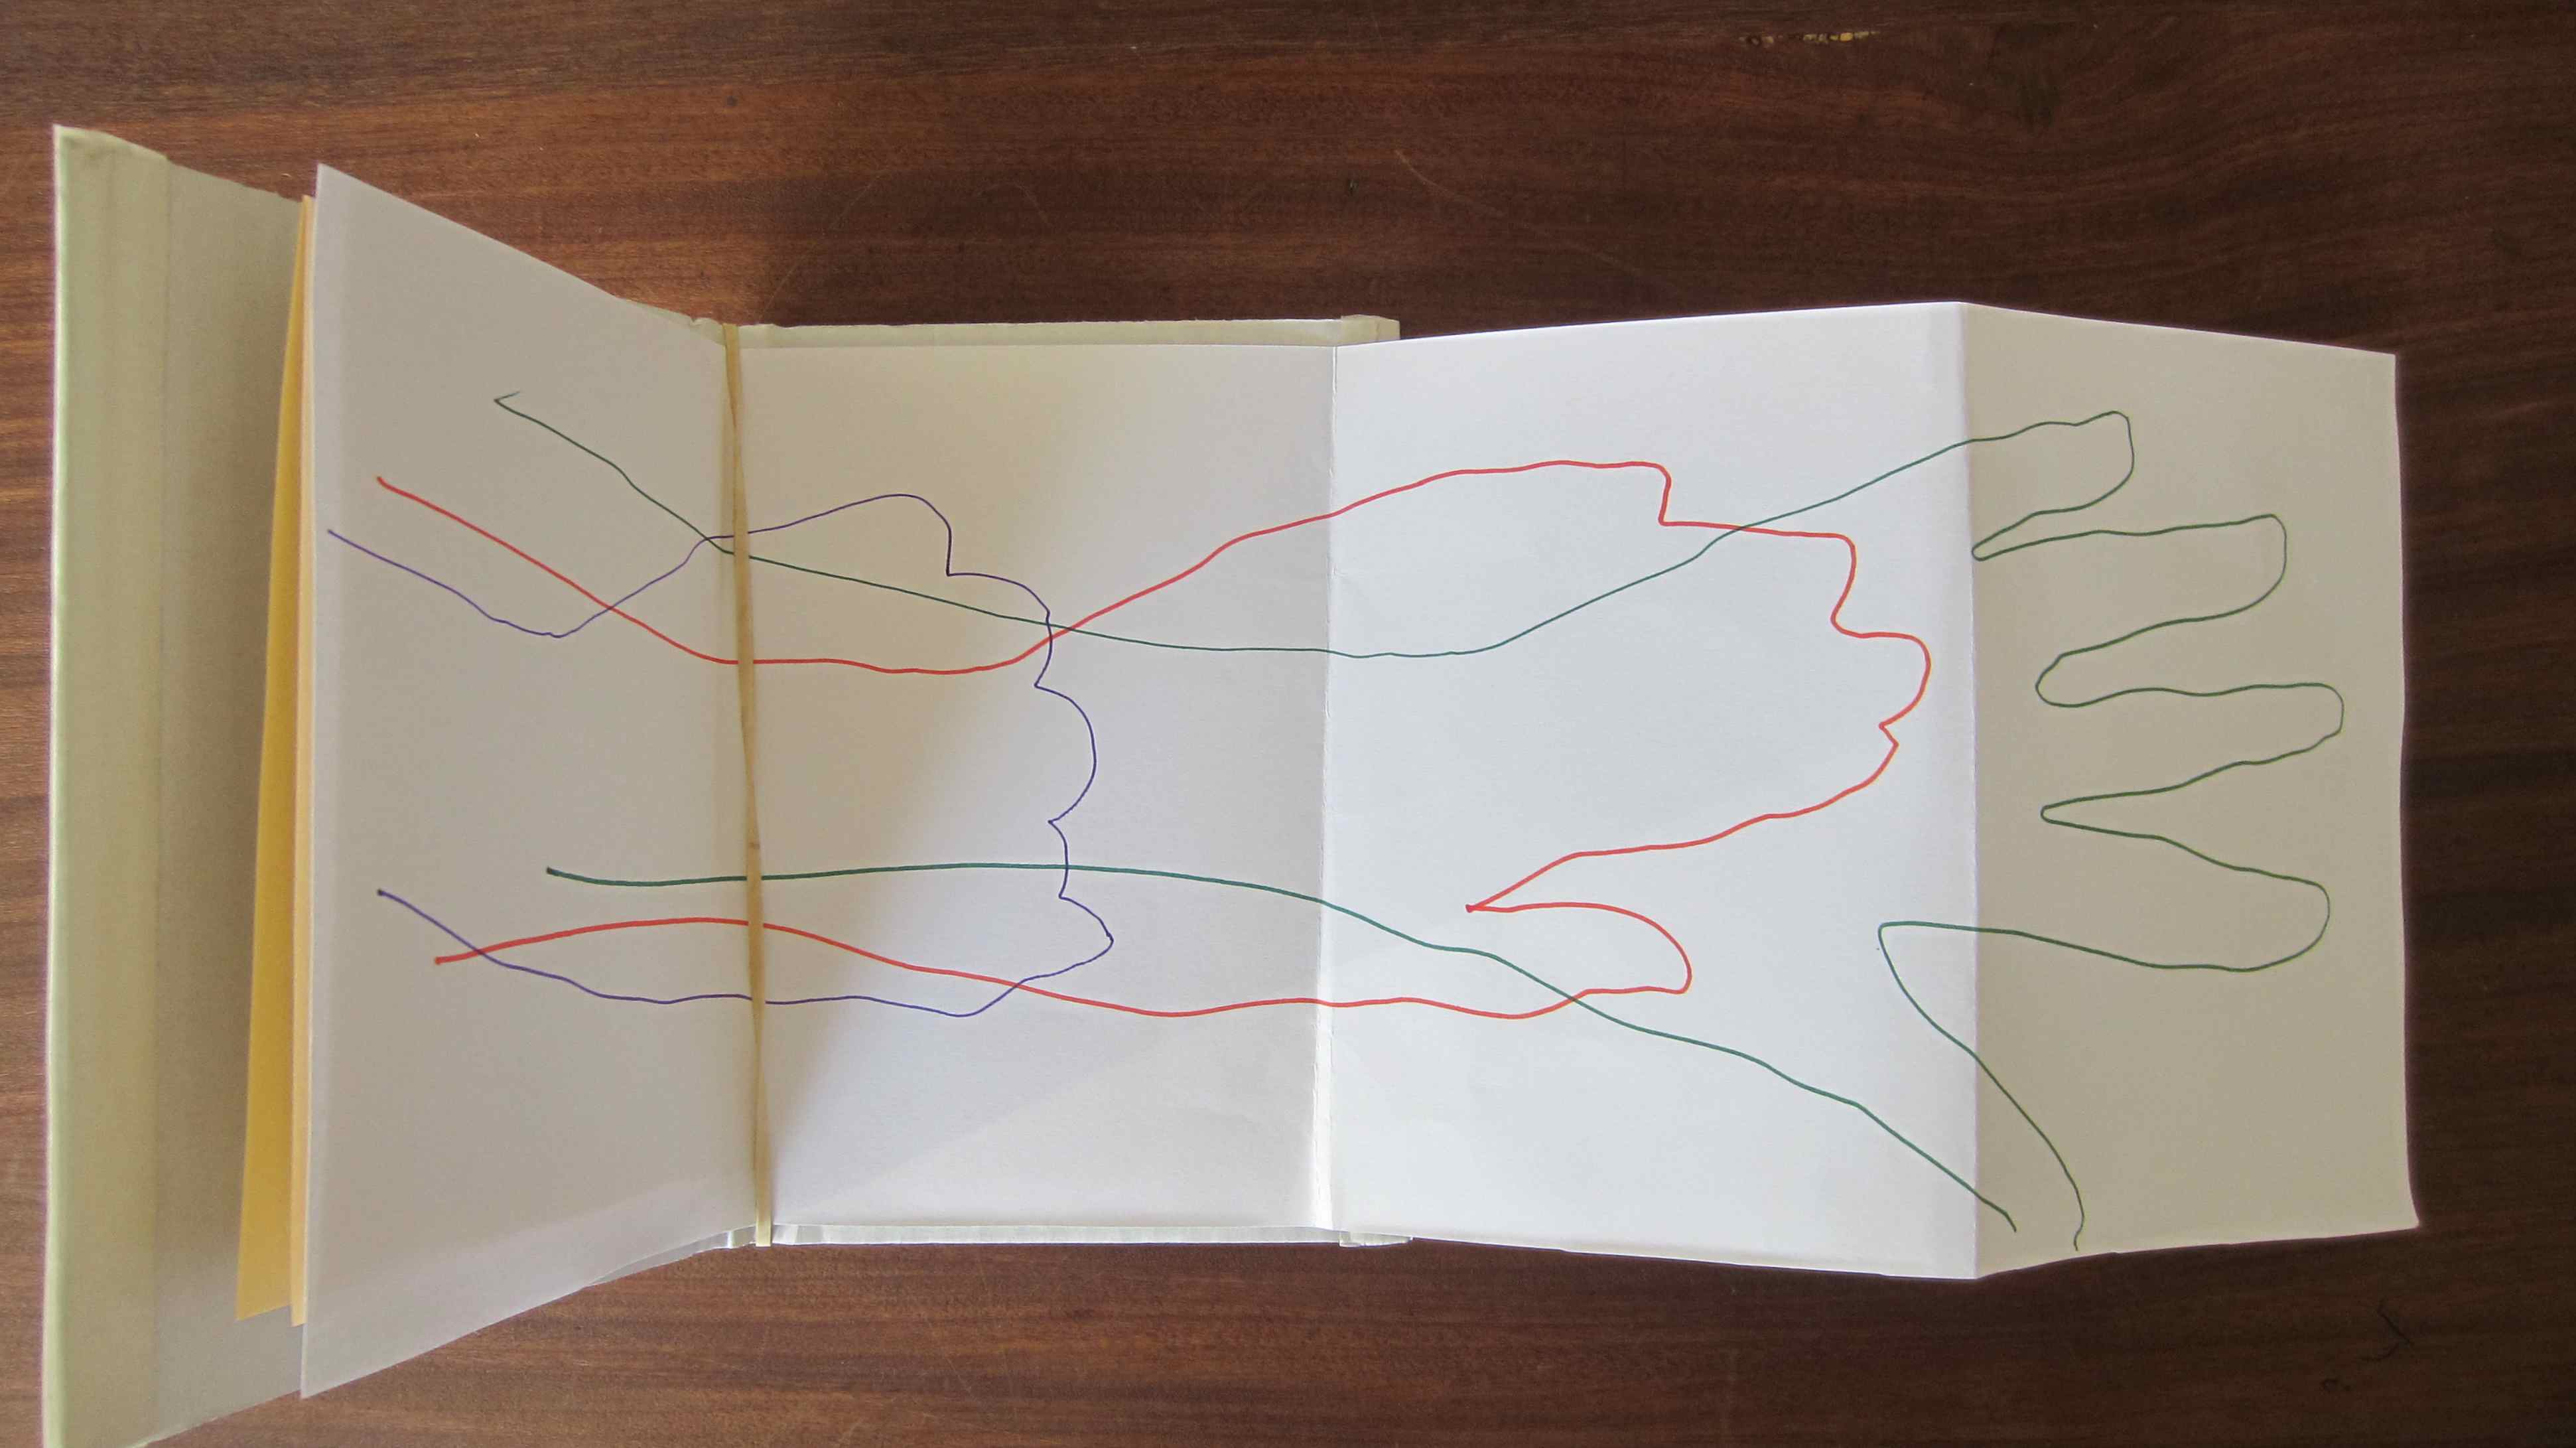
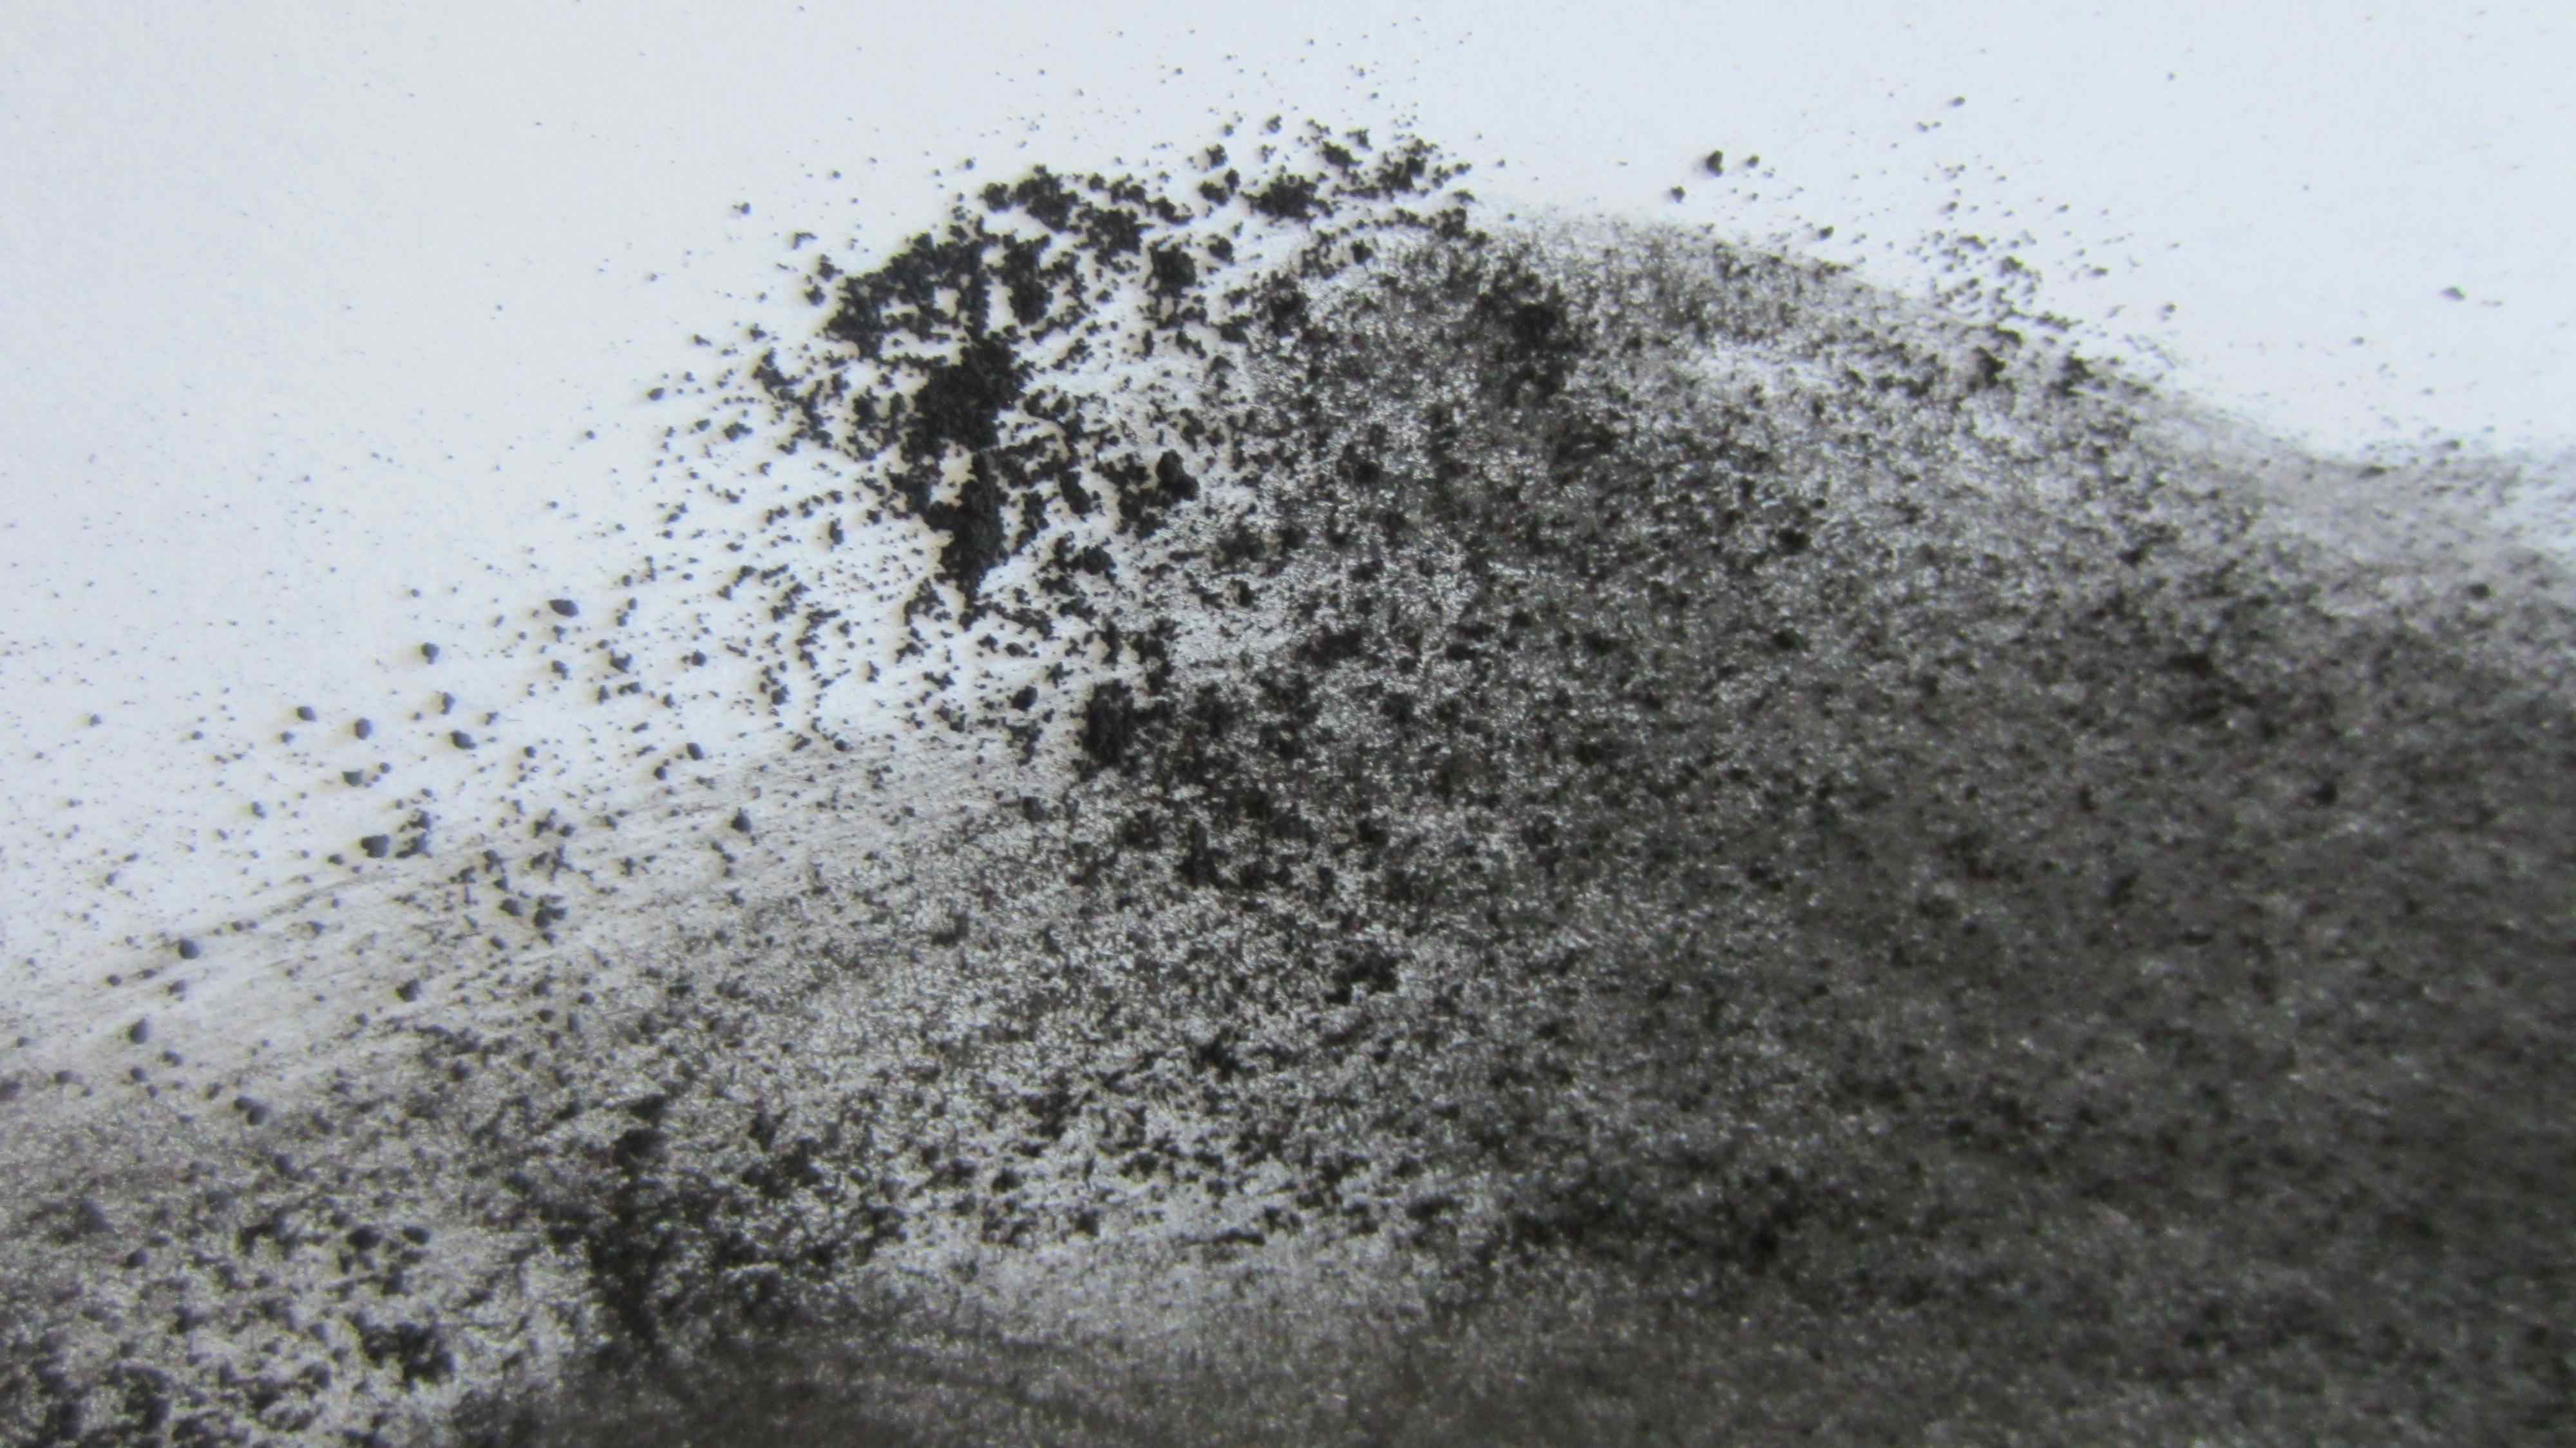
Then I encouraged the children to dab their fingers in the dust first with one finger then with two or three to make marks on a page and create lines and patterns until the dust ‘ran ‘out. We discovered that the the longer you dabbed the finger dust or dragged it along the page, the lighter and fainter it got so you would soon run out of dust!
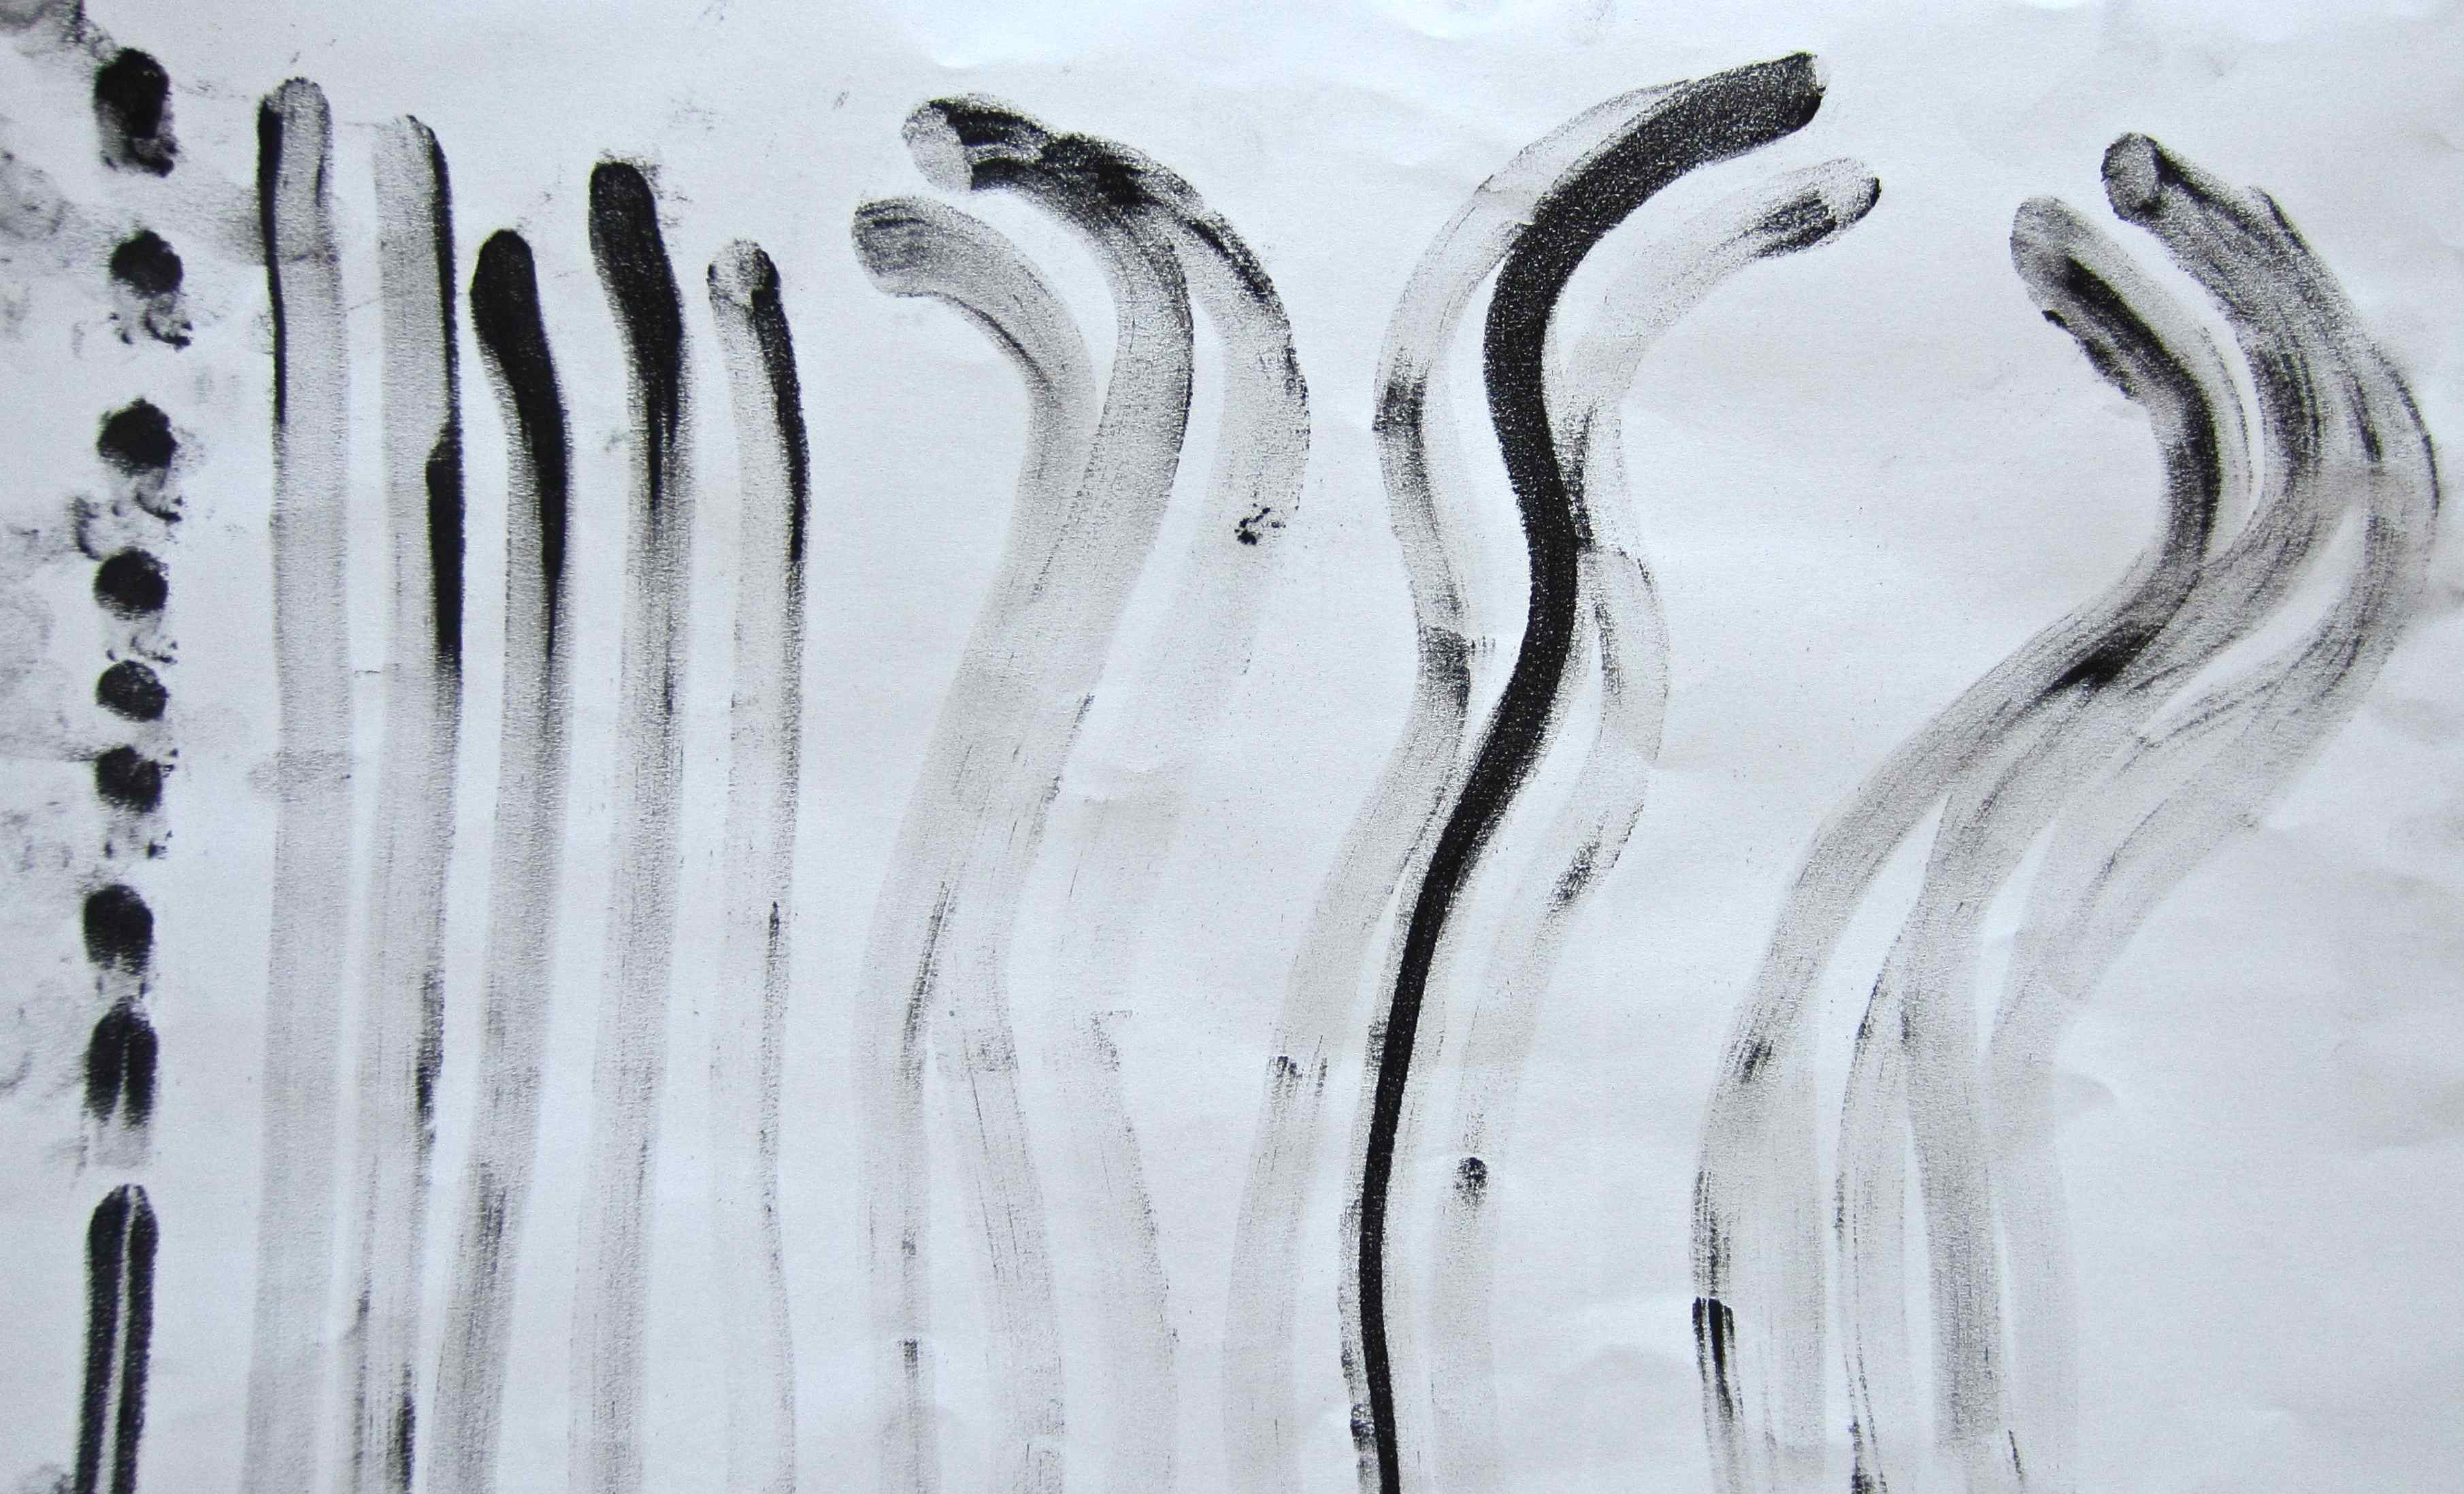
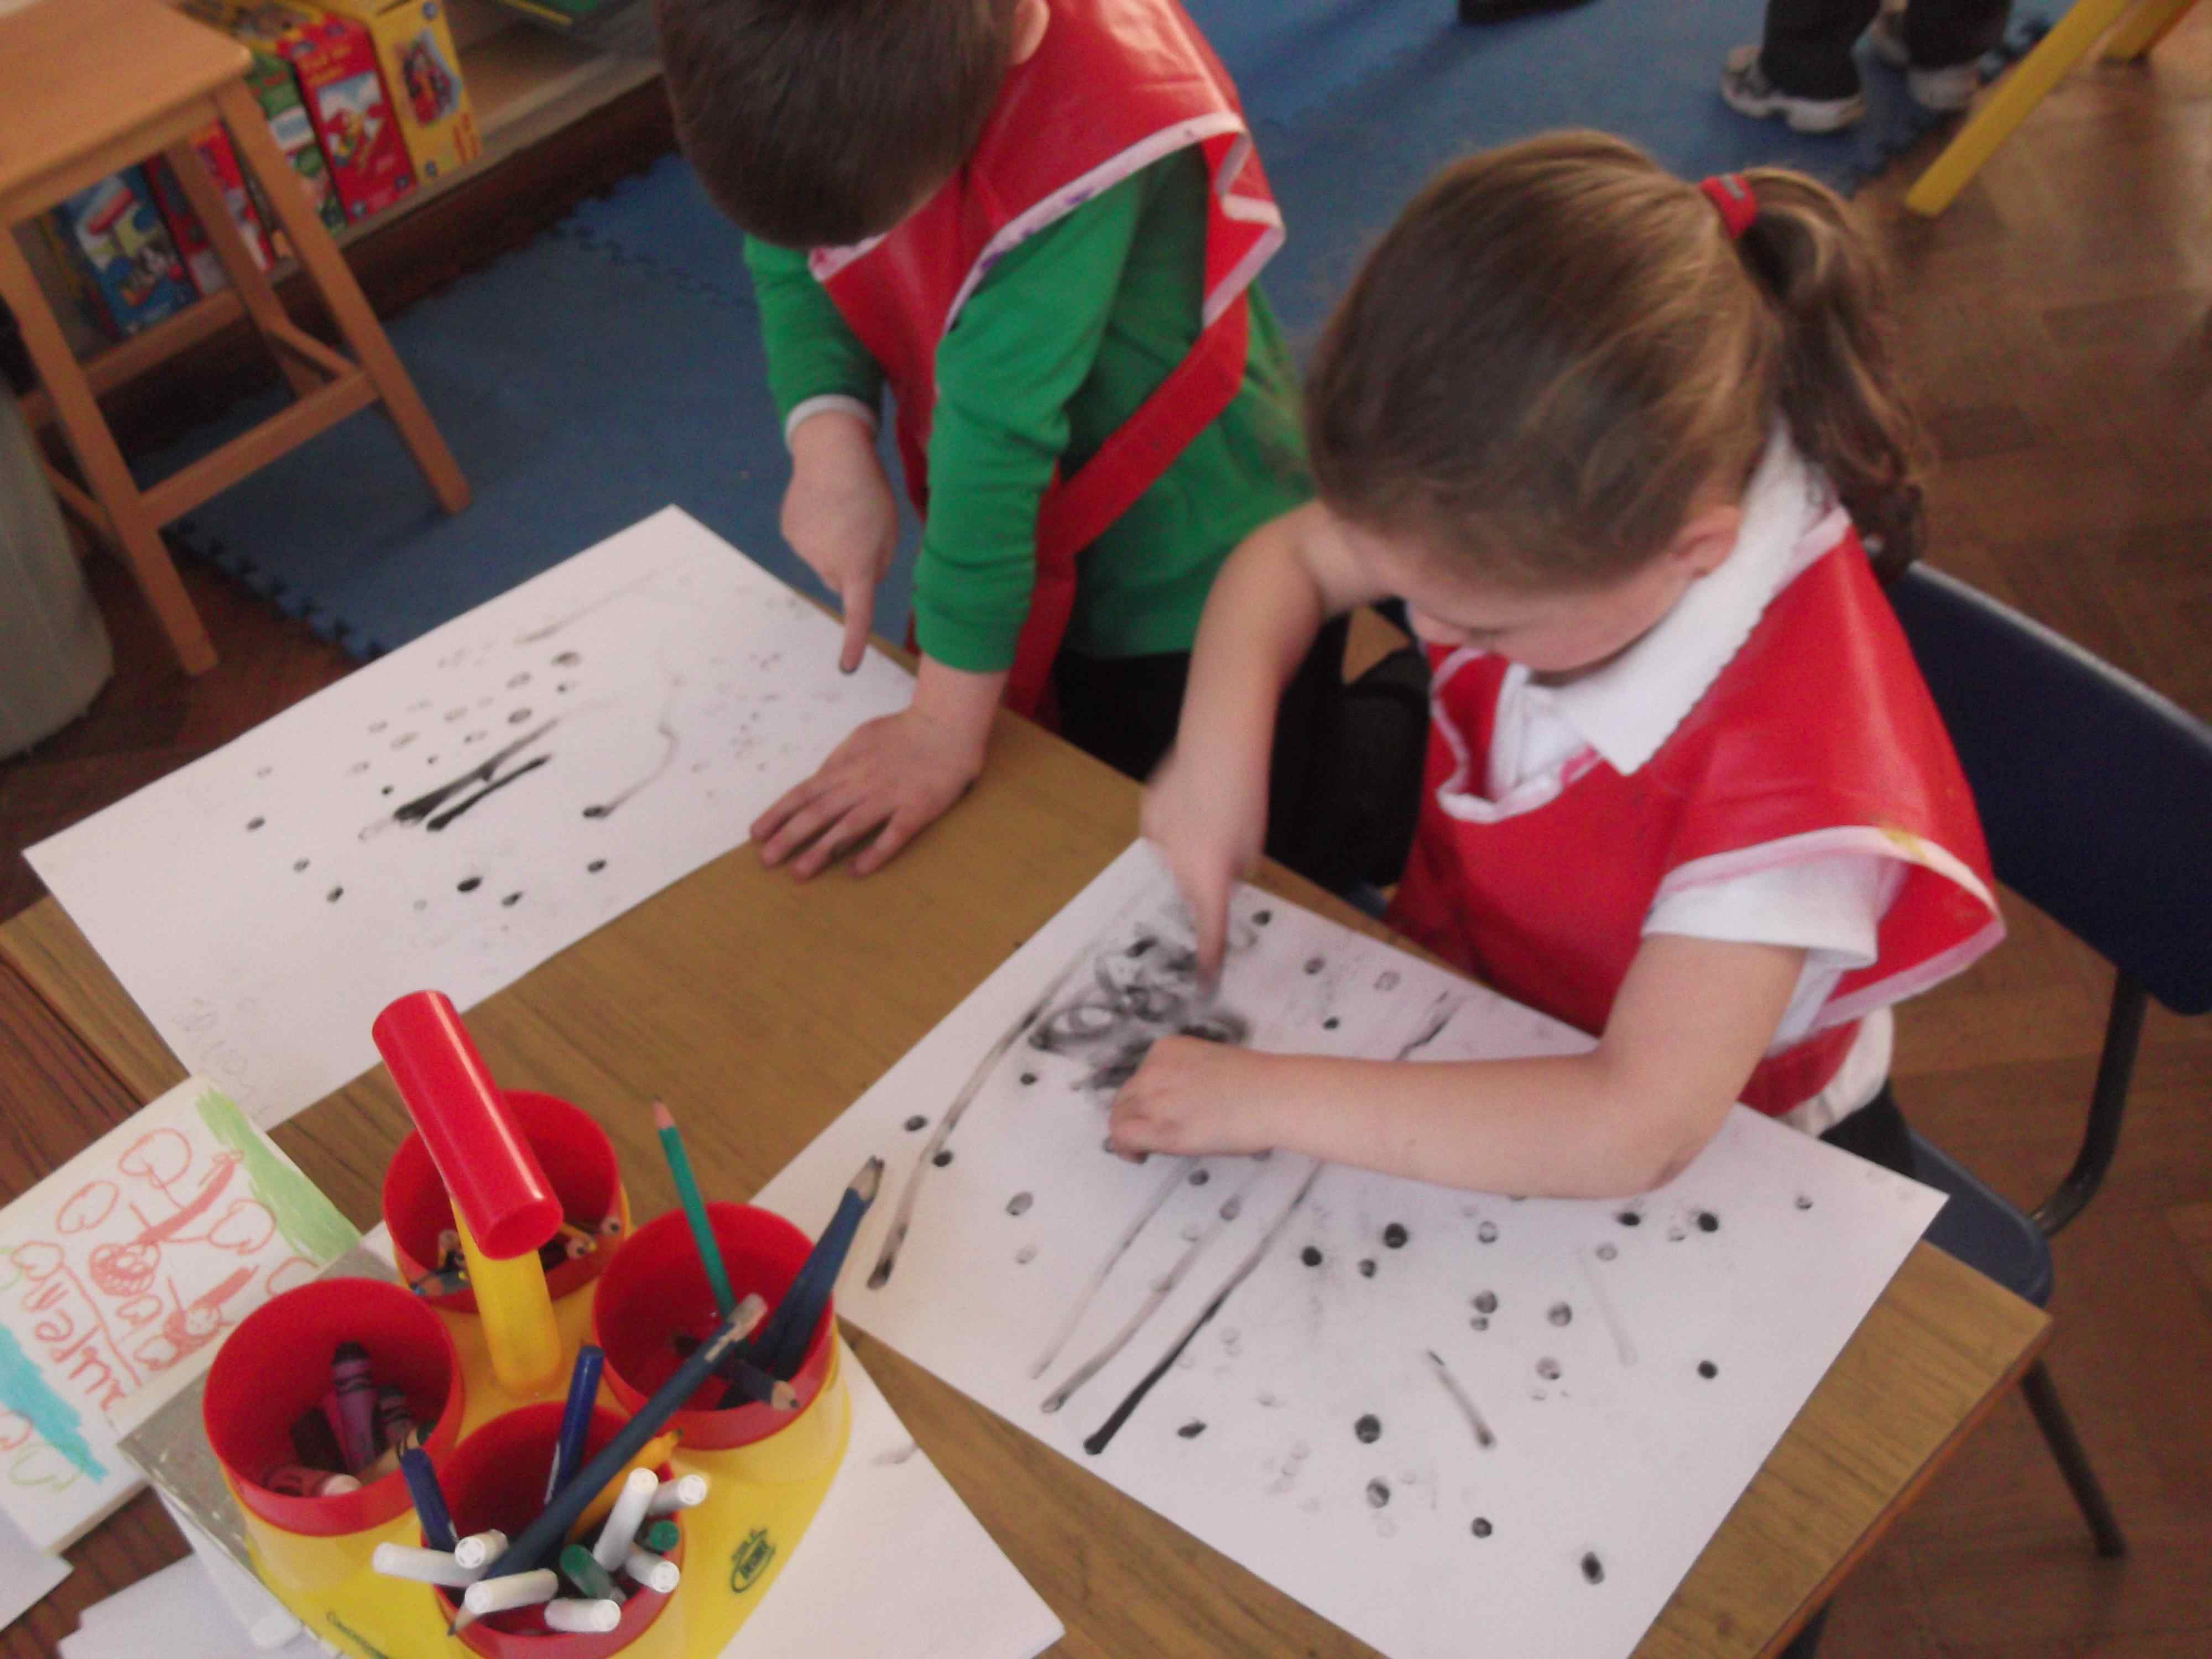
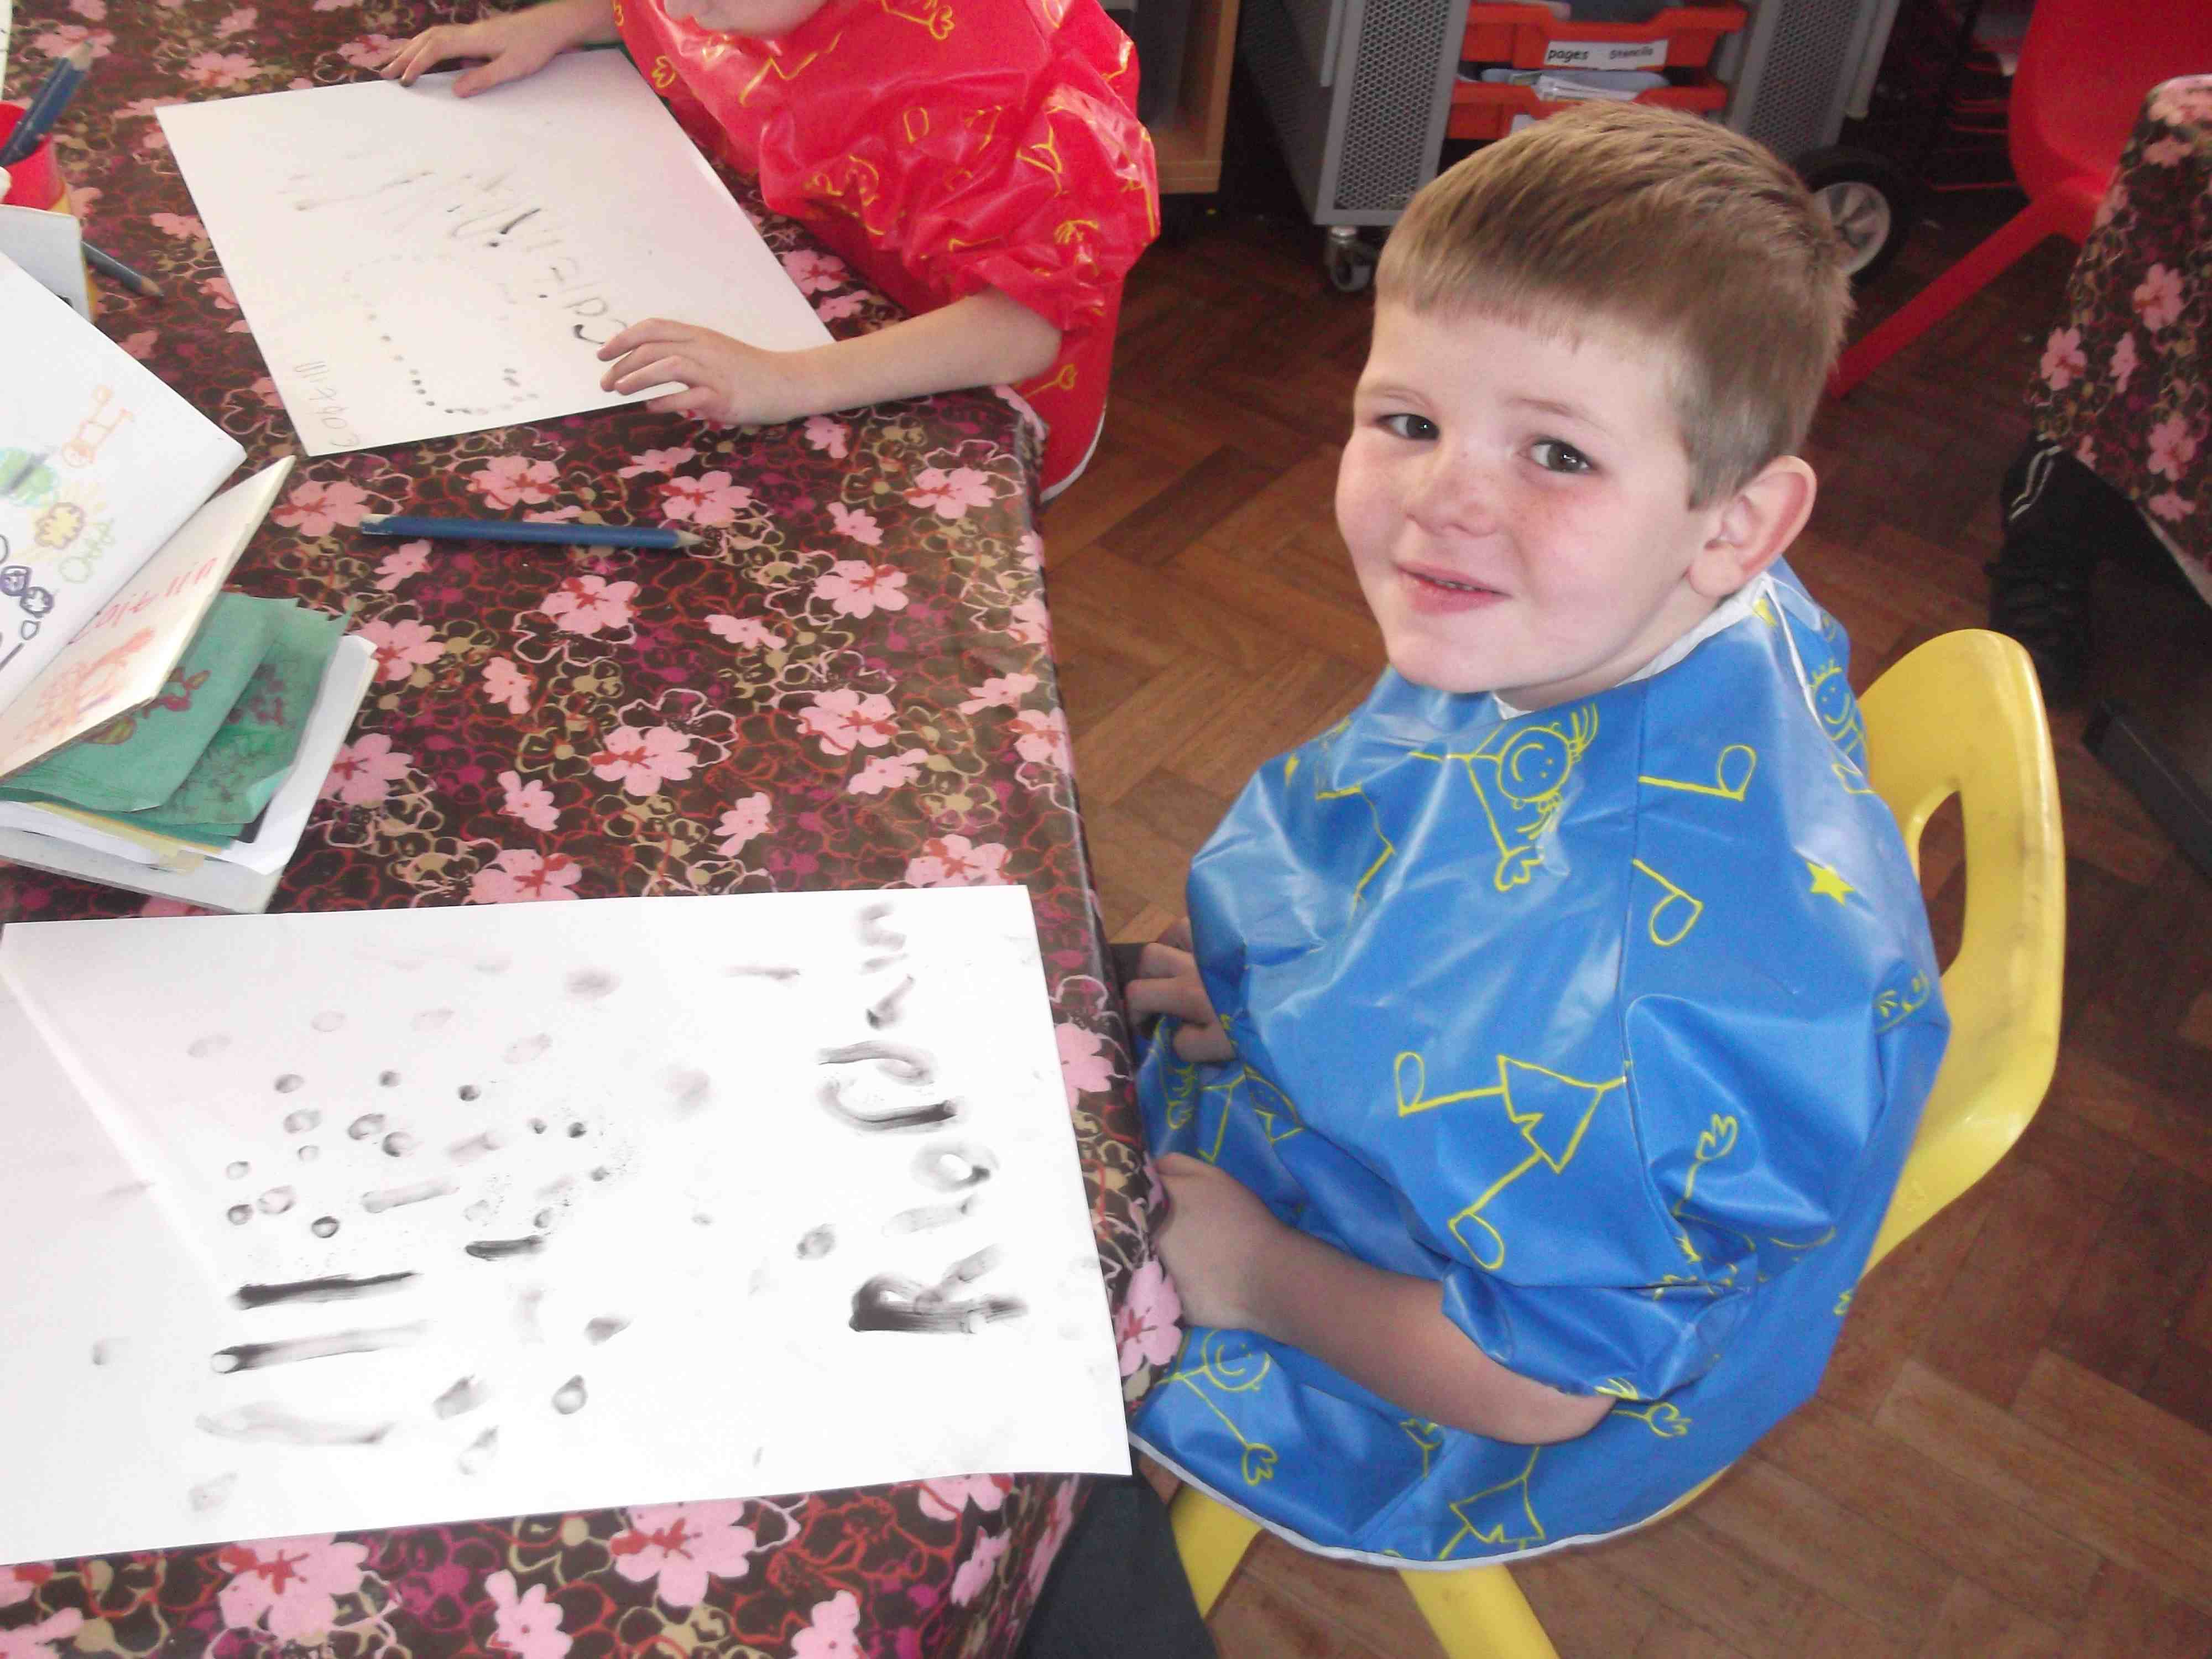
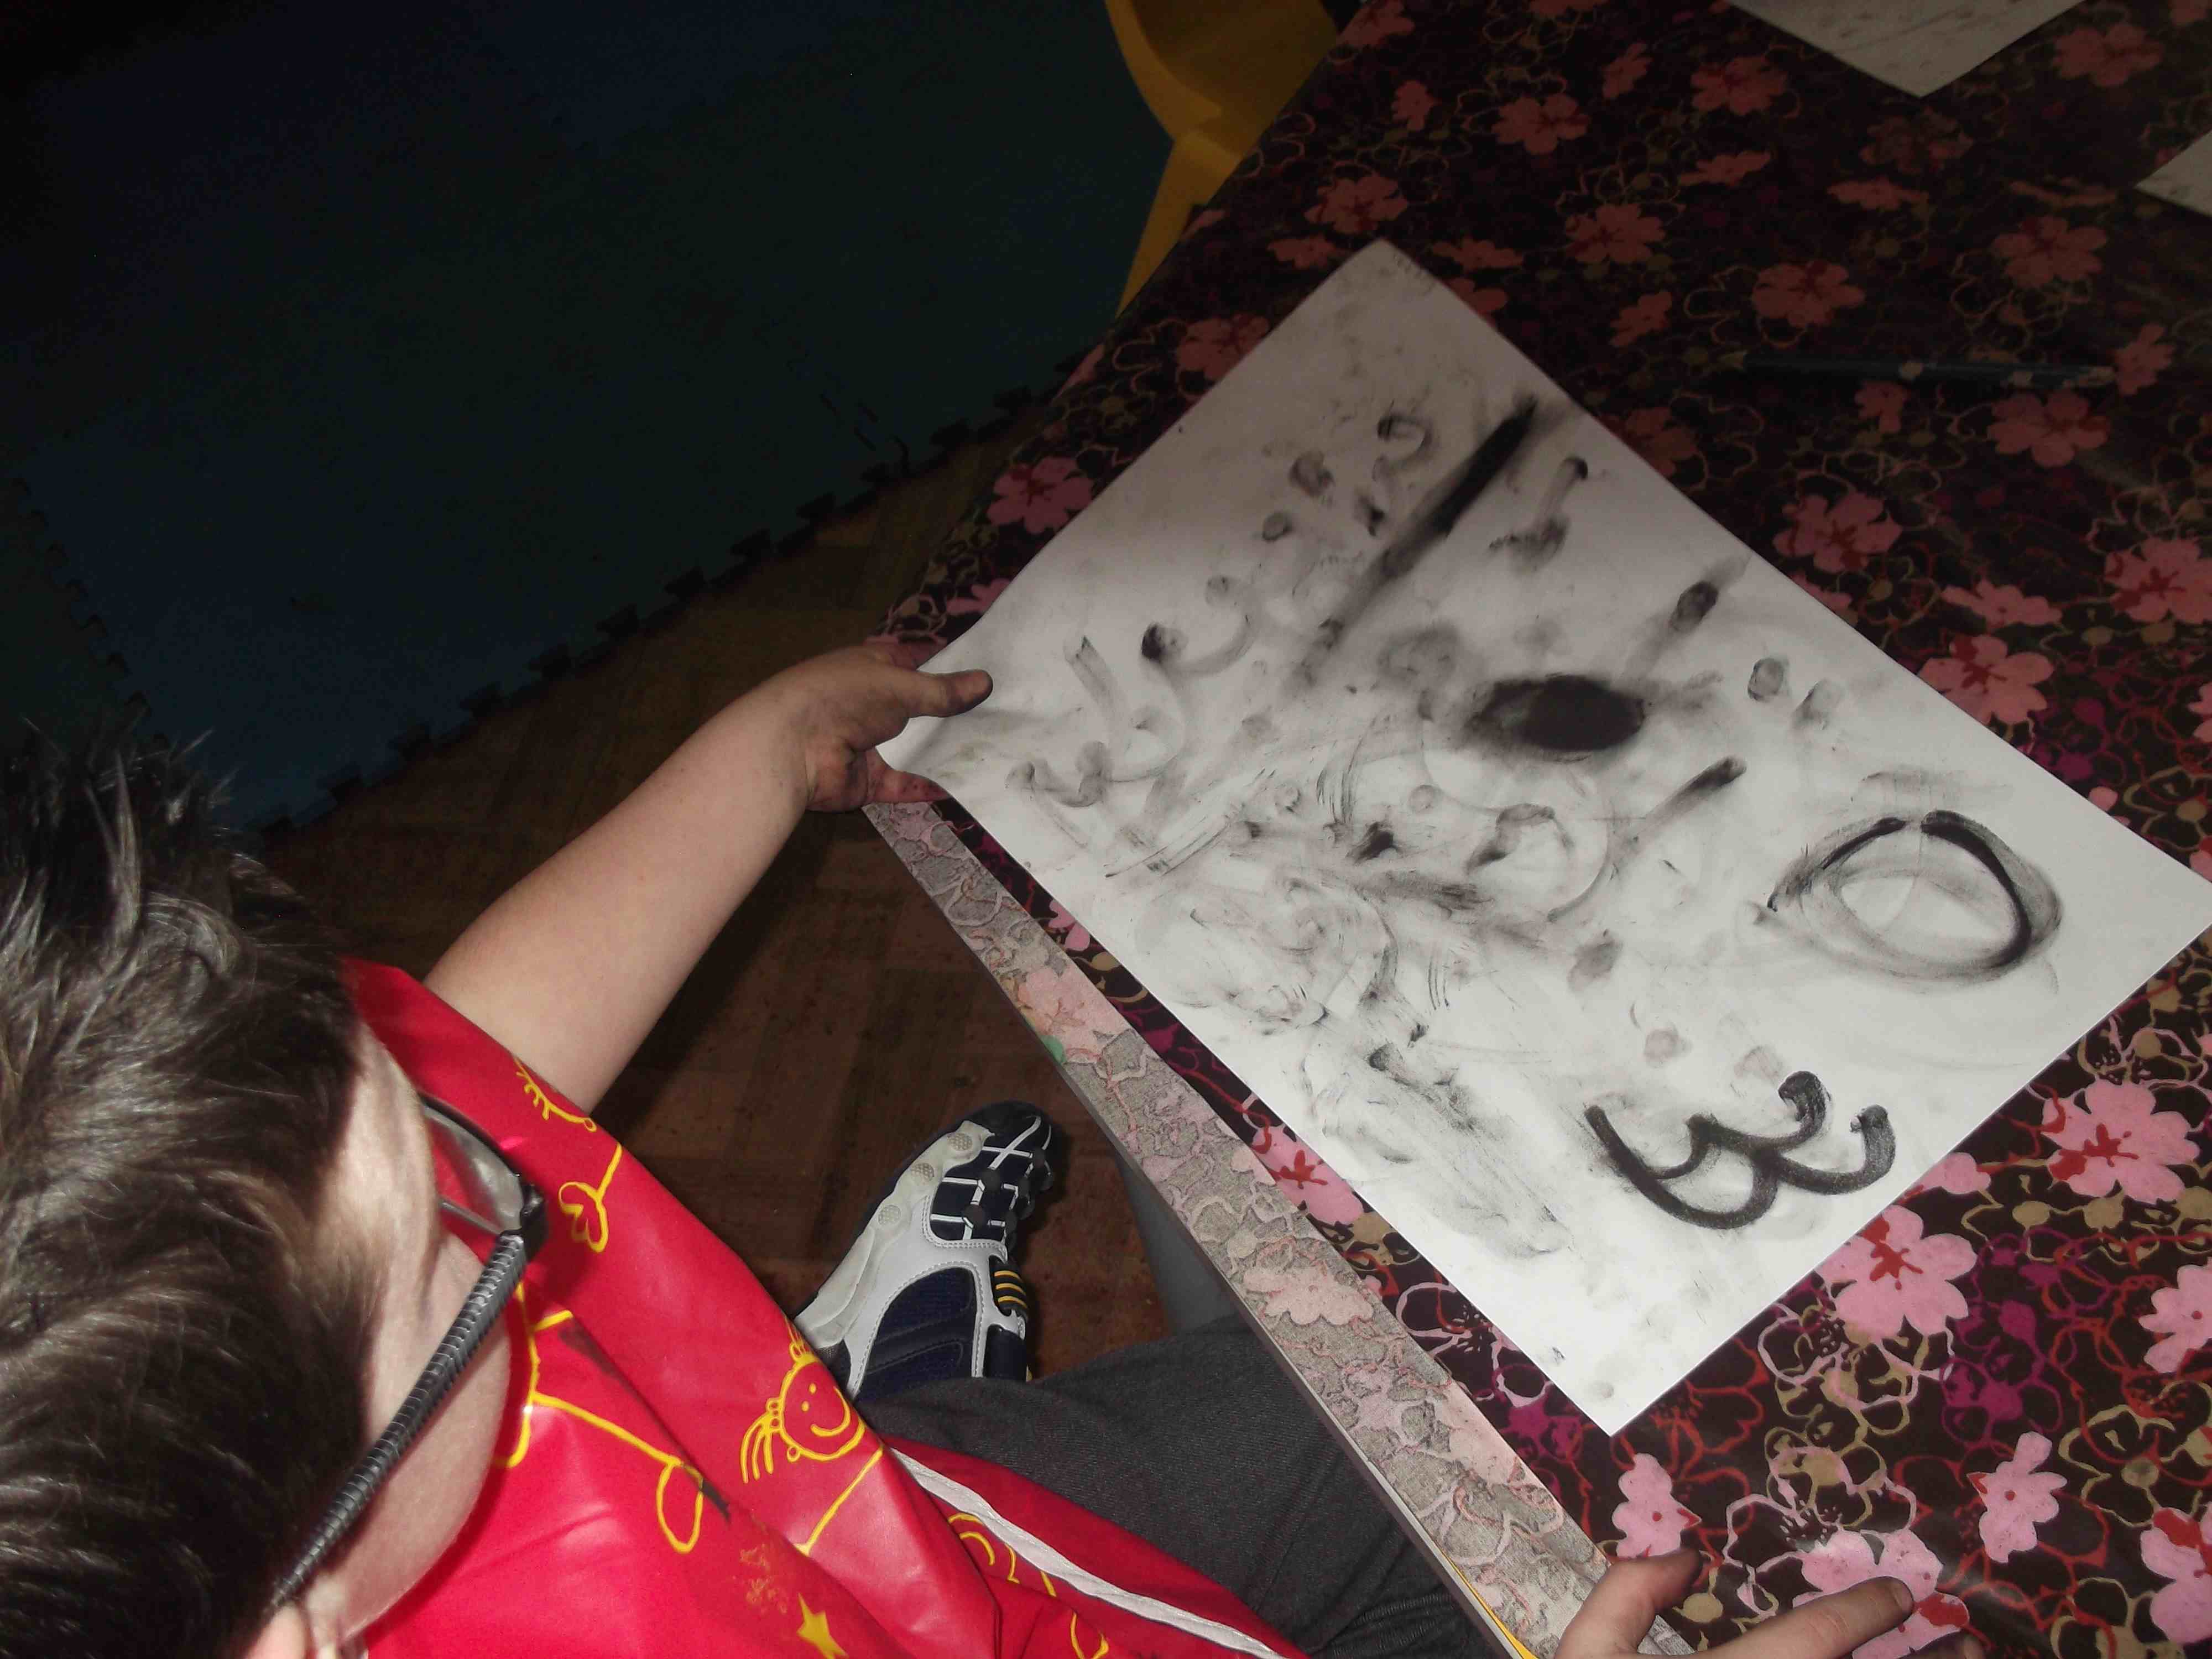

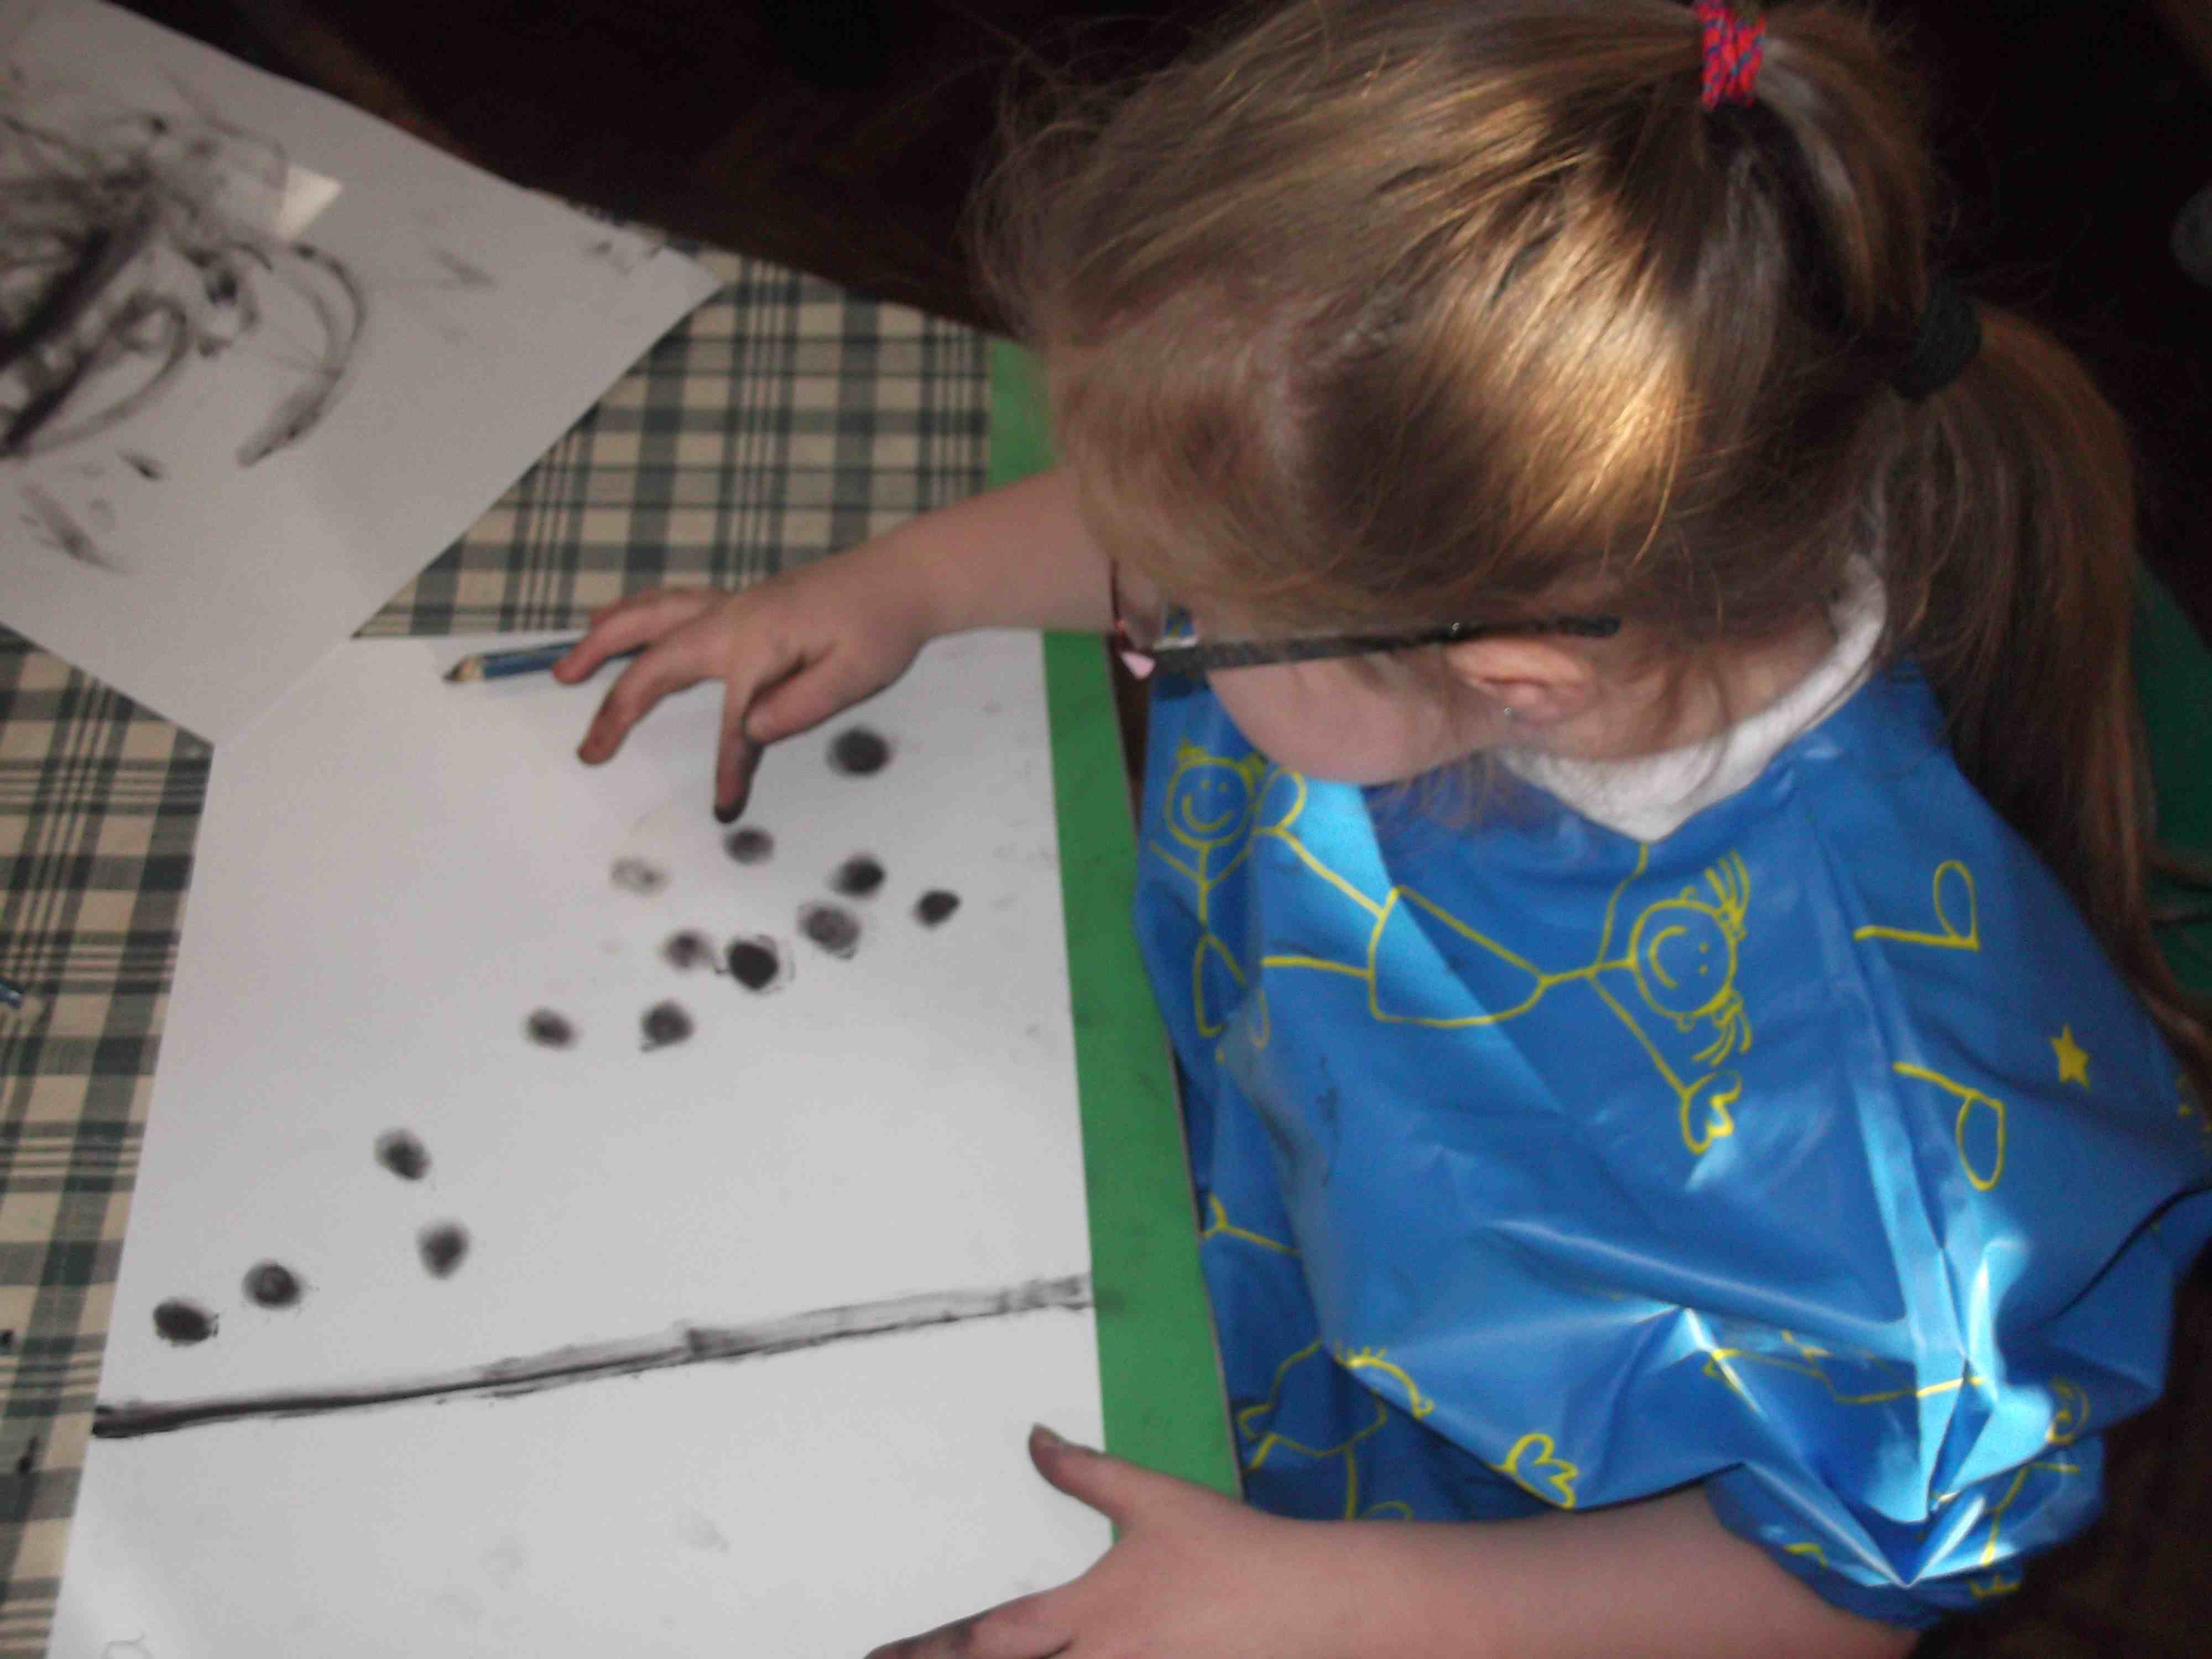


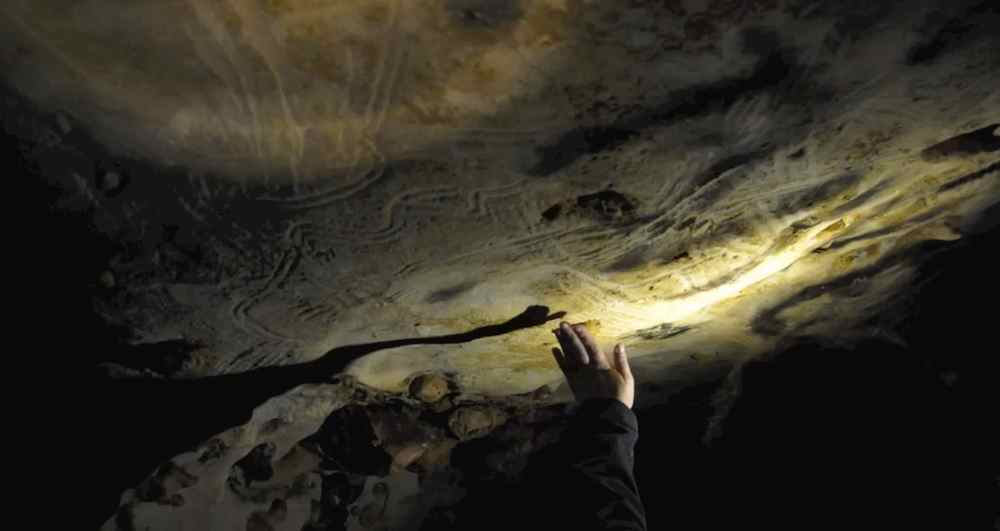
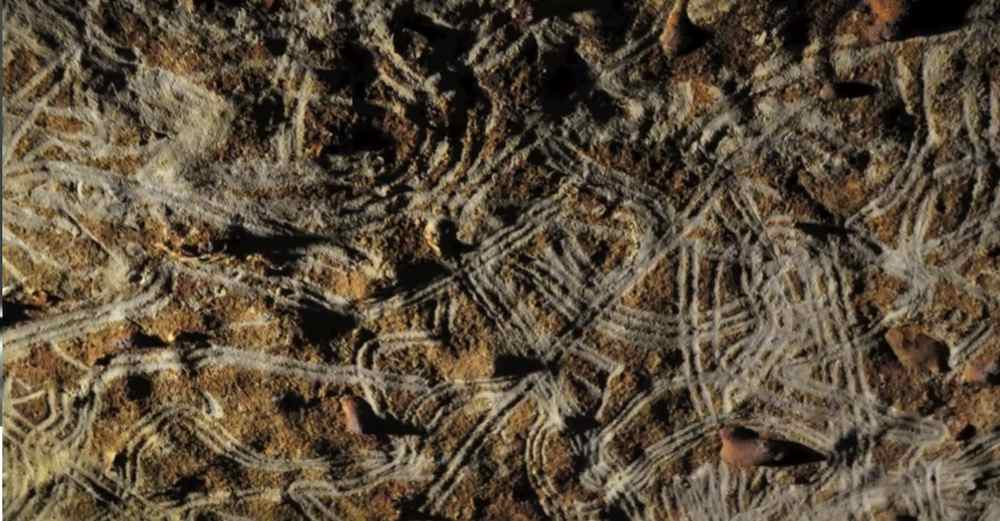
Look at these incredible images of patterns made by a child’s fingers, called FINGER FLUTINGS.