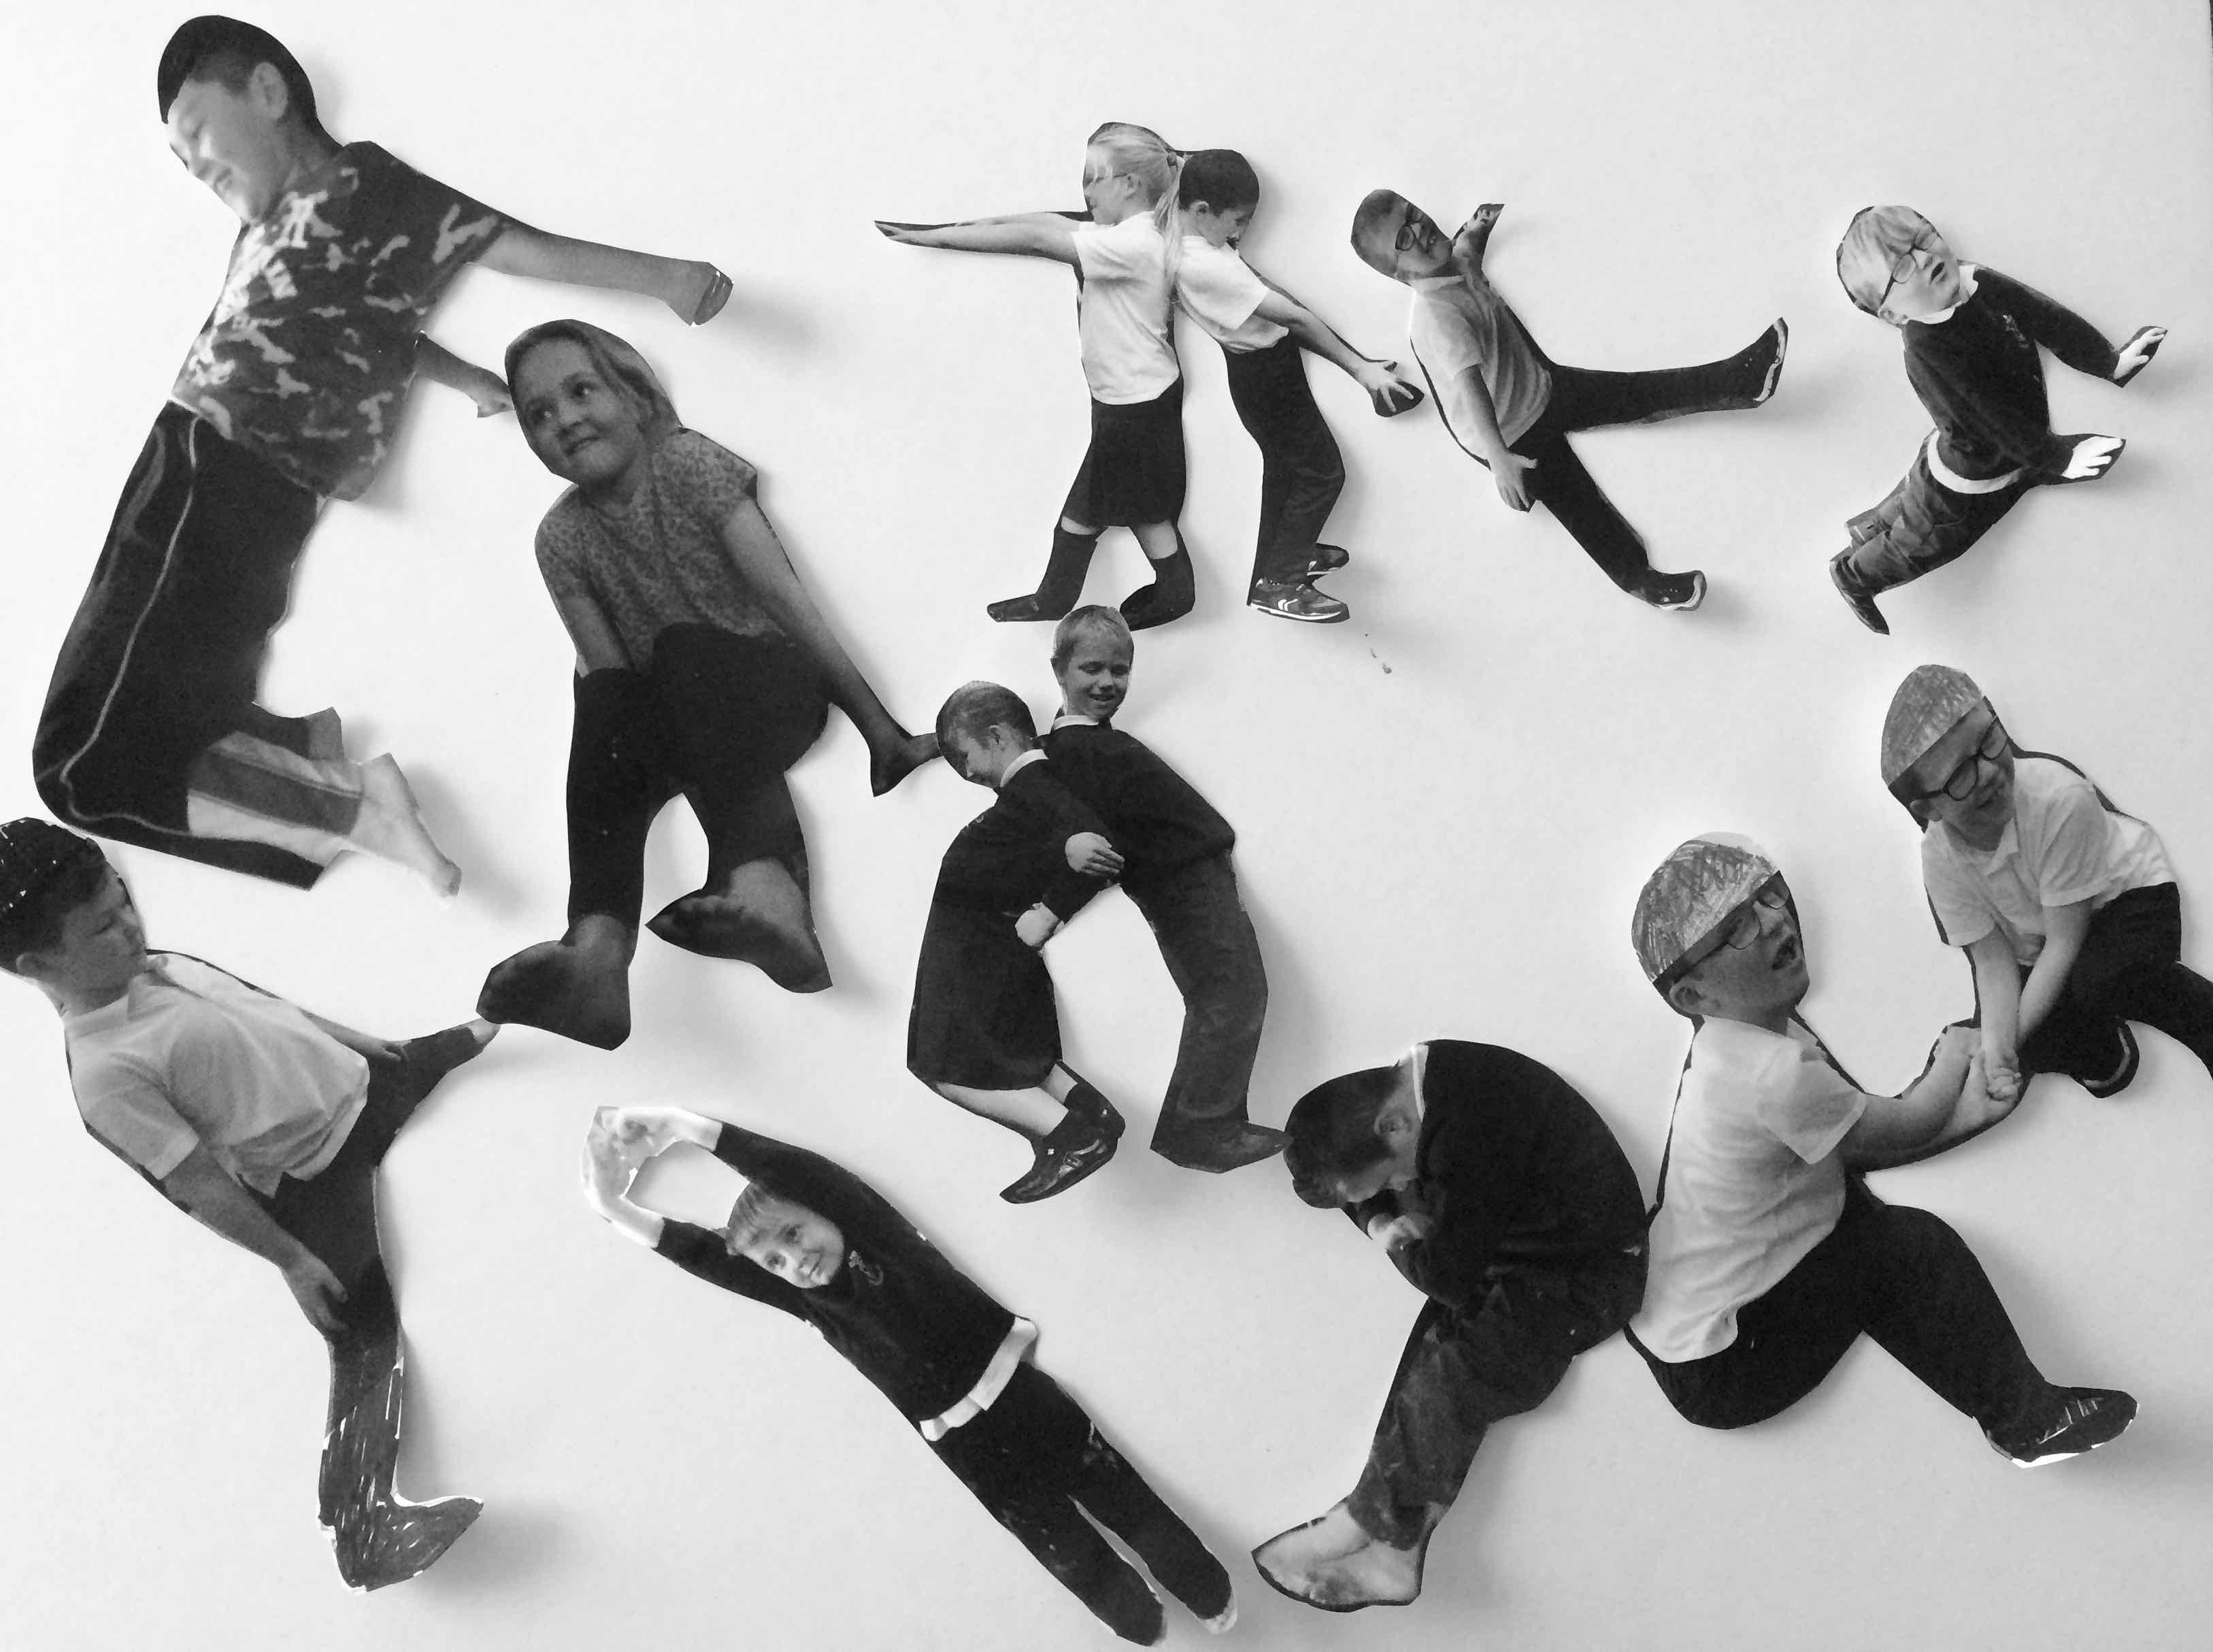
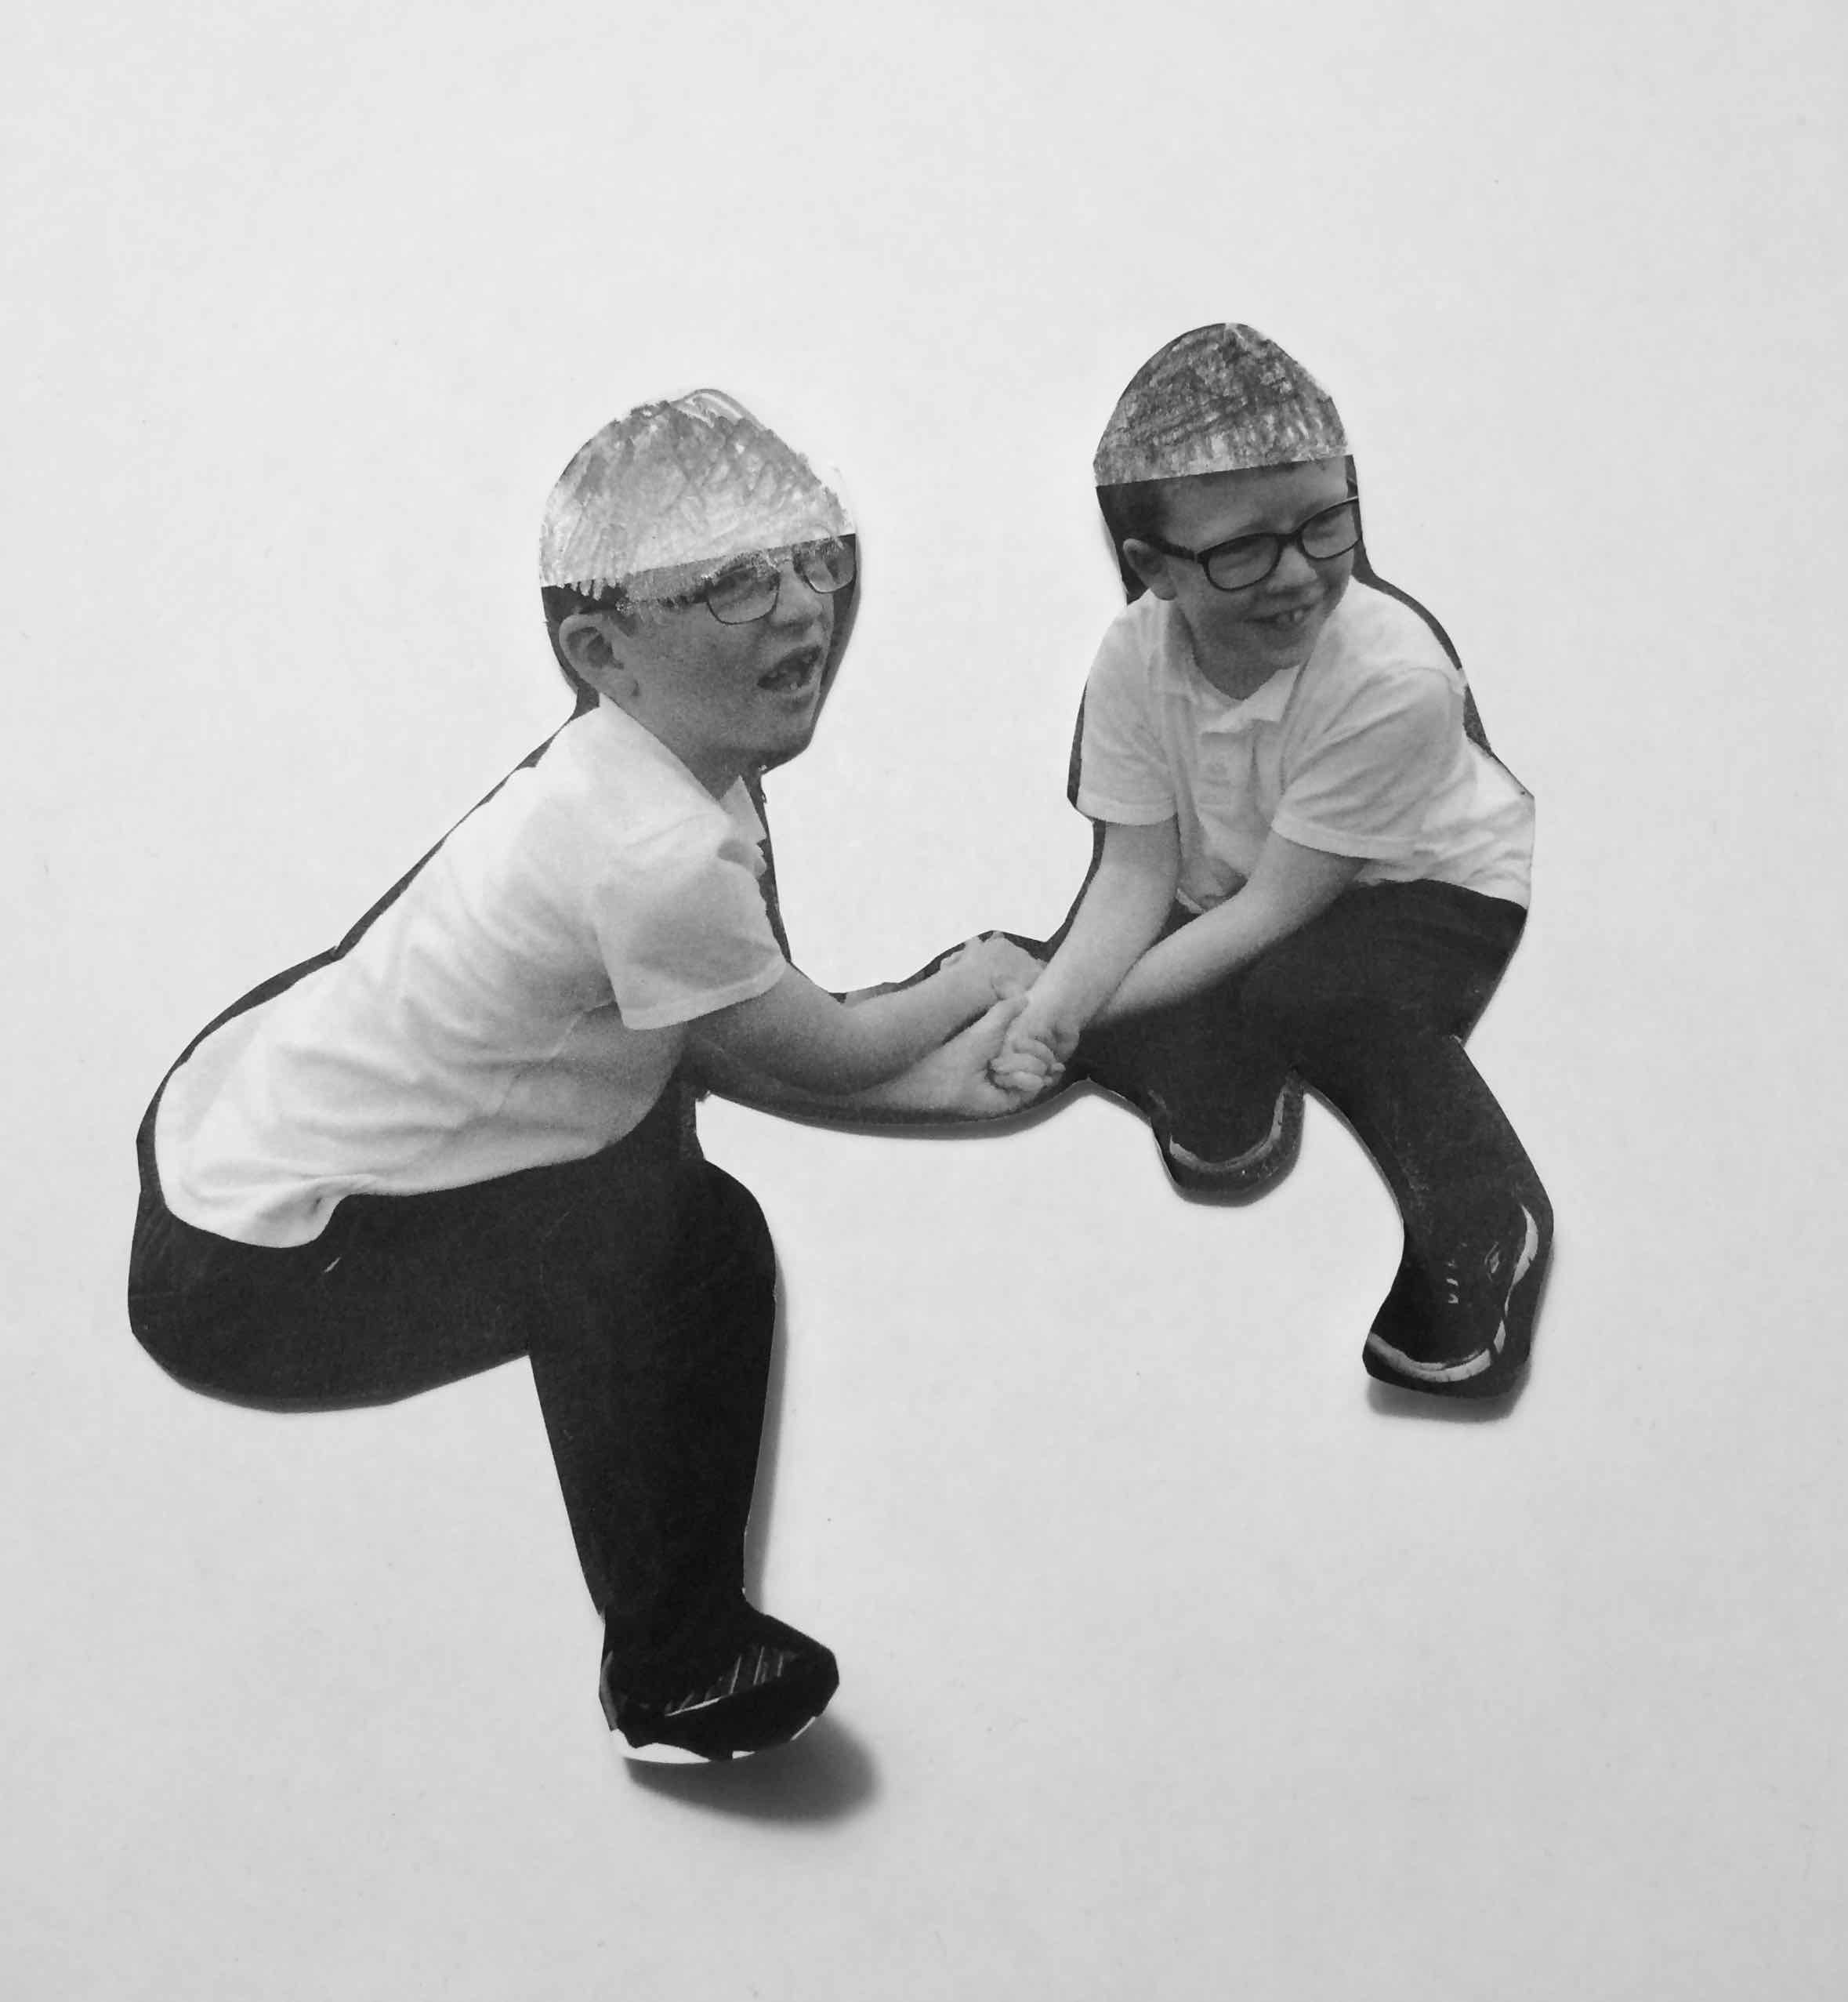
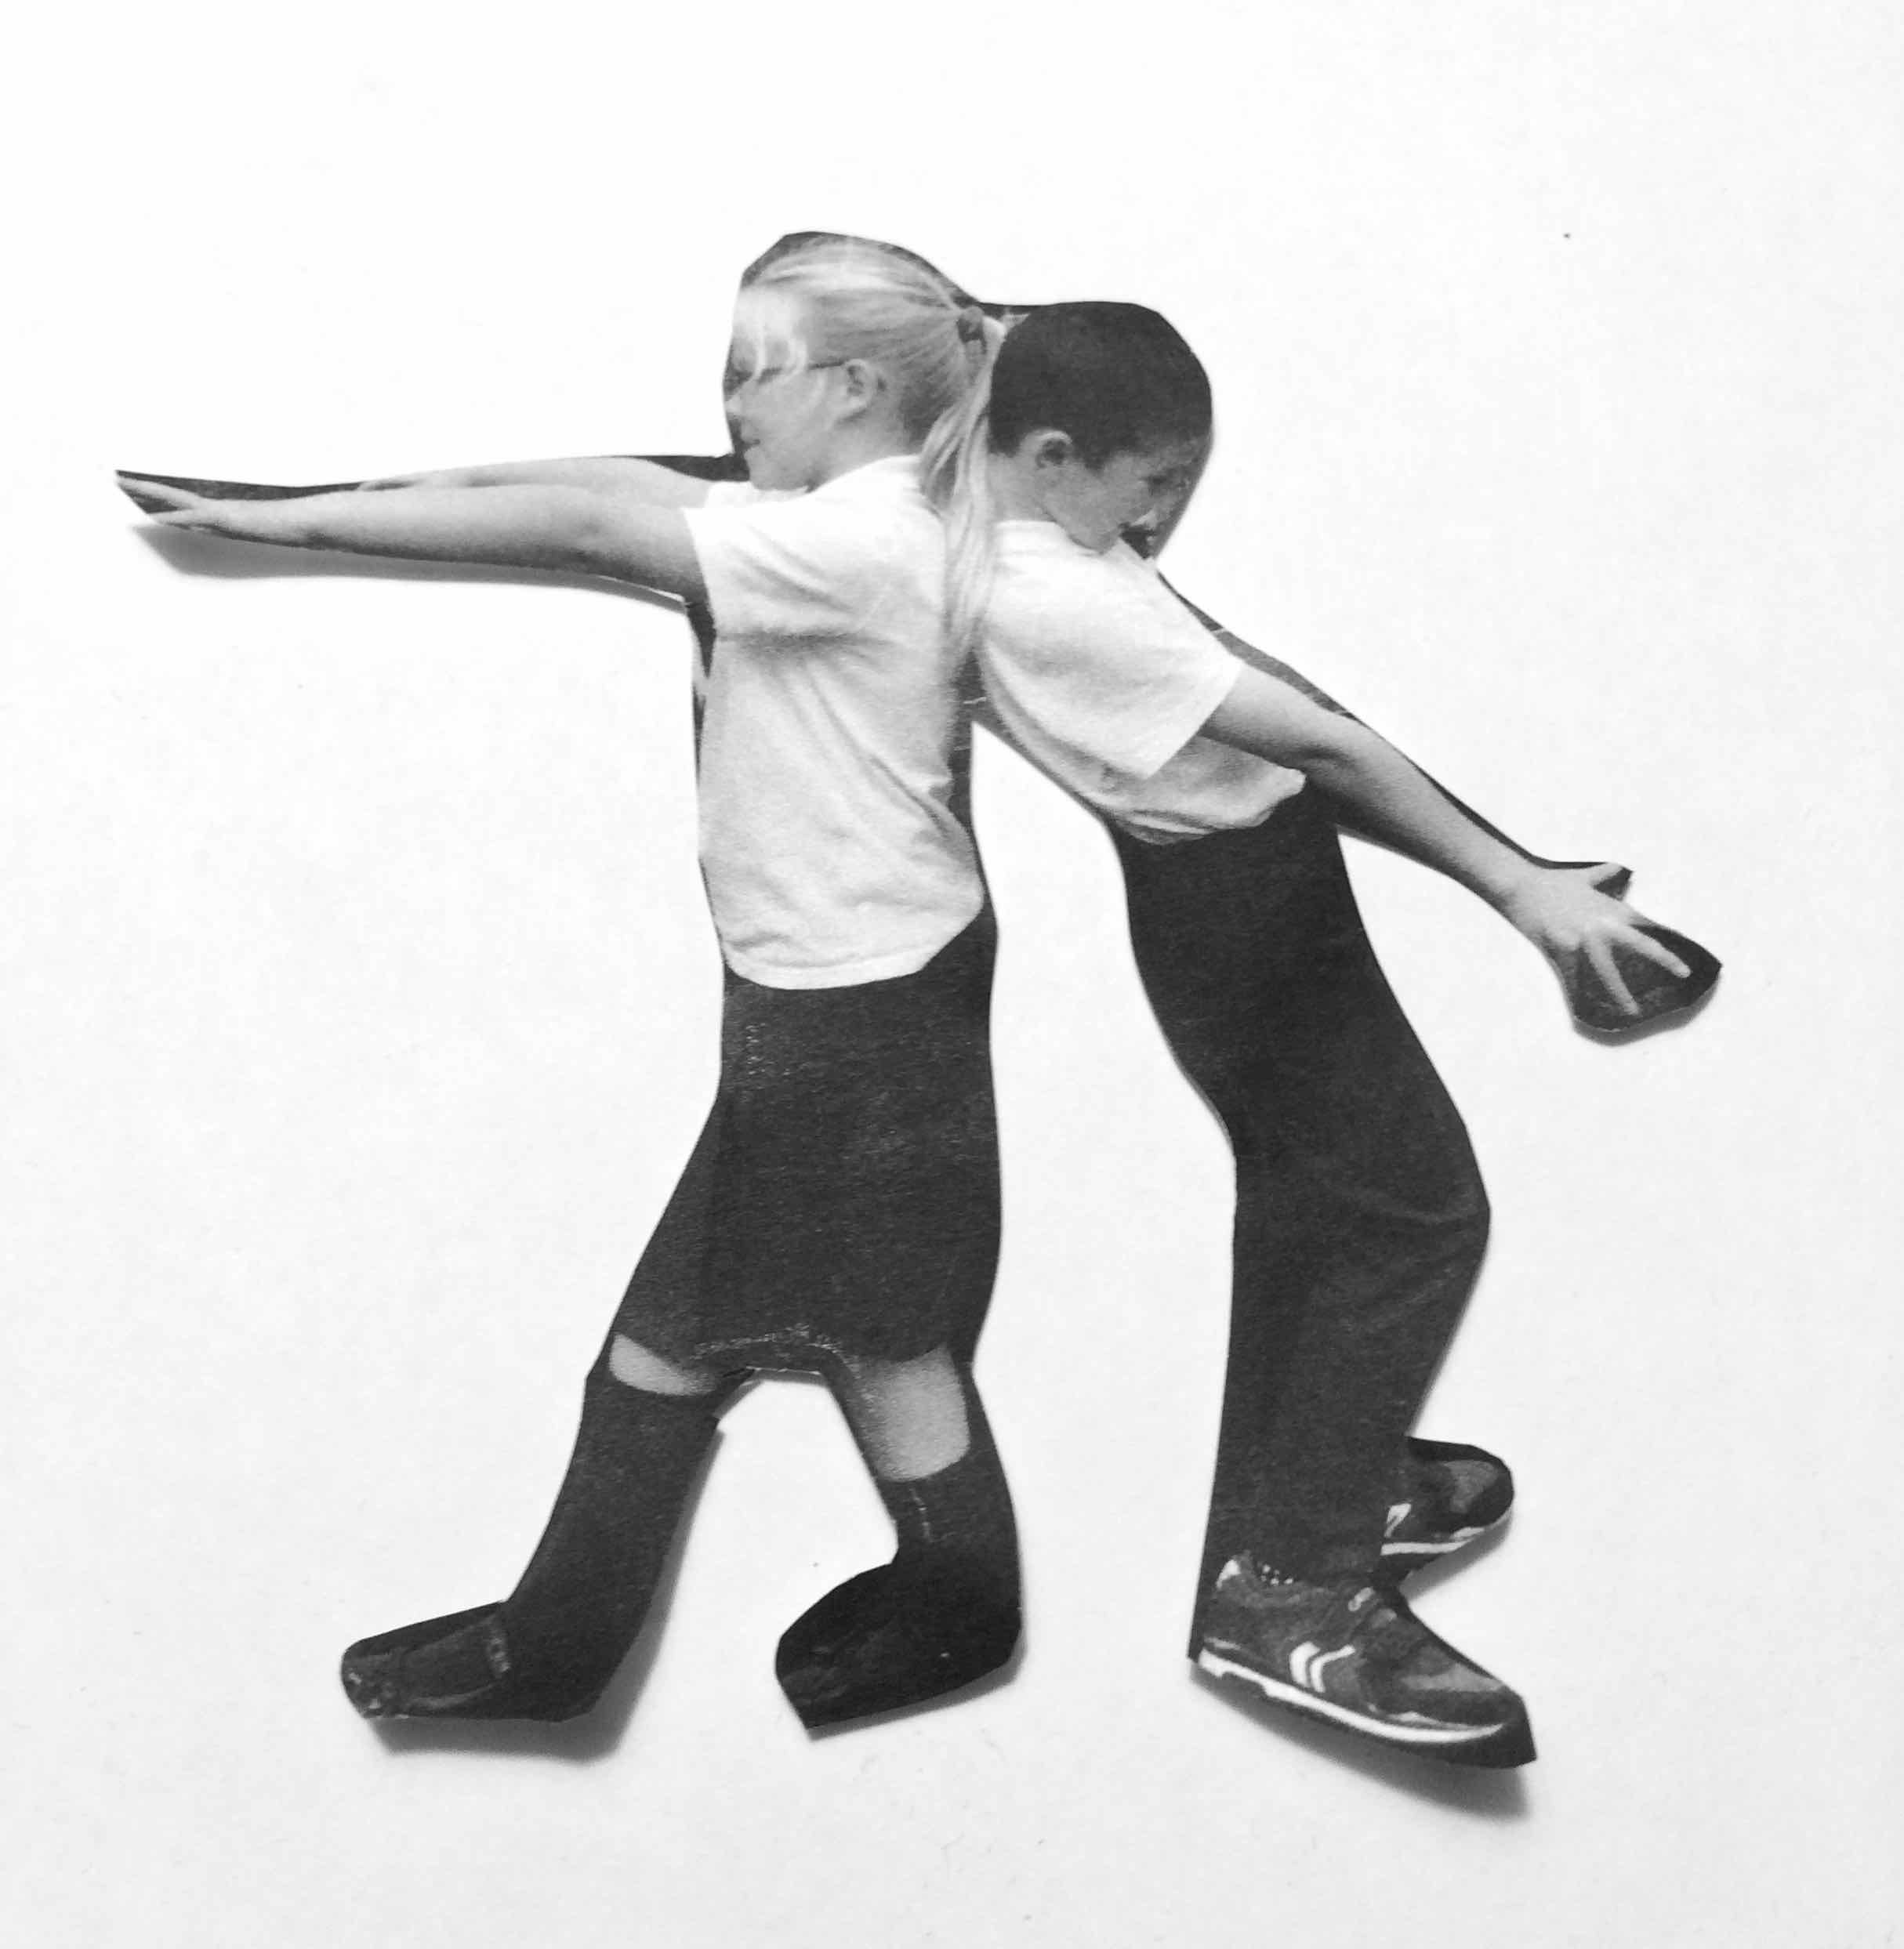
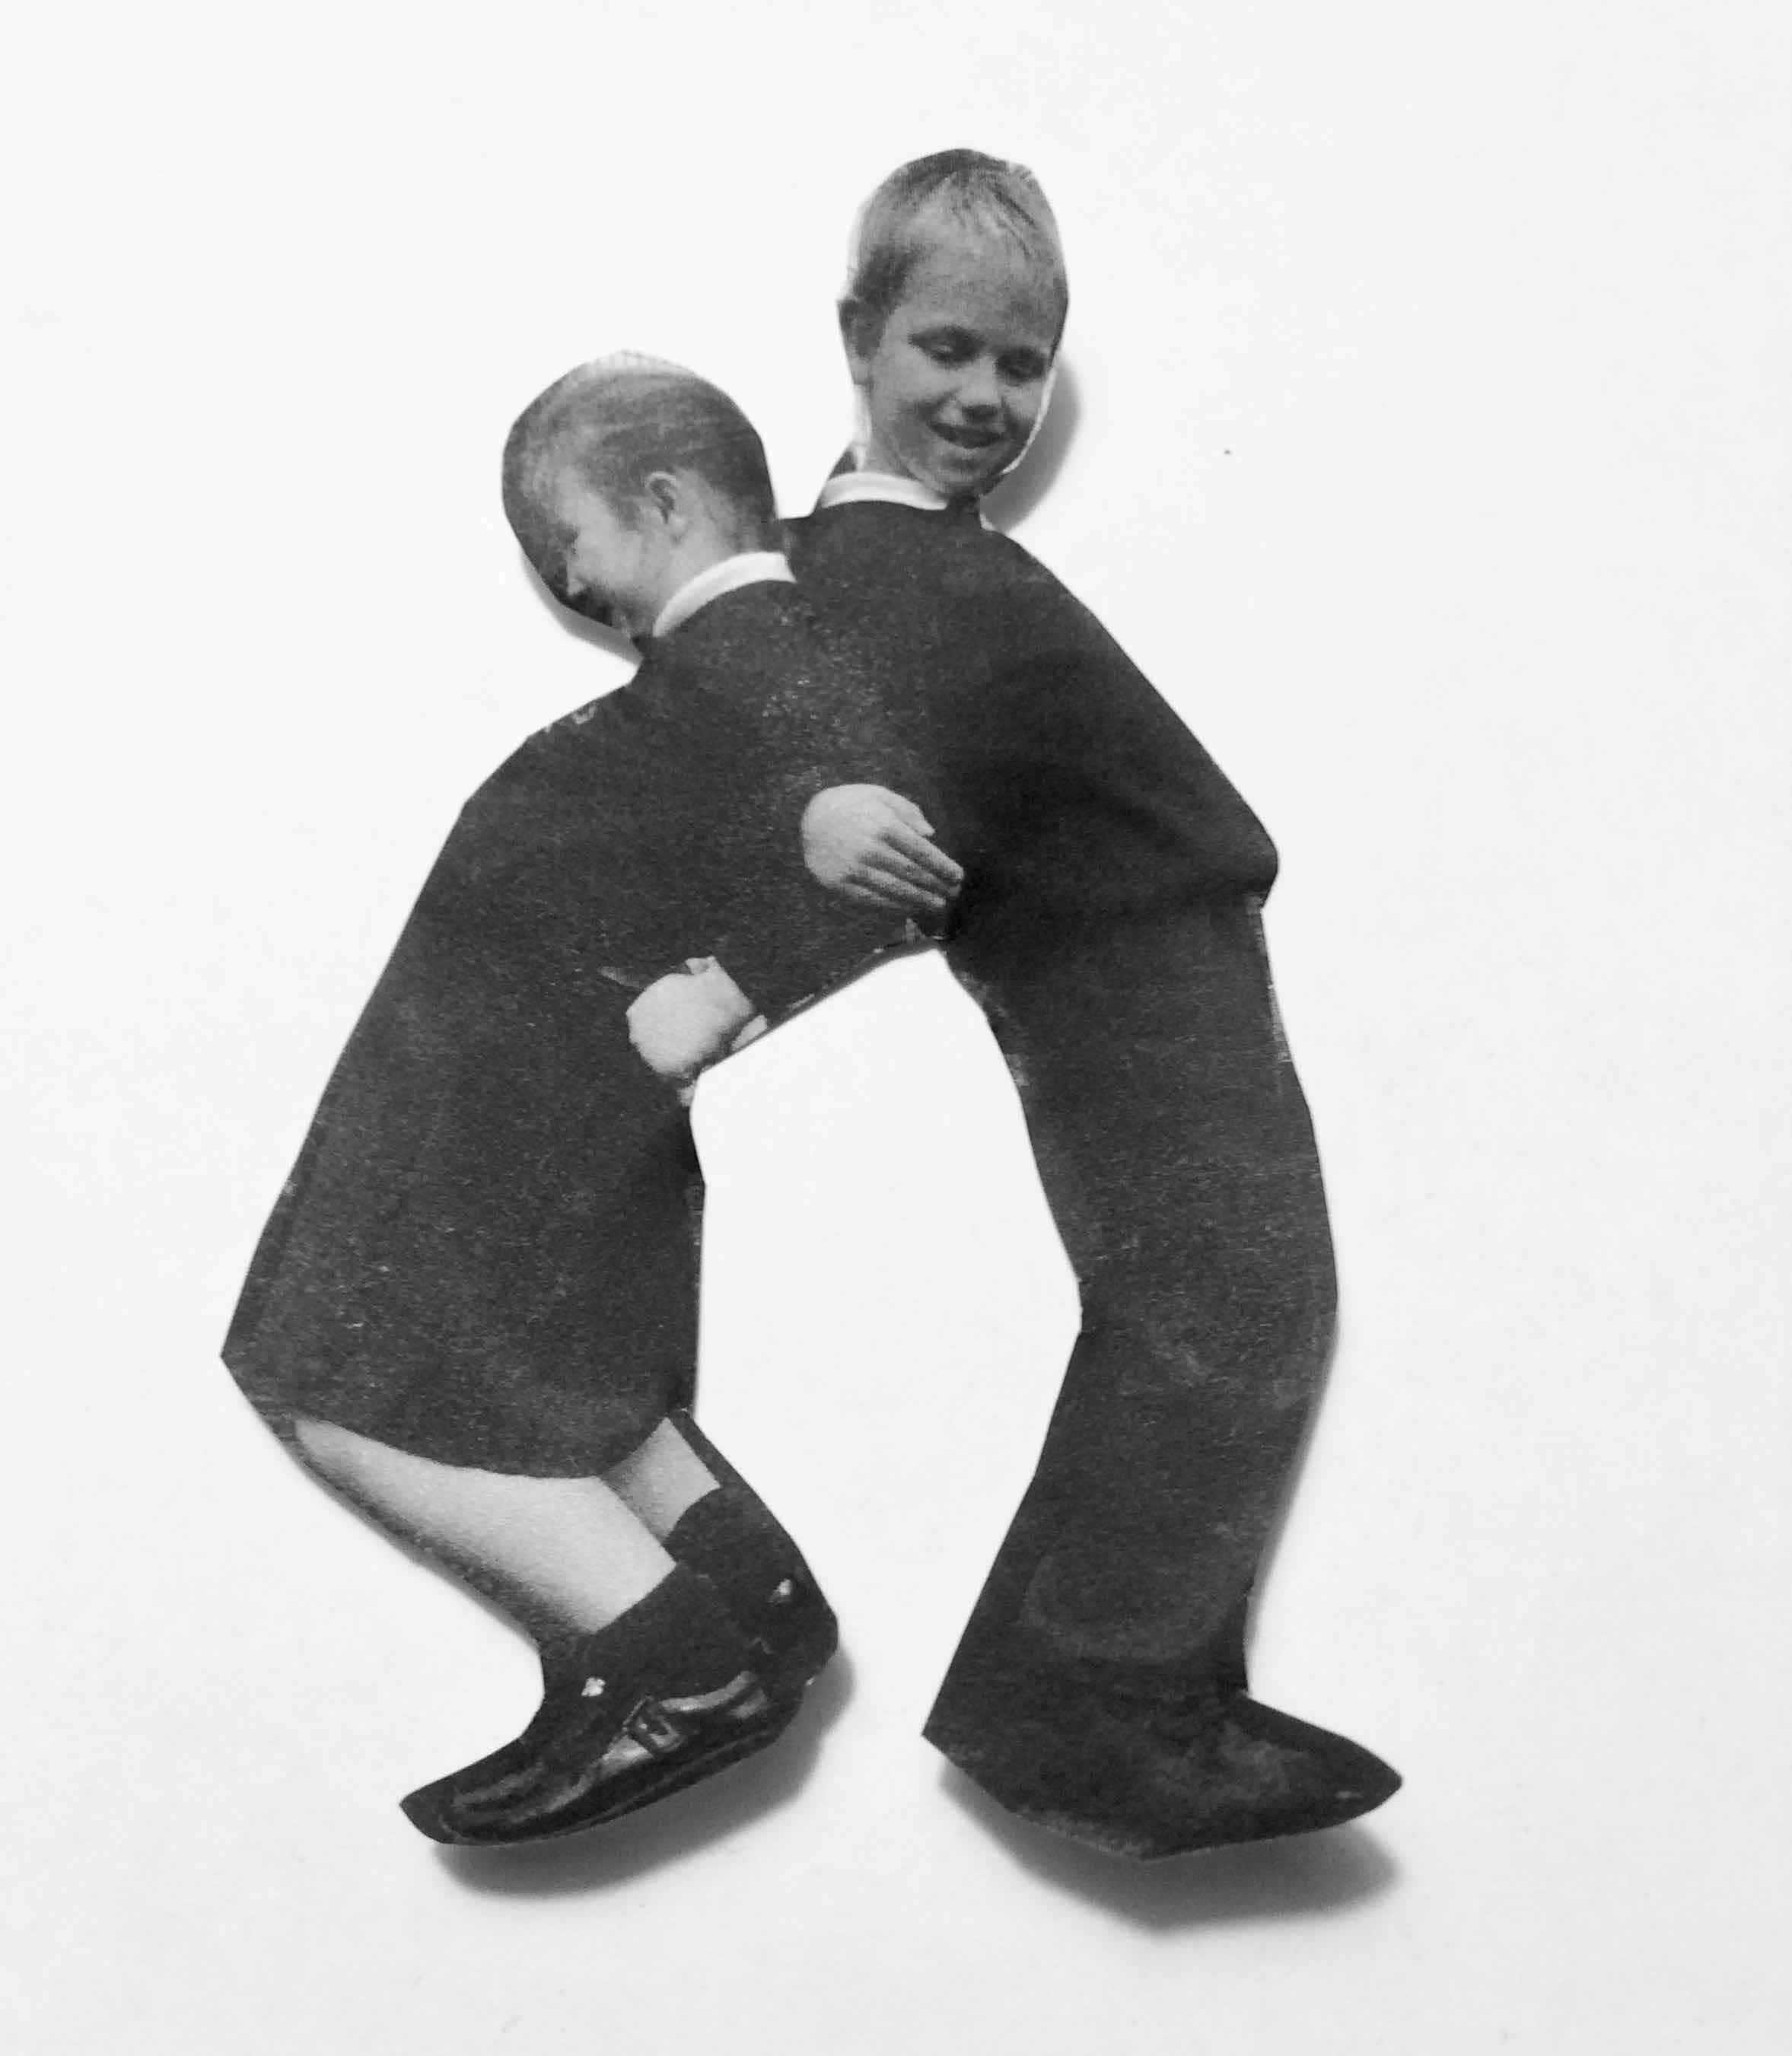
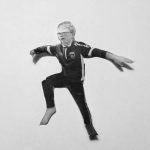
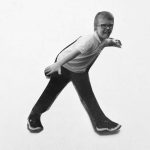
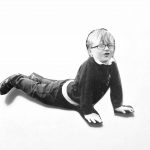
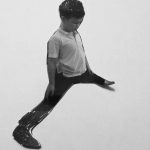
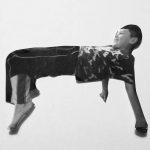
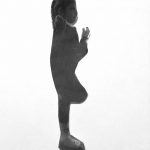
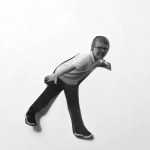
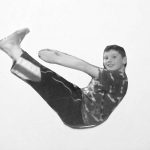
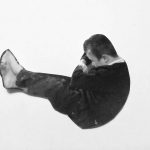
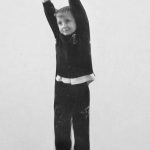
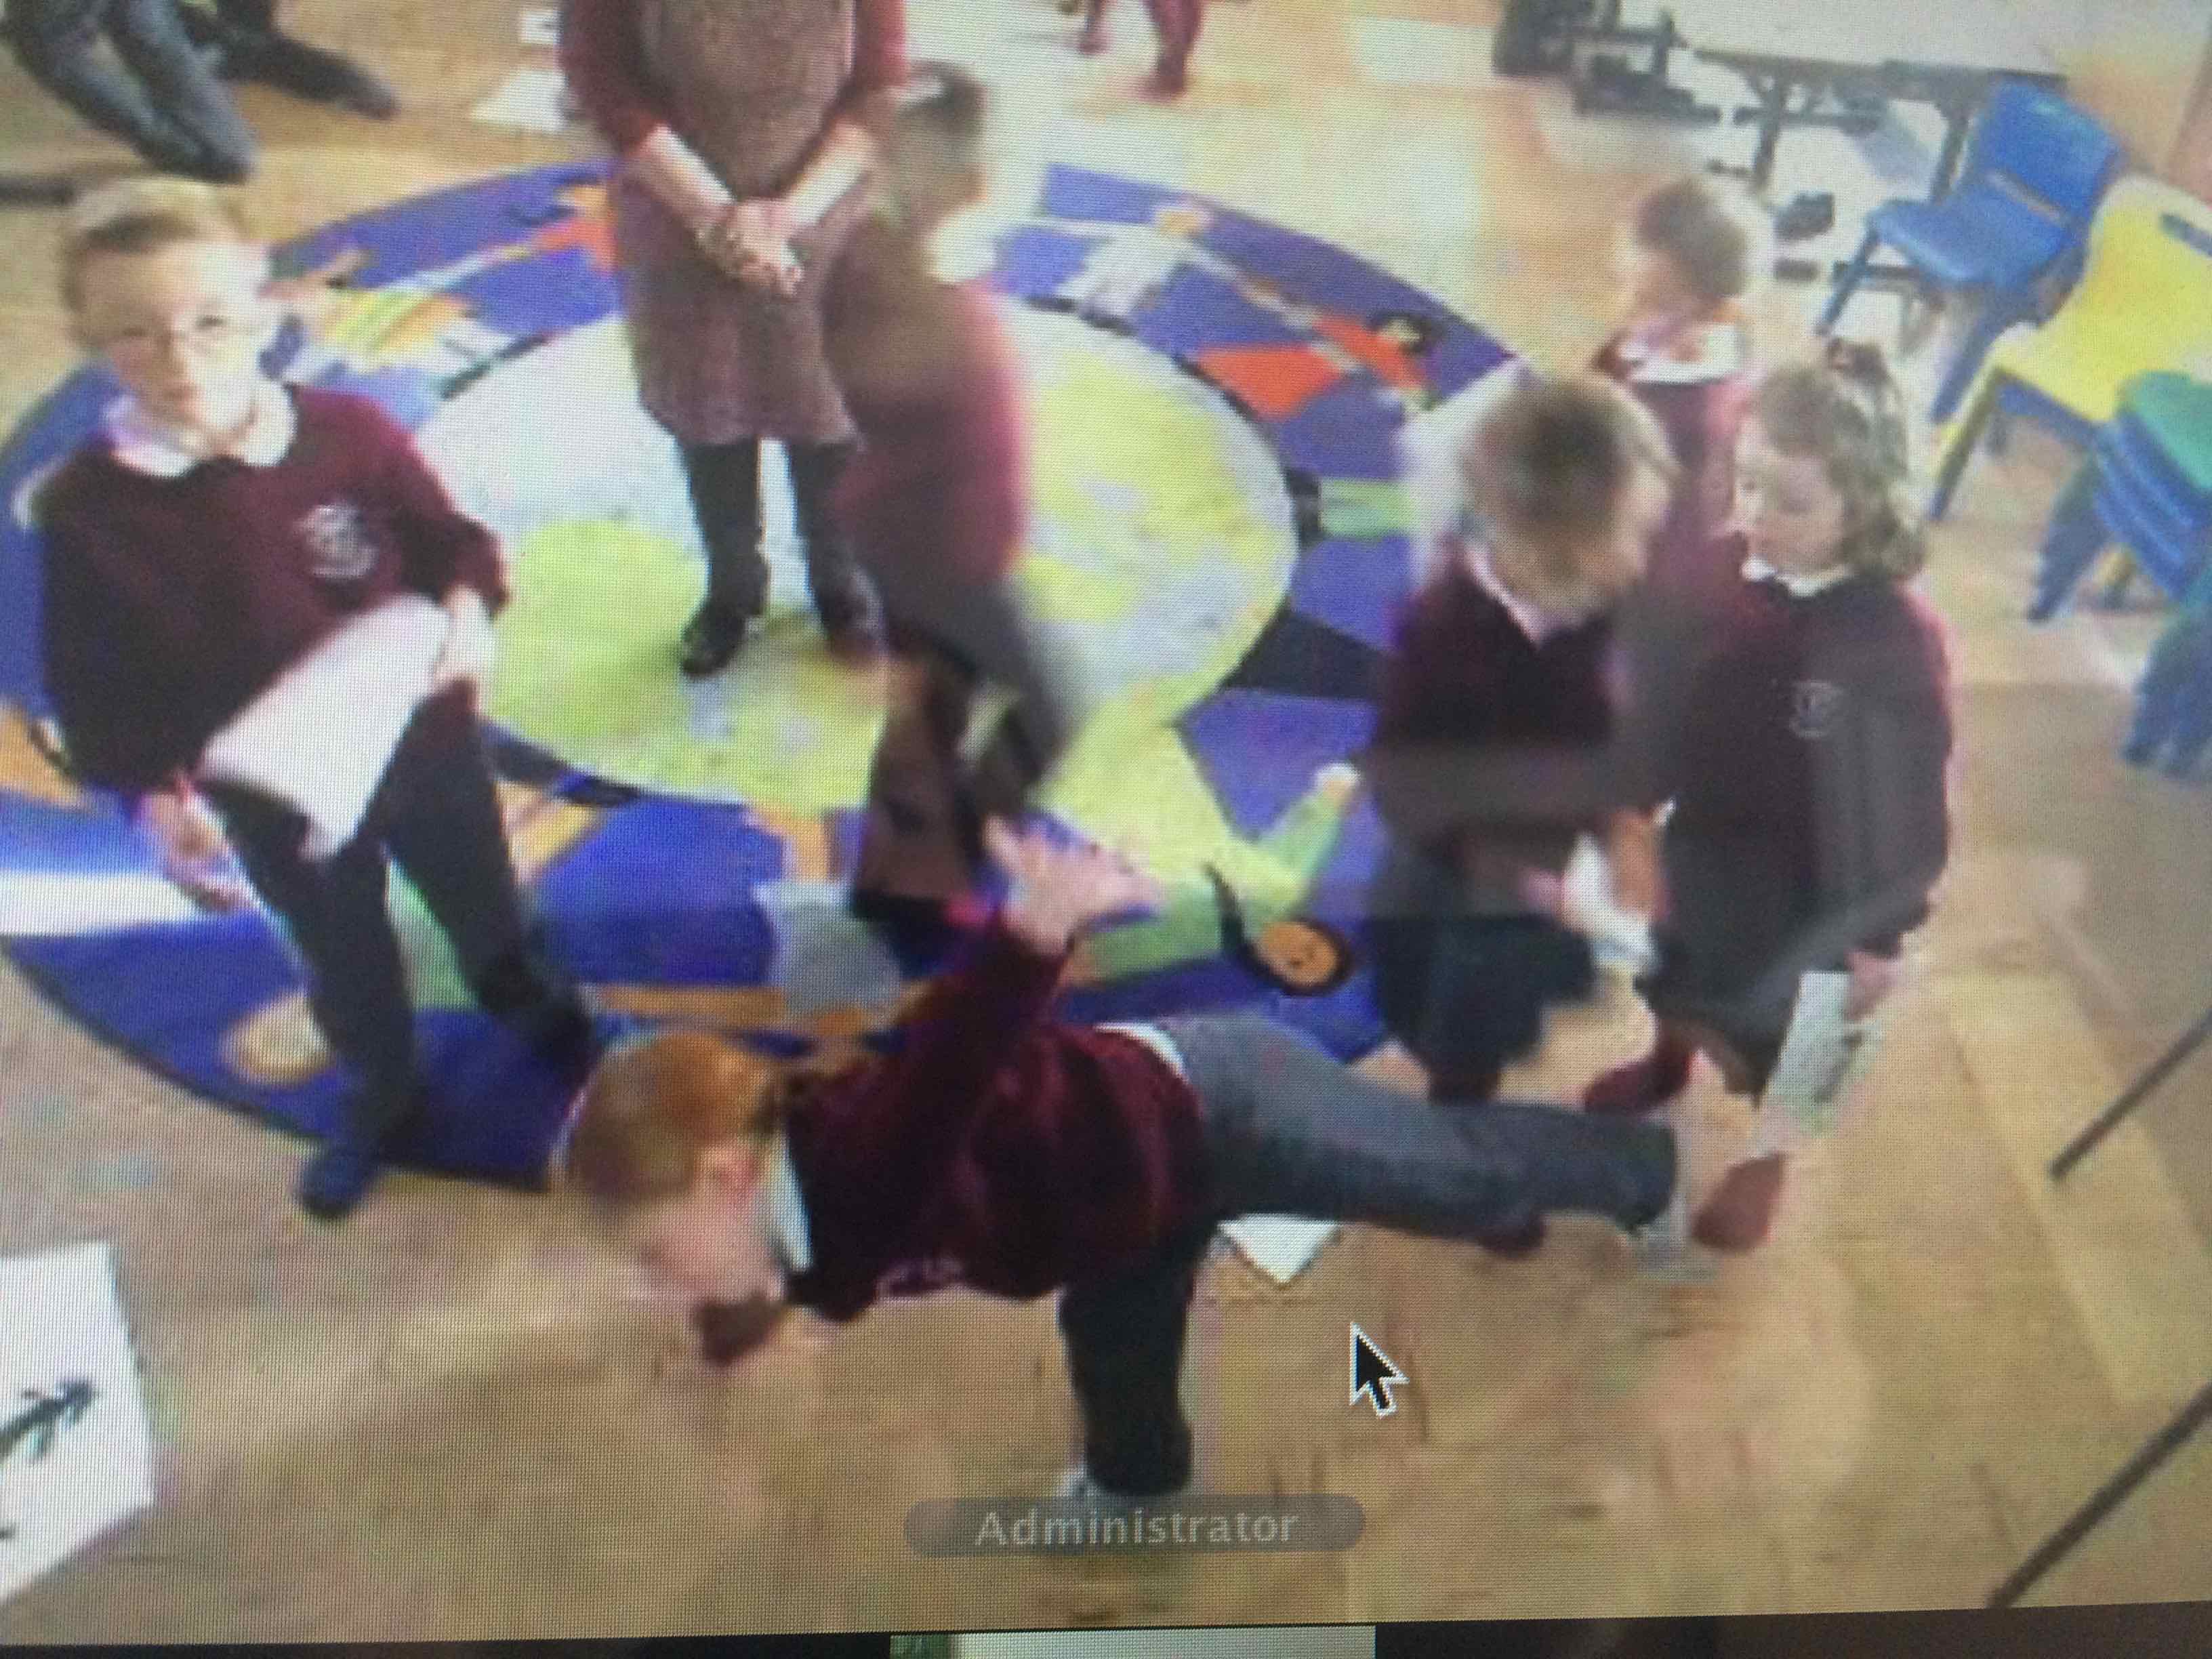
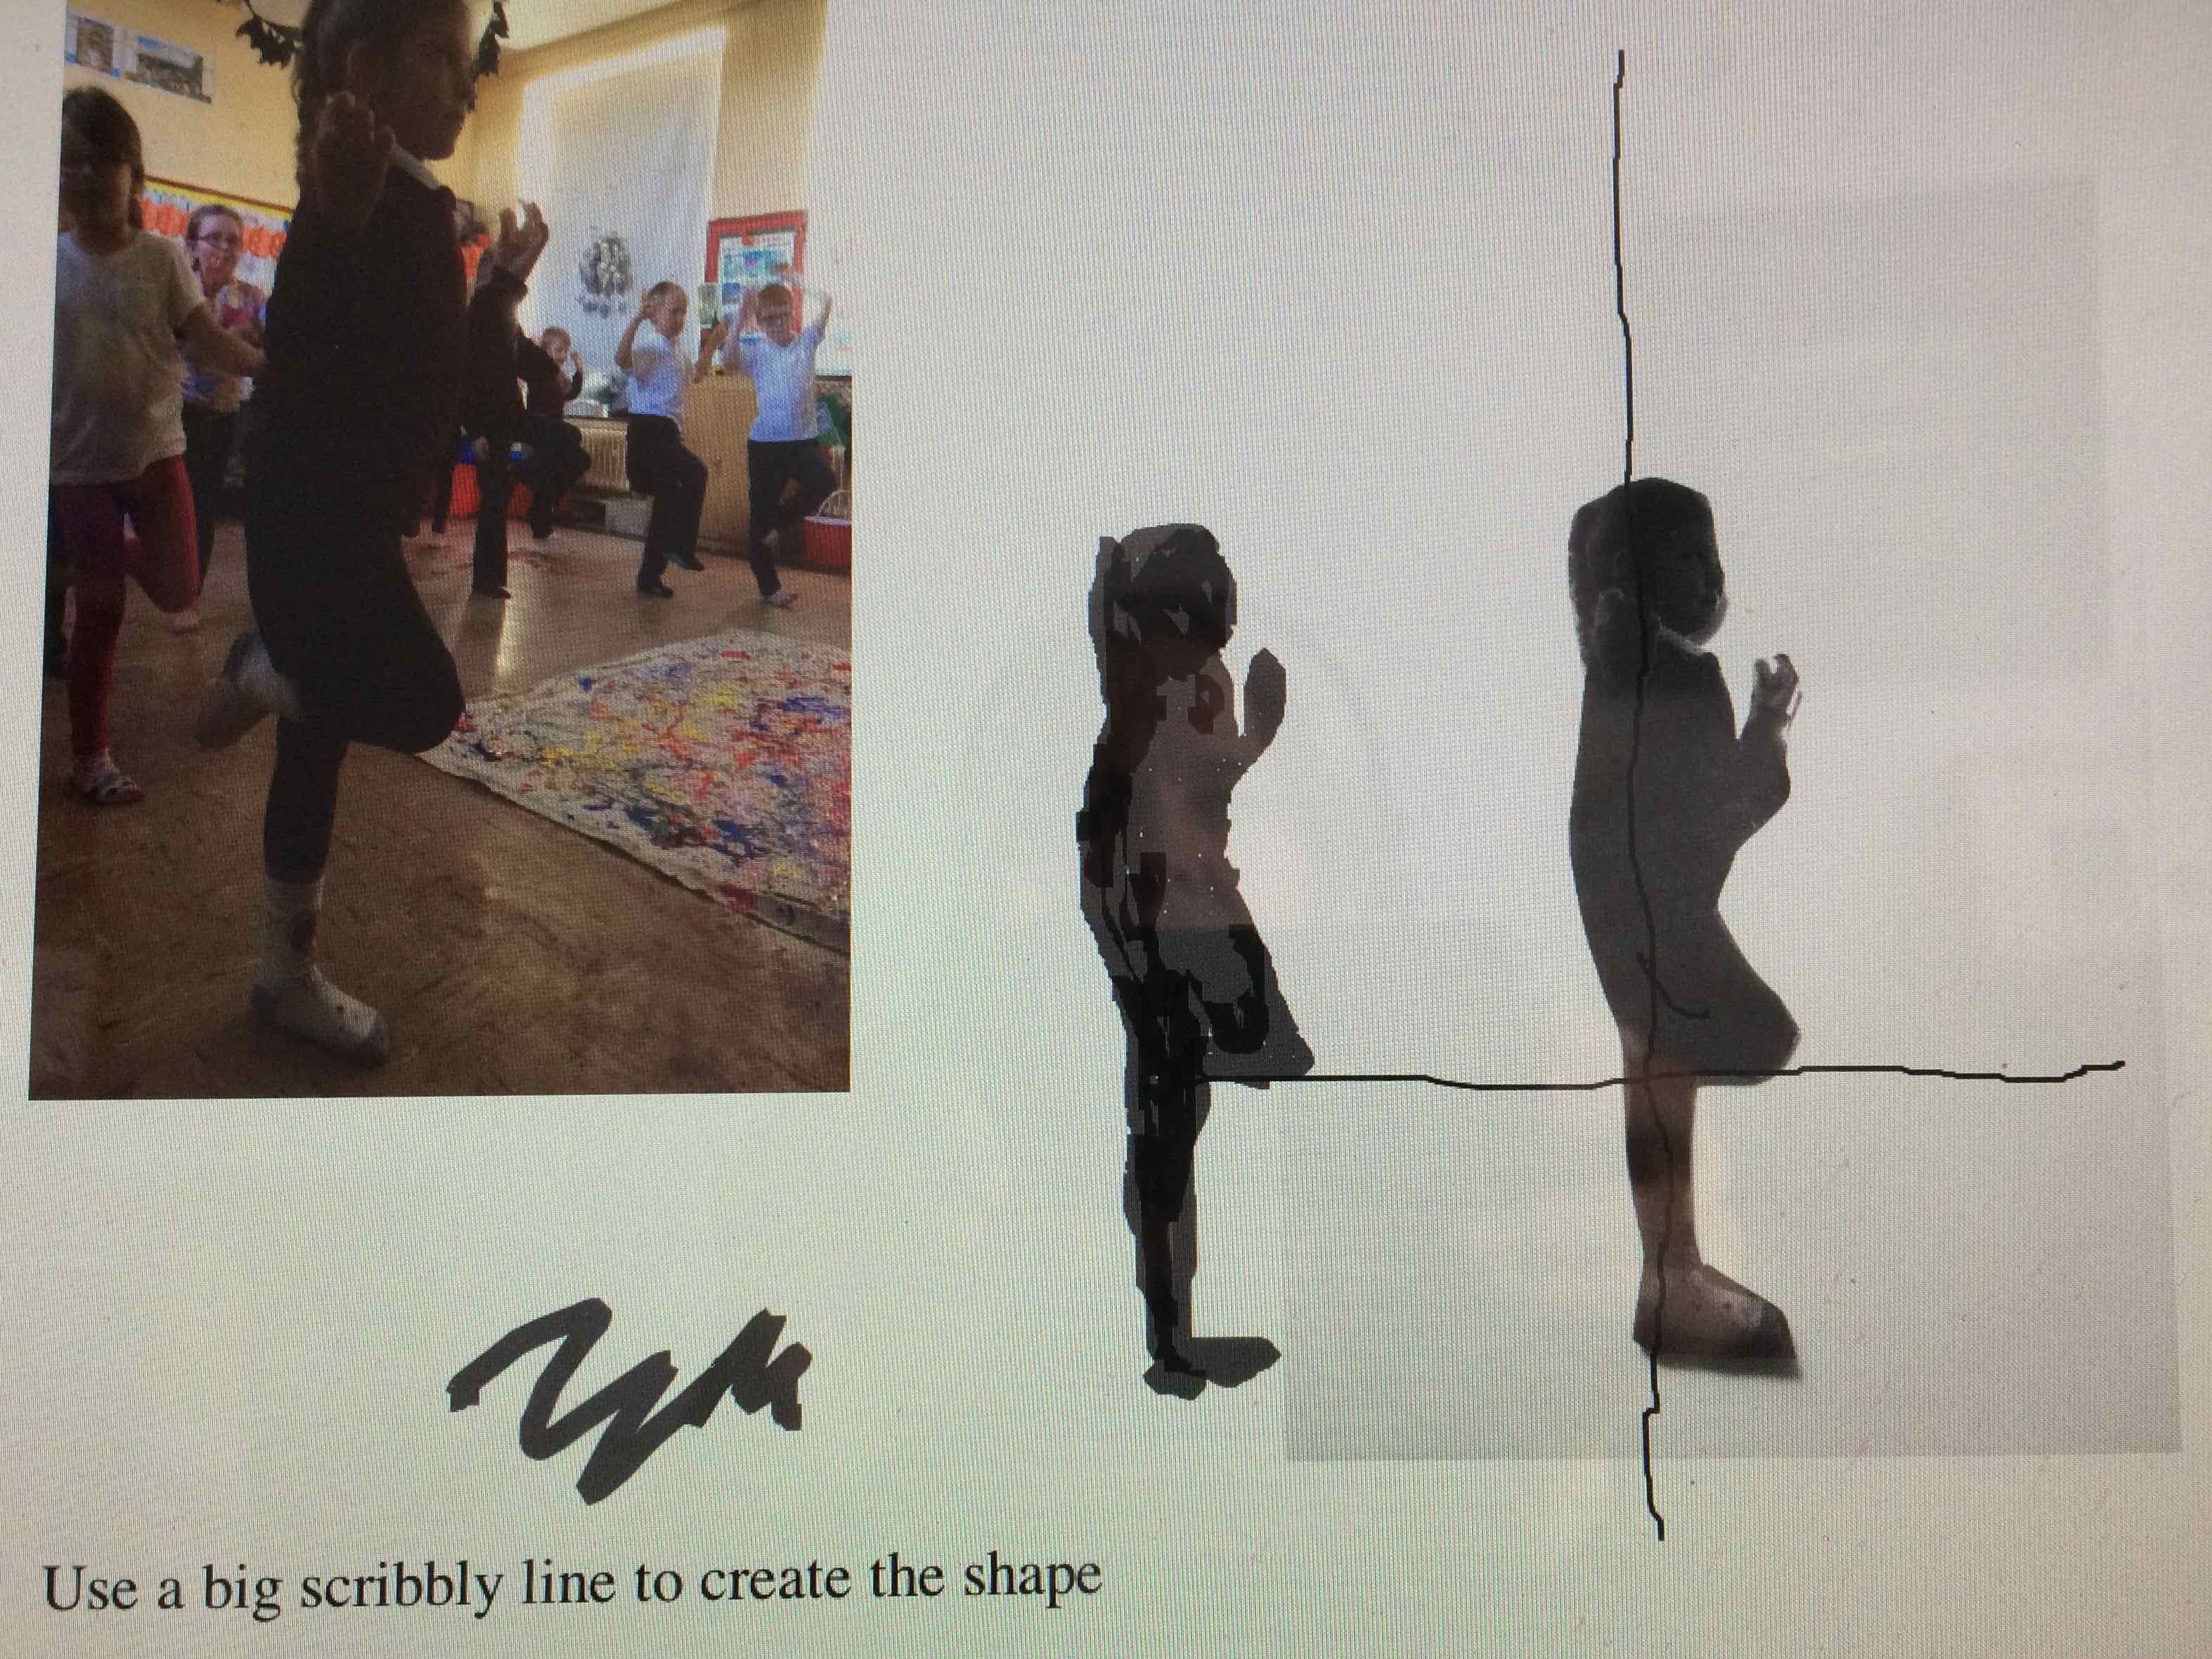
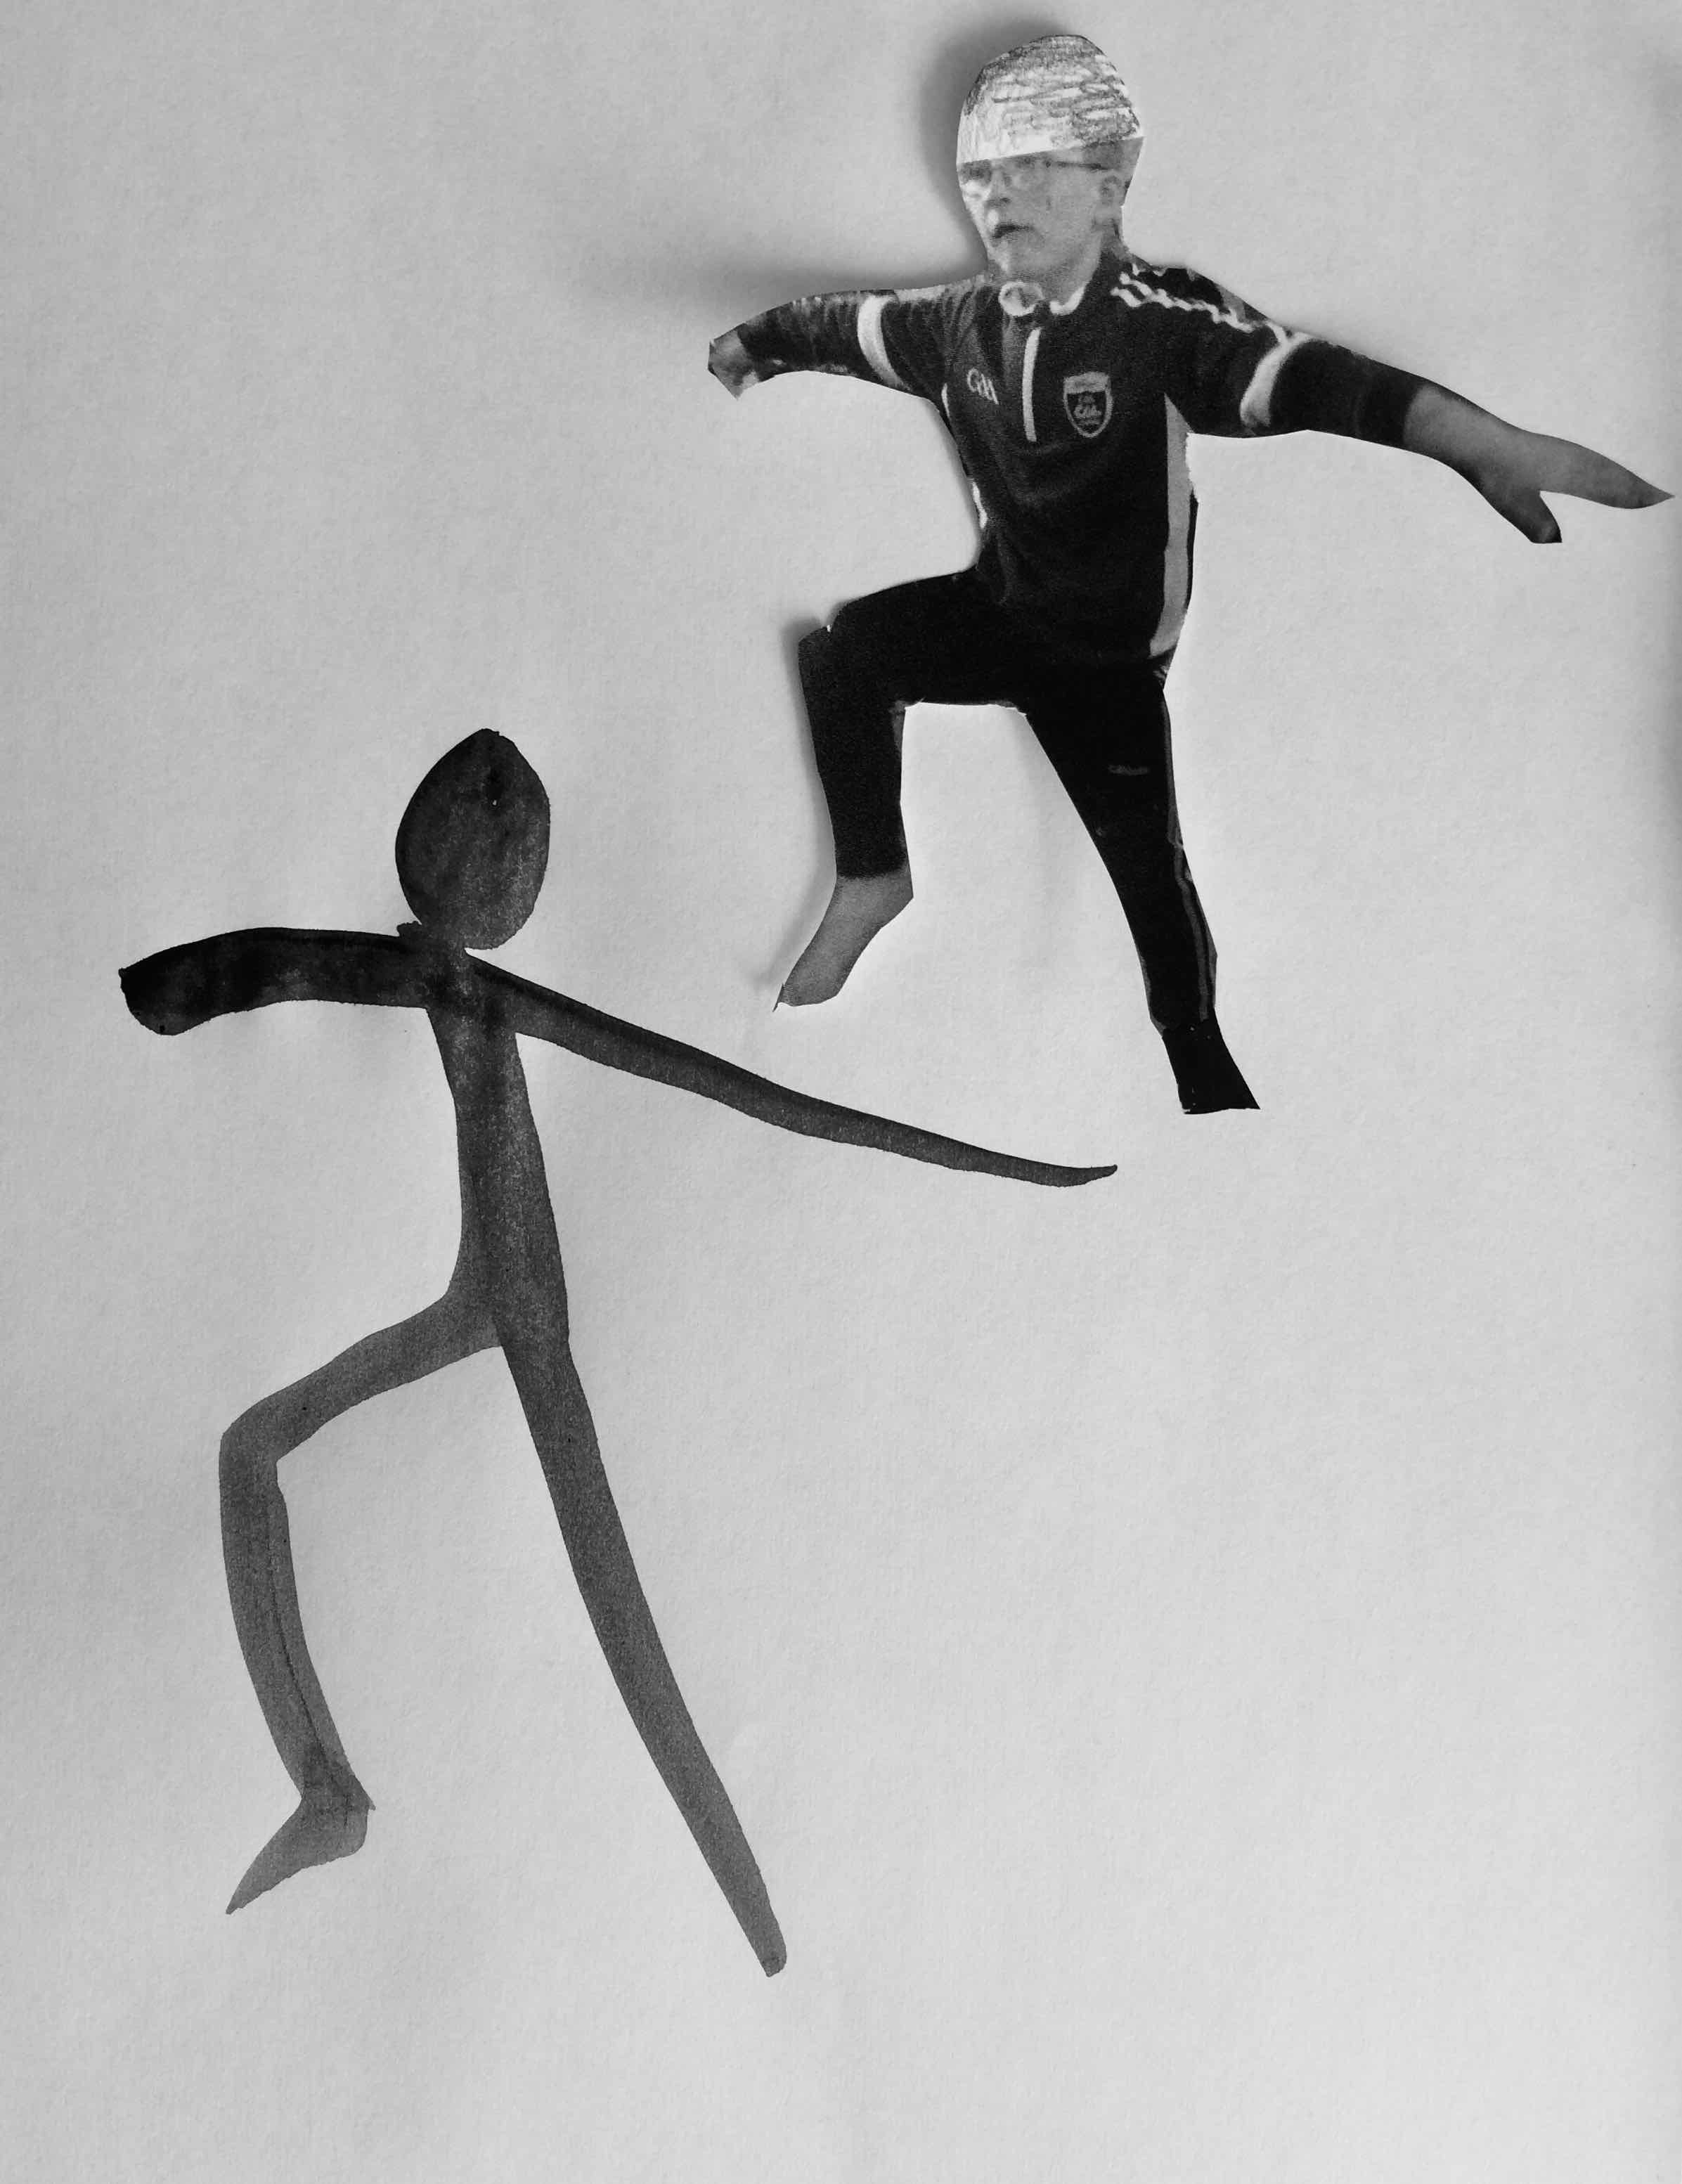
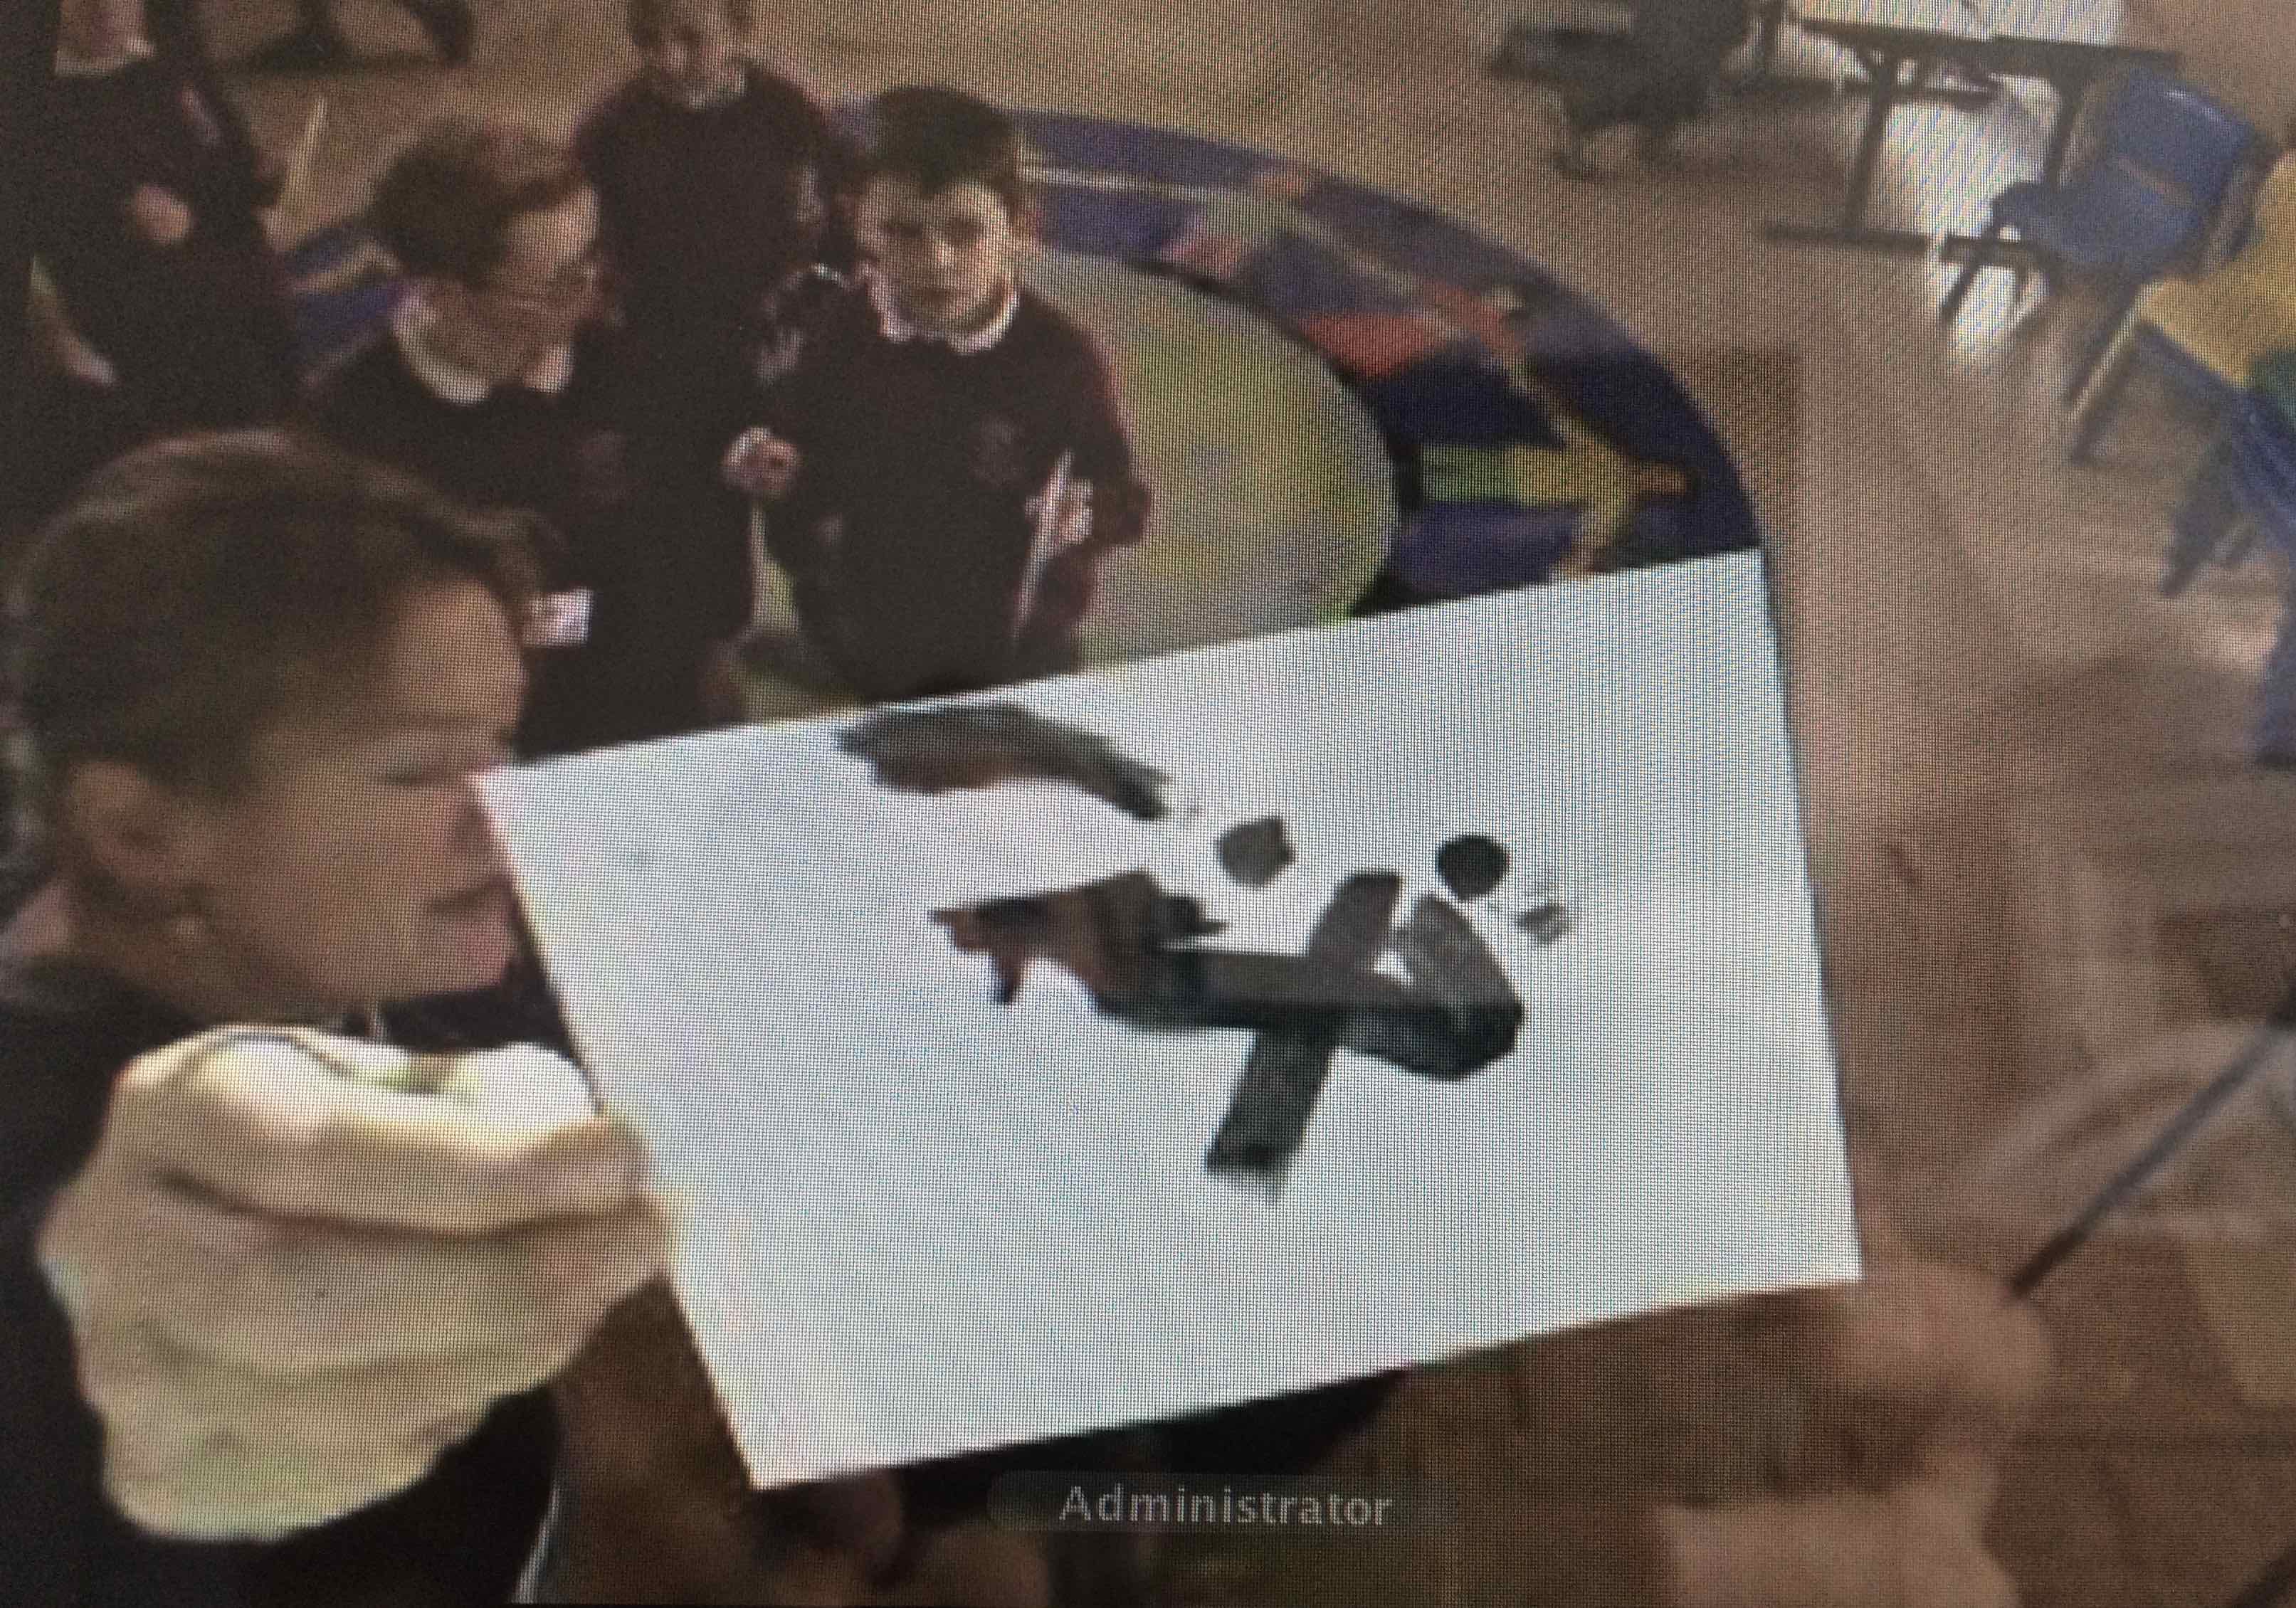
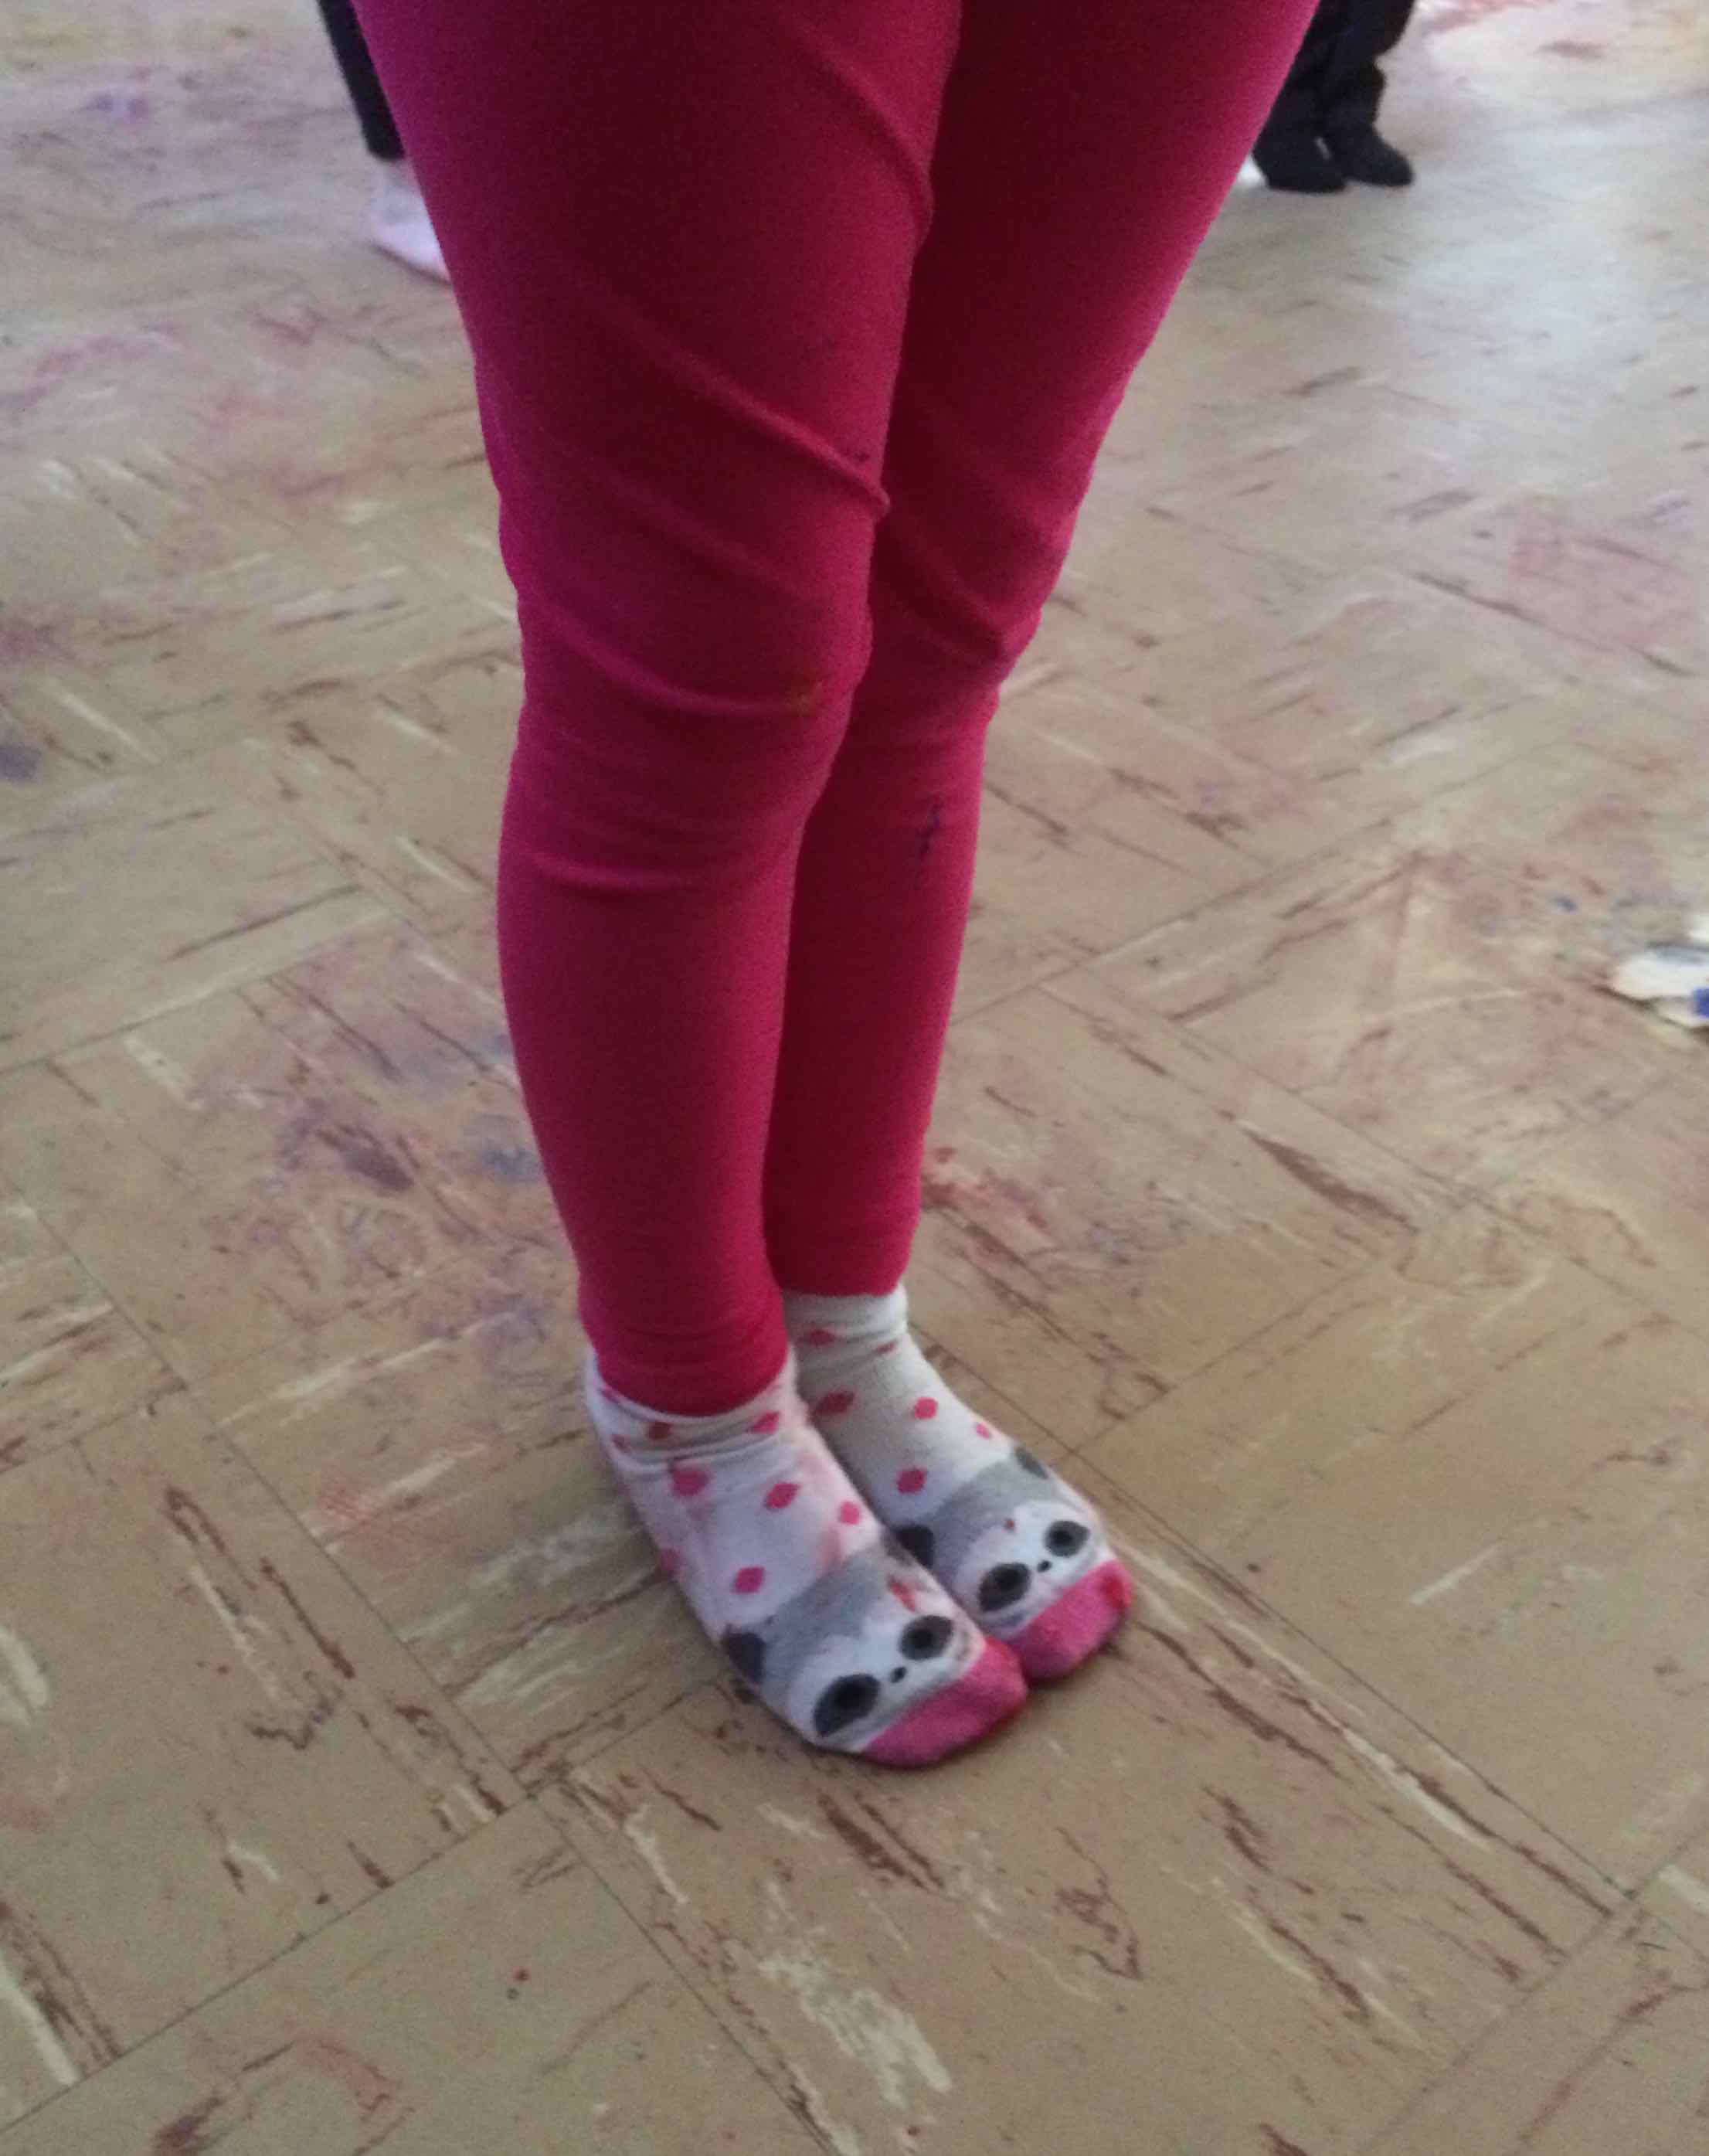
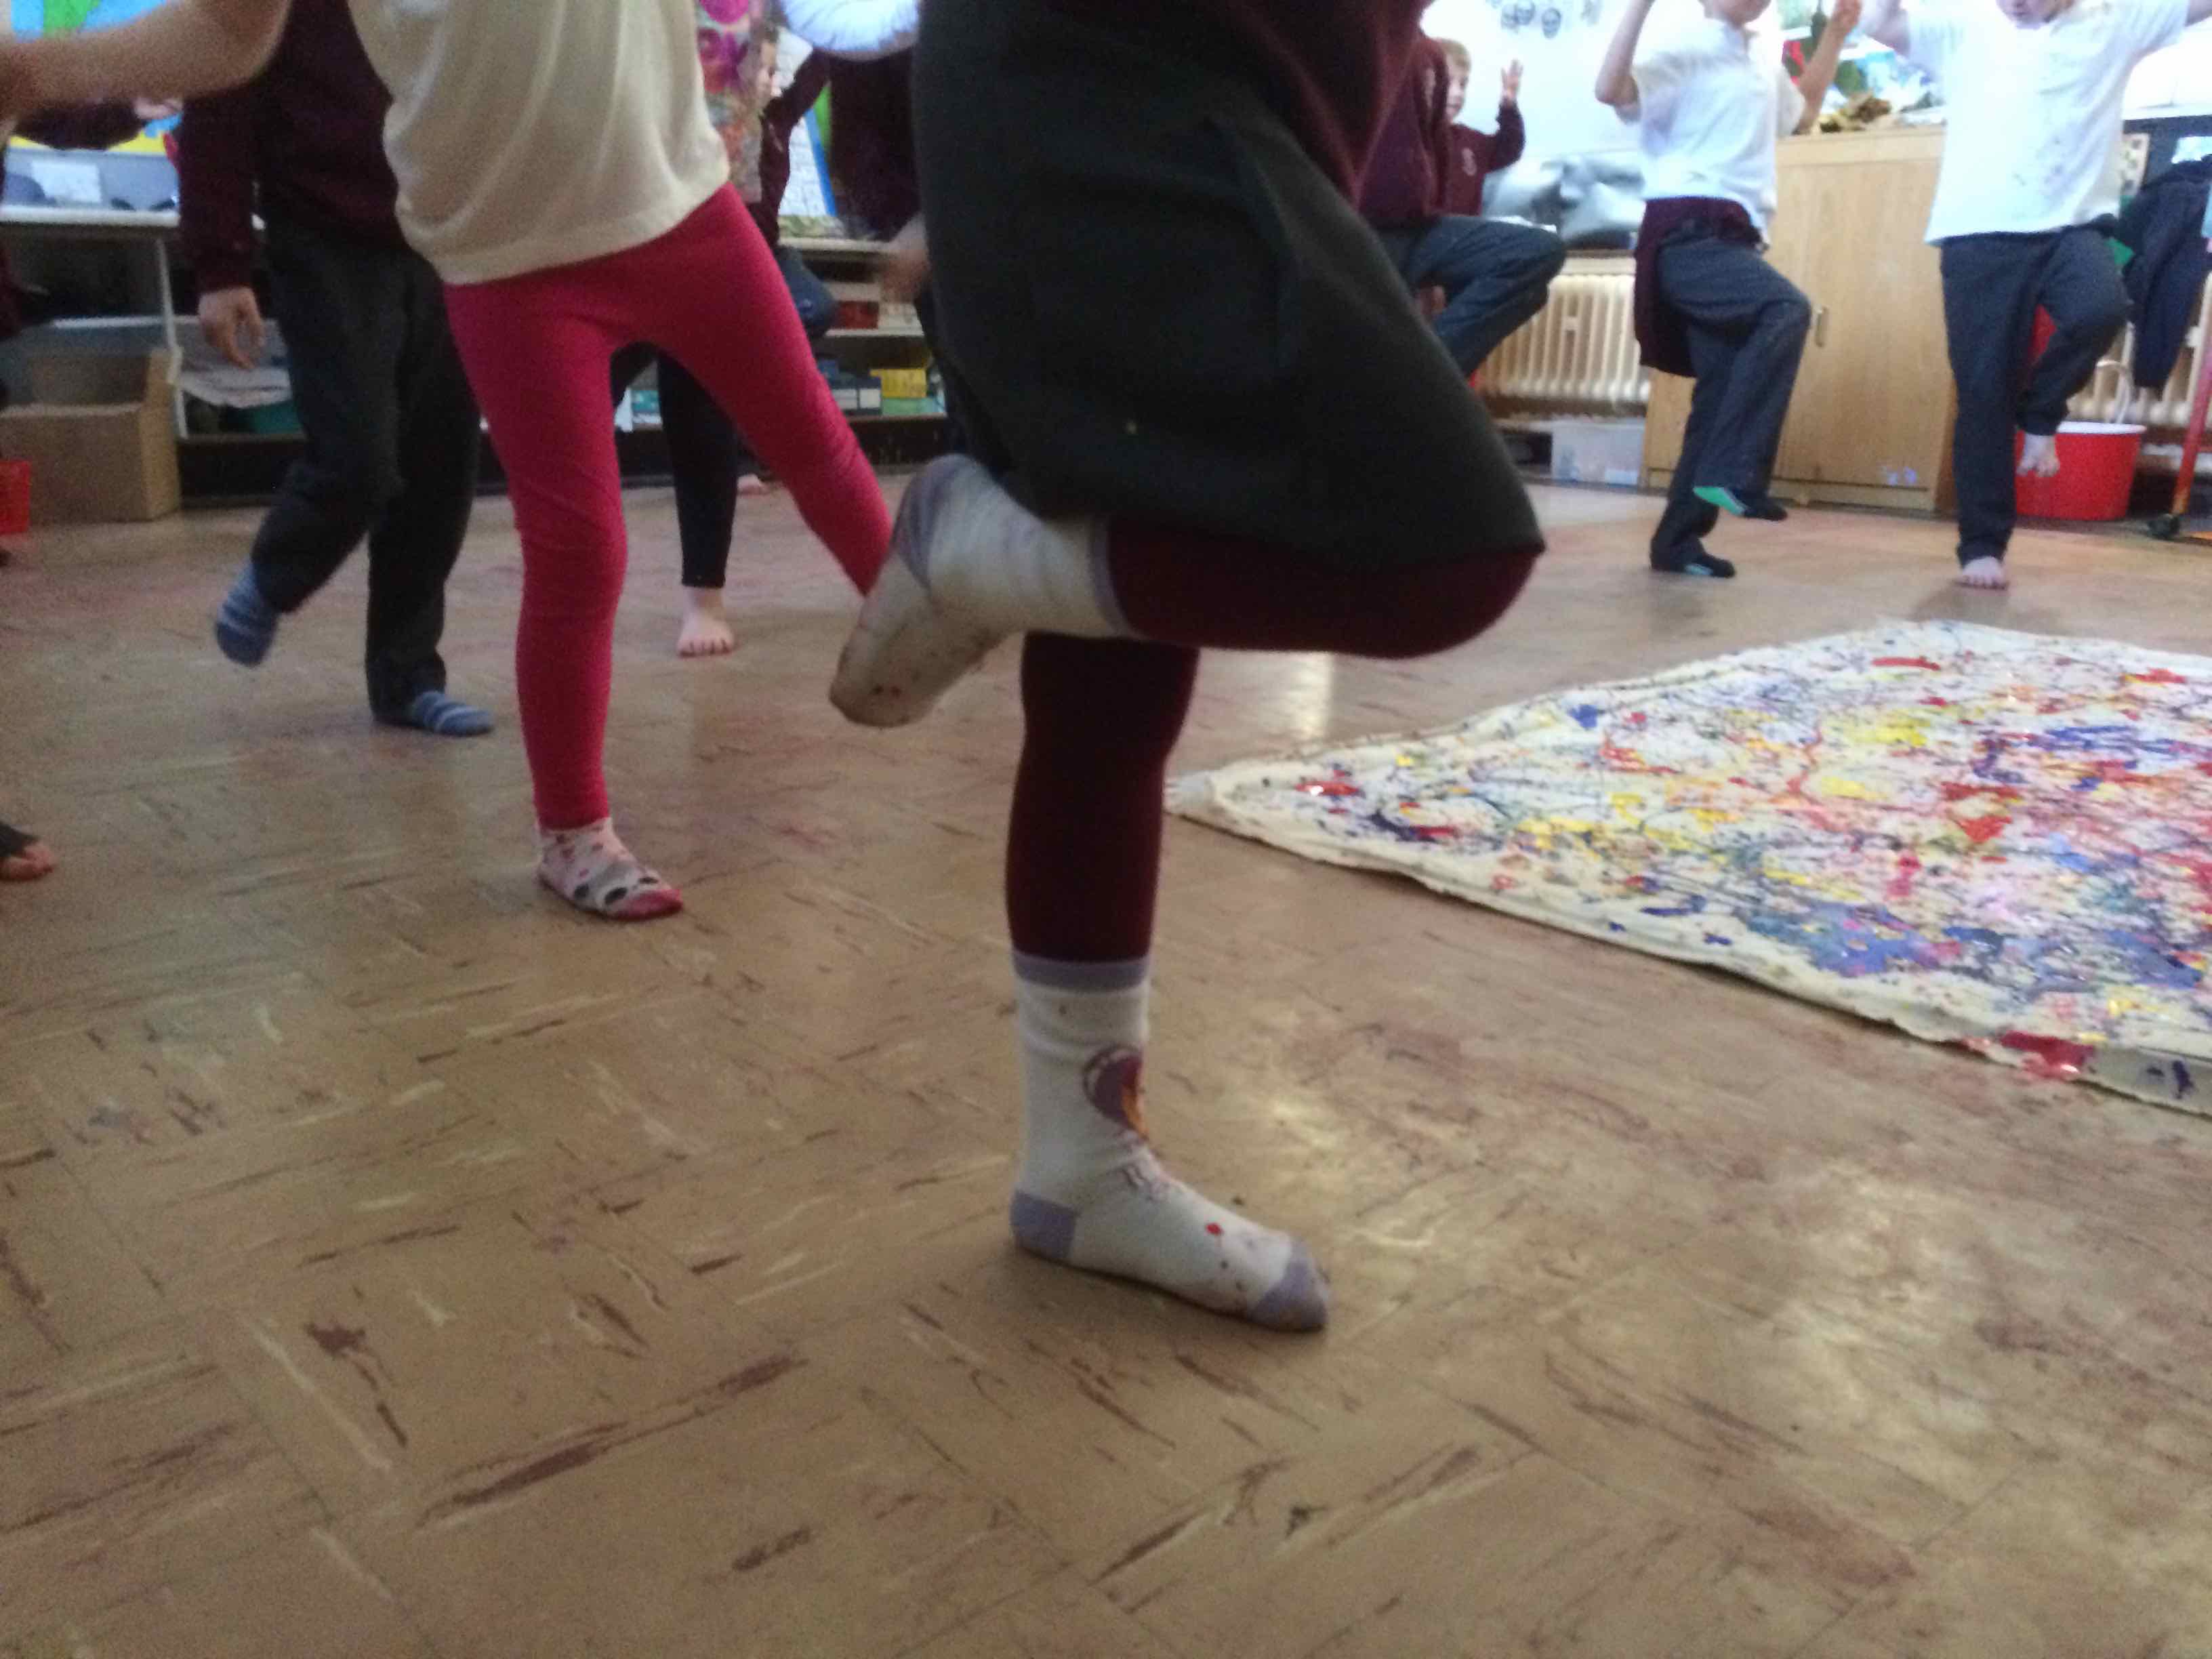
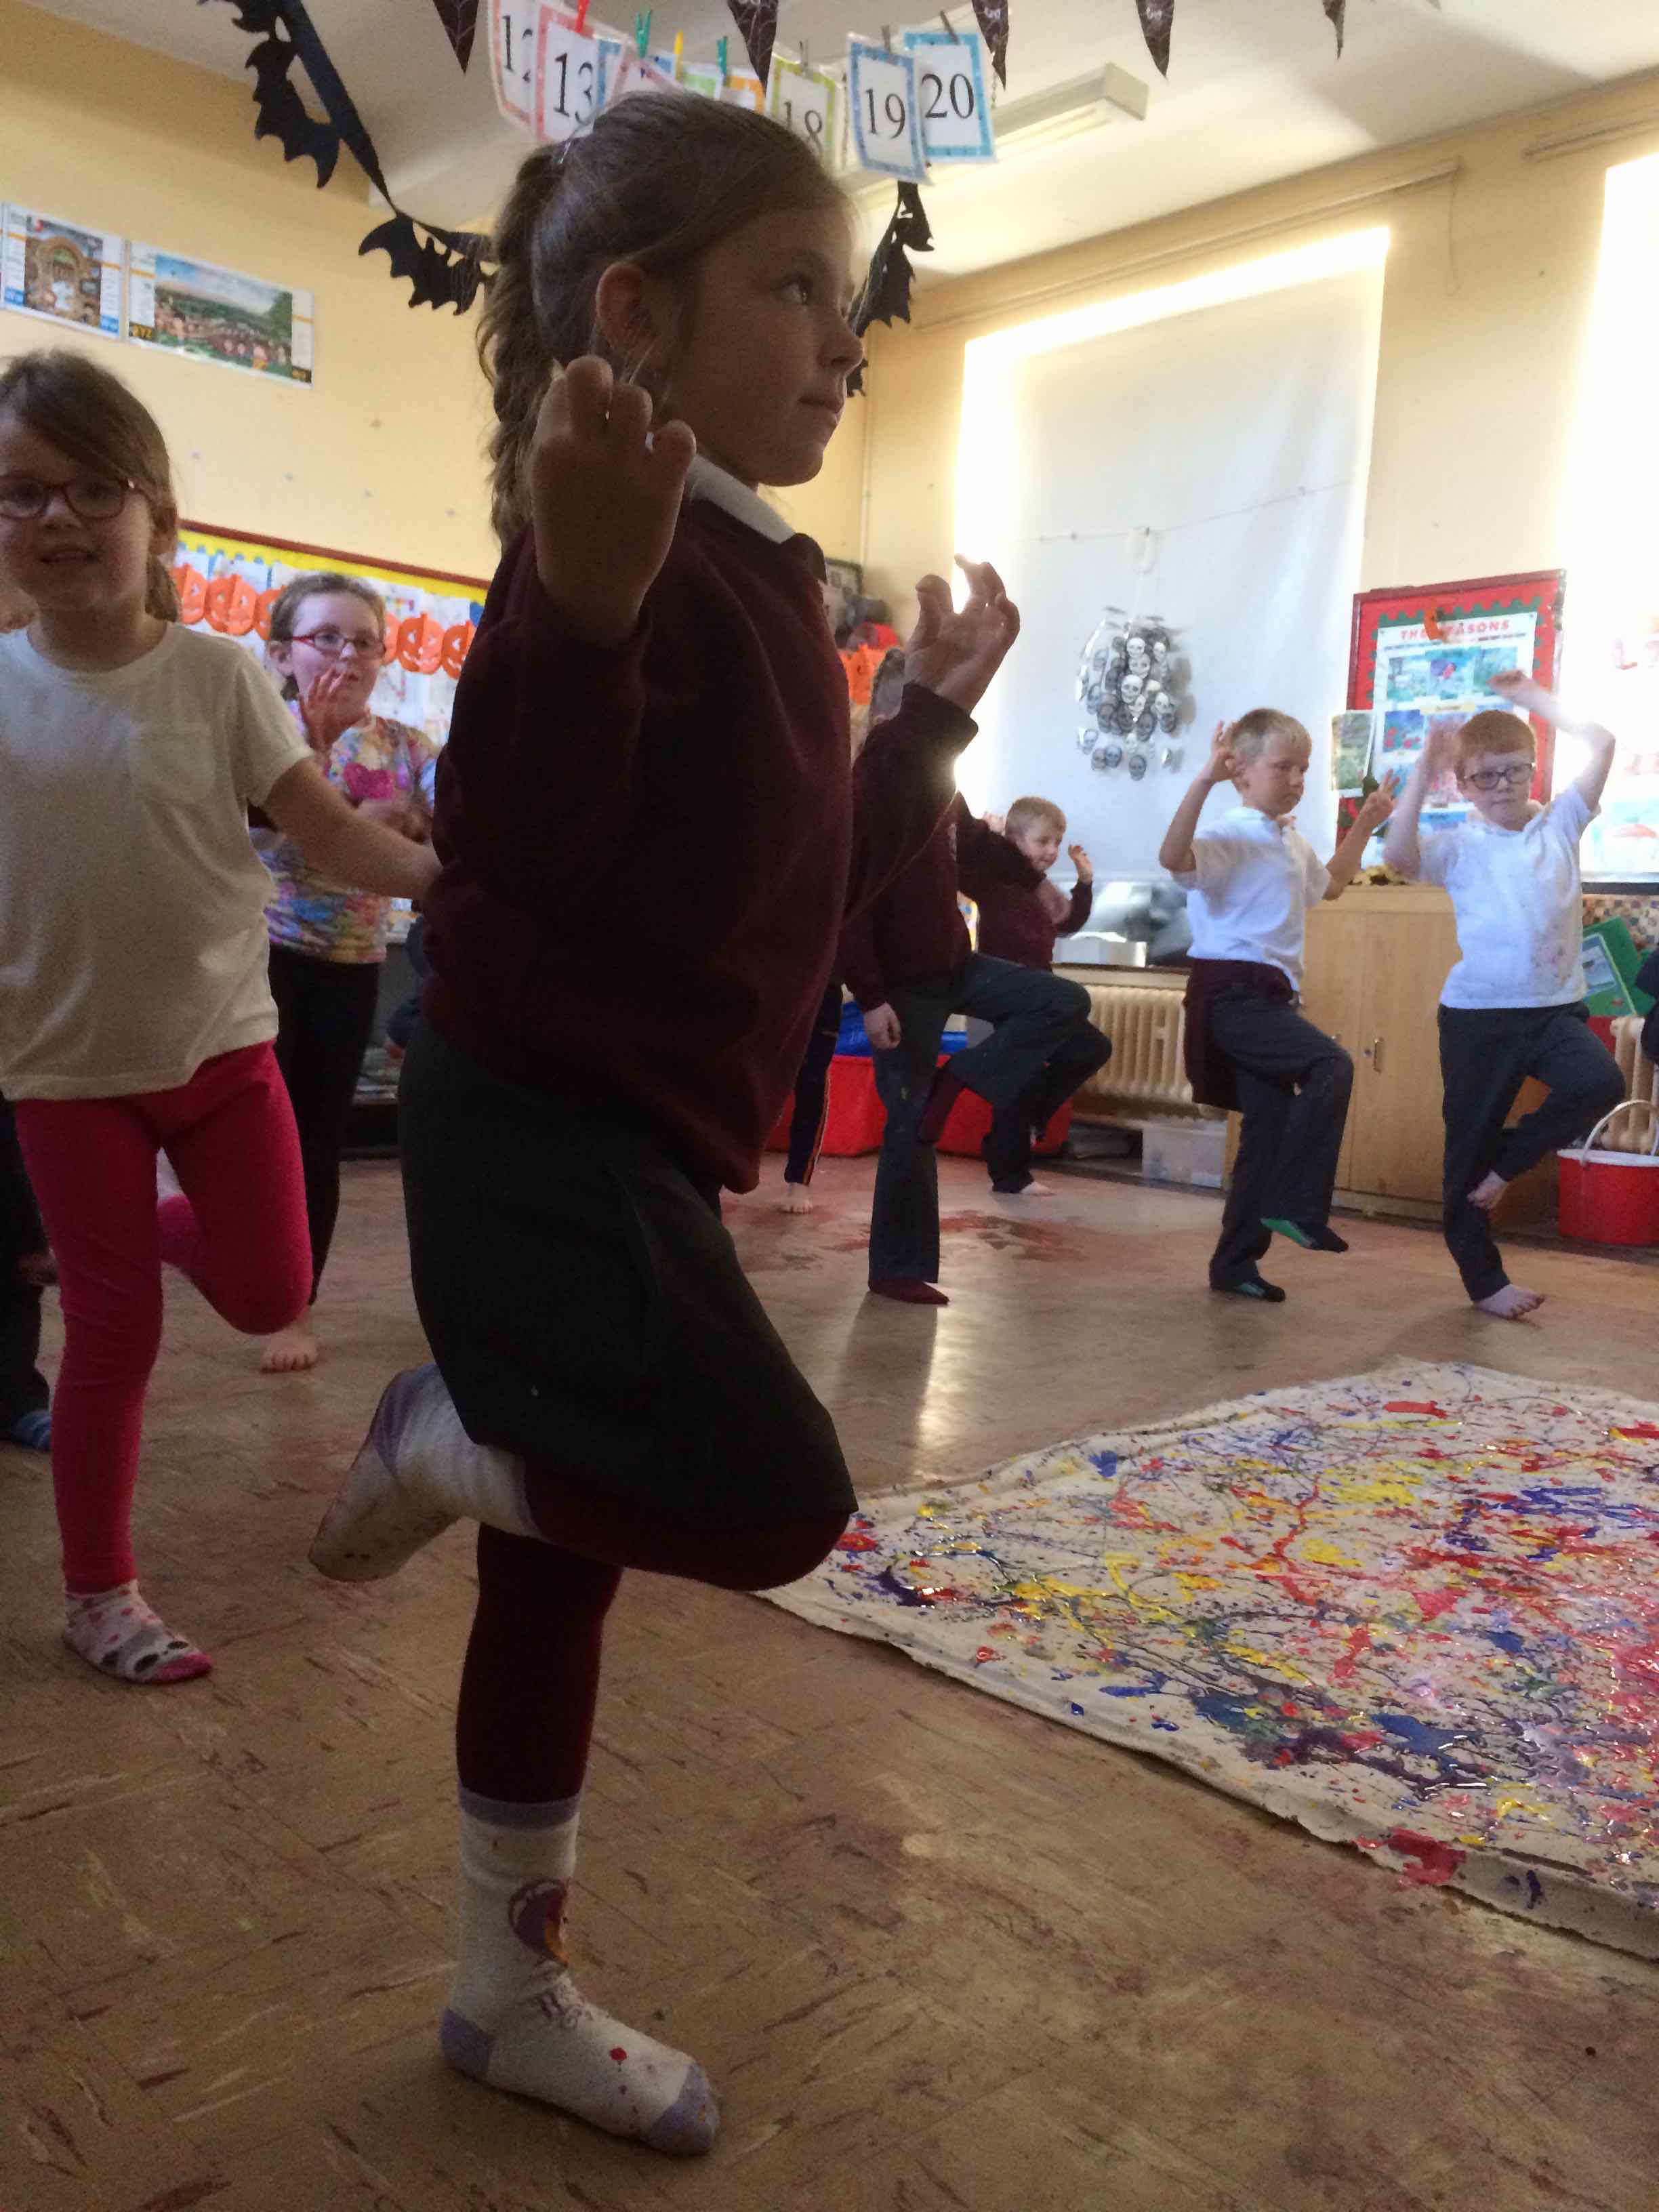
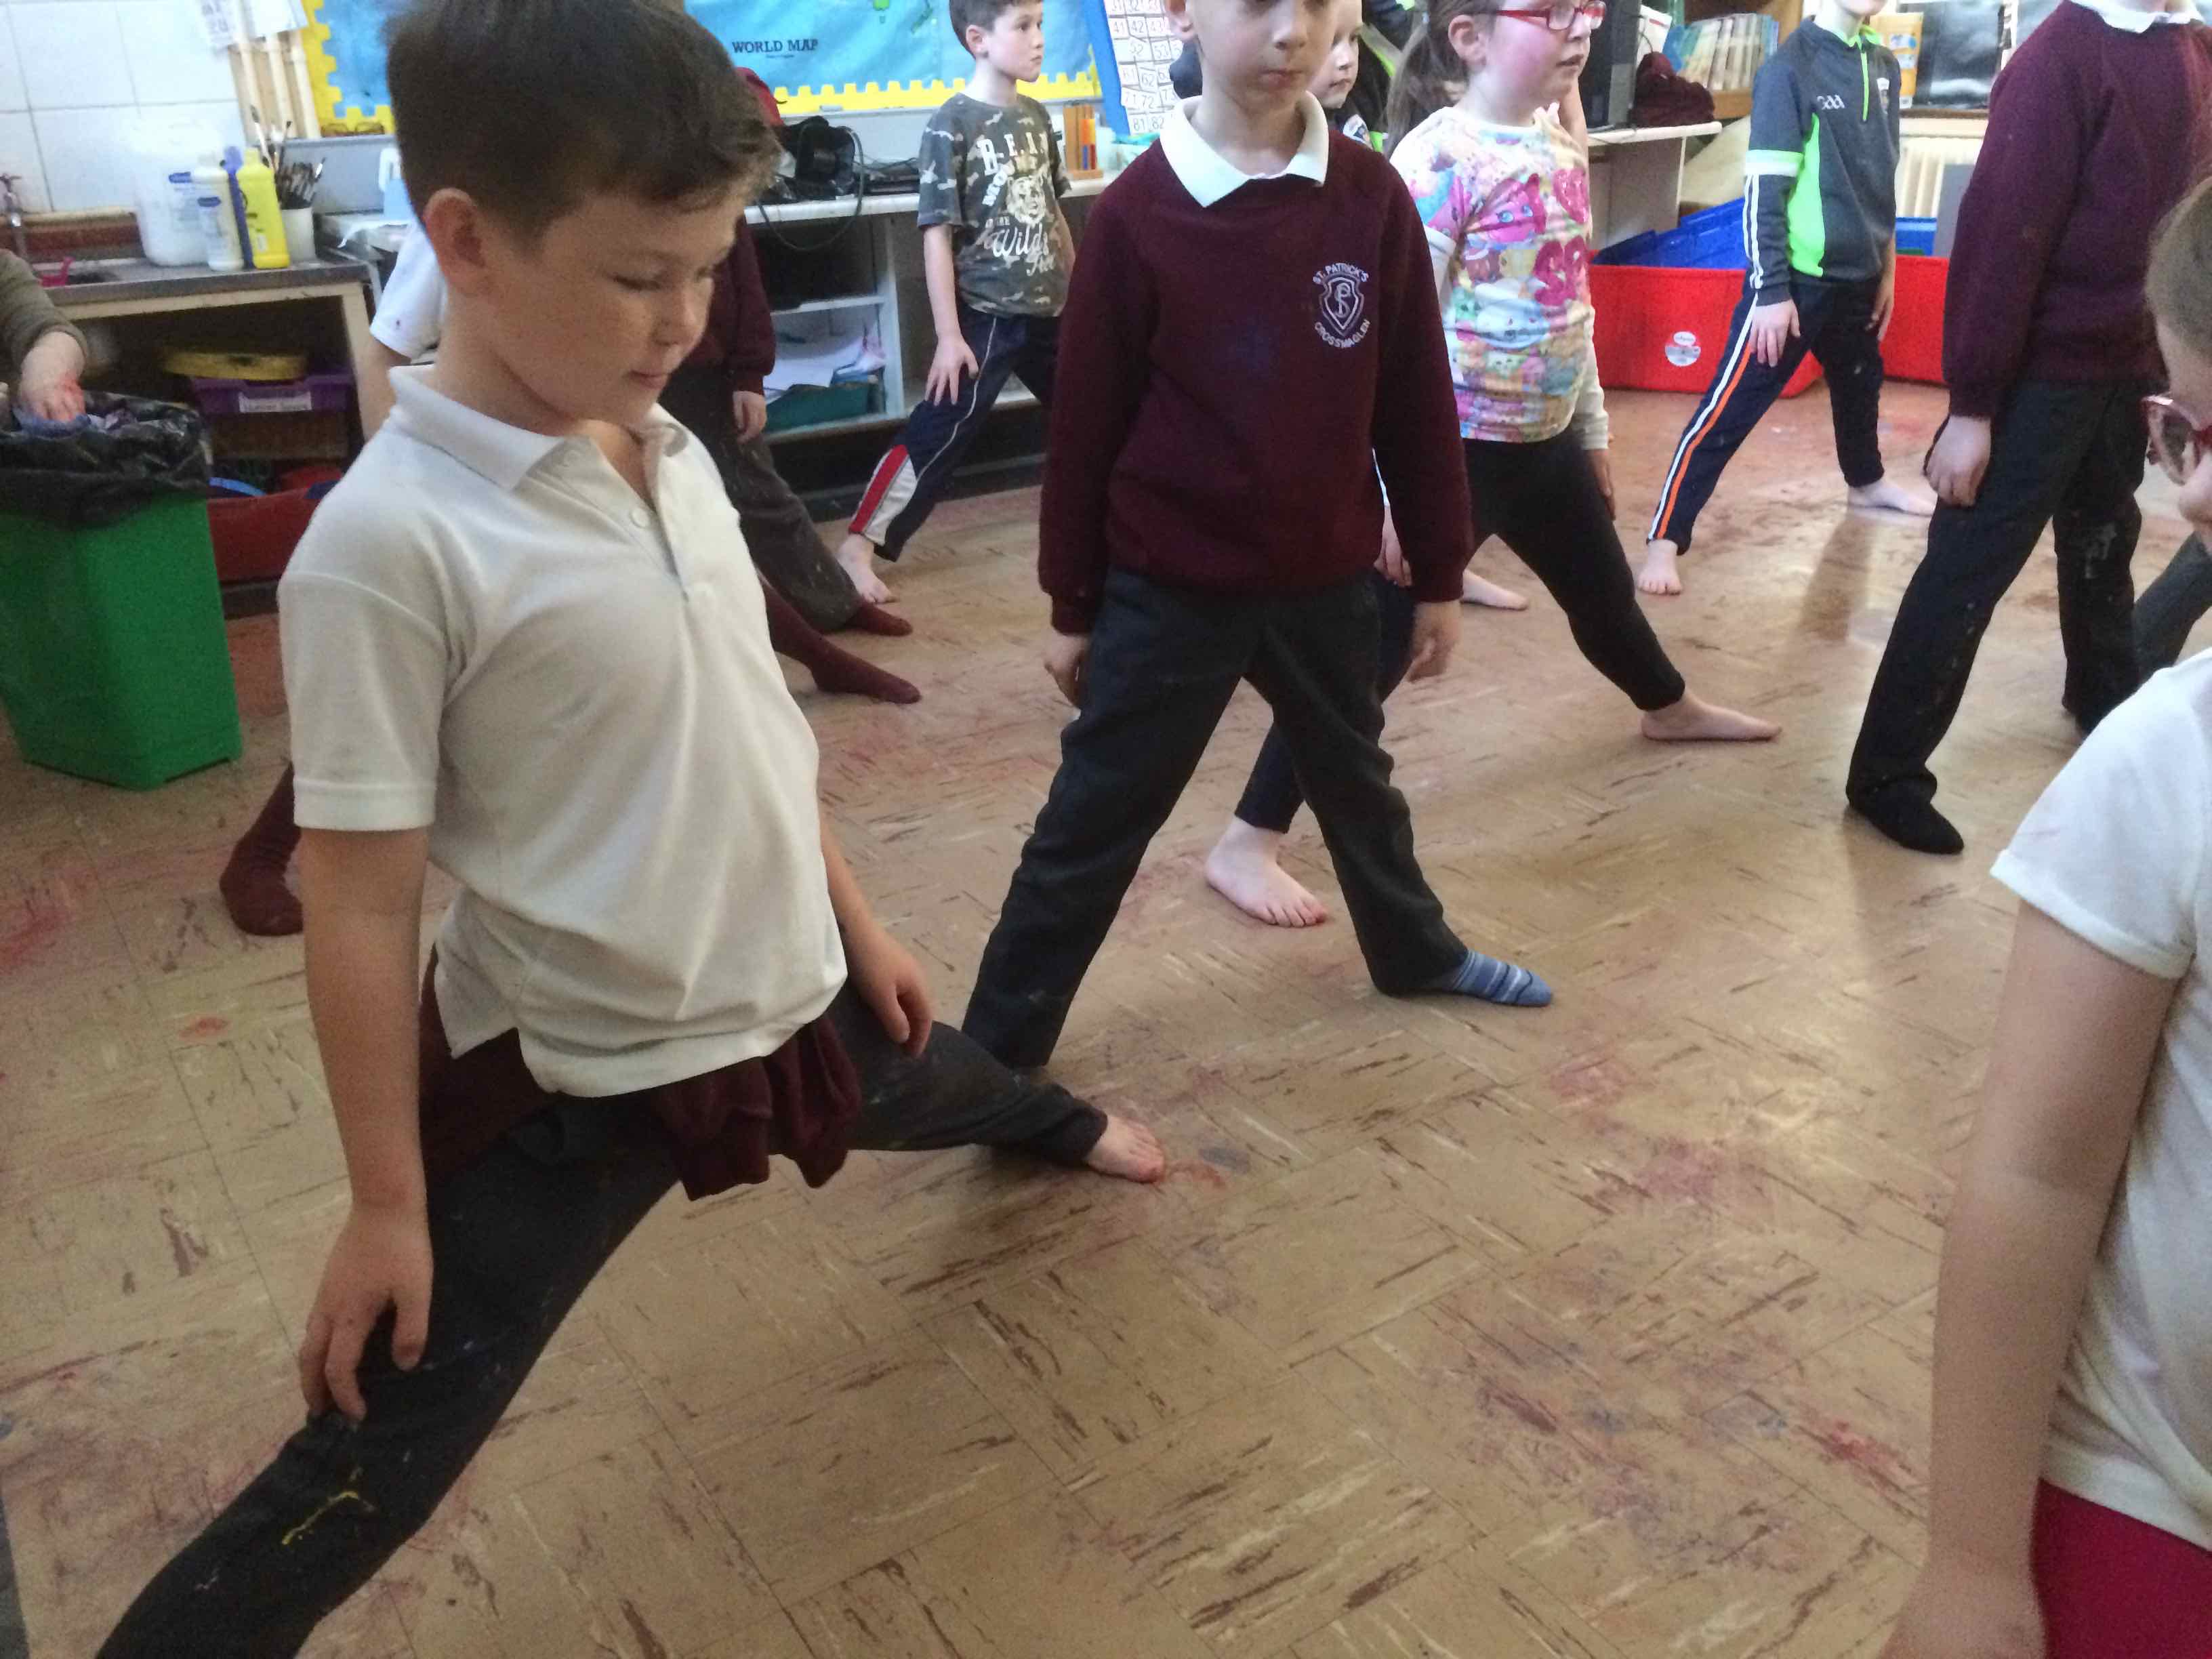
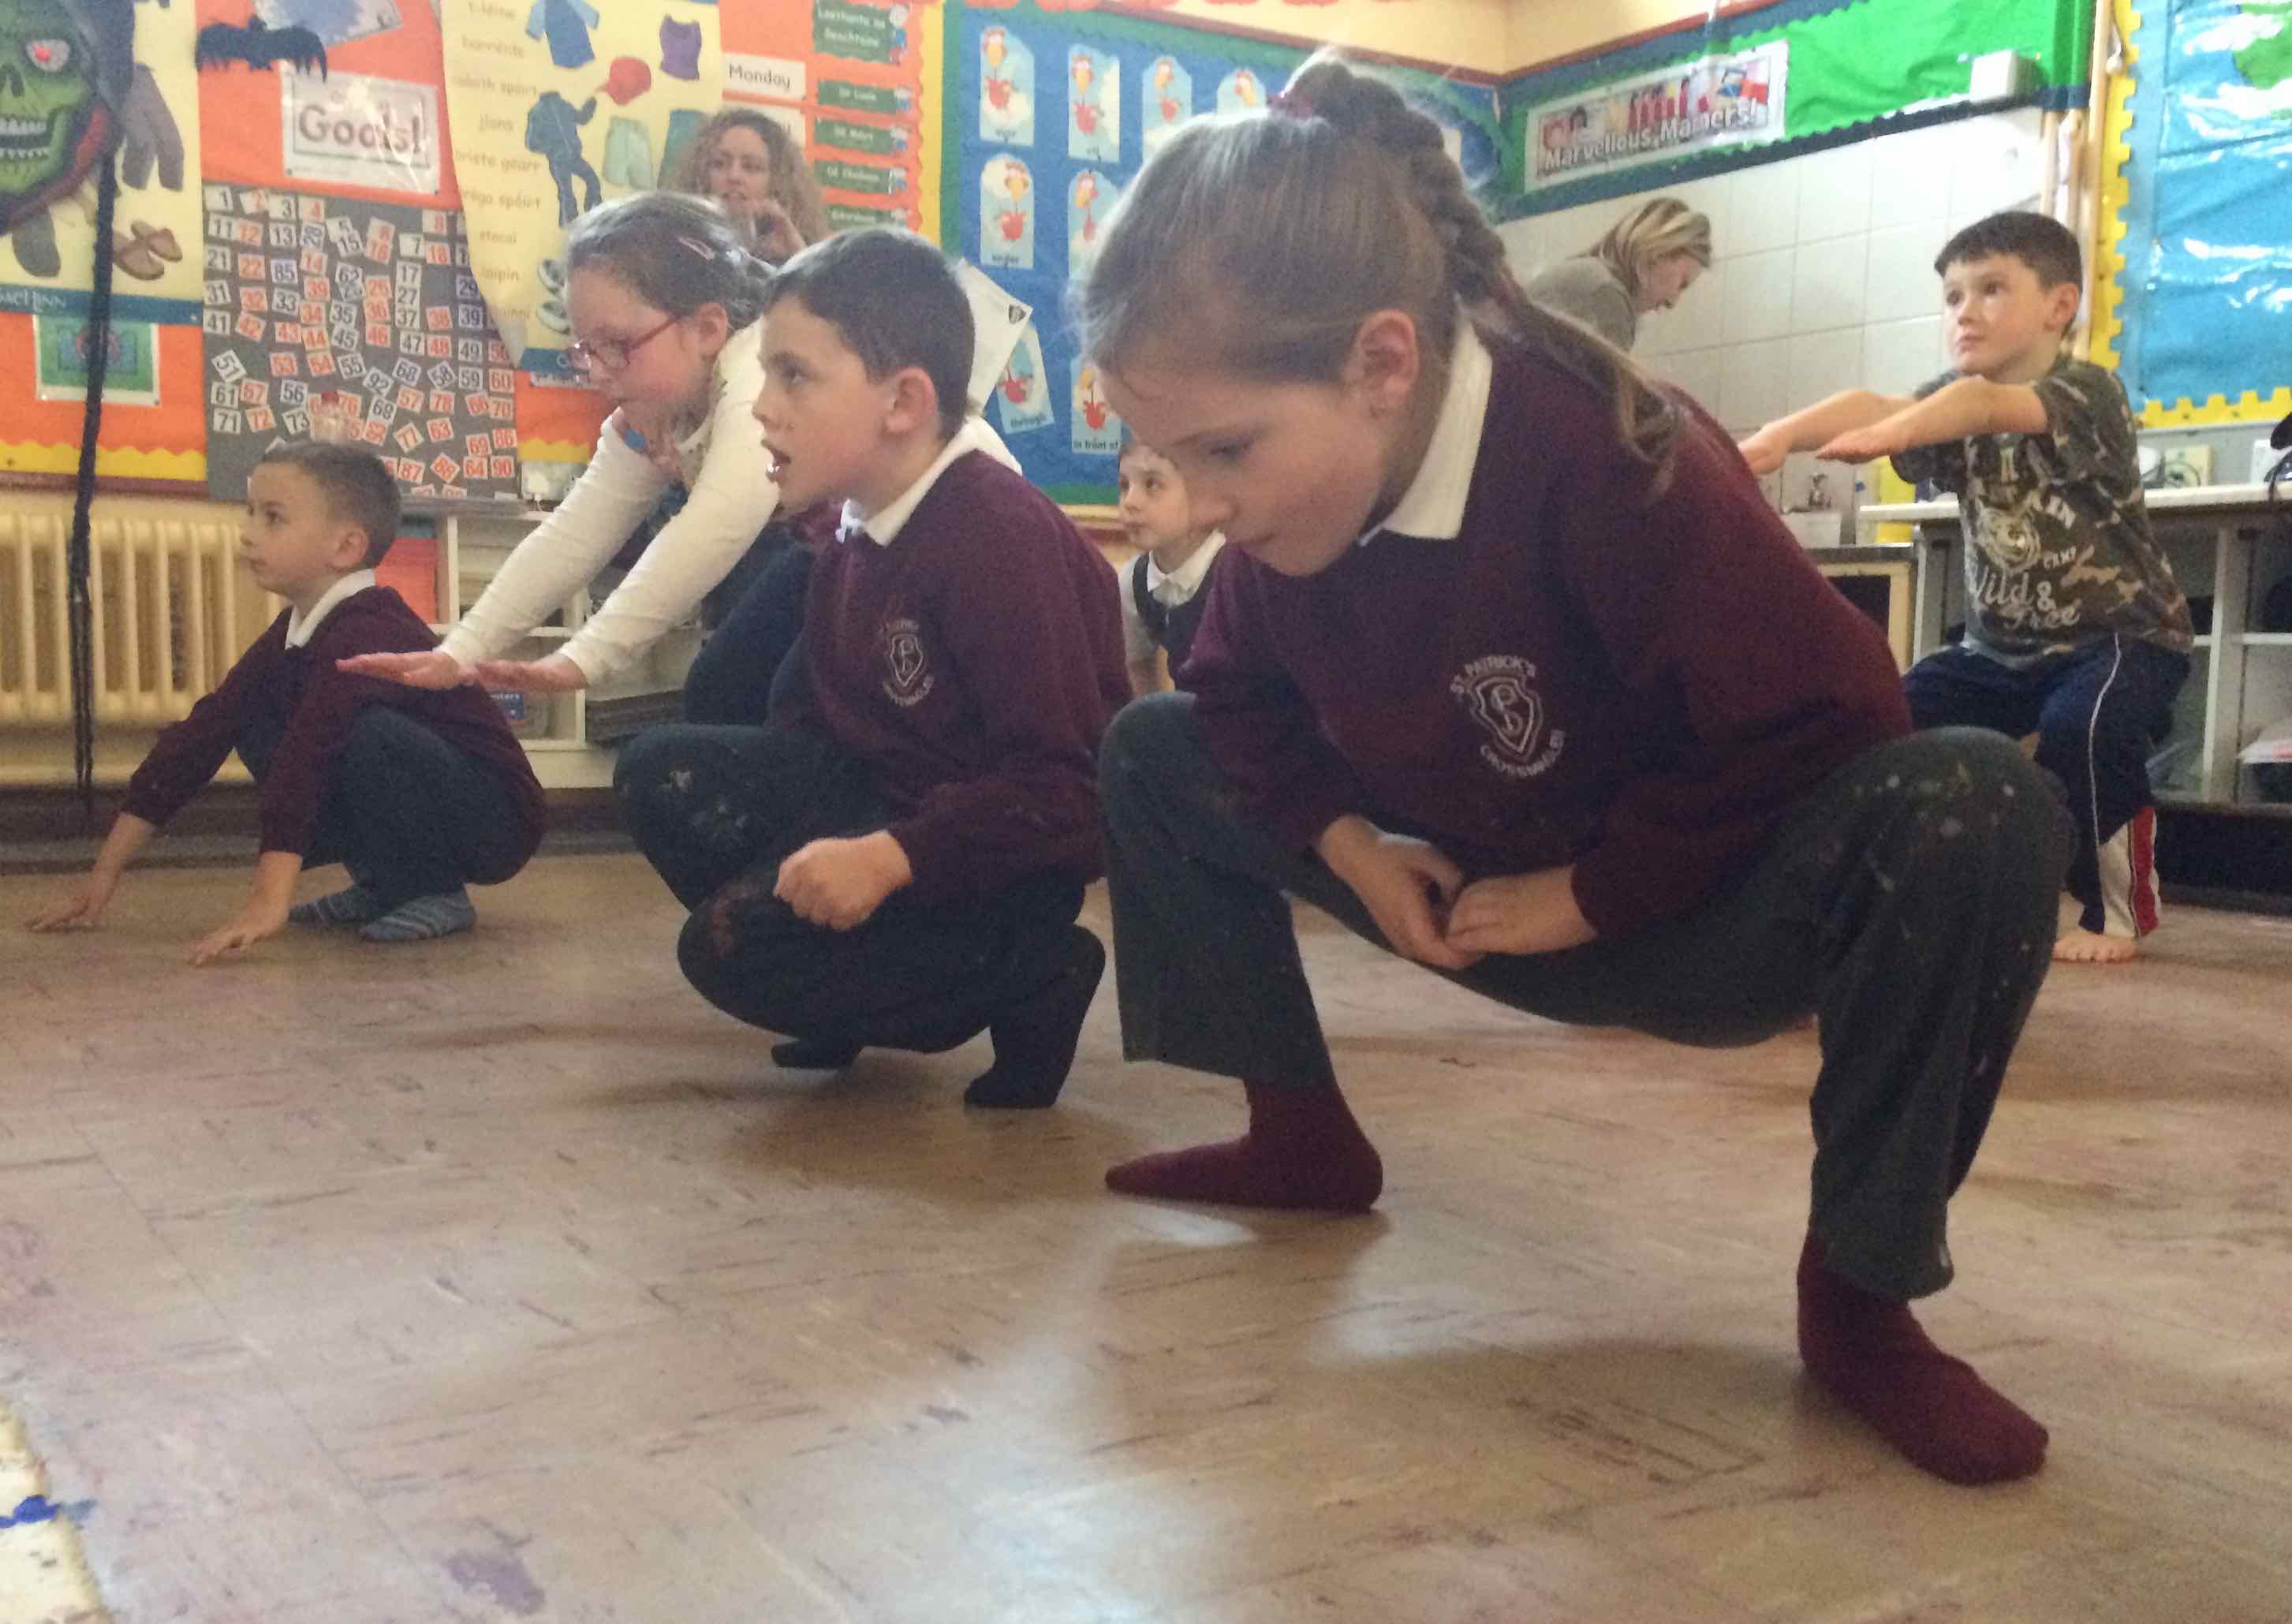
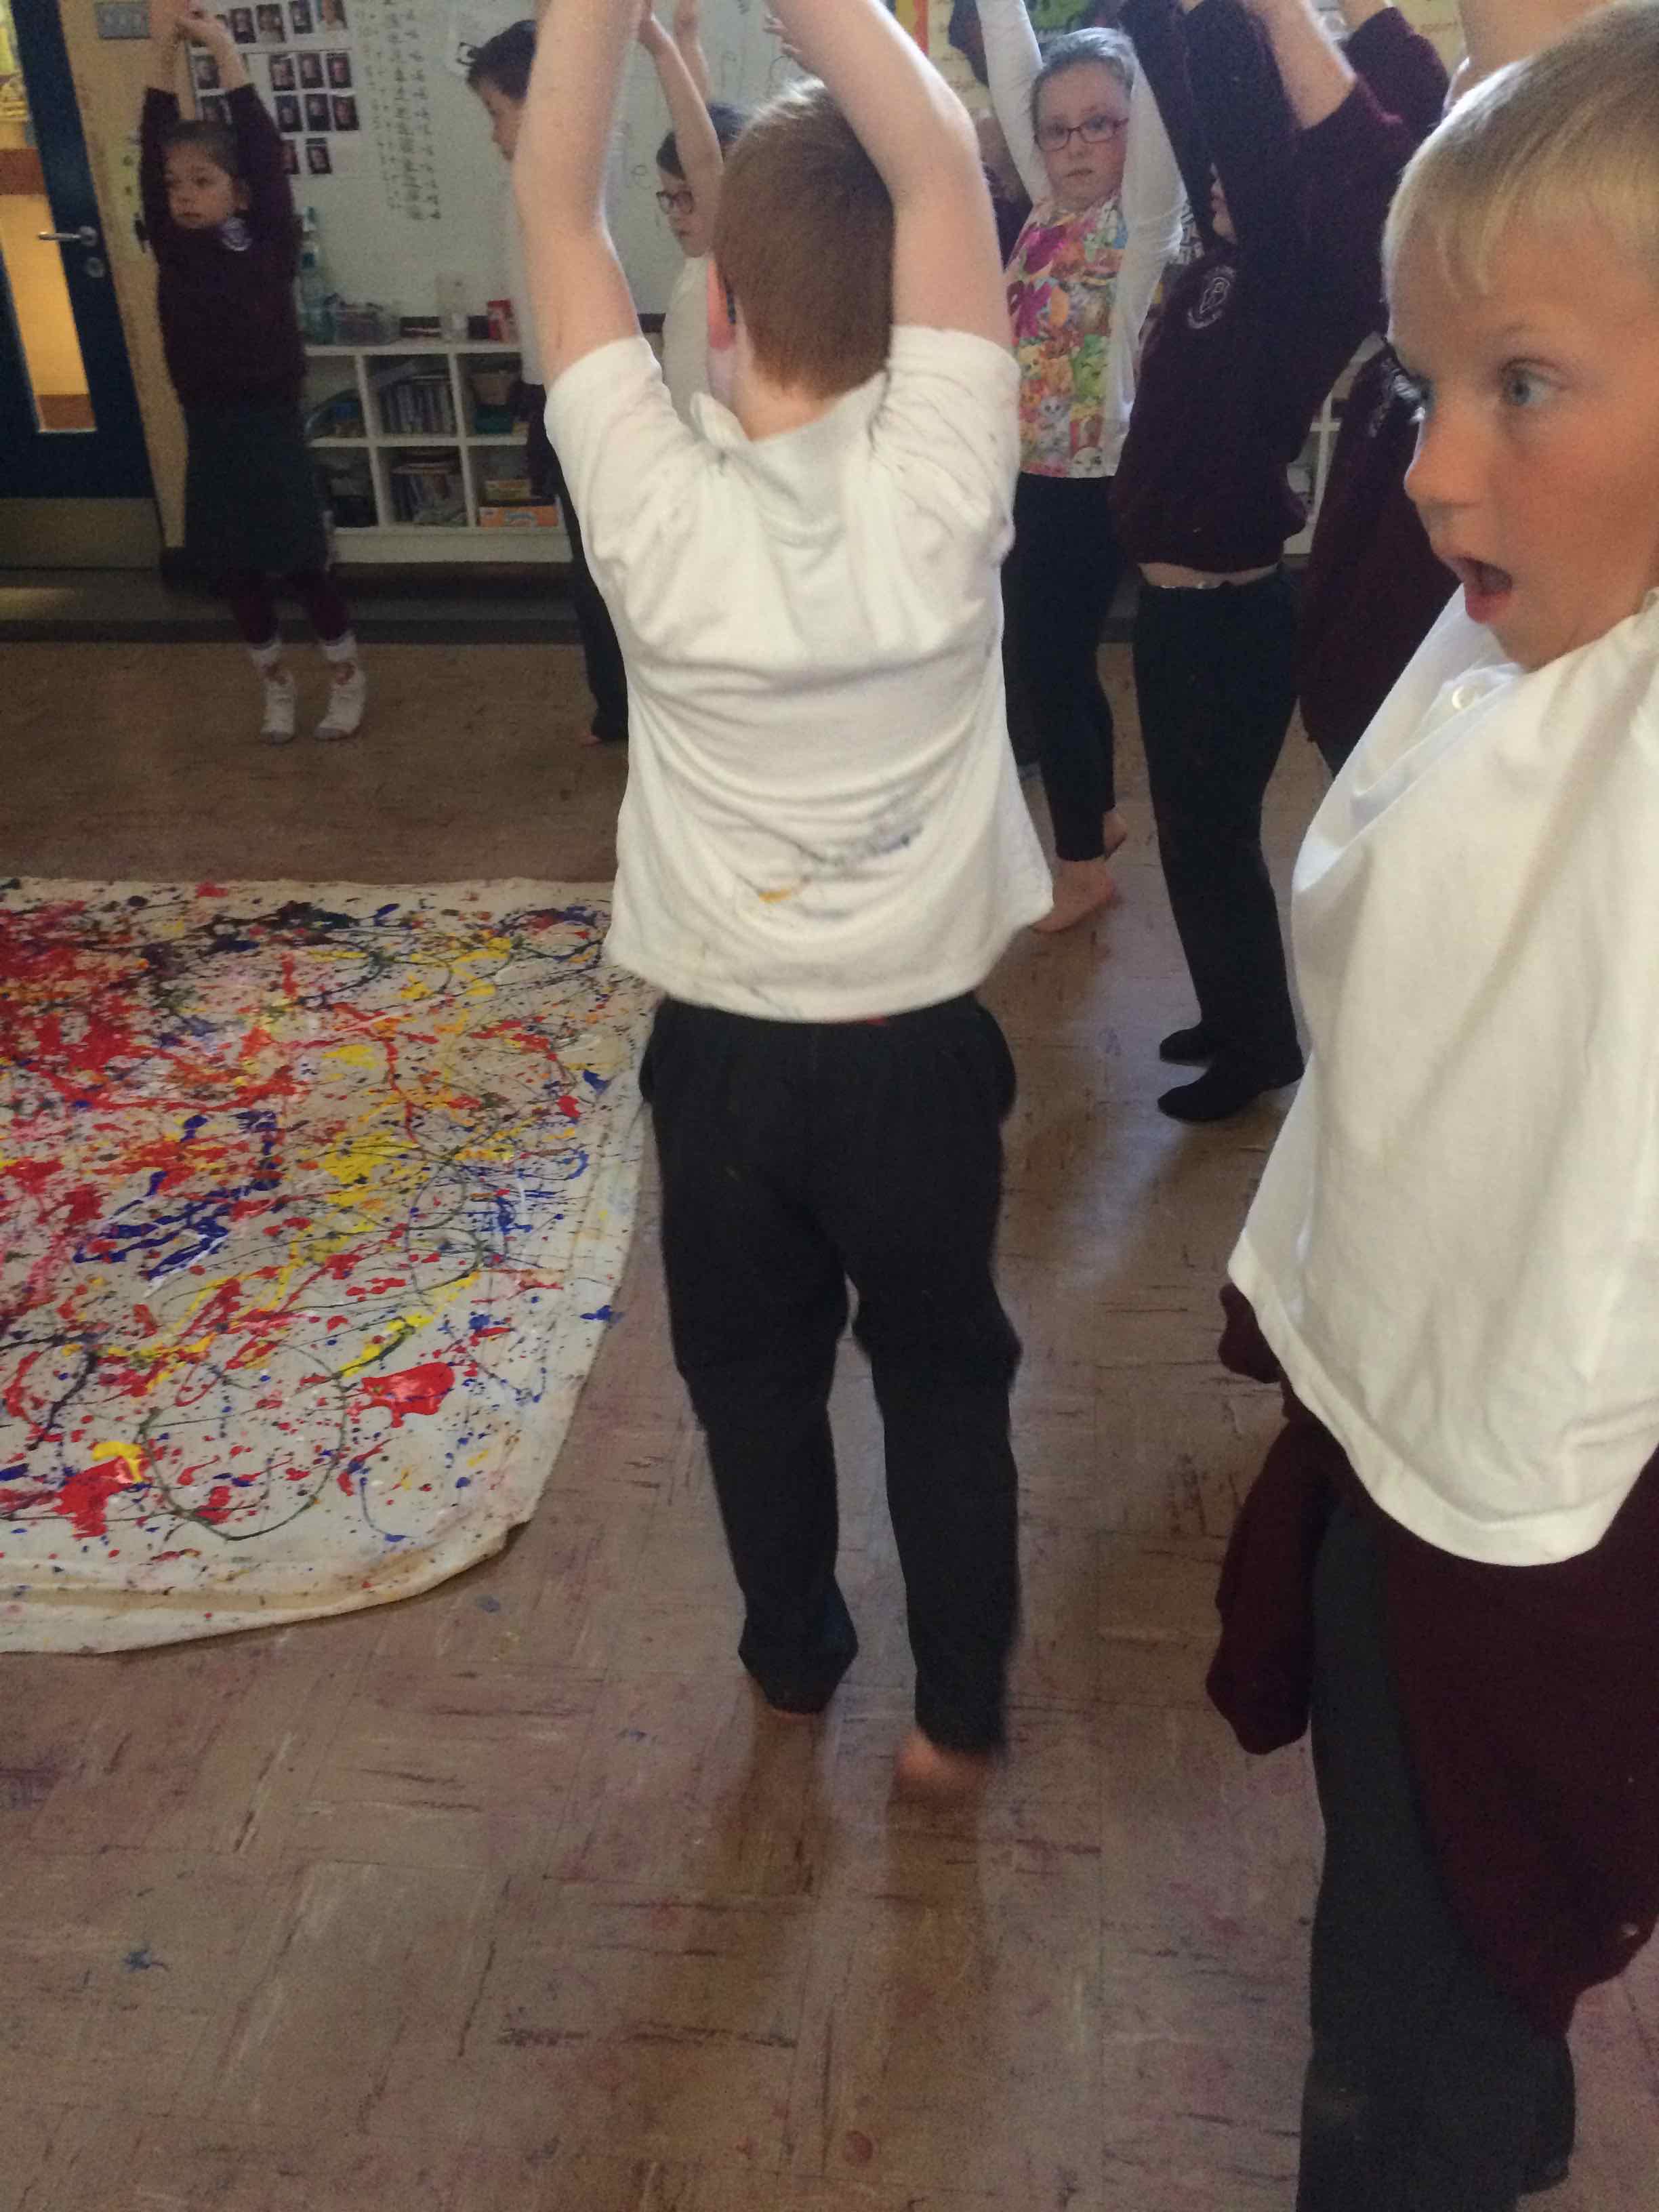
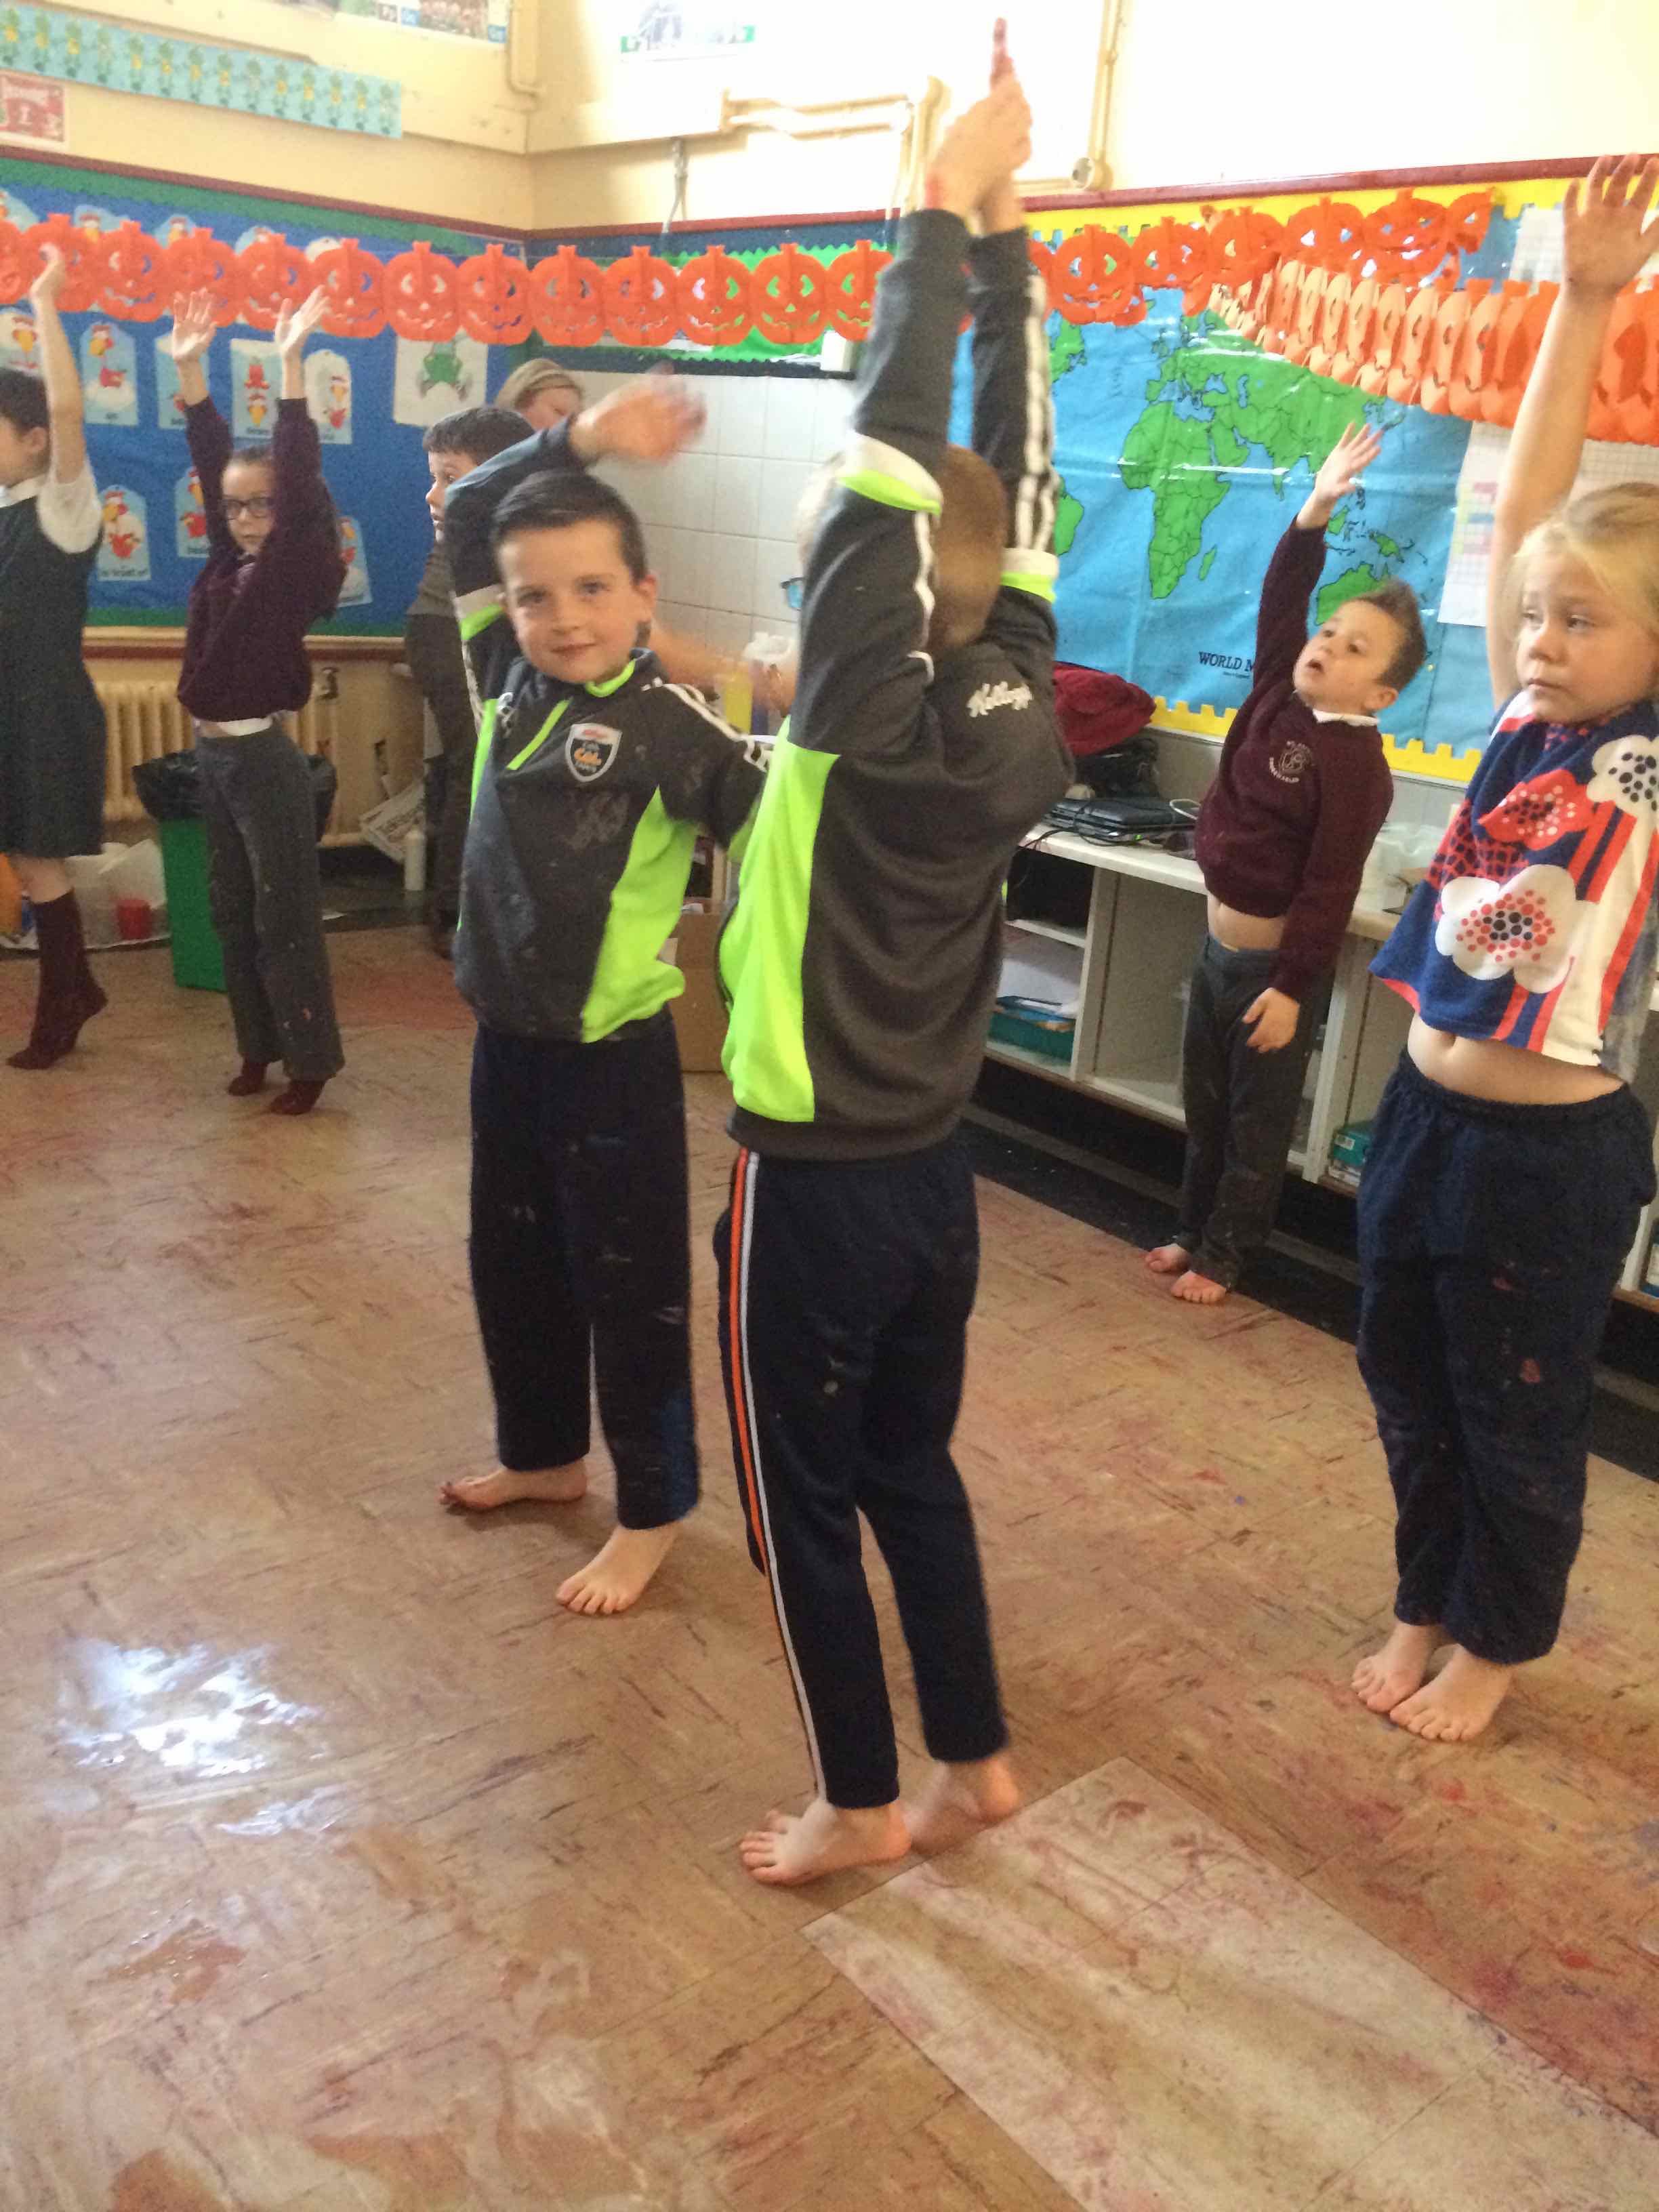
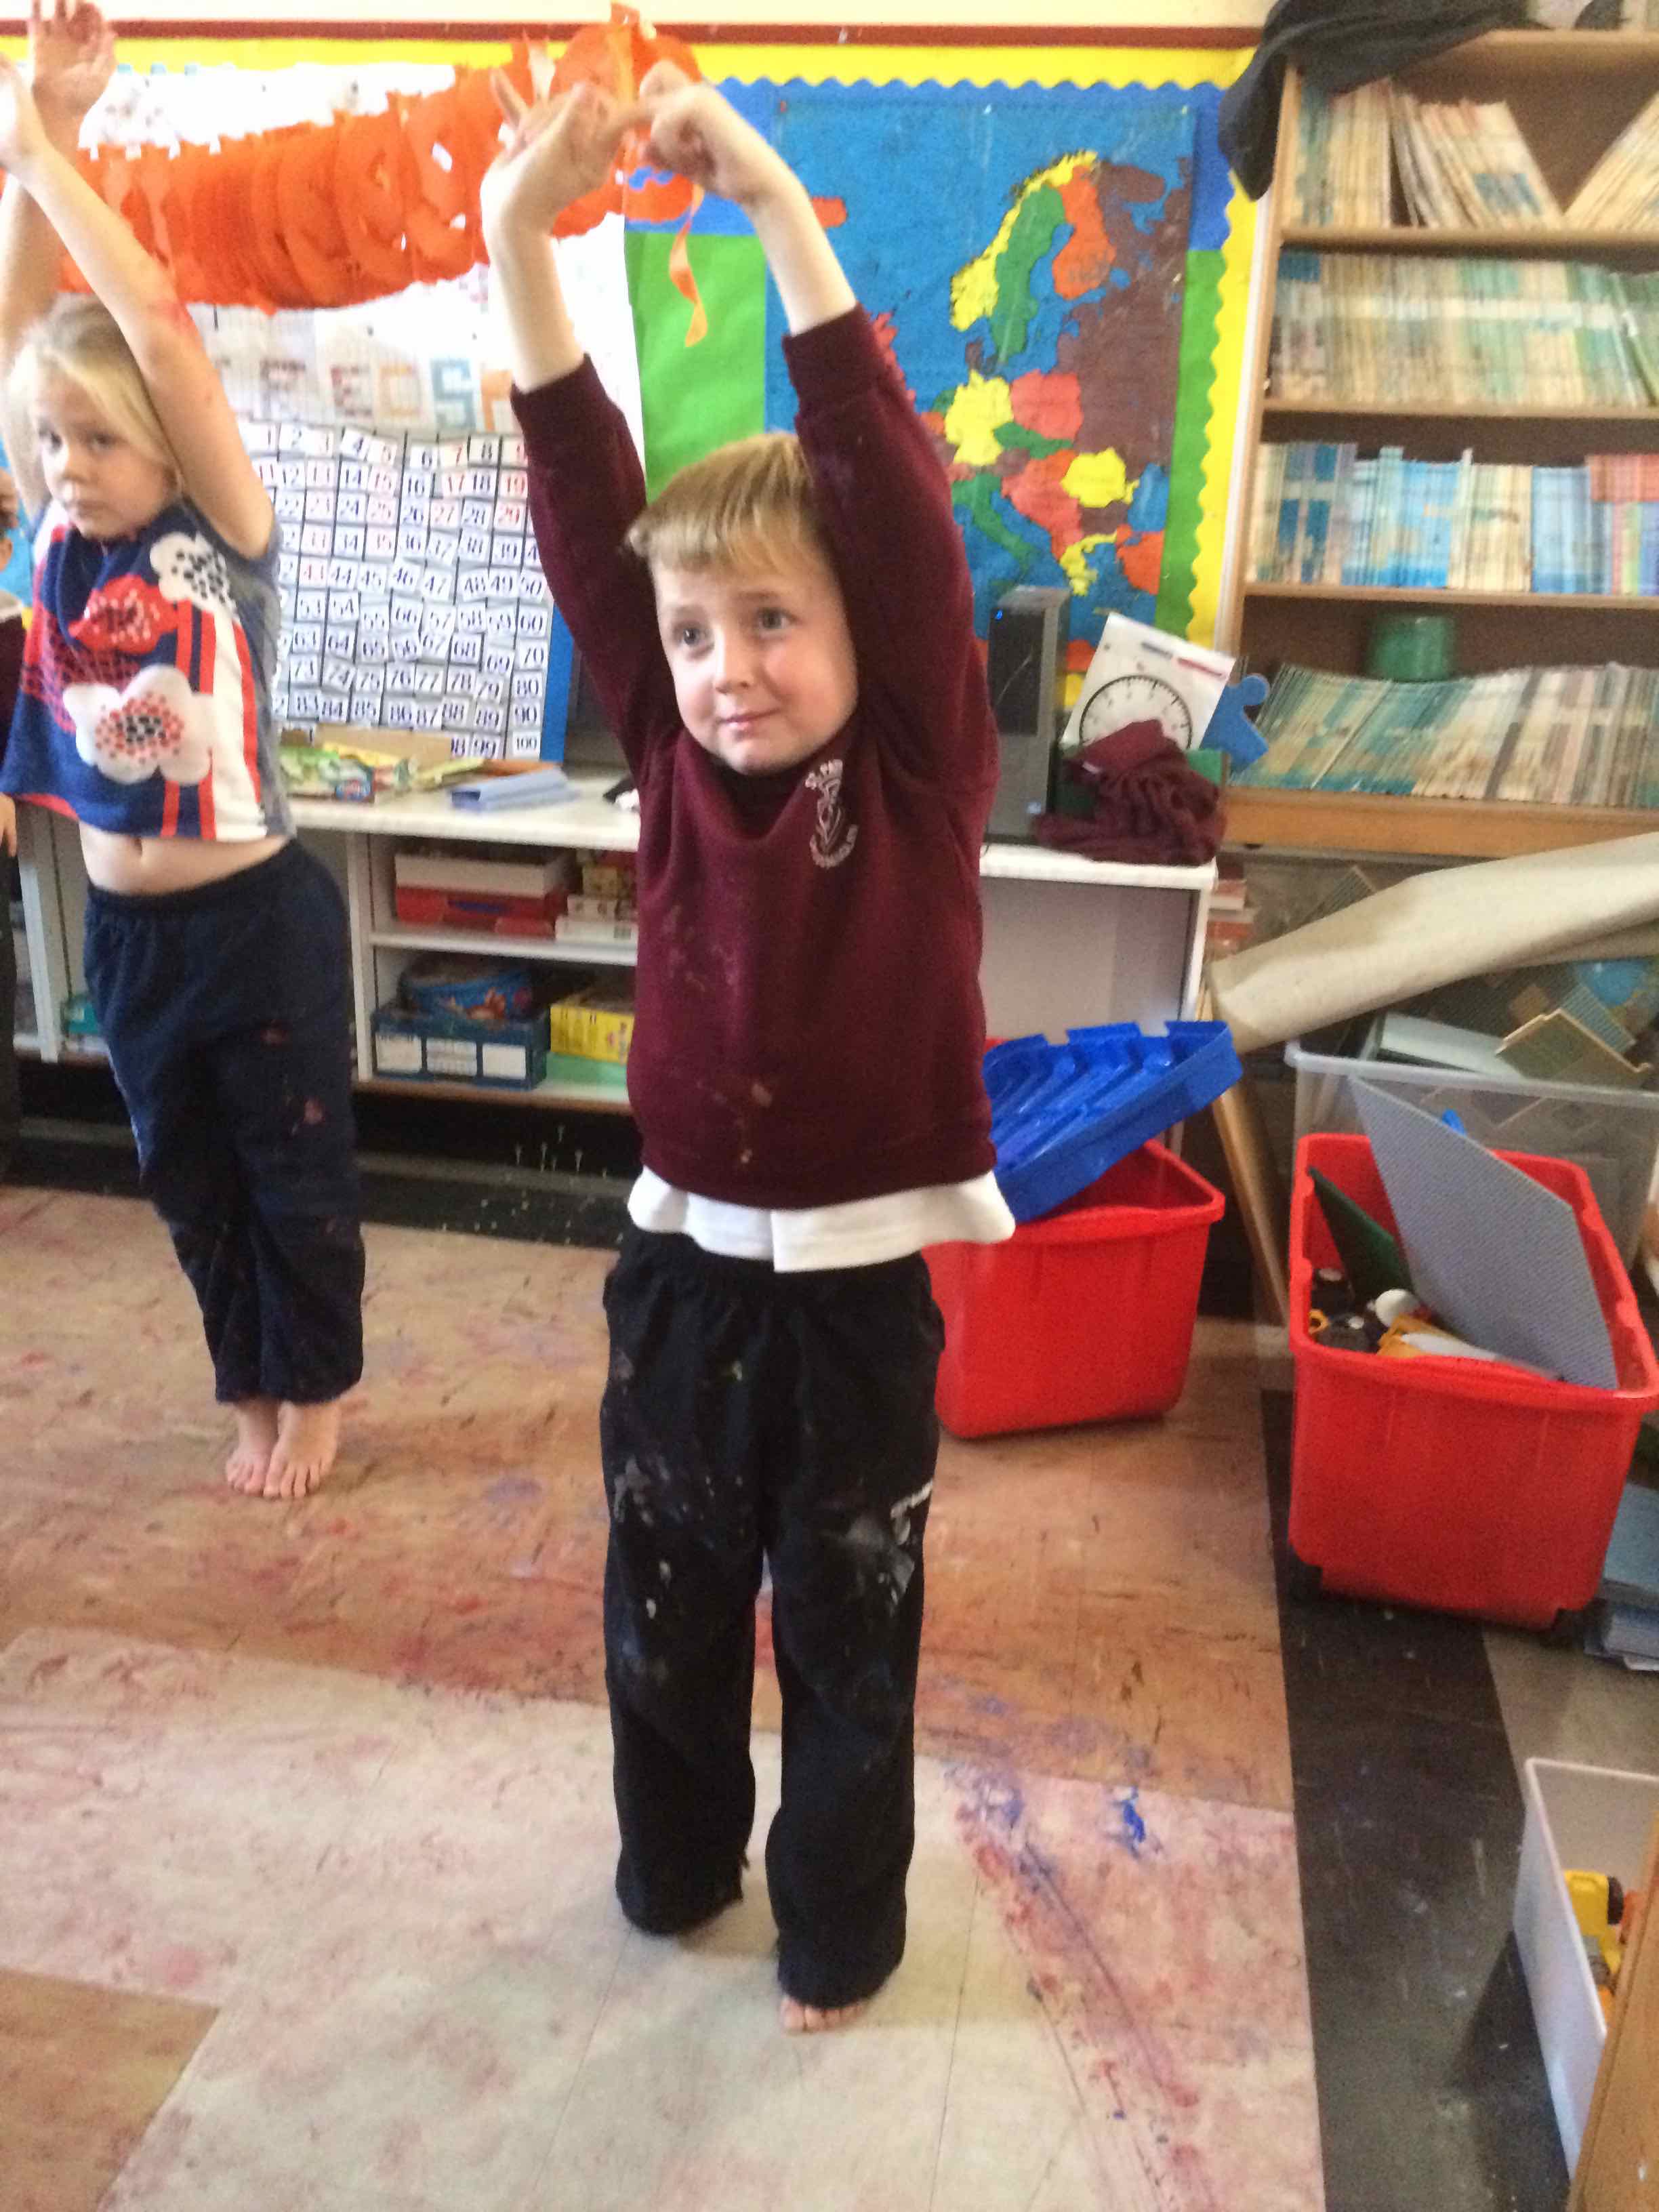
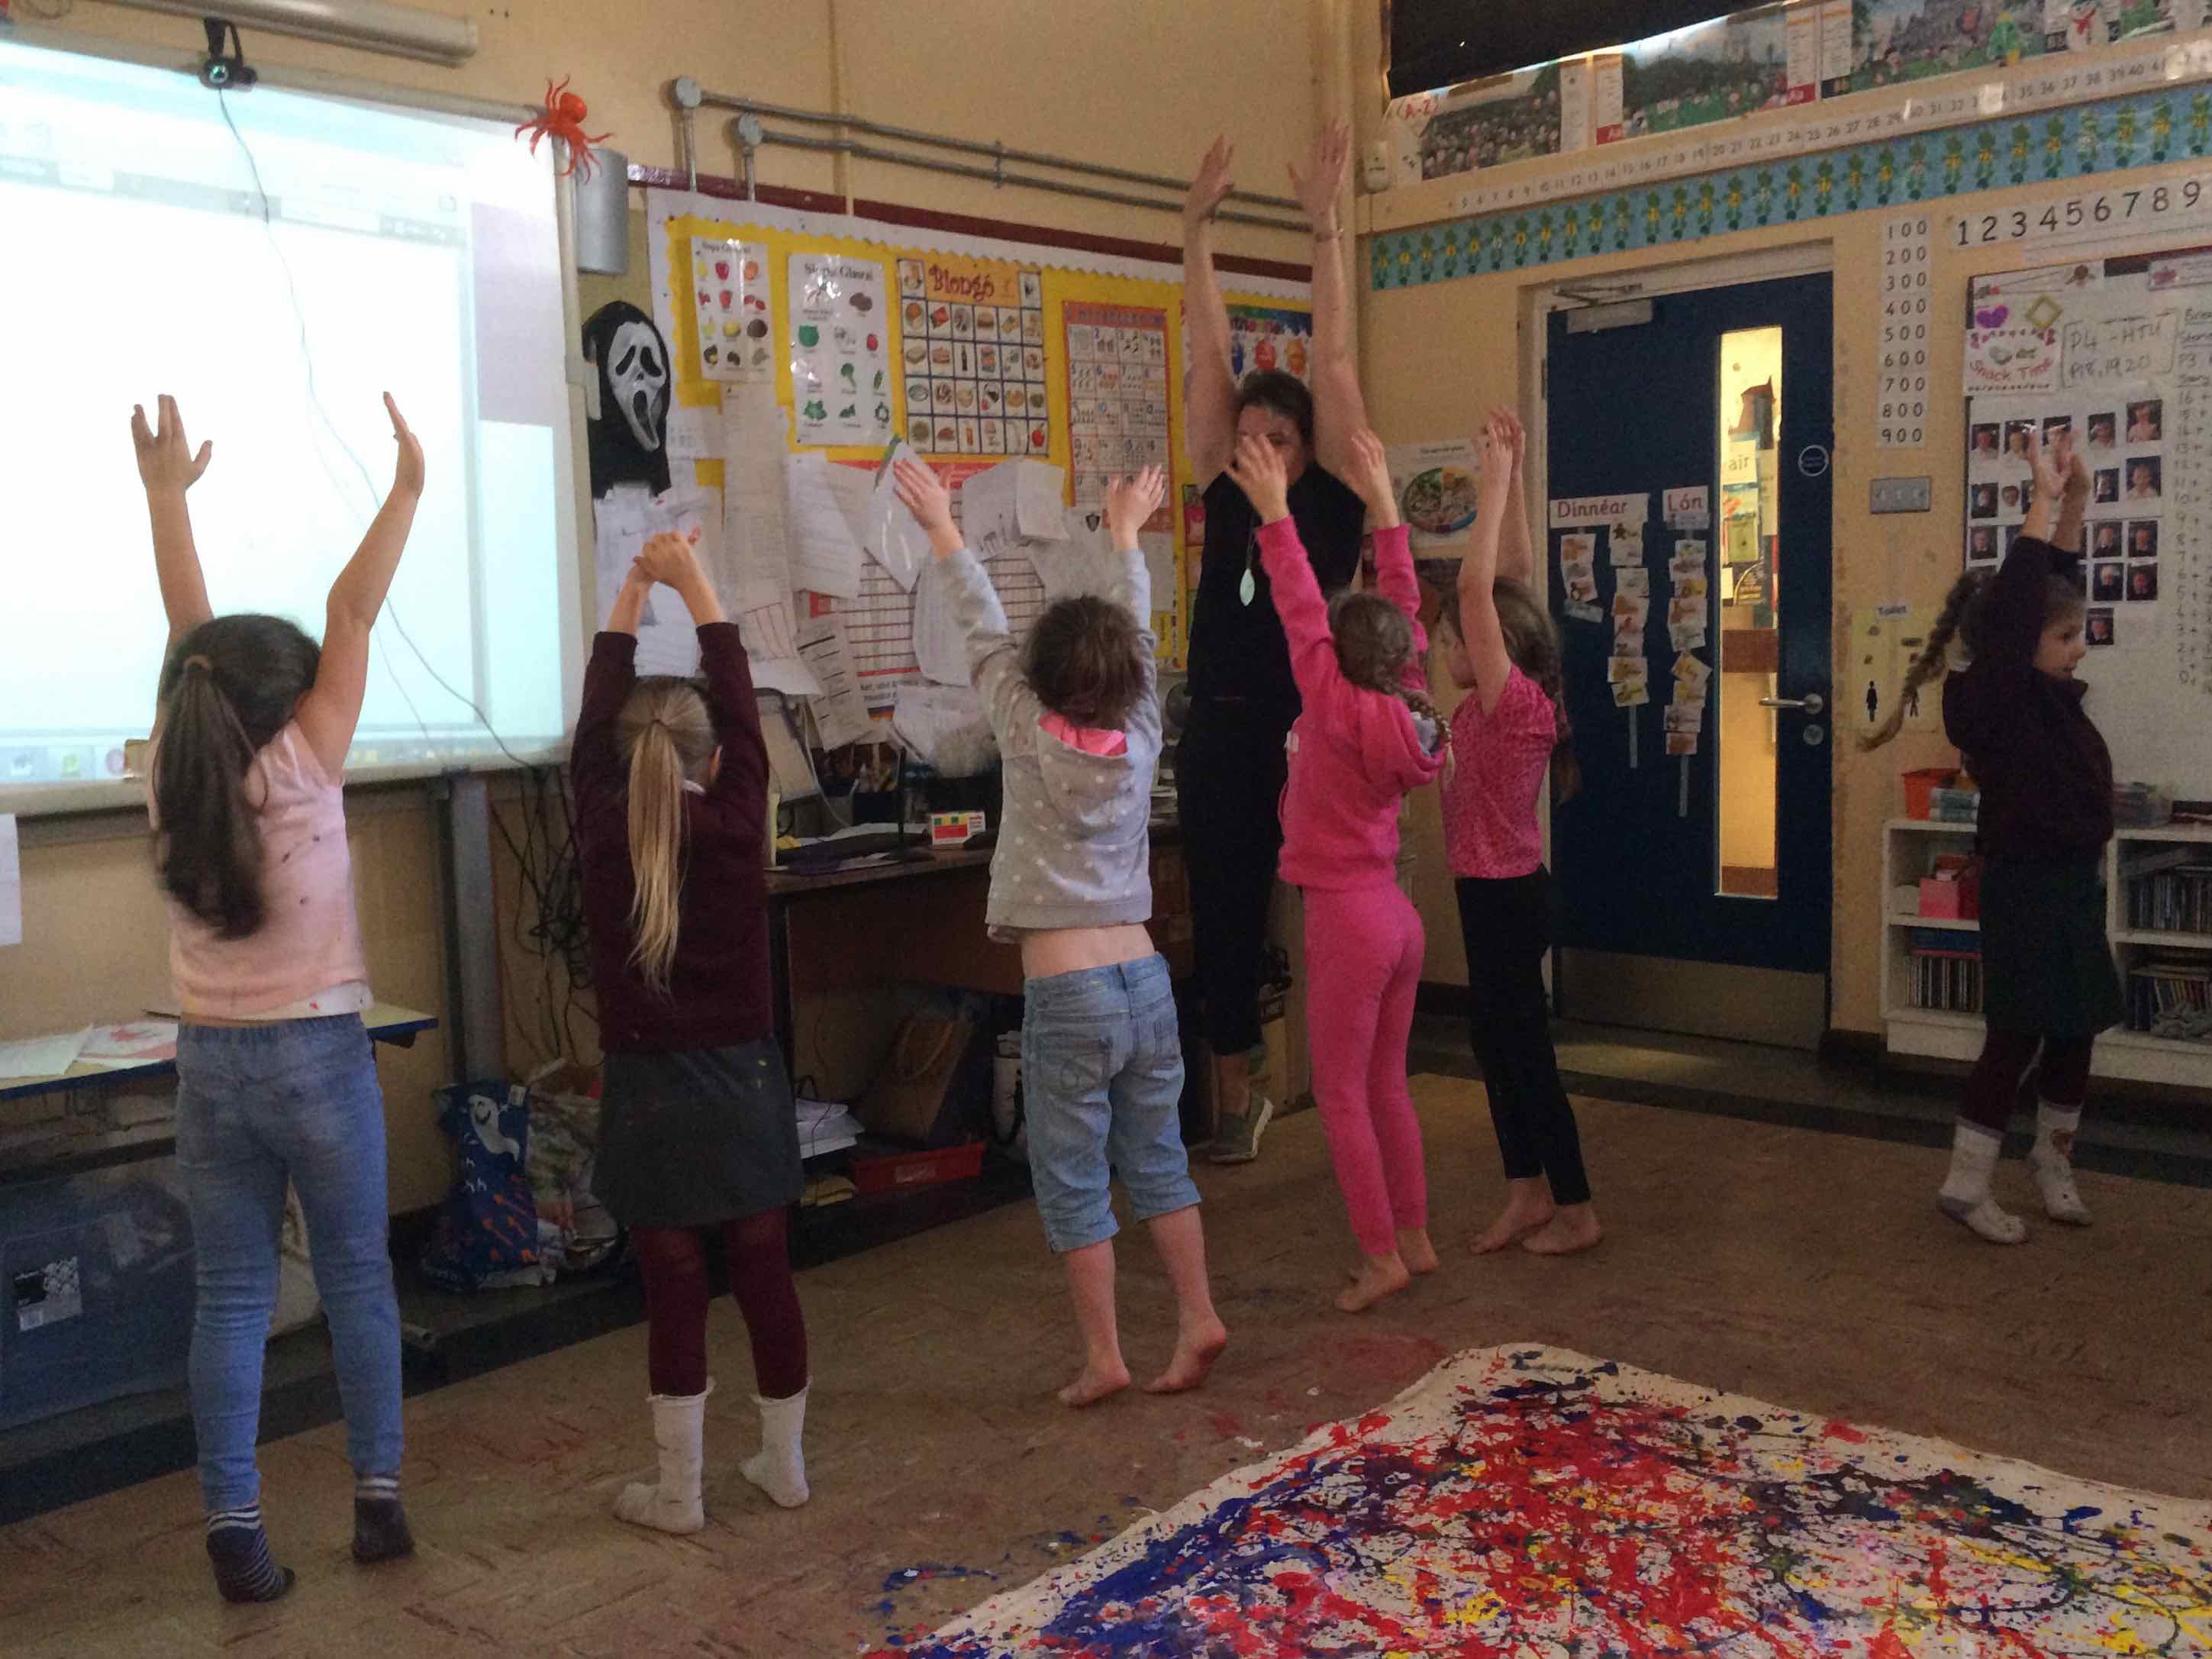
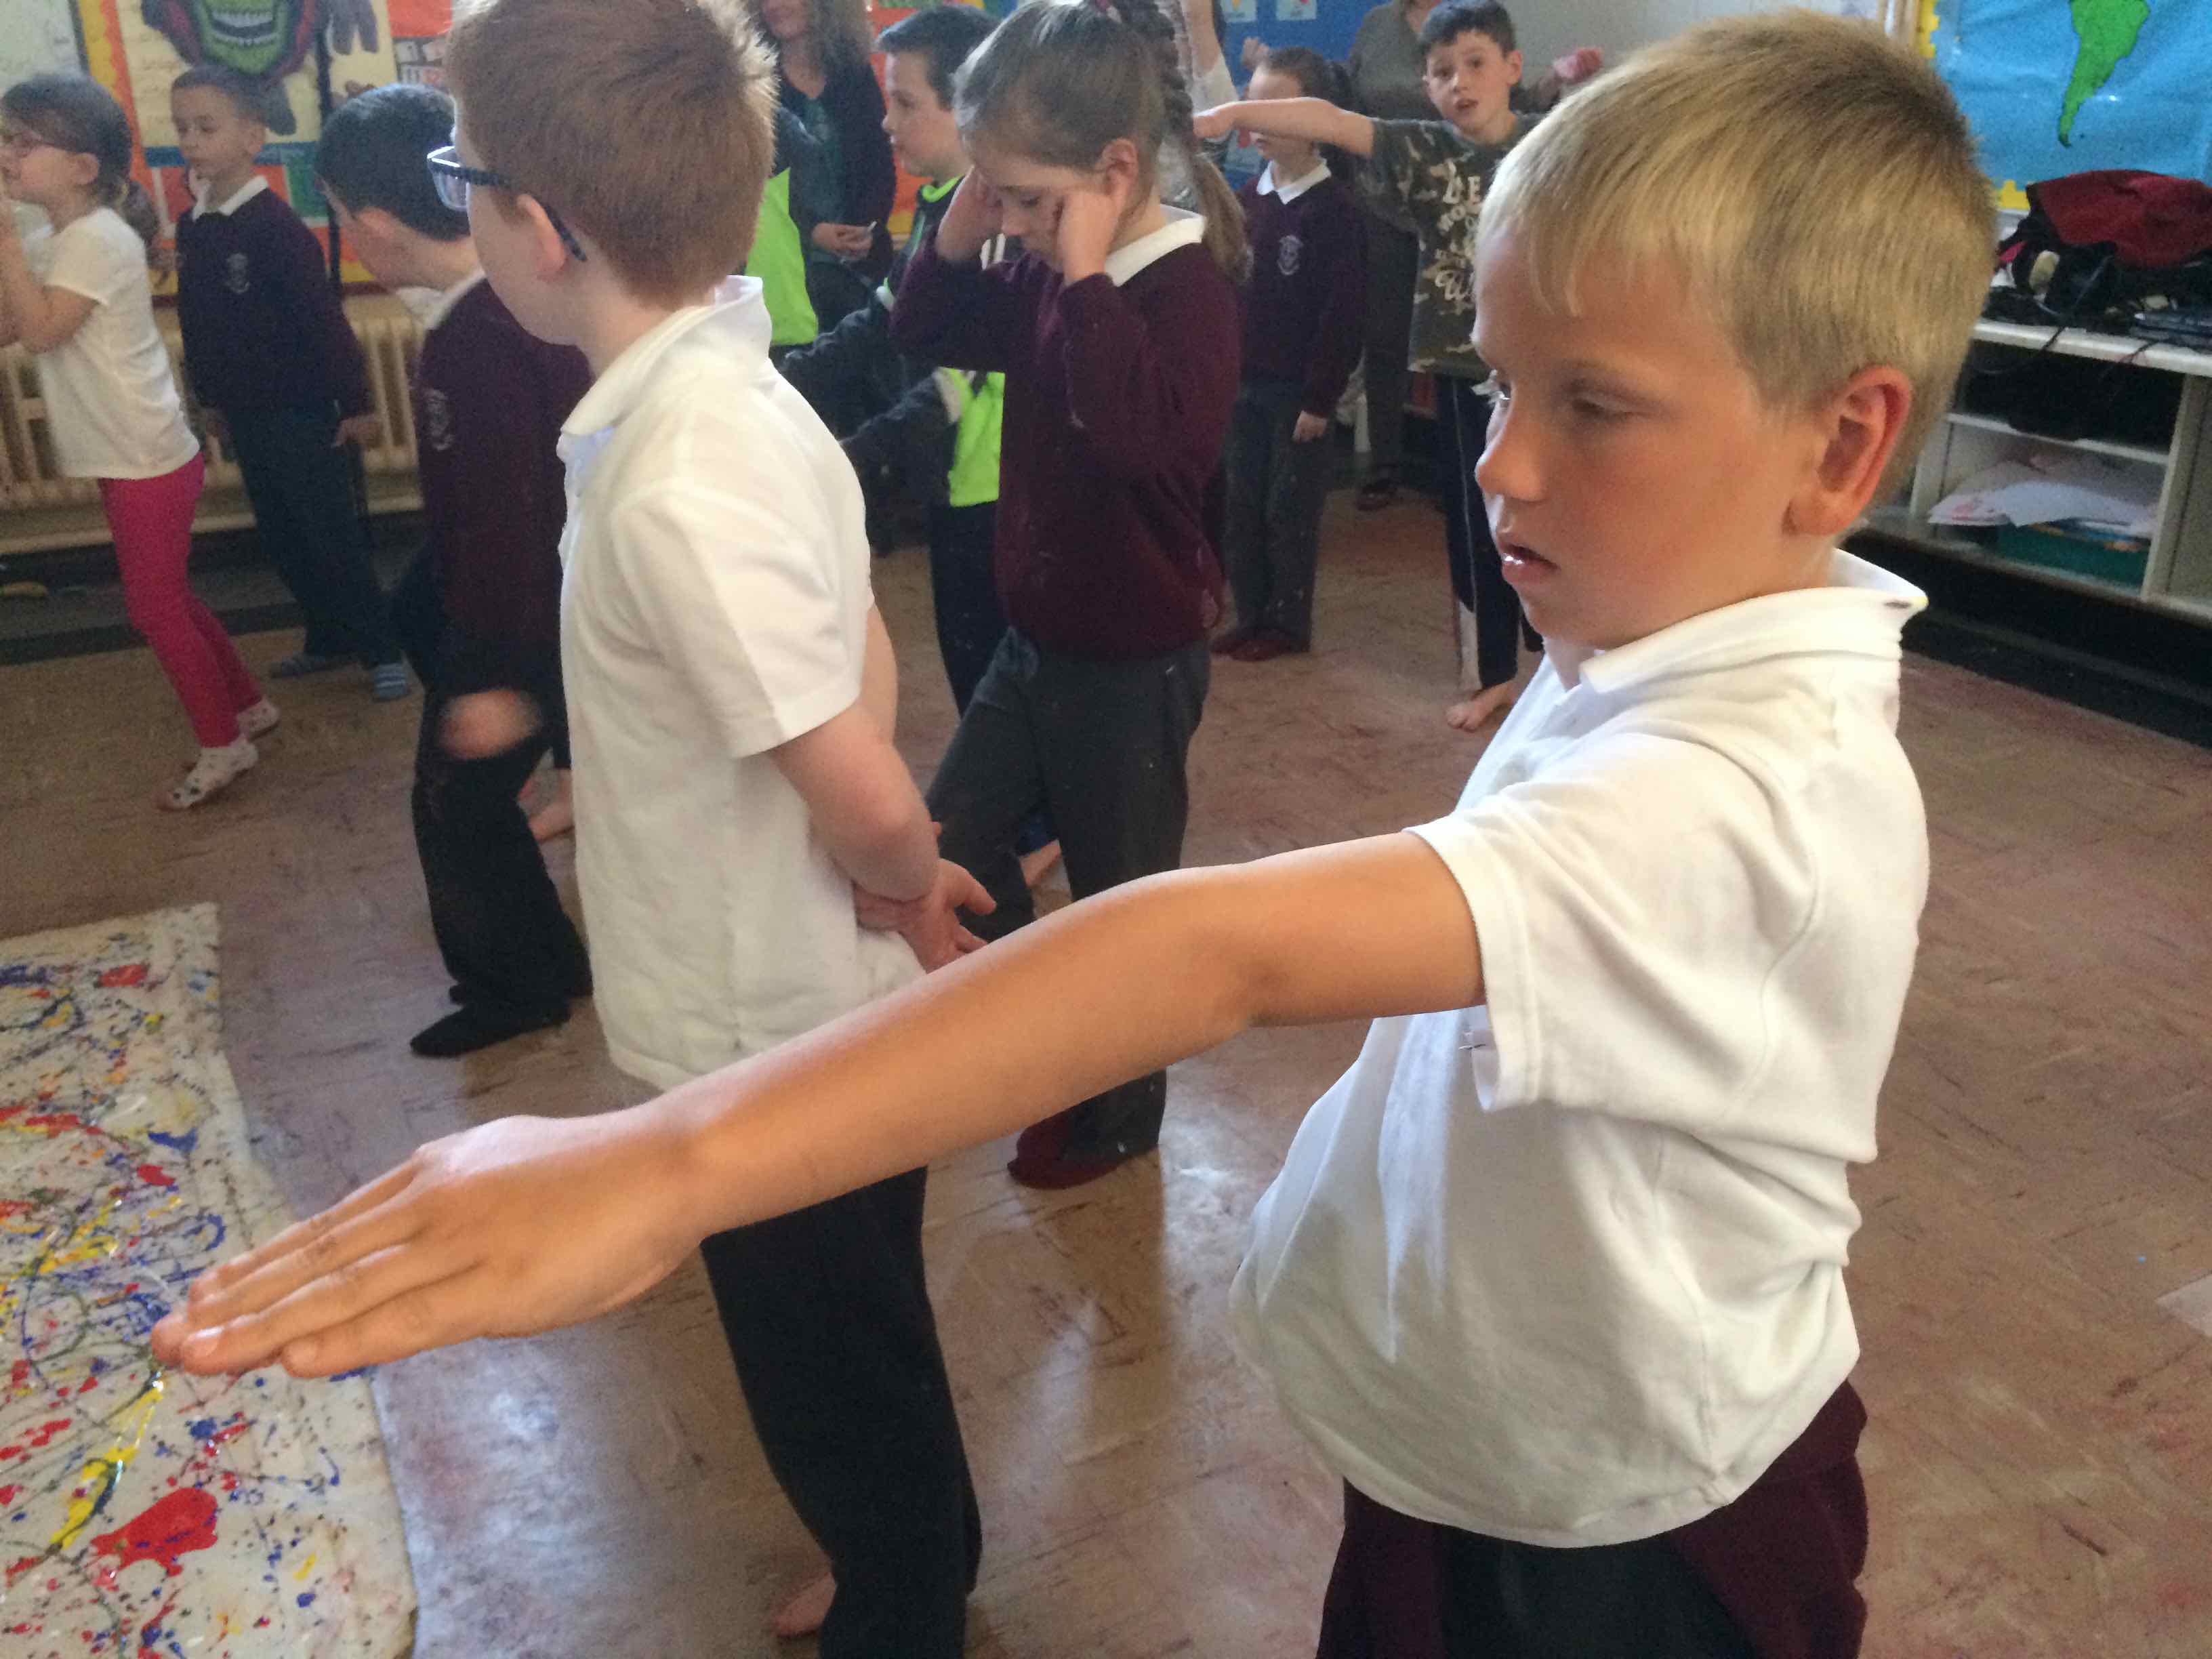
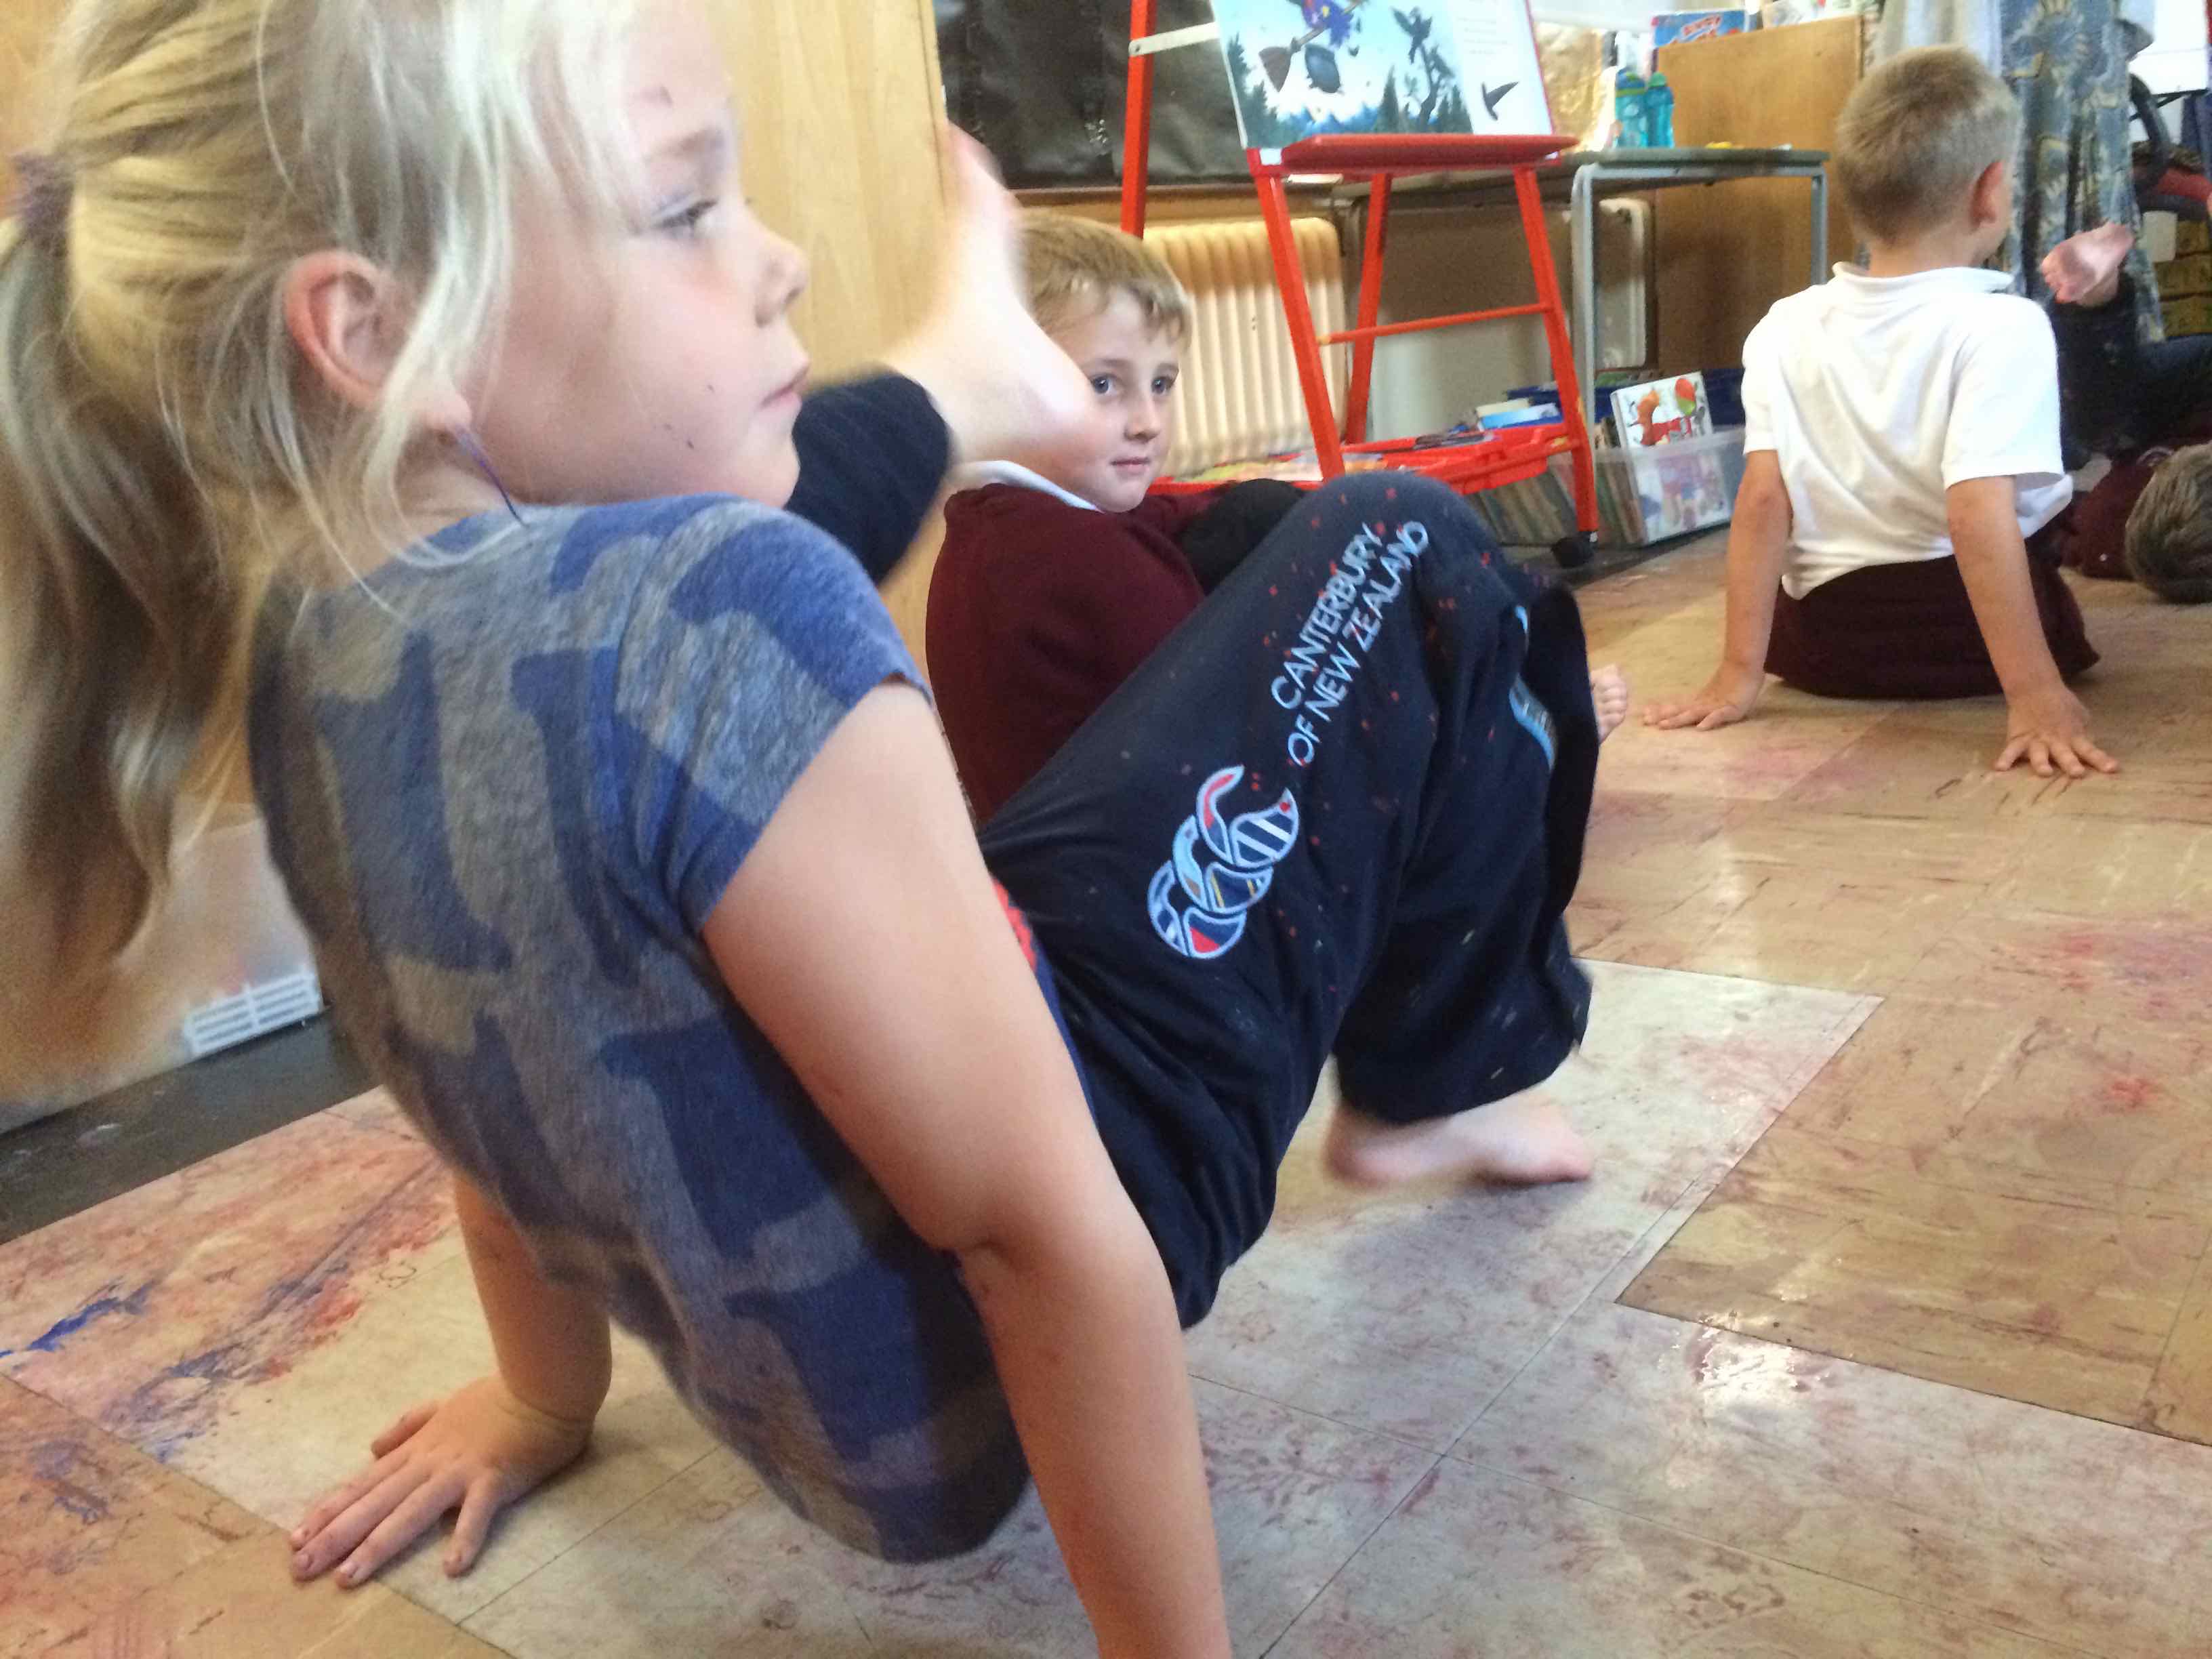
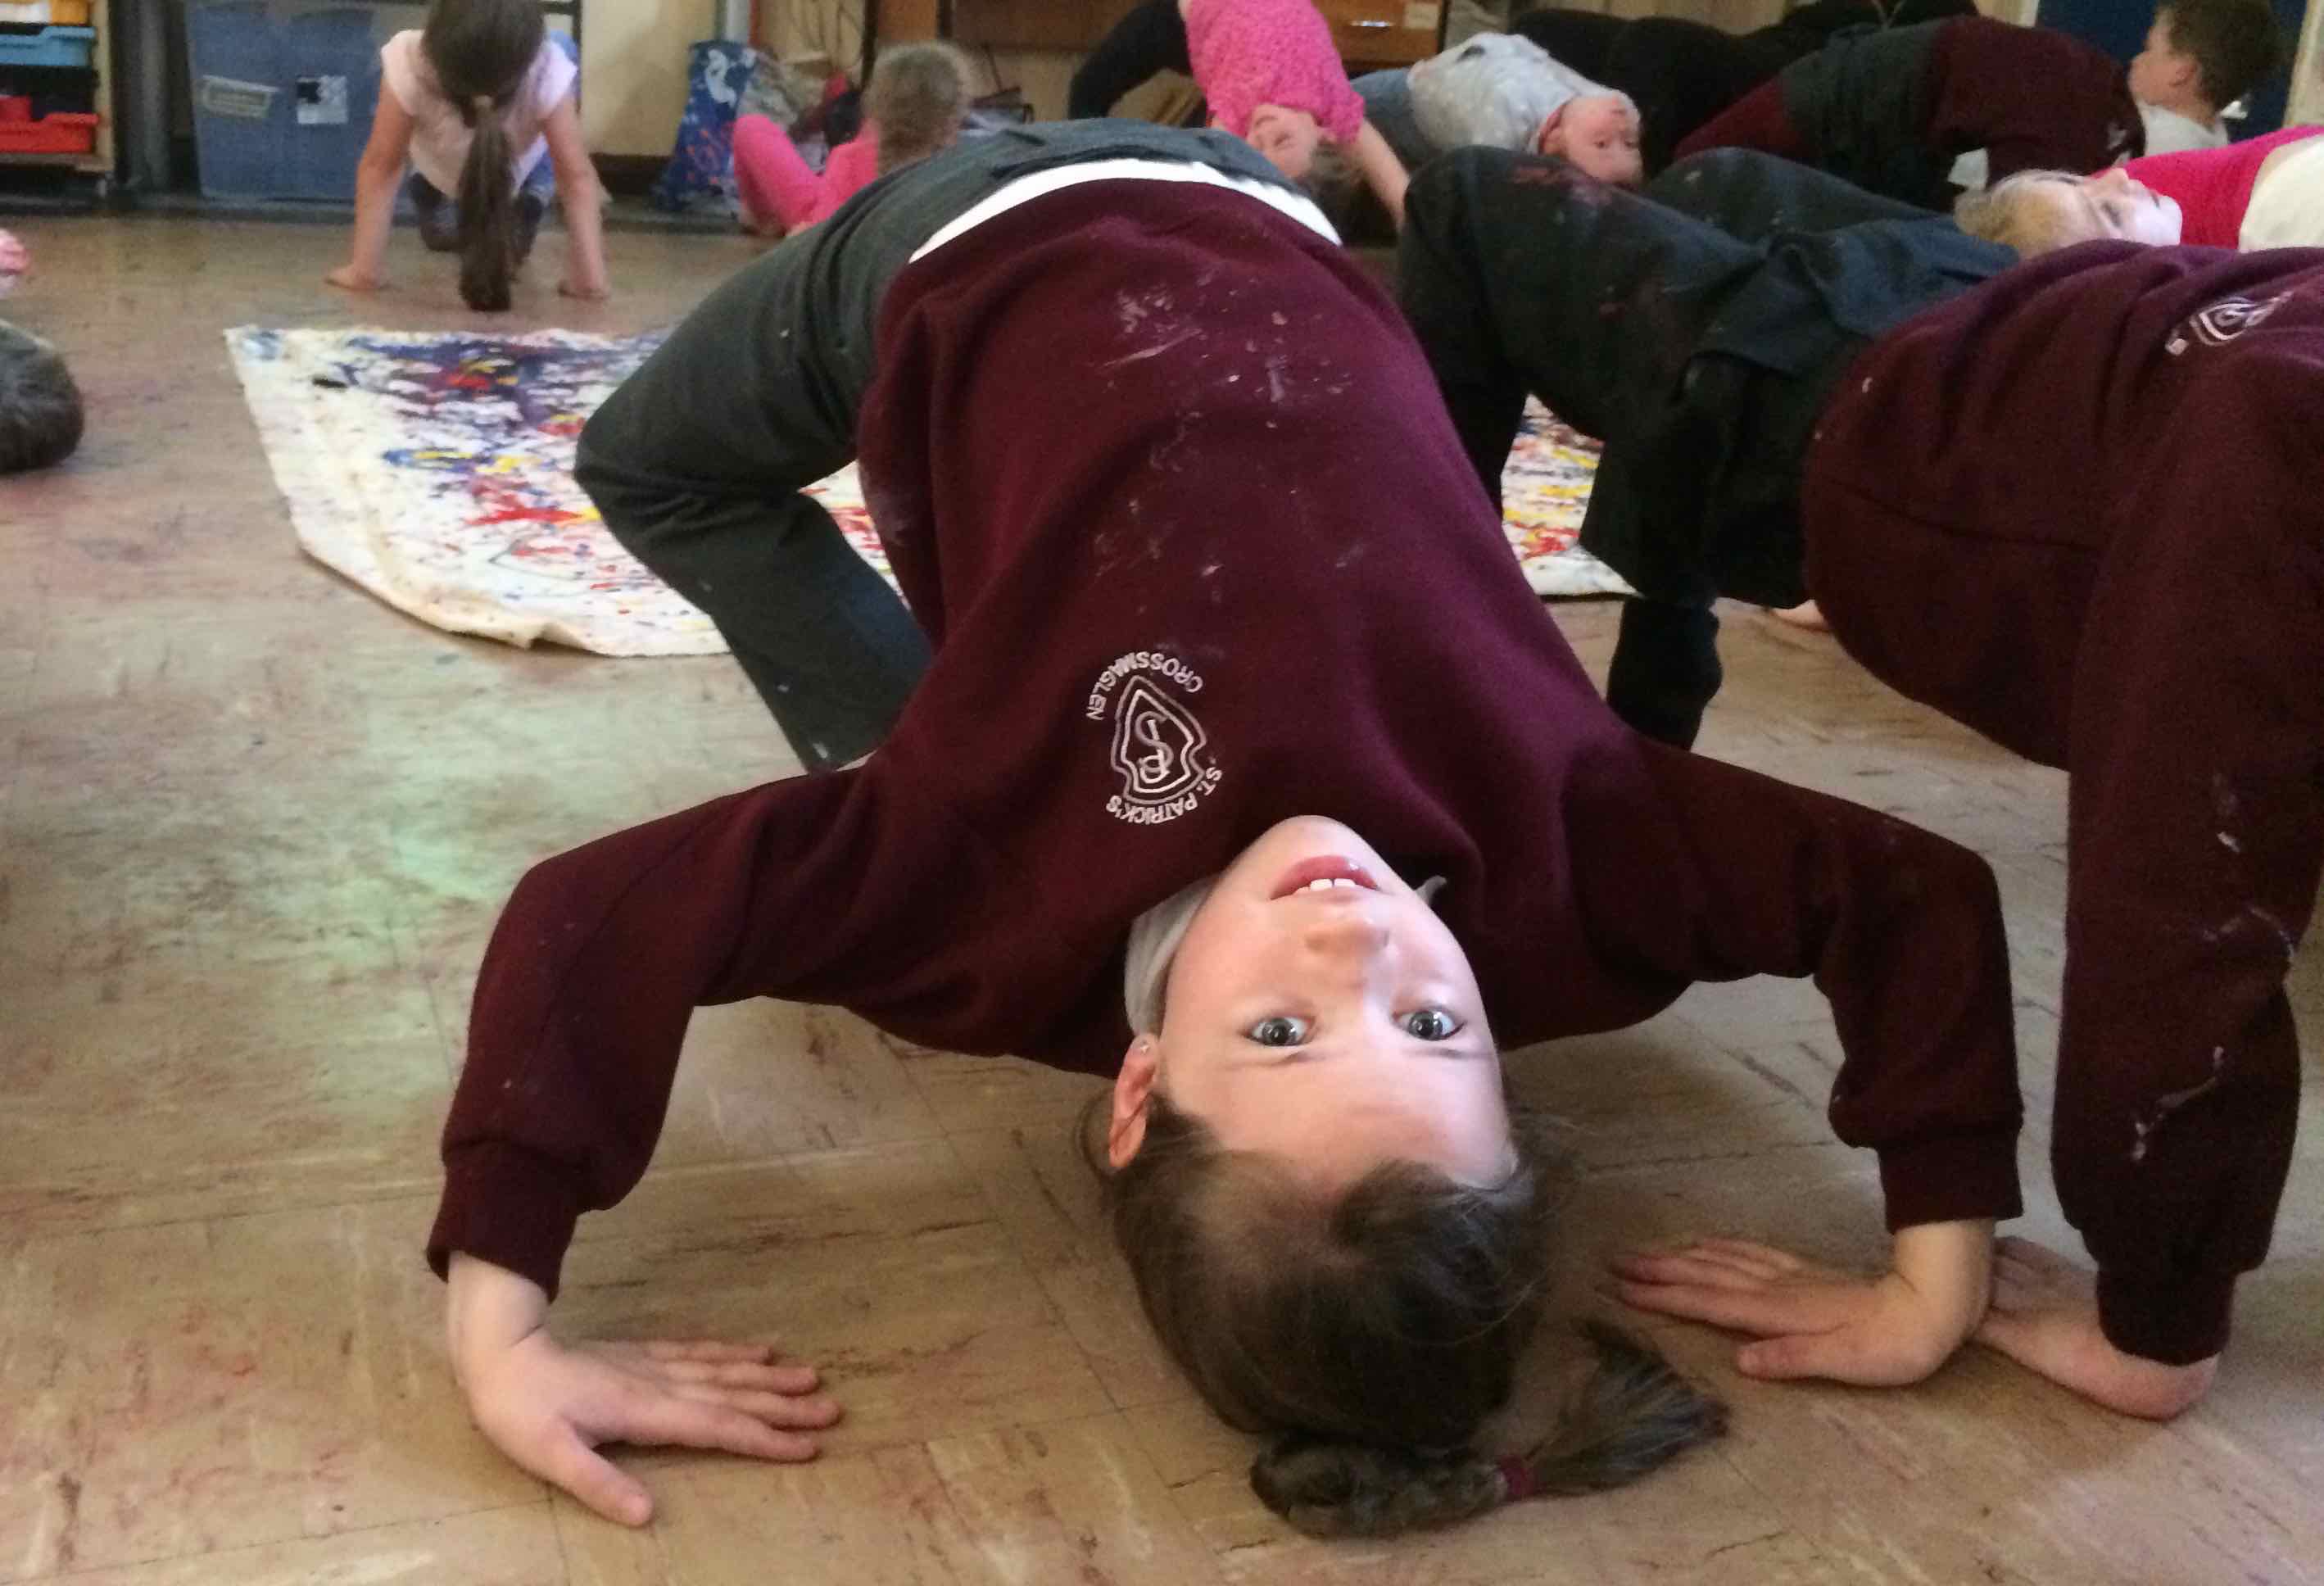
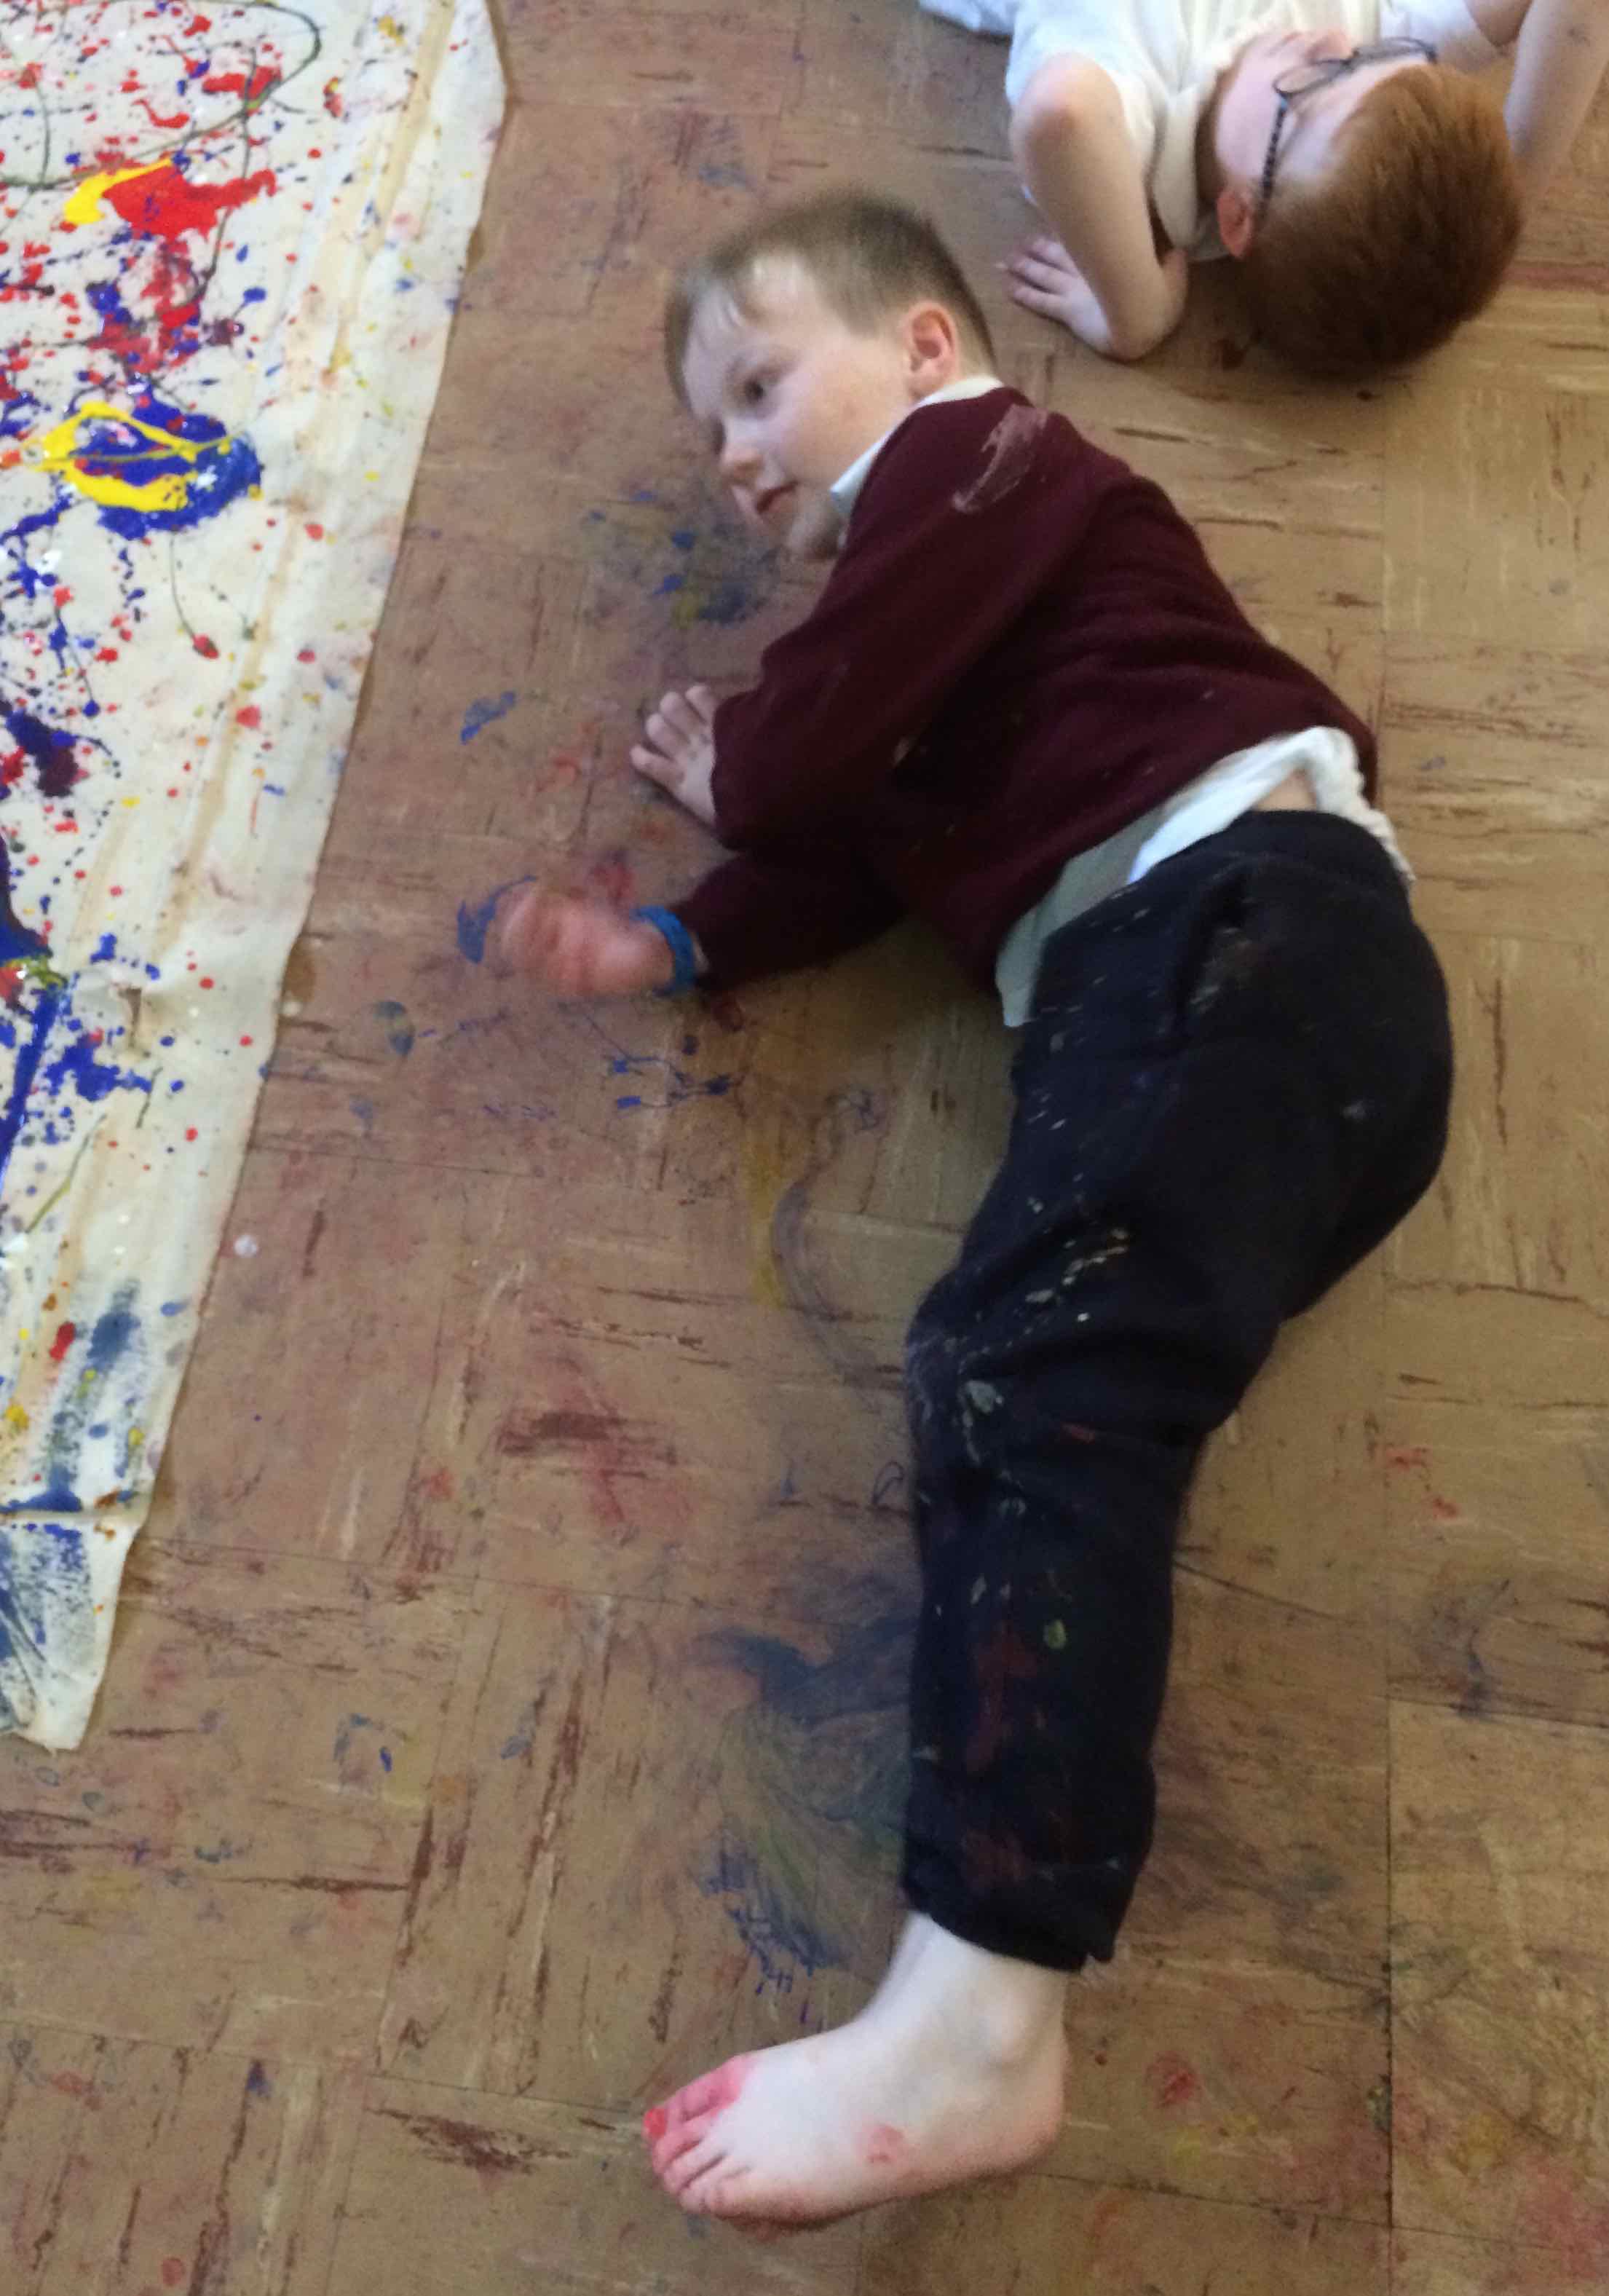
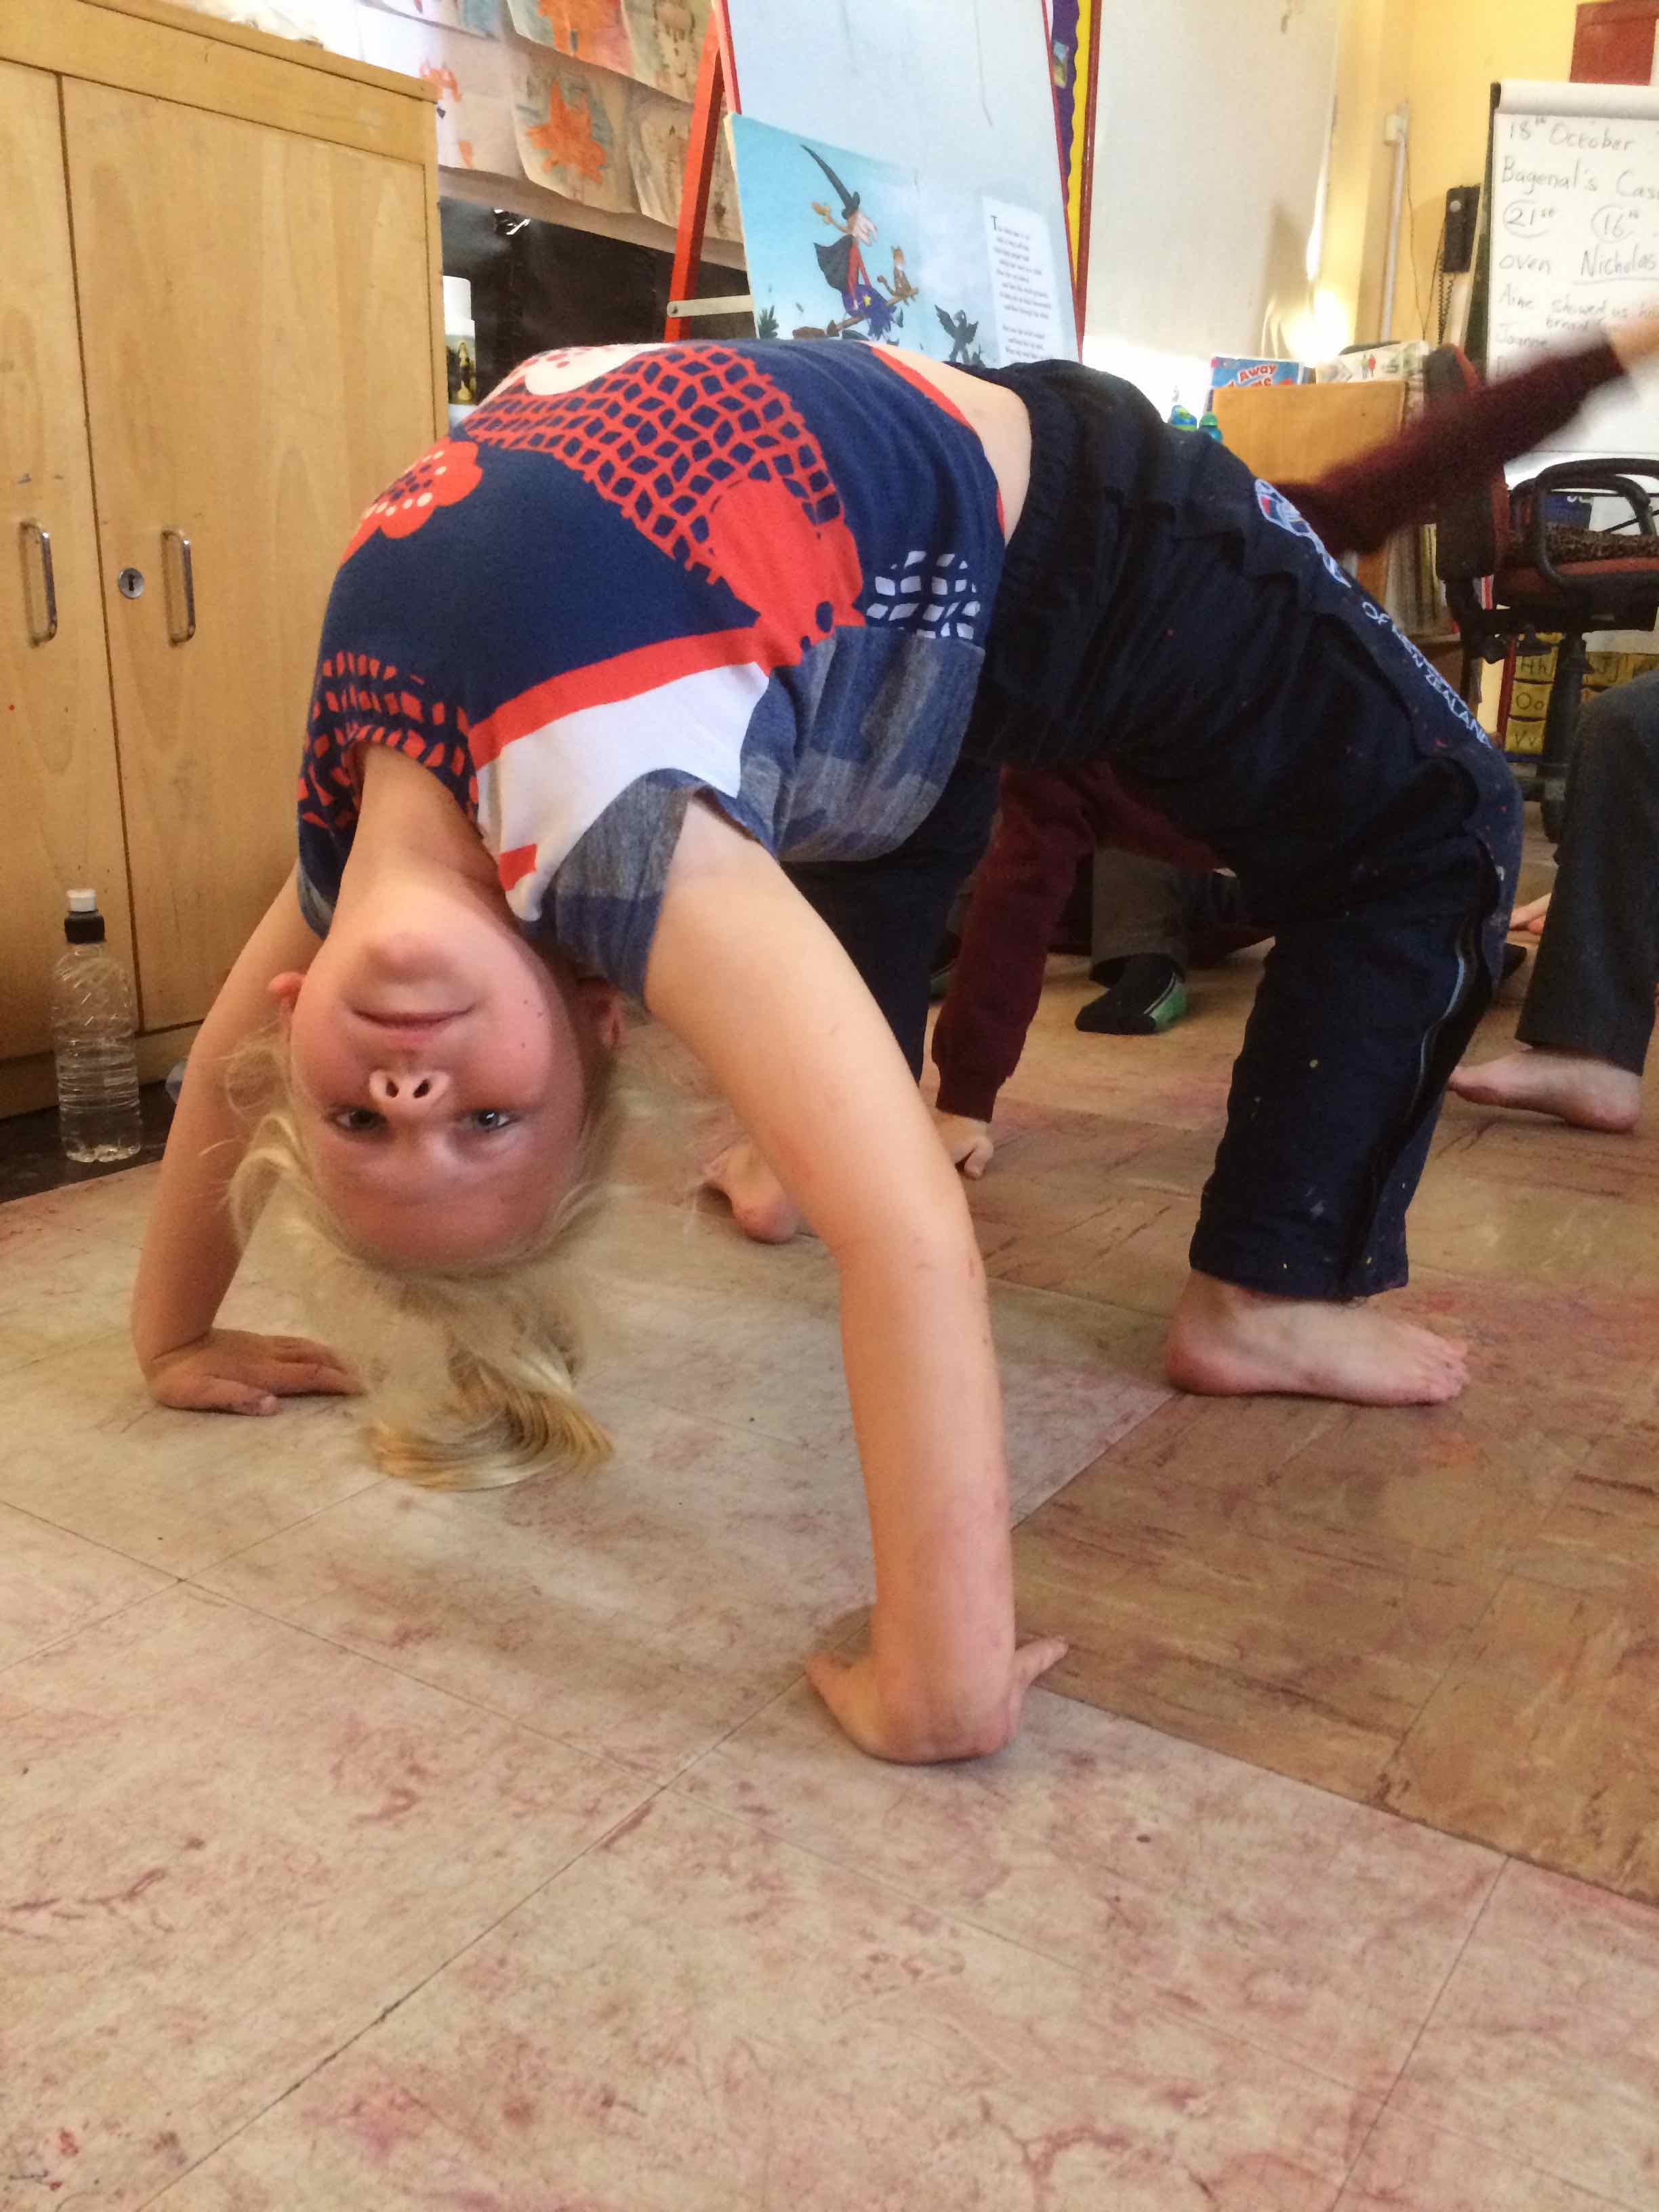
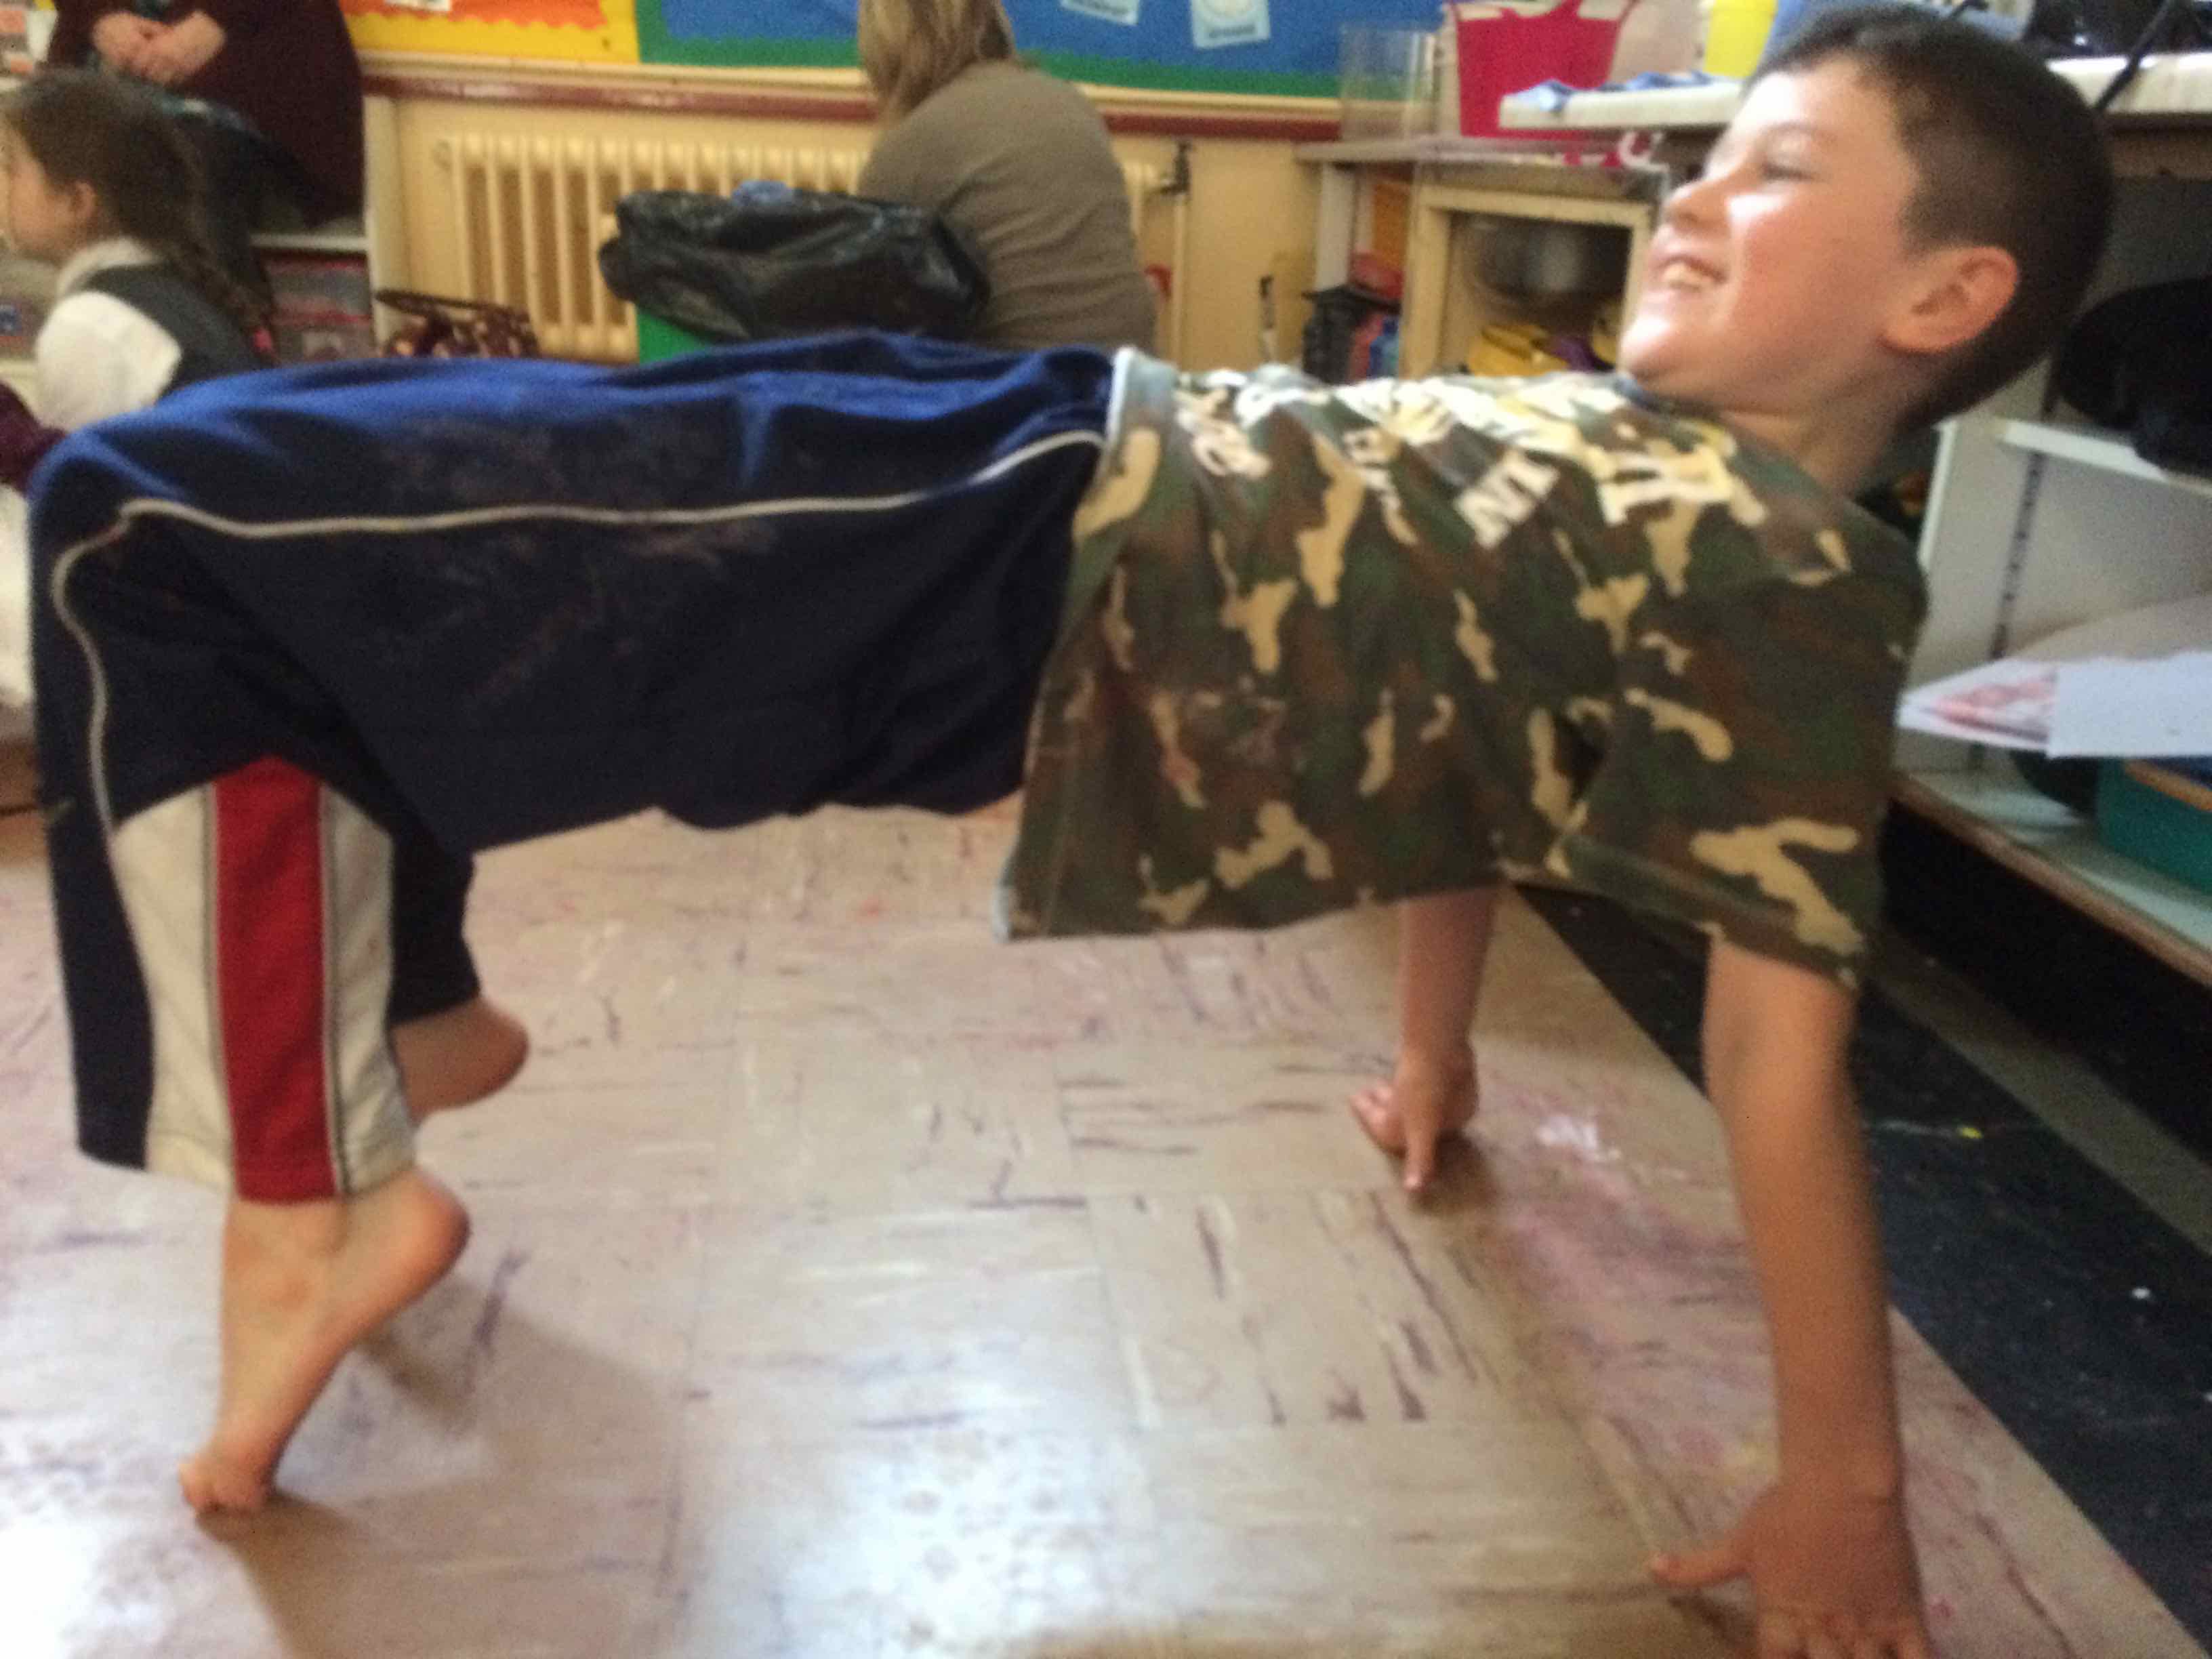
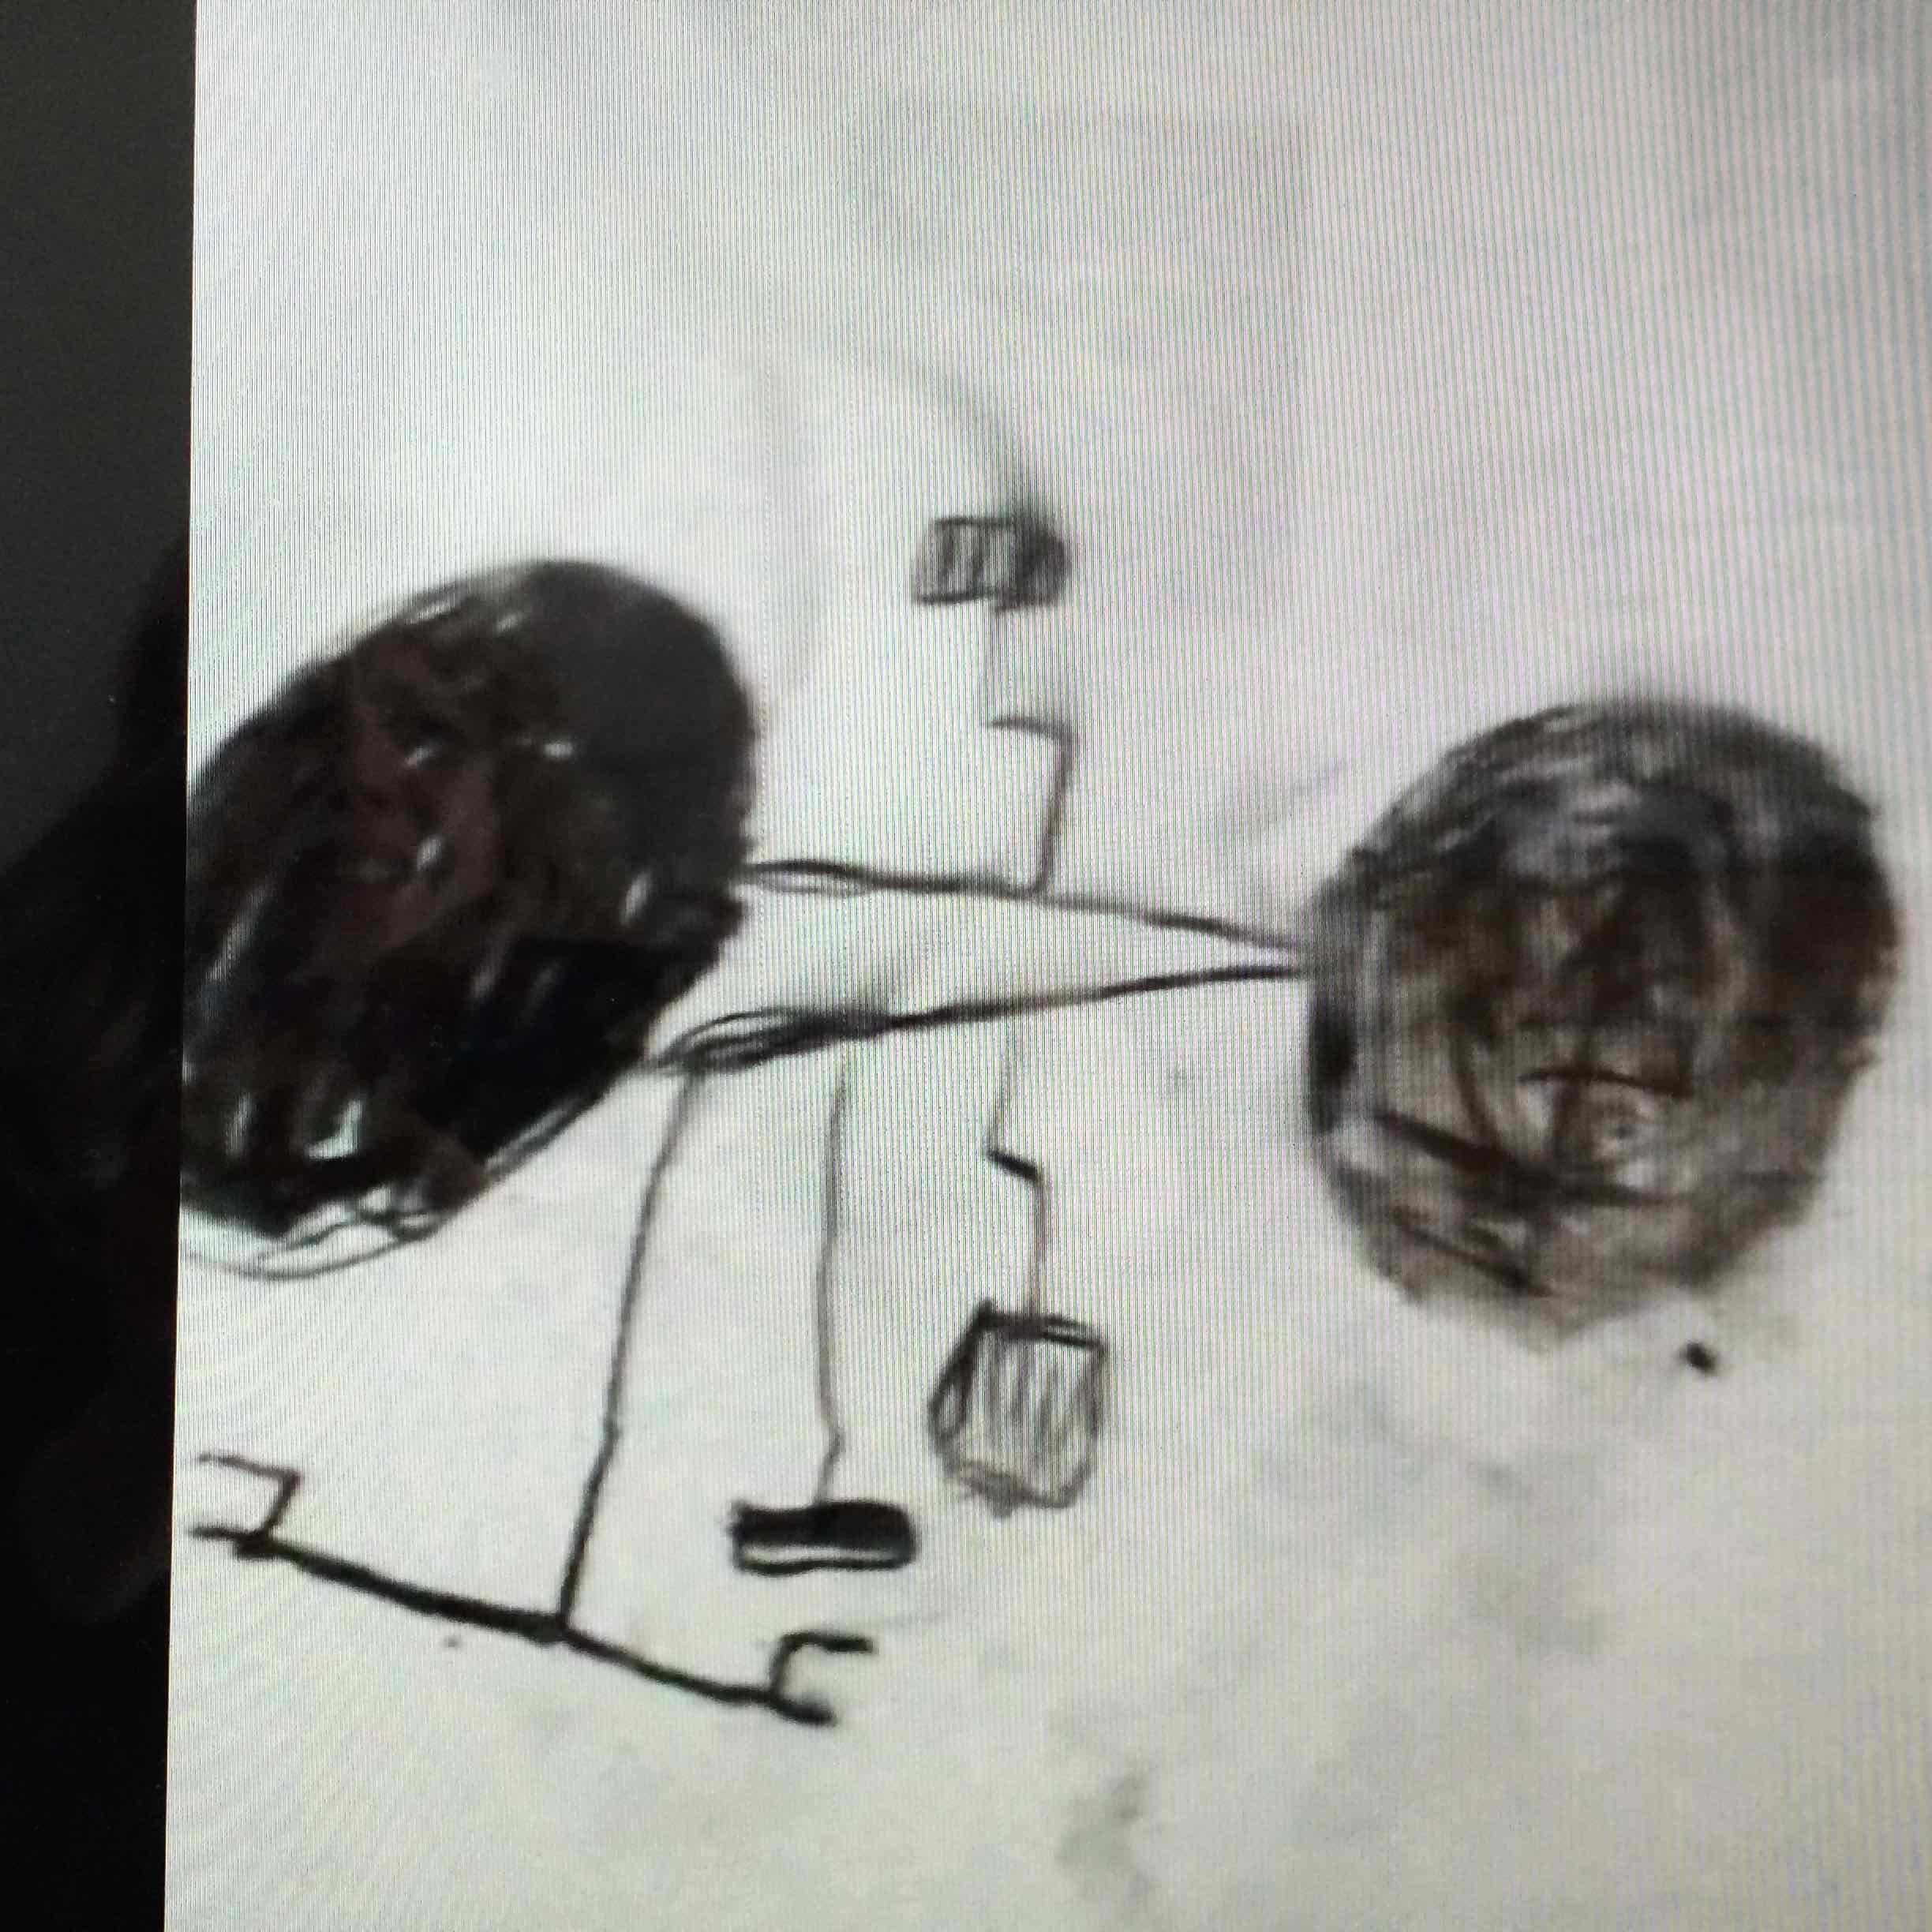
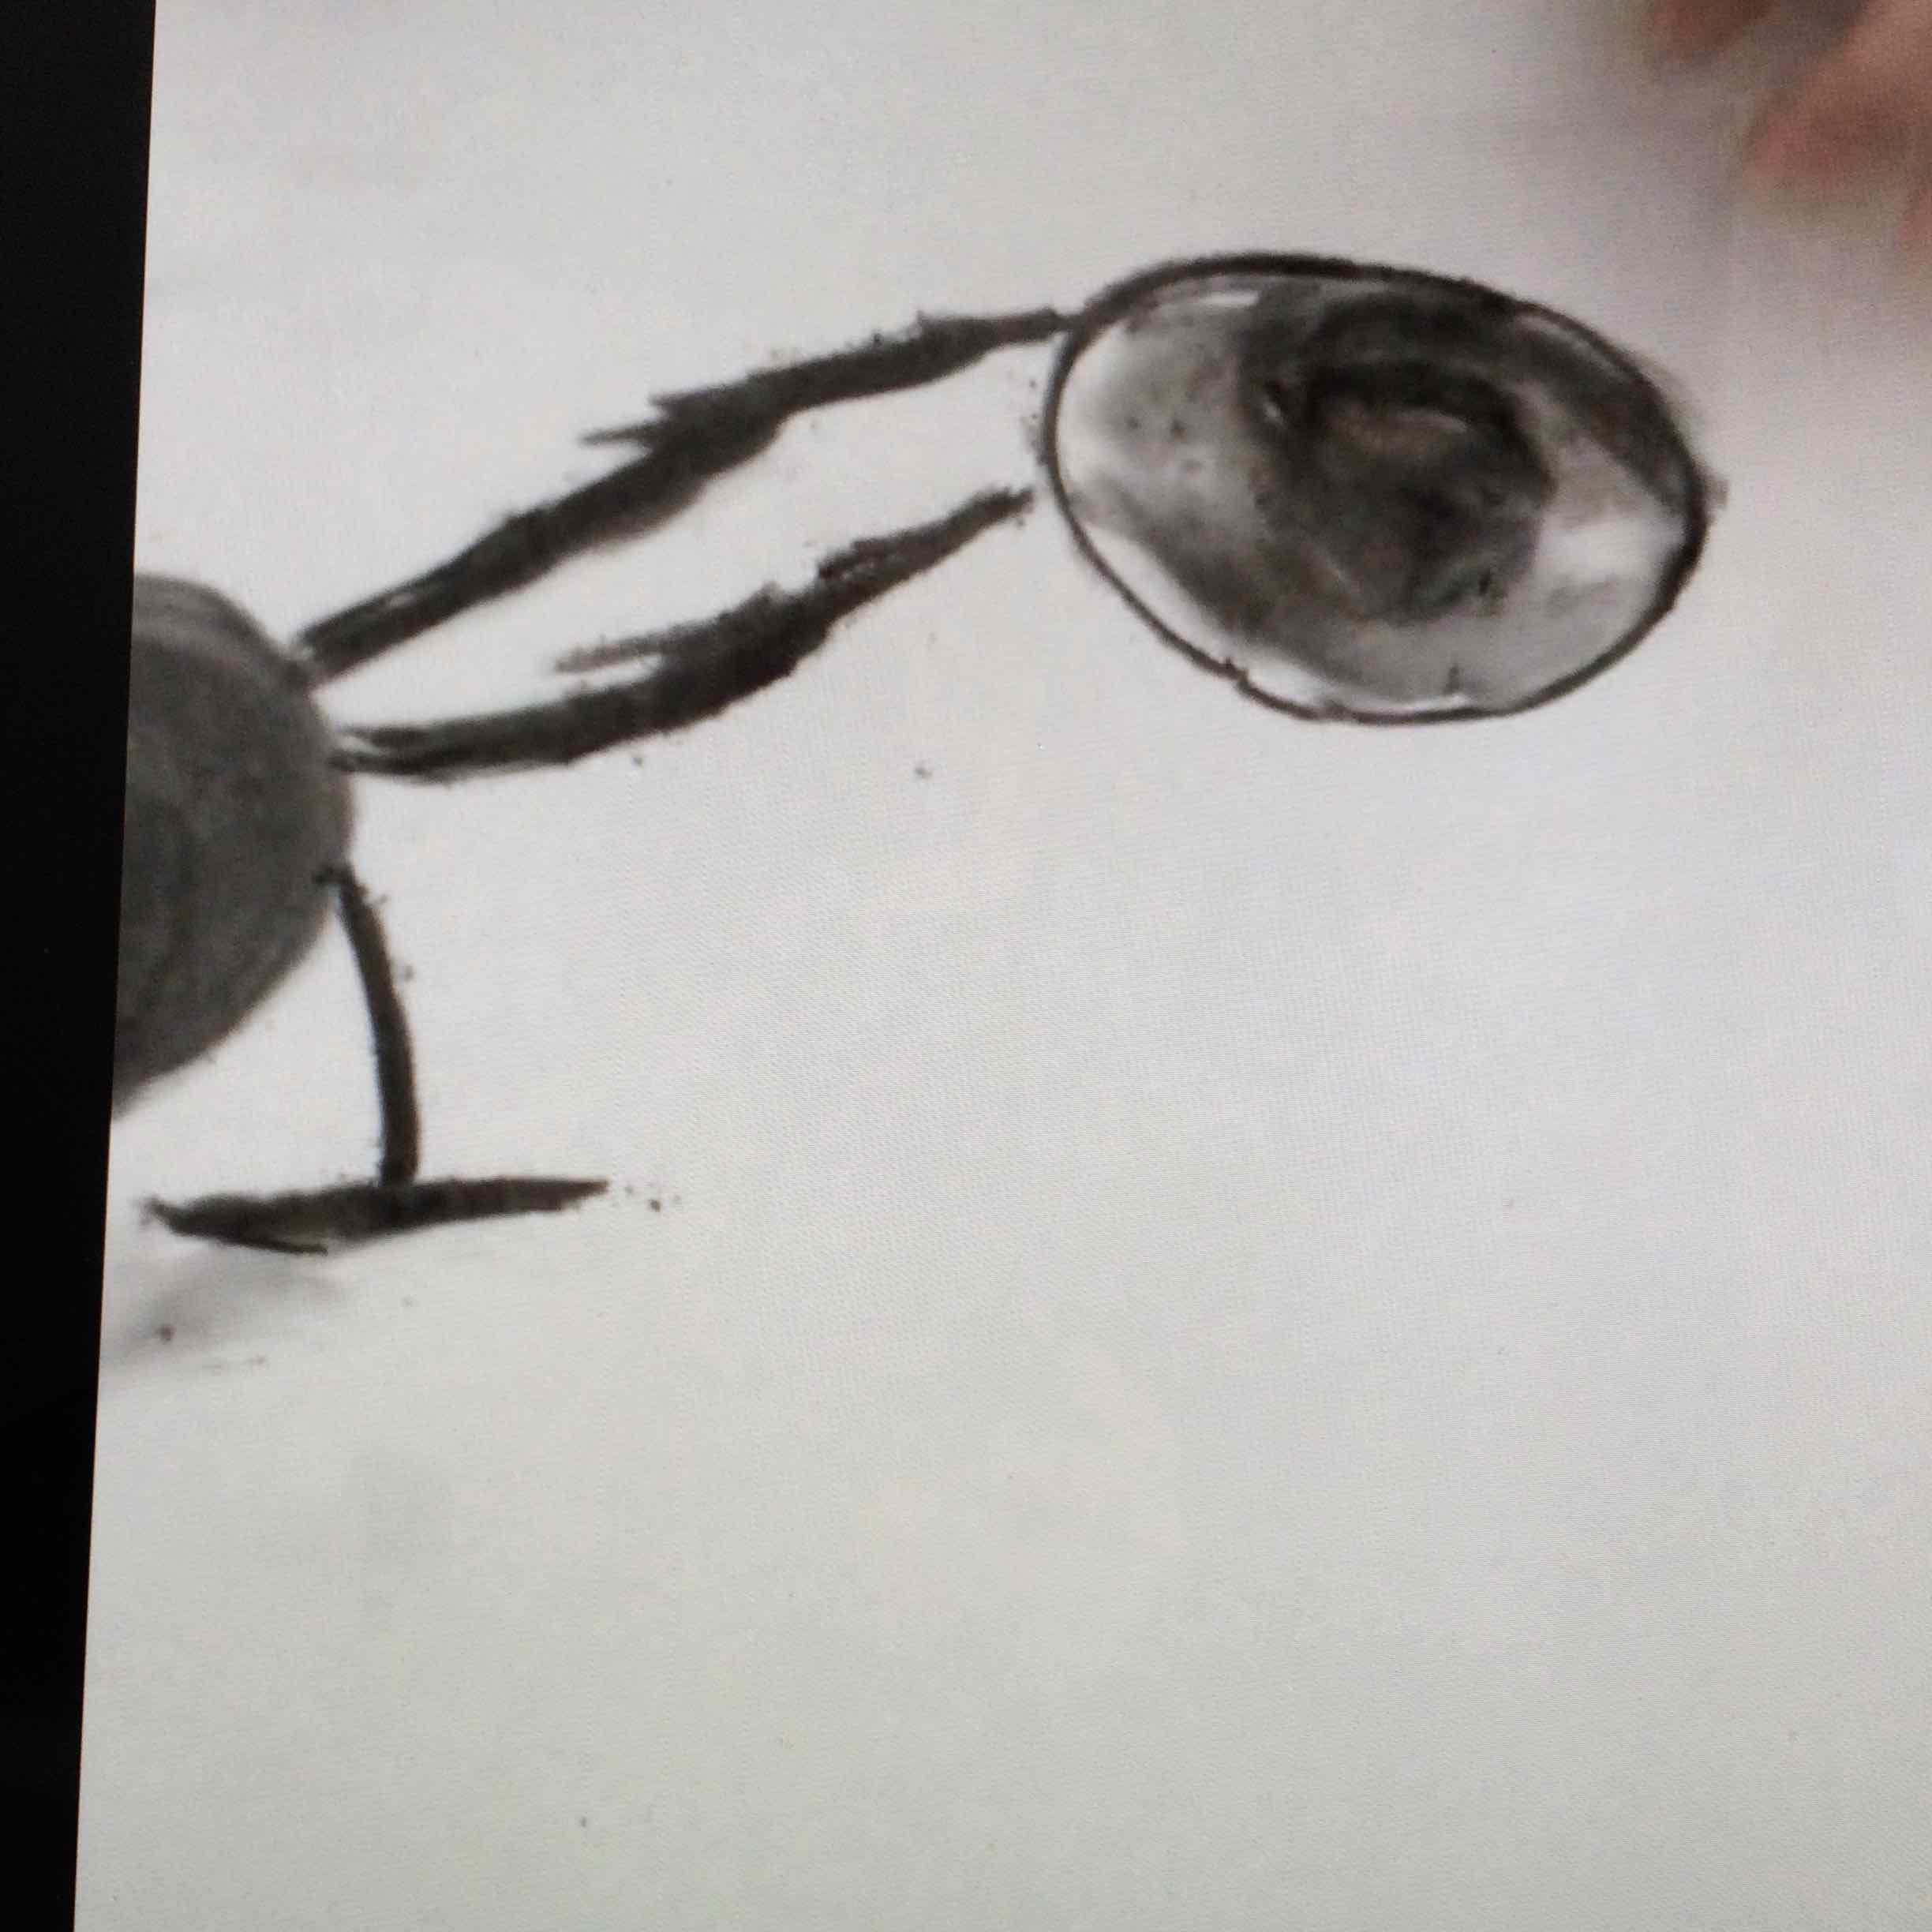
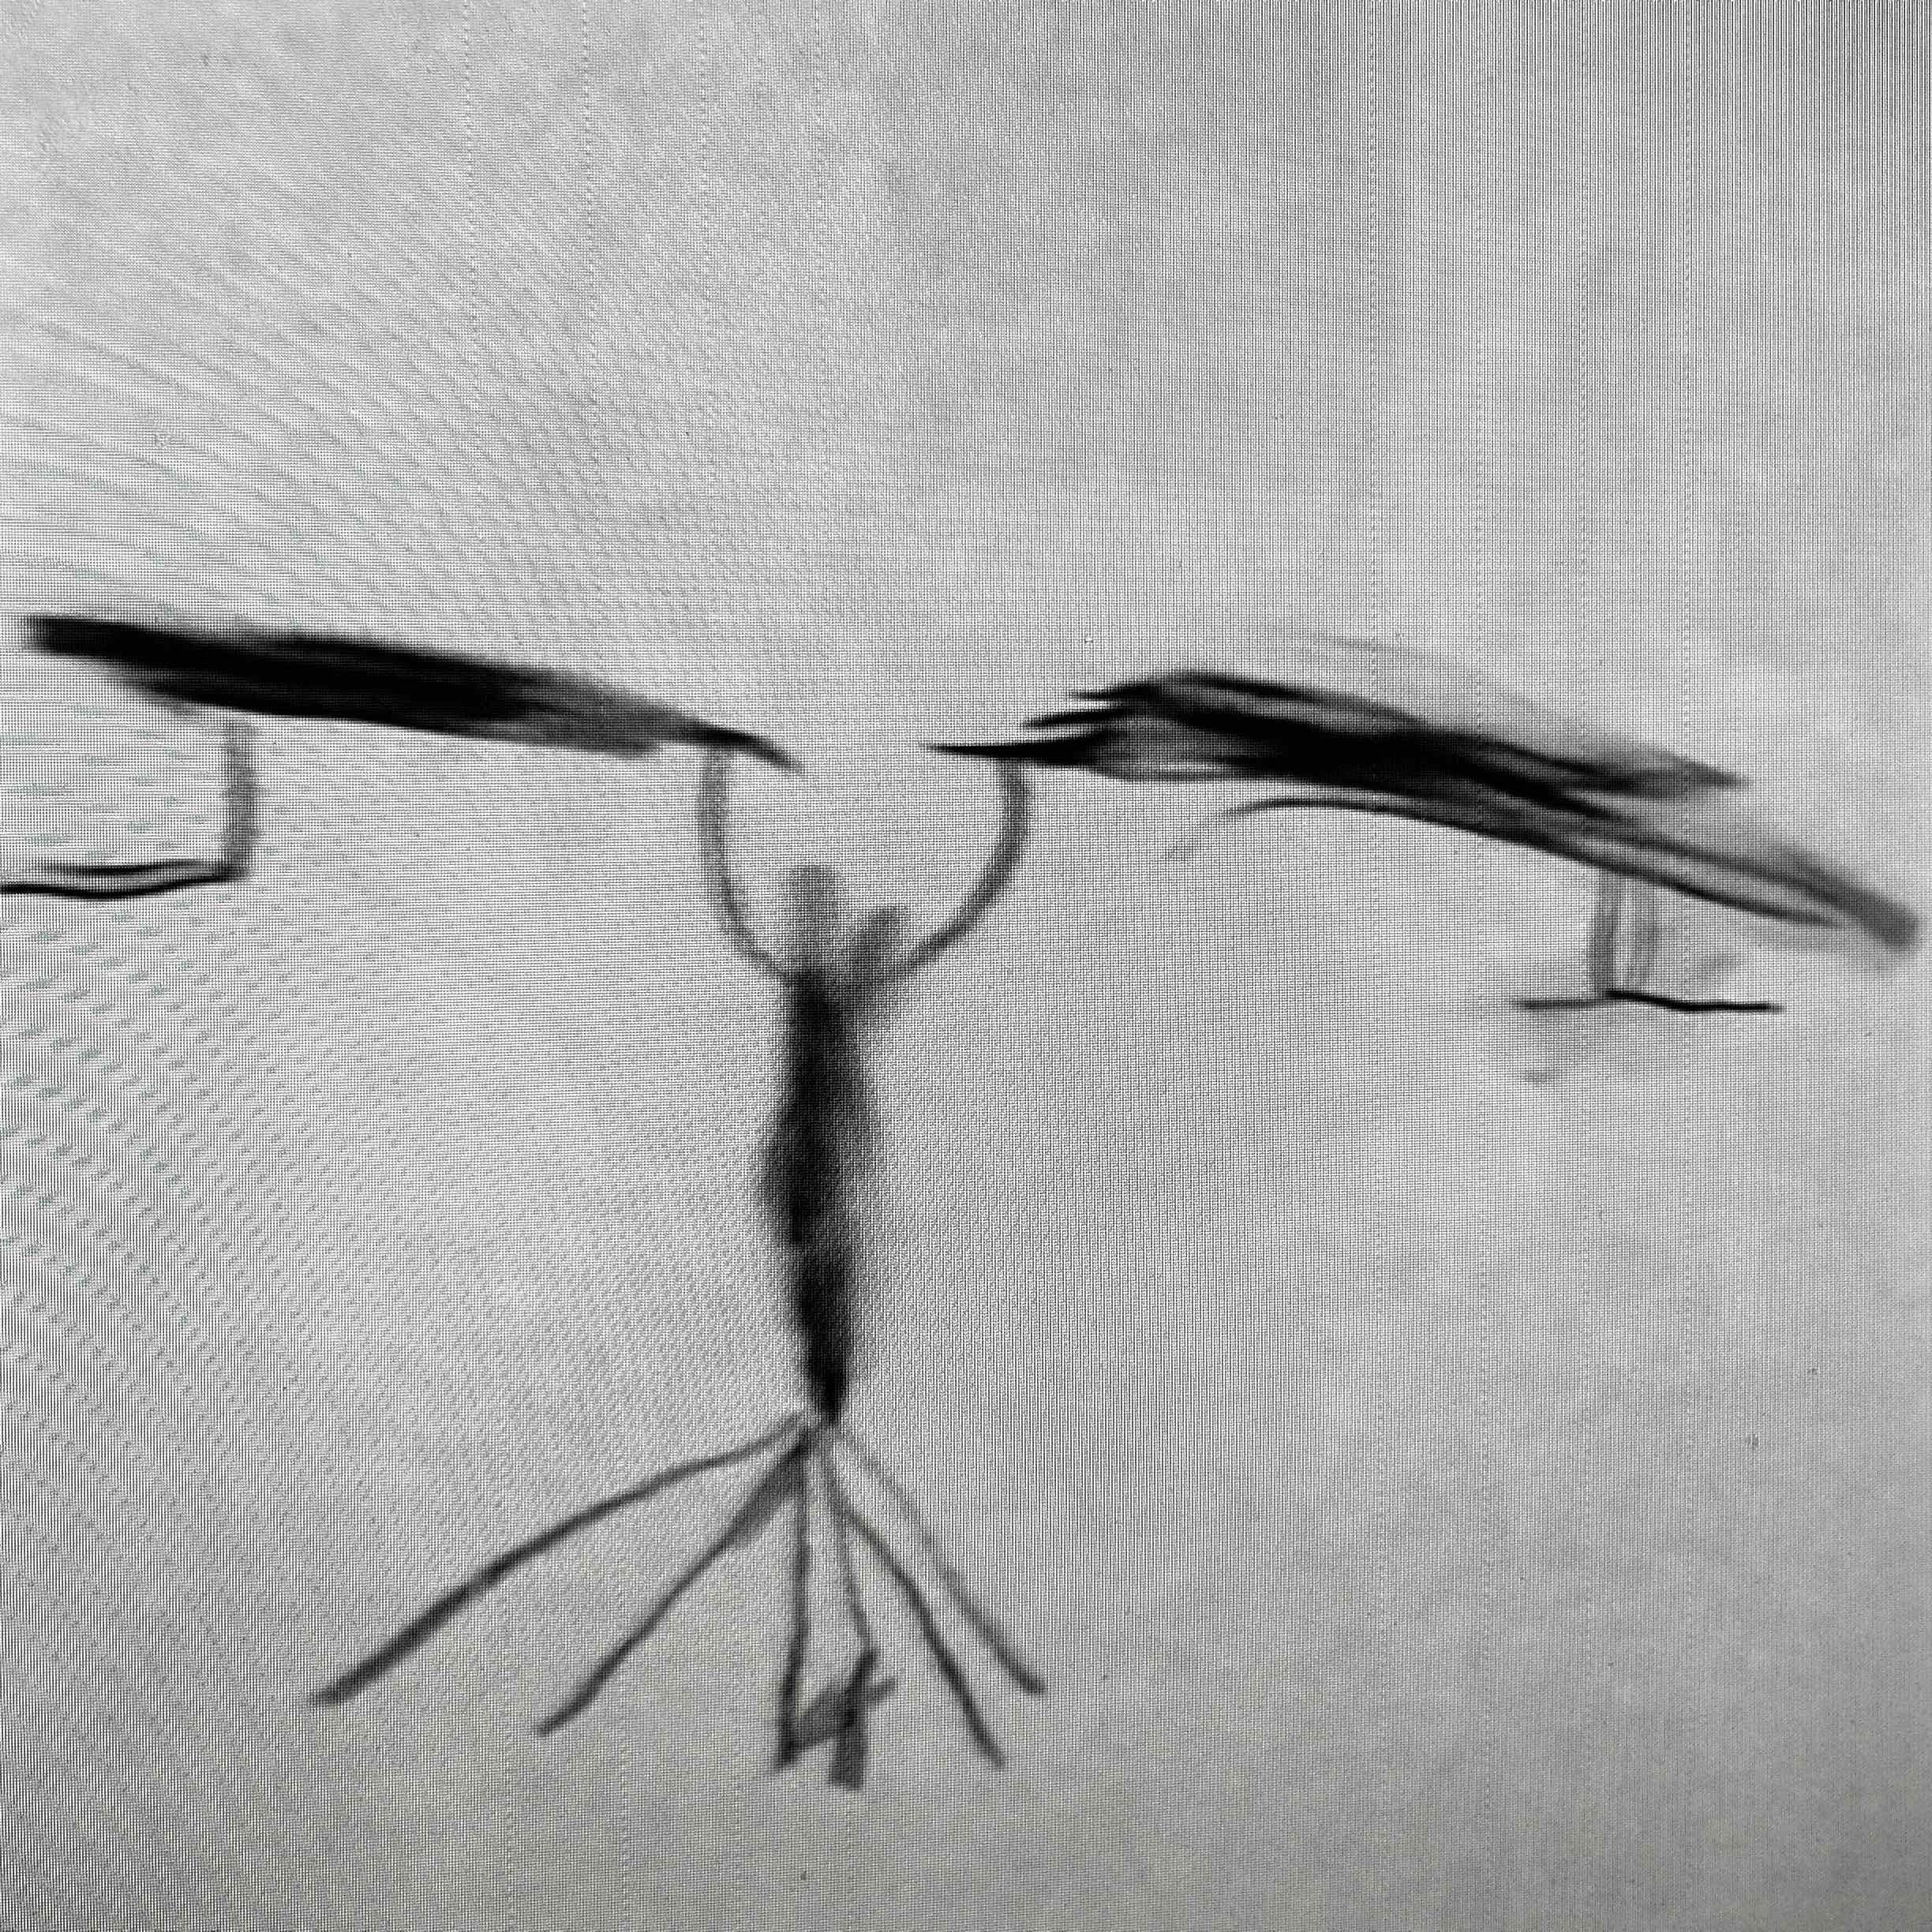
I was amazed at our last session and all the great balancing poses that Professor Marie Murphy encouraged us to try. I had photographed the children and printed the images then cut them out to create simple shape silhouettes. As well as these poses I used some of the balancing tests we tried on my first visit to meet the class back in October. Then the children tried balancing with friends together…
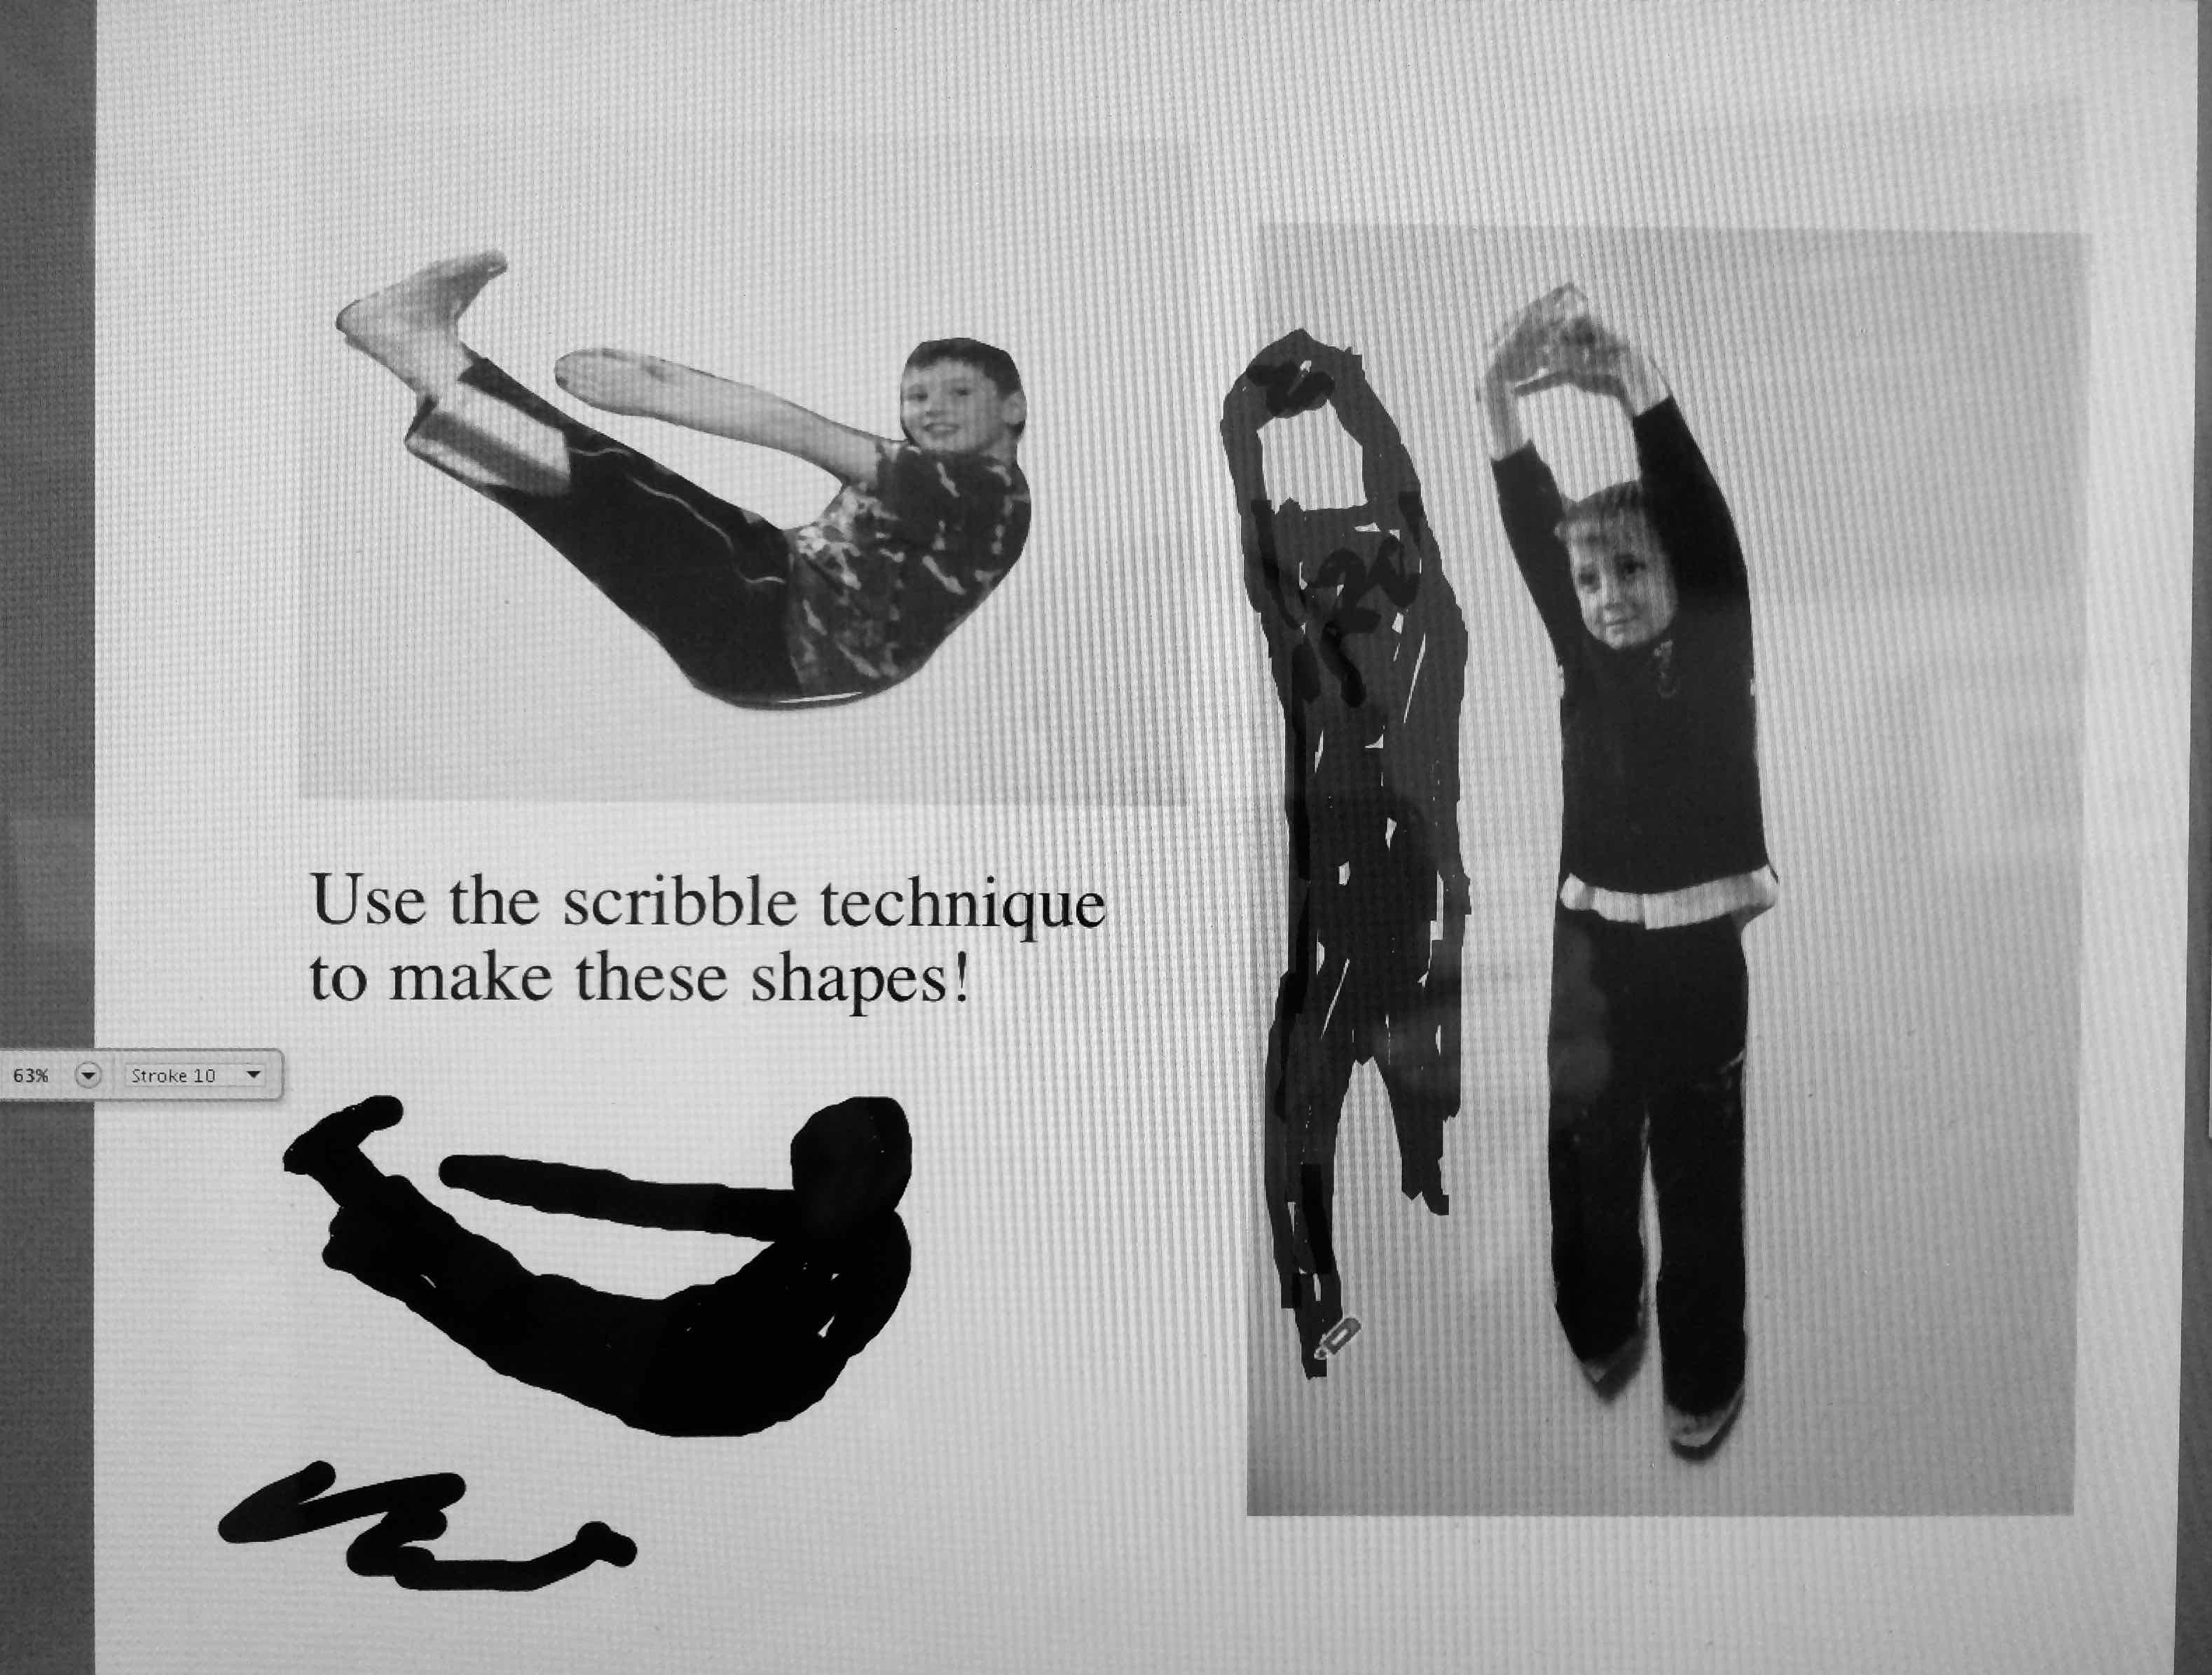
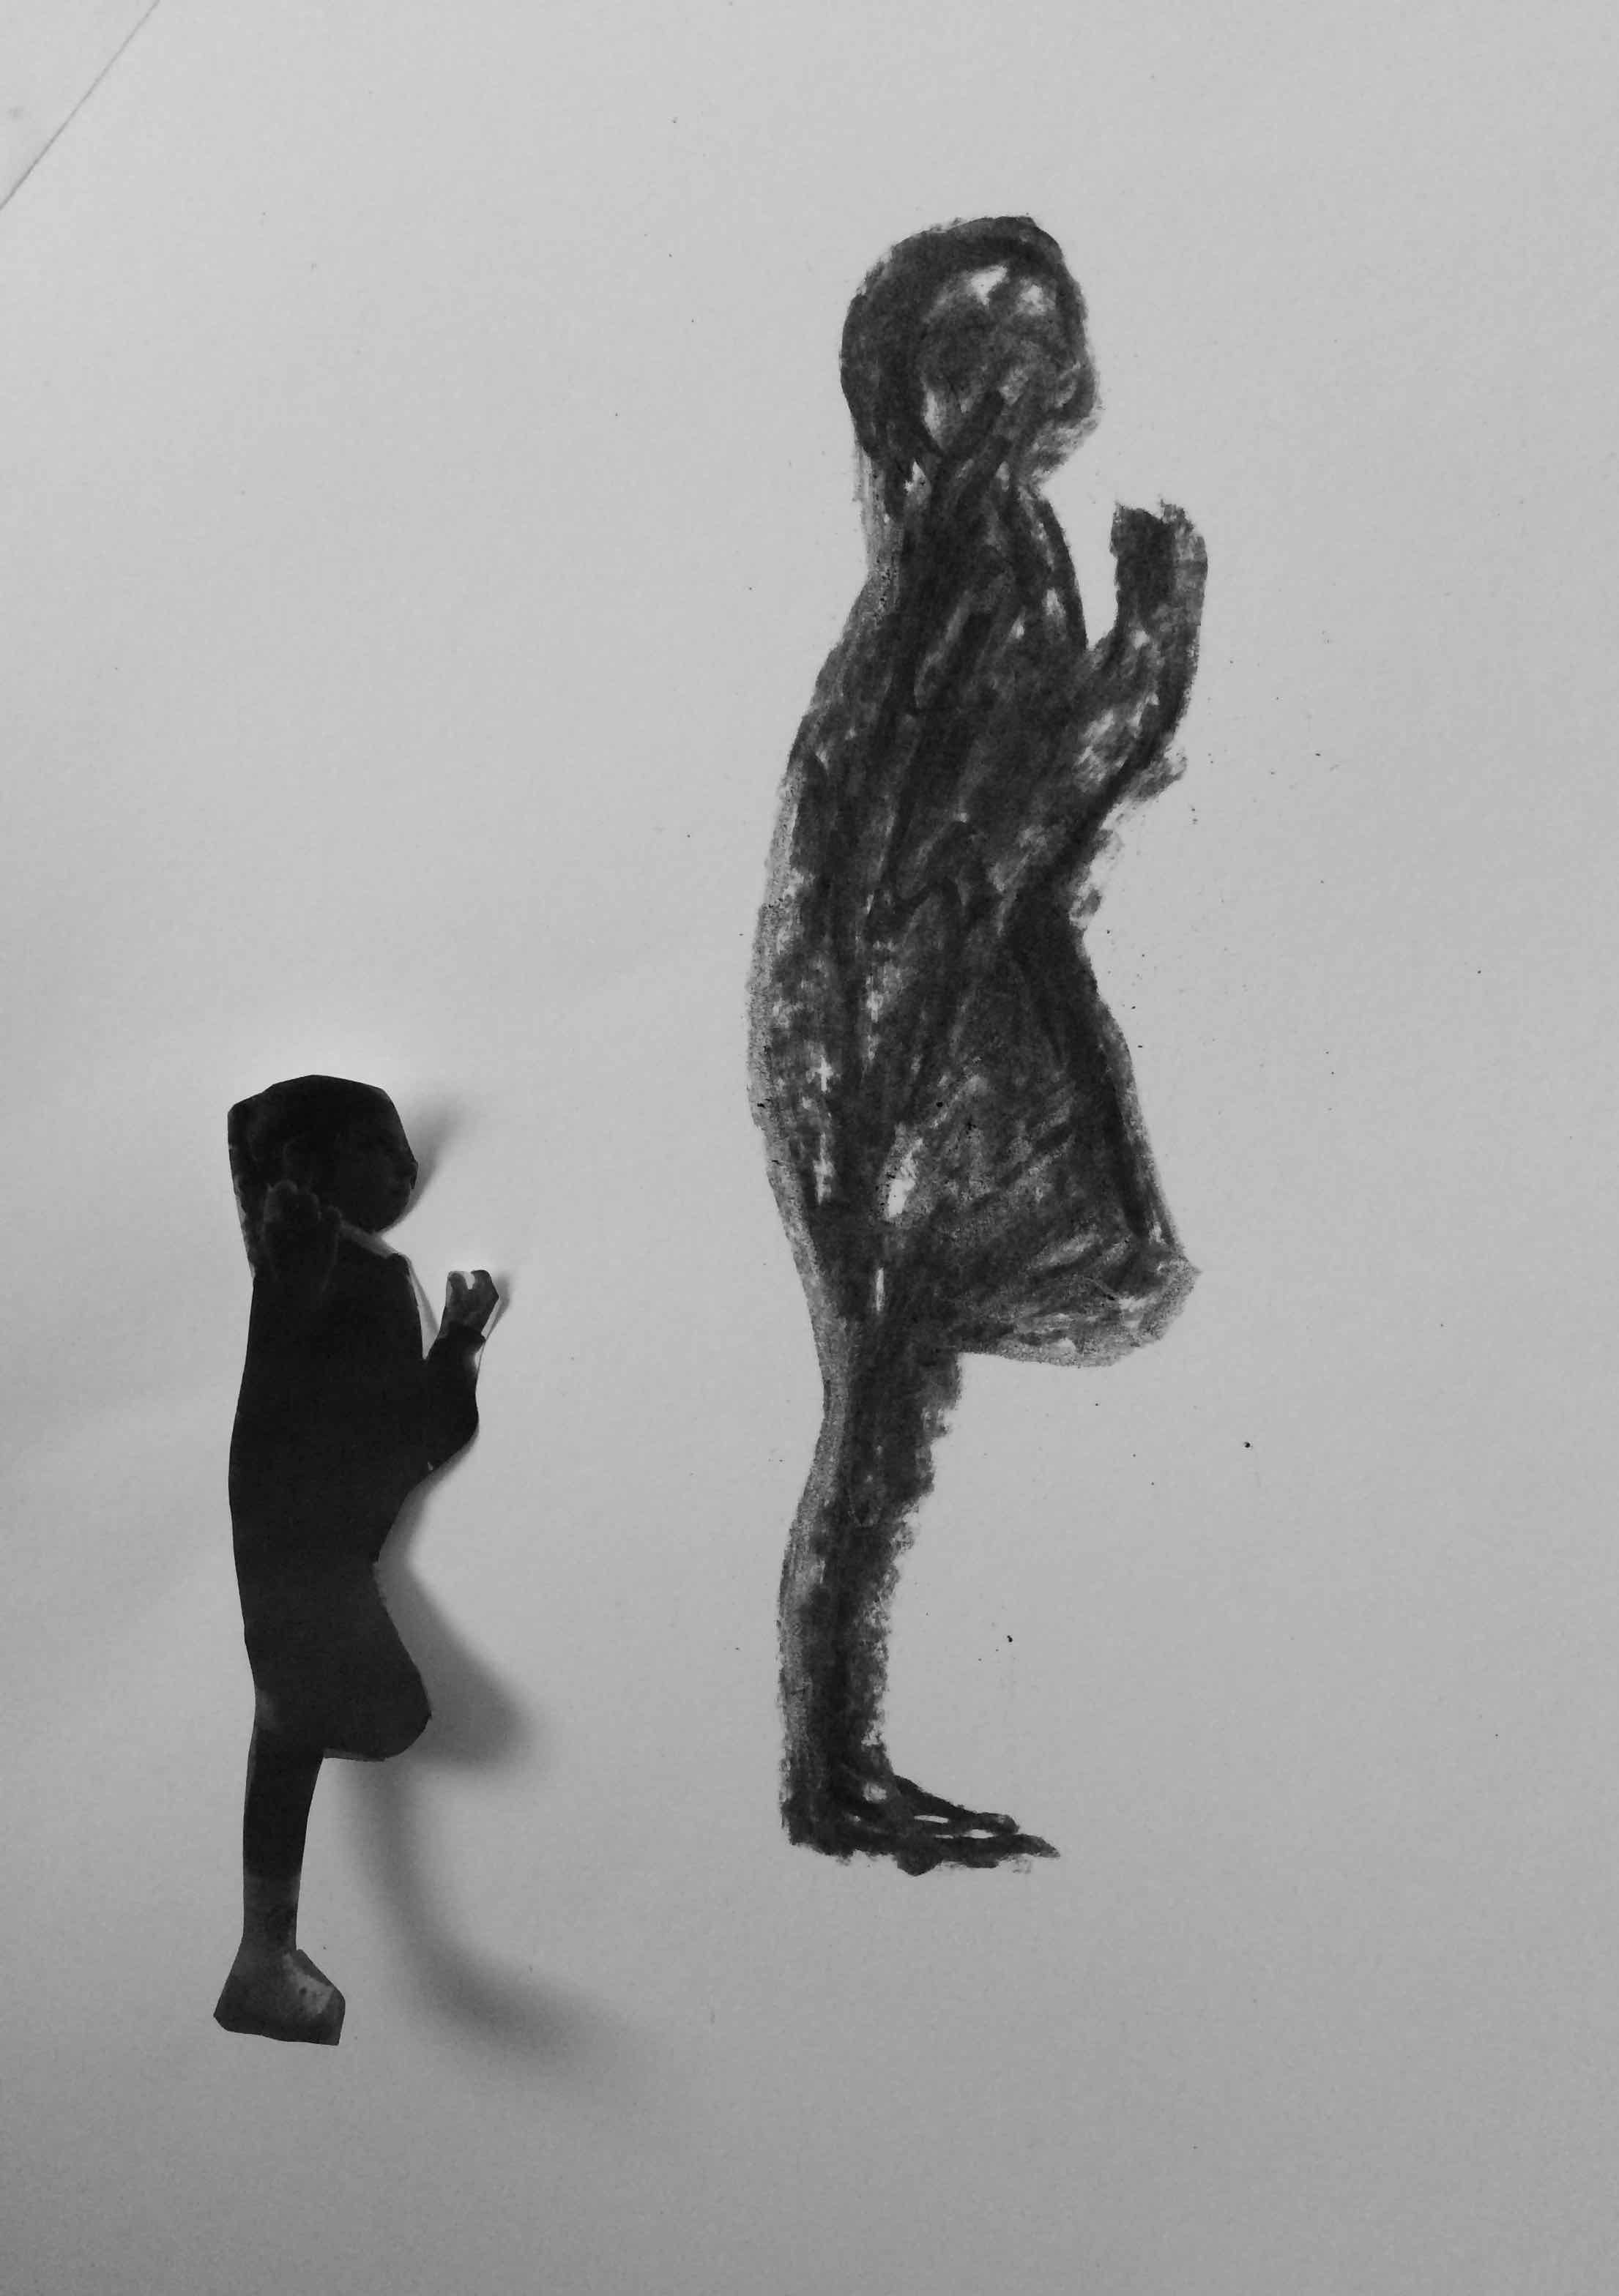
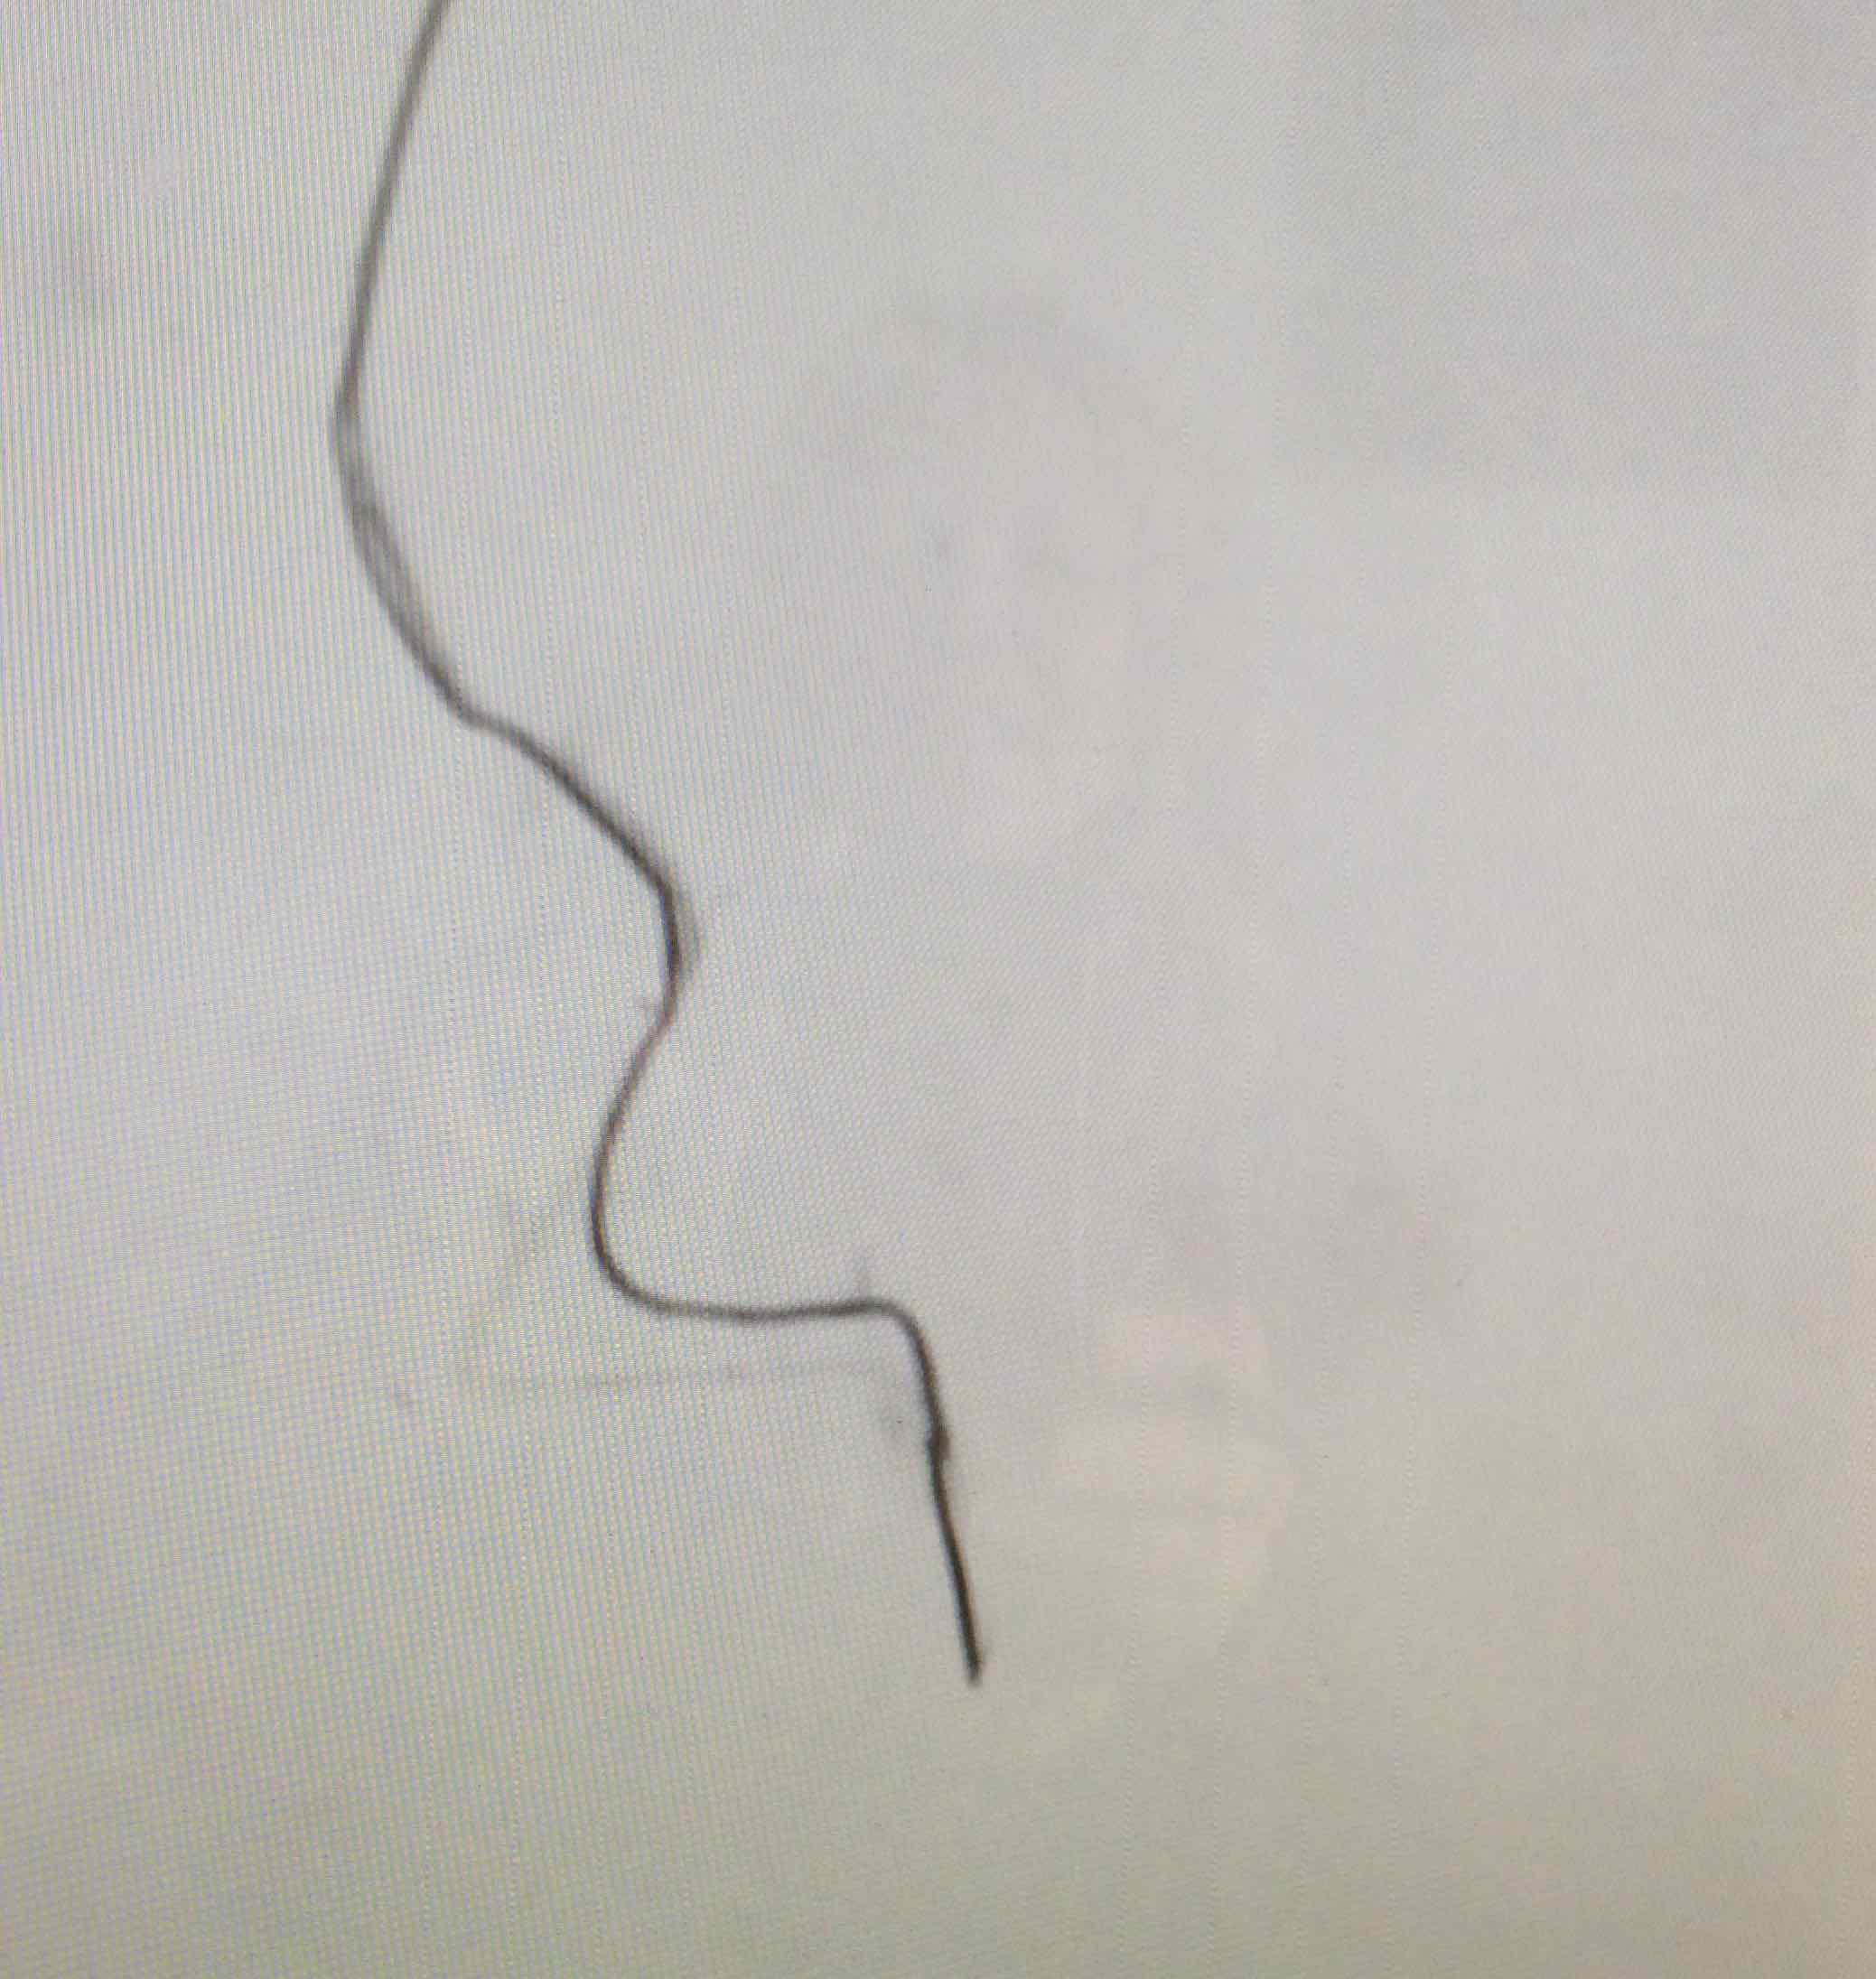
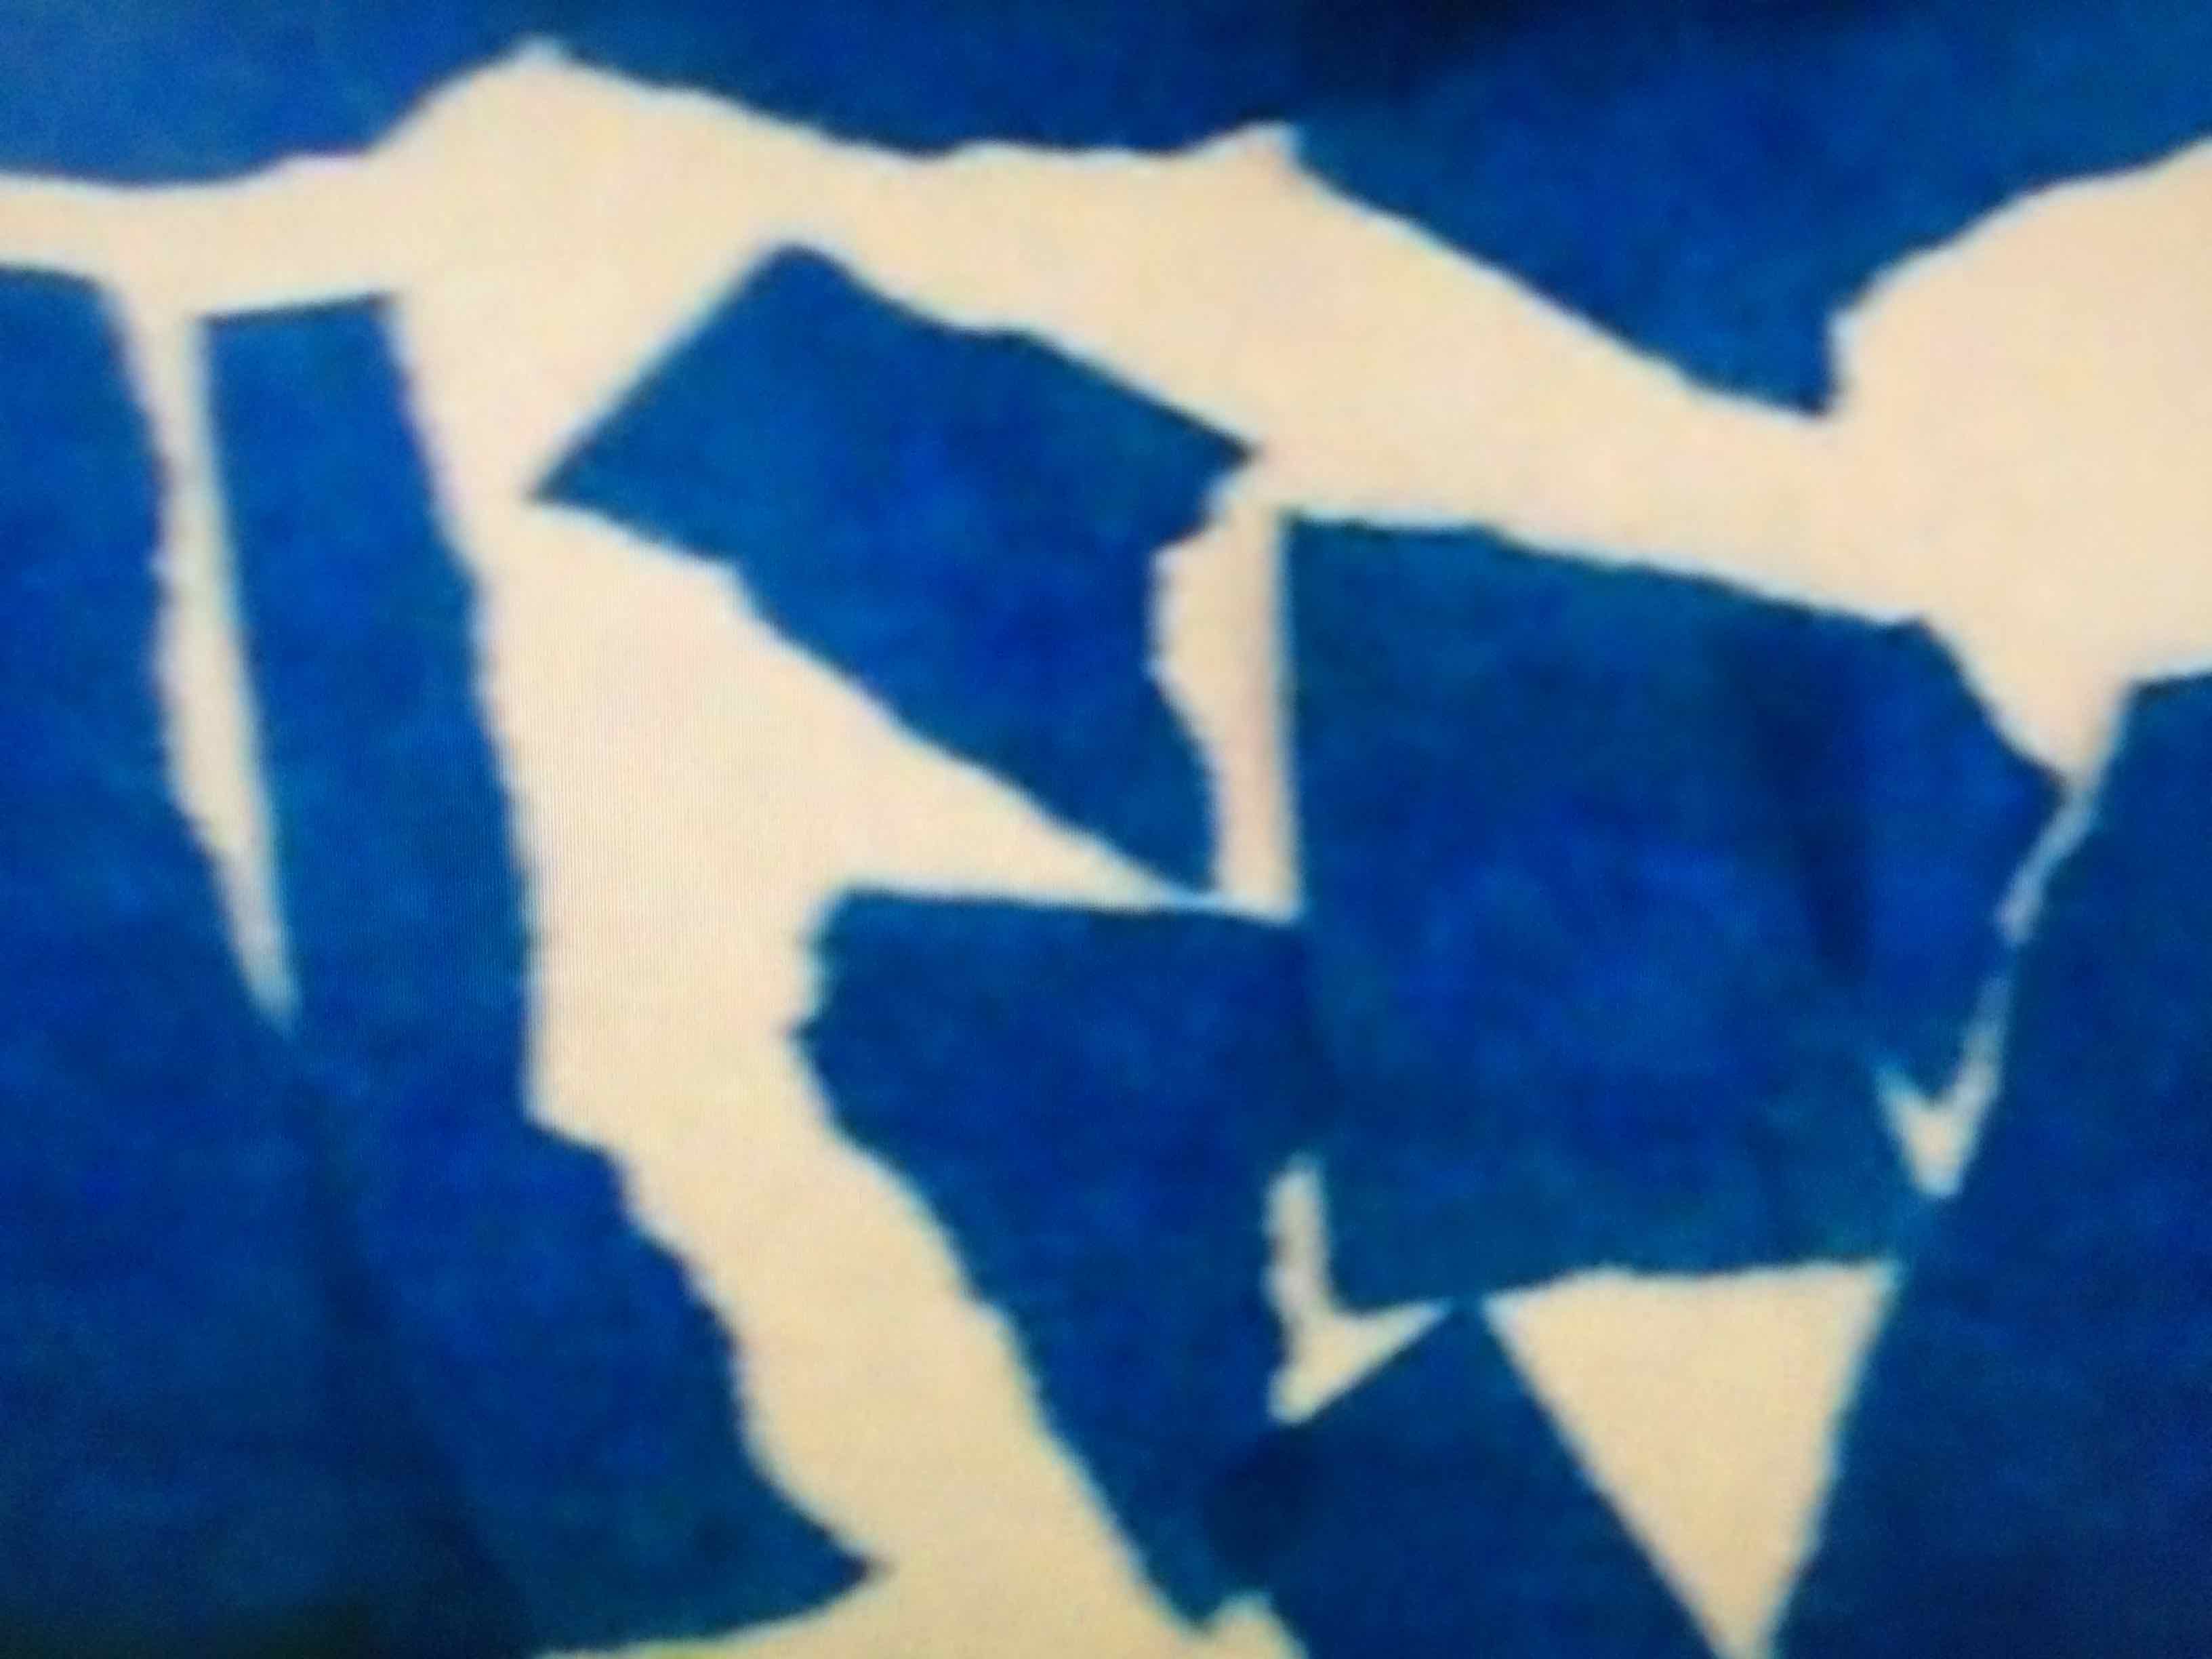
My pictures and cut outs were cut short so needed me to fill in the parts of missing bodies… part of heads etc so these were scribbled in in pencil to make the shape.The cut out shapes are isolated on a plain background to see it clearly.
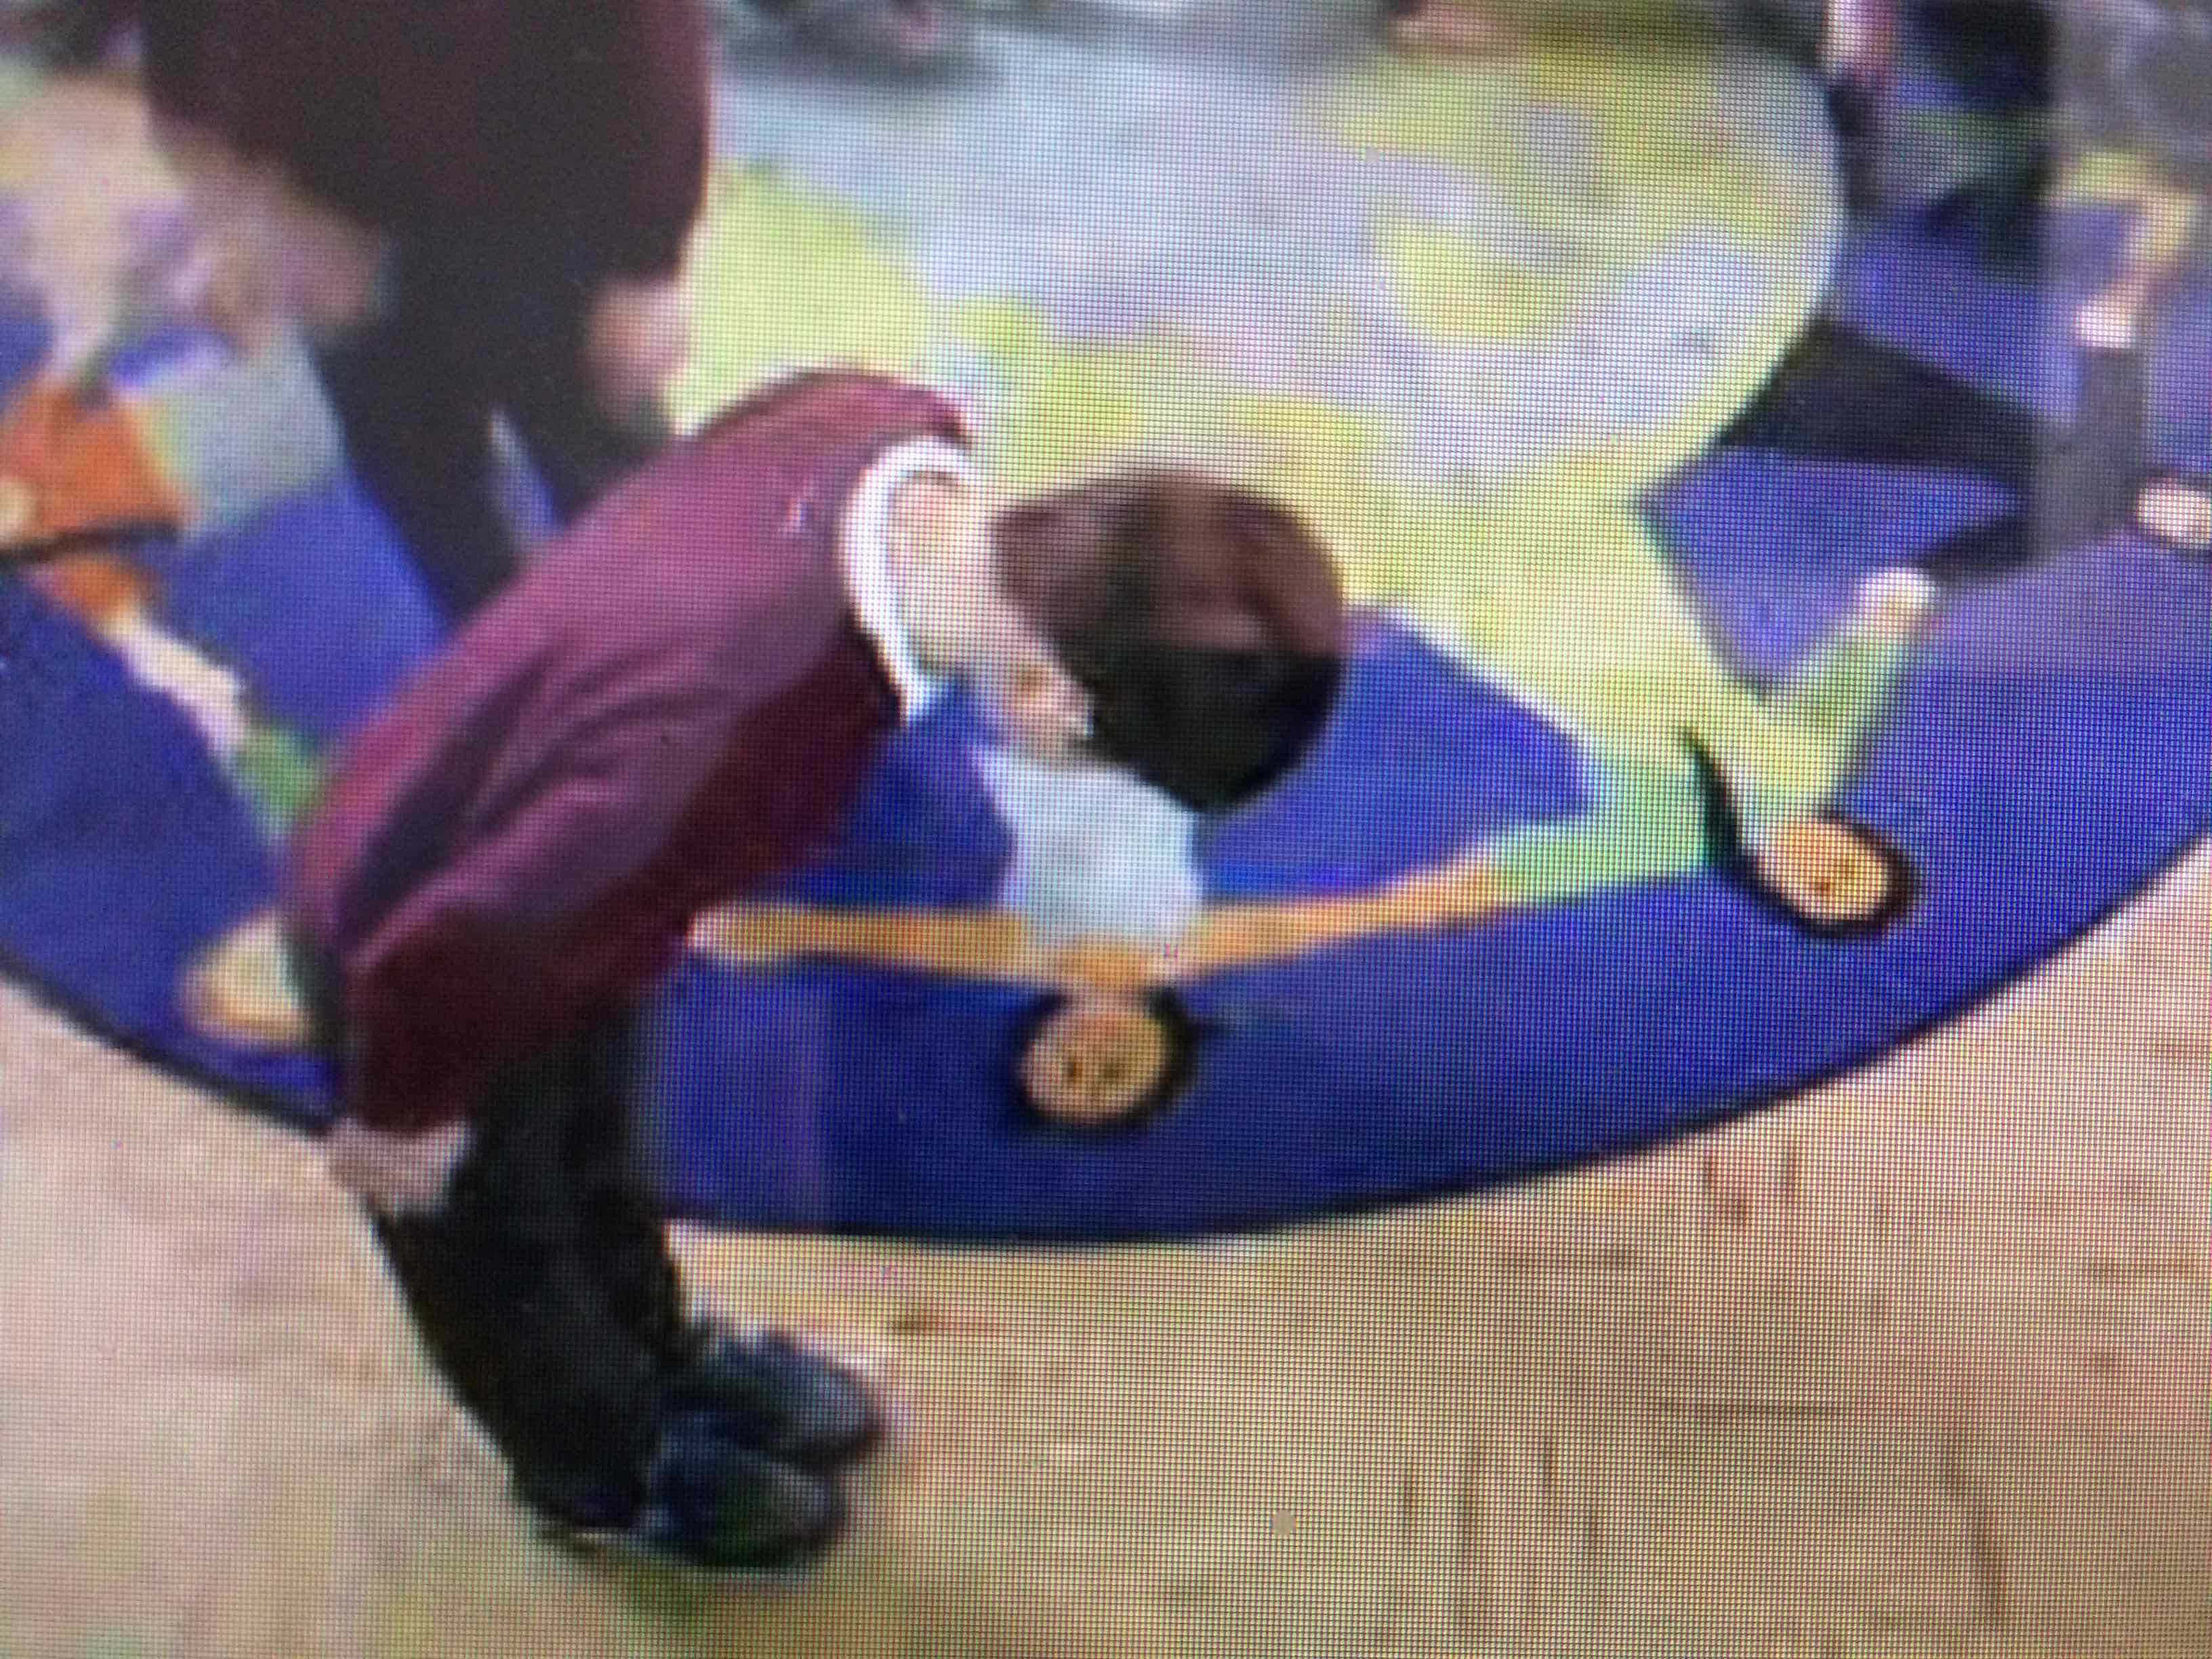
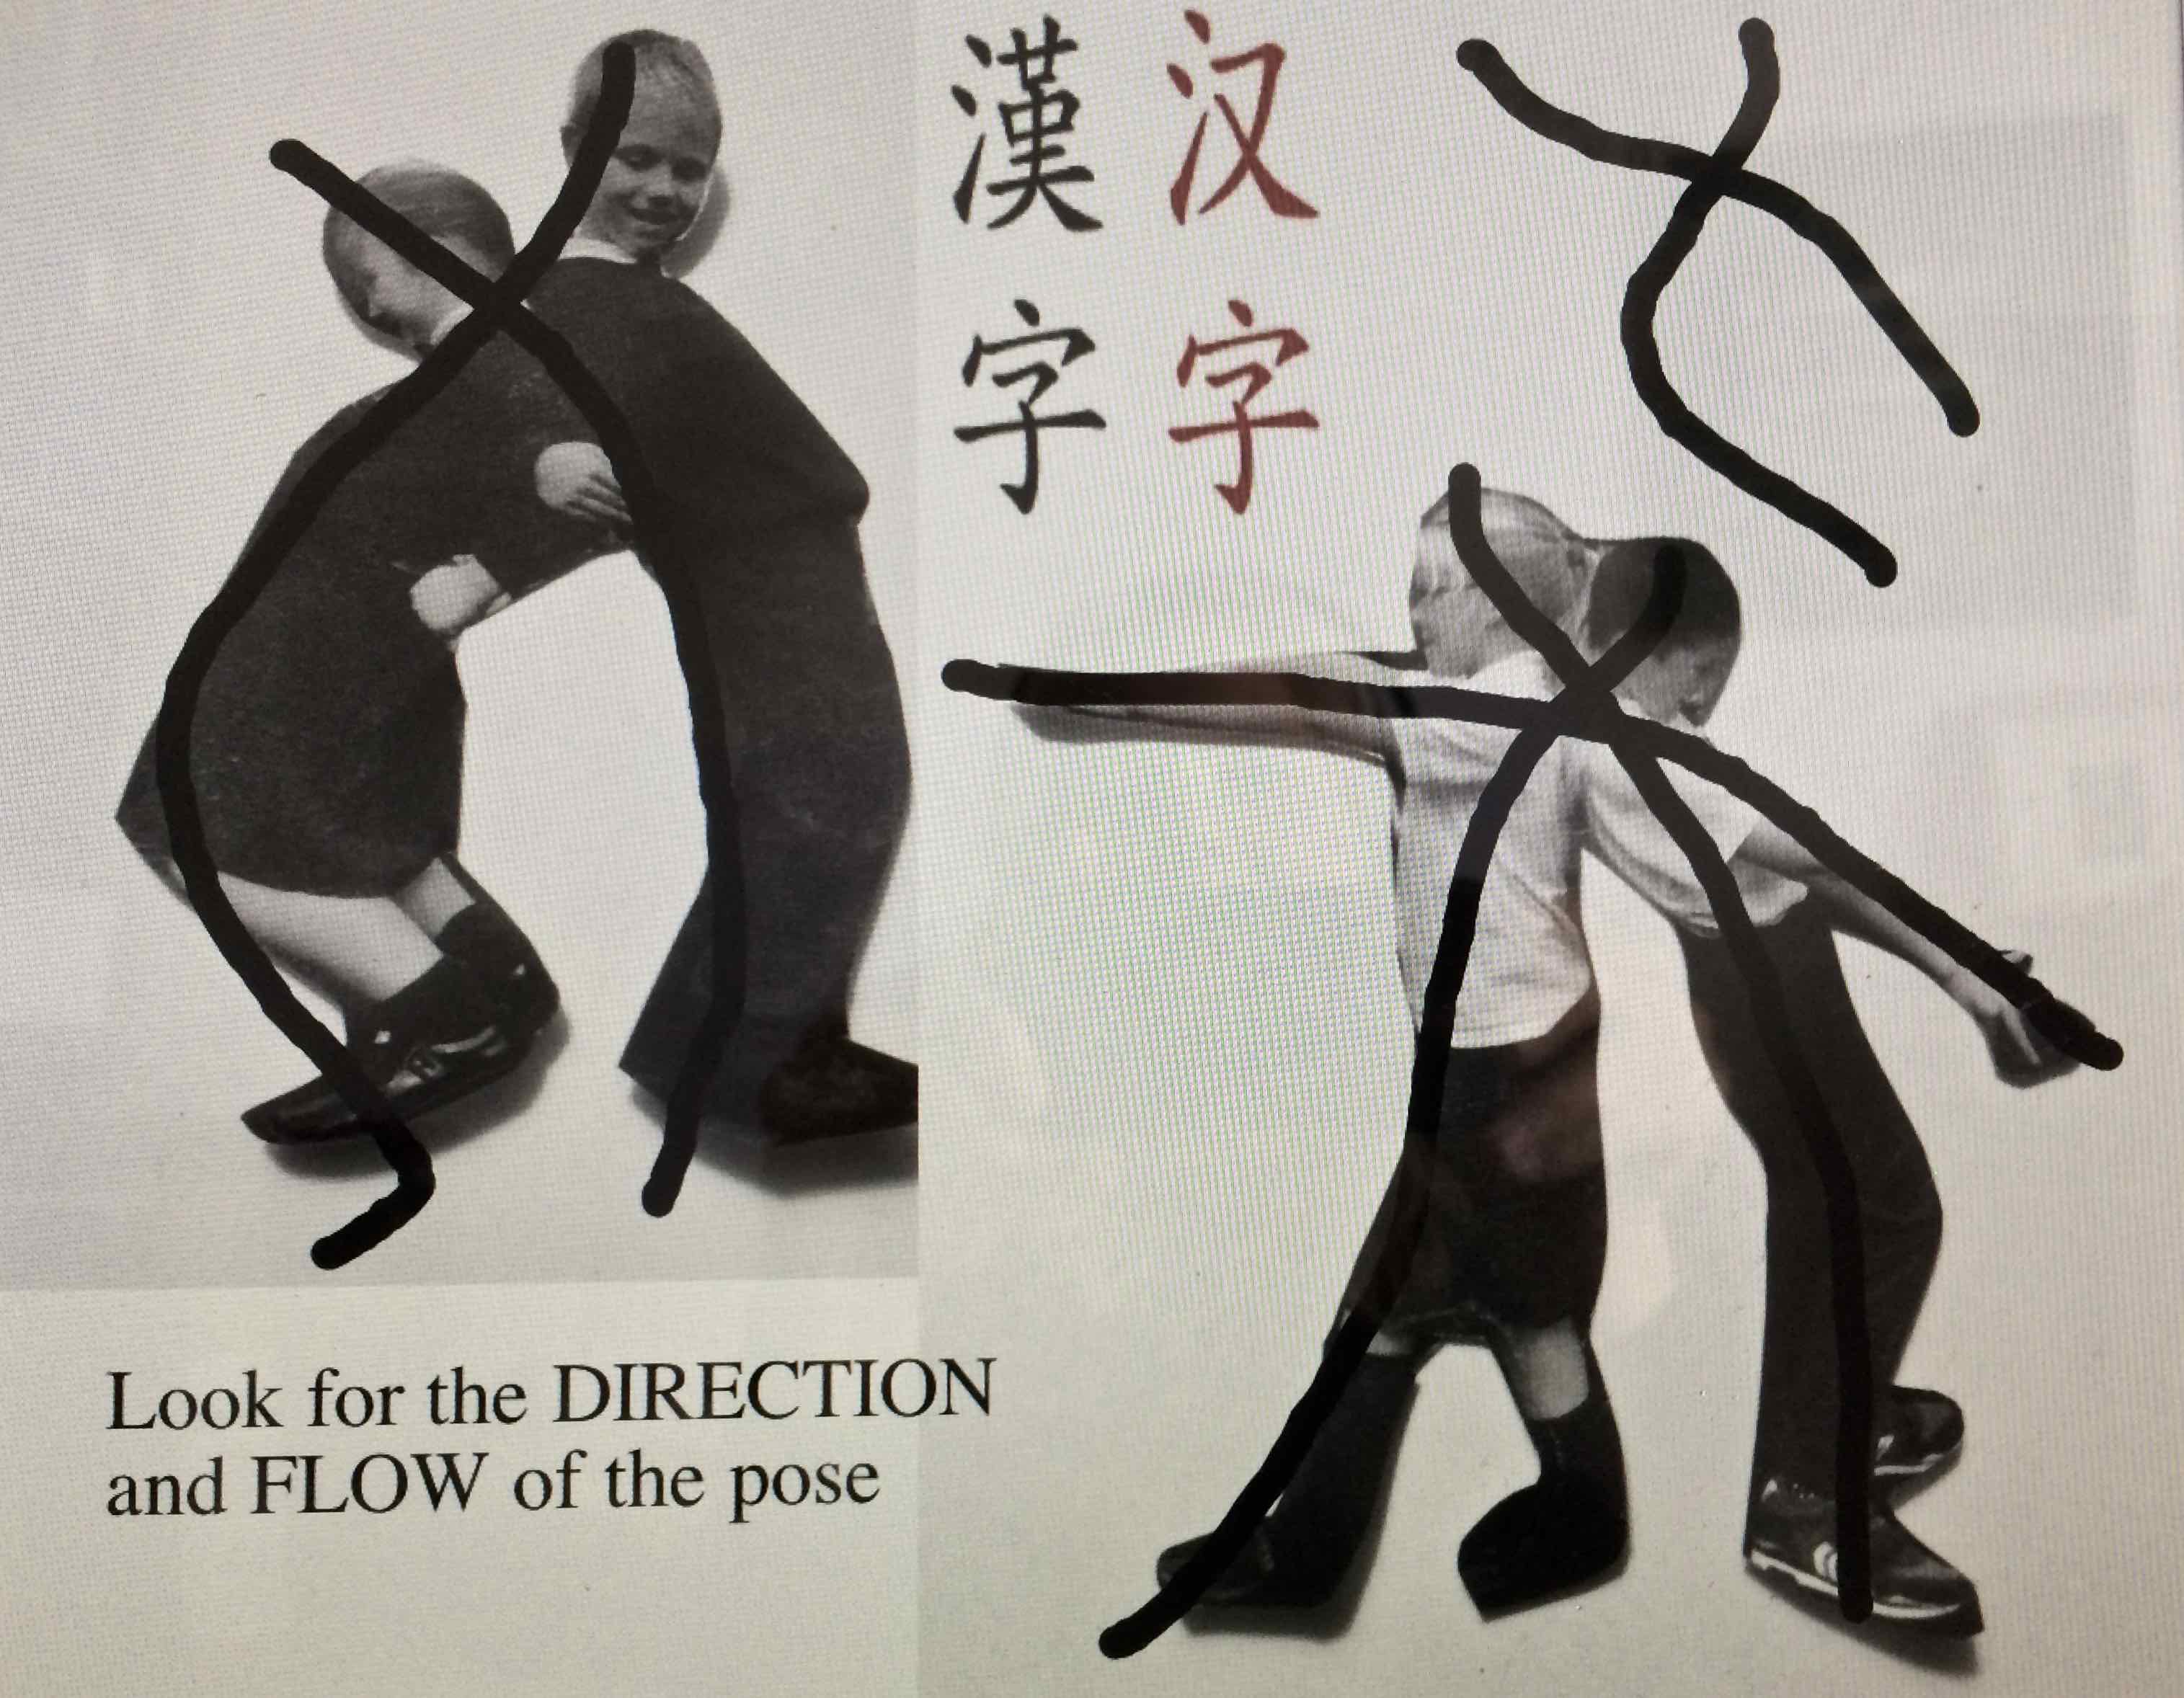
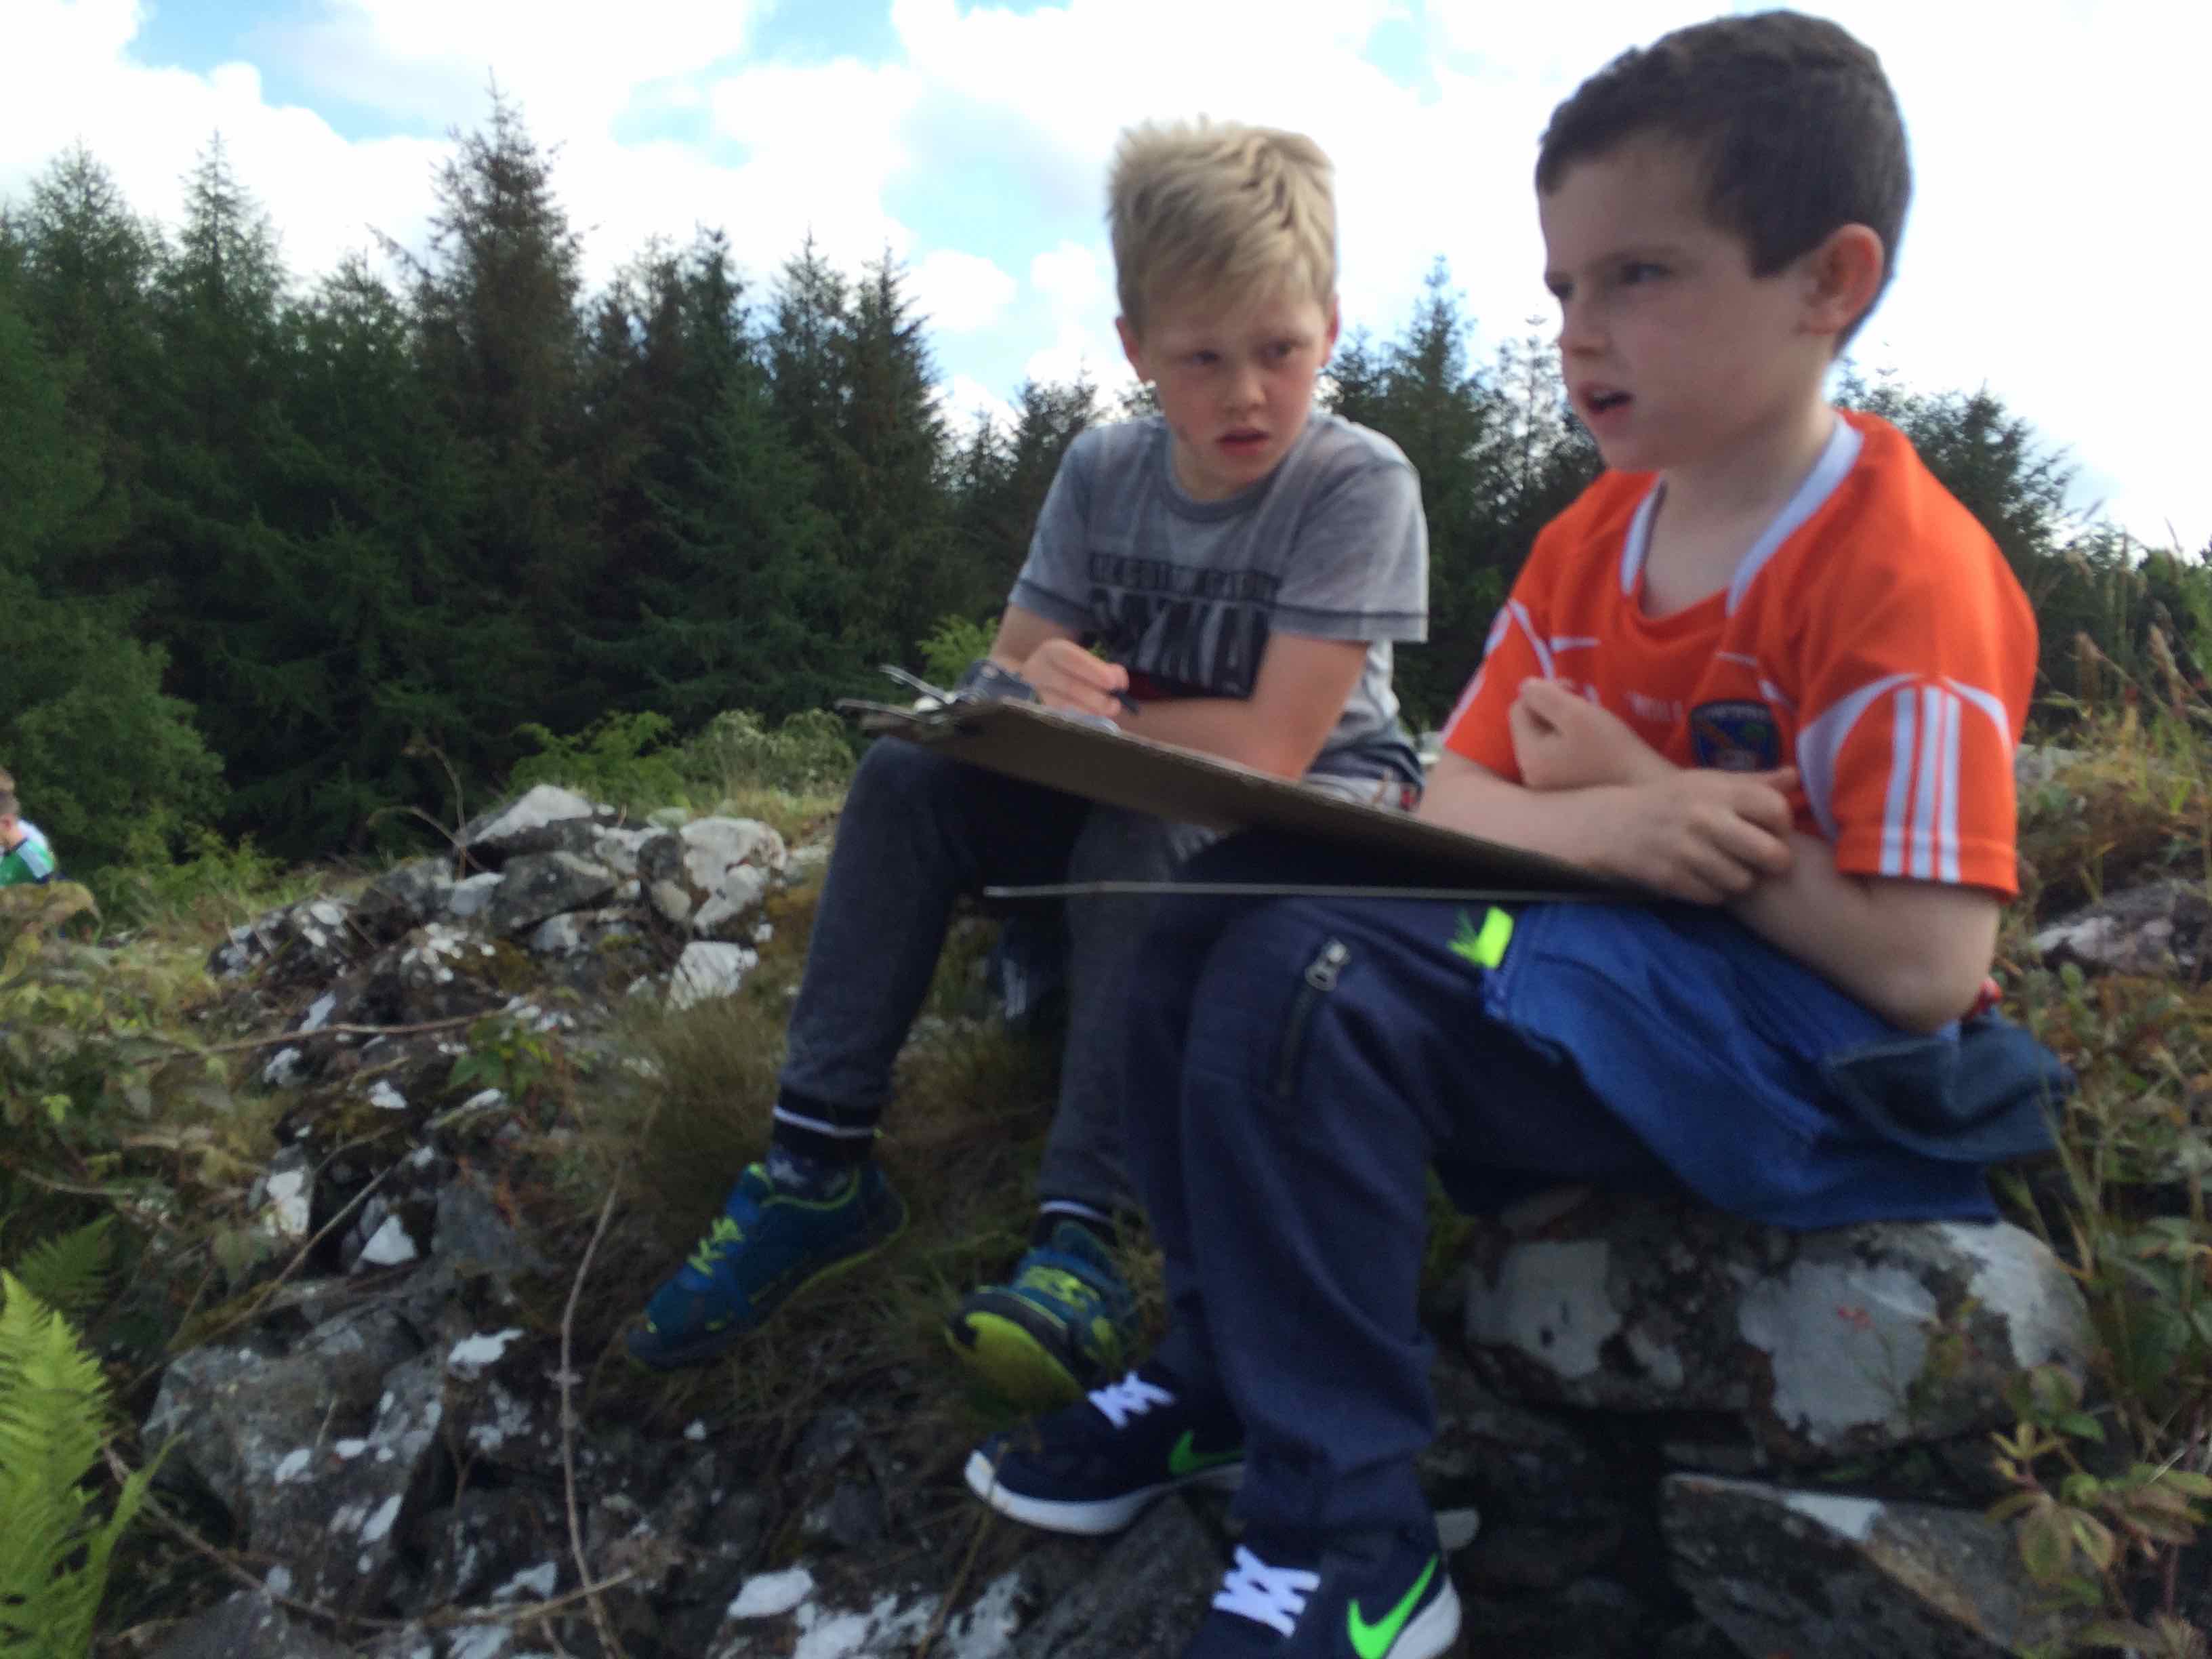
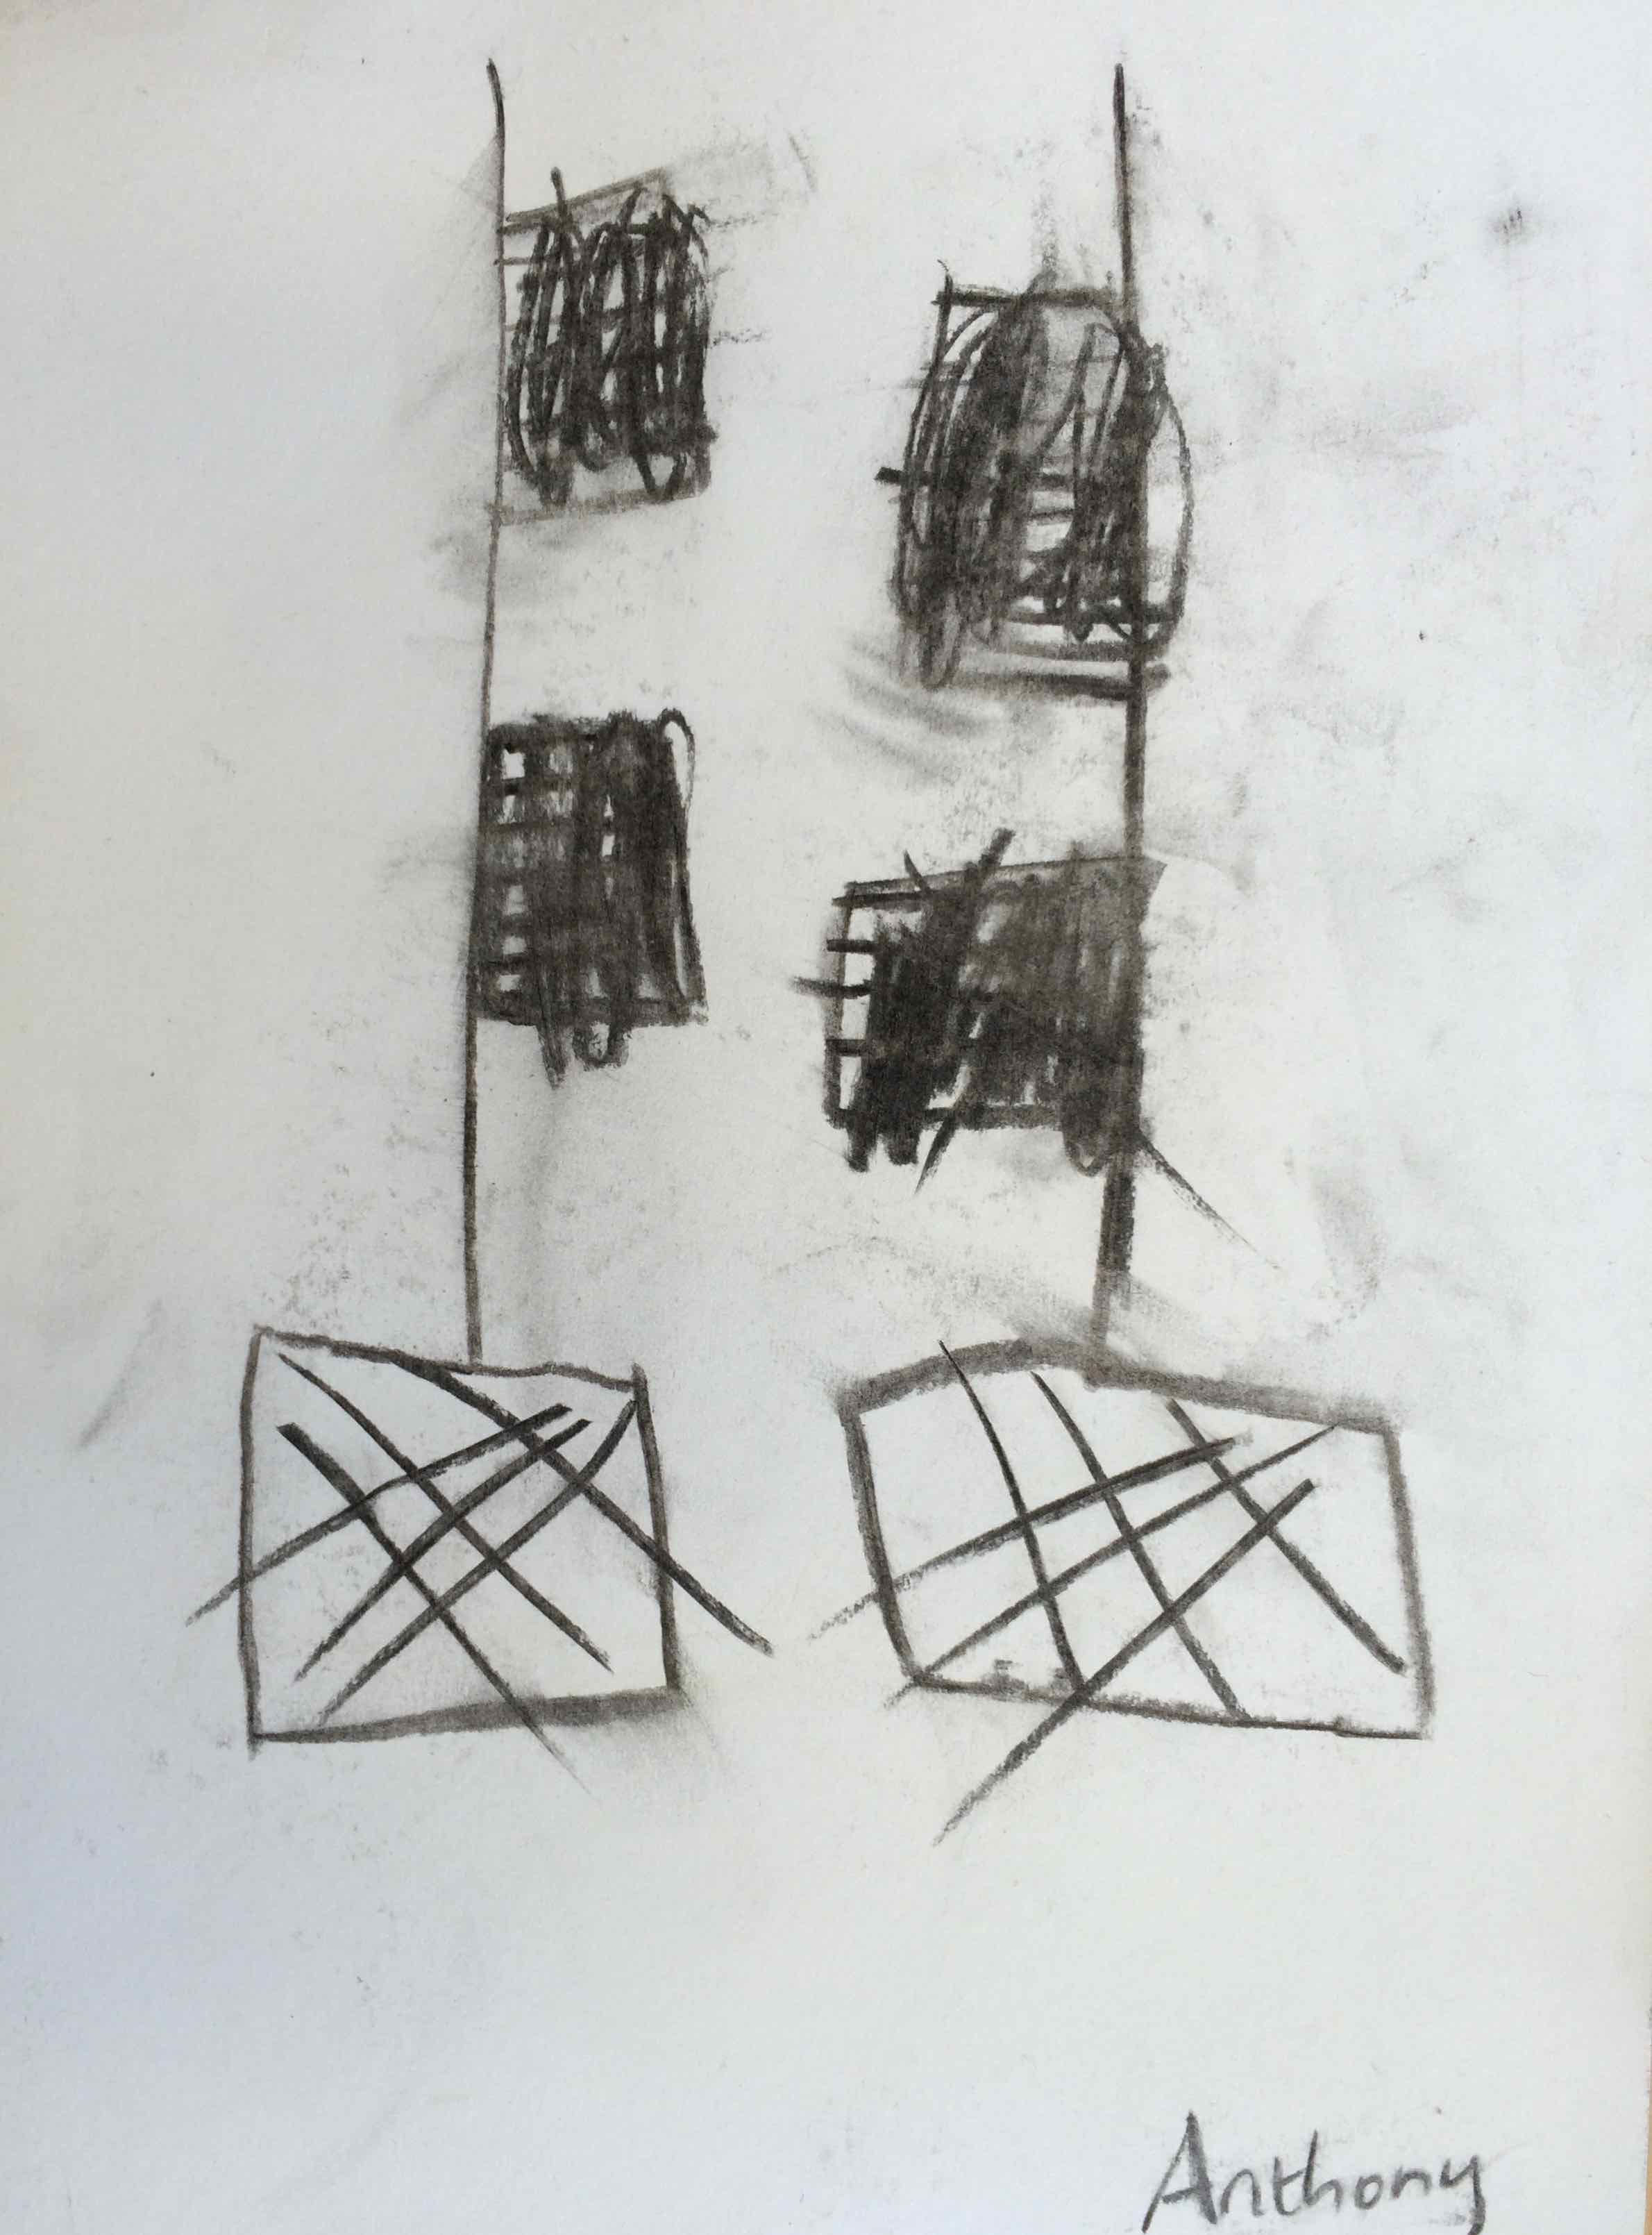
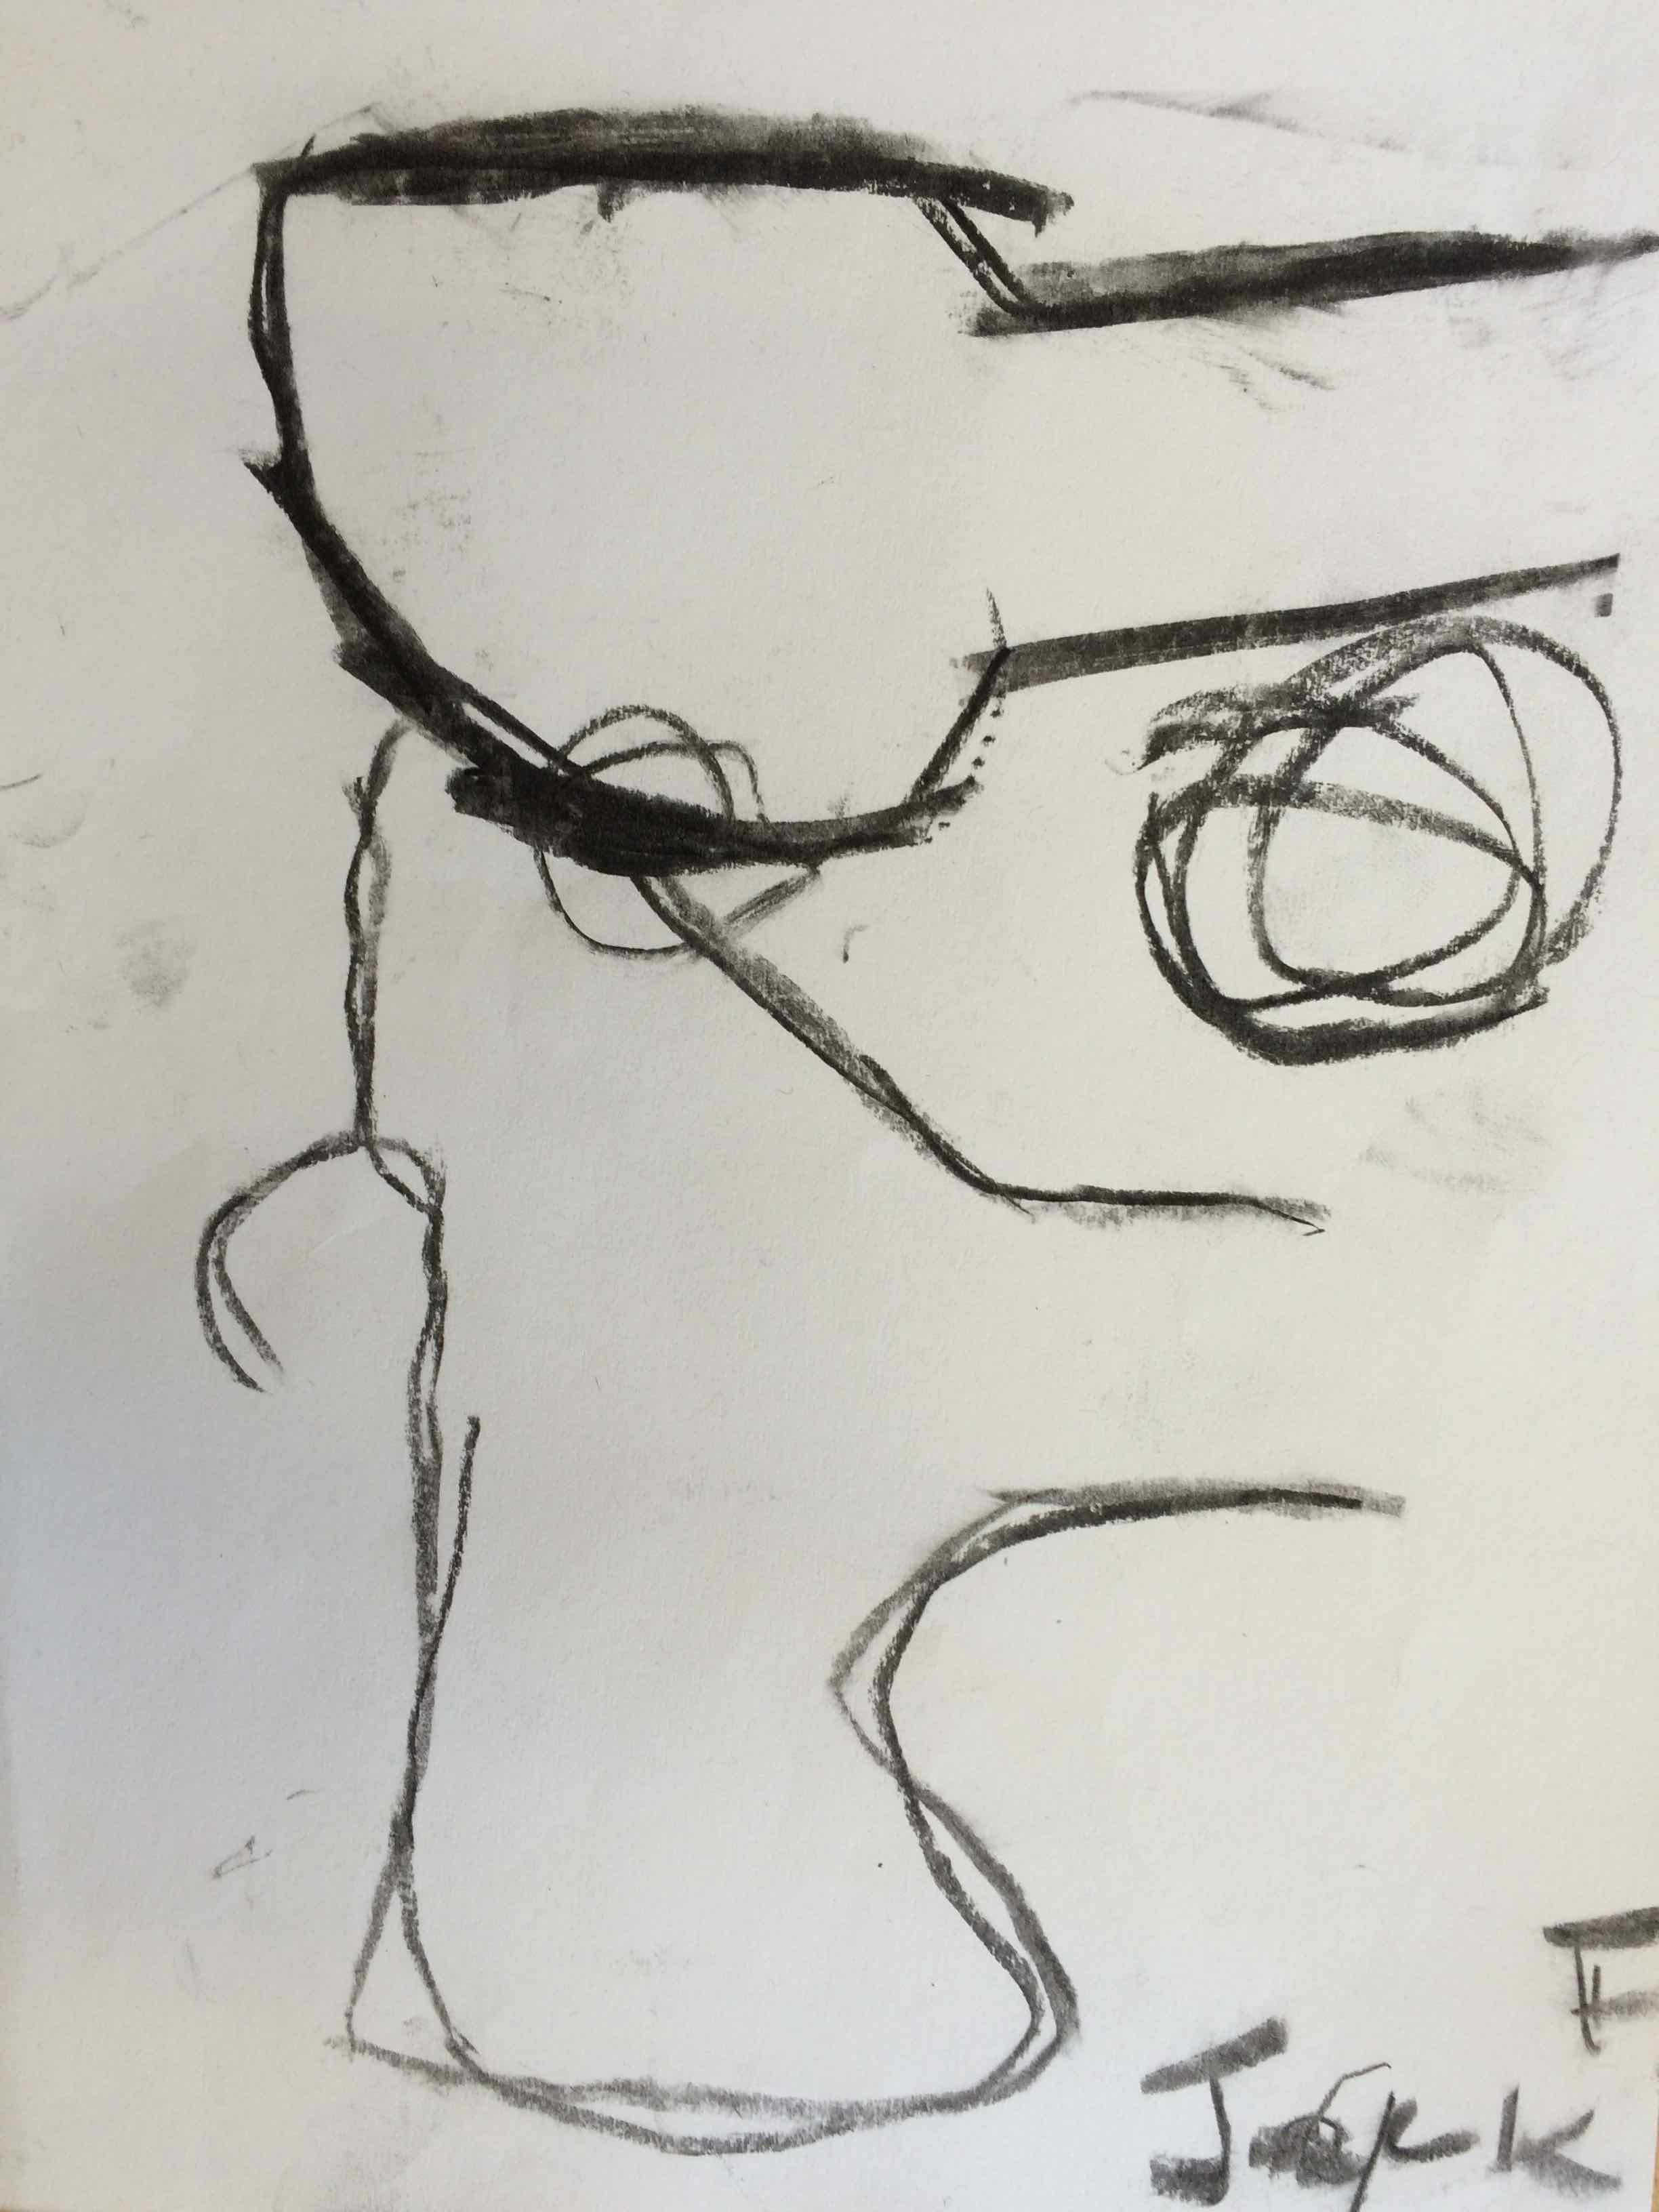
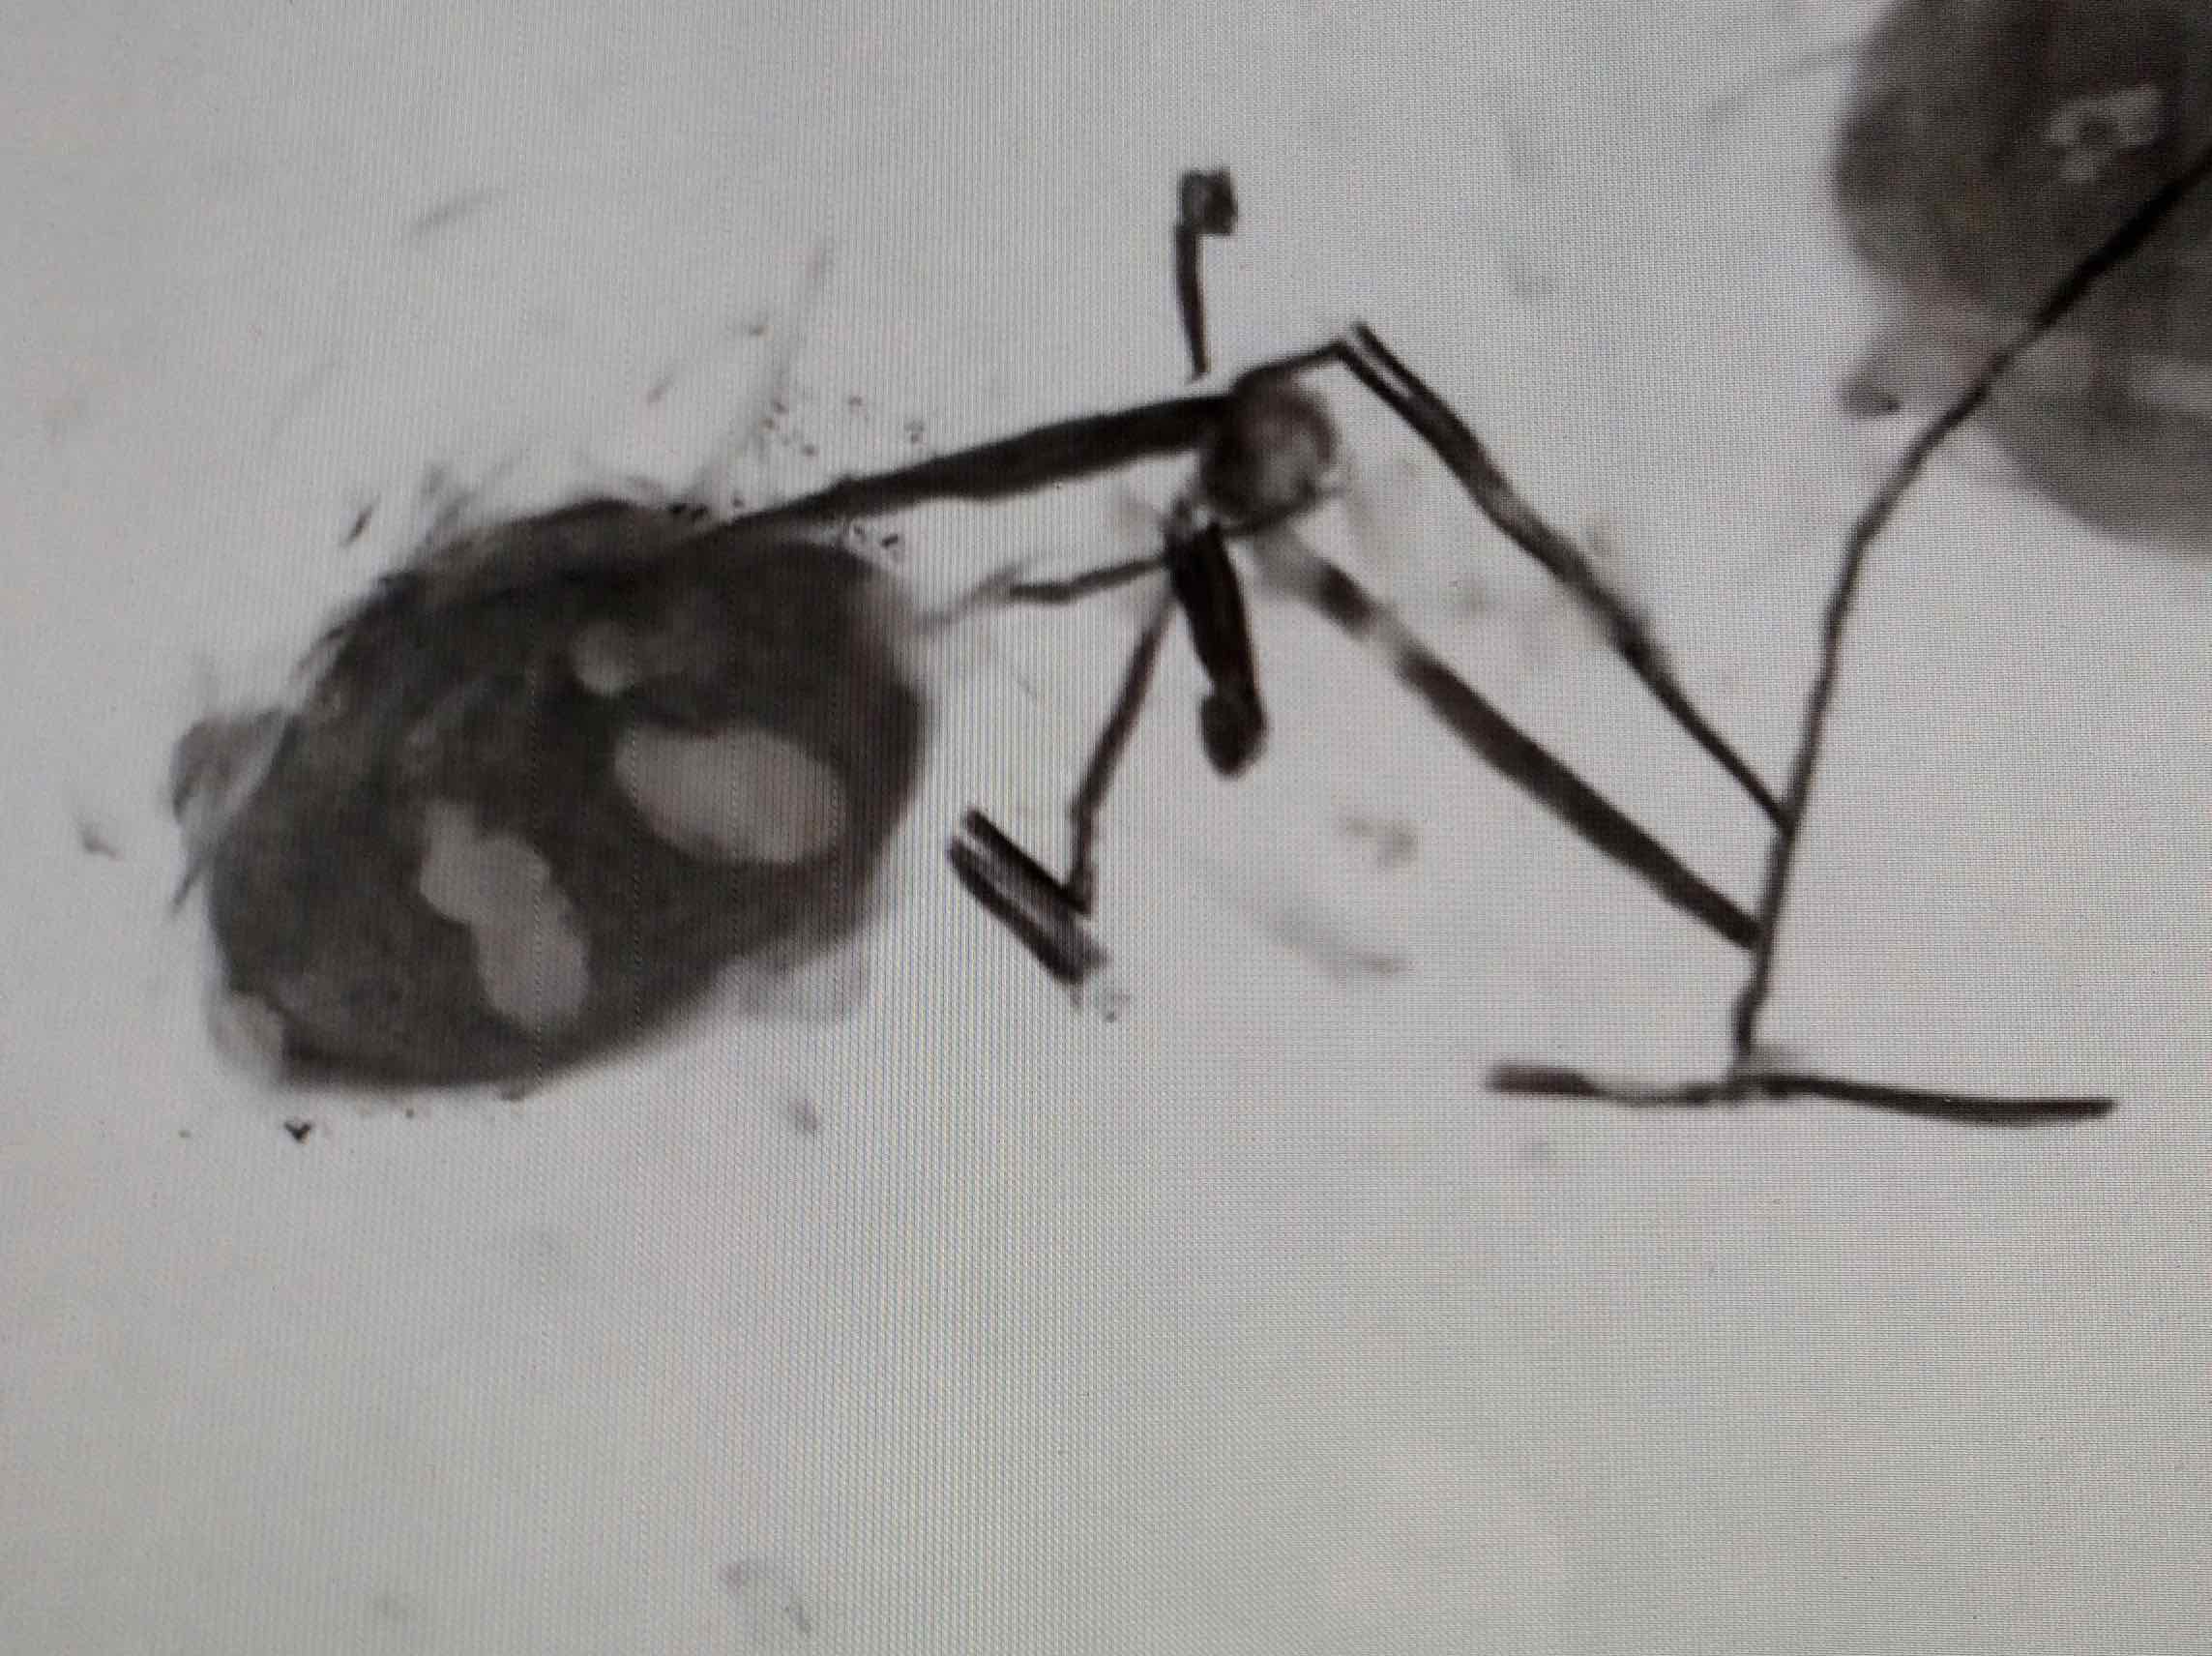
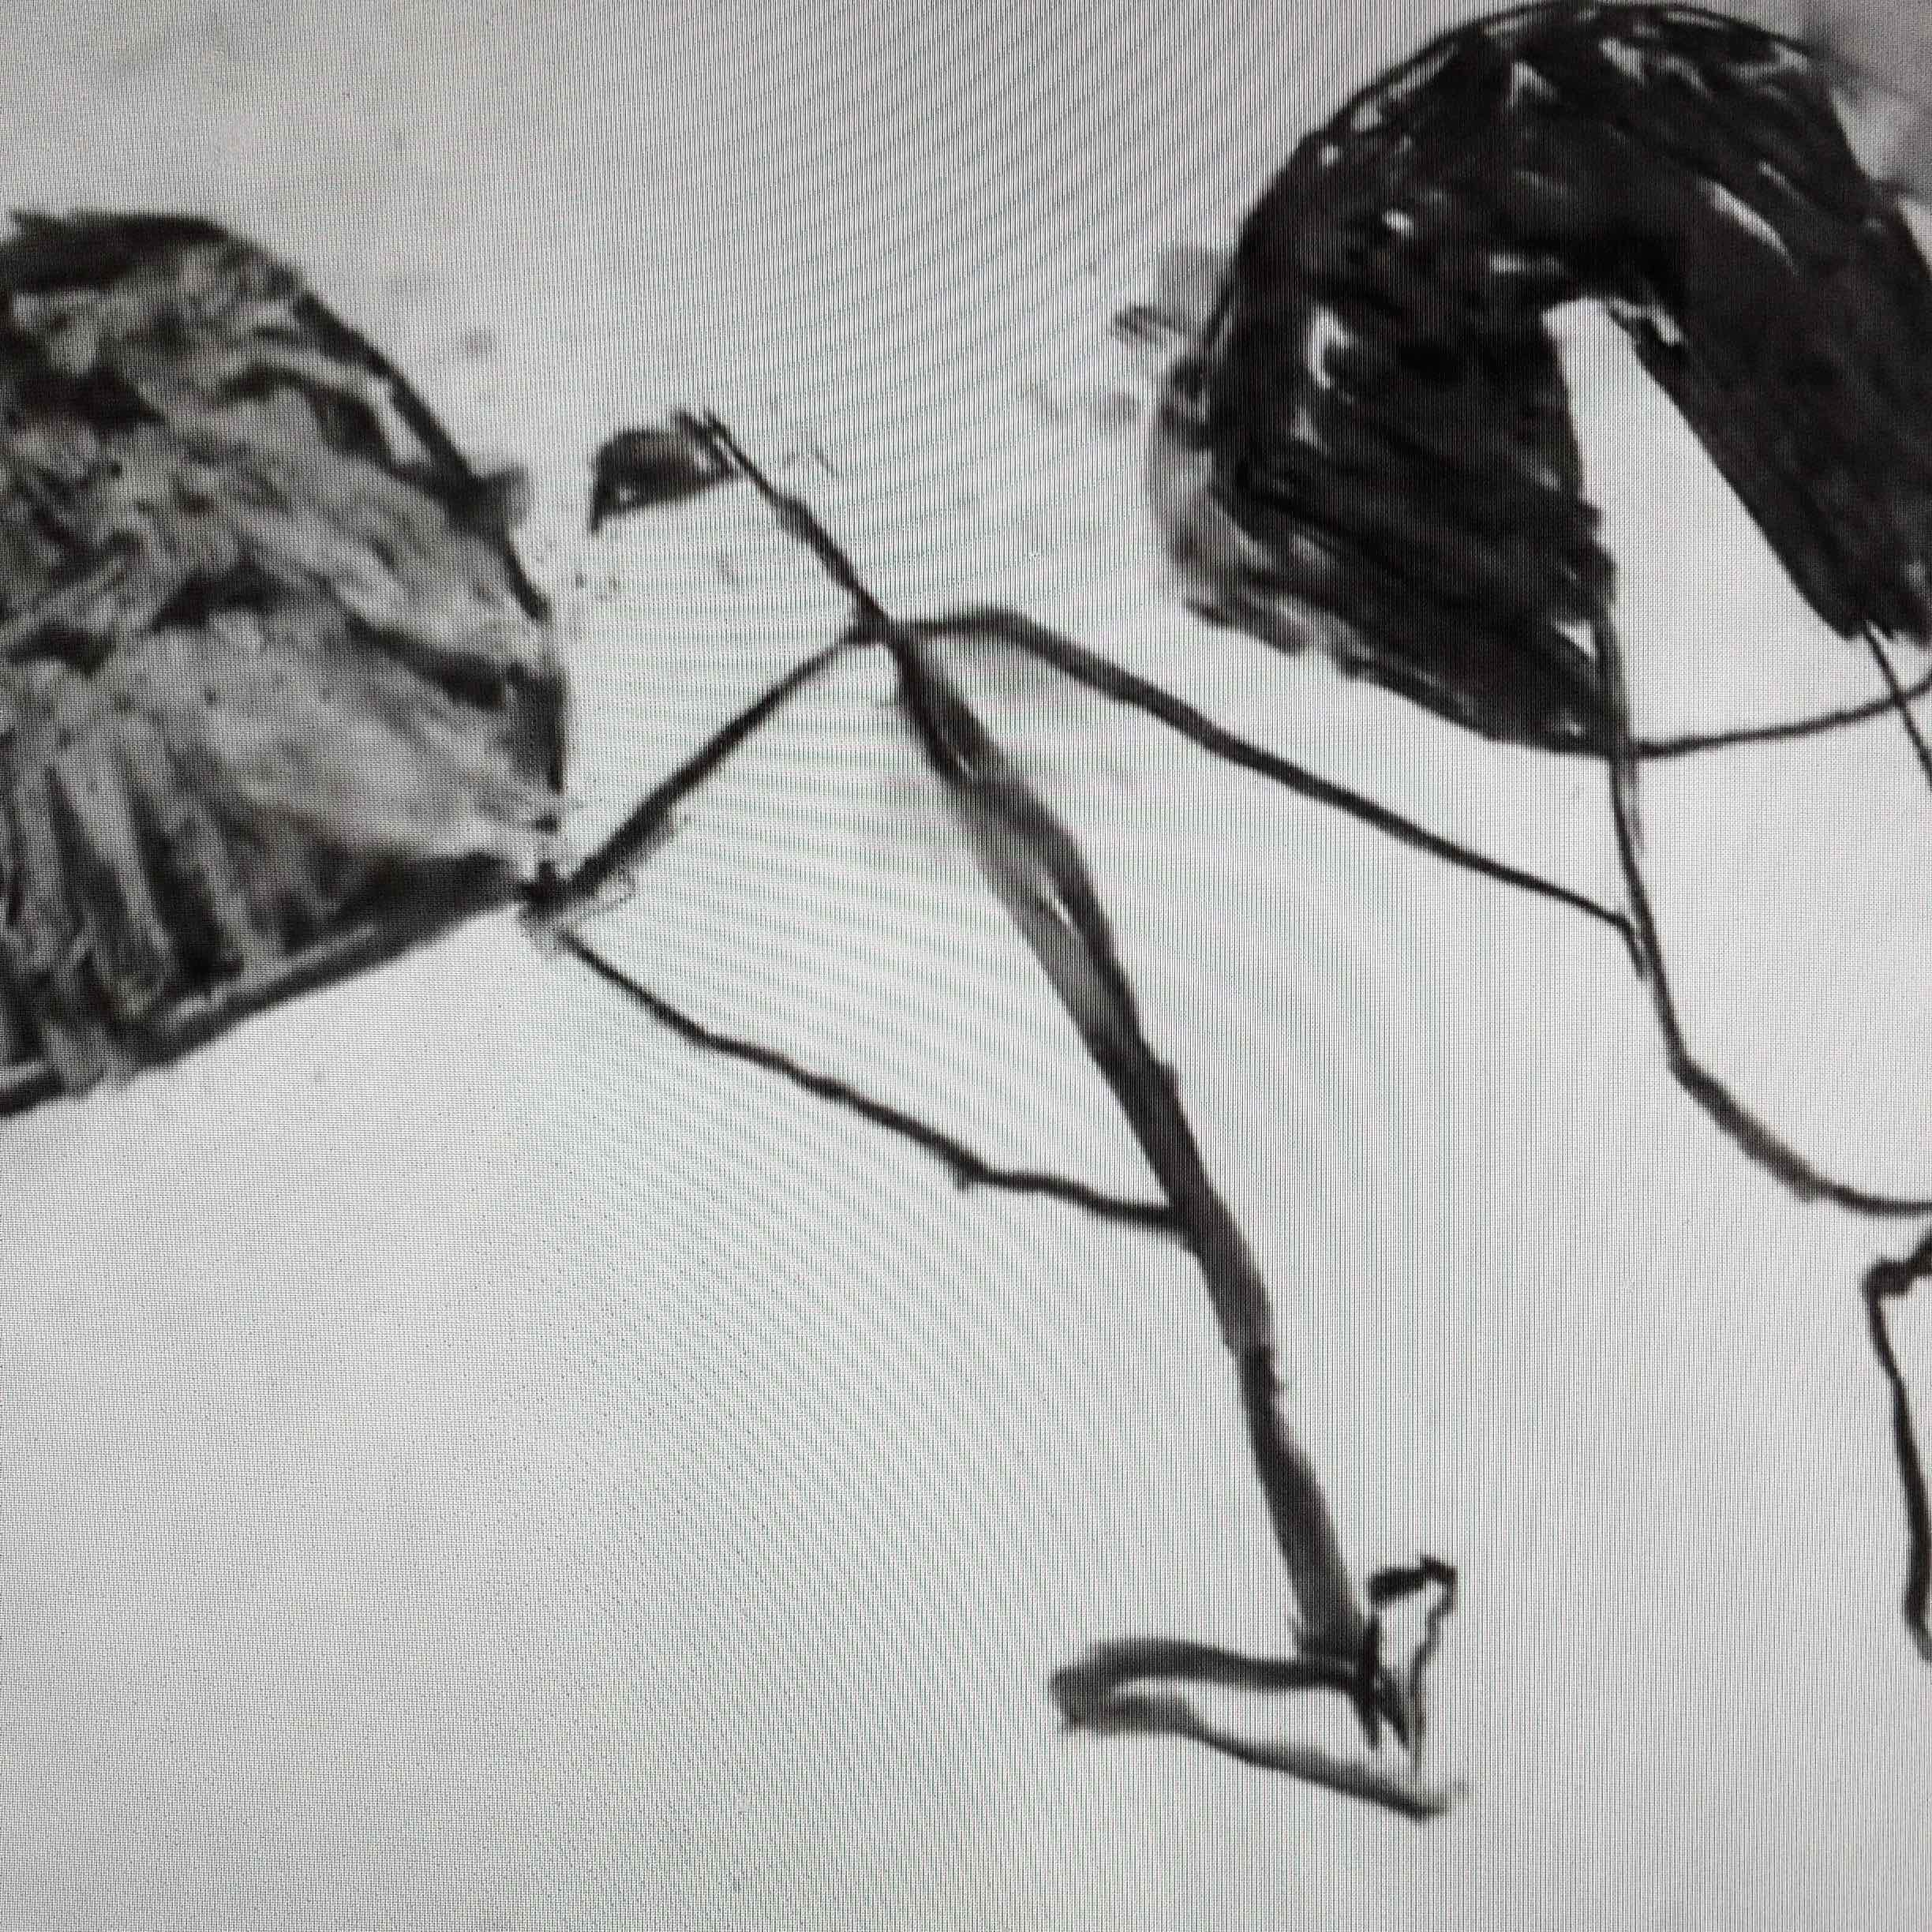
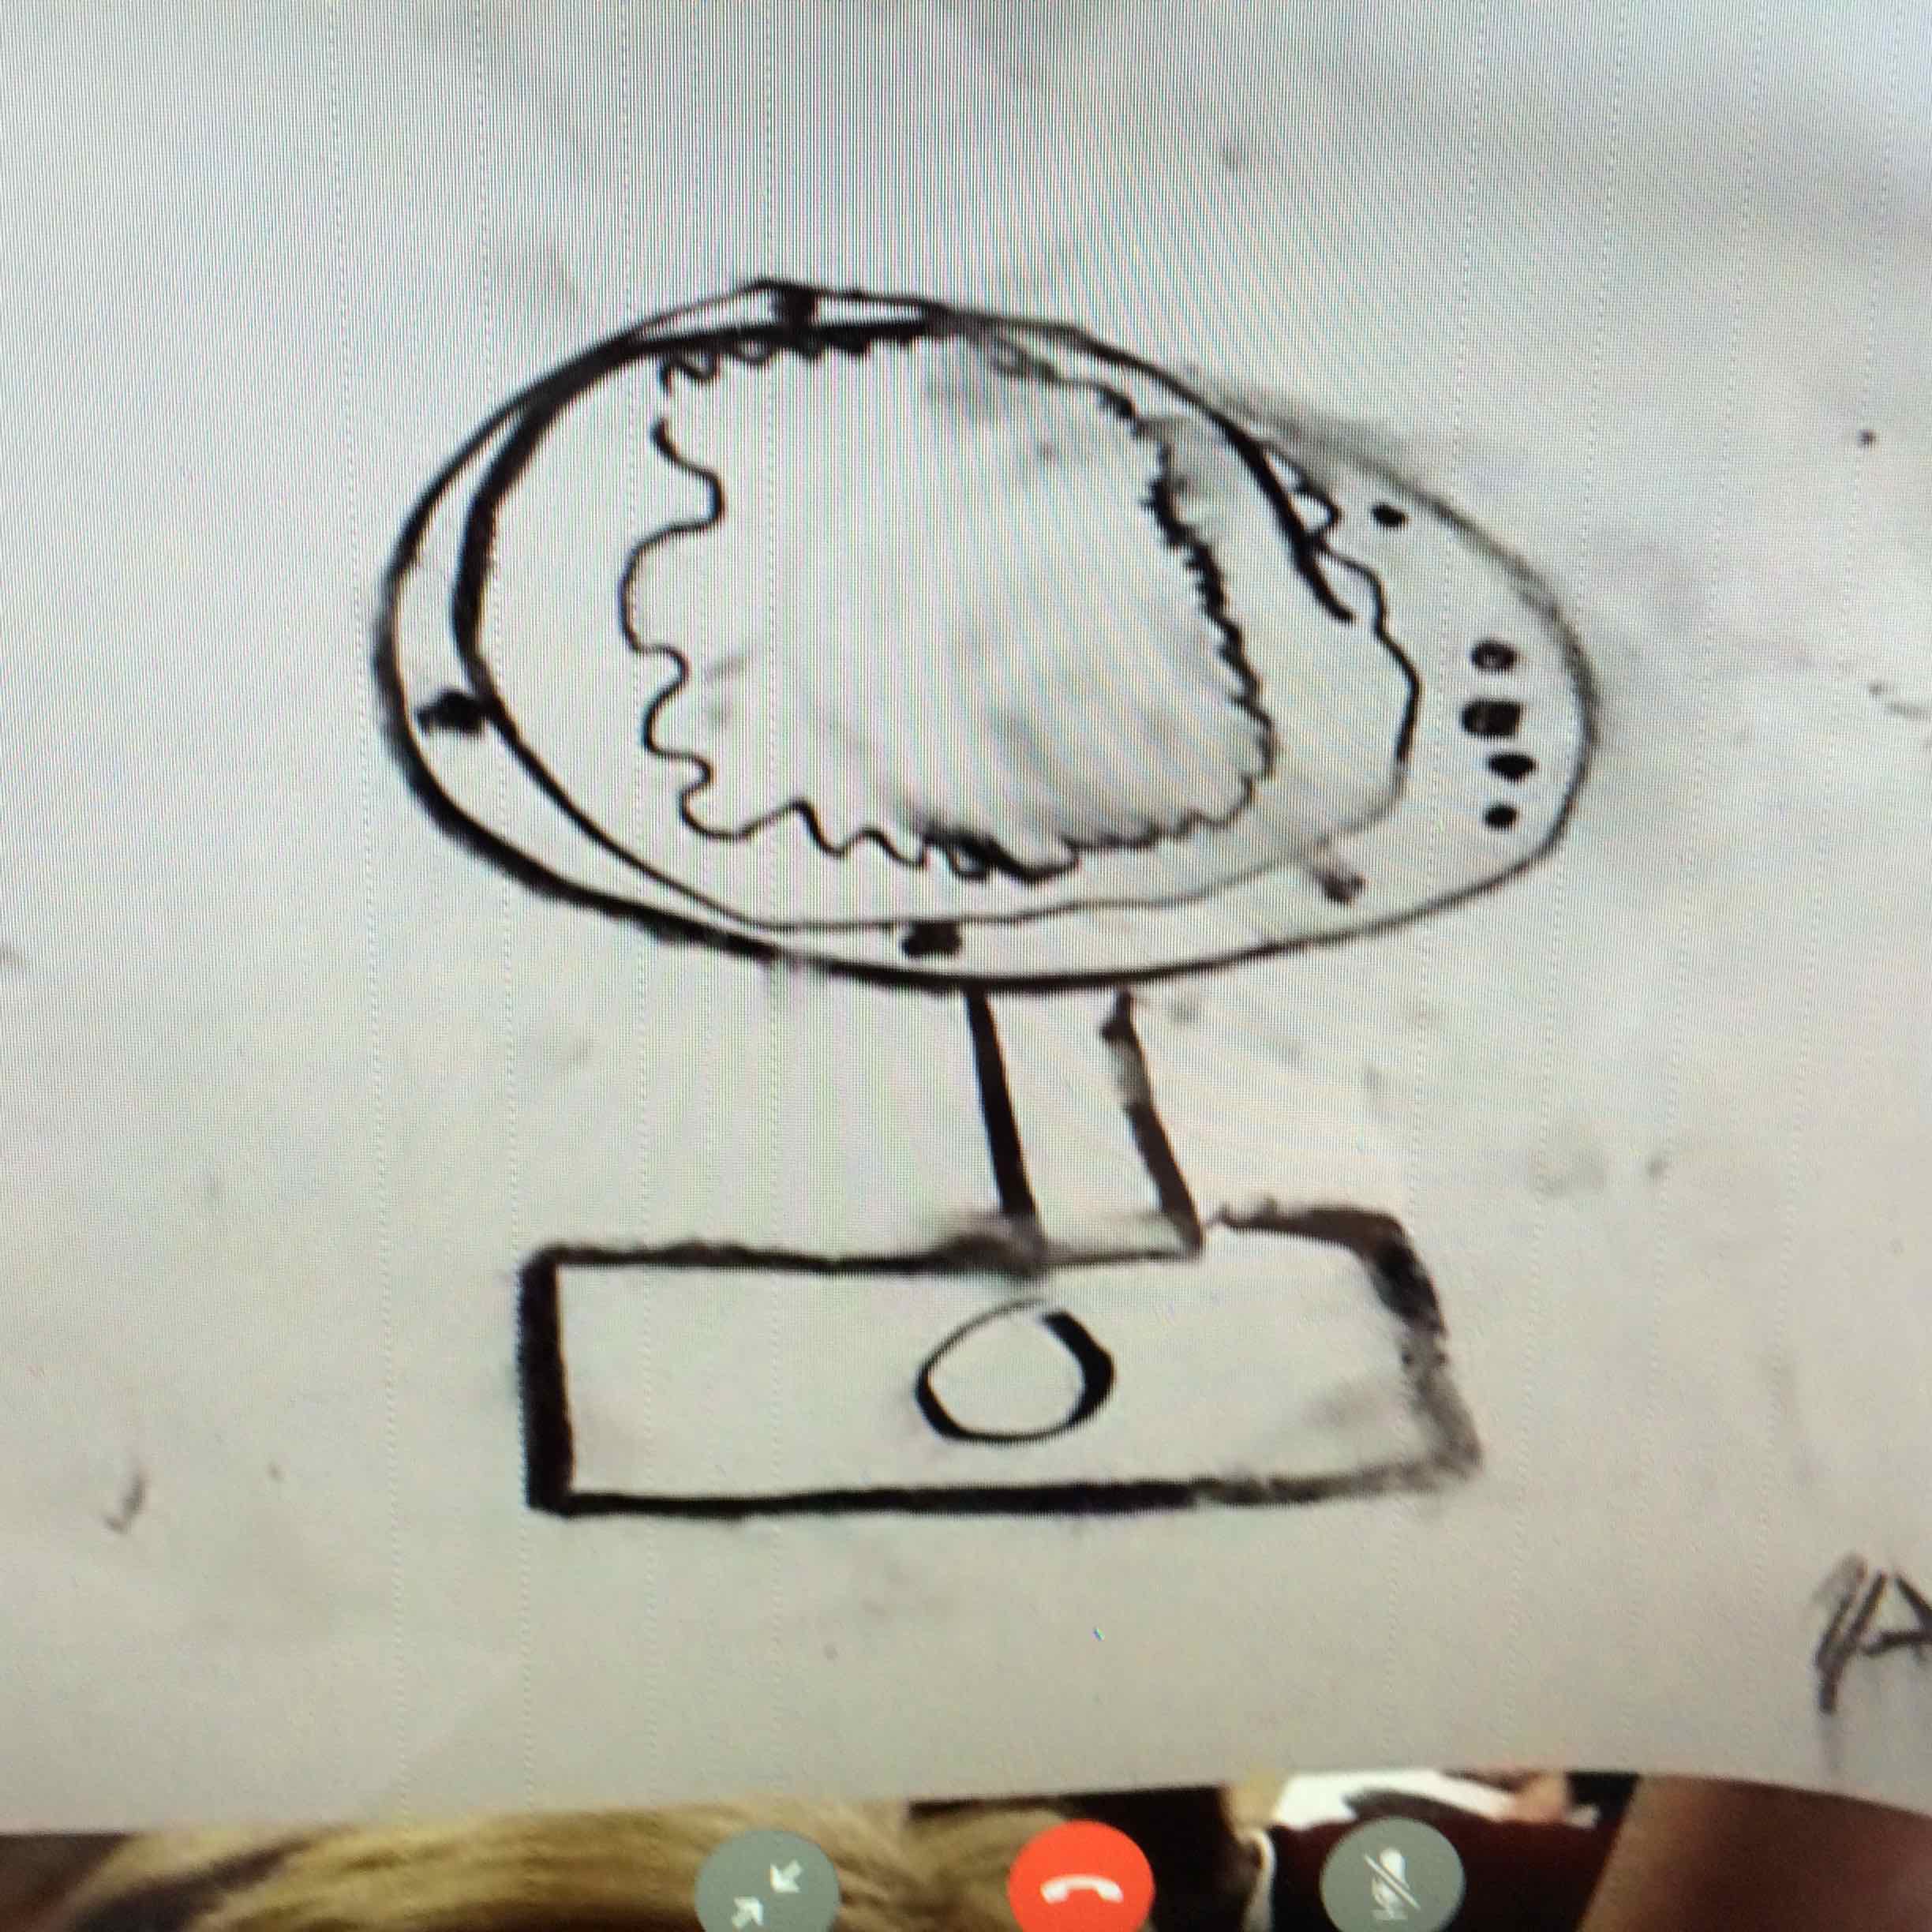
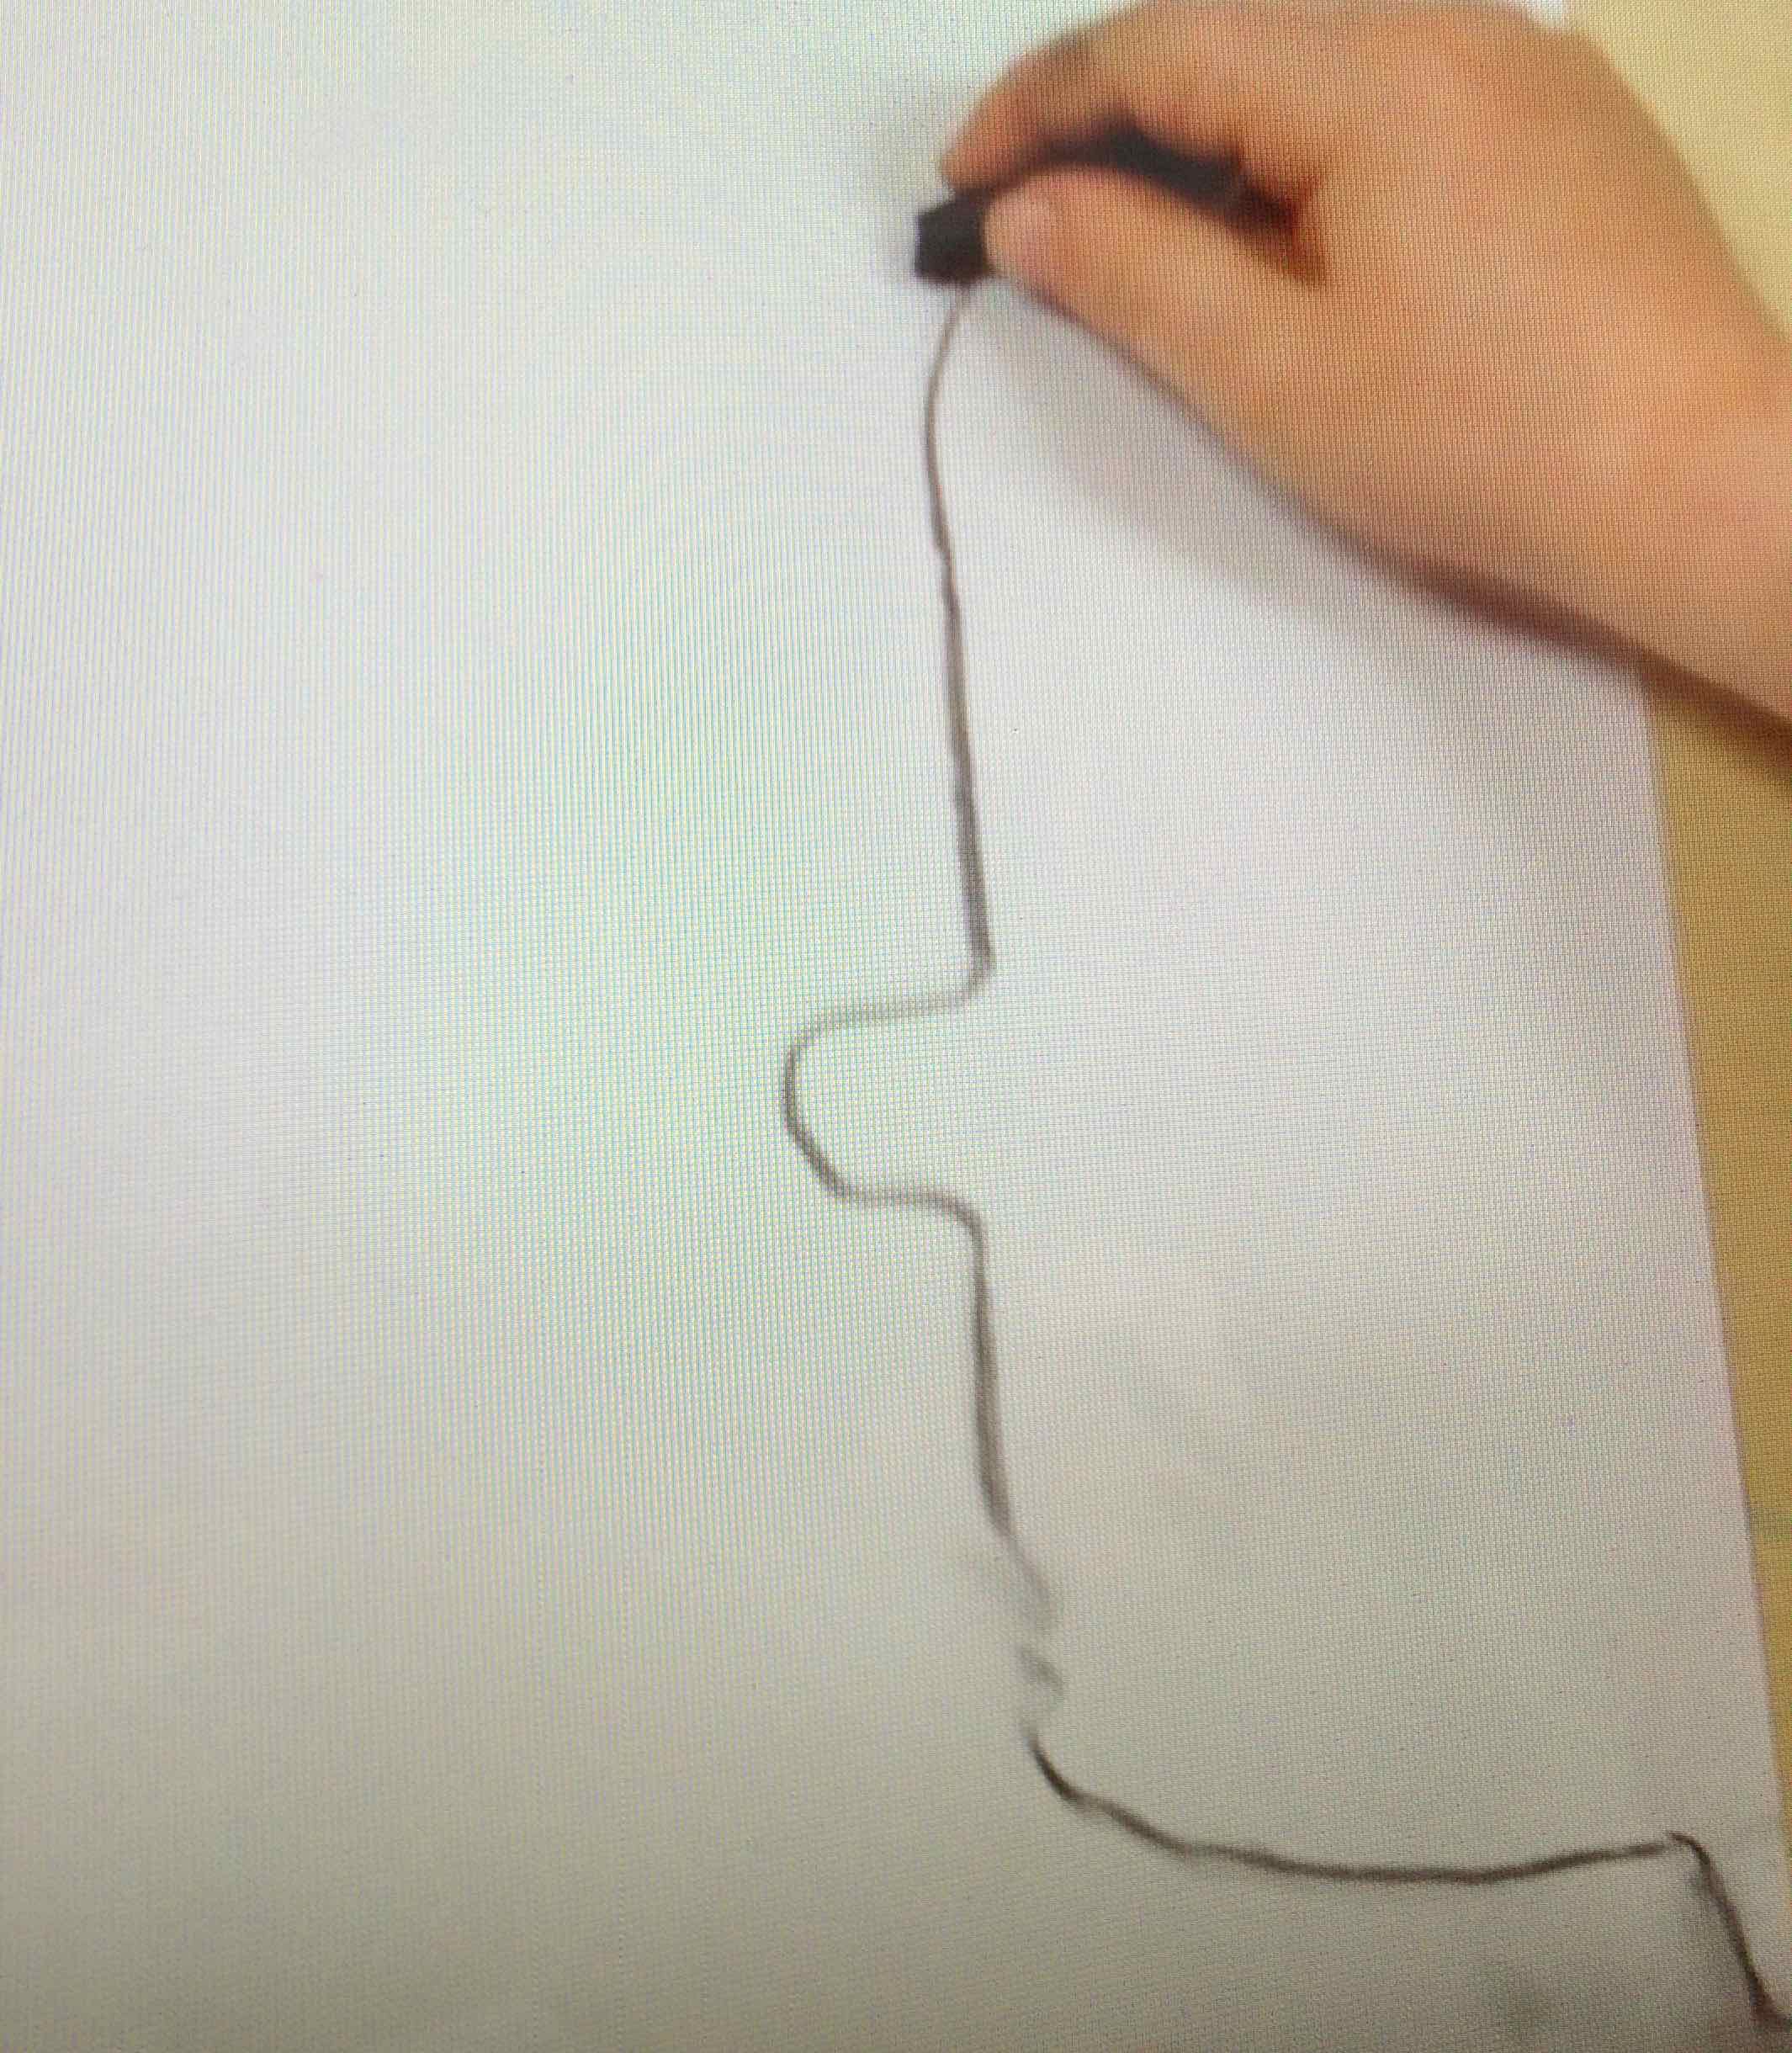
Our task today was to OBSERVE the shapes of the poses and look for lines of balance… So we used Mrs Hughes green broomstick to hold up against the pose to see how straight and upright the person stood or to see what angles their bodies made…
We also used the sticks to notice where exactly the head position was IN RELATION TO the feet..
Look at where the head is in this pose!
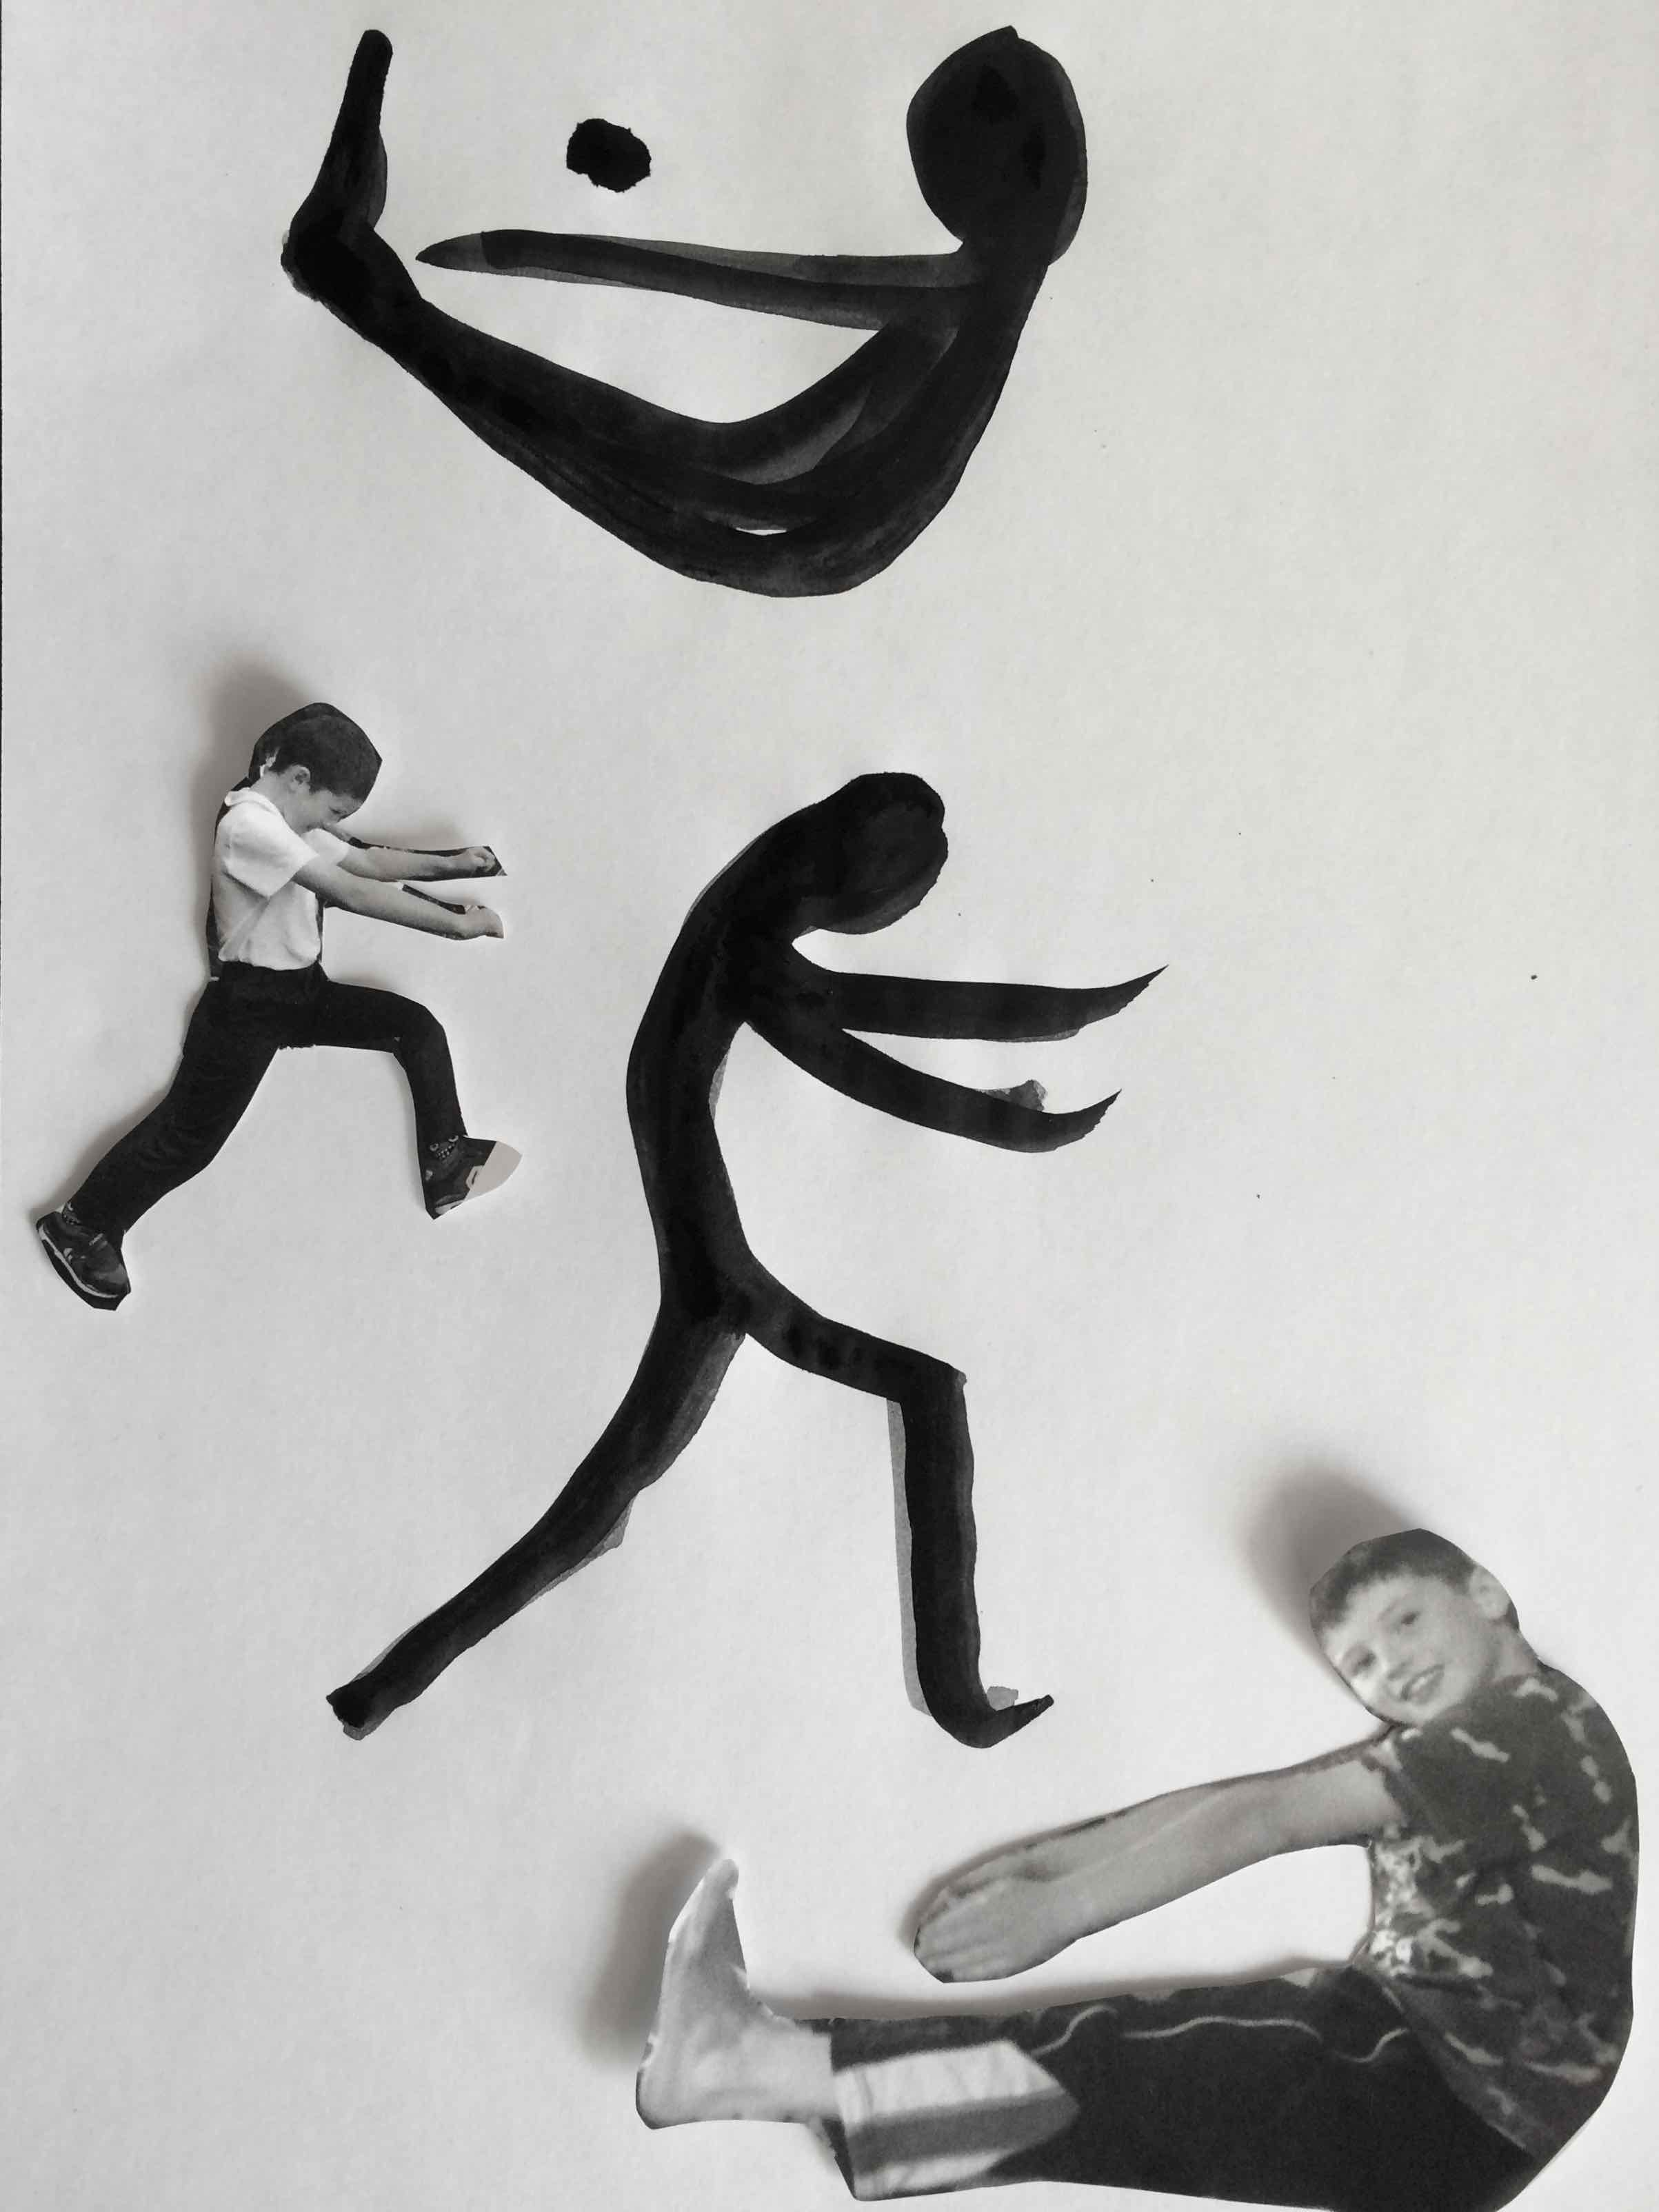
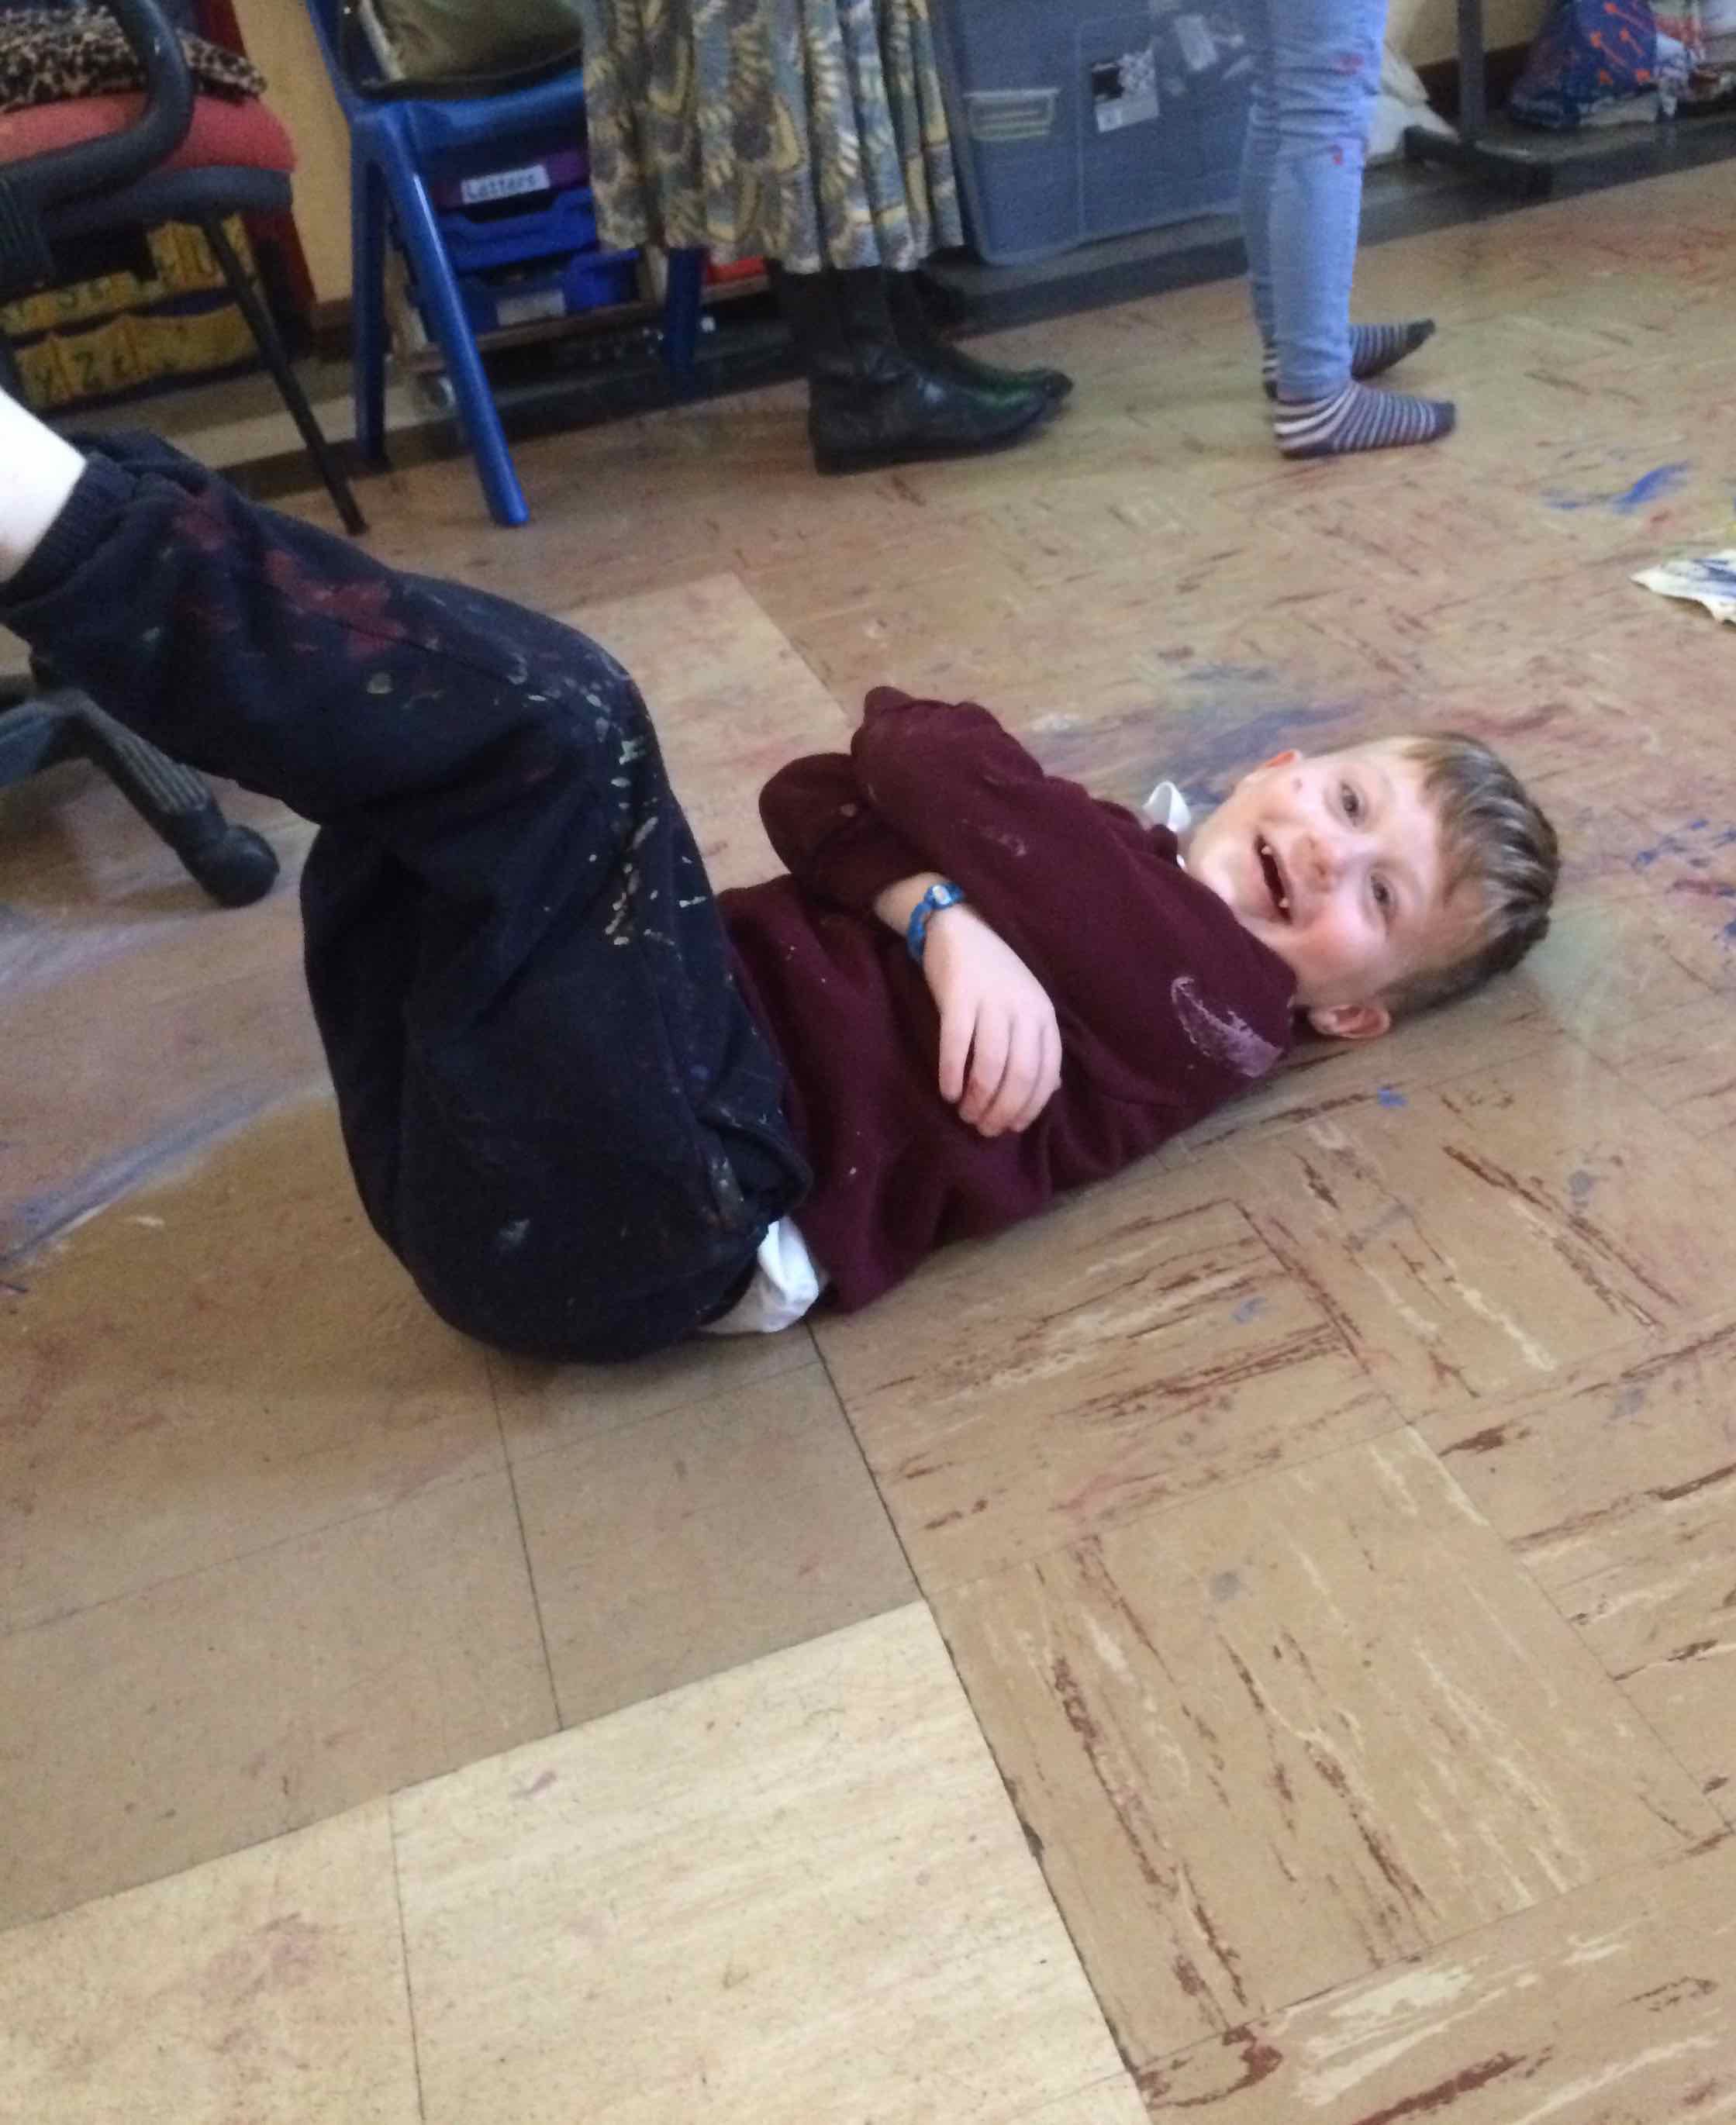
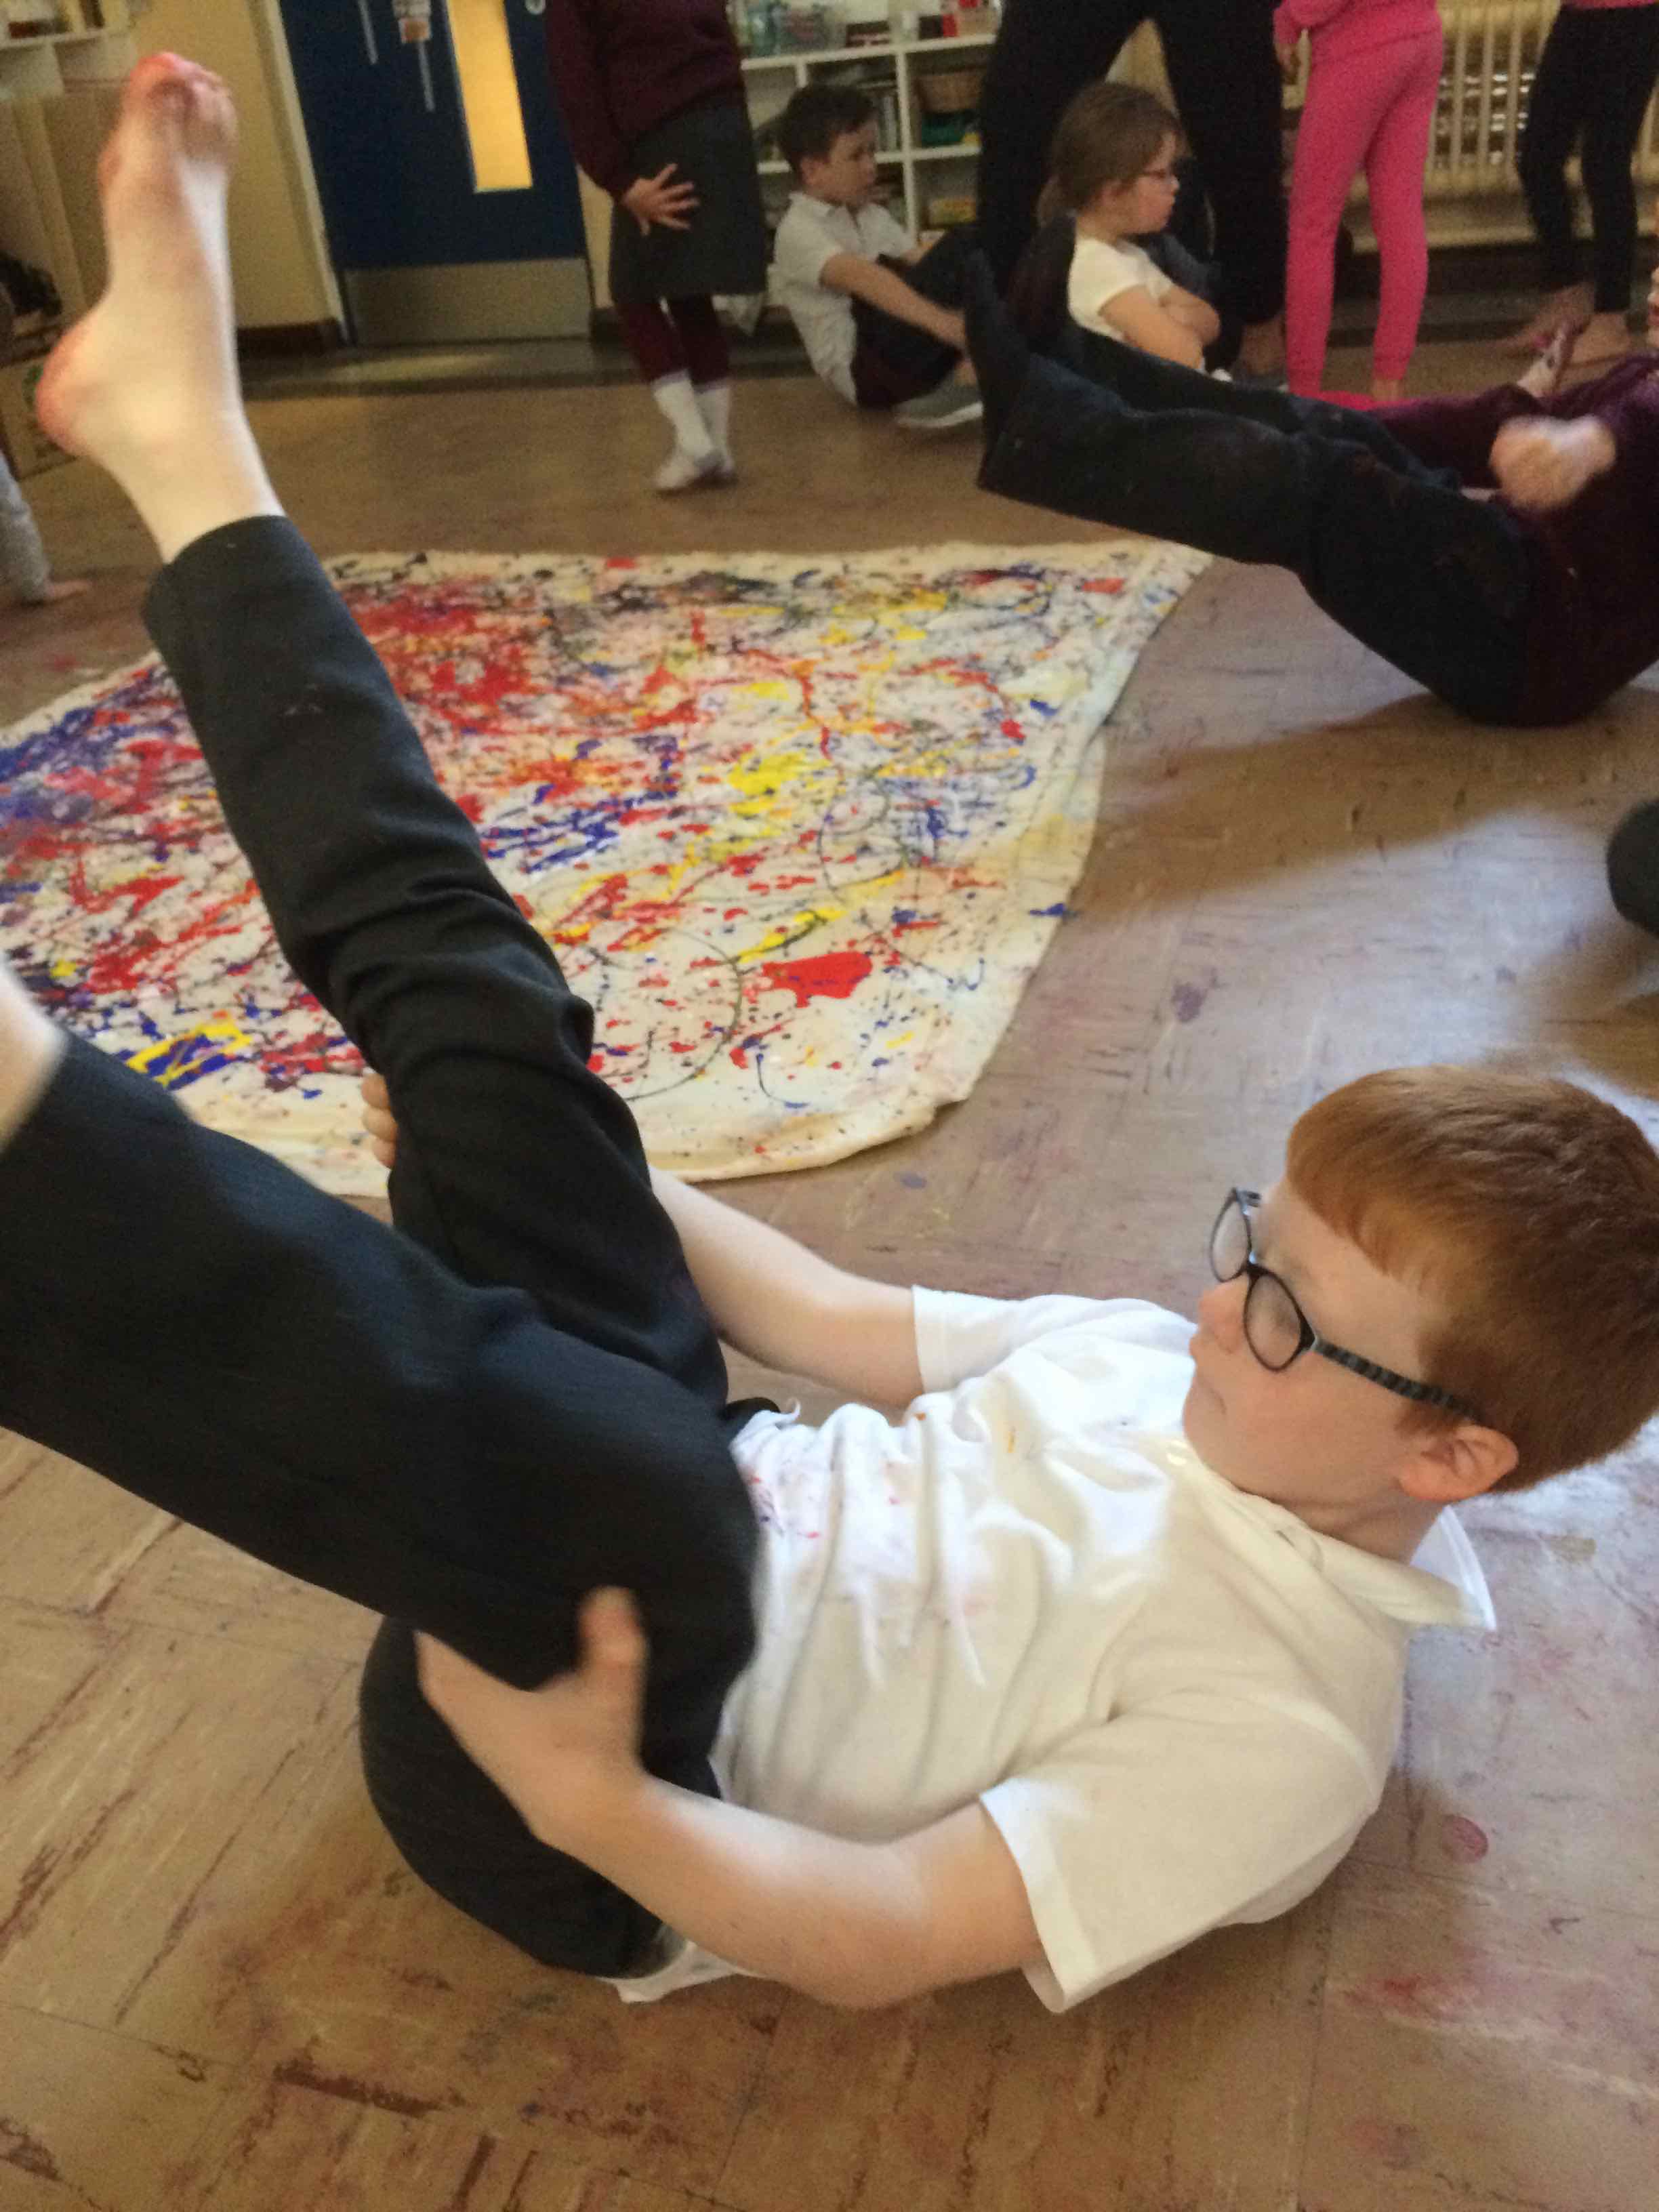
Then we reminded ourselves of how far we could lean over before we would fall over…
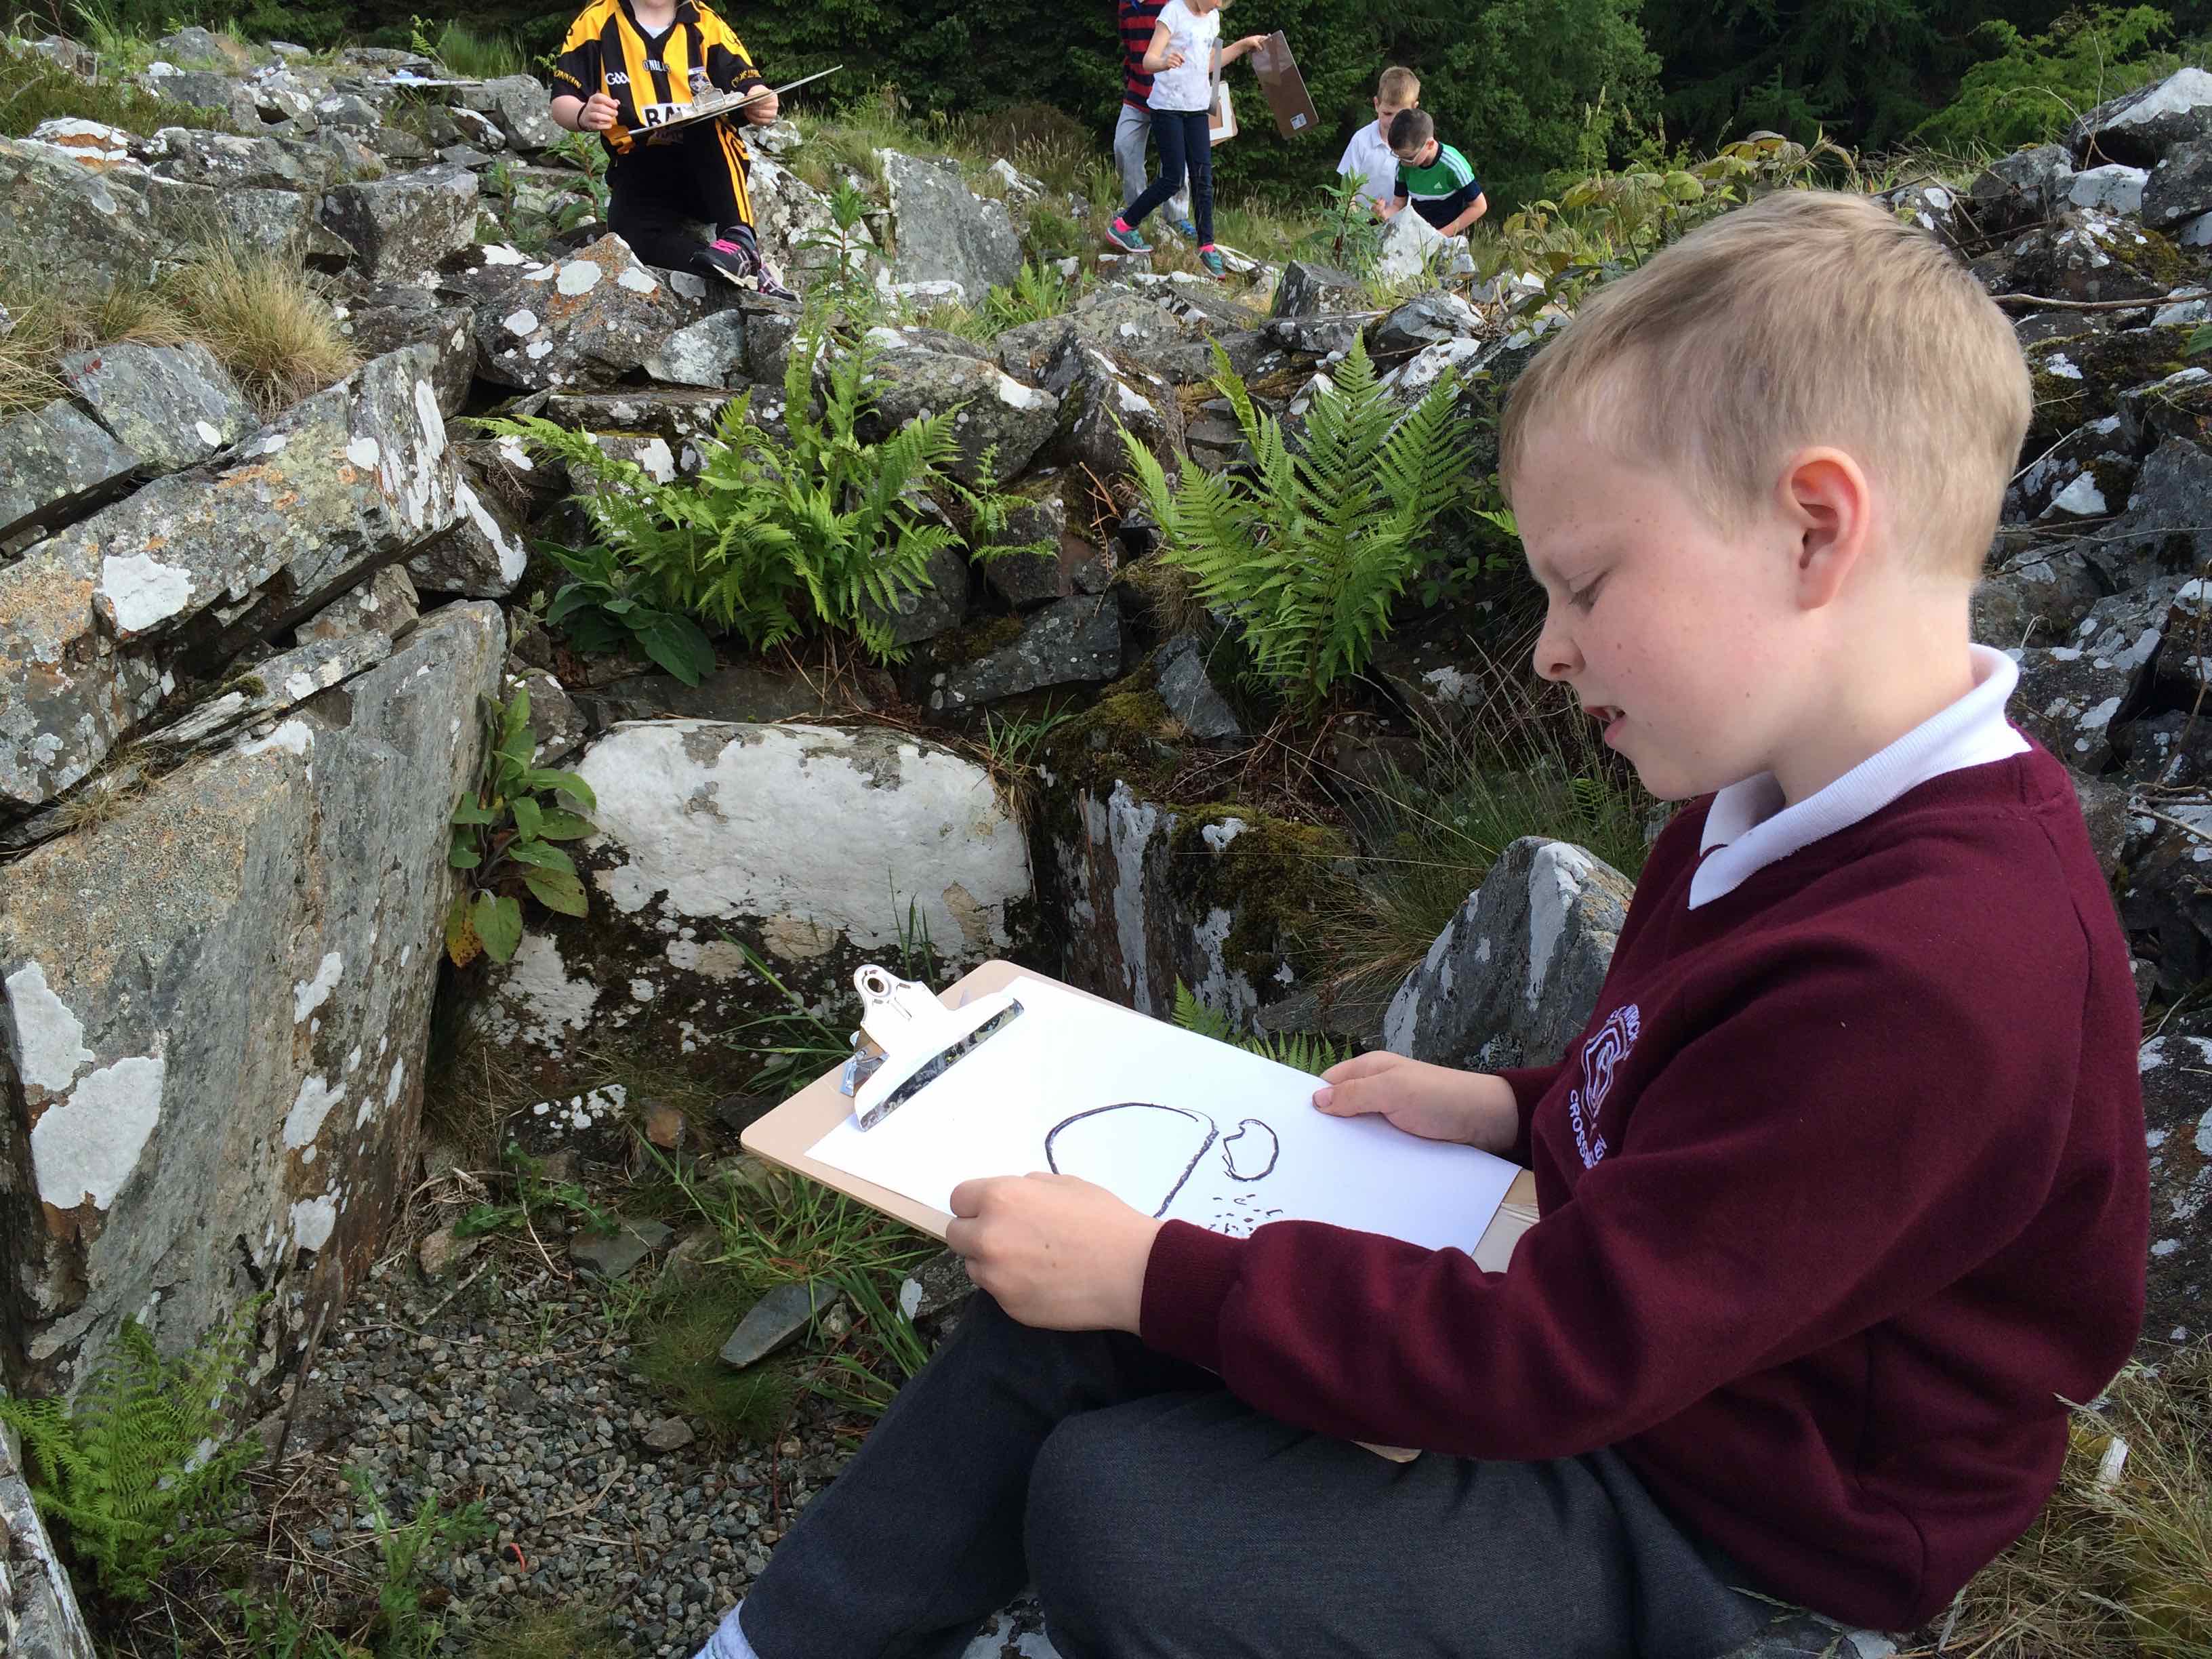
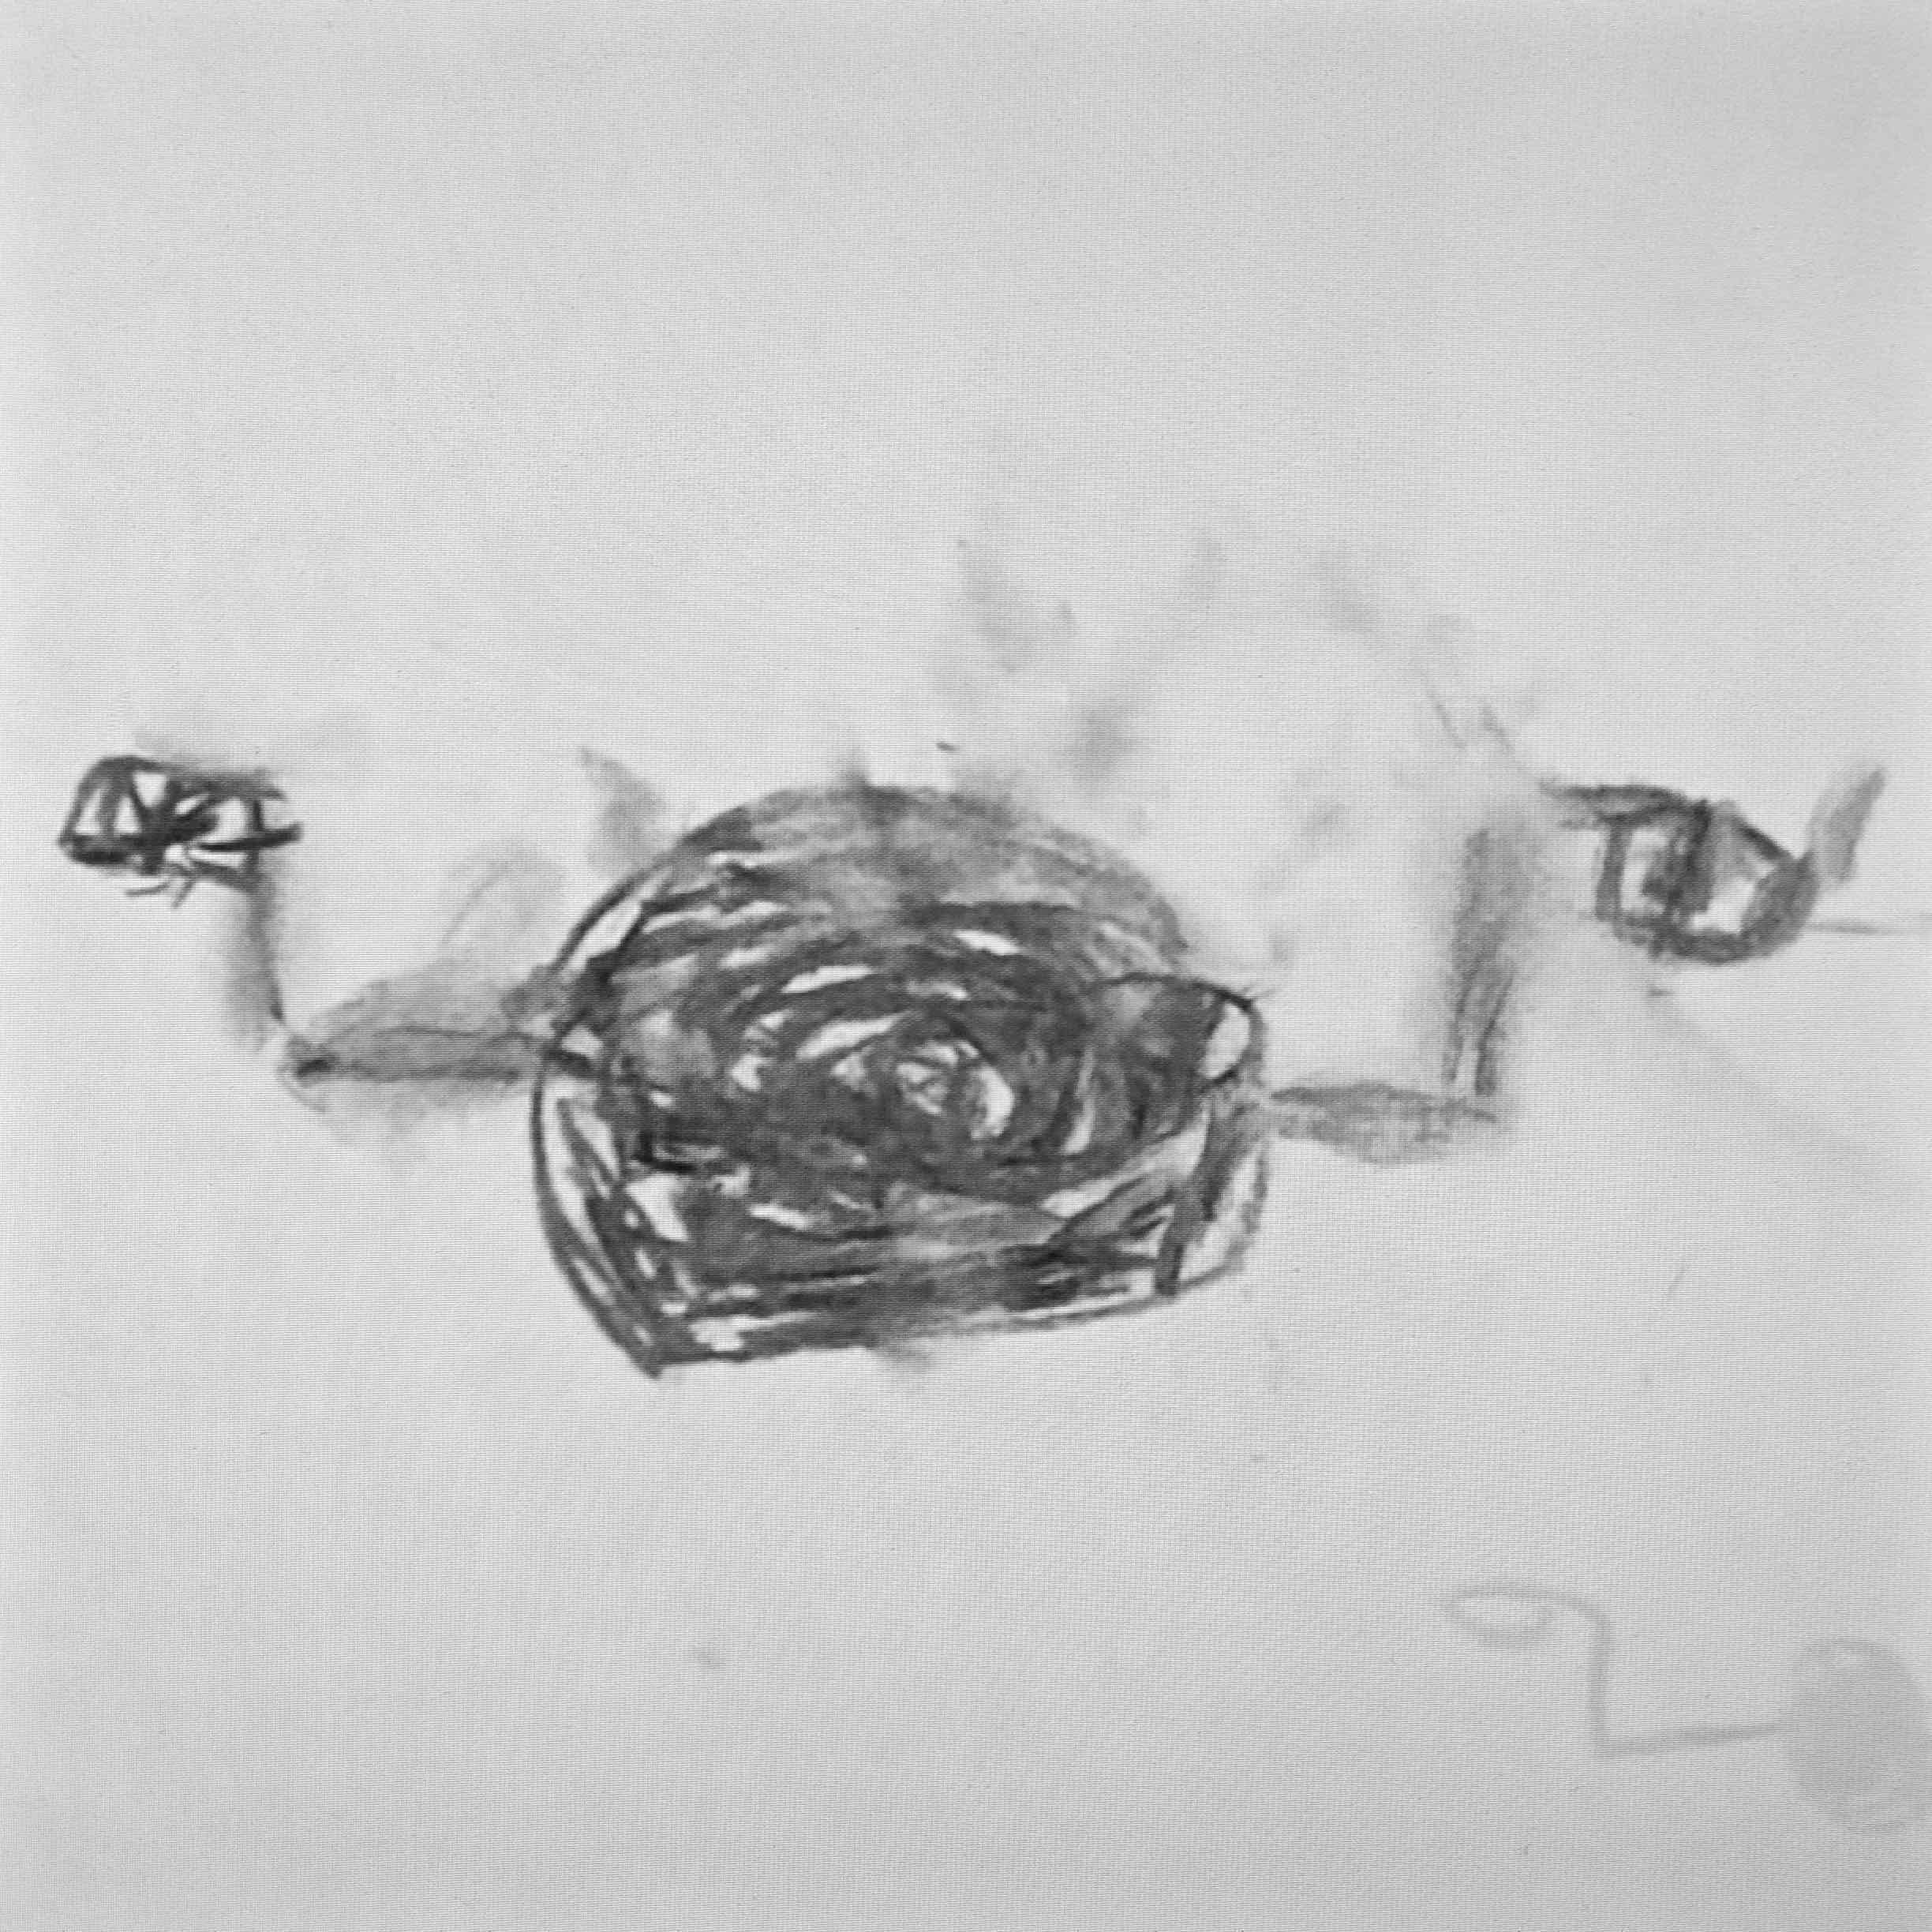
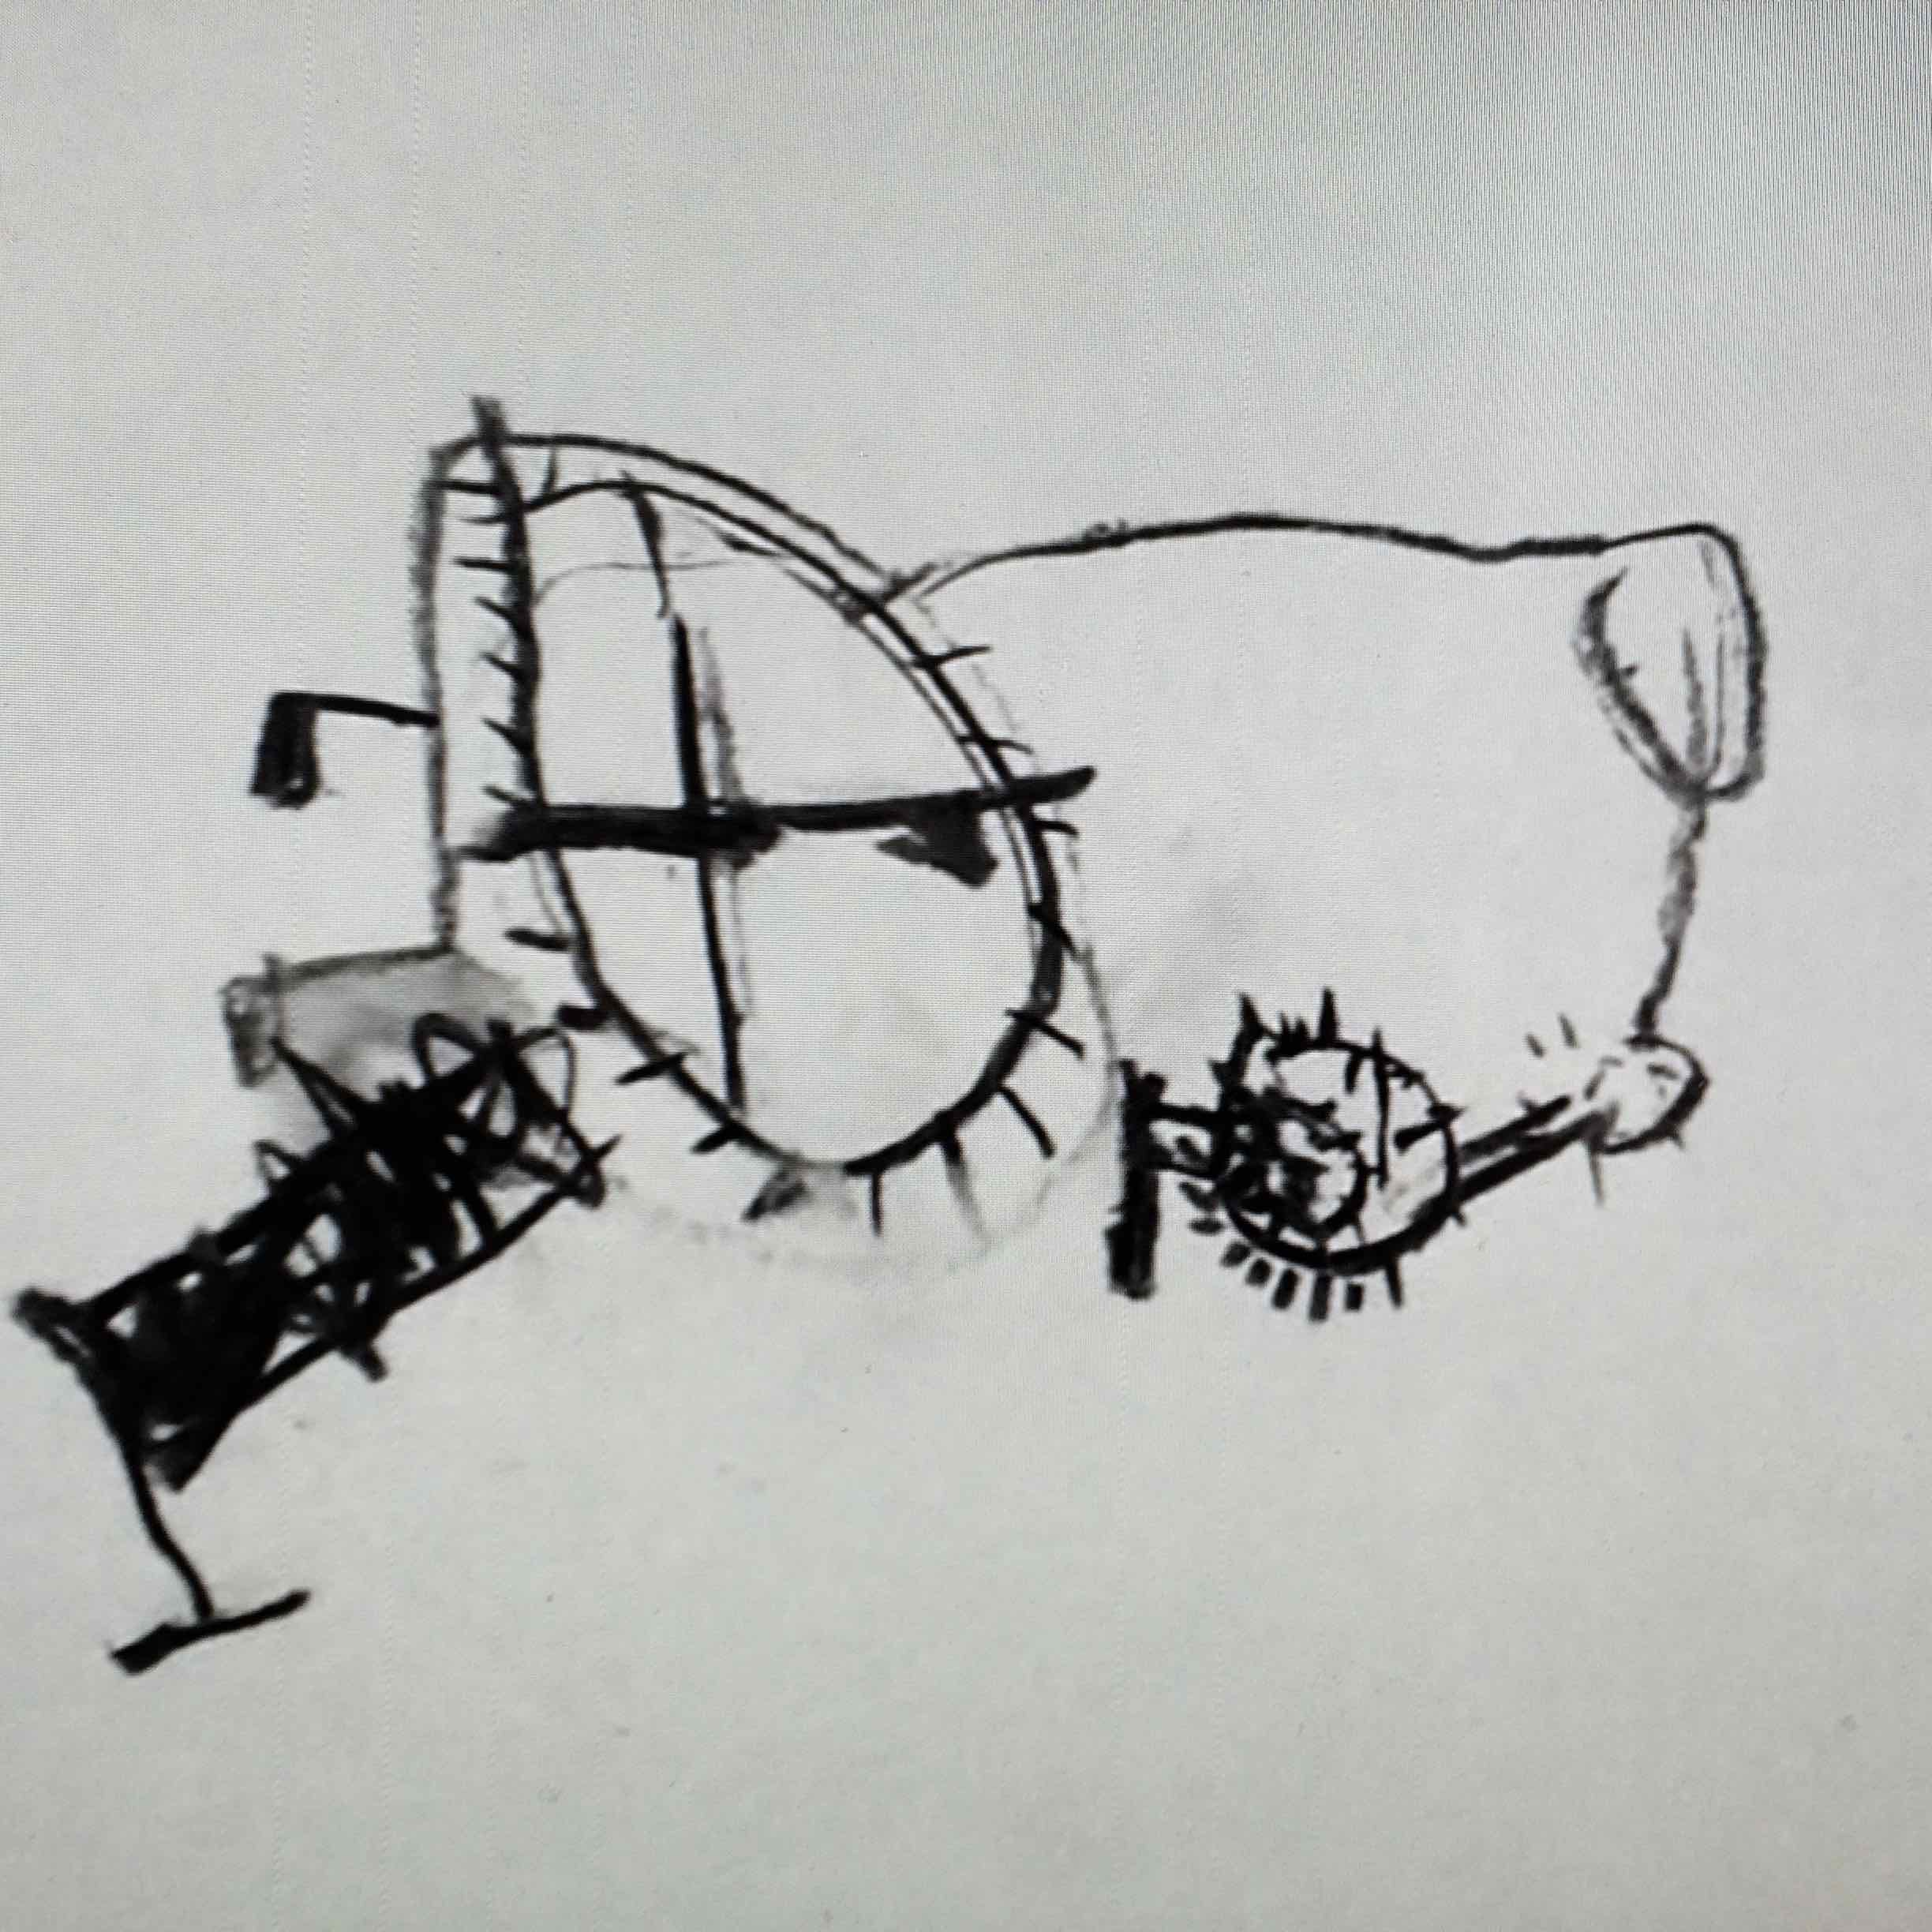
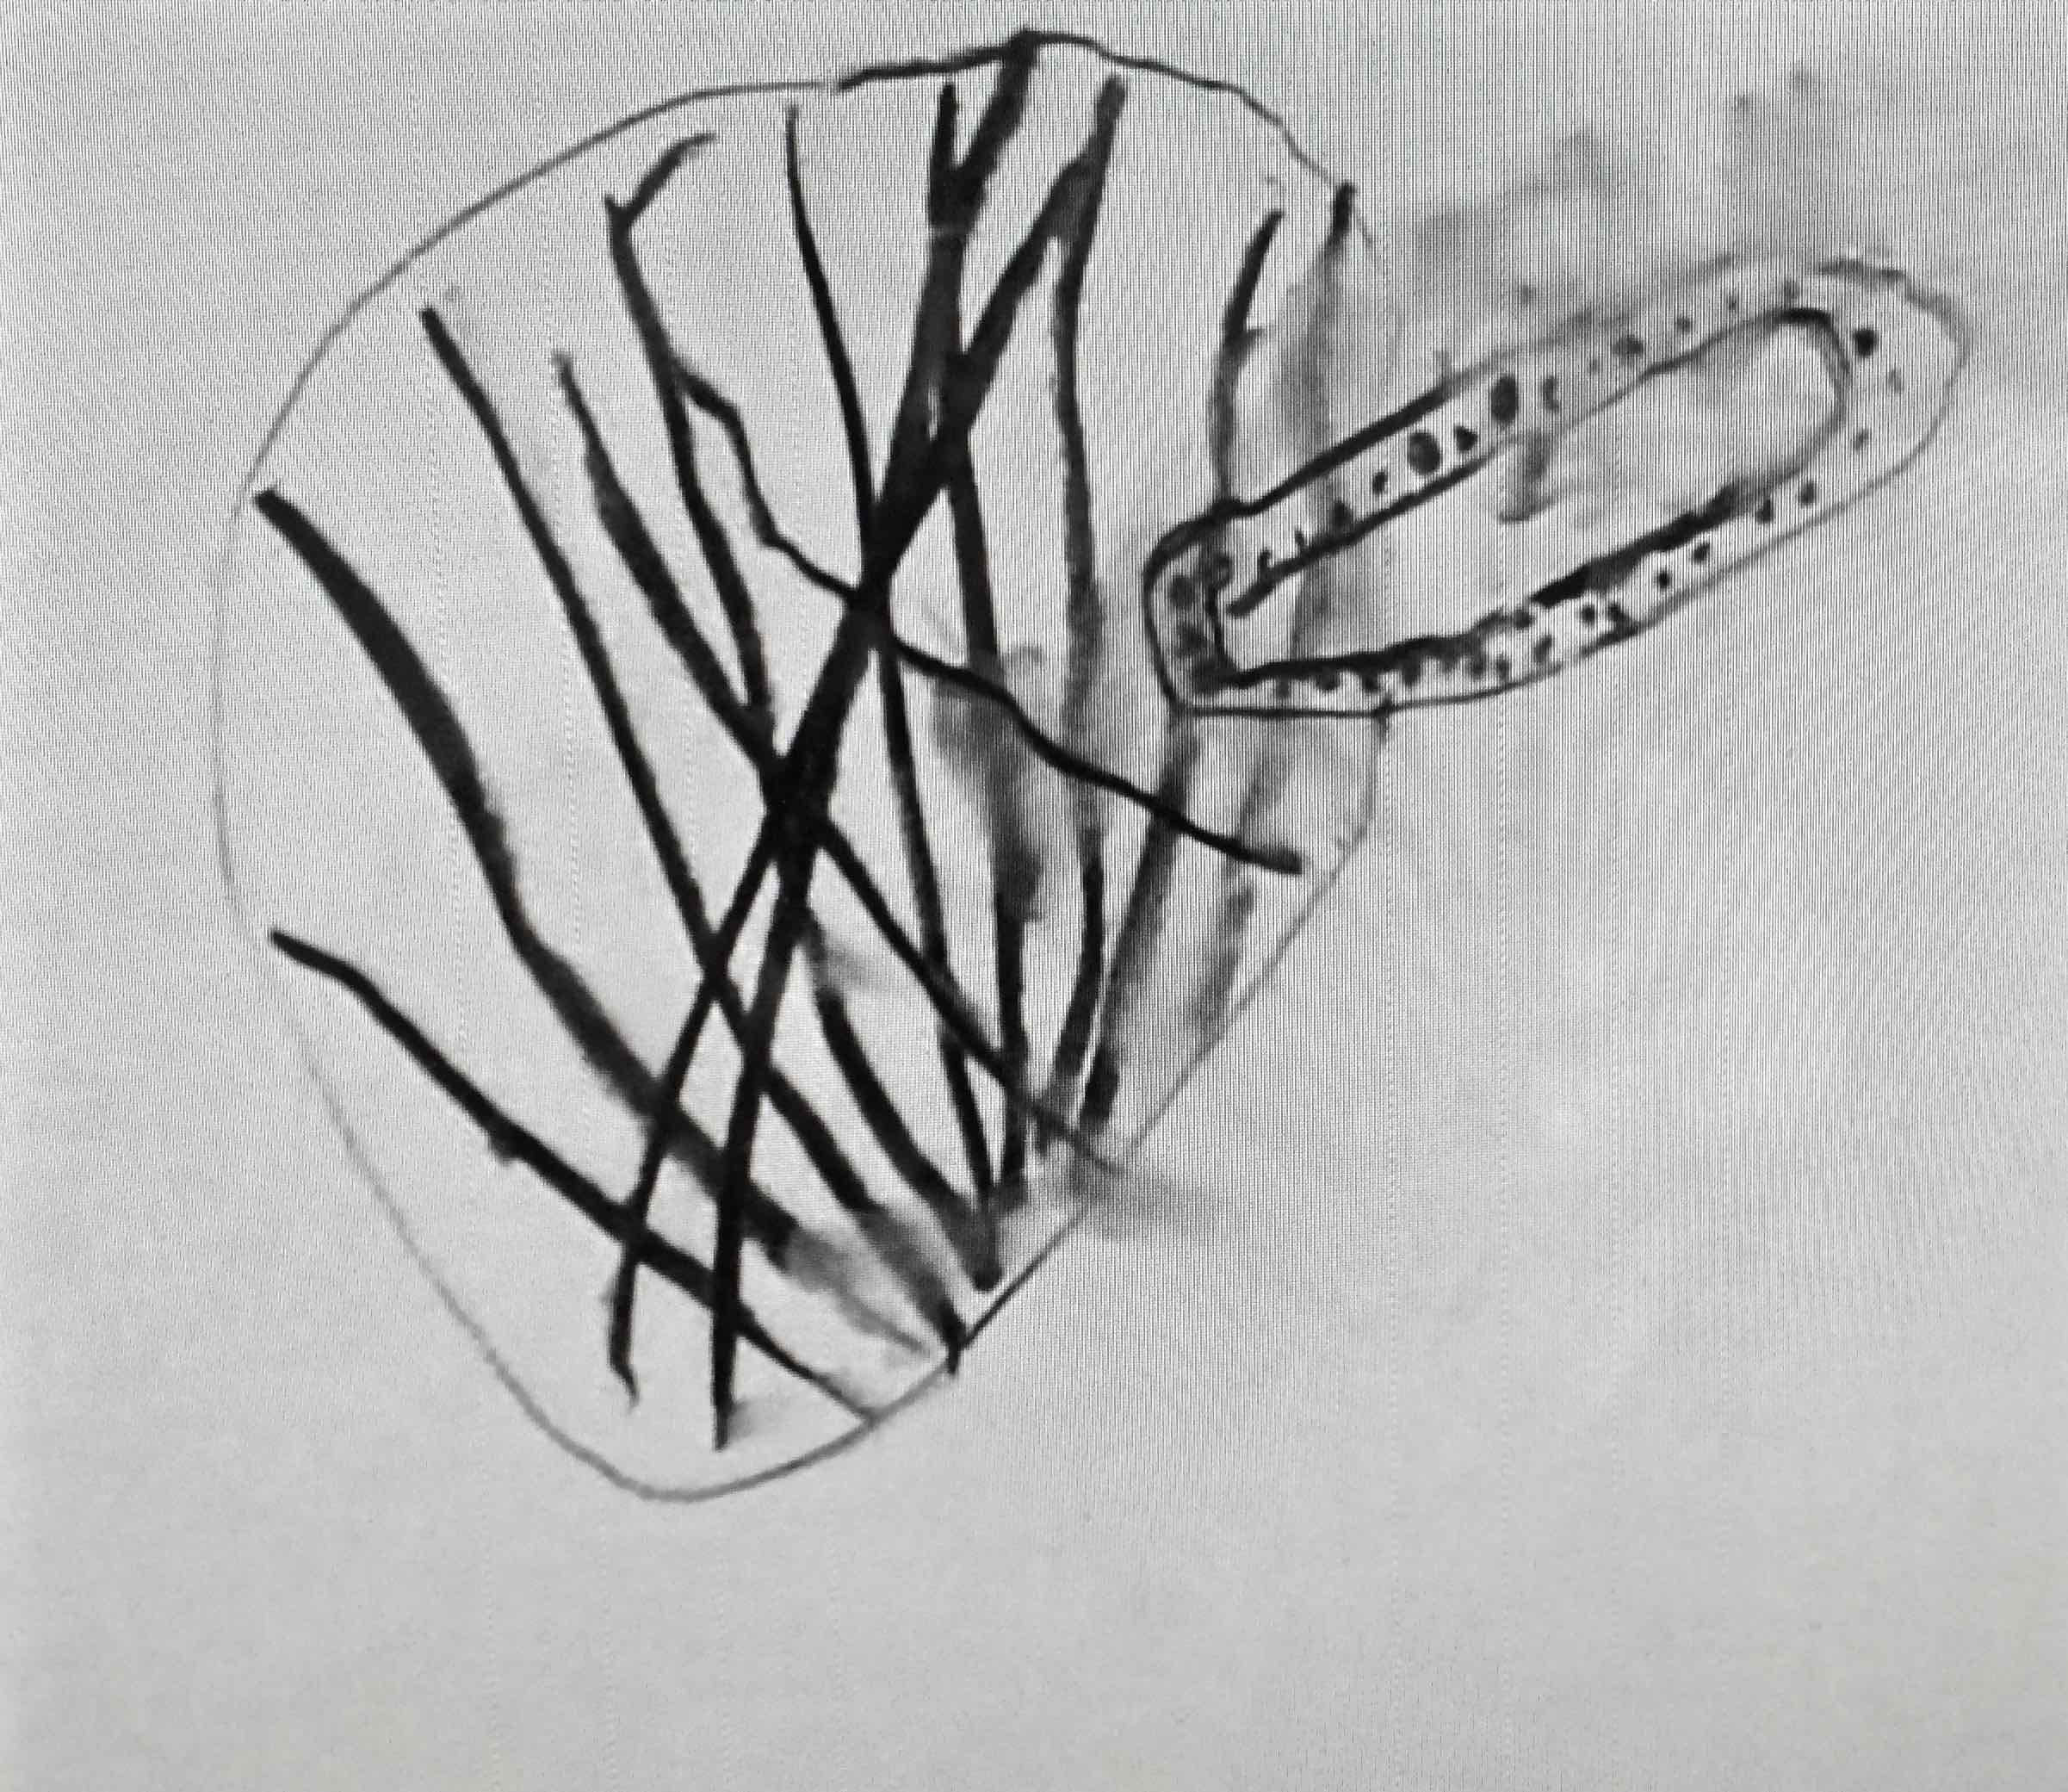
We looked back at the balancing poses…
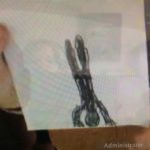
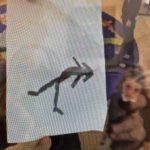
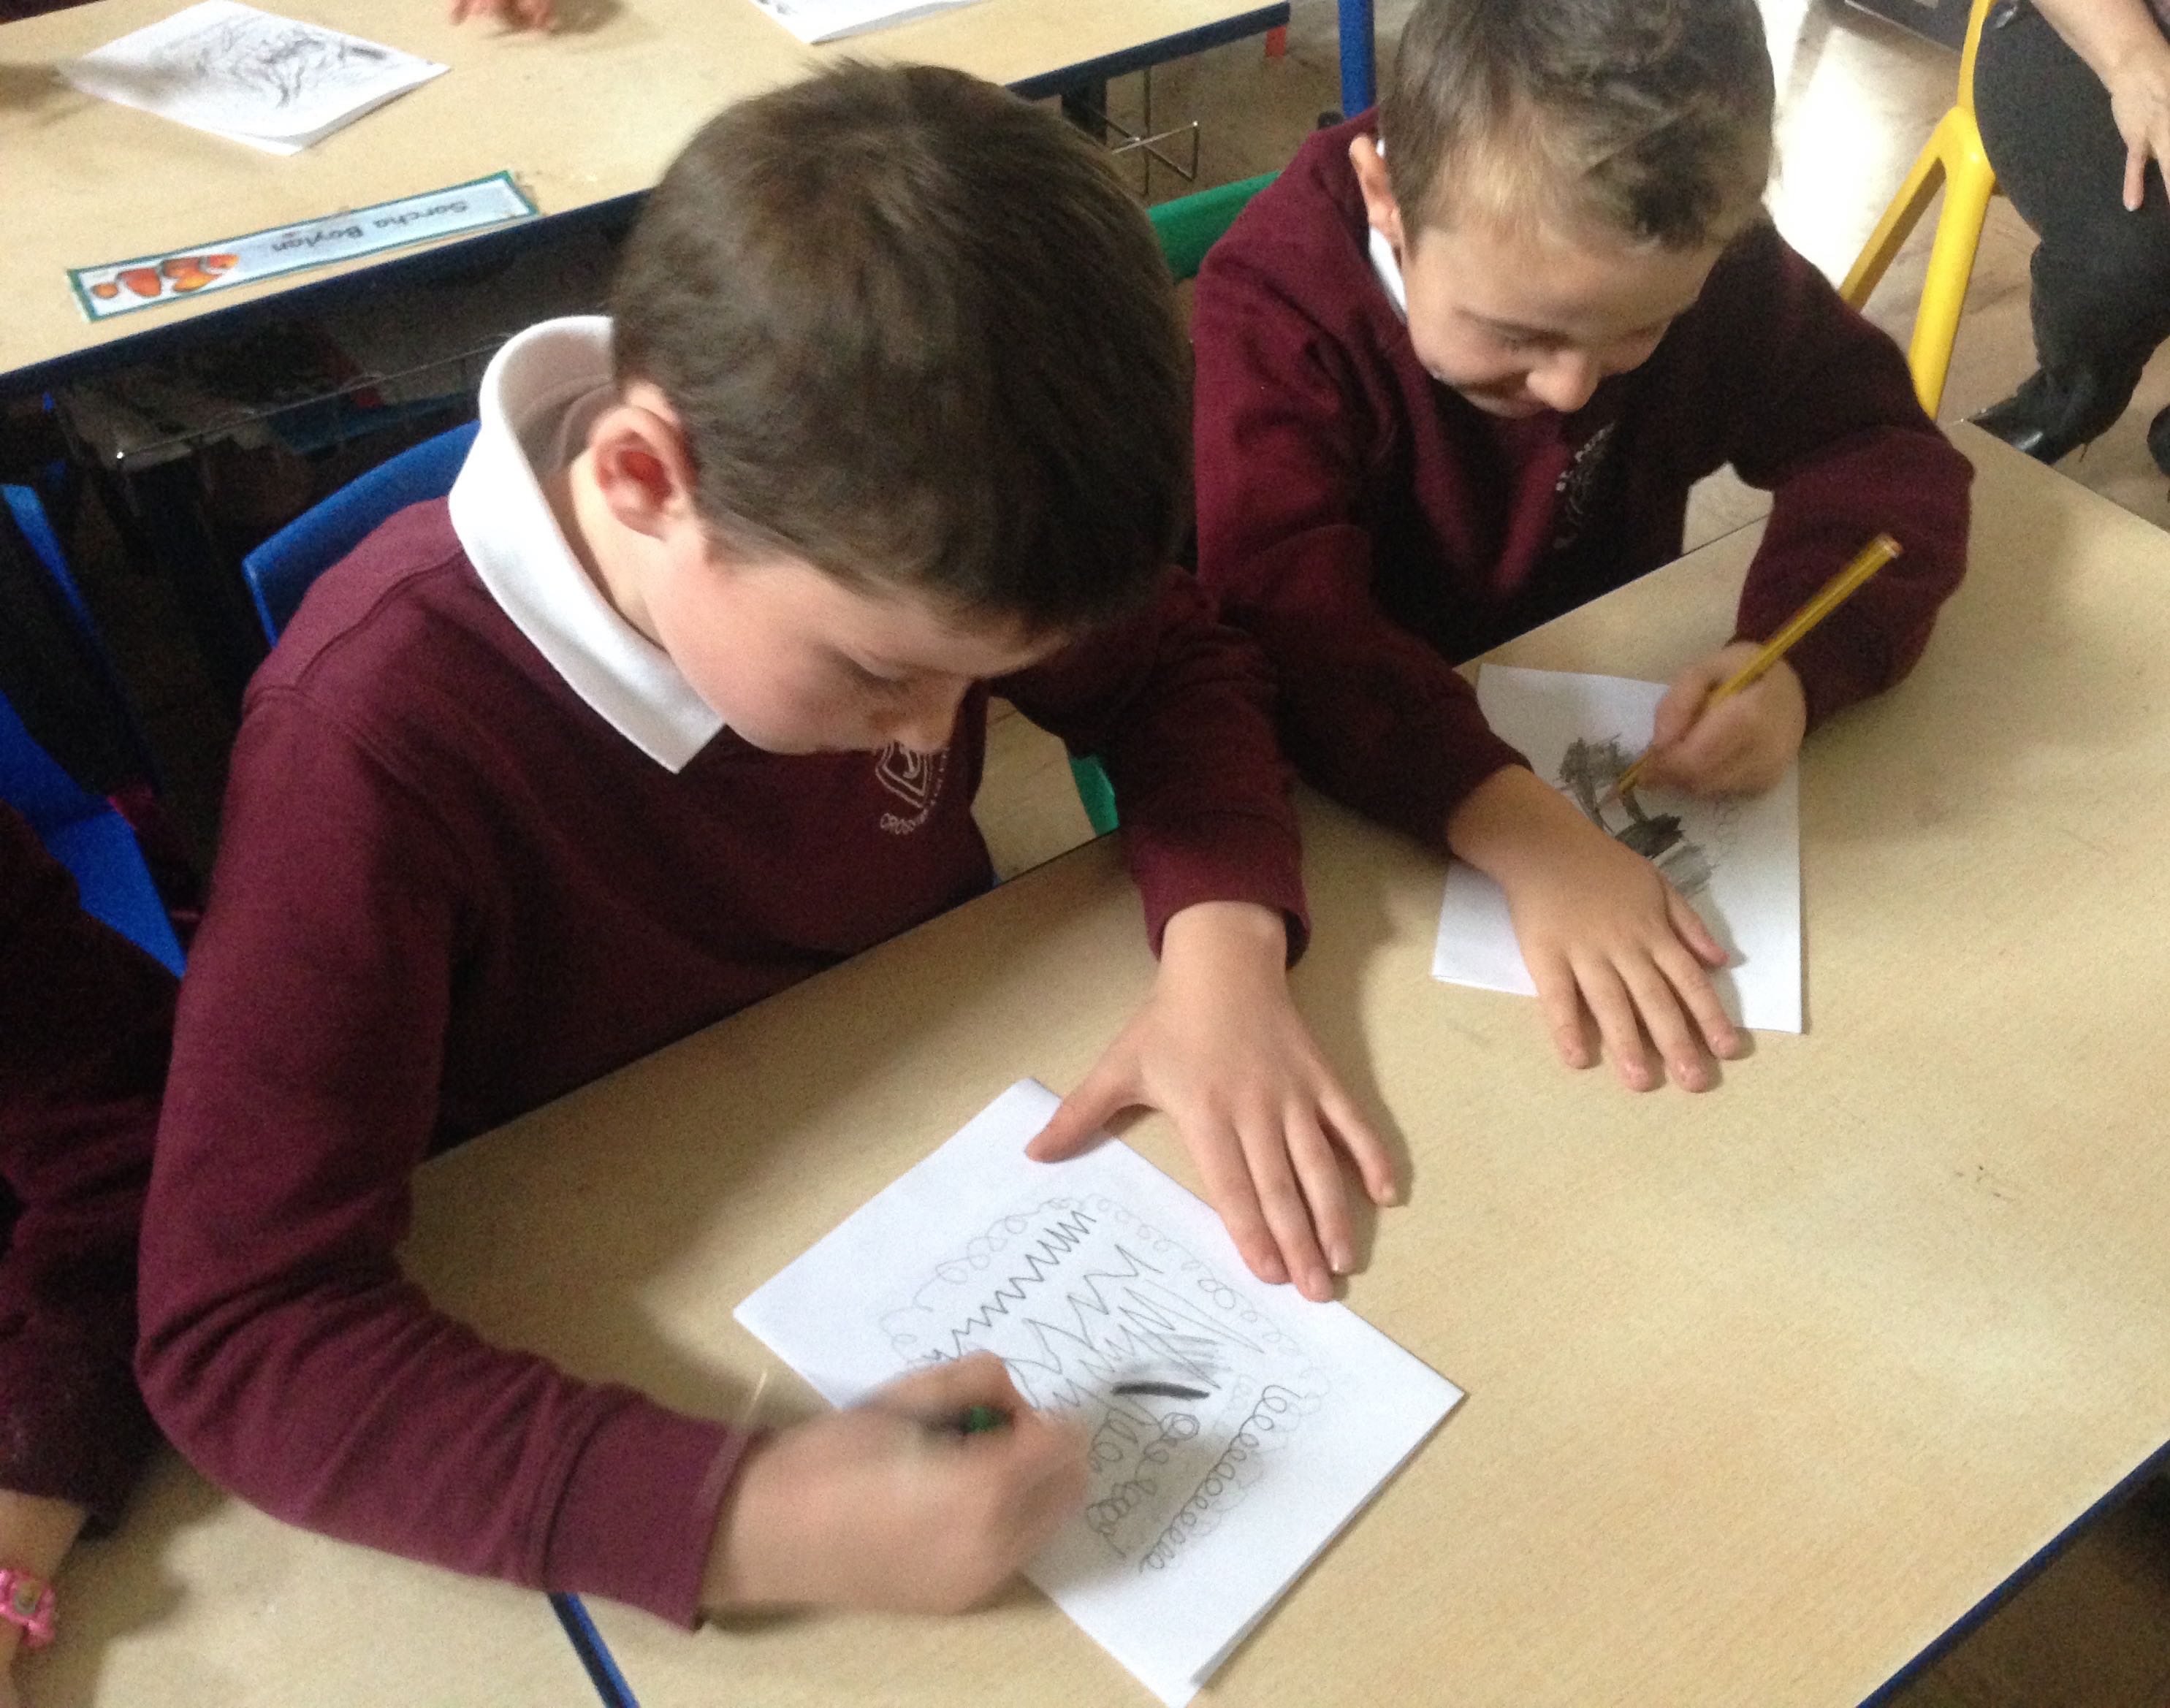
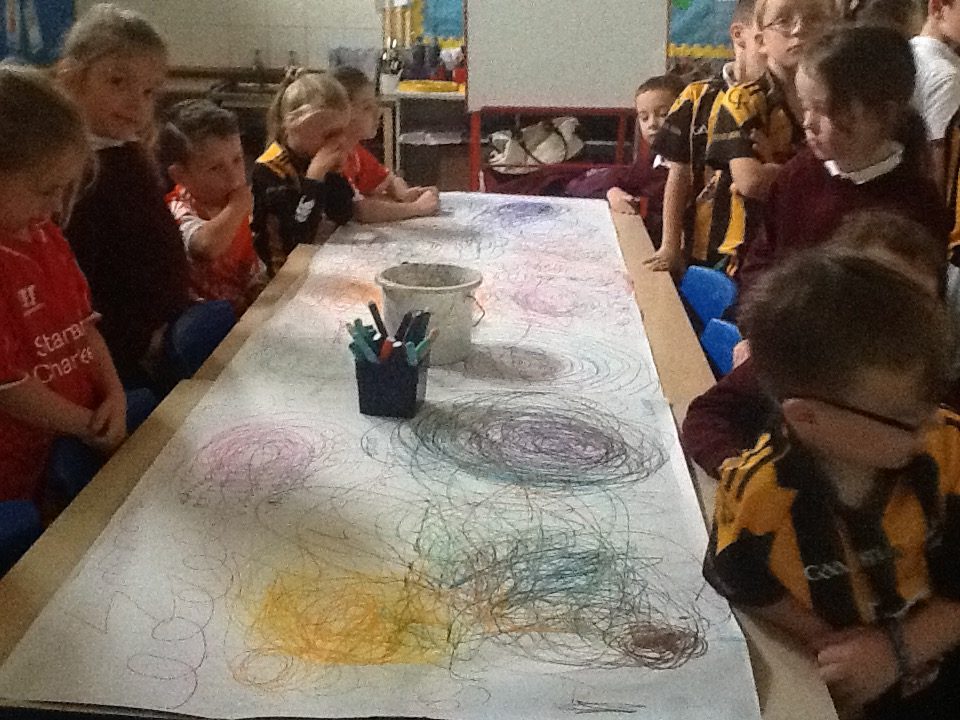
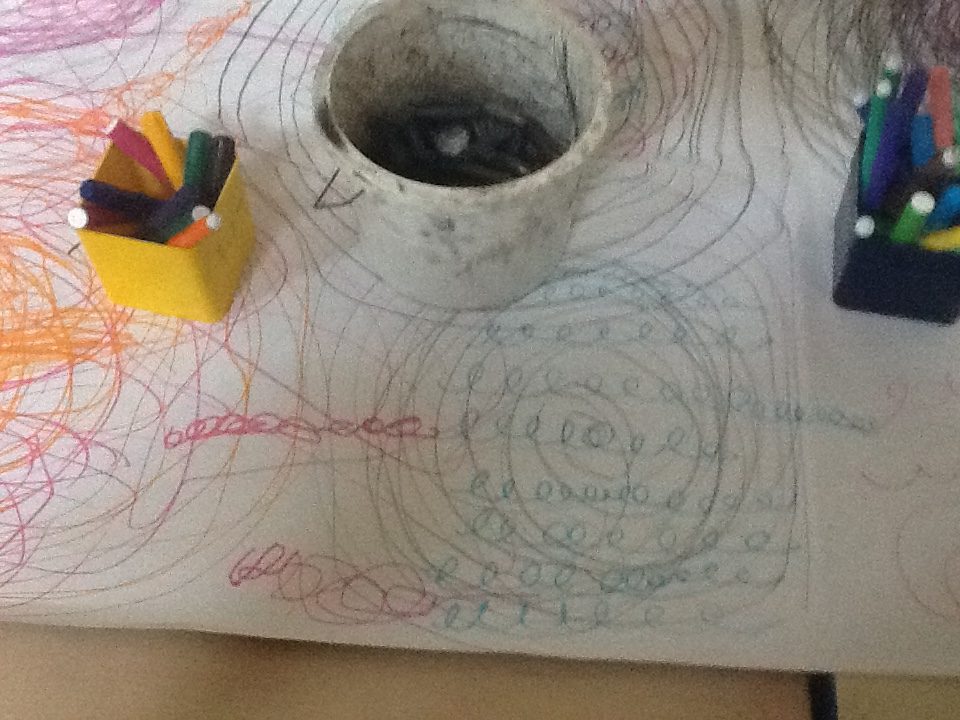
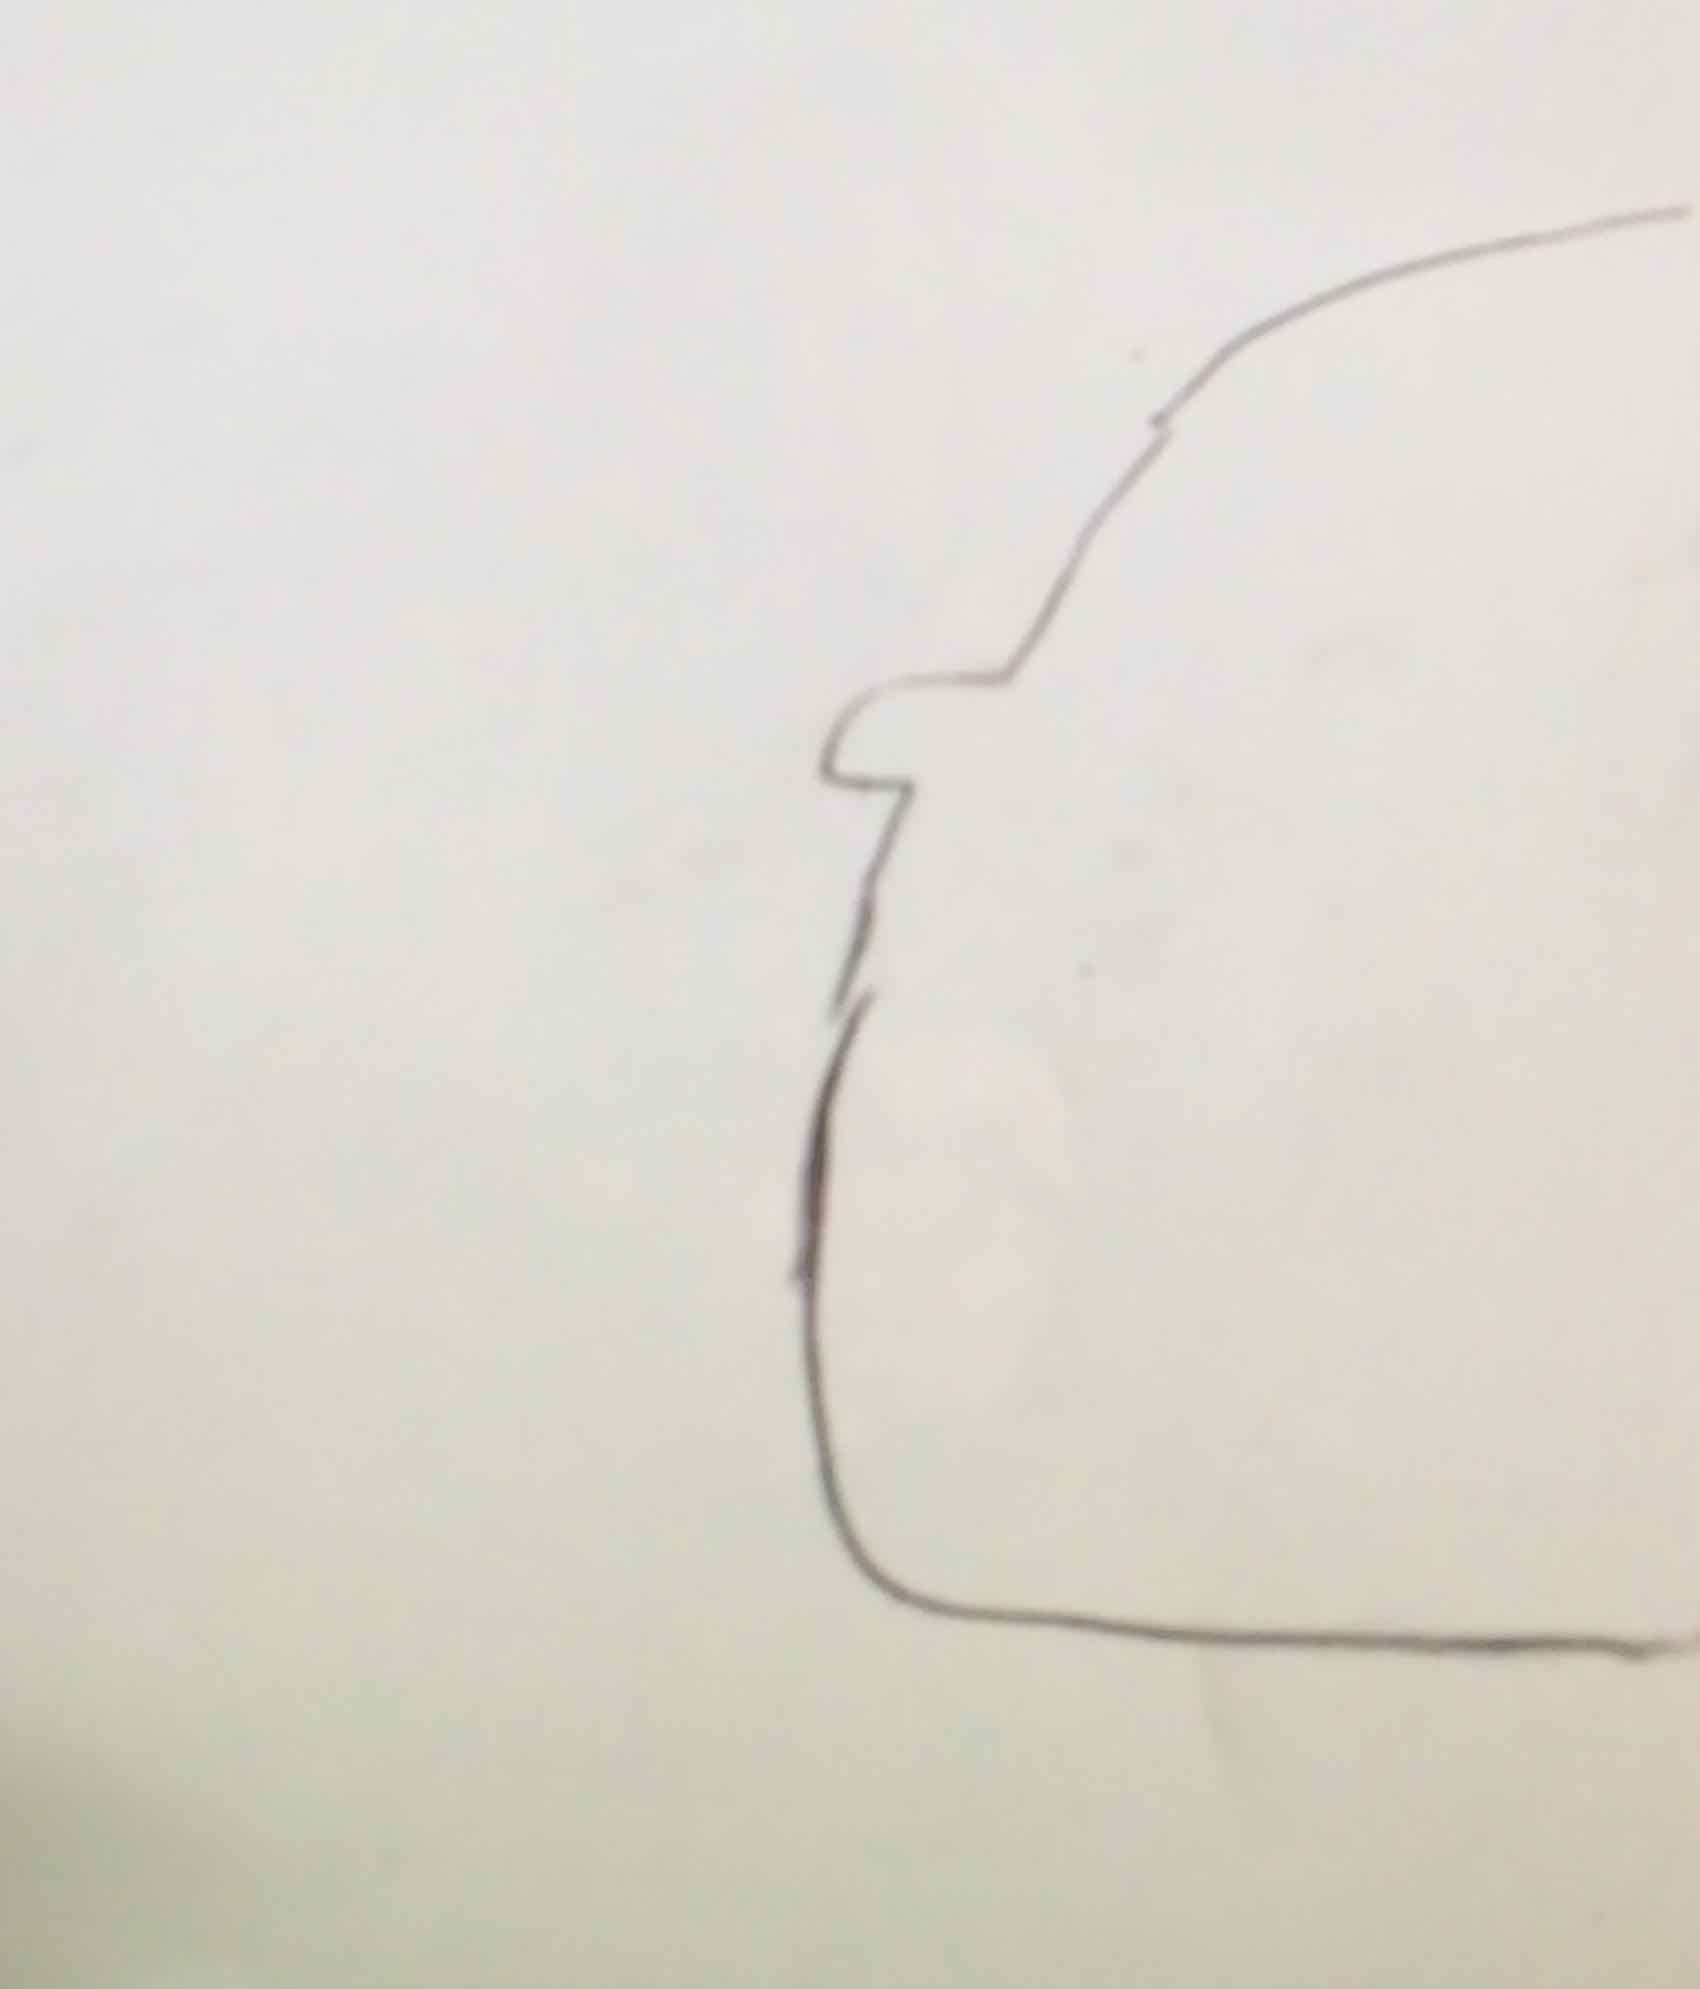
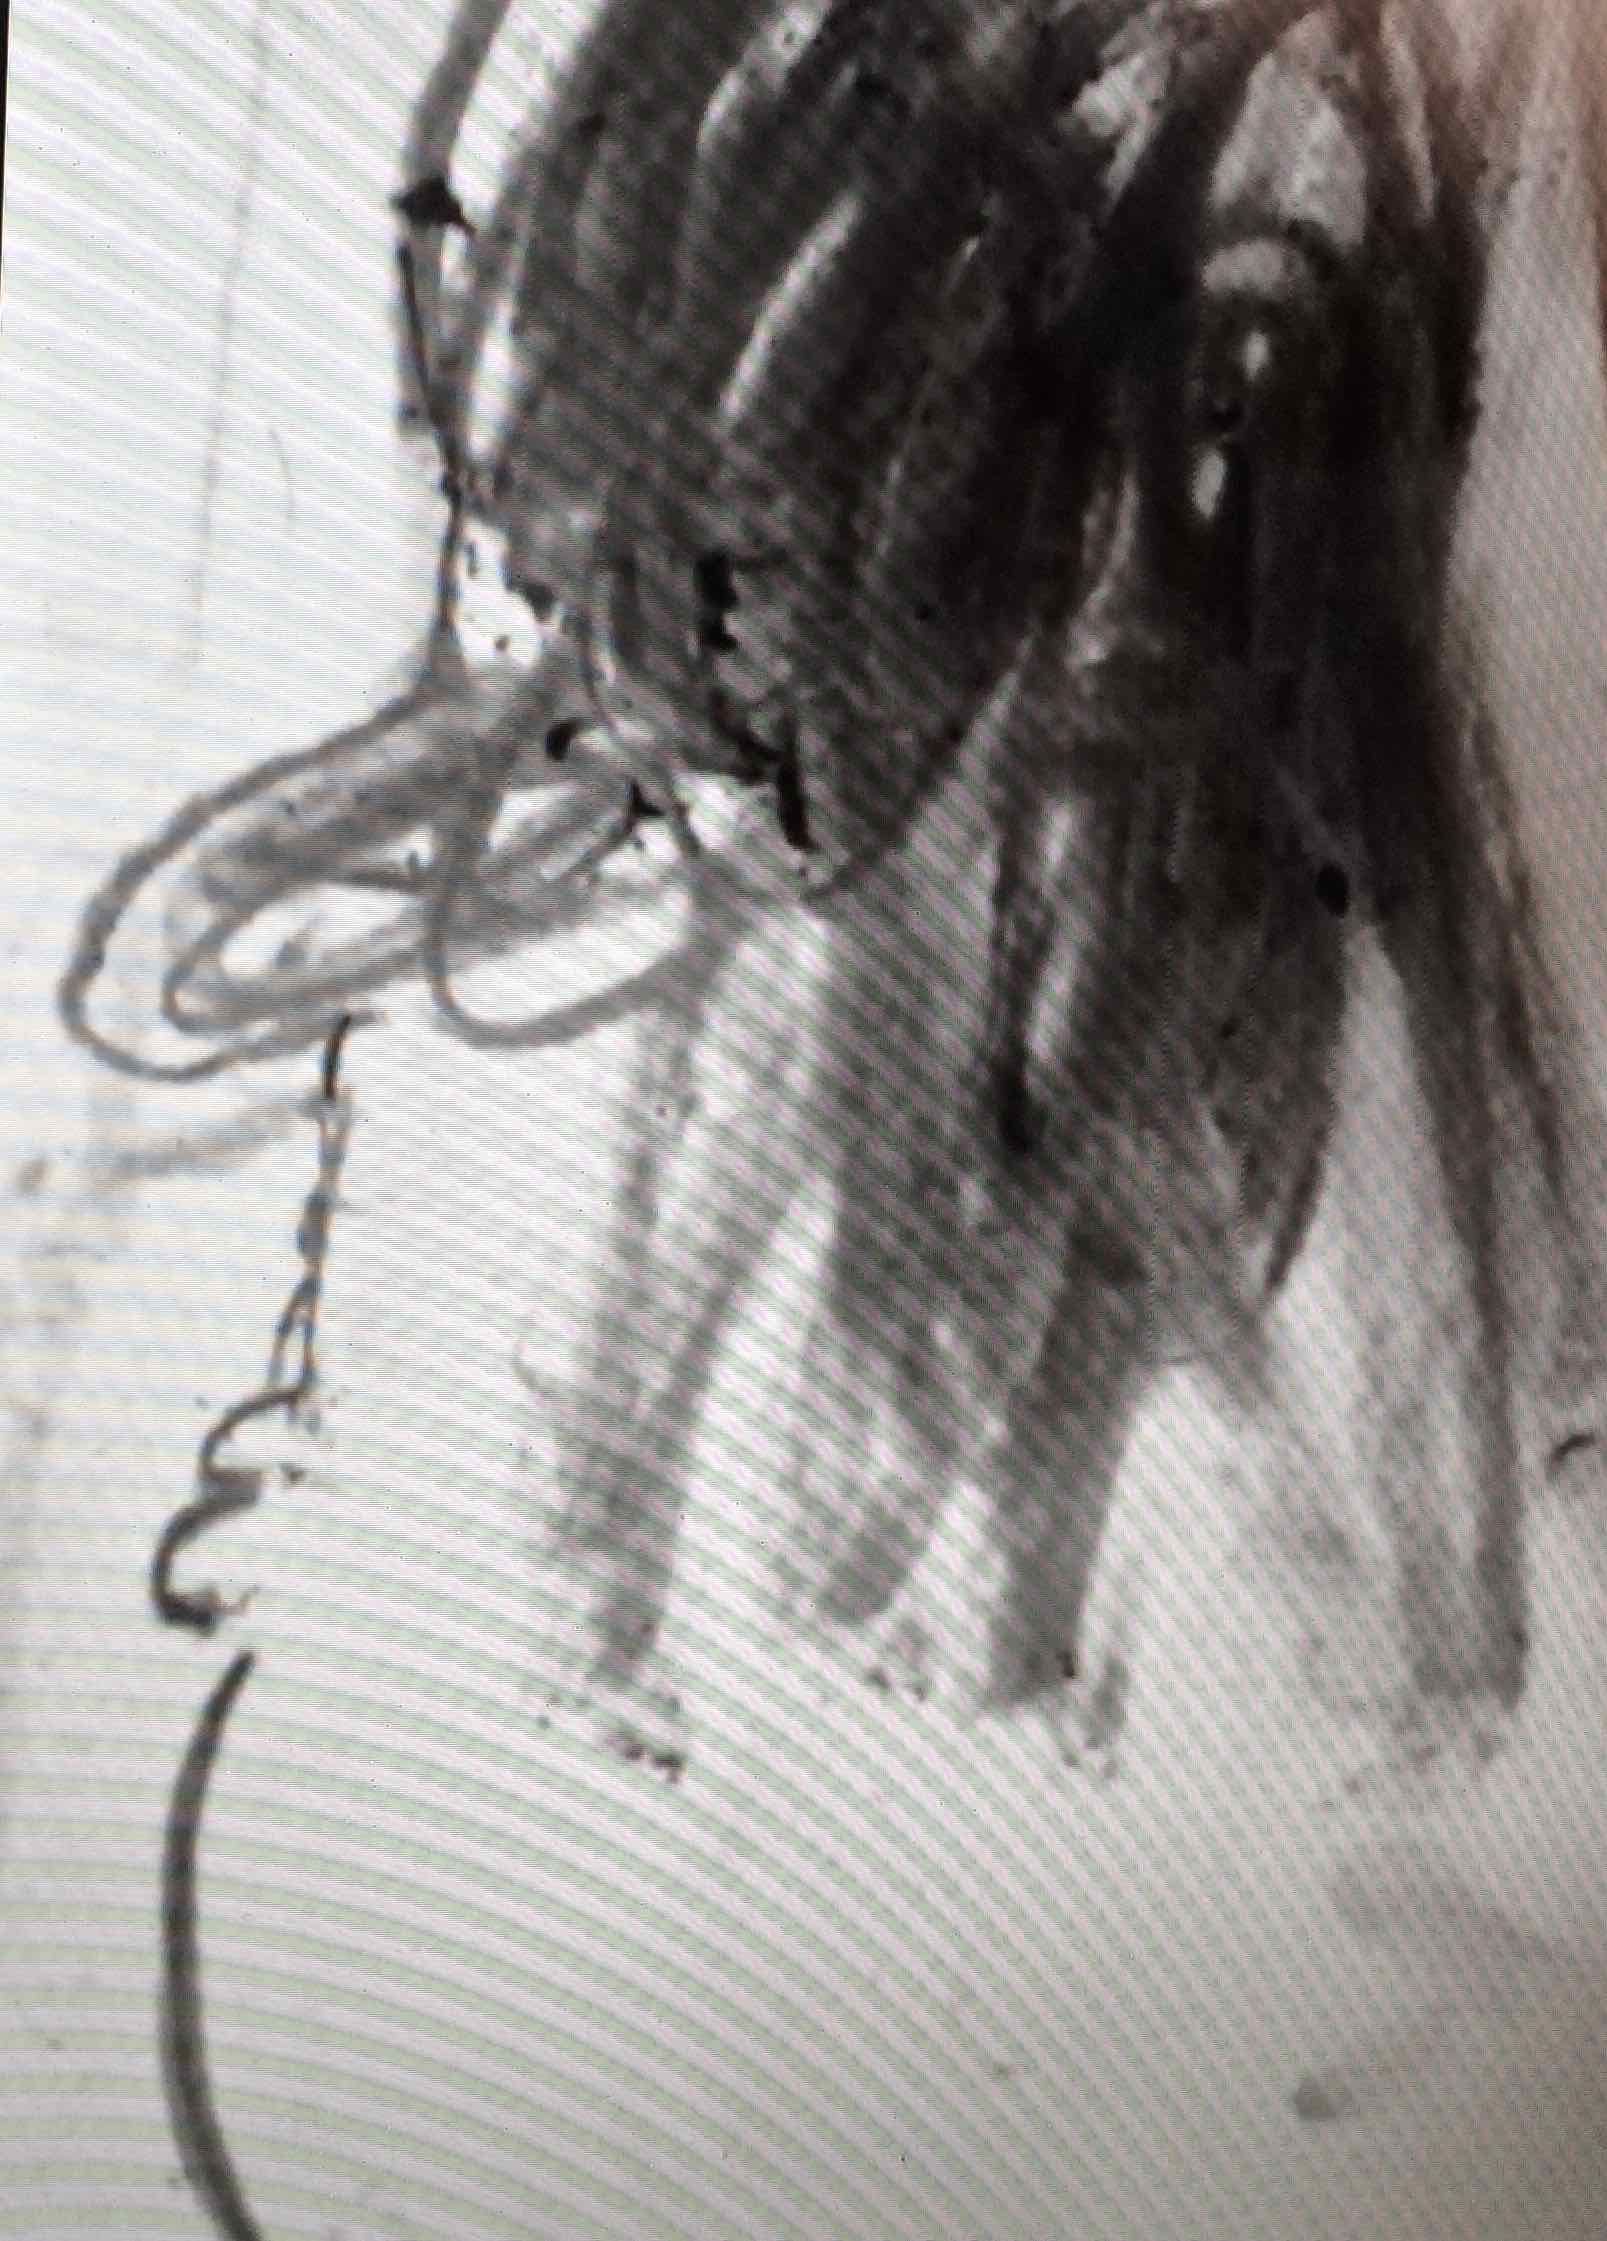
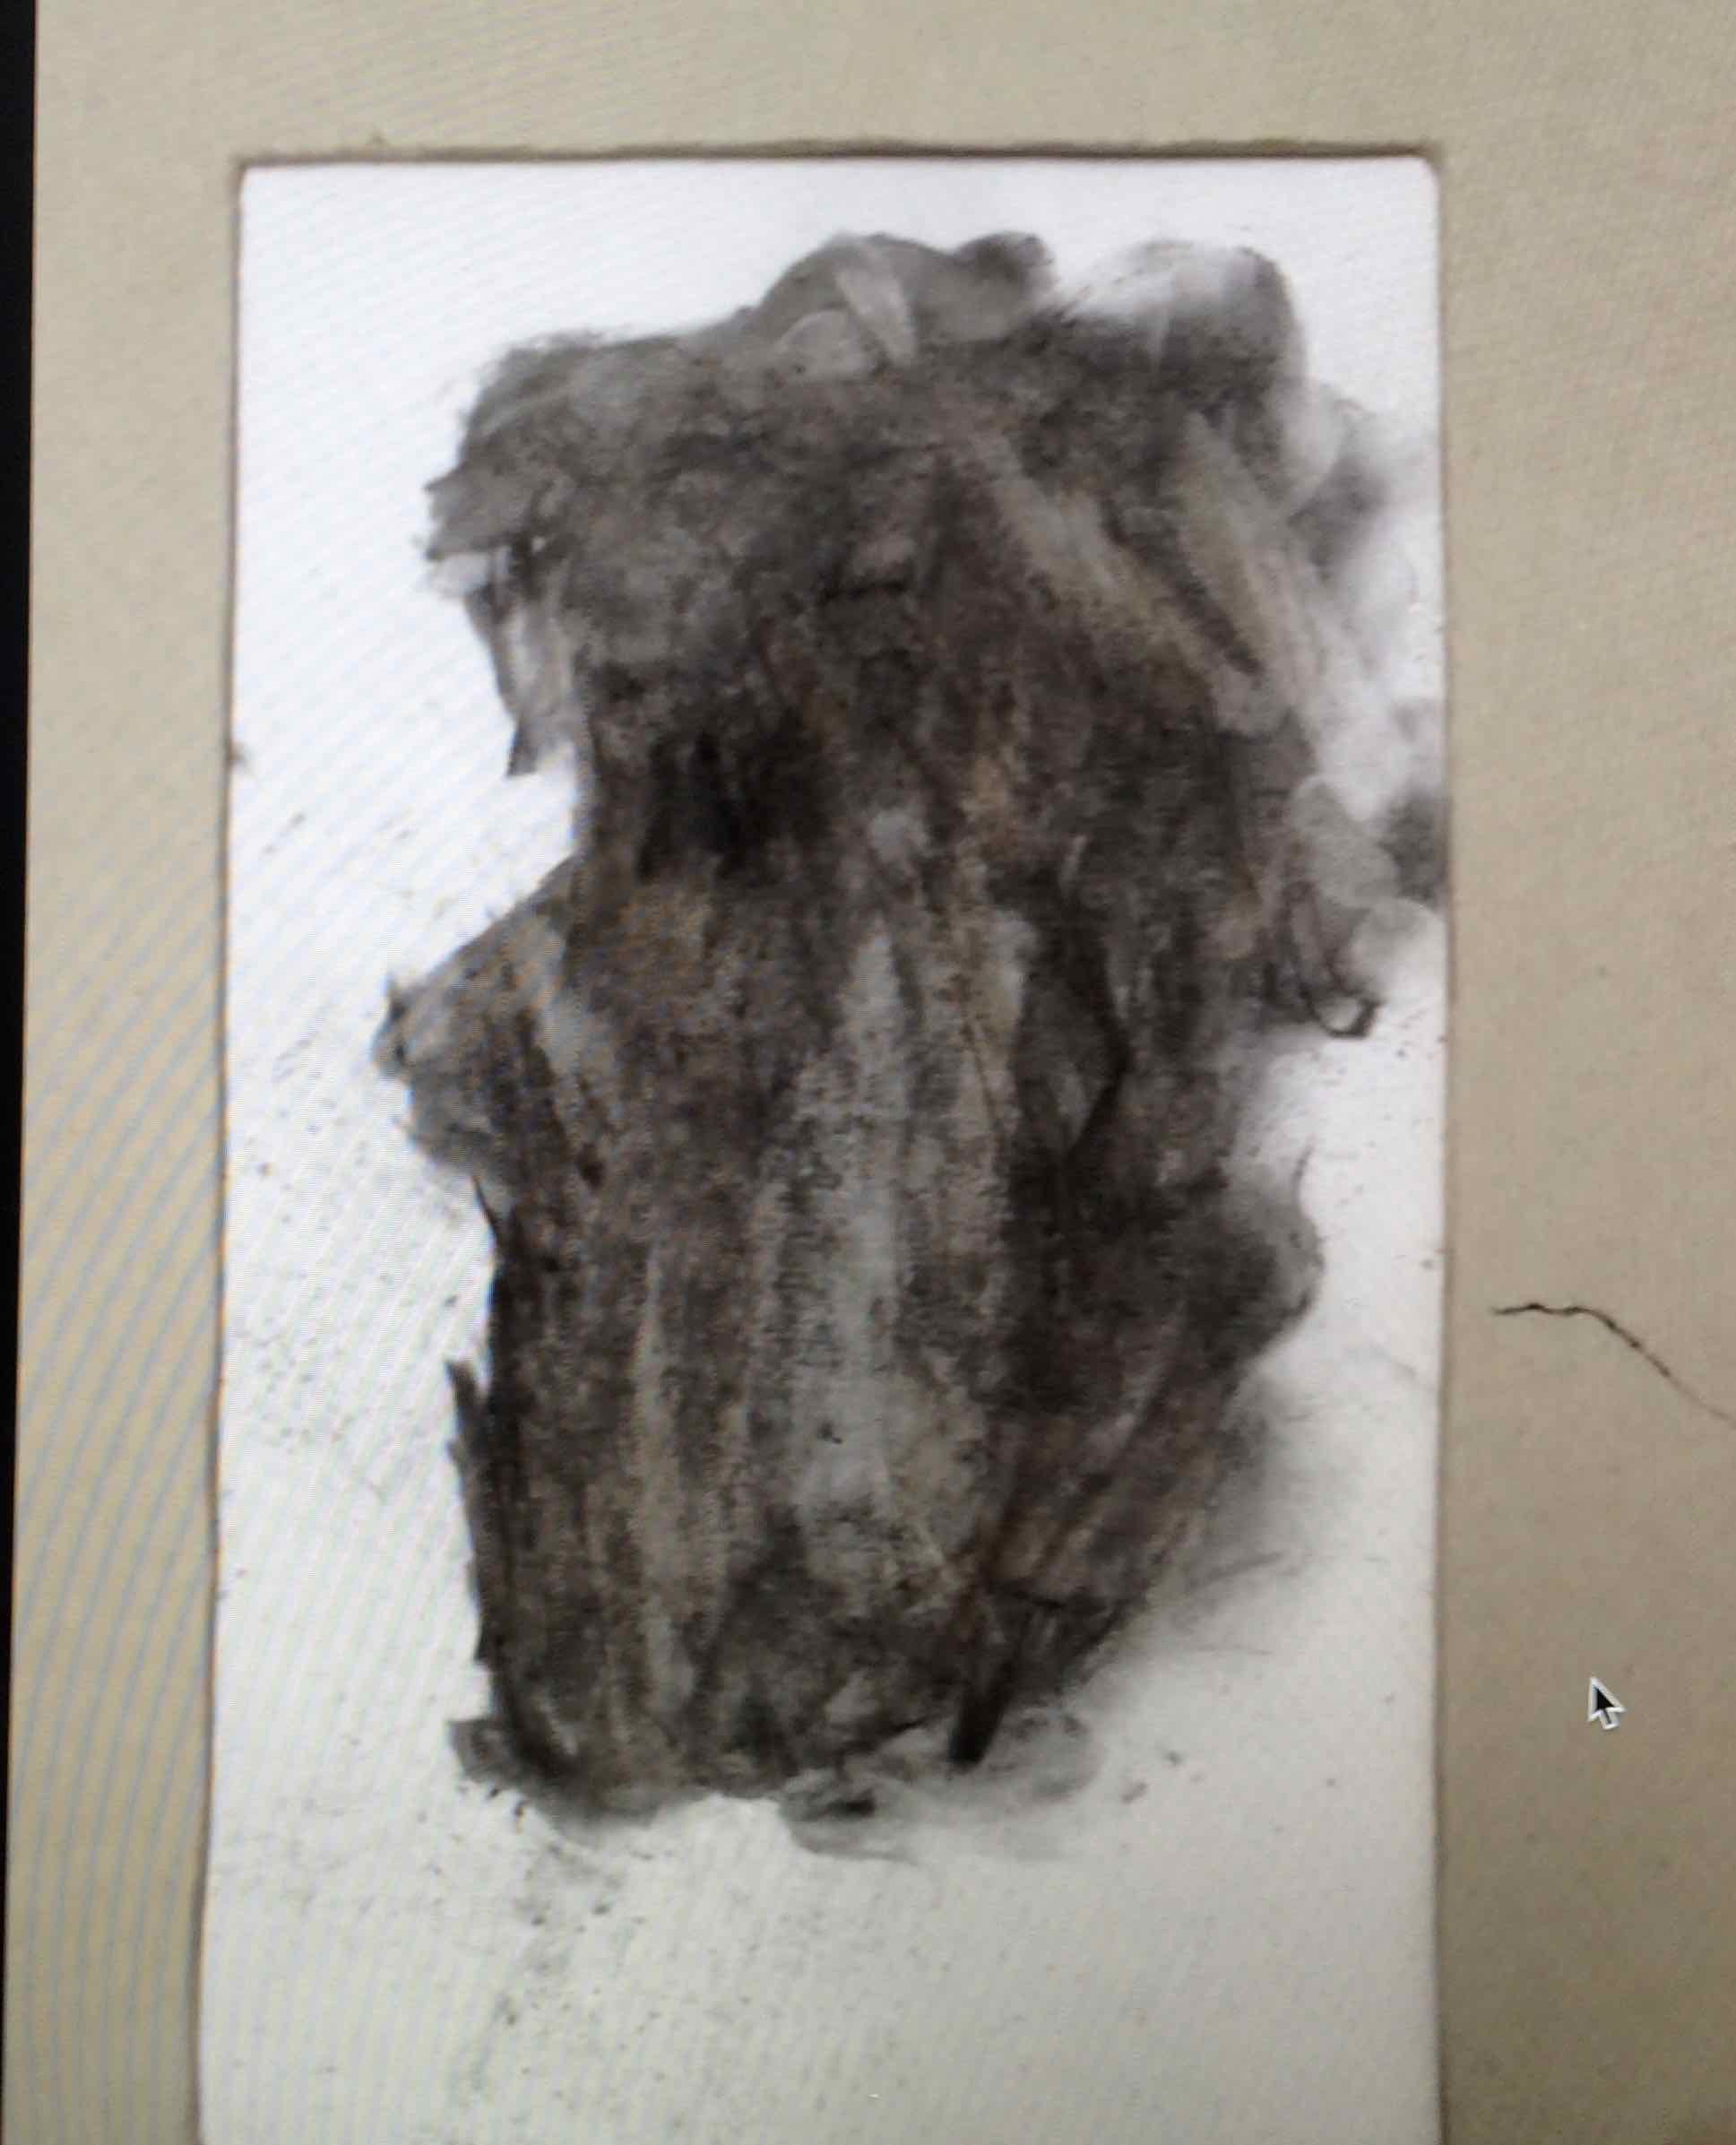
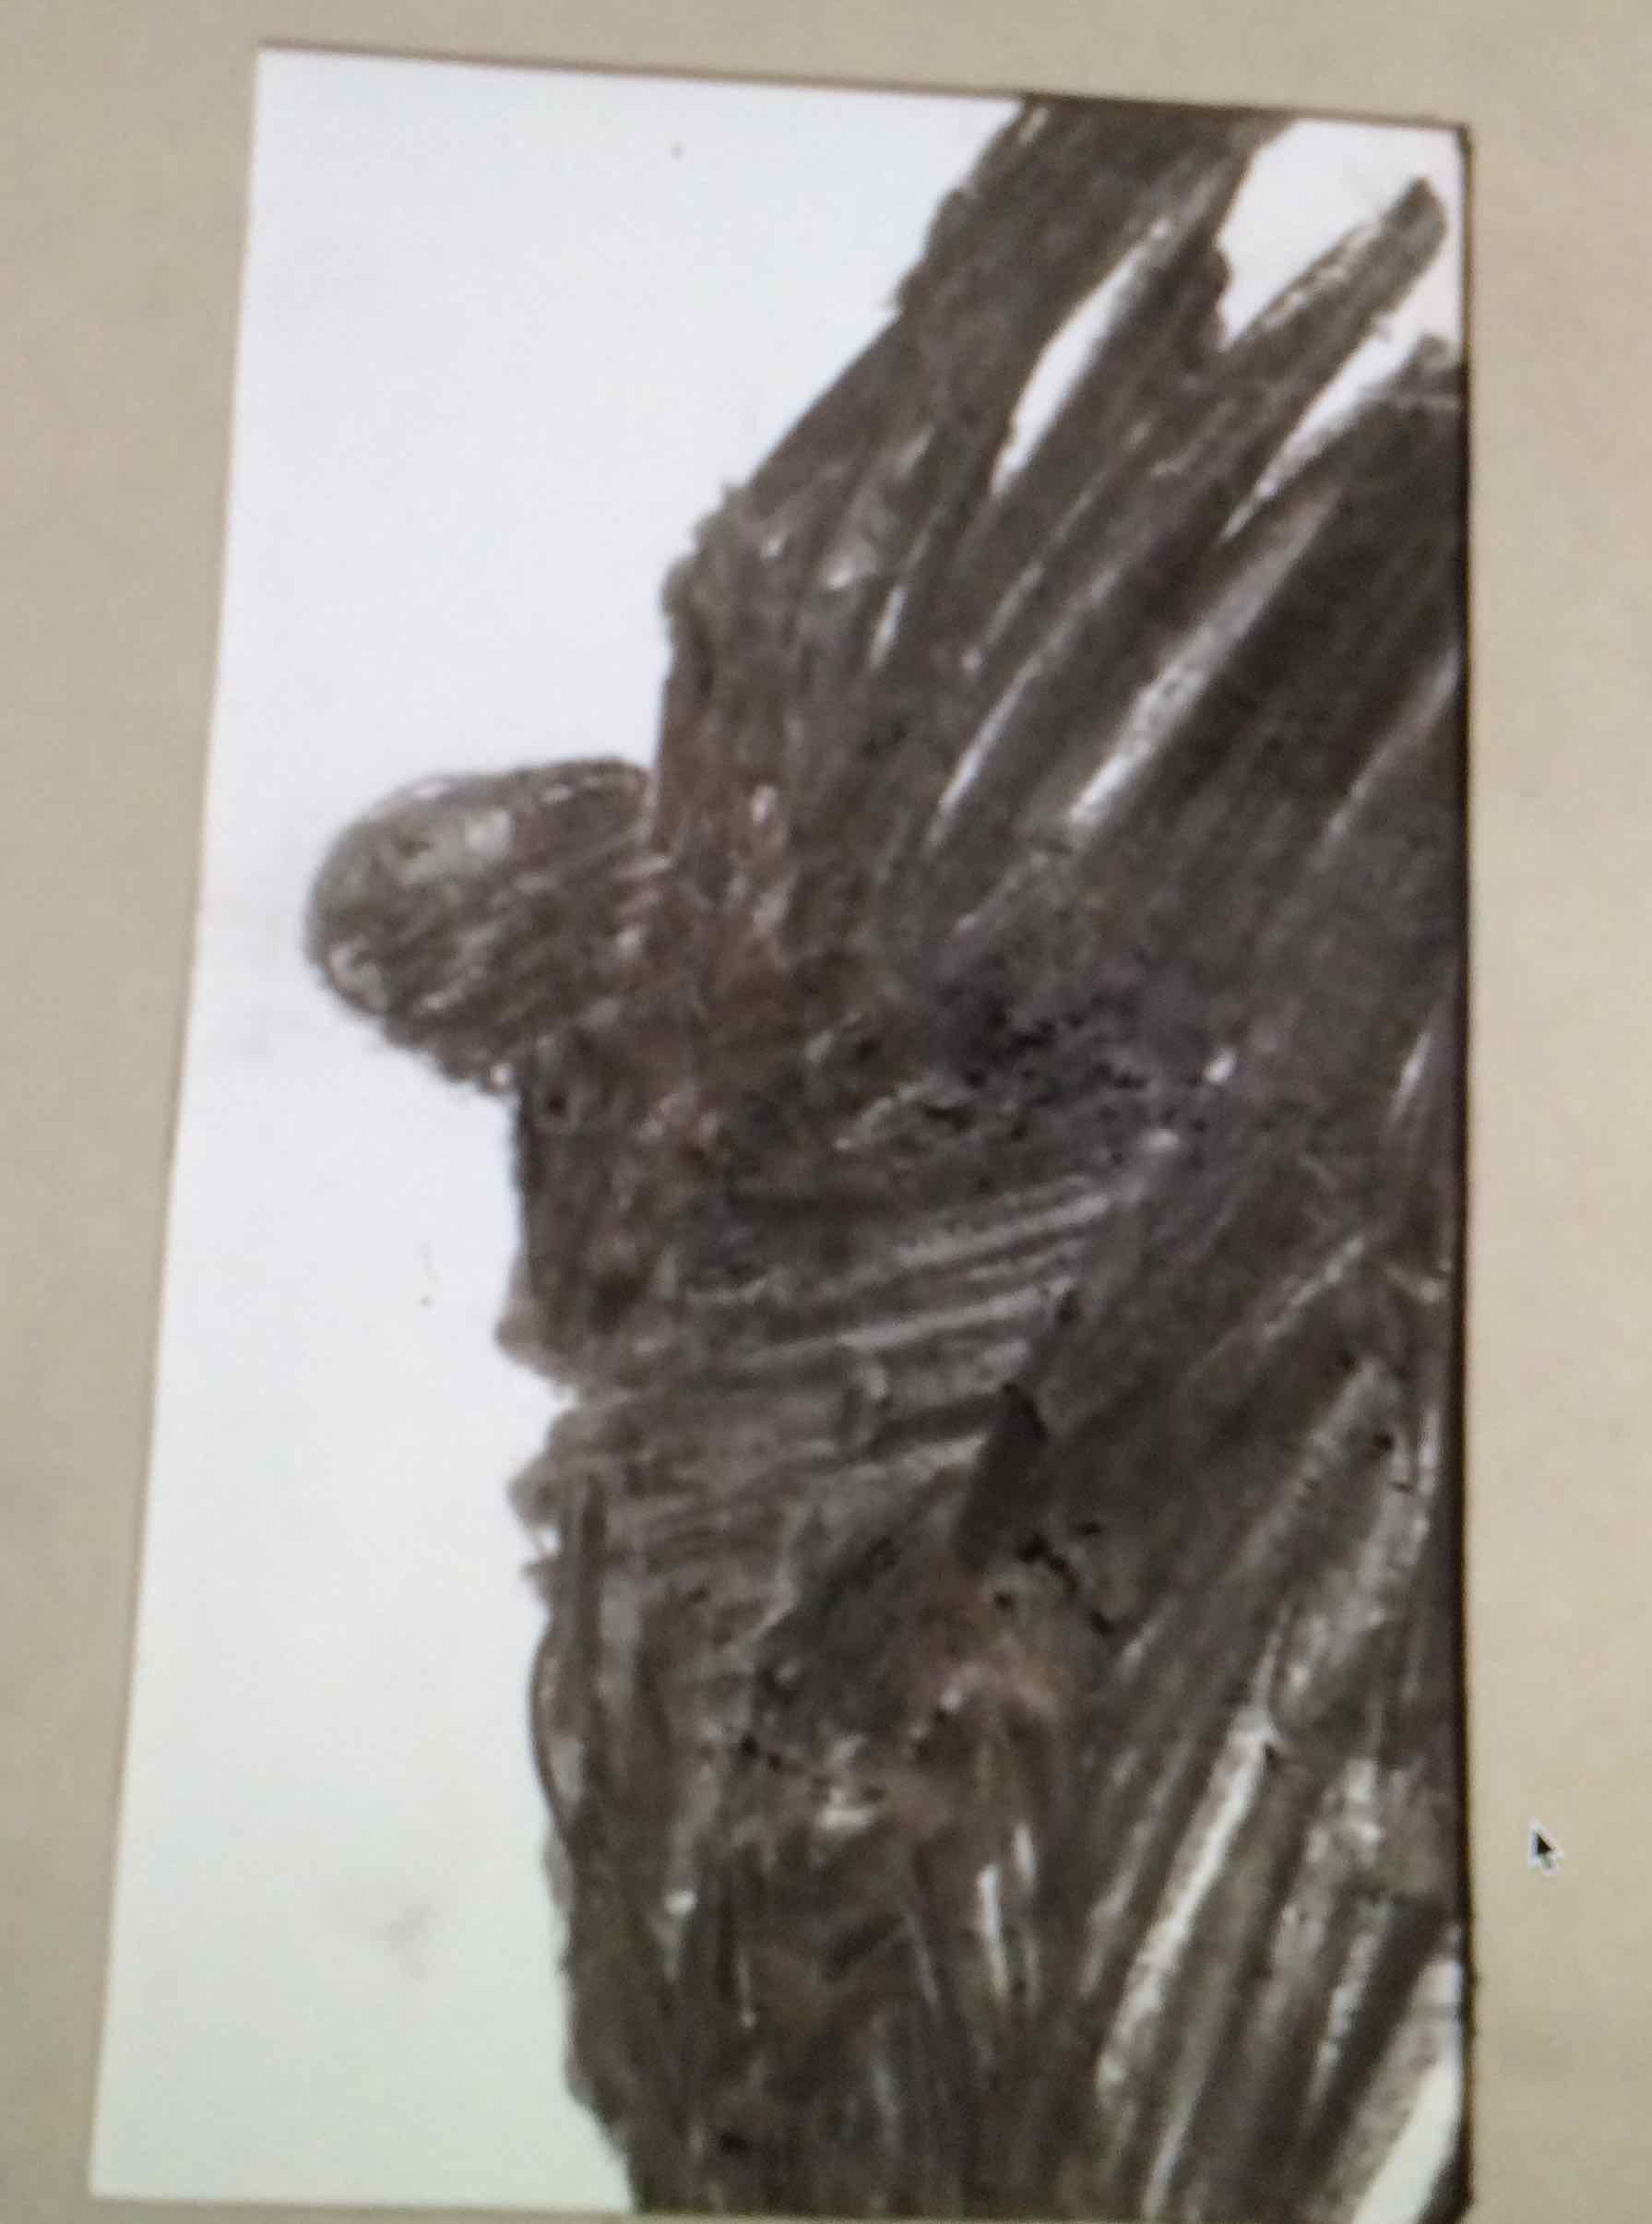
We then tried to OBSERVE and SIMPLIFY the shape of the pose and DRAW it using the SCRIBBLE TECHNIQUE:
I tried this while the children worked in their classroom
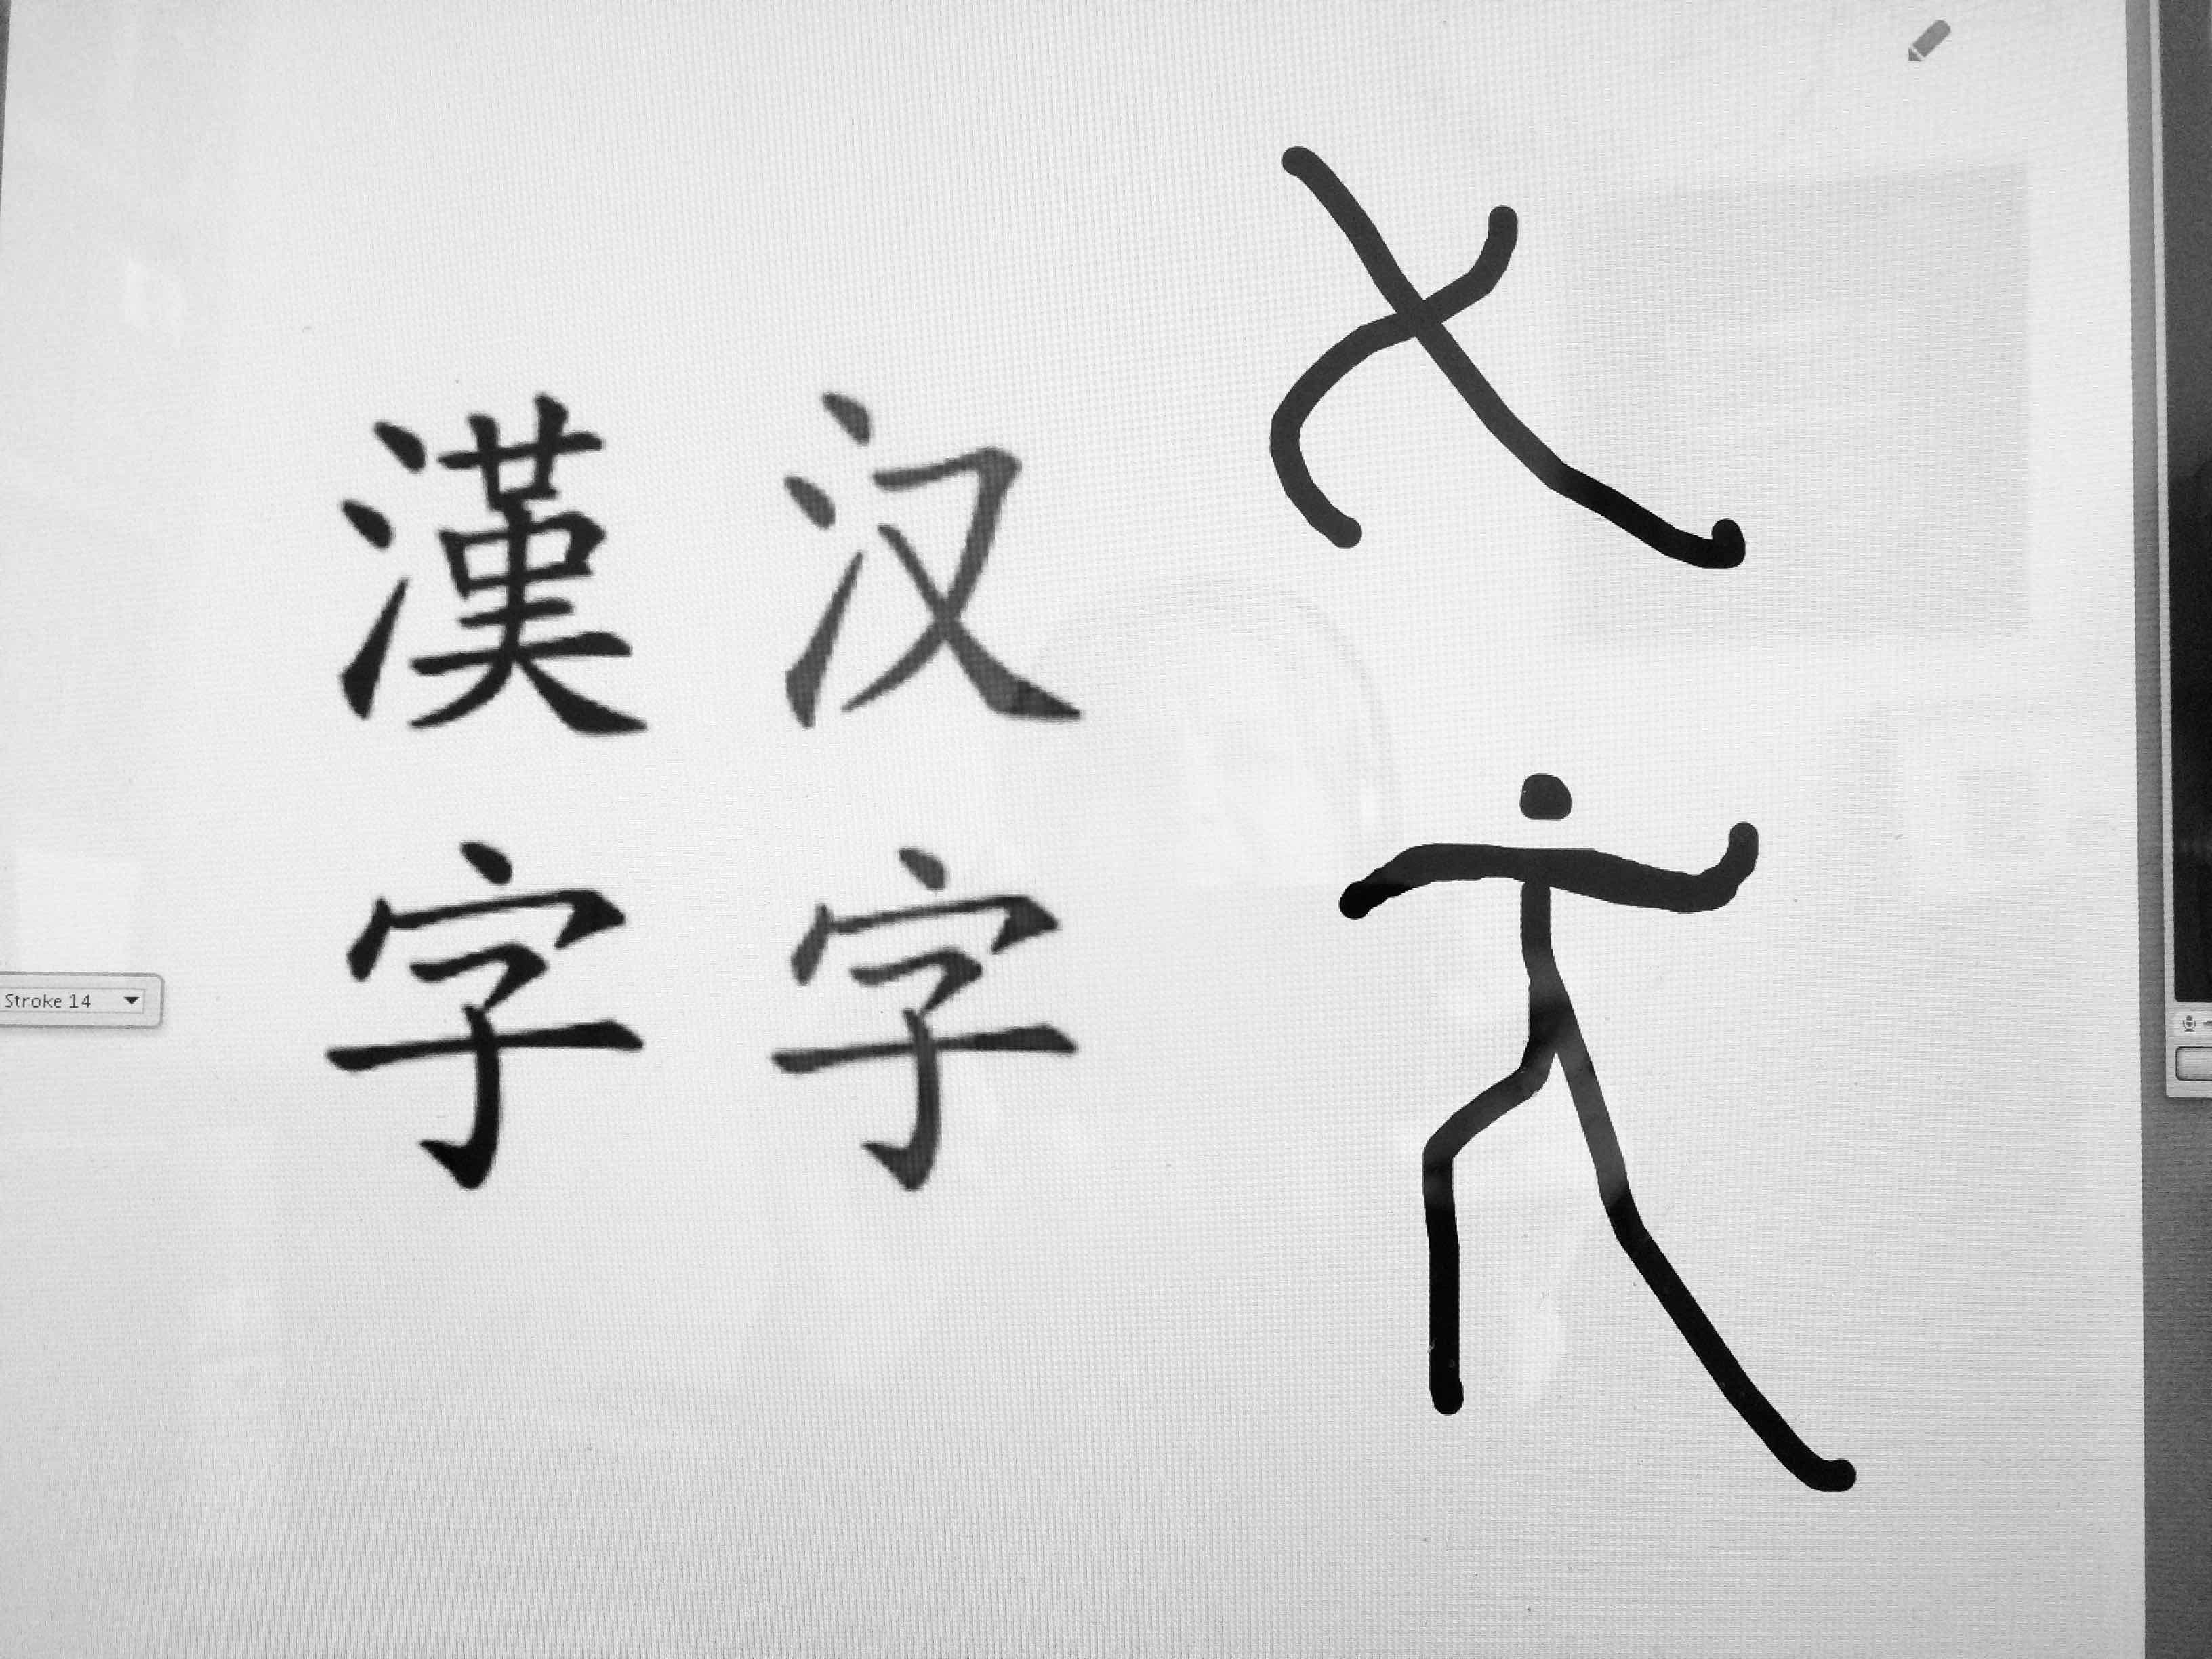
We looked back again at the CHINESE script symbols from the beginning of our explorations on balance and made a strong connection between WRITING and DRAWING…
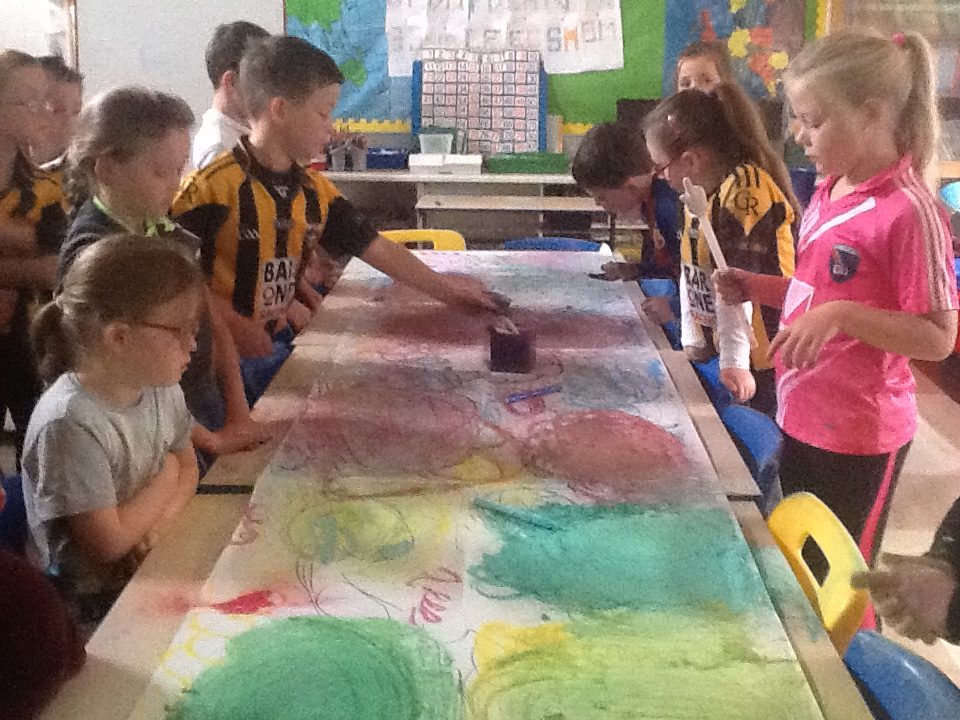
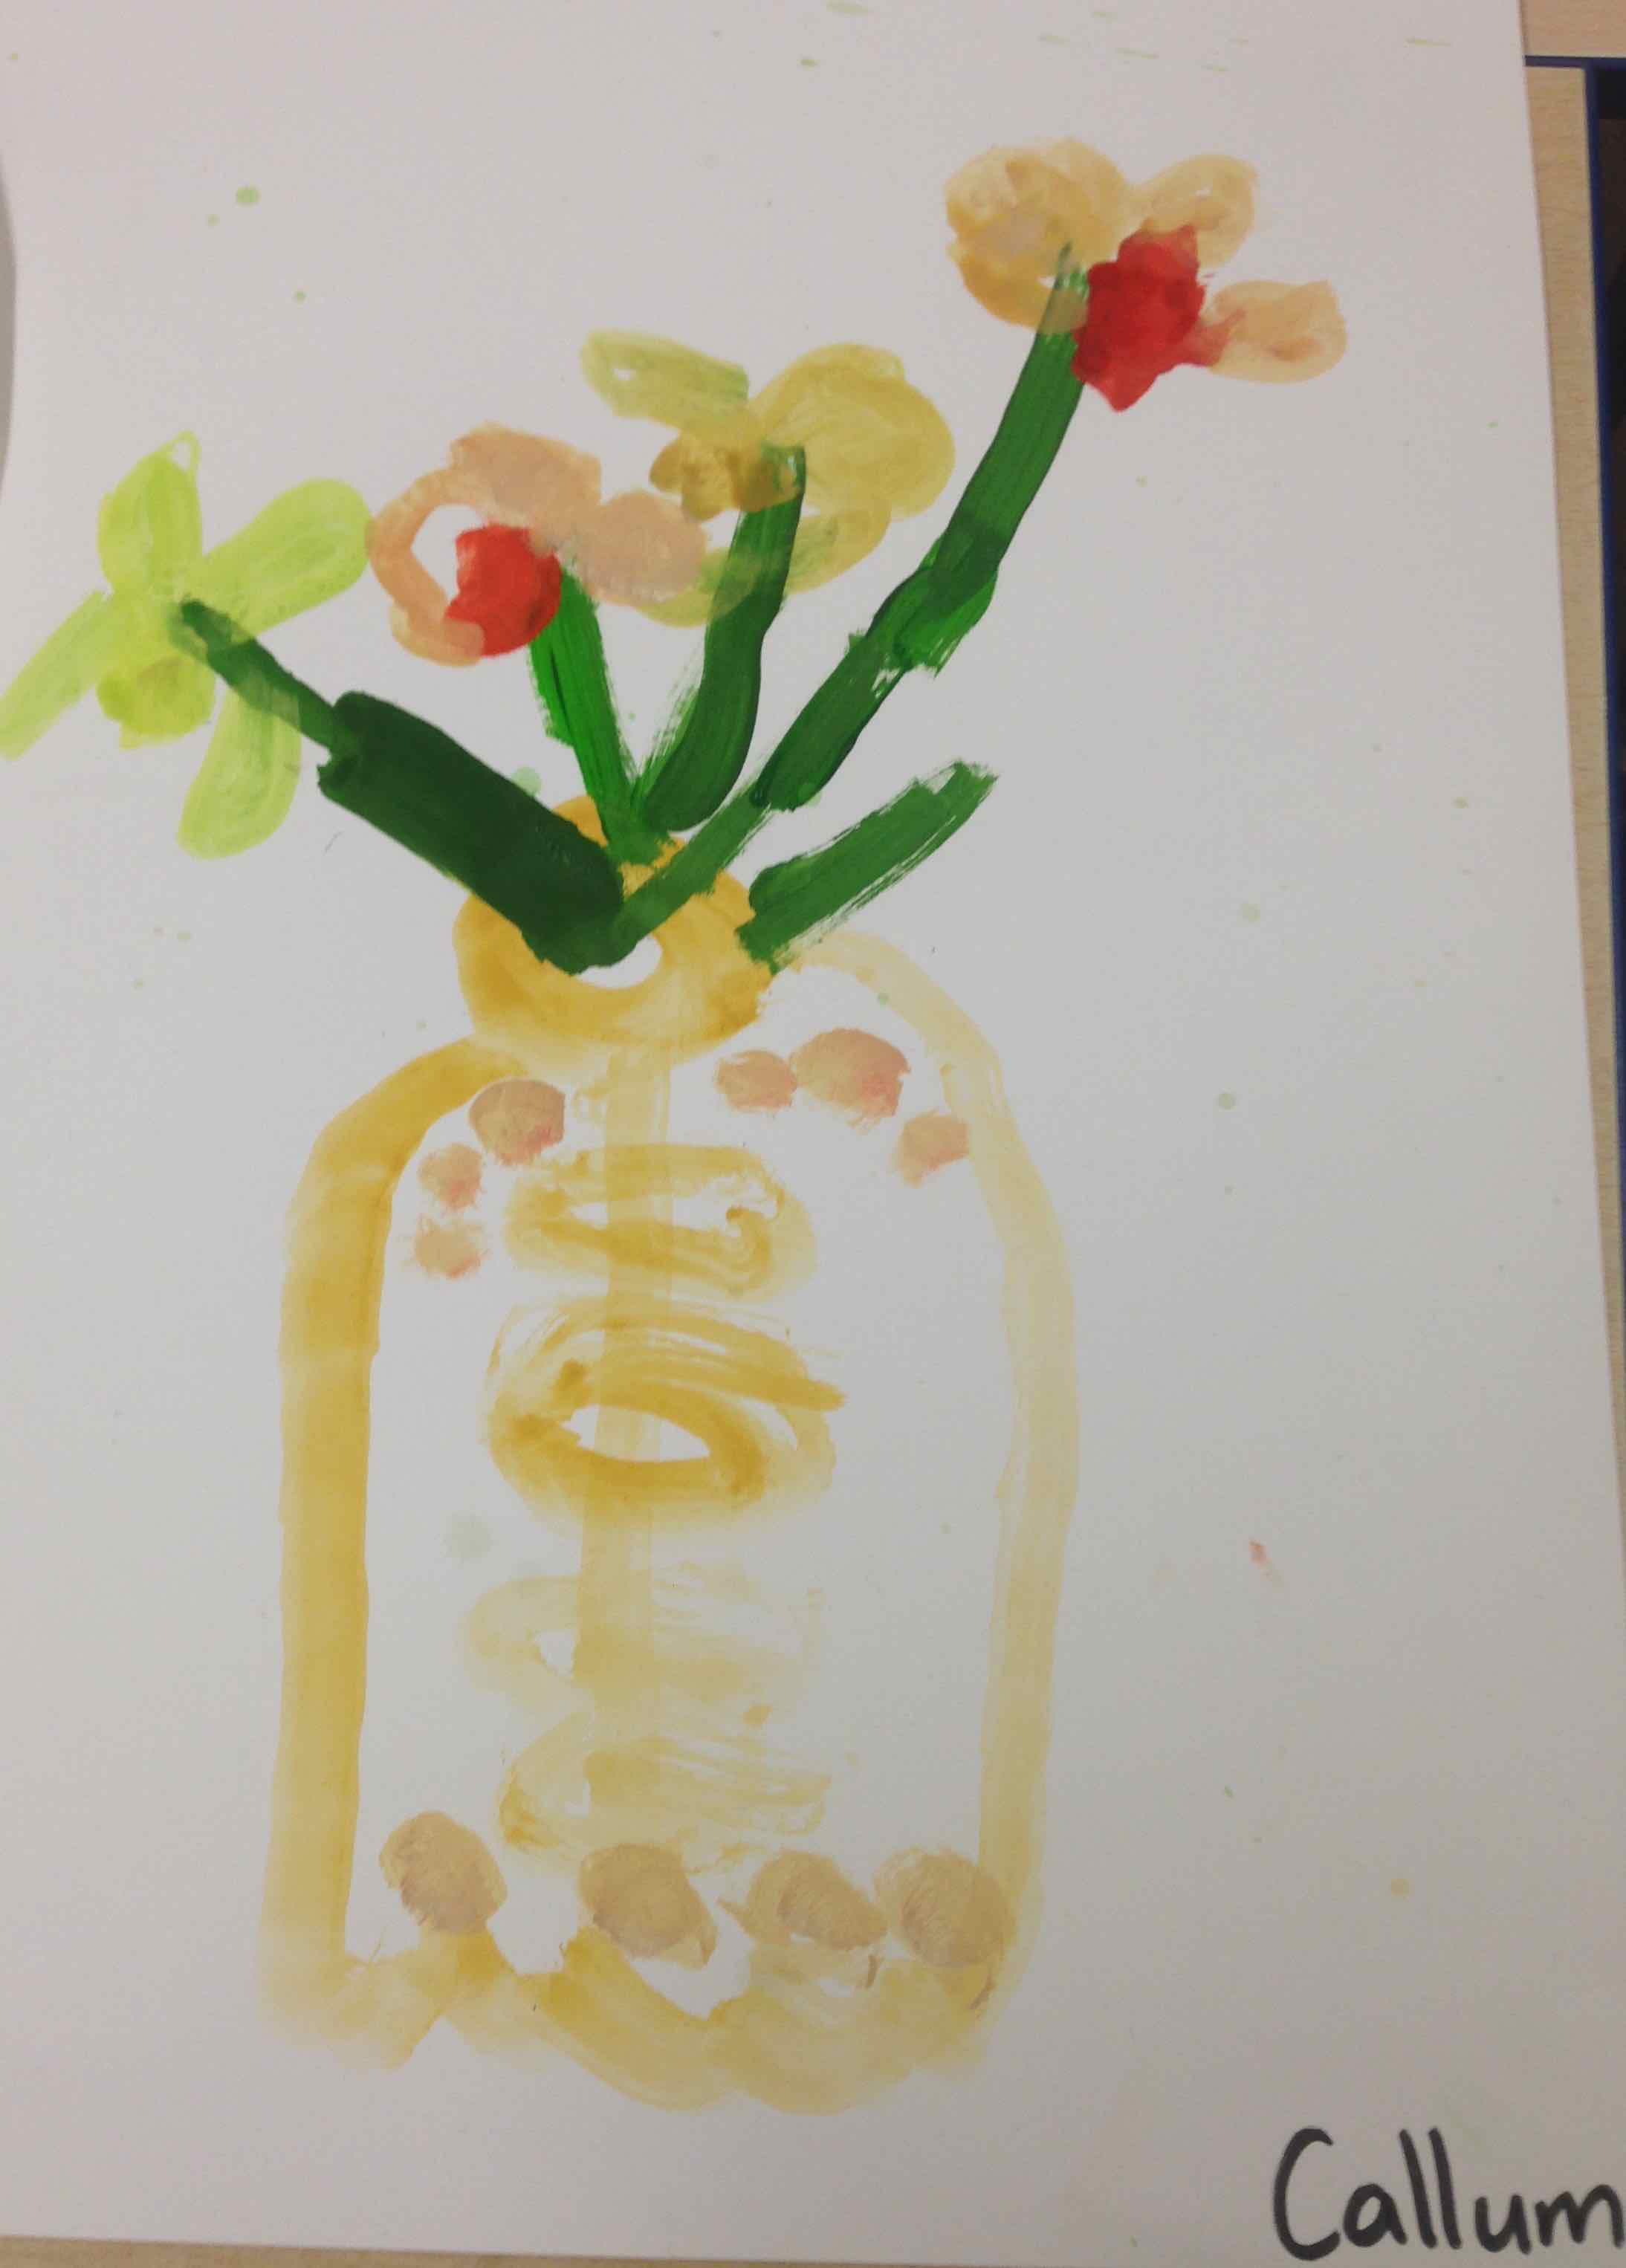
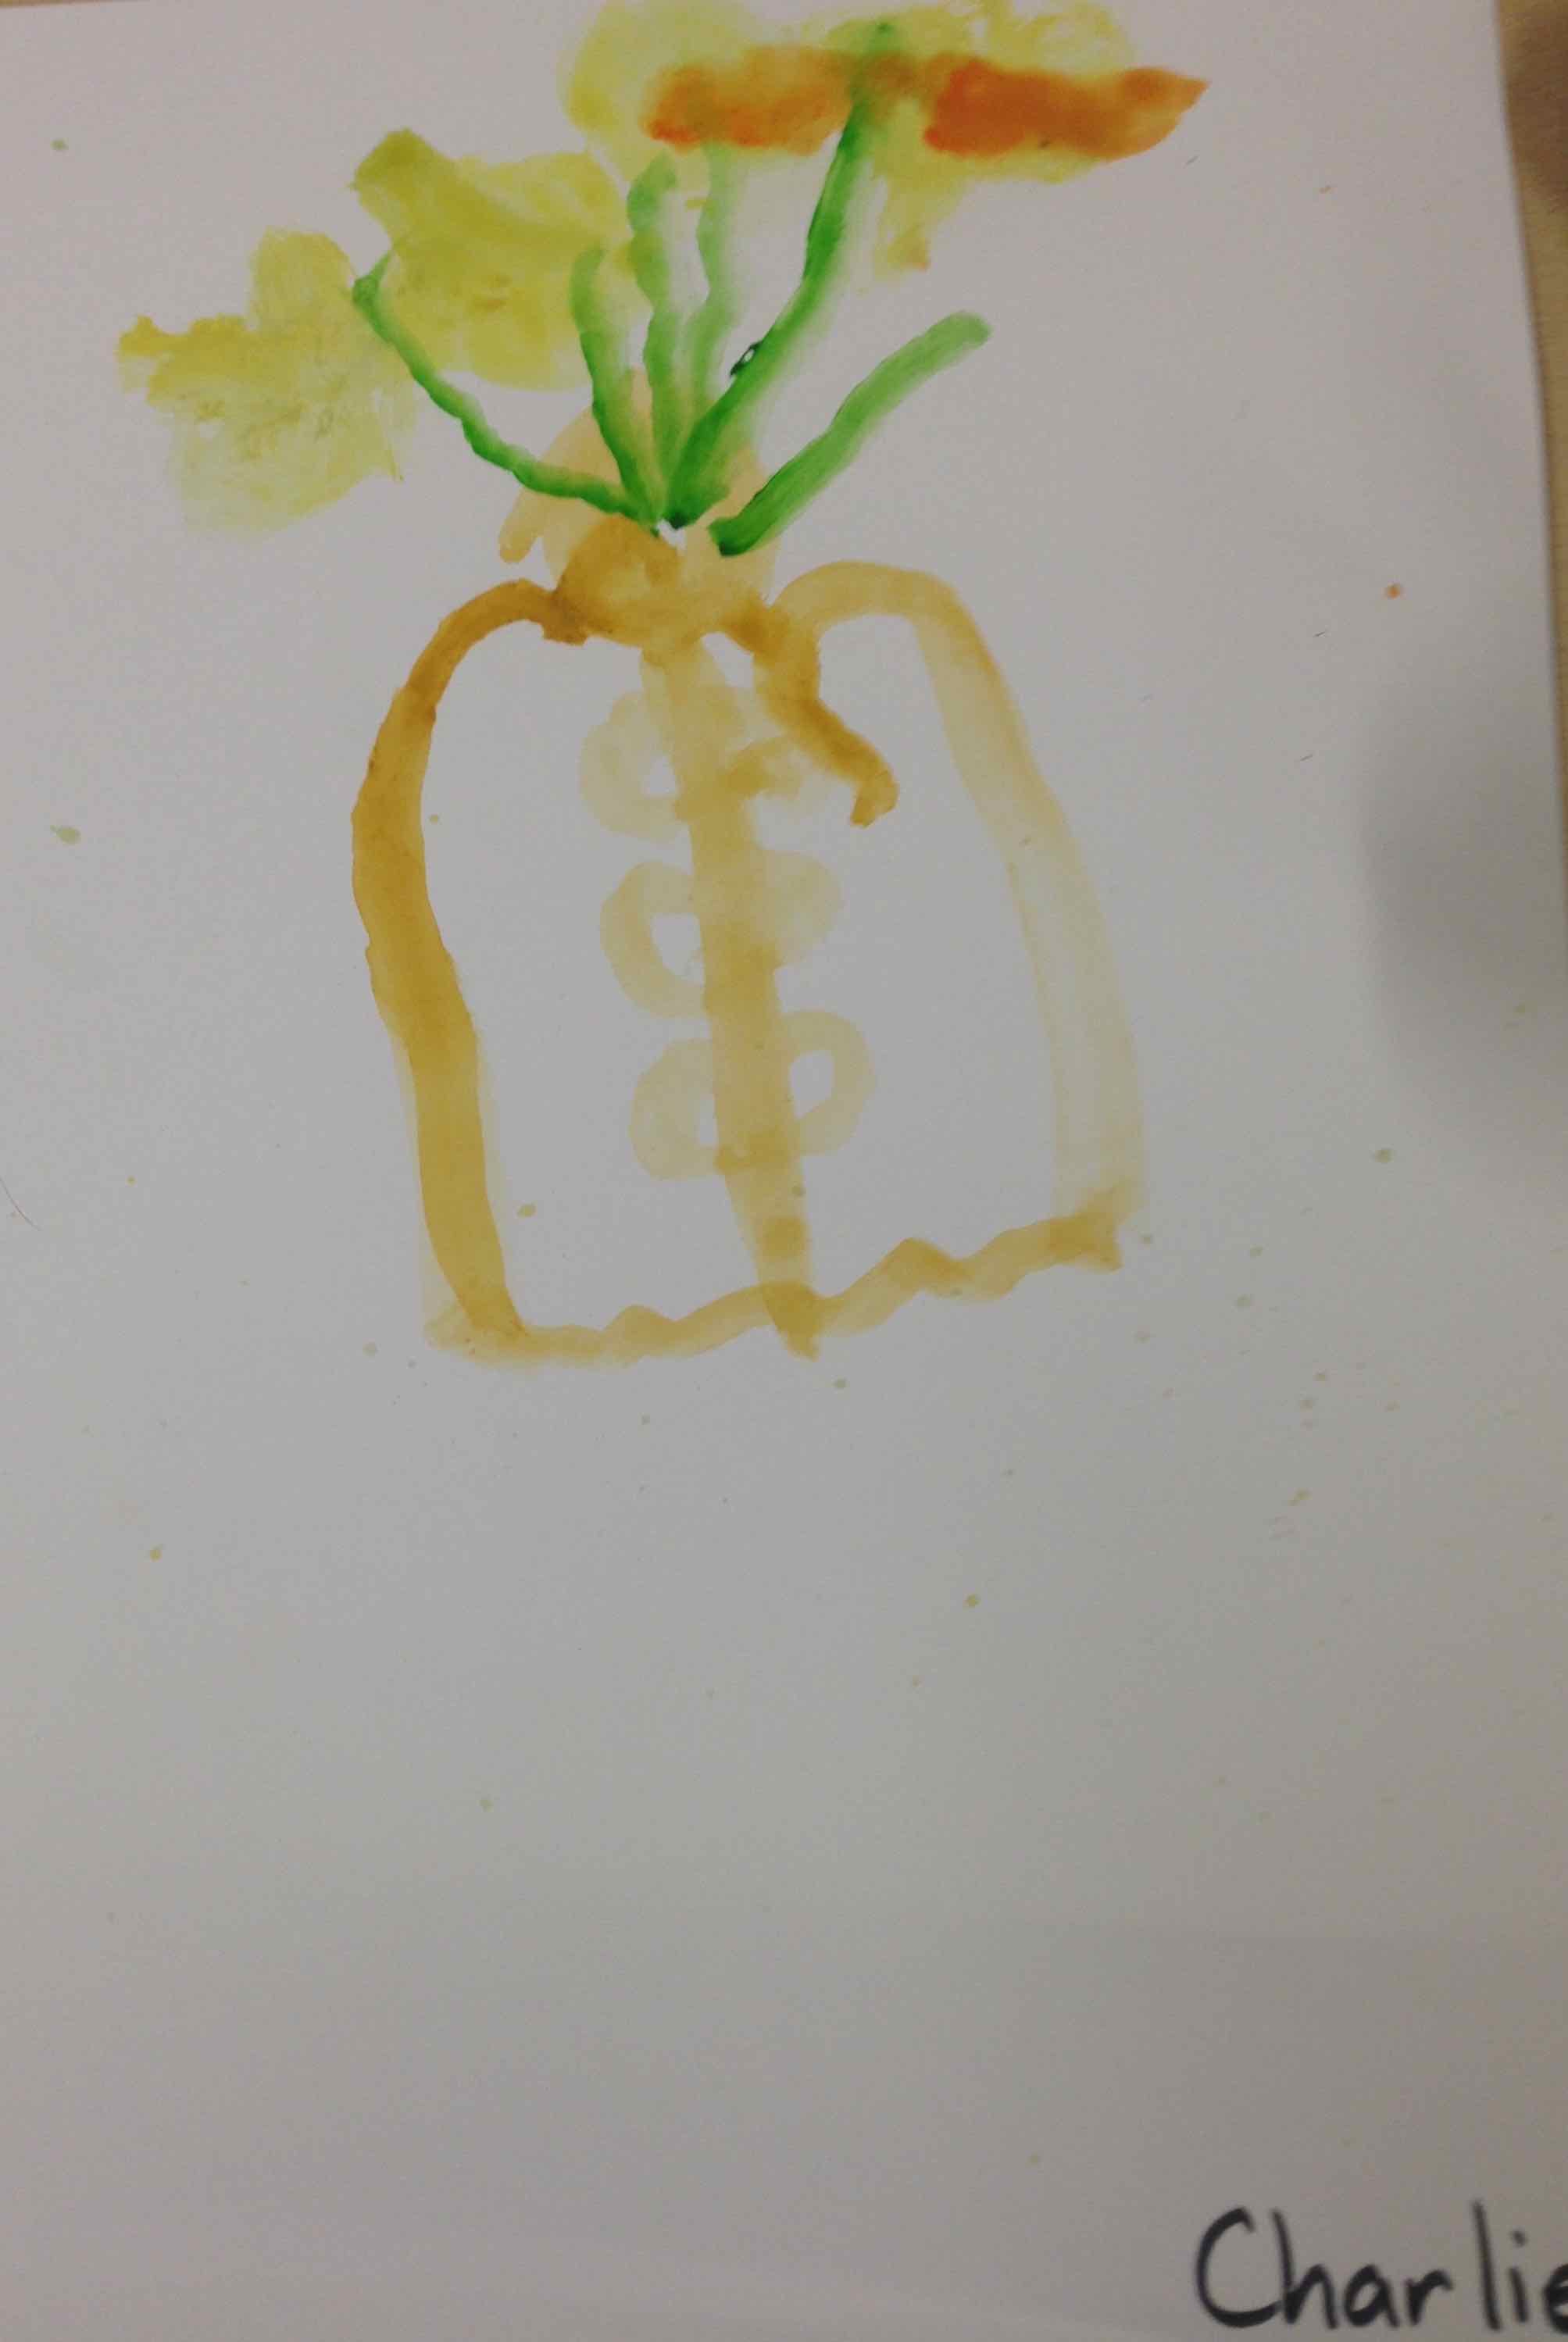
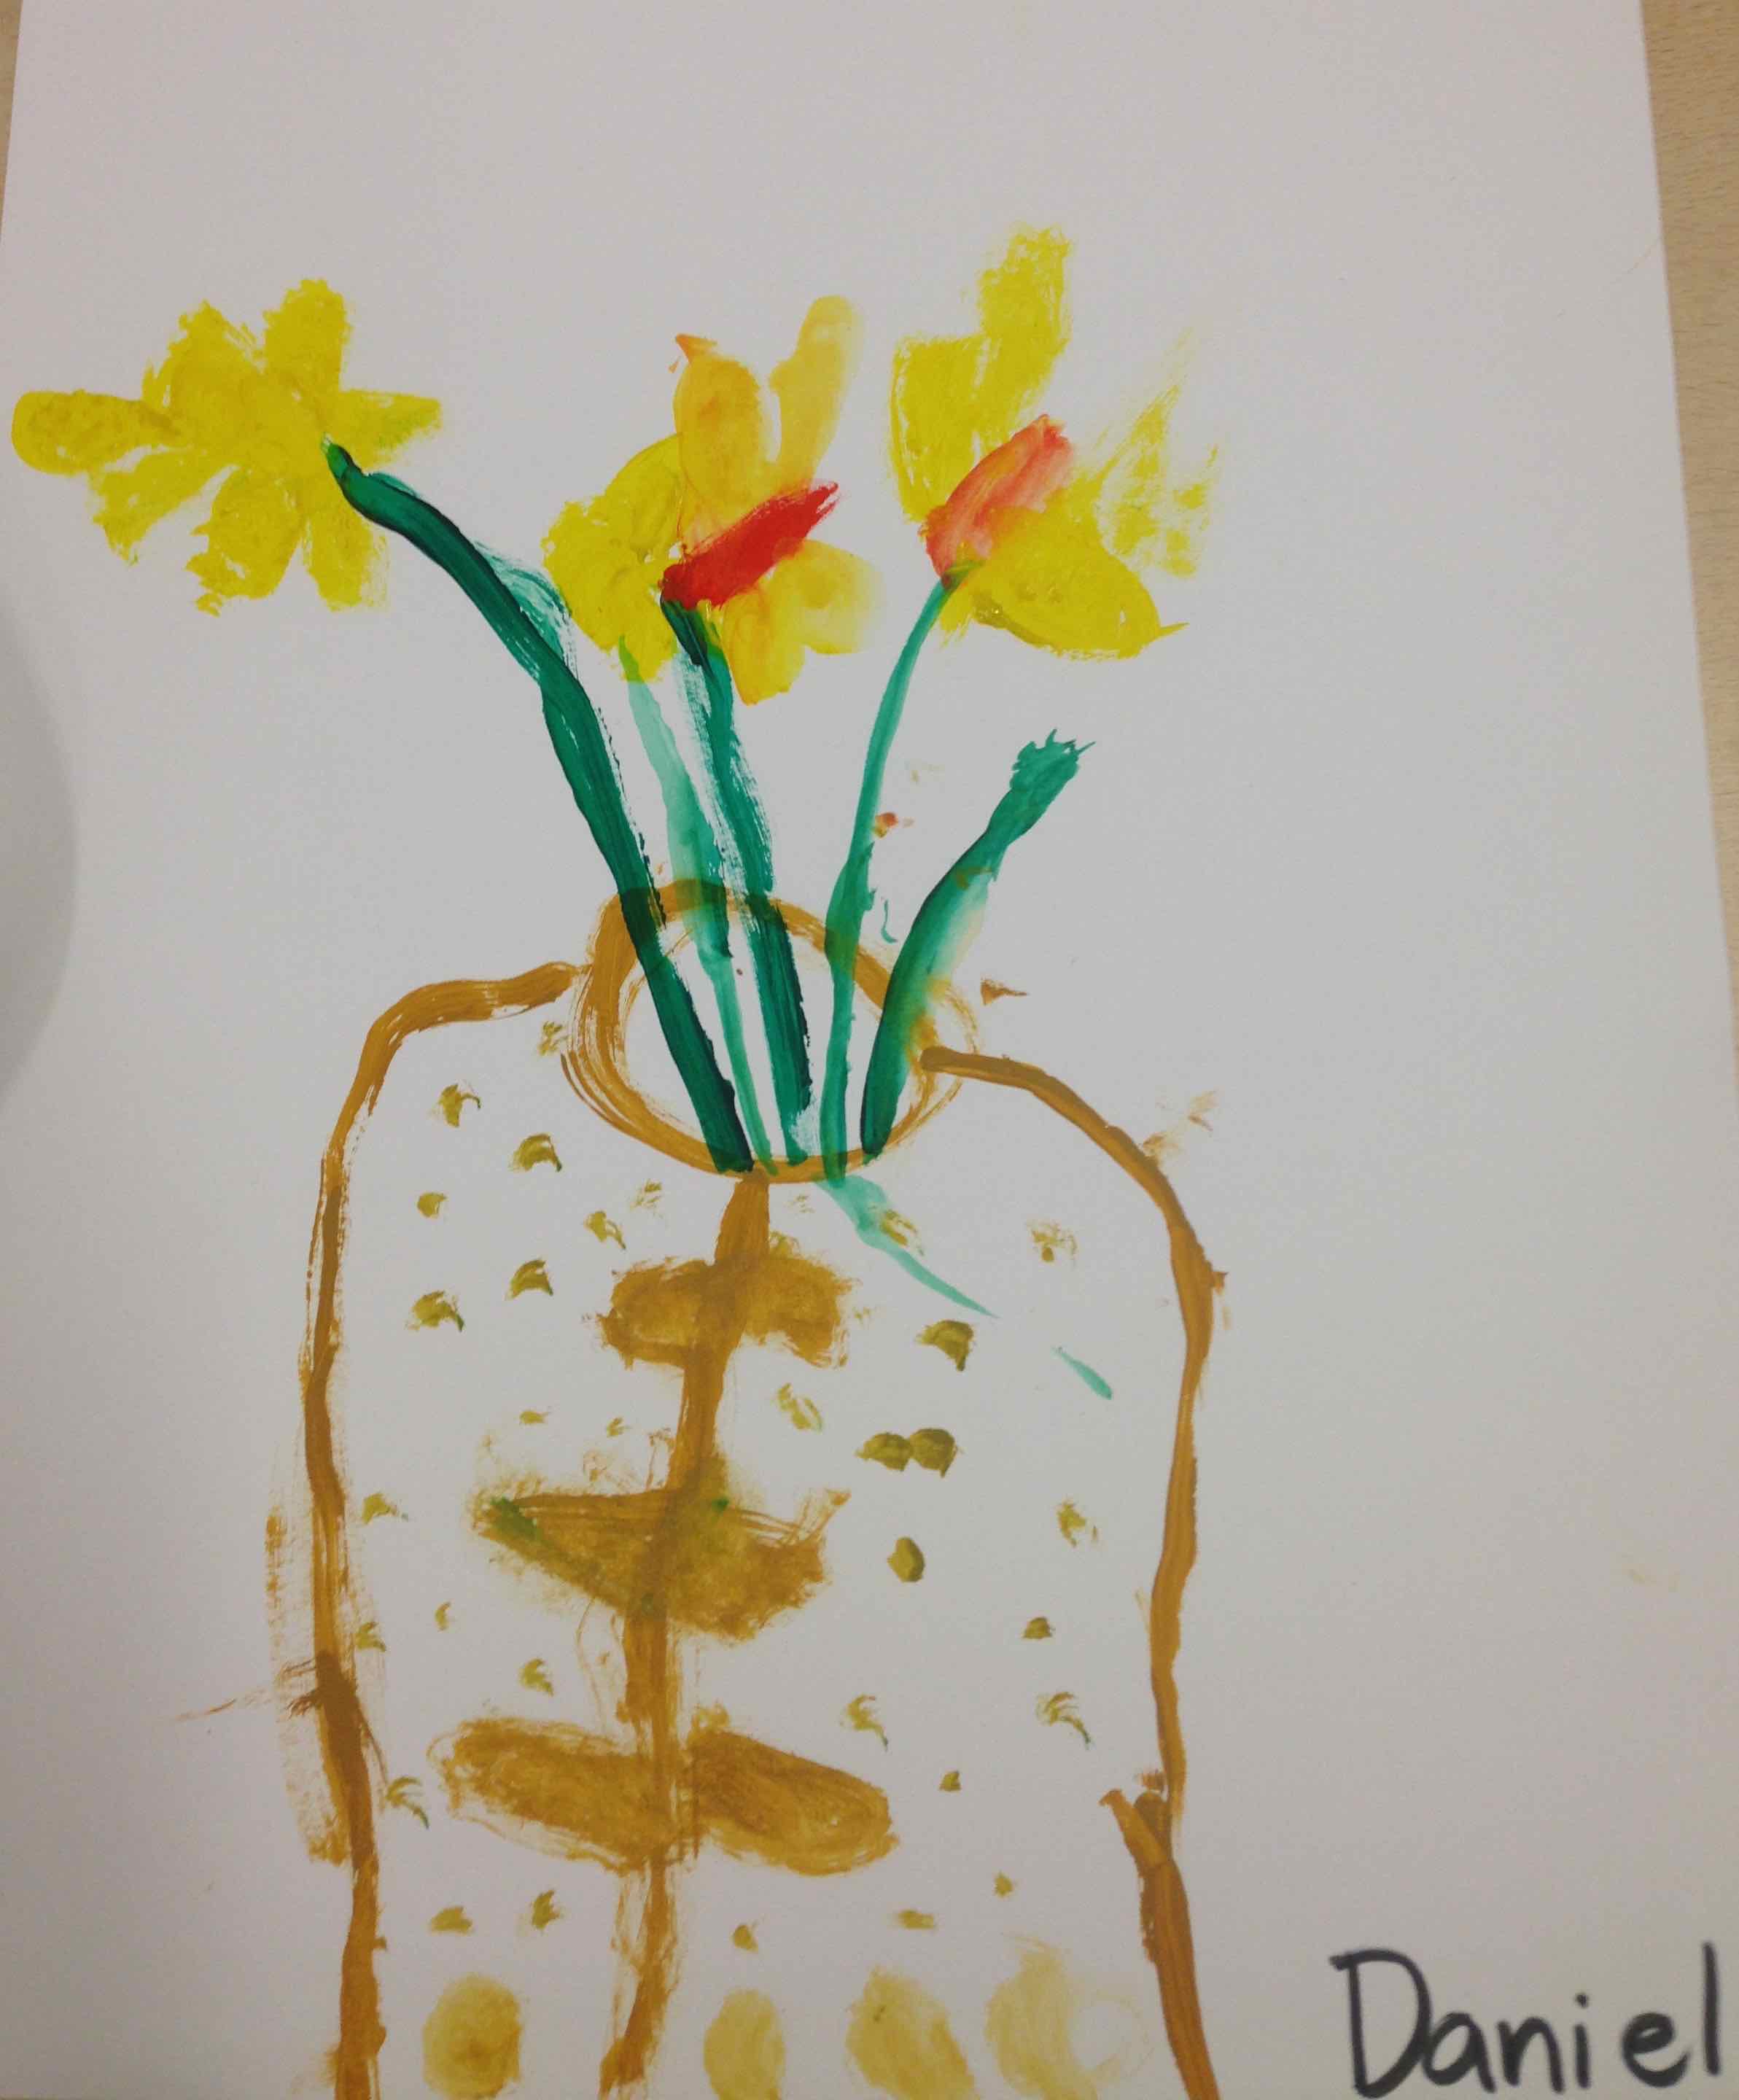
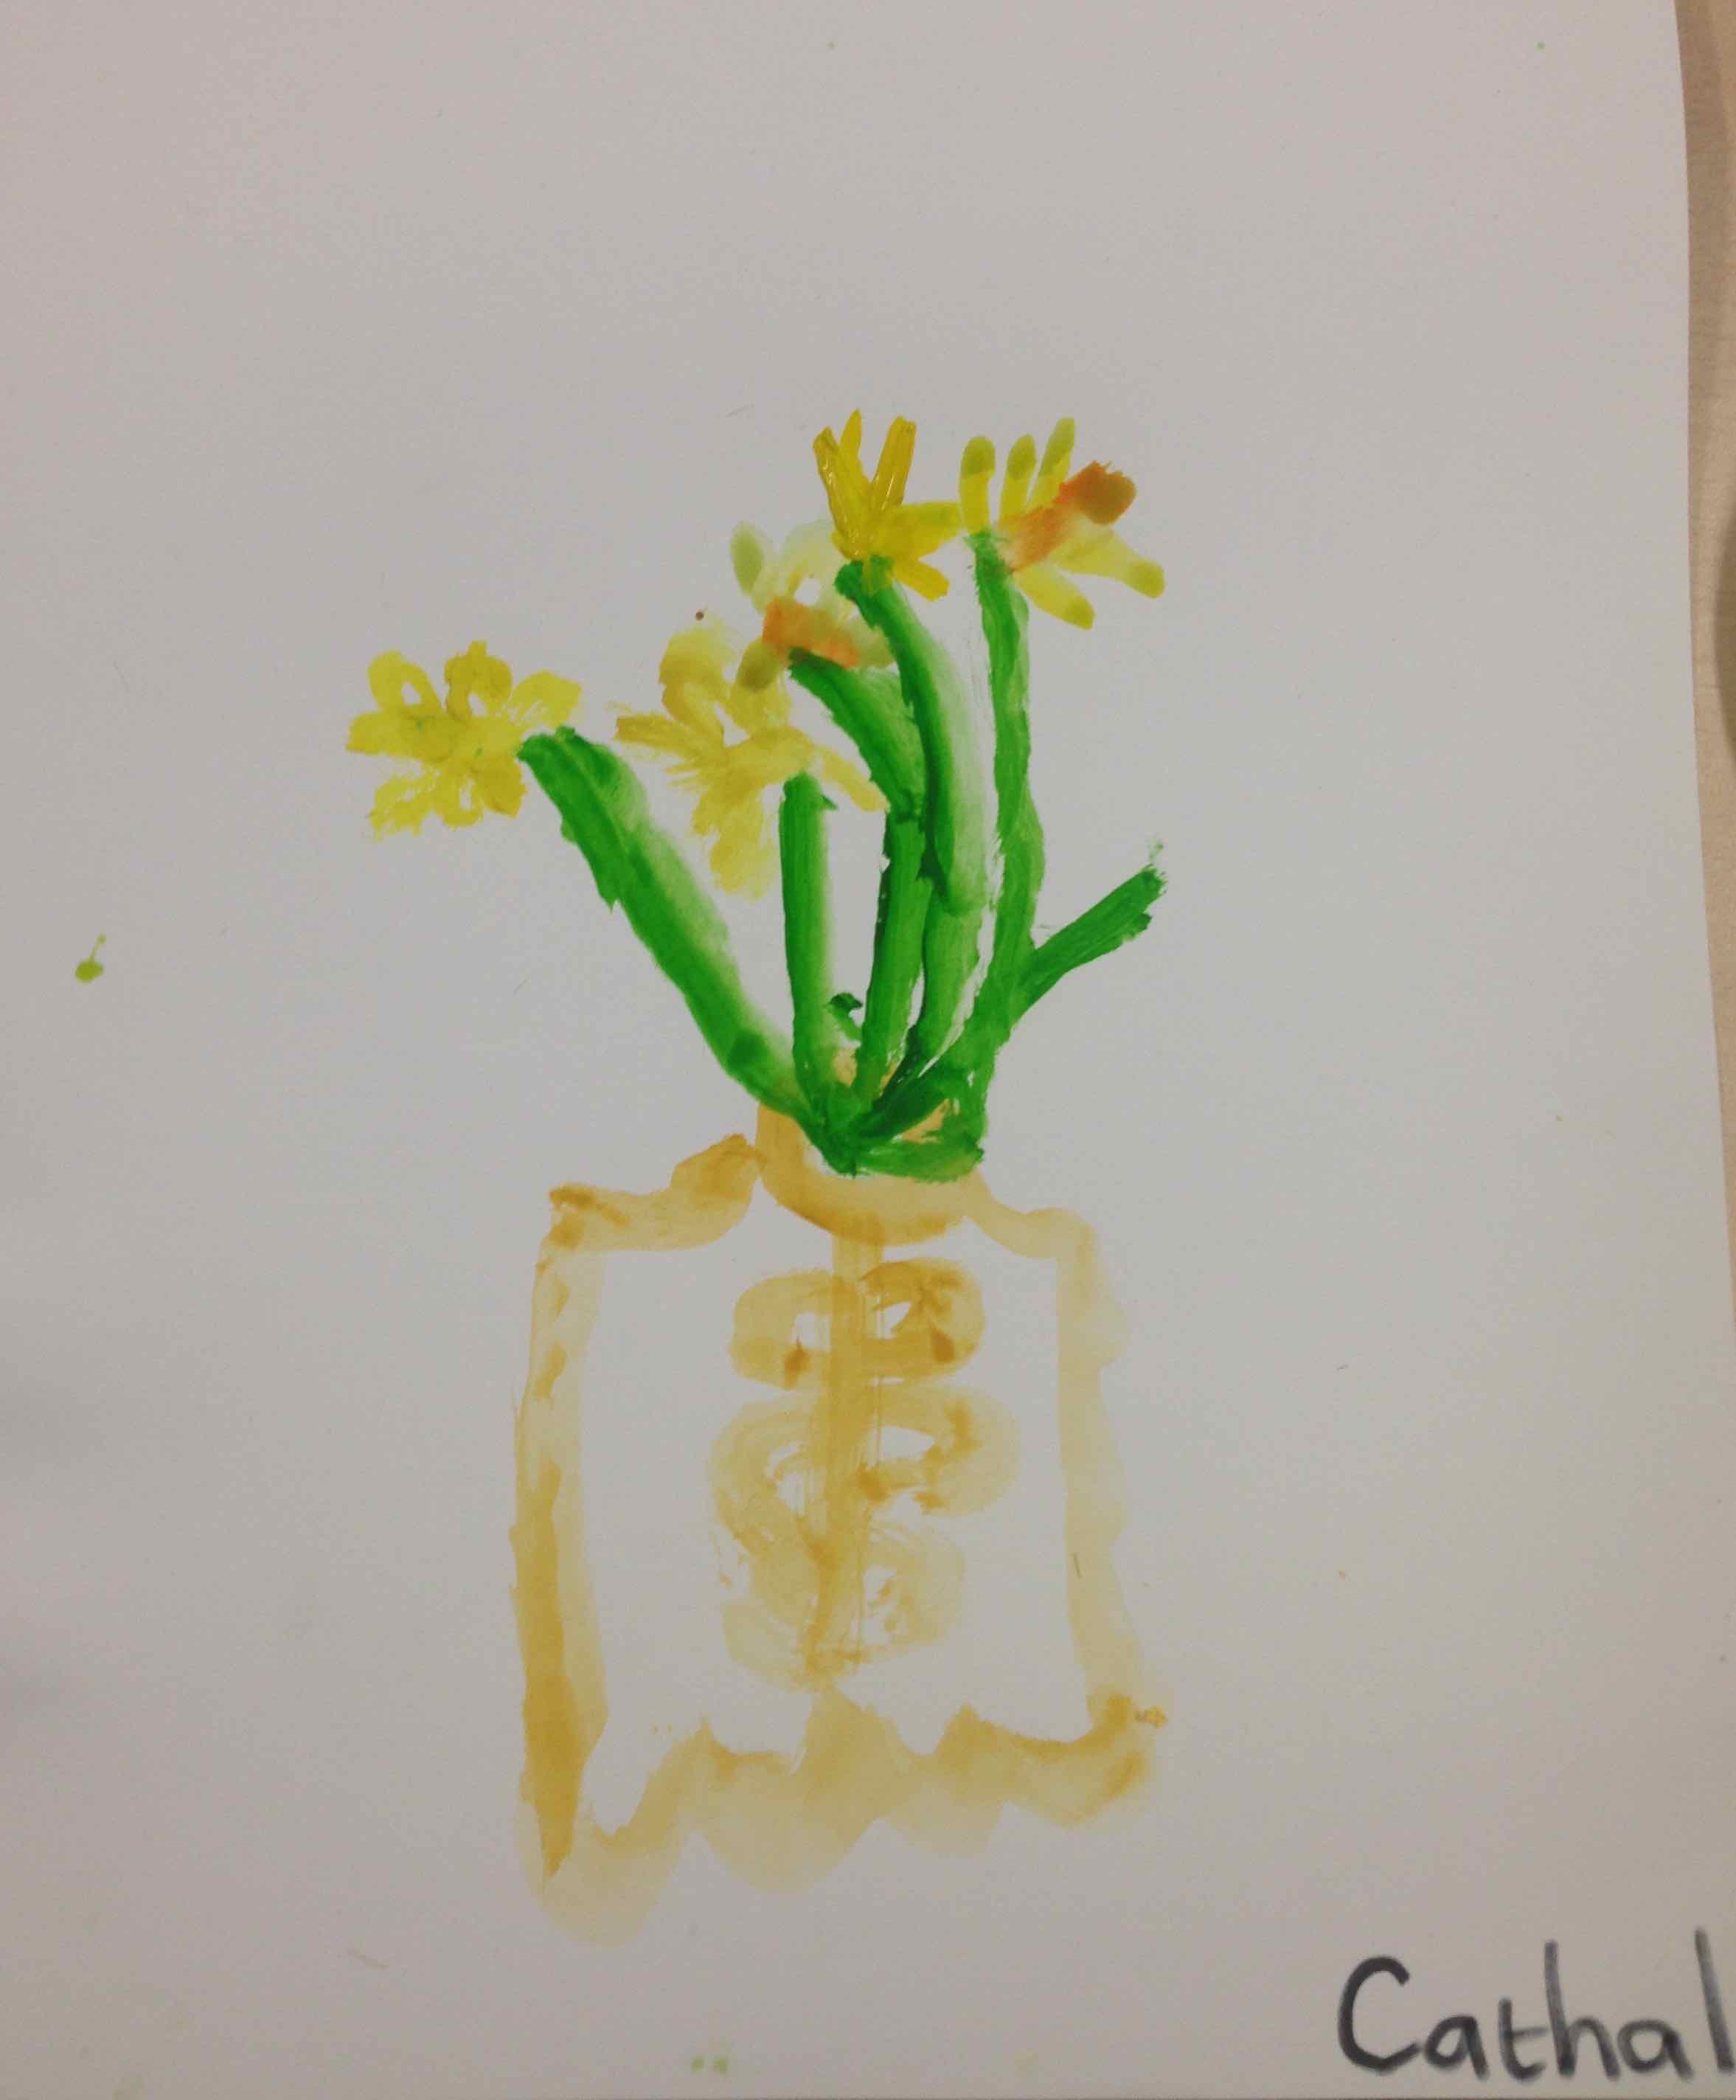
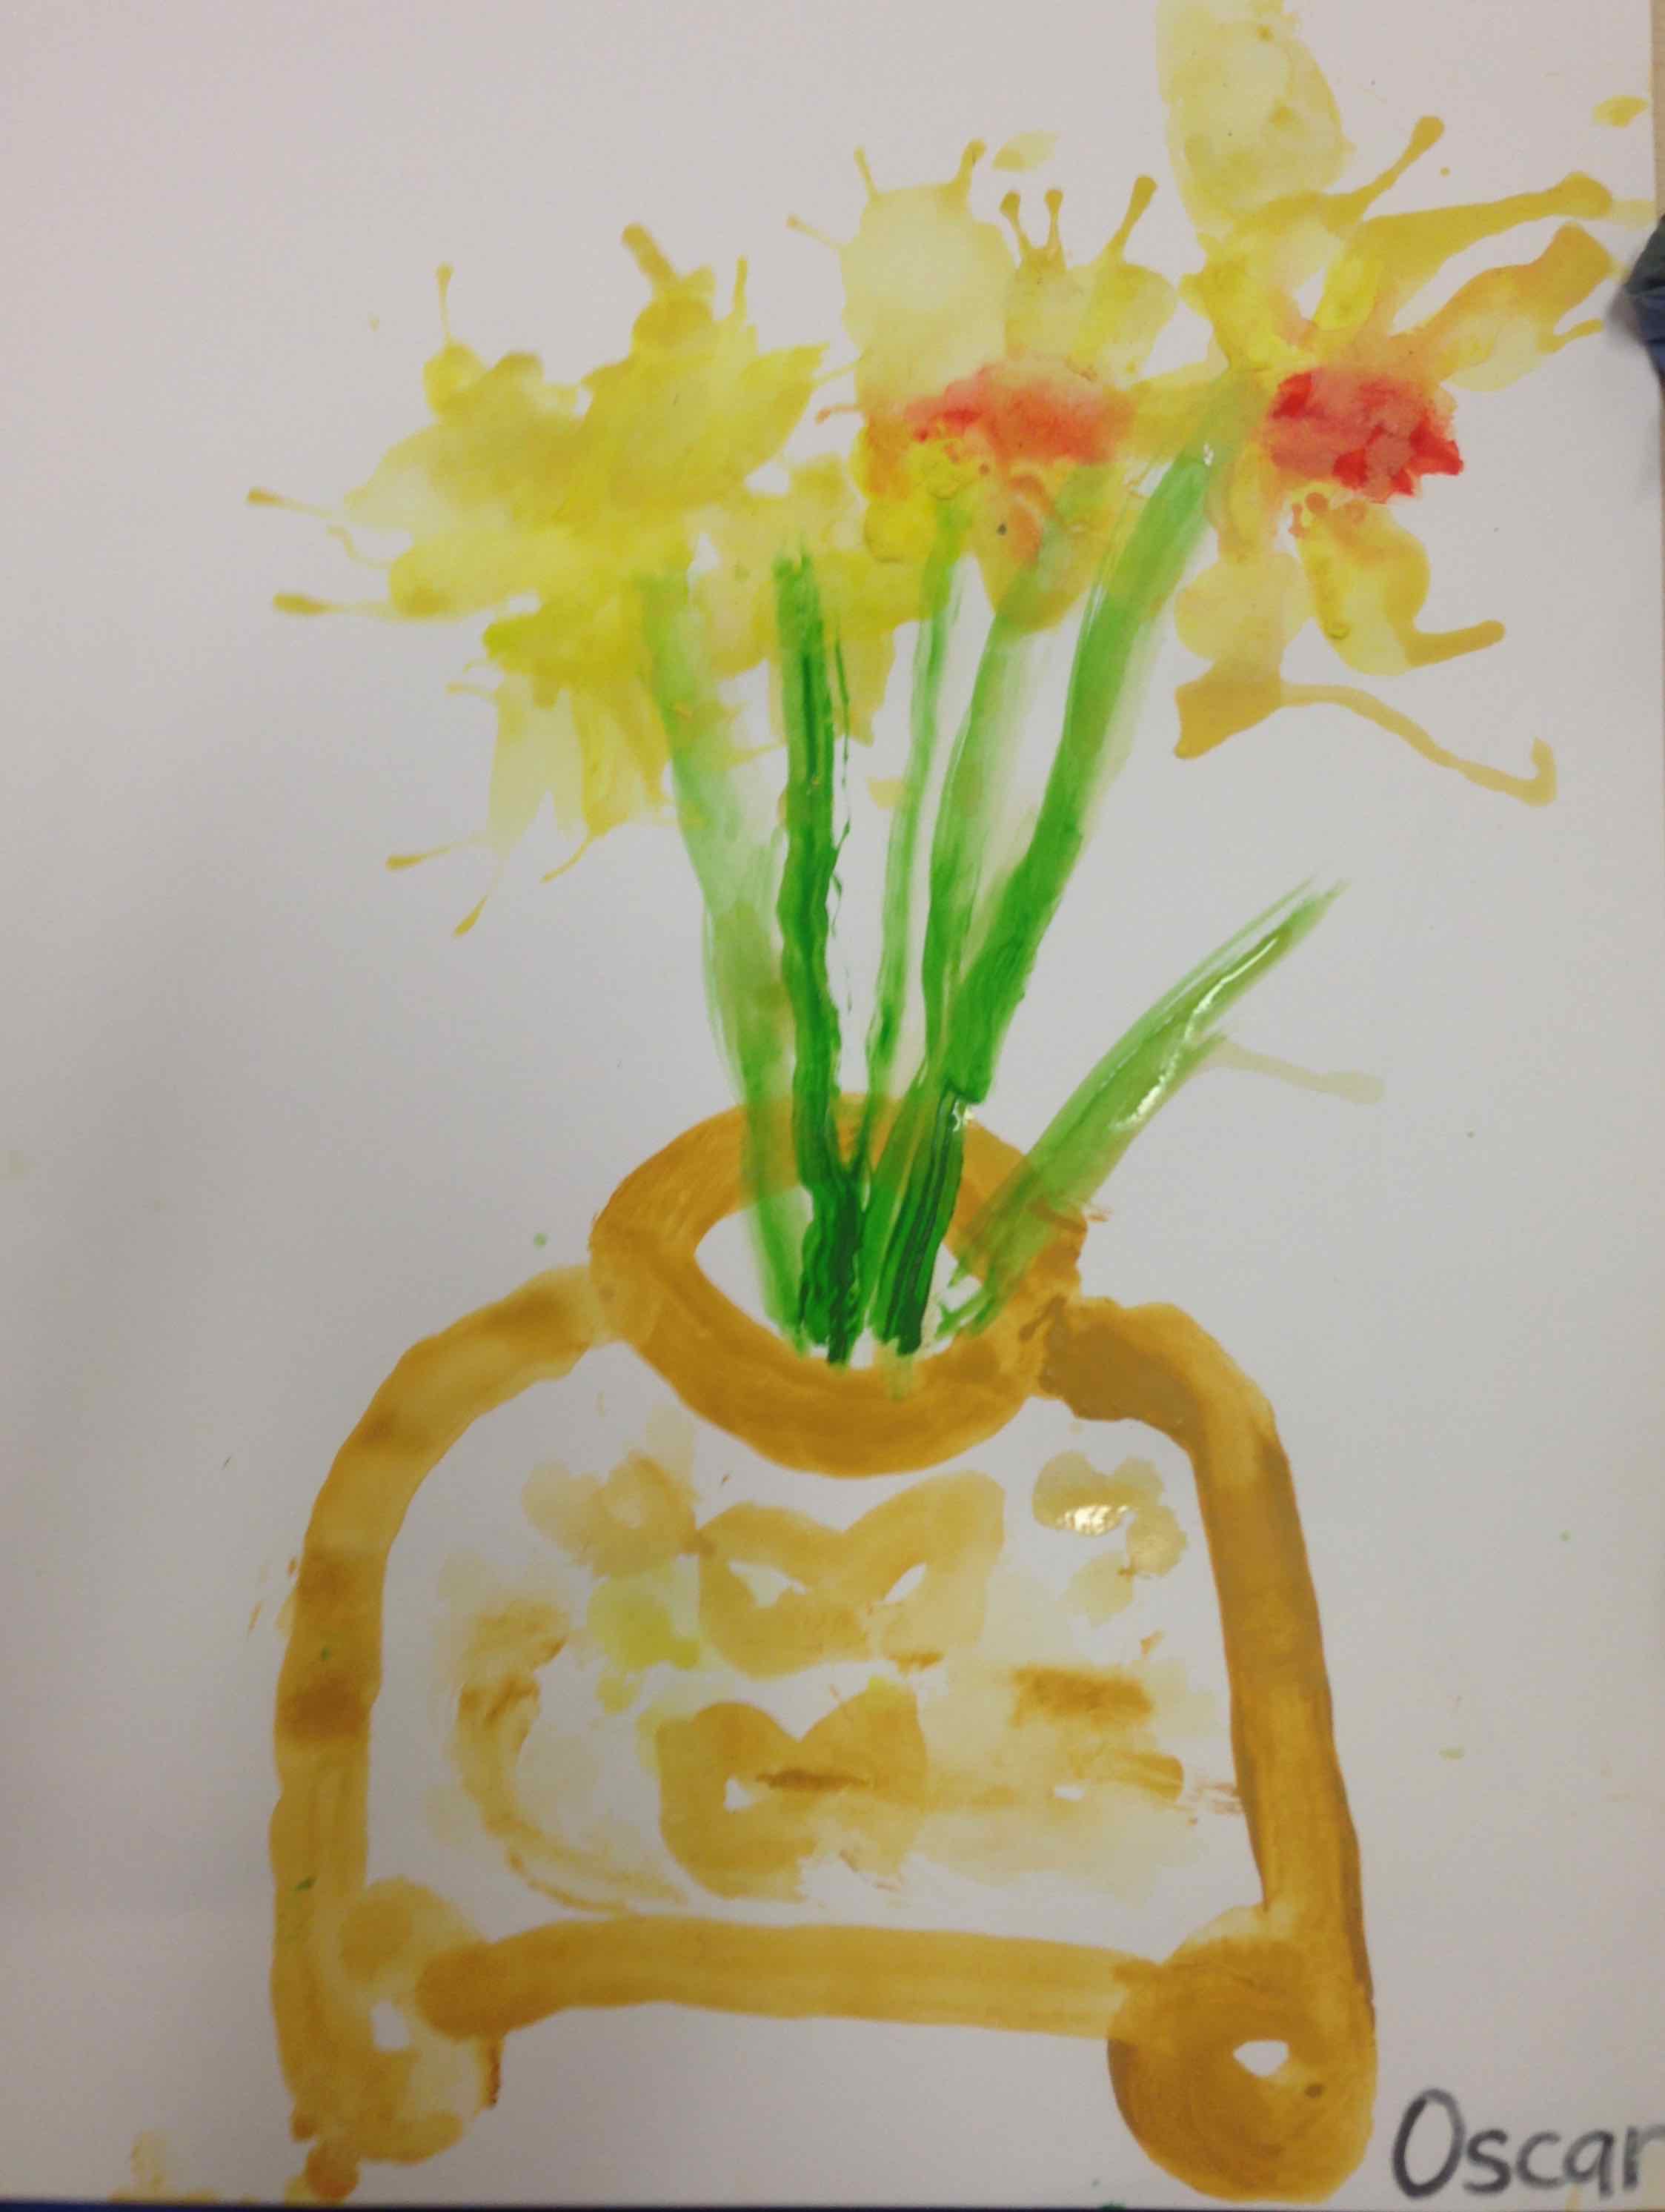
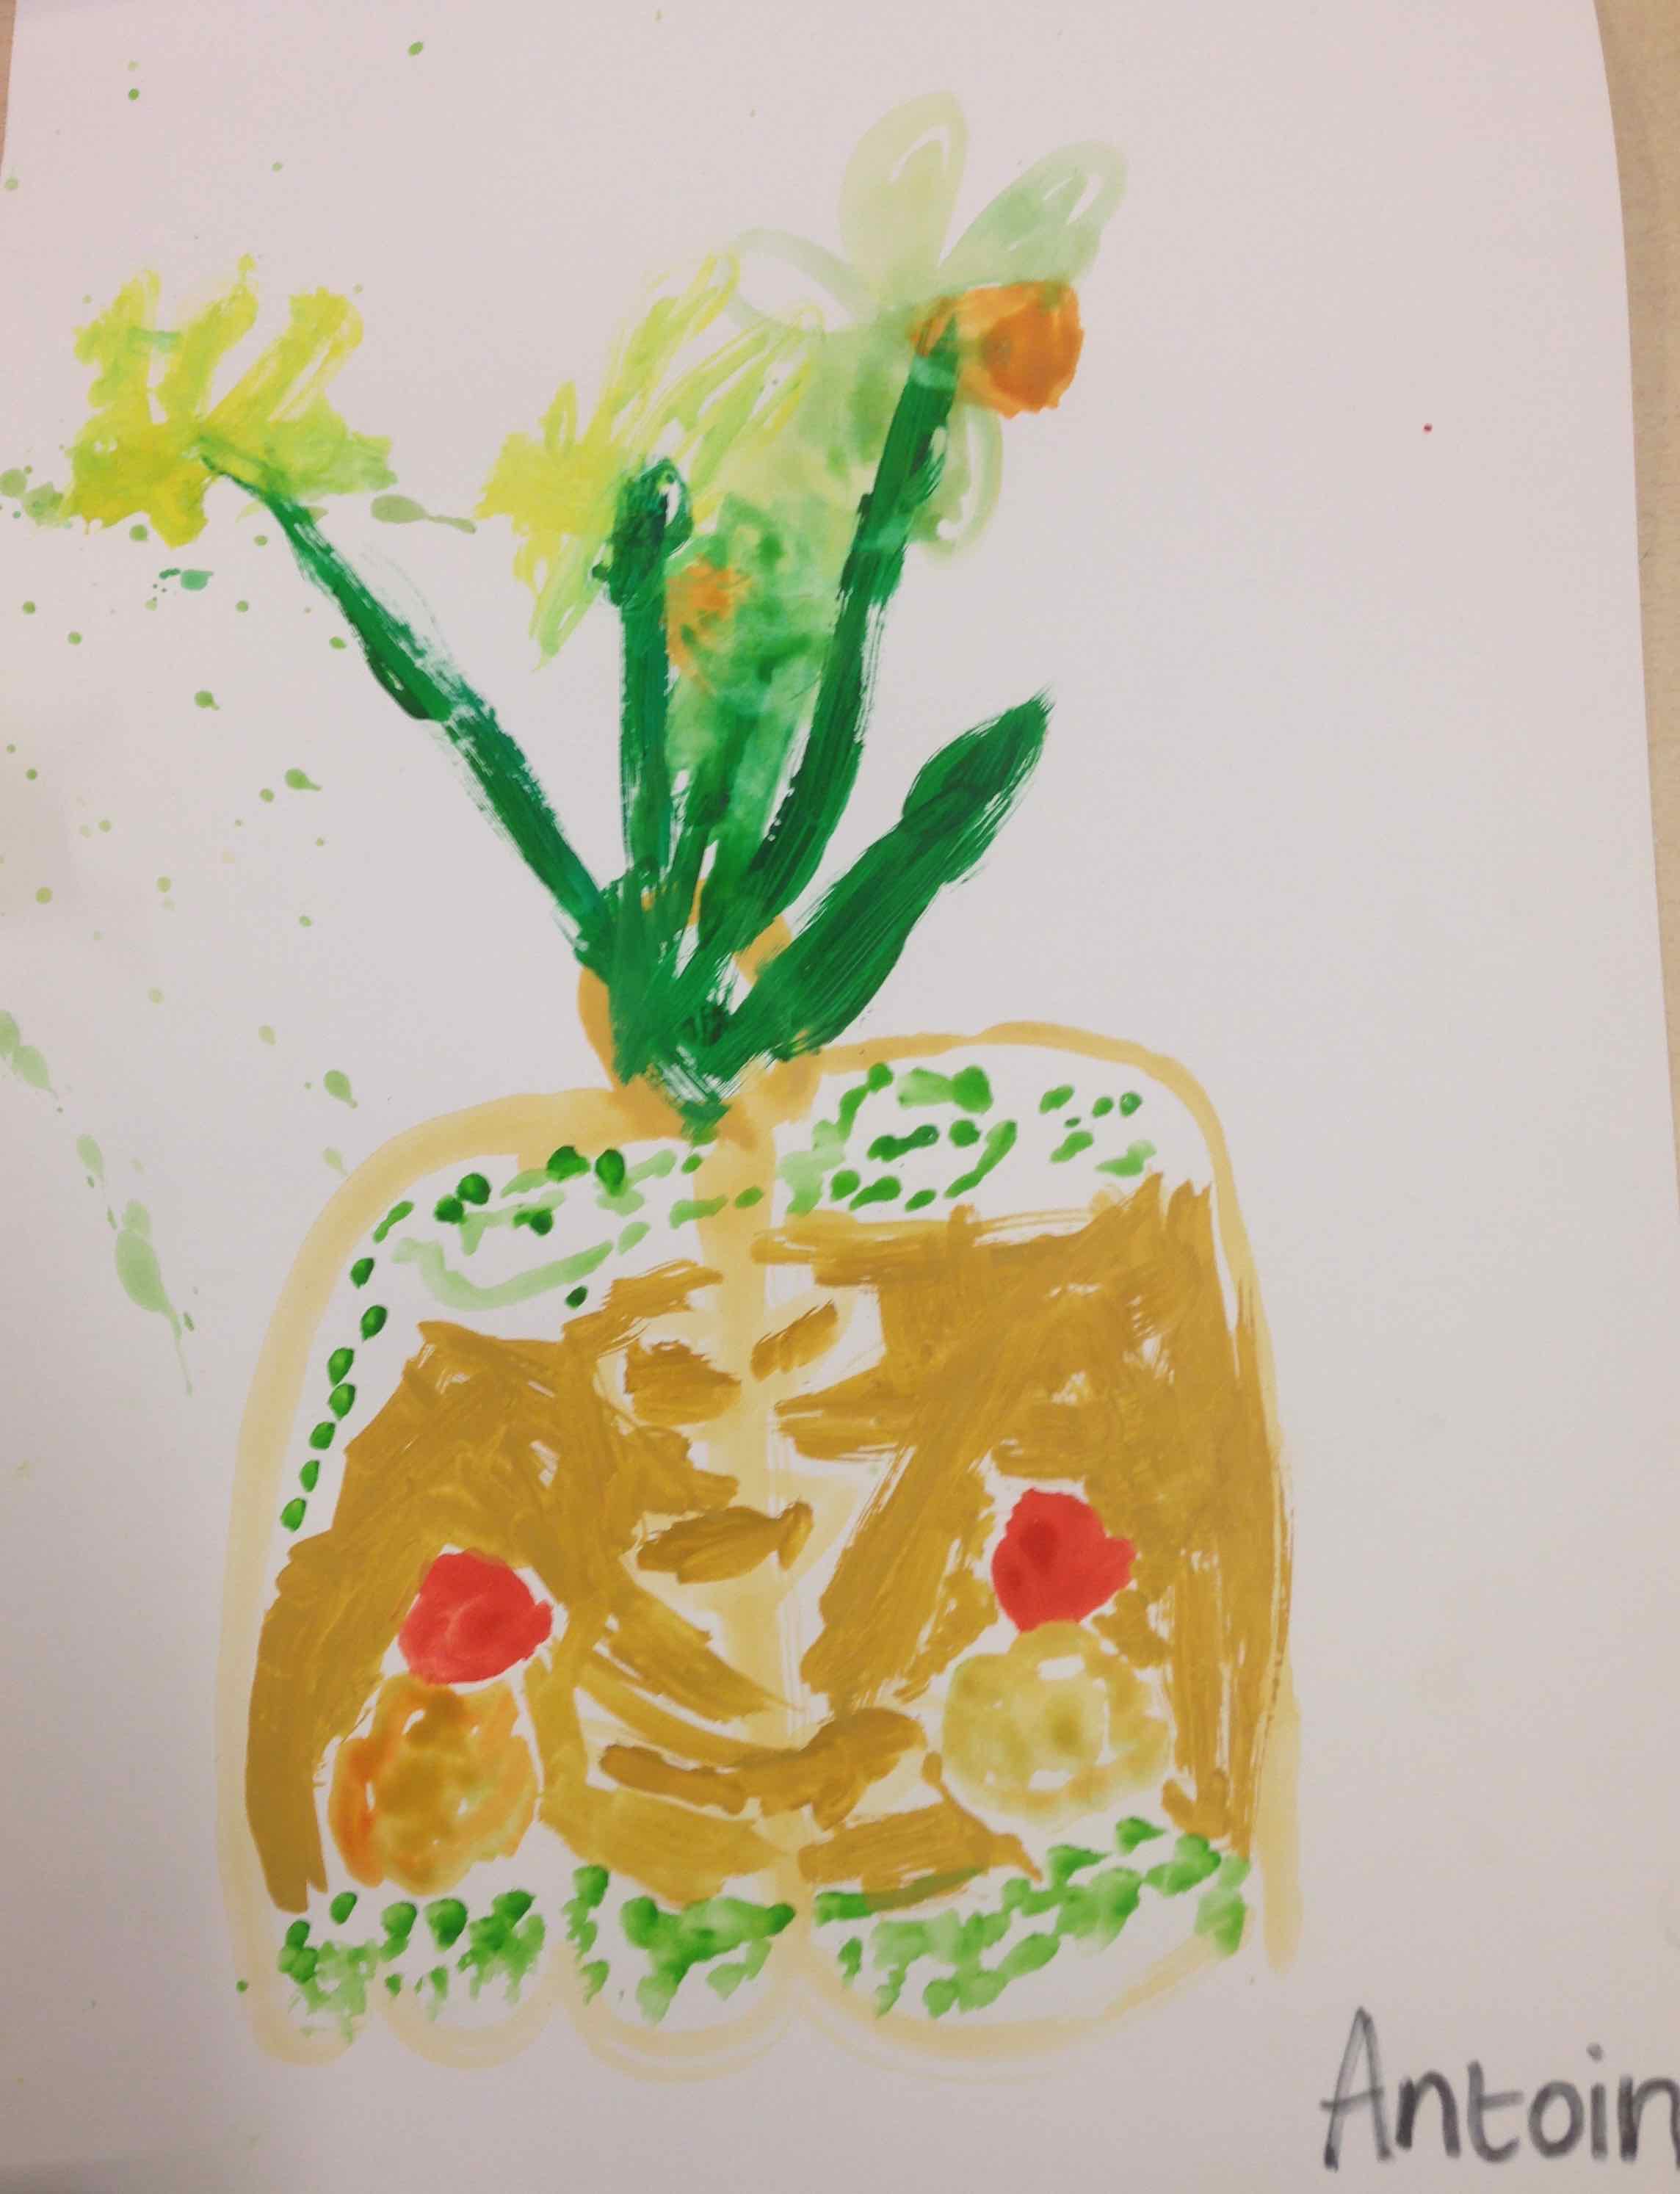
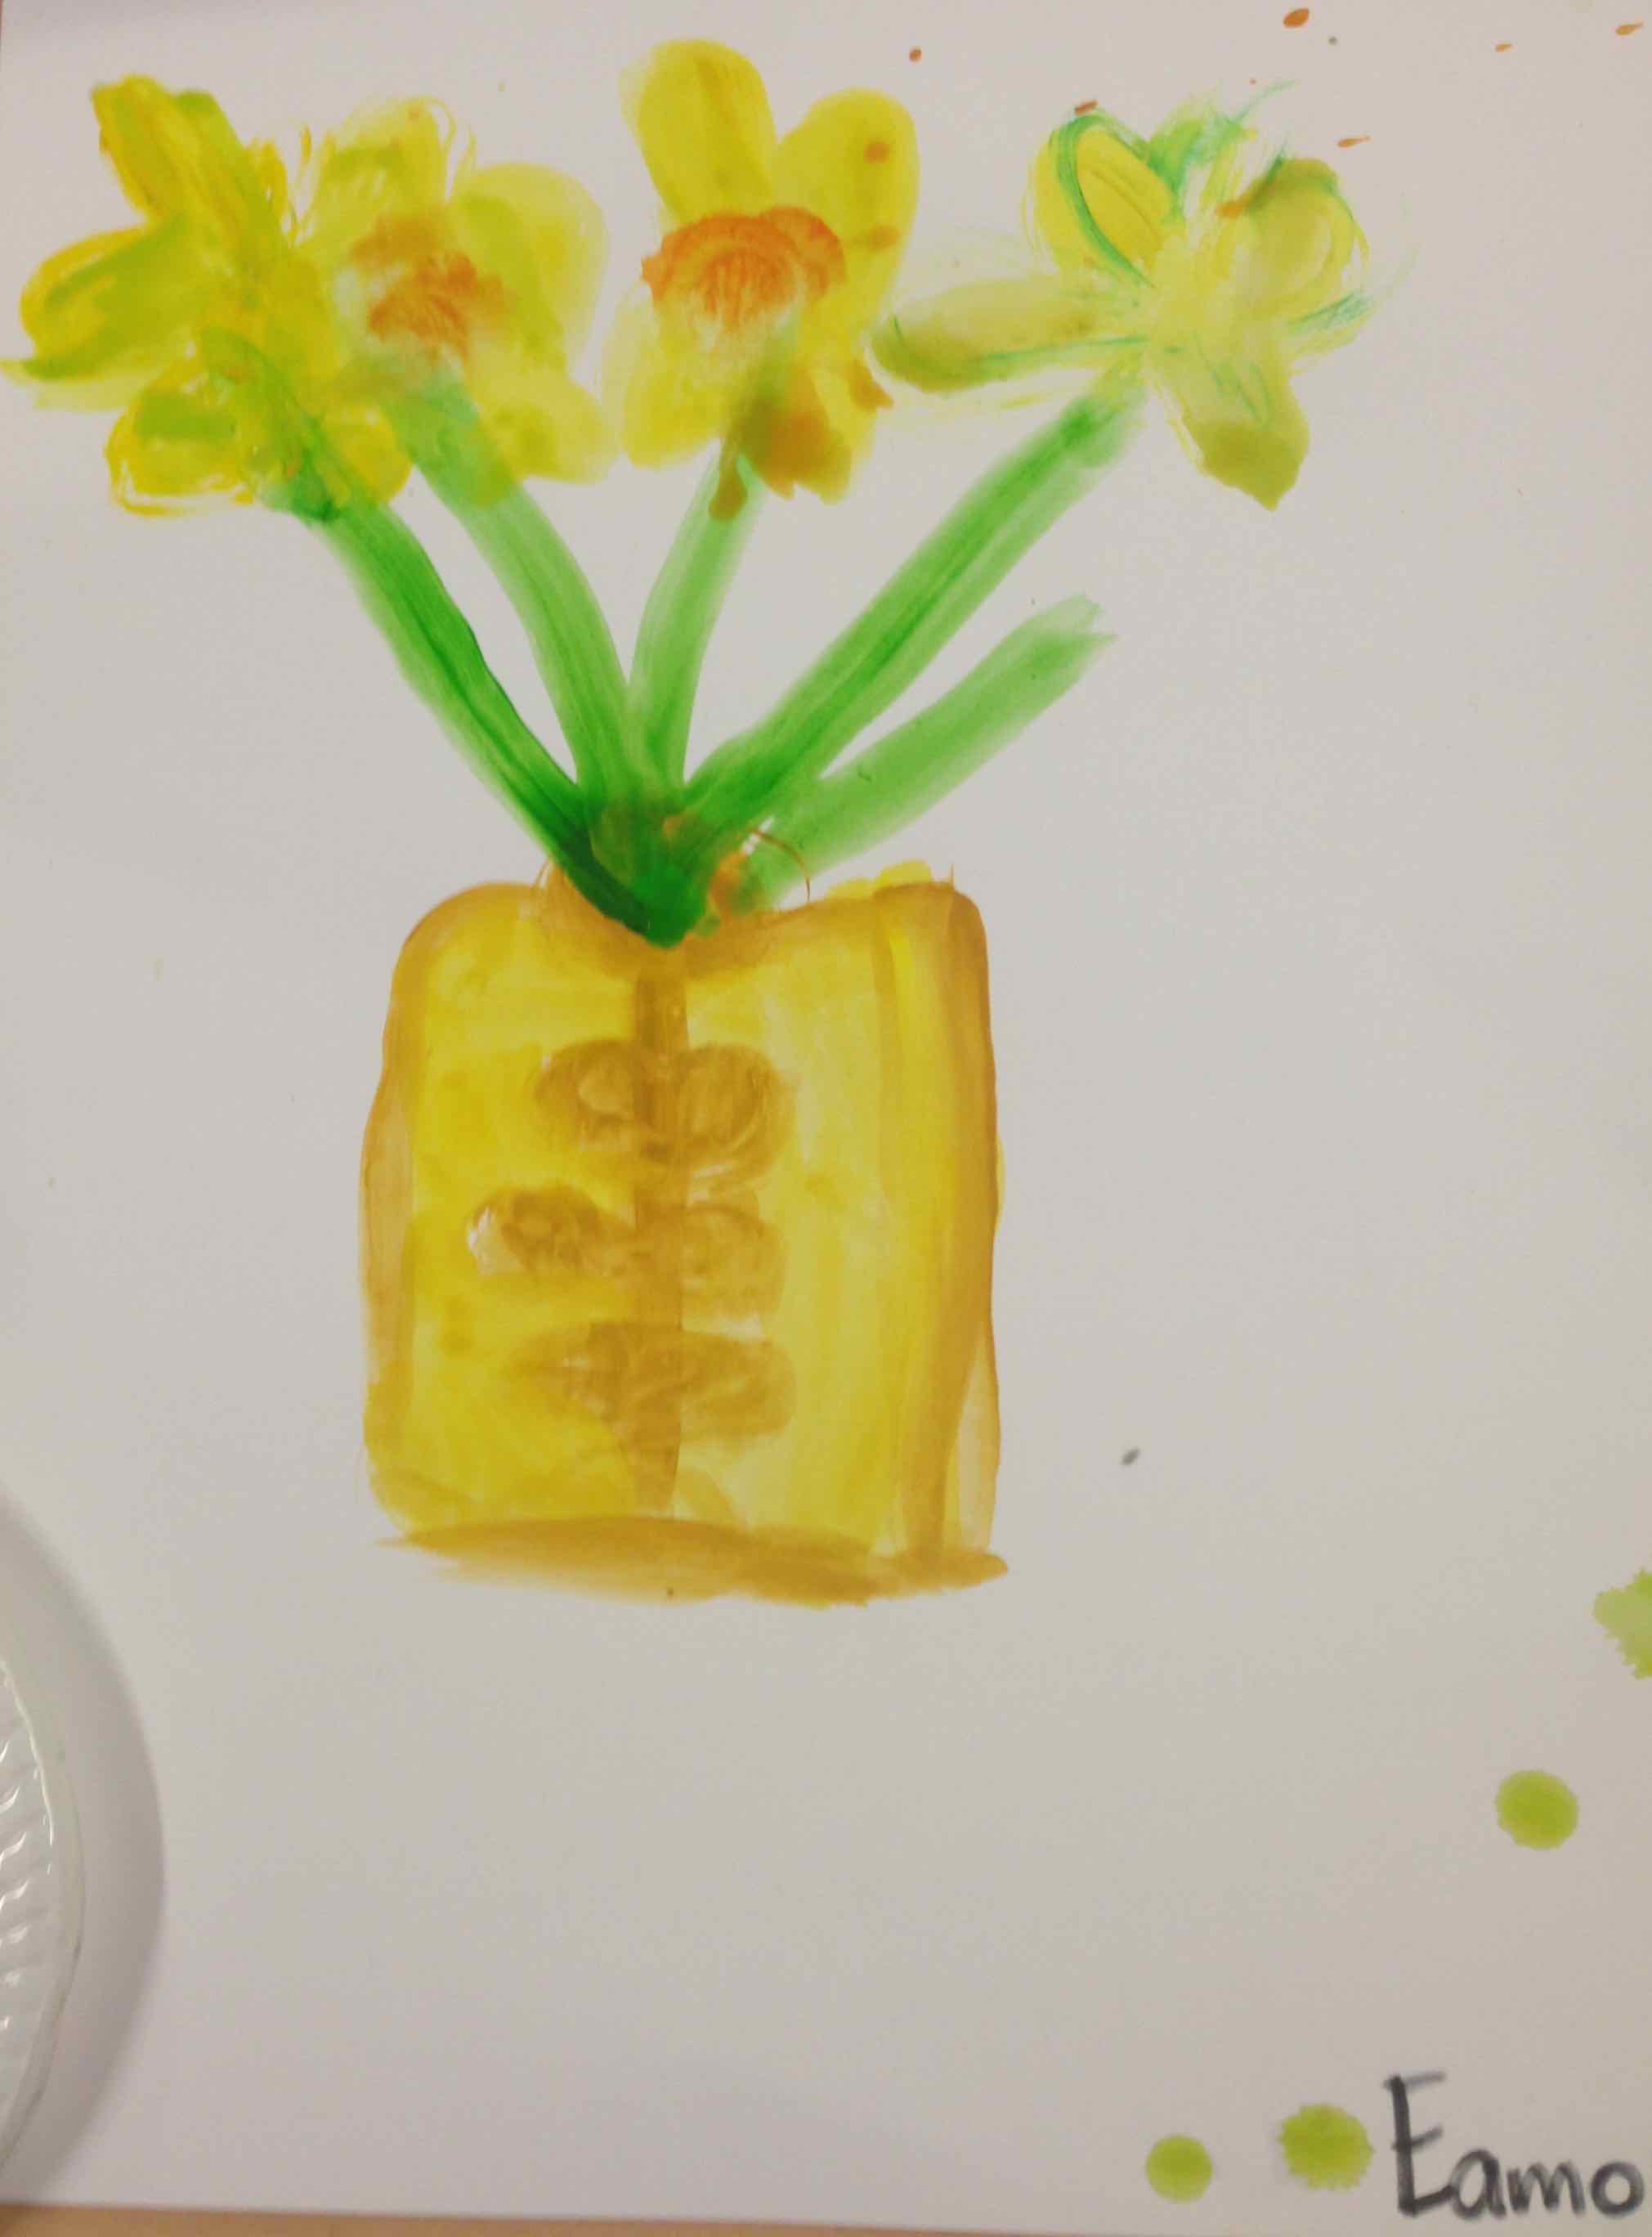
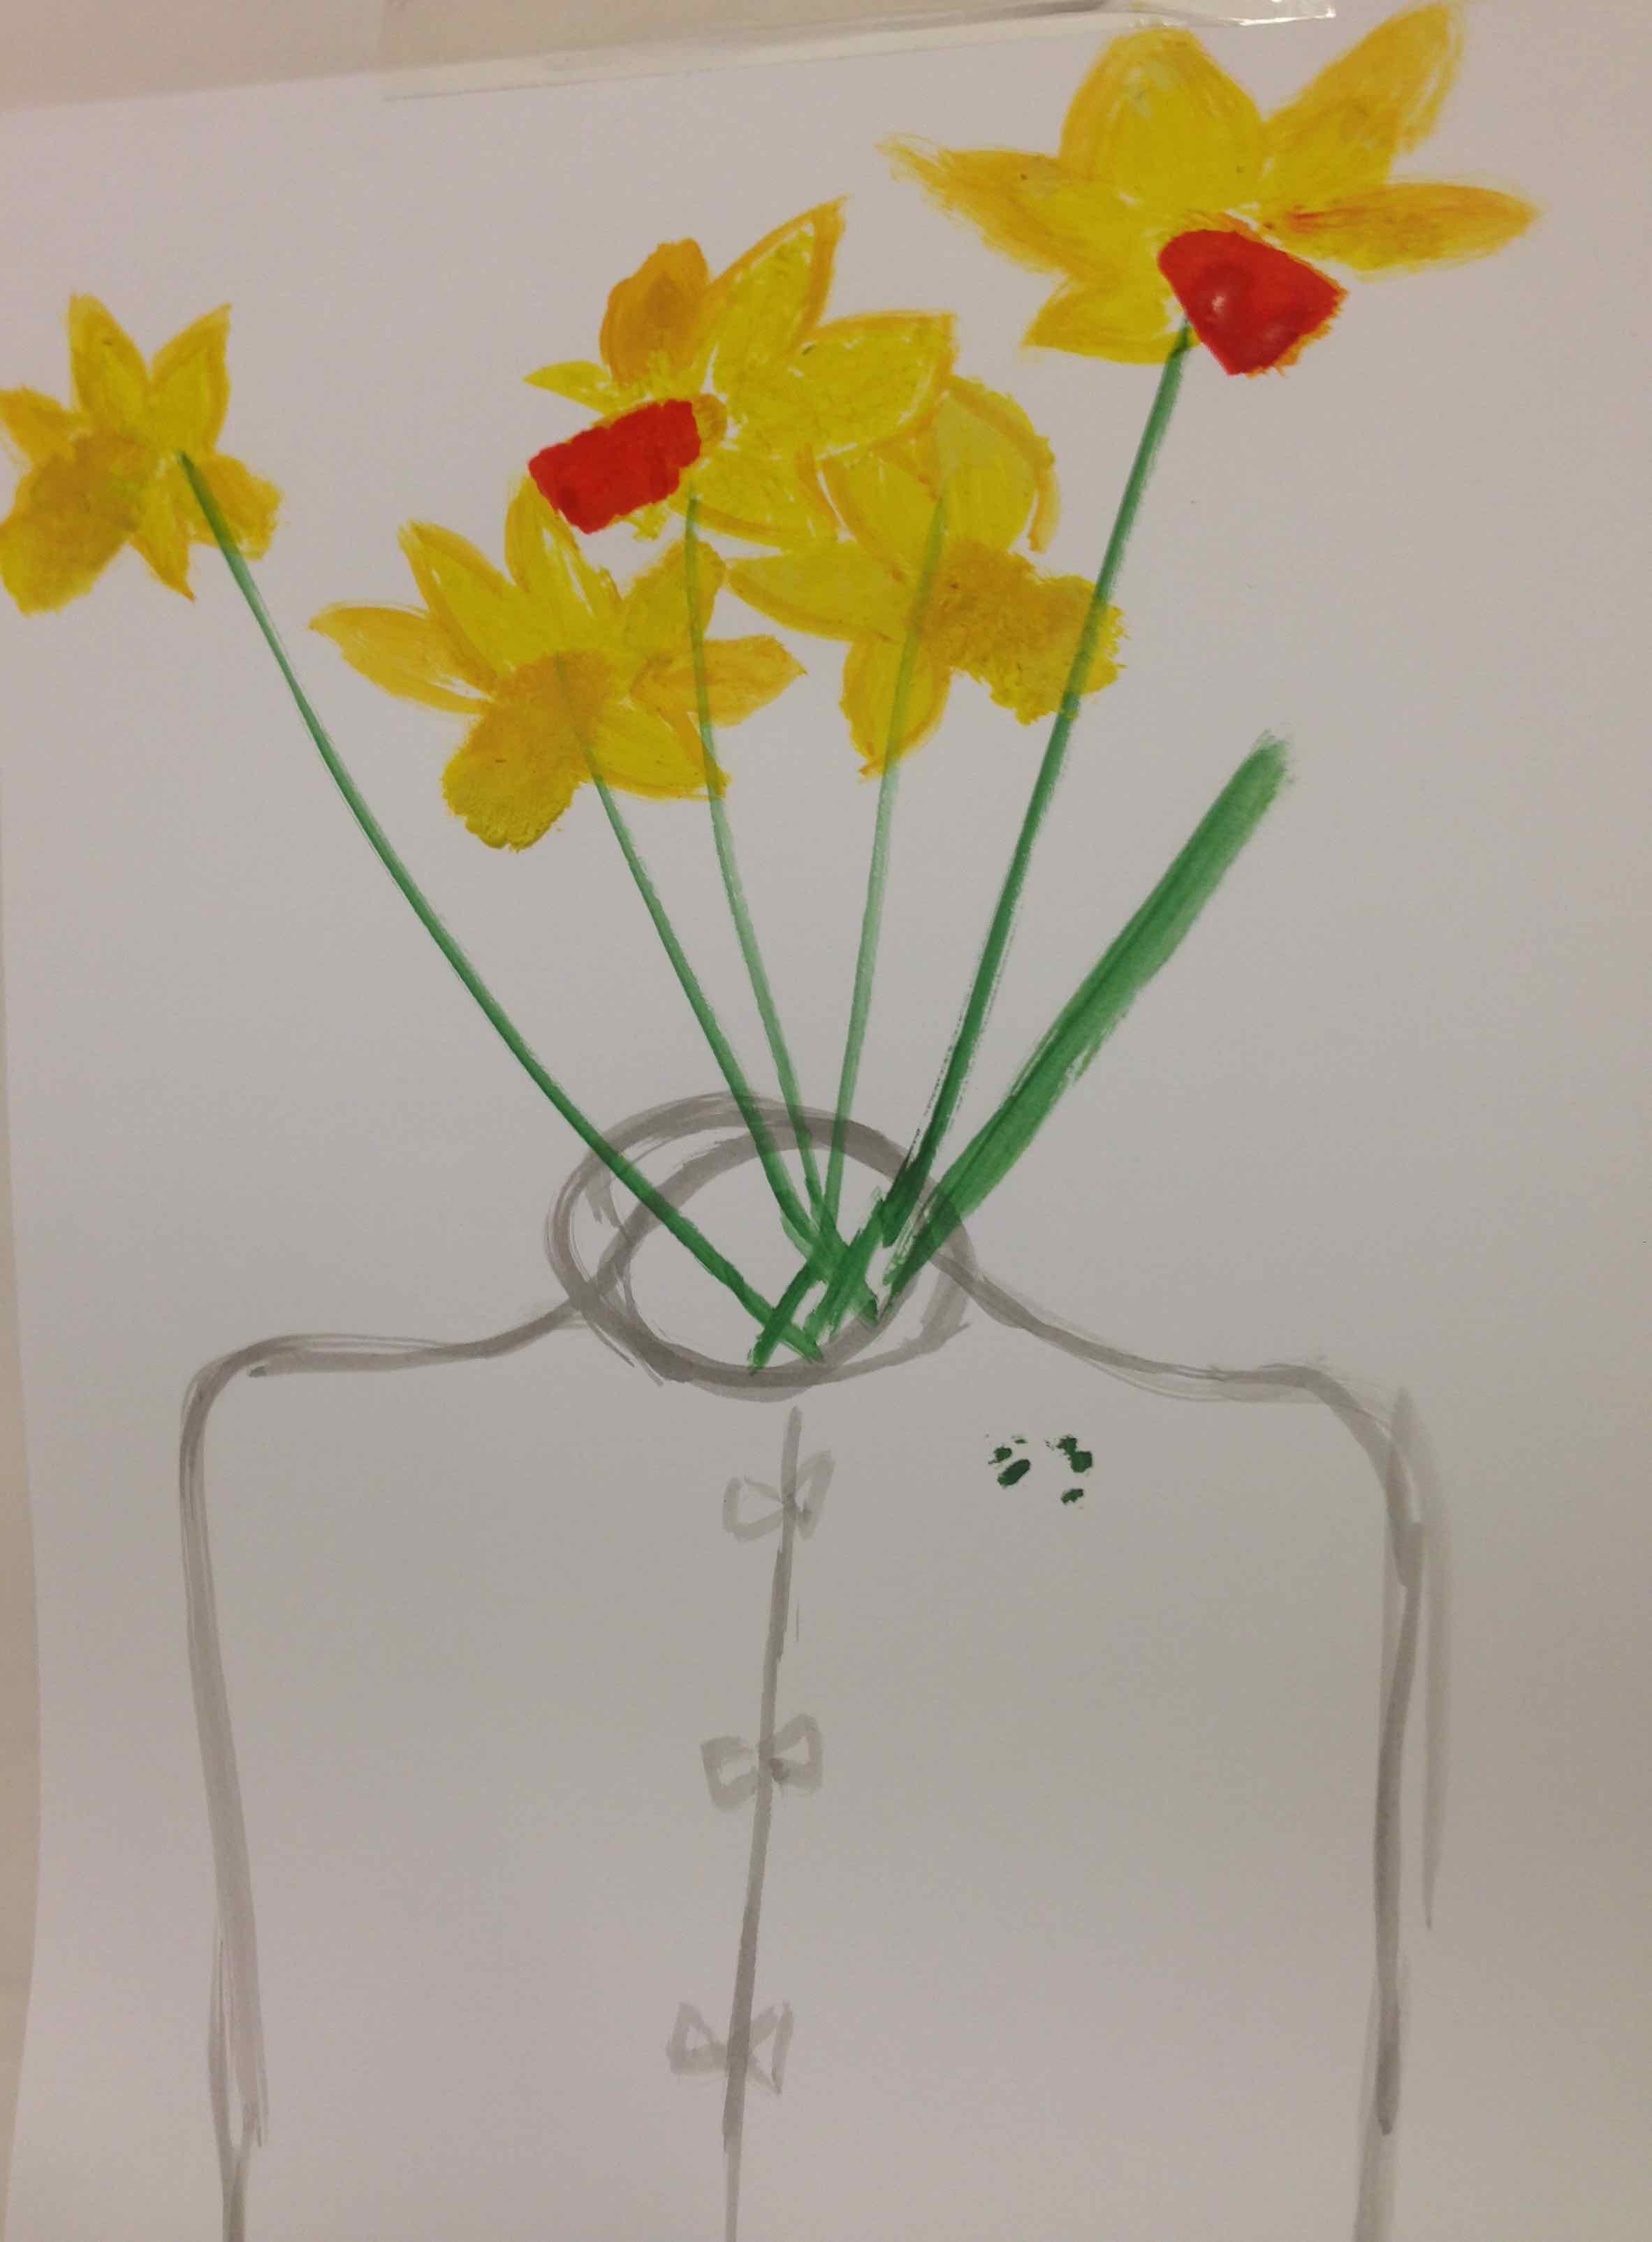
Look at the fabulous drawings the children made using black paint and brushes…
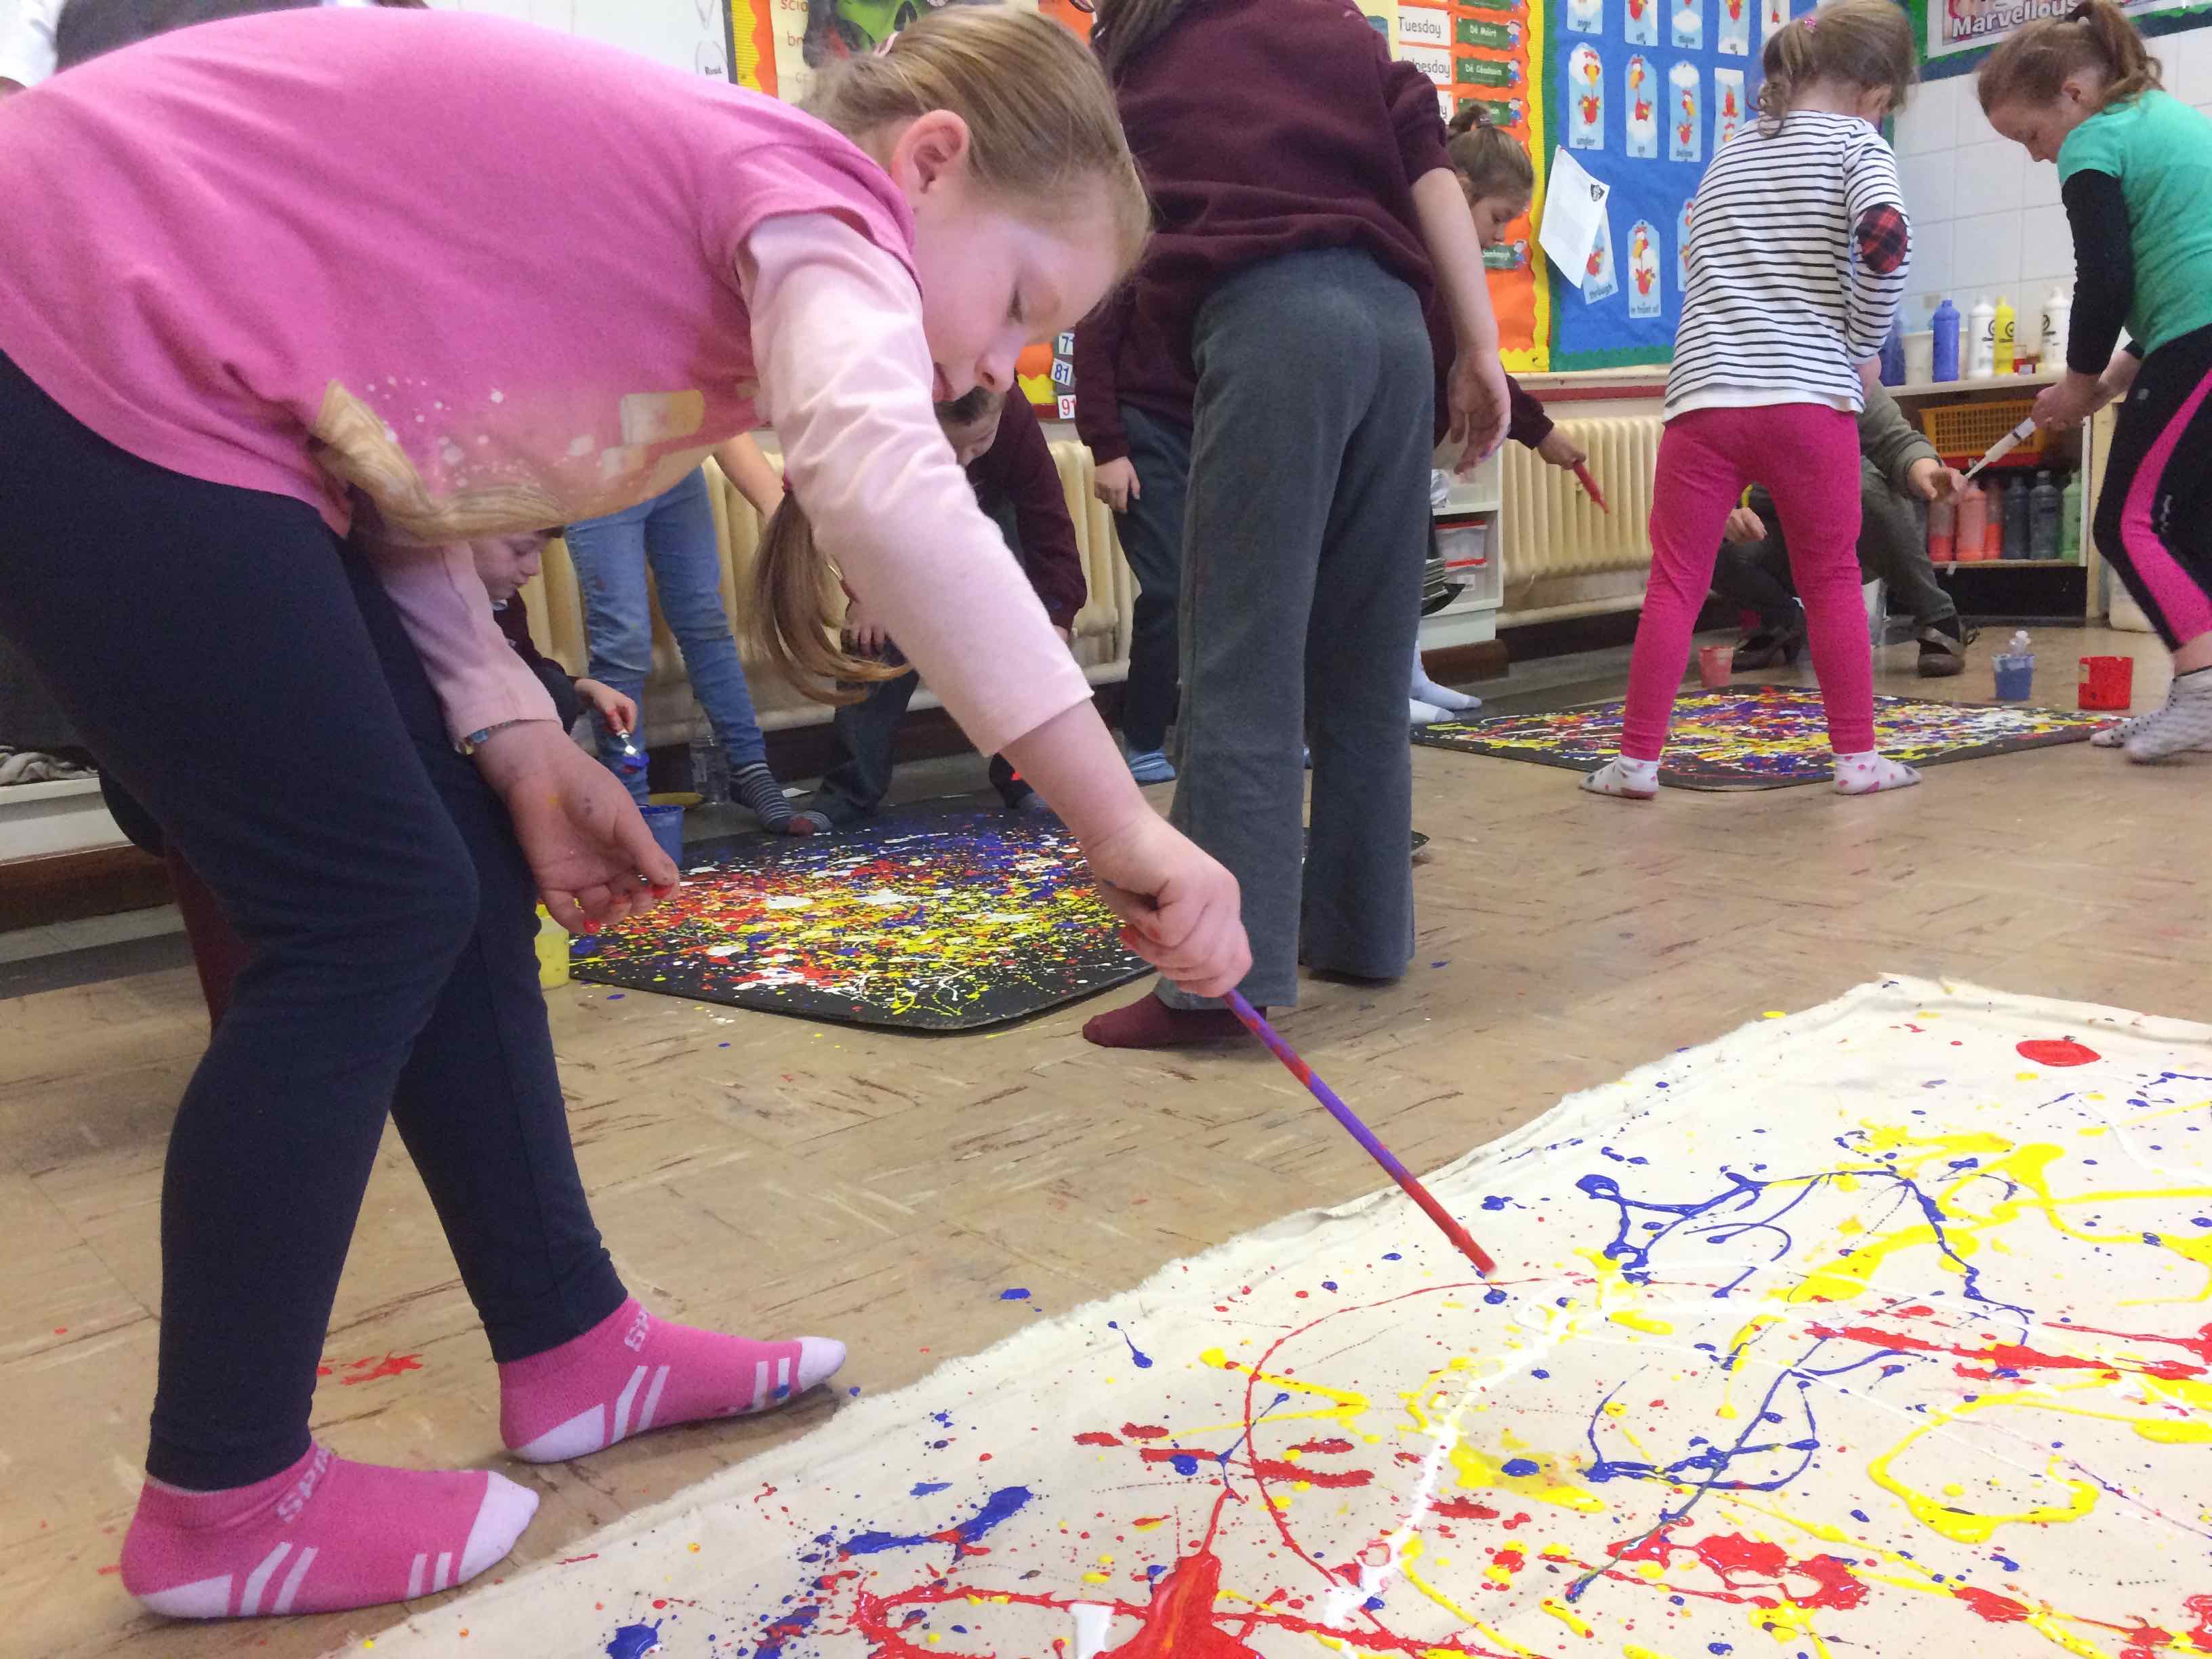
This was an action REAL visit for me and I was joined in St Patrick’s school by Orla, creative Director of Kid’s Own and Tracy the Researcher for our project.
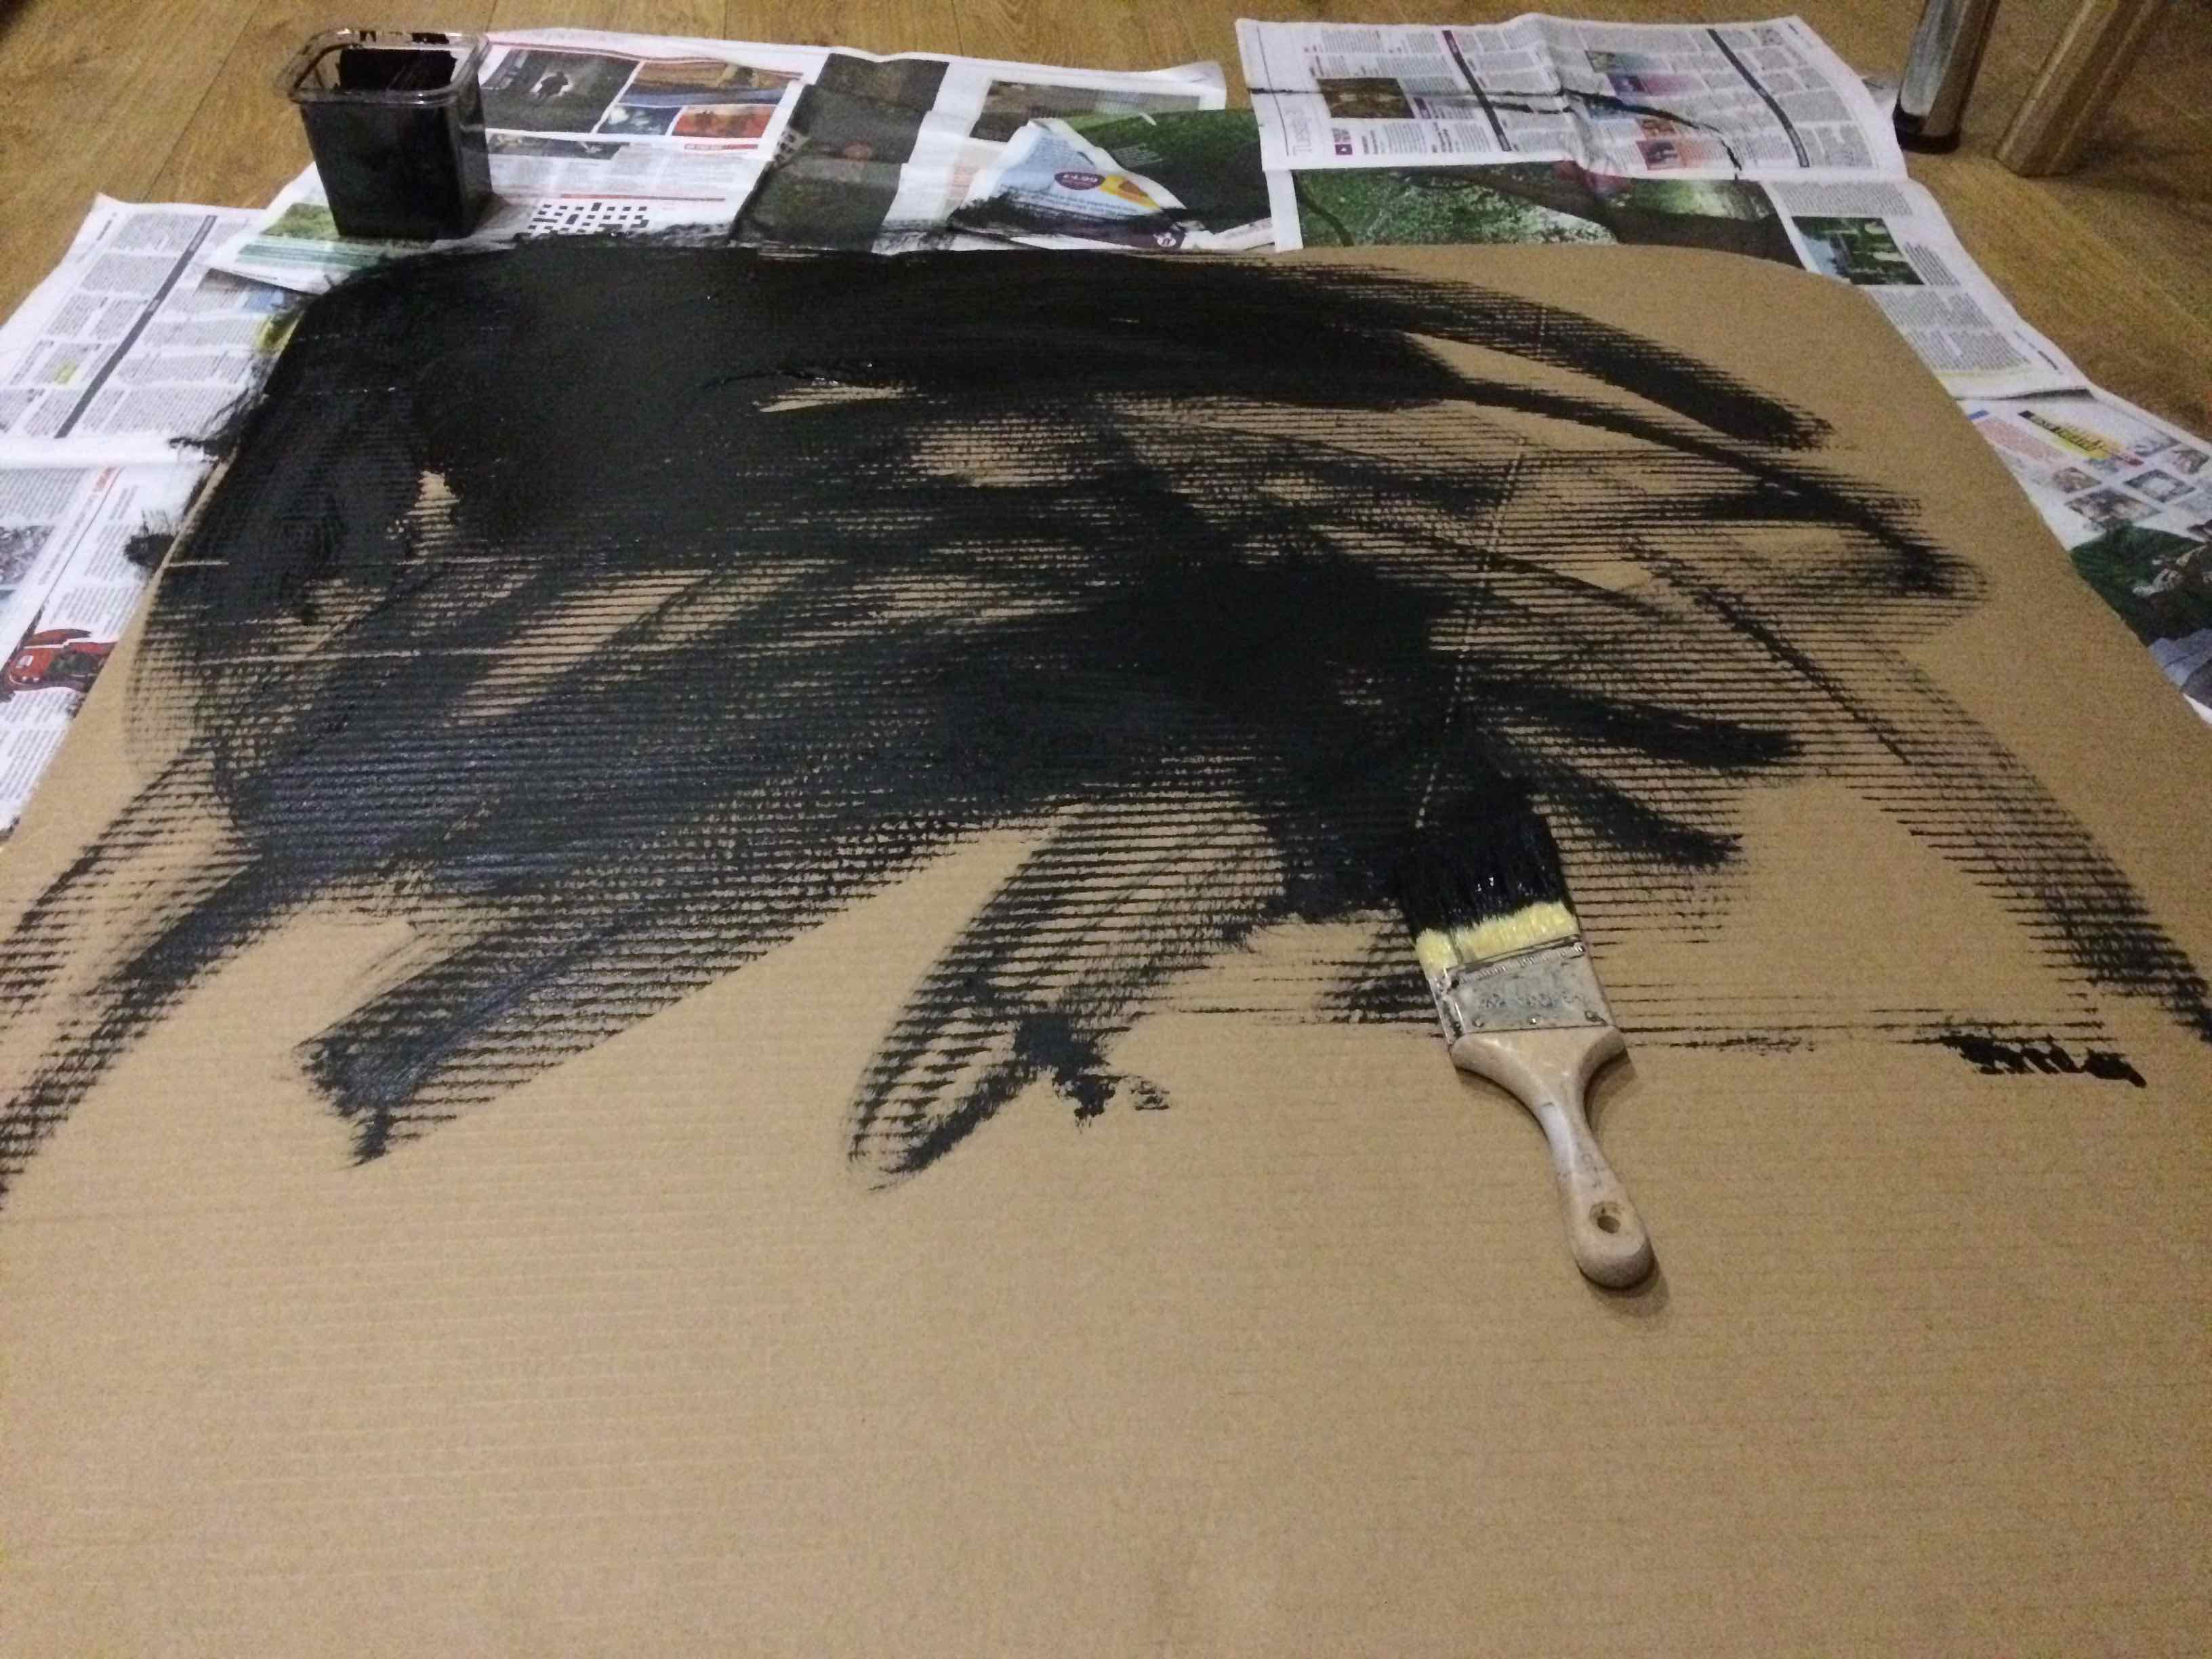
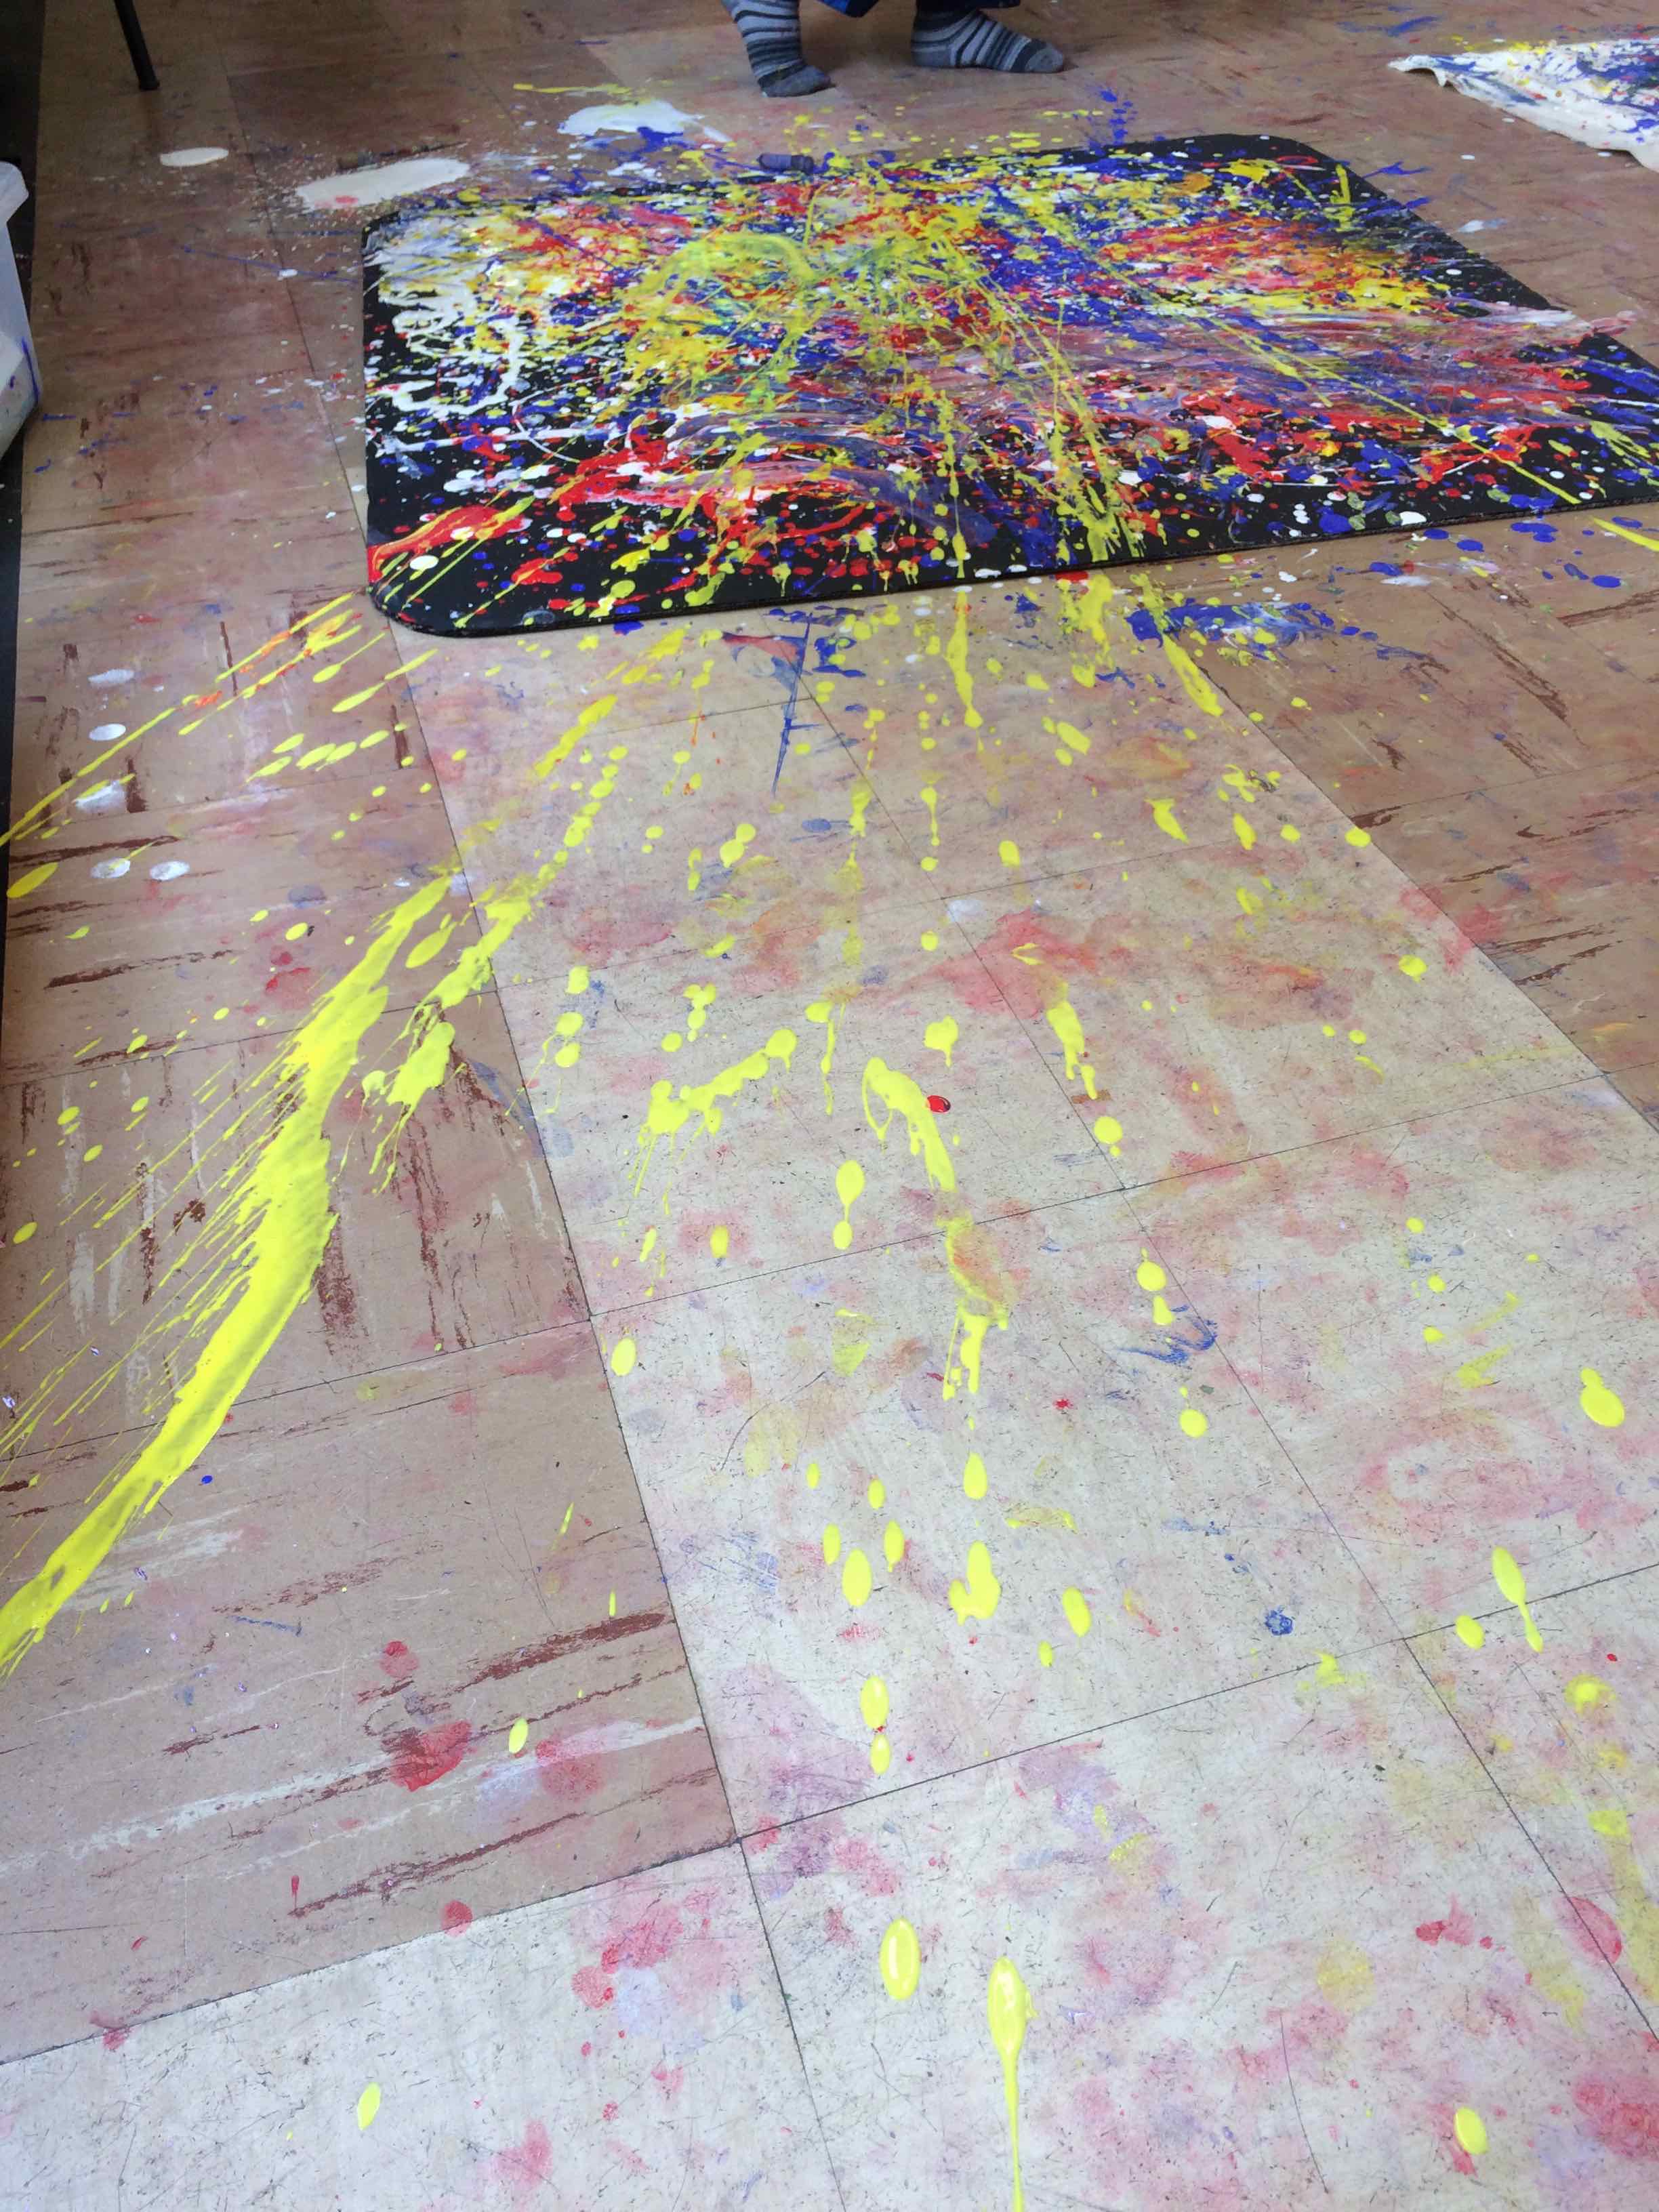
The preparation for this session began a day or two before when I prepared the GROUND… the SURFACE on which the children would paint…
I used large sheets of cardboard and painted them with black acrylic paint so that the surface could take the poster paint the children would use.I used a large household painting brush and made big swirly movements to fill the space!
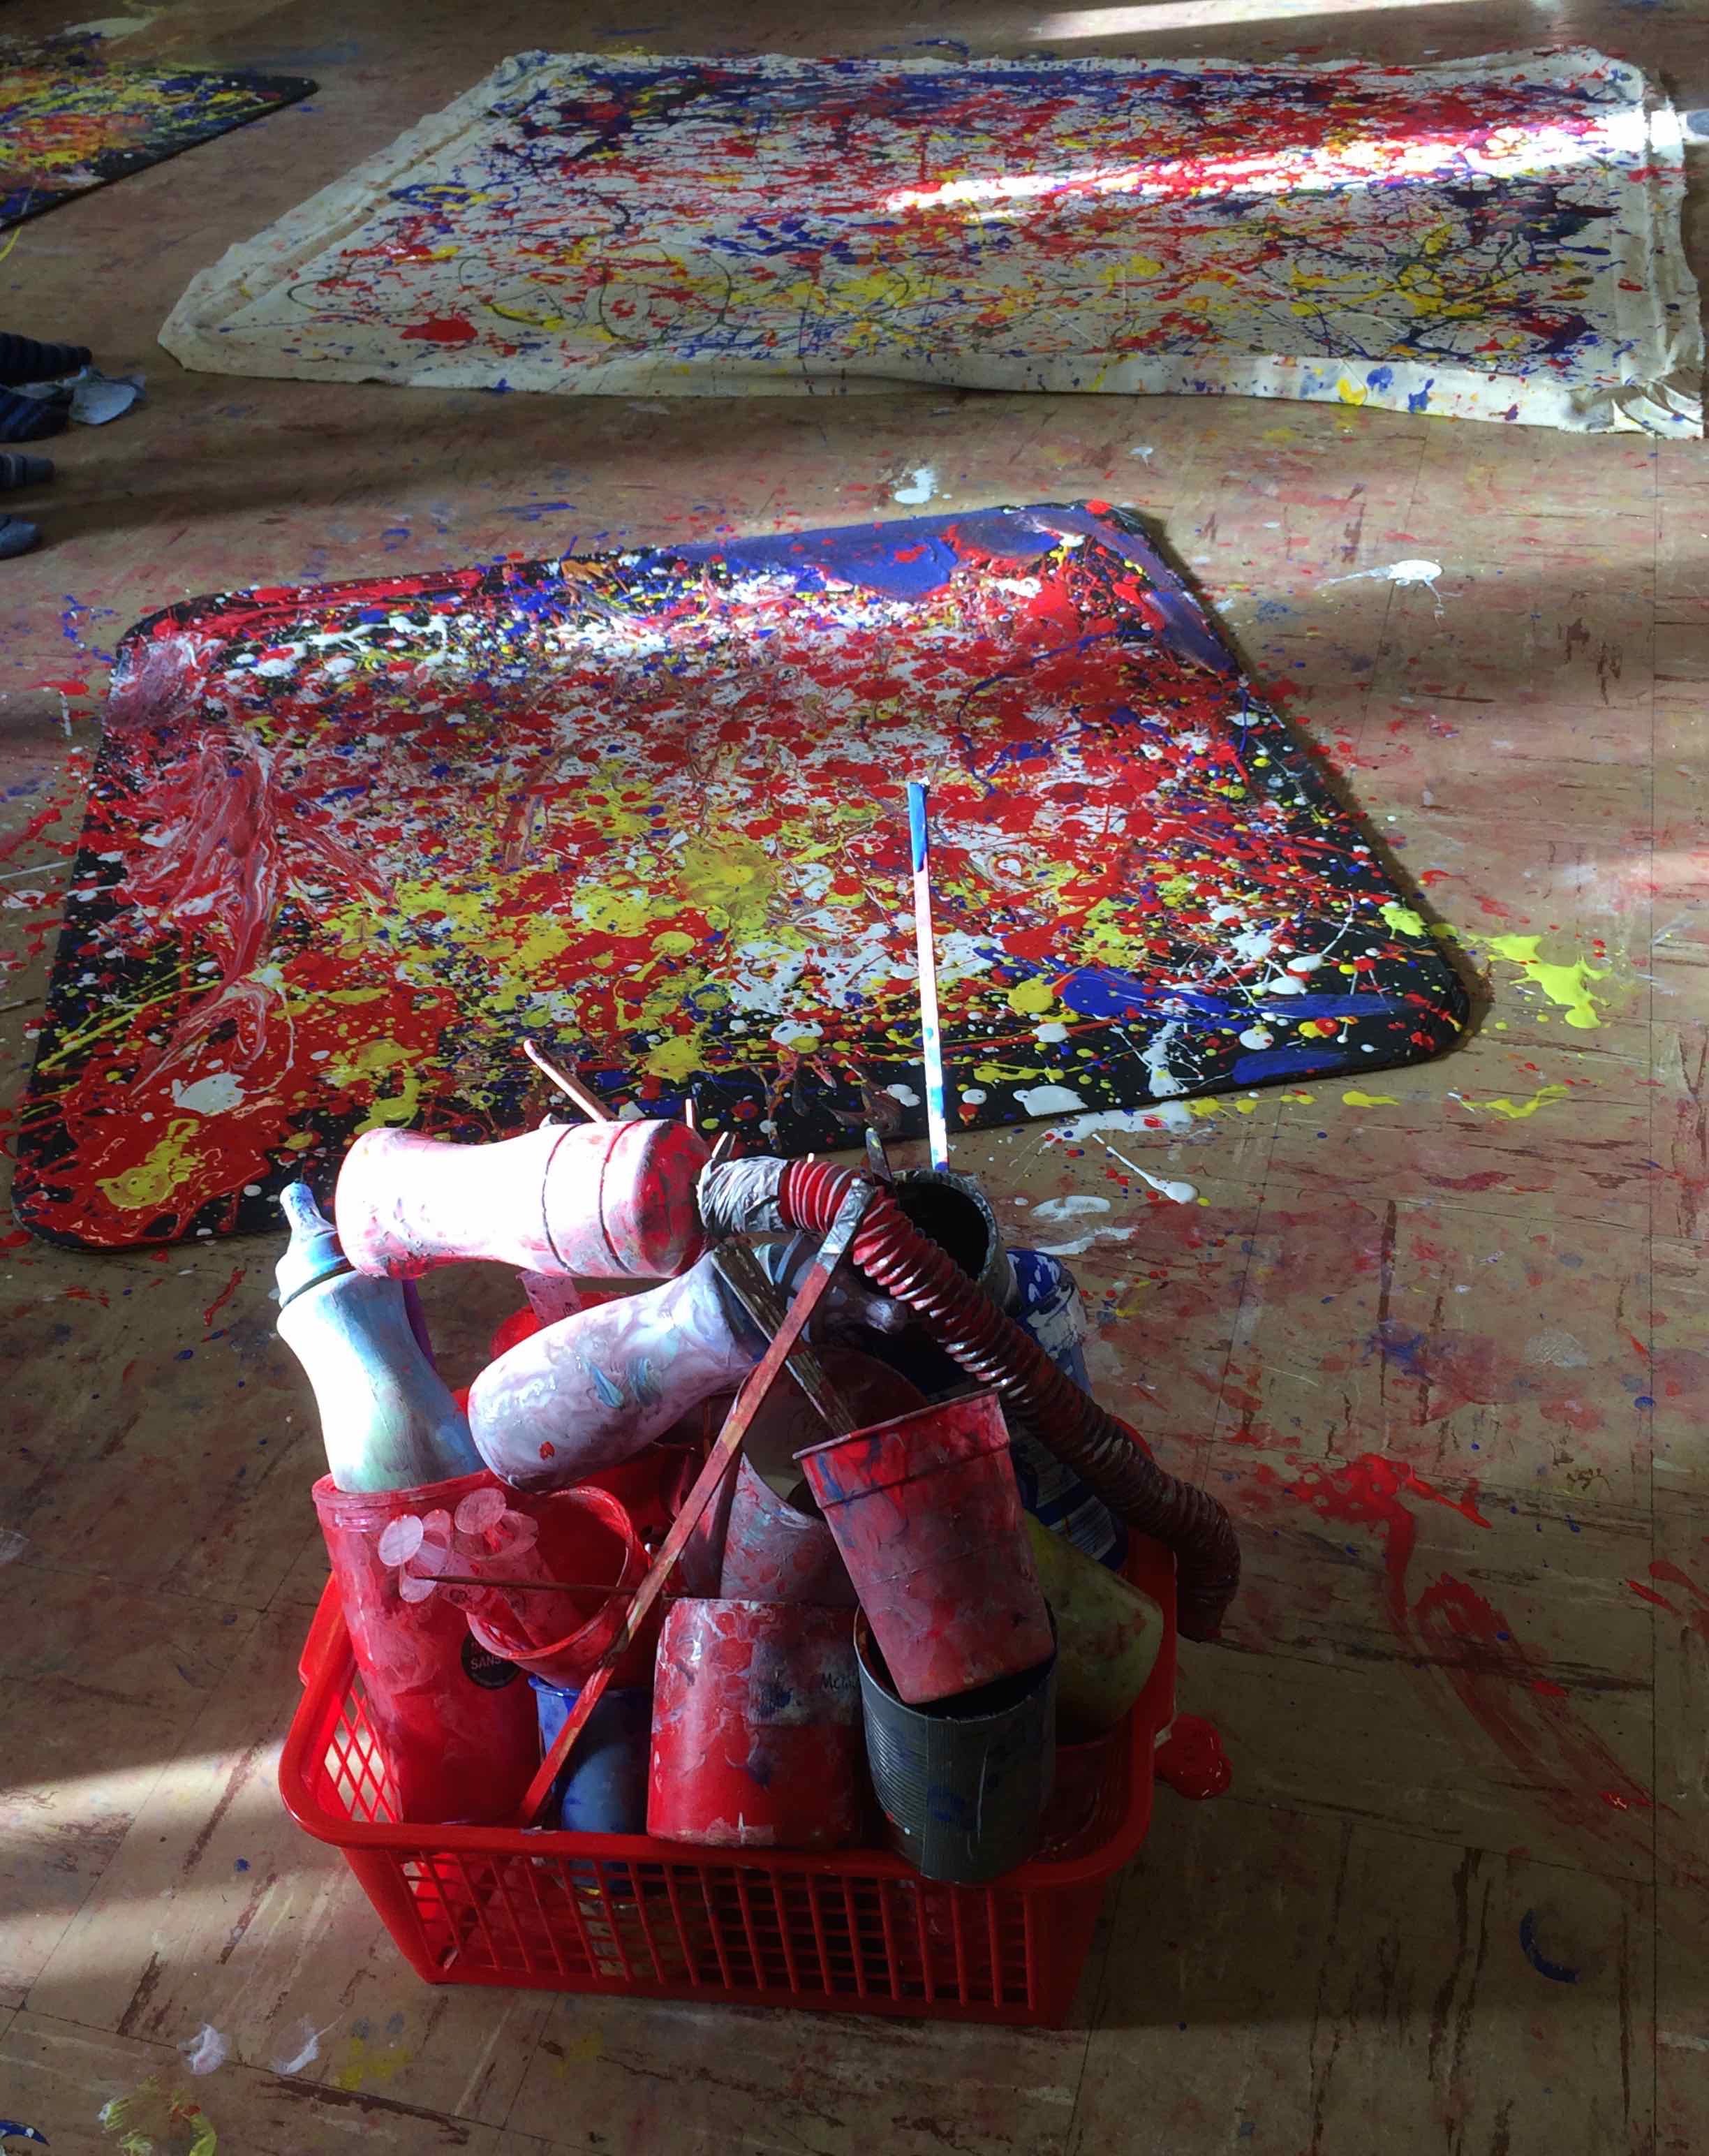
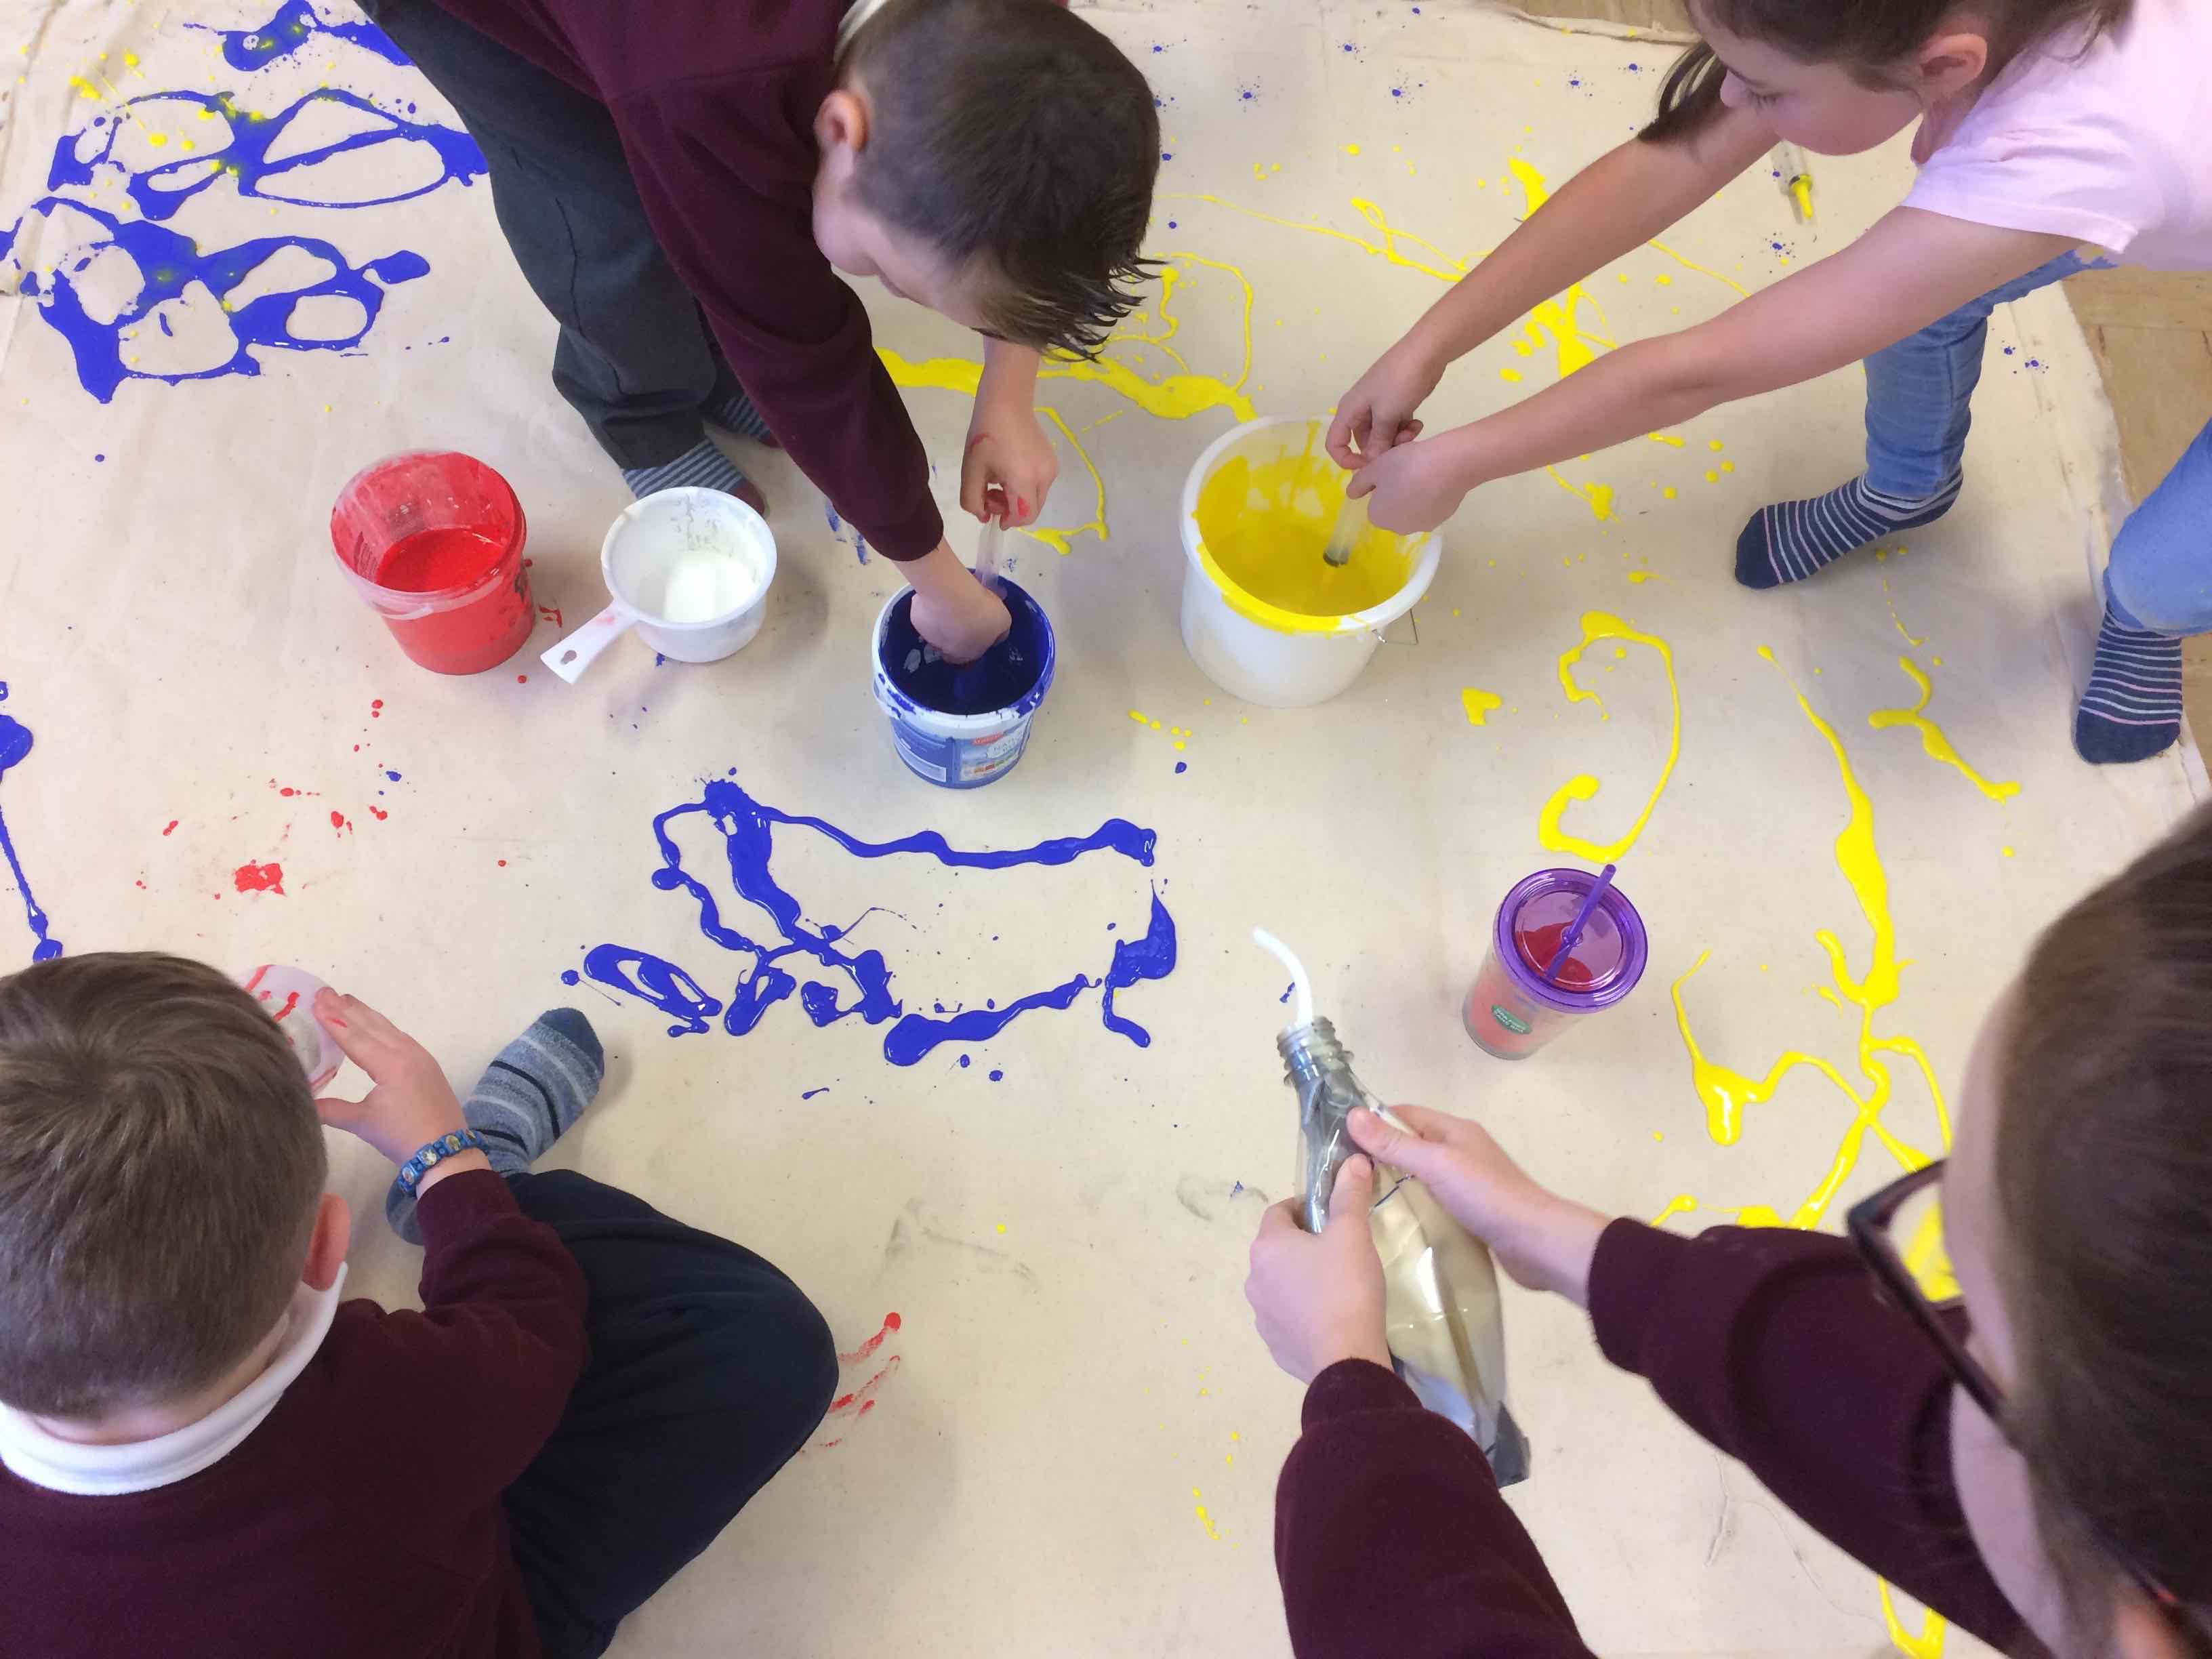
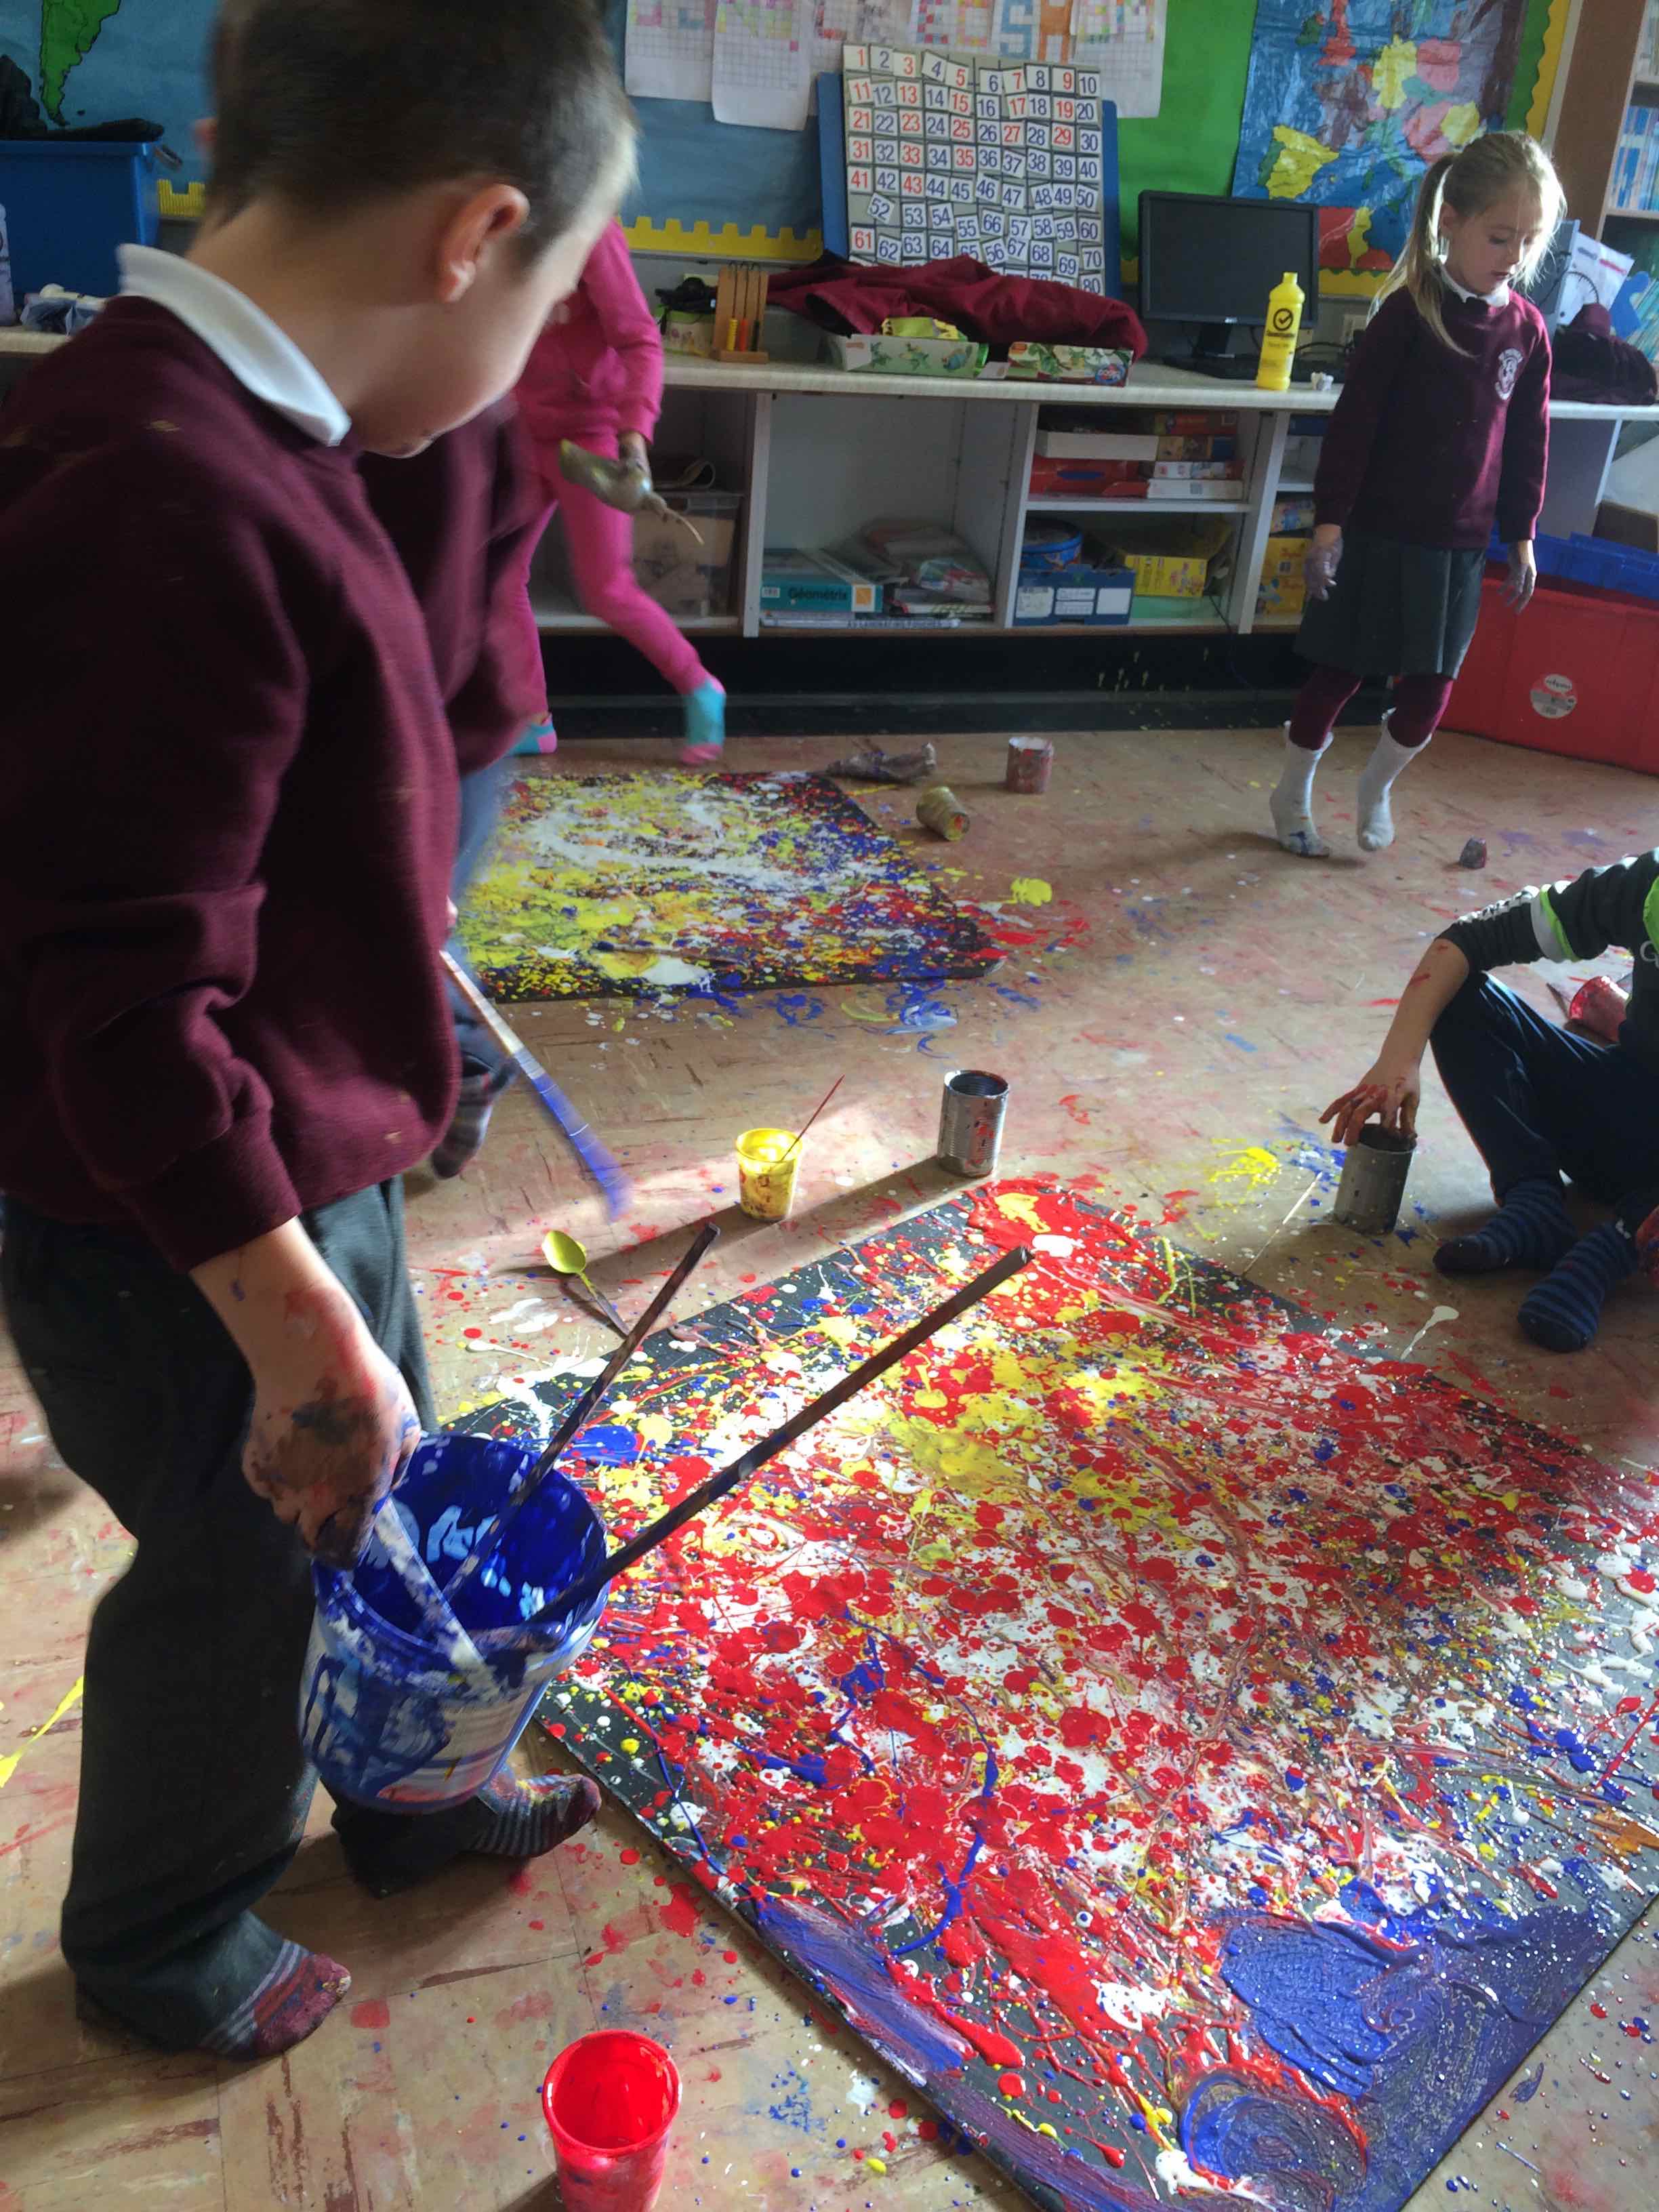
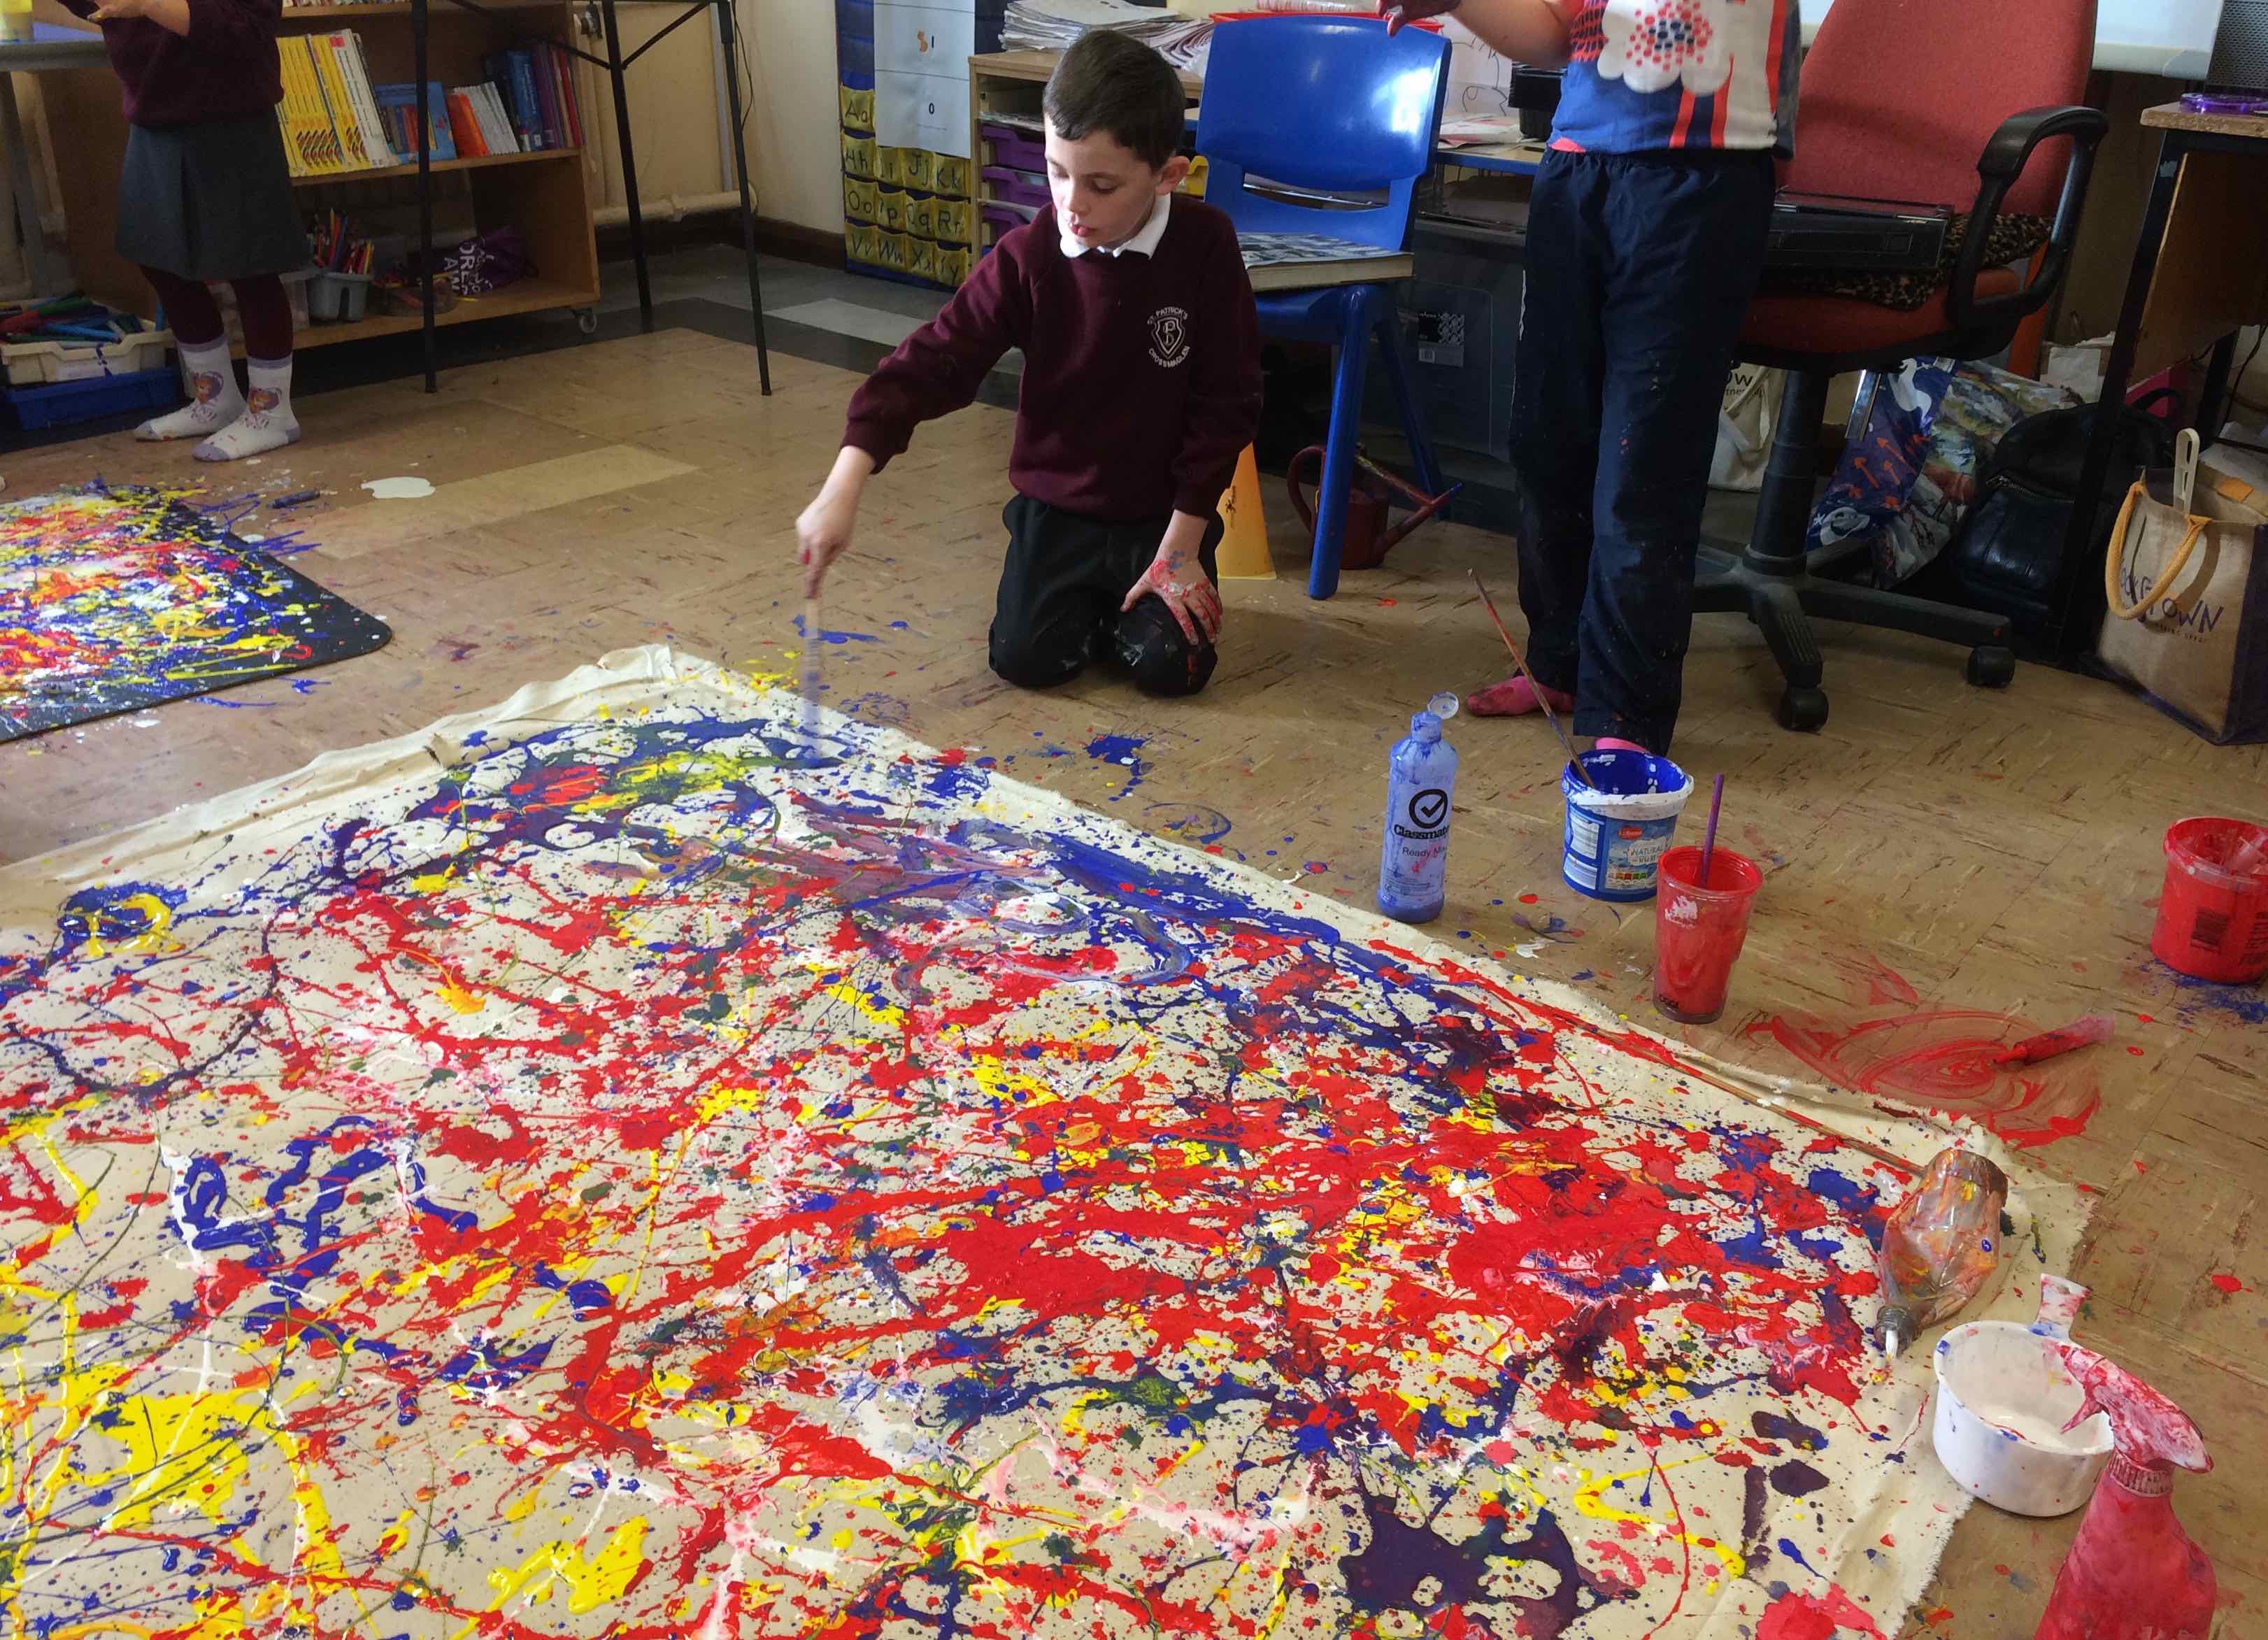
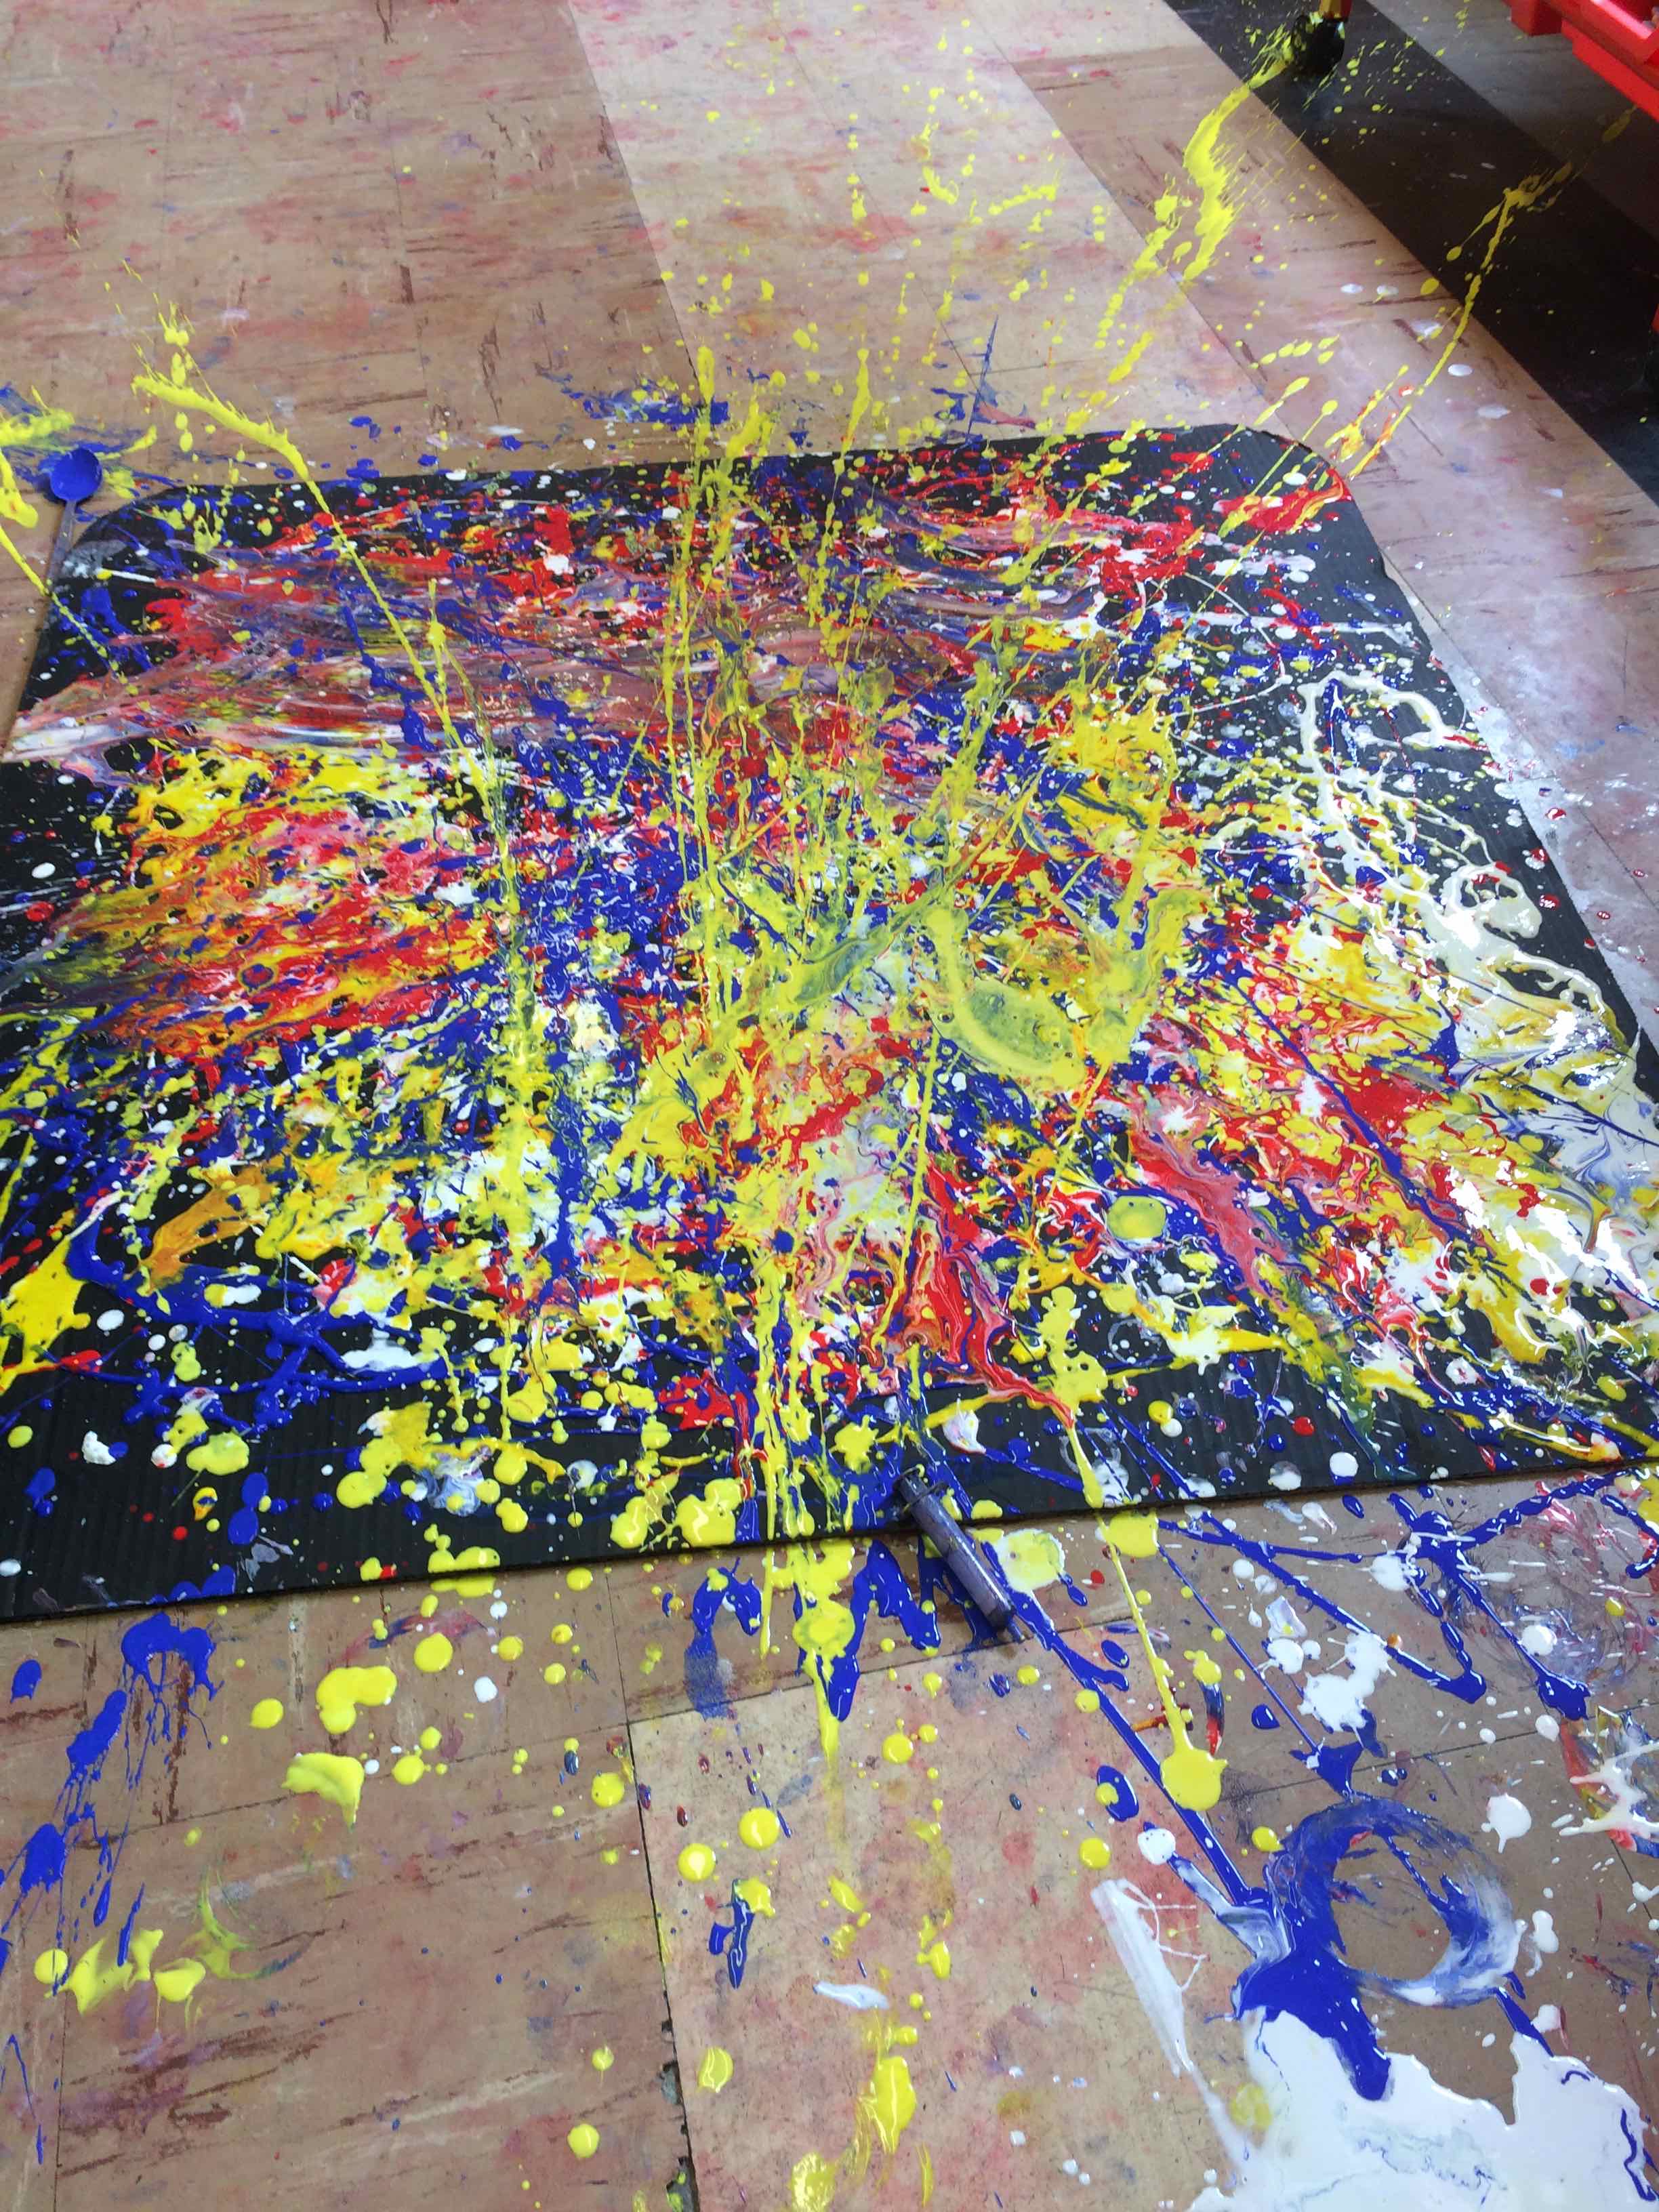
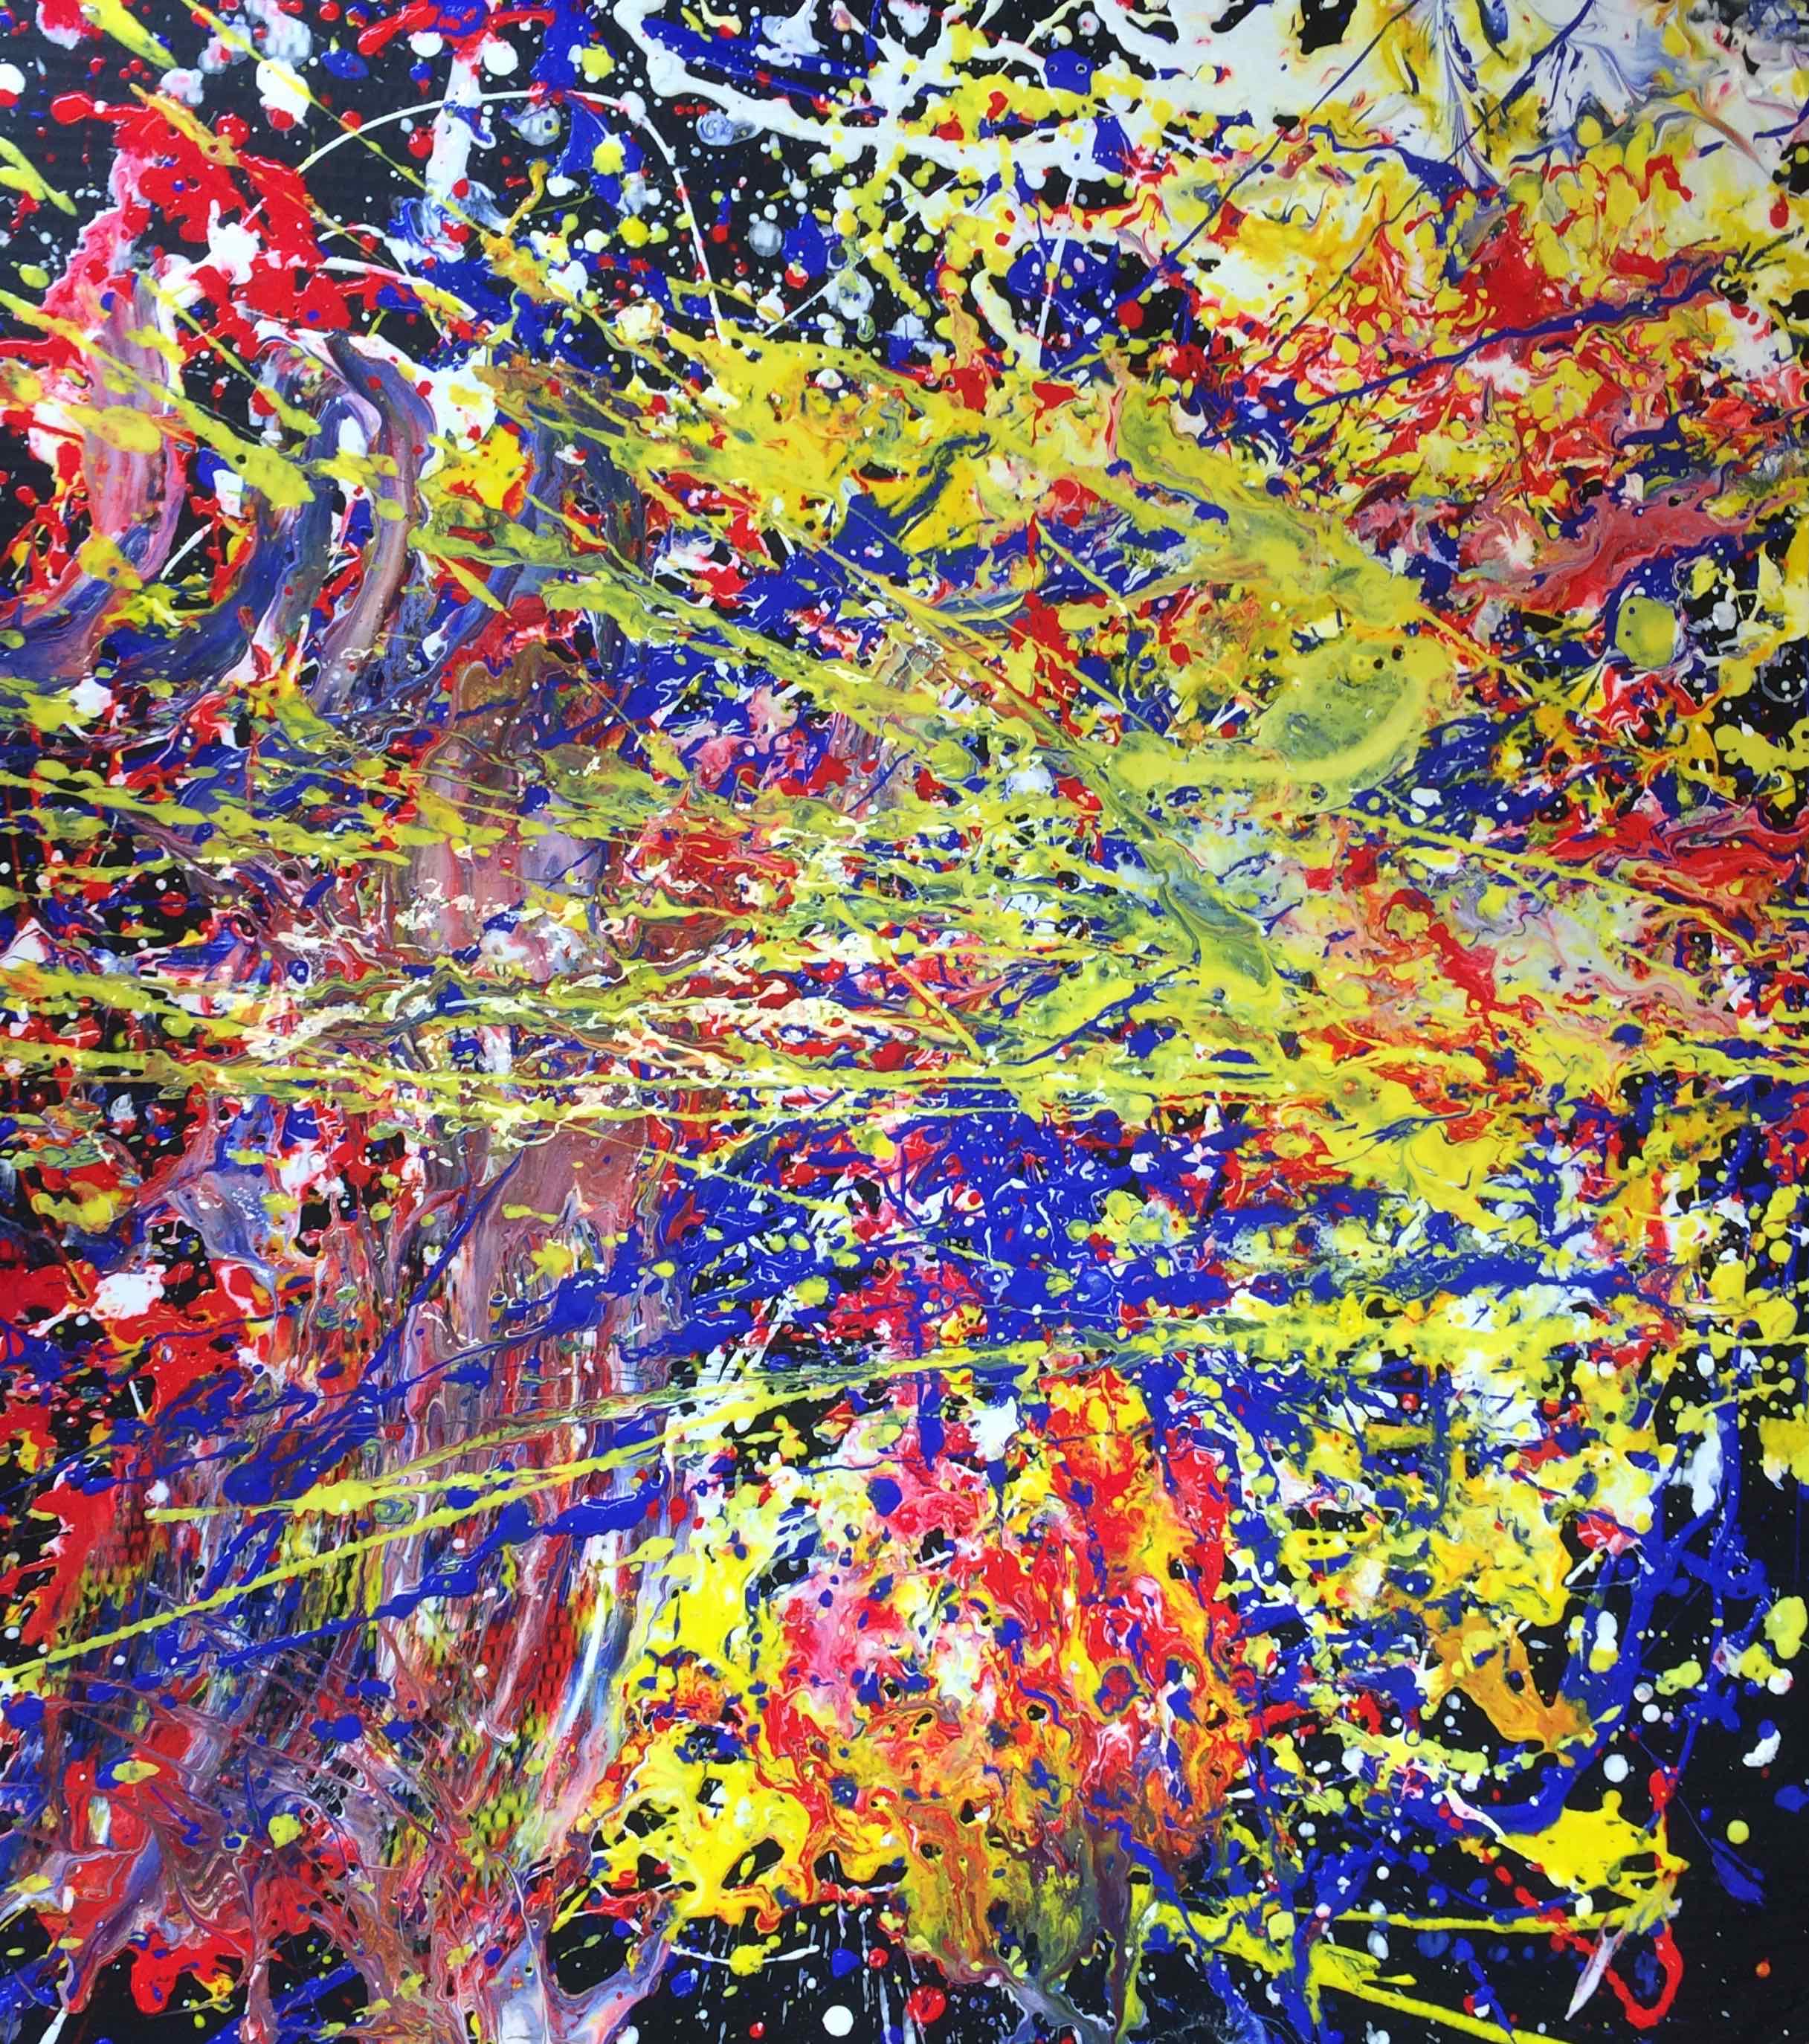
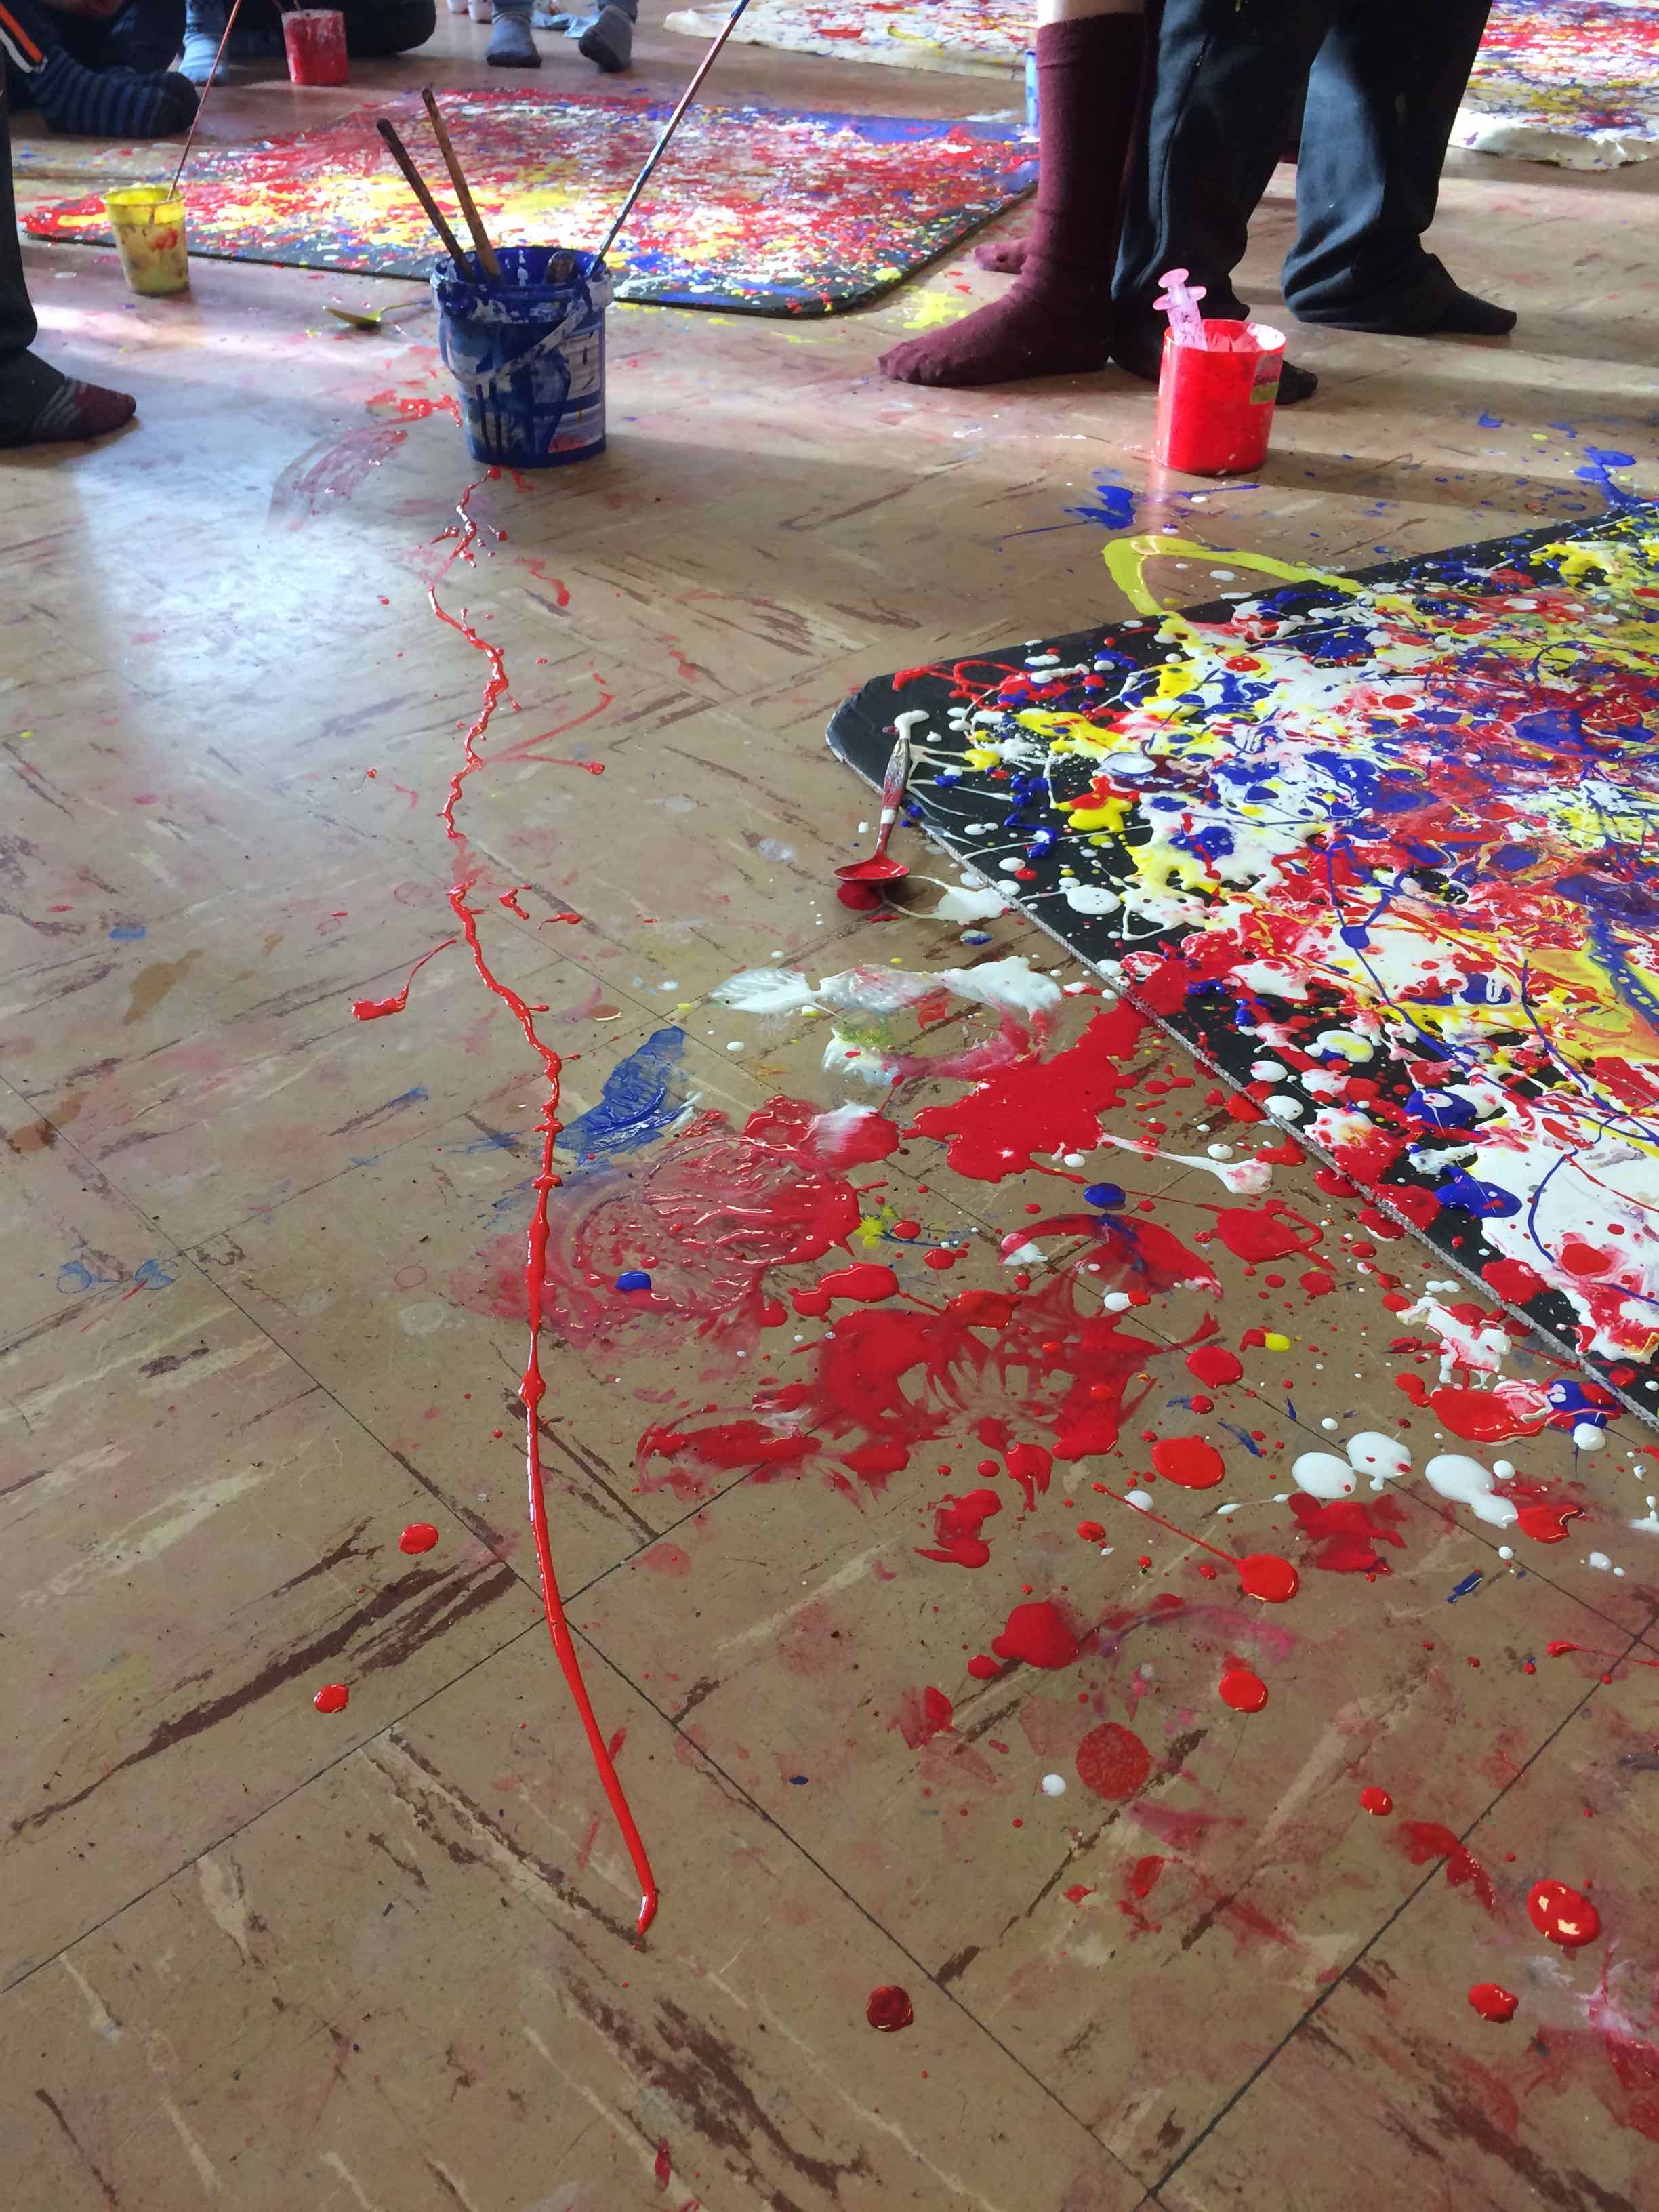
First we discussed the purpose of this session which was to experience what it is like to paint on a large surface on the floor and to engage our whole bodies in the process. We were also trying to see how much CONTROL we could use to drip, pour and splatter the paint…
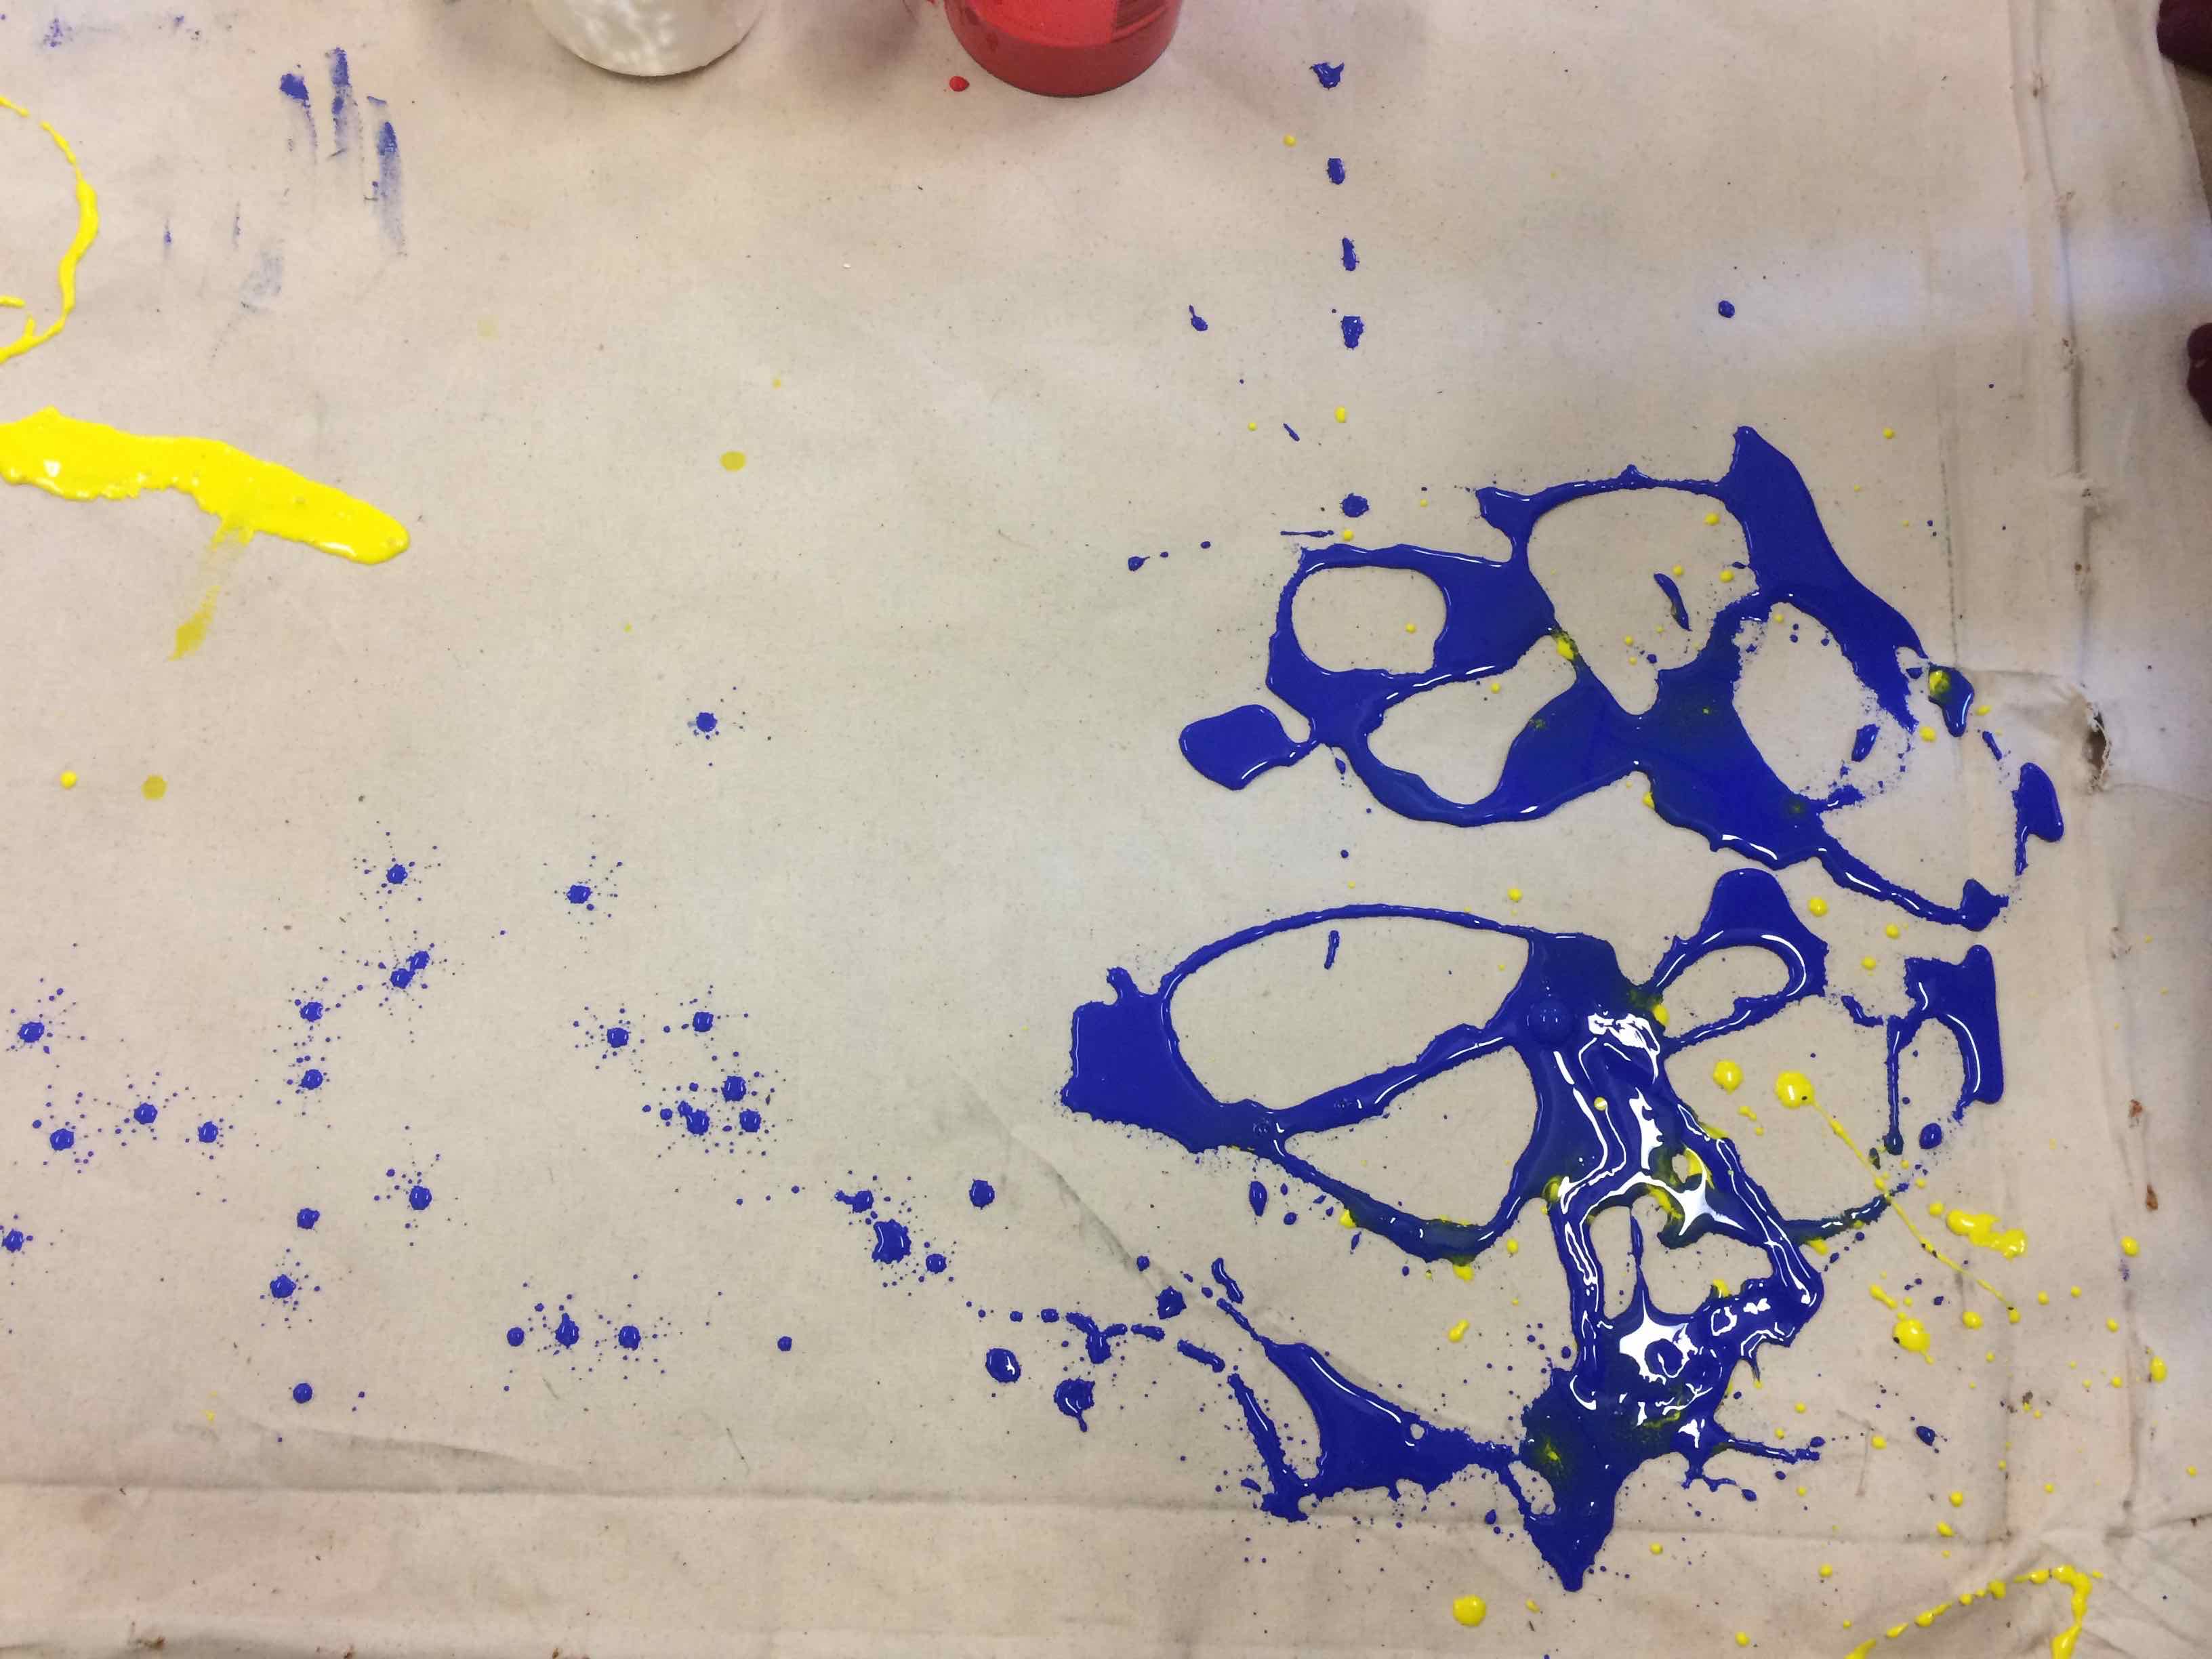
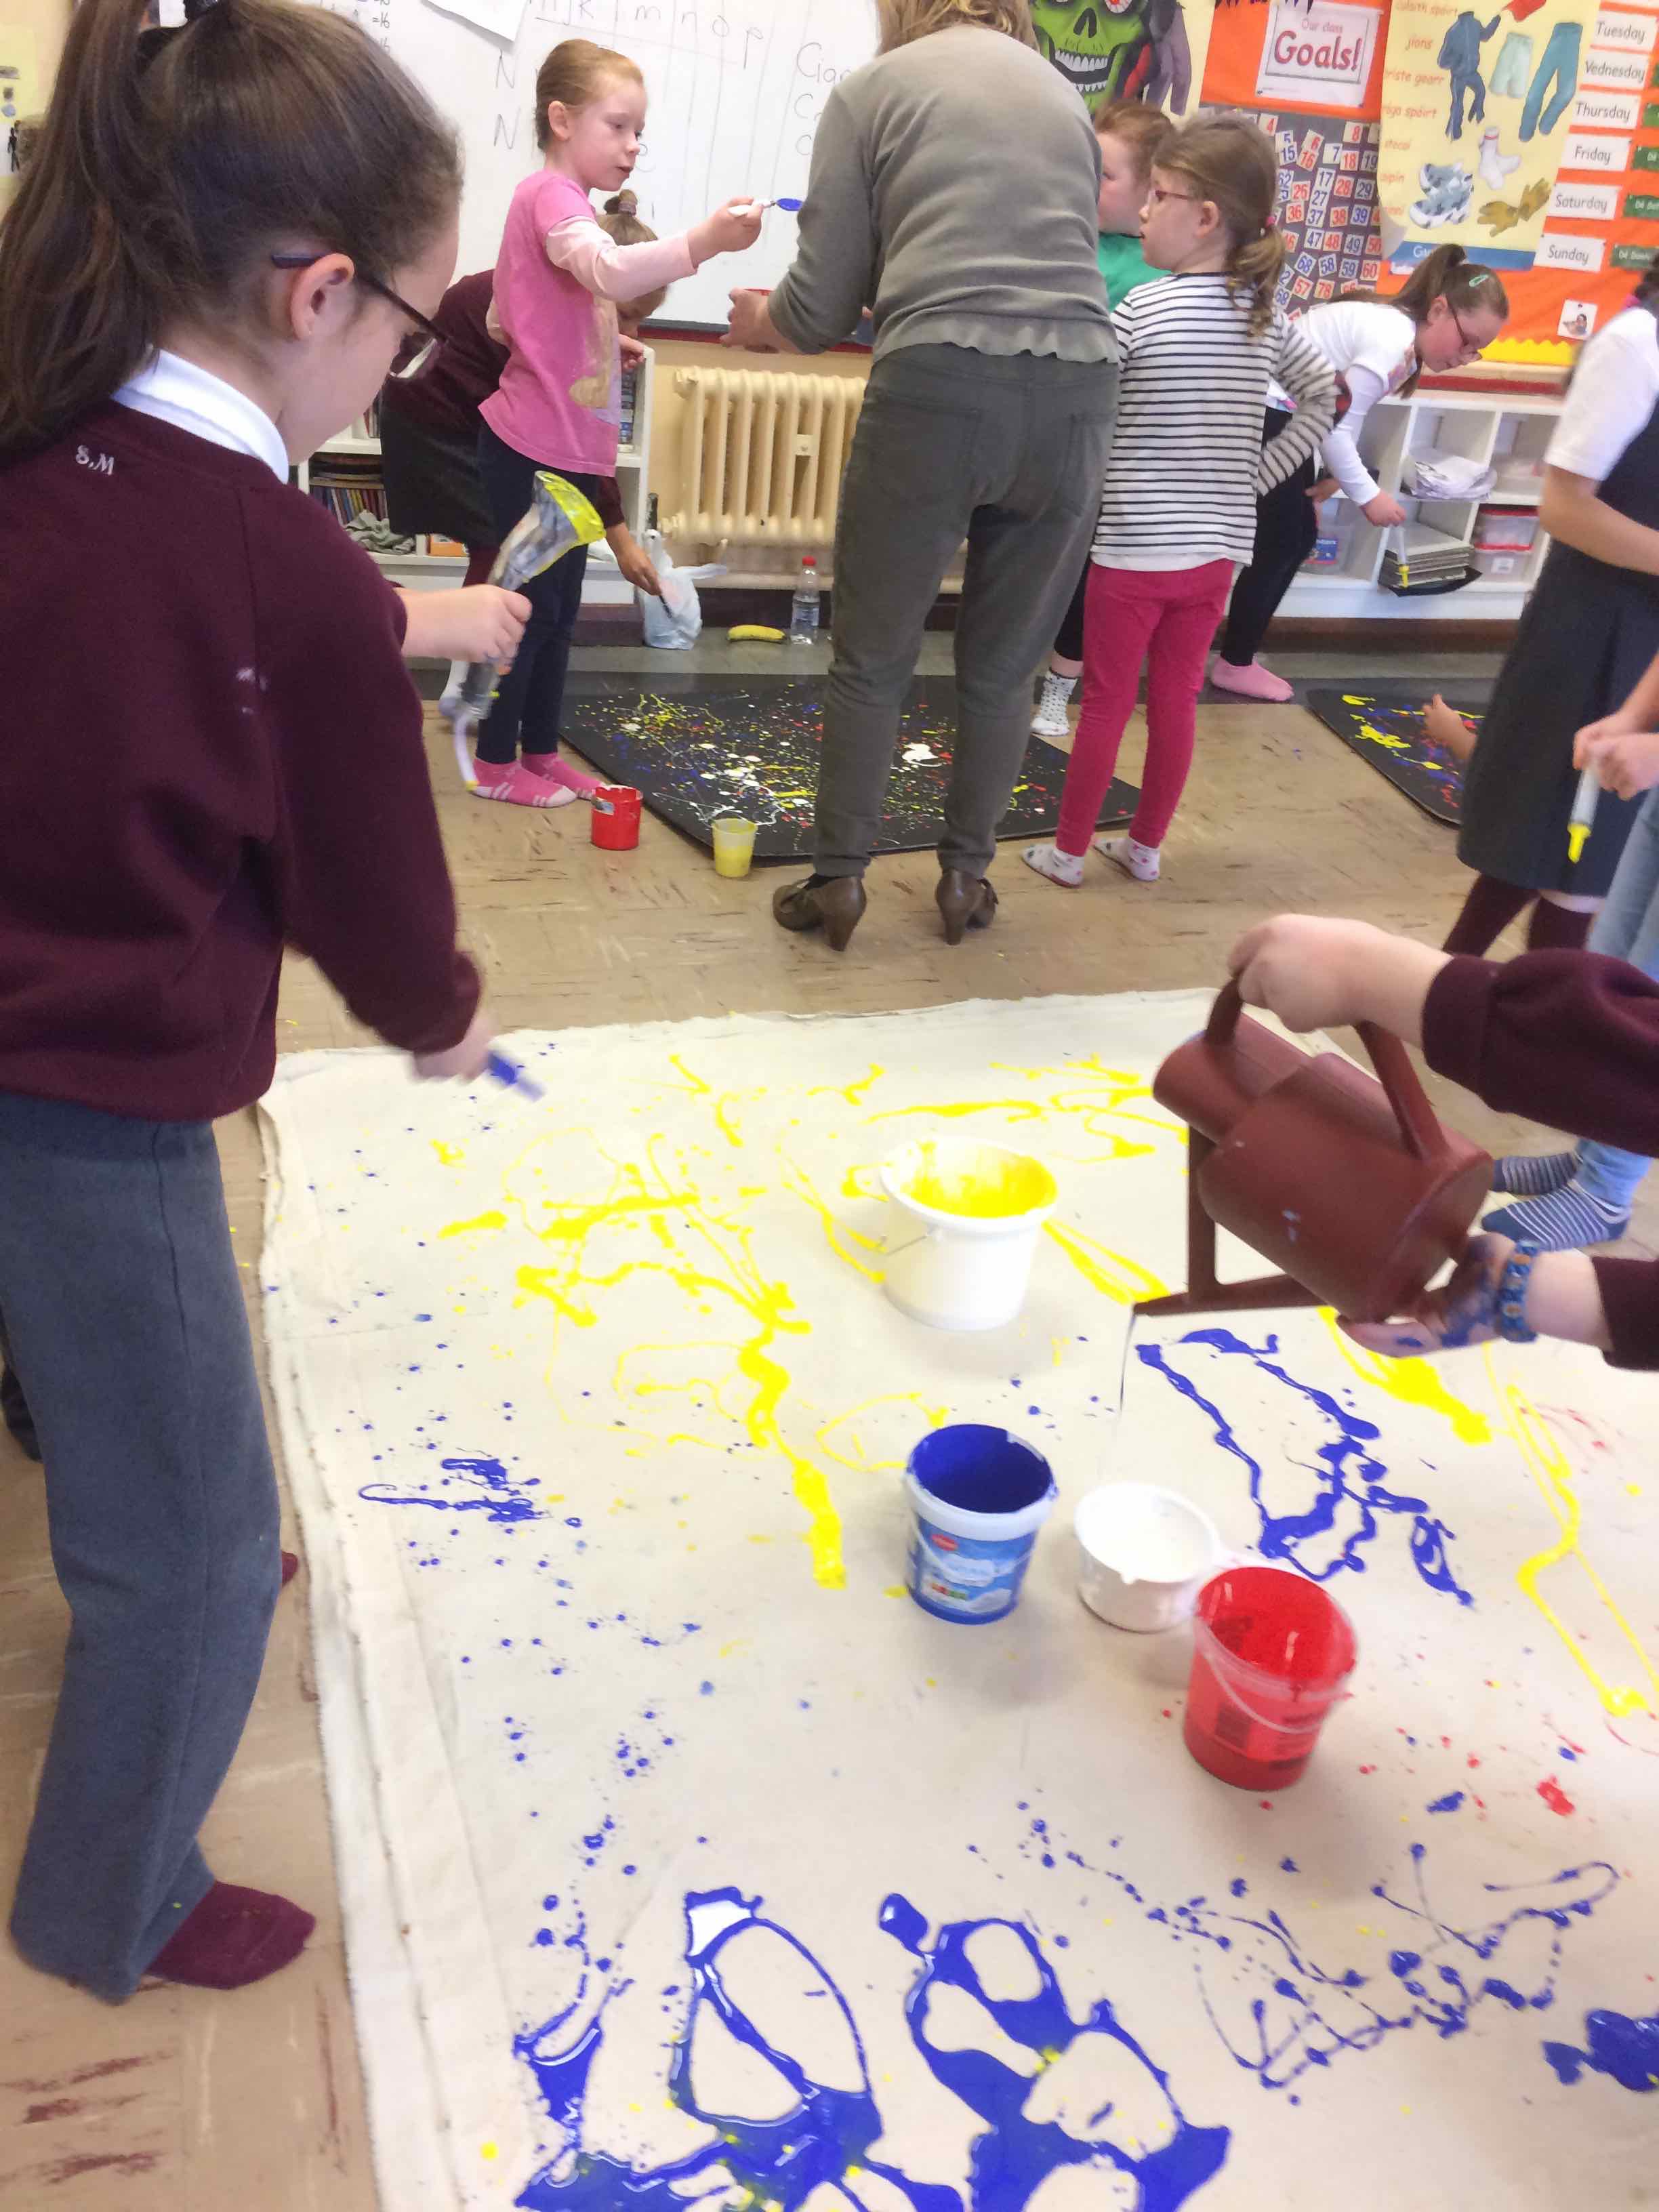
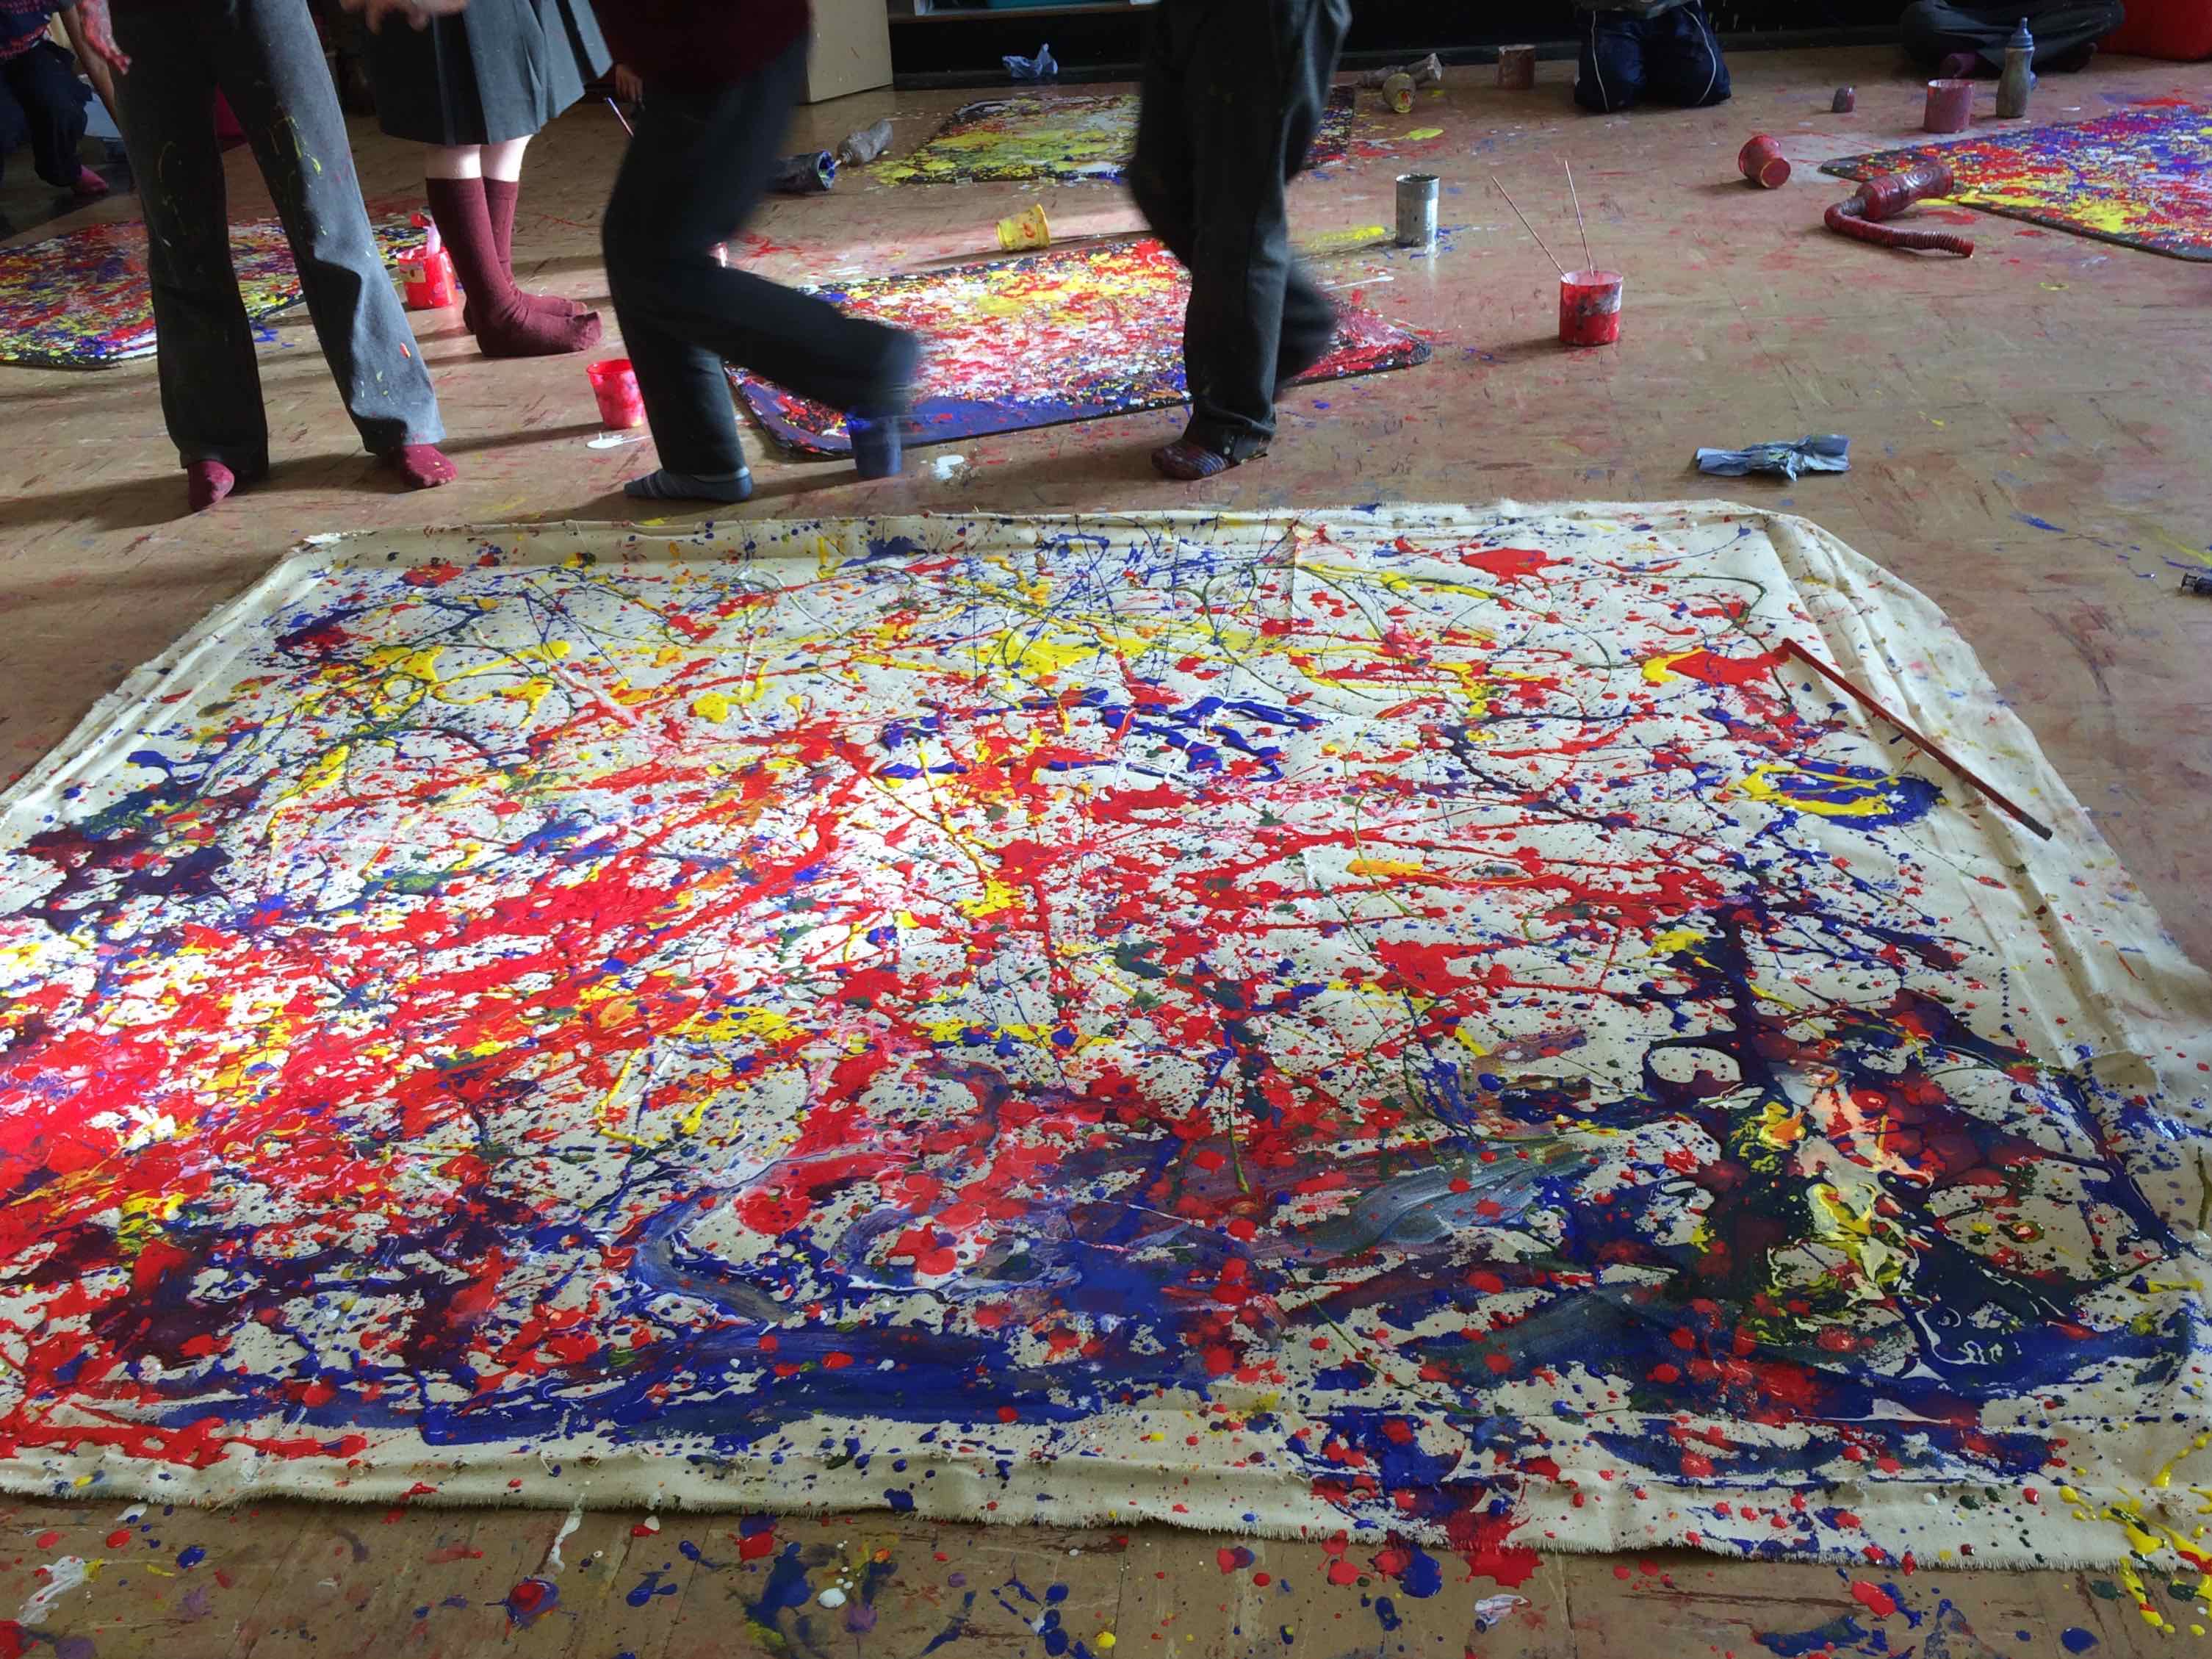
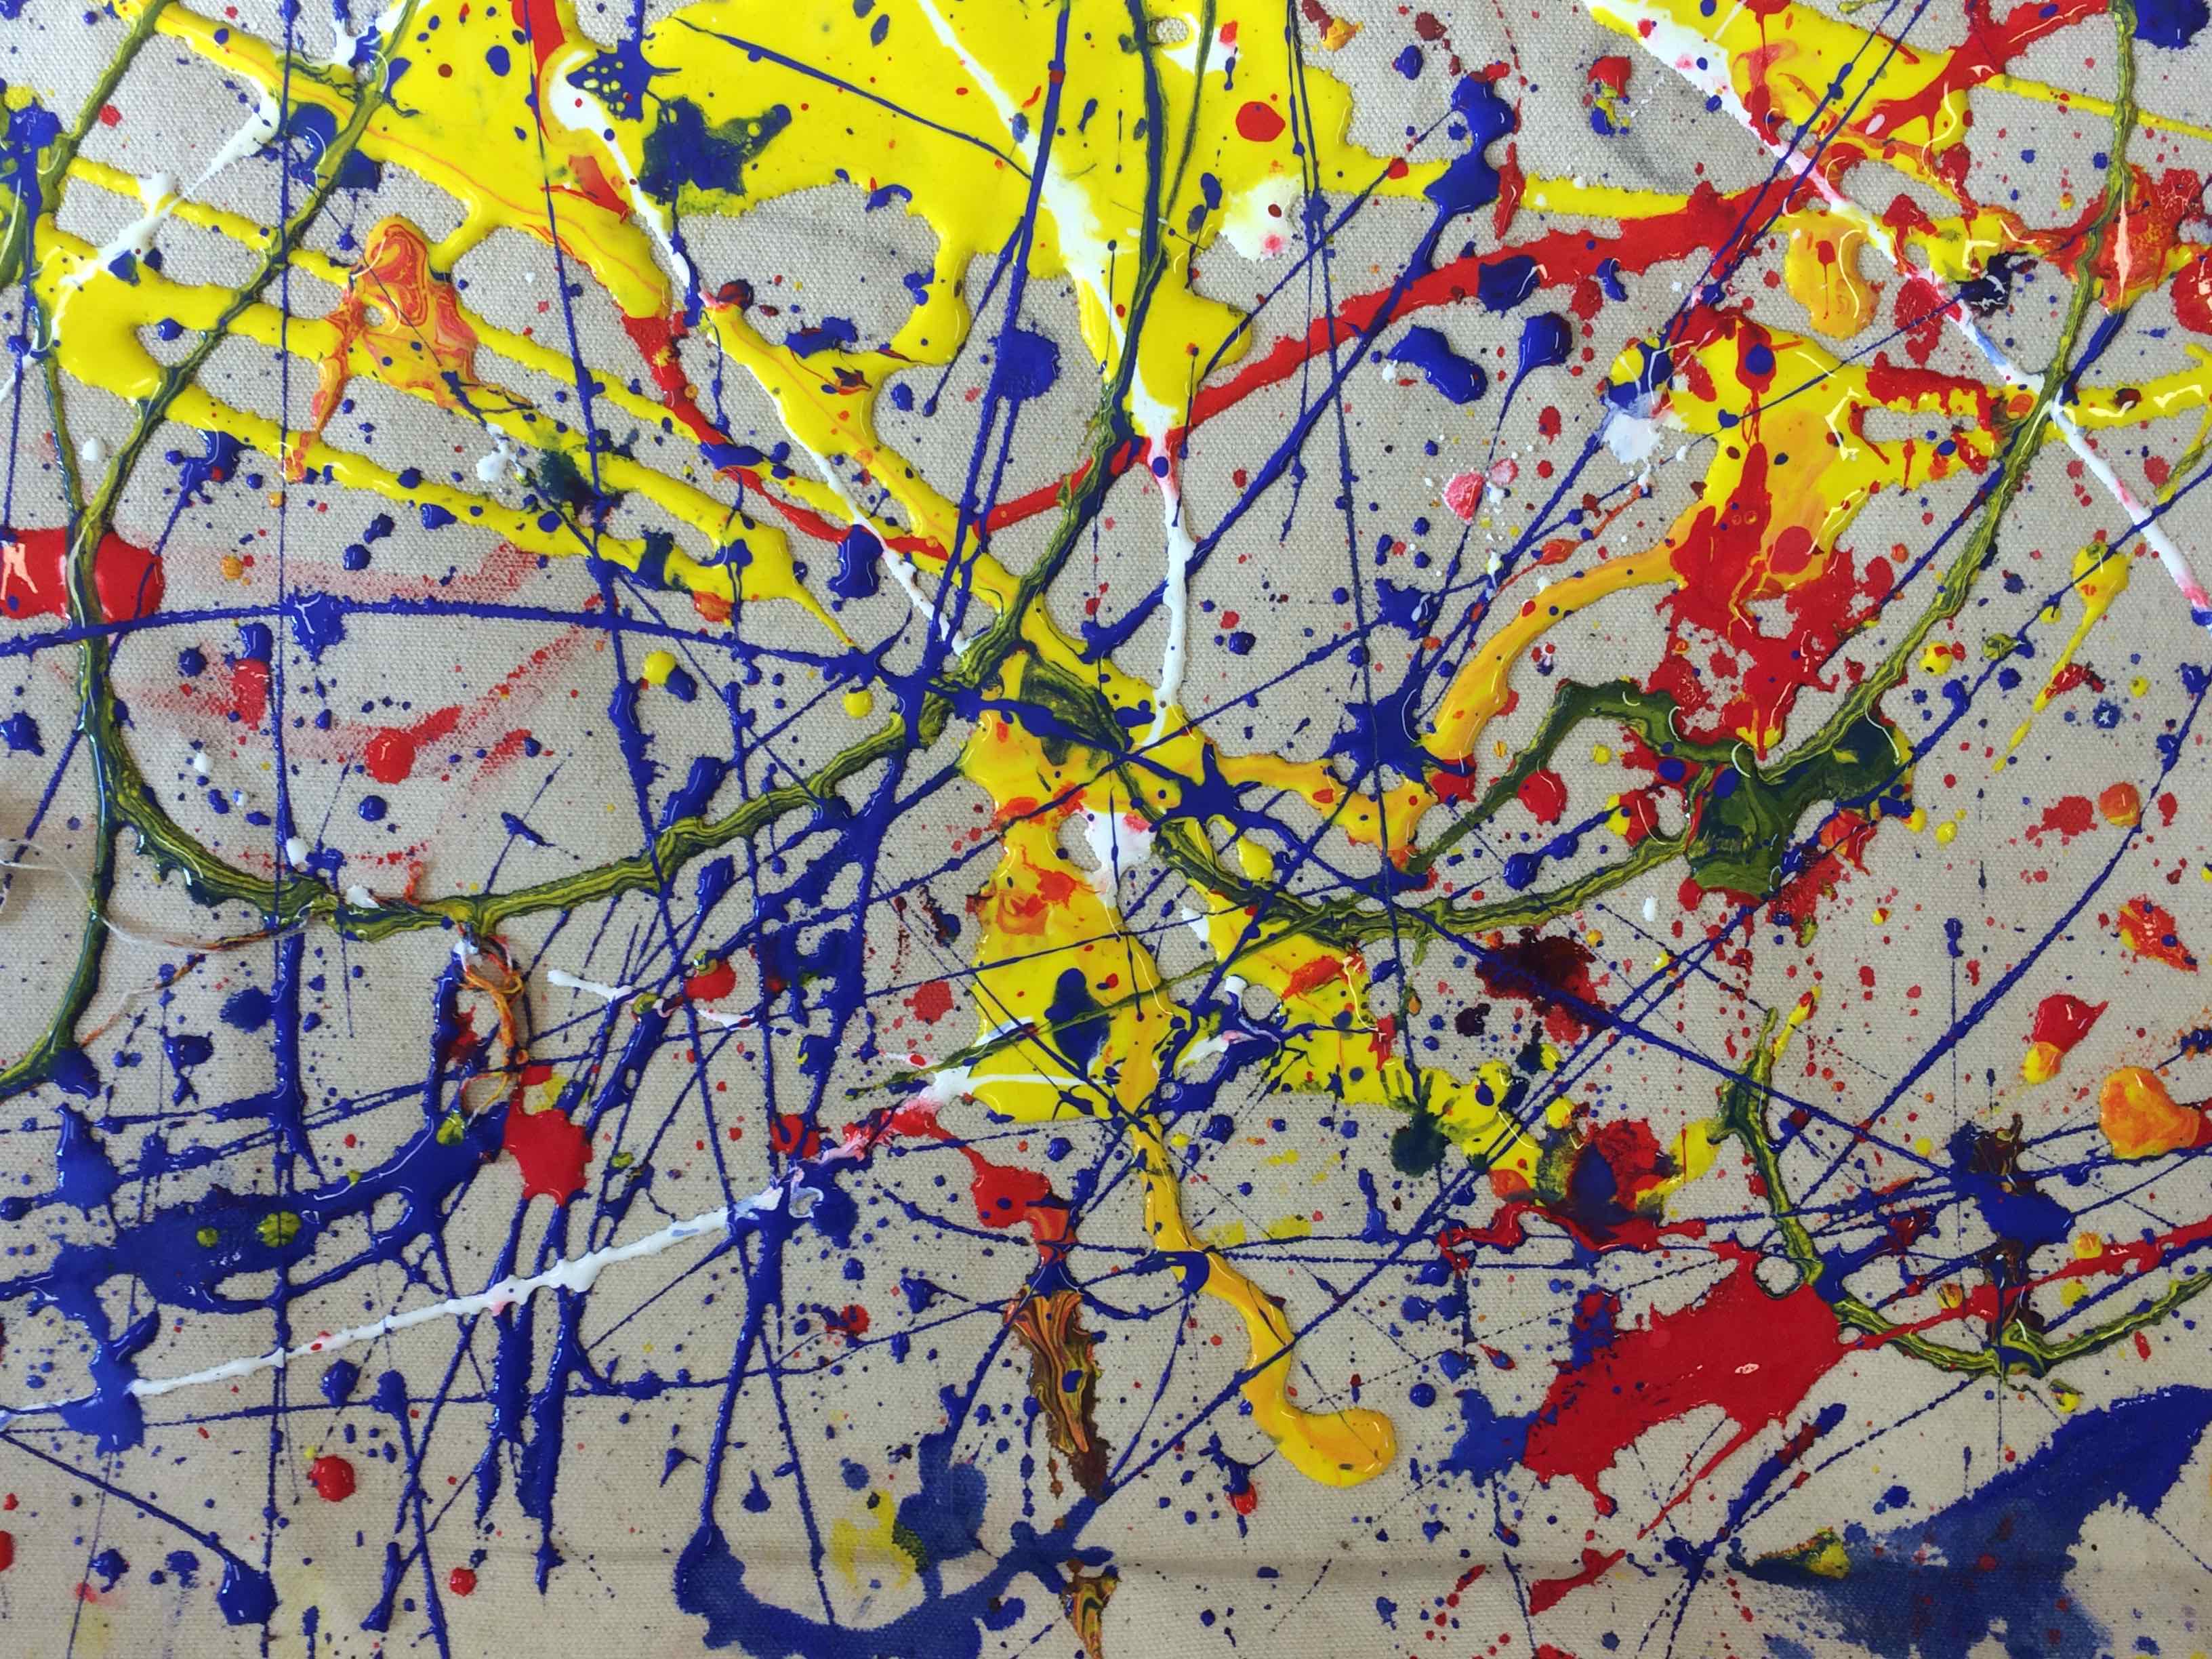
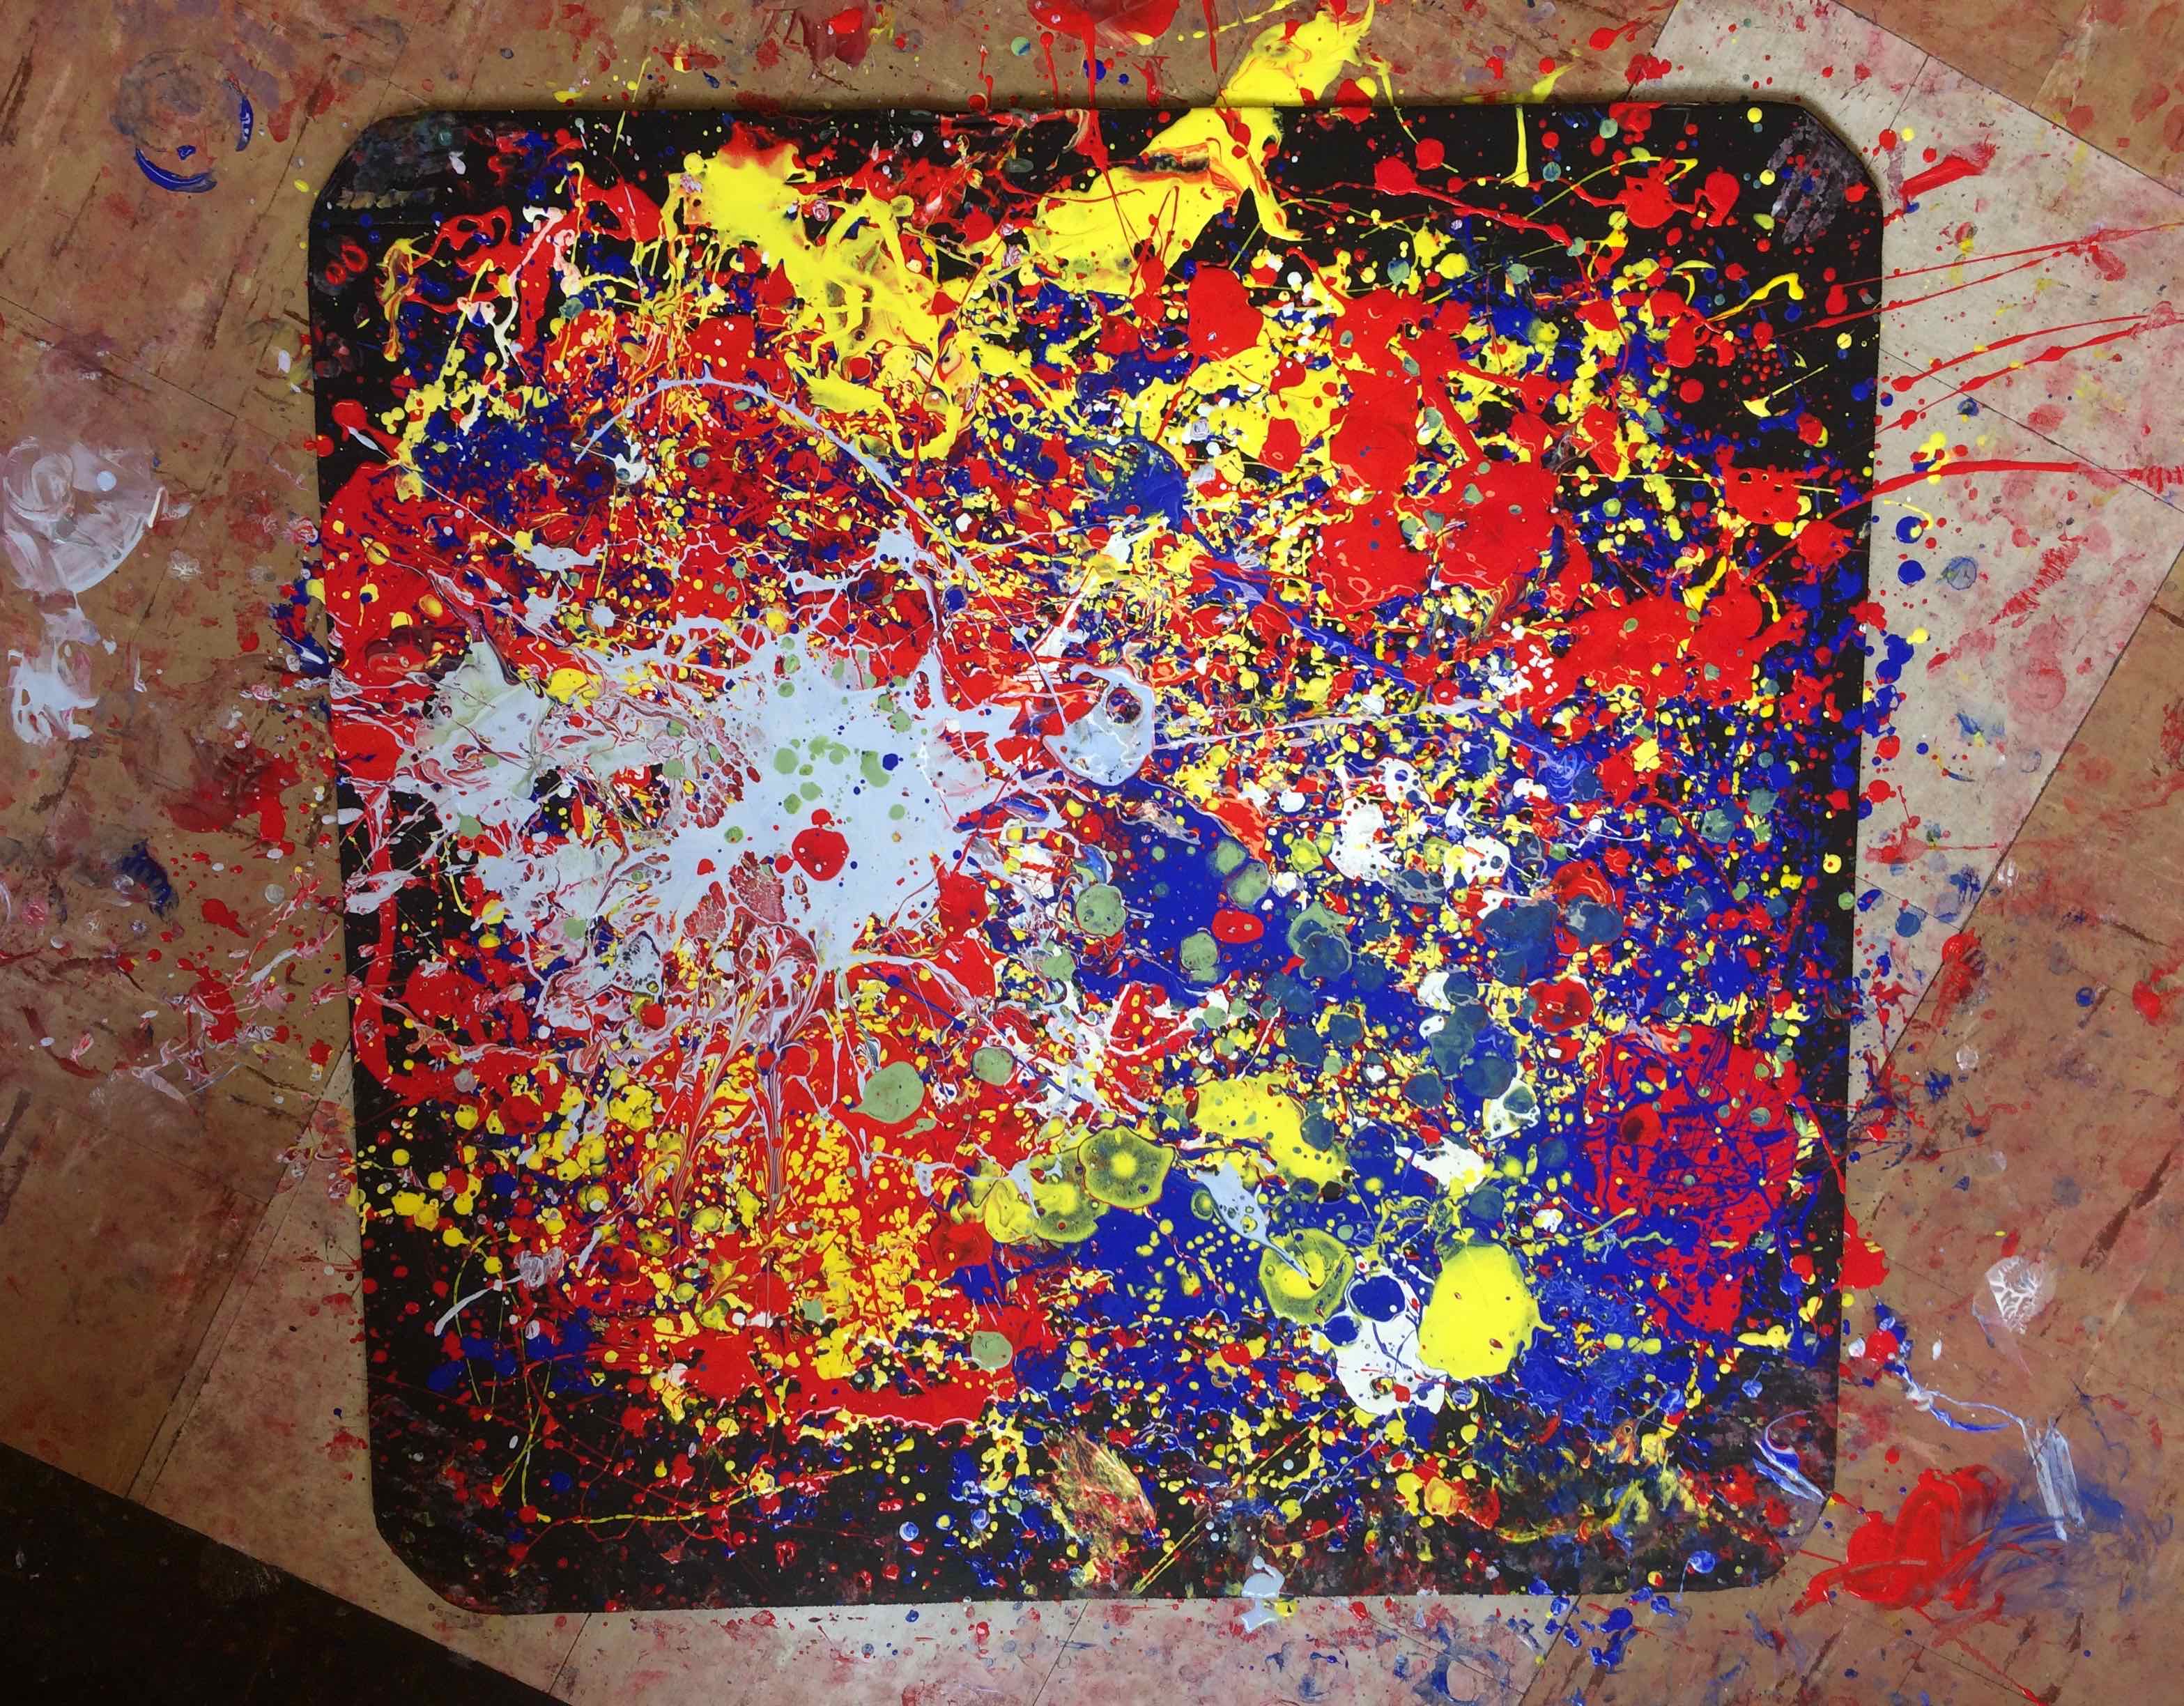
This surface is an actual artist’s canvas – we have used the back side of the canvas. If you look carefully you can see folds, creases and holes where metal staples would have been at the outer edge of the material where it was previously stretched tight over a wooden frame called a ‘stretcher’.Carefully controlling the amount of paint coming out of the watering can to create wonderful star-like spots.taking an old paintbrush and filling its tip with paint to flick or trail paint to the surface…trailing the paint off a stick to create thin swirly lines…
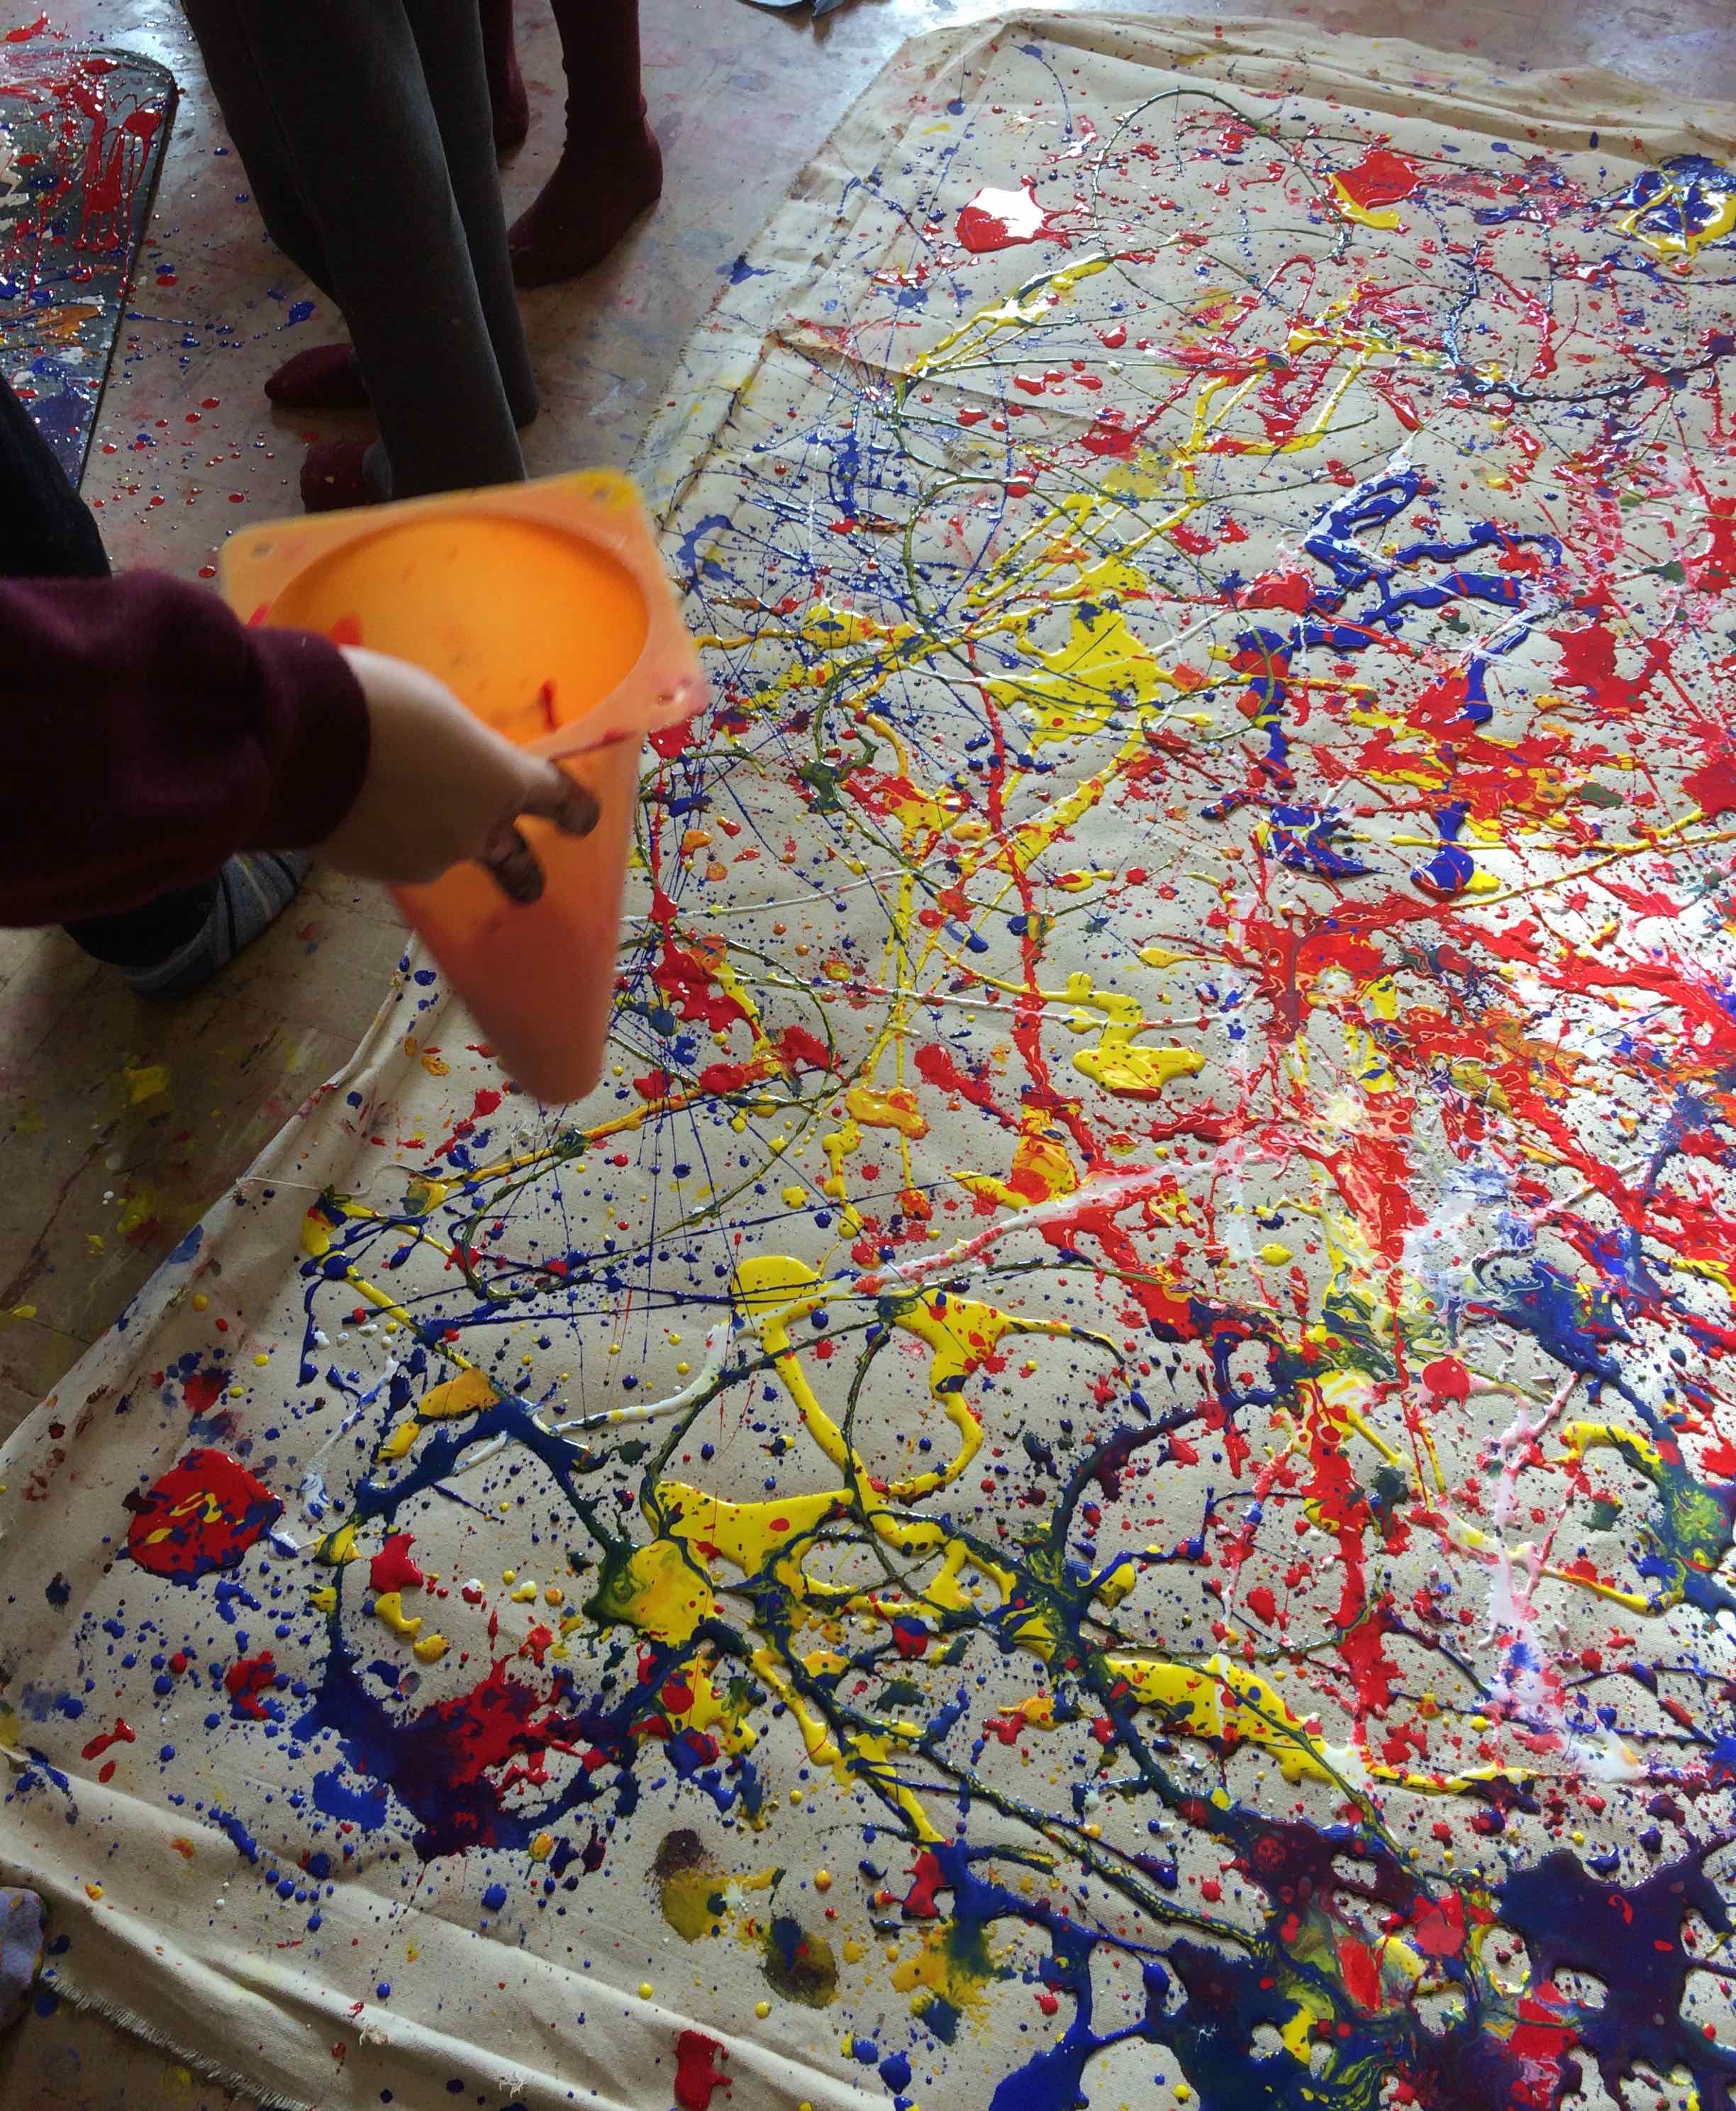
Layers of paint have very quickly built up…
Look at all the trails of blue and yellow paint here. The children have tried to produce thin flowing lines and thicker blobs of paint shapes.
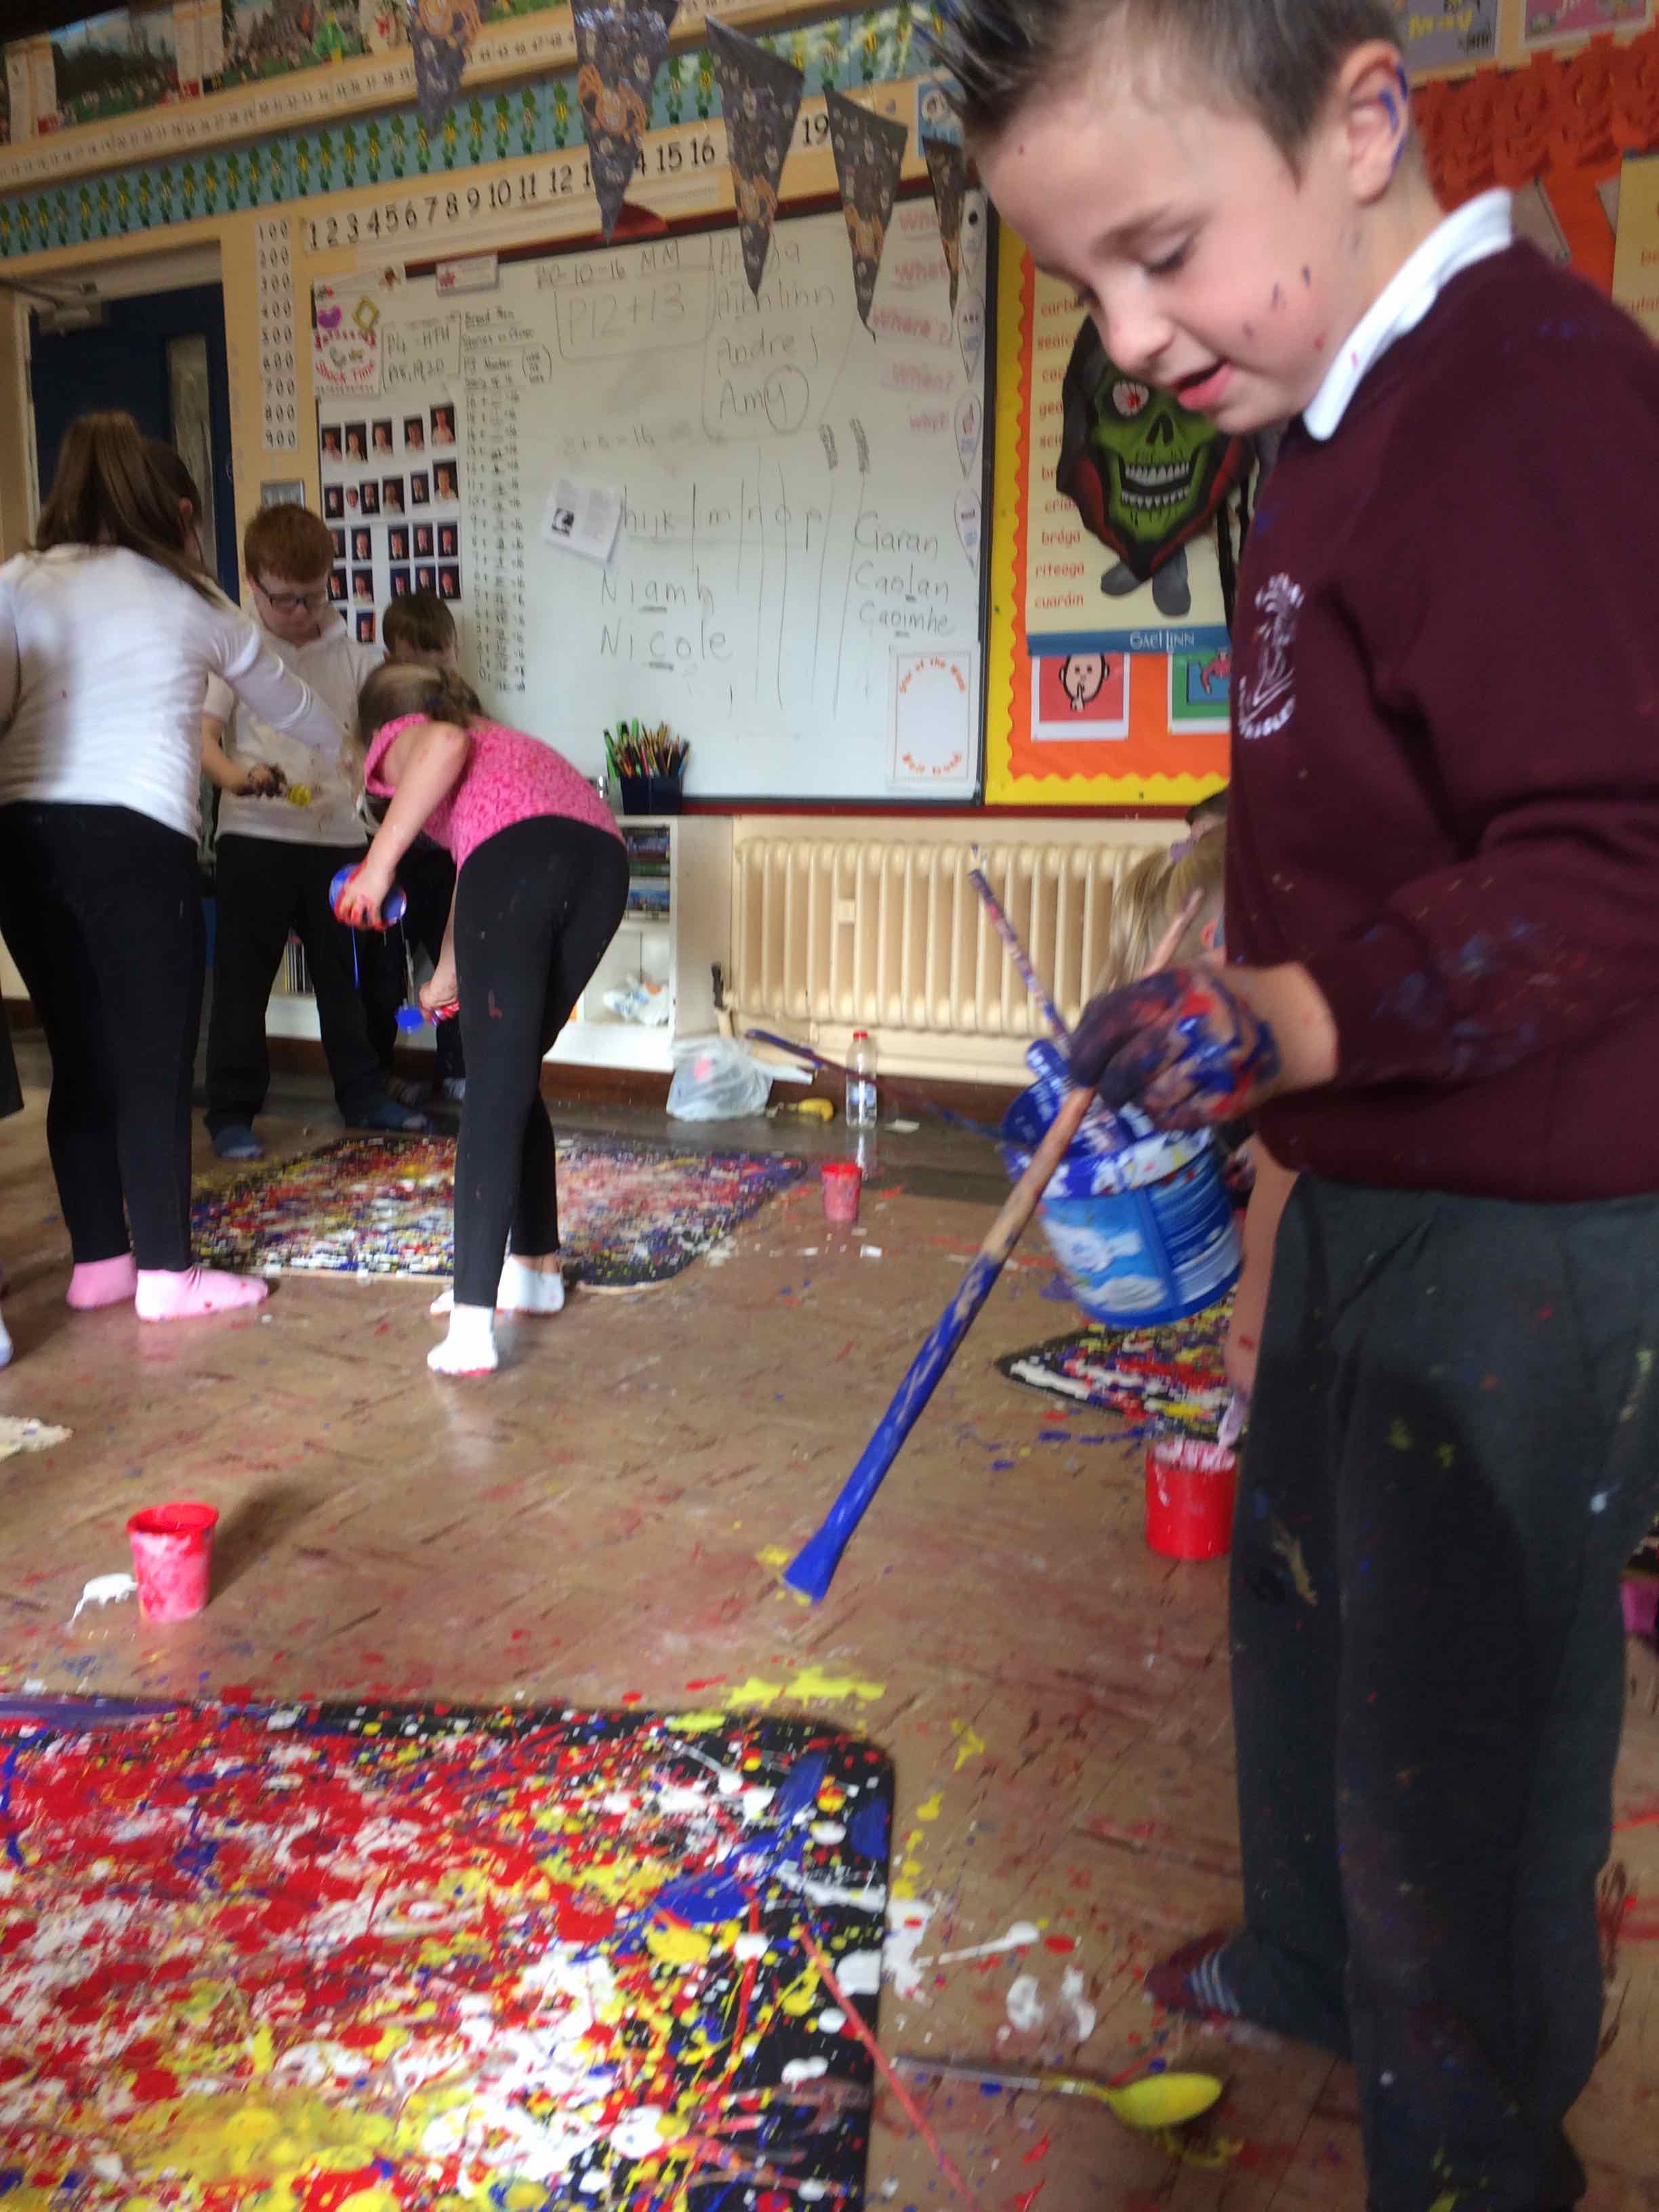
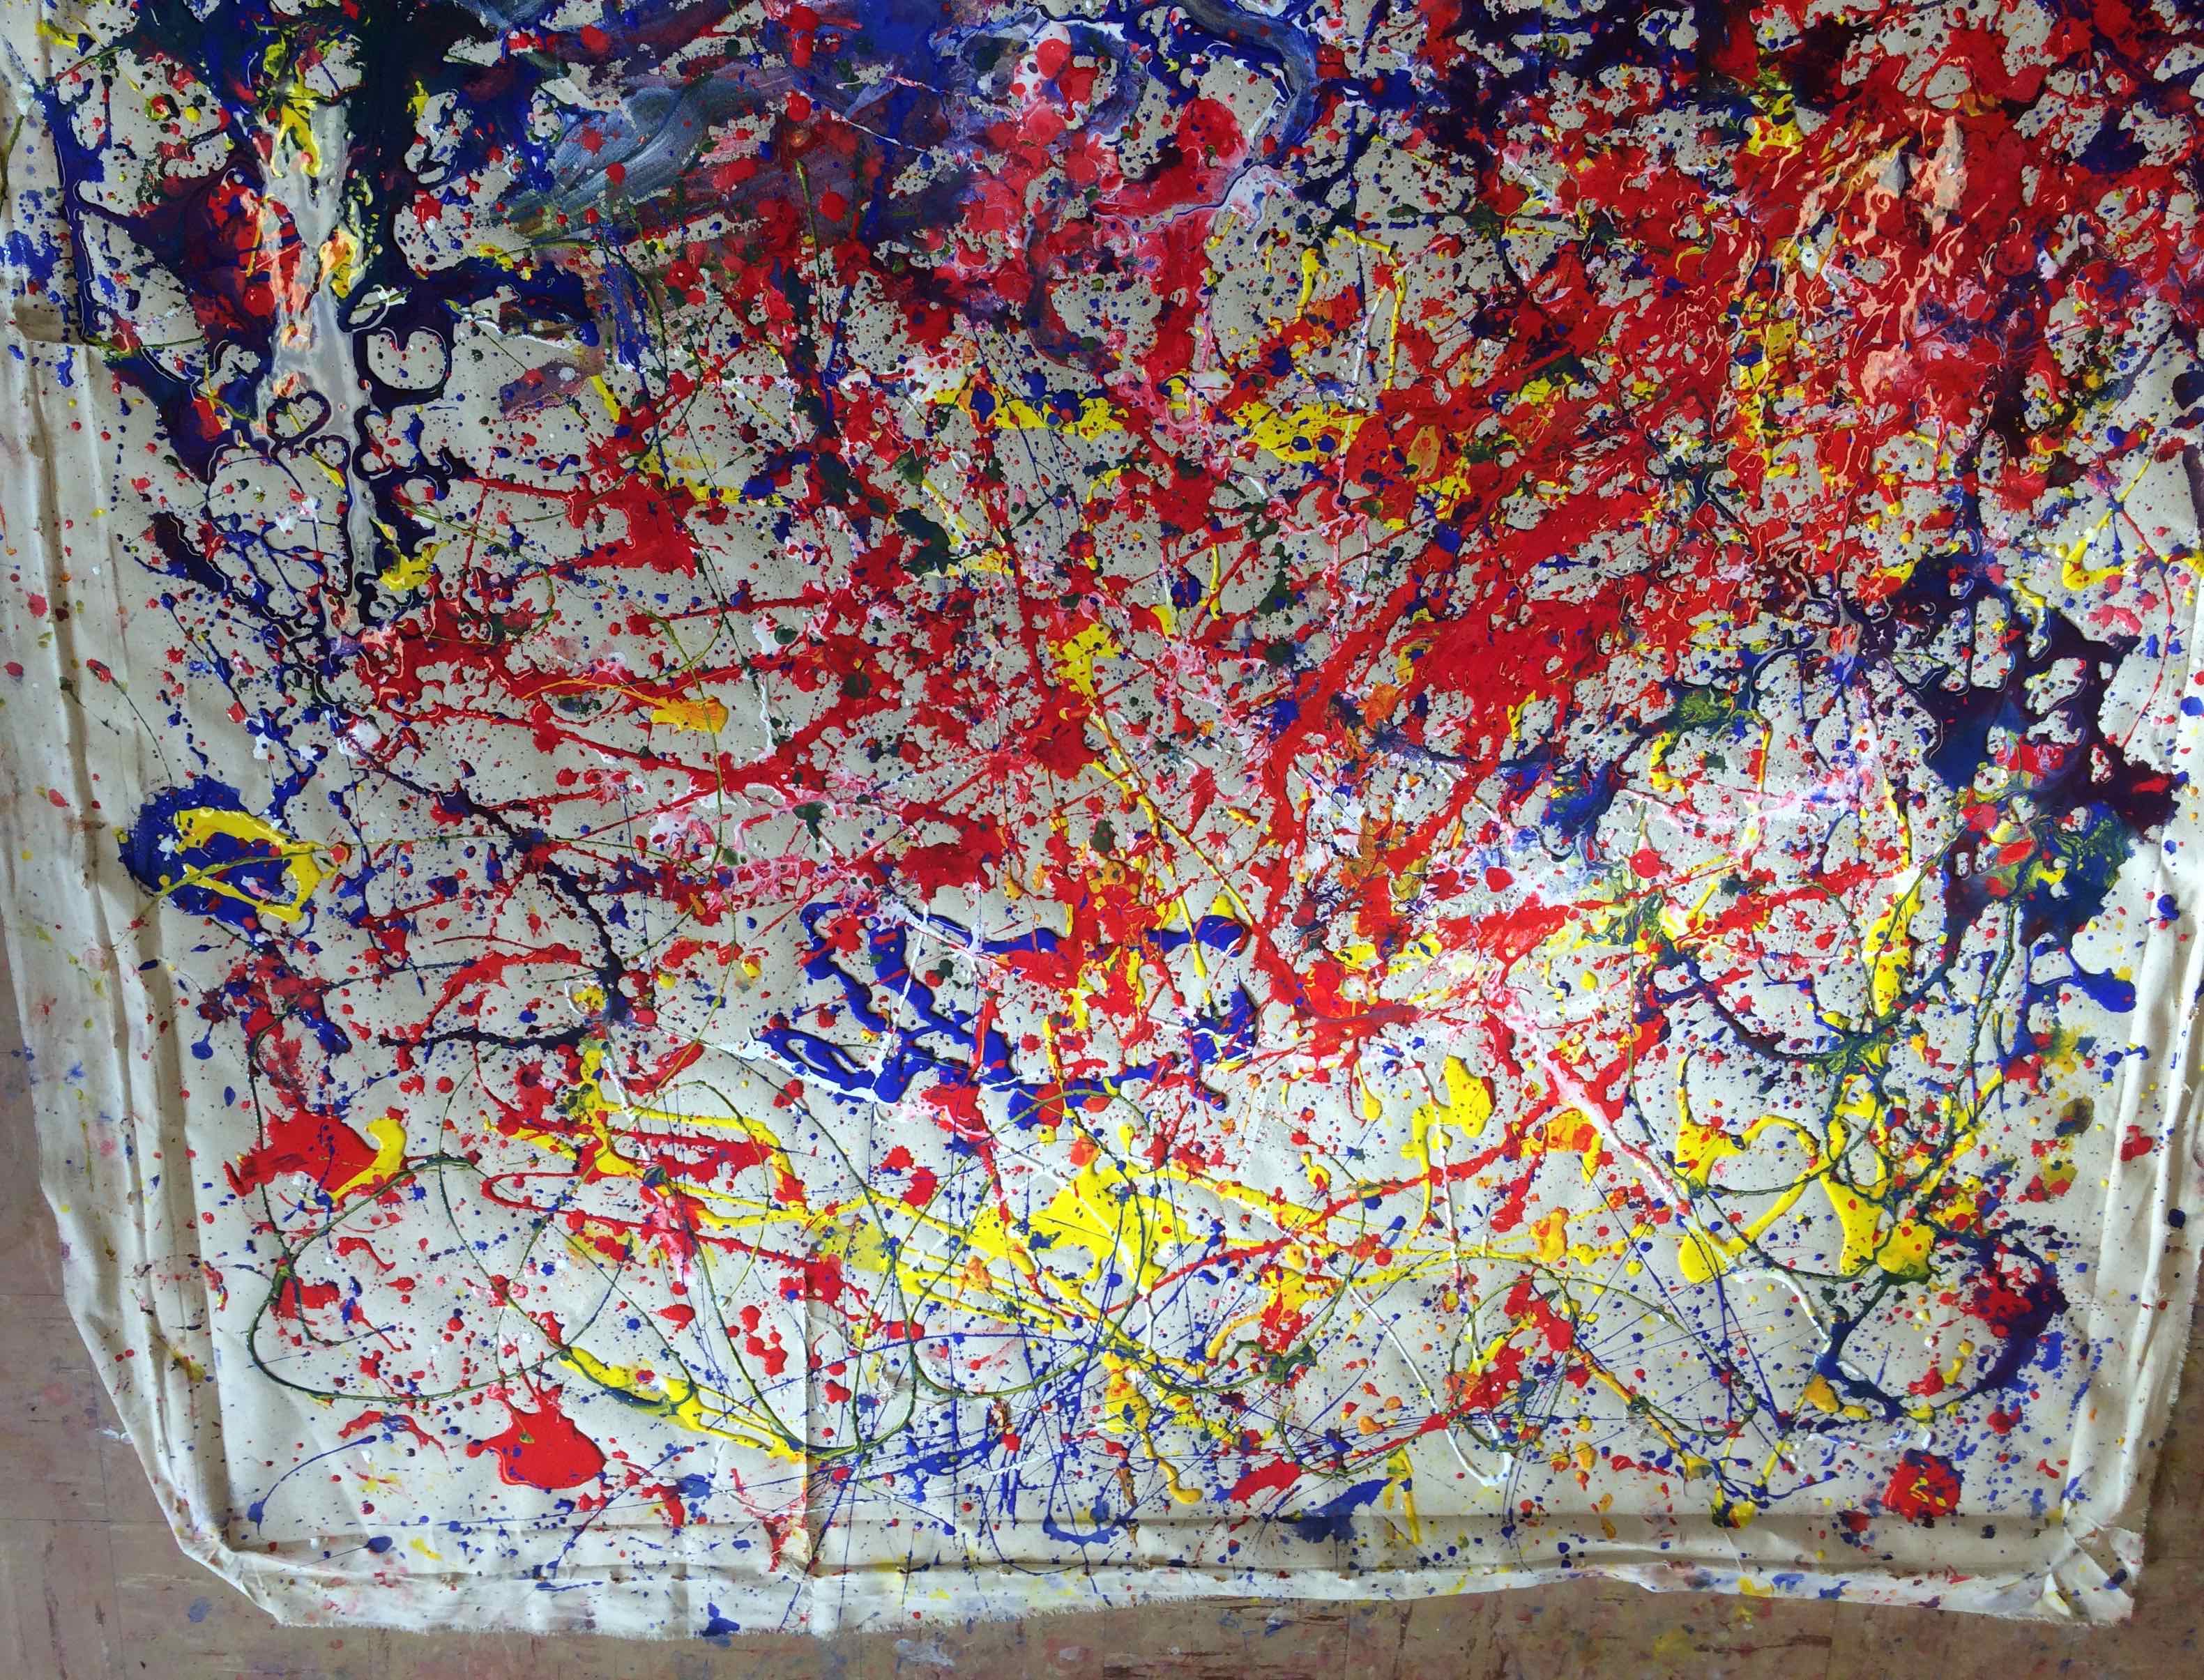
The children used many different implements to explore how they could get paint to the canvas without actually touching the surface itself. A sports cone had its tip pierced so paint could flow through…The children used many different things from brushes, sticks, cans, funnels, baby bottles, syringes and explored the different heights from which they dripped the paint.
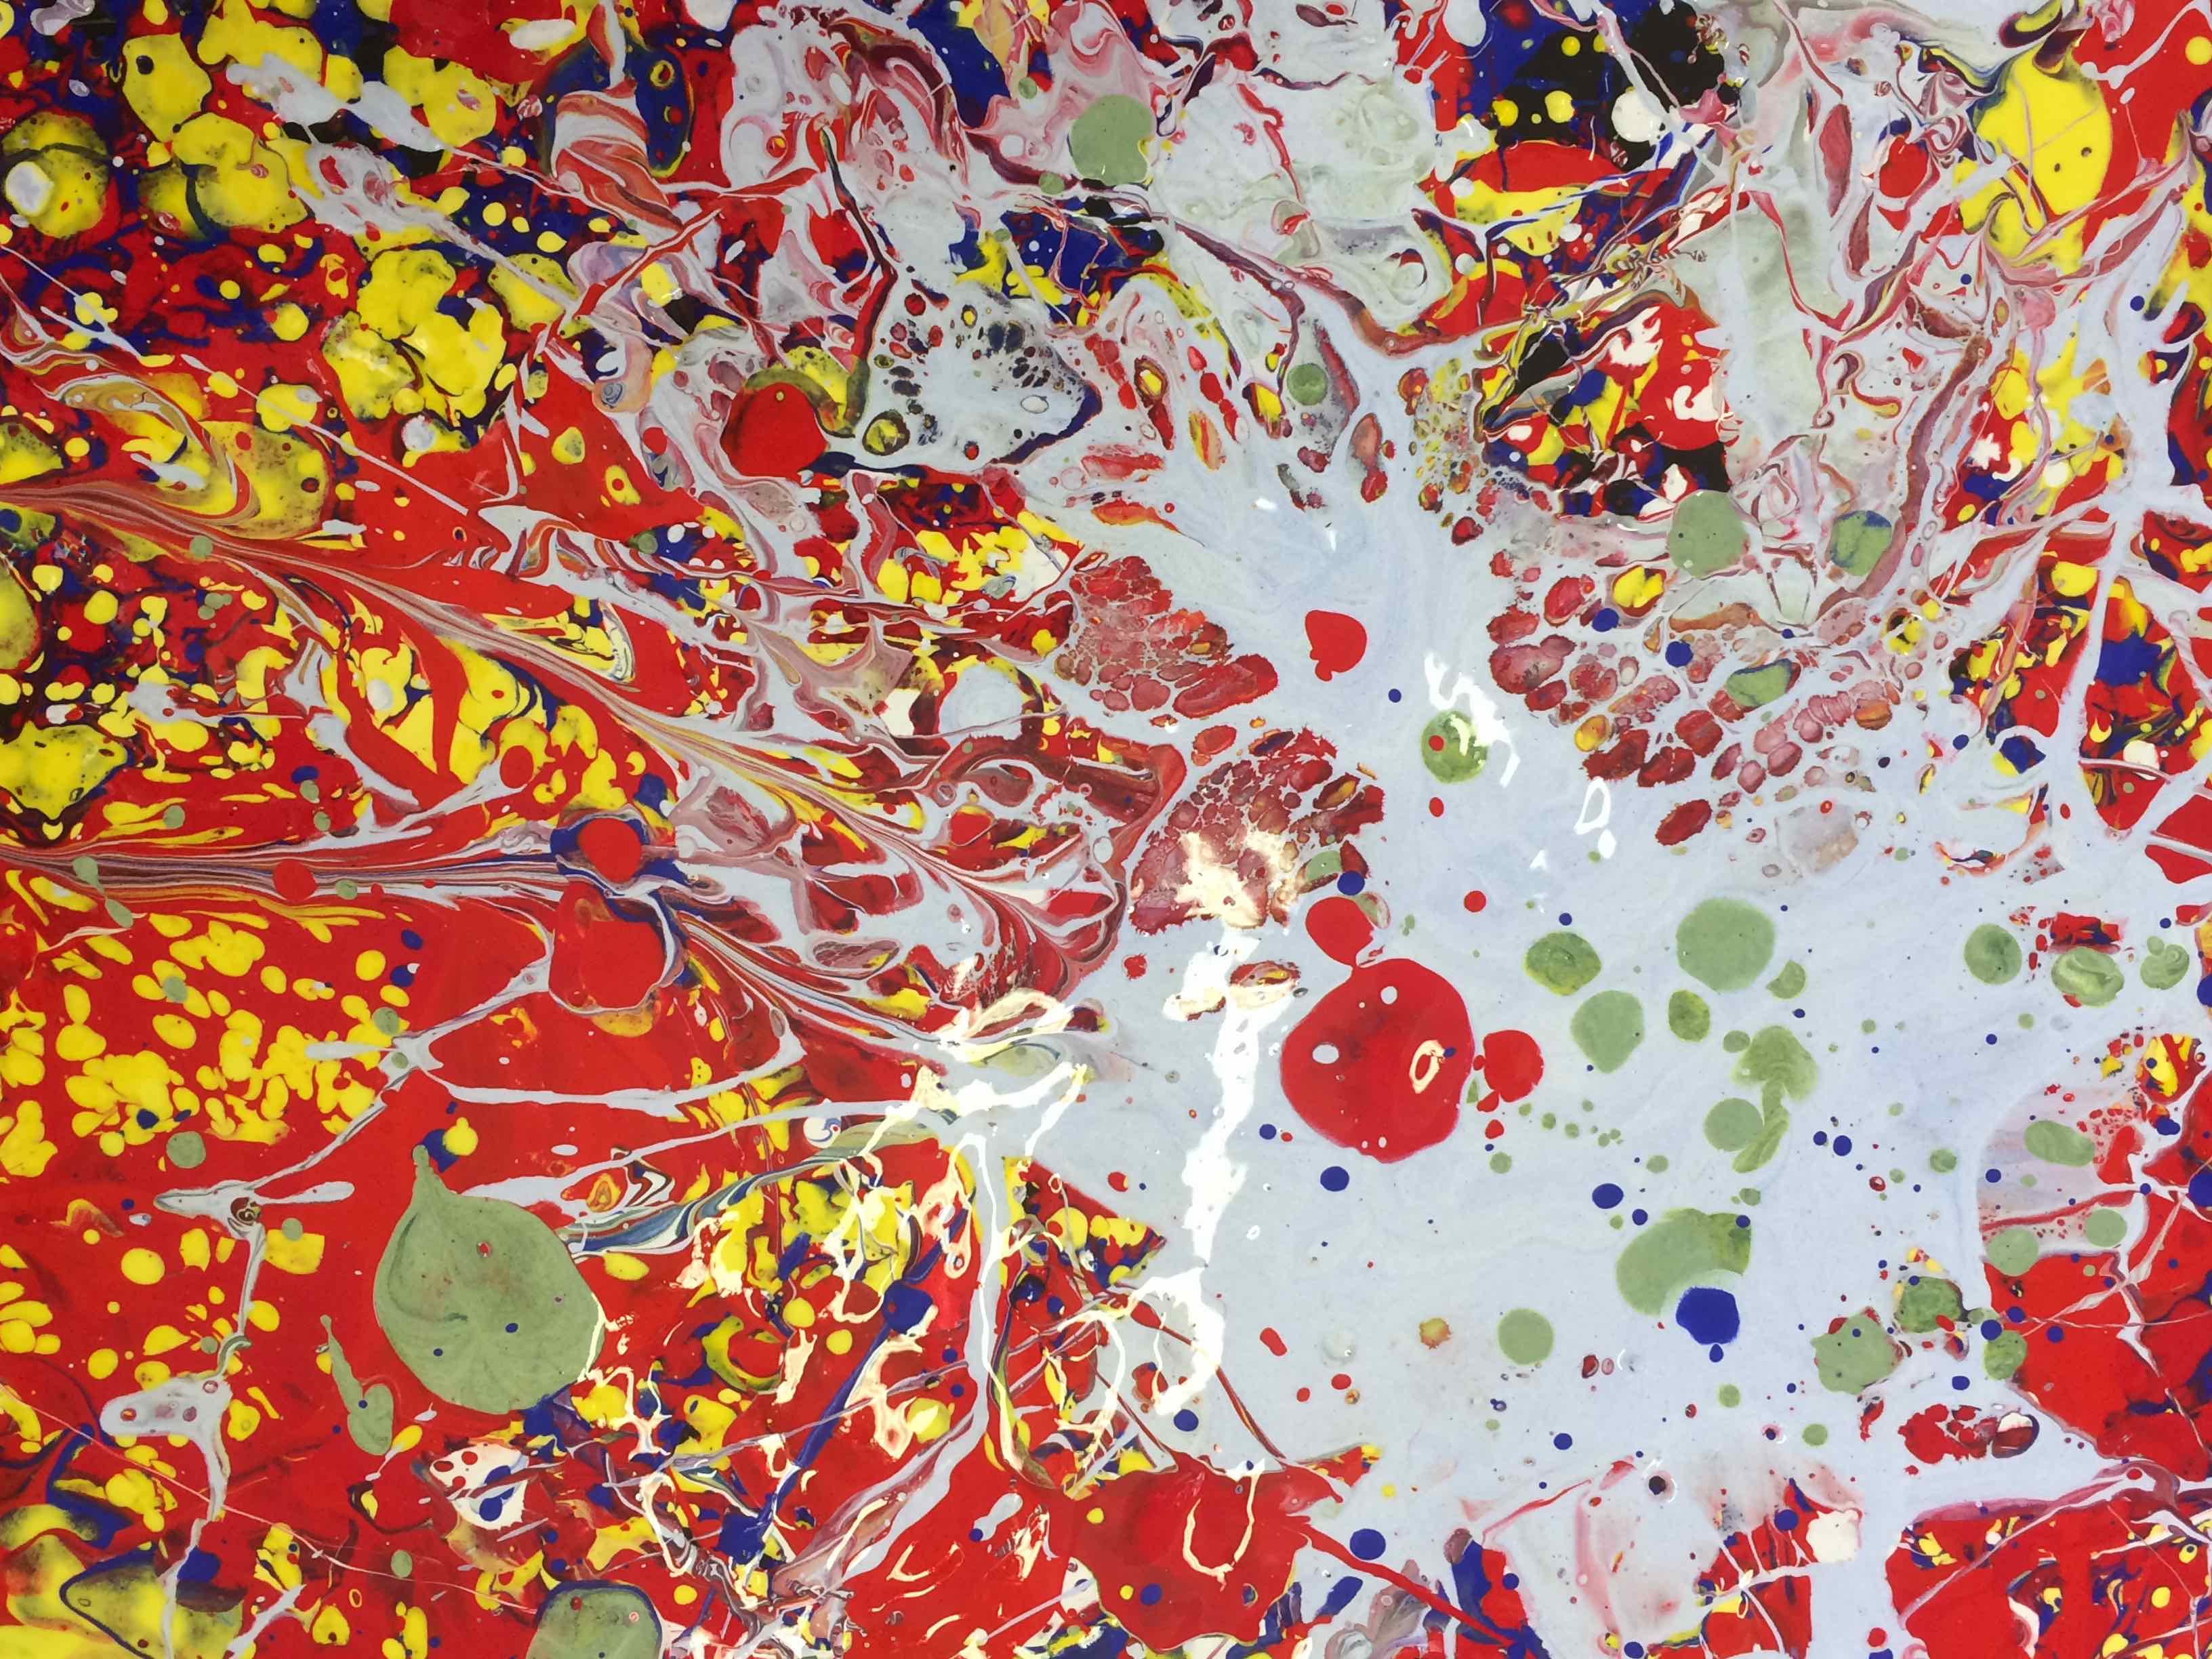
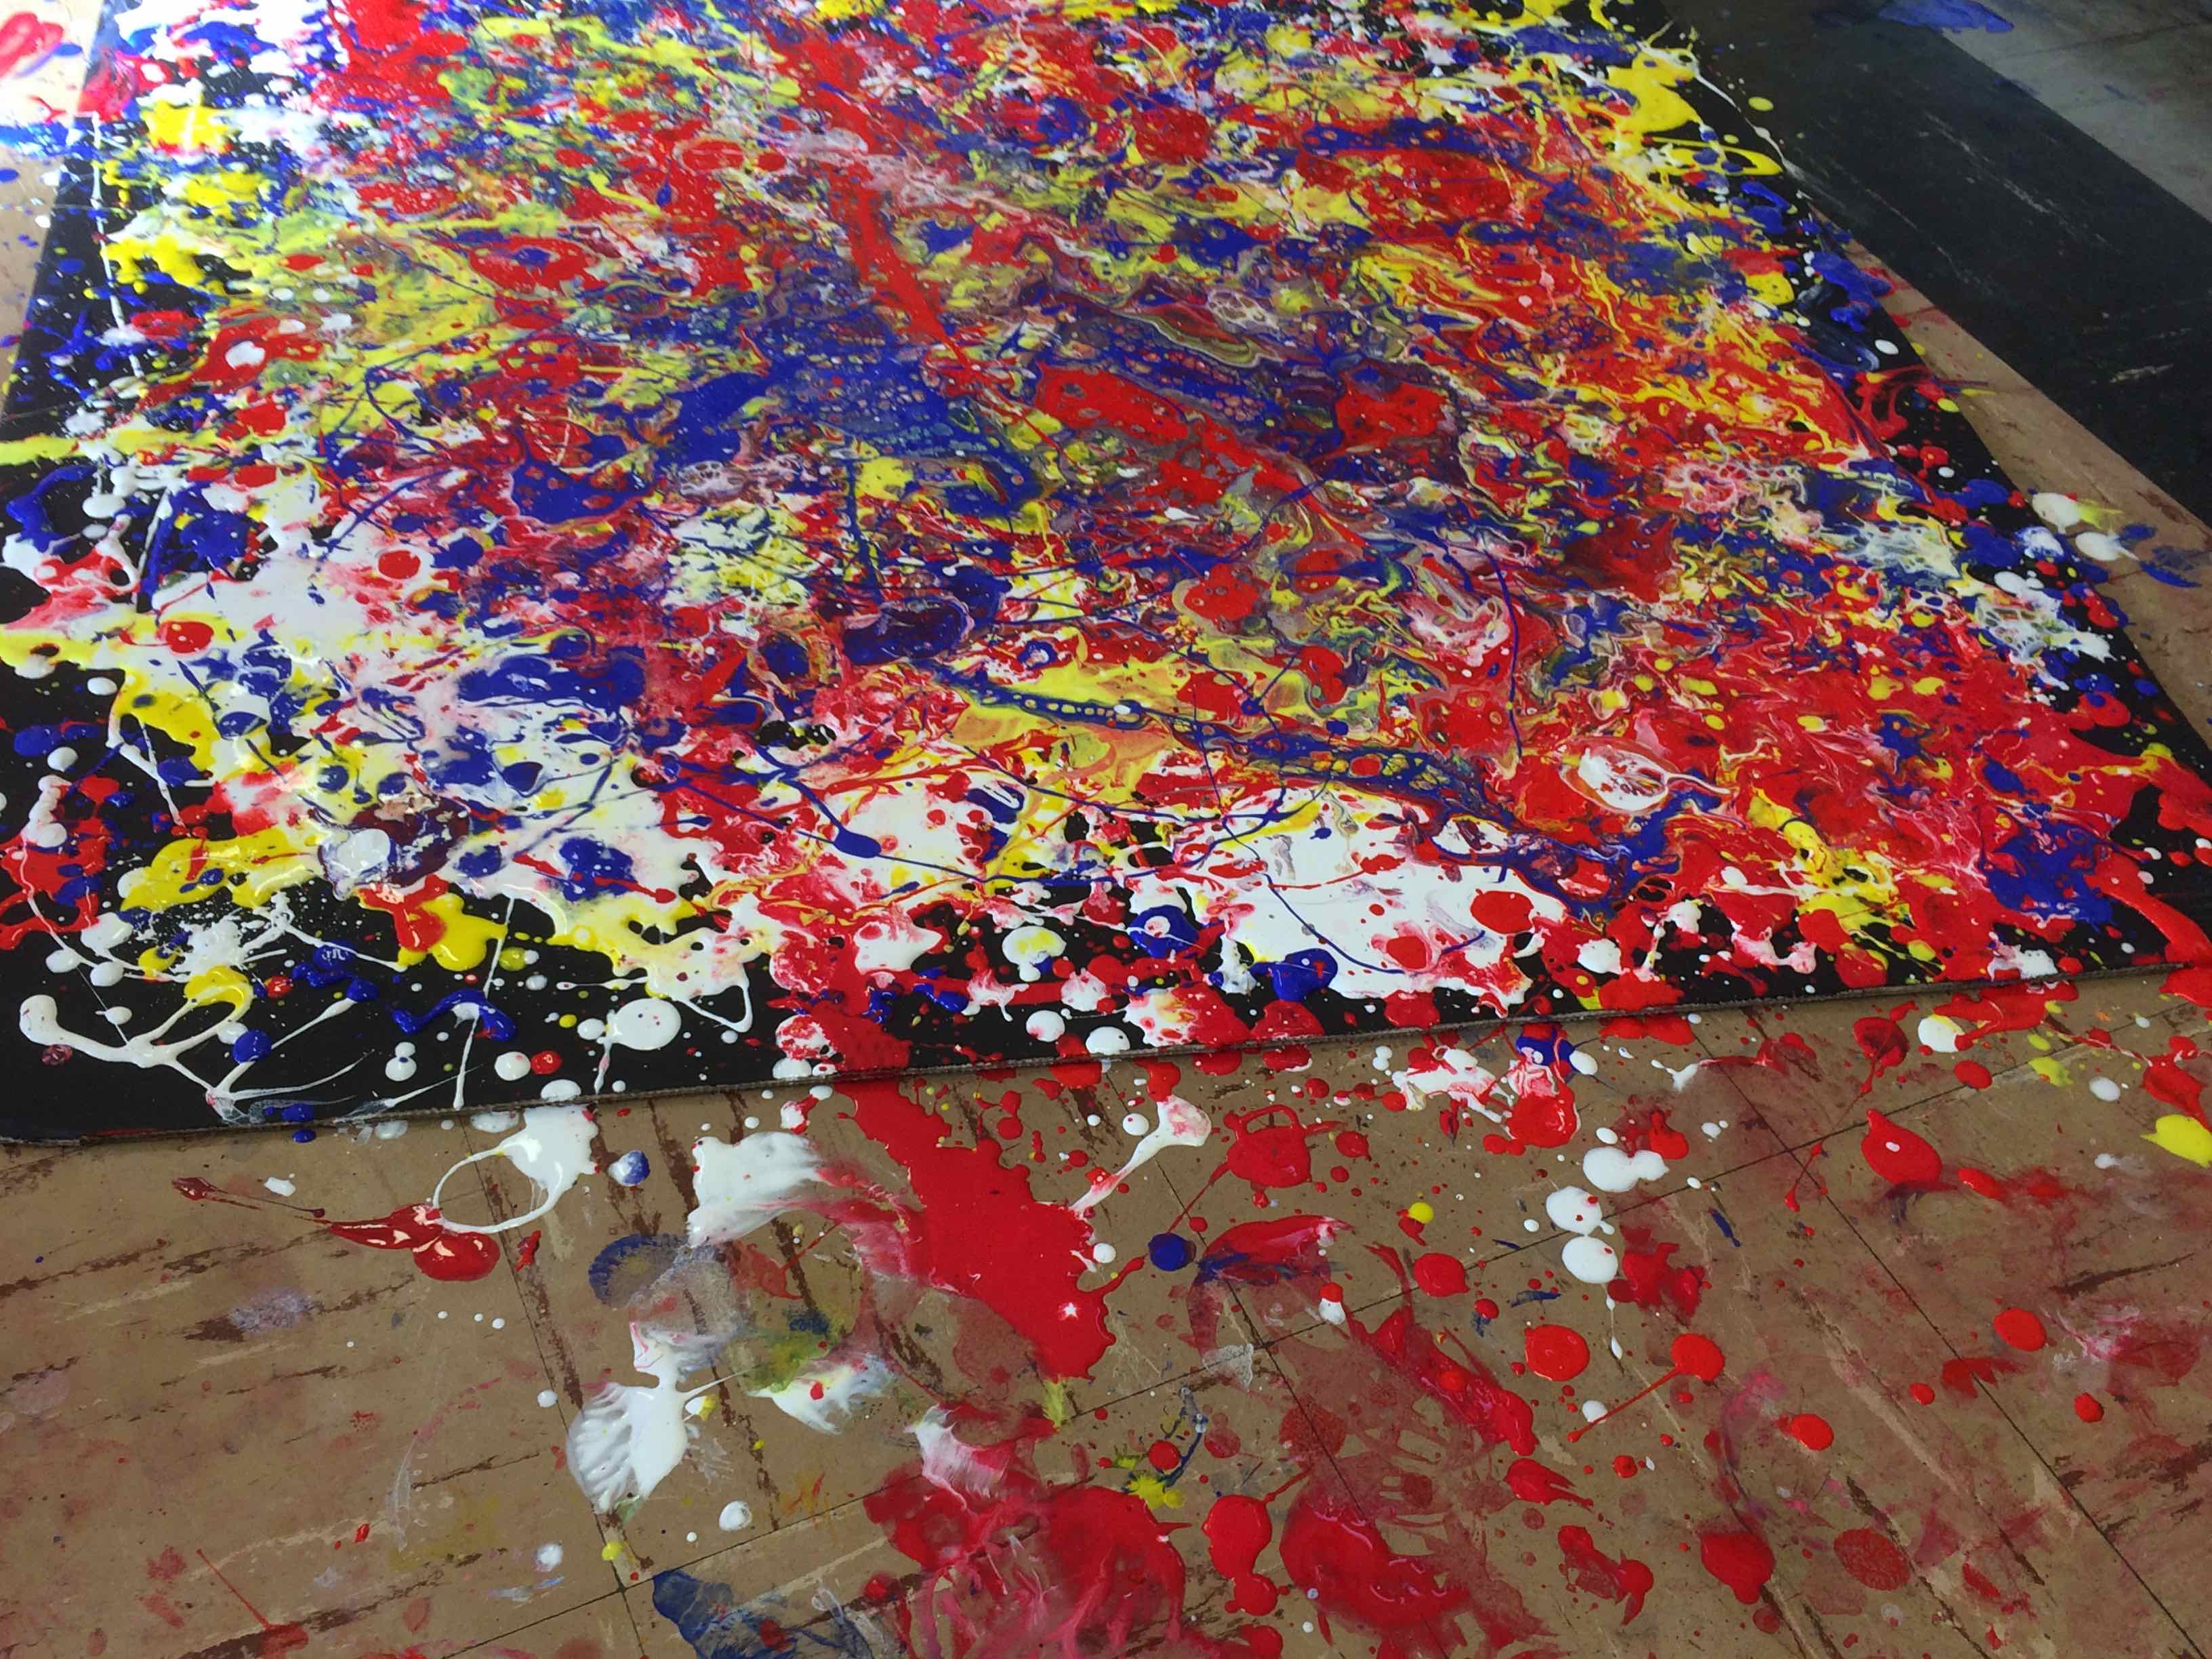
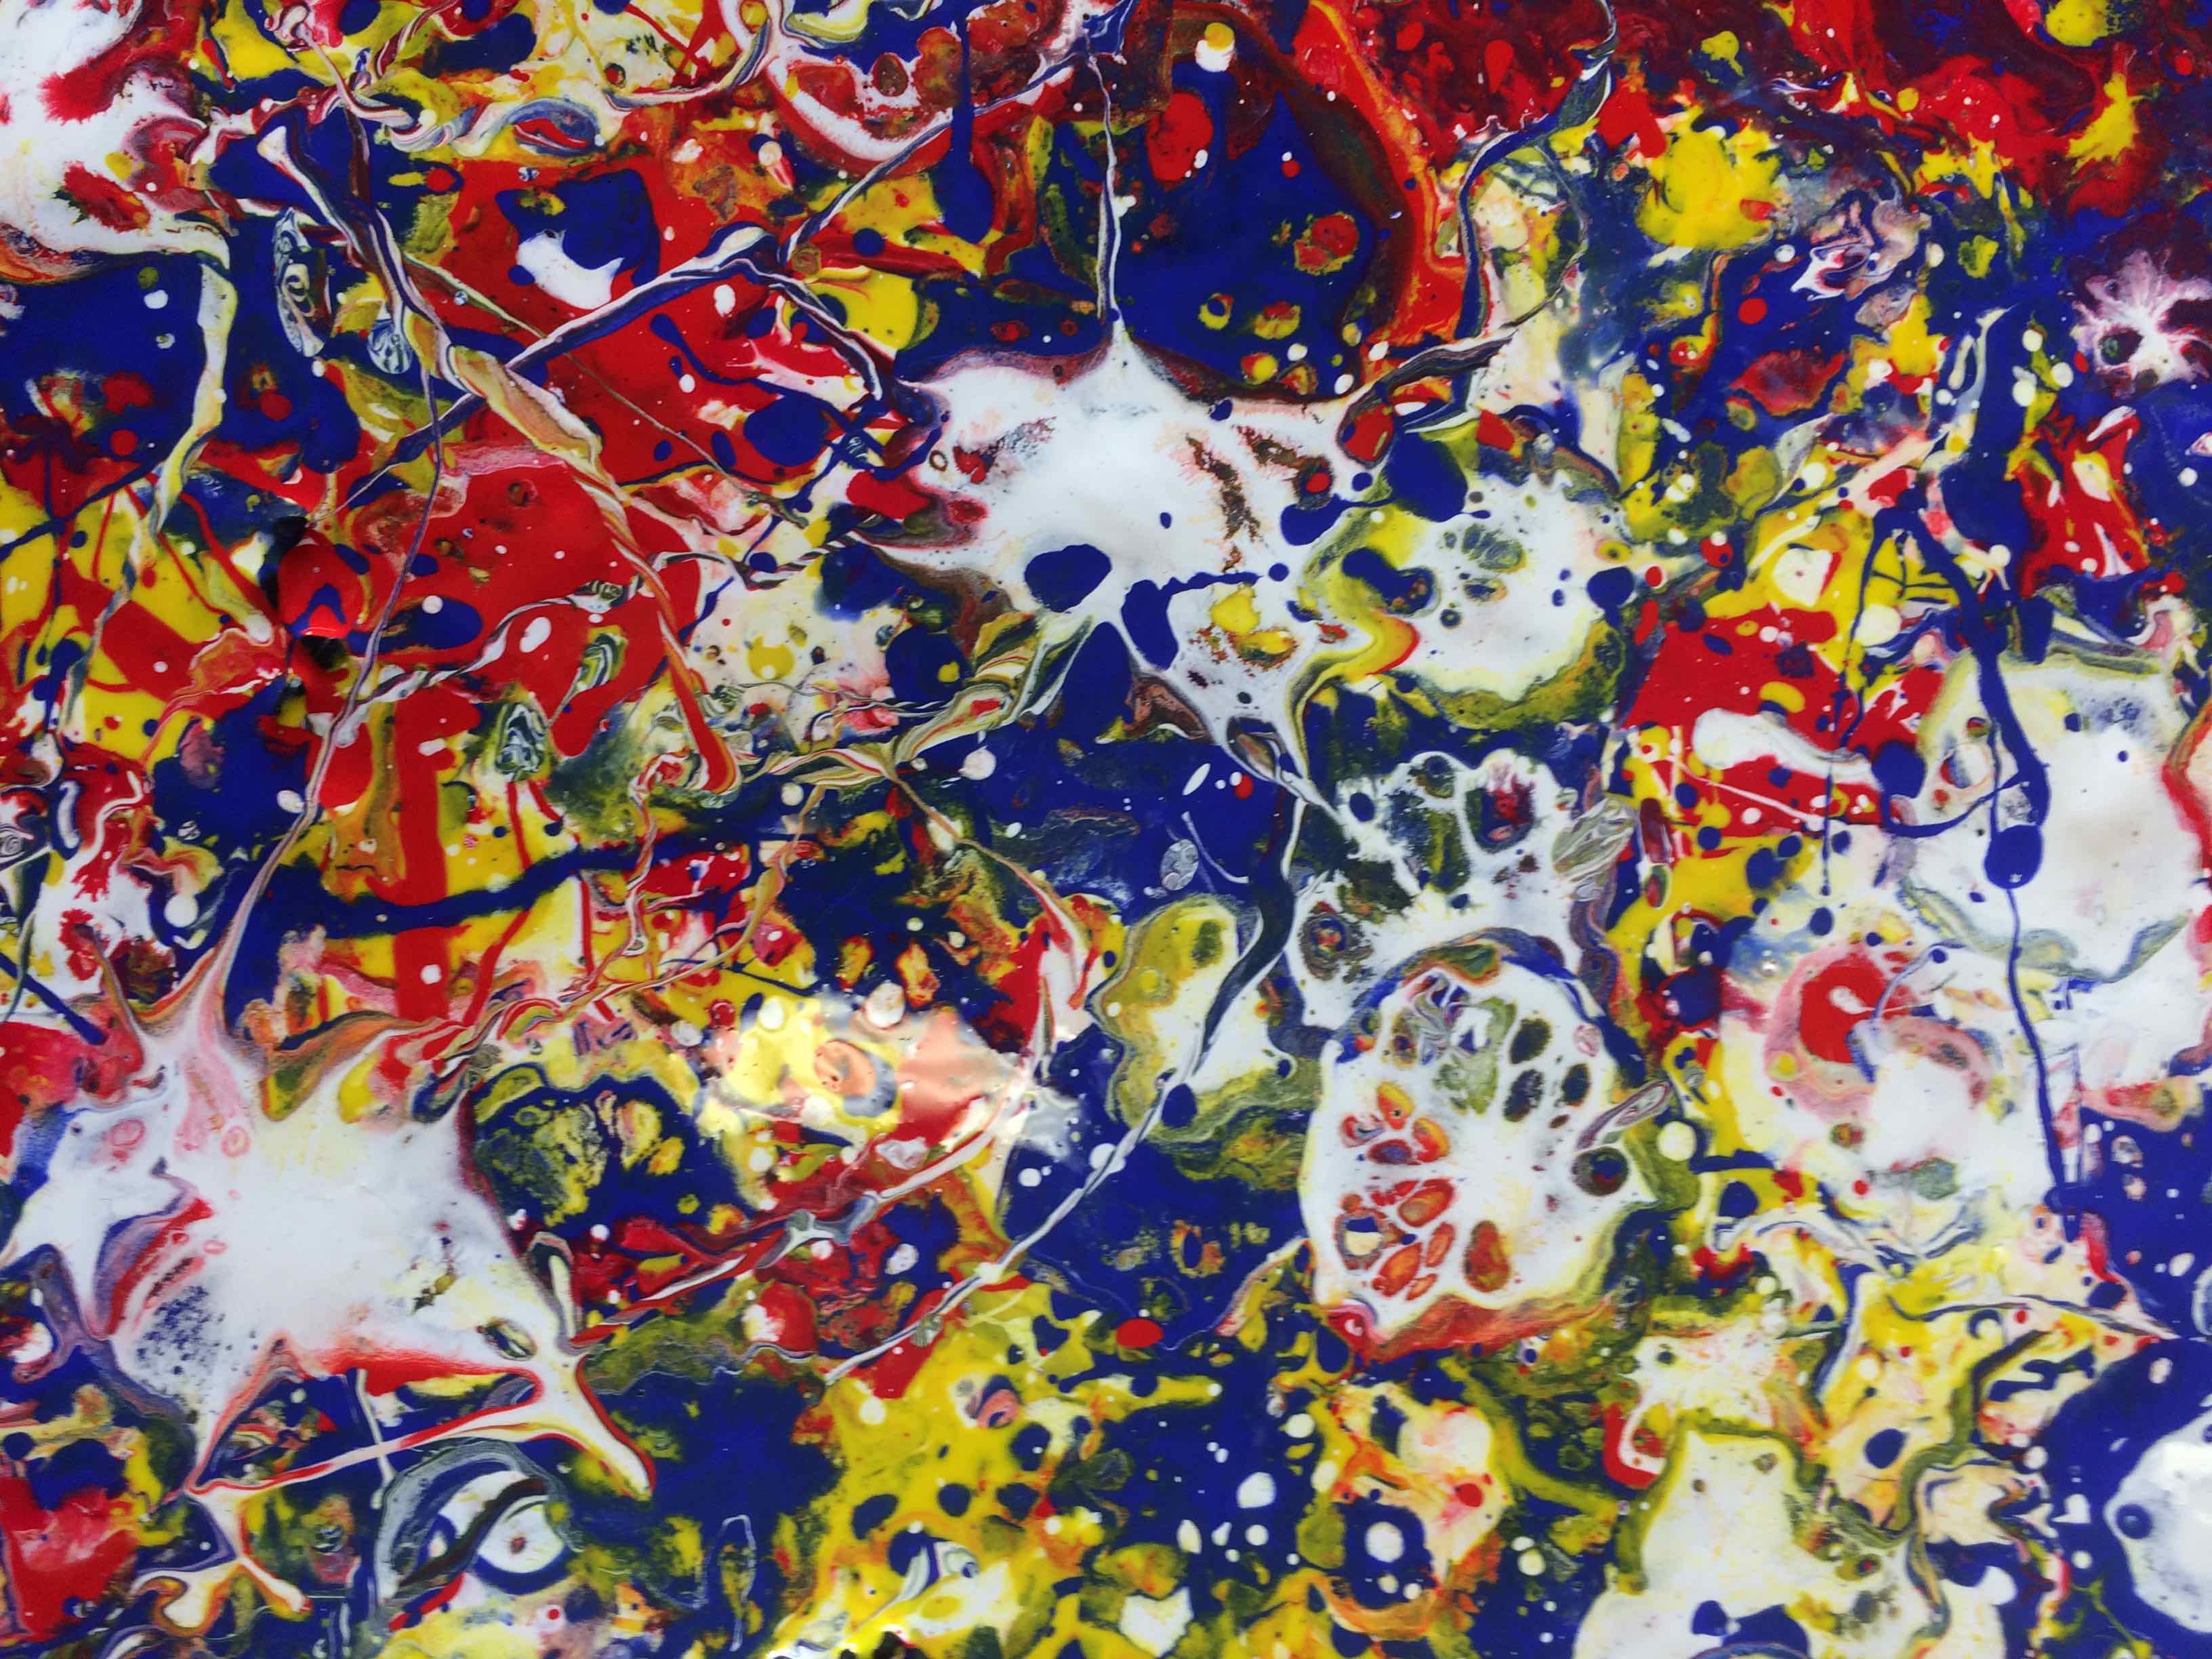
Amazing detail of one painted surface…Detail of painted surfaceA wonderful layering of lines in primary colours – but look how the blue and yellow paint has ended ‘mixed’ to create green!The edge of the canvas / cardboard didn’t stop the paint from hitting the floor.Vibrant effects of the paint mixing and reacting on the surfaces
Great energy was used to project the paint right across the canvas and beyond!
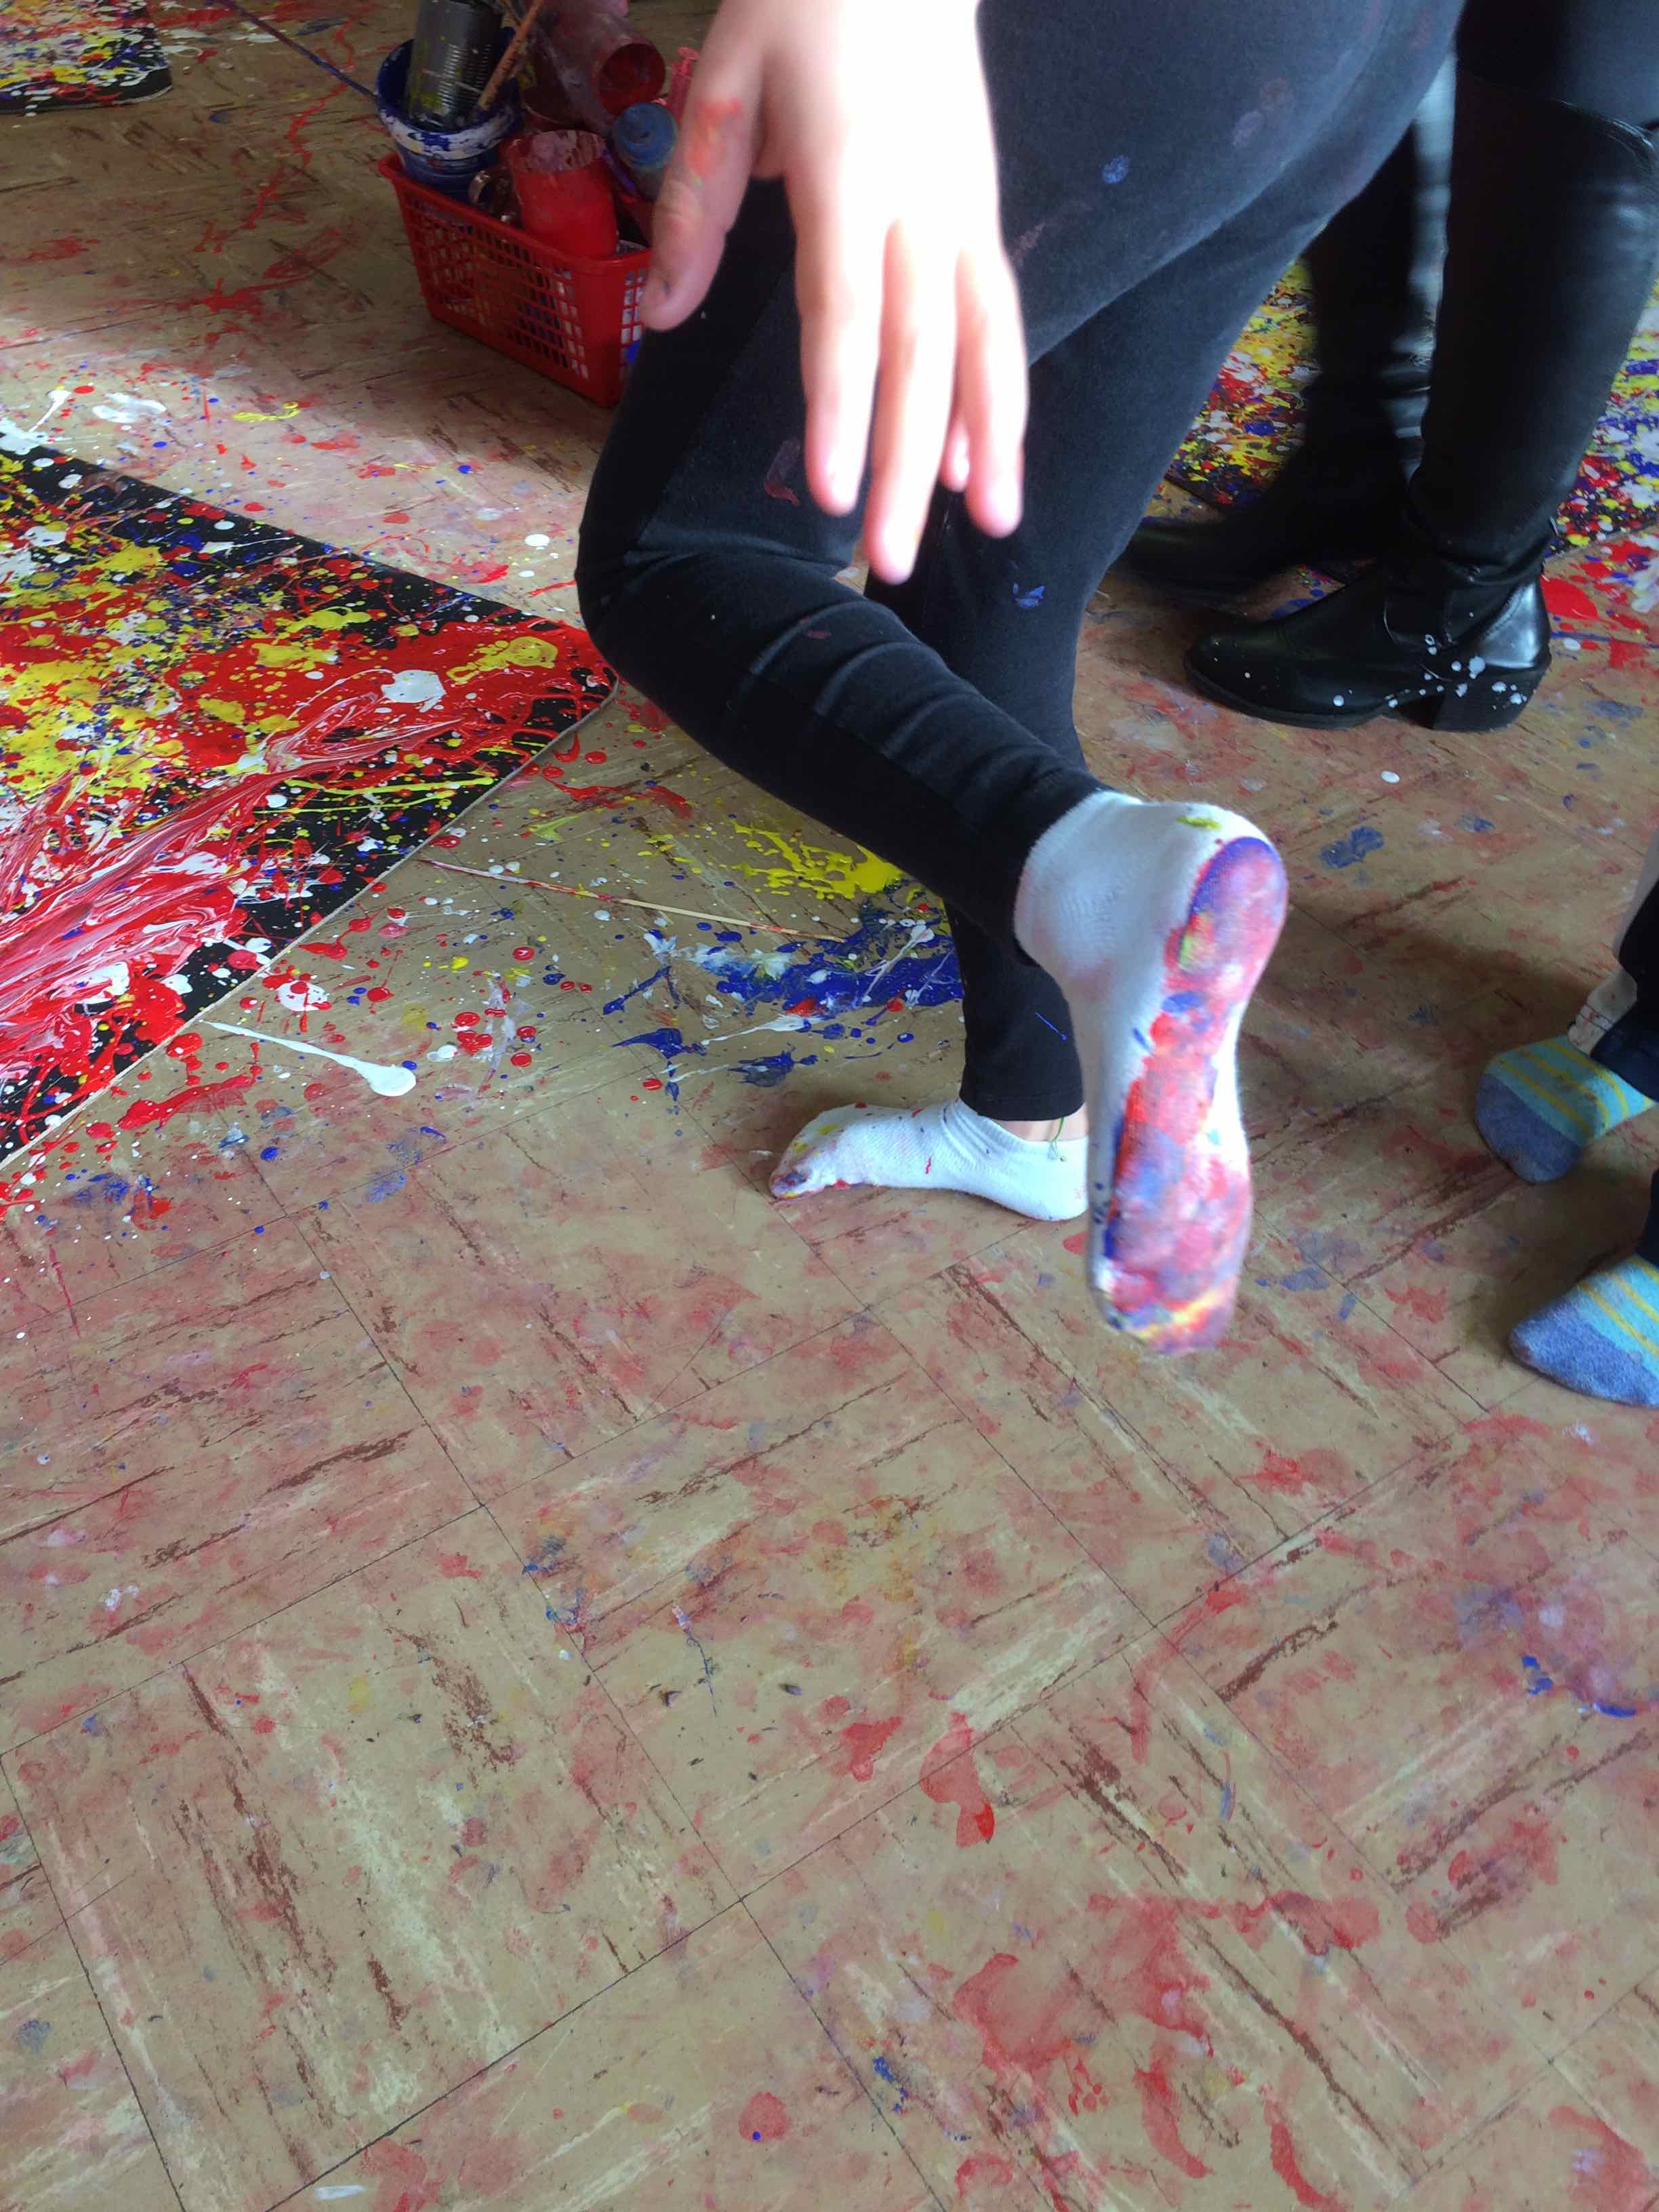
After the activity was complete, we asked the children to stand beside the canvas that they really liked and to offer a few words about what they liked about it and also how they created their artwork.
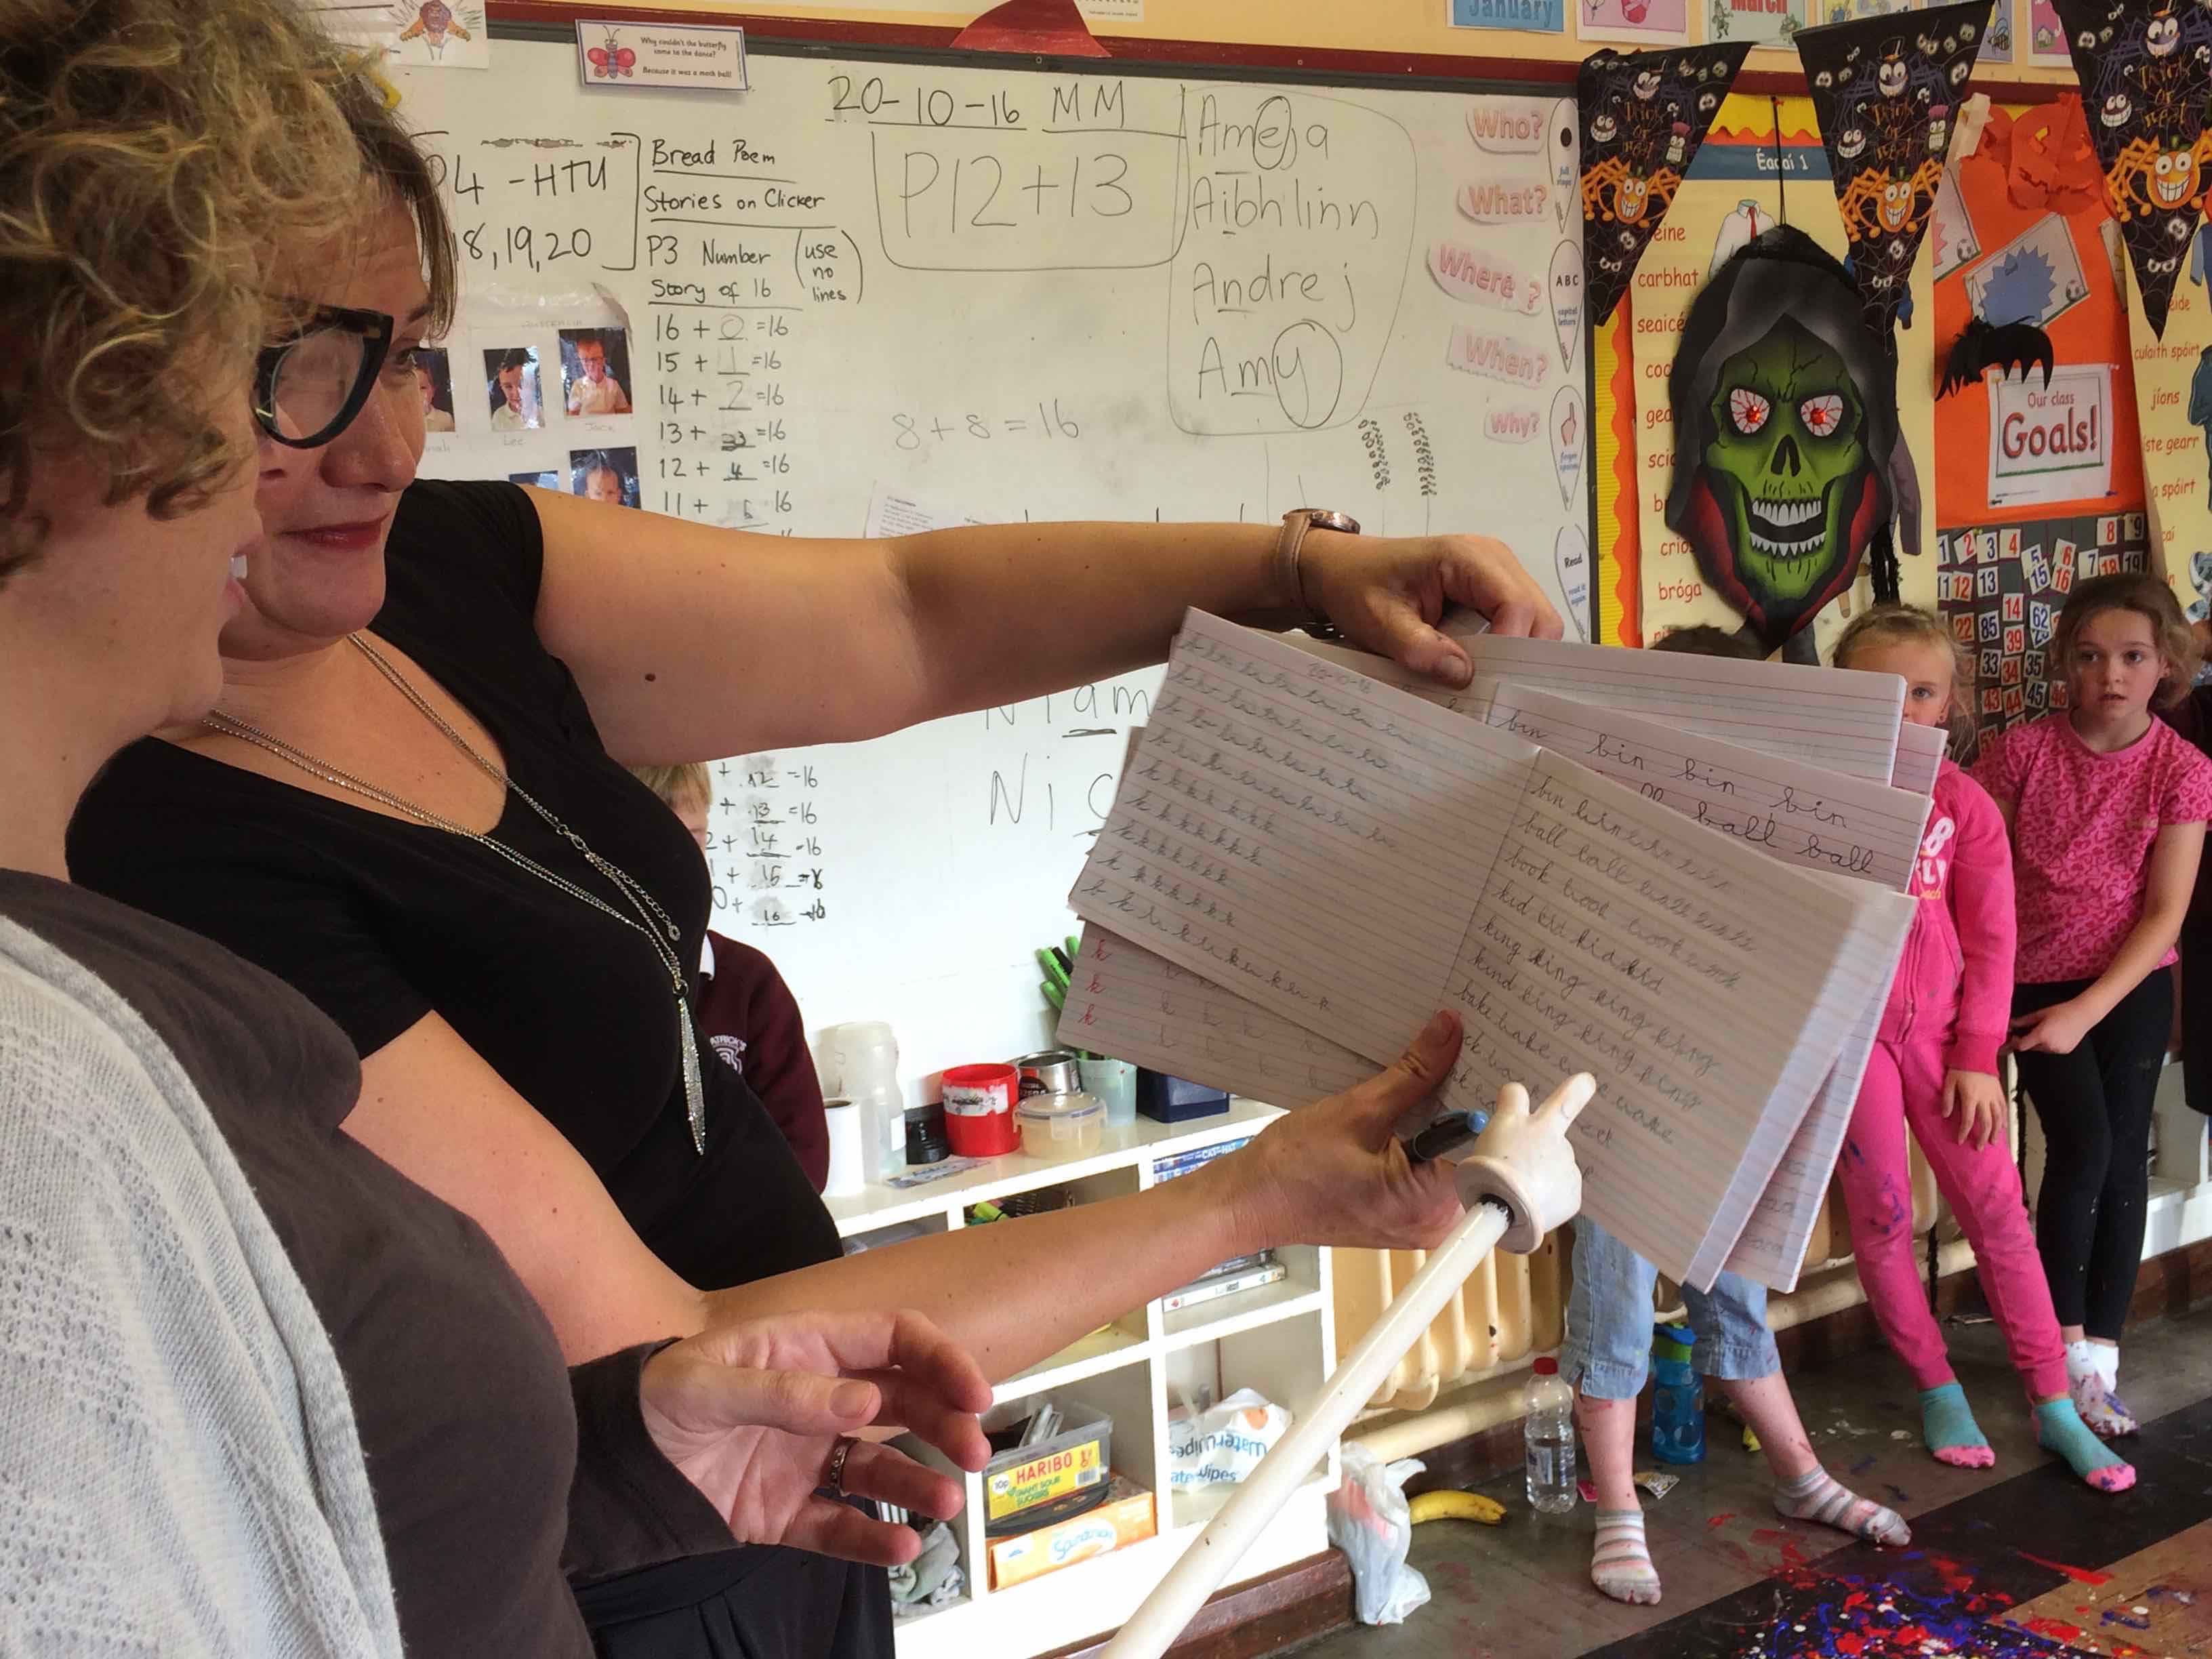
We explained to Orla that we had been practicing making very controlled loops which had got bigger and bigger in past sessions. Mrs Hughes made the observation that she had noticed the children’s handwriting had improved considerably… they were more confident with their joined up writing… She showed Orla their books!
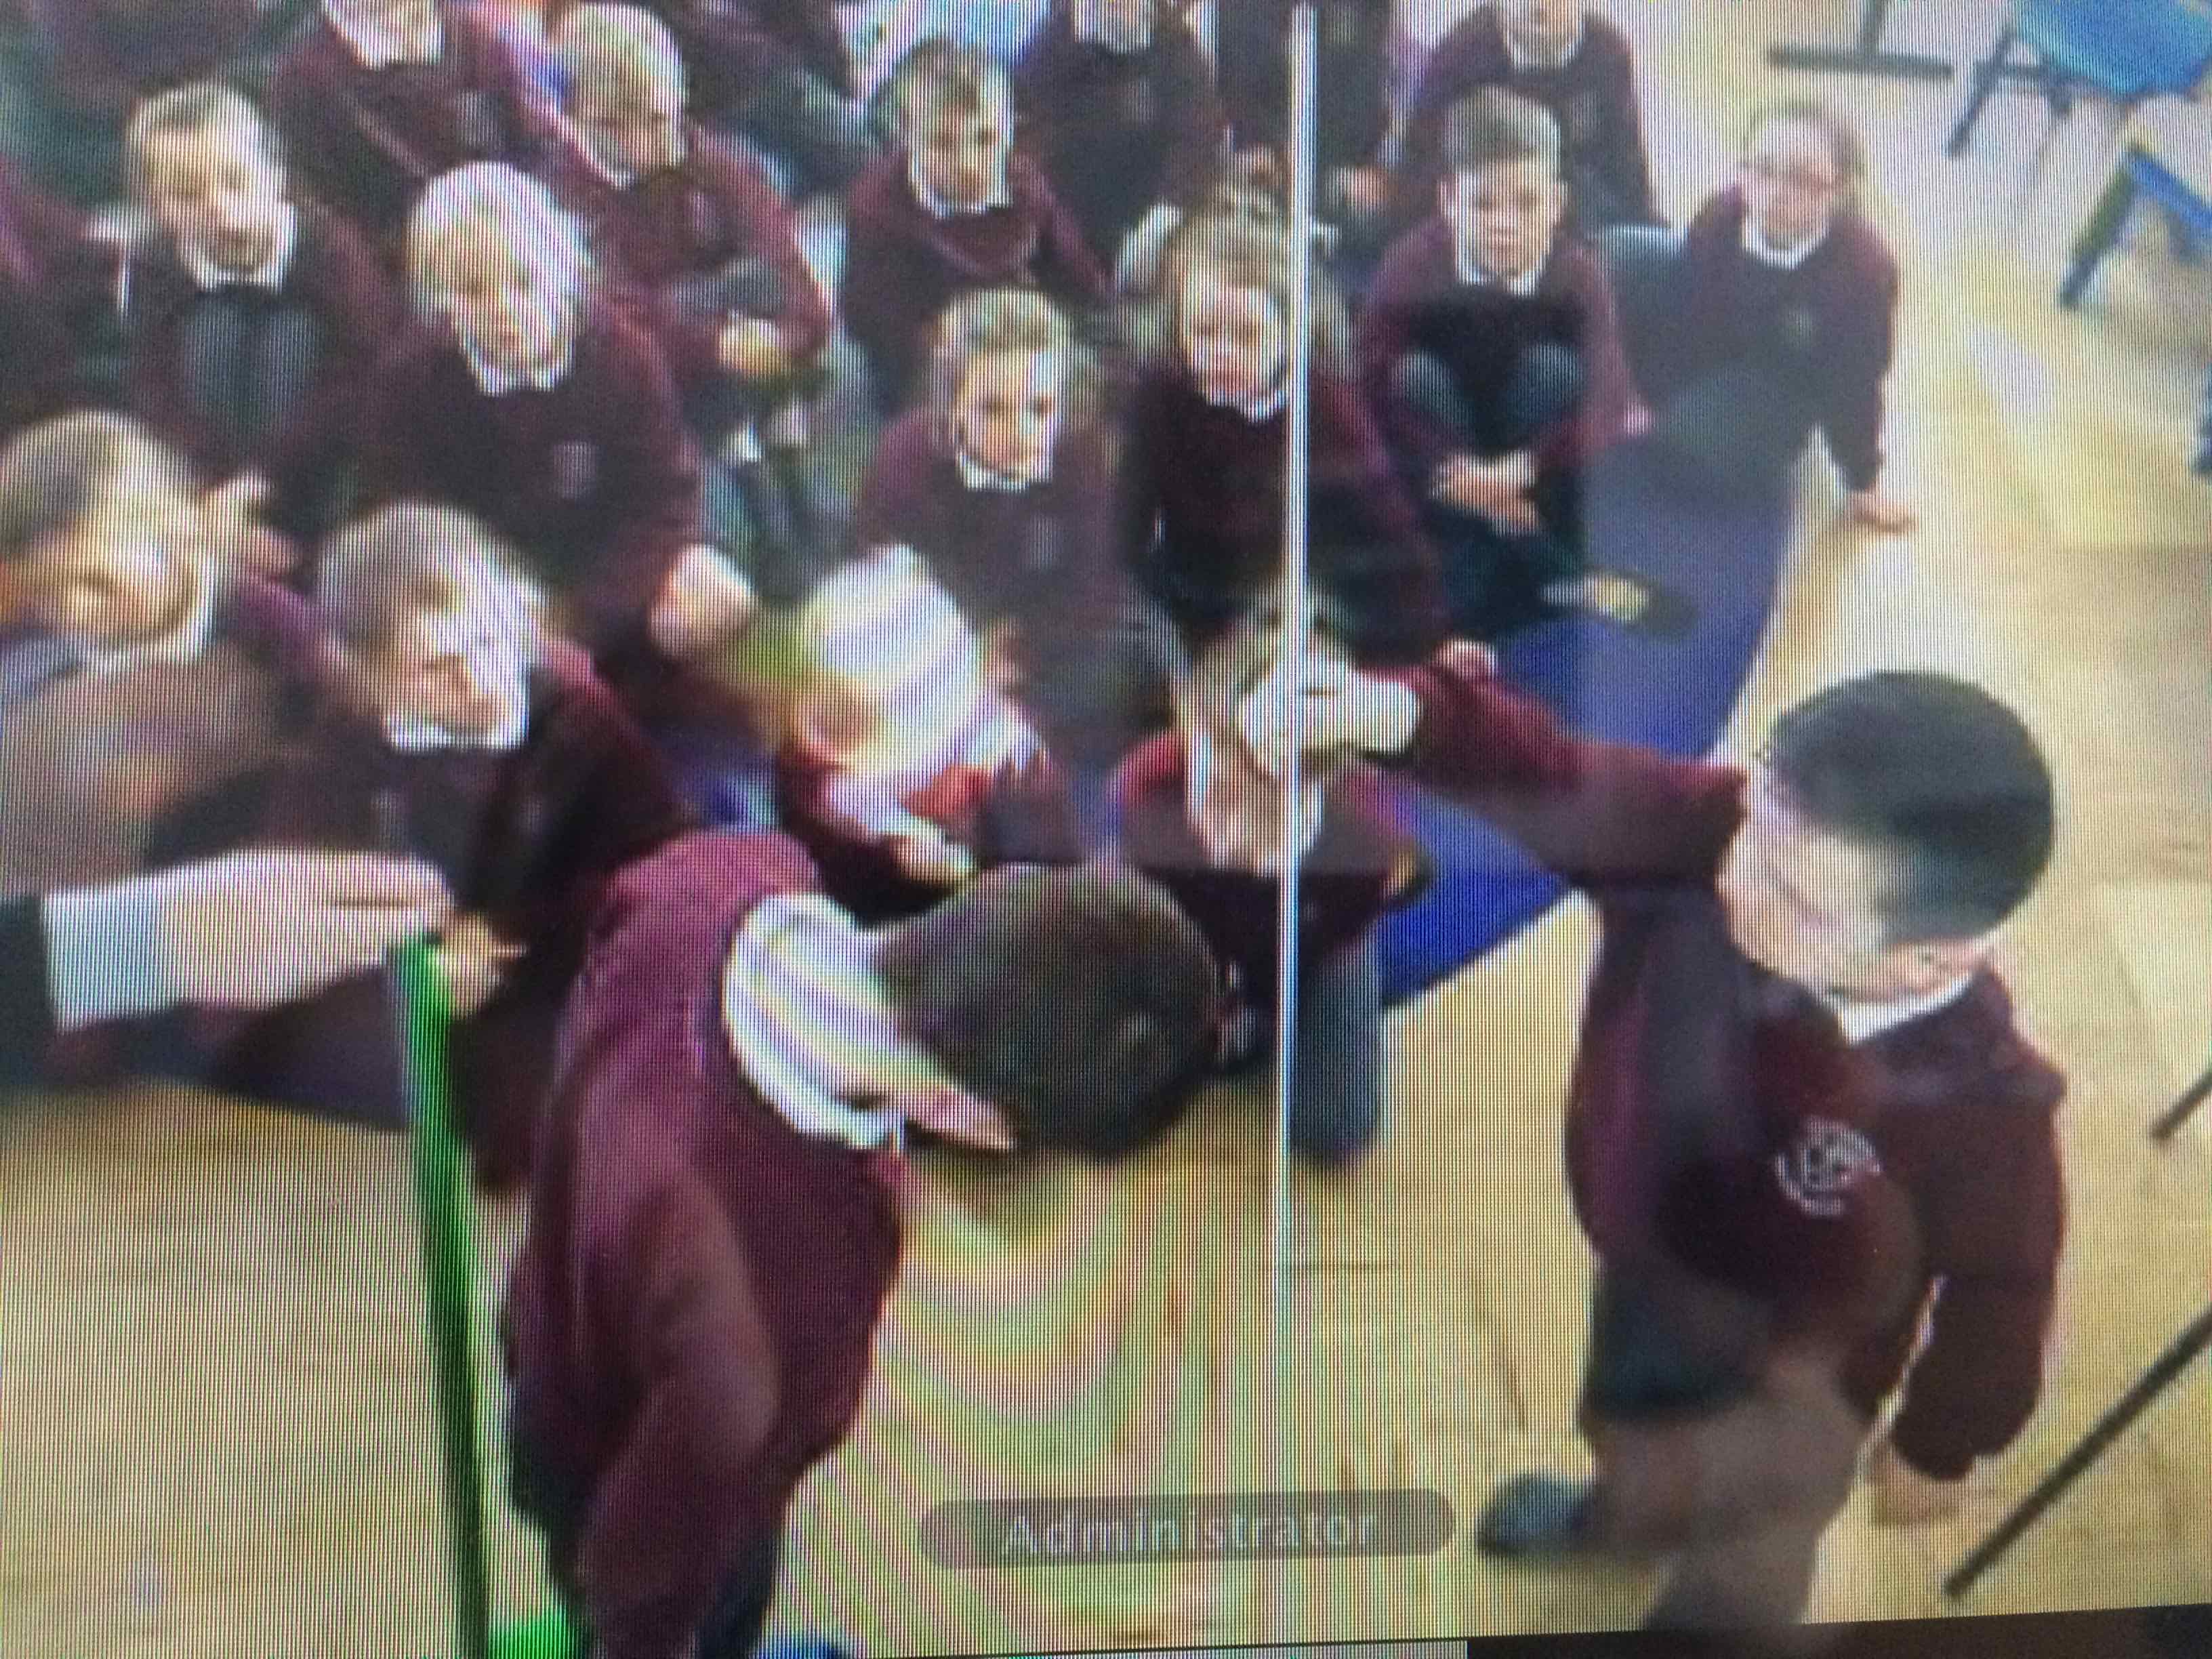
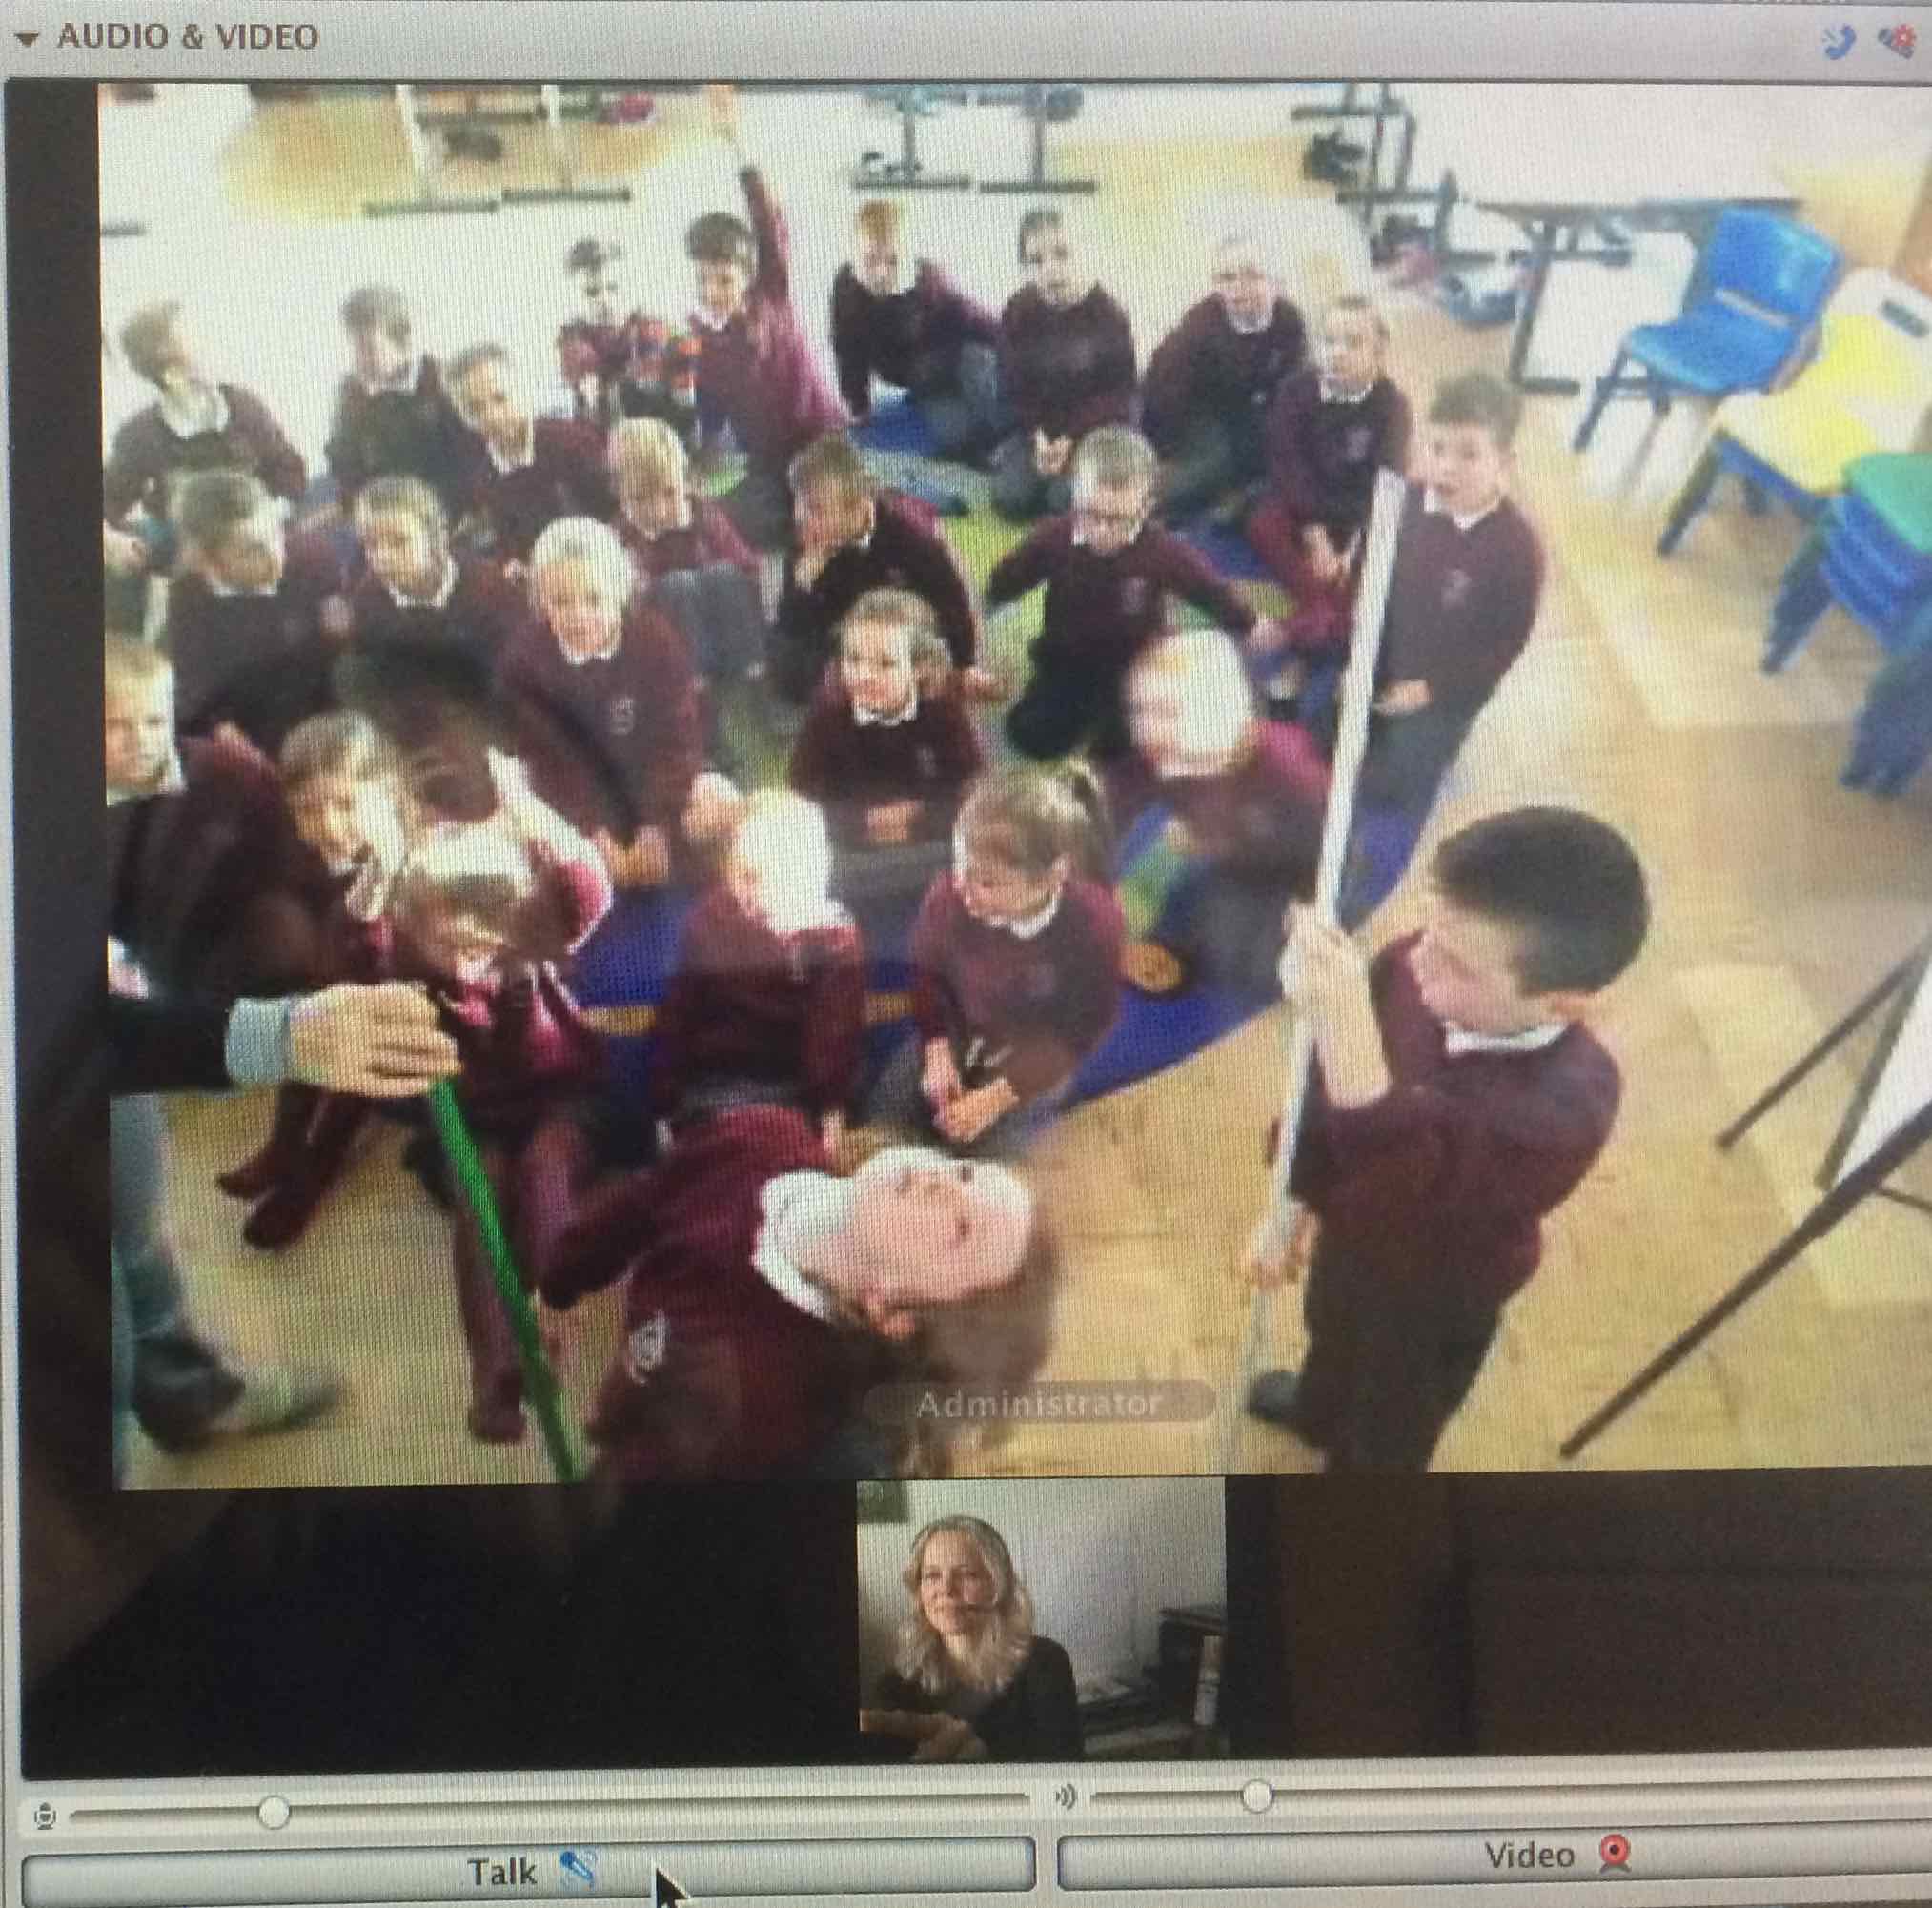
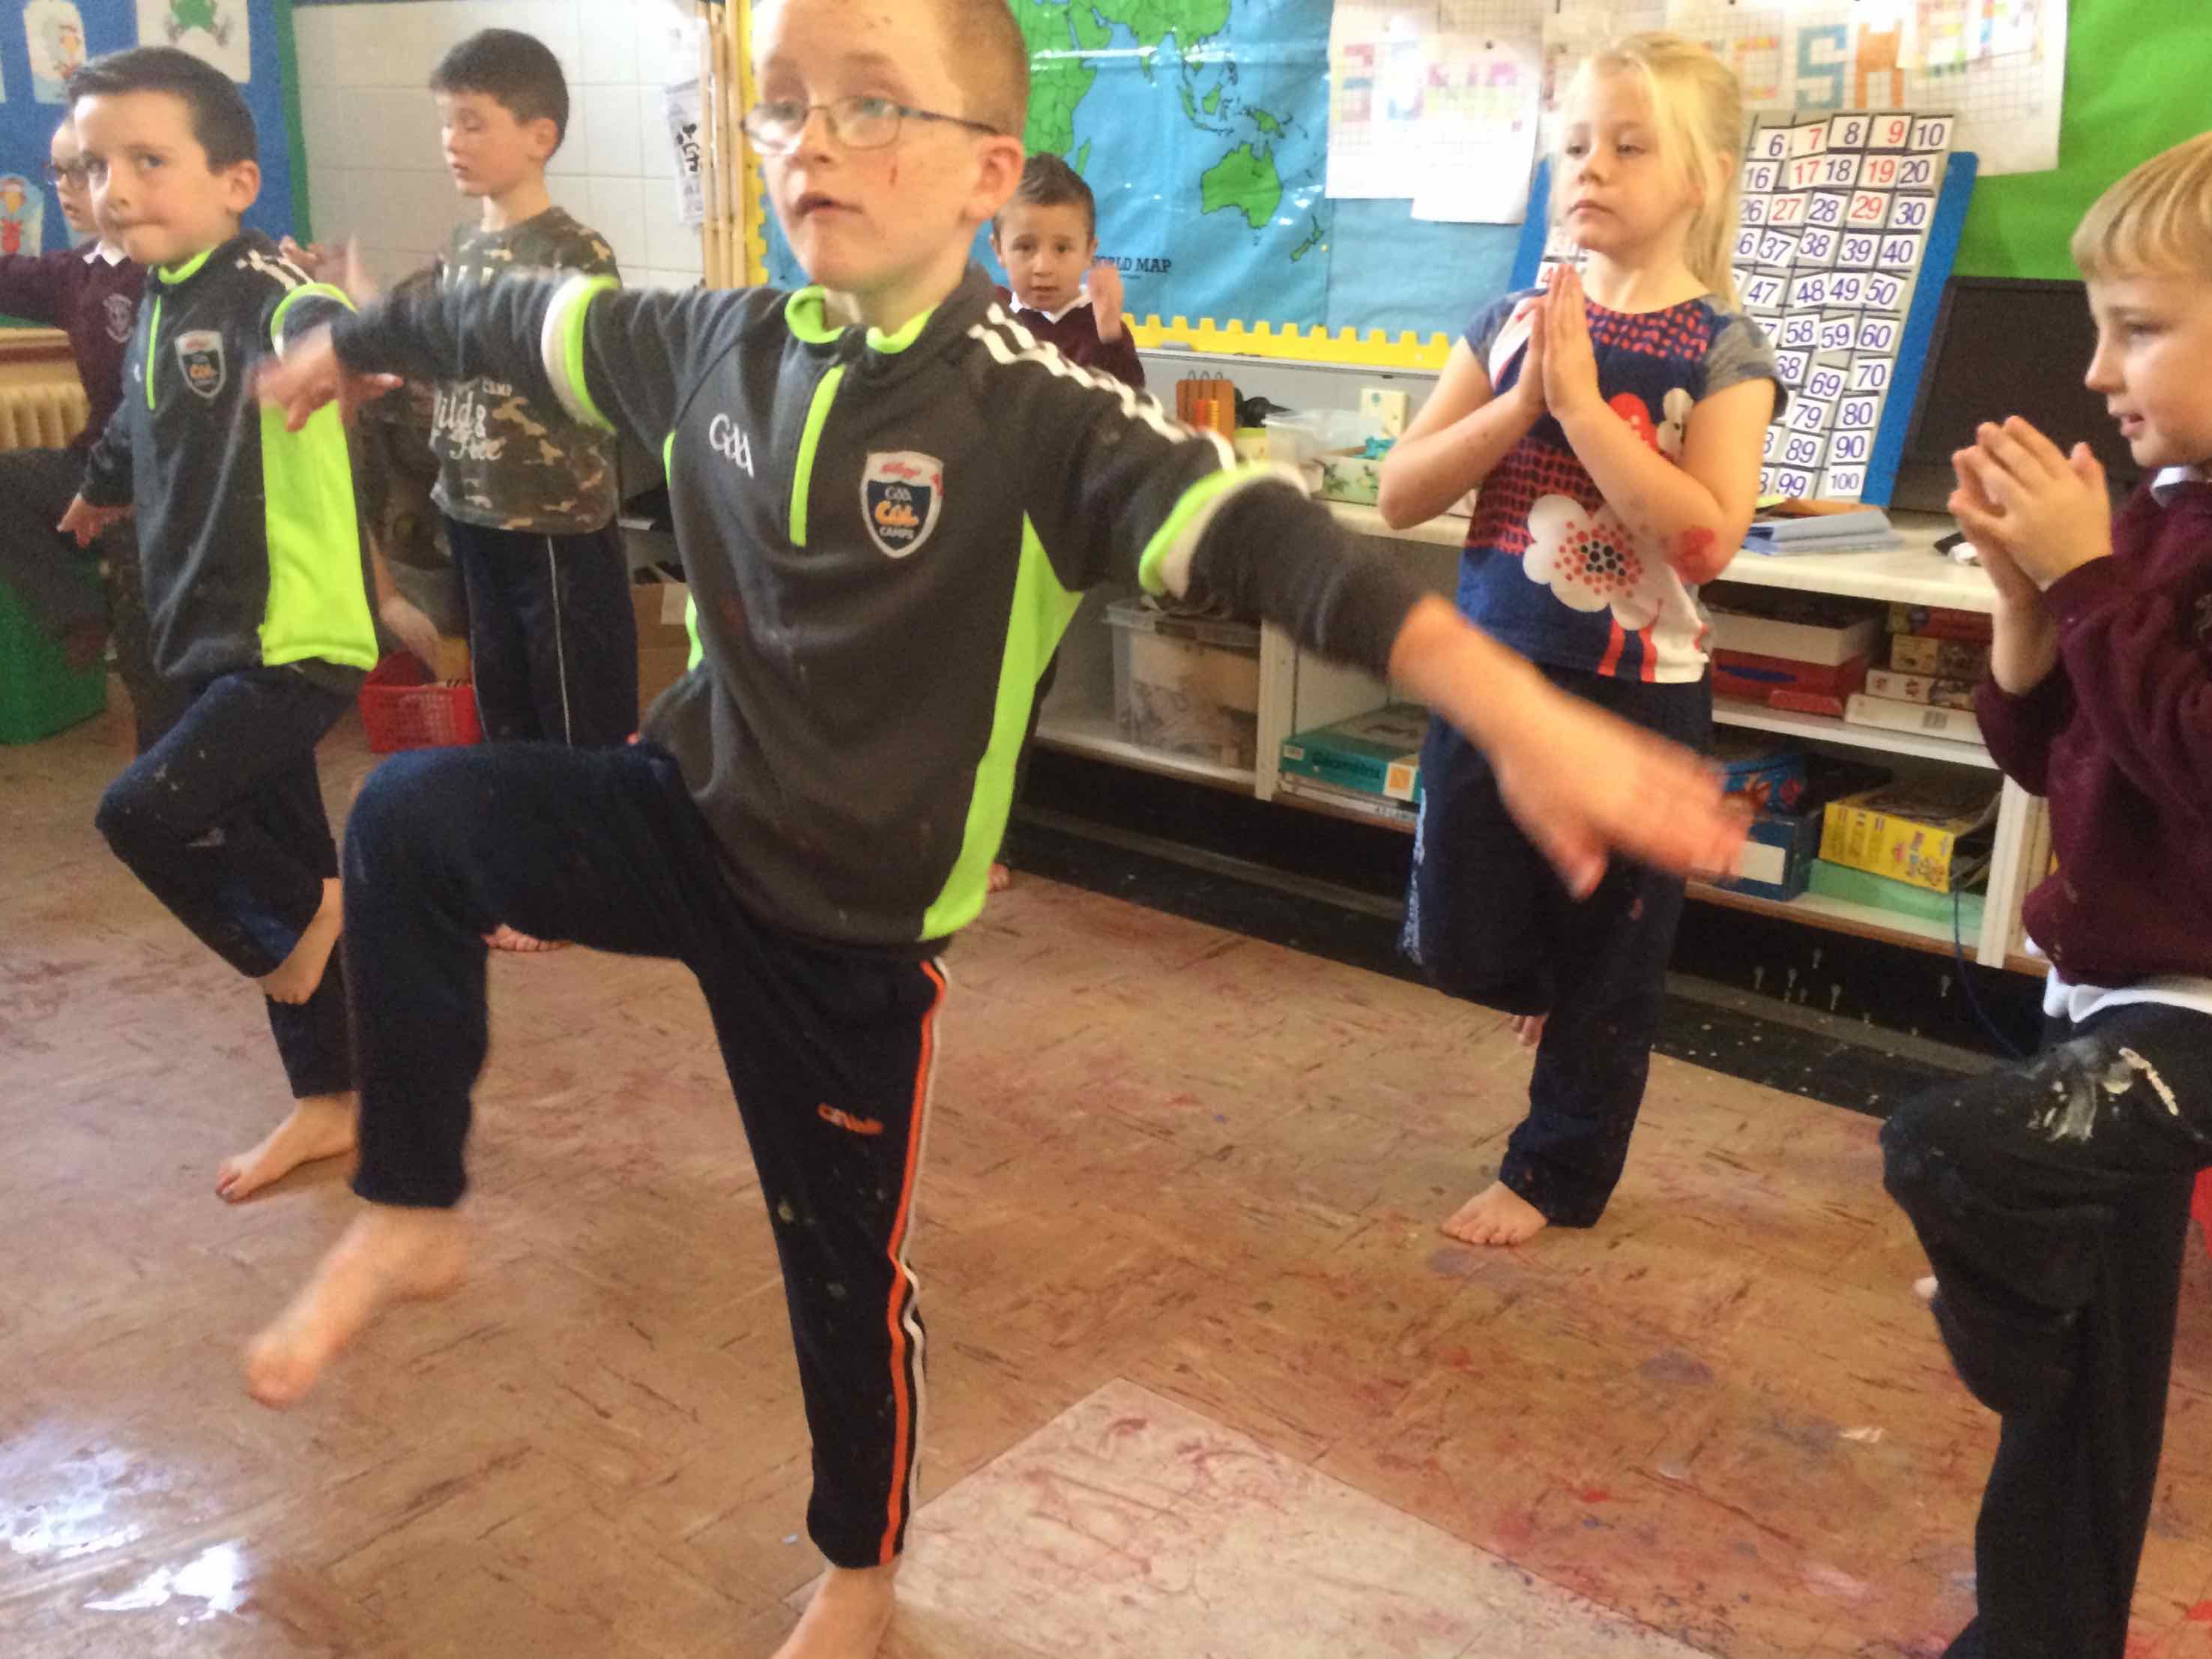
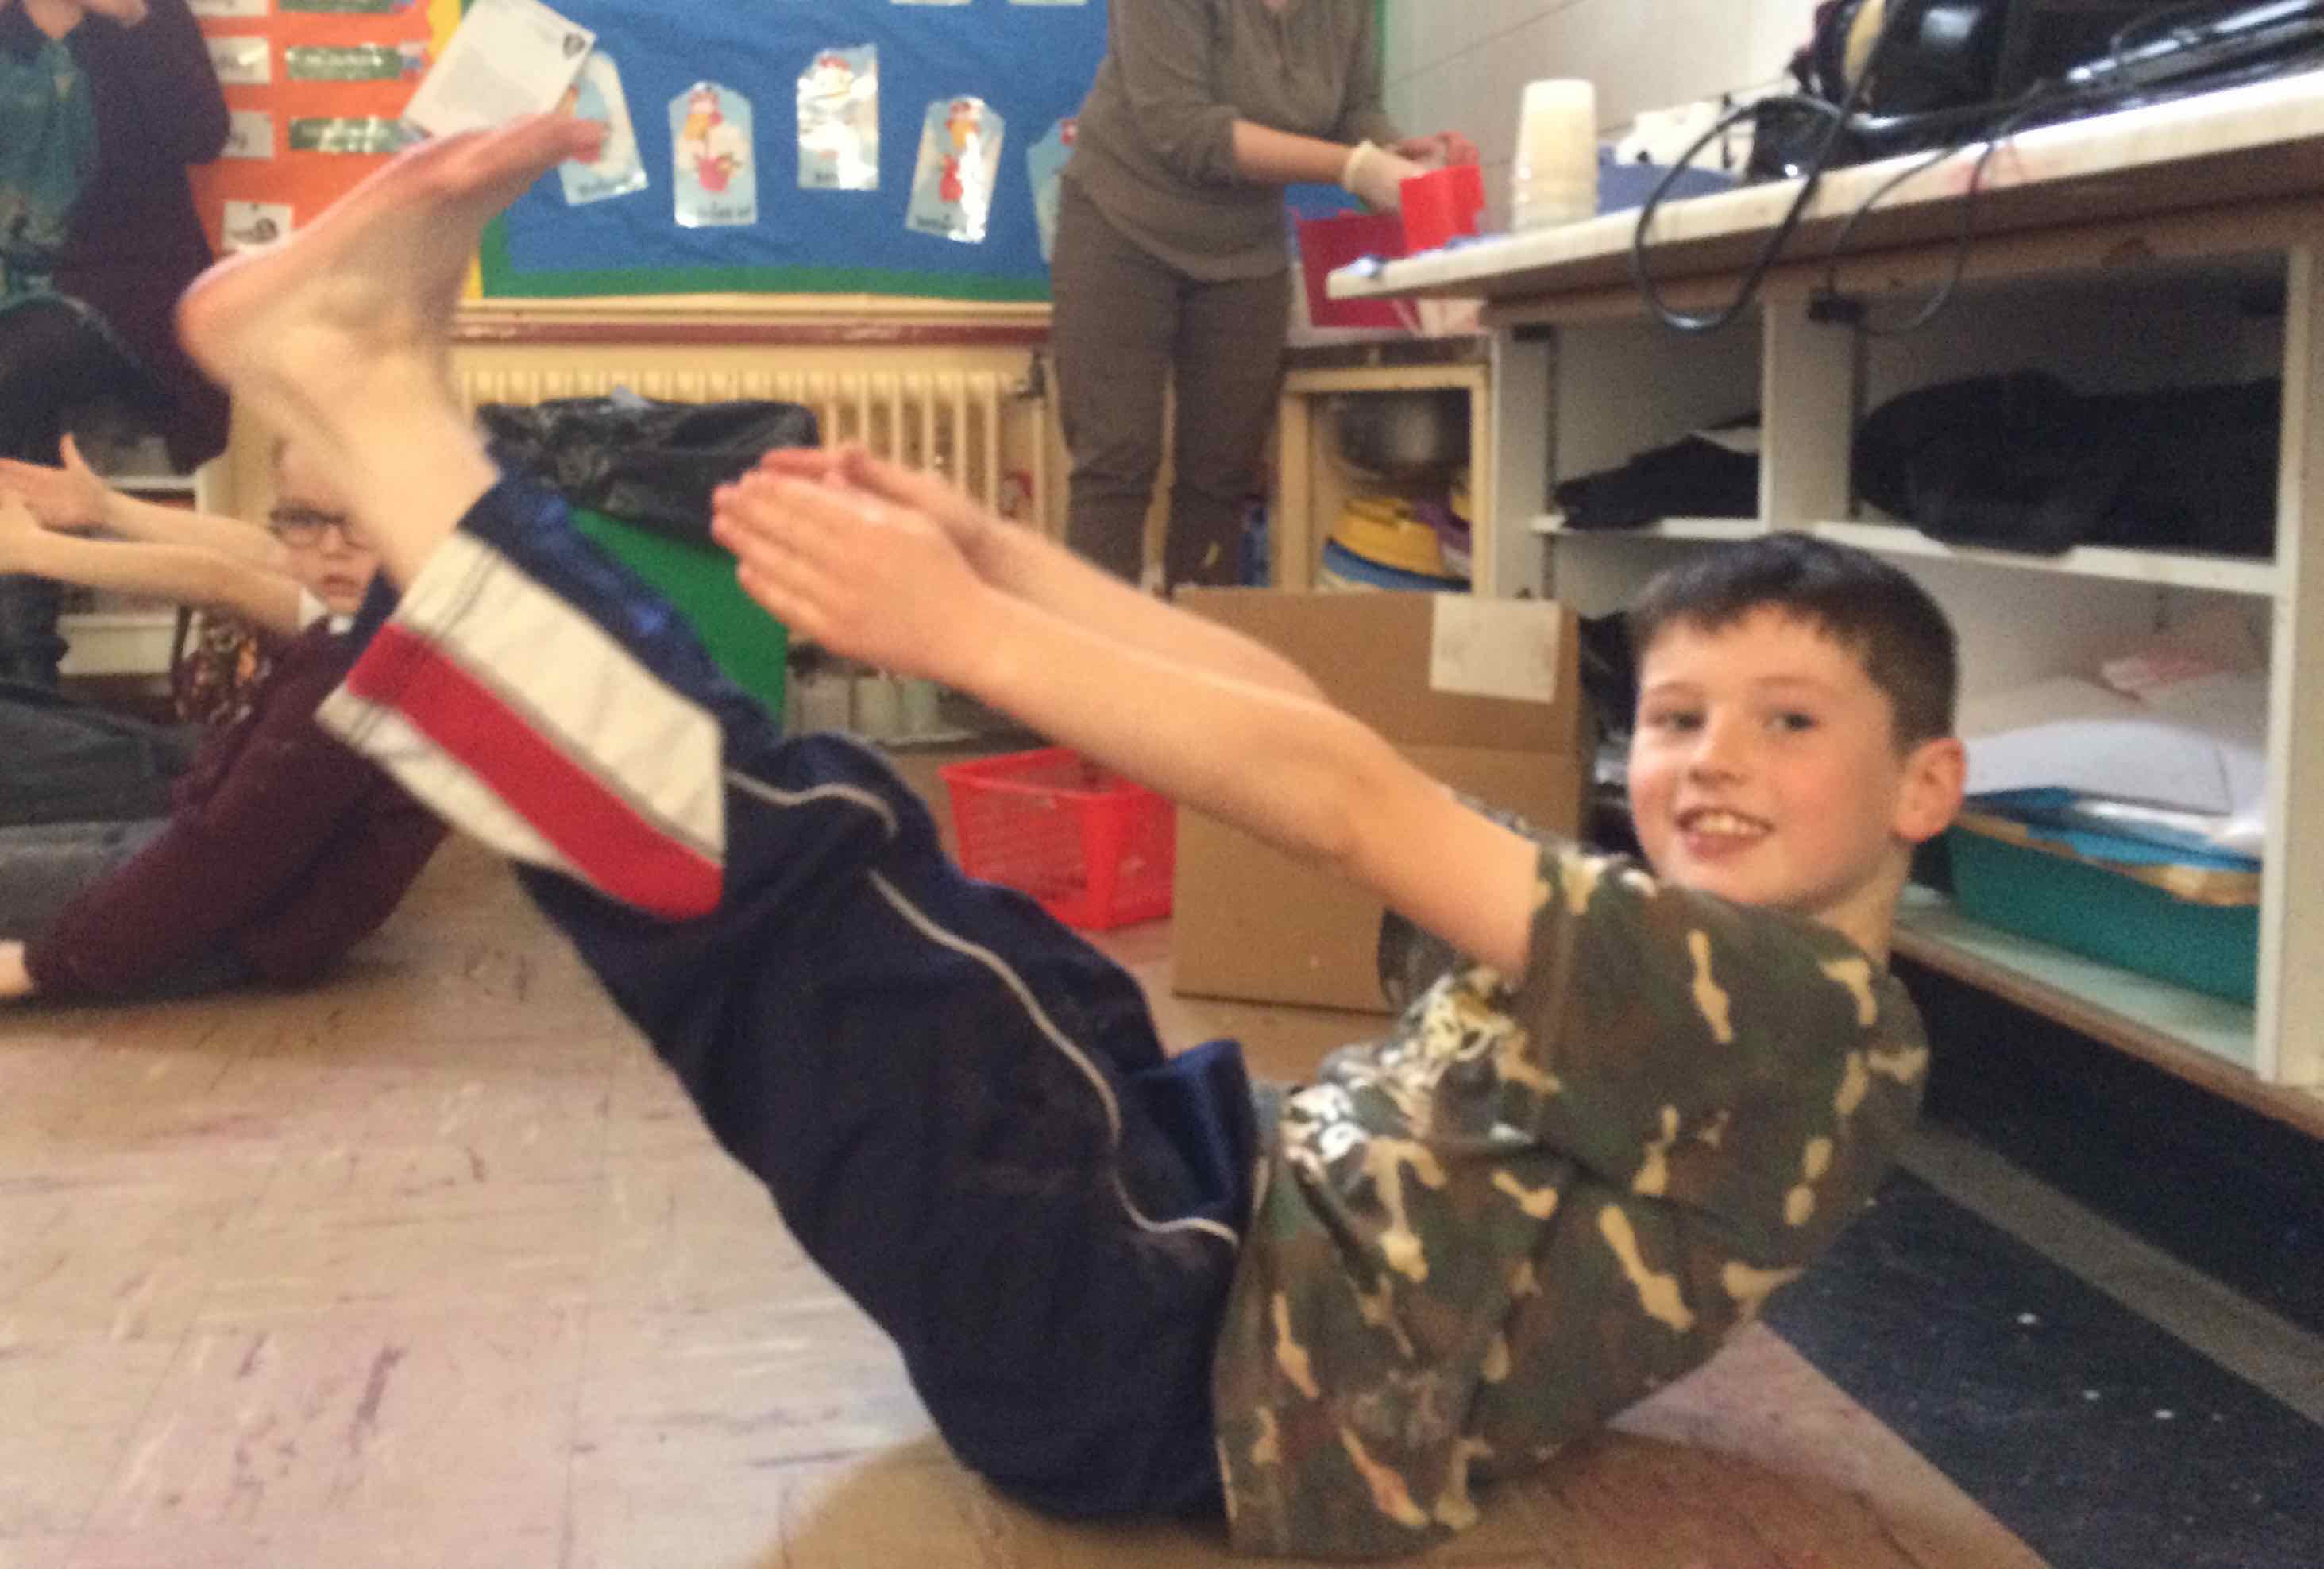
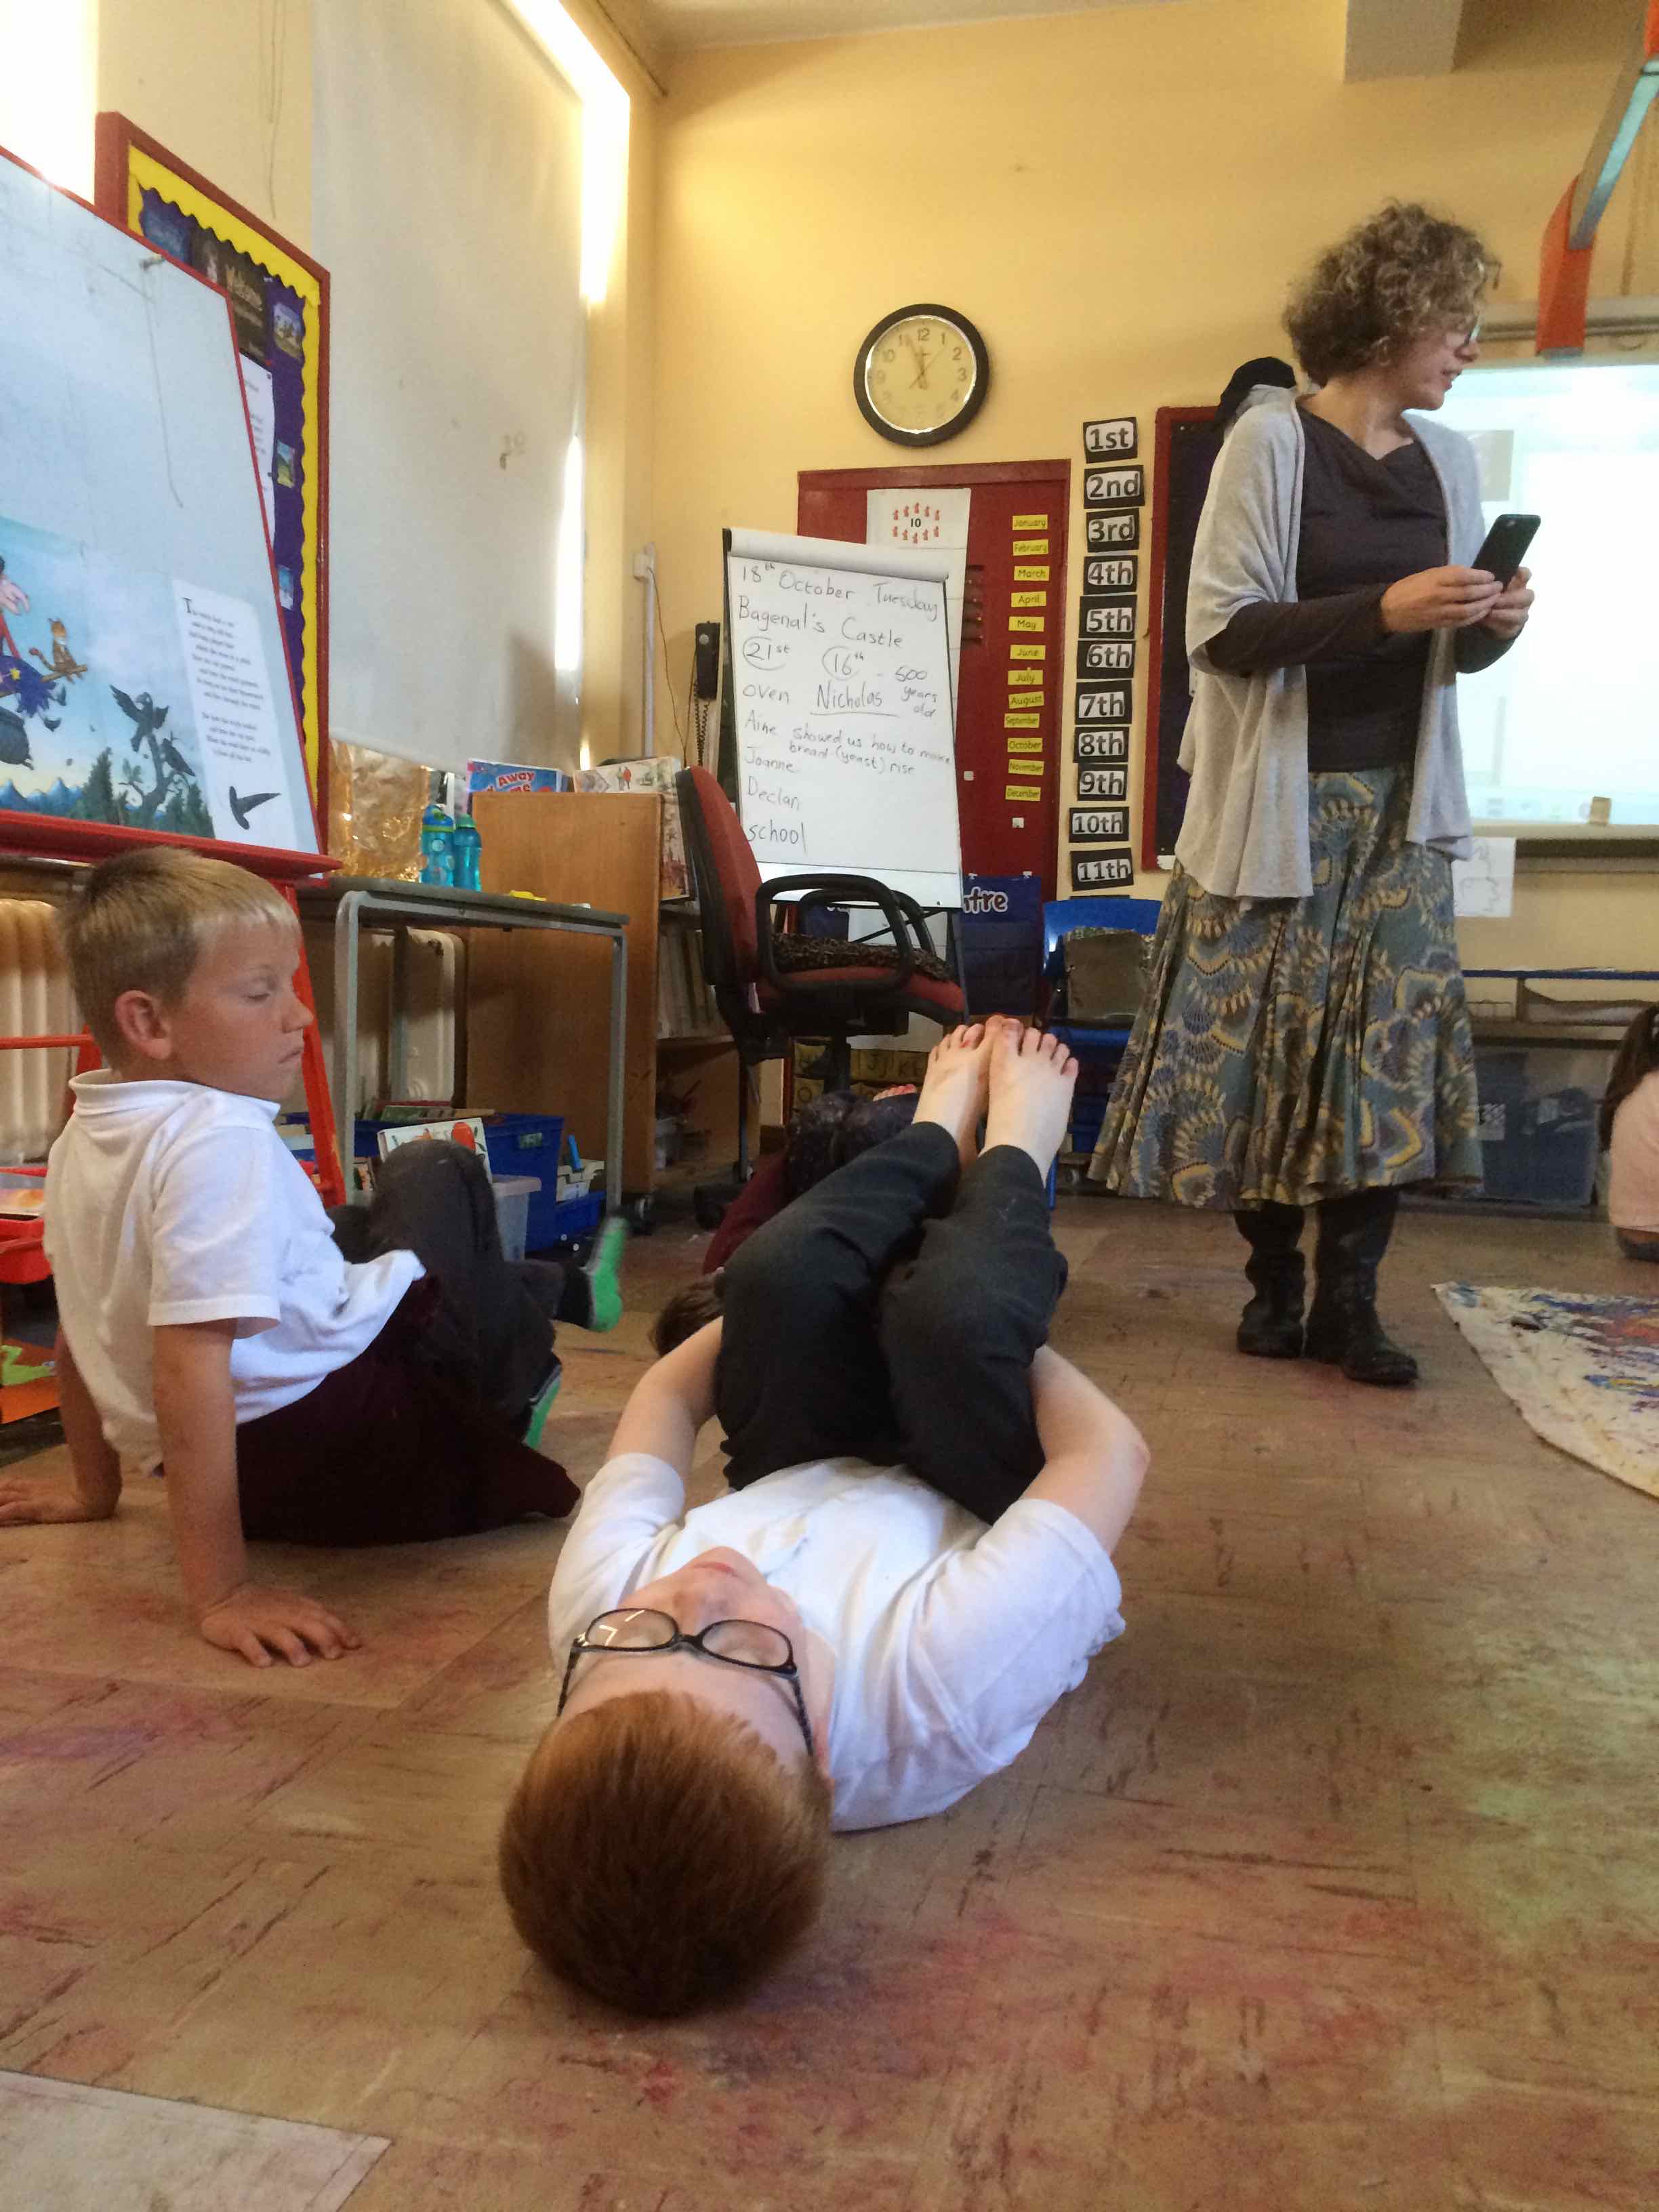
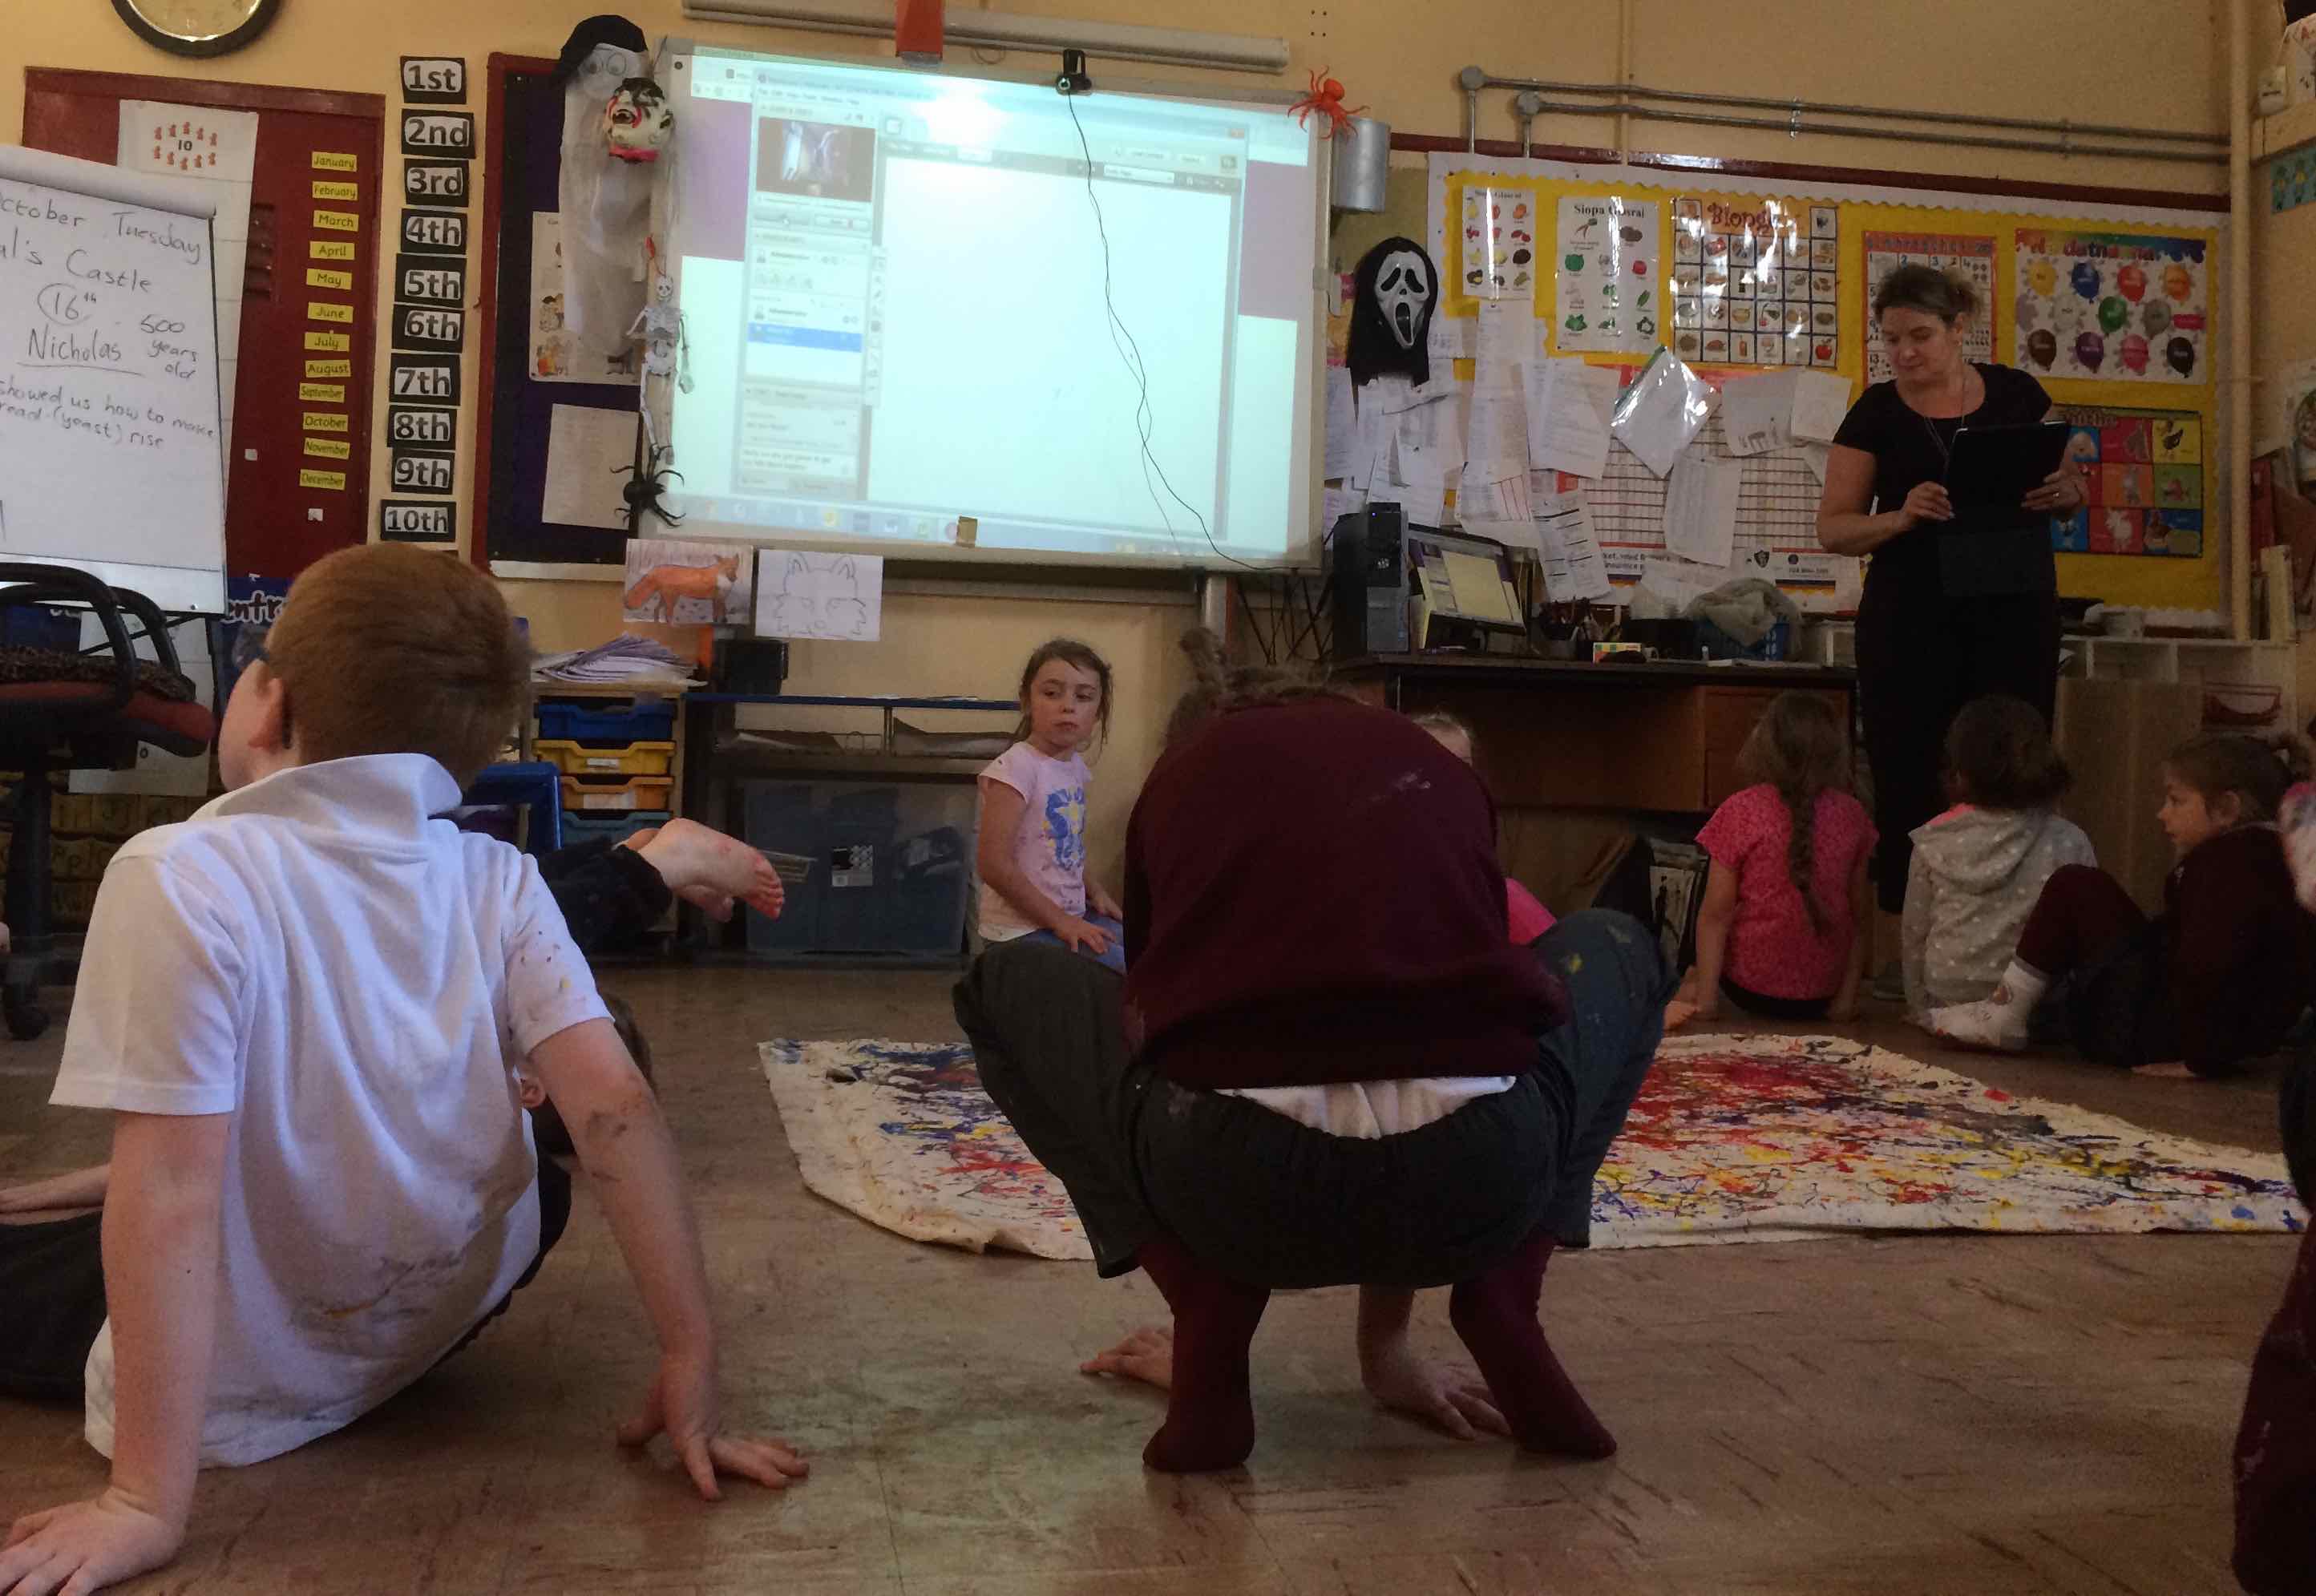
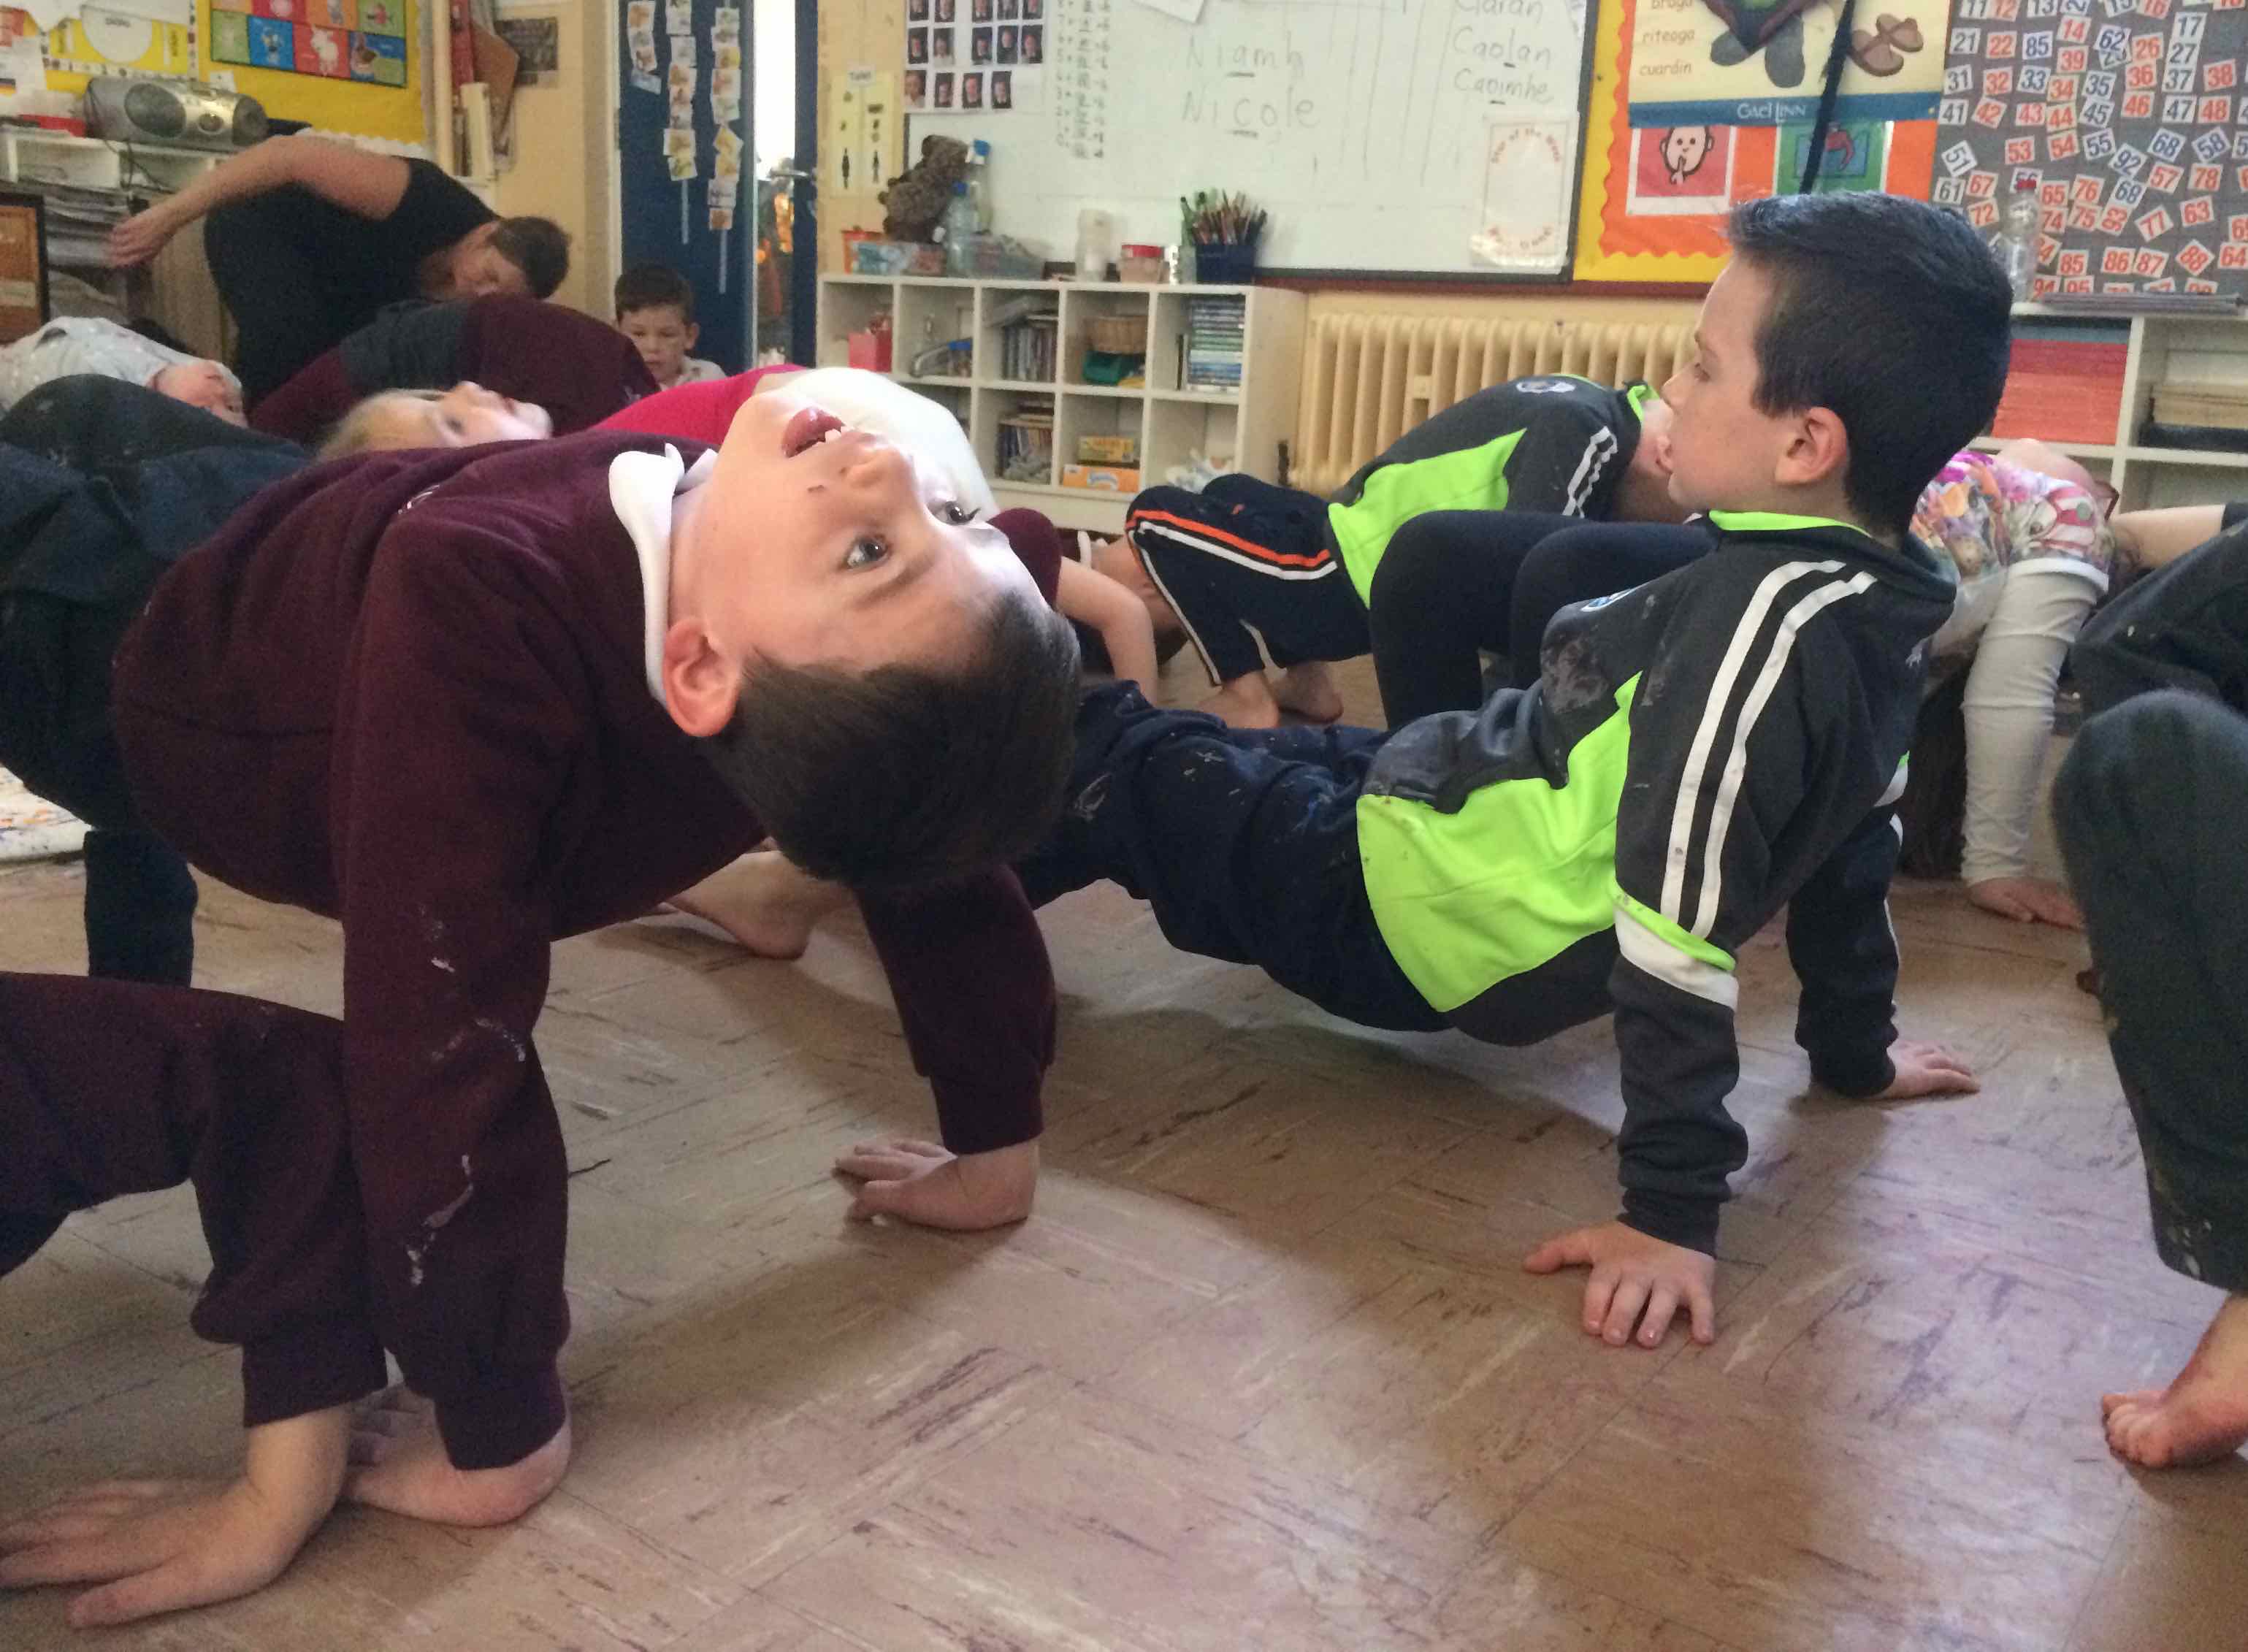
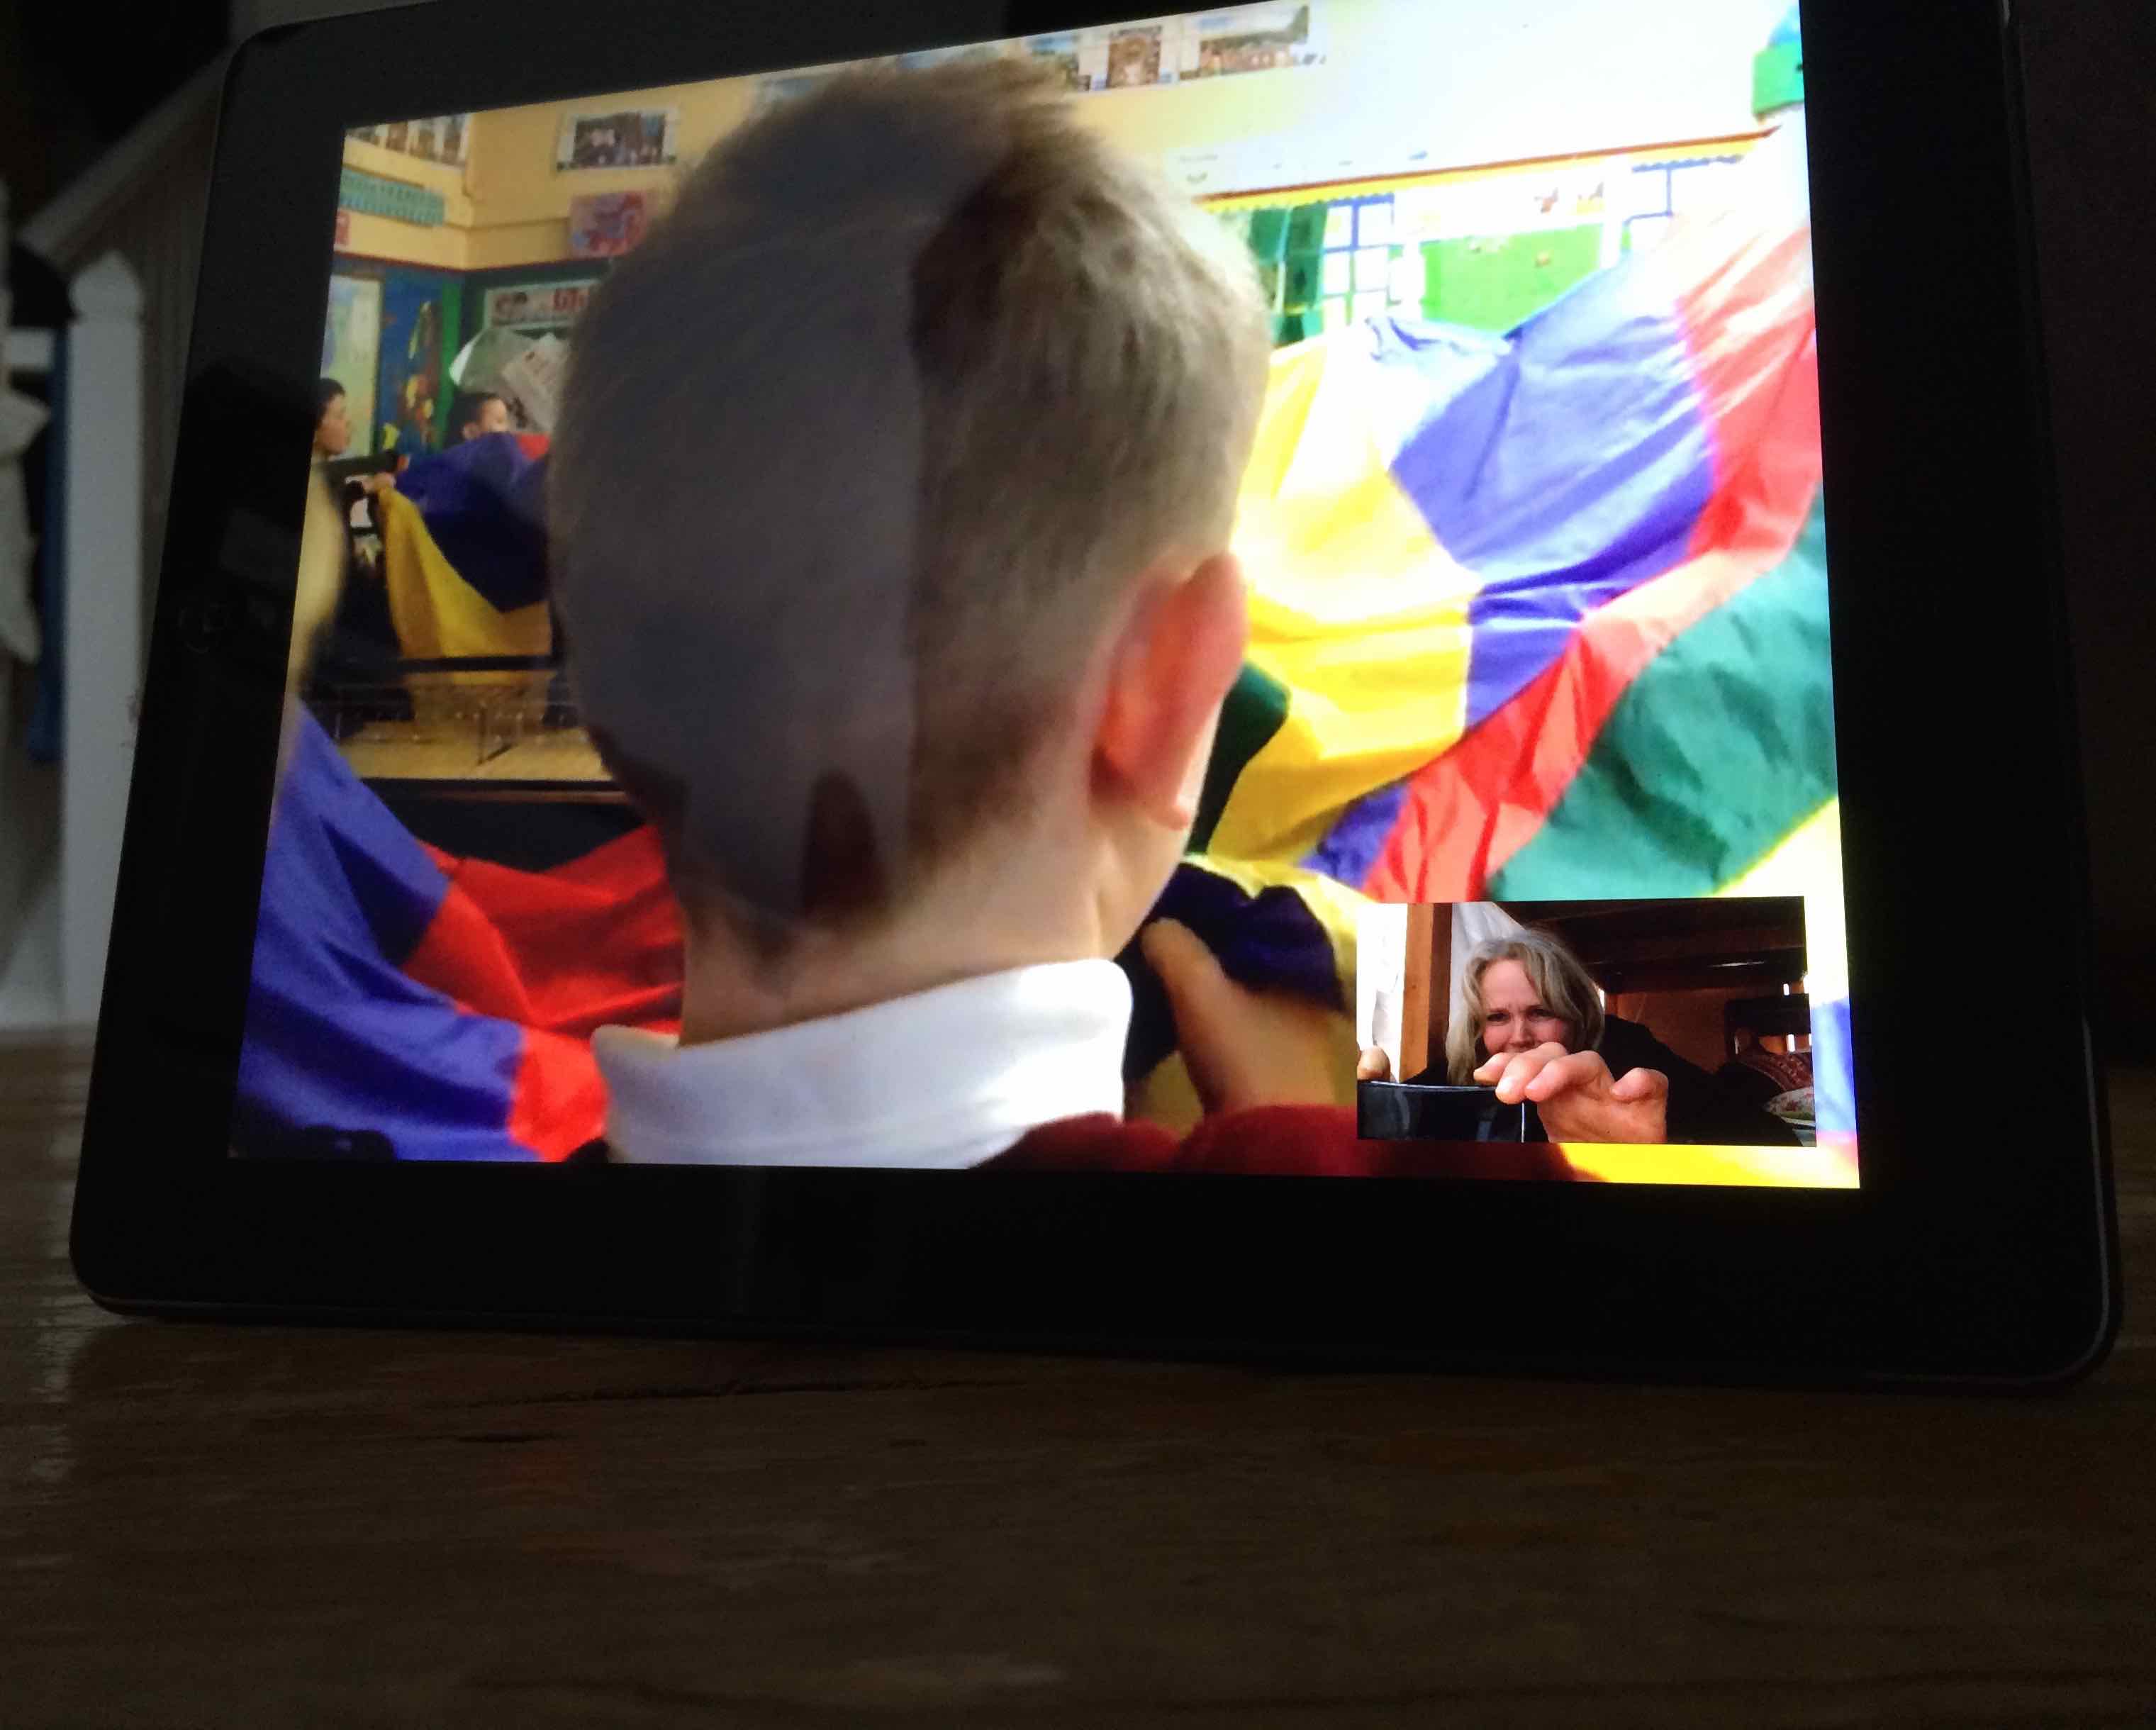
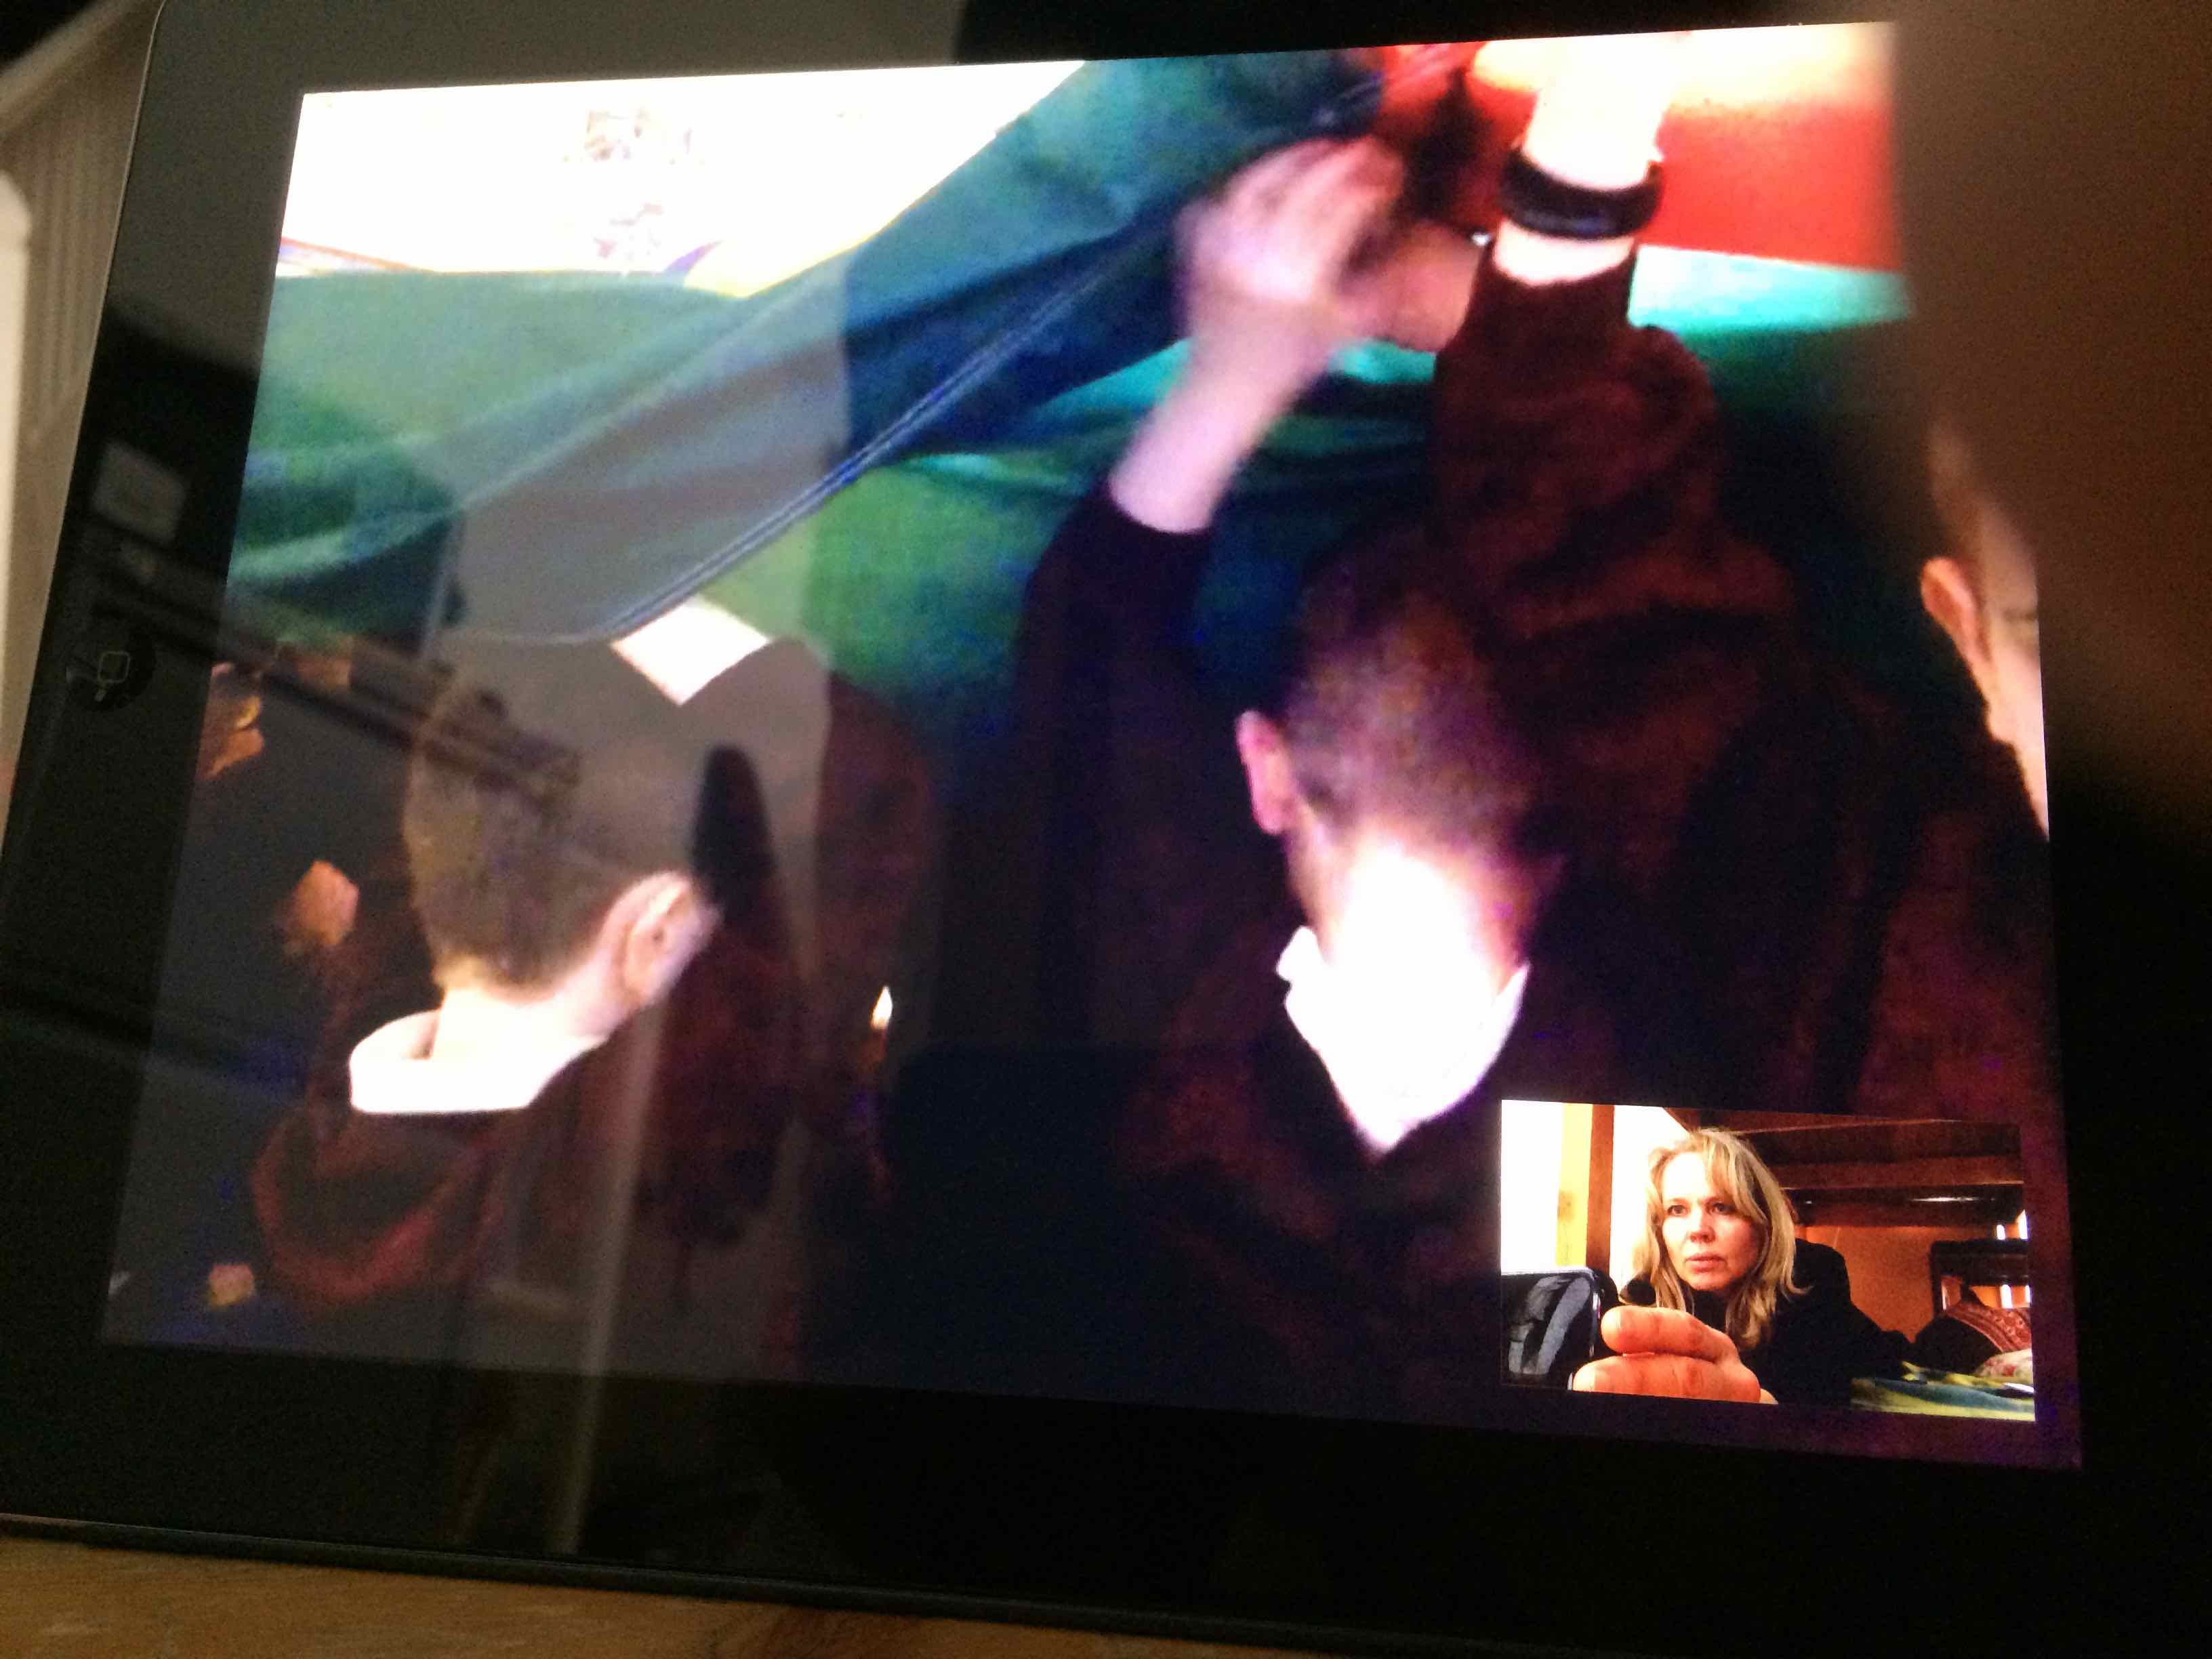
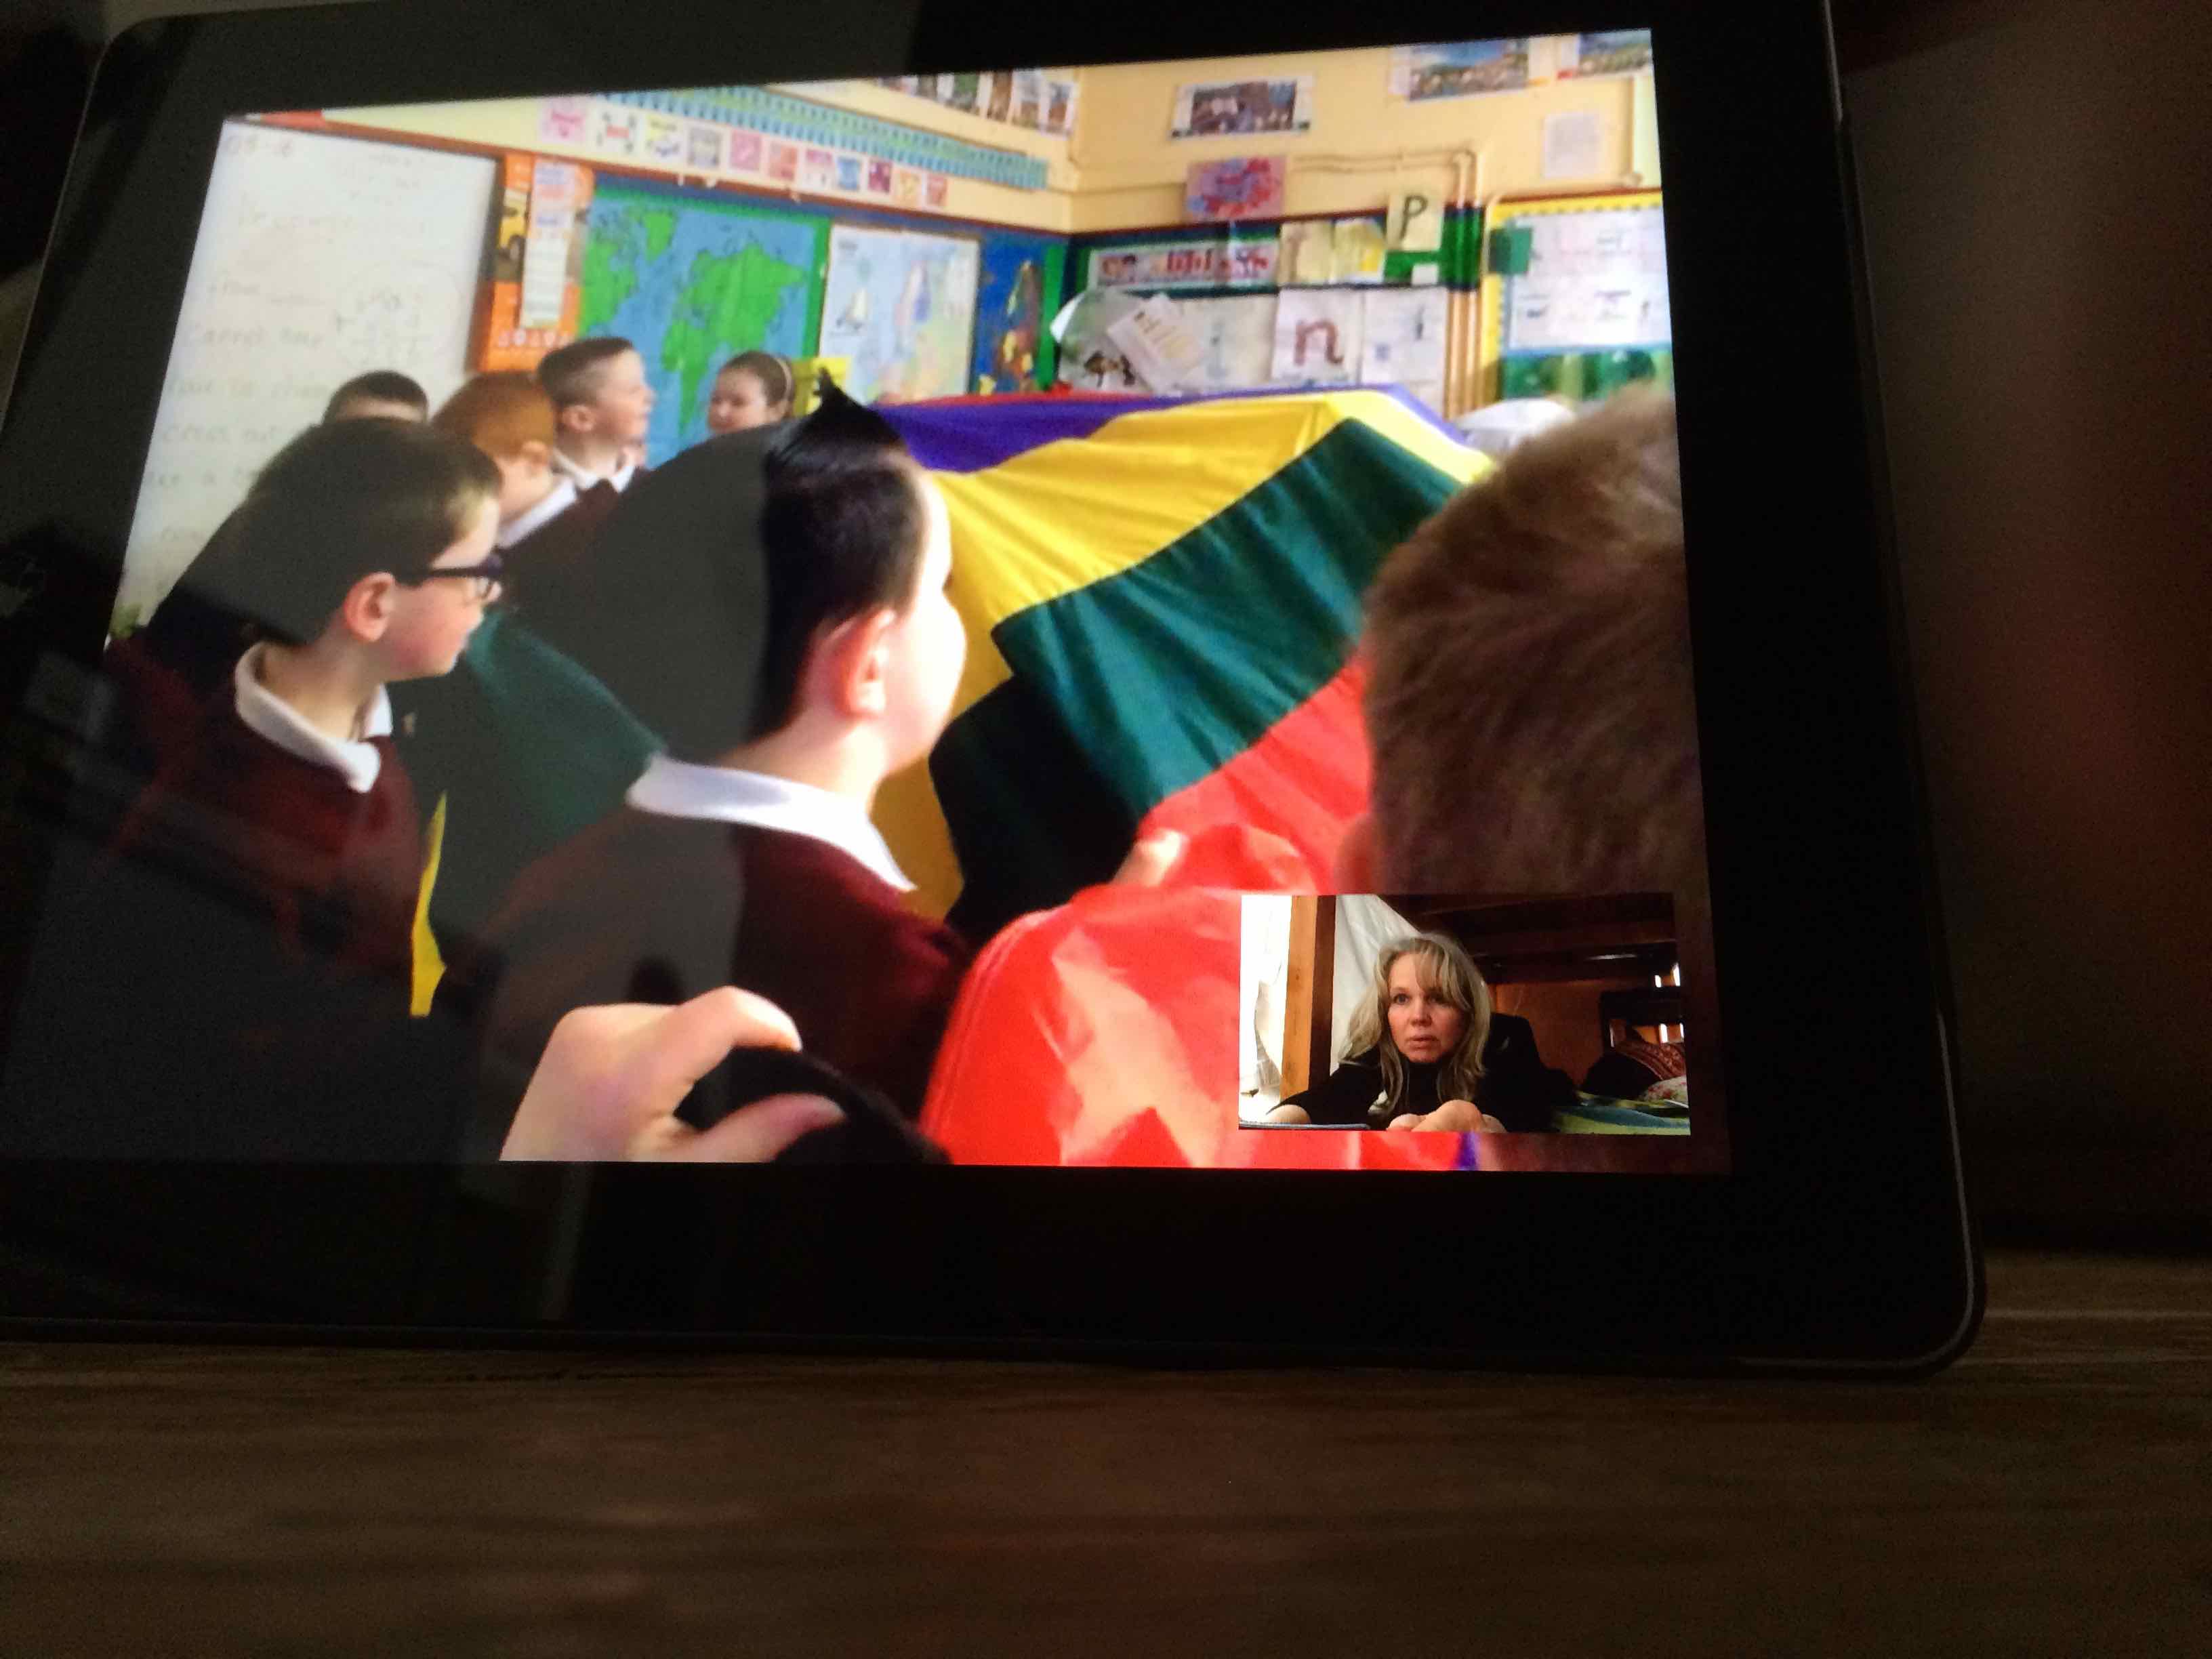
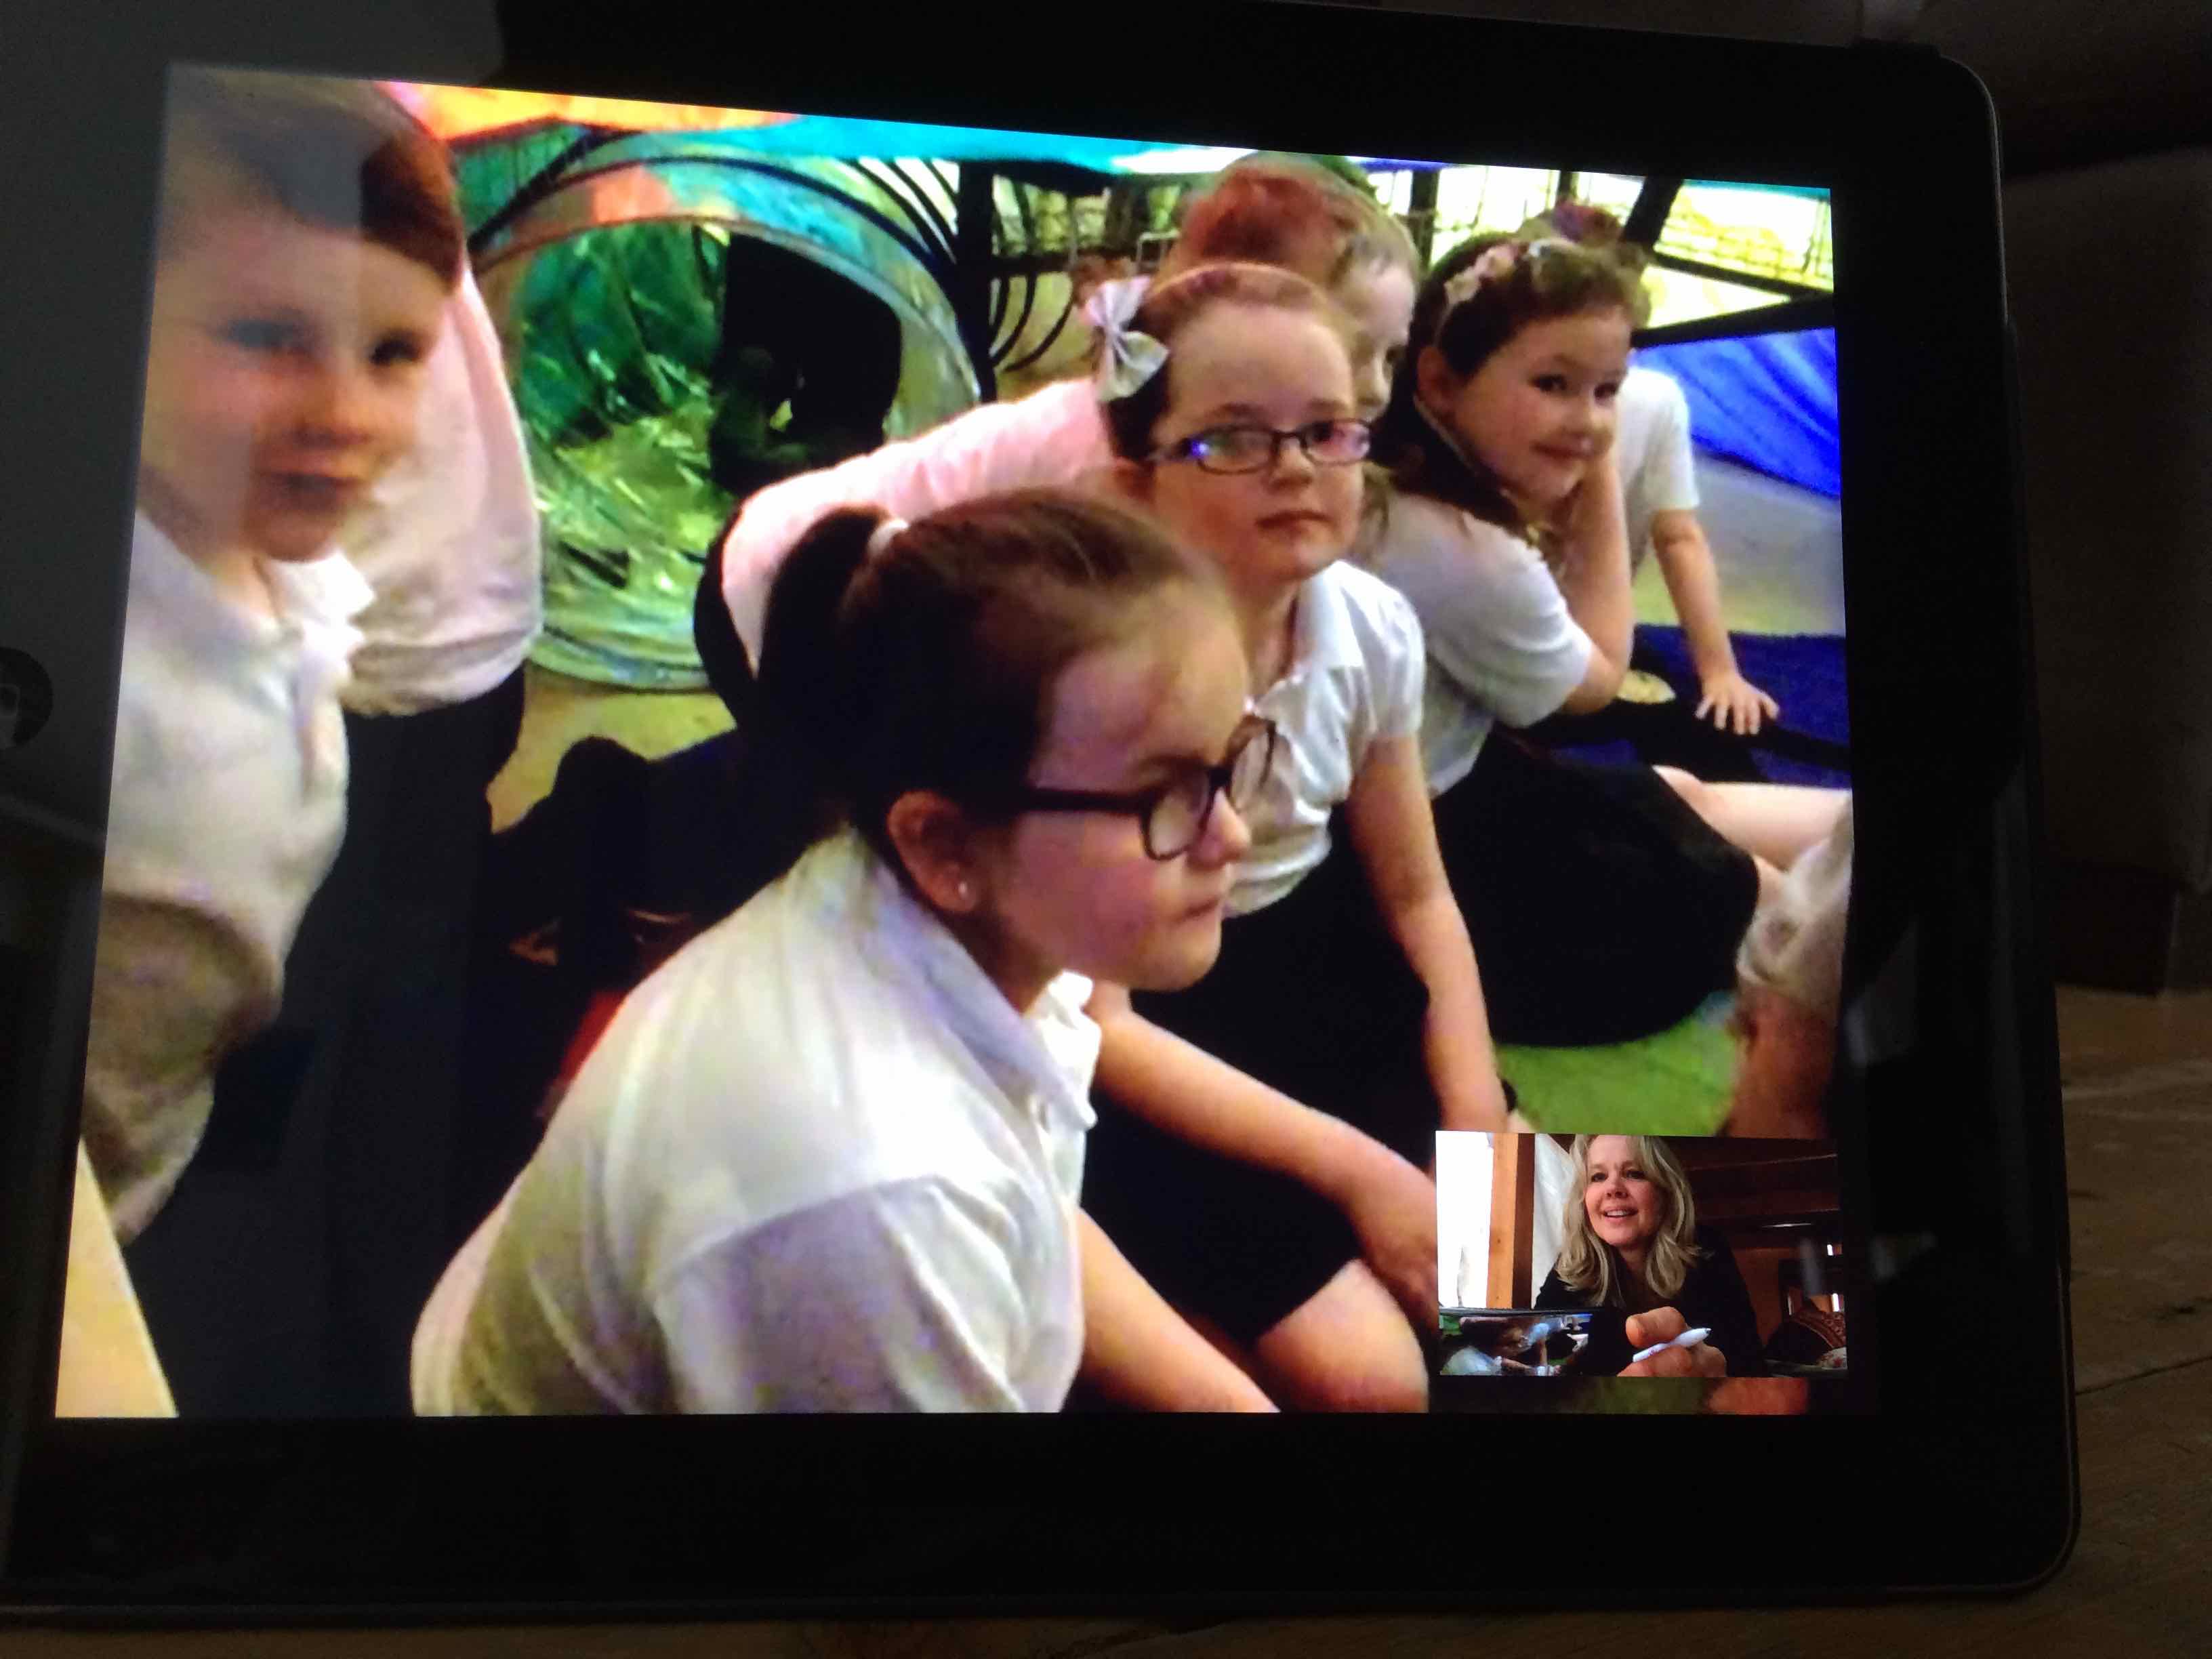
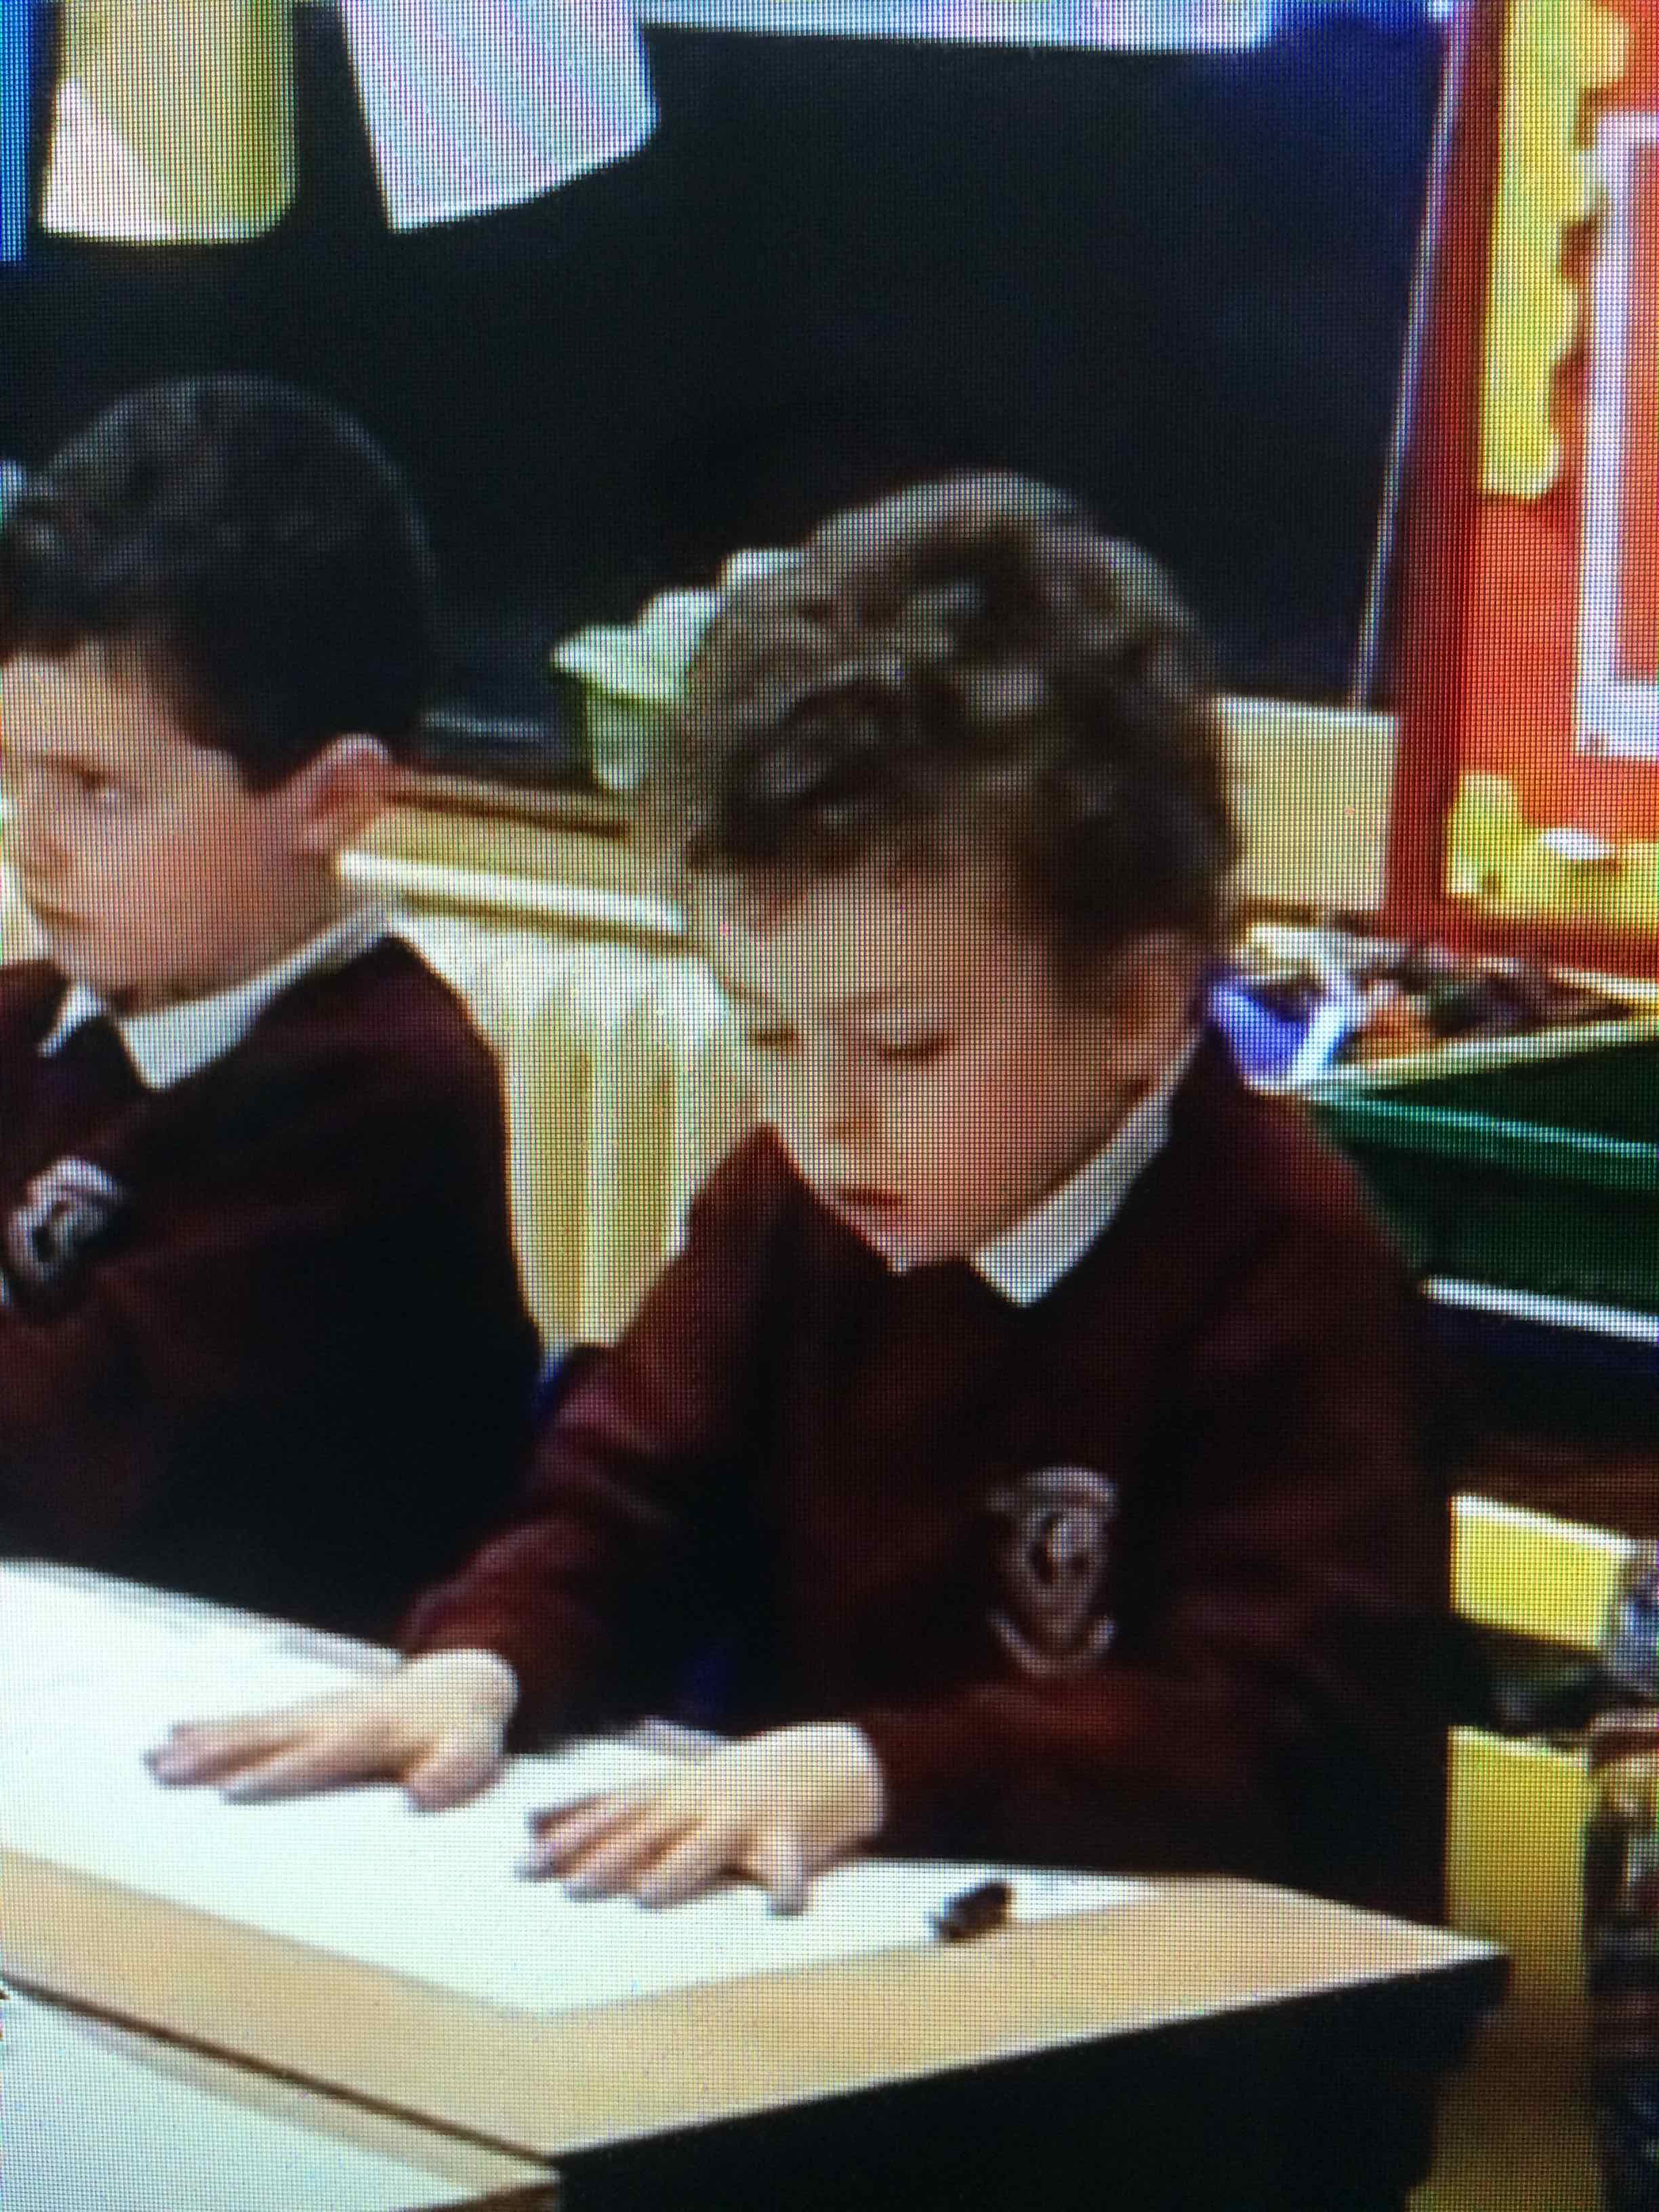
The second part of this very active session was that in order to hear a little more about balance and control, we connected online with a REAL PROFESSOR in a UNIVERSITY!
Professor (of Health and Fitness) Marie Murphy from Ulster University kindly agreed to connect with our class. We asked Professor Murphy to help us explore BALANCE with our bodies…
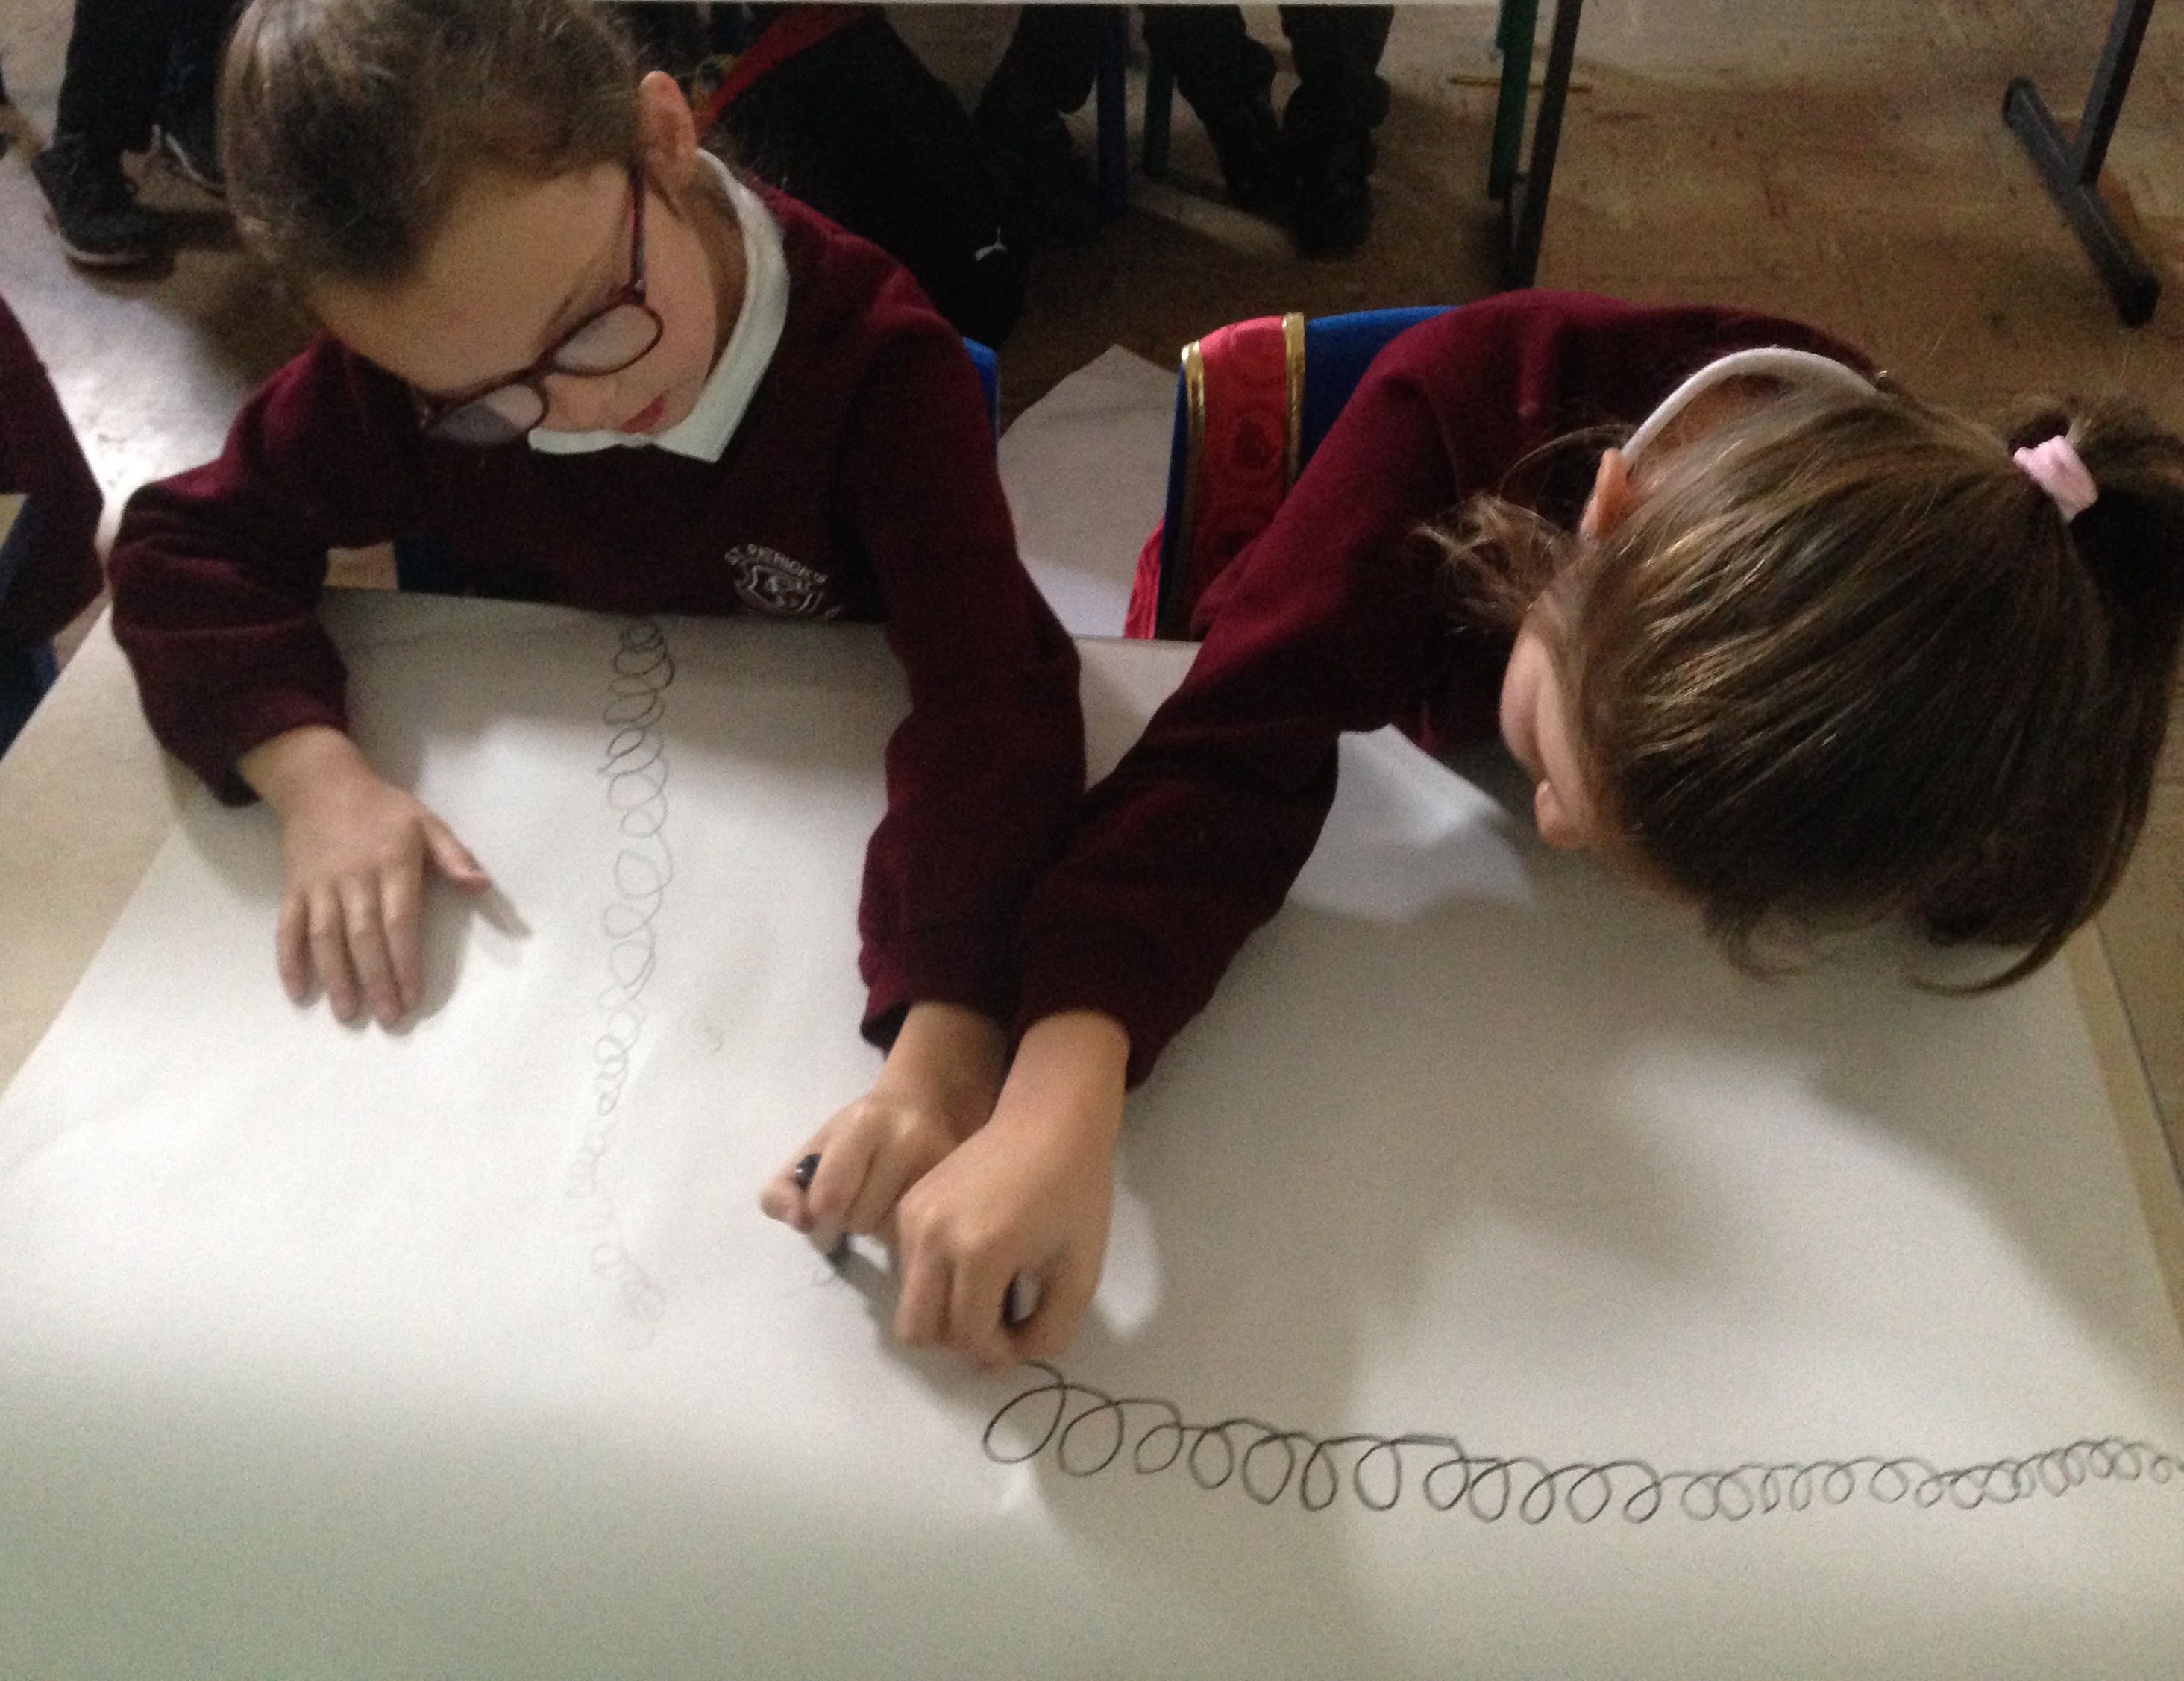
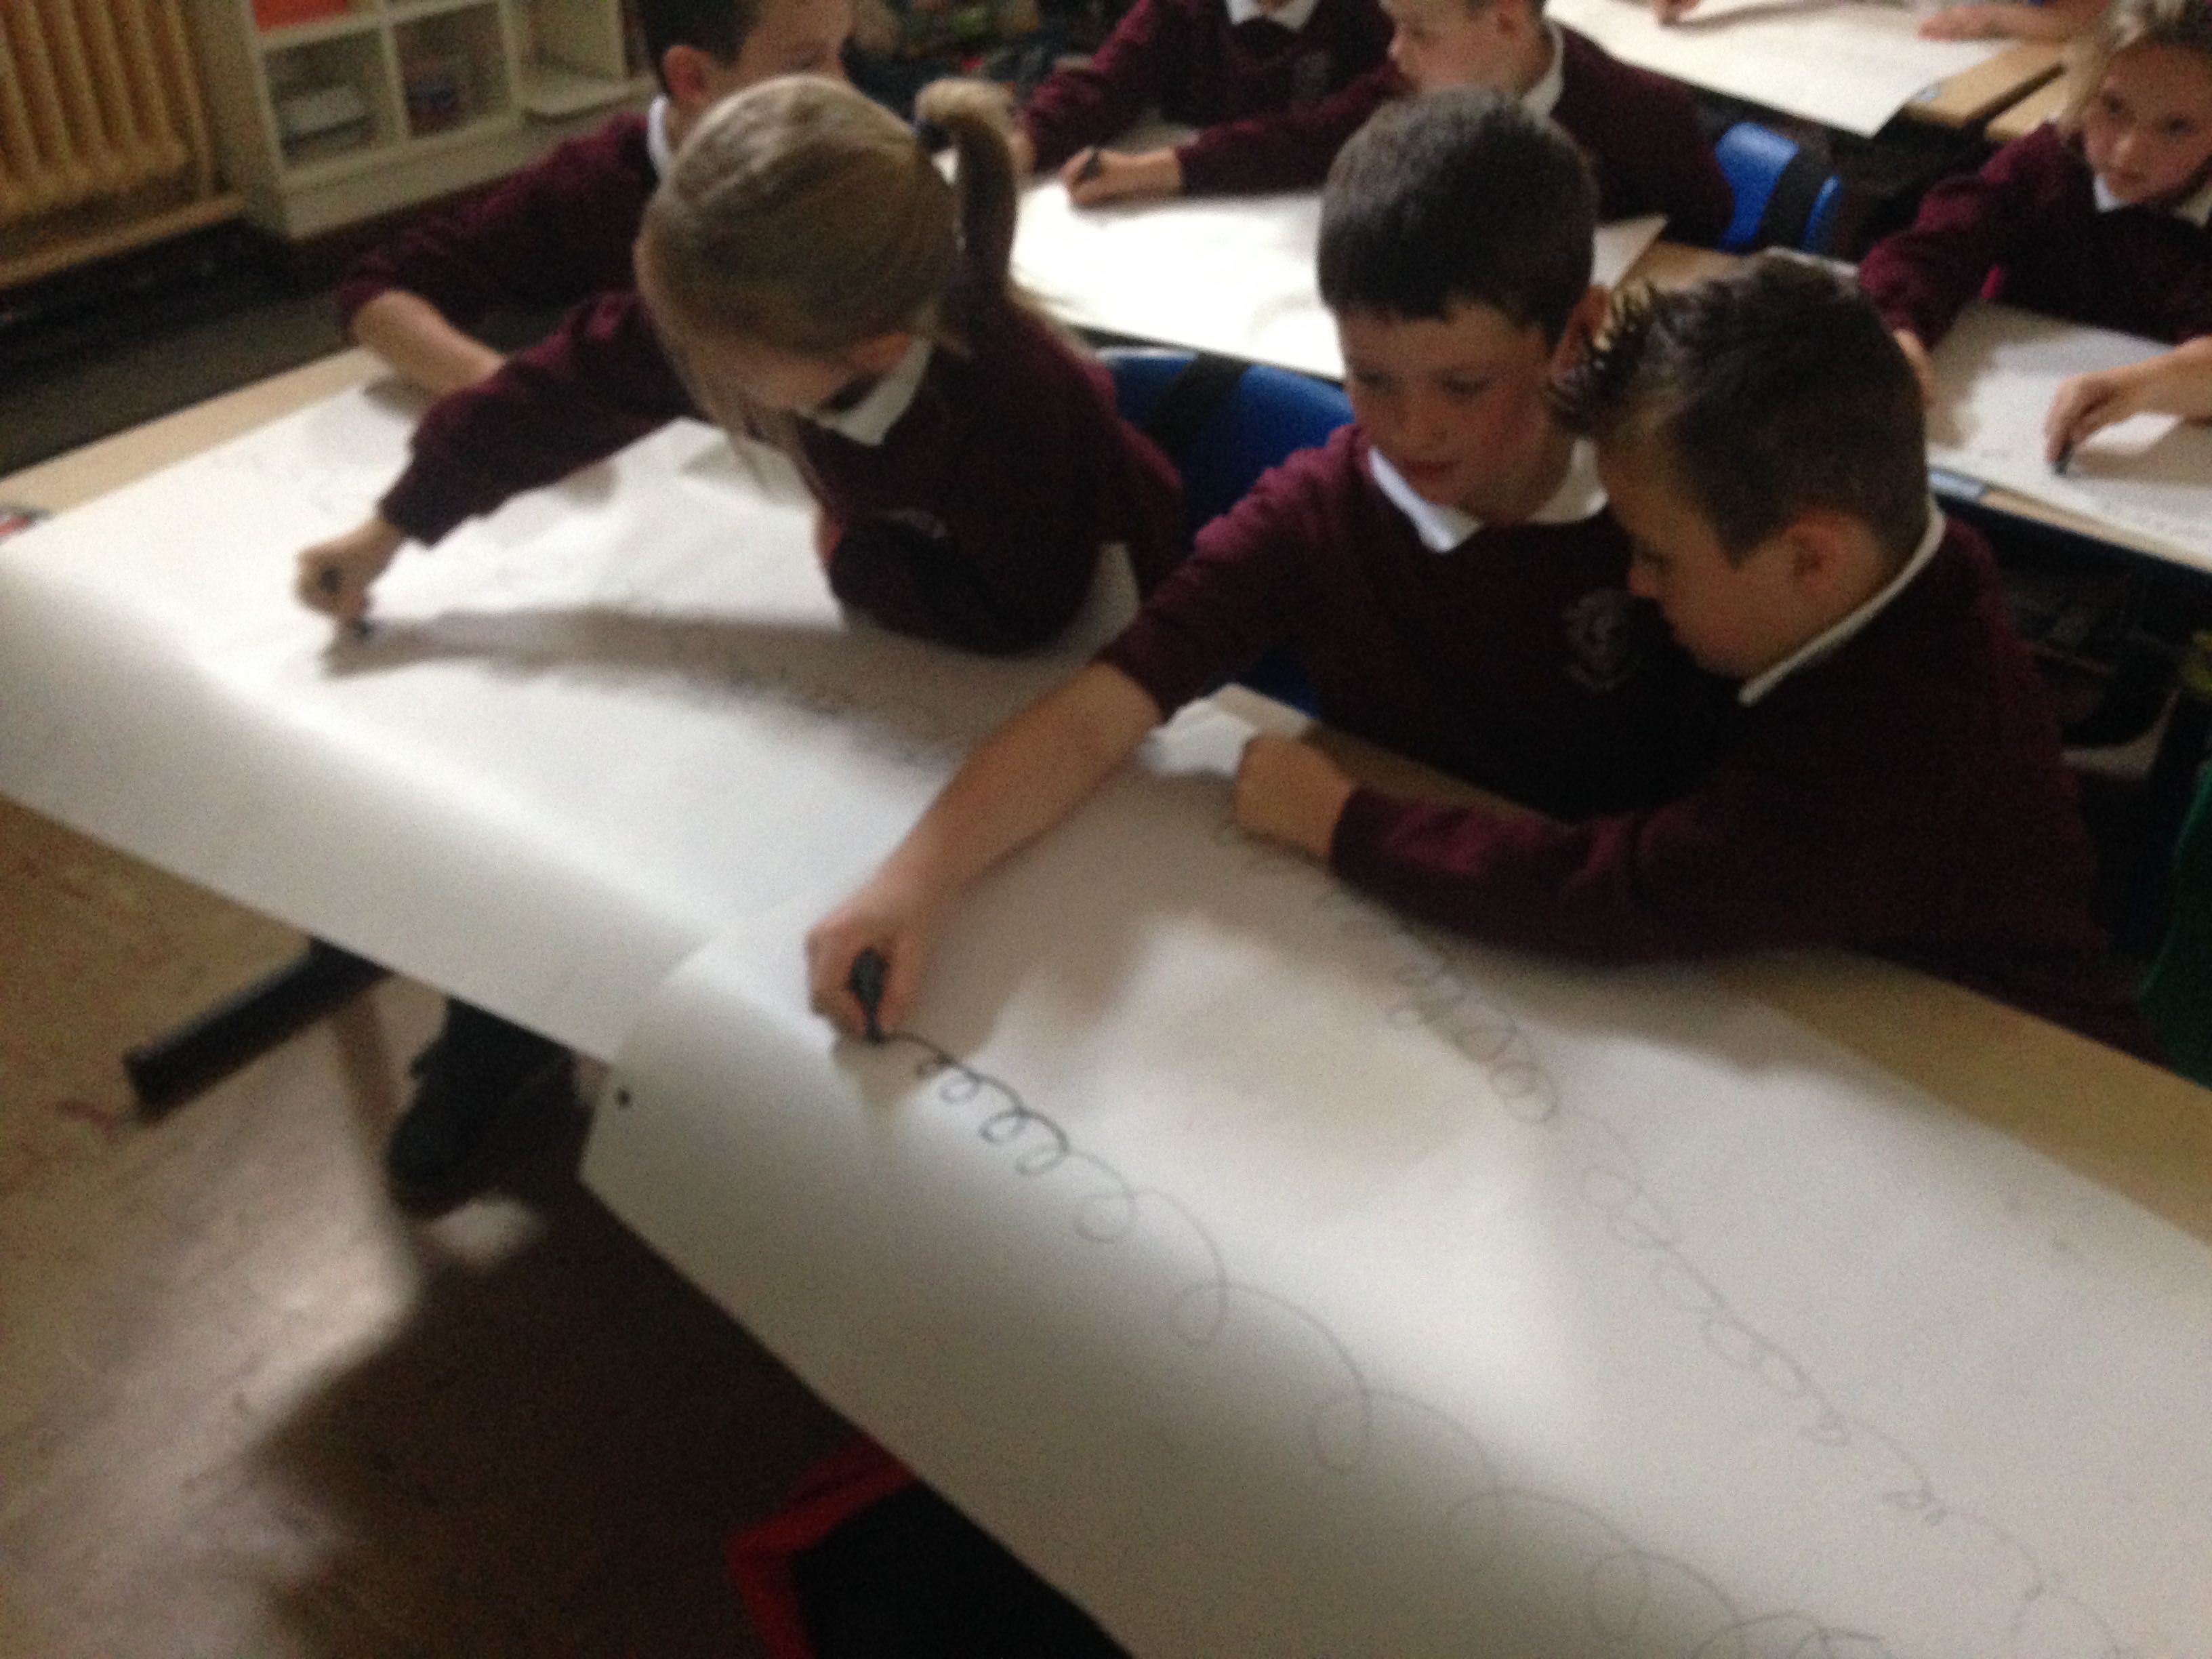
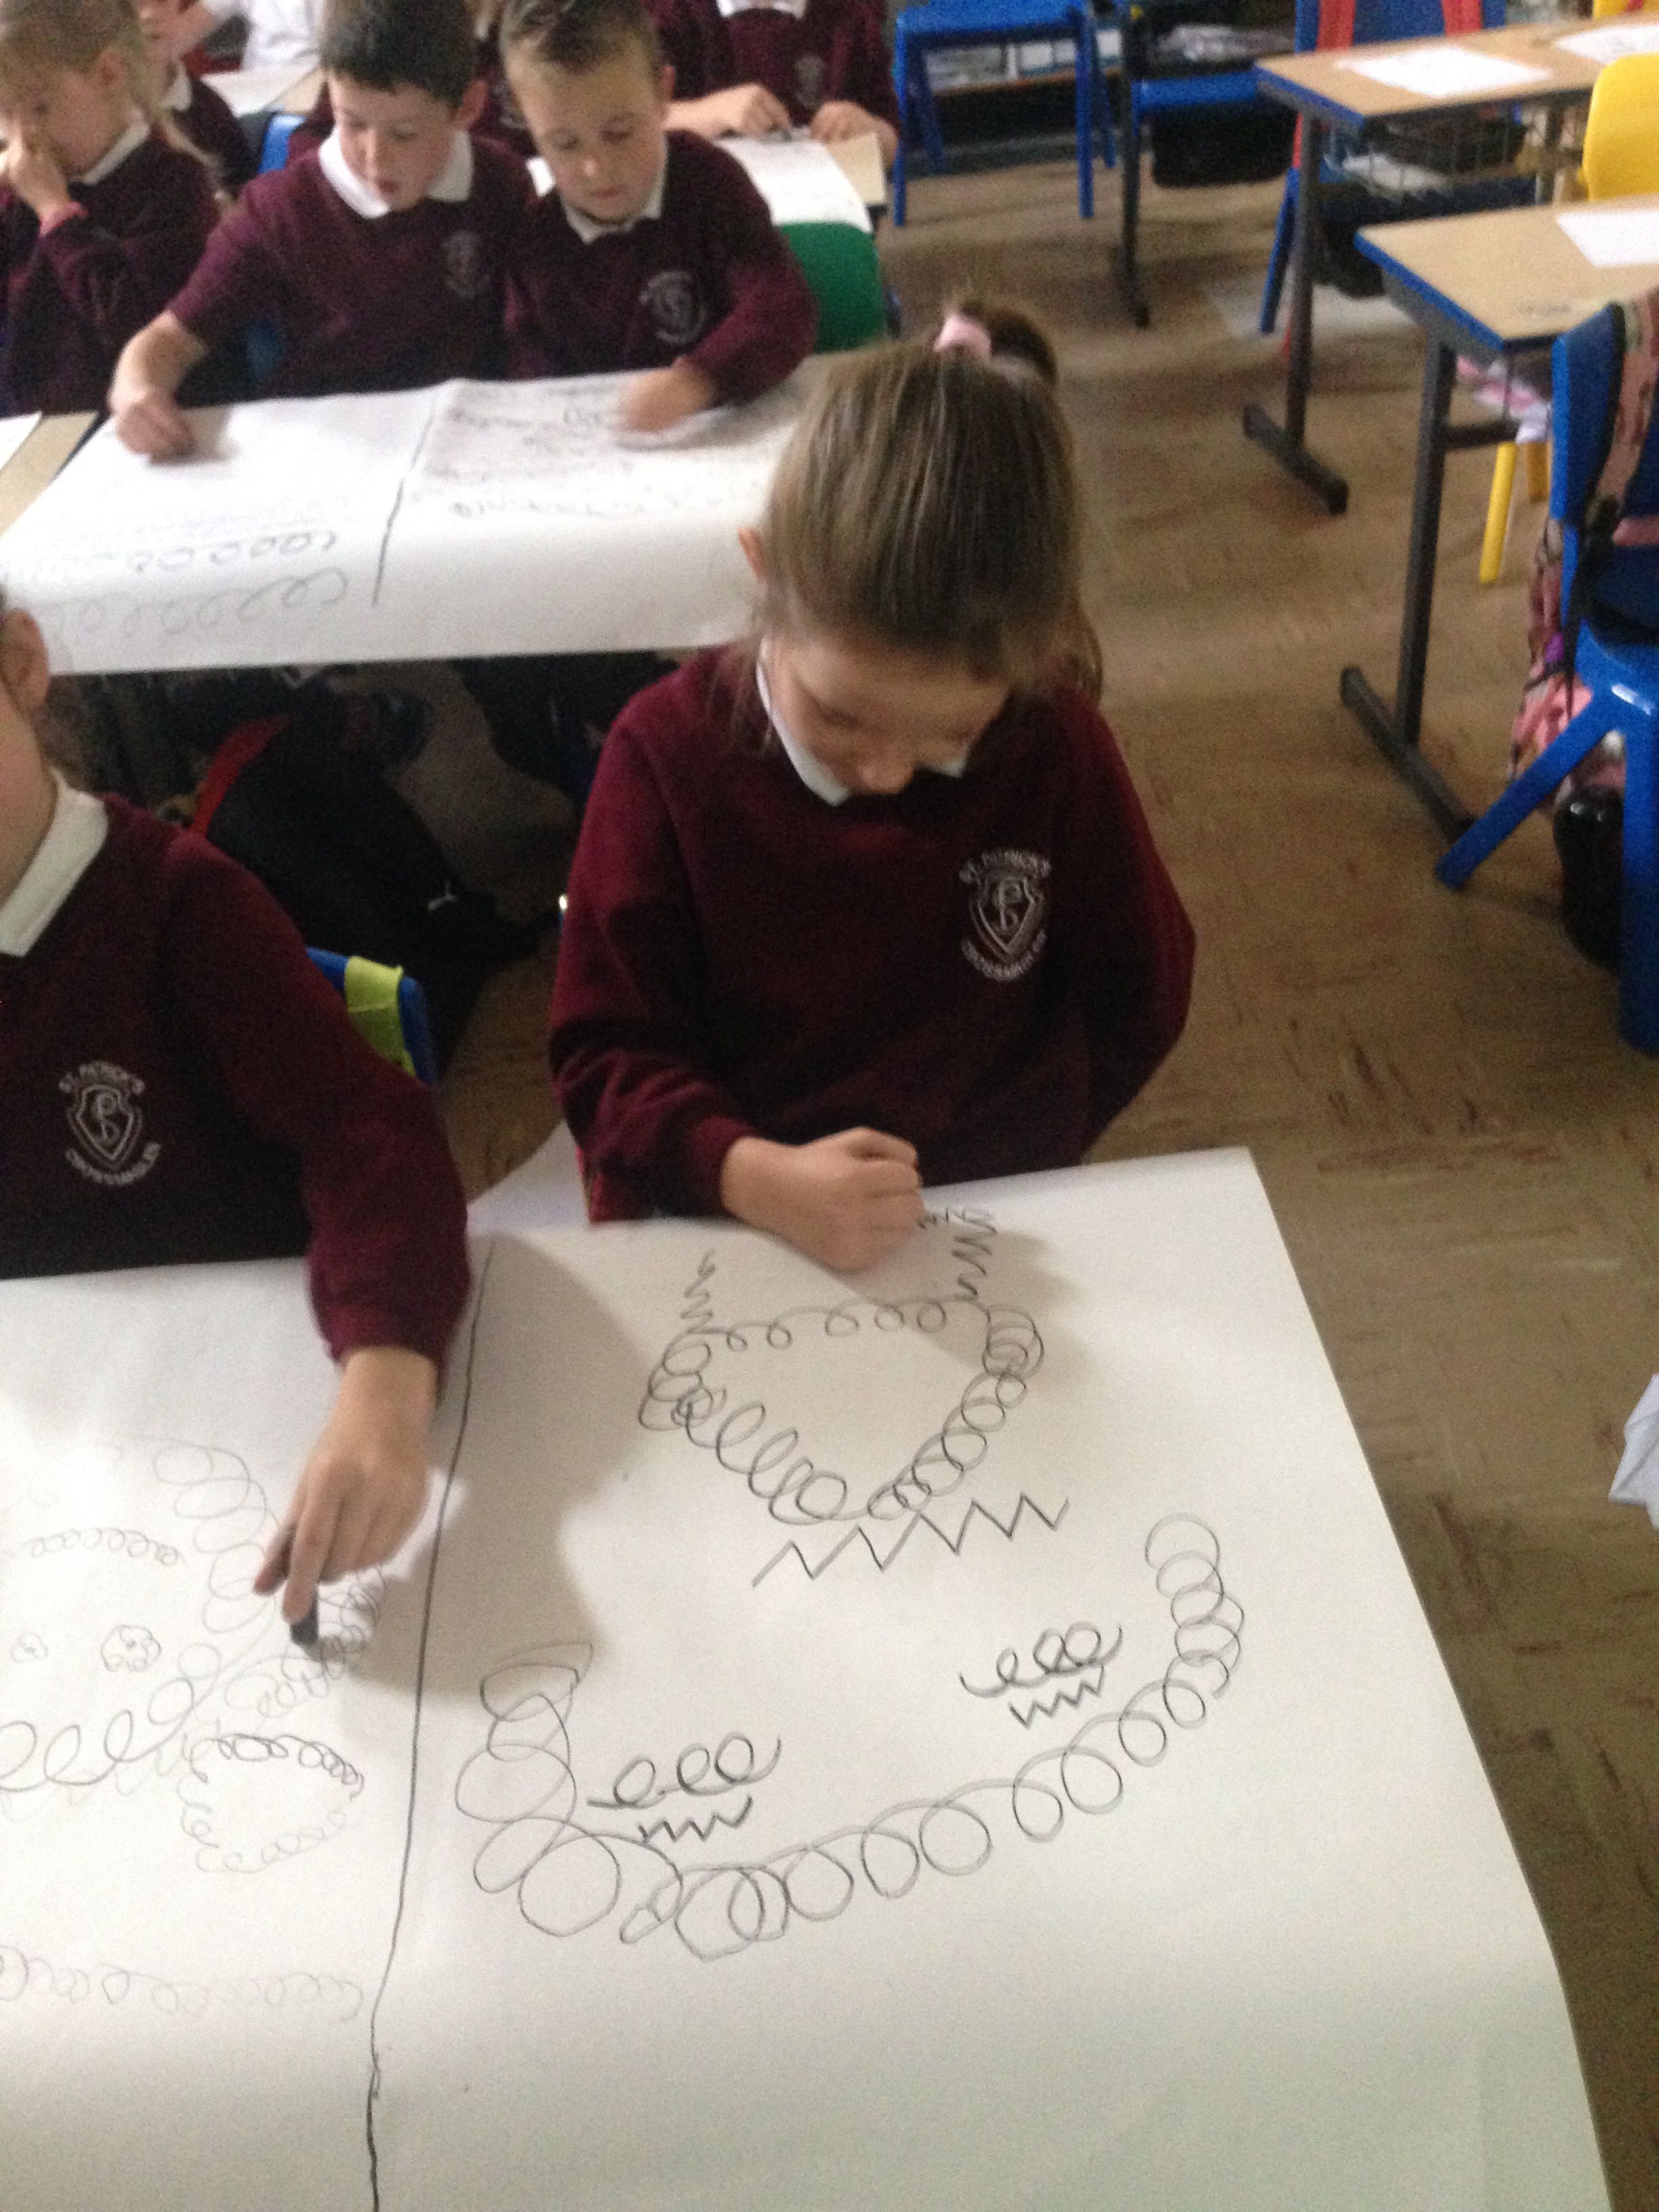
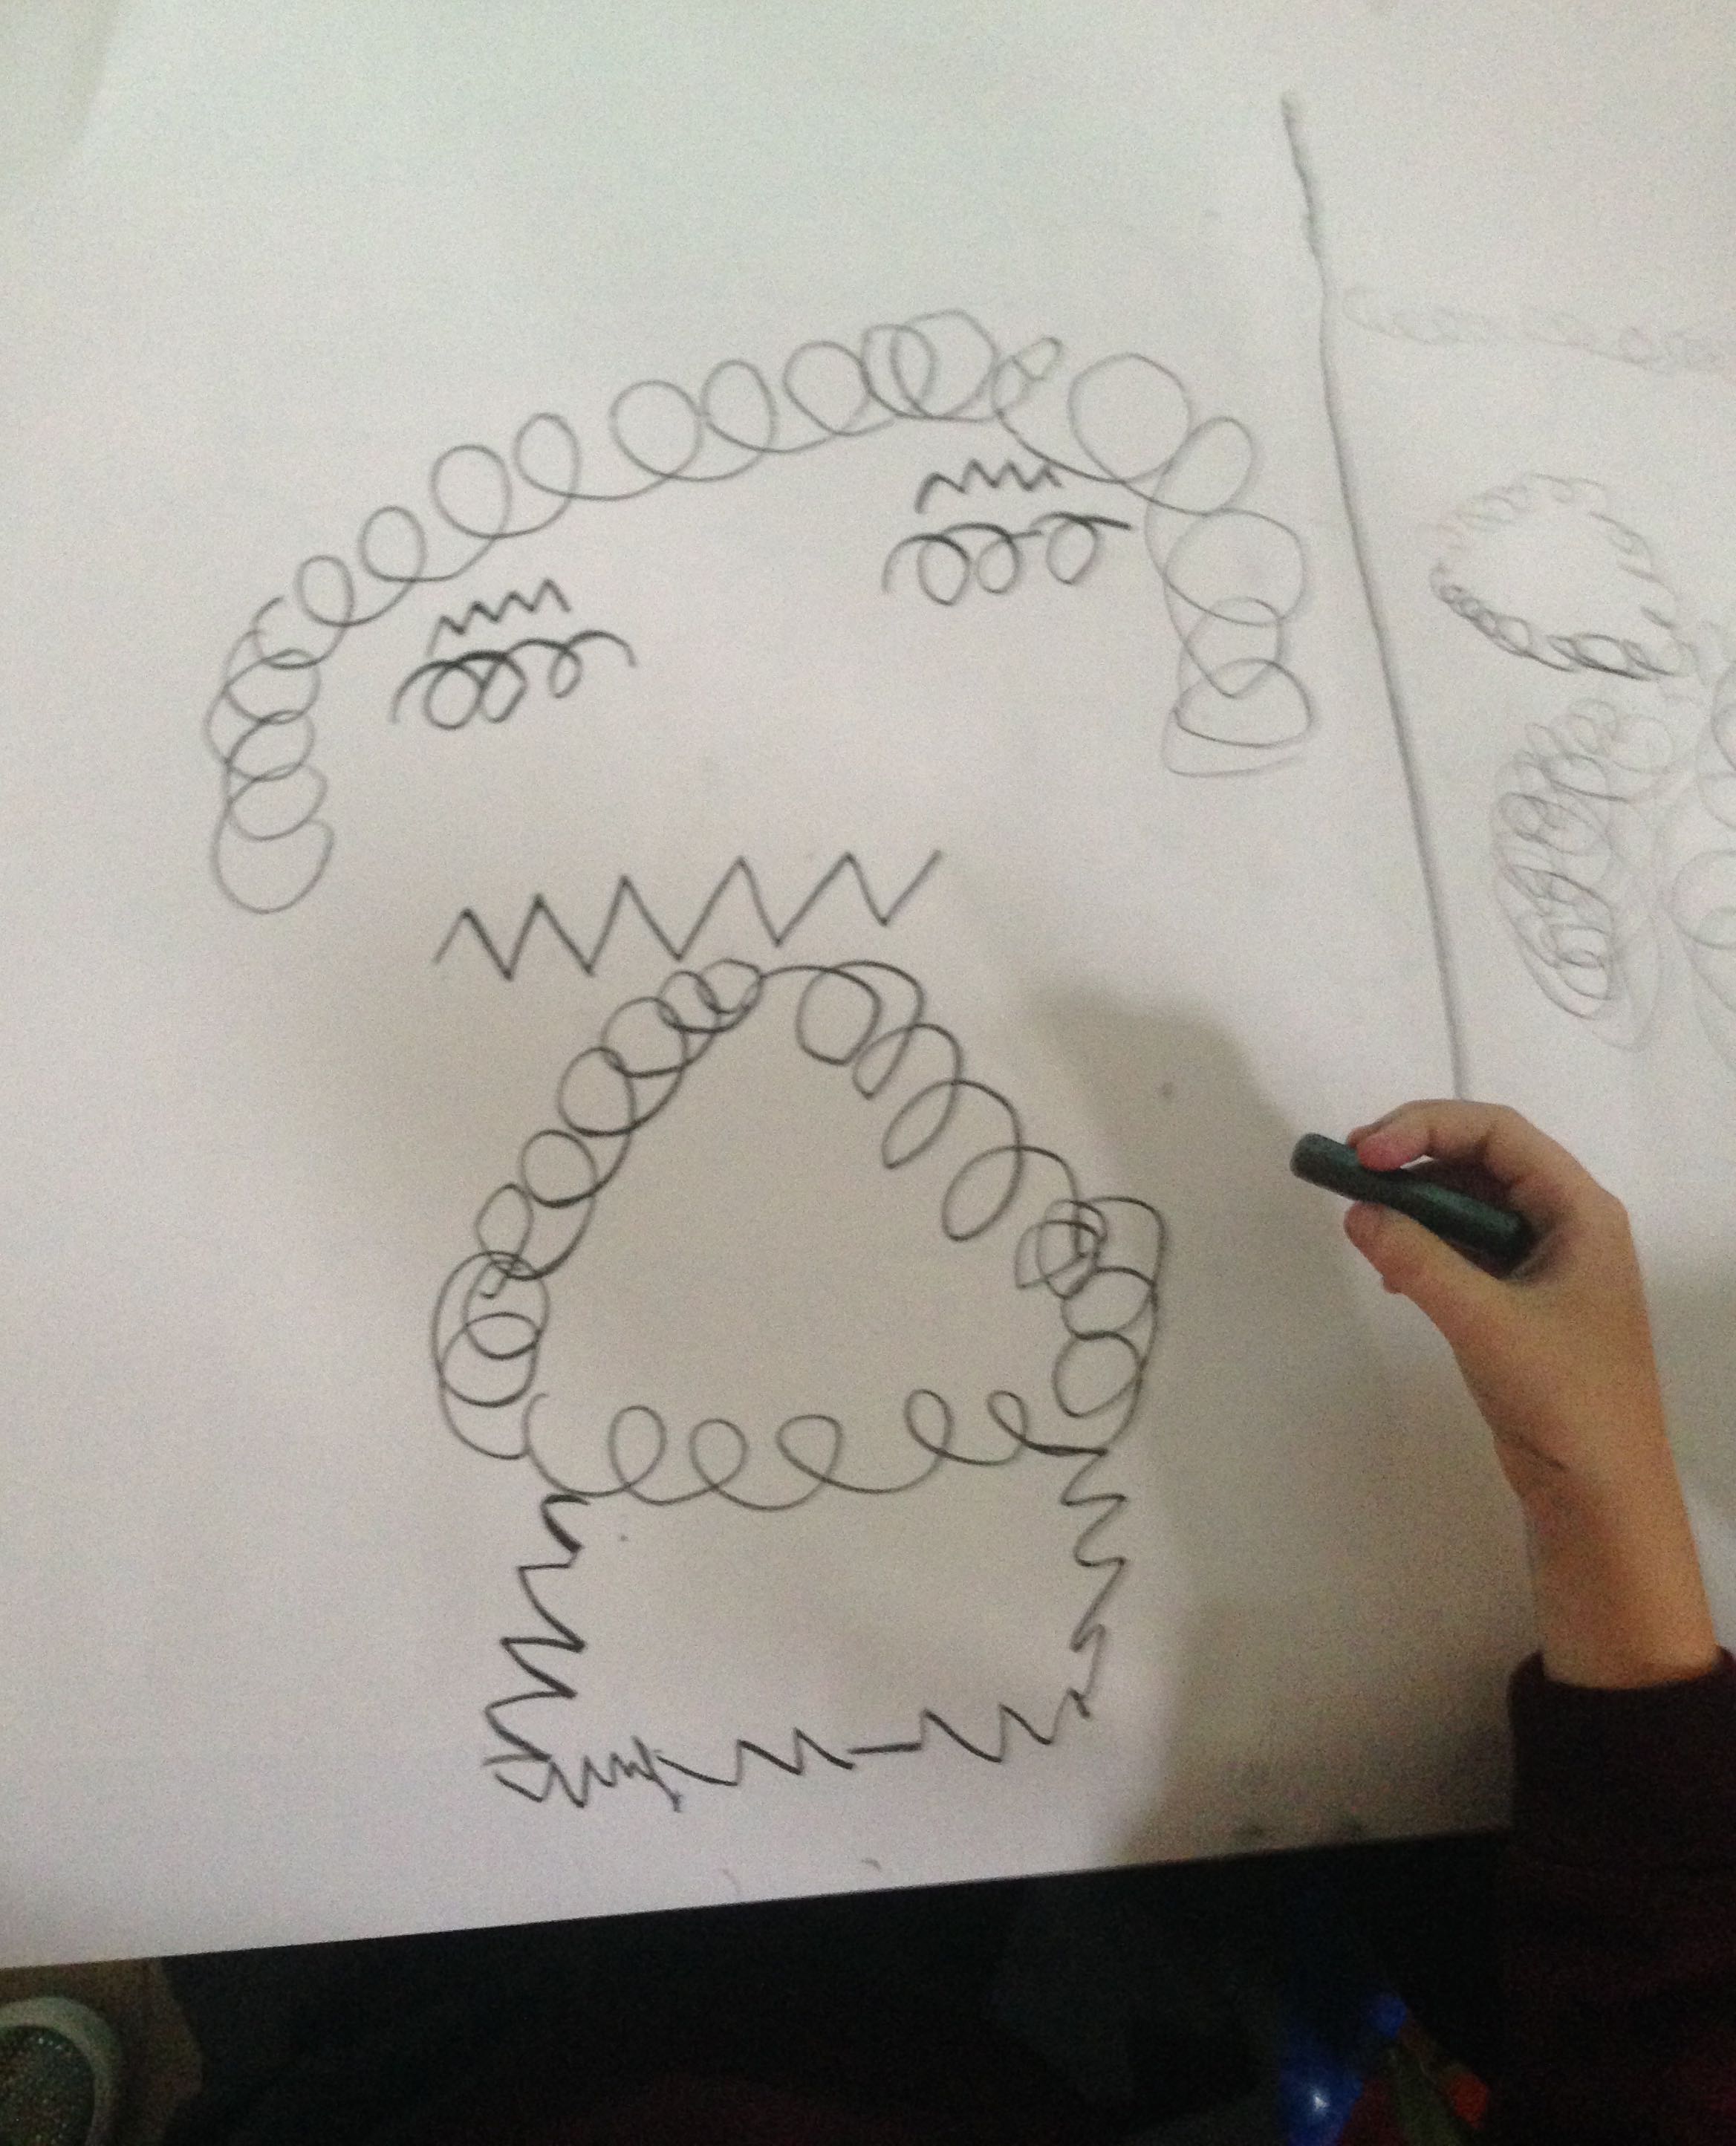
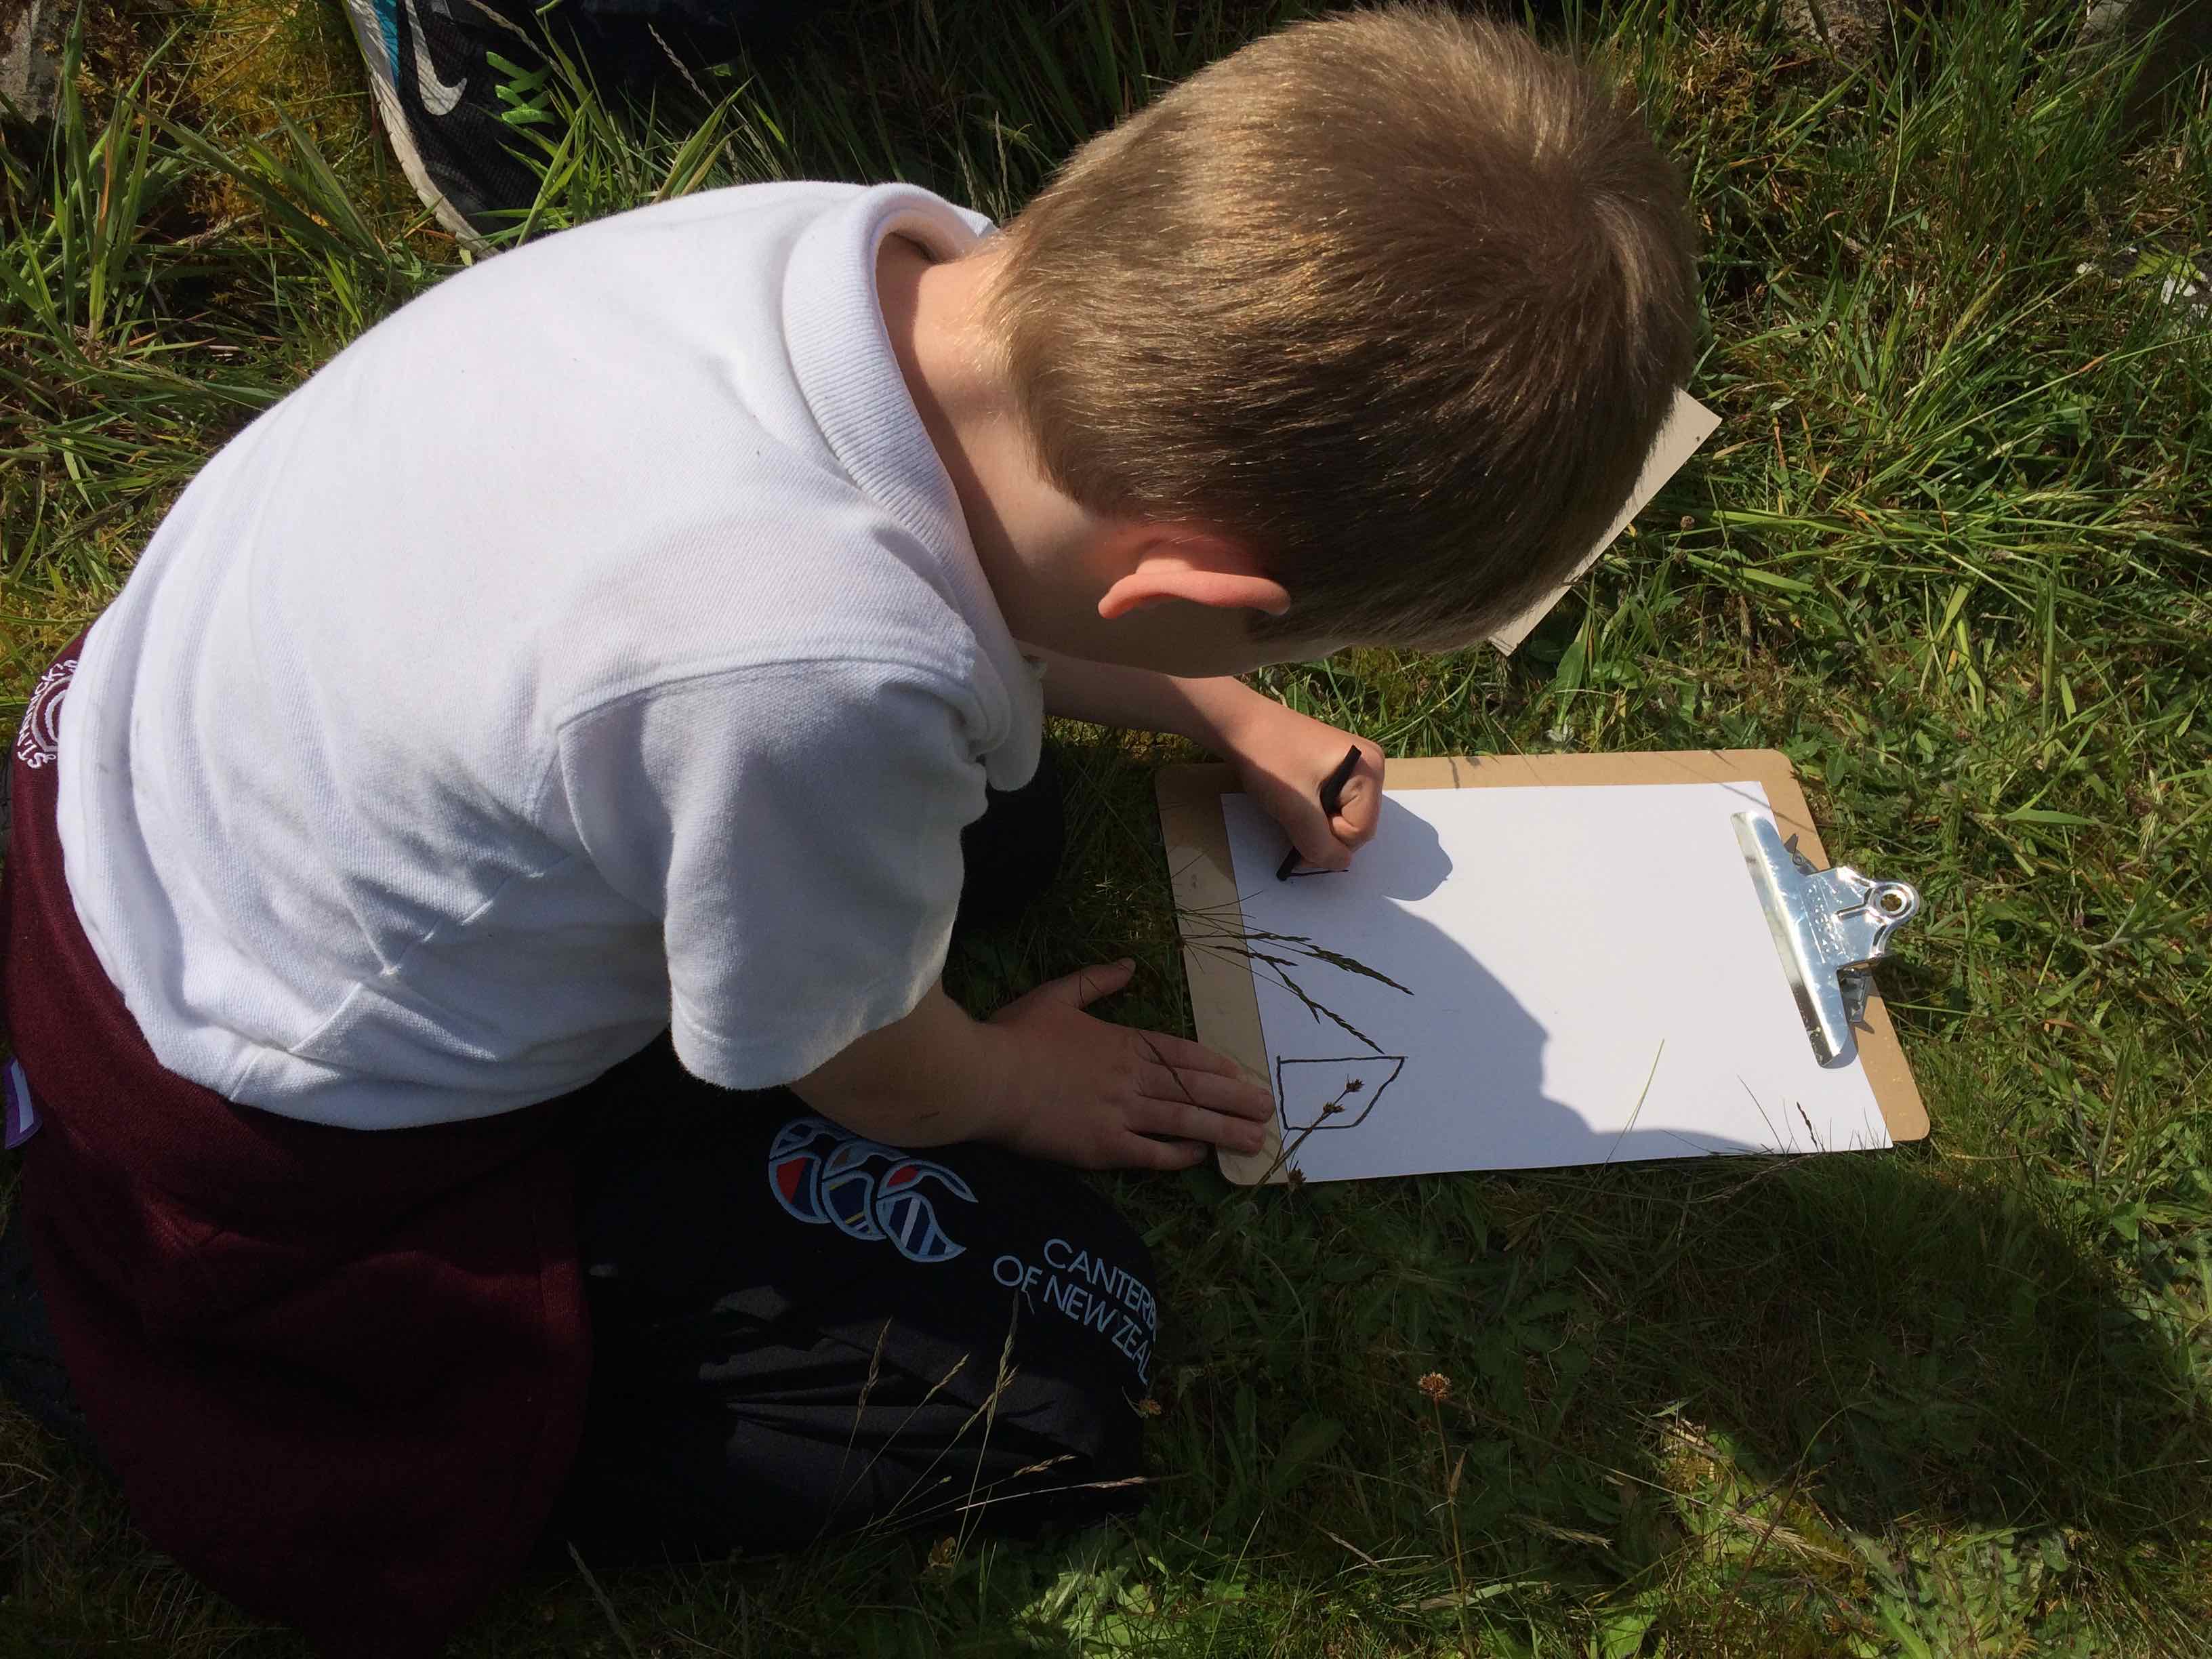
It all started where we left off, exploring PRESSURE and the way we make marks… we used carbon paper laid between a folded plain sheet of A4 paper.
The children used their wrists and fingers to make lines and marks…A range of light and dark marks were ‘transferred onto the underlying paper, by scratching or drawing on the top layer of paper.
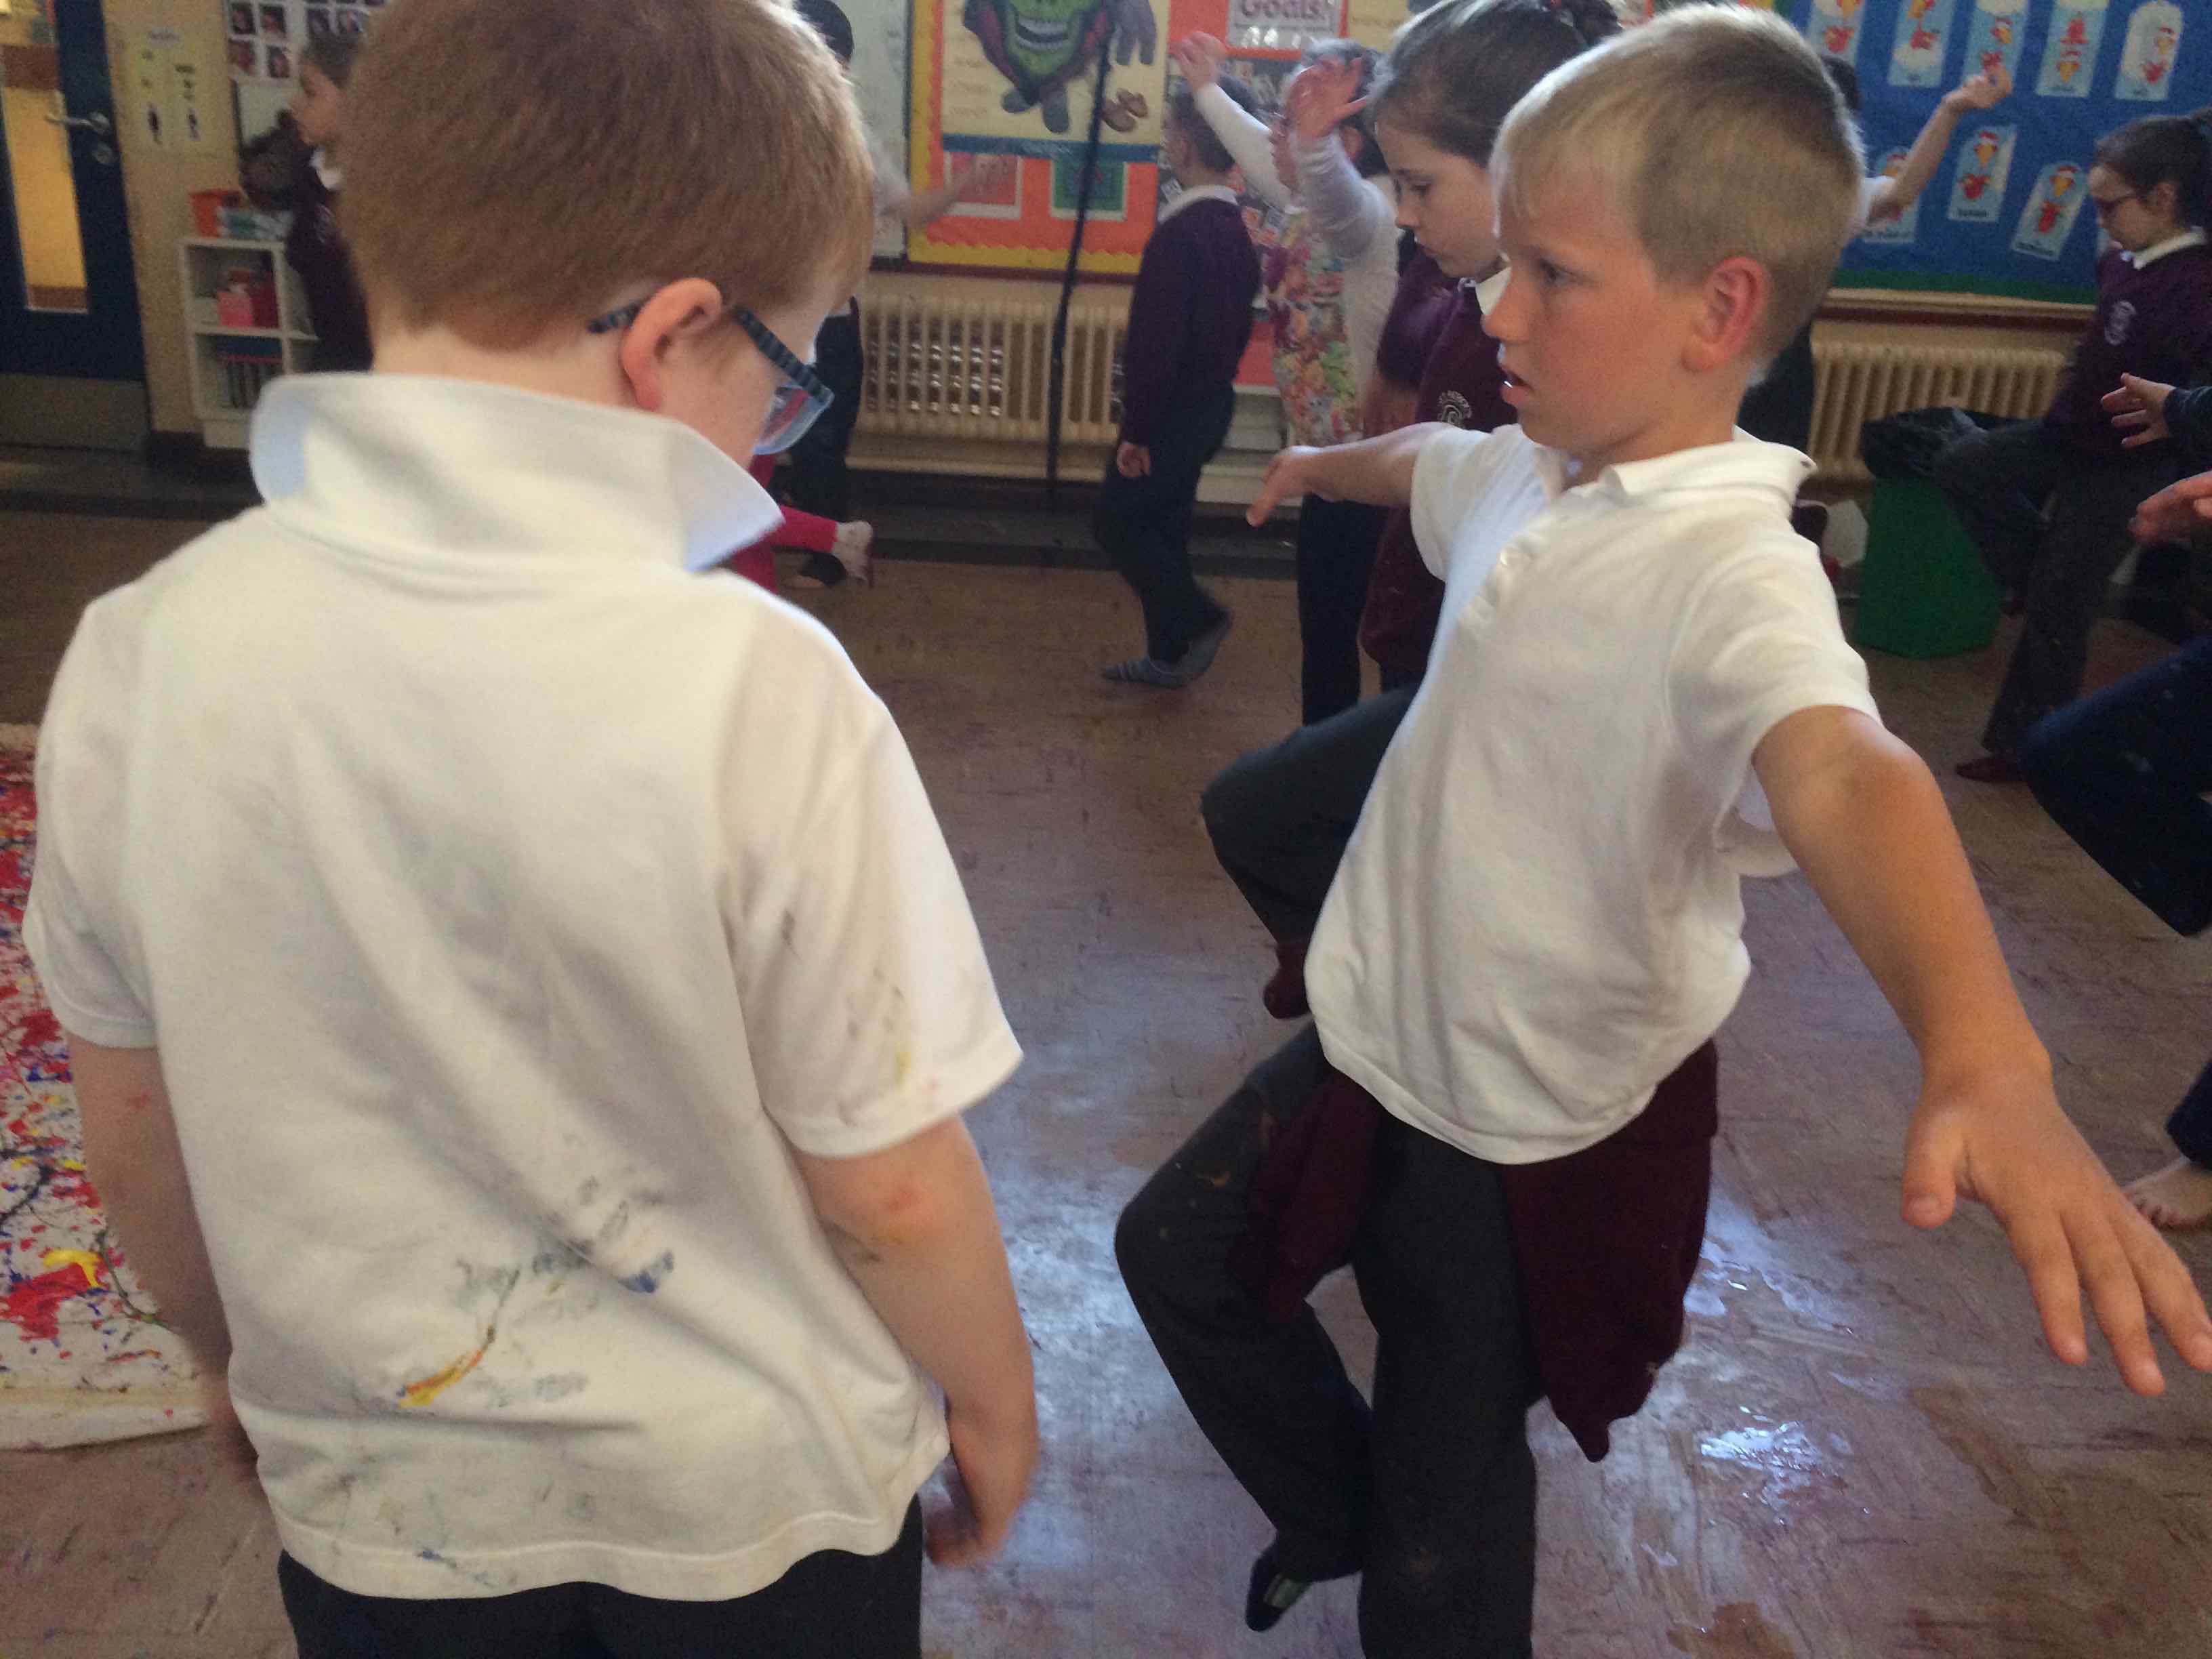
We identified what parts of our bodies we were using to make these marks and then tried to move more and more of our arm and body. At first we tried a REHEARSAL by making shapes and movements in the air with first our WRIST, then our FOREARM, then our WHOLE ARM and SHOULDERS.
When we put this into practice look what happened!
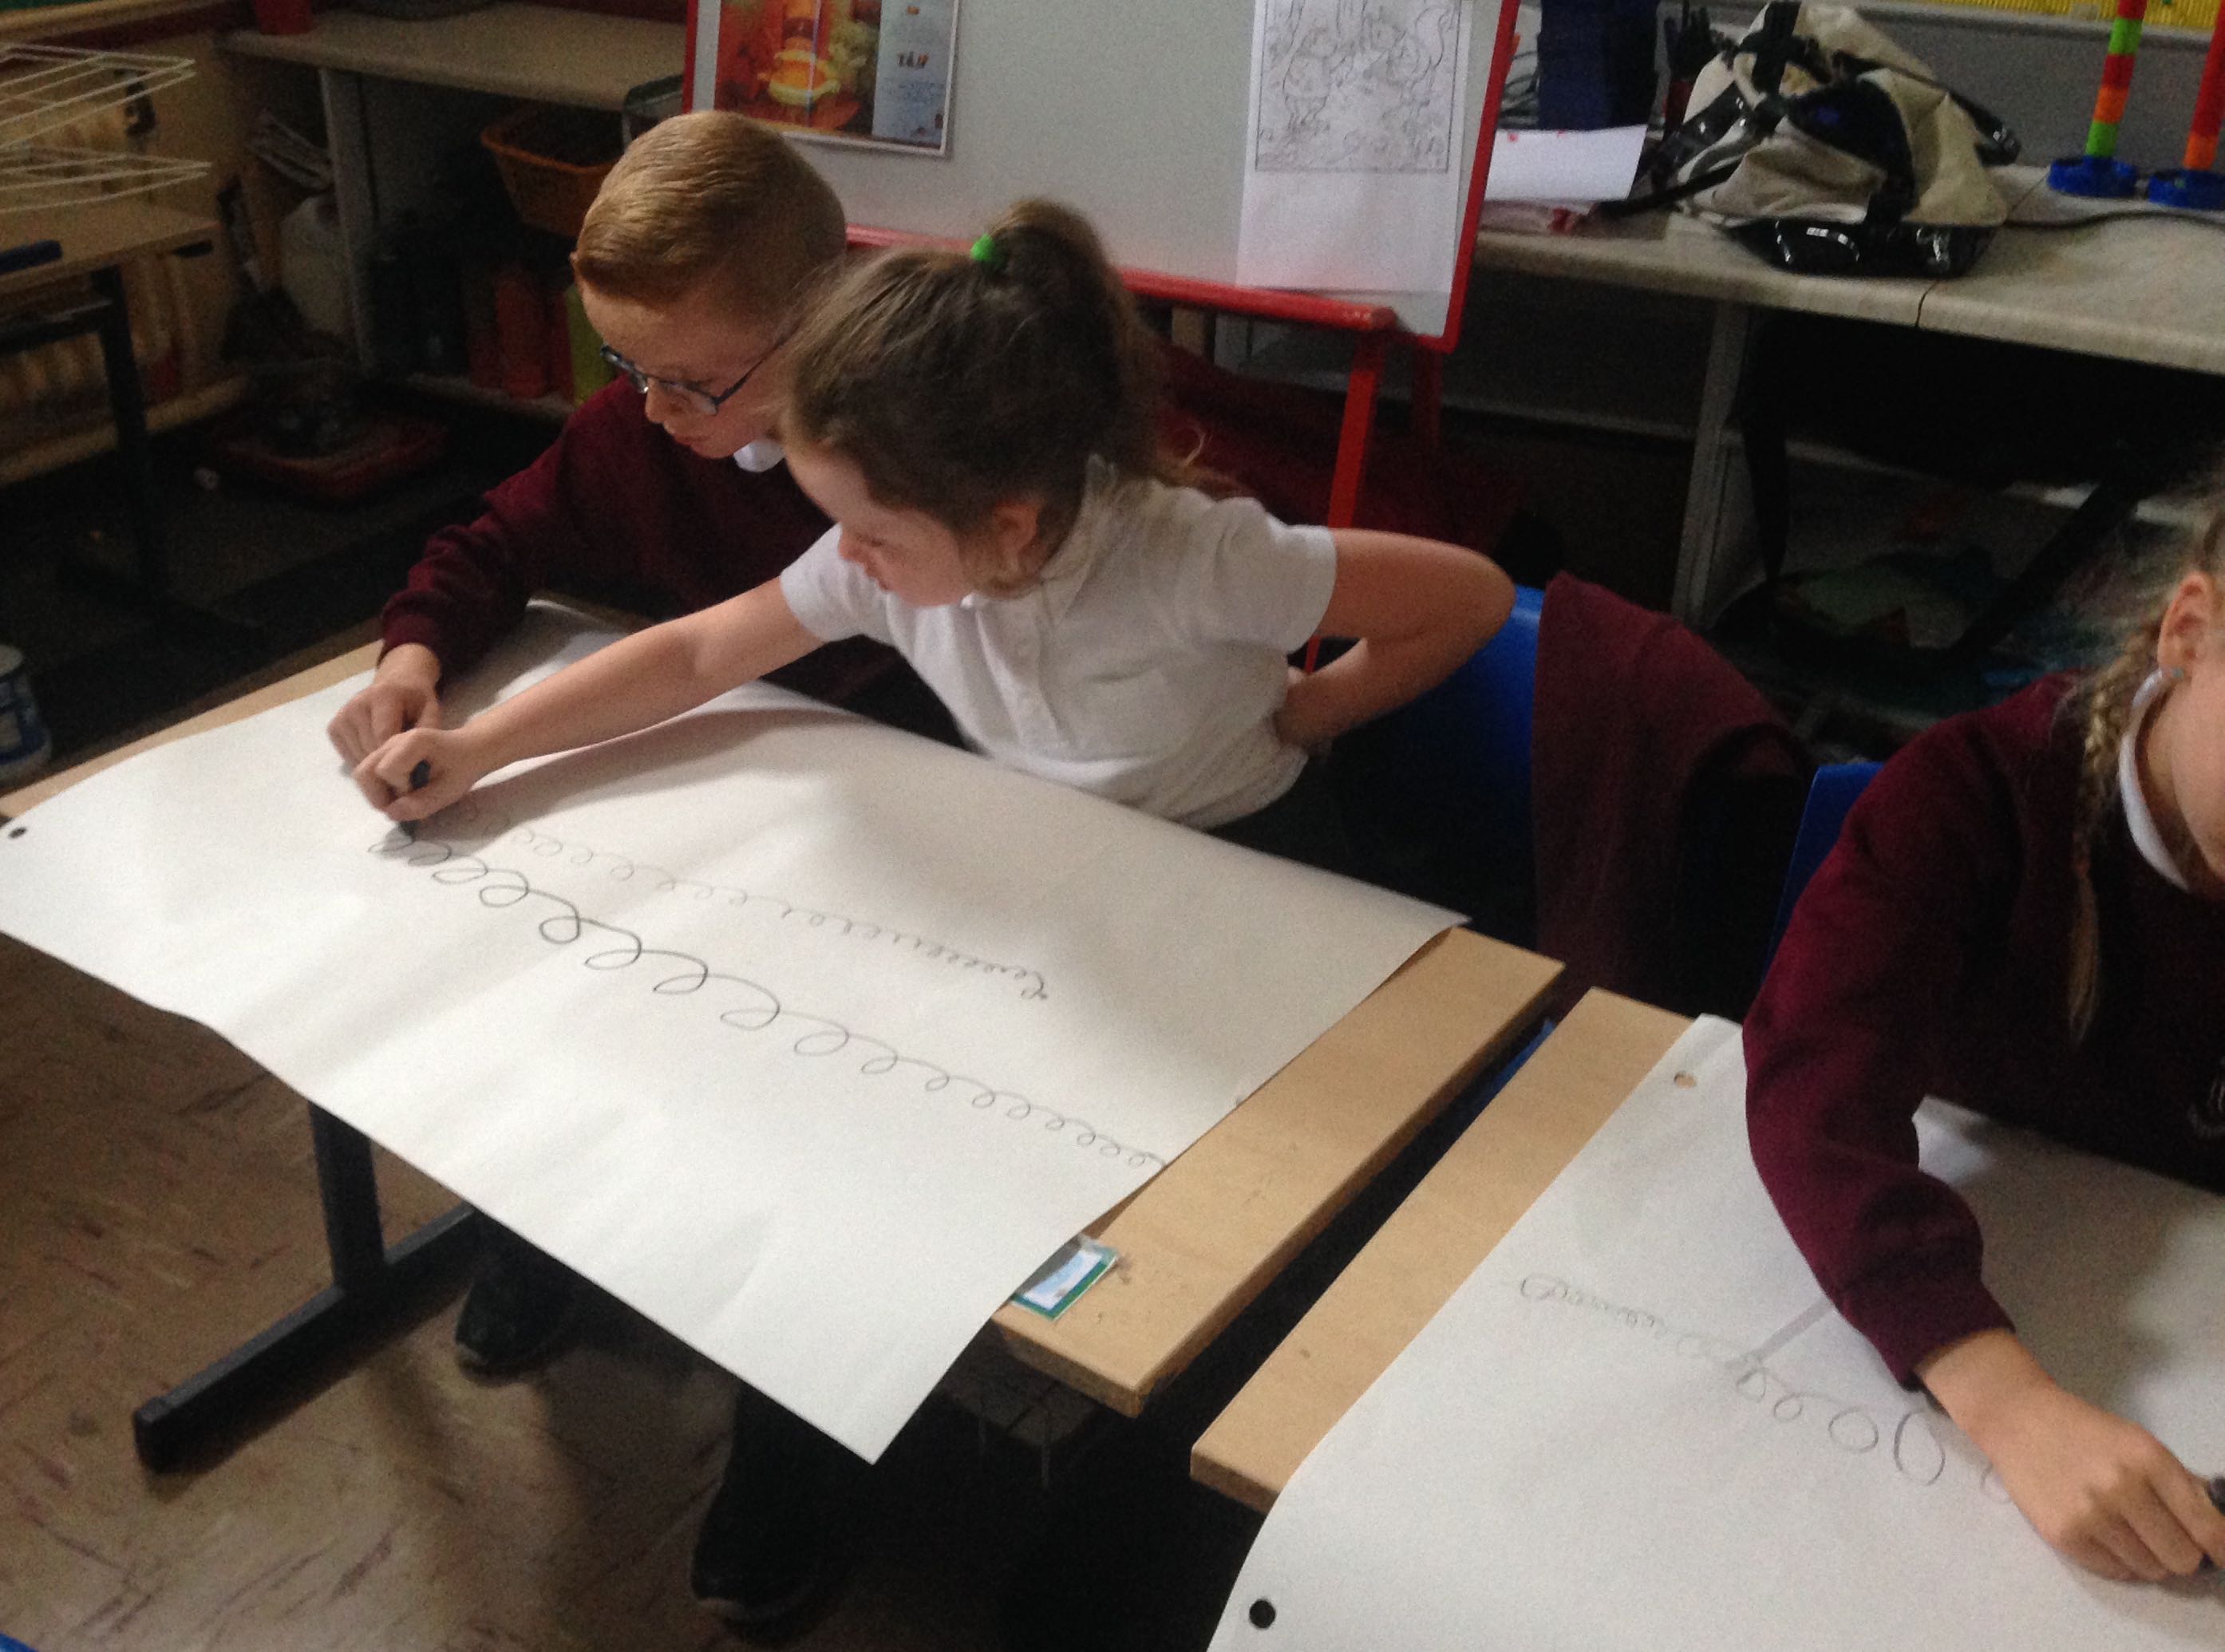
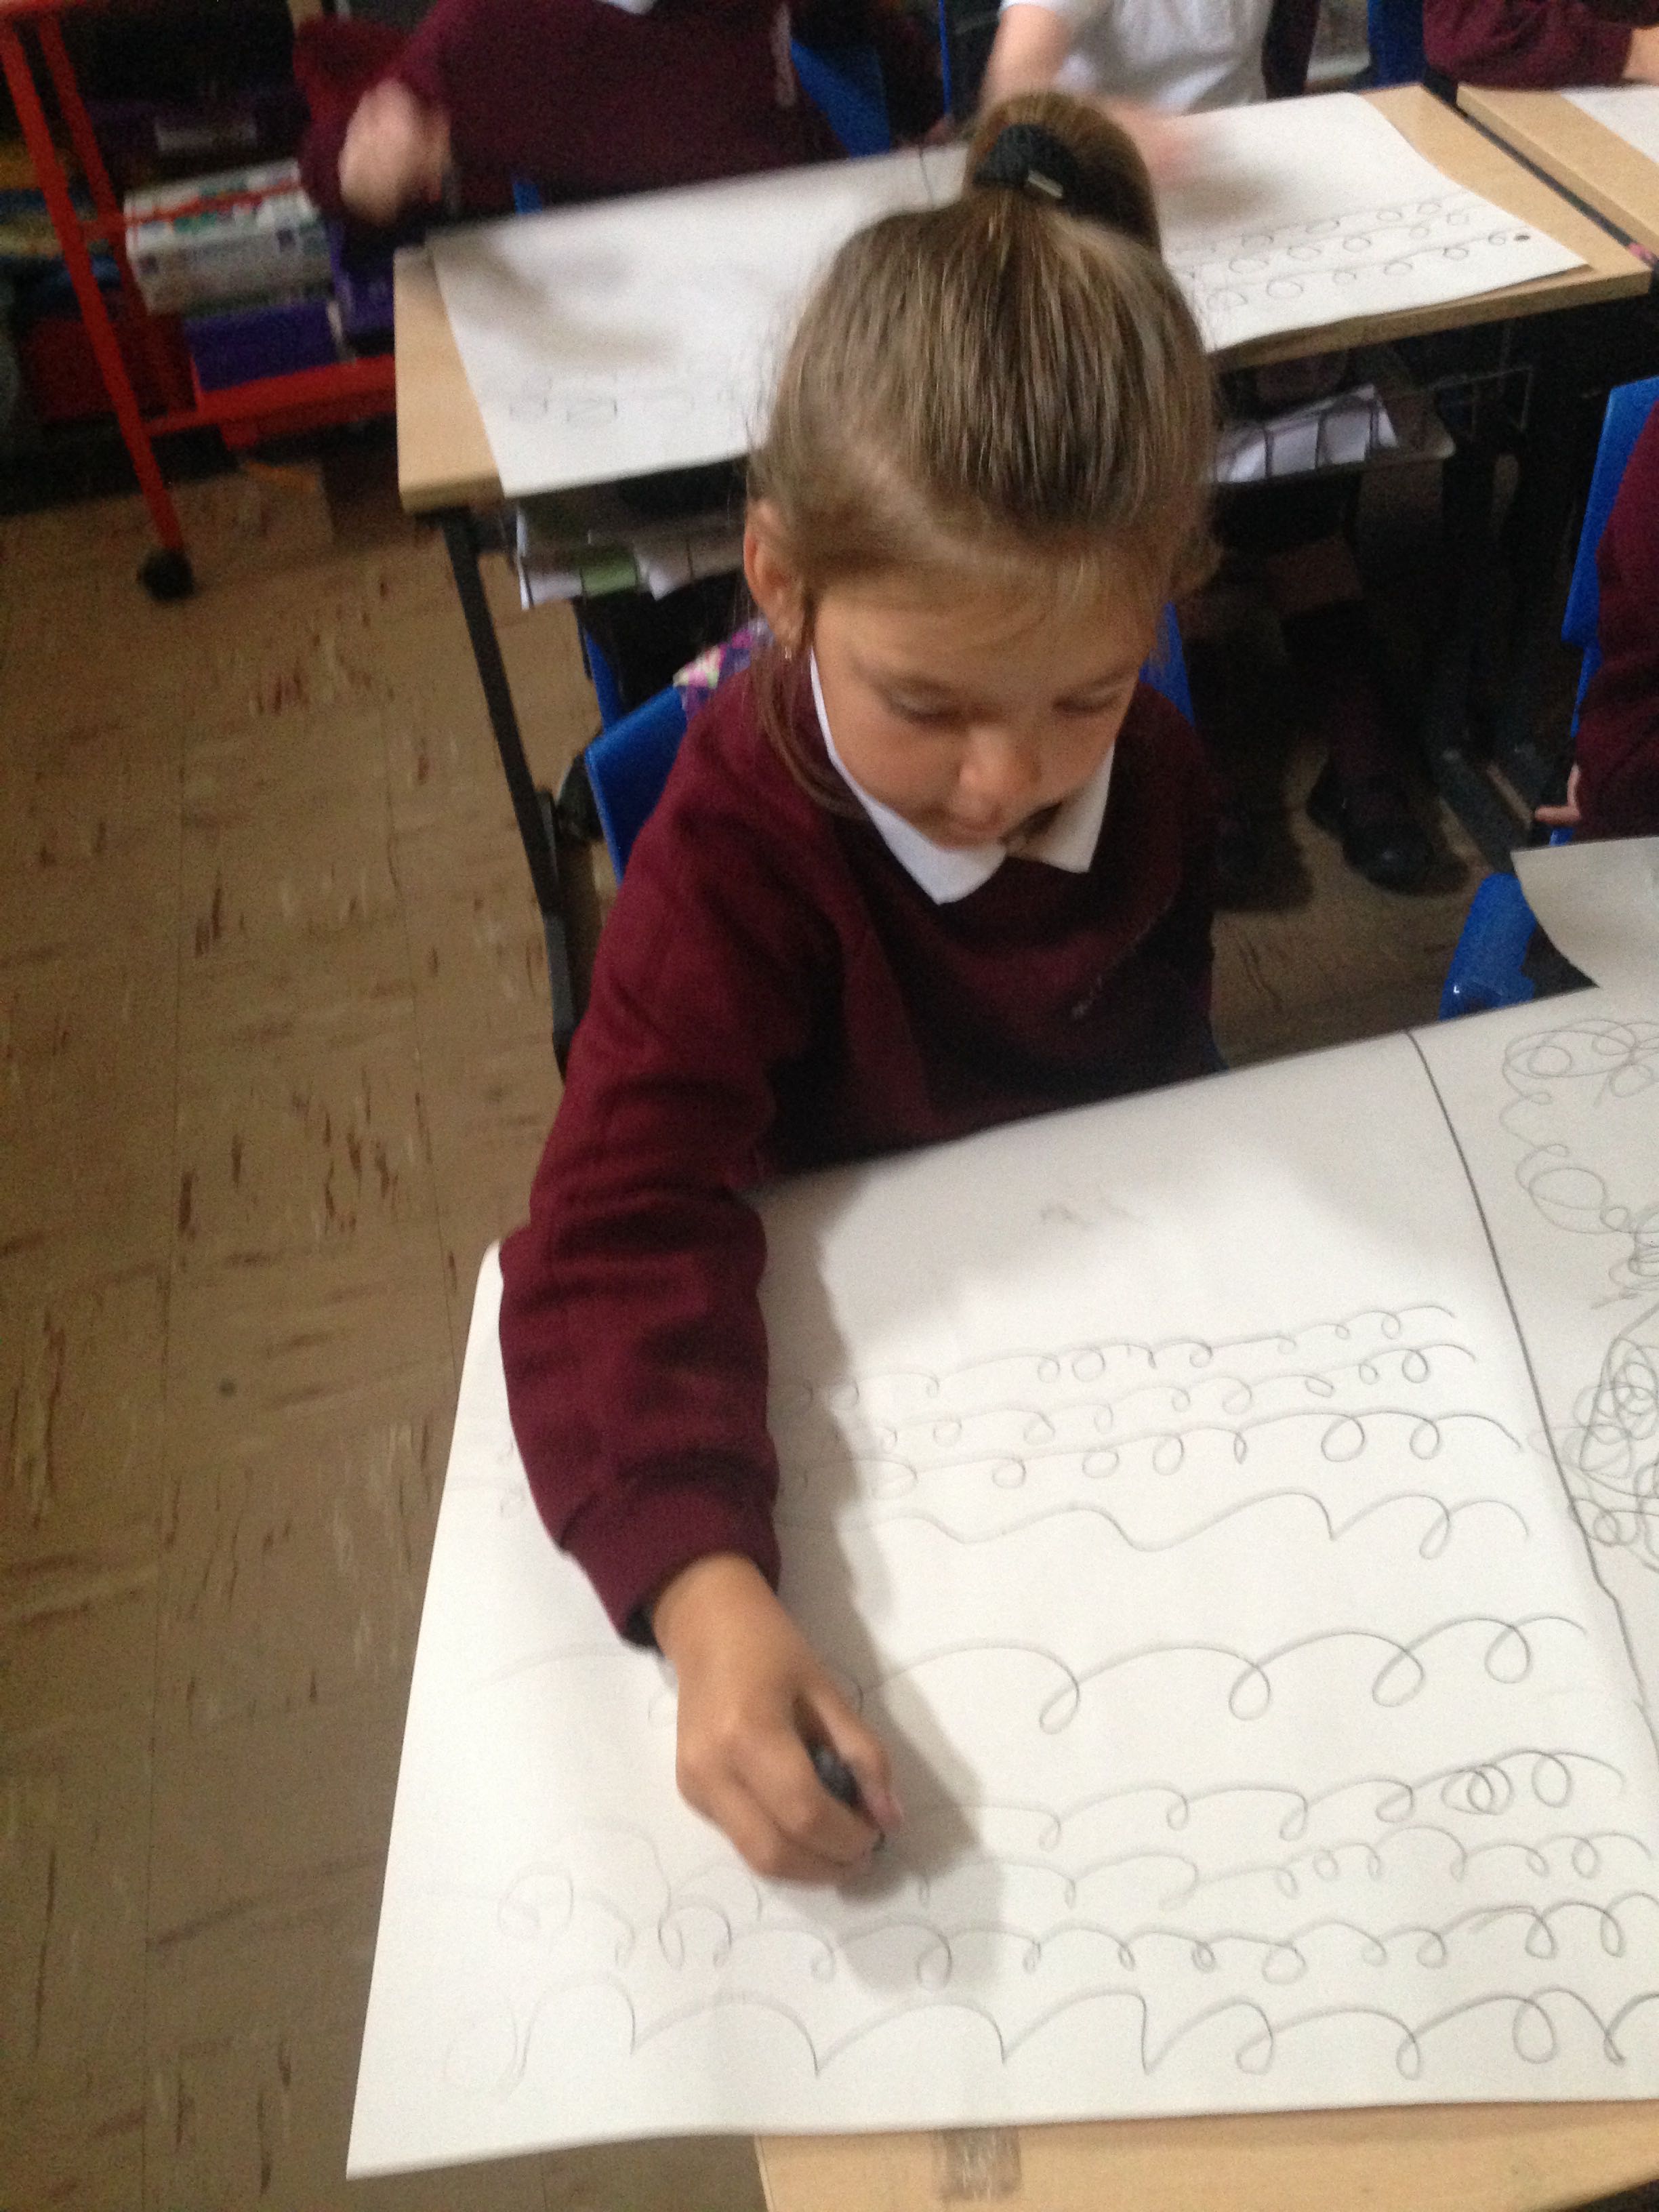
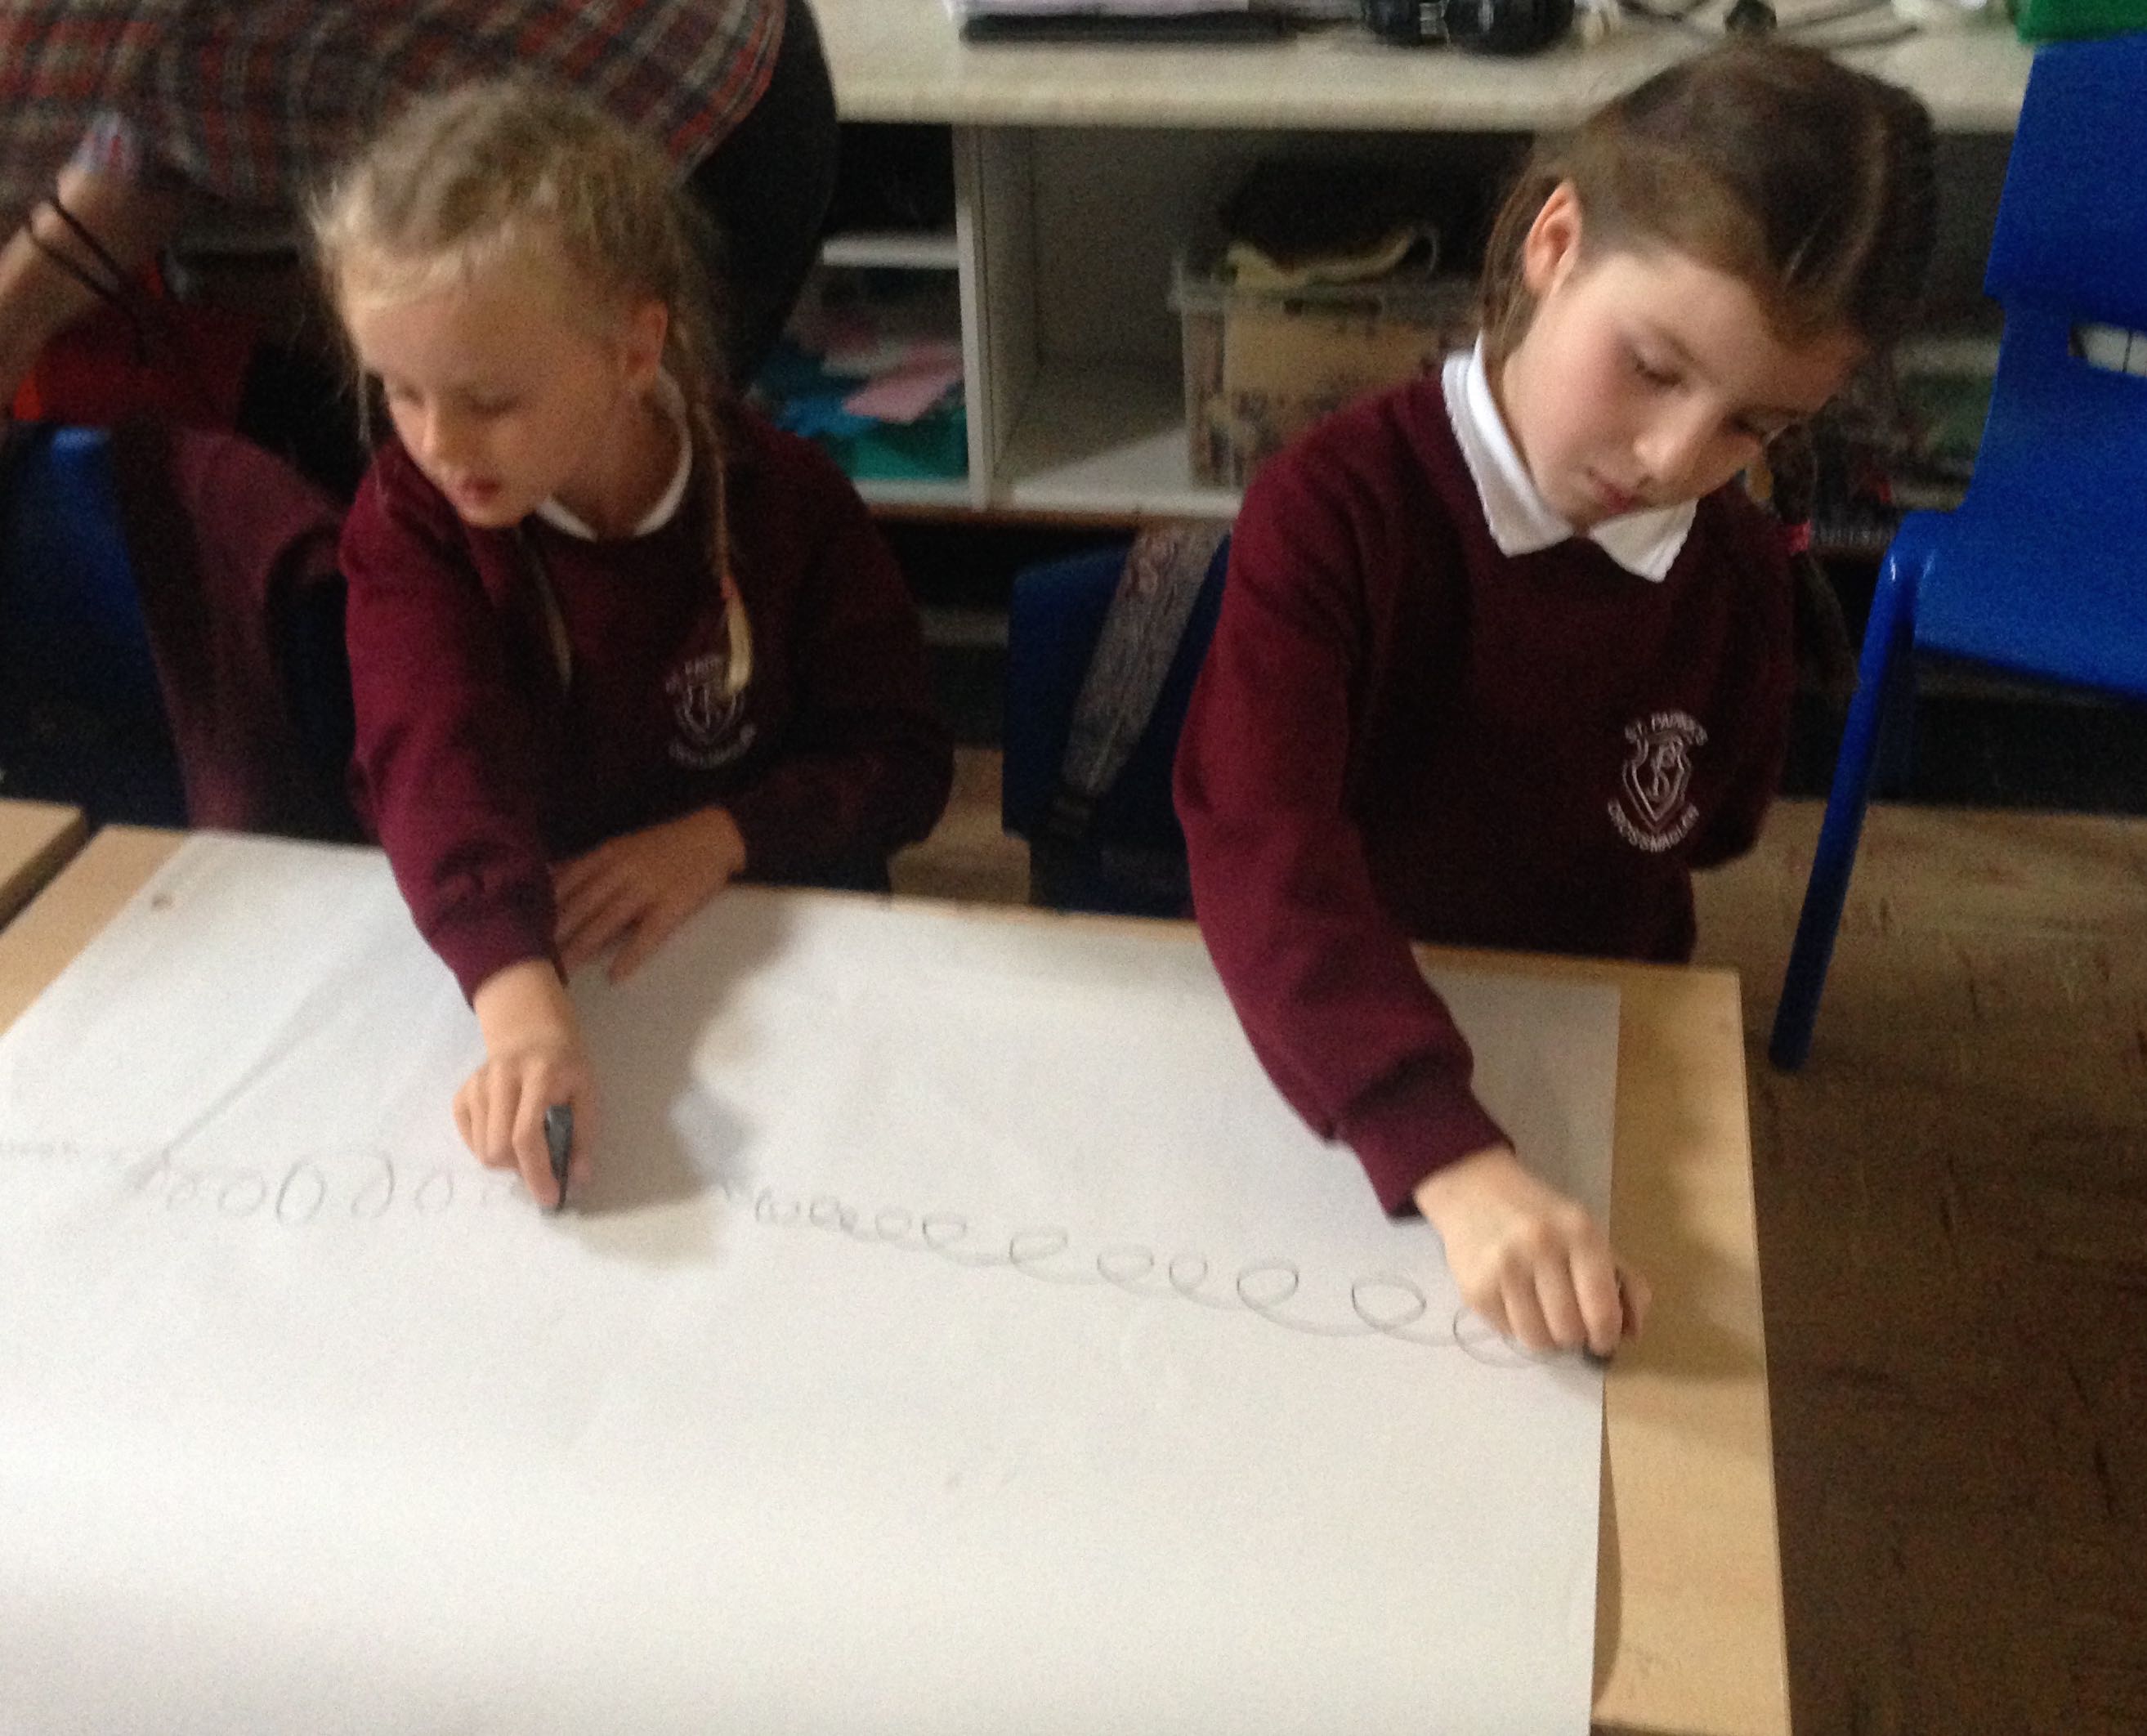
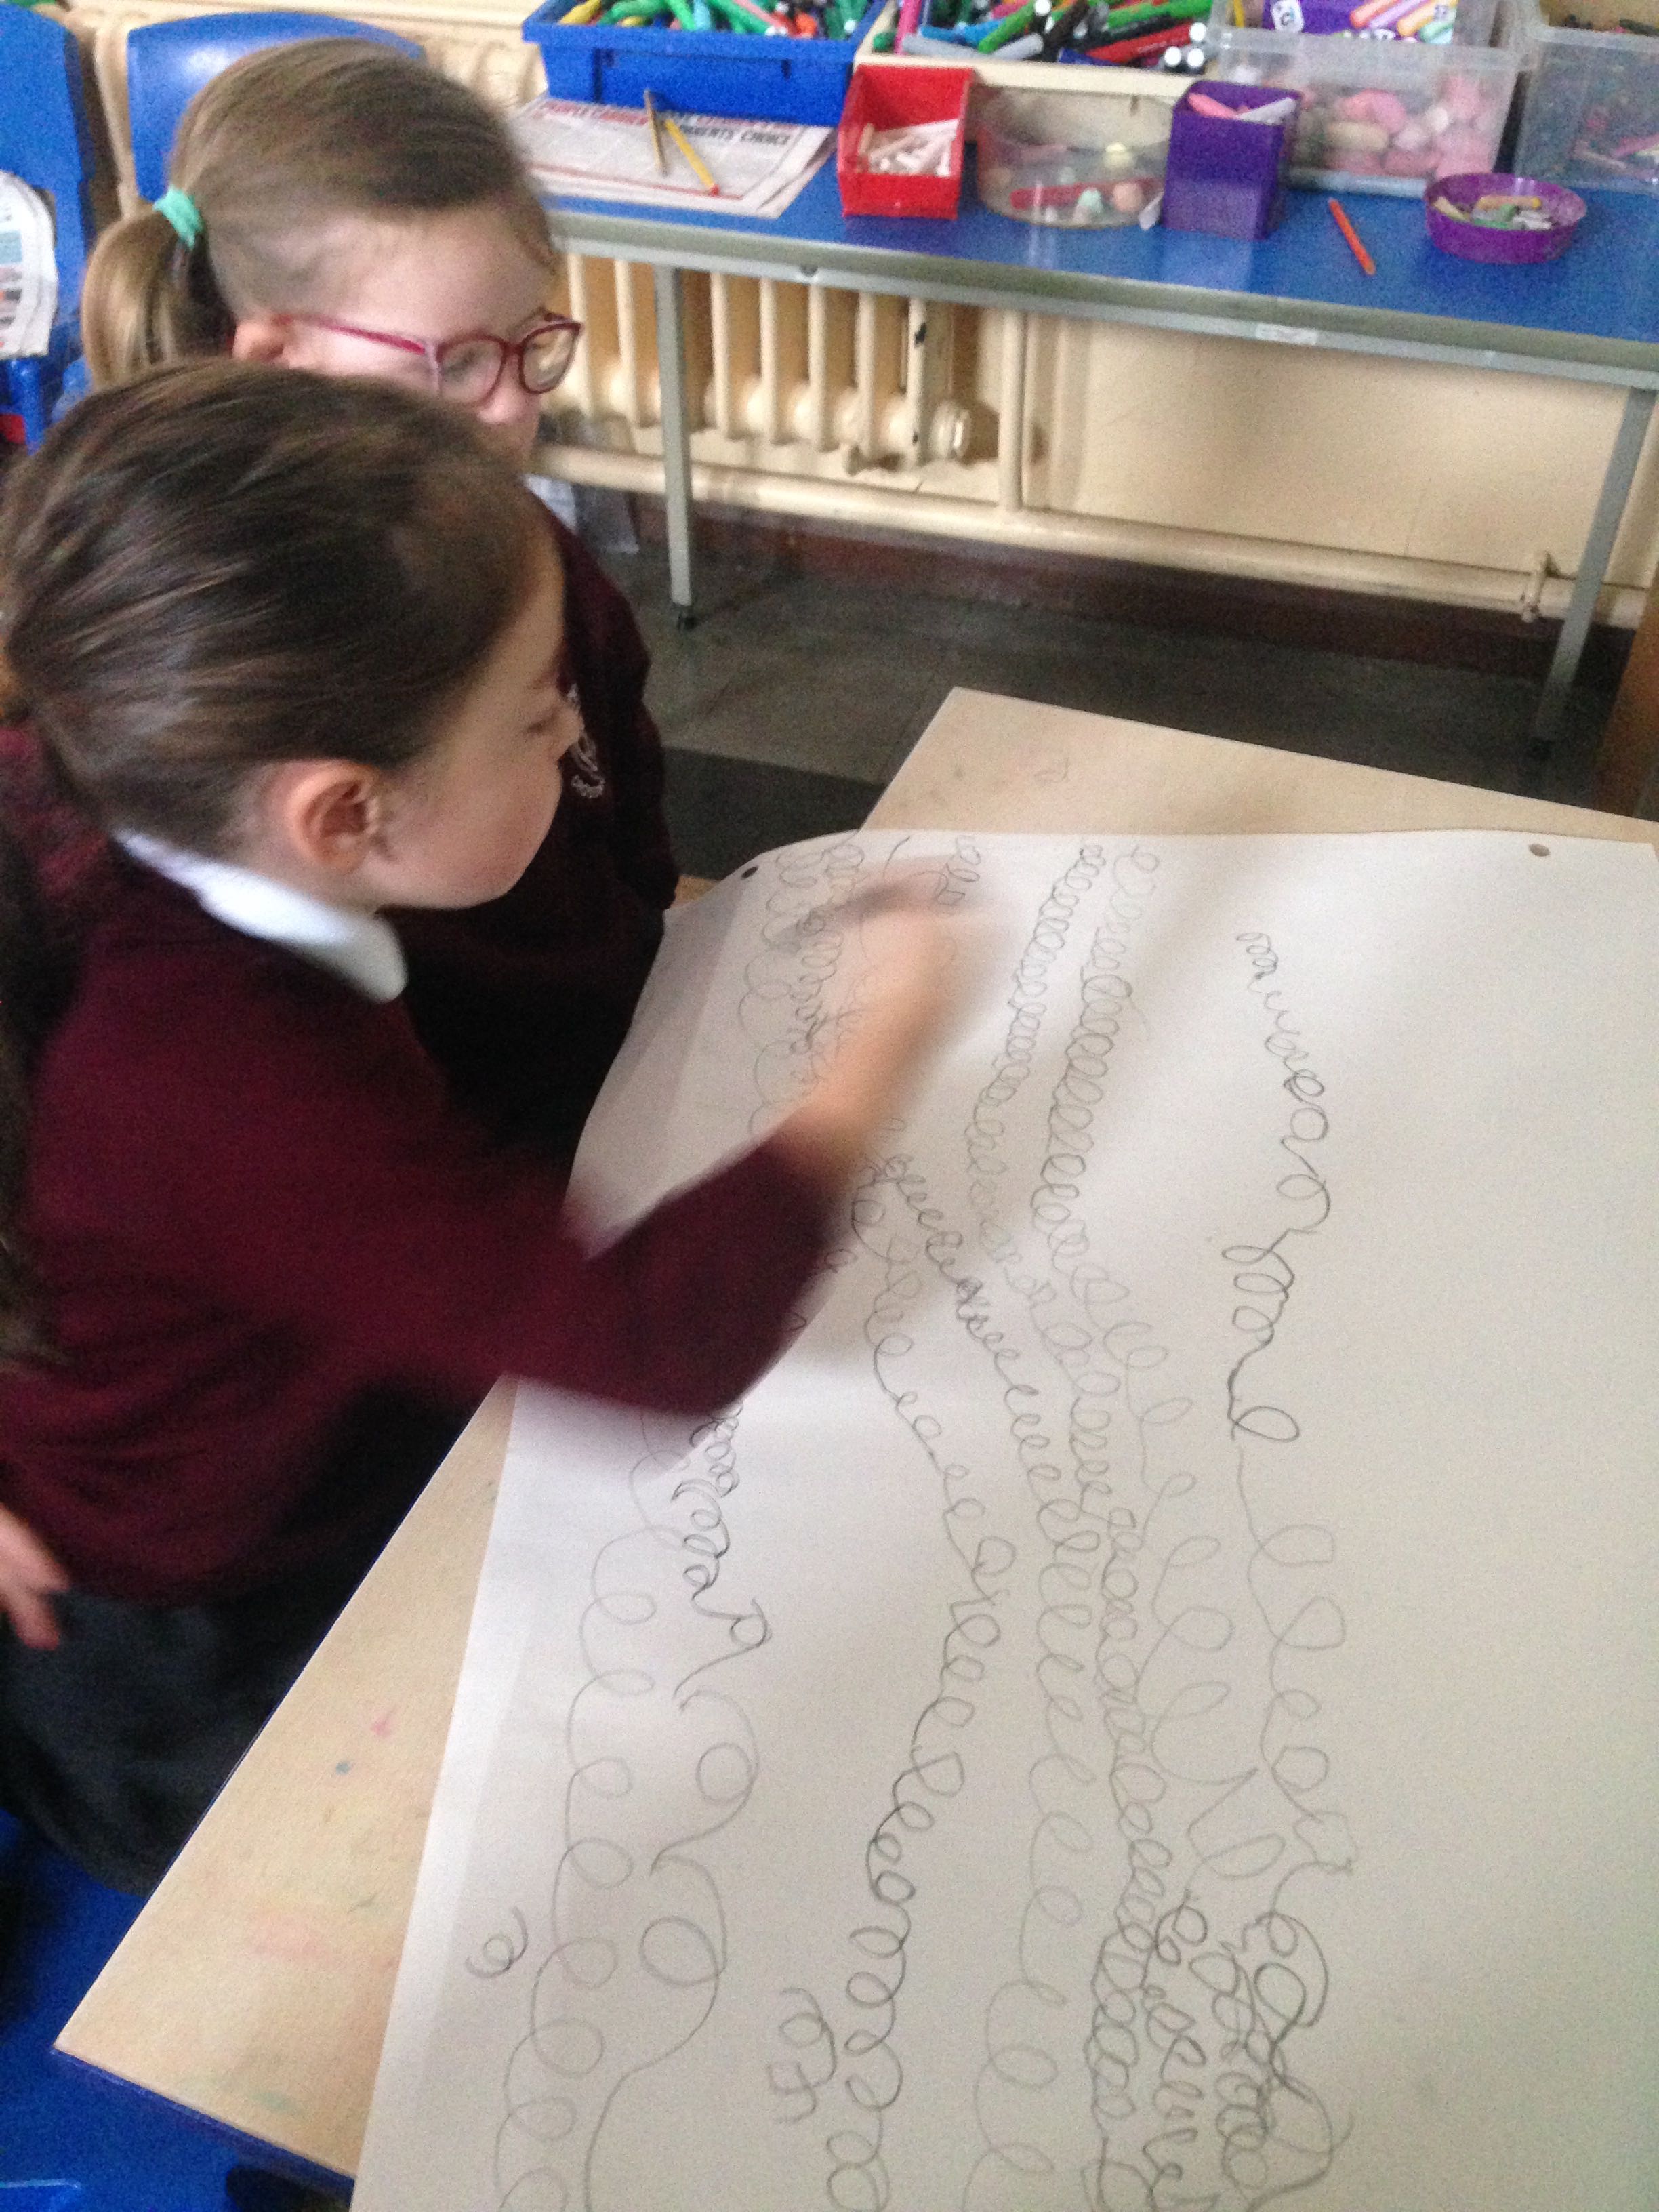
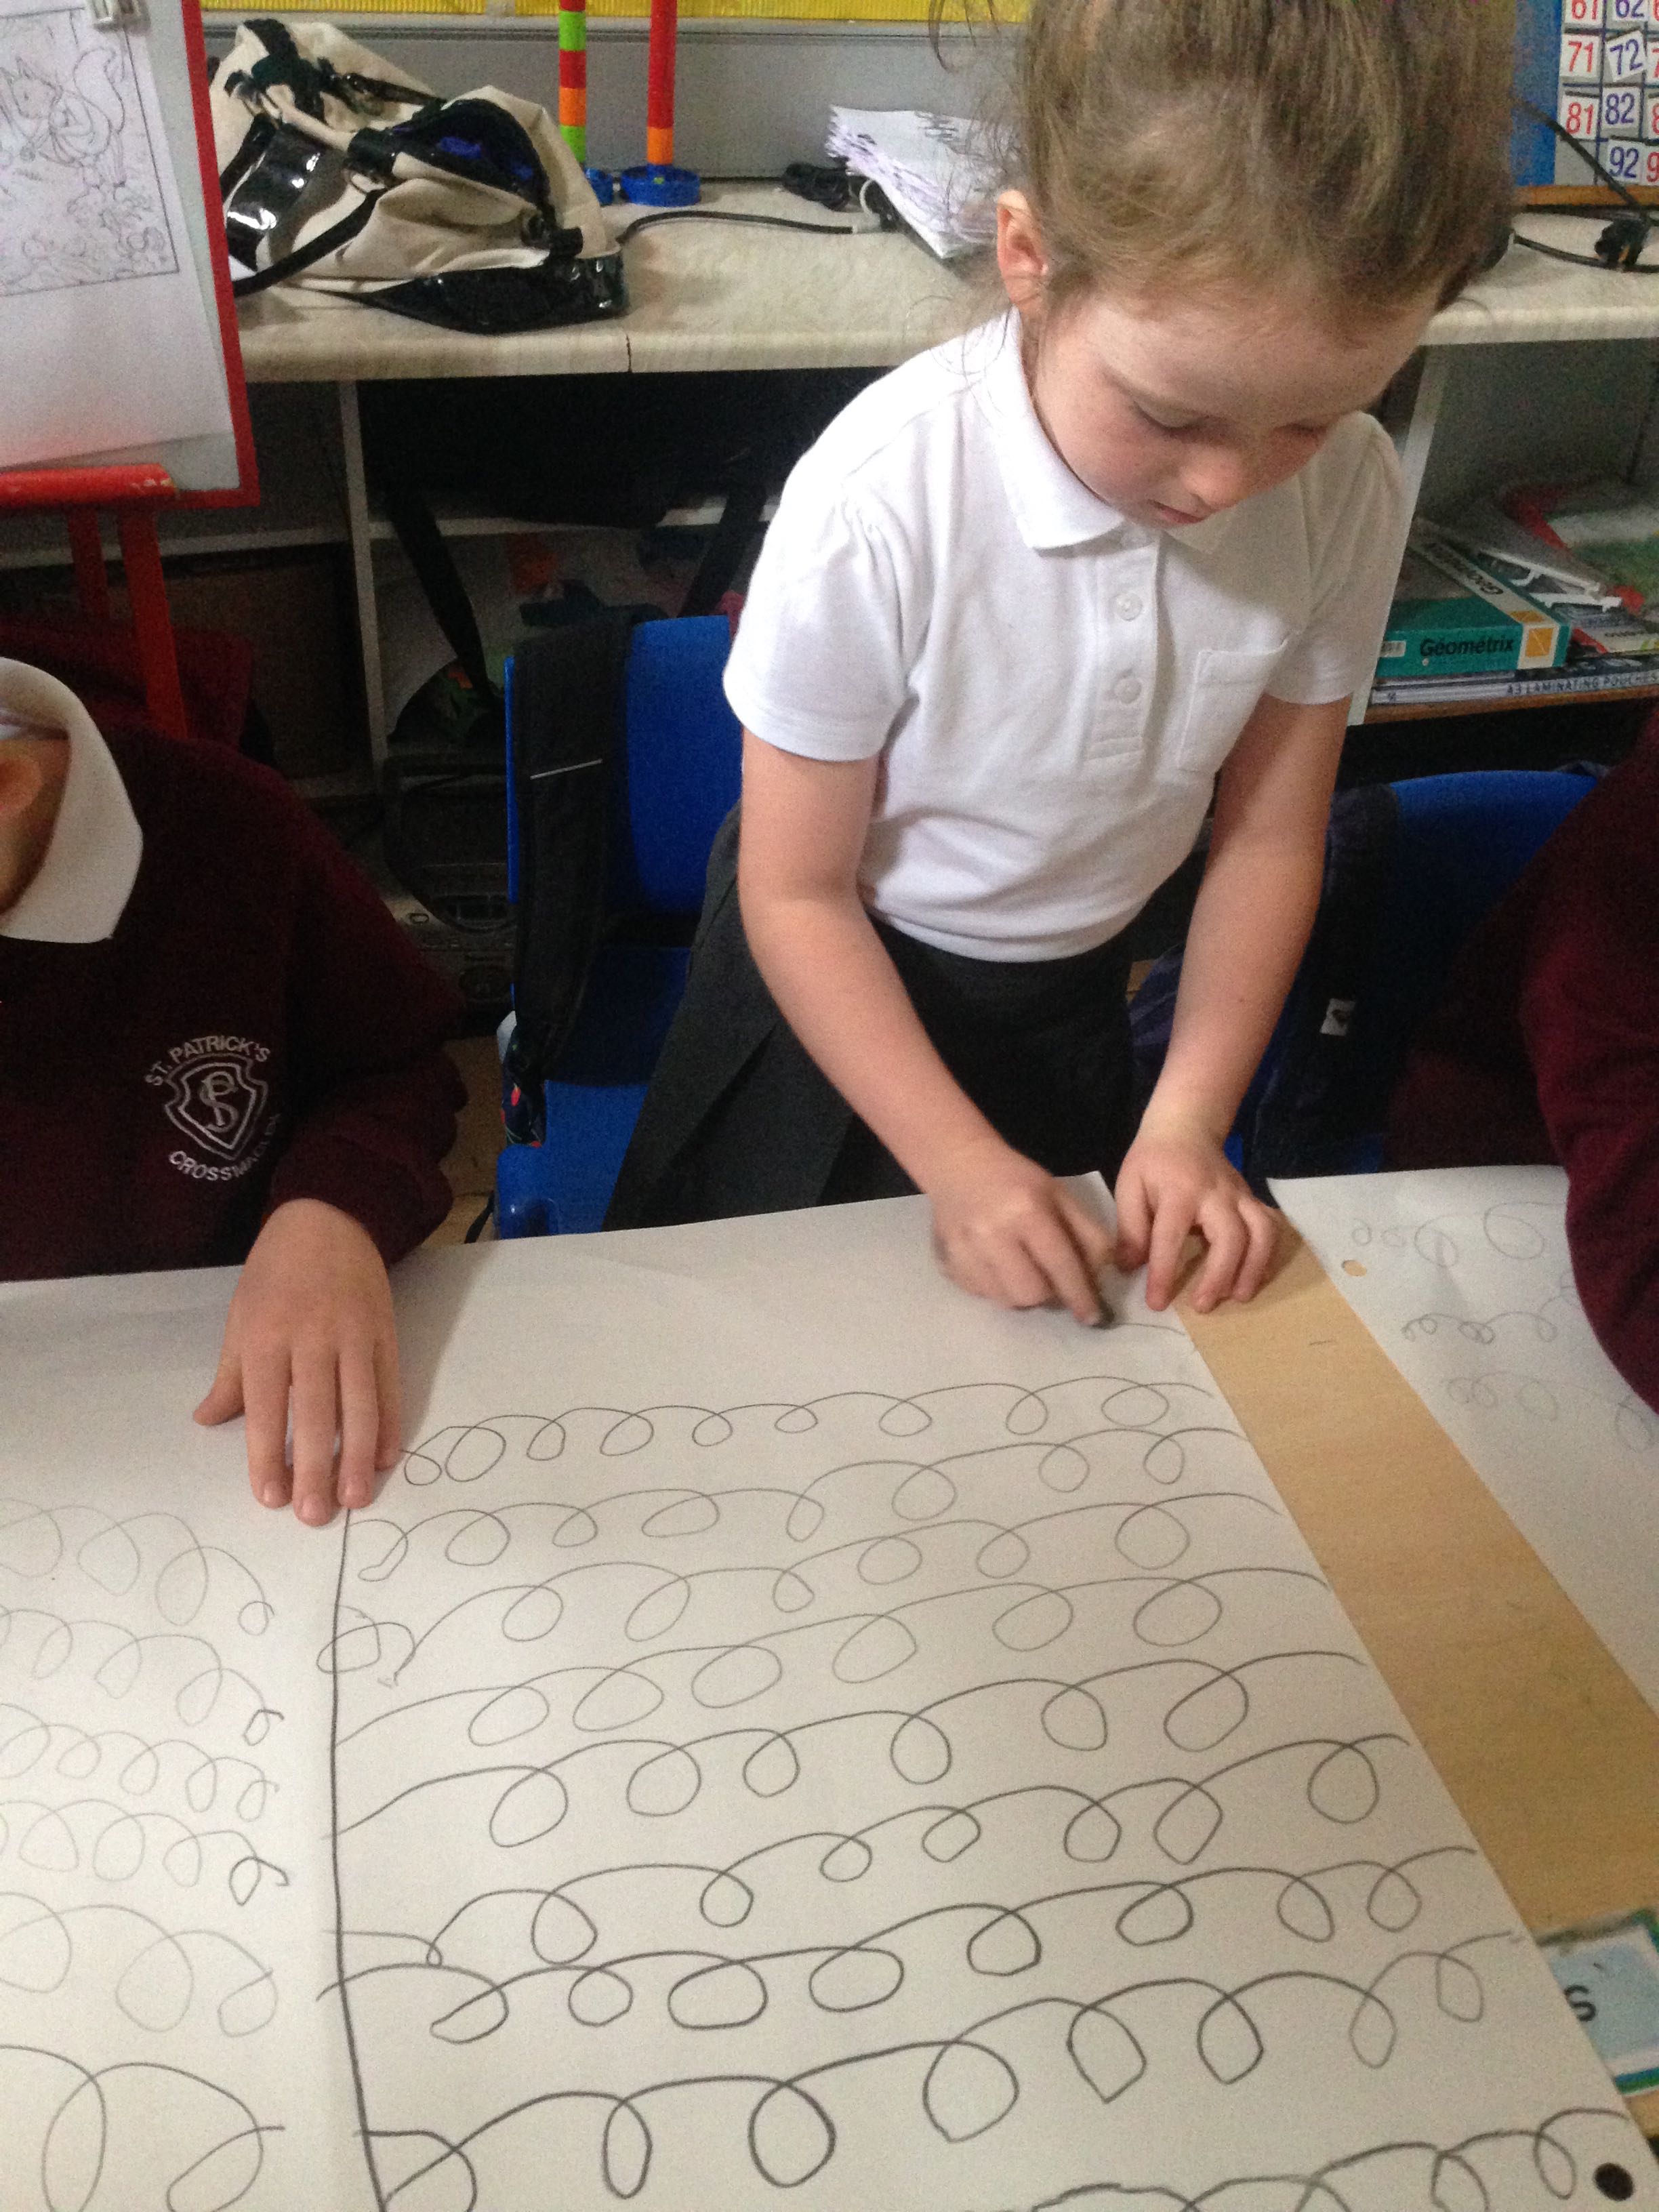
We tried making small loops using light pressure then darker loops by pressing down harder. We tried this with one arm behind our backs to see if it RESTRICTED our movements…
Some loops became people shapes!Amazingly REGULAR loops!
Wonderfully large loopy shapes were made!Look at these lines and marks using different pressure and movements!
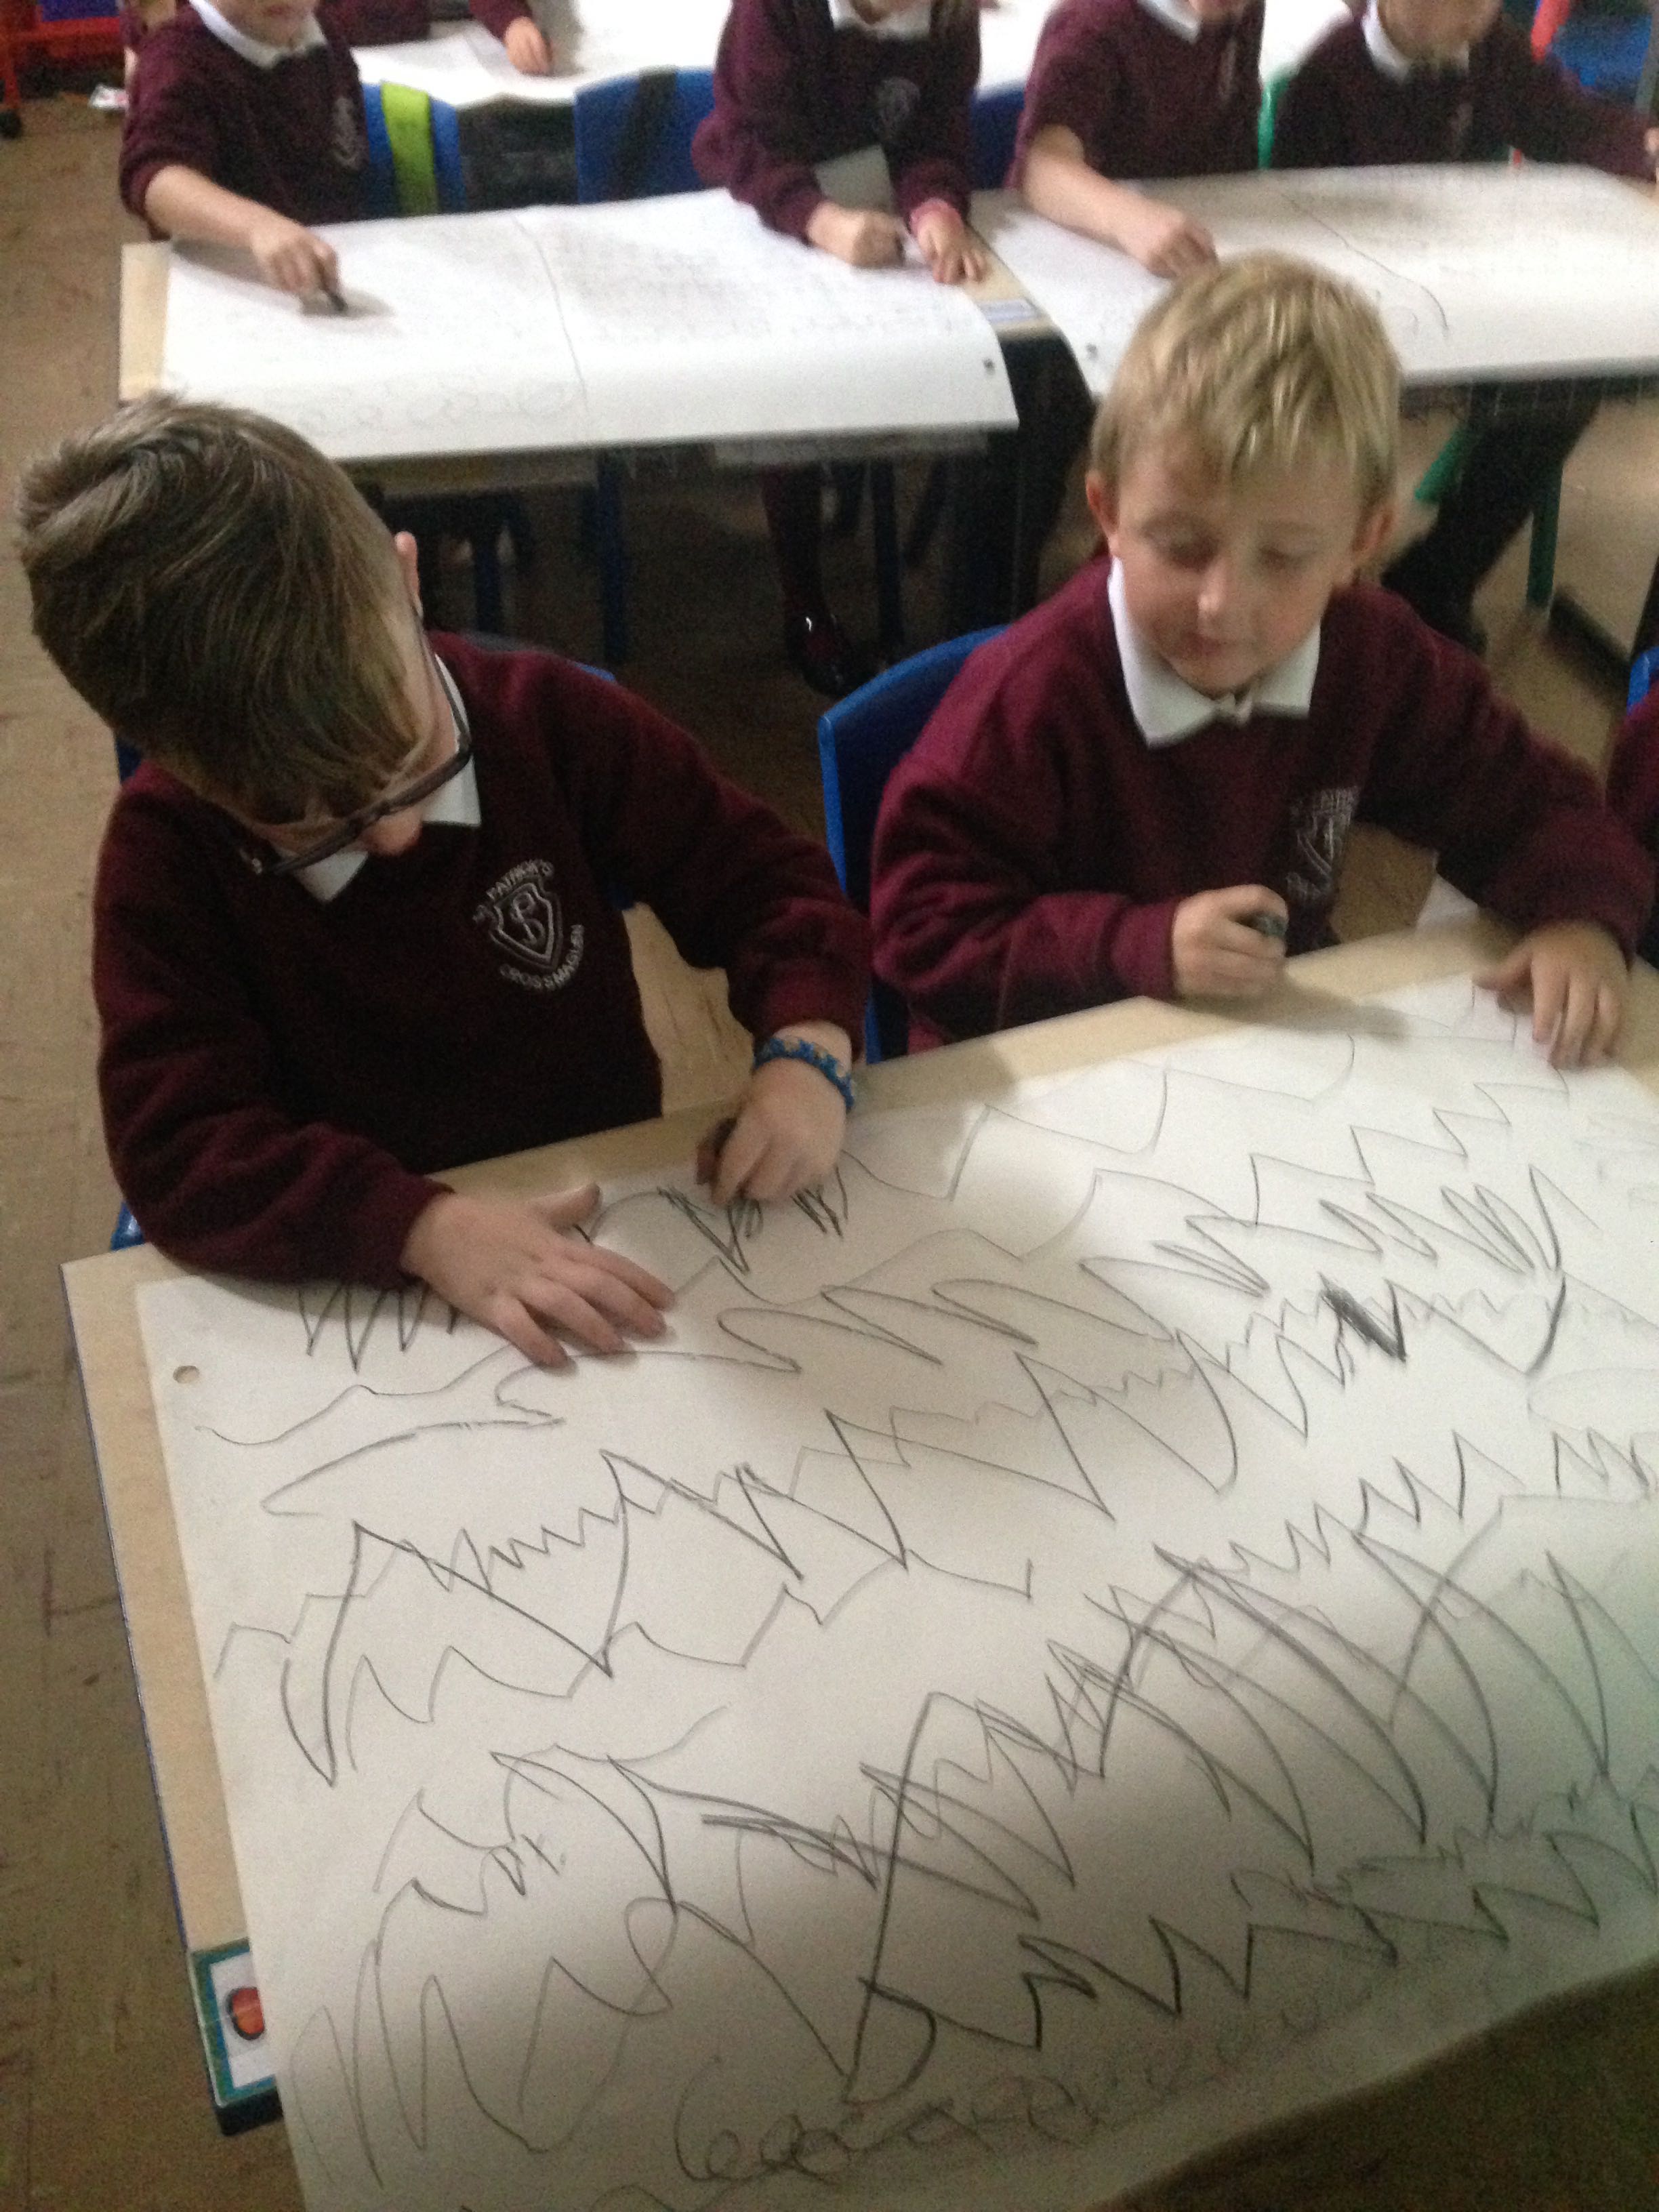
Finally we REHEARSED what big movements we could make by making our whole arm stretch out and round, but because we were sat at desks, this was tricky…
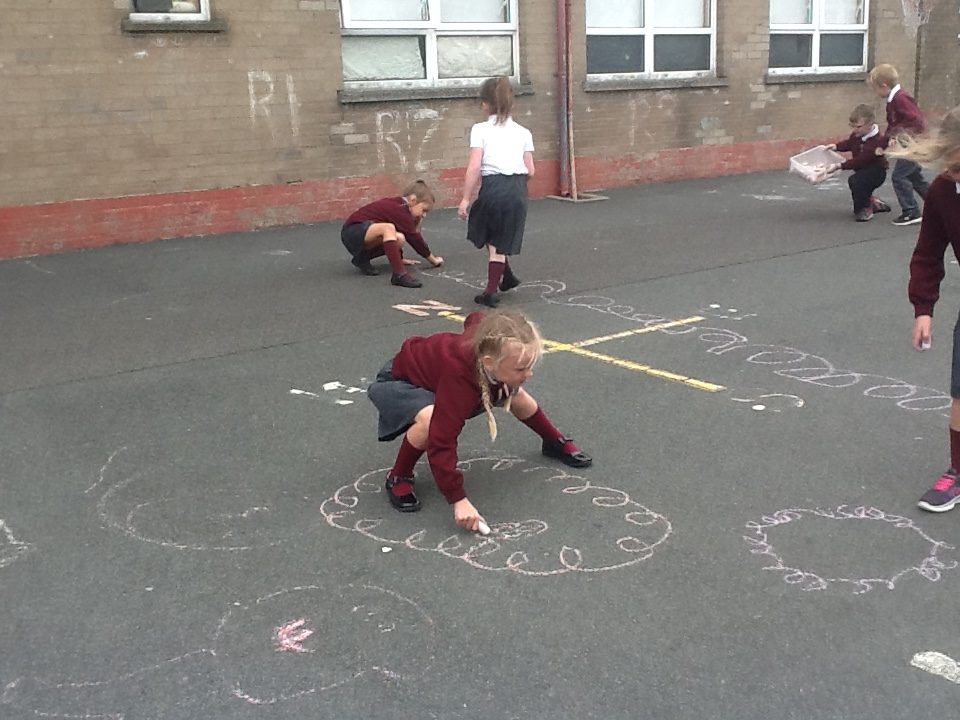
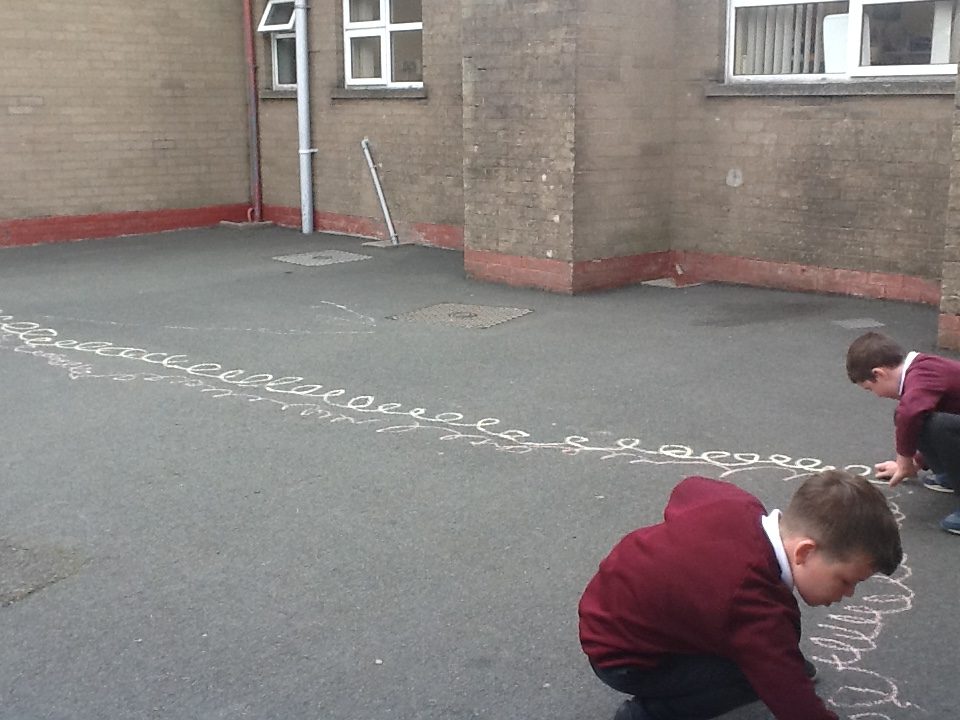
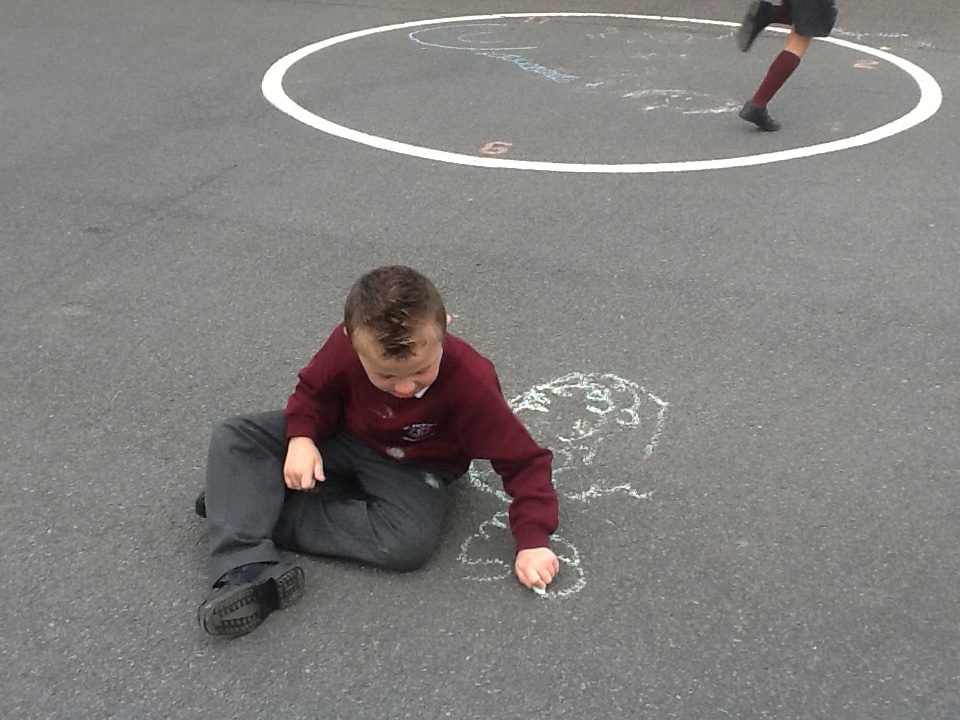
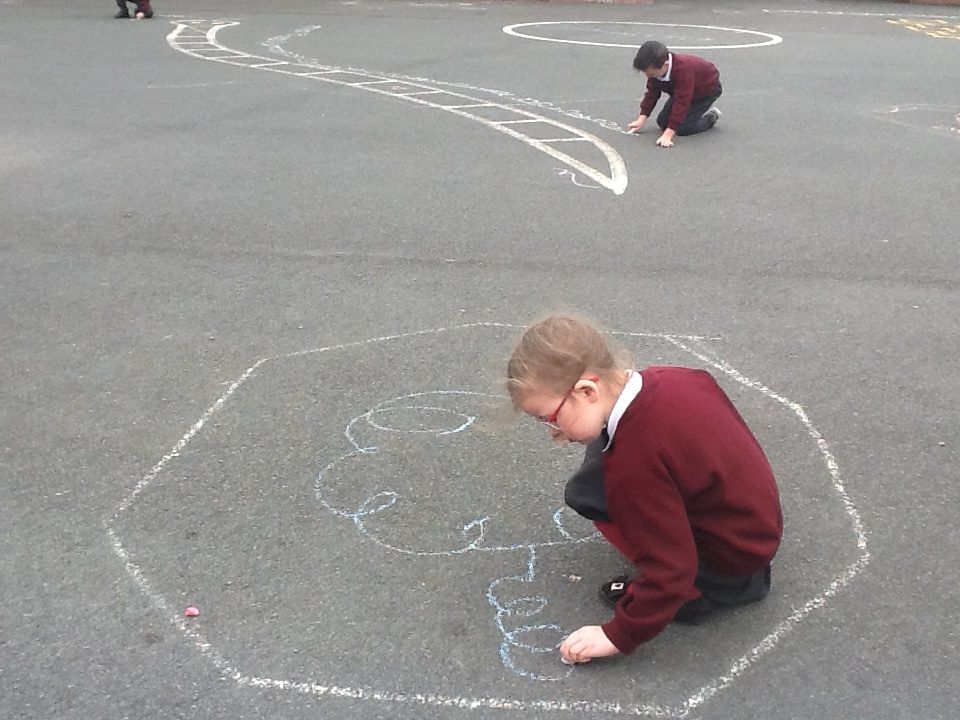
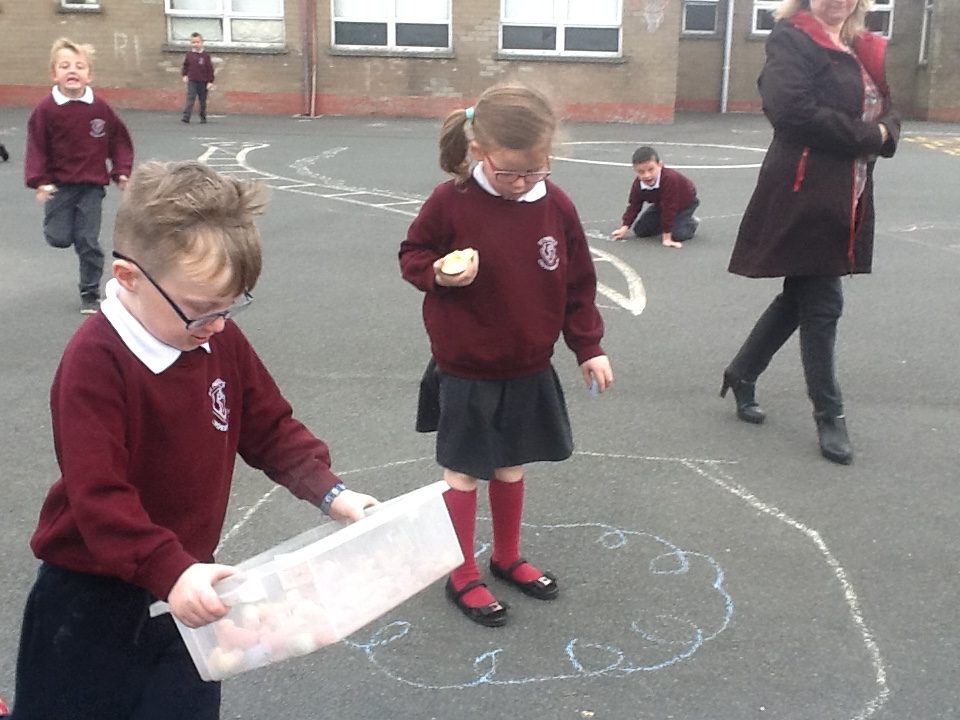
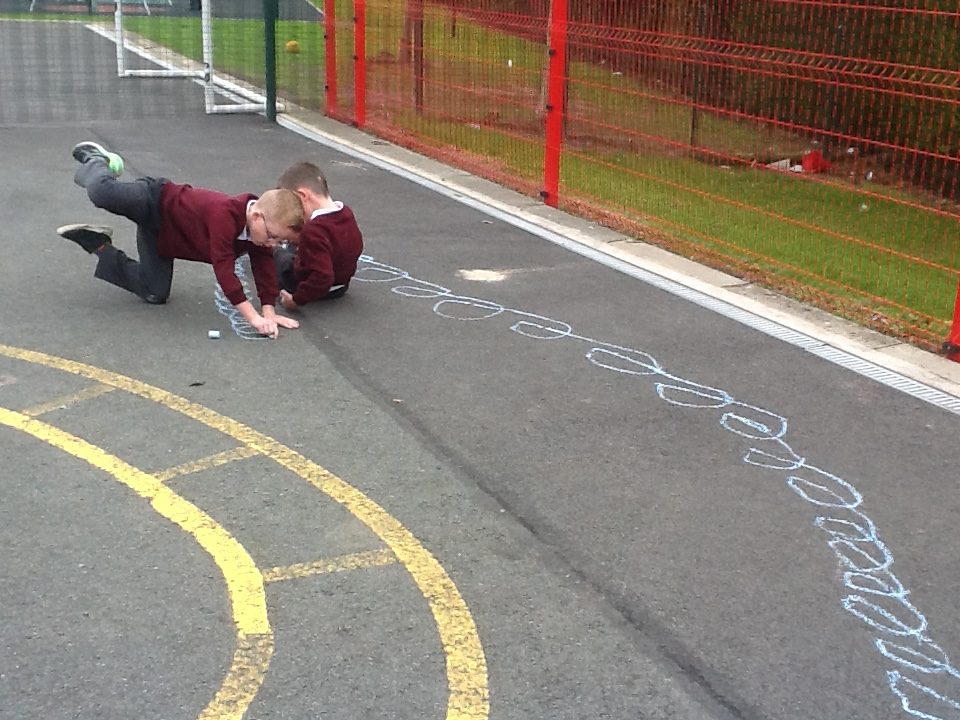
We decided to try out in the yard! Using chalk the children made lots of loops all over the playground…
They stretched out and used their whole body to create the shapes on the ground.
Some sat down and made wonderful meandering lines…
Some found themselves in the middle of their work!
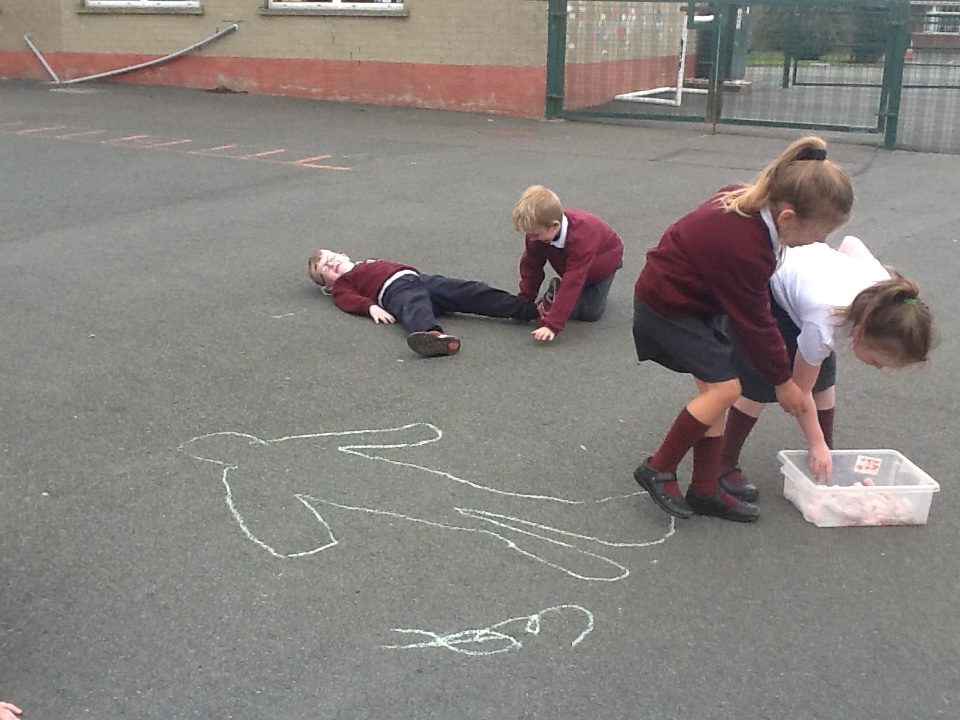
A loop was drawn all the way round someones shape!But look an AMAZING BALANCING ACT!
When the children came back in from the yard, I asked them to tell me all about the experience of drawing on the ground and with lots of space to move into.
They said they were:
On their honkers
Moving and drawing
Energy
body weight
Strength
They were tired!
The yard was bumpy
(Some didn’t like this… to be precise, 5 preferred a smooth page and 18 preferred the bumpy yard!)
Some found they were in their own drawing!
The drawing ended if they stopped the contact of chalk to yard surface…
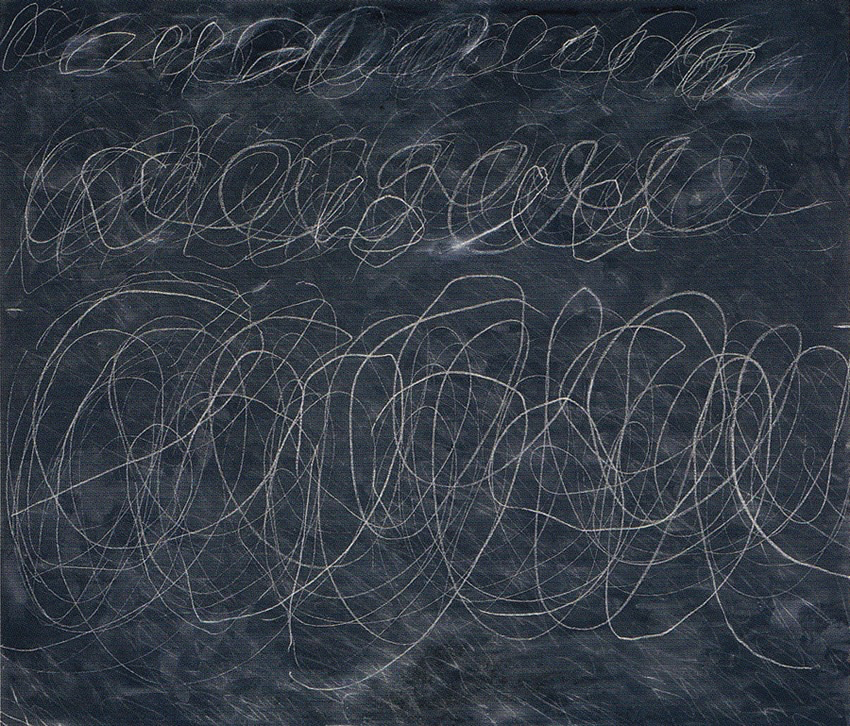
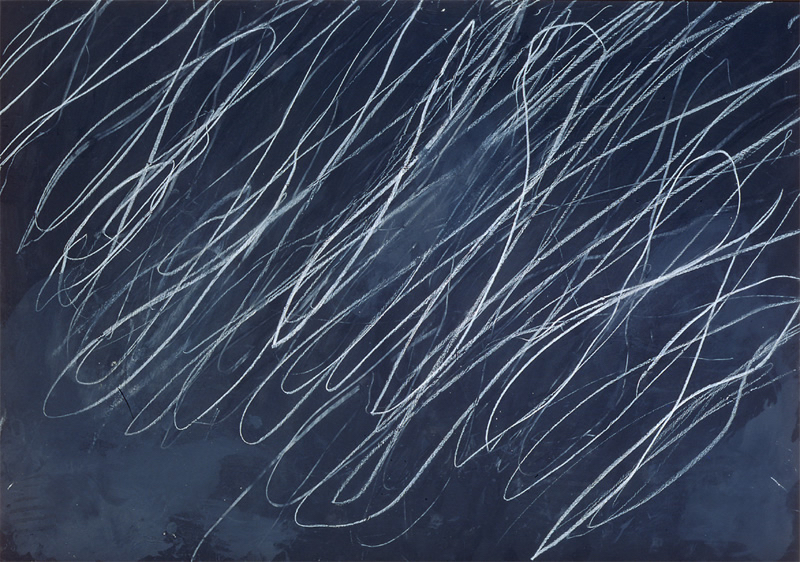
I then introduced the work of American Artist CY TWOMBLY (1928 – 2011) to the children… We looked at these images and discussed what we felt about them…
They were fascinated that these paintings were art! One child like the pattern and direction of the lines. Some liked the swirly shapes; Some felt it was too scribbly to have hanging on their walls at home. But some had some amazing interpretations of the images:
It was like a tornado; it was like sunlight streaming out of the universe; it was the fish in the sea; it was like electric shock waves. It was like rain; like a ladder to the mountains; like the pattern on a chair, all crinkled after someone had sat there; it was noisy, like a flash of thunder; it was like a spider’s web! Amazing ideas!
It certainly would have taken a lot of energy to make the work. I read that the artist climbed onto the shoulders of a friend, who moved backward and forward by the canvas so he could make the scribbly marks across the whole surface.
Connecting to this, I had linked them clips of American artist JACKSON POLLOCK (1912 – 1956). But we ran out of time to watch during the session. Here they are:
Mrs Hughes and the children watched the clips on Monday and this is their response:
‘The children really enjoyed it and it provoked a lot of interesting discussions!!!
I’ve noted a few of the children’s comments:
That’s not a painting that’s a splatter….Jack
He just poured paint onto it. It’s kind of freaky….Lee
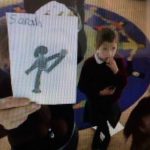
It’s interesting.The more you look at it, the more it tells you how much work he put into it….Sarah
It reminds me of the Northern Lights…..Niamh
I’d like it for my bedroom wall, it’s relaxing….Caoimhe
The thin lines are like string….Samantha
There was about a quarter of the class who did not find it appealing at all and who wouldn’t wish to hang it in their house. The remainder found it fascinating. We discussed the size of it, the techniques he used building layer on layer beginning with black. The colours which stood out for us and also the techniques he may have used including the time it would take to create the ‘splatter’ effect.
This little article became the focus of our first online session. Mrs Hughes and I have decided to begin with ideas around BALANCE.
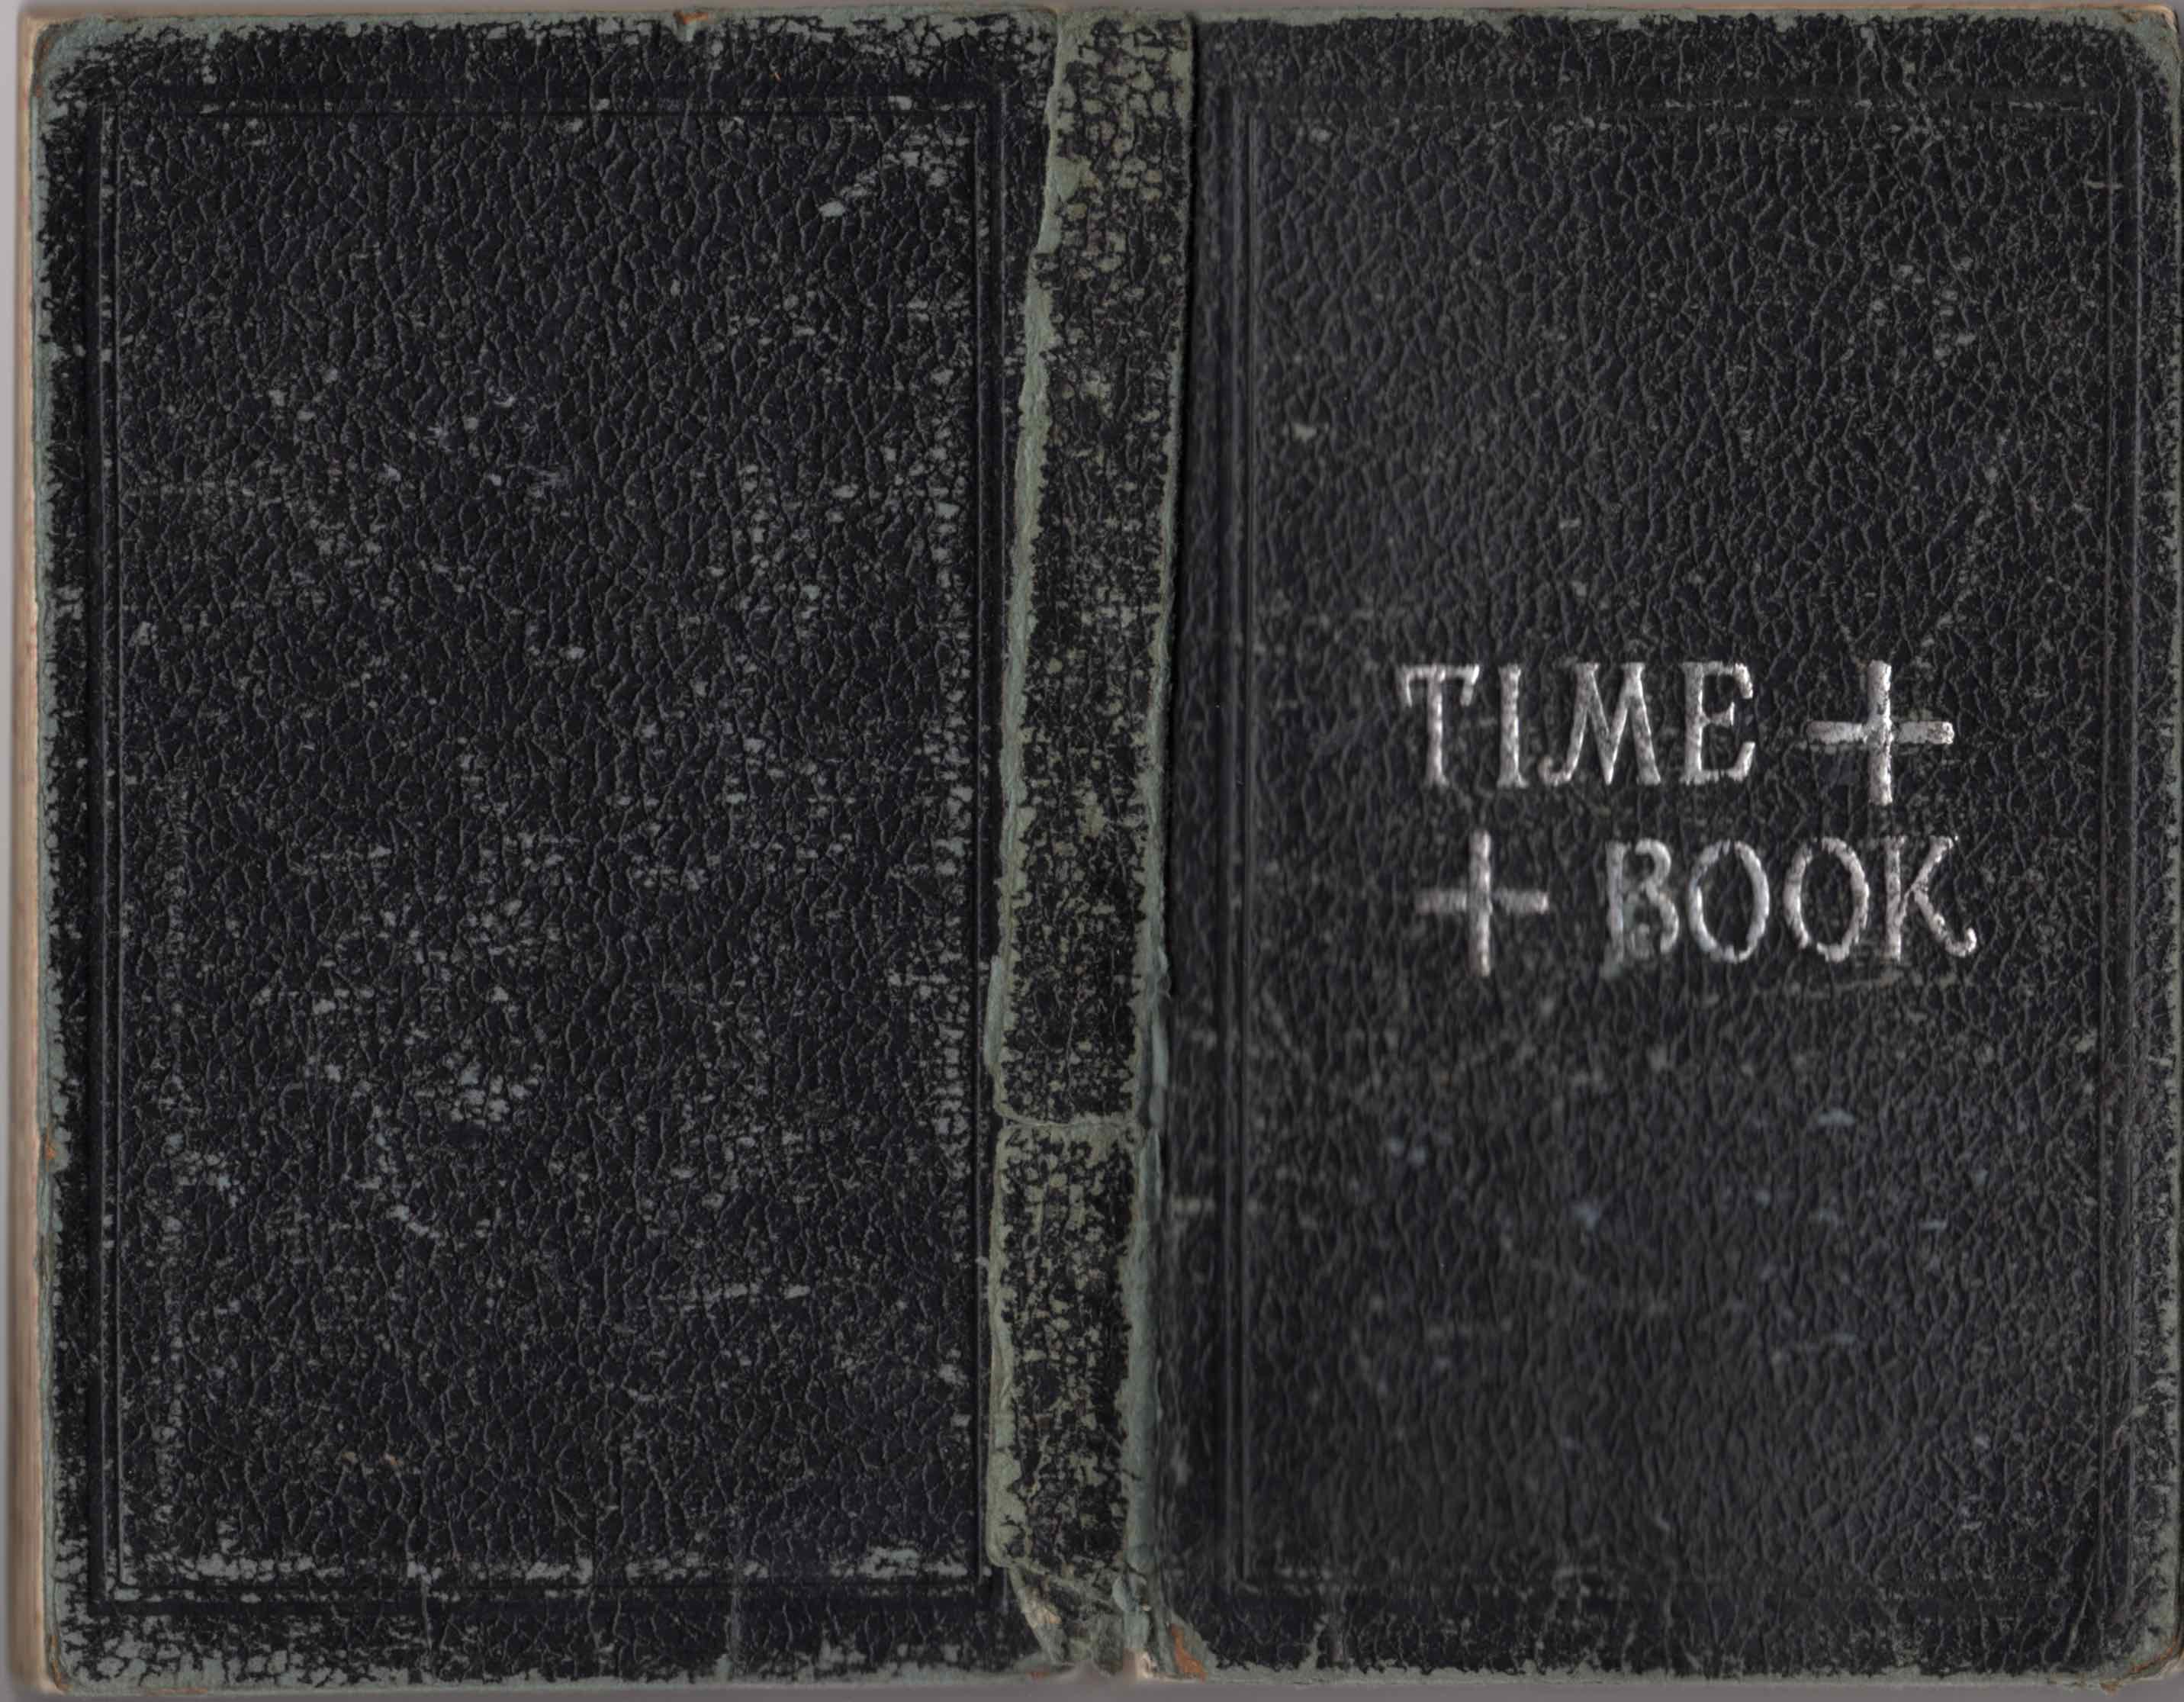
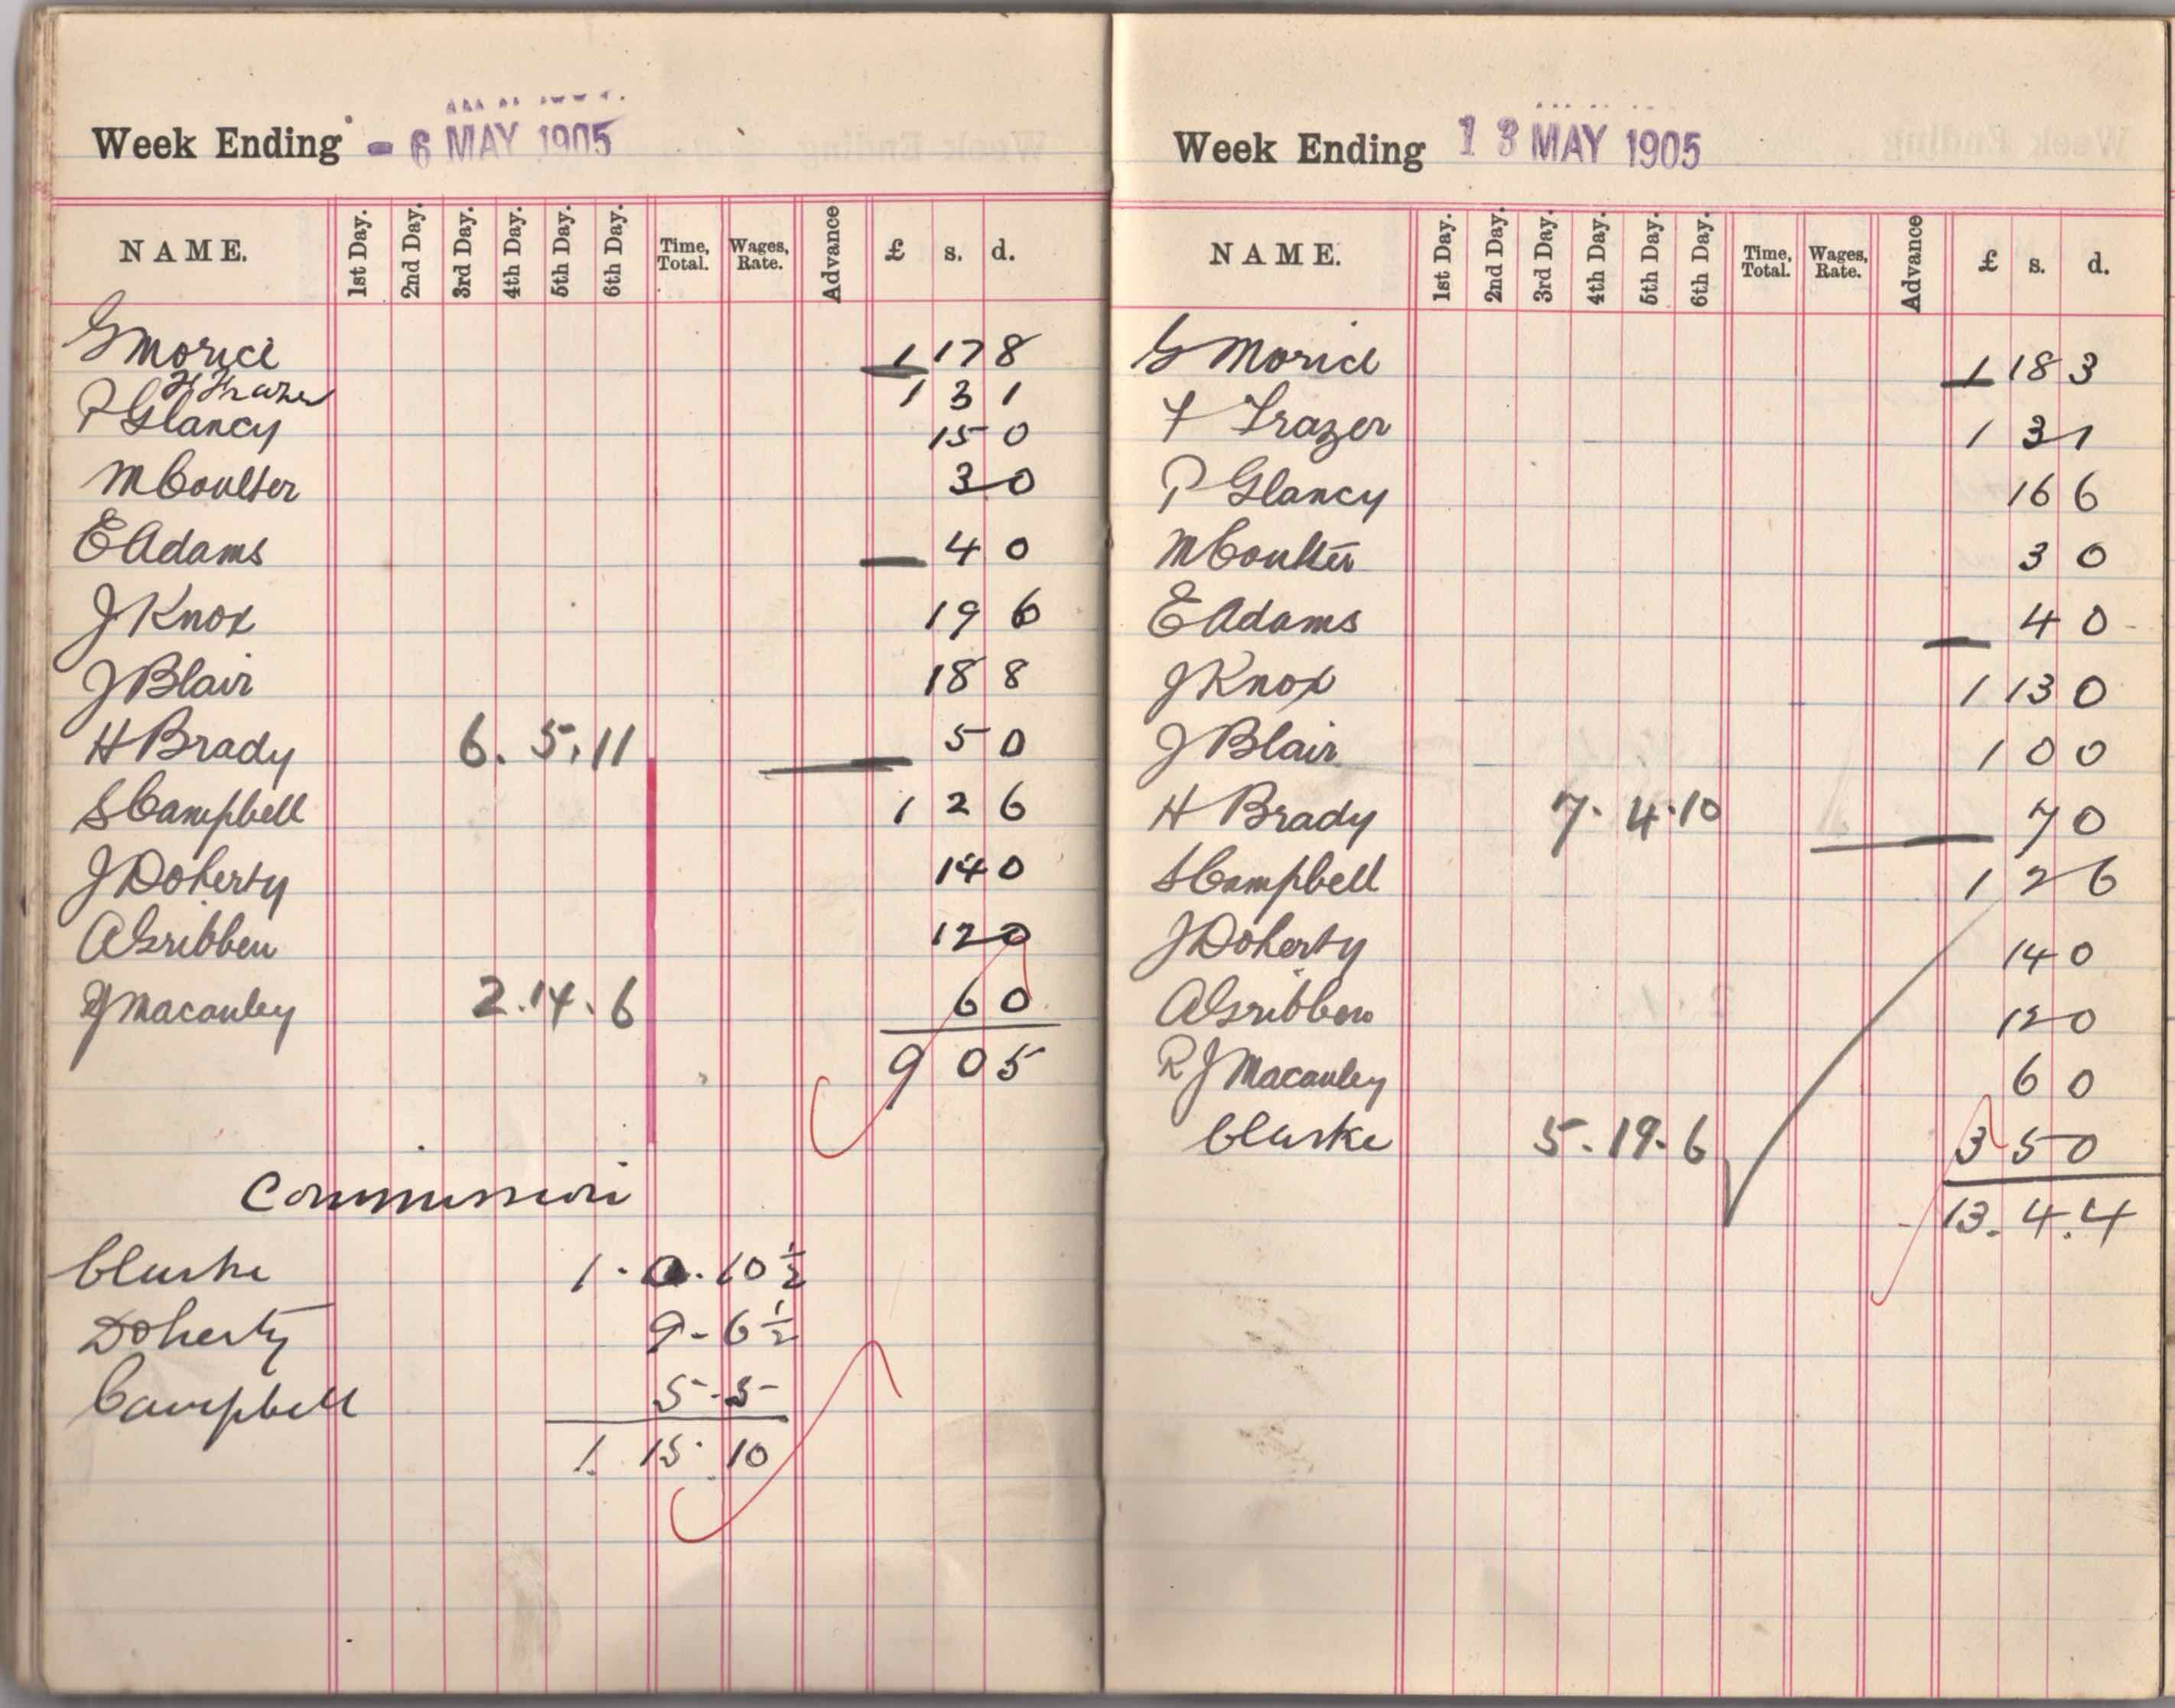
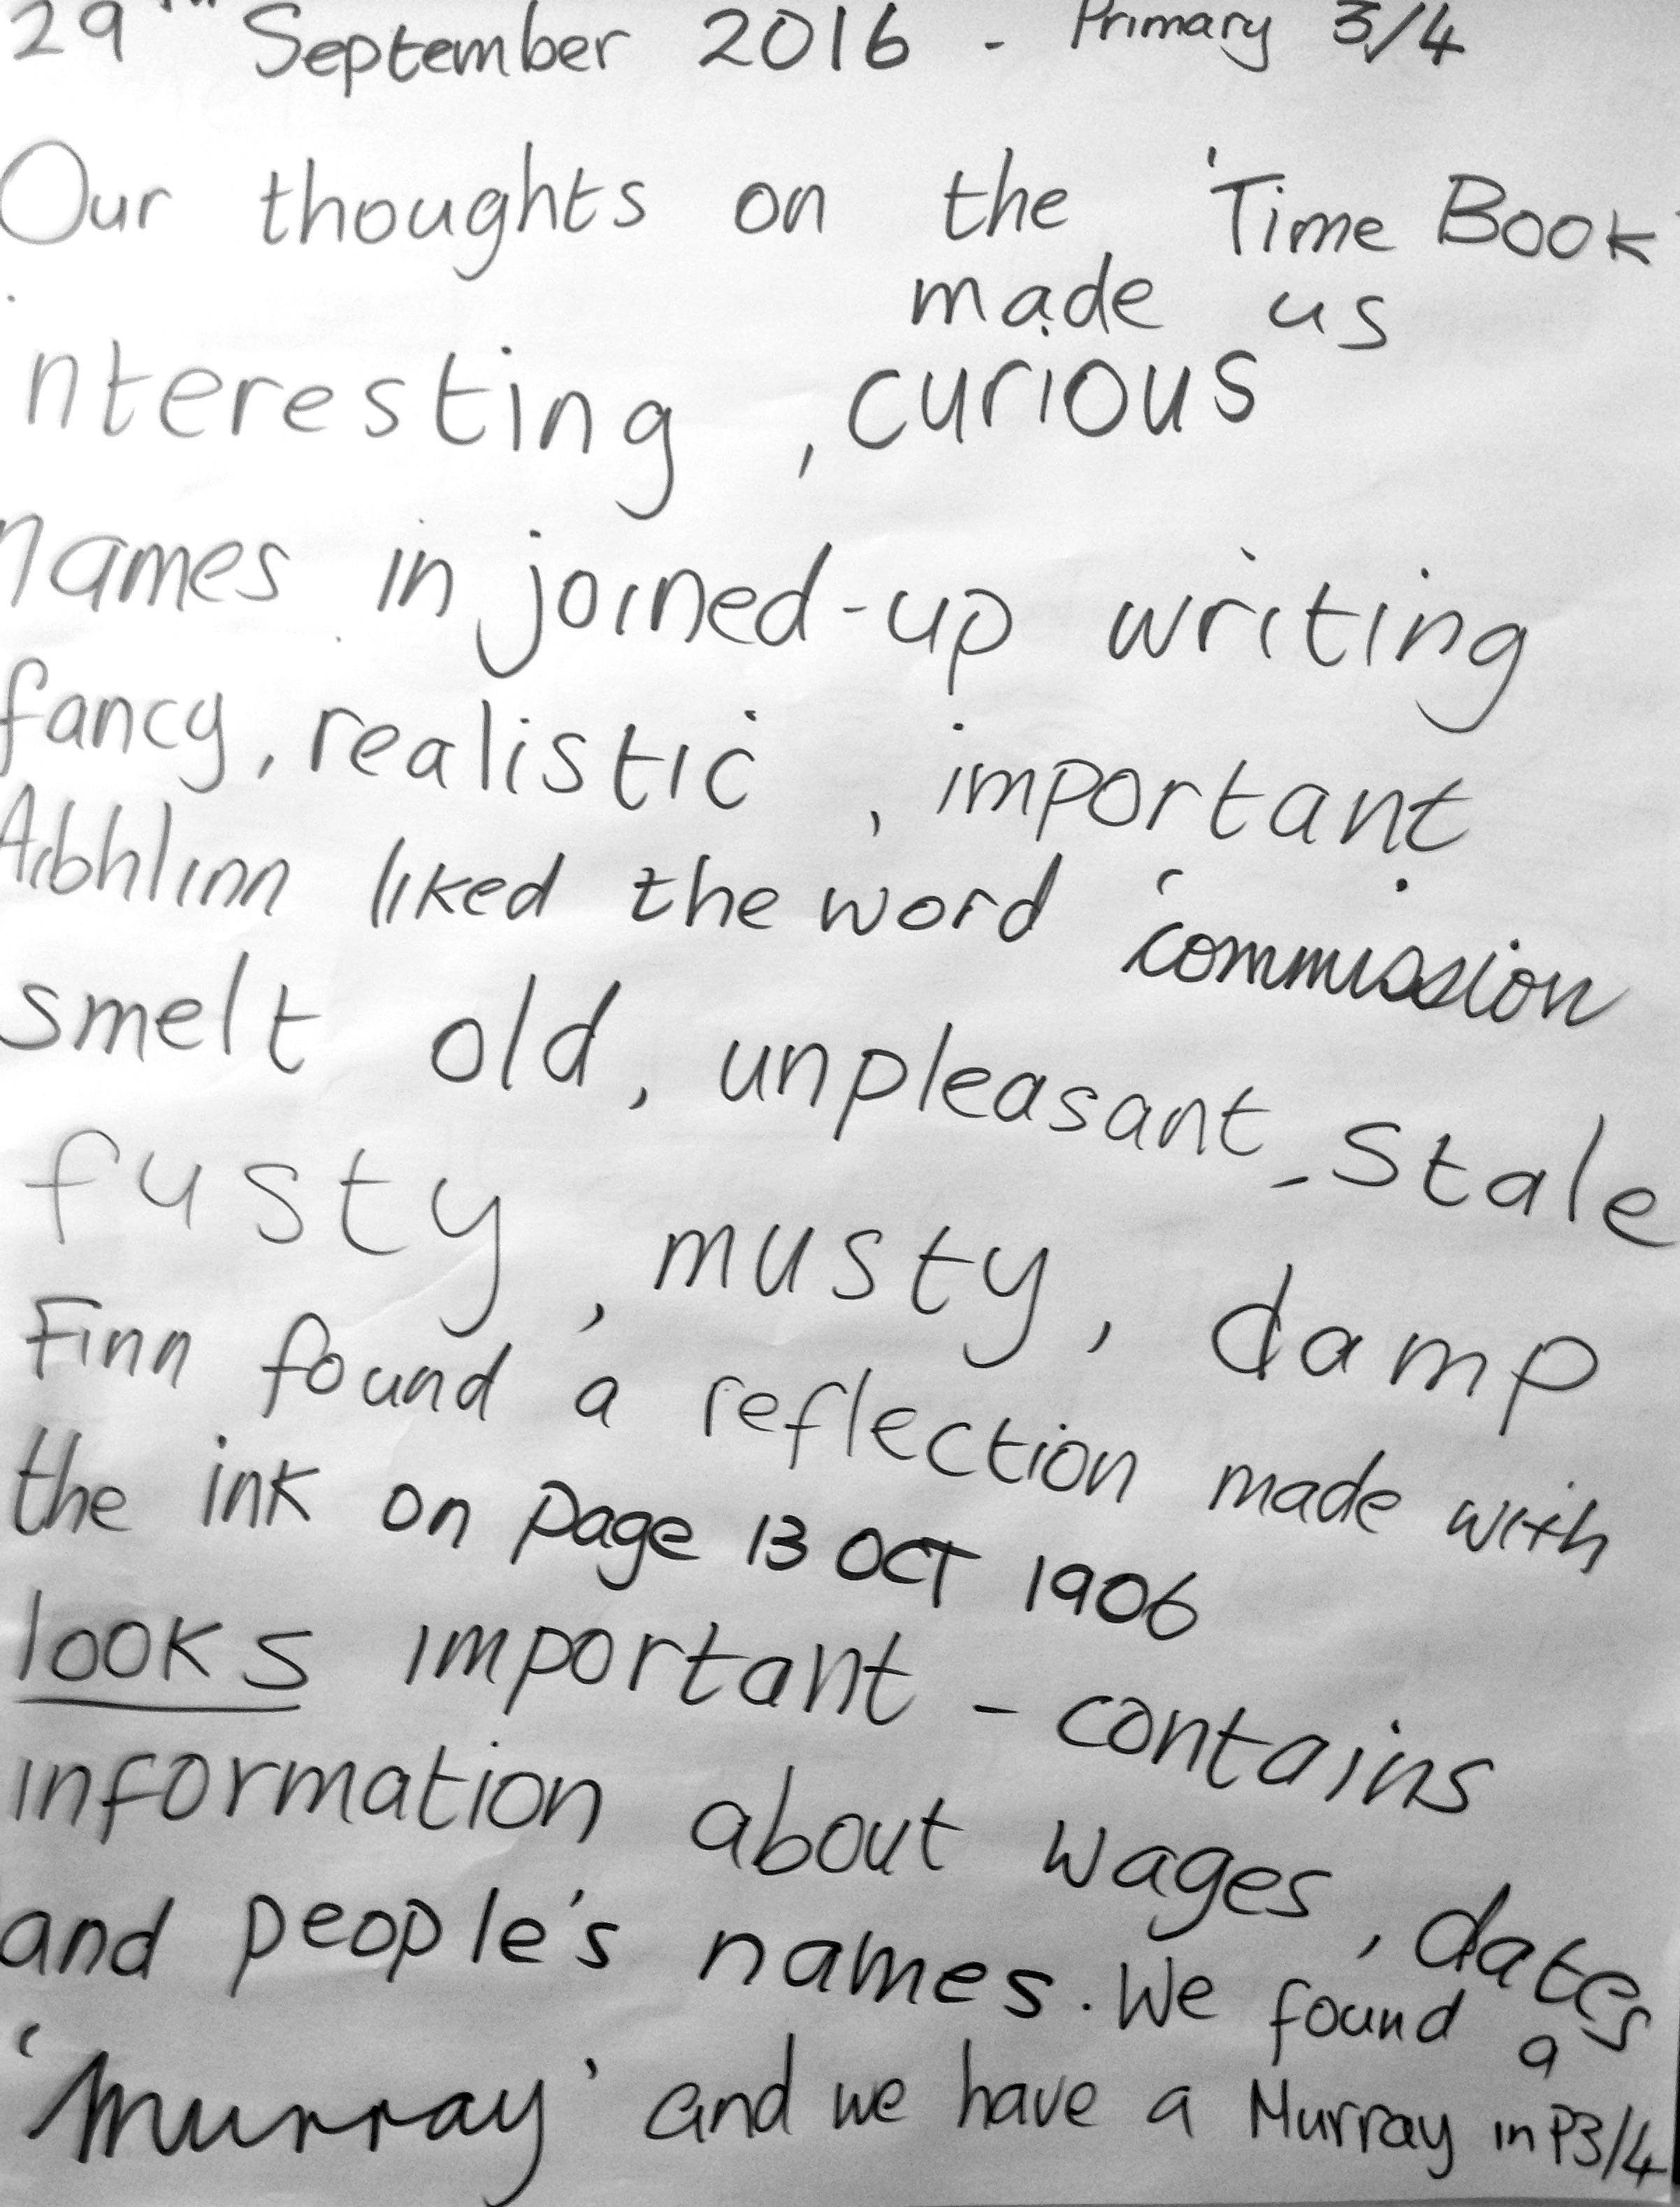
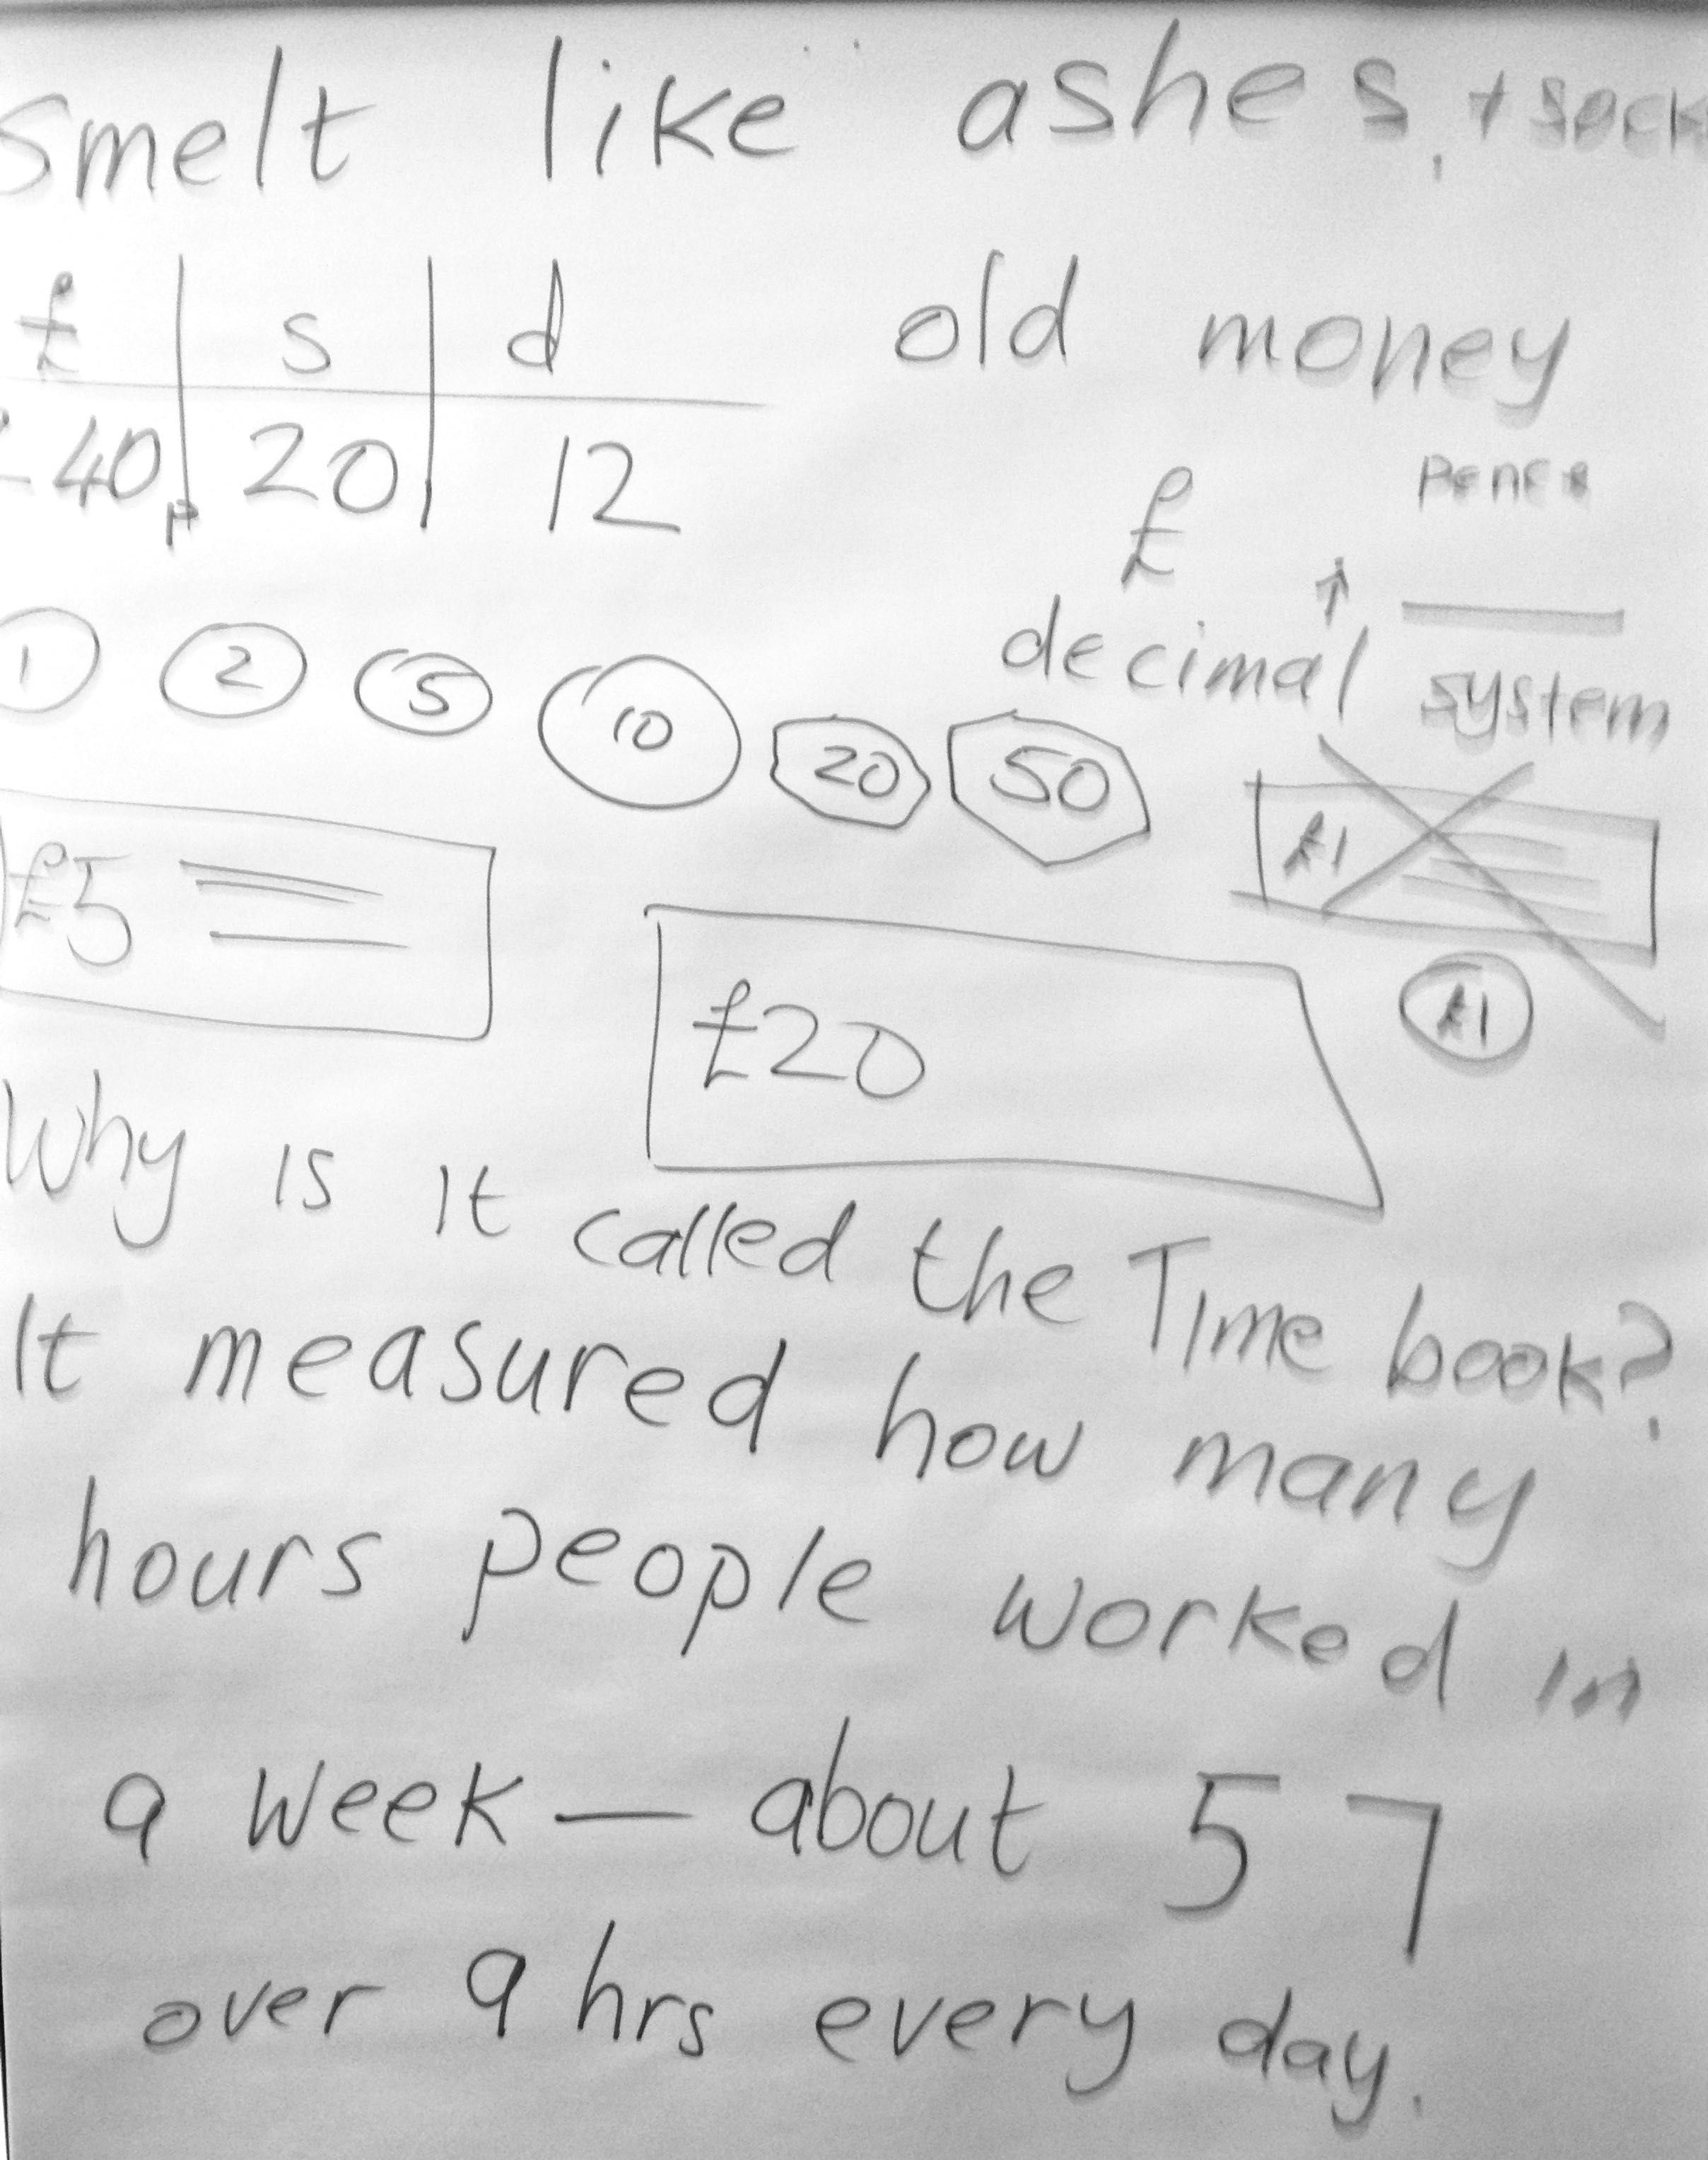
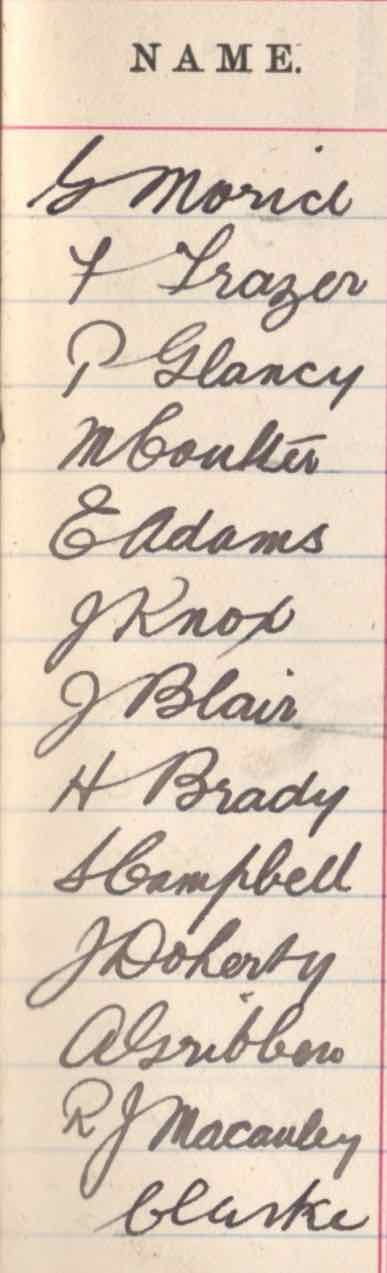
I found the TIME-BOOK in the old building that is now going to become the studio for myself and for a number of other artists in the PS2 Studio Group in Belfast. The building is from the 1880s and the book is actually dated 1904!
Last Monday I made a visit to the school and left the book with Mrs Hughes to allow each child to see, feel and smell the book:
Here are their responses:
Its a BALANCE book of sorts – it was used to record the hours and wages due to staff who worked there when the building was occupied by an oil and colour merchant! Not the sort of Balance I thought we might begin with, but this book set my ideas off for an exploration about the beautiful handwriting…
What sort of balance and control was necessary to keep the script within the lines! We decided to explore…
We began reflecting on the handwriting. The children said it was:
FANCY
REALISTIC
CURVY
IMPORTANT
The children compared it to their own writing since they are just beginning to make joined up letters…we noticed that lots of letters were rounded like a loop. We tried to make the shape of a LOOP drawing the shape in the air with our finger.
Then we tried on large pieces of paper taped to the desks…
Strangely the children’s loops very quickly became spirals; huge enormous circles that overlapped themselves!
Some very amazing scribbles erupted everywhere!
Some scribbles even became huge enormous smudges!
Mrs Hughes was beginning to wonder where the loops were! We decided to try and control our efforts by using a smaller piece of paper and using different drawing / writing tools.
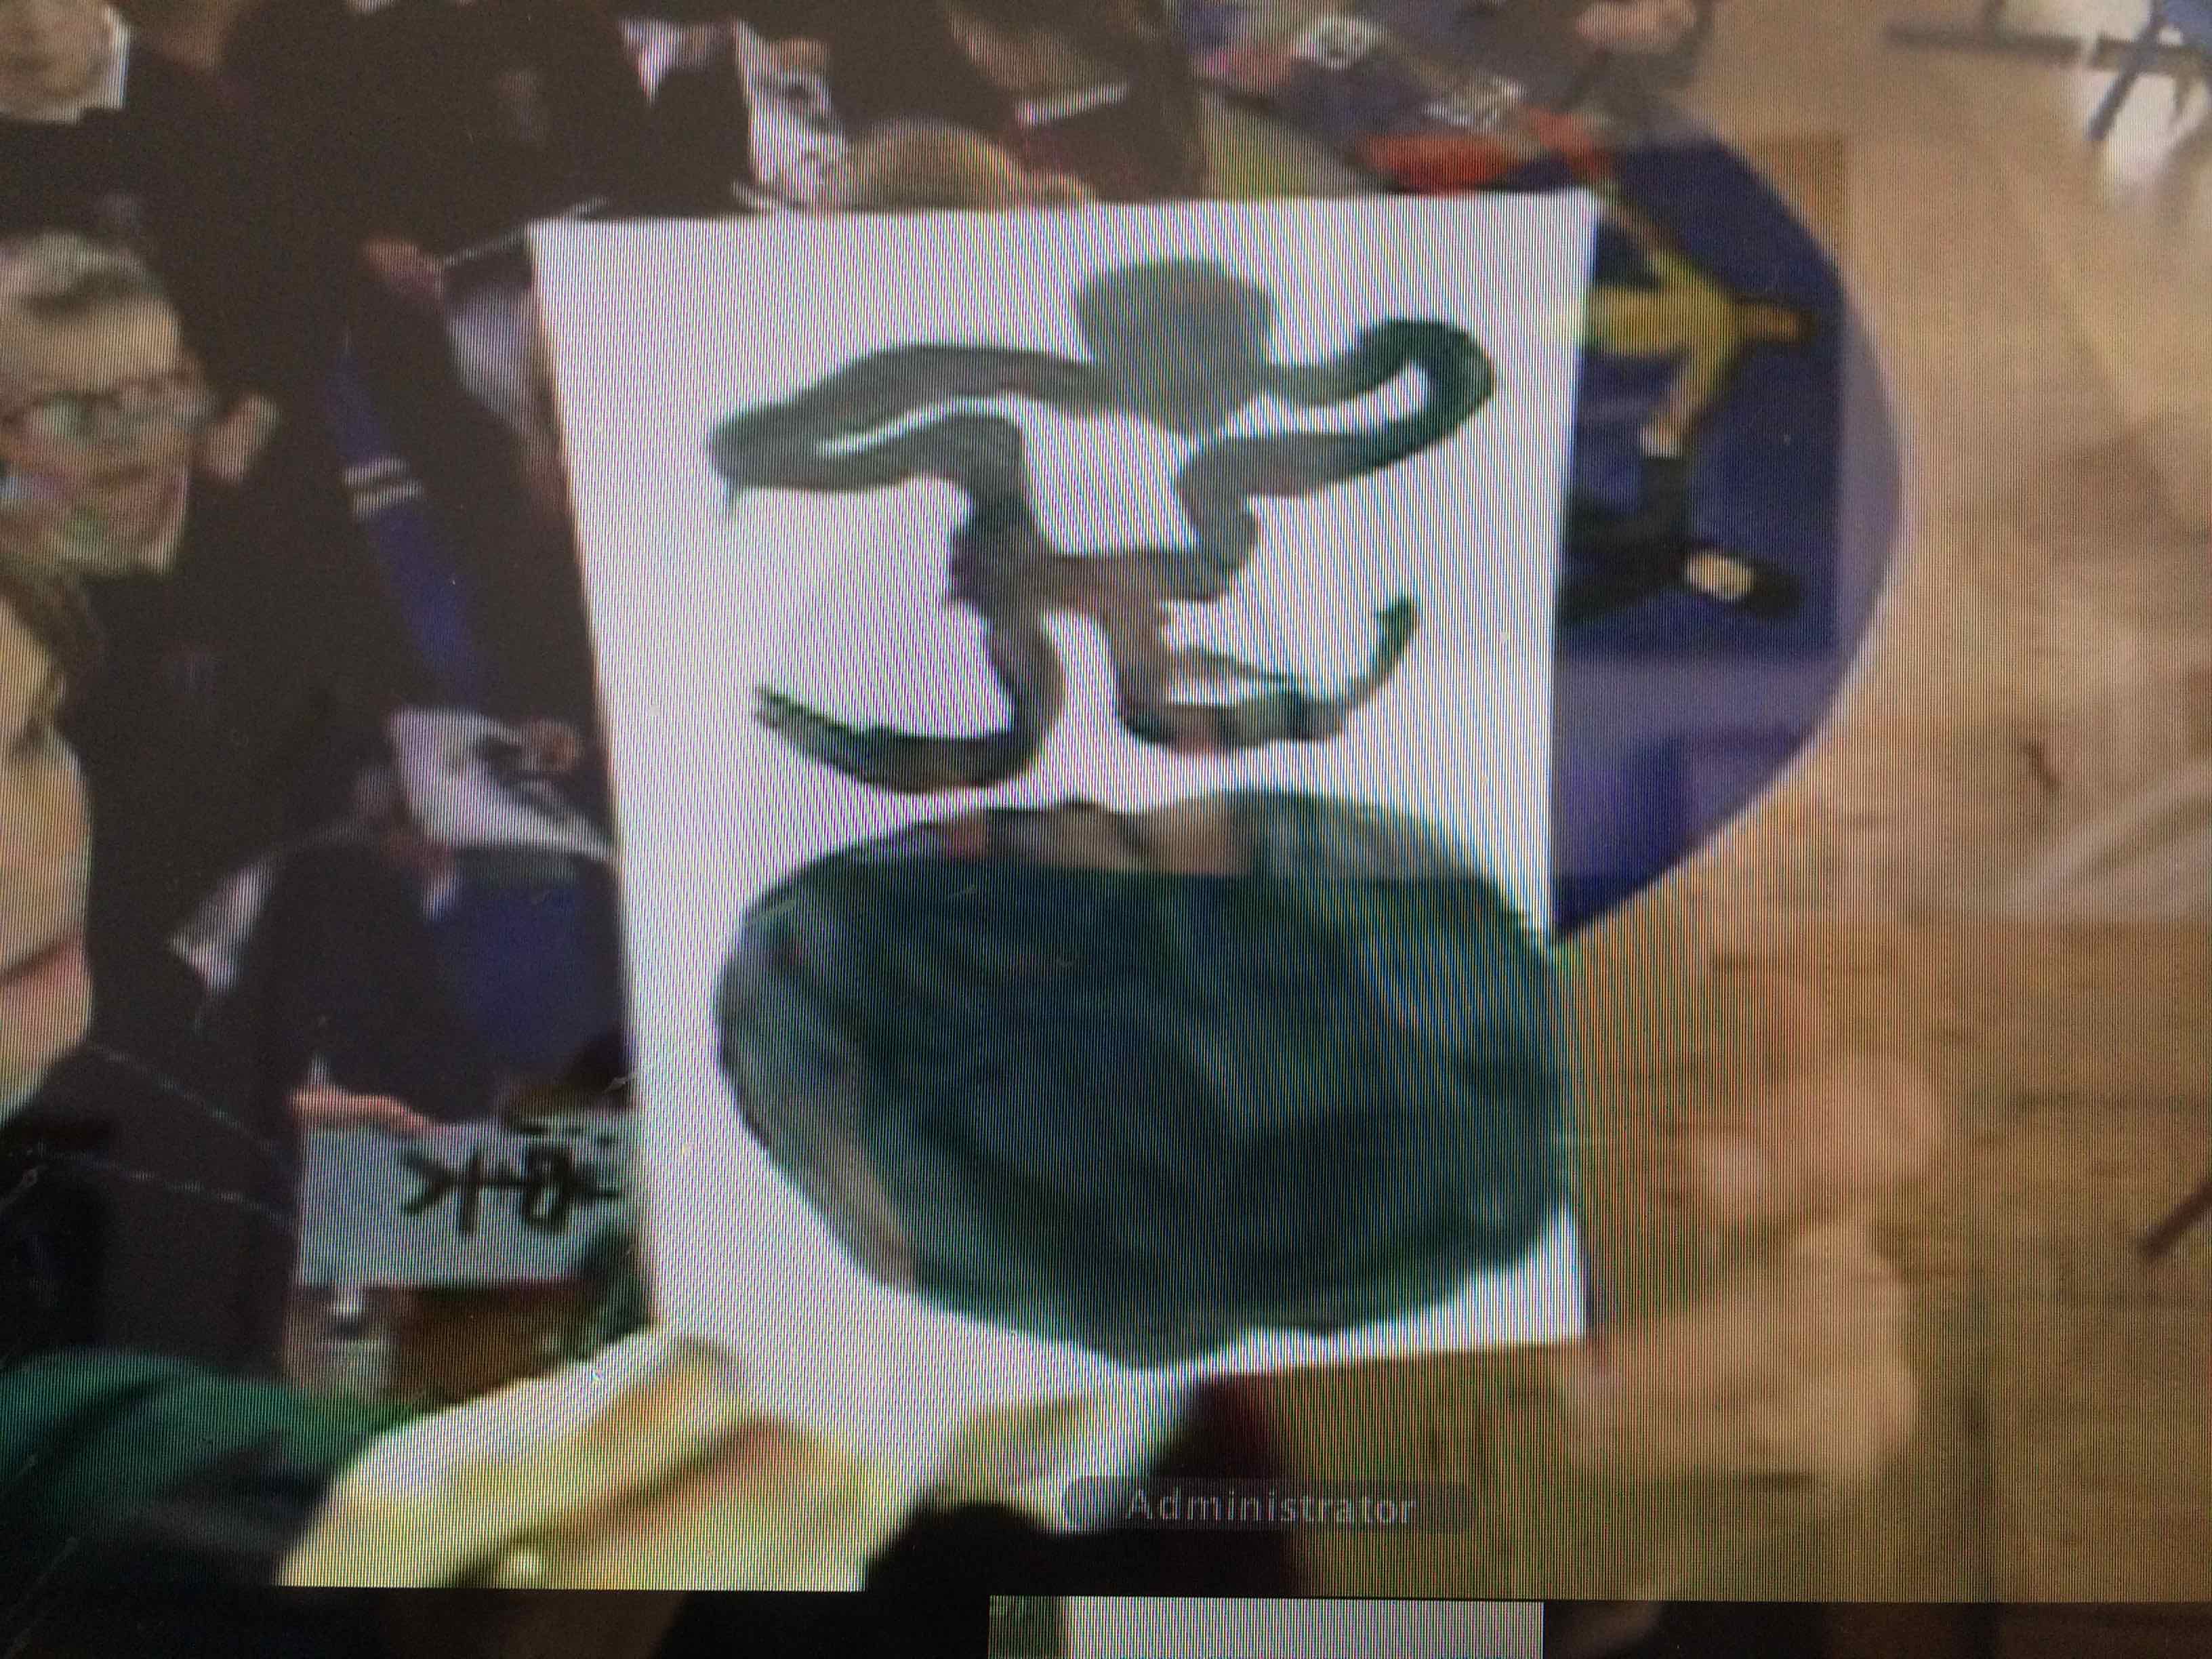
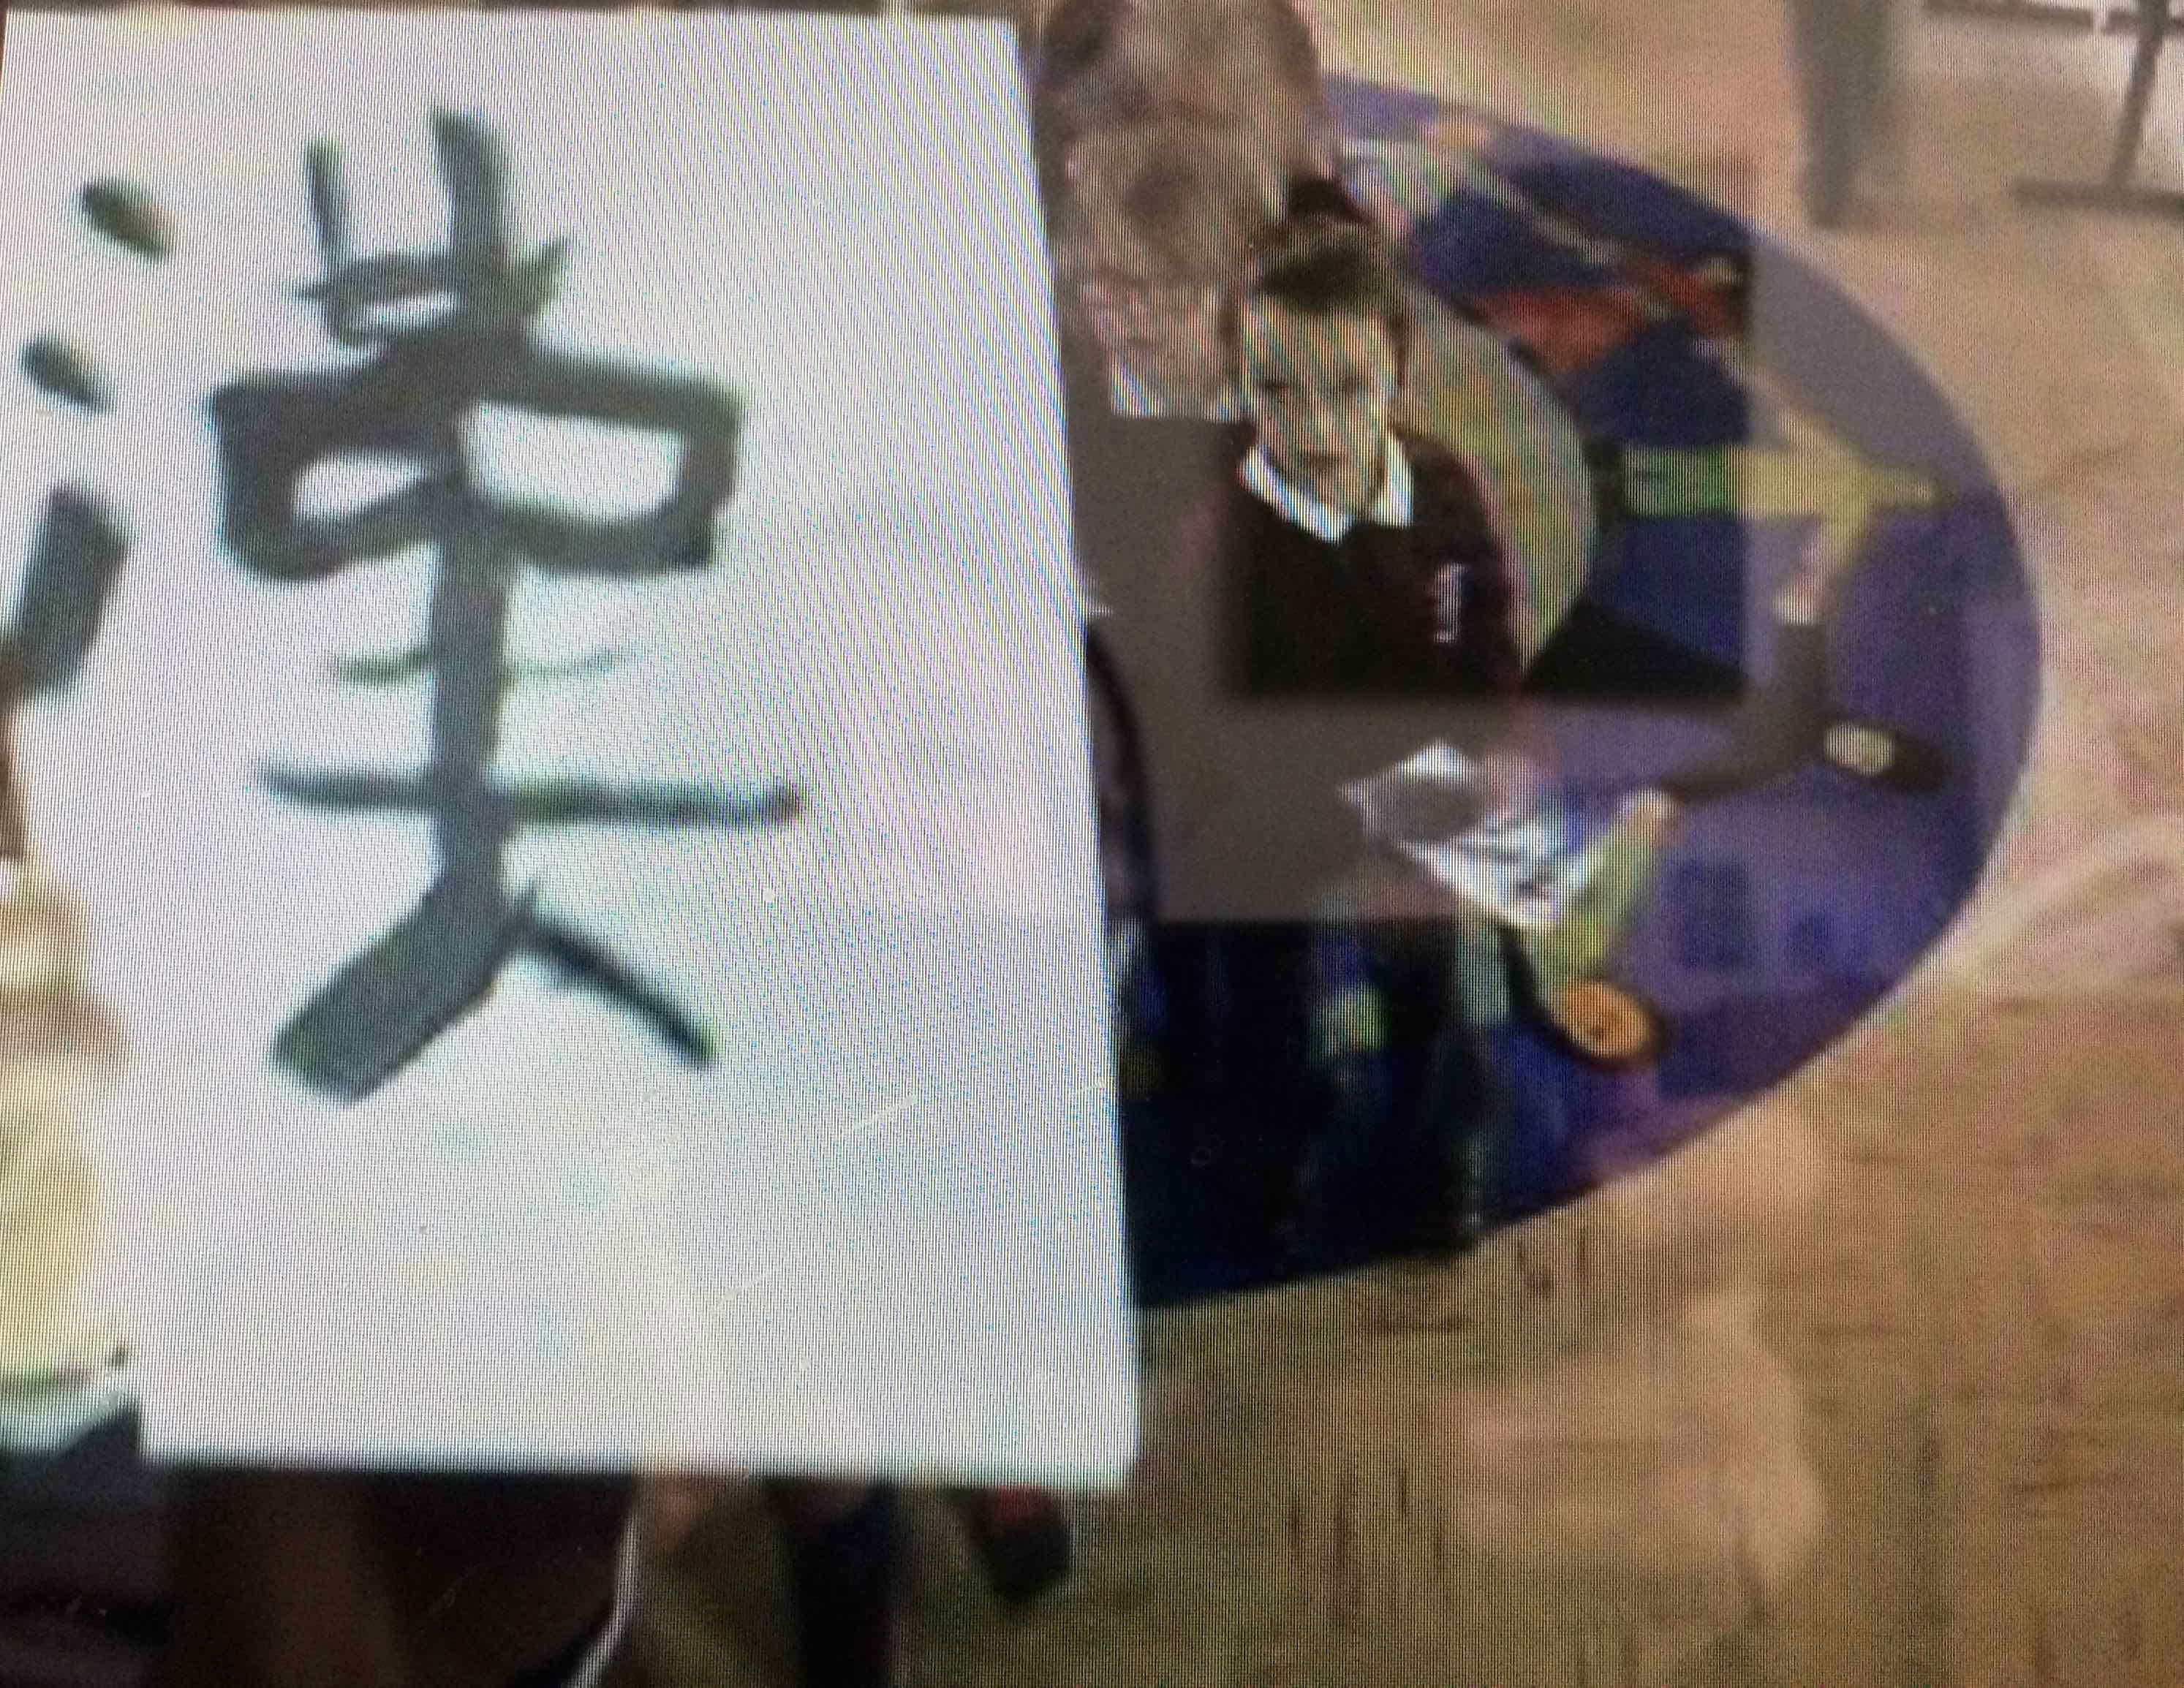
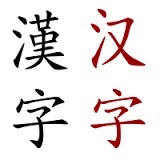
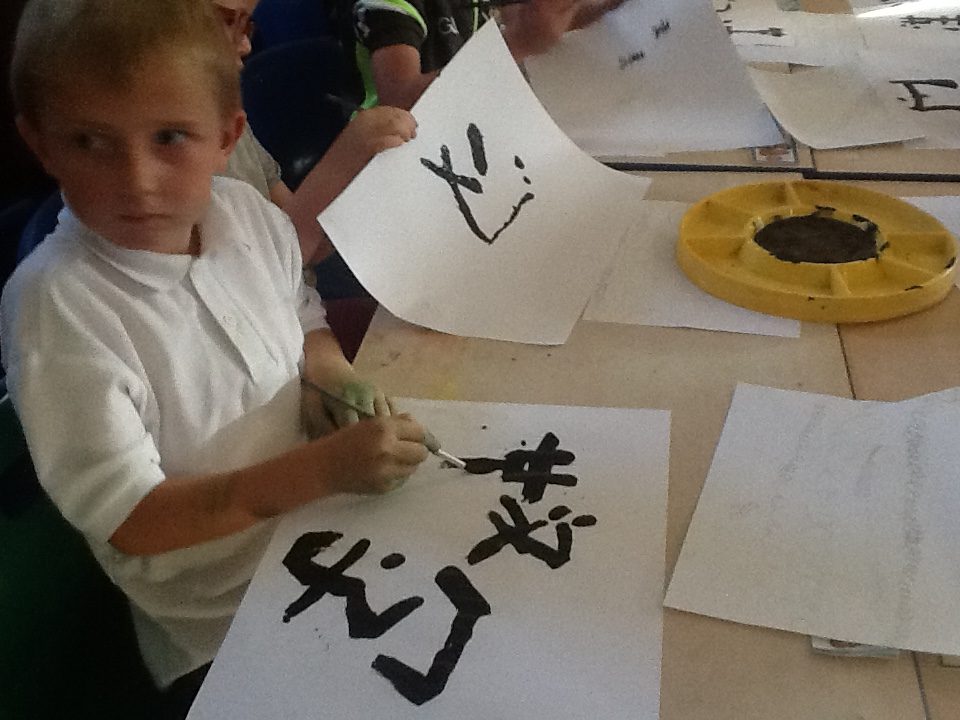
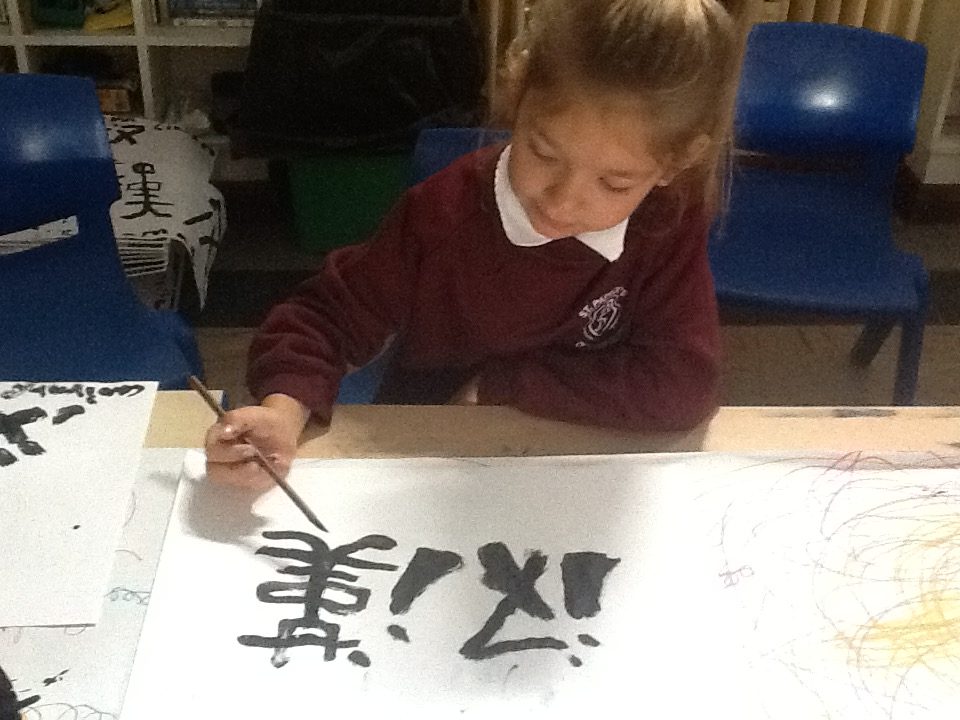
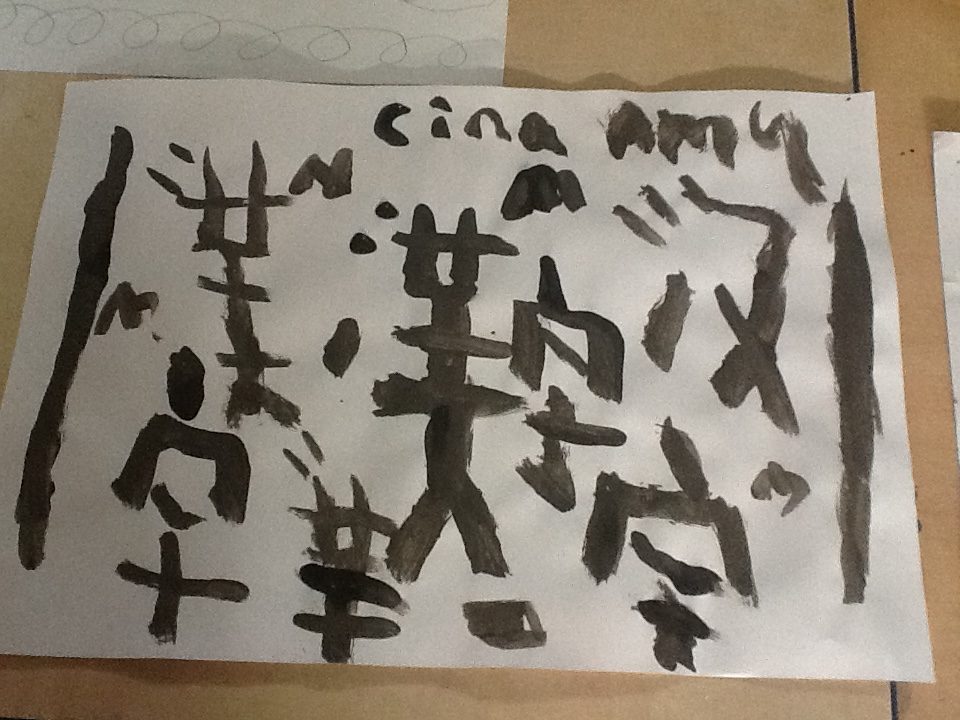
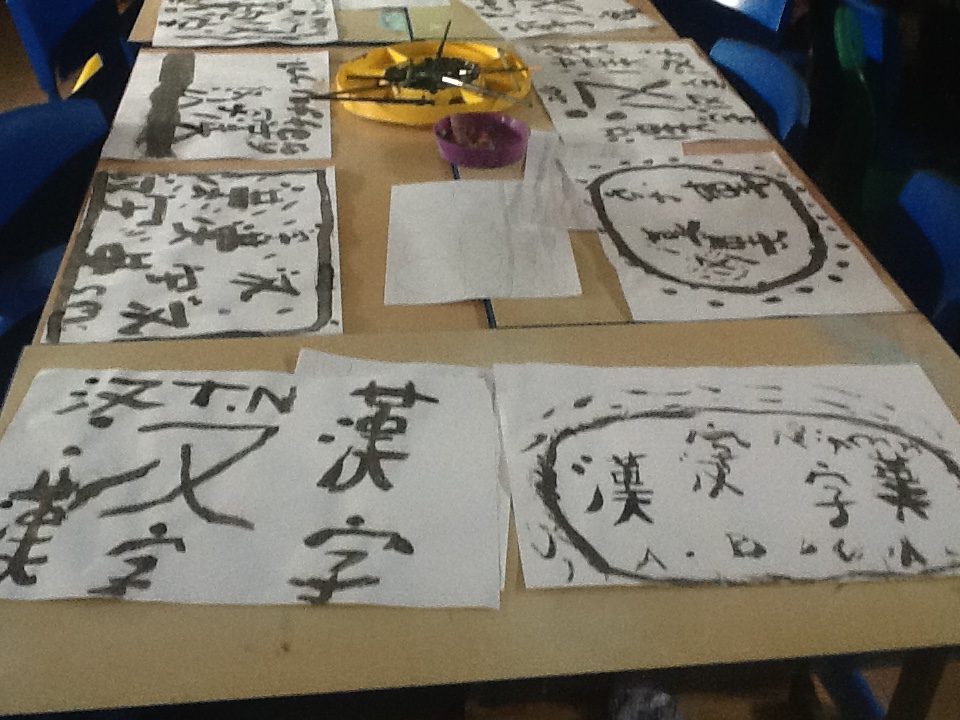
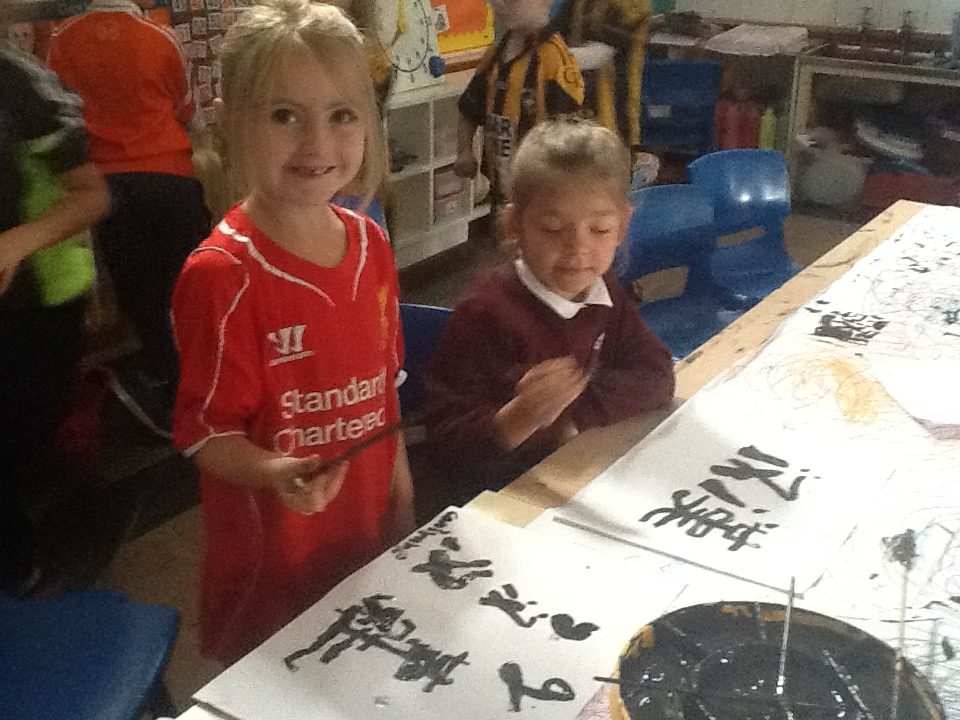
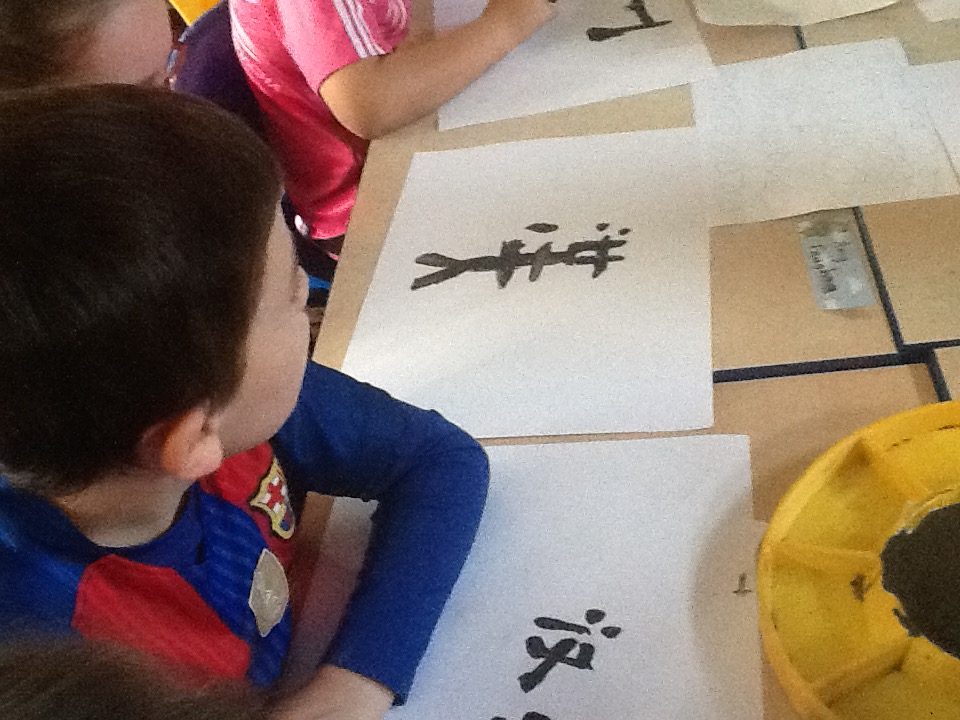
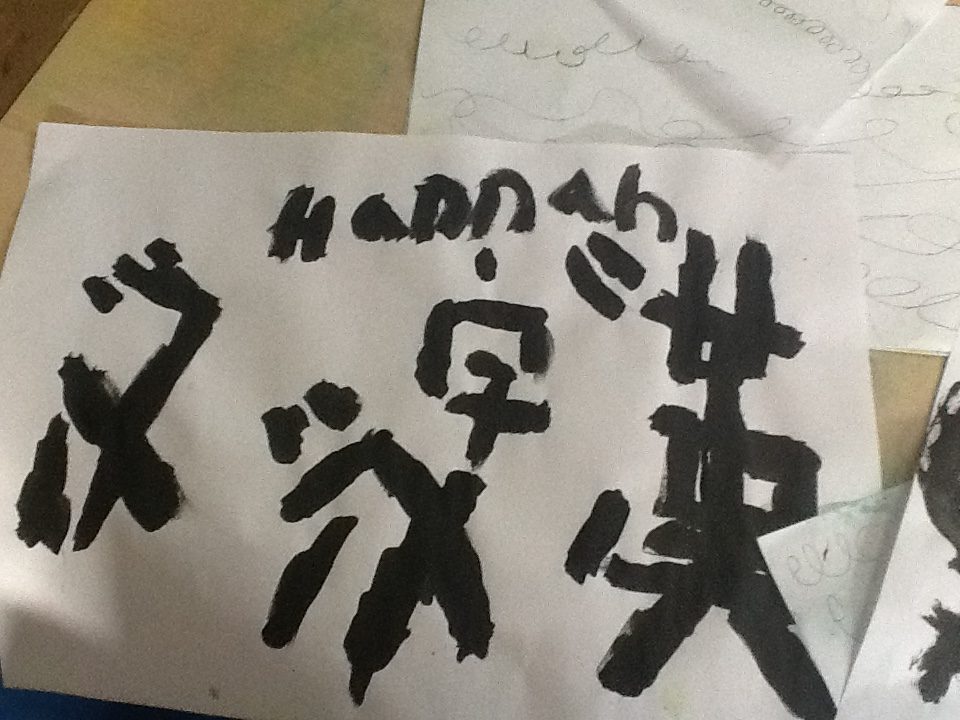
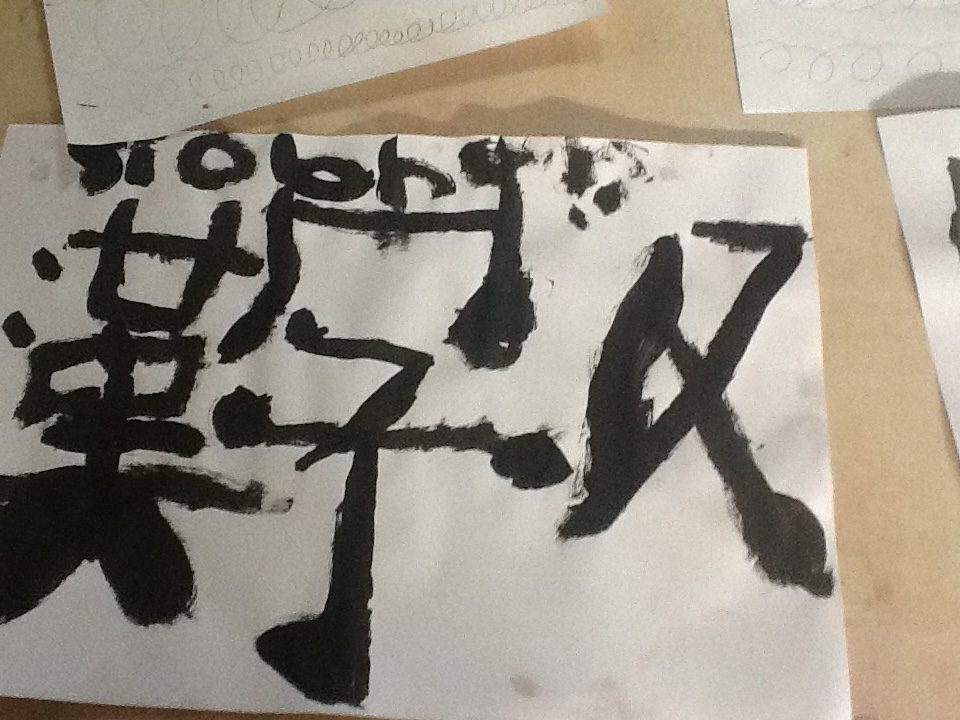
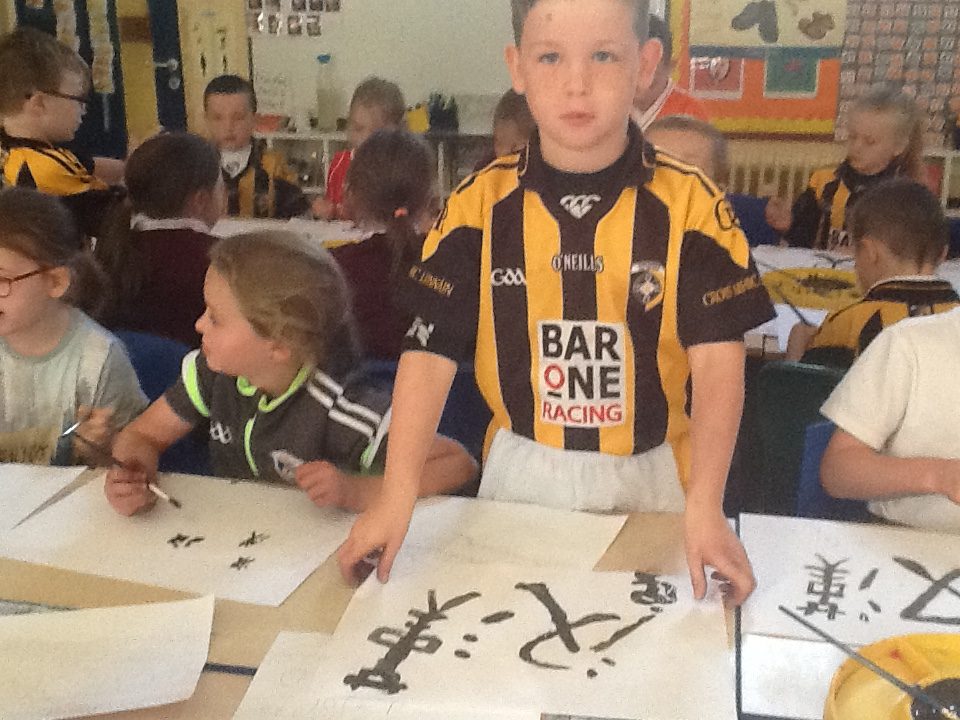
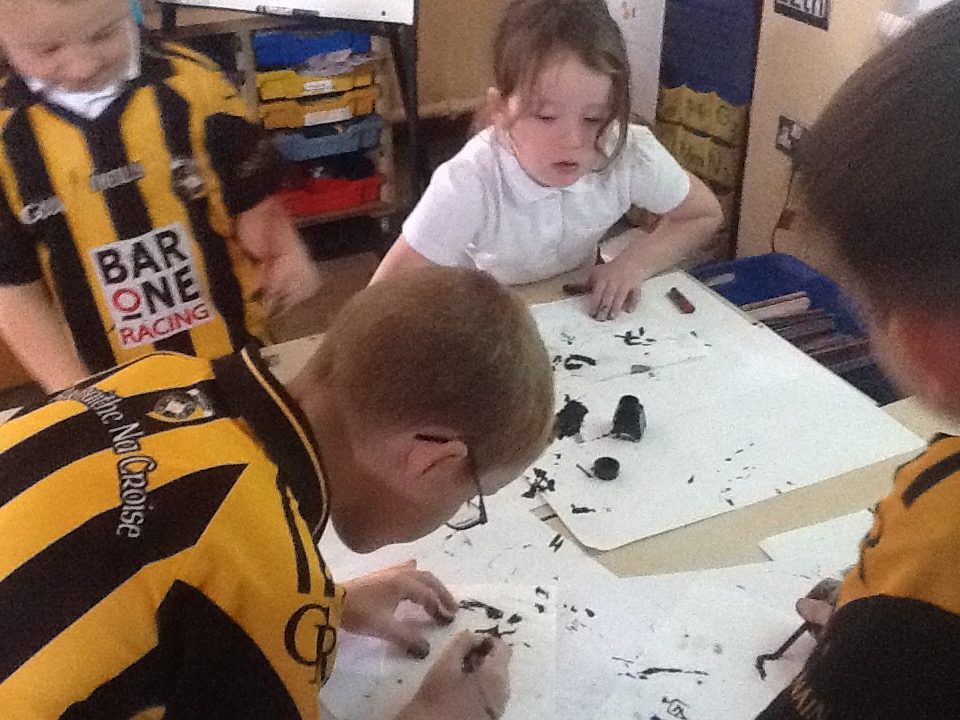
Using the whiteboard screen I showed the children some examples of CHINESE SCRIPT.
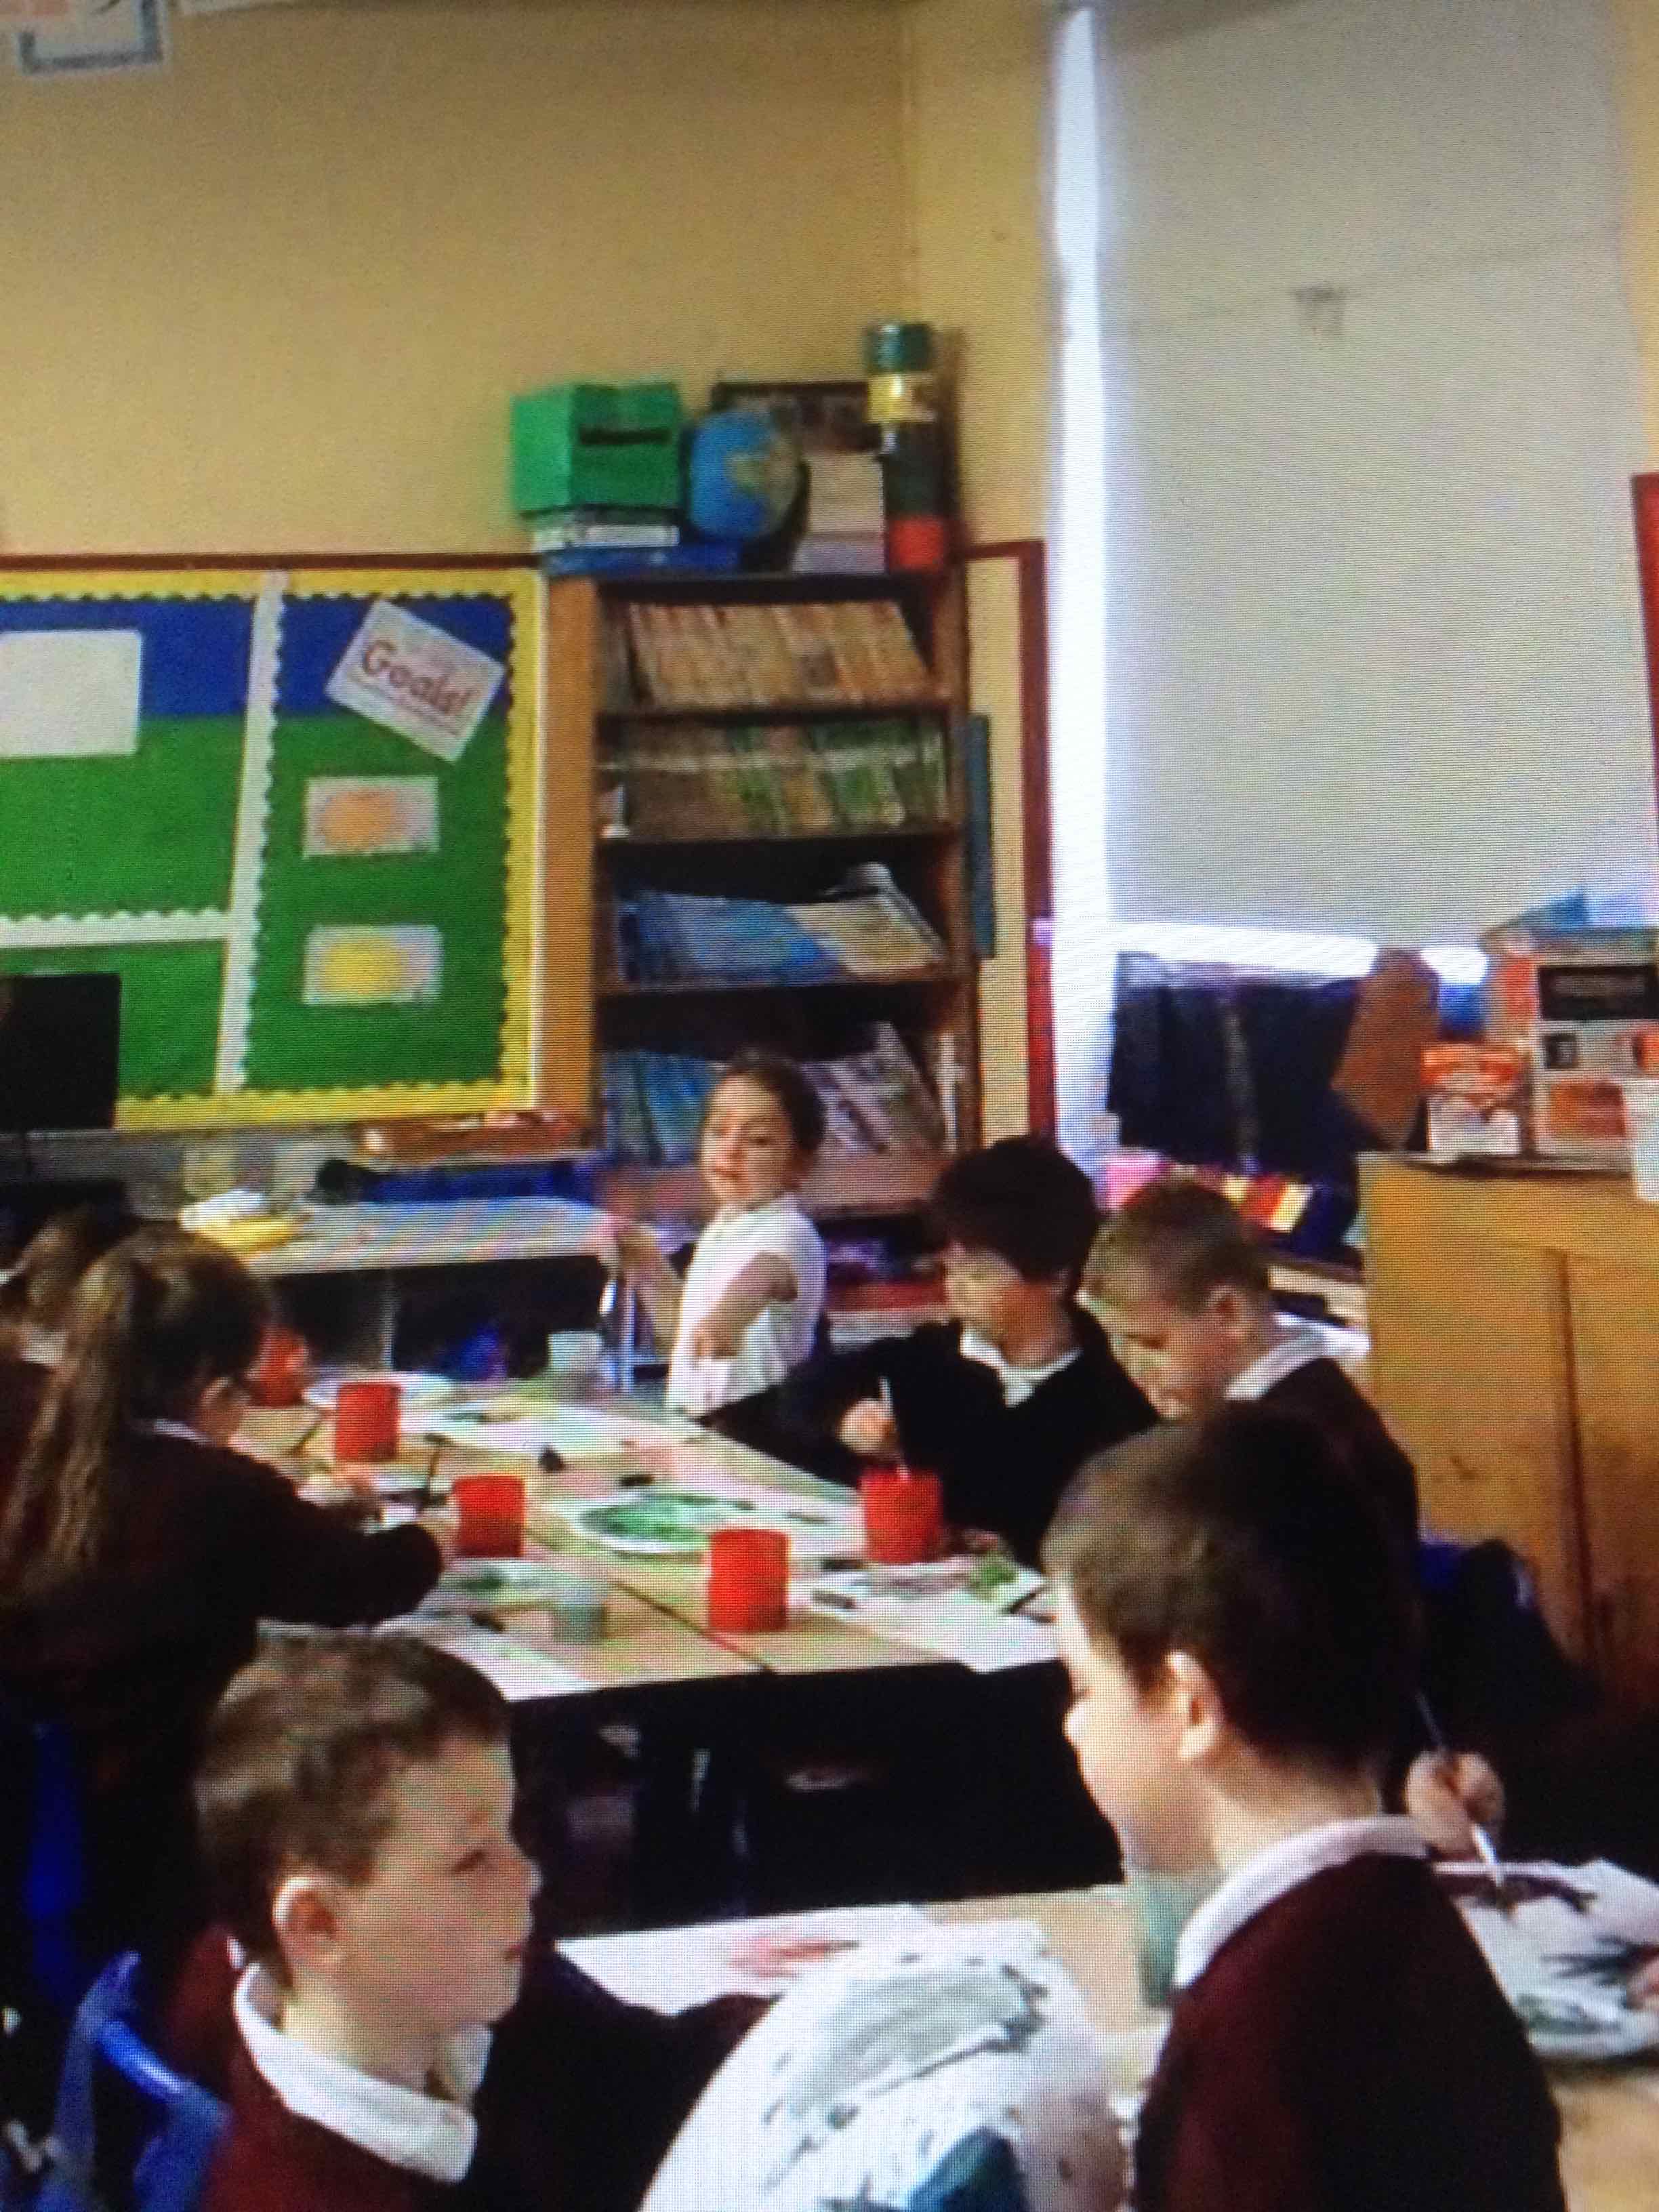
The children were very interested in these marks and lines. Some said they looked like figures of people doing martial arts! Or BALANCING! I invited the children to use paint and a brush to interpret their own versions of Chinese characters.
All I can say is that I was AMAZED at what happened next…
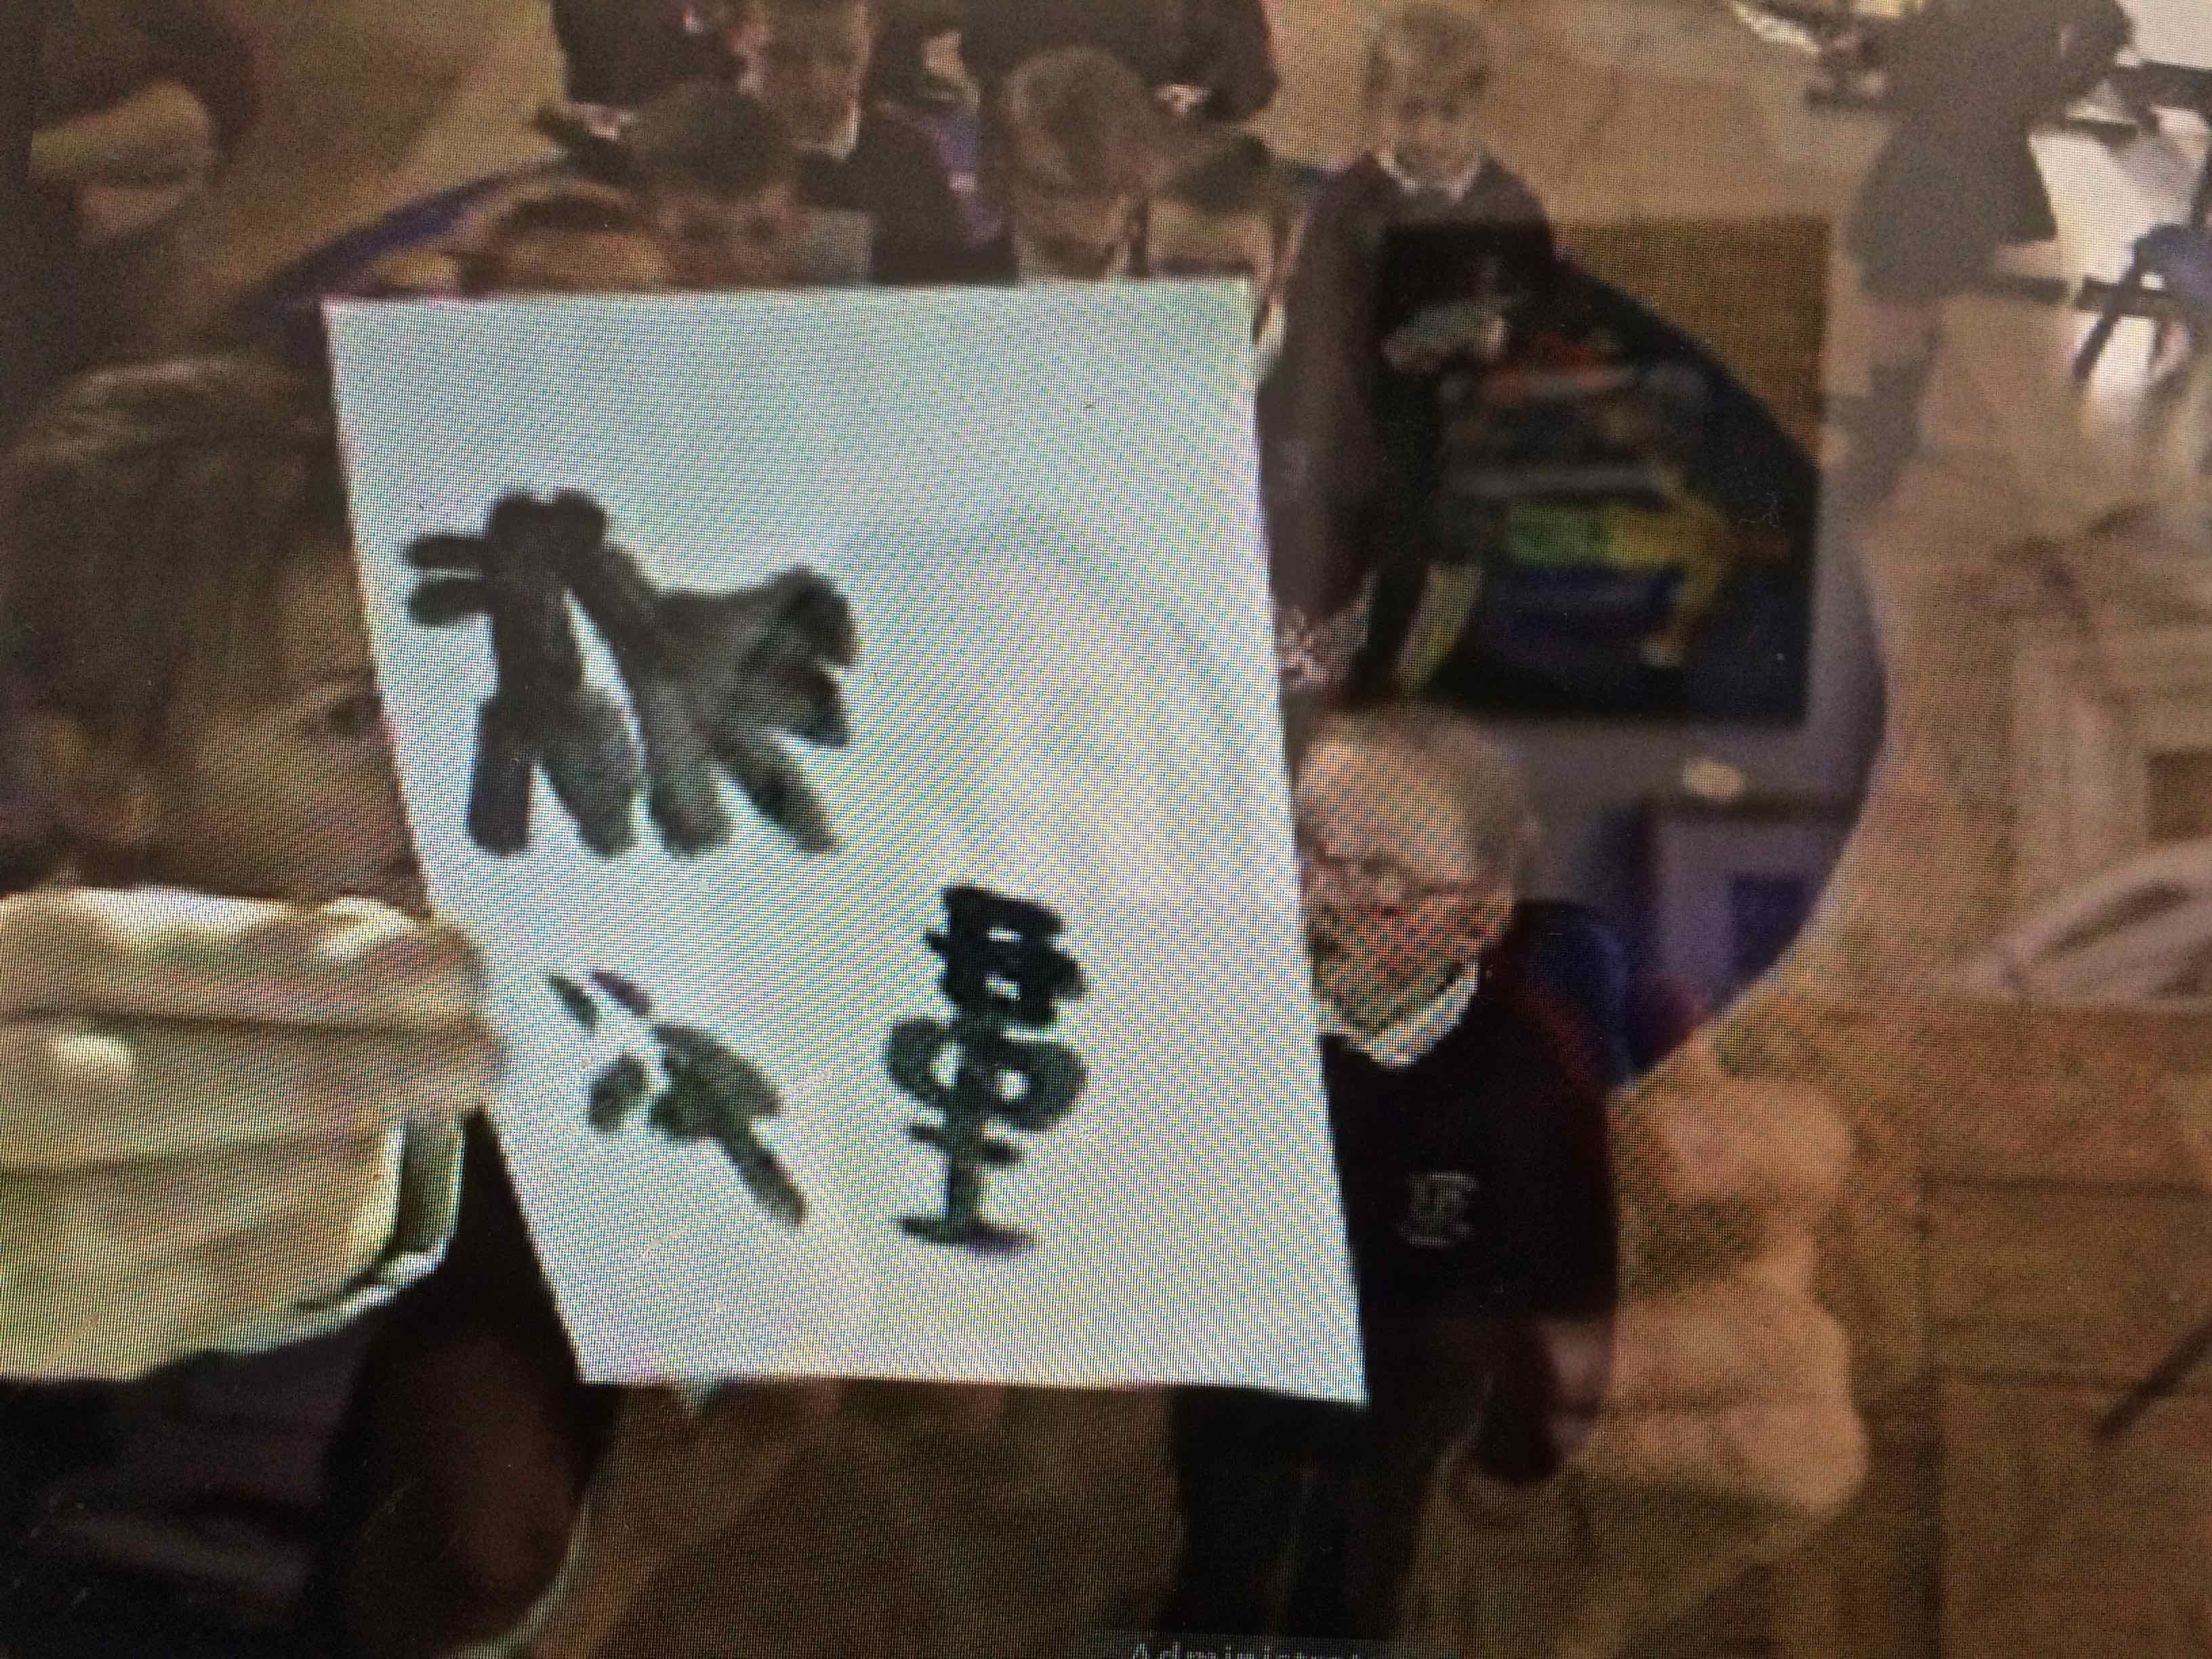
Look at the wonderful shapes the children created using a plain school paintbrush!
The shapes were painted directly onto the paper without any planning.
The children were delighted with their work and really enjoyed creating the Chinese letters.
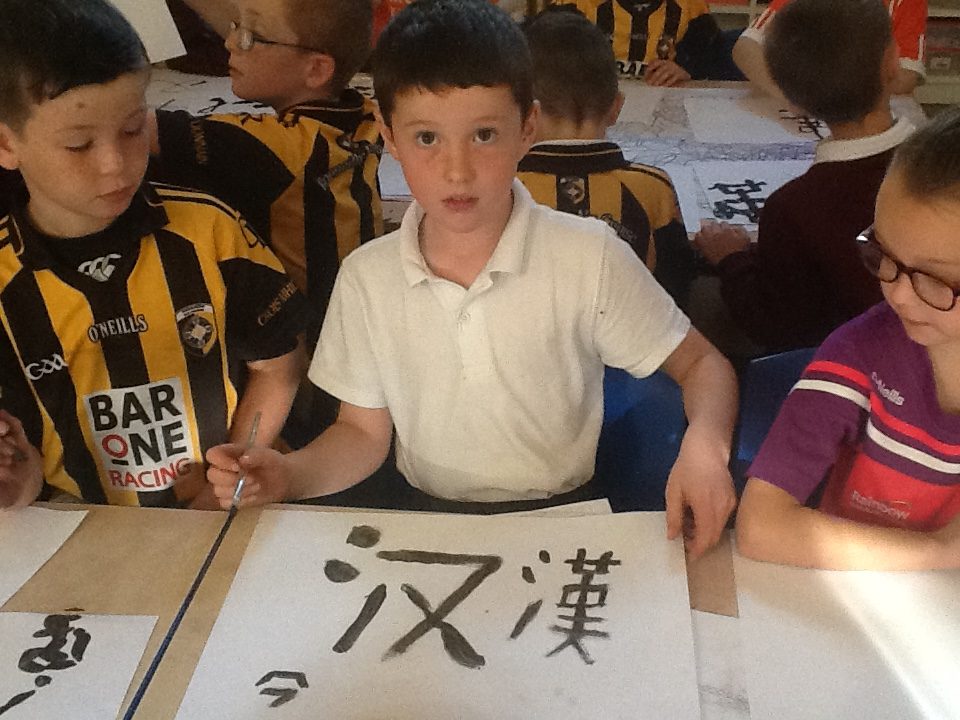
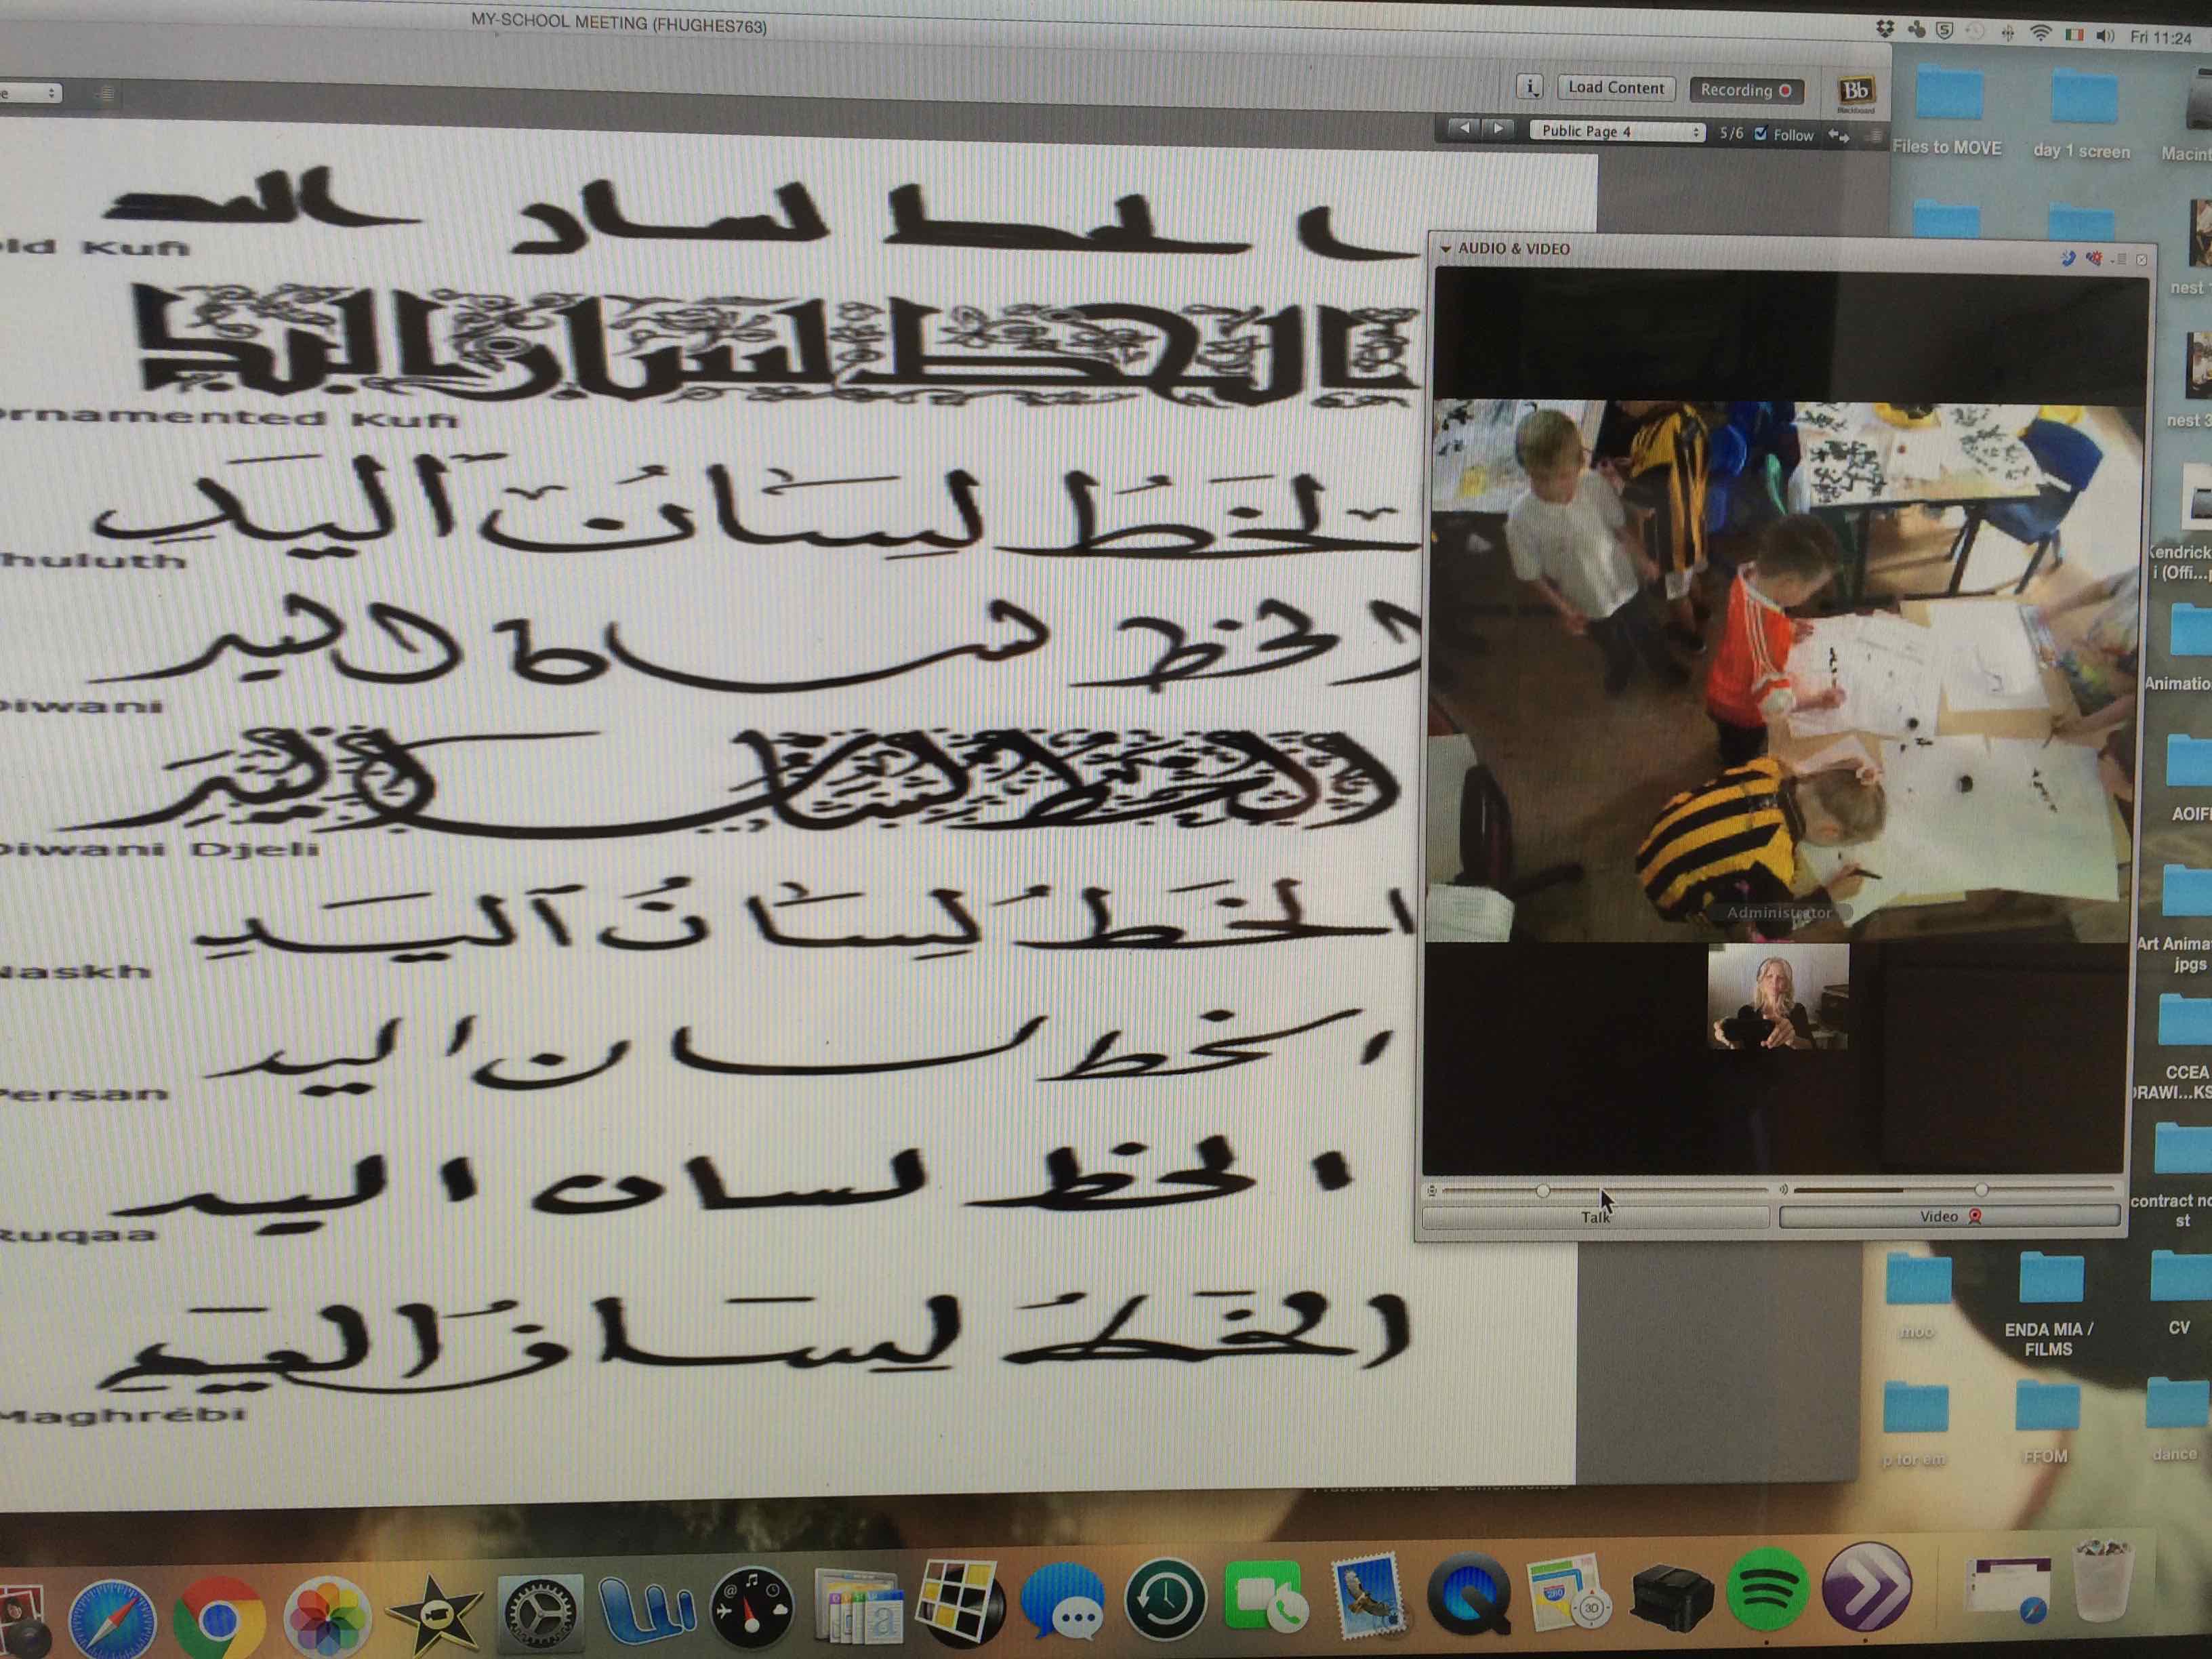
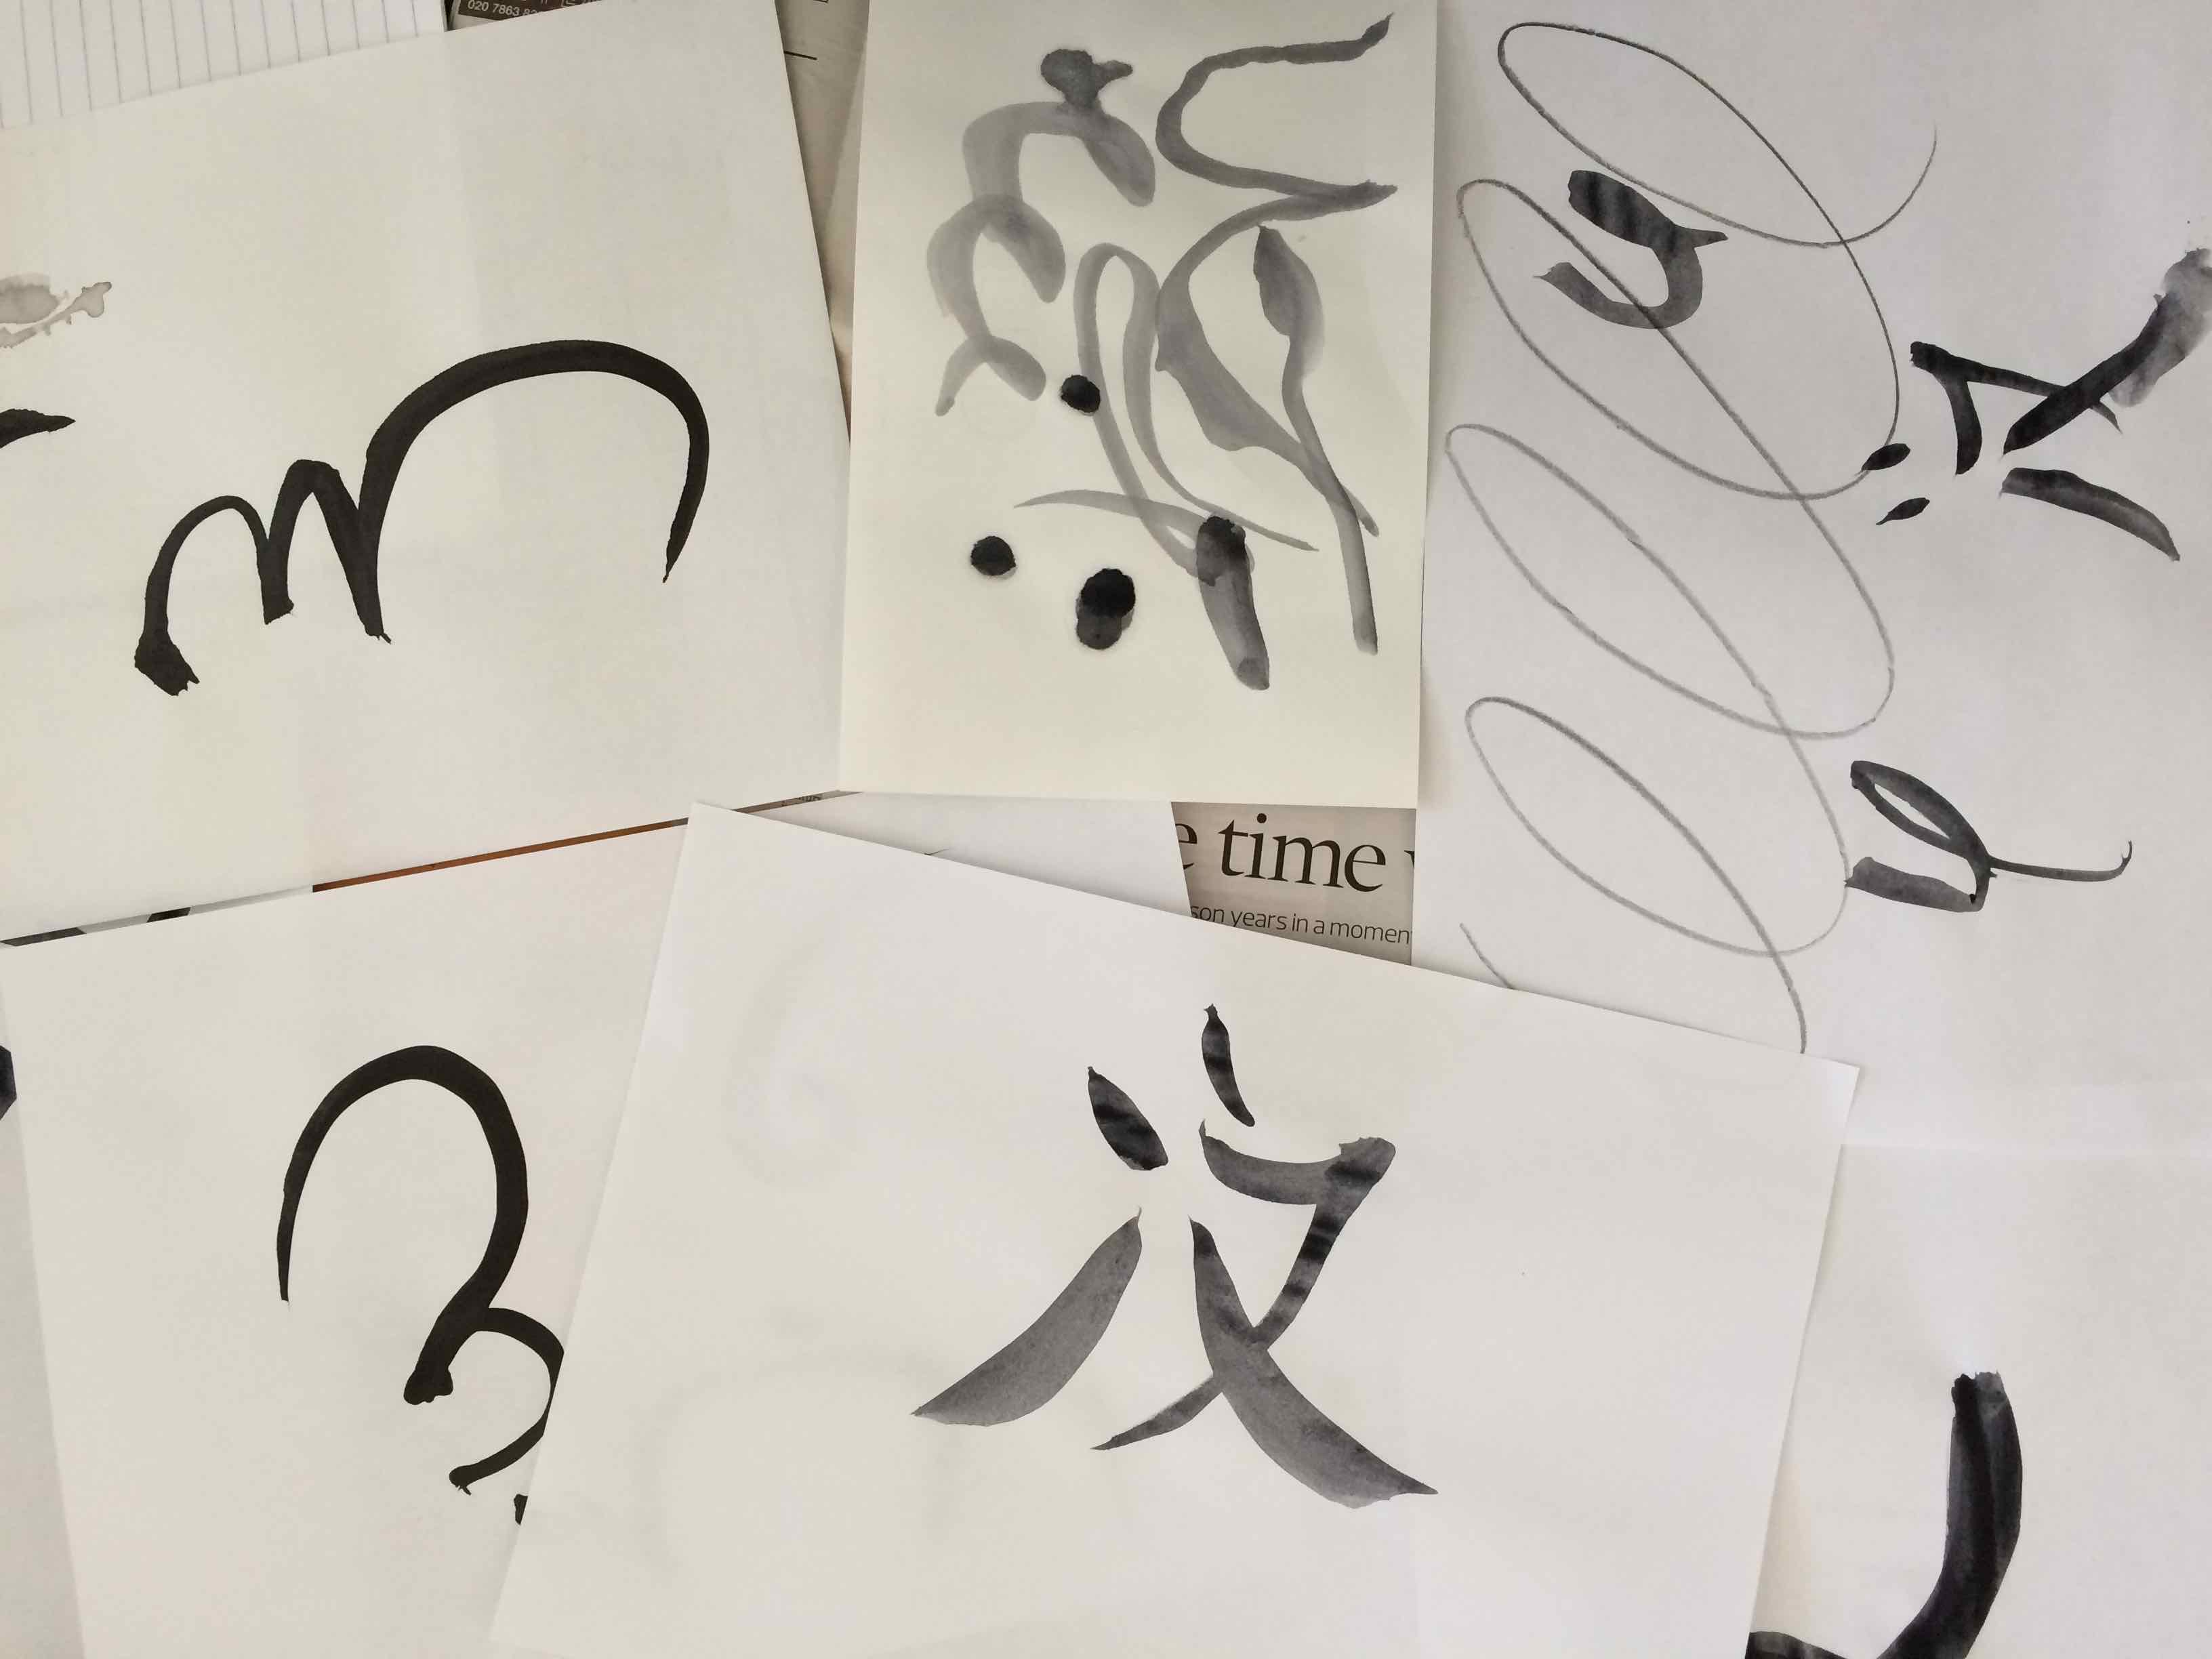
I then showed them some ARABIC SCRIPT…
The children found these a lot more difficult to create and said they preferred the Chinese letters because they looked like pictures not letters. They enjoyed the challenge of trying something new:
THEY WROTE WITH PAINT
THEY USED RICE PAPER
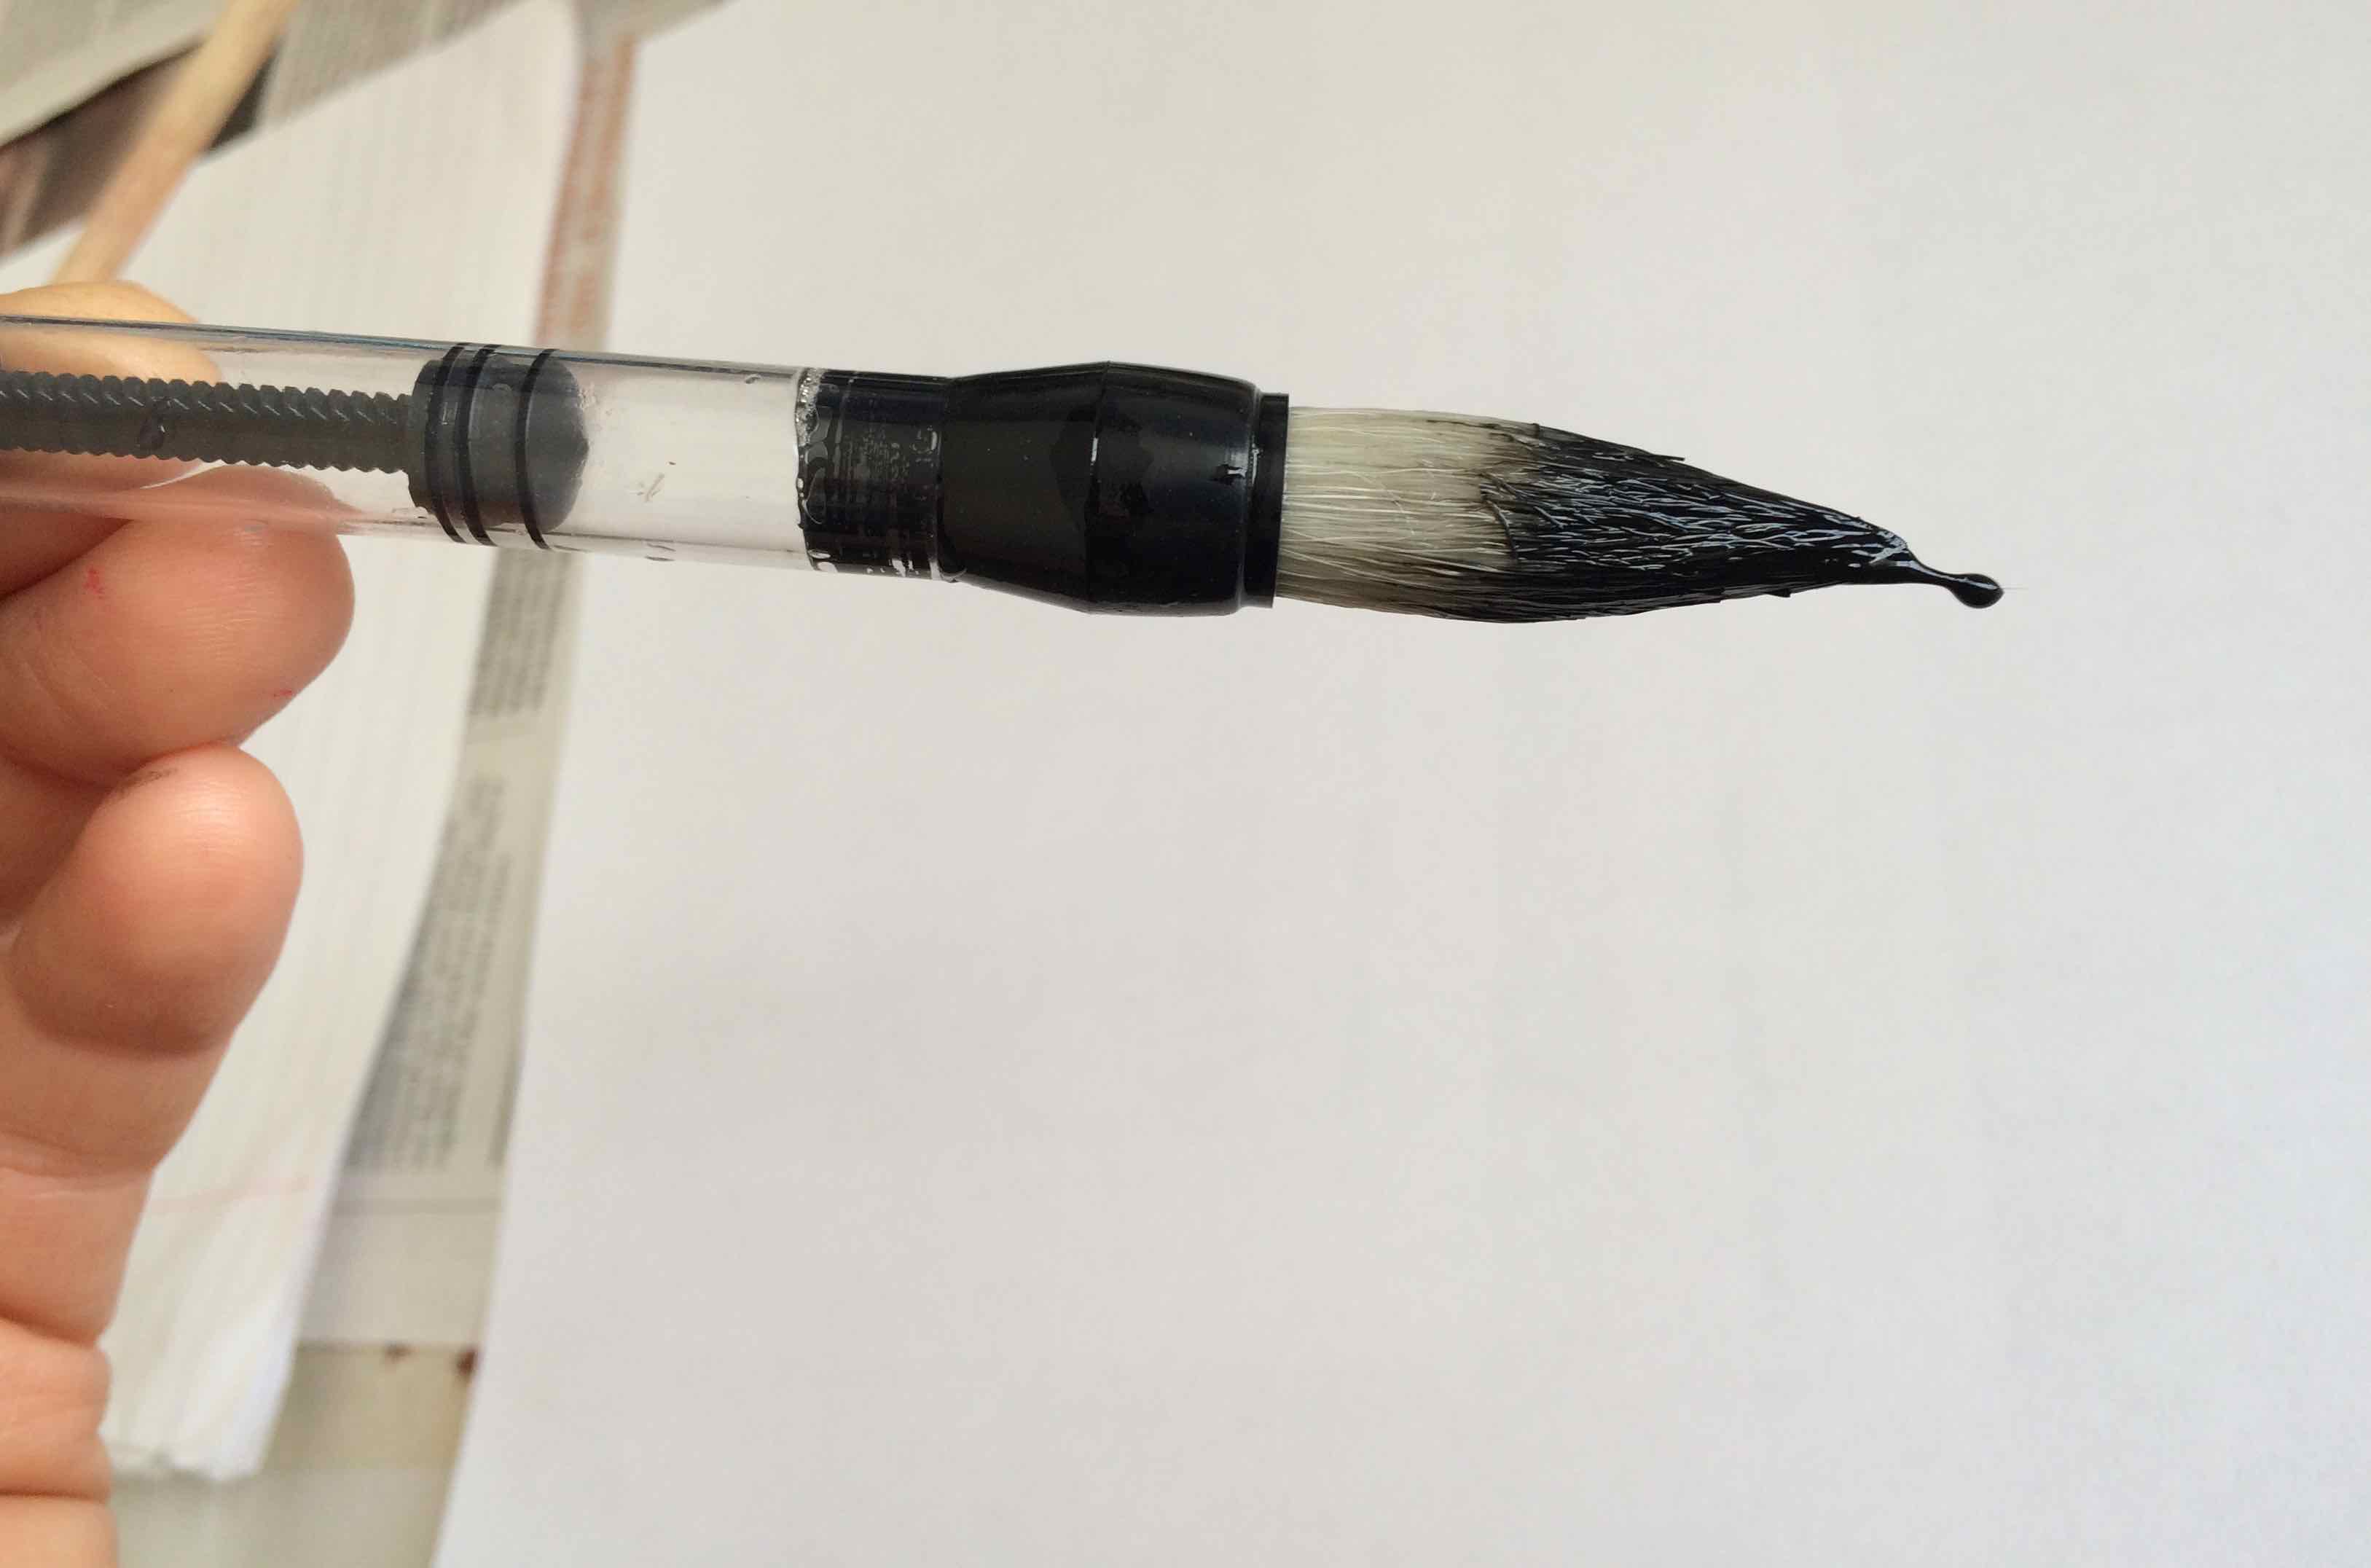
THEY USED GOAT HAIR BRUSHES
THEY USED FOUNTAIN PEN
AND A CARTRIDGE PEN
A FEATHER
A WOODEN STICK
It was definitely not like using a pencil!
Here the children are finding out what its like to use a FEATHER, A STICK and A REAL INK PEN!
We discussed the way we had used larger movement for the big loops and circles at the start and small movements for the Chinese script – using just our fingers and wrist.
Next time we plan to explore more around script, movement and balance. While the children were engrossed in their writing, I tried some things myself…
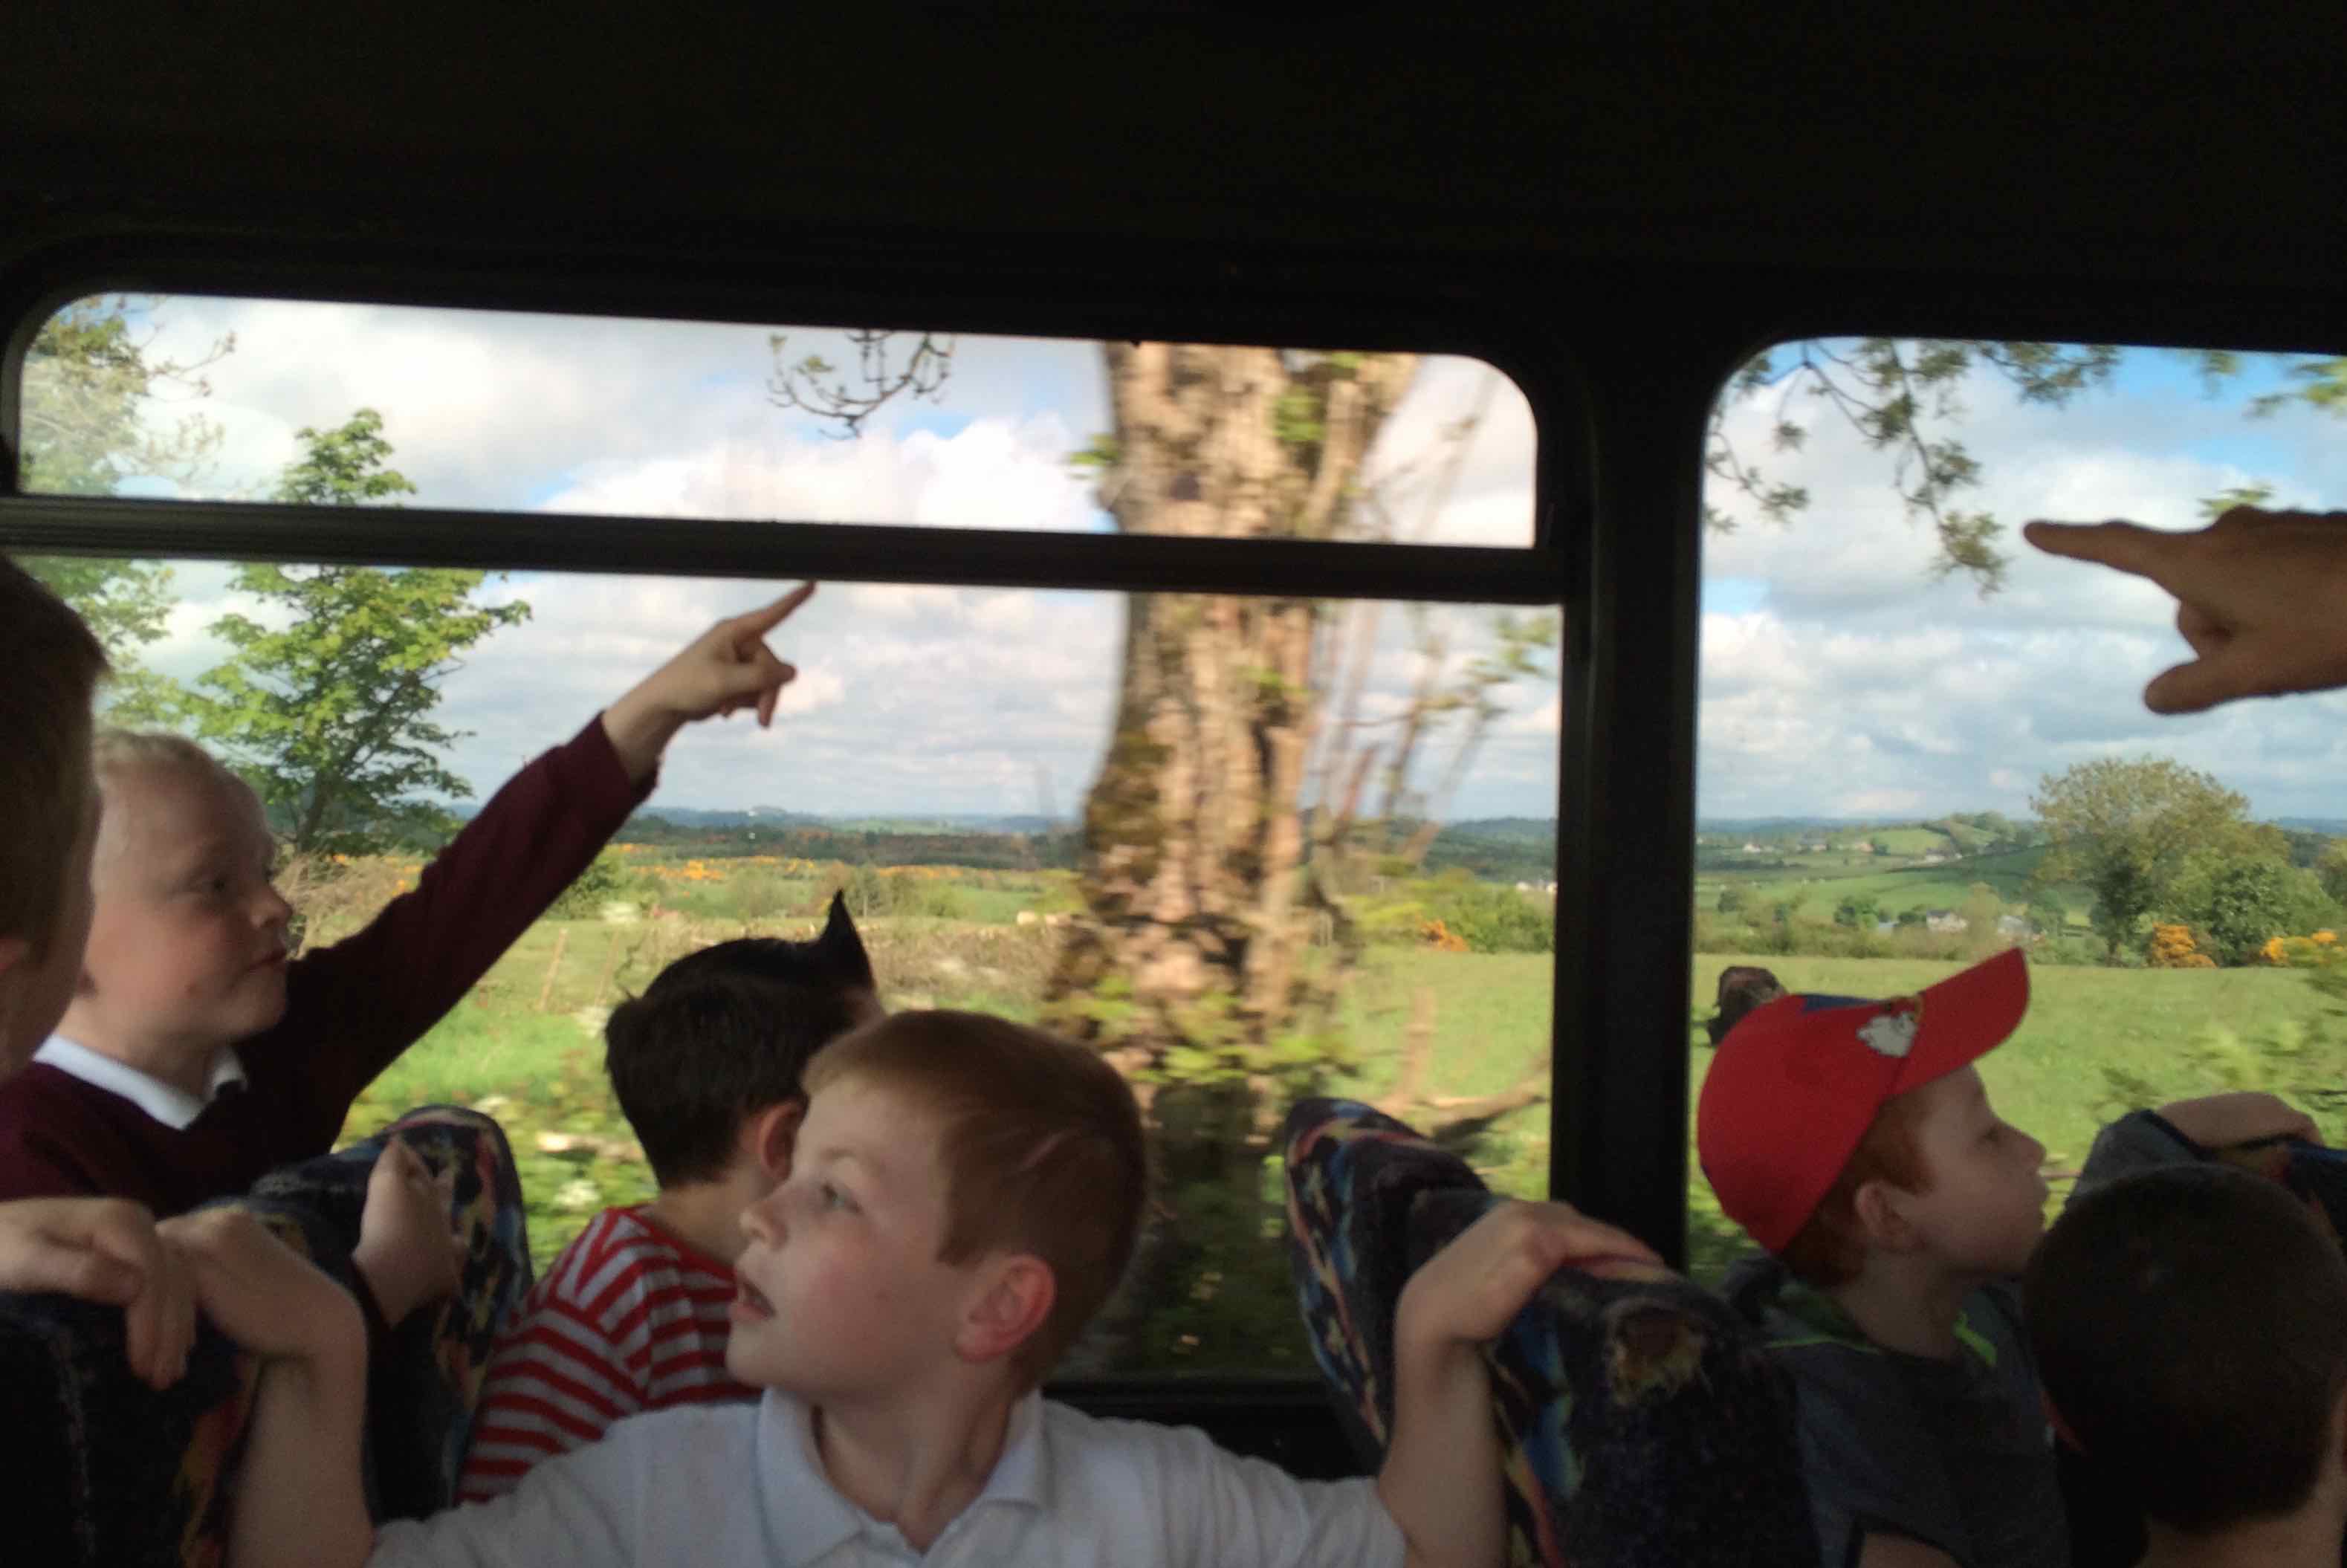
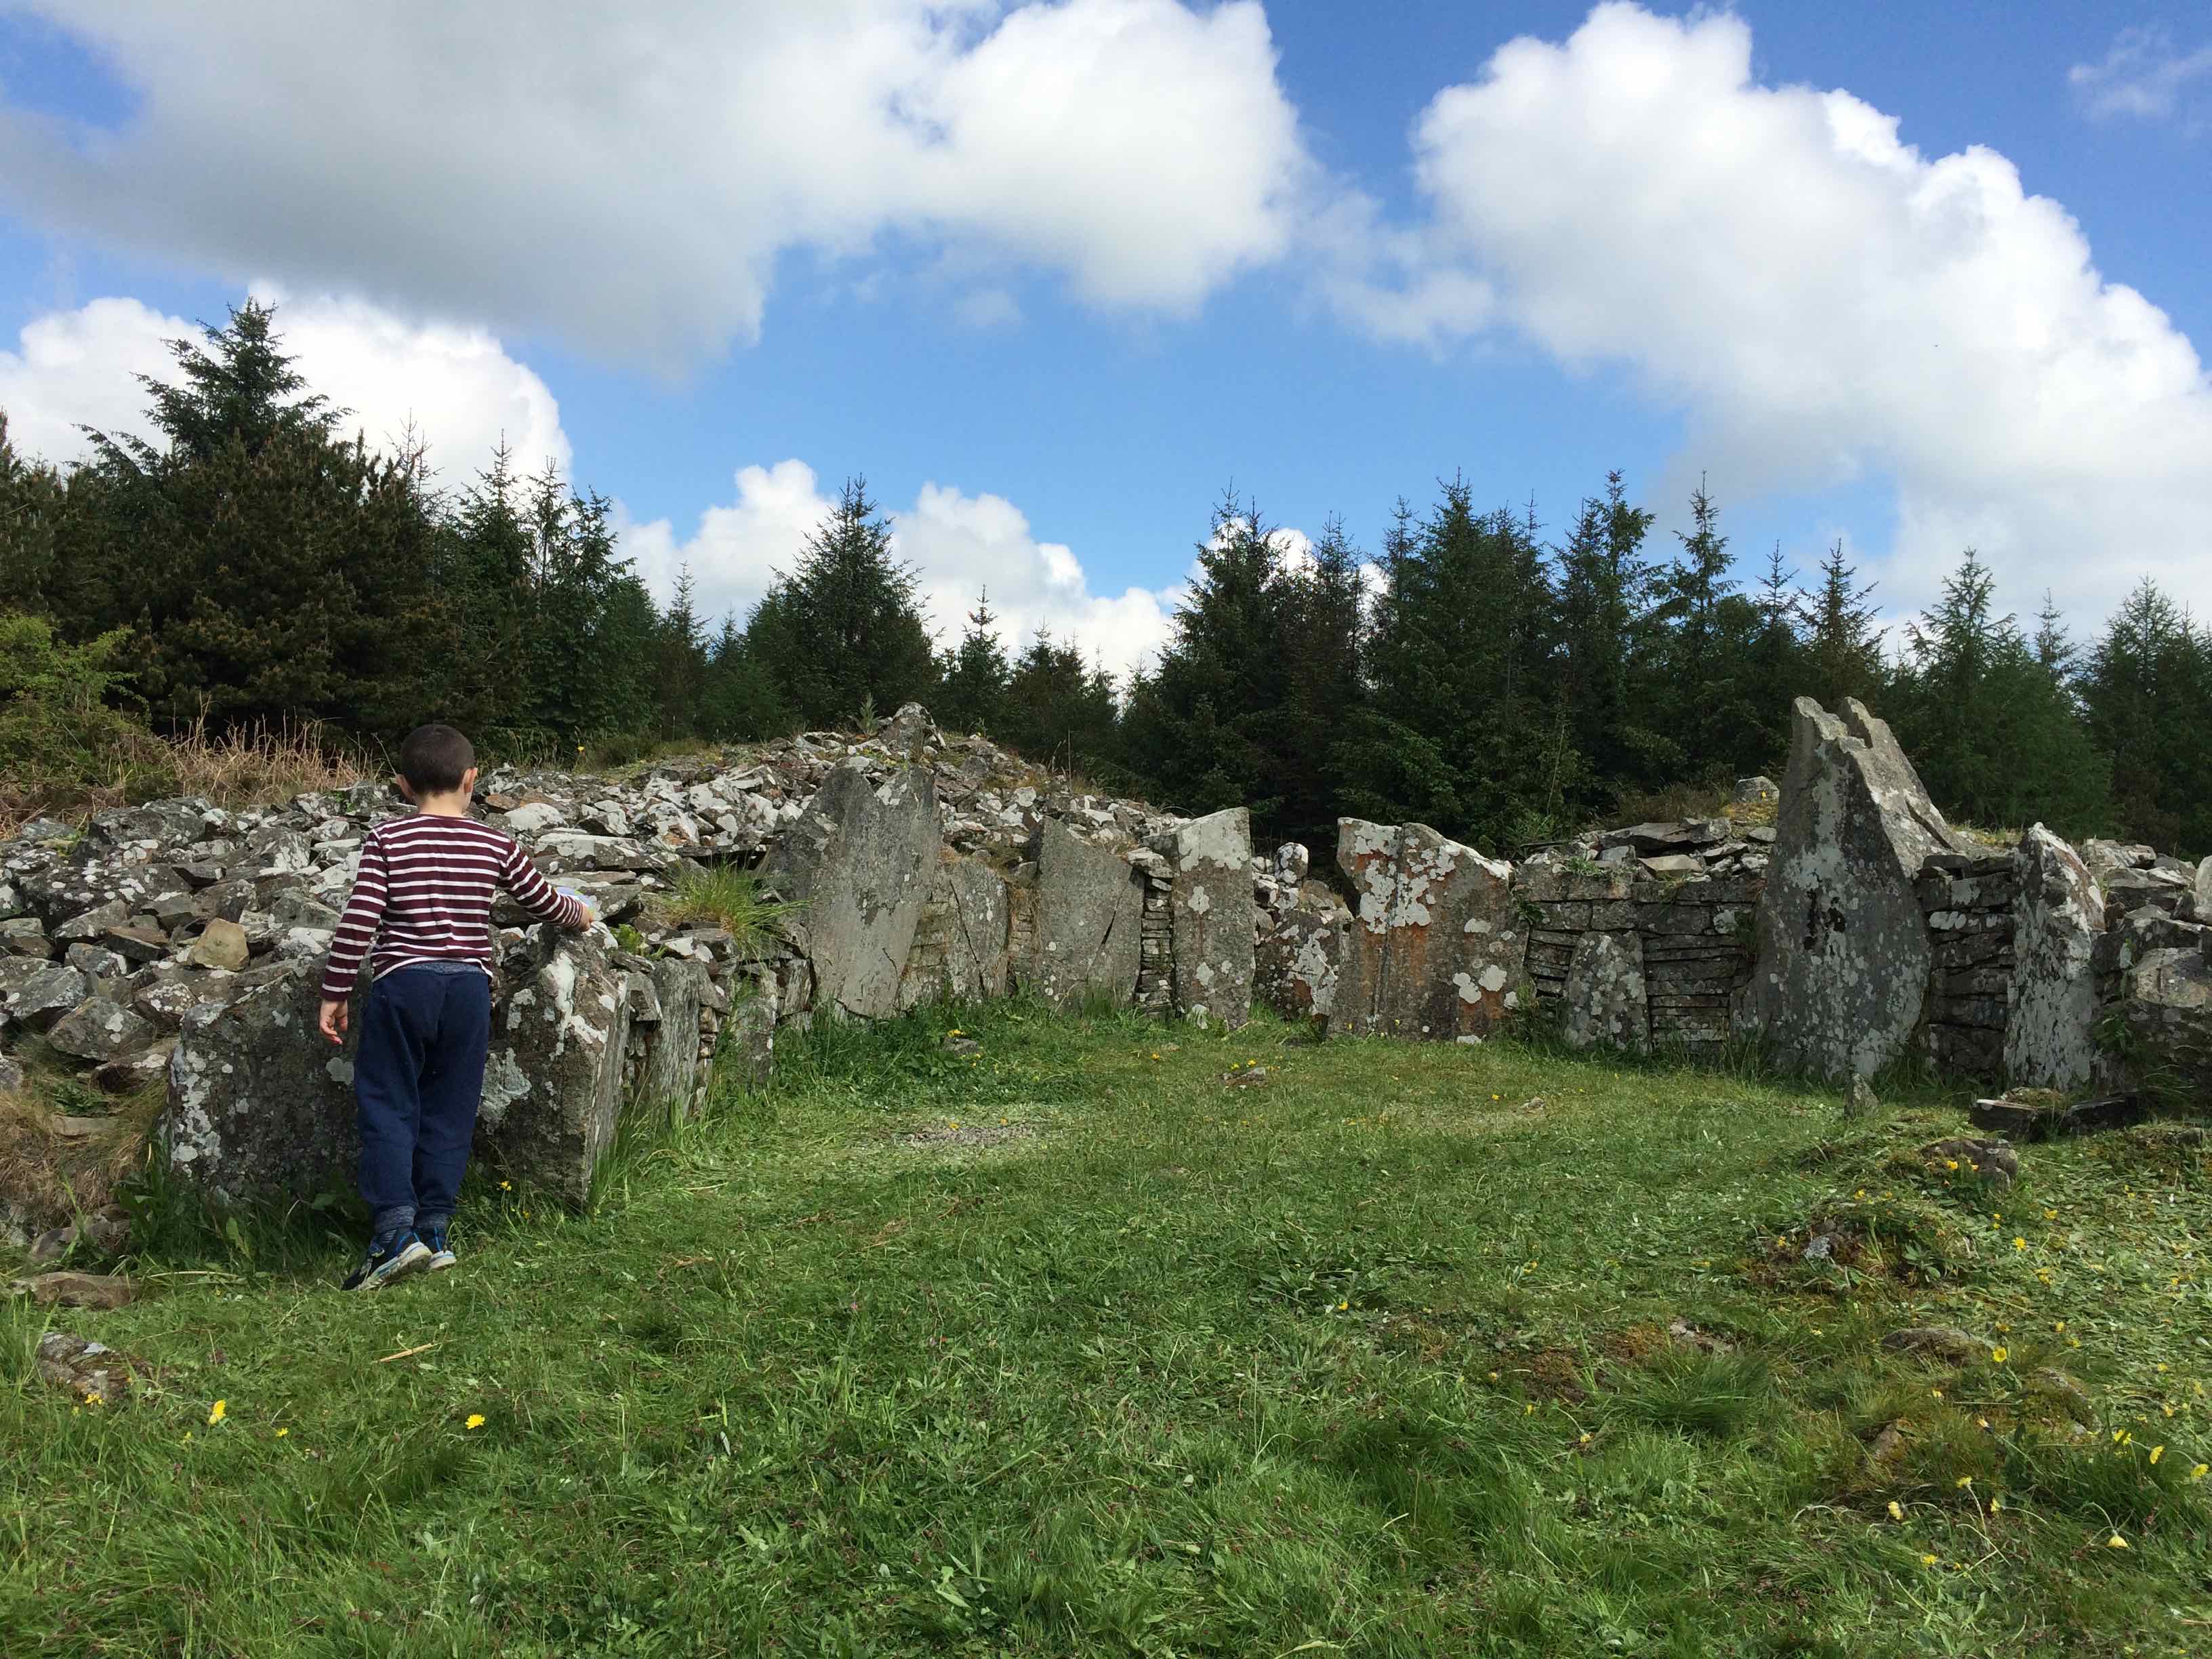
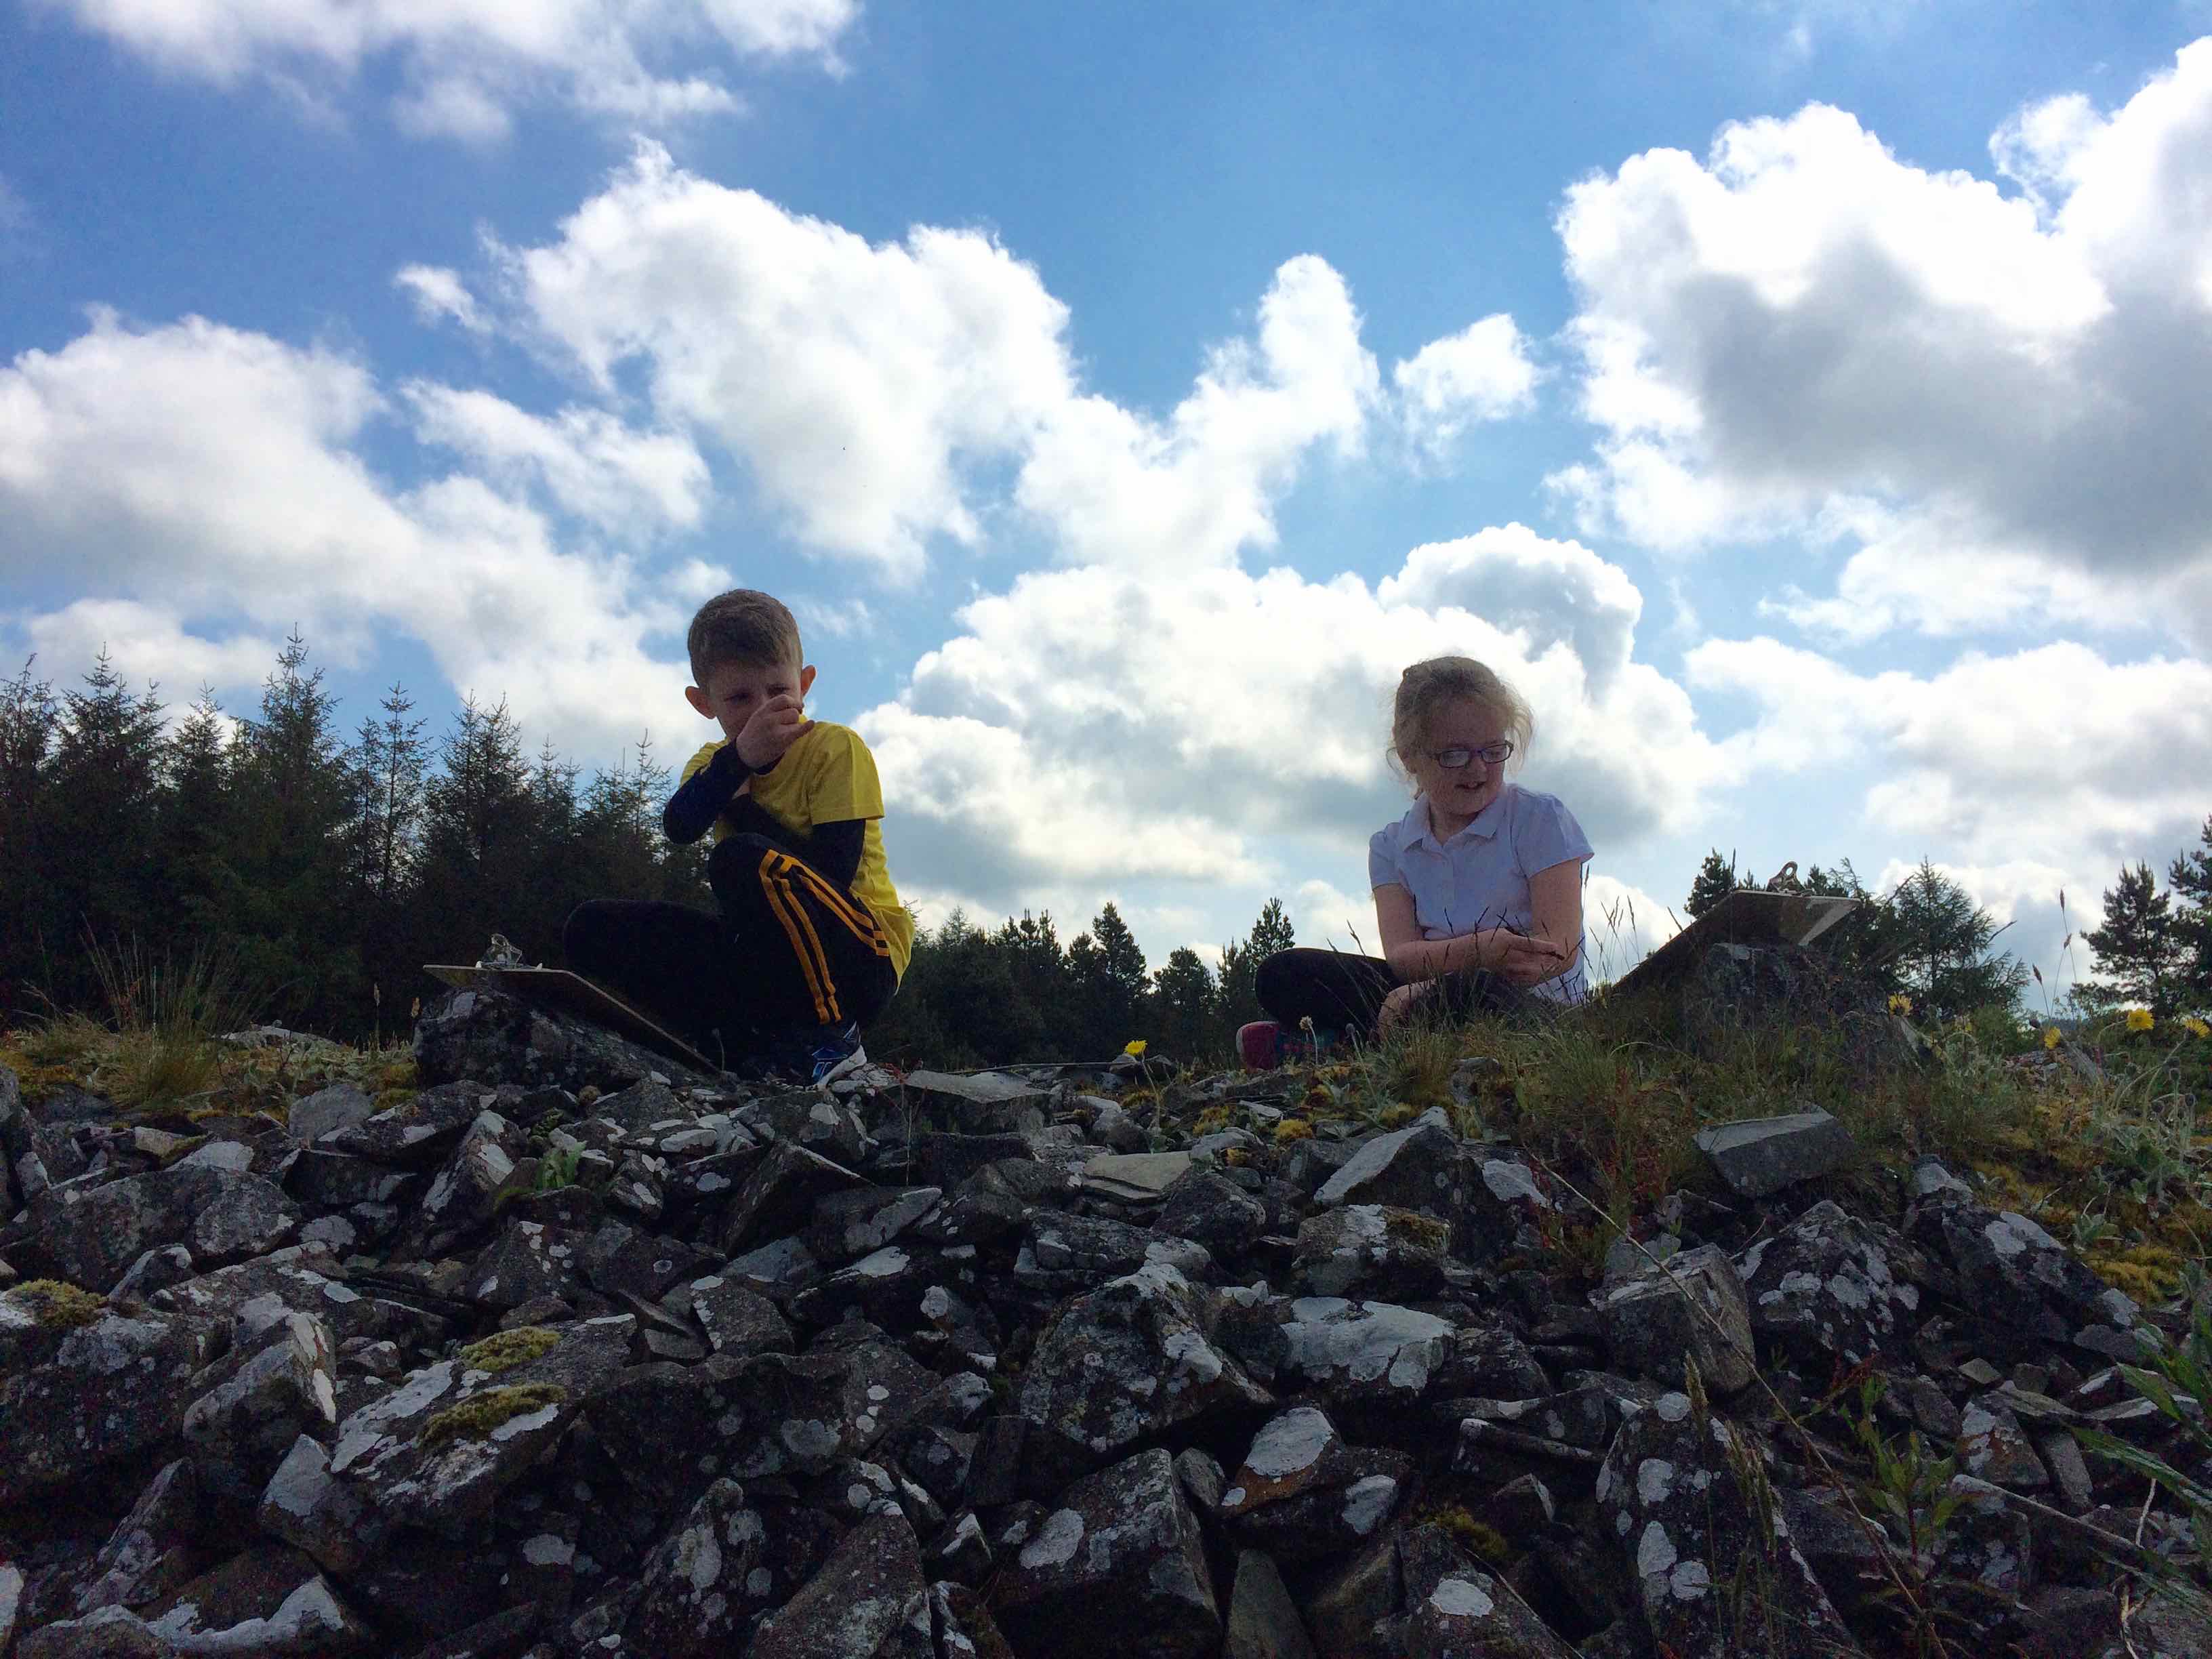
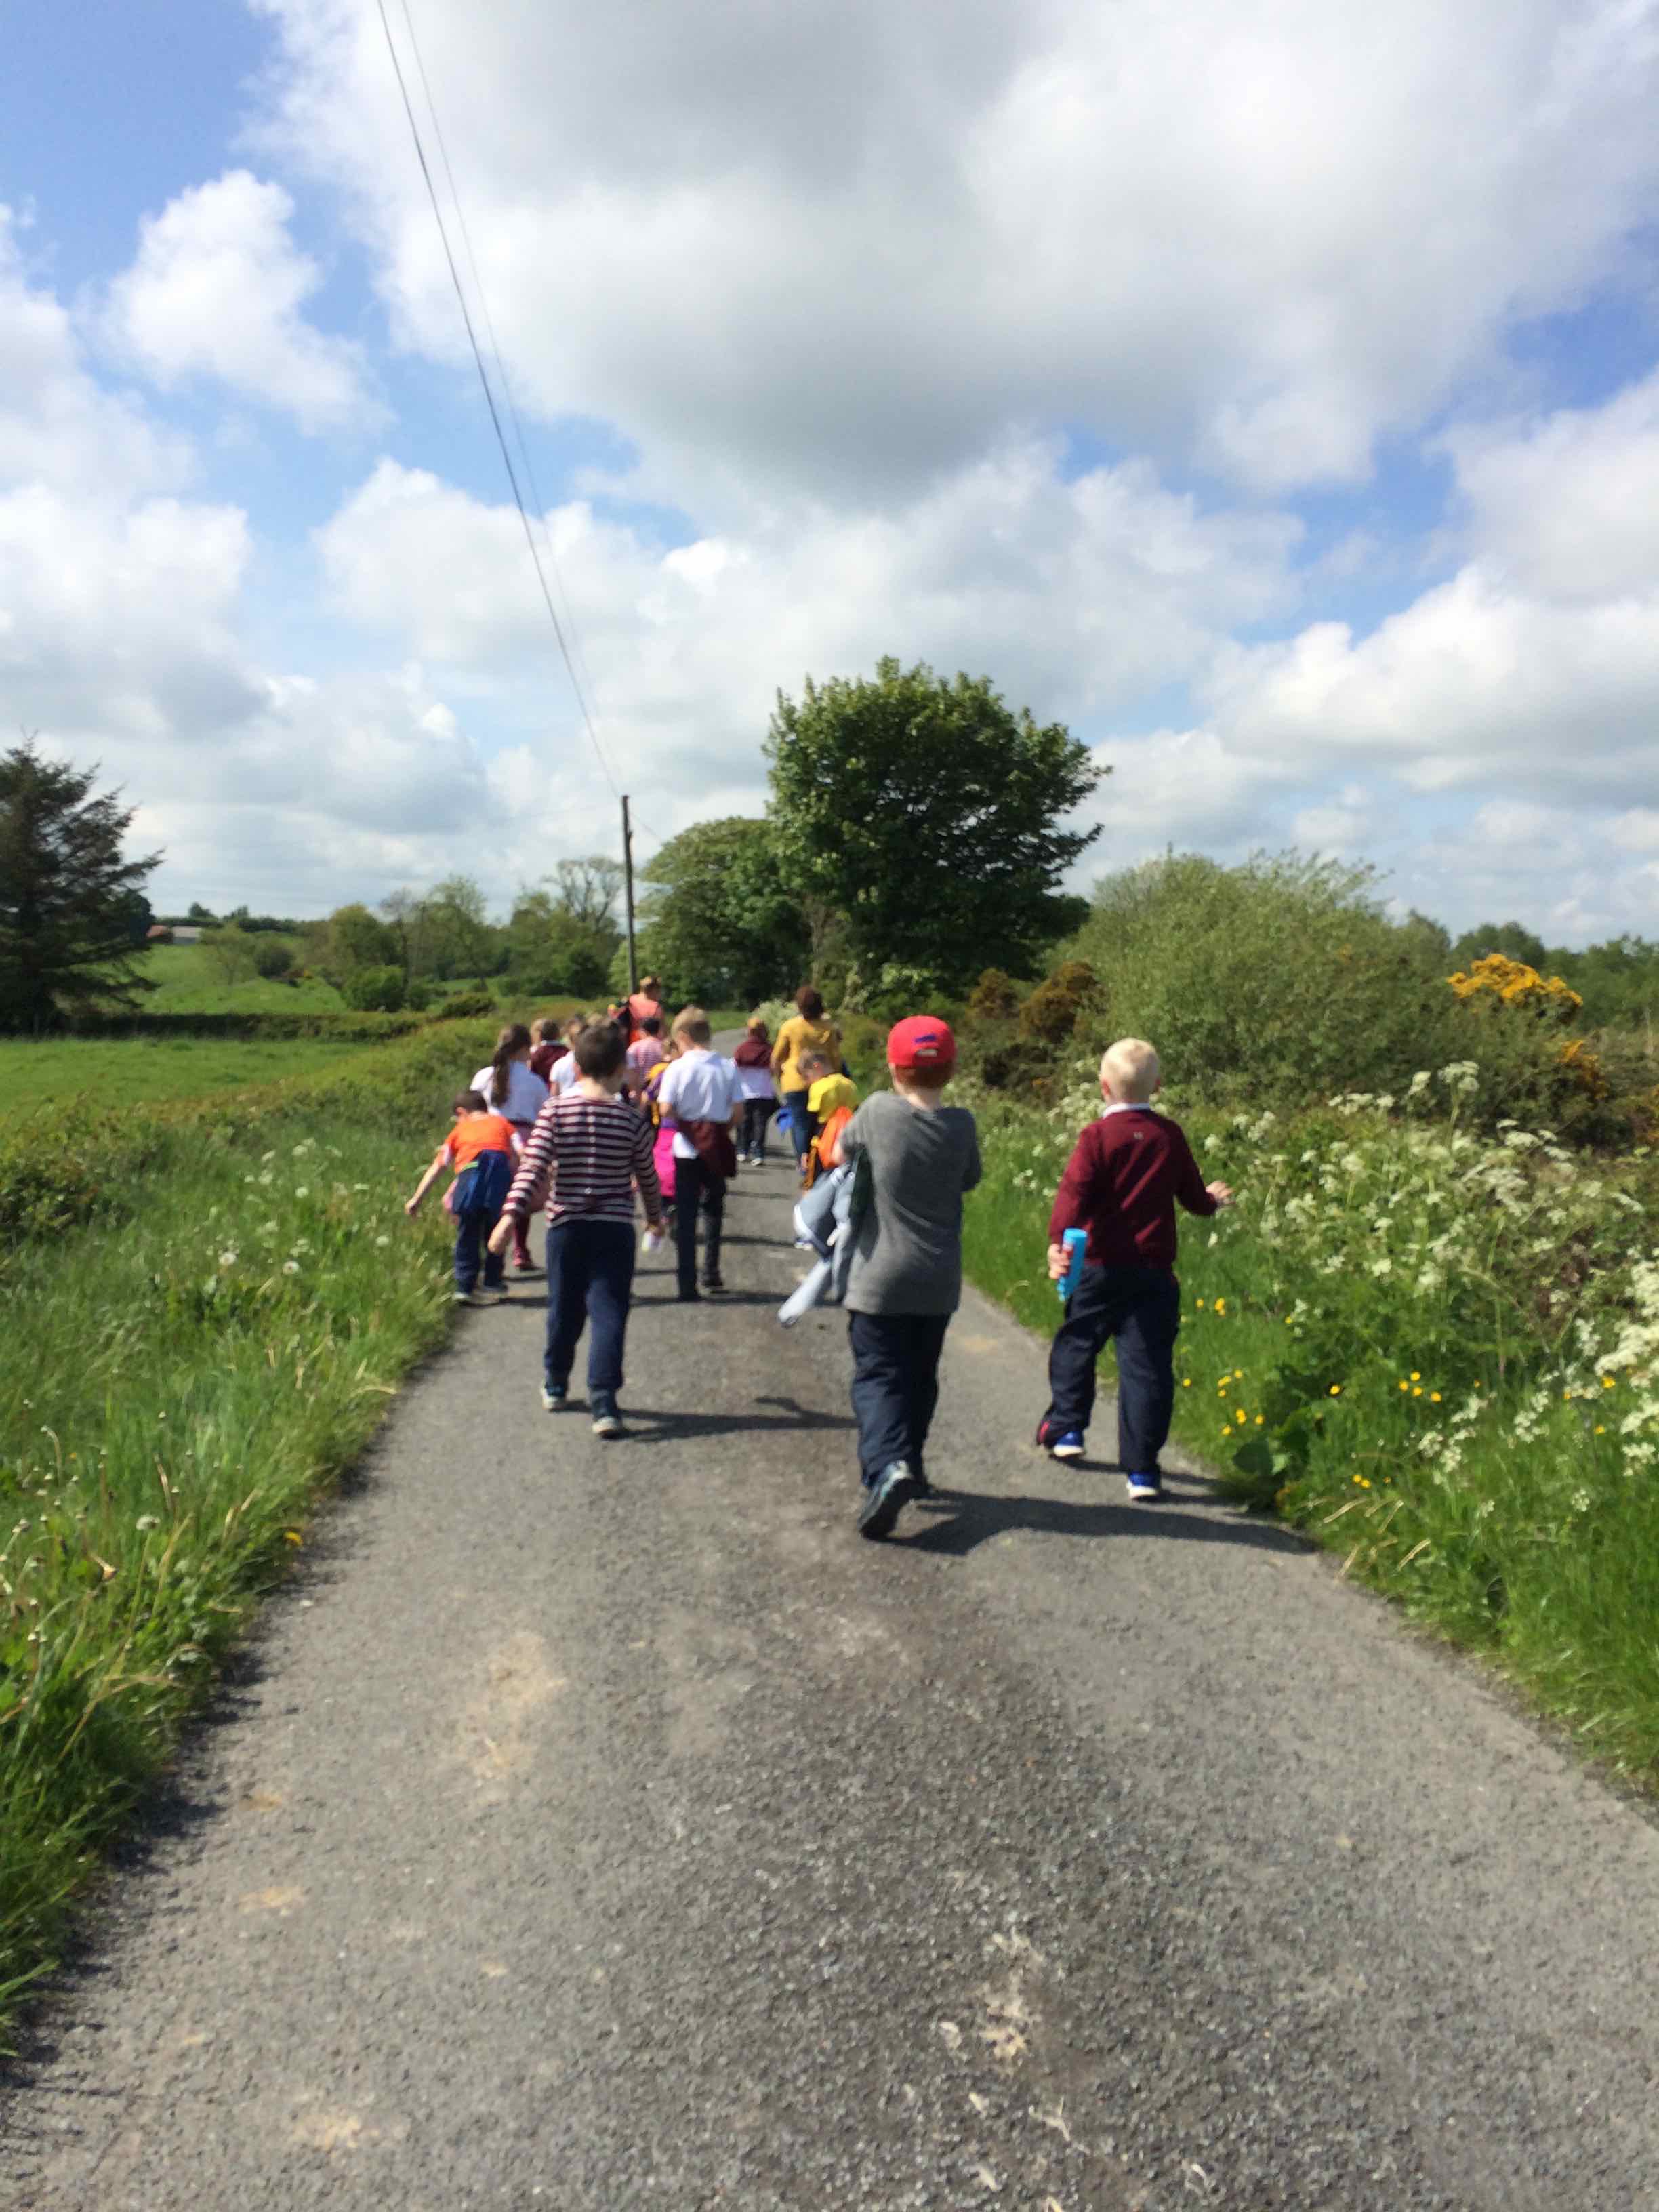
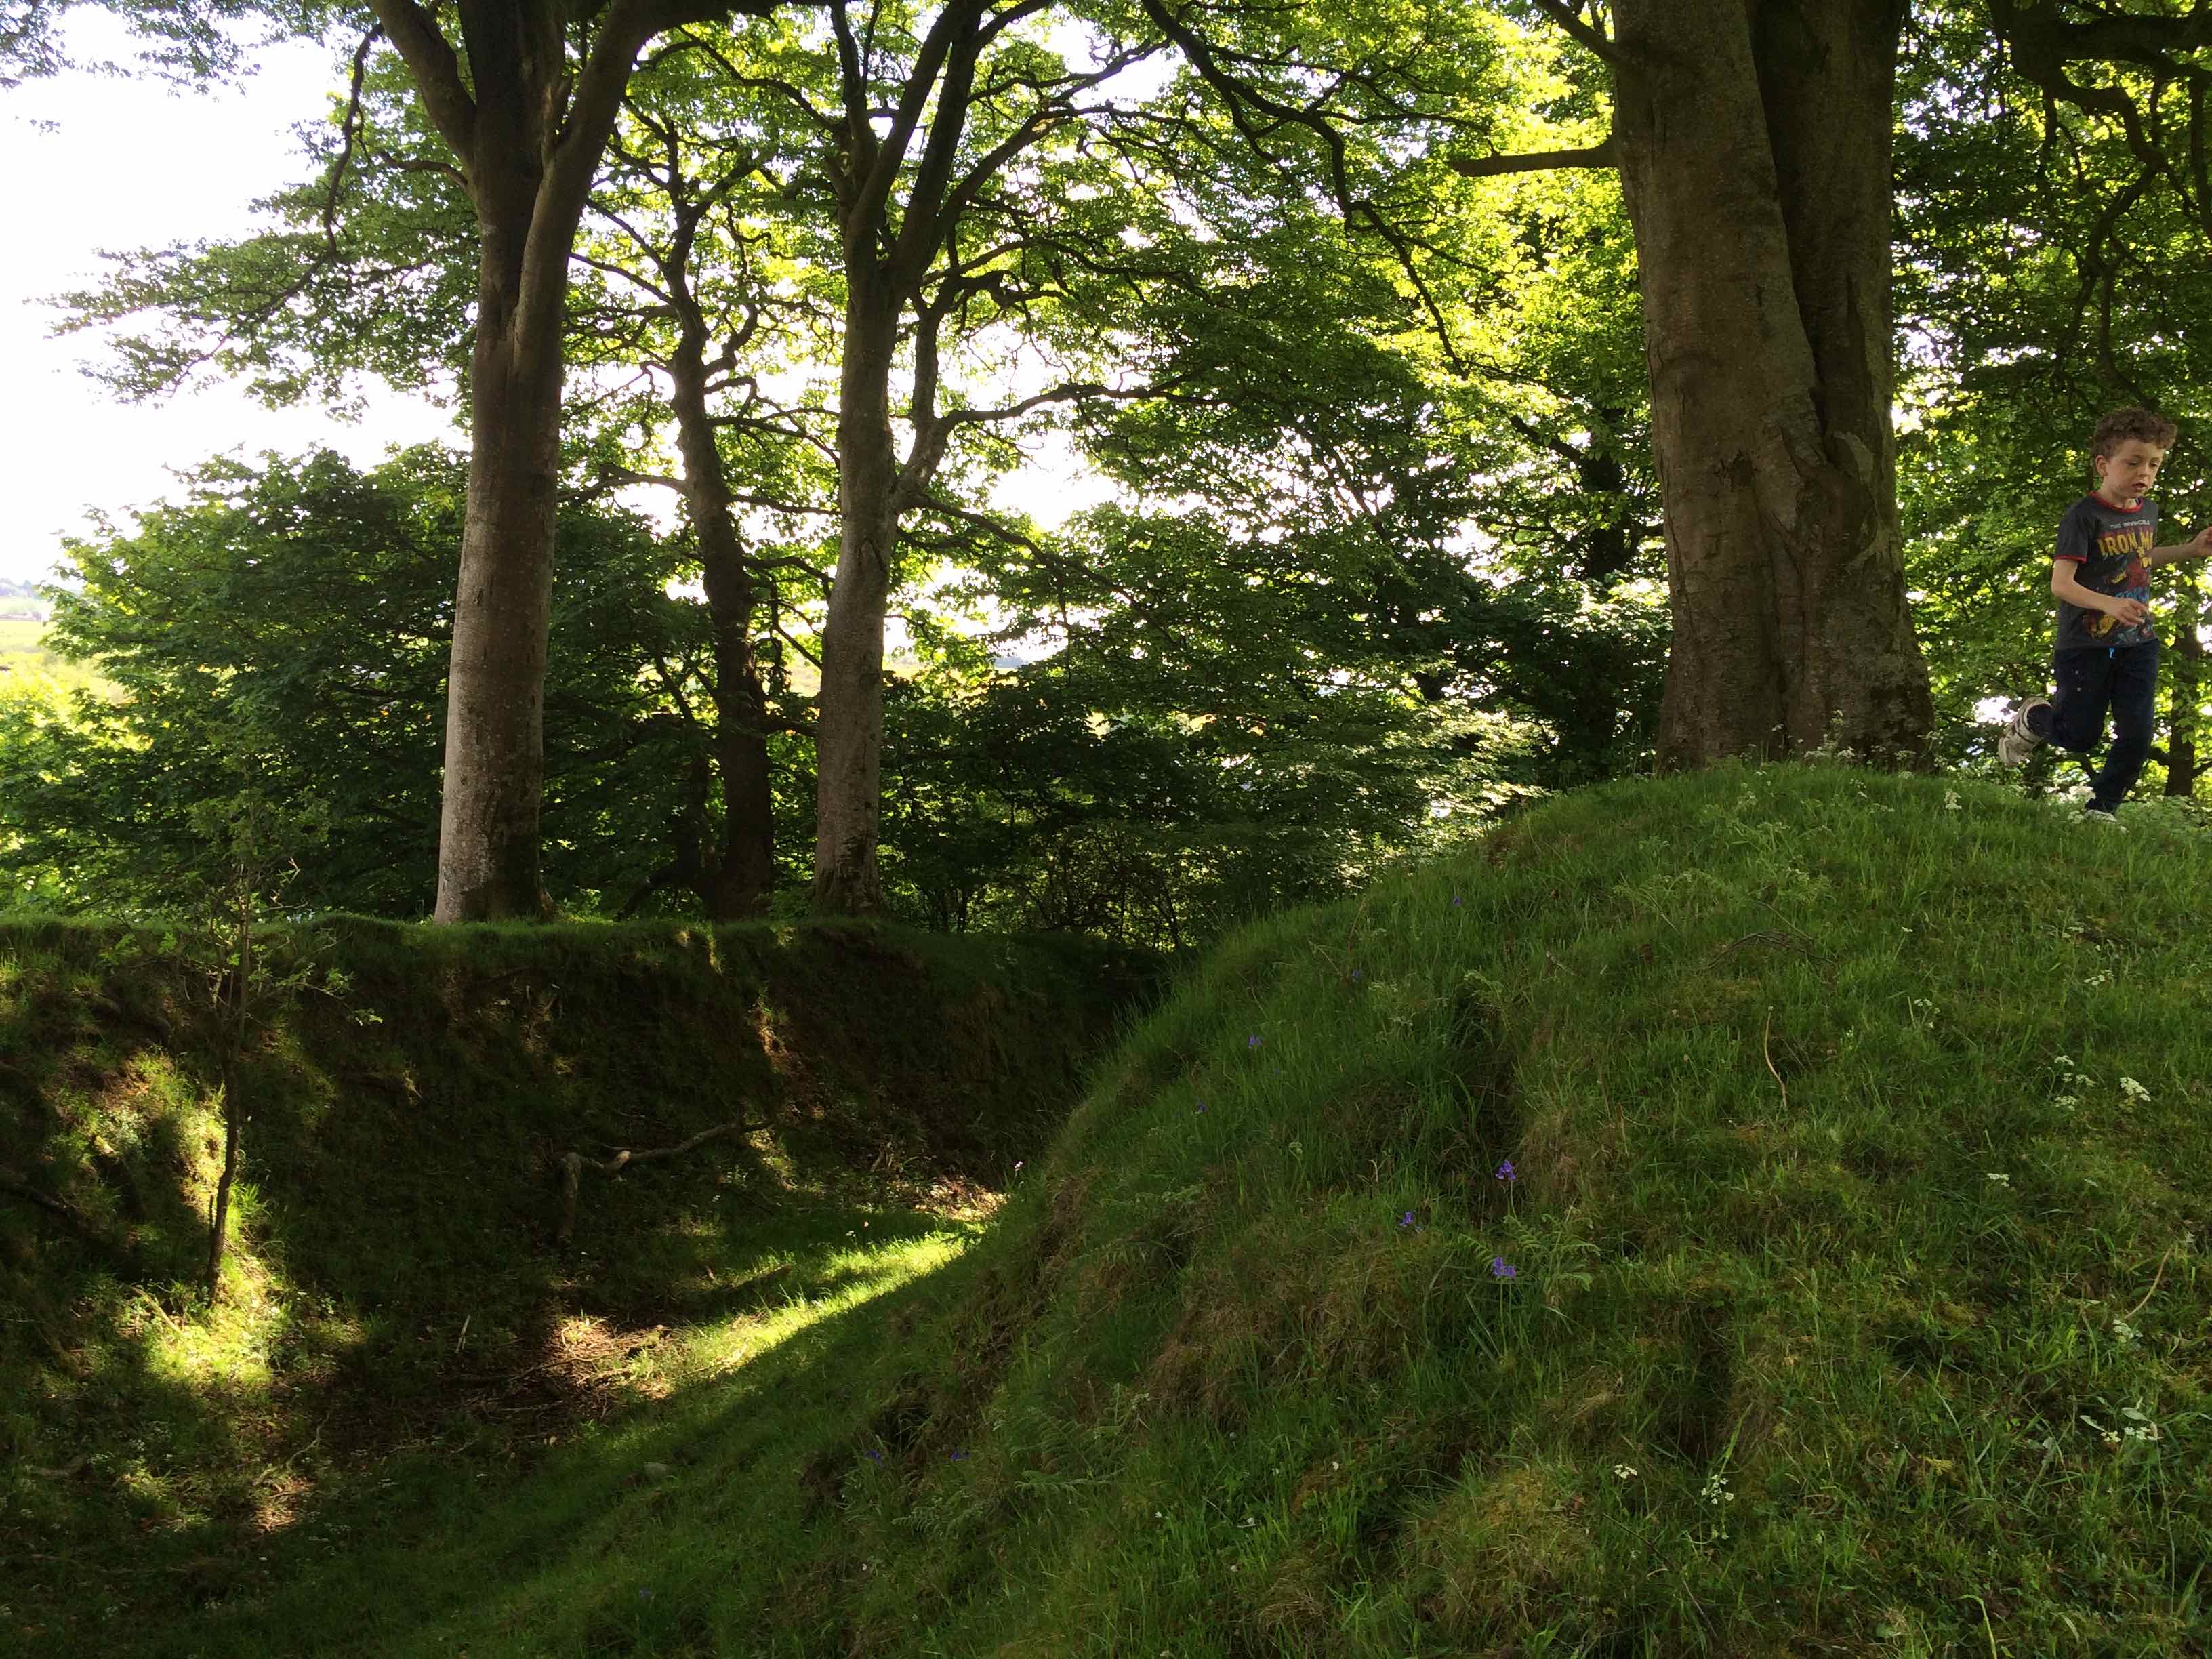
Mrs Hughes organised the school bus, for all of us to go out for the day to Annaghmare and Corliss Fort, two beautiful local landmark situated close to school… from the minute we left the classroom the excitement grew for this trip. On the way the children pointed out places they knew. This was a great opportunity for me to see the amazing countryside surrounding Crossmaglen.
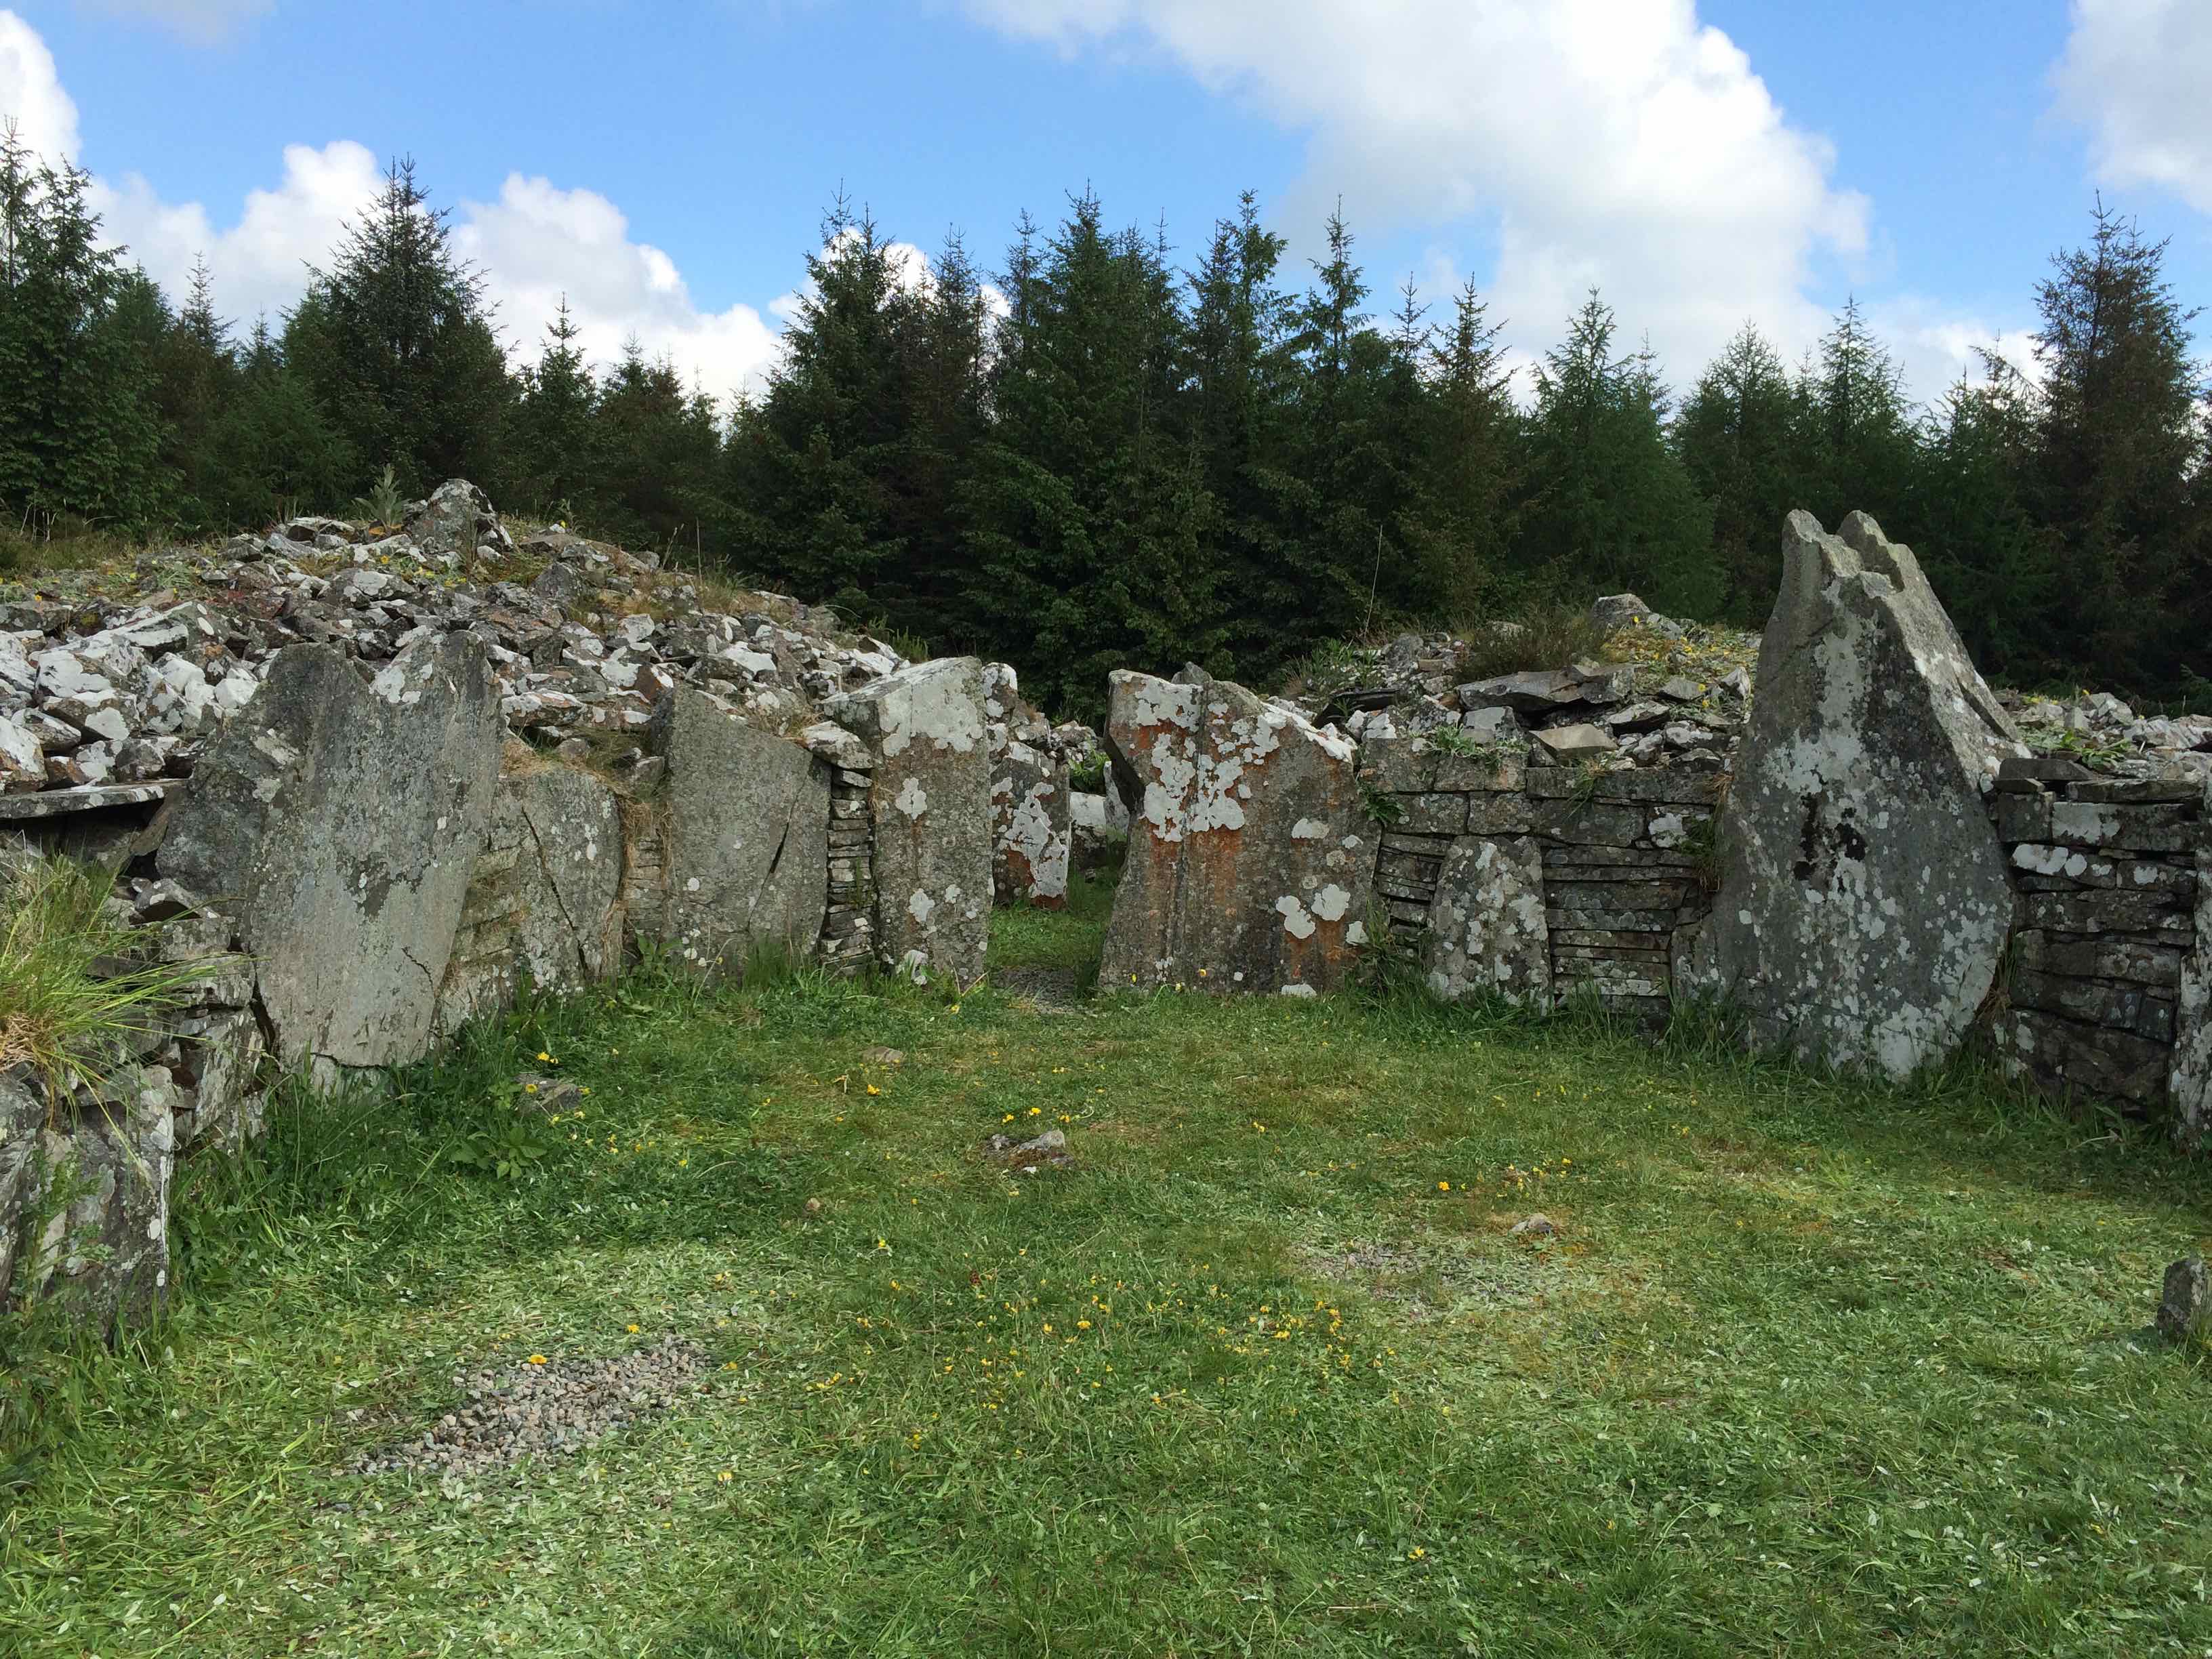
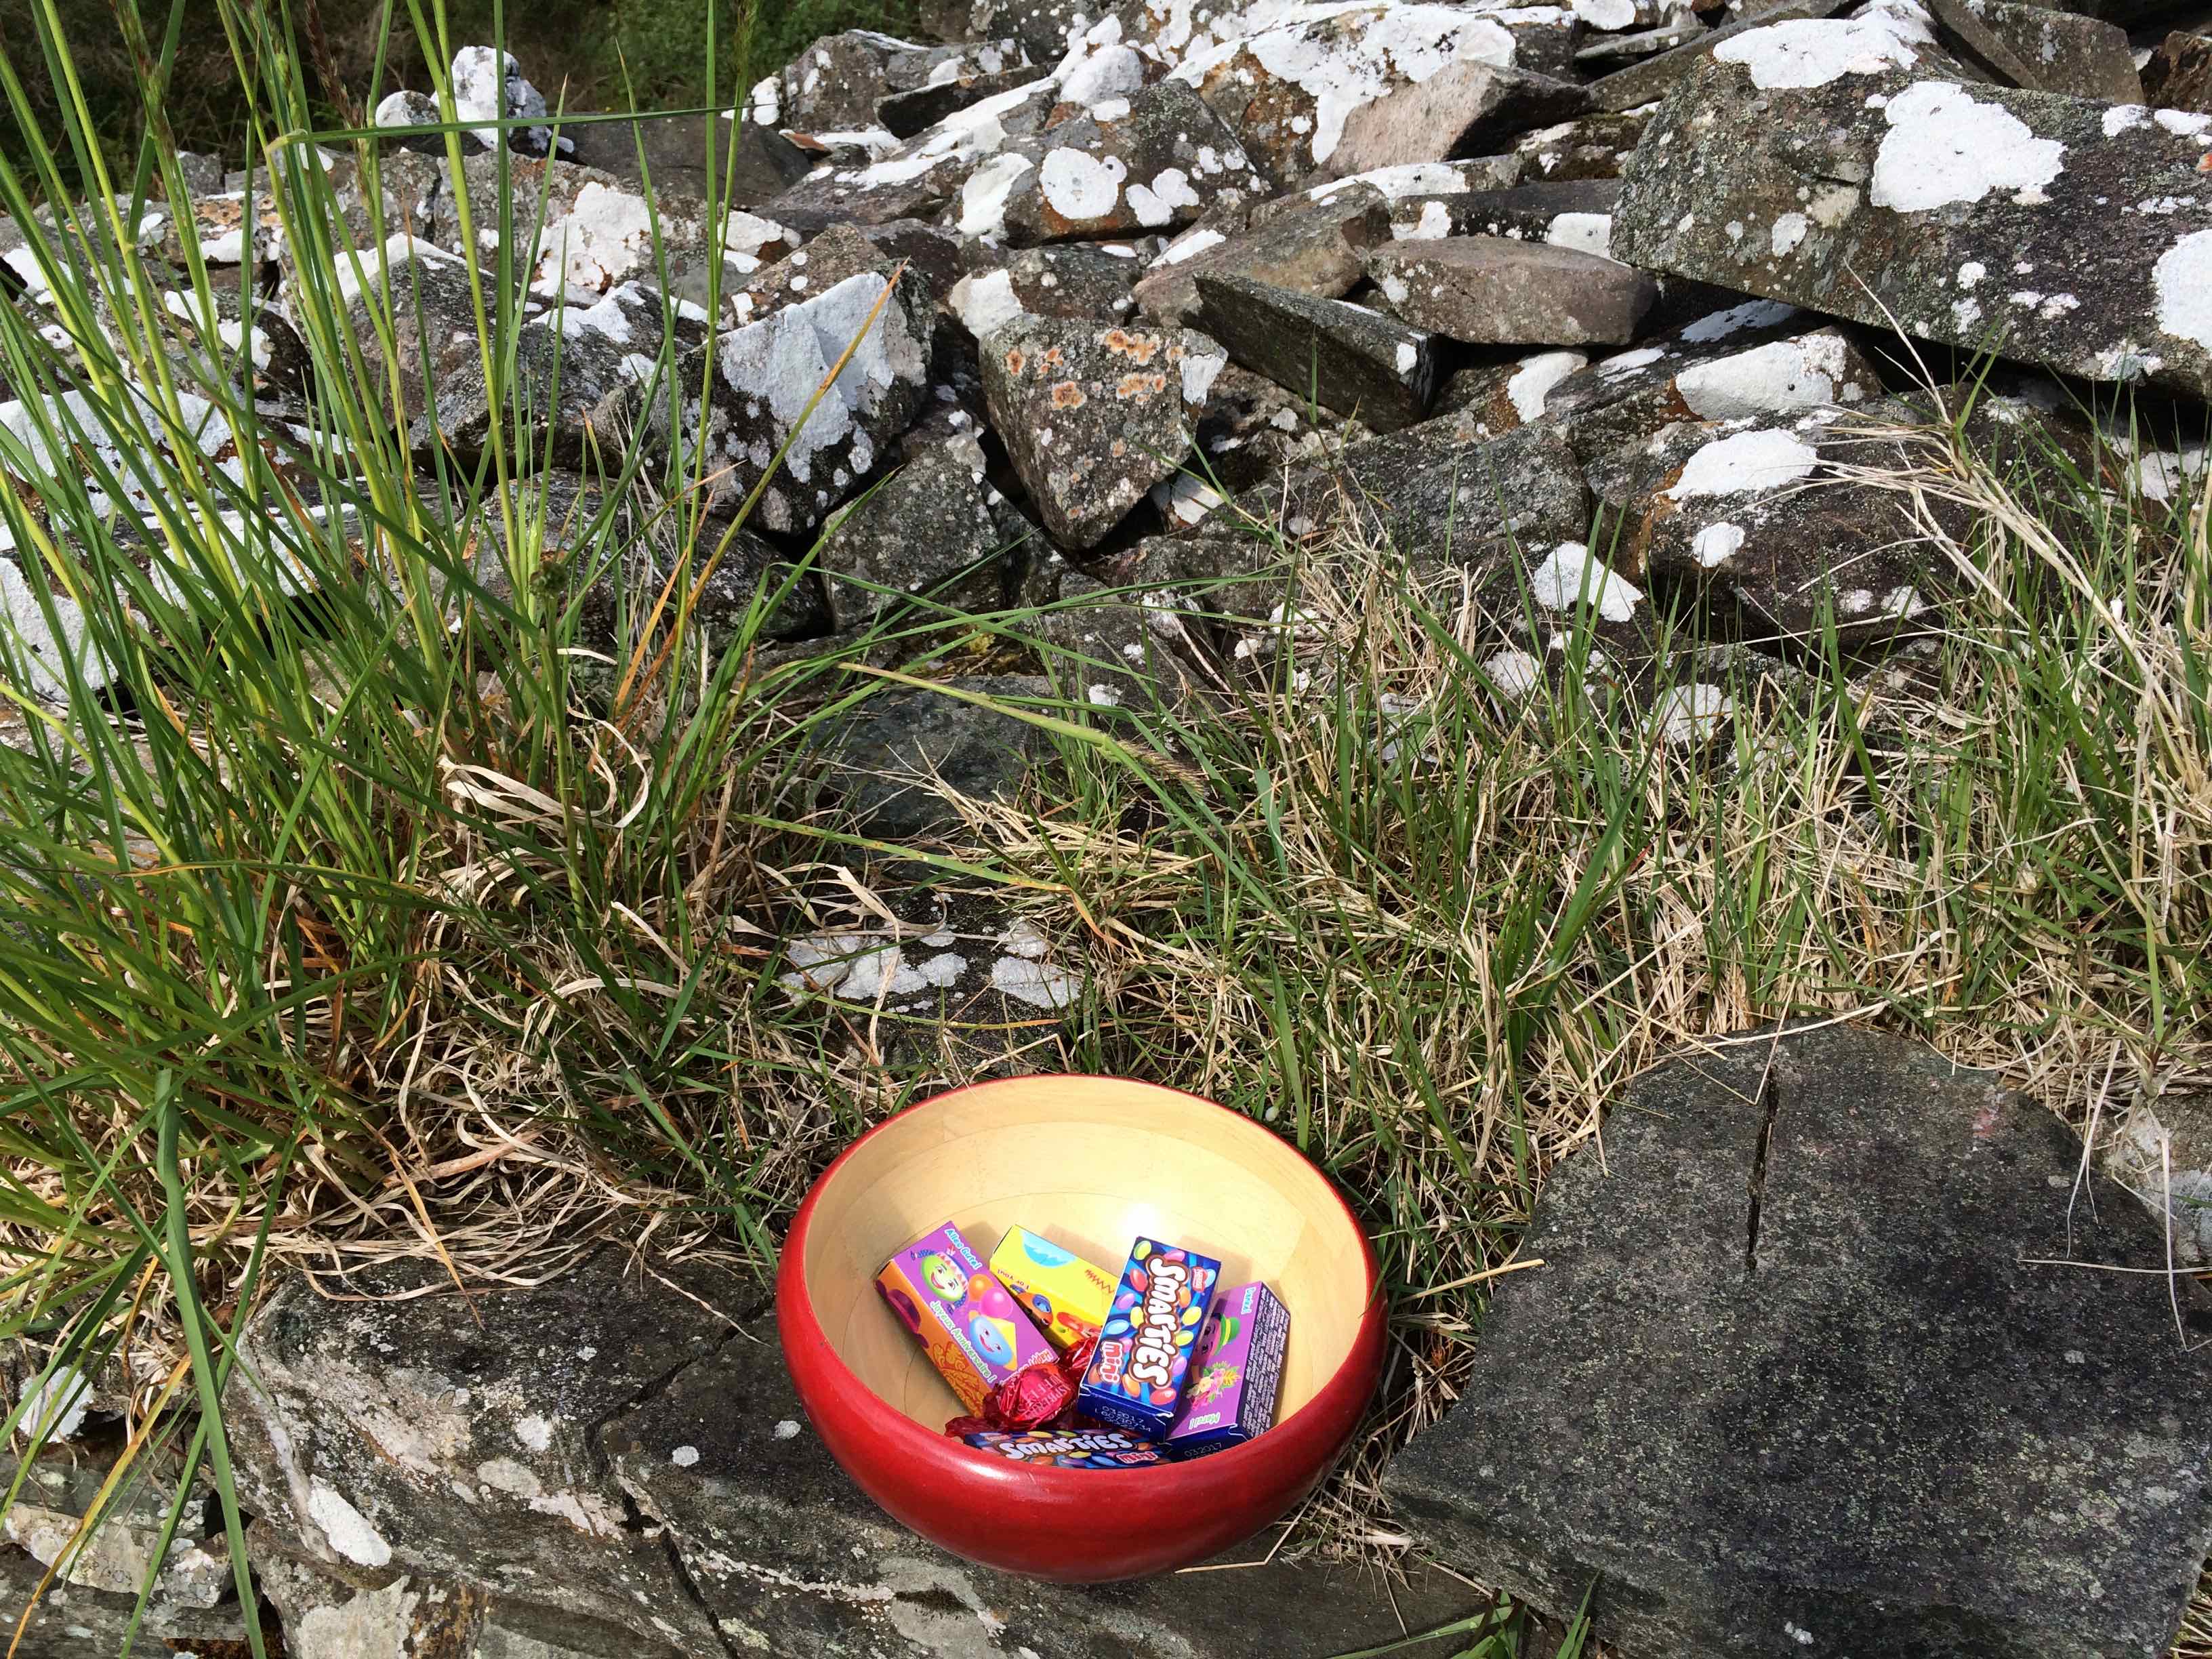
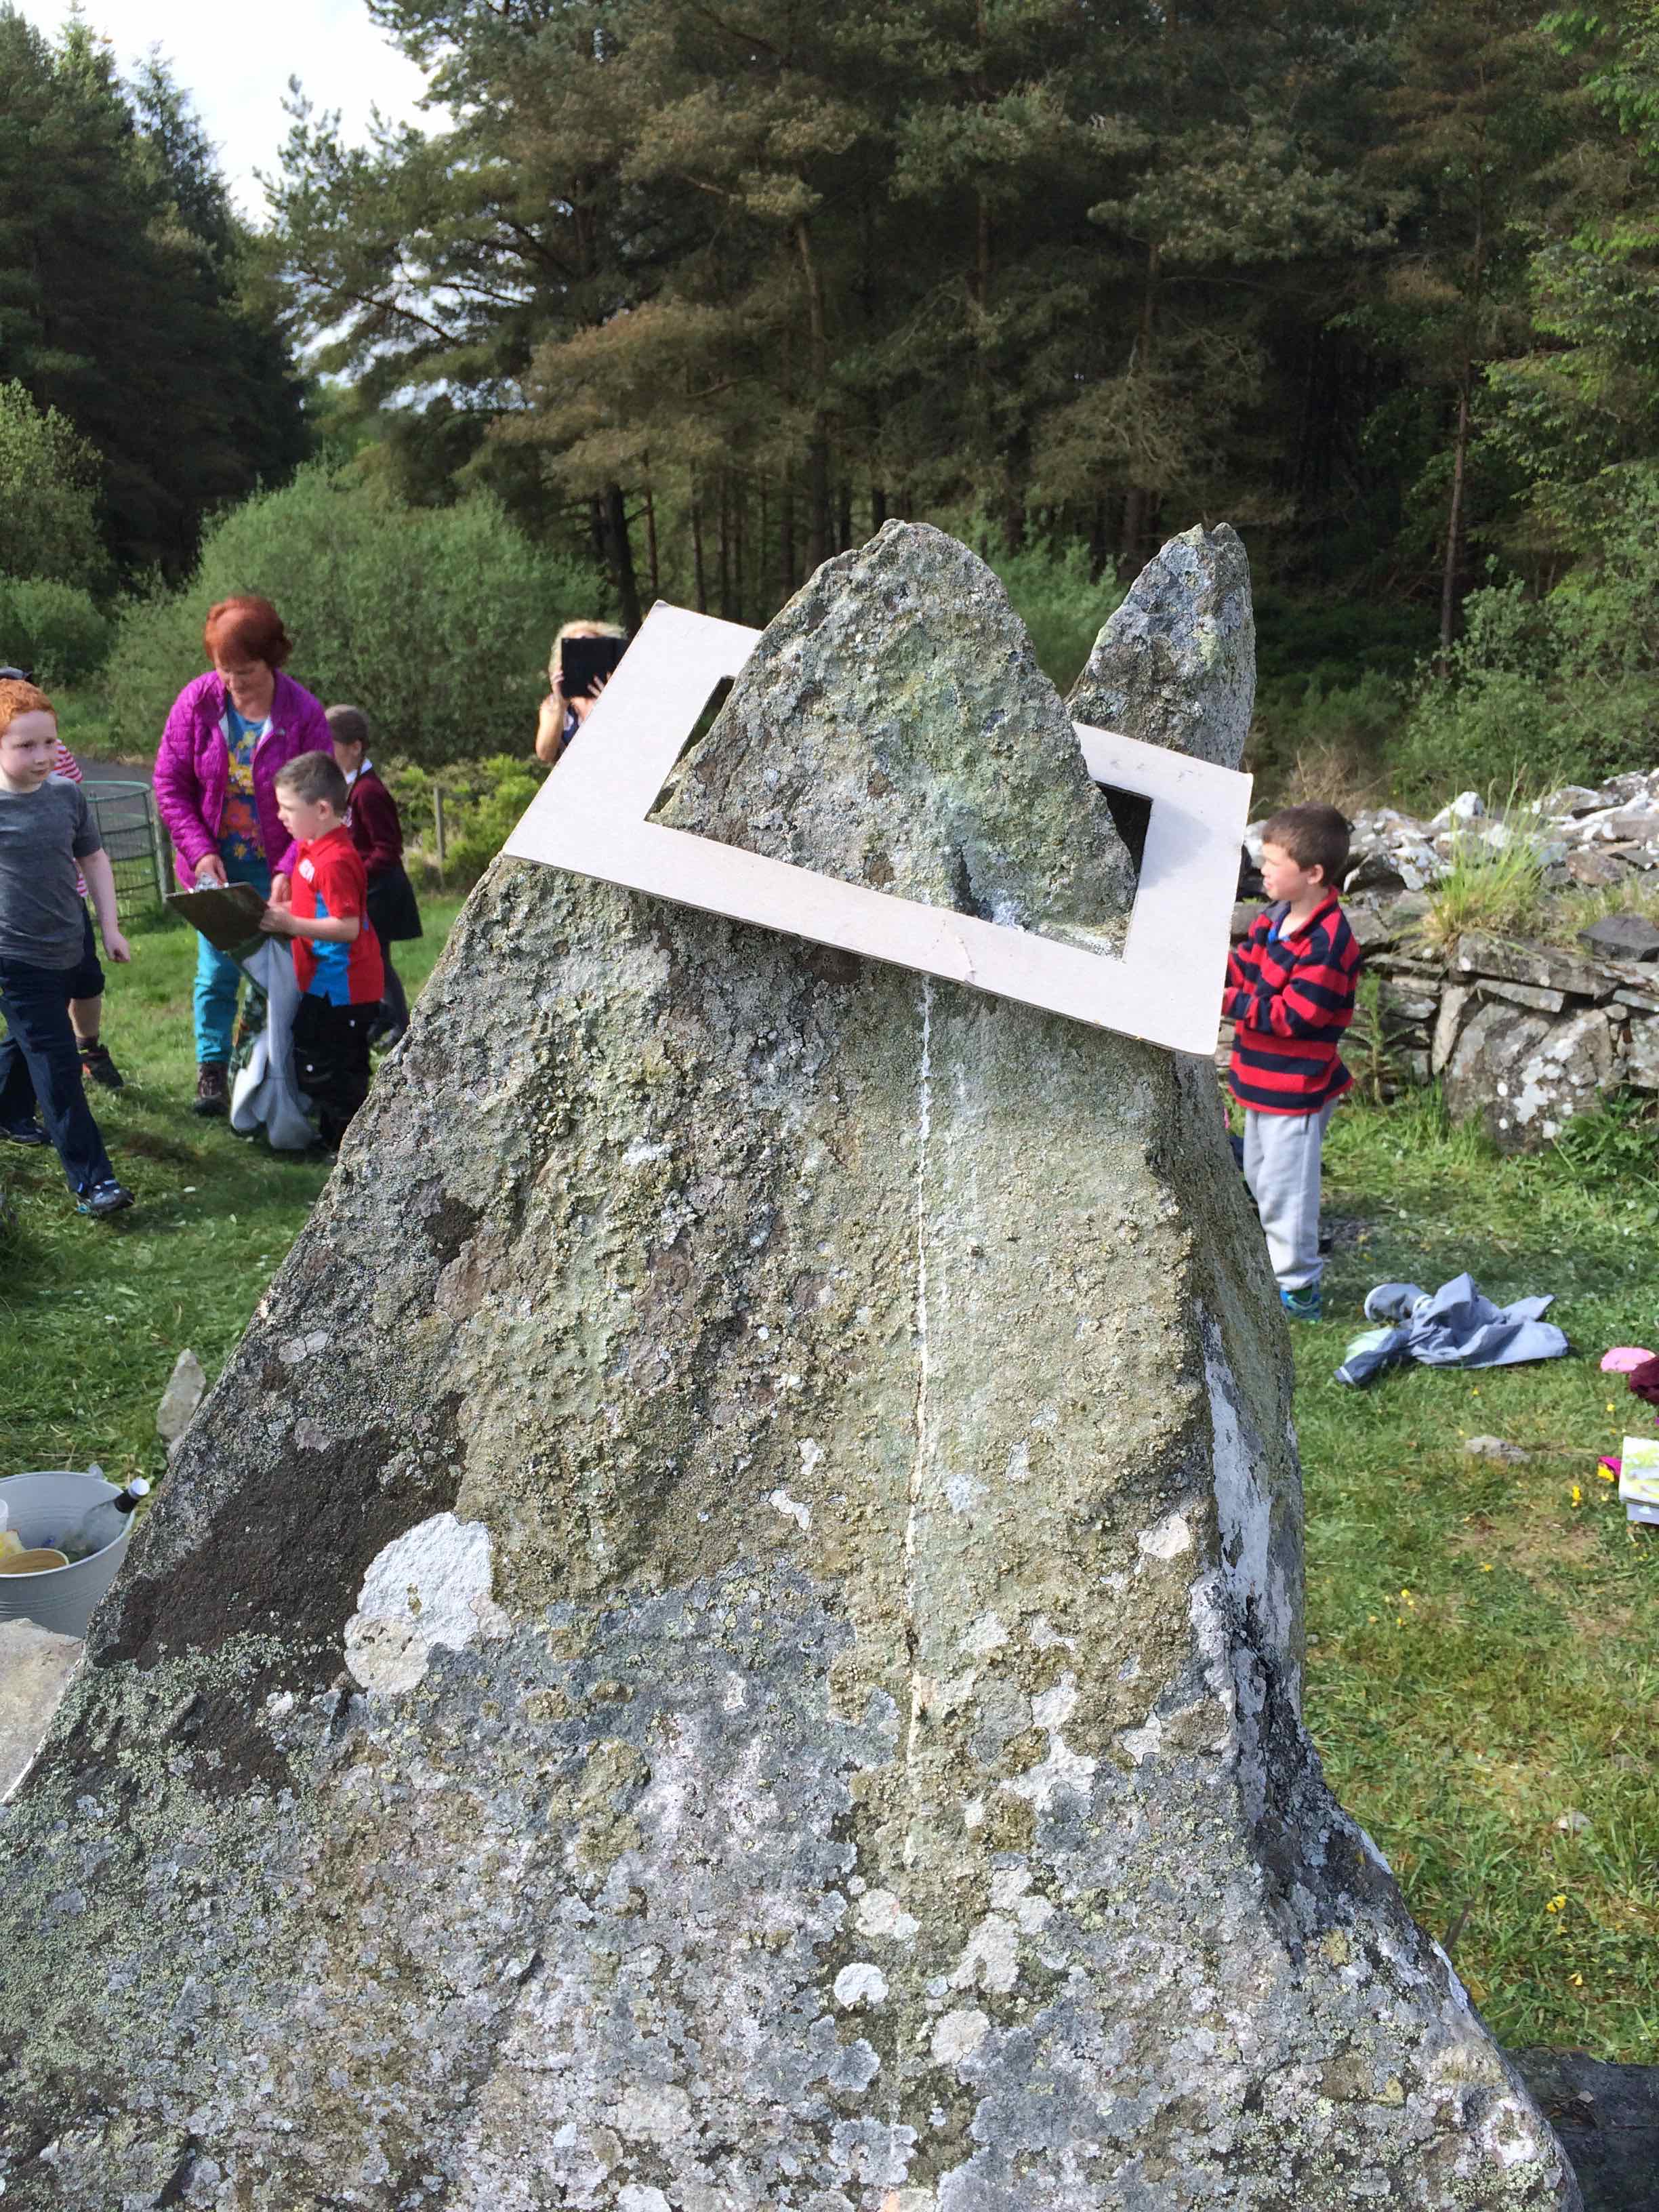
Annaghmare is got to by walking down a secluded lane surrounded on either side by swamps…Its an ancient site – a well preserved tomb and was excavated in the early 1960s by Queens University.Mrs Hughes asked a local historian, Kevin to talk to the children all about the tomb and the folklore of the area. We all sat round in a circle to hear Kevin tell us about the faeries and the little people and he delighted us with WB Yeats poem ‘The Stolen Child” read aloud.
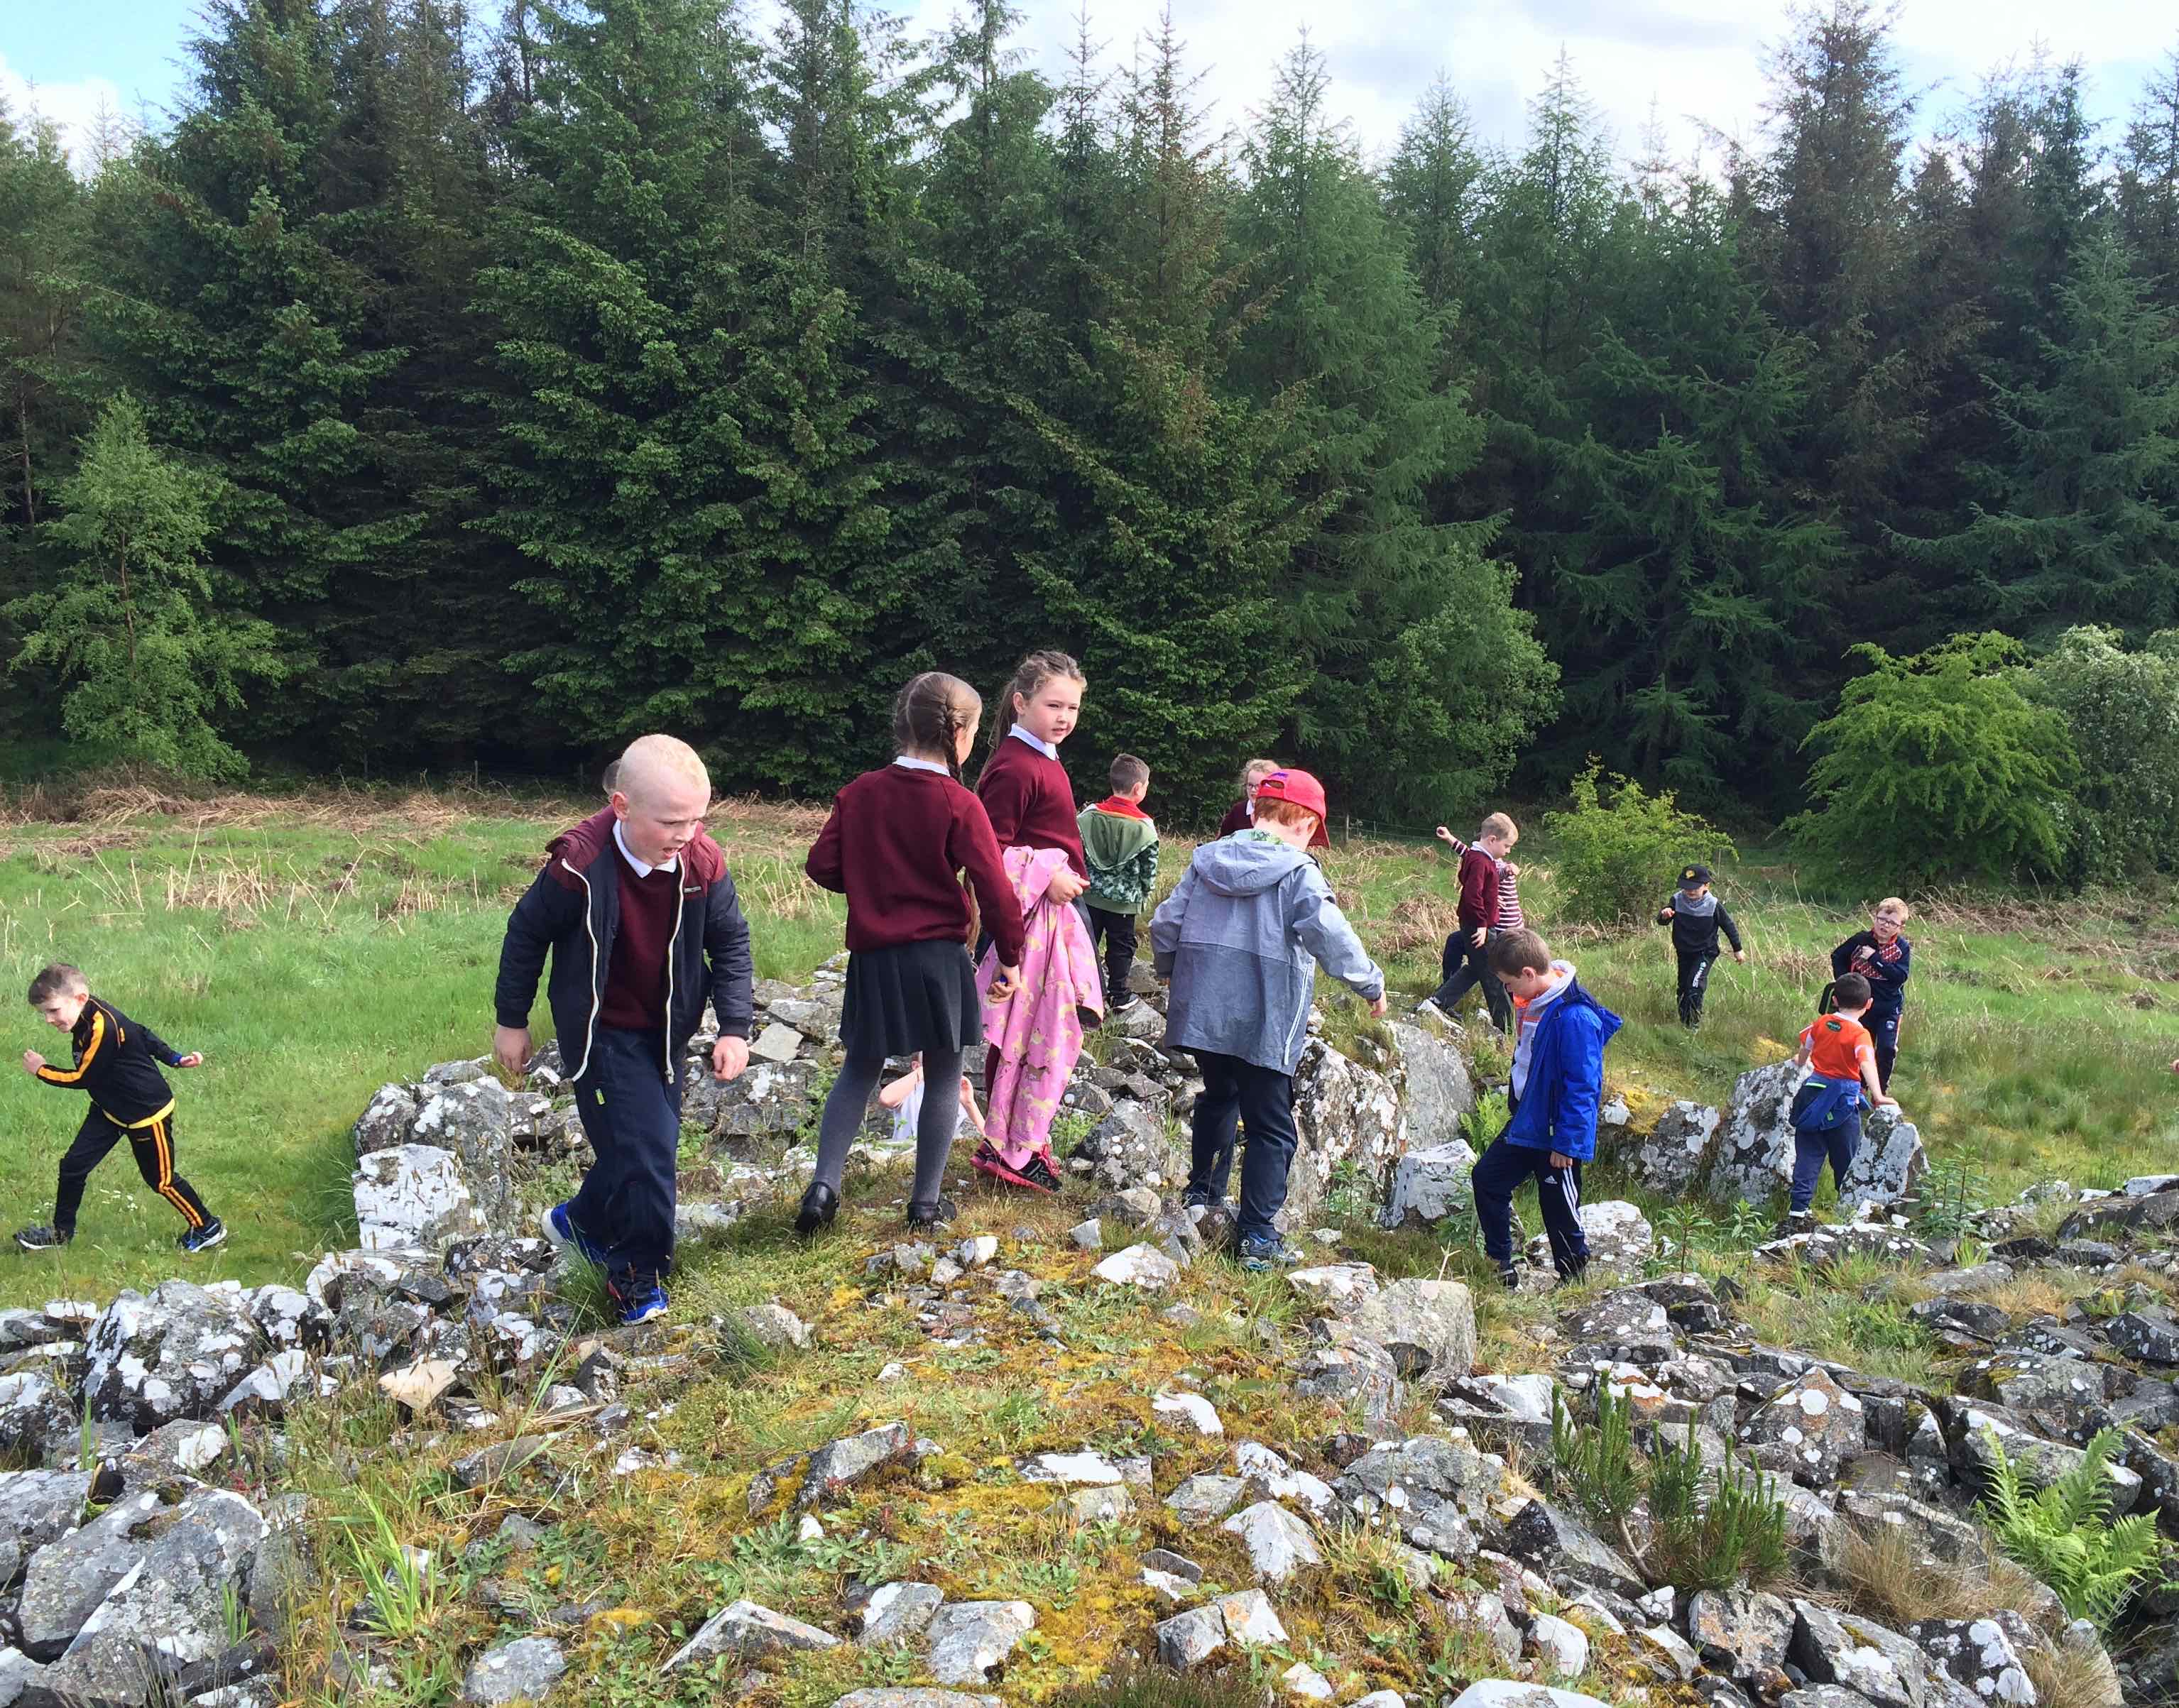
The children had time to explore and imagine what it was like long ago… were there really bones in the chambers?
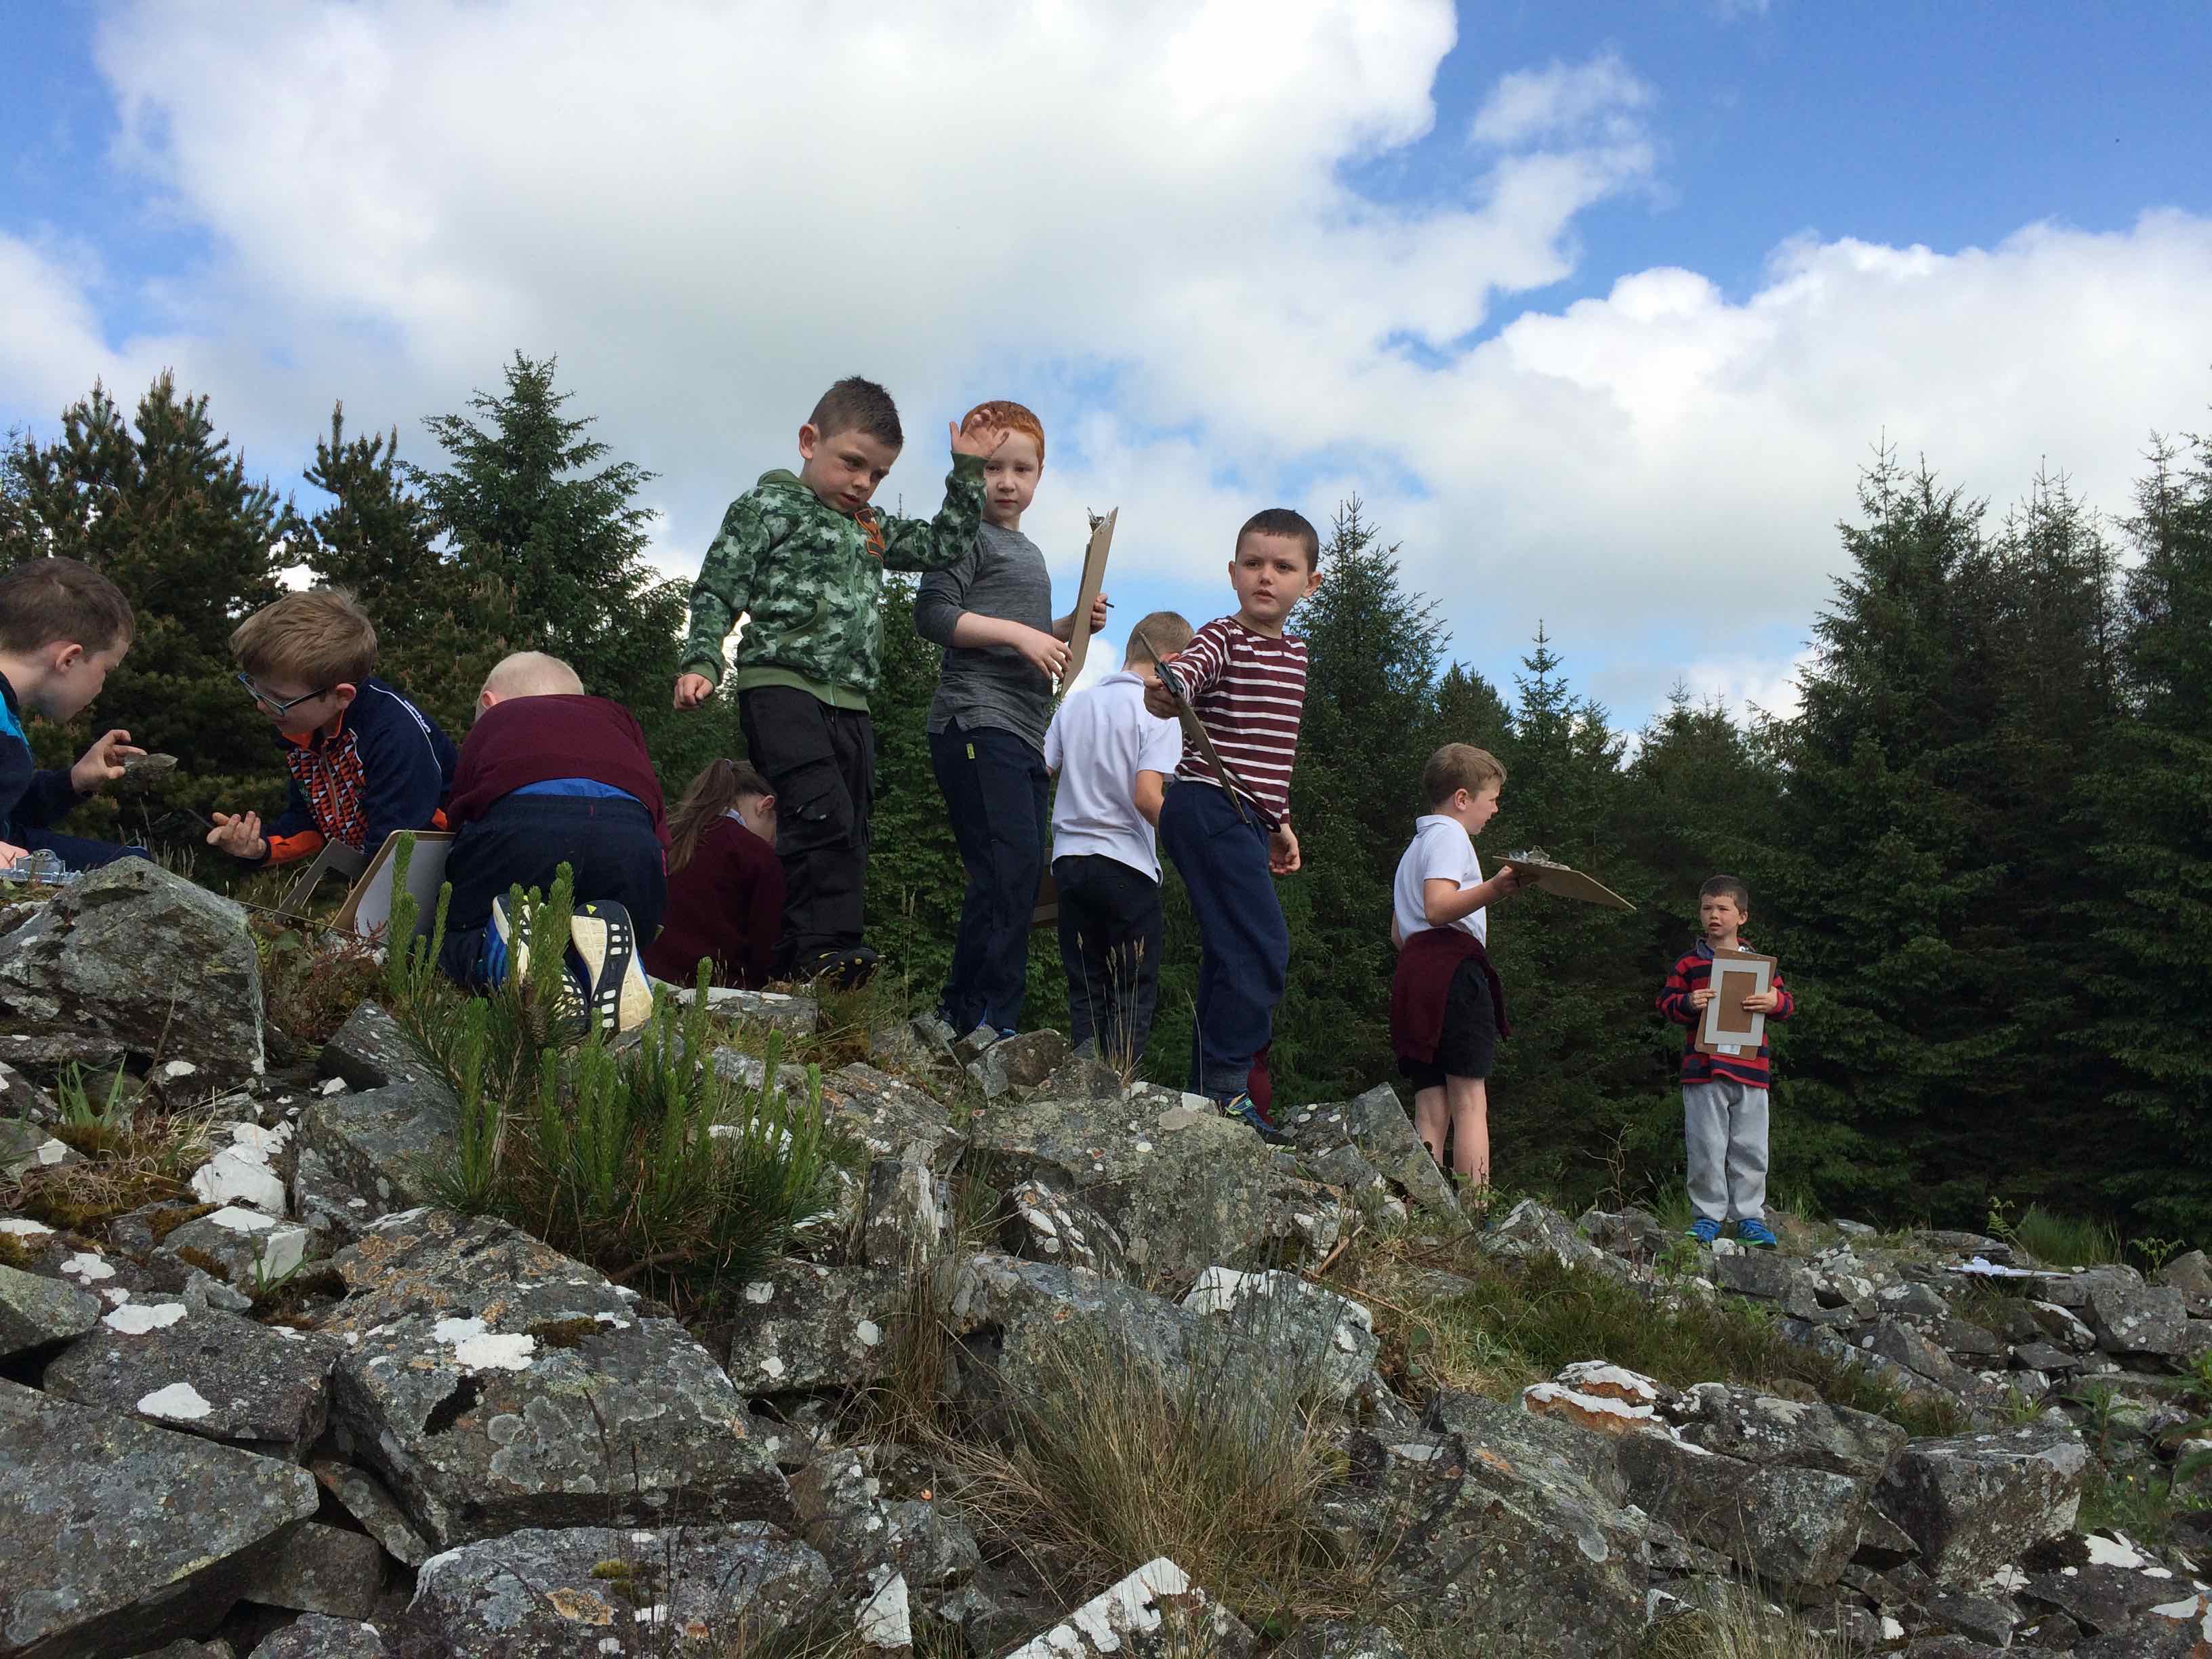
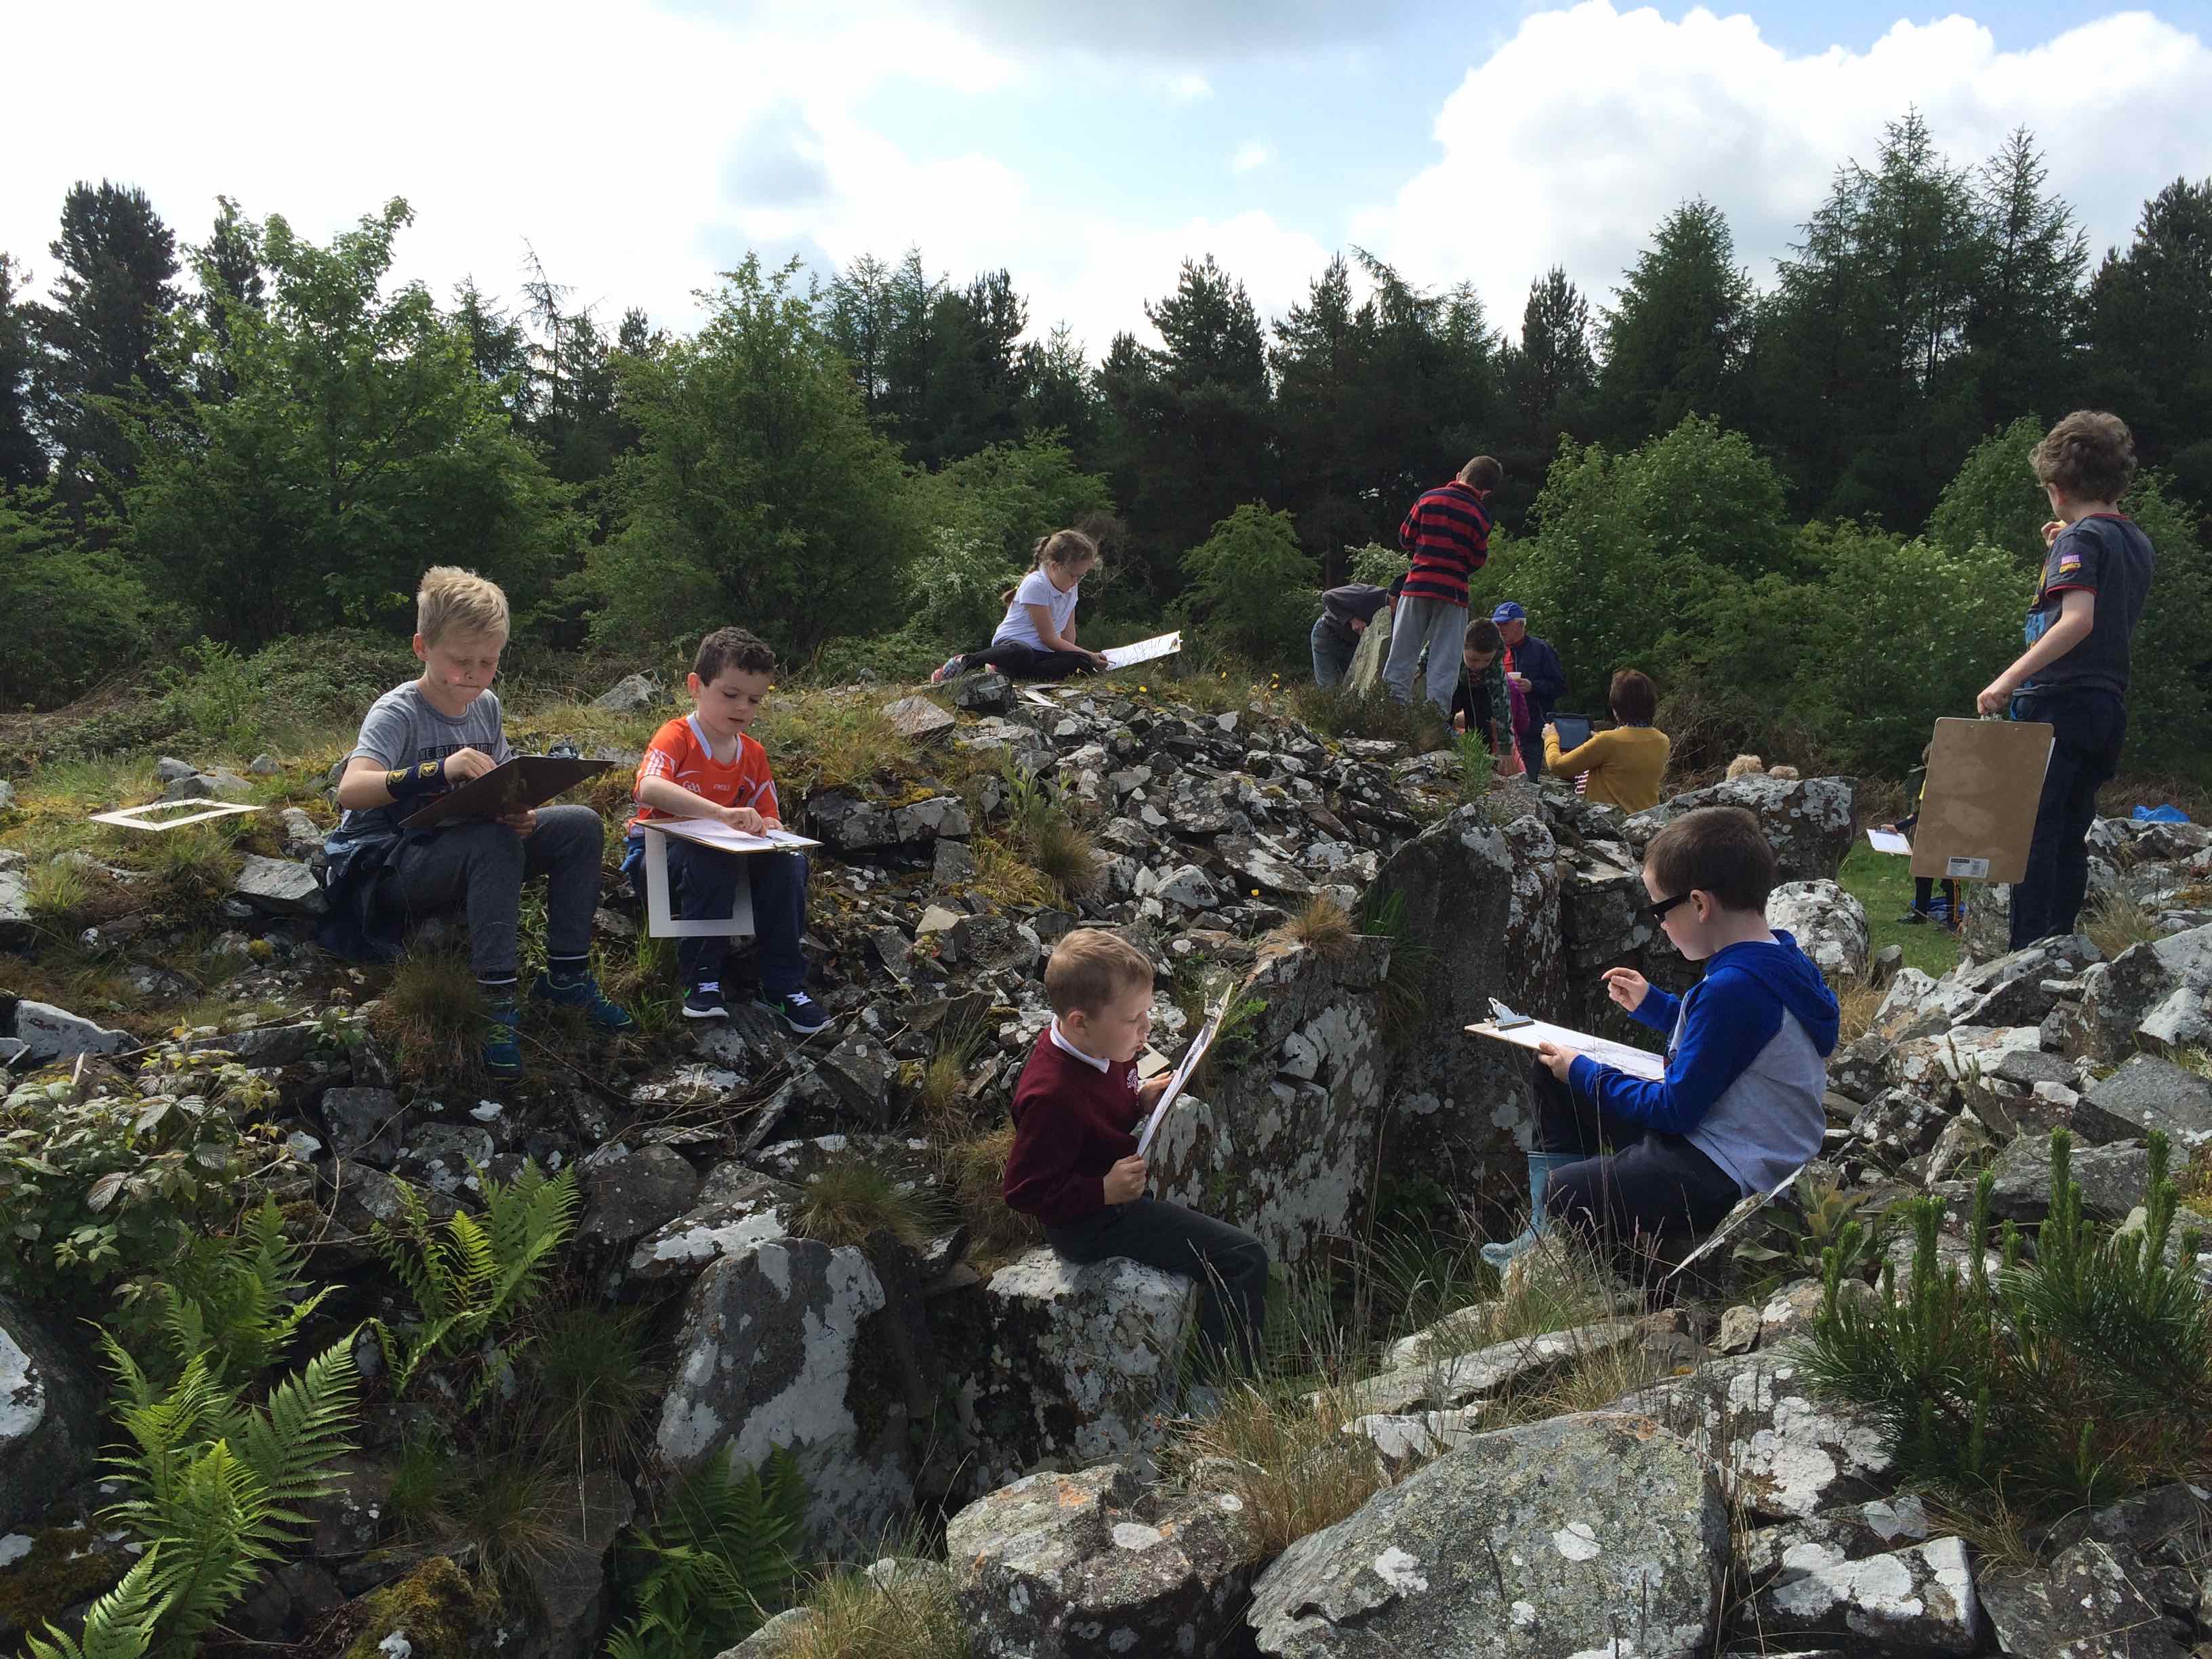
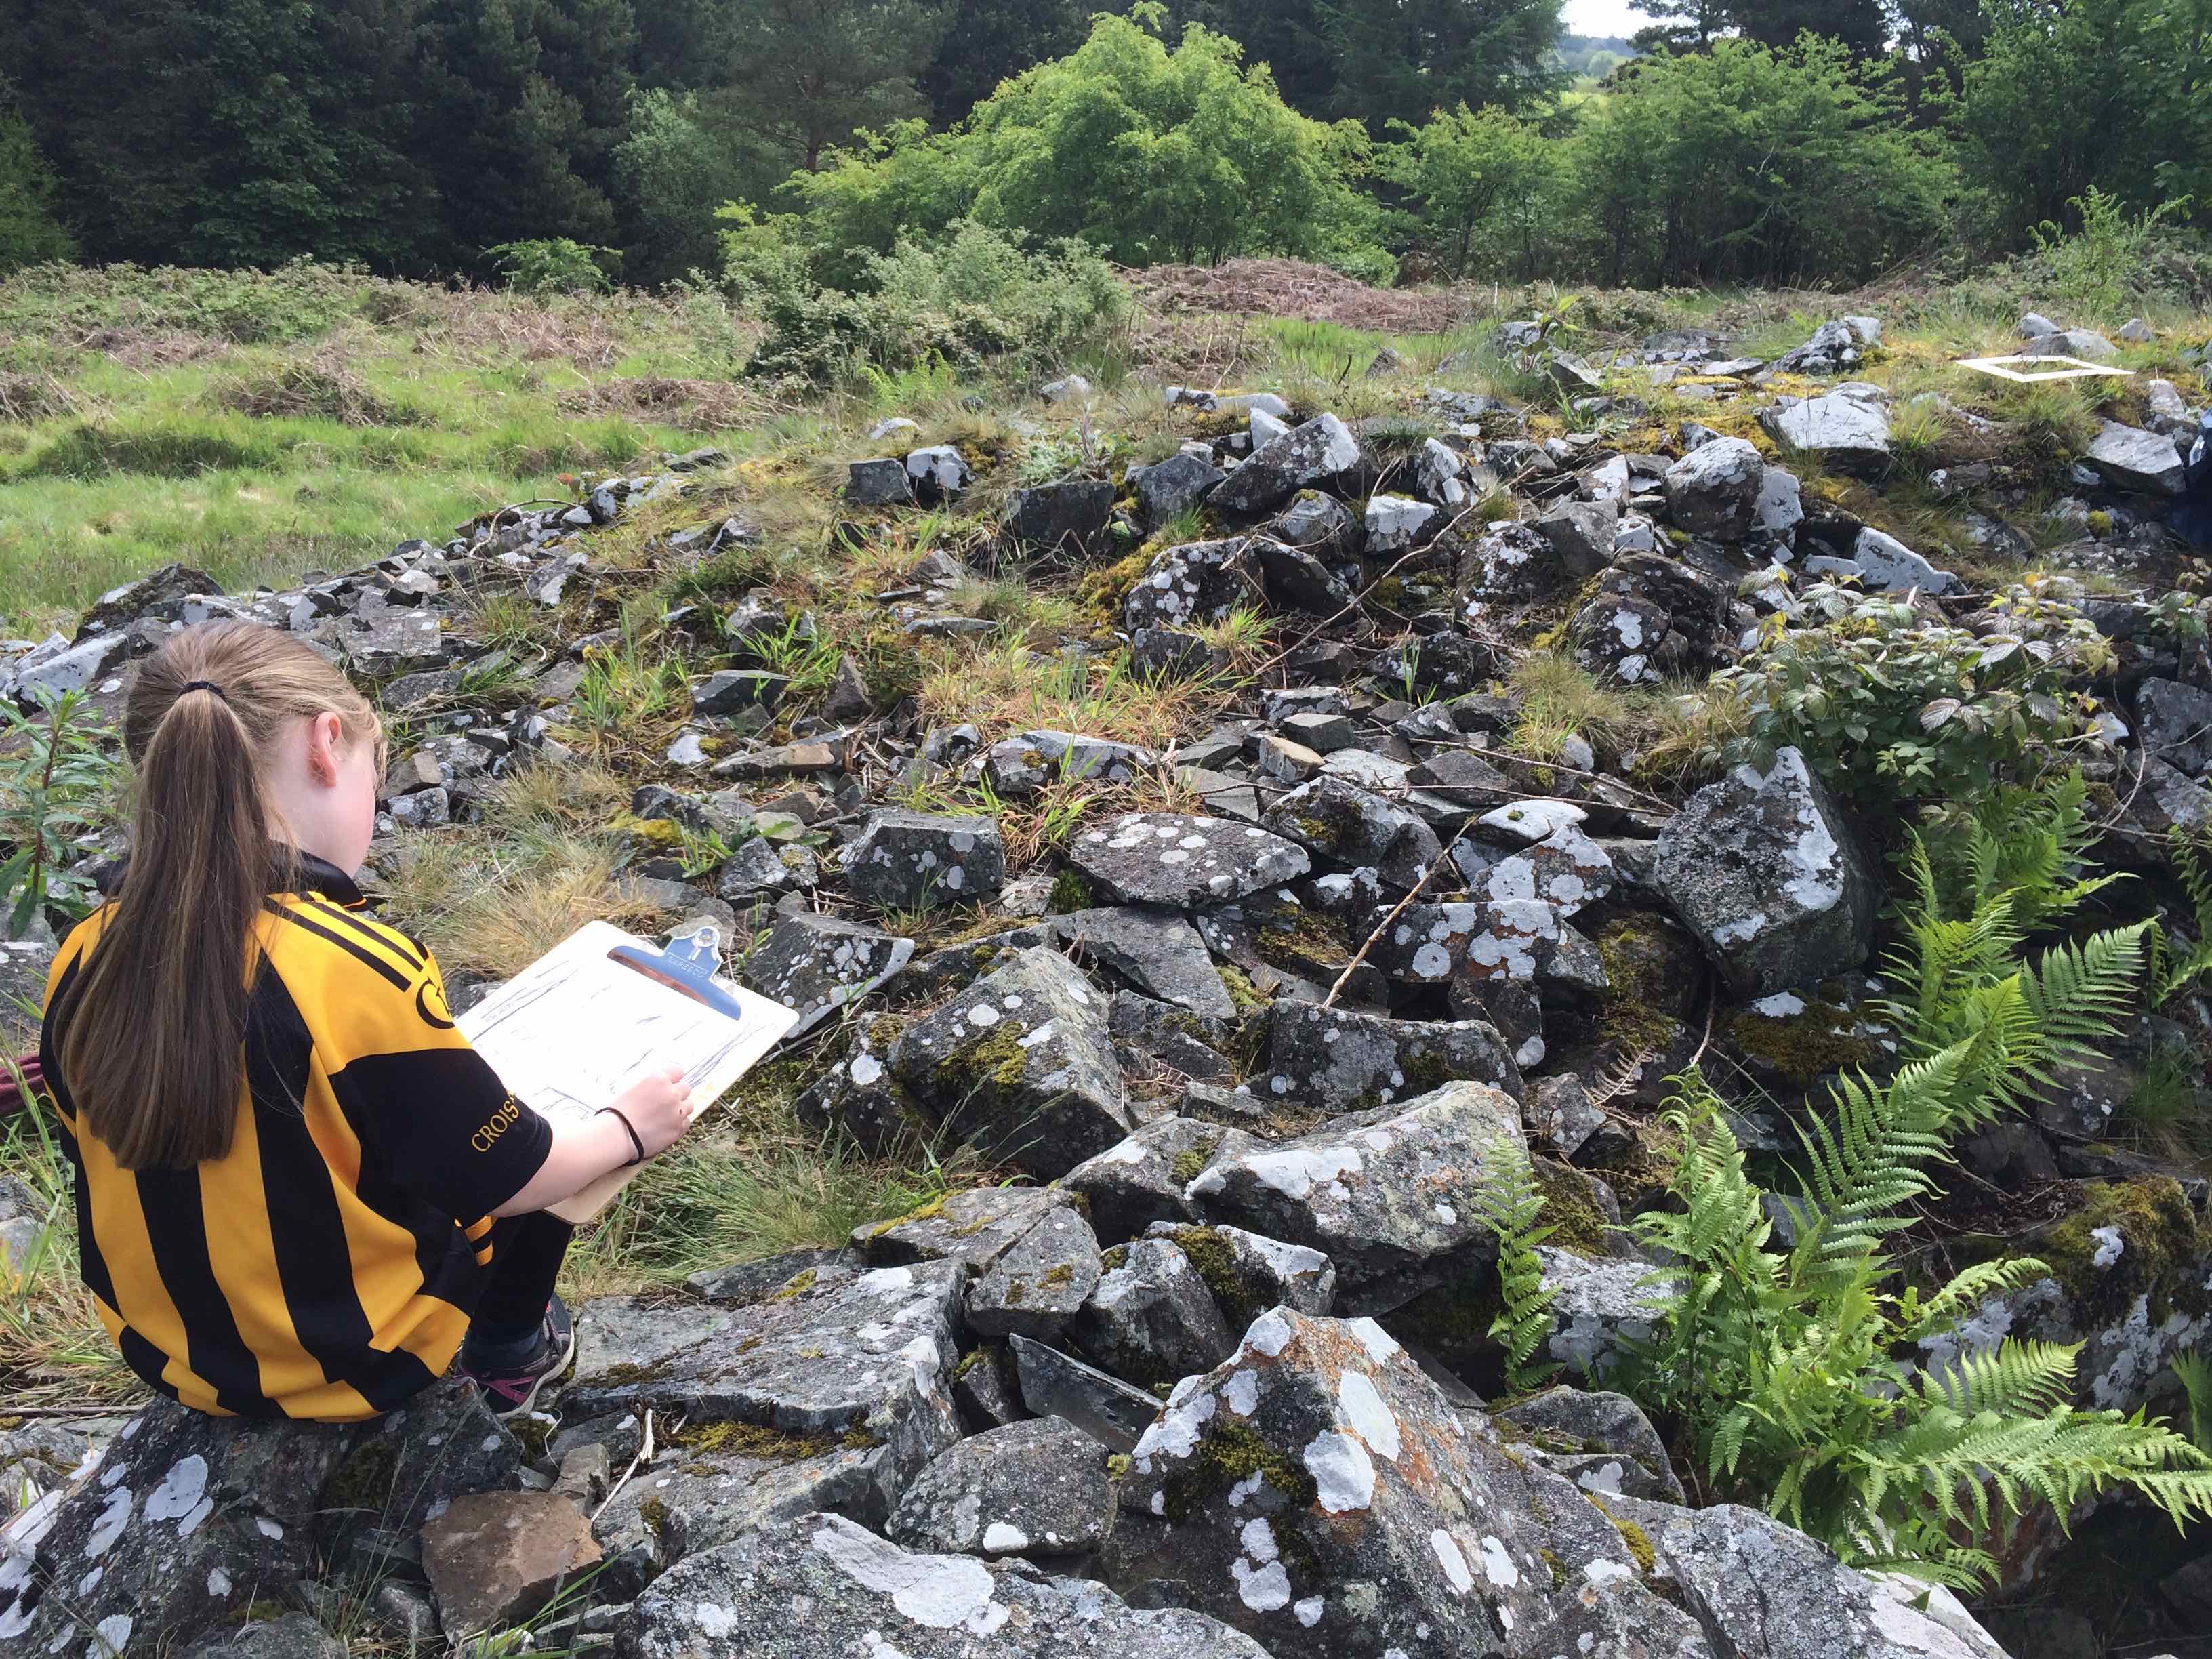
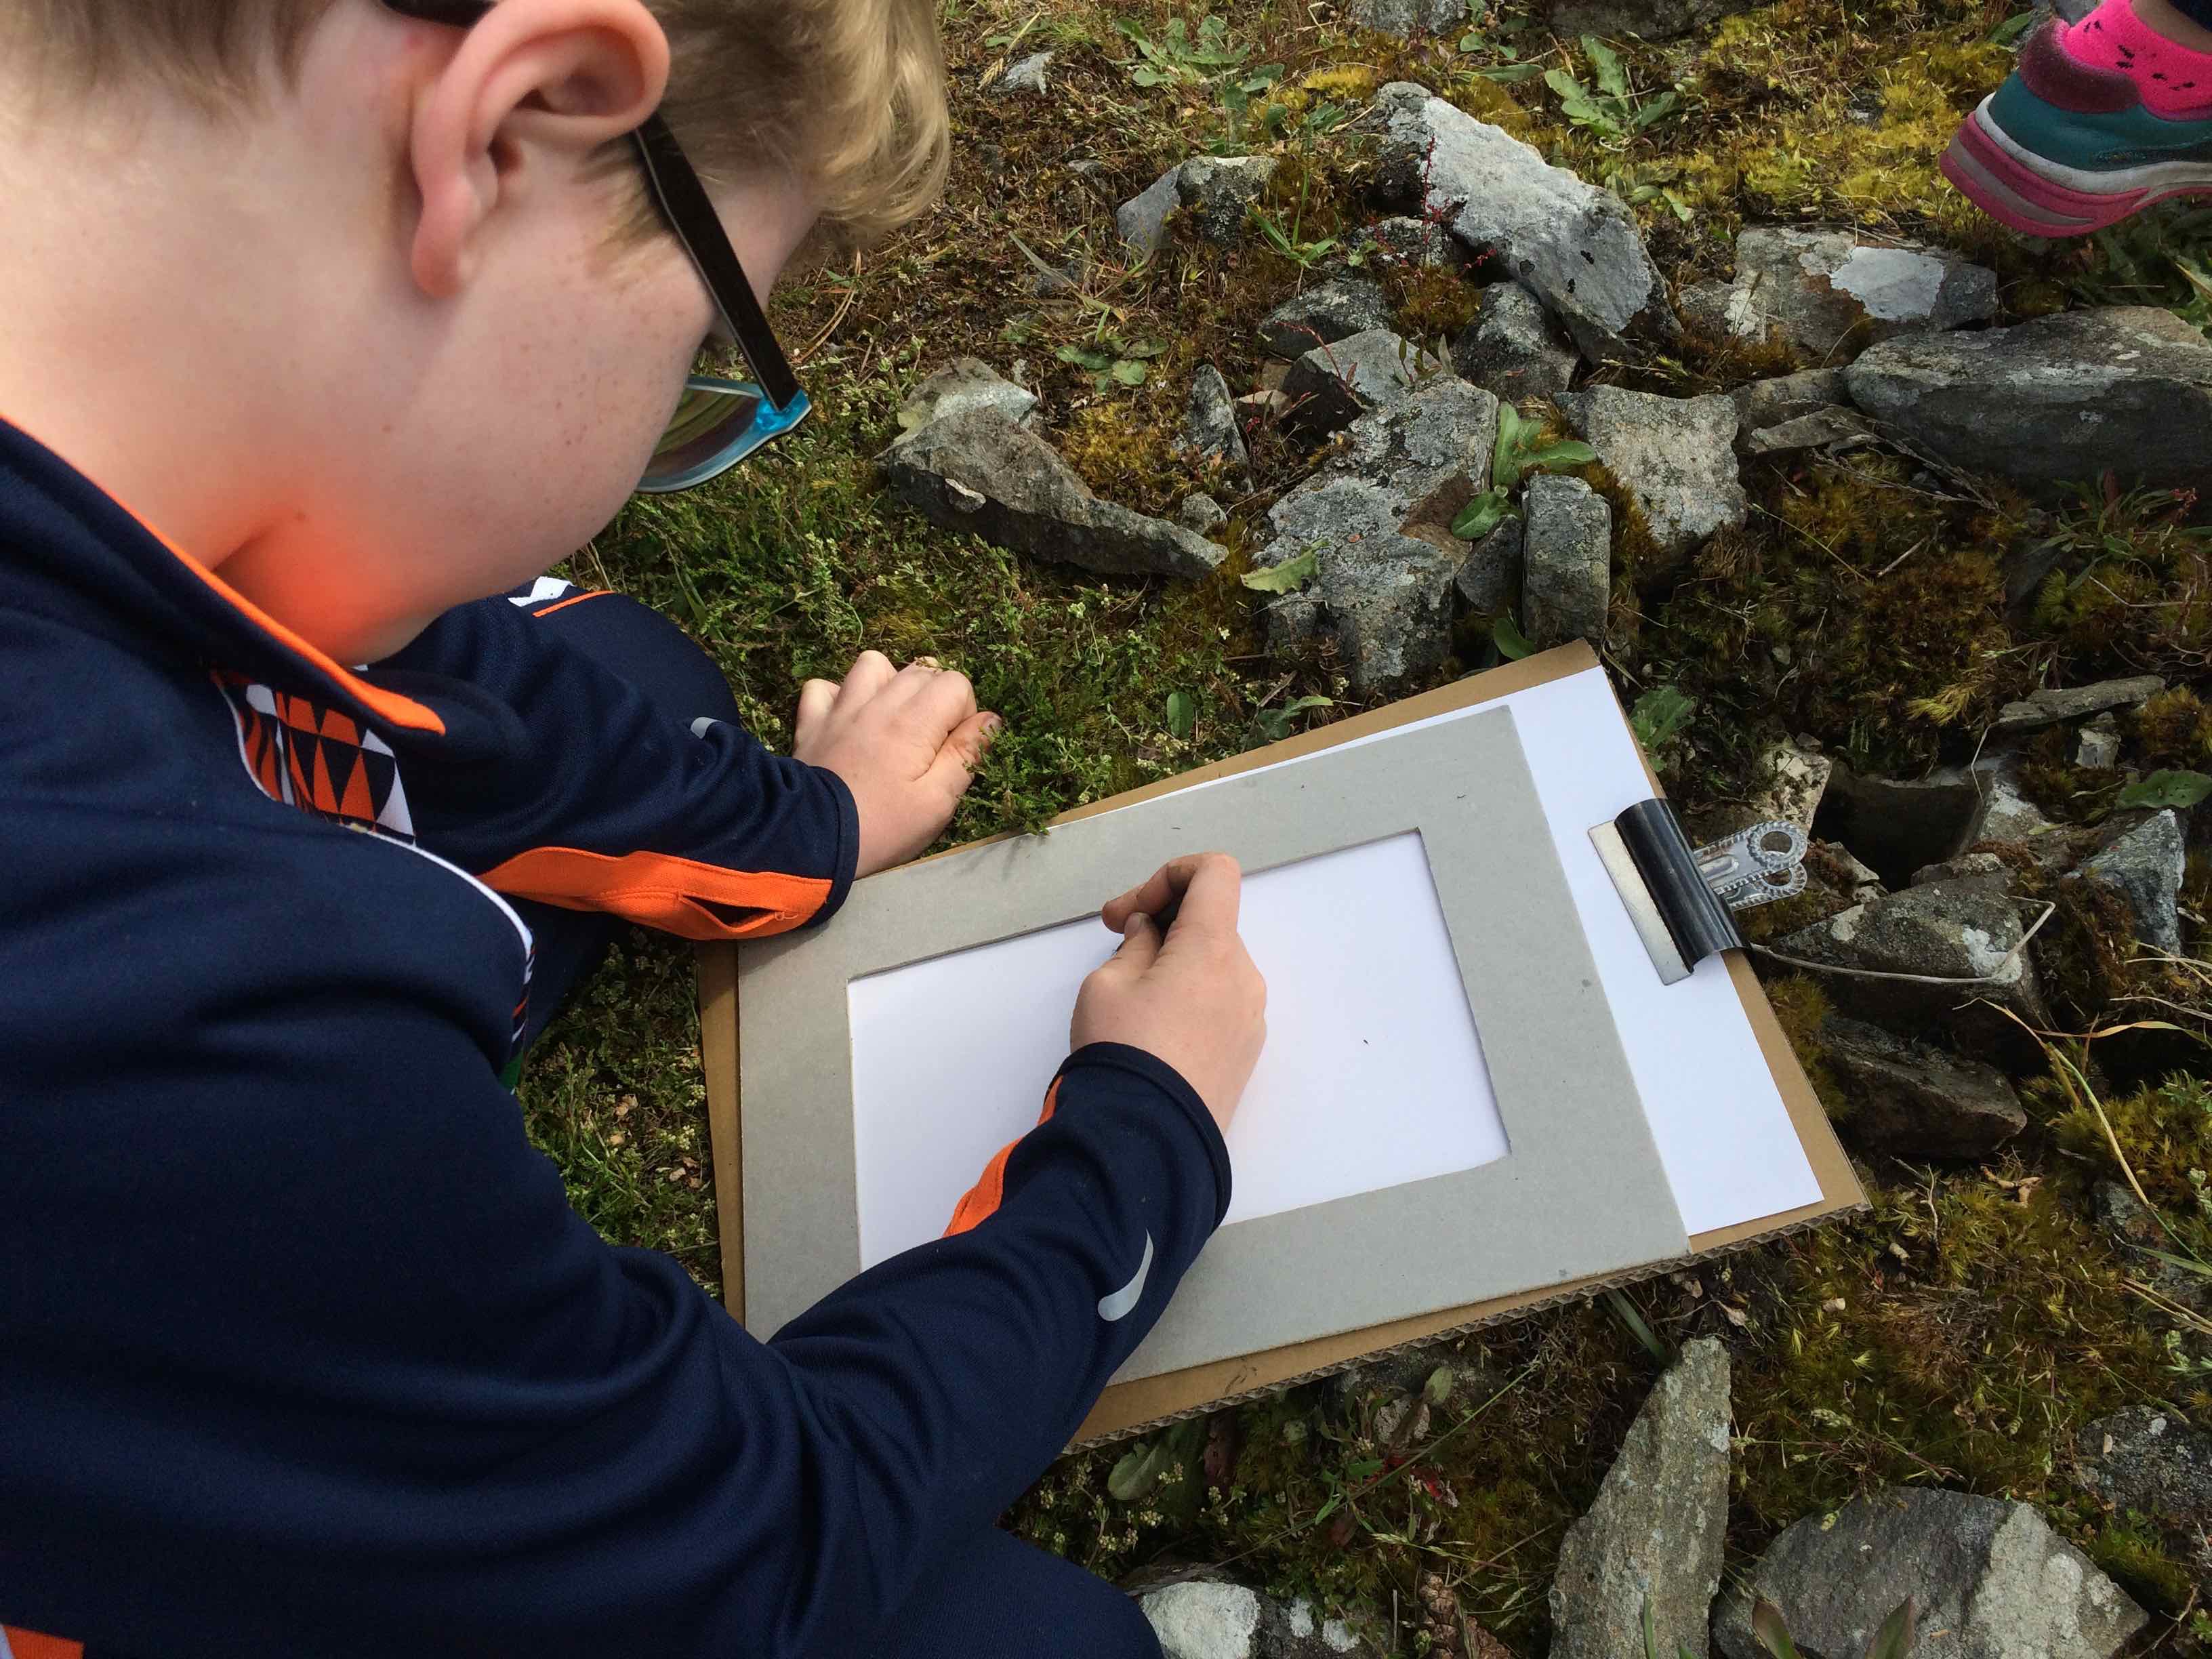
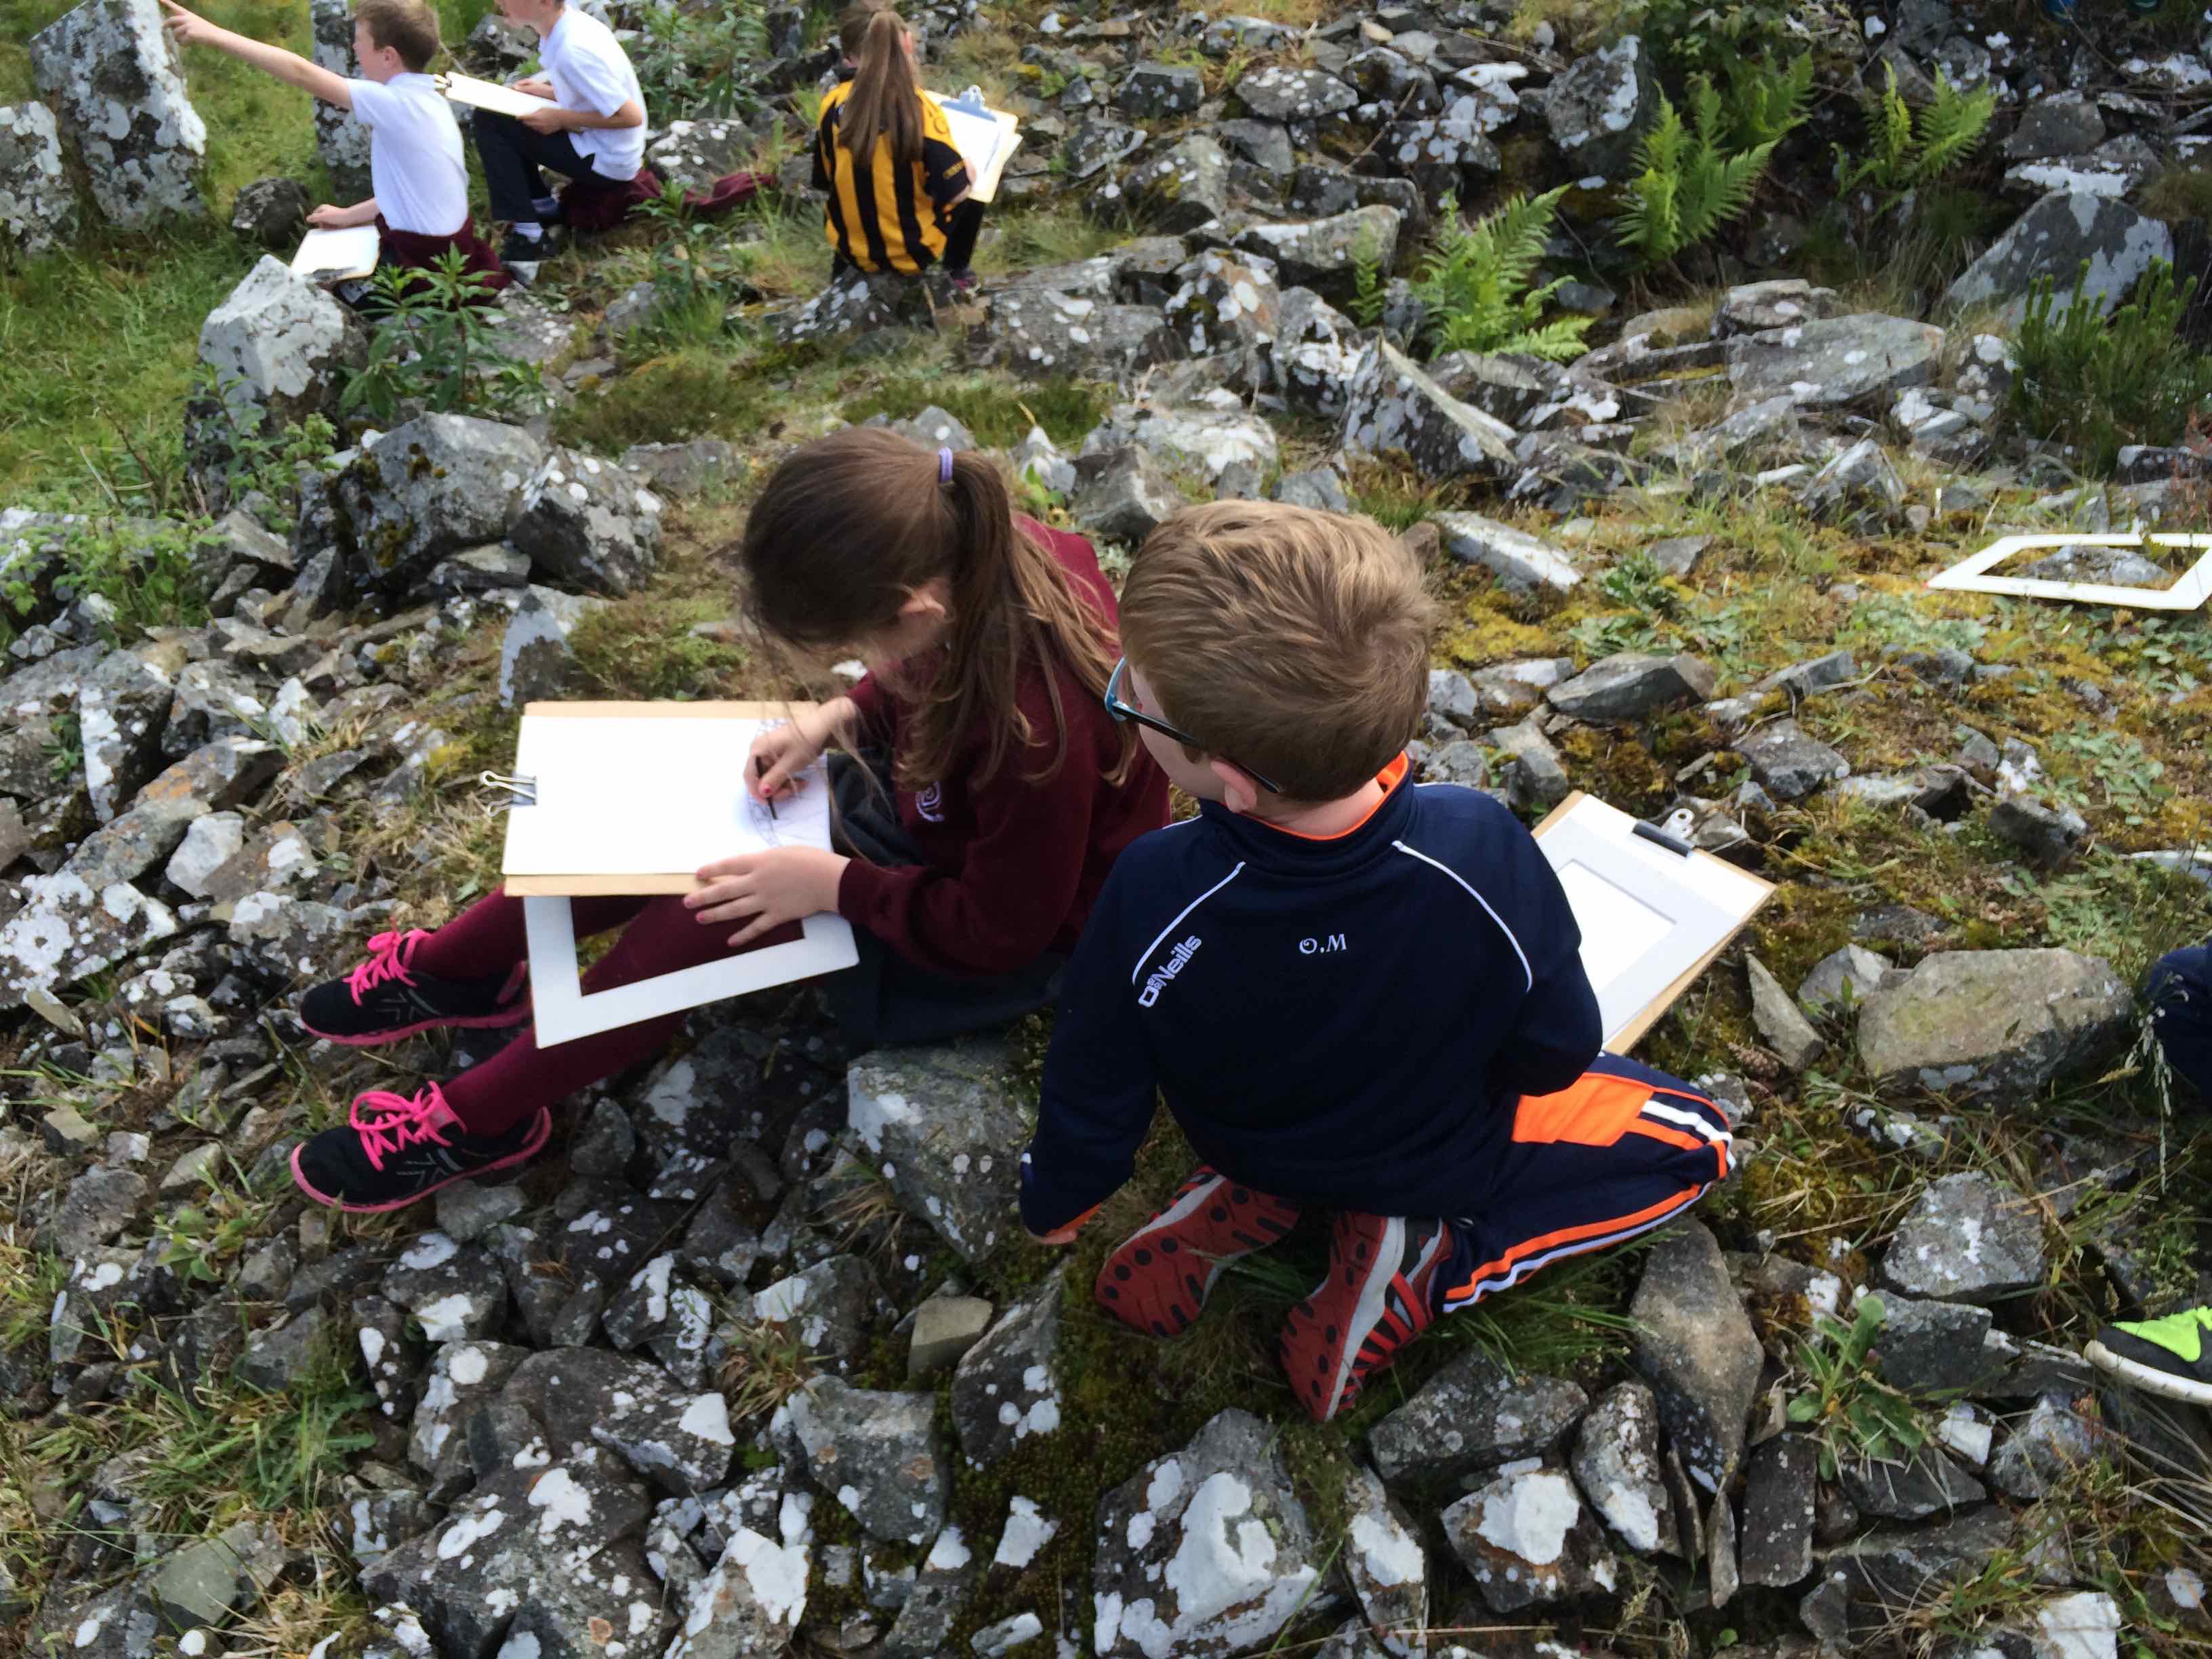
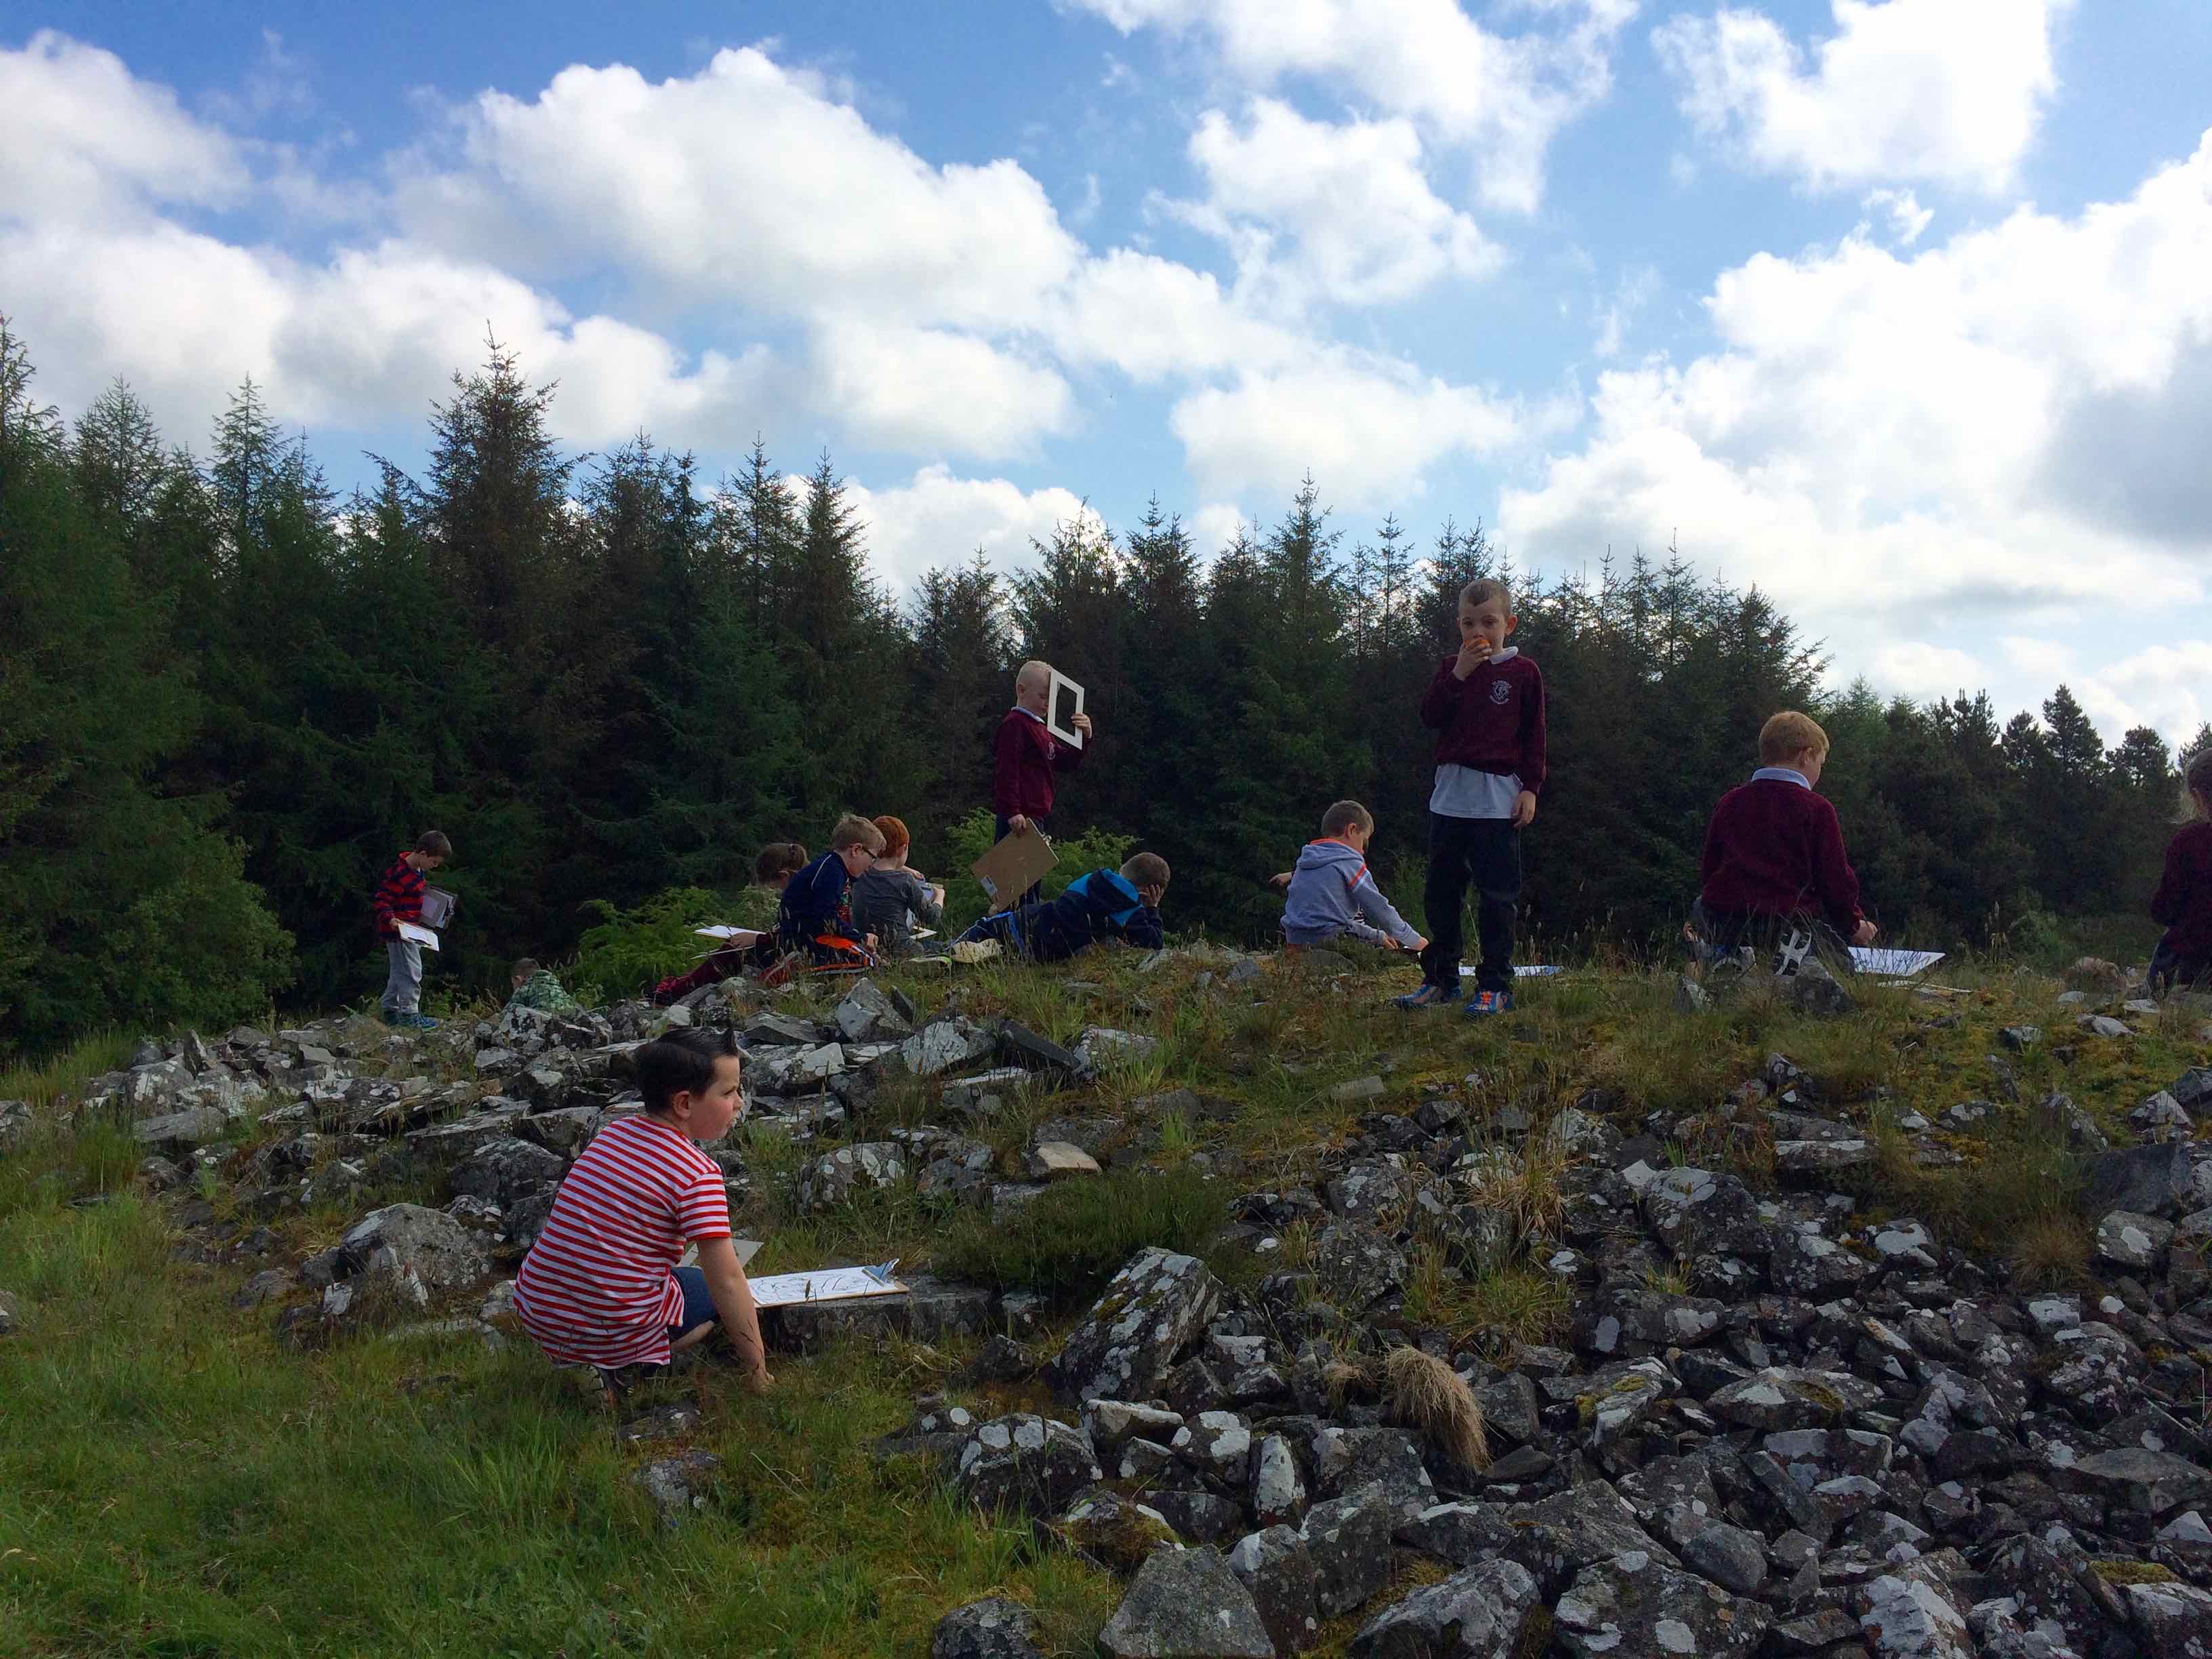
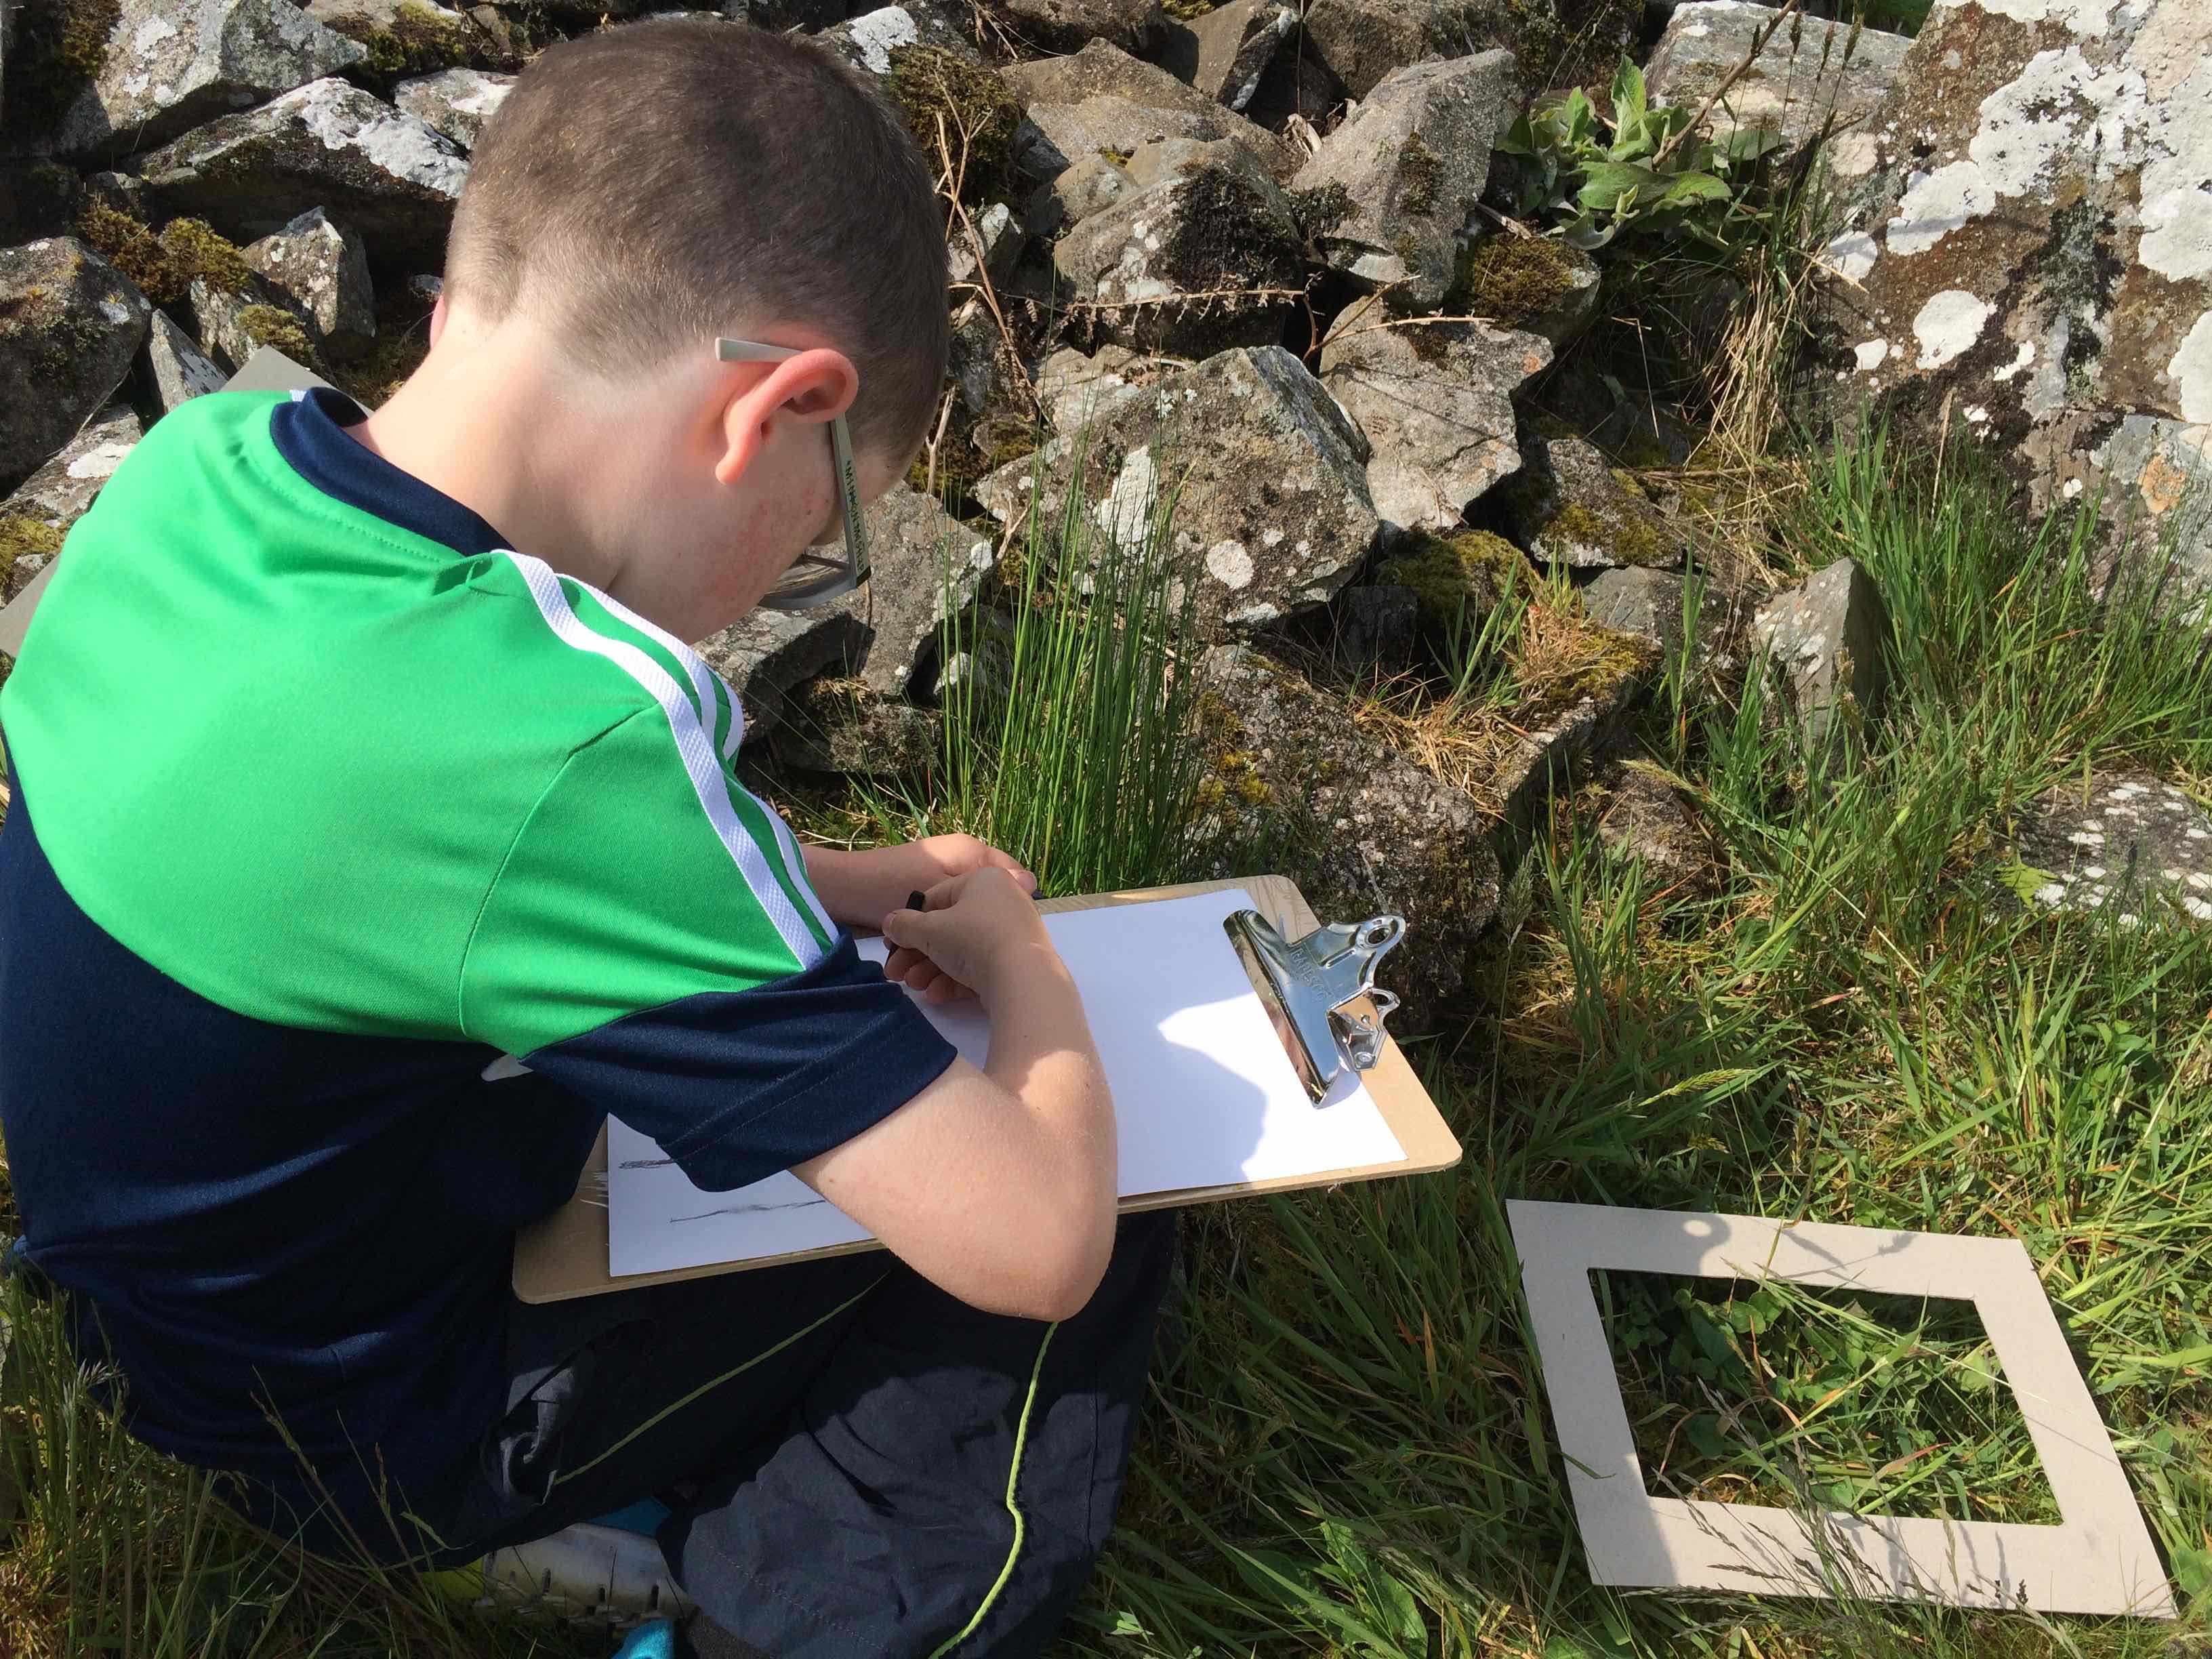
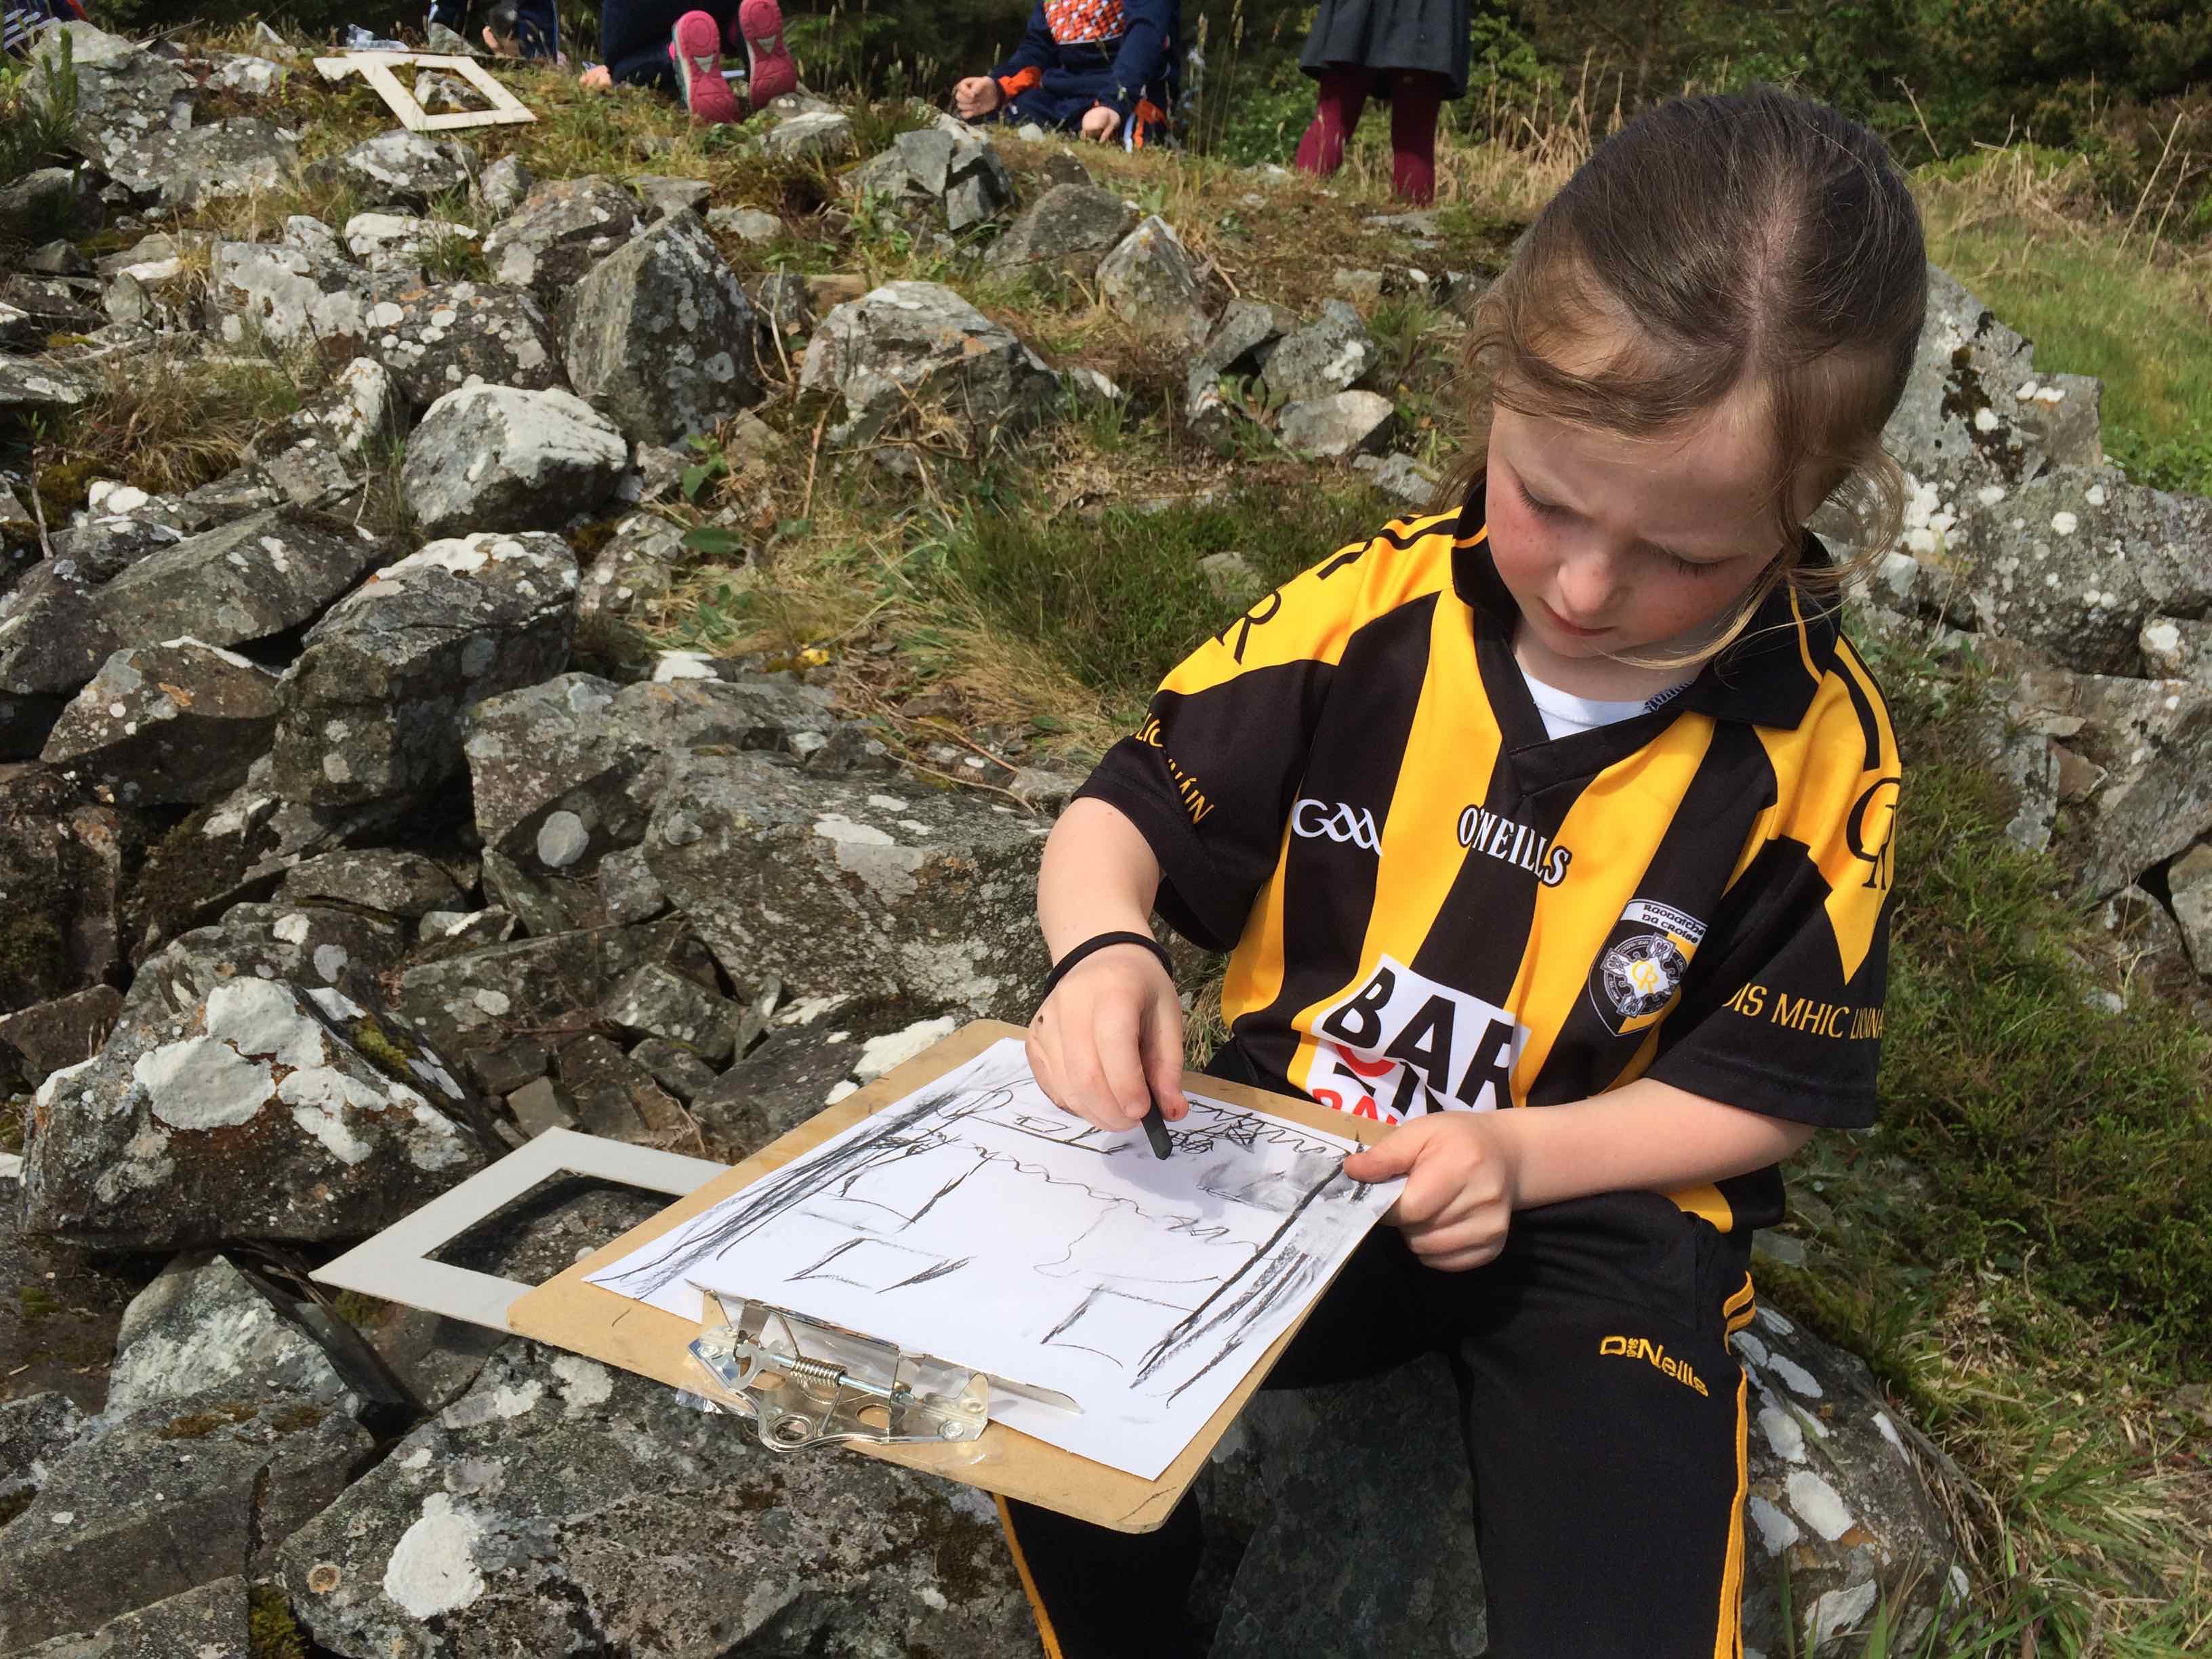
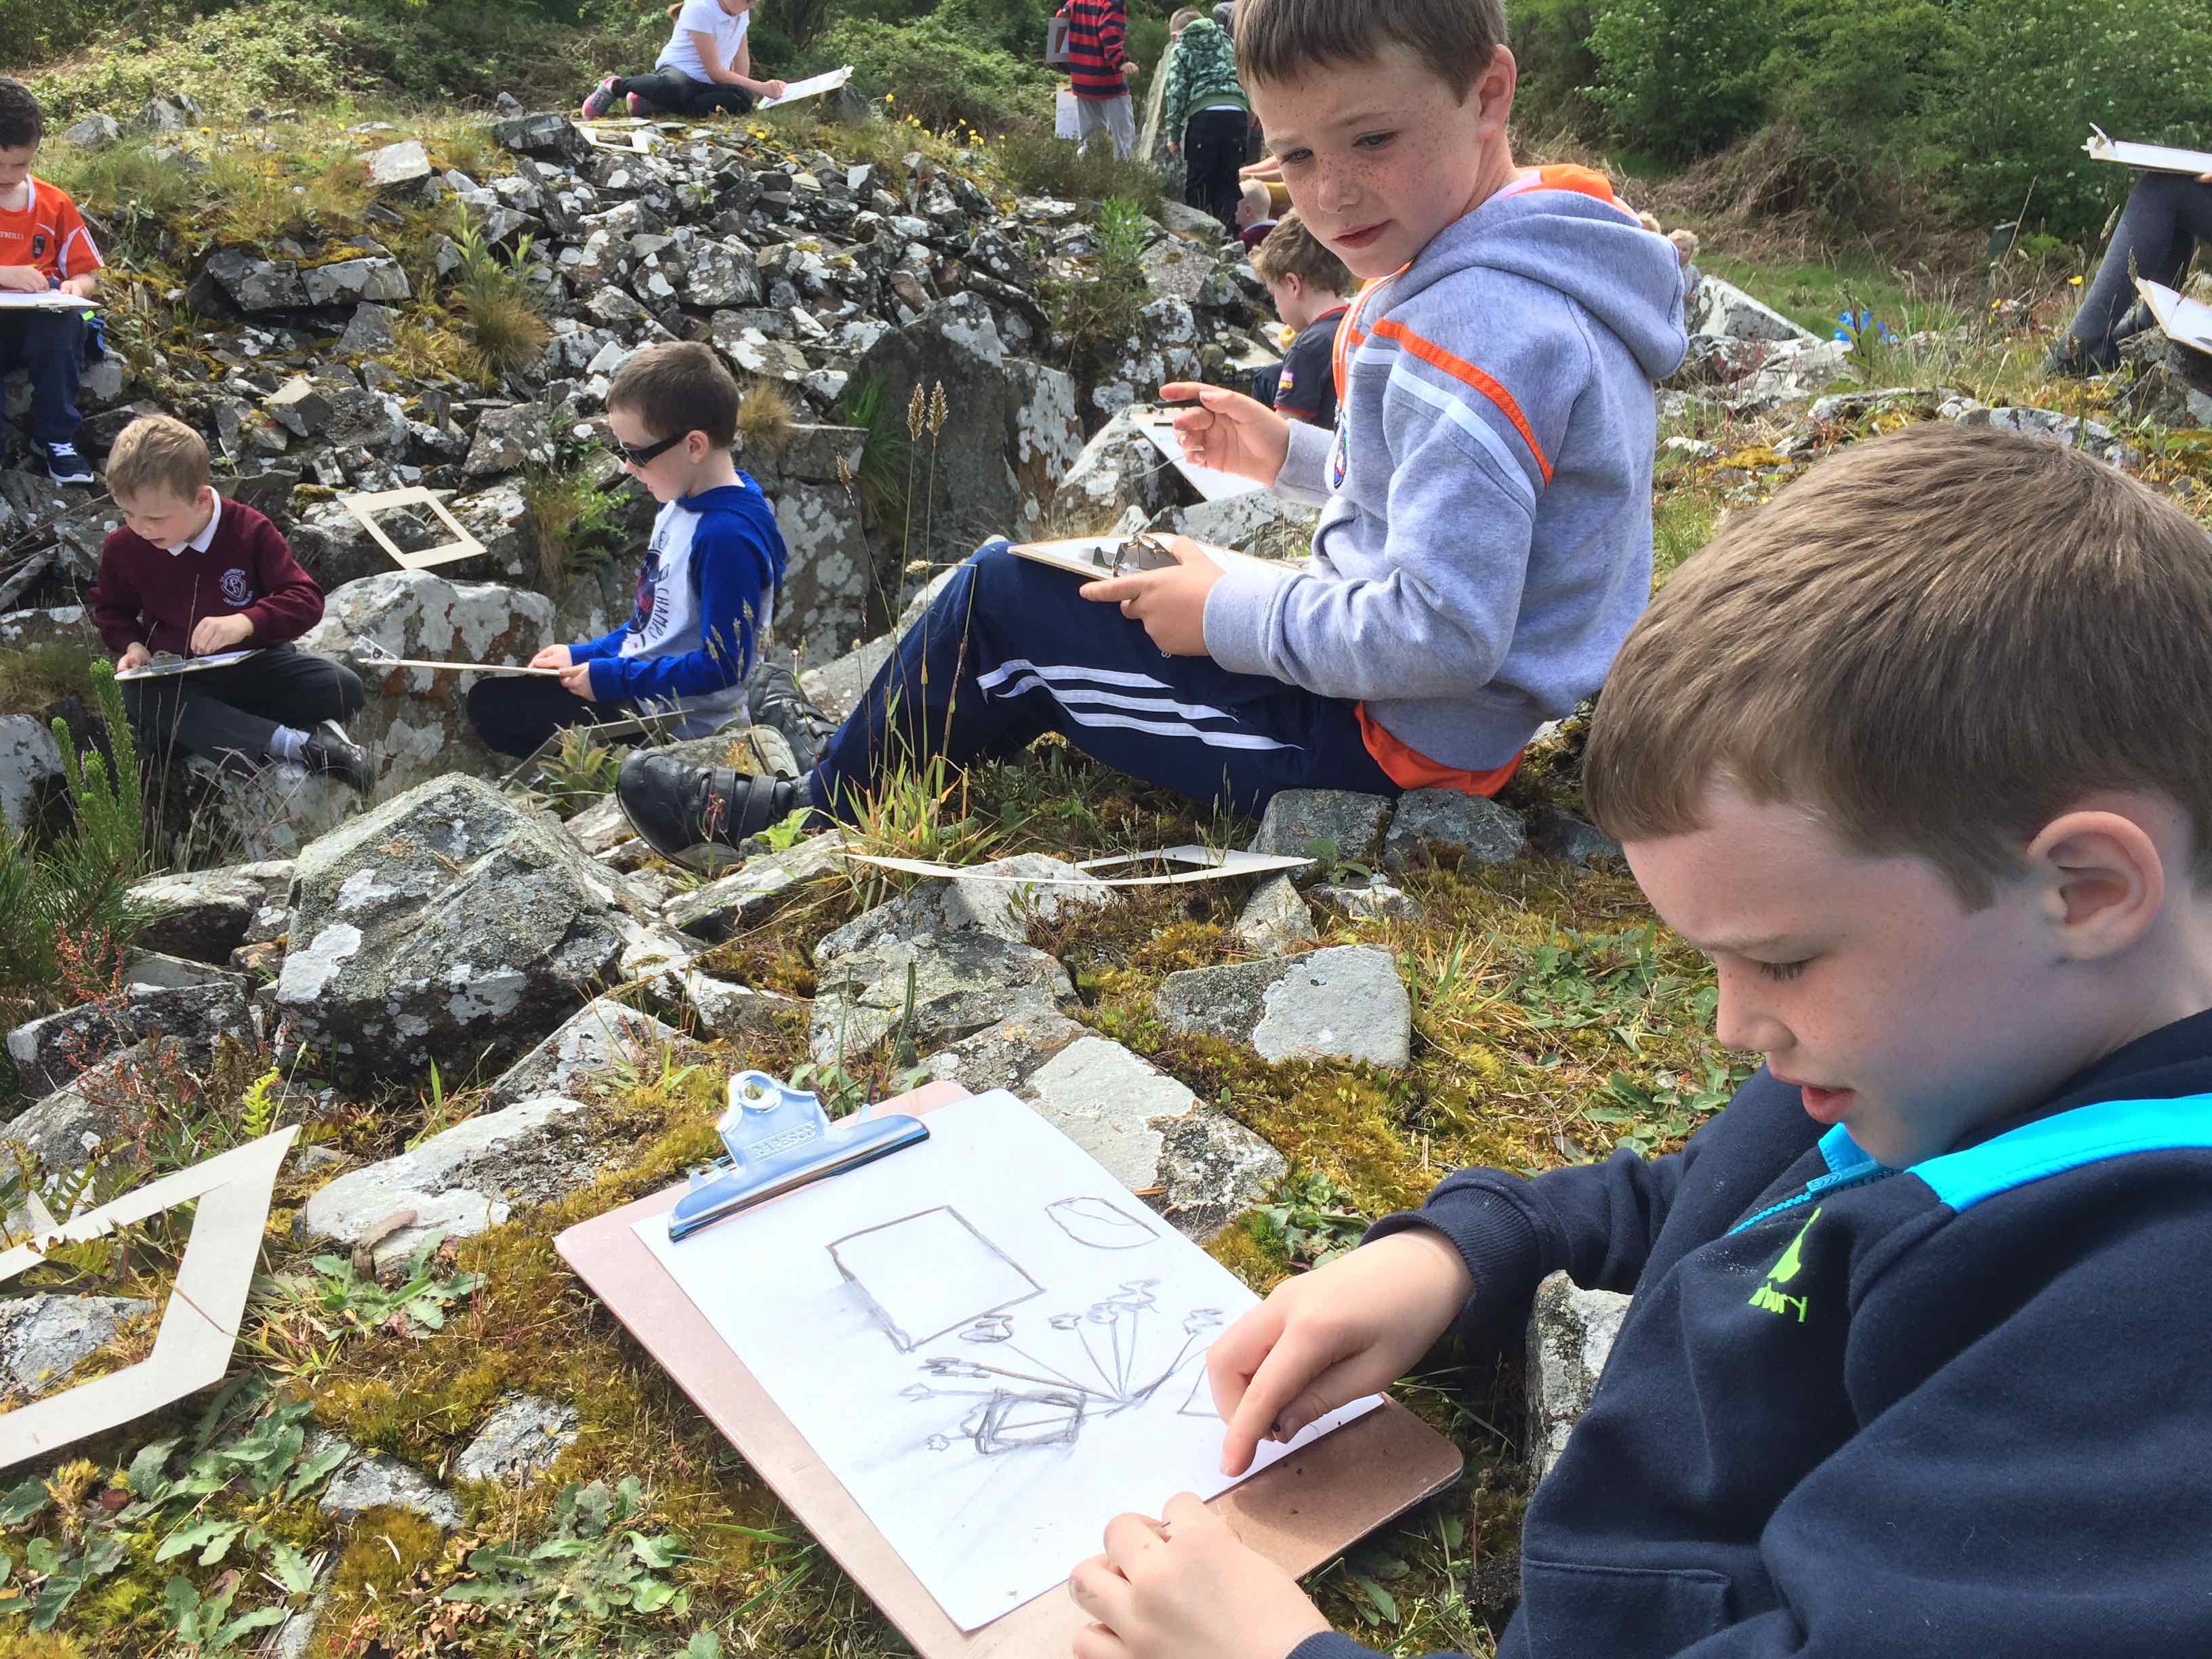
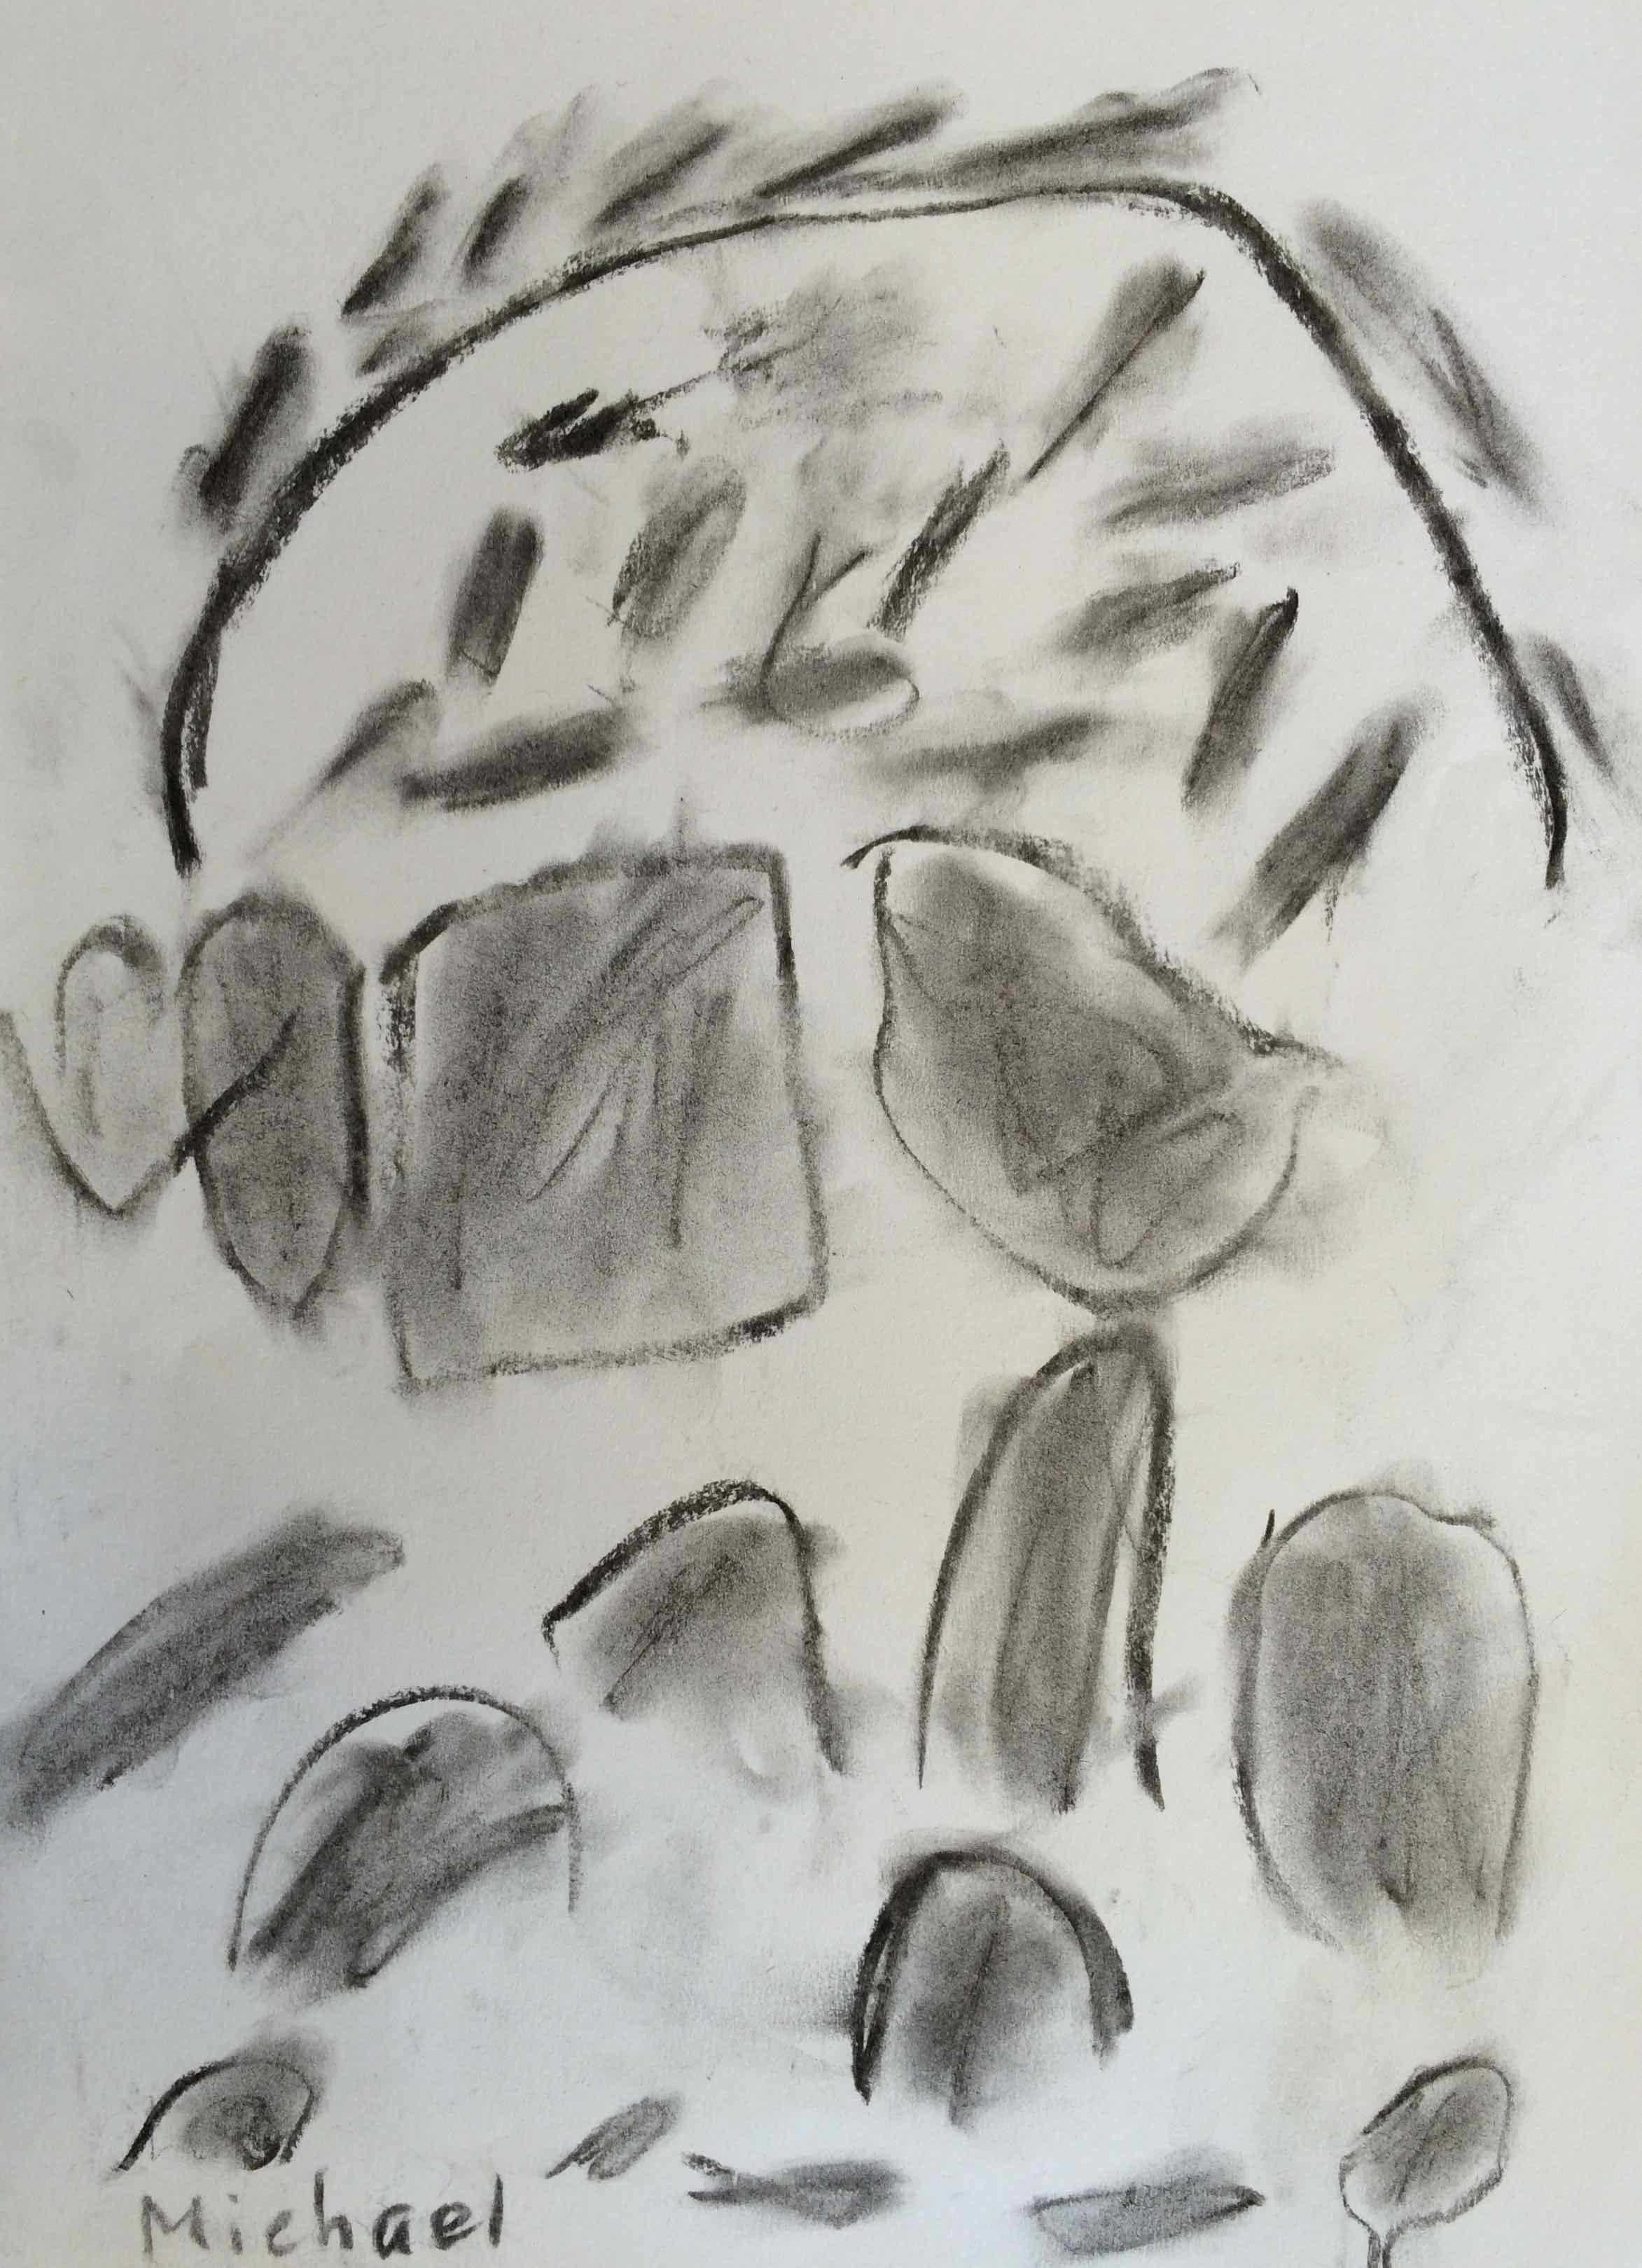
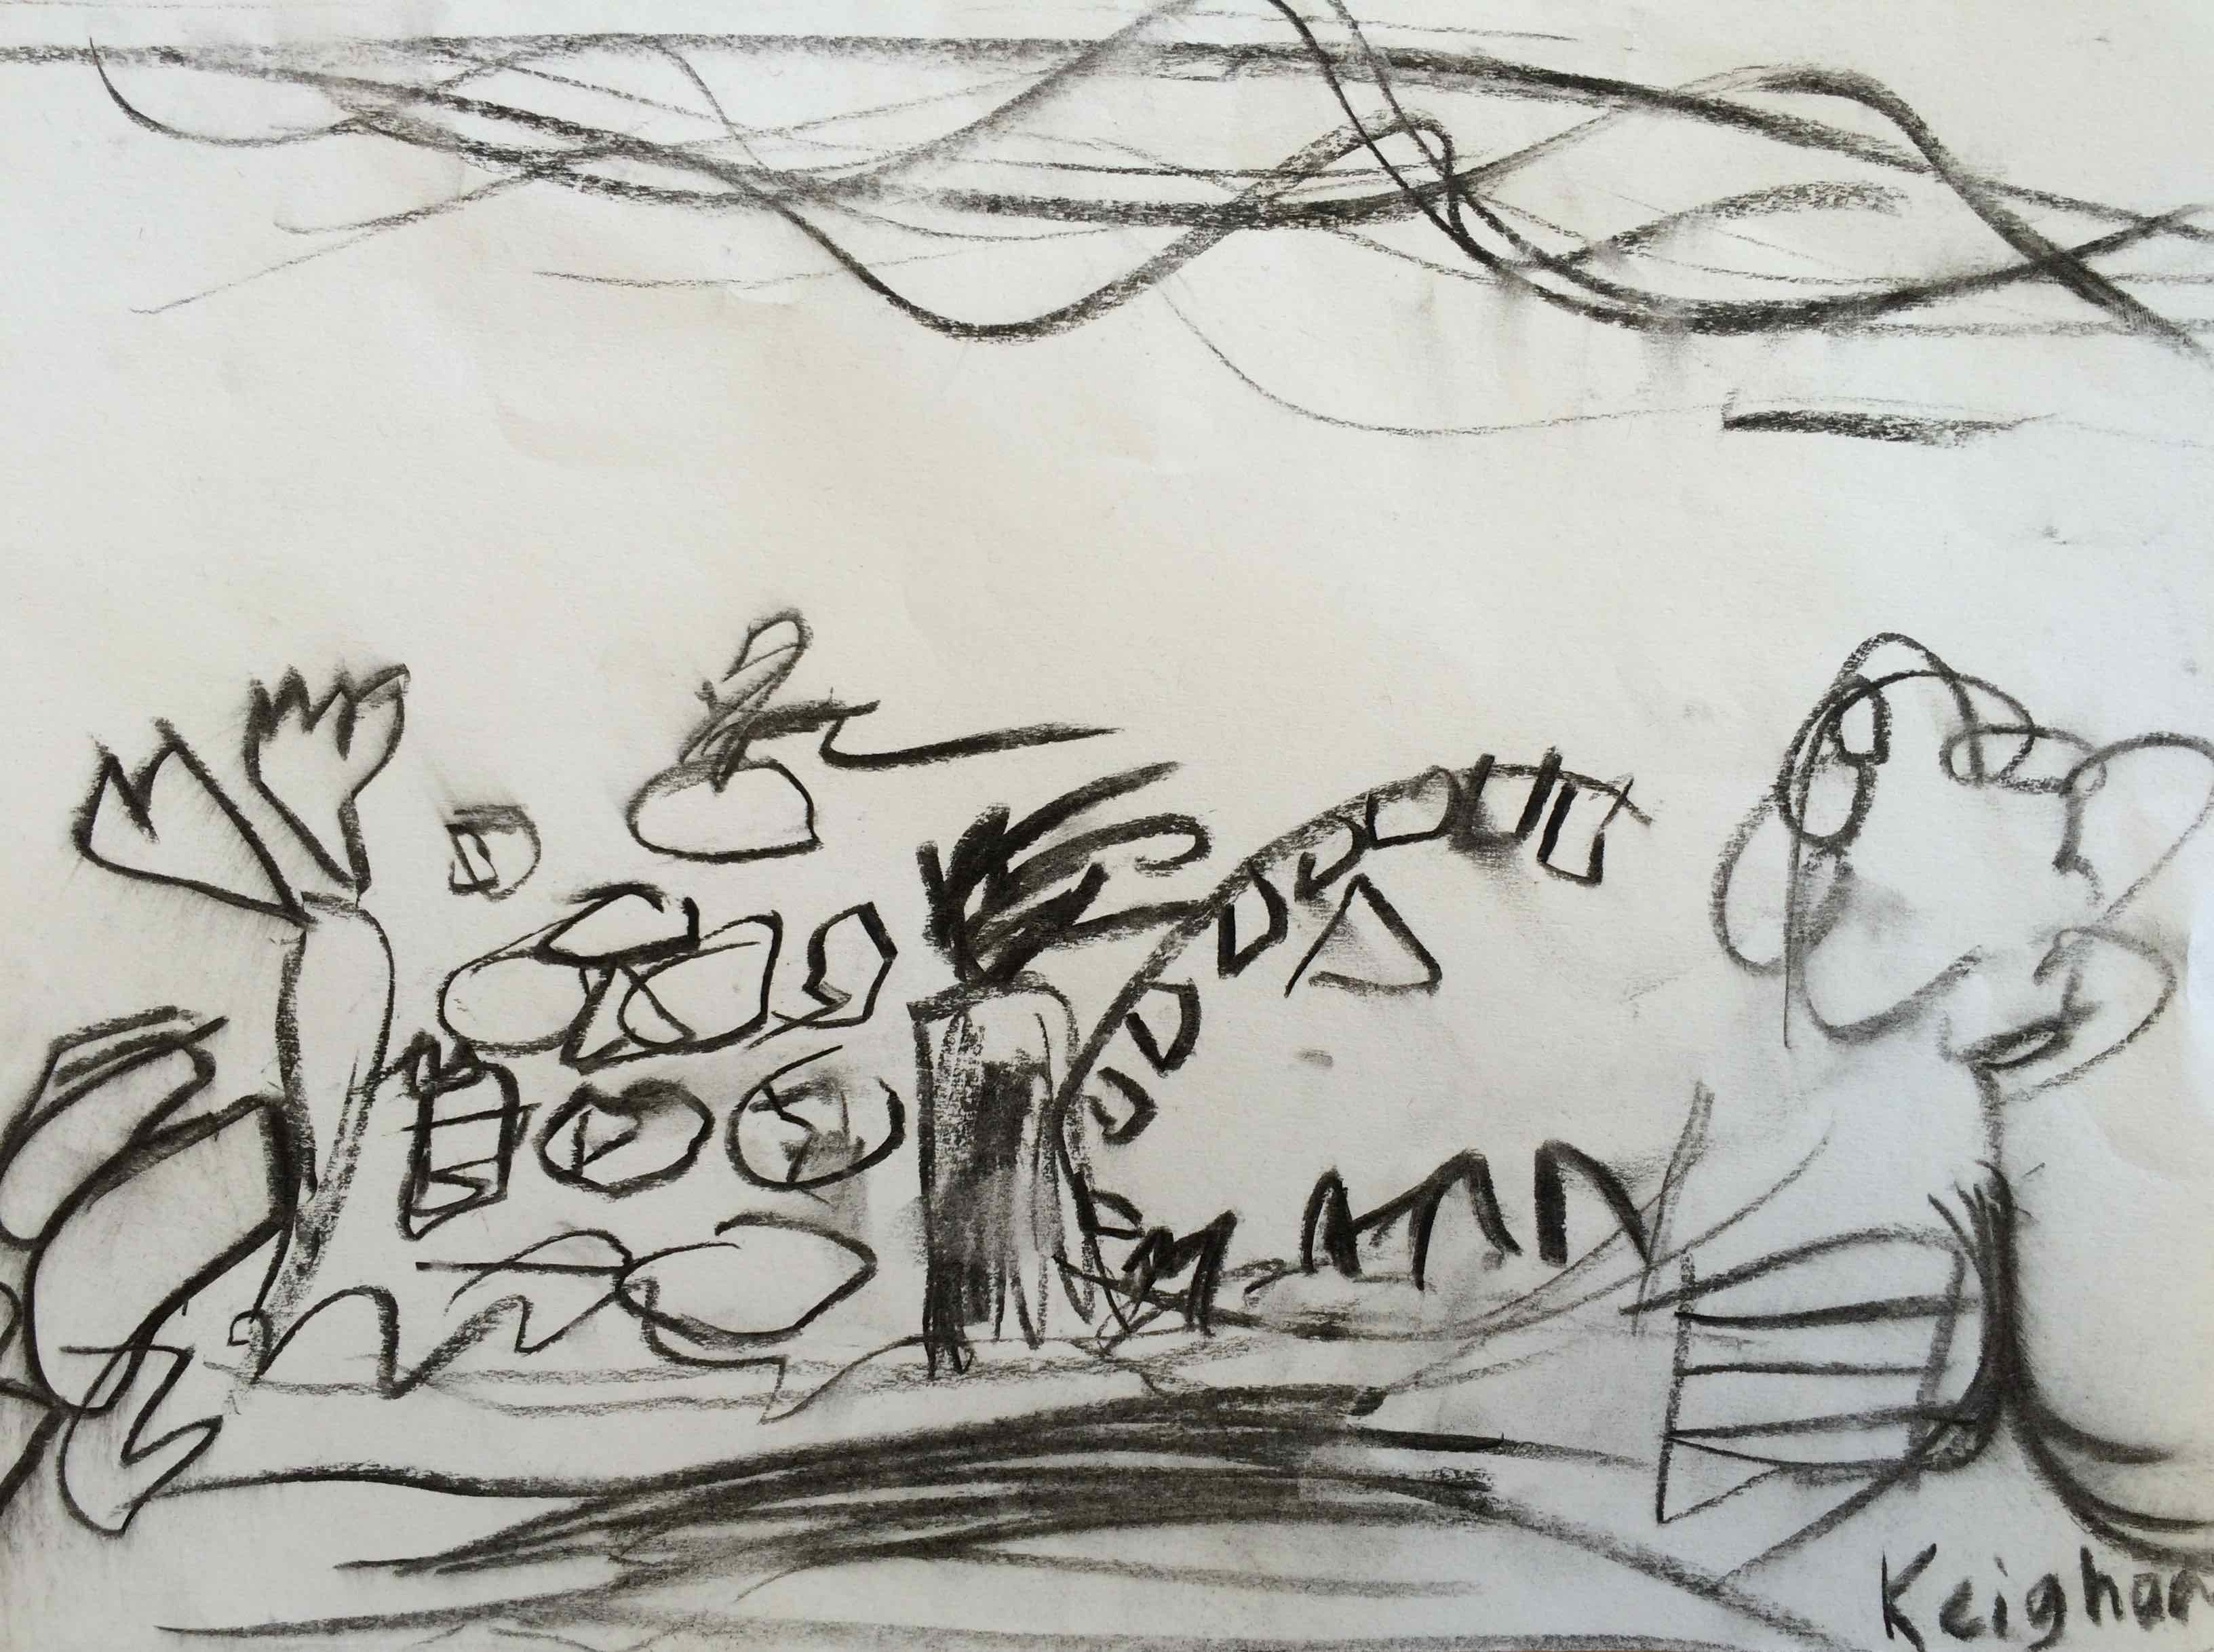
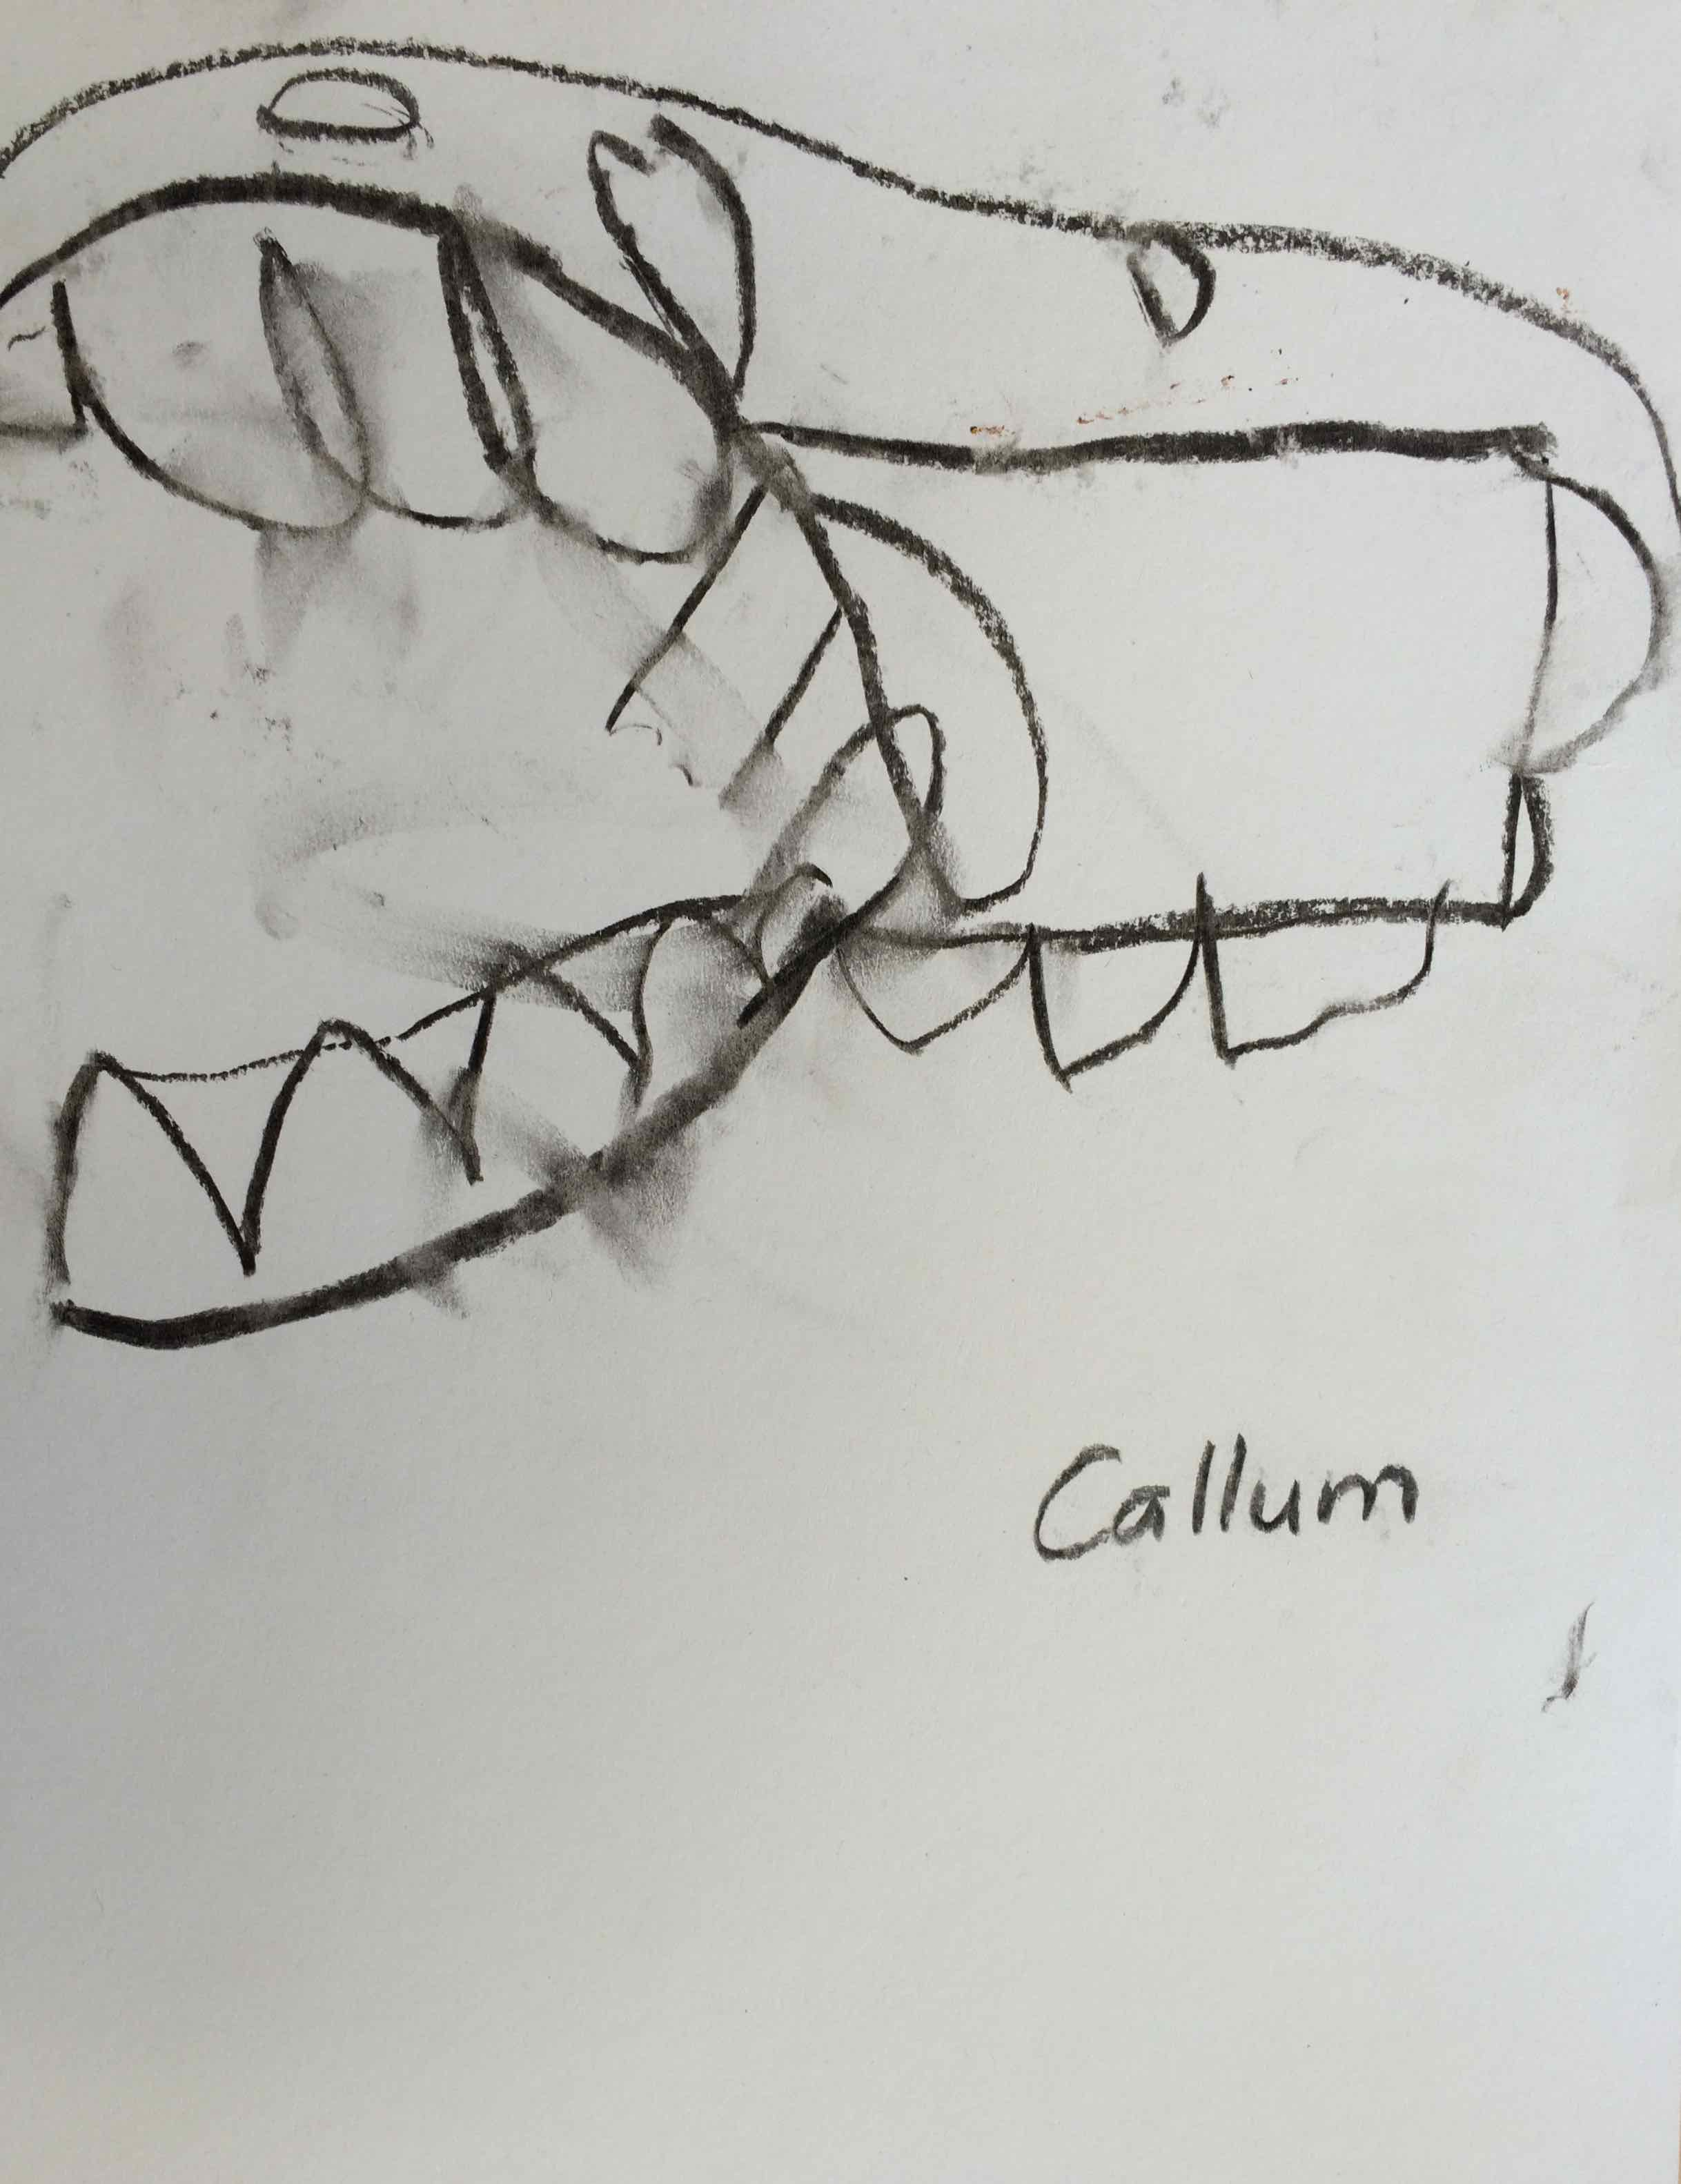
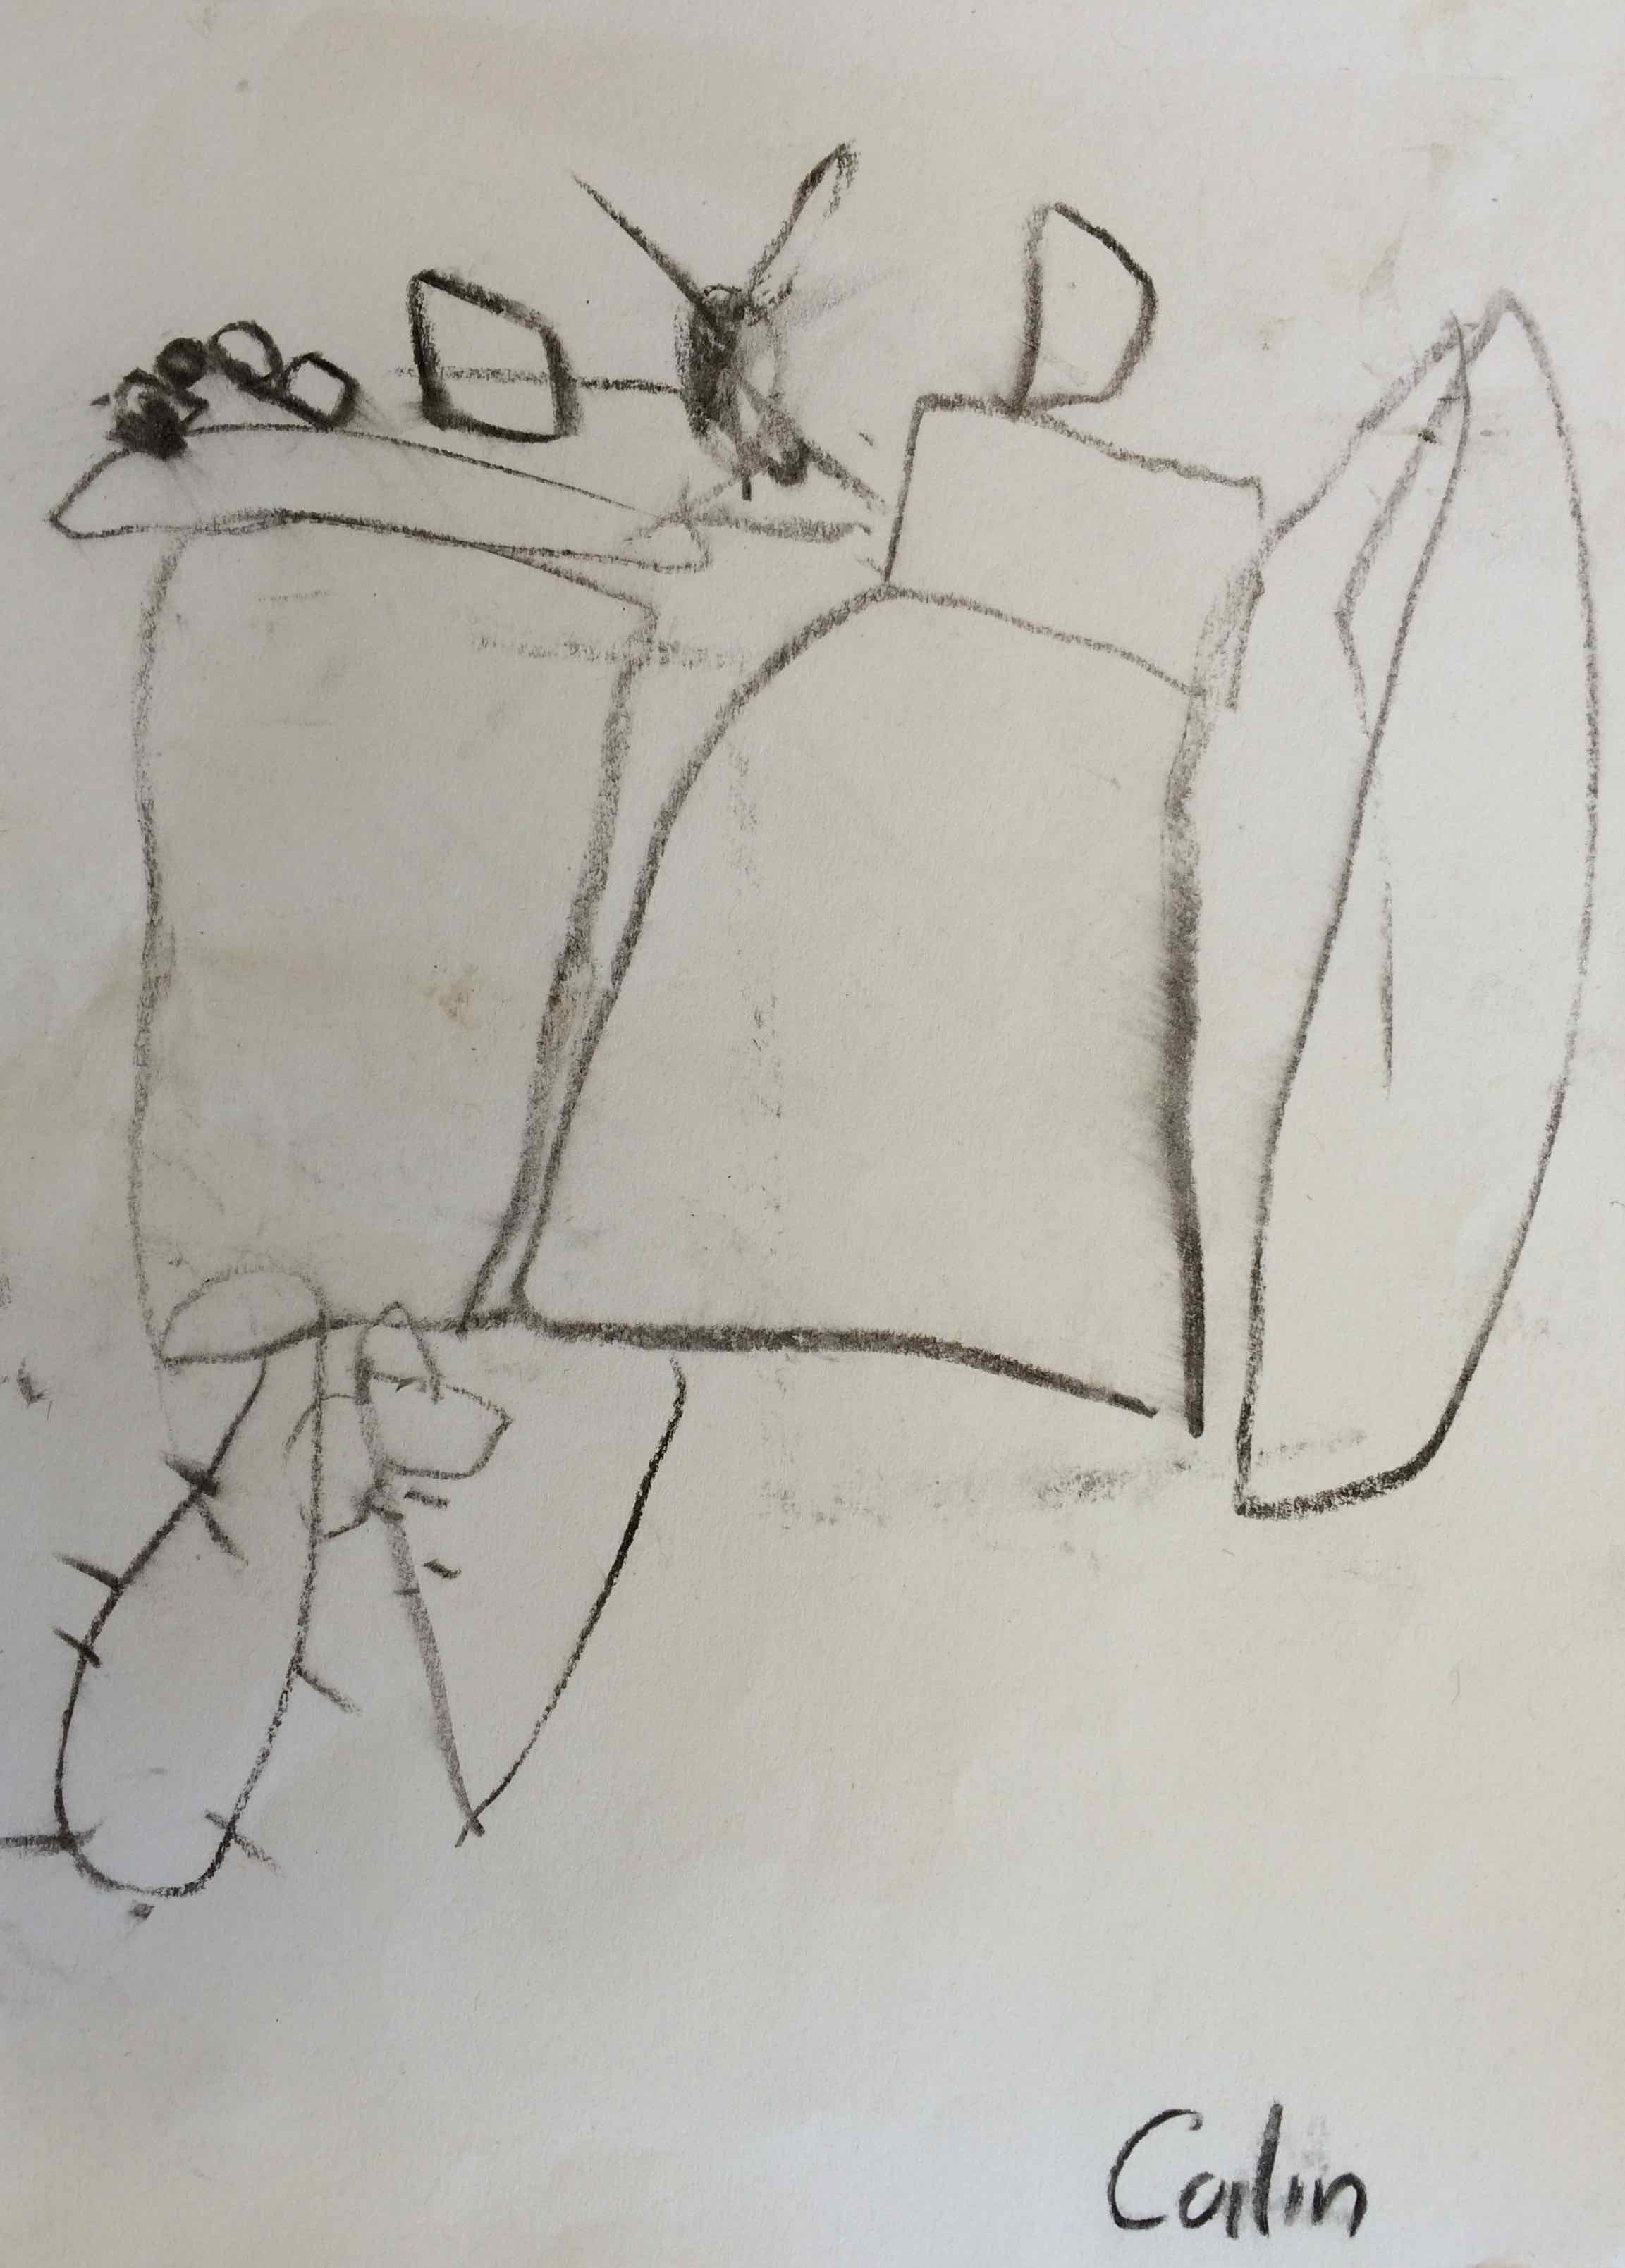
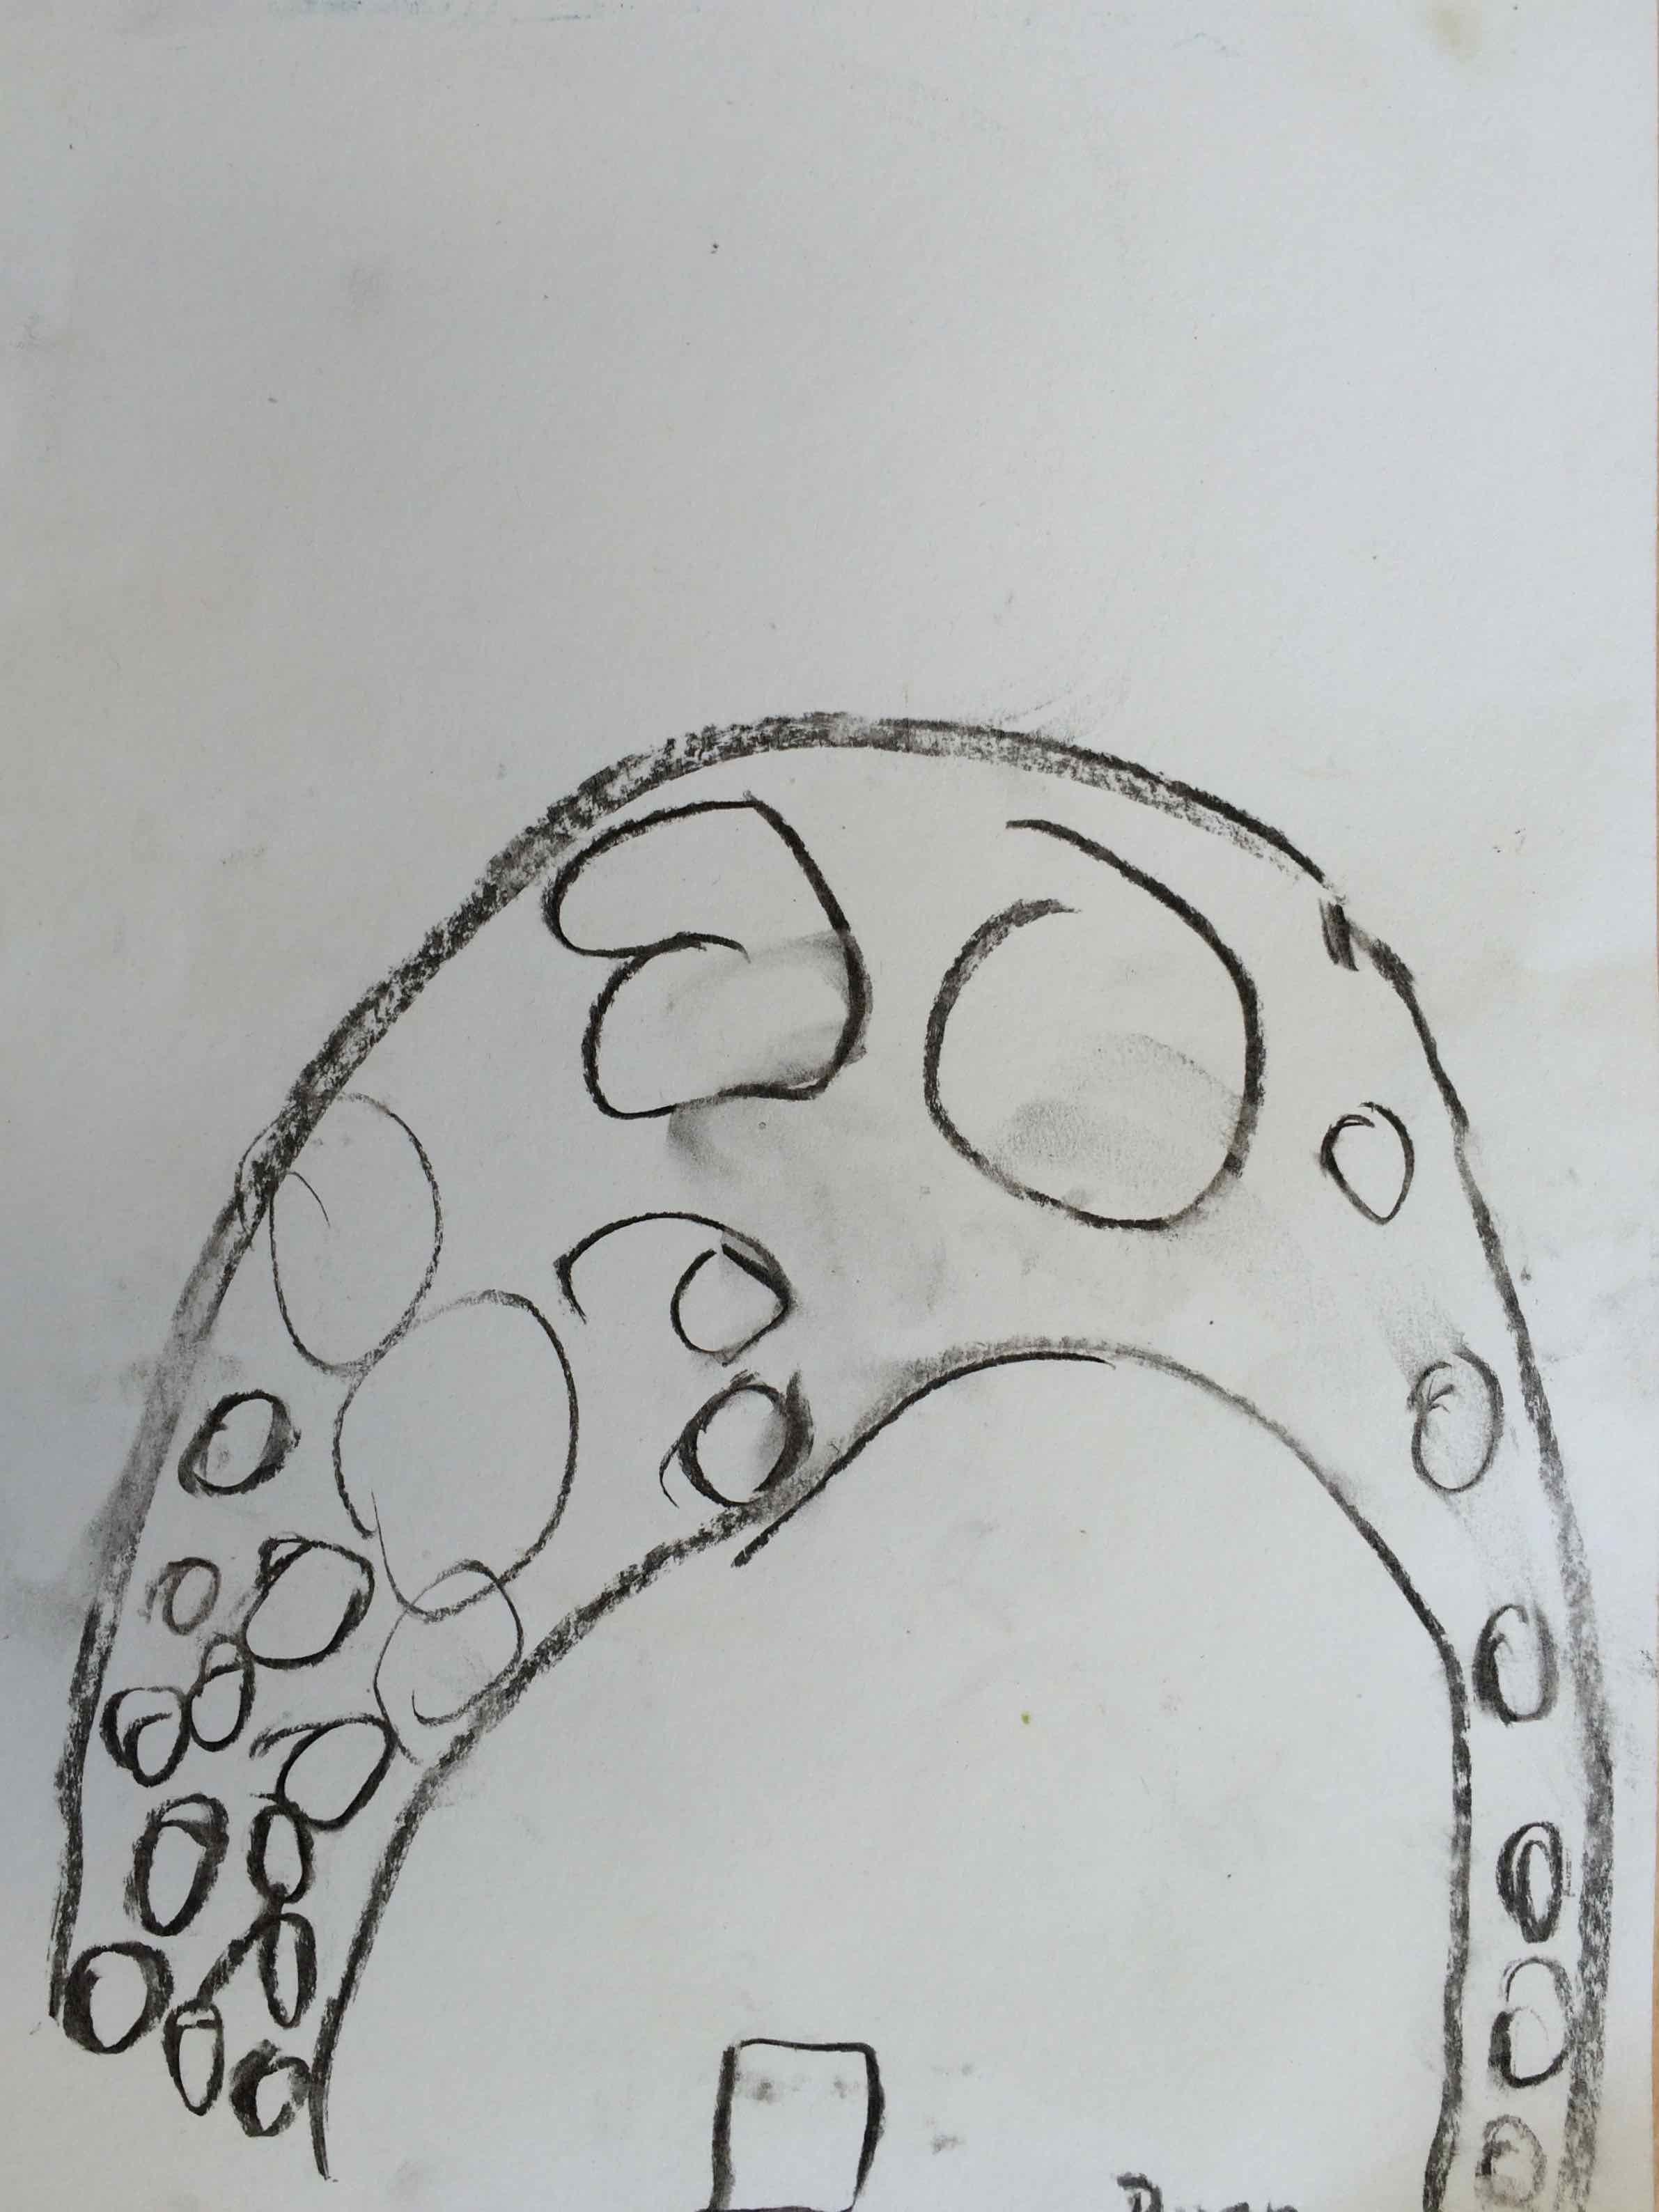
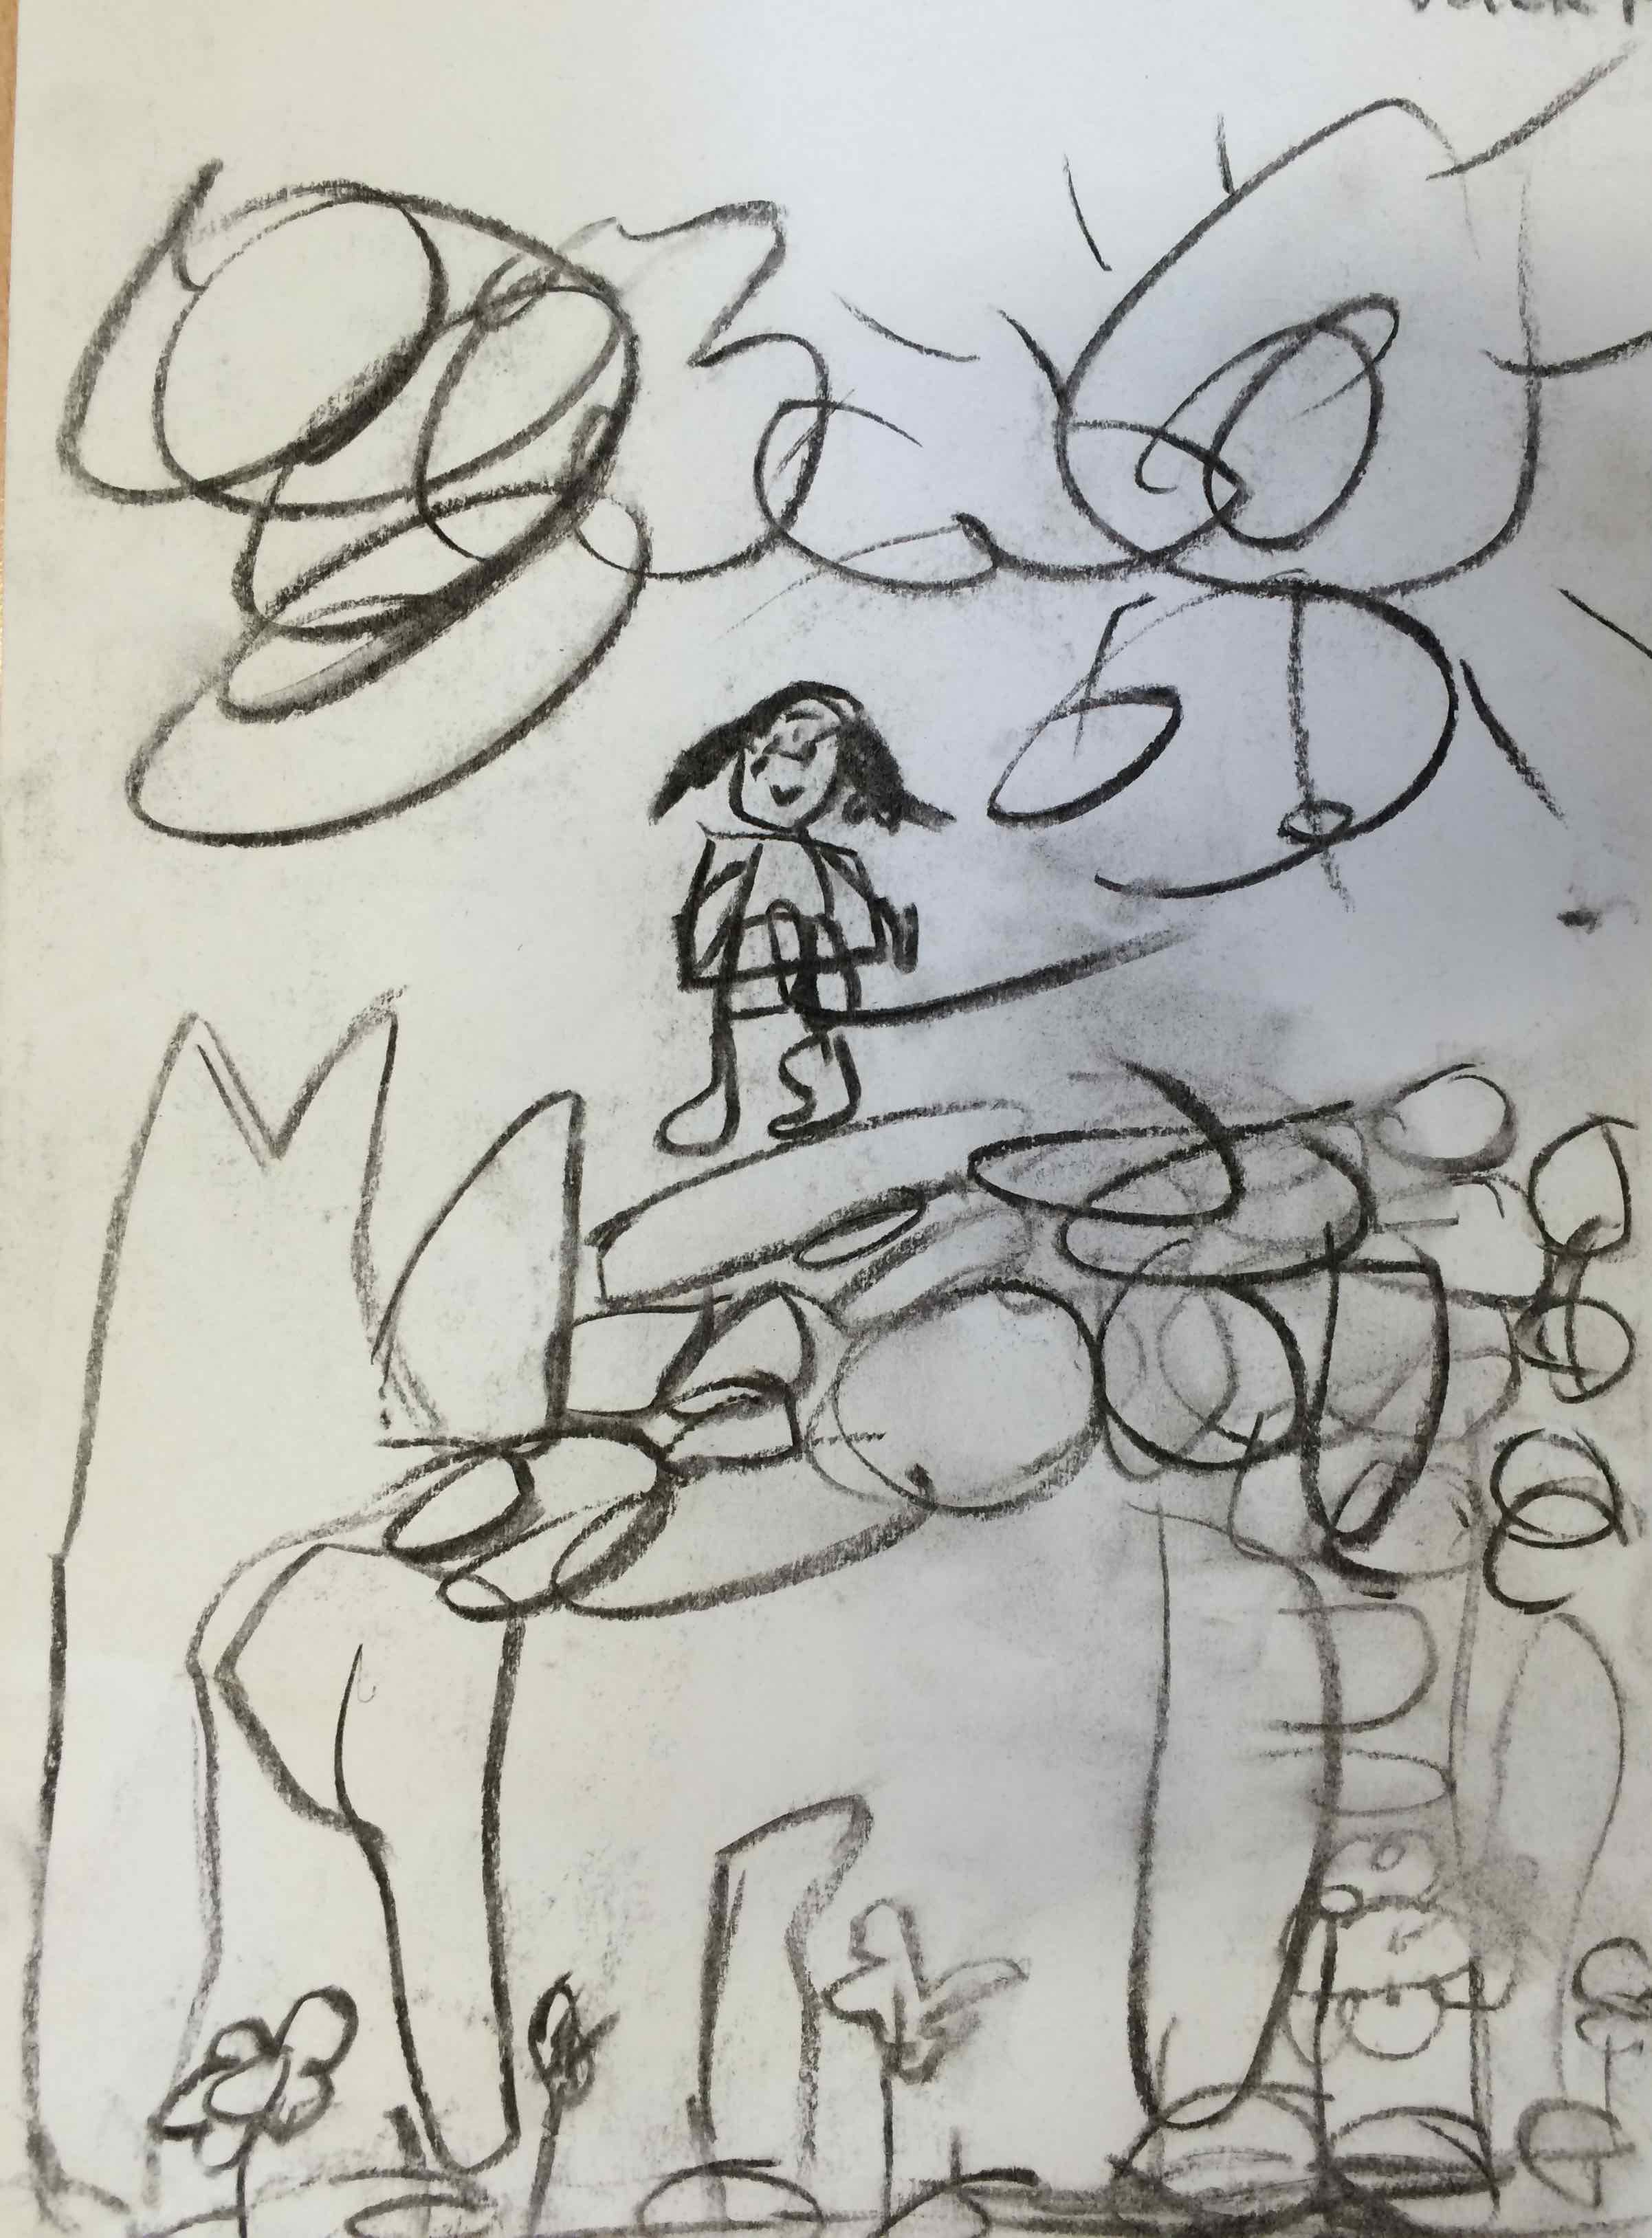
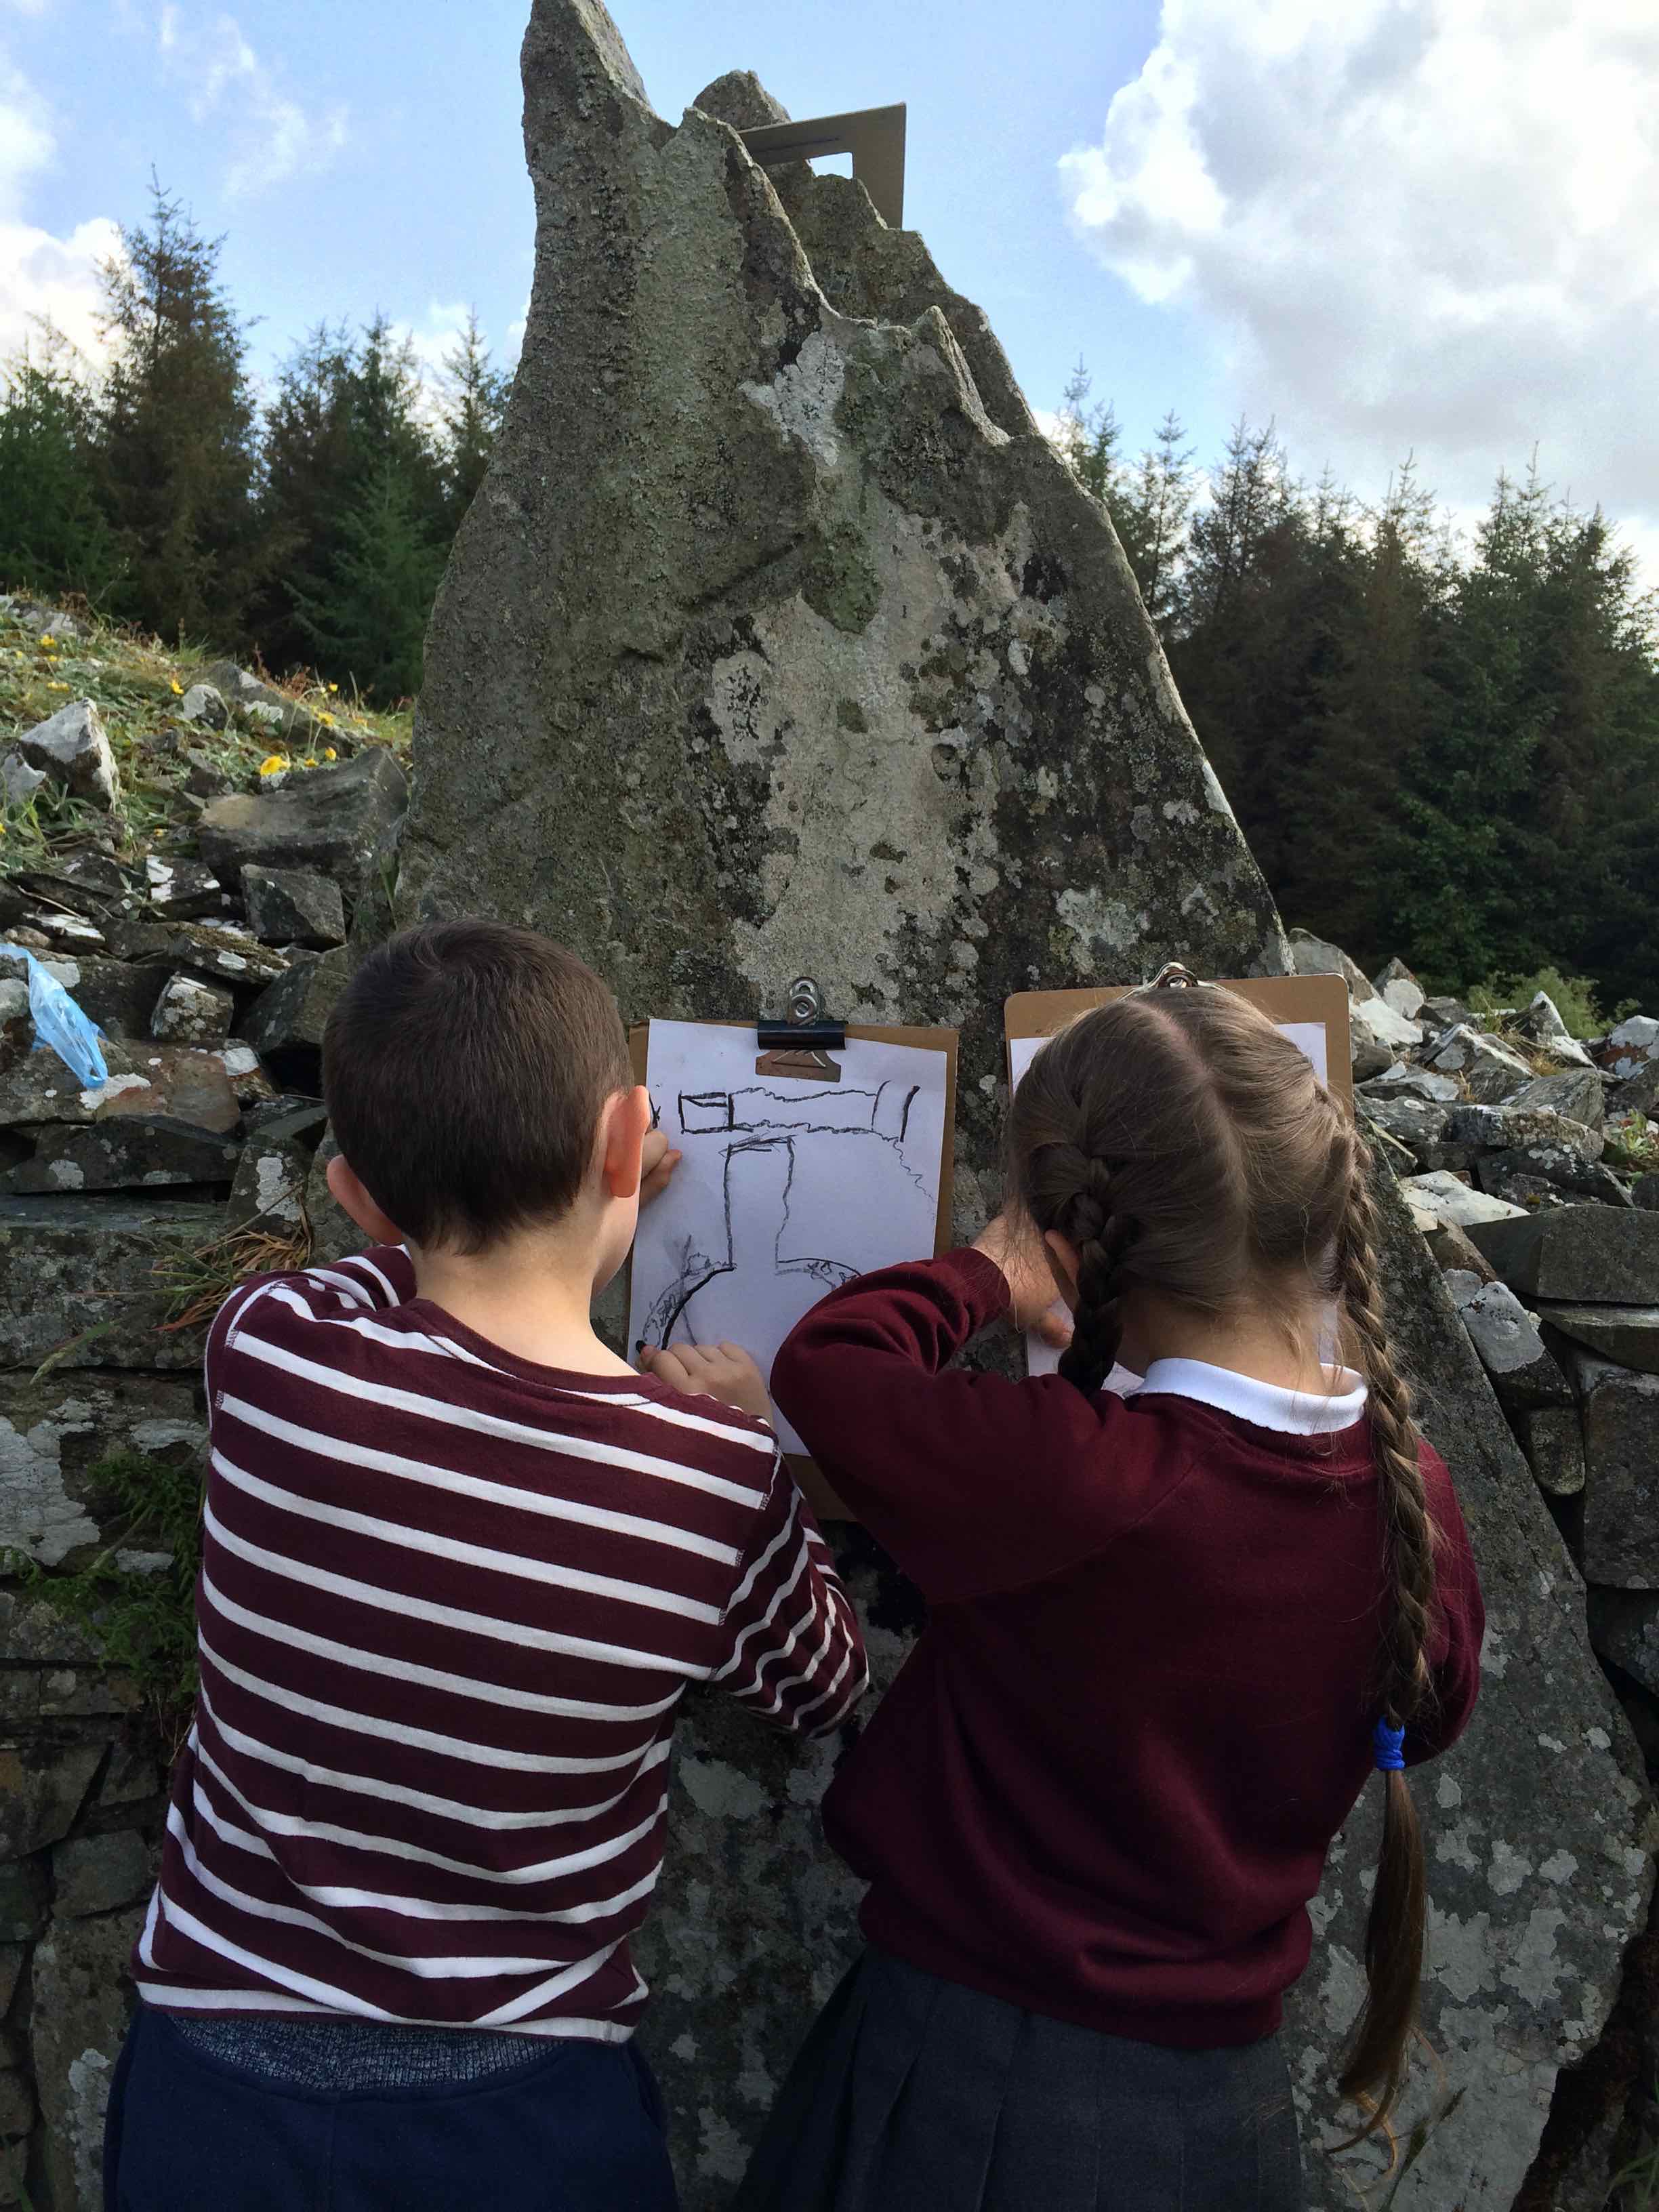
Did the faeries leave sweets?The children each took a clipboard and charcoal (also an ancient drawing tool!) and made some sketches of what they saw.
The children drew the shapes of the stones, texture and details…
…they carefully observed their surroundings and drew confidently.
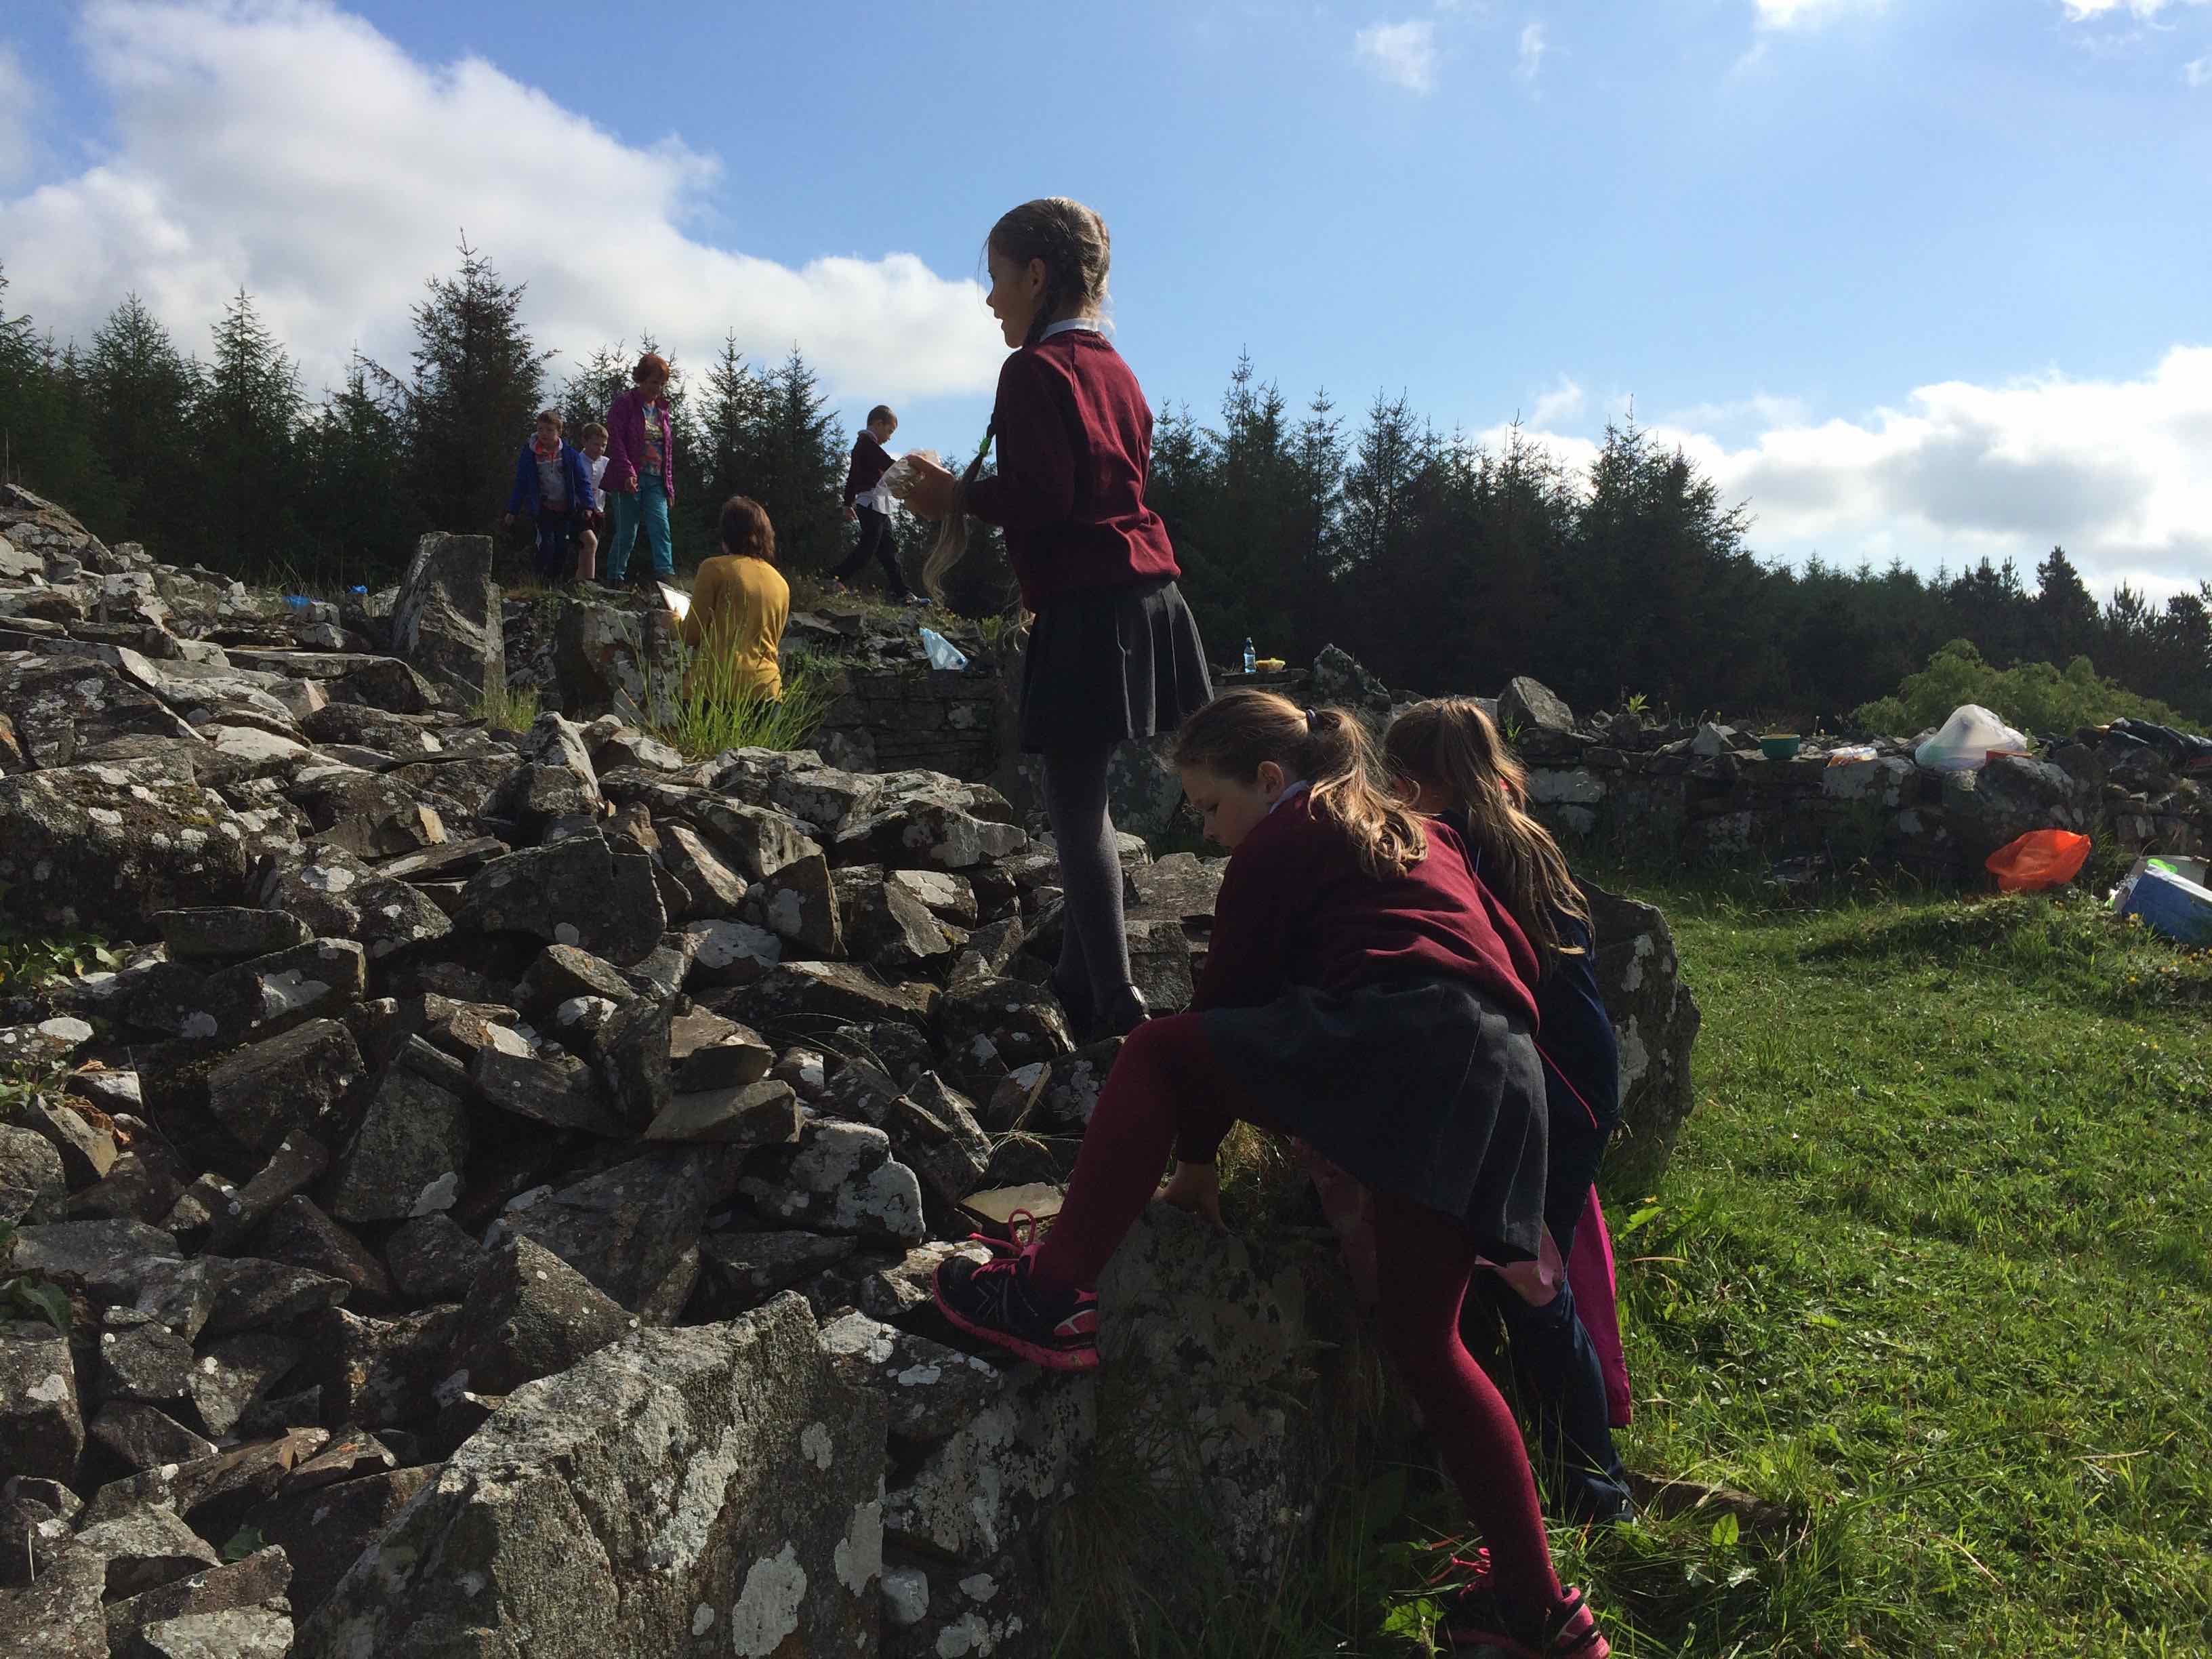
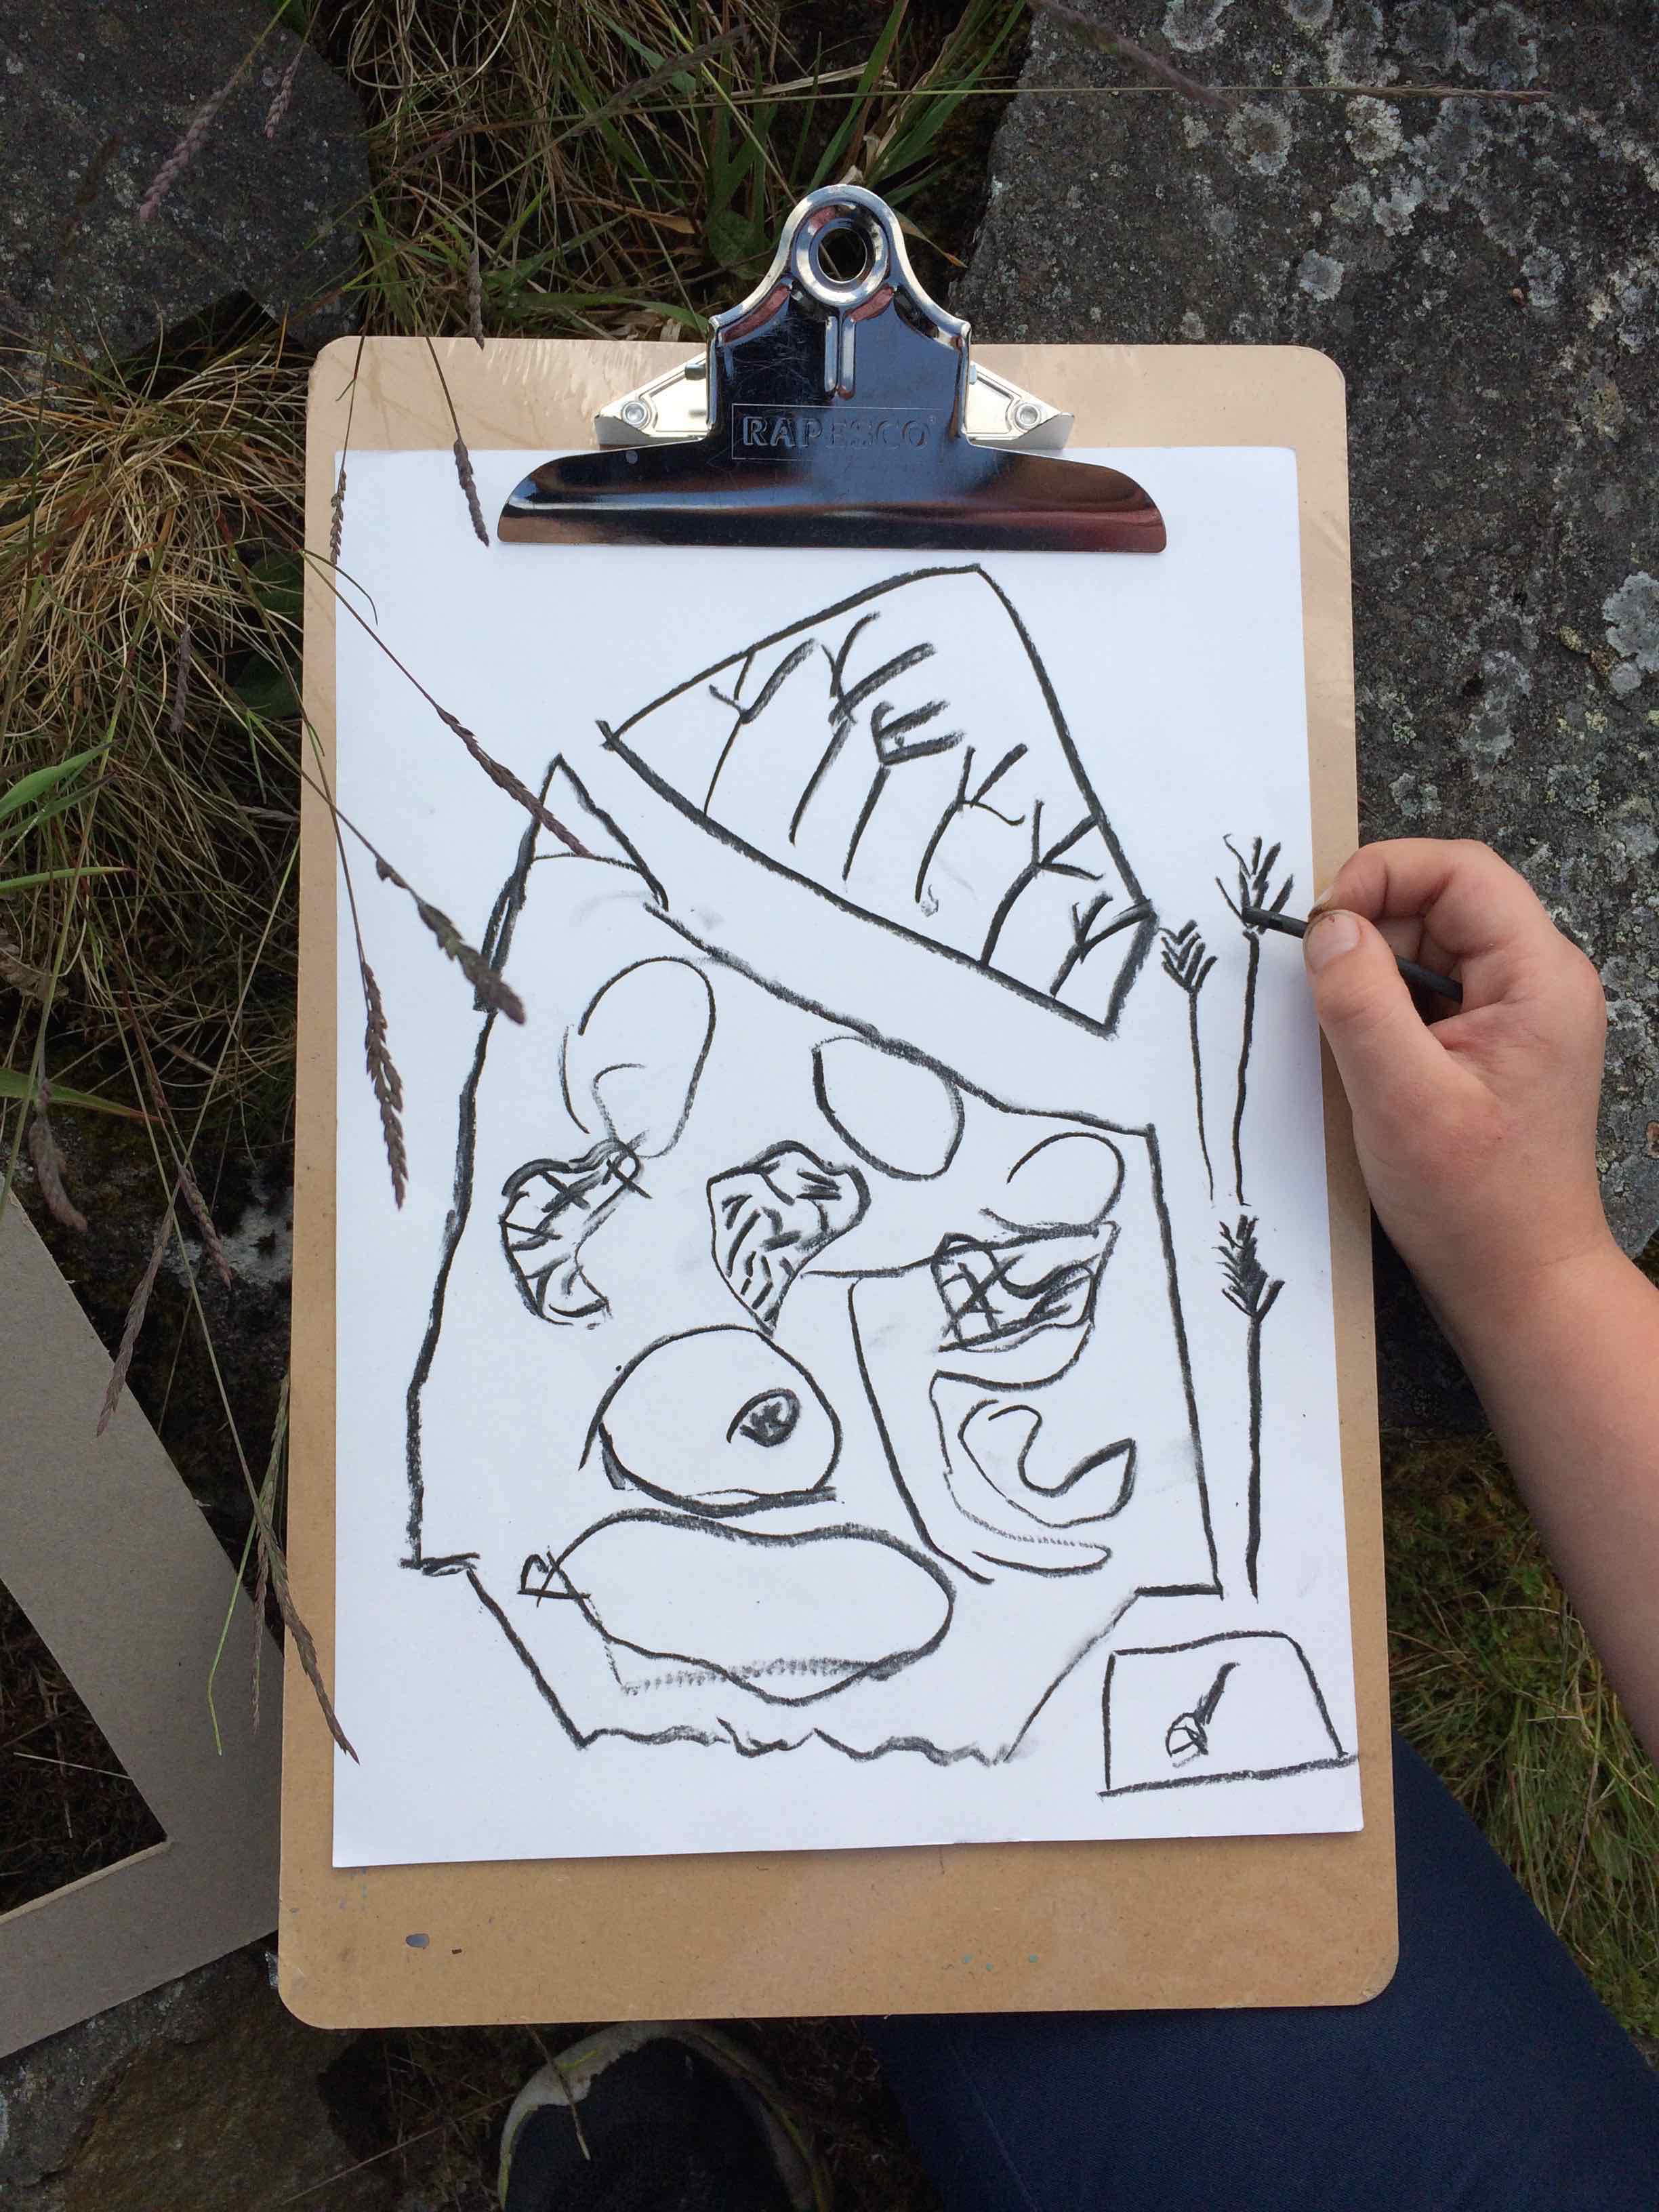
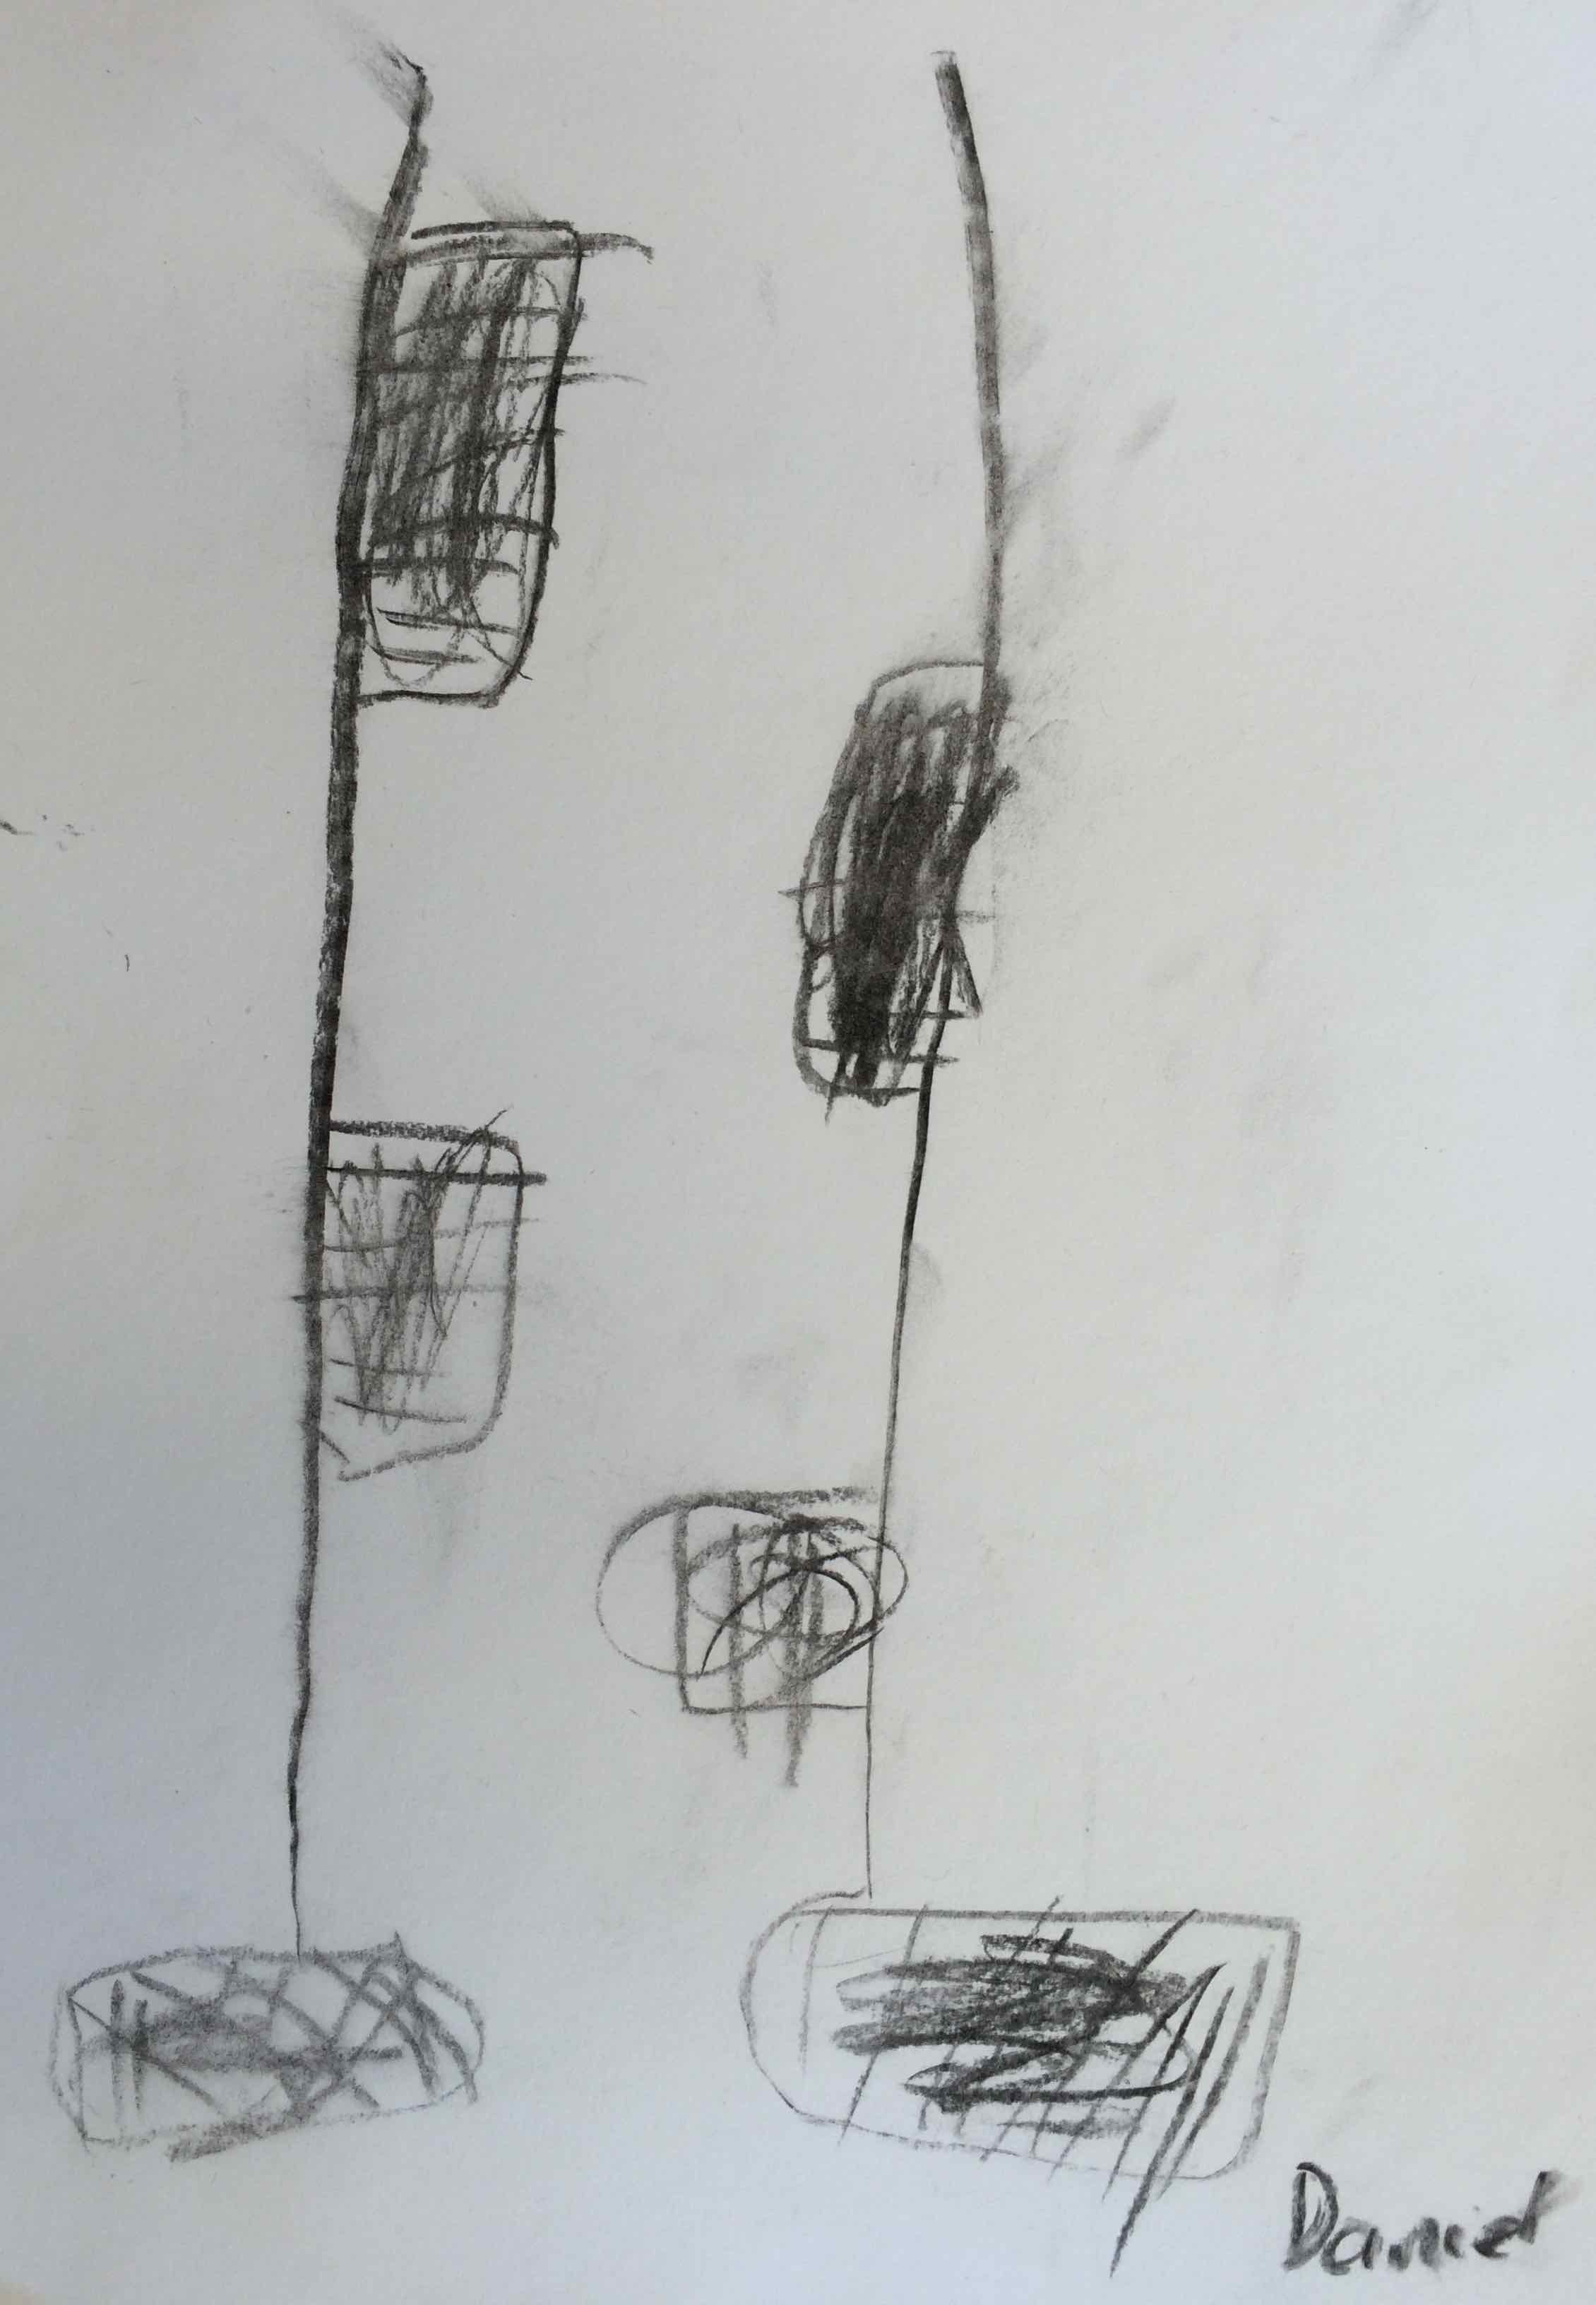
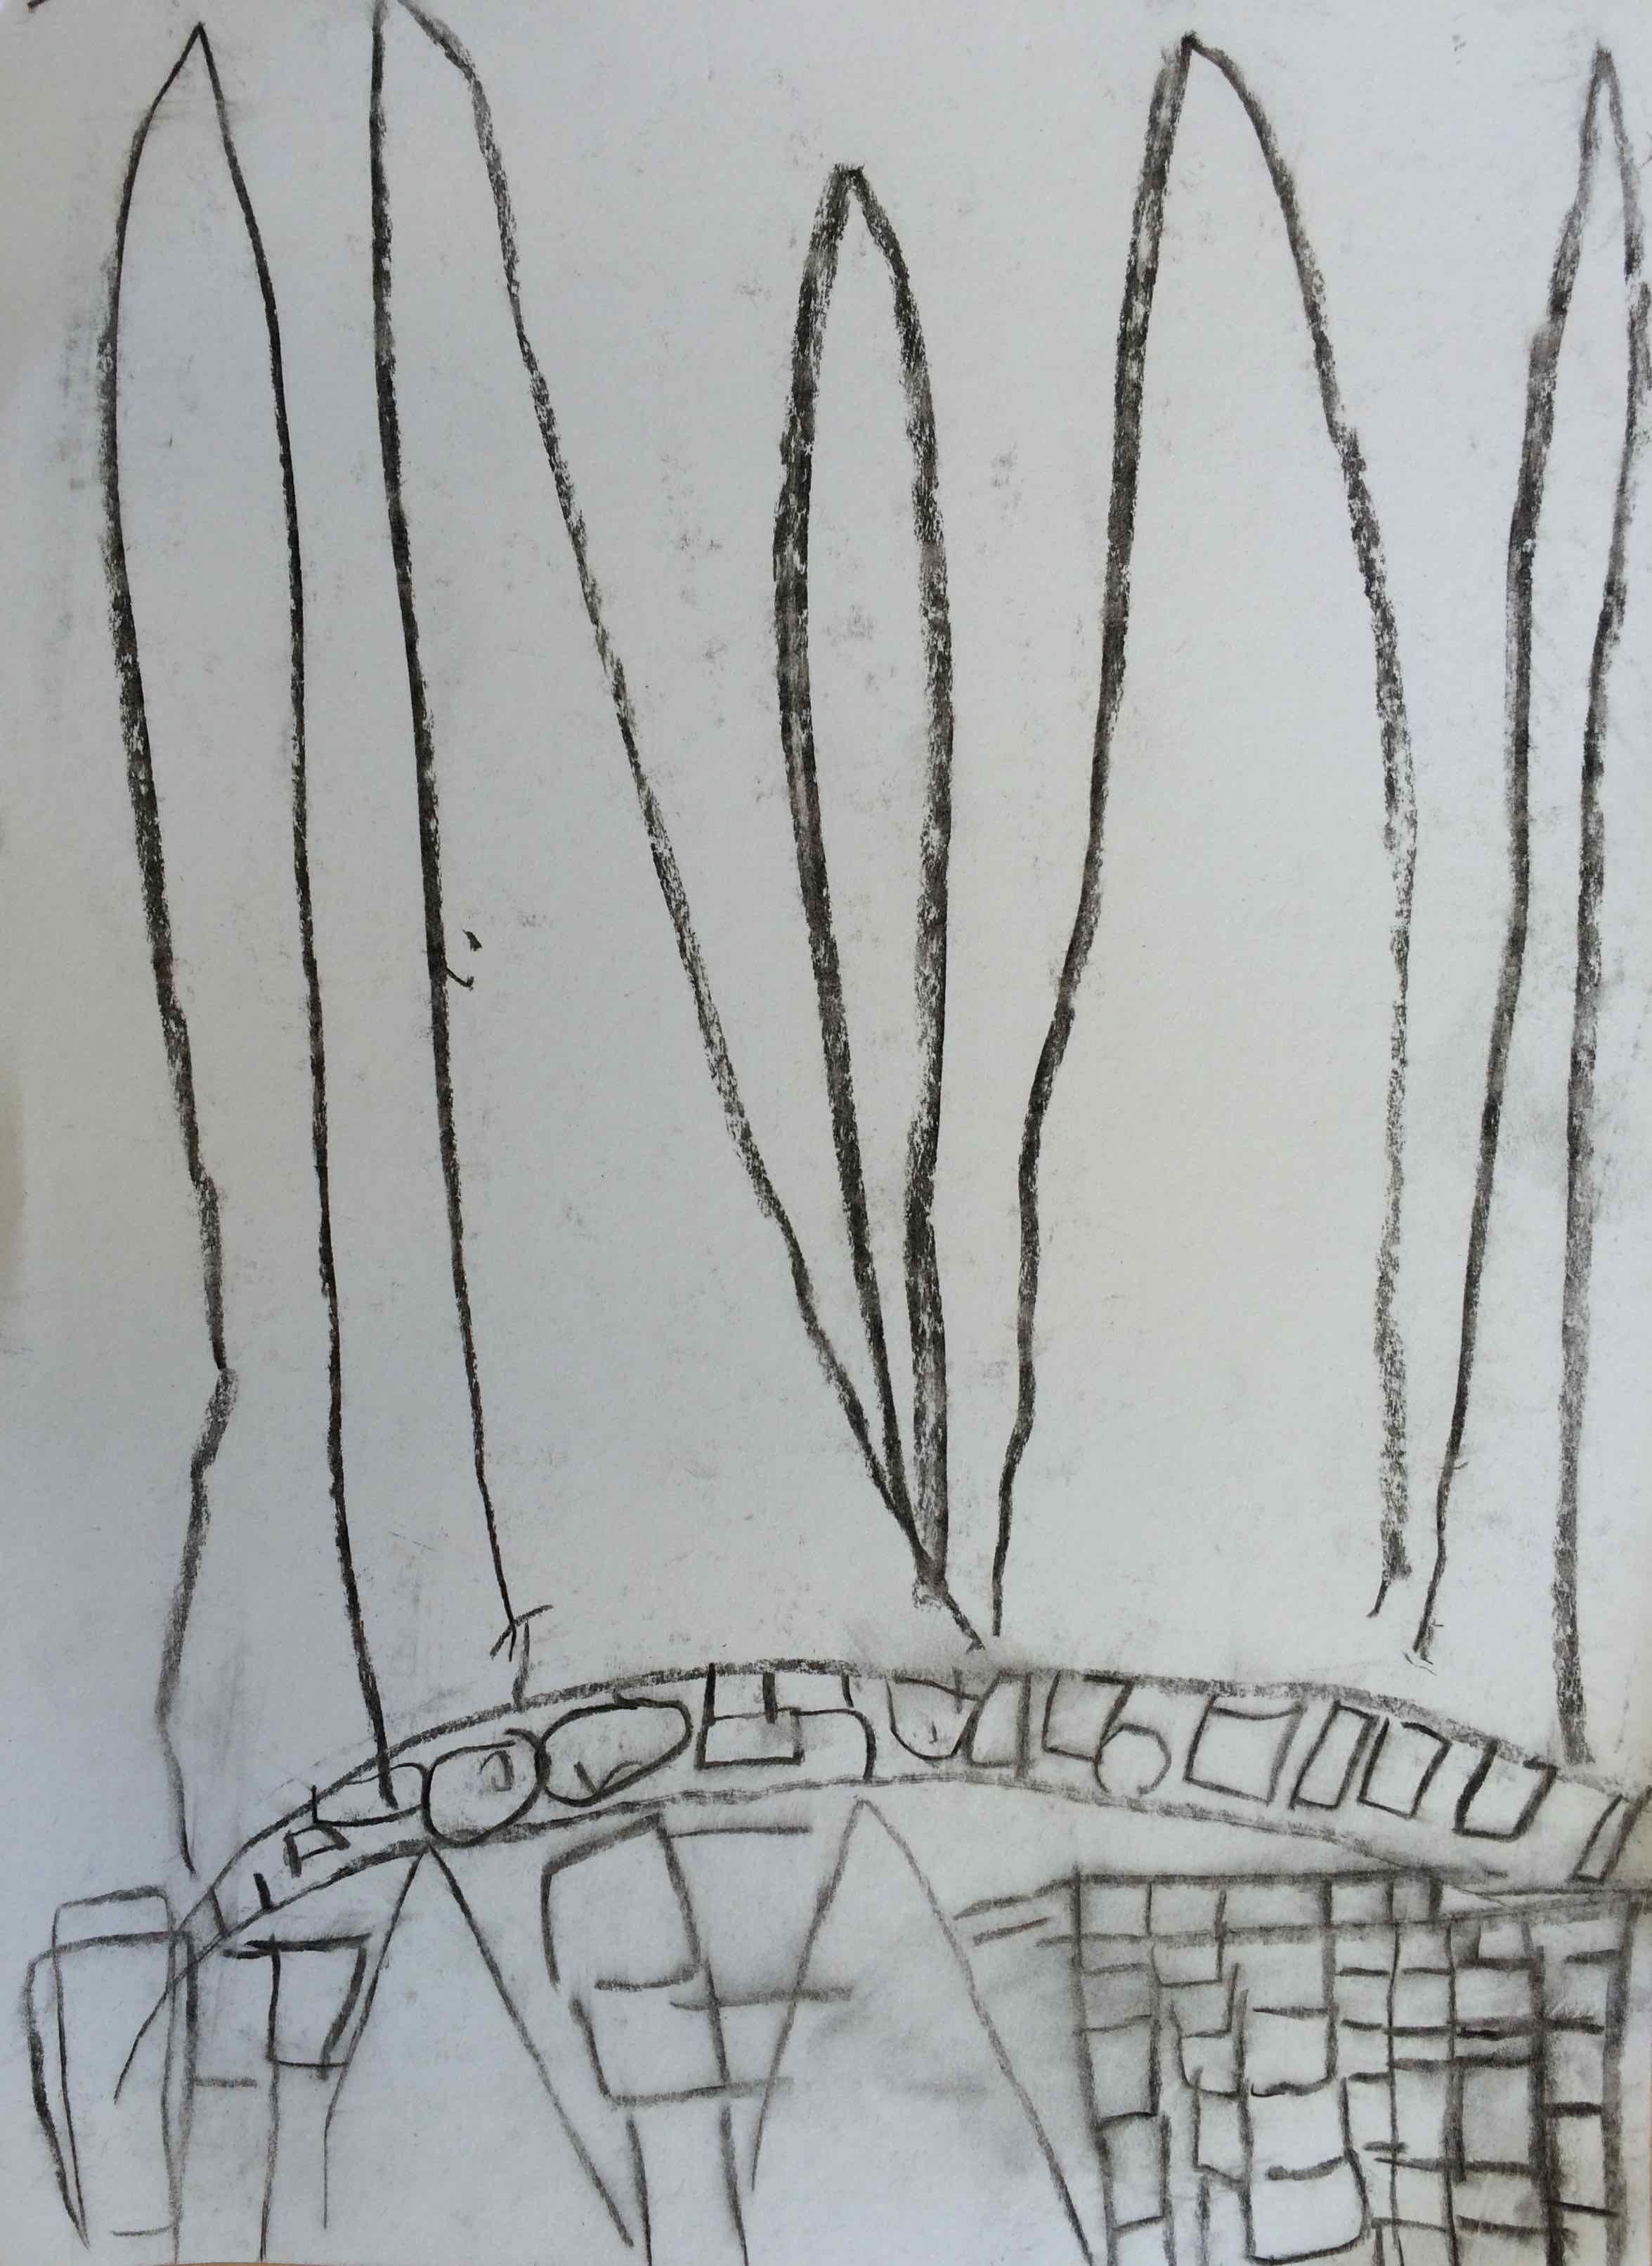
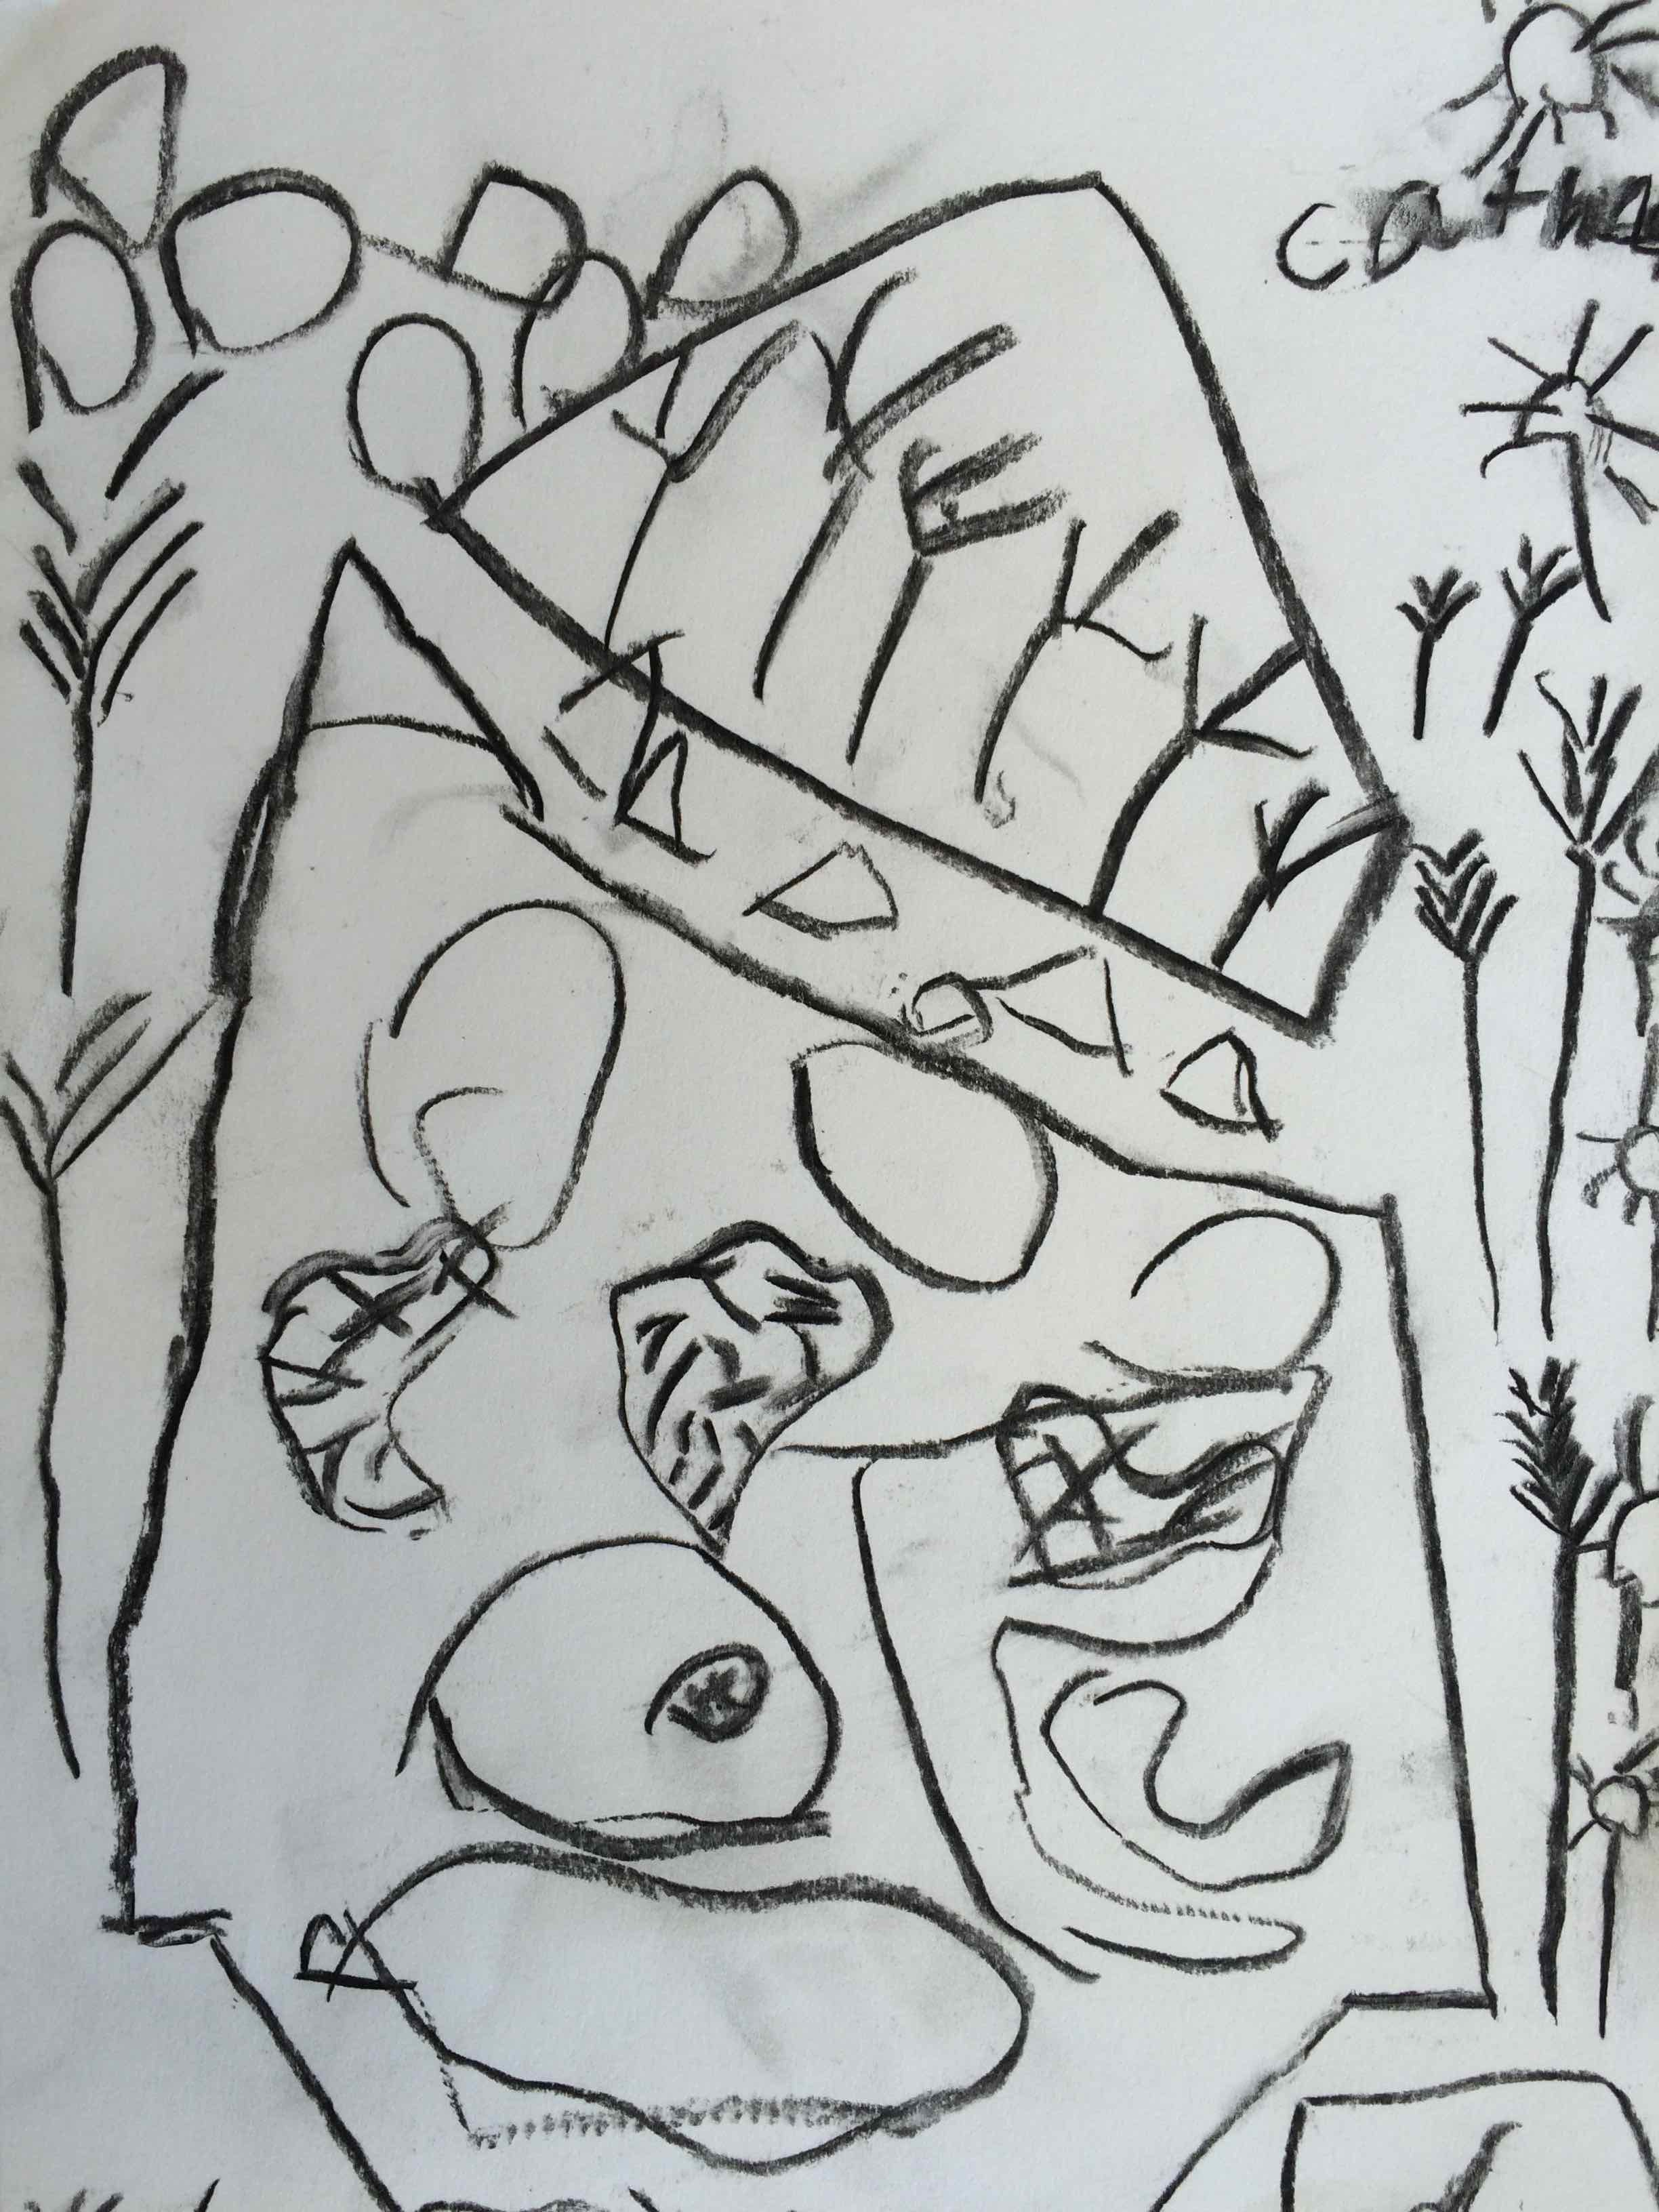
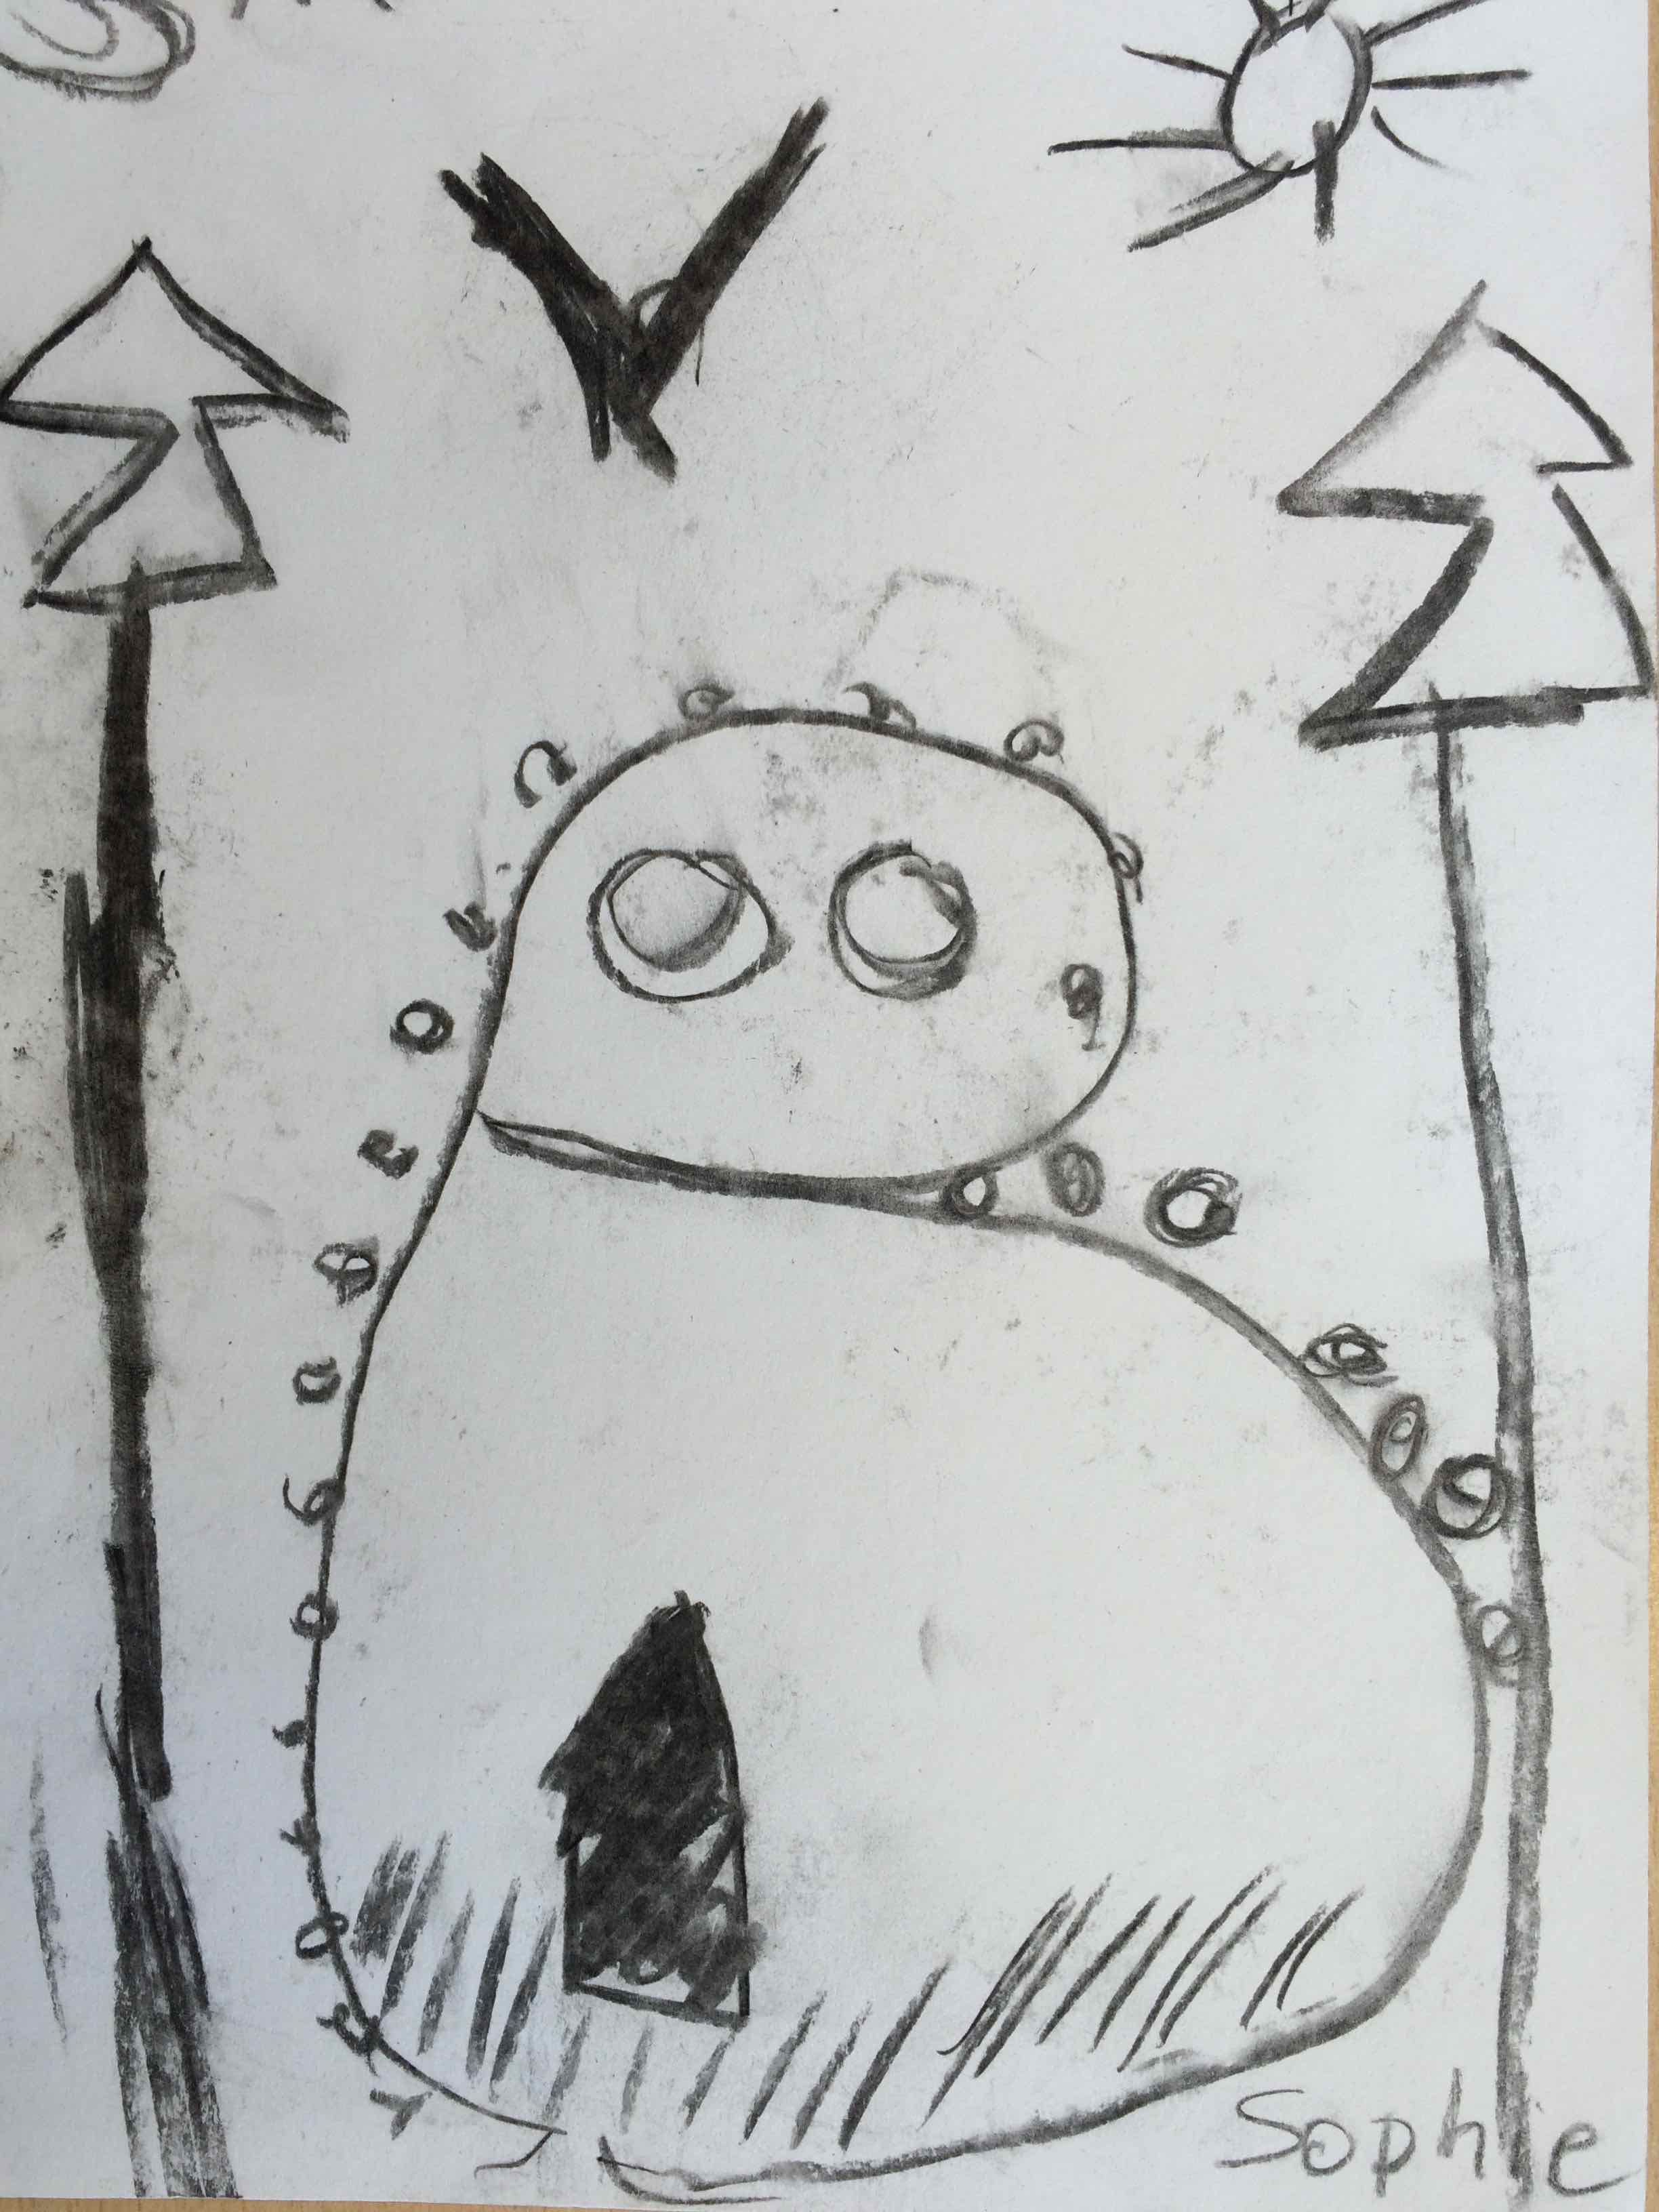
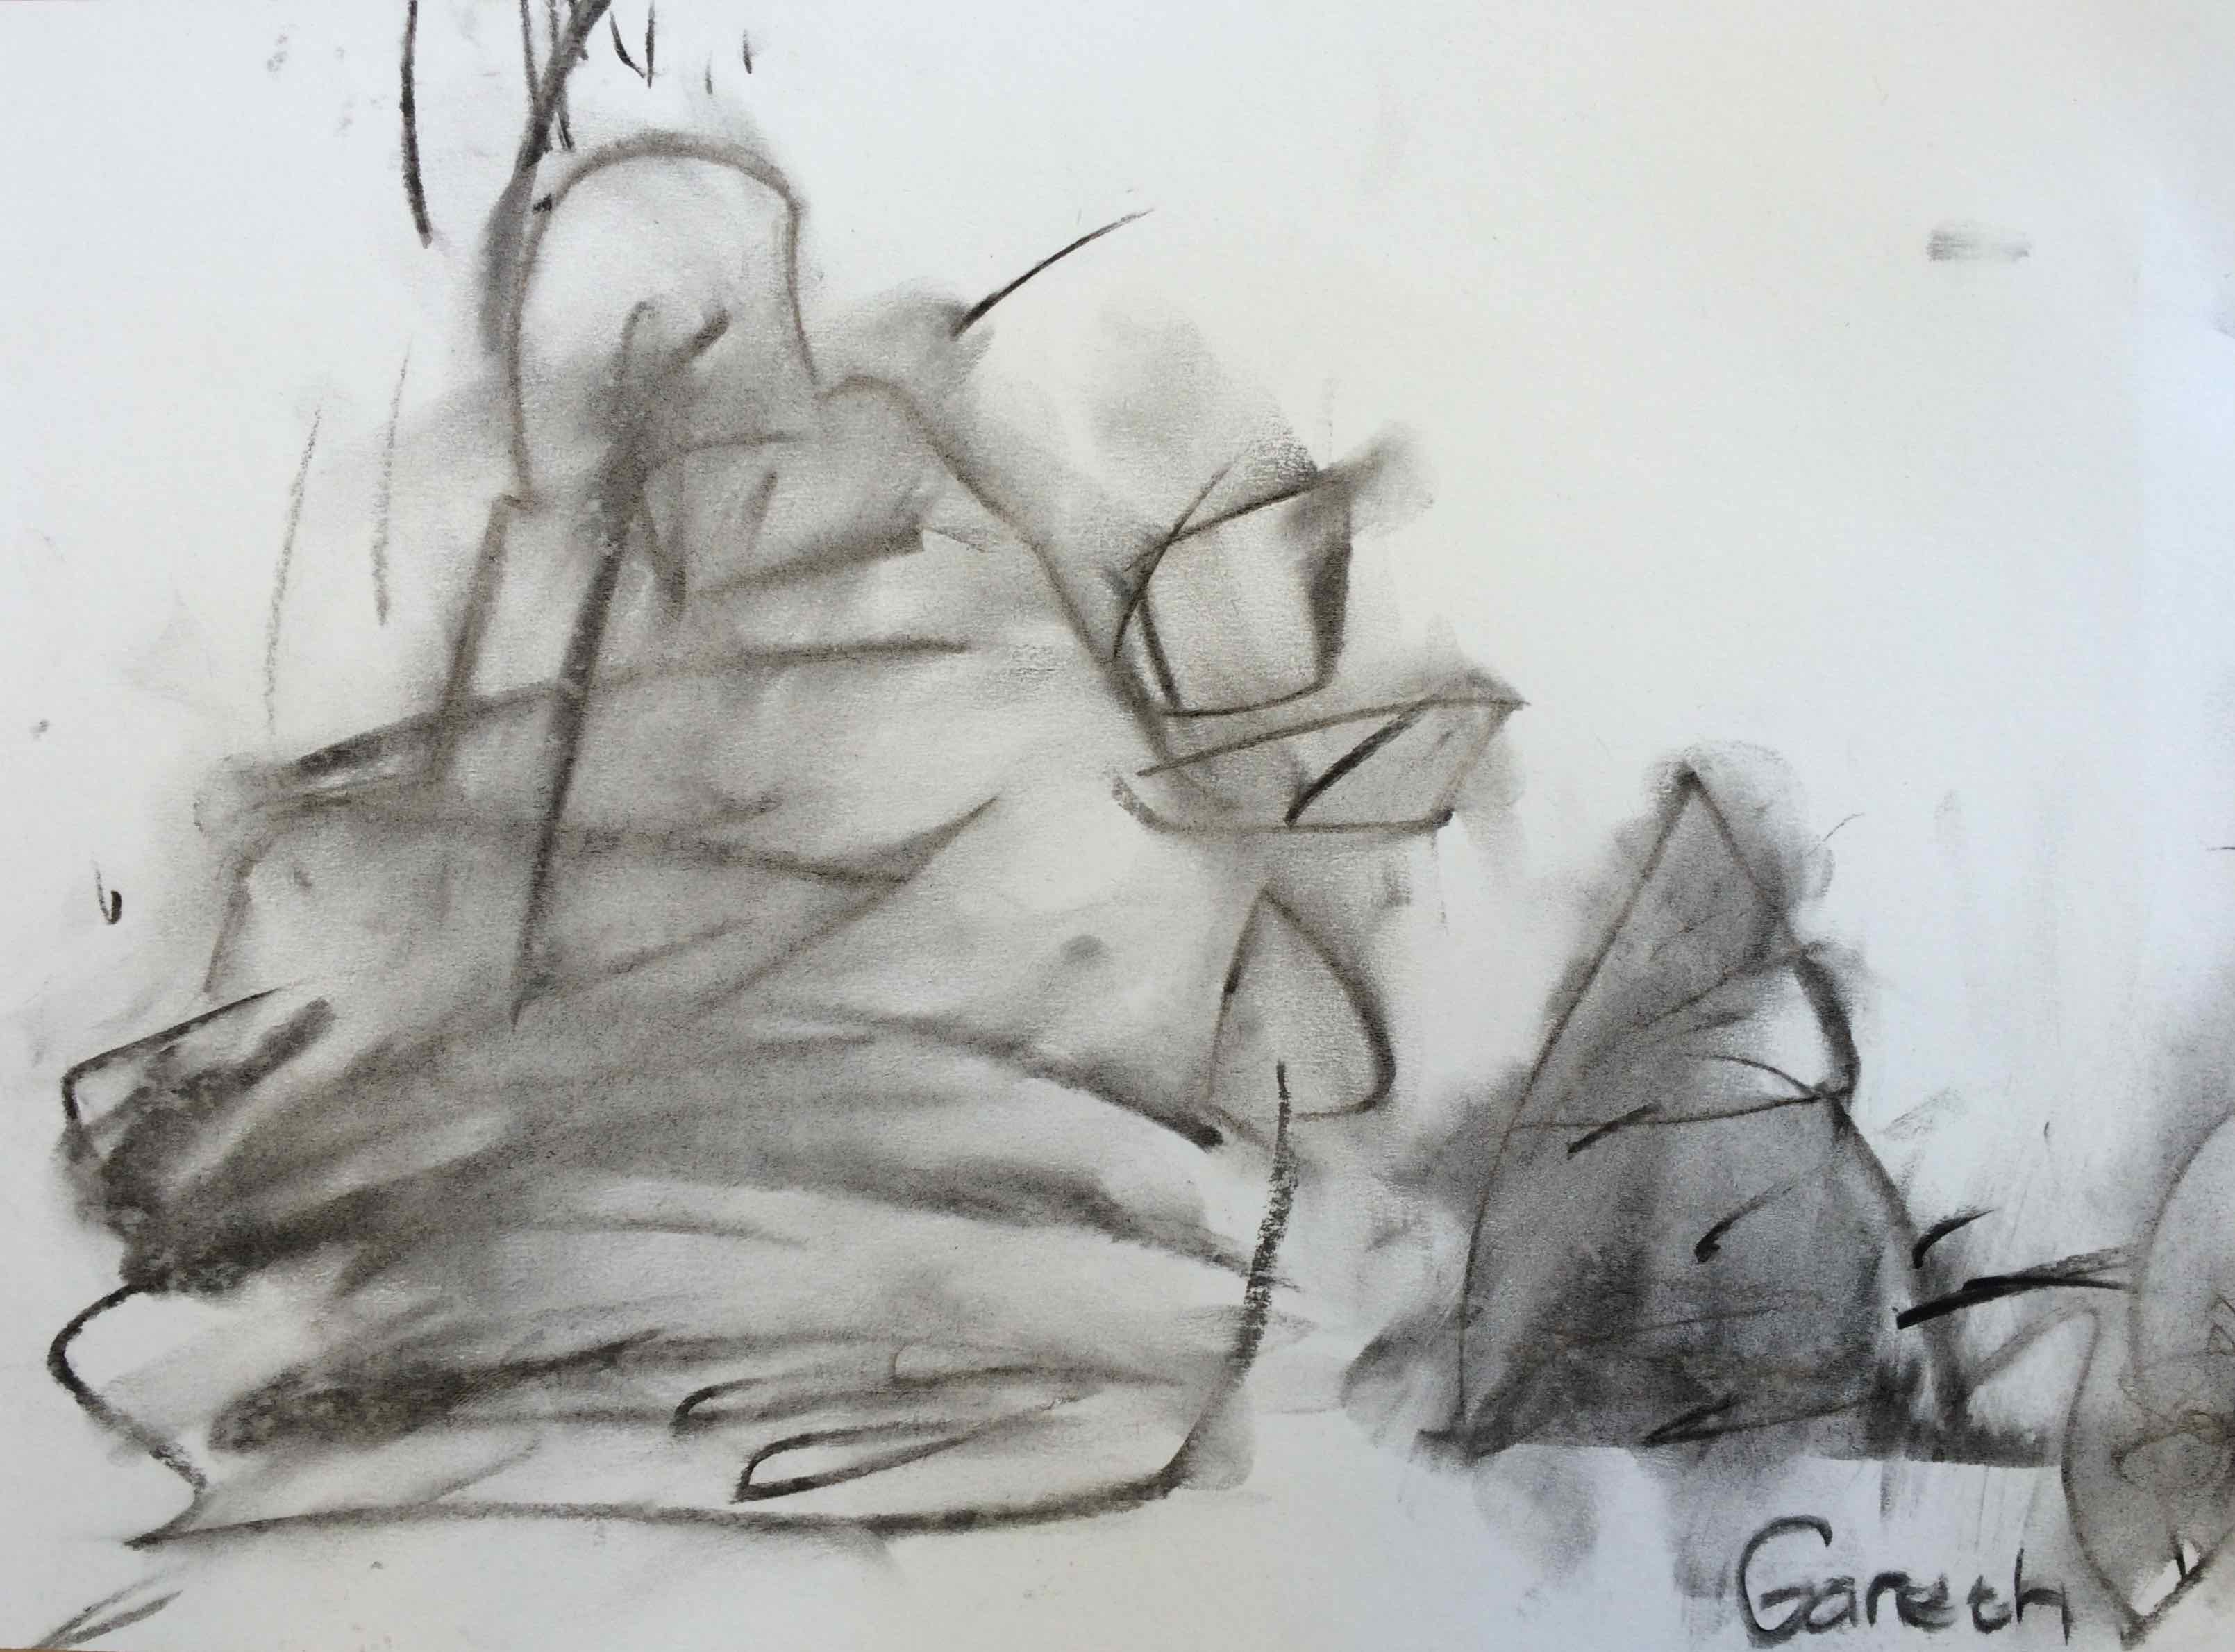
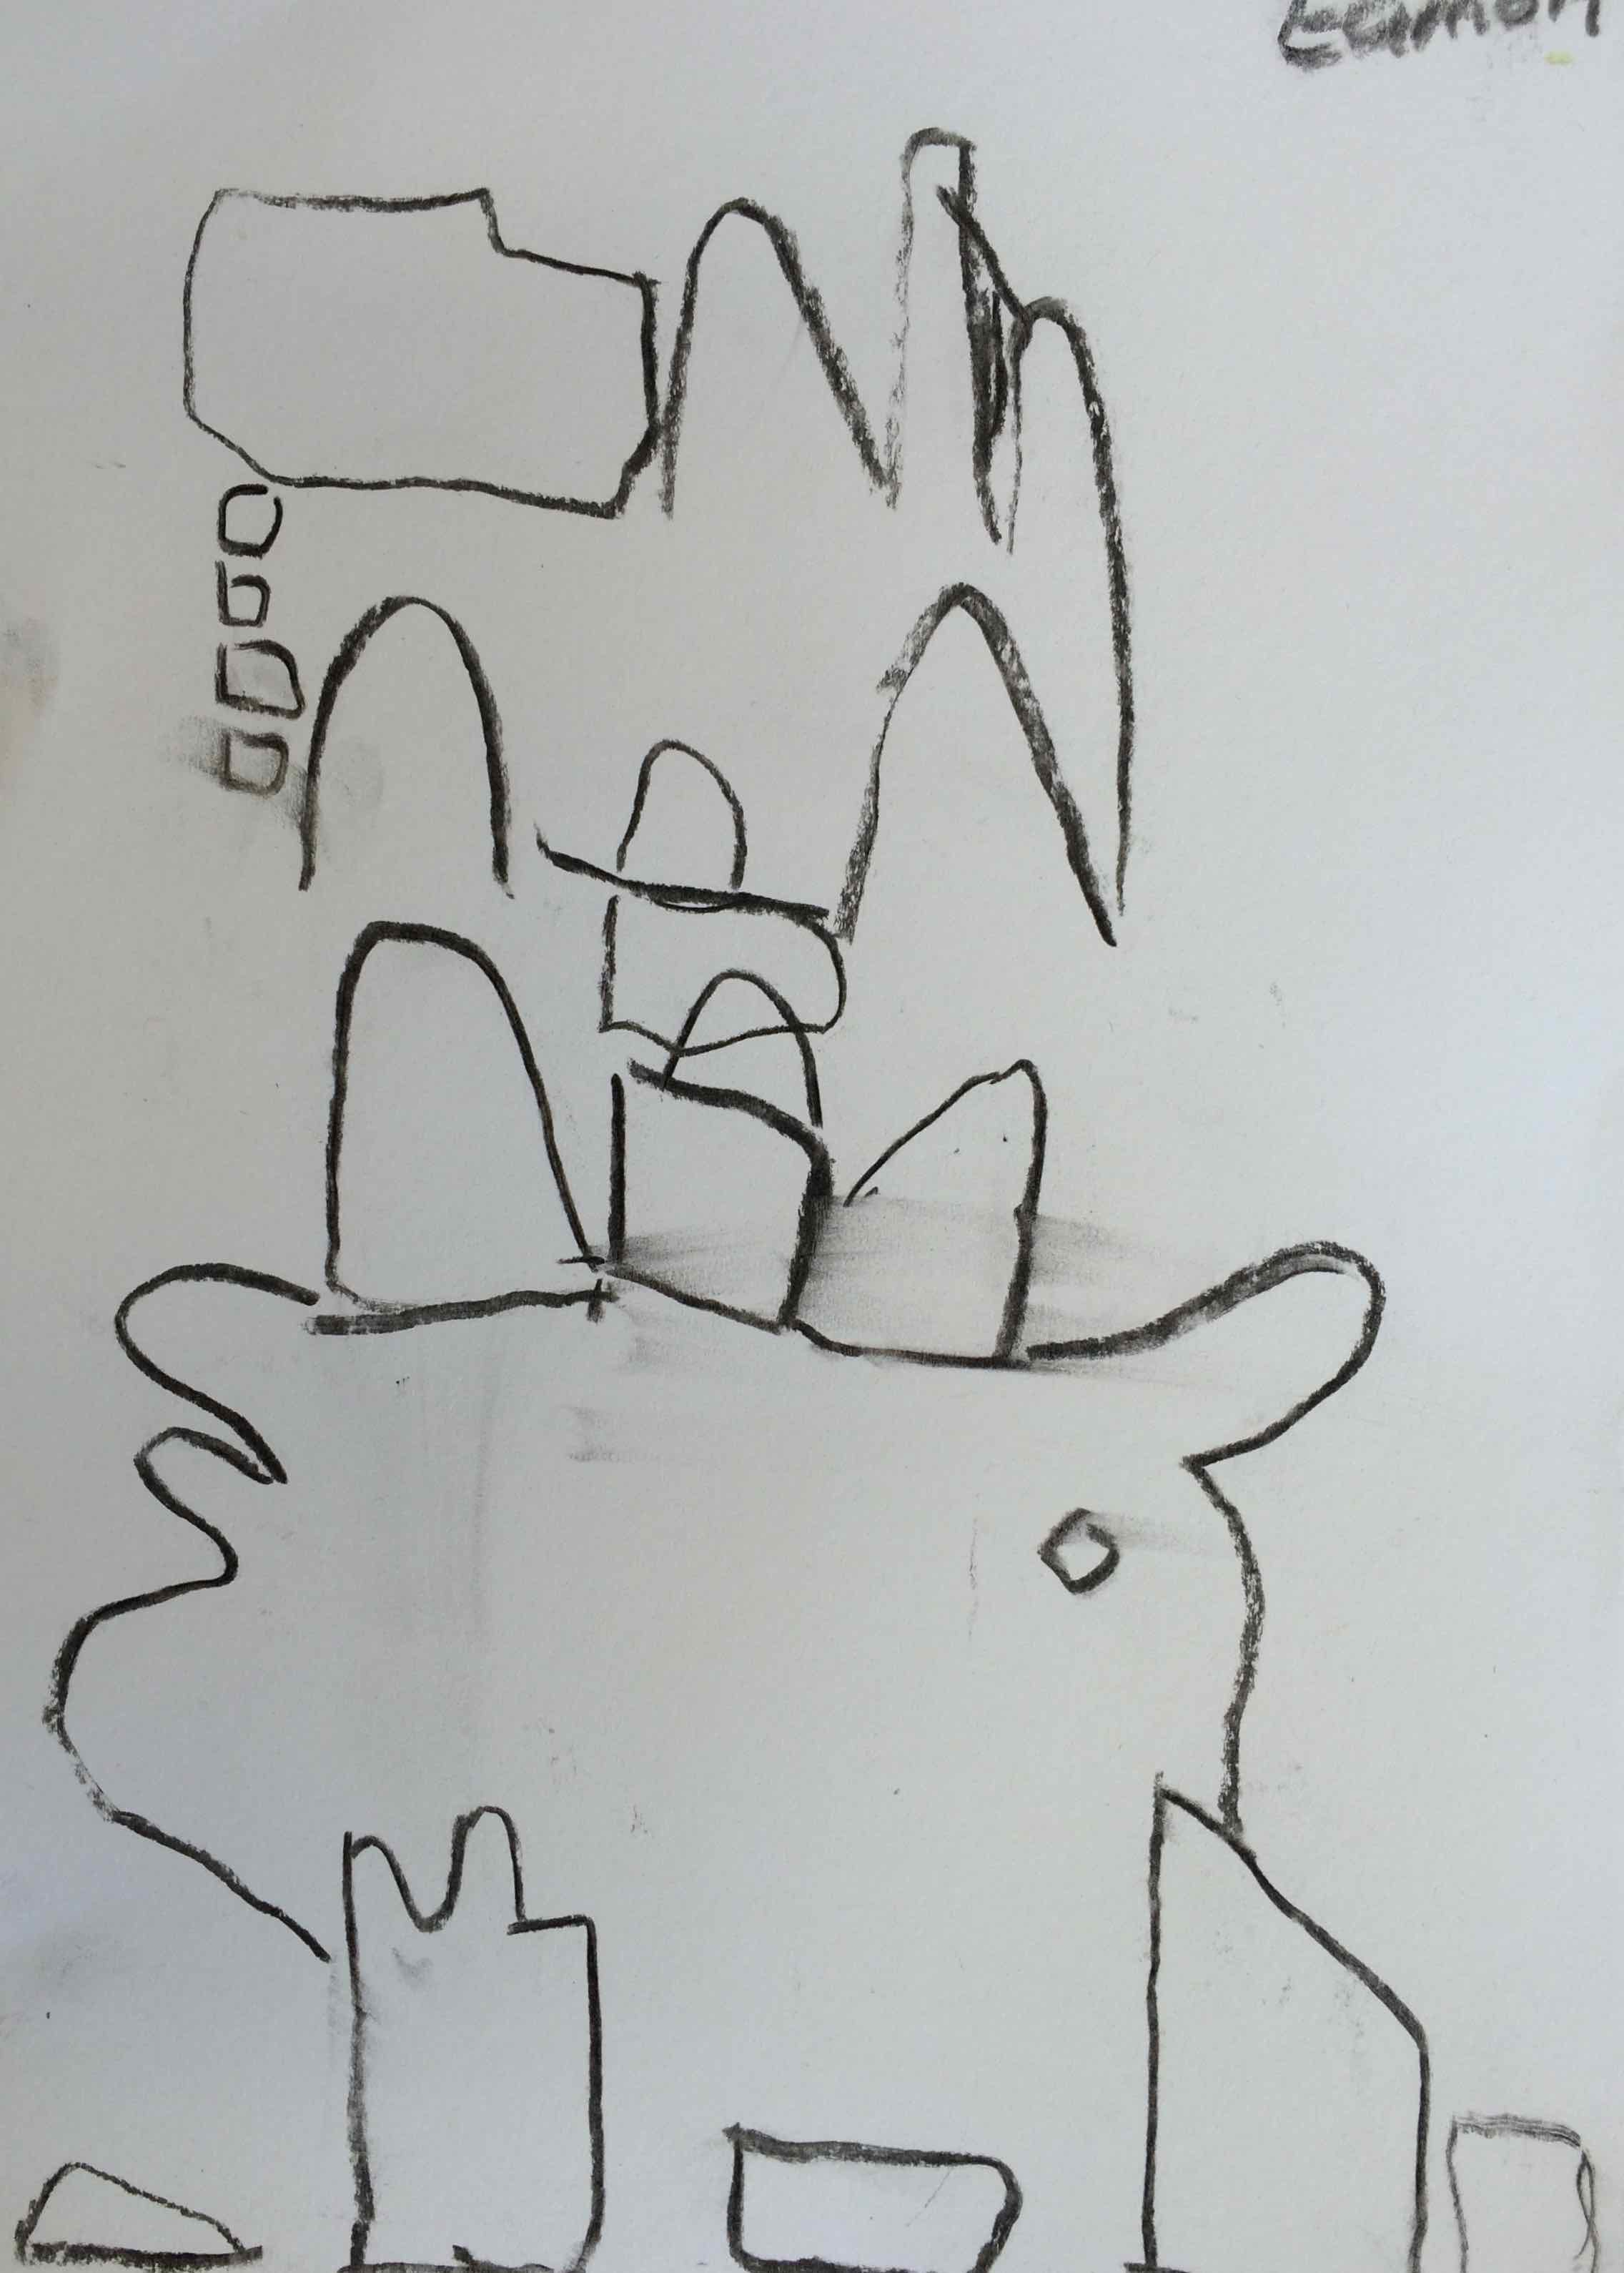
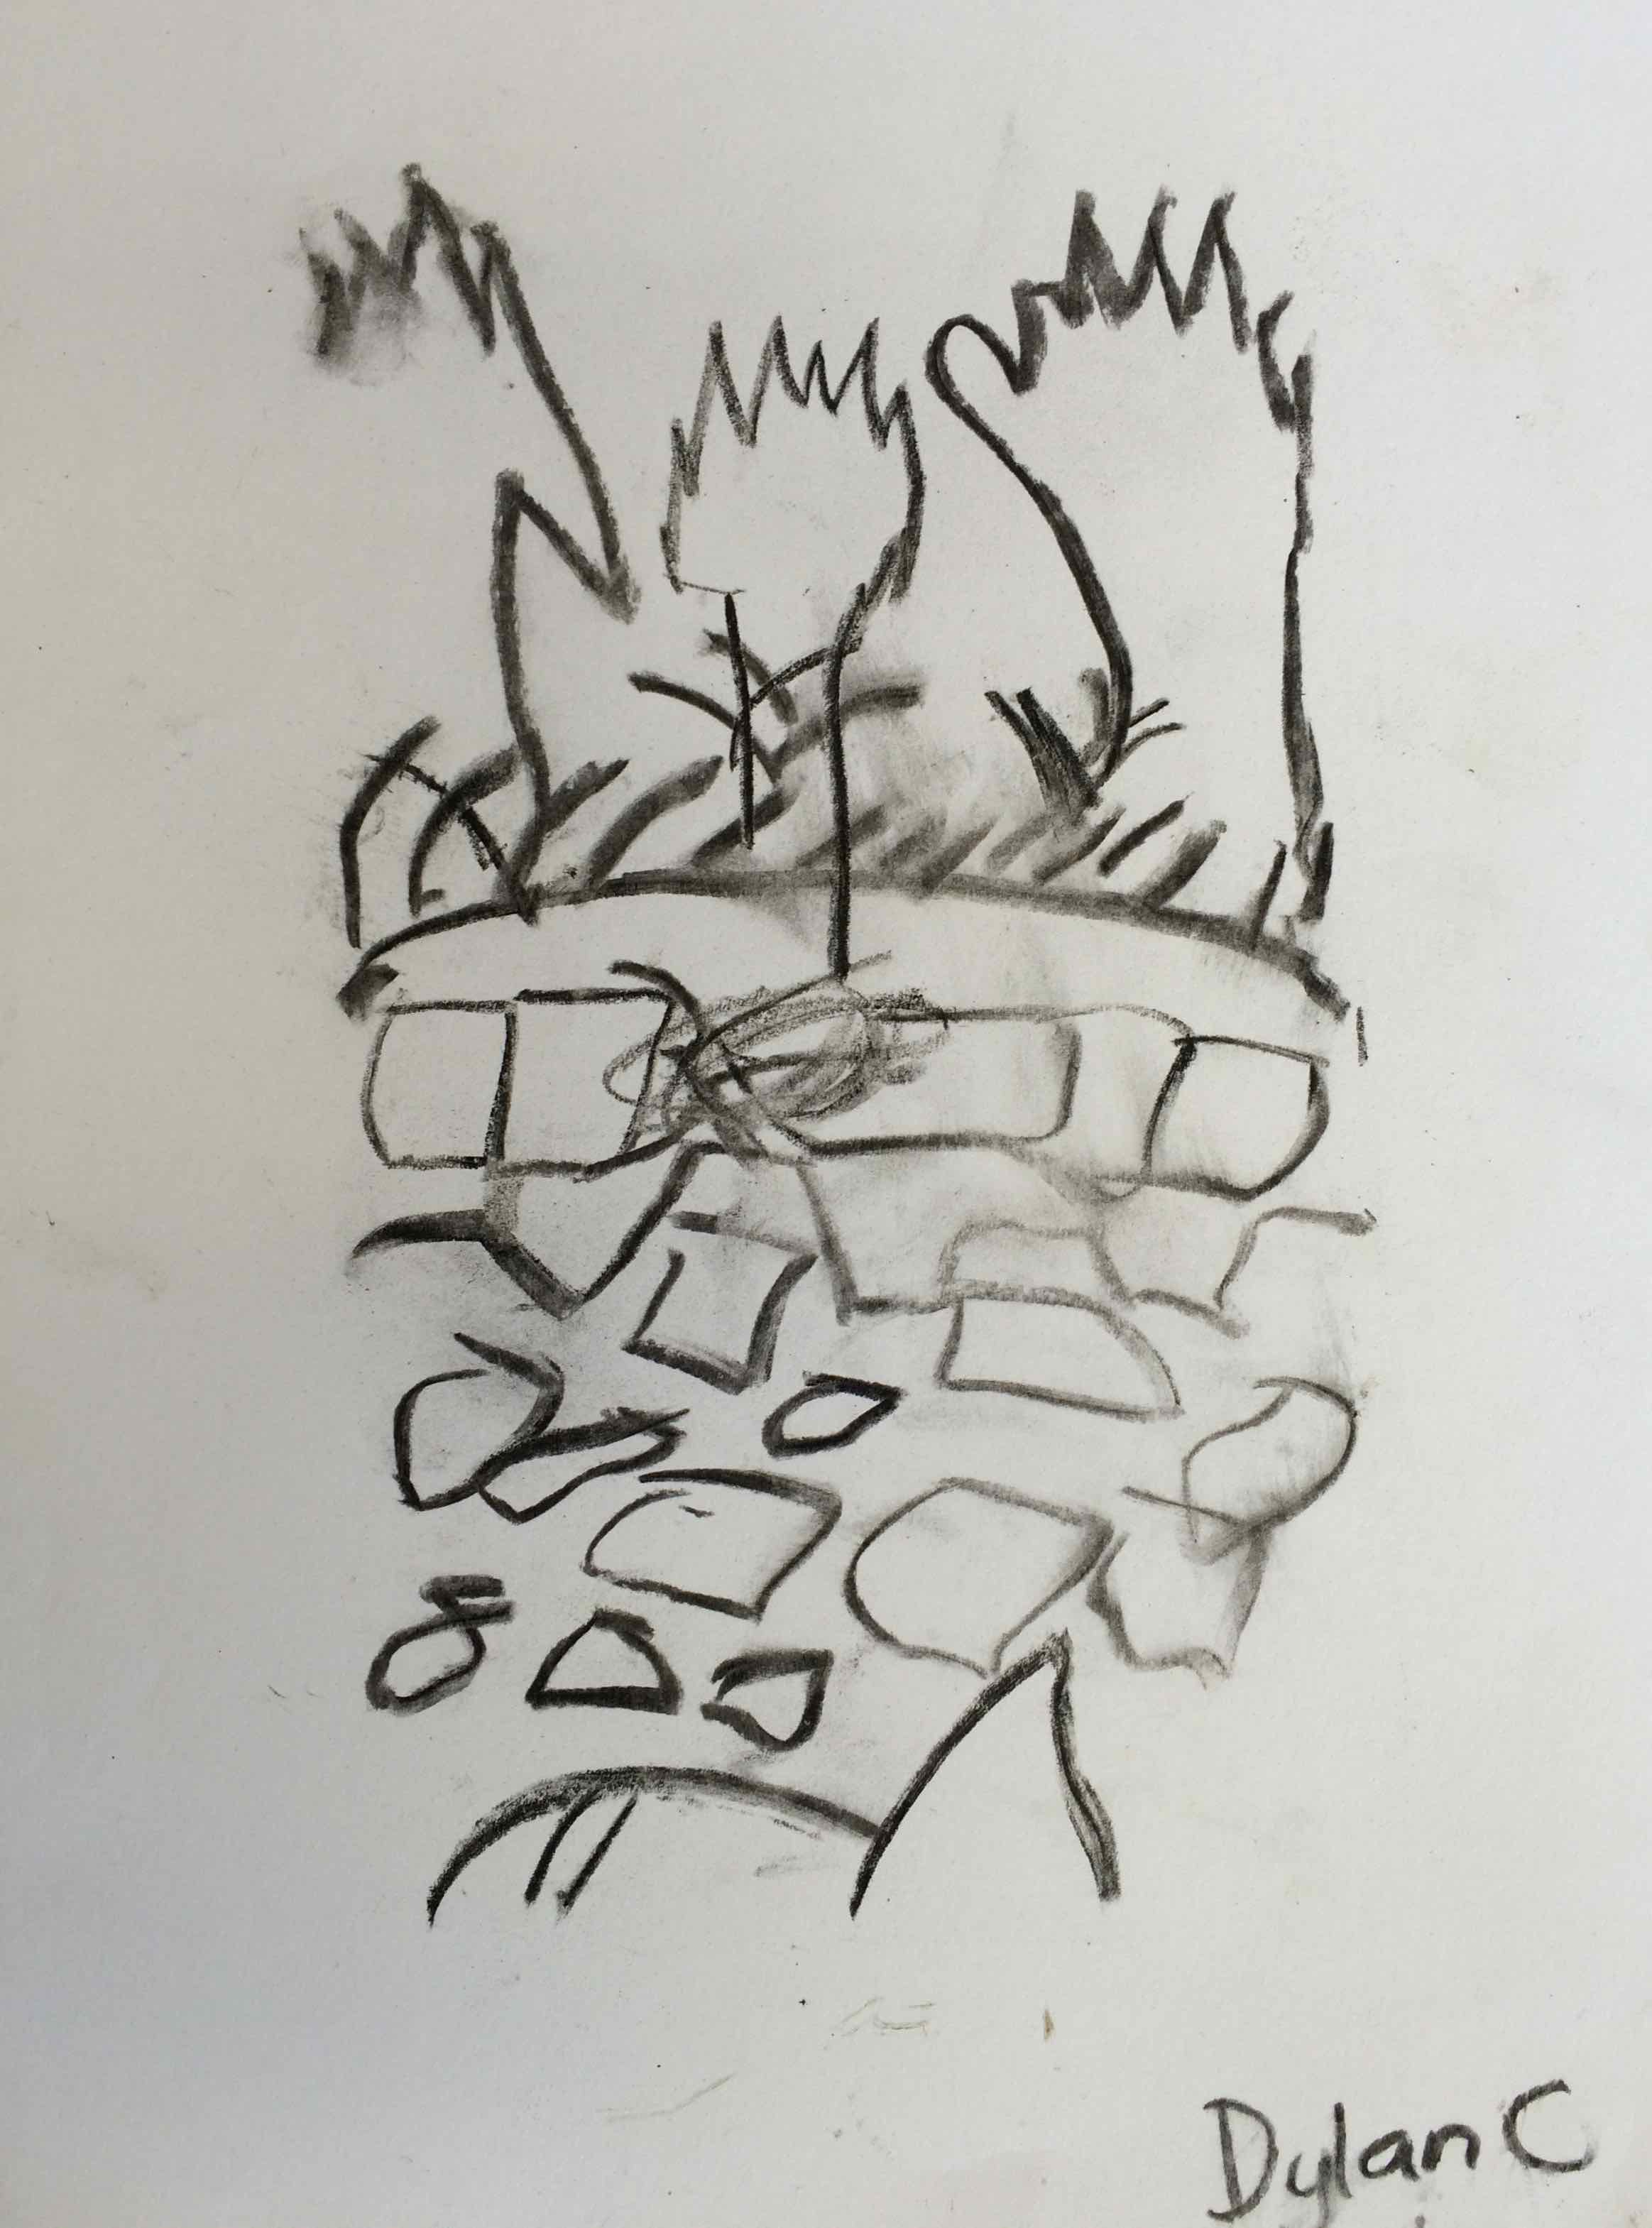
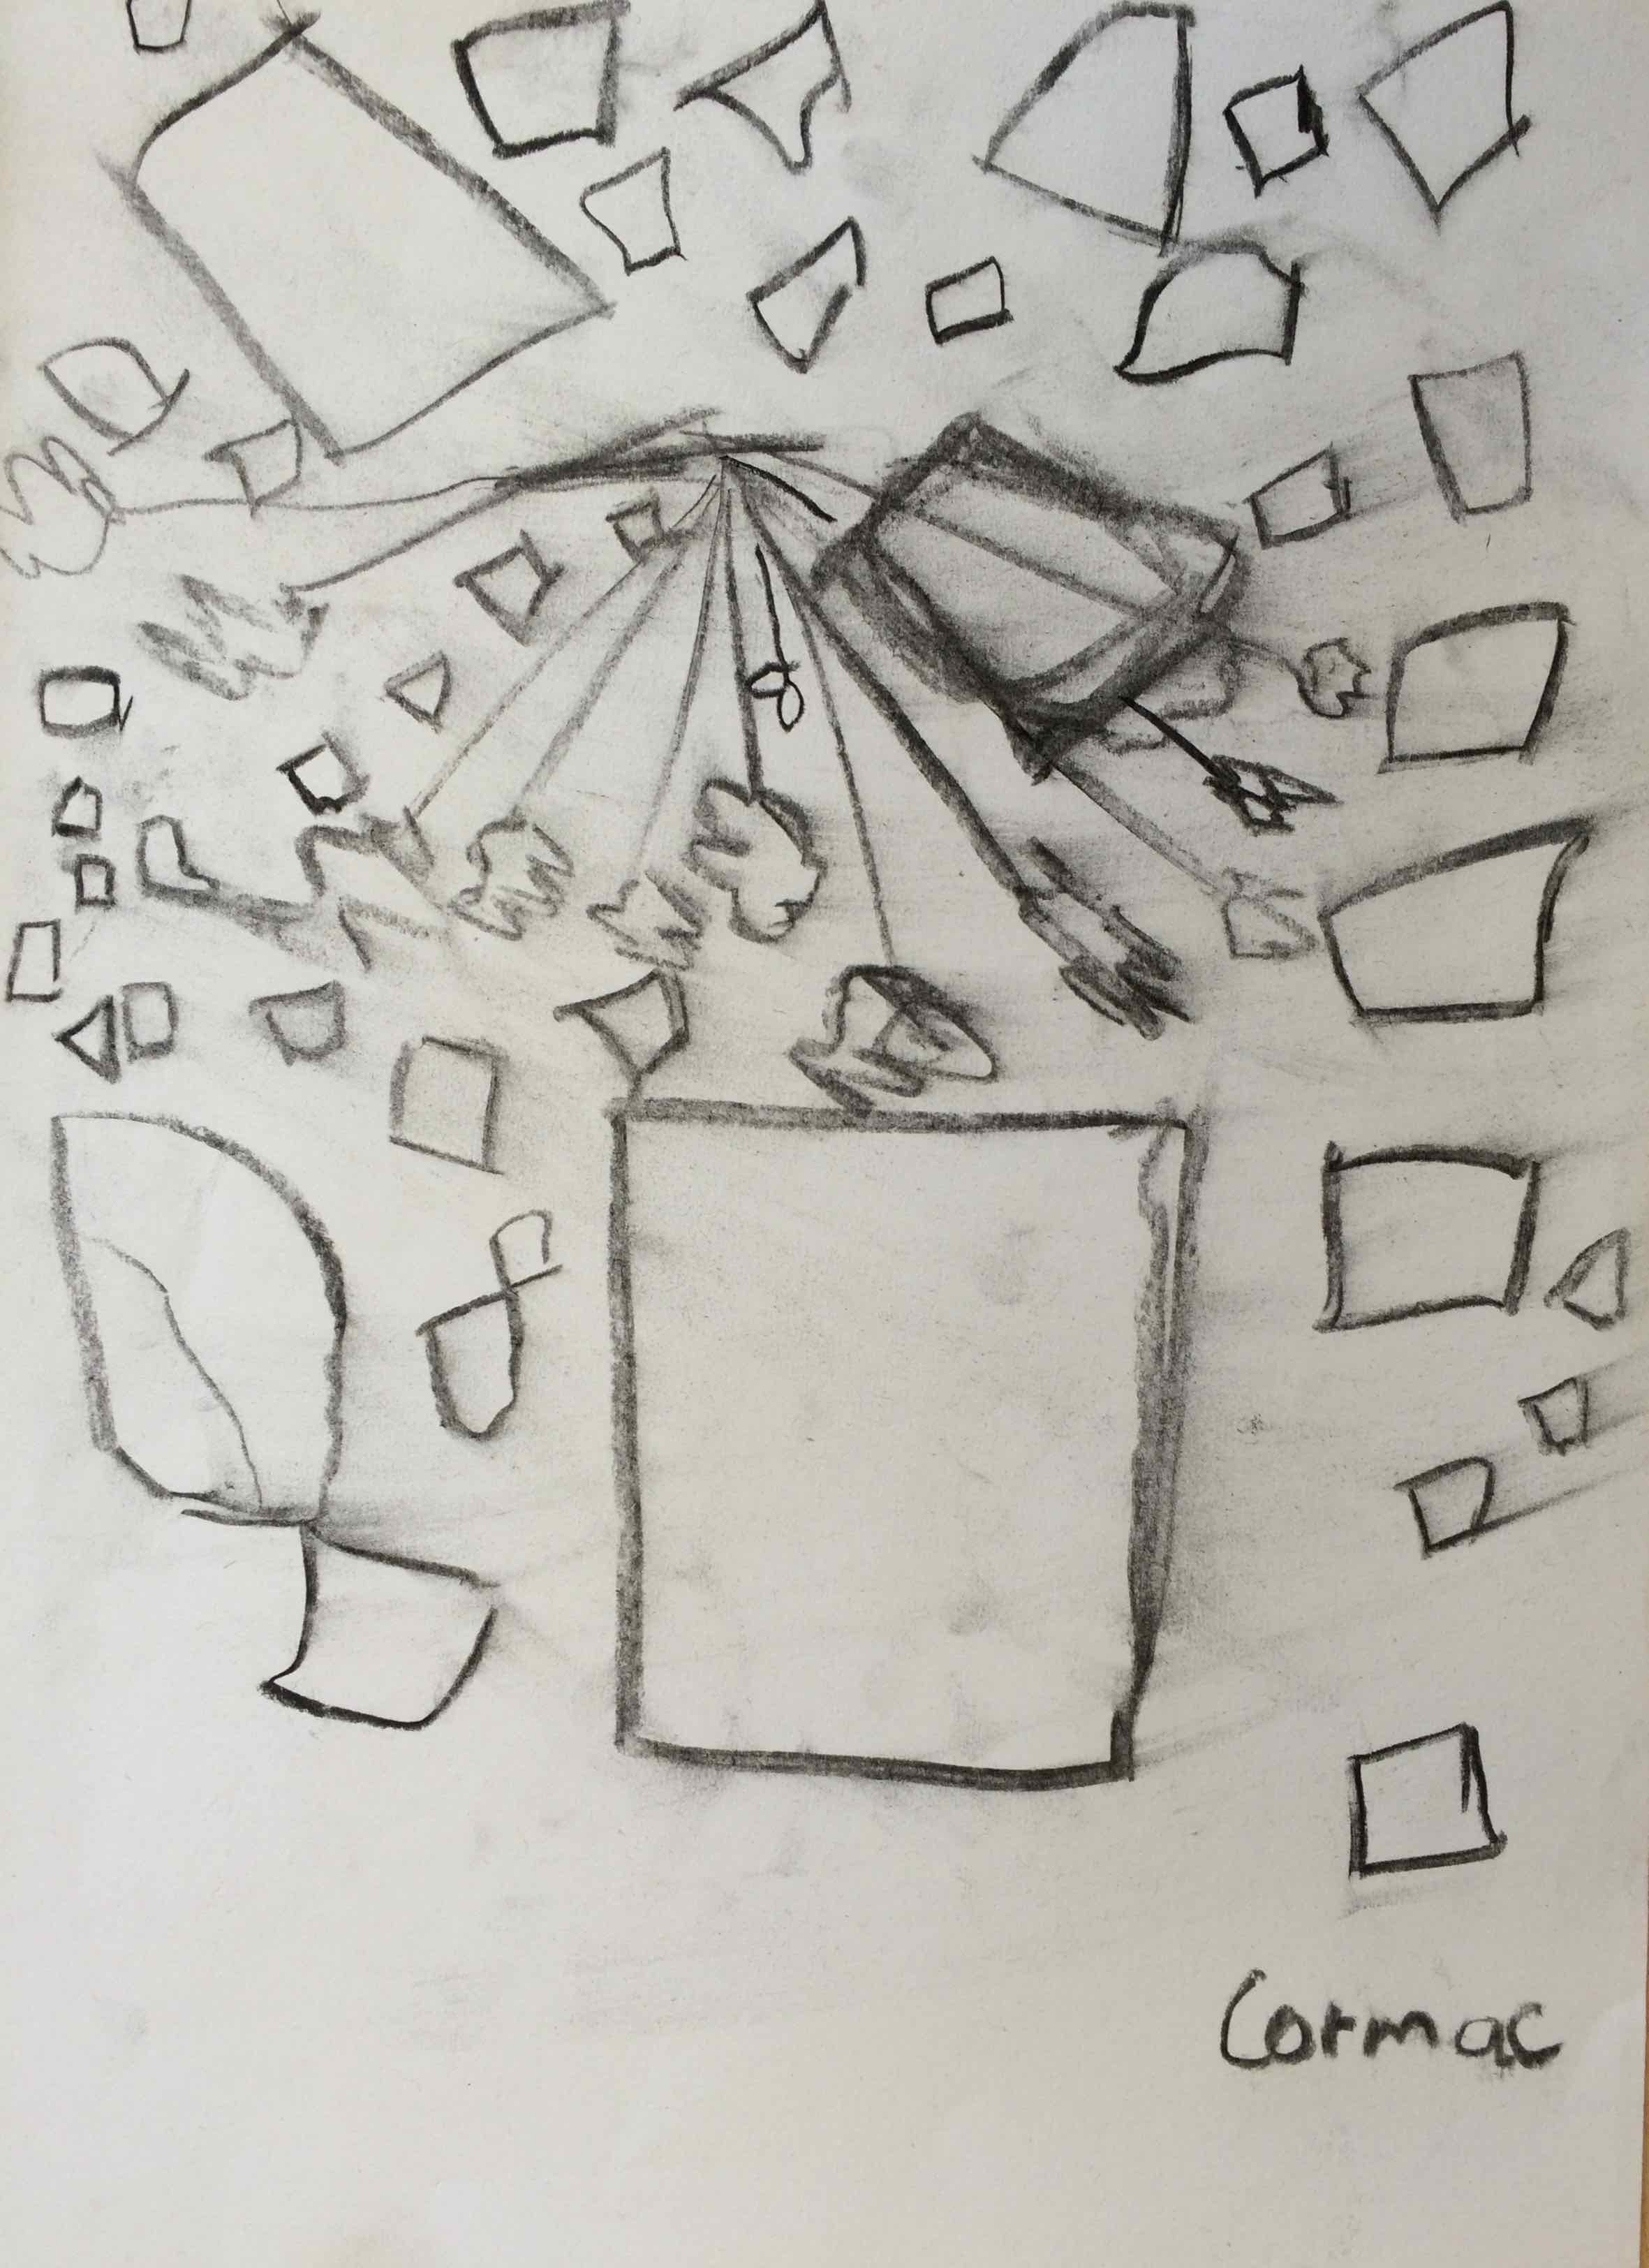
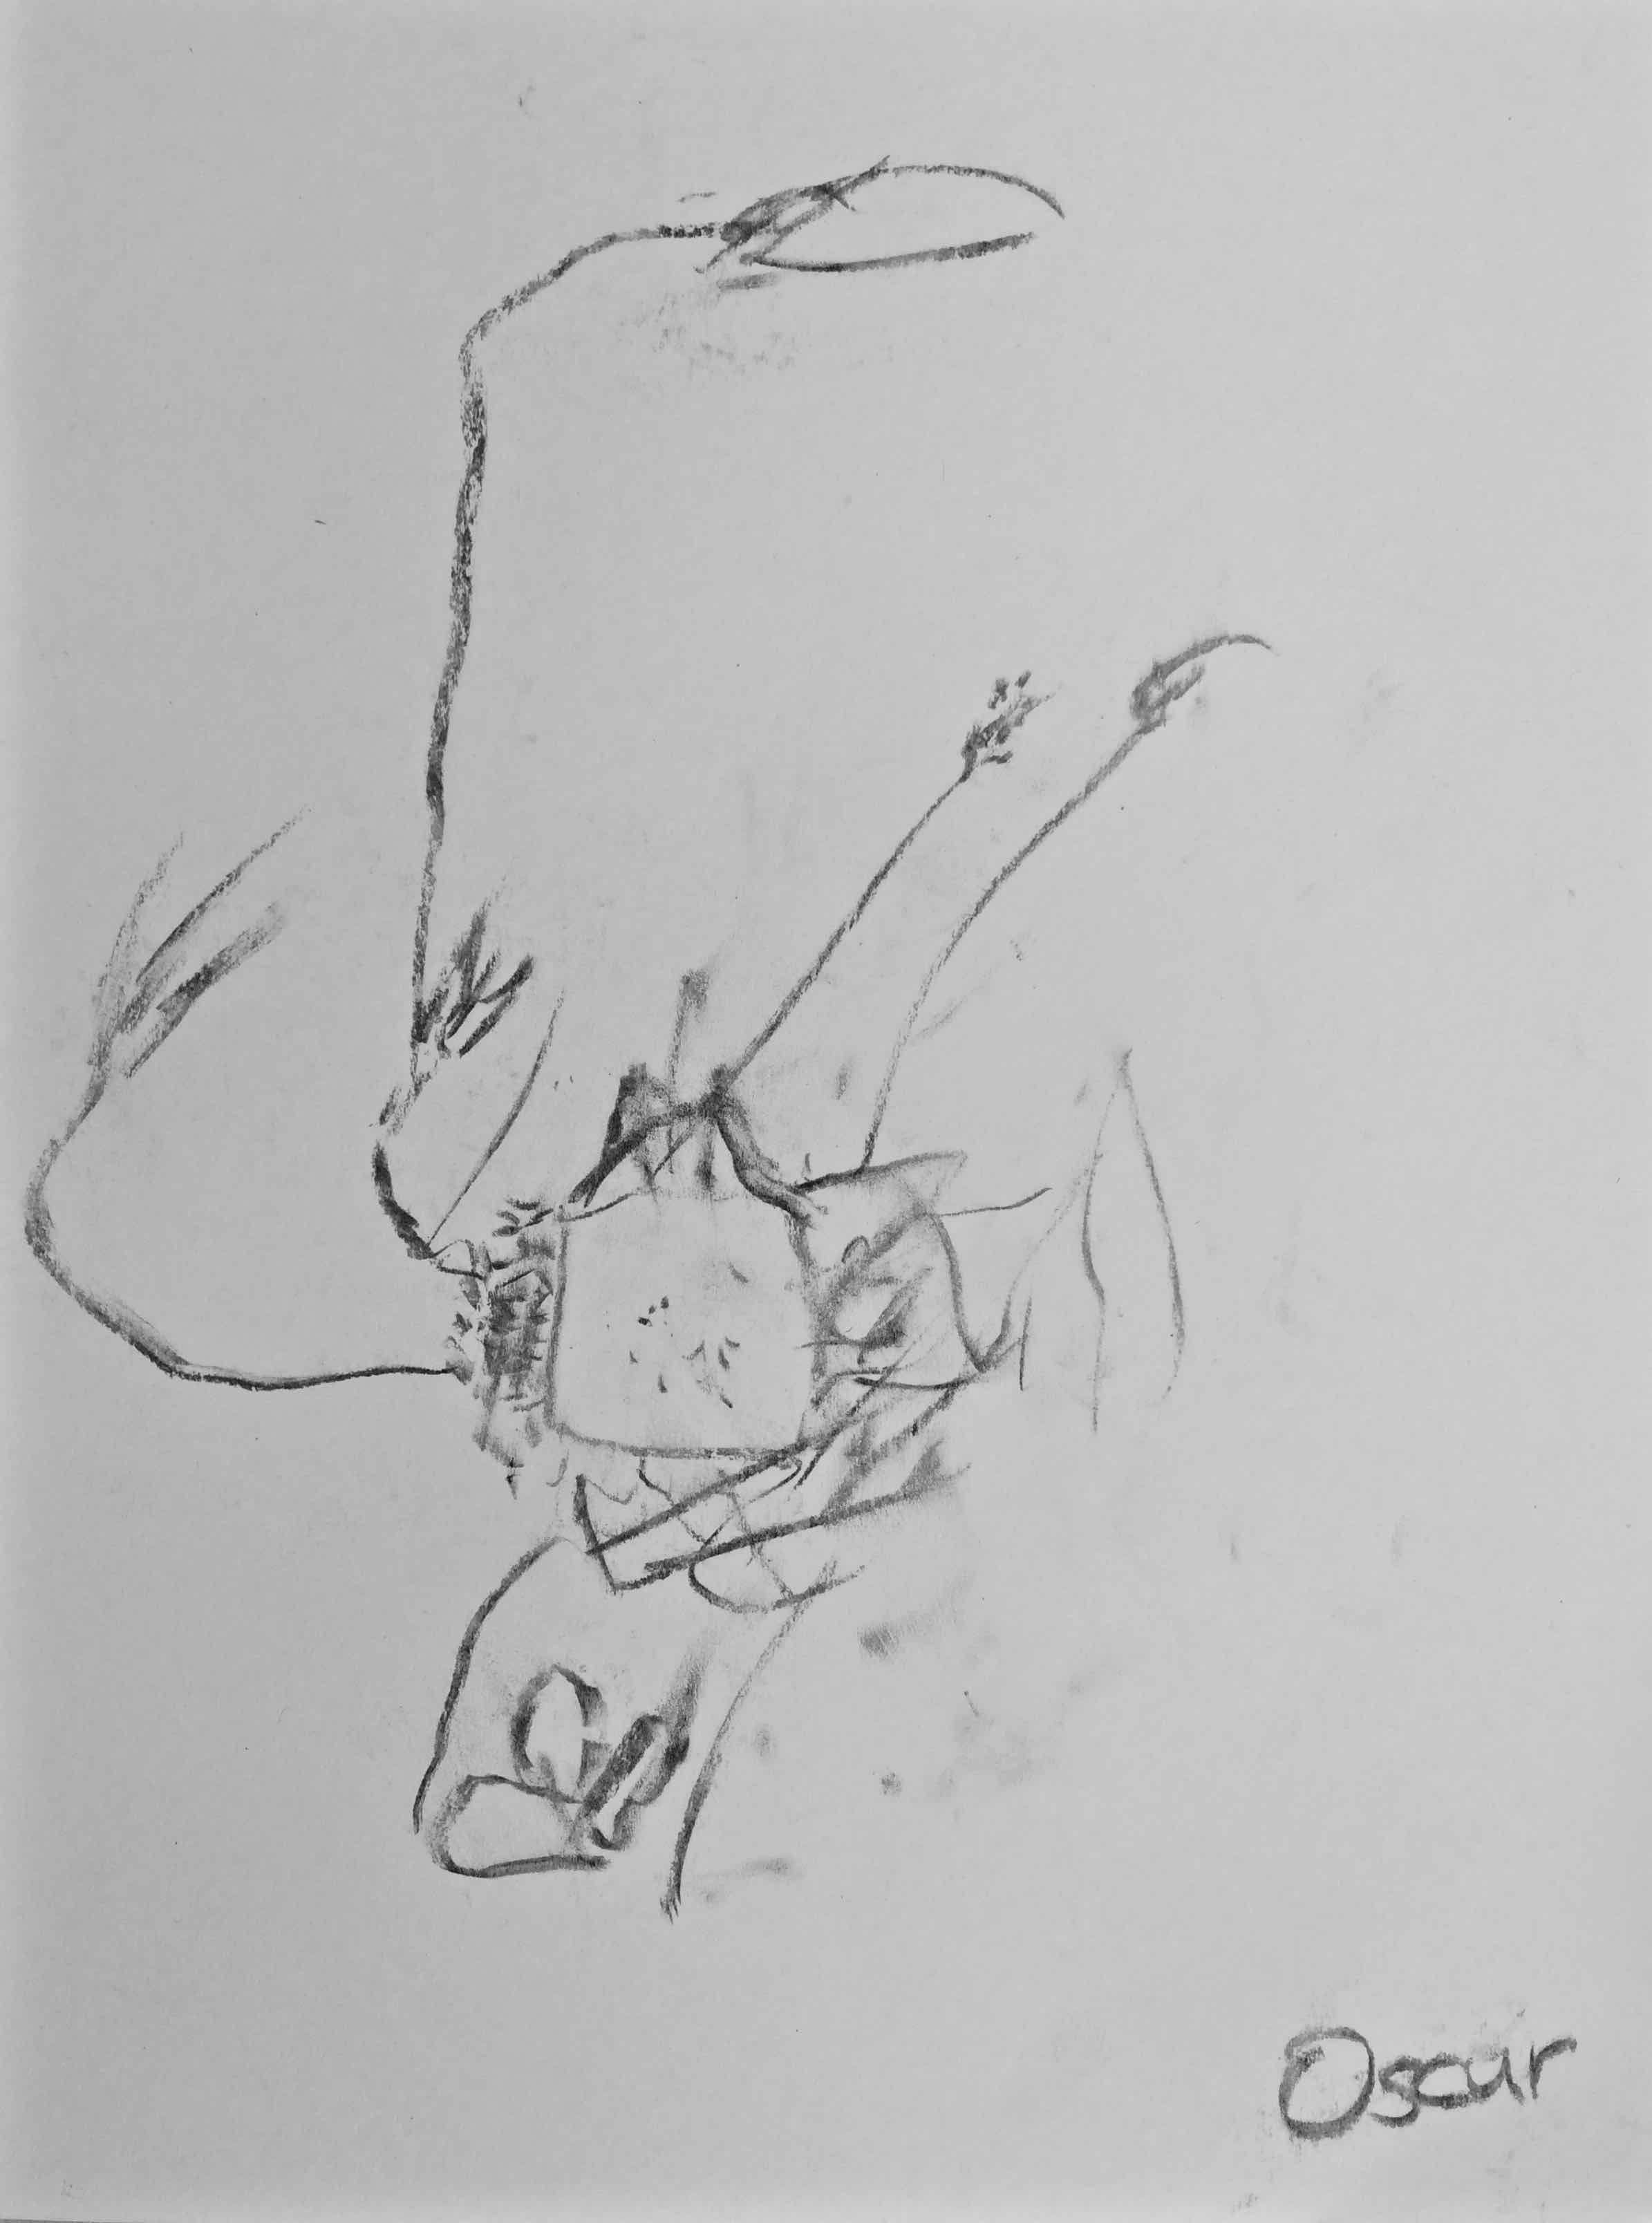
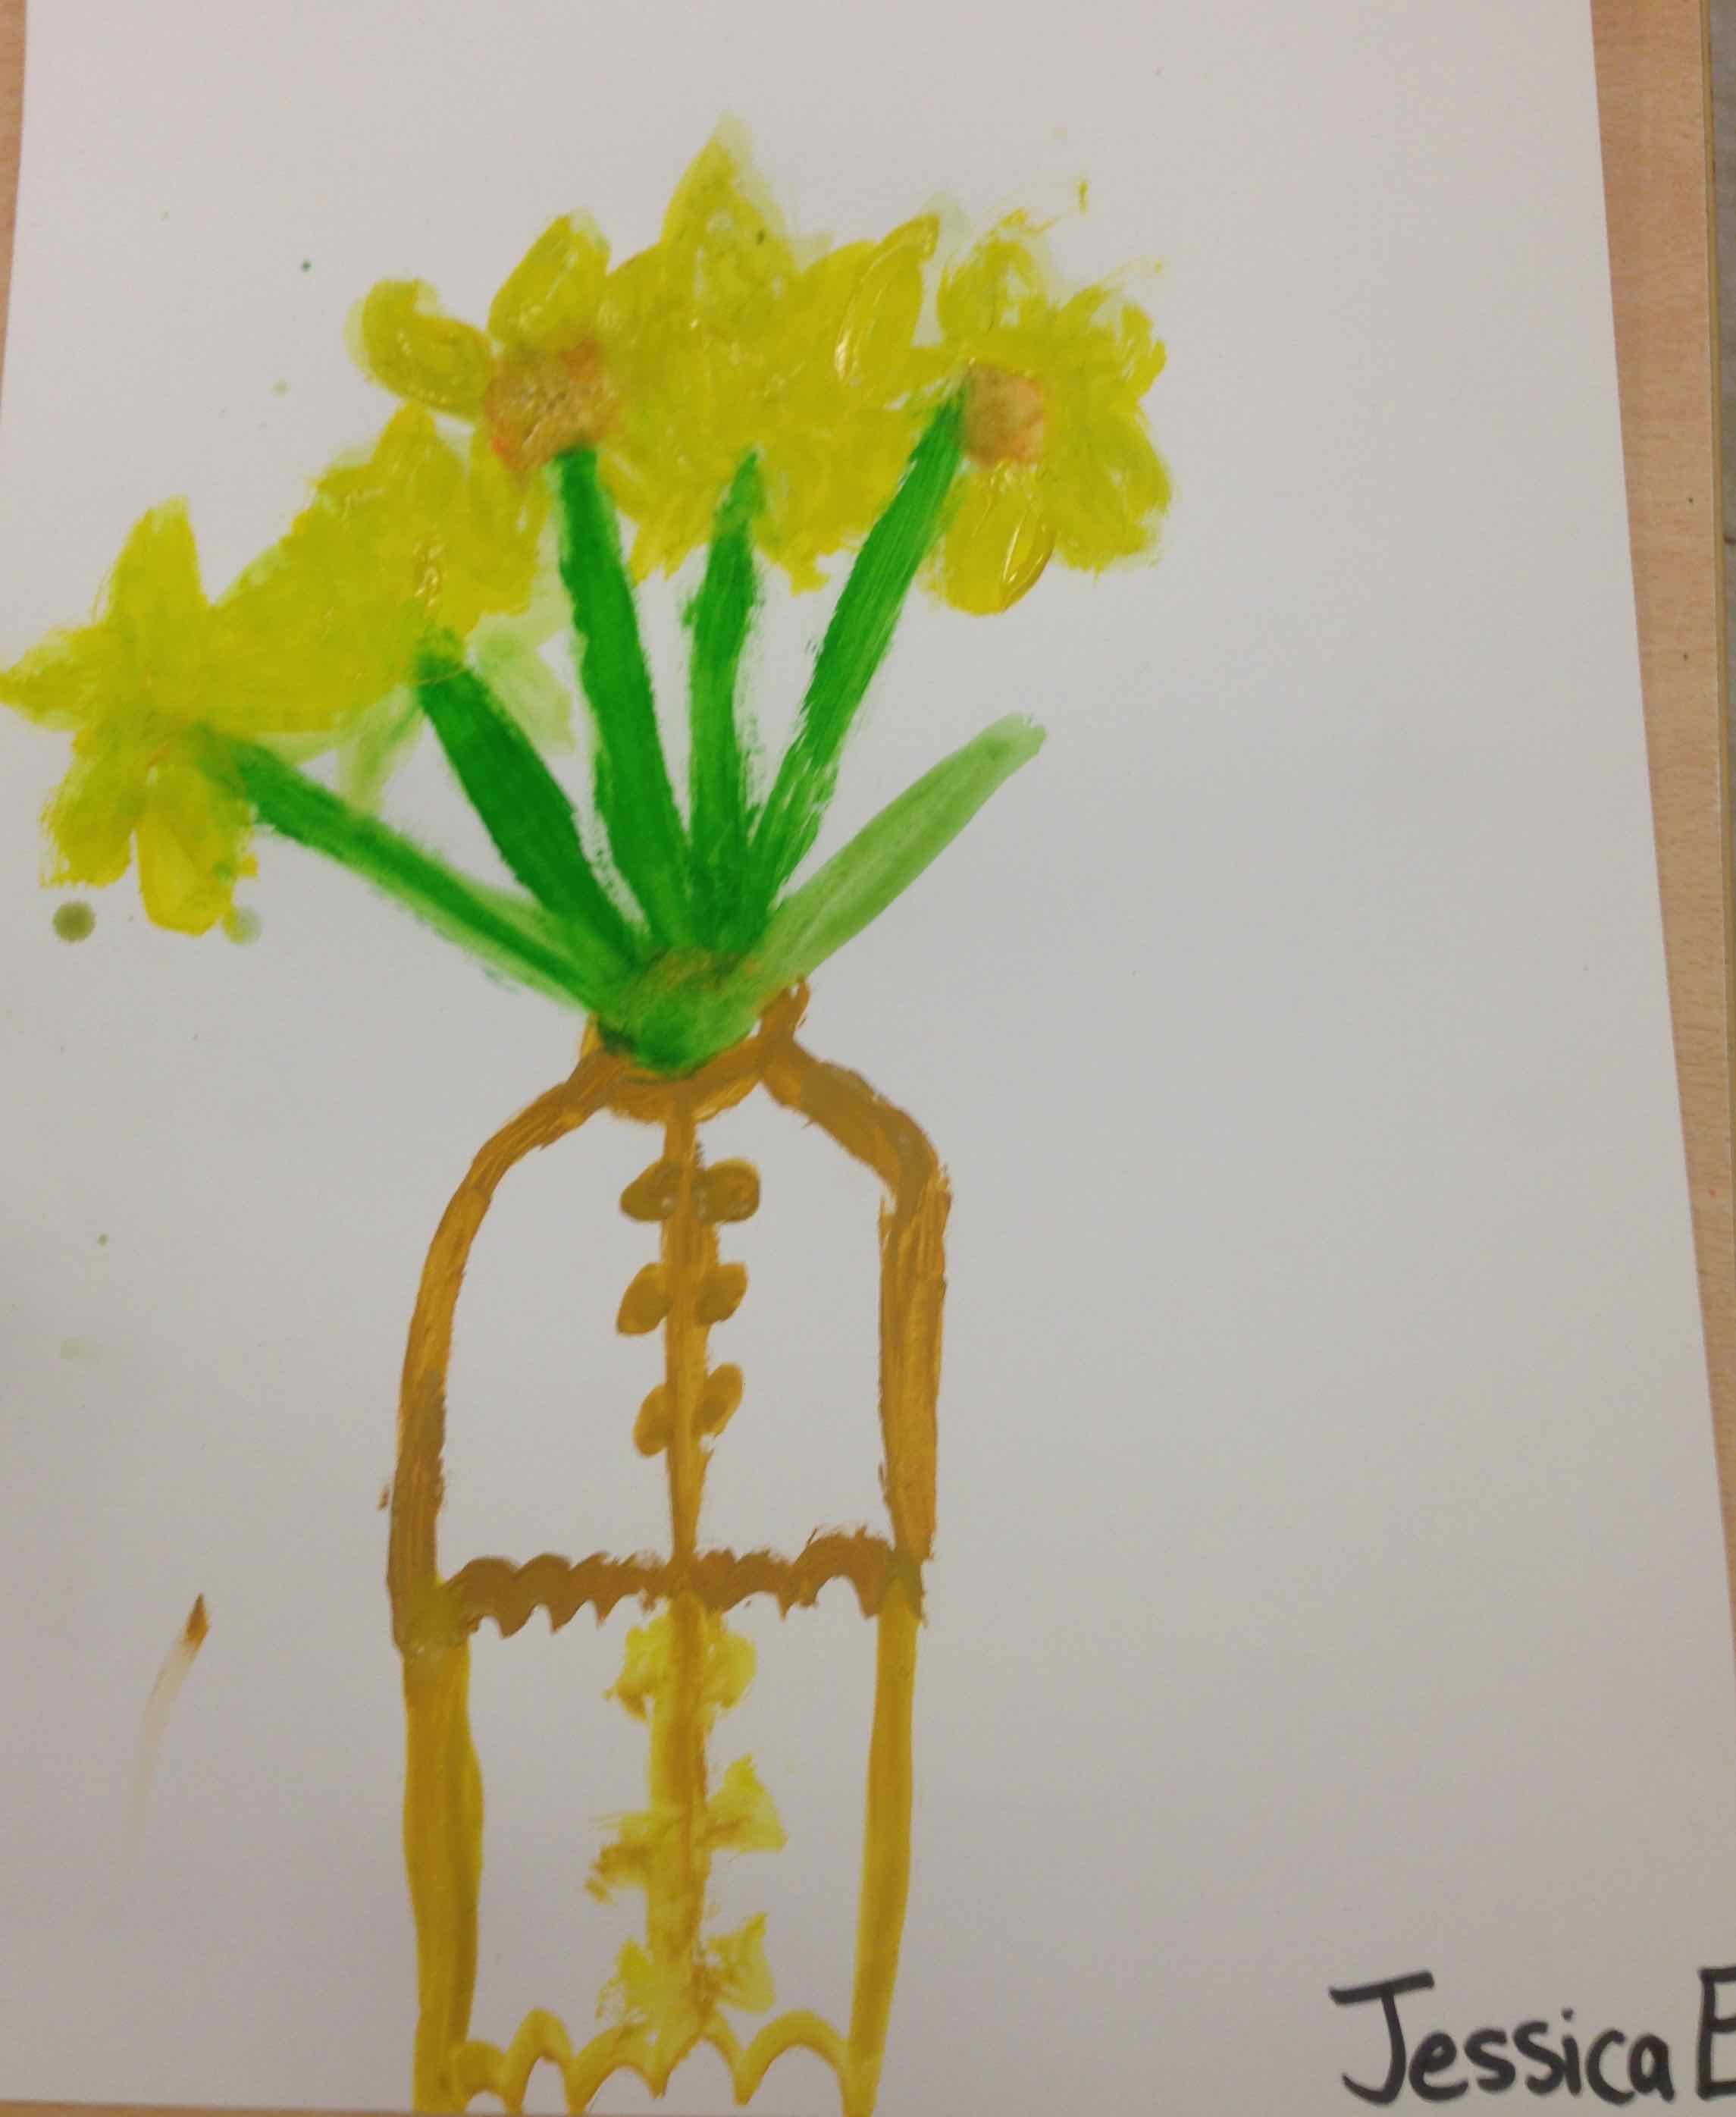
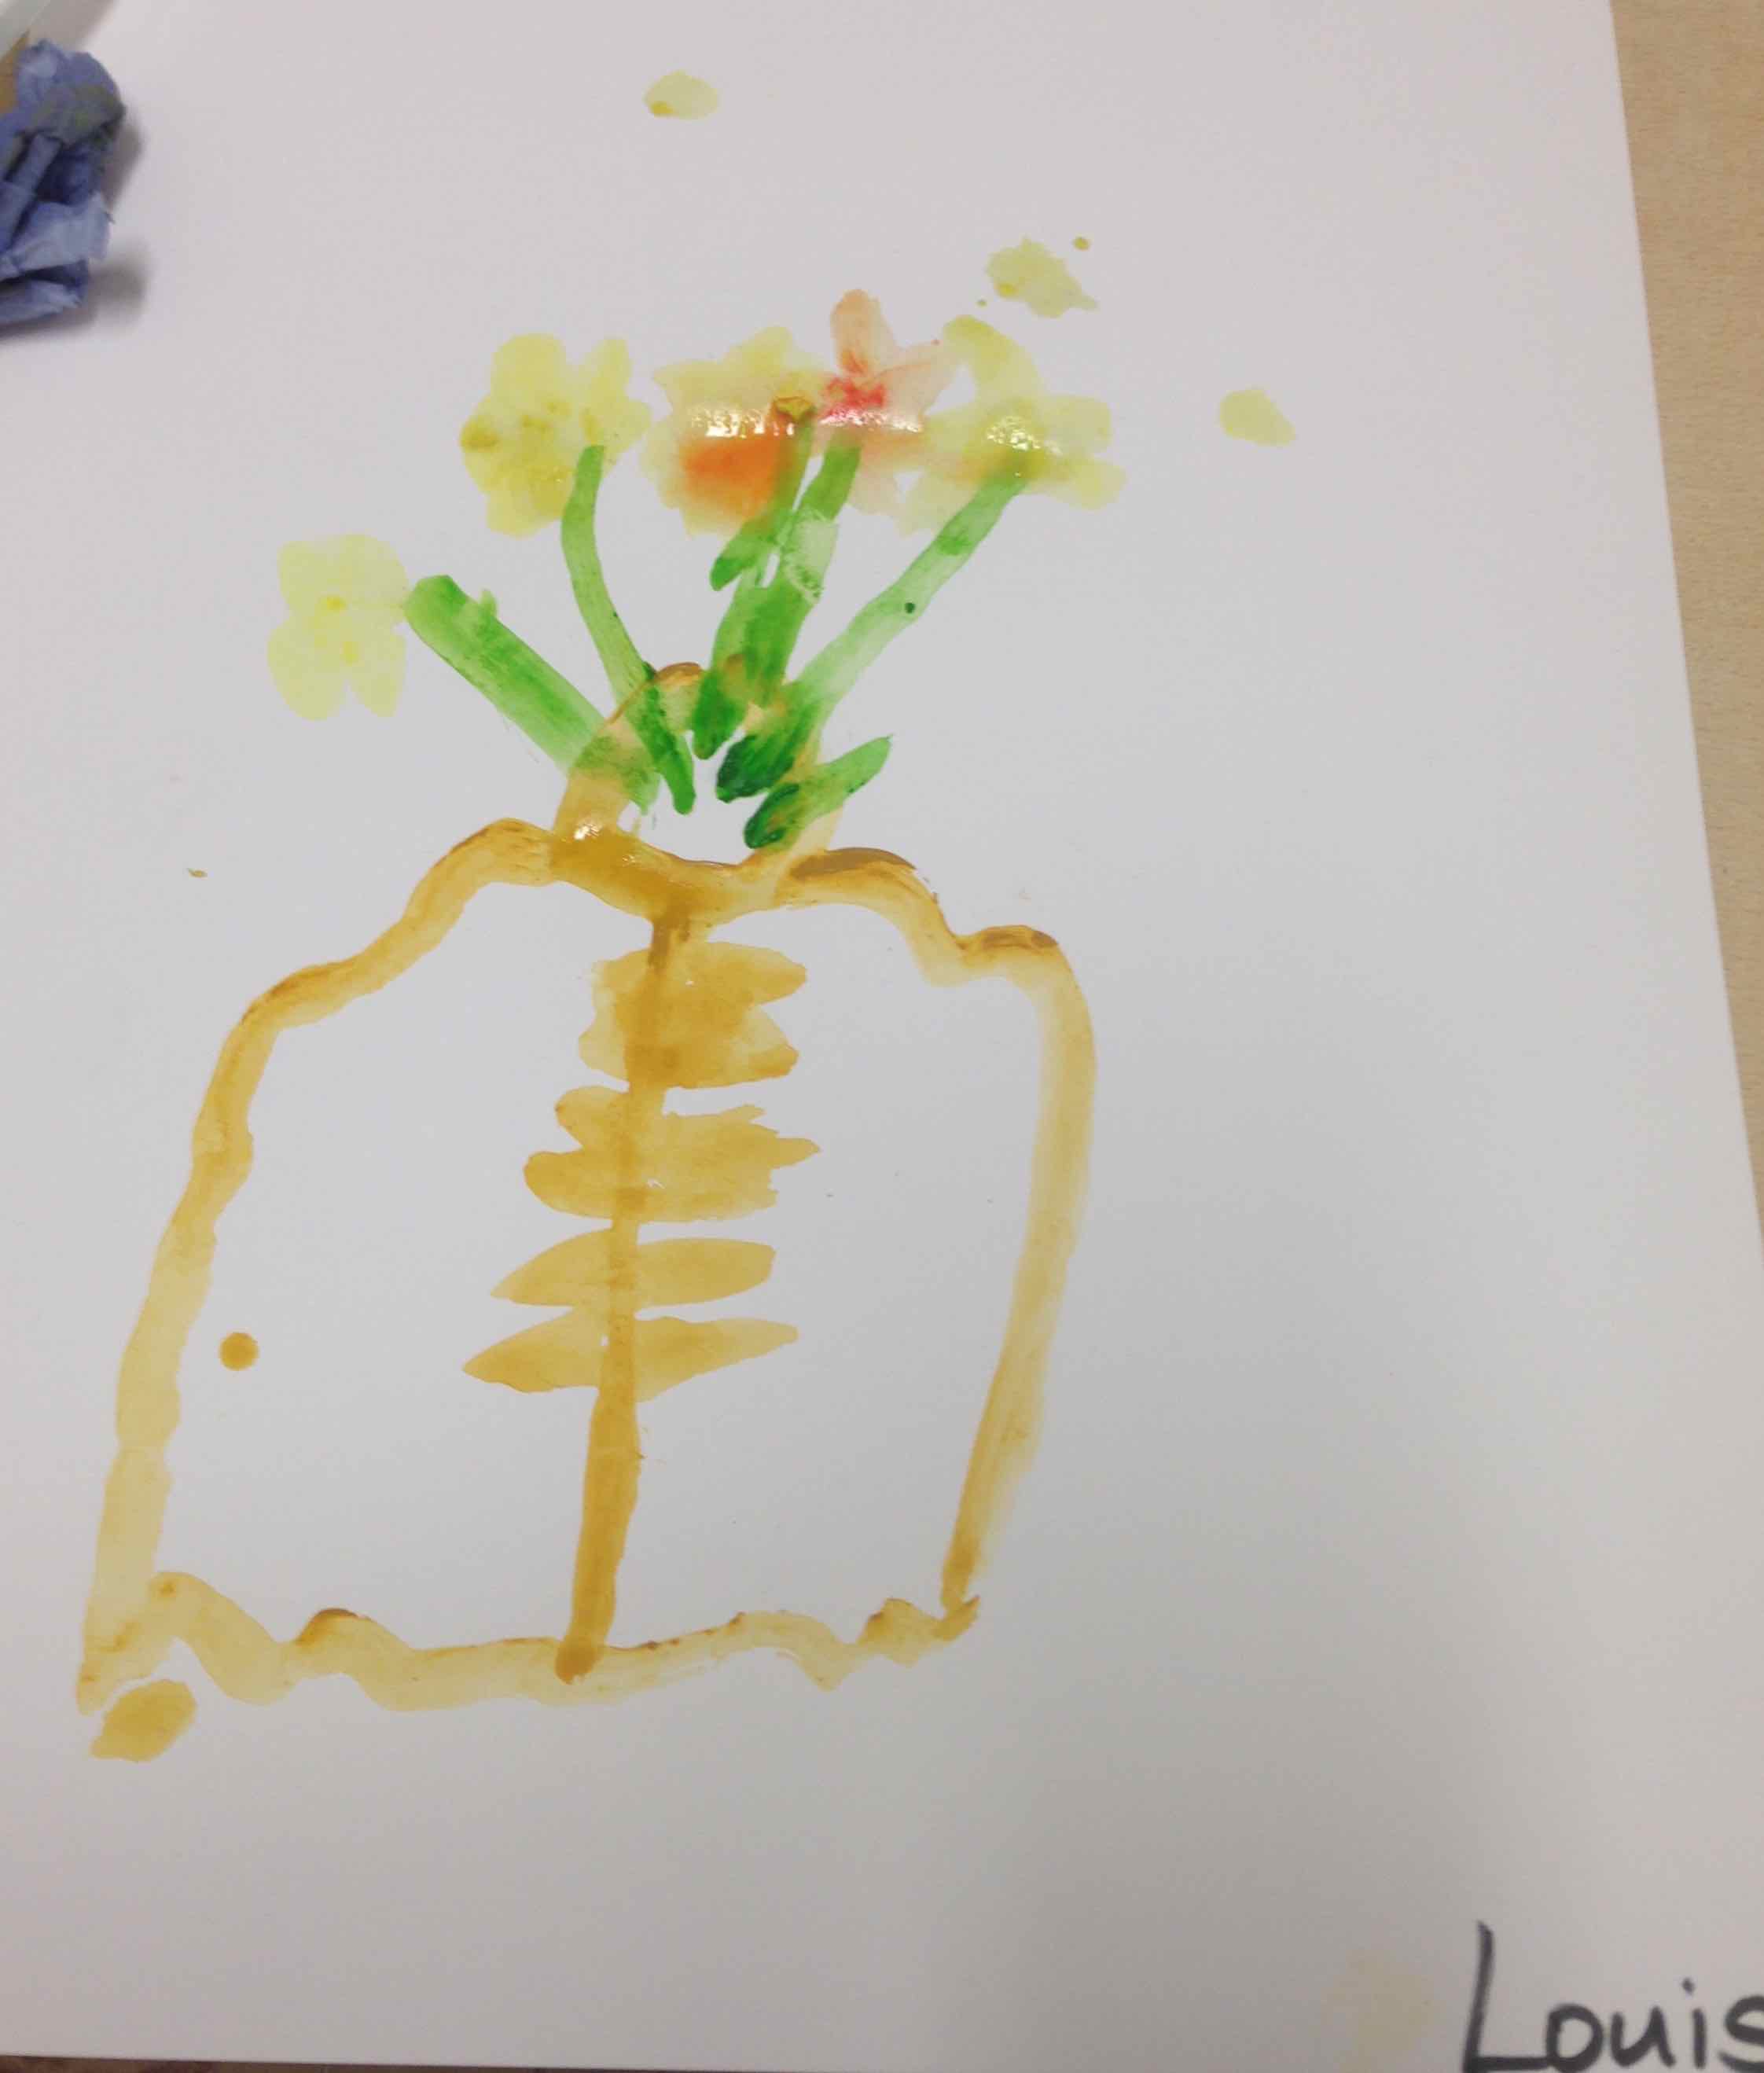
Jessica observed the shapes the stones made from a bird’s eye view, since the children were able to stand on the grass area at the top of the stones and look down over them.This lovely drawing was made by concentrating and observing shapes and layers.Louis has drawn the strong shapes he observed. super!Daniel’s drawing uses a variety of lines and marks to create shape … well done!Anthony’s lines and marks describe the shape and pattern of Annaghmare – wonderful!The scale, shape and patterns of the stones is carefully observed – super!Stones, plants and the sun are in clouded in this wonderful sketch – well done Cathal!Dylan has looked carefully at the different layers going back in each section of the tomb, super work!Sophie’s drawing has taken on a life of its own – look at how the stone layout seems to be like a round creature with two big eyes! Amazing!Michael has drawn with the charcoal, smudging it with his finger to create soft blurry effect. Really effective!Keigan’s drawing is full of life describing the stones, the ground, the sky and trees. Lovely work!Antoin’s drawing has captured the shape and density of the tomb and included some surrounding trees. Well done!The shape of the tomb in Callum’s drawing is captured and look how it also seems to look like a jaw of an animal. What a great effect!Coilin has carefully observed the tomb, its stones and shapes of different sizes. well done!
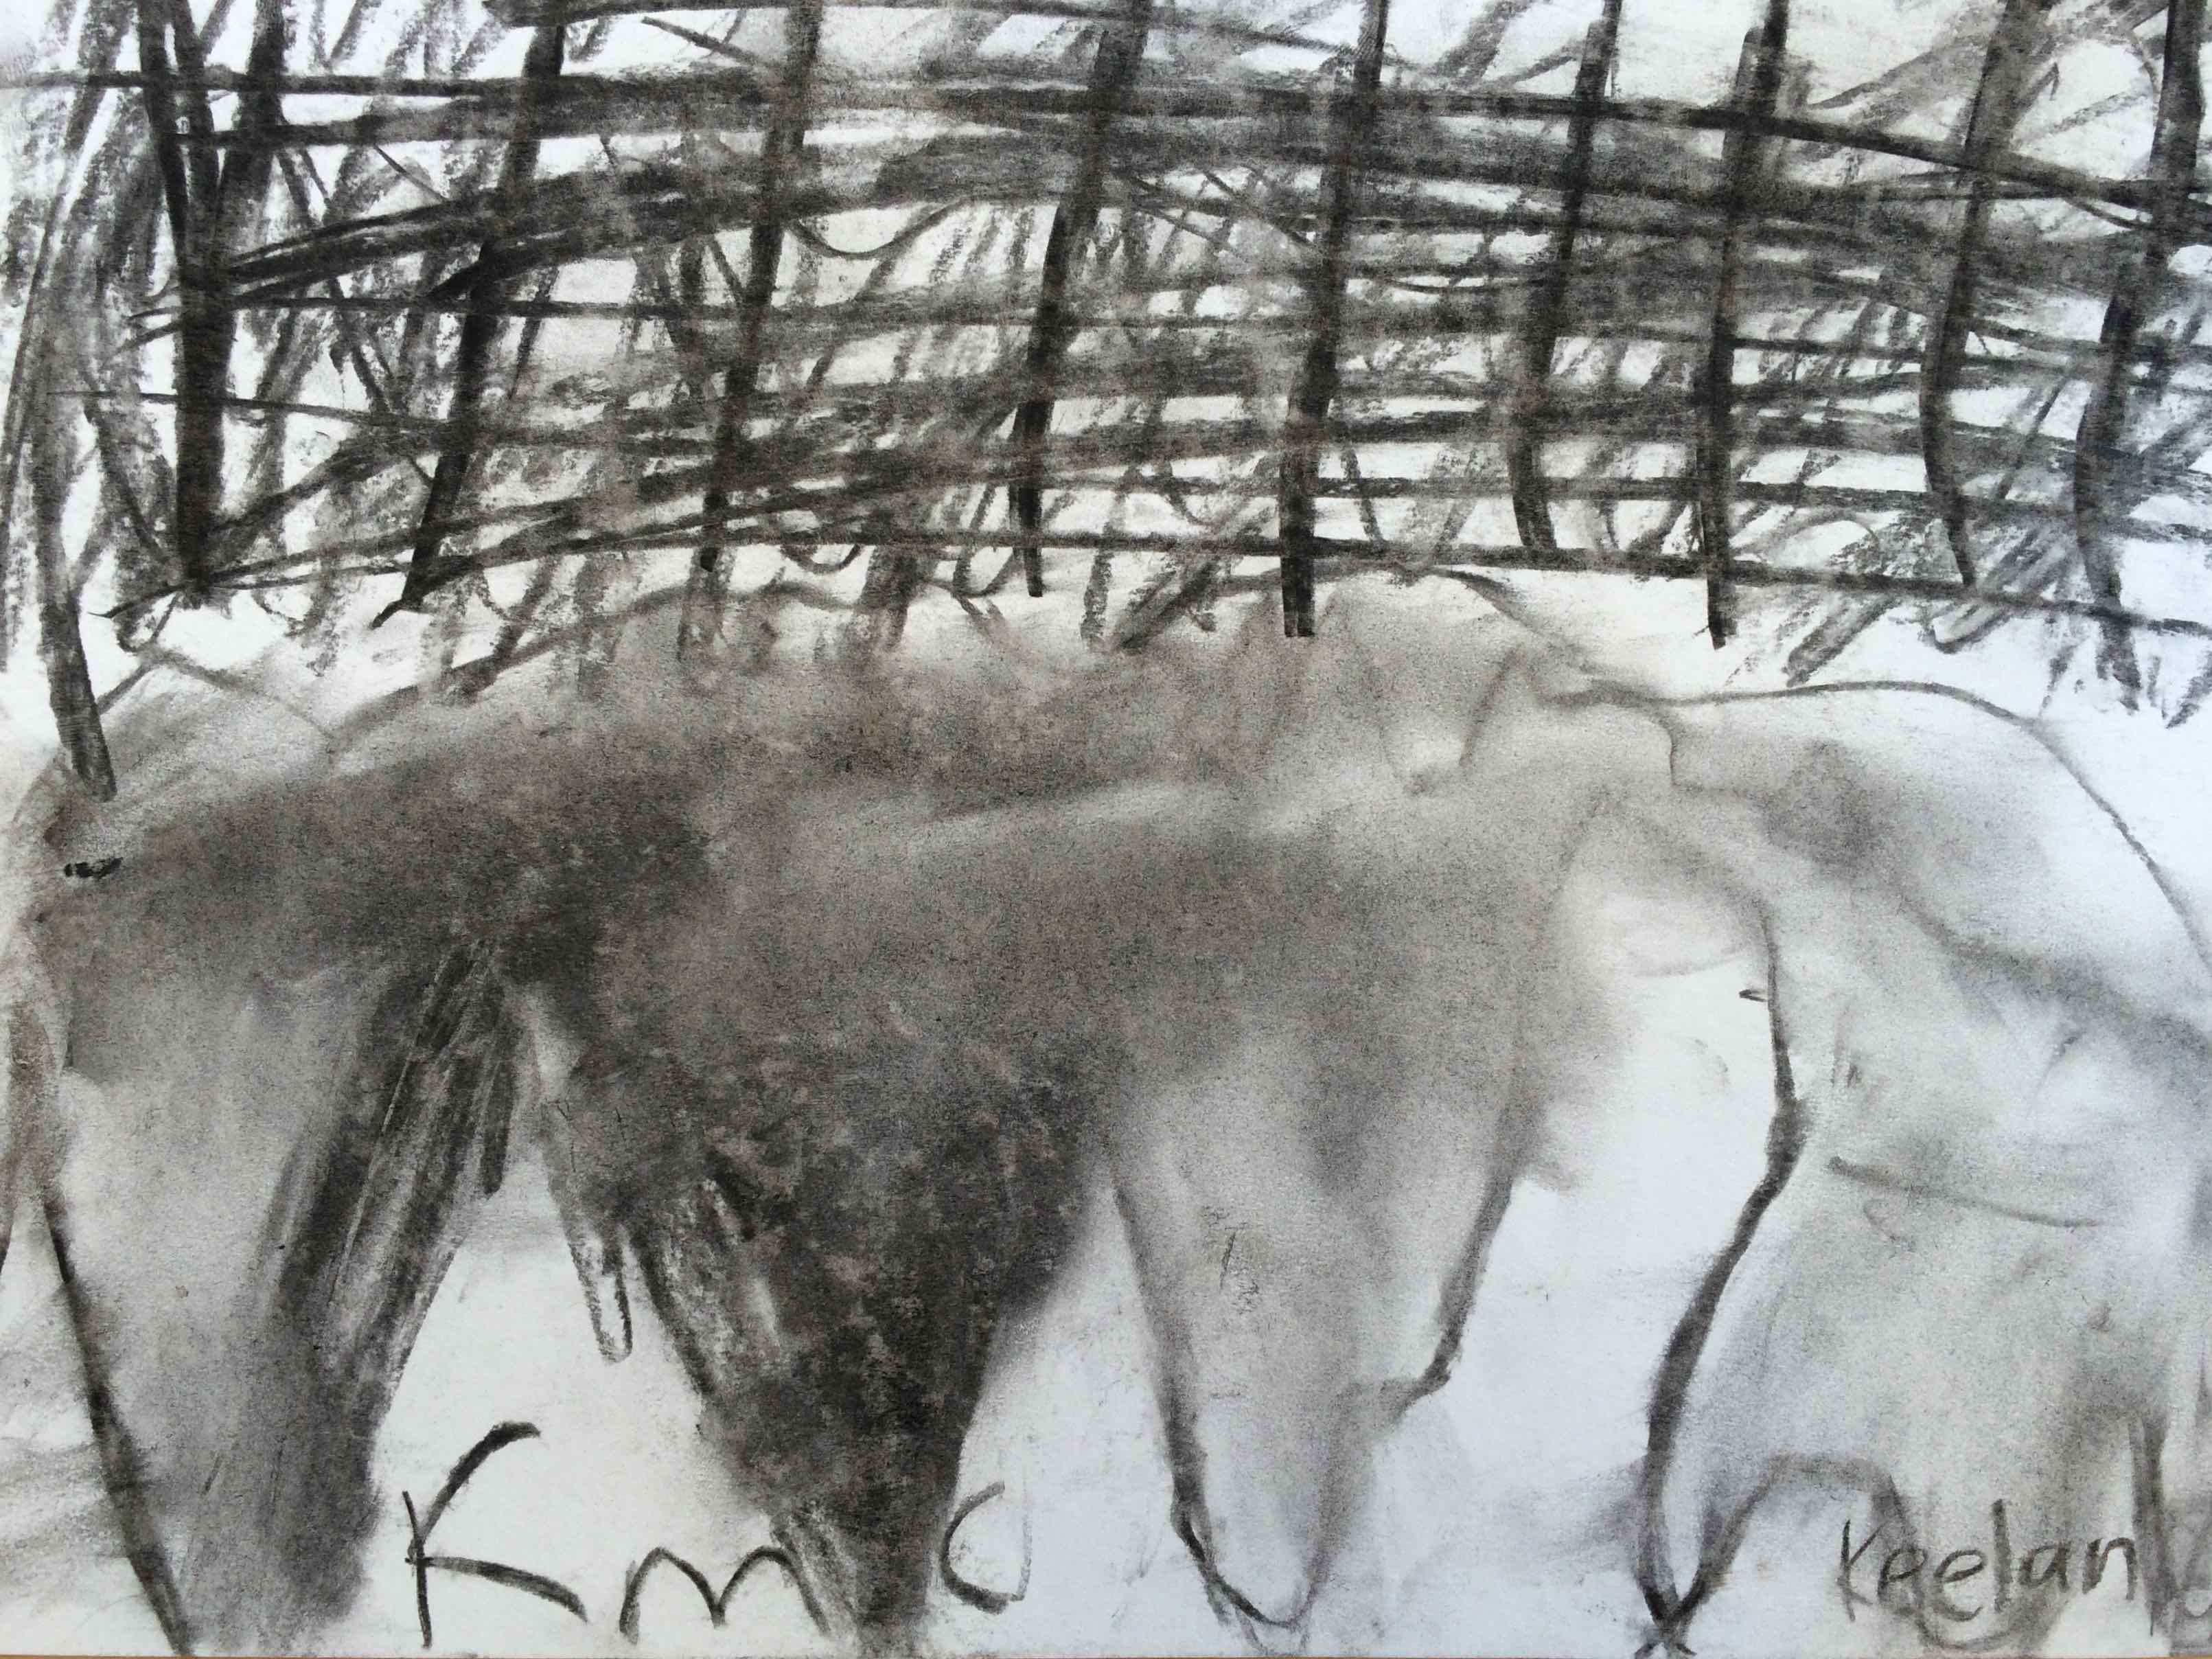
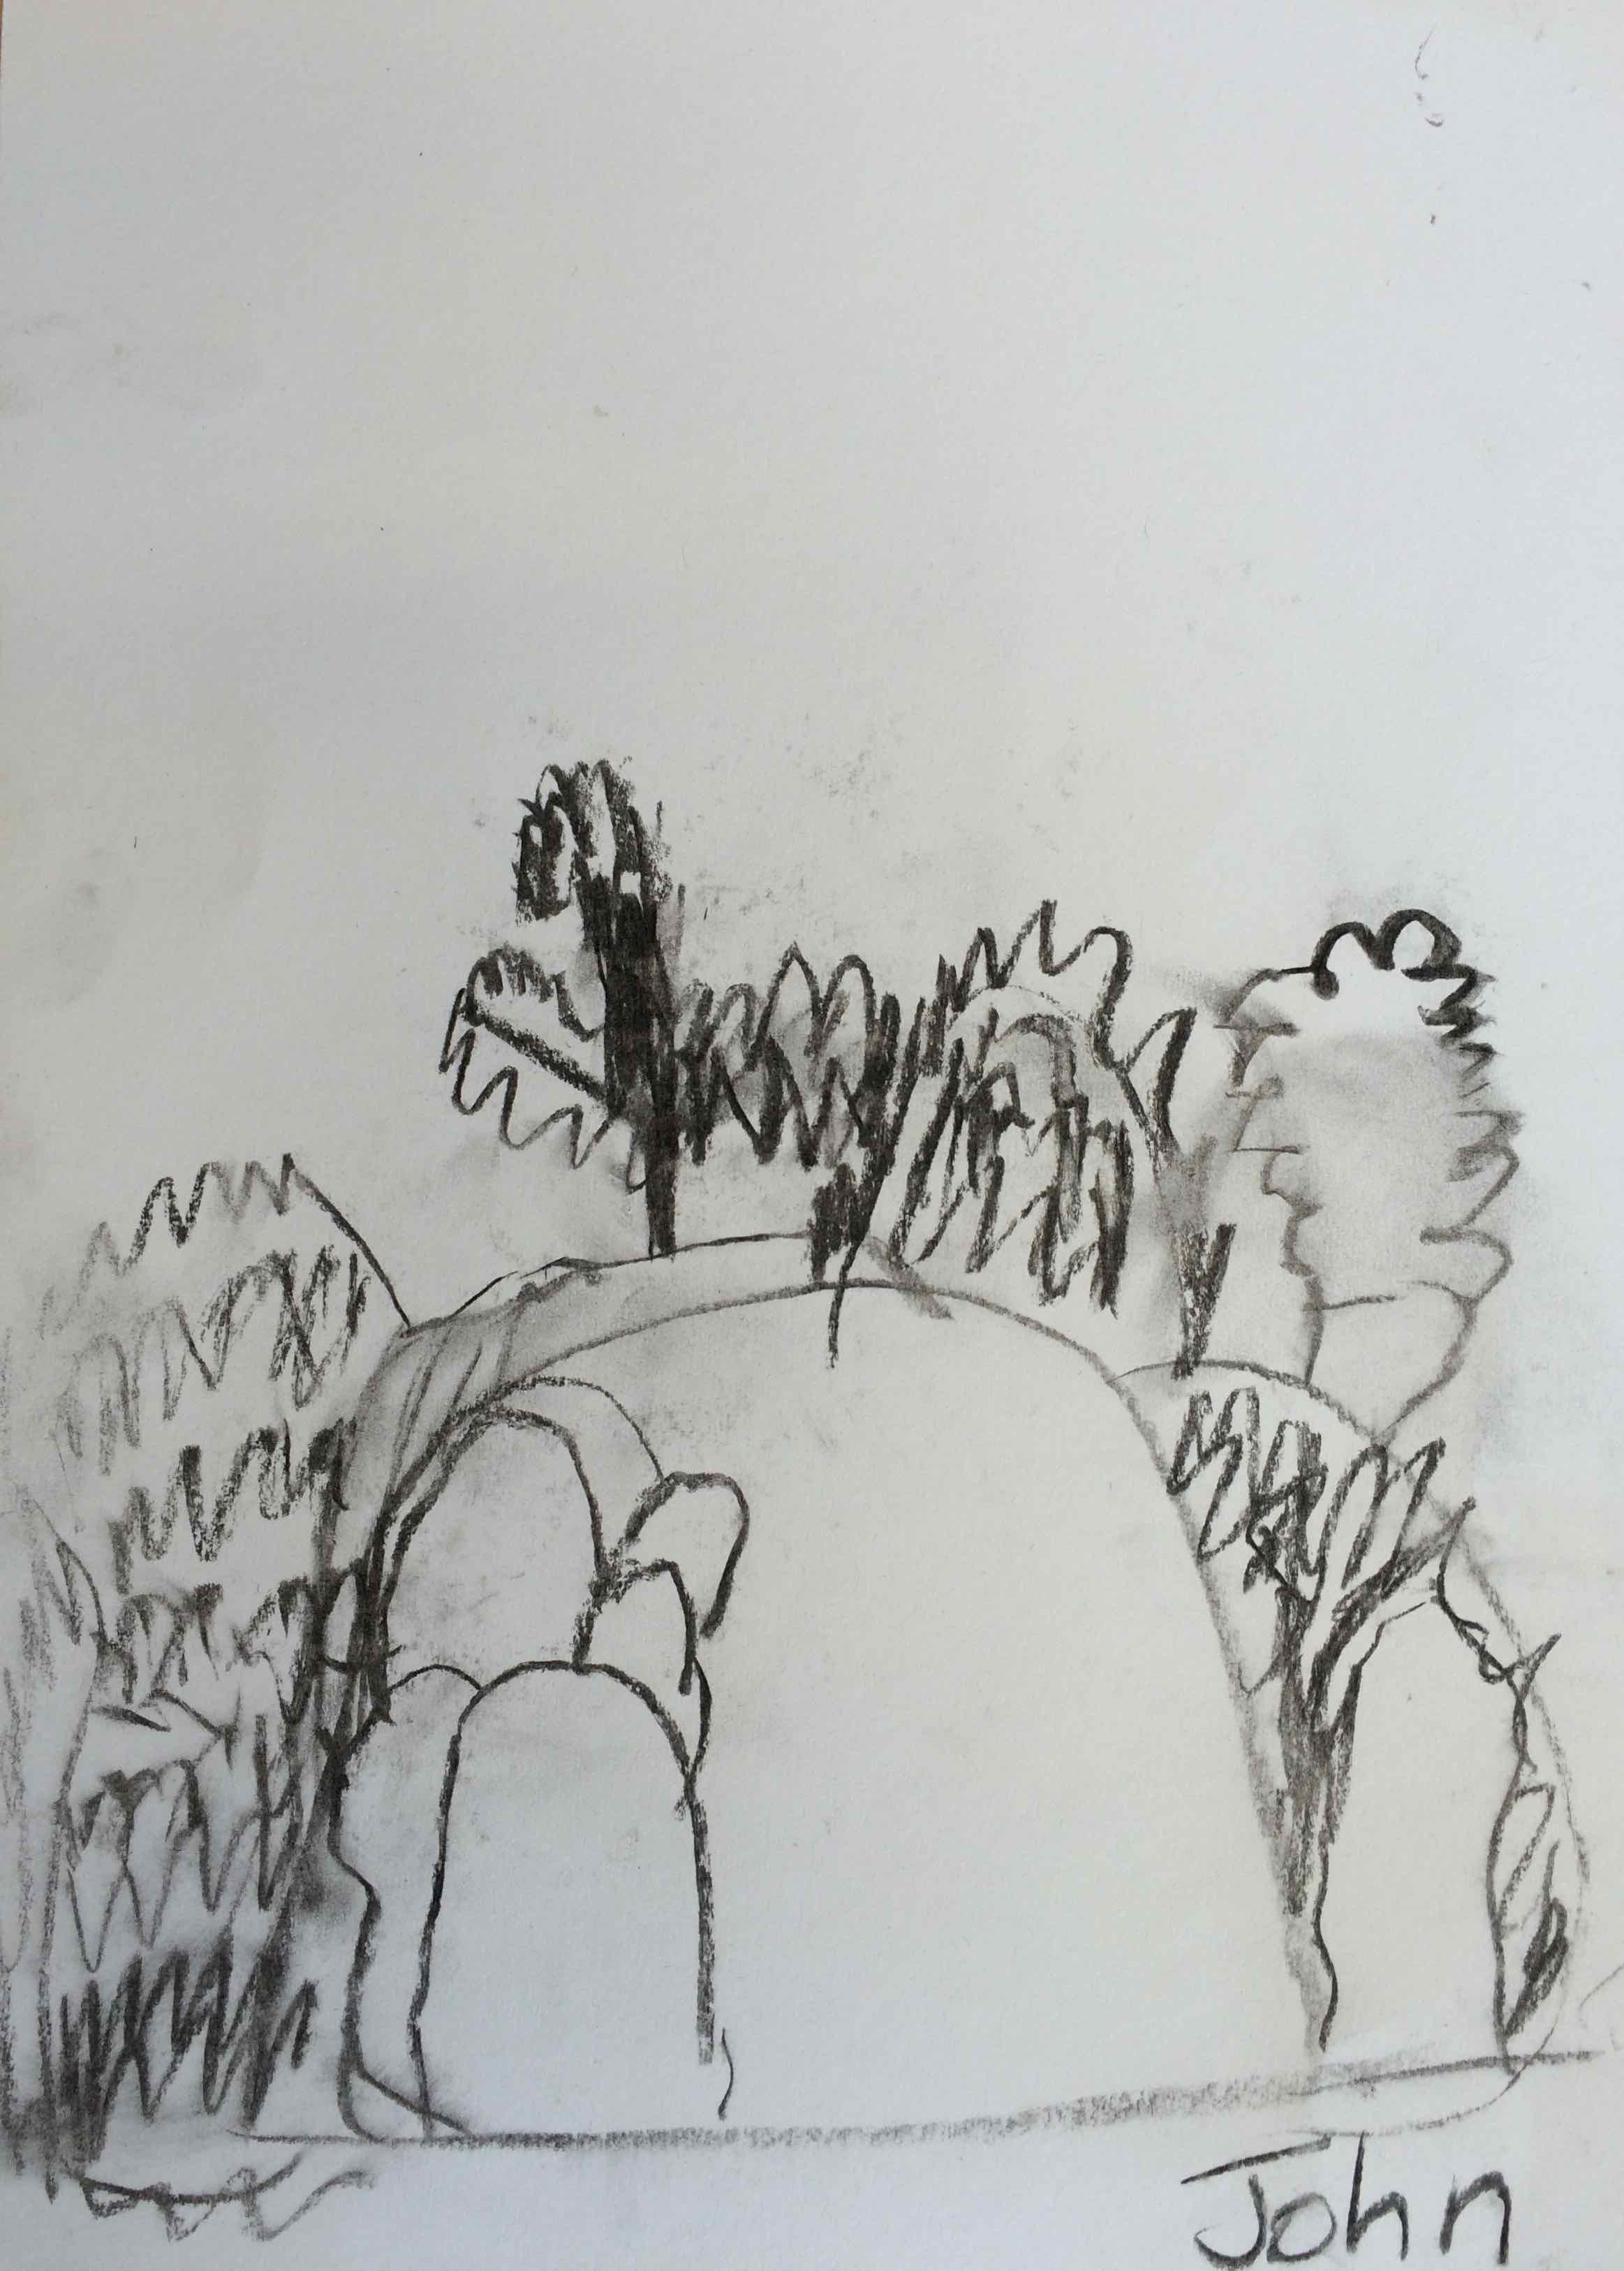
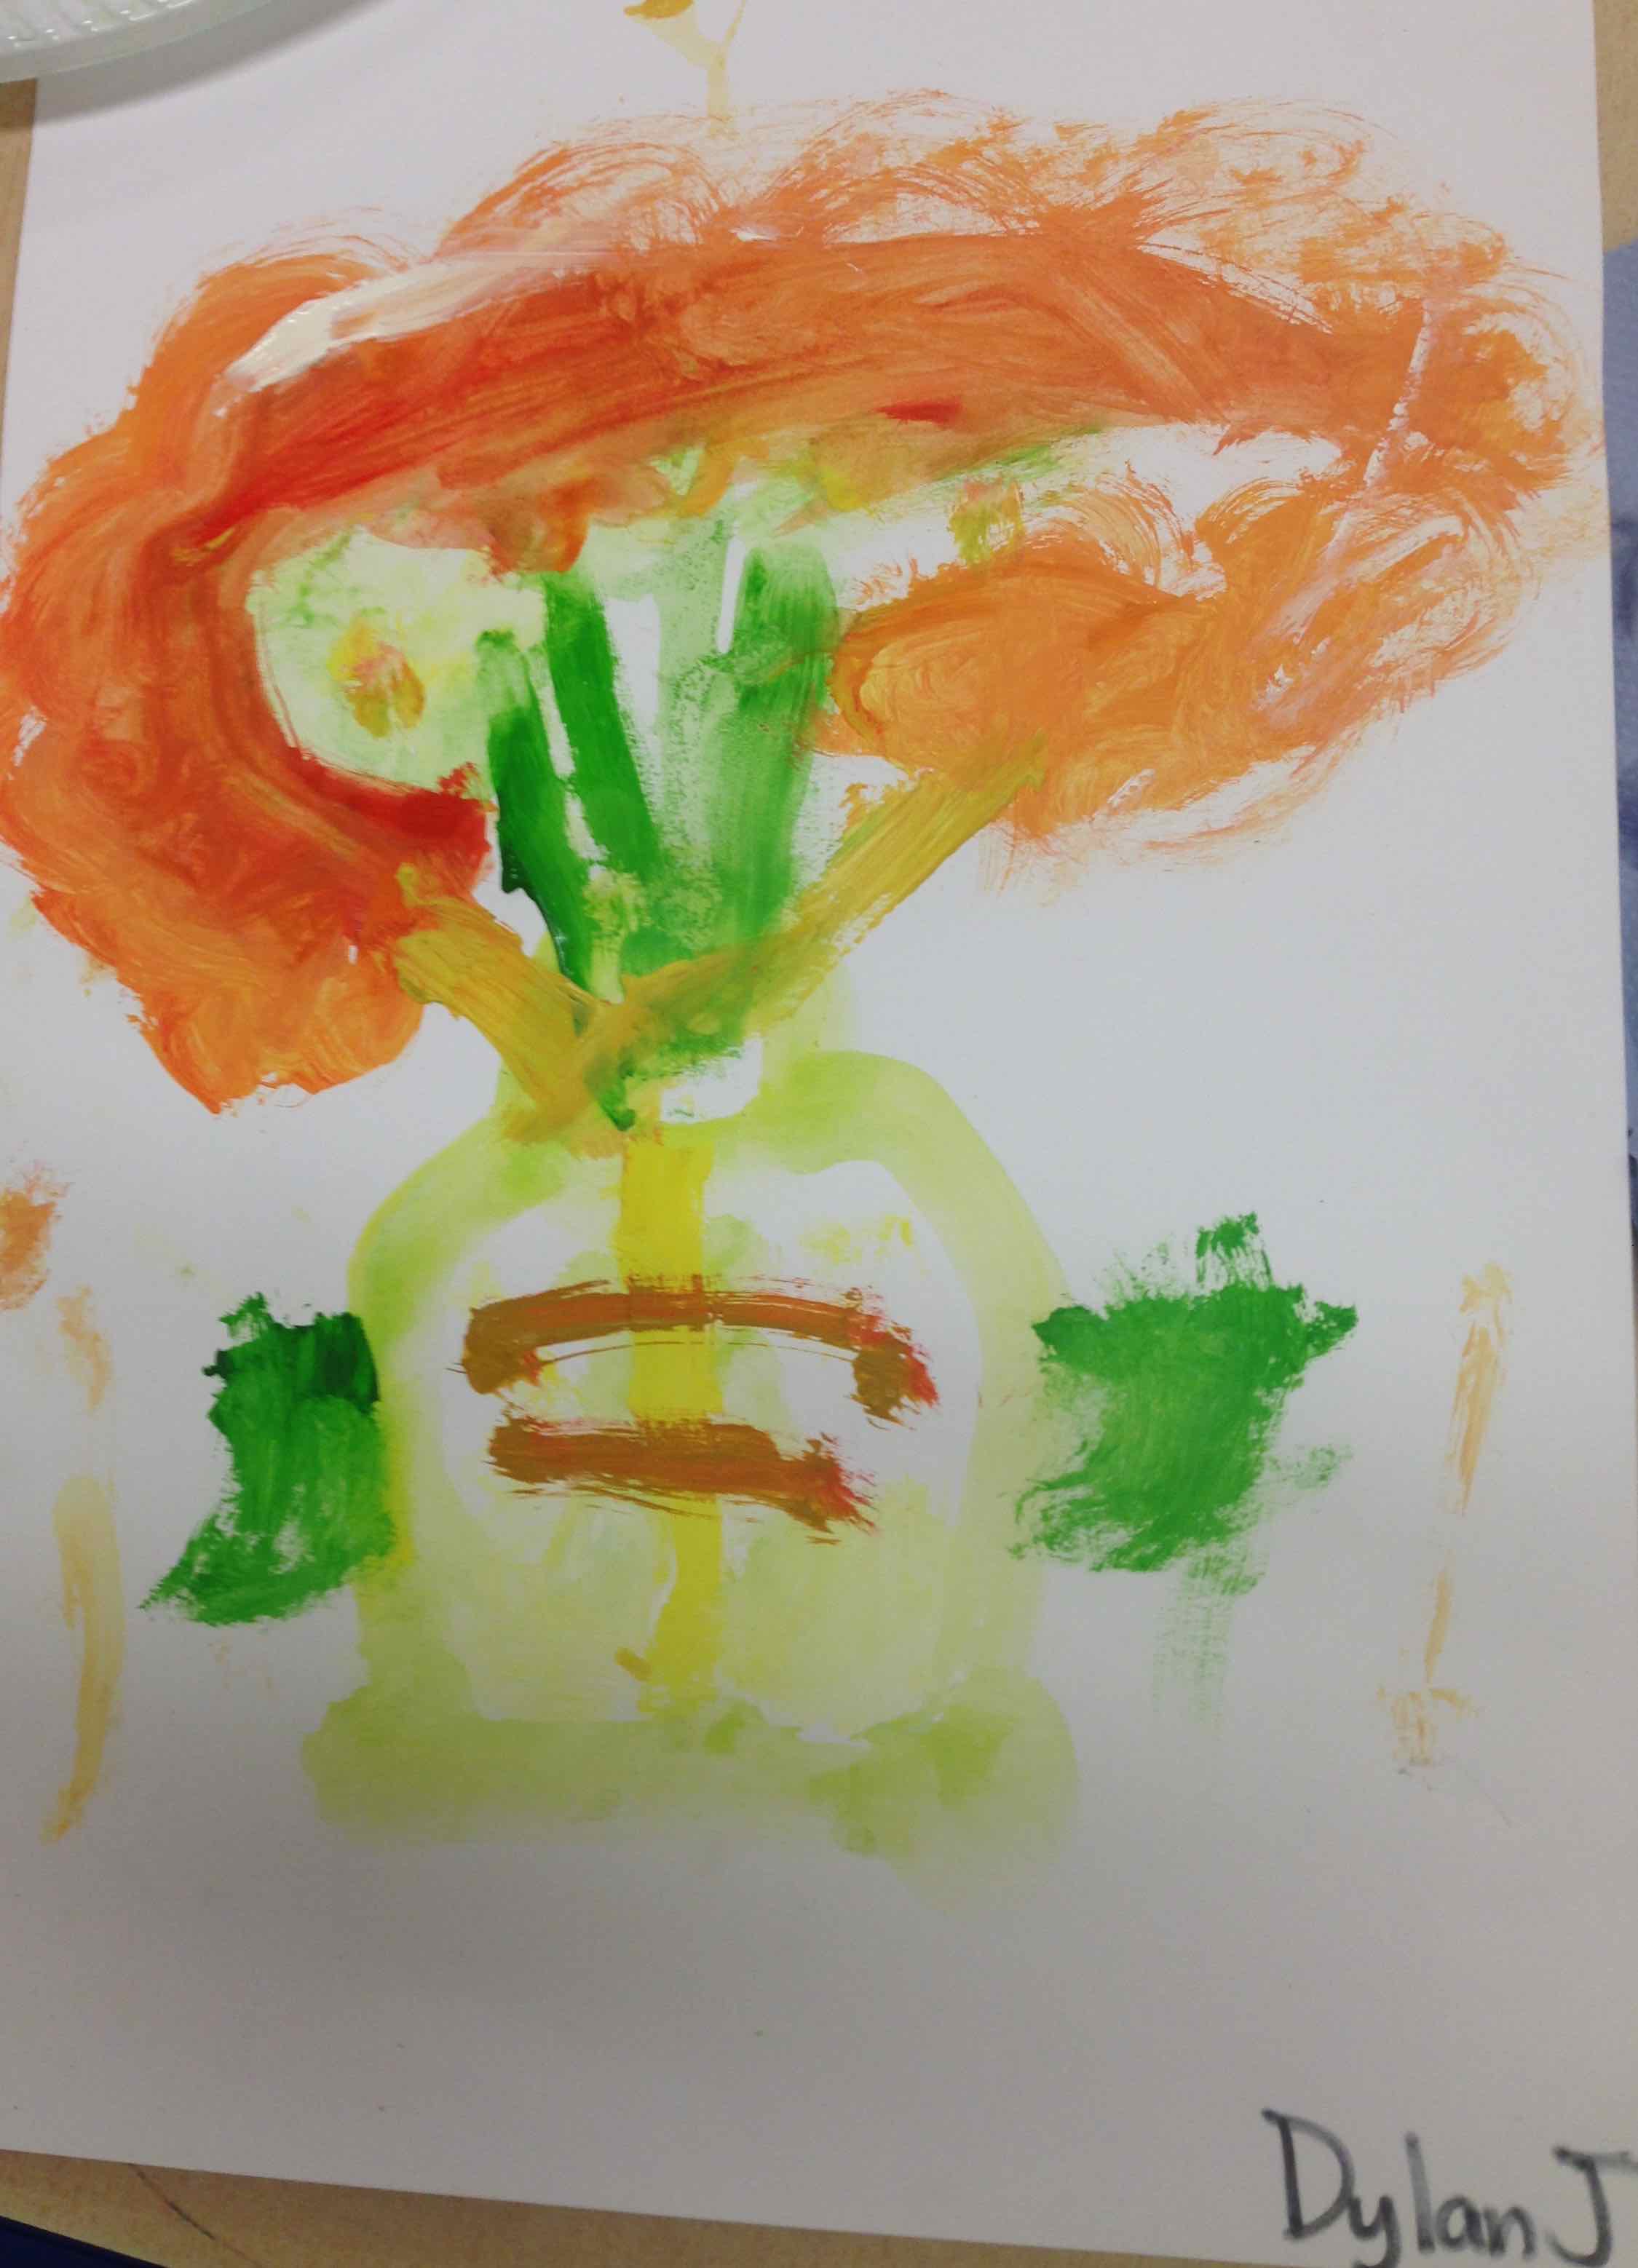
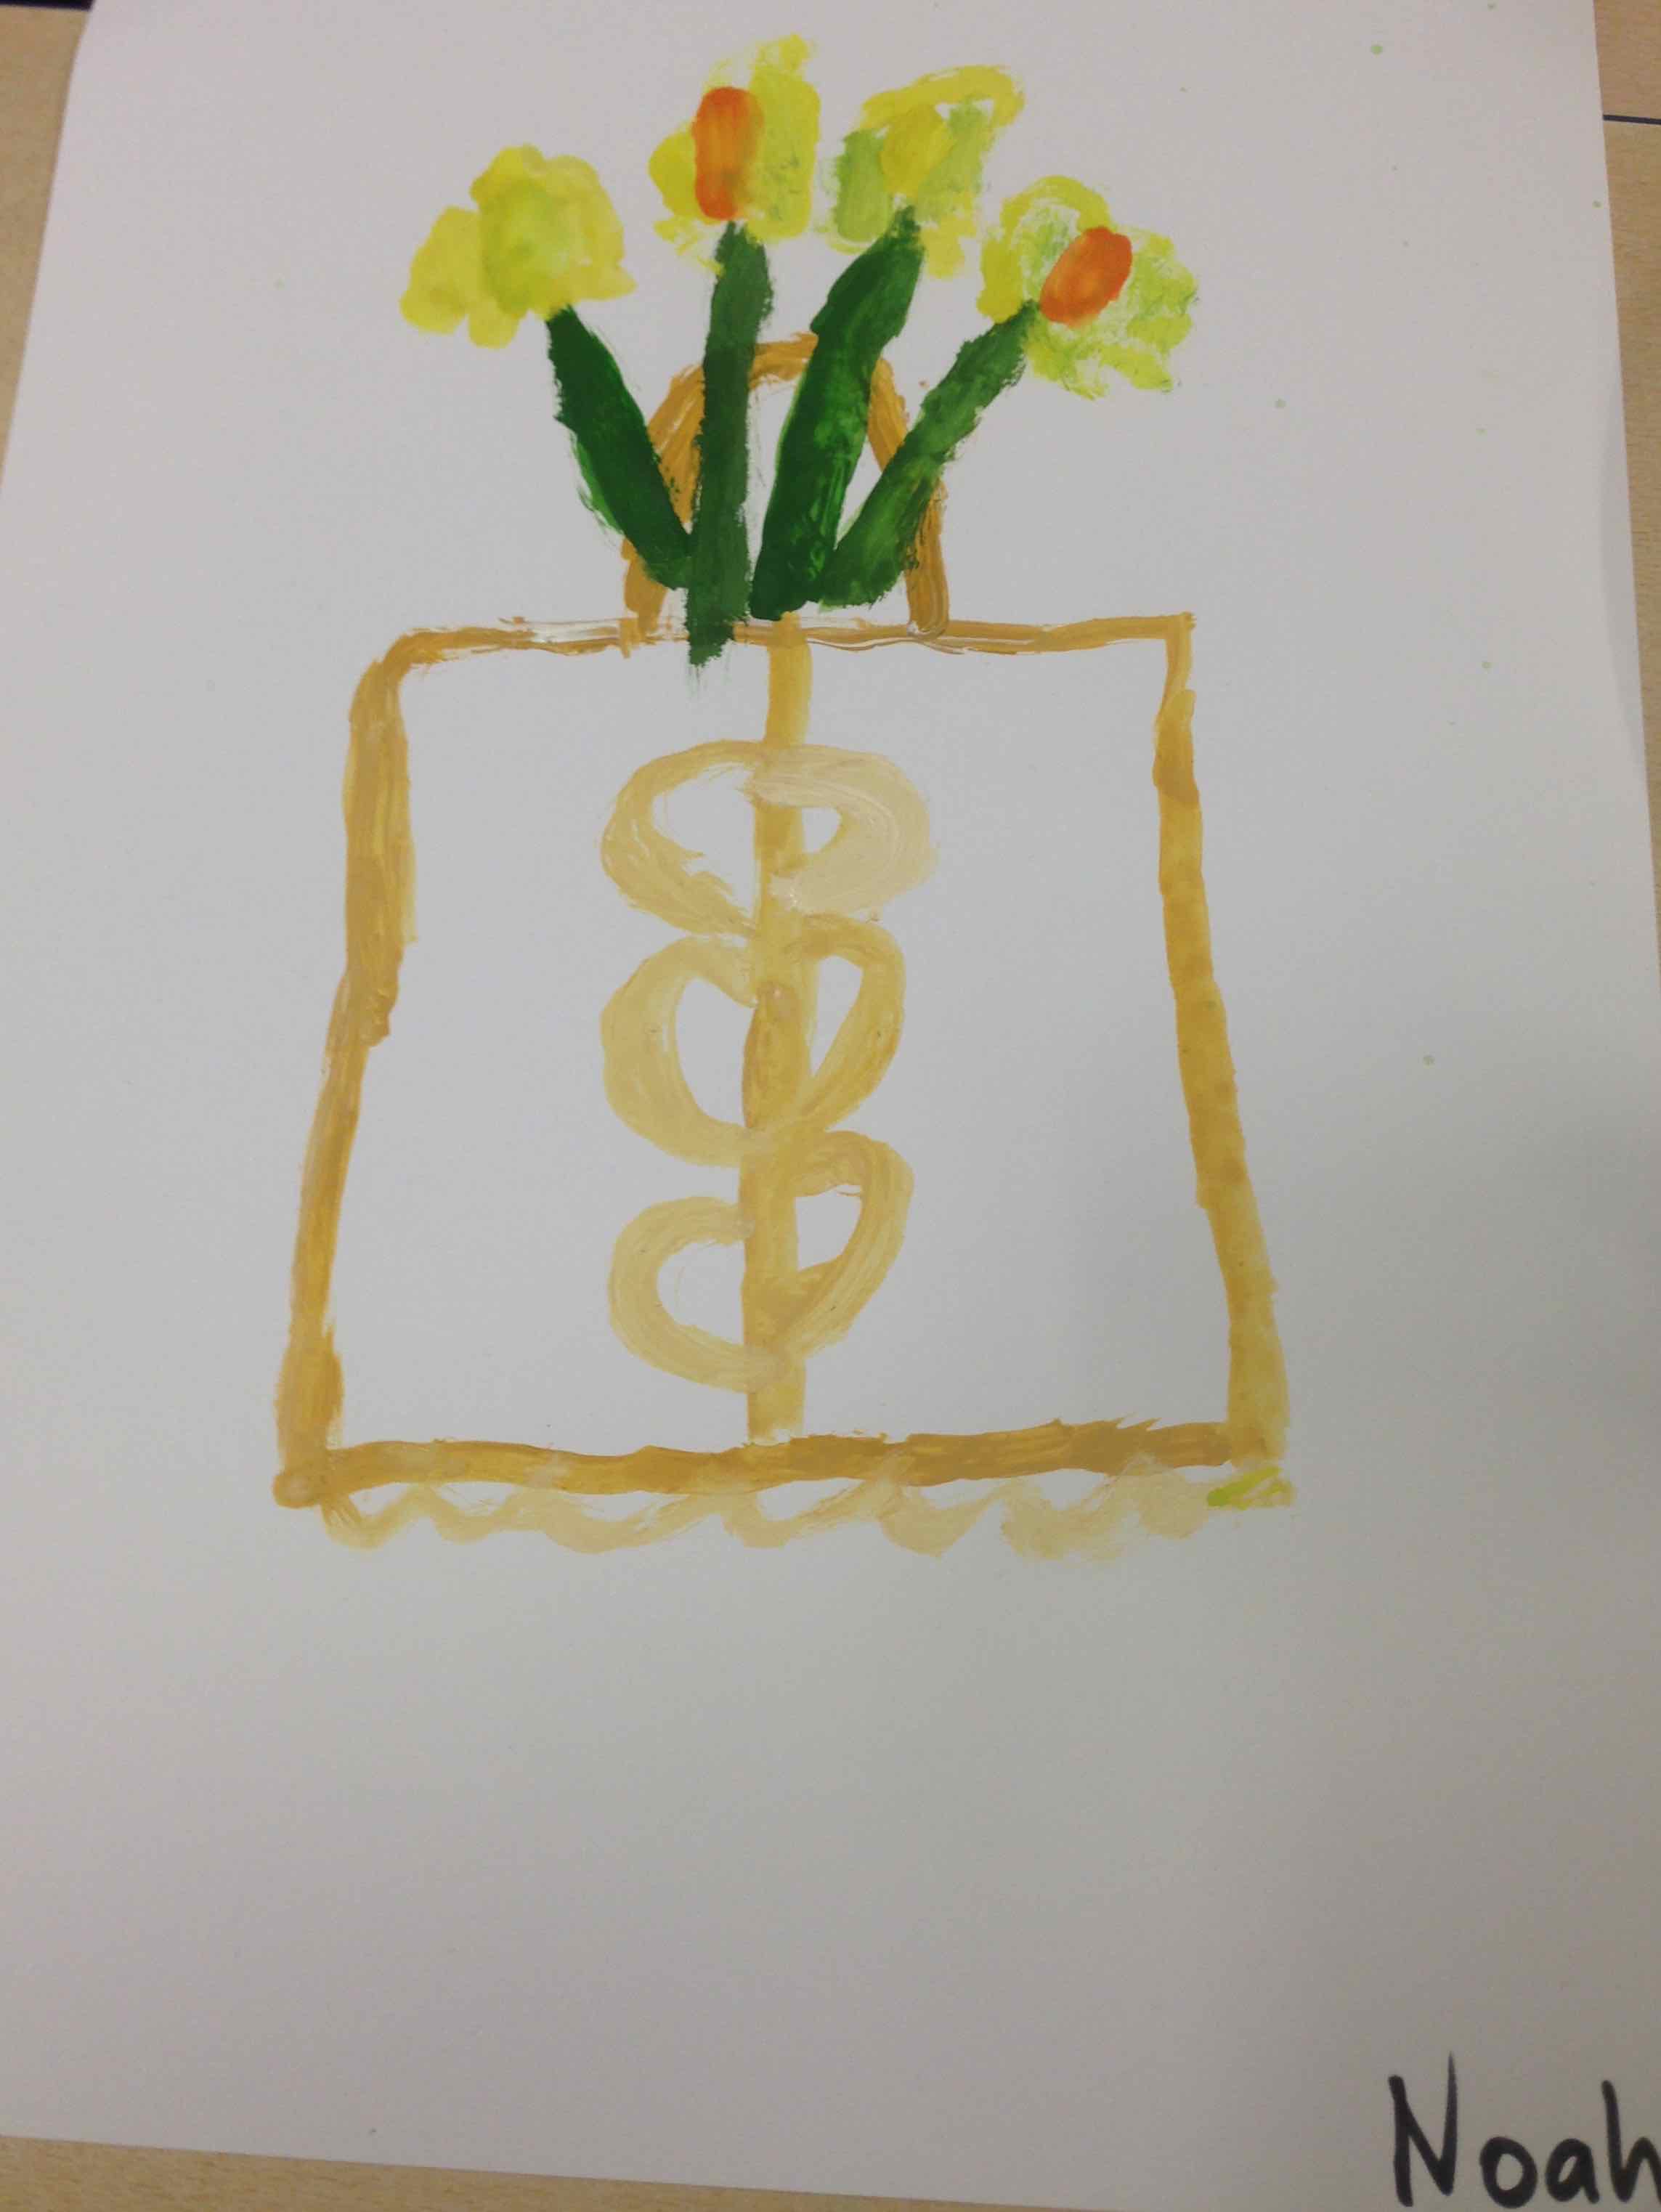
Jack’s drawing has wonderful strong shapes like the stones at the tomb… what lovely dark charcoal lines!Jessica has made a lively drawing including the stones, trees, sky and plant life. Super!Gareth’s drawing has described the heavy solid shapes of the stones so beautifully!Eamon has used lines to create the shape of the stones and the layout of the tomb. Well done!Dylan’s drawing describes the patterning on the stones and the plant life around it . Super work!Cormac’s lovely drawing has captured the many stones, sizes and shapes at Annaghmare It looks like an exploding universe. wonderful!What lovely sensitive lines and marks Noah has used to create his drawing!The strong shape of the tomb and pattern of the stones is wonderful!Jack has observed both the small and large things at Annaghmare. Well done!Charcoal is a lovely tool for drawing because you can smudge and re- draw things – look at this this super drawing!I think the person in this drawing looks happy to be exploring Annaghmare! Well done!Oscar has created beautiful sensitive lines in his drawing. Wonderful!The strong, dense charcoal marks capture the feel of Annaghmare very well! Great work Keelan!John has created a wonderfully lively drawing of the trees and plants surrounding the tomb.
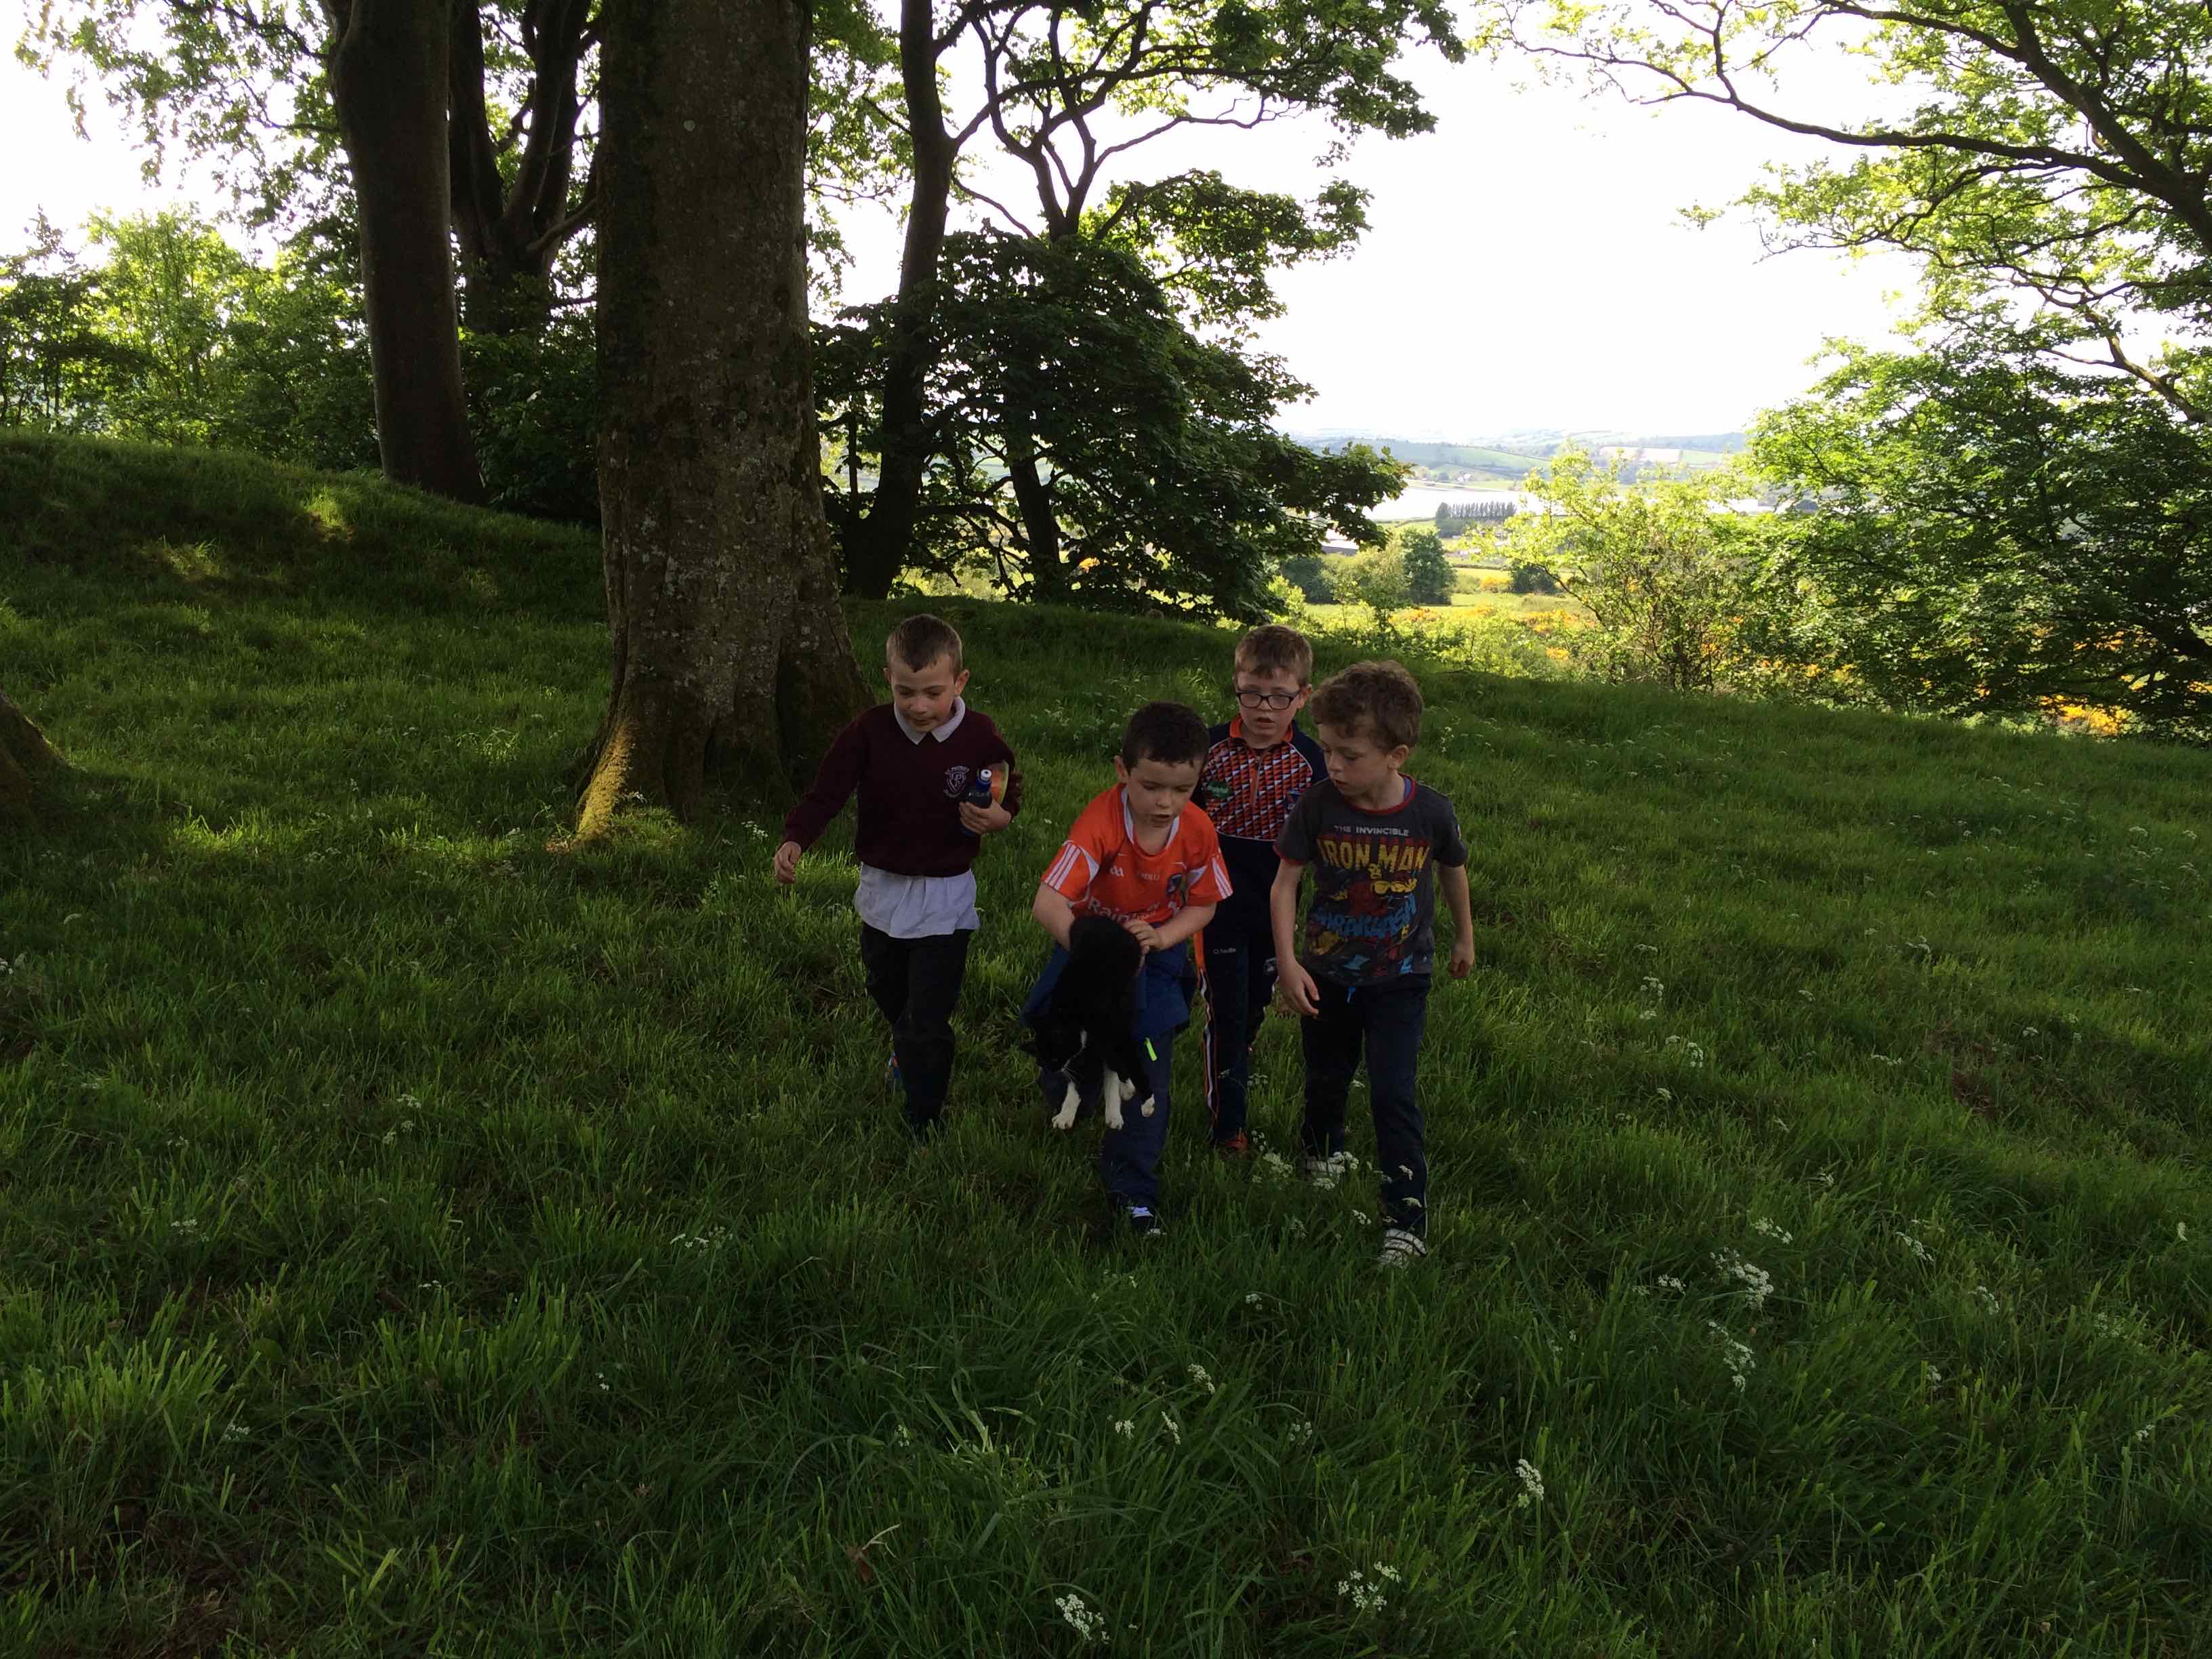
But that was not all we did…
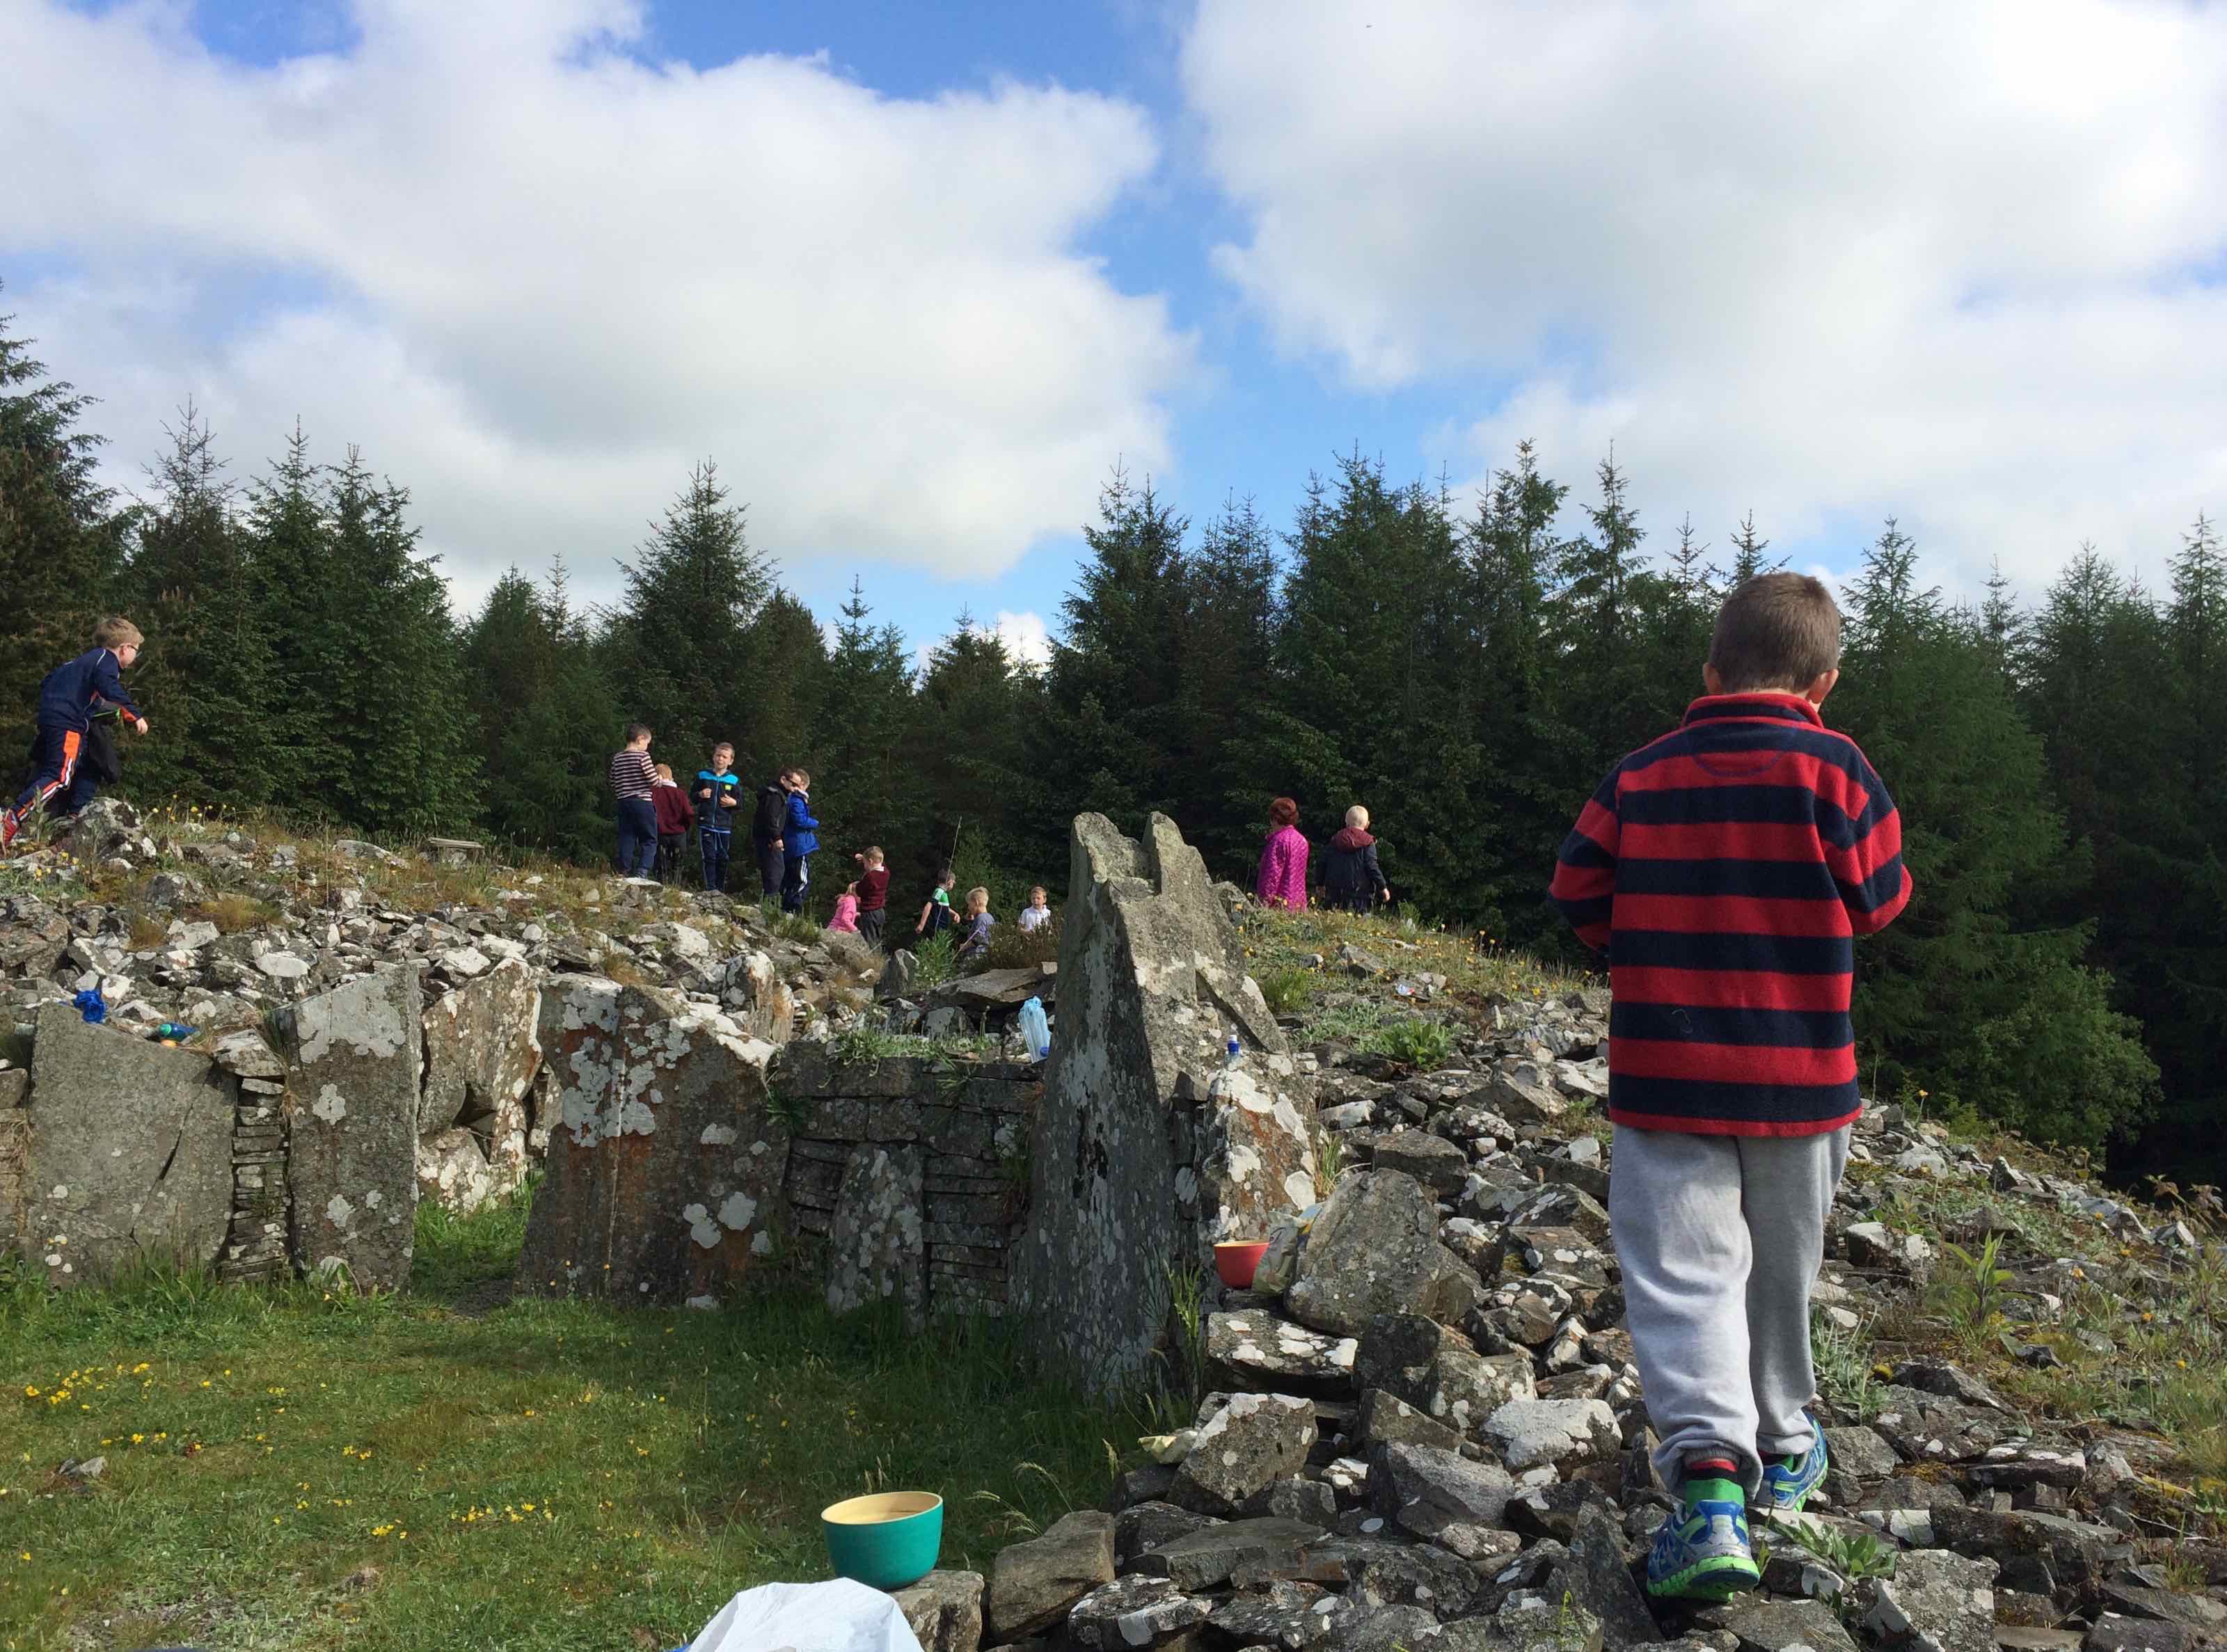
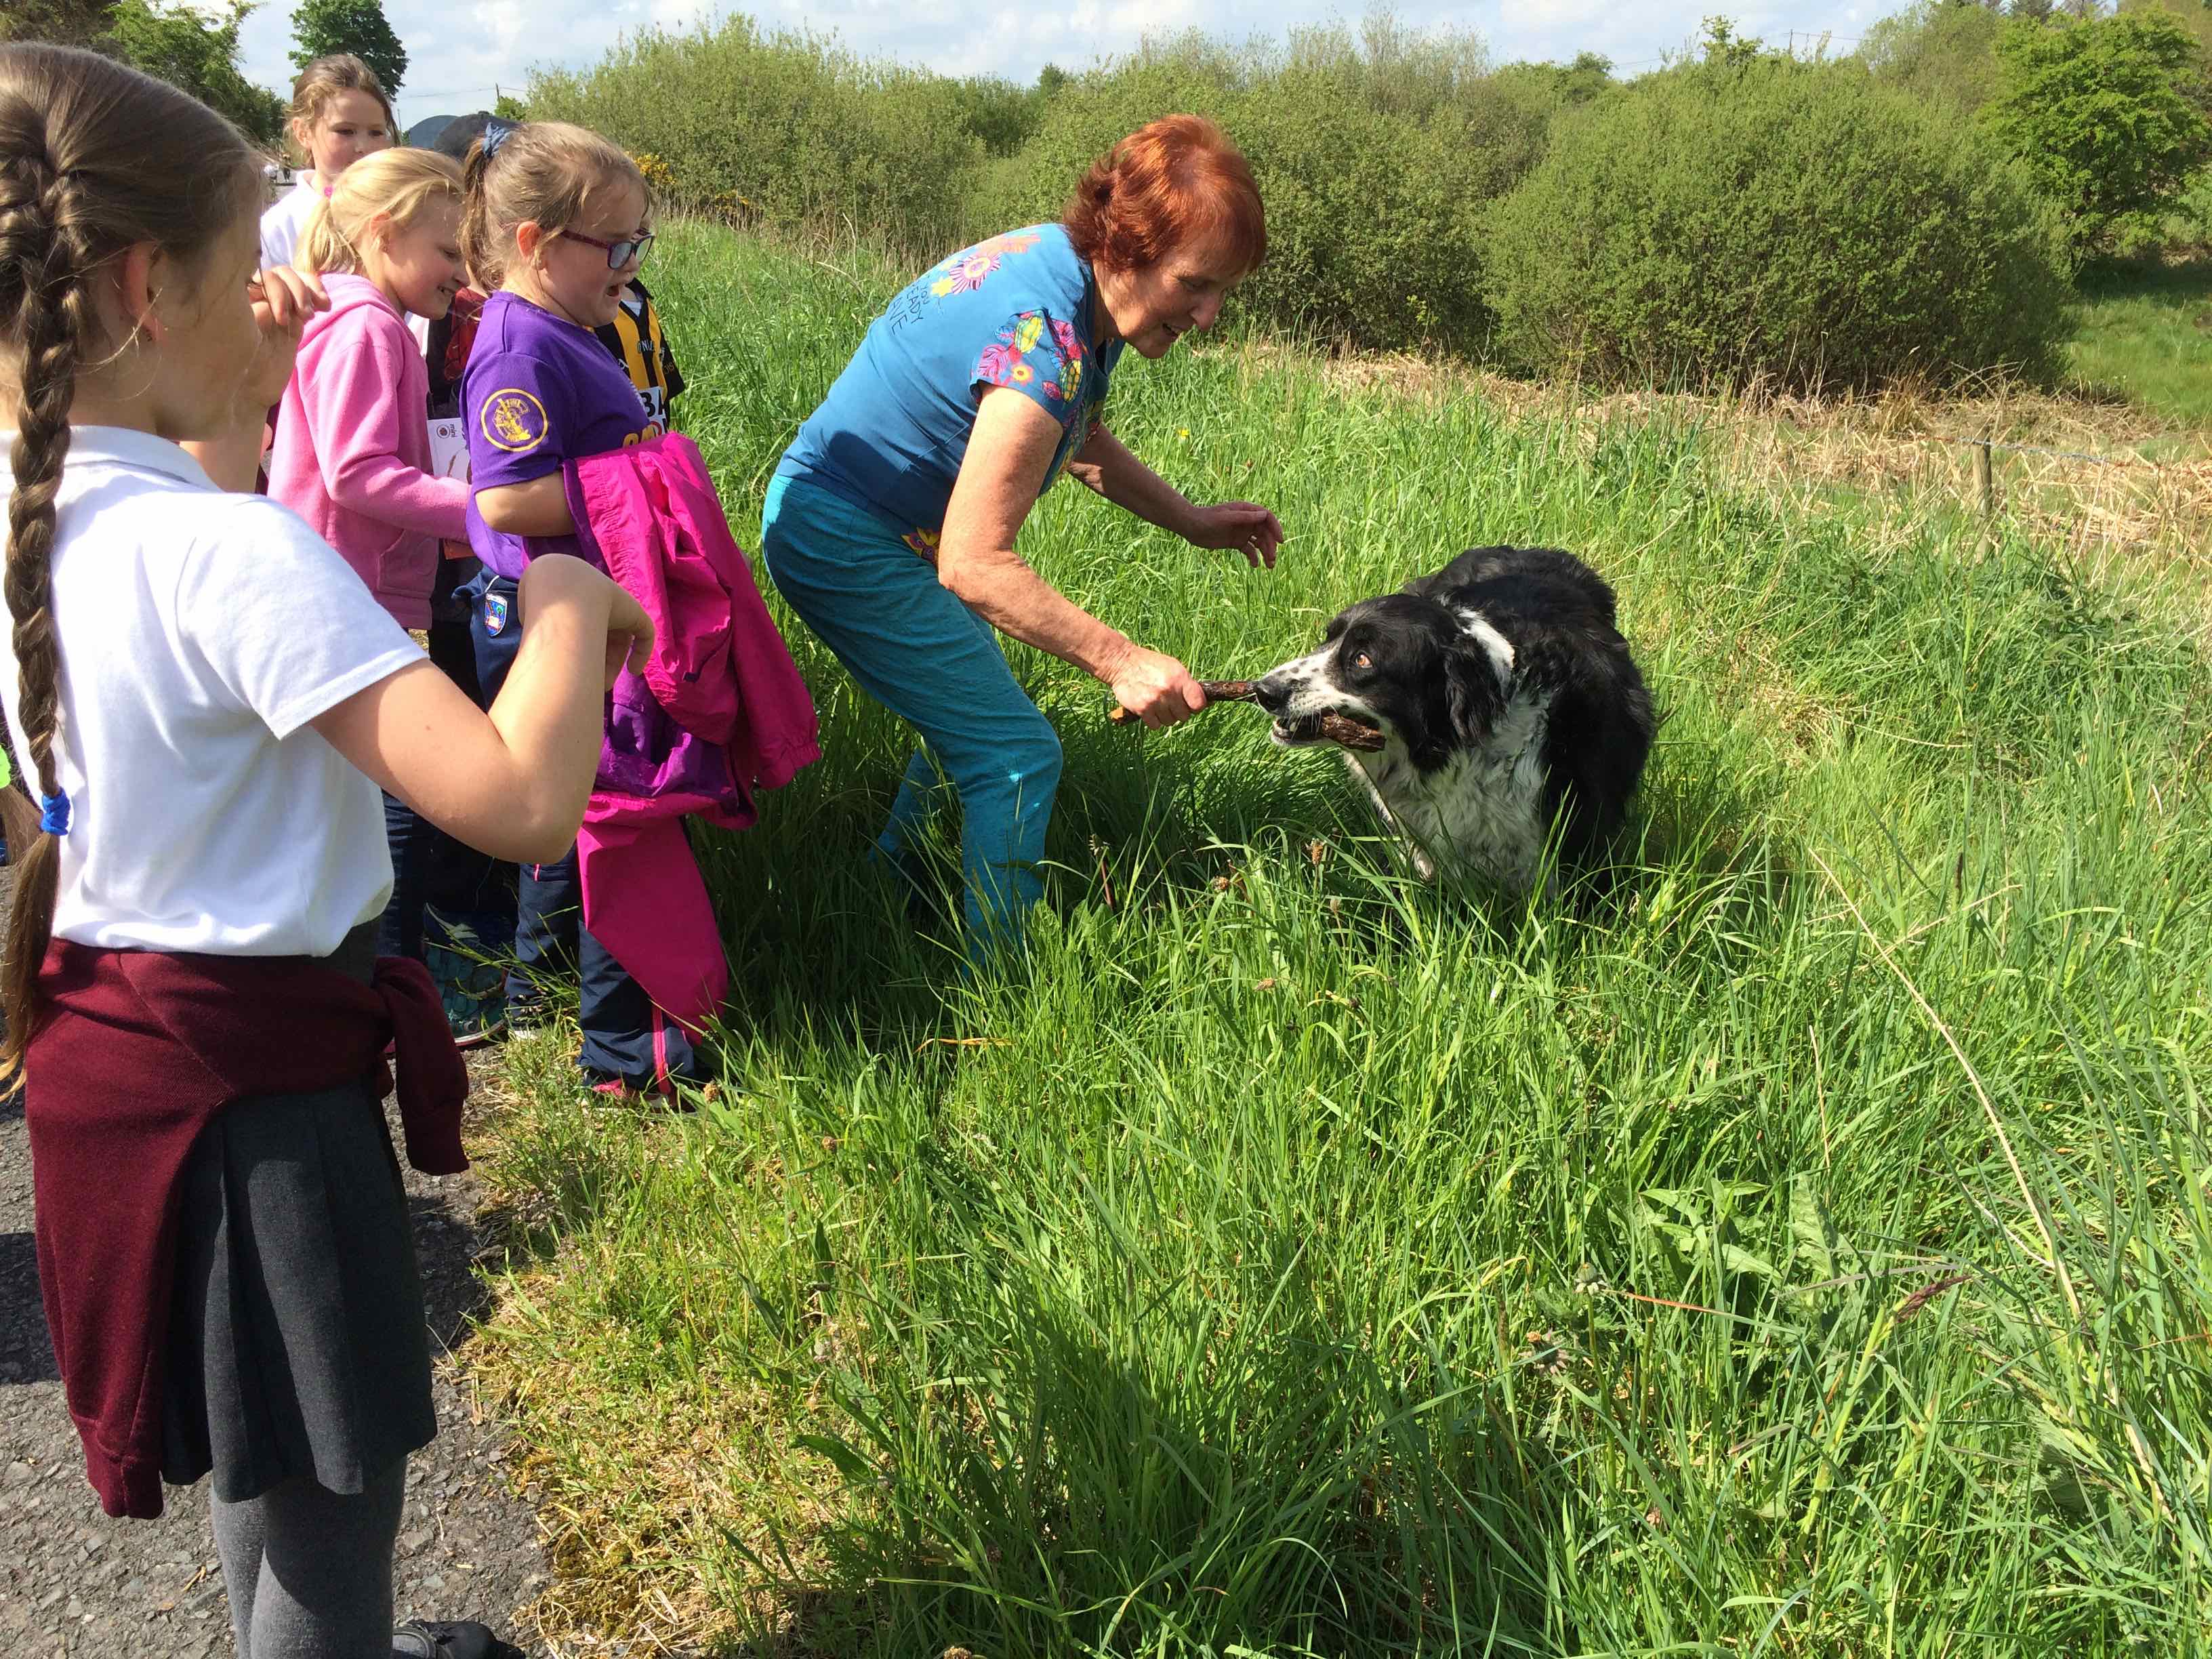
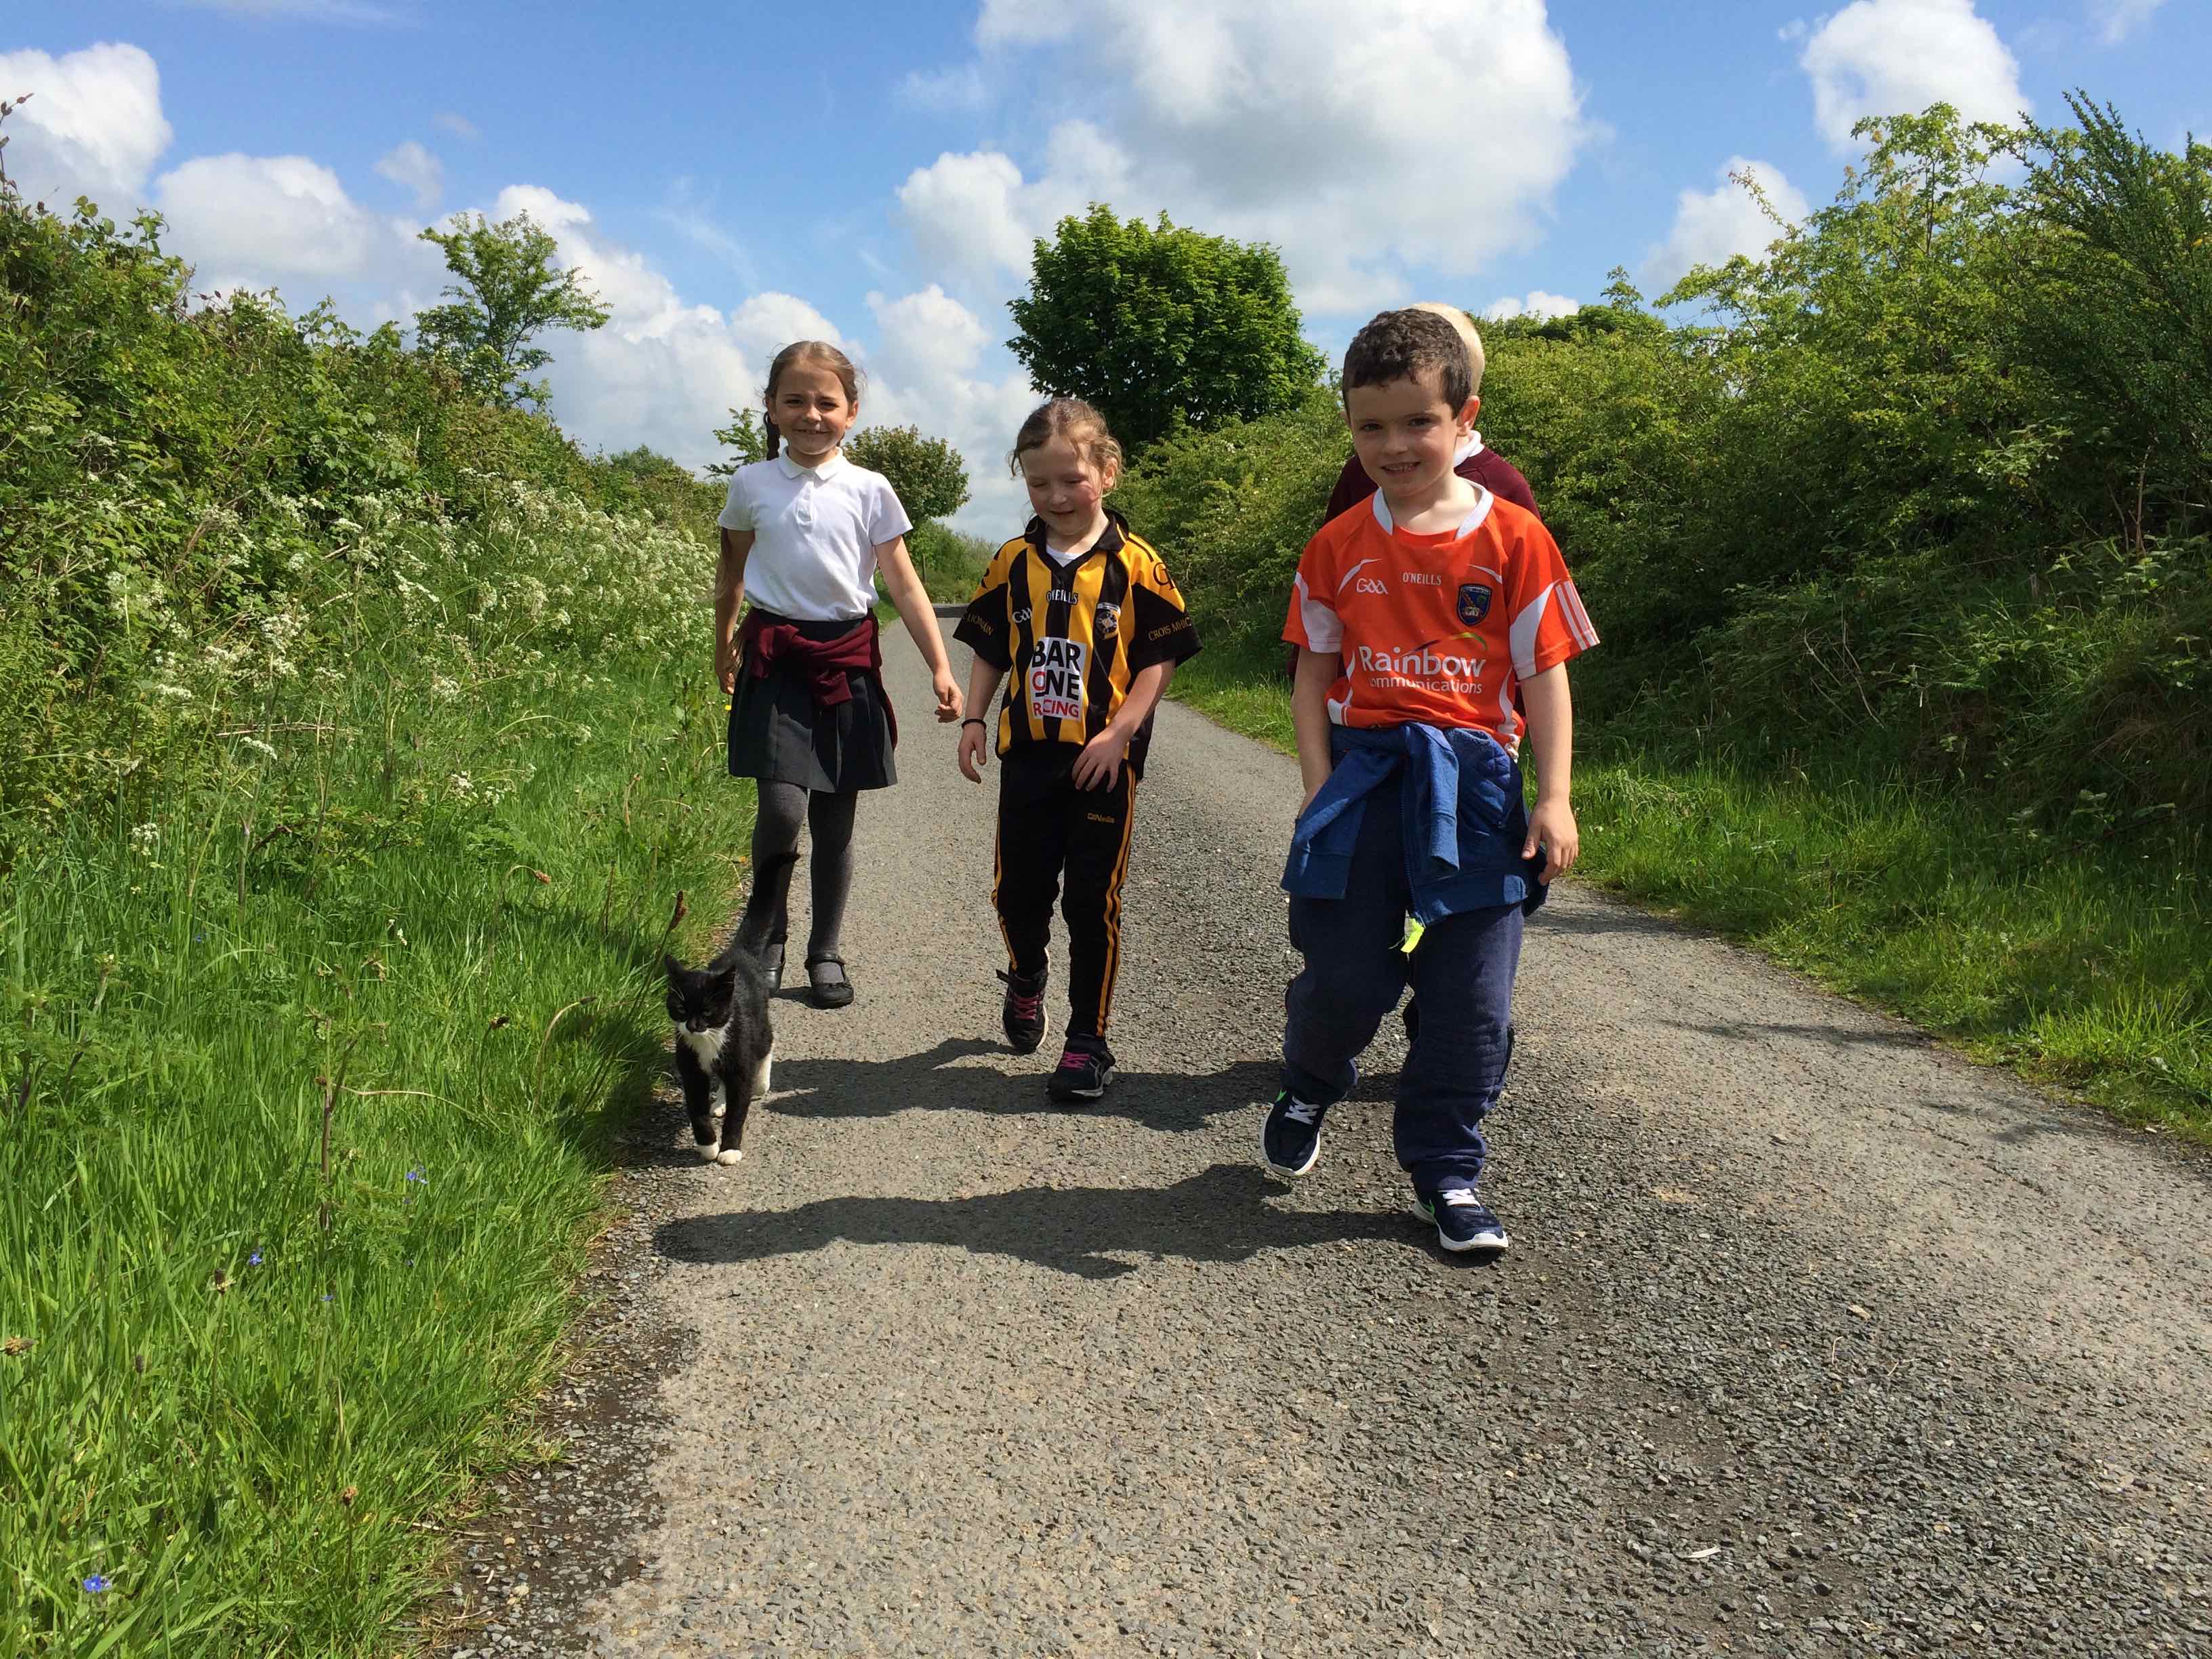
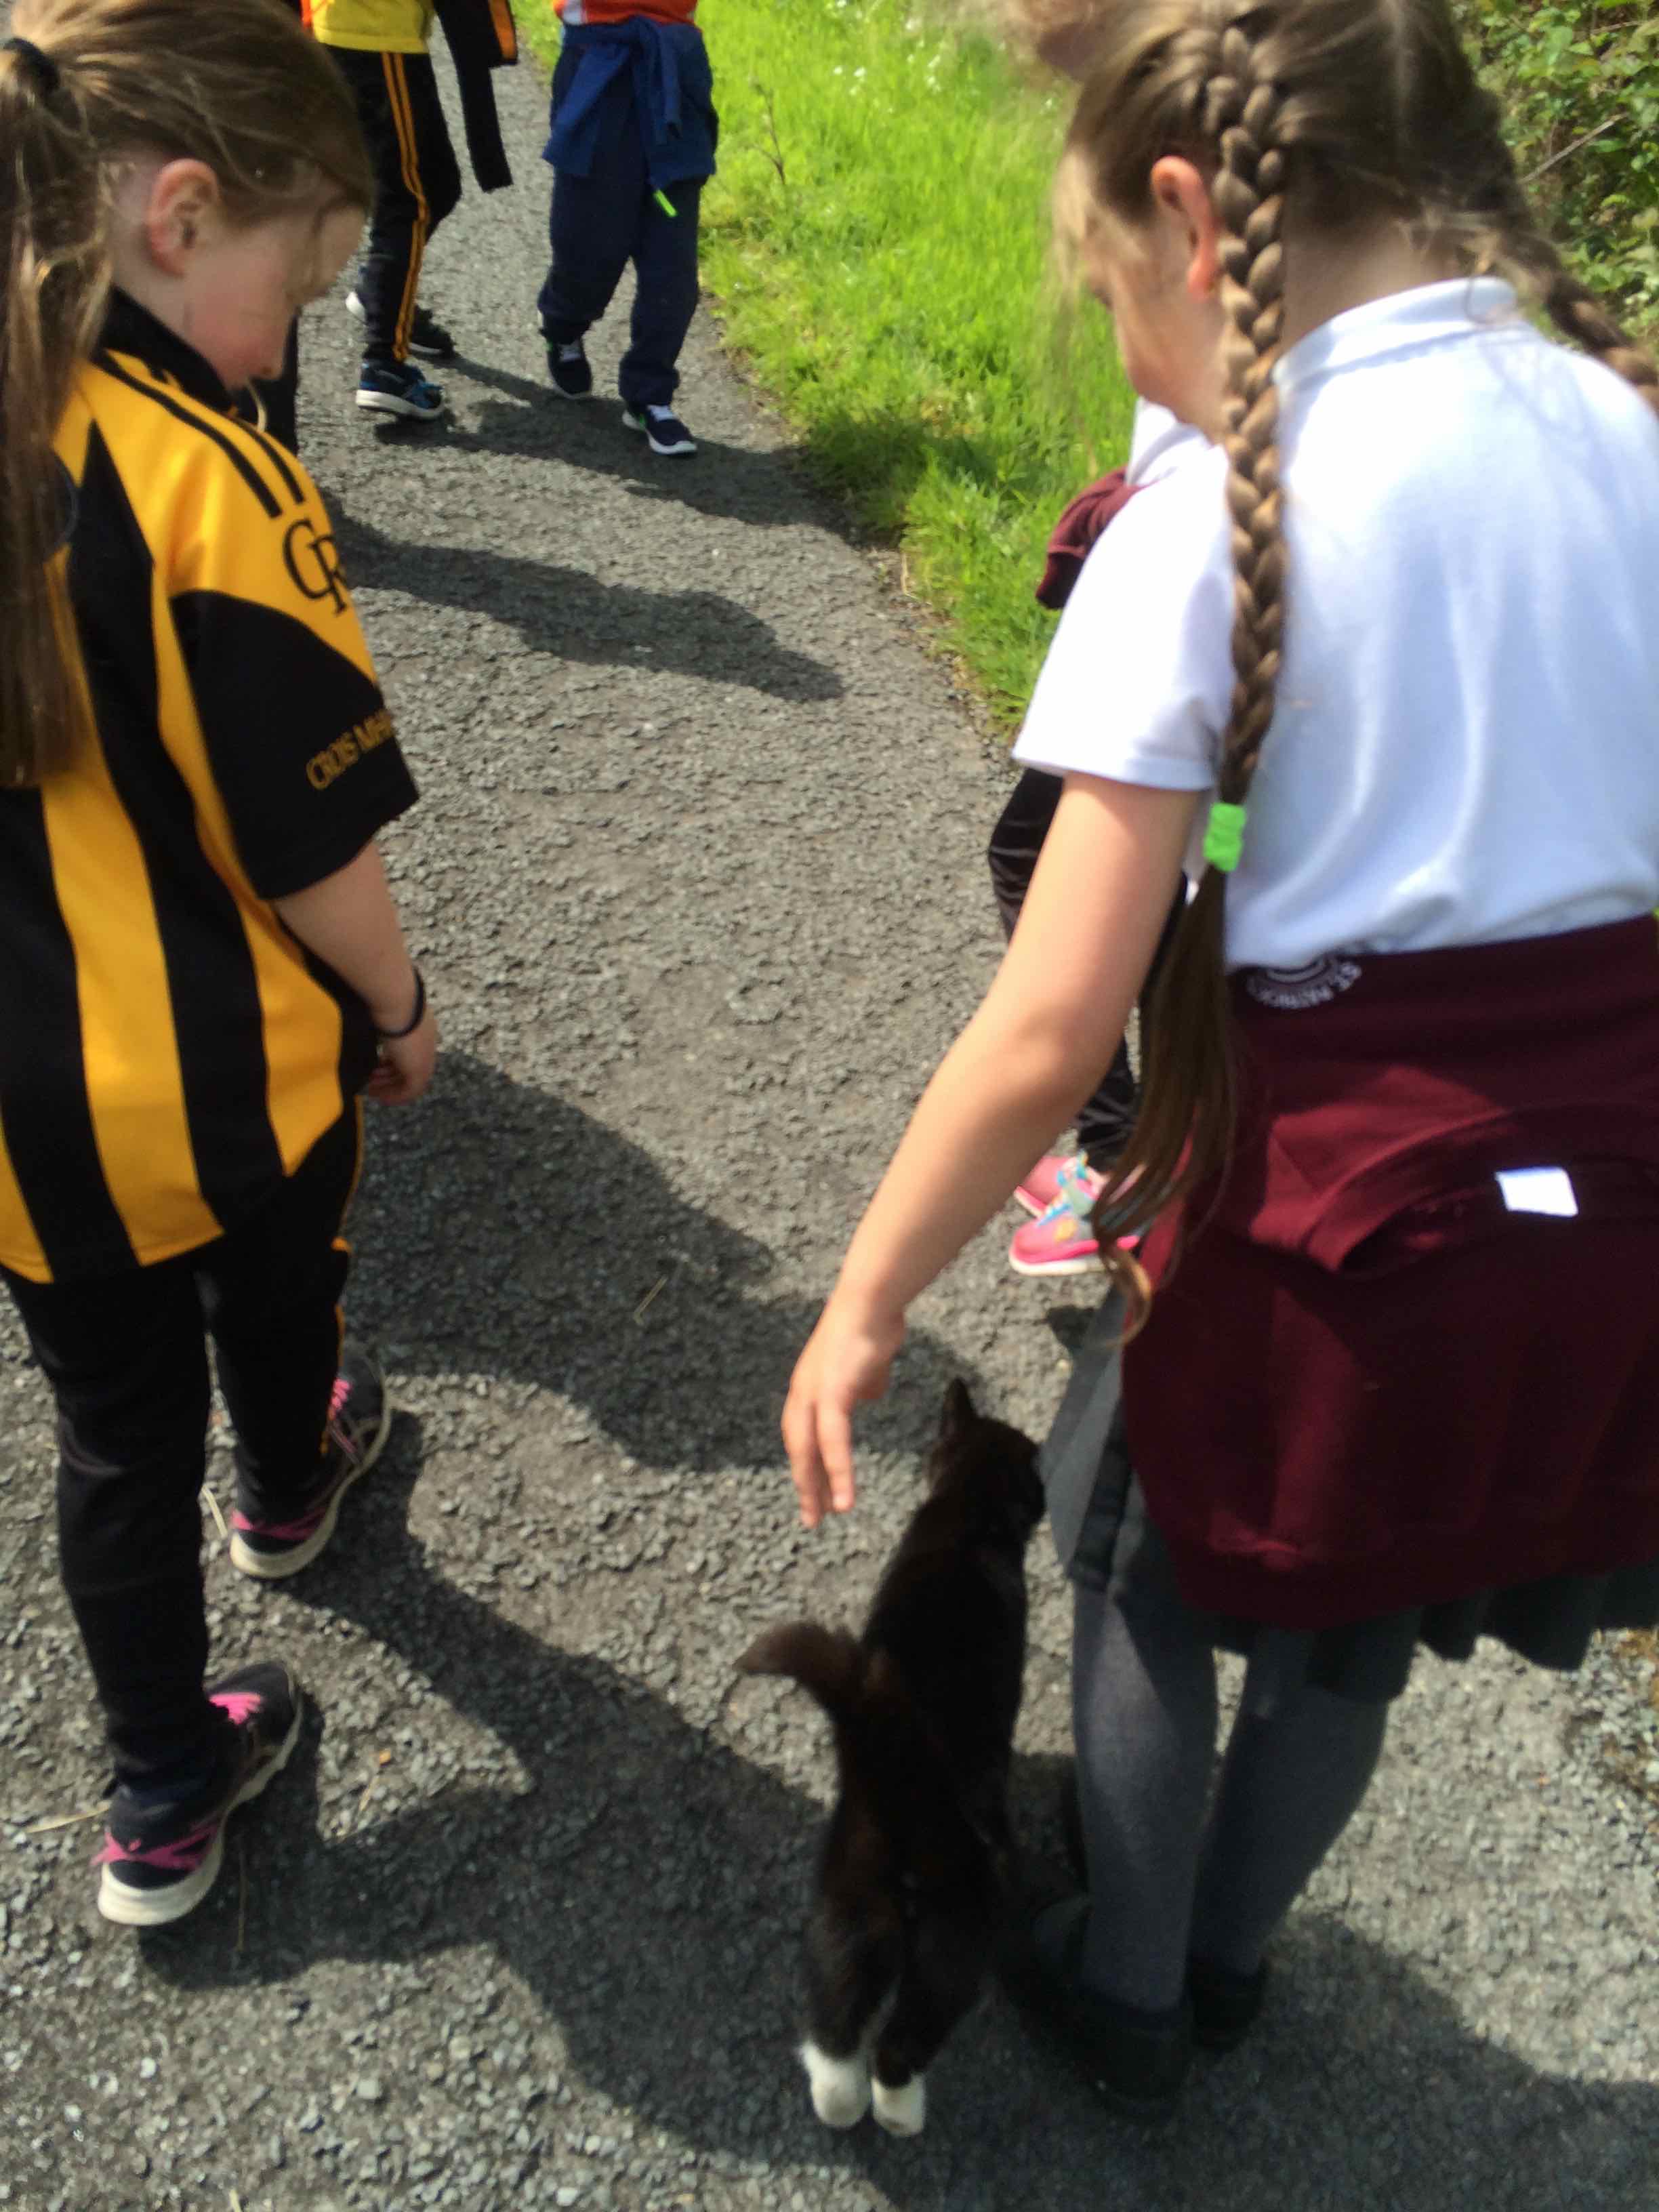
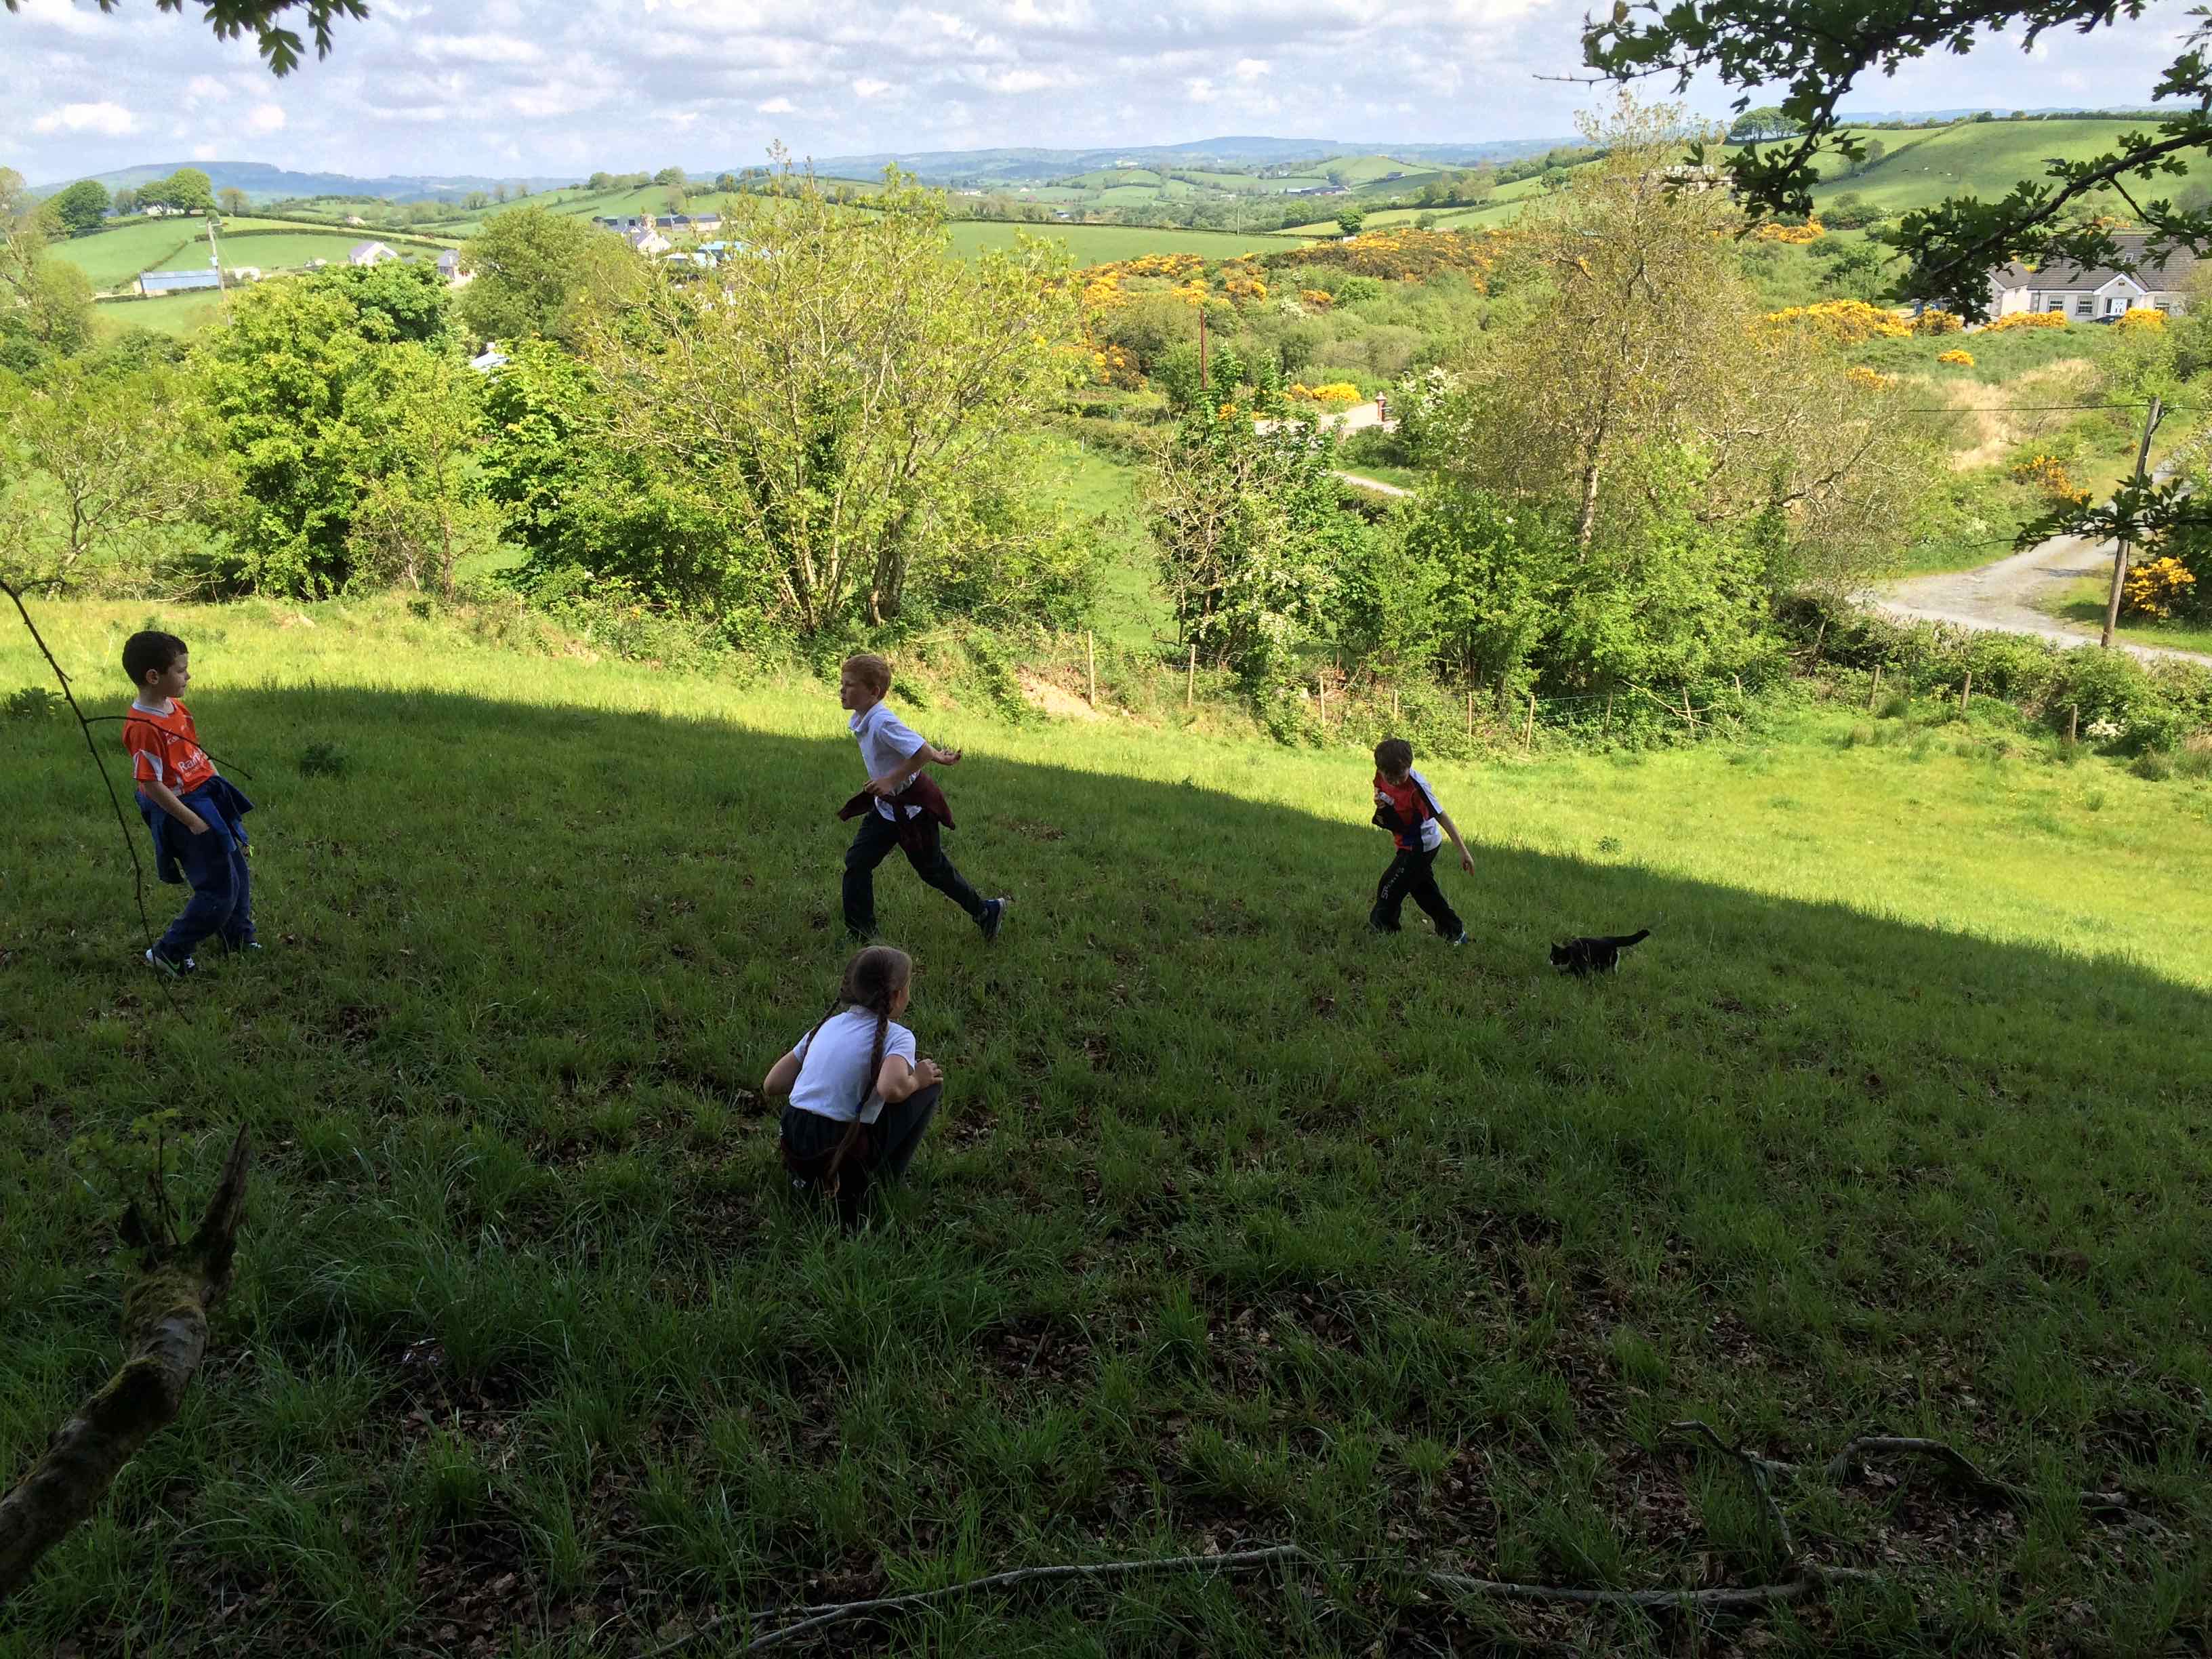
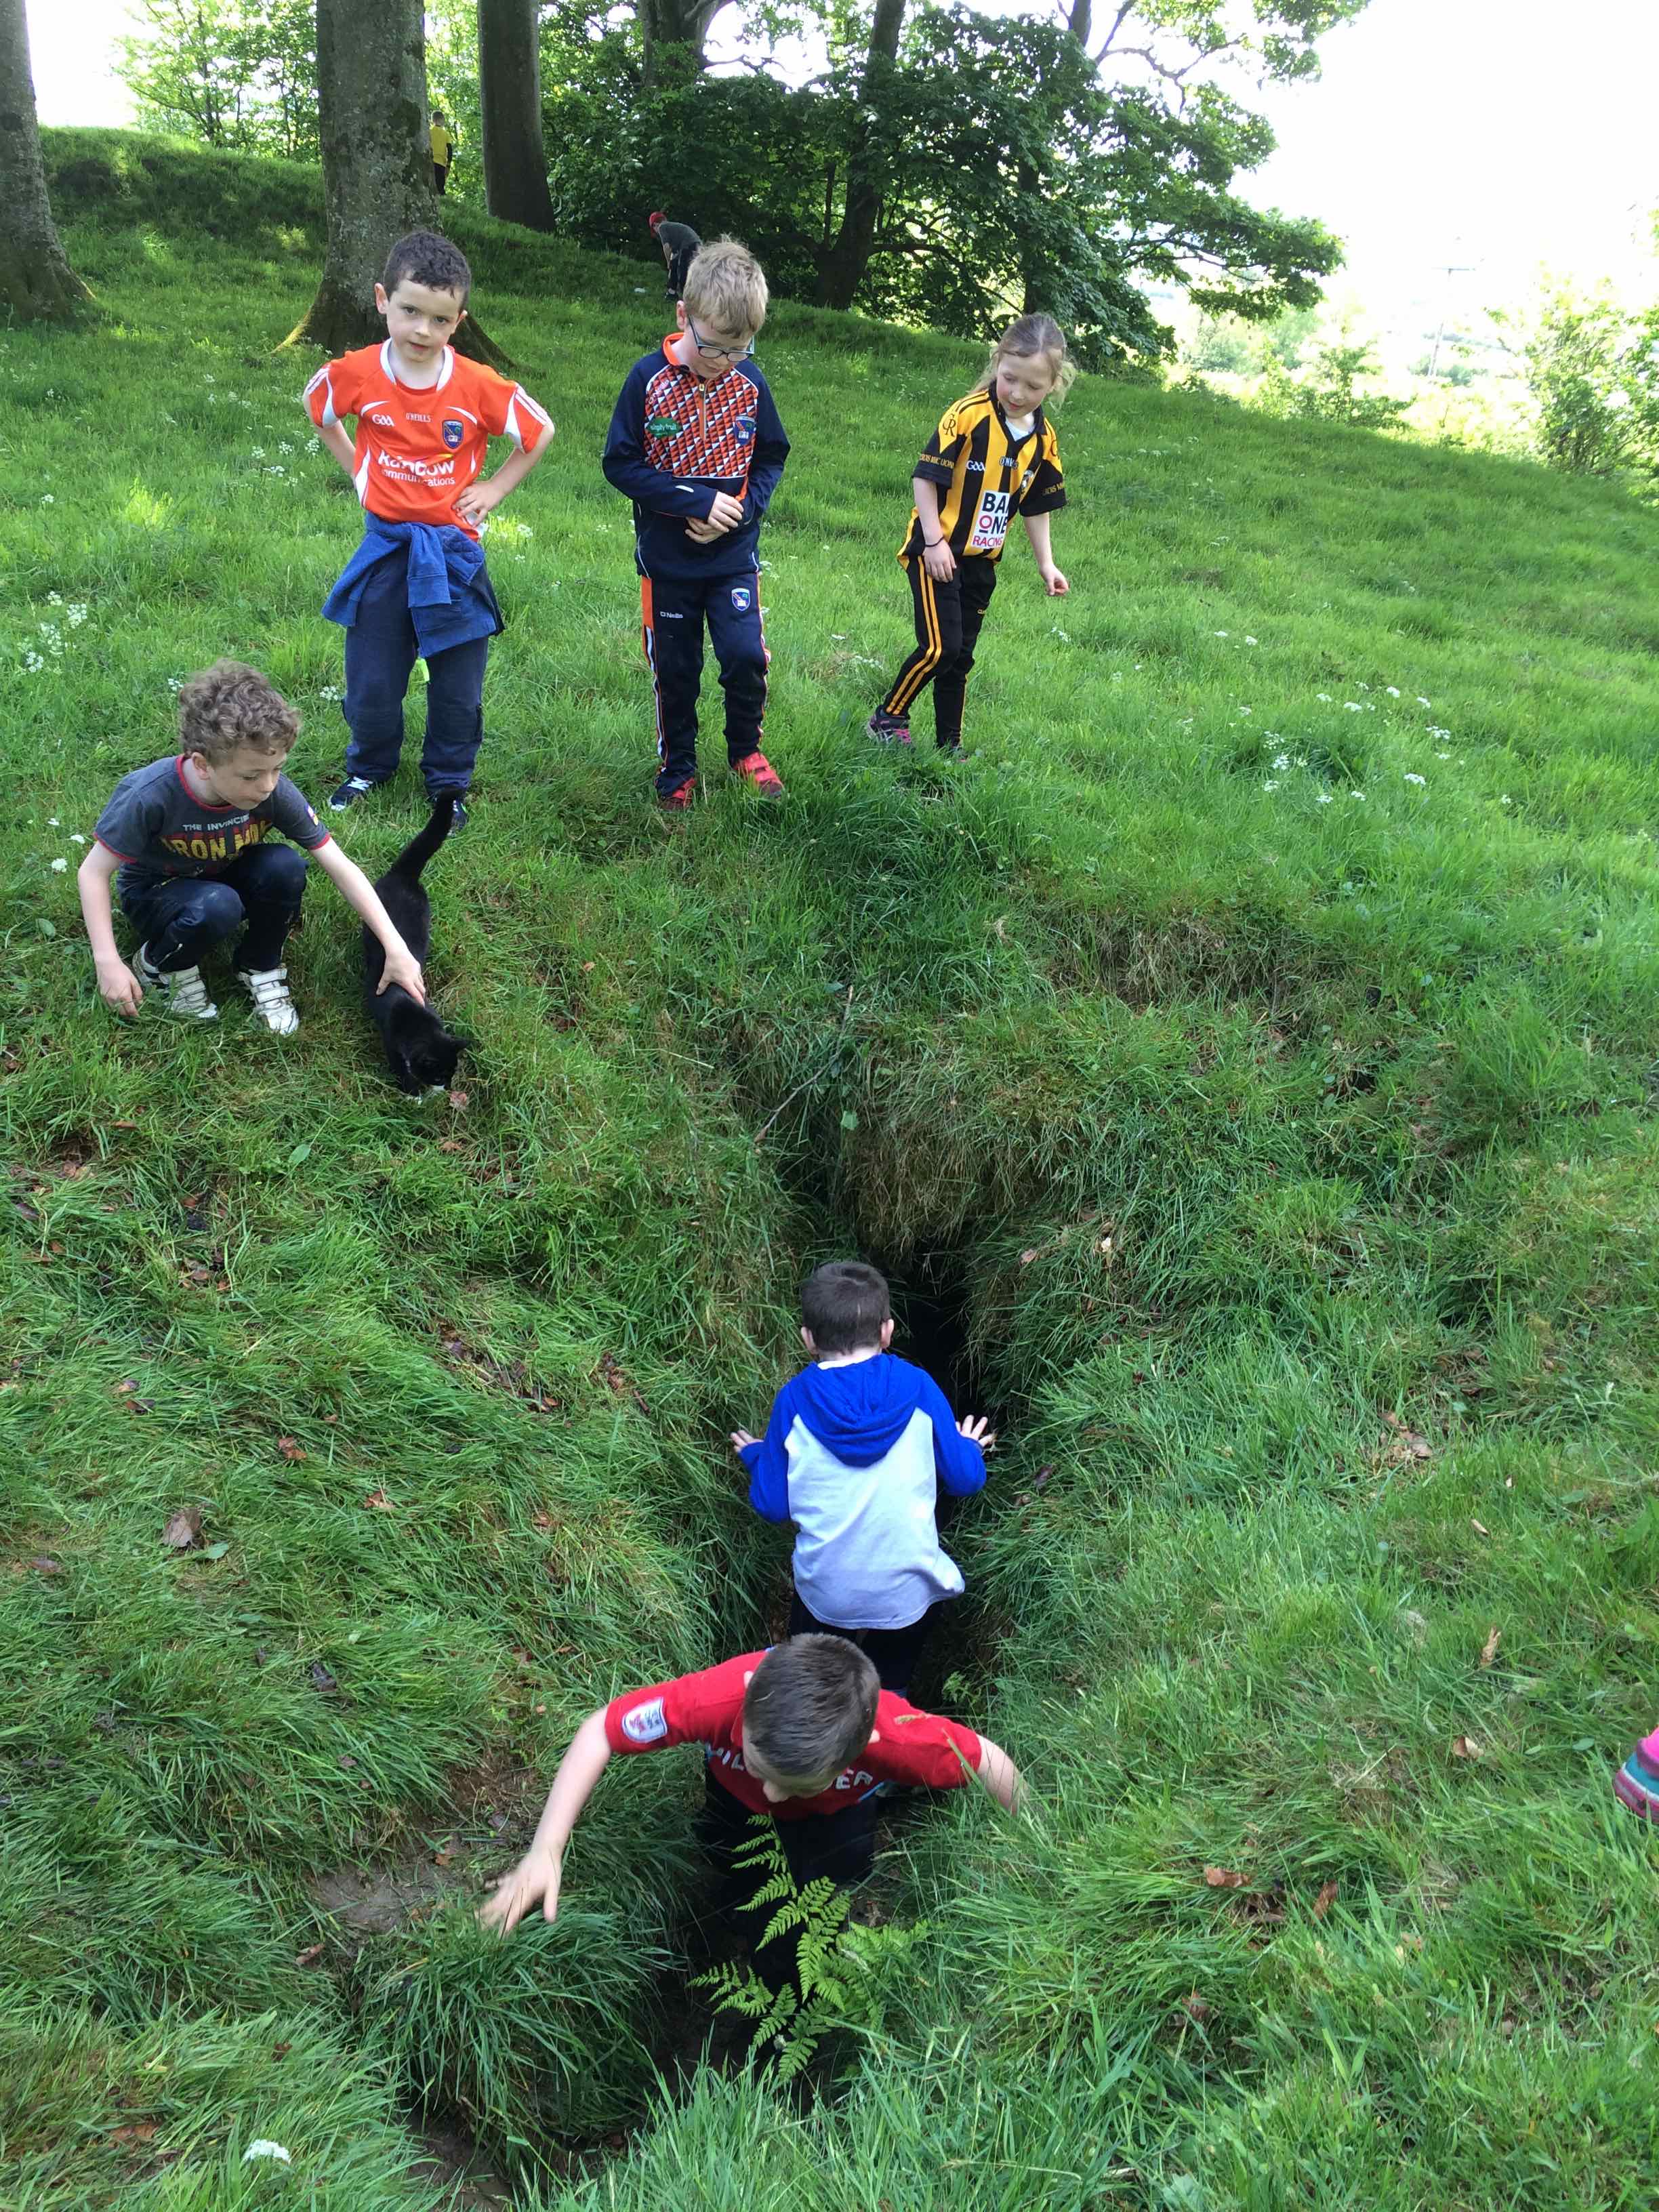
We met a dog, Max…We walked down the country lanes to Corliss Fort…We met a cat…Not just any cat but a a cat that Daniel had lost some weeks ago!
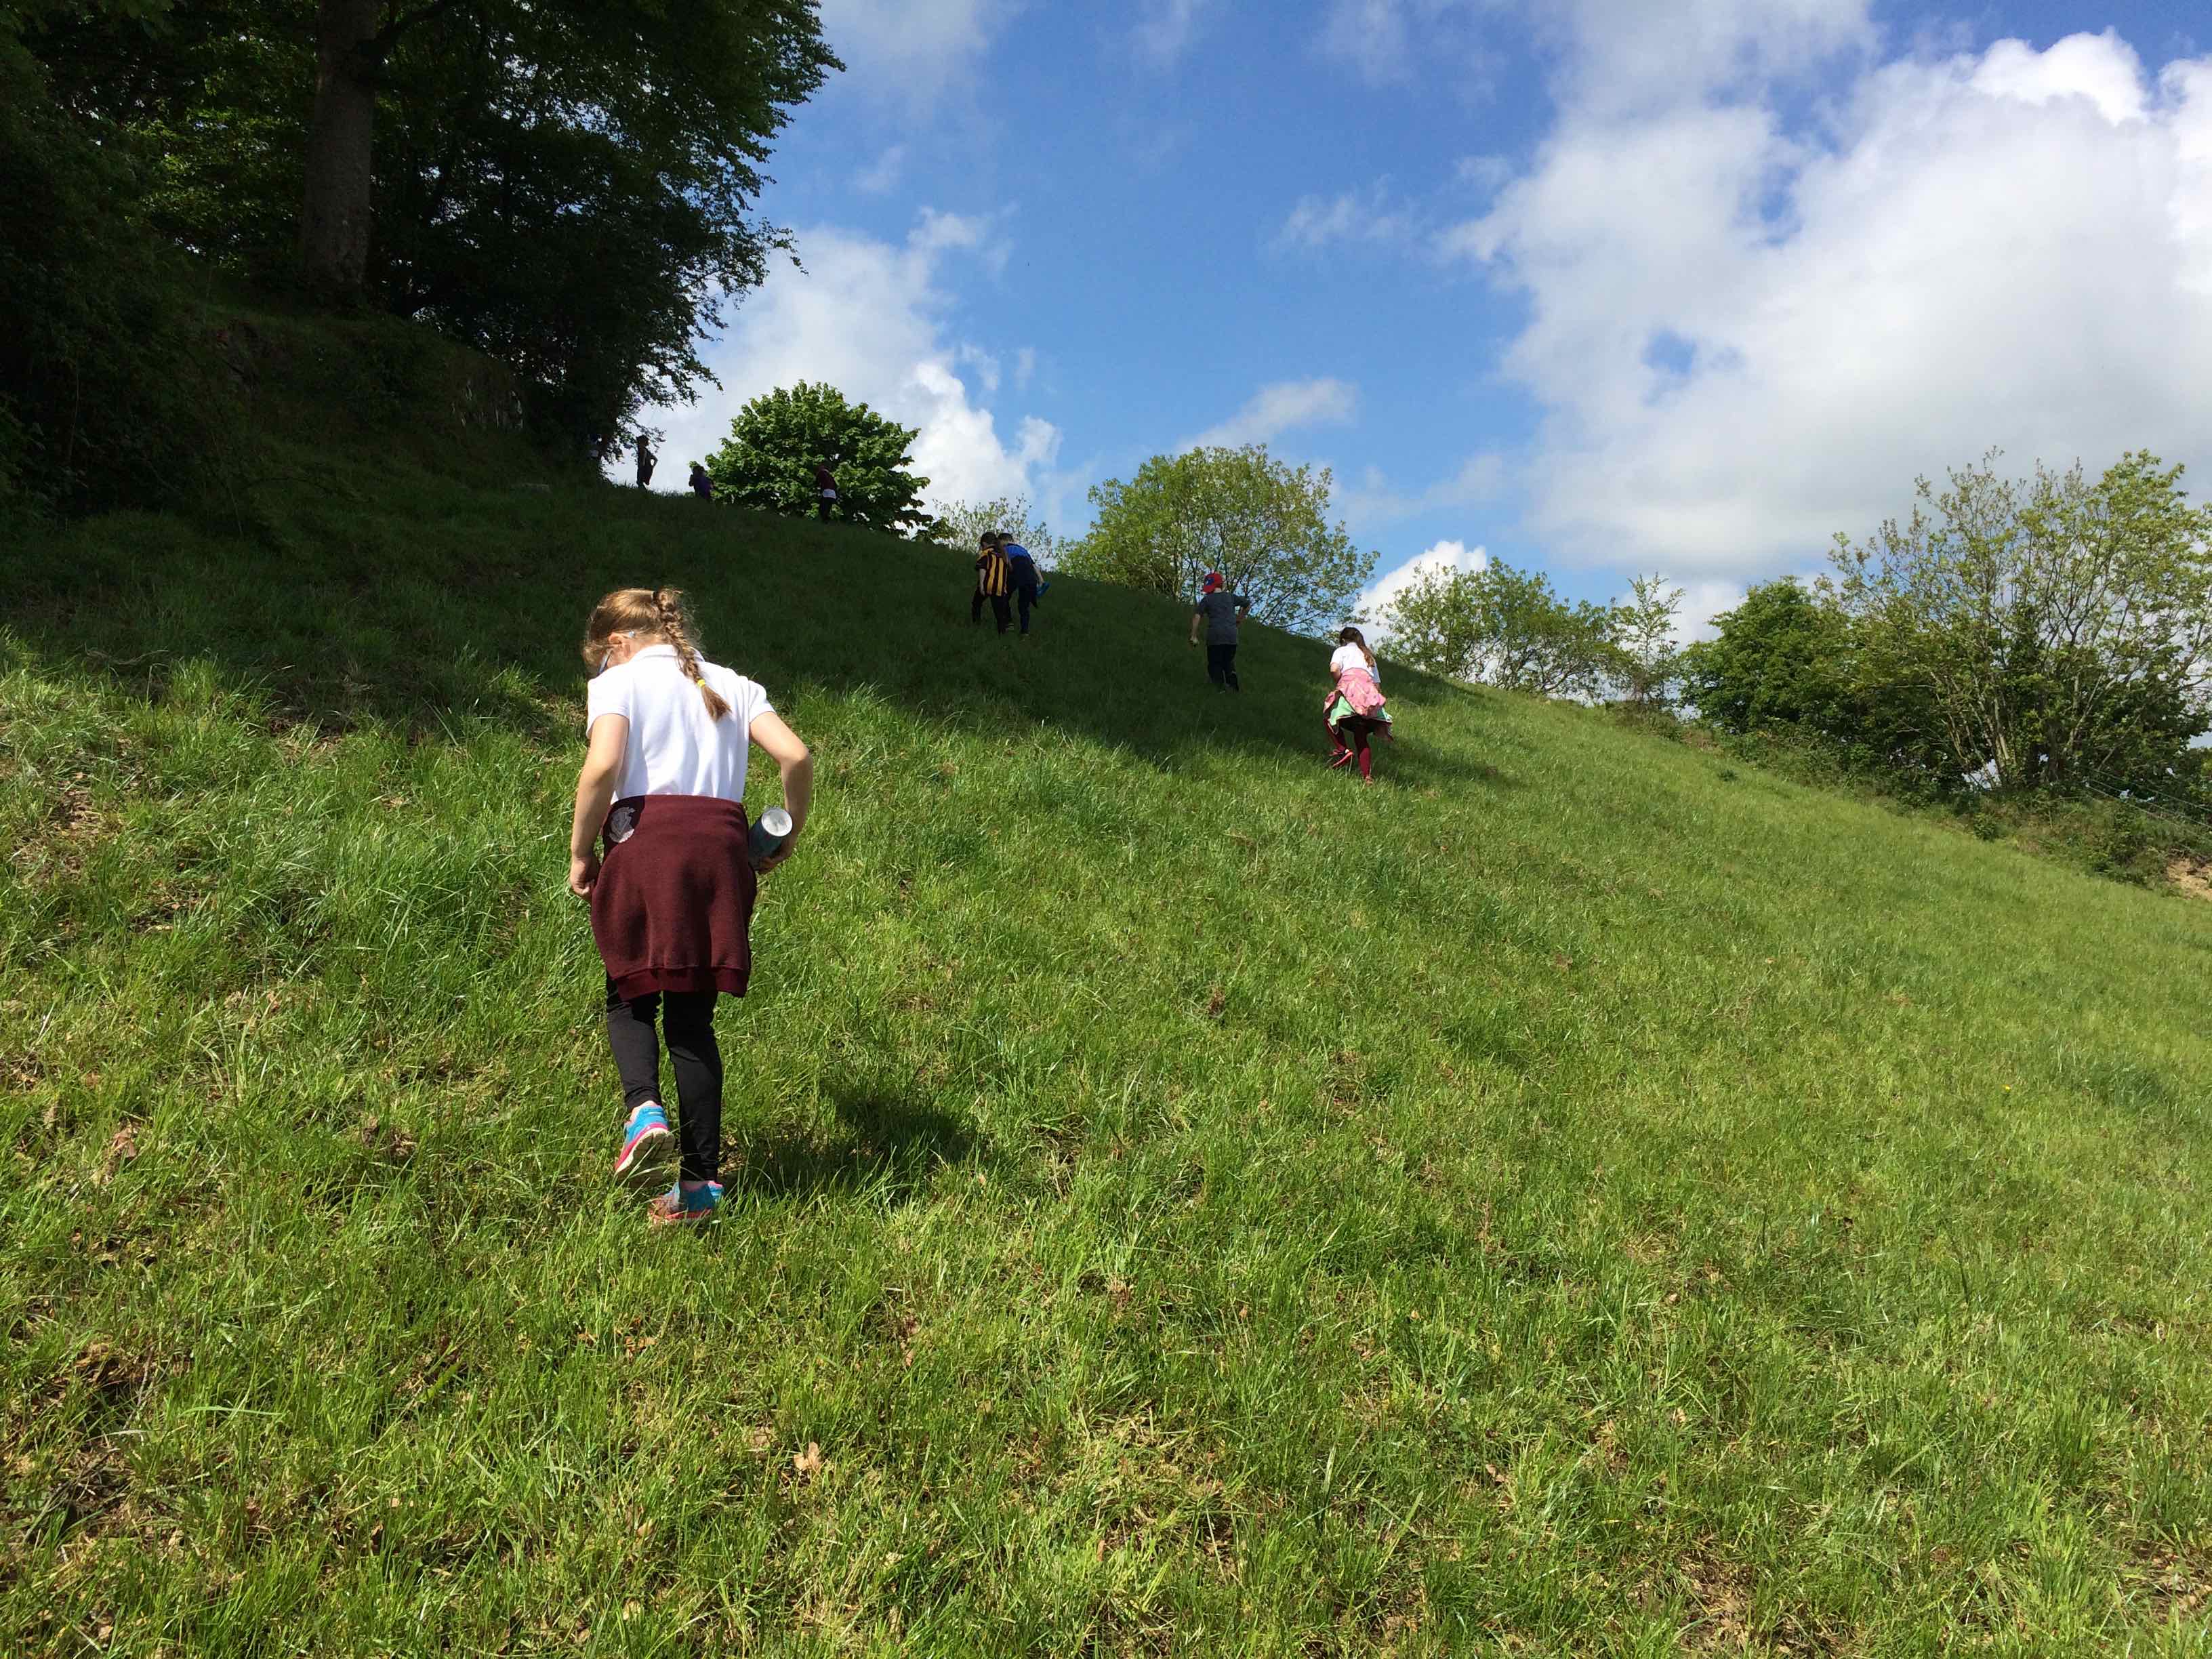
We all climbed the slope to Corliss Fort…What amazing views as we looked back… you can see Slieve Gullion in the distance!The cat came too!
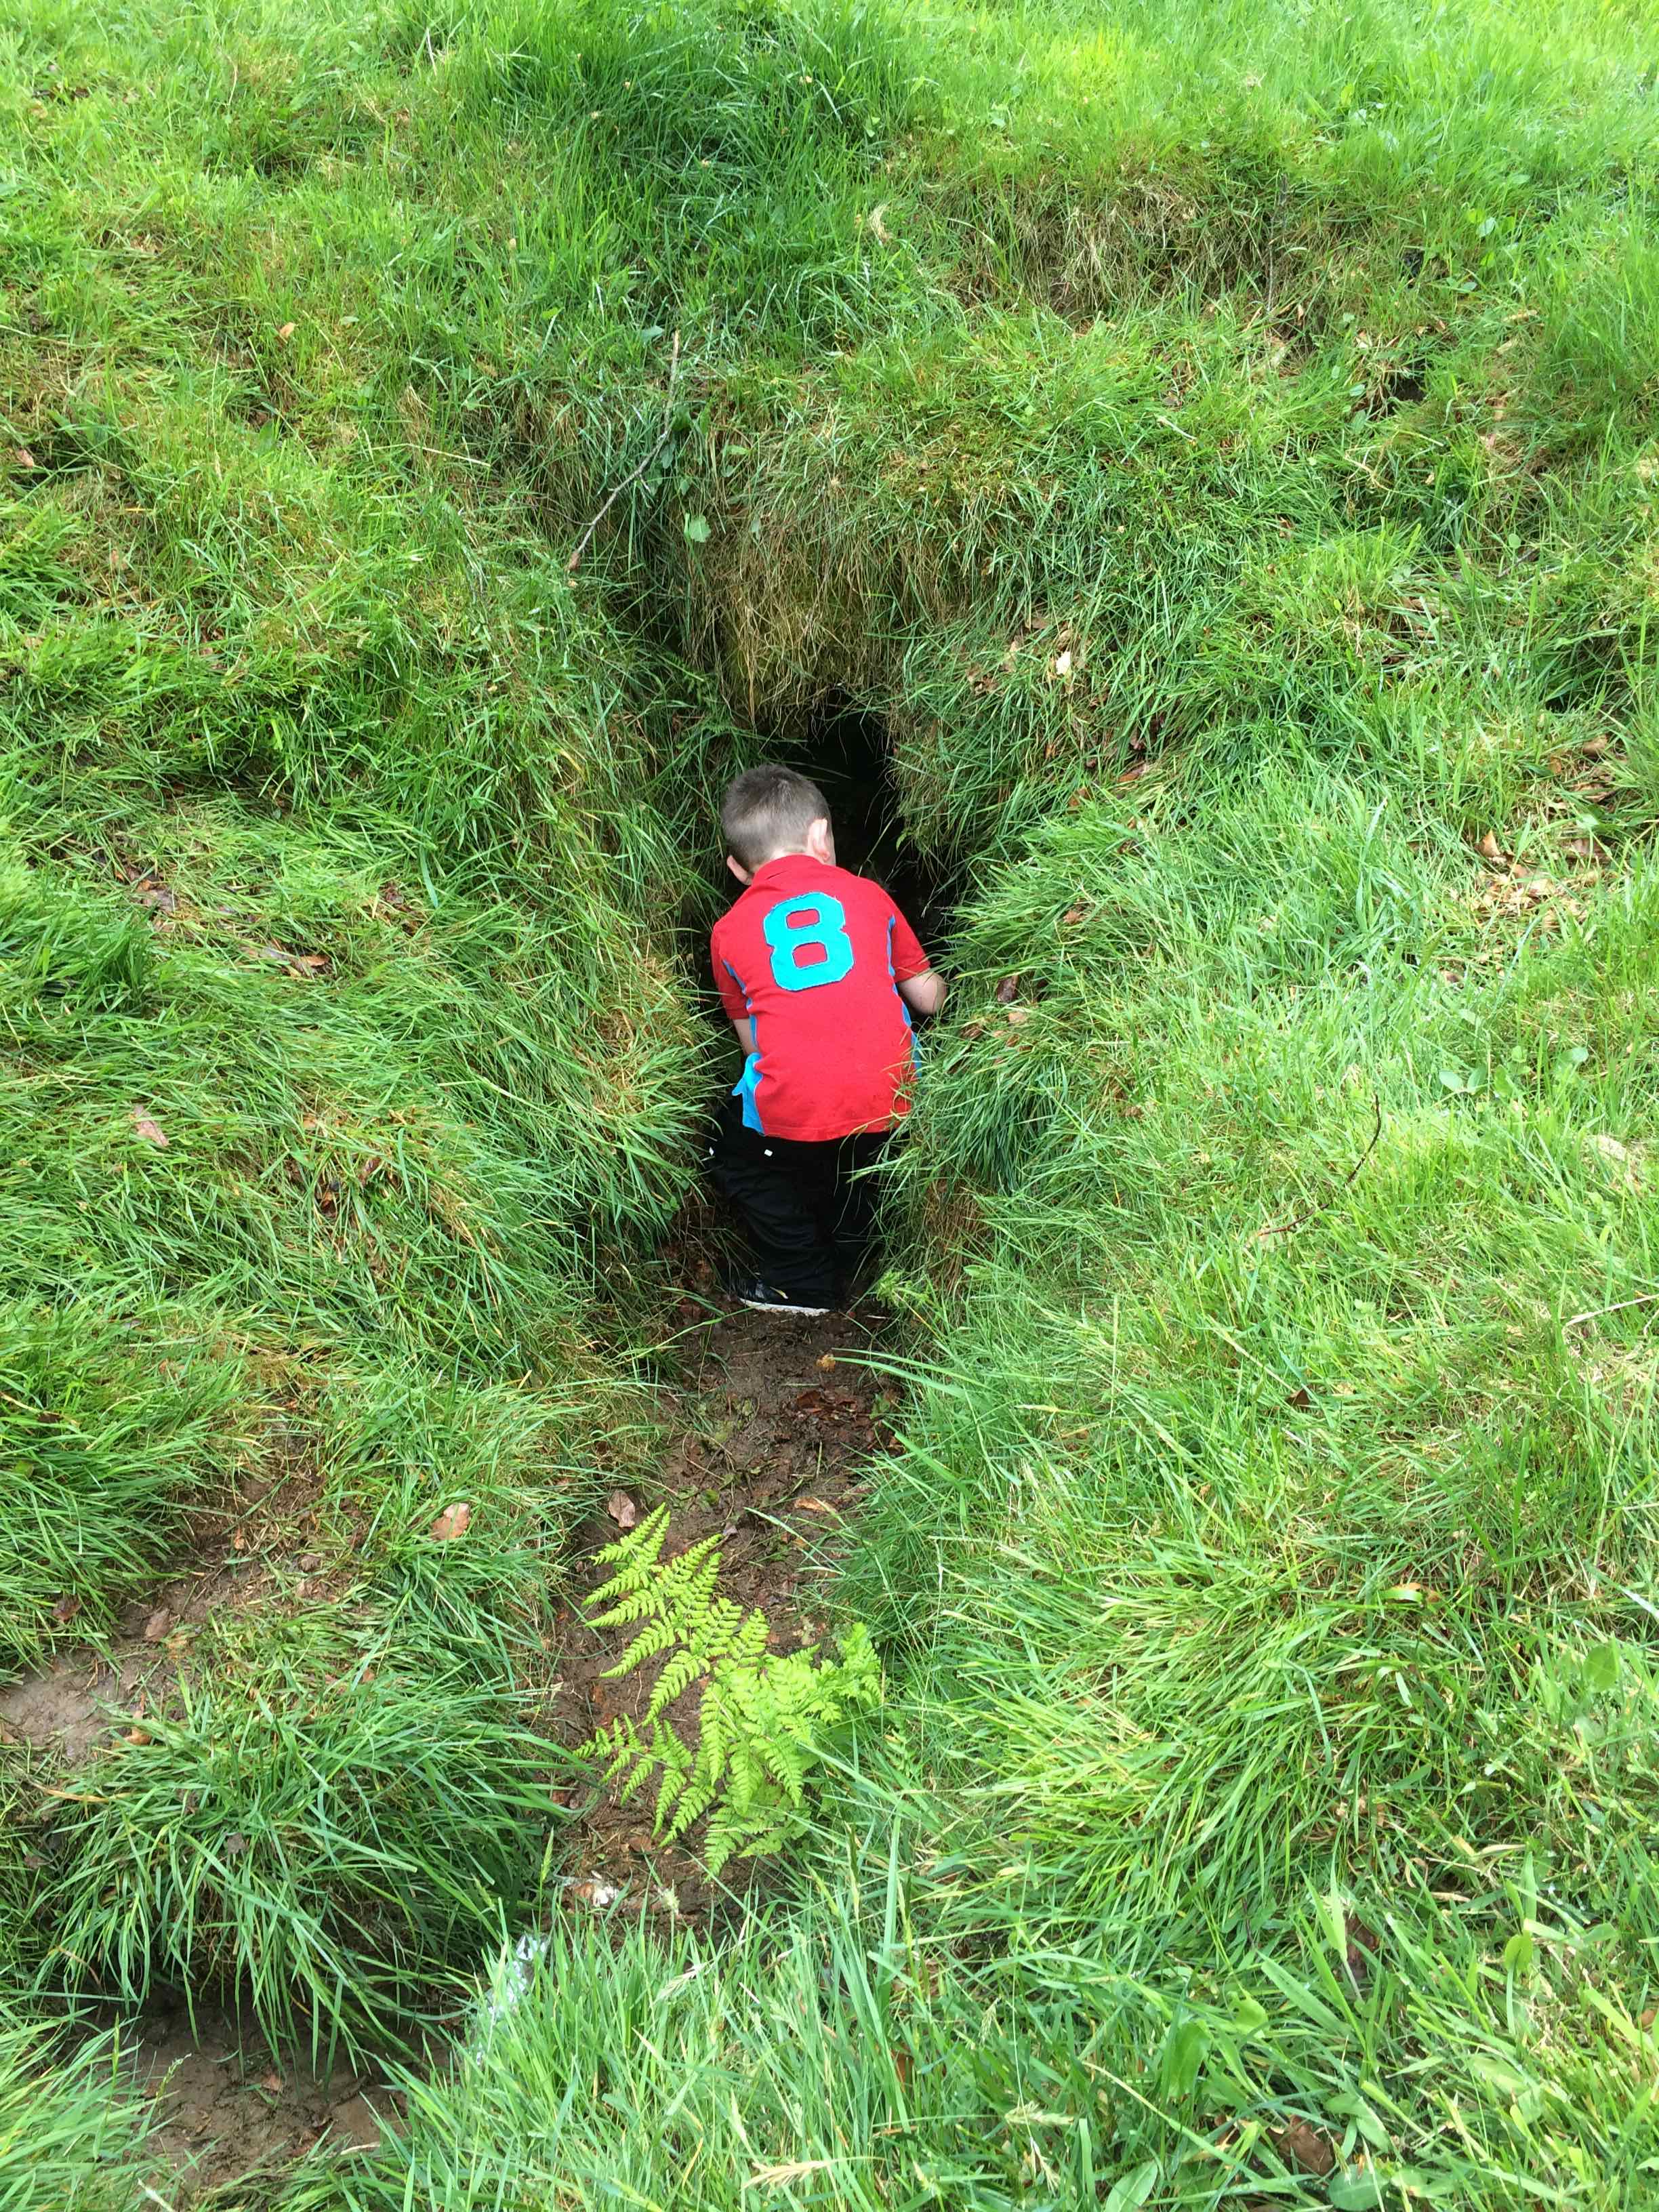
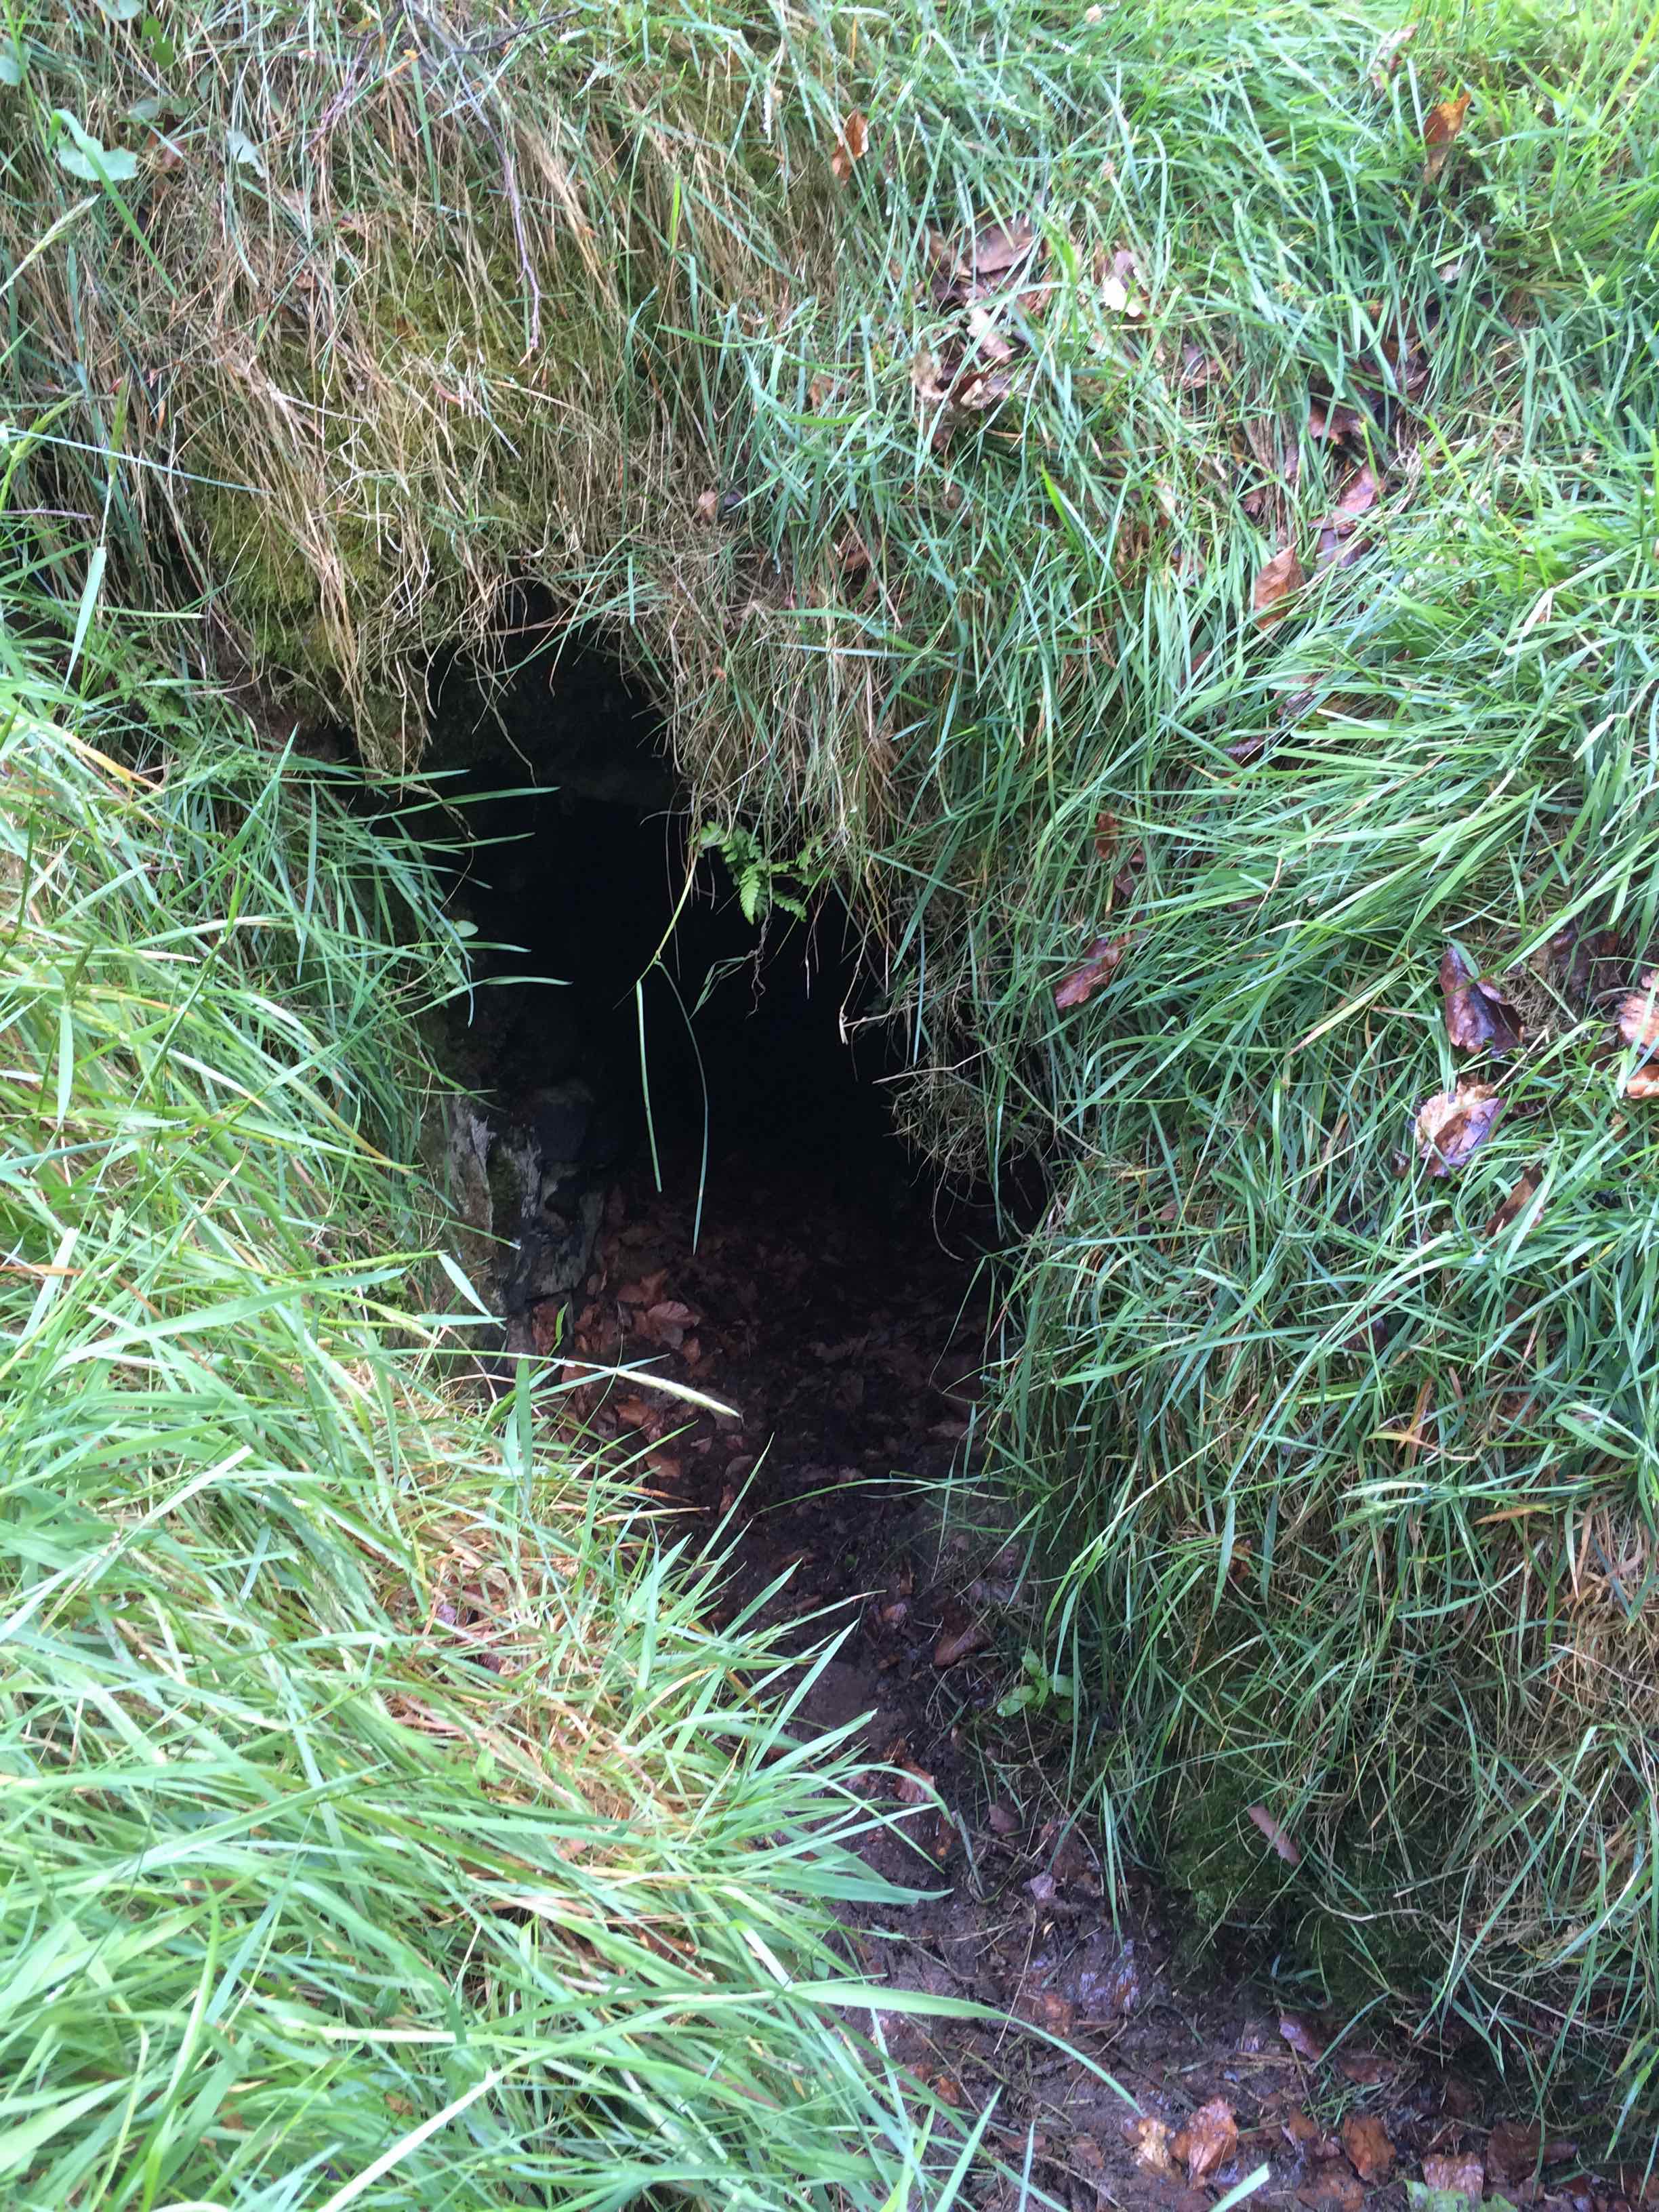
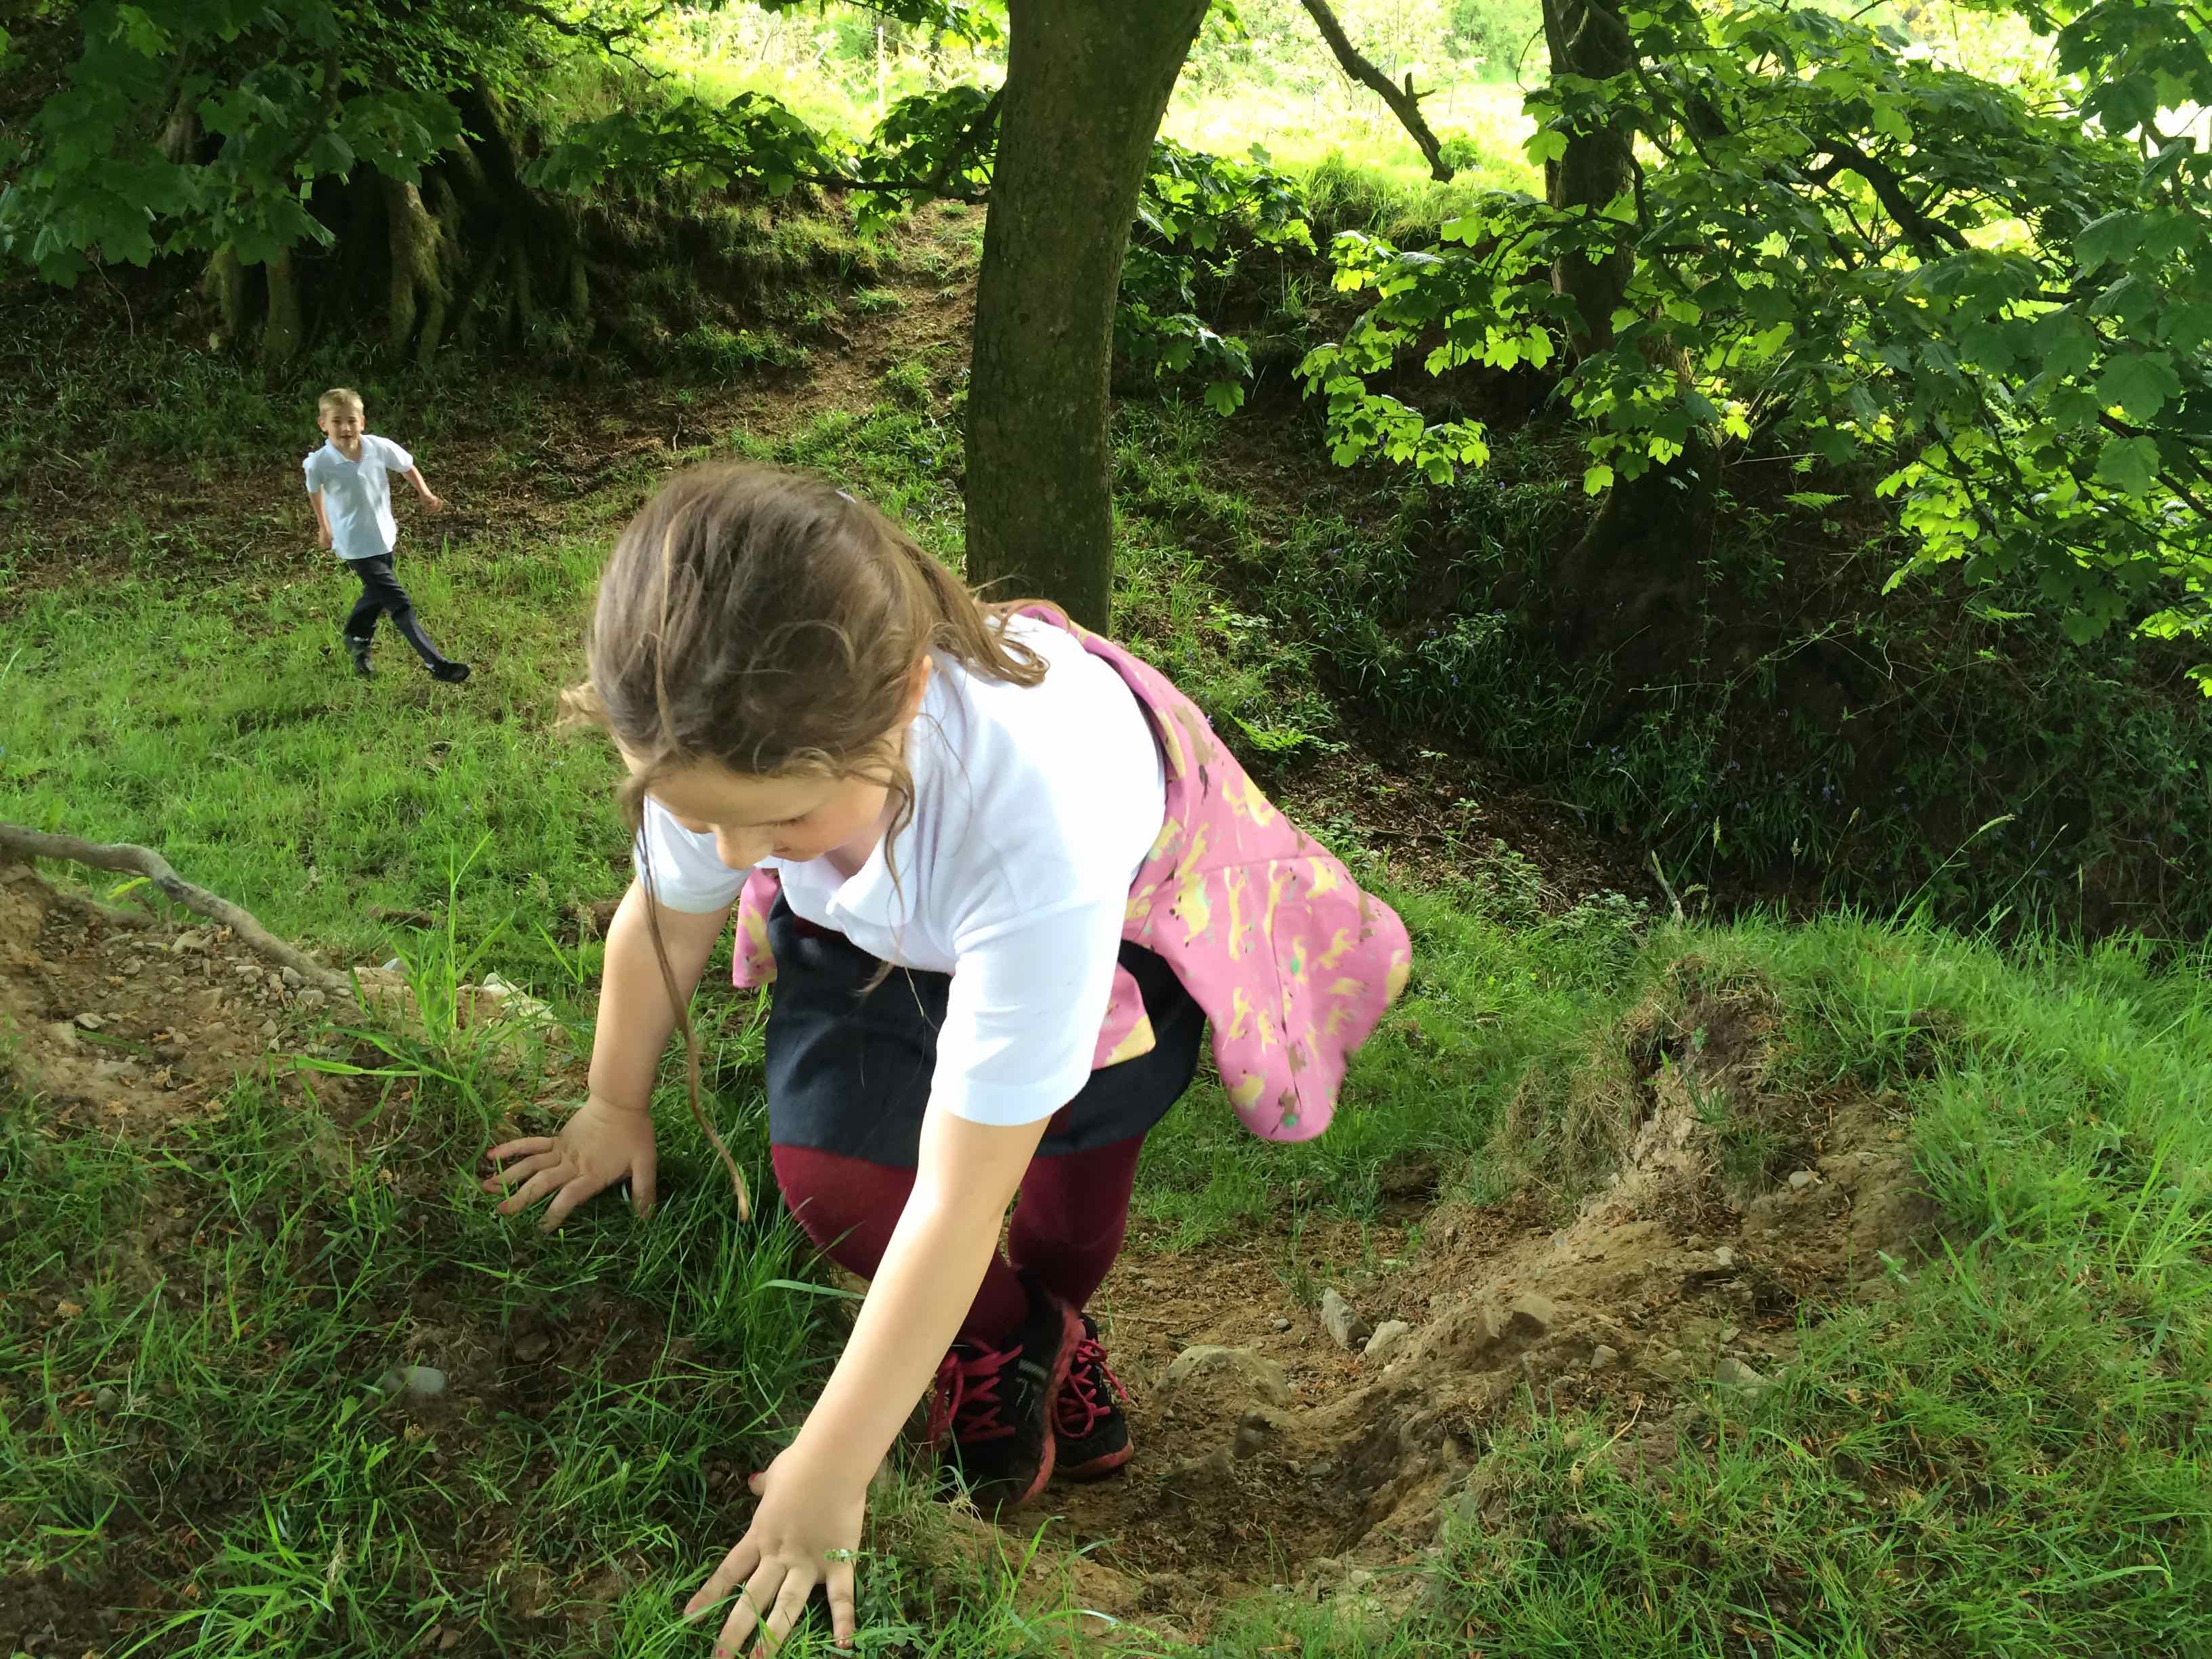
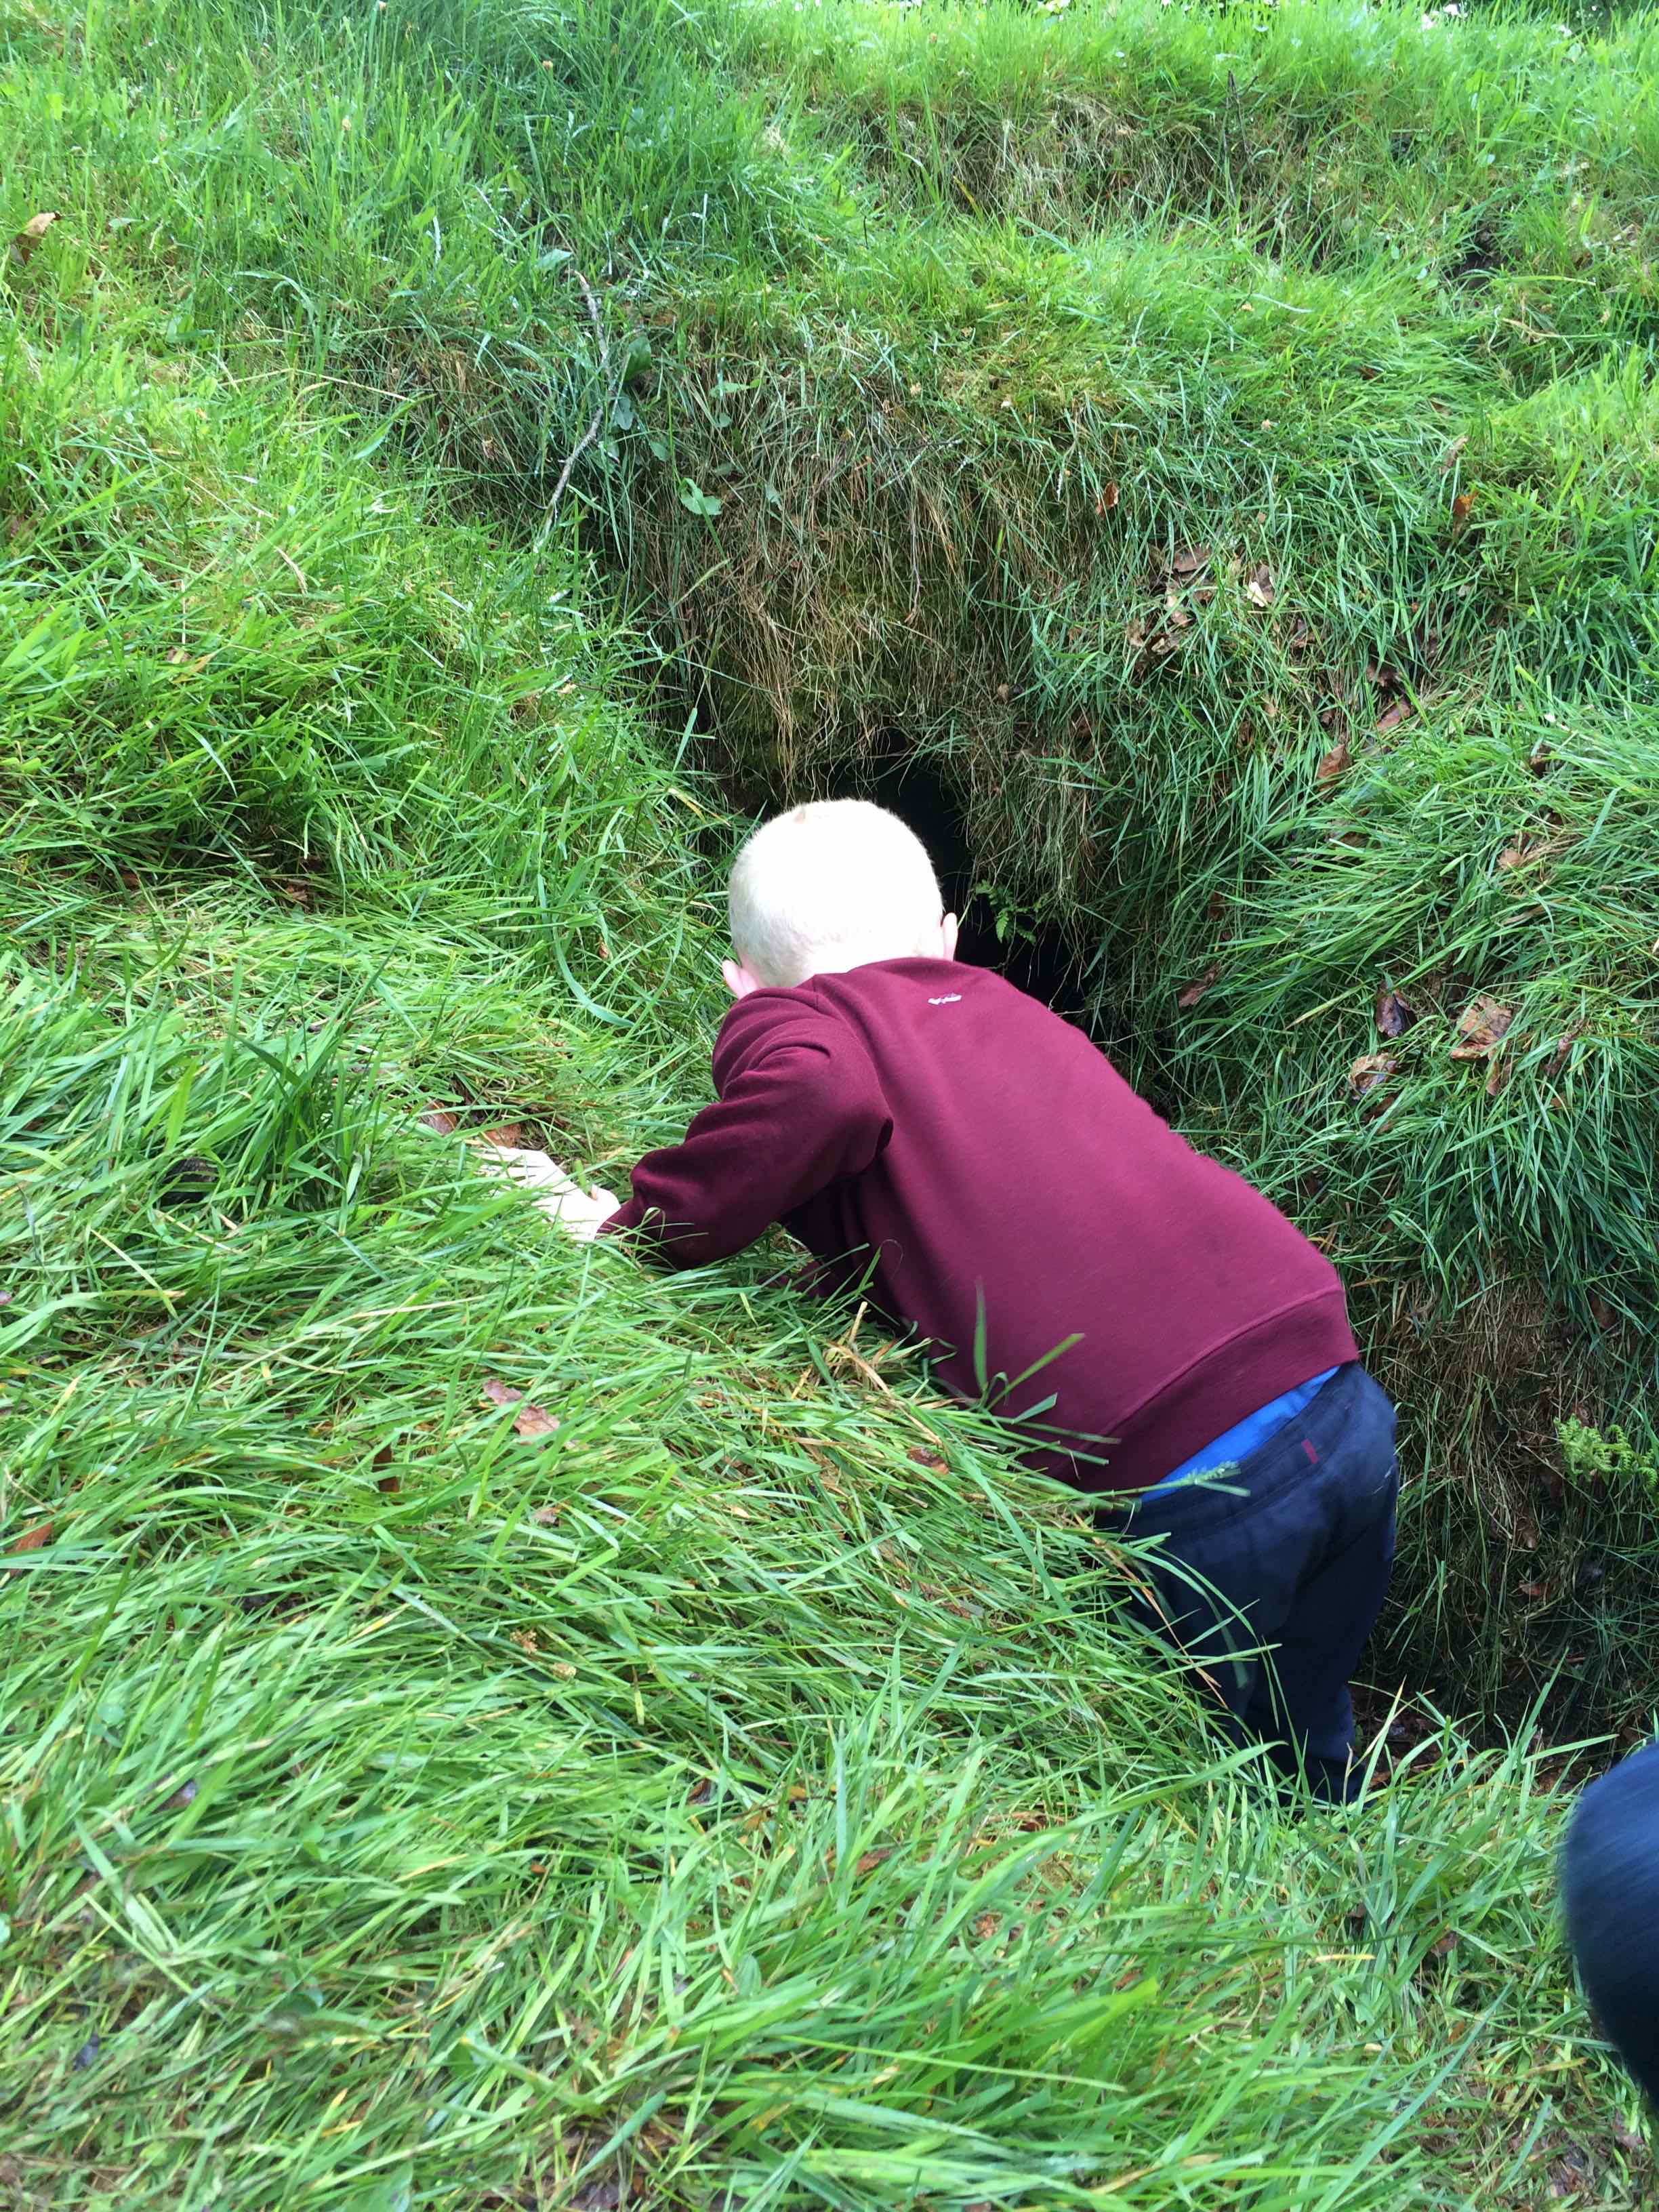
The children explored the slopes enjoying the freedom of running and climbing.Some peeked inside this space, deep in the ground..
Some explored strange markings on the tree trunks…
This was really a special place and mysterious too – look at the strange effect when I took a photograph of the trees… do you think the faeries had anything to do with this?flowers were gathered for the May Altar…
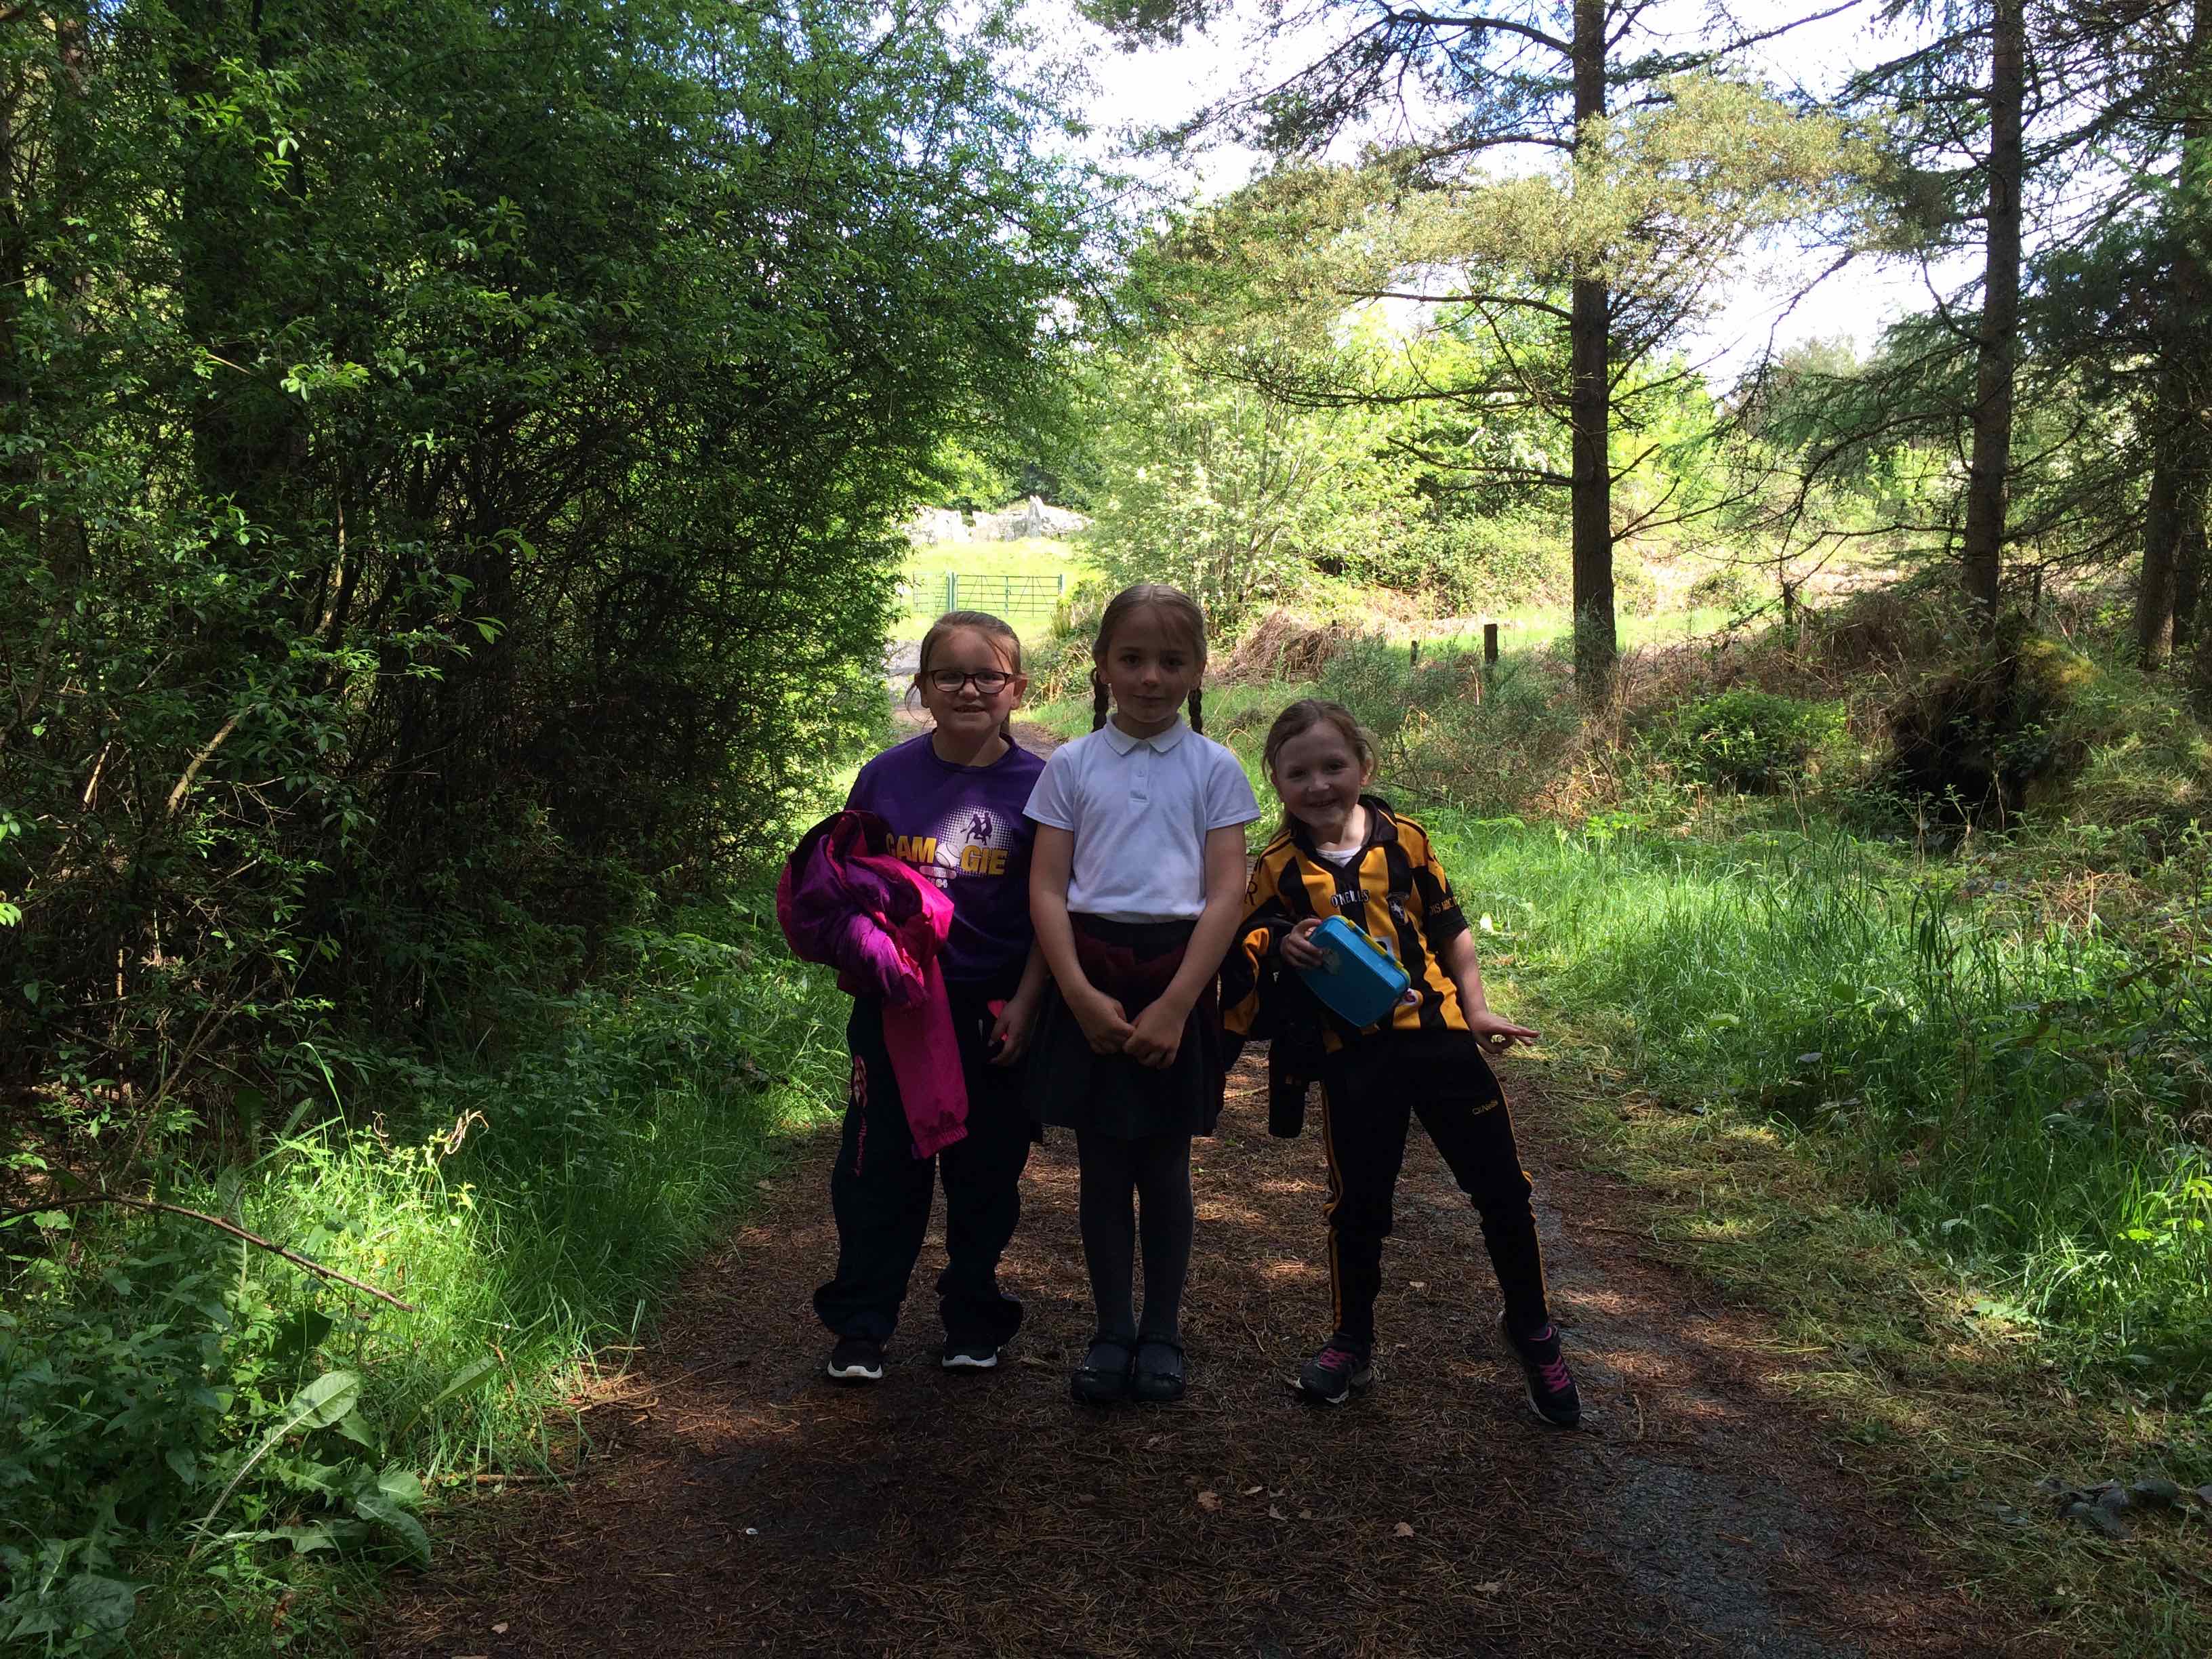
We all went home on the bus, singing!
A great day out for friends…
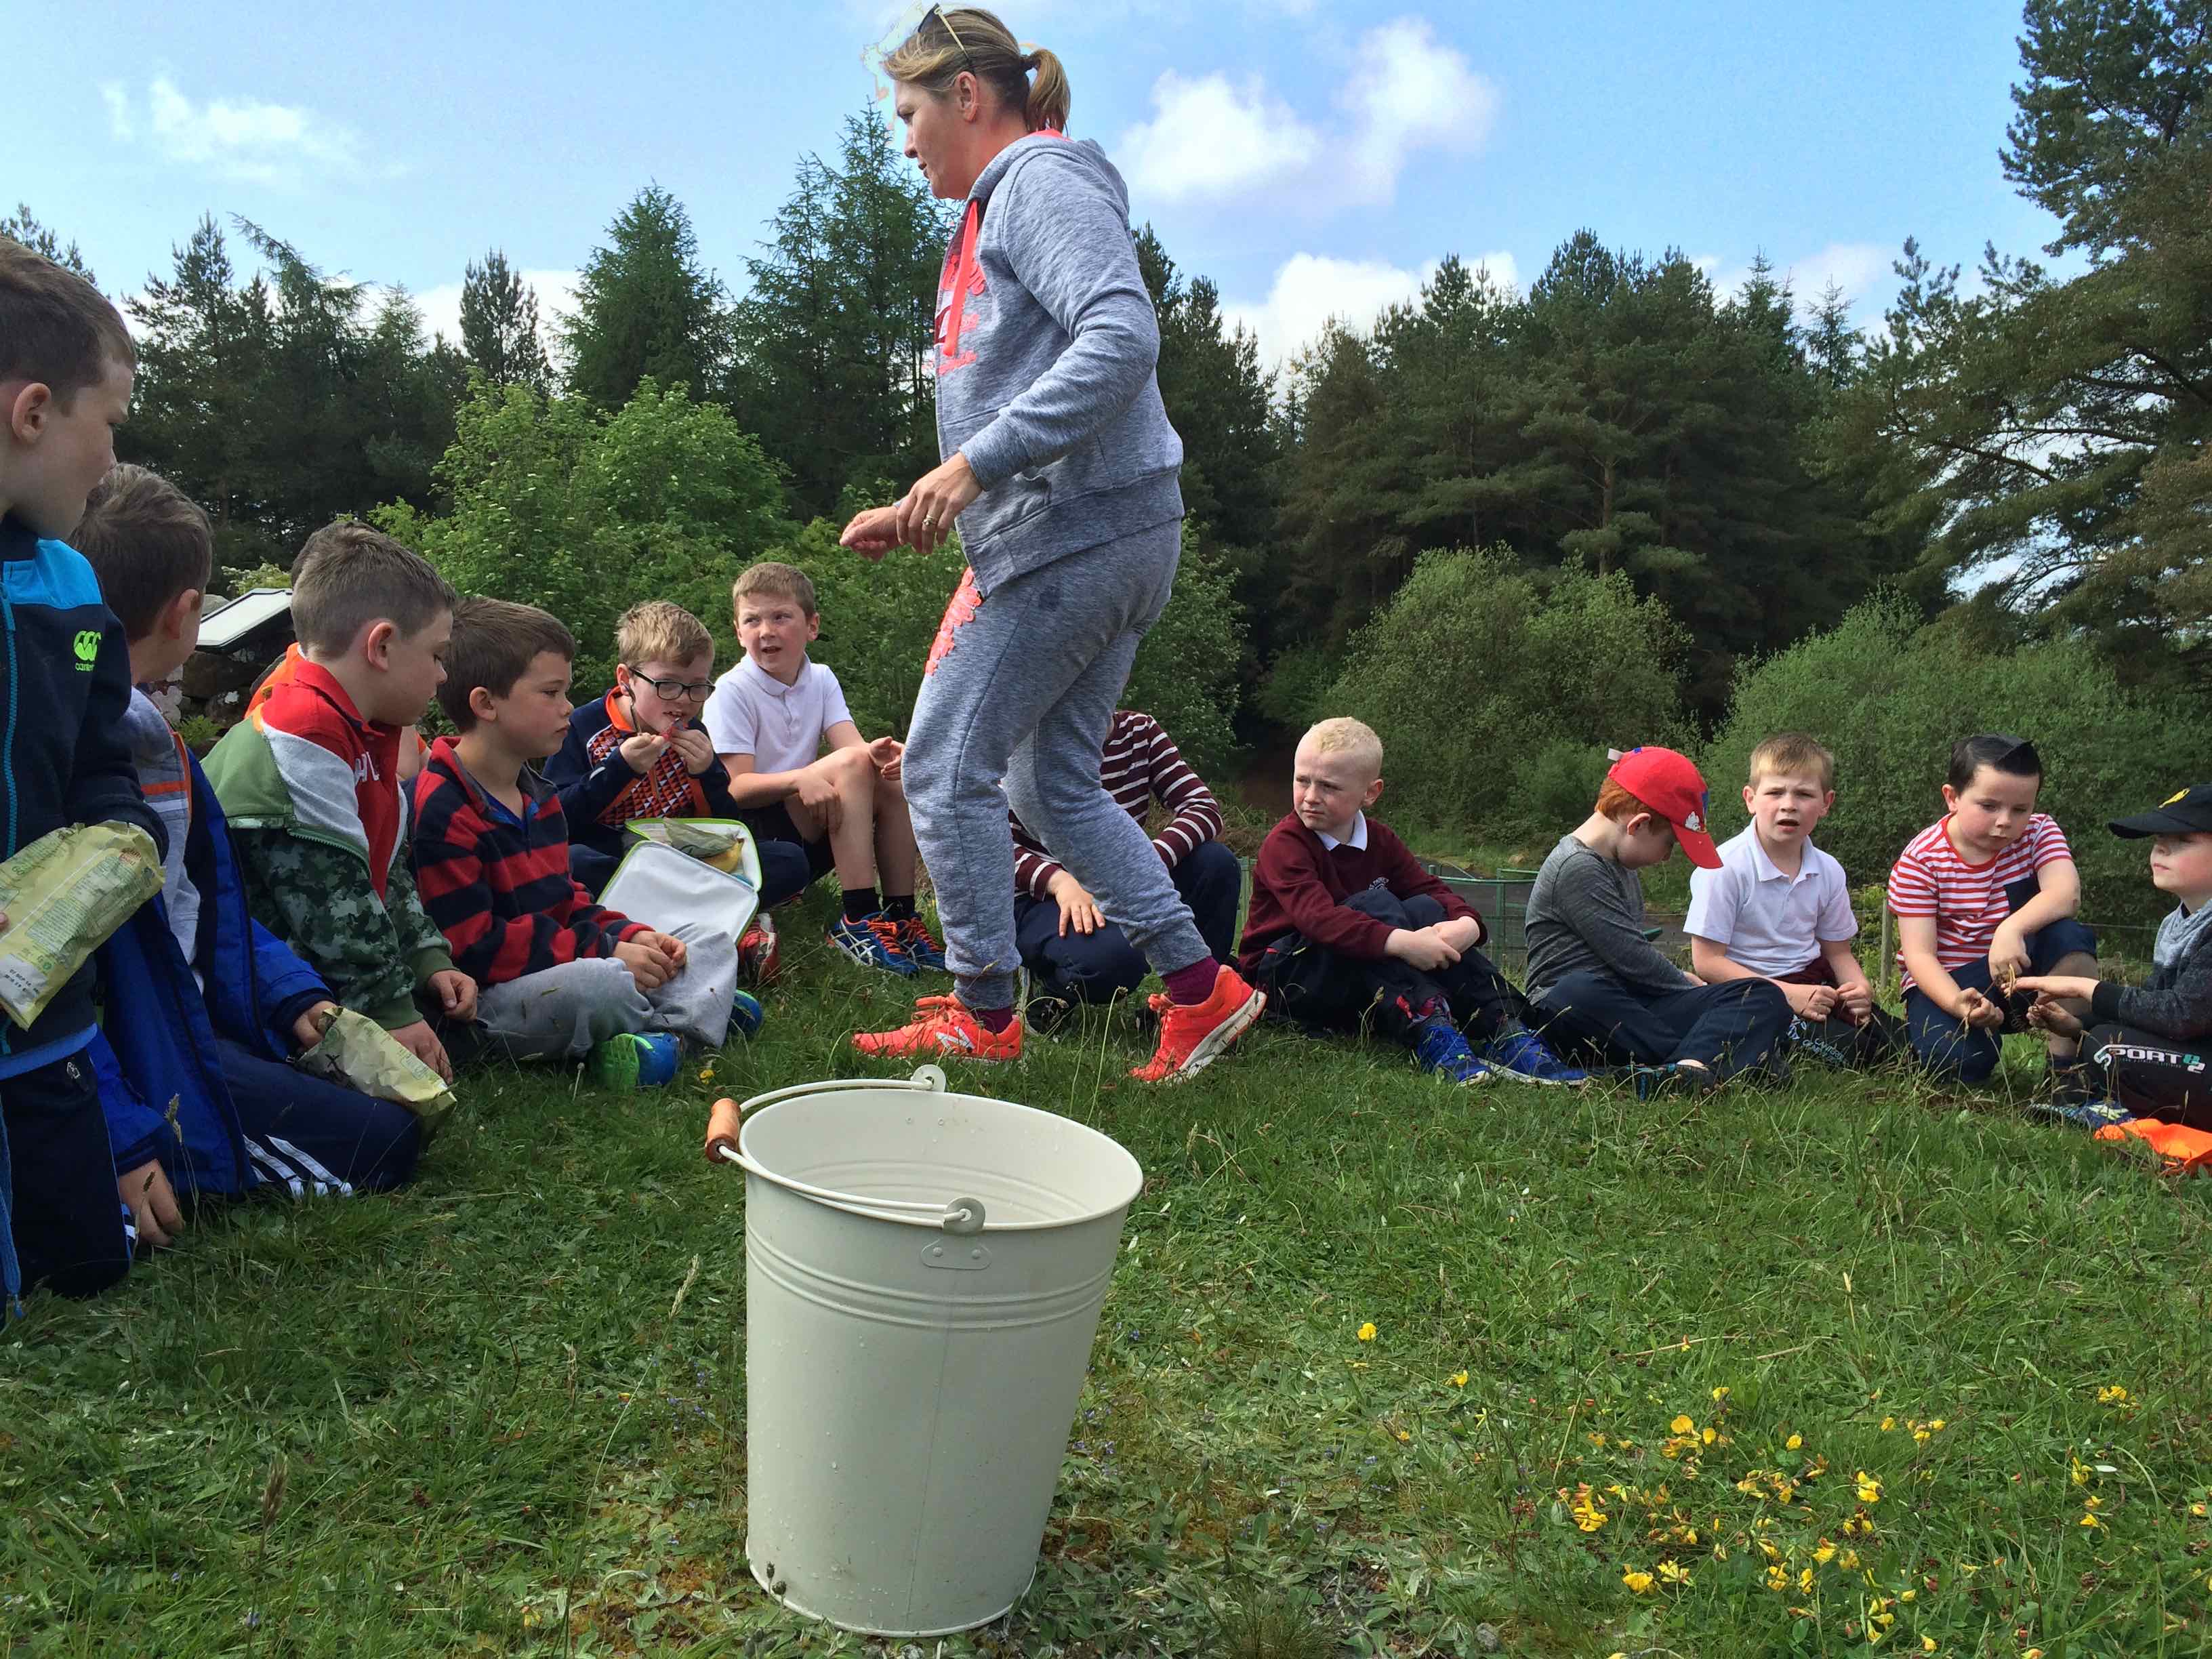
and Mrs Hughes performed a BALANCING act on a bucket… or did she?
Thank you to EVERYONE who made the day so memorable – I’m sad the project has come to a close but take so many GREAT memories with me! Thanks so much Mrs Hughes and the children of P3 !
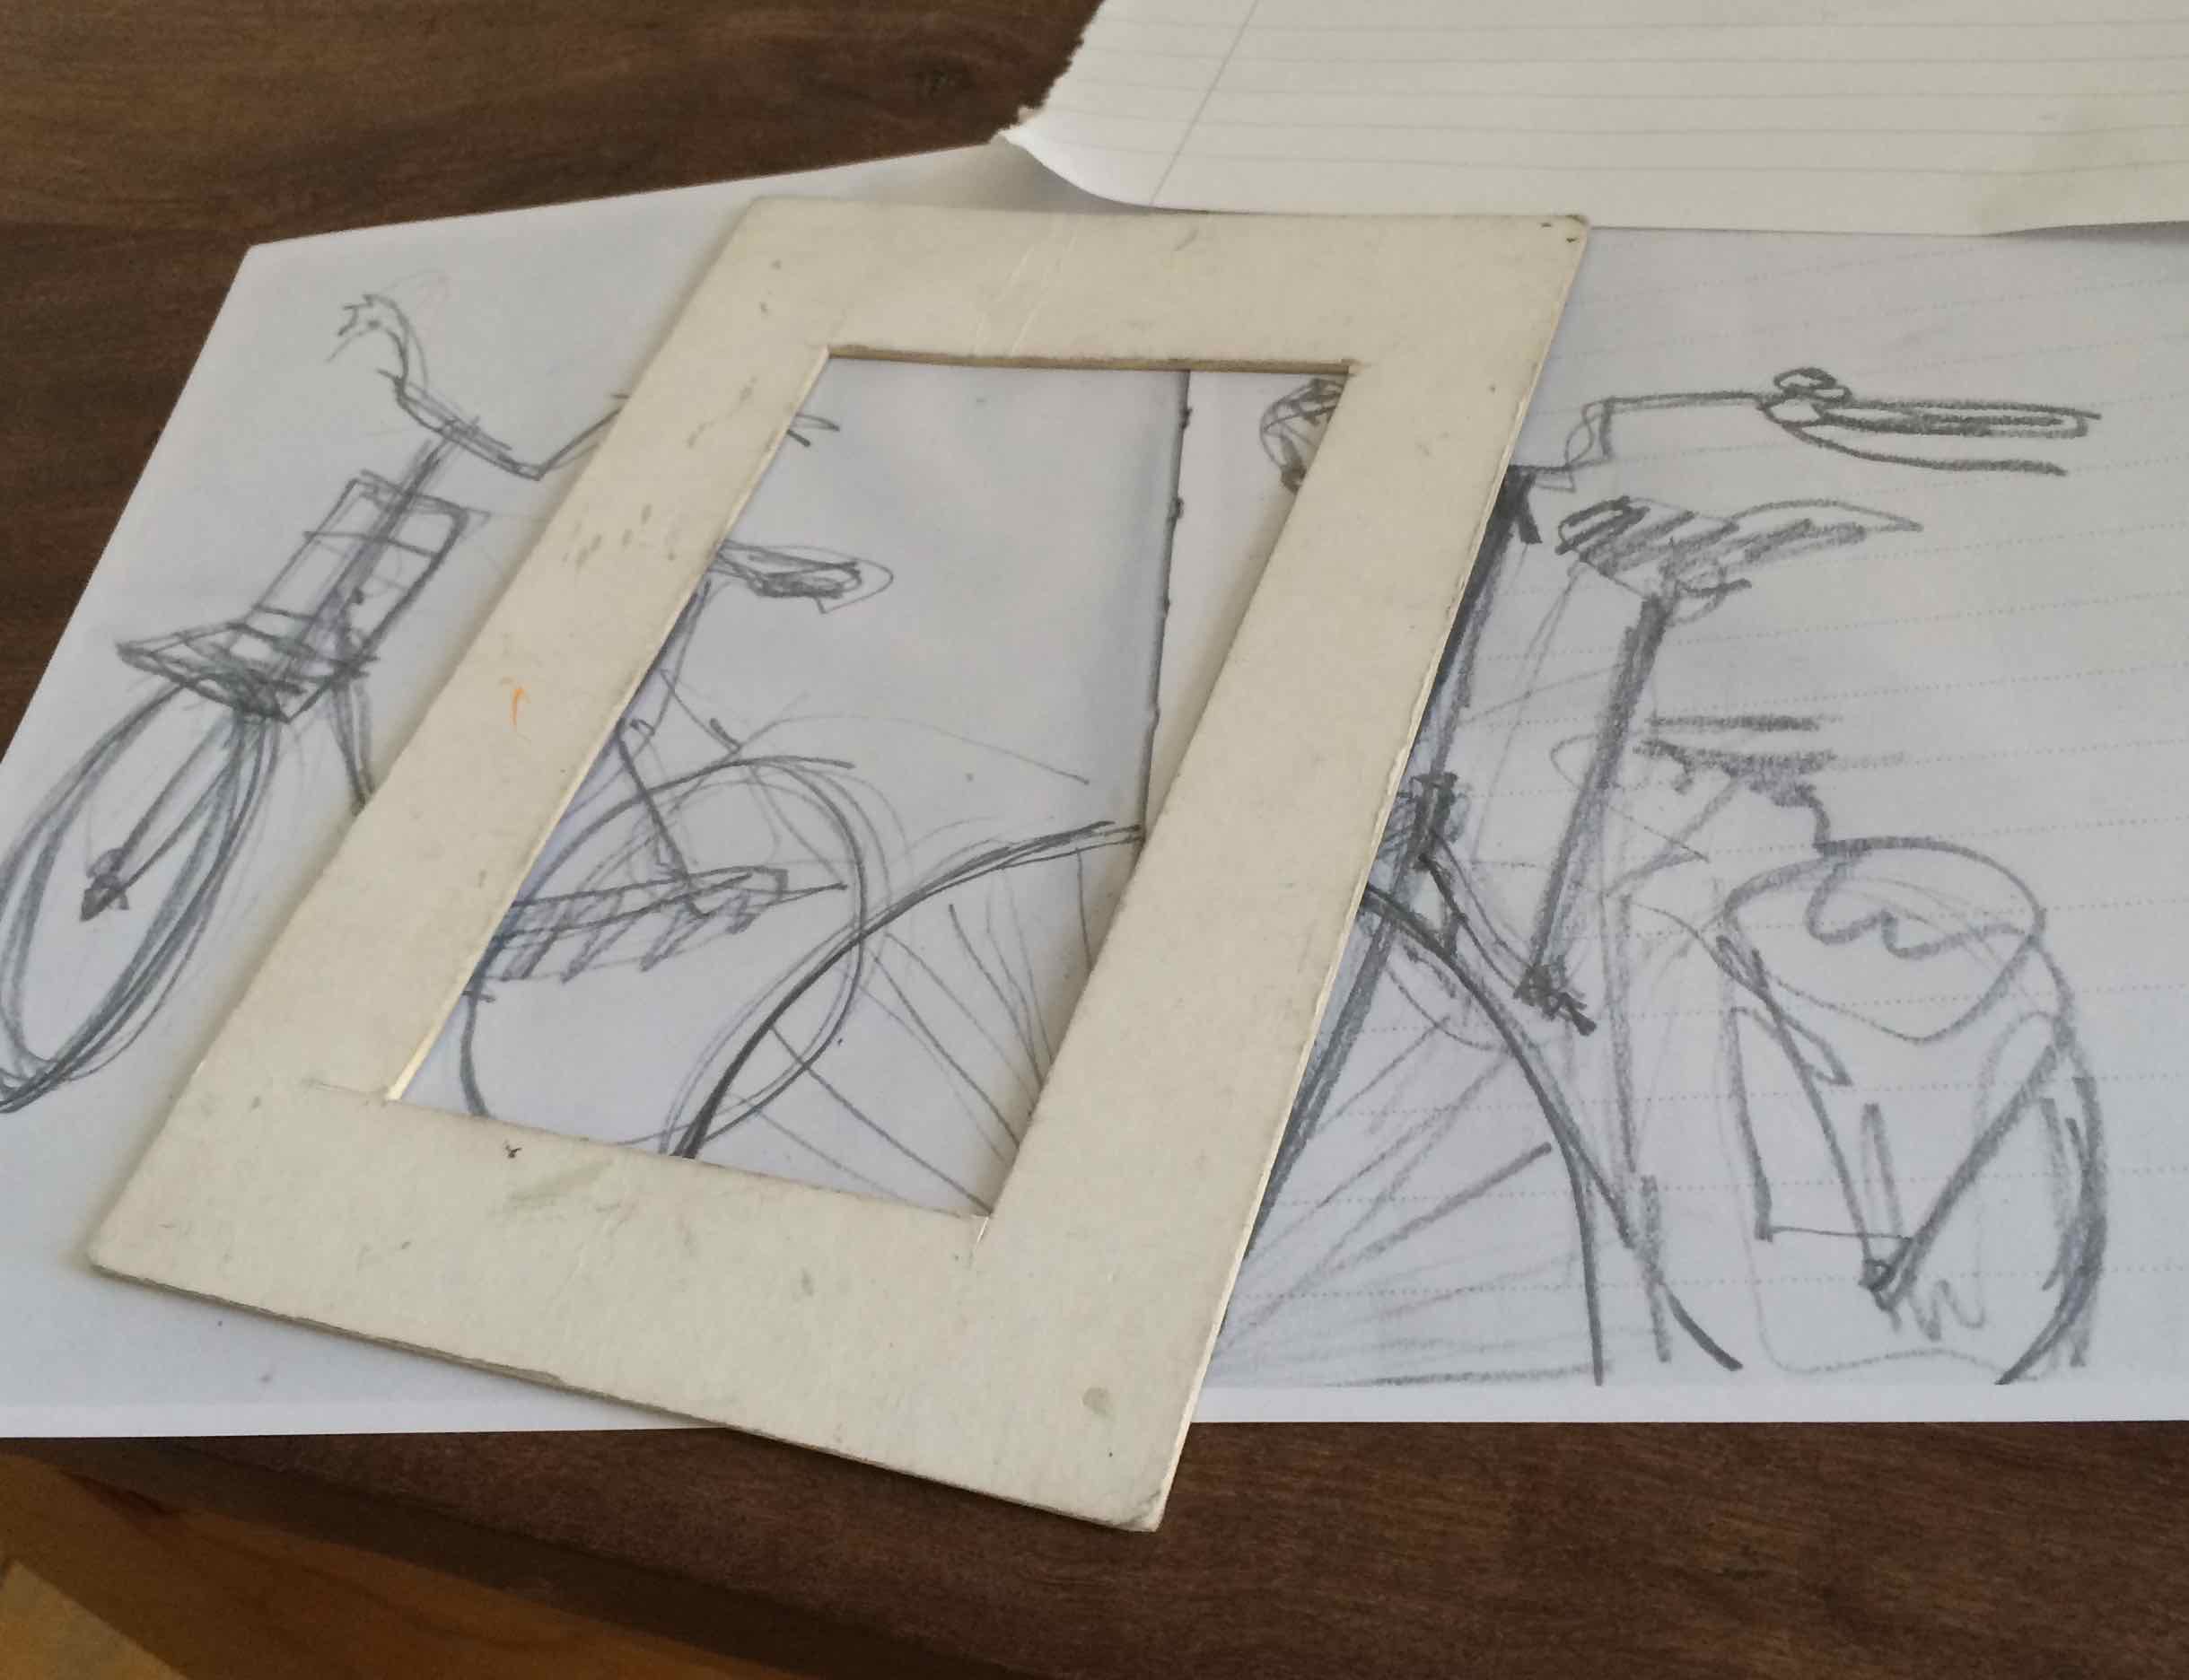
Some great explorations using a VIEWFINDER took place in our penultimate Virtually There session!
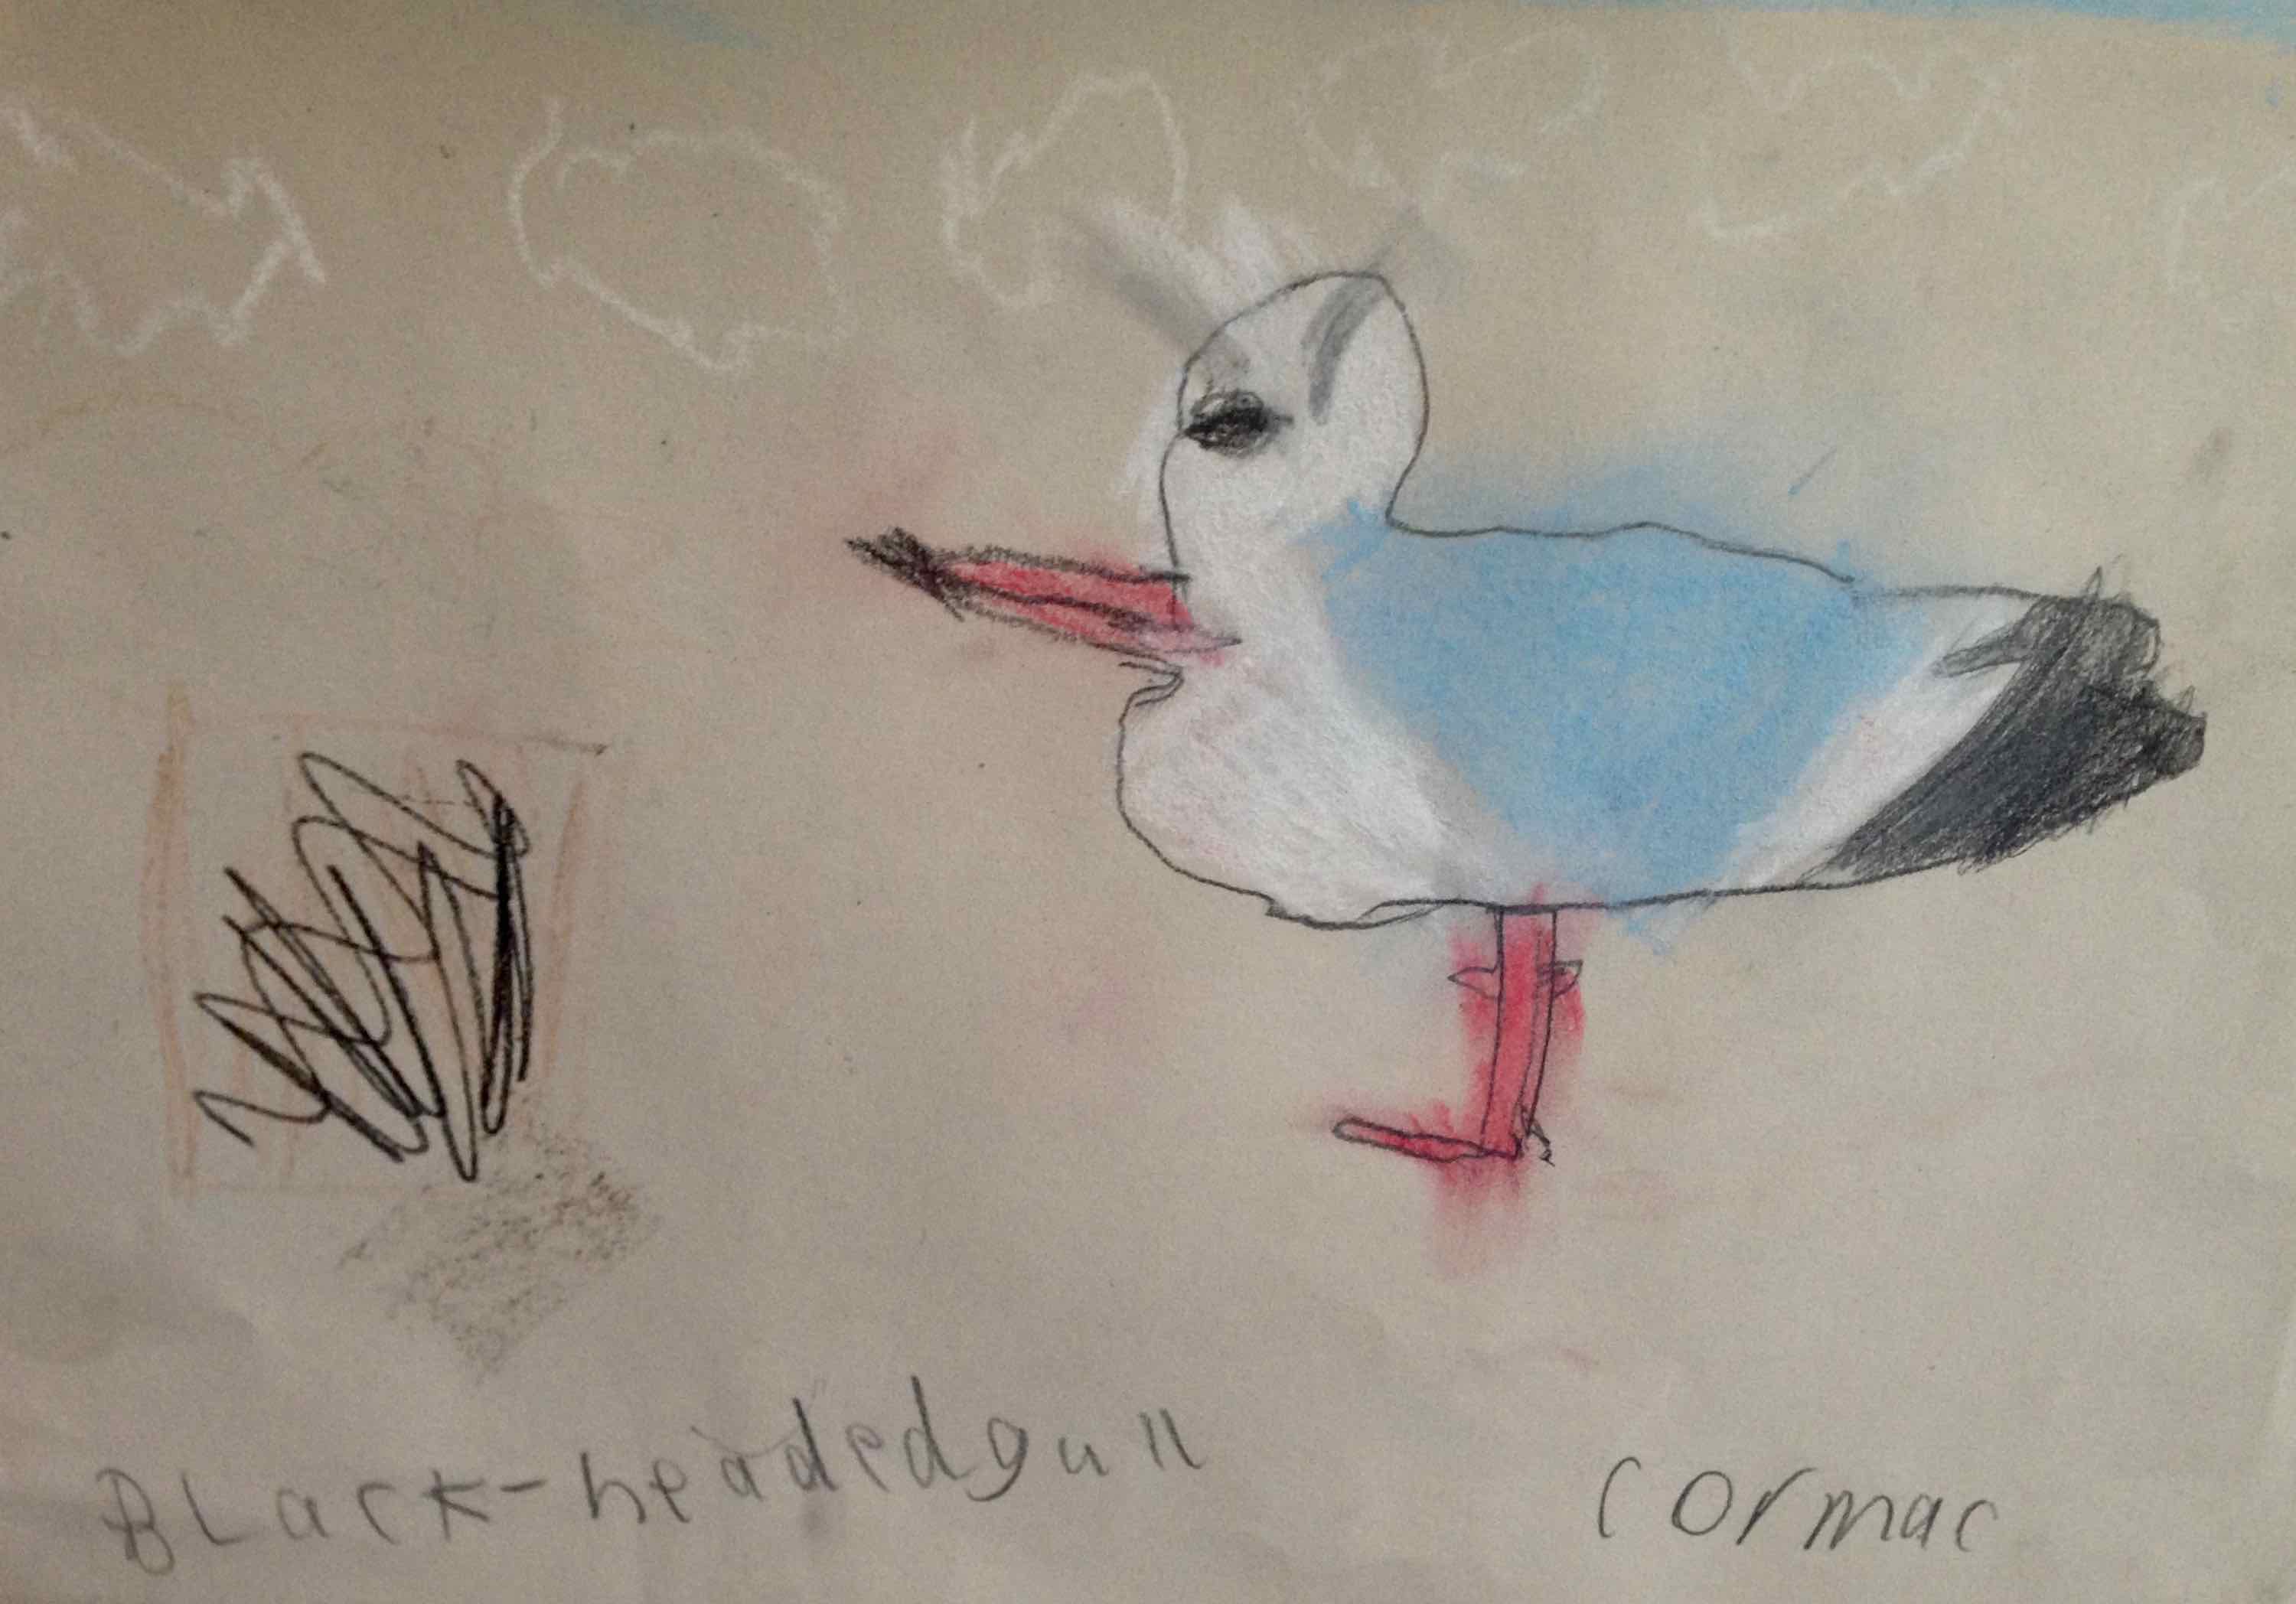
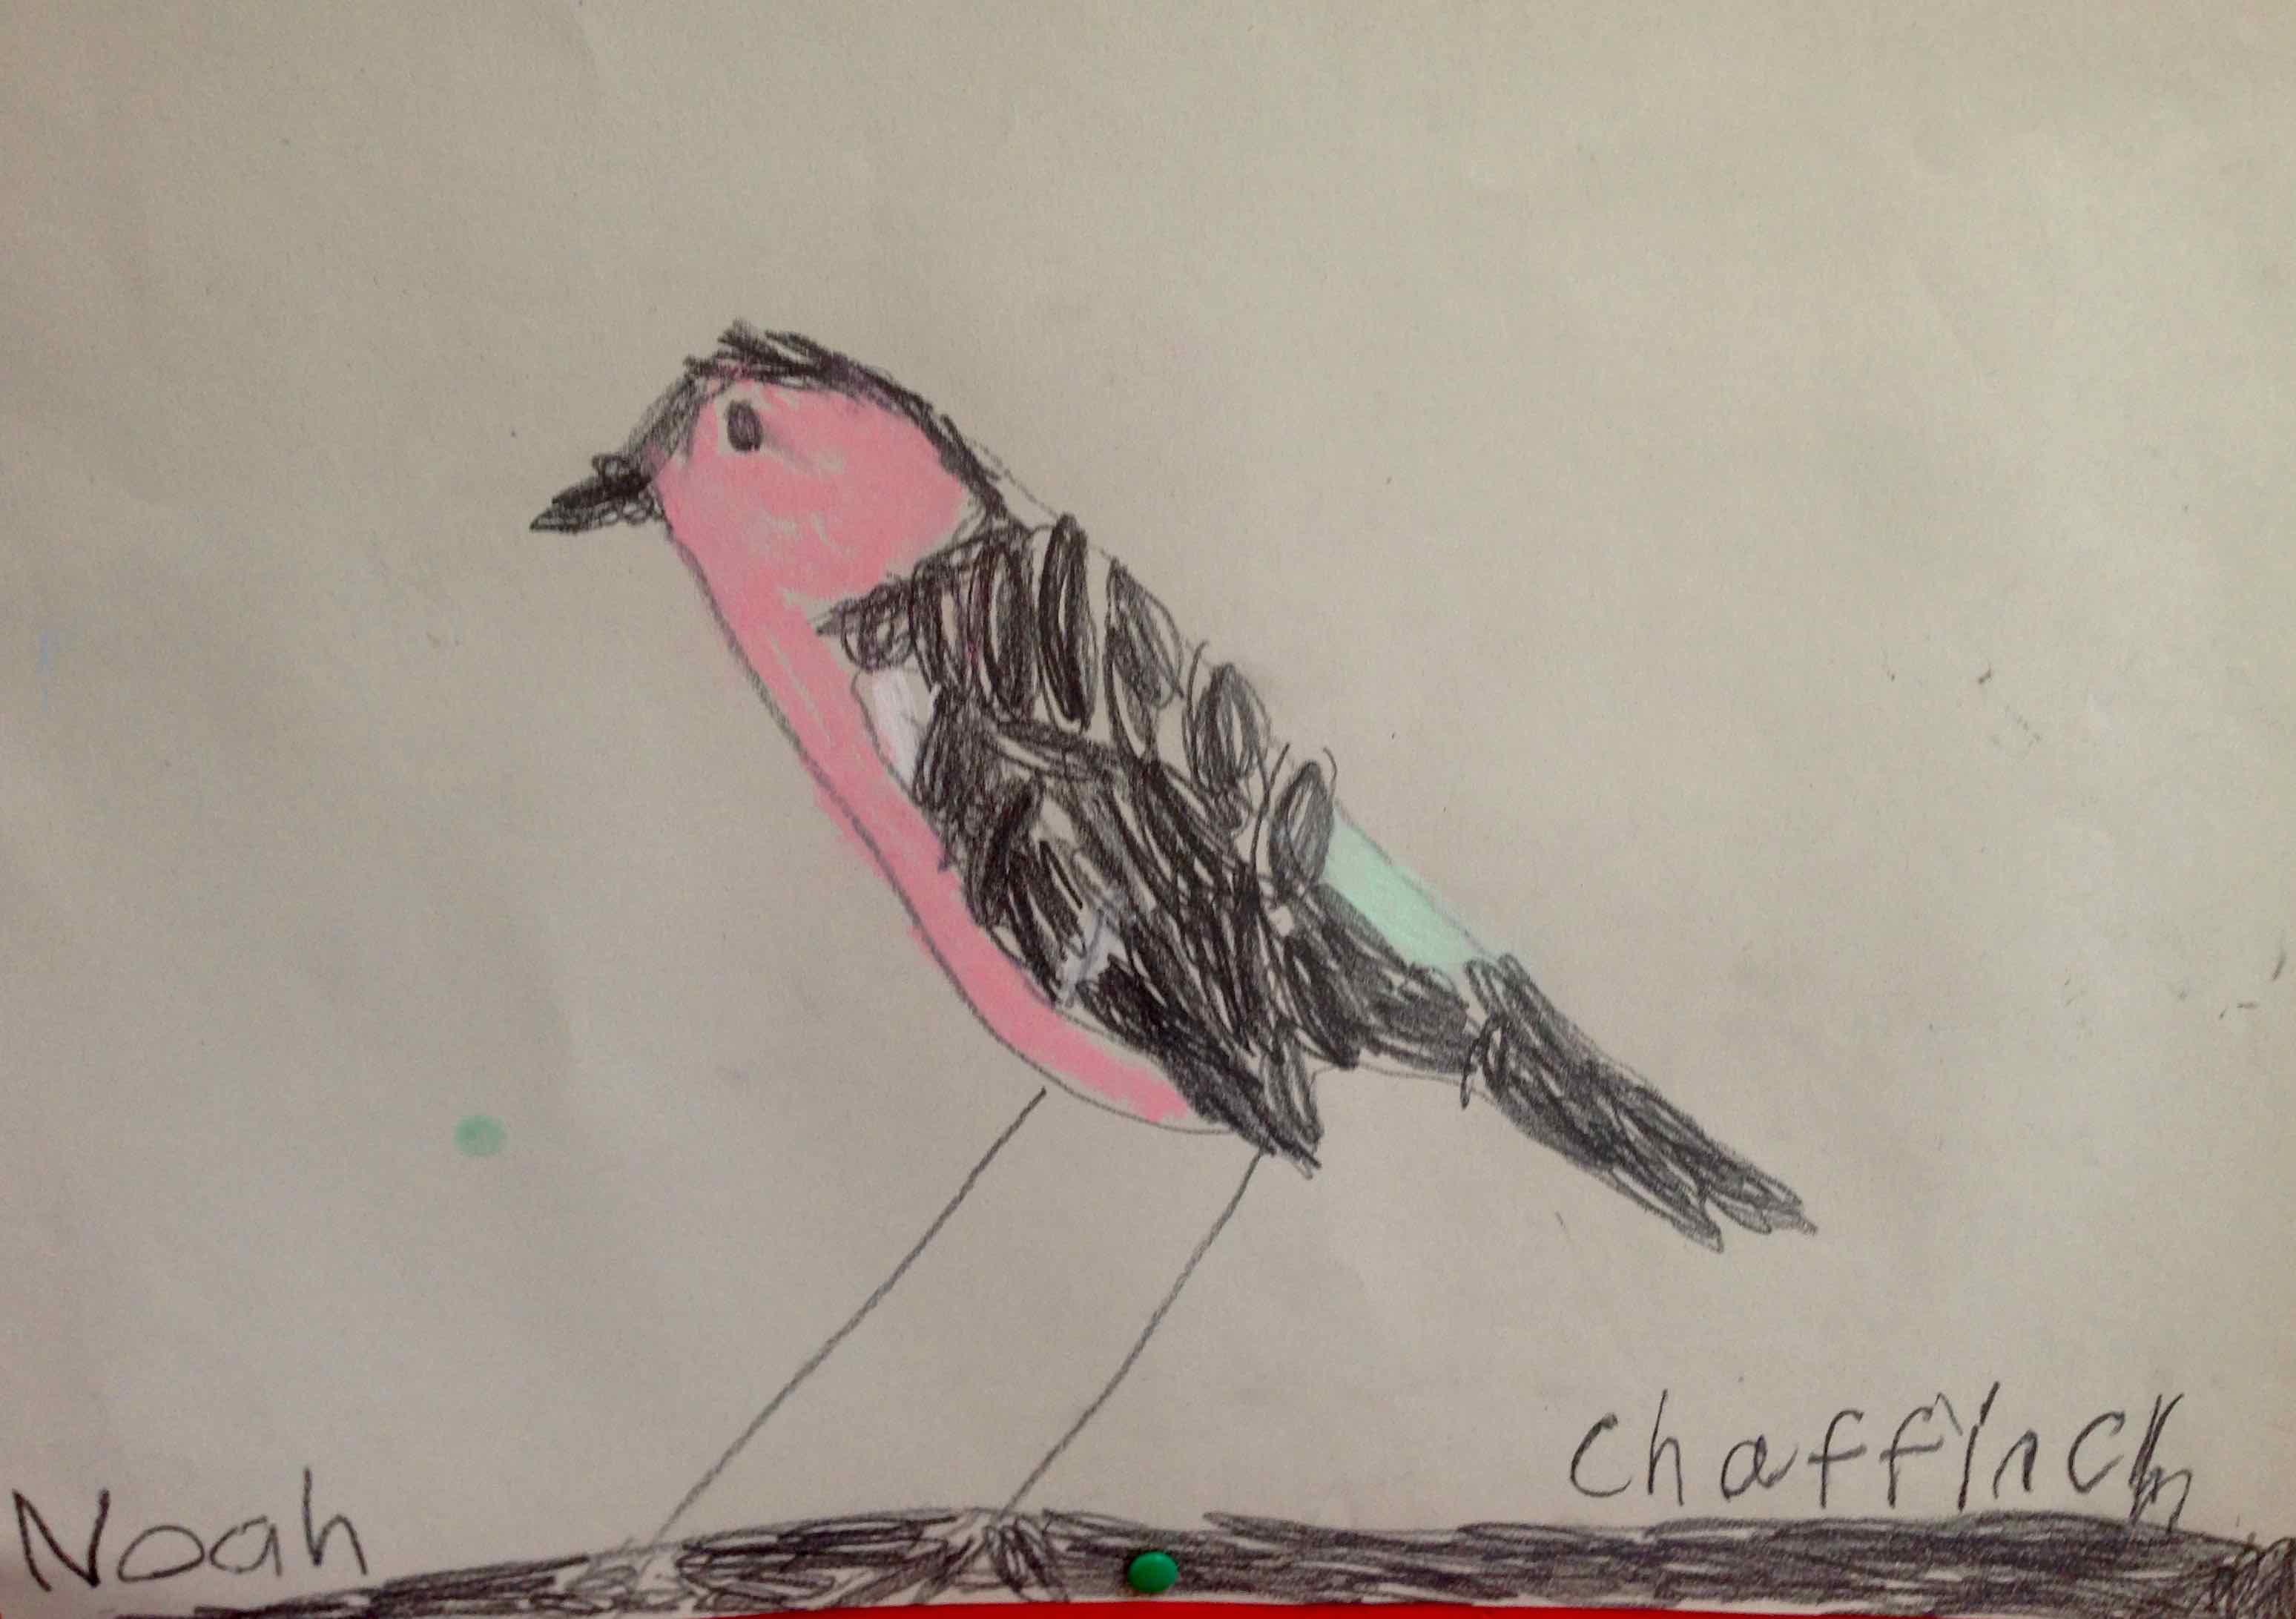
The children had used their viewfinders to seek out special views during break time and some of children told me they saw a bird in a tree, bees and flies on a plant!
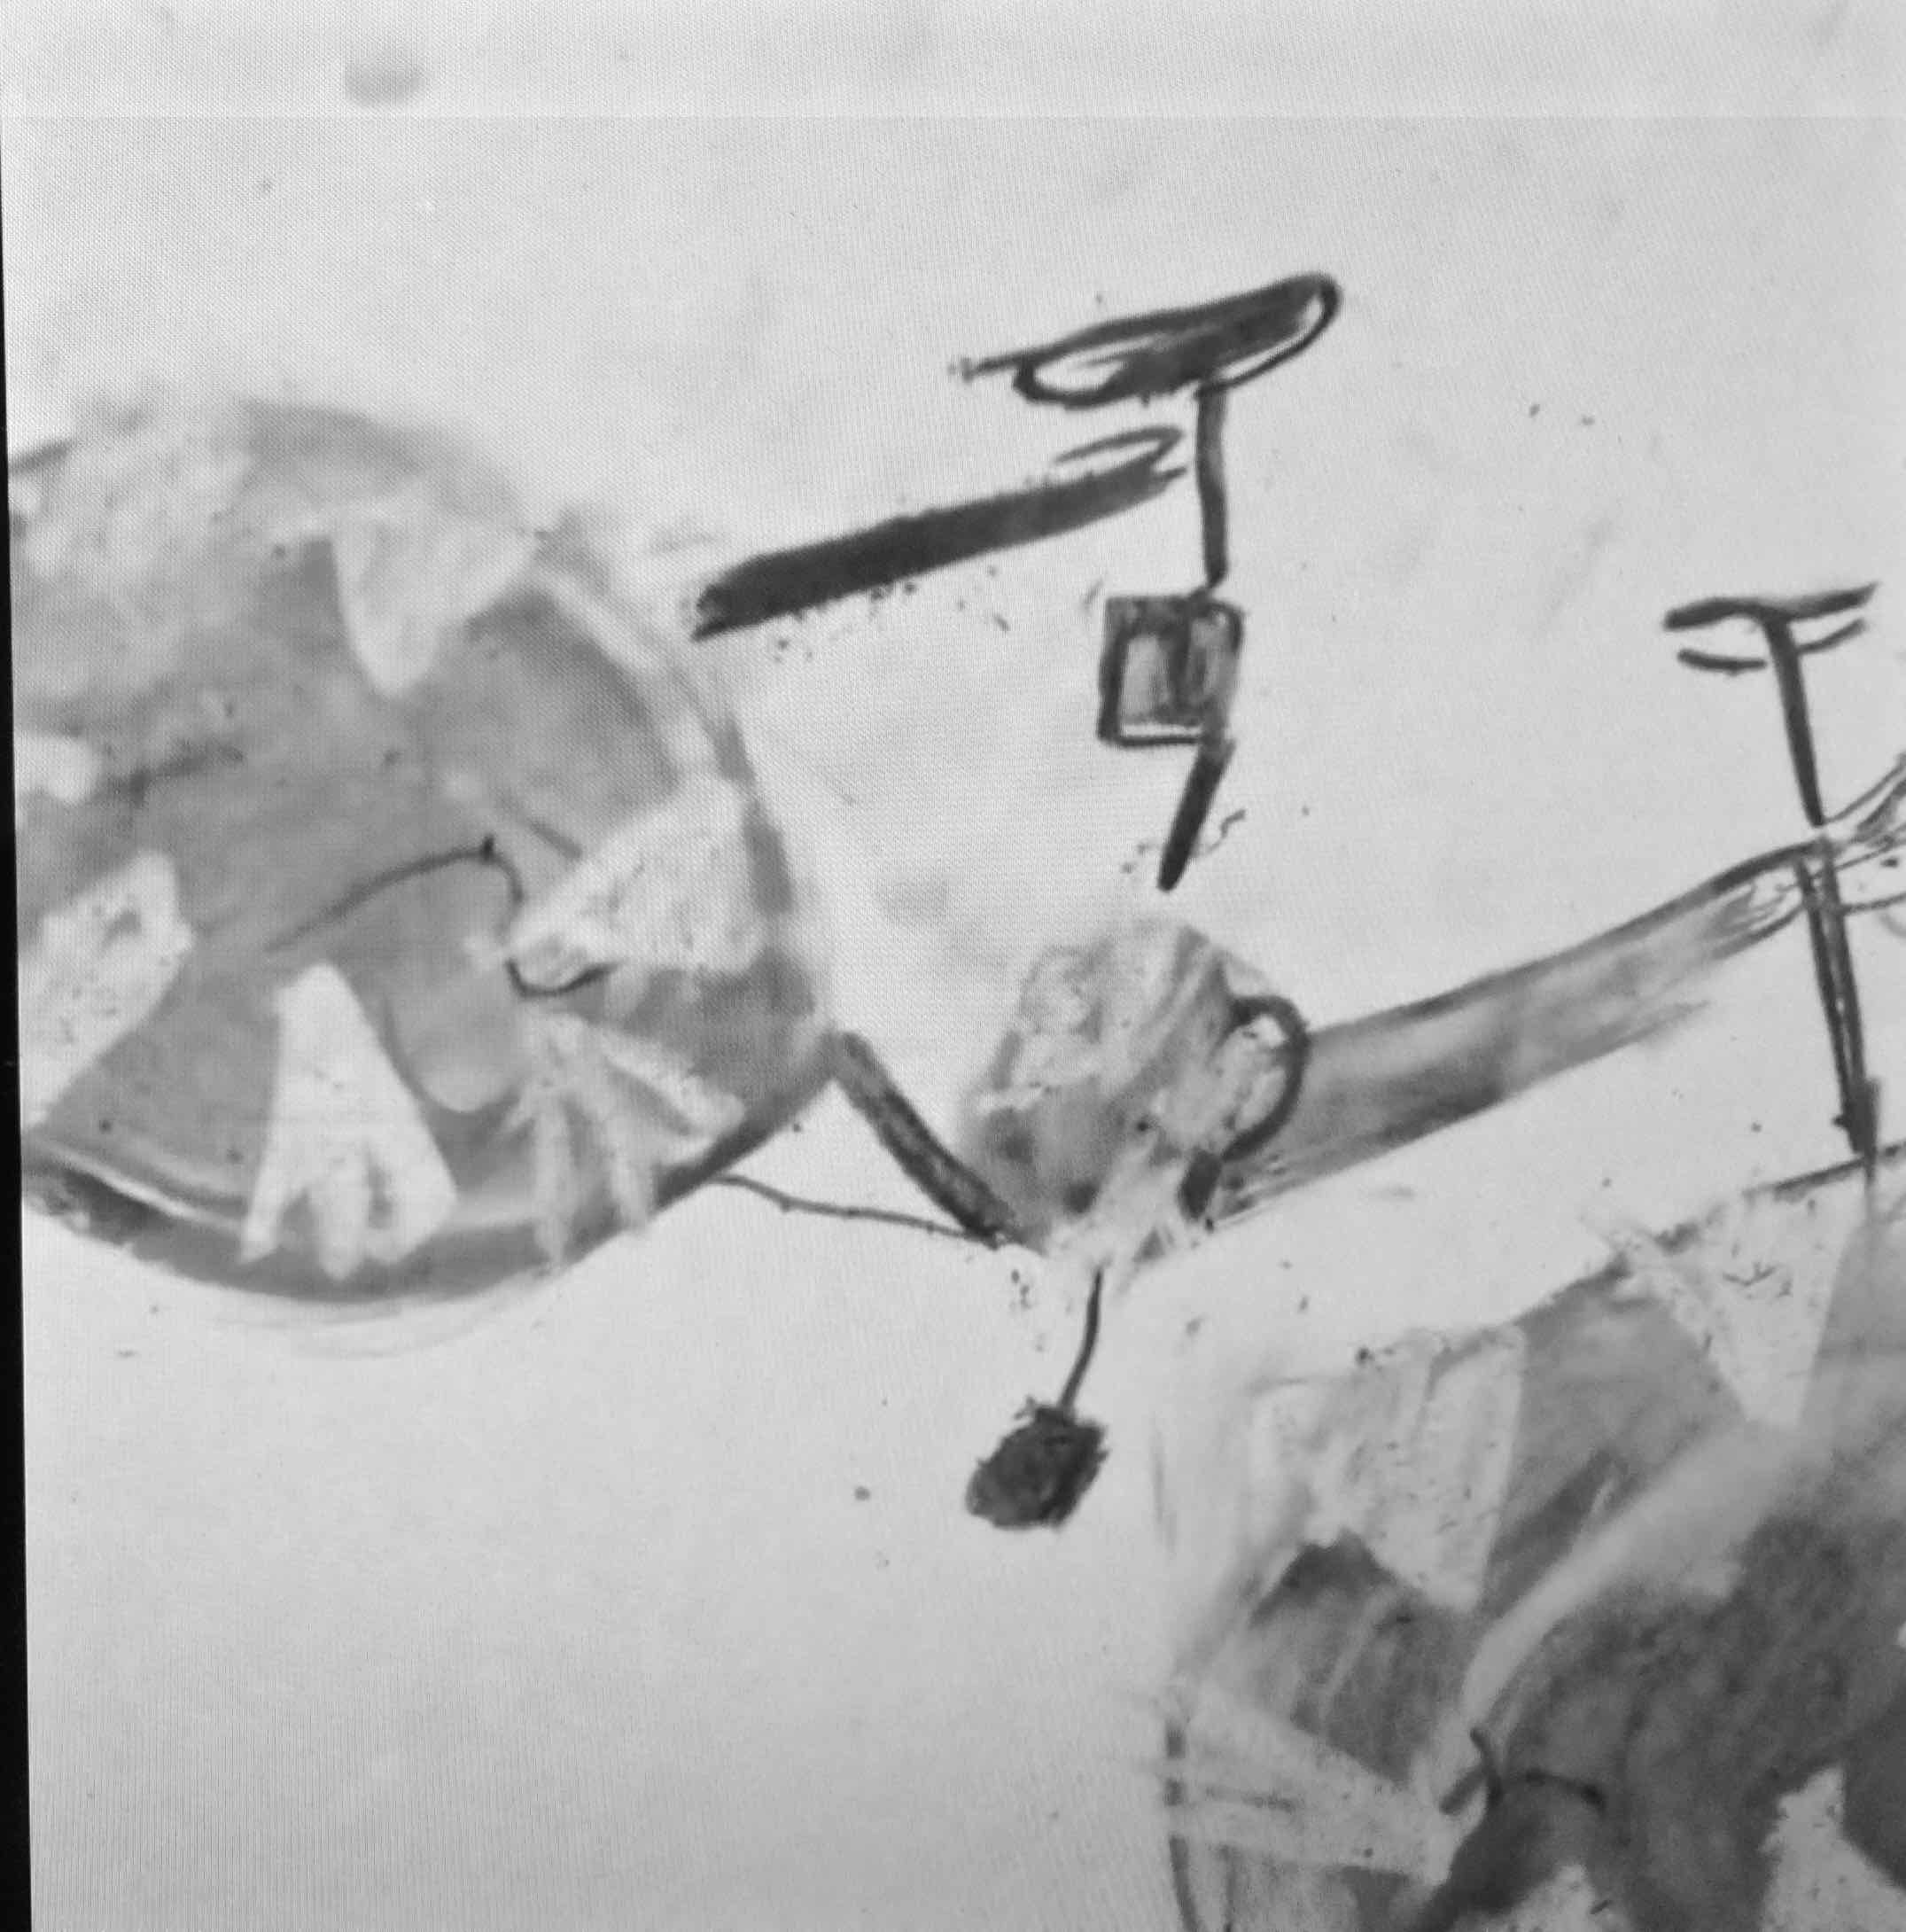
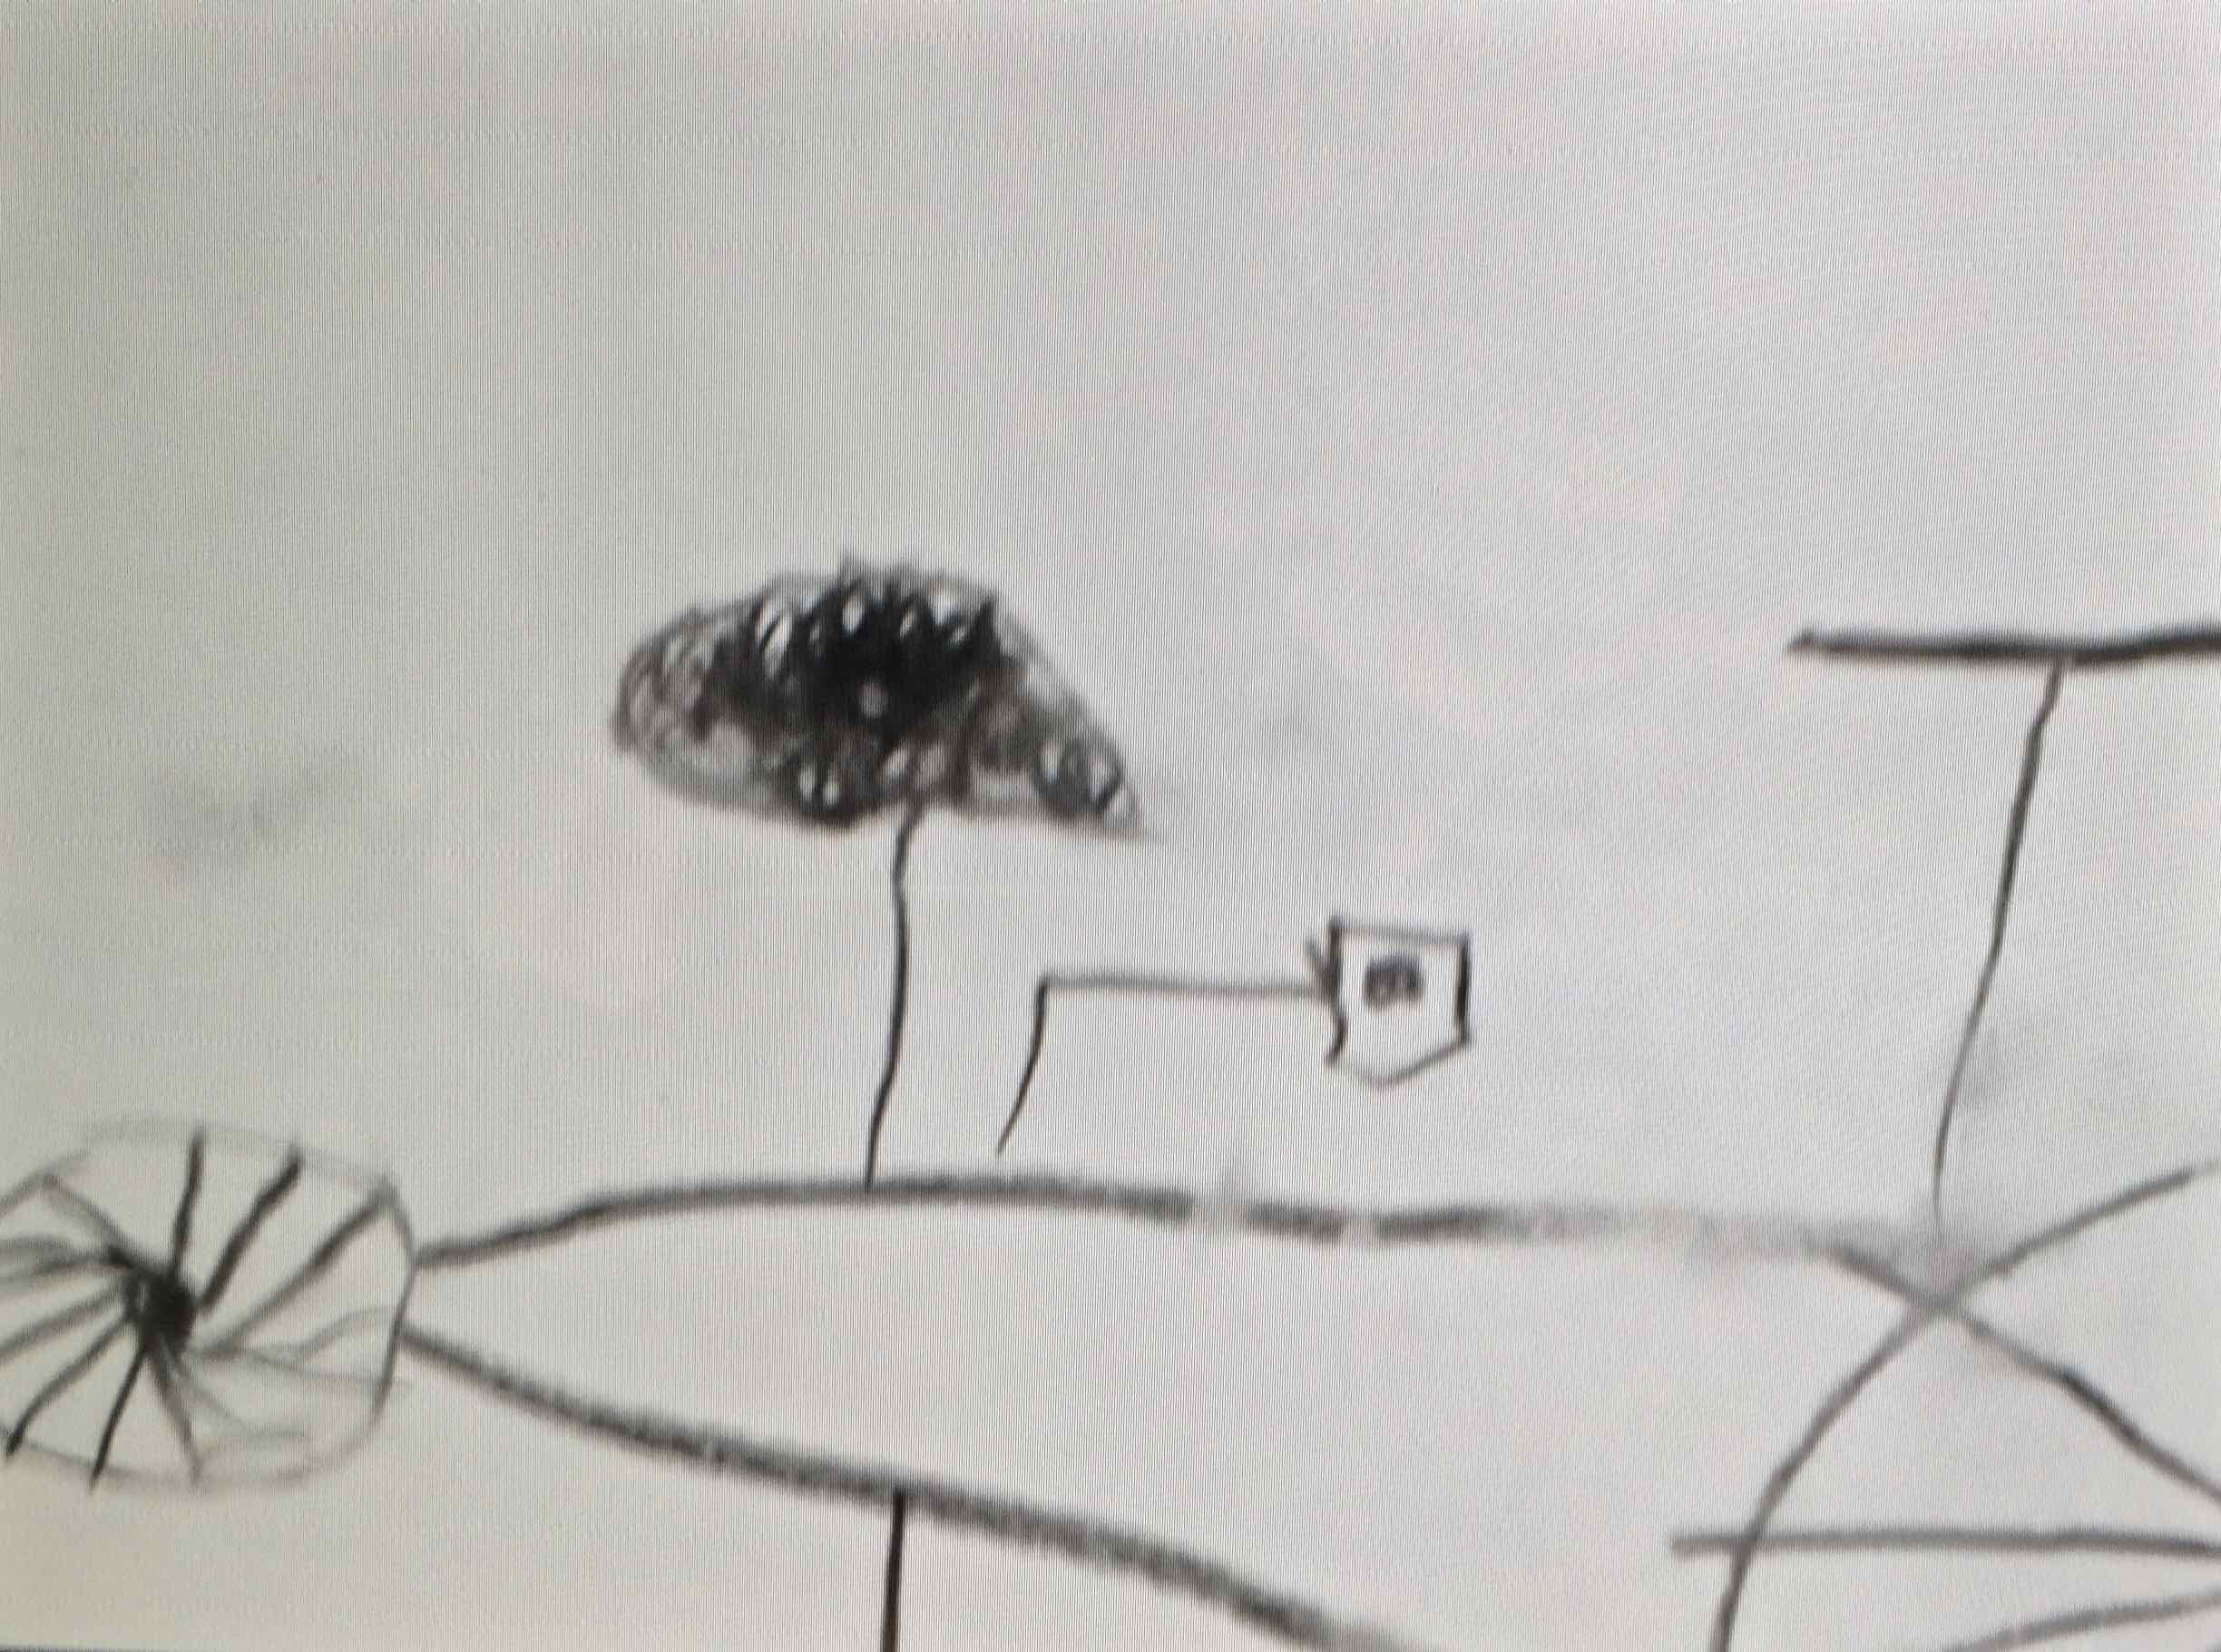
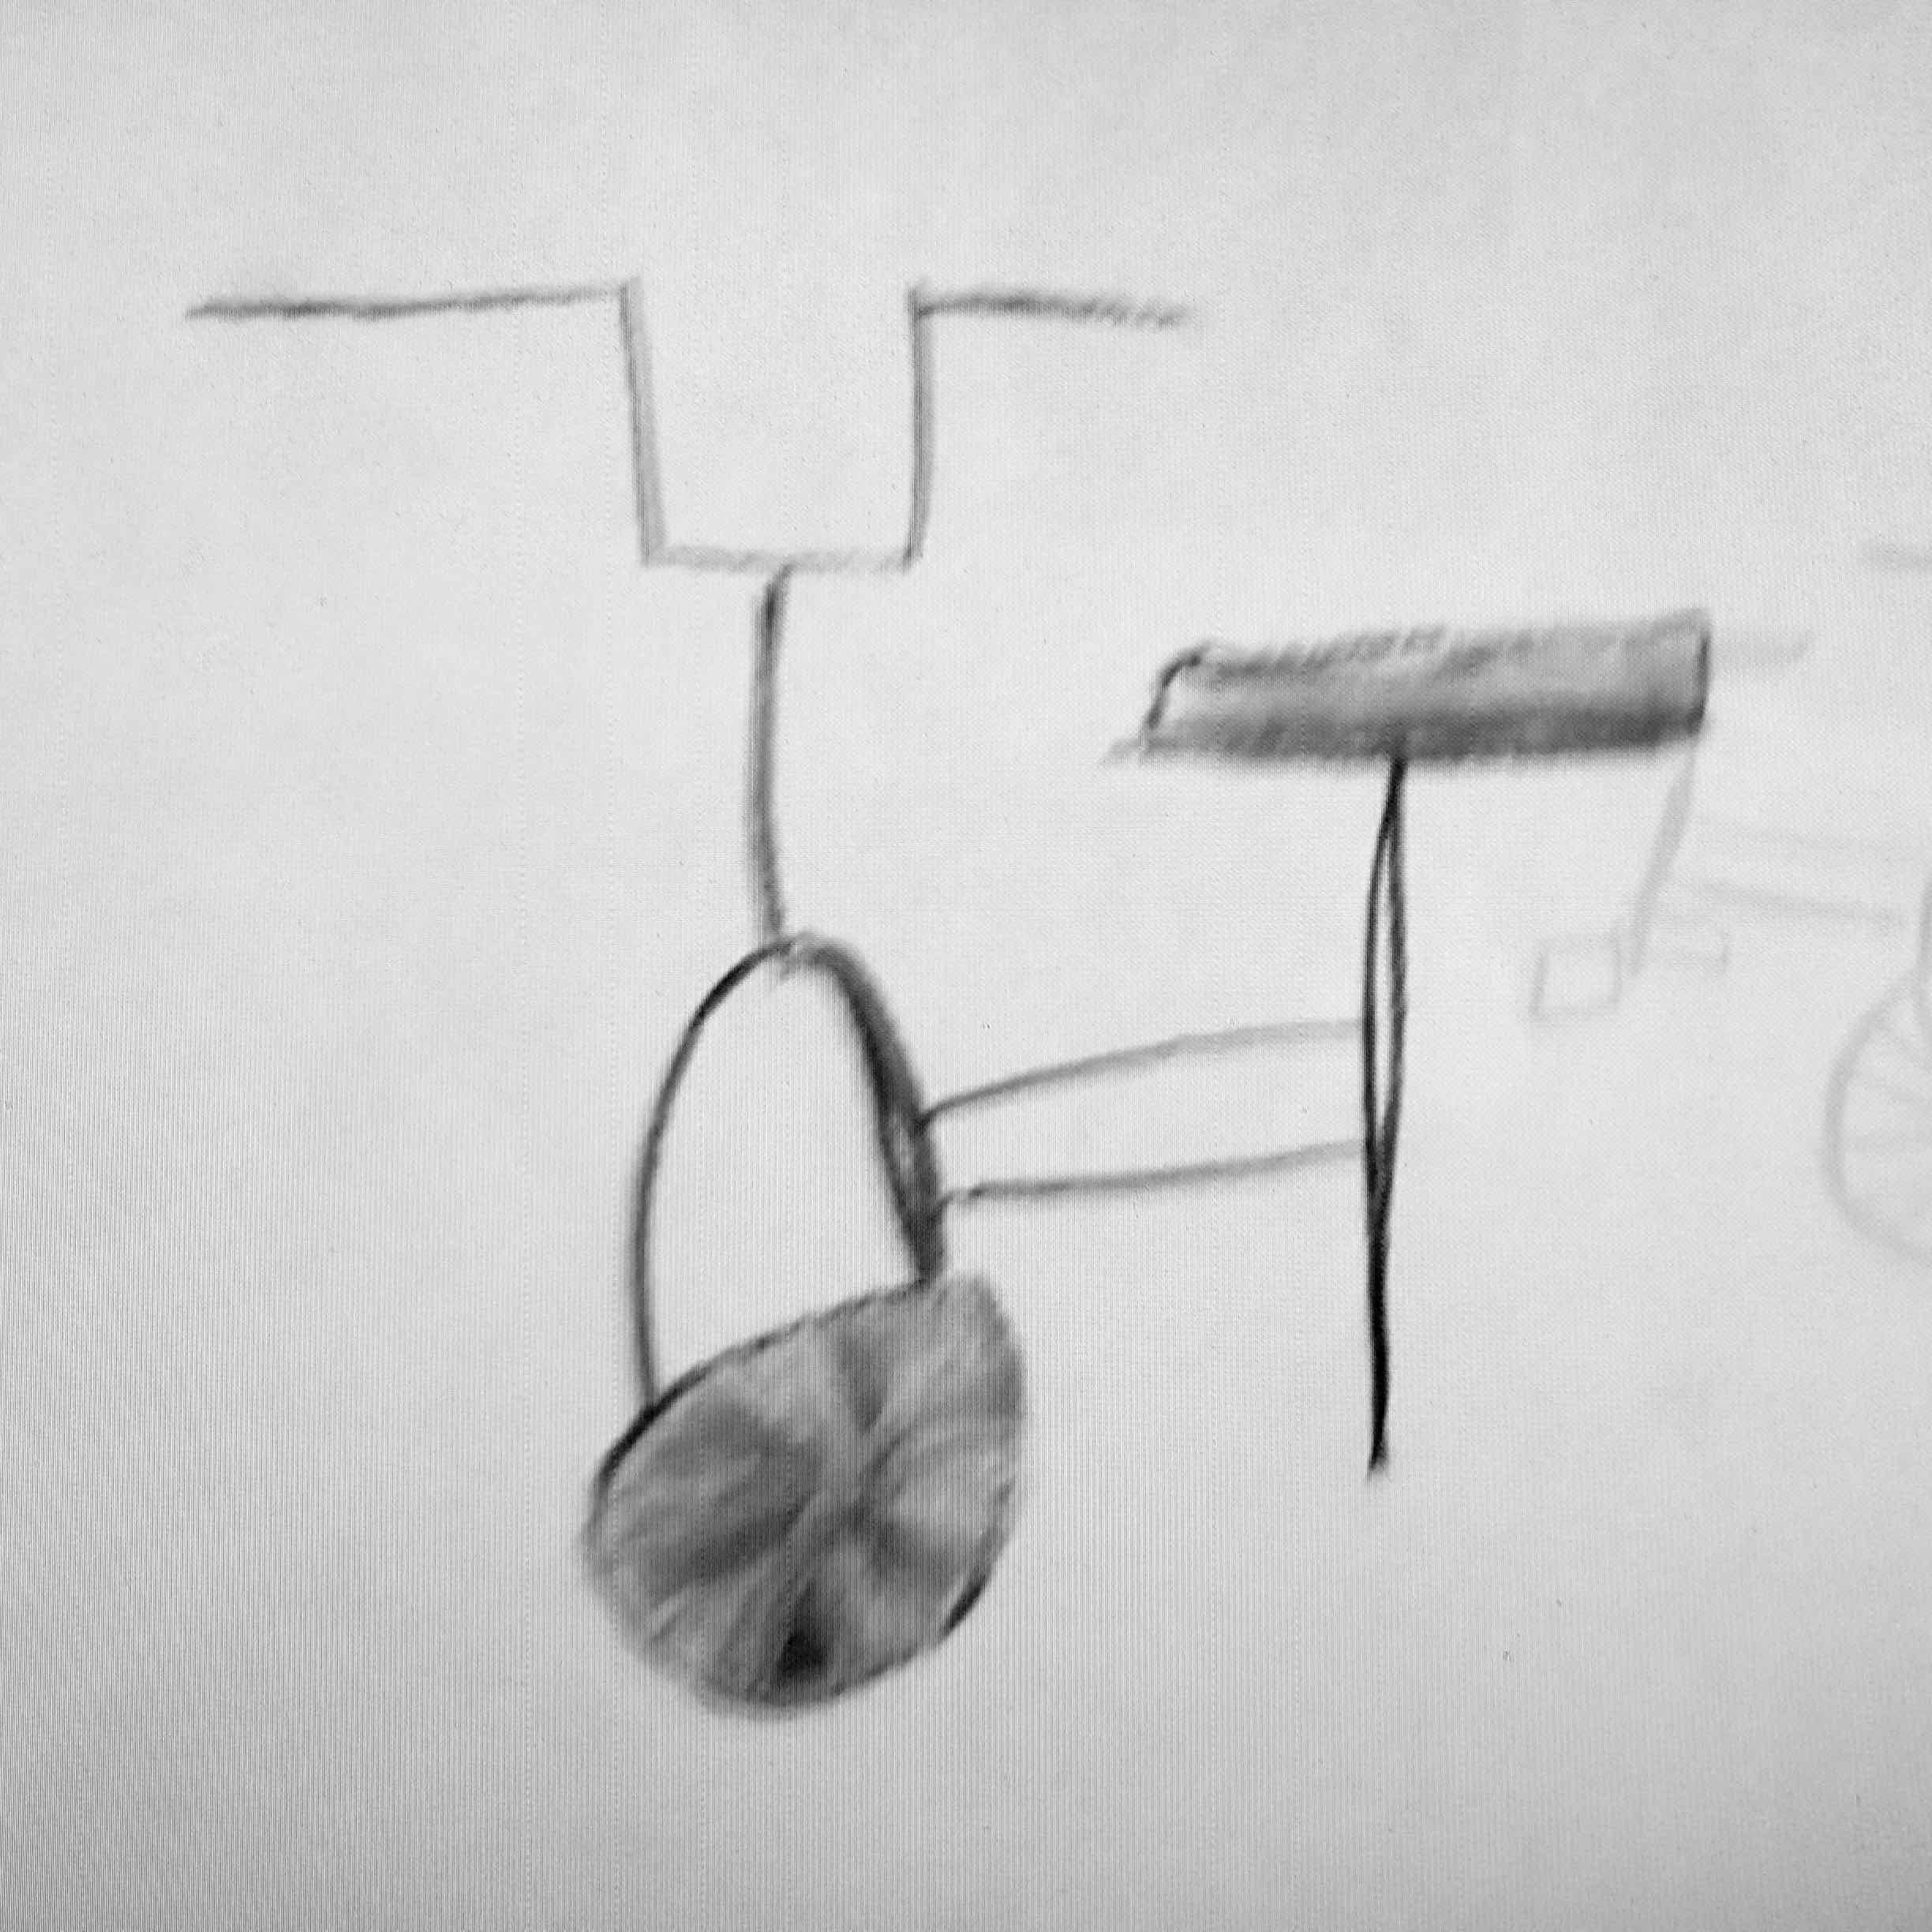
Mrs Hughes had kindly brought a bicycle in to study! Since the article was hard to stand upright – we turned it upside down and the children drew what they saw through their viewfinder. Its actually a wonderful idea to draw an object upside down as it encourages us to see simple shapes…
We were trying a special technique of drawing where we look for the shape of the object first and notice the background or NEGATIVE SPACE surrounding it.
The simple shape of the wheel was noticed and then an eraser was used to rub away the area between the spokes.
Great technique of rubbing away with a finger and with an eraser…
Amazing work and this continued as the children used their viewfinders to zoom in on a detail of the bicycle:
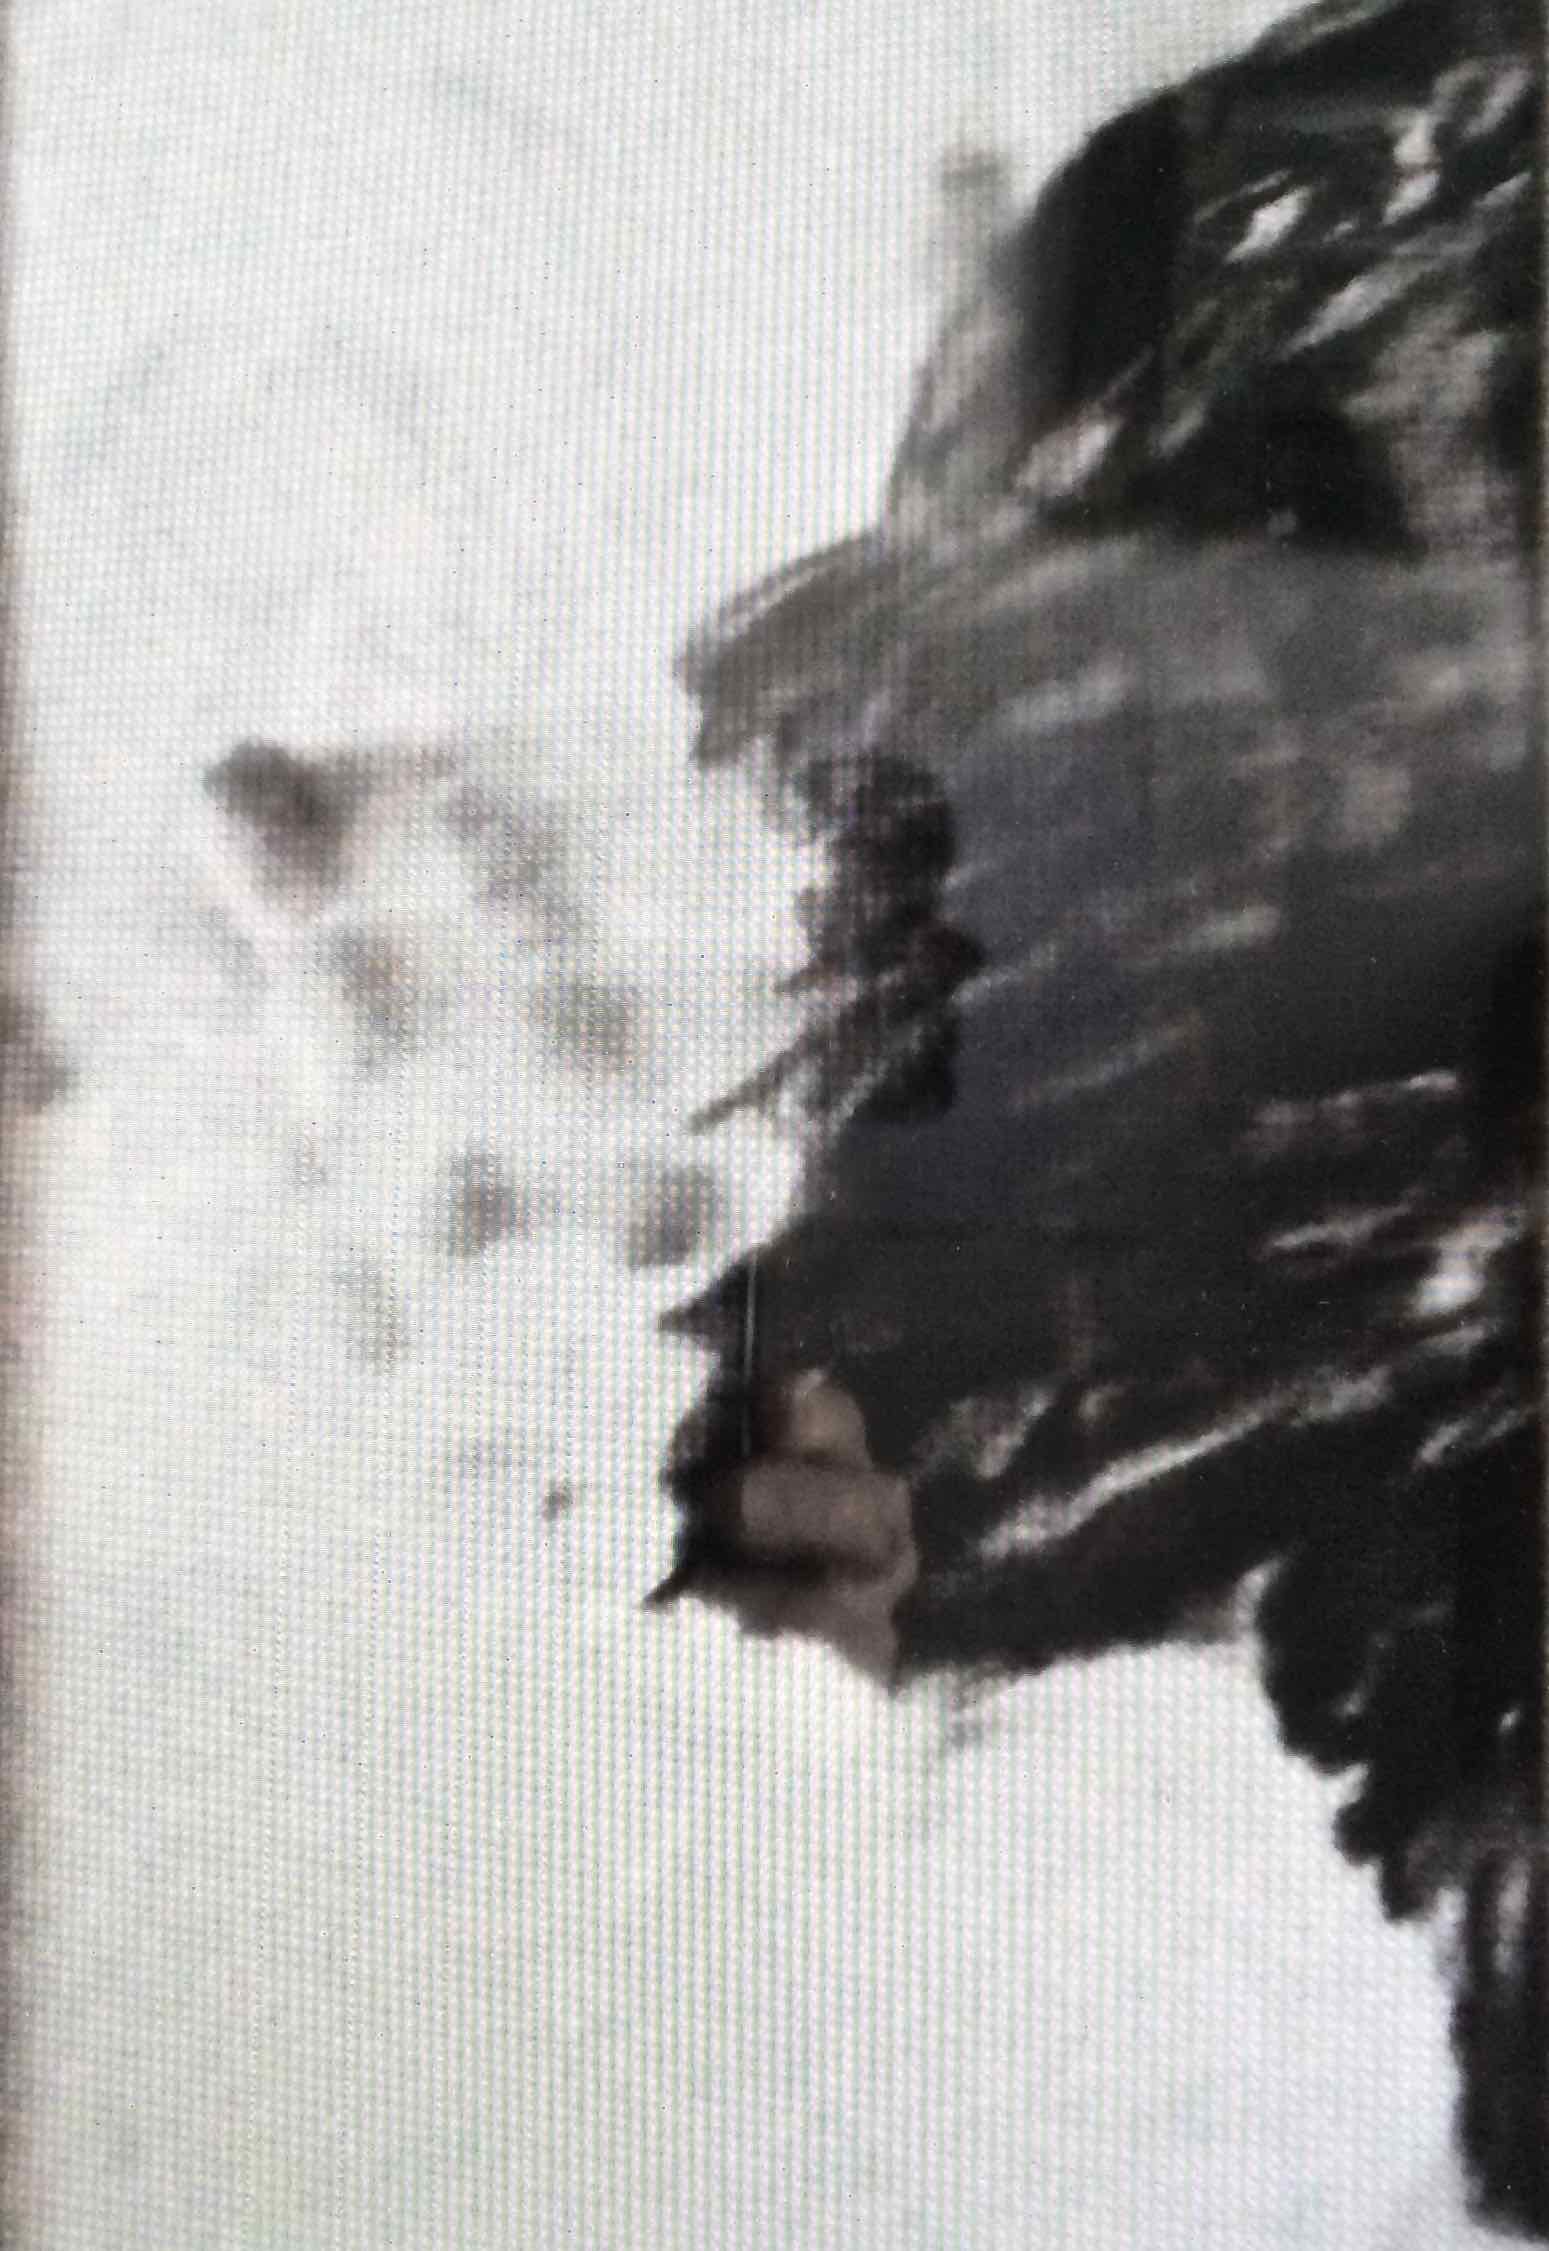
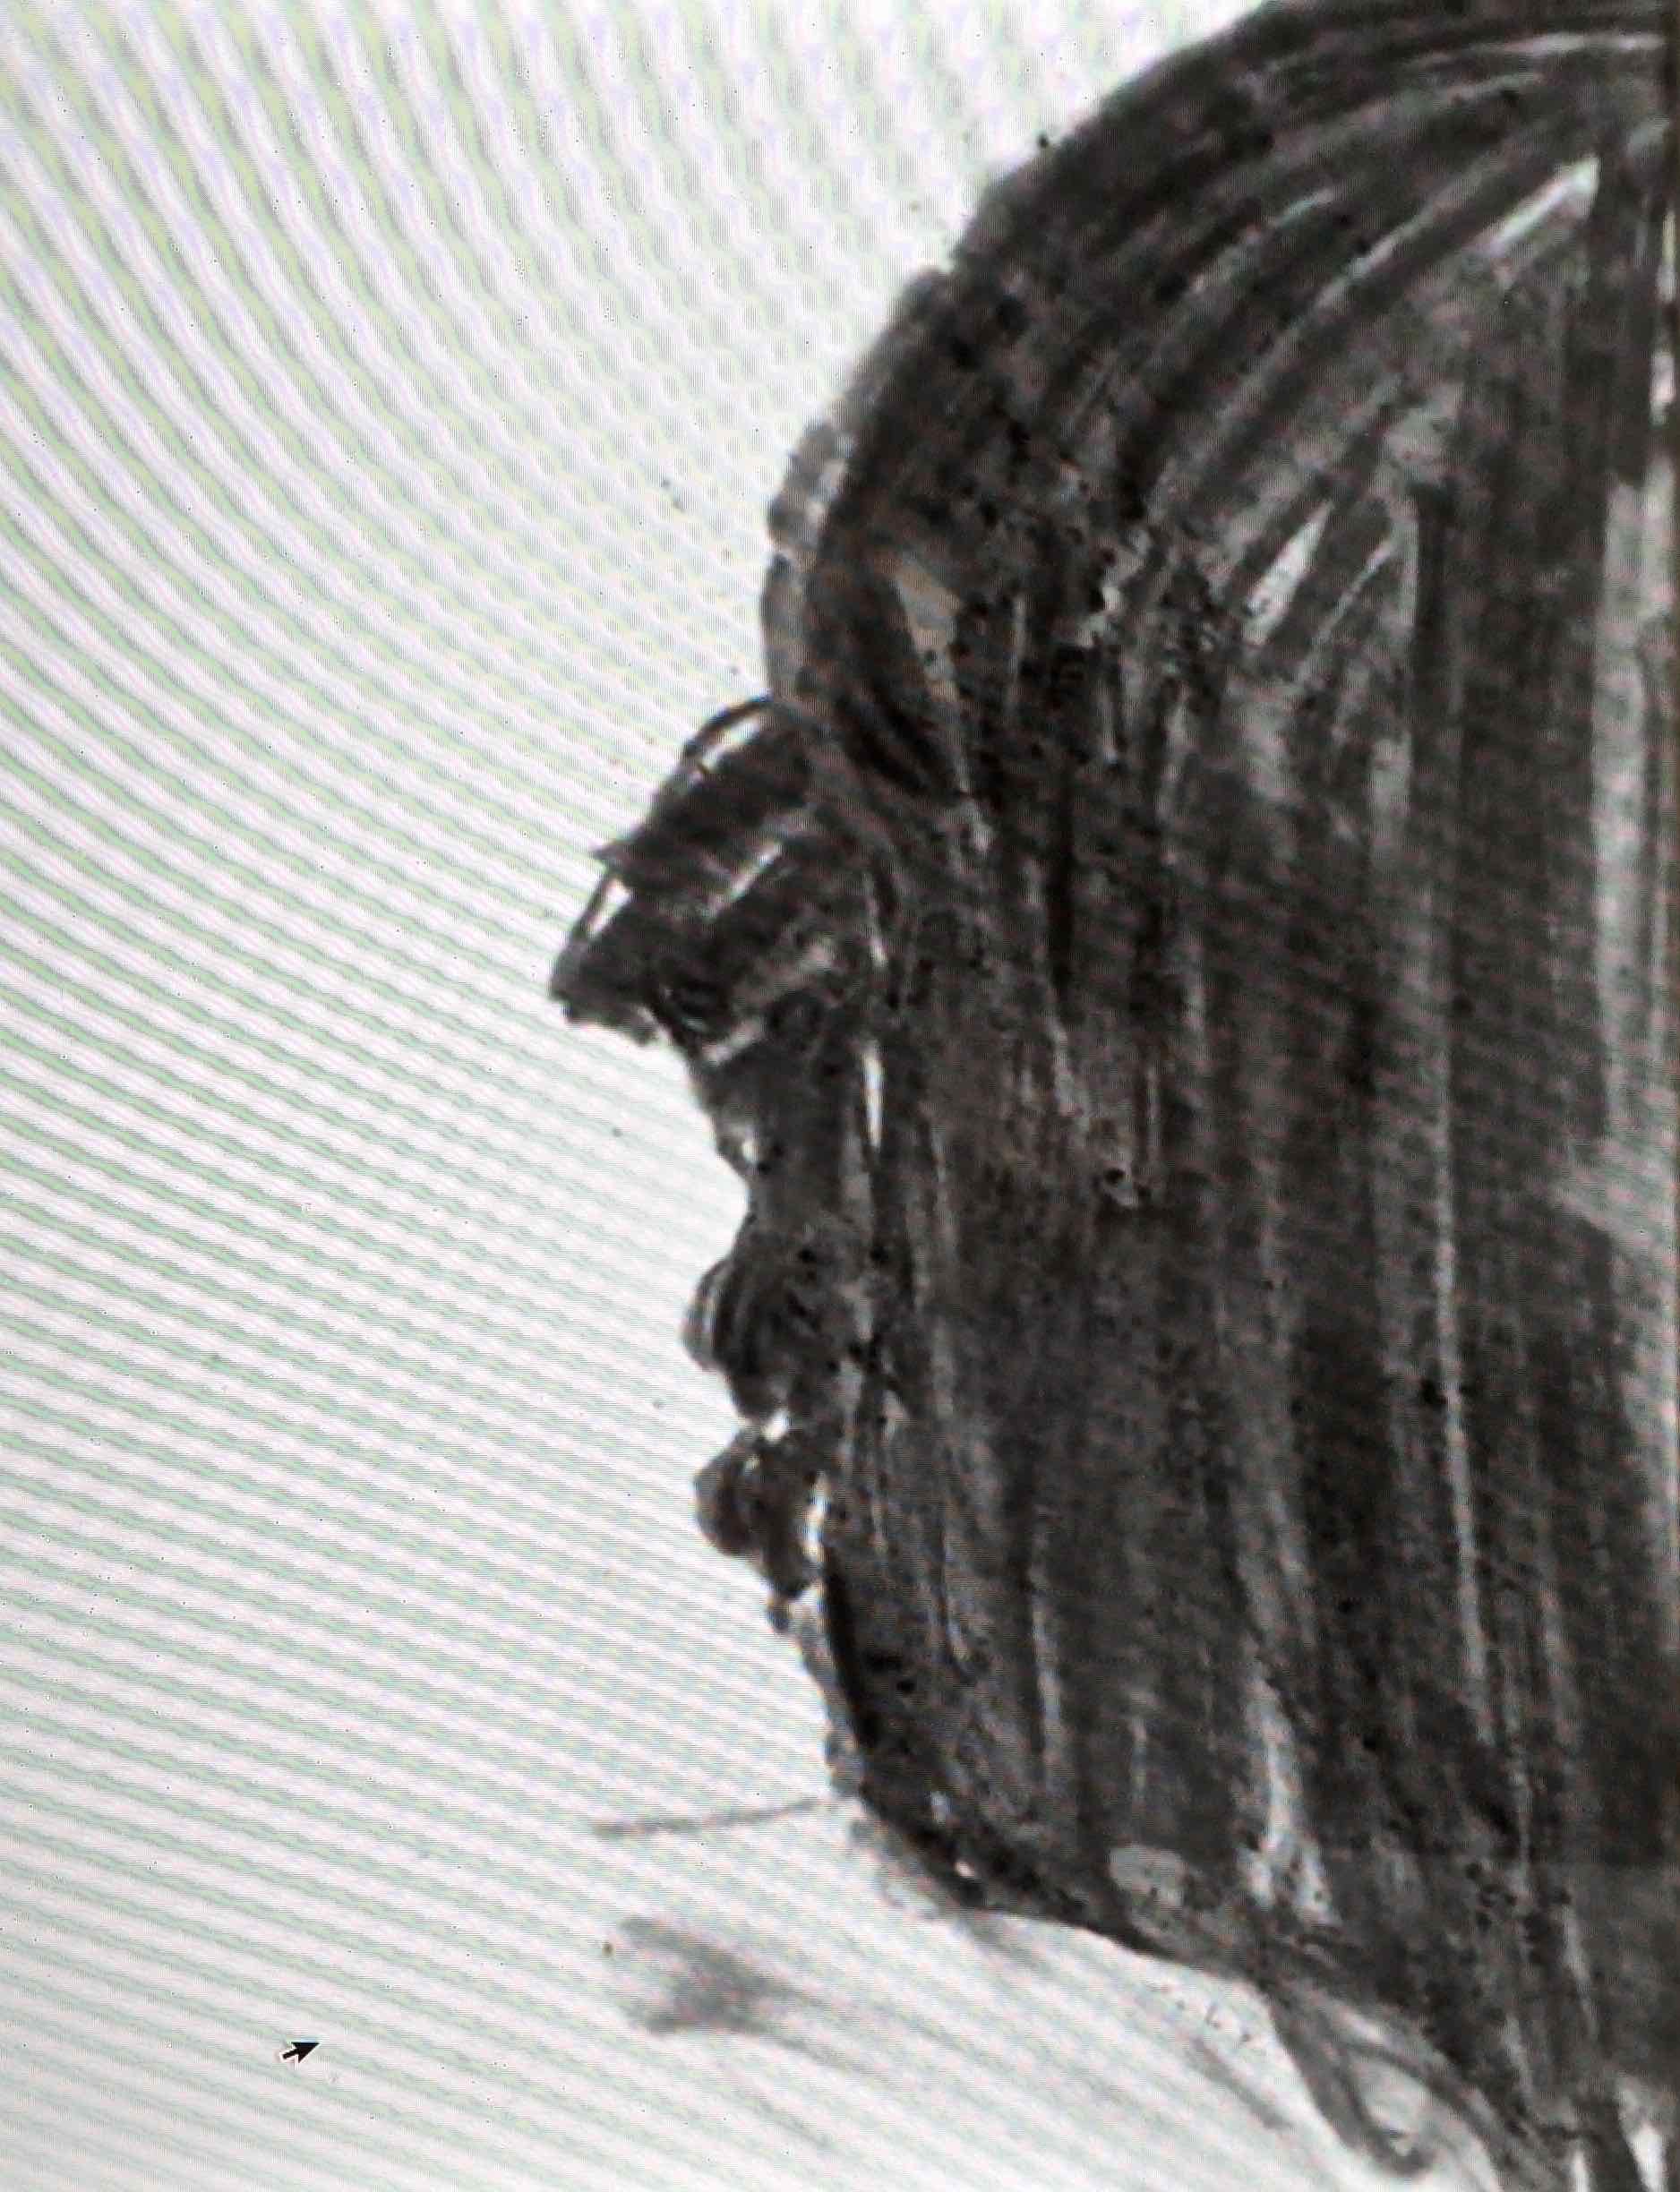
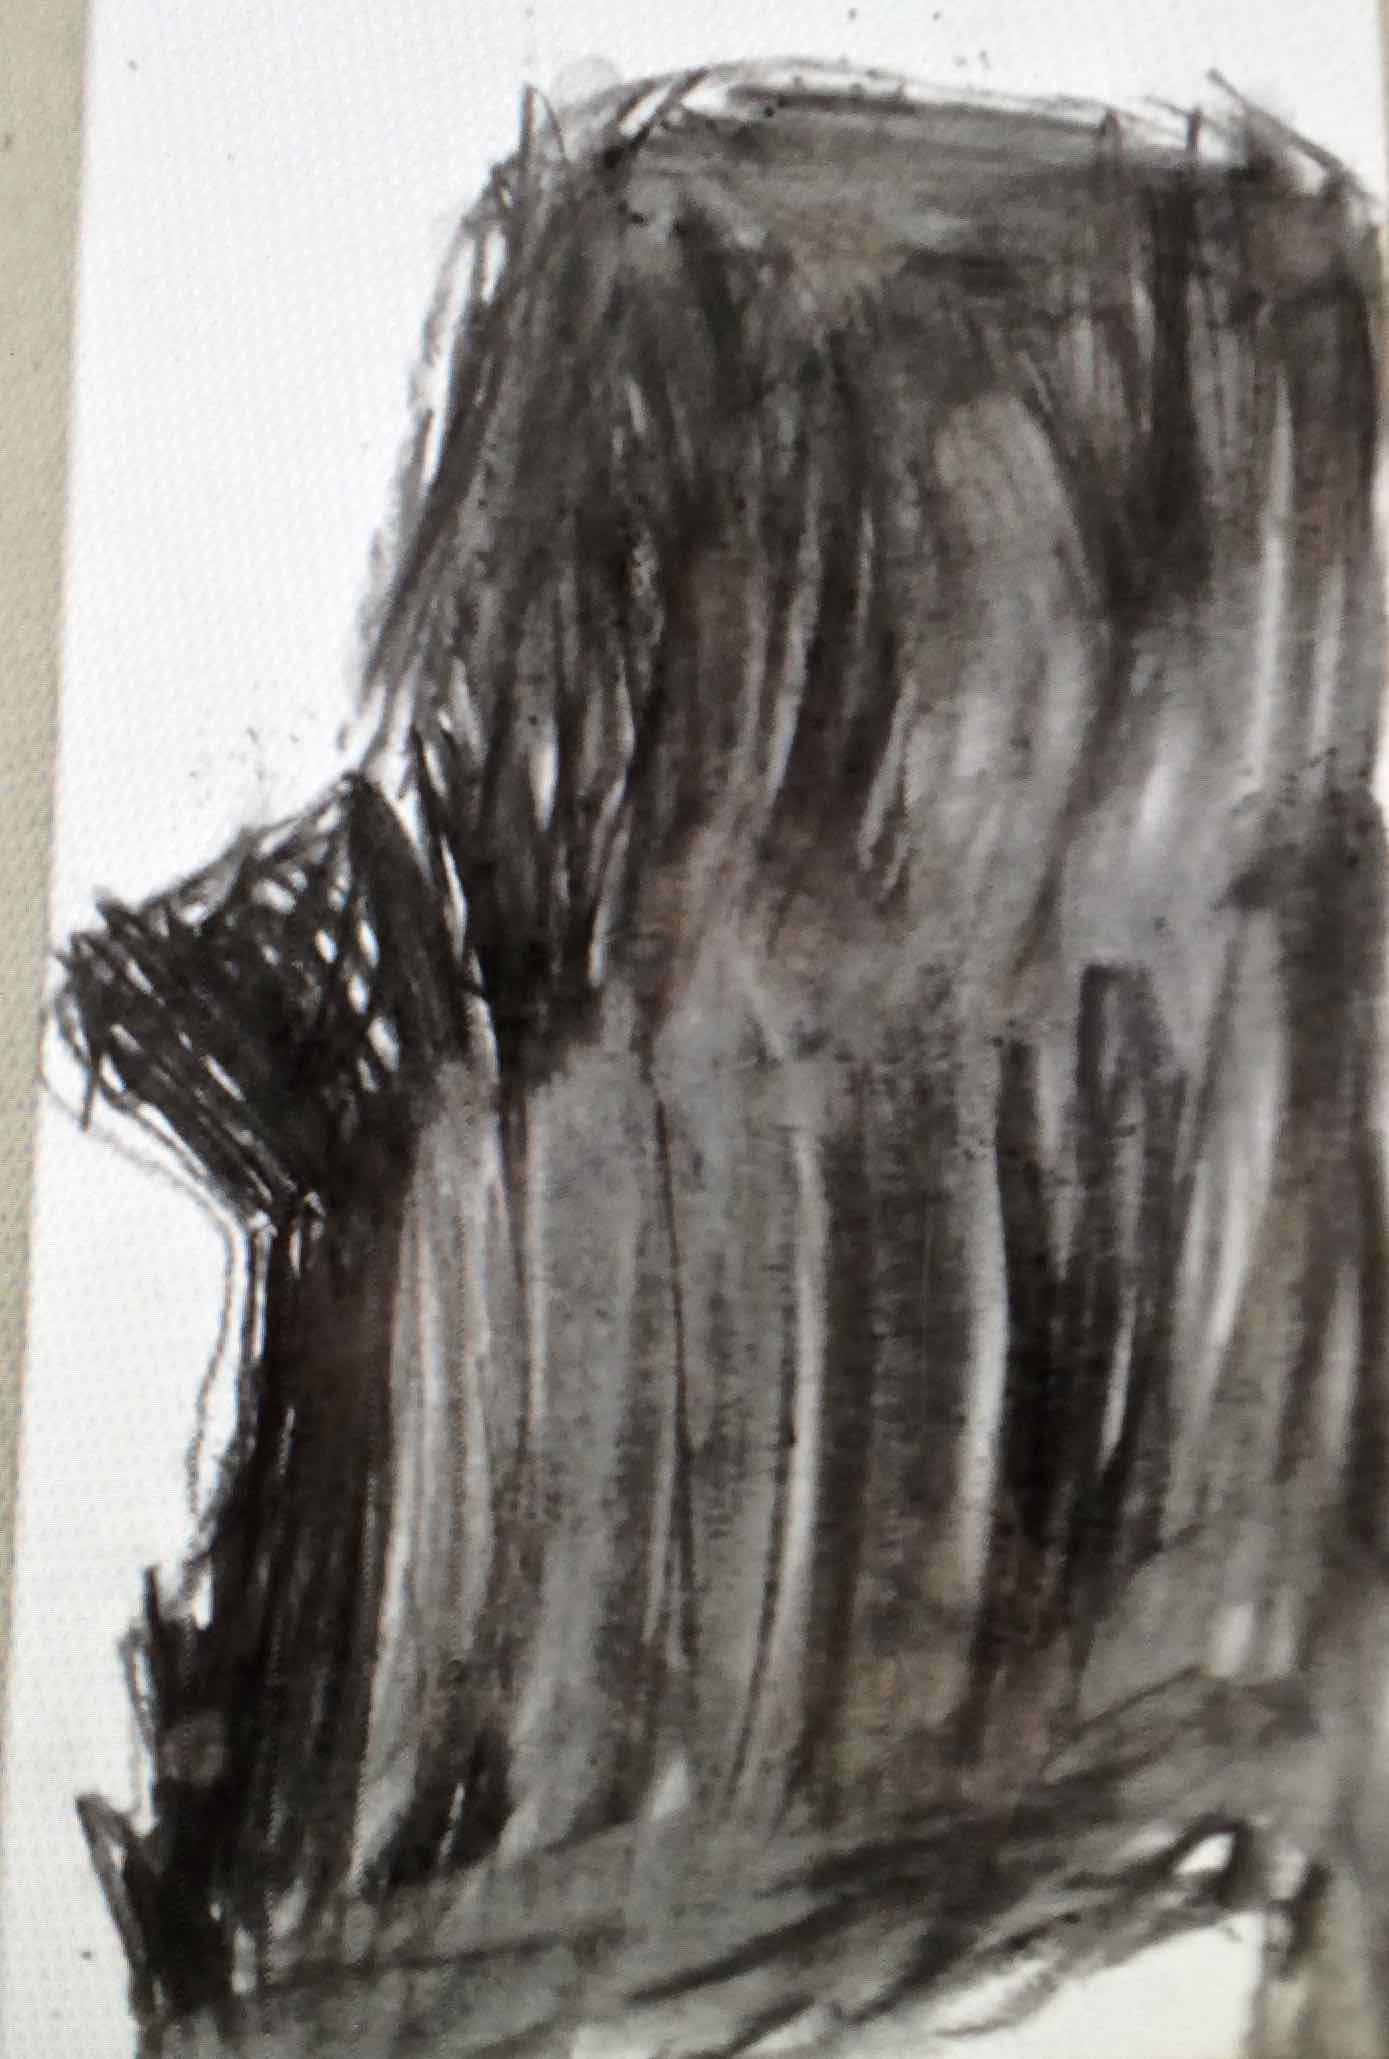
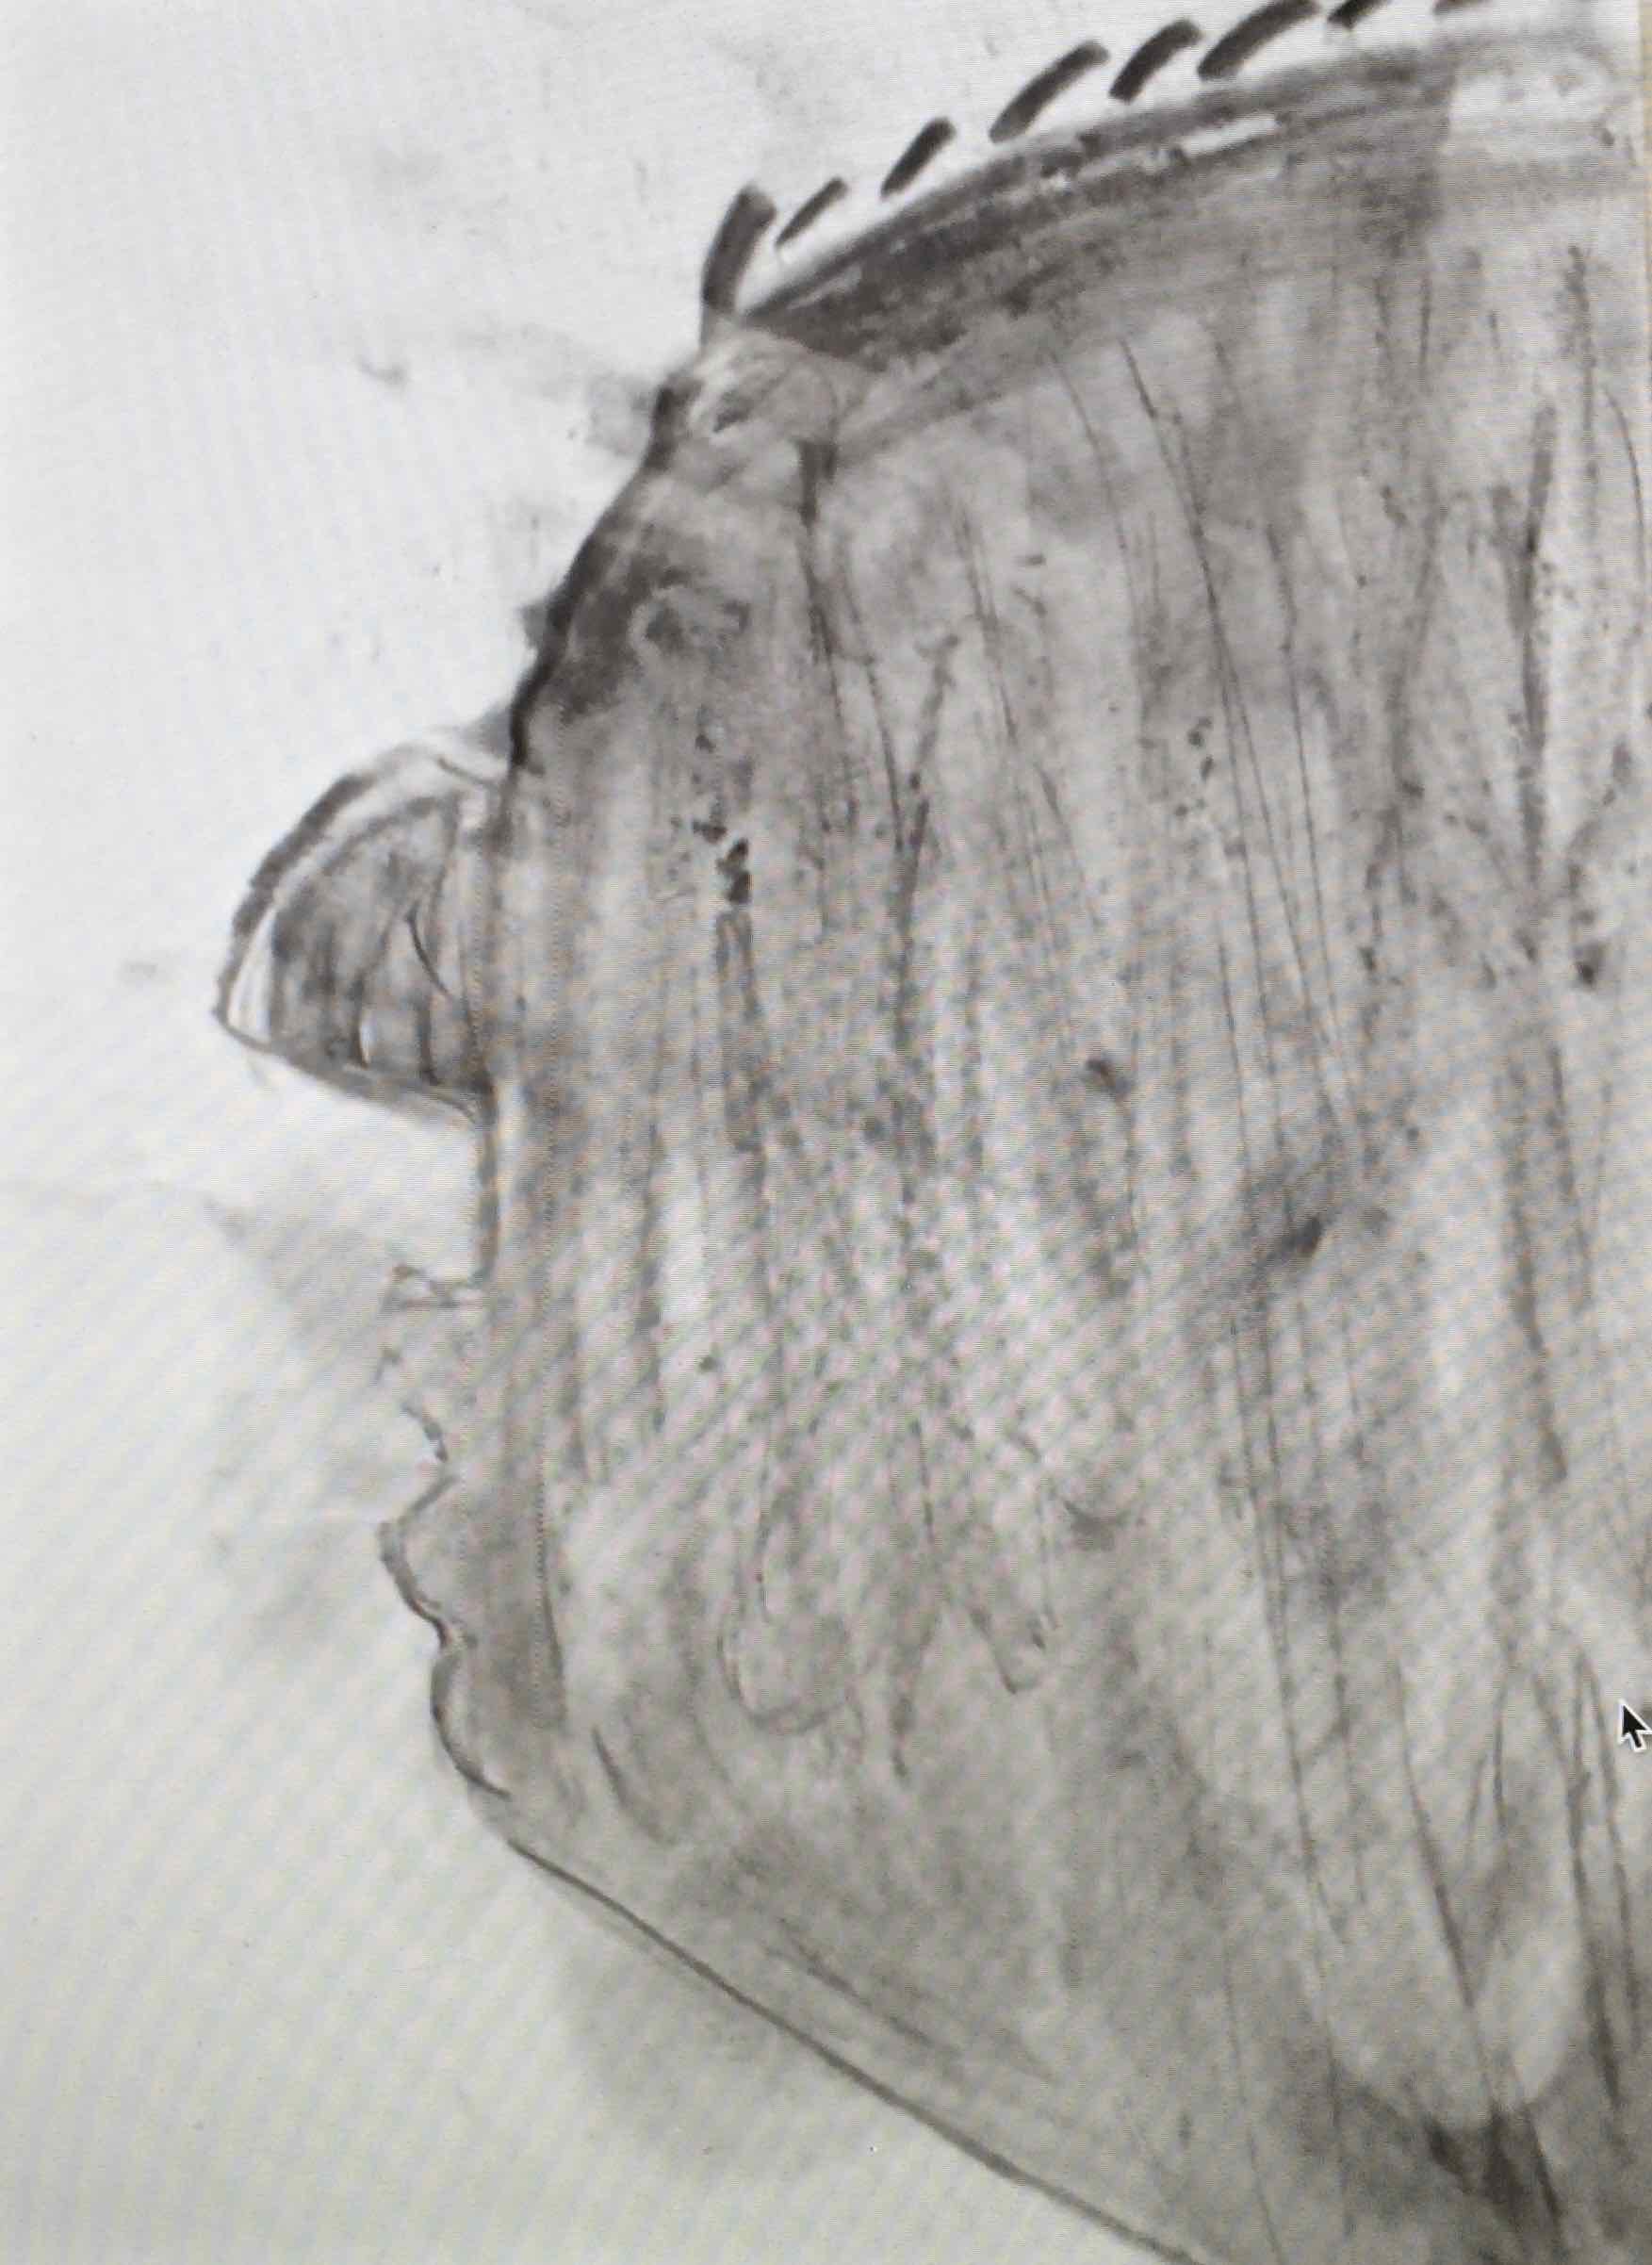
I talked with the children about the idea of SHAPE / SOLID SHAPE and SILHOUETTE and we then tried drawing our PROFILES:
Here’s Mrs Hughes explaining to the children that they can trace their PROFILE with their finger…
The children FELT their PROFILE shape with their finger tracing the line down their face and then filled in the shape with charcoal to make it solid.
Lastly we had a go at making a simple sketchbook, using A3 paper and several folds…
All of this will be useful experience as we intend to making a trip outdoors to sketch the world around us!
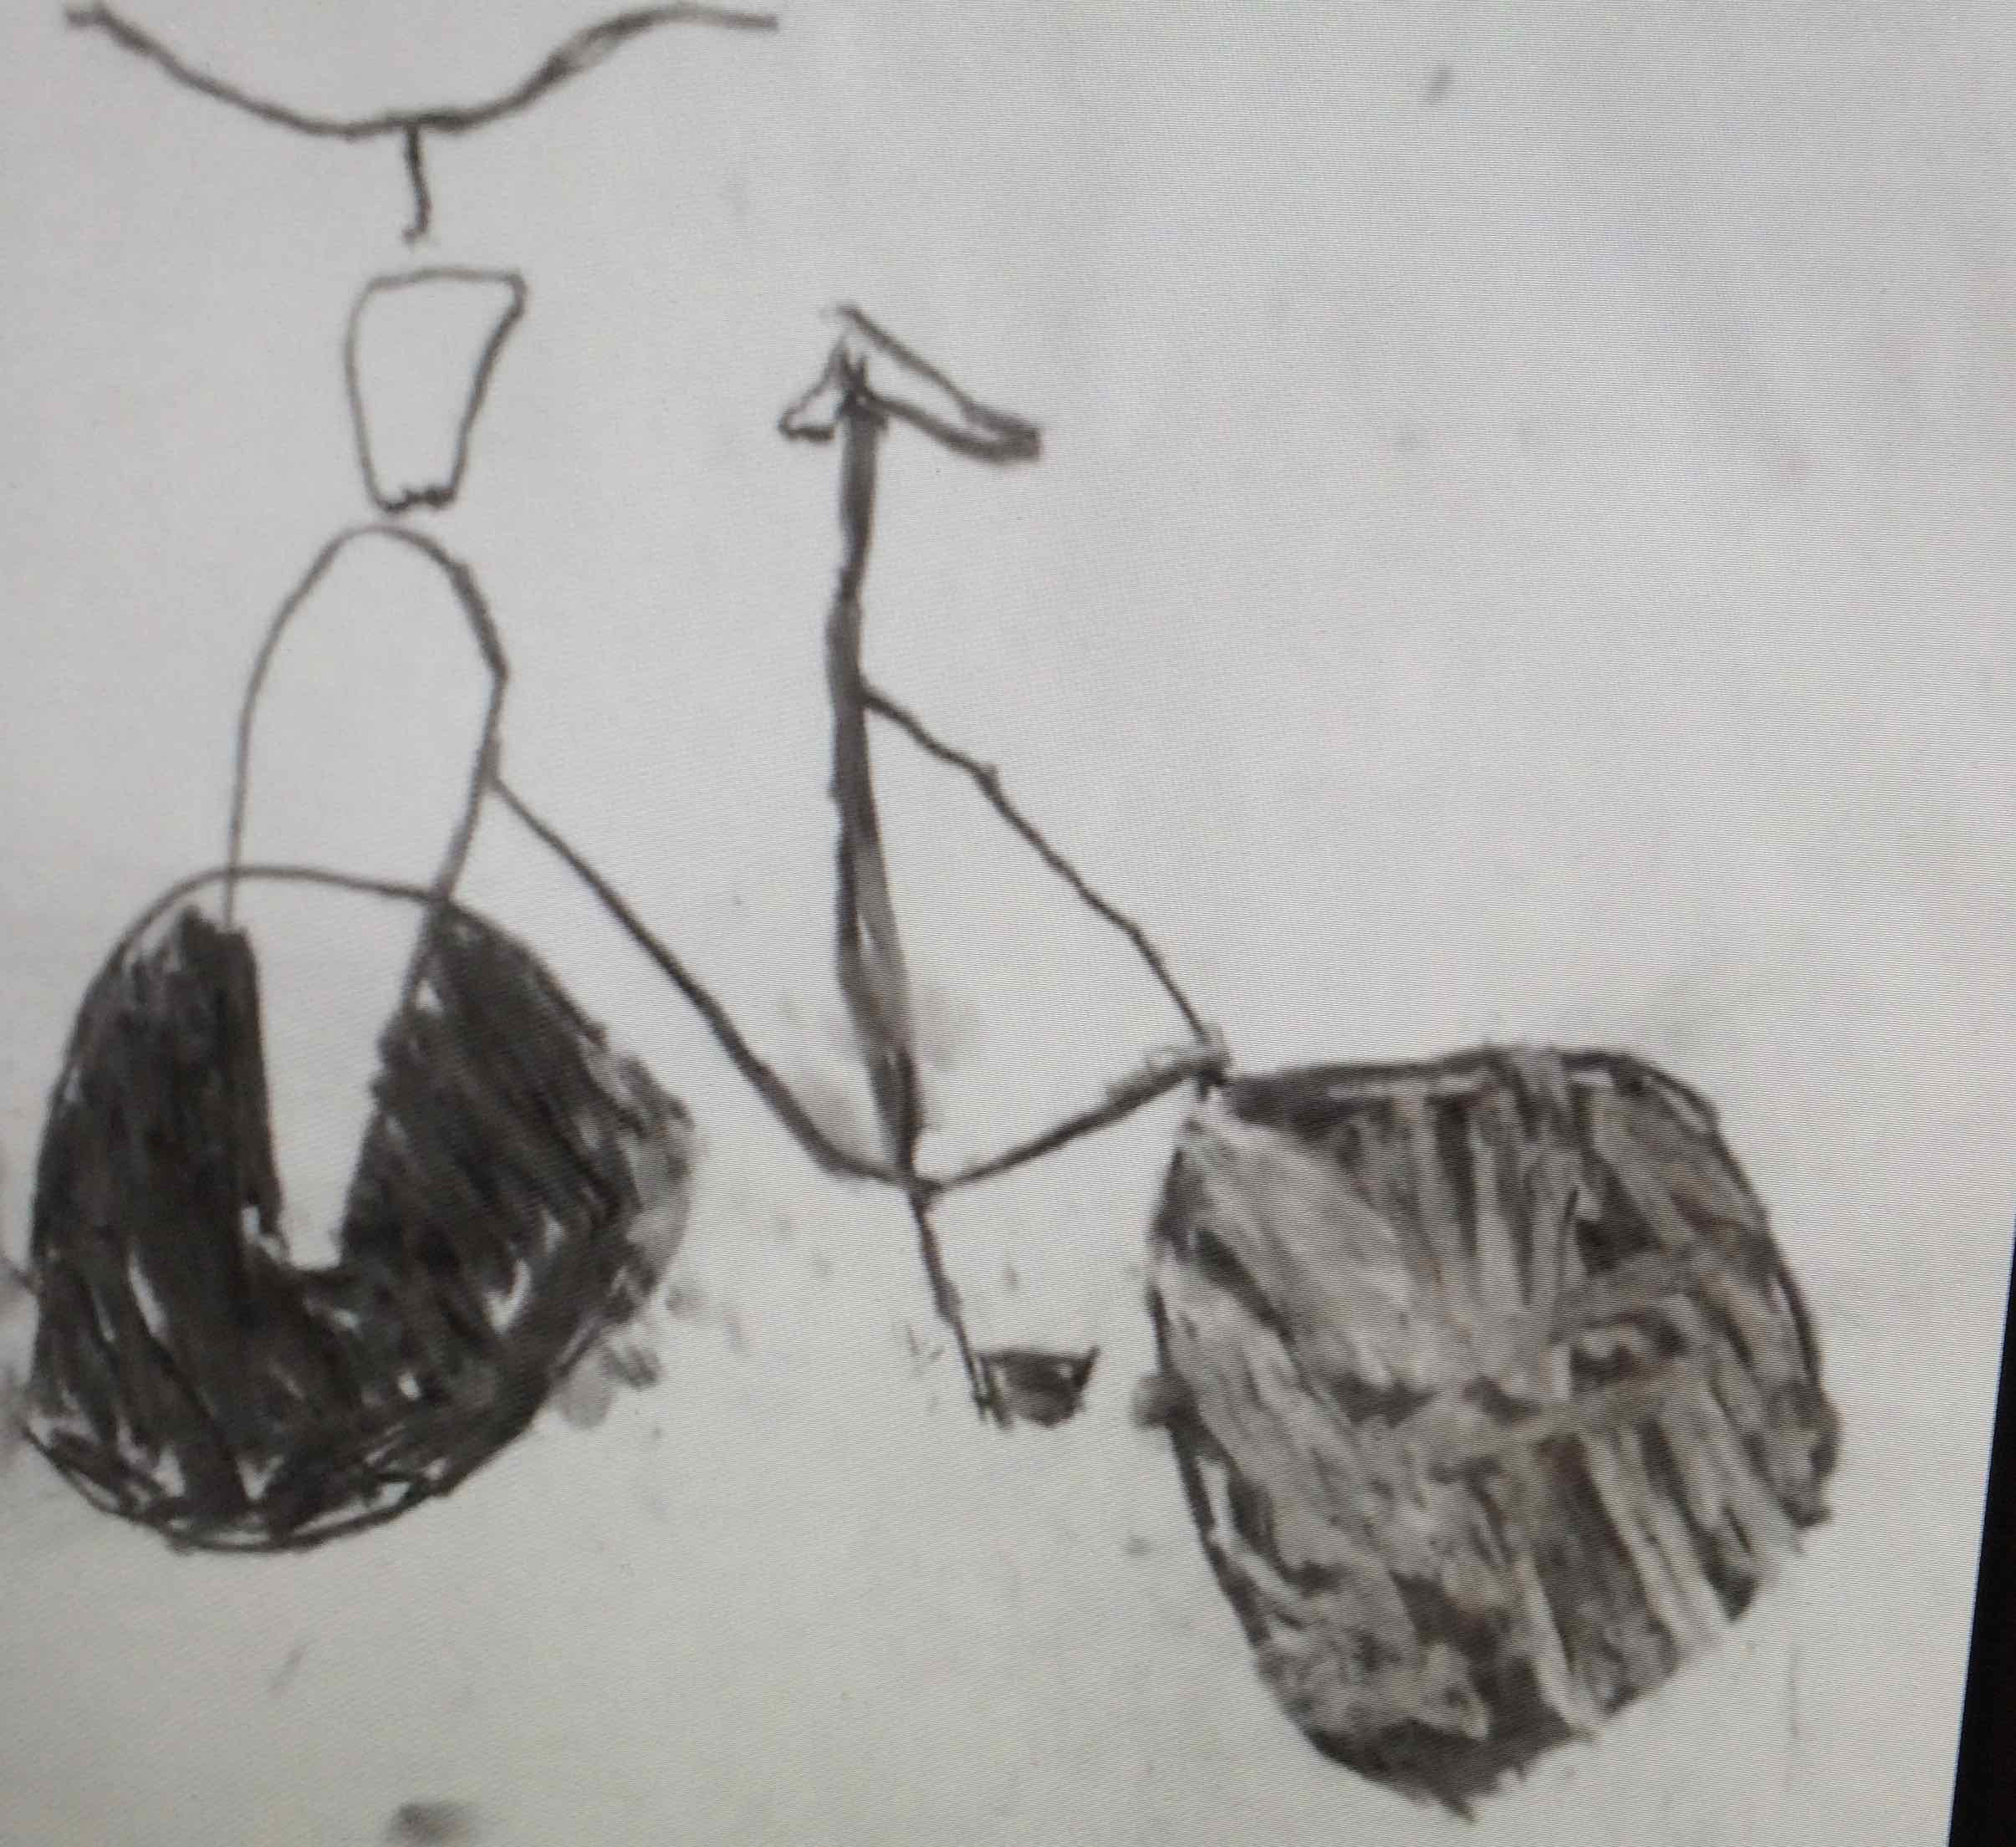
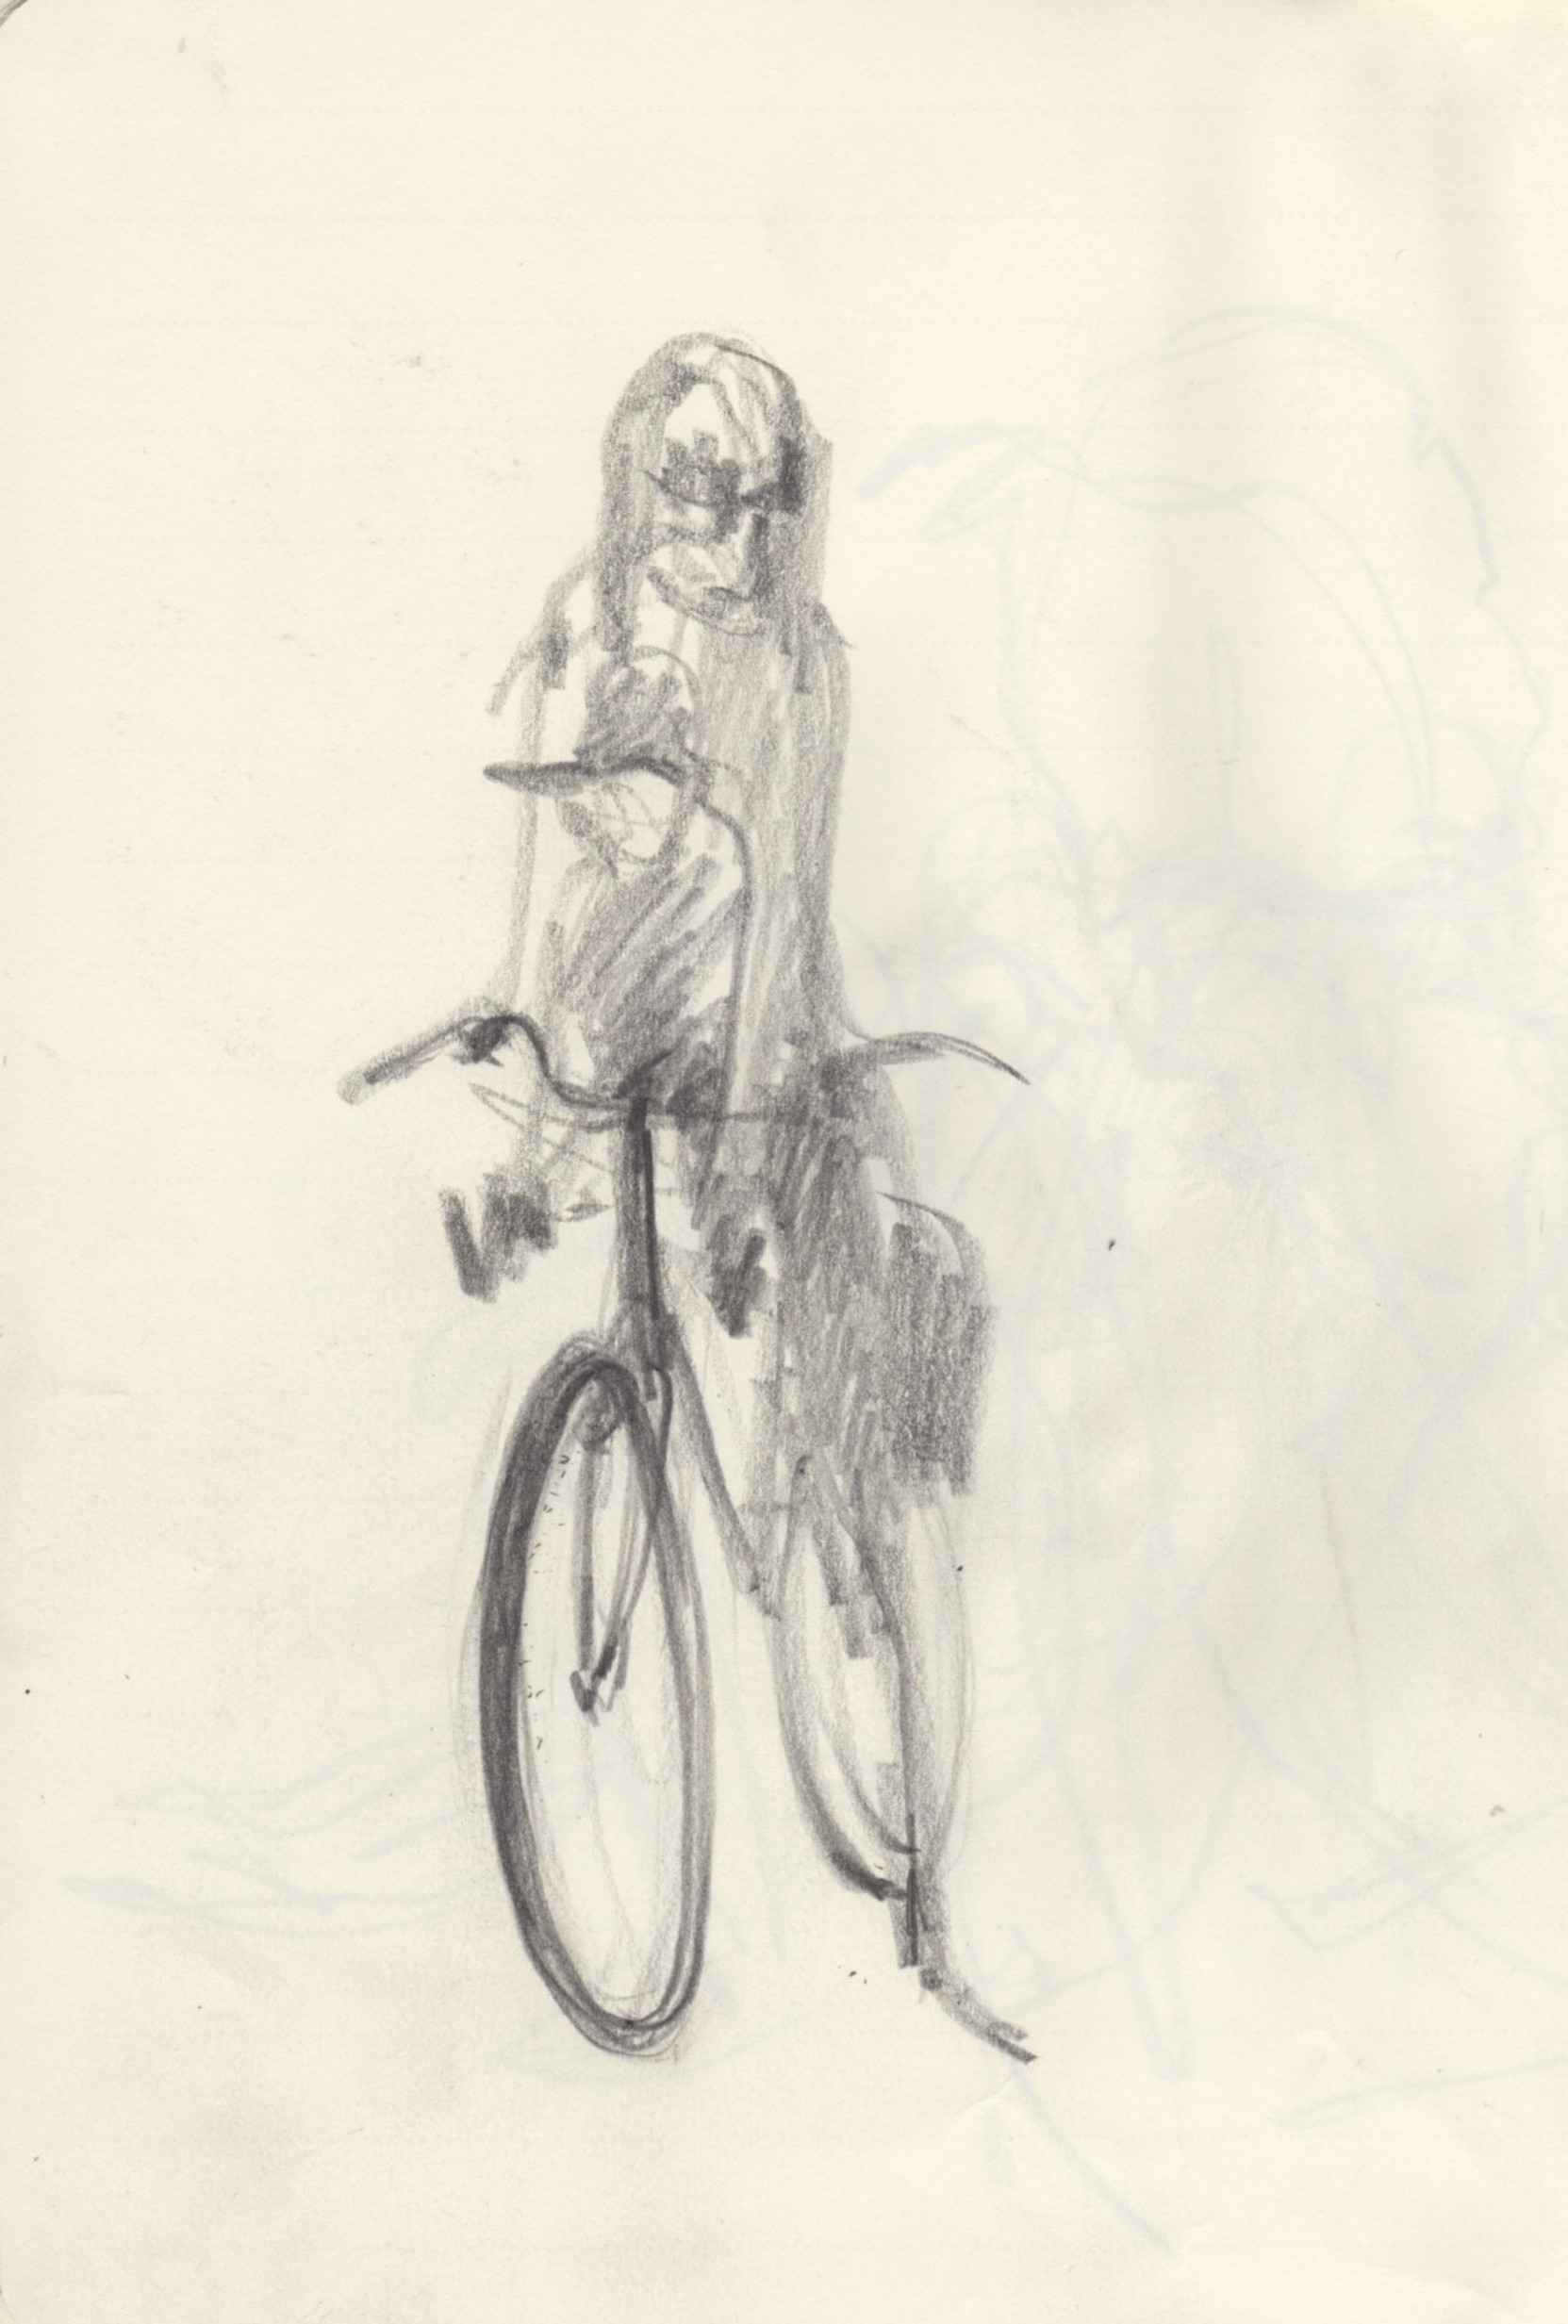
A sketch made of a mammy and child on a bicycle in Bruges, Belgium 2014
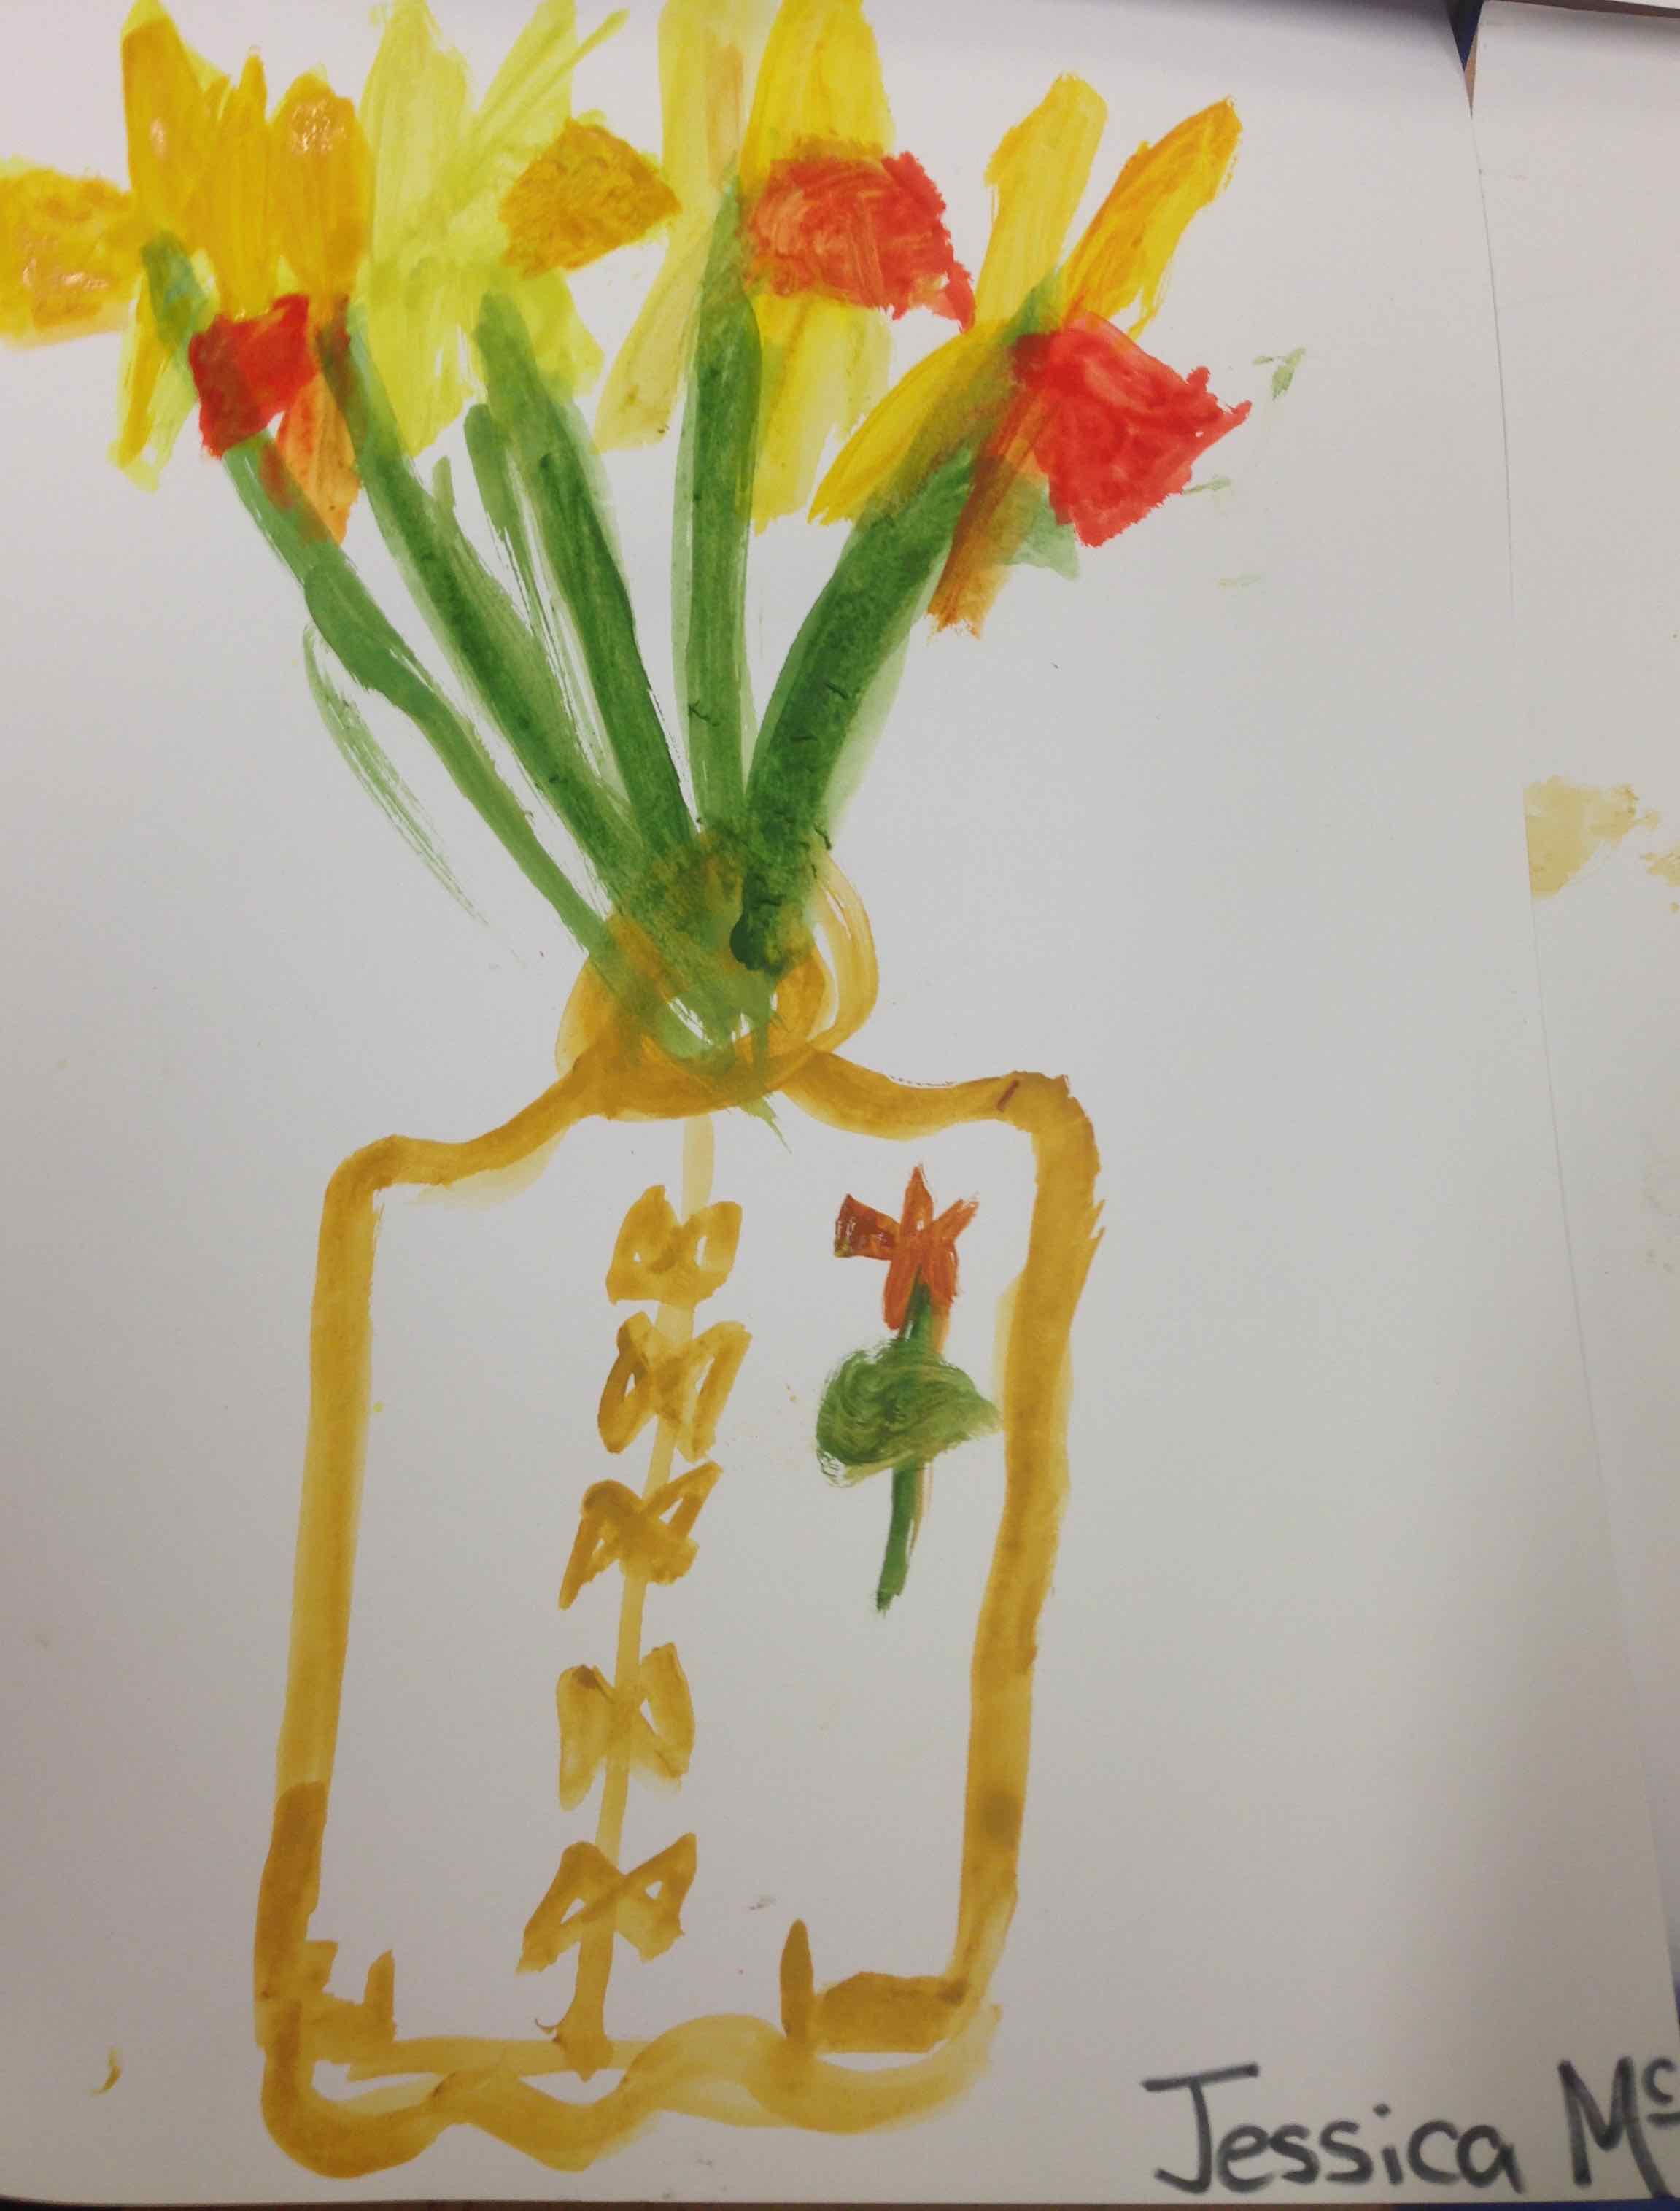
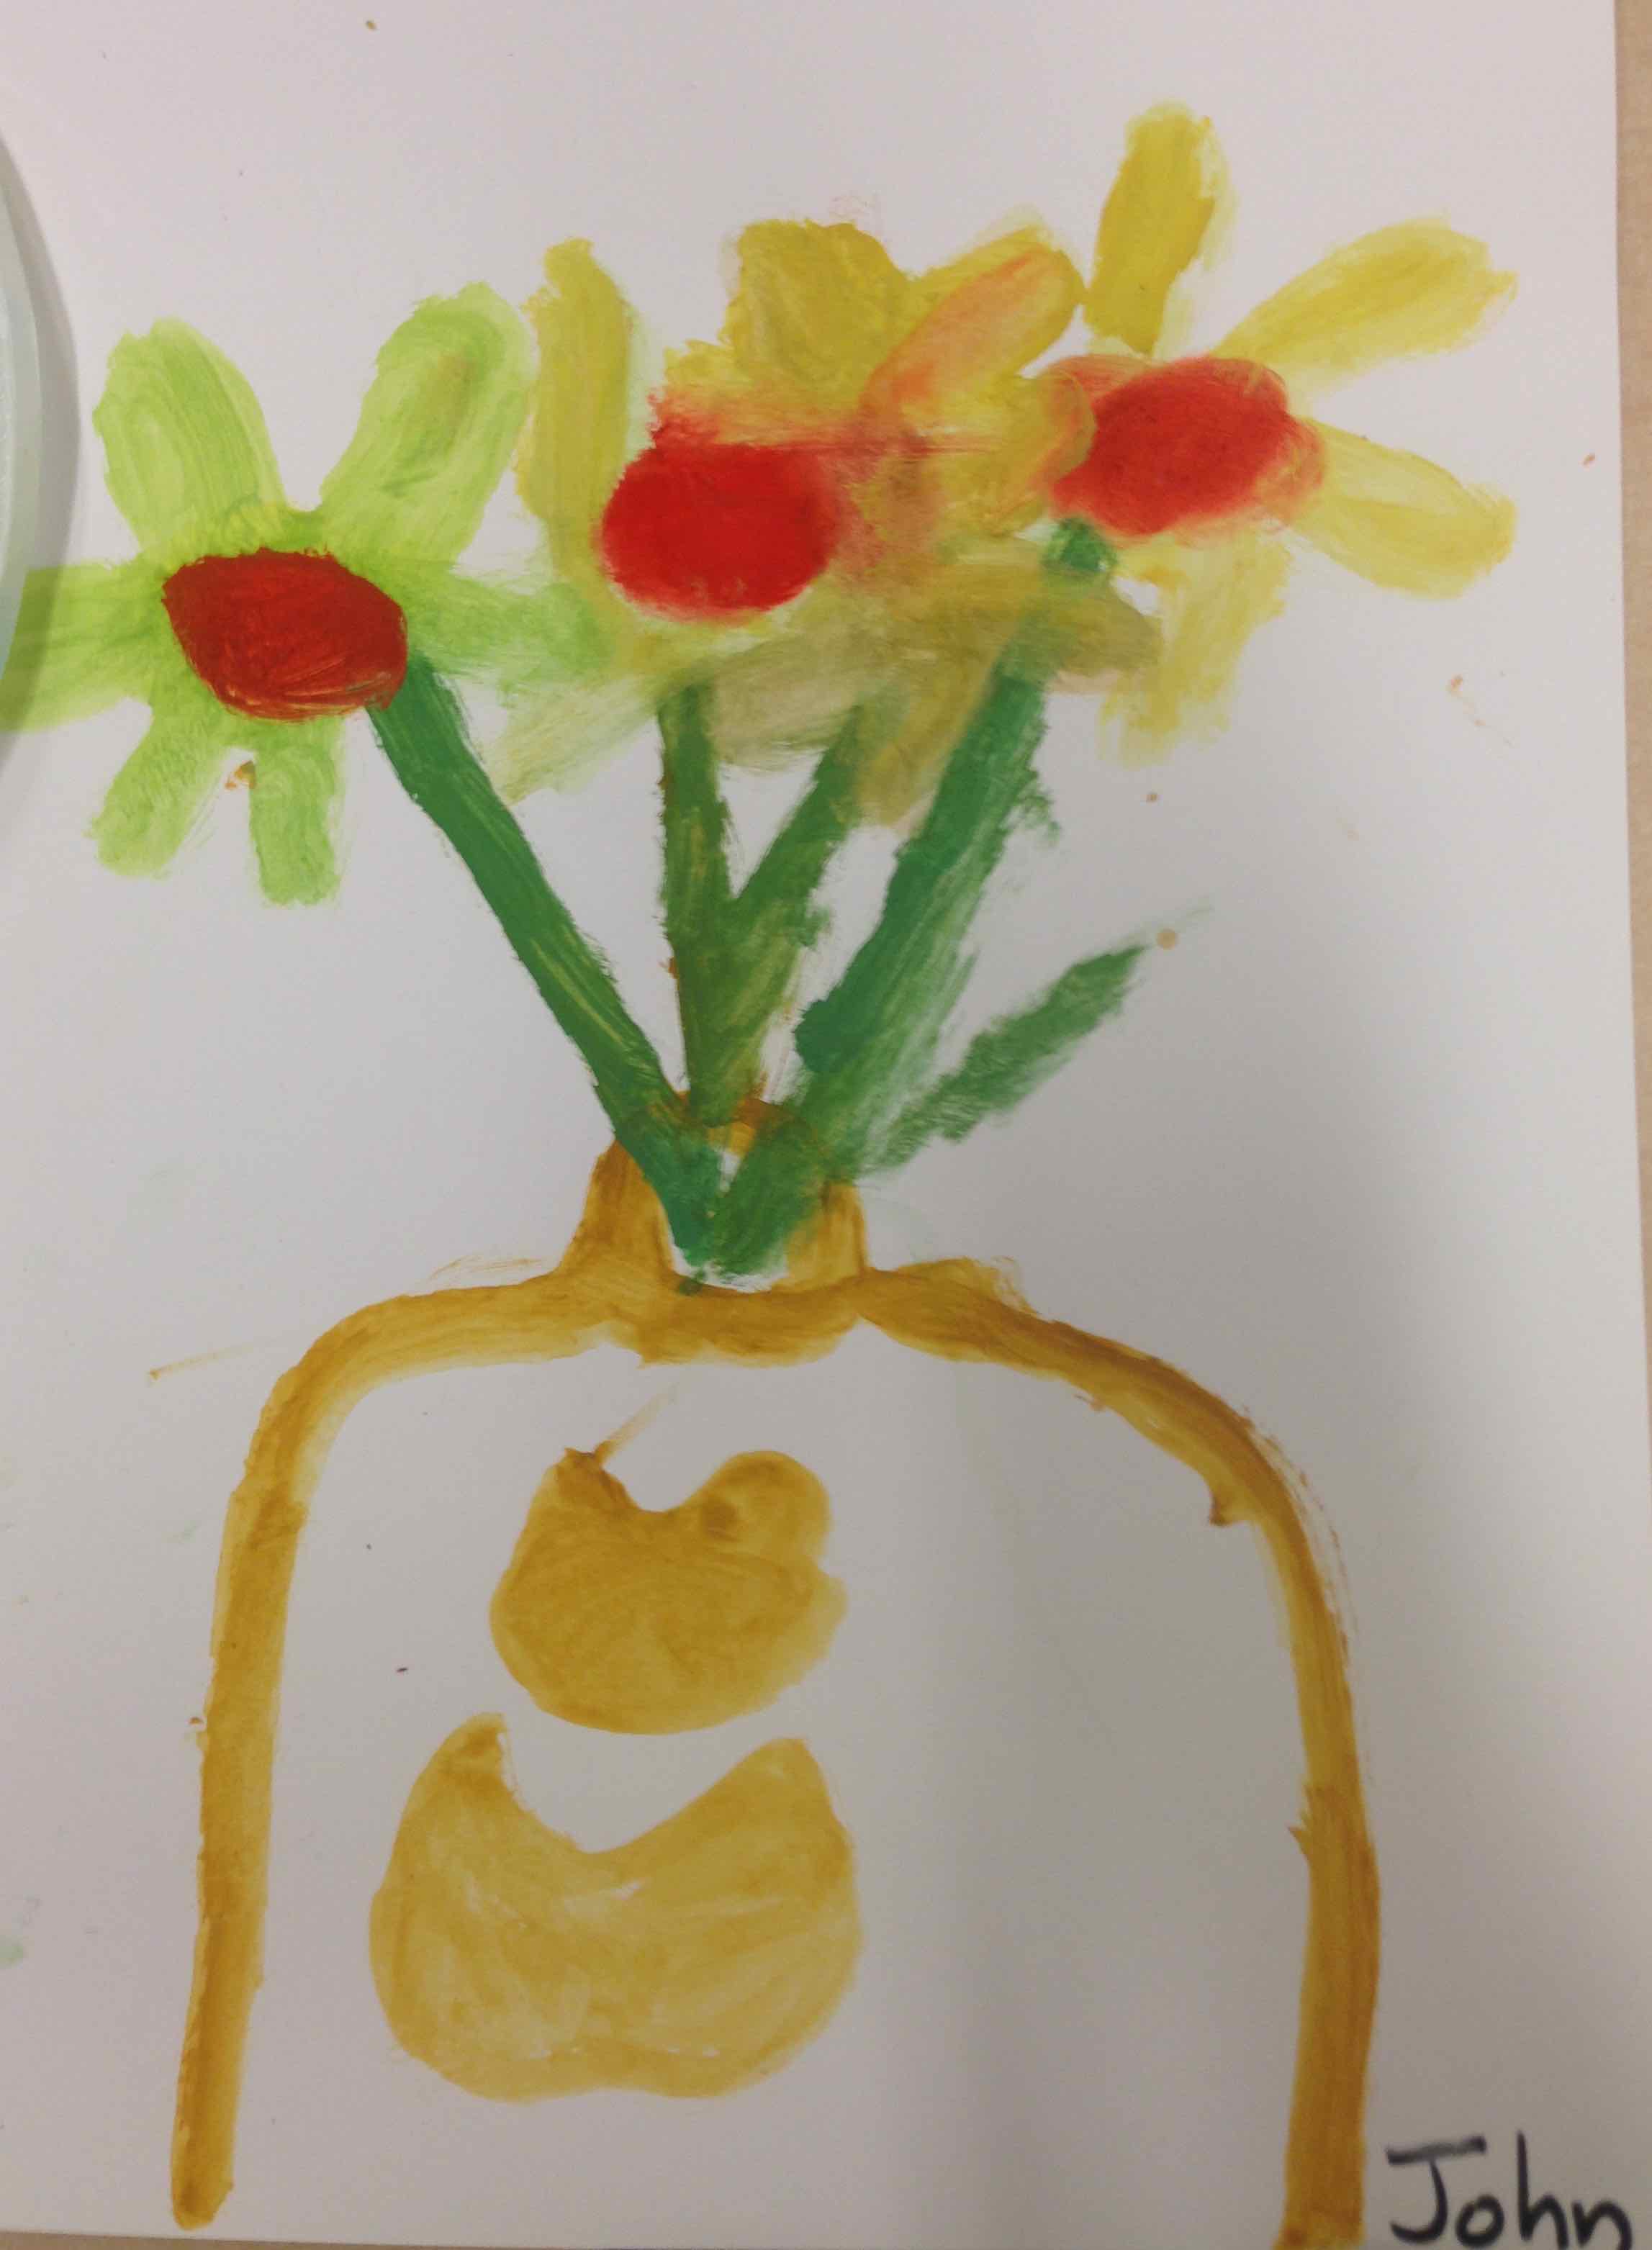
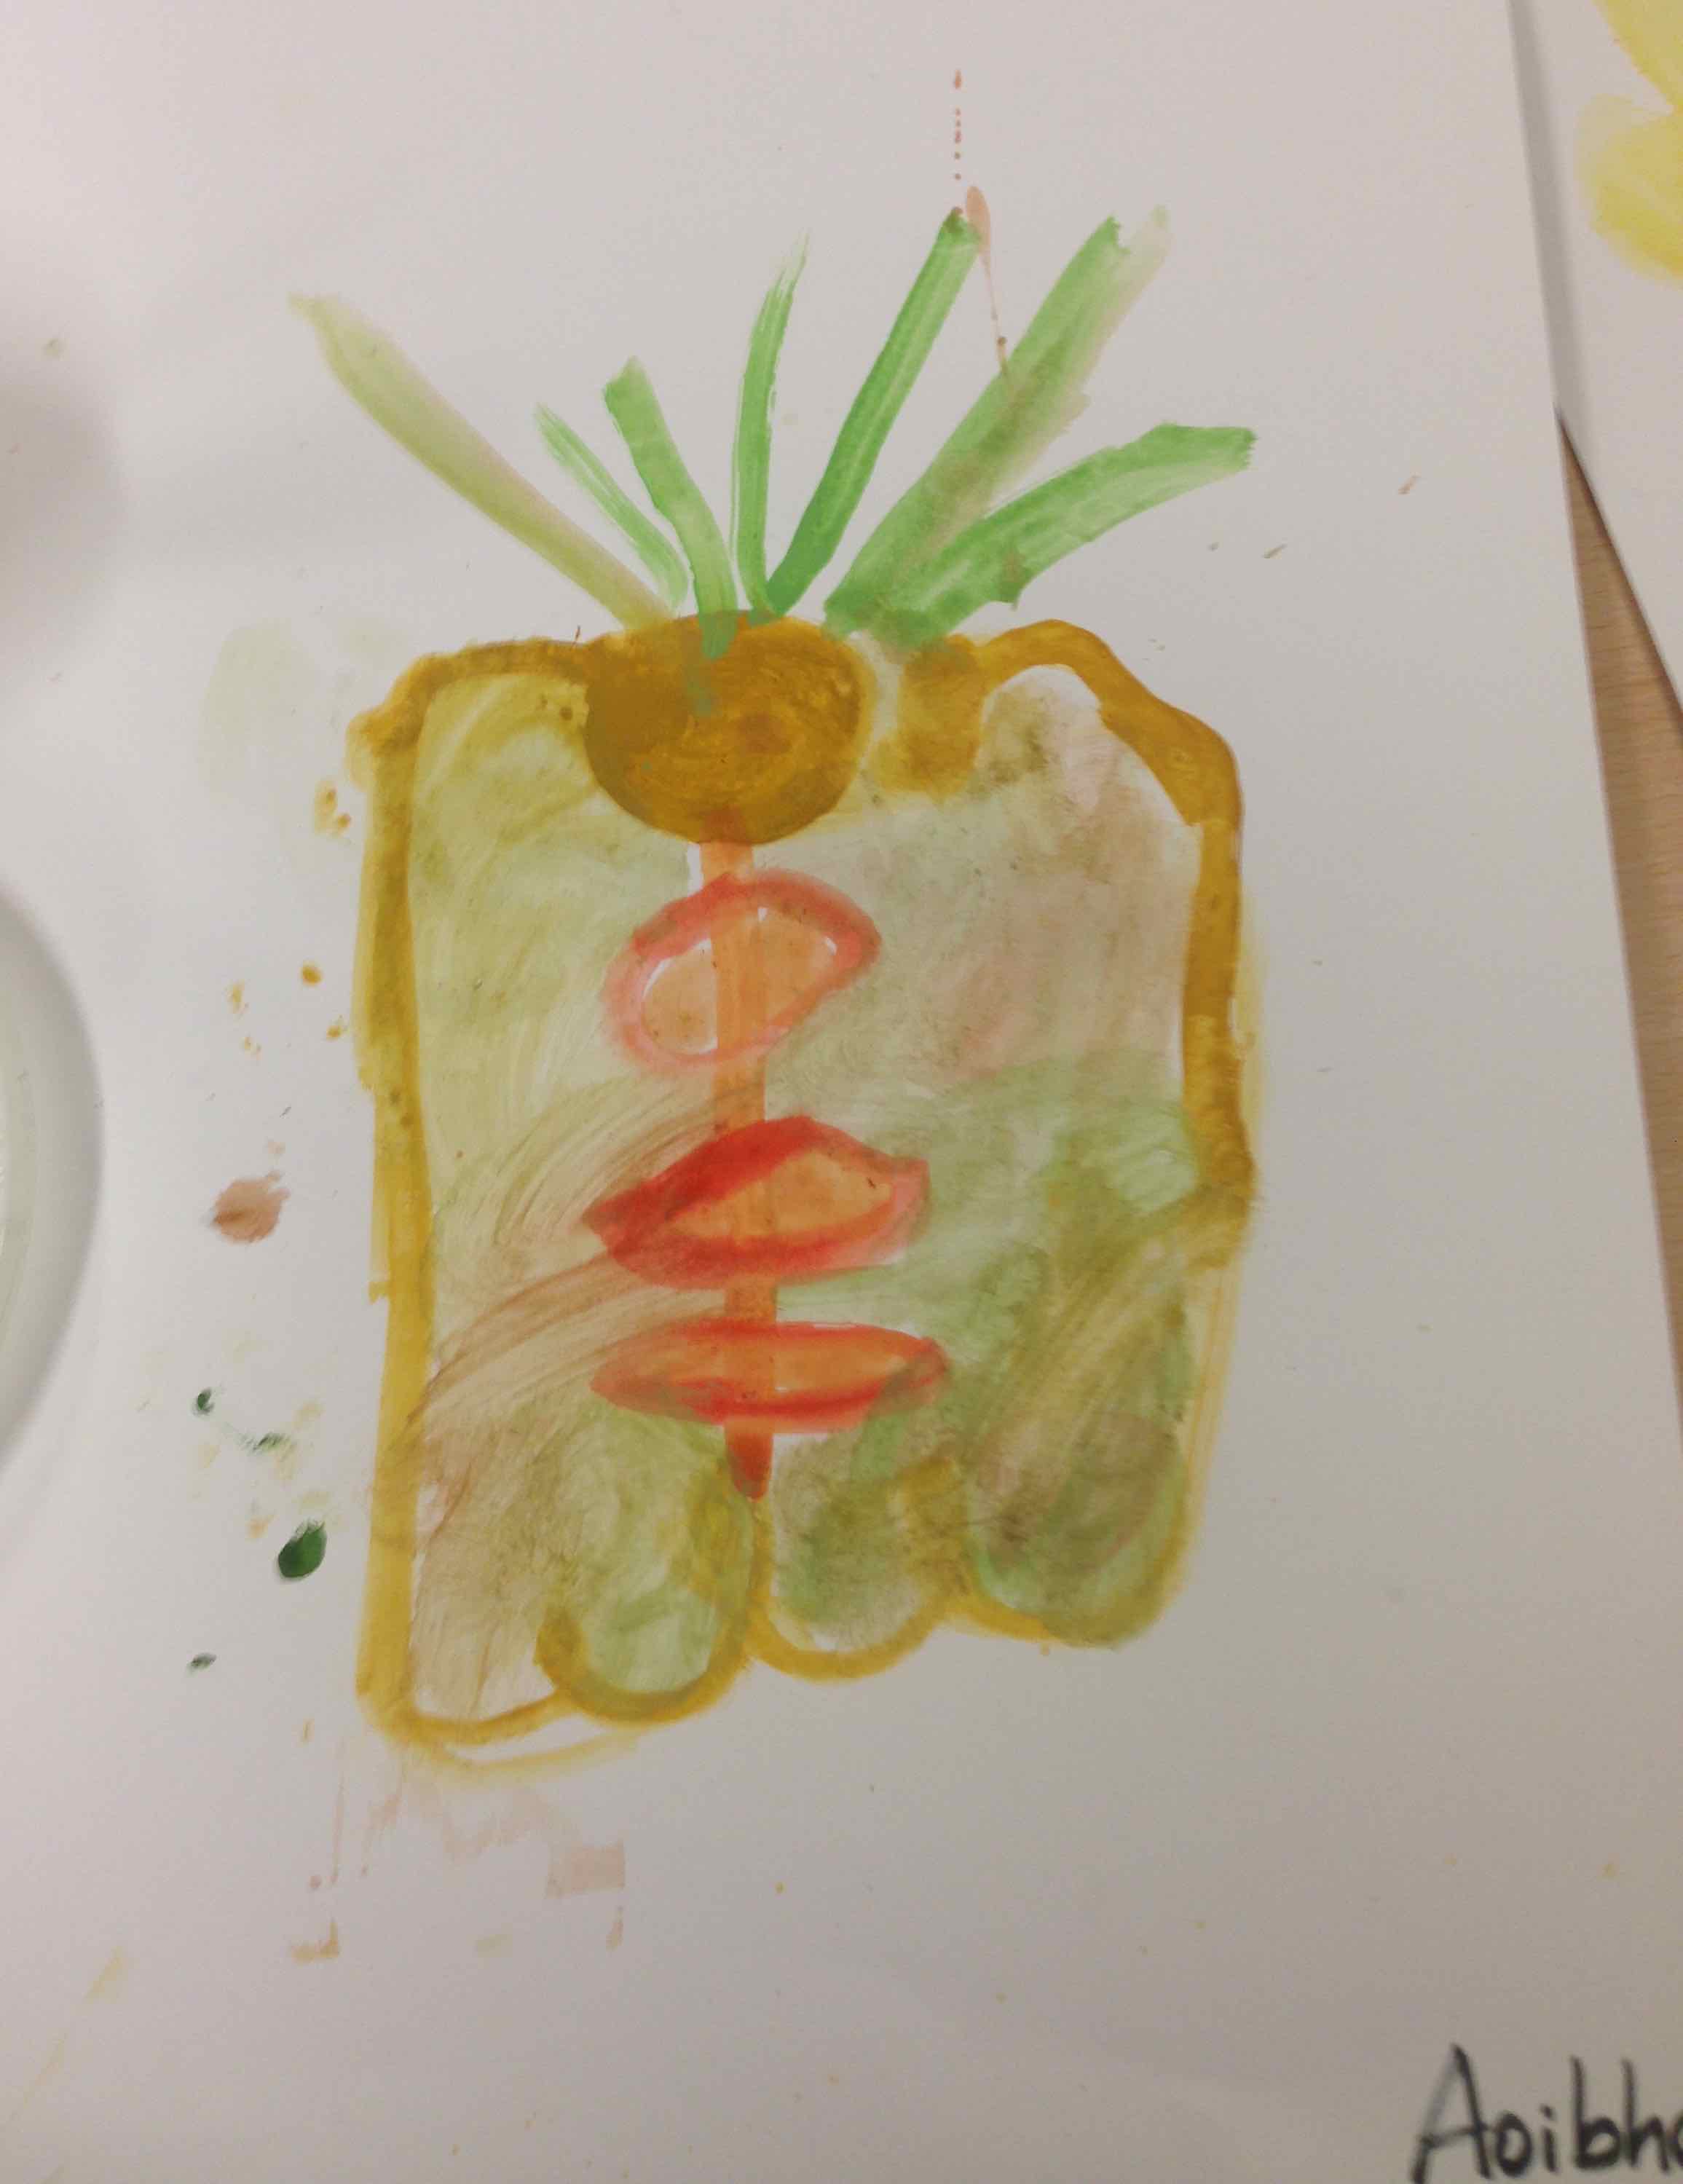
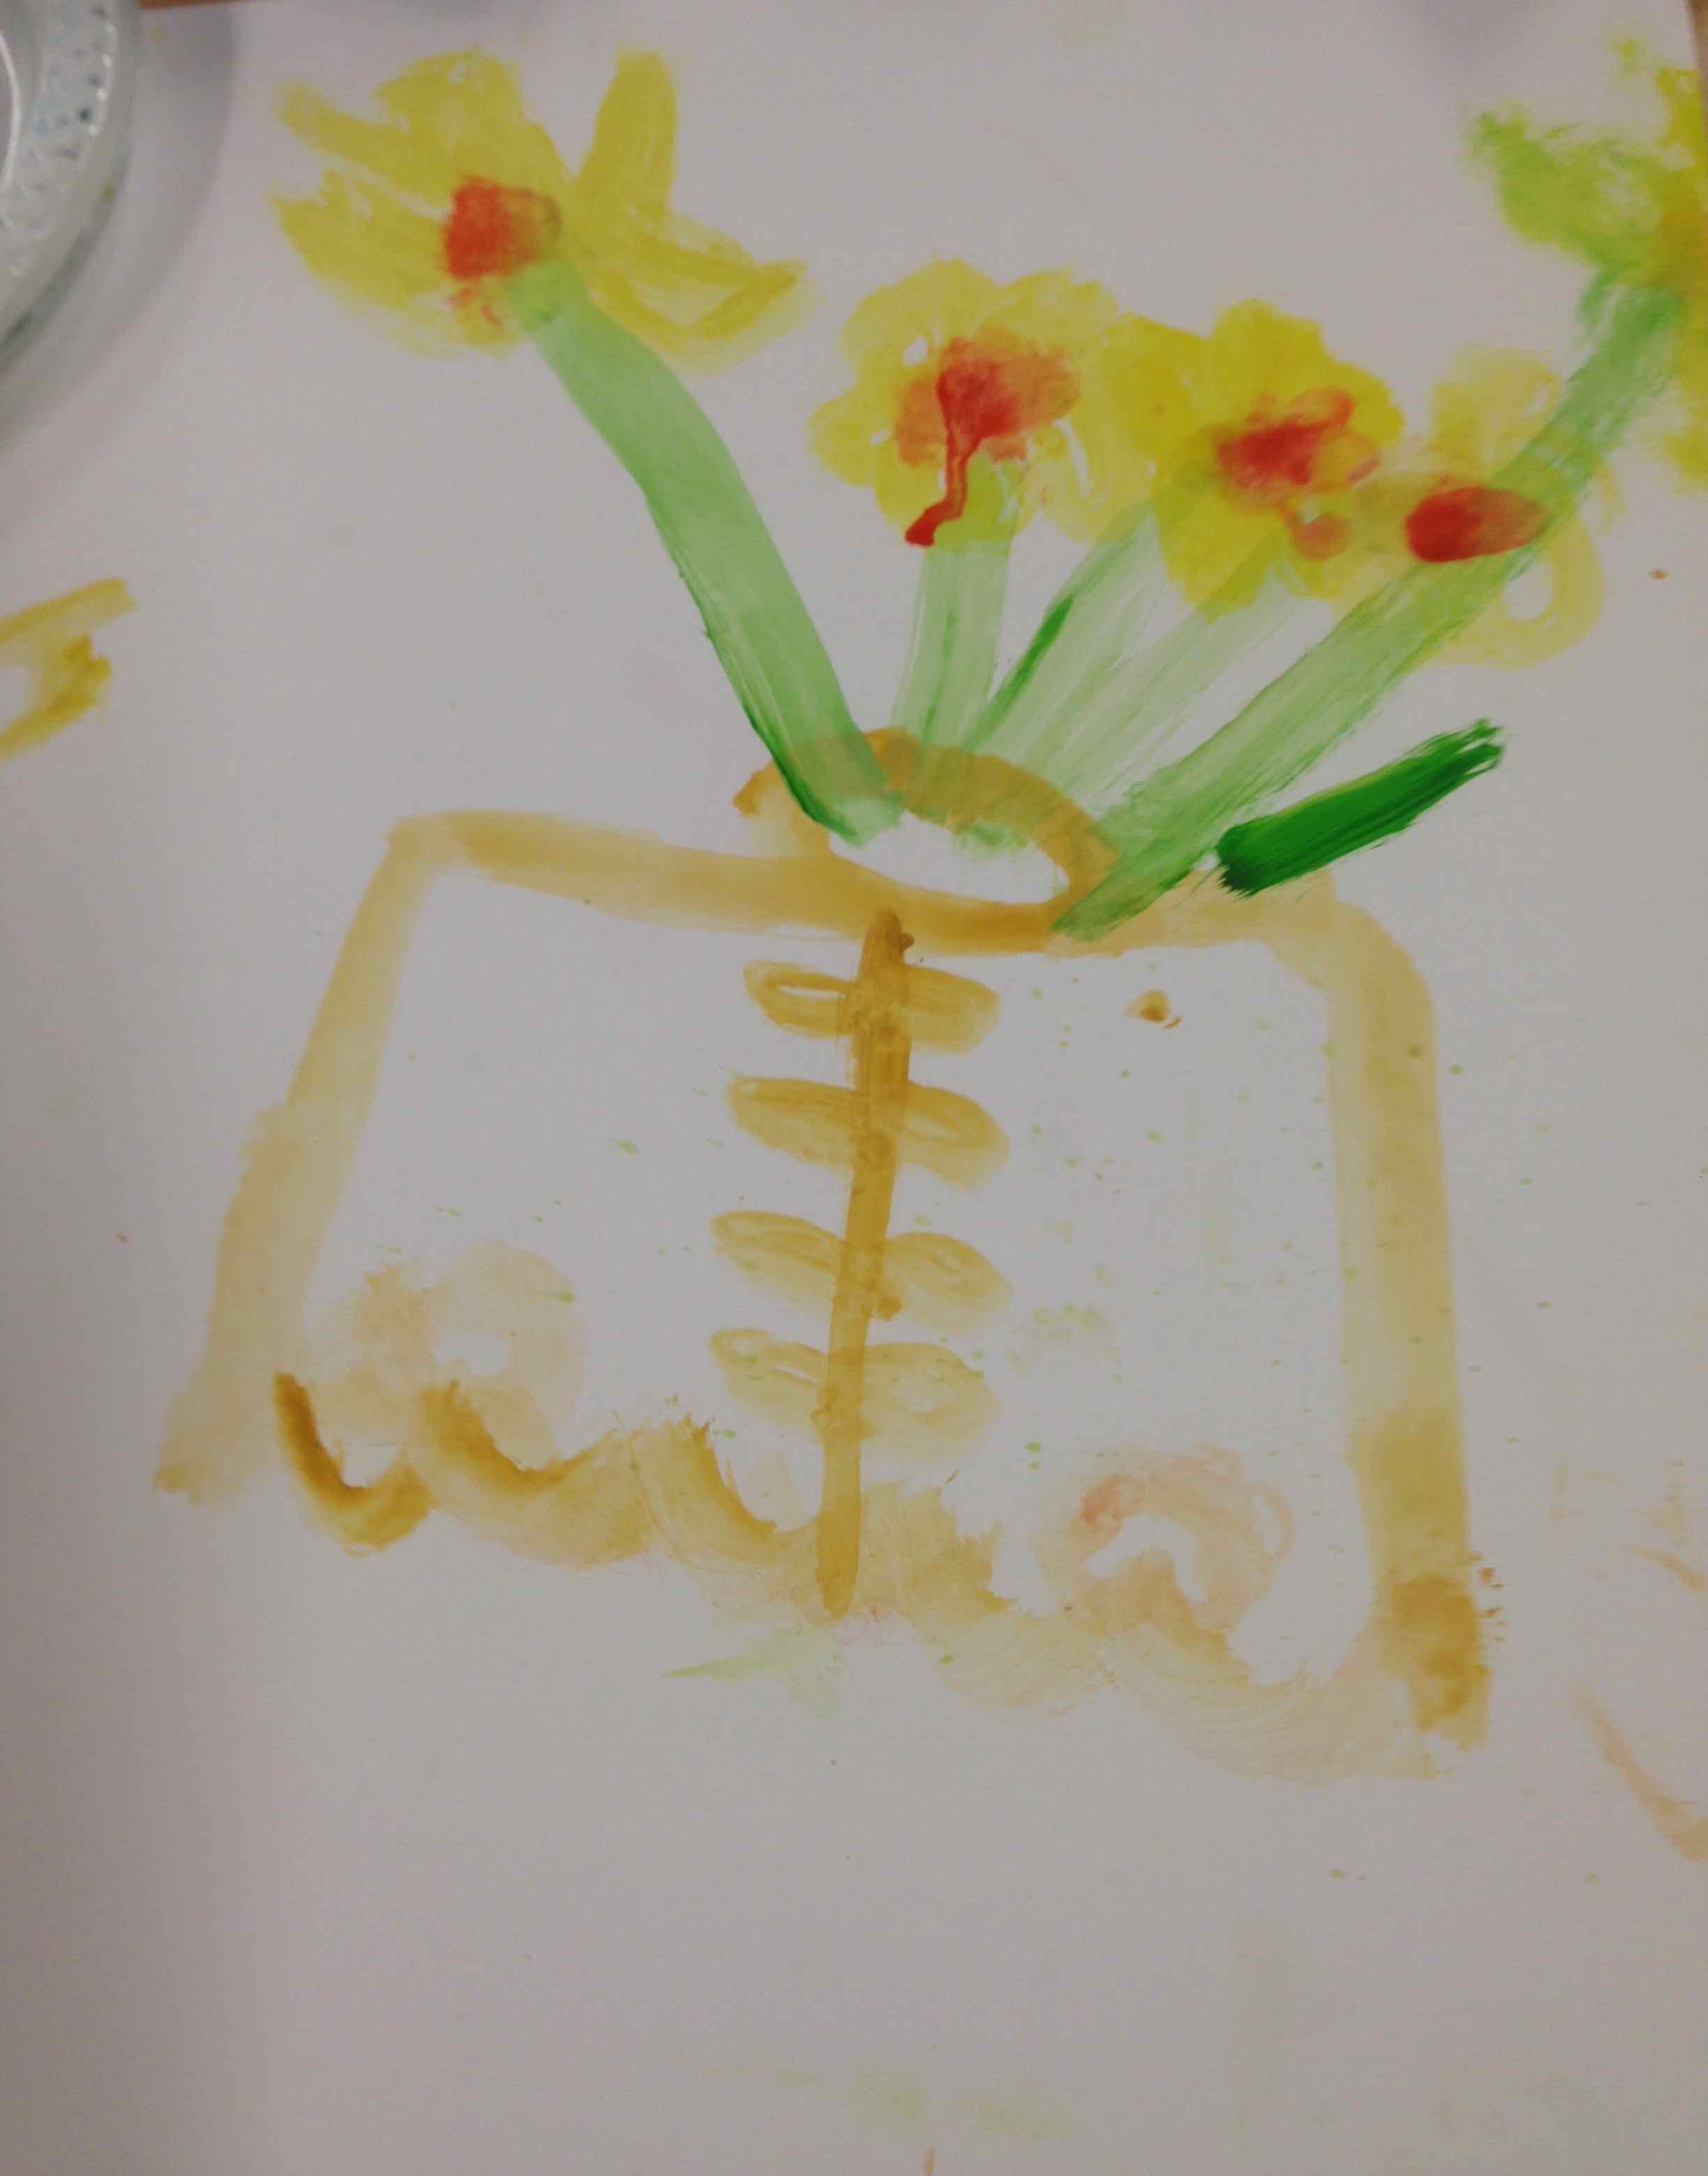
In the gap between our last session before Easter and now look what P3 children and Mrs Hughes were doing… thank you for sharing these beautiful pictures!
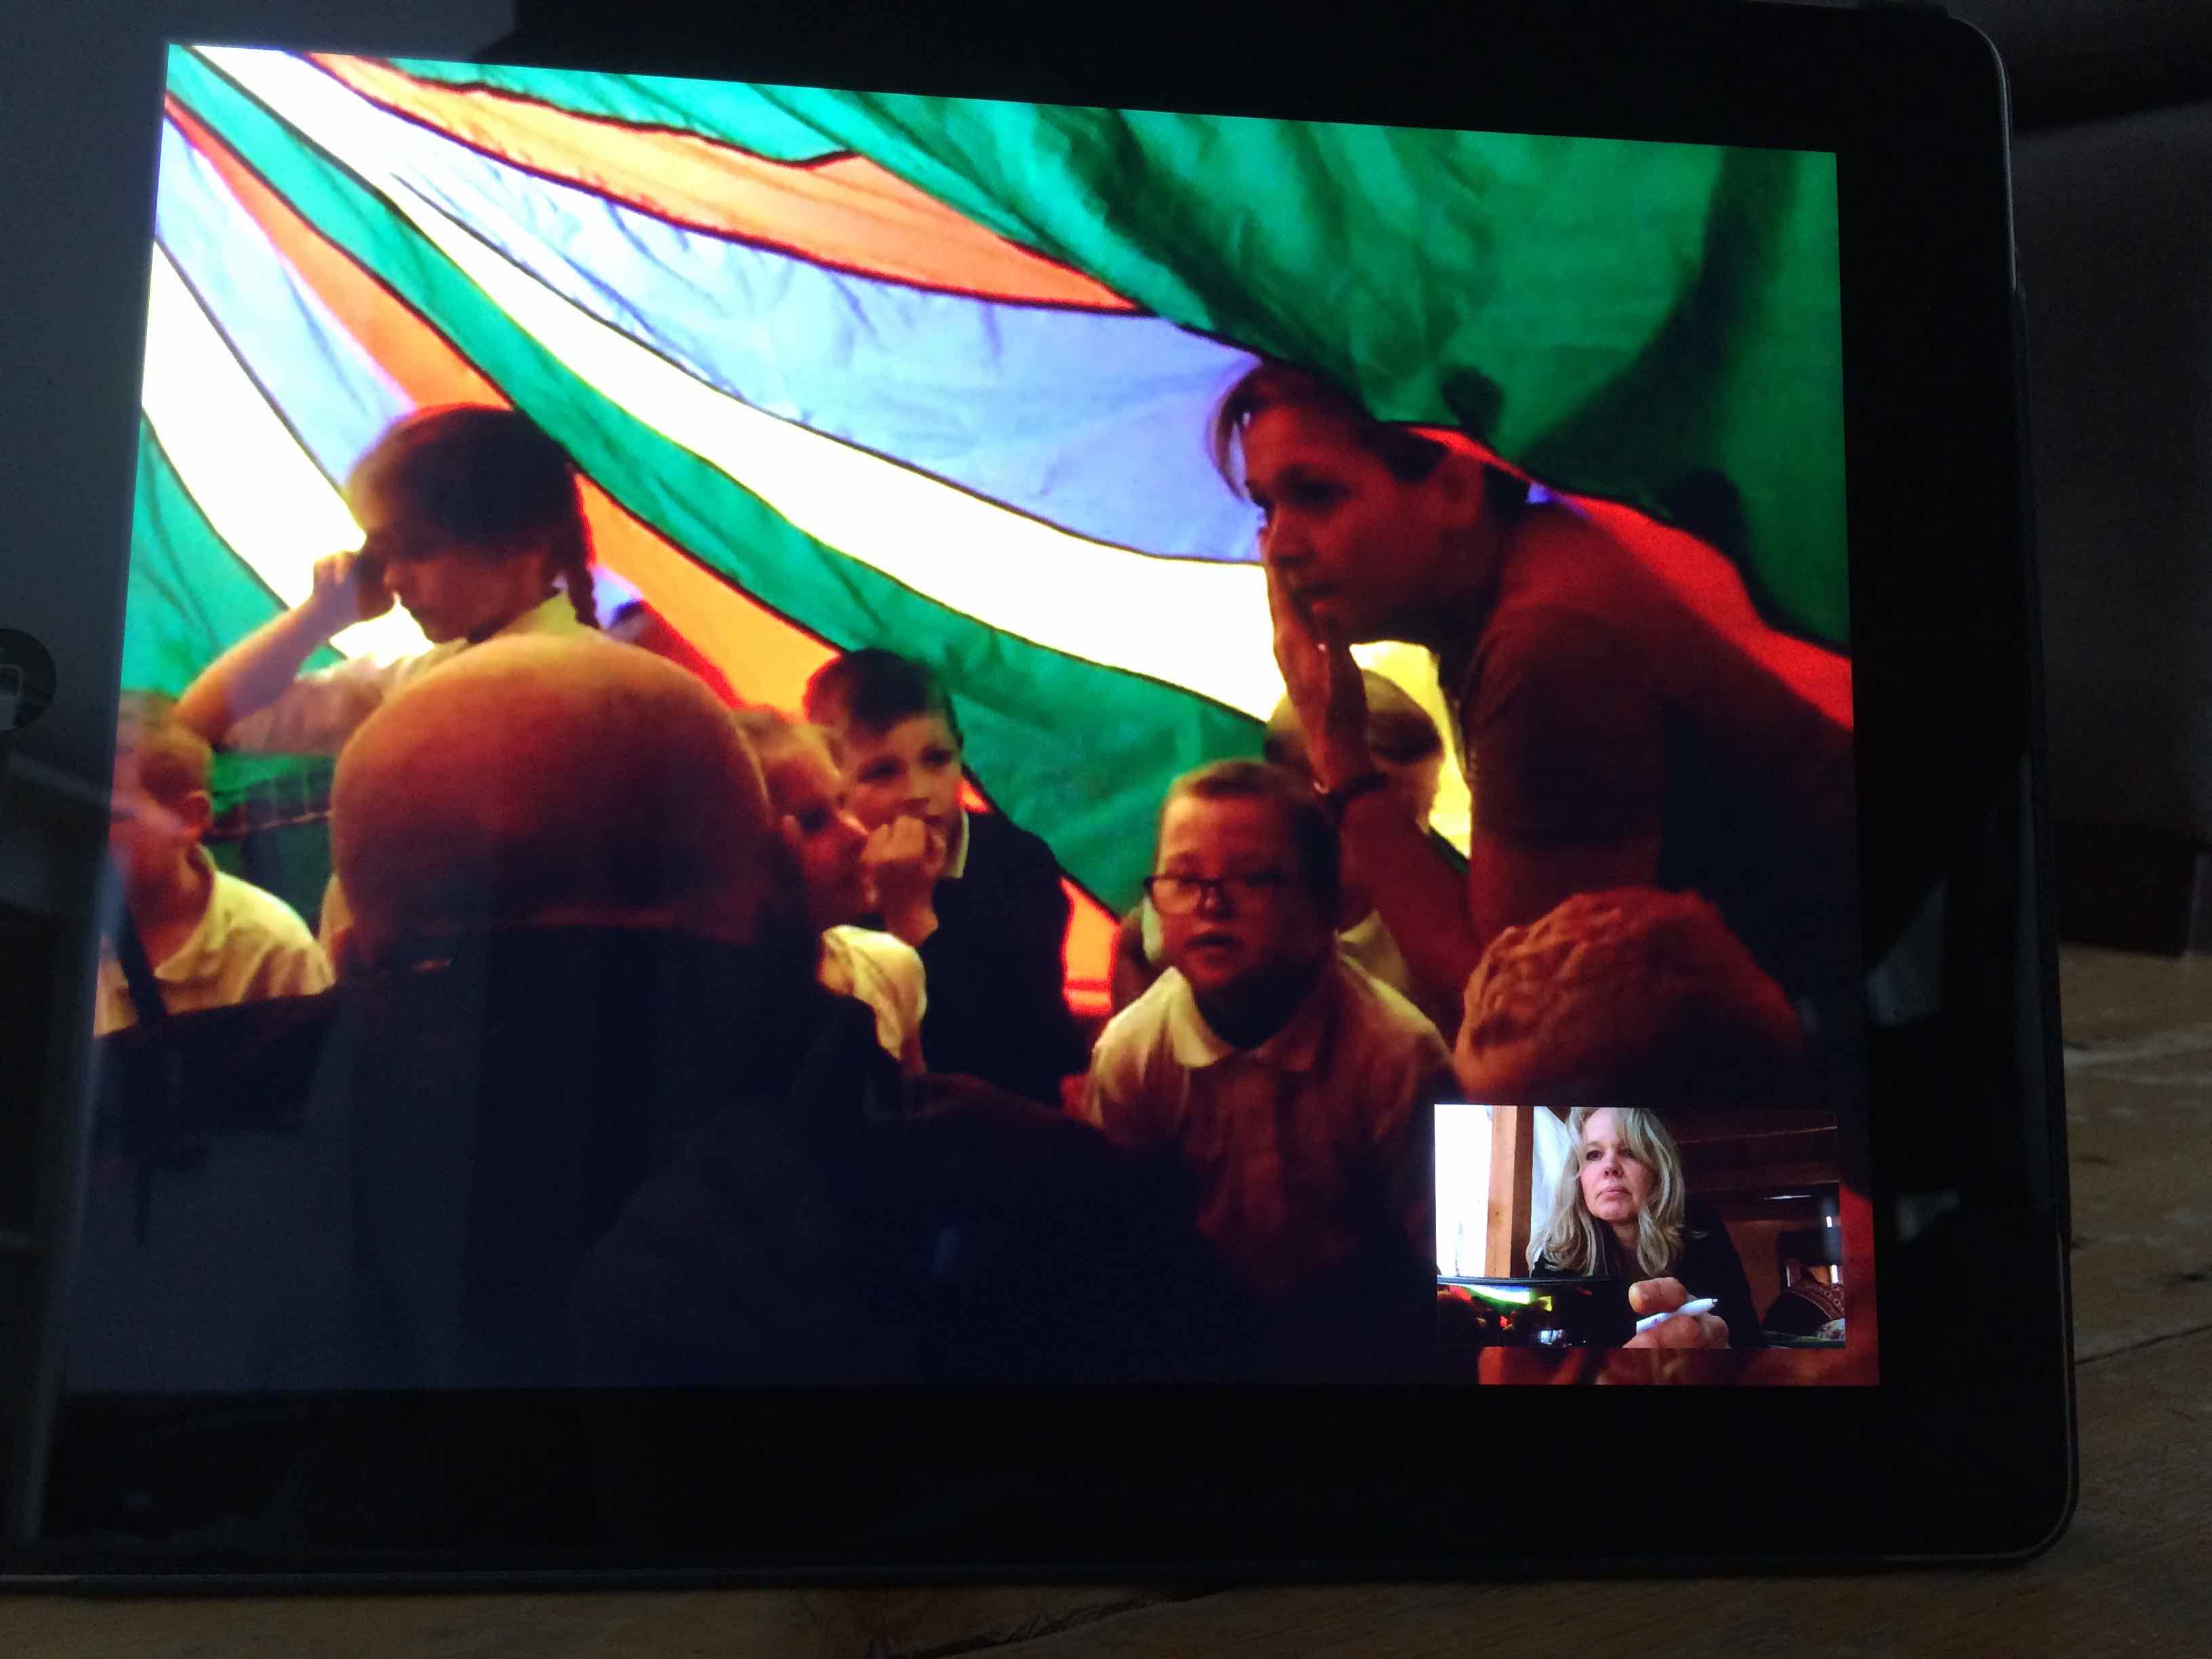
When Mrs Hughes and the children in Crossmaglen connect up with me in Belfast we share a third space together online, which in itself is amazing but on Friday 11th March 2016 at about 11am the children and Mrs Hughes for some strange reason, built a DEN in the classroom and I was invited into the this new space…
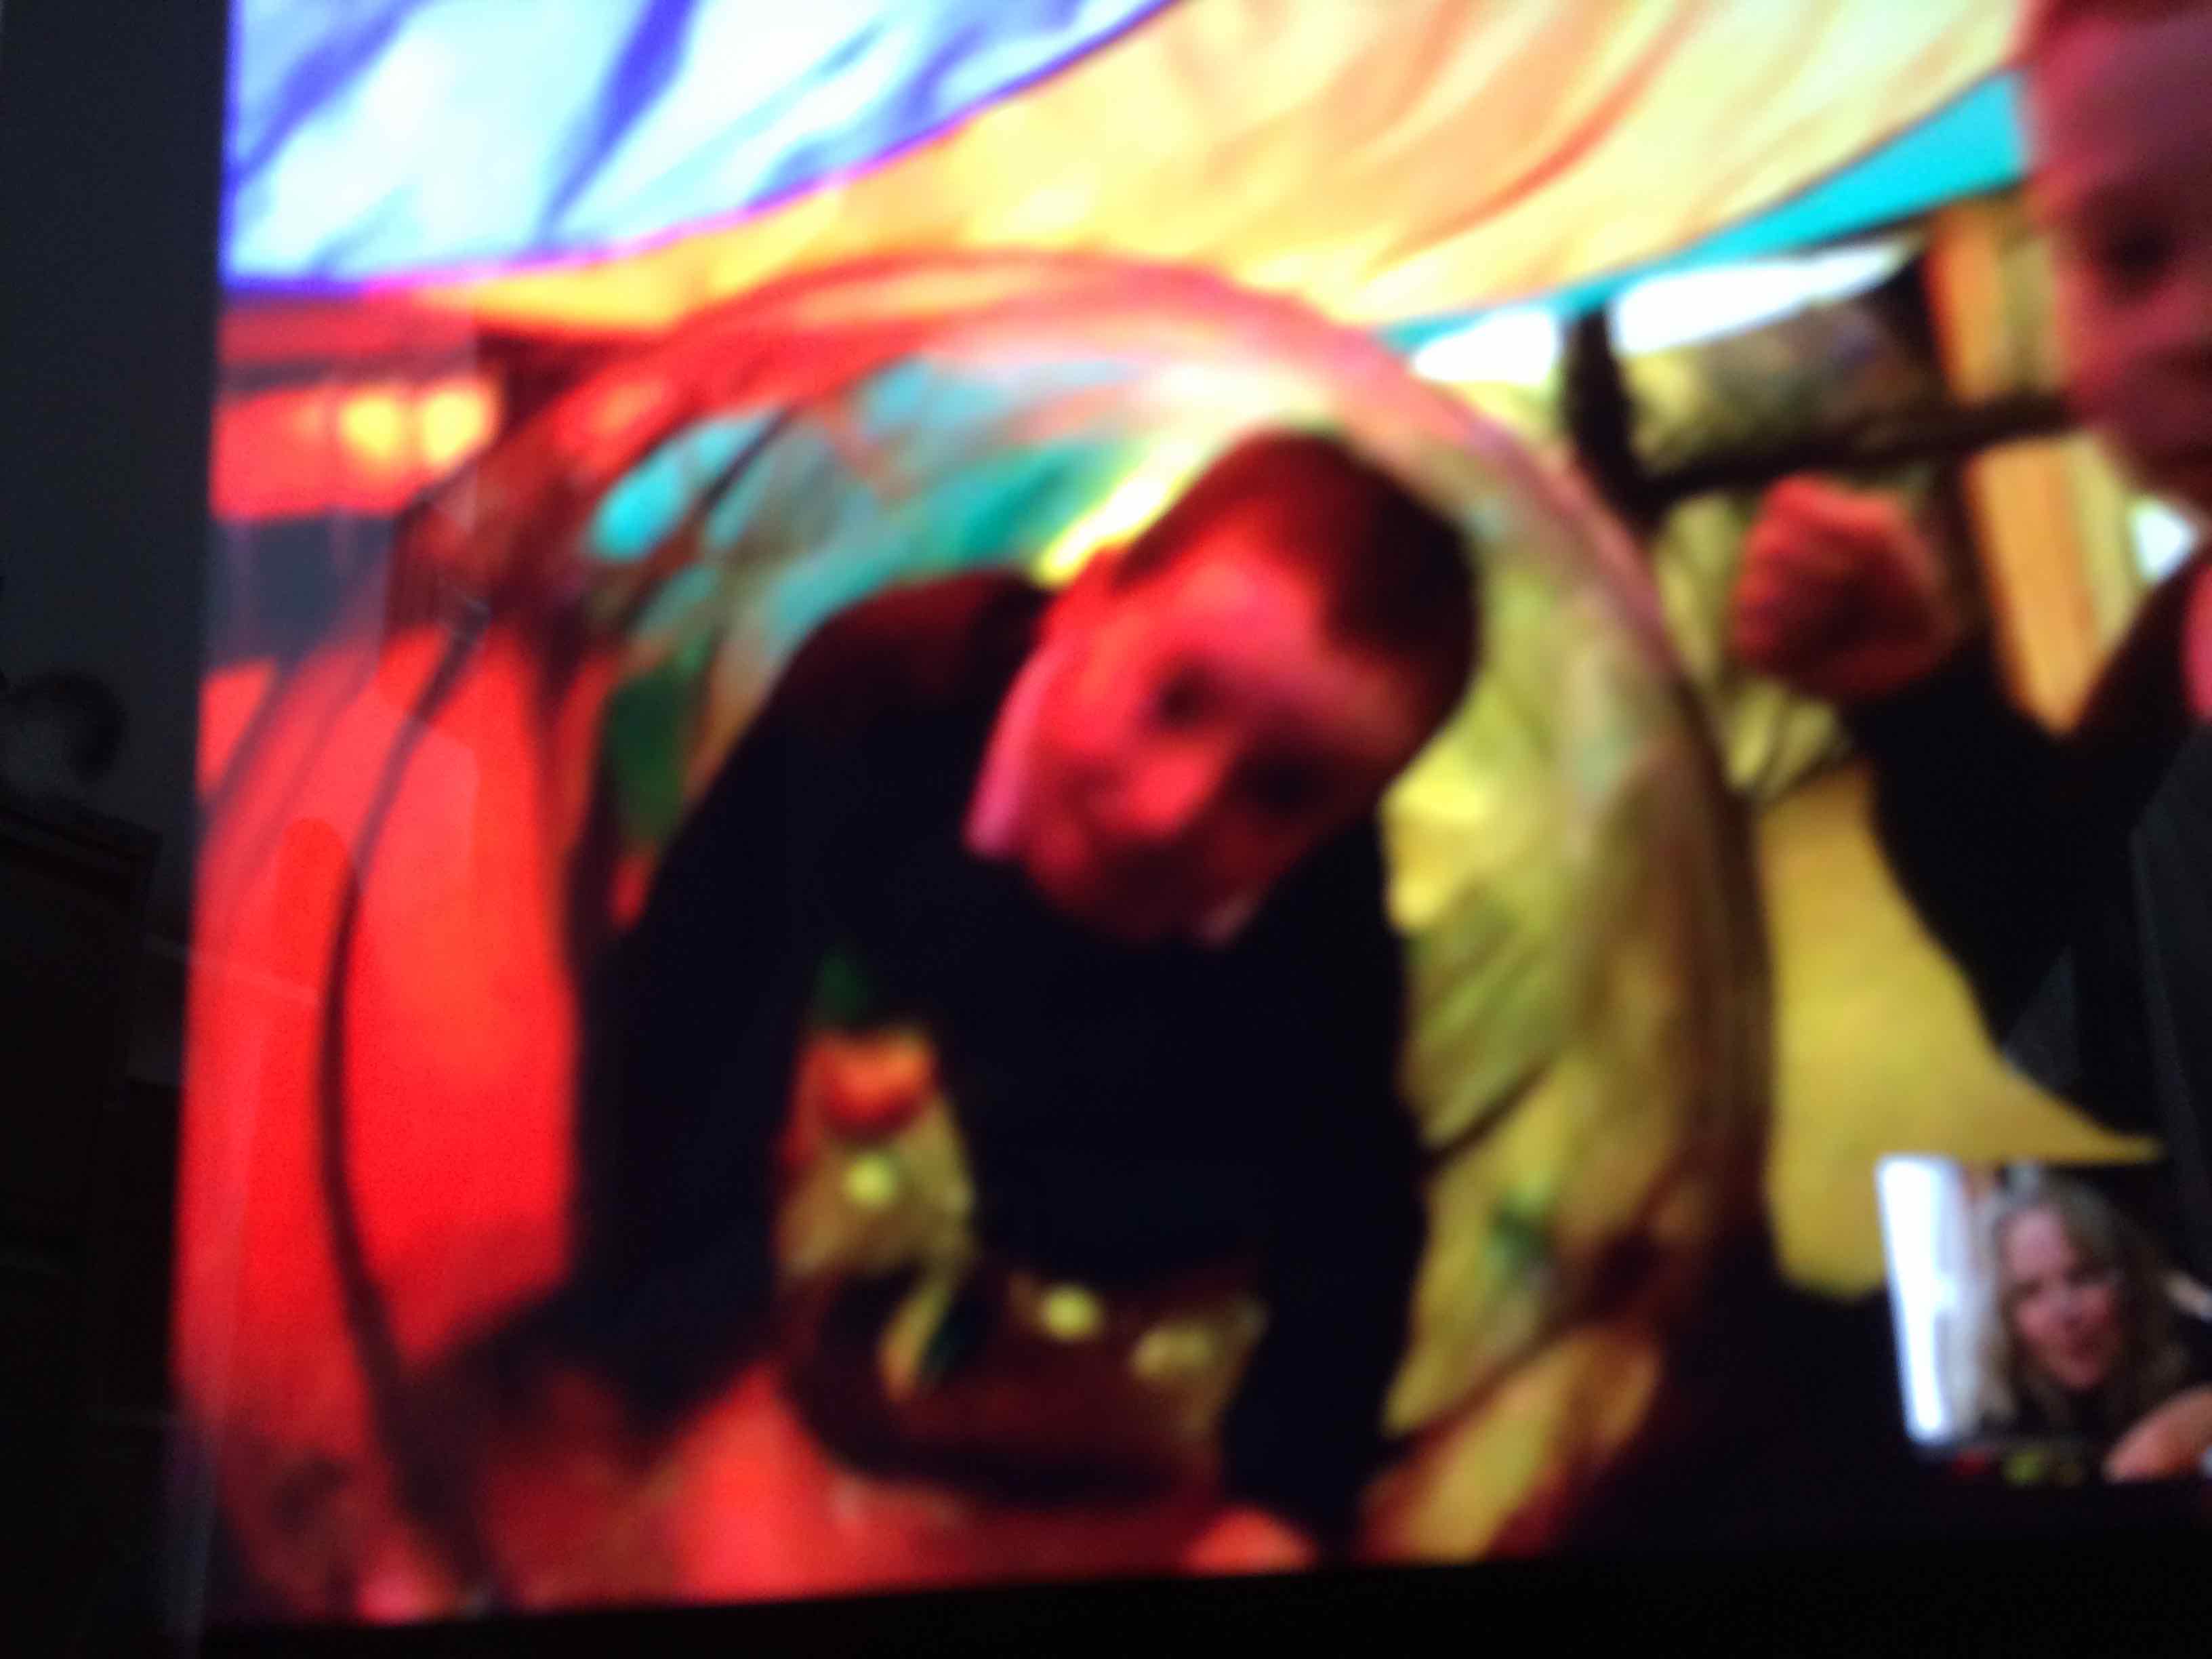
The DEN was constructed out of a huge tarpaulin that seemed to get bigger and bigger!Inside the space there were cosy spaces to huddle as a groupsit and chat and chill out…There was enough room in the DEN for all the class, Mrs Hughes, Fiona, and a visit from Mr. Madine, the Headmaster!but this was no ordinary space…It had a TUNNEL to another space…
This new space could only be reached through the tunnel and only one person could inhabit the space at a time…Once inside the space it was the portal to an extraordinary new place, some called it Mars, some called it Mercury but what was for sure it was not the classroom!
Funny it all seemed to start after talking about NESTS….
Some crazy plans were hatched then it all changed…
FEEDBACK FROM THE HUDDLE CORNER AND THE ROCKET:
Sent to me by Mrs. Hughes!
Louis: Dylan was reading the Snow Maze (book) and the others enjoyed listening – it was really cosy.
Charlie: Every time he went to the huddle corner there was no room to move, felt like a squashed potato, it didn’t really like that many people.
Dylan: He liked the pillow in the corner.
Jessica: It was lovely and warm and she liked lying with her friends.
Kayla: Enjoyed being close with her friends and having quiet talks.
Zoe: Had a really happy huddling session with lots of laughing.
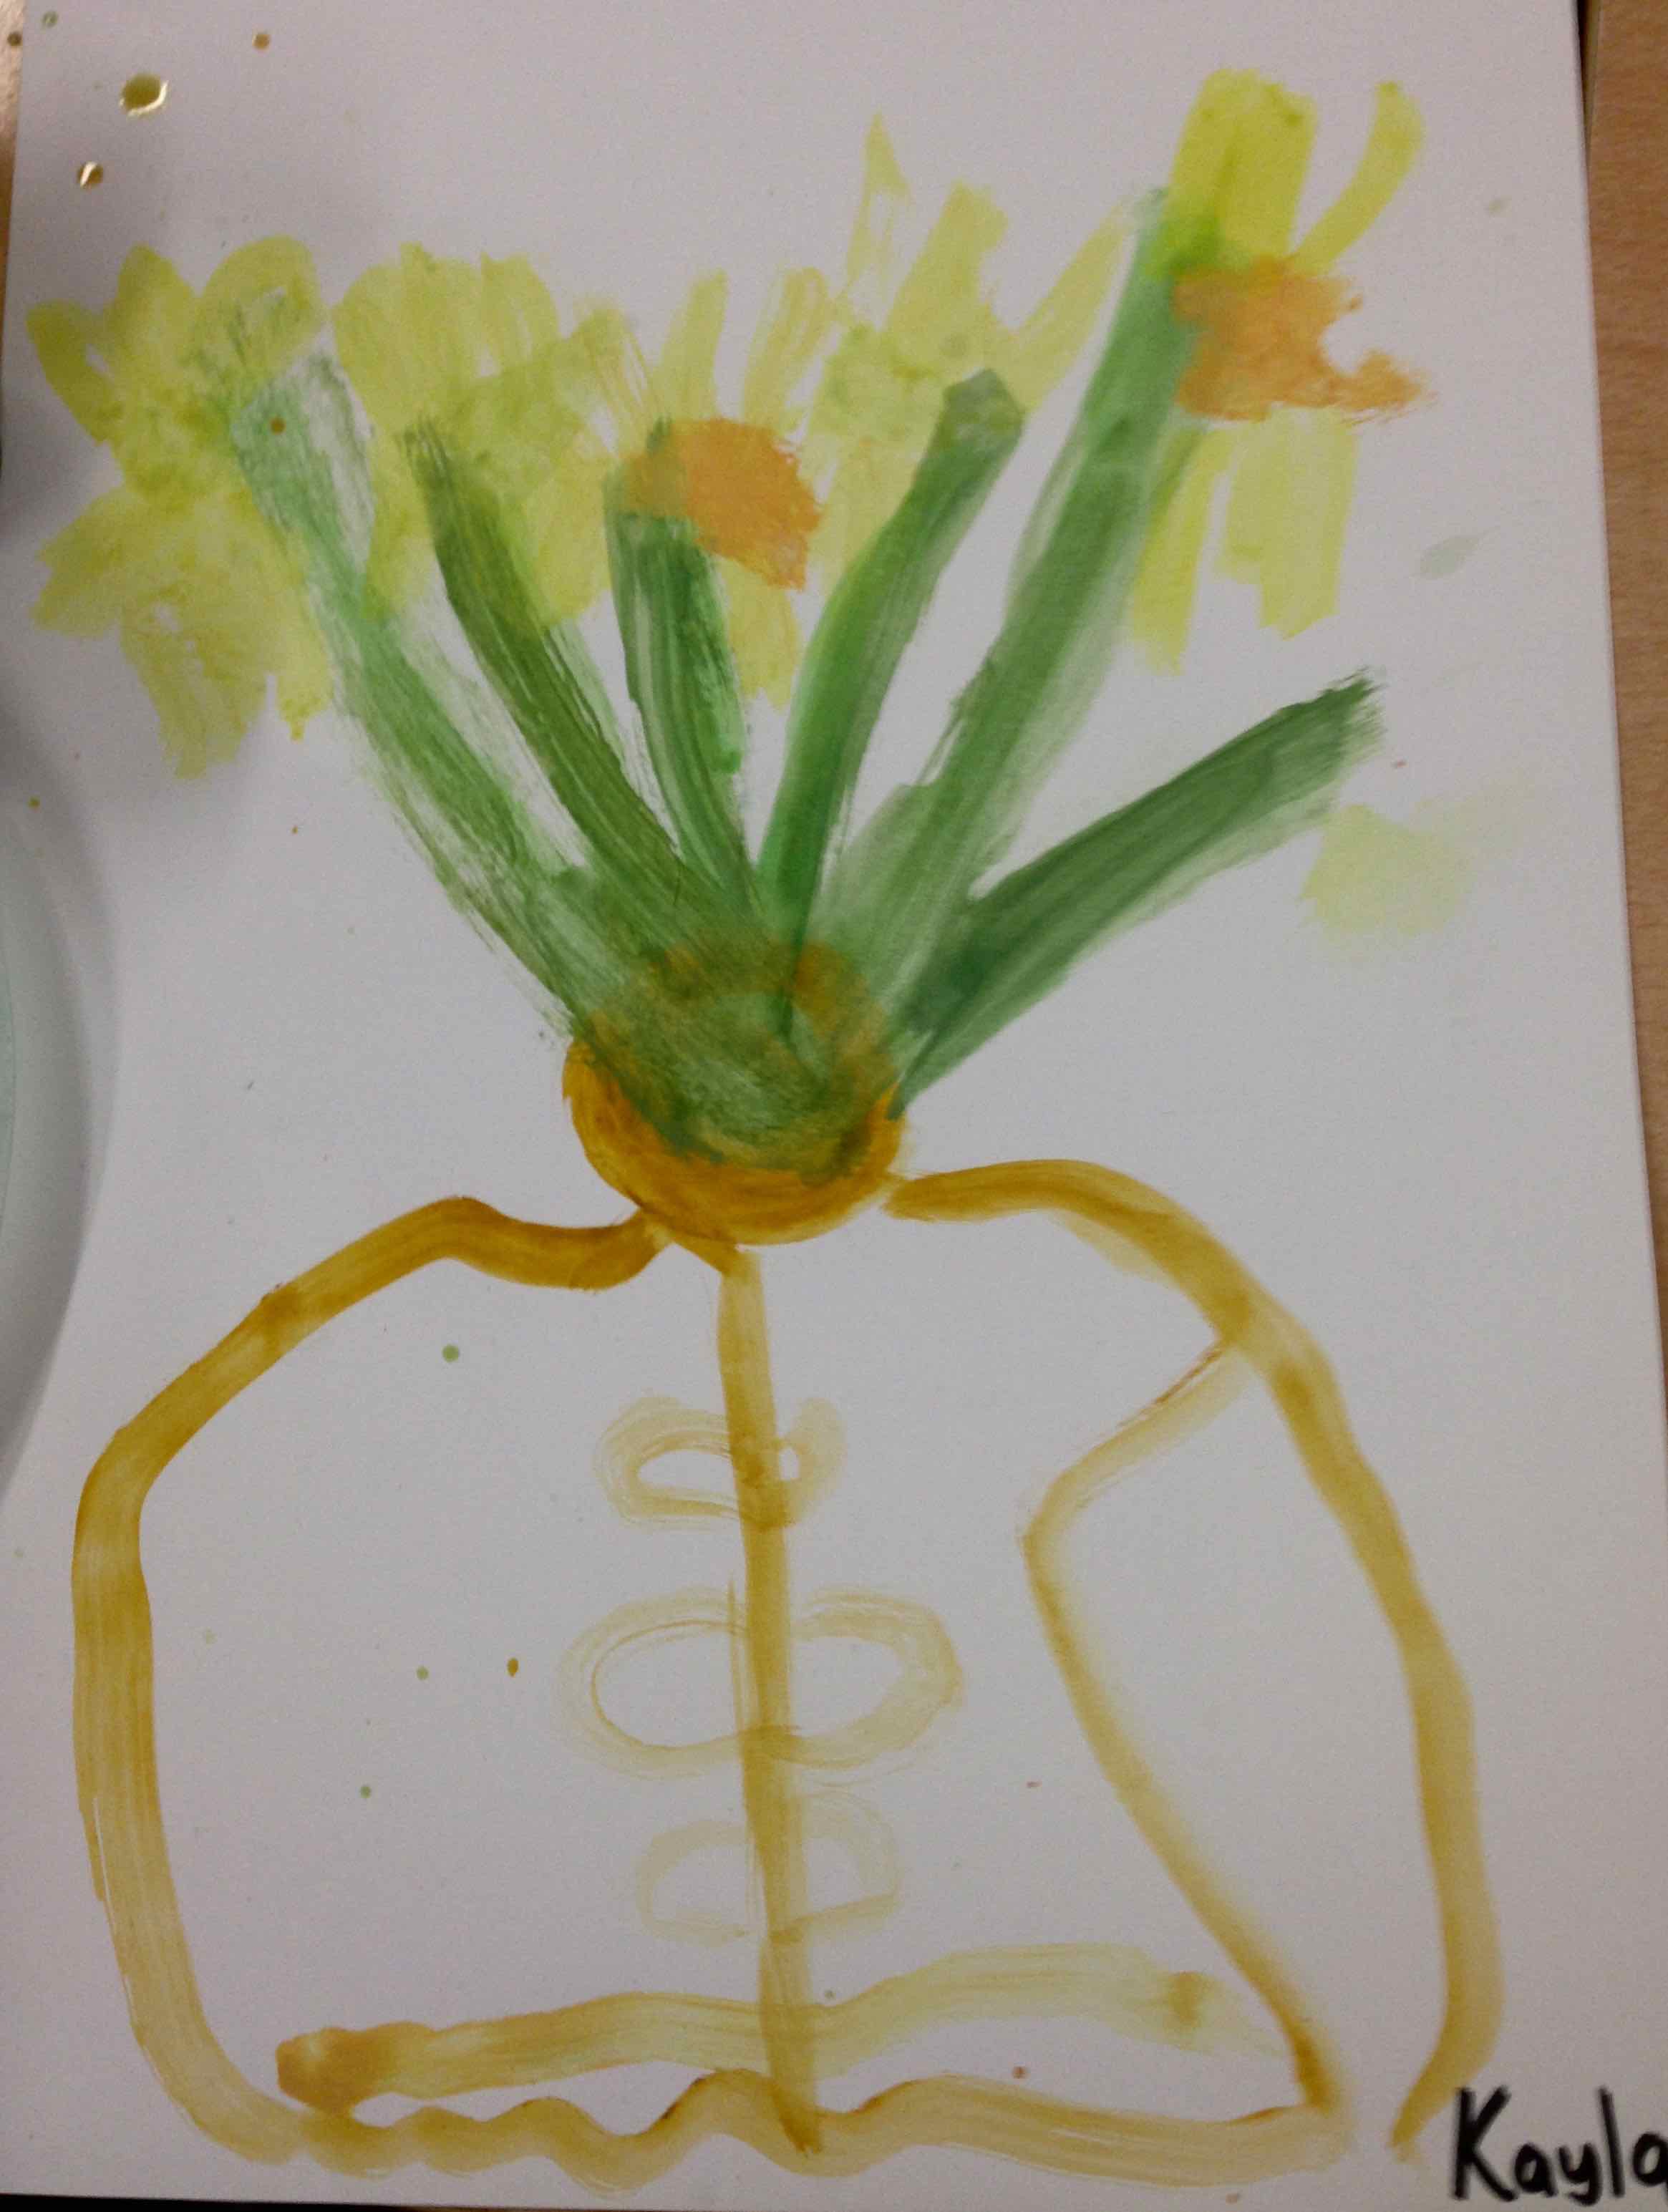
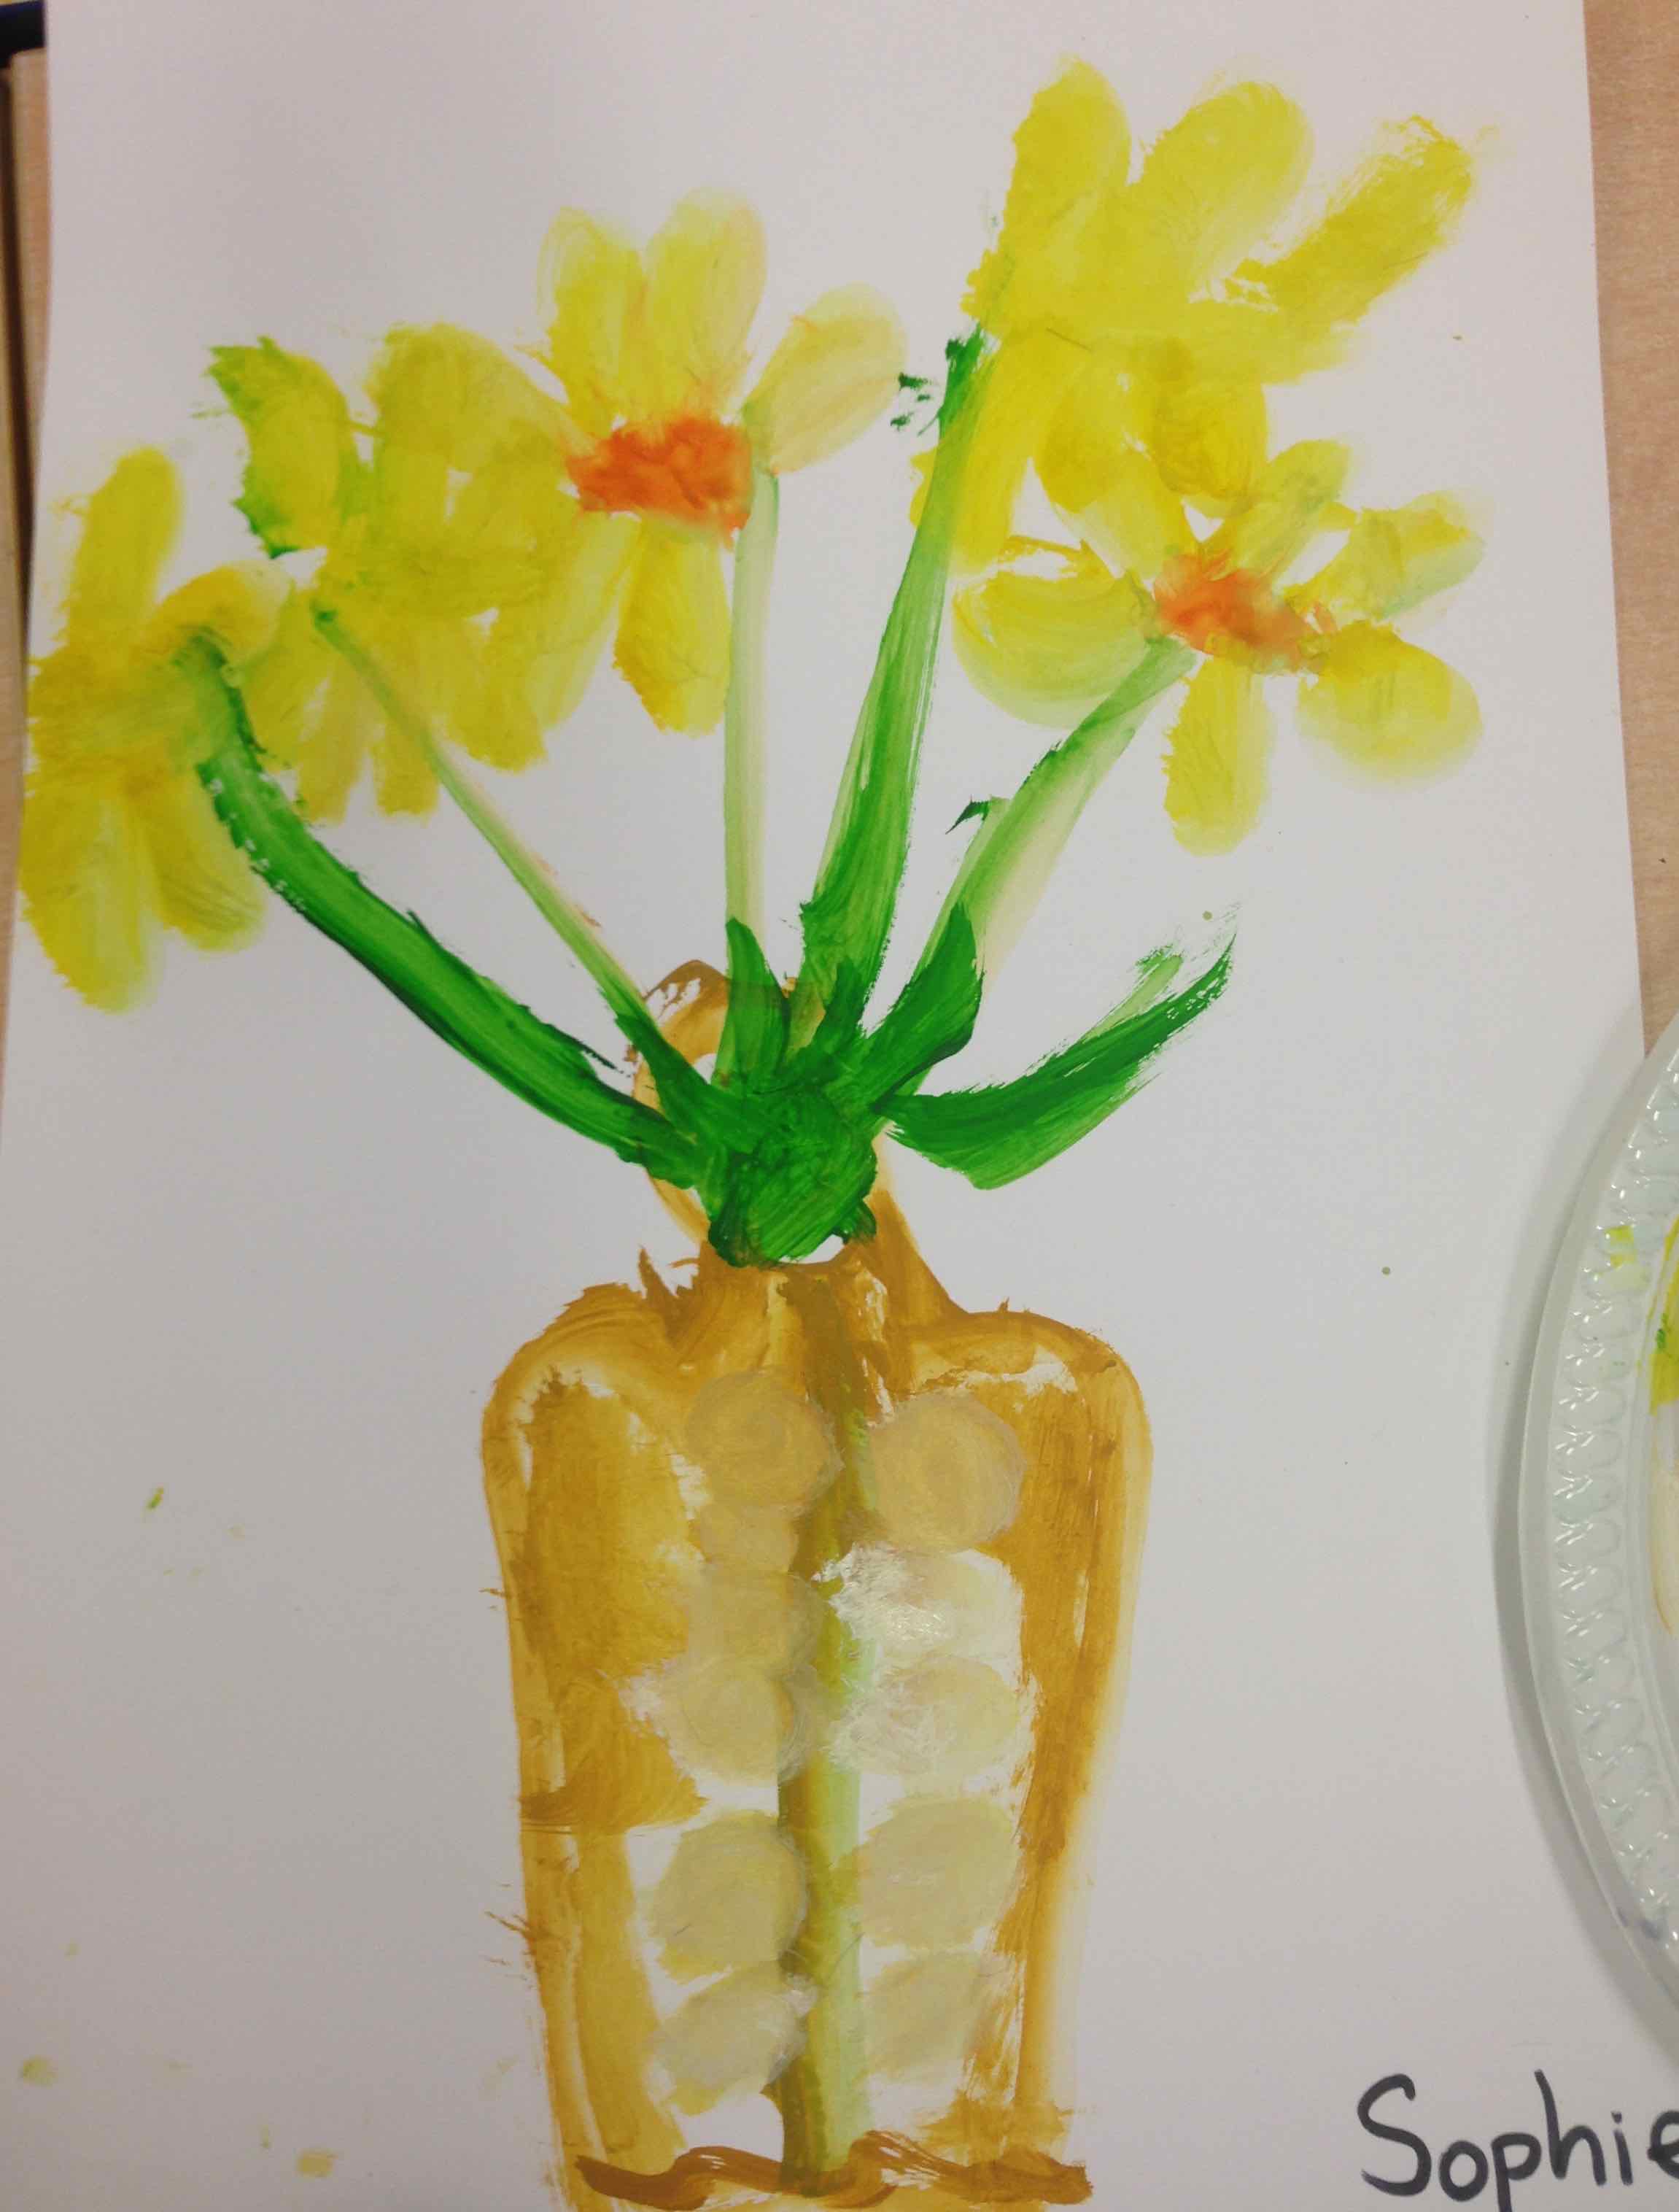
Sophie: Enjoyed the special sharing time with her friends.
Noah: When he got there, everyone was crawling over him but when they left he had a nice wee relaxation.
Dylan: The girls were having a huddle session and he busting in on them, he was told to go away (he found this very funny)
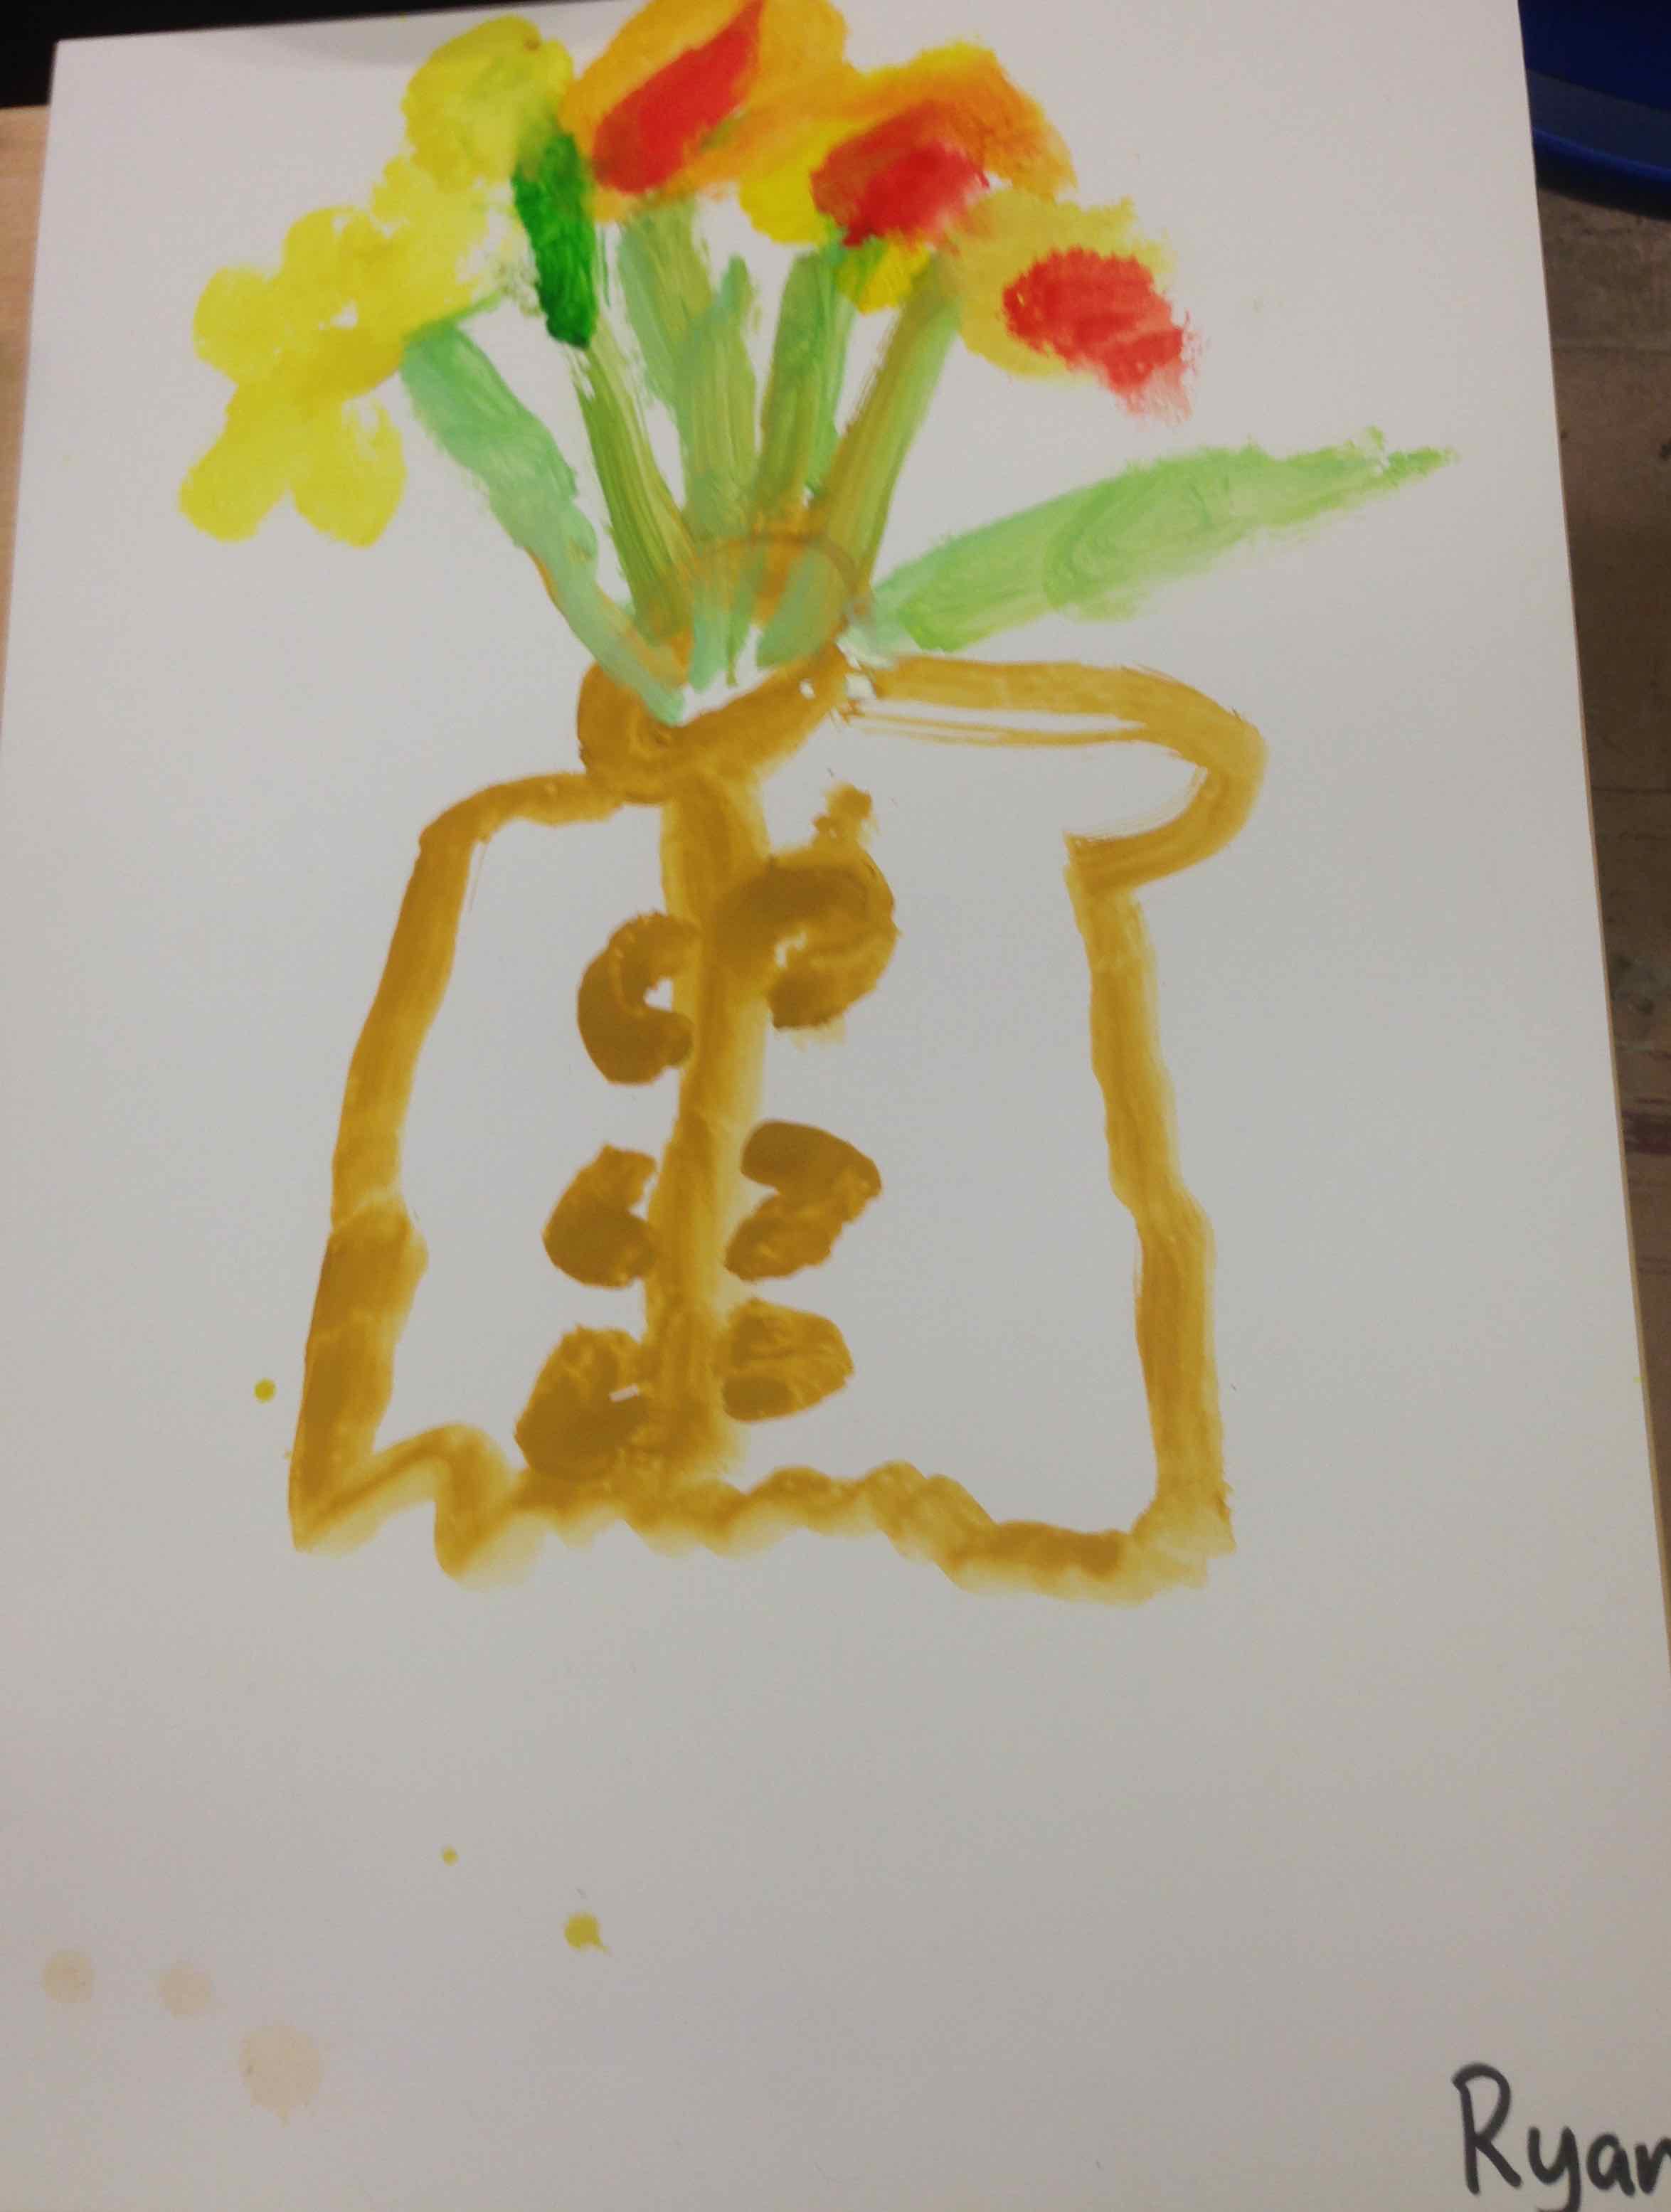
Ryan: He preferred the rocket where he could have a bit of quiet time.
Callum: Also preferred the rocket, the huddle corner was too noisy for him.
Jessica McC: Stayed in the huddle nearly the whole time. She was very happy under the blanket.
Keelan: He enjoyed the huddling corner so that he could lie down and relax.
Jack: He really liked the huddle corner because it was warm and he had his shoes off so his feet were warm. Anthony, Jack, and Dylan J. shared funny stories.
Coilin: Enjoyed the rocket and chatting to Sharon. Didn’t get to the huddle corner as it was too crowded.
John: Enjoyed getting under the blankets and hiding. Very squashed though.
Keegan: The huddling corner was the cosiest and warmest part the den and he really enjoyed everyone all squashed together, it didn’t bother him.
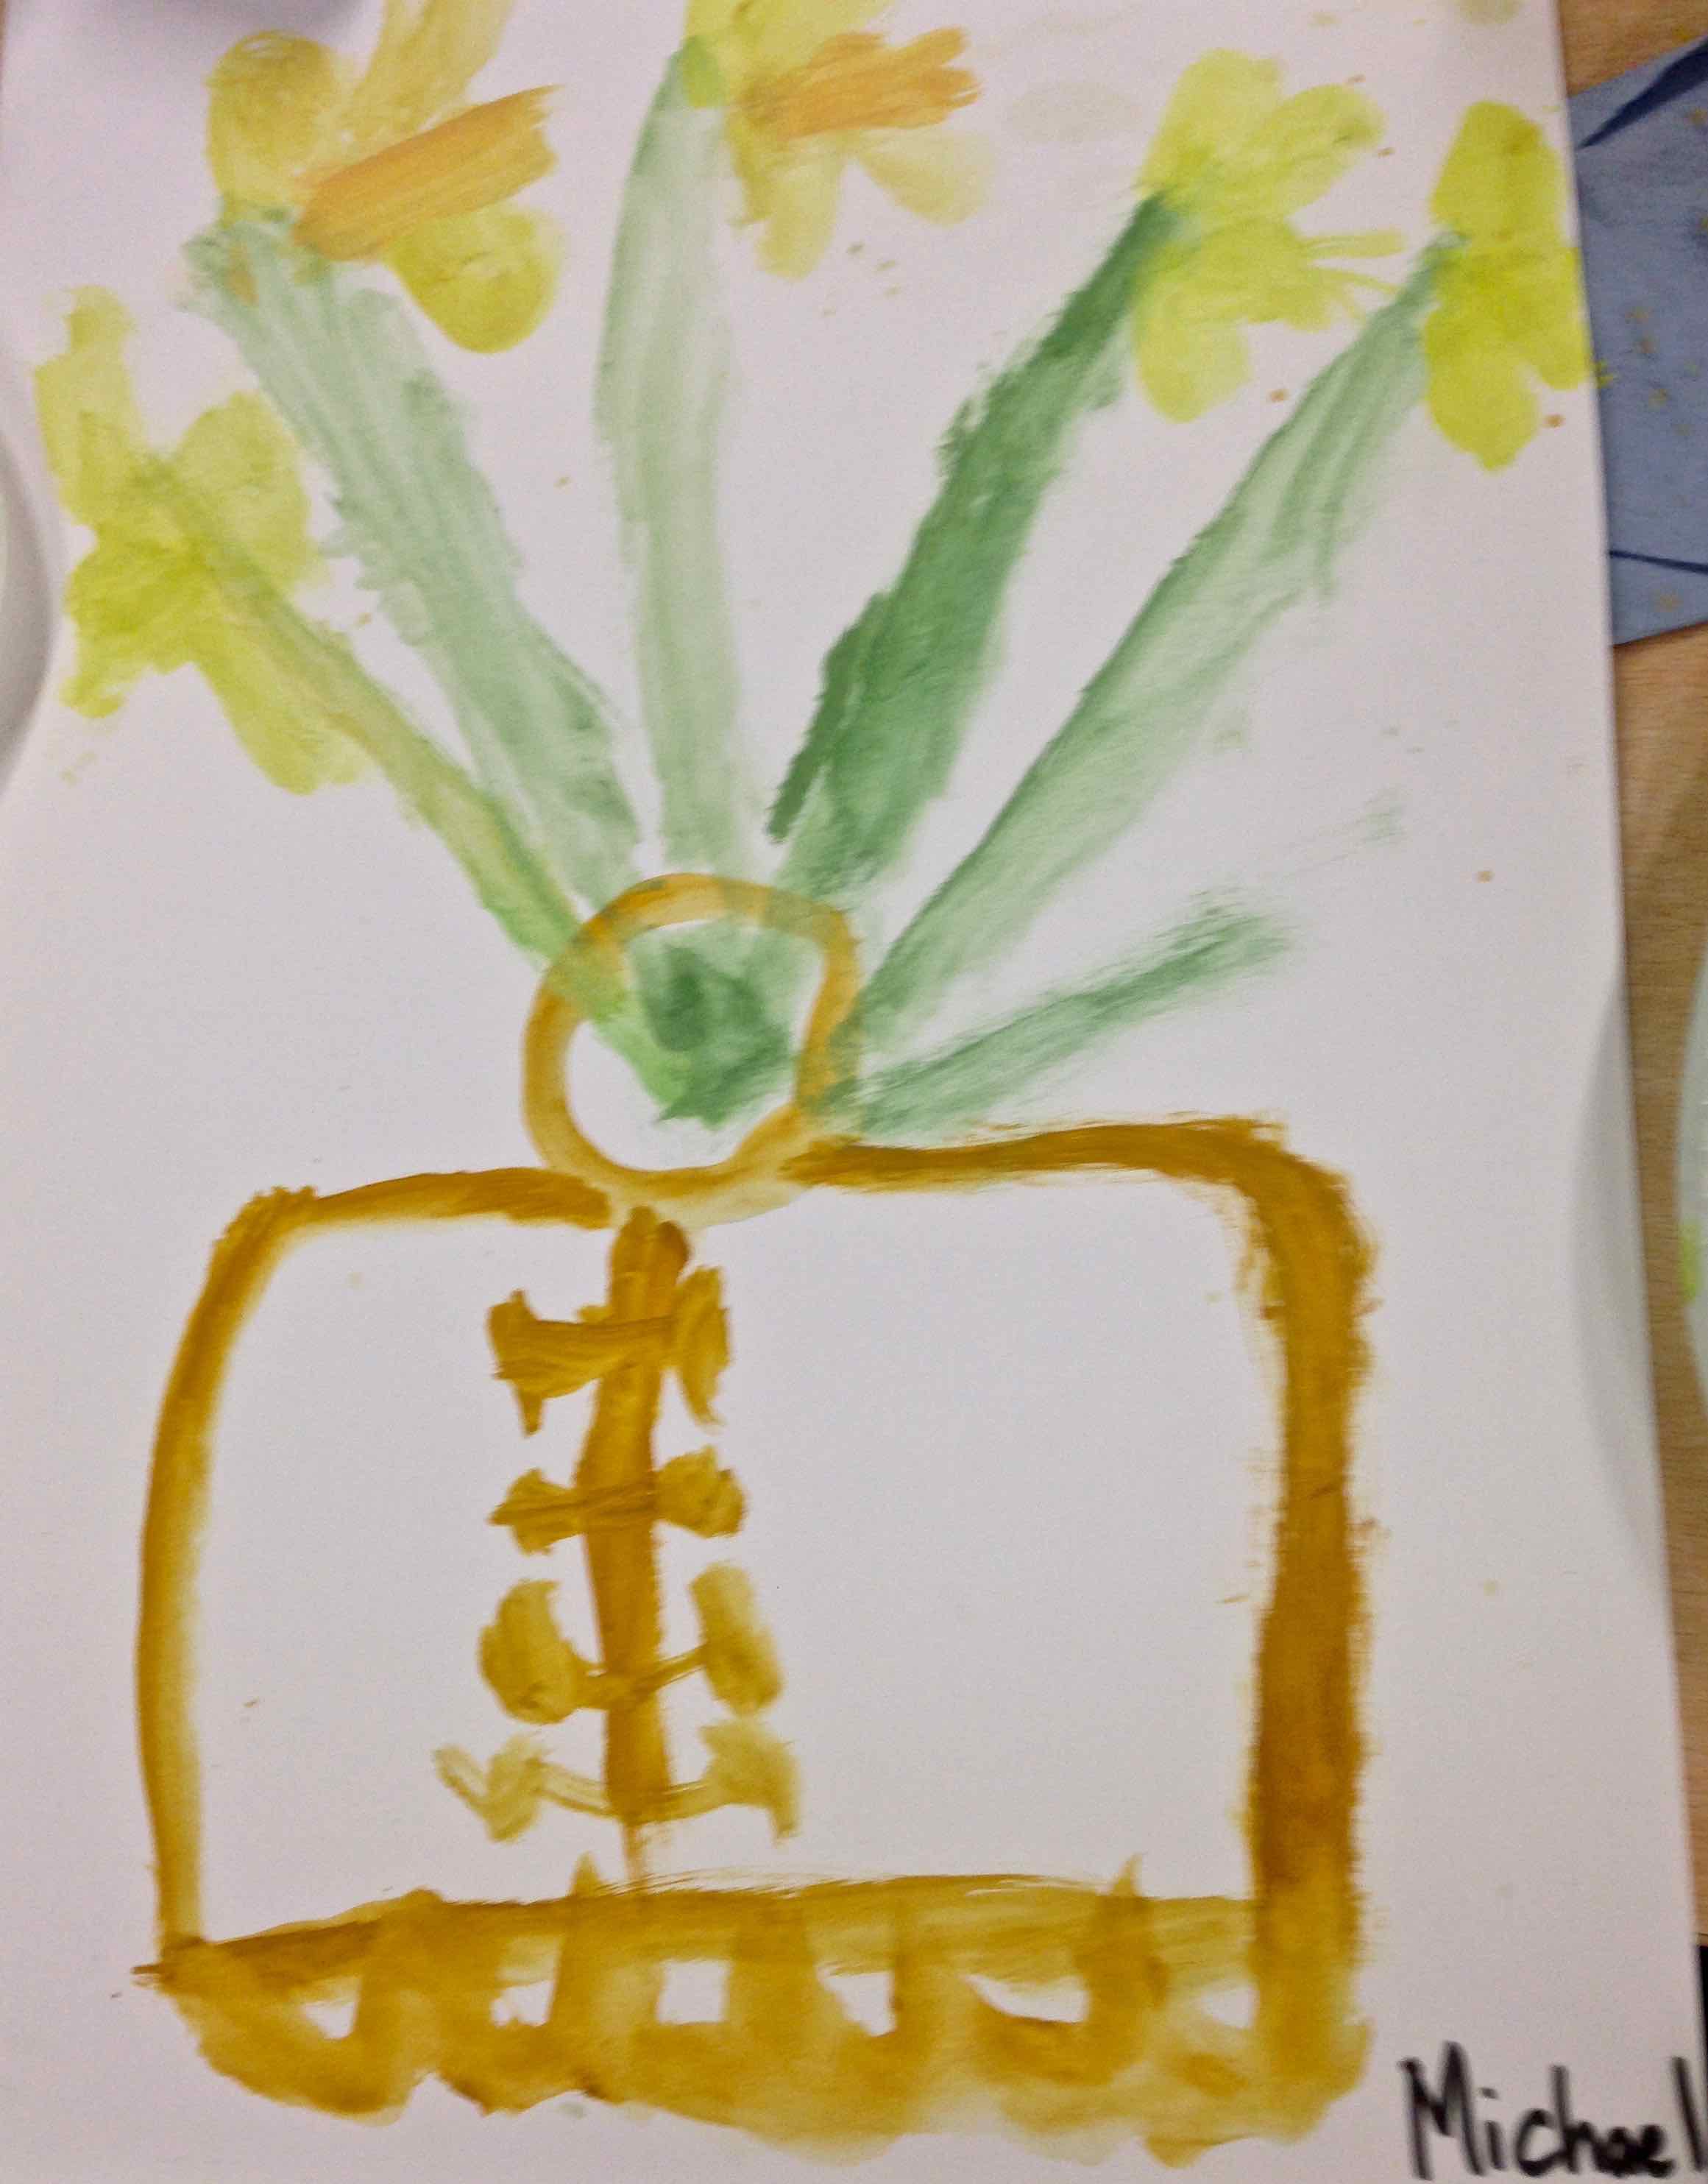
Michael: He and John were playing hide and seek in the huddling corner.
Garreth: They were playing a fun footsie game in the huddling corner – back and forth soles together. He liked listening to the chat in the huddling corner.
Antoin: People crawling all over him felt a bit like a massage.
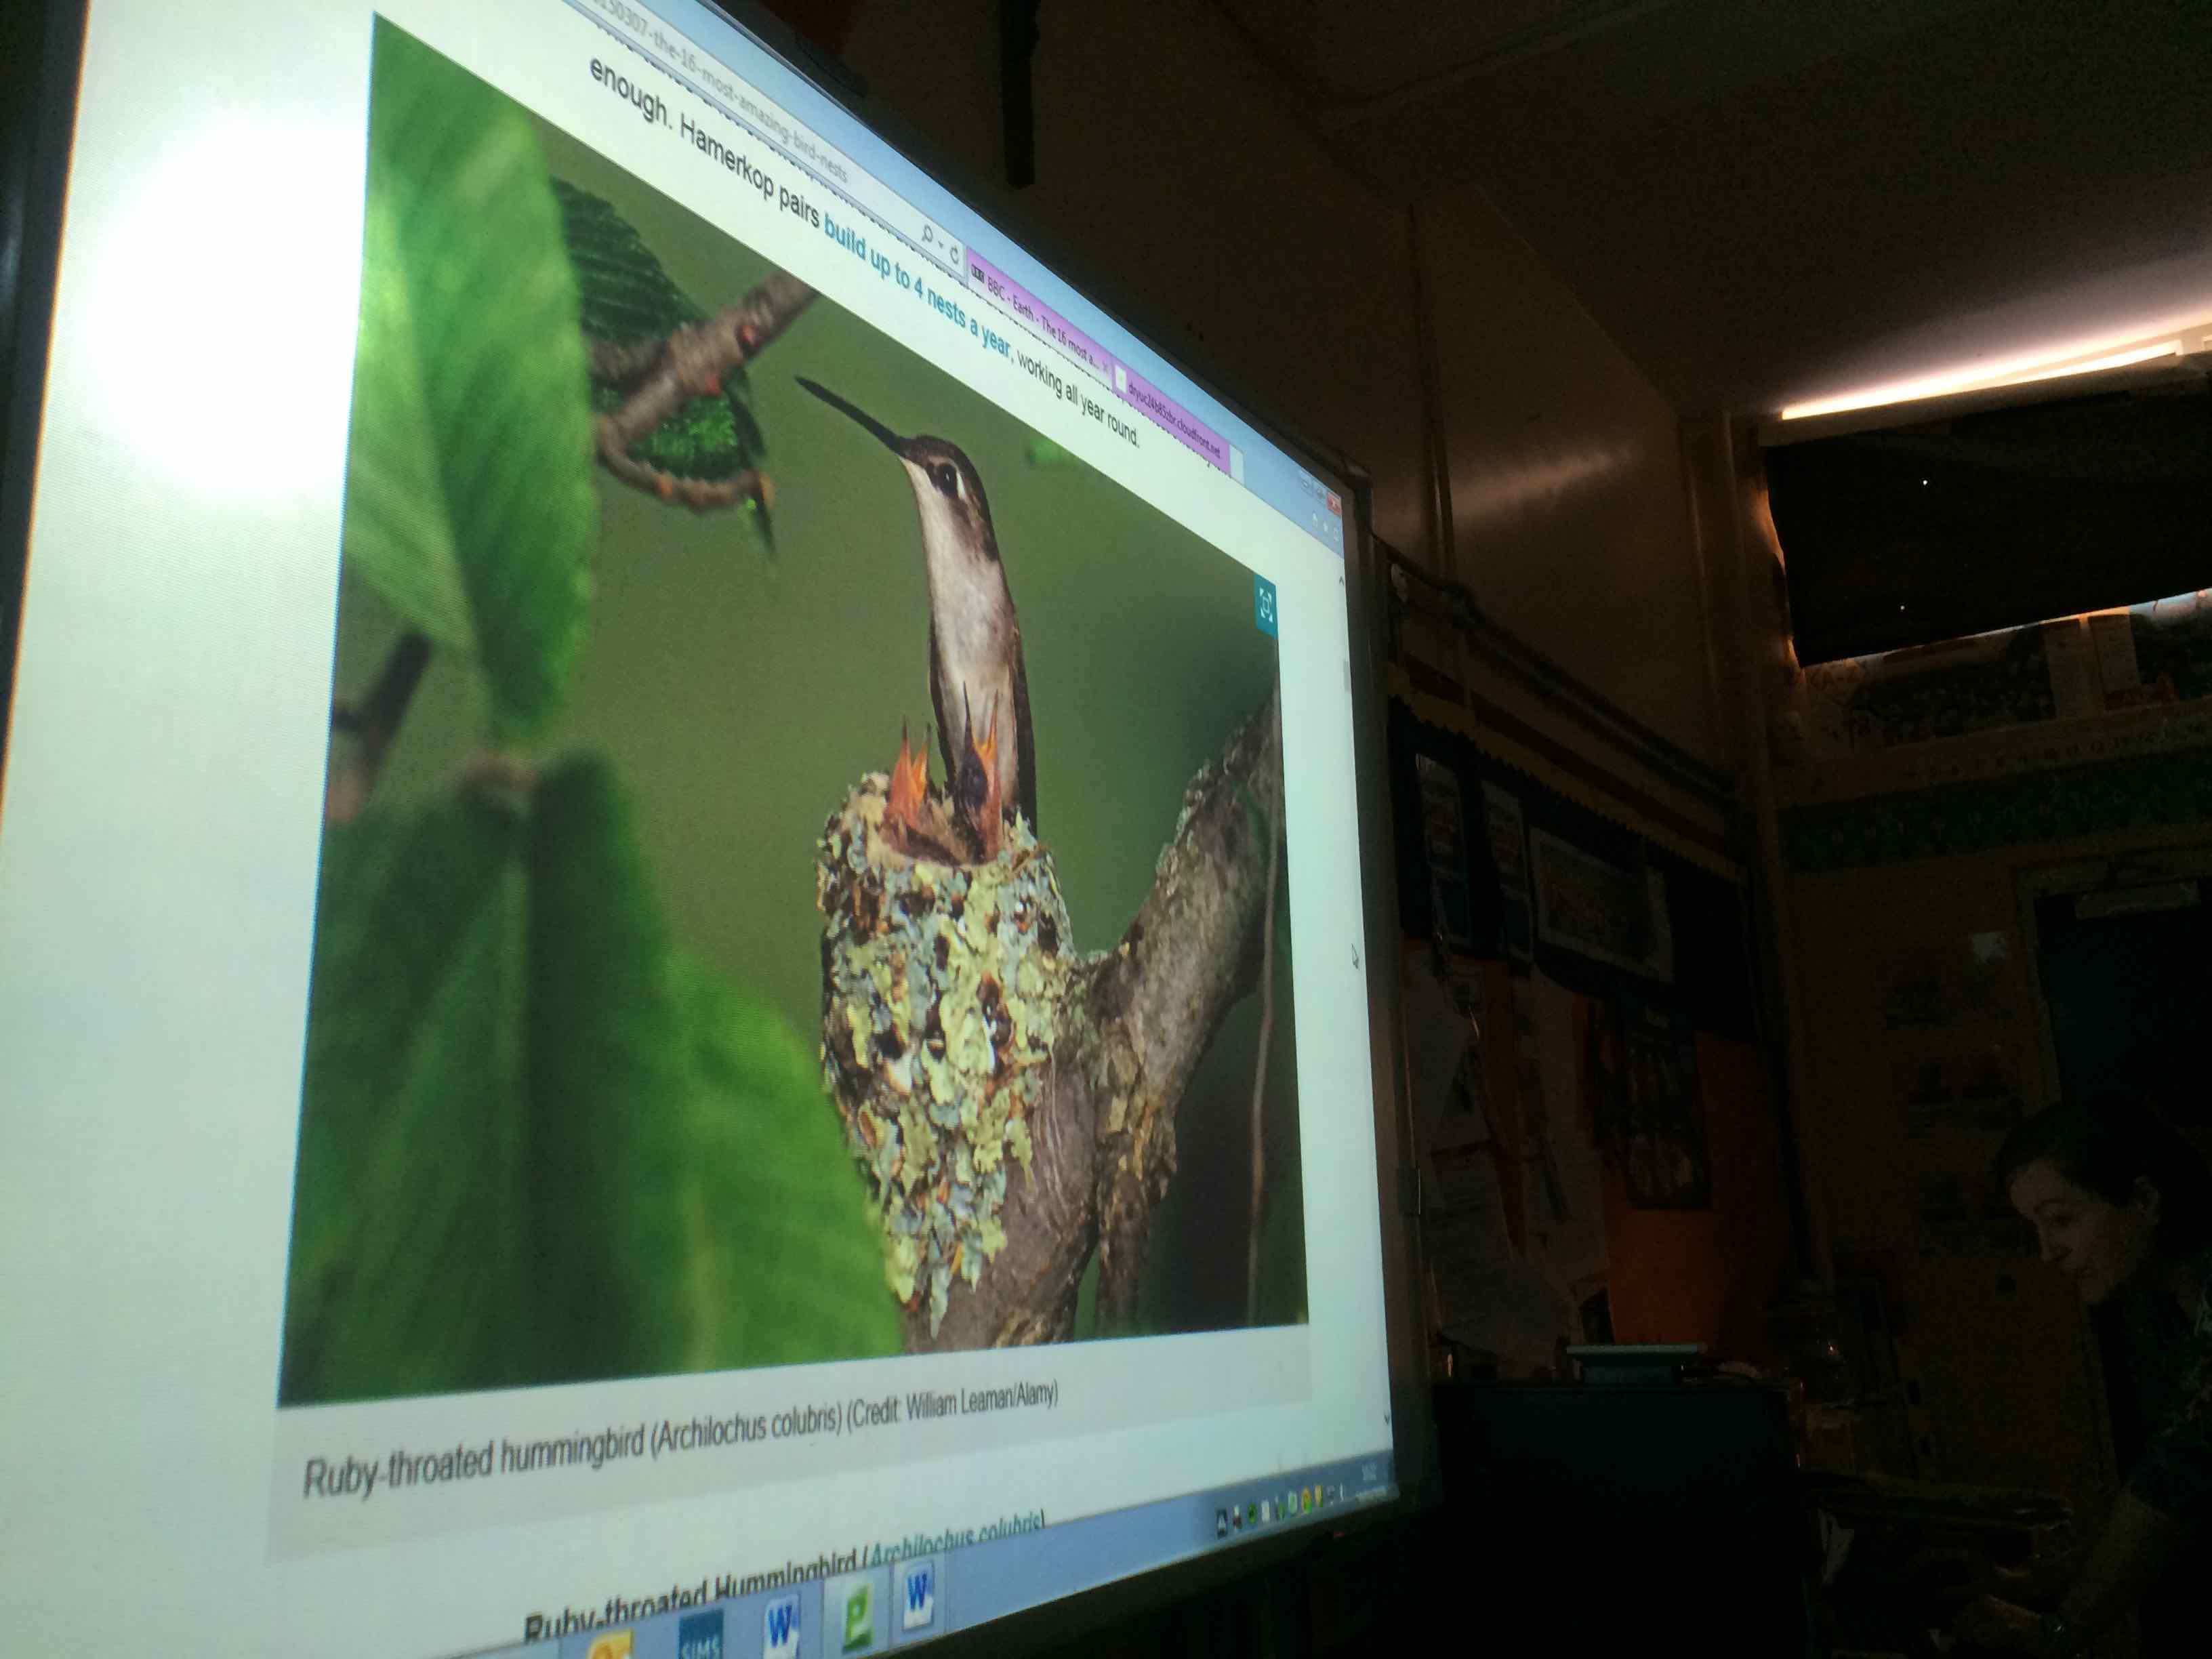
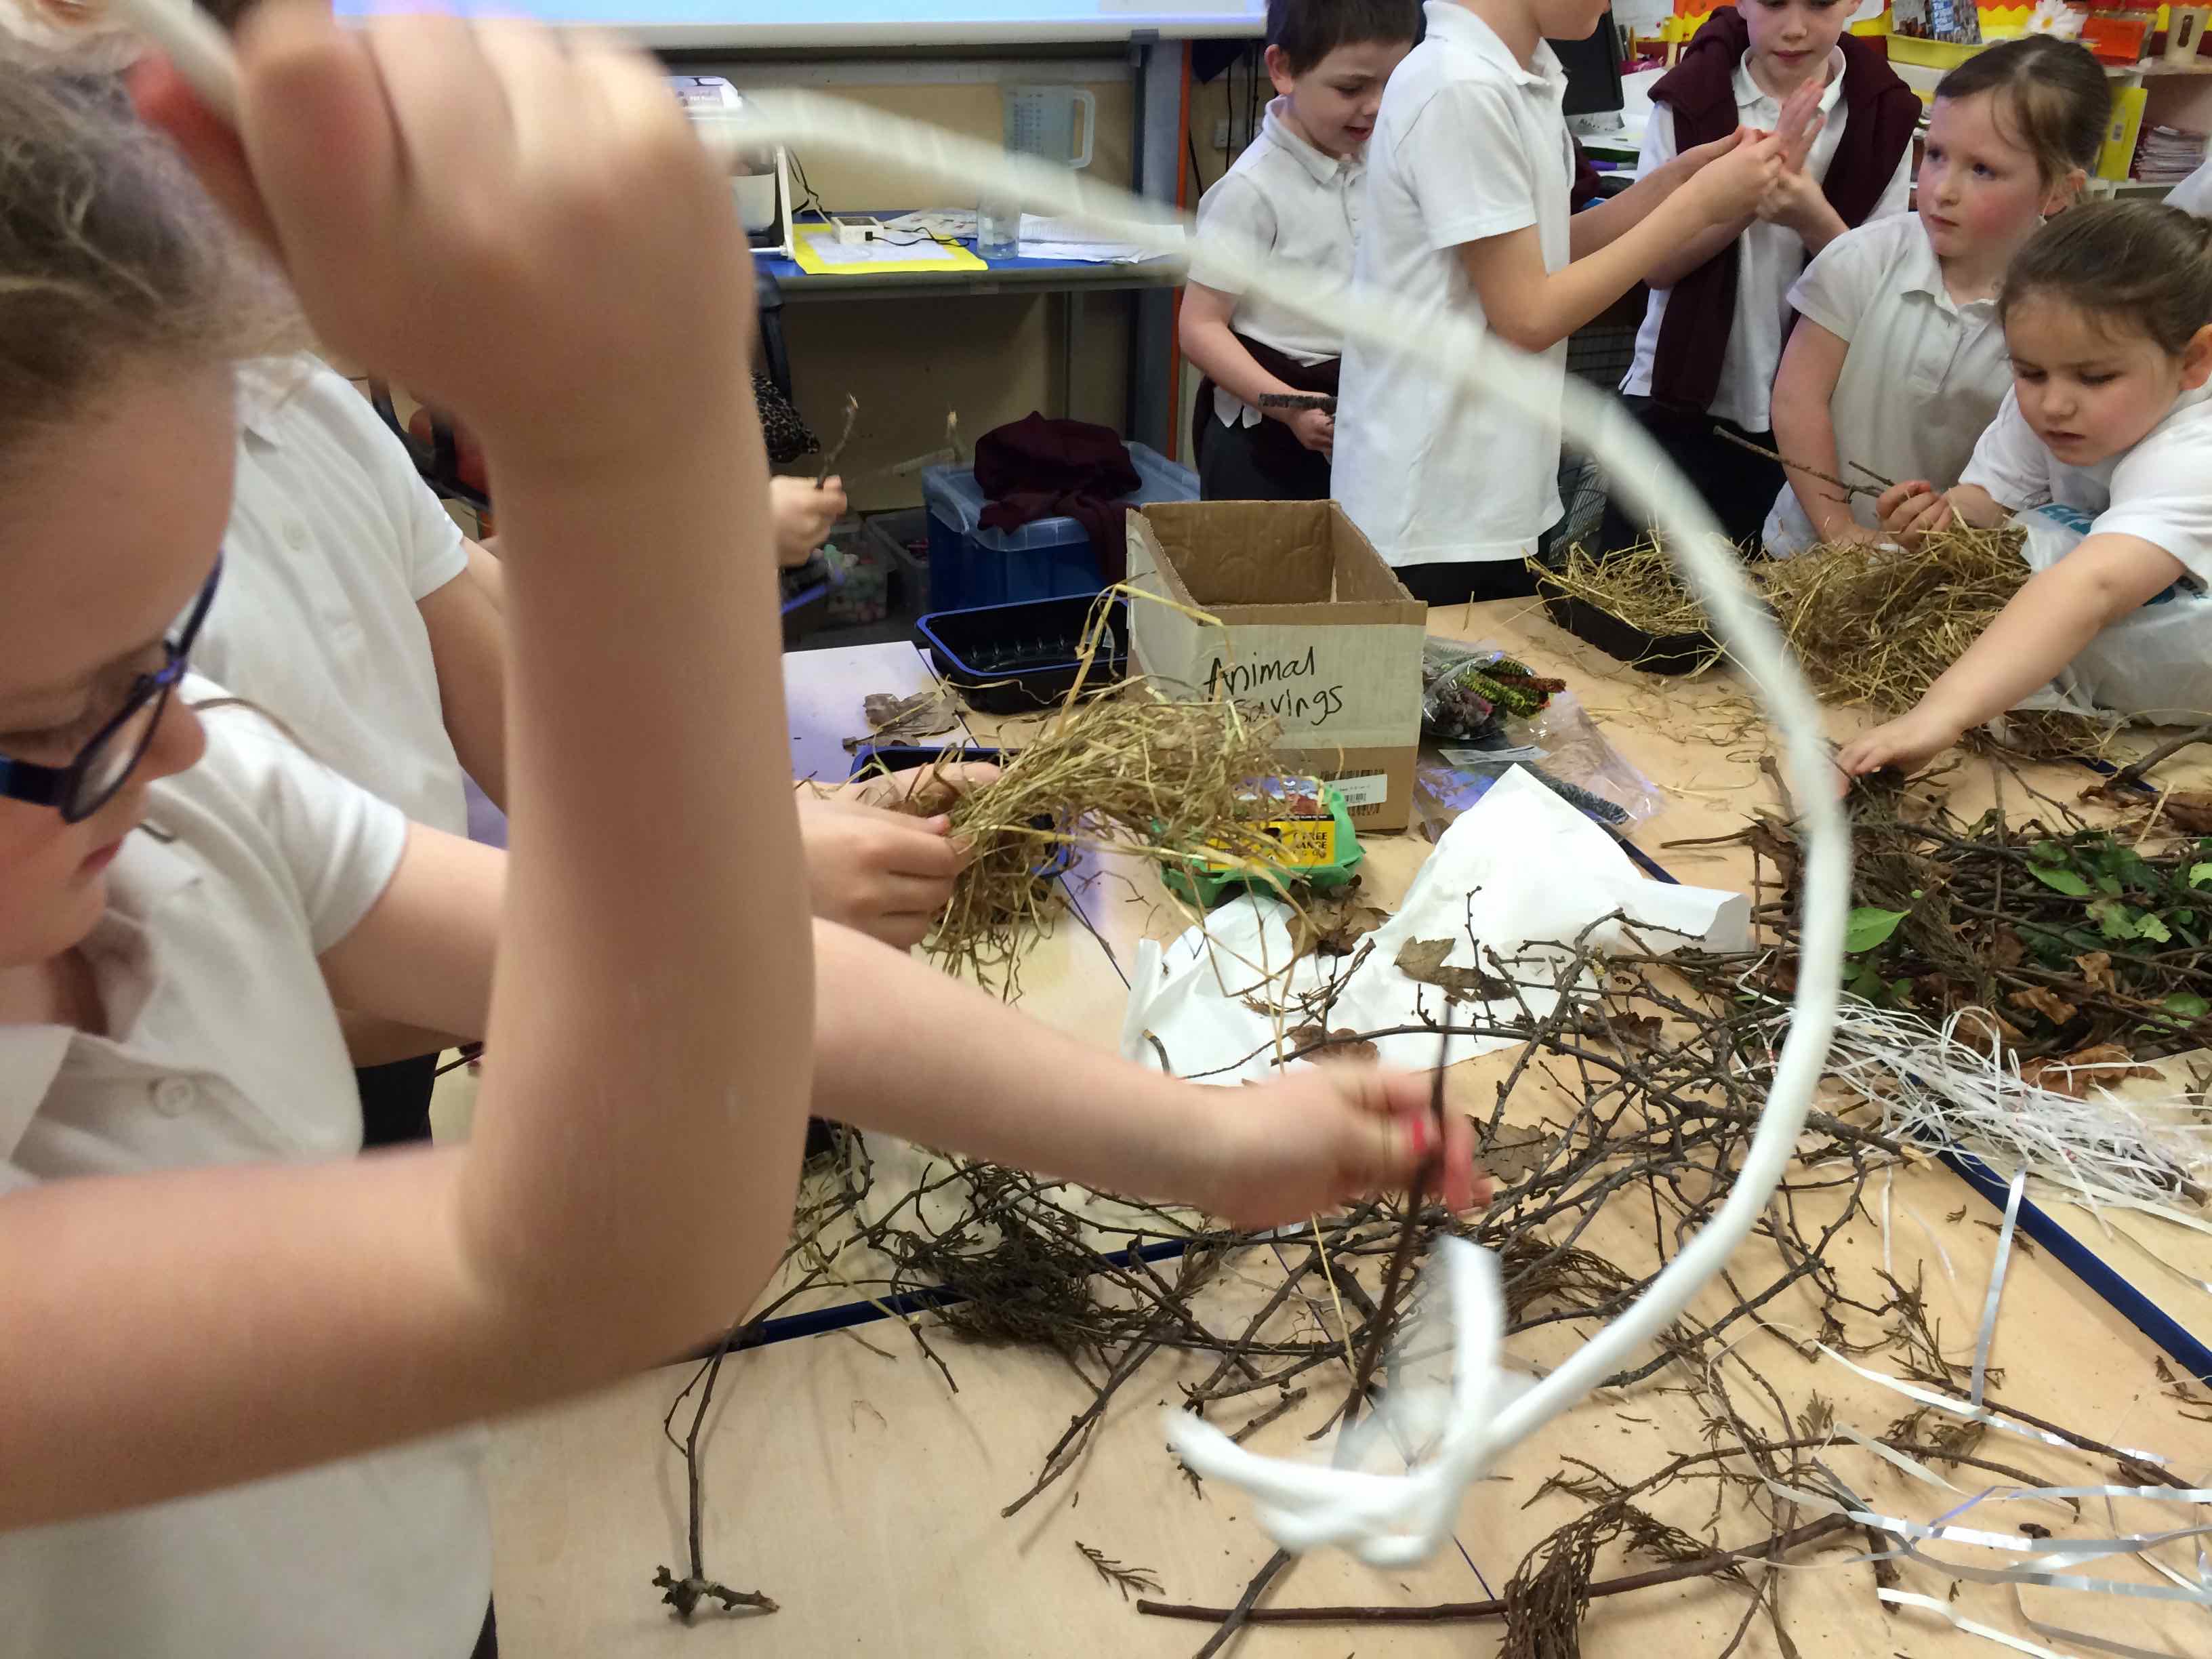
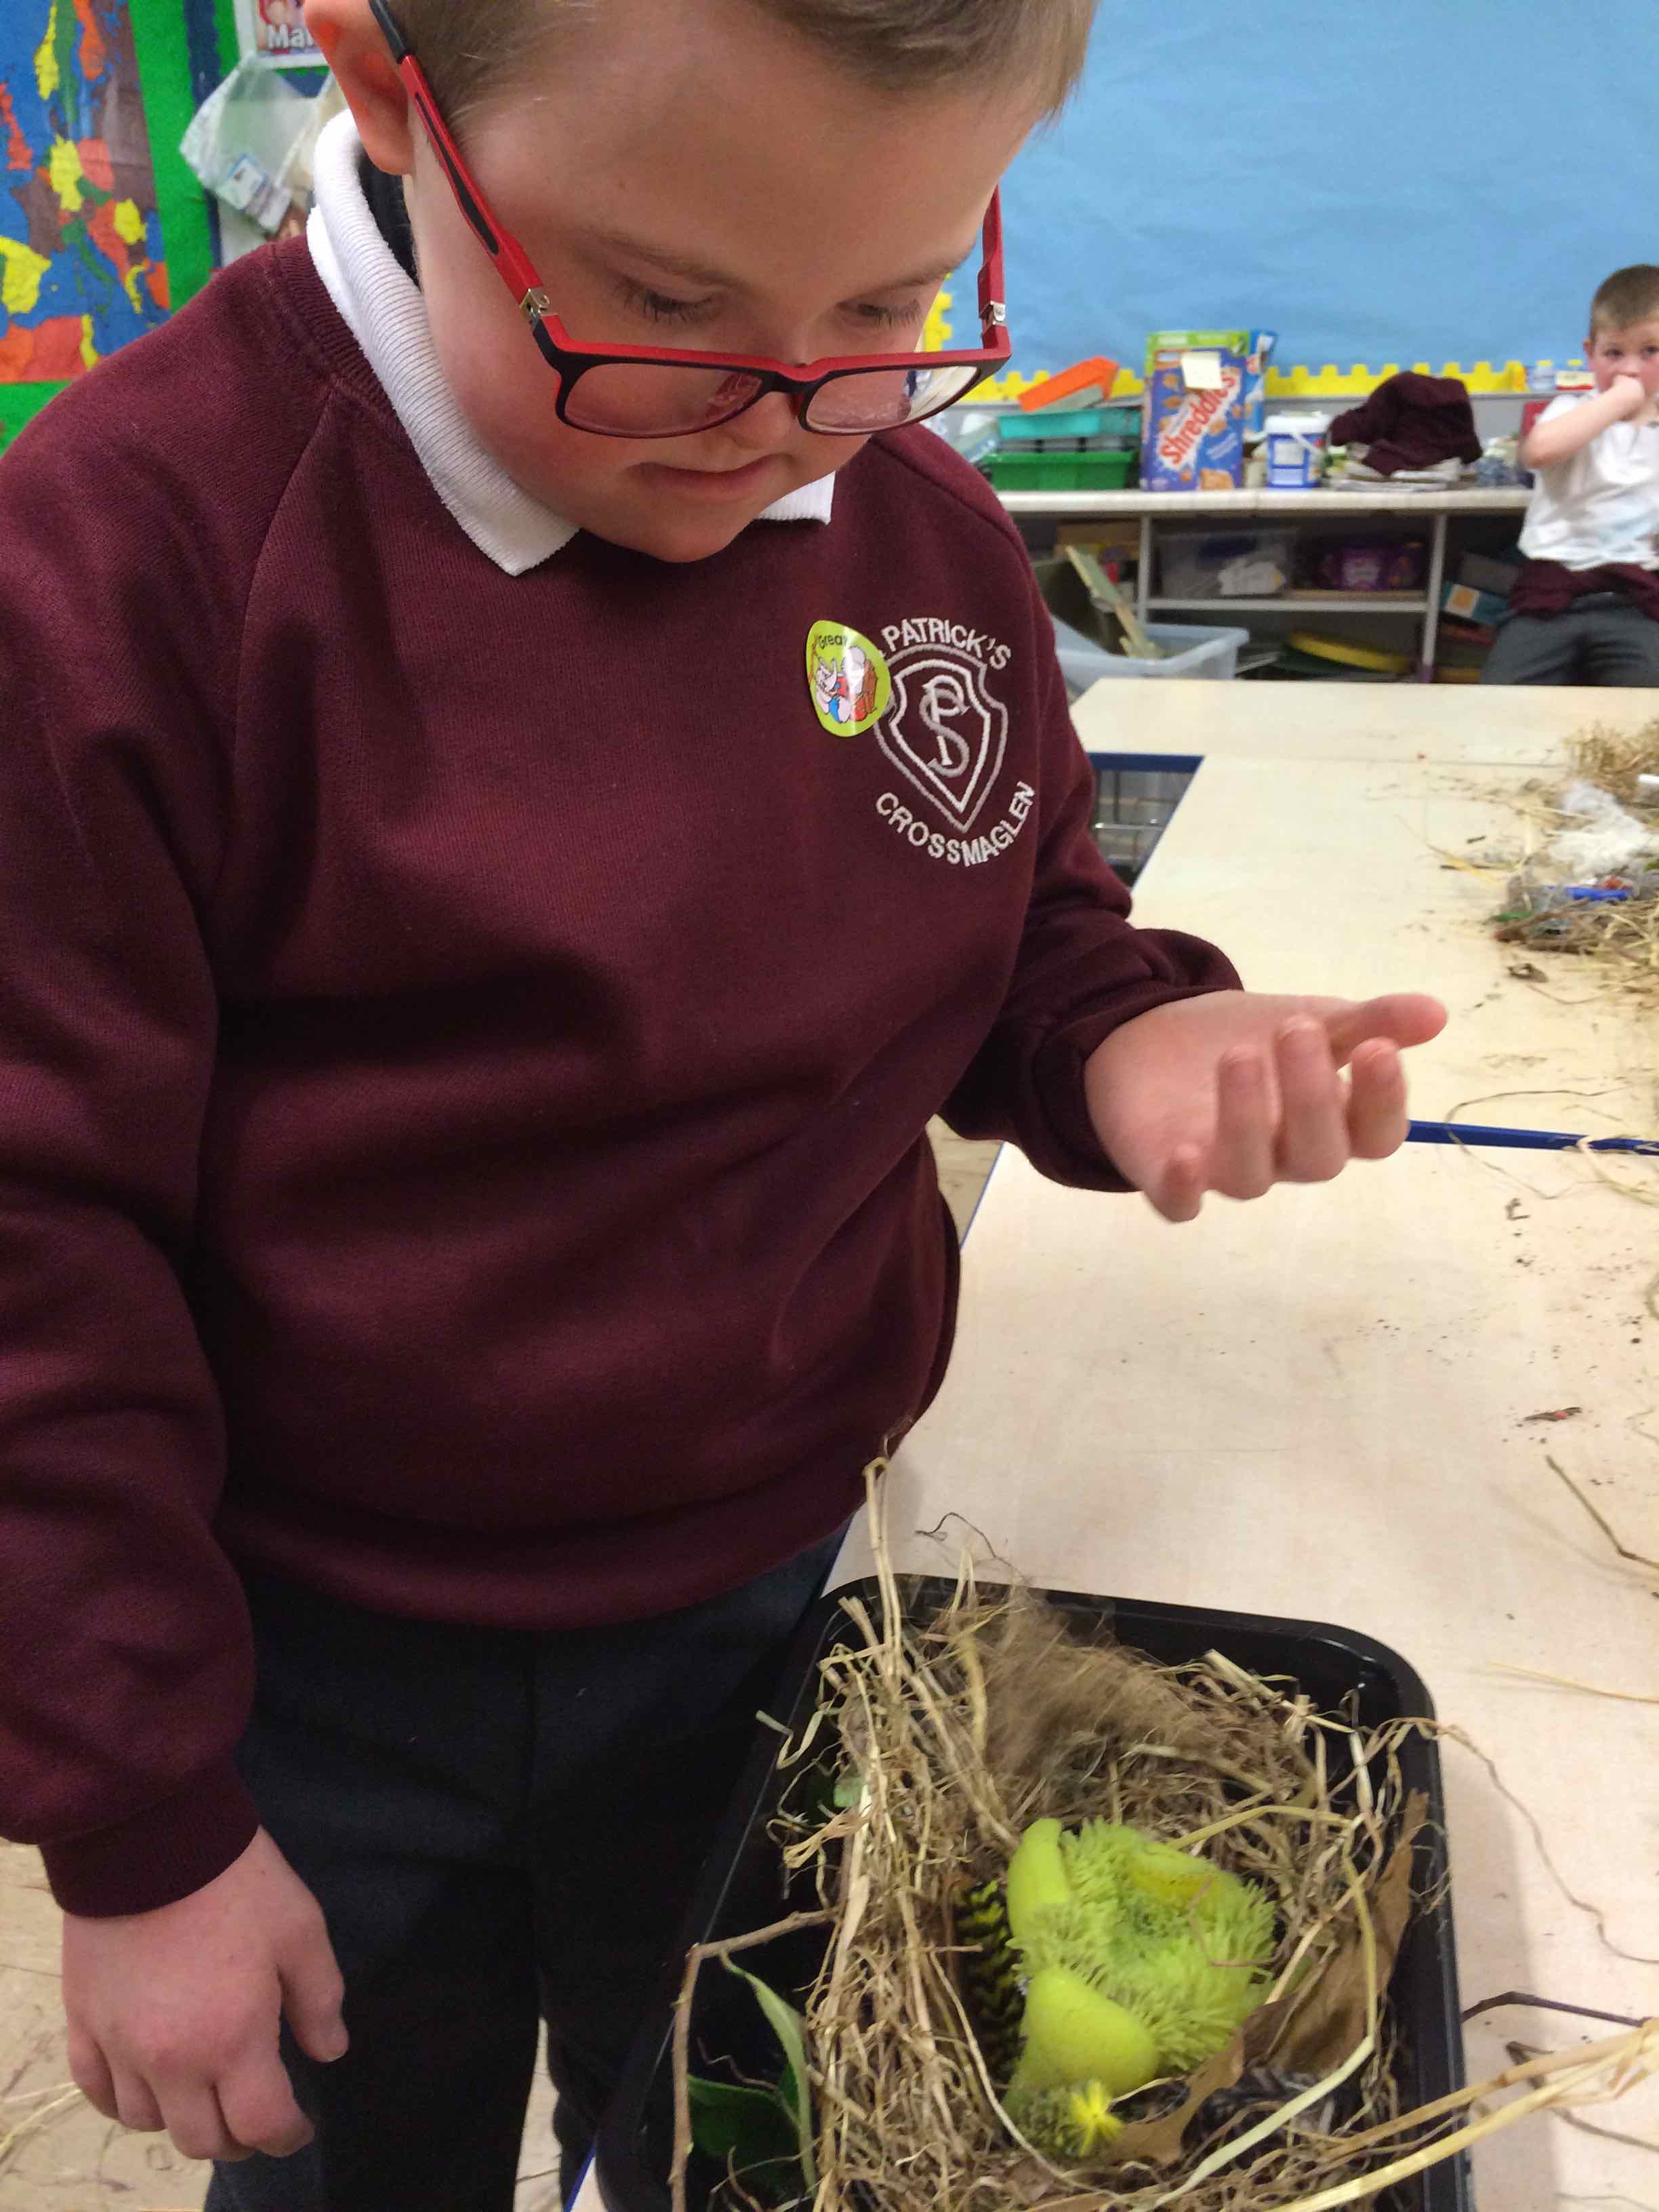
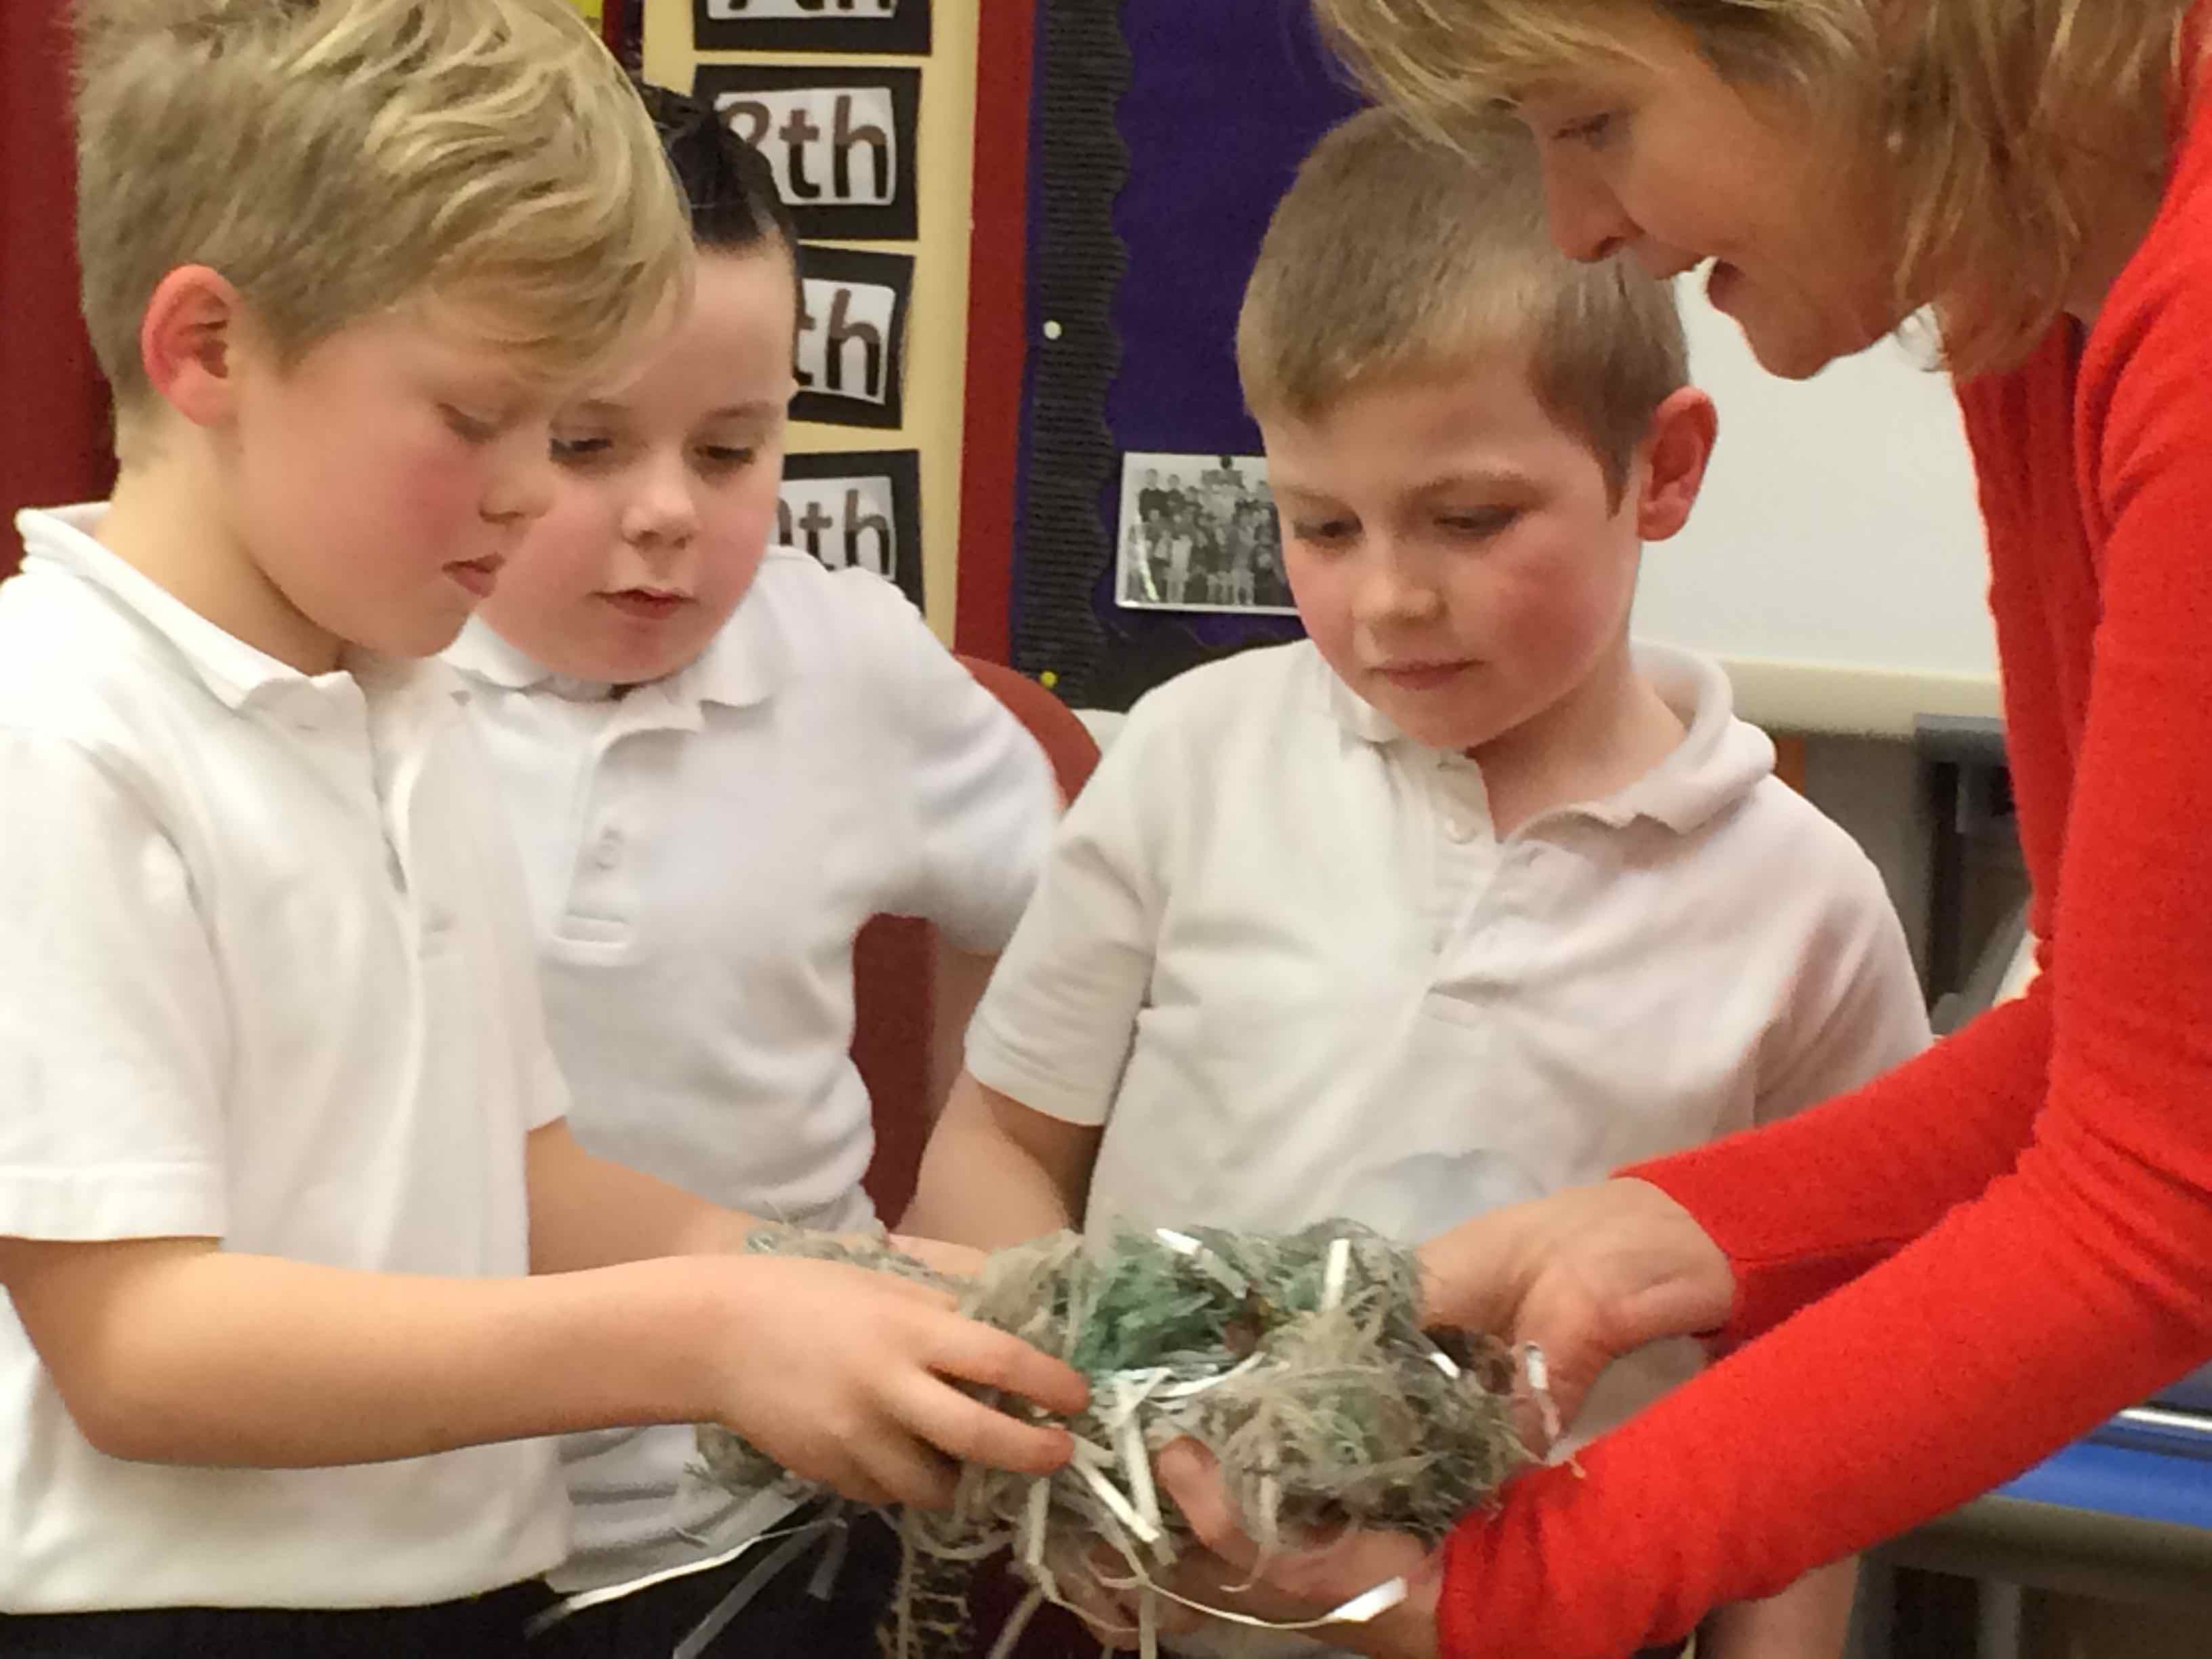
For an impromptu visit to P4 I learned that the class have been incubating eggs in their classroom and this provided a wonderful path for exploring NESTS.
The eggs are incubating under the whiteboard!
We heard nesting stories and I met Miss McMahon assisting Mrs Hughes in the classroom and she had researched some very unusual nests made by birds all over the world.
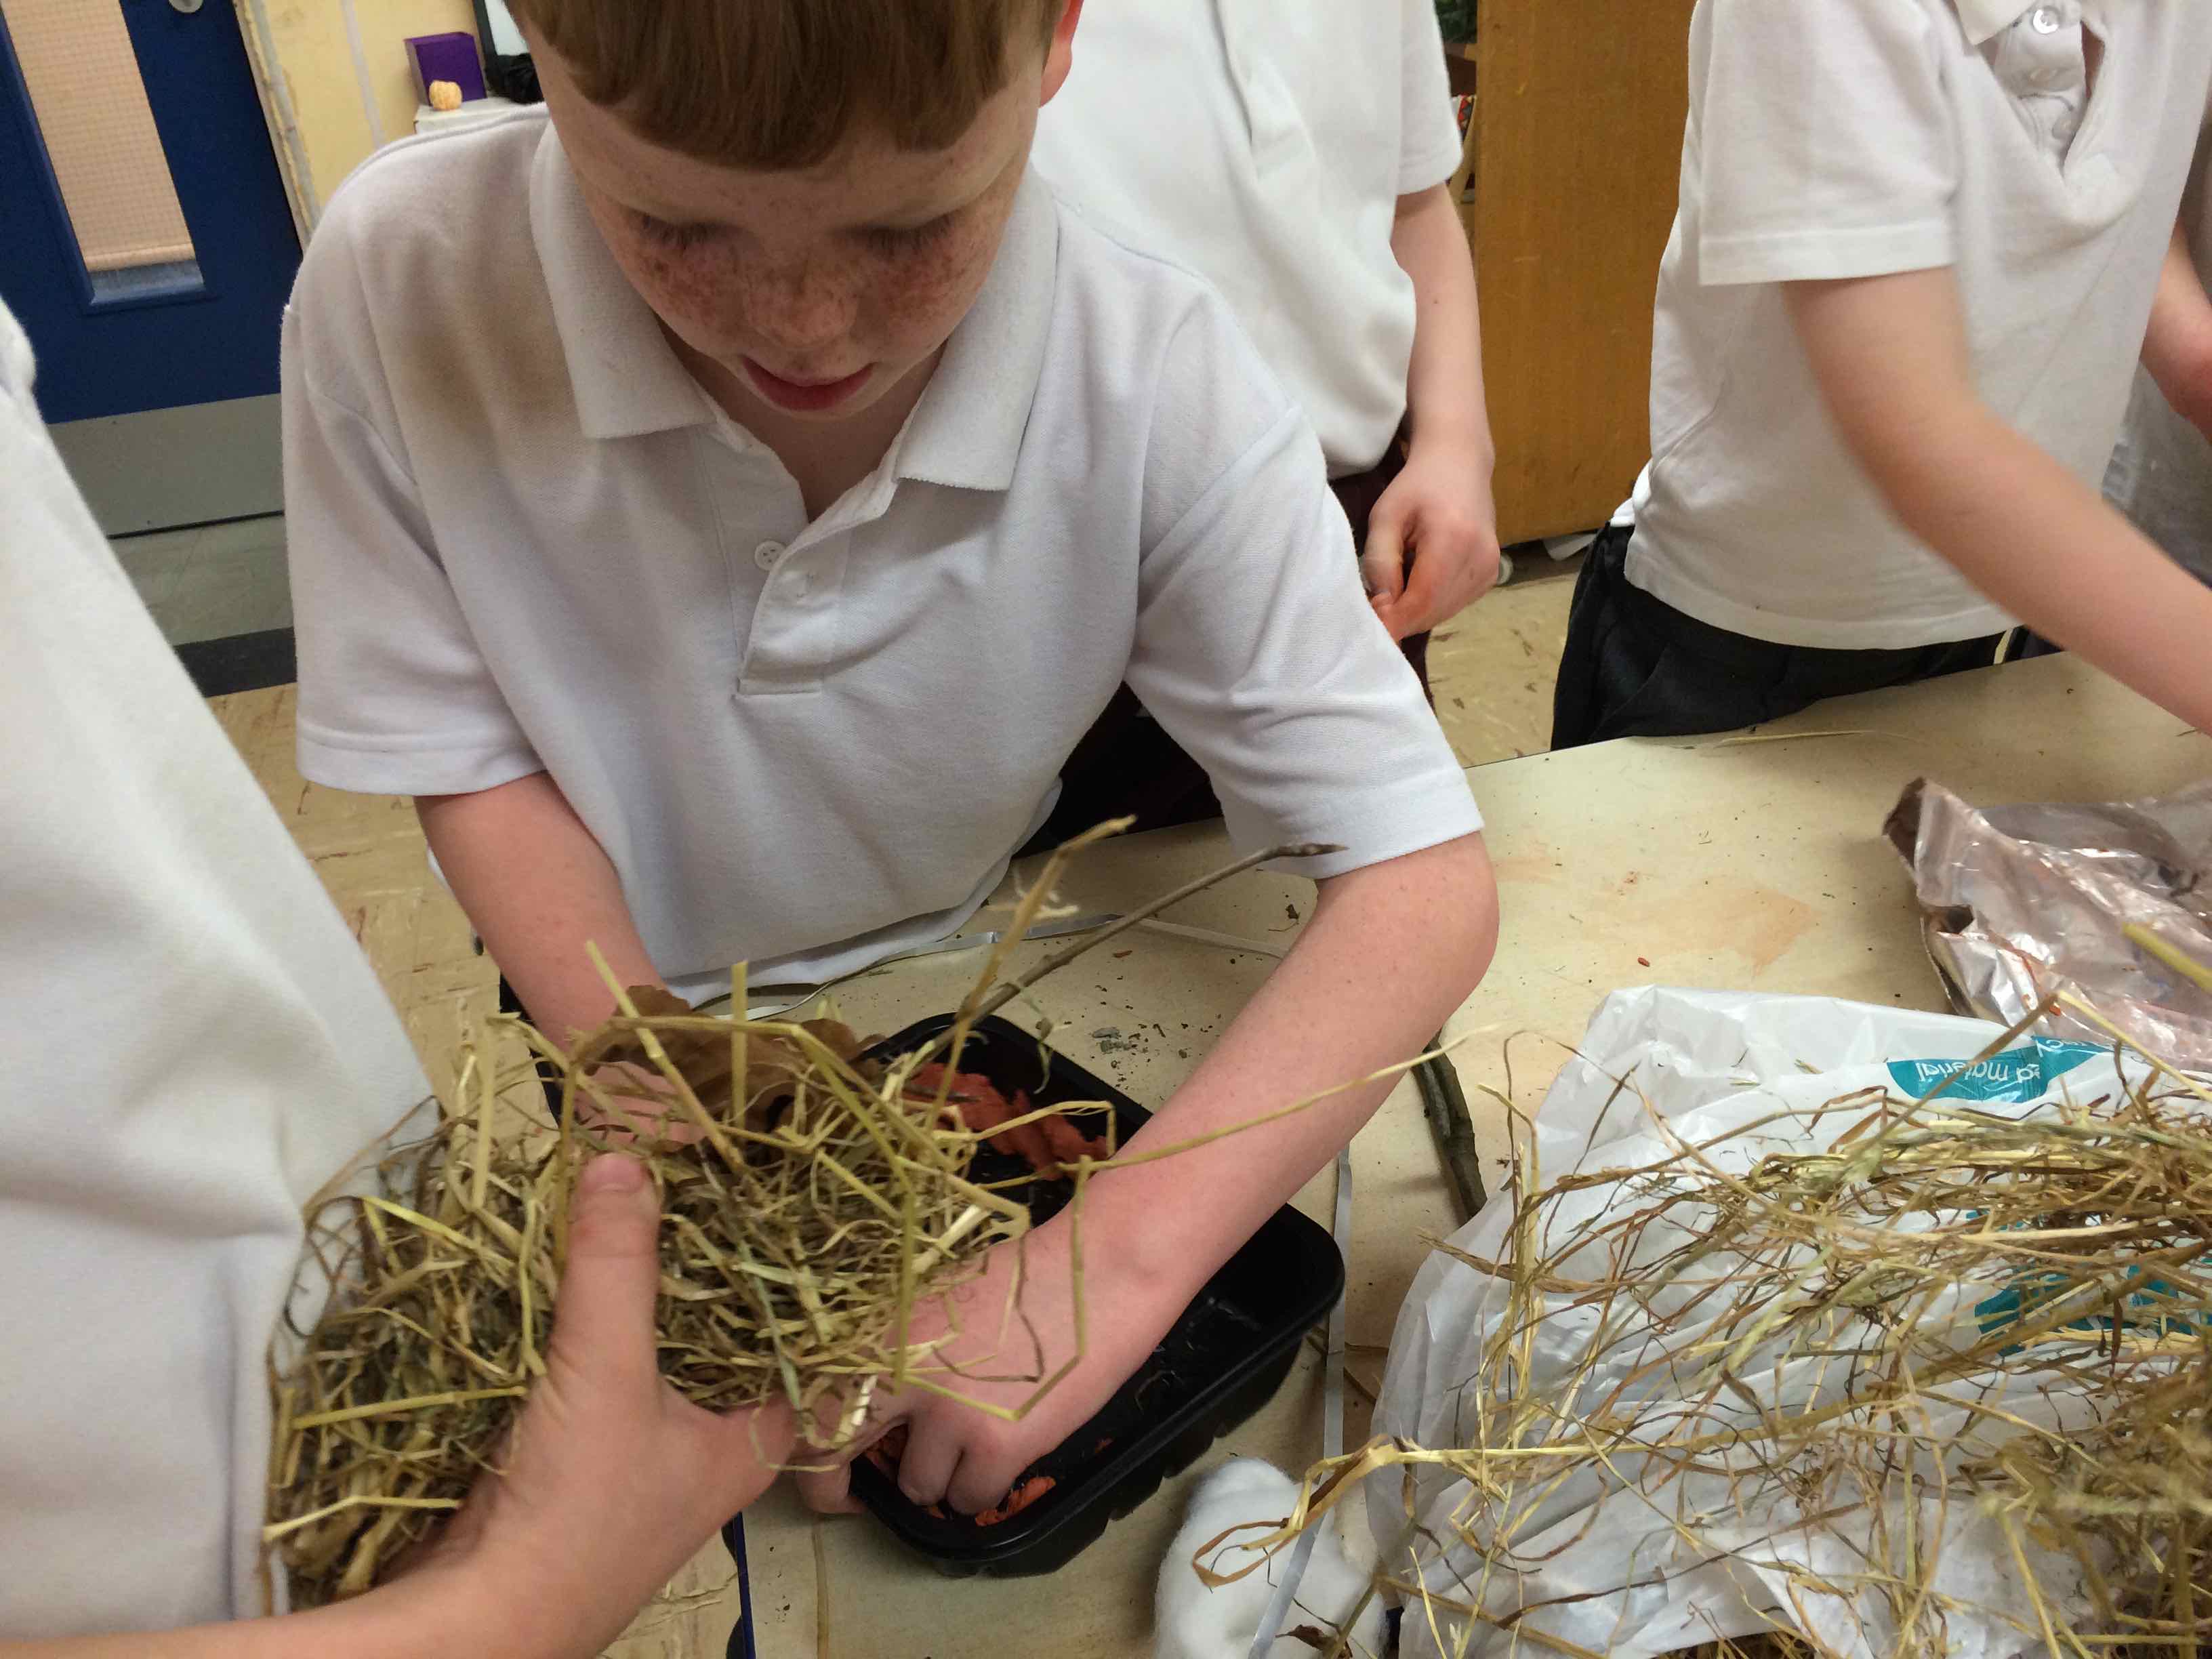
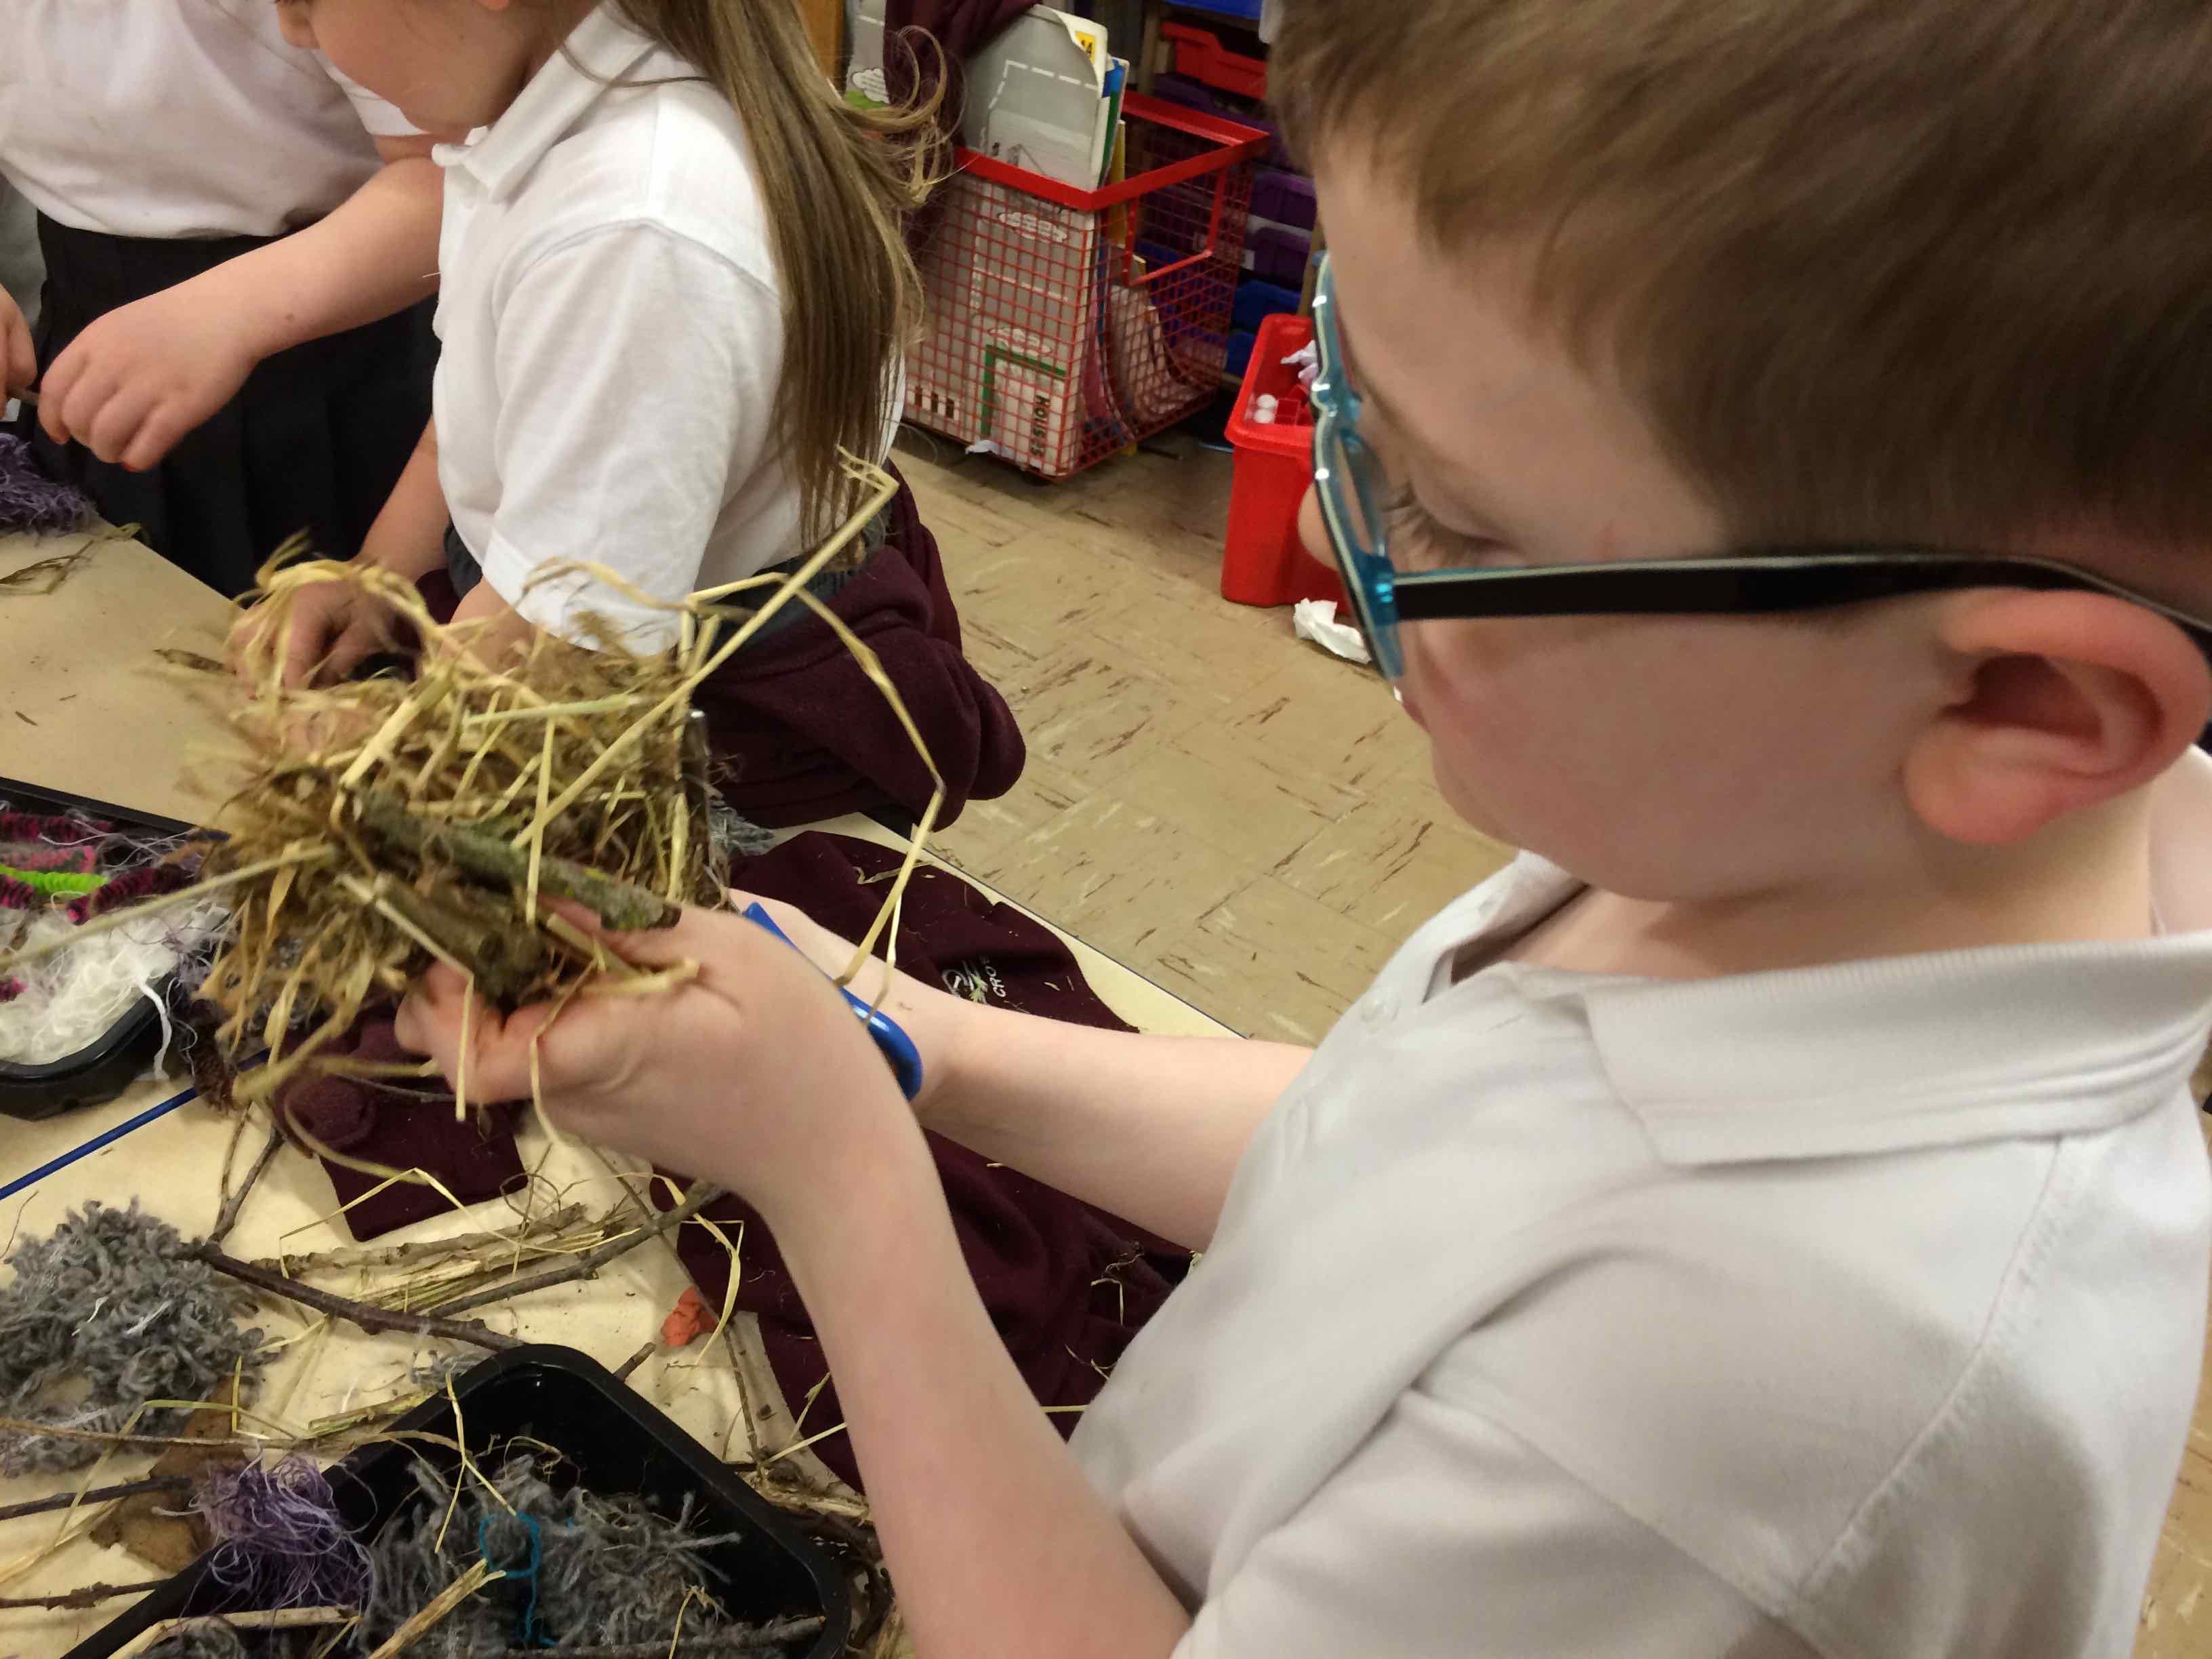
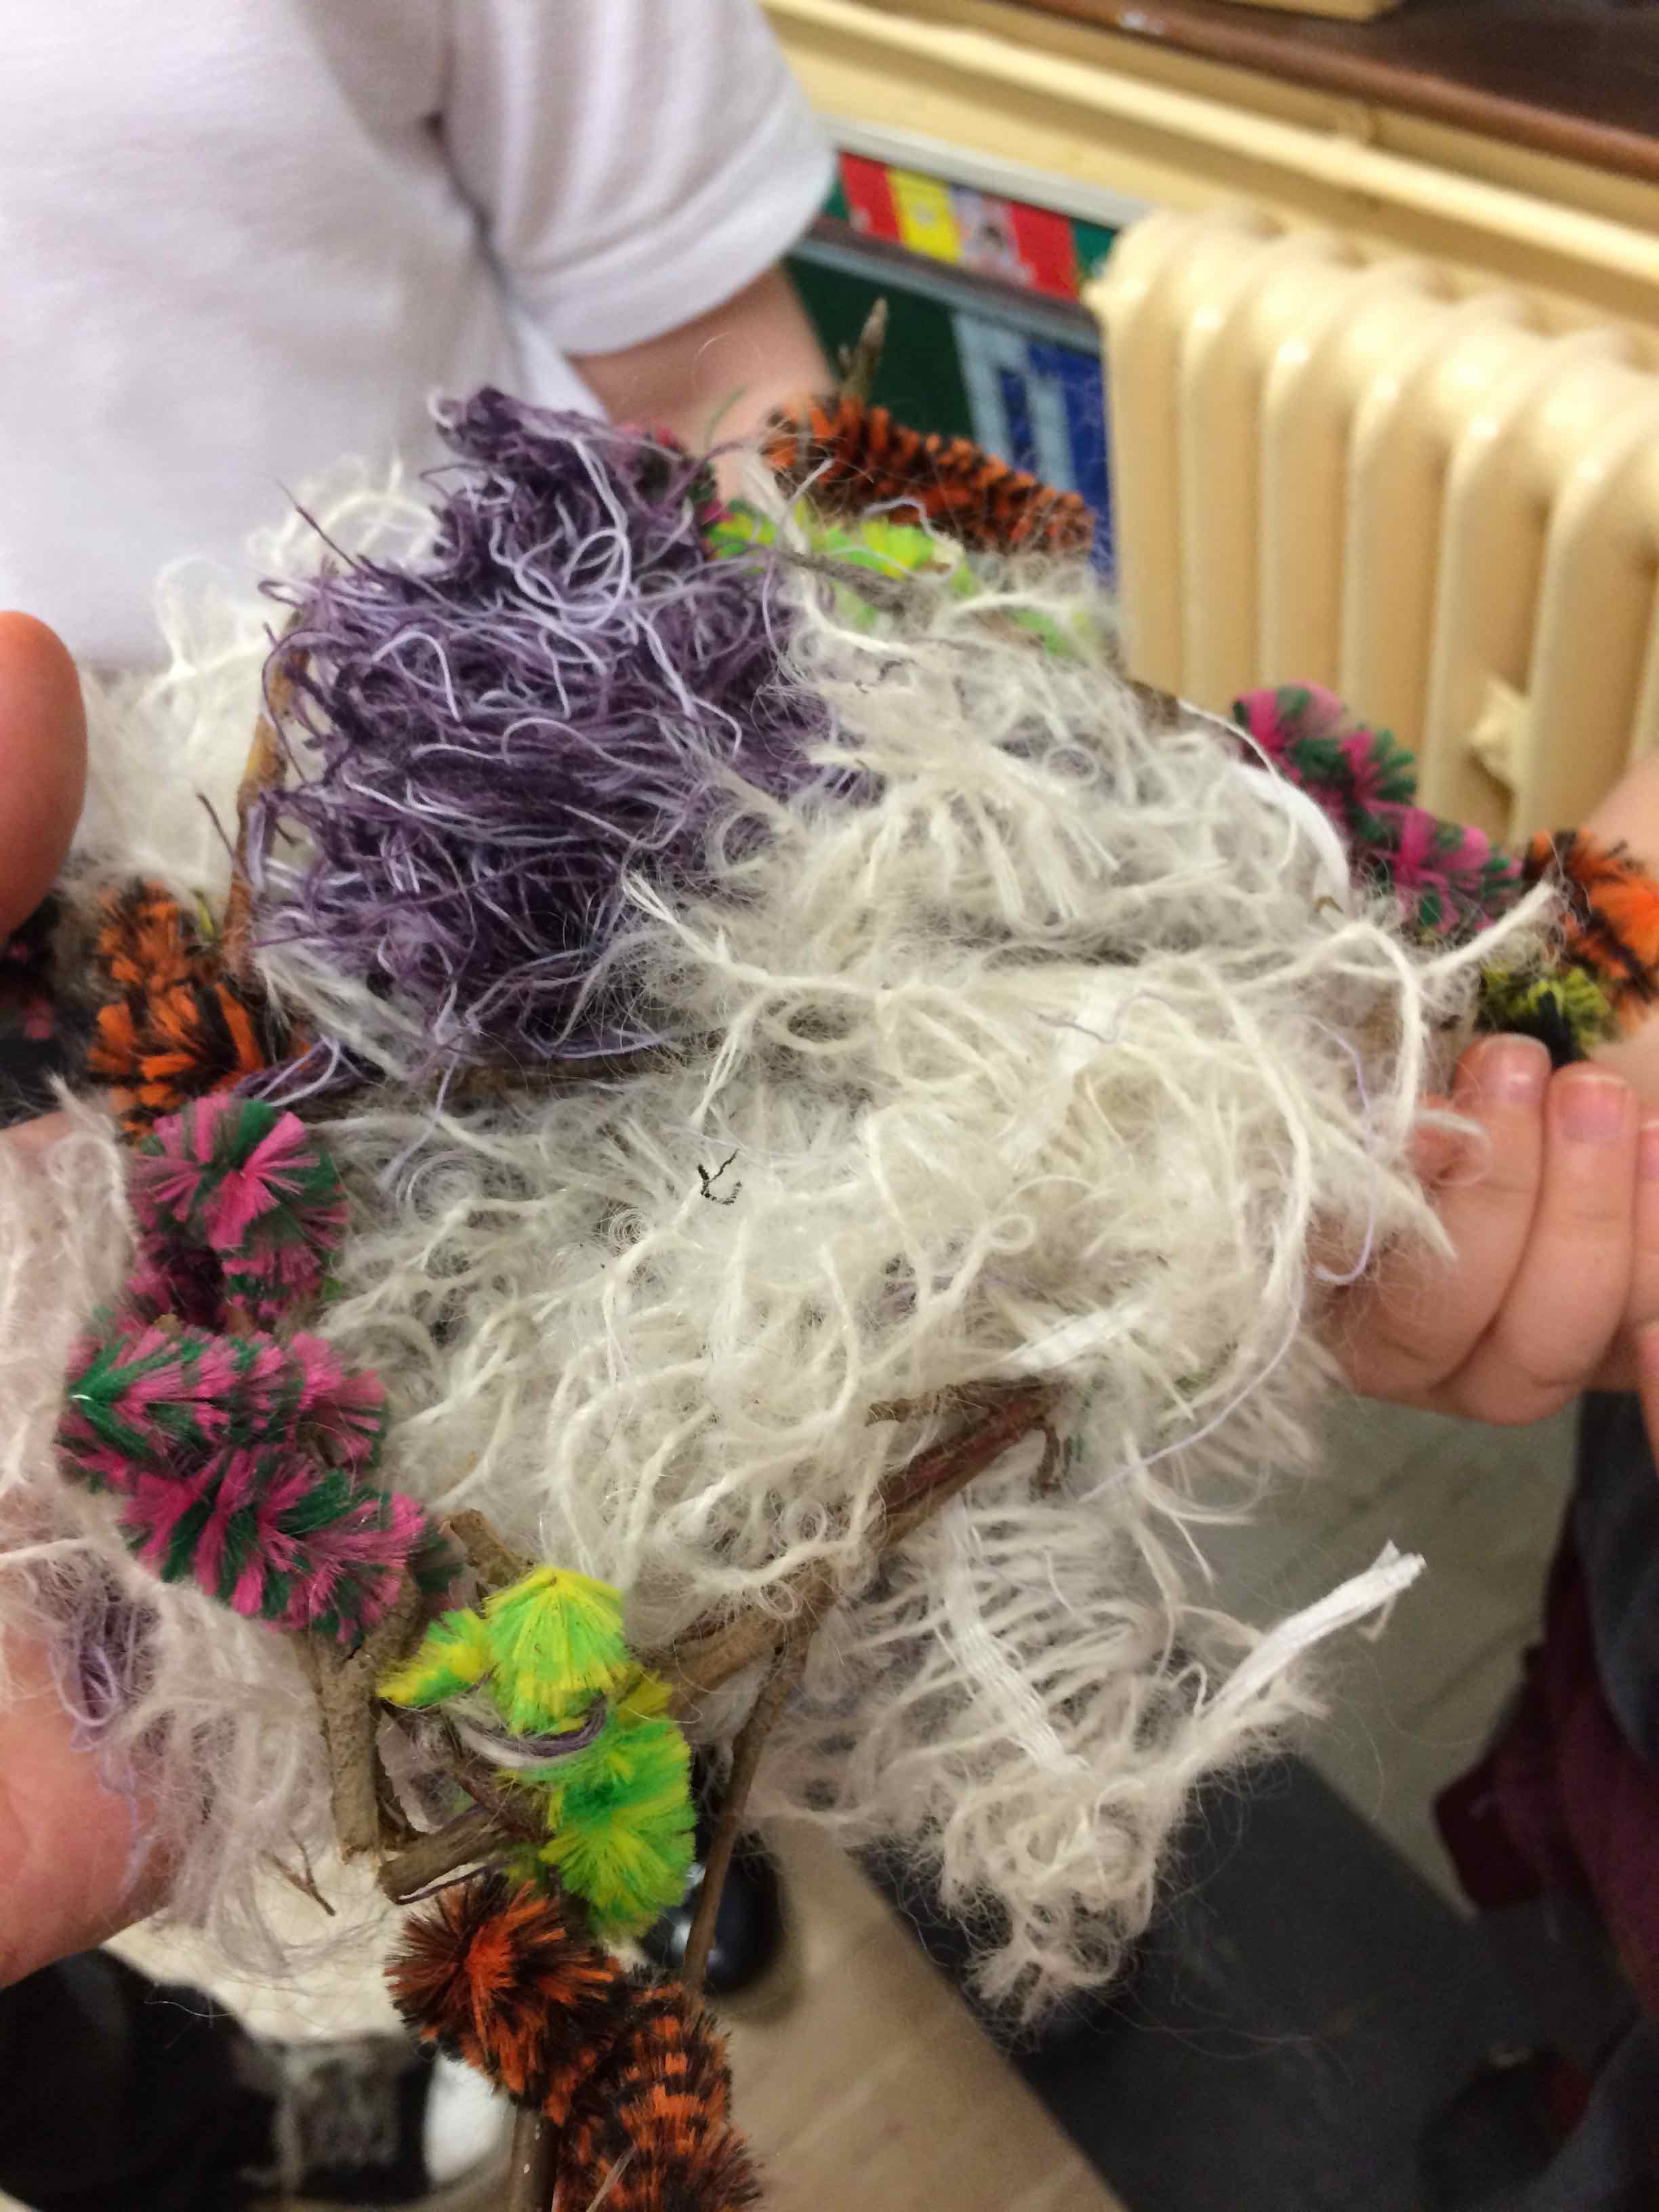
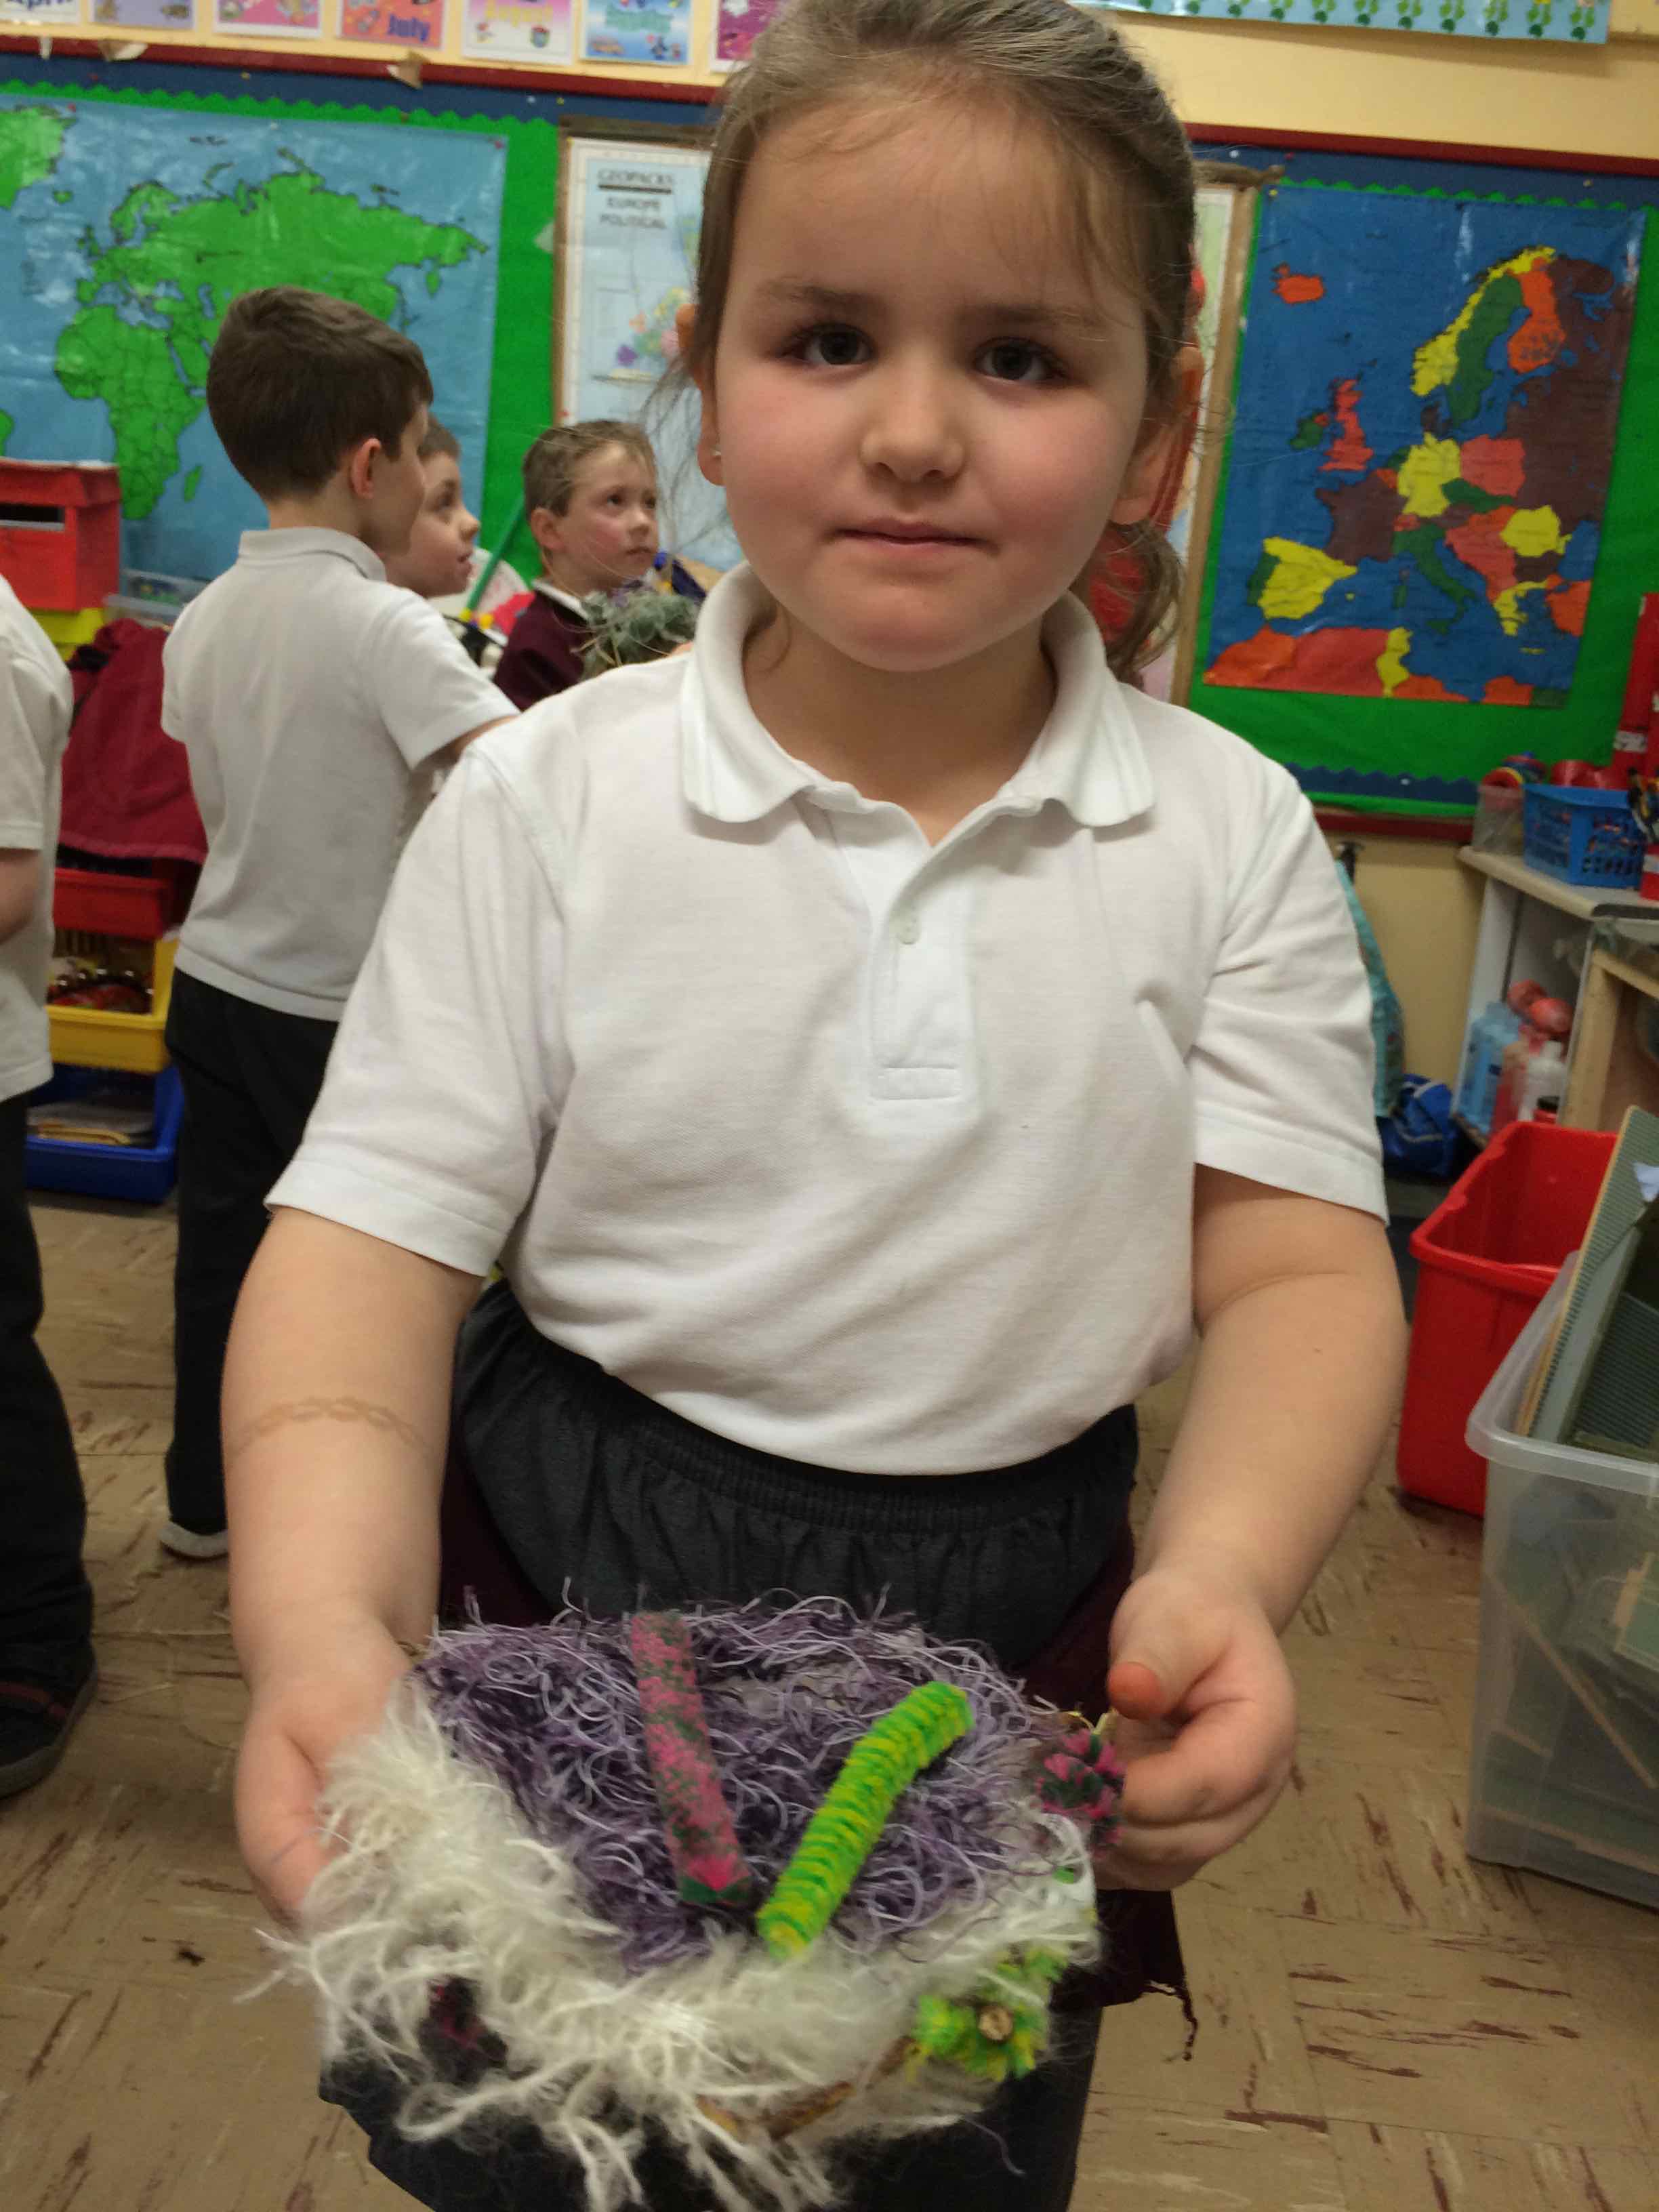
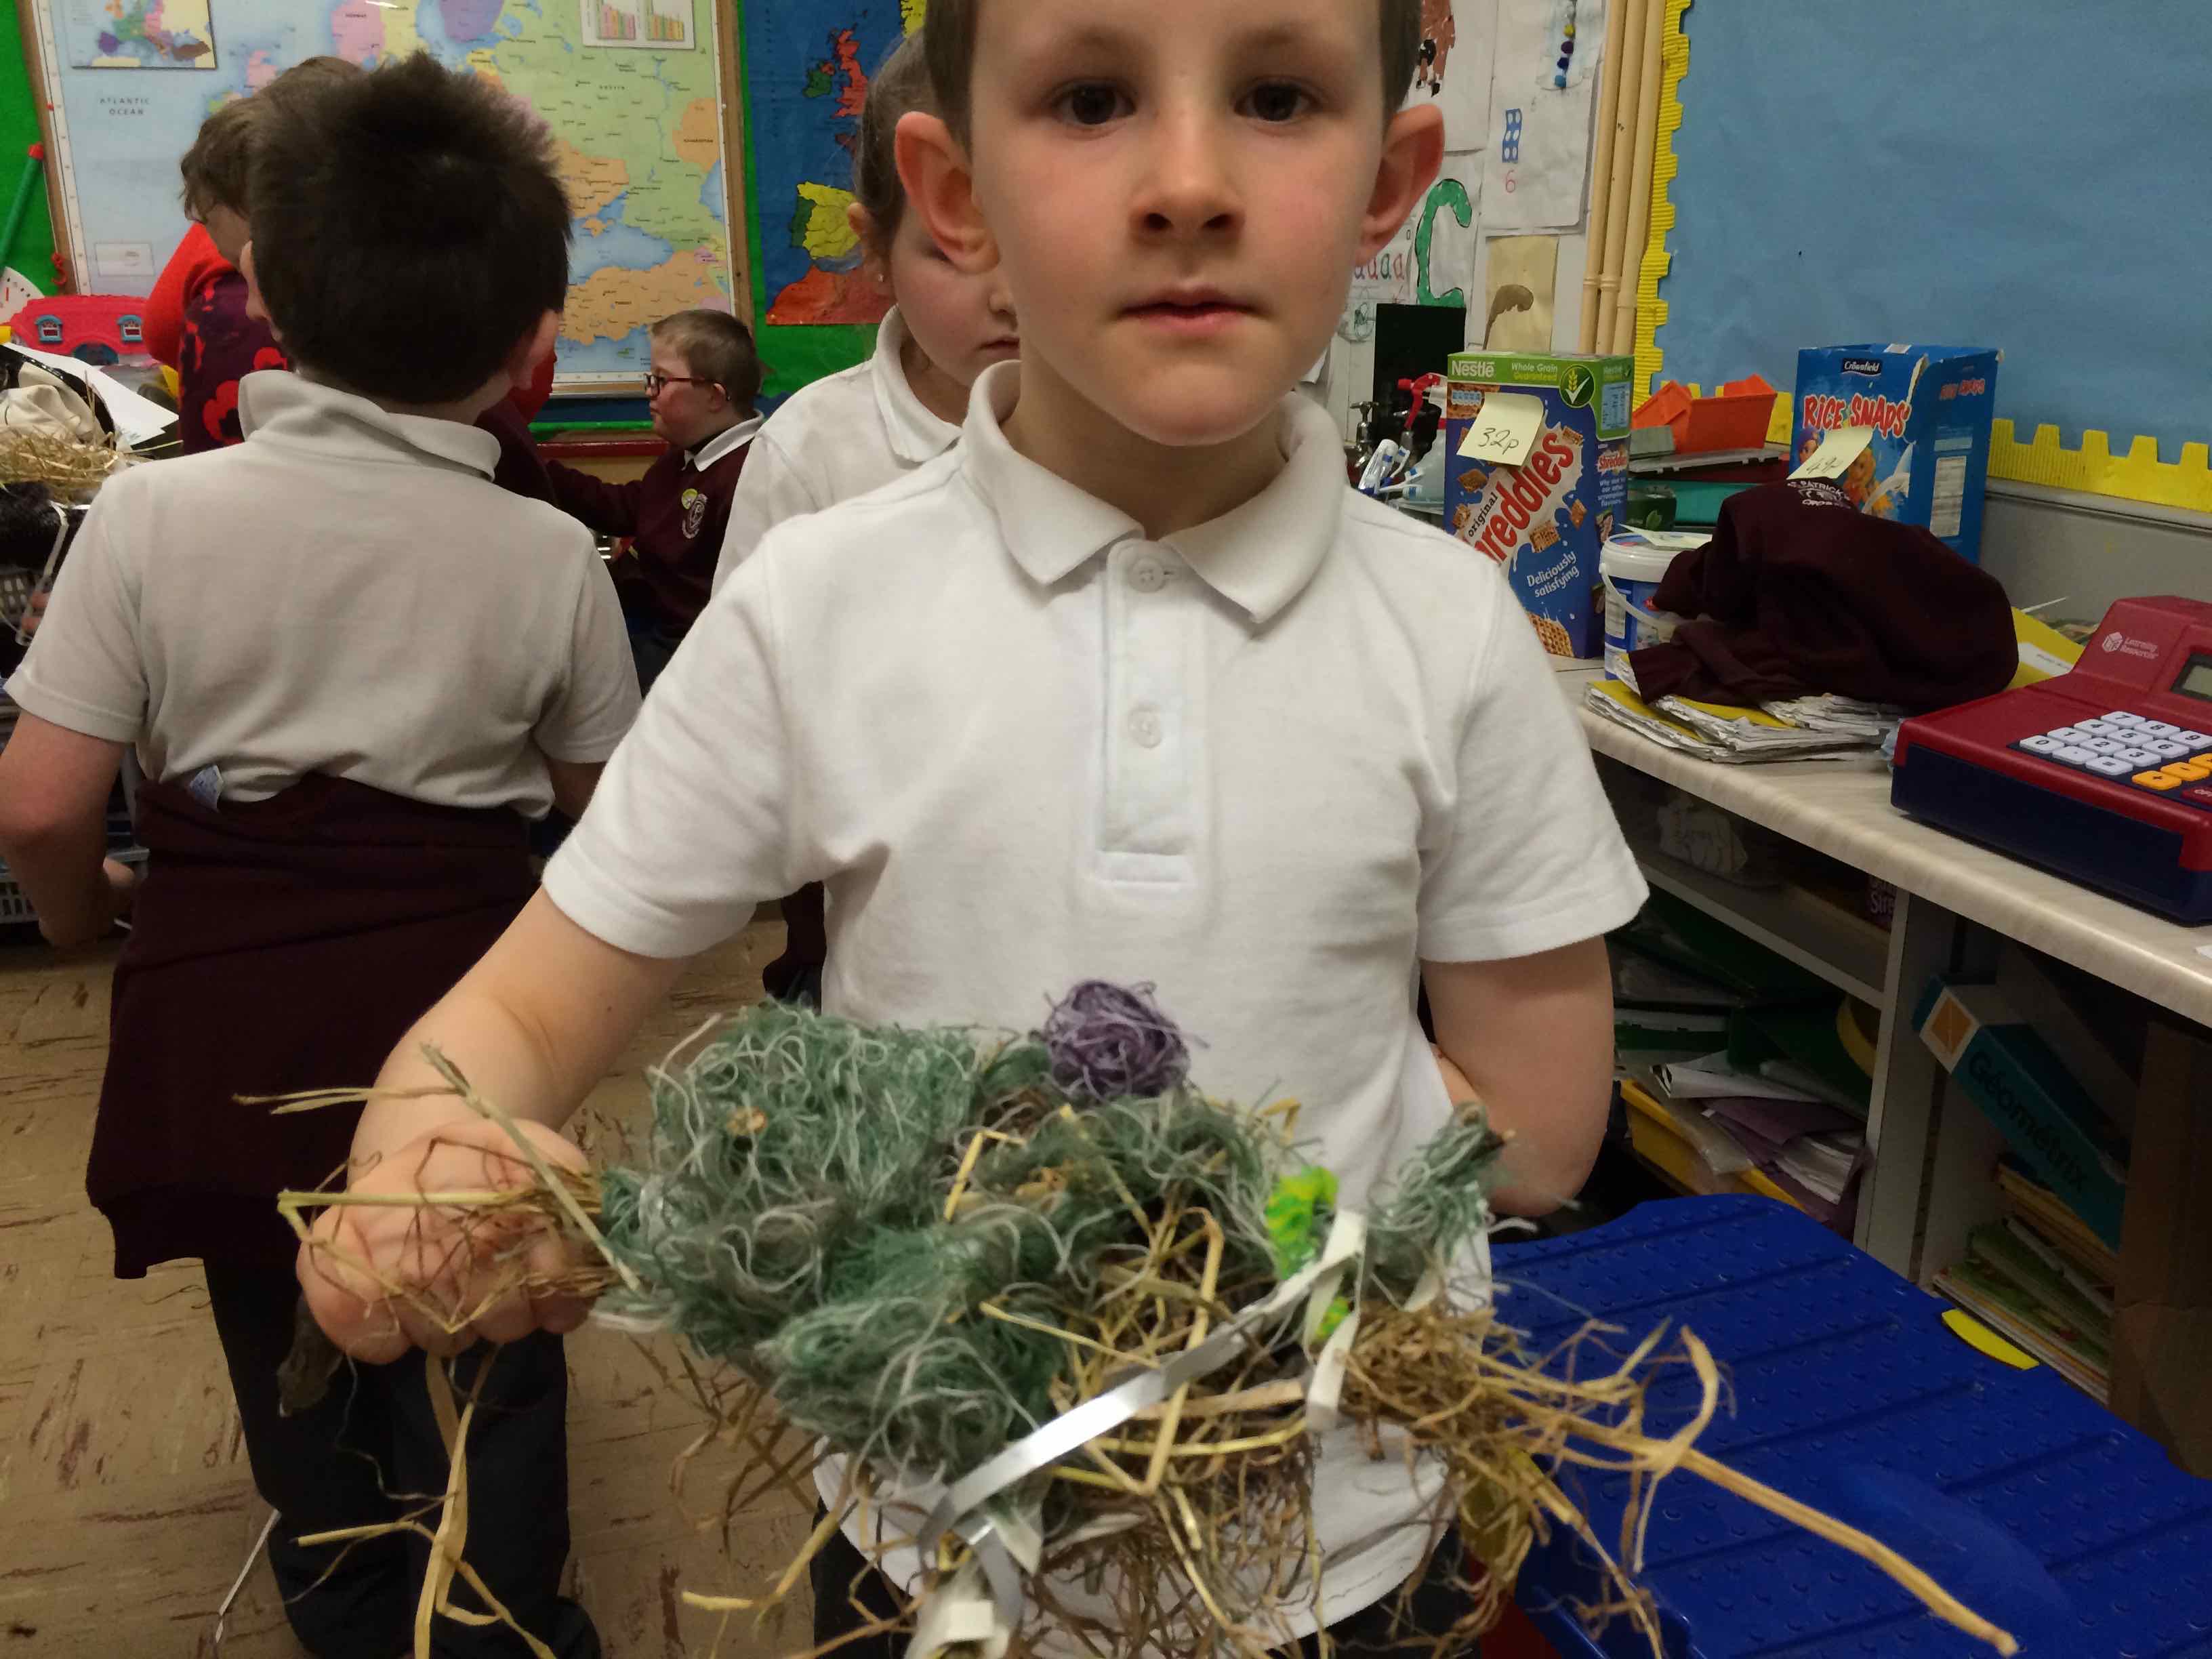
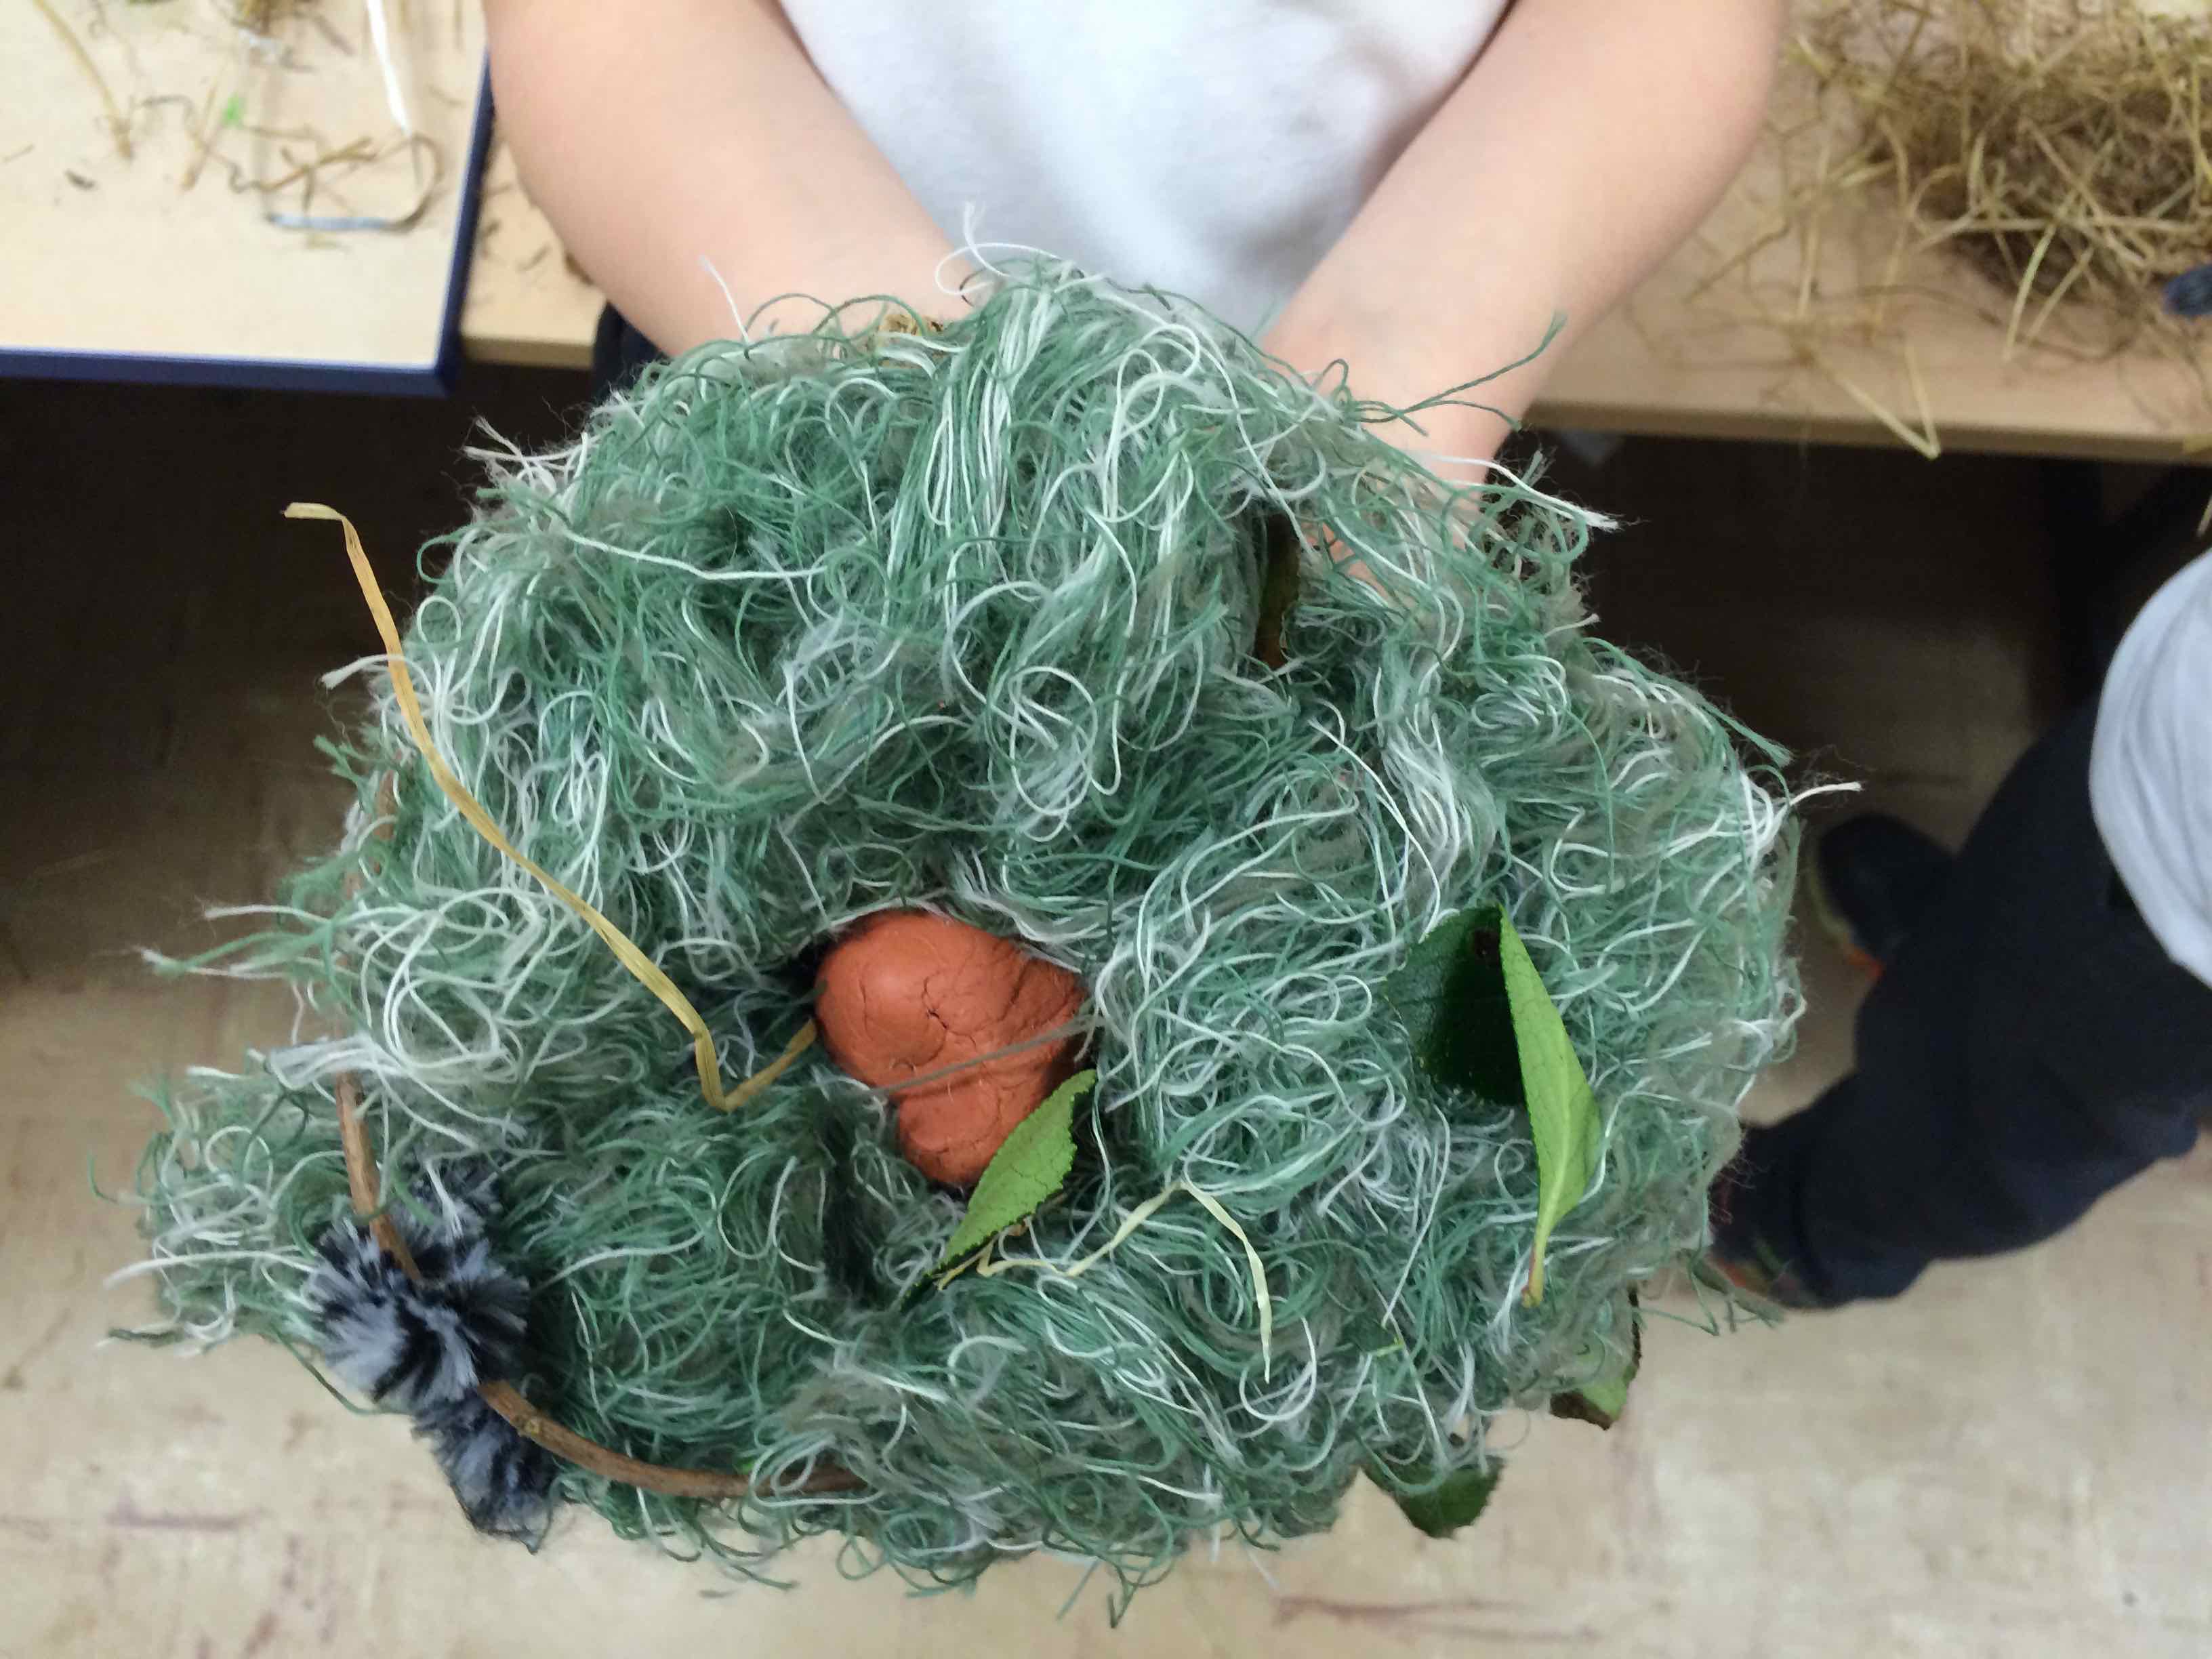
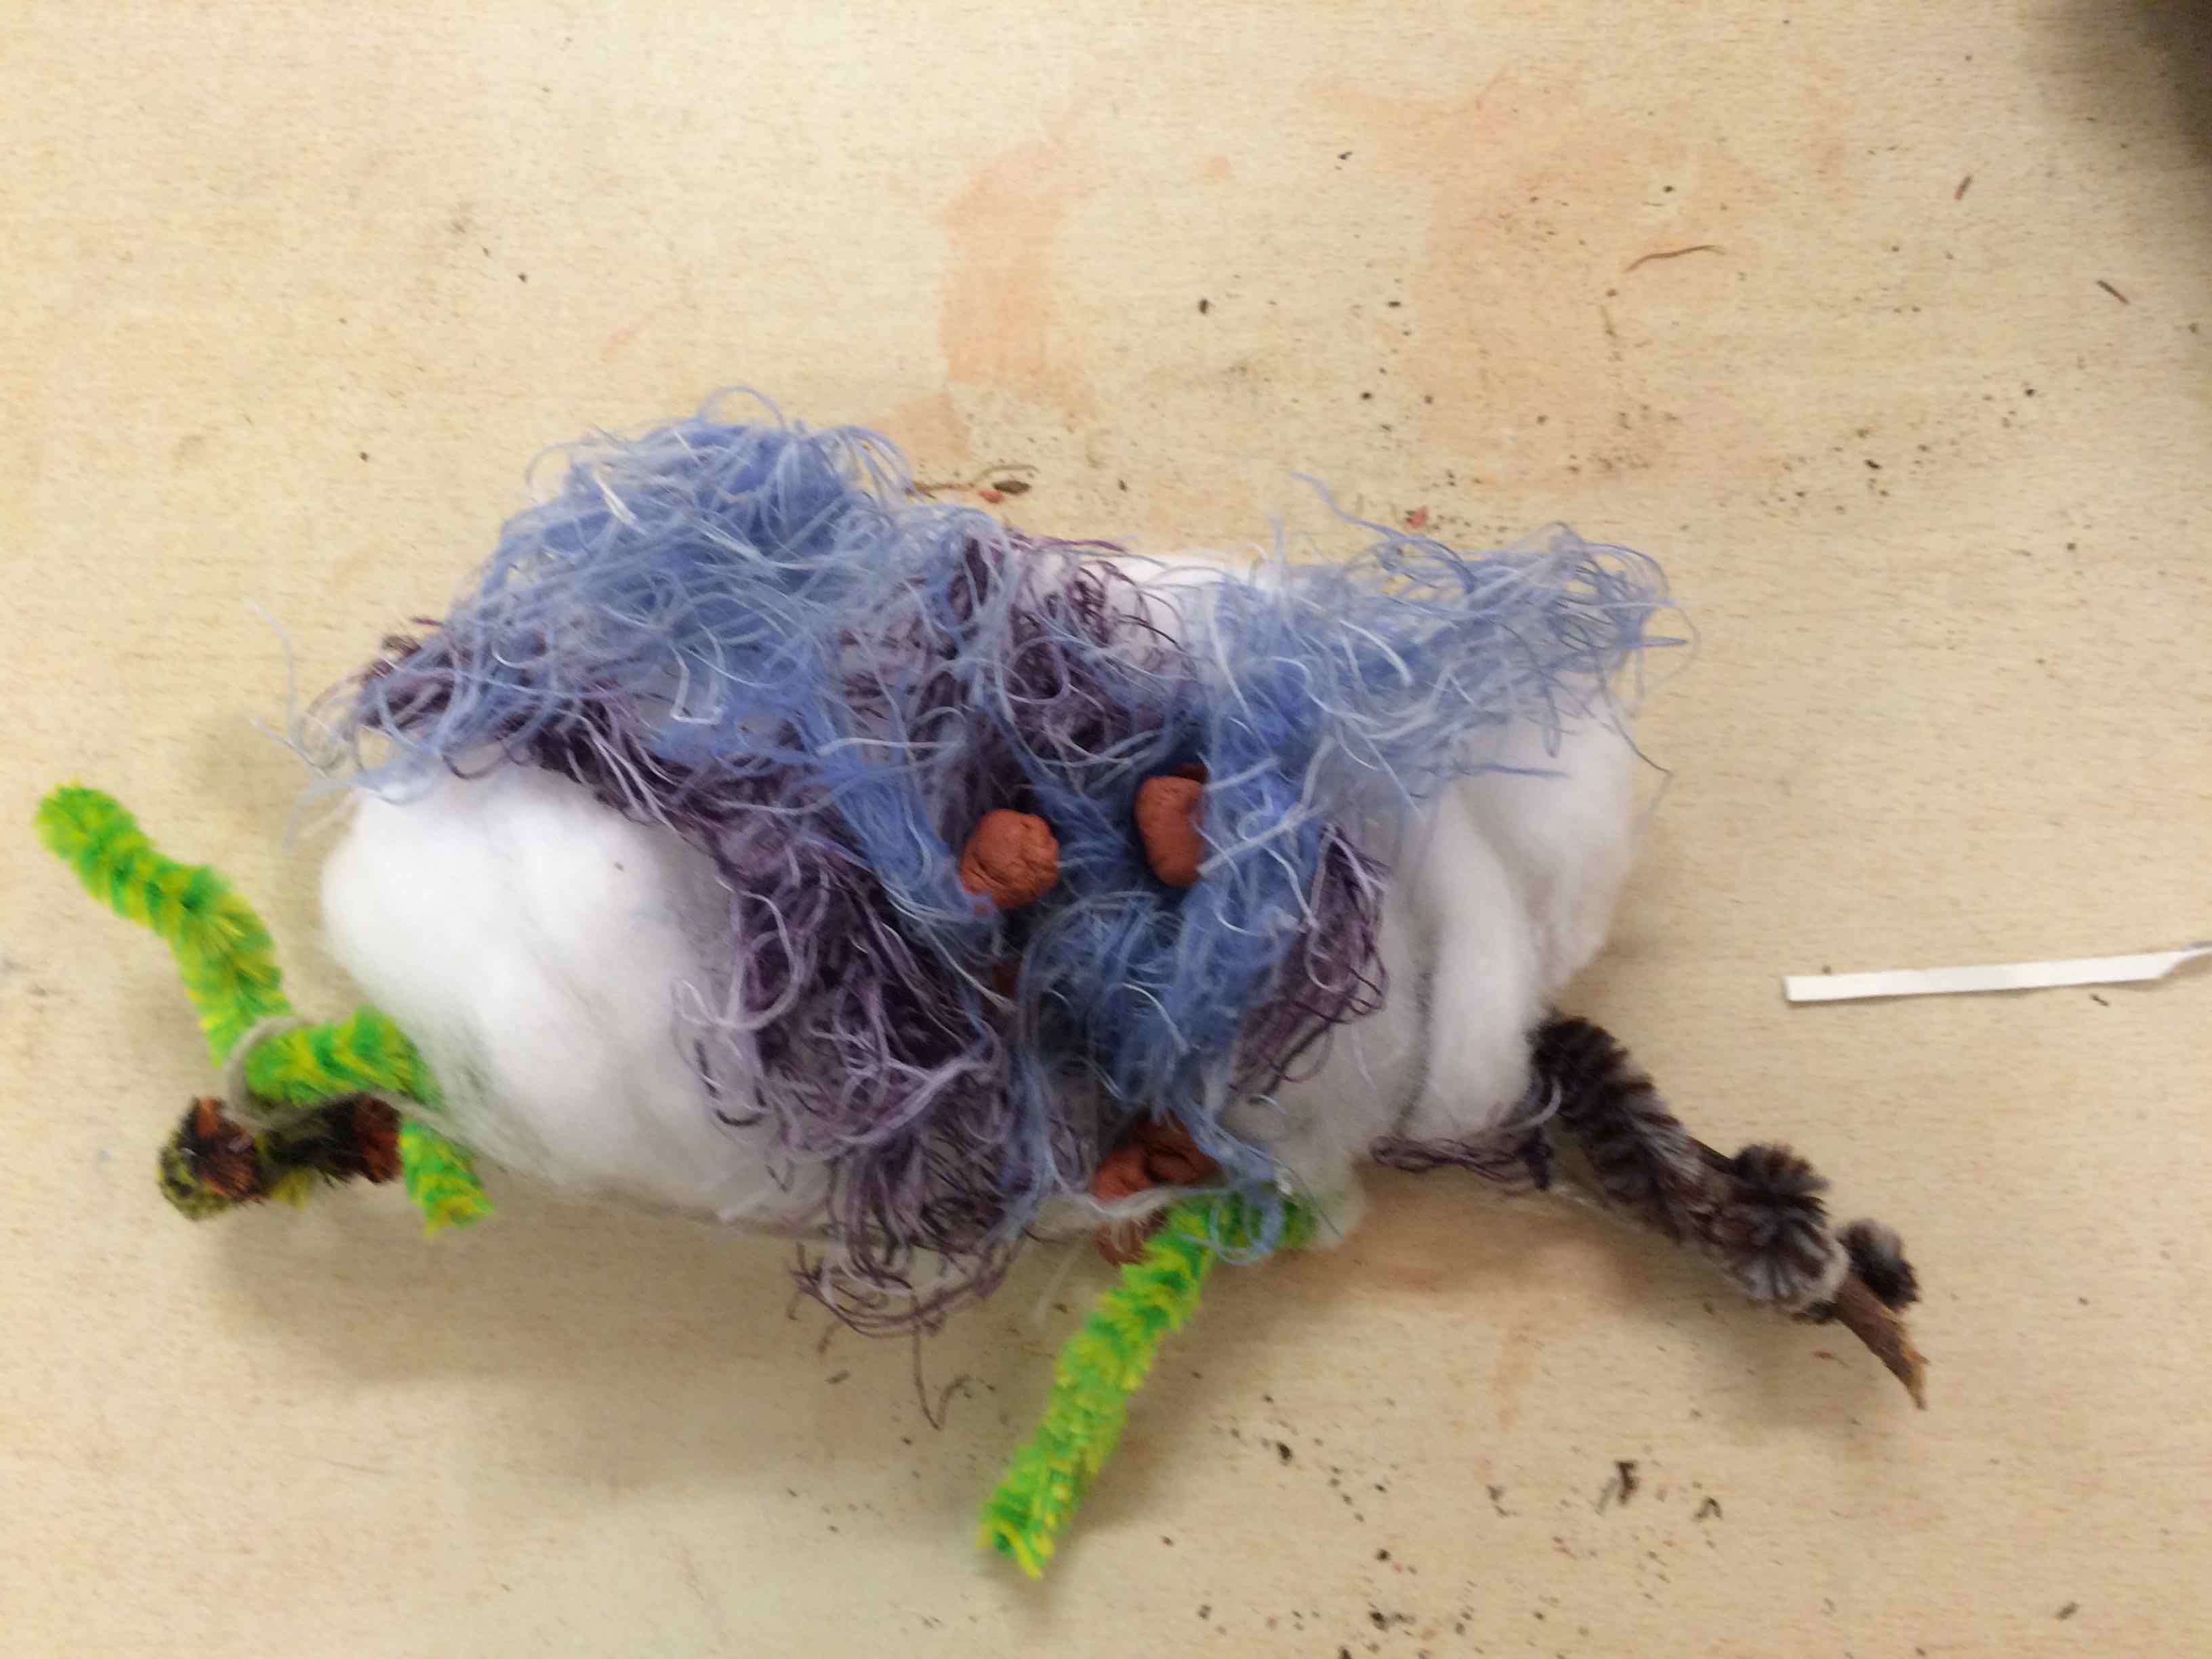
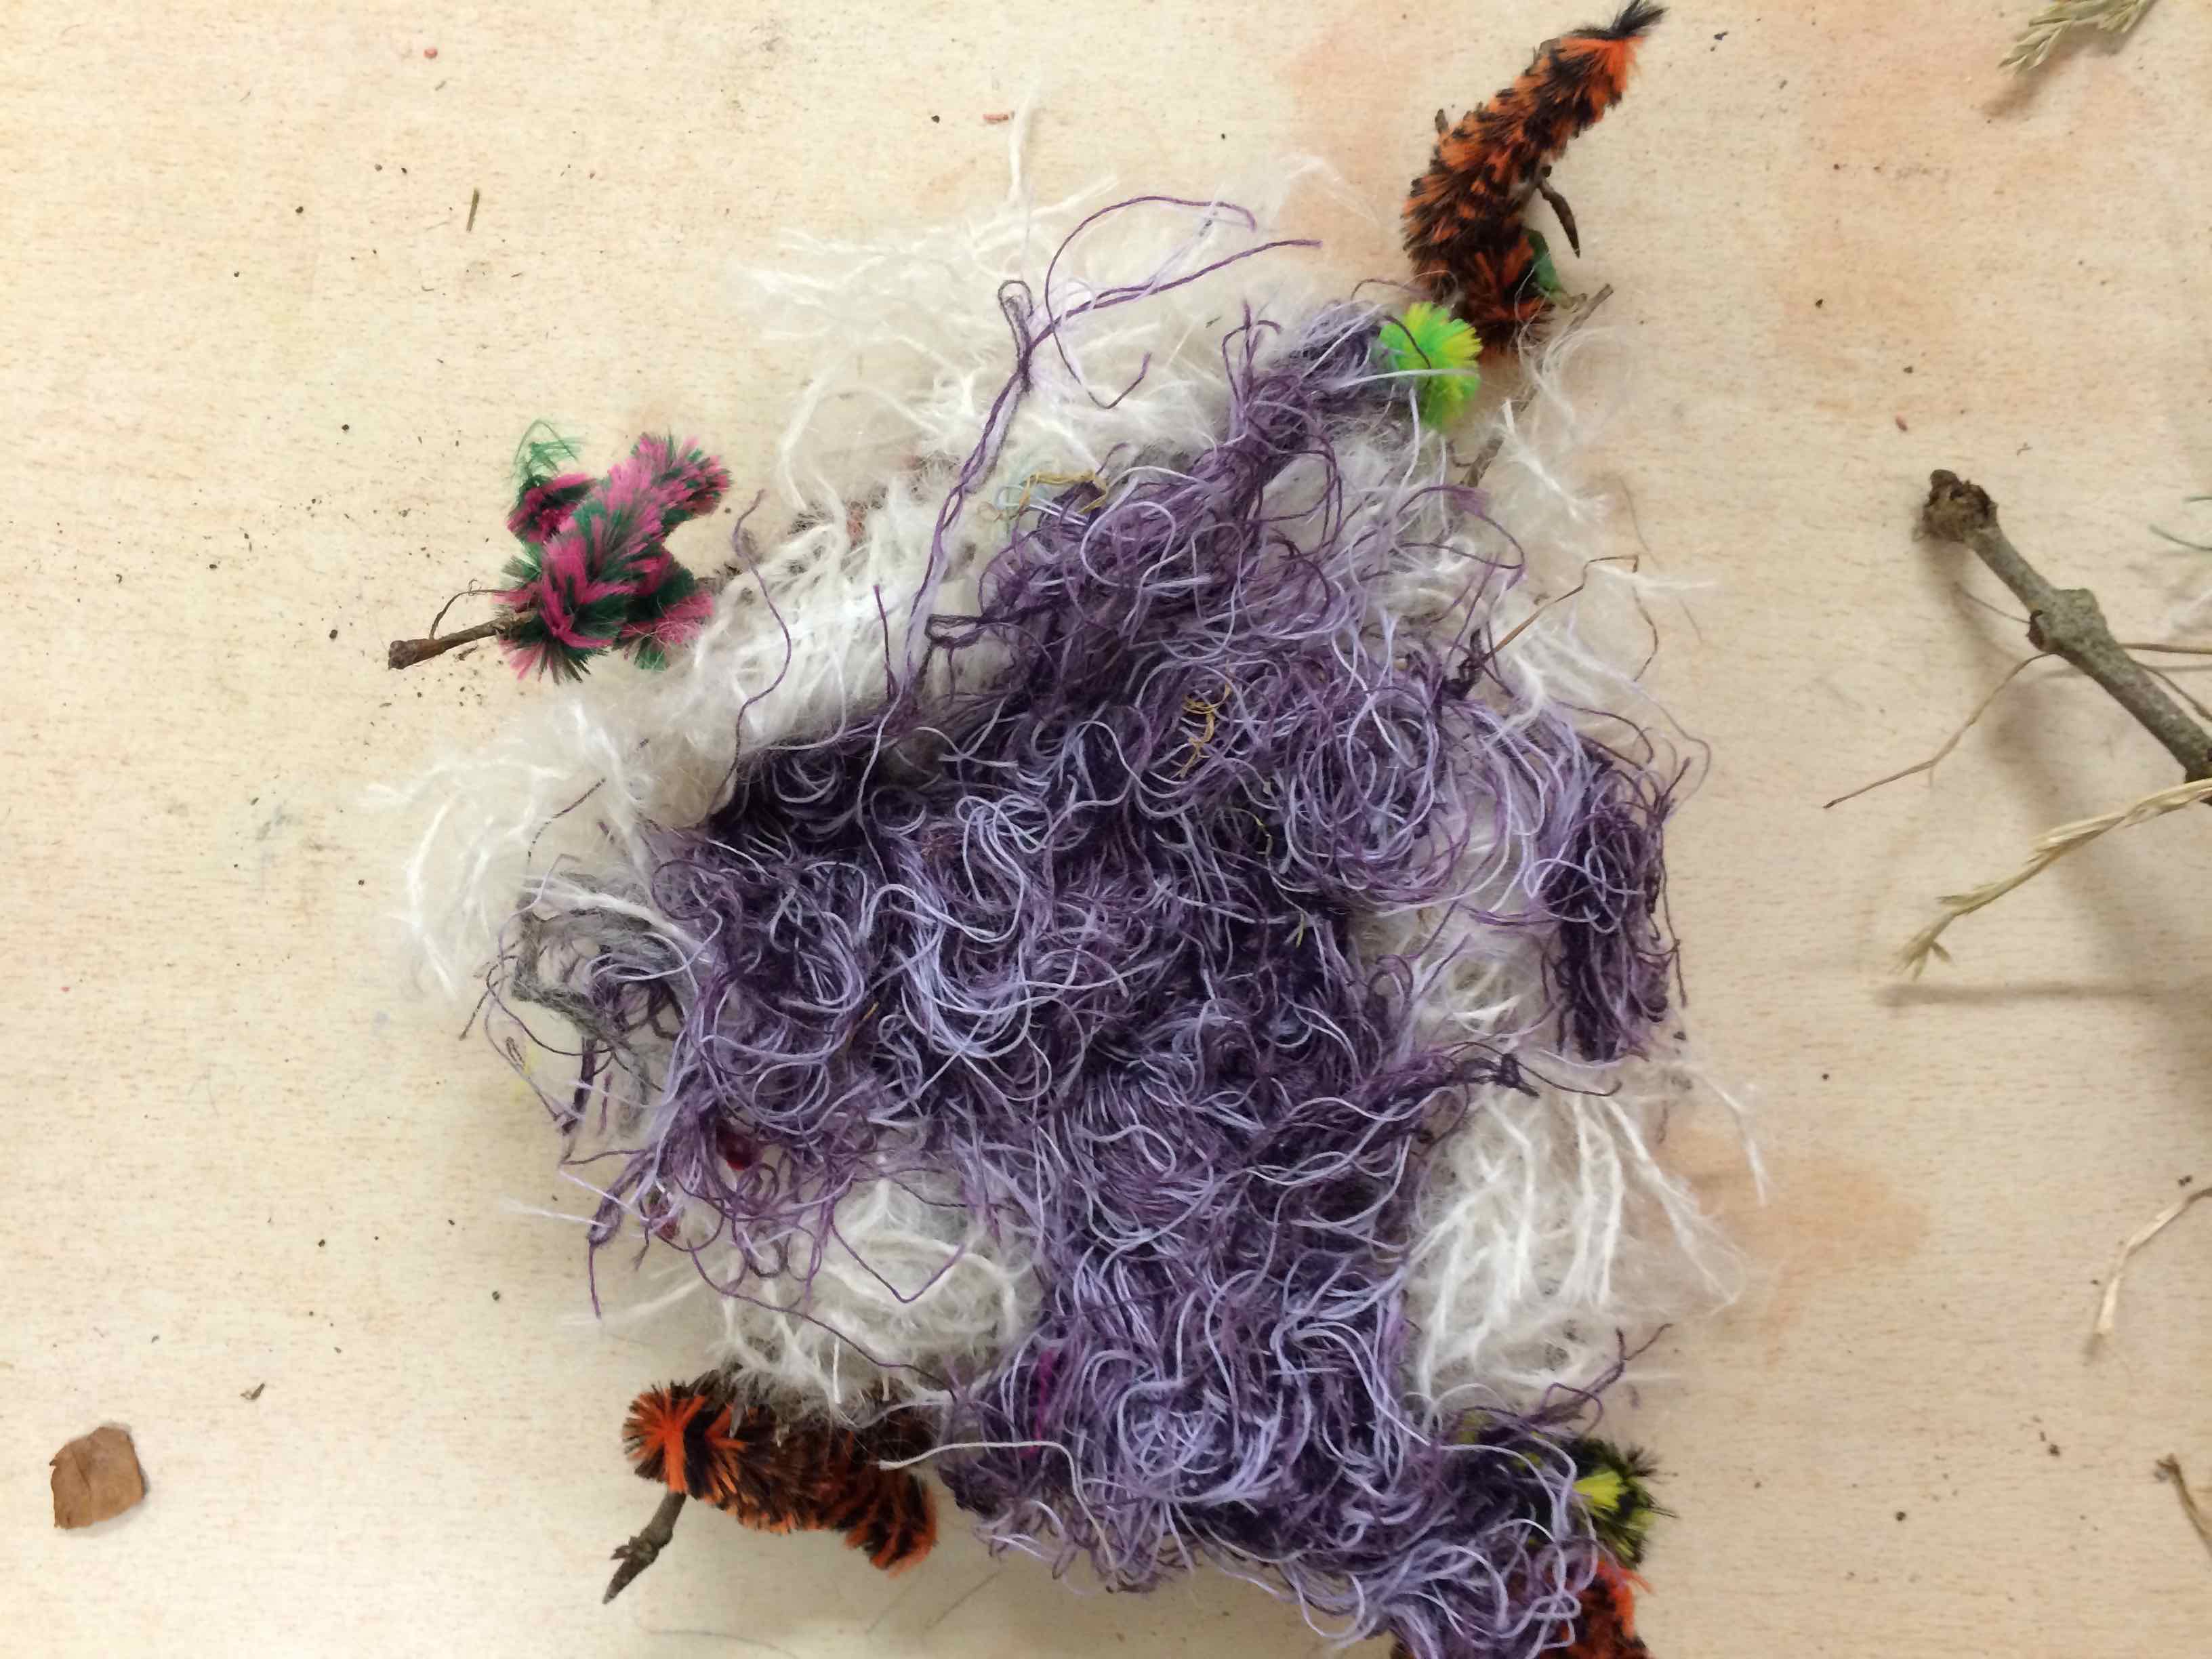
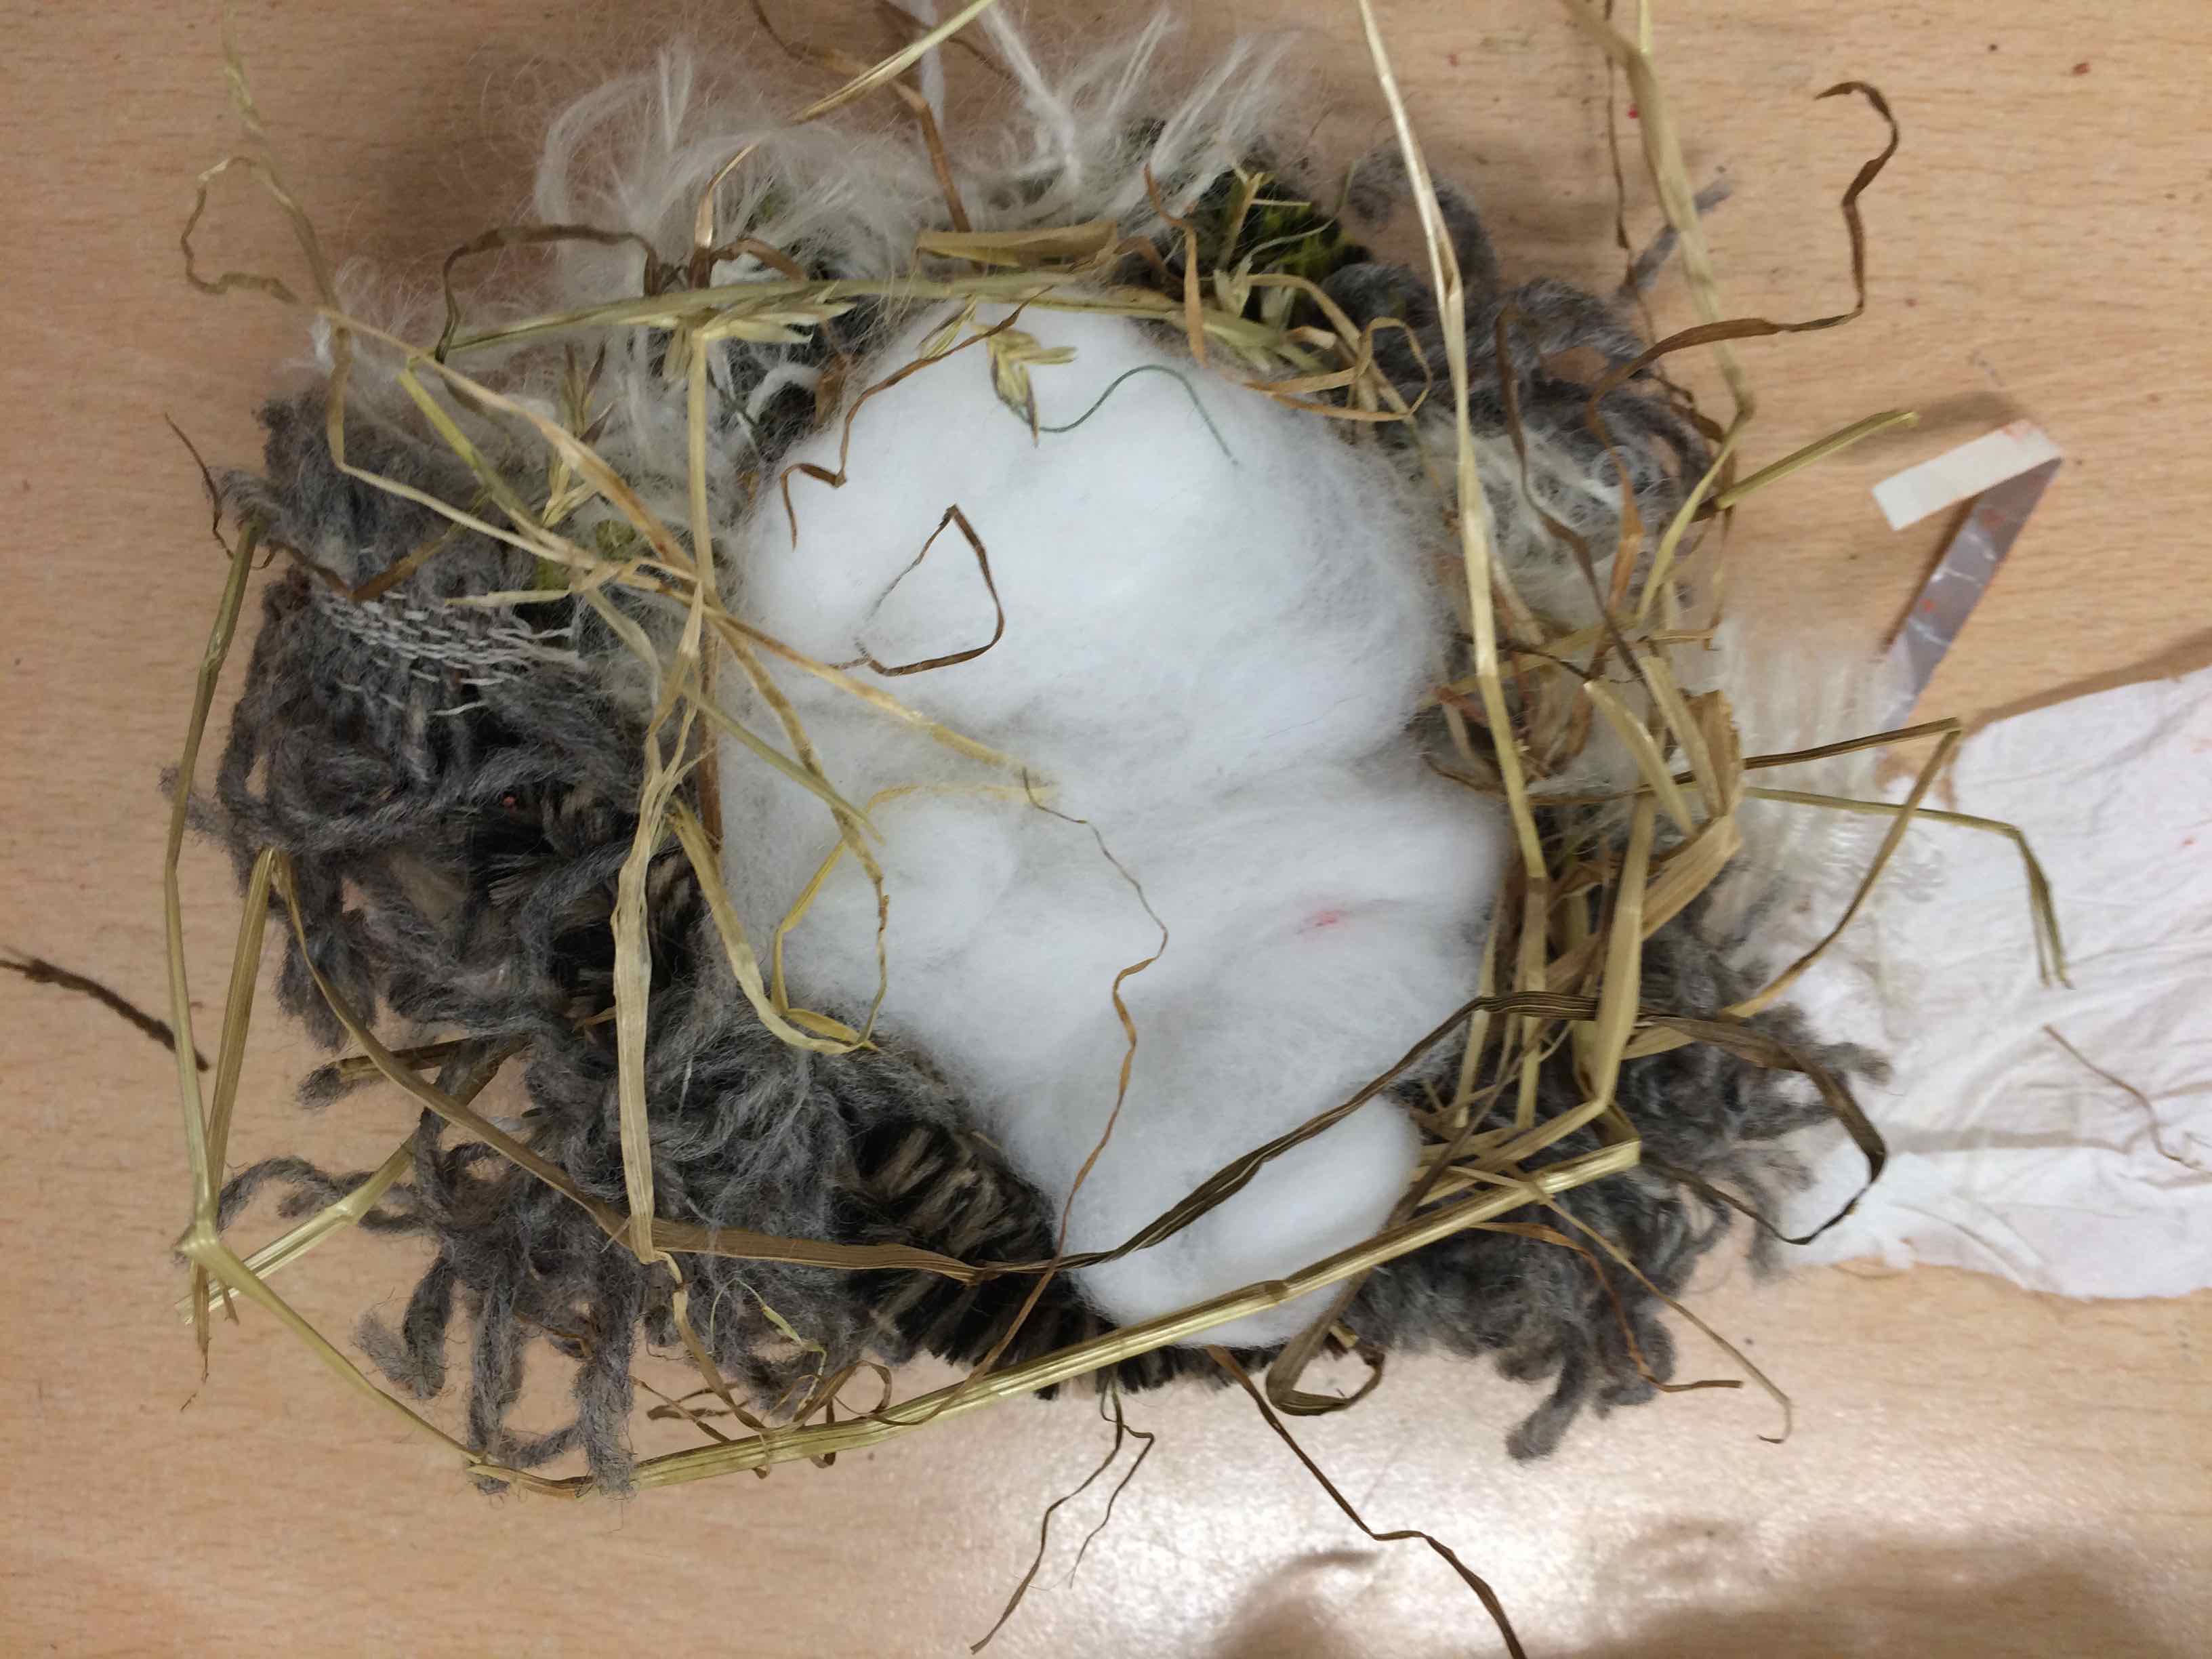
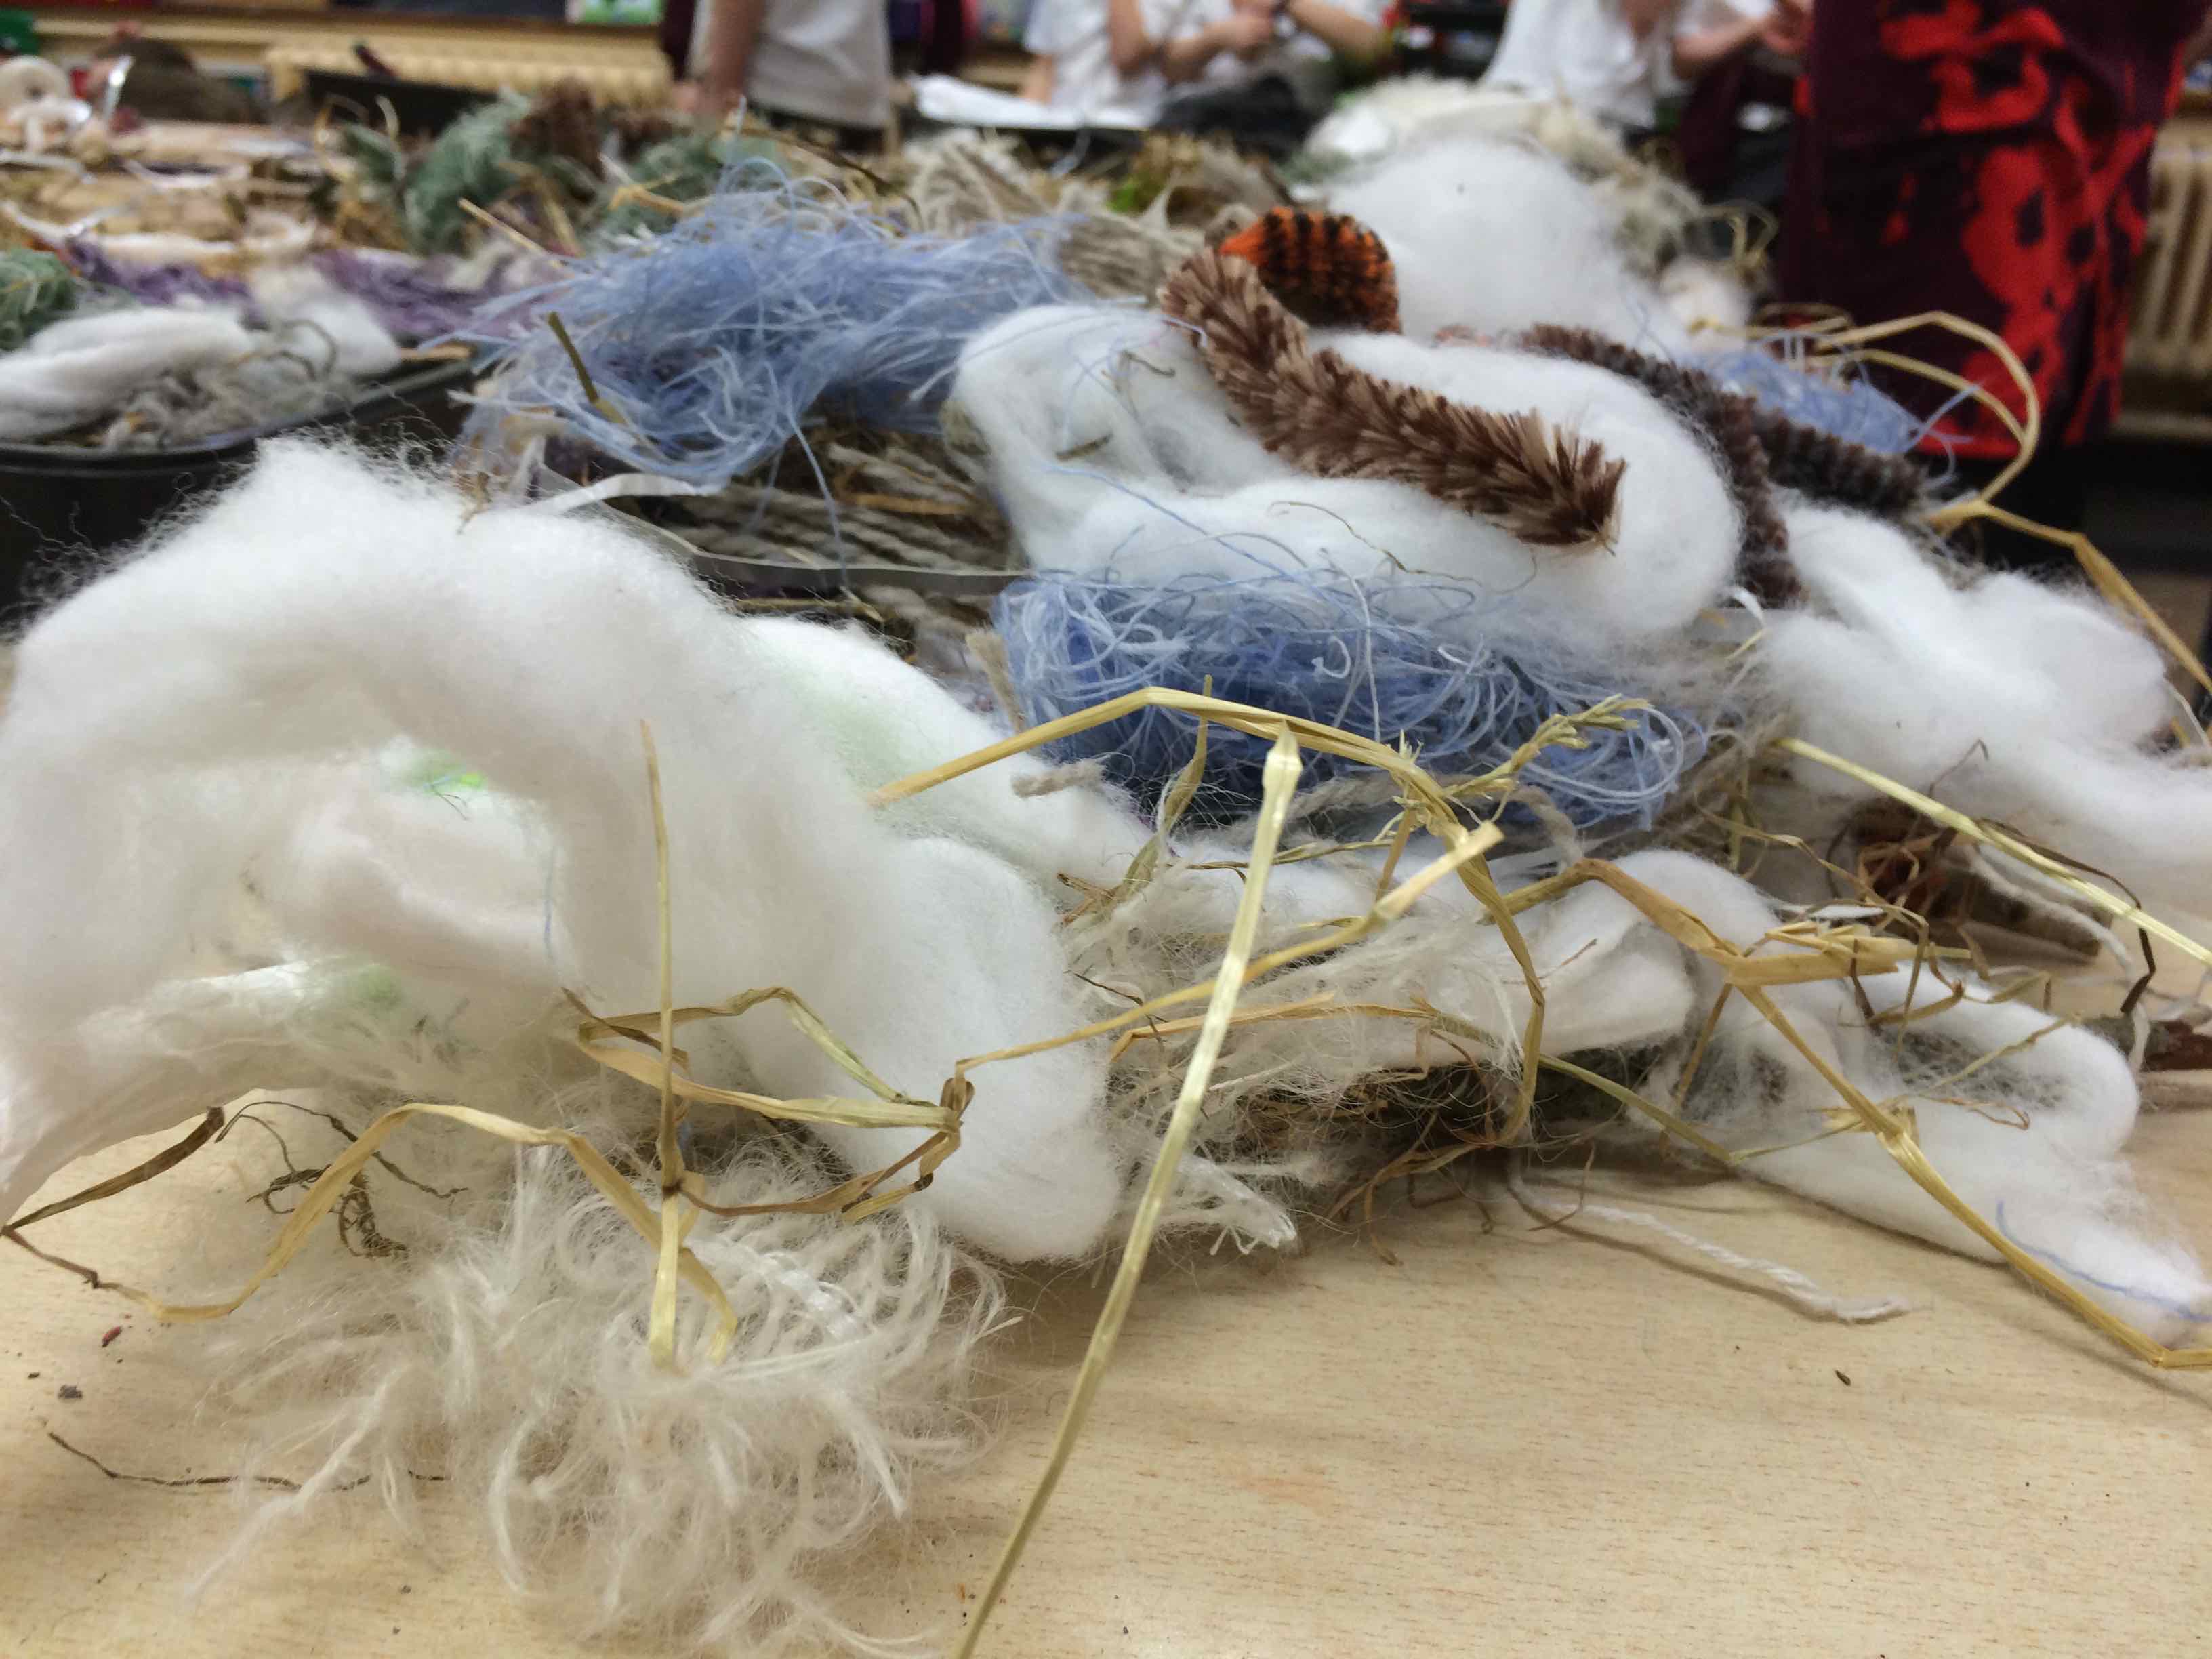
We discussed how and why birds made nests. We passed around eggs to FEEL their shape in our hands and to get a sense of how we could PROTECT the egg.
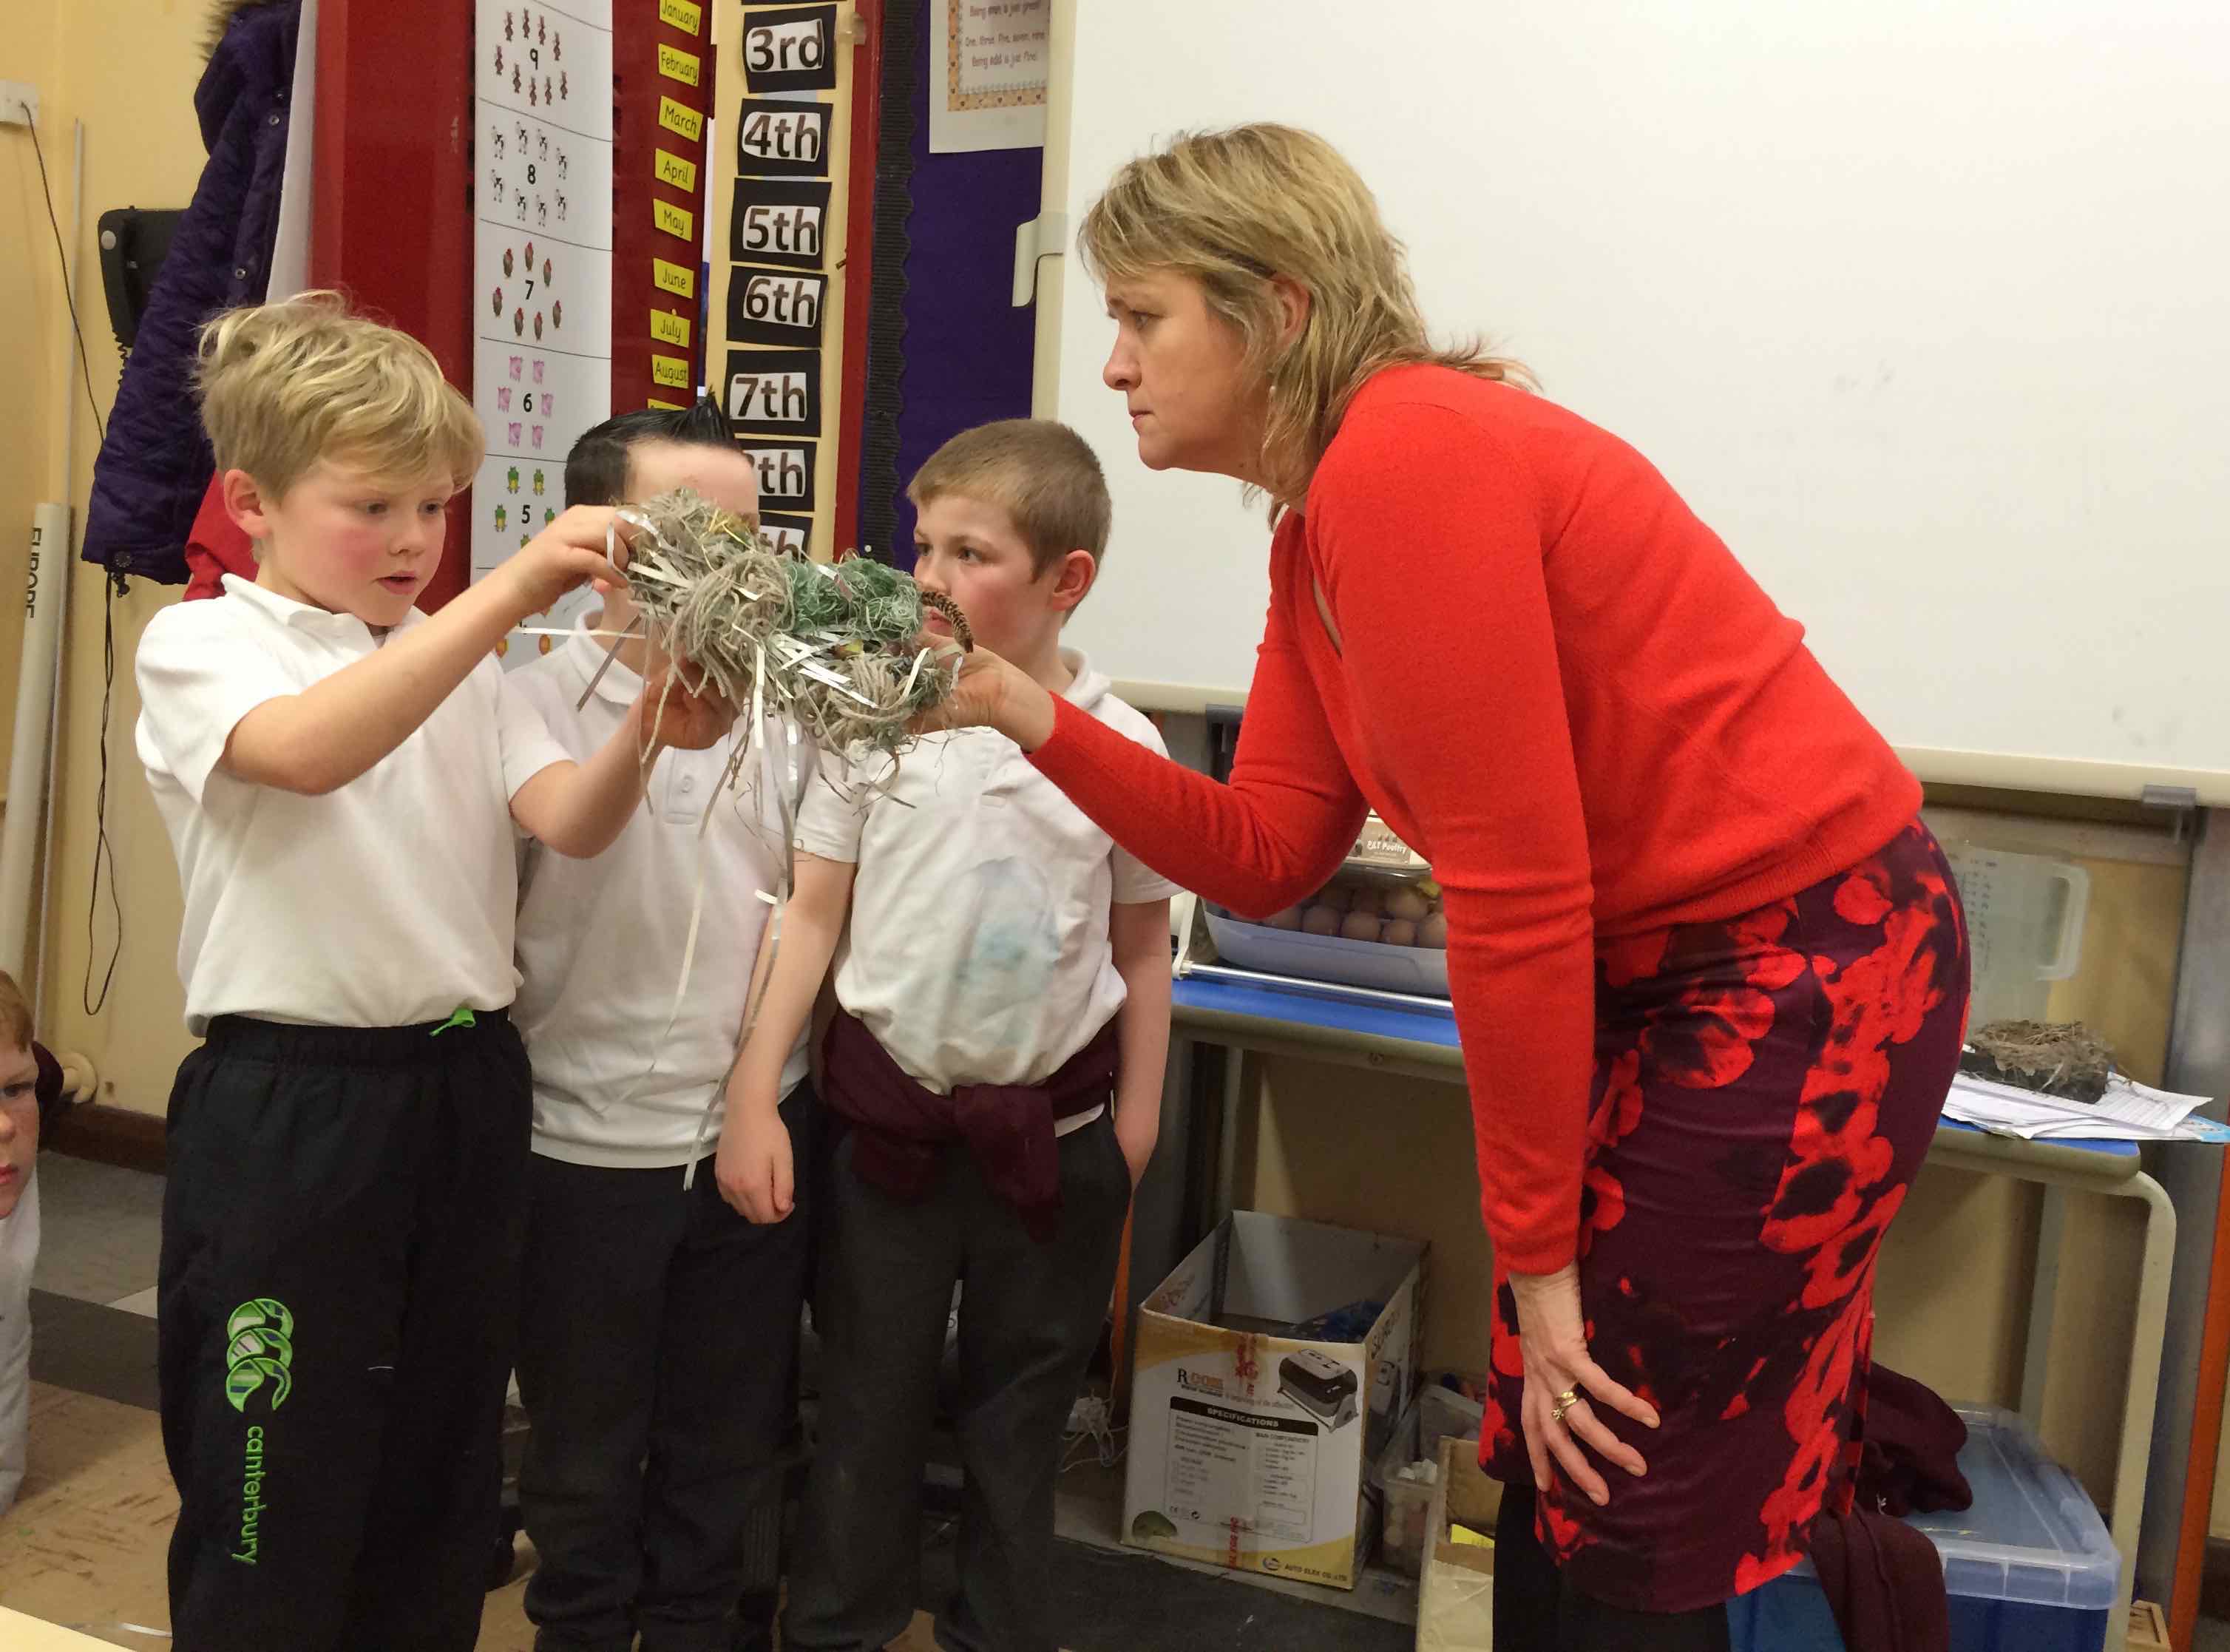
We thought about SECURITY, WARMTH, COMFORT and what birds do with the materials they gather when they build their nests: LAYER and WEAVE.
Gareth weaves his fingers together!
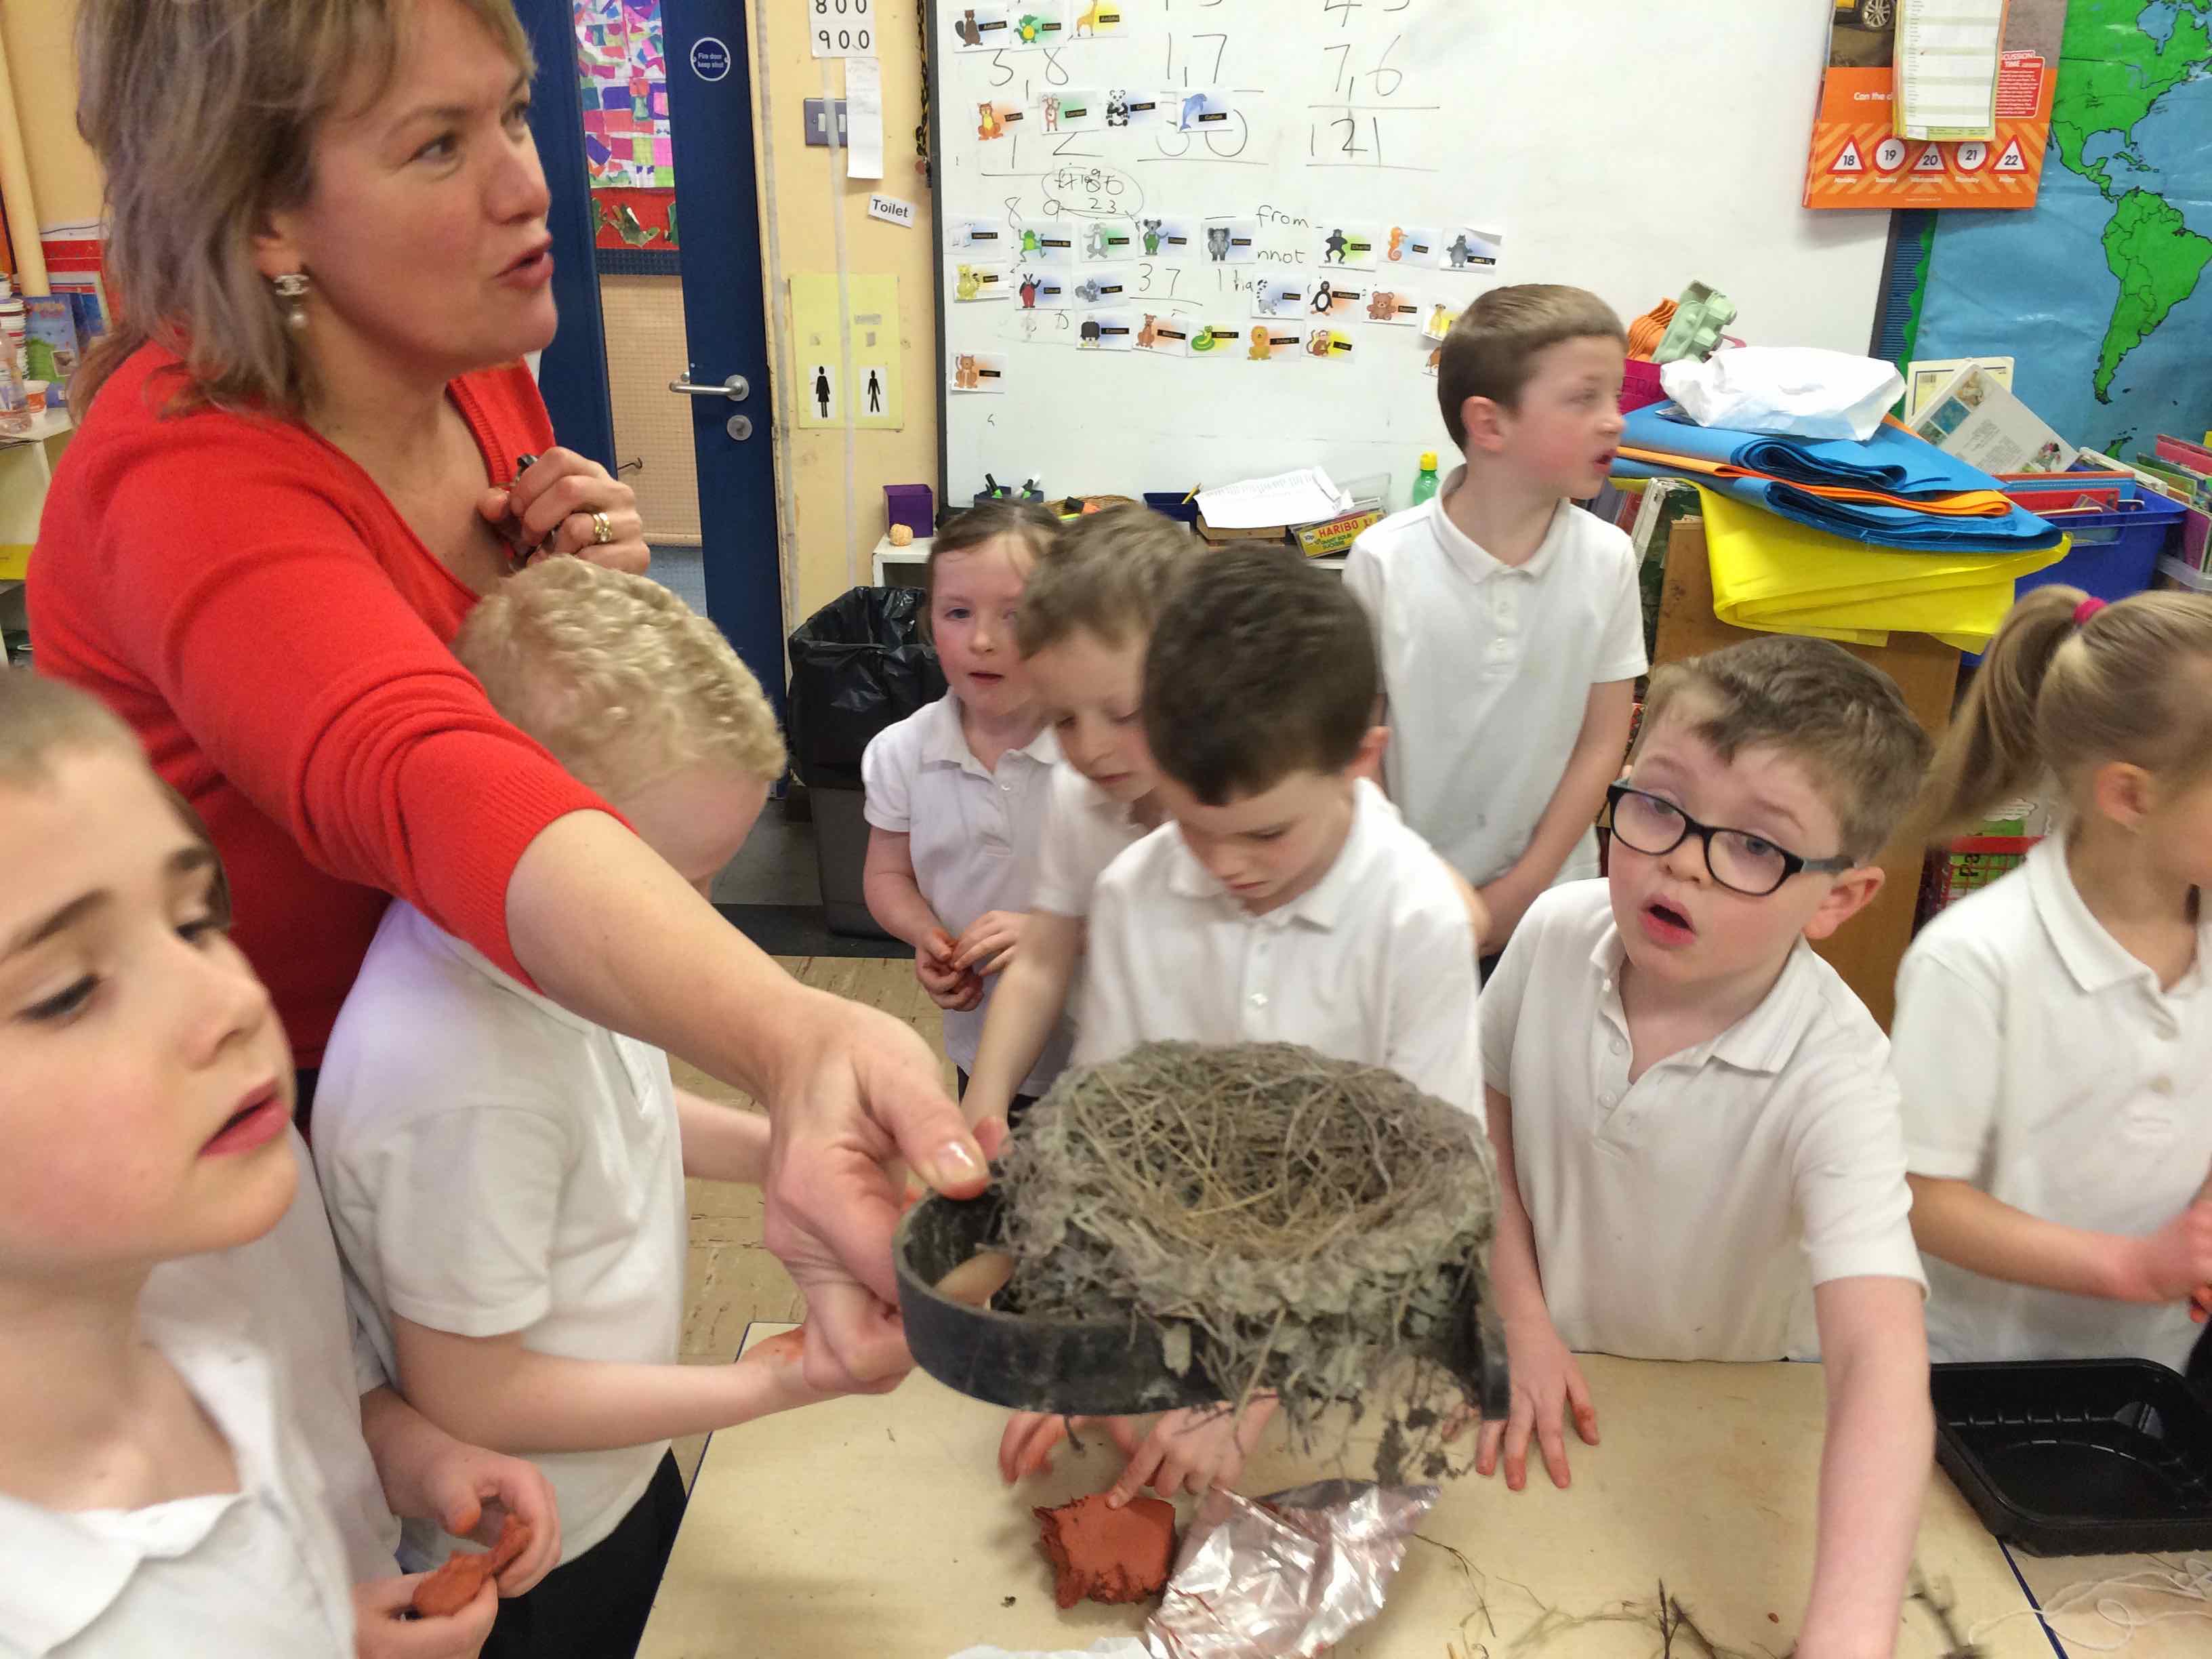
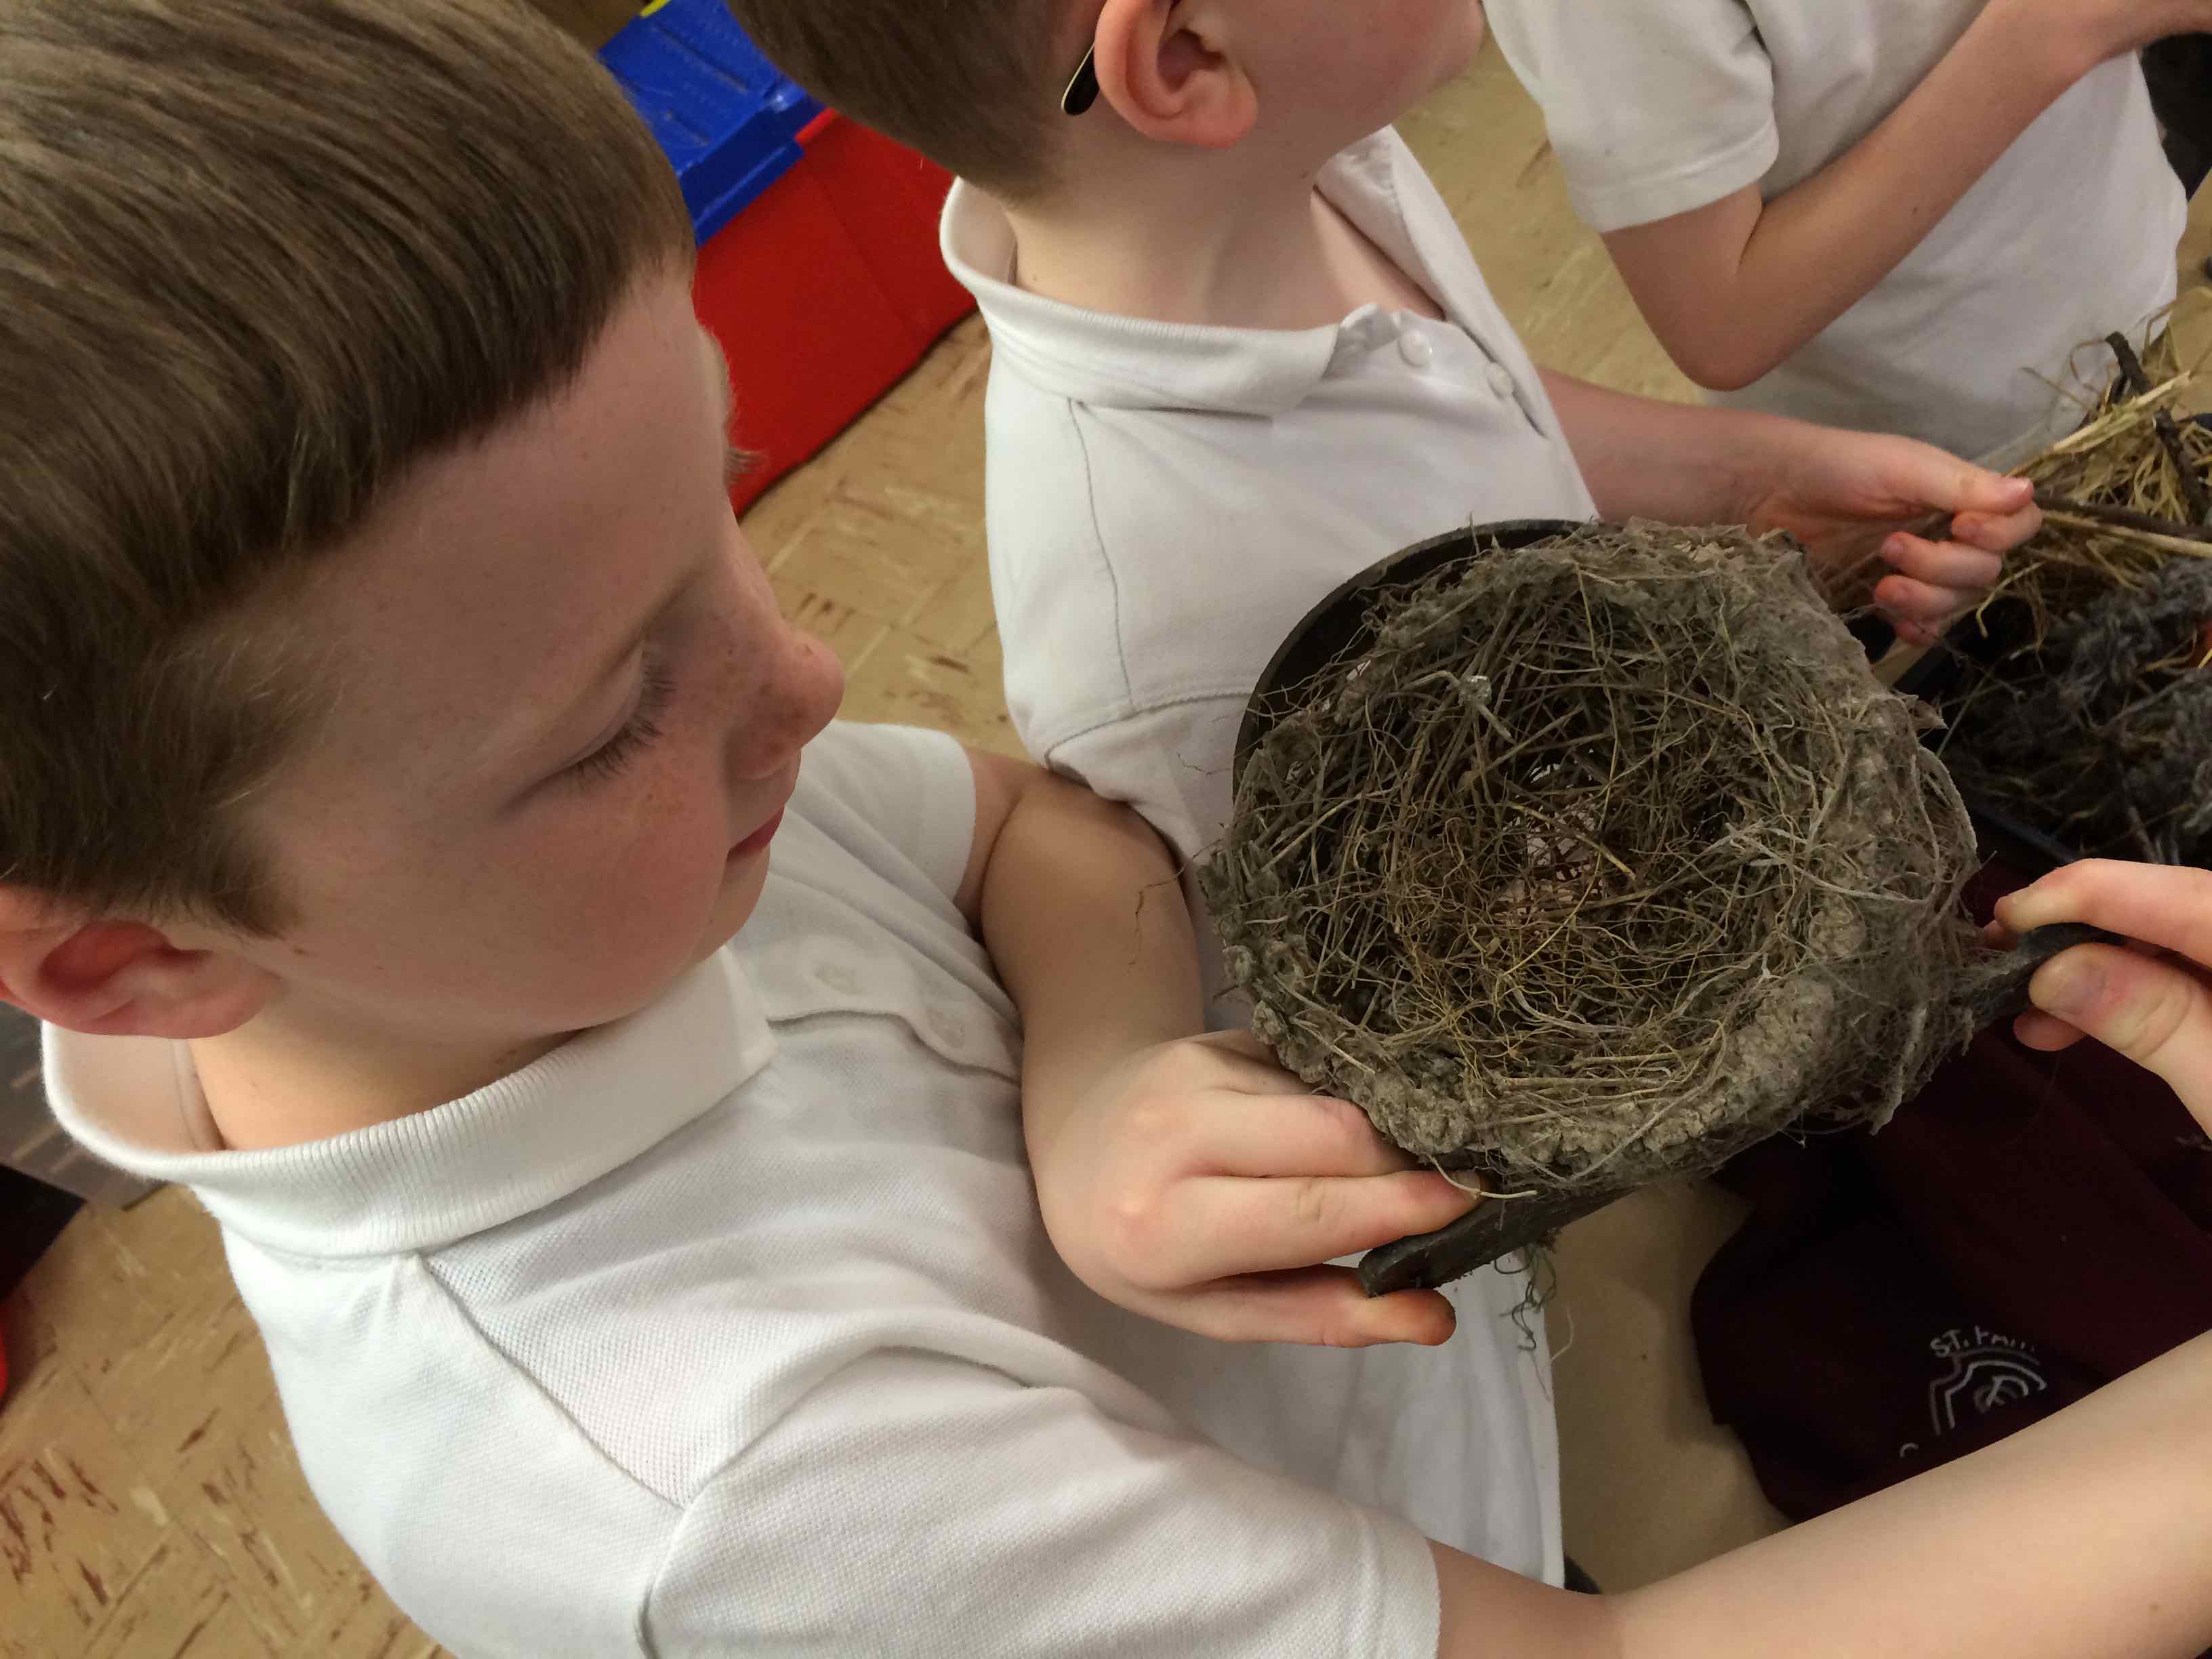
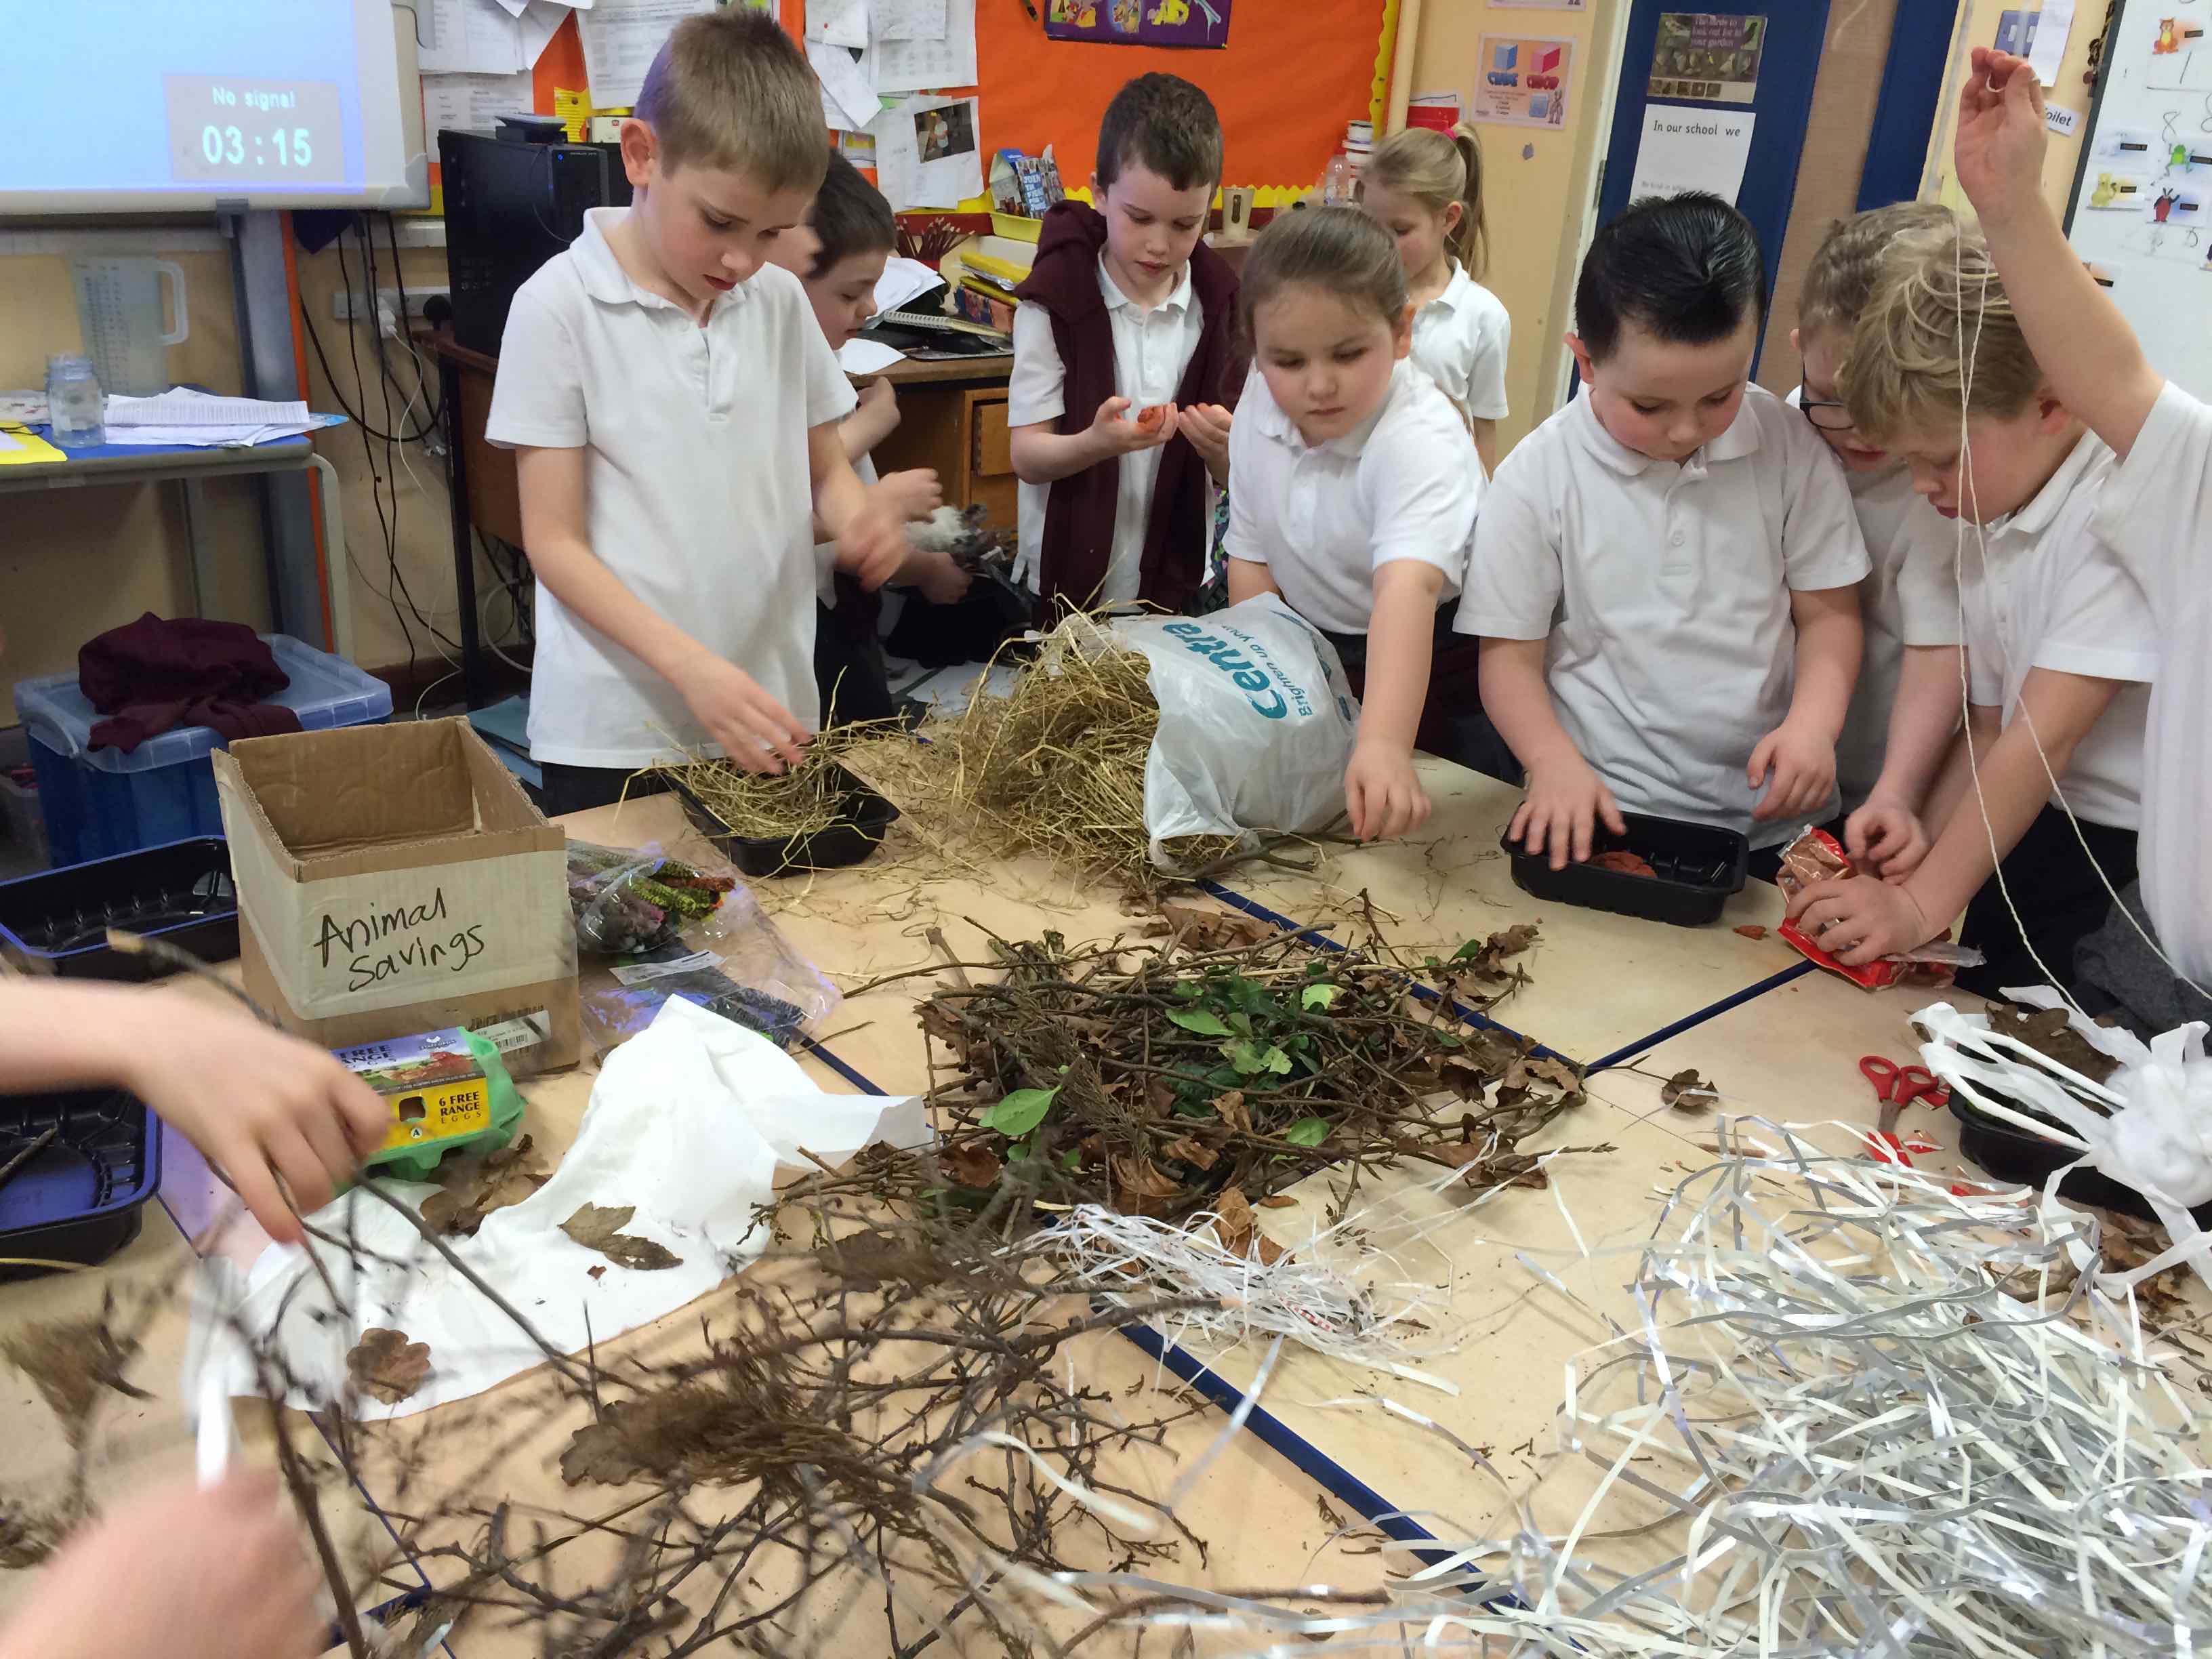
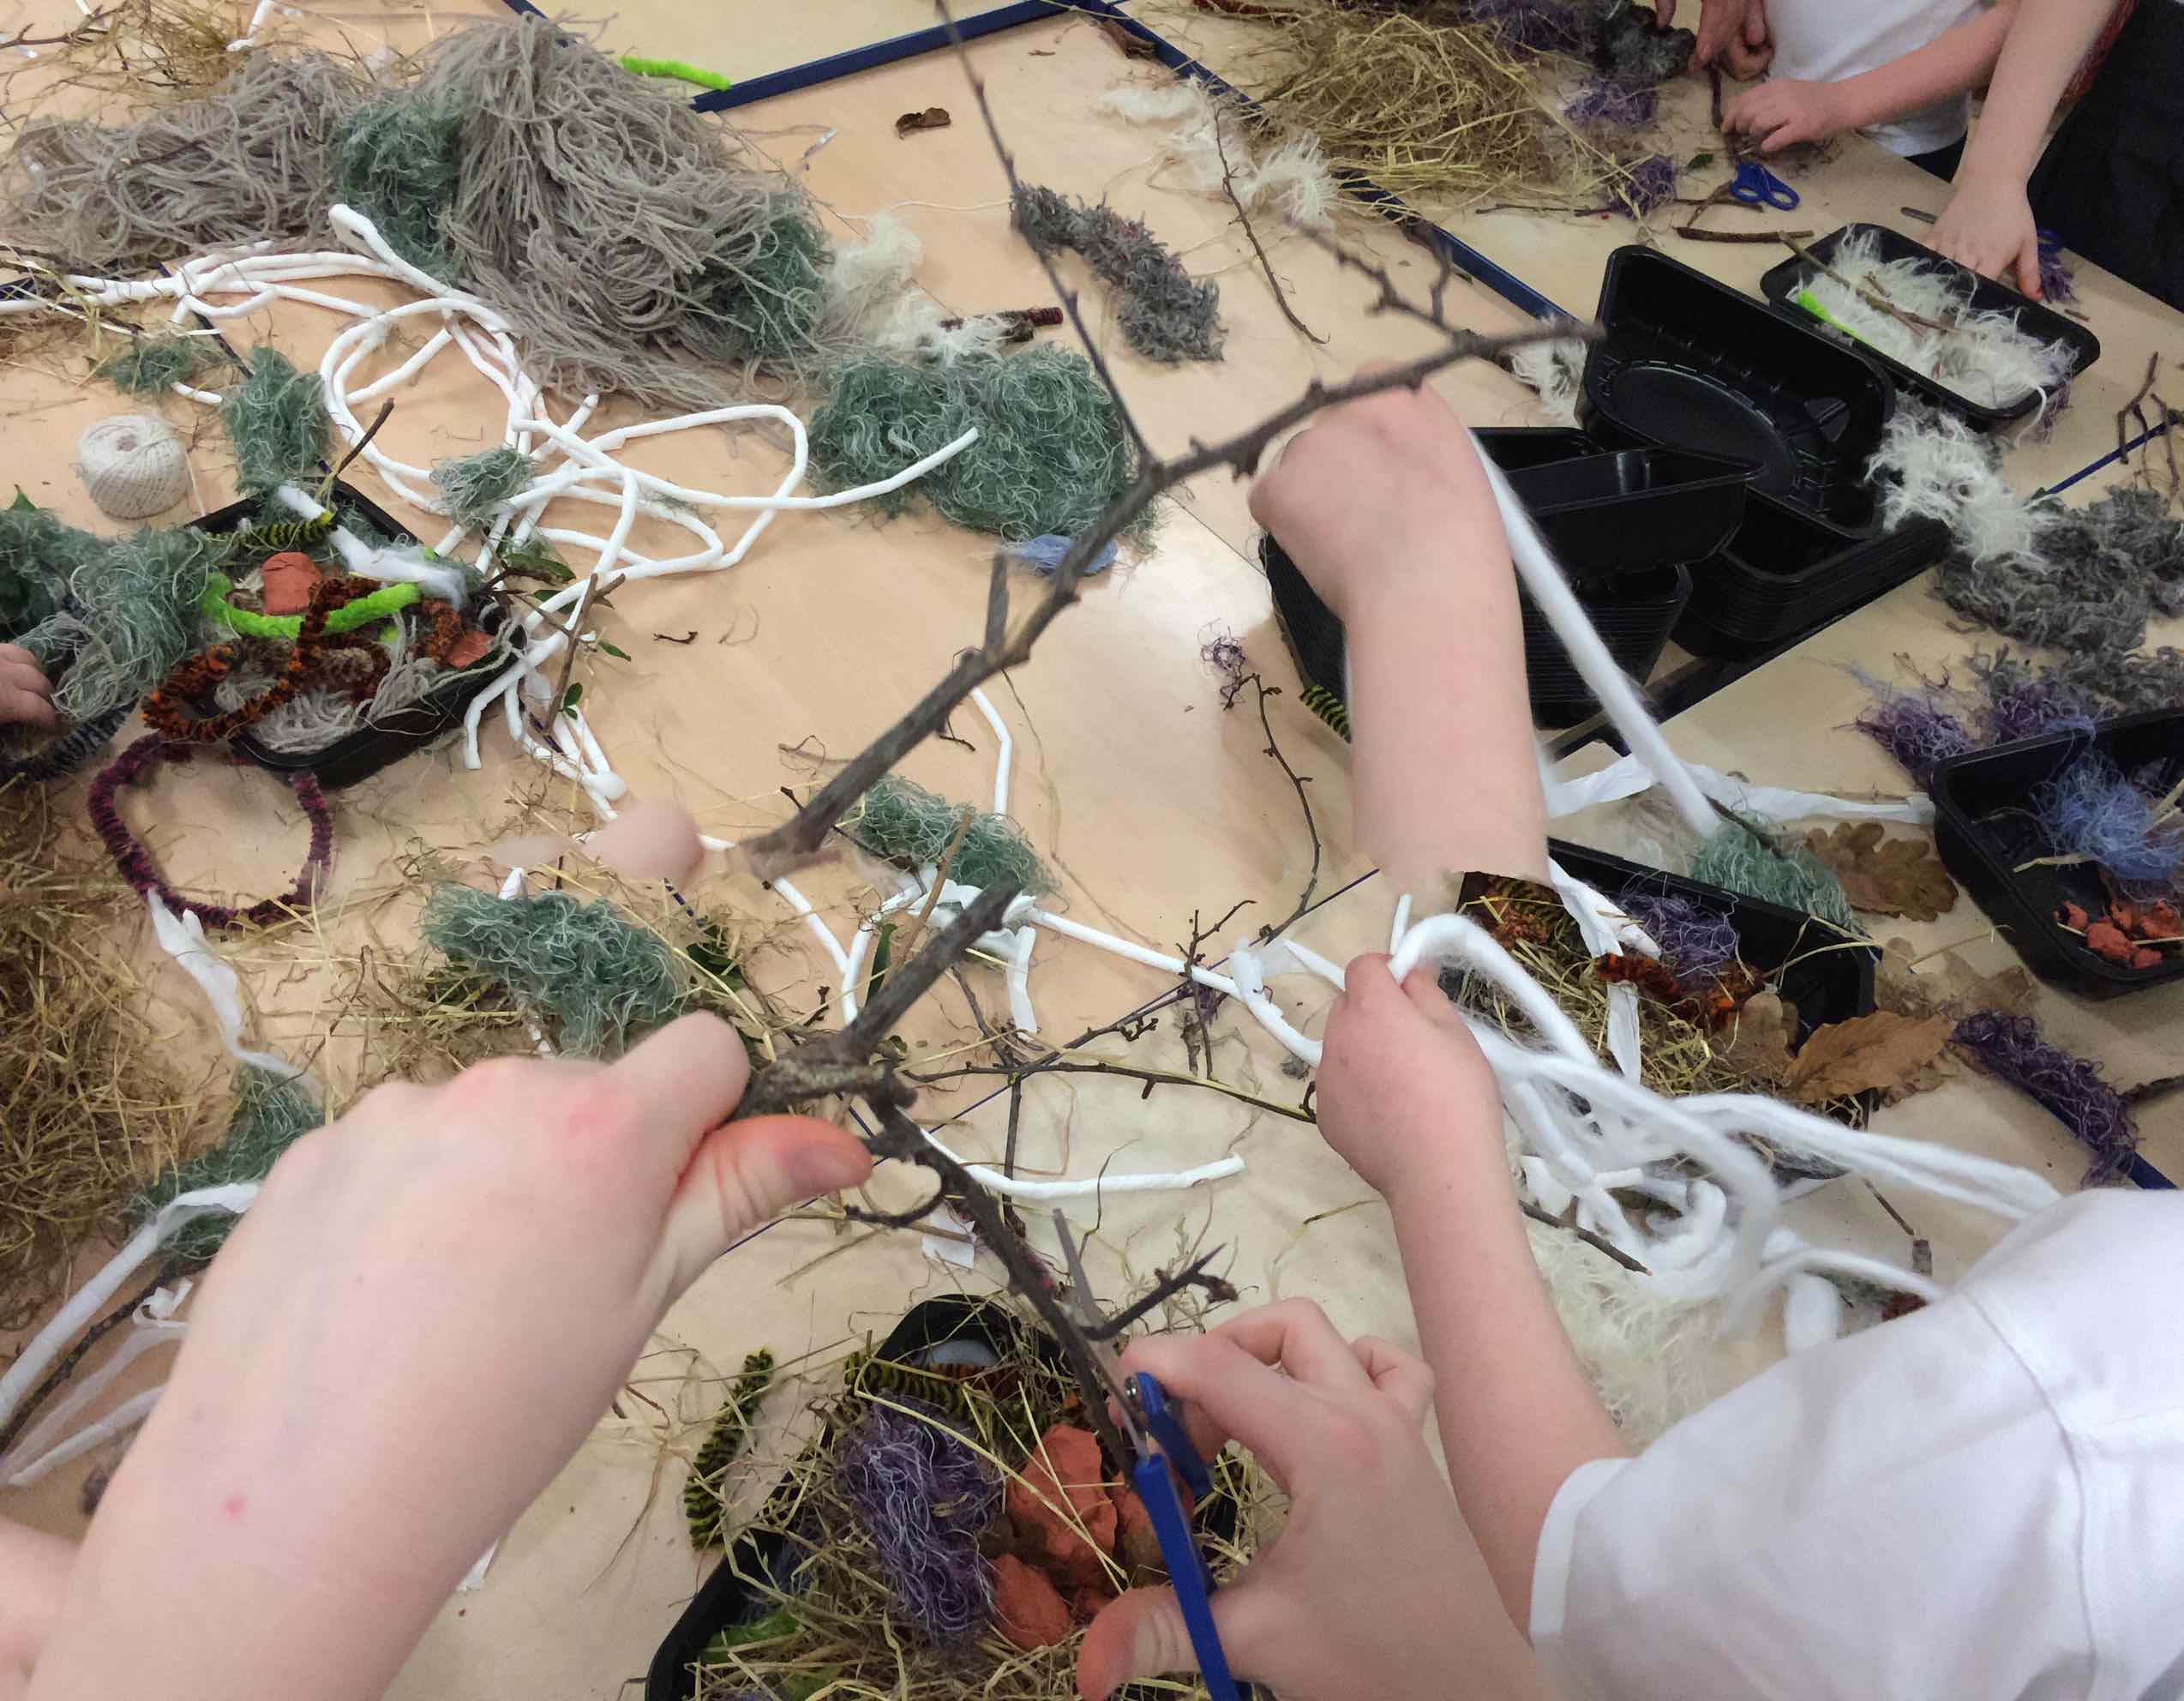
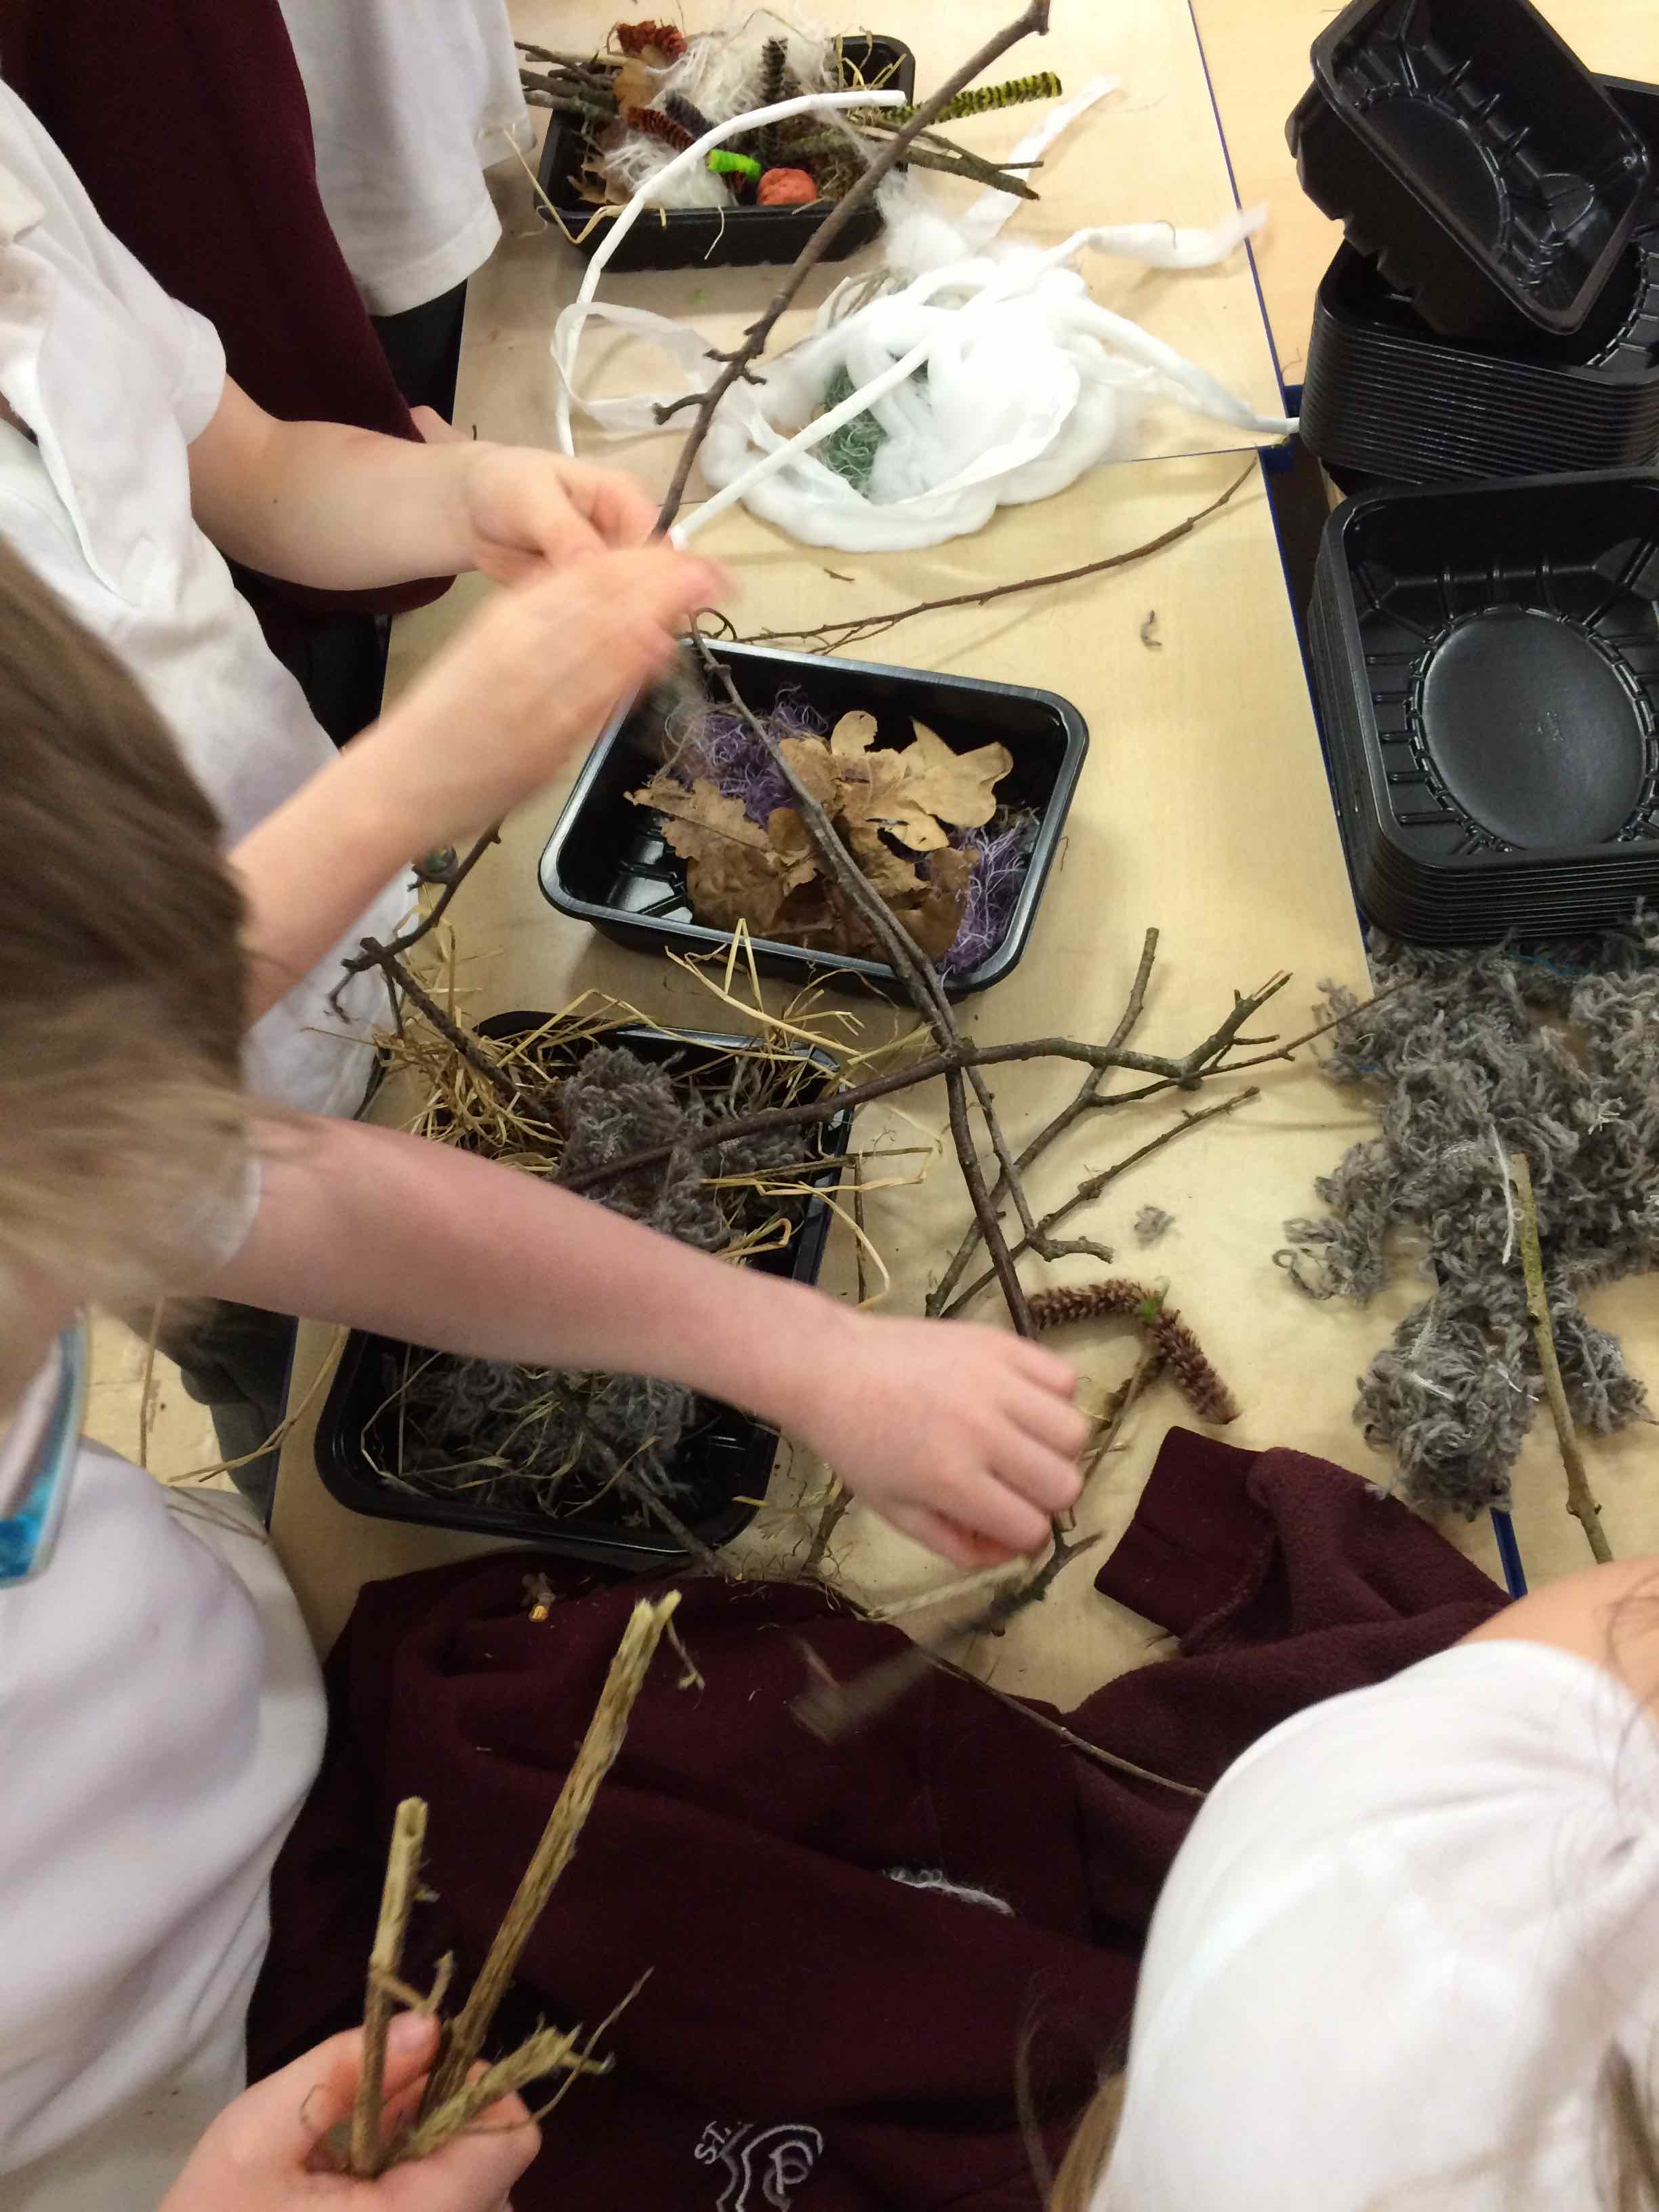
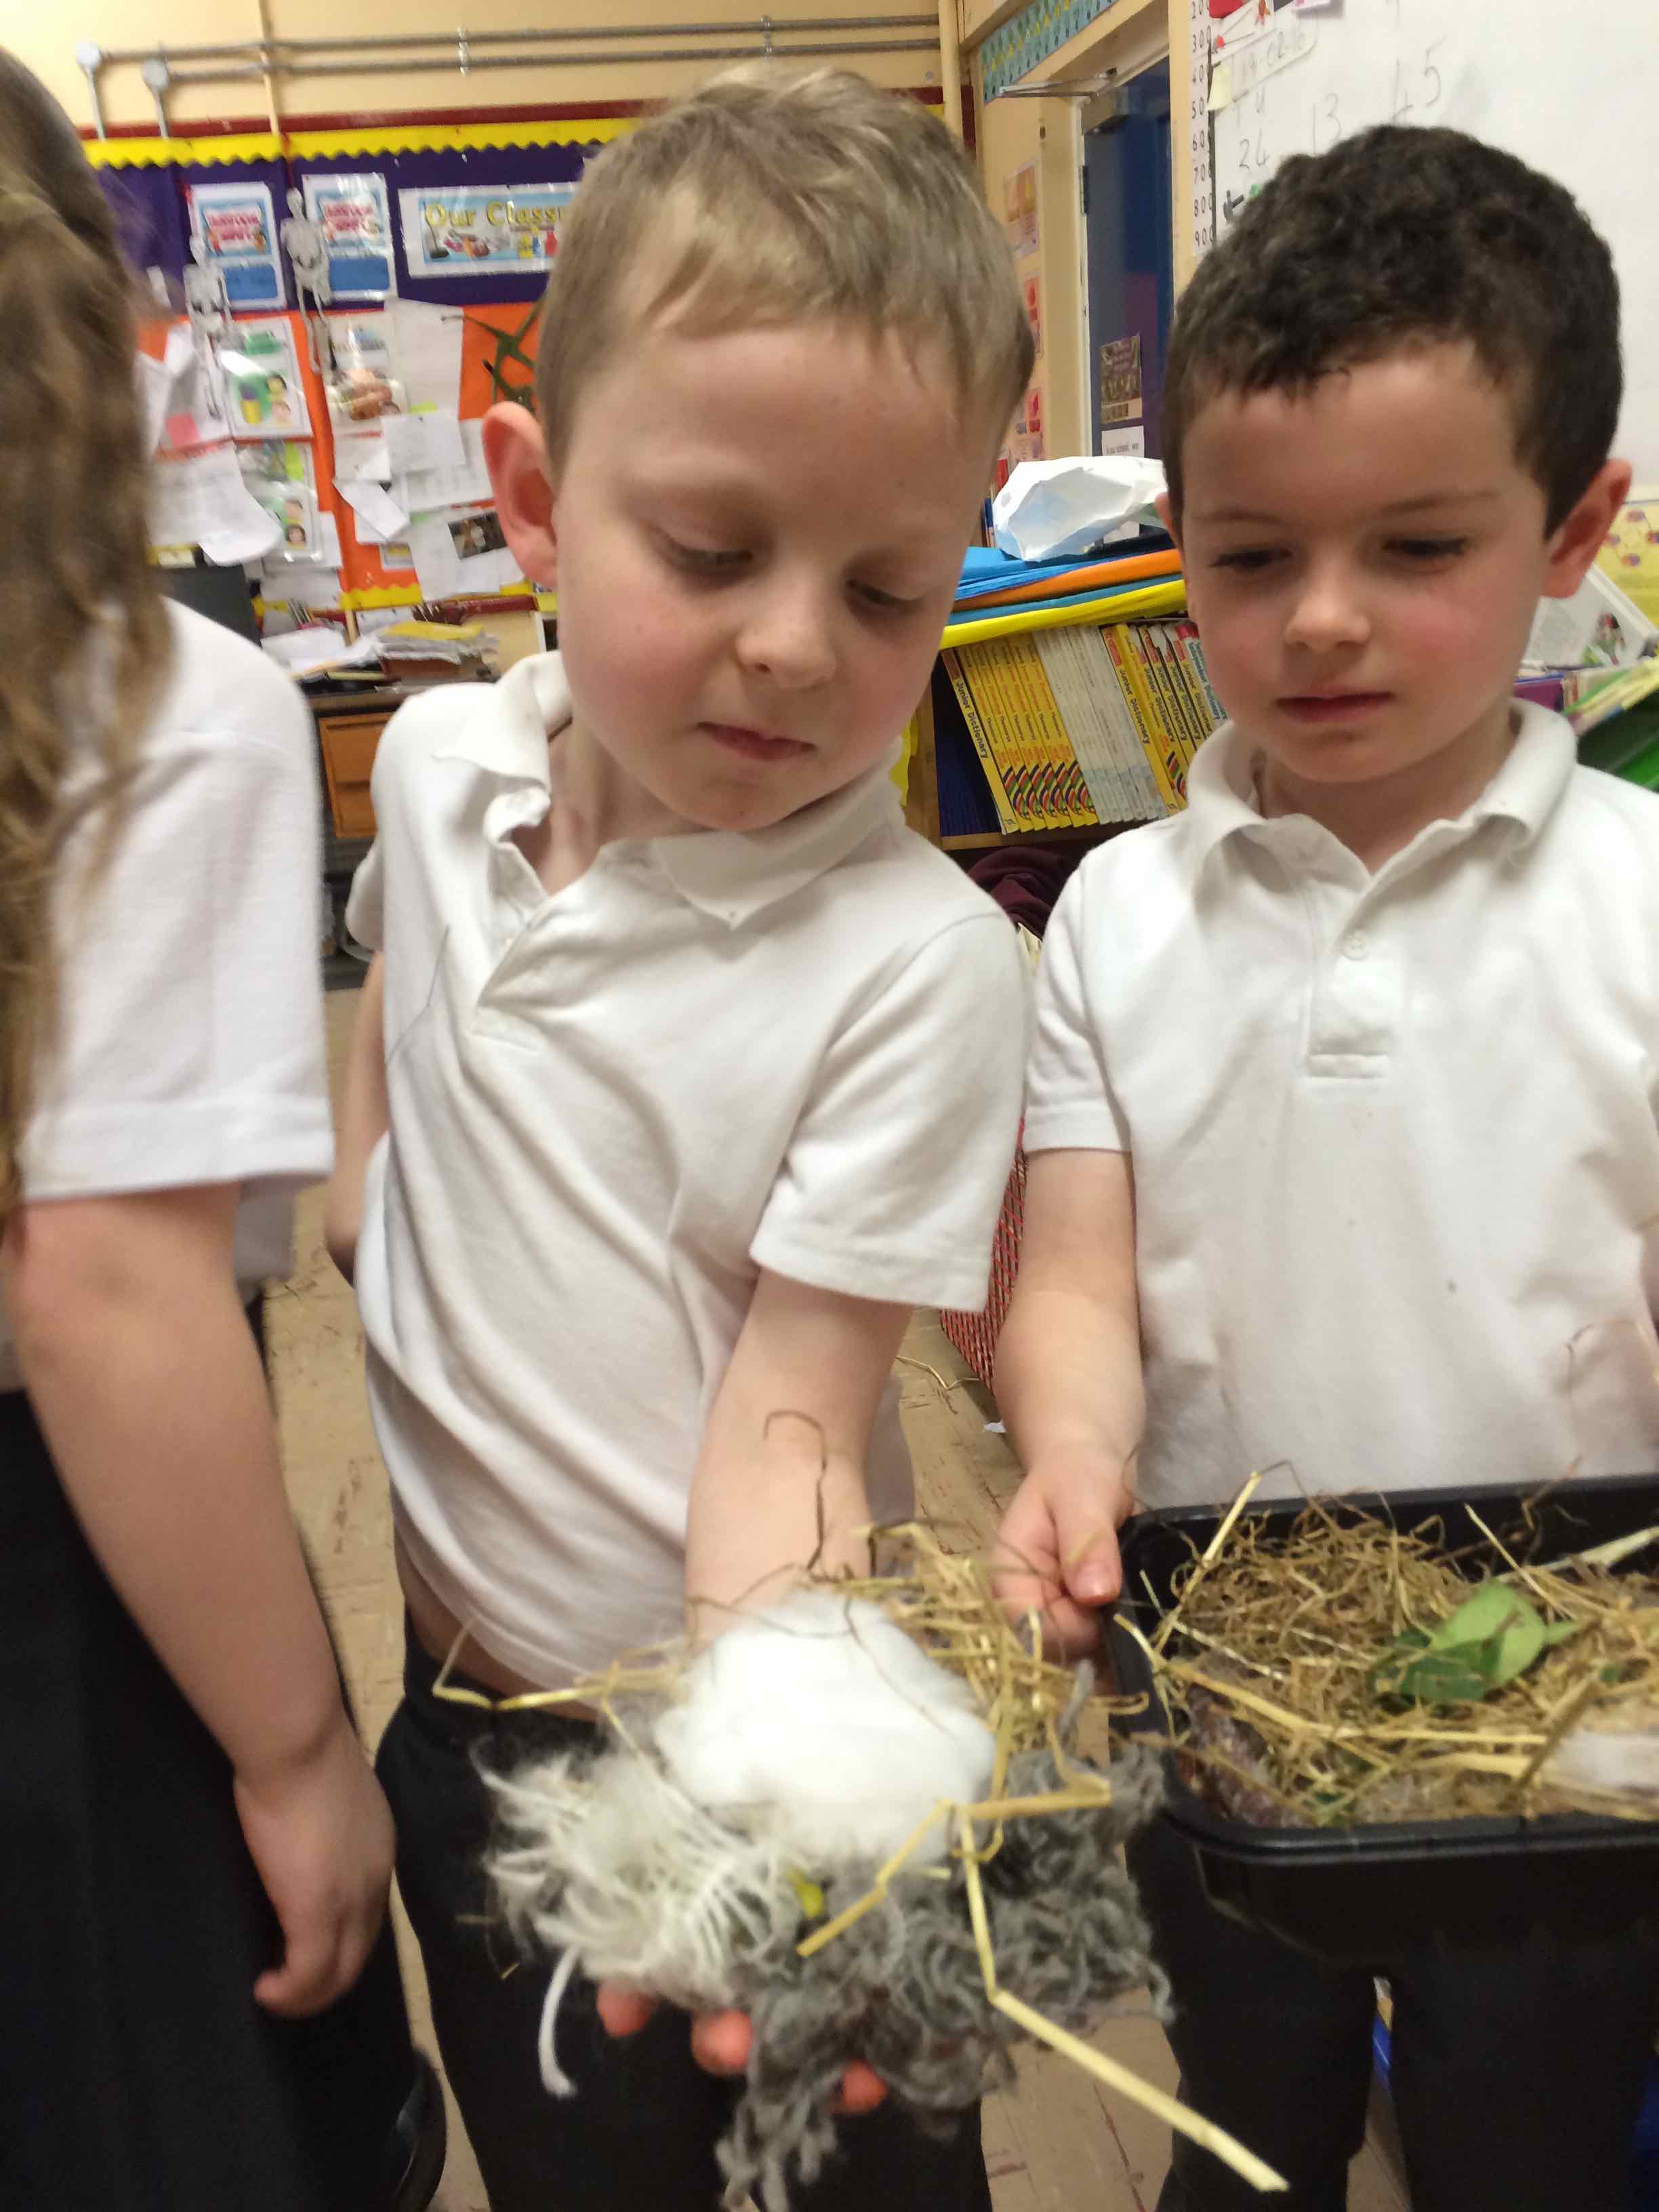
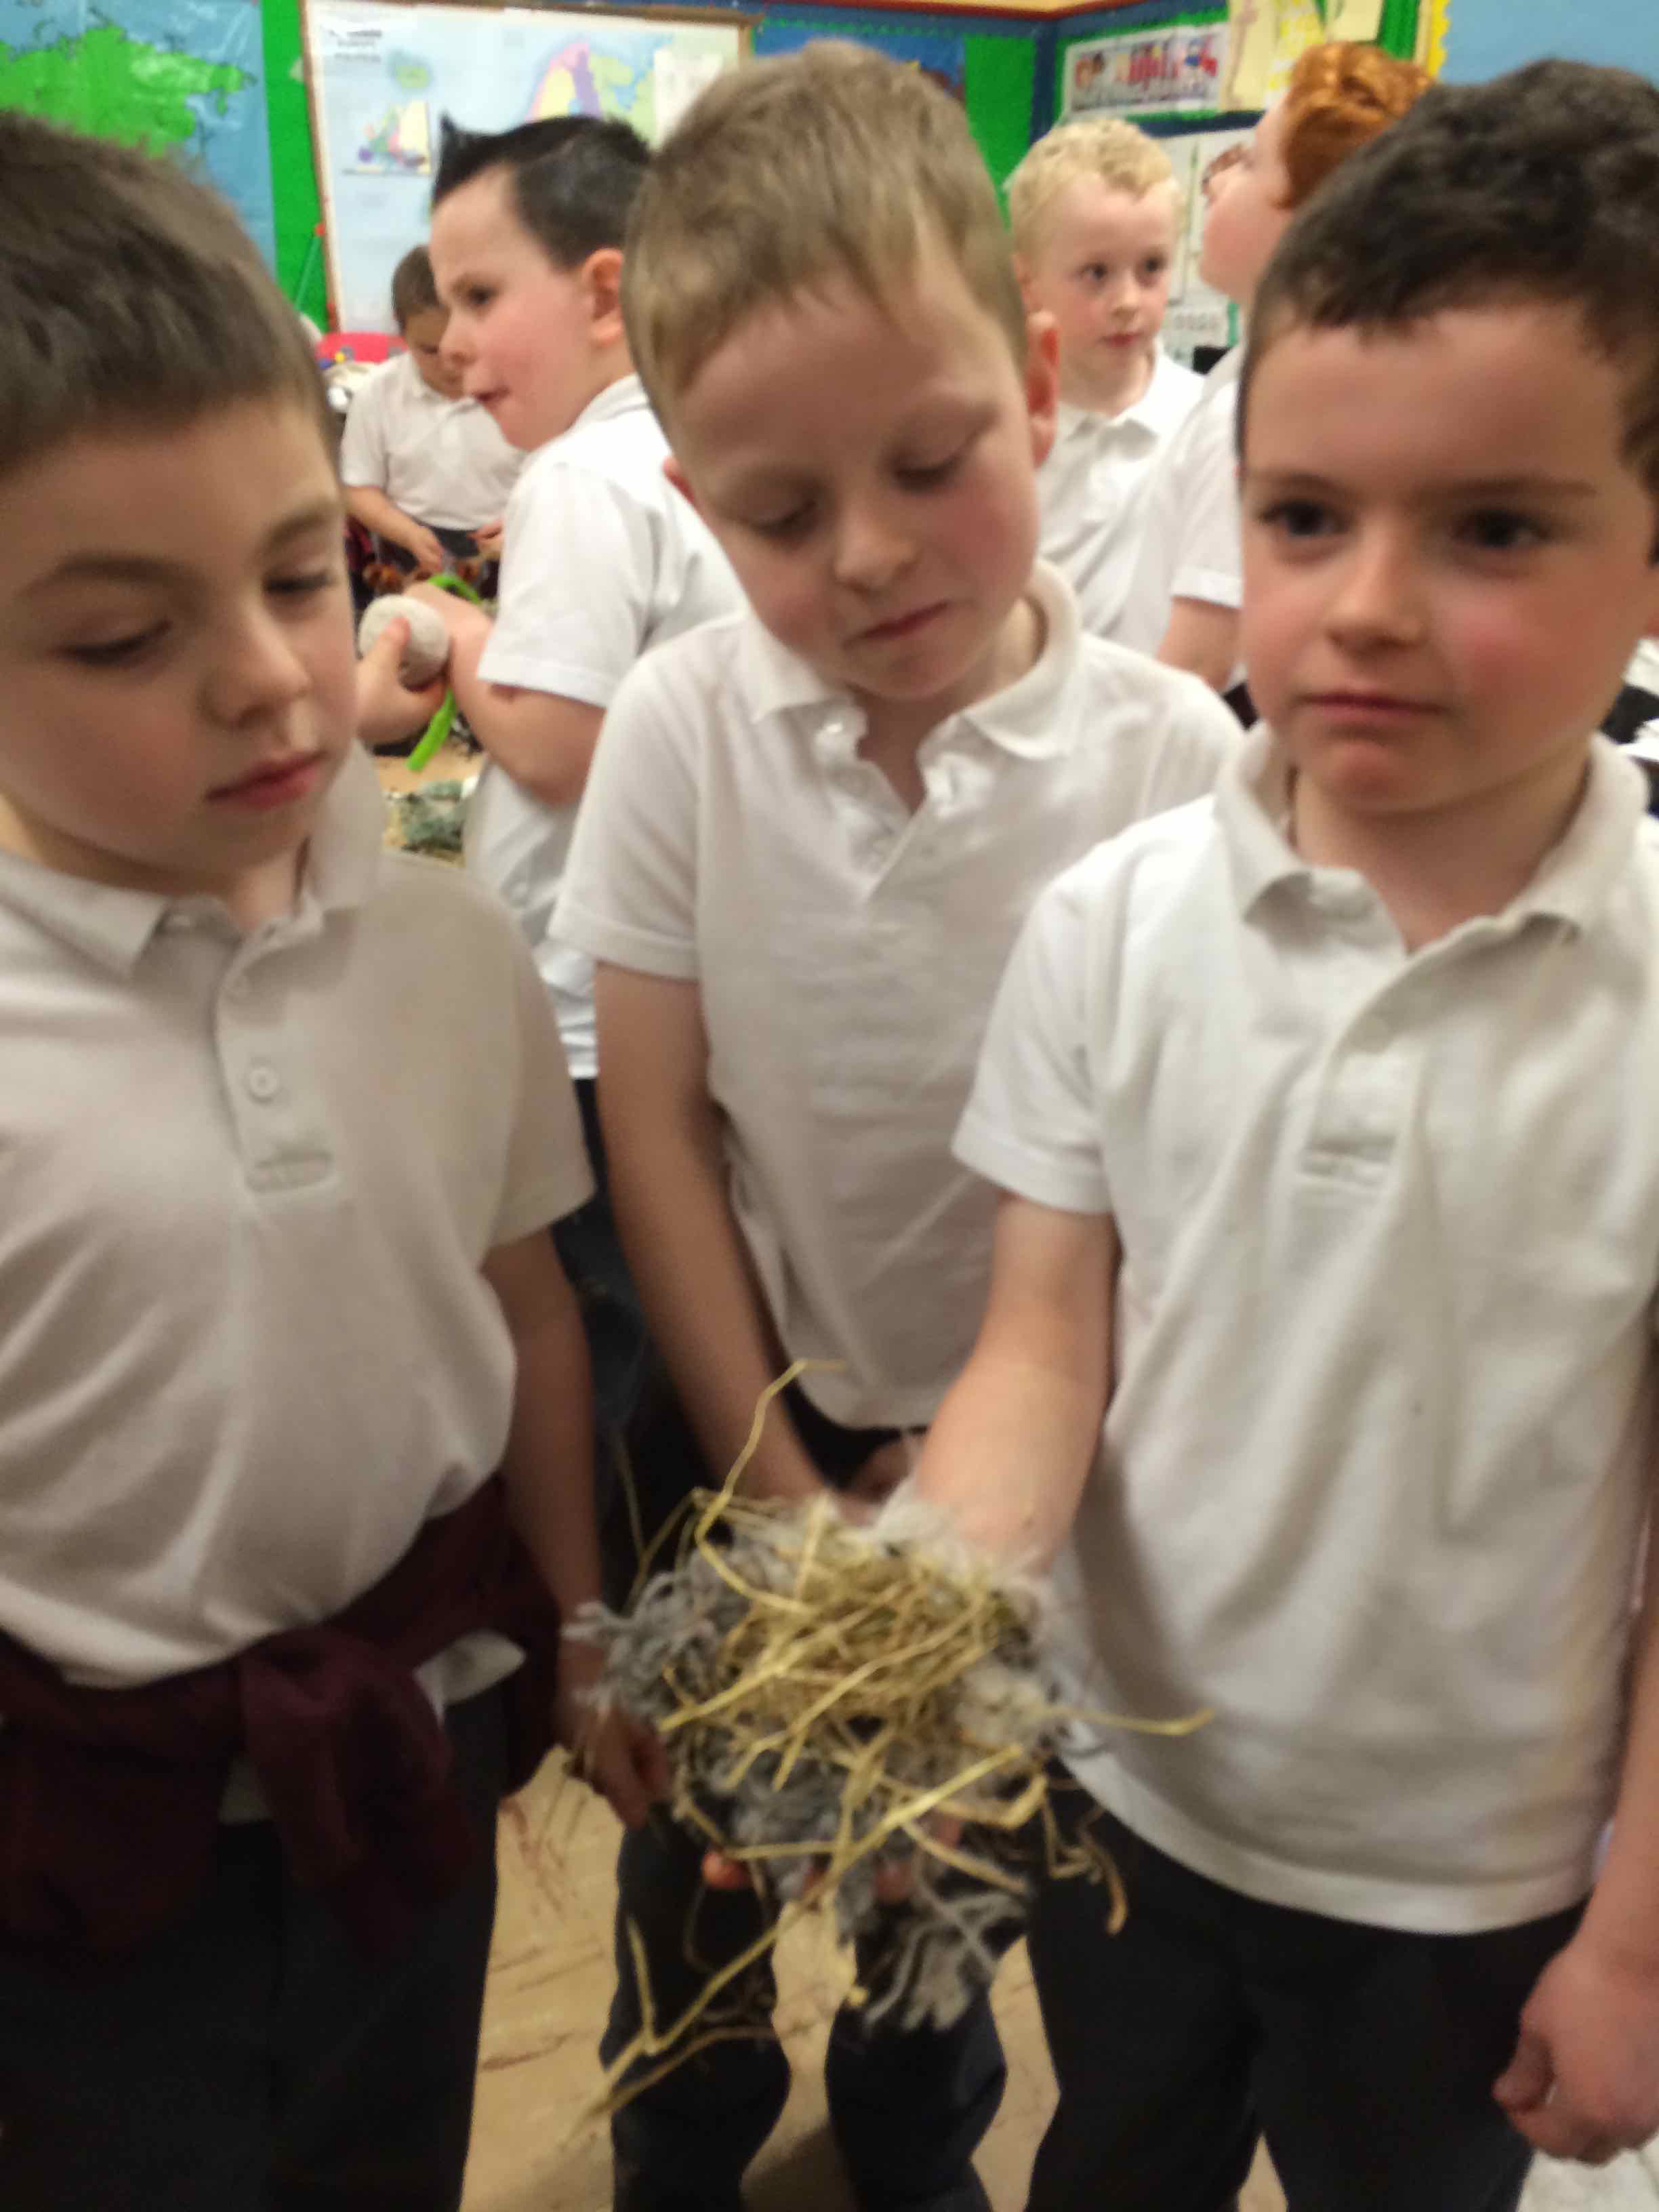
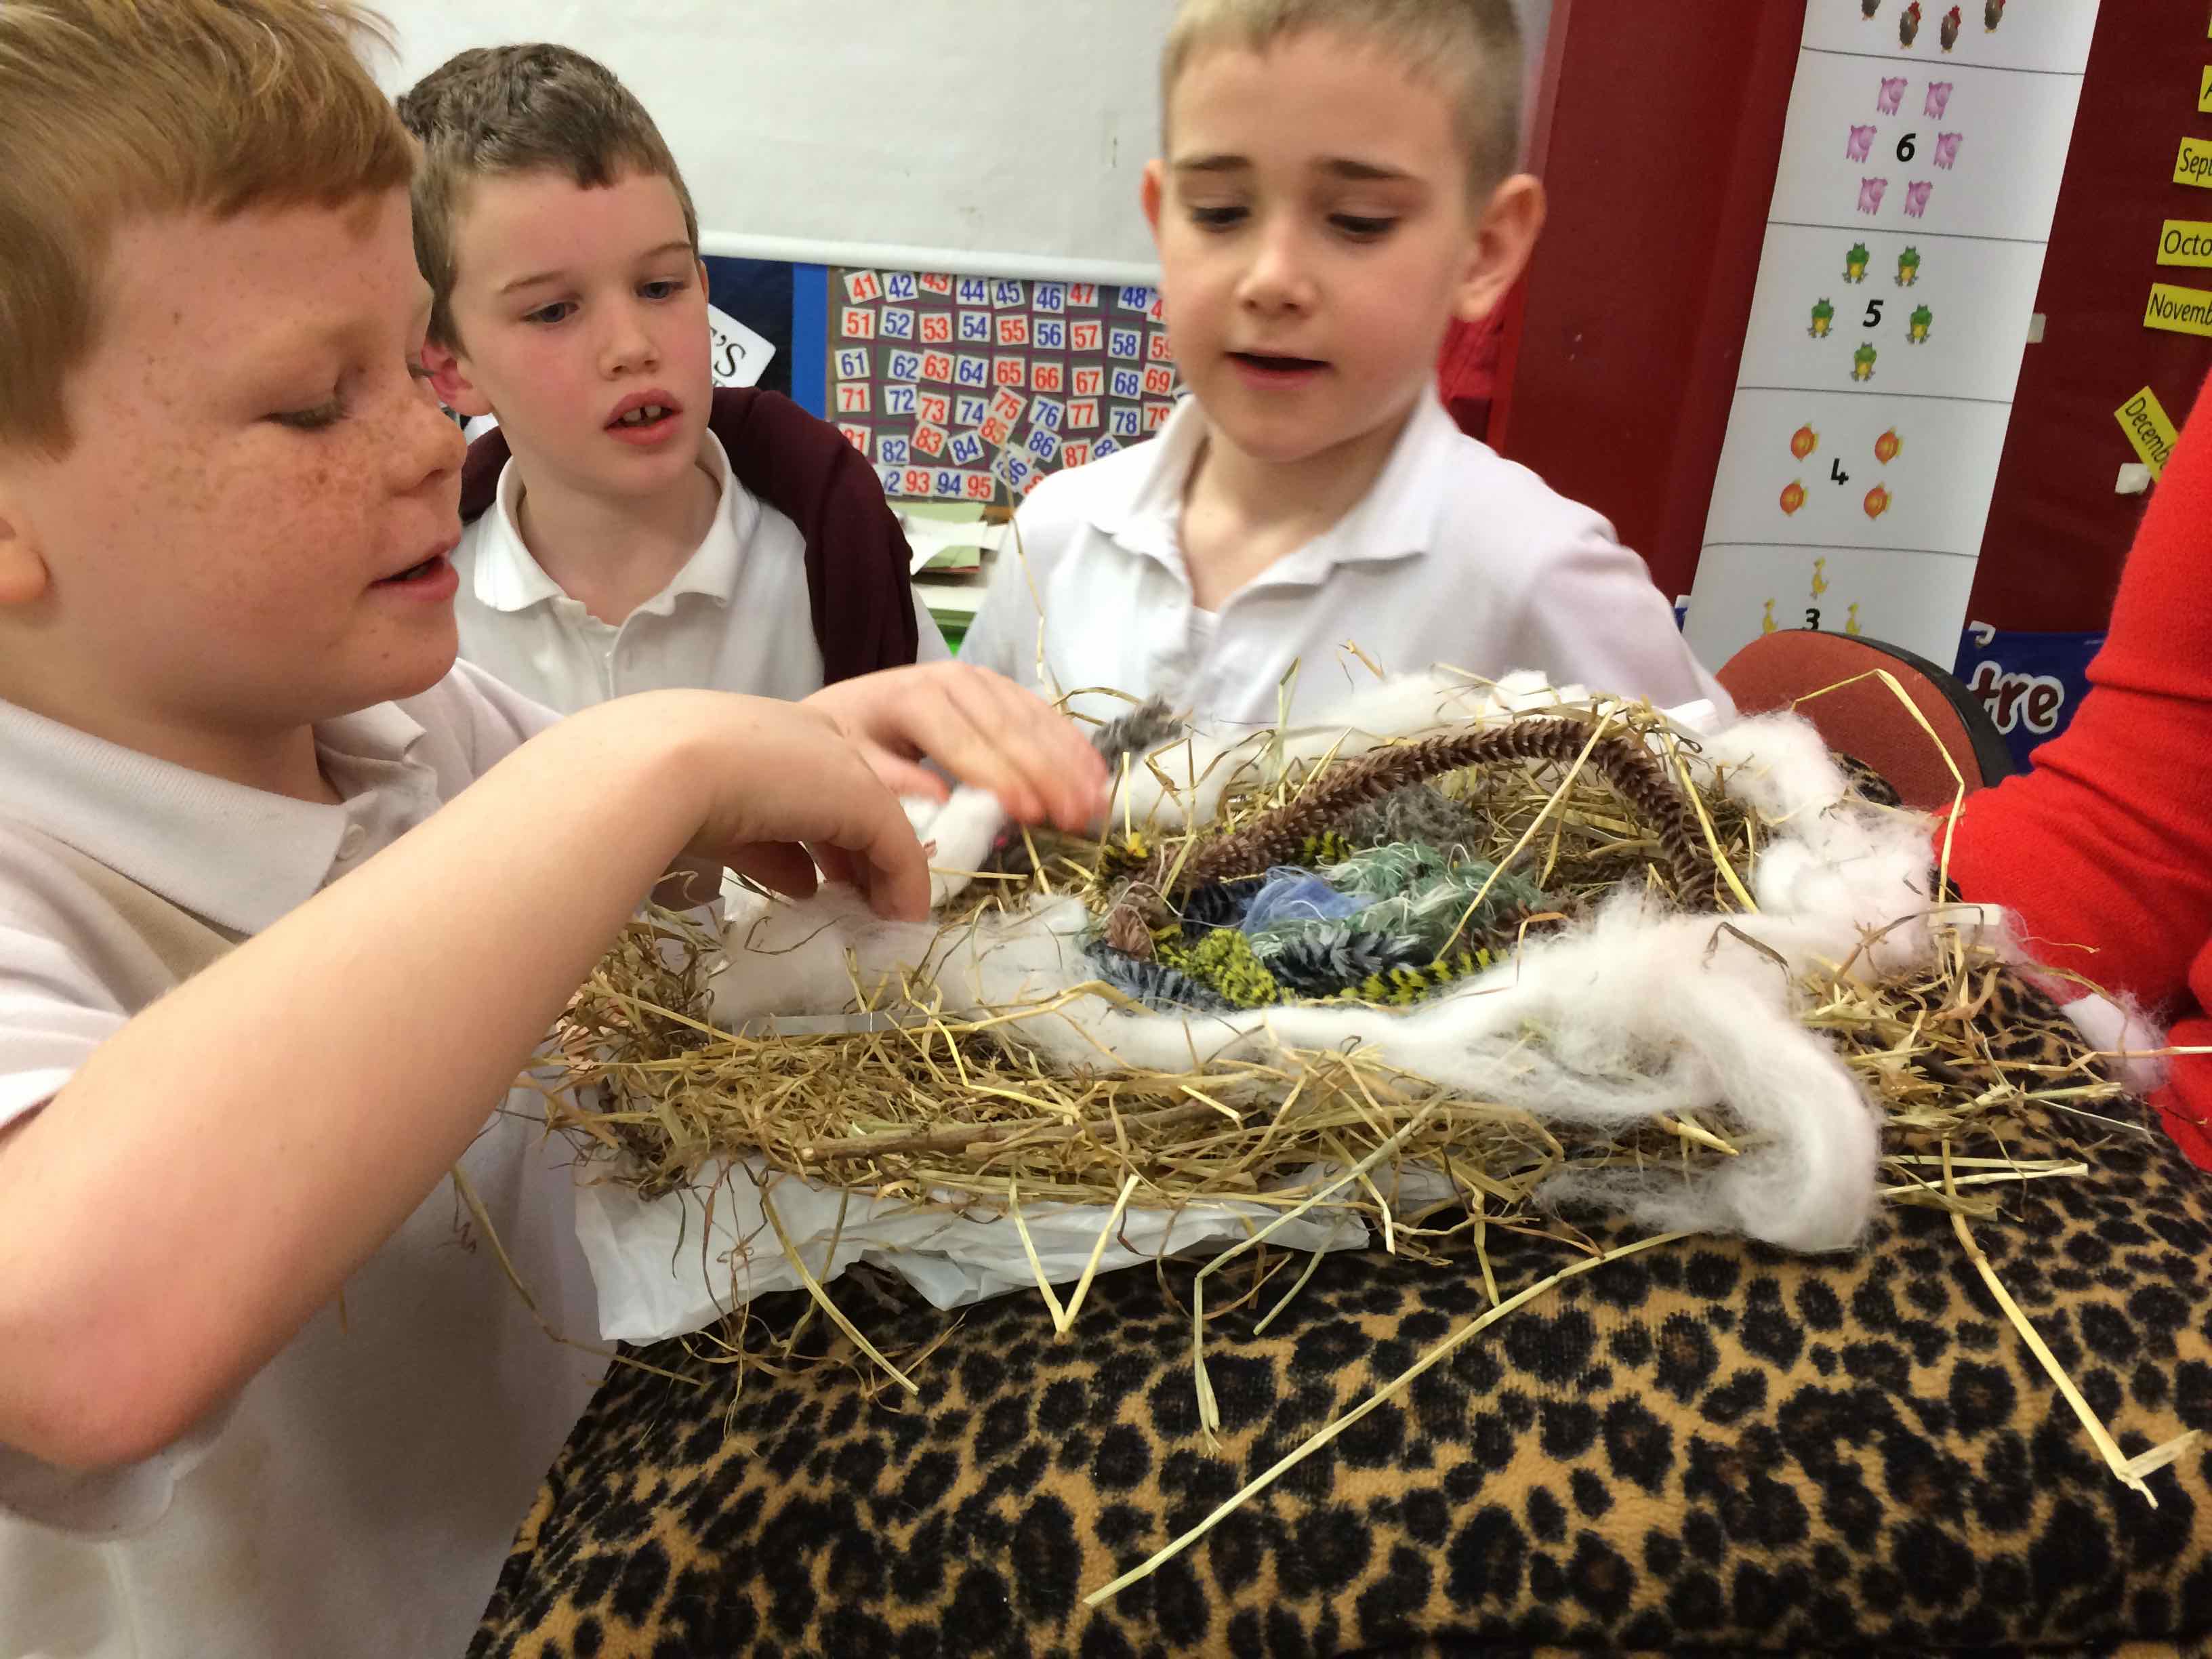
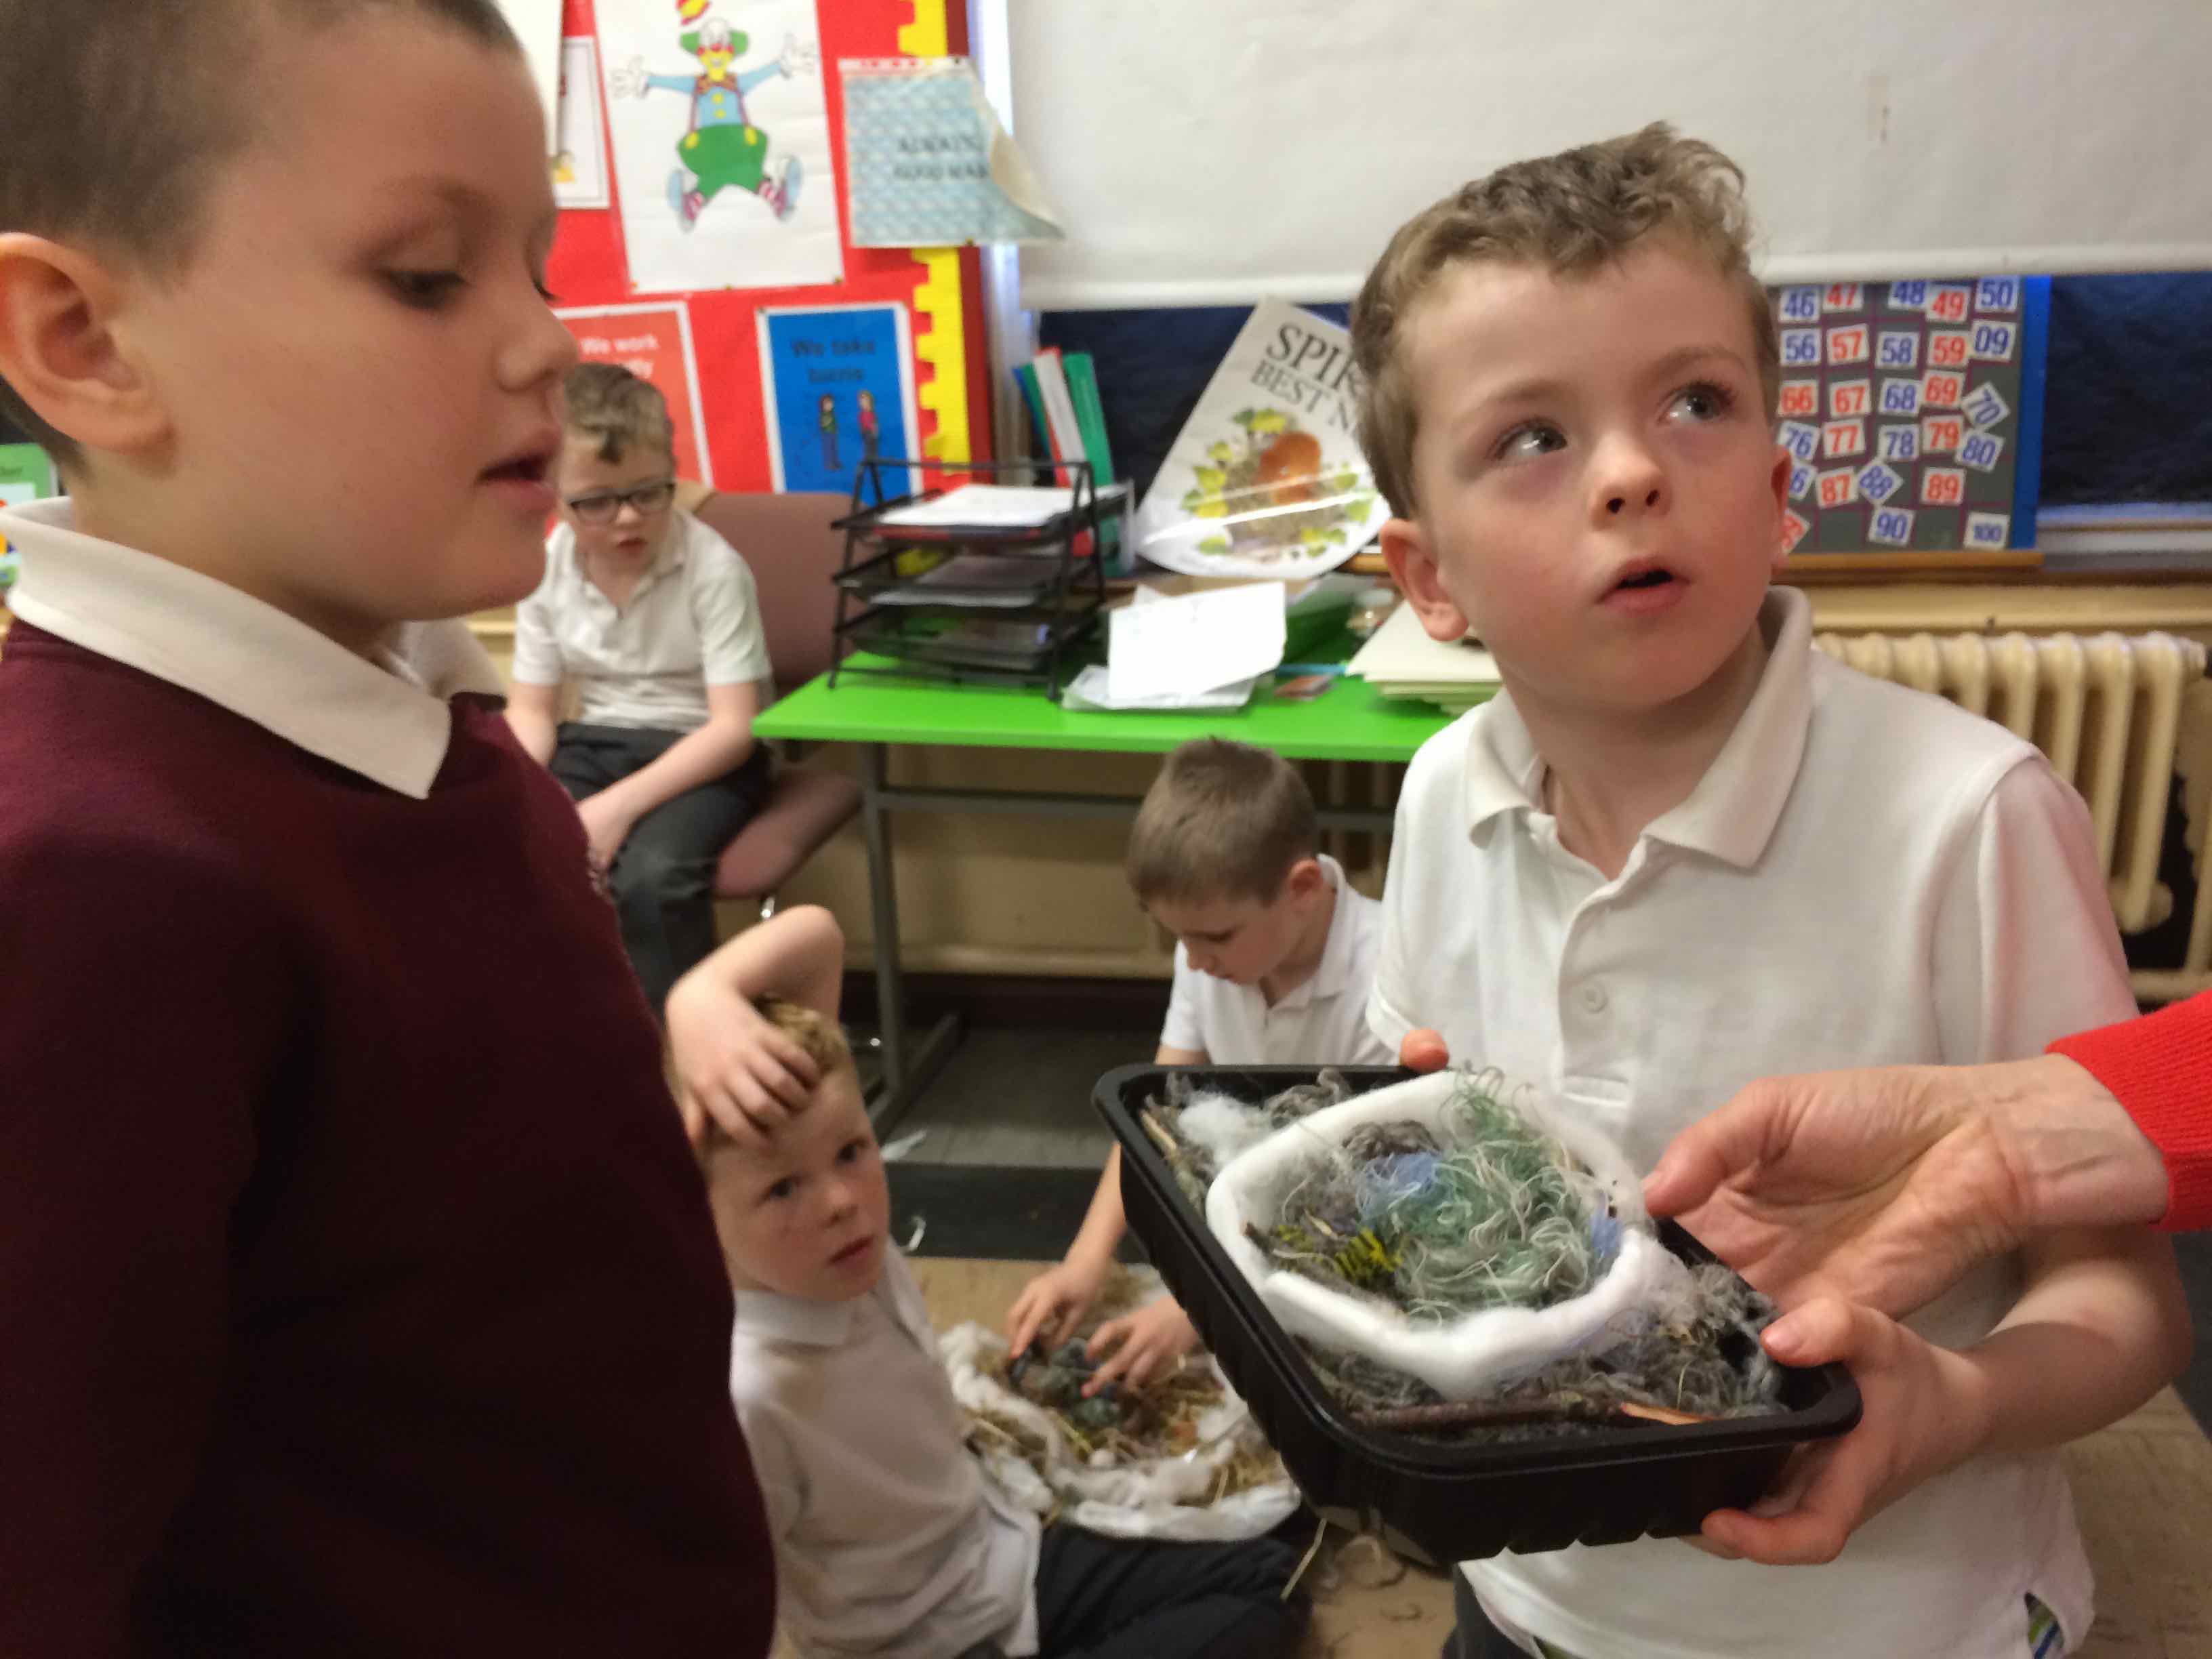
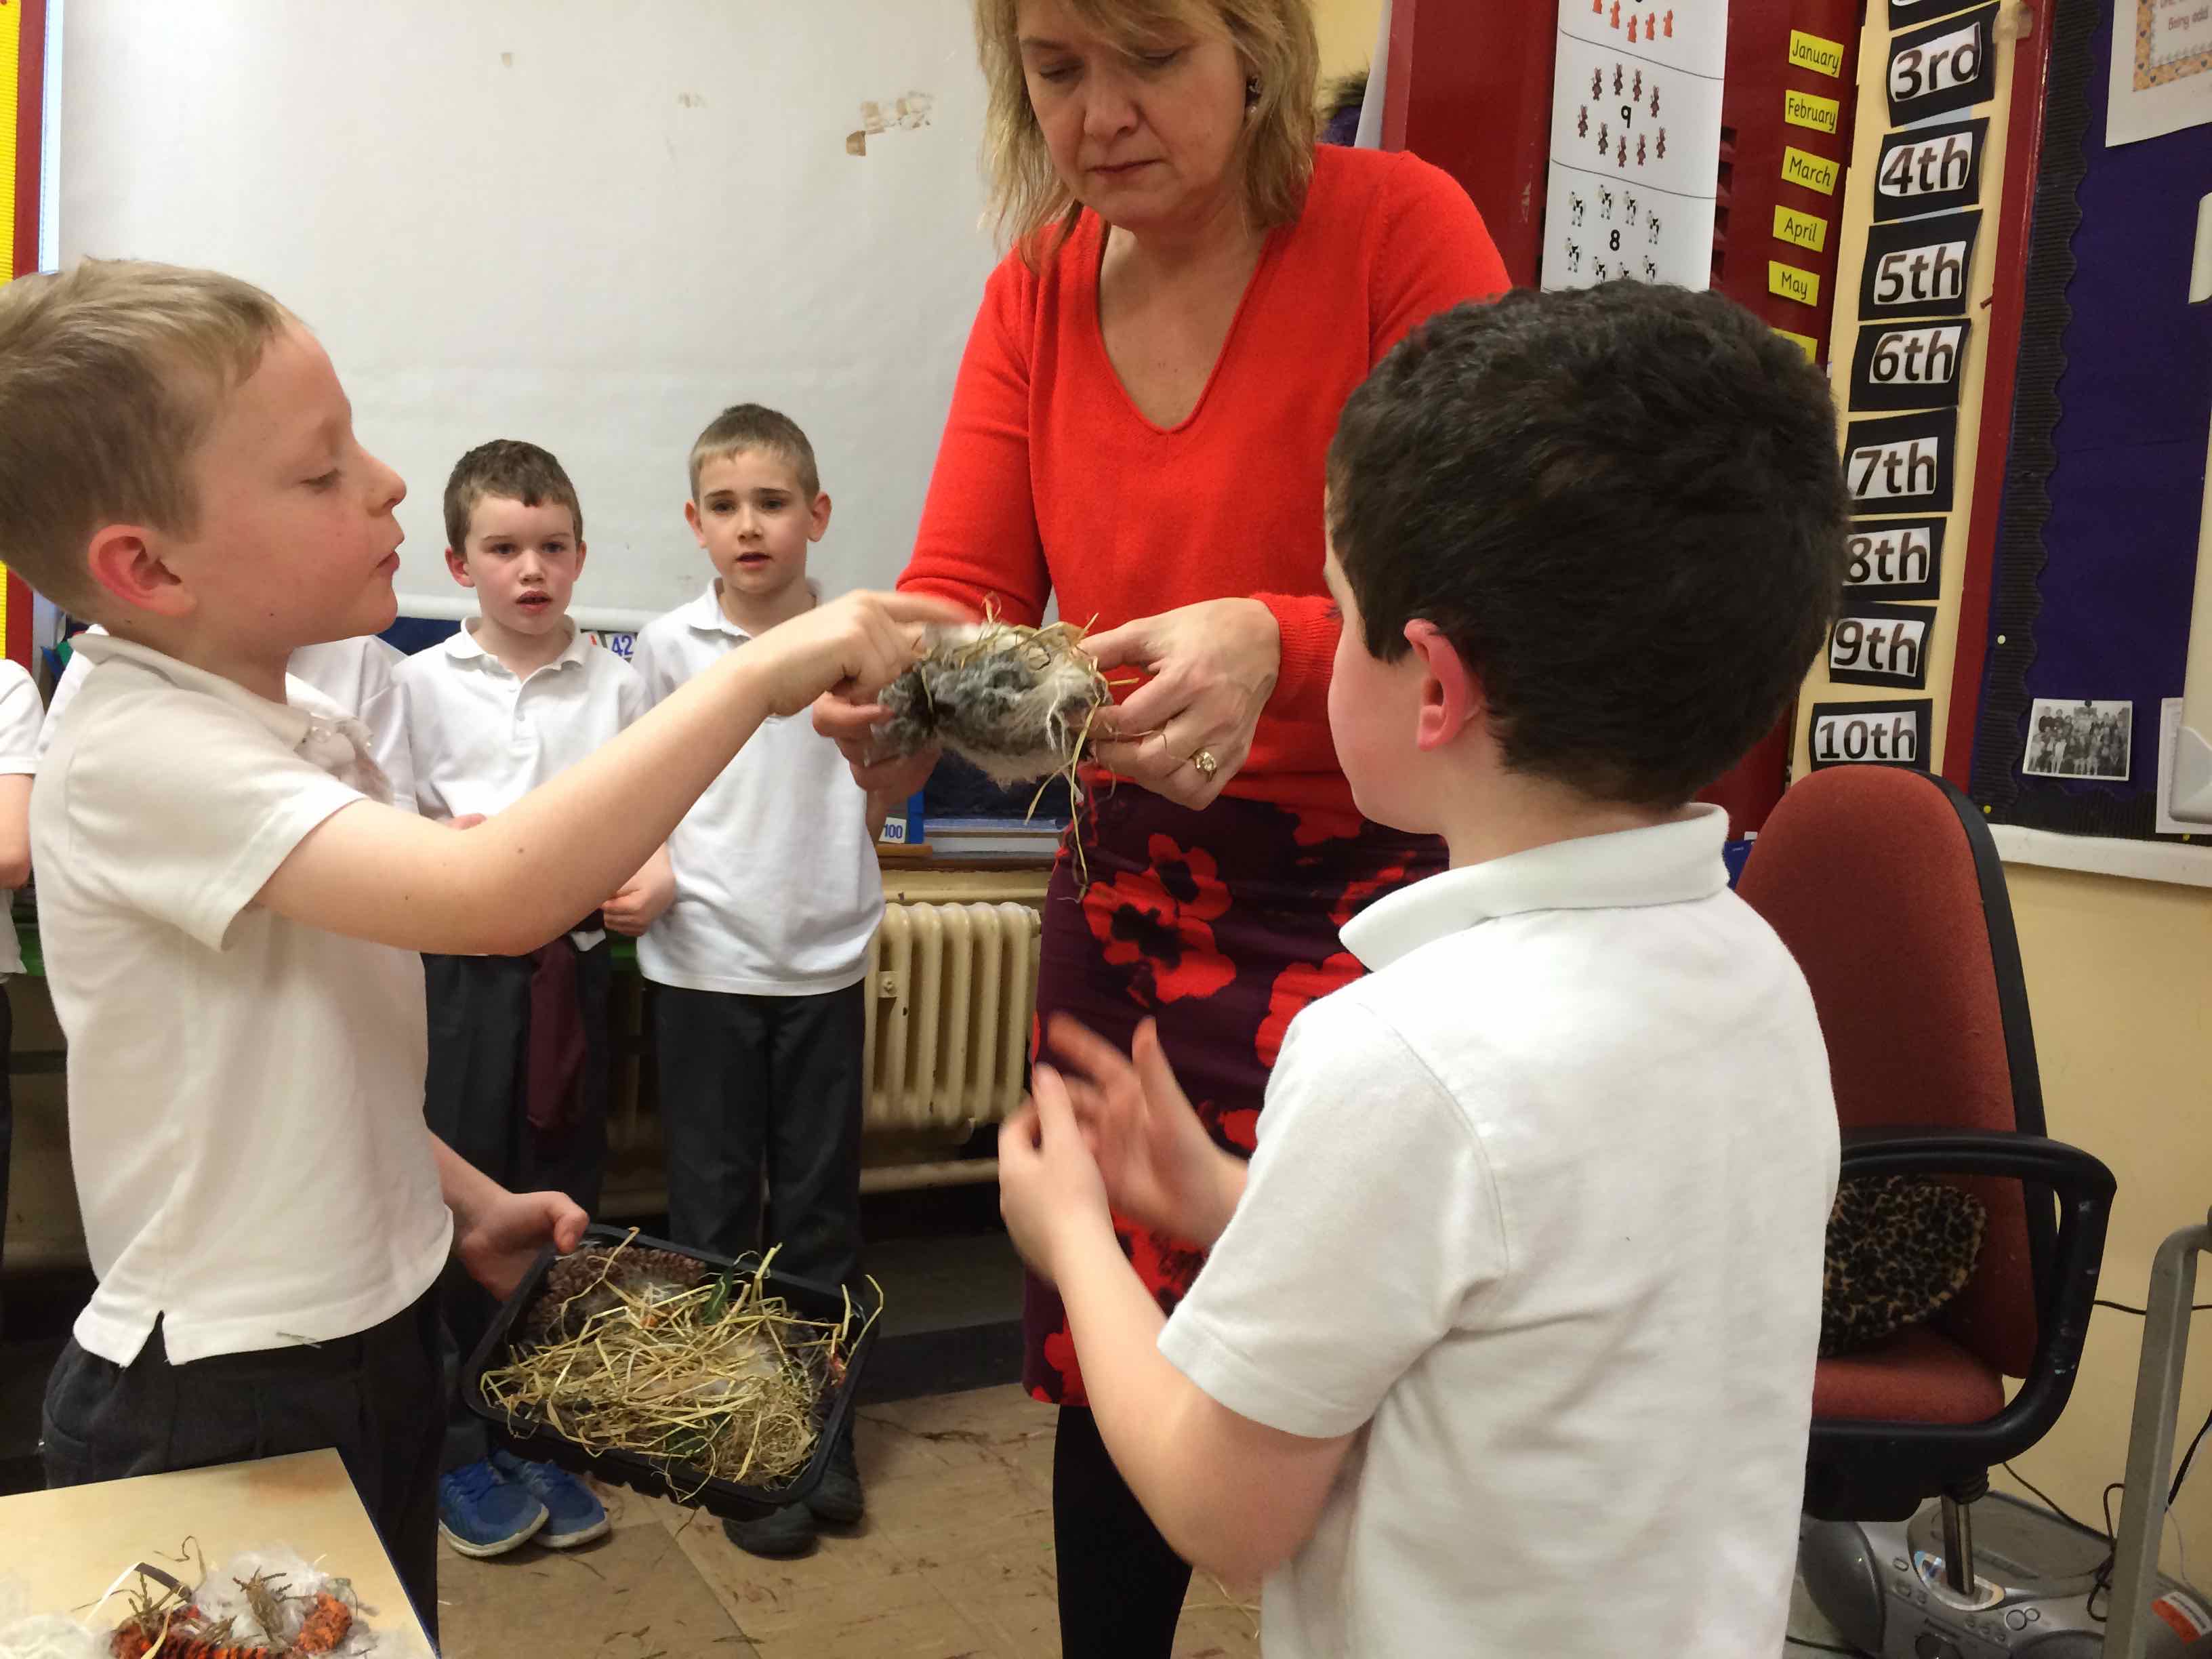
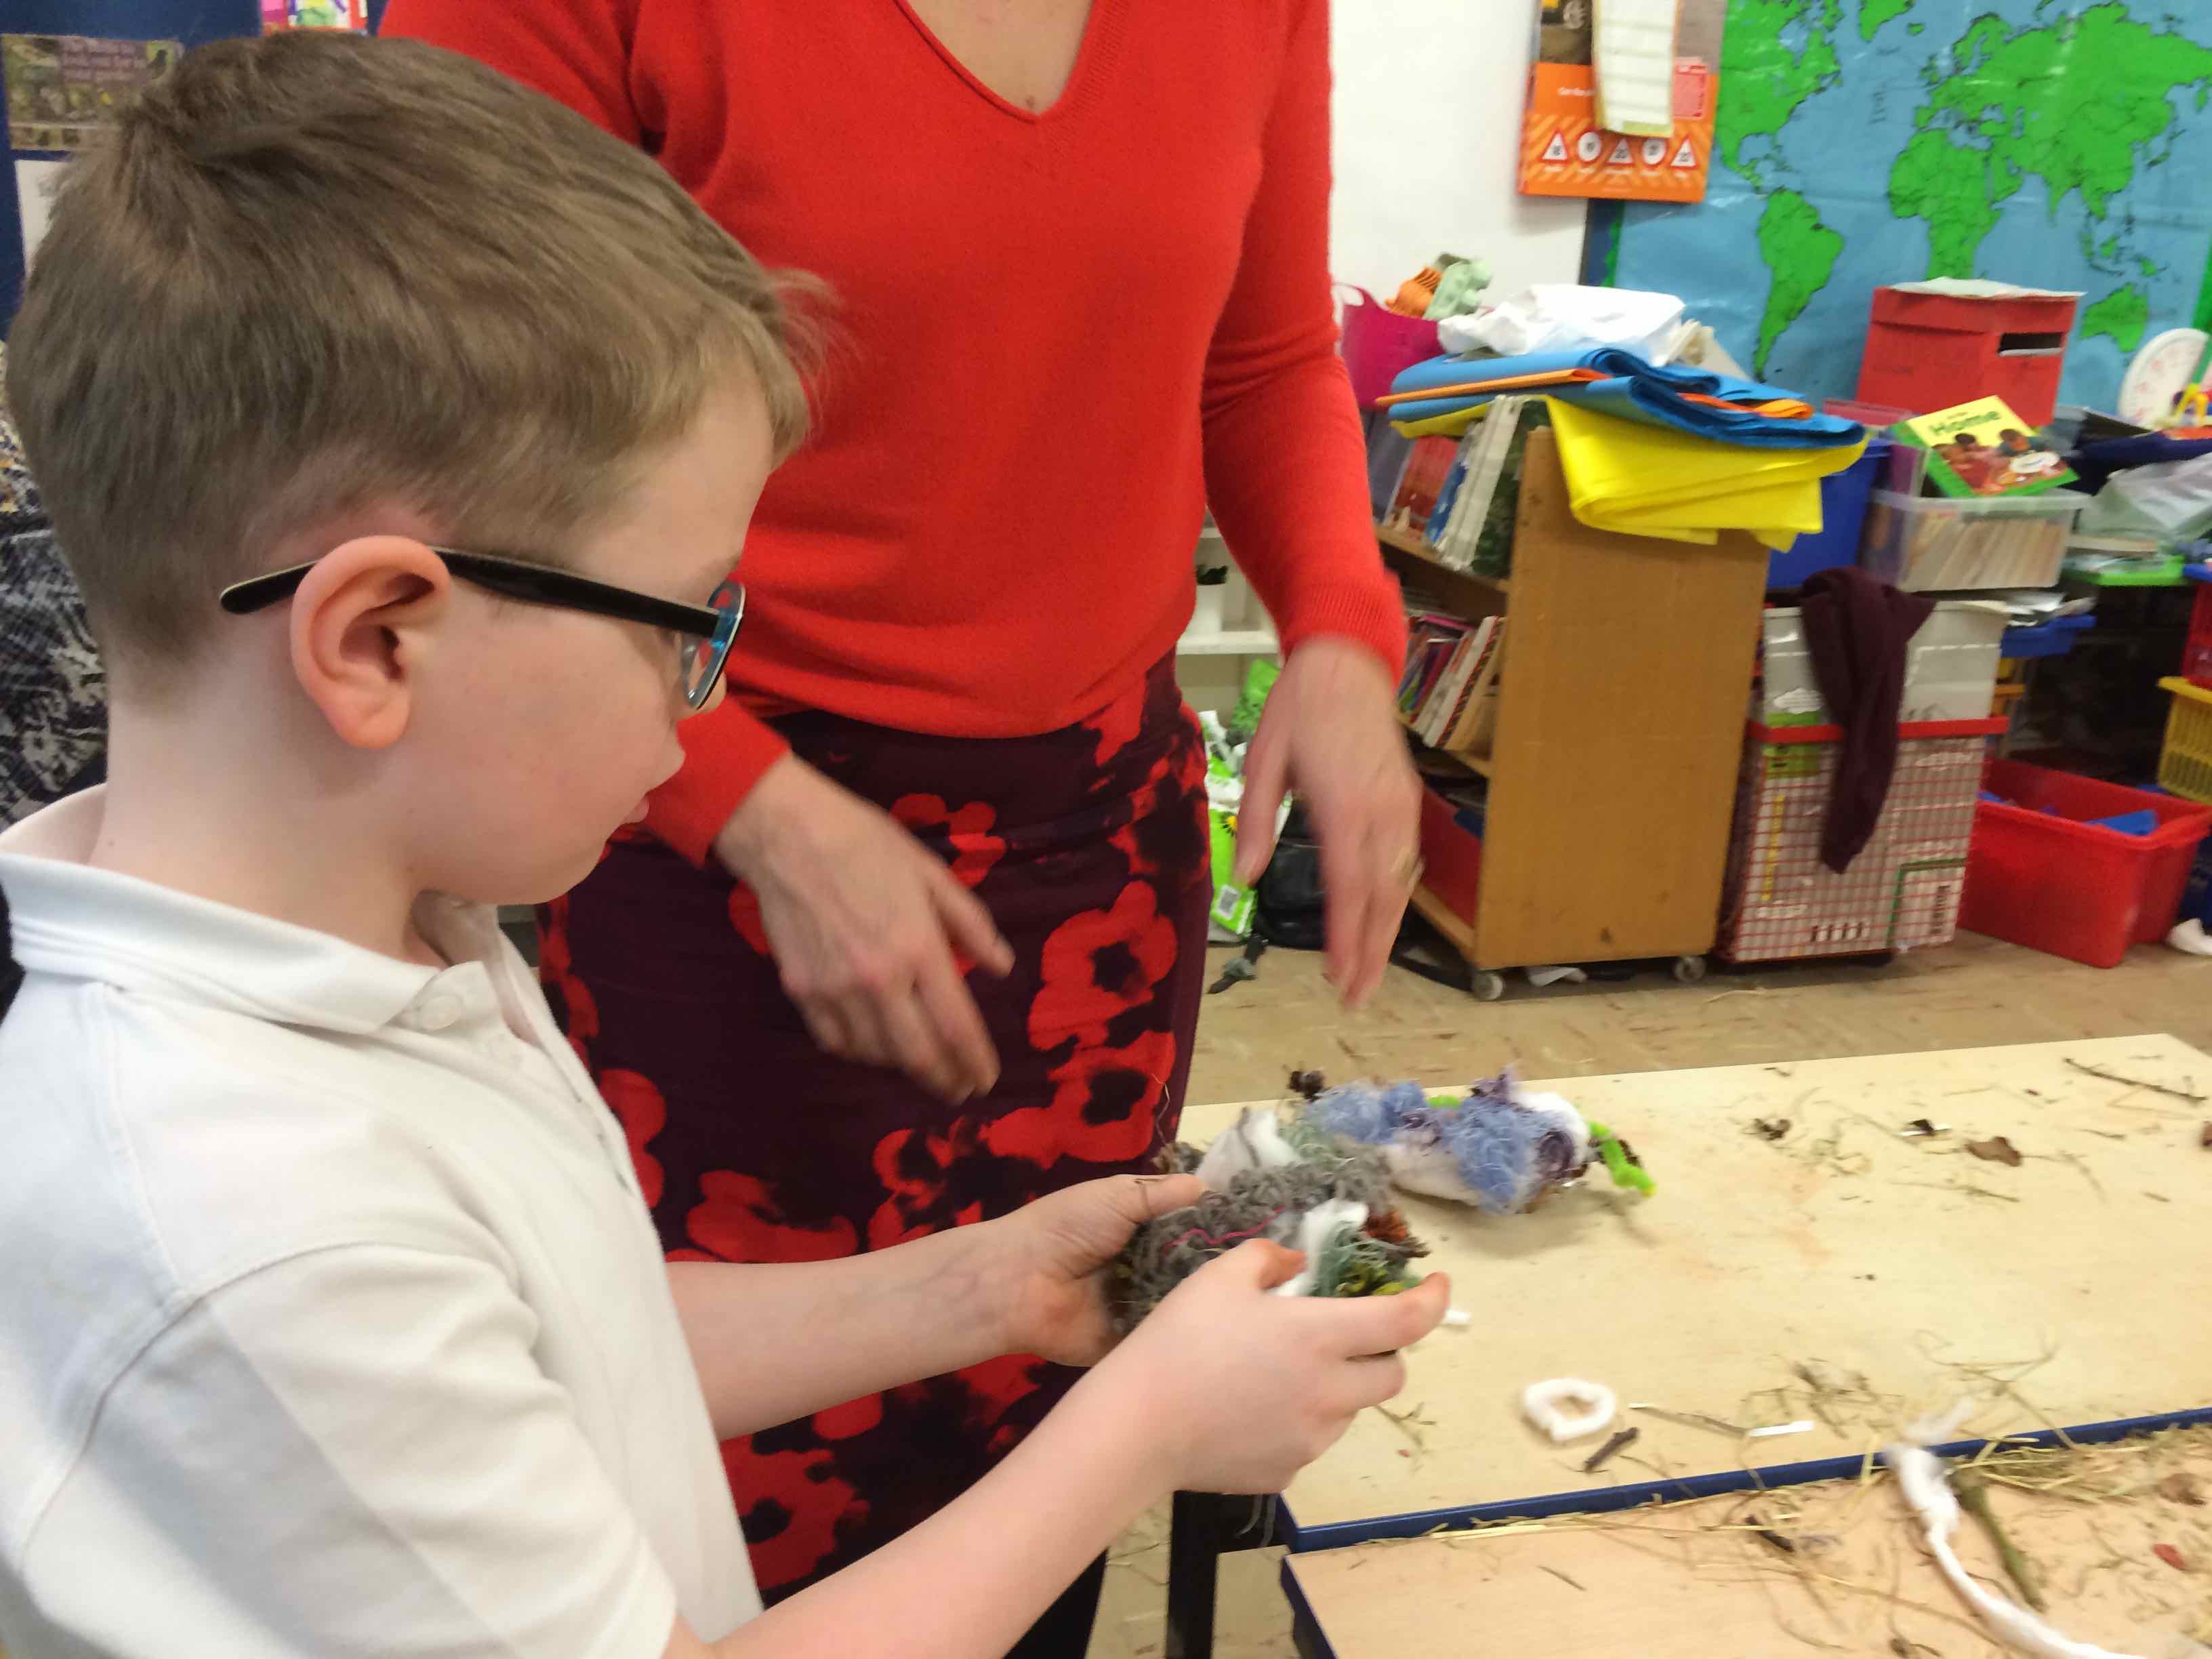
We decided to try building a nest ourselves. However before we began Eileen the classroom assistant and Mrs Hughes went to fetch a REAL NEST to show the children…
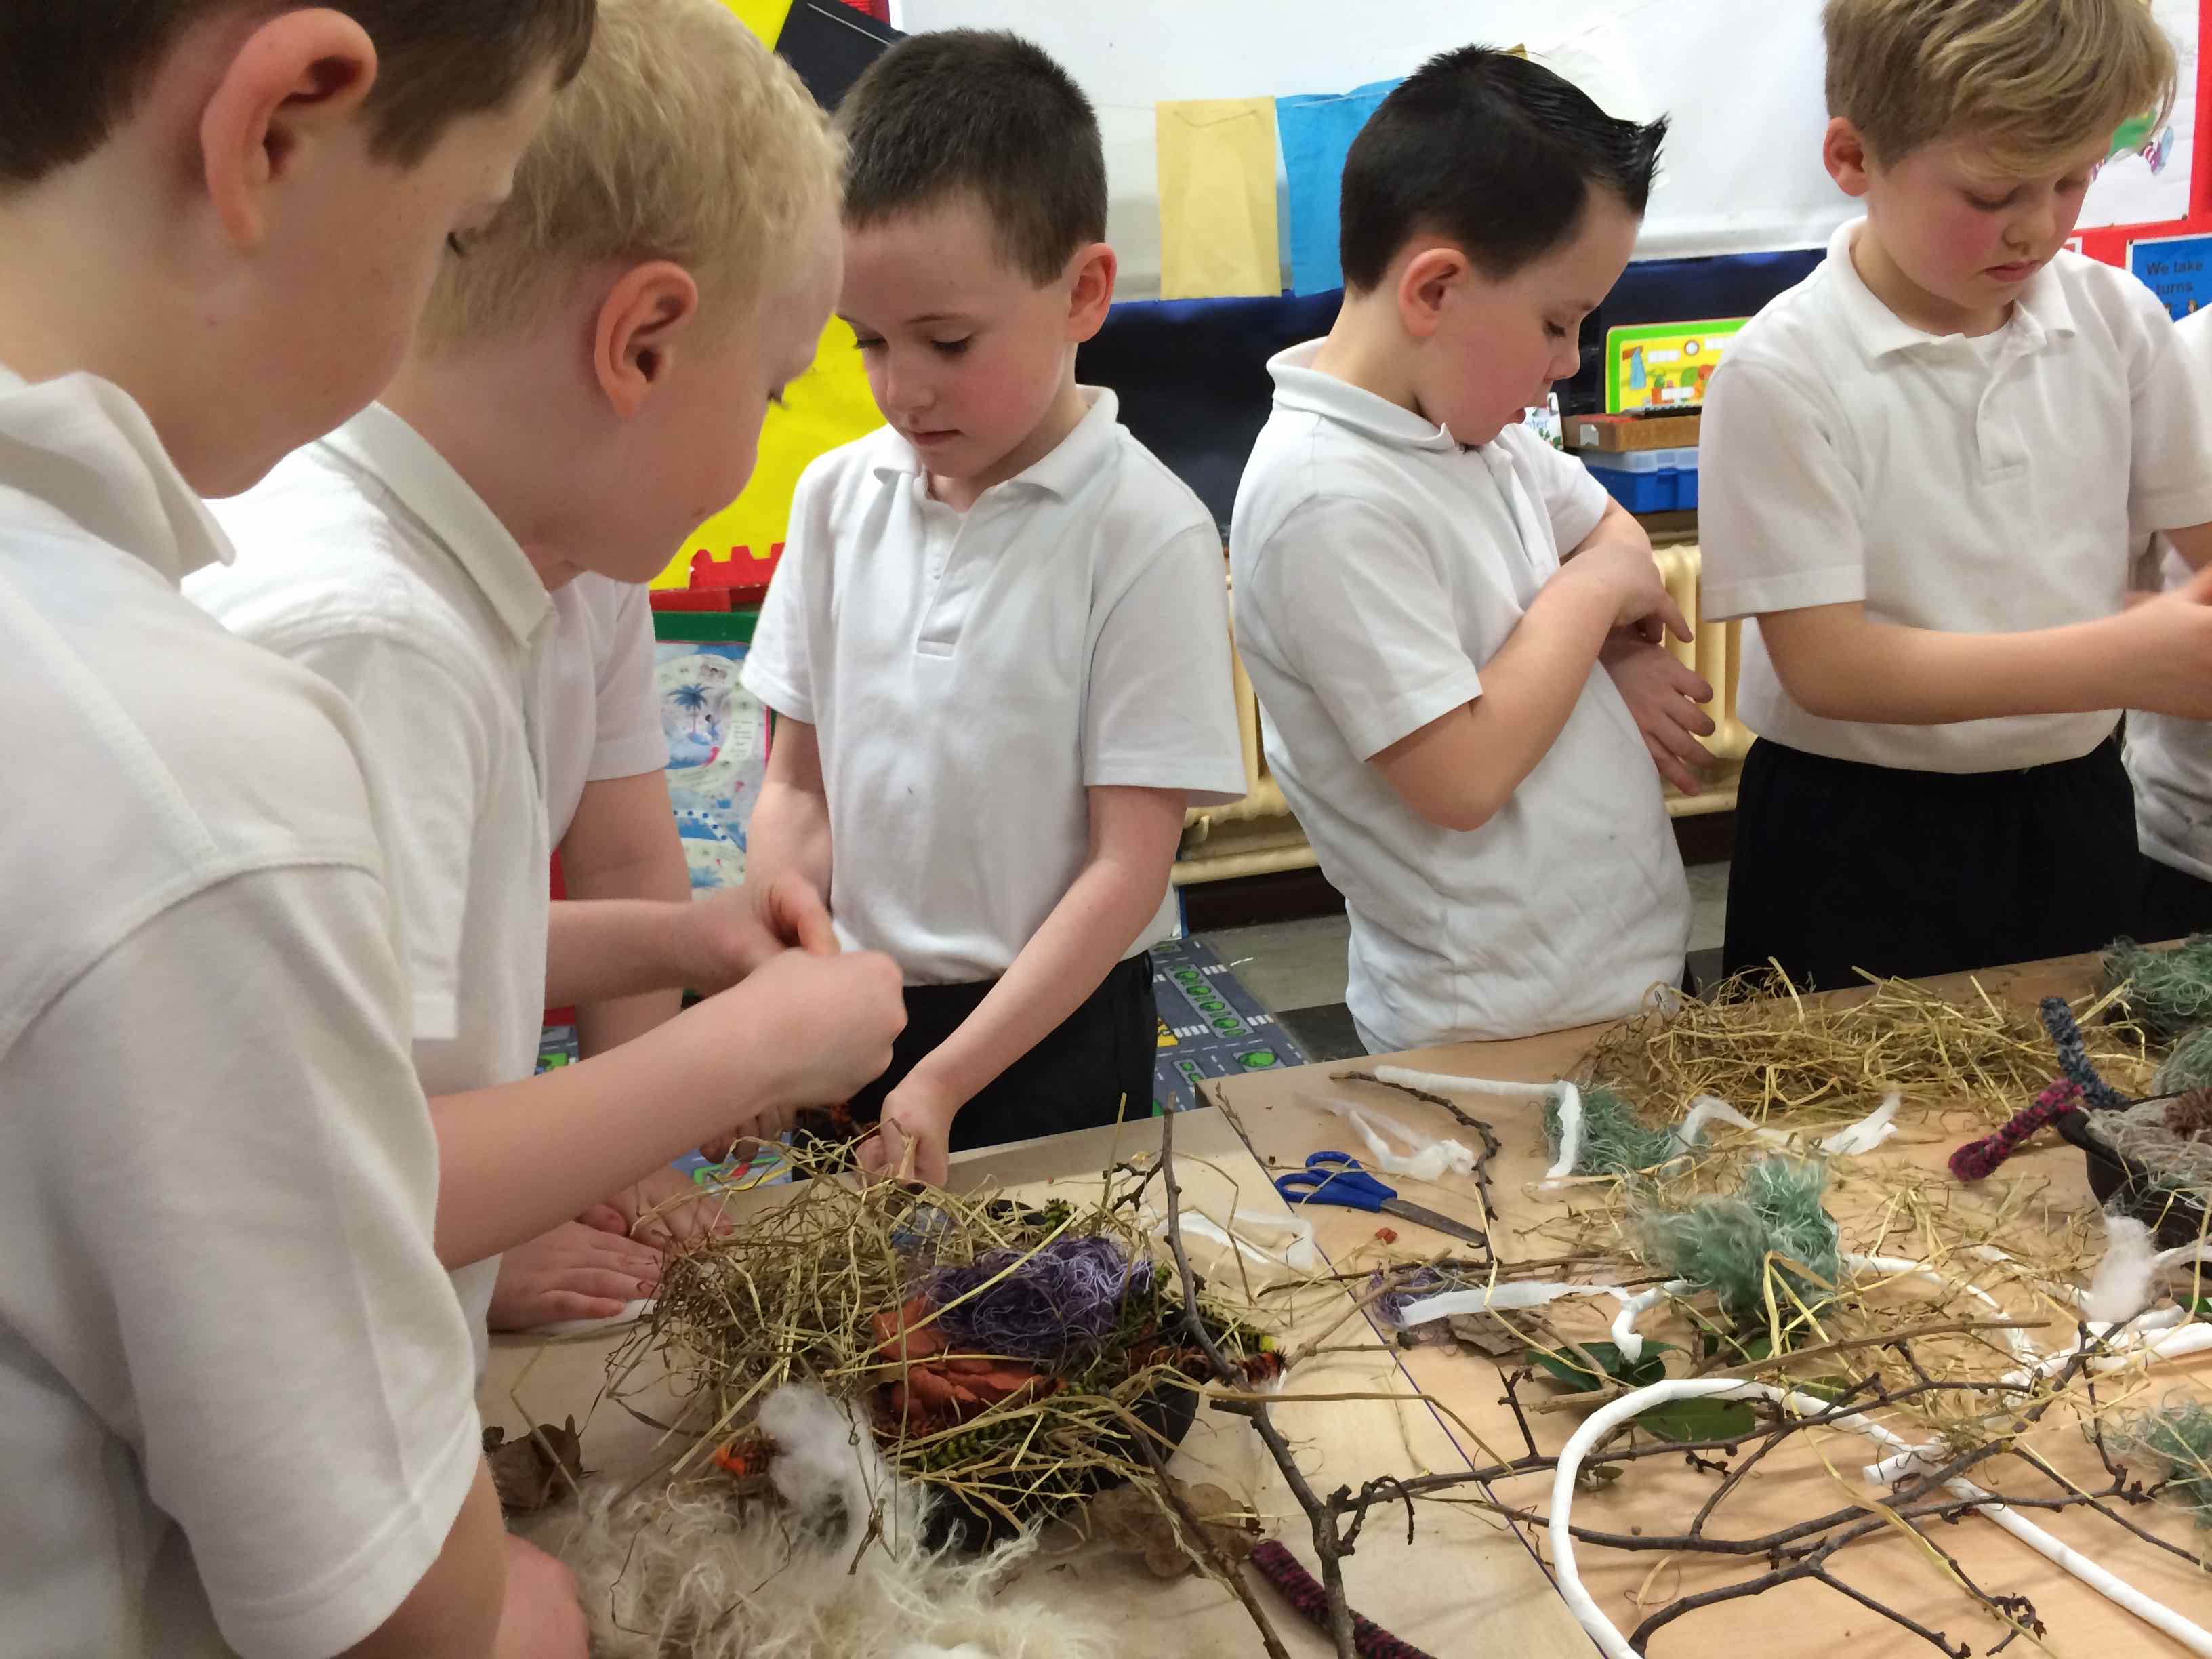
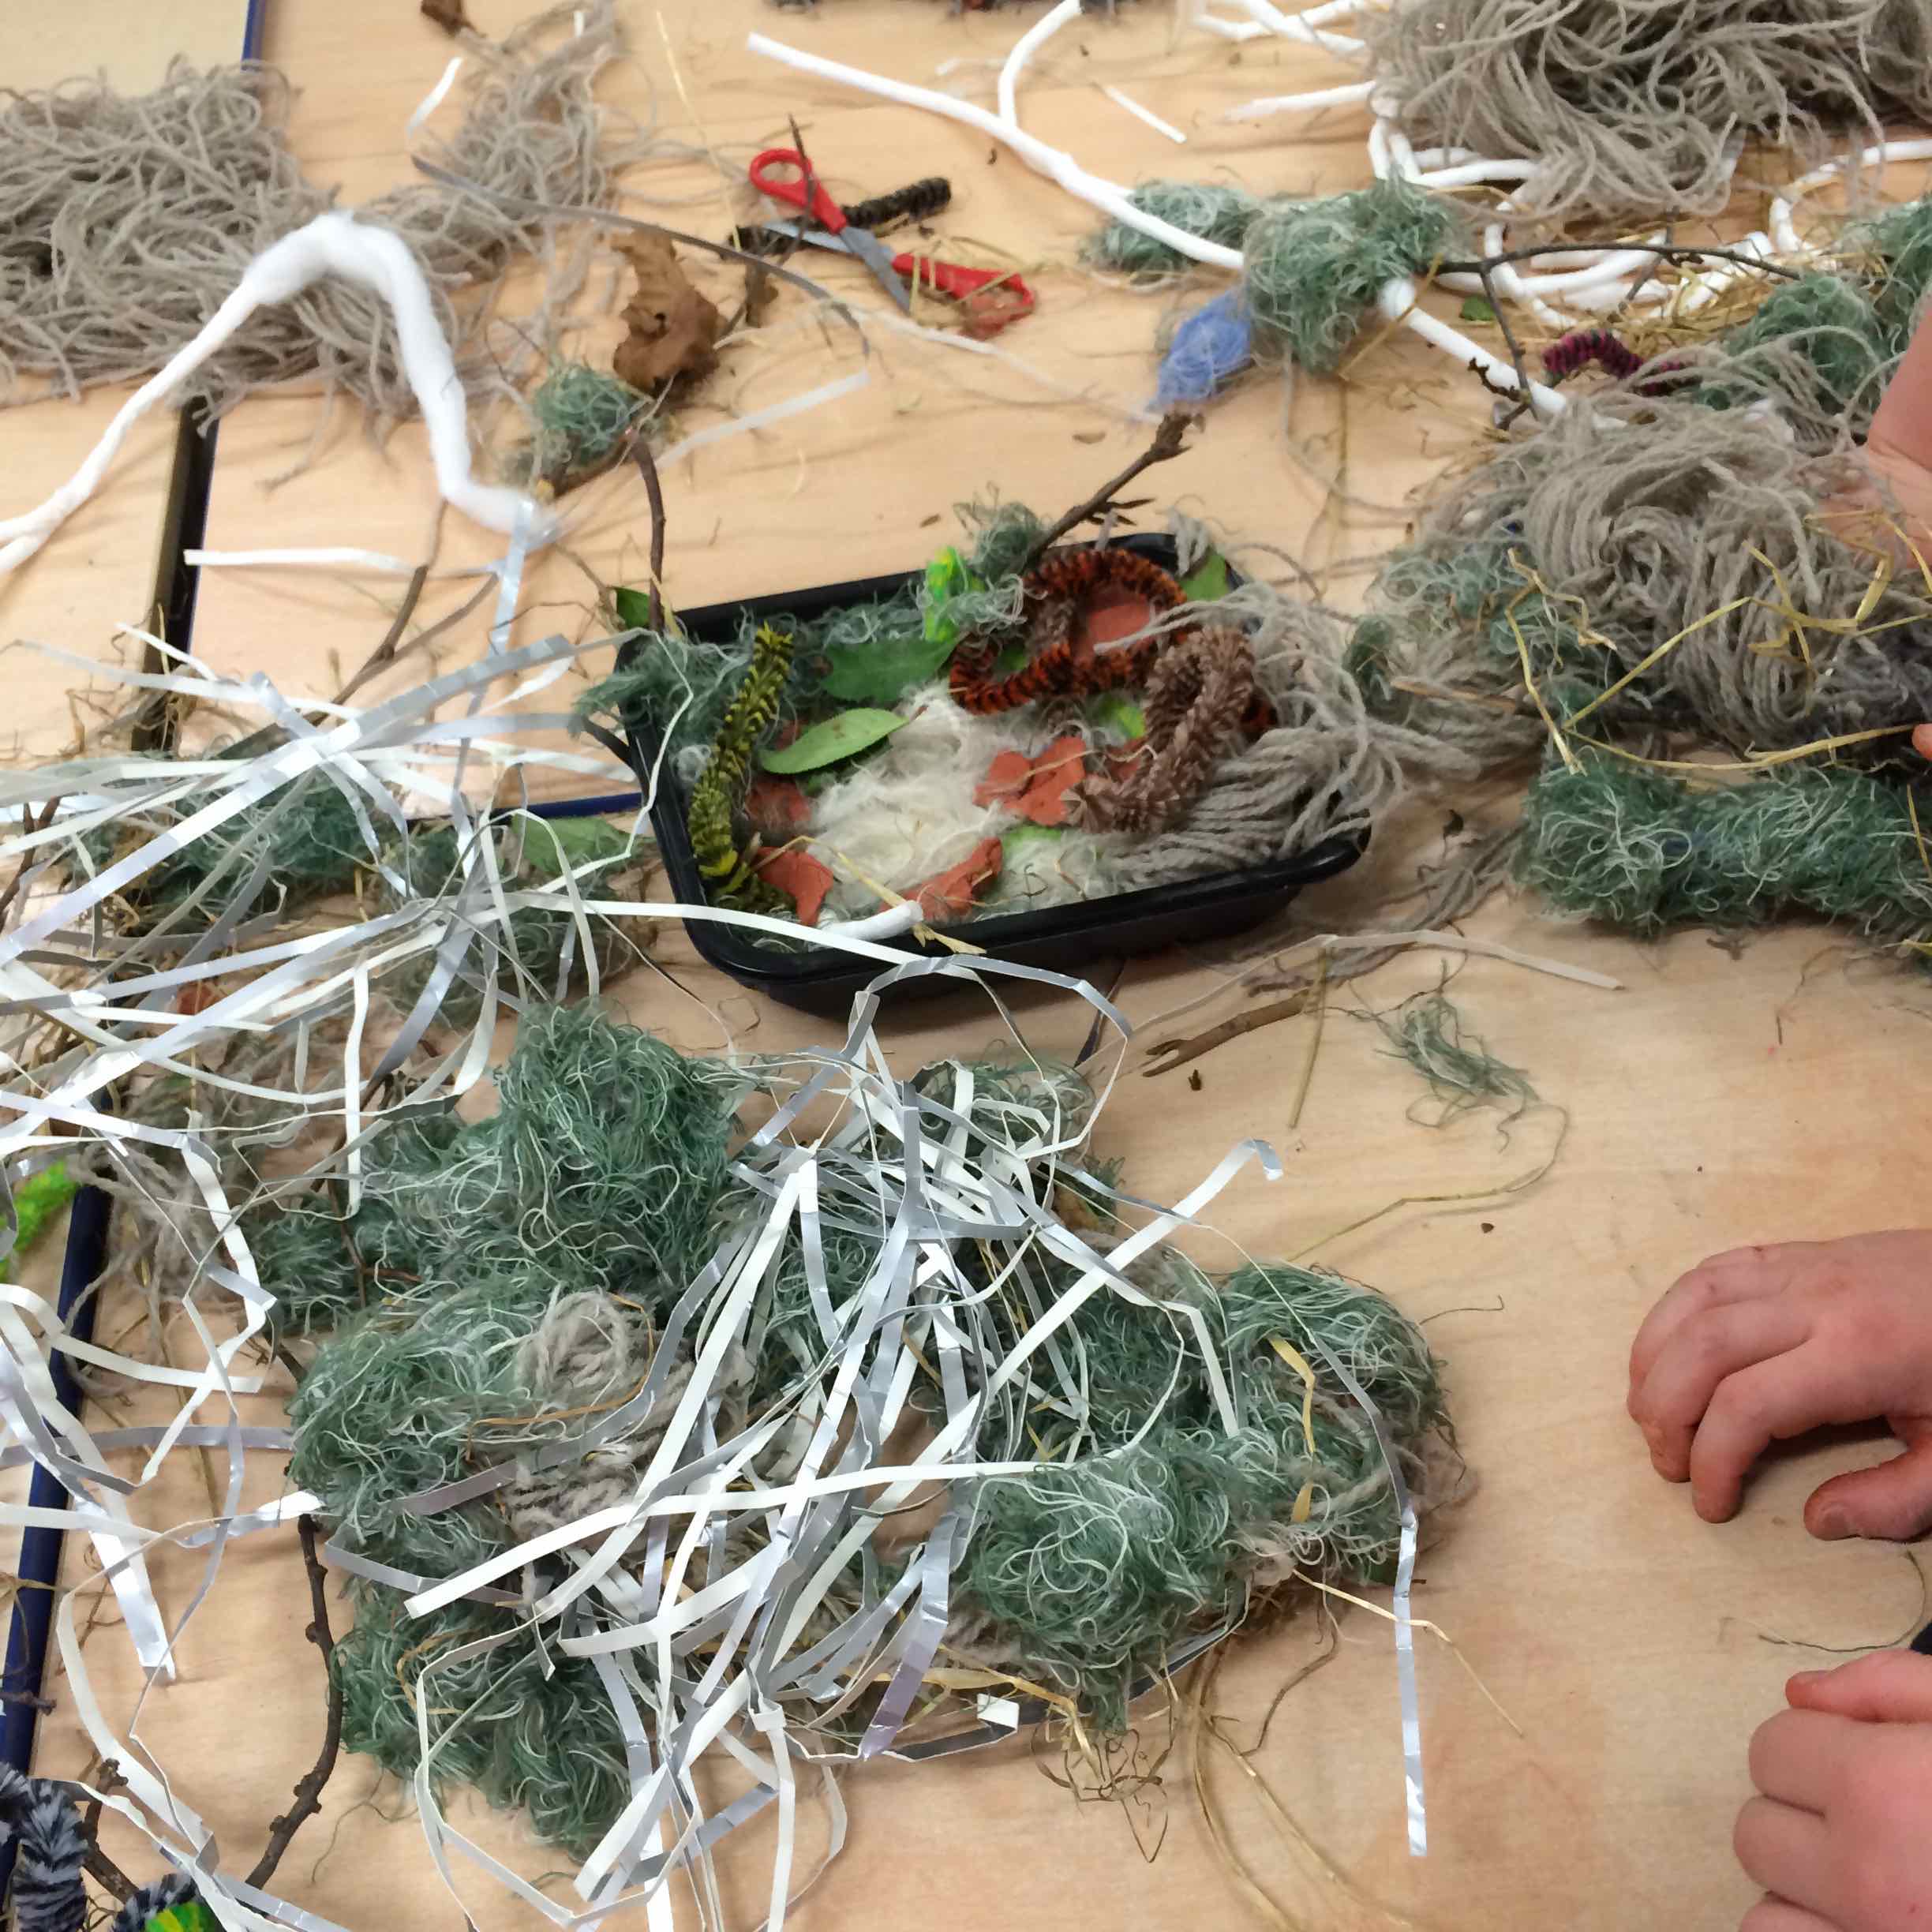
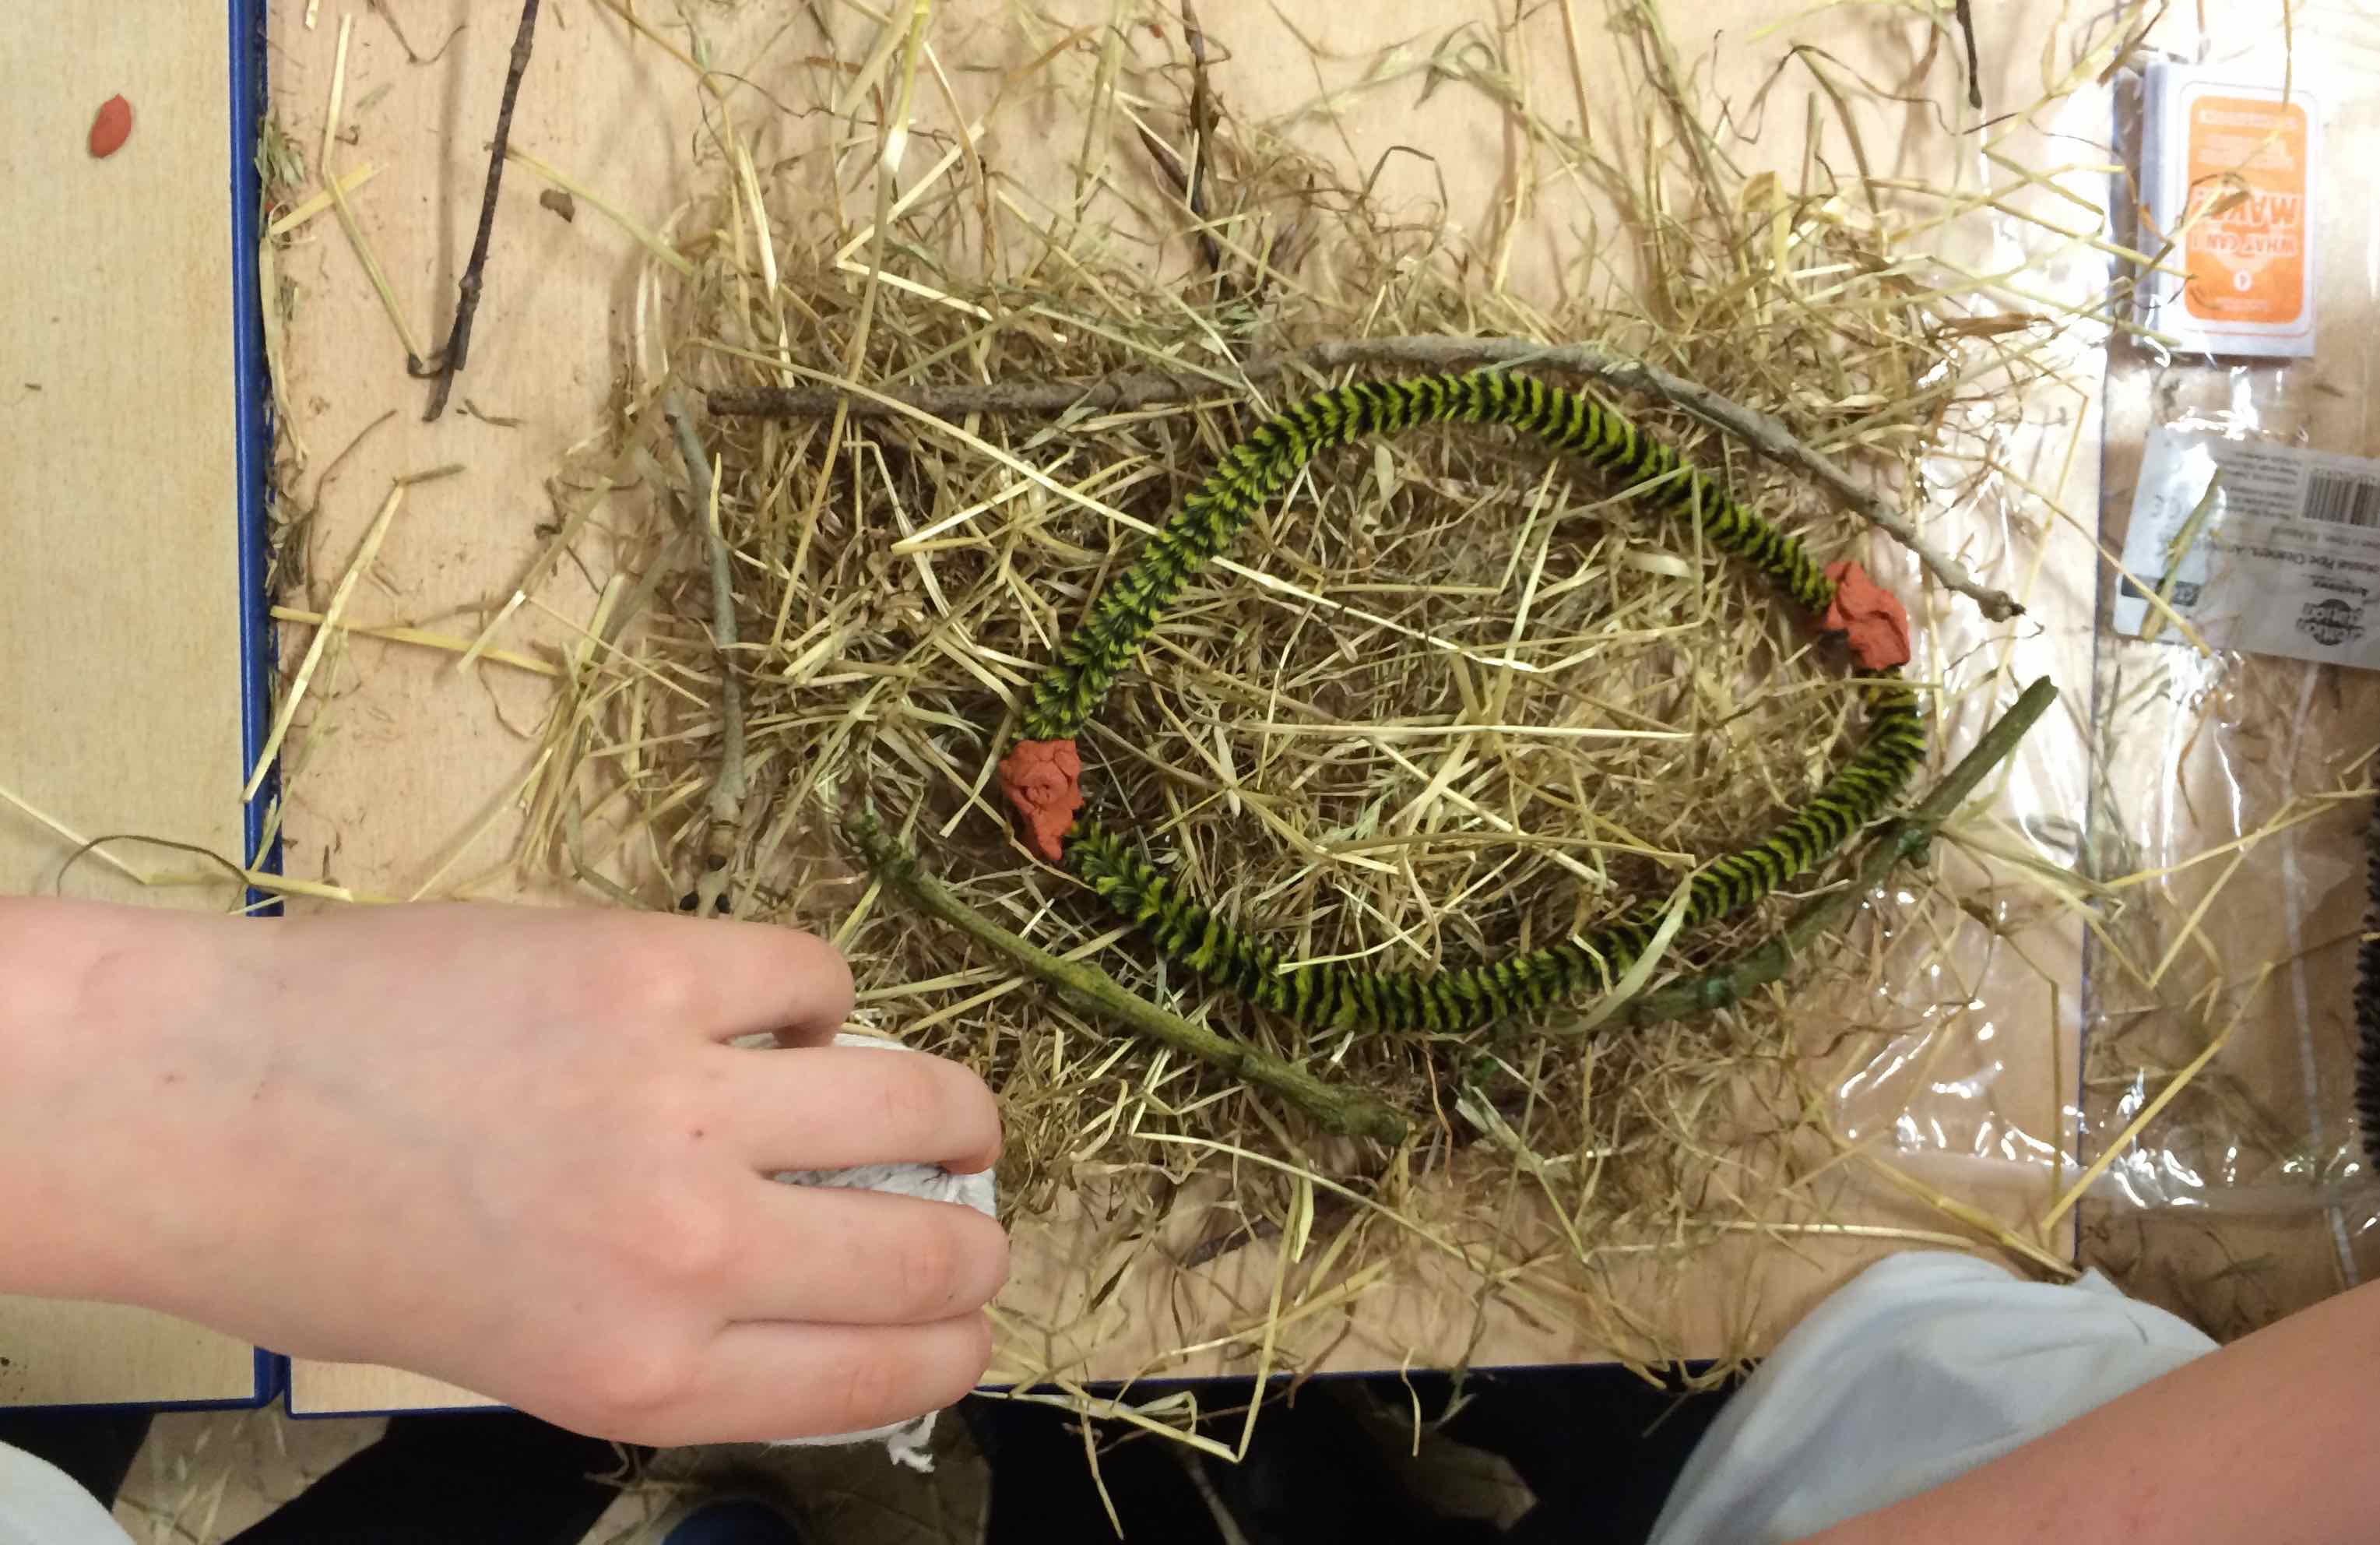
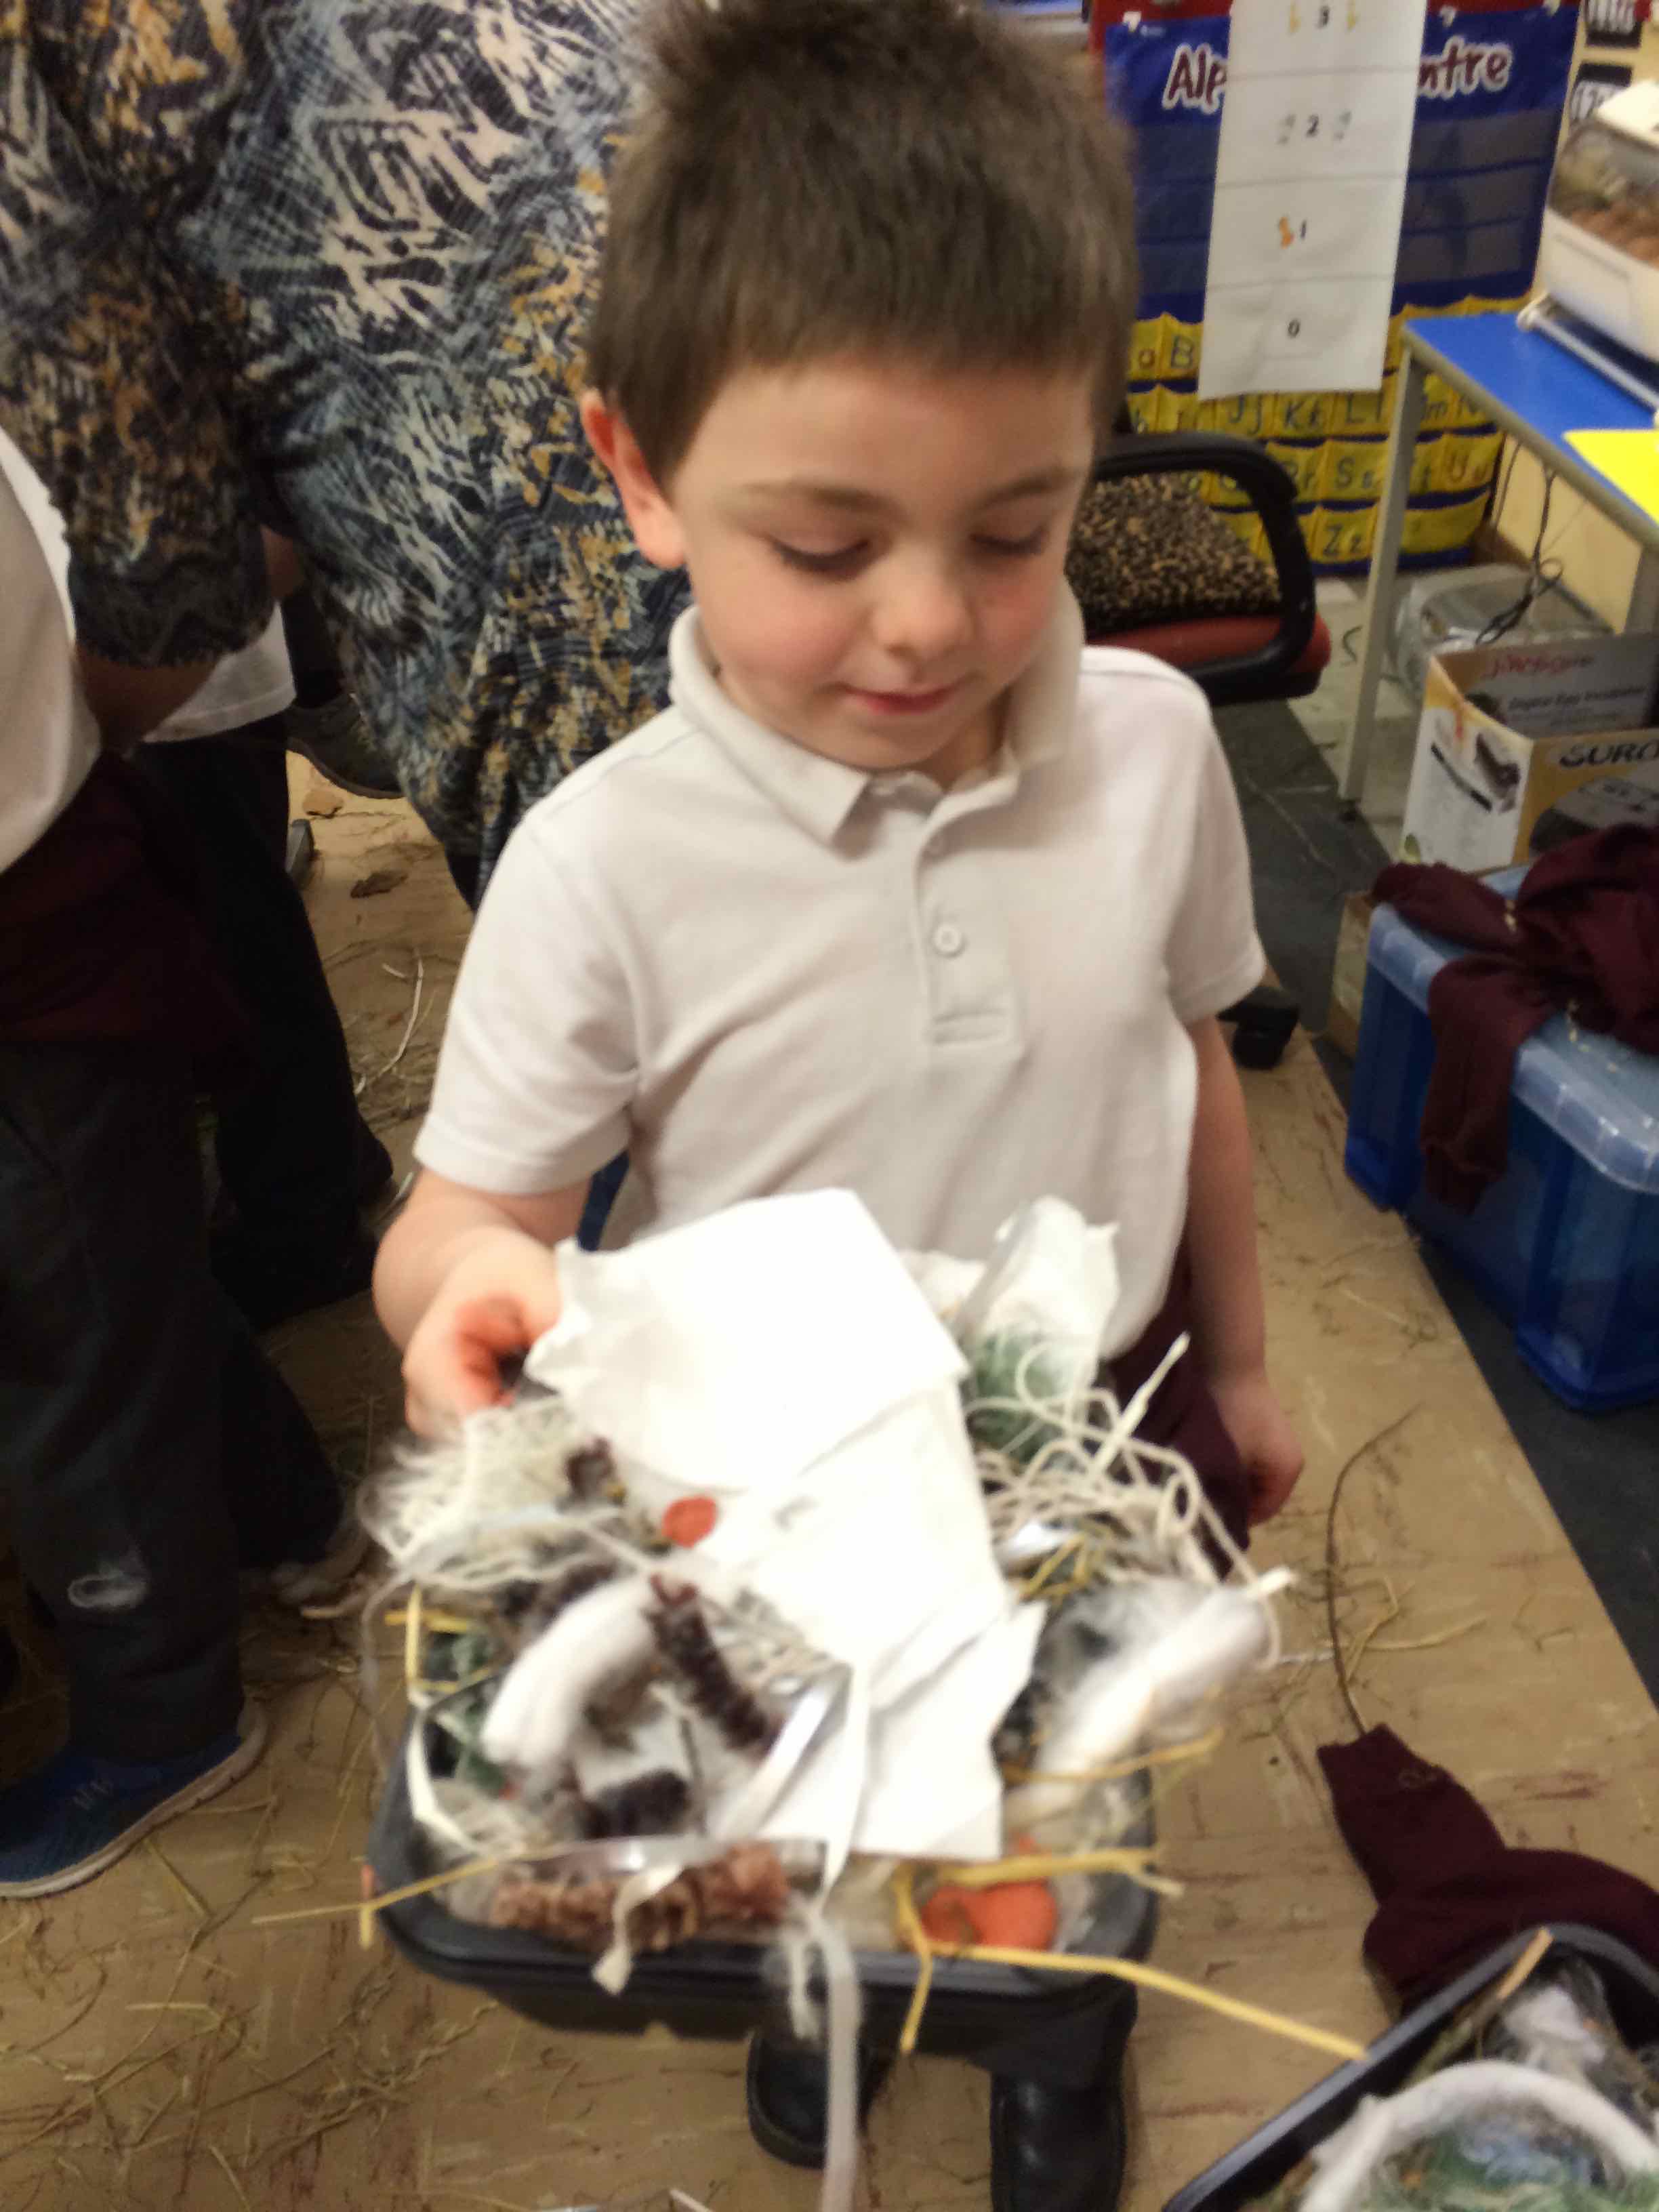
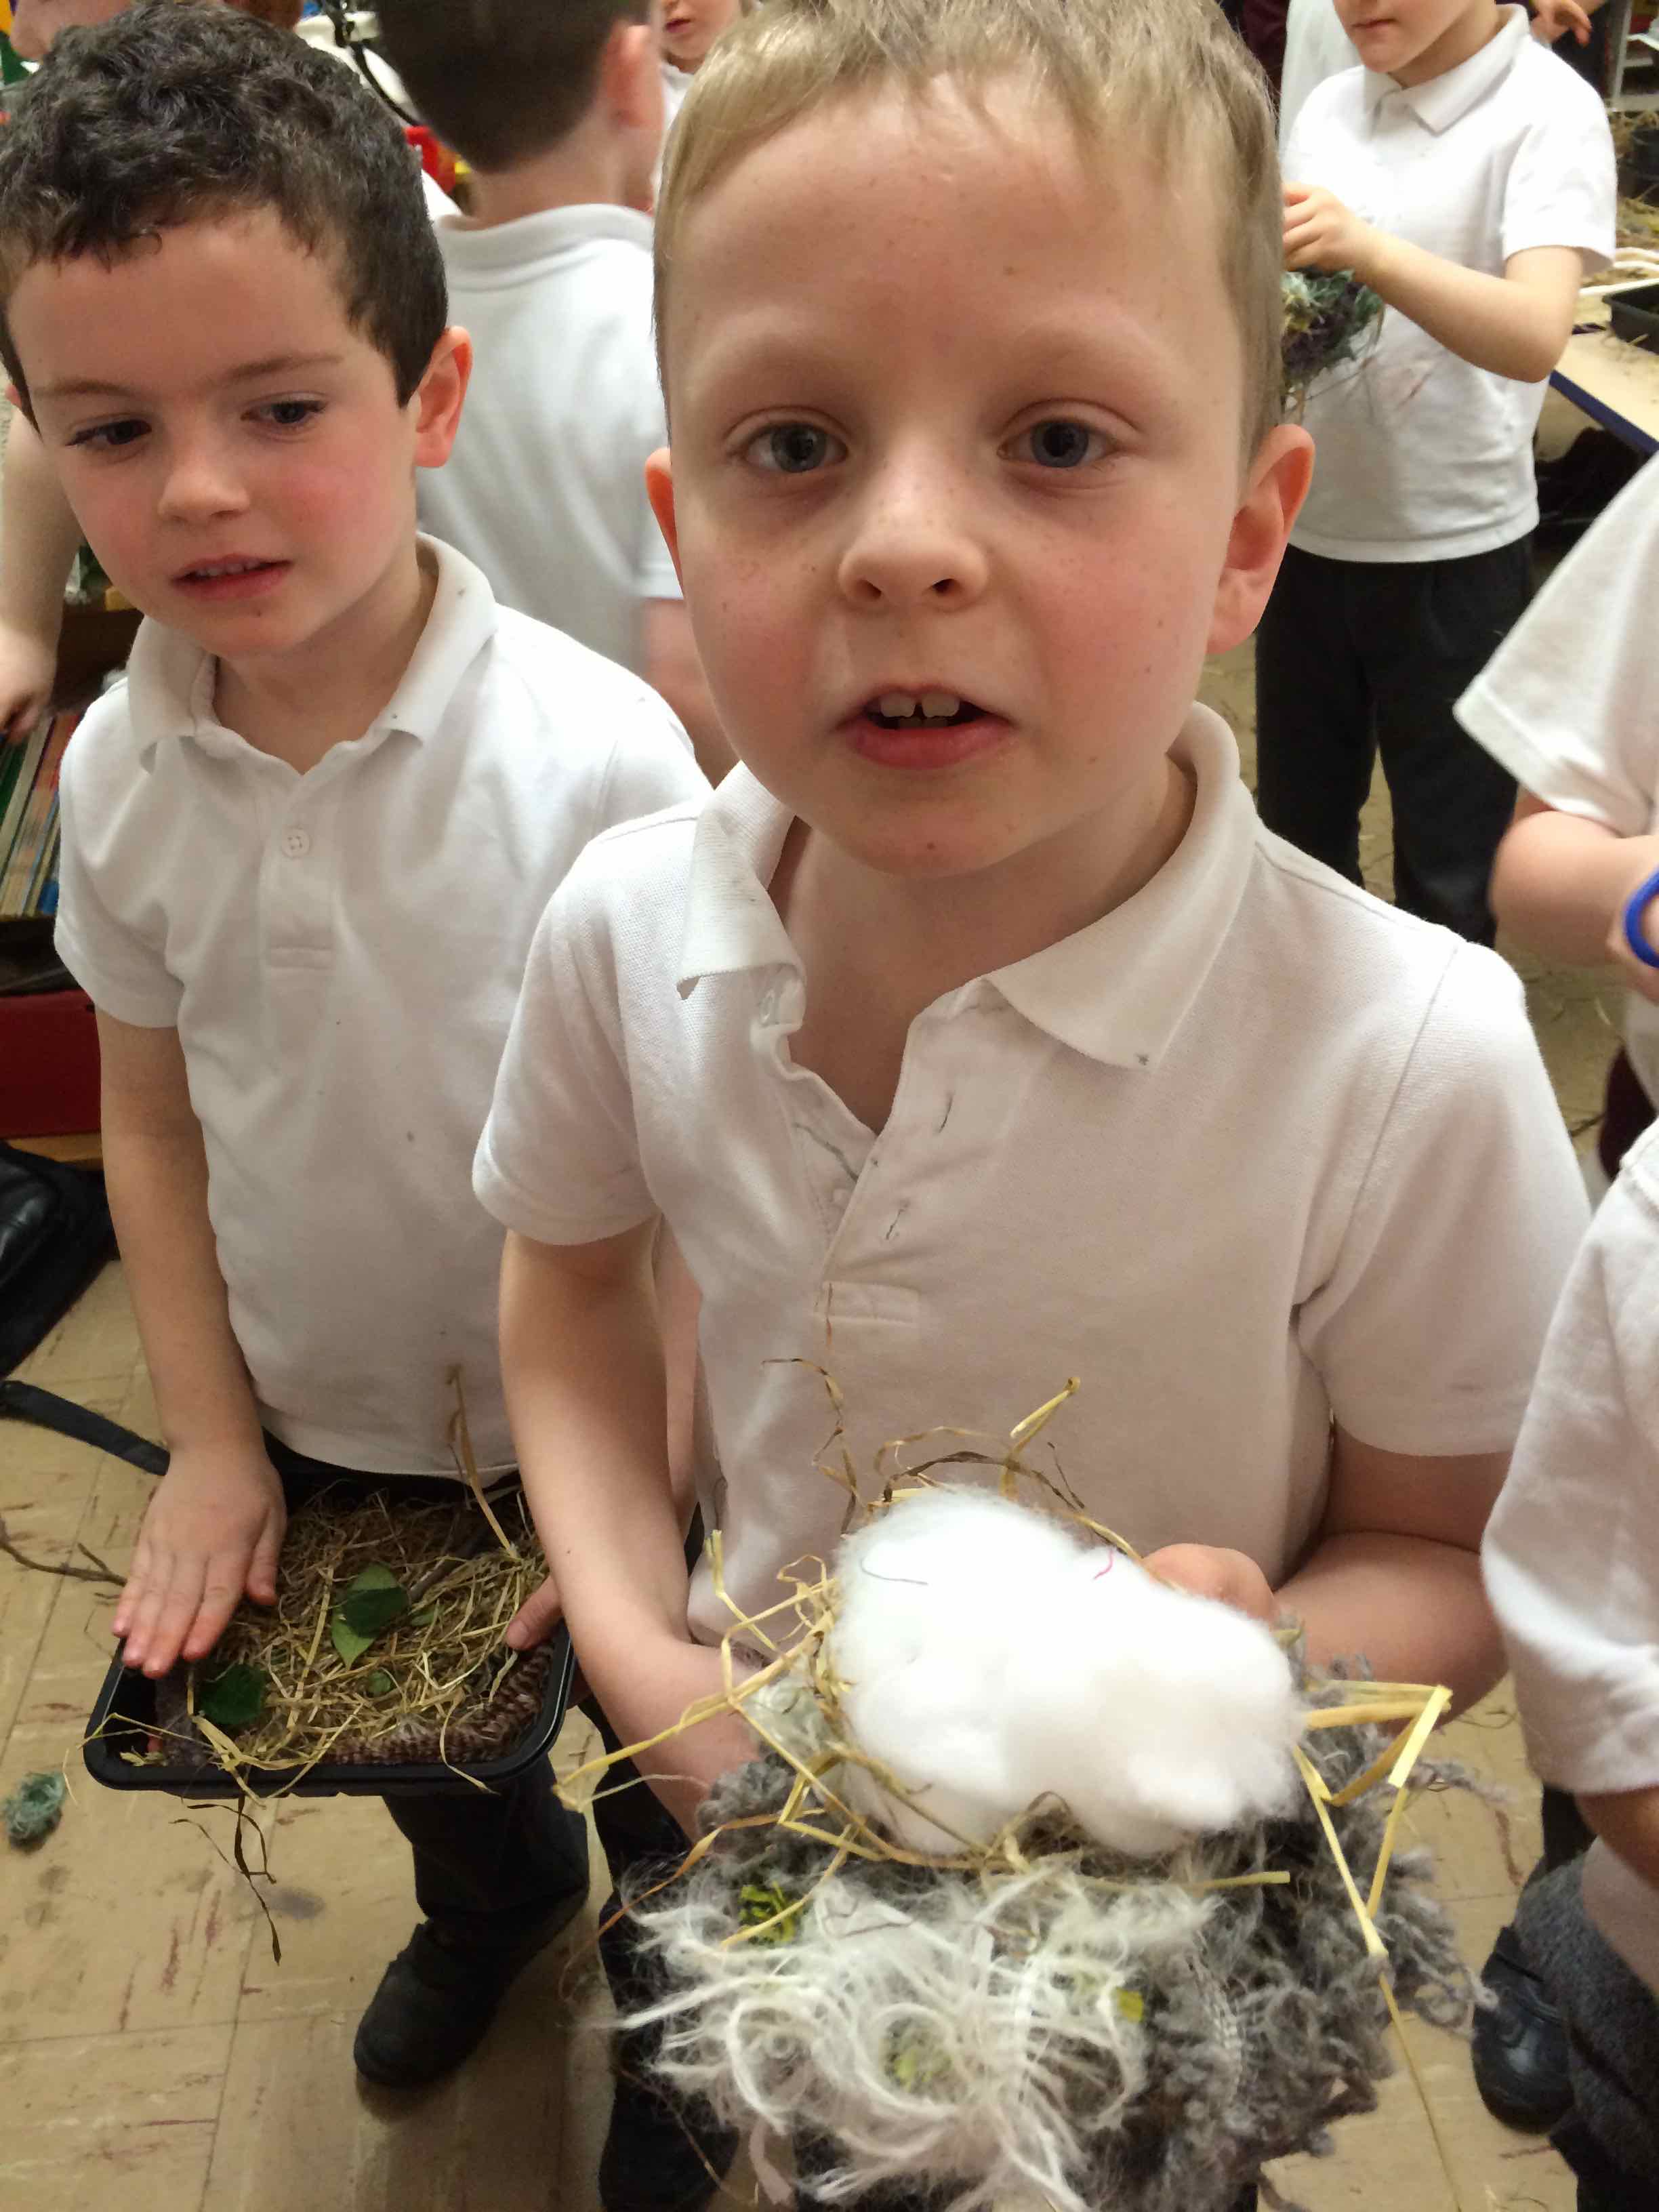
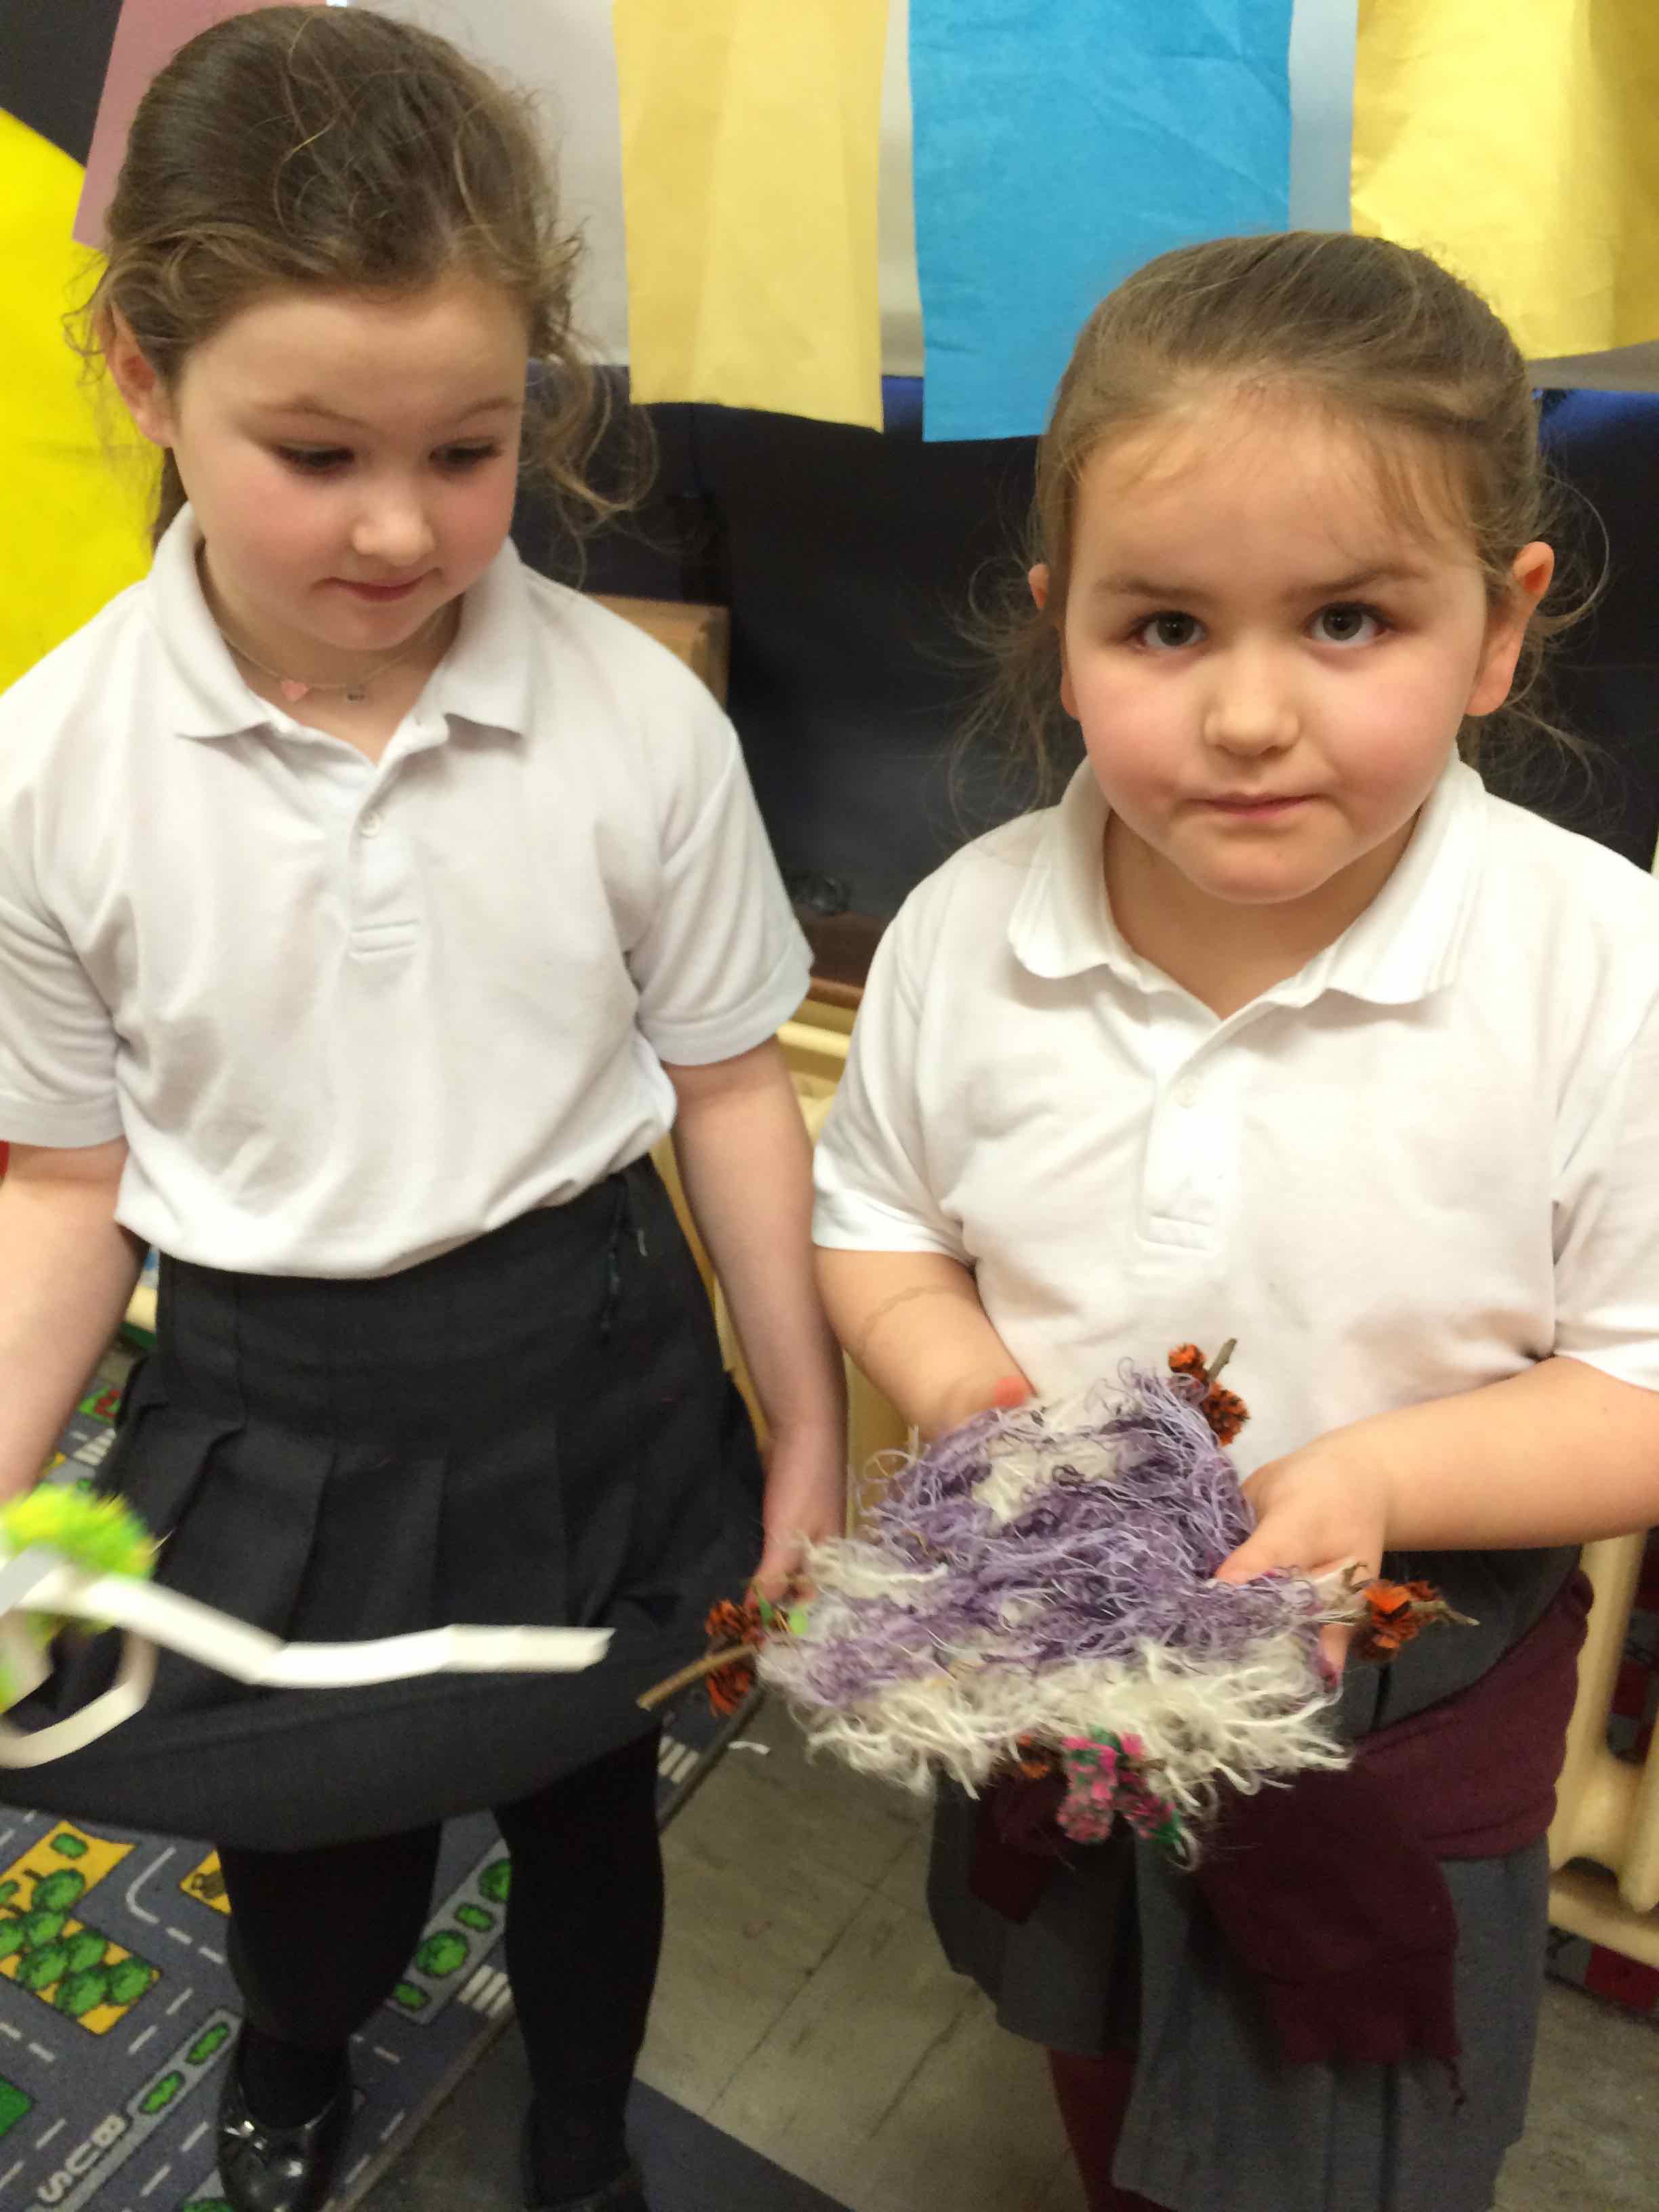
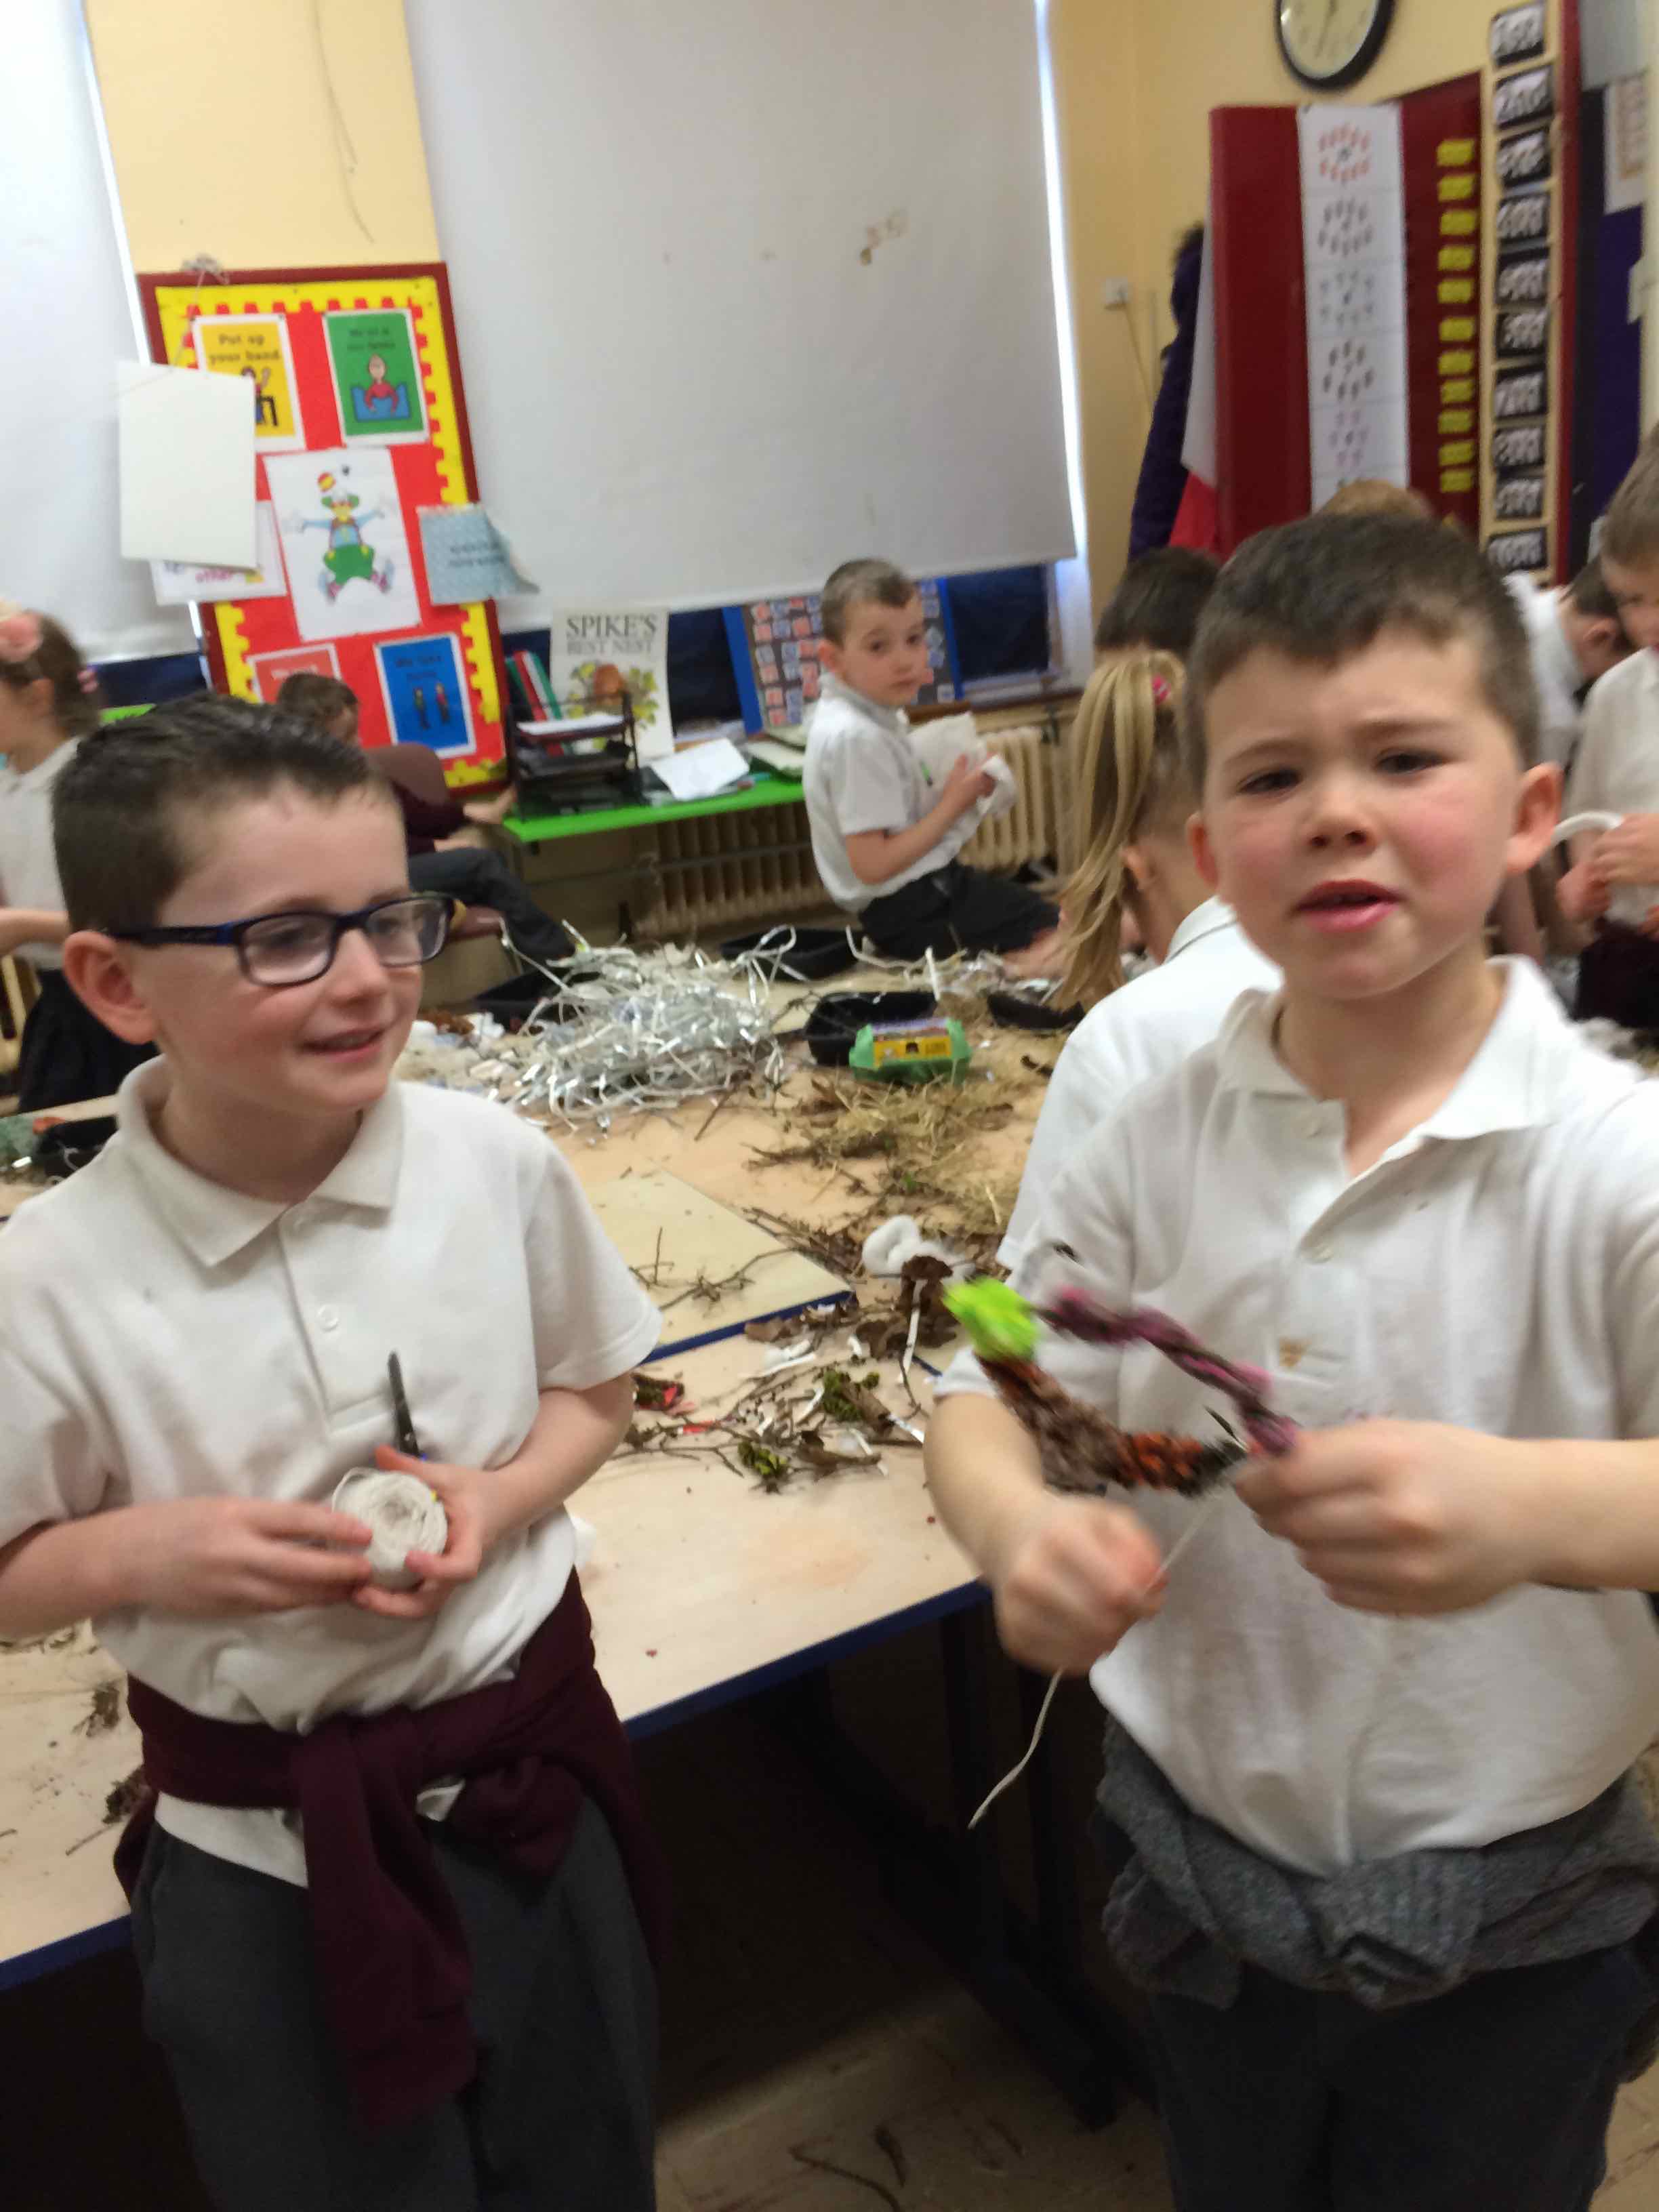
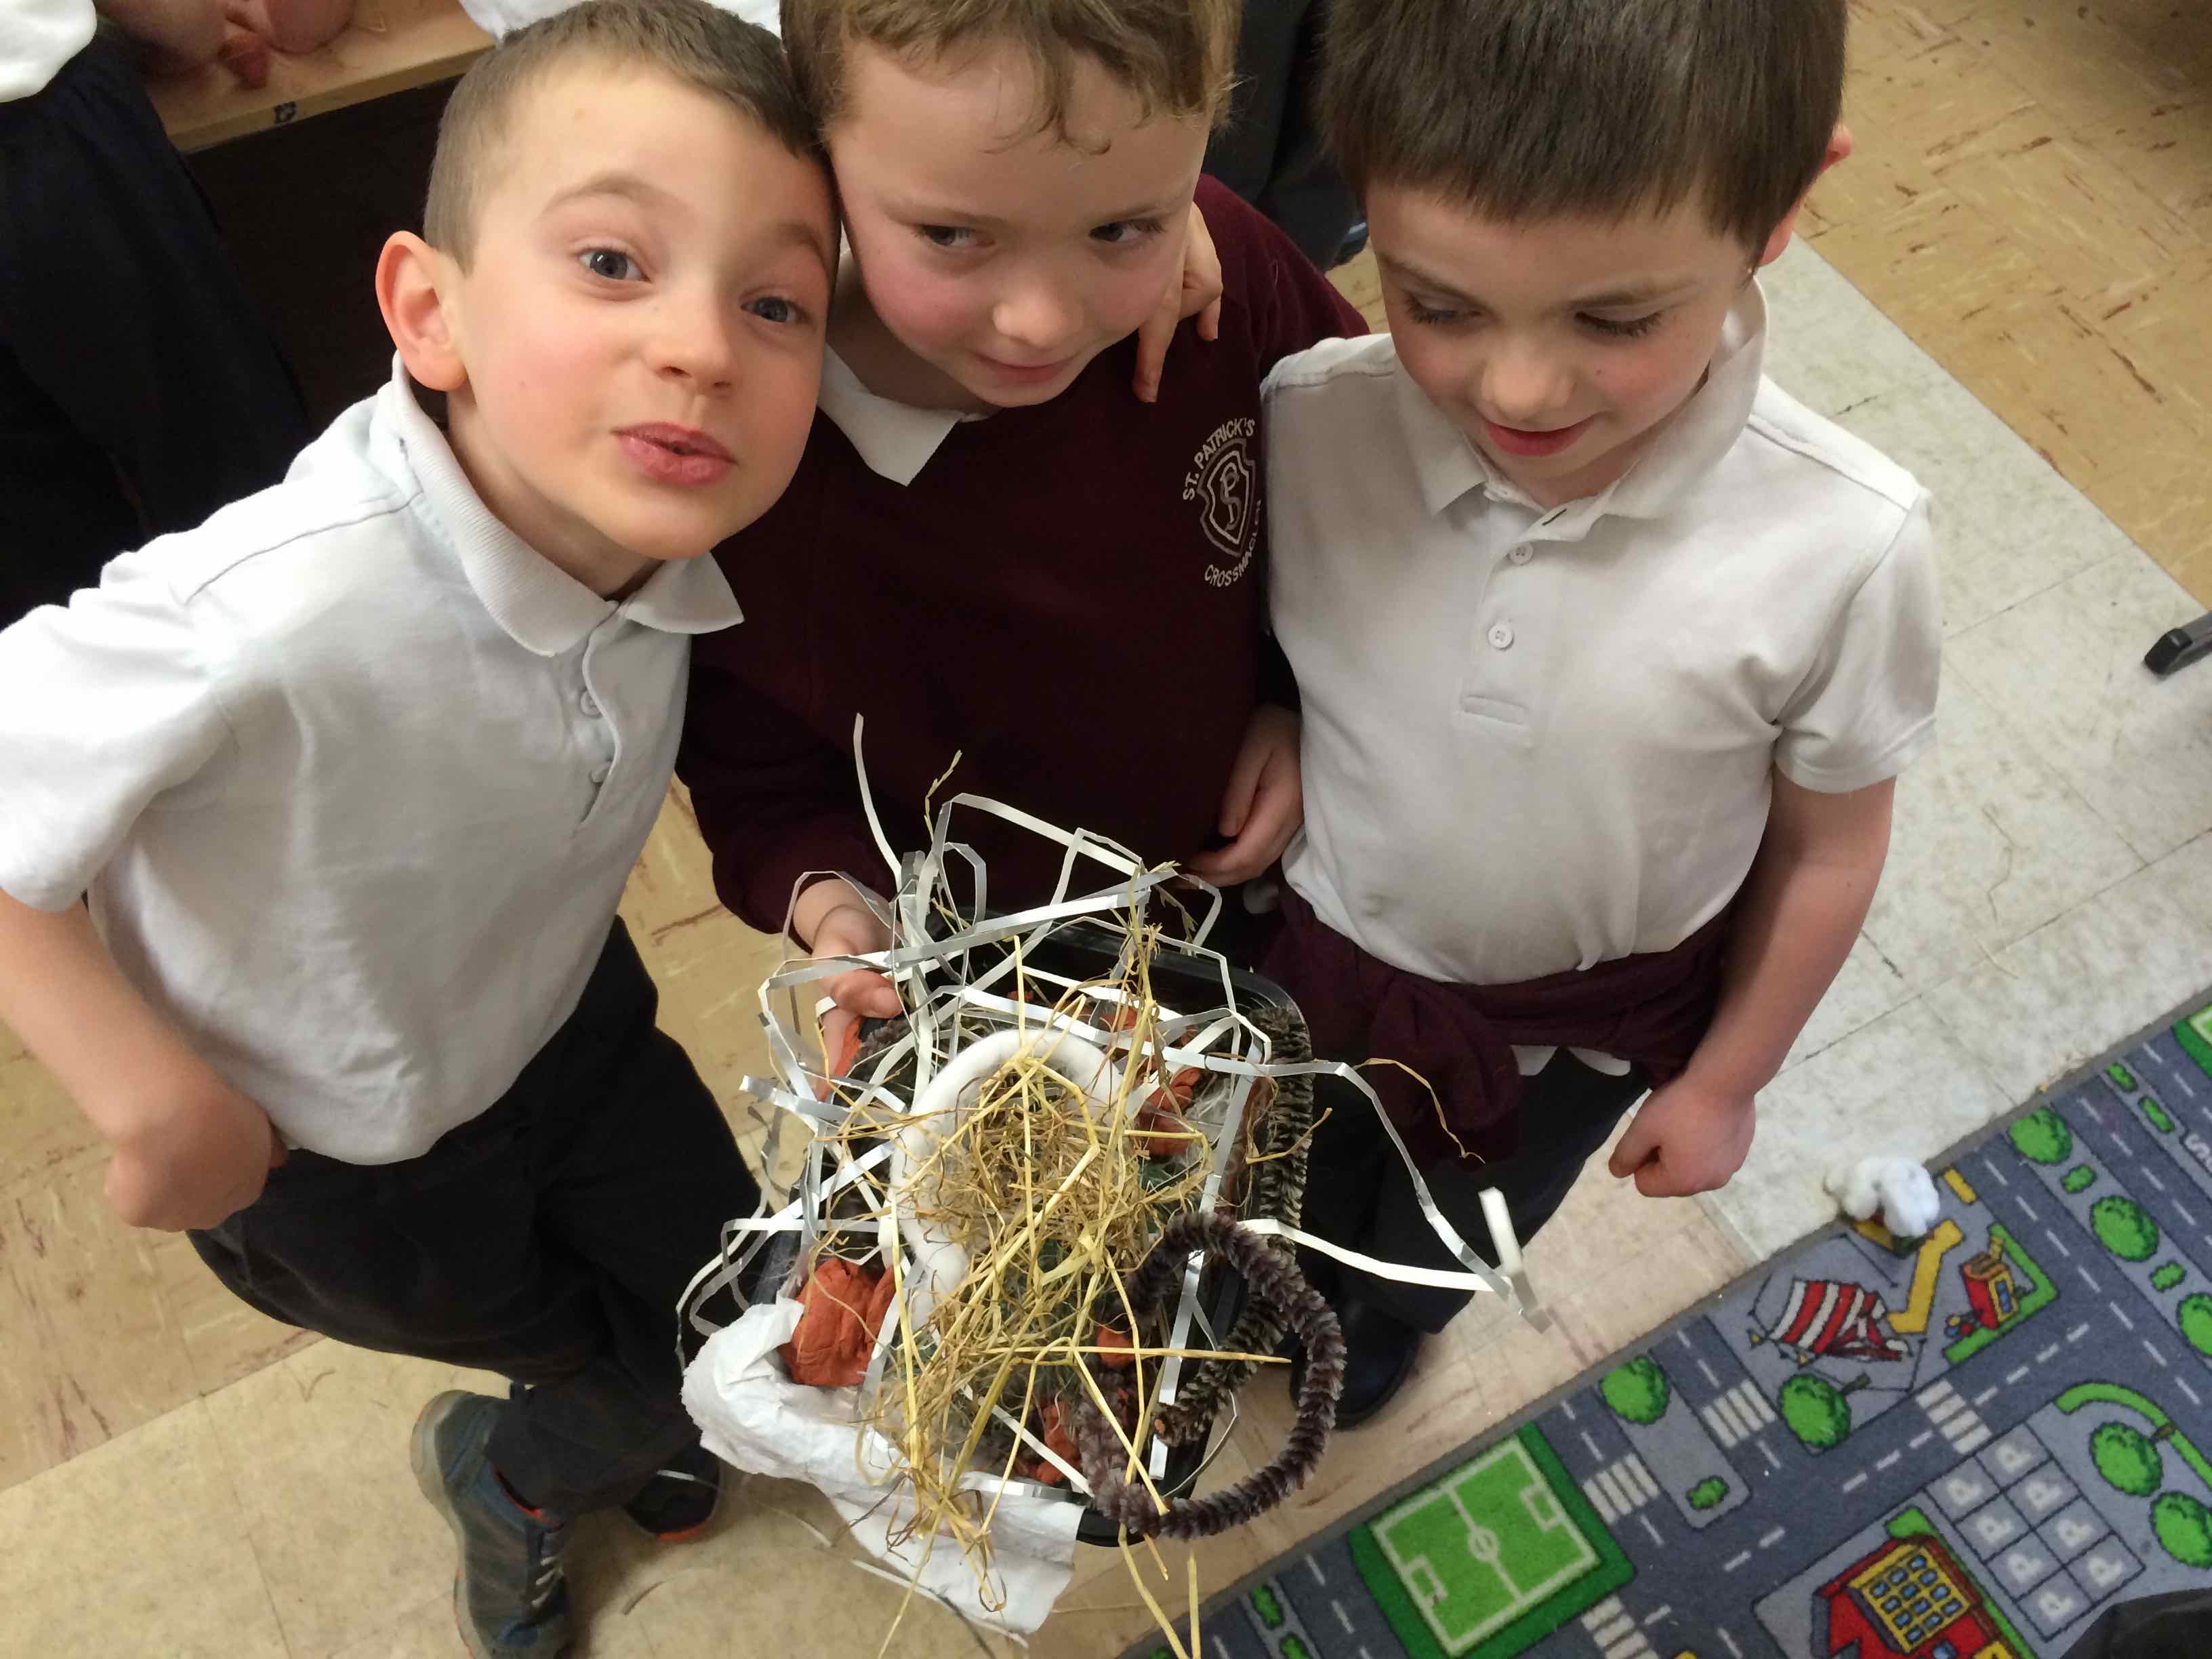
I brought some materials along for constructing a nest and Miss McMahon had brought straw, twigs and paper and the children worked in small groups to create nests.
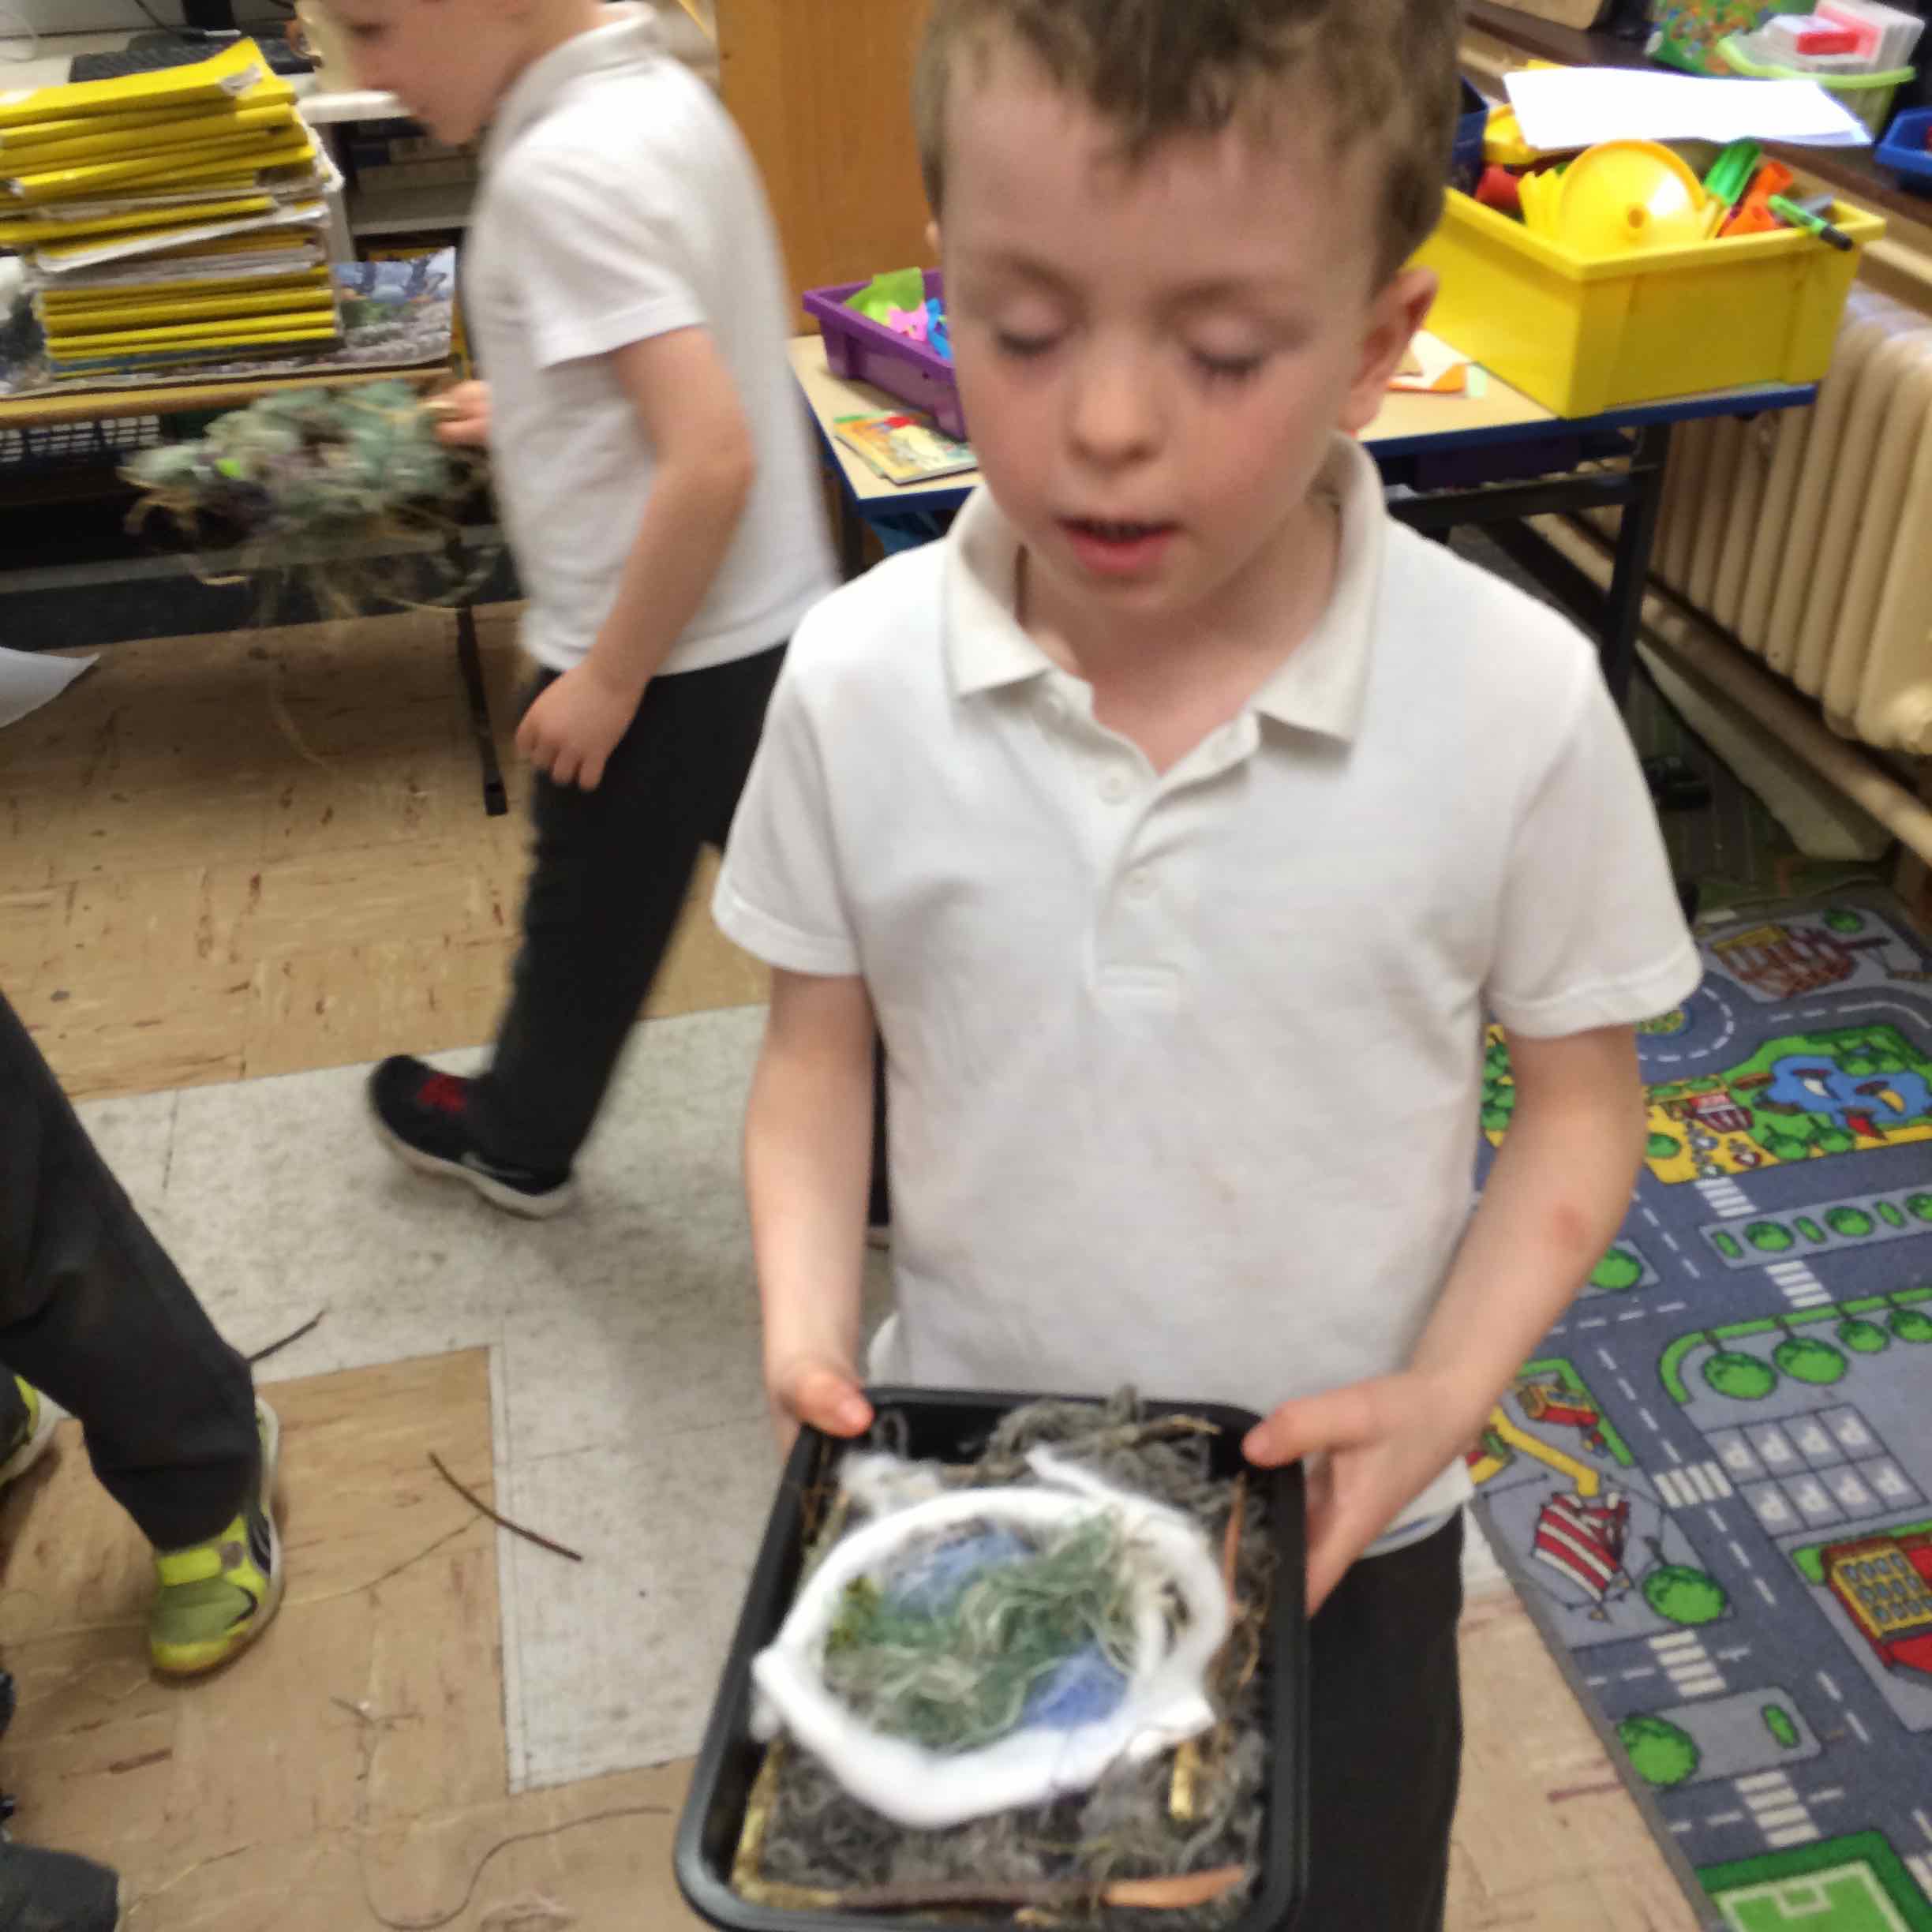
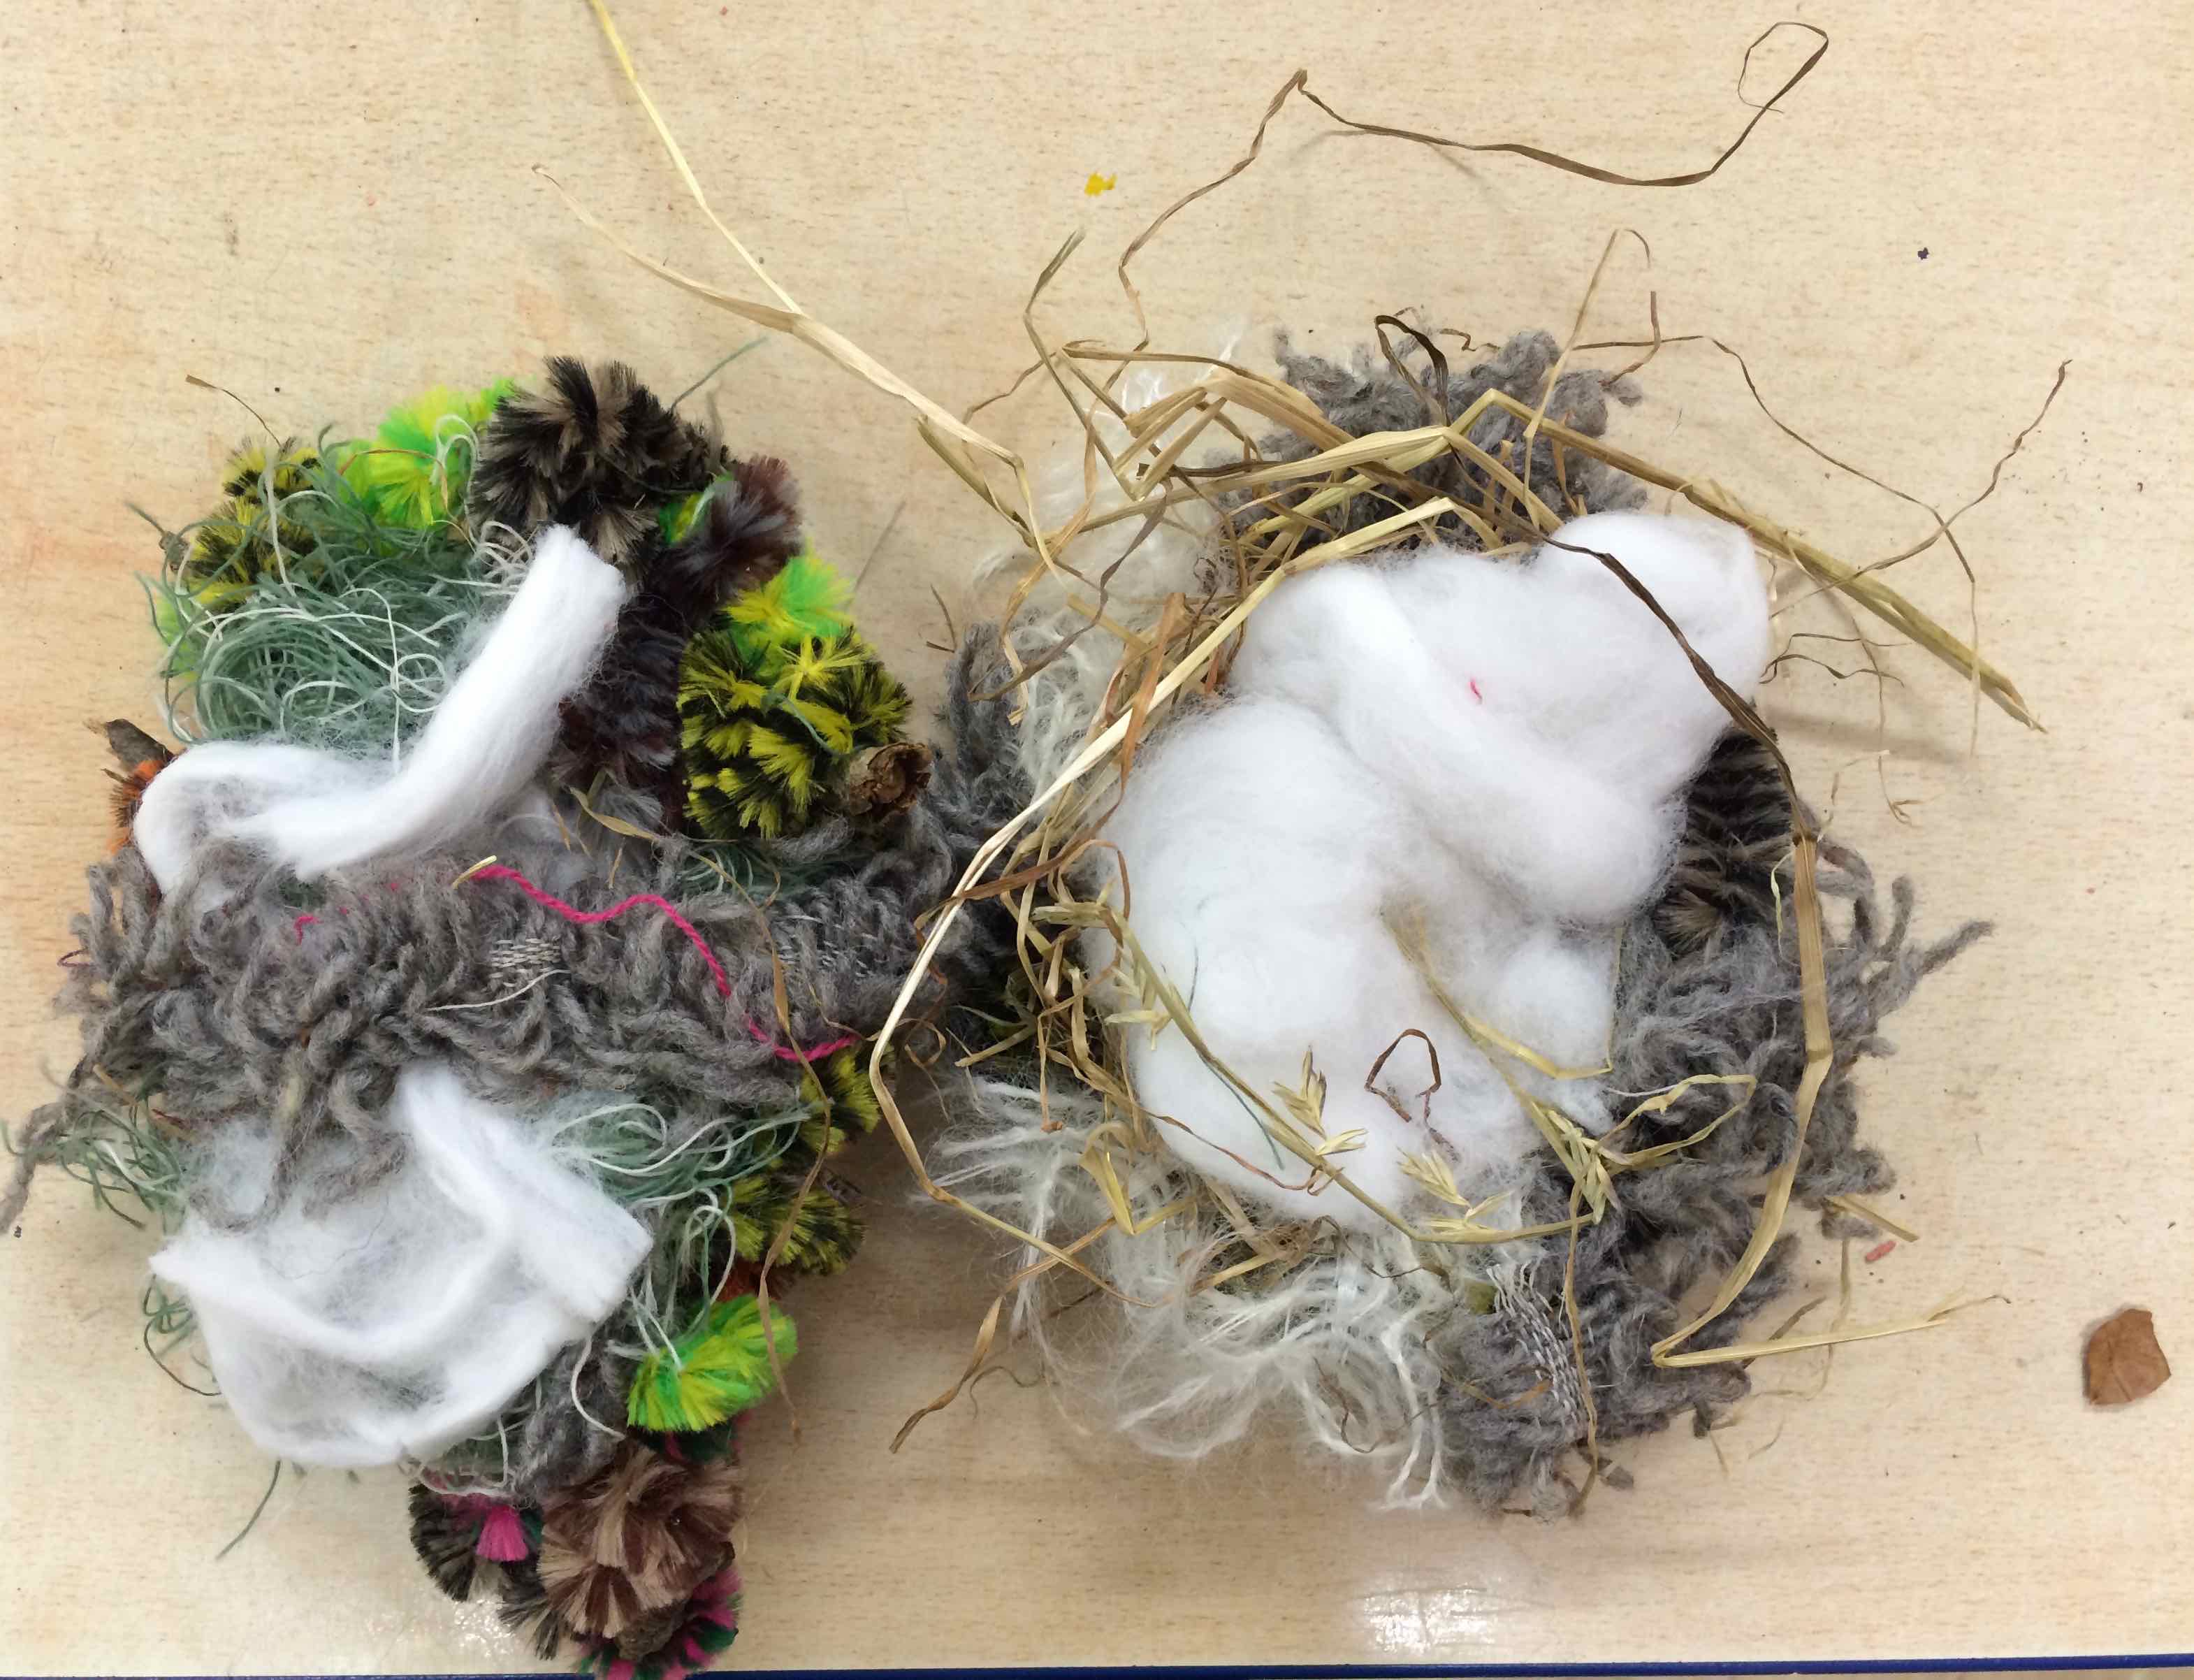
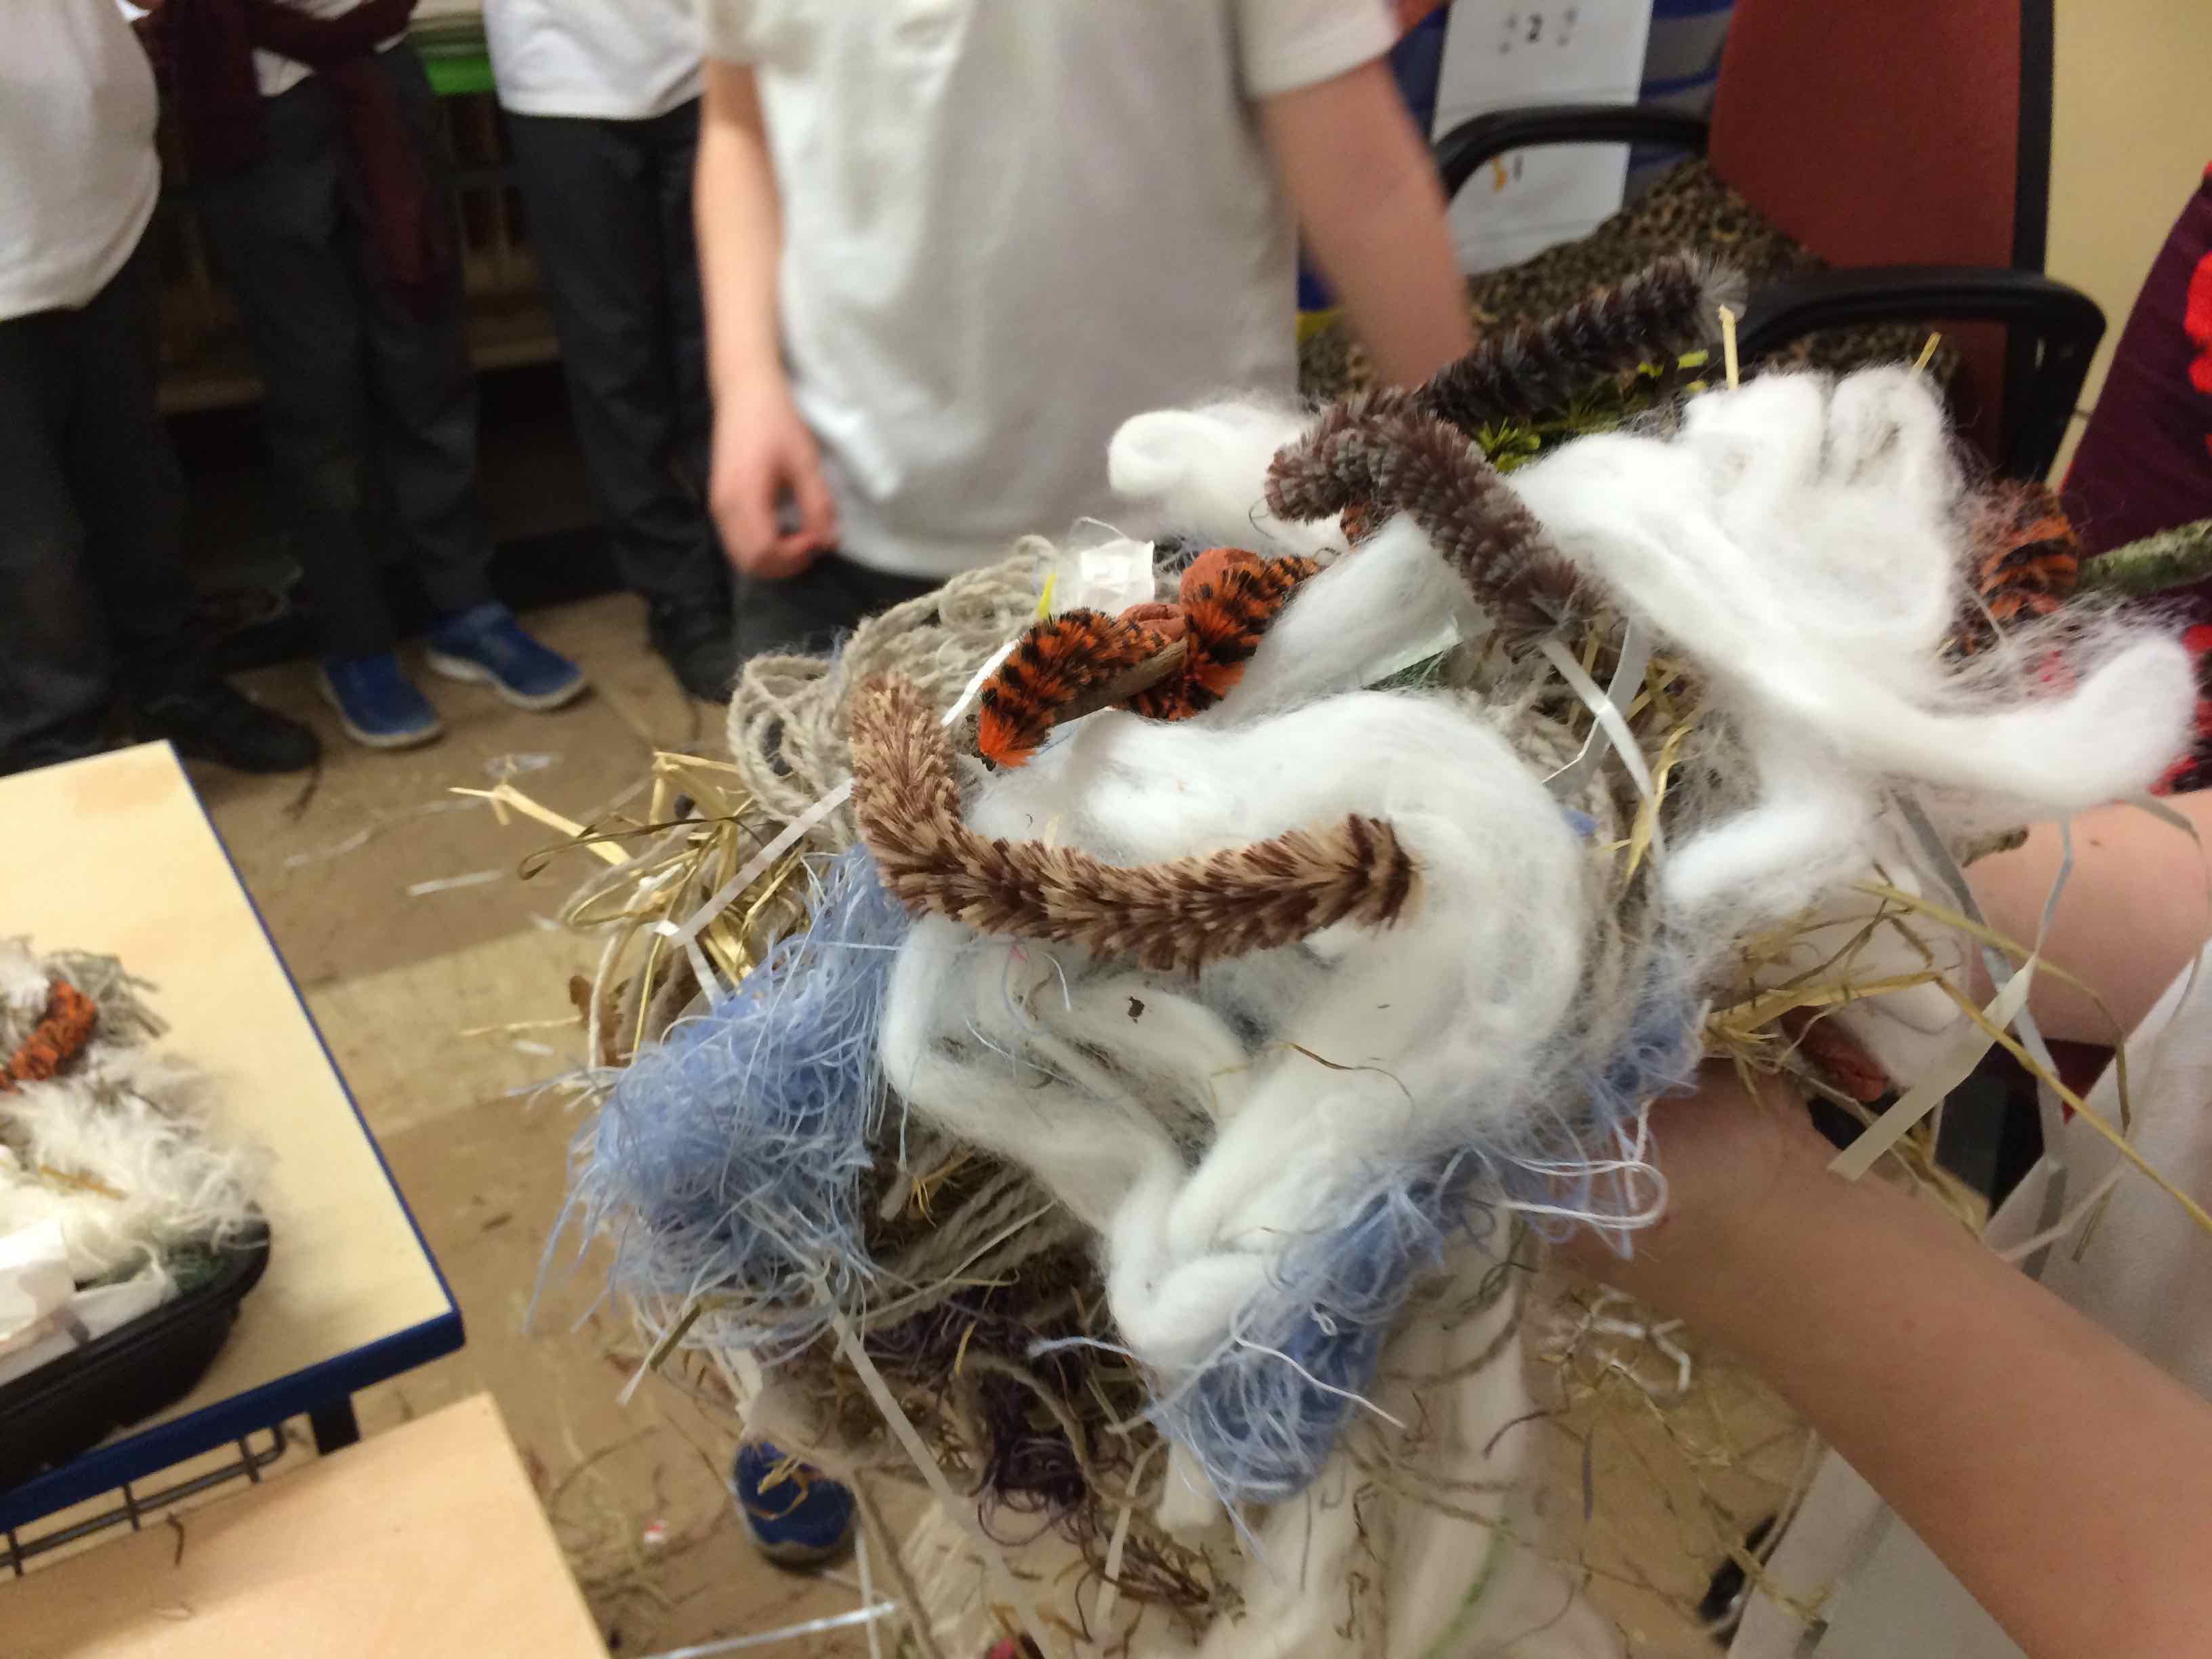
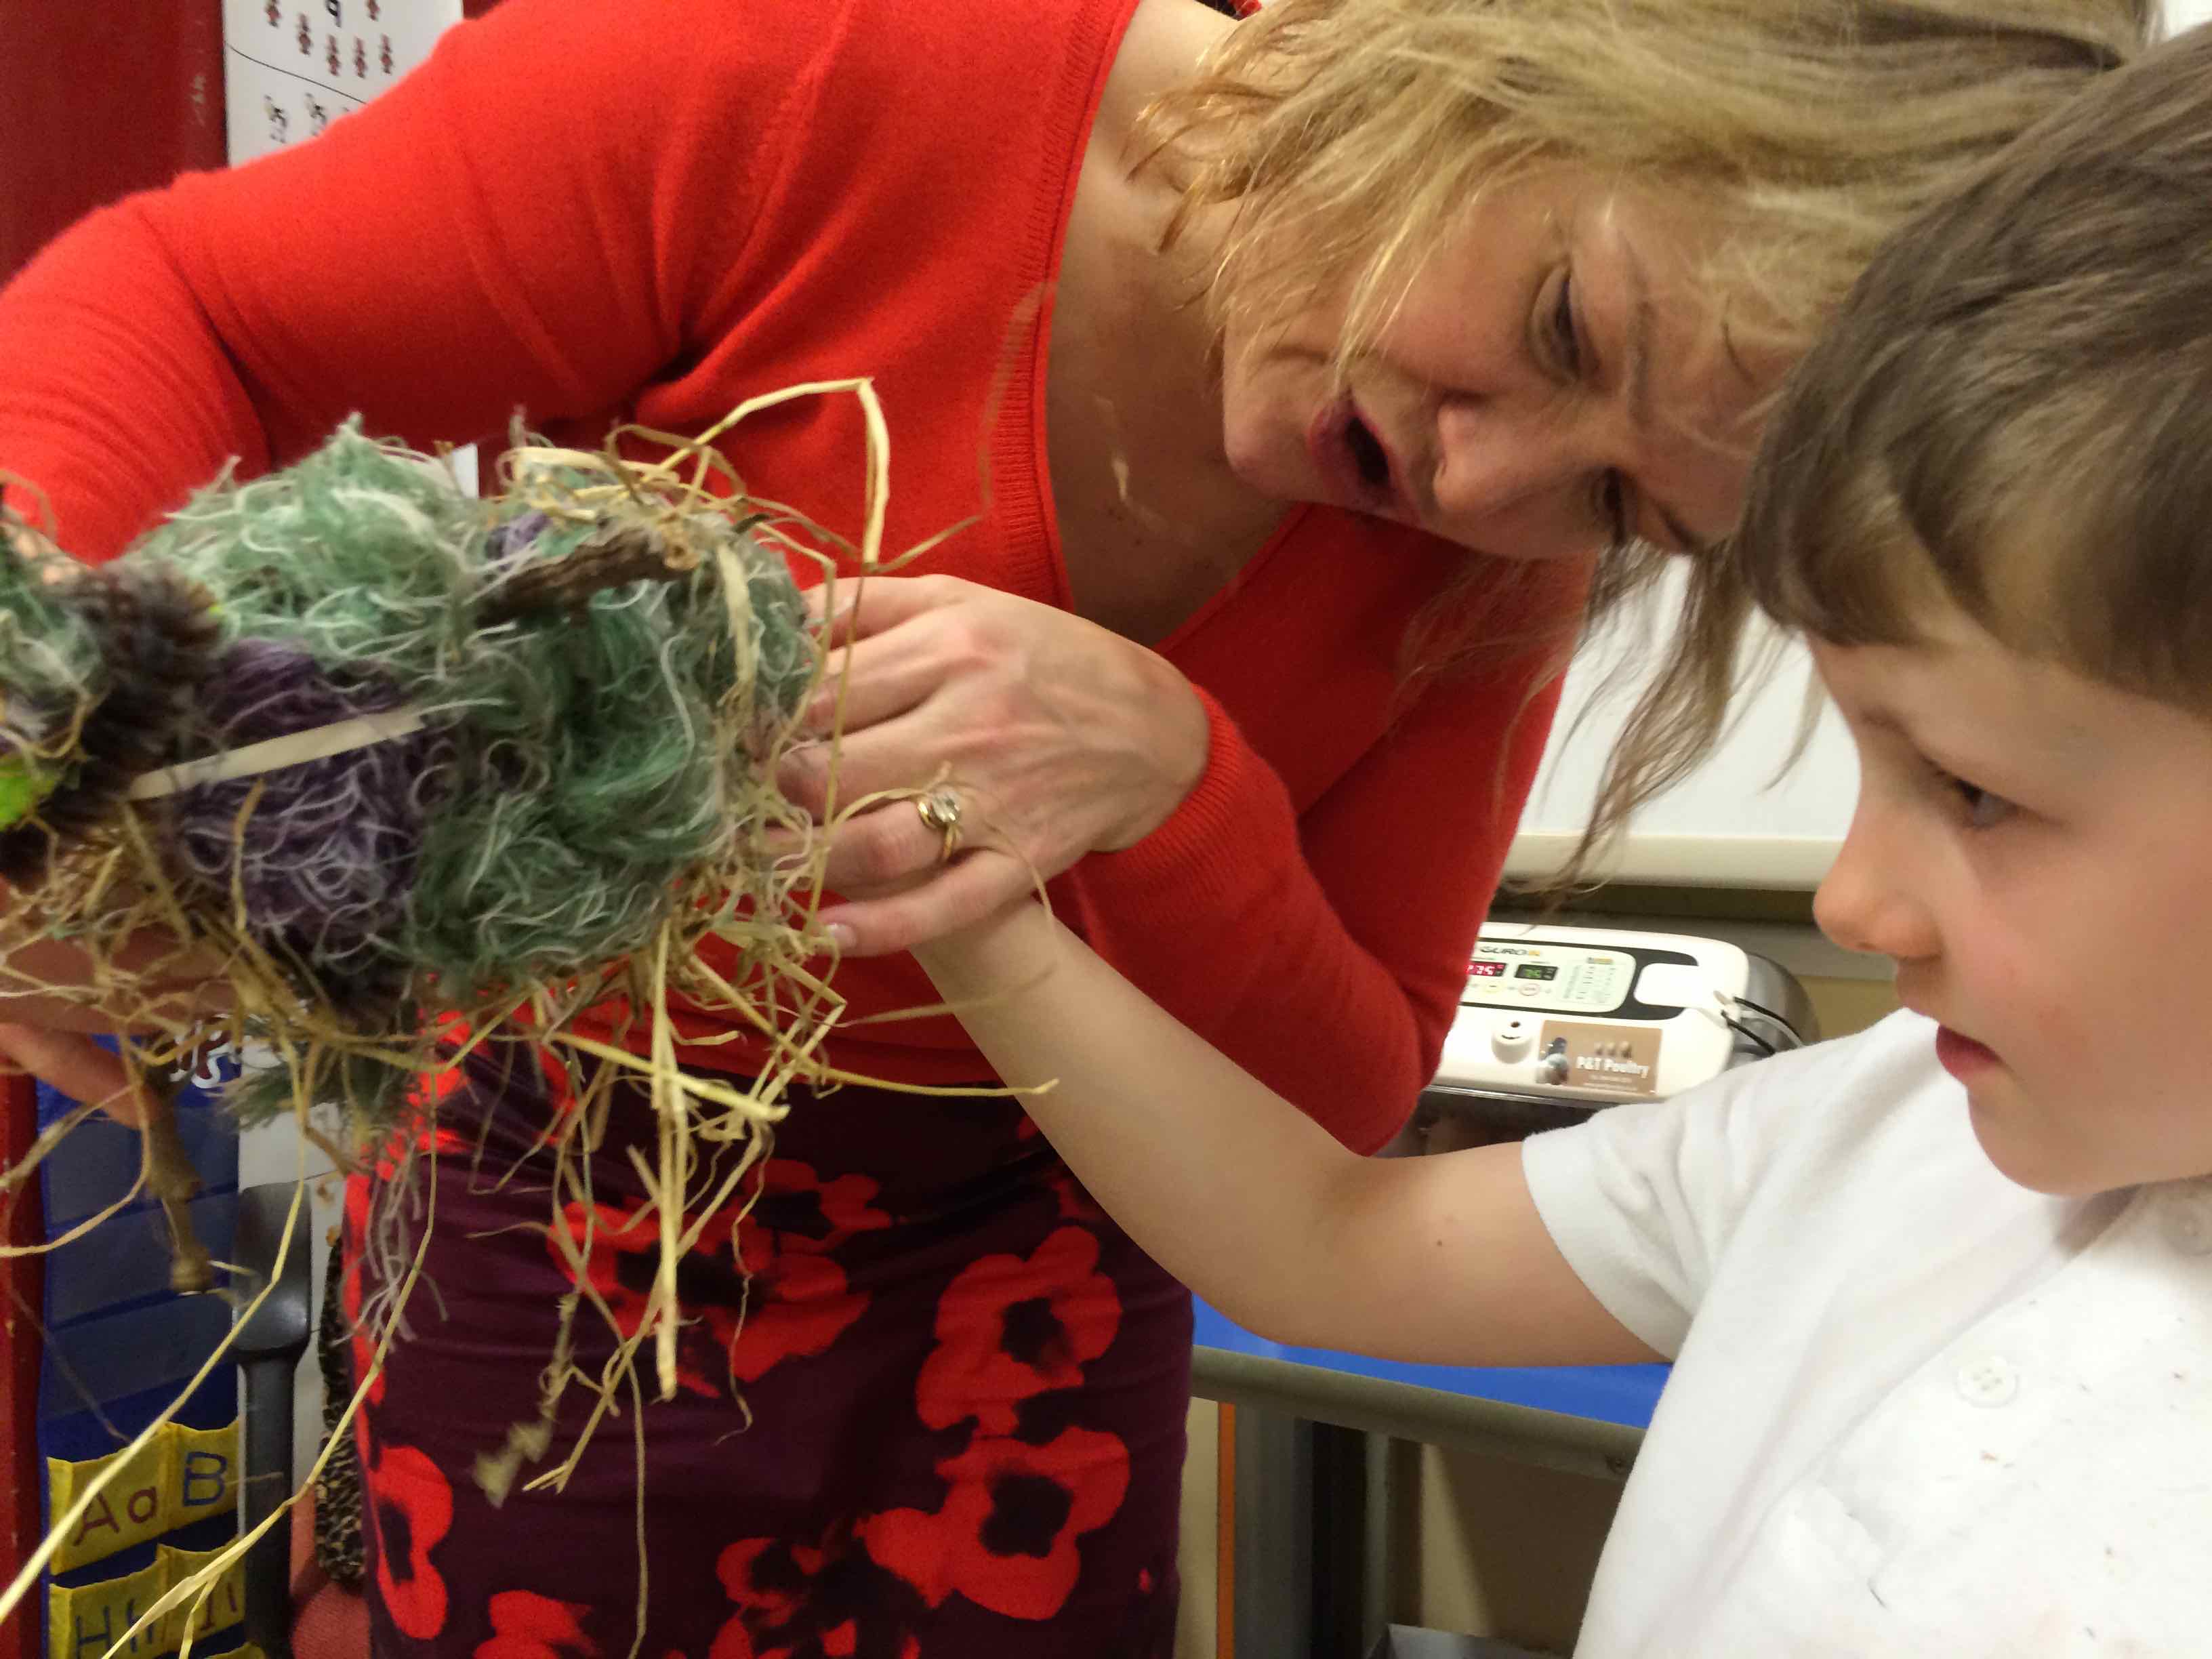
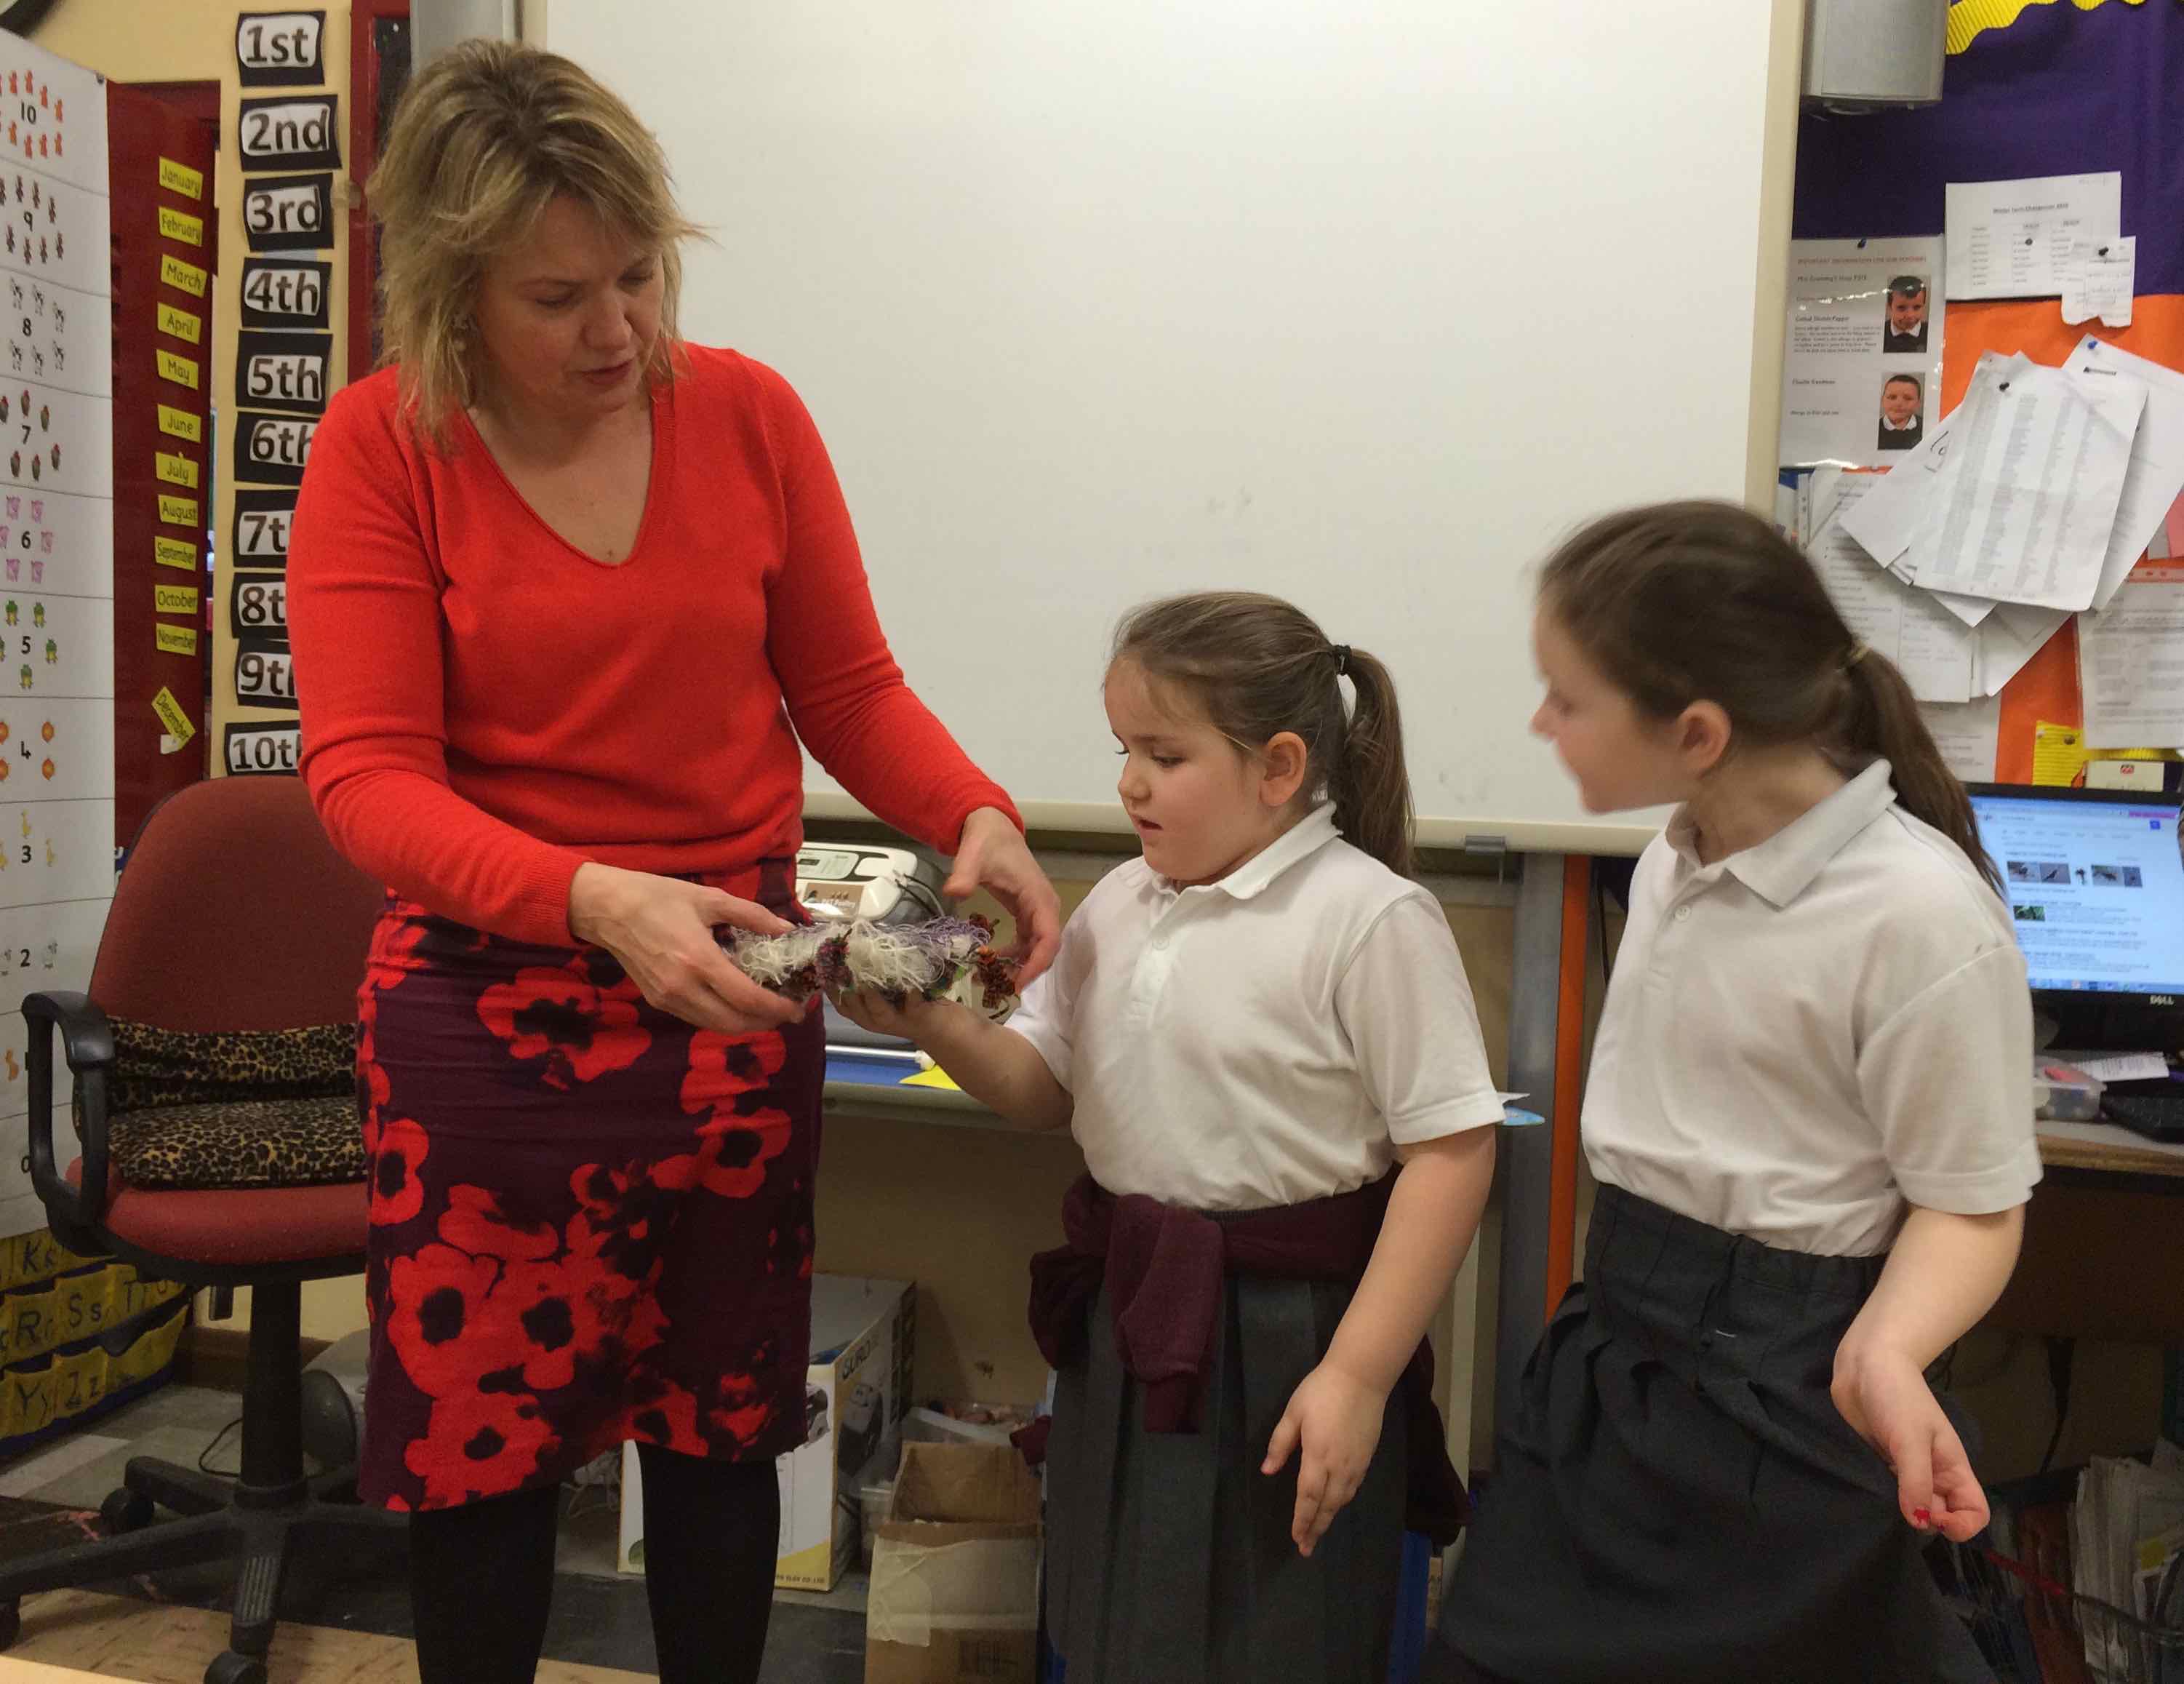
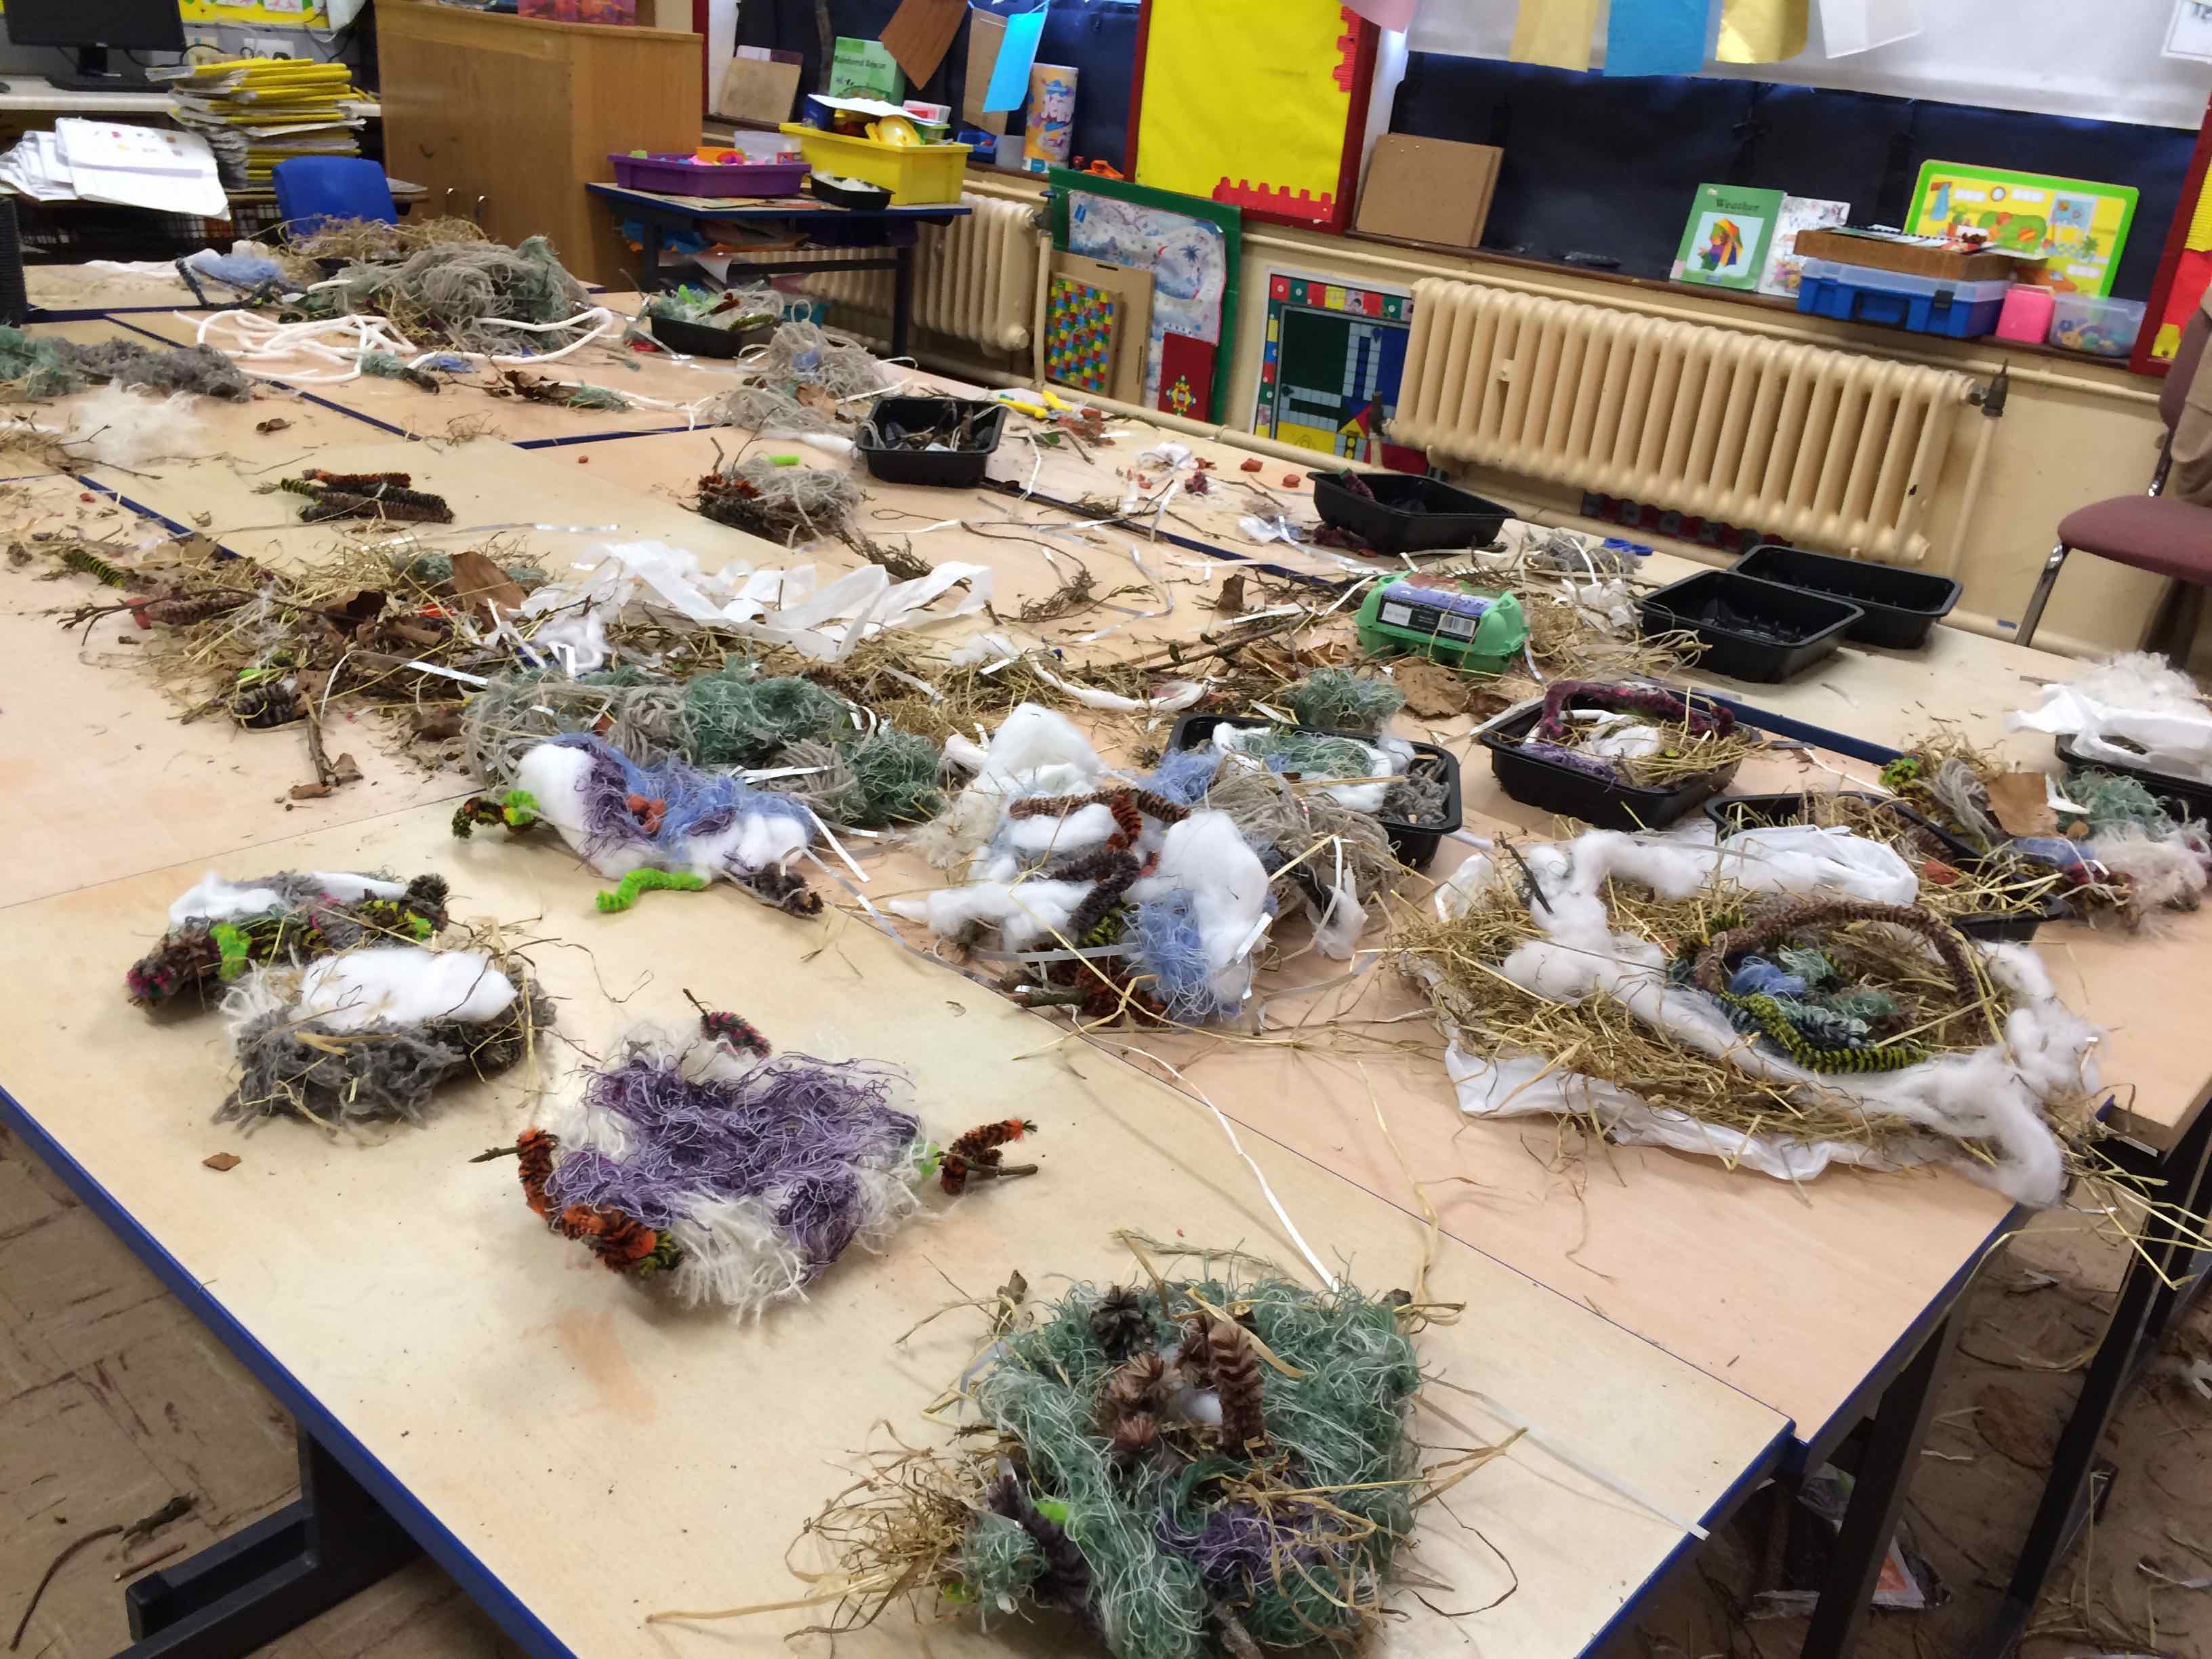
The children had to think about a FRAMEWORK for their nest, or a BASE and to find ways to SECURE their materials, create a COMFORTABLE space to CRADLE and PROTECT the egg. Look at the these wonderful creations..
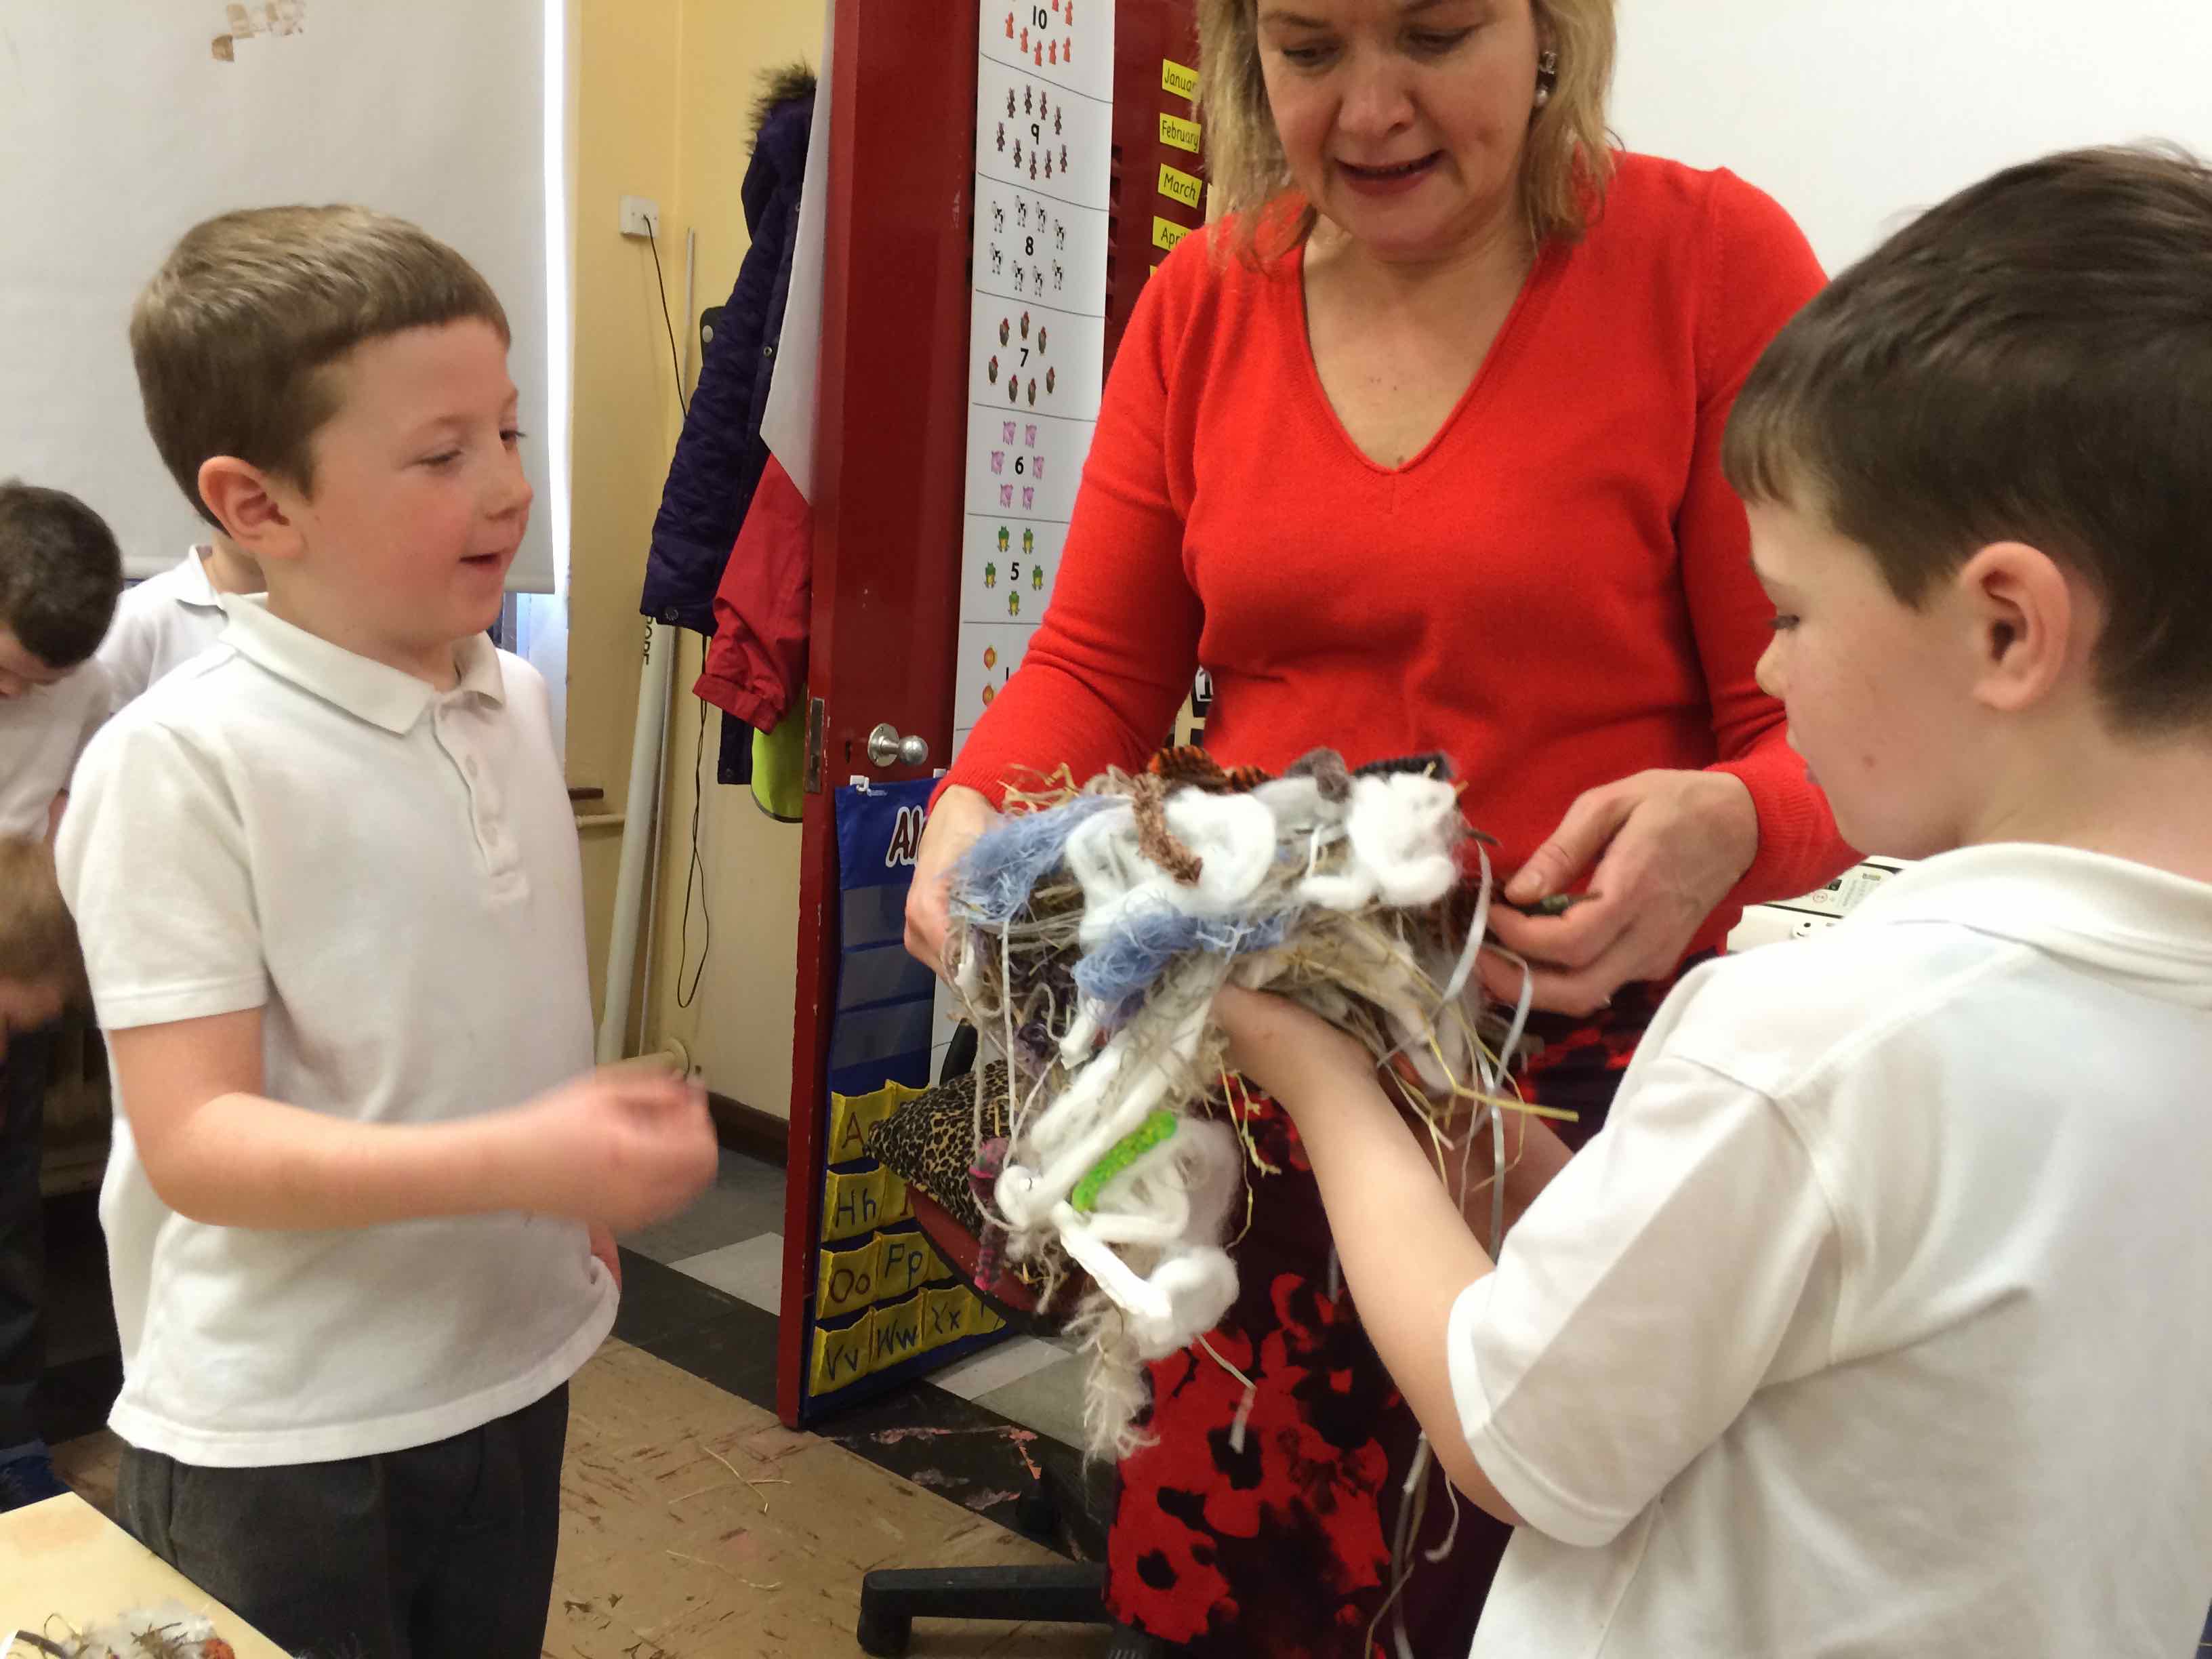
We had a great discussion about all the nests as the children each came up to tell the class how their nest was built. We determined that today we had created 3D work and that this was a SCULPTURE!
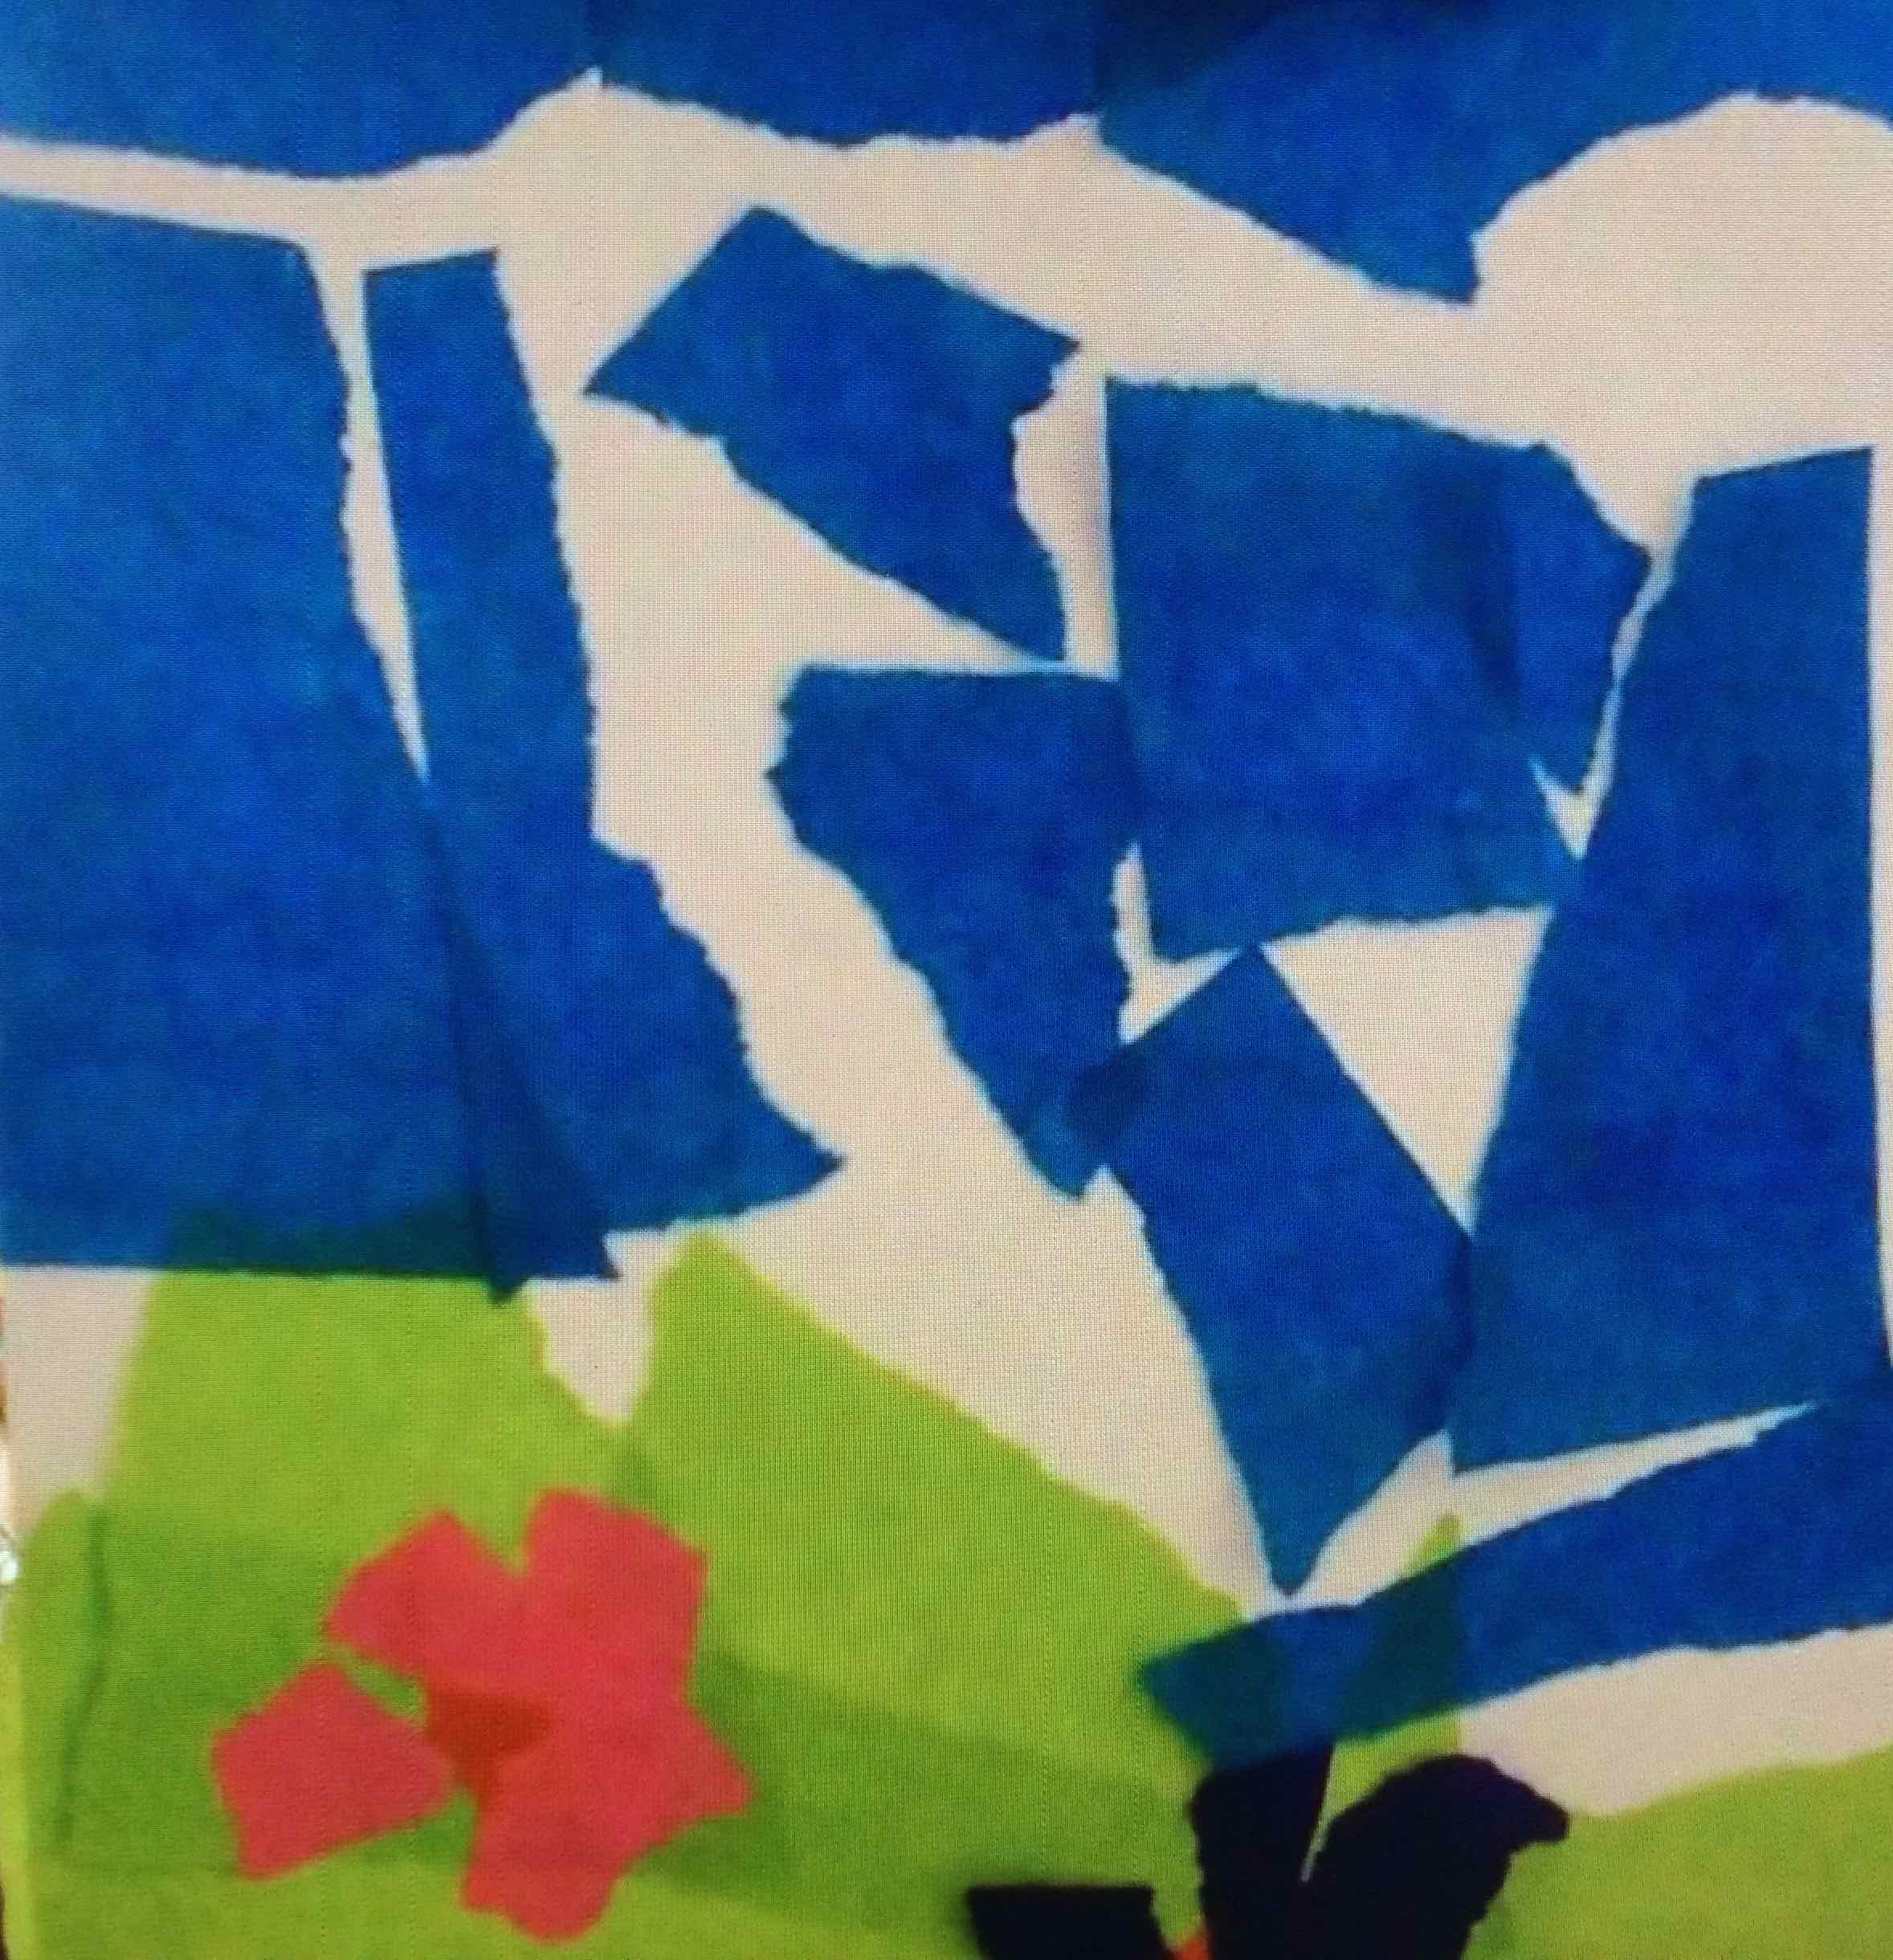
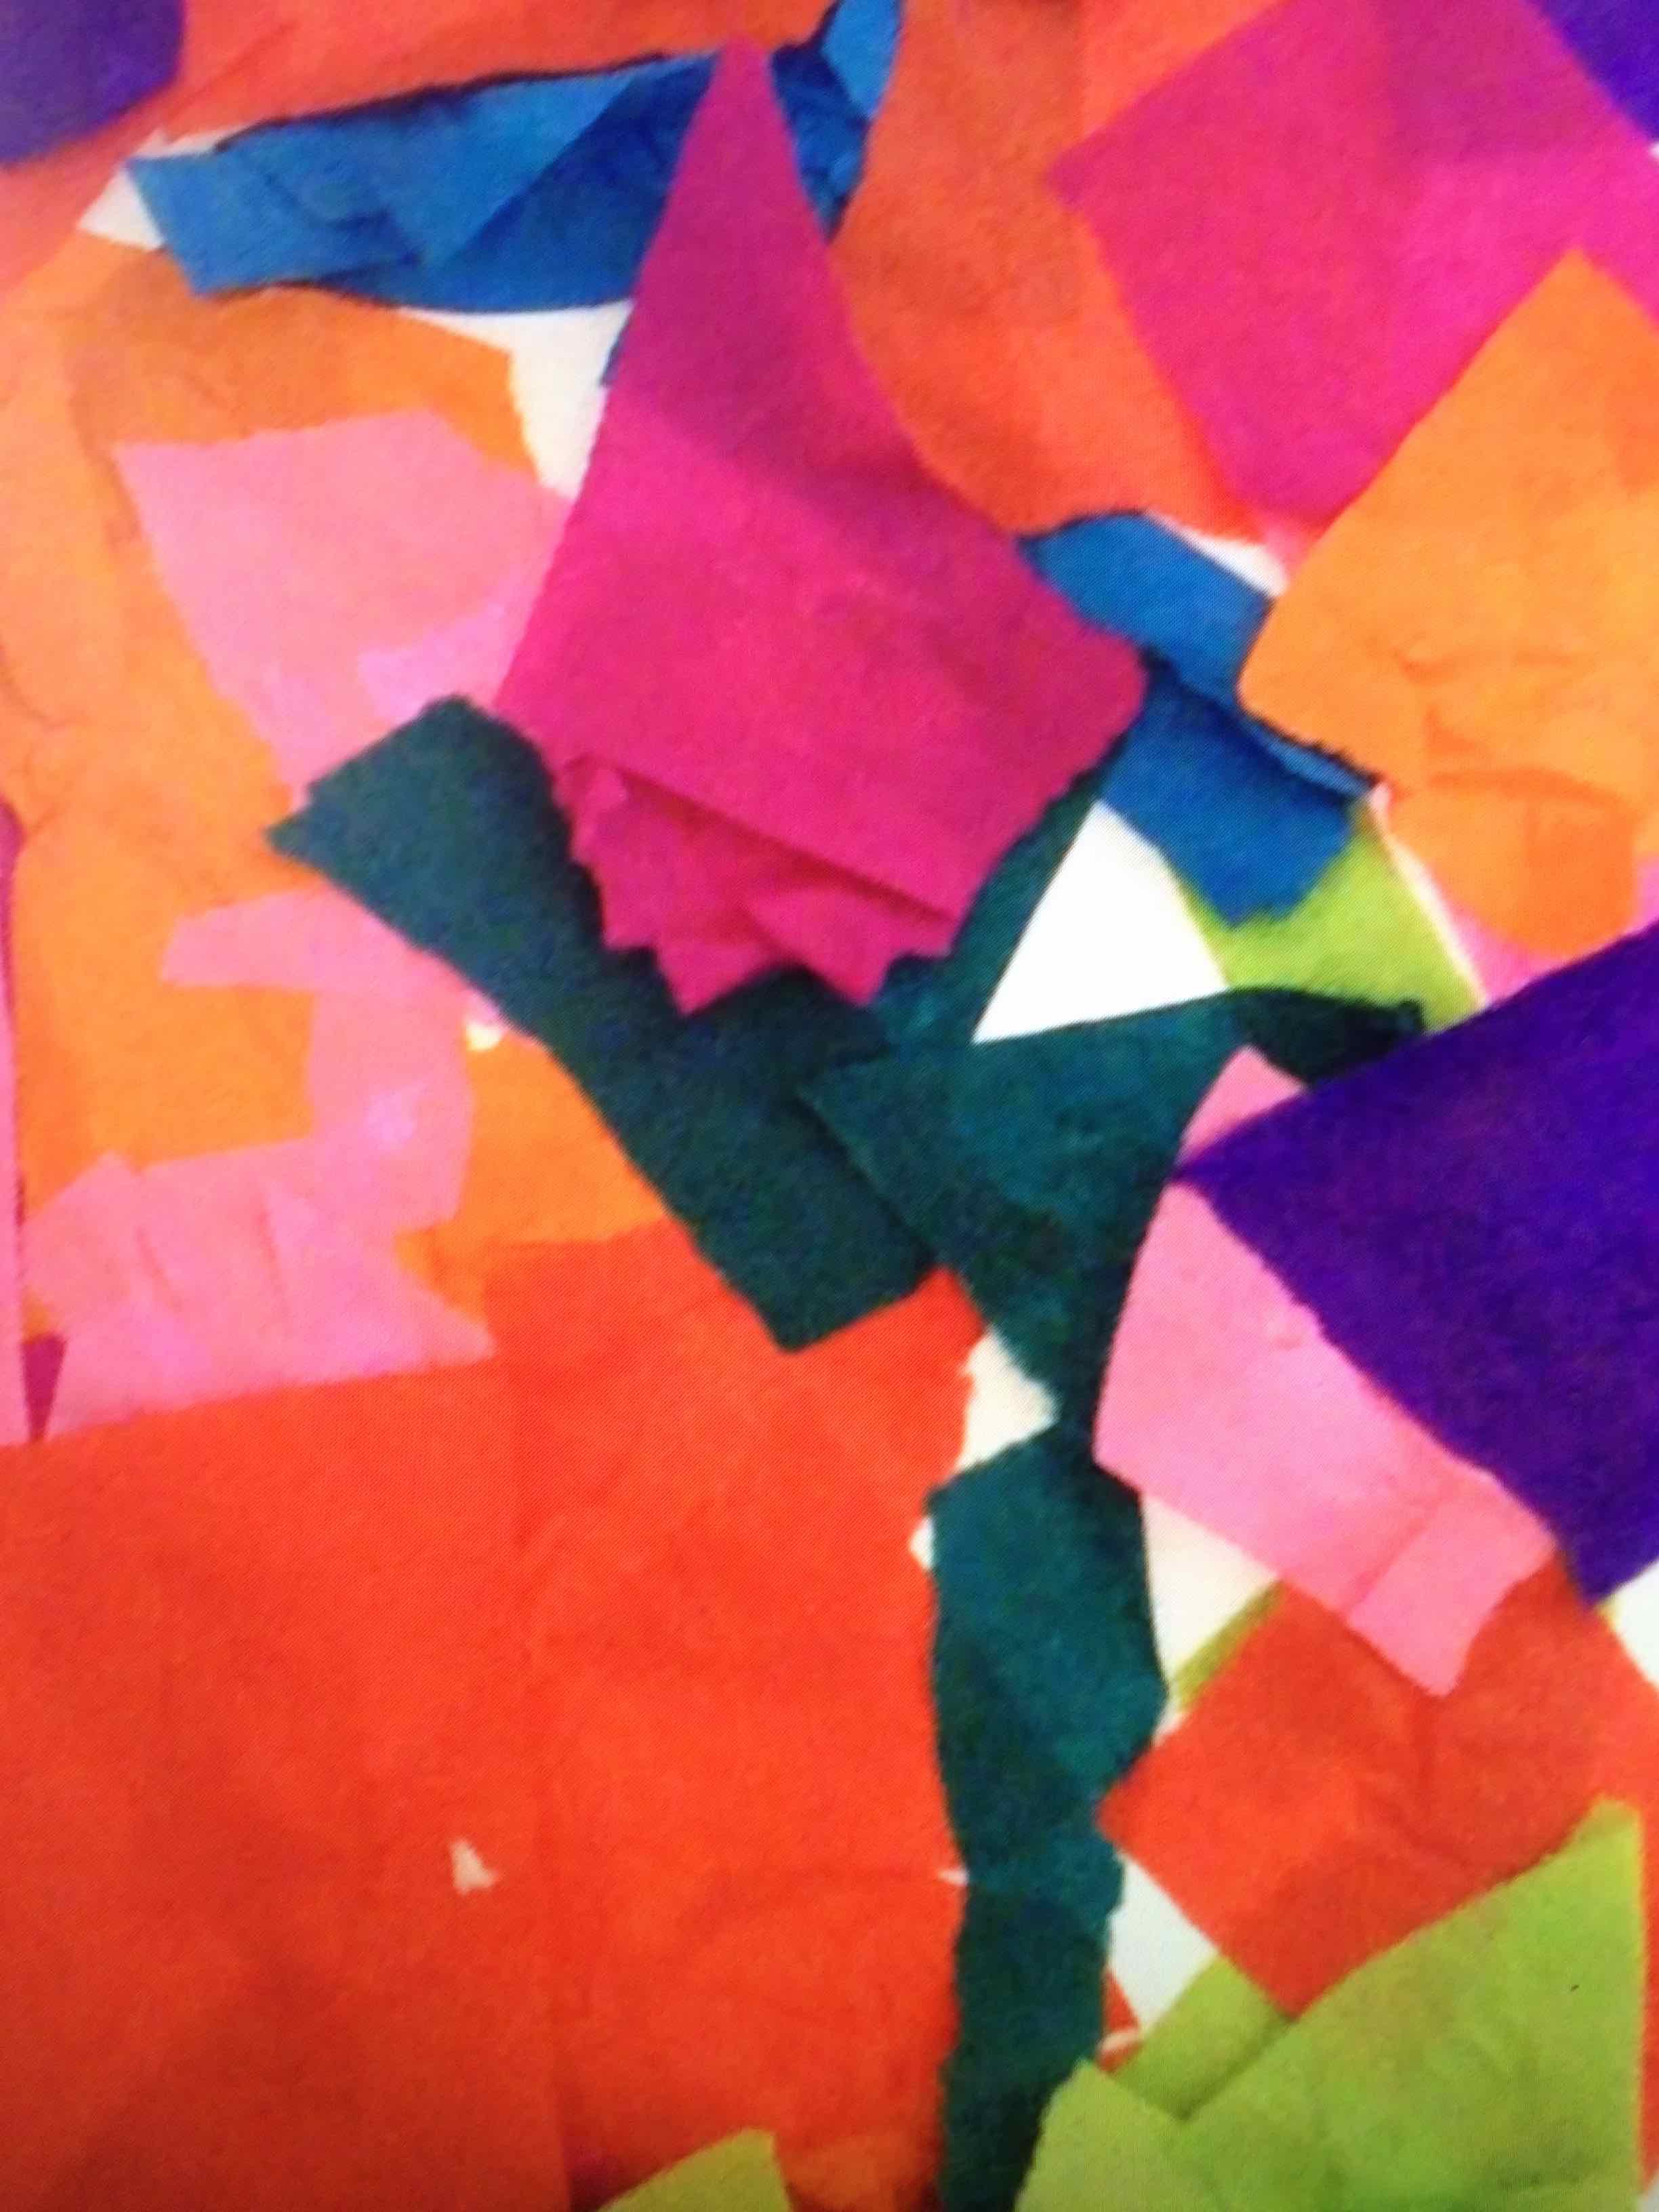
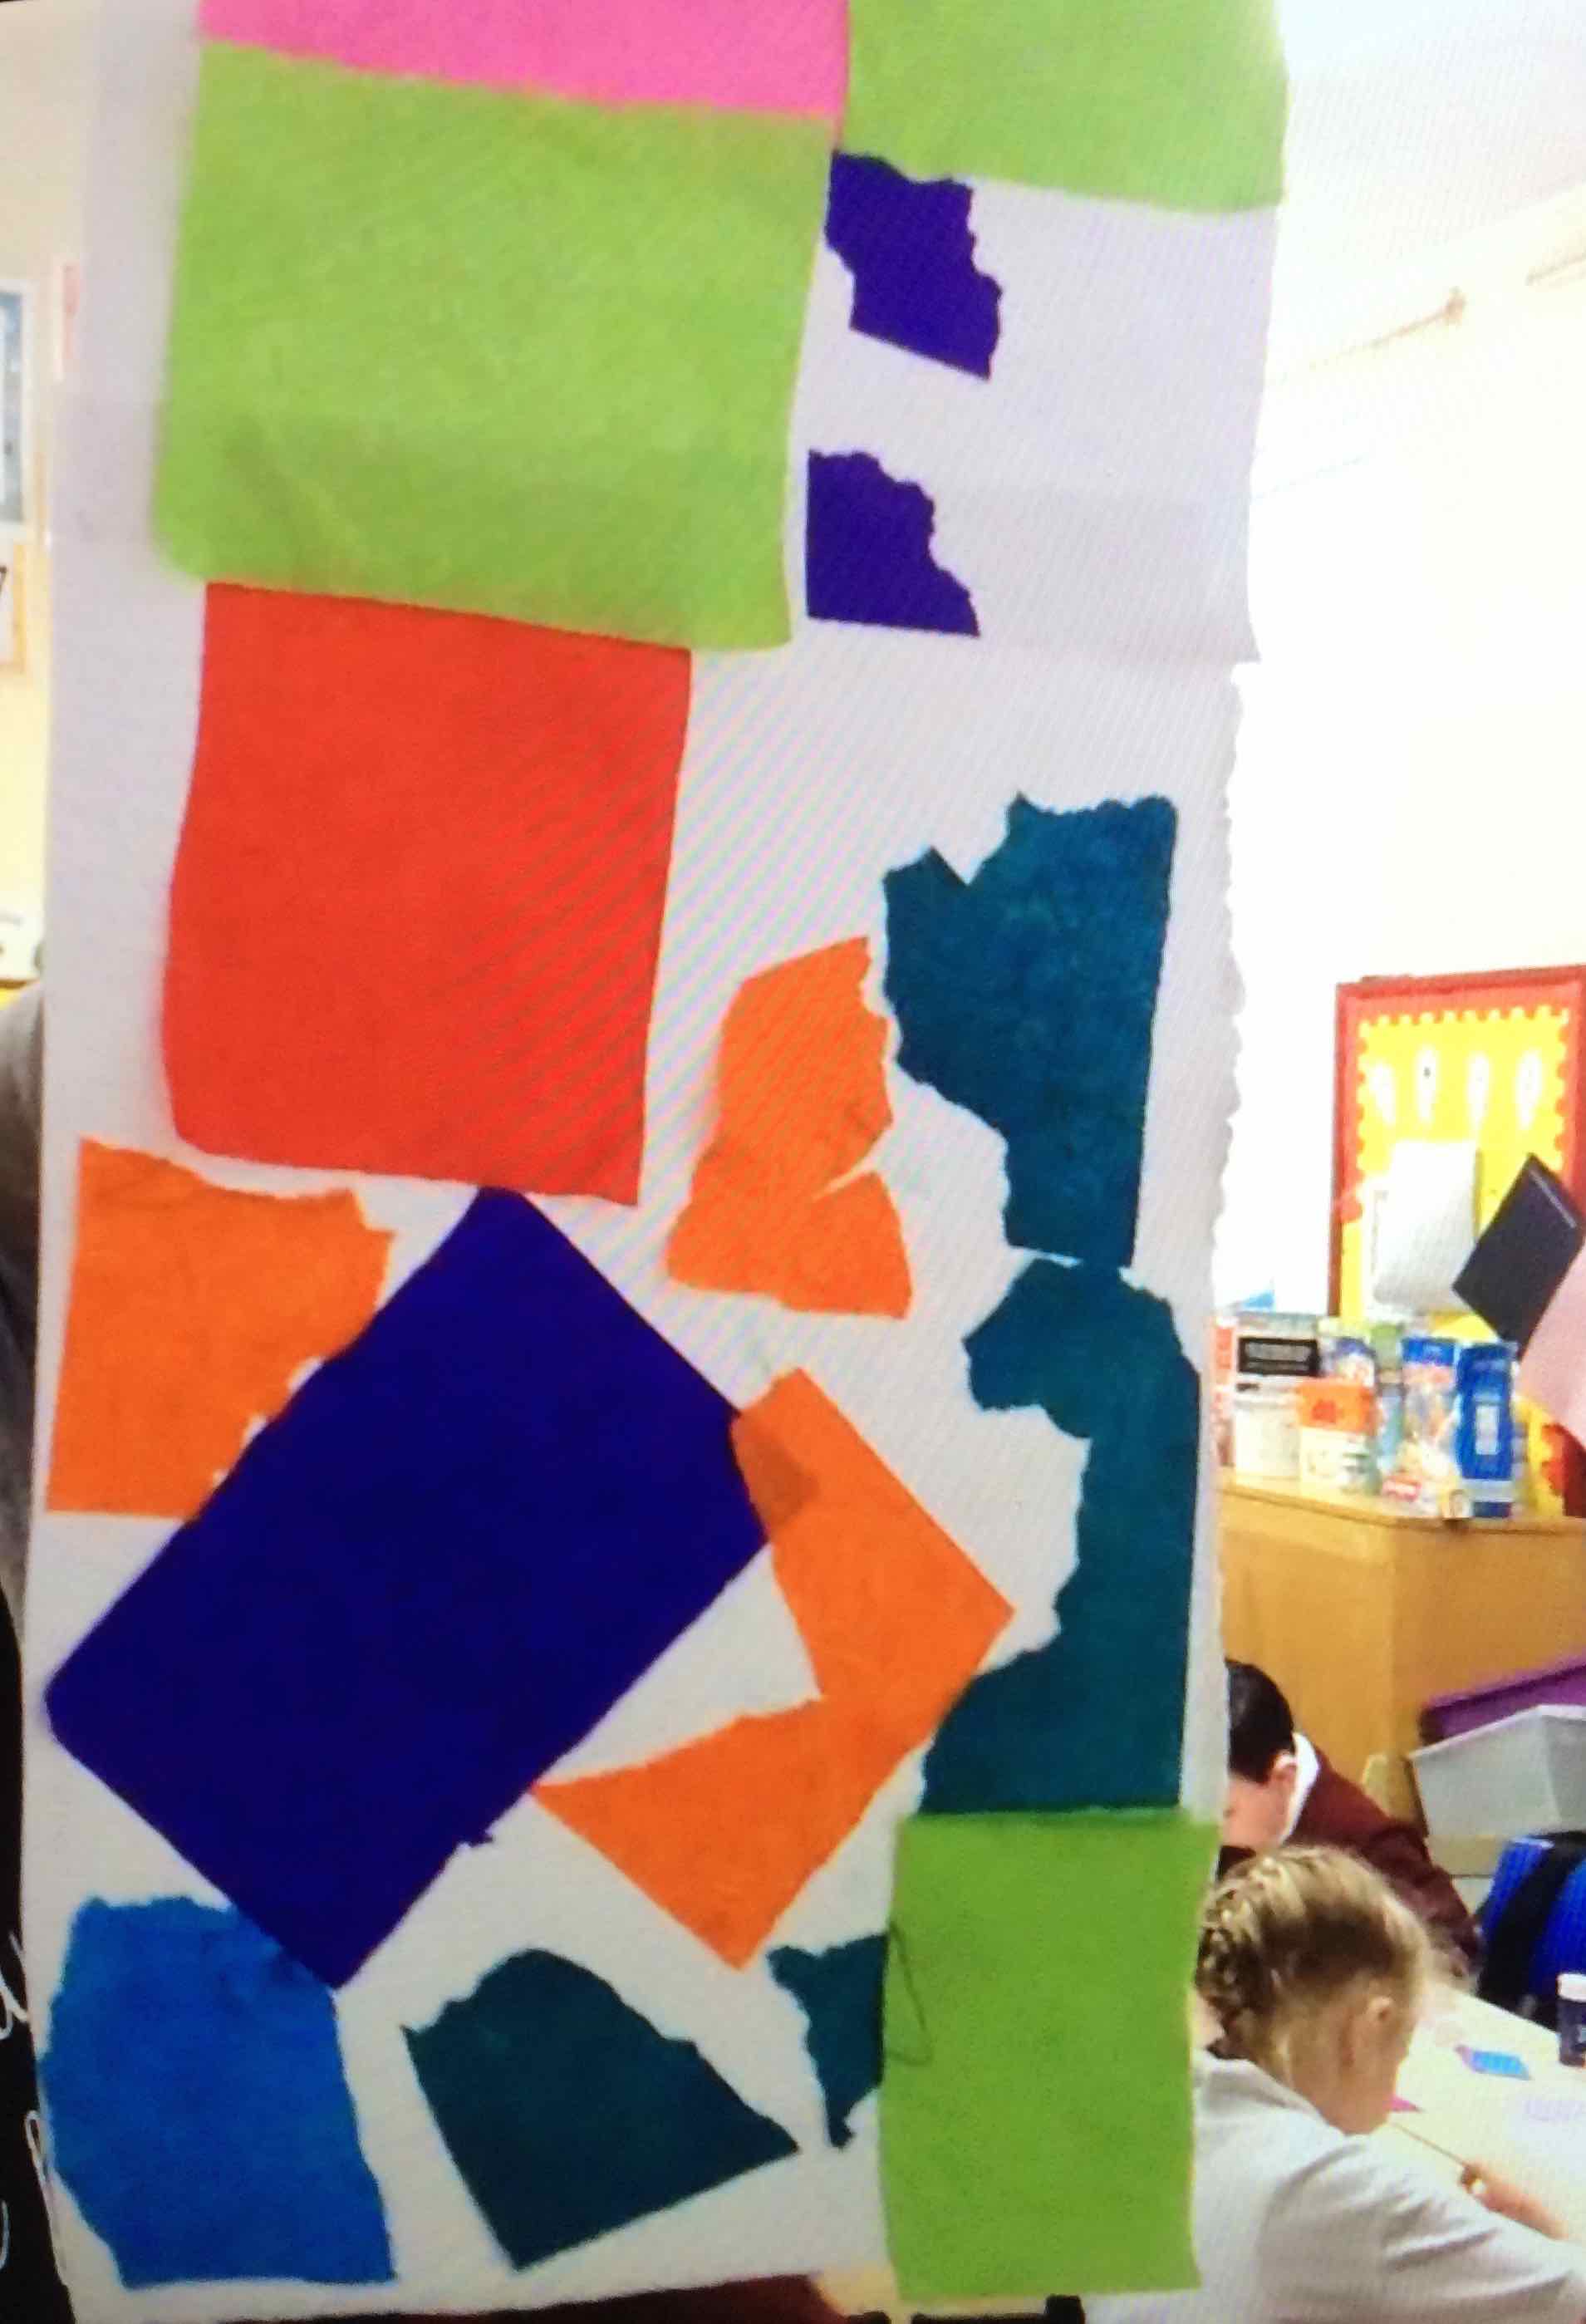
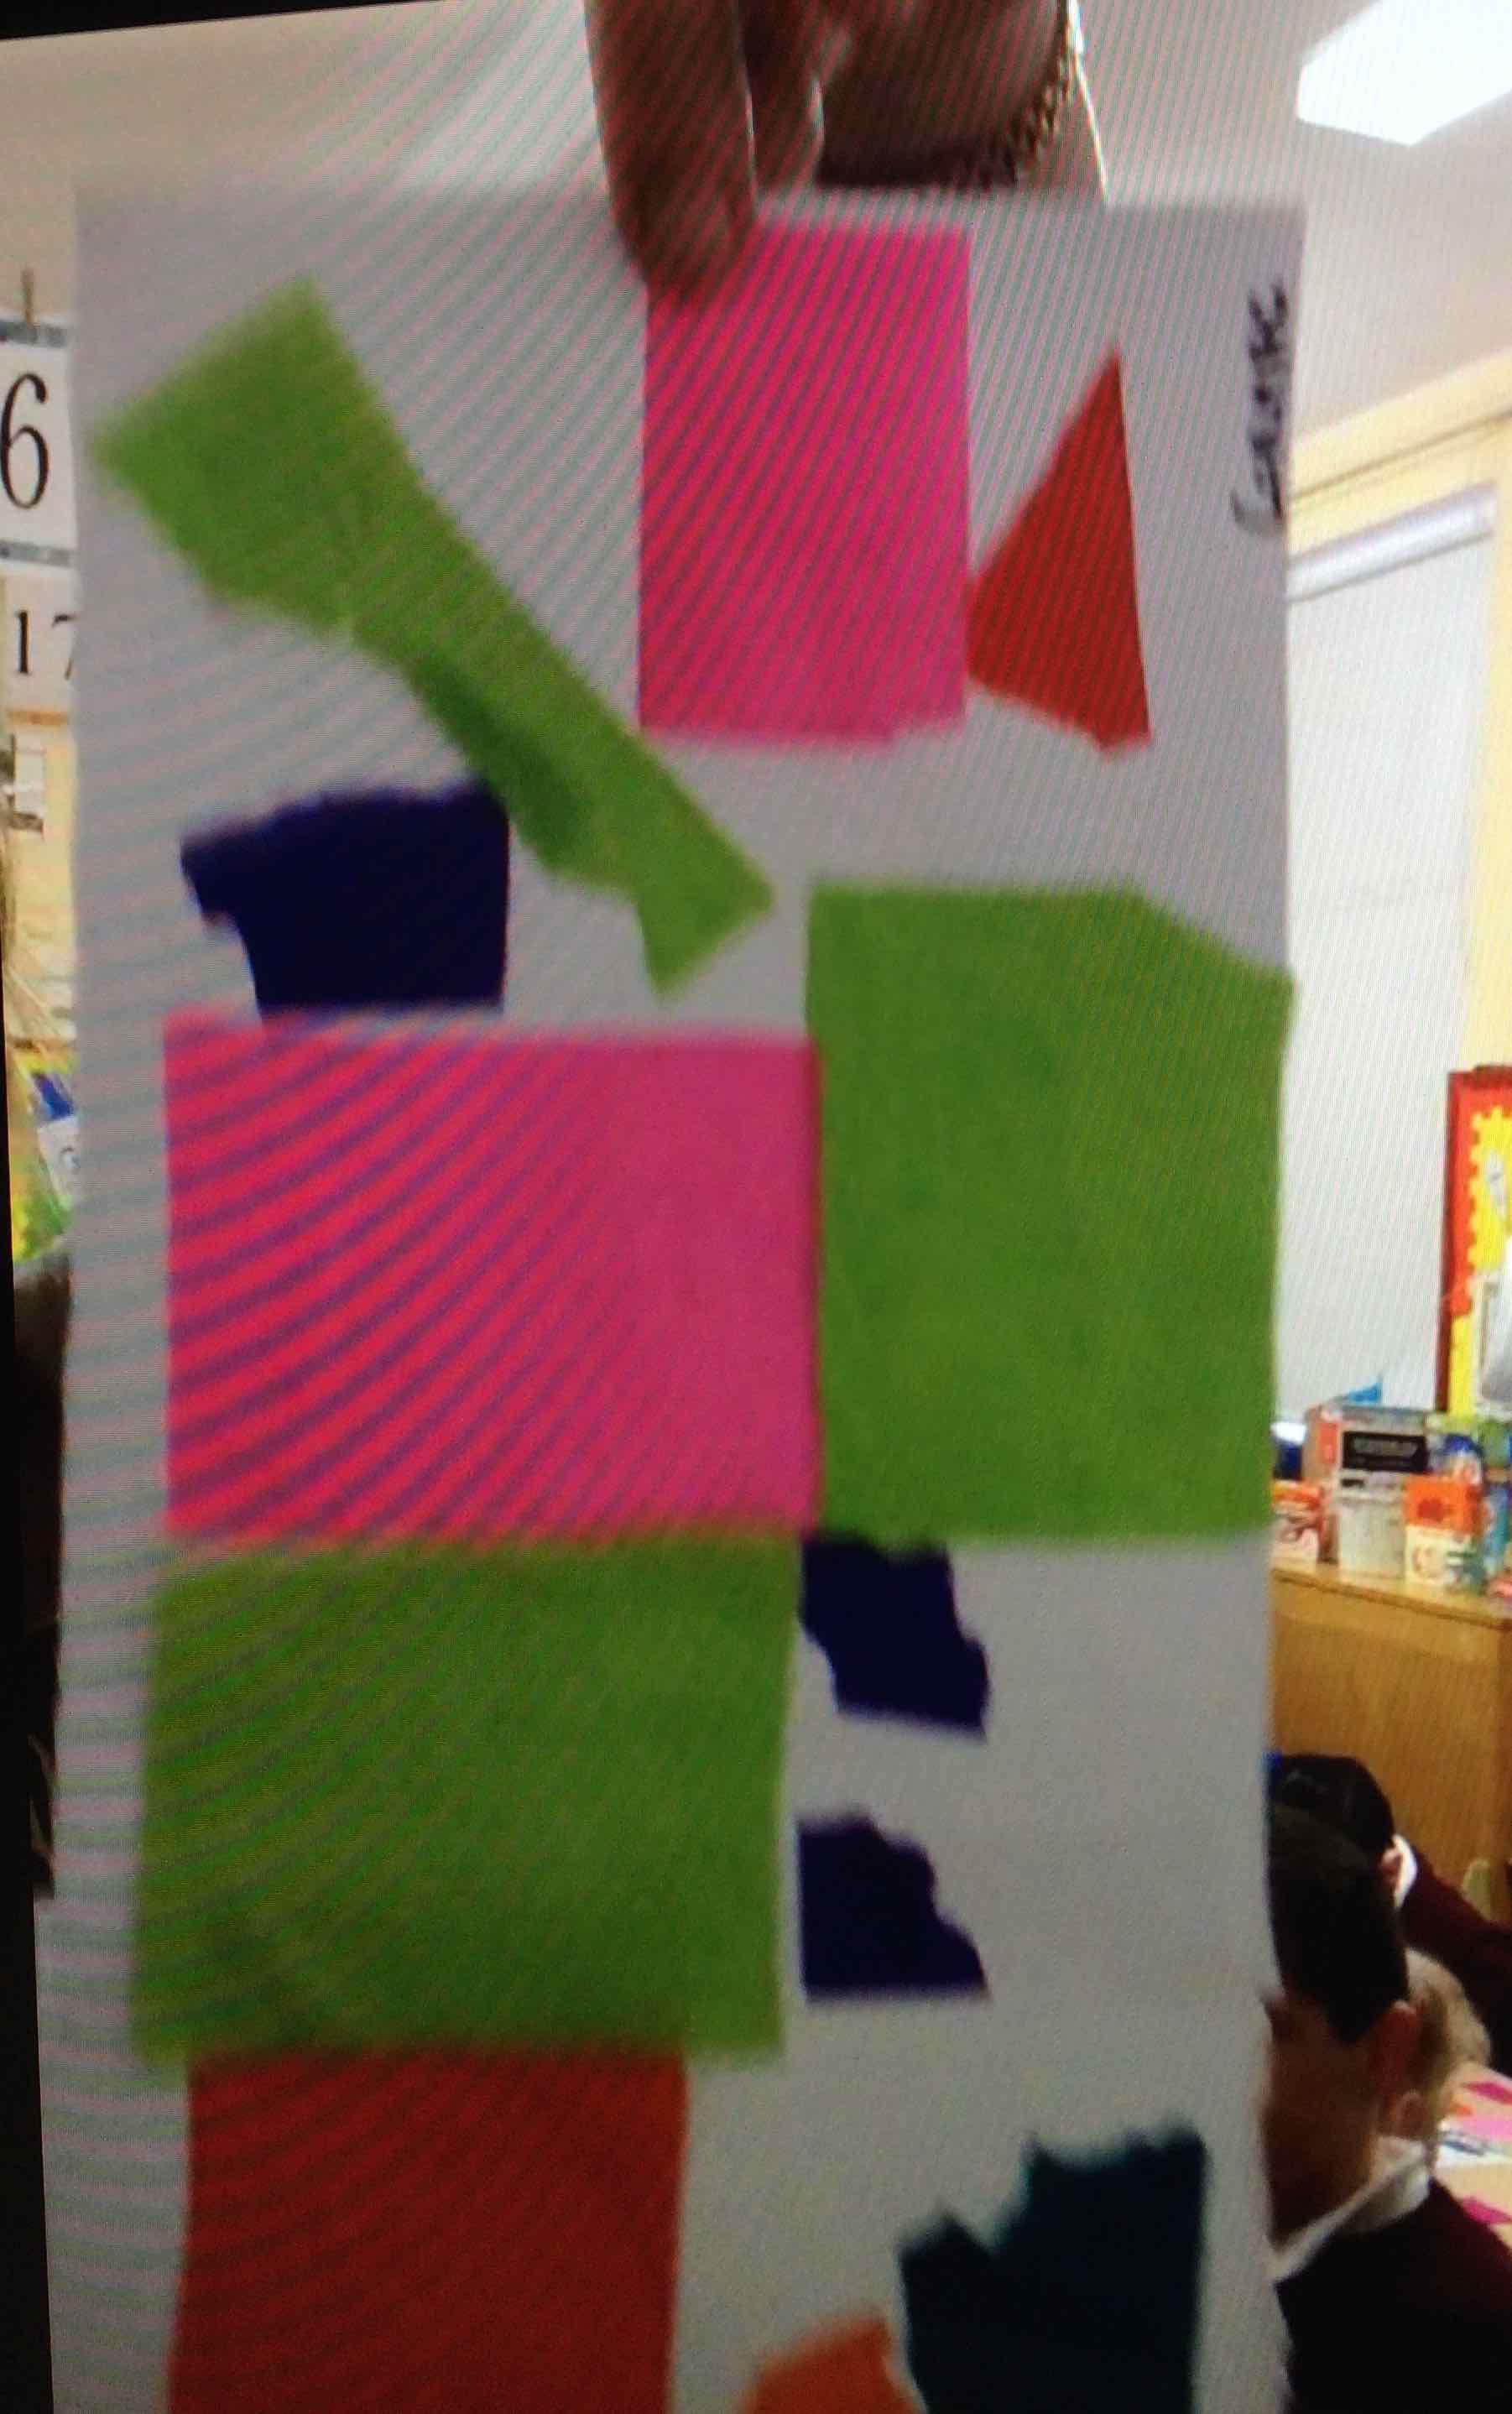
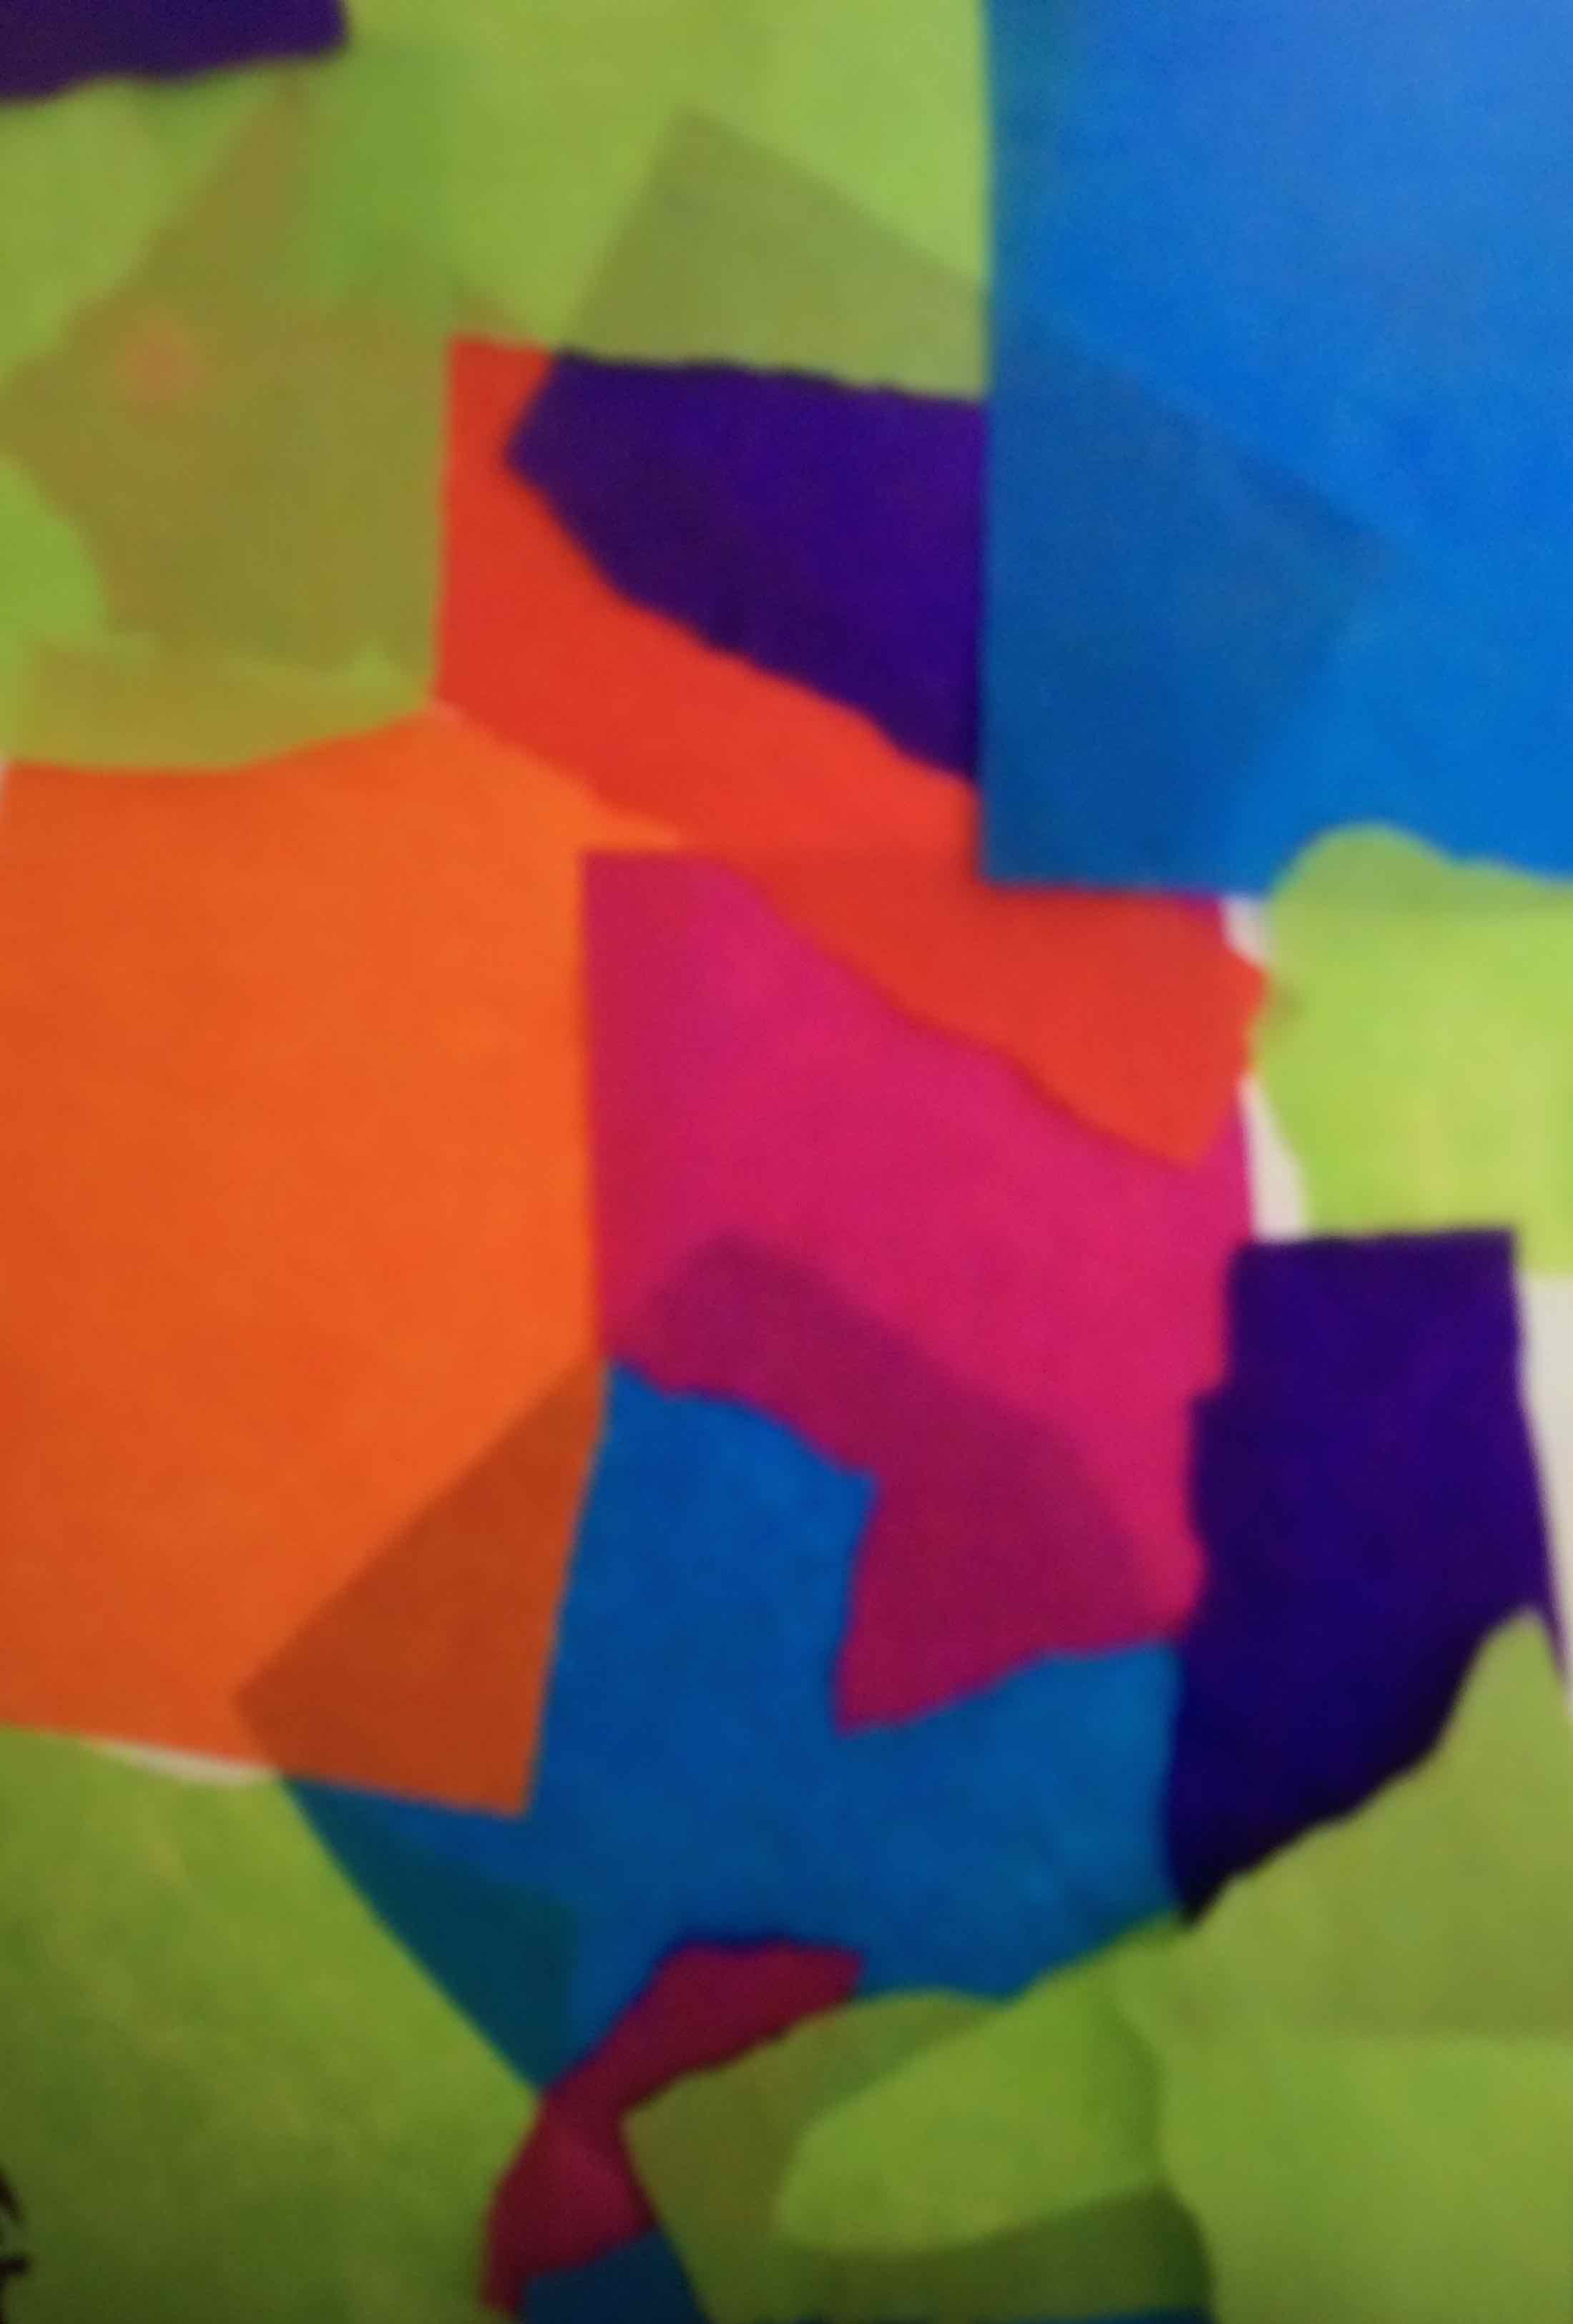
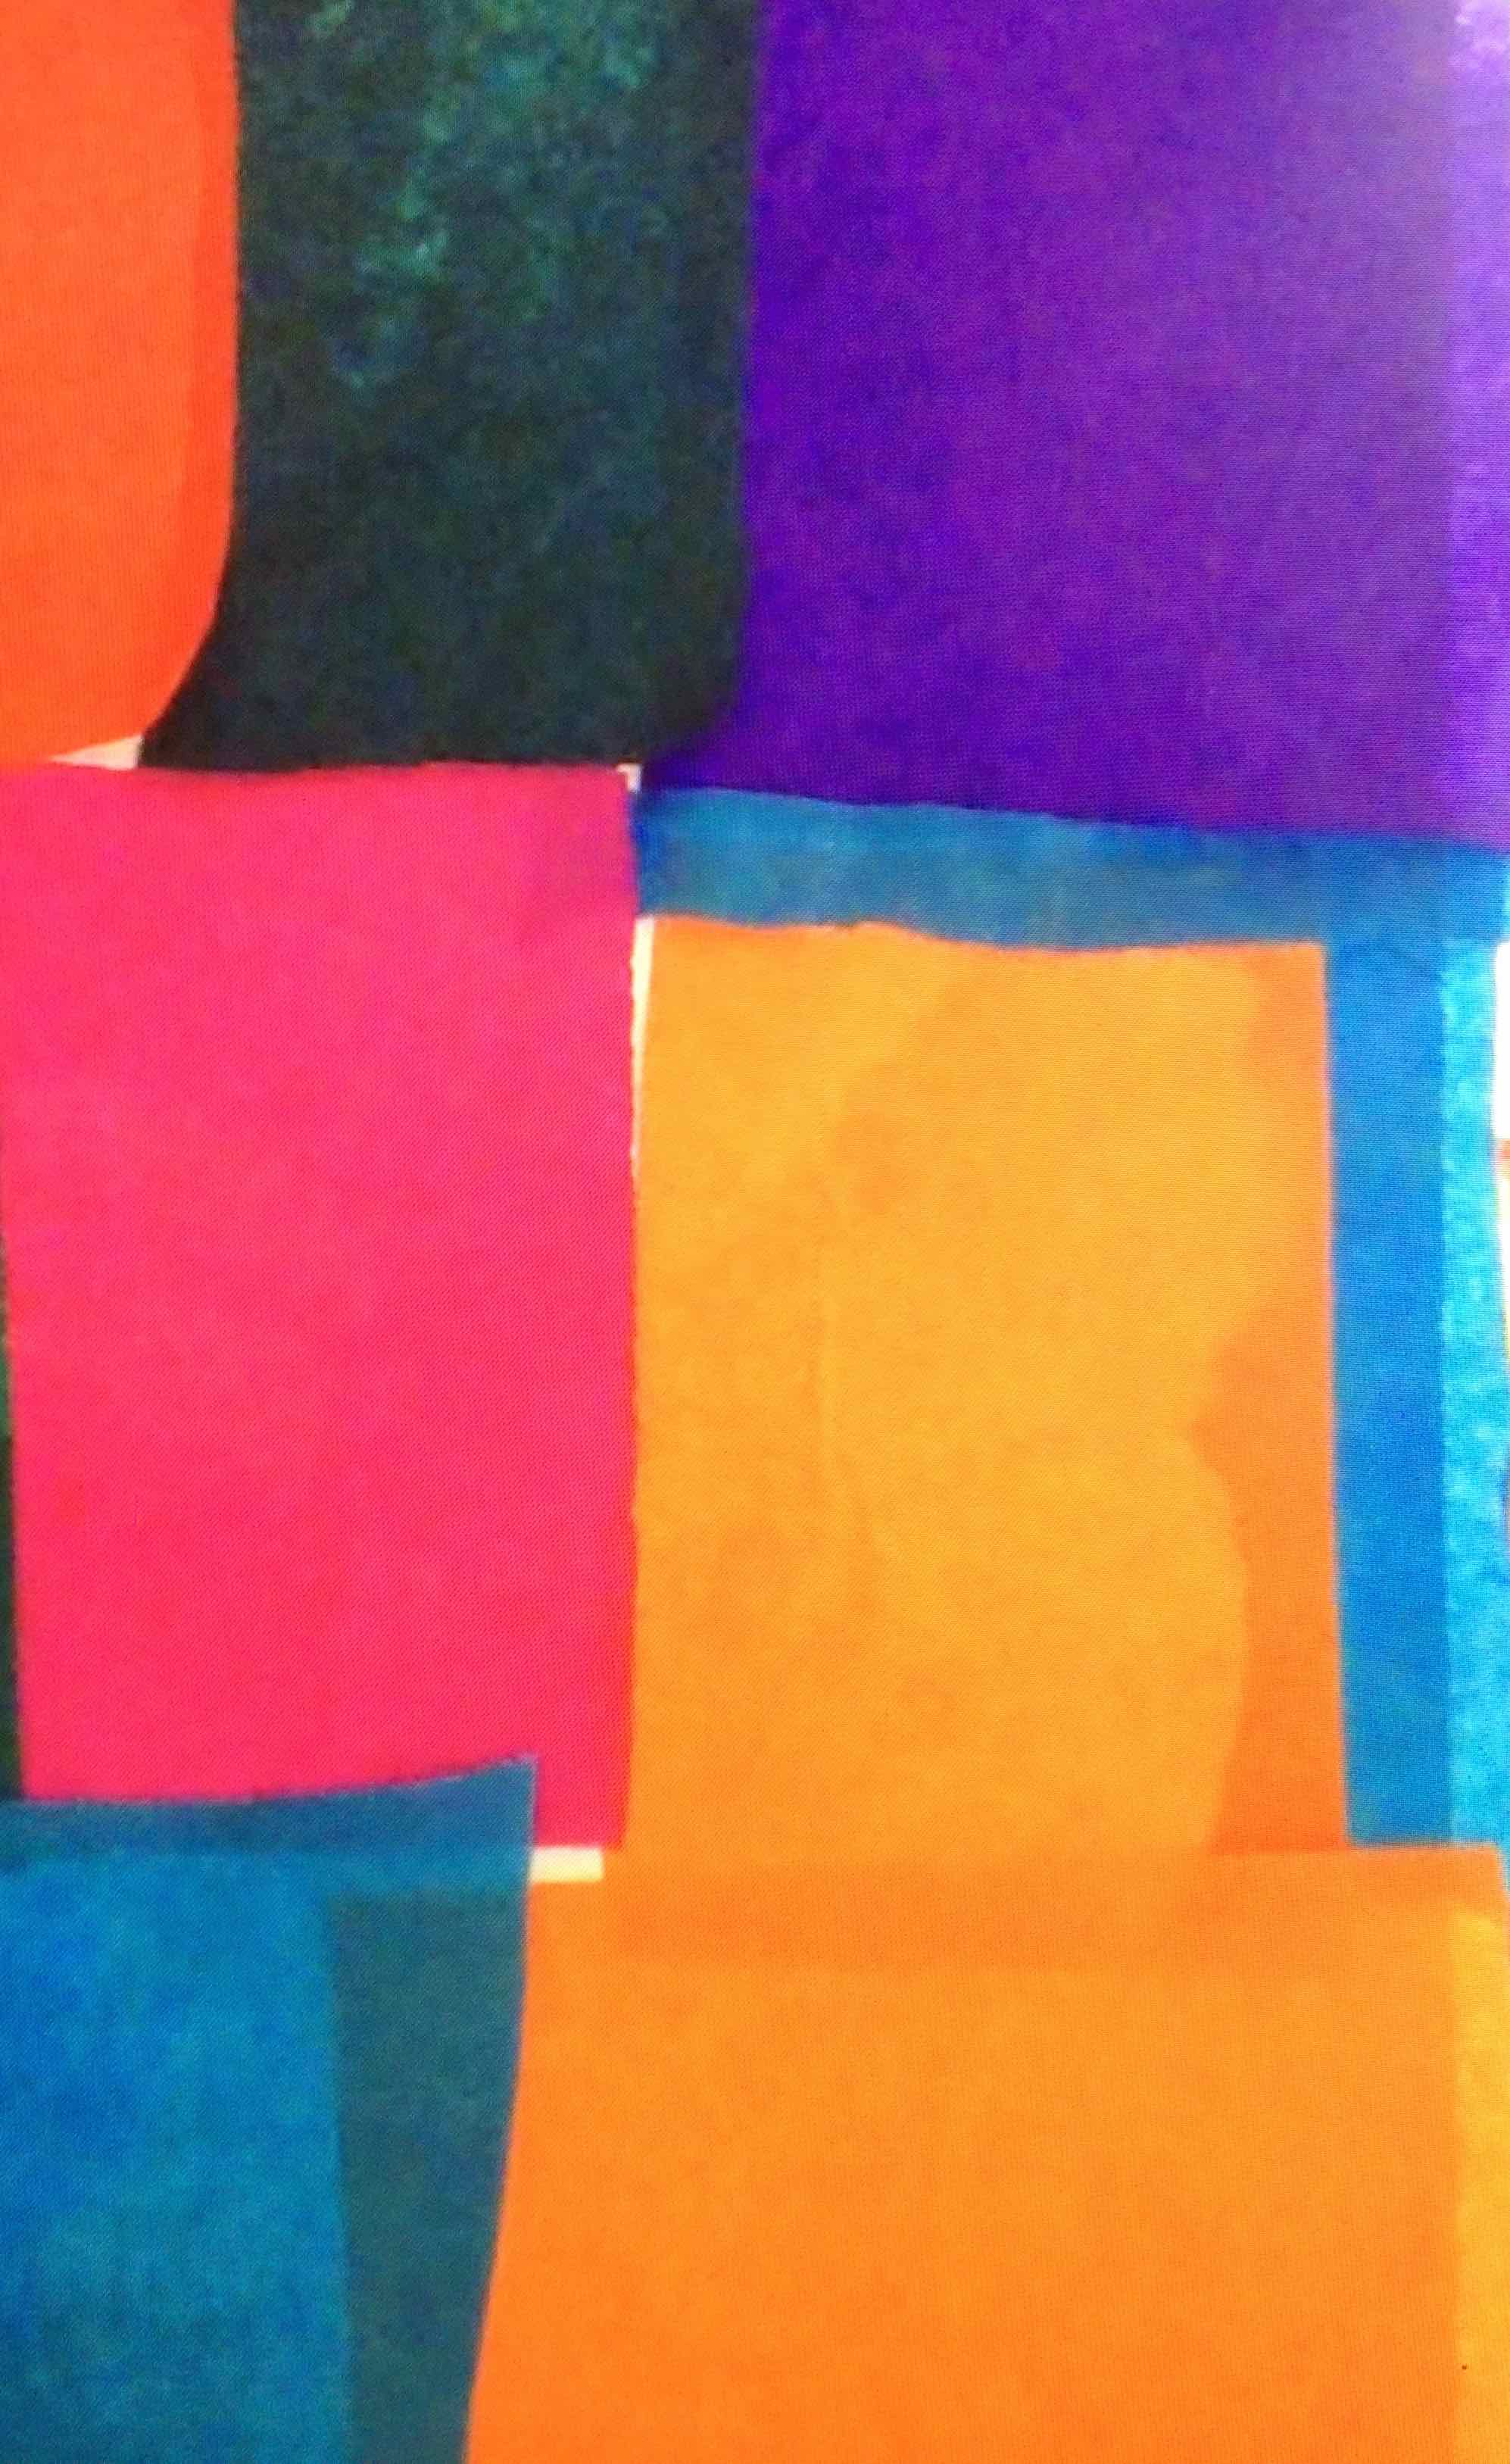
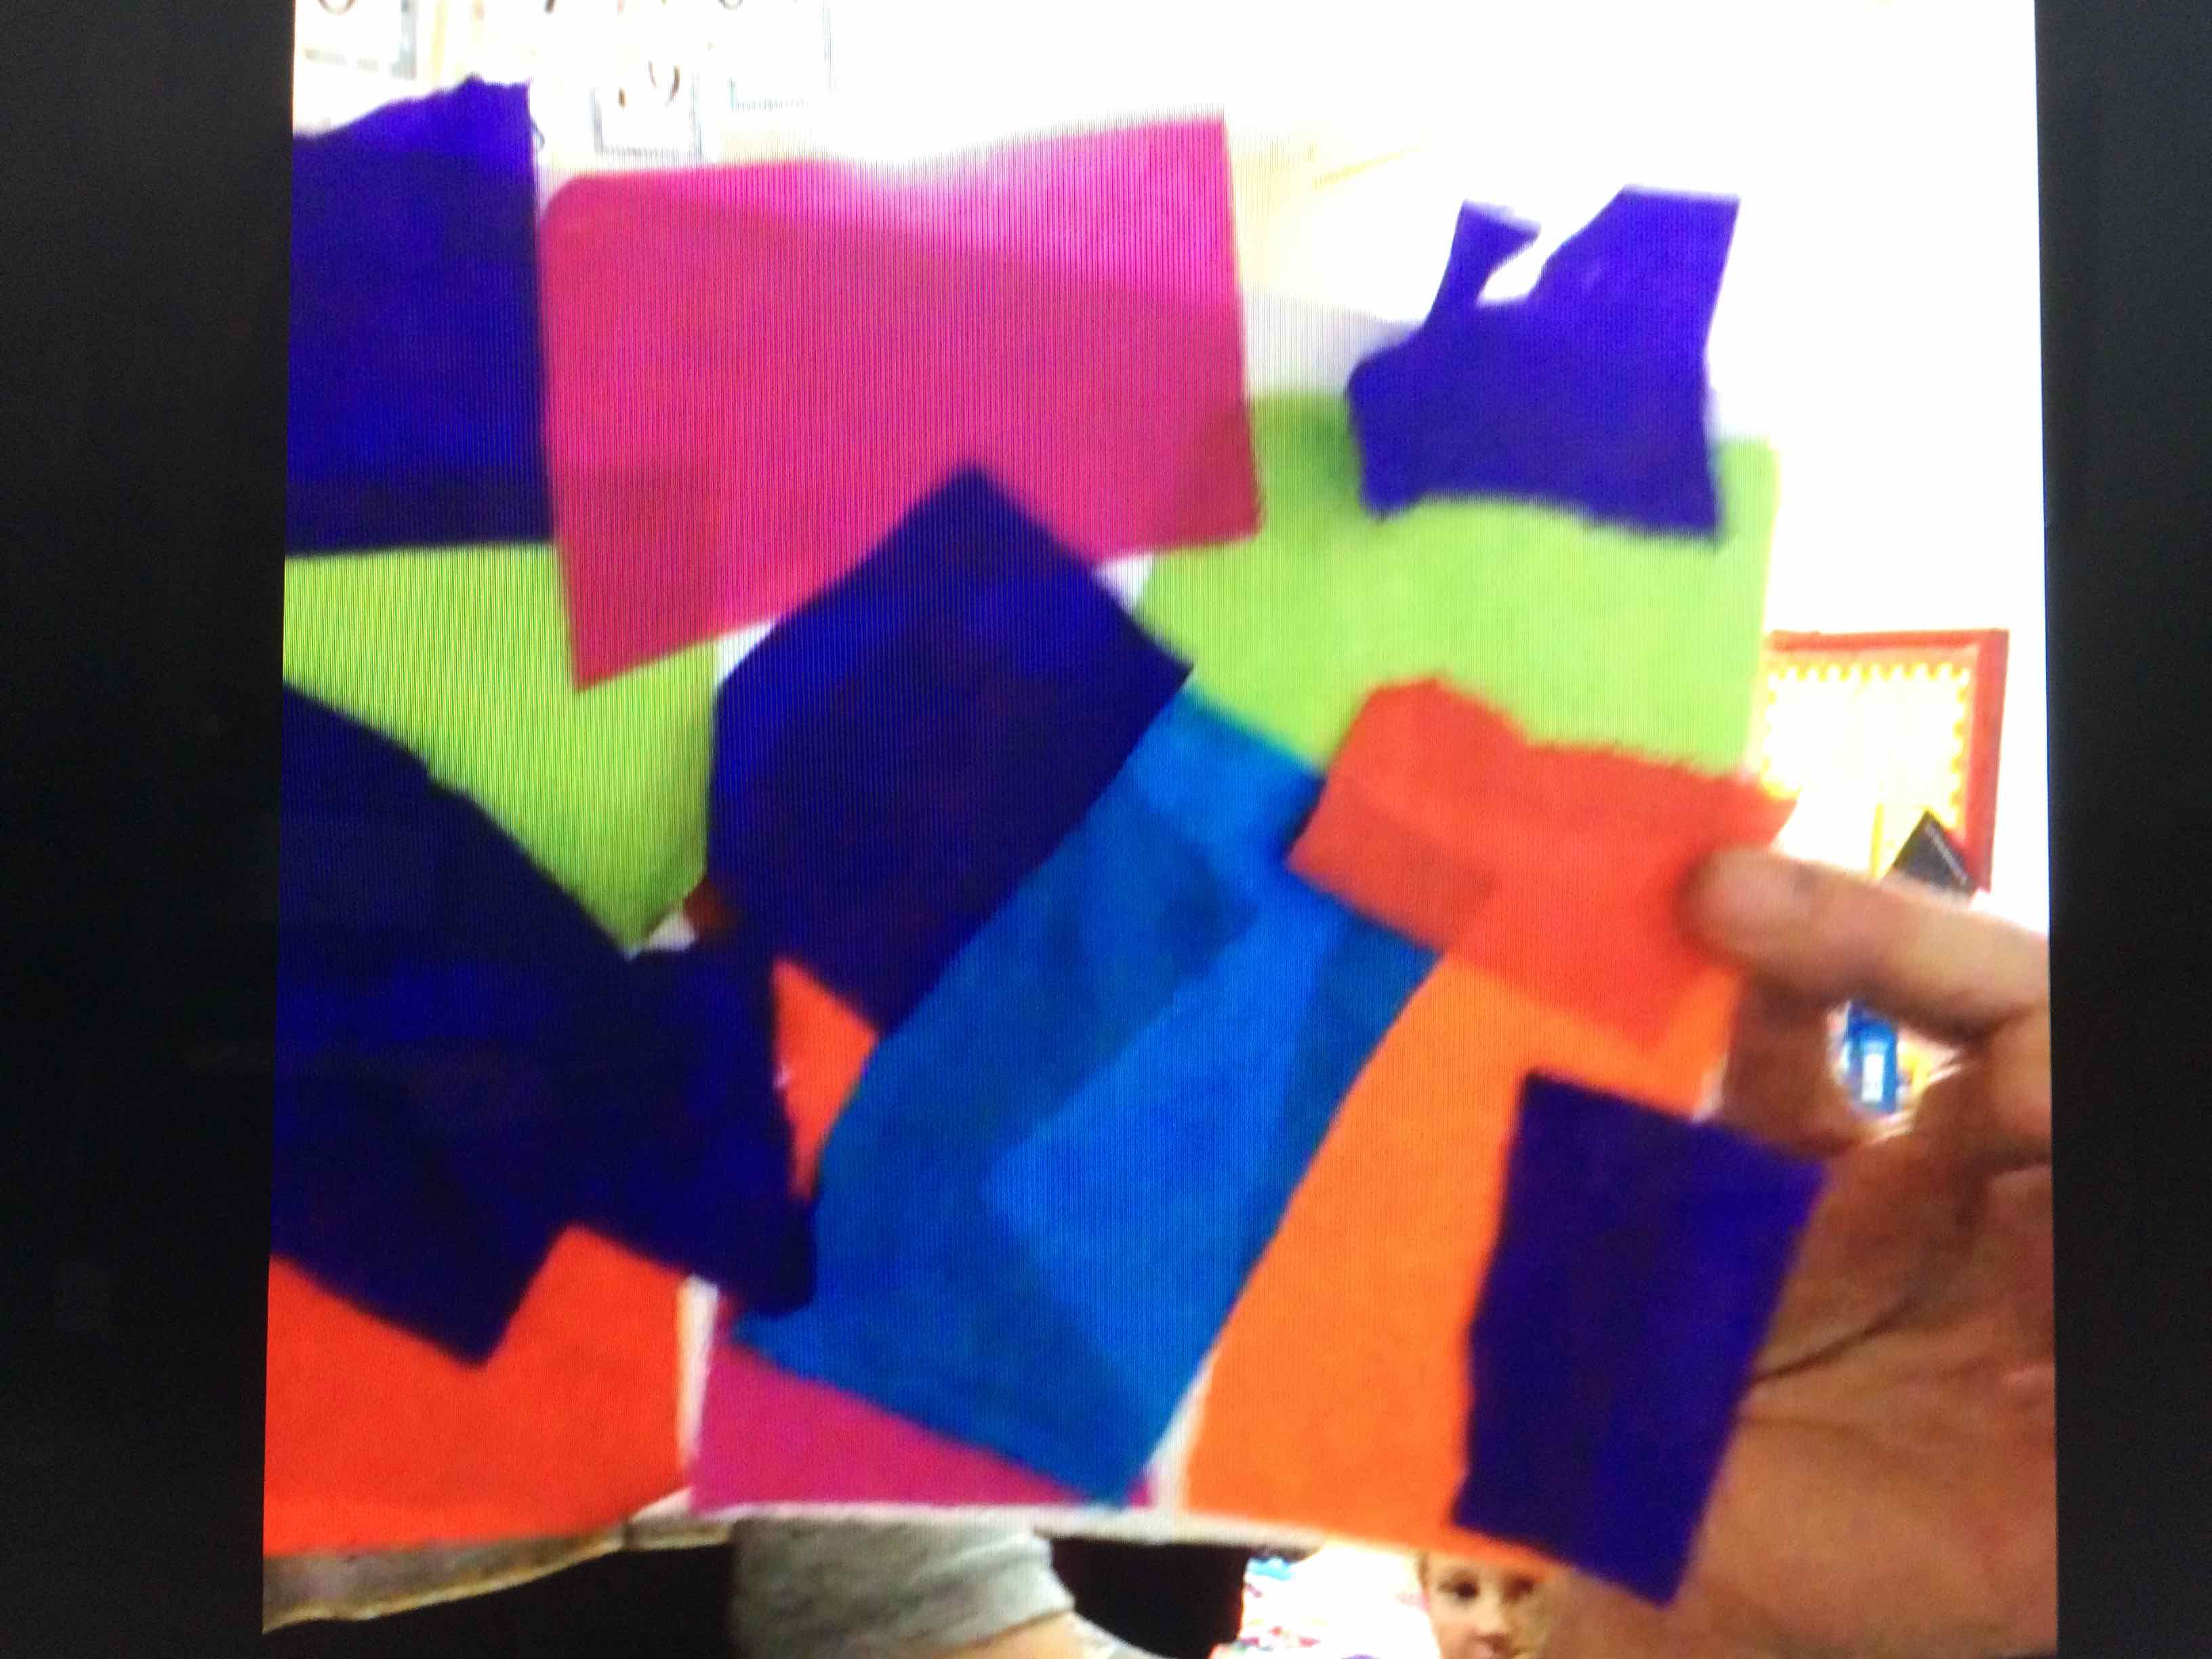
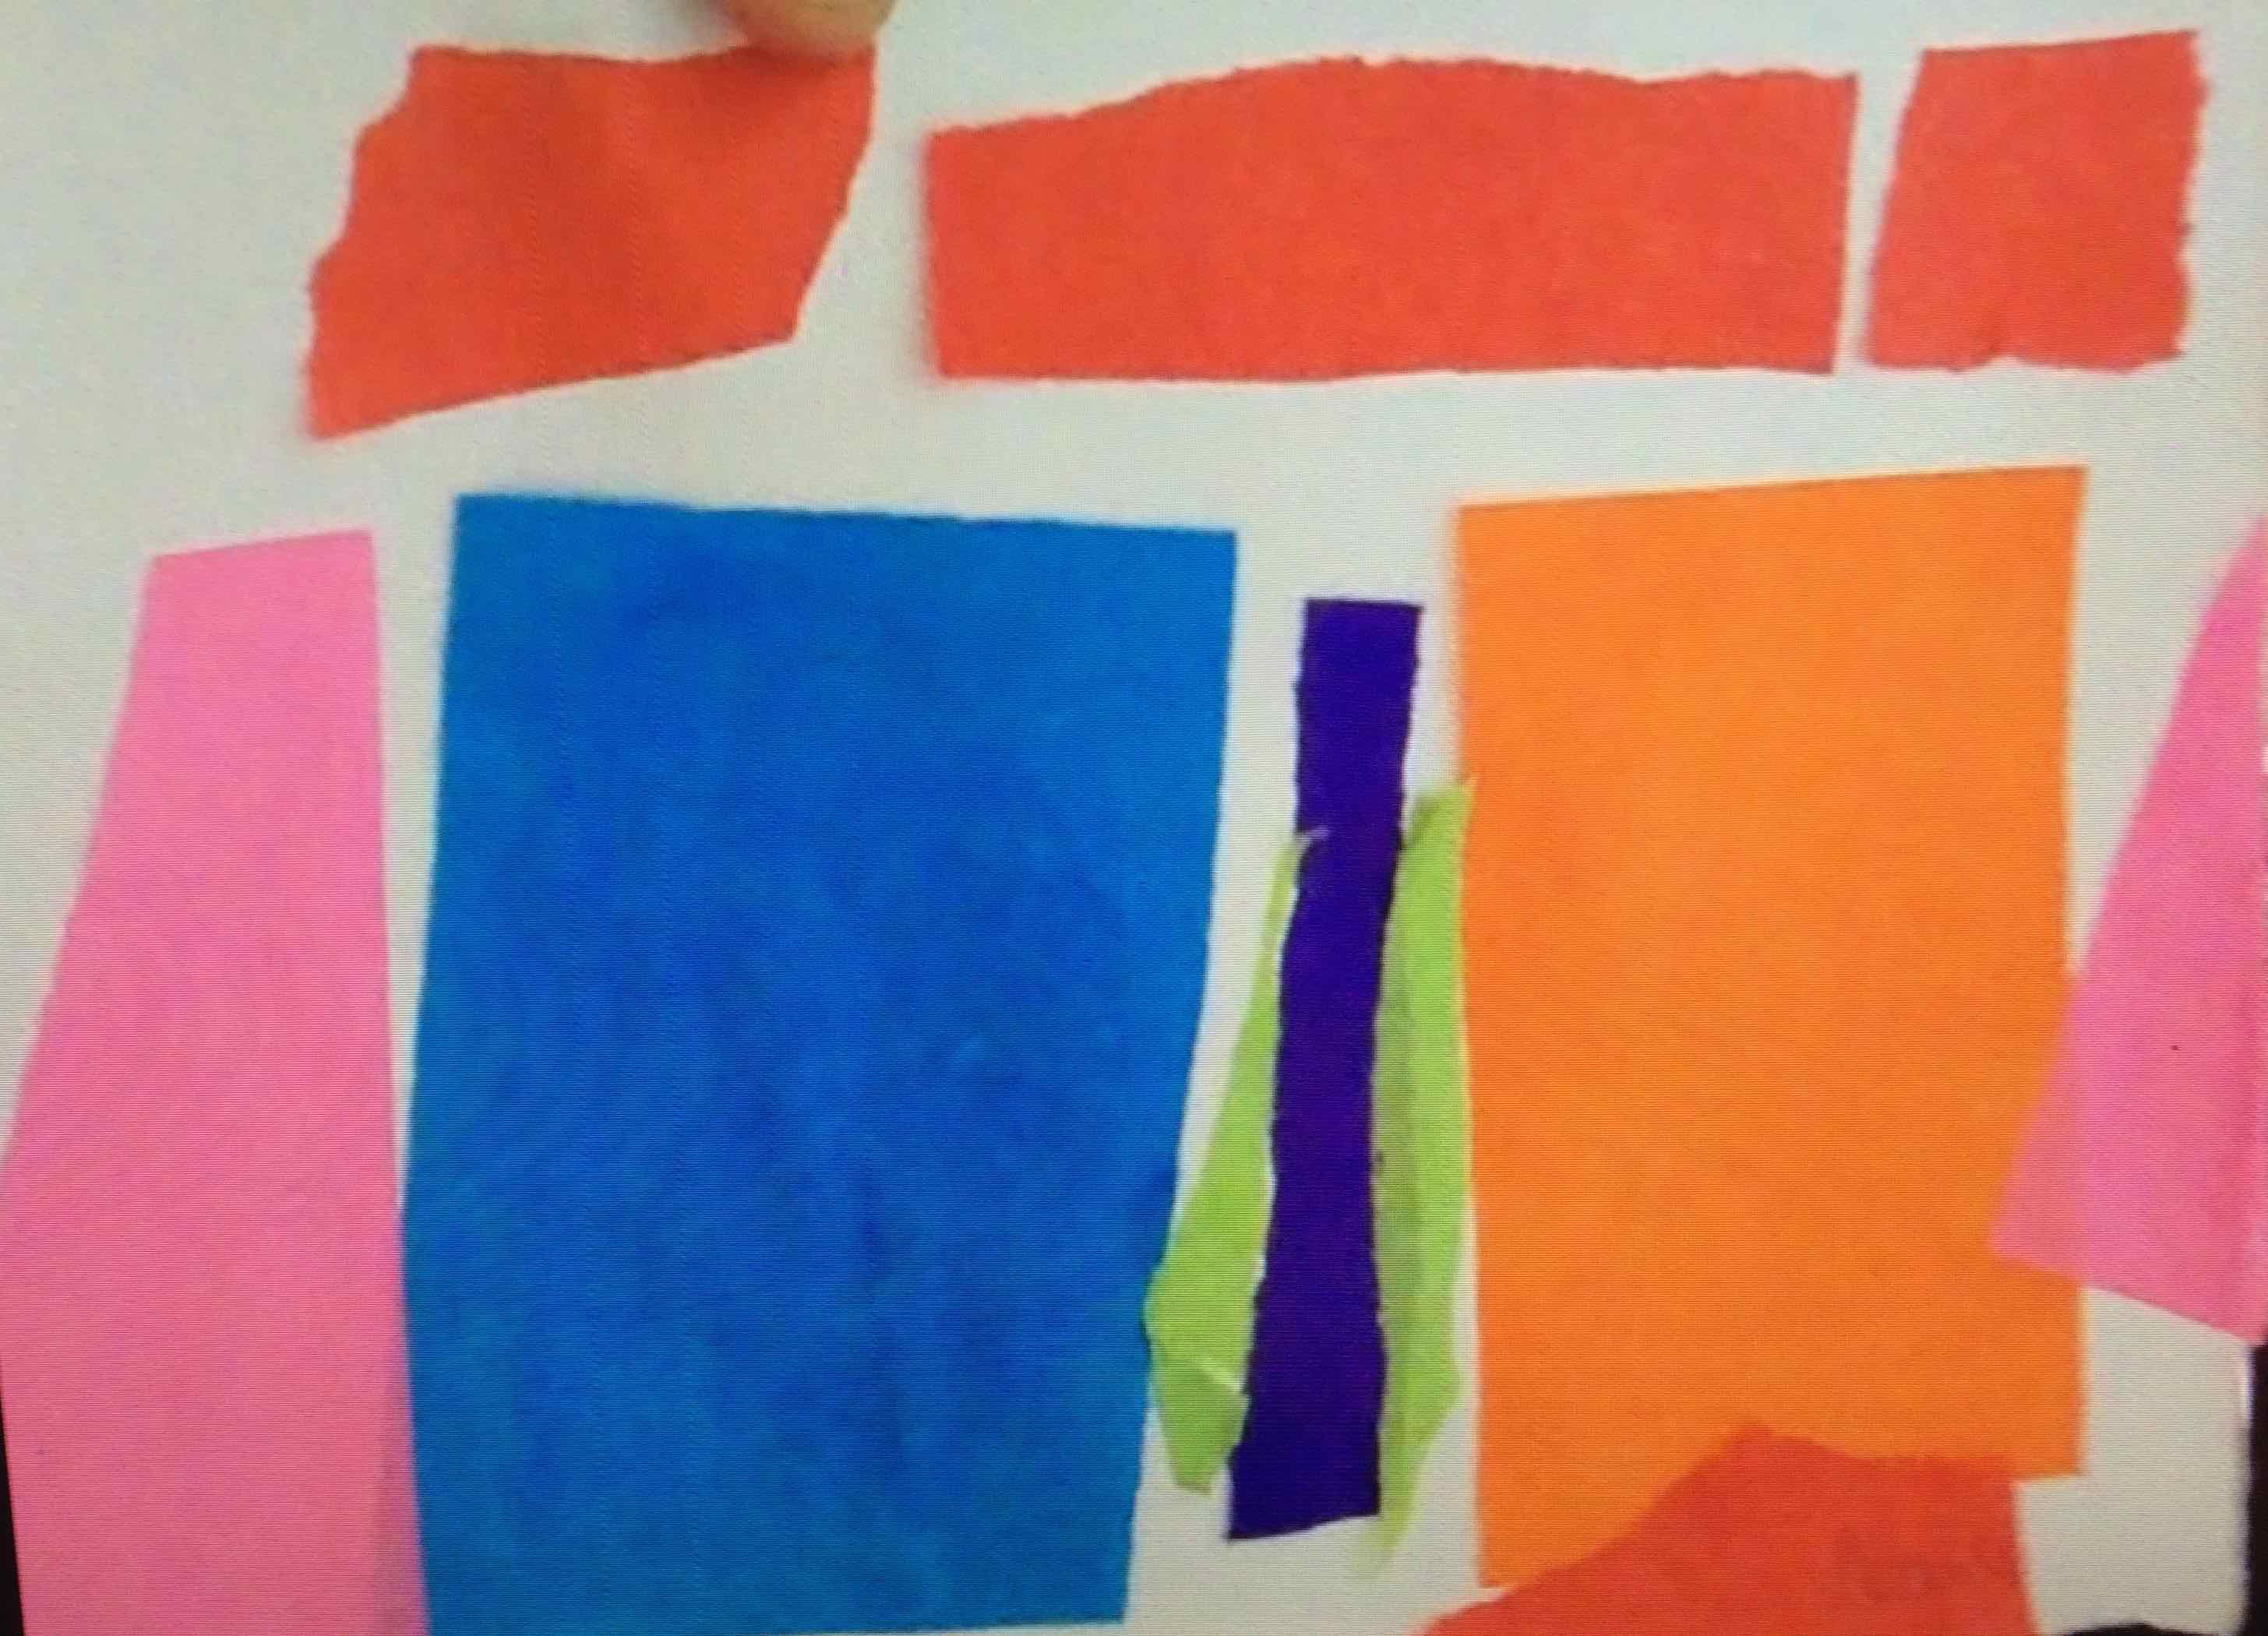
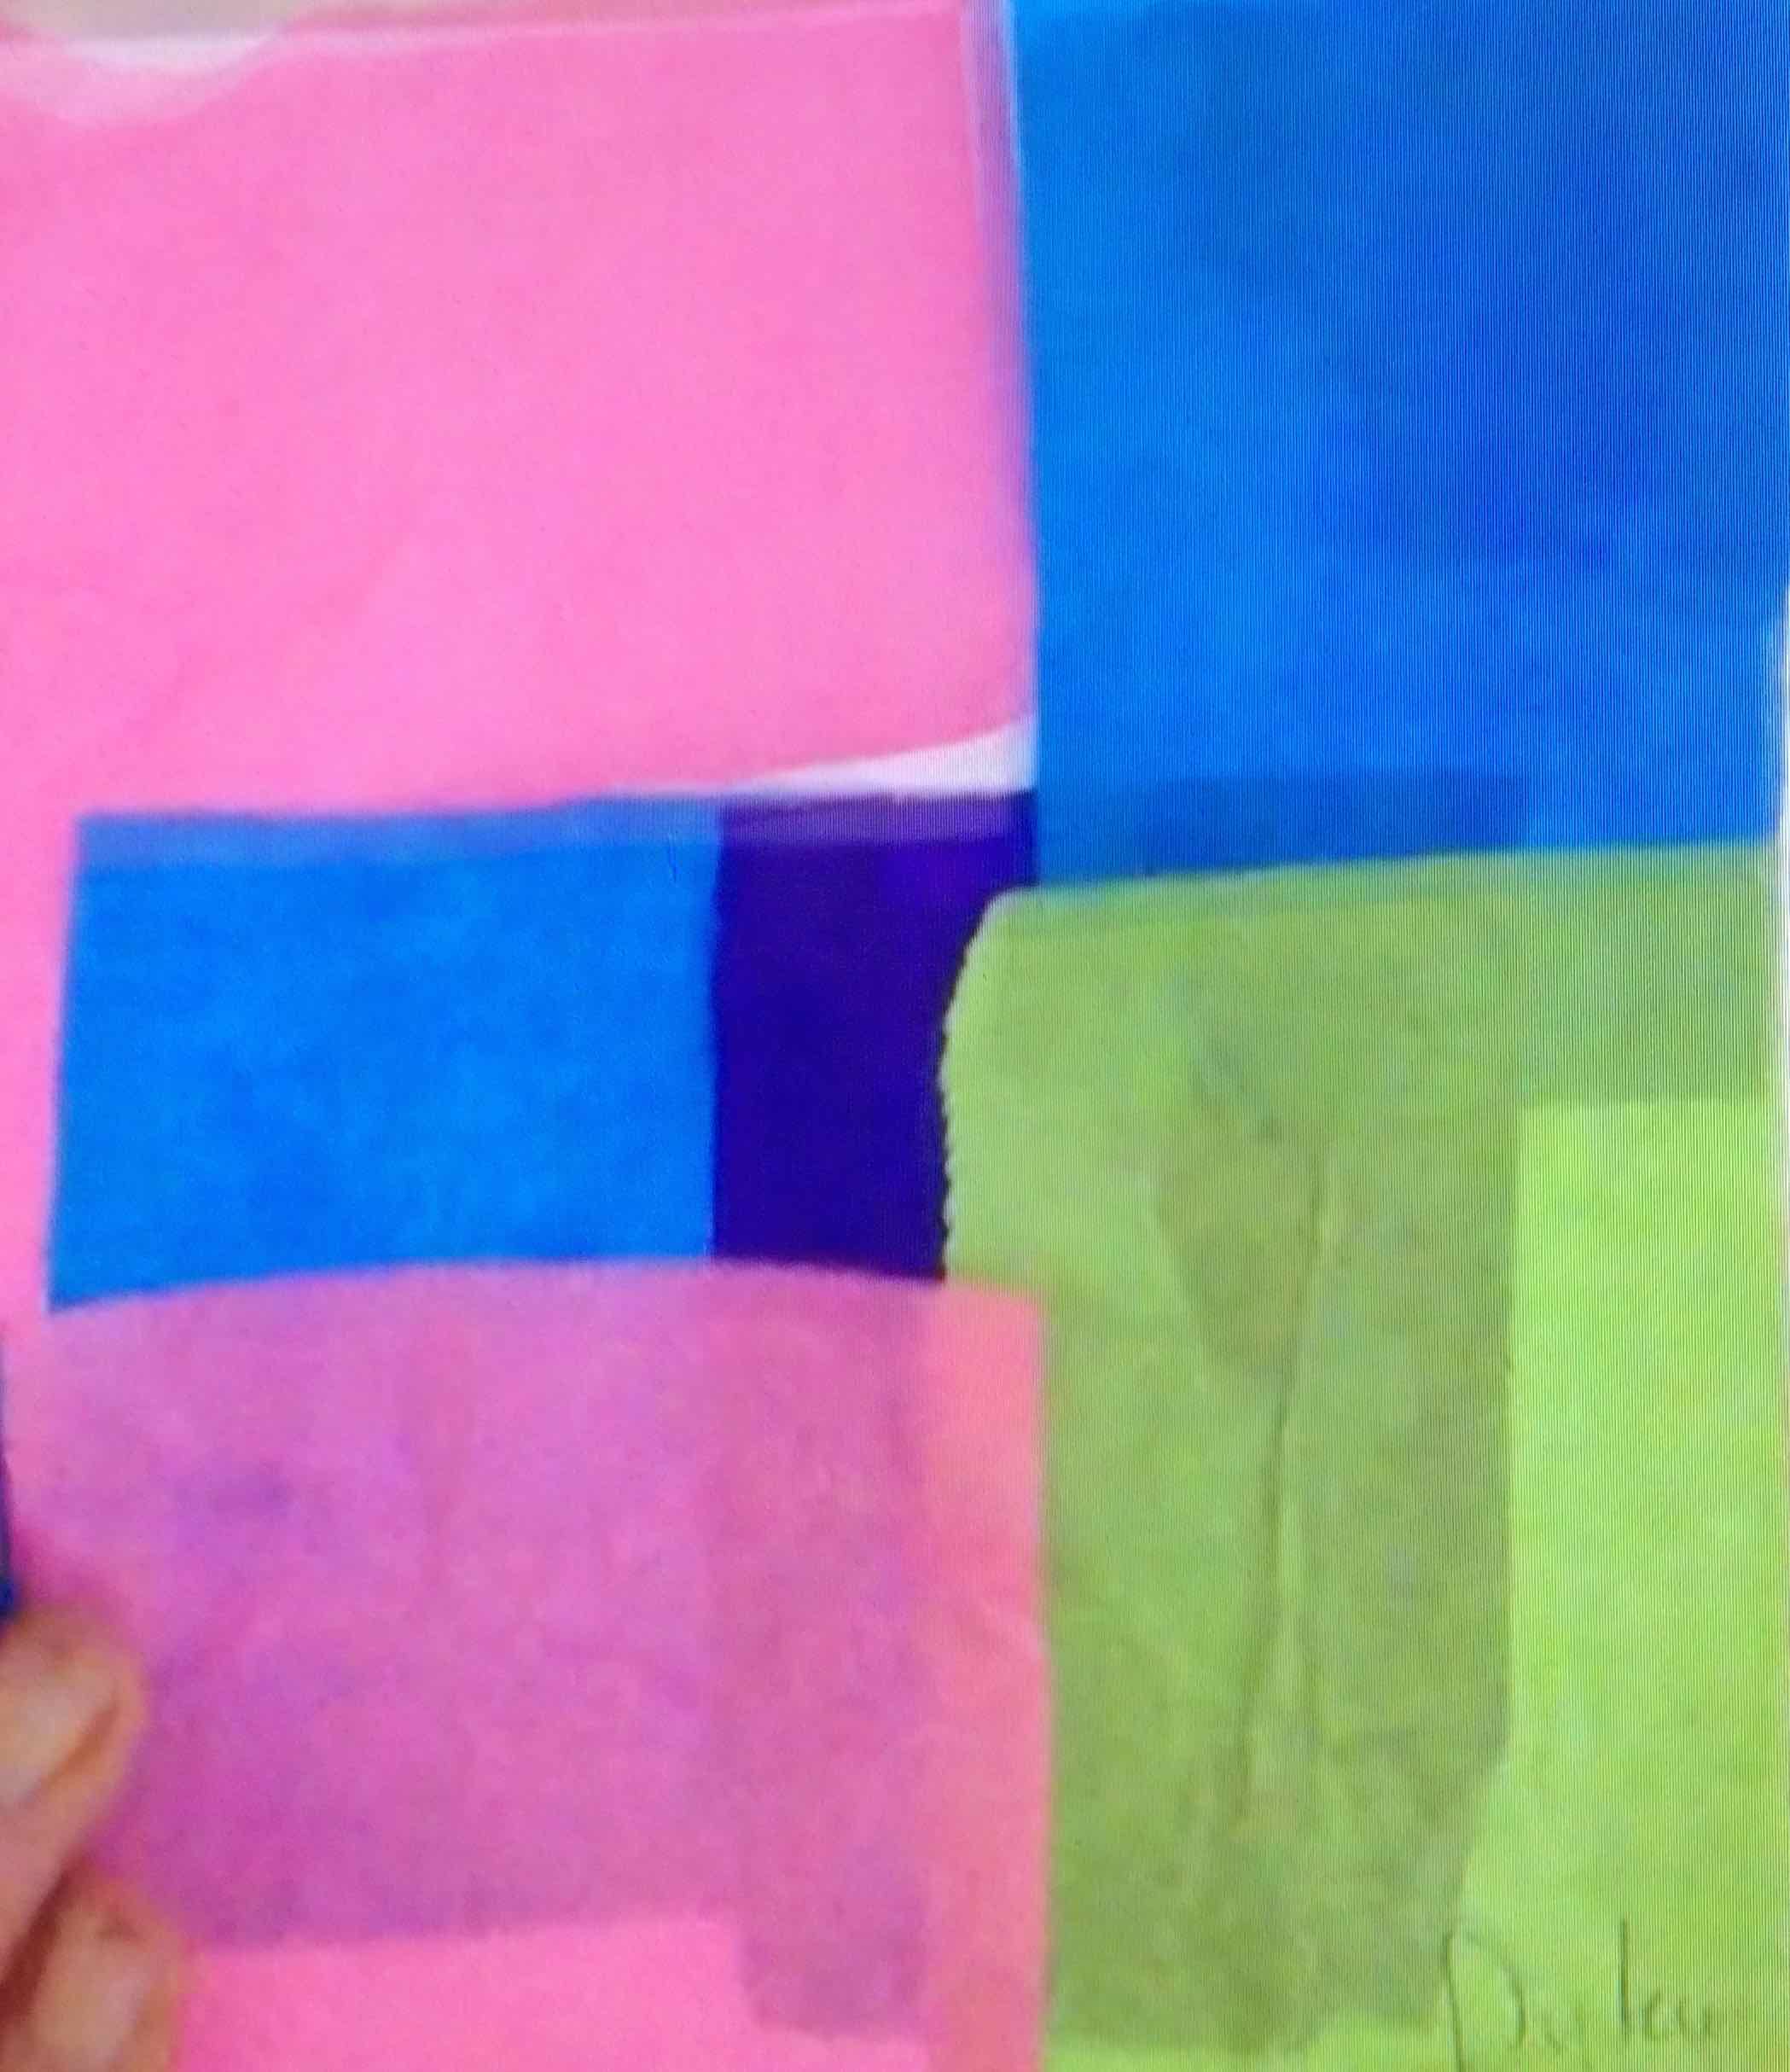
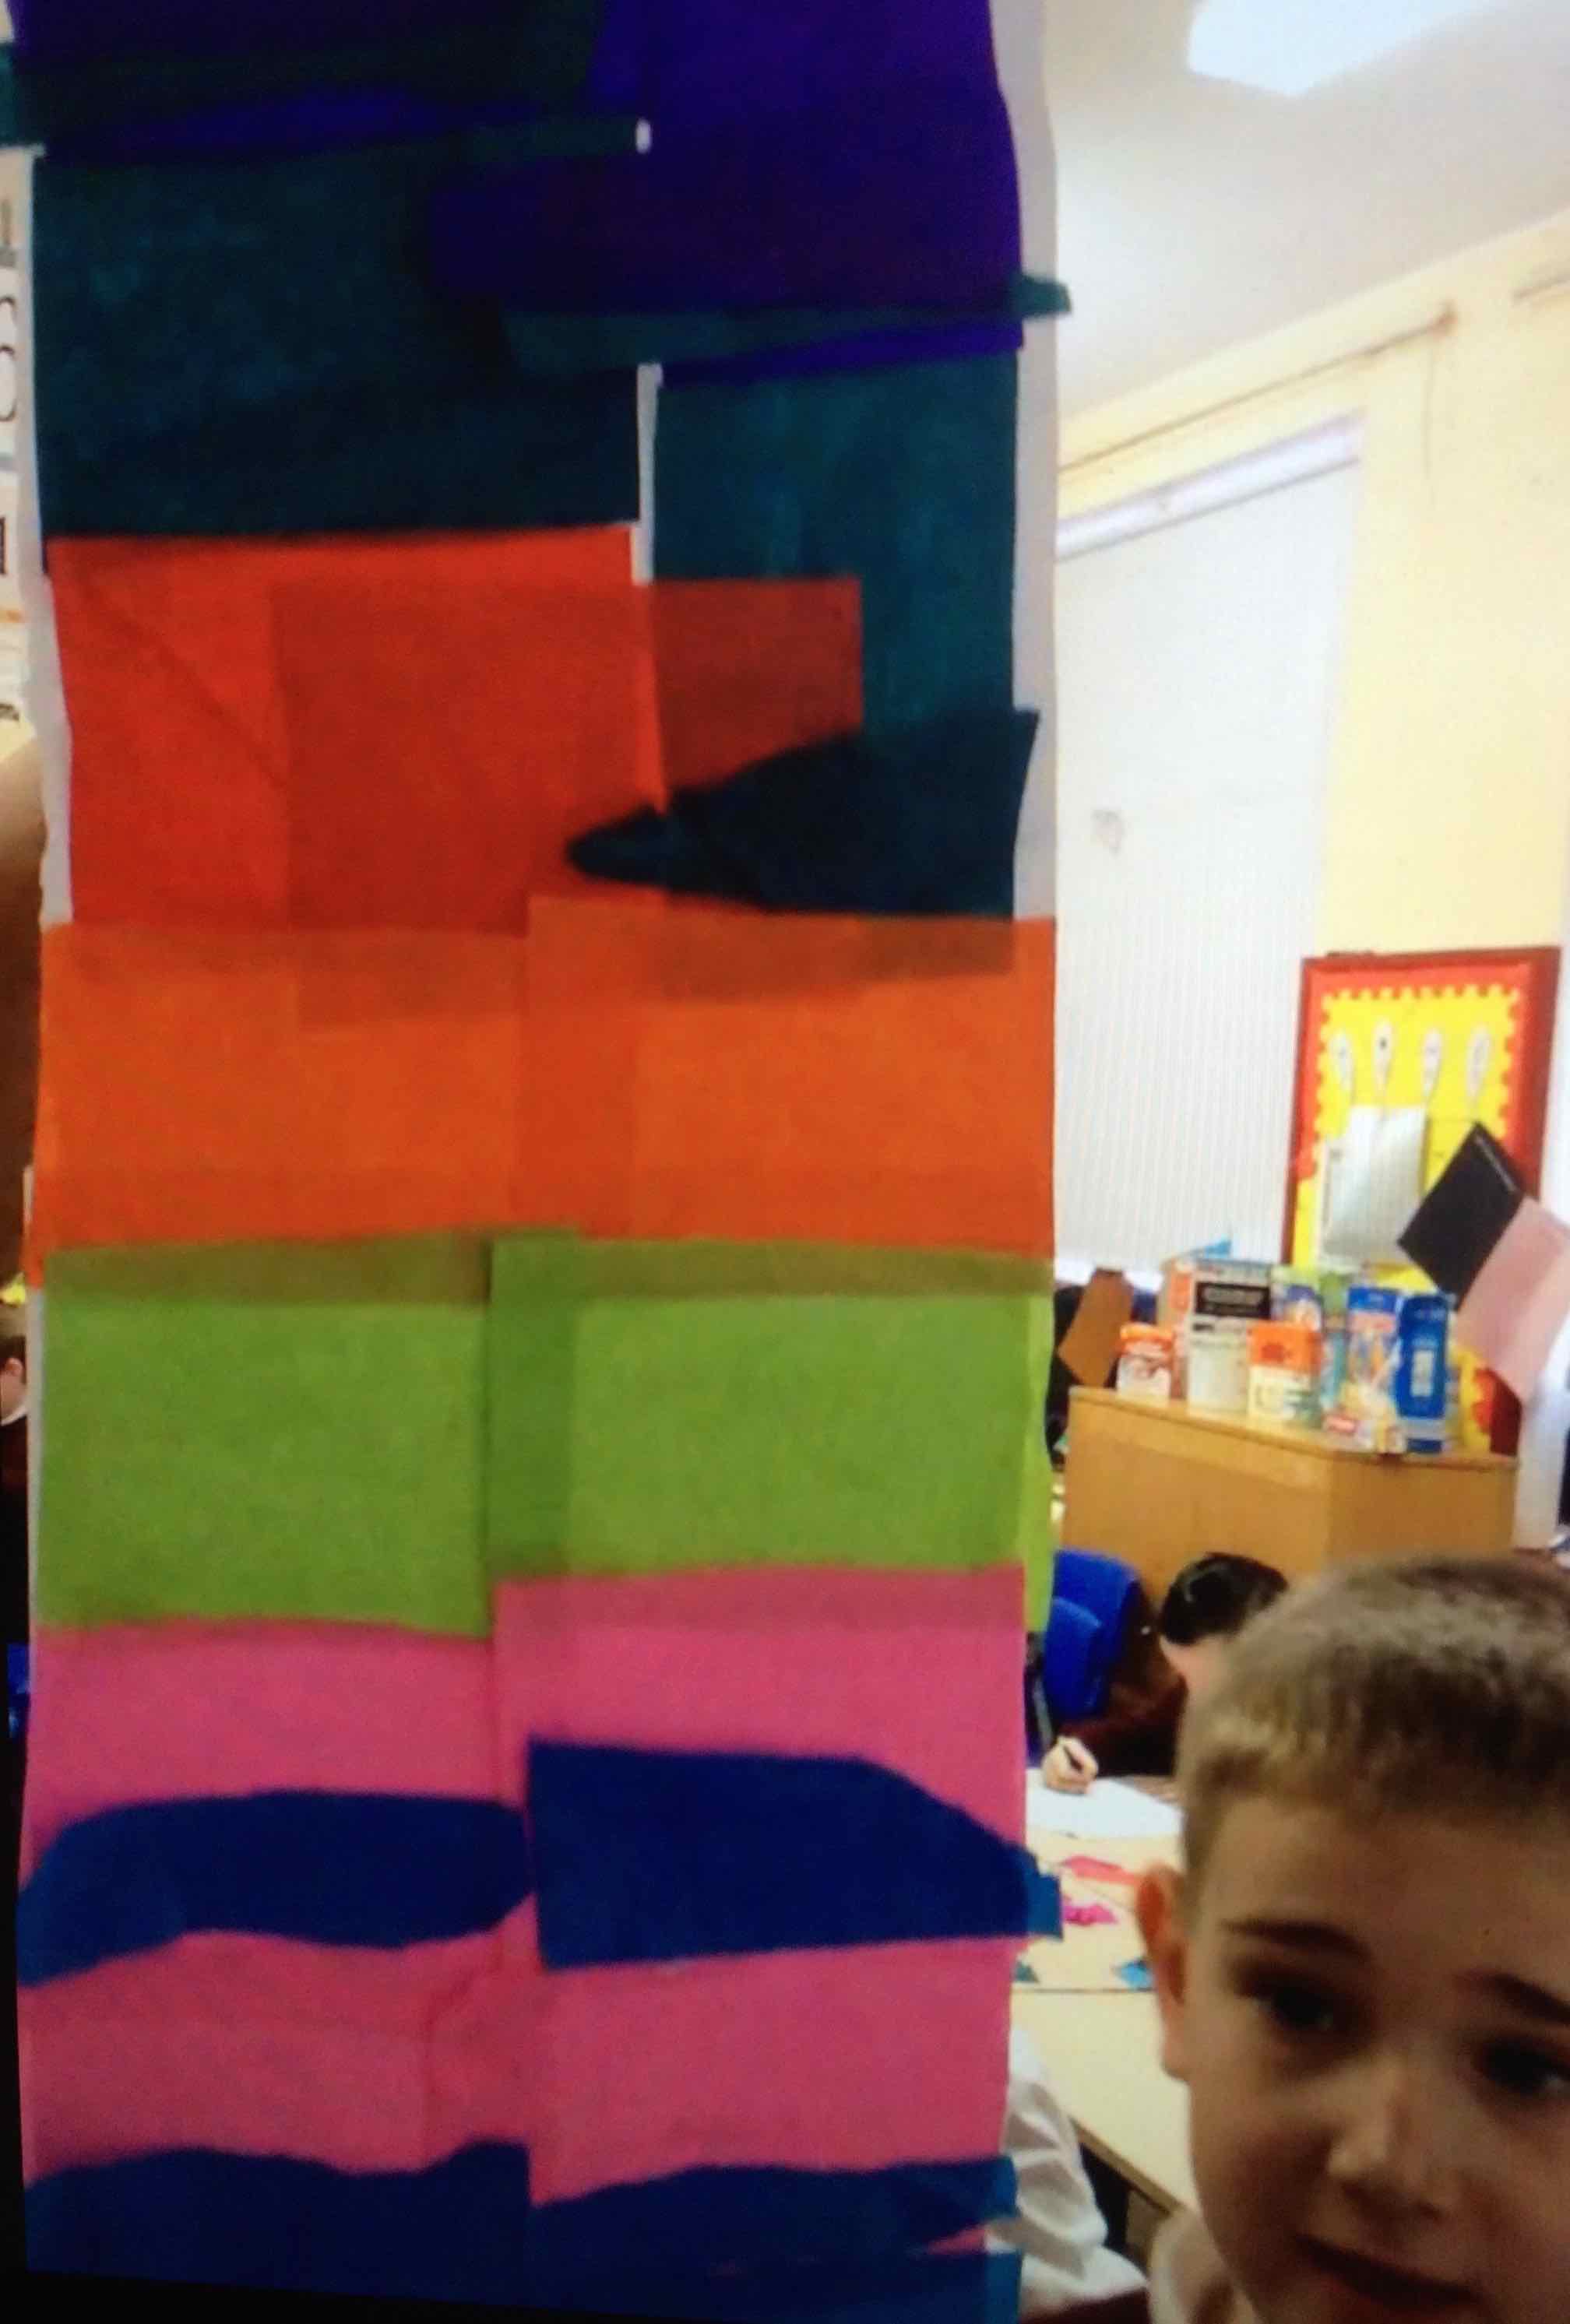
We looked today at the idea of mood and opened our online session with a good discussion on COLOUR / MOOD / TEMPERATURE…
We remembered the work with the COLOUR WHEEL and the sorts of colours we made by mixing primary colours together. We thought about whether these were HOT / WARM or COLD colours. Some thought YELLOW as a ‘JUST RIGHT’ colour… so not too hot and not too cold.
Some great descriptions were offered and then we spoke about the sorts of moods we might experience. BAD, GOOD, CRABBY, HUFFY, FISHY (Hiding something..) and we thought of times when we might feel grumpy, frustrated, angry (when things don’t go right; when they can’t get winning at the computer games) and when we were happy and feeling peaceful (some said hugging their sister made them happy; doing art at school made them feel good; family days out).
Keigan talked about when you have work that goes better in your head than it does on the page and how frustrating that was.
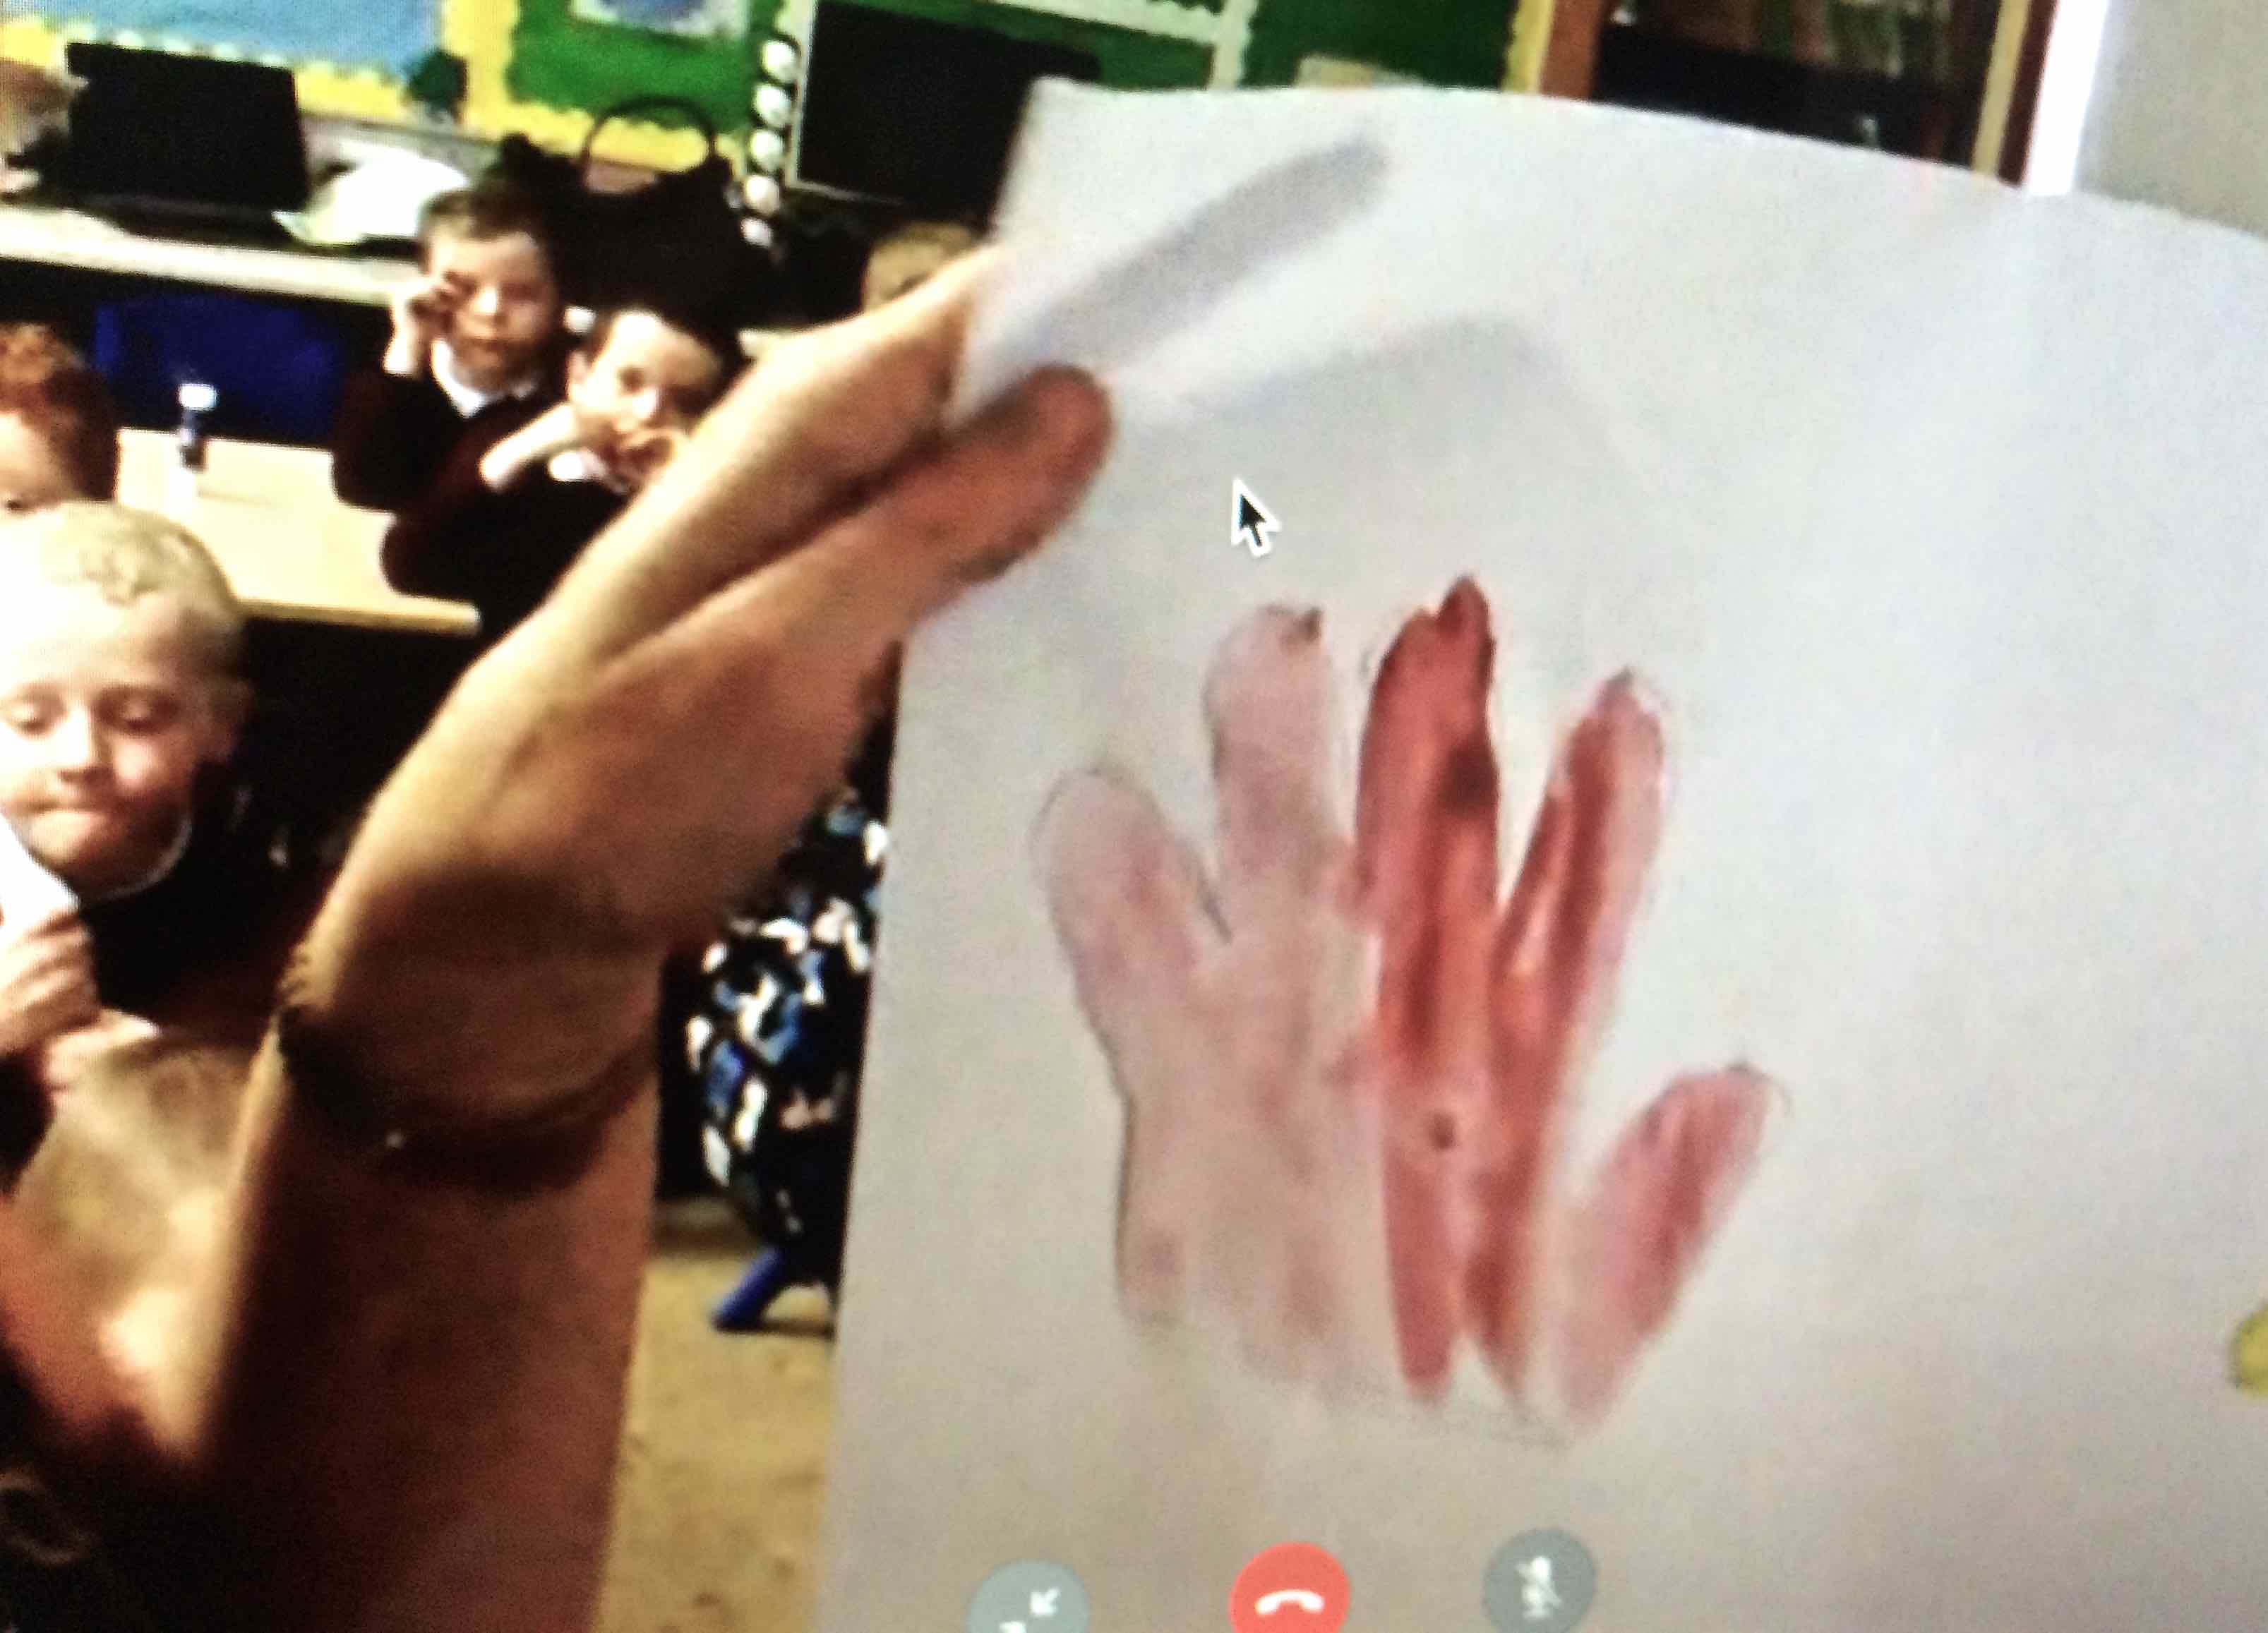
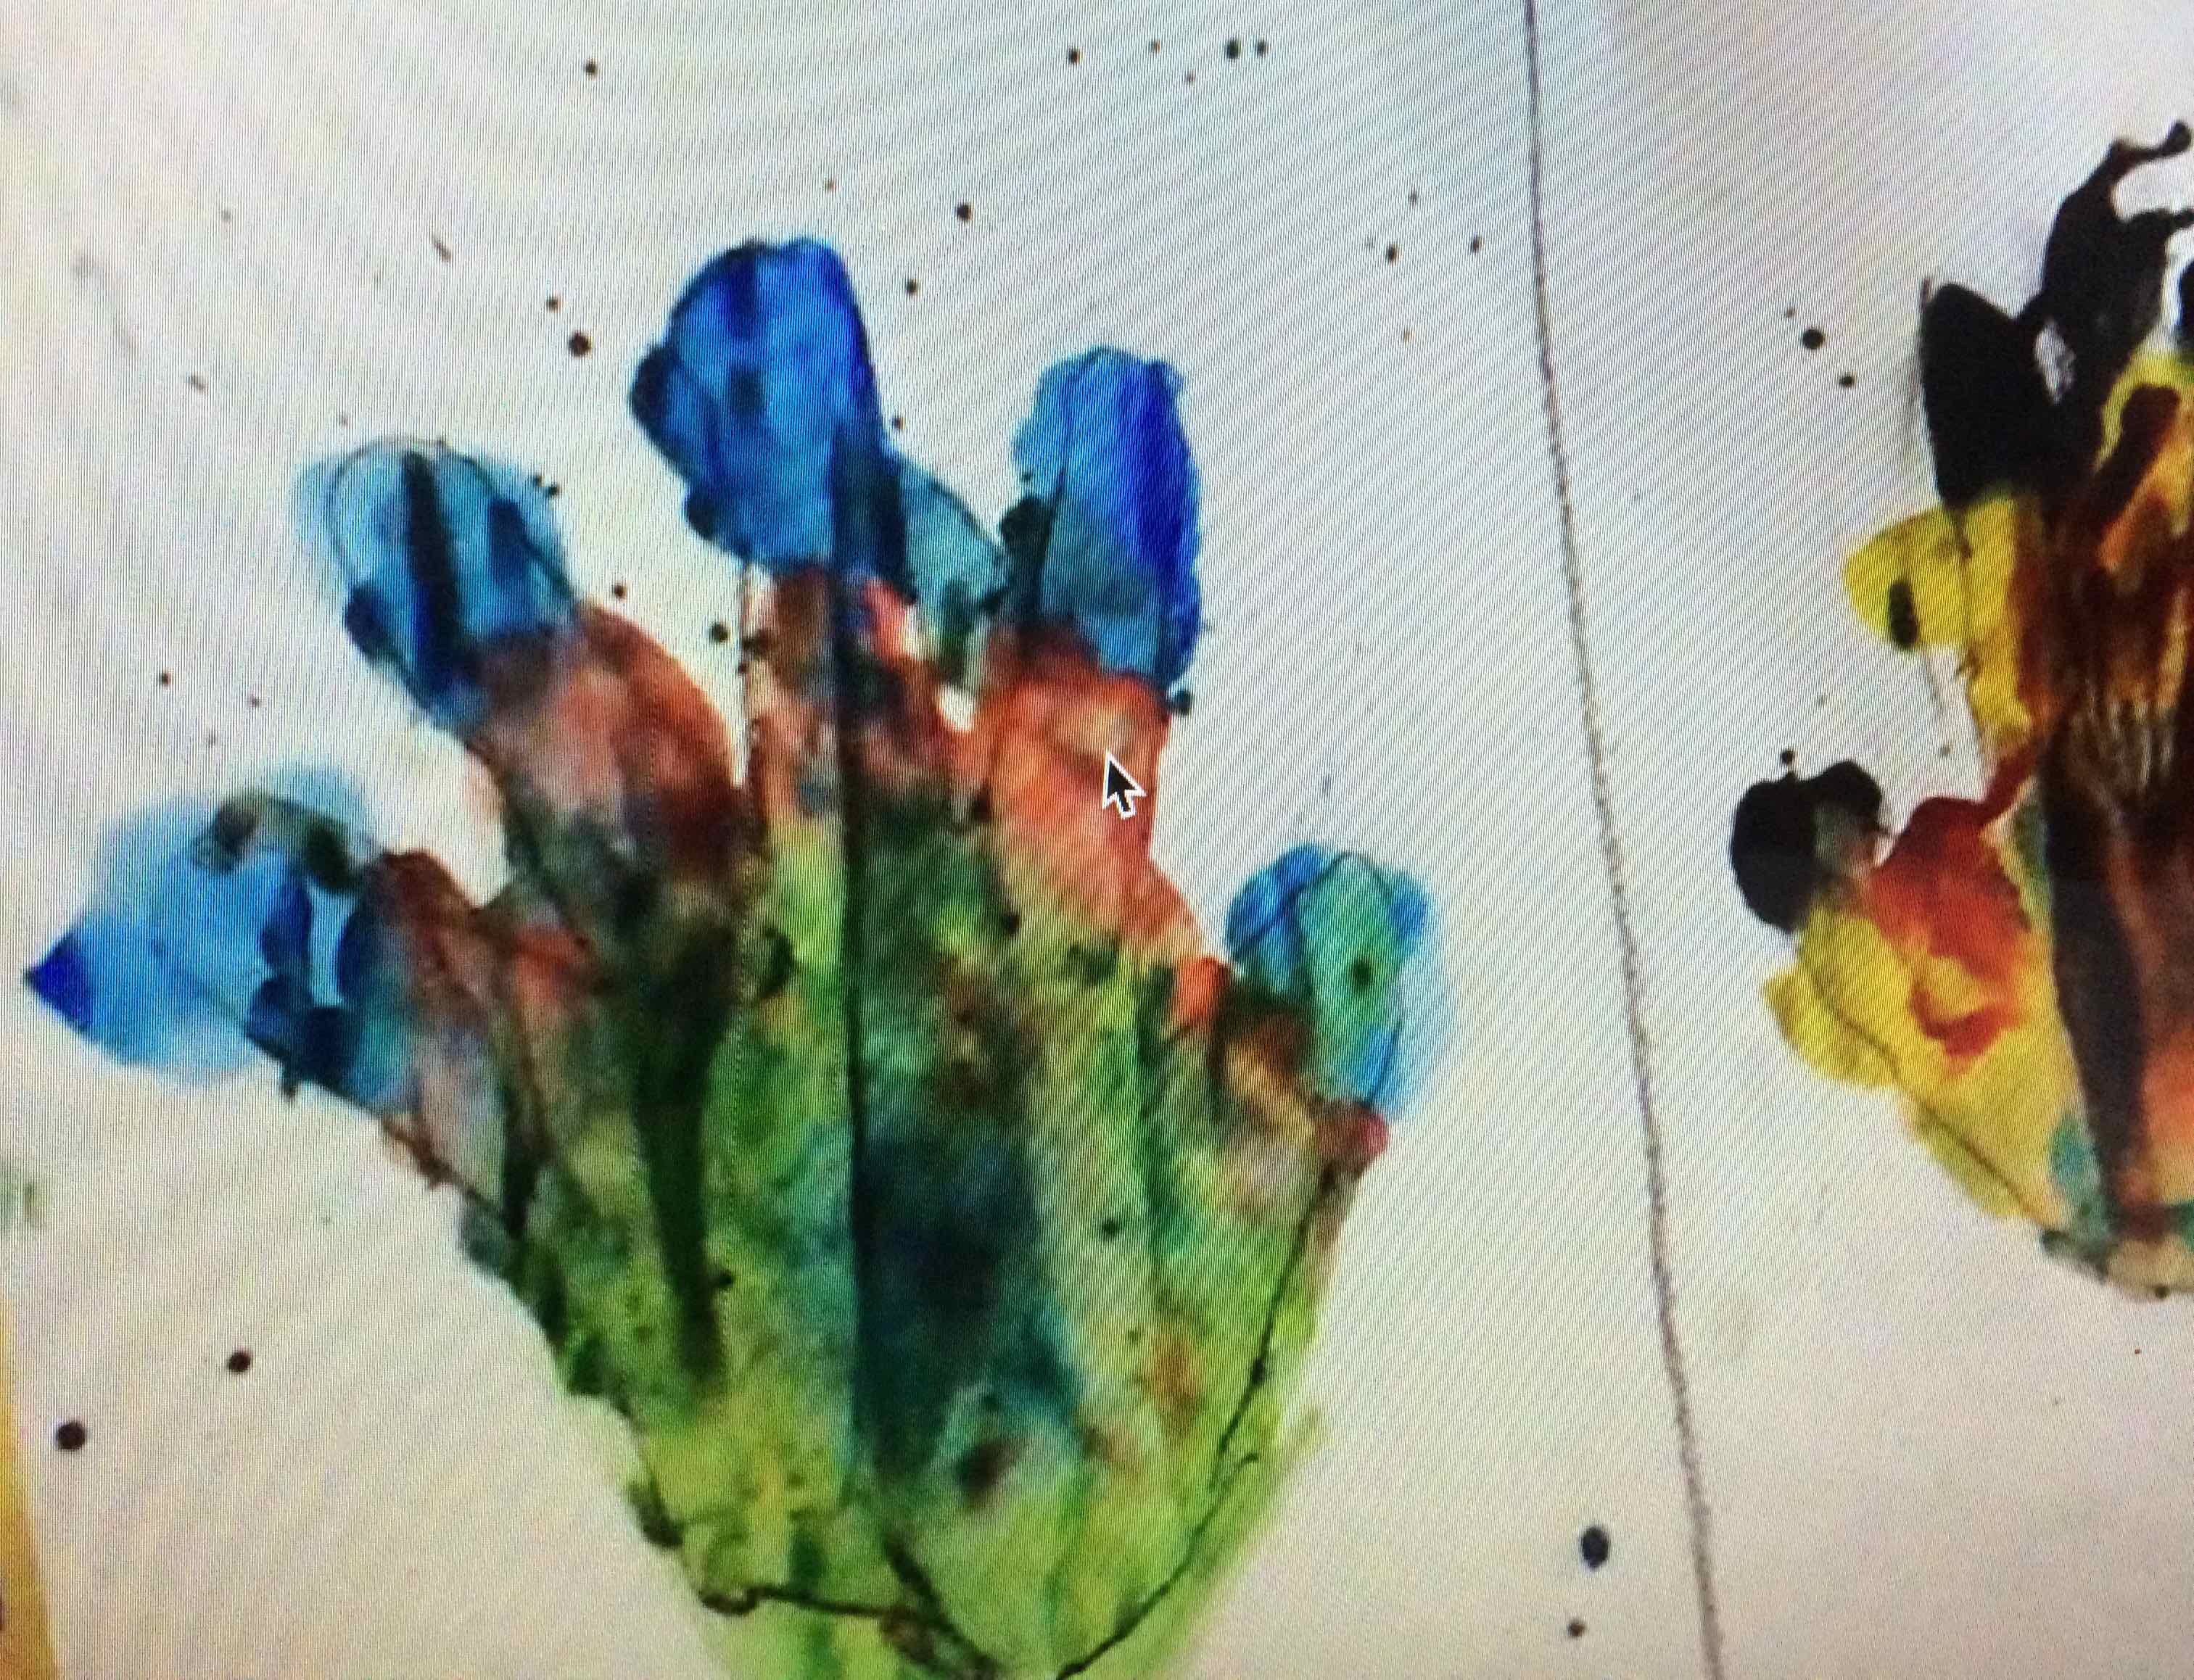
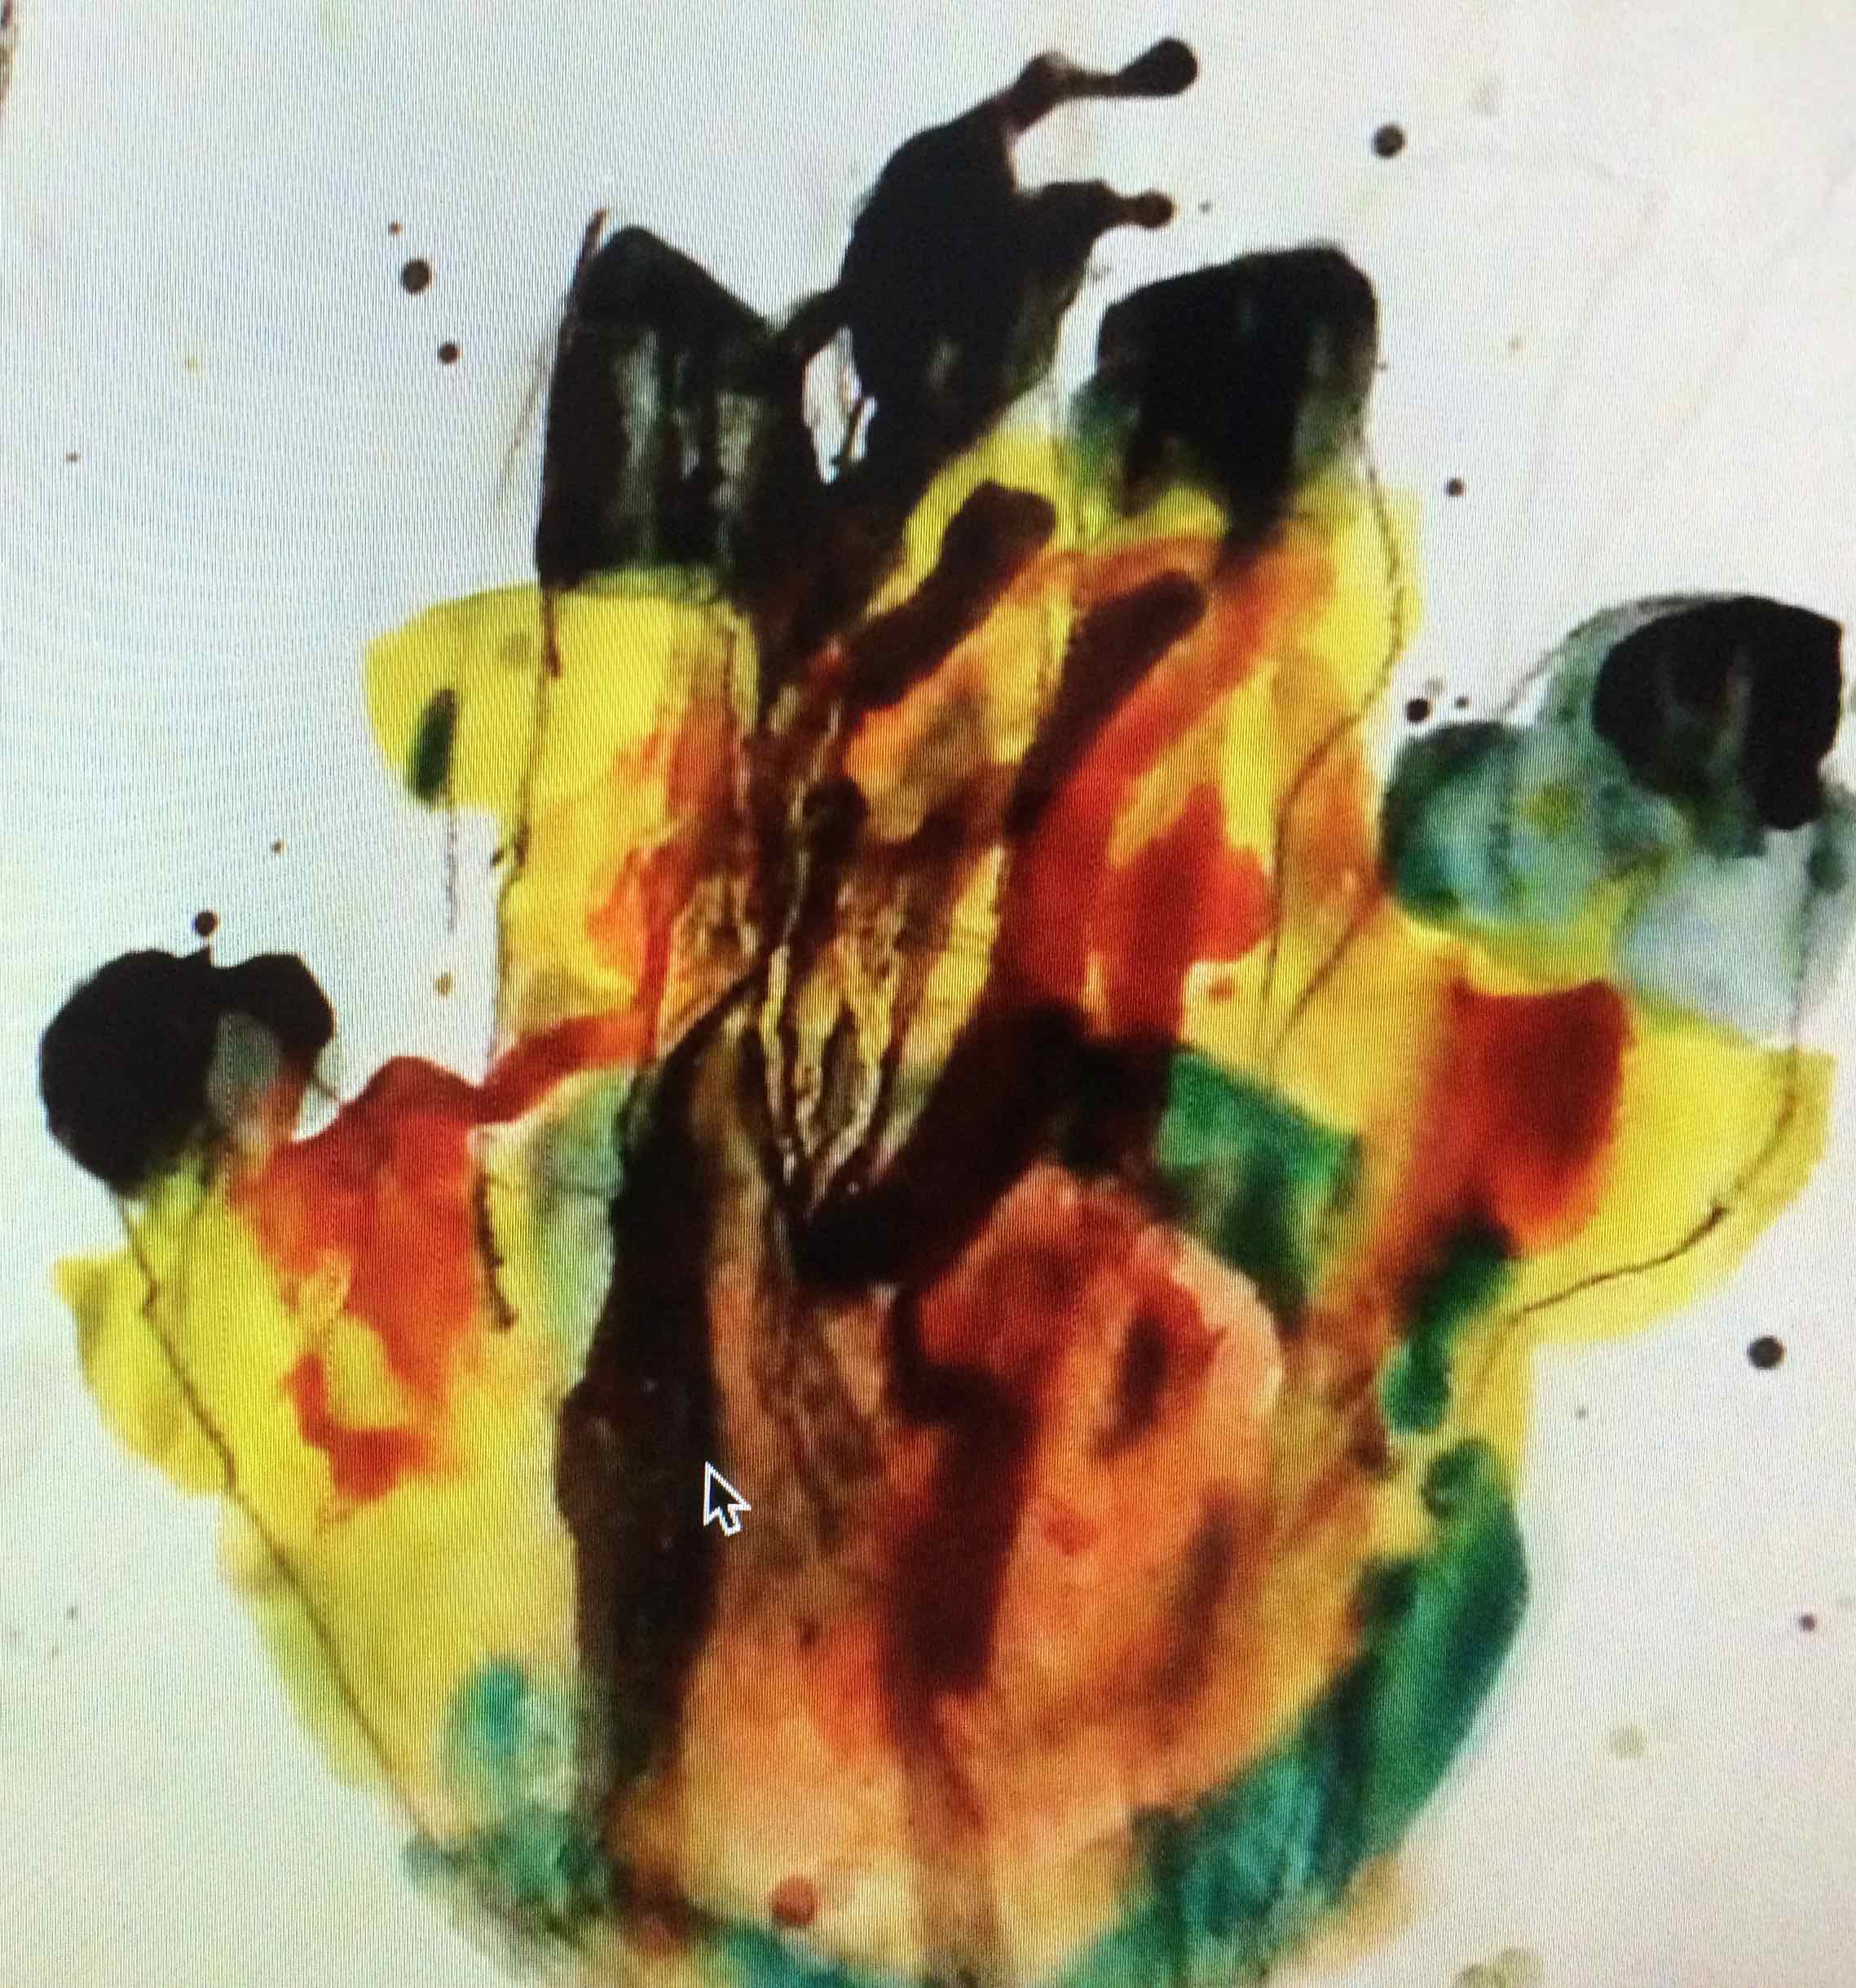
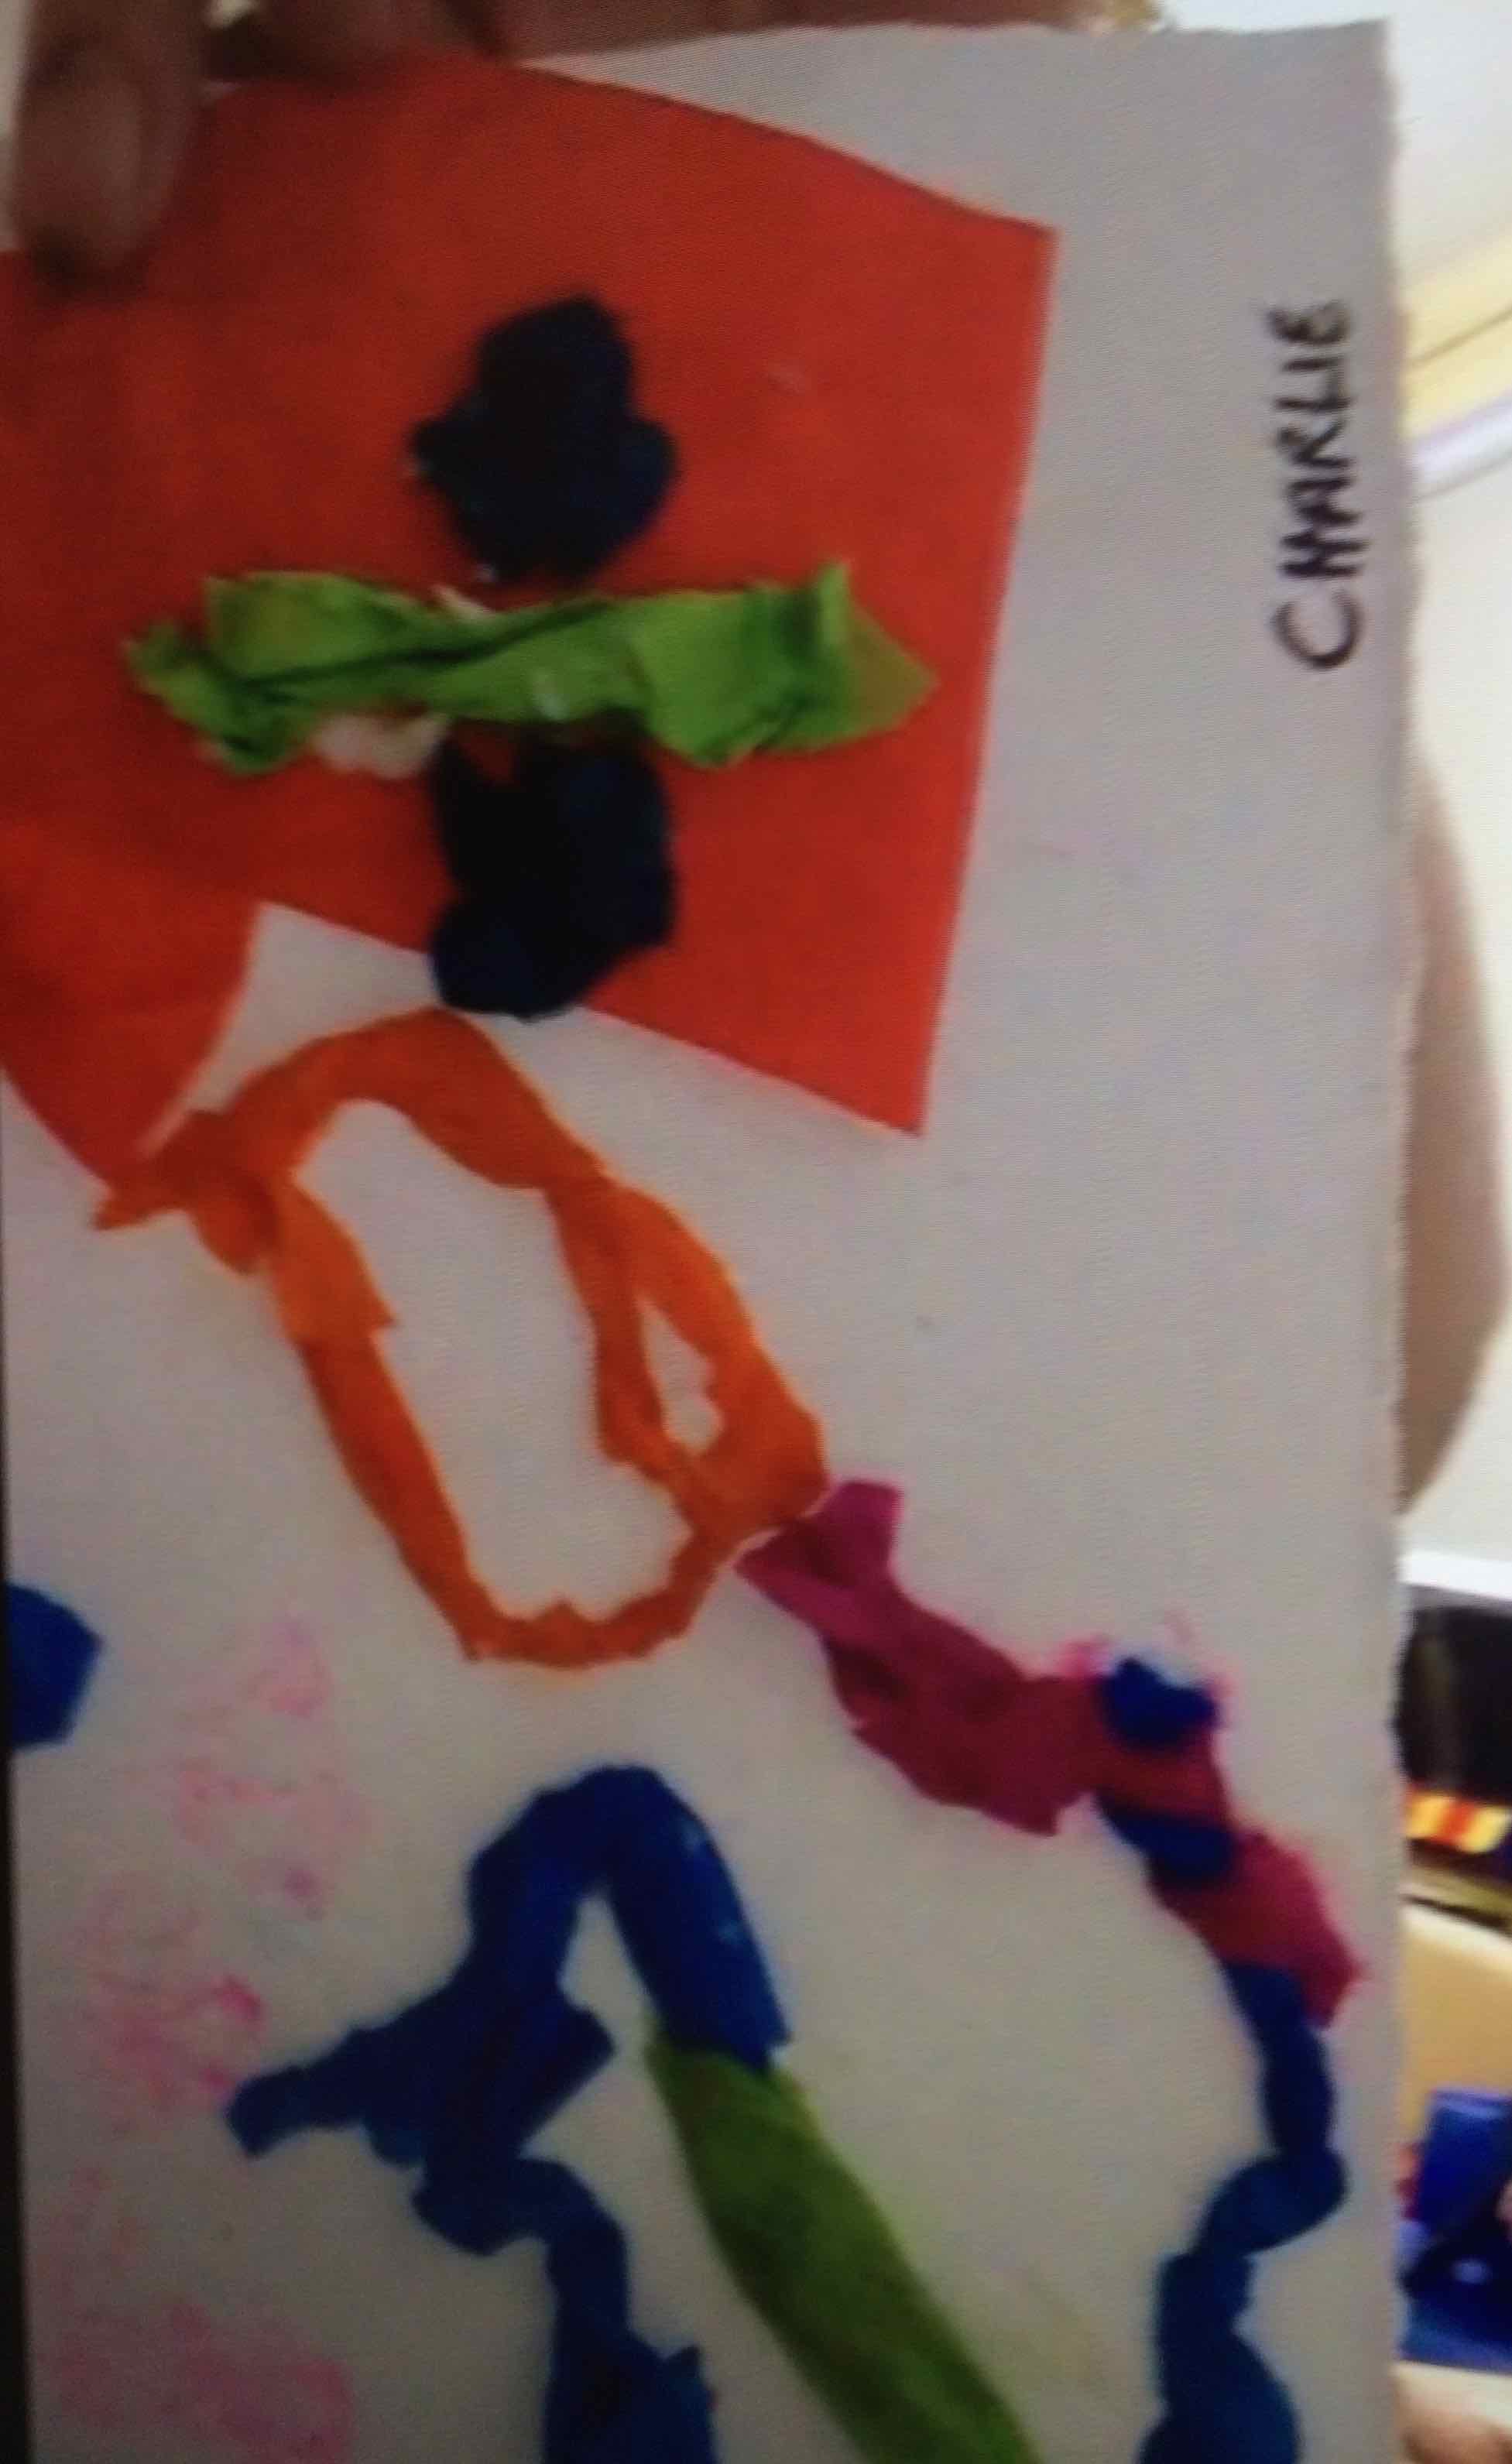
I asked the children to match a colour or colours to moods and then using a traced drawing of their hands, they could make one hand a happy, positive mood and the other hand a bad, negative mood.. the results were stunning…
The children traced round one hand using a graphite pencil…Both hands were traced round. The children asked their friend to help by tracing their ‘other’ hand.Paints and water were given out and the children began to fill the hand spaces with colours that for them represented each mood.Mrs Hughes shows me a wonderful mood hand!Here’s a good mood hand..and here’s the opposite bad mood hand!
Wonderful how the finger tips have changed colour with the mood!
On the theme of COLOUR SCHEMES I wanted to show the children a picture made by a DUTCH artist called REMBRANDT van RIJN (1606 – 1669. He made many self portraits over his life and this was made at the end of his life. We had a discussion about the painting and the colours used.
Self-Portrait aged 63 by Rembrandt van Rijn 1669
This painting is on loan to the Ulster Museum, in Belfast at the moment, from the National Gallery in London.
The children had varying responses to the picture:
“He is enjoying painting himself”
“He is proud of himself”
‘He’s a good poser”
“He’s cross”, “He looks sad”.
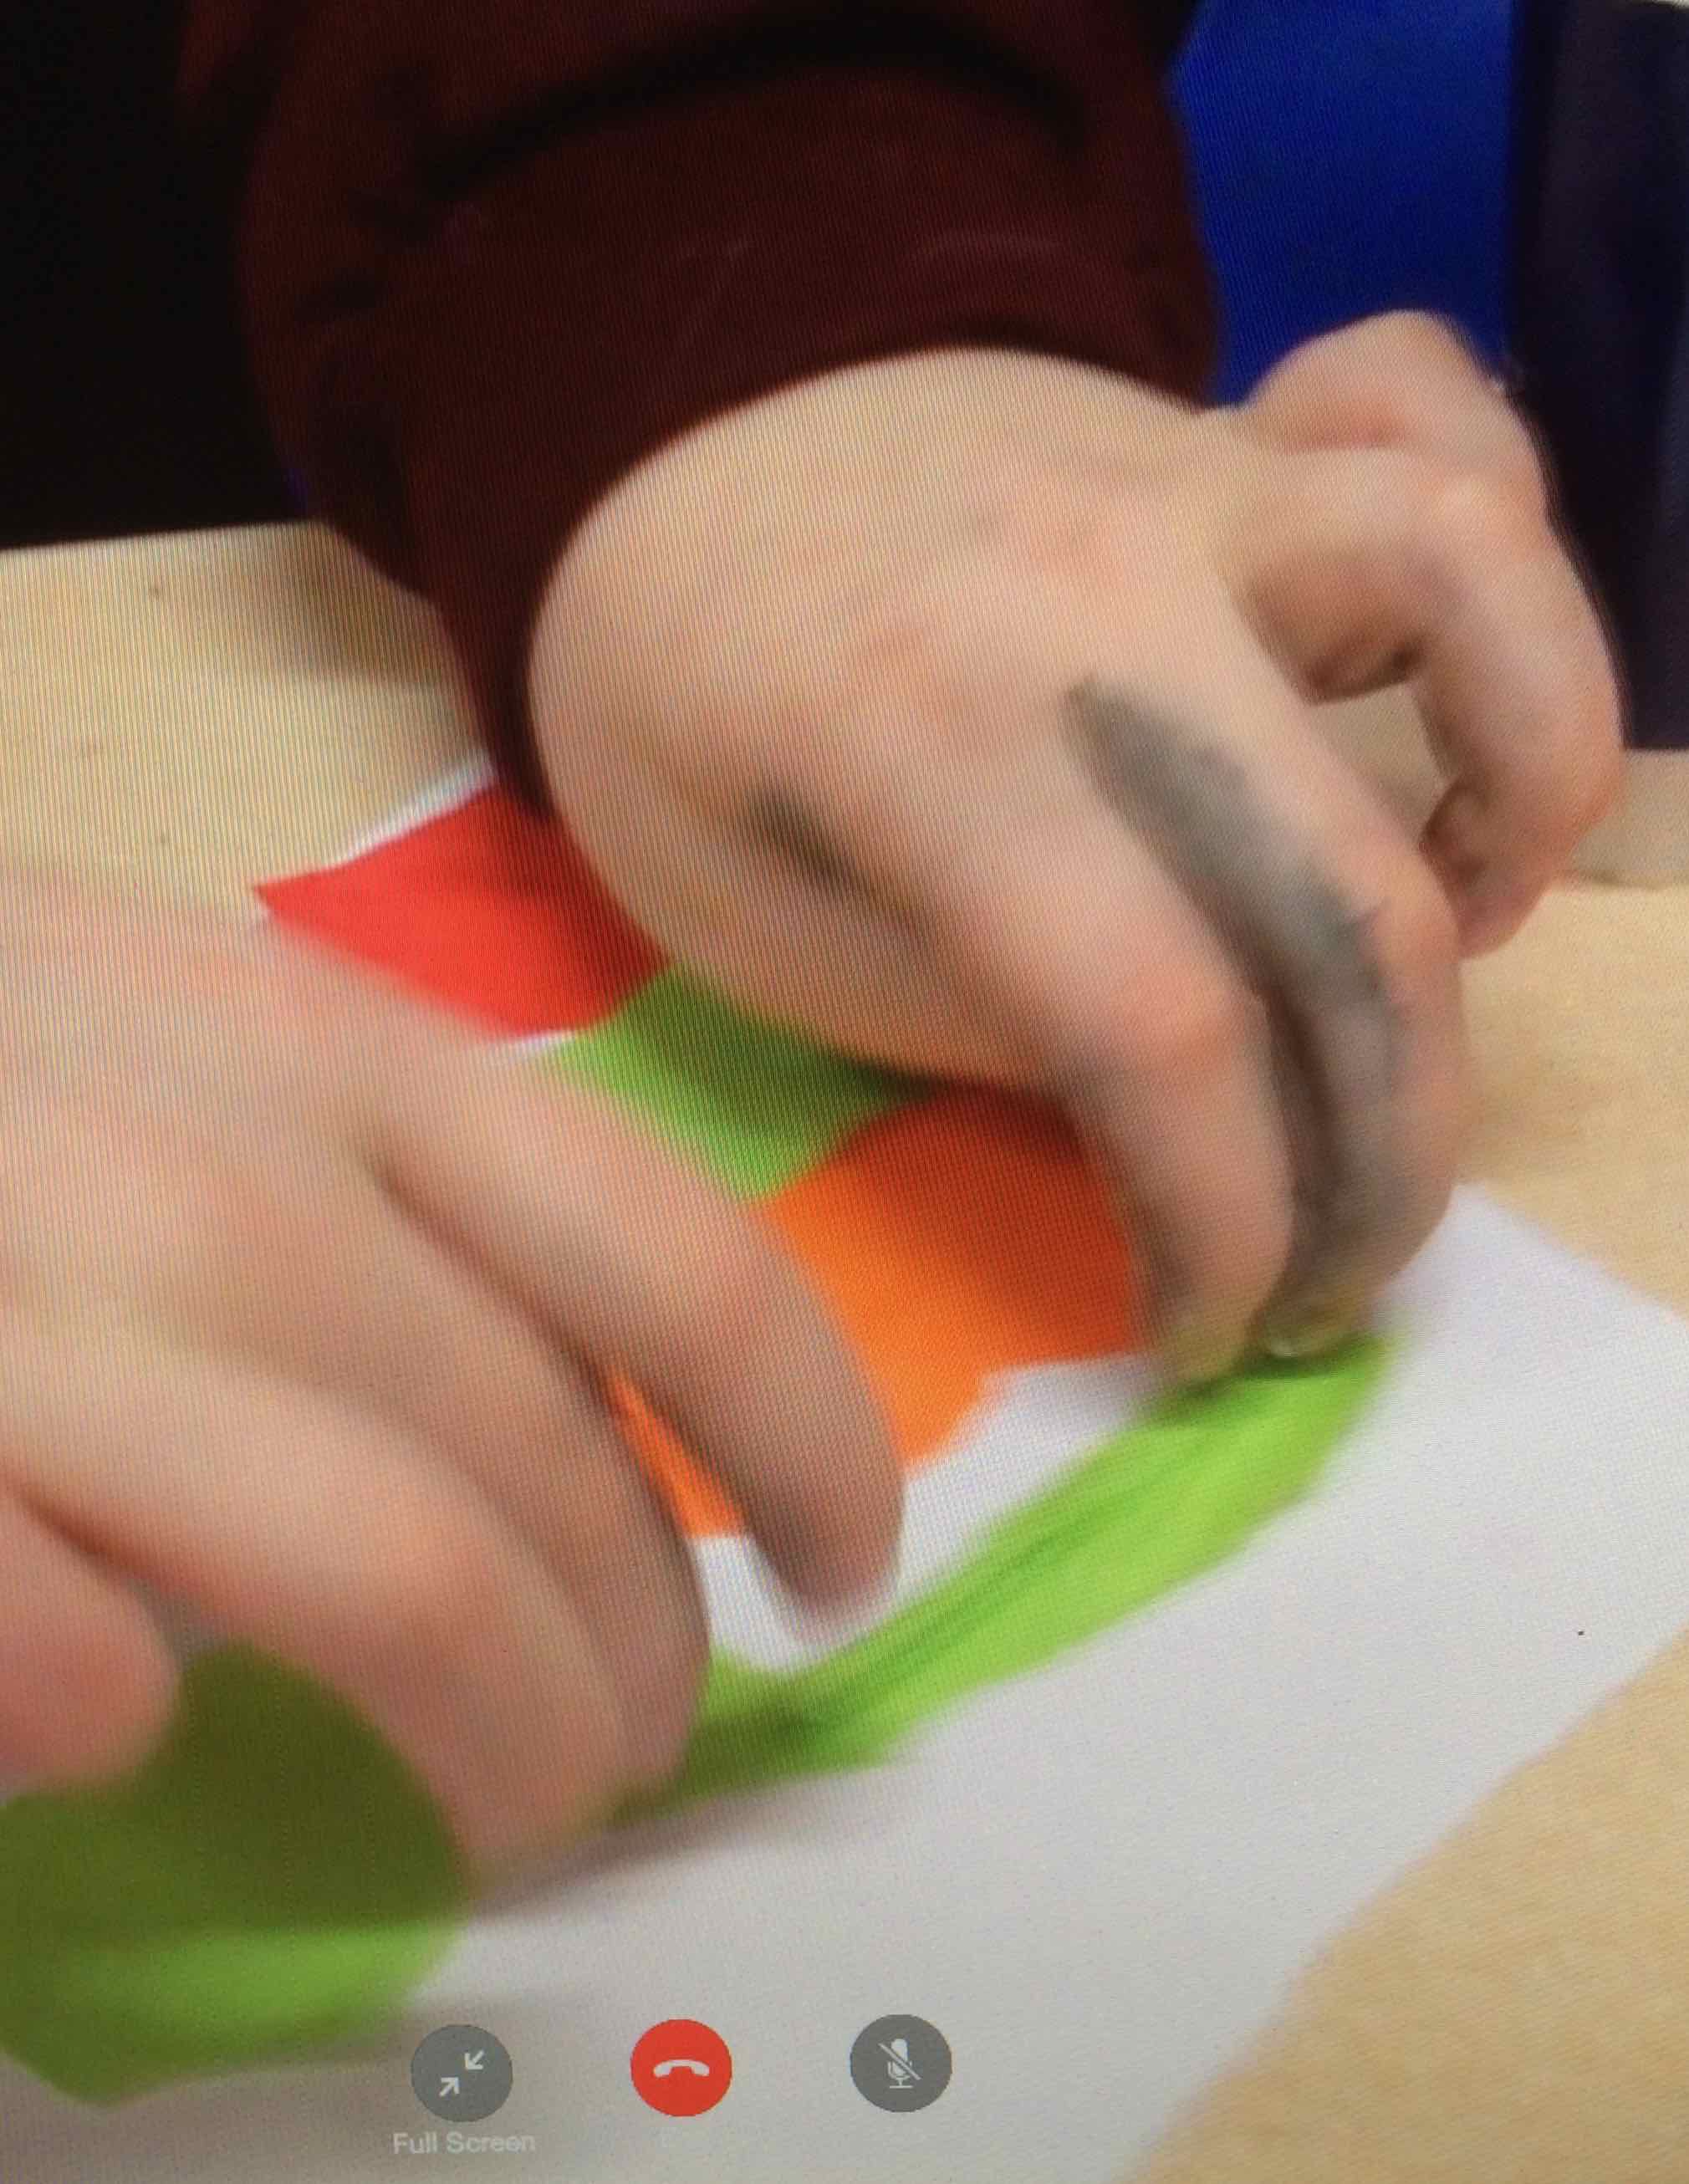
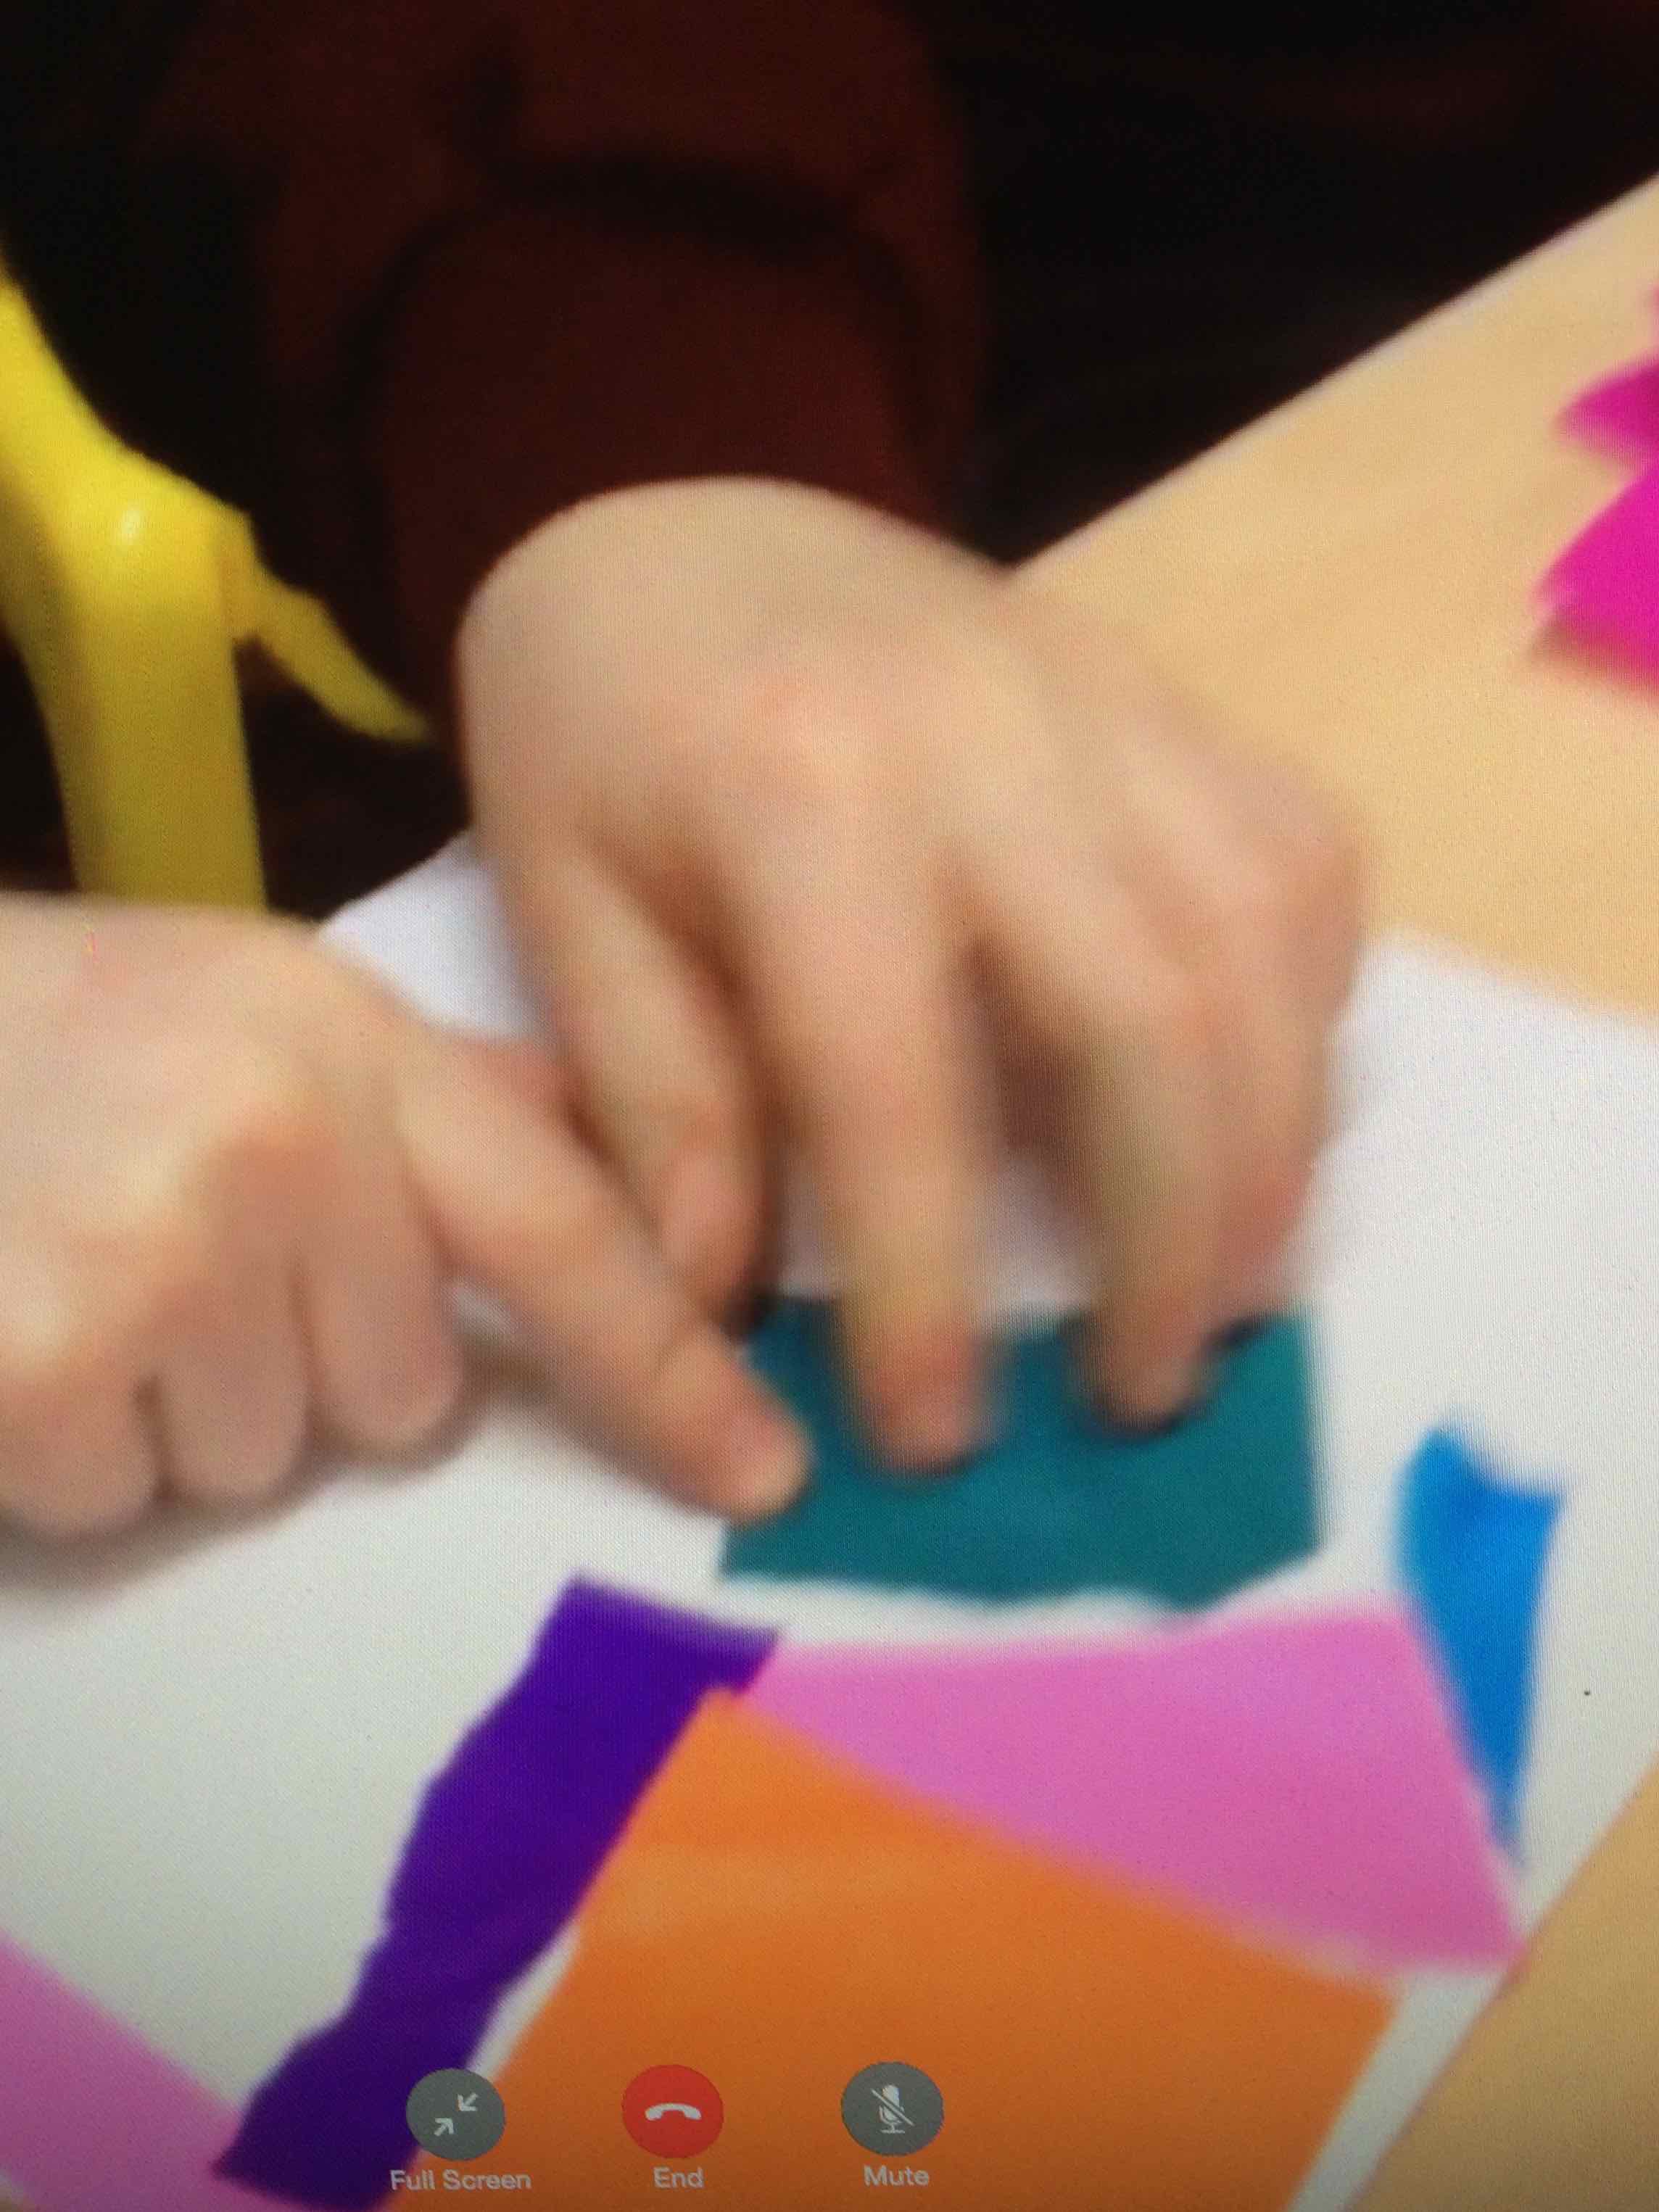
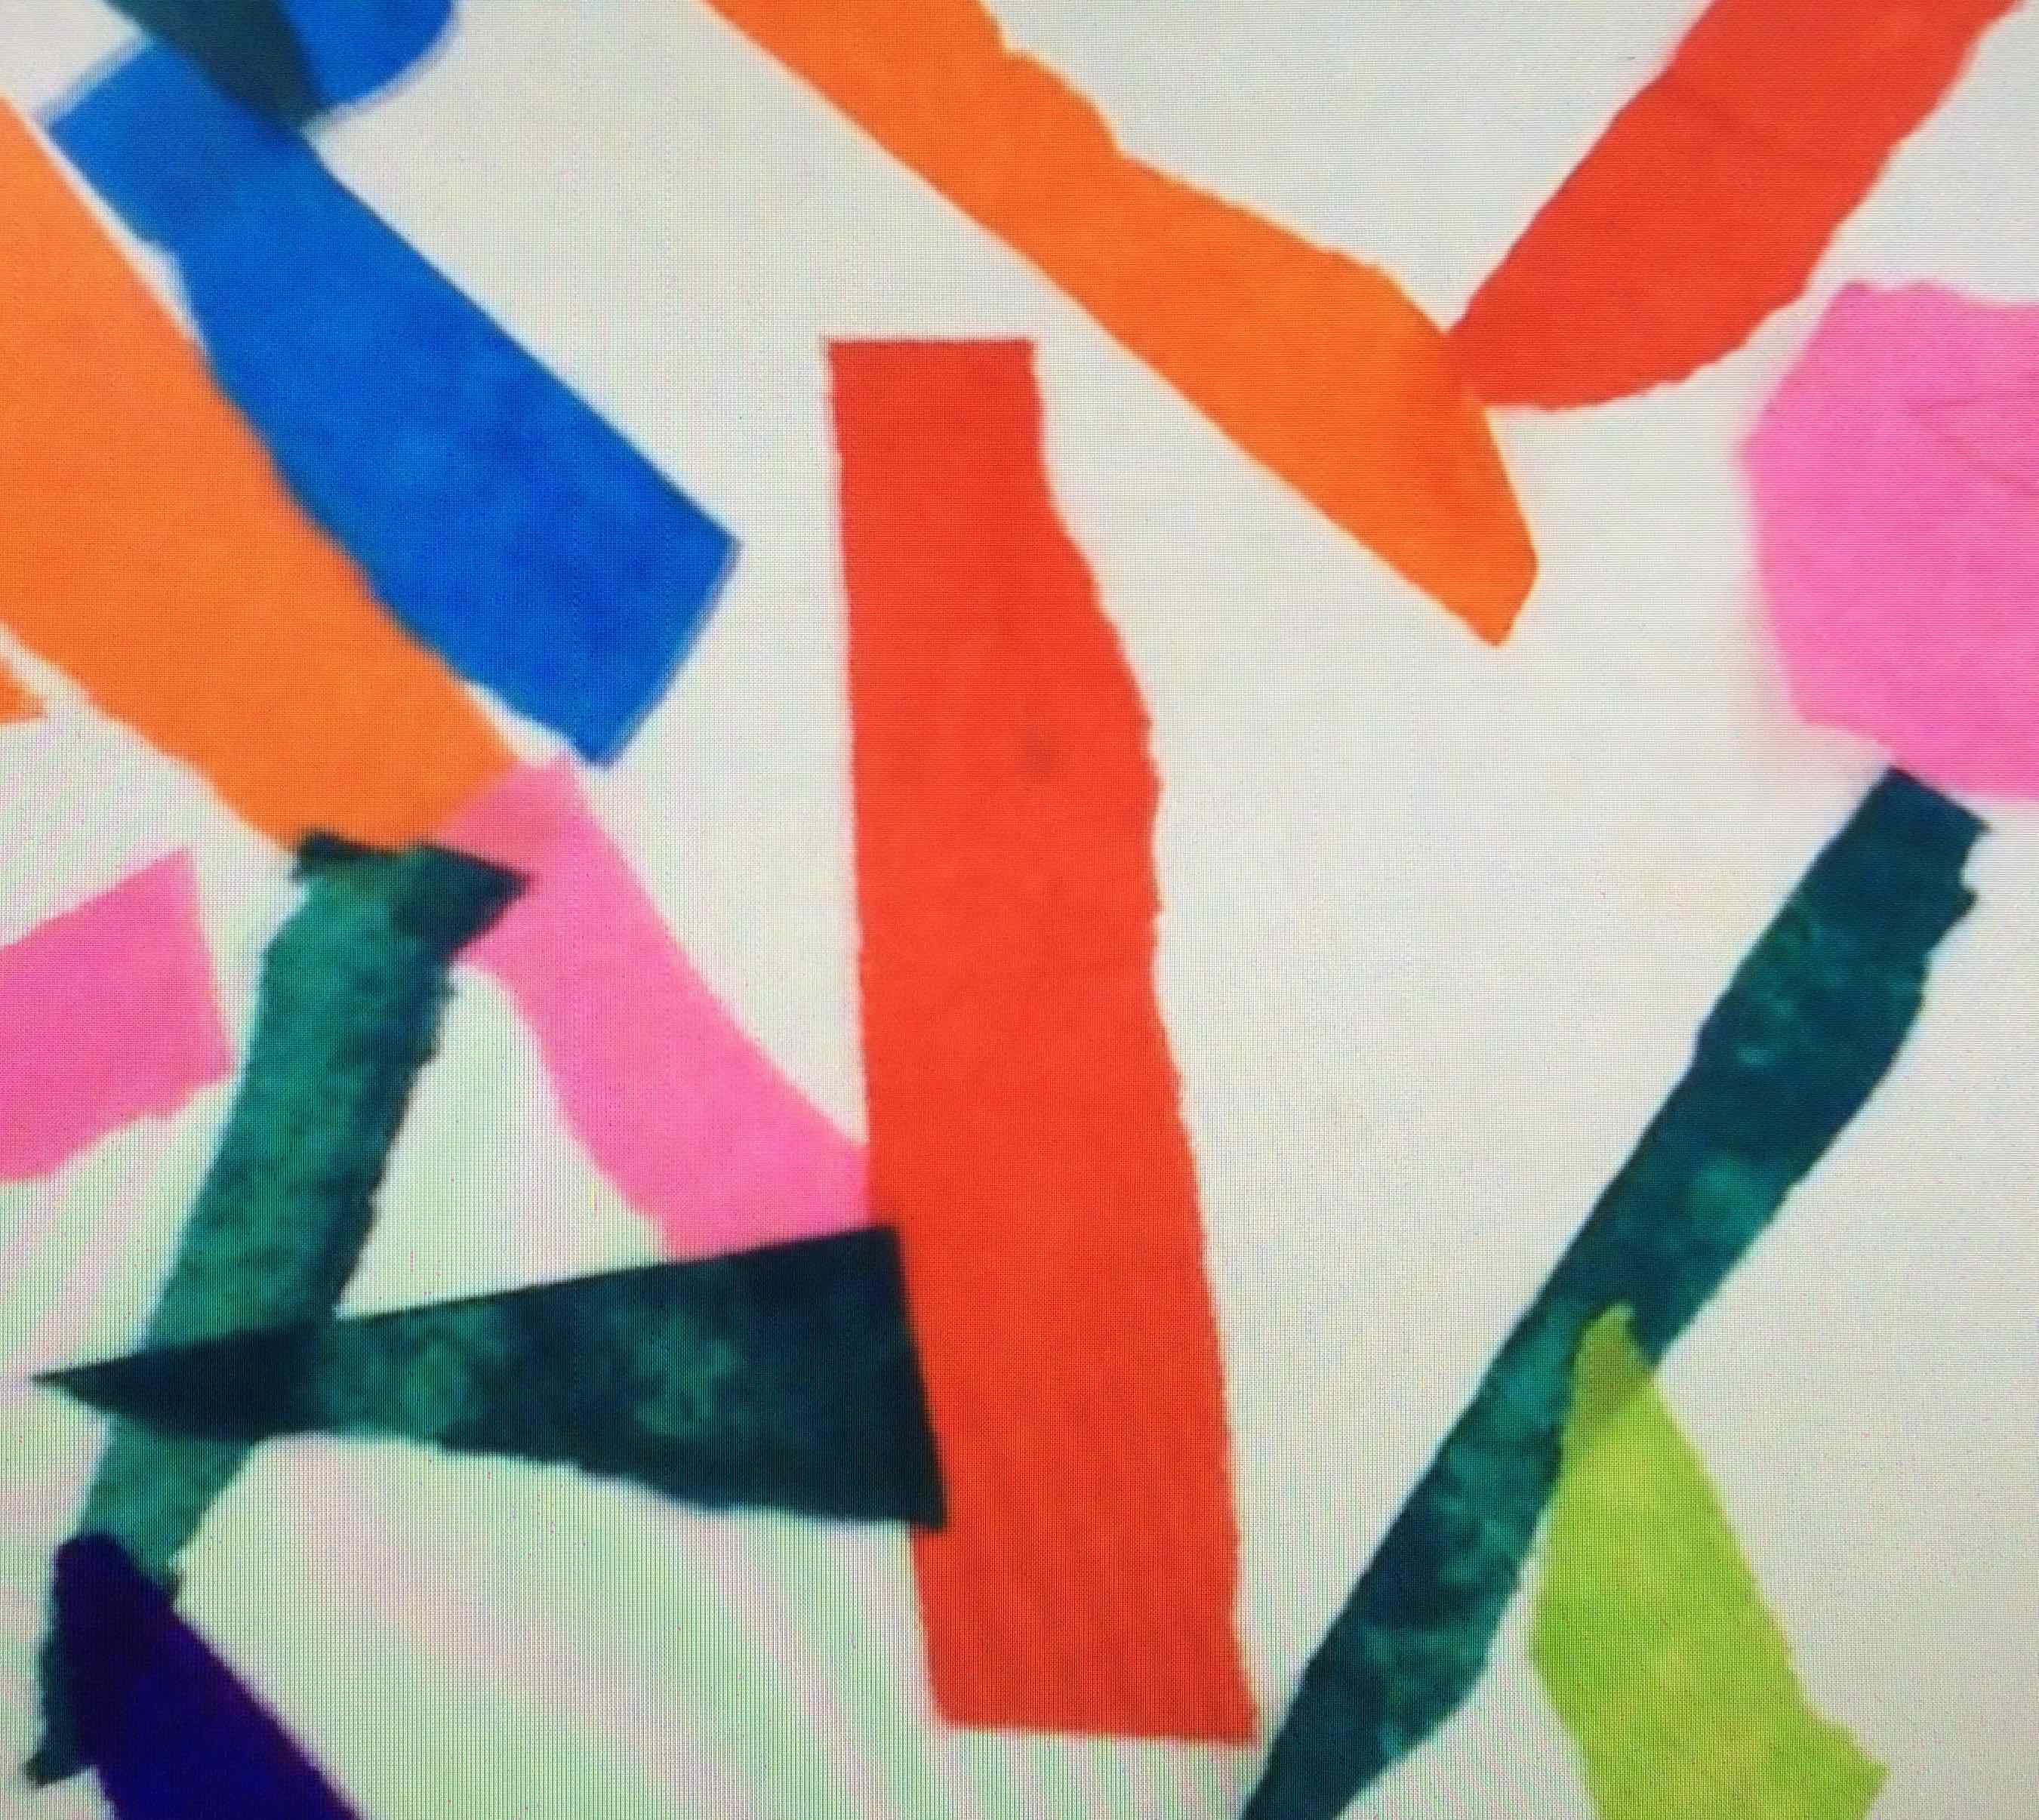
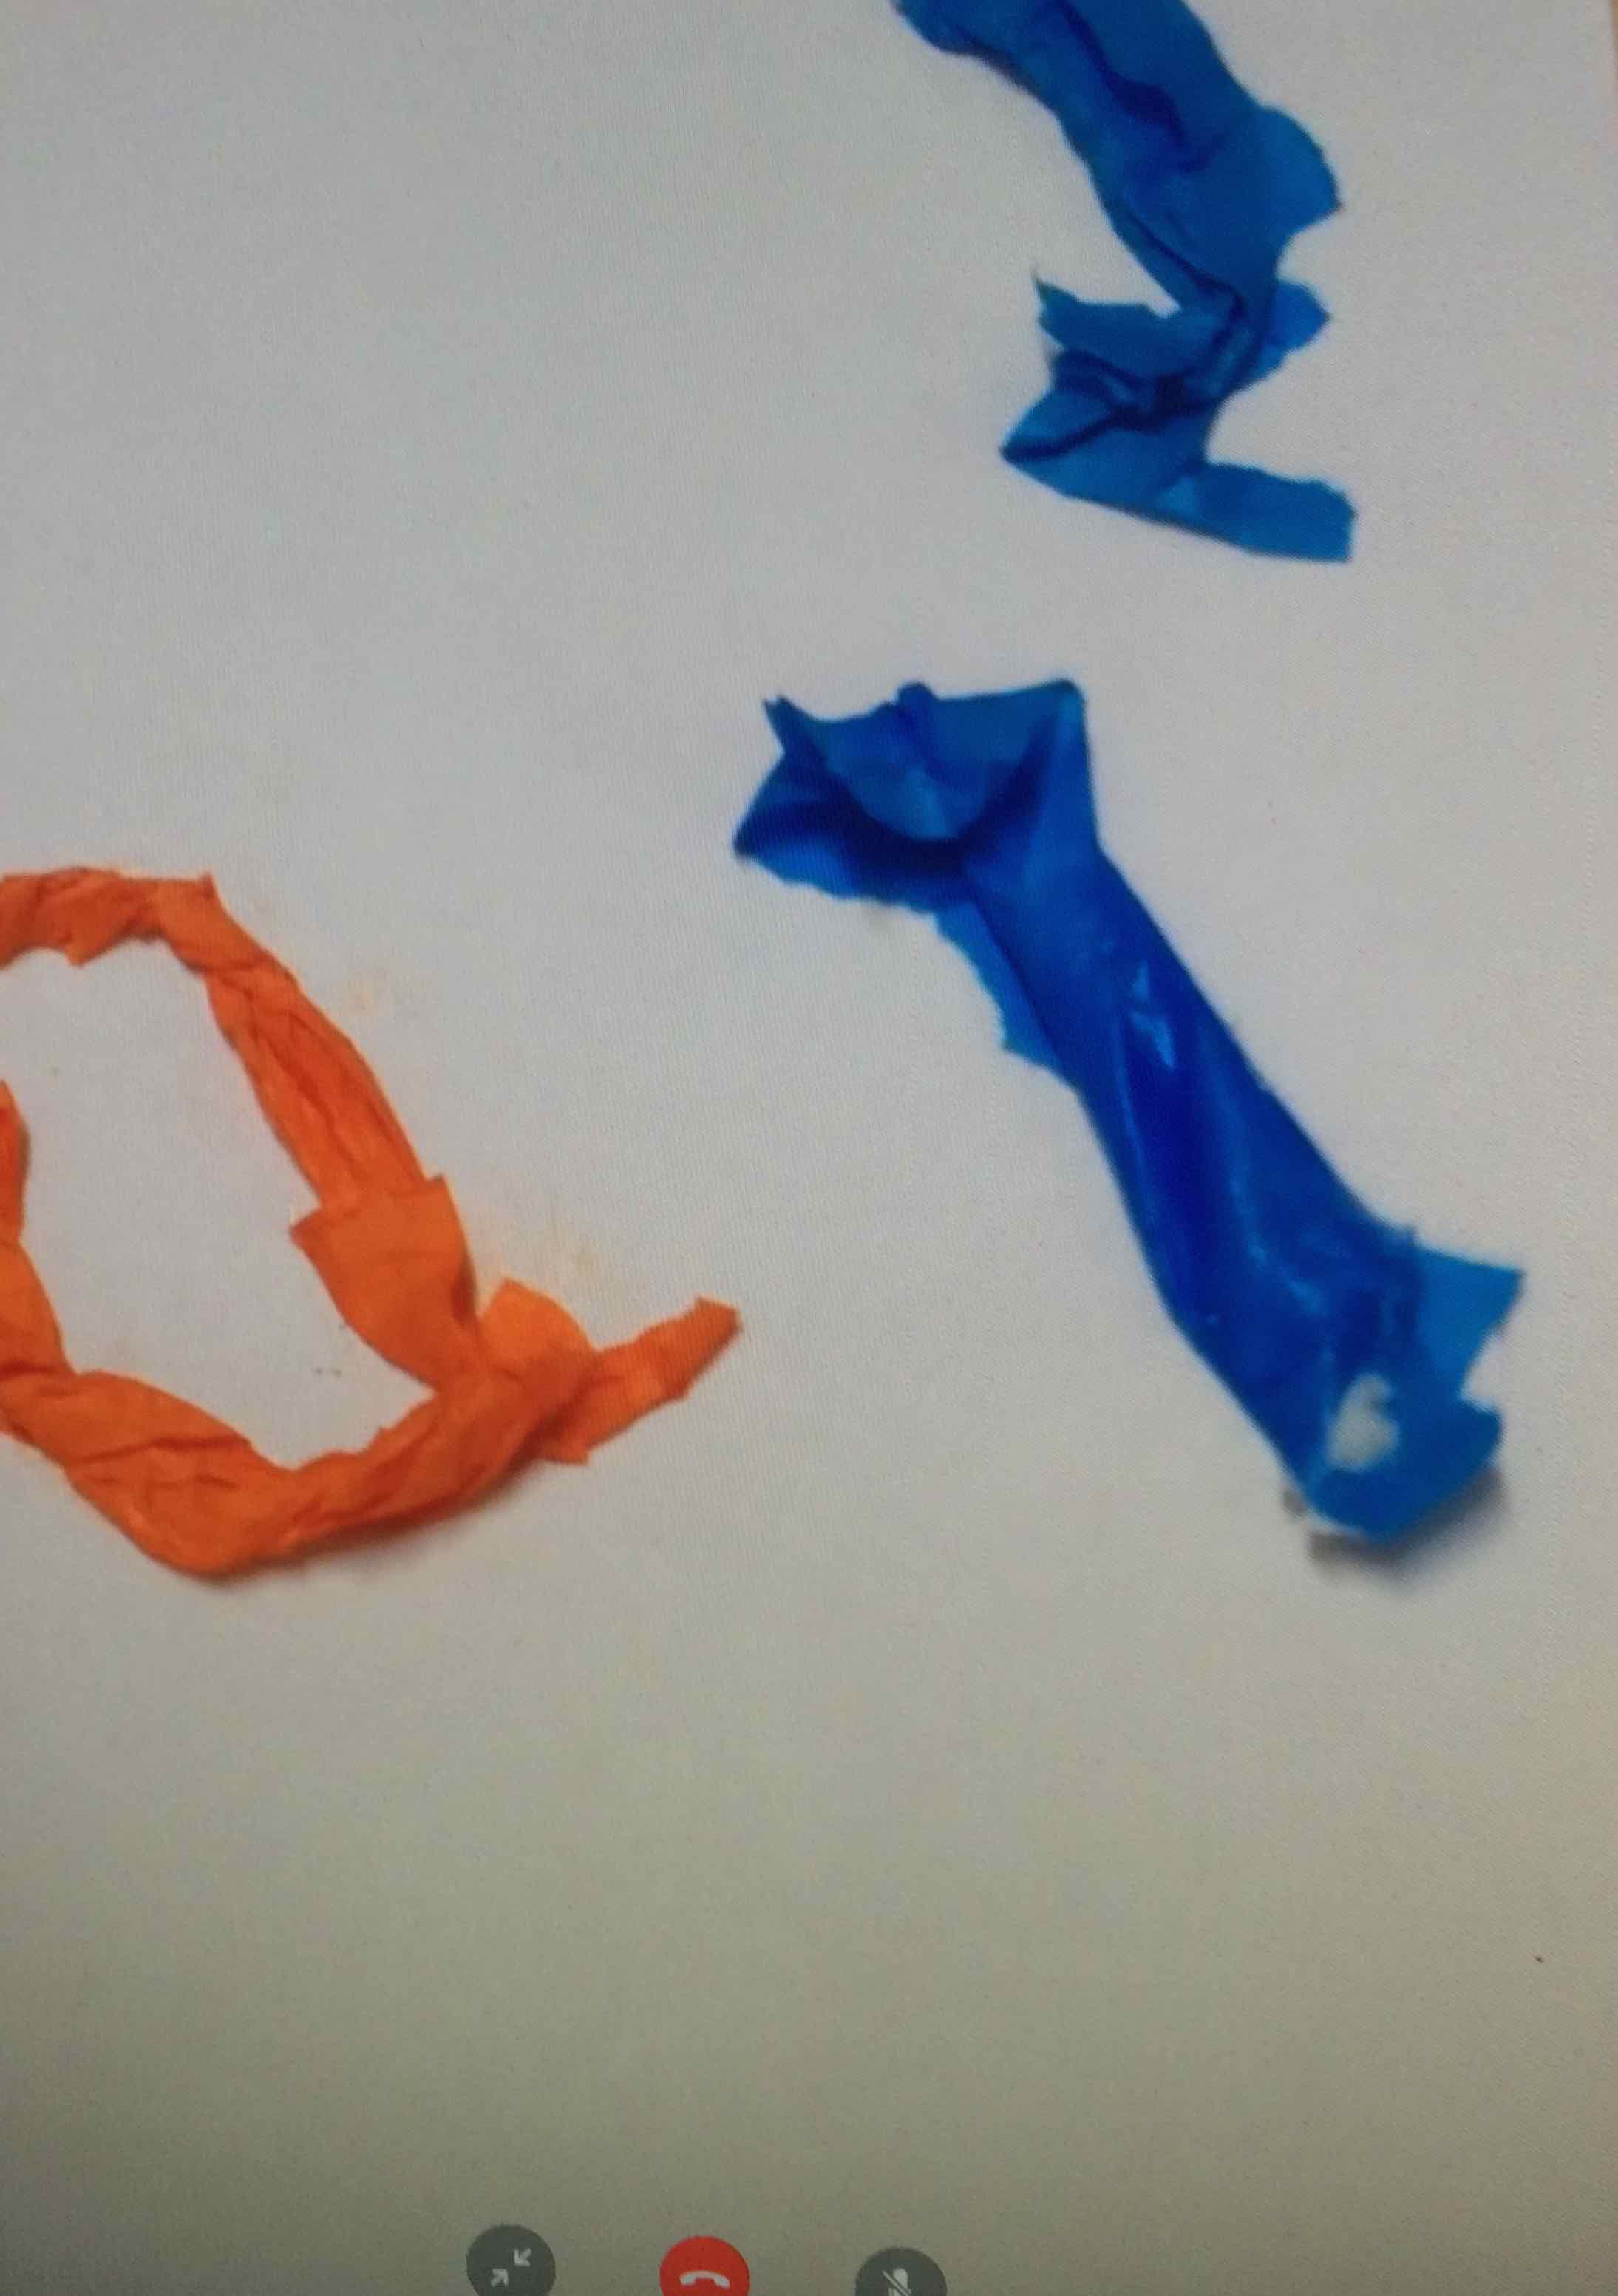
We talked about the colours and mood of the picture and and then I asked the children to create a sort of MOOD SELF PORTRAIT by just working with shape and colour. This time they were to try tissue and glue and COLLAGE the pieces onto the page.
The children are busy deciding on colours and composing their mood study.
Well done P3 what wonderful uplifting works you have created!