Clay butterflyClay butterflyClay butterflyCutting and decoratingModelling
Continuing the butterfly theme Andrew encouraged the children to think about the art work that they were looking at the previous session.
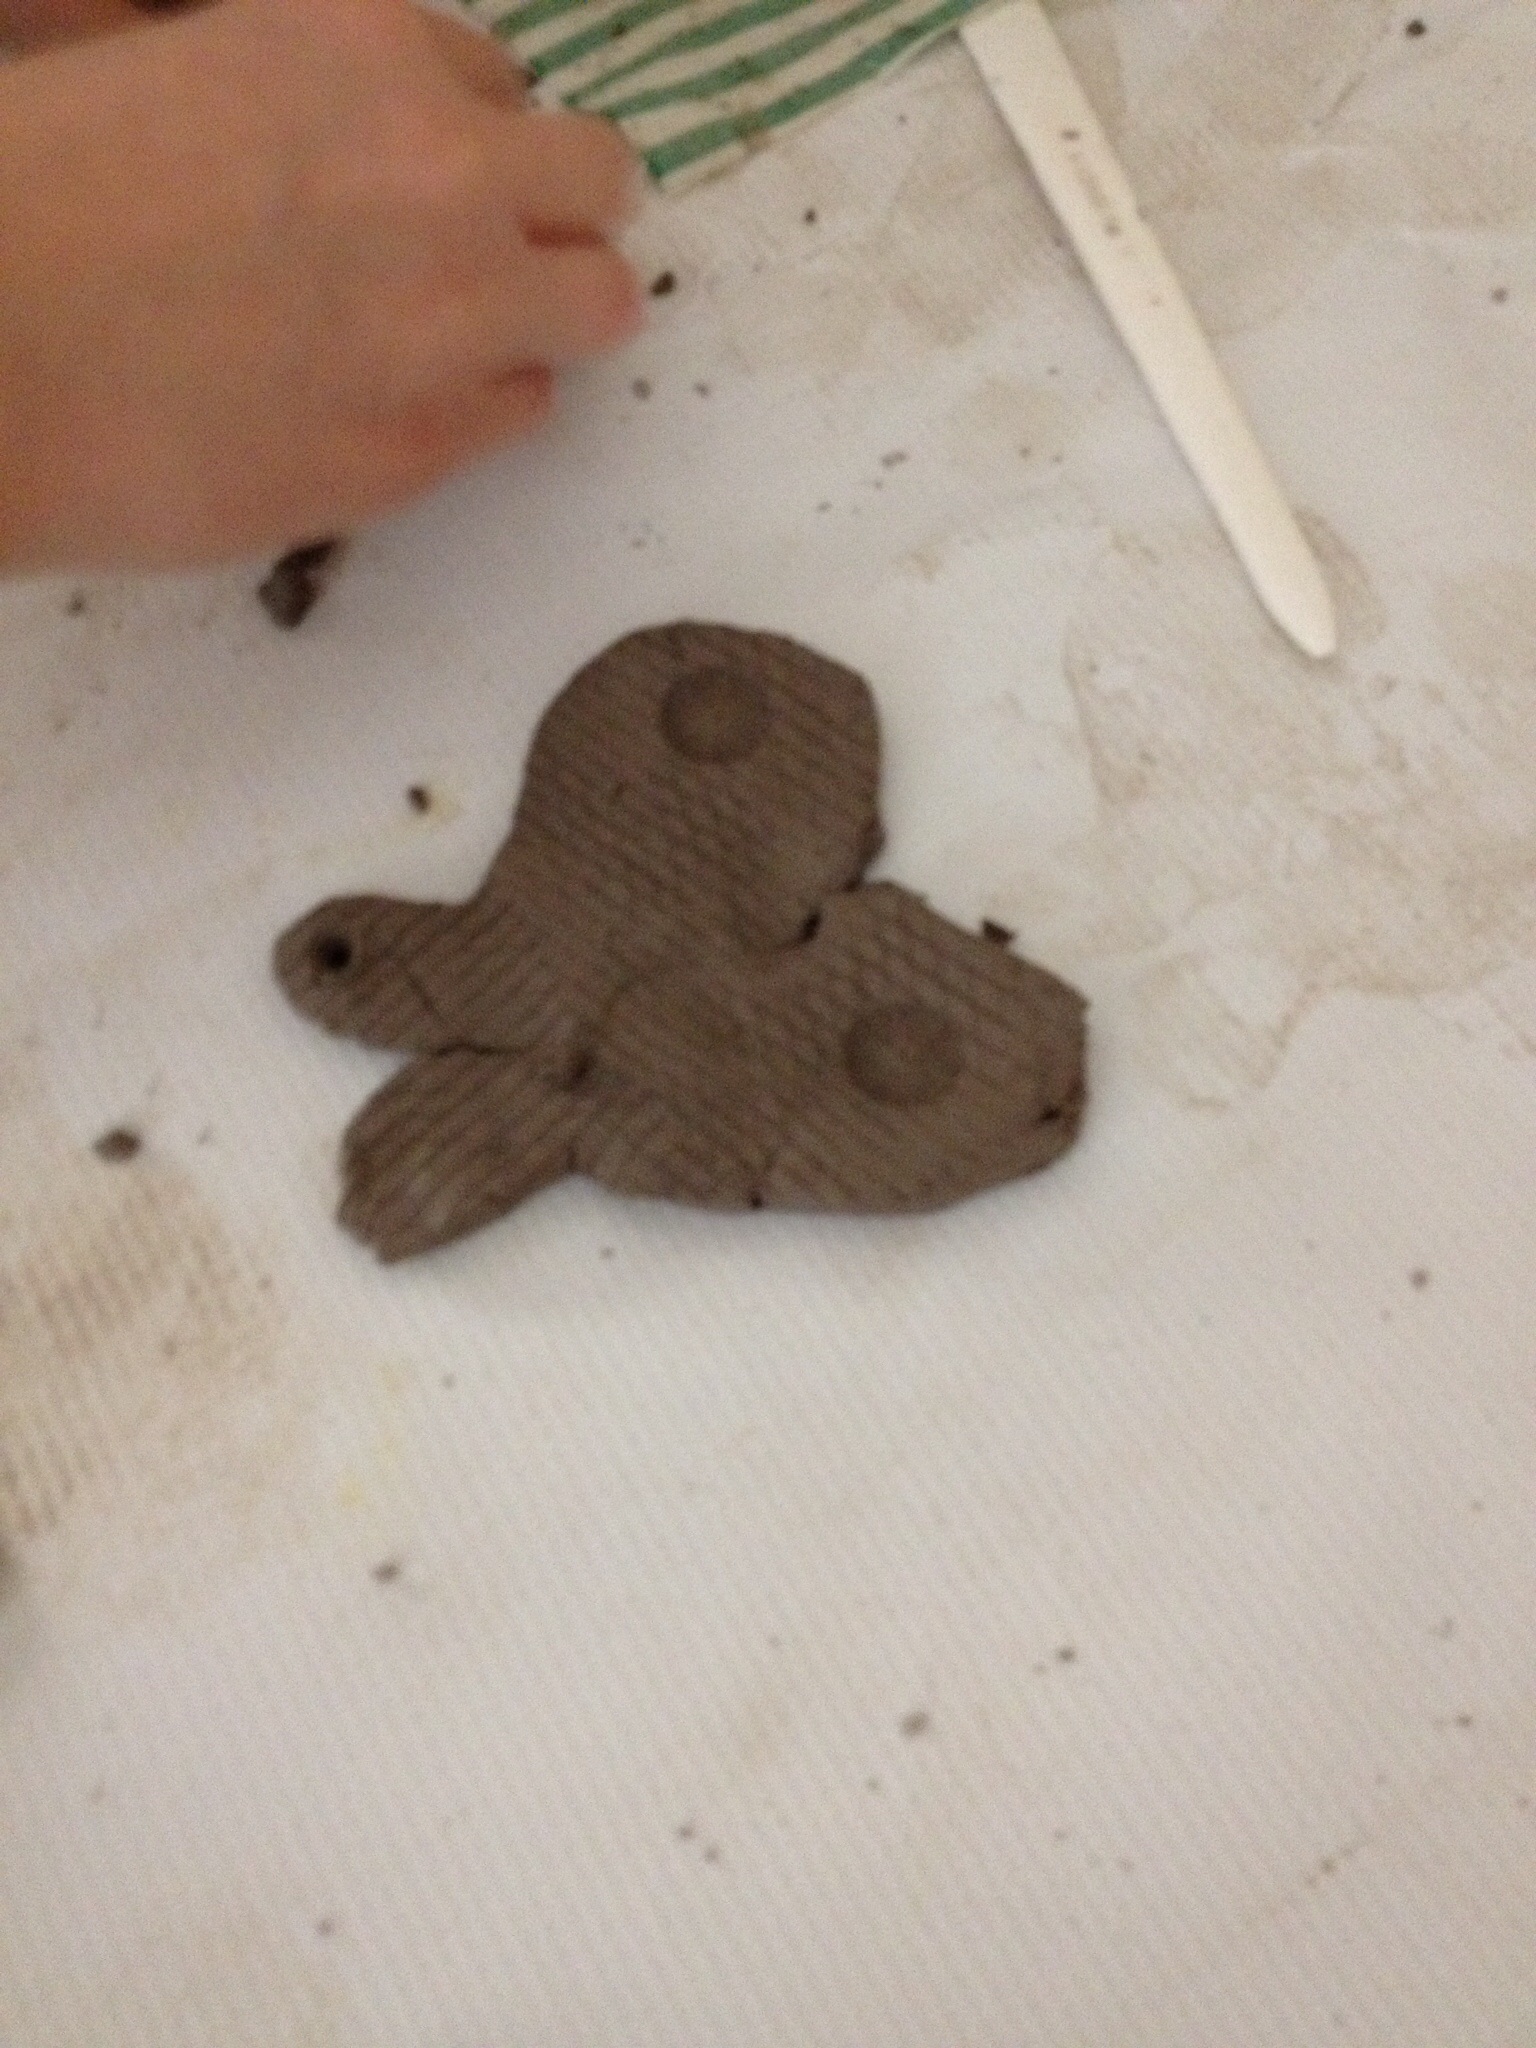
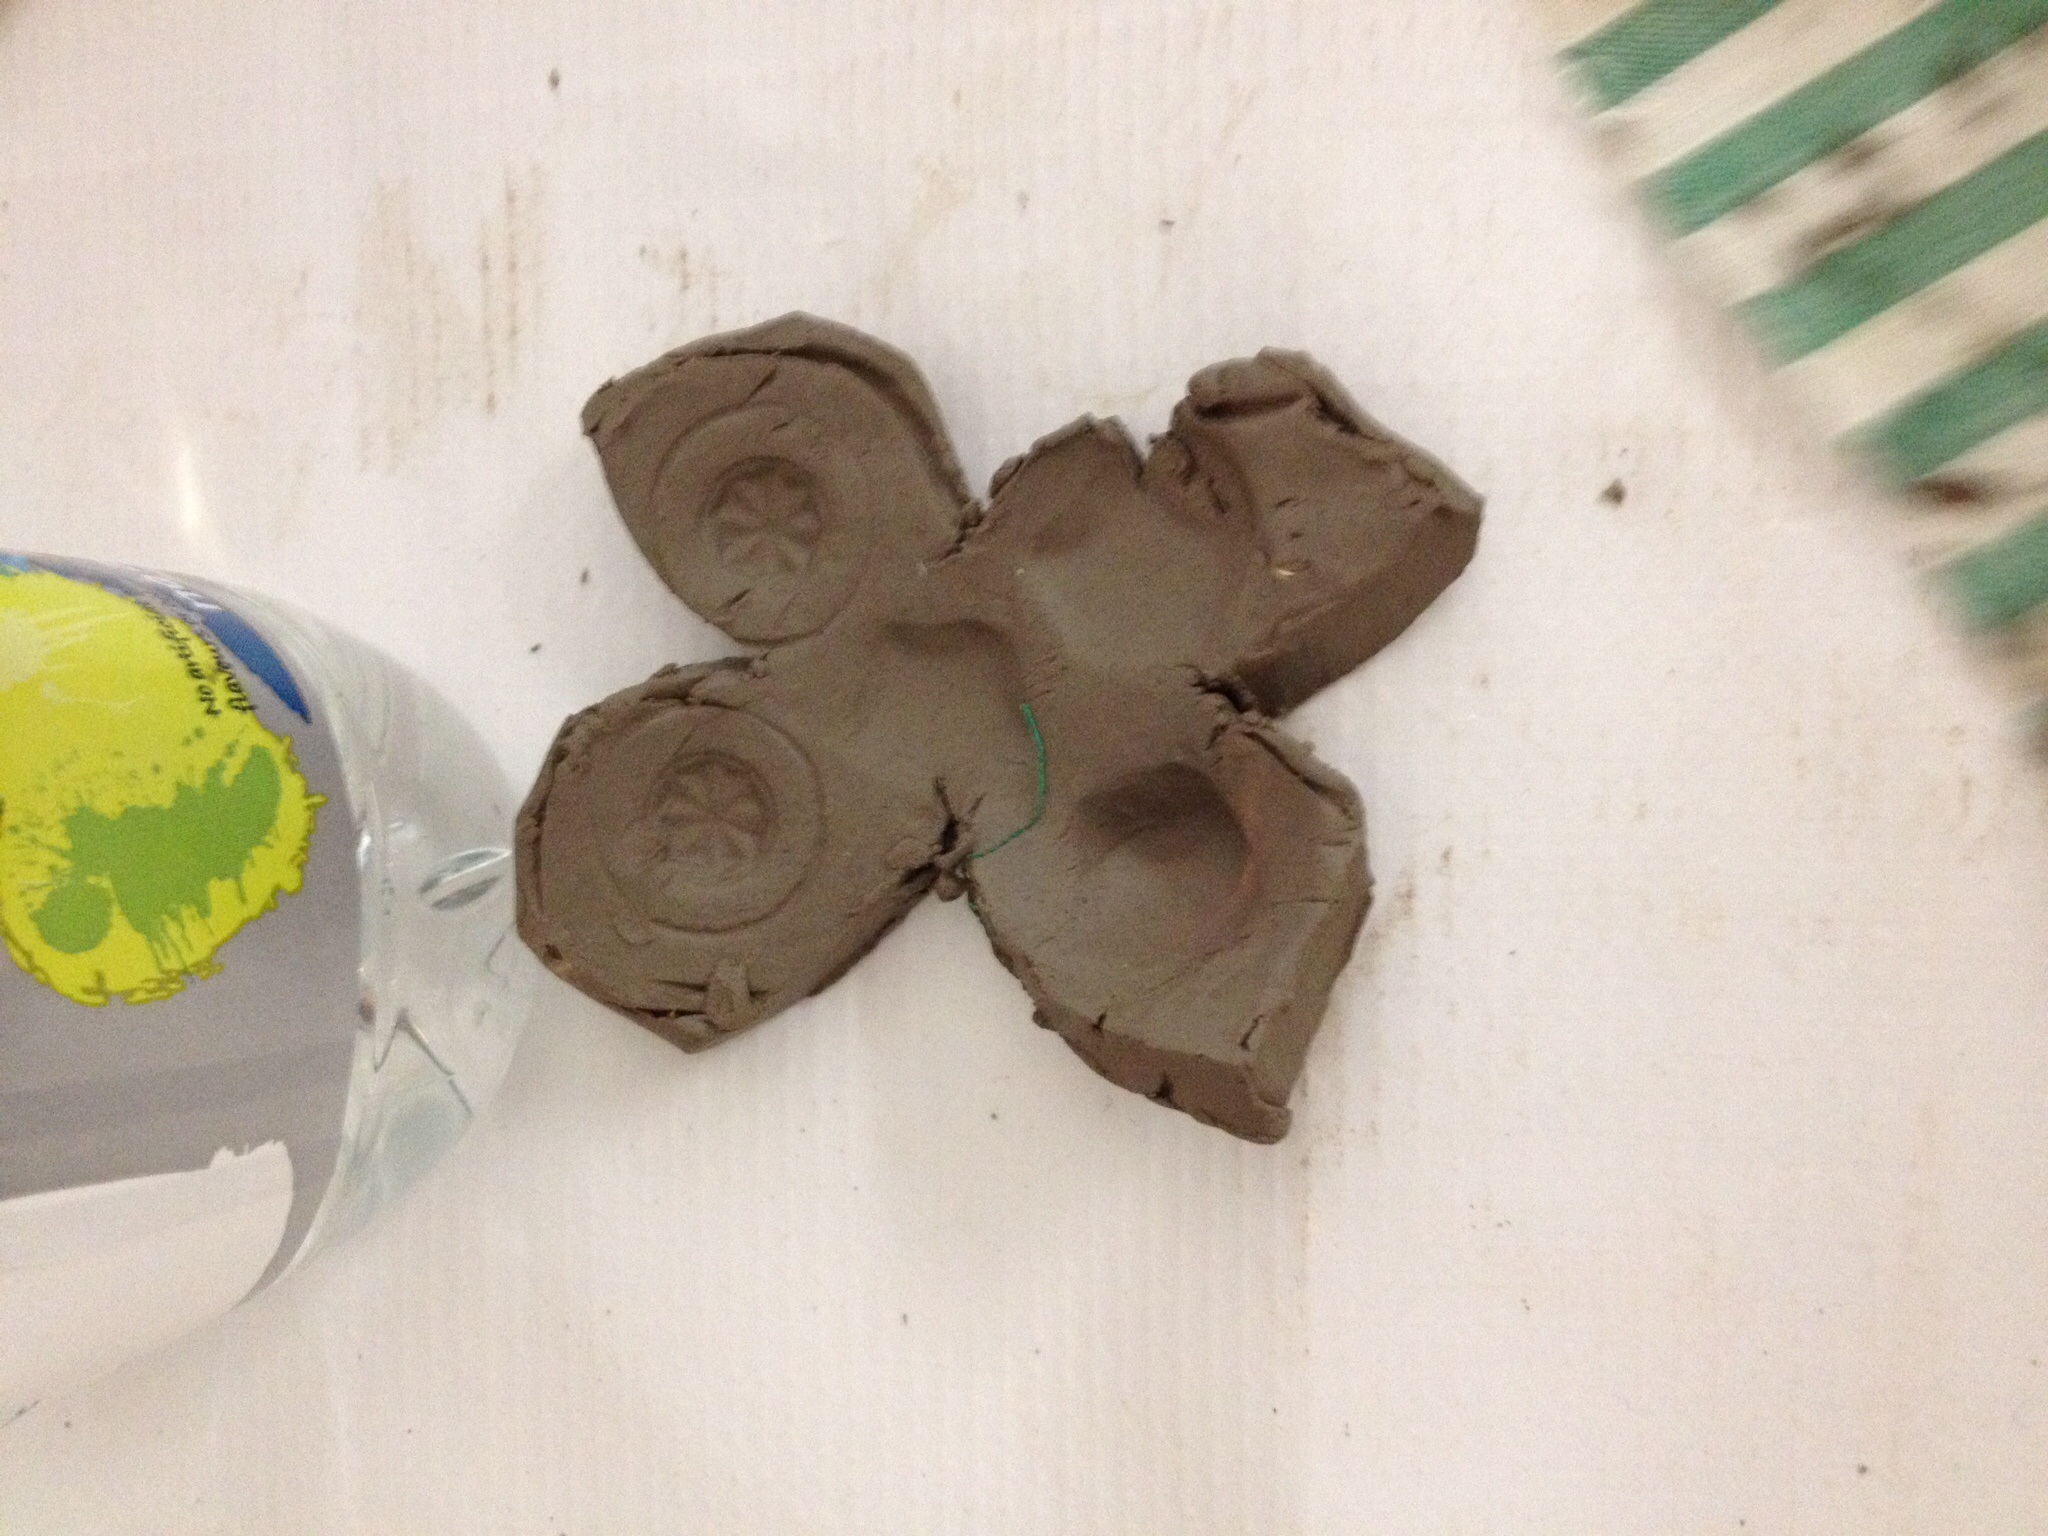
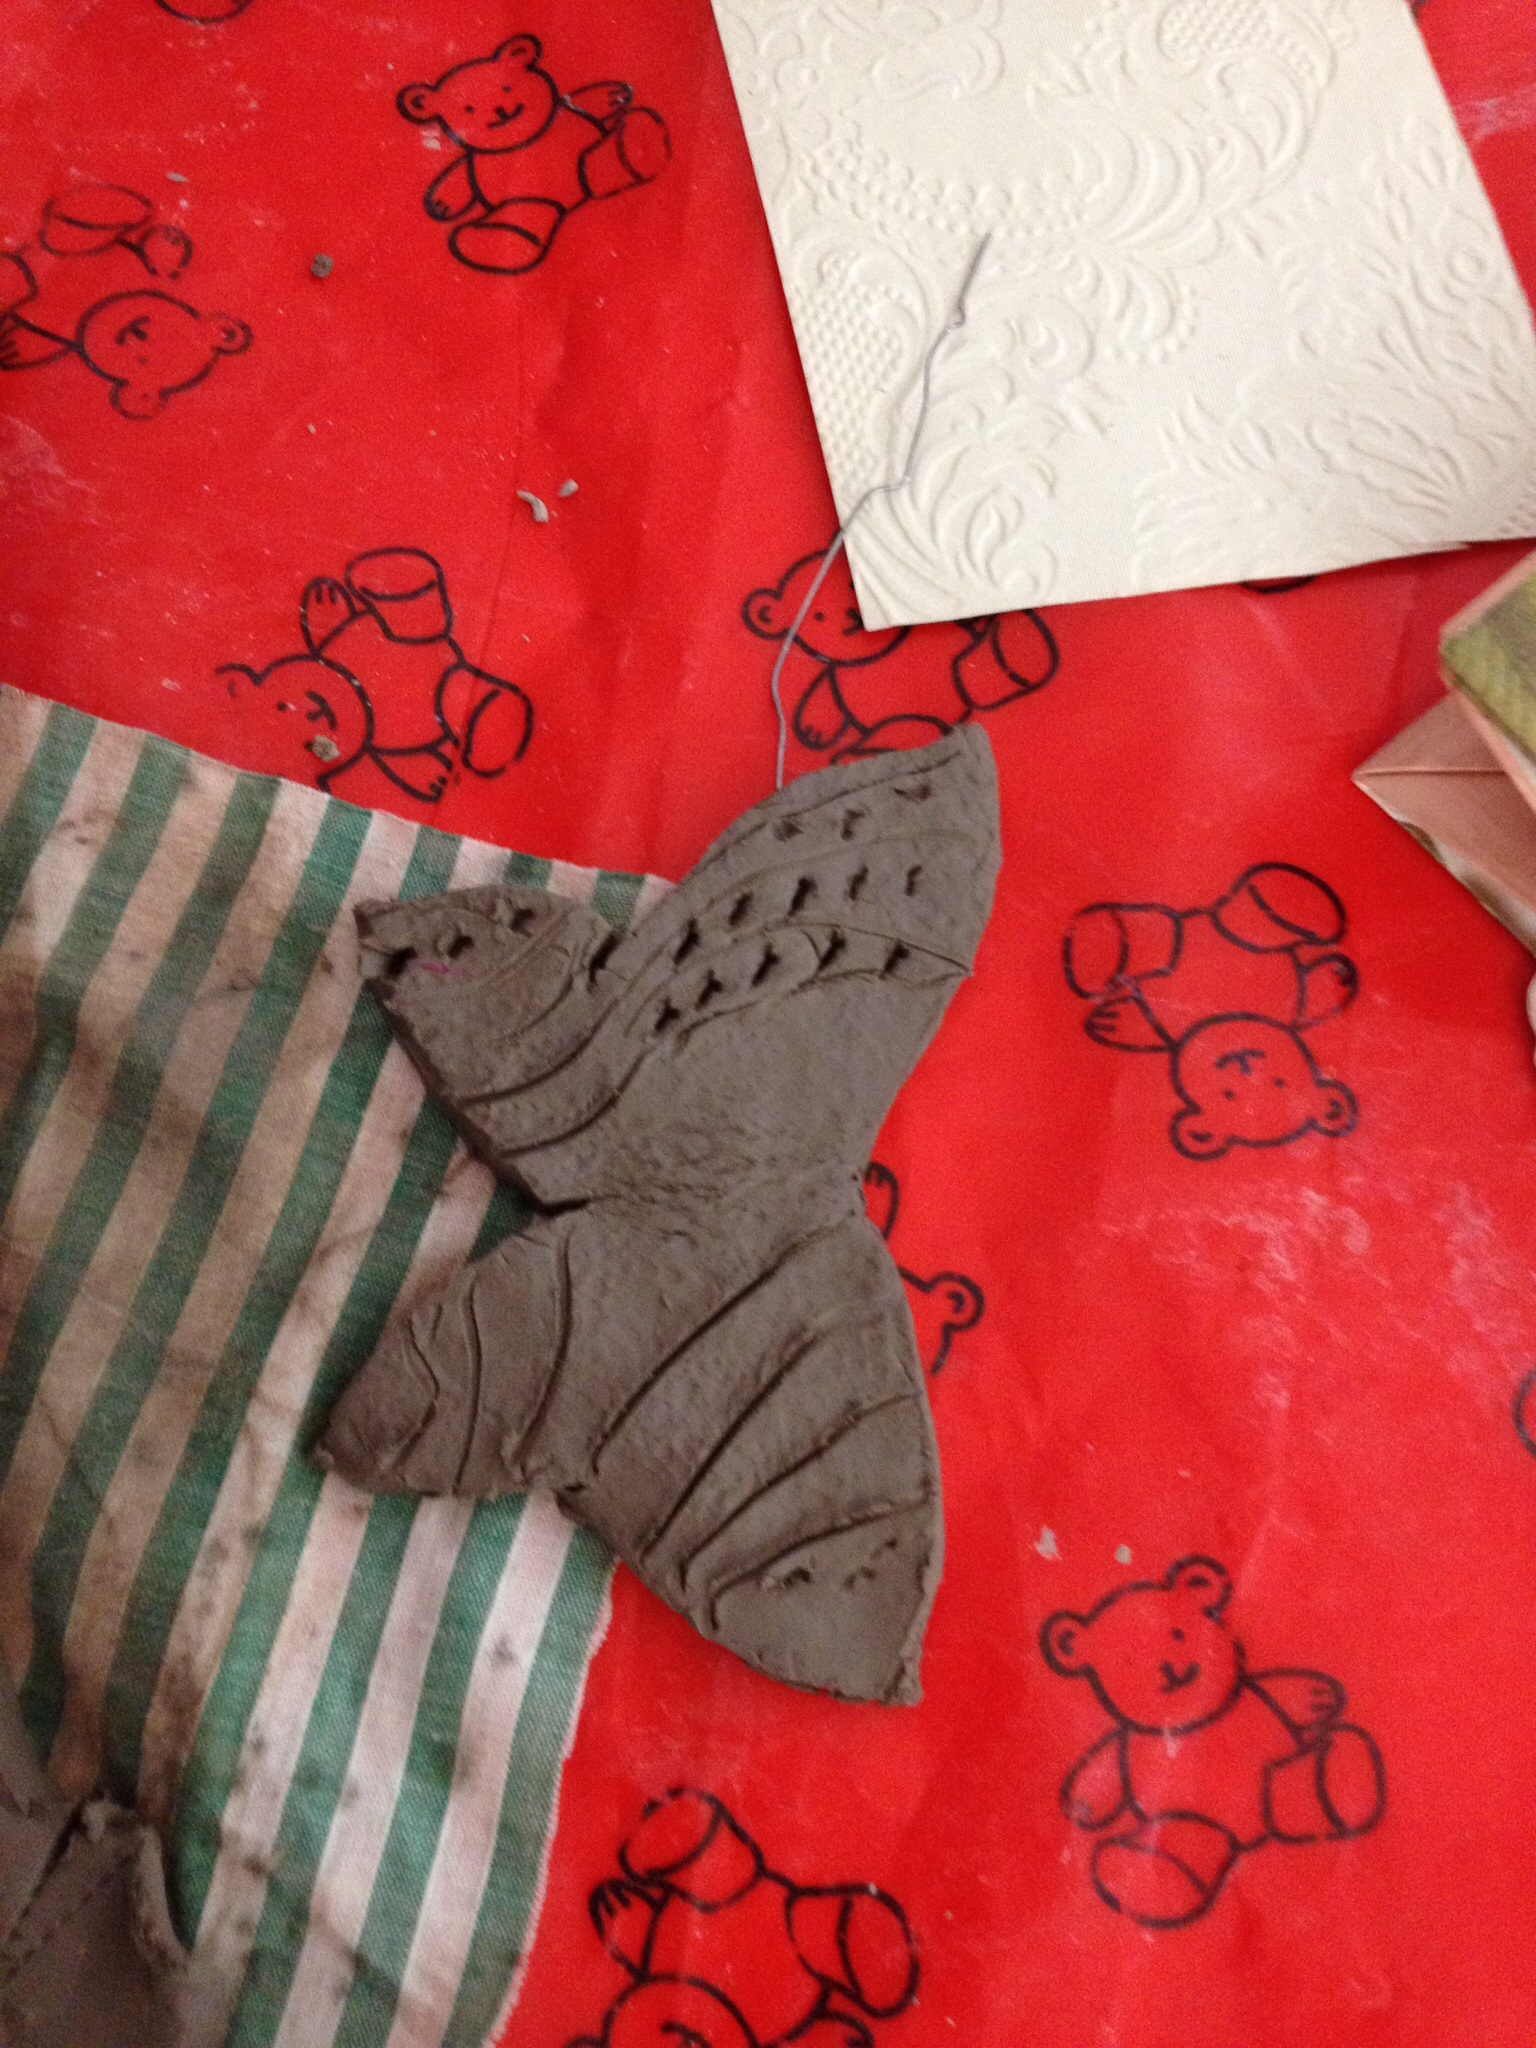
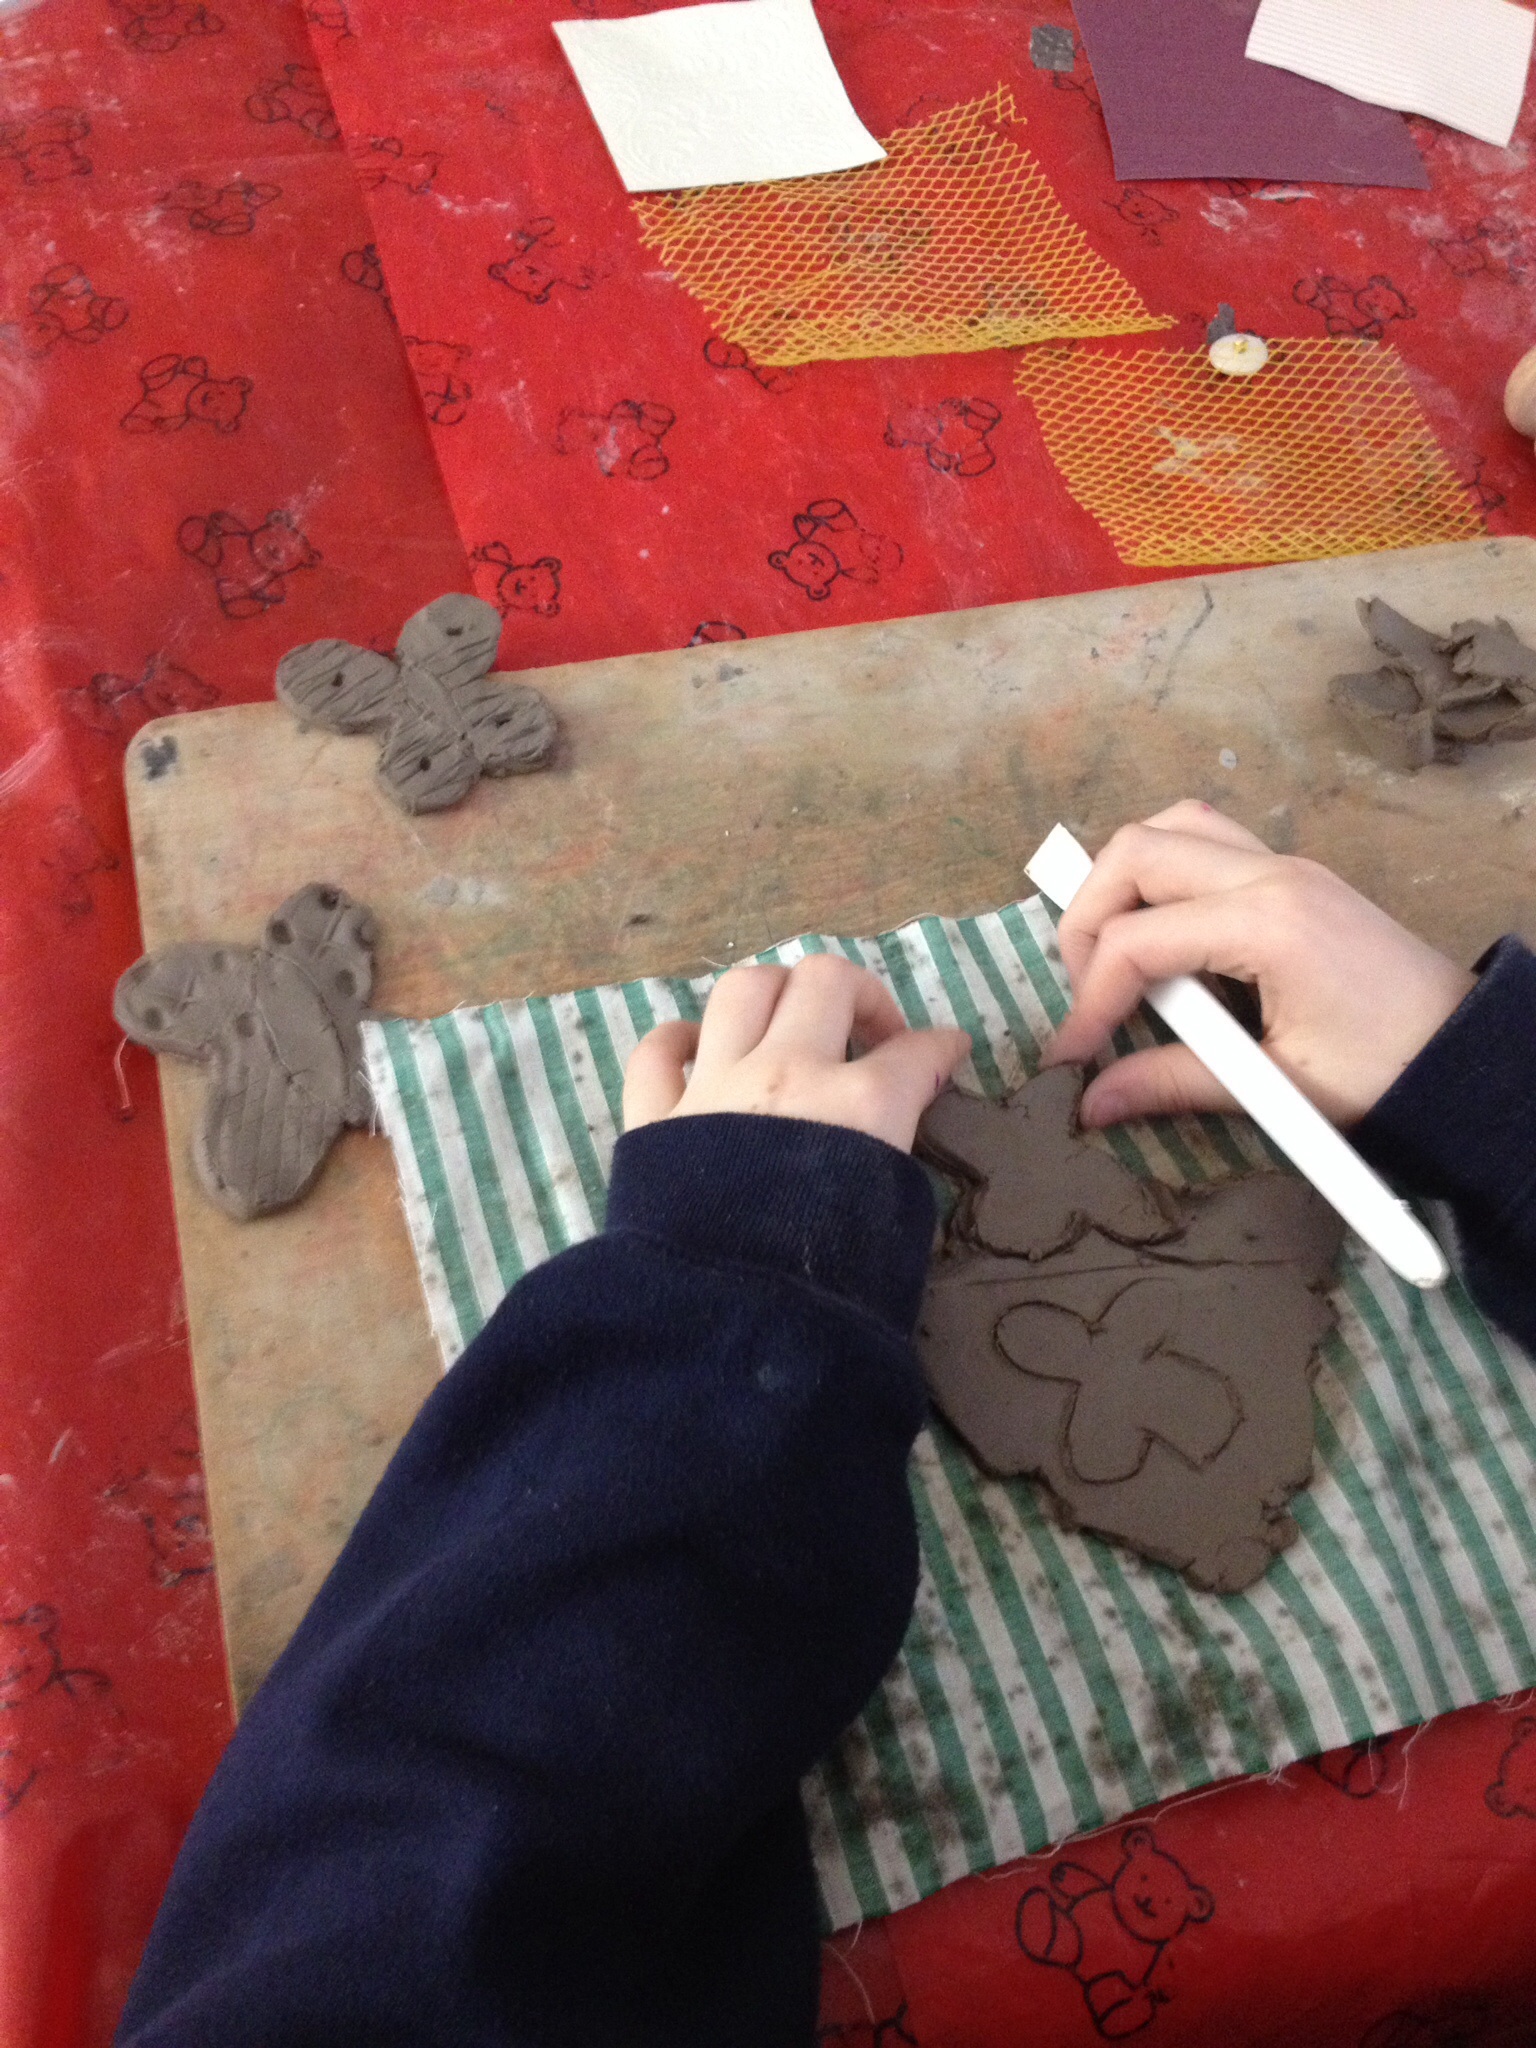
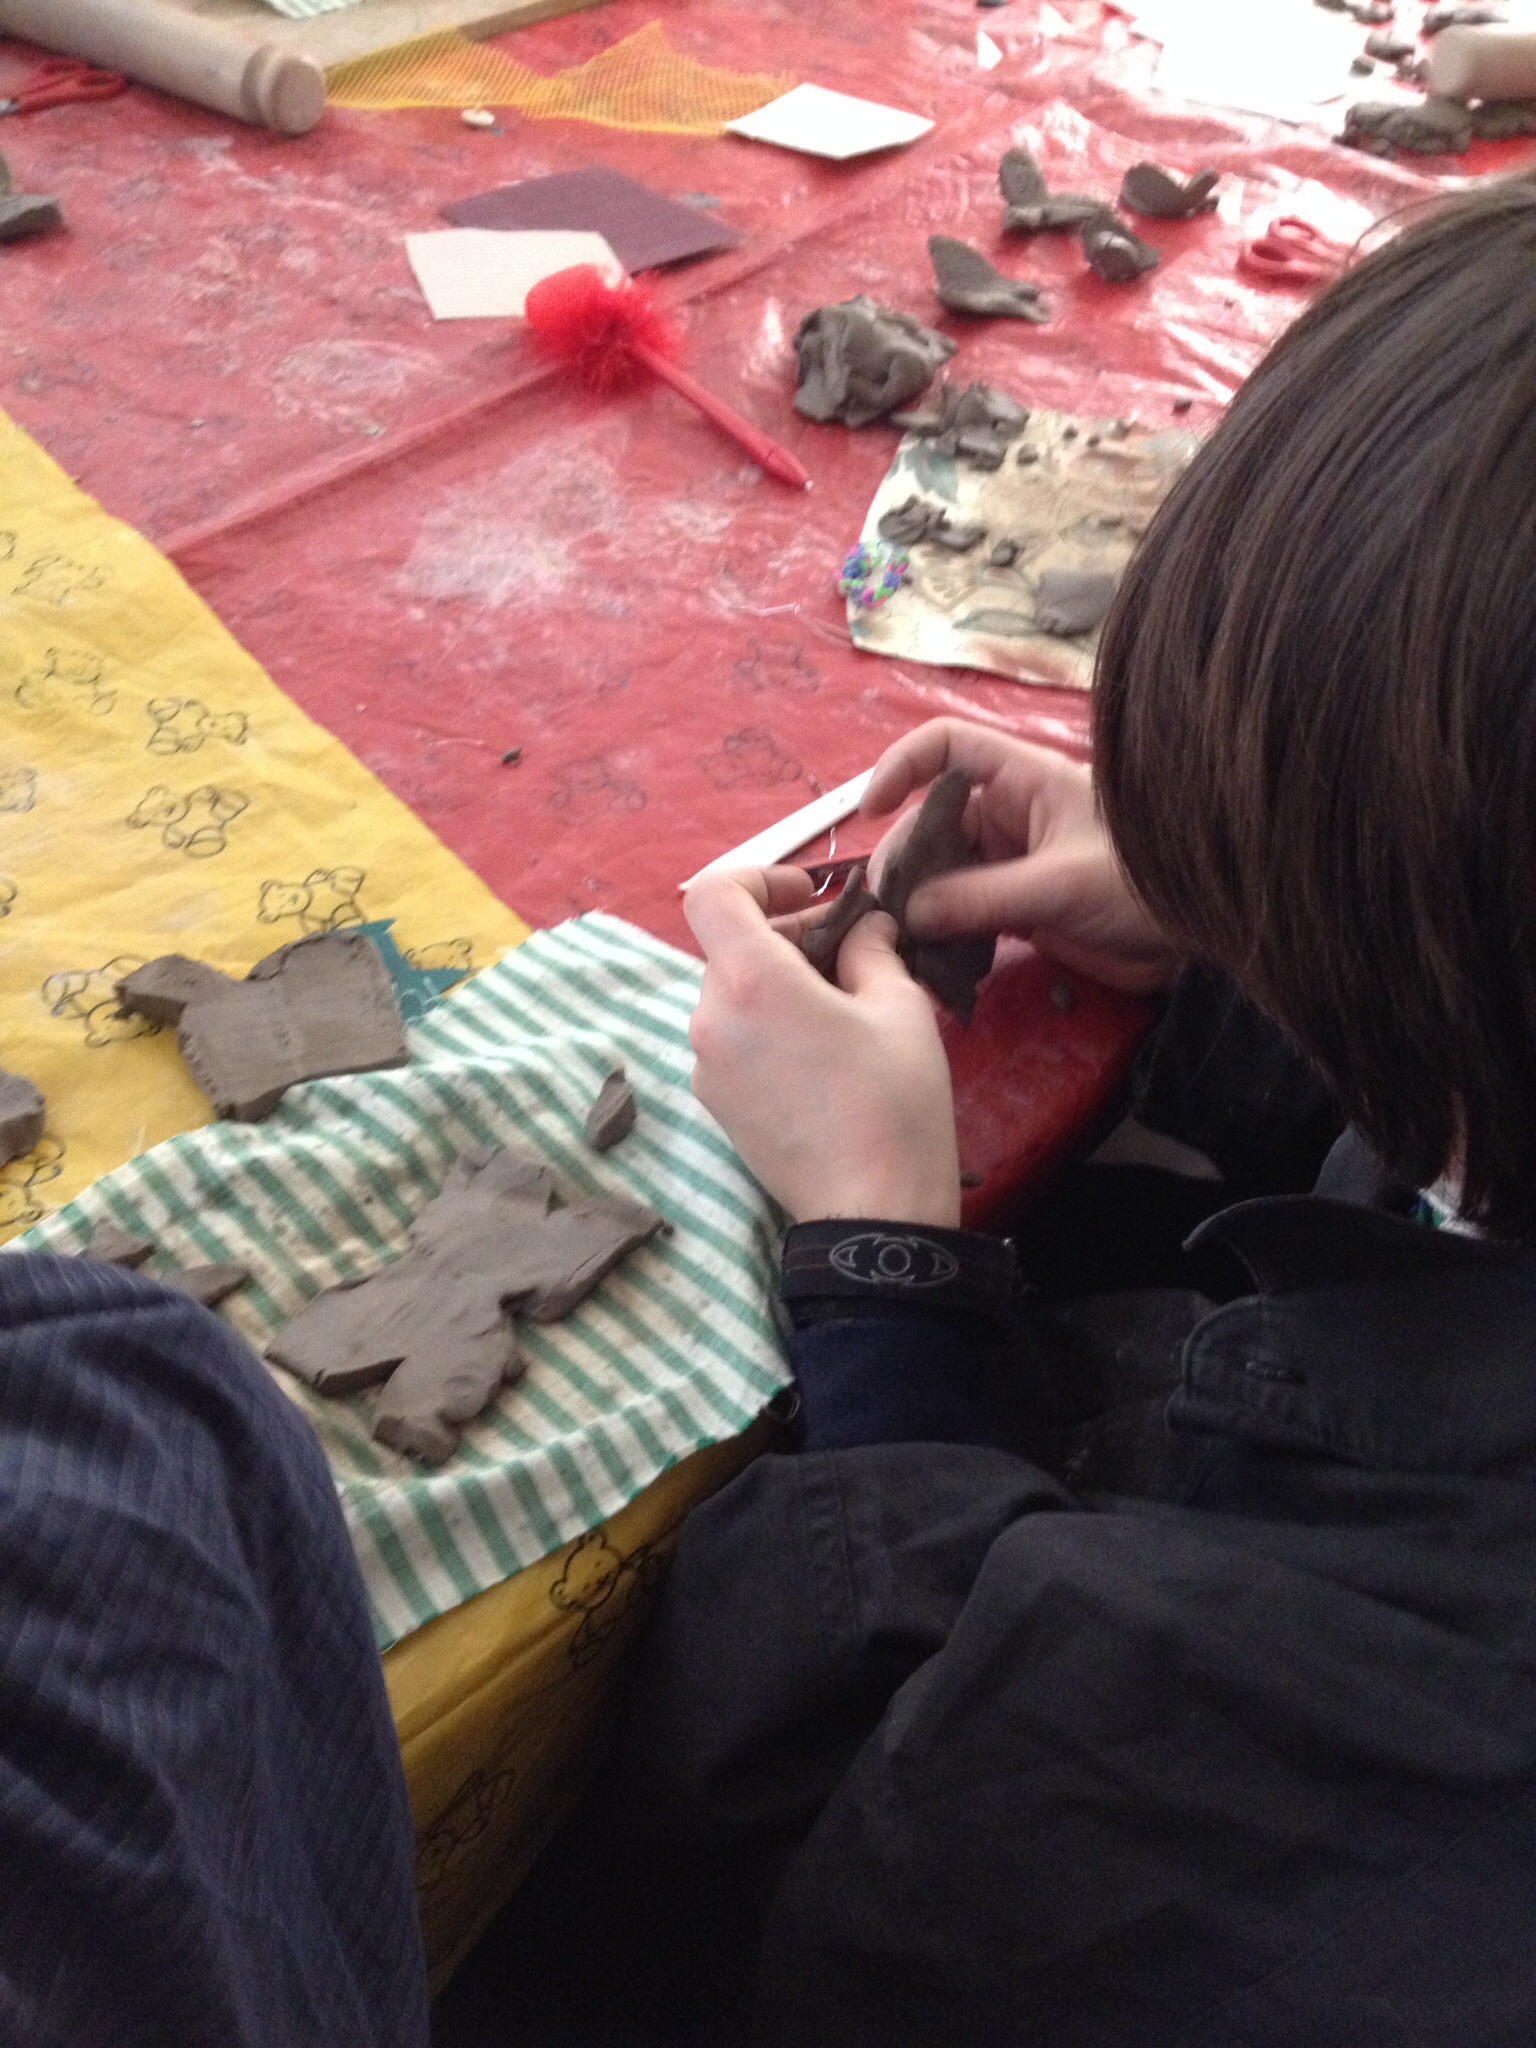
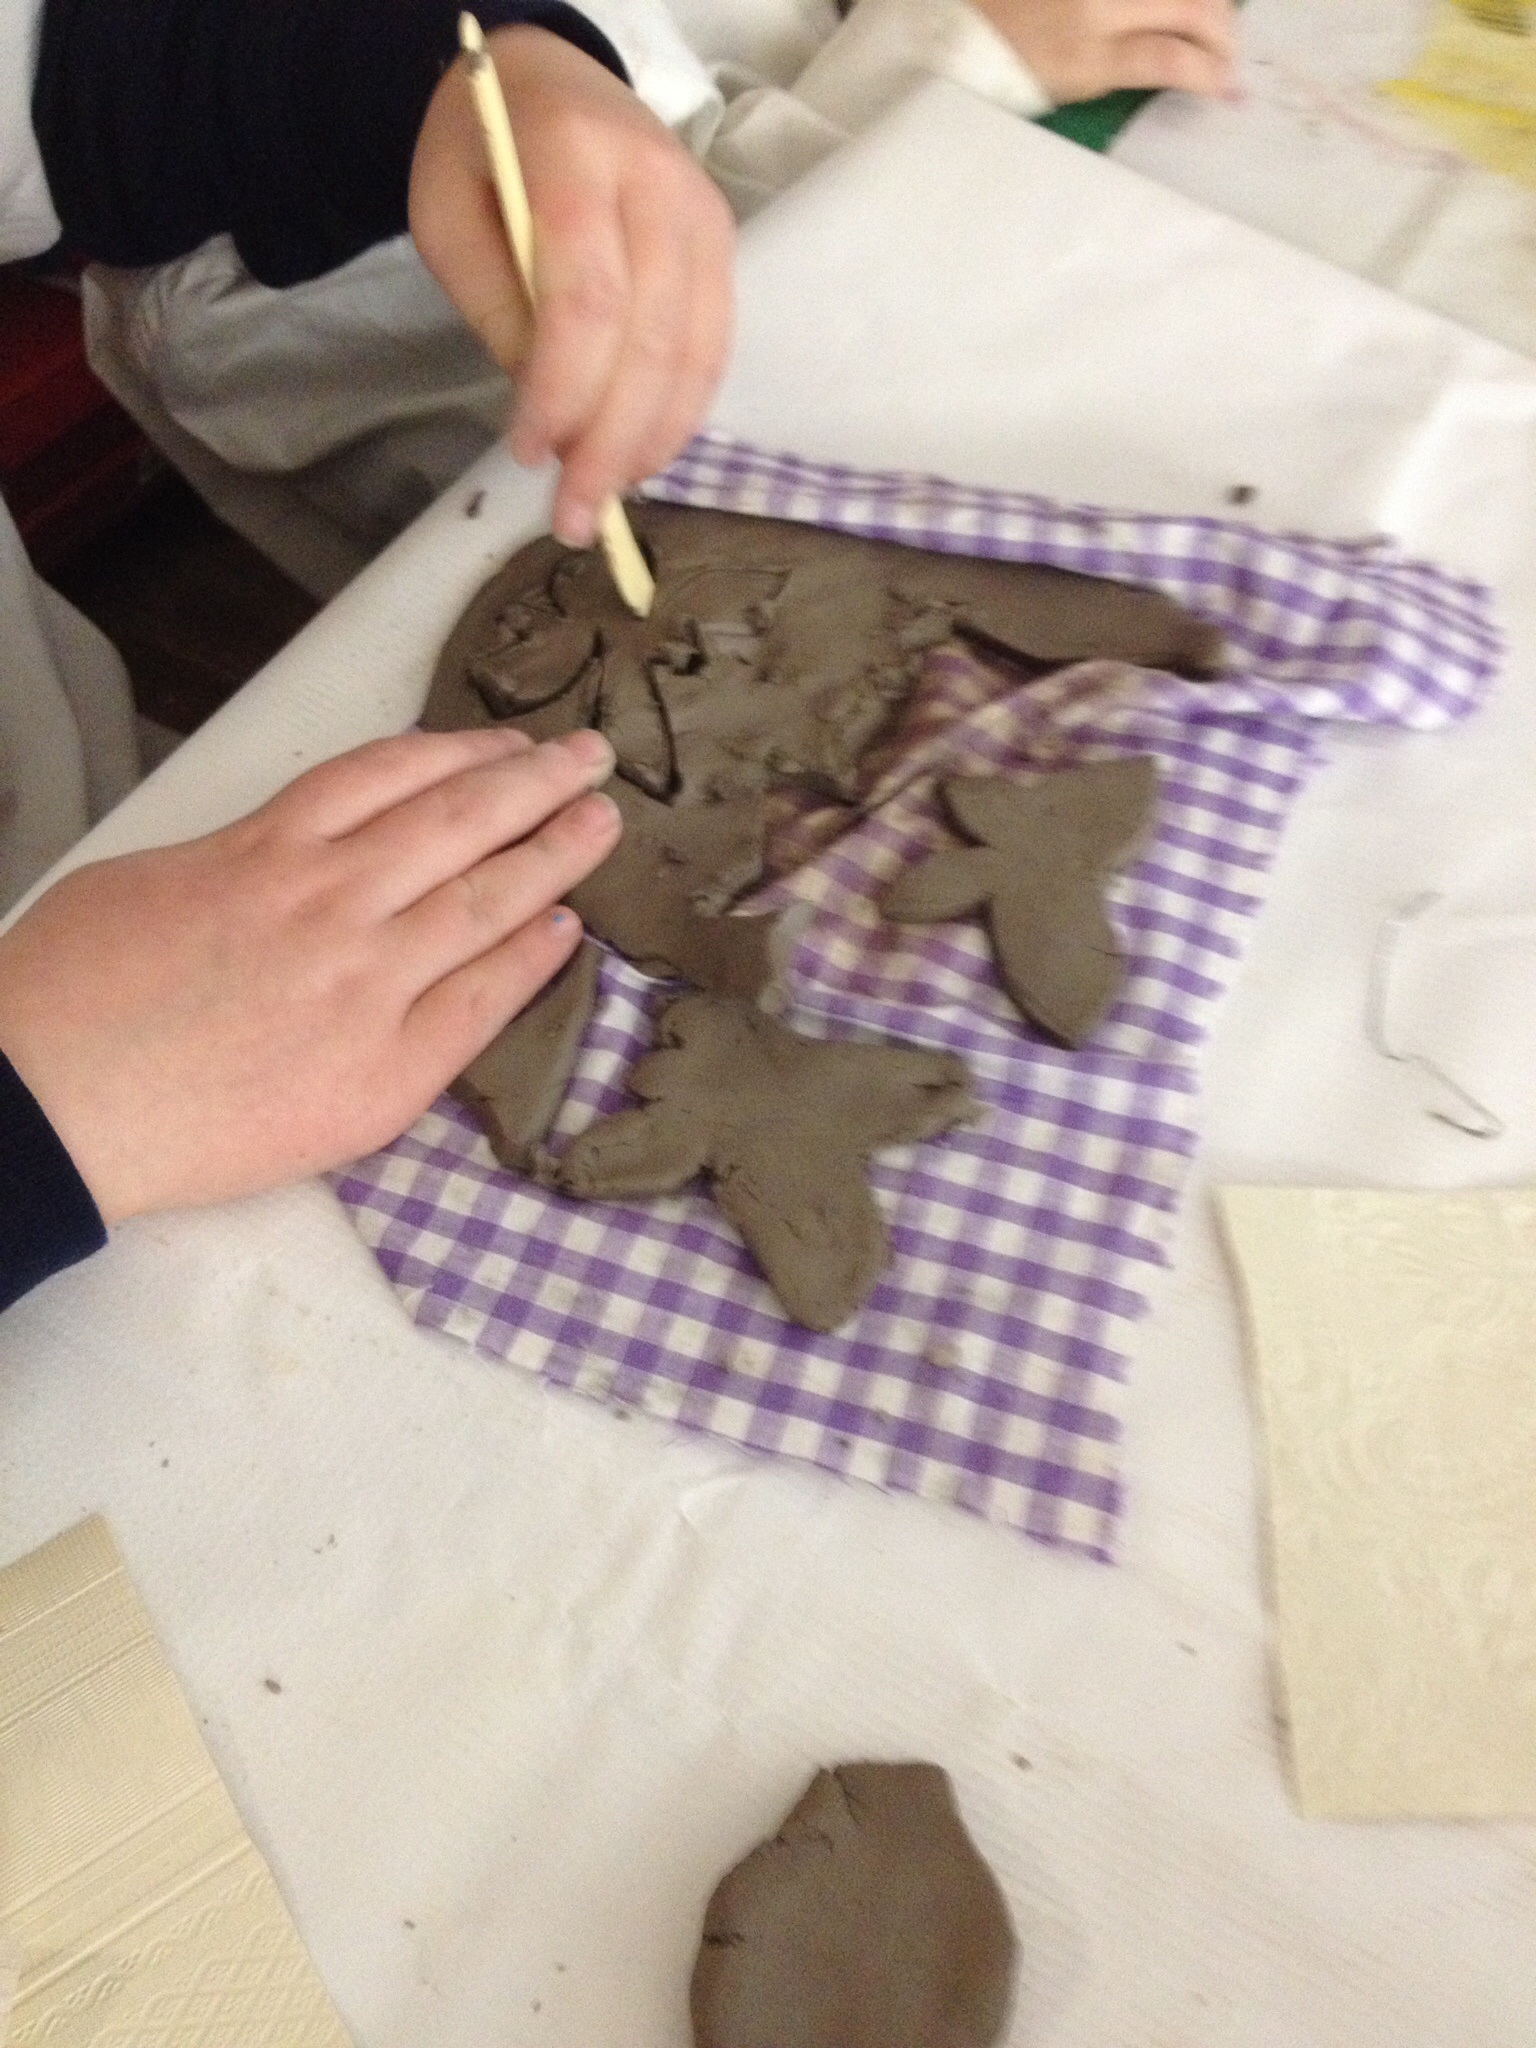
This session was all about using clay to create butterflies.
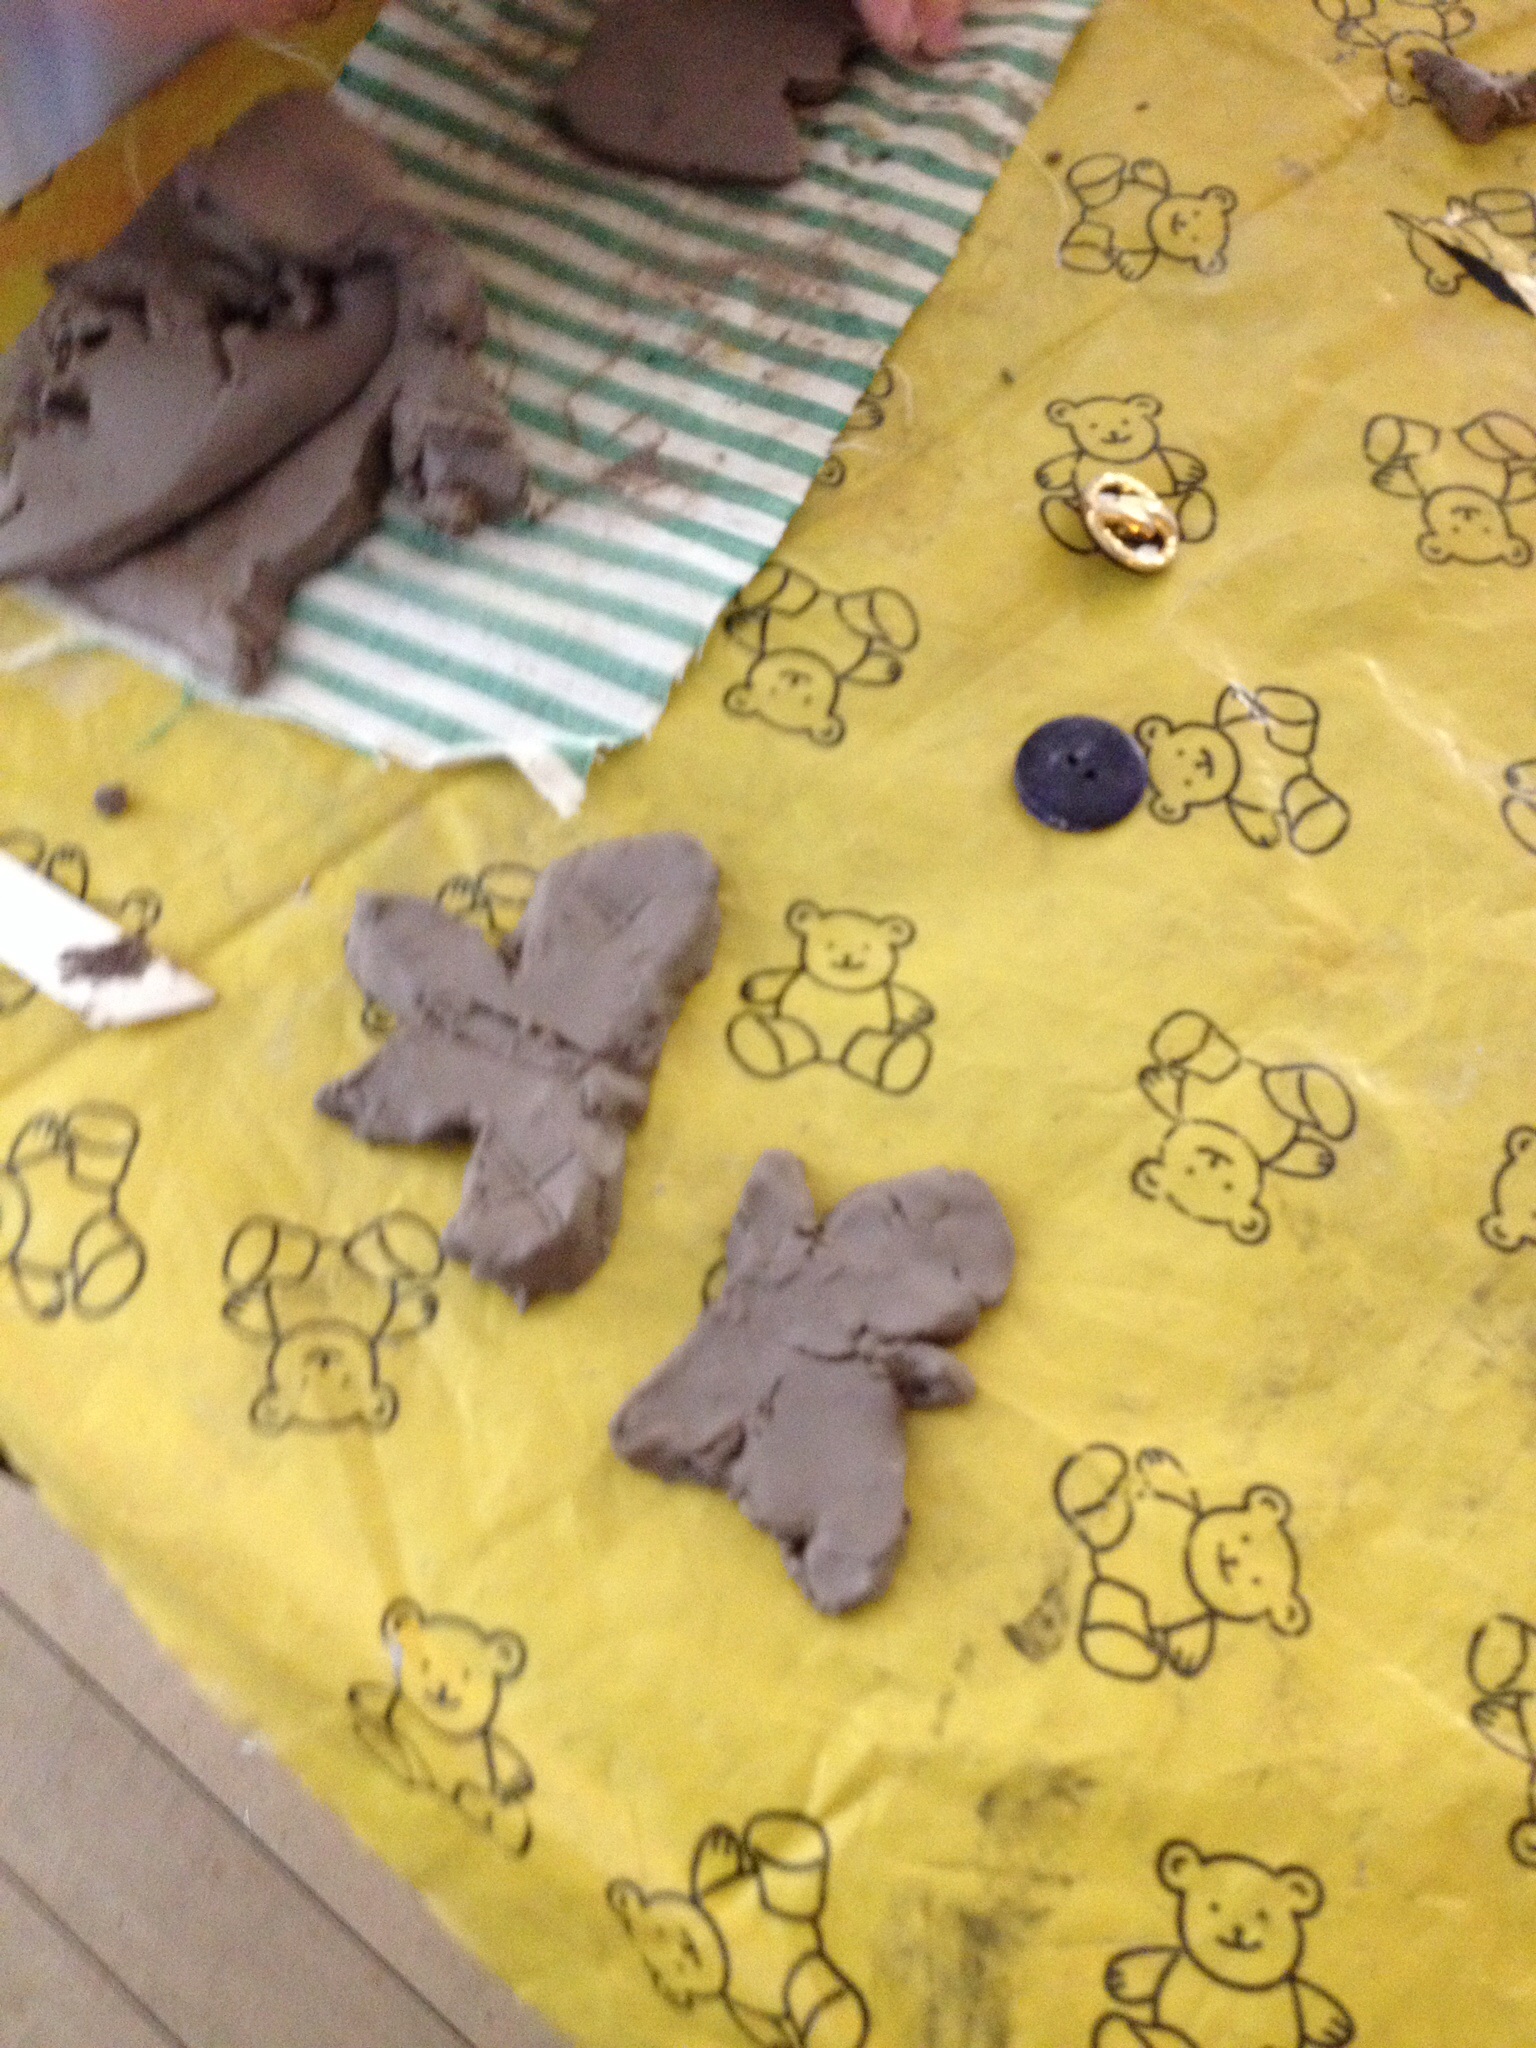
The children cut their butterflies from slabs of clay which they rolled out themselves.
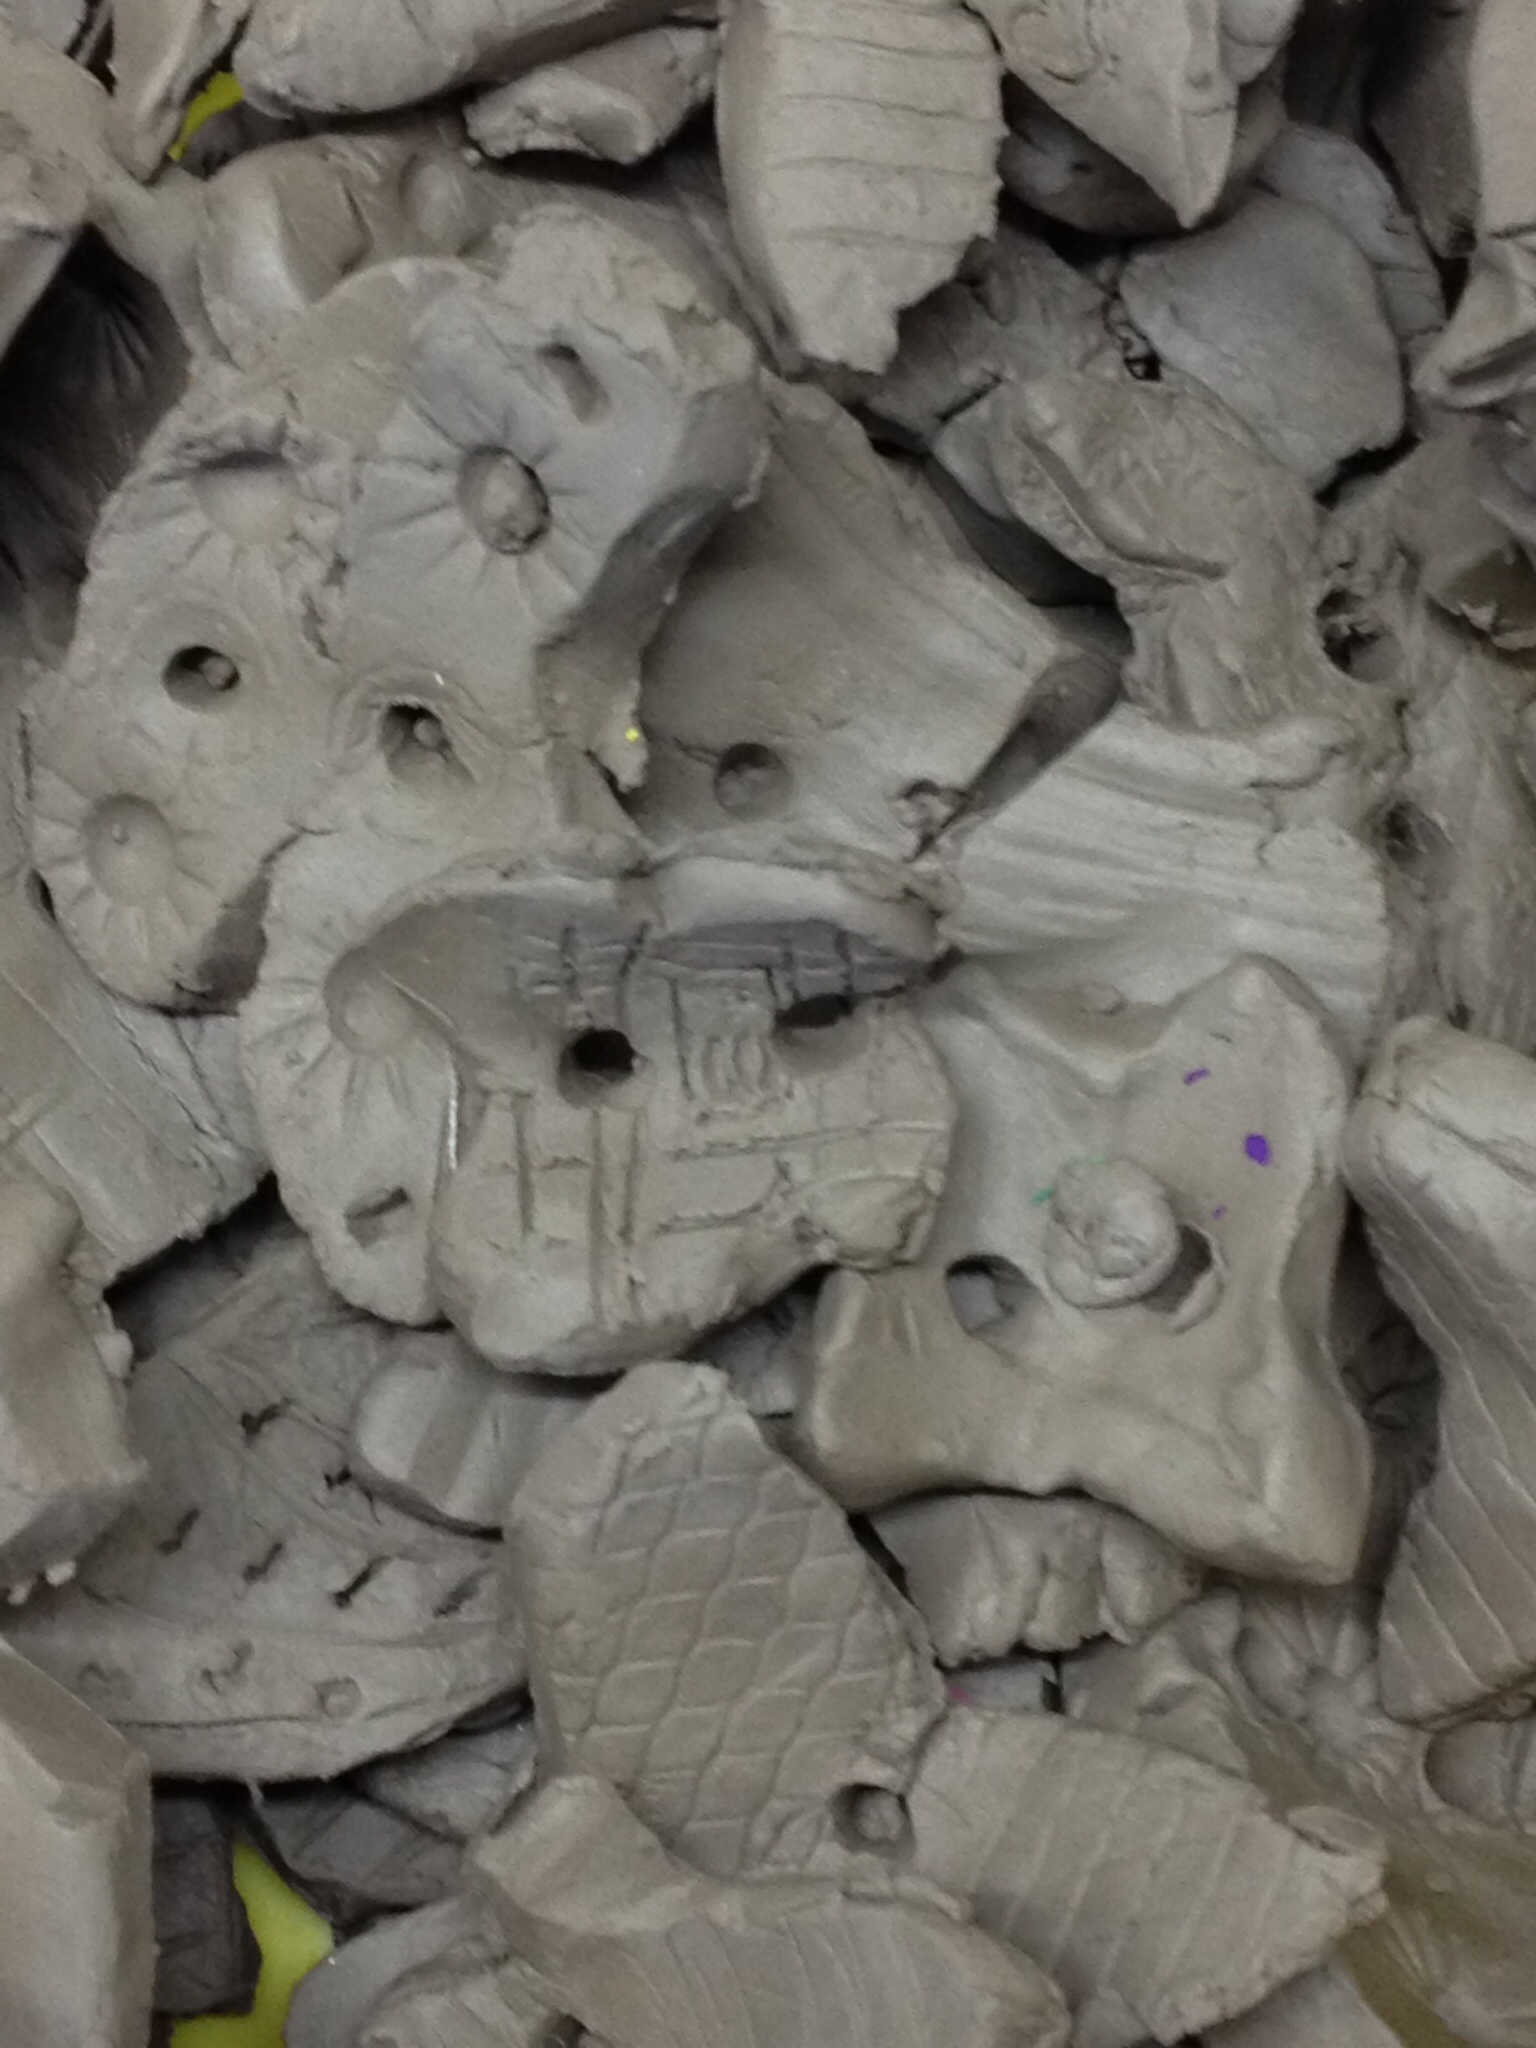
Andrew asked the children to make a series of small butterflies.They were to decorate the wings using a range of tools starting with their own hands and then looking for objects around the room which would leave an indentation. Again the children were to refer to their visual experience of butterflies to inform the patterns and markings on their wings.
These butterflies will then be fired and installed once they are dried.
This and many other questions about butterflies were generated when we started the next two sessions . Andrew suggested to the children that butterflies have a very short life span and that many artists have interpreted the theme in wide and varied ways.
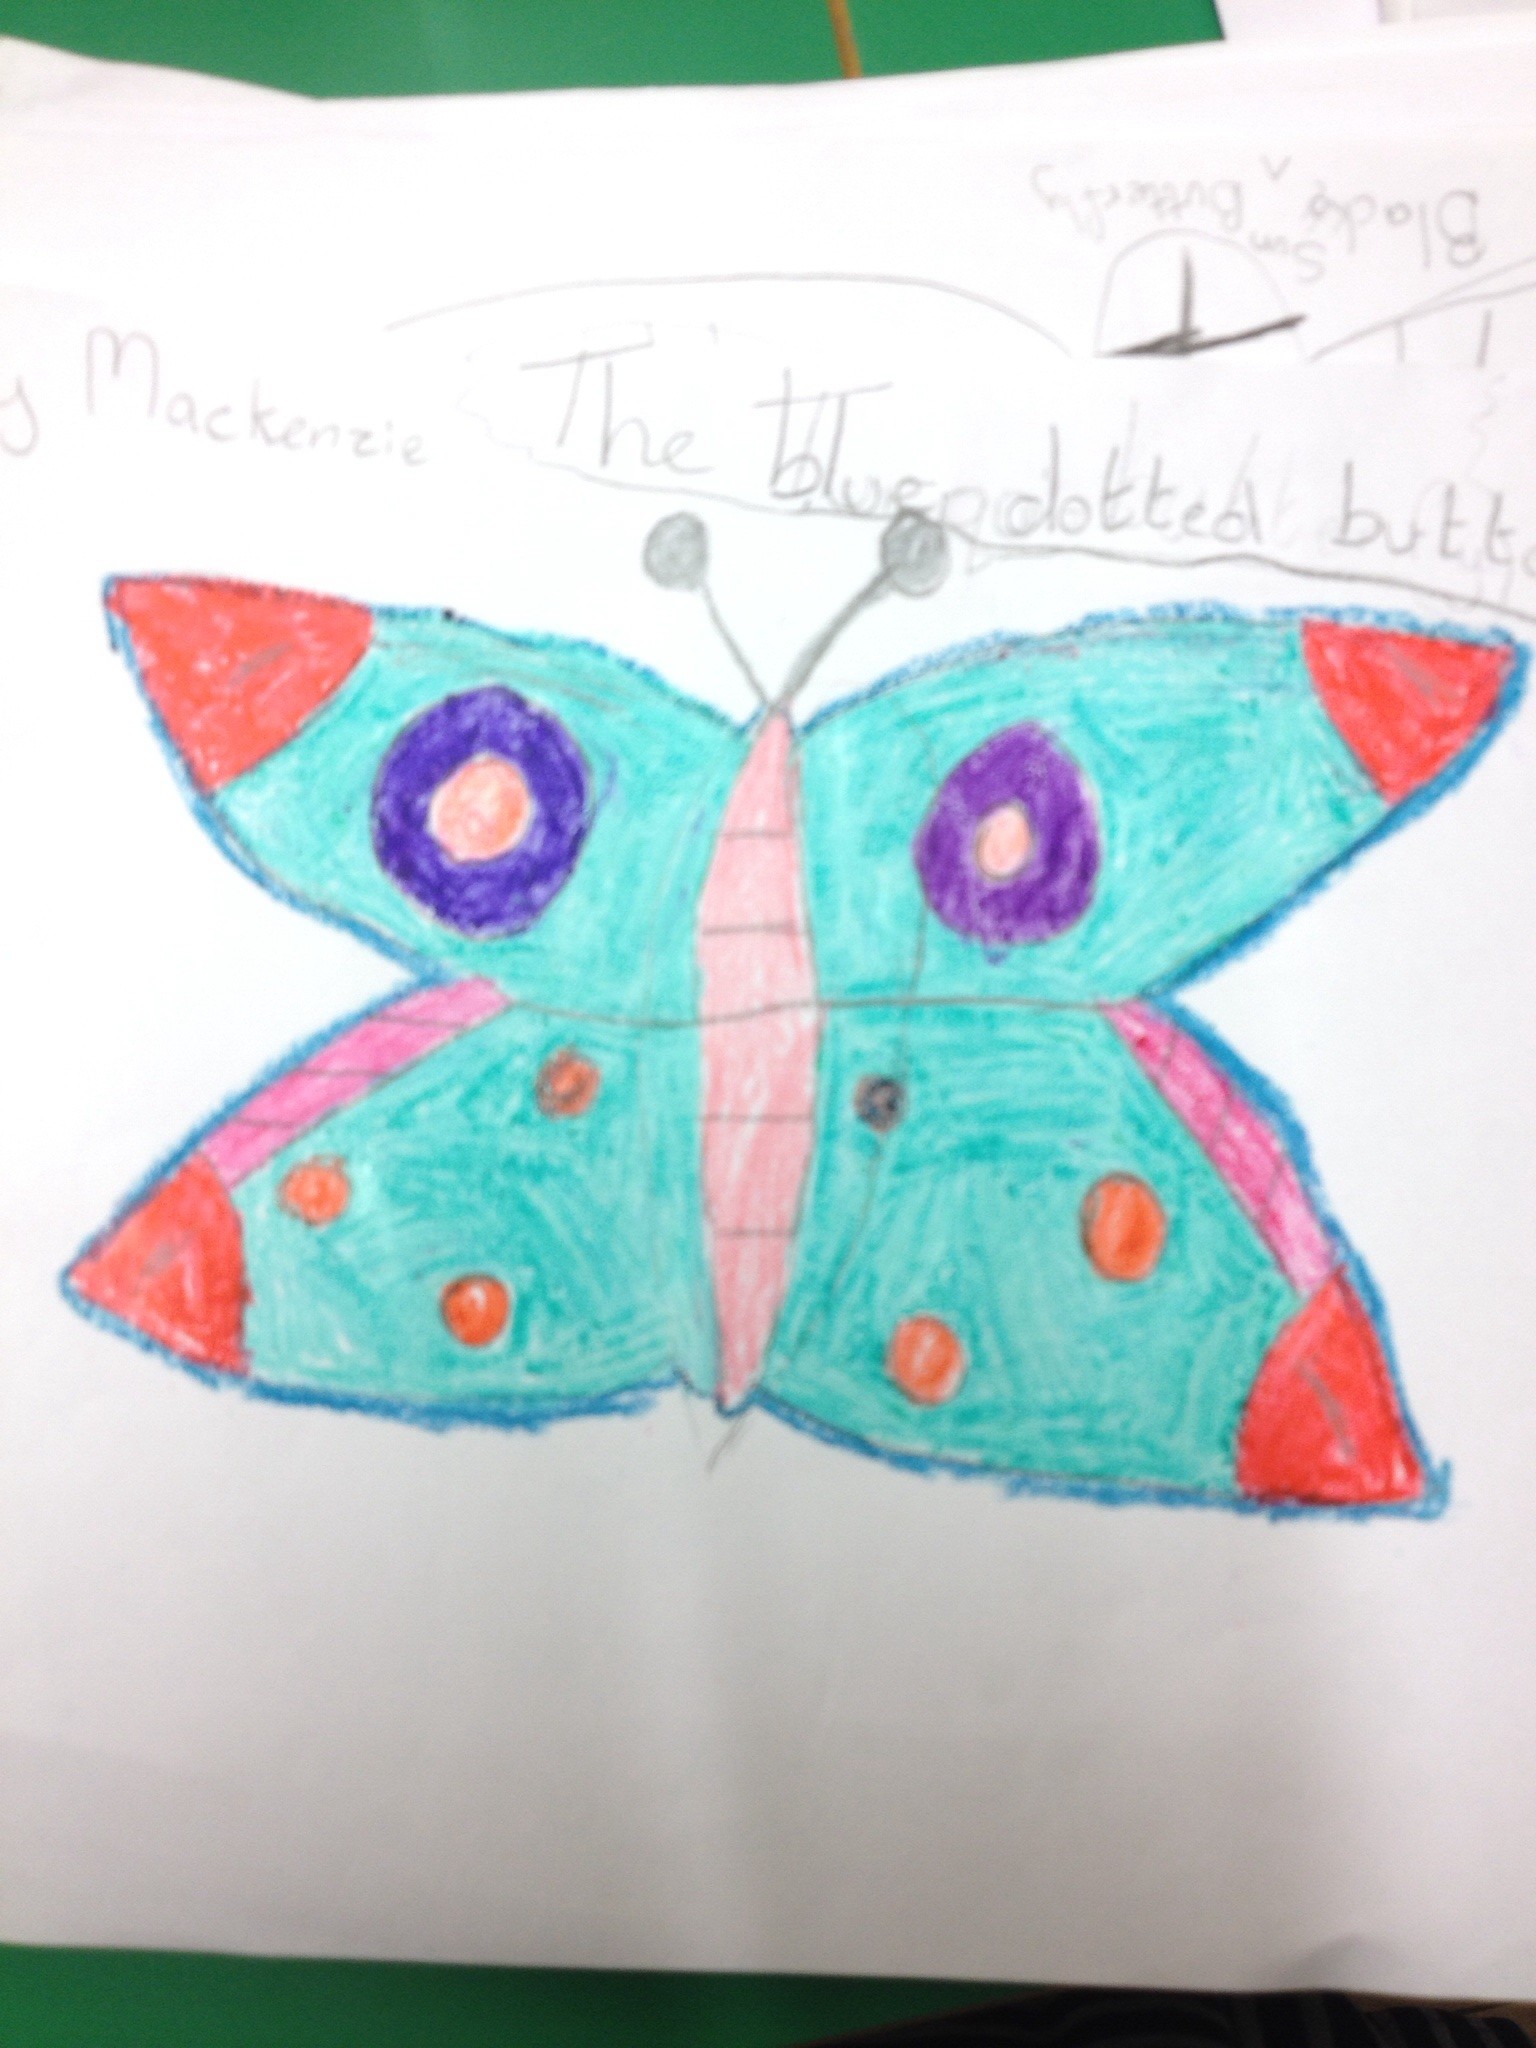
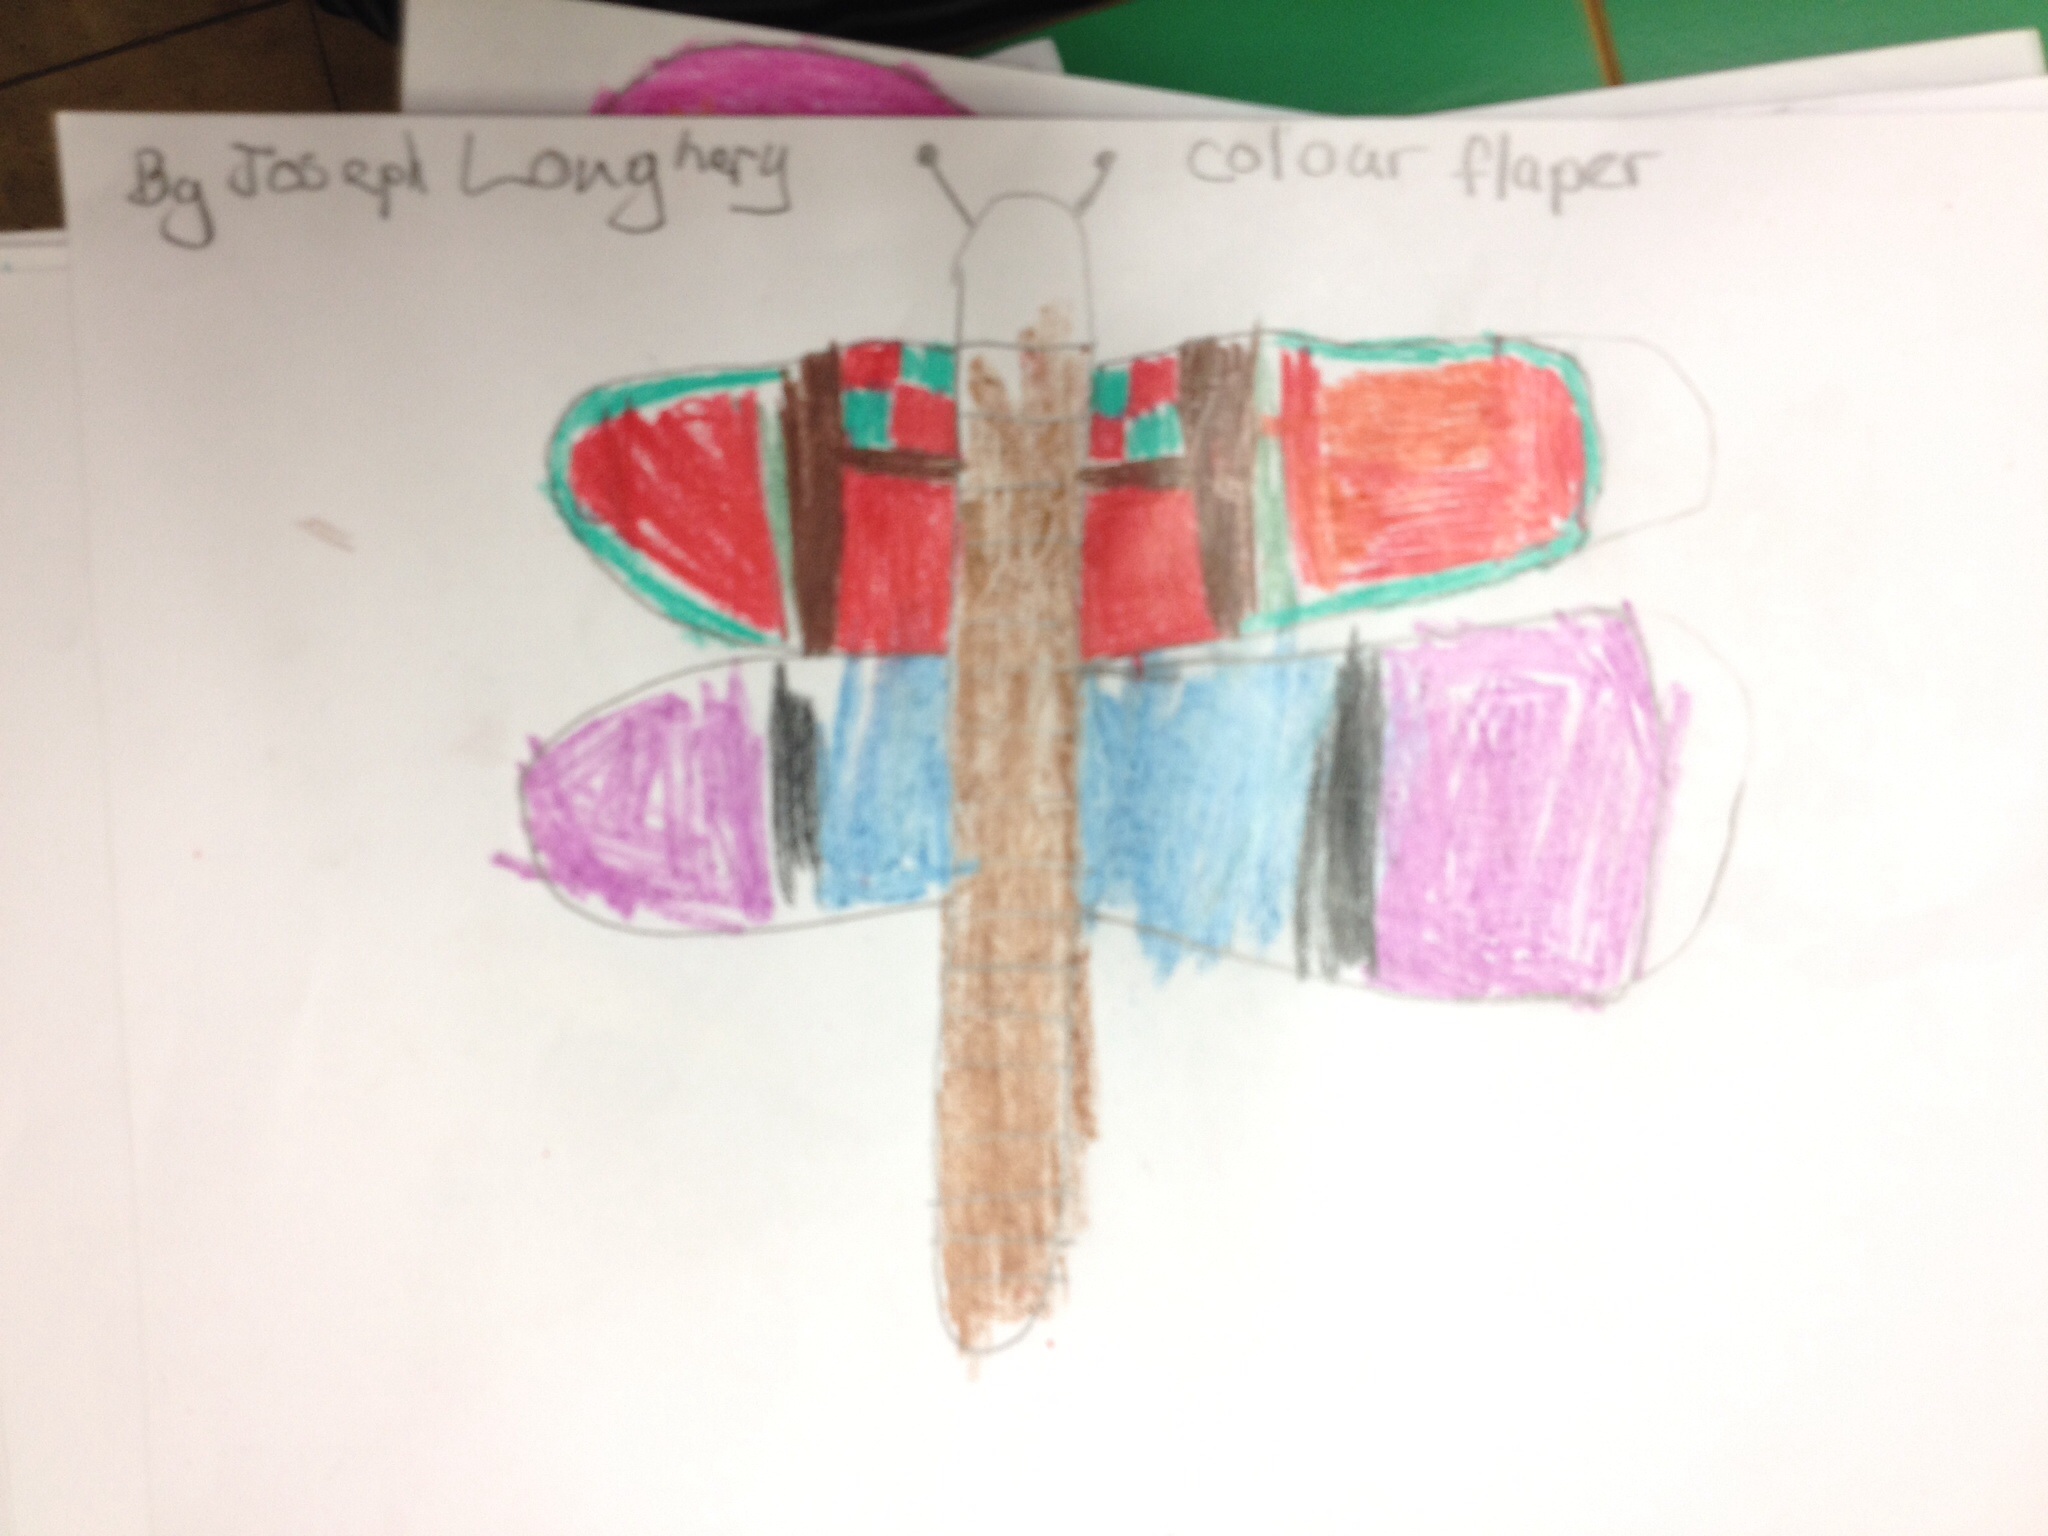
The children drew a butterfly just from memory and coloured it.
Then children saw lots of different installations by artist such as Damien Hirst and Natasha Lewis they saw the different ways butterflies were explored by them .
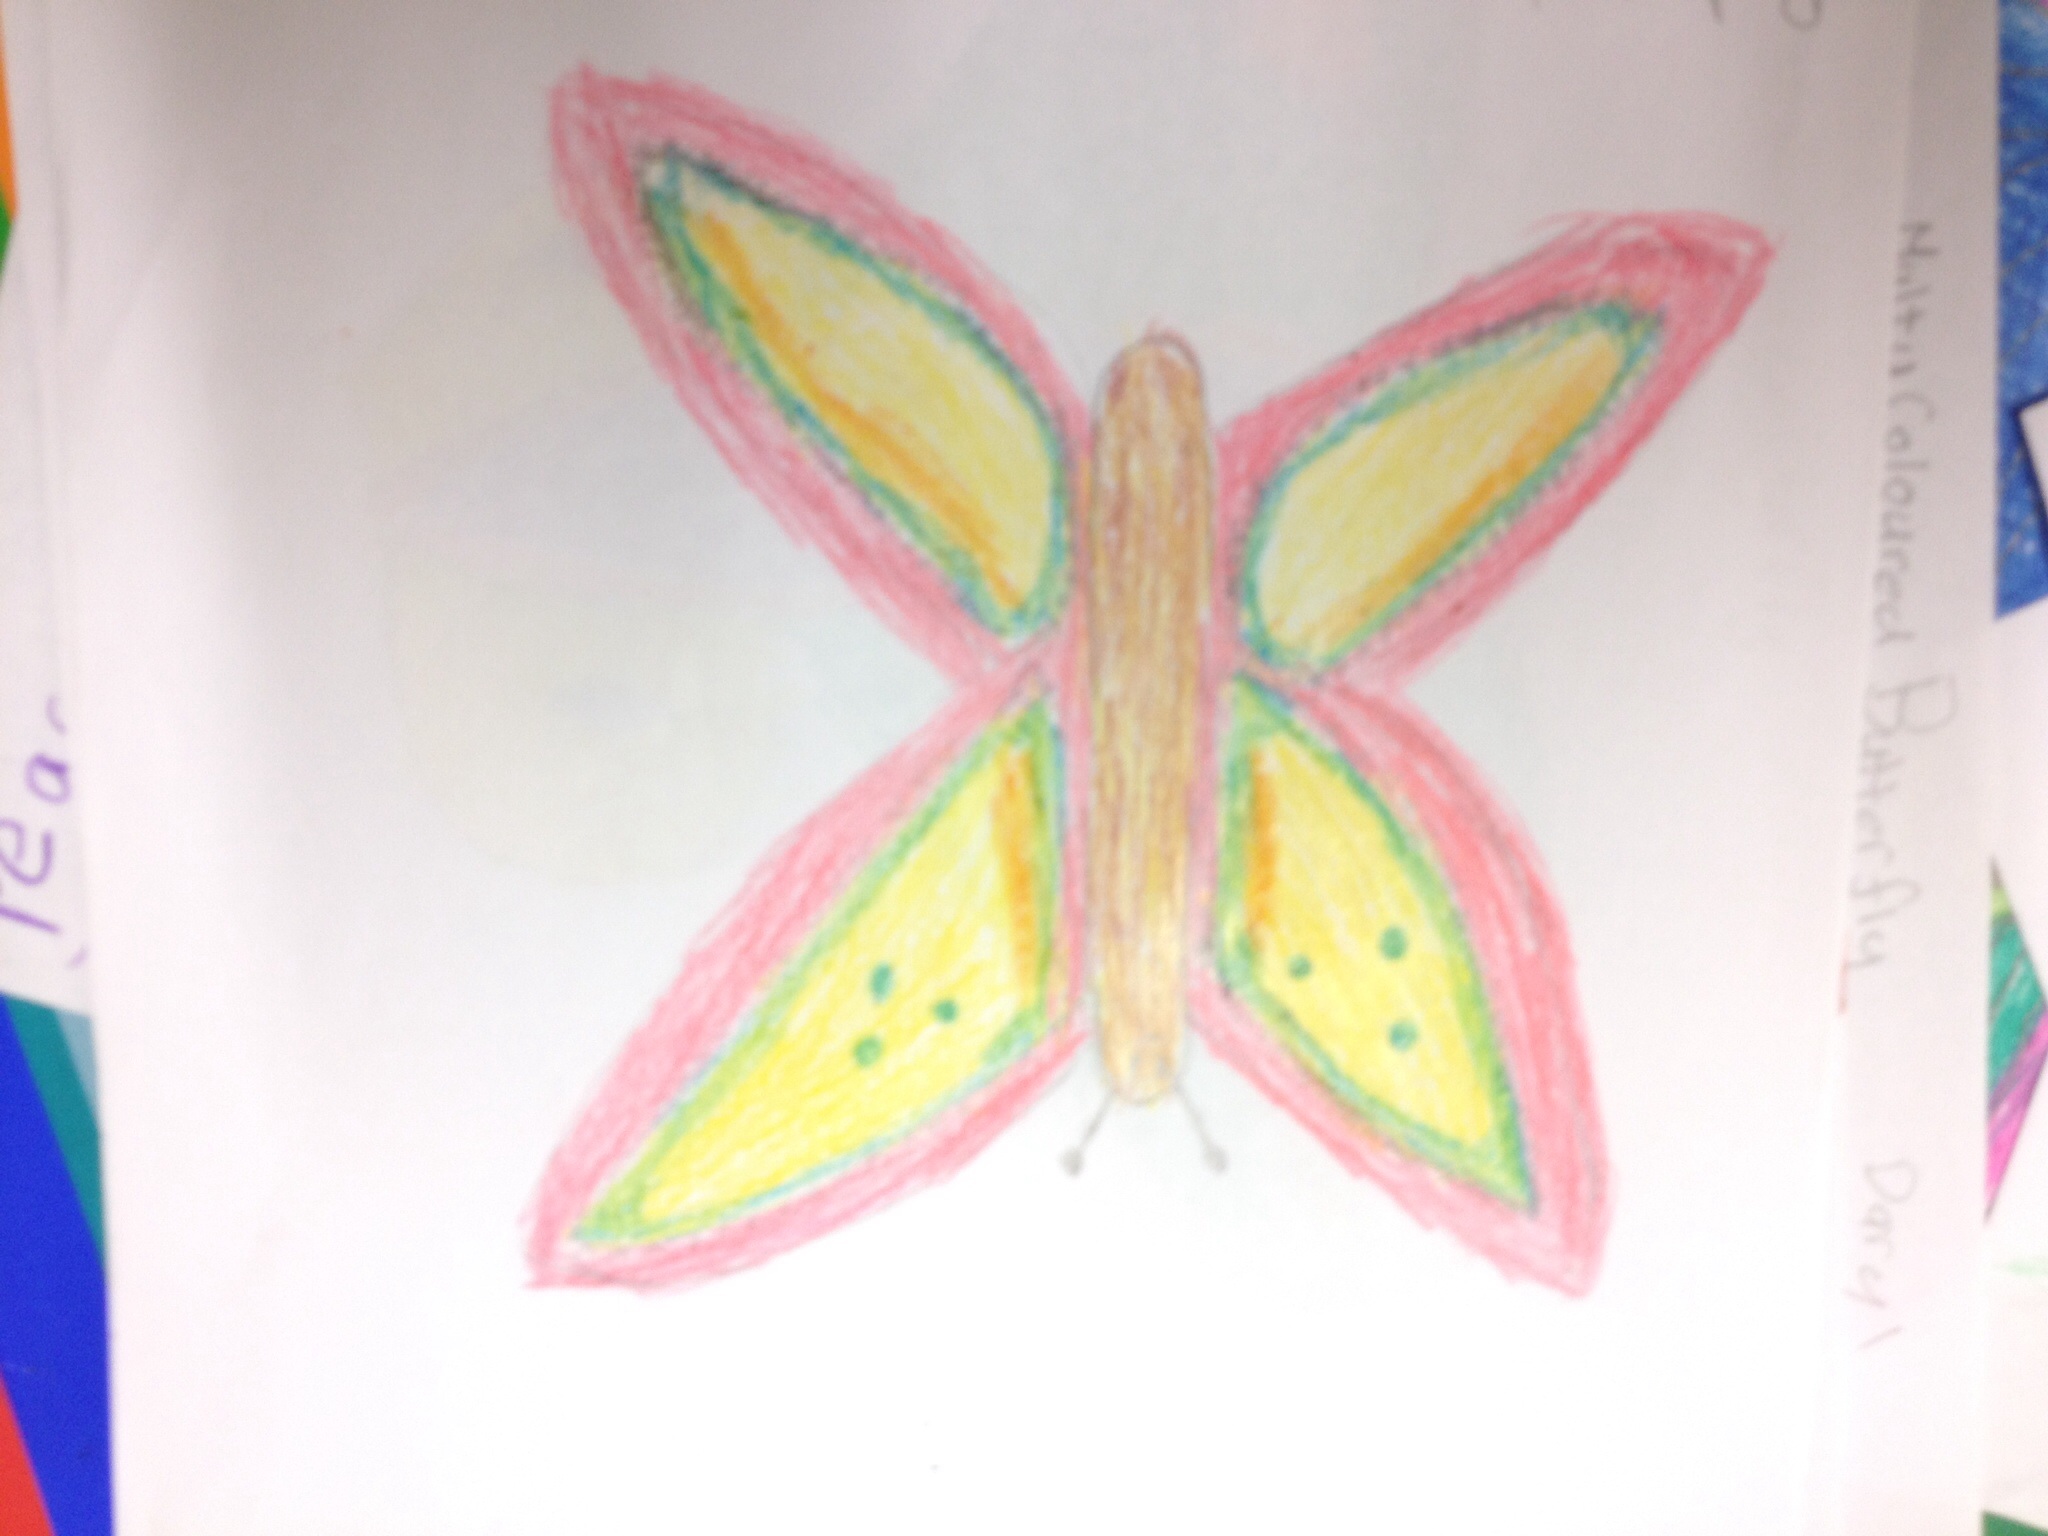
With this visual experience behind them the children then studied images of actual butterflies and drew a second butterfly this time a much more informed image was produced.
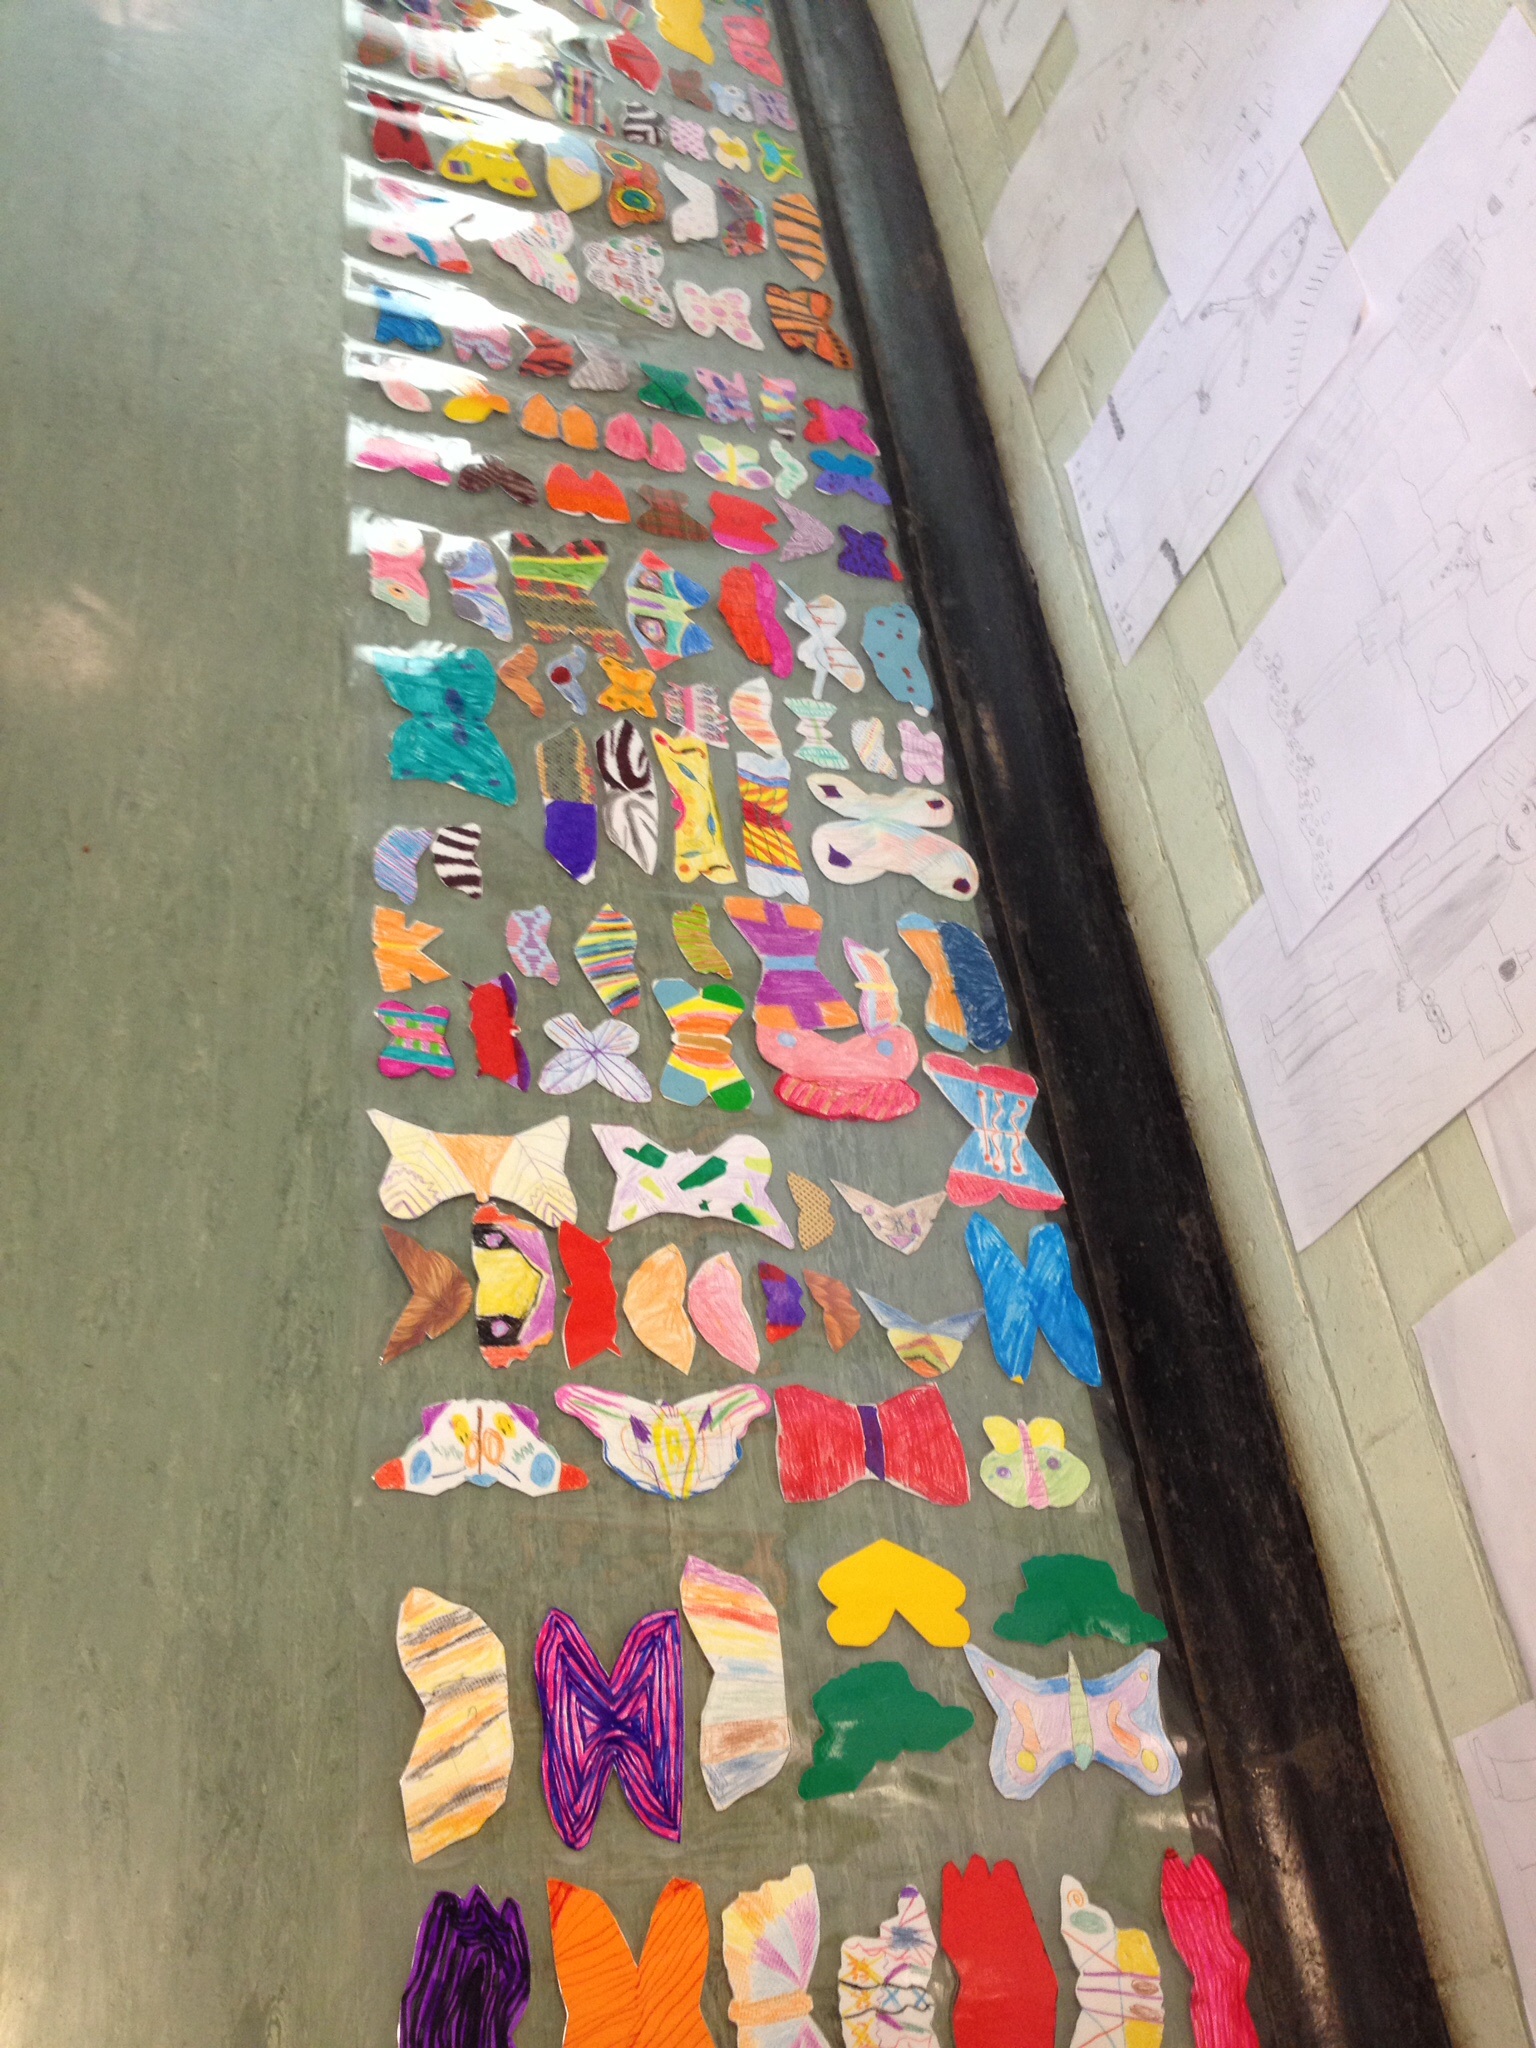
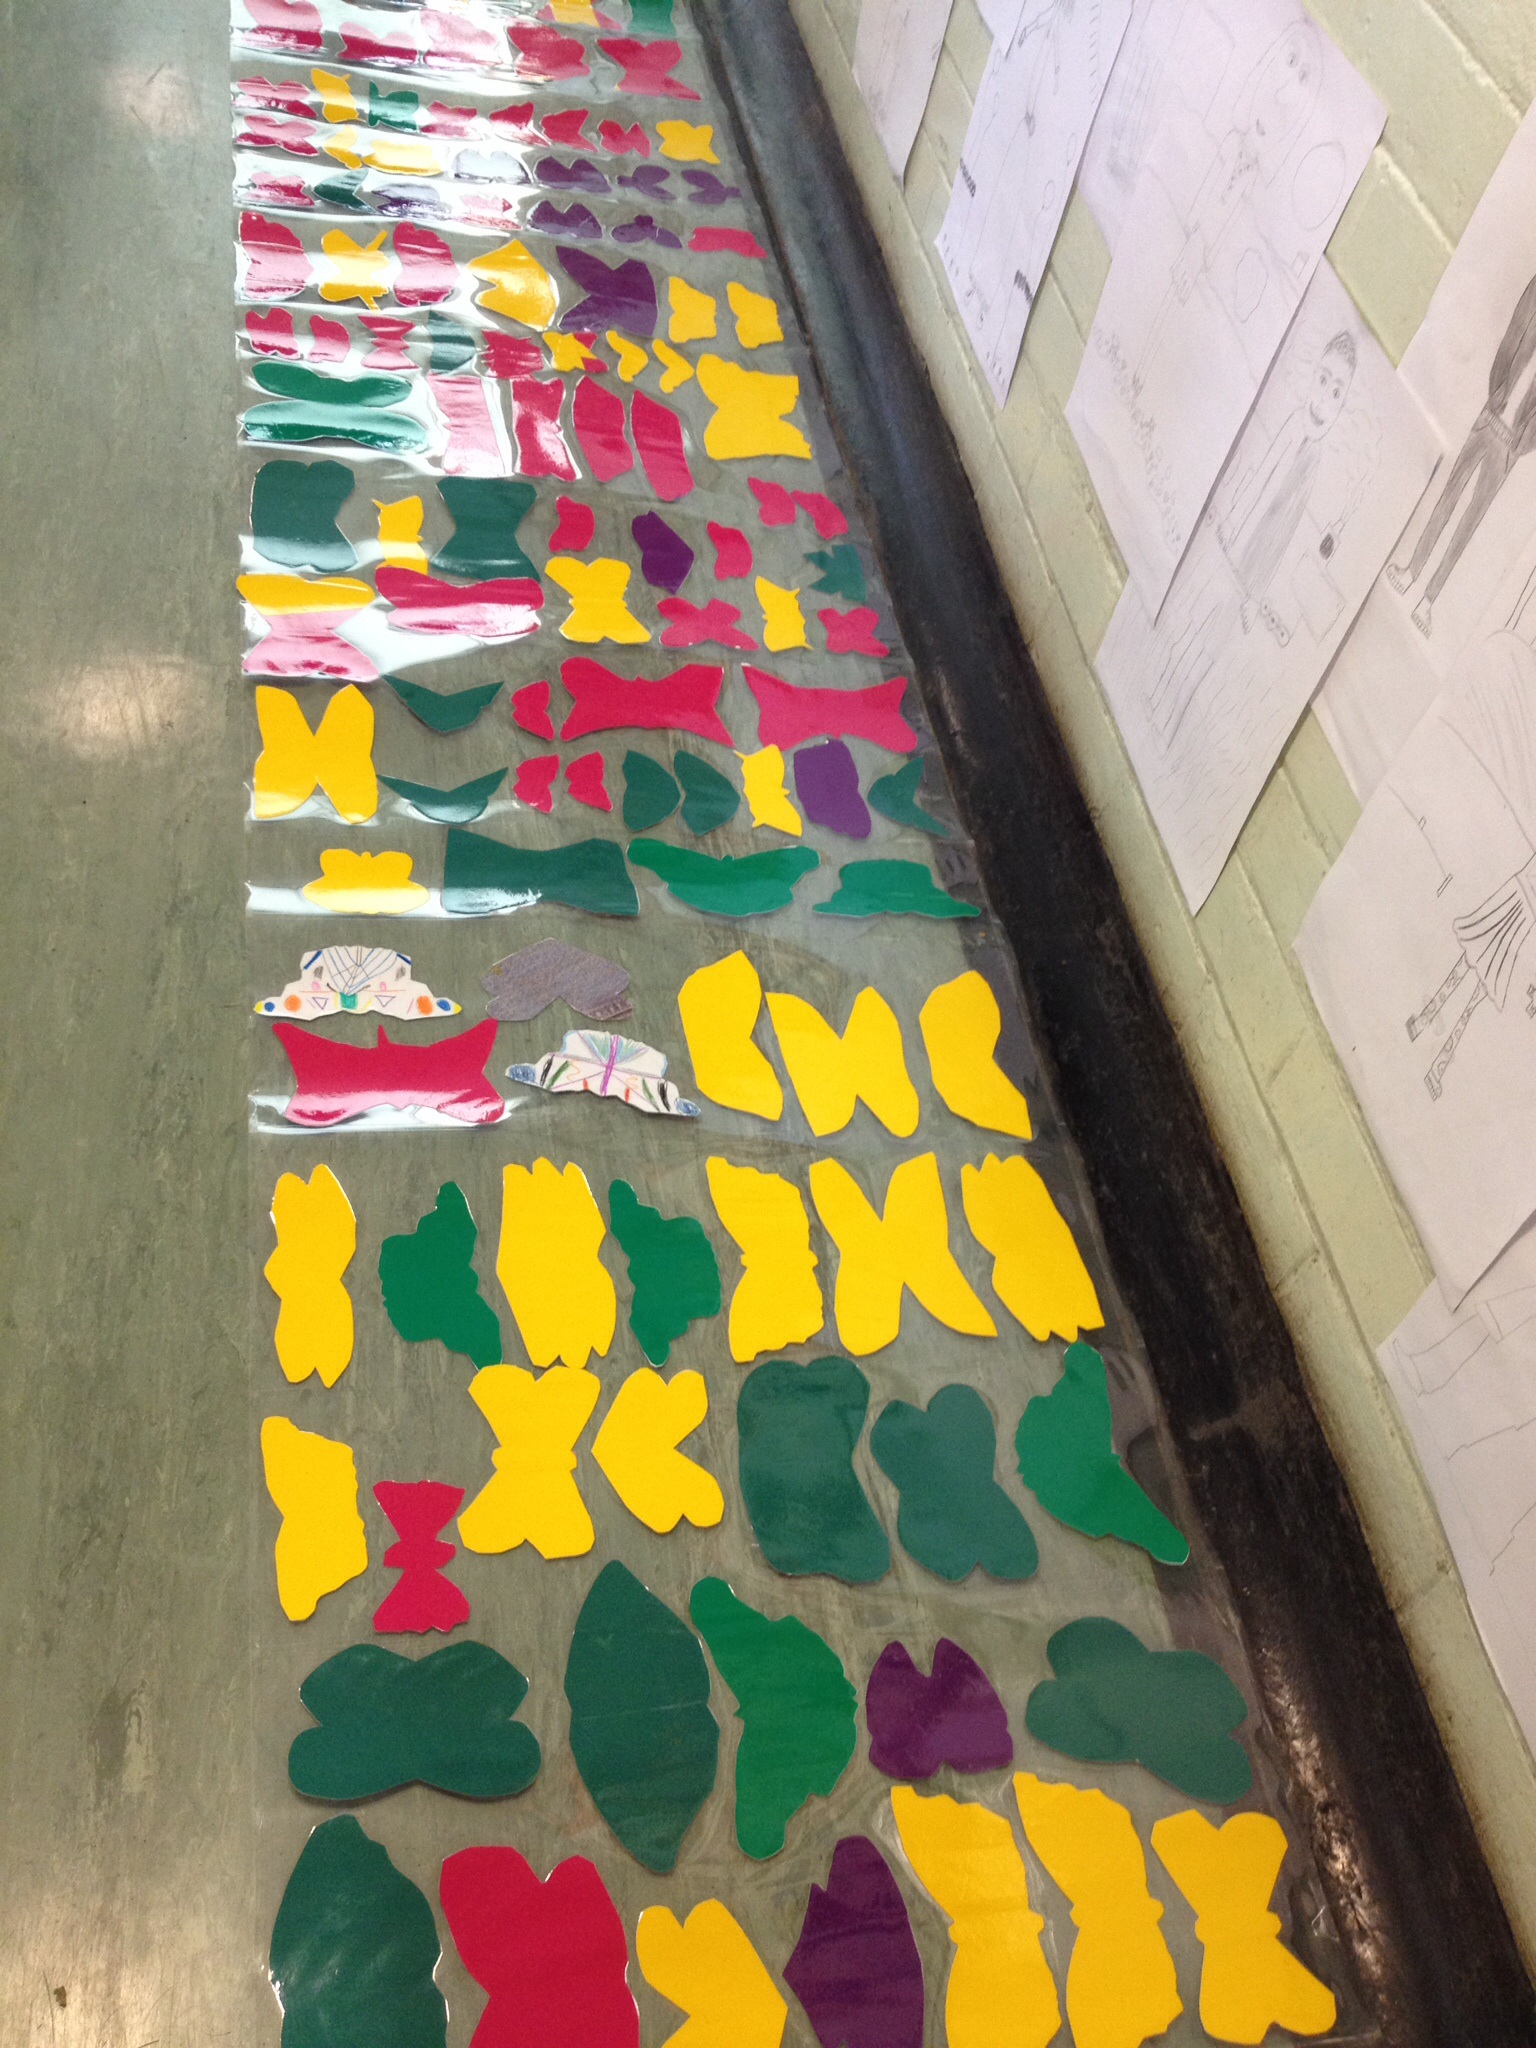
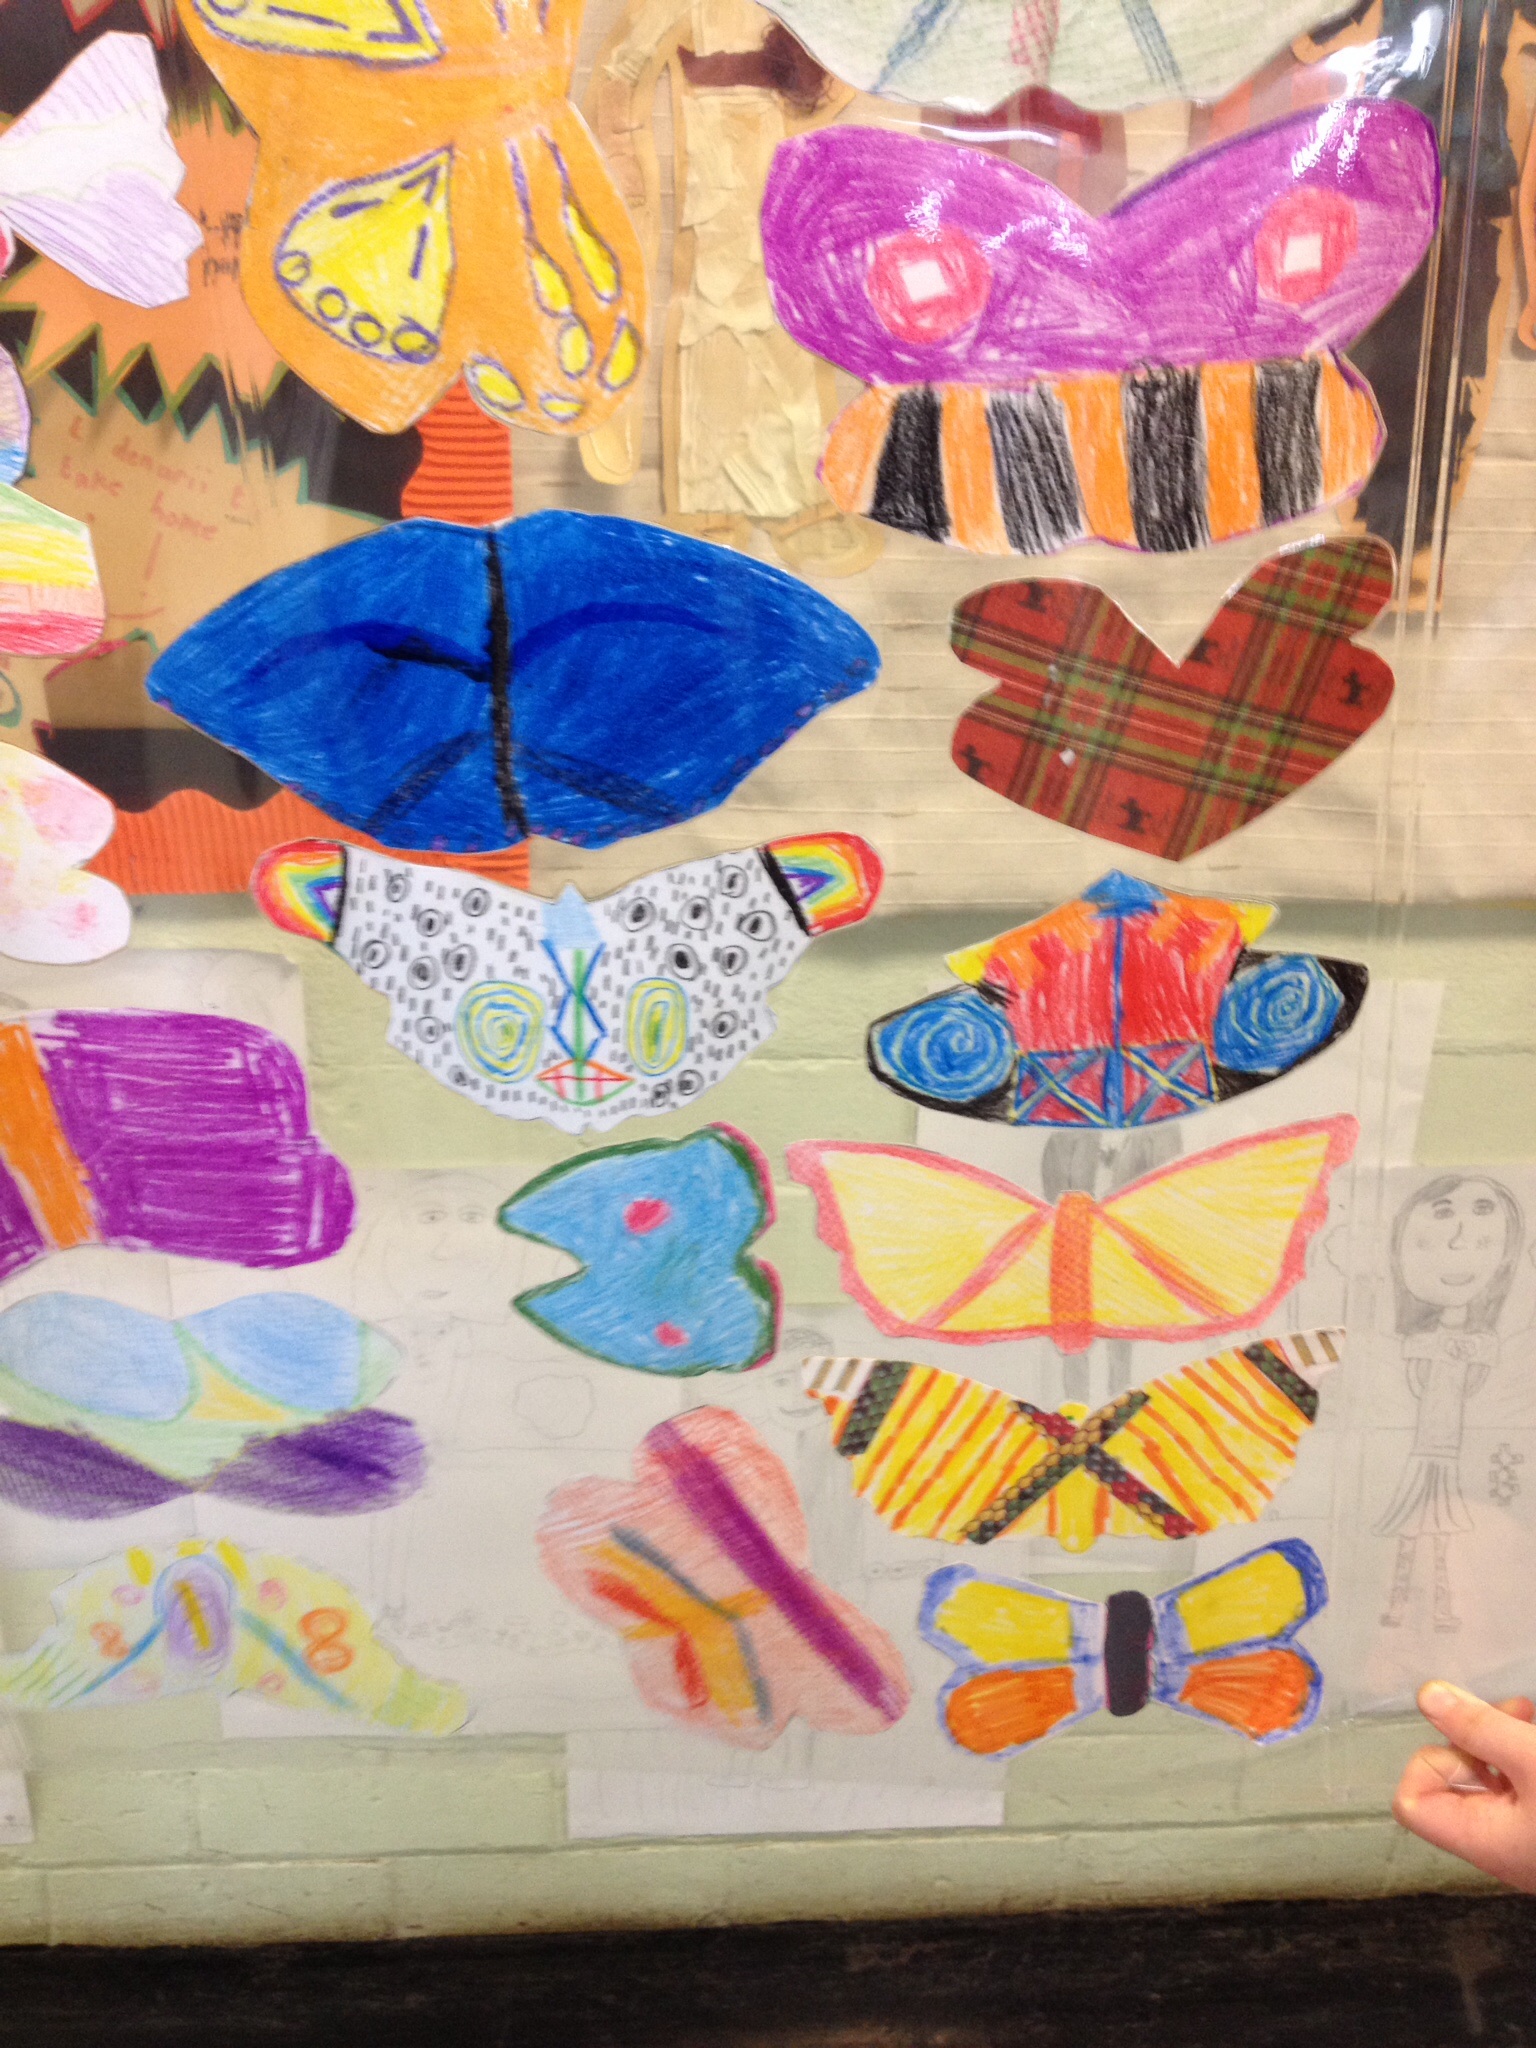
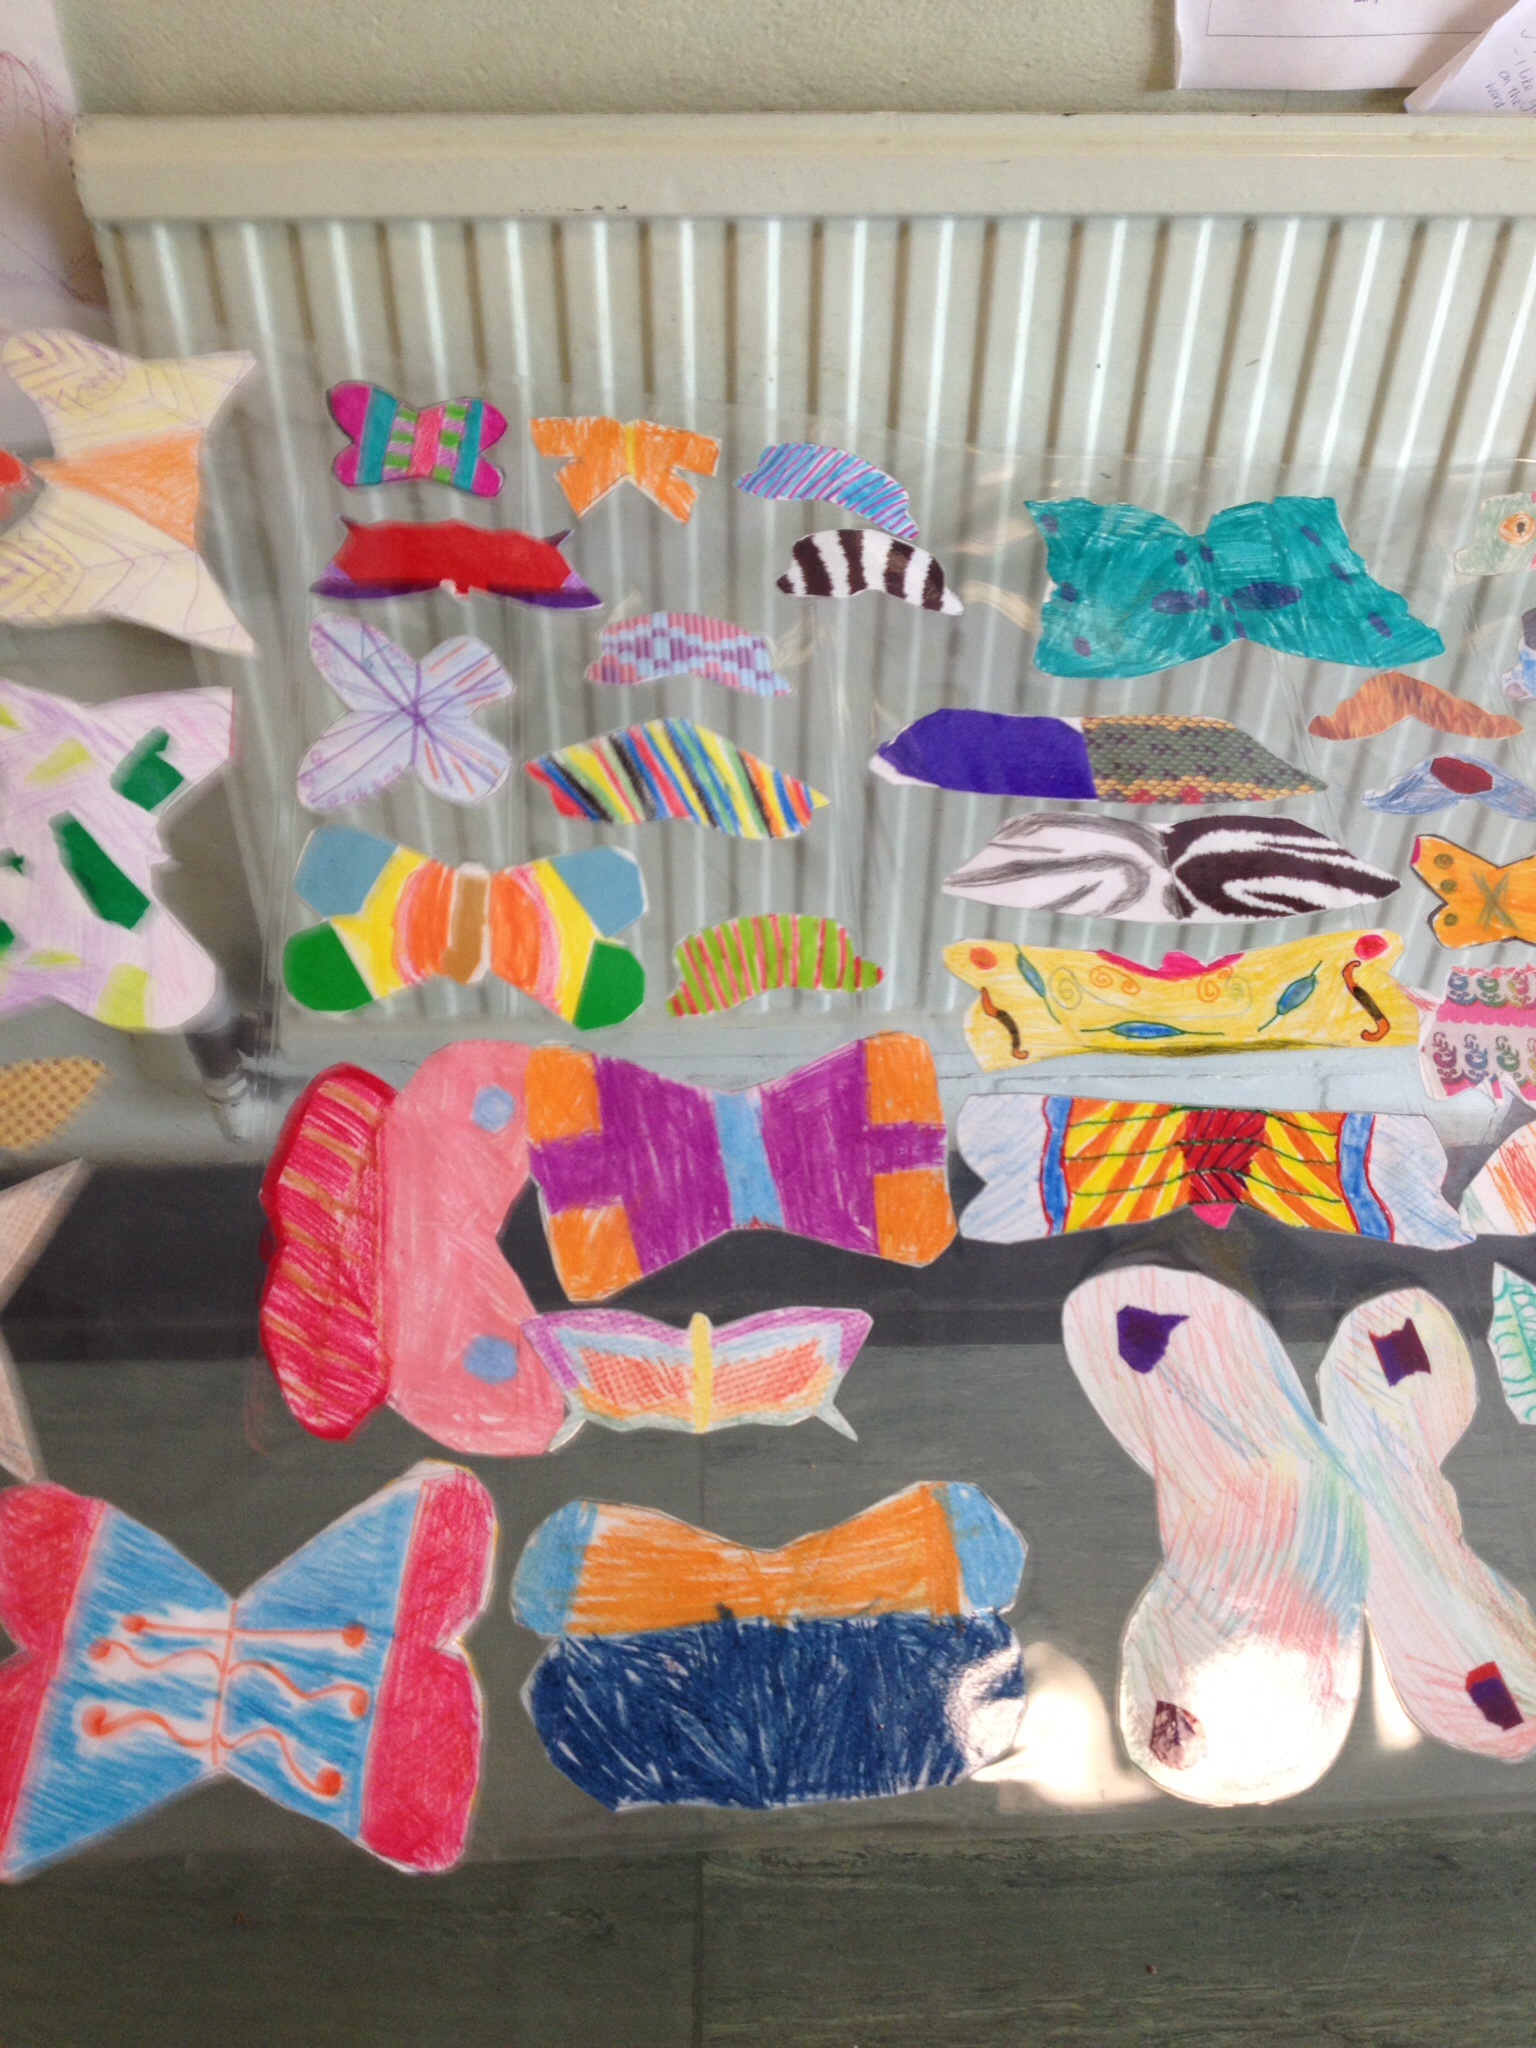
They created drawn stencils of their own in 3 different sizes and drew around these to make about ten butterflies which they then collaged and coloured .
These were then backed with sticky coloured paper and laminated.
These are going to be installed in different locations around school that. The children have selected.
Portraits
Andrew started this session by introducing the children to an artist called David Cushway who uses his own body as inspiration for his art, David Cushway explores the passage and effects of time through his art. Andrew explained to the children that they too would be using their bodies as a starting point to work from.
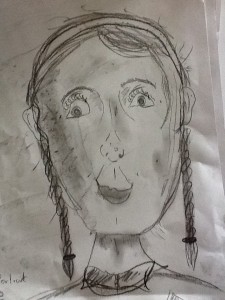
They started by looking carefully at themselves using a mirror, we discussed their faces and how each person has different shaped faces ,eyes, mouths, noses etc .We also talked a little about the proportions of their faces and how we could use some guide lines to help place the features.
So, using chunky graphite sticks the children drew their portraits. As you can see they were very successful!
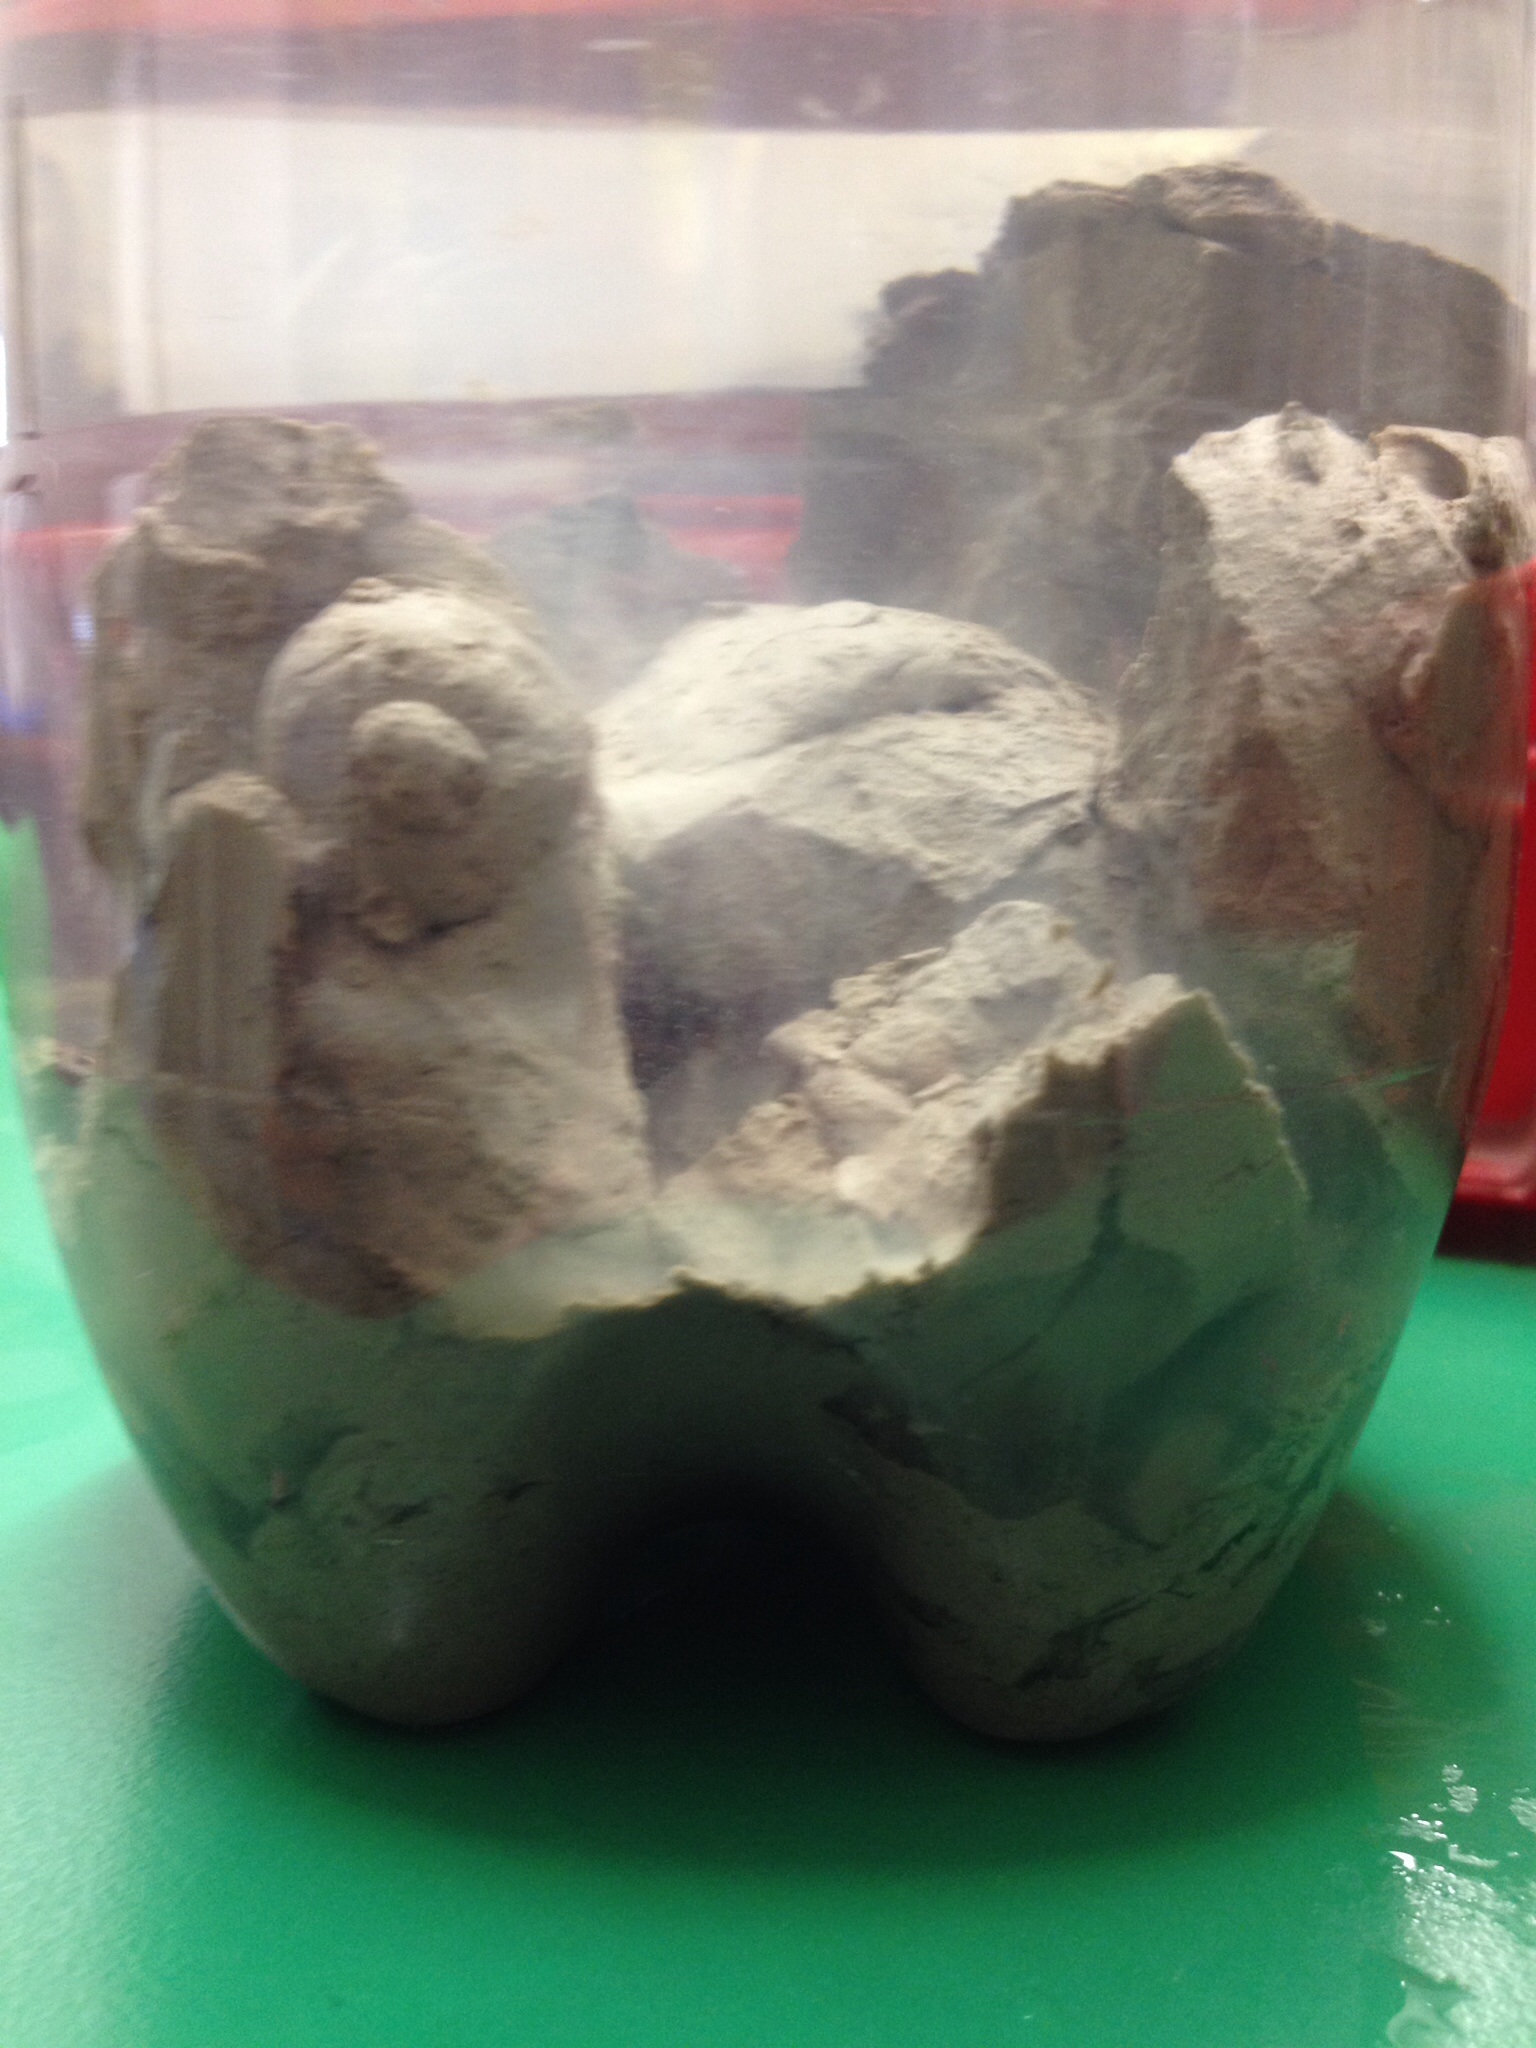
Once they had completed their portraits they then began to mould their heads from clay . Andrew encouraged the children to remember that they were to include as much detail as they could as this was what made their portraits unique and individual.
The children worked diligently and produced super clay heads which were full of character and individuality.They had to ensure that the heads were hollowed out.
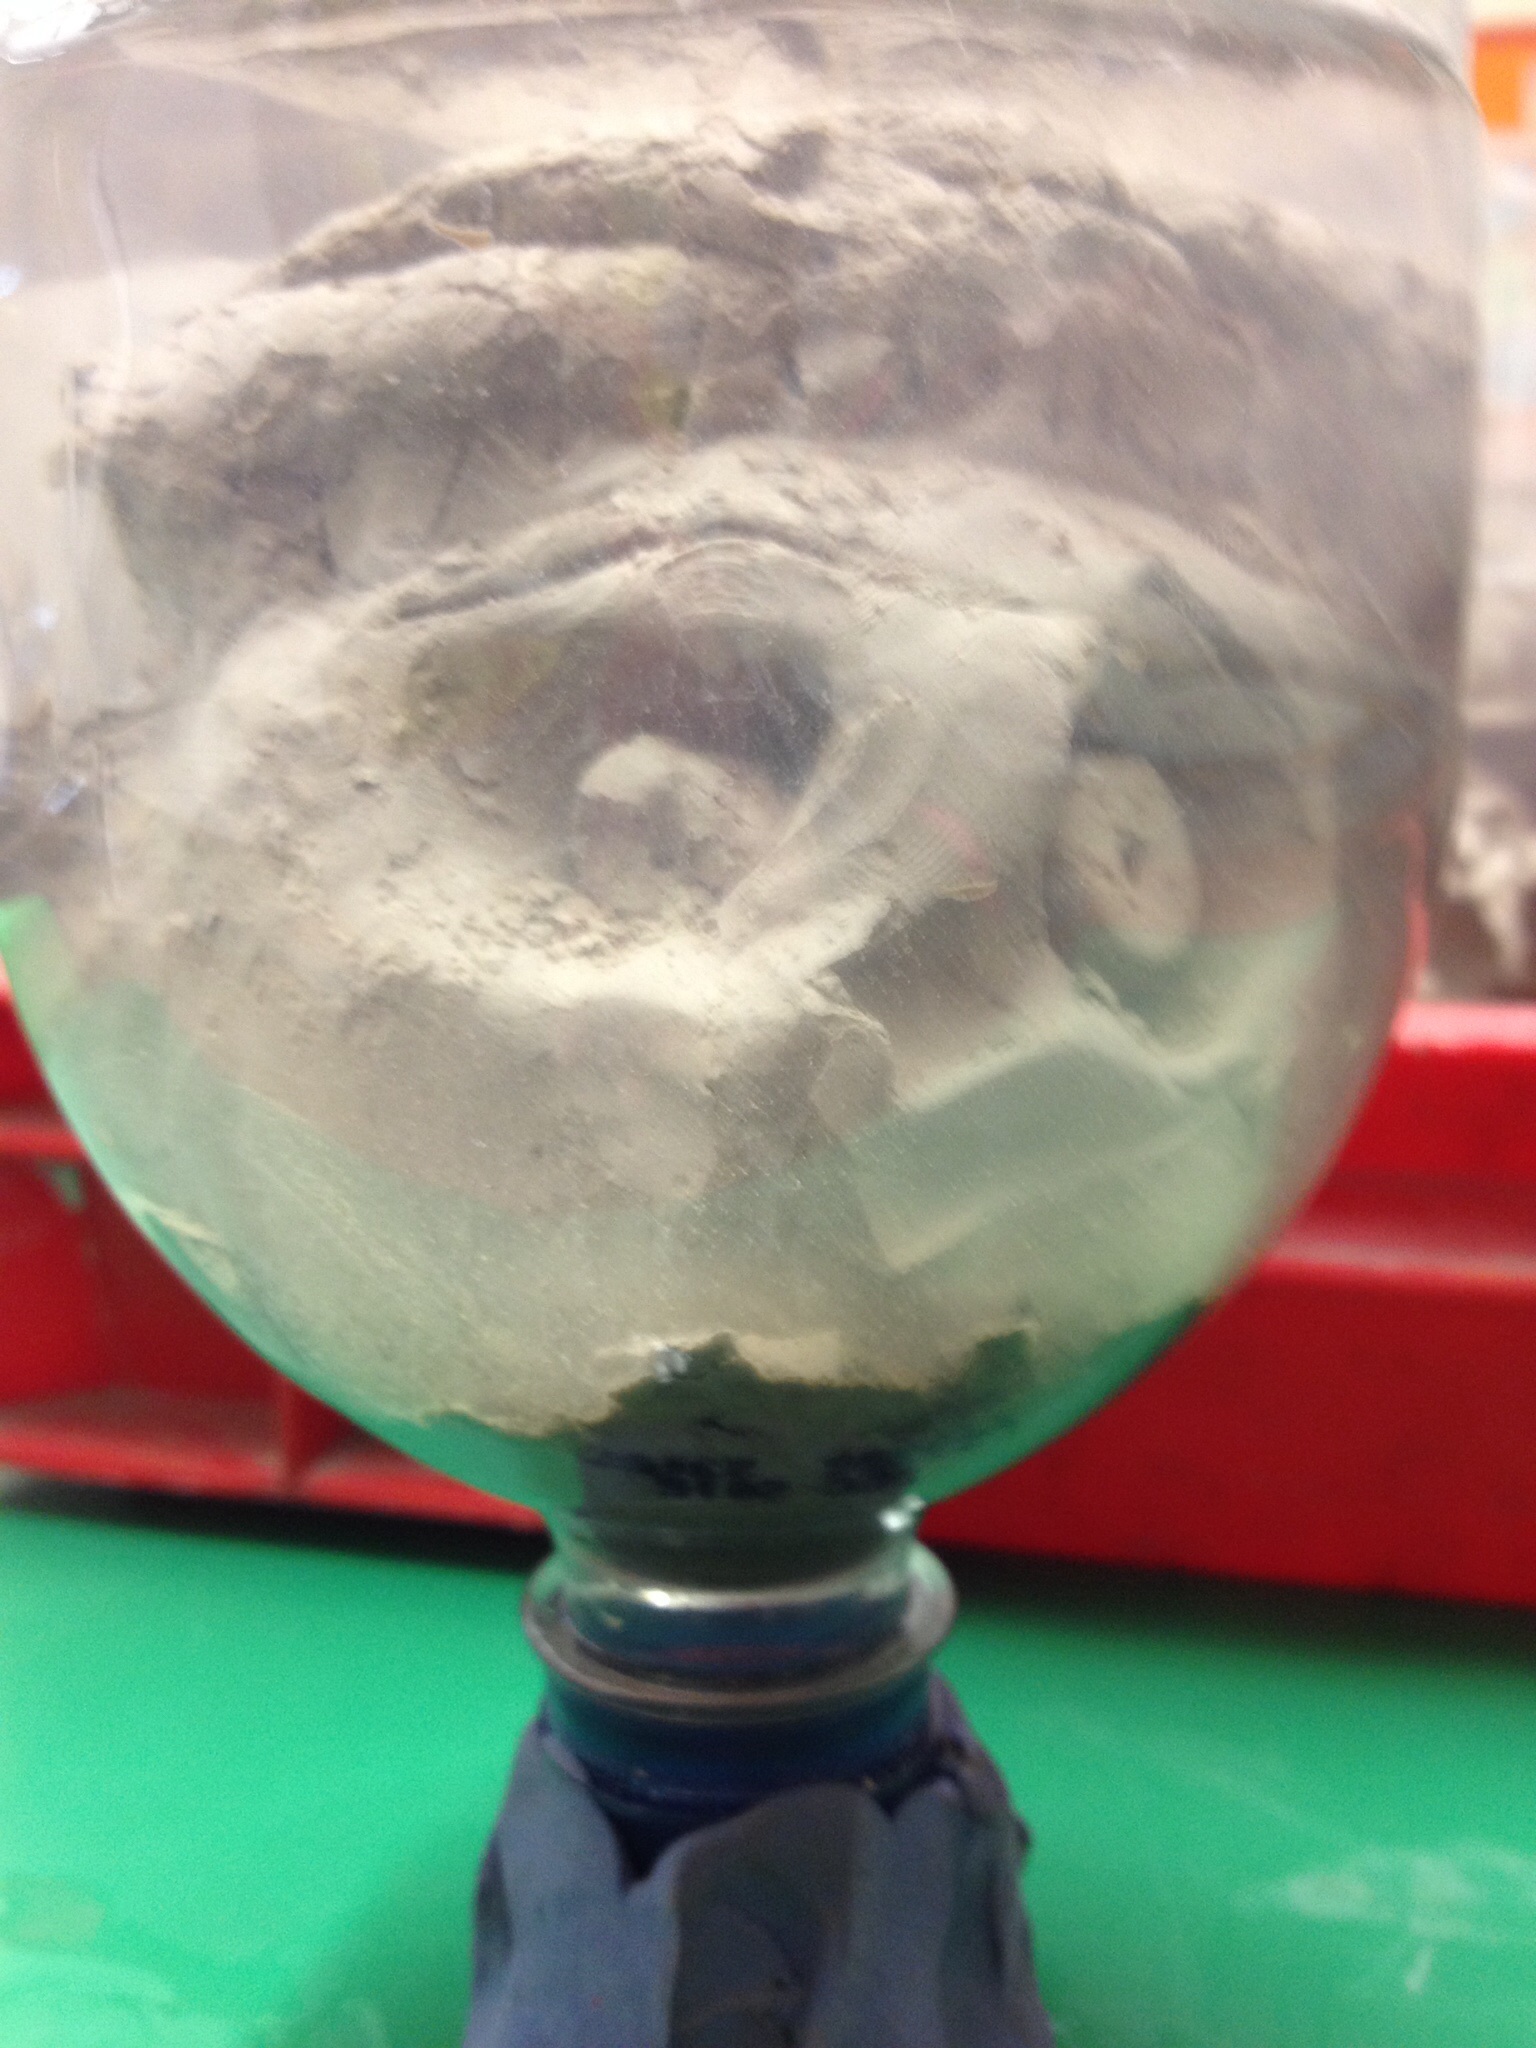
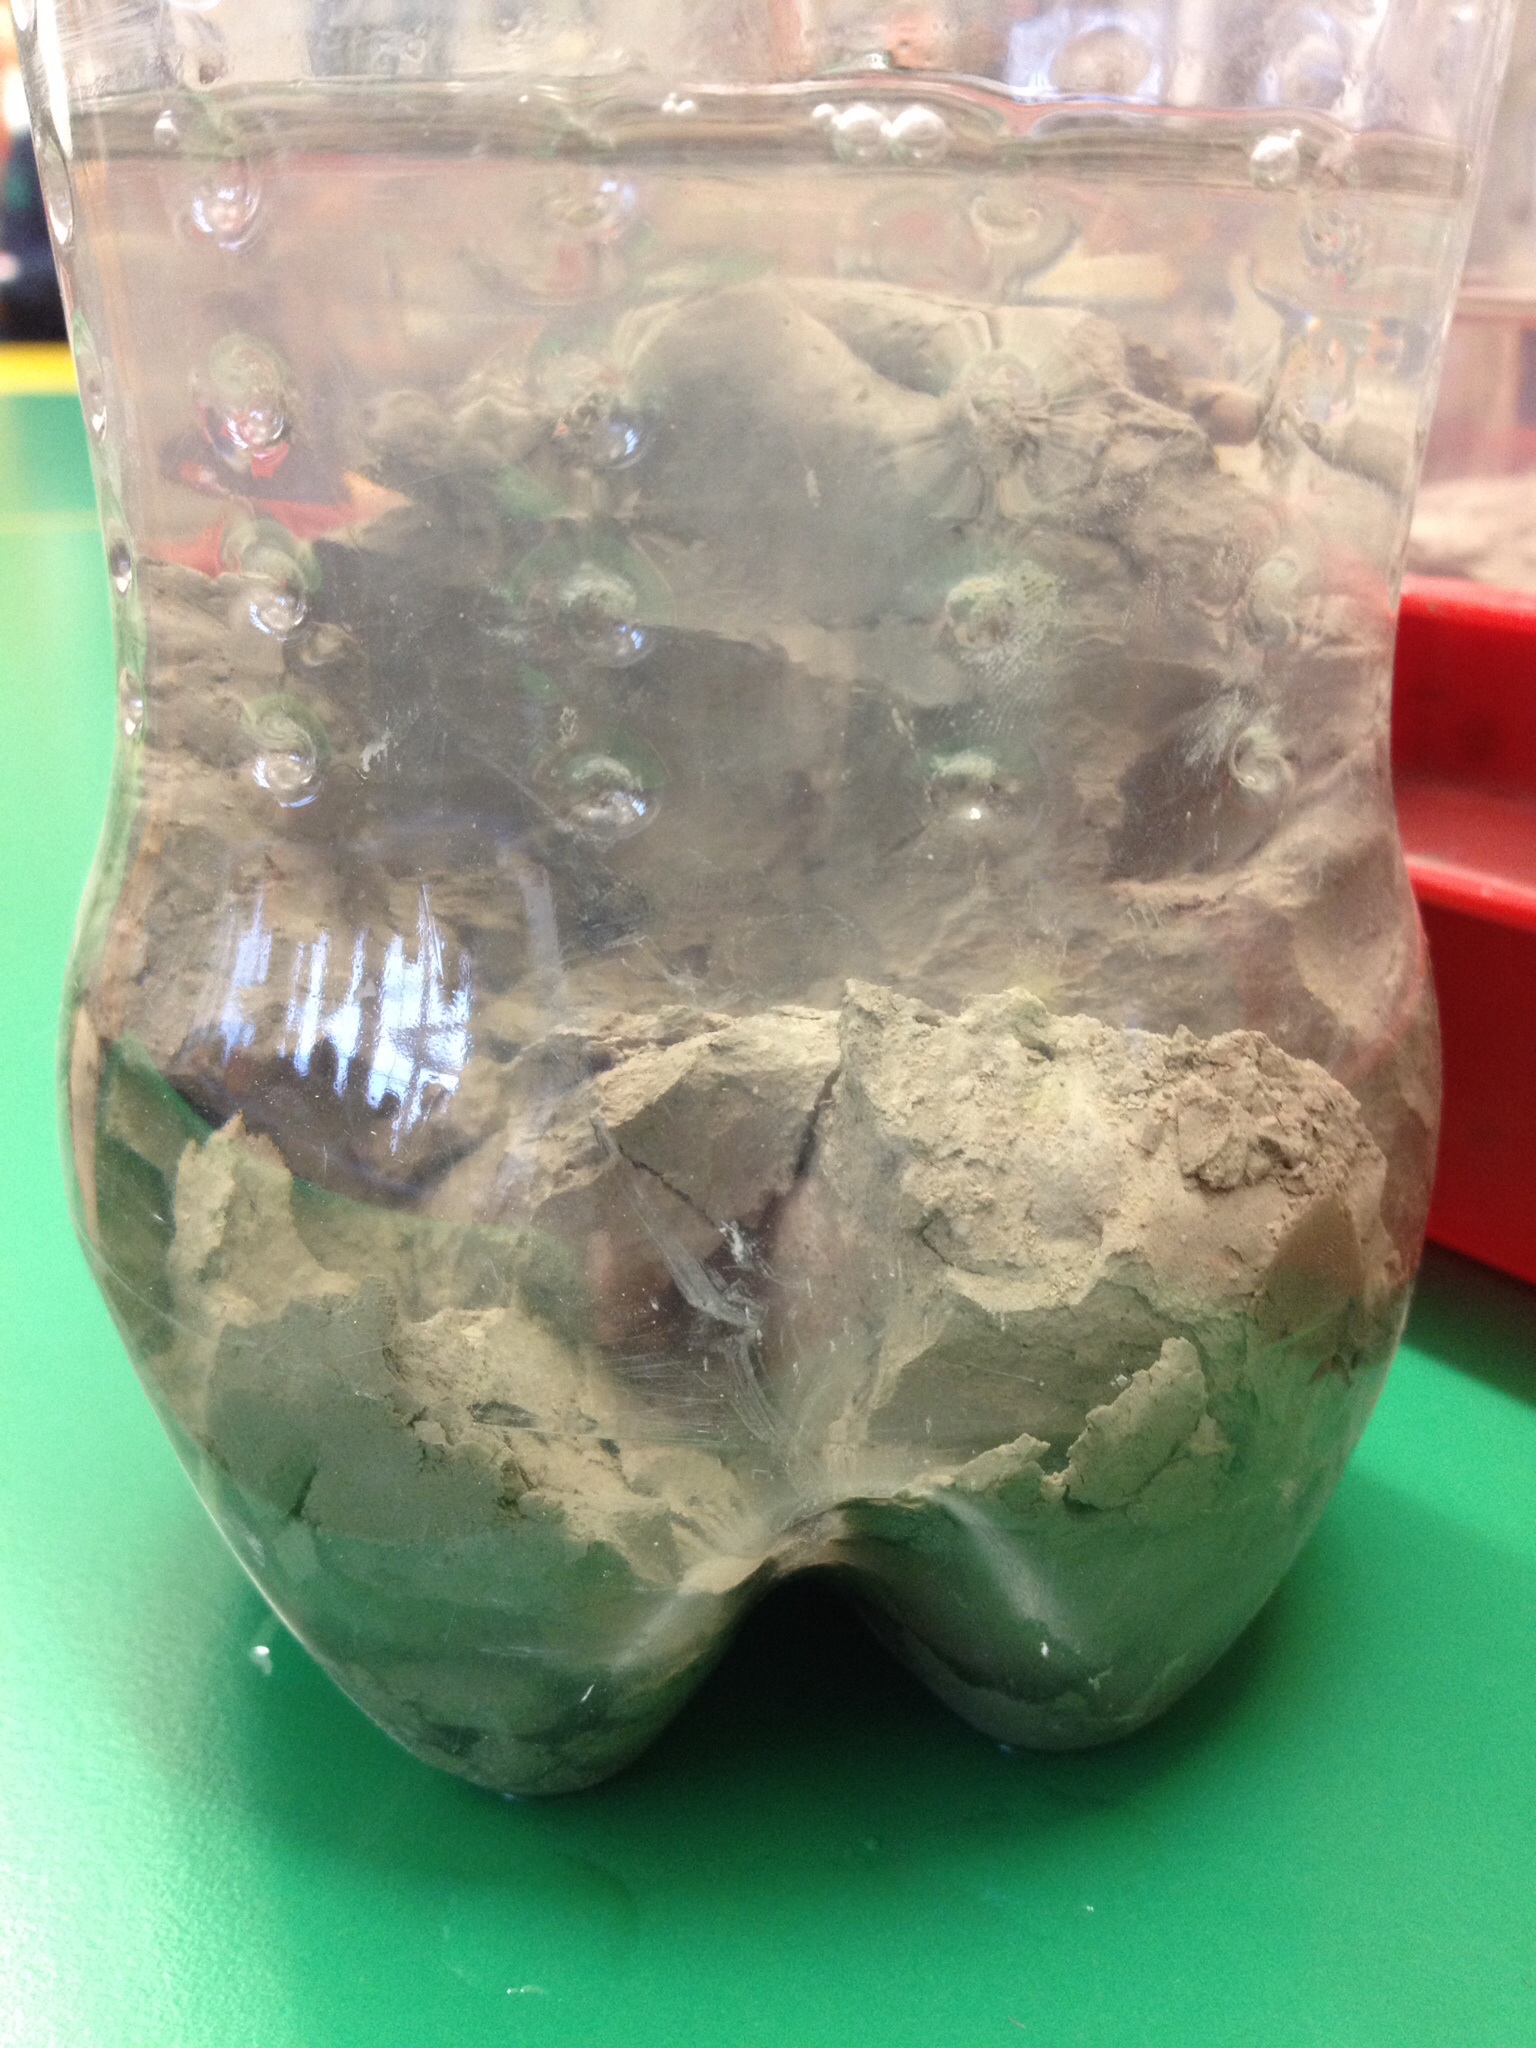
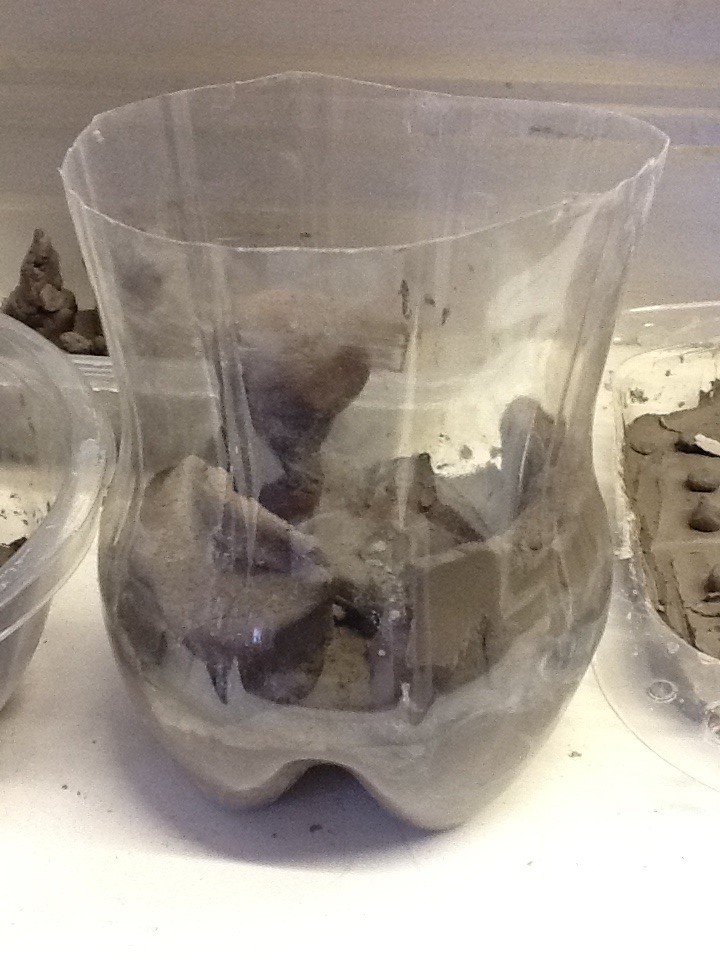
Andrew explained that they were to watch the effects of water and time on the heads, to do this they were going to be submerged inside plastic bottles.
All the children placed the heads into the plastic bottles and then filled them up with water to completely submerge them.
Great fun!
The children will document the changes to their heads (which Andrew says should be quite dramatic!)
I was really looking forward to this session the idea of changing the form of the clay and recording it through drawing was intriguing.
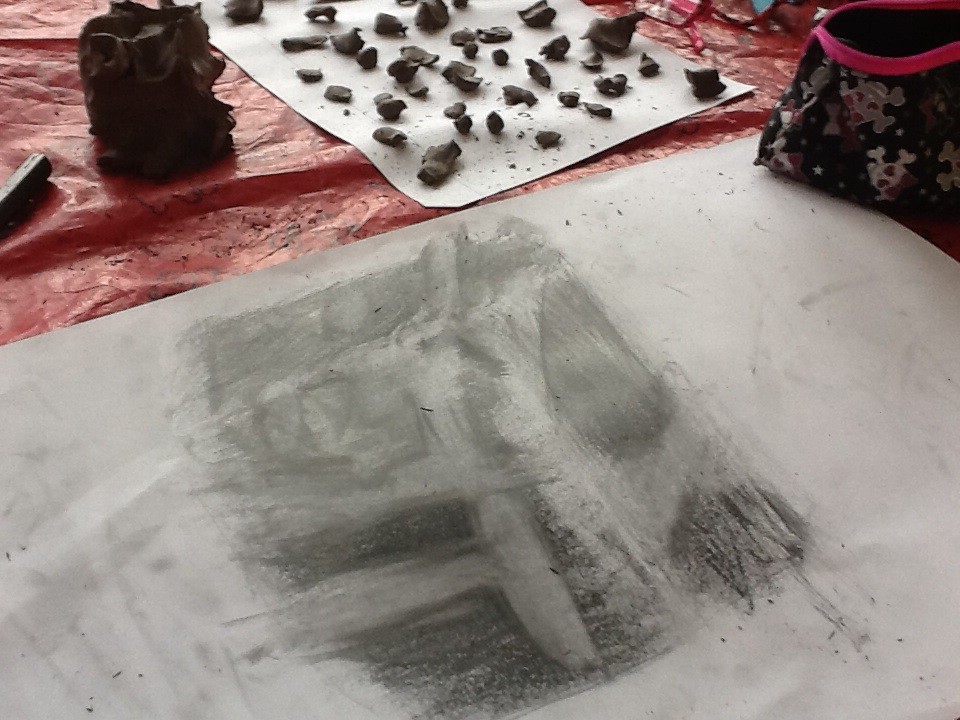
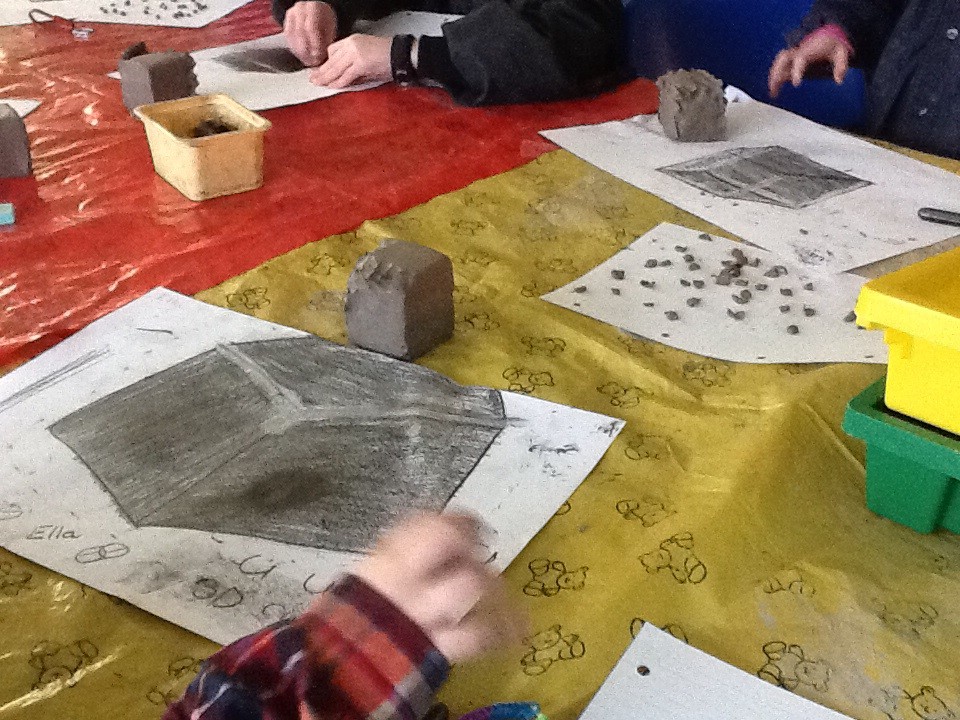
The children started with a cube of clay which they were to draw.
We discussed with Andrew how to draw the form of a cube from different viewpoints the children were very successful and managed to draw excellent cubes.
This was also an opportune moment to revise the properties of 3D shape ‘ a teachable moment’ !
The children then had to gradually diminish the cube pinch by pinch and rub out the corresponding piece on the drawing. This was a really absorbing task and the children were totally engaged.
Once completed they were left with a rubbed out drawing and lots of pieces from the now demolished cube.
Andrew then explained that the ‘transmogrification’ required the clay to be formed into a completely different shape.So they bit by bit rejoined the clay drawing each stage of the process until the clay formed a sphere.
The resulting drawings had a variety of tones and textures, each child’s drawings were individual and quite unique.
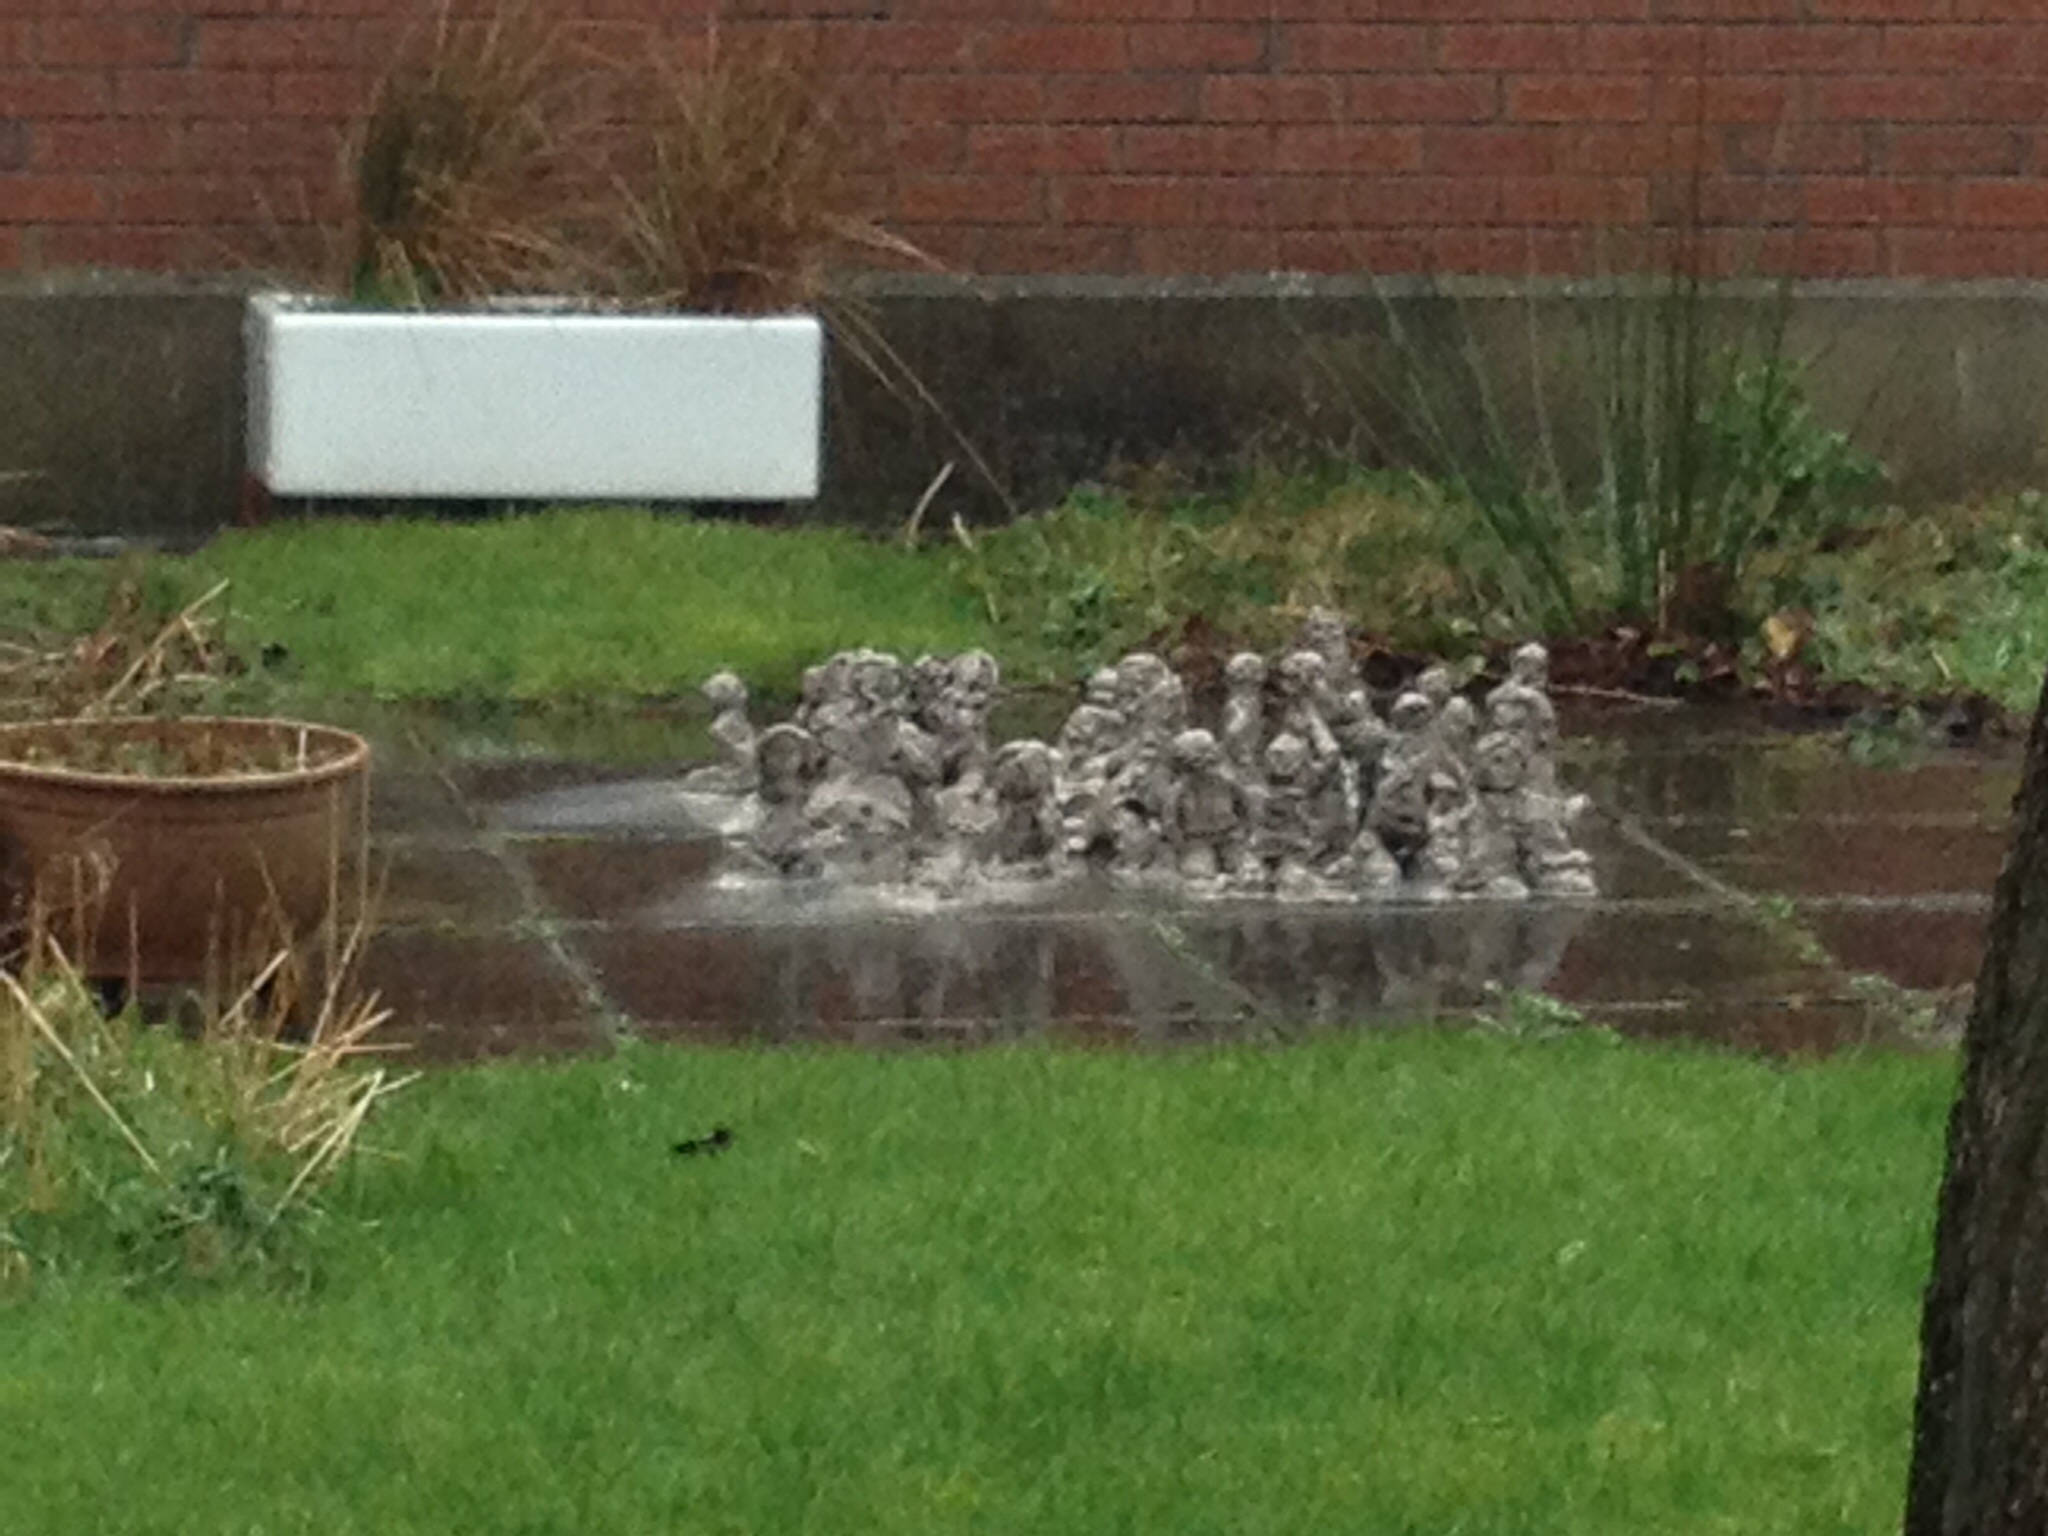
The figures from session two were dry and the children had to decide where and in what formation they wanted to arrange them. Prior to this discussion we had looked at Anthony Gormleys sculptures and also the terracotta warriors so the children had a good frame of reference to inform them.
The figures were placed in the internal gardens in school and the children placed the figures in their friendship groups. They will document the changes that take place over the coming weeks.
Session 2 started with a few communication problems , the school internet connection was down and we were expecting an engineer out to fix it so………problem…. How would we communicate with Andrew?
With some creative thinking we were able to pair my iphone with my ipad and then connect with Andrew , that worked for a bit …. And then we had to rely just on the face time on my iphone, this actually brought unexpected benefits I was able to use the camera to let Andrew see each child’s work from different angles.
And so to work… Andrew chatted with the children about the focus of the project Change and Duration , we talked about the meaning of the word duration and how we were going to explore the topic through our project .
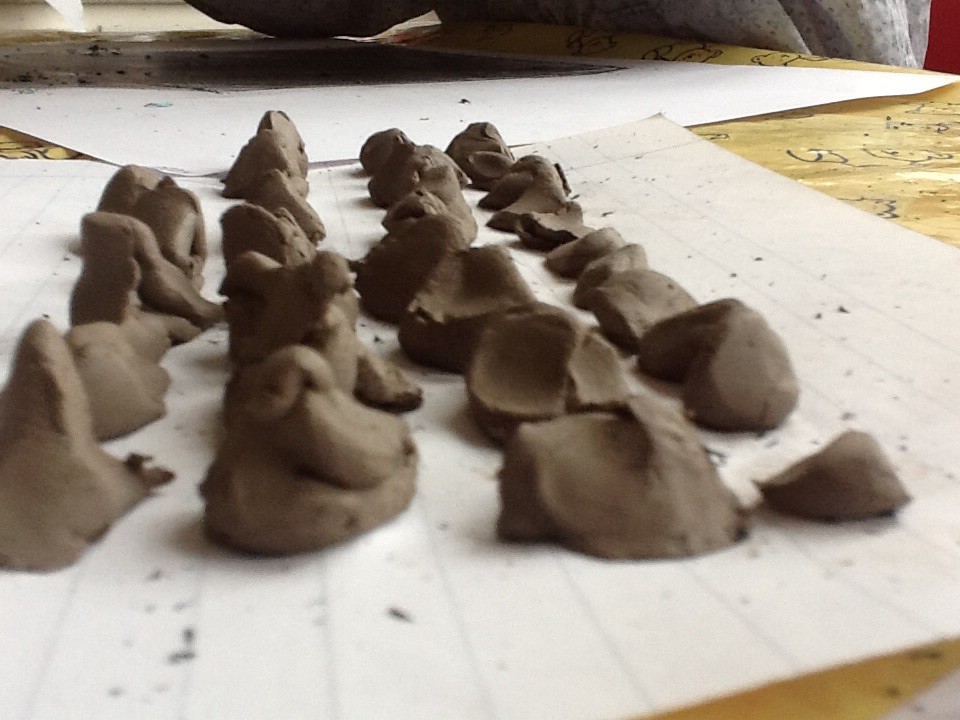
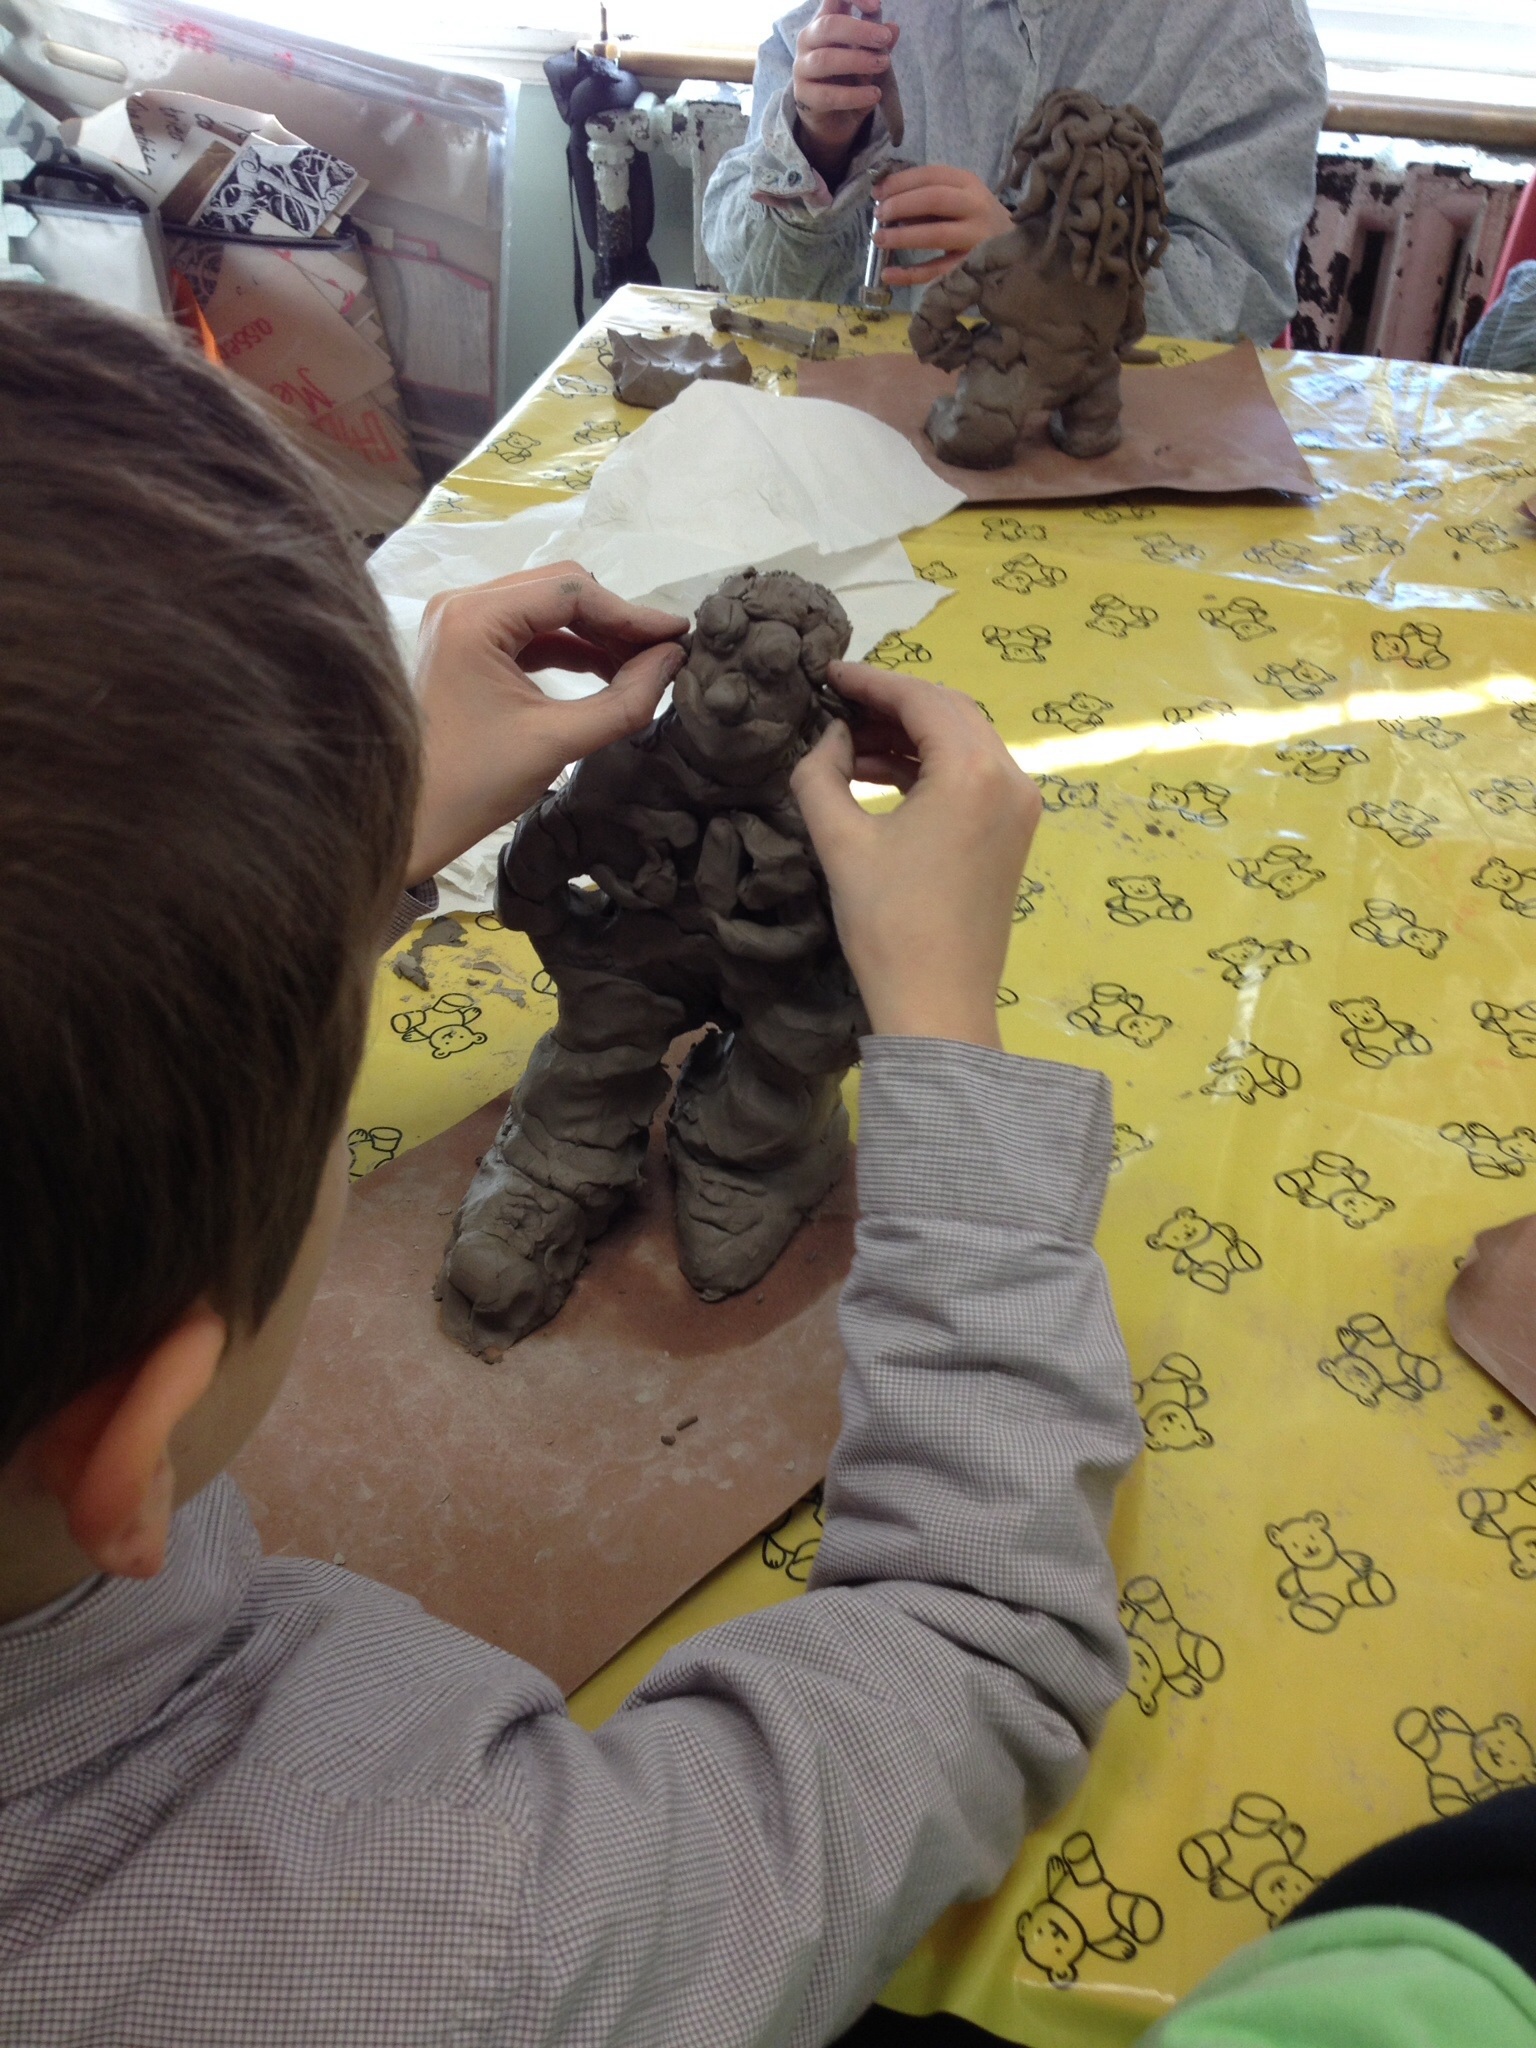
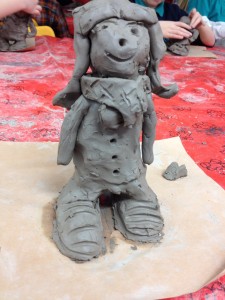
The children started this session with the challenge of making sculptures of themselves with clay. Though they have all had experience of working with clay,they had to tackle lots of different technical problems. Their figures had to stand so a firm base was needed,they had to think of the weight distribution of the figure and the strength of the limbs.As these were portraits they had to include details such as their facial features , hair, details on their clothing and shoes.it was interesting to see how they overcame these challenges to produce their sculptures.
As the focus is change and duration the sculptures are going to be placed outside and the children will document the changes over the duration of the project.
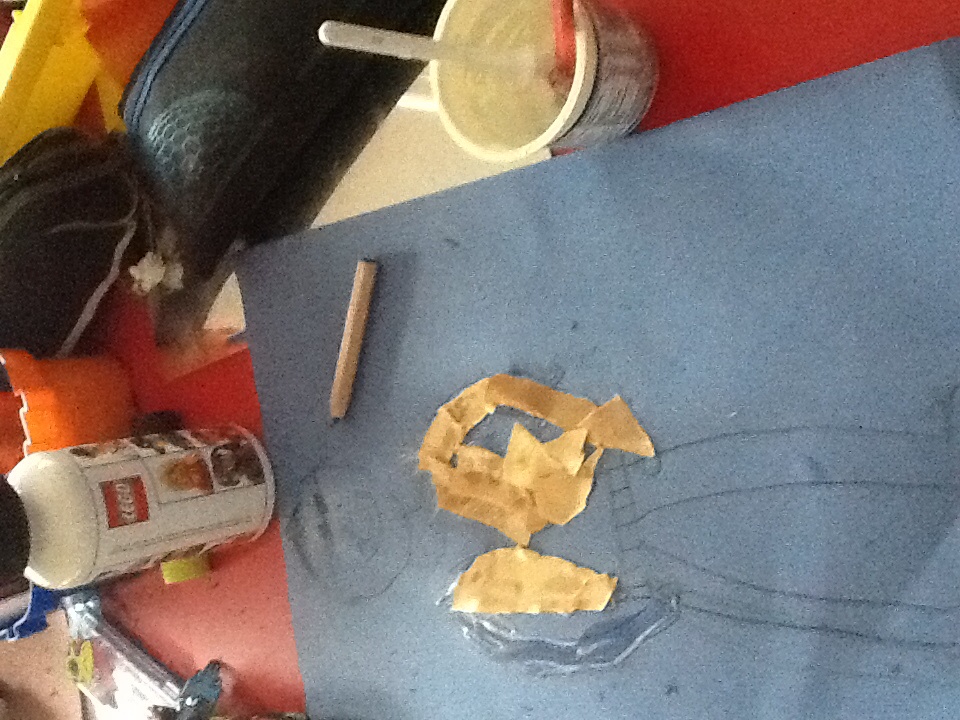
Working from photographsCollaged figurePencil drawing
Friday 24th January
Here we go again ! Virtually There started, with a new class and a different focus. In our planning Andrew and I decided that we would look at time and it’s effects on materials. ‘Change and Duration’
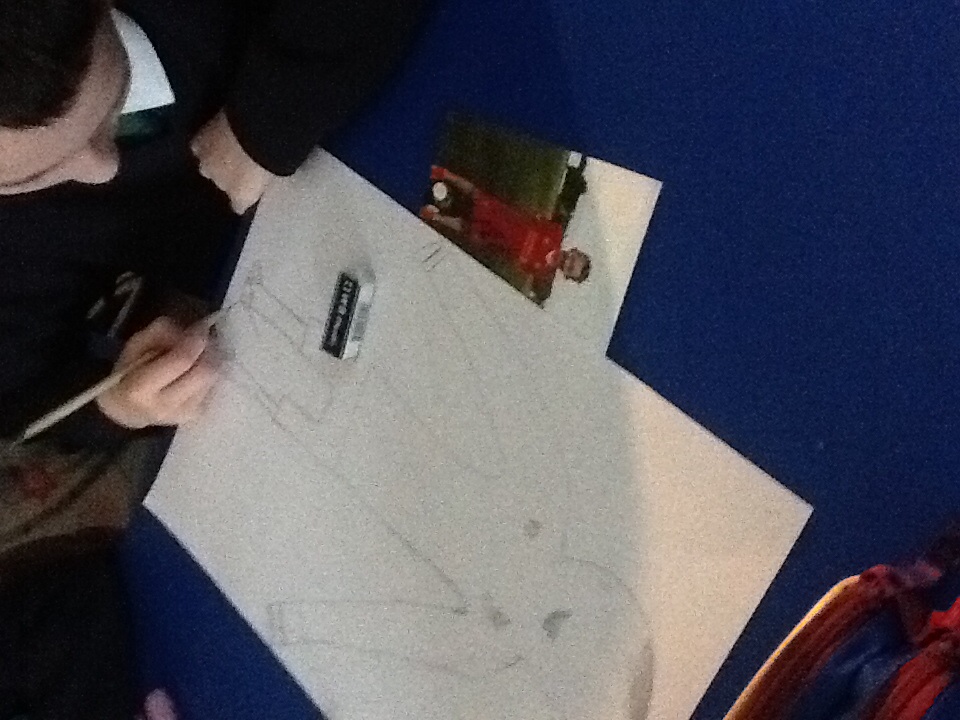
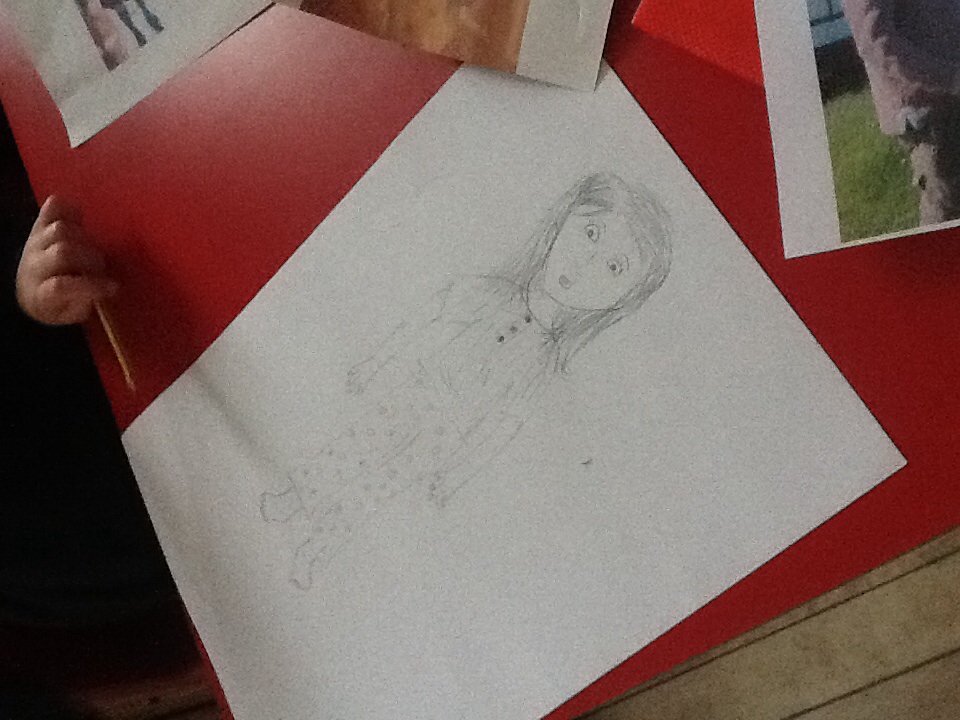
We started with Andrew introducing himself to the children and explaining where he was from . We then started immediately into work the children drew self portraits, they had mirrors and also some had brought in photos of themselves to work from.
Once these were under way the children were keen to share their work with Andrew and a queue soon formed at the computer.
The children added details and some developed their drawings further by putting in backgrounds.
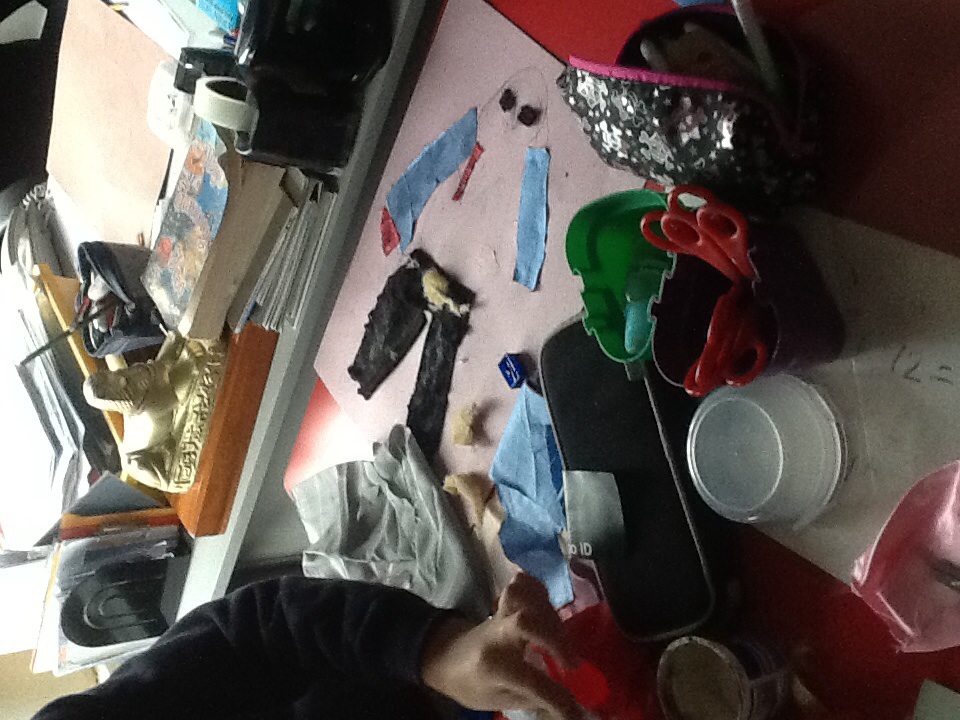
Next Andrew talked to the children about making their portraits using the technique of collaging using different fabrics and materials. The children drew their figures again and then began the process of collaging.
It was interesting to see how many skills were being developed in creating their work ,from selecting materials, measuring pieces to fit and even cutting fabric which proved challenging for some pupils.
The children were totally absorbed in the task and the resulting portrait collages are really lively and interesting.
Session5
Session 5
January 21st
This session started with Andrew showing us the progress on his house. This served as great encouragement to the children.
Some children were still drawing on the details onto the house , we had cats in windows , flowers in vases even the taps on the kitchen sink were included. The influence of Do Ho Suh was in evidence as his work includes an incredible amount of detail too.
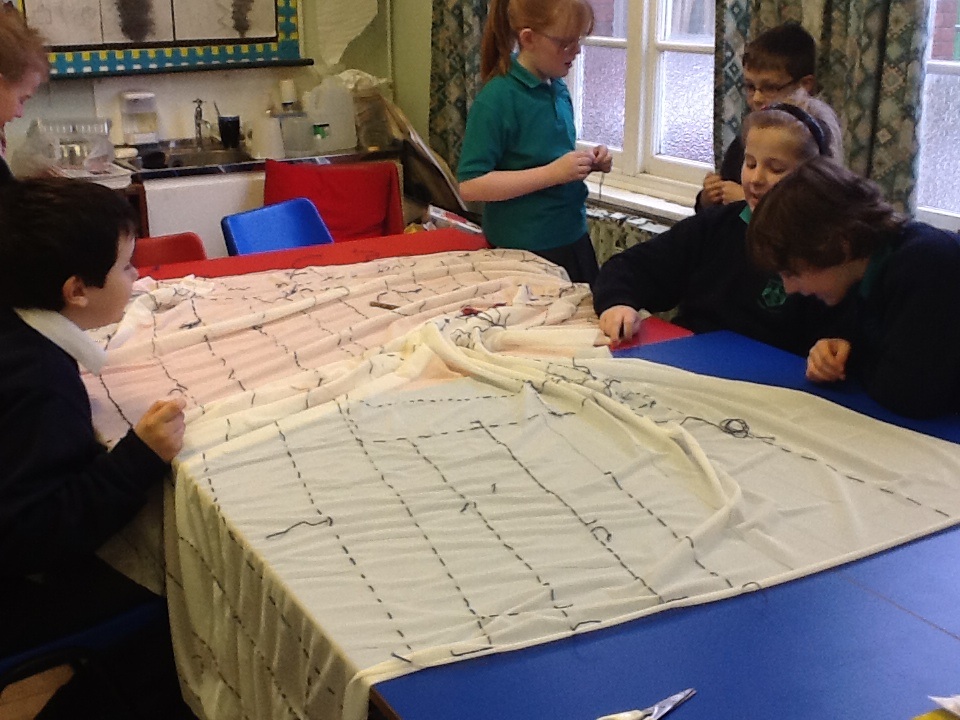
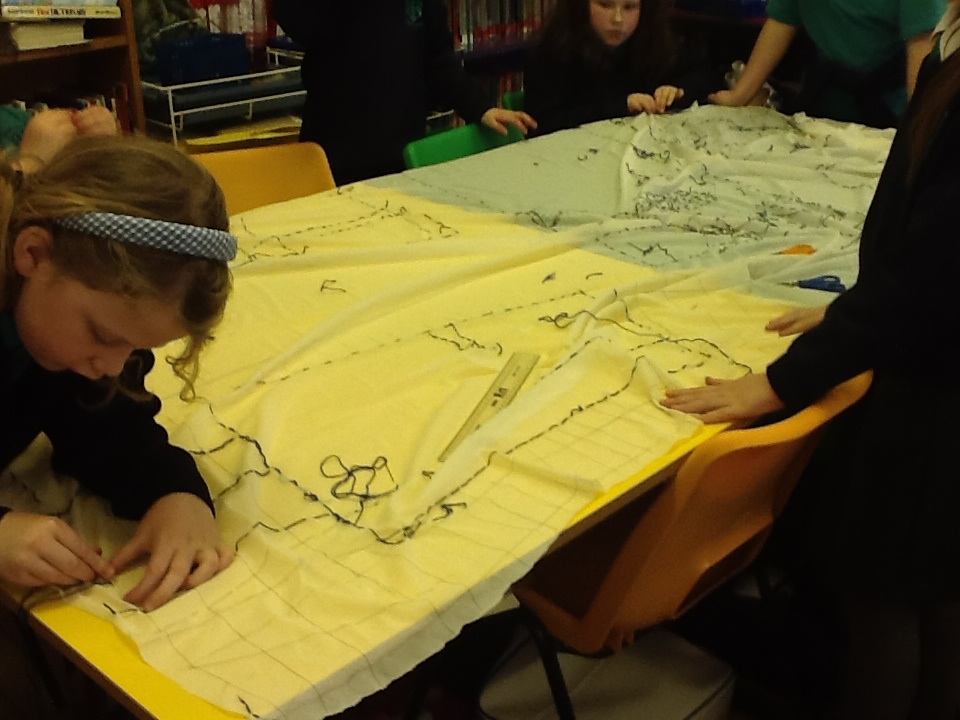
Although they had started sewing last week the bulk of the children hadn’t ever sewn before. It was interesting to see how many of them had no experience whatsoever of using needles and thread. So we had to stop and do a master class on how to sew , how to thread a needle and how to finish off their sewing , they were given an opportunity to practice on a smaller piece before trying to sew on the large panels with just simple running stitches.
Each group steadily sewed their way over their pencil drawings. I was lucky that not only had I the help of my classroom assistant but also Nadine and Chloe both students from the University of Ulster.
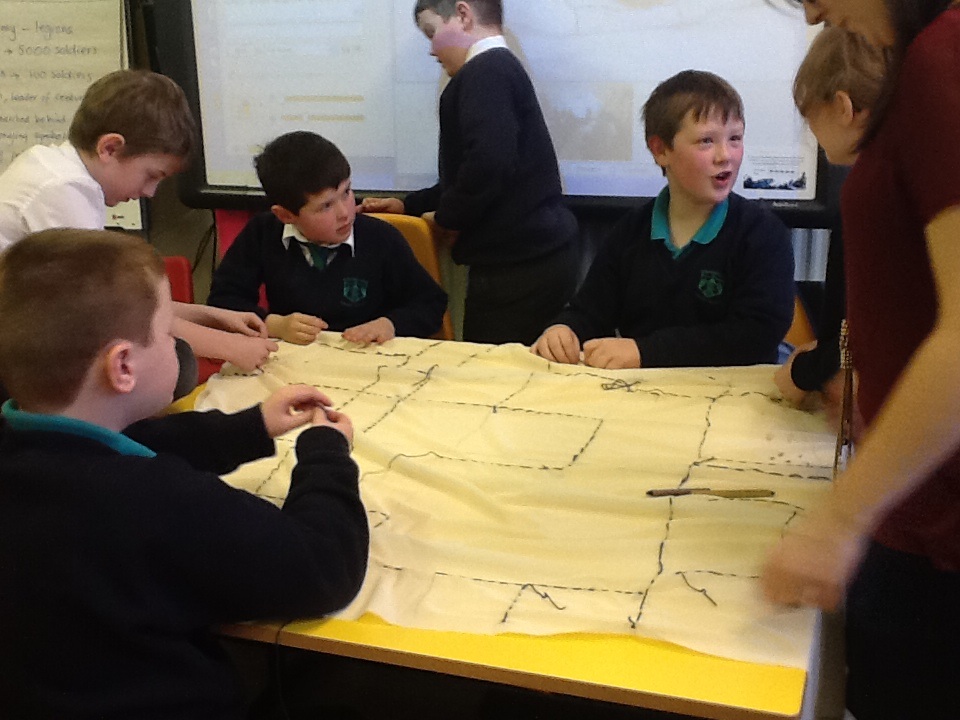
Children sewing panel
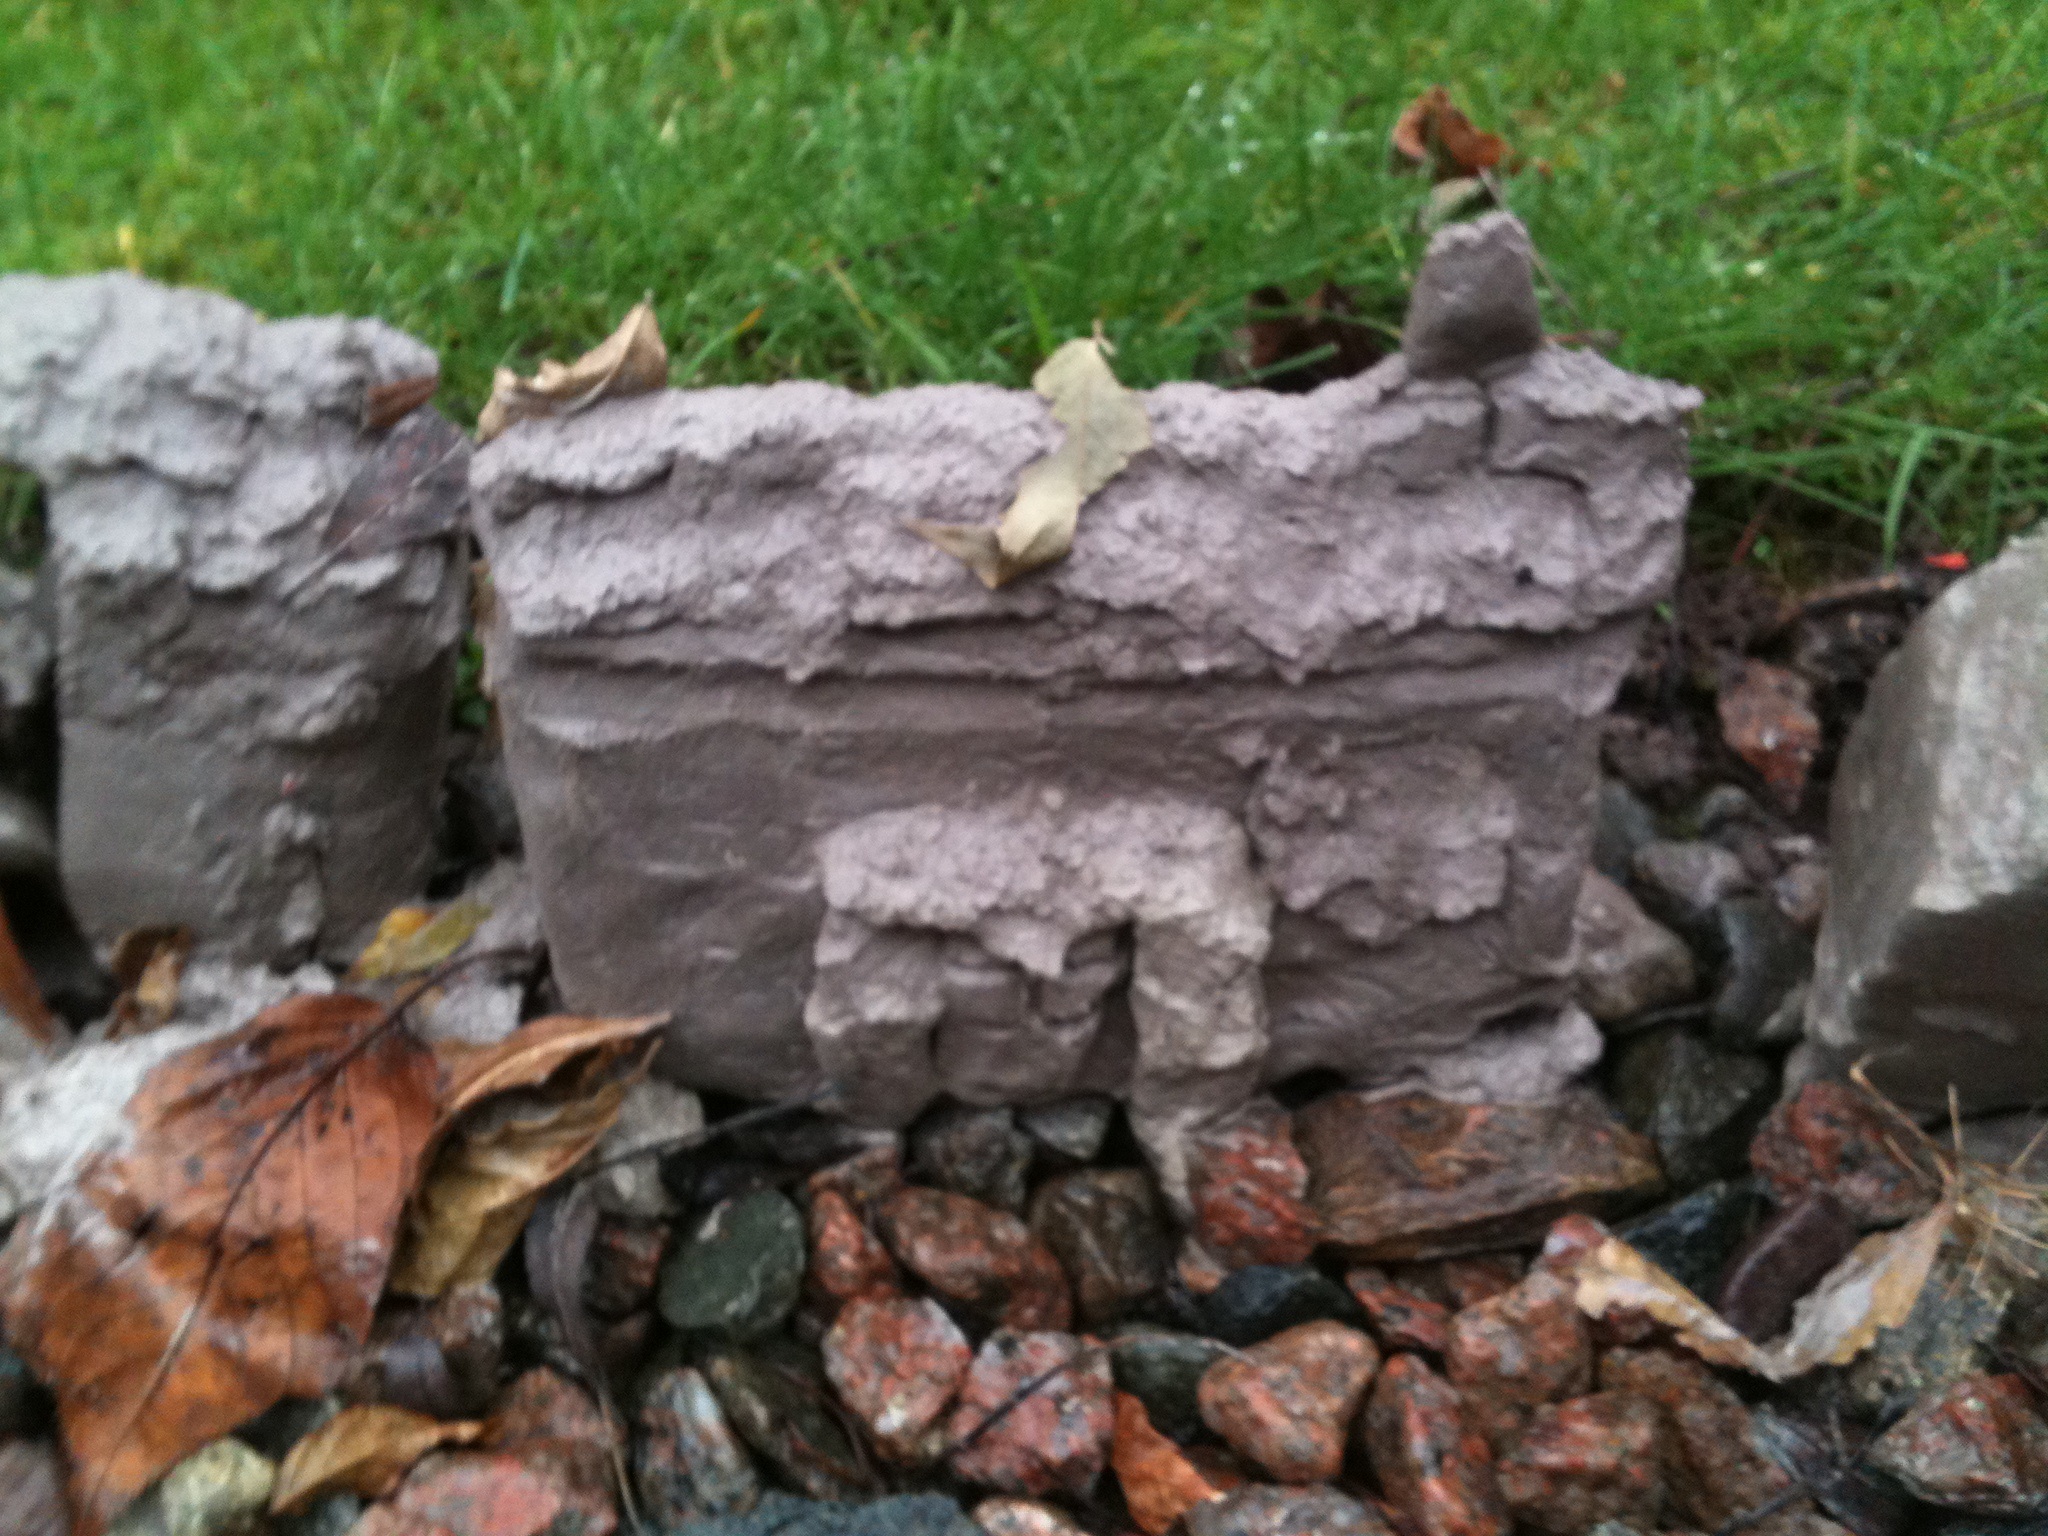
Clay Houses
We photographed the clay houses again, the weather has been quite damp and the house are showing the effects .
Clay housesThe houses are starting to disintegrate
Session 6
28th January
Andrew connected with us and showed us the progress he’d made with his sewn house, the children were very impressed and it spurred them on to work on their own panels , as this was to be our last session working on them.
The children continued to sew their panels . They have been working together effectively to sew the large panels and they have been quite focussed on their task, the classroom is quiet and busy . Lots of skills are being learnt, learning to thread a needle,learning how to finish off their sewing ,sewing in a straight line, making sure the fabric doesn’t get puckered . The children worked very hard to complete the panels and they are looking forward to next week’s session.
Sewn panelSewing panel
Session 7
8th February
Excitement!!!
This is the day we were going to create a ‘classroom storm’.
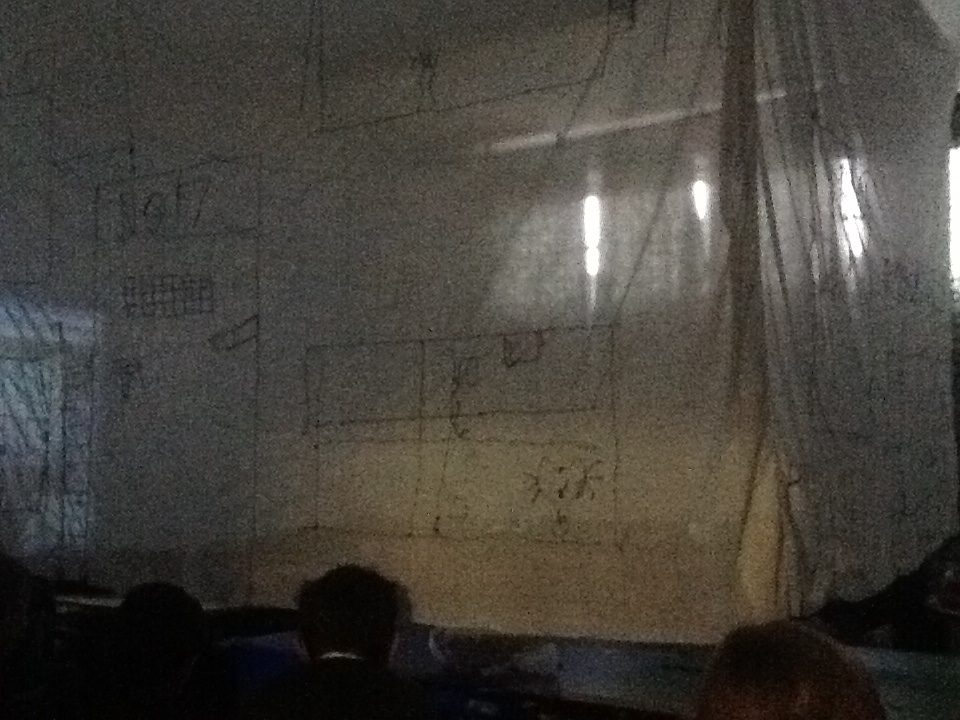
I stitched together the four panels that made up the sides of the house, then put string across the classroom and suspended the house from the string. It looked really well. We had three electric fans set up in different positions in the classroom and had pushed the desks back ready for the storm.
We connected with Andrew and he explained to the children that they were going to create a storm in the classroom. He had asked the children to bring in torches and then showed them what they were going to use them for.
First they had to cut a silhouette from paper, a shape of something that would be caught and blown about in a storm. The children chose a variety of things to cut from clothes to chairs . Then he demonstrated how they would use the torches to shine through the shapes , these would be projected onto the house and moved across and up and down as if blown by the wind.
We discussed how we would create the sounds in a storm the wind and rain also how we could represent lightning by flicking the lights on and off.
The children were put into groups and each group given a different part to play in the ‘storm’ .One group made wind sounds another rain sounds , we had a group using their torches and shinning them through the shapes they had made. A child was given the important job of creating the lightning. These groups were rotated so everyone had a chance to try each part.
So …..we had all the elements we needed for the storm.We had several practice runs , we played around with various ideas and permutations , we recorded all of these.
With fans blowing the house, children projecting their silhouettes ,the sound of the wind and the rain we had drummed up quite a storm, however, the children felt that the storm wasn’t dramatic enough so they suggested that we needed some screams, again volunteers weren’t hard to find!
After all our practice runs it was time for the real event ….cameras were positioned ,the children well primed and ……off we went ‘the perfect classroom storm’ was created.
The sense of achievement the children have gained is amazing , they all felt that they had taken part in something special and something that was of their own creation. A piece of performance art in the classroom, Brilliant!
Clay Houses
Some of the houses are showing quite a lot of wear and tear , some are splitting and cracking others are quite pitted .
Wear and tear
Session 8
11th February
This session was linked to our extreme weather topic in particular how flooding has become a problem globally and also in the UK . We were able to look at recent news clips and see the devastation that flooding, causes.
As a contextual link, Andrew had given me the work of Marc Quinn to reference for the children, in particular his silicon Oil flower forests they were intrigued by the images , how the flowers were ‘caught in time’ by the silicone and wouldn’t ever decay , unlike flowers submerged in water.
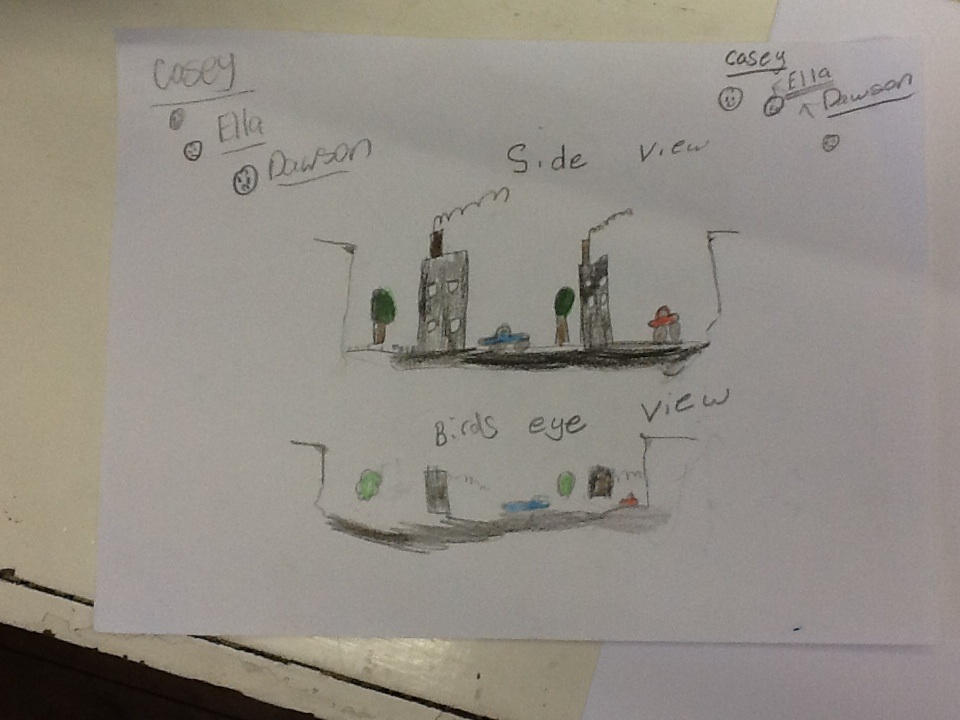
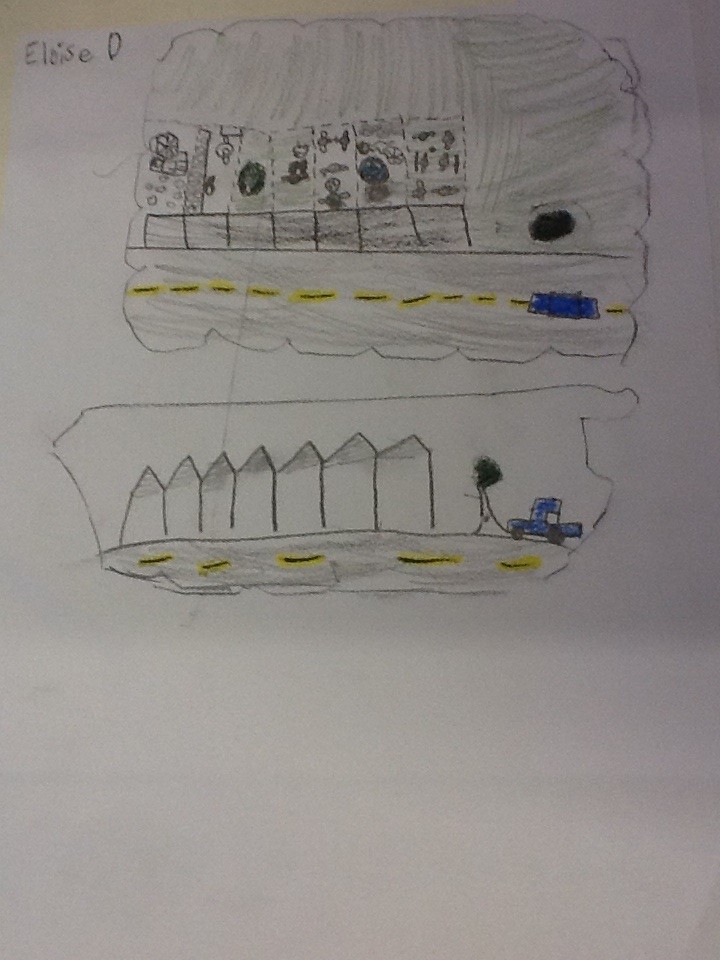
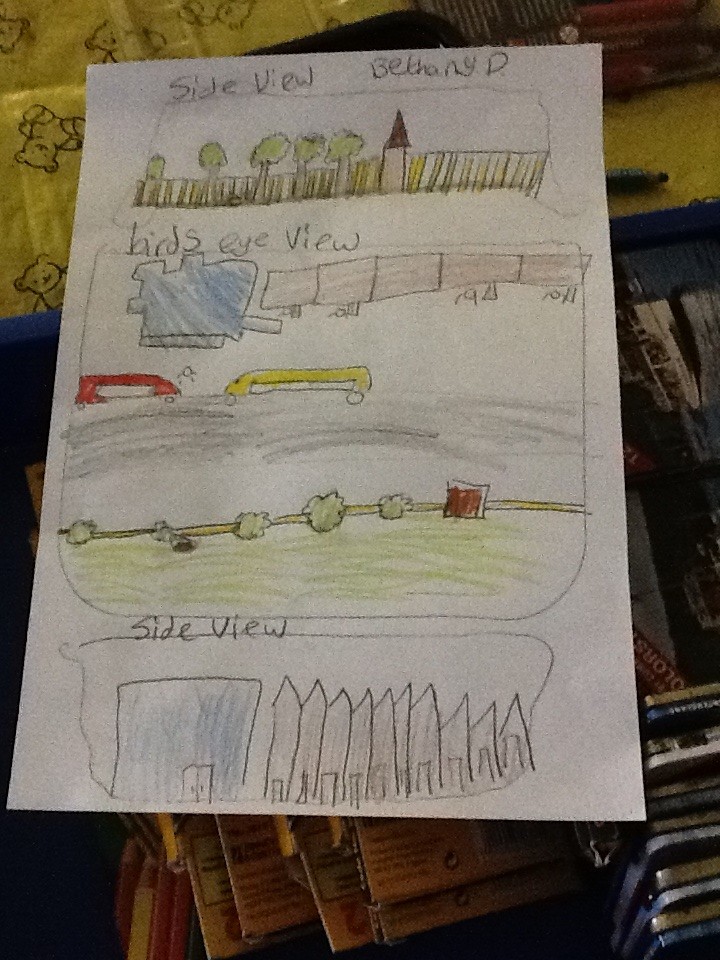
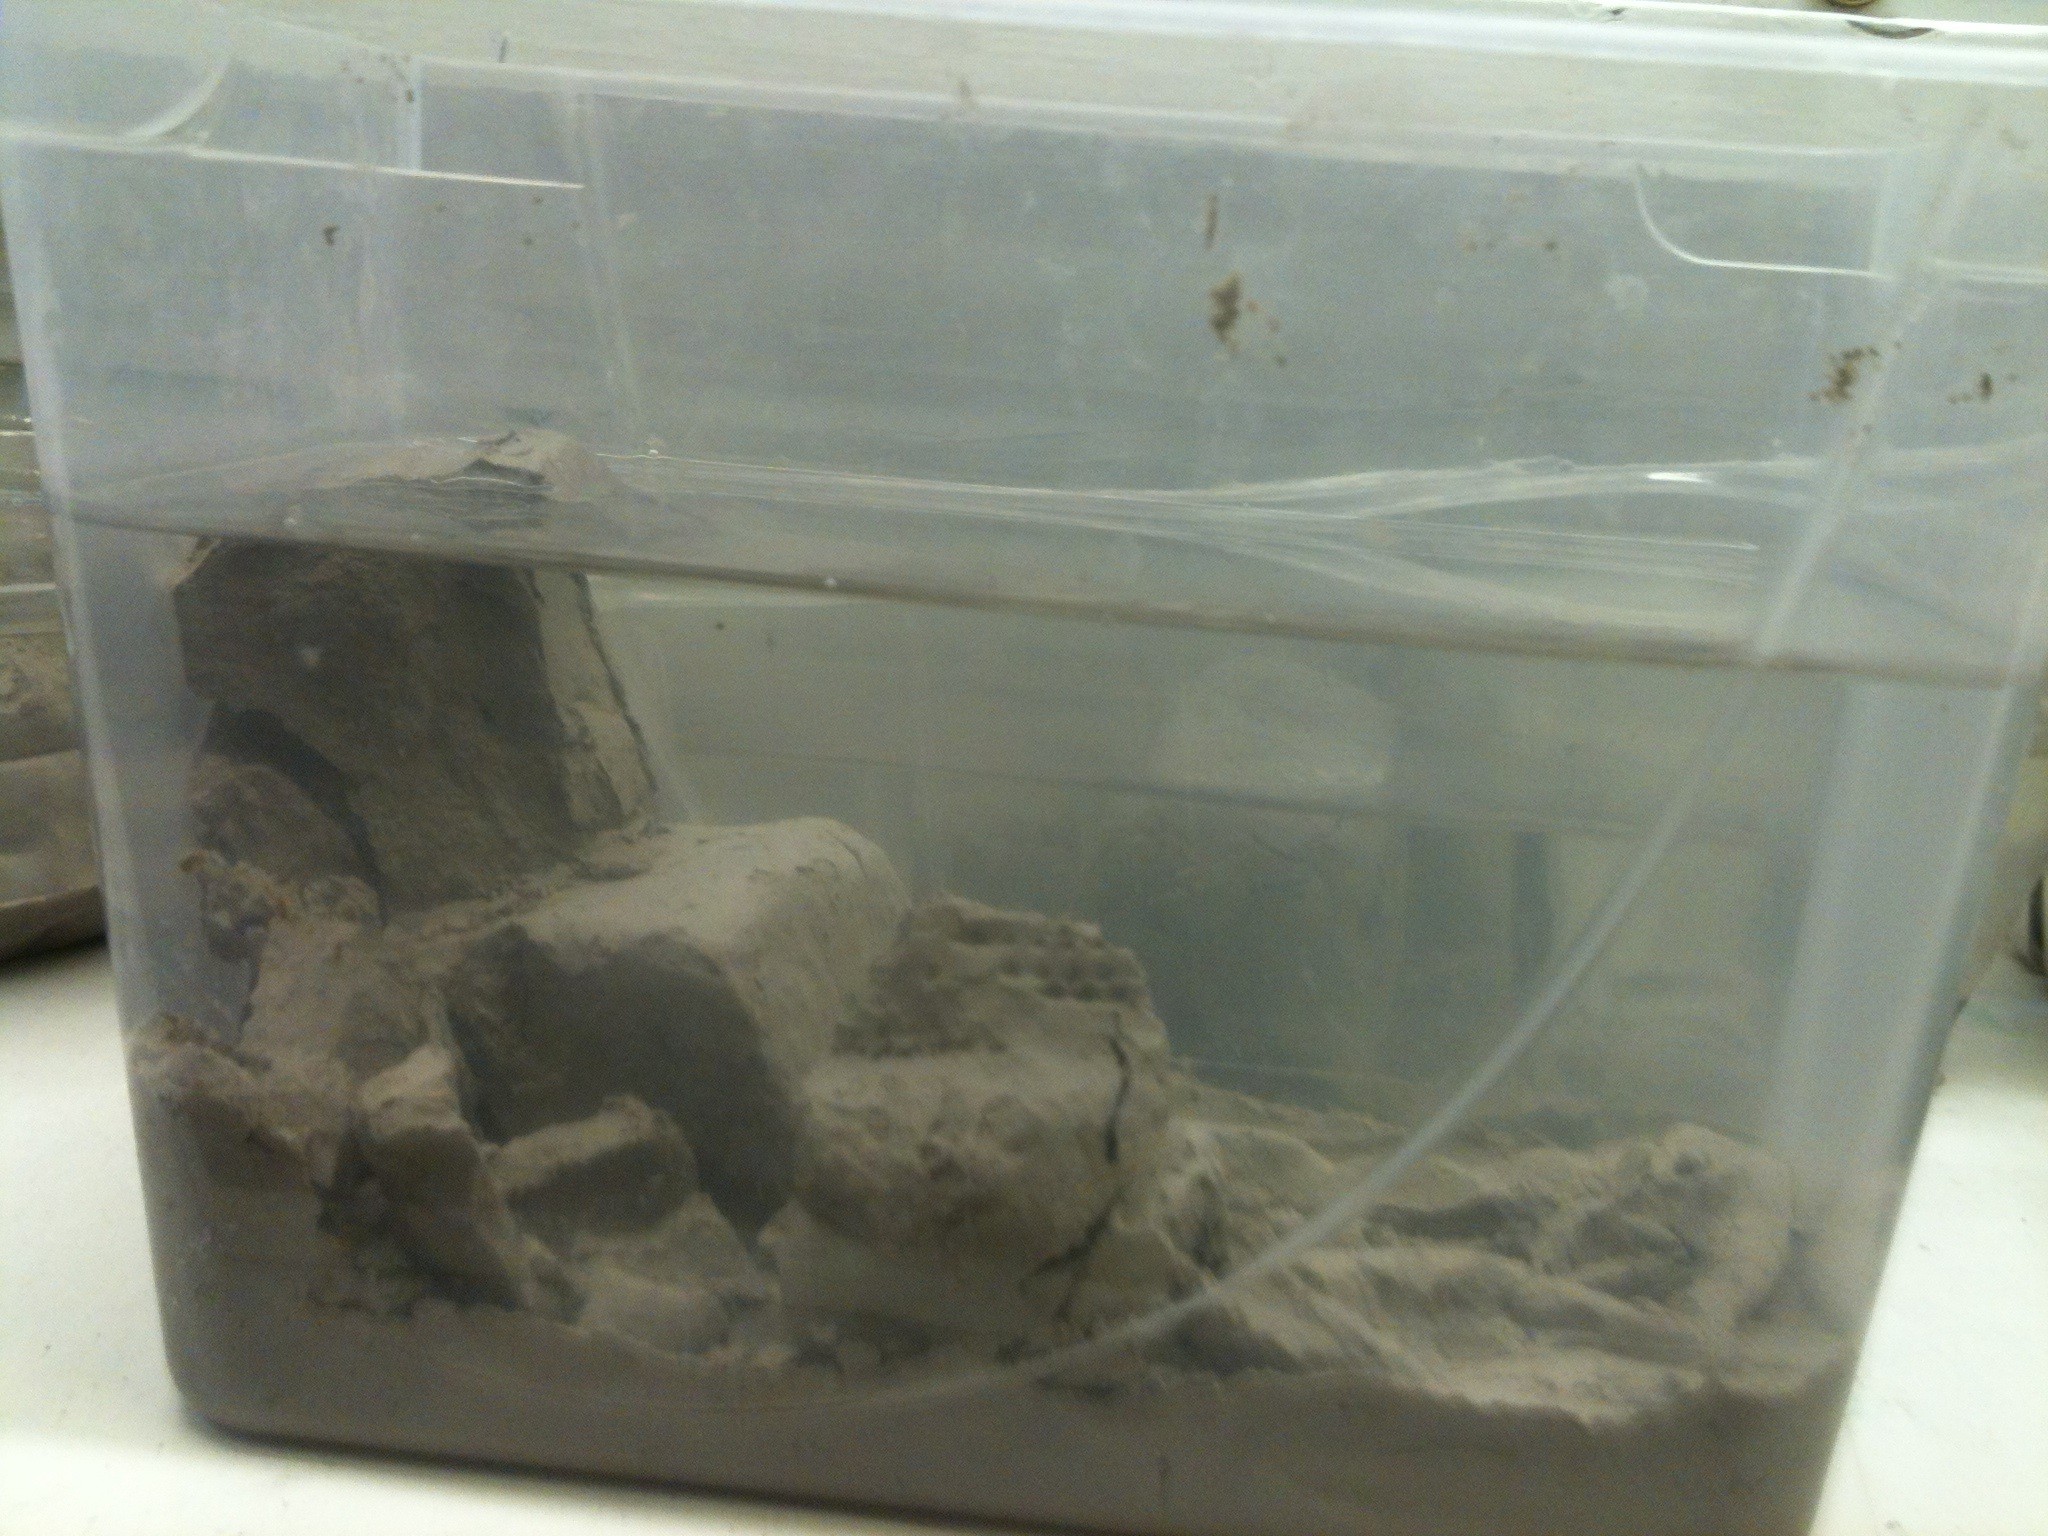
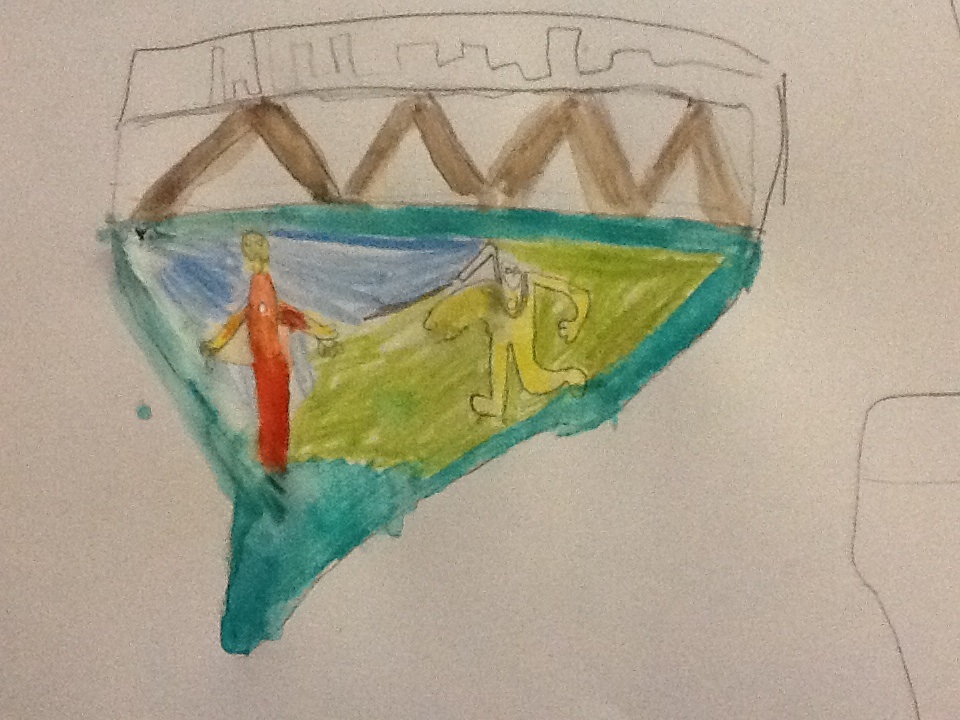
Once we had discussed the work the children were keen to get started.The children had brought in clear plastic trays and at this point weren’t too sure what they were to be used for I also had clay already prepared for them . Andrew talked to the children about what they were to do, he explained that they were to create a little street scene ,including their own house just as they had drawn in our first session . Andrew talked to them about how they were to first of all plan their scene sketching out the shape of their container from a side view and then from a birds eye view,they then continued by drawing all the elements they were putting in their scene . Andrew explained how they would need to include as much detail as they could .
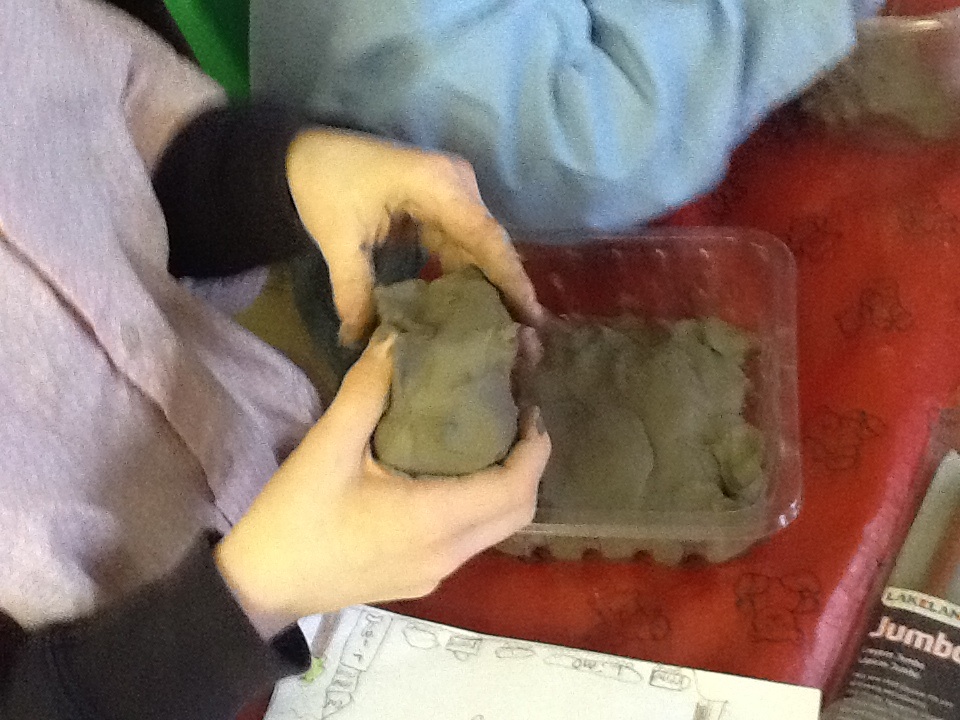
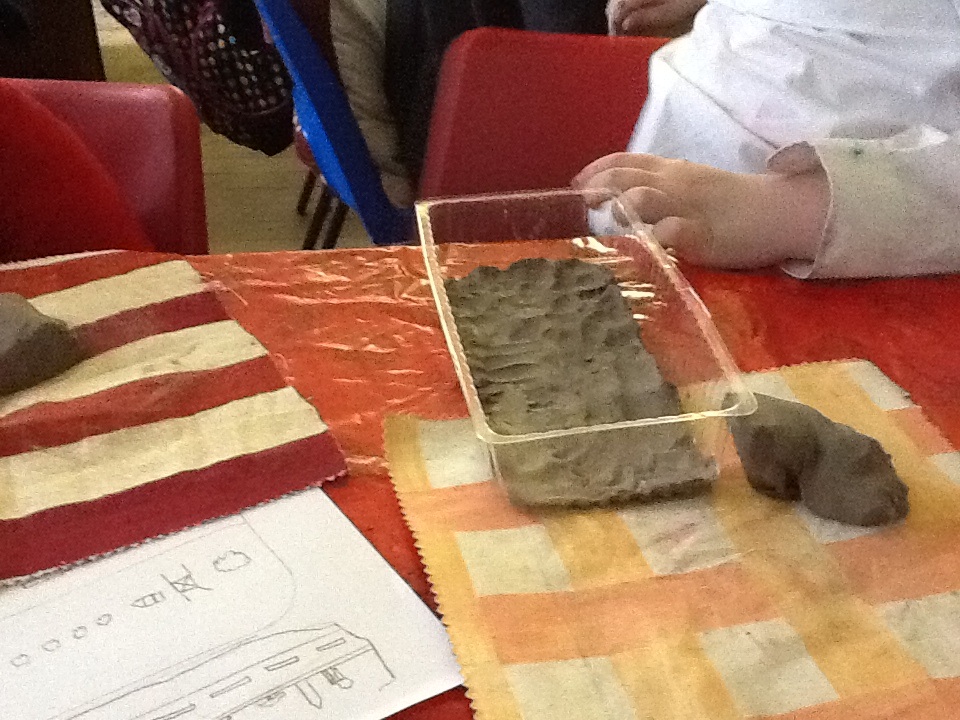
The children then set about filling their clear trays with a layer of clay to set their scene,then they began moulding their miniature environments. The children loved making their little houses , they also became quite absorbed in creating all the other elements in their scene, things like garden walls,hedges and ponds ,several makes of cars appeared .The silence in the room bore testament to the children’s involvement in what they were creating.
Once they had completed all their scenes Andrew then told them the devastating news that they were going to flood their scenes! The children really were quite concerned about their work and how the water would affect them. This led to a discussion about how people who had their houses flooded during the bad weather must feel .The children talked about all the things that would be ruined in a house after flooding .
We then poured the water over their scenes, the children will watch and see what happens to their scenes over the next few weeks and we will photograph the changes .
It was interesting that through this activity the children were able to empathise with flood victims in a way that they perhaps wouldn’t have done before .
Sketch side profile of flooded landscapeSketch of flooded sceneSketch side and birds eye view of flooded landscape (2)Moulding houseFilling clay in trayDetail of houses
Flooded landscape
Flooded landscape
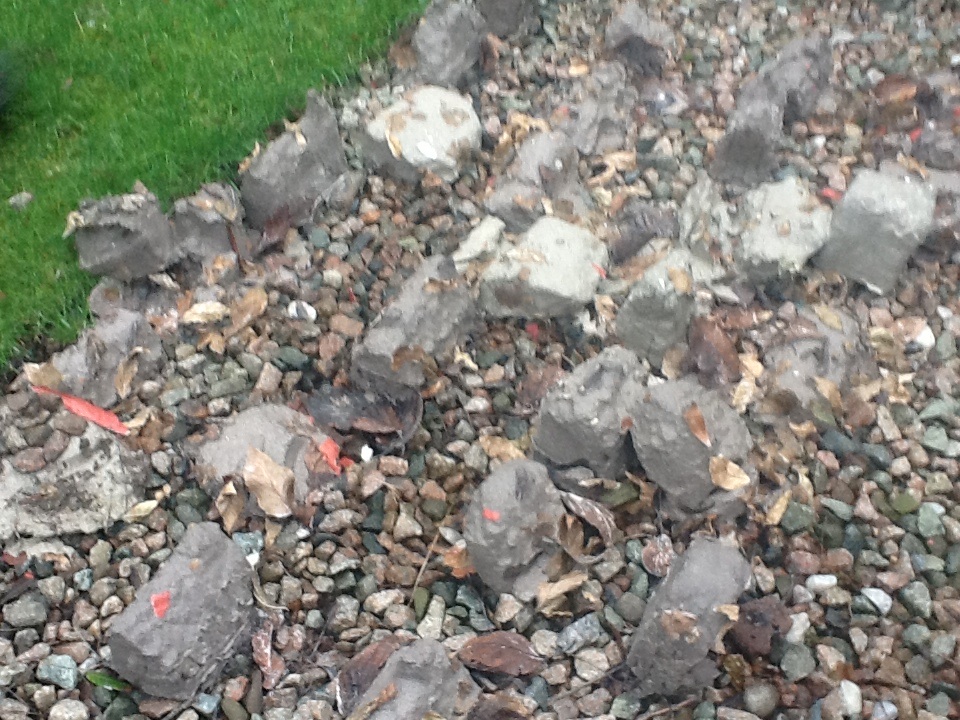
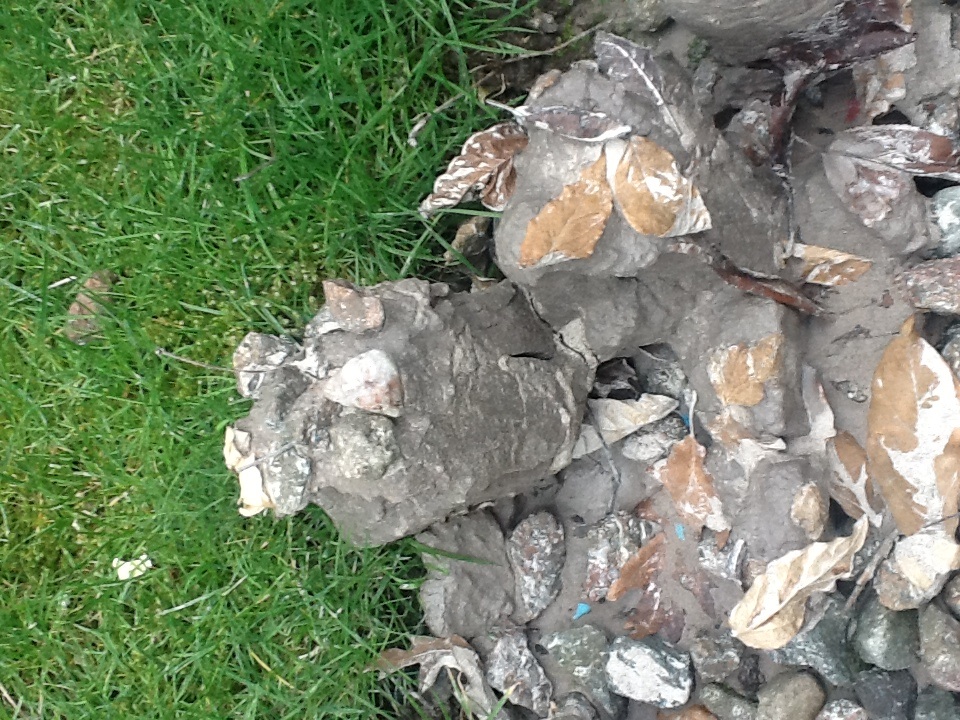
Clay Houses
The house have quite a lot of debris building up around them in particular leaves seem to have been blown onto them . Some houses still show a surprising amount of detail.
Clay houses covered in debris
Session 9
22 nd February
The start of a new topic! The children are researching the Romans and Andrew linked up our studies with this topic.
The children first looked Archaeologists and how they go about their work.How they organise their digs? The tools they used? How they looked after the artefacts they found ? And how so many of these things were the everyday objects that we still would use today. Many of these objects were made of clay the children were able to appreciate how these in particular had survived the passage of time.
Andrew then talked to the children about how the museums would conserve these objects ,even pieces of pots were carefully pieced together If all the parts weren’t there , they could construct the pot and fill in the missing parts with plaster, so that the structure of the pot was still able to be seen.
Once the children had this background knowledge Andrew then explained to them what they were going to do………
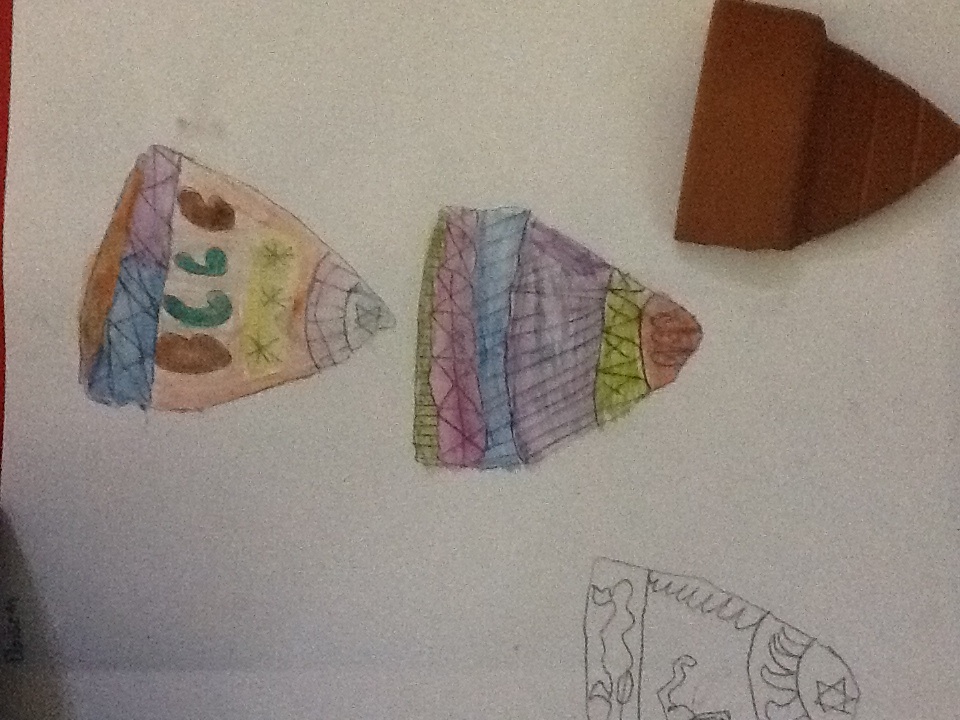
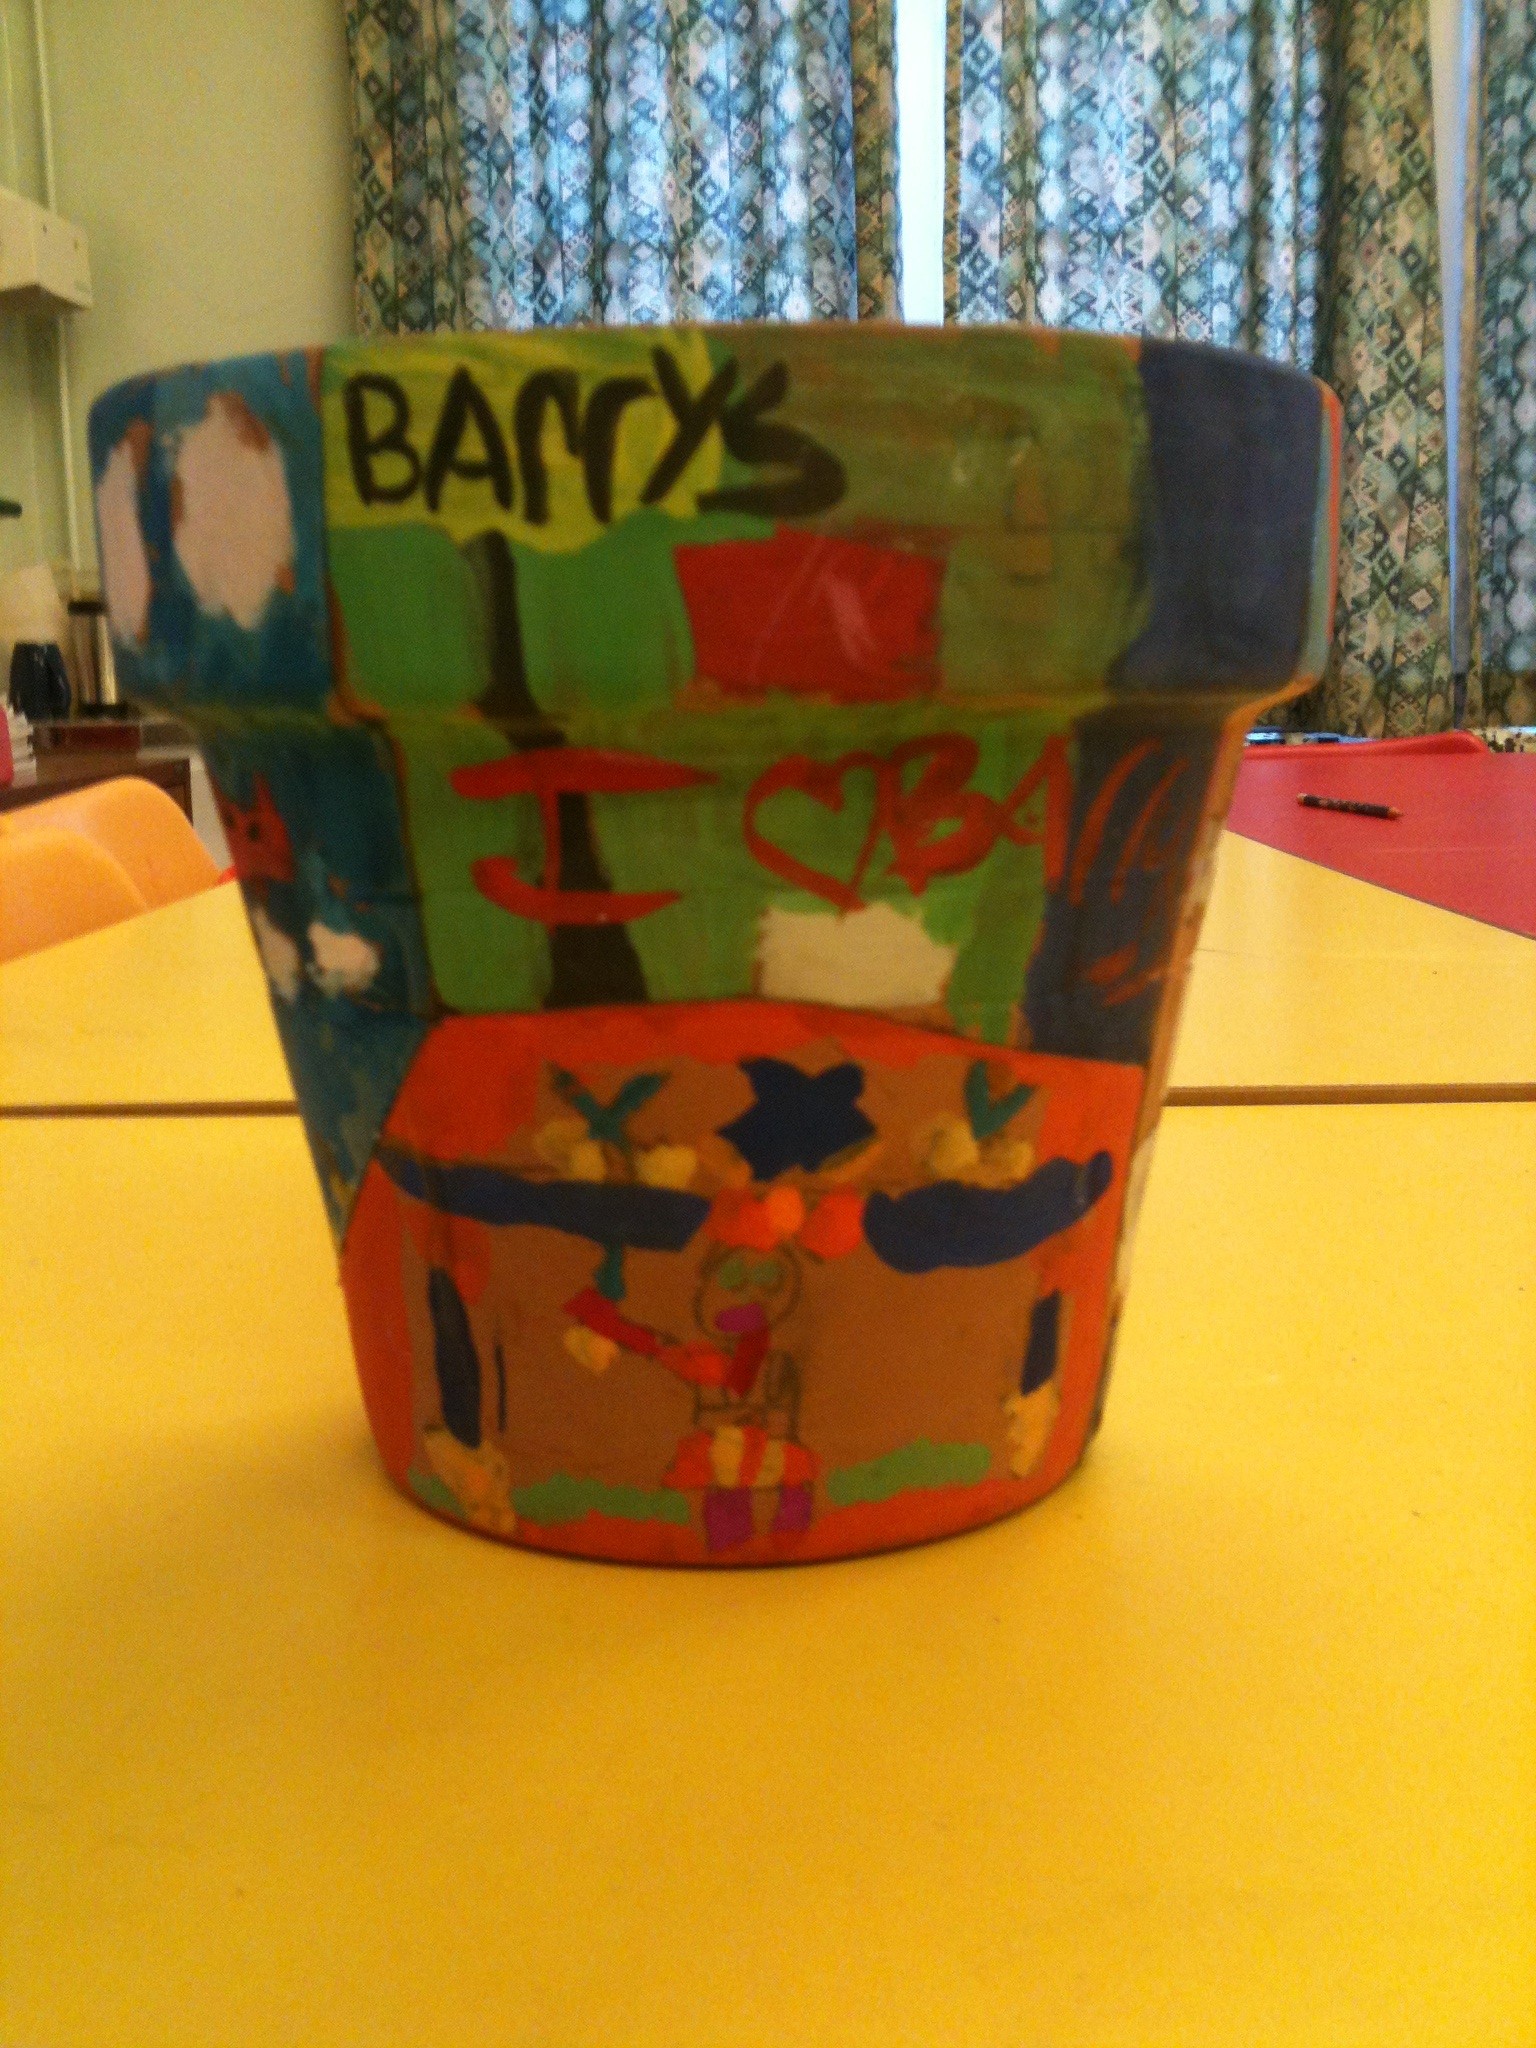
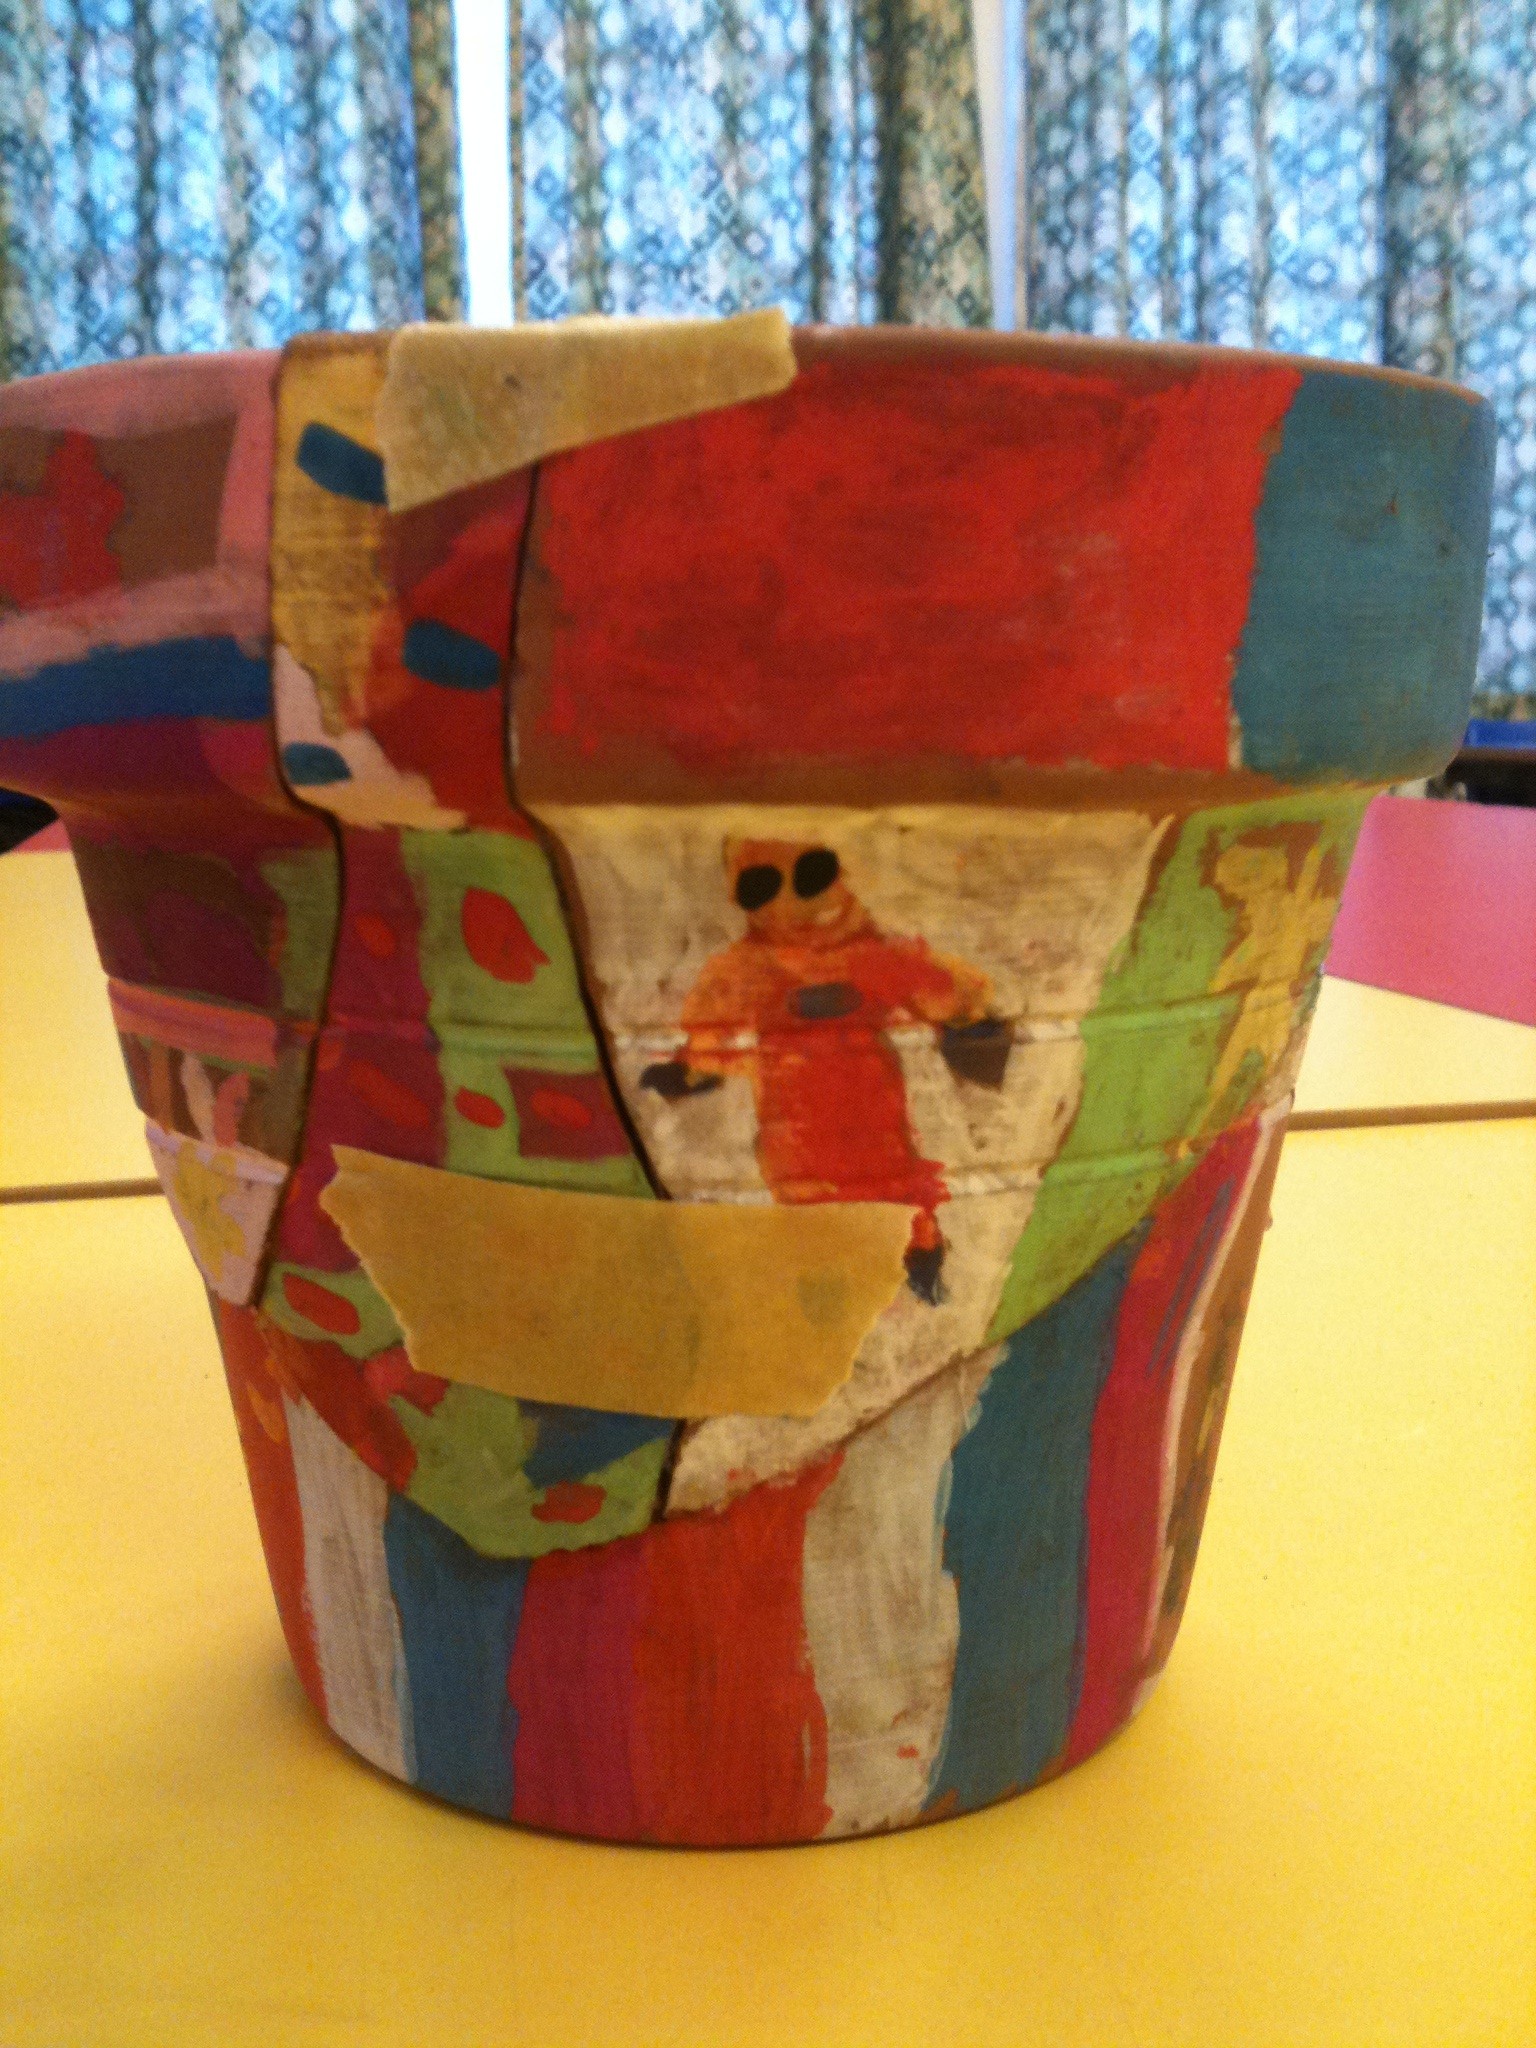
My part in this was to prepare terracotta flower pots I took to them with a hammer! and smashed them into shards ,I enjoyed doing that I have to say. These shards were then labelled pot A,pot B,pot C etc (we used 4 flowerpots) and were given out randomly to the children, they drew around these onto paper ( slightly larger than life size) .Andrew explained to the children that quite often the Roman pots would tell a story and he would like them to tell a story on their piece of pot.
The children set to work and using pencil and painting pencils and produced beautiful coloured sketches, many told stories about what they had done through half term ,some decided to stick to the roman theme and drew soldiers in battle, some drew inspiration from the patterns they saw on the roman pots and on other roman art. They then transferred these onto their terracotta shards. Once they had sketched these they then painted on their shards.
The children were very absorbed in their work today and worked hard to achieve the fantastic results they did. It was a very successful session.
Shard drawingShard drawing
Shard drawing
Clay houses
The children wanted to touch the houses this week and they were quite surprised that although they looked squashy they were in fact quite hard . I think it would be quite interesting to fire them after the project is over
Session 10
25th February
This session was a continuation of the previous one when we connected up with Andrew he chatted to the children about how museums would piece together pots using the labels to identify where the pieces fitted together. The children were quite intrigued and began trying to fit their bit with others at their table ,some did match but as they were given out randomly it didn’t happen often.
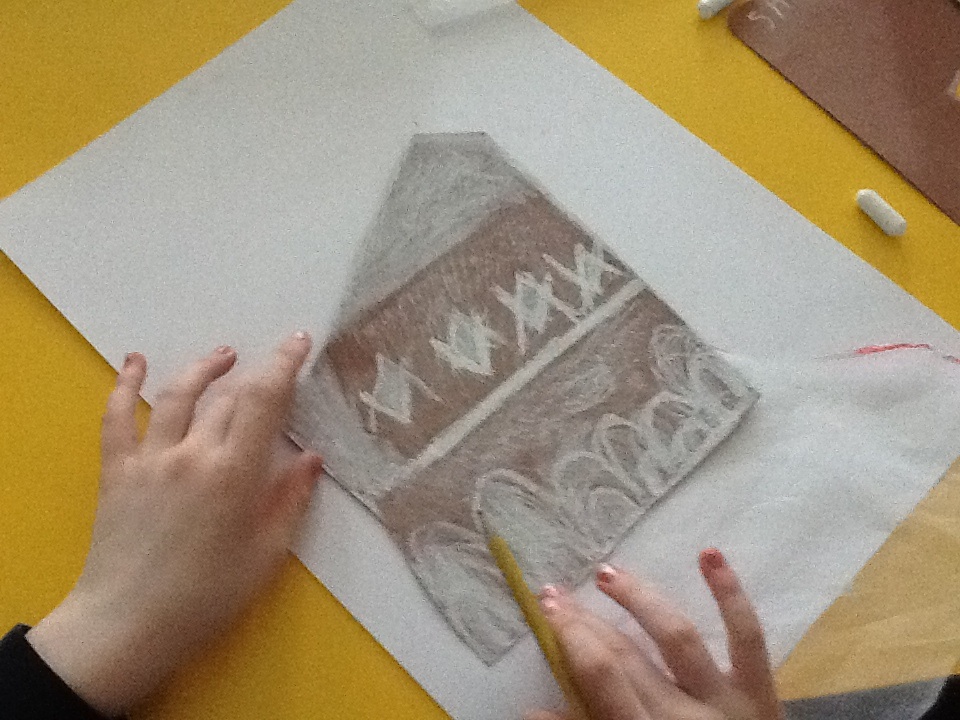
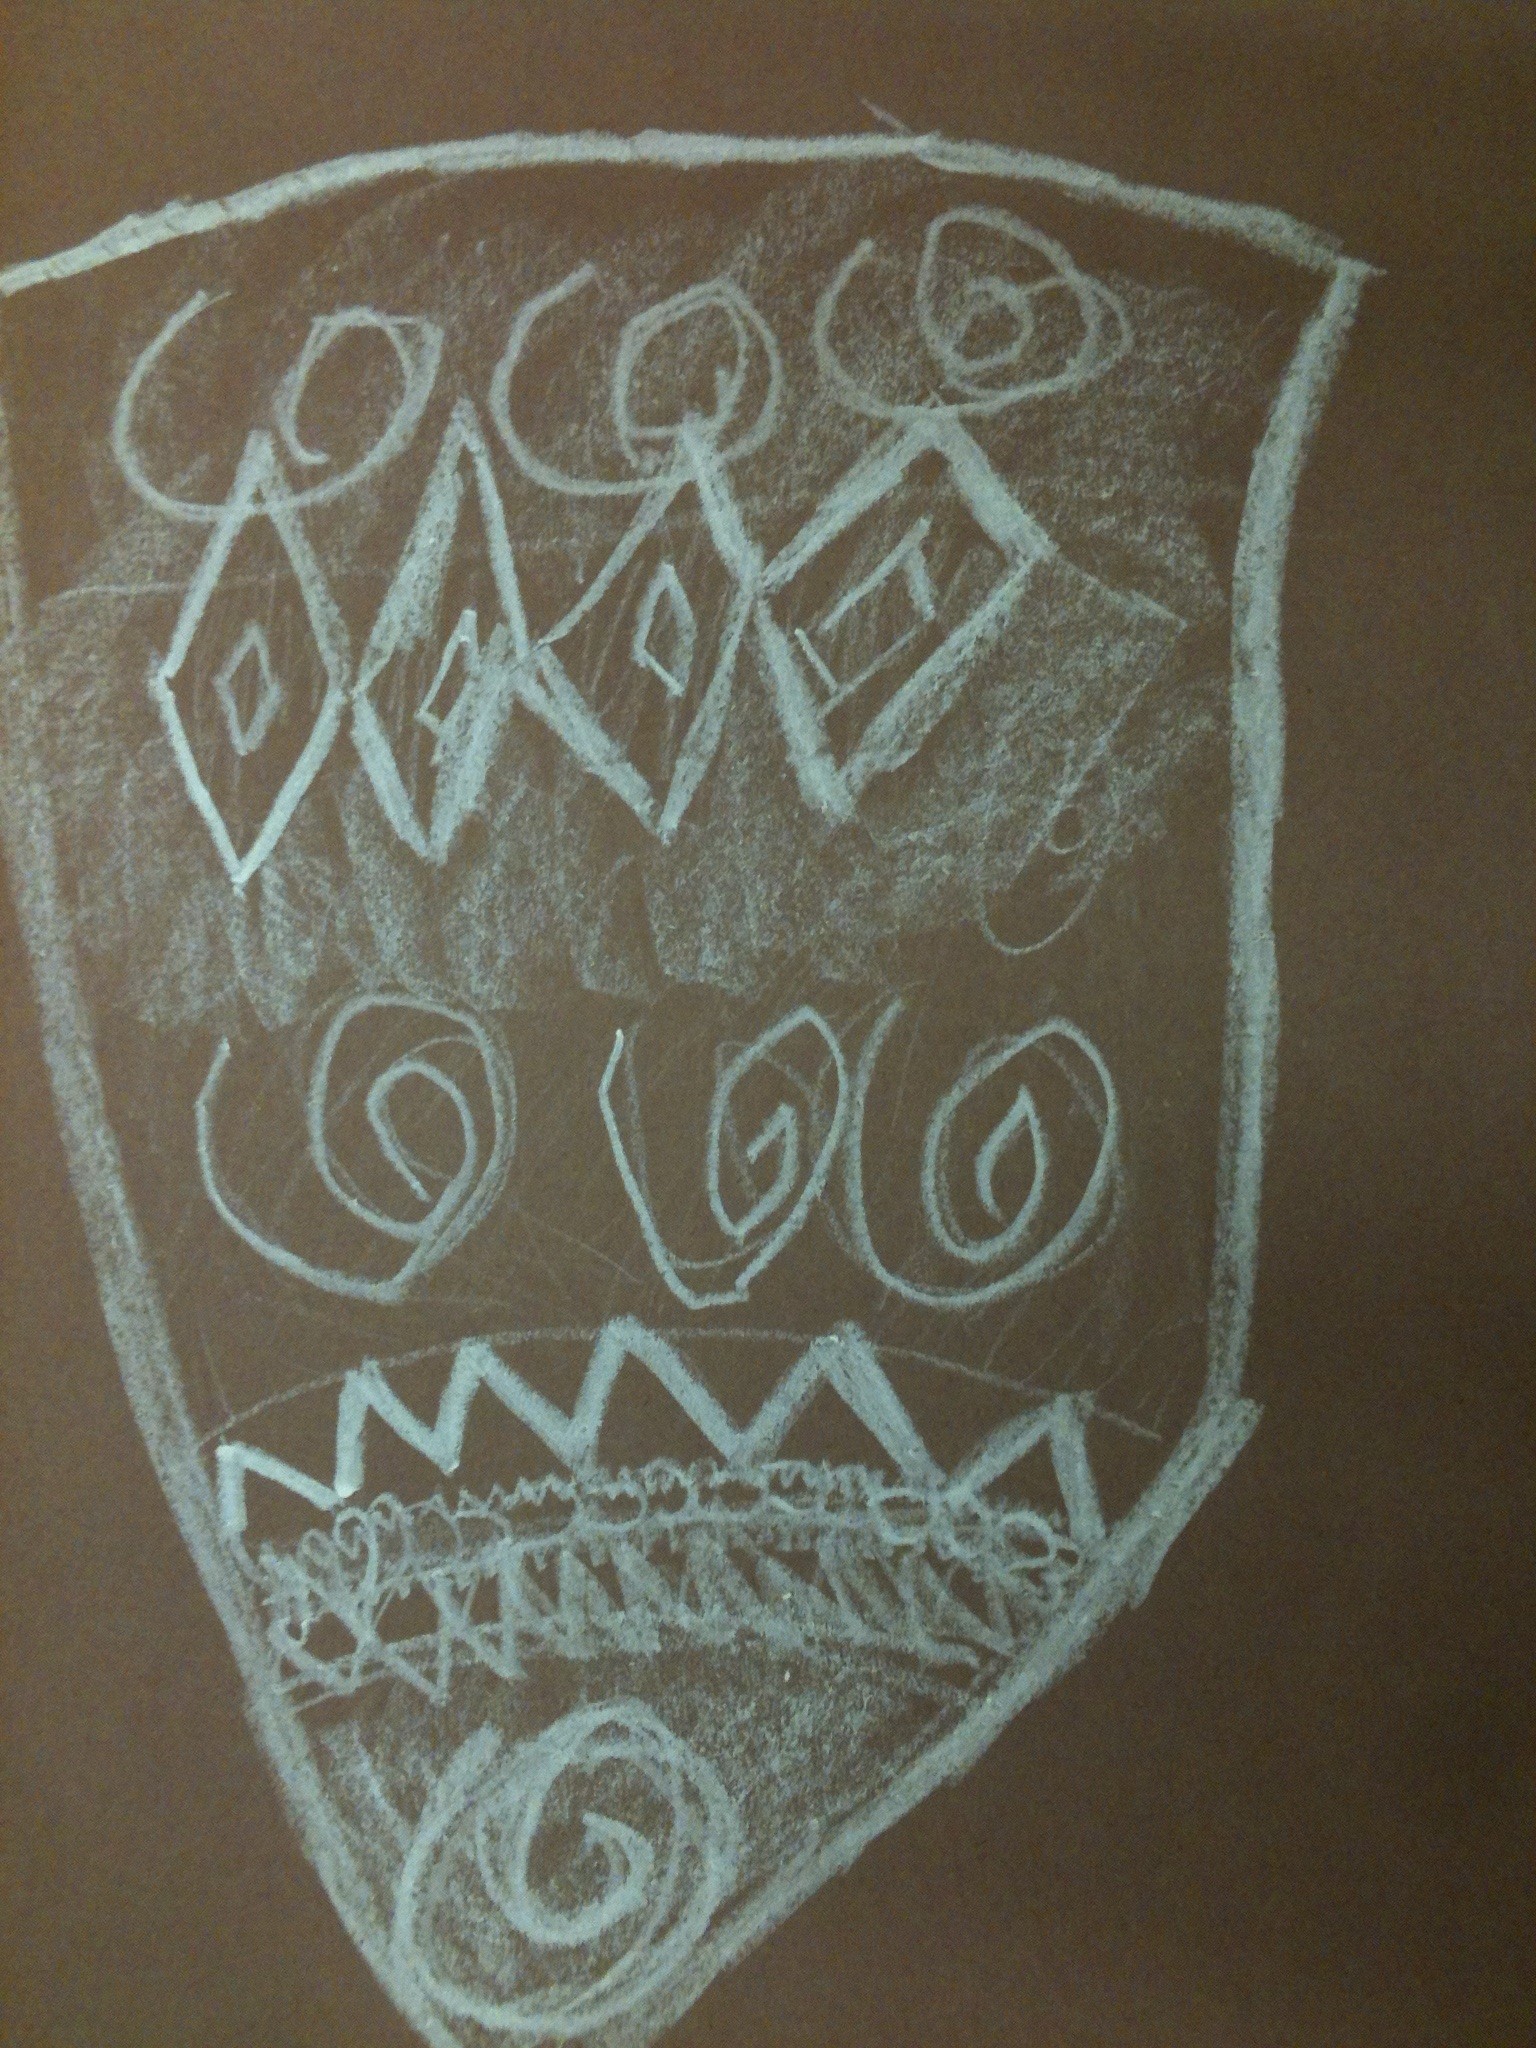
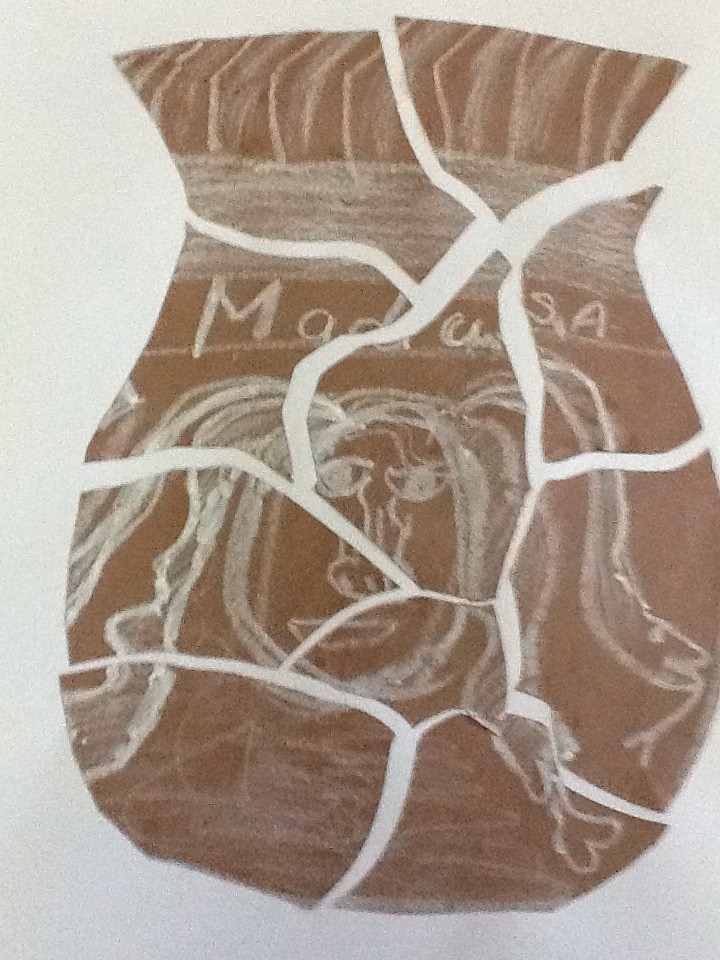
Andrew showed the children his completed shard and how it fitted into his pot. He then explained that they were going to draw the shape of the shard onto brown paper larger than it is , then ,using white pastel draw their design onto the paper . The children then set to work and as the drawing was just in white ,they used tone ,patterns and textures to add details .
As they were drawing, each child that had shards belonging to a particular pot came up and we pieced them together, gluing them into place. They looked fantastic as I hope you can see from the photos.
Shard drawing in white pastel
Session 11
4th March
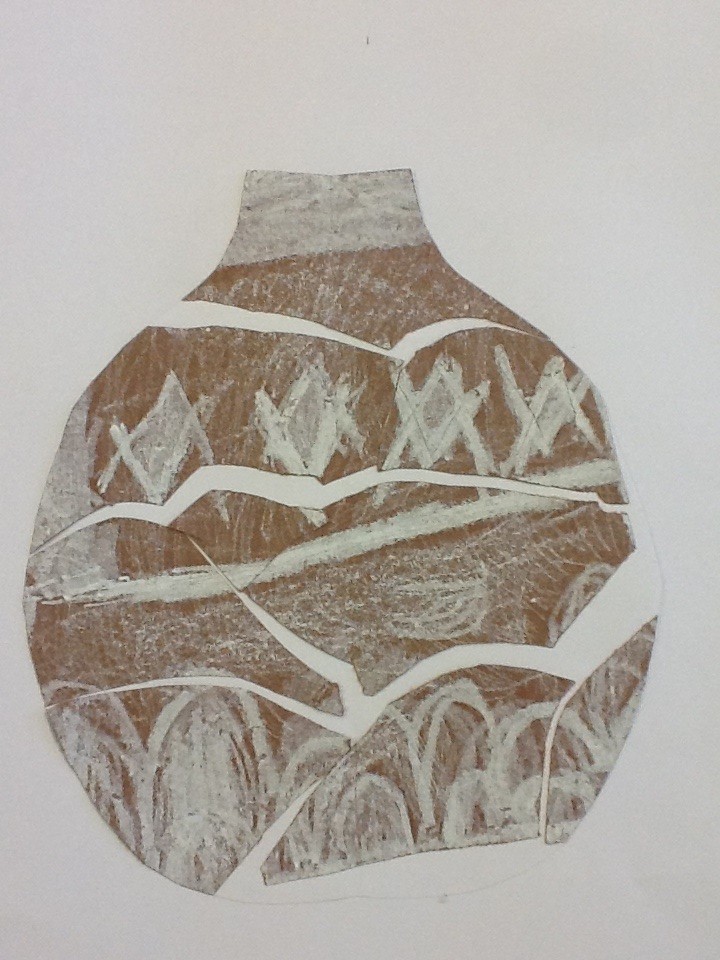
We connected with Andrew and he chatted to the children about how they were going to use their white shard drawings to cut out the shape of a roman pot.
I found it interesting how Andrew’s thinking of our topic has taken the children down pathways I would never have thought of. I liked how one piece of work informed another and pushed the children to think further.
Andrew explained again to the children how in museums they piece together pots like jigsaws and if any pieces are missing they fill the gap with plaster. He then explained to the children that they were going to ‘shatter’ their pot into shards and then piece them together by sticking them down onto paper.
We looked again at a range of pot shapes and discussed how certain pot shapes would suit their drawings, they had to choose very carefully. We also discussed how thinking of symmetry would help them plan and cut out their pot shape.
Some children used a tracing paper stencil that they drew and cut out themselves , to guide them, some children found it just as easy to cut out their shard and then fold it down the middle and cut out their pot shape.
Then they had great fun trying to piece the pieces back together, they had to remember to leave a gap between each piece to look like a reassembled pot.
The pots were looking fantastic.
Vase made from white pastel shardsPot made from shard drawingPot made from shard drawingPot made from shardBowl made from shard
Session 12
11th March
Our final session with Andrew!
All of us were really sad that this would be our last contact with Andrew . Unbeknownst to the children Andrew had flown over to Belfast for the last session . So, as I made a great fuss about not getting connected on the IWB a knock came to the door and Andrew walked in there was a stunned silence then a little voice from the back of the class said
“It’s Andrew!”
The children were so surprised , it was brilliant watching their faces as they realised the man they usually saw on the screen was actually in the room ! After everyone had calmed down Andrew was able to get started on the activity for the day.
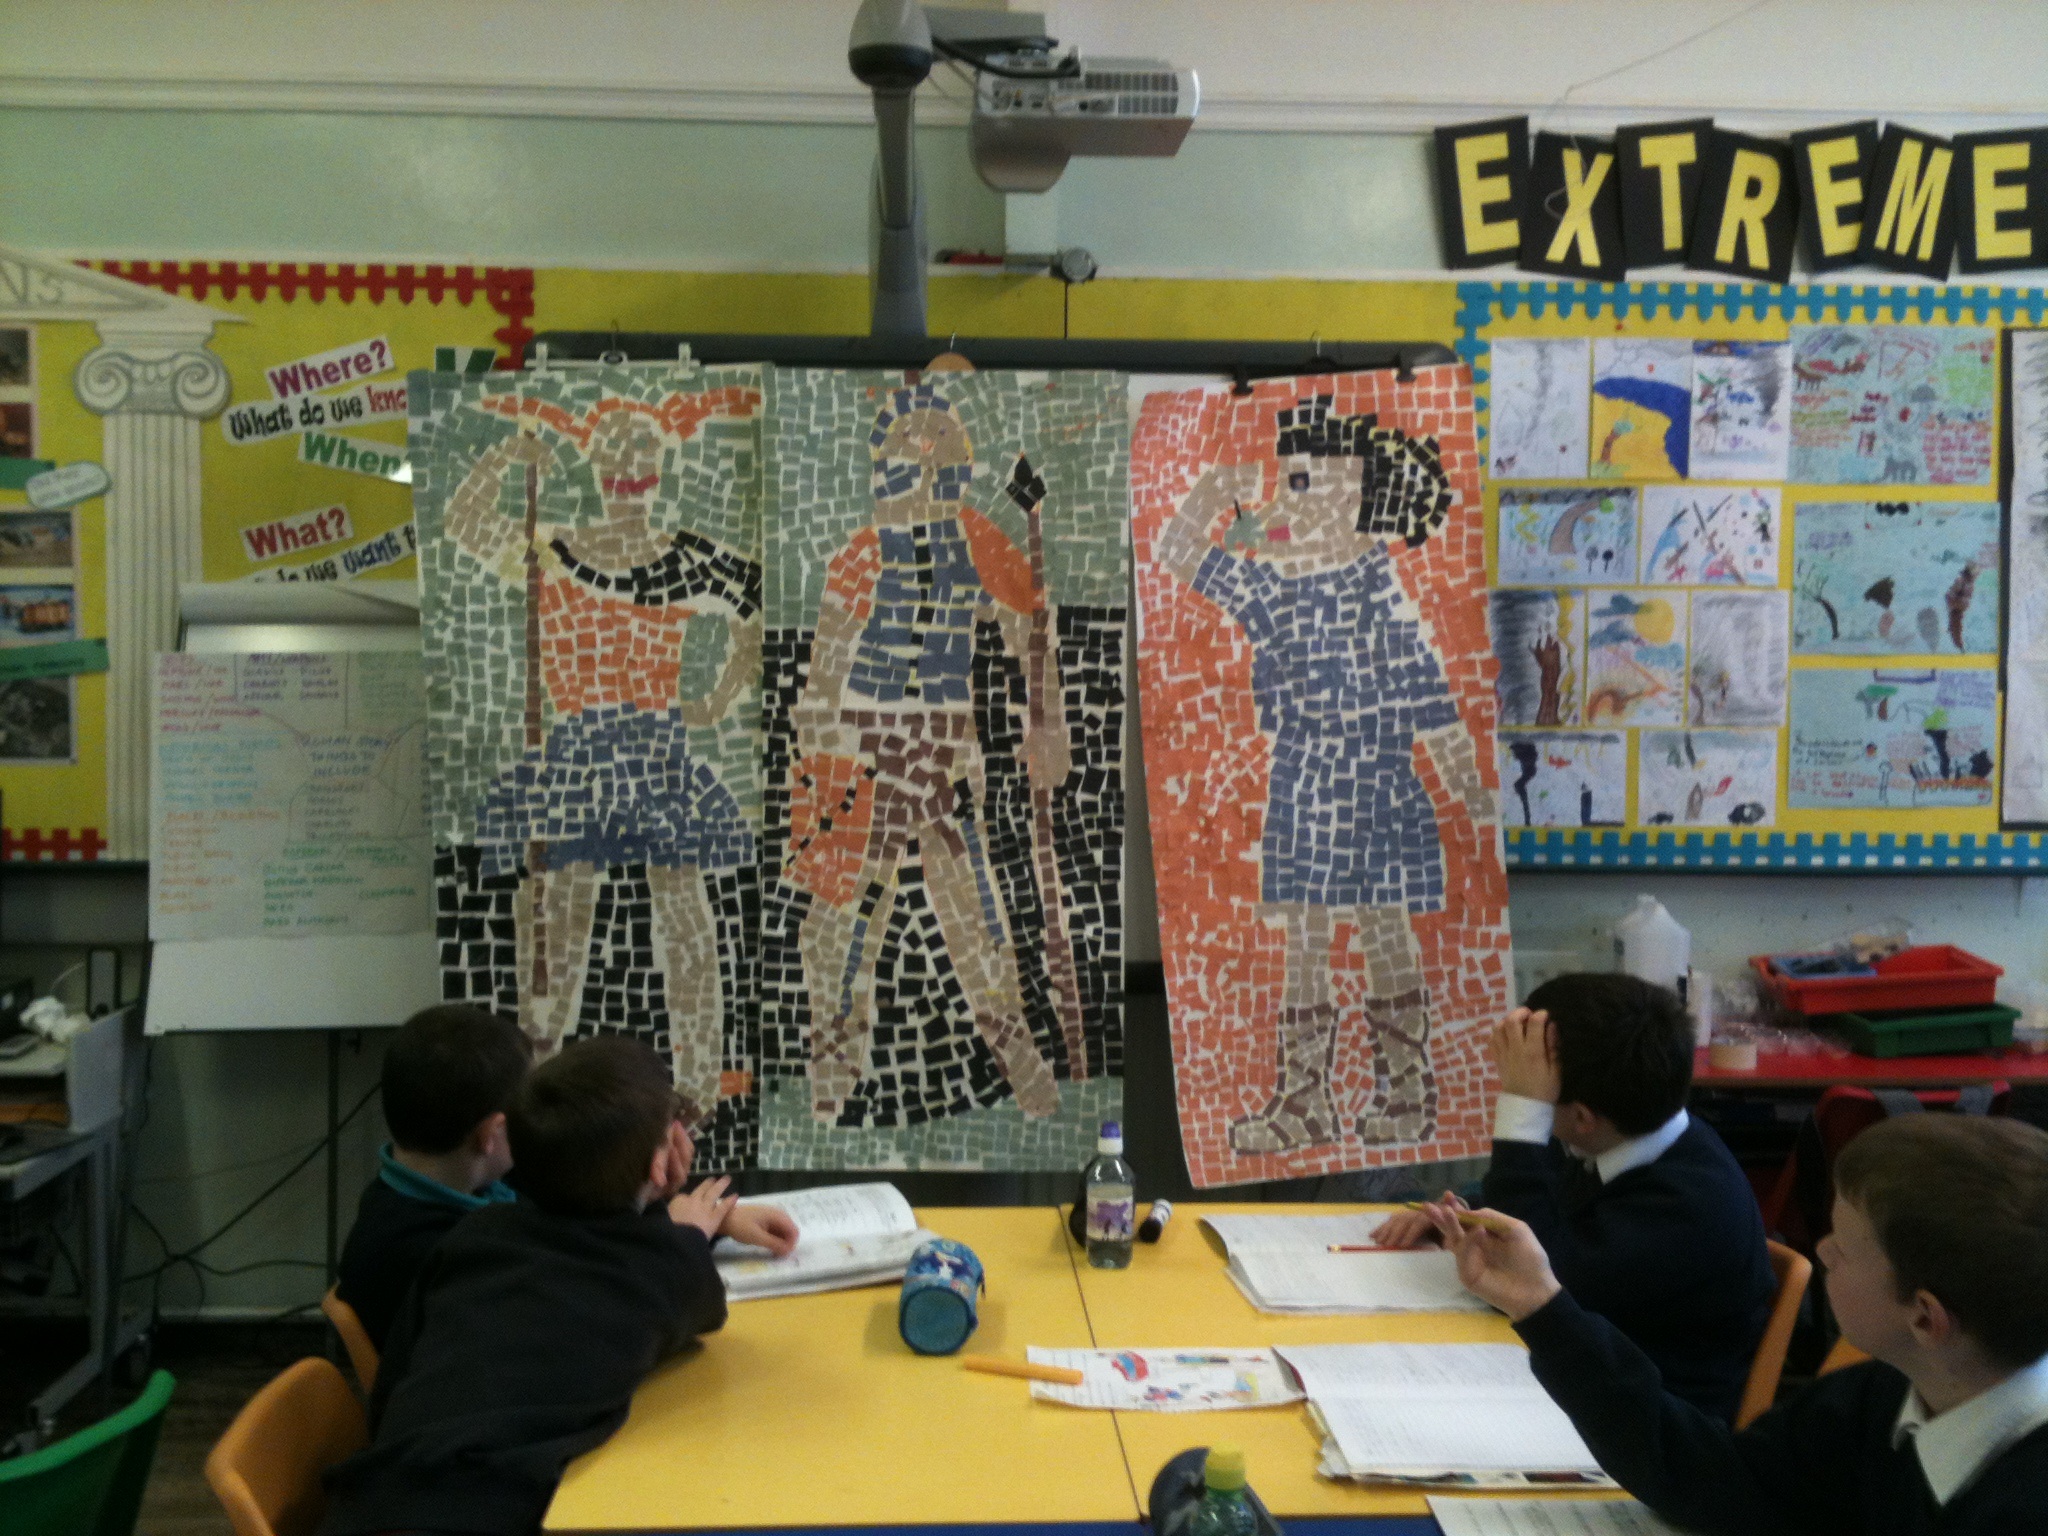
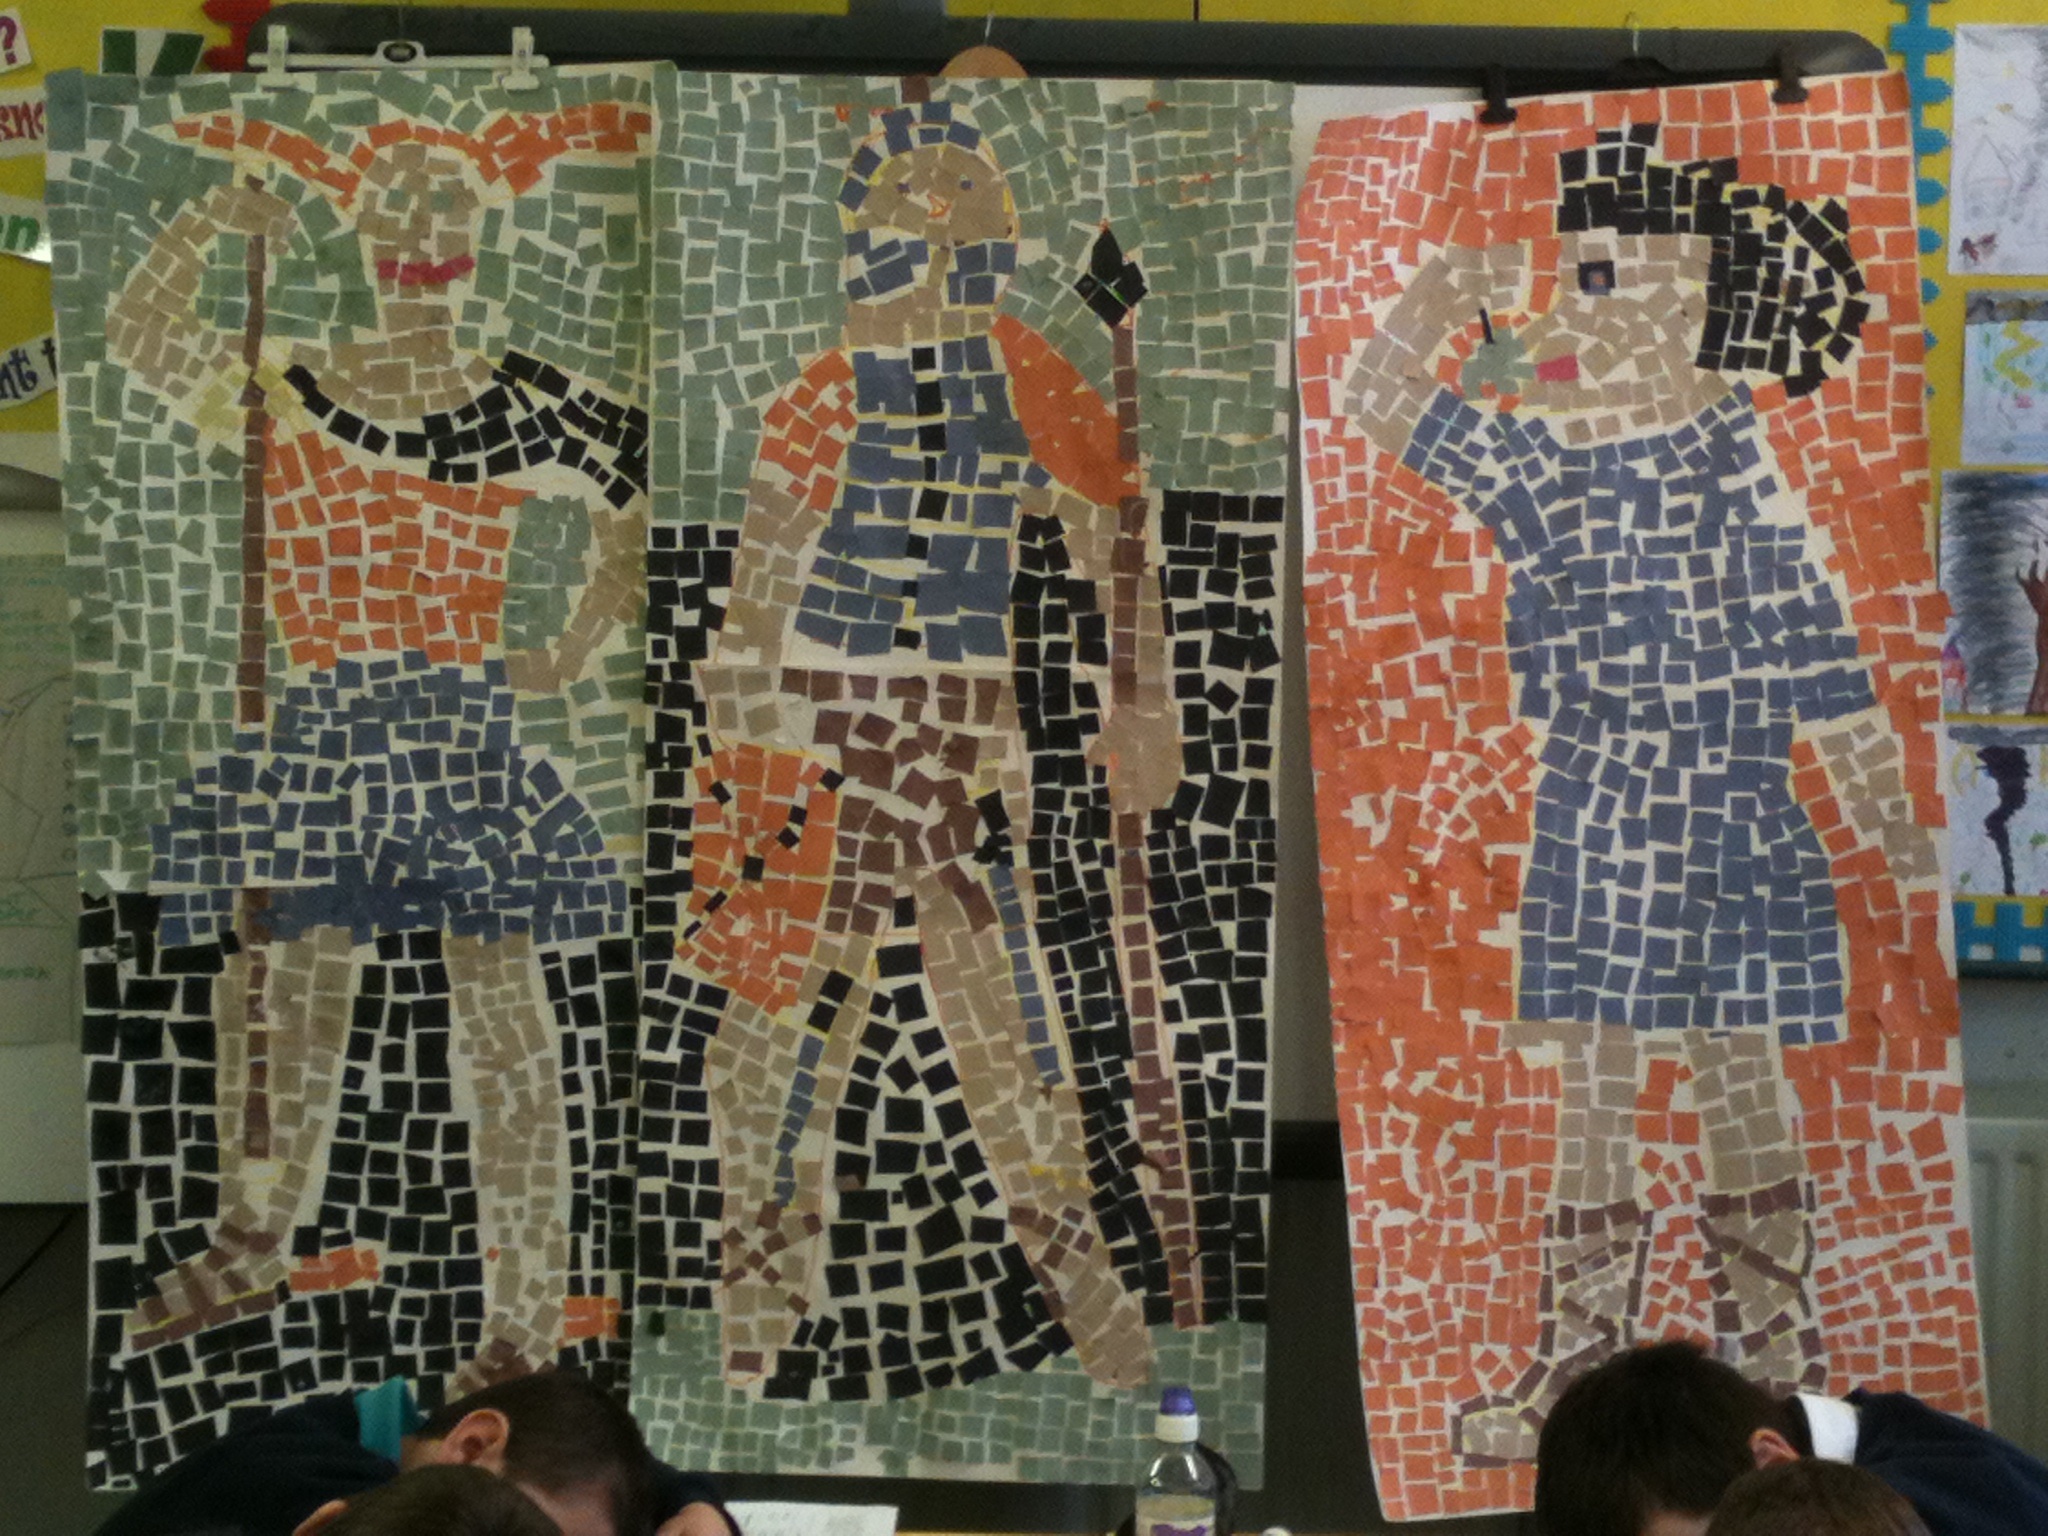
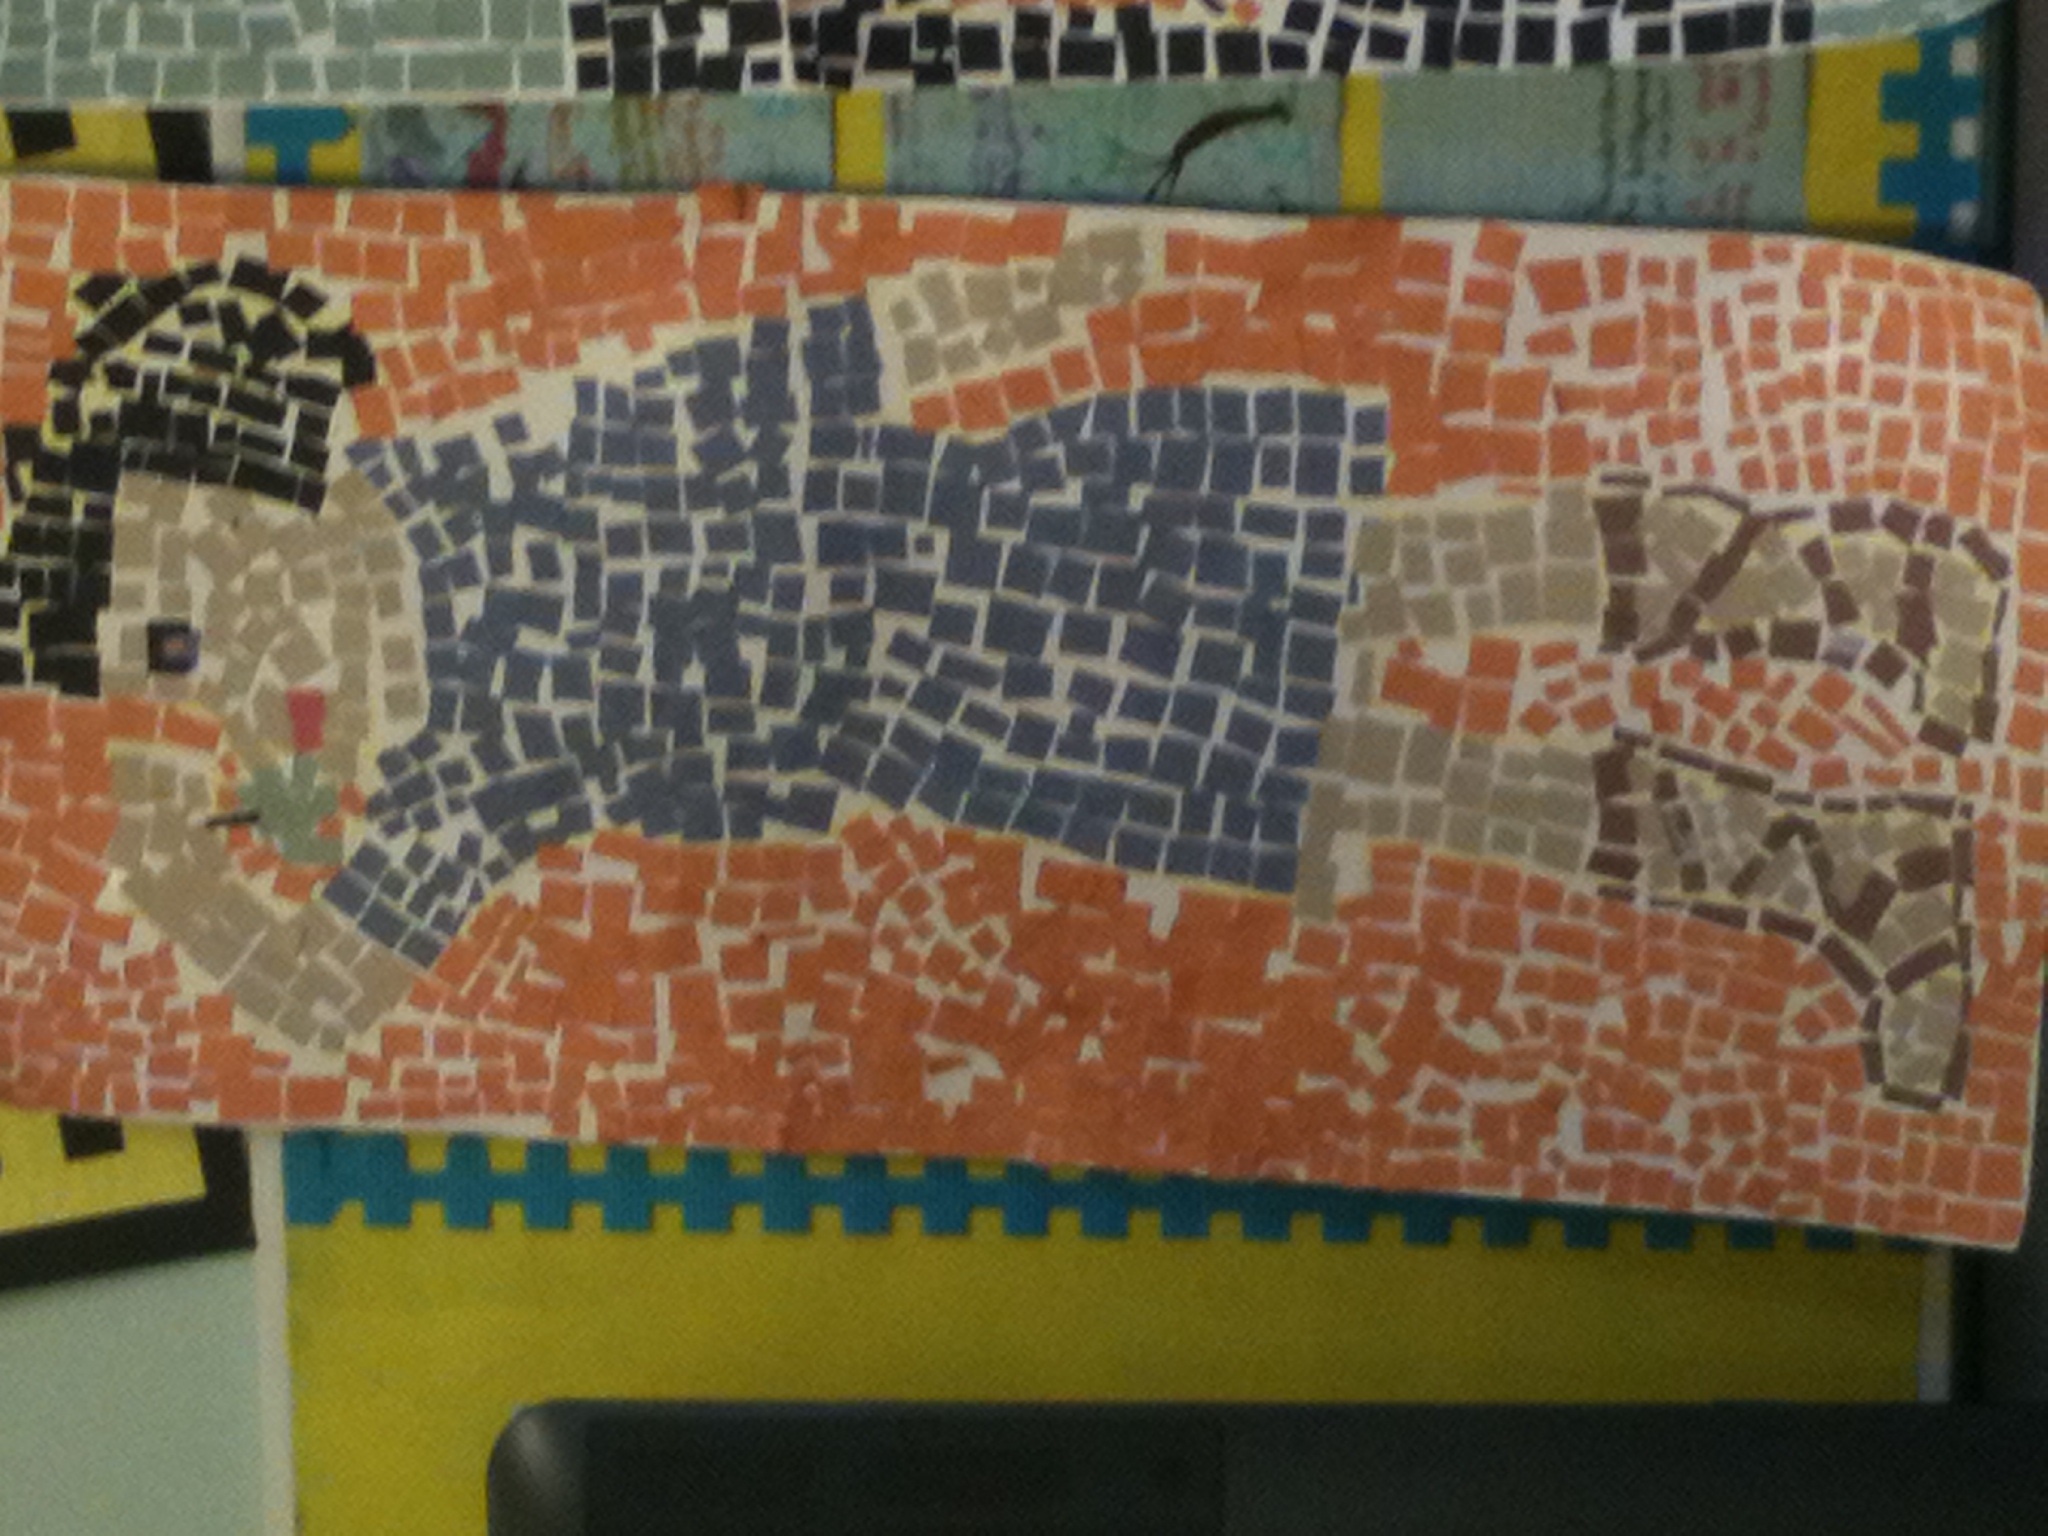
The children had three large sheets of cardboard and they had drawn around three of the smaller children on these. Andrew had already explained that they were going to make these figures into large paper mosaic panels . All the paper squares had been prepared the previous week so all they had to do was start to stick them down, making sure they left a small space between each piece of paper. The children had selected the range of colours they chose colours which were quite earthy. They worked really hard and the resulting figures were super.
It was great having Andrew there the children asked him questions and consulted him about what they were doing. The children were very keen to show him all the work that they had completed throughout the whole project and took Andrew on a tour to show him.
The work was displayed throughout the school for everyone to see. As it was parent interview week in school, lots of parents got to see the work including my class’s parents. Everyone was very impressed and could see the amount of thought and work that had gone into the whole project.
For me it has been another super experience ,I love working with Andrew and his way of thinking always takes me and the children down surprising and stimulating paths.
Yikes! I’ve actually started my journal I didn’t think I’d get here as I’m not the most technologically adept person. Anyway here goes…
When I heard that I would have the chance of working with Andrew again I was really chuffed . We had worked together several years ago on a cross border project based on the linen industry in Ireland. It was really successful and the pupils involved gained so much from the experience so I was really looking forward to working with him again as we forged both a firm working partnership and also a firm friendship.
So onto ‘Virtually There’ as I mentioned I’m not really confident with technology but I don’ t mind taking a leap into the unknown. We successfully linked up a couple of times before our first planned session but even so I was still nervous. The pupils were excited.
Initial contact was rather shaky ….first we had vision no sound, then sound no vision, so lots of sign language and several phone calls later we eventually connected. The project had started!
As I said the children were really excited about connecting with Andrew , he started by asking them to guess where he was transmitting from, their answers ranged from Dublin, to Scotland, to Wales, and eventually Andrew had to tell them .He drew a simple map to show them where Sunderland was.
Andrew started by discussing with the children what they had been learning about extreme weather , the children had already done some research so they had knowledge of various weather types . Andrew talked to the children about the recent flooding in England and Wales and about the impact that it had on peoples homes. He explained how we would be looking at the effects of extreme weather on houses and buildings. So as a starting activity the children had to produce a detailed line drawing of their own home.
The children produced great drawings including lots of detail, solving difficult issues such as how to draw a canopy, a bay window and an open gate. It was interesting to see how the children quite naturally wanted to show Andrew their drawings and they were very quick to take their pictures over to the webcam for him to see.
Andrew then explained that they were going to collage their houses using their first drawing as a reference . They were to use a range of papers and card ,The children were really engaged in this activity and went to great lengths to include details that made their houses individual to them. The children again were keen to show Andrew their work in progress so they took it in turns to show off their collages. The first session was really successful and we were all impressed with the work completed and were looking forward to the next session.
Session 2. 7th December 2012
Buoyed with the success of our first session. I was much more confident about our second session . The video link was launched but the gremlins had been at work and Andrew was all picture no sound! Apparently he could hear us perfectly . So undeterred we forged ahead with our activity. The children were to create their houses in 3d out of cereal boxes ( we did this prior to our session with Andrew) then translate this 3d card version of their house into clay.
Our clay was prepared by Nadine our brilliant 3rd year art student who has joined us on this project . Nadine has fitted right in and in just two weeks become an invaluable source of knowledge and support for me and the pupils. She has also brought in pictures of her own work and as a result the children are getting a broader art experience.
Anyway back to the session,with no sound and only the video link the children watched Andrew’s construction of his clay house, the pupils immediately began moulding their houses. They made sloped roof tops then tiles for their roofs . They added windows and doors and put in as much detail as possible. The children didn’t know what was going to happen to their finished houses …….I did!
Andrew wanted the children to have first hand experience of the effects of weather on houses so their carefully constructed houses were to be put outside exposed to the elements. Their reaction to this news was interesting some were puzzled others excited , I don’t think they fully appreciated what would happen to the unfired clay houses , however they are going to document the effects by taking photographs over the next few weeks.
Session 3. 14th December
Yeah!this time we have full contact…… sound and vision! Andrew talked to the children about extreme weather and the effects on the environment, they had watched various news clips about flooding, hurricanes, tornadoes, typhoons etc some had personal experiences that they were keen to share with Andrew. Drawing on their experiences Andrew asked them to draw their impressions of a storm in progress . Their drawings were lively and full of drama, with flying furniture, floating cars, abandoned pets and whirling tornadoes.
We were on a roll then…….Andrew had a power cut!!!
So whilst we waited for normal service to resume the children continued drawing they drew the after effects of storms depicting the debris that gets left behind . They were particularly focussed on how things turn up in really odd places such as cars on roofs and boats in gardens, their drawings again were lively and interesting.
Andrew managed to make contact again and we continued with the next stage of the session . All their drawings were pegged up on string which crisscrossed the classroom, we then had a couple of fans directed at their drawings at first we had them on a light breeze, the children watched,we then gradually increased the amount of wind until the drawing were being flapped around very energetically. At this point Andrew encouraged the children to draw what they were seeing they sketched quickly capturing the movement of the paper on the line. They got quite excited as some of the drawing were blown completely off.
We took photos and videos of the event so hopefully you can all see.
Session 4 11th January 2013
A new year! Andrew wanted the children to continue to explore the fragility of buildings exposed to extreme weather as a starter for their thinking Andrew wanted them to experience the work of Korean artist Do Ho Suh. I hadn’t come across him before so it was interesting to study his work with the children. Andrew explained to the children that Do Ho Suh is an installation artist who has created every house he has lived in with fabric,this drew some interesting comments from the children about how they’d go about making their houses in fabric. The children were intrigued by the images and how they were exhibited,some suspended from the ceiling so the viewer had to look up ,some encouraging the viewer to walk in and around the installation.These pieces are stitched with incredible attention to detail, right down to the kitchen sink literally! So using Do Ho Suh’s work as inspiration the children were going to create a house out of fabric . They were split into four groups , each group drew a side ,front or back of a house then they transferred these drawings onto large pieces of fabric. We then had a discussion about who could sew or even thread a needle quite a few of the boys and a few girls hadn’t done either. The children got started onto their sewing.

 Continuing the butterfly theme Andrew encouraged the children to think about the art work that they were looking at the previous session.