Drawing with light

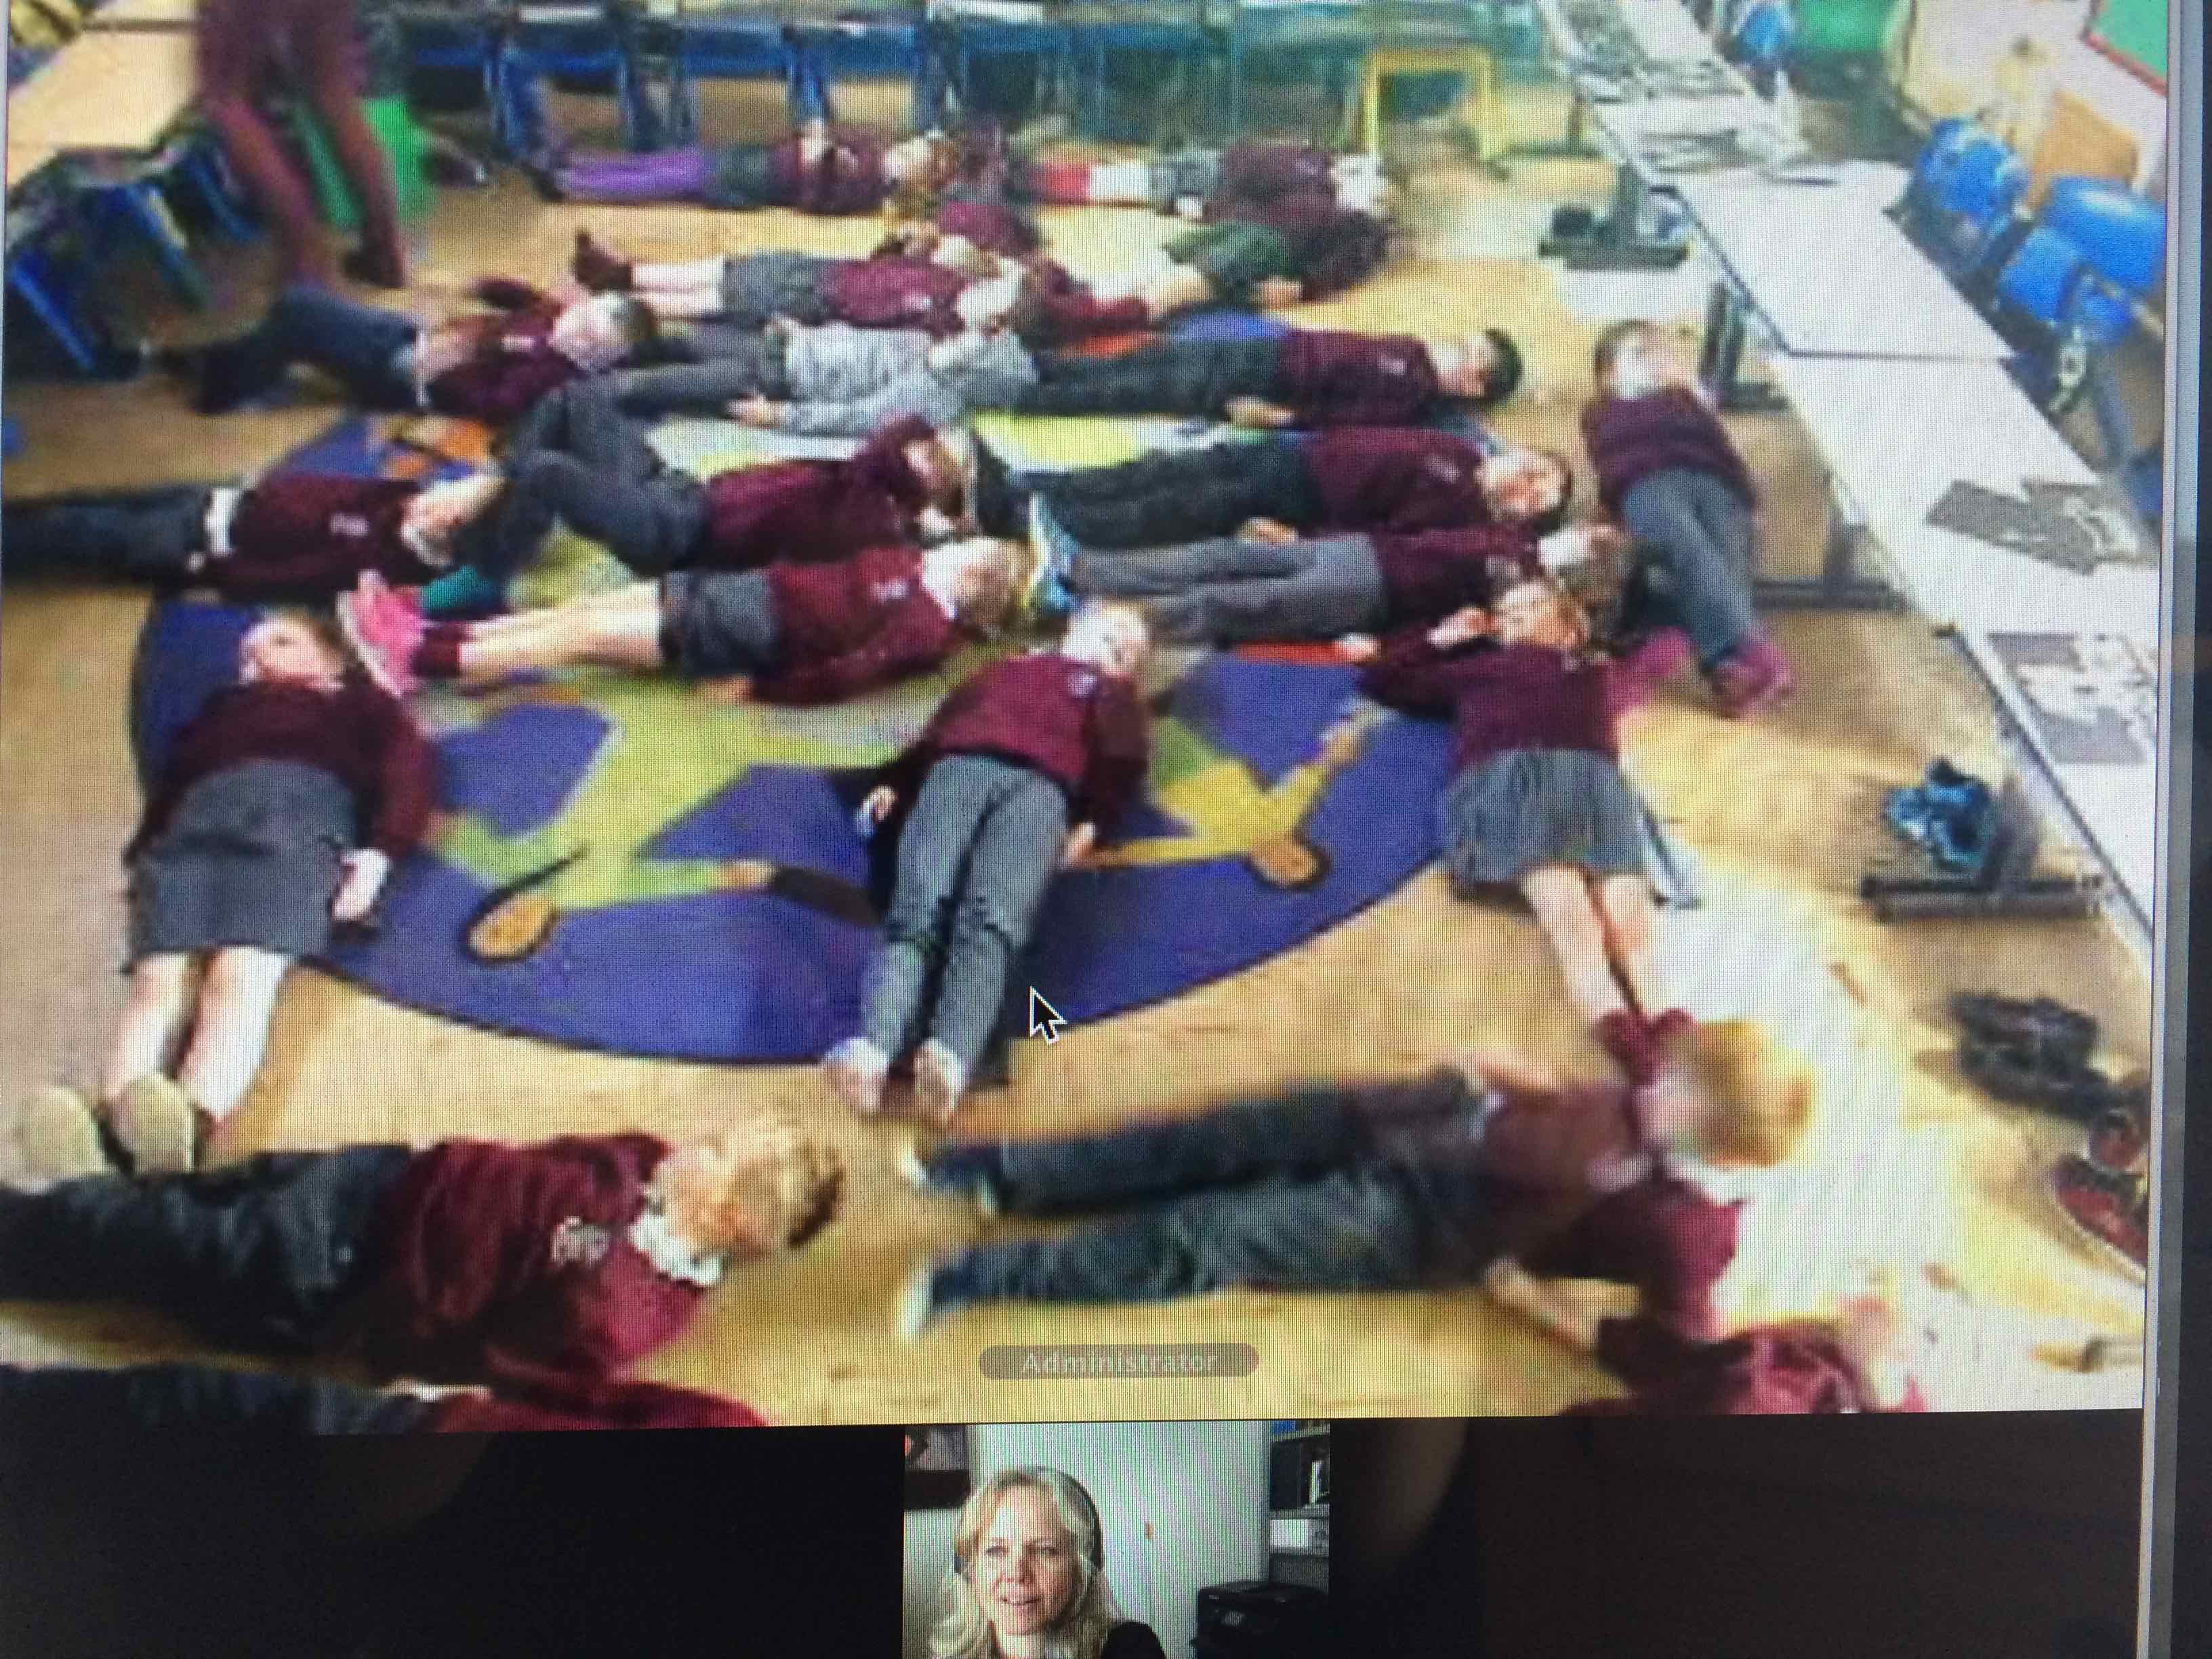
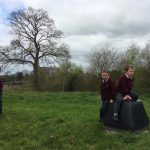
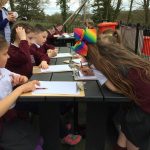
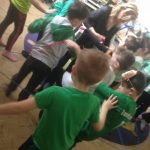
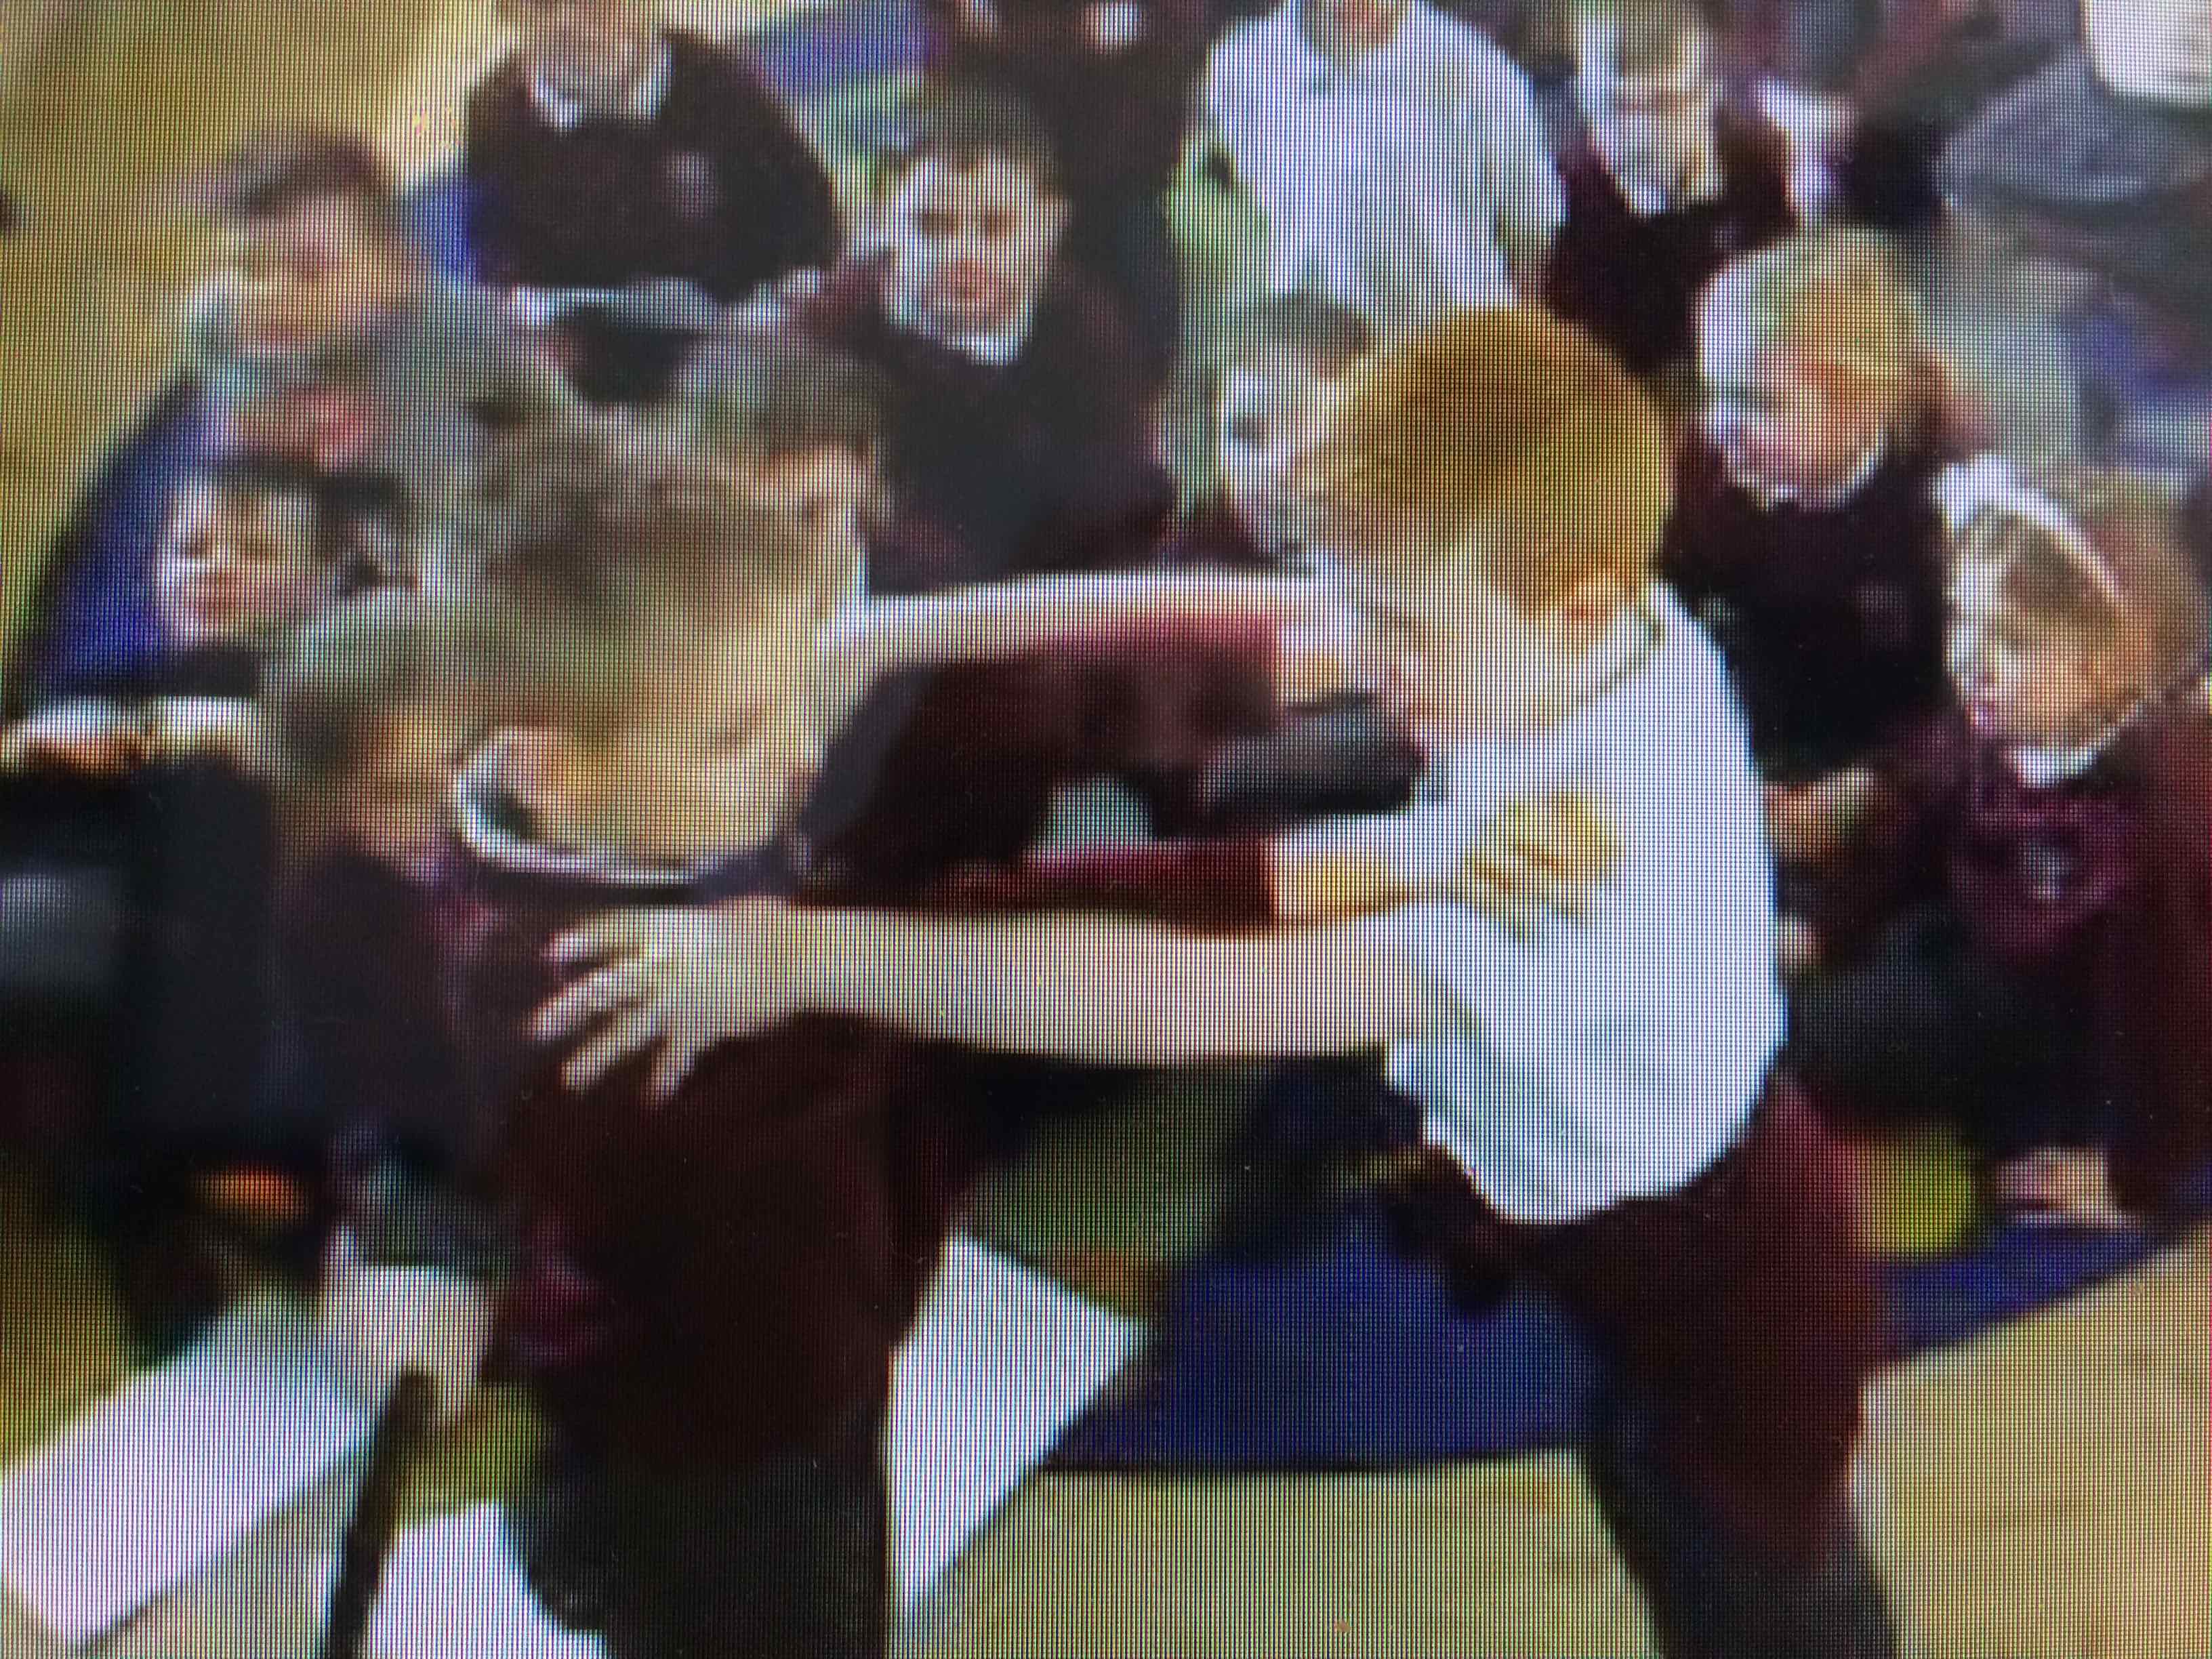
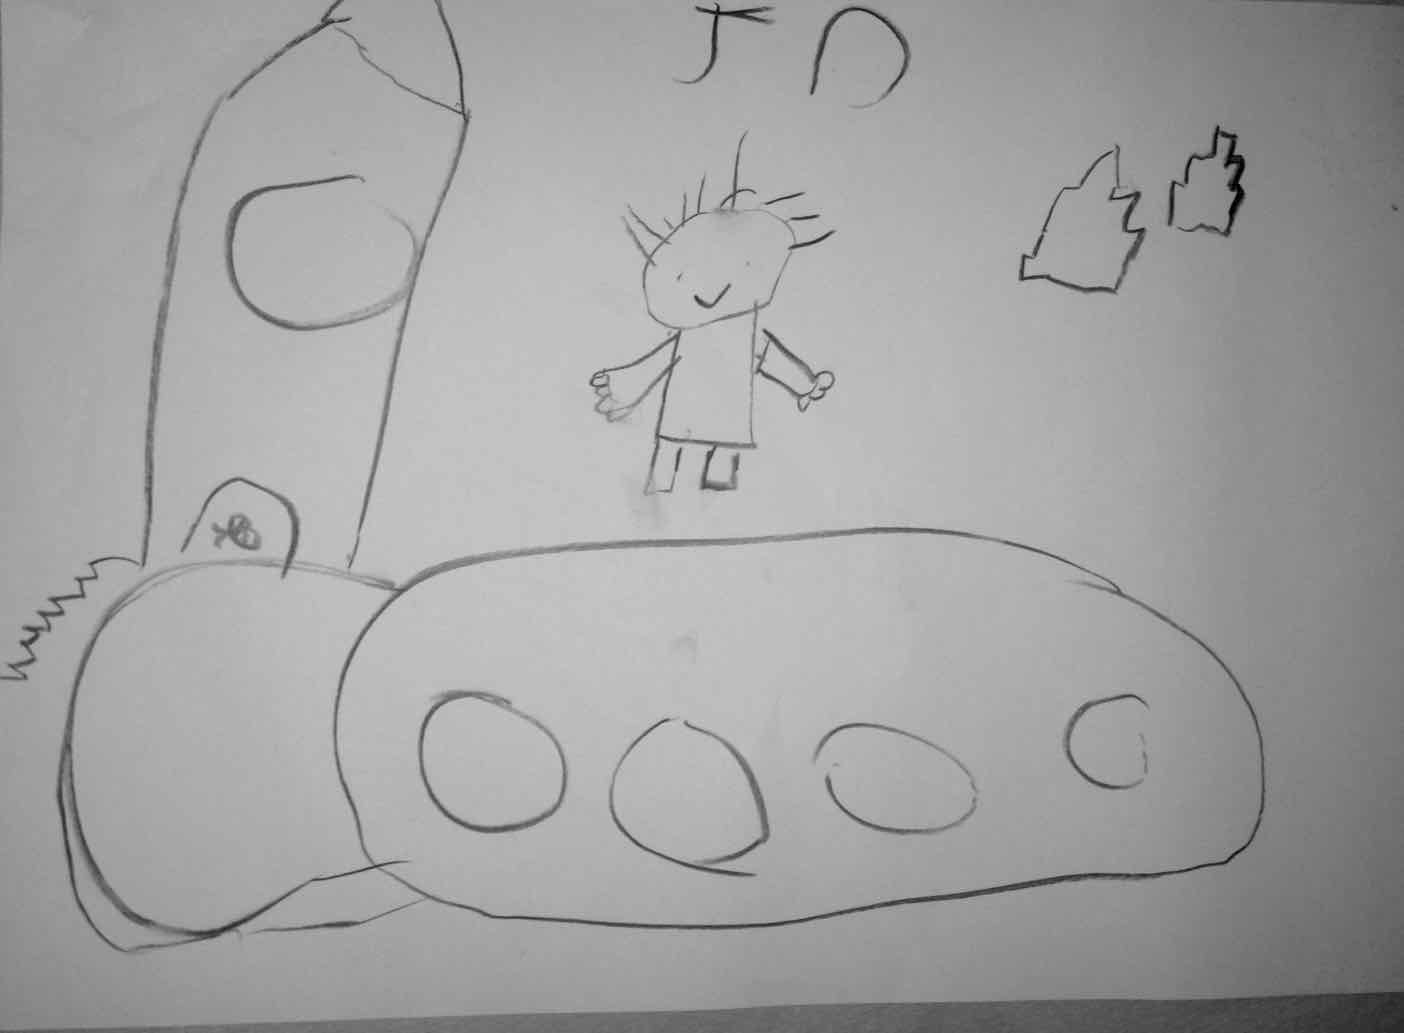
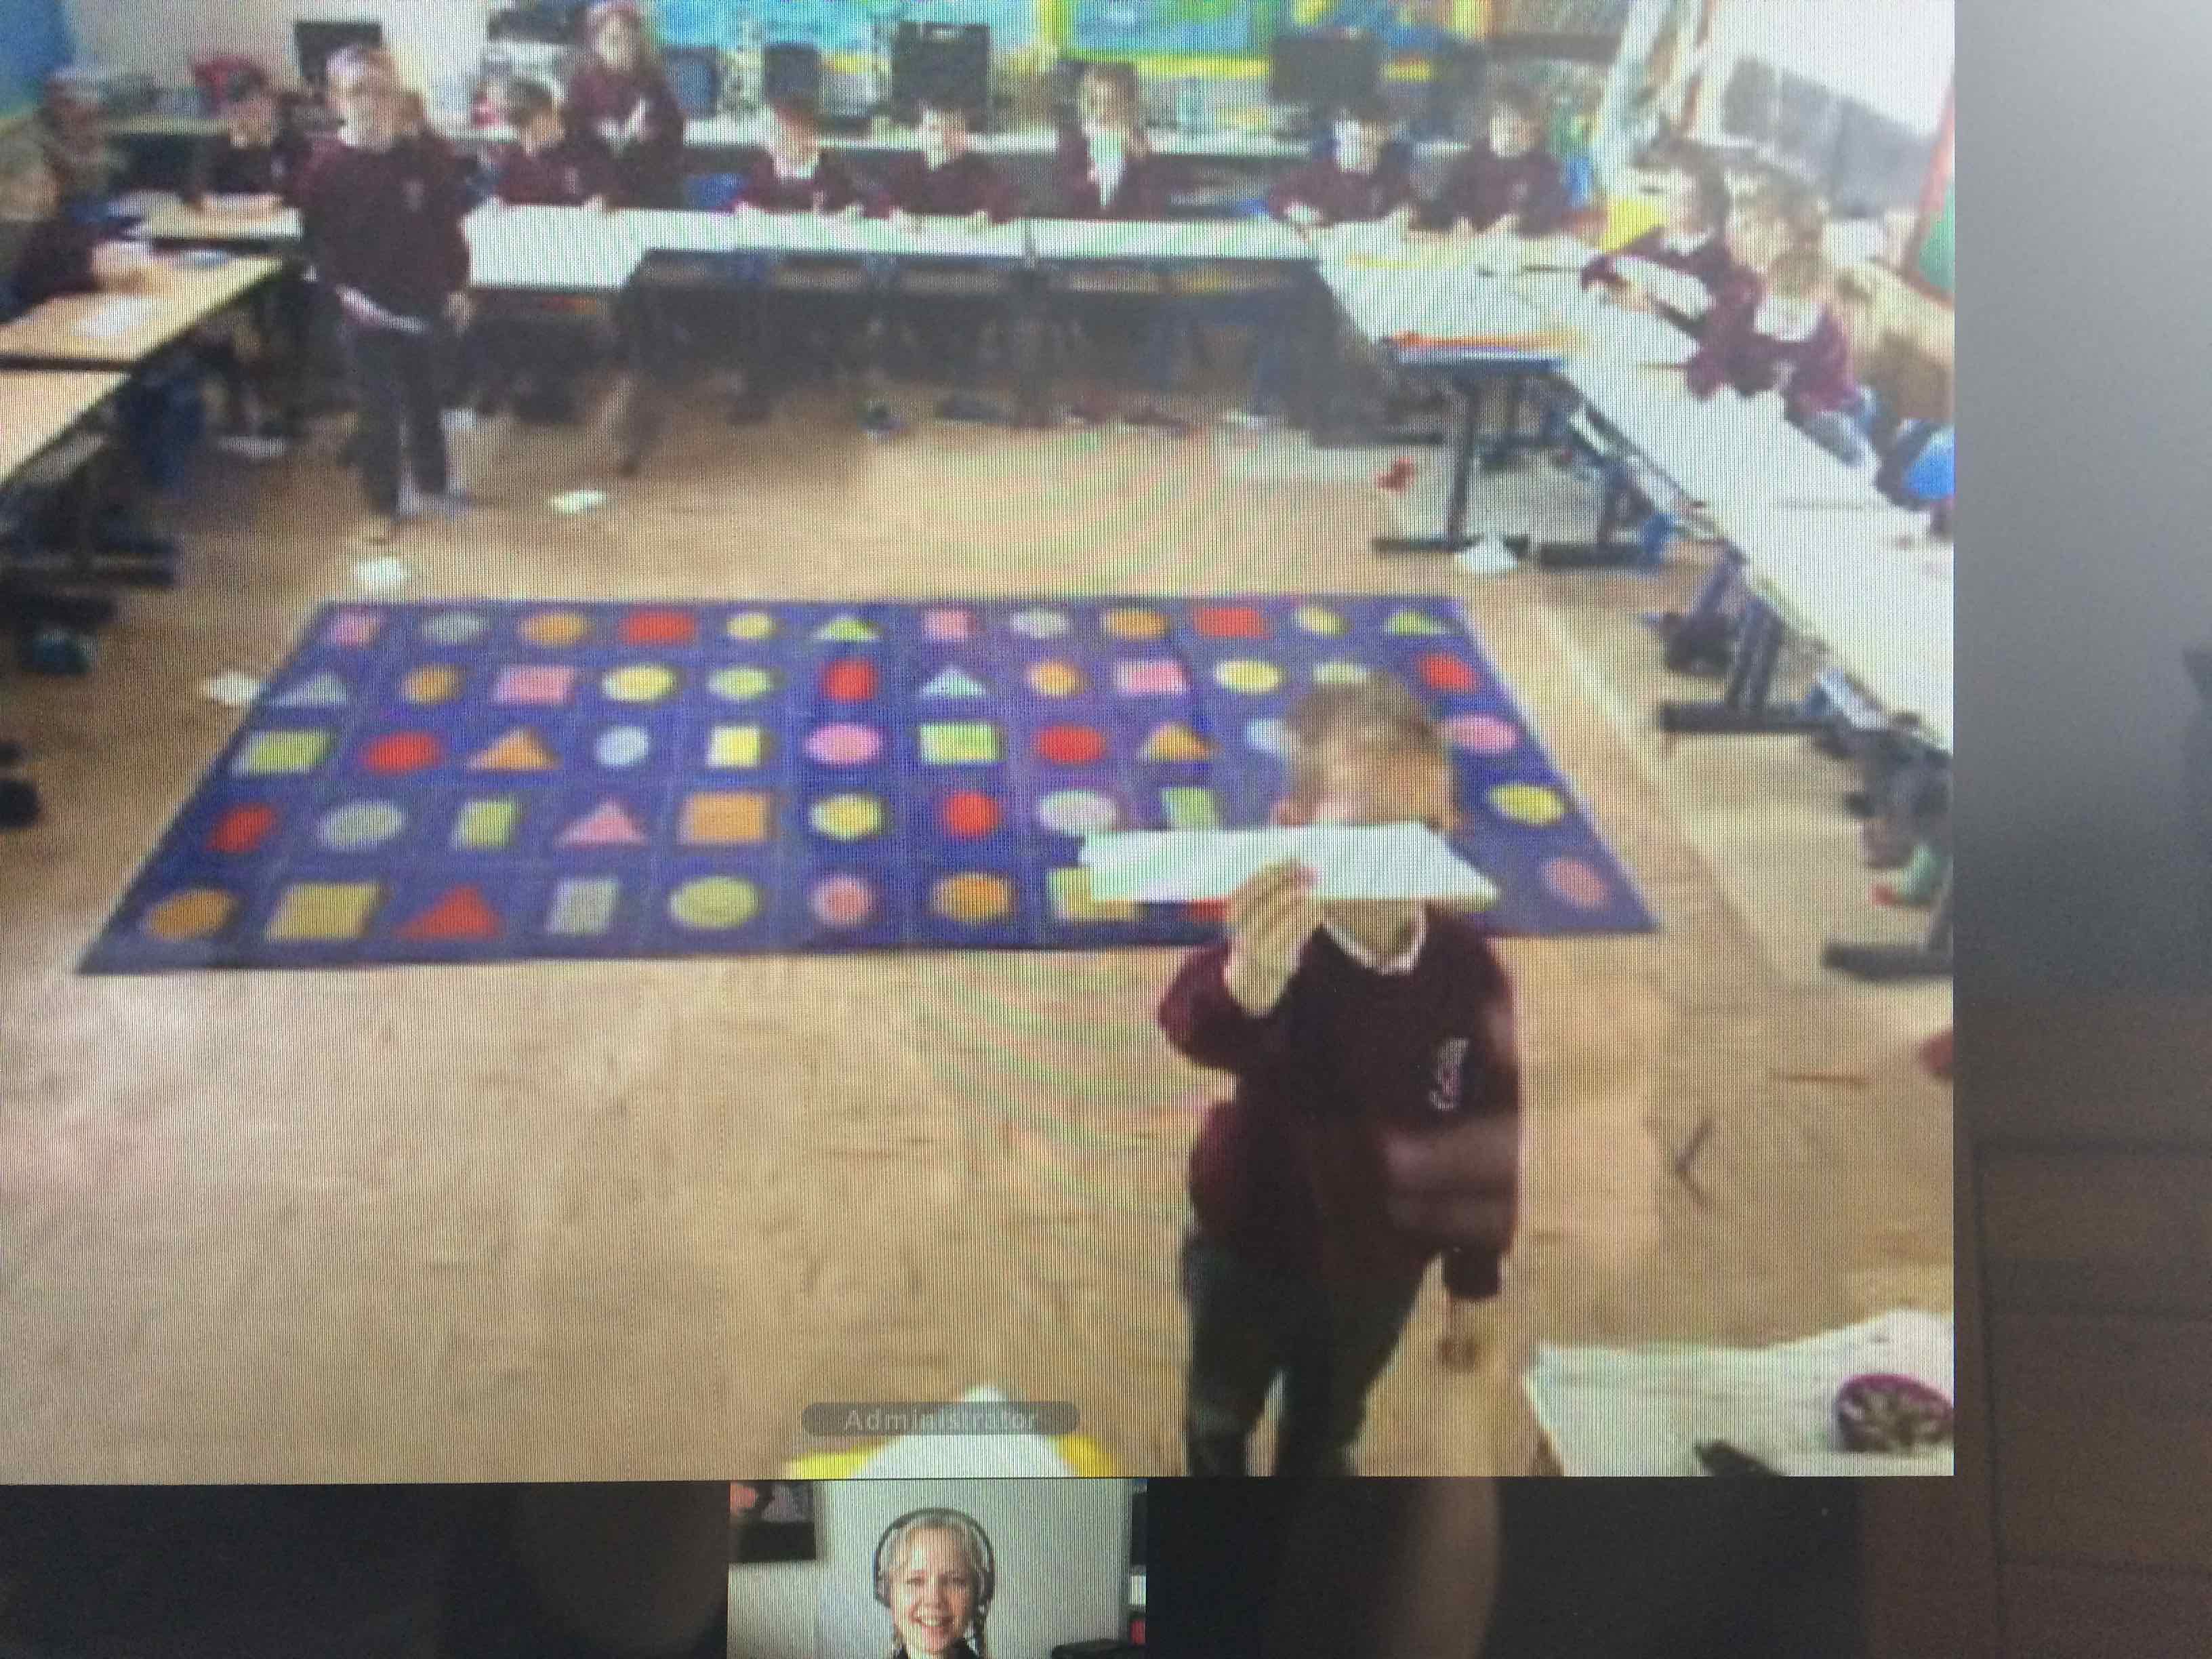
Our final session took place together as a real visit – in a welcoming sunlit classroom and a now familiar school yard!

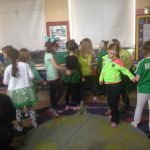
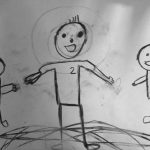
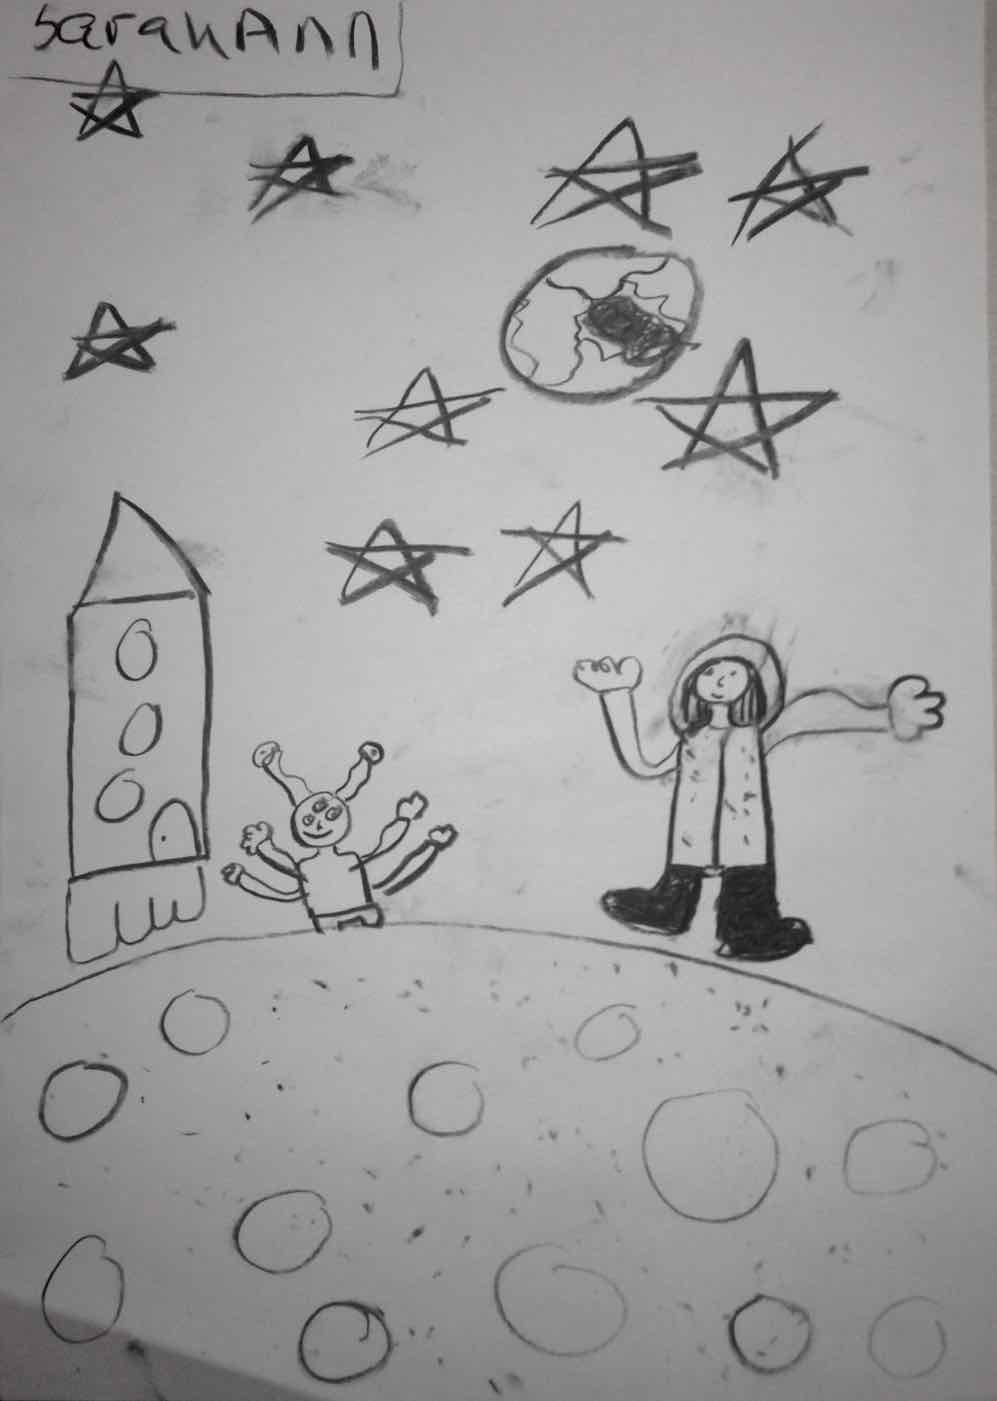
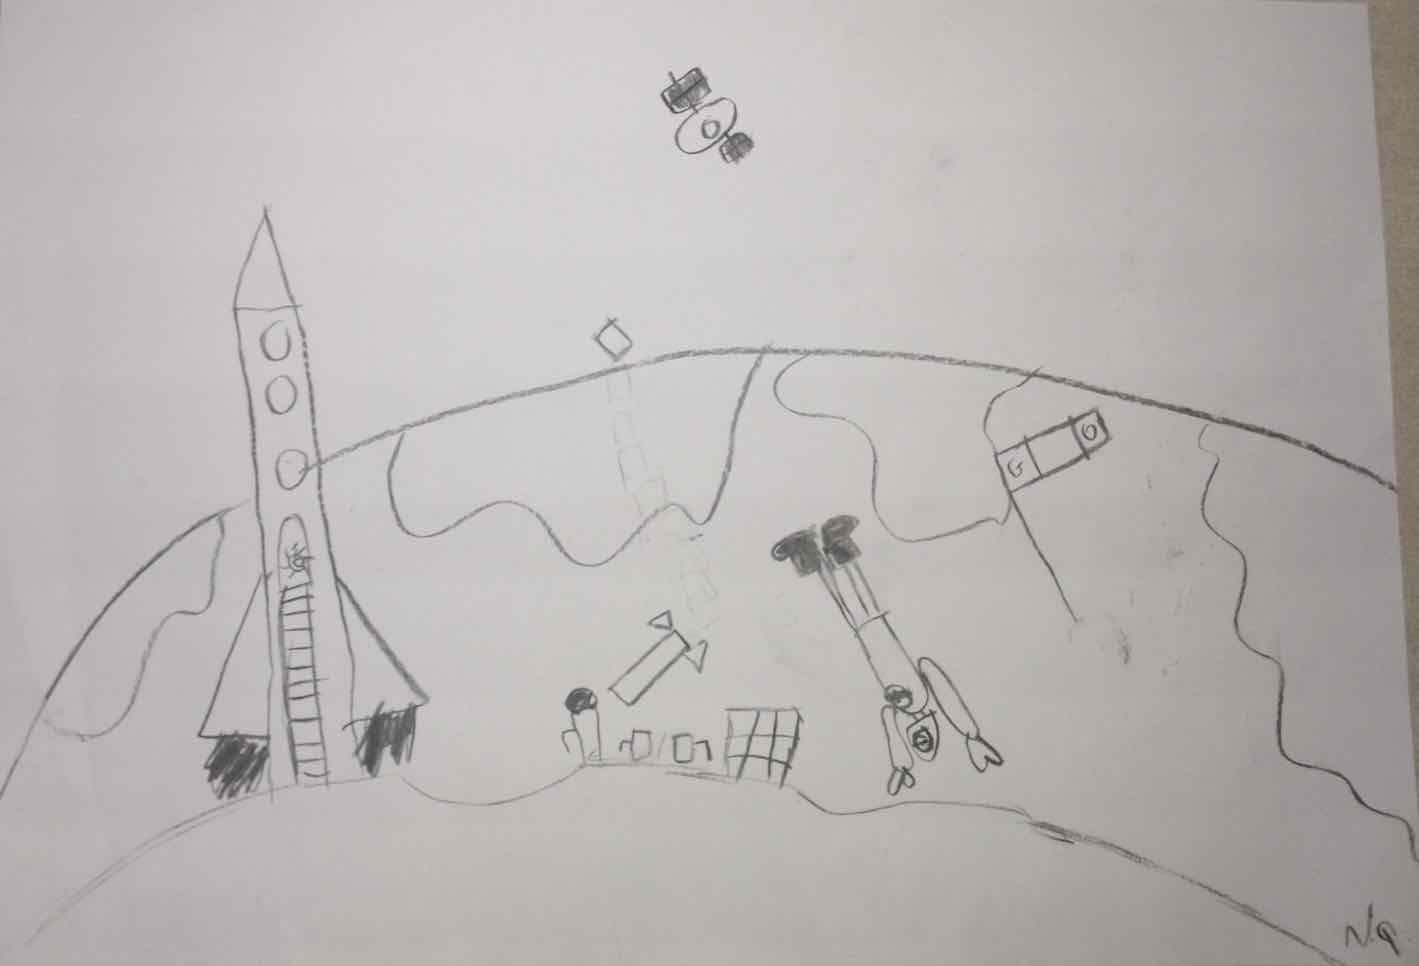
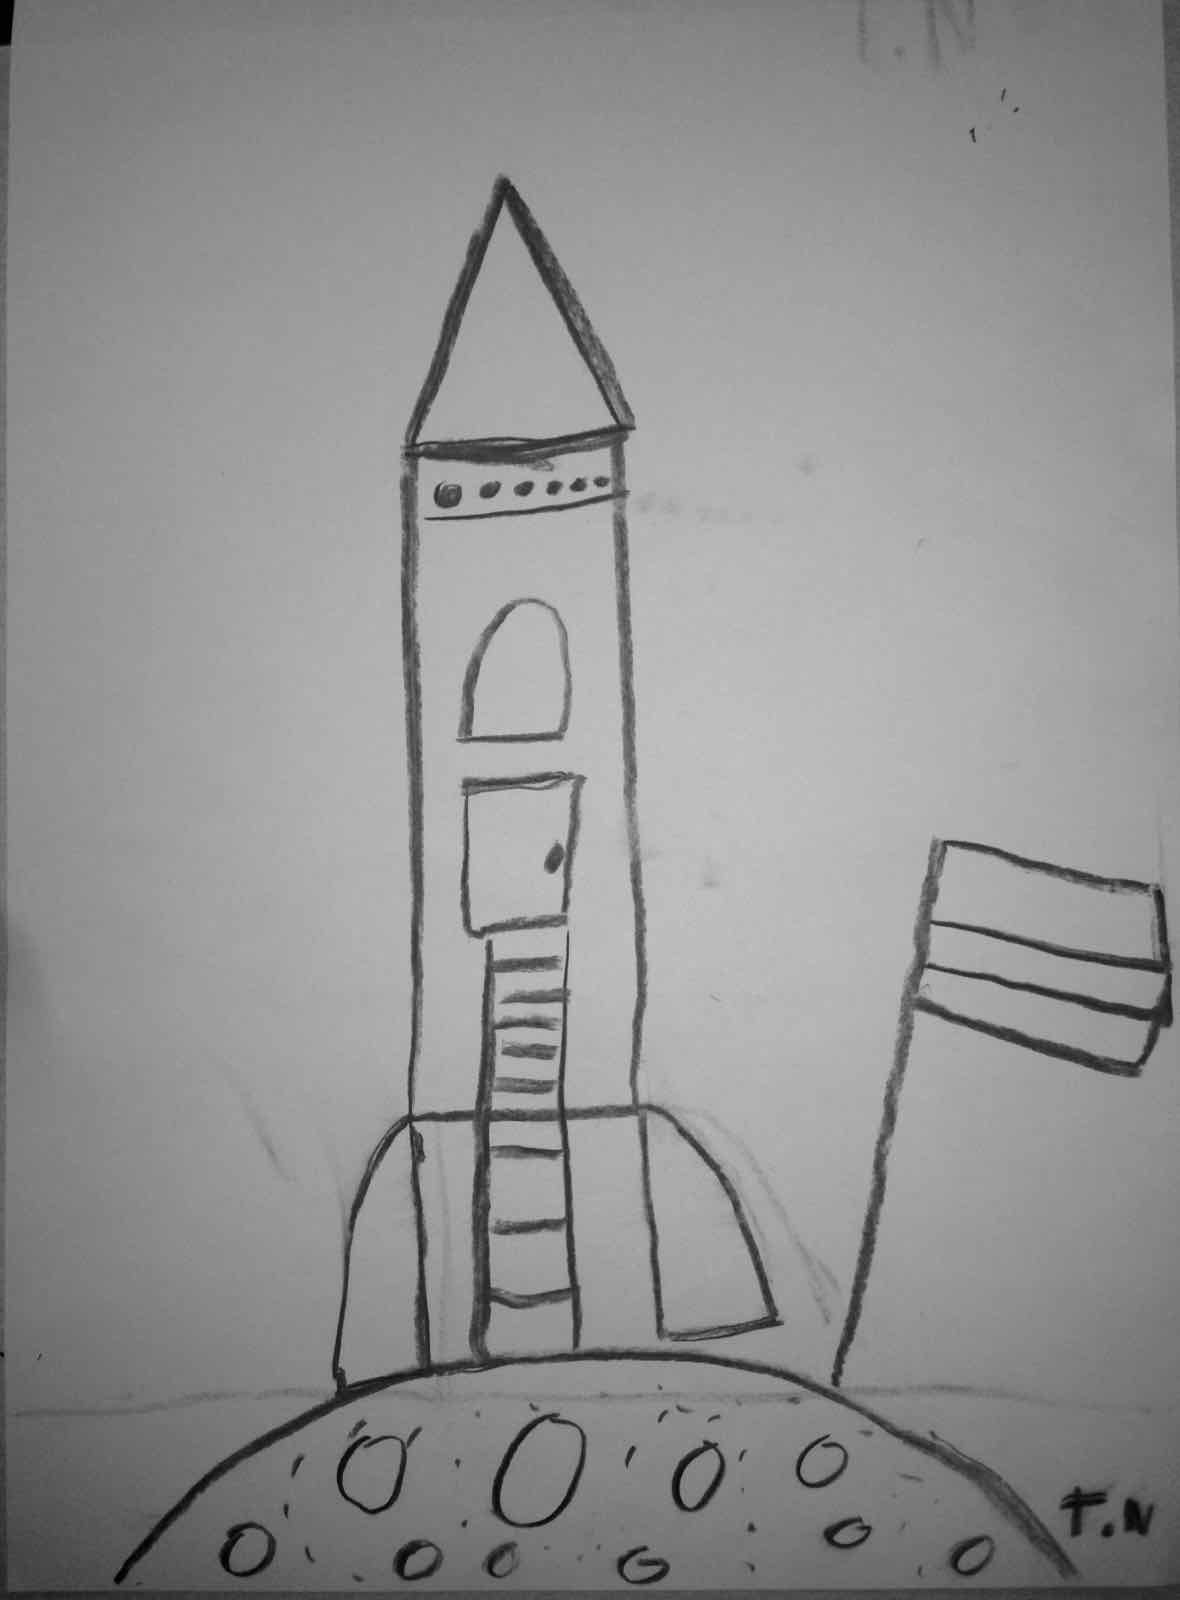
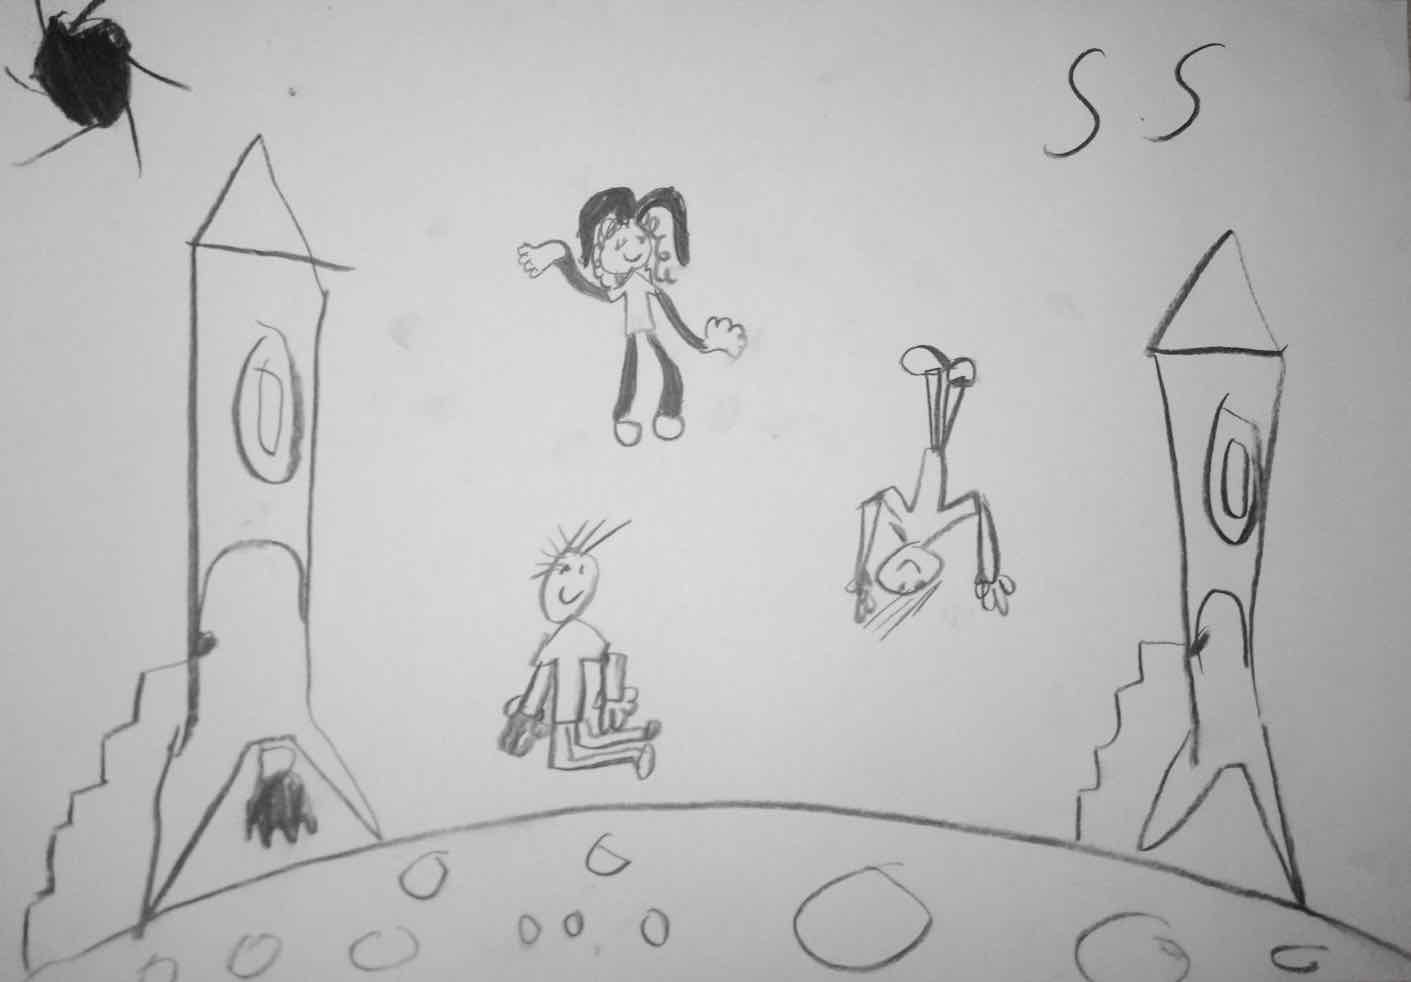
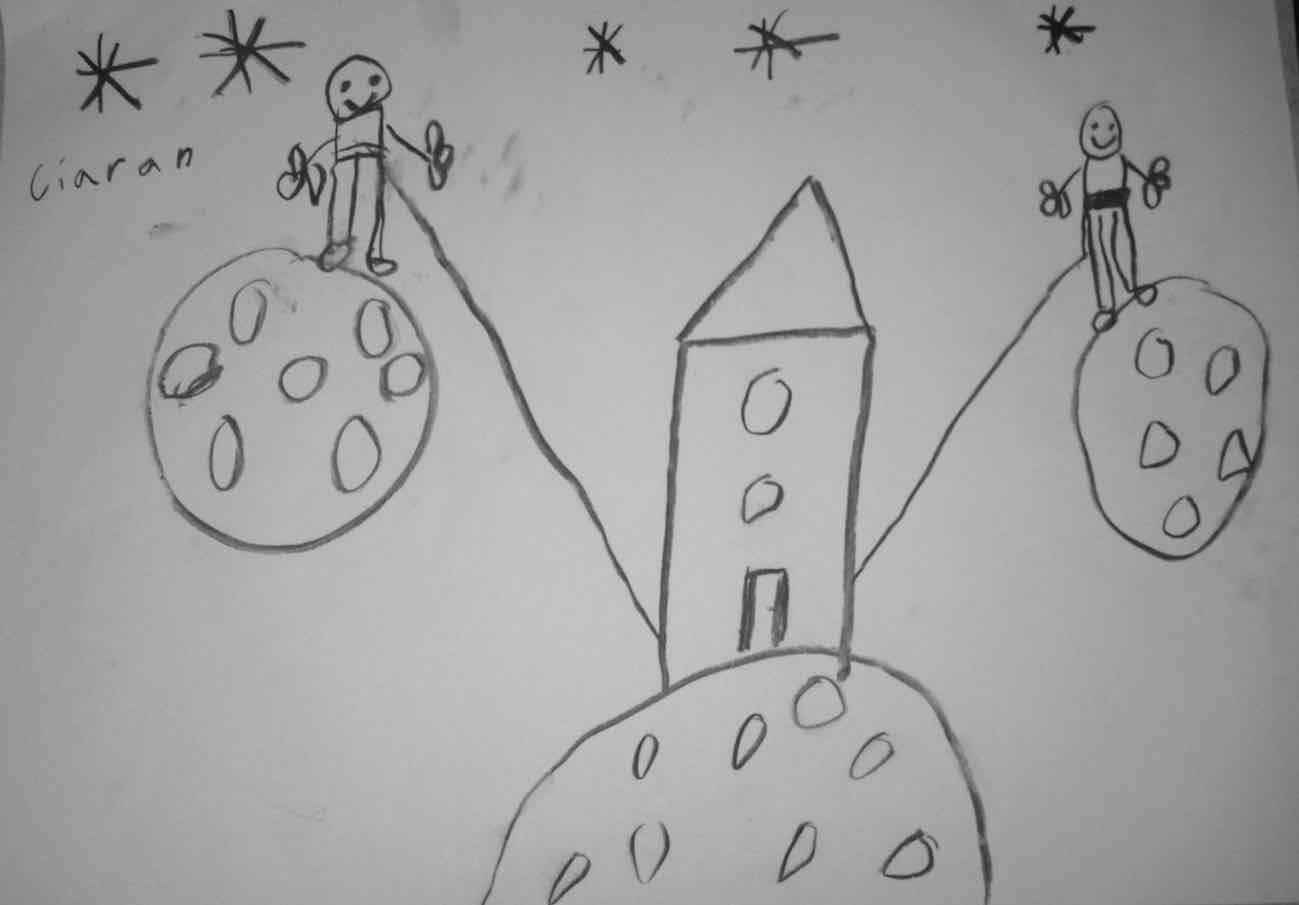
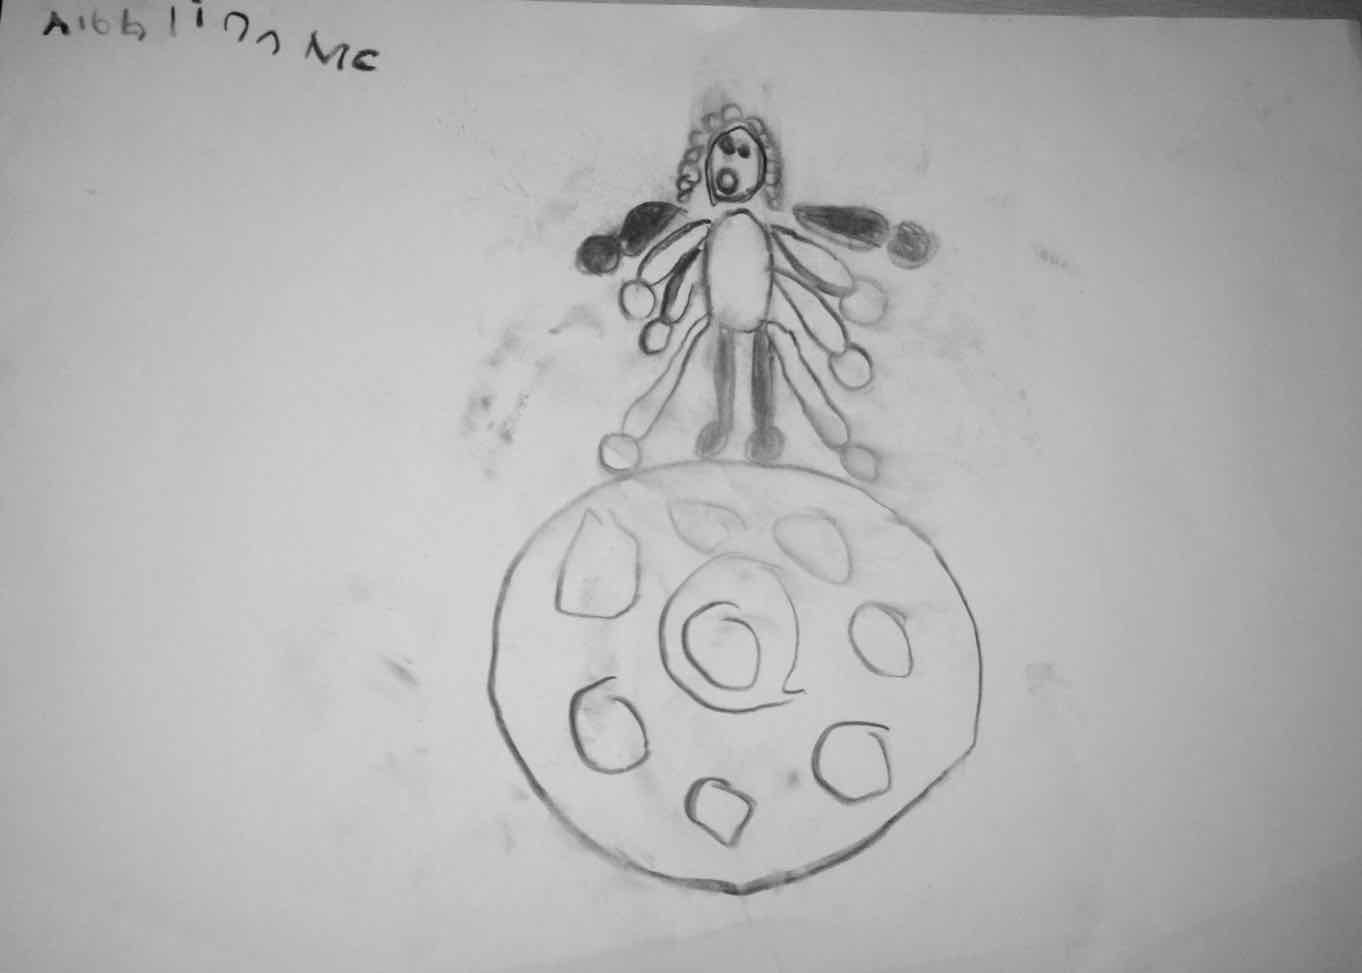
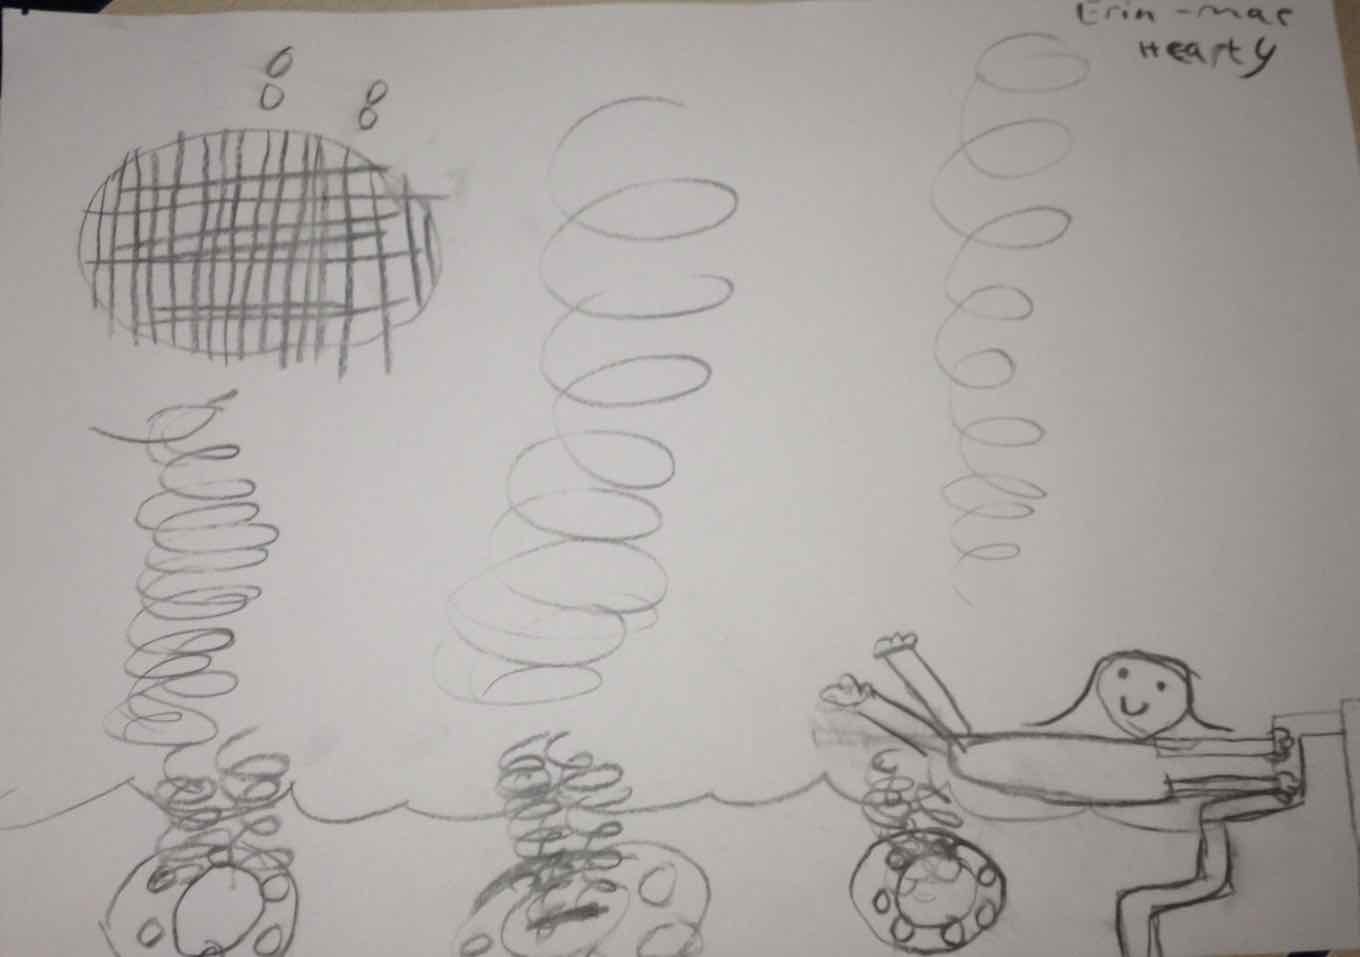
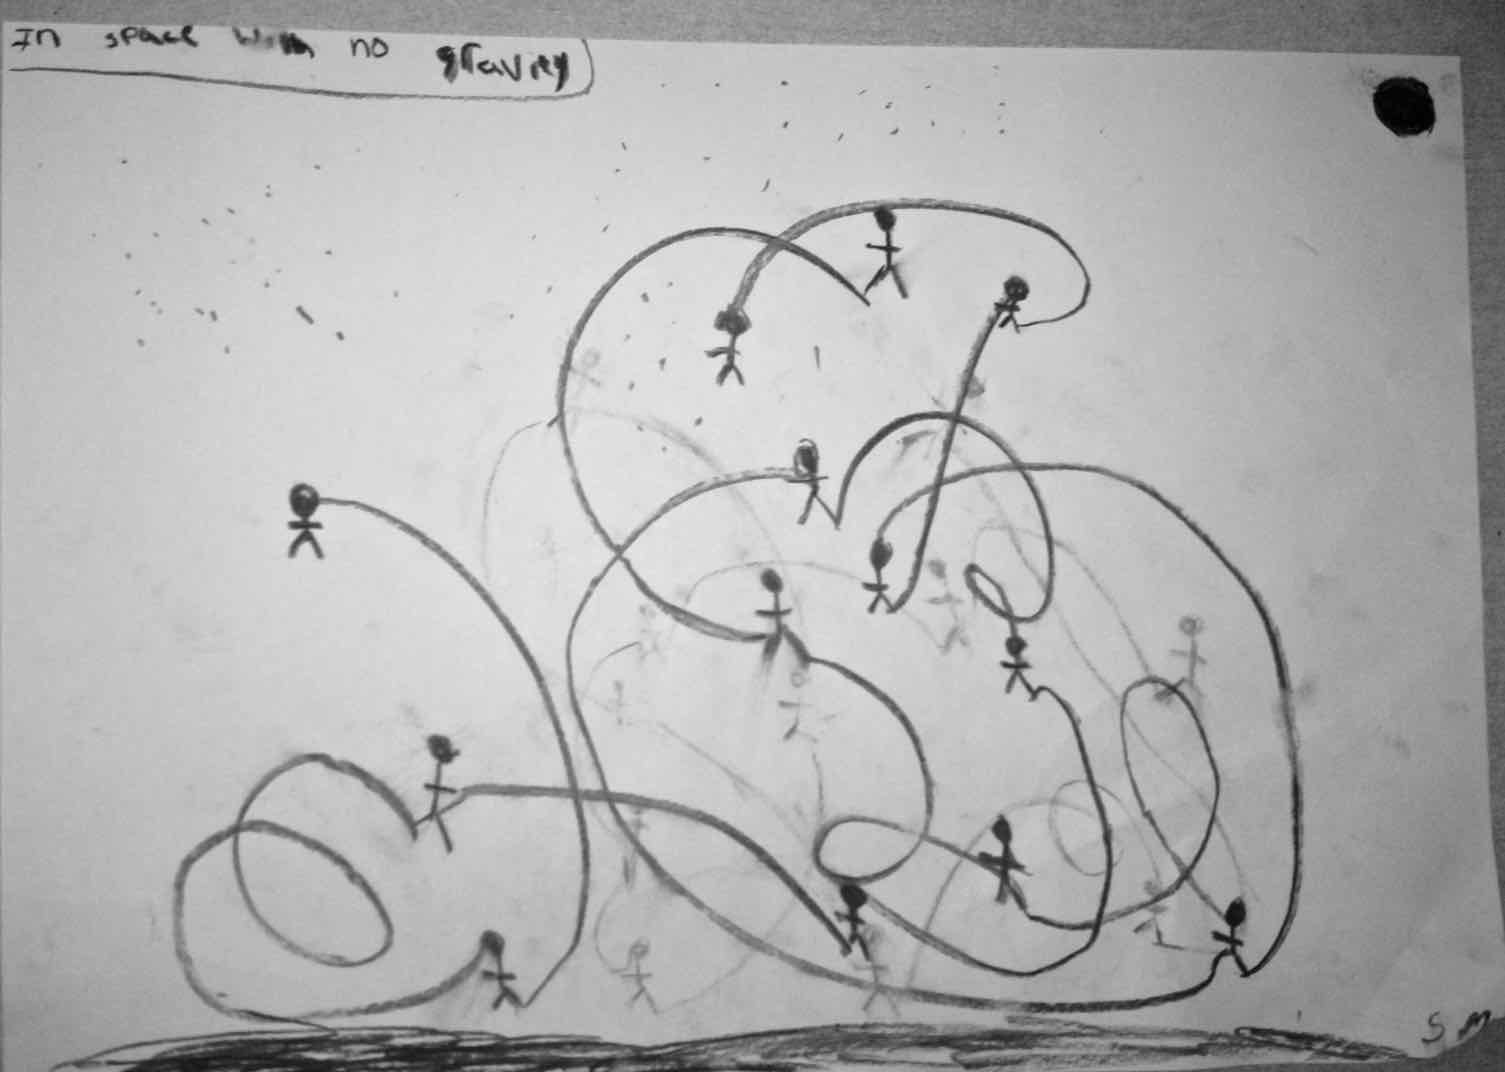
It was a natural development for us to investigate how we could use the resource of the sun to explore some more ideas. The sun shone mostly in Crossmaglen that day and we had a wonderful time together. First of all we reminisced over our project and offered up some favourite moments during a circle time gathering. Its been quite a journey… from hand writing to giant loops.. to gravity, movement, space, outer space and back to earth in our classroom, happy to share the morning in each other’s company.

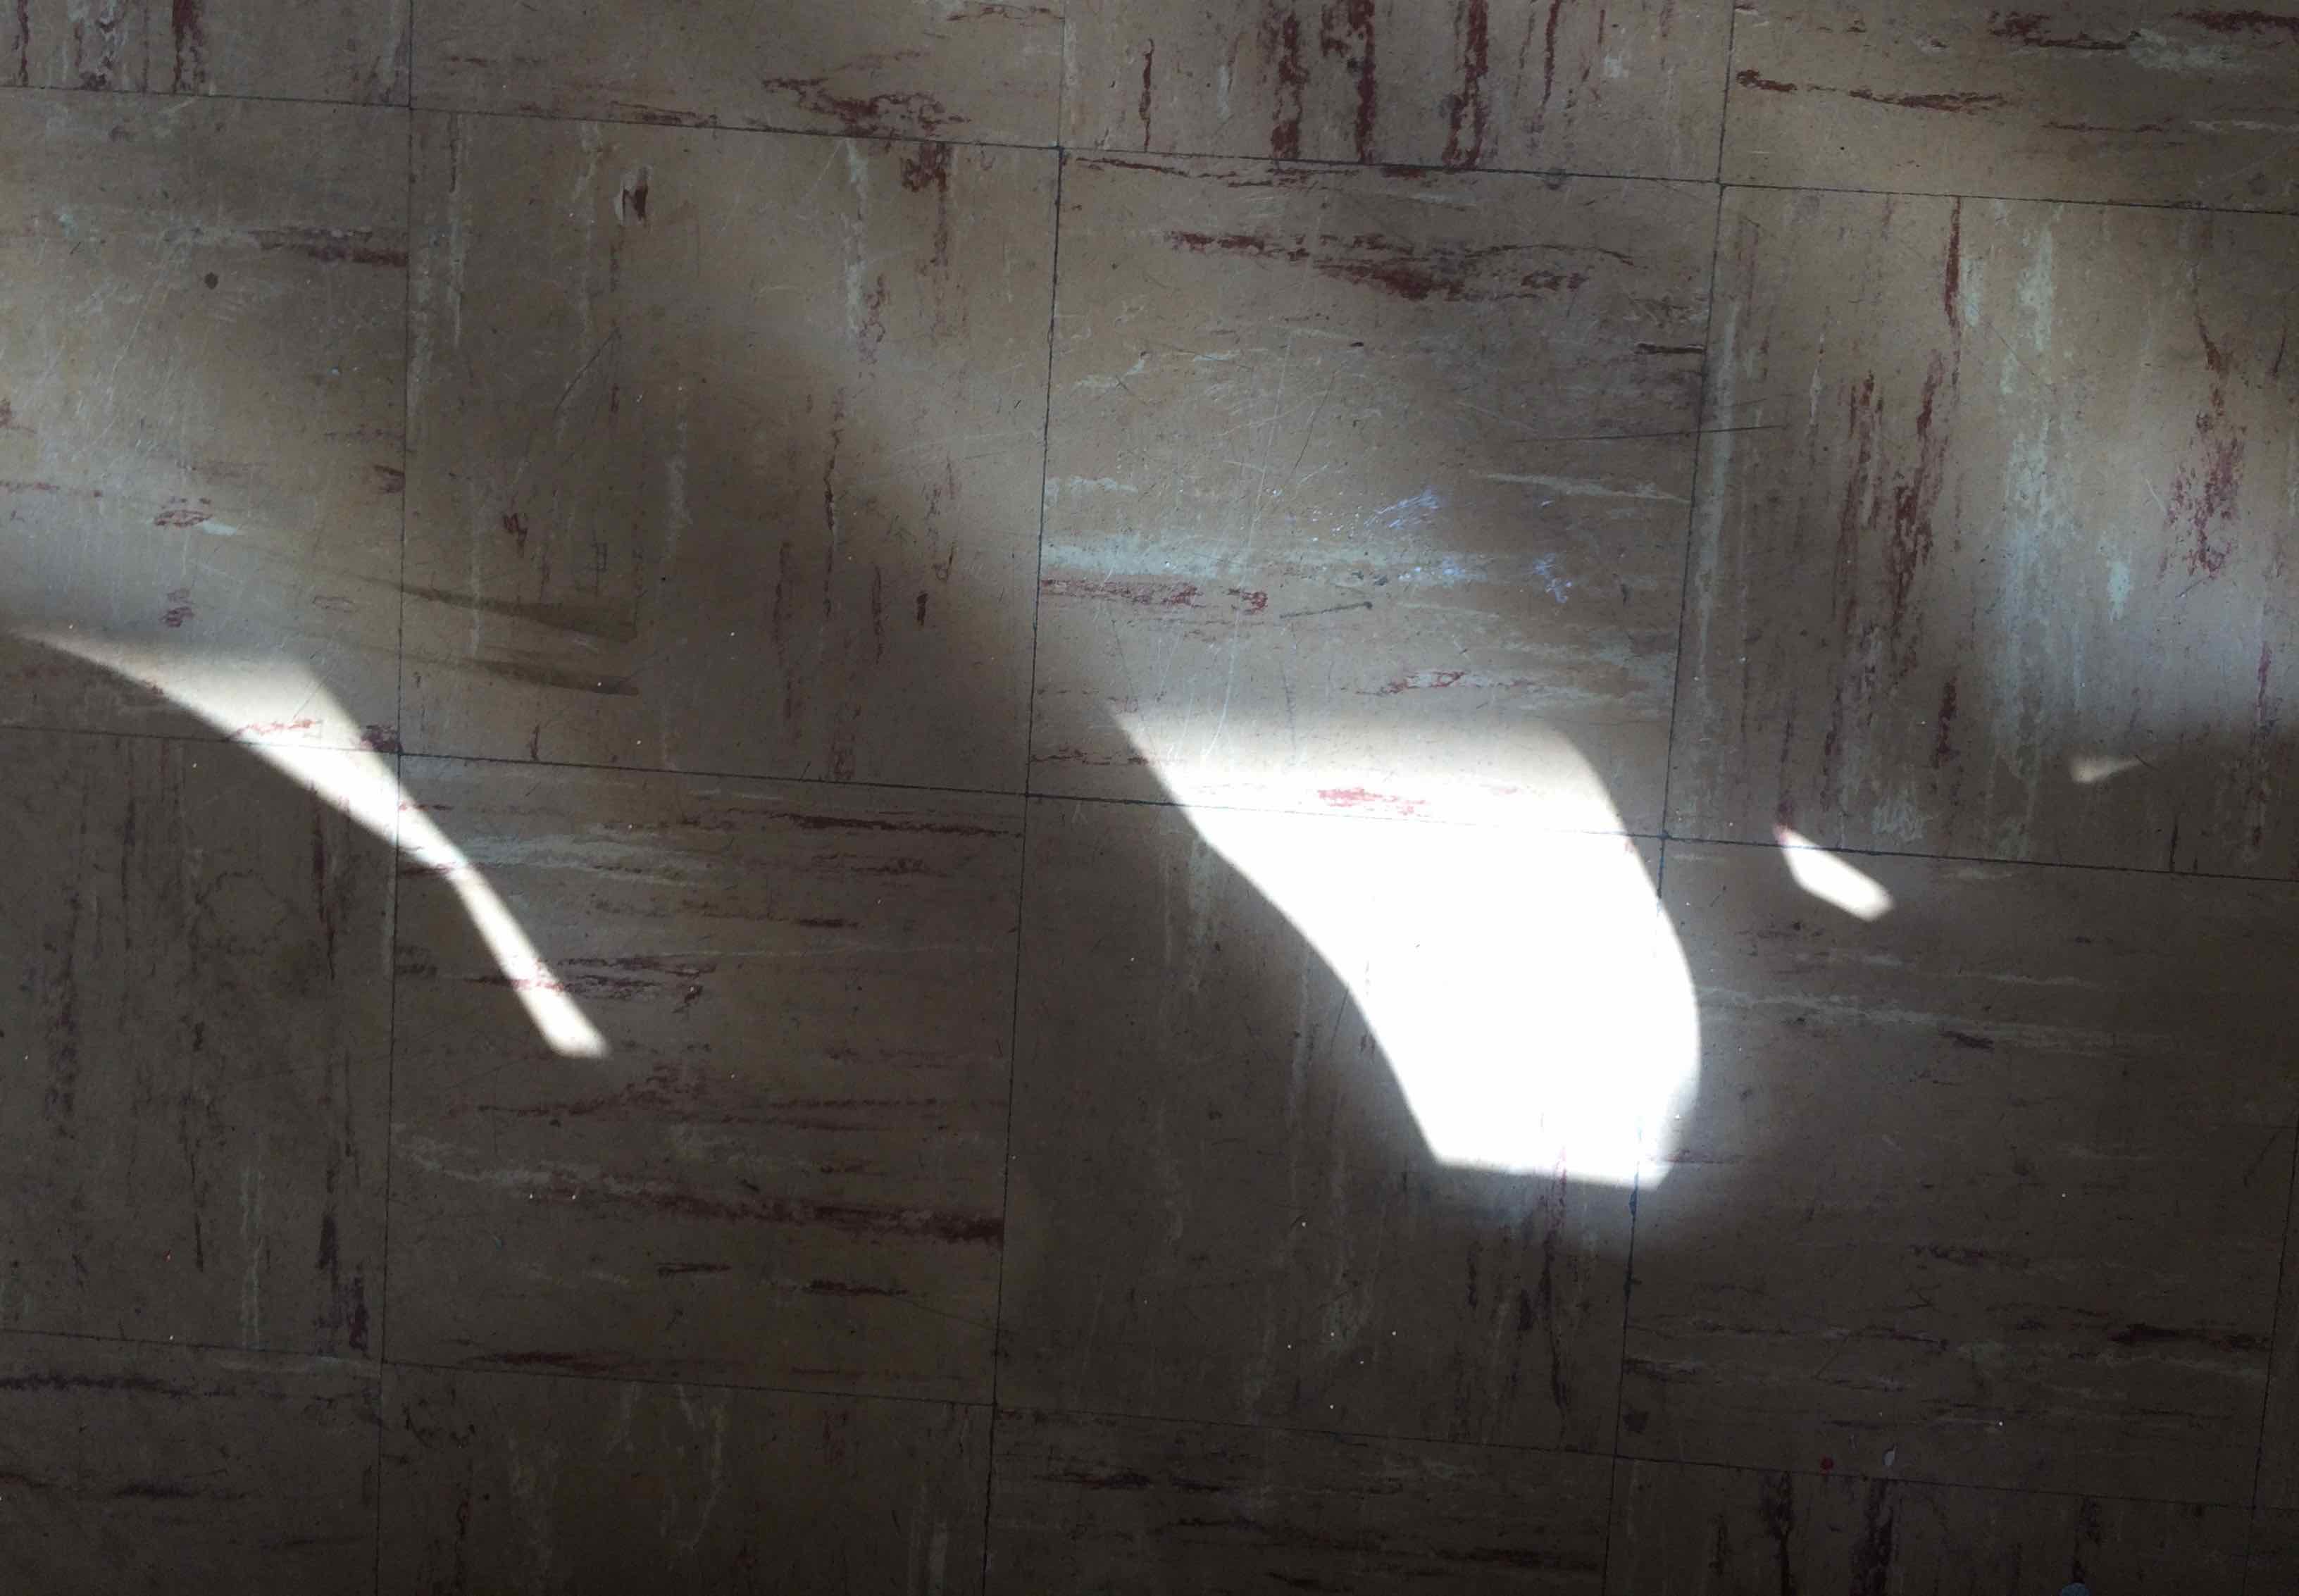
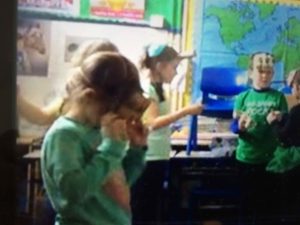
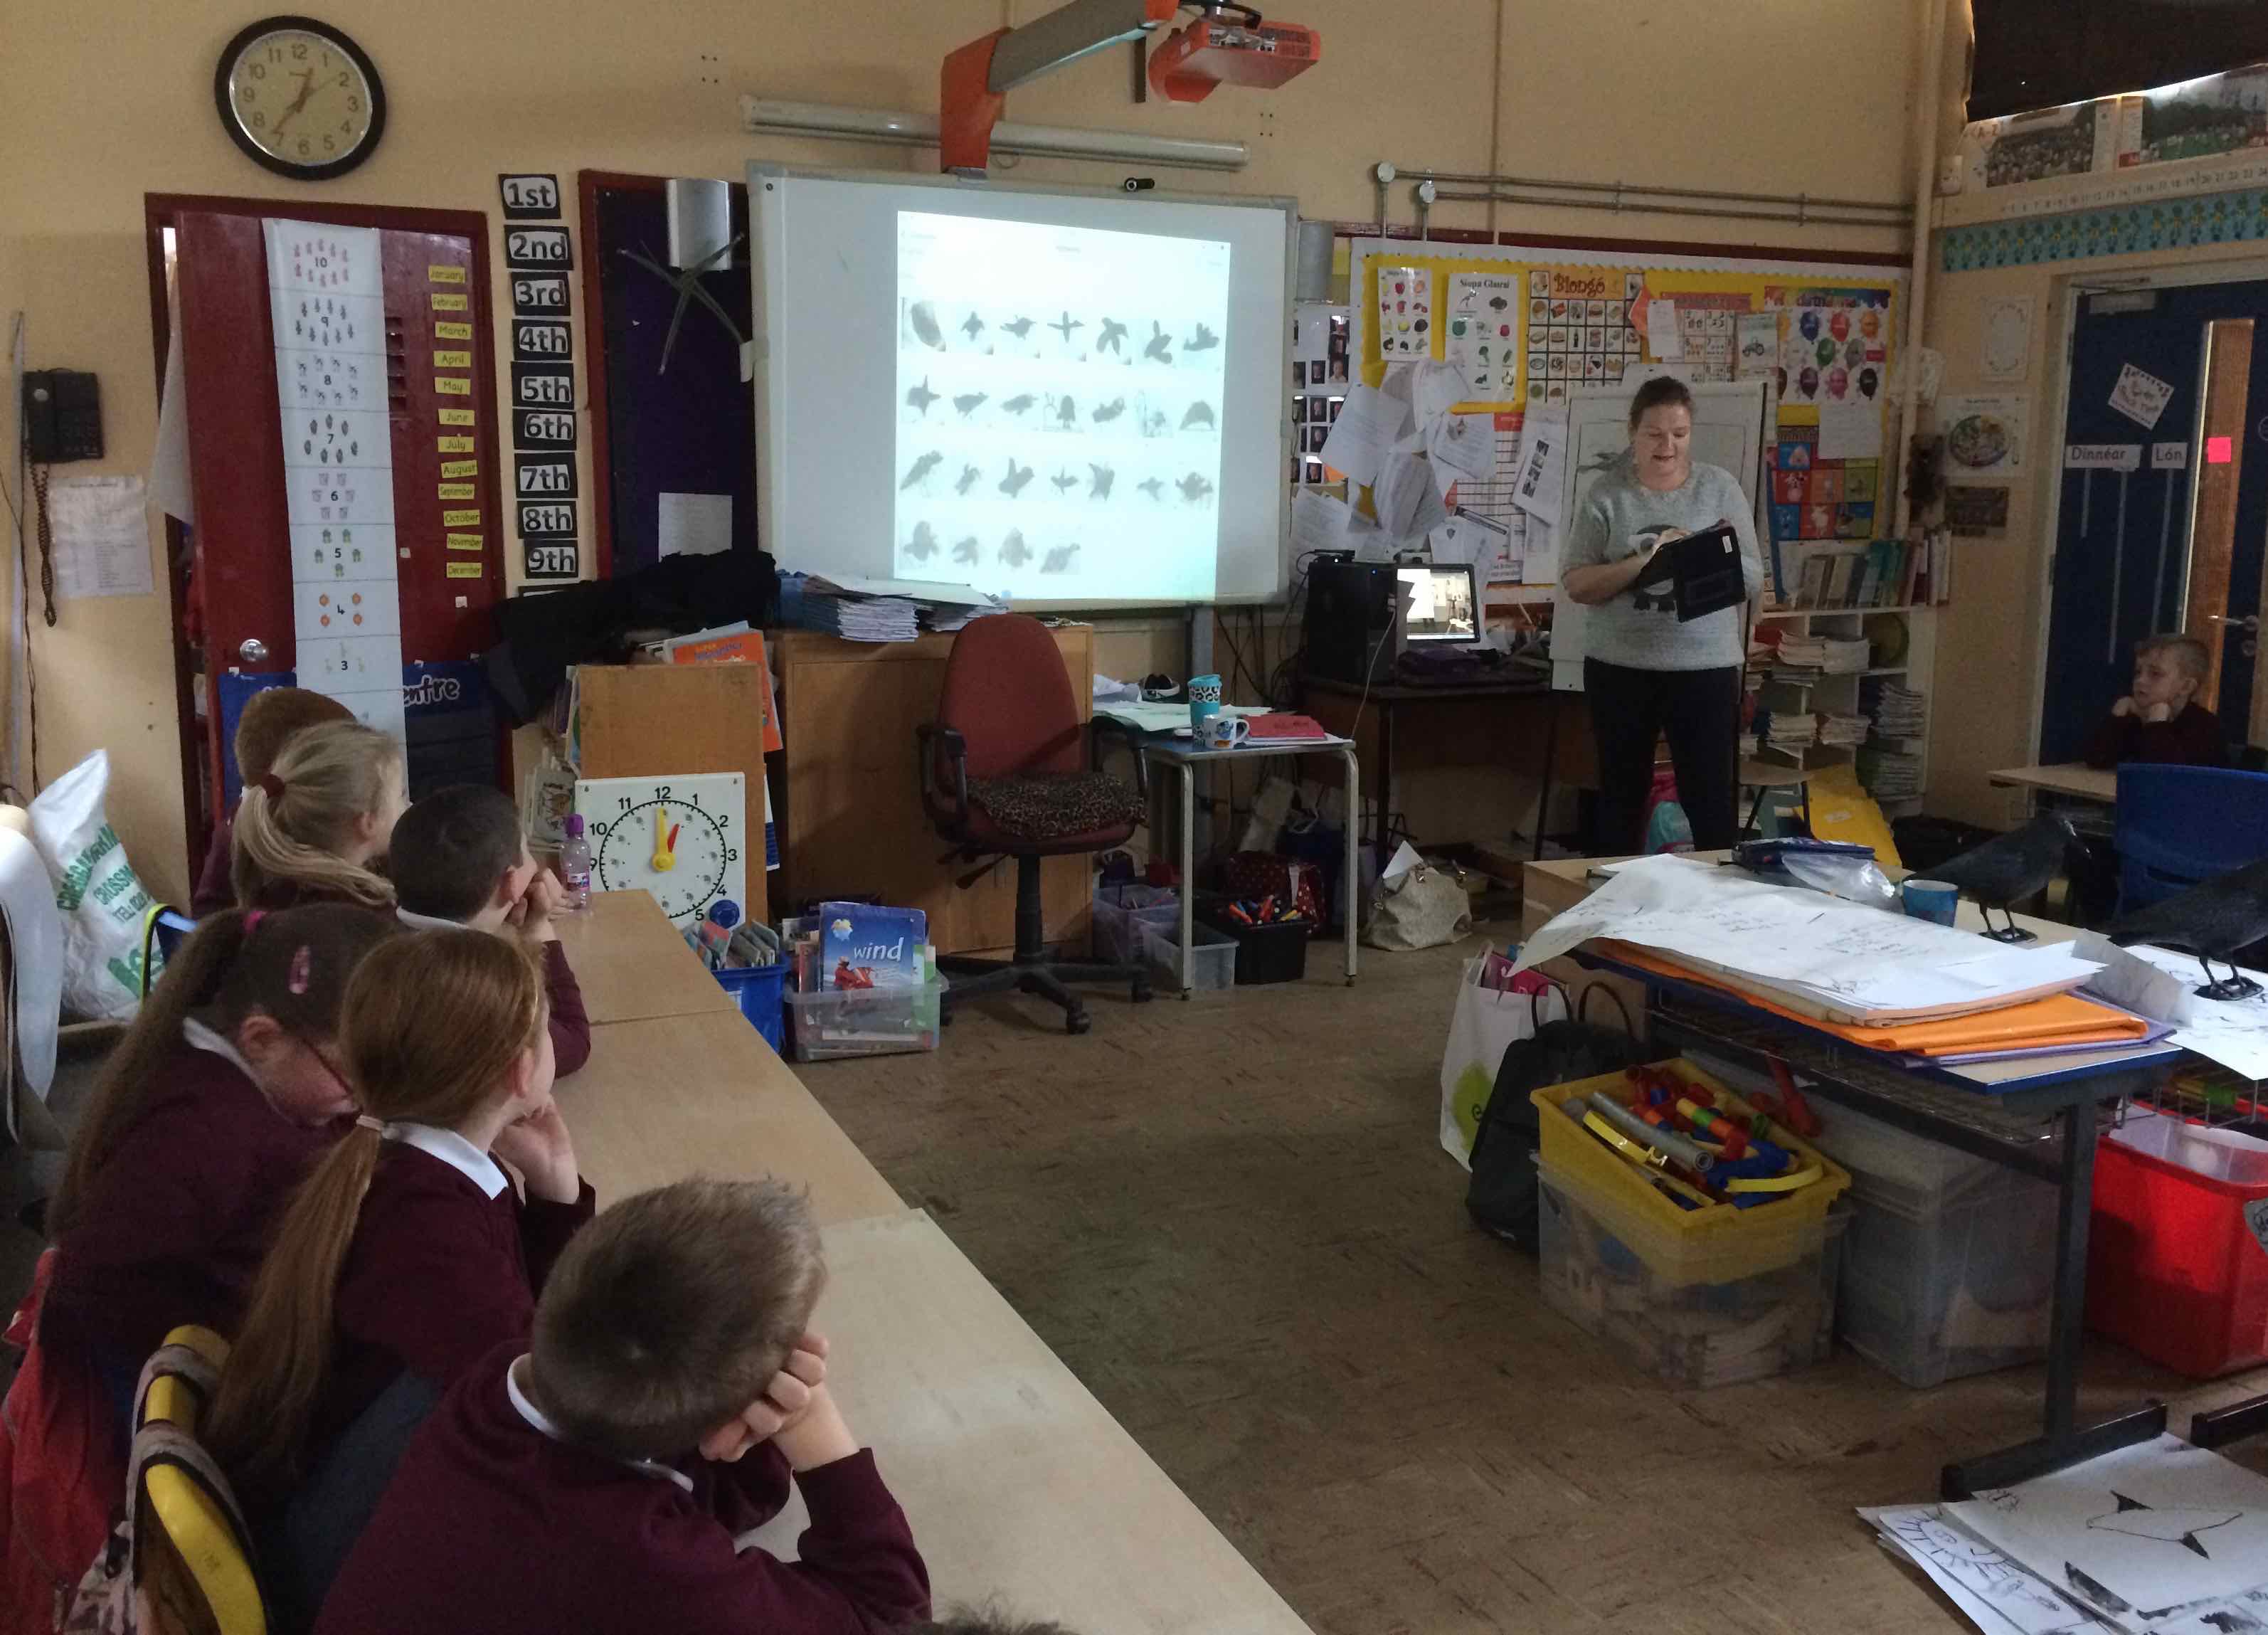
This day we focused on LIGHT and spent a few moments discussing how the children were able to see me appear on their Interactive whiteboard for our online sessions – by the use of  light ‘projecting’ the image from the data projector. We discussed the fact that the whiteboard light was strong, but the sunlight was stronger… we tested the whiteboard to see if we could still see a clear image when the blinds were all pulled up…. the classroom was drenched in sunlight making the images very difficult to see.

How does the sunlight get into the classroom?

We pulled the blinds back down and looked for how the sun got in…..

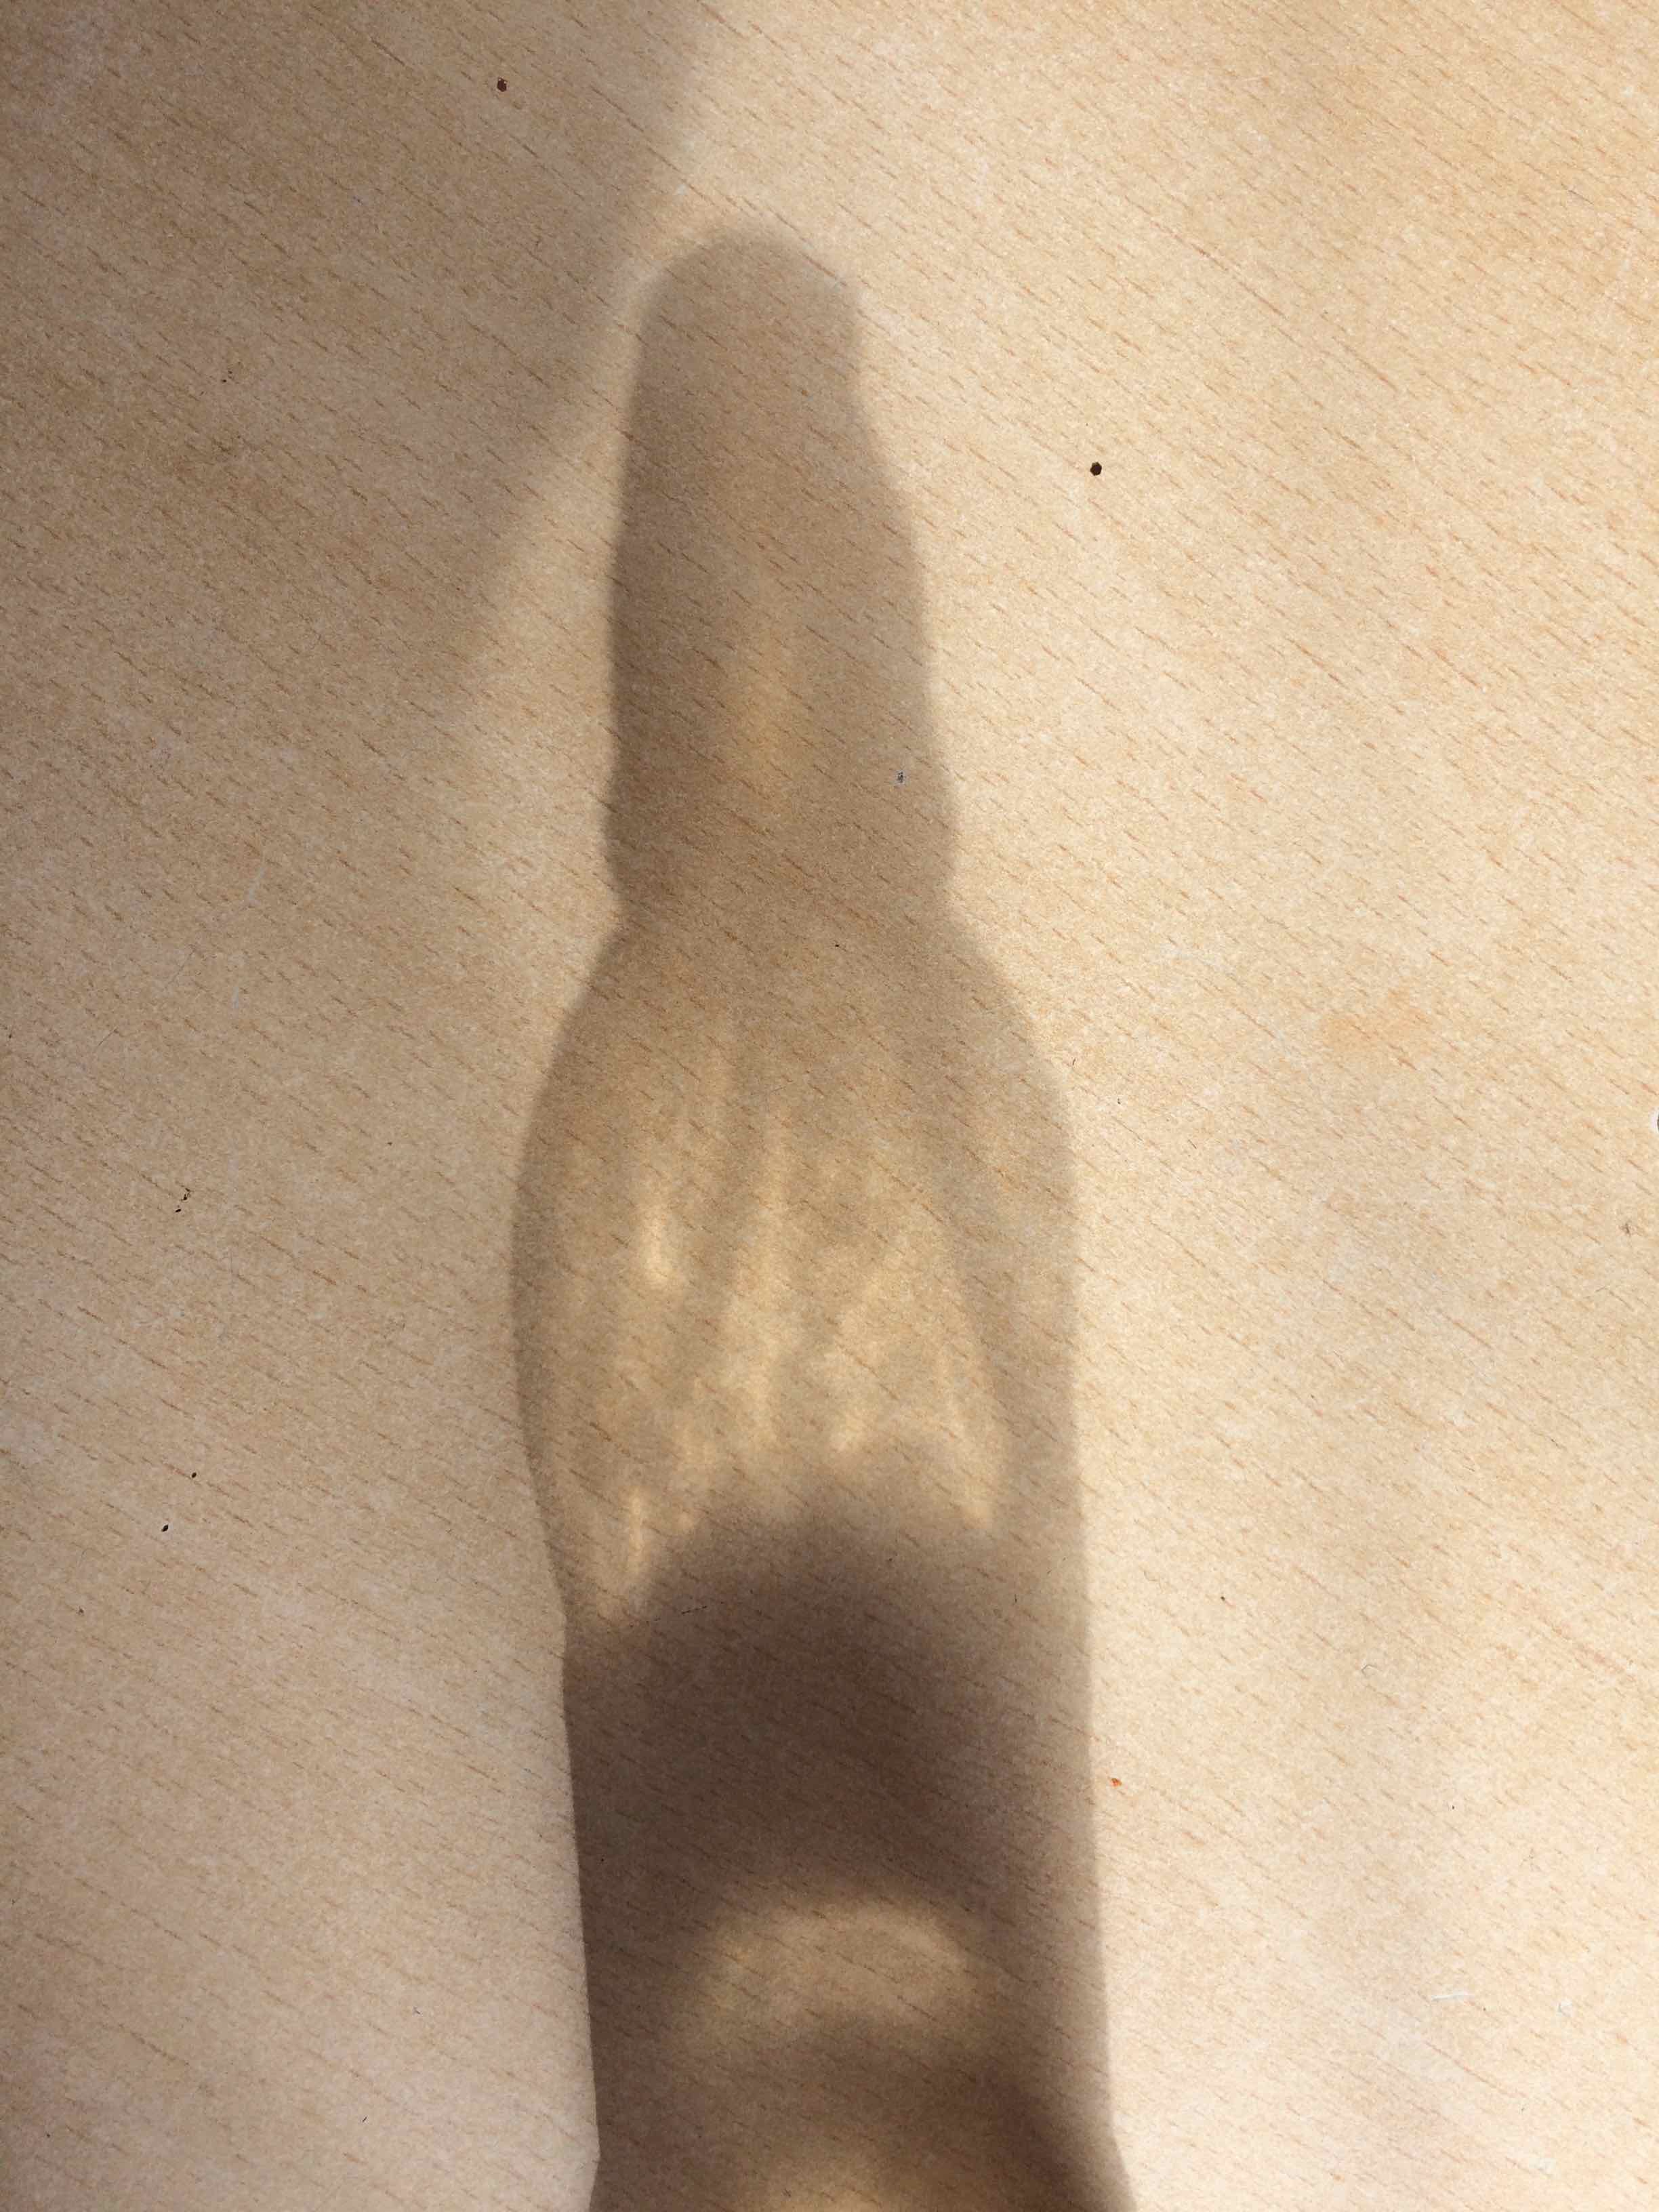
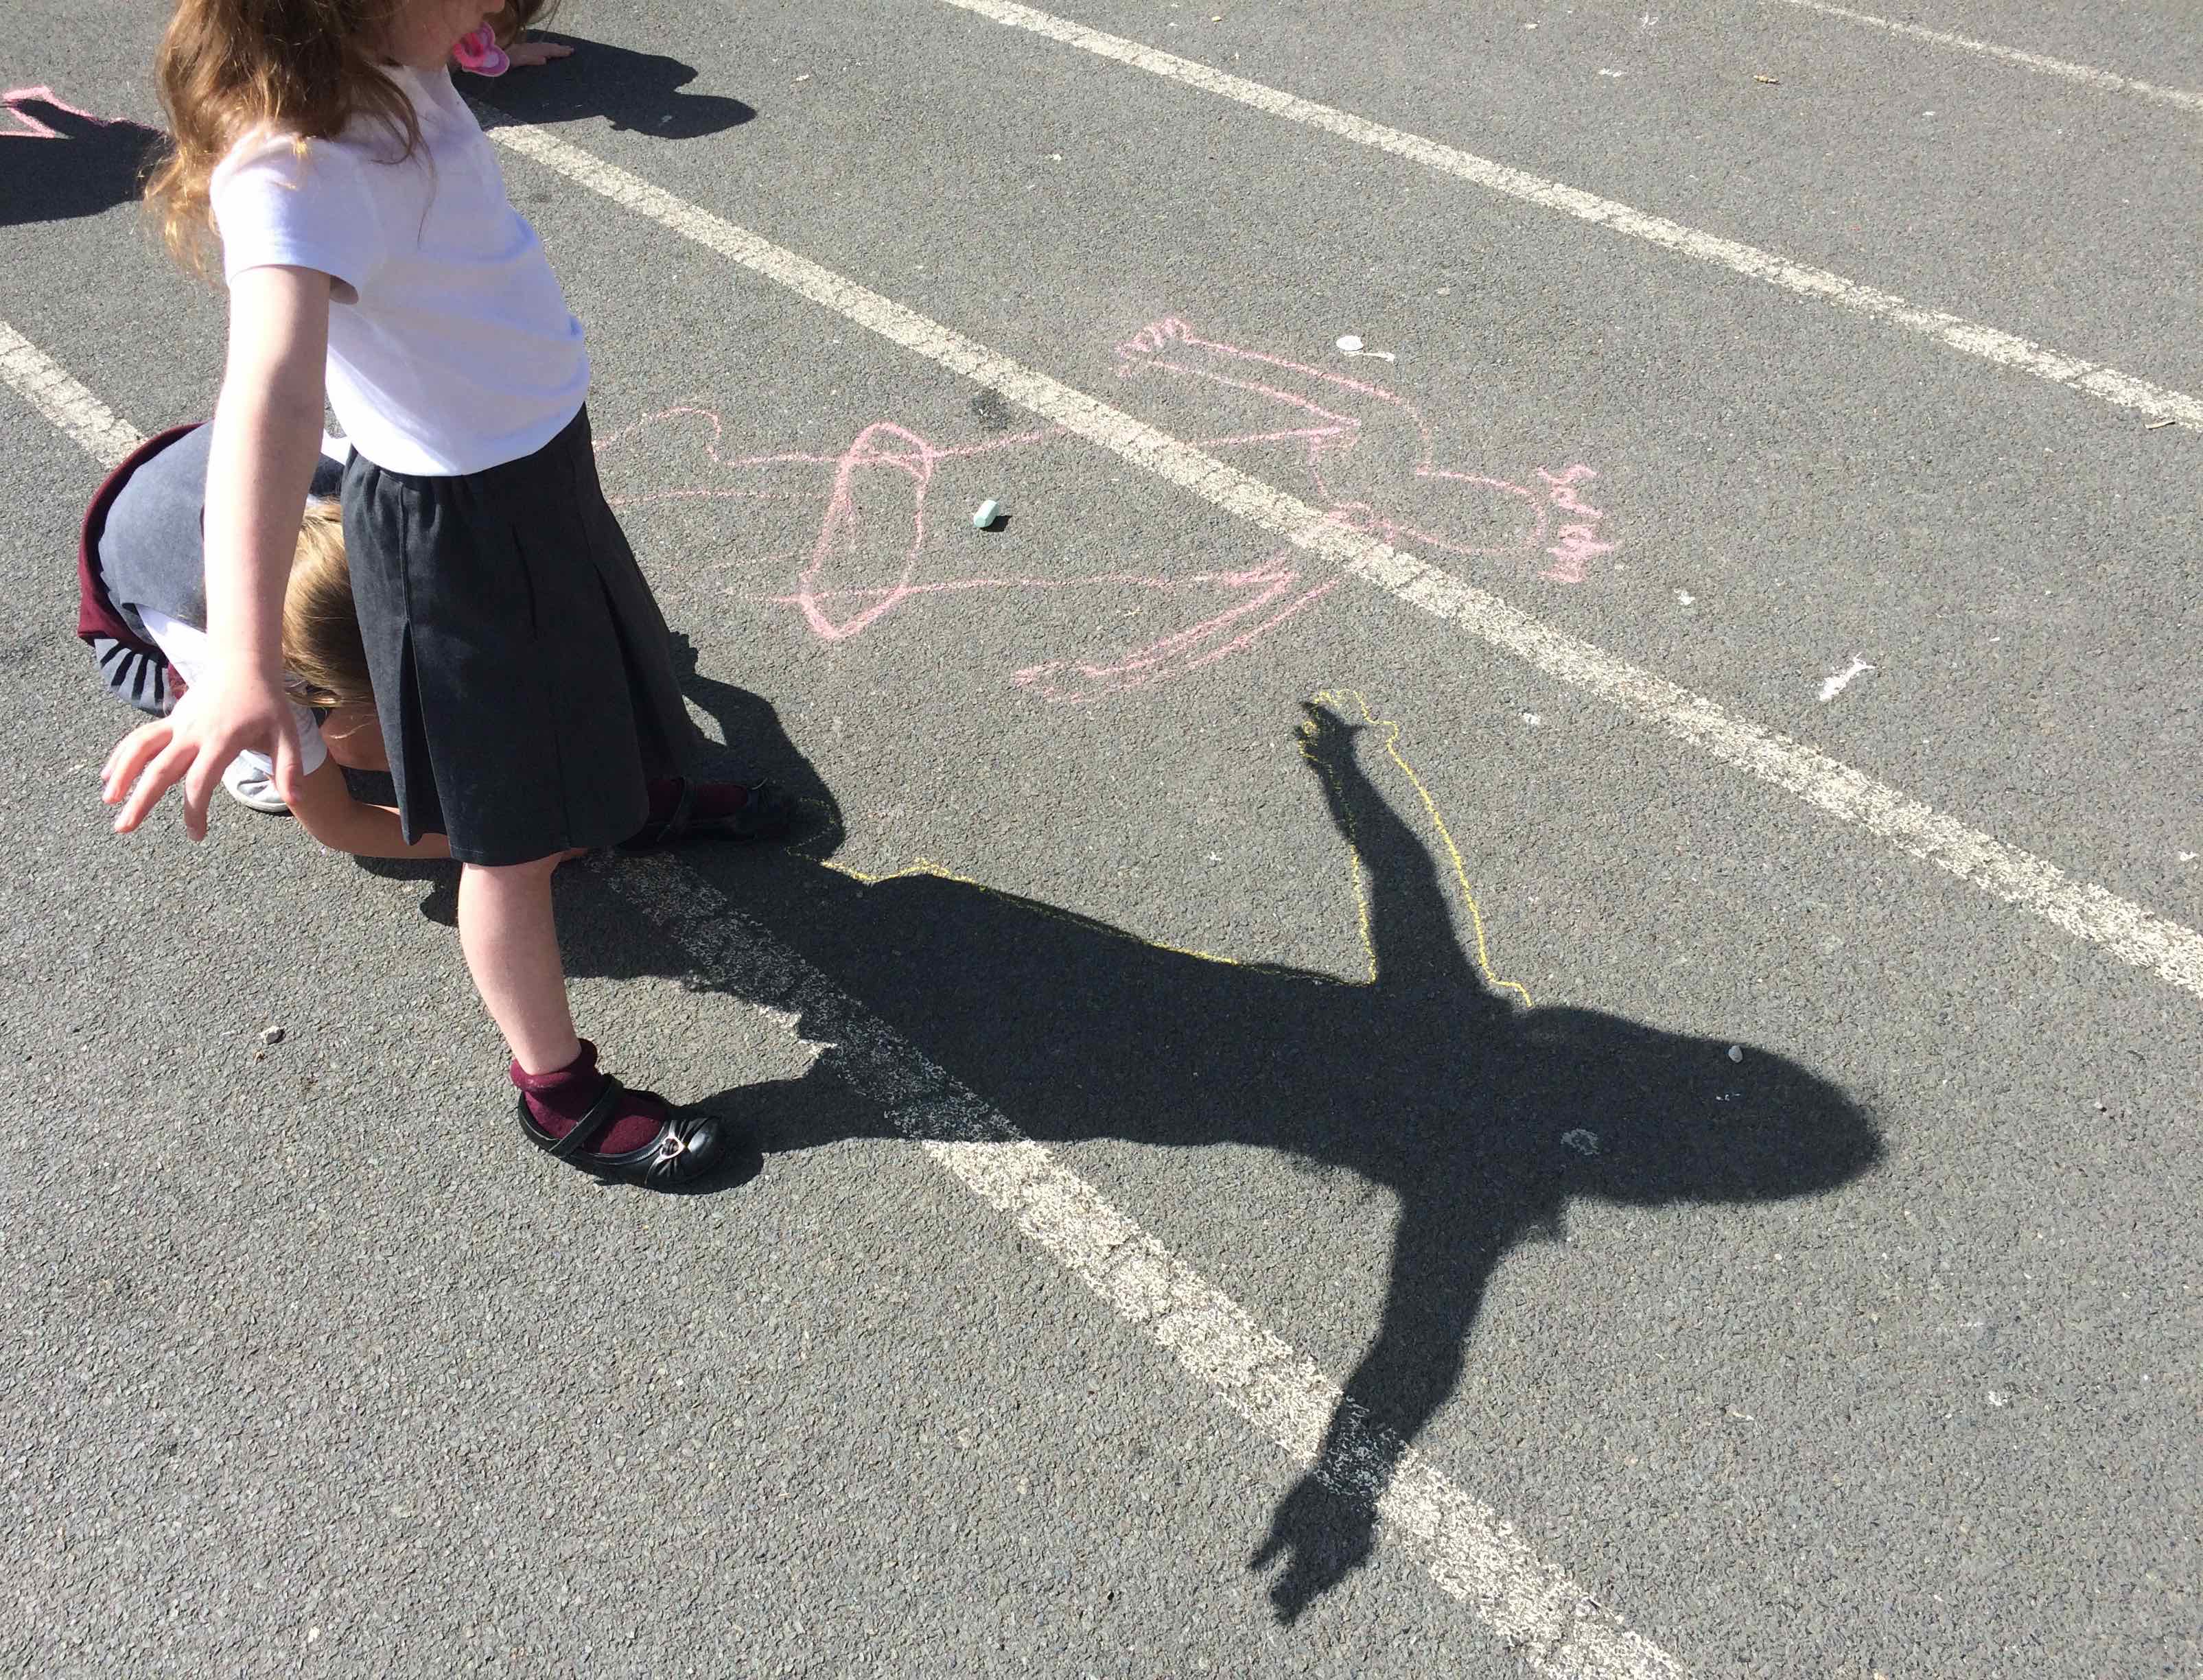
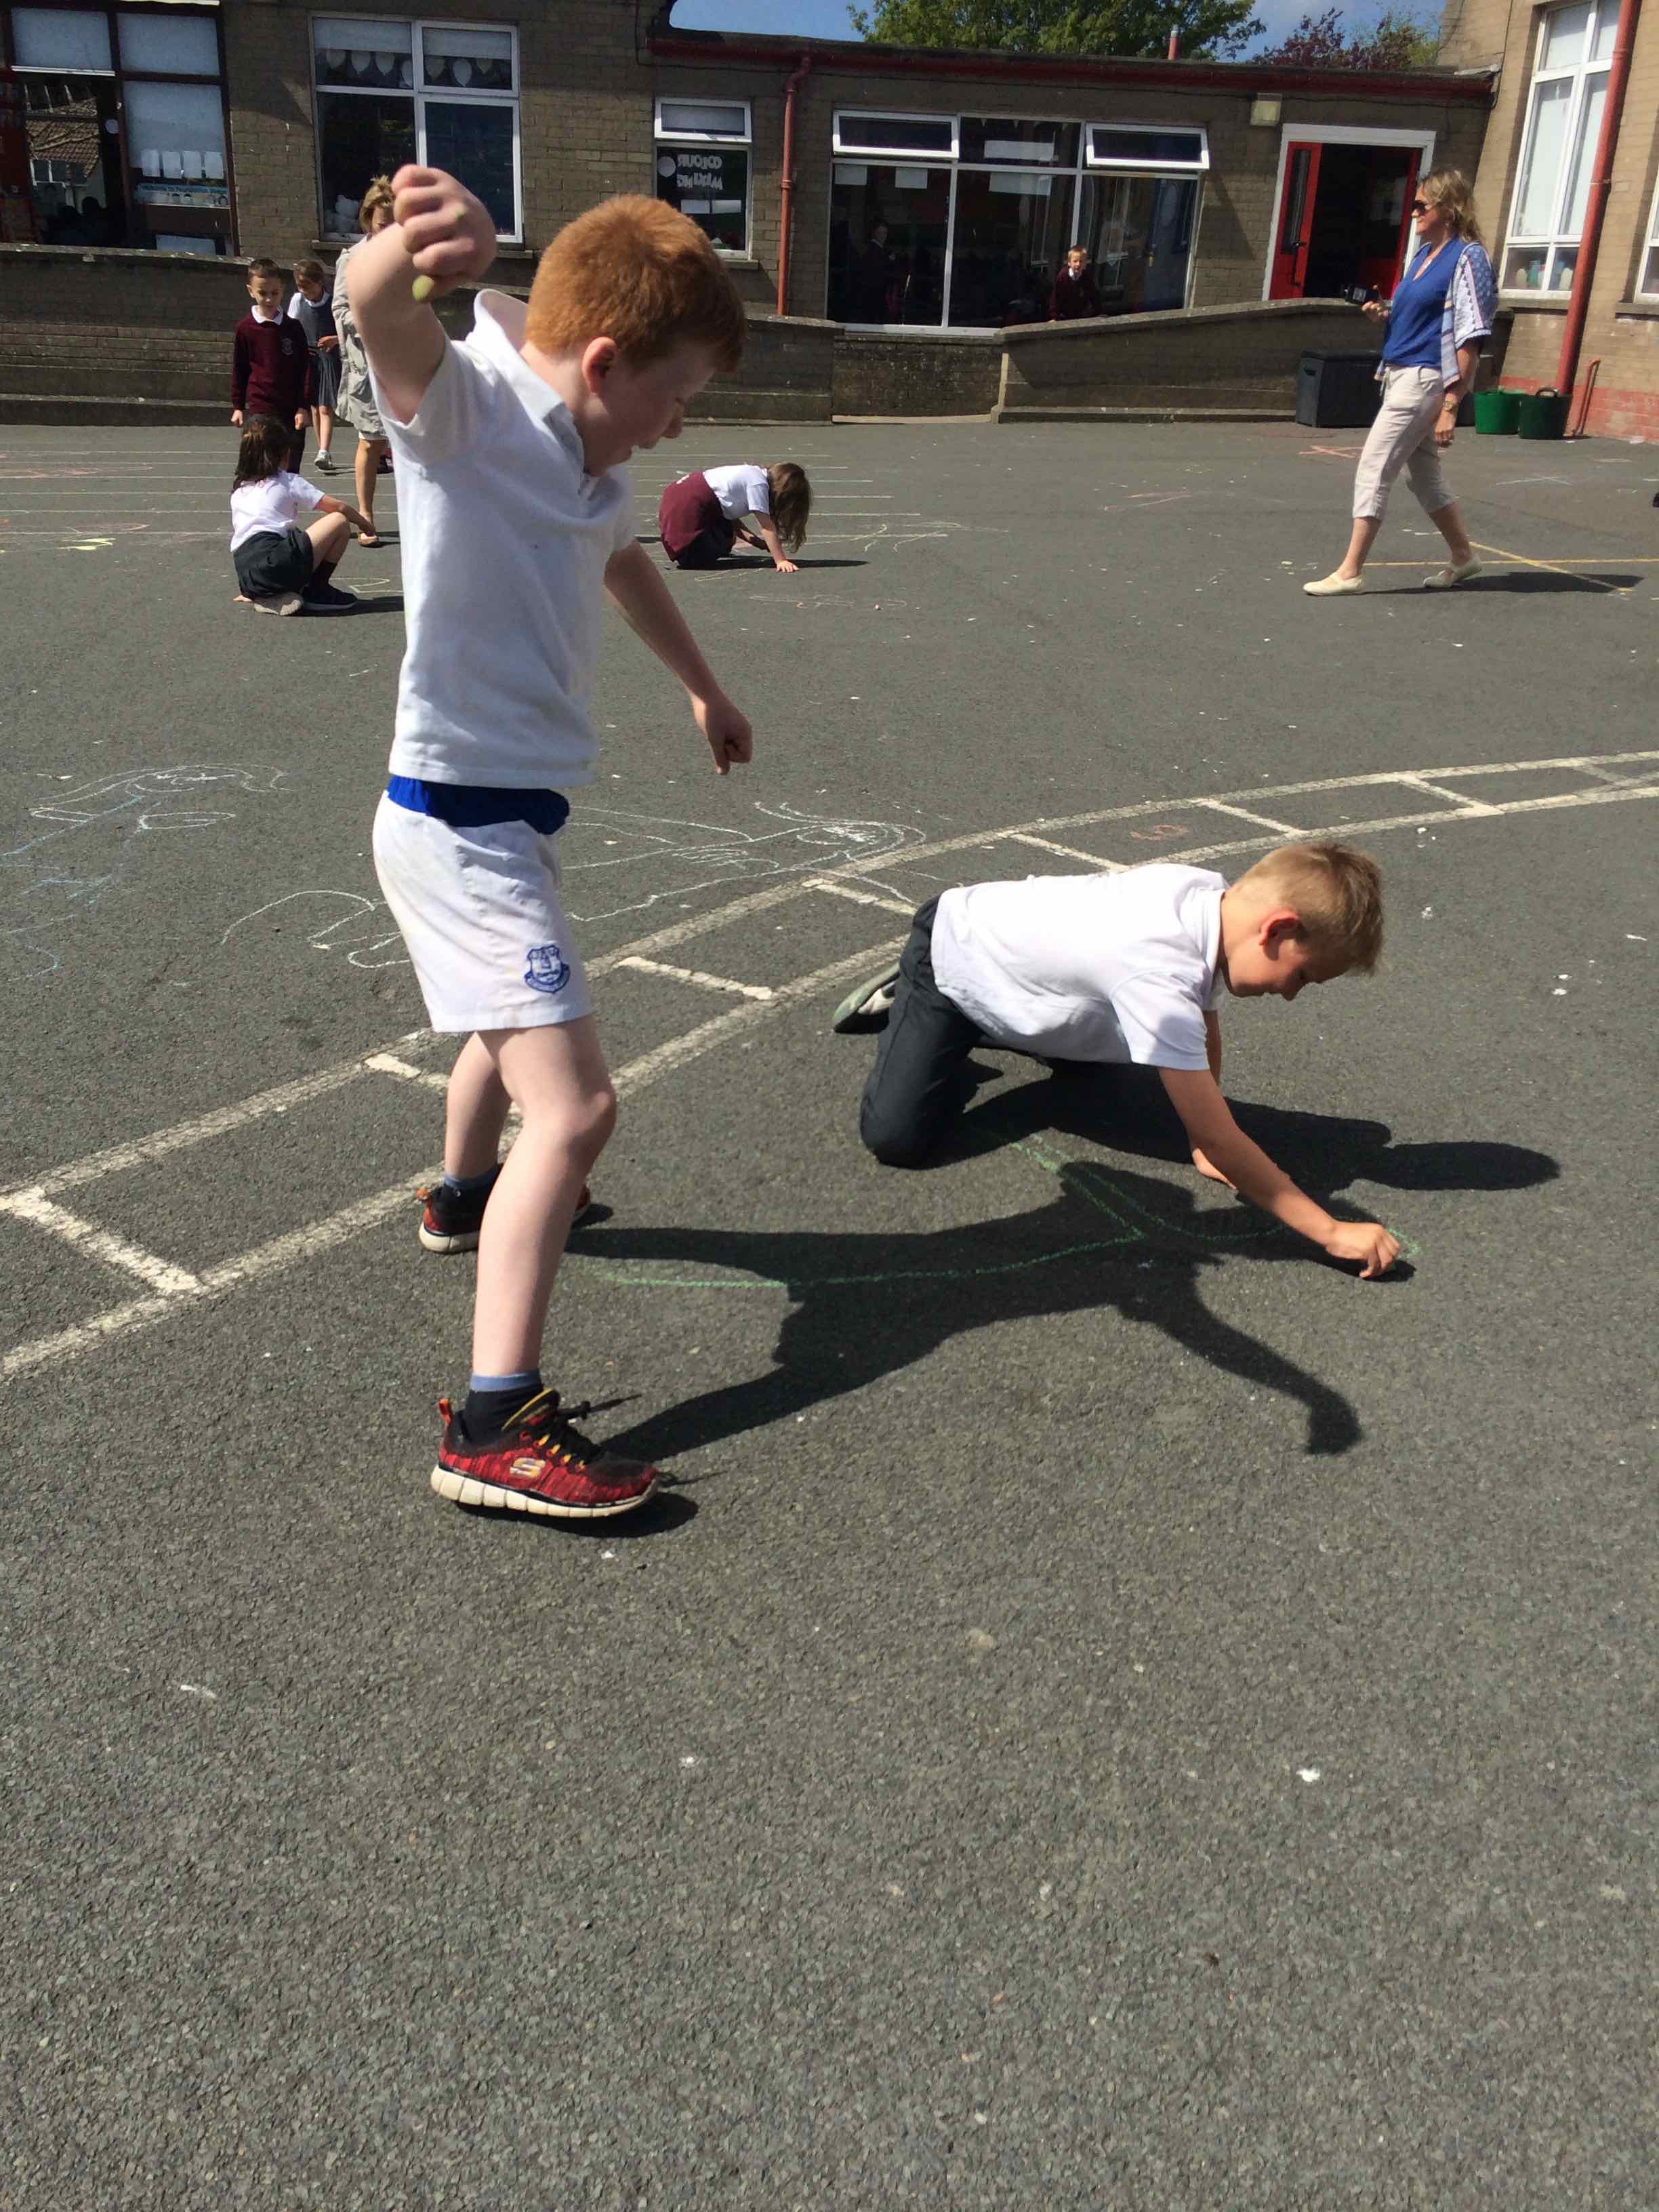
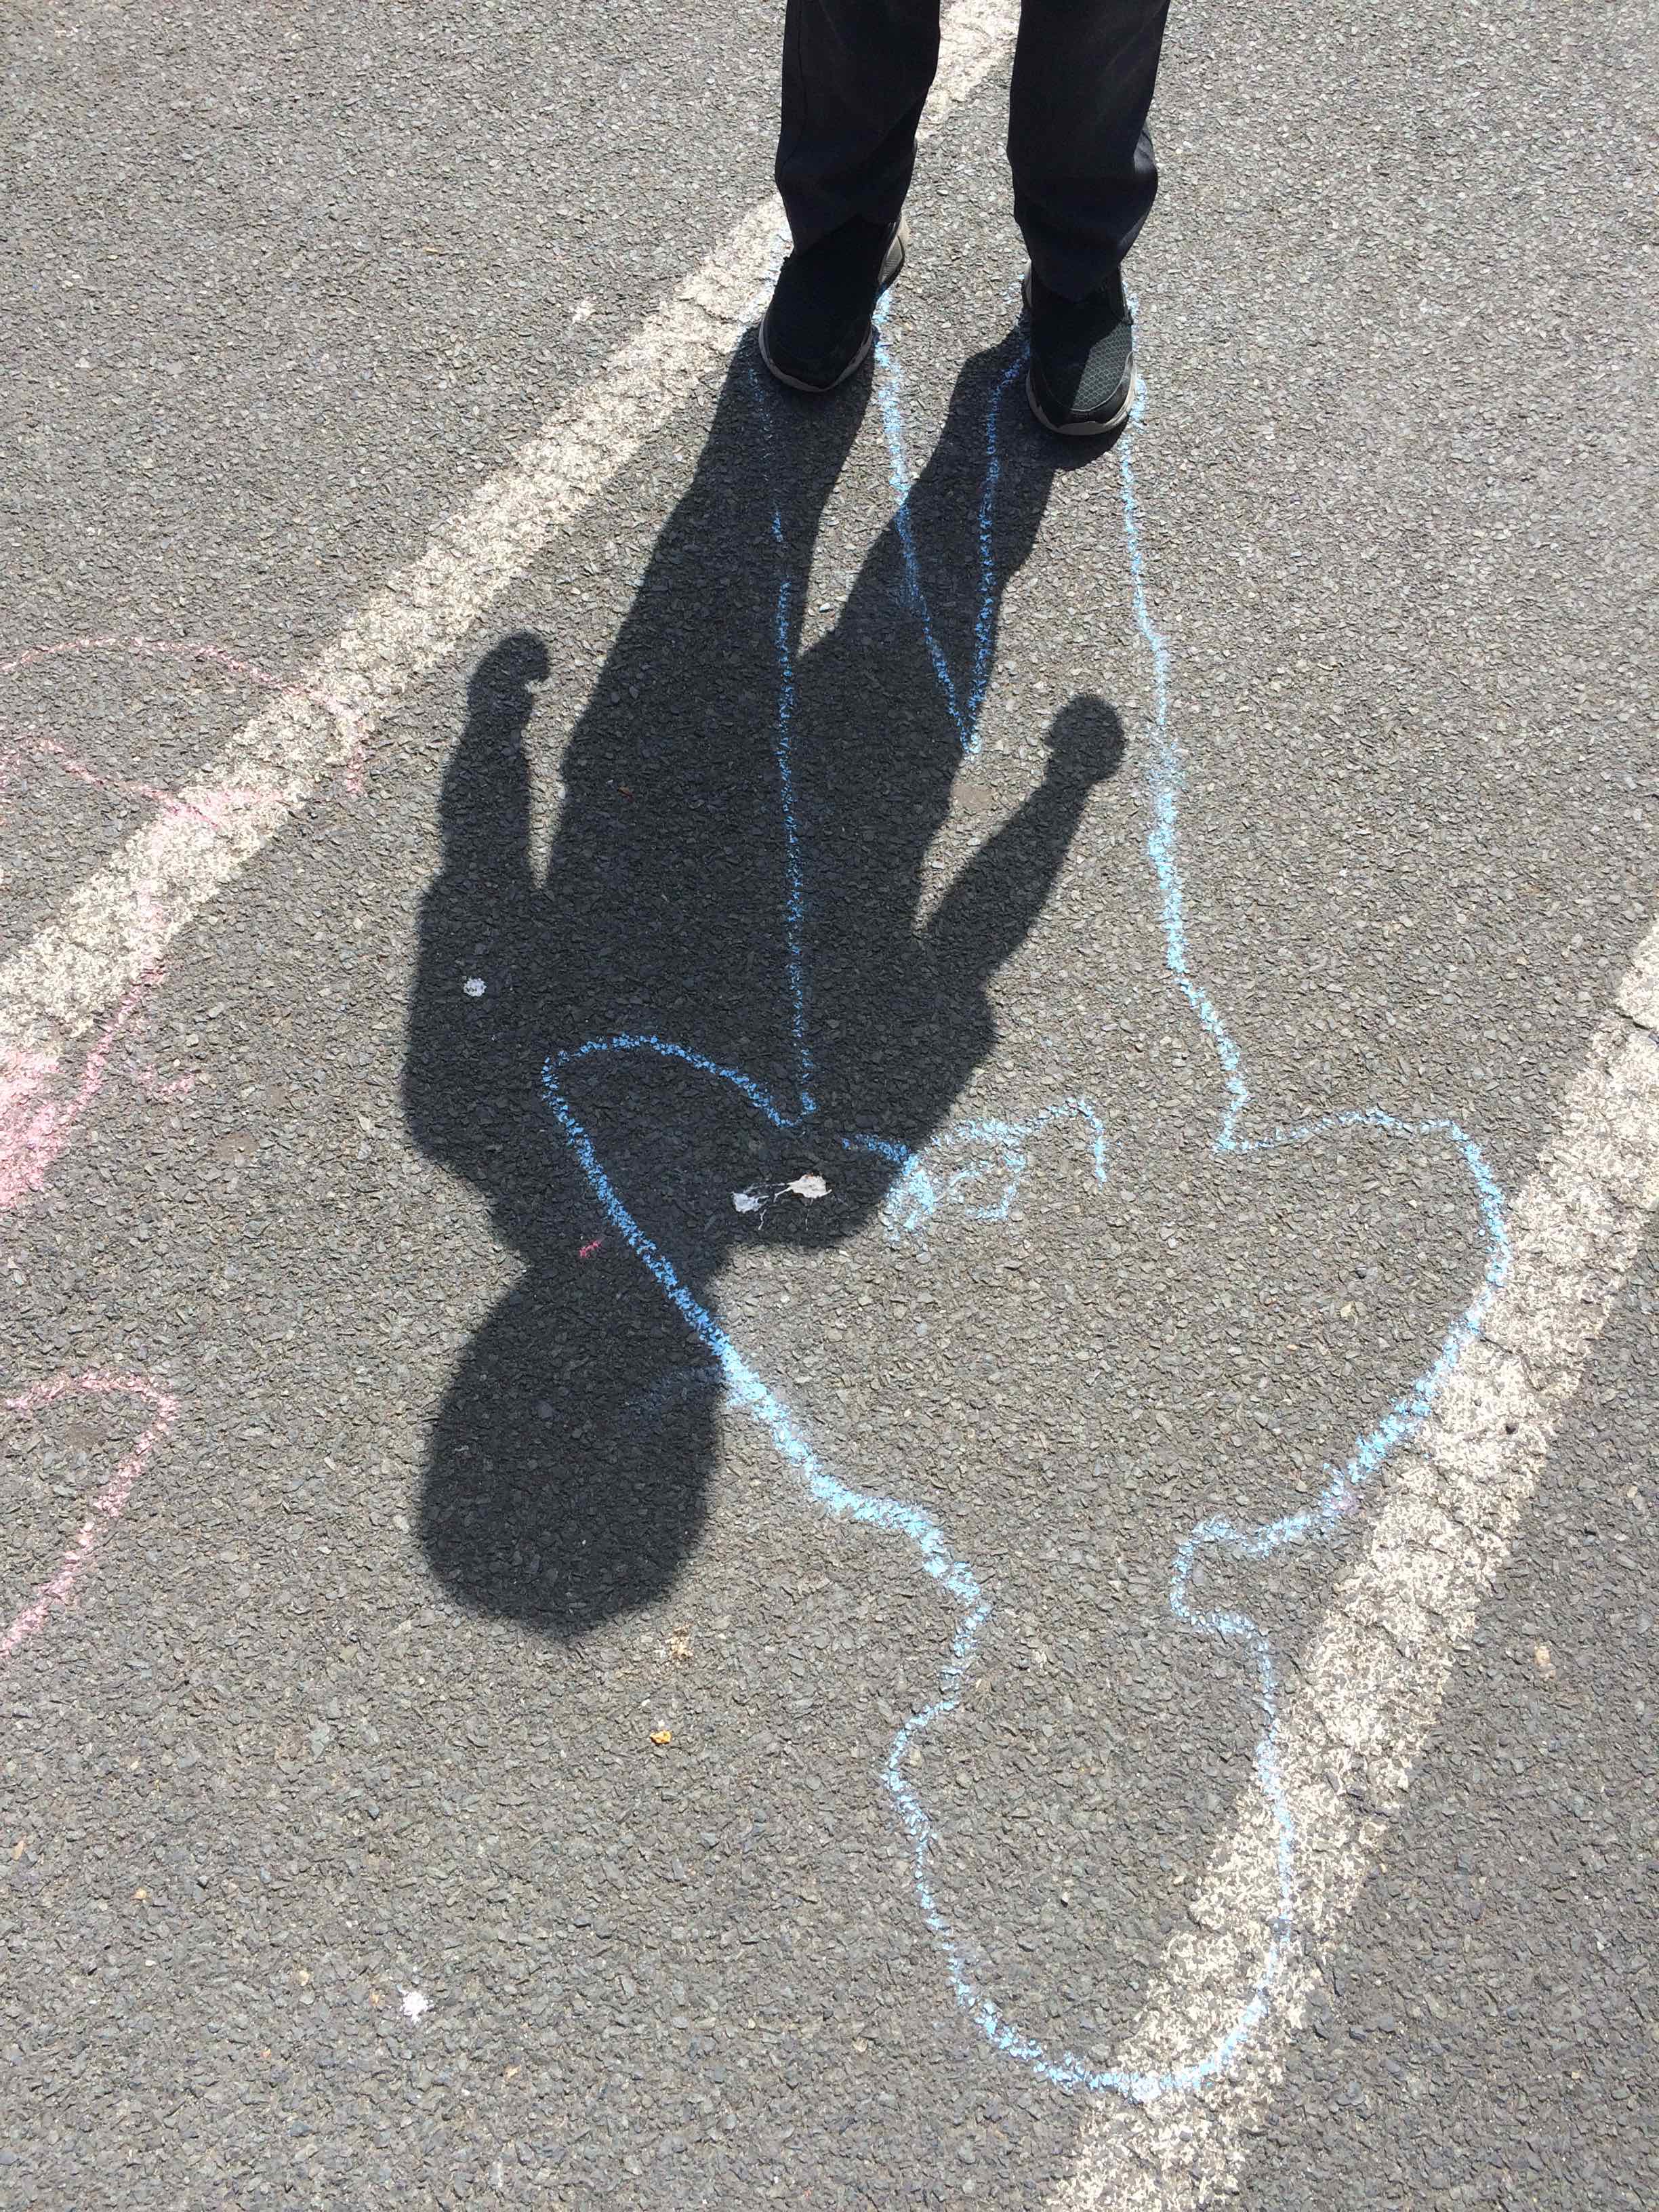
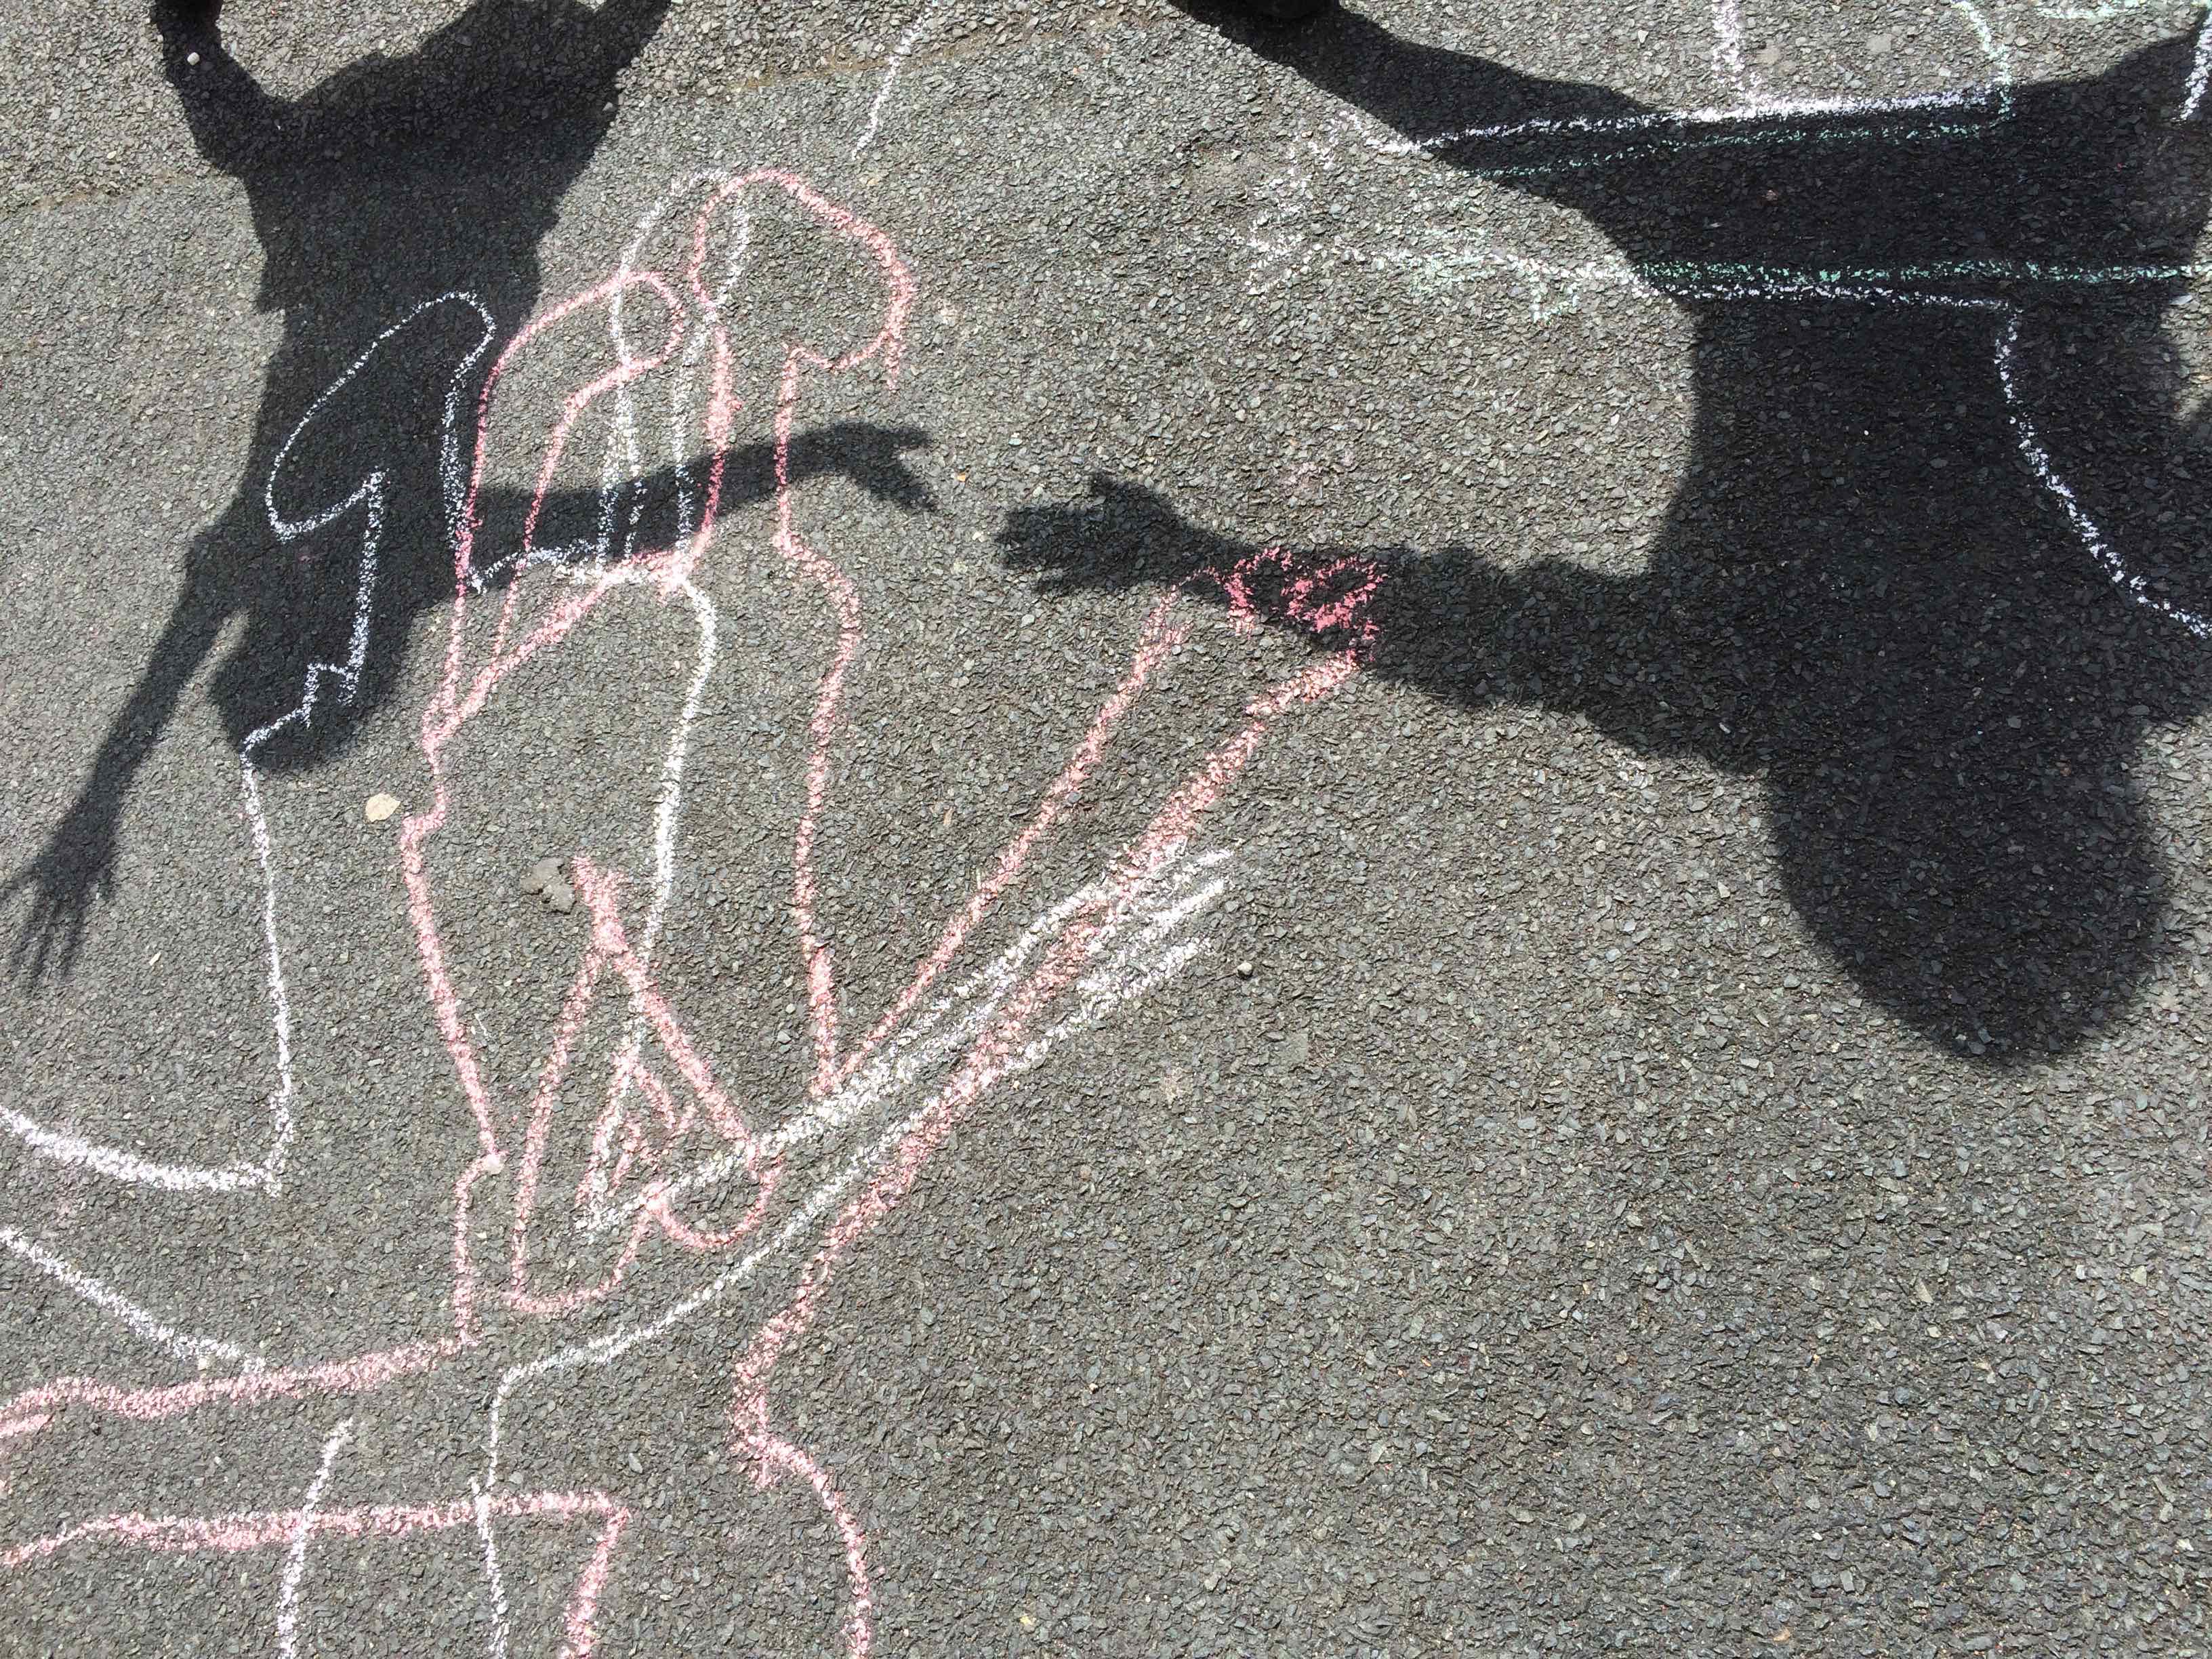
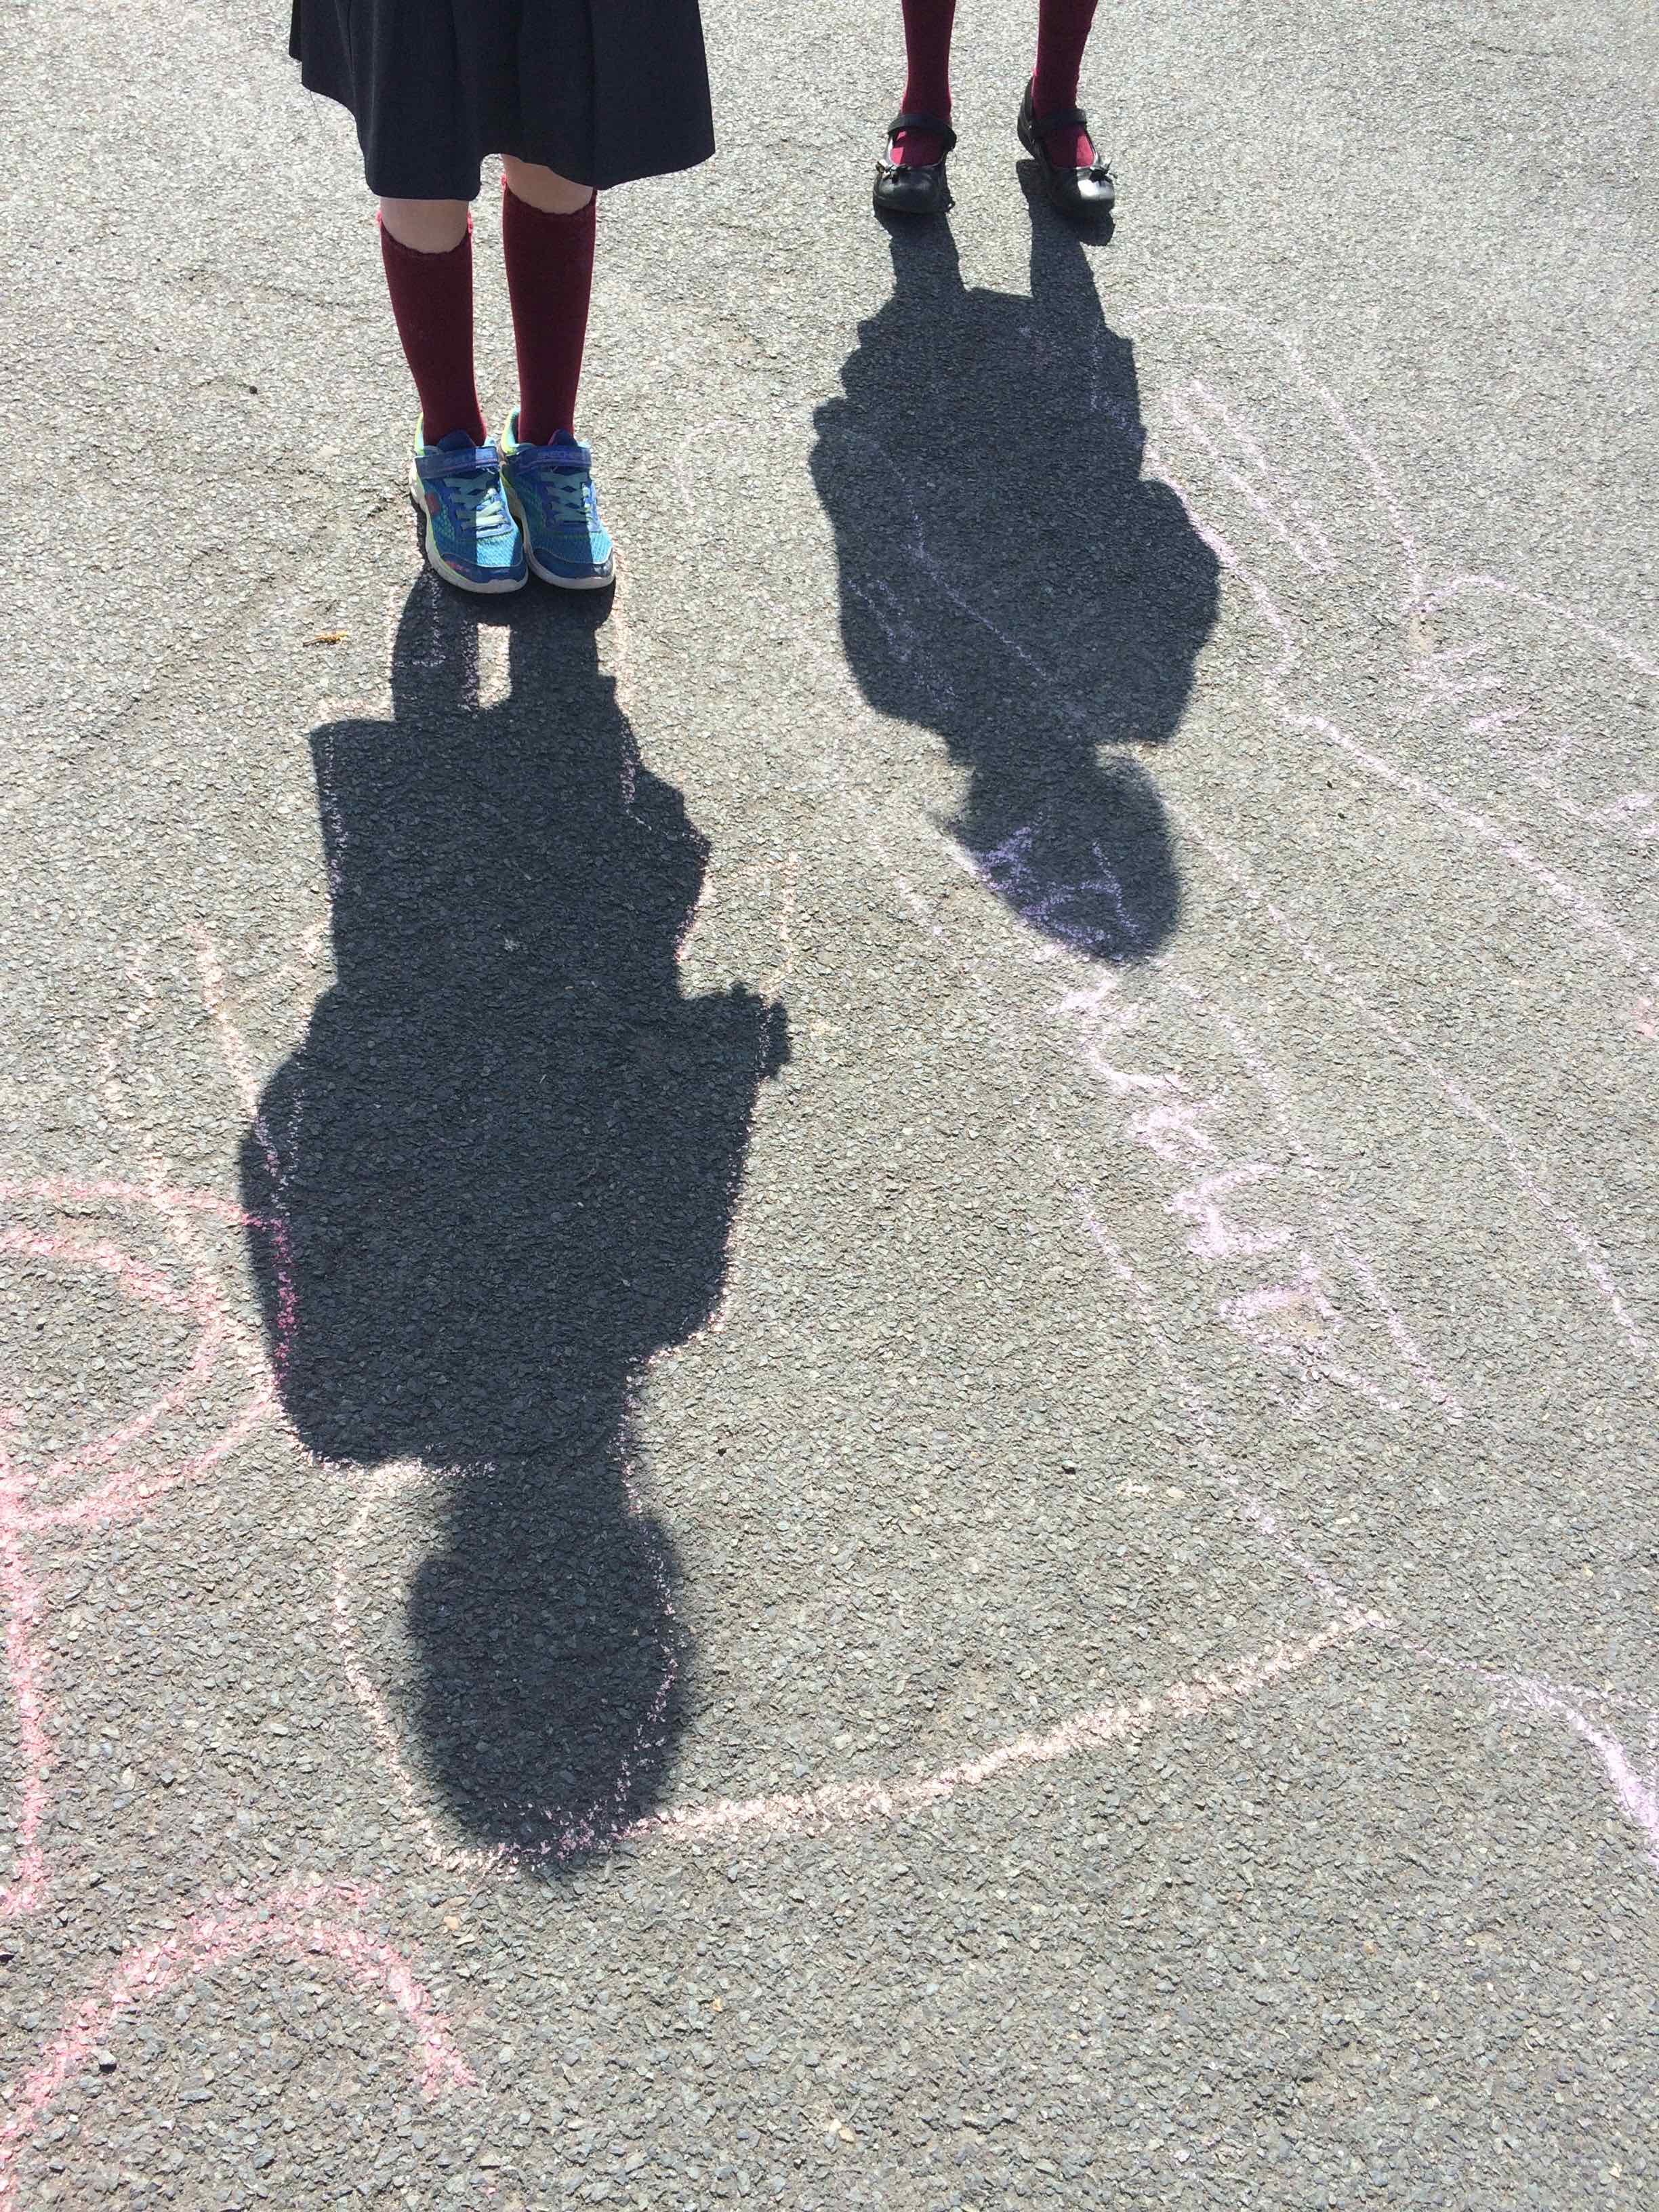
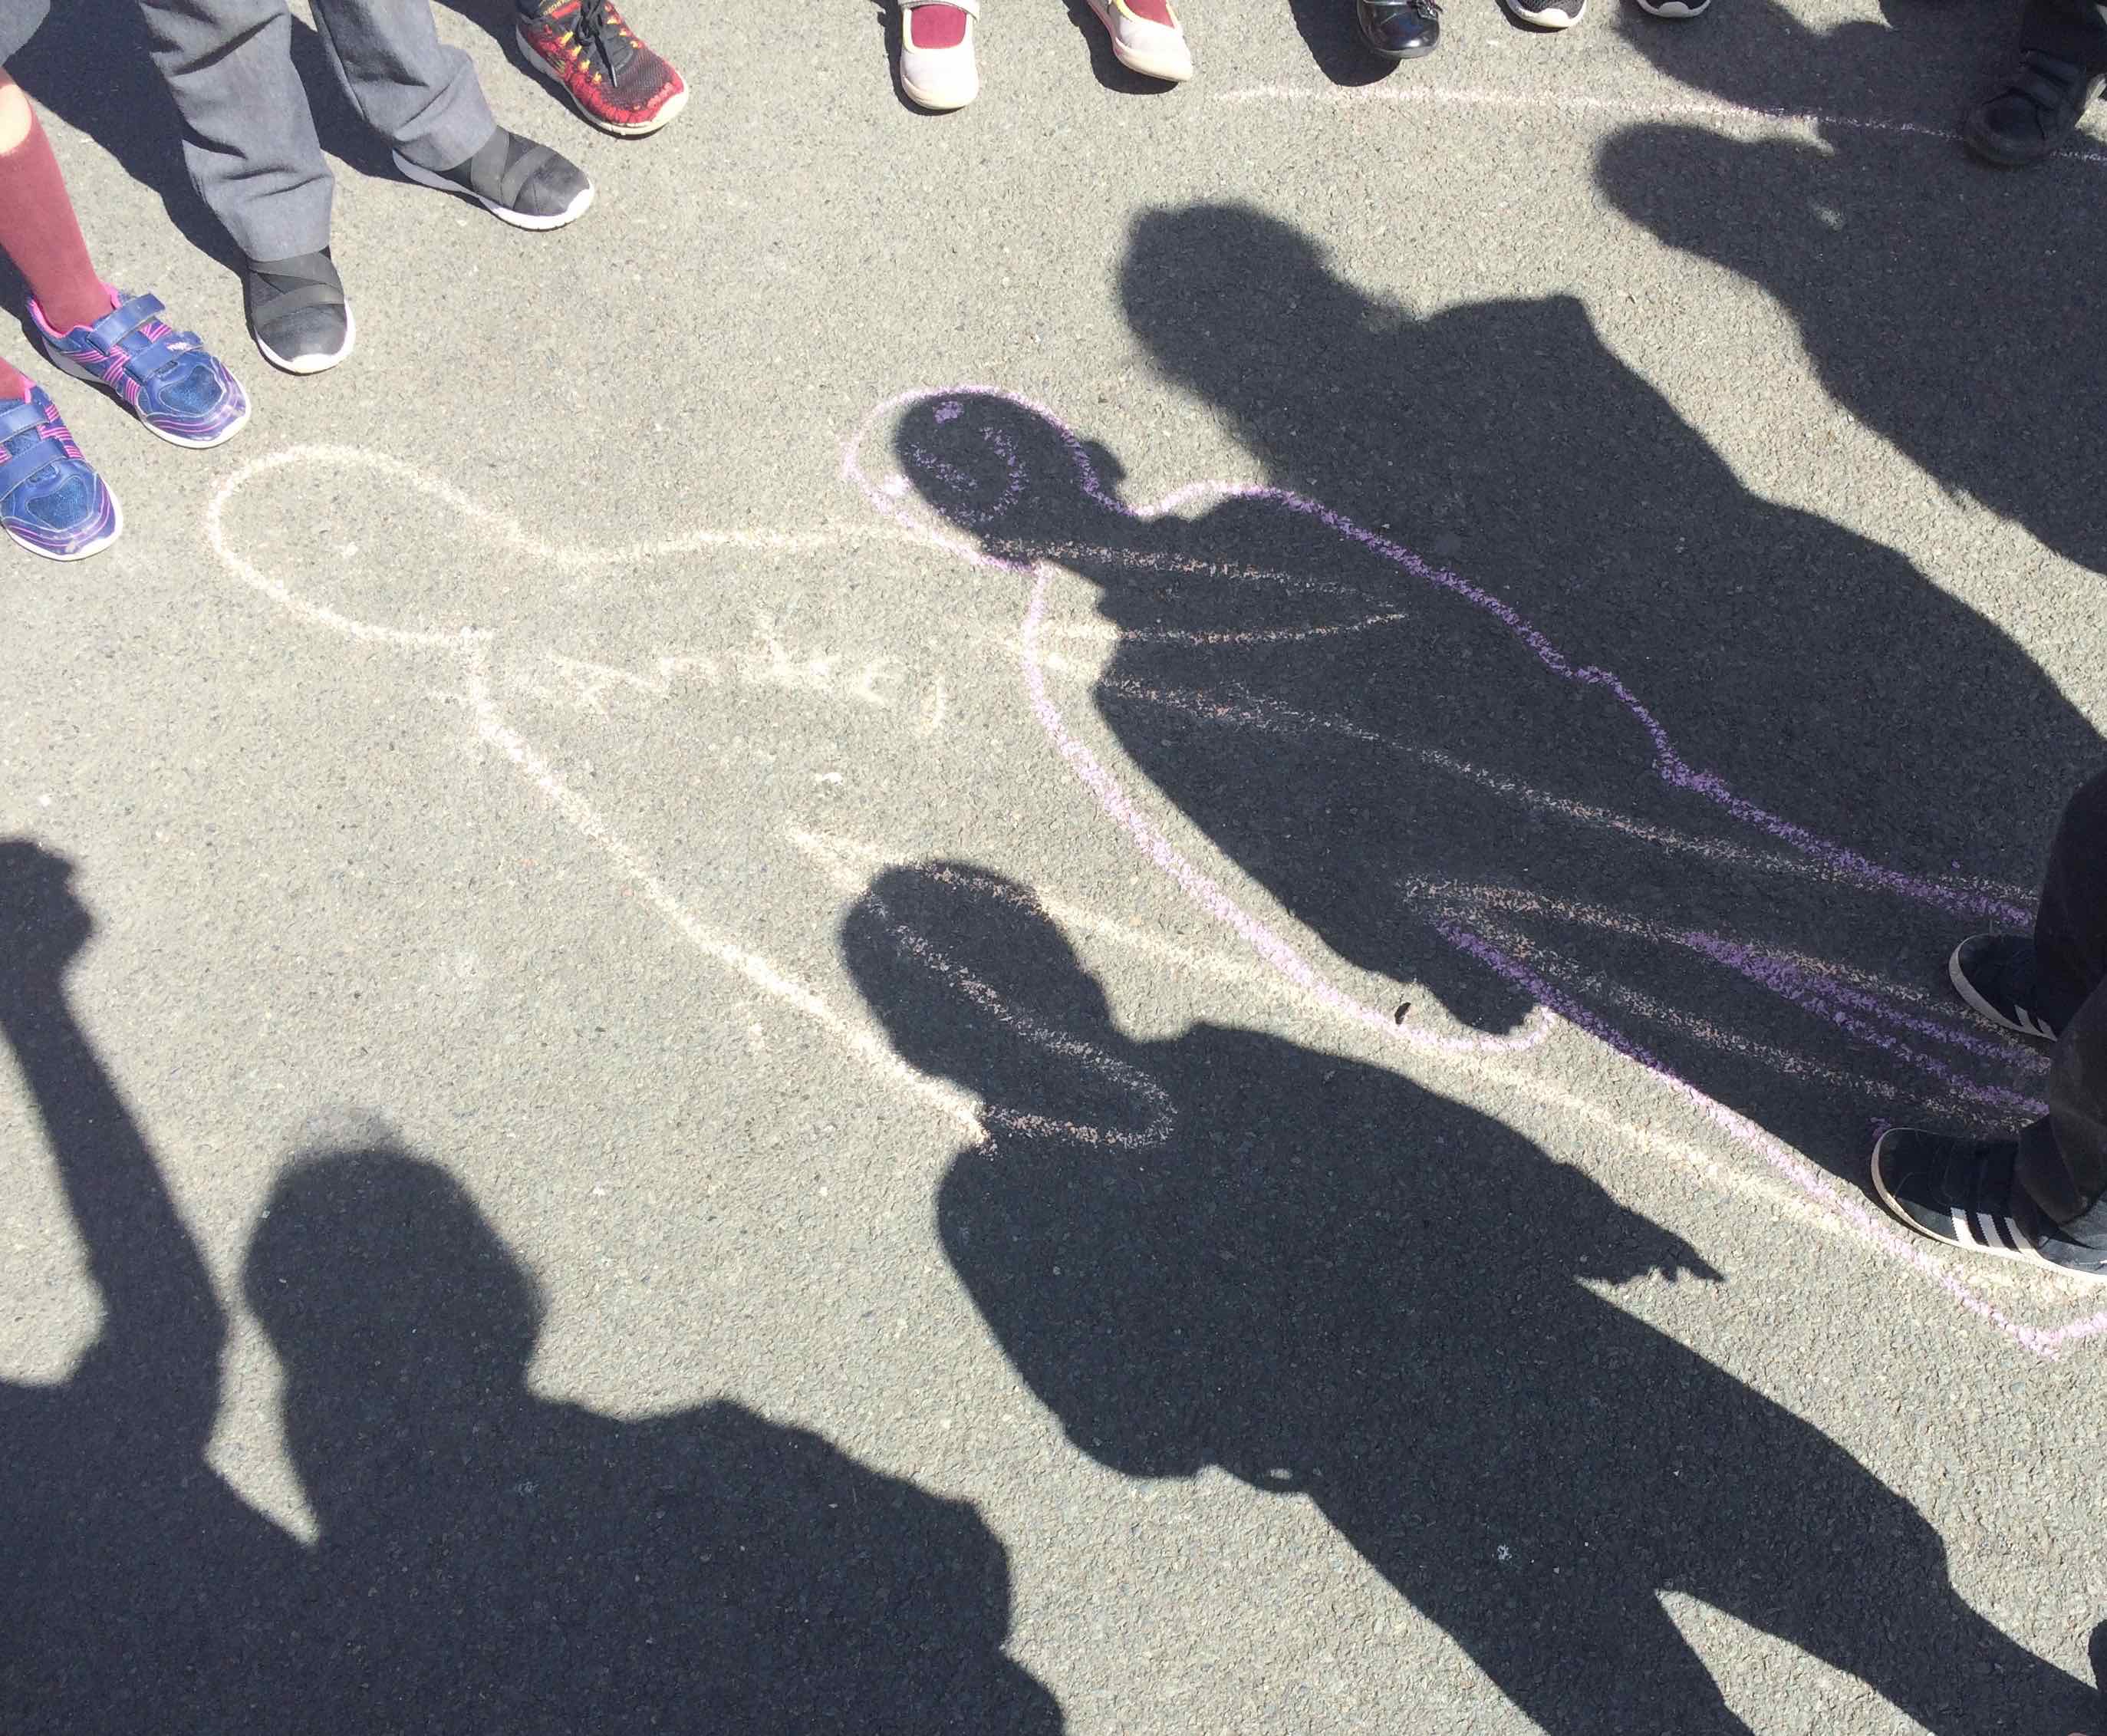
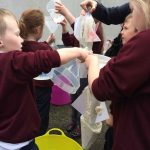
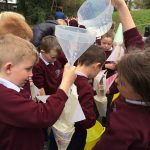
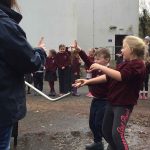
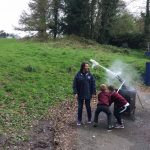
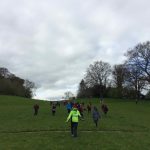
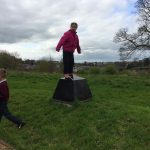
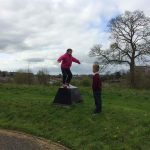
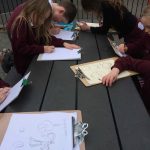
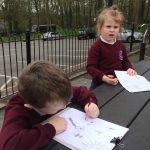
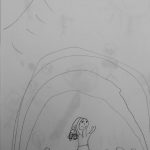
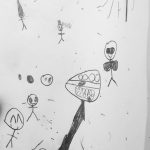
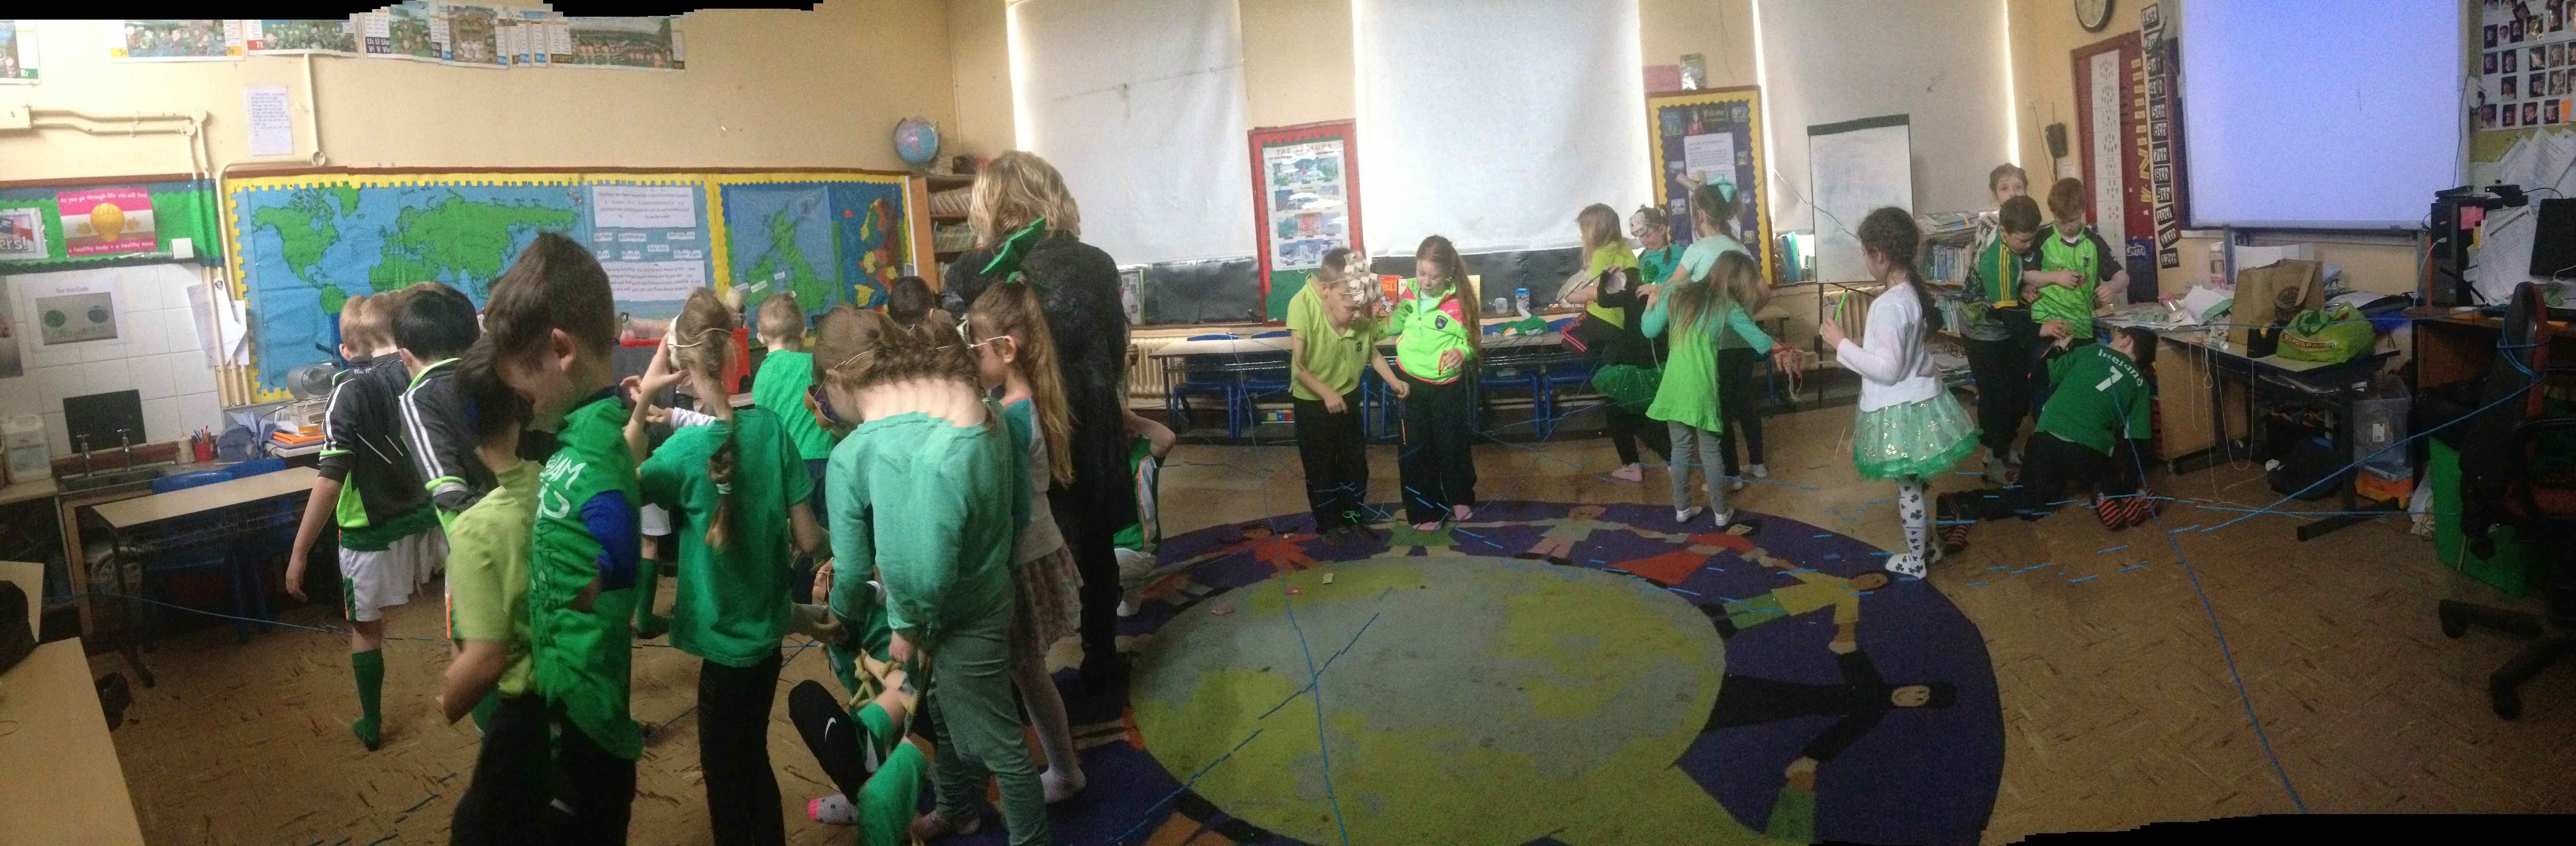
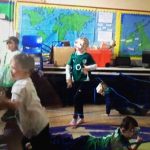
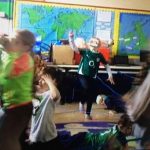
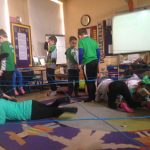
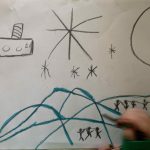
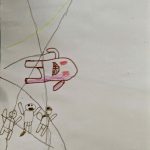
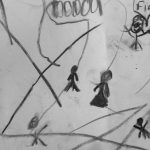
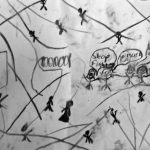
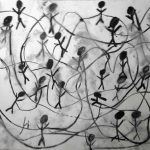
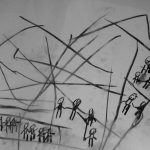
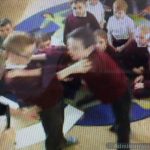
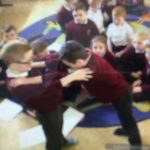
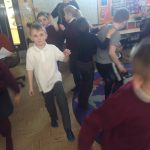
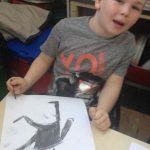
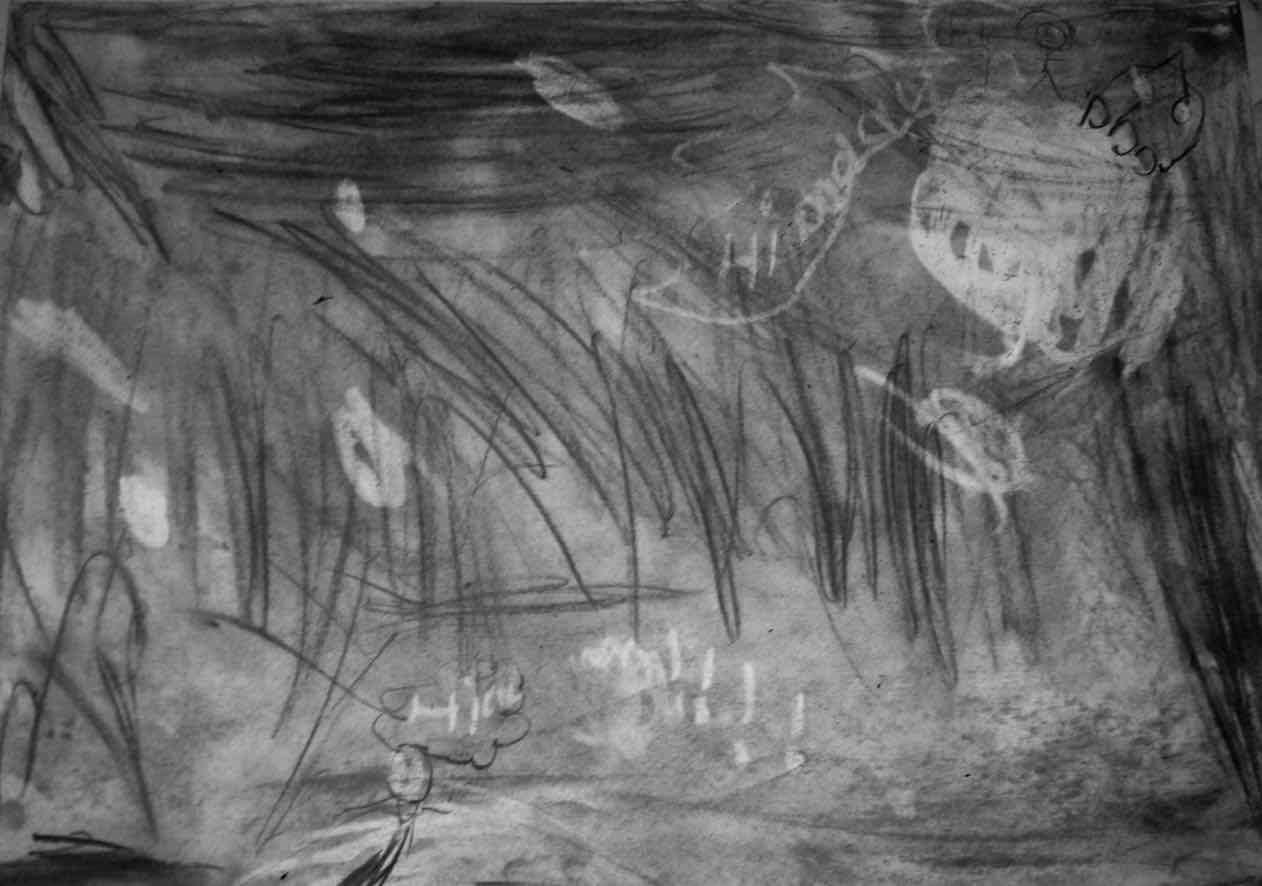
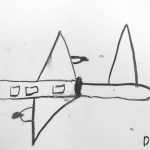
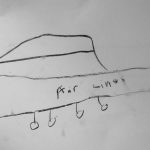
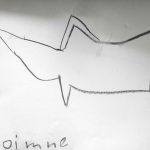
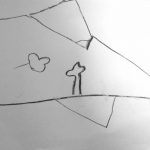
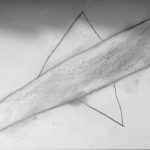
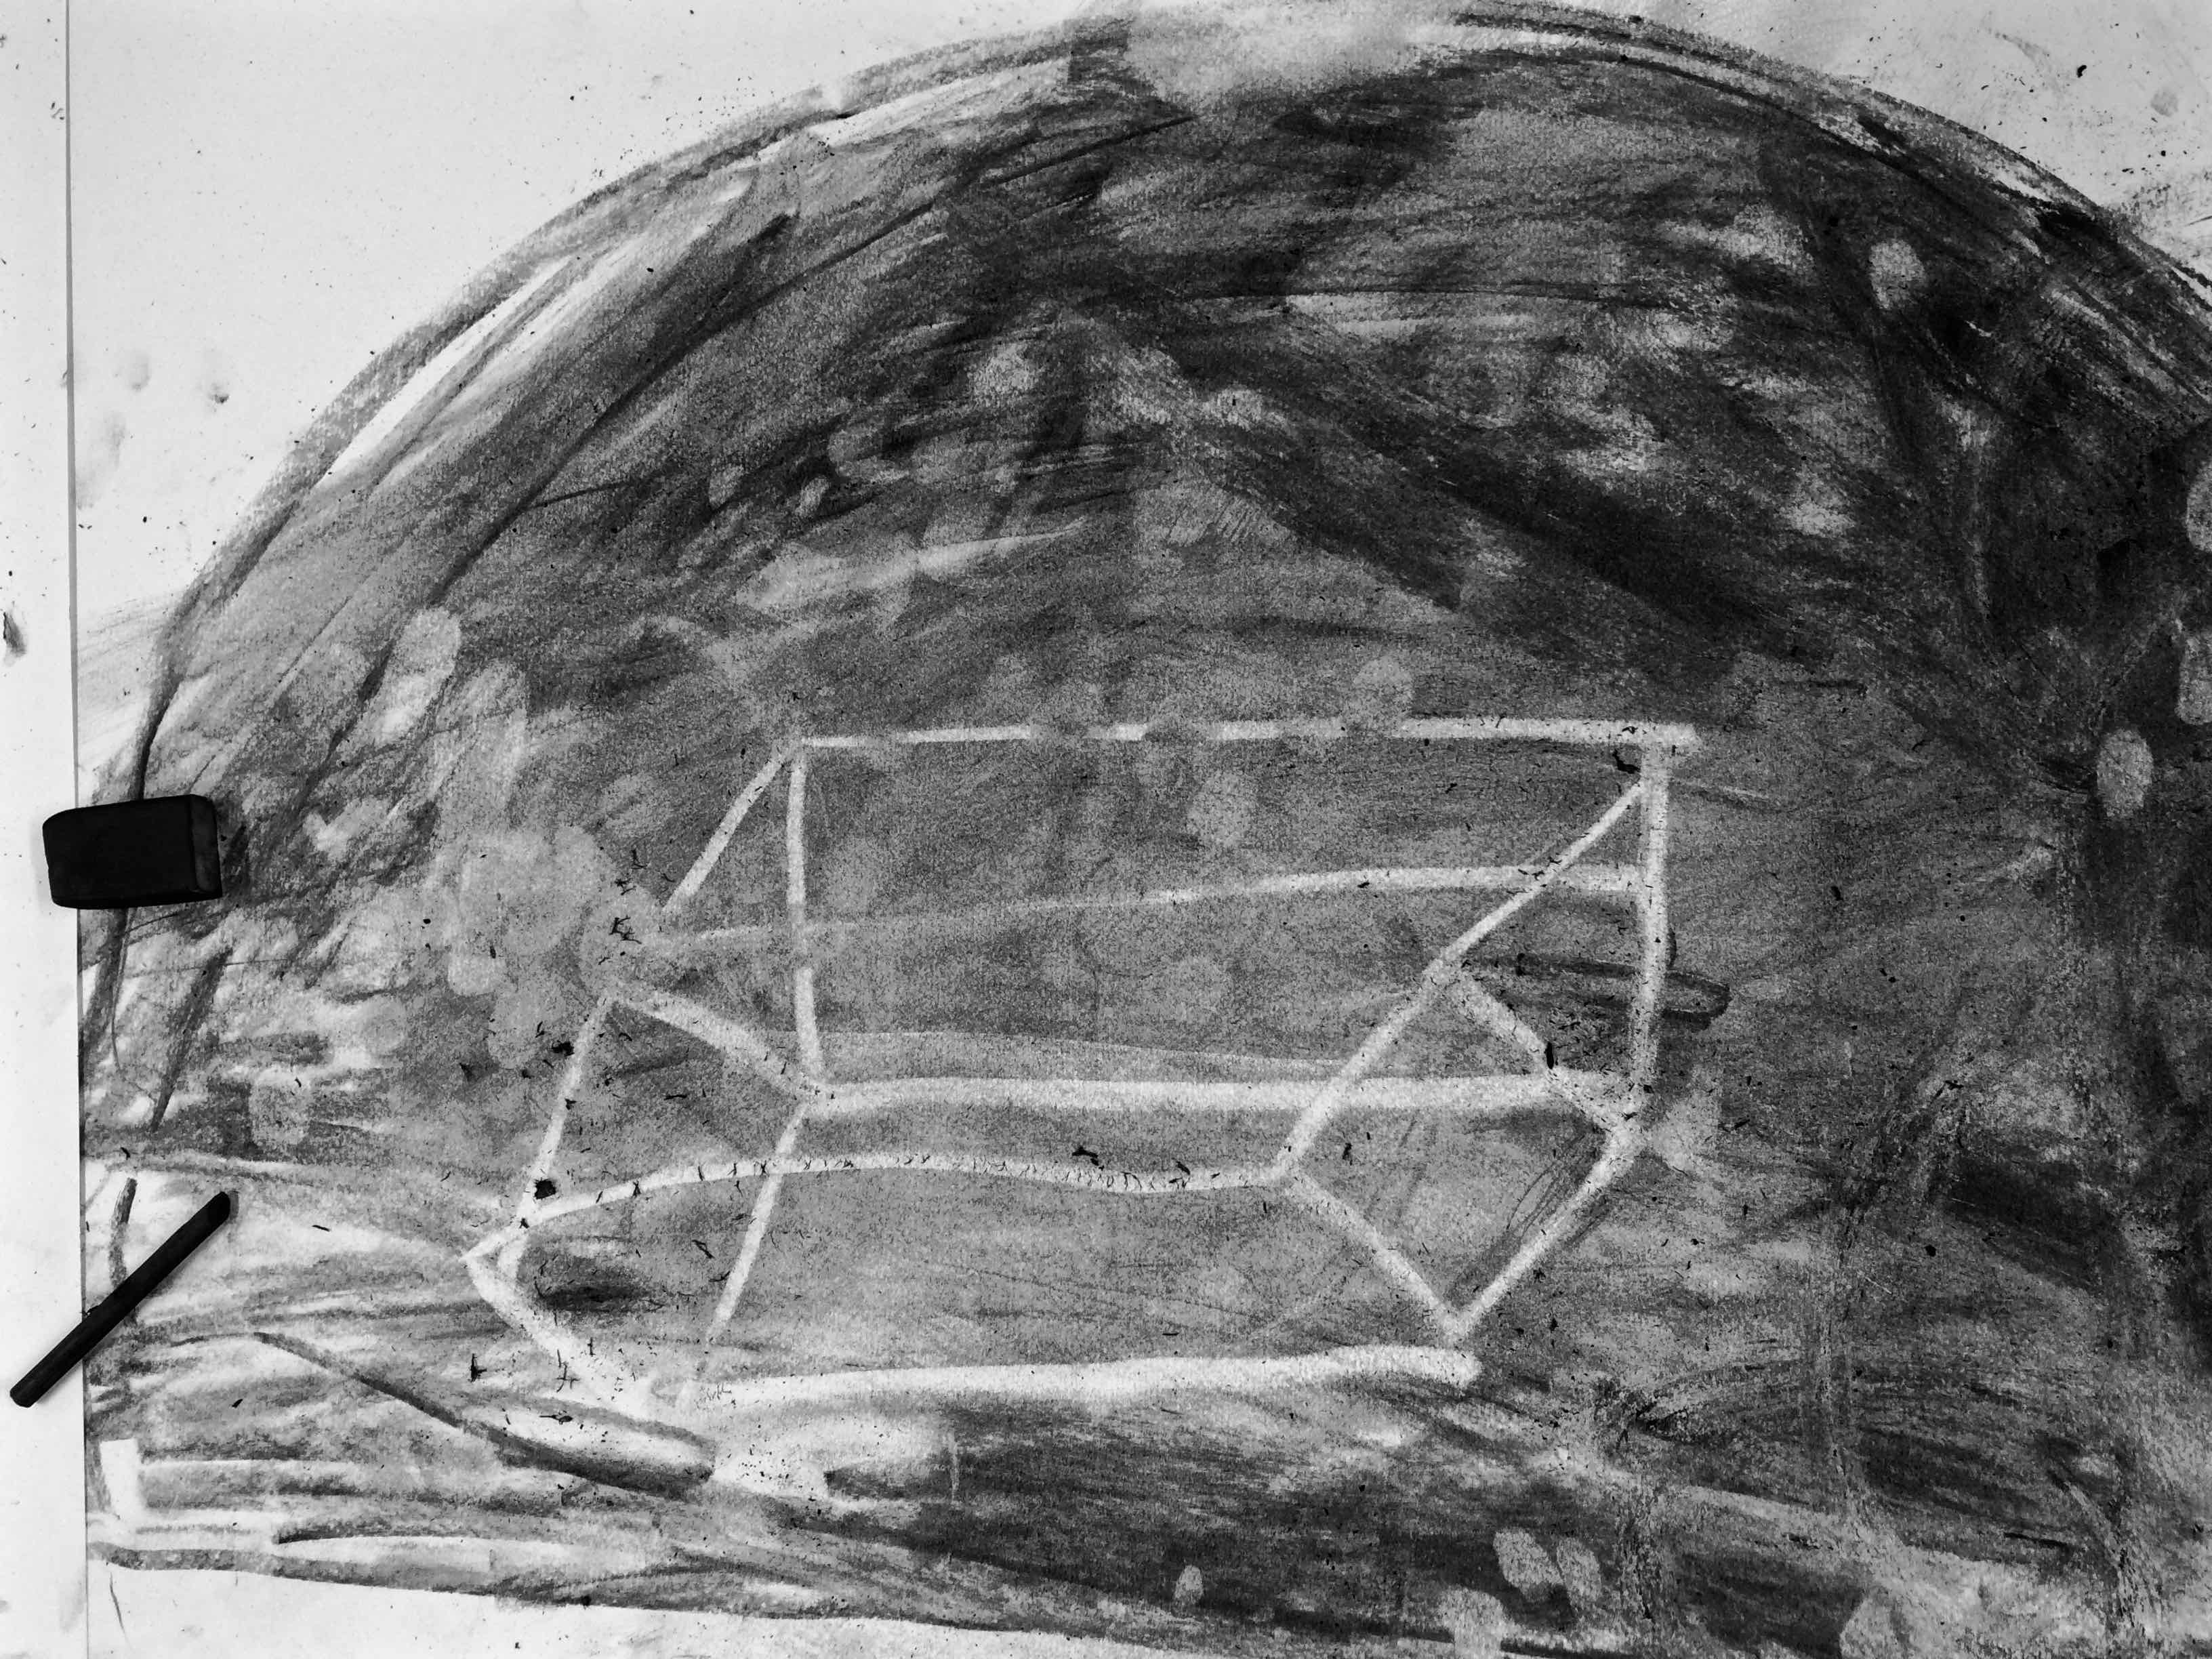
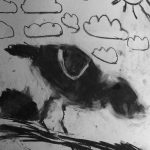
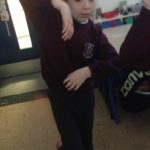
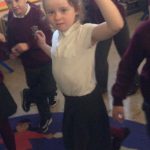
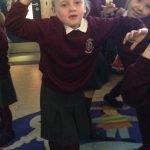
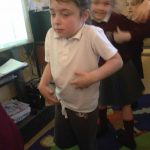
Soon we began SHADOW HUNTING… we looked for strange shadow shapes….


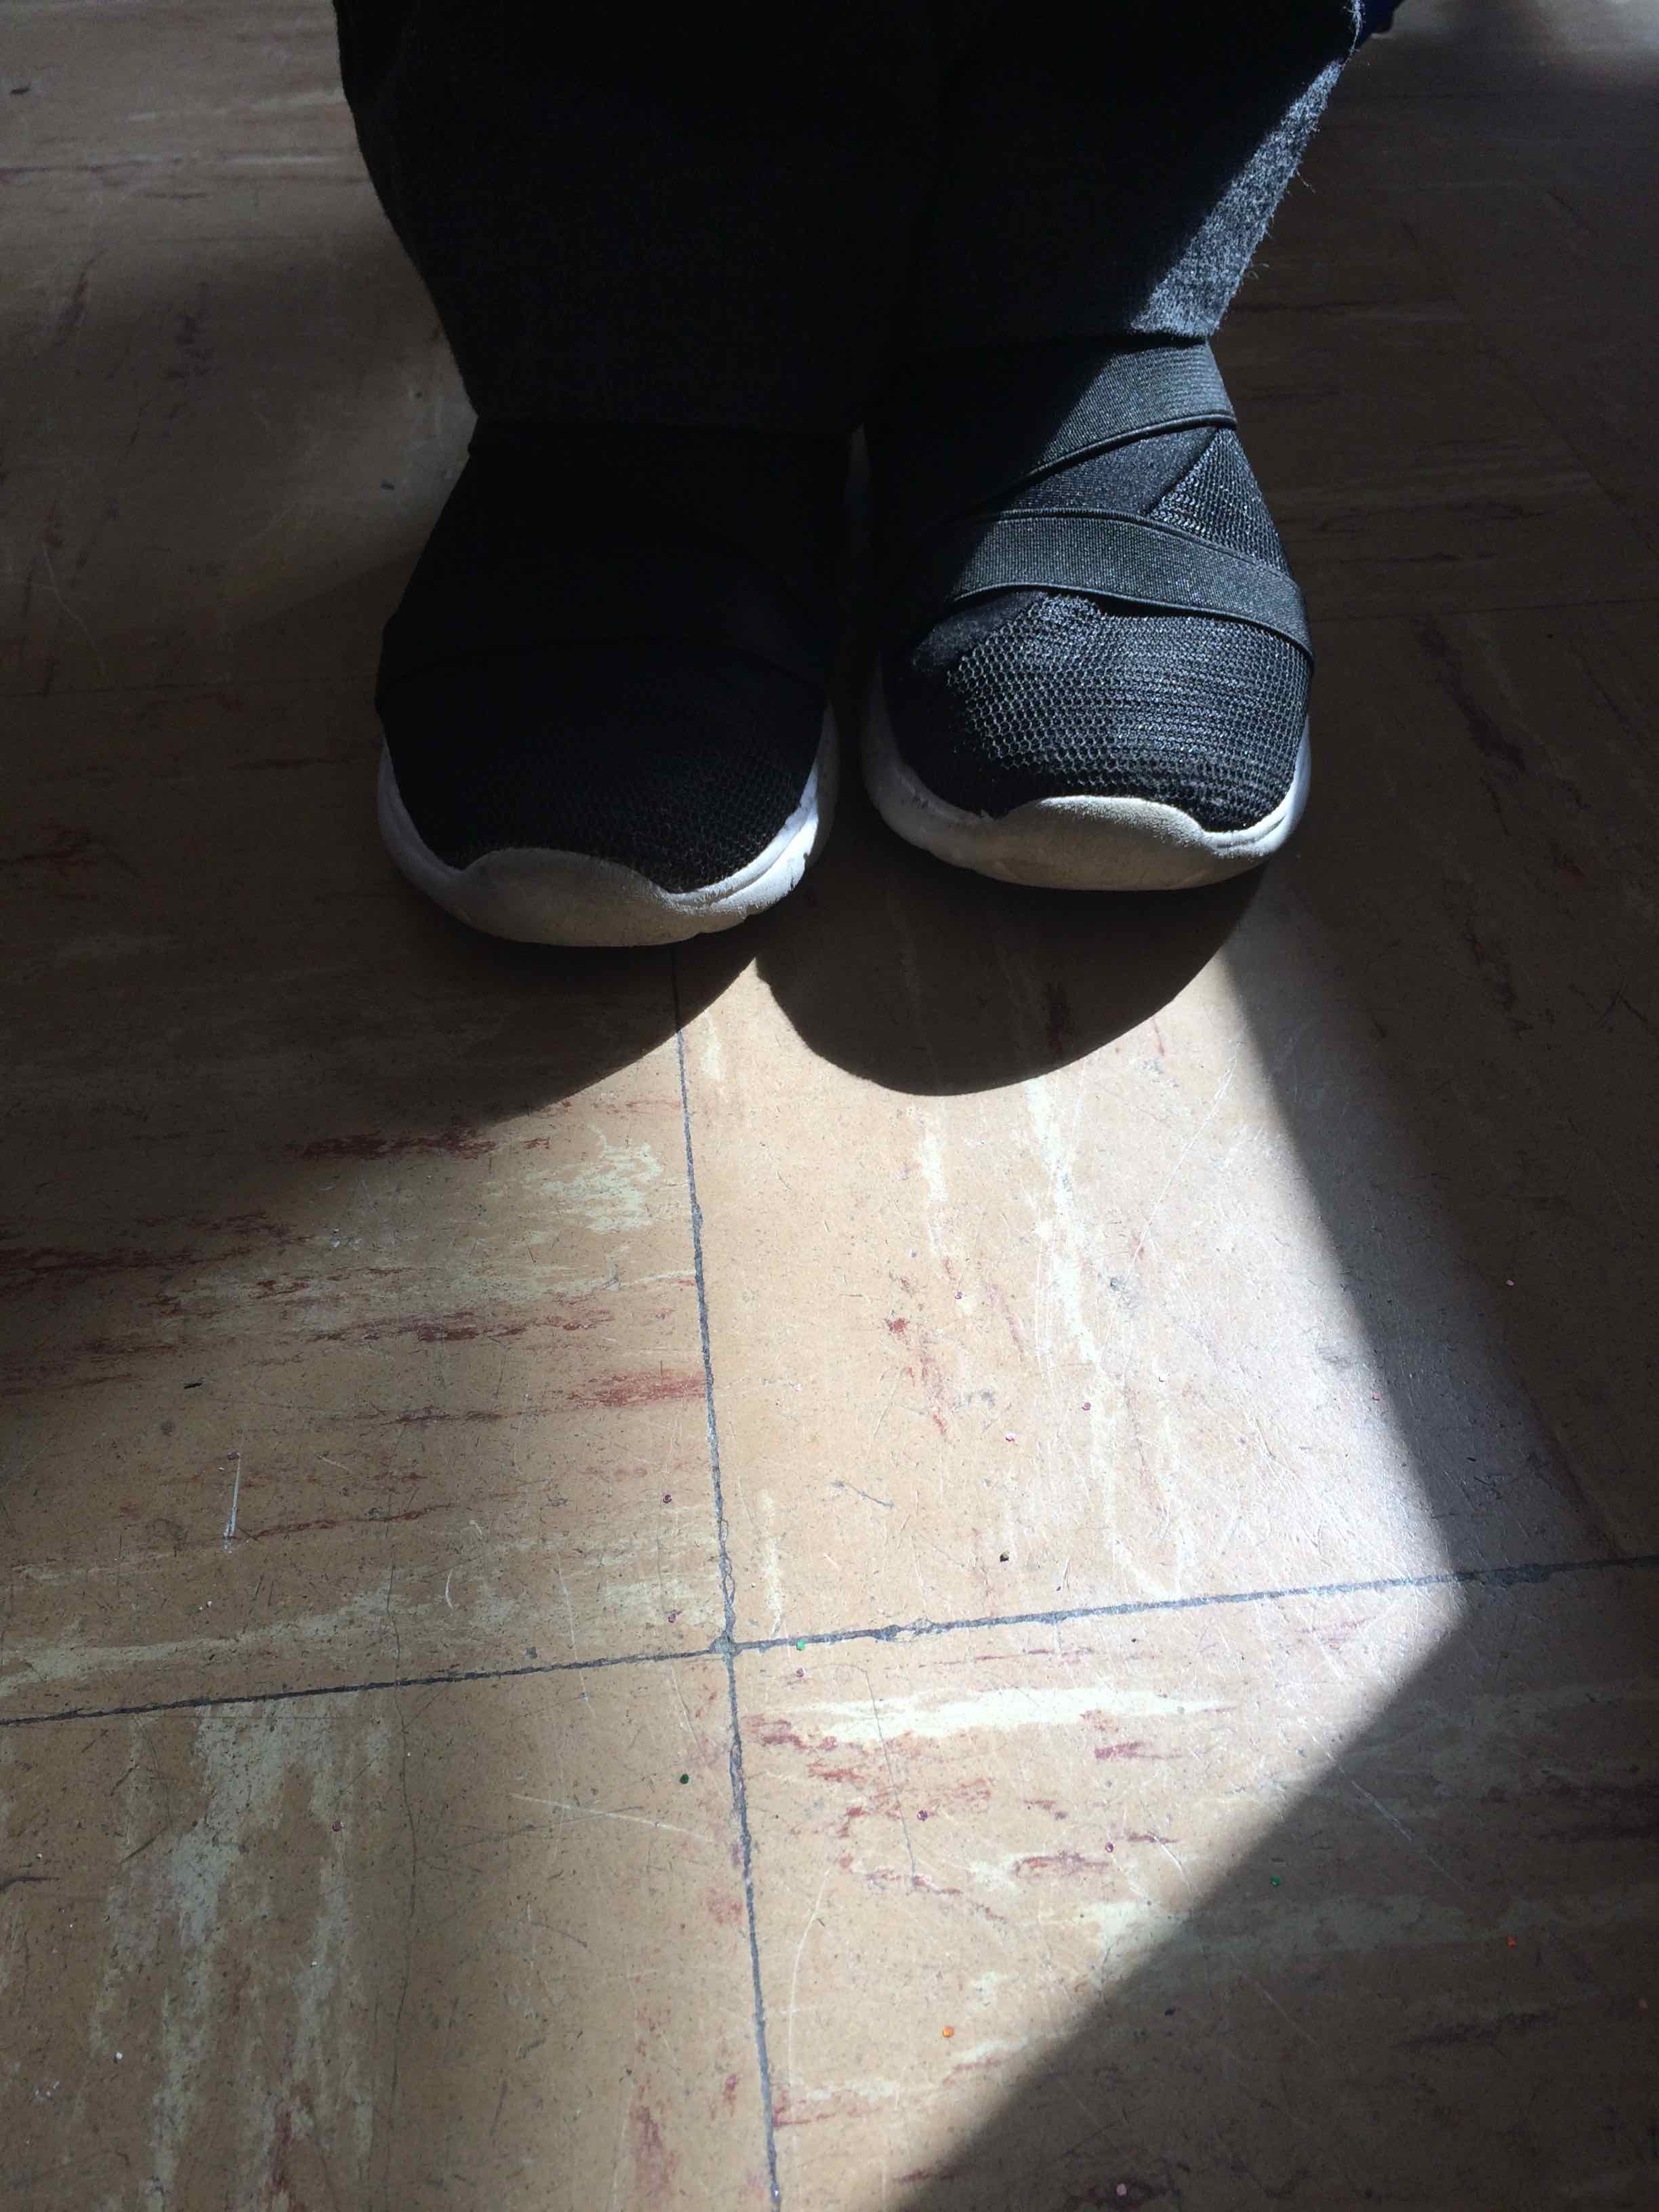
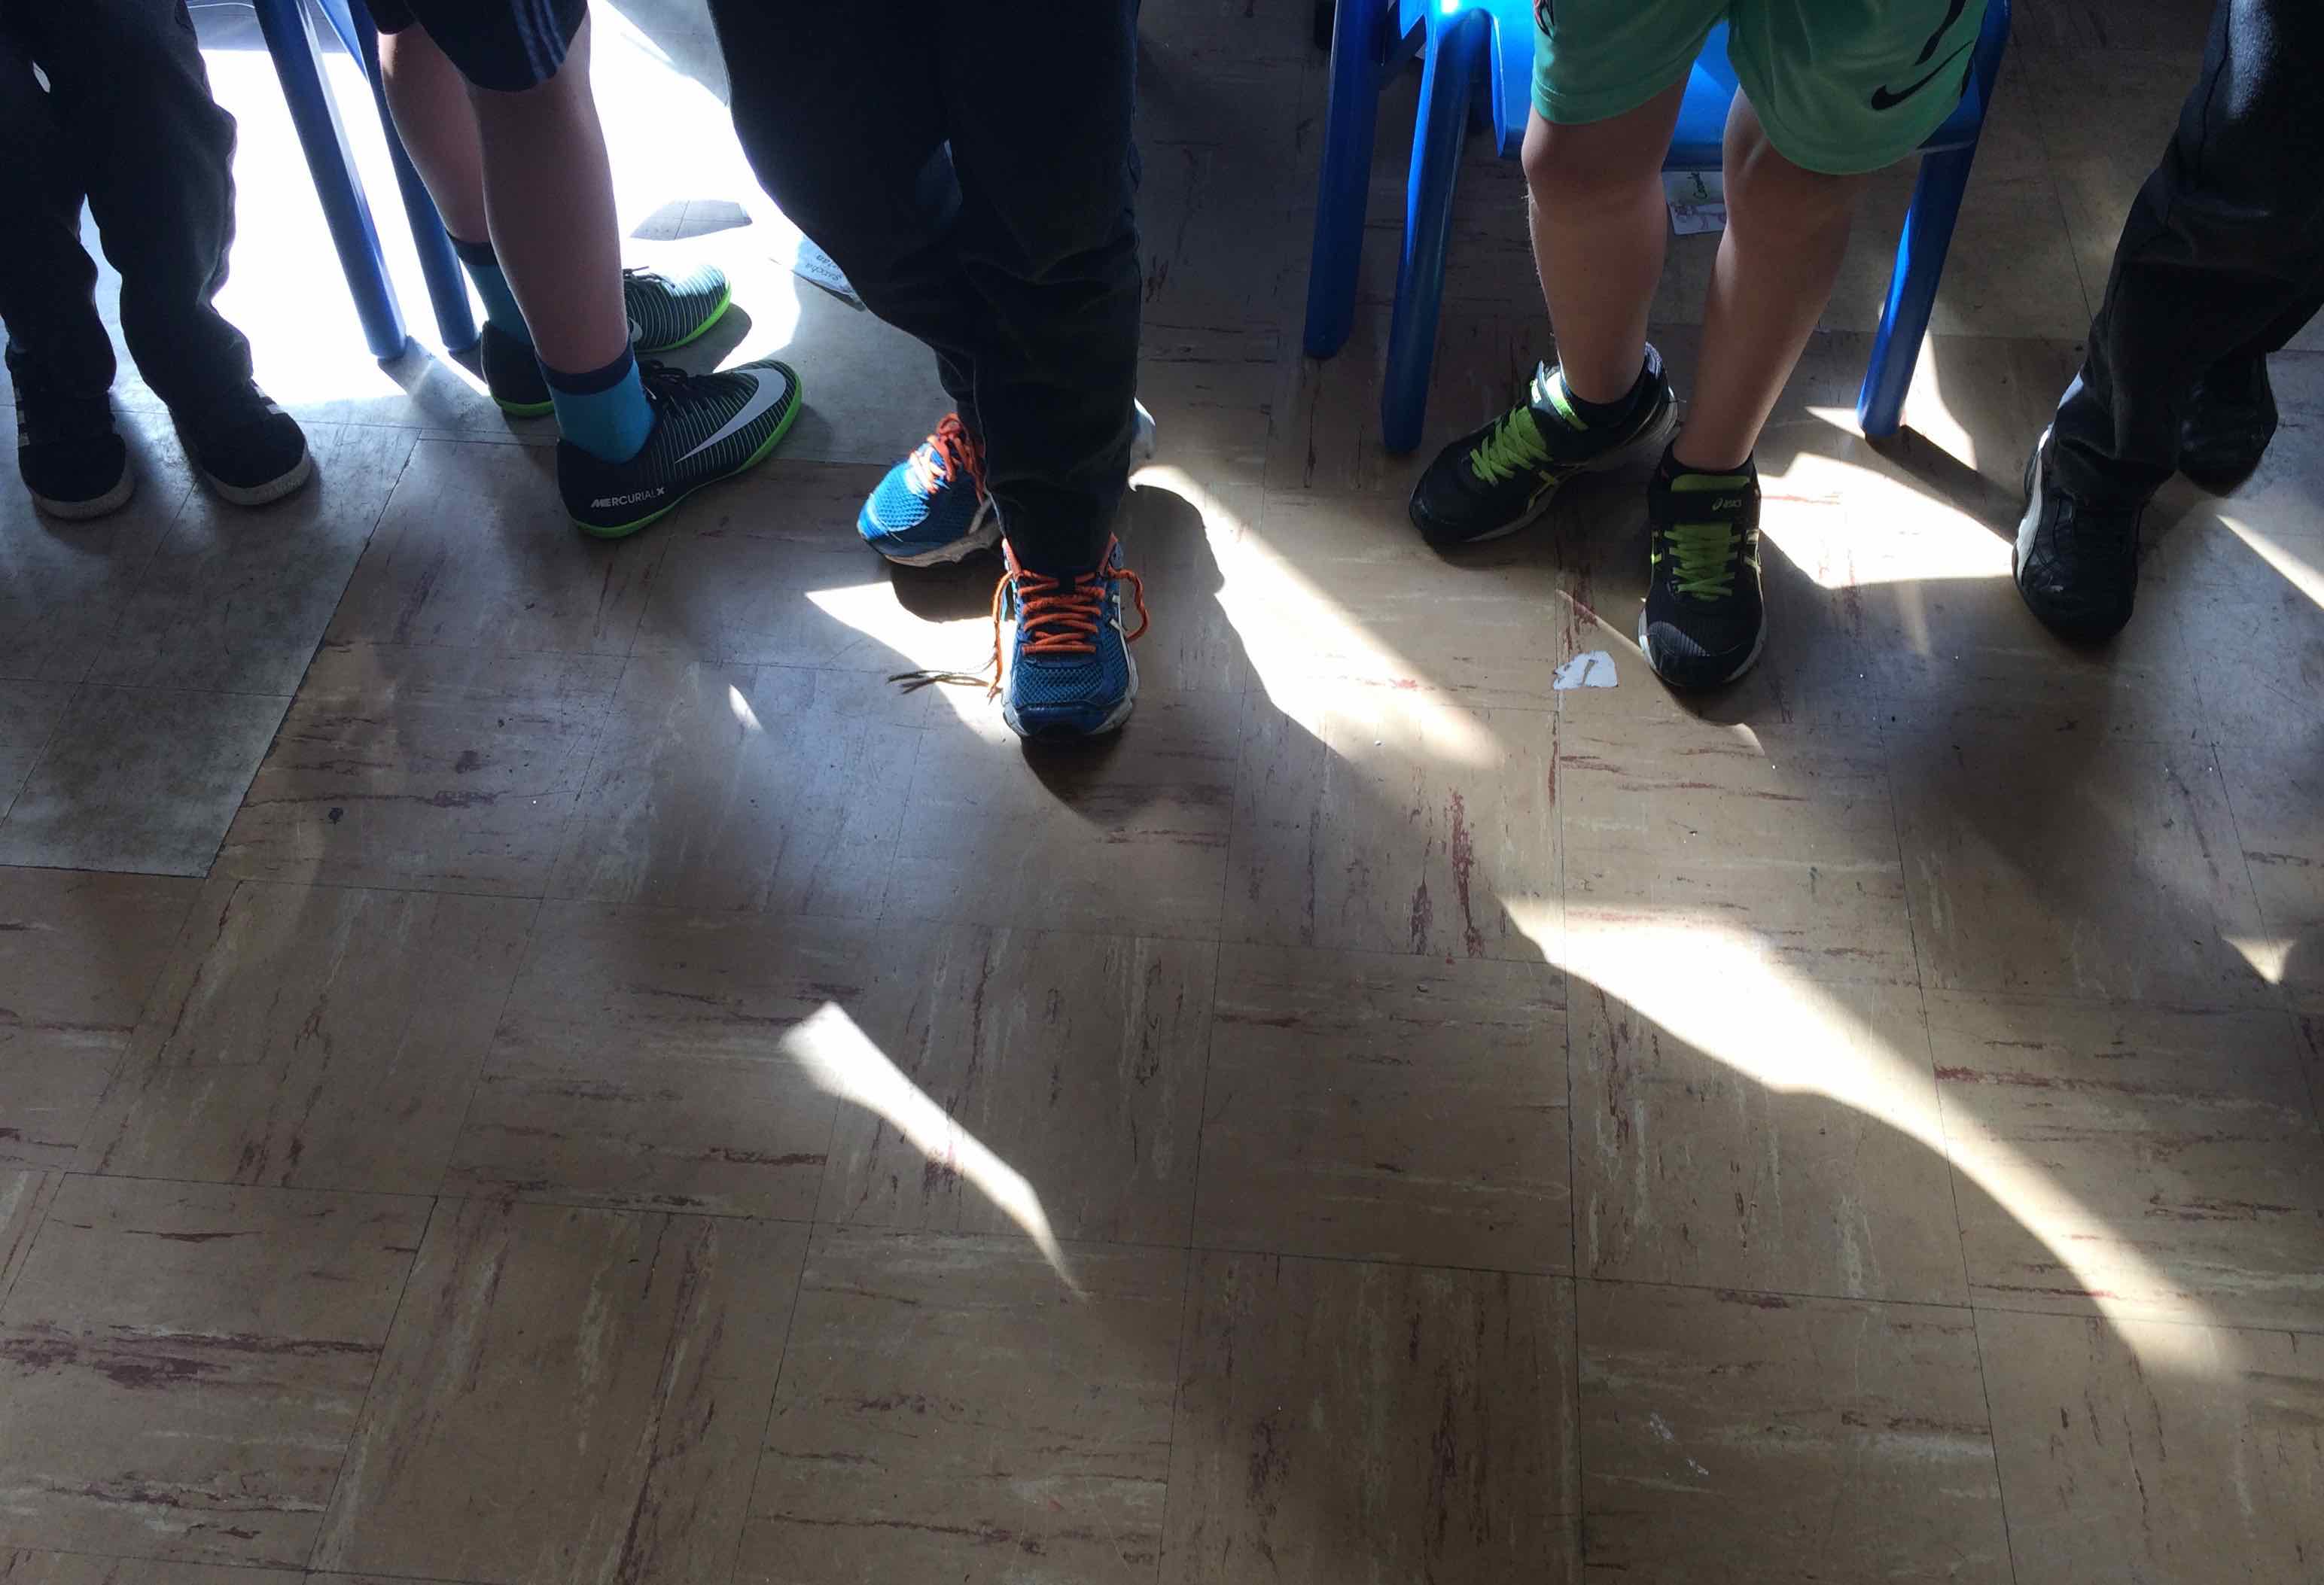
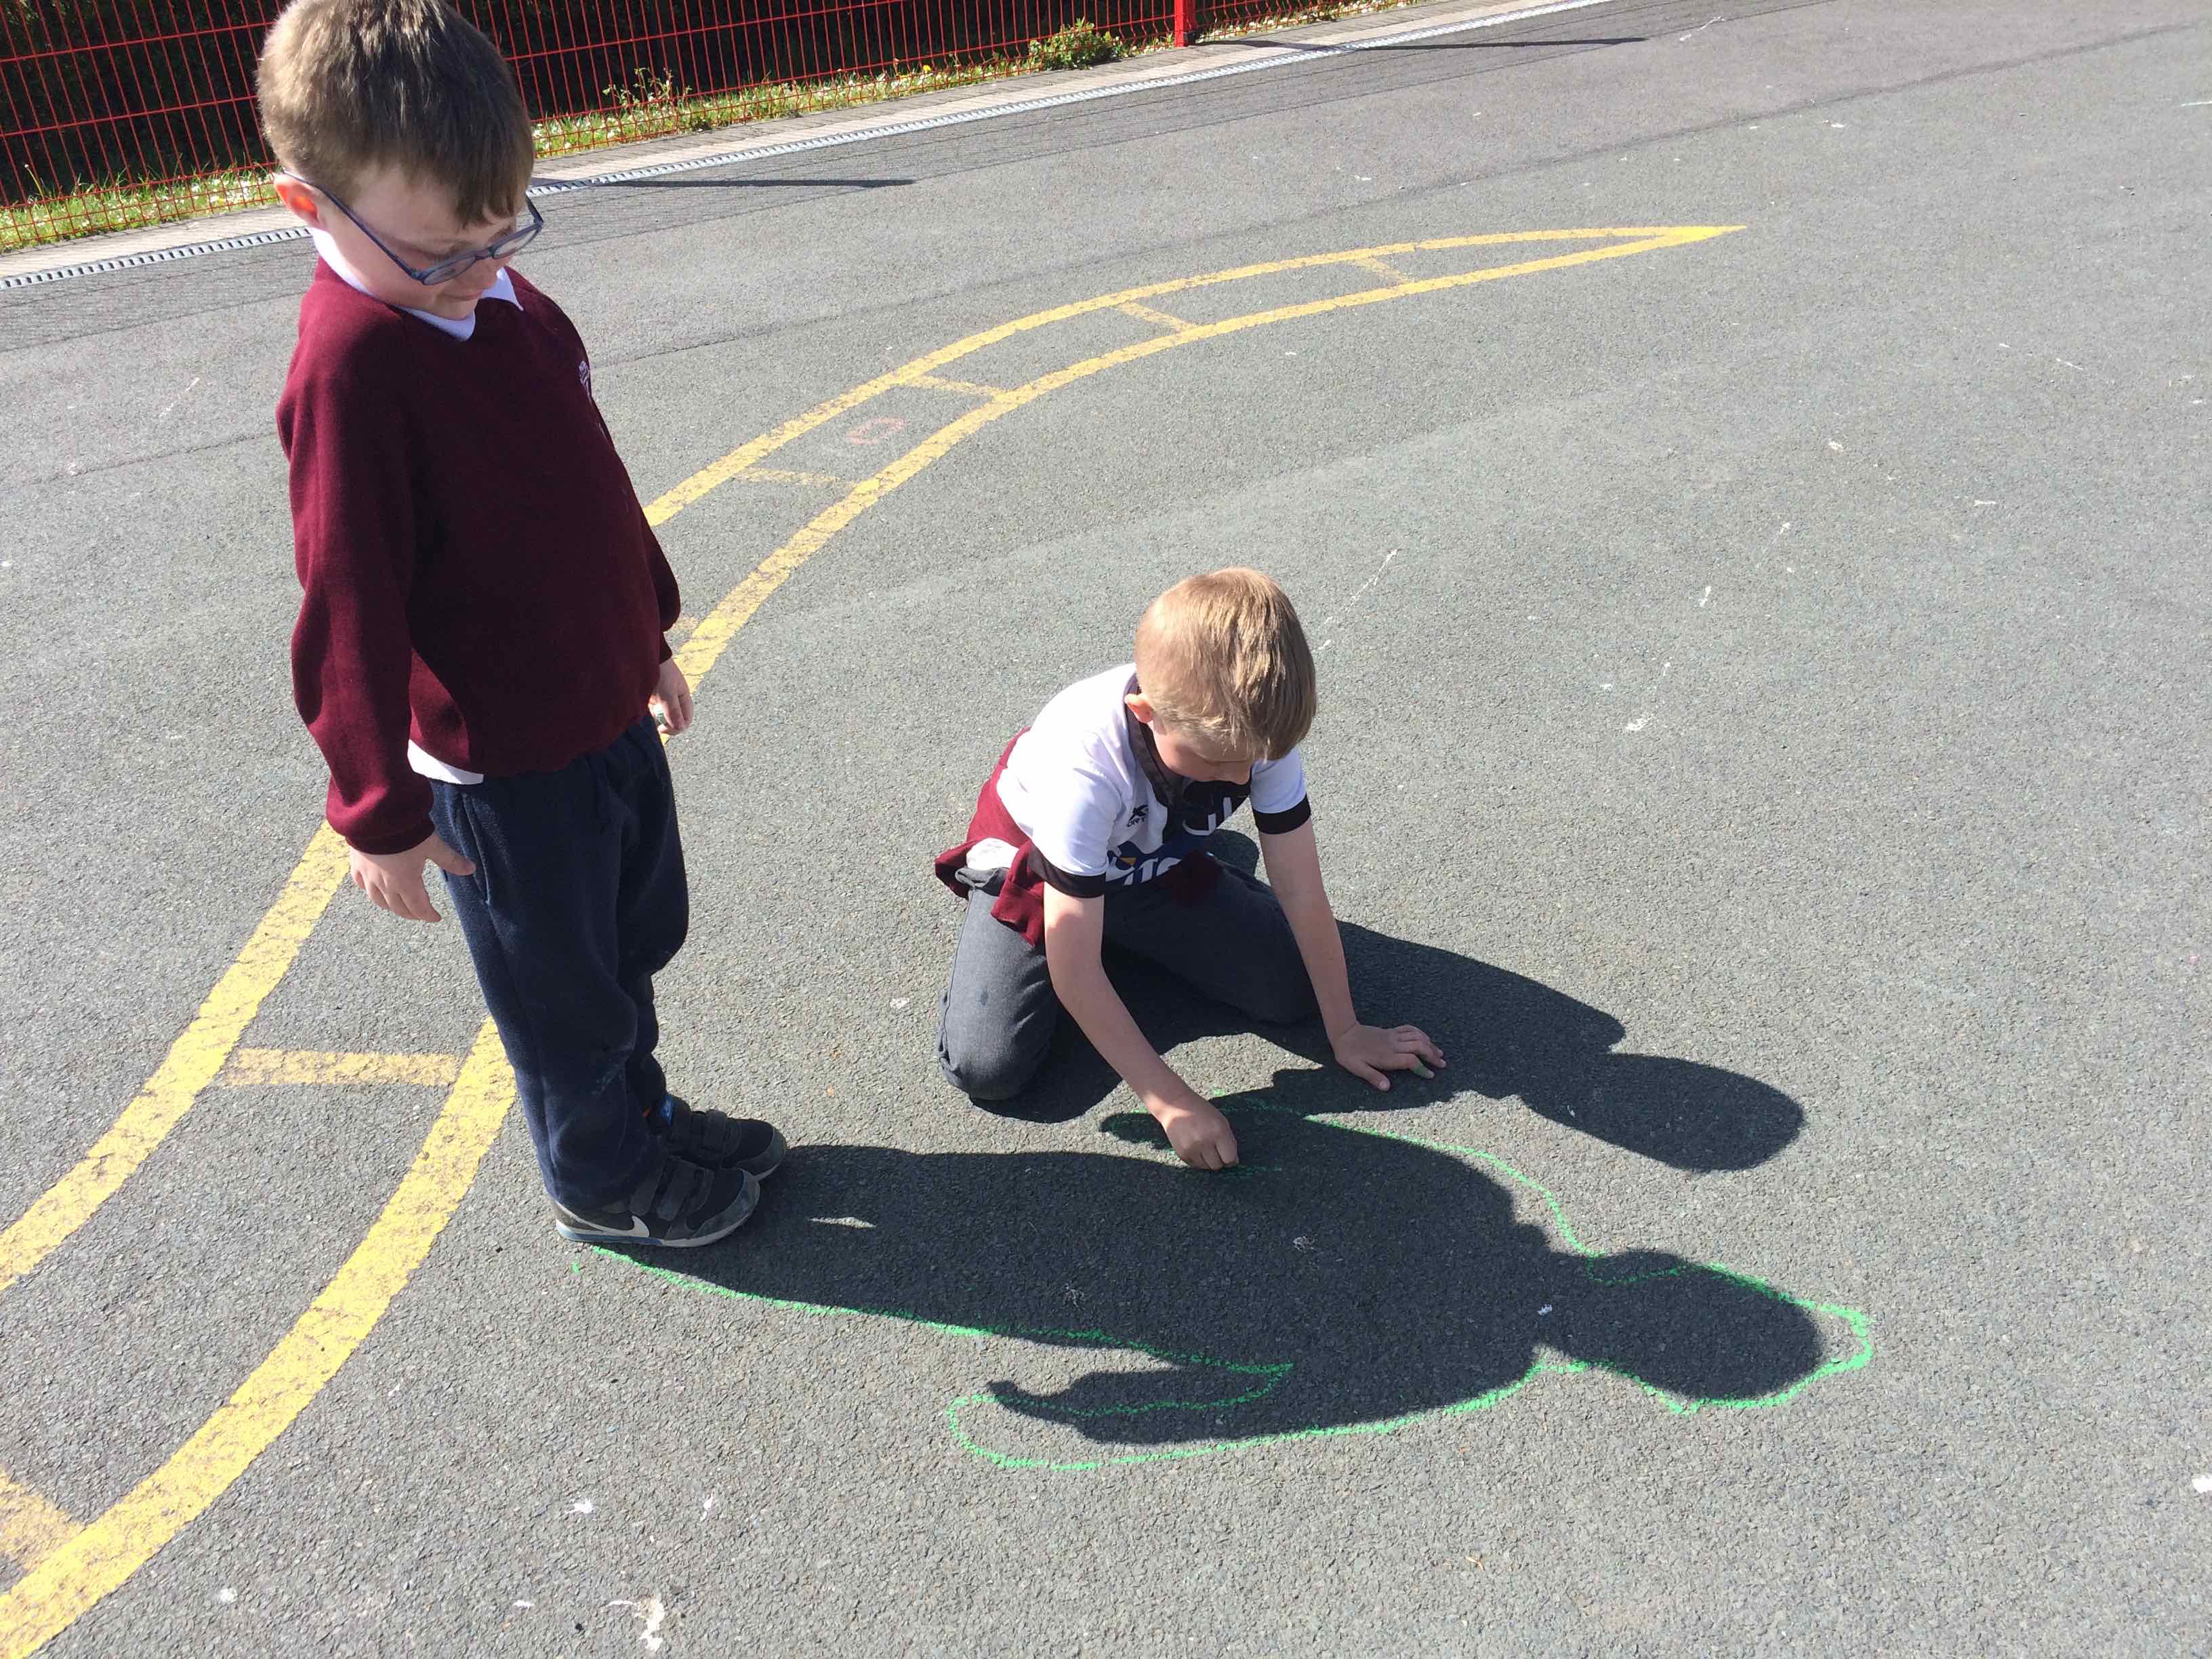
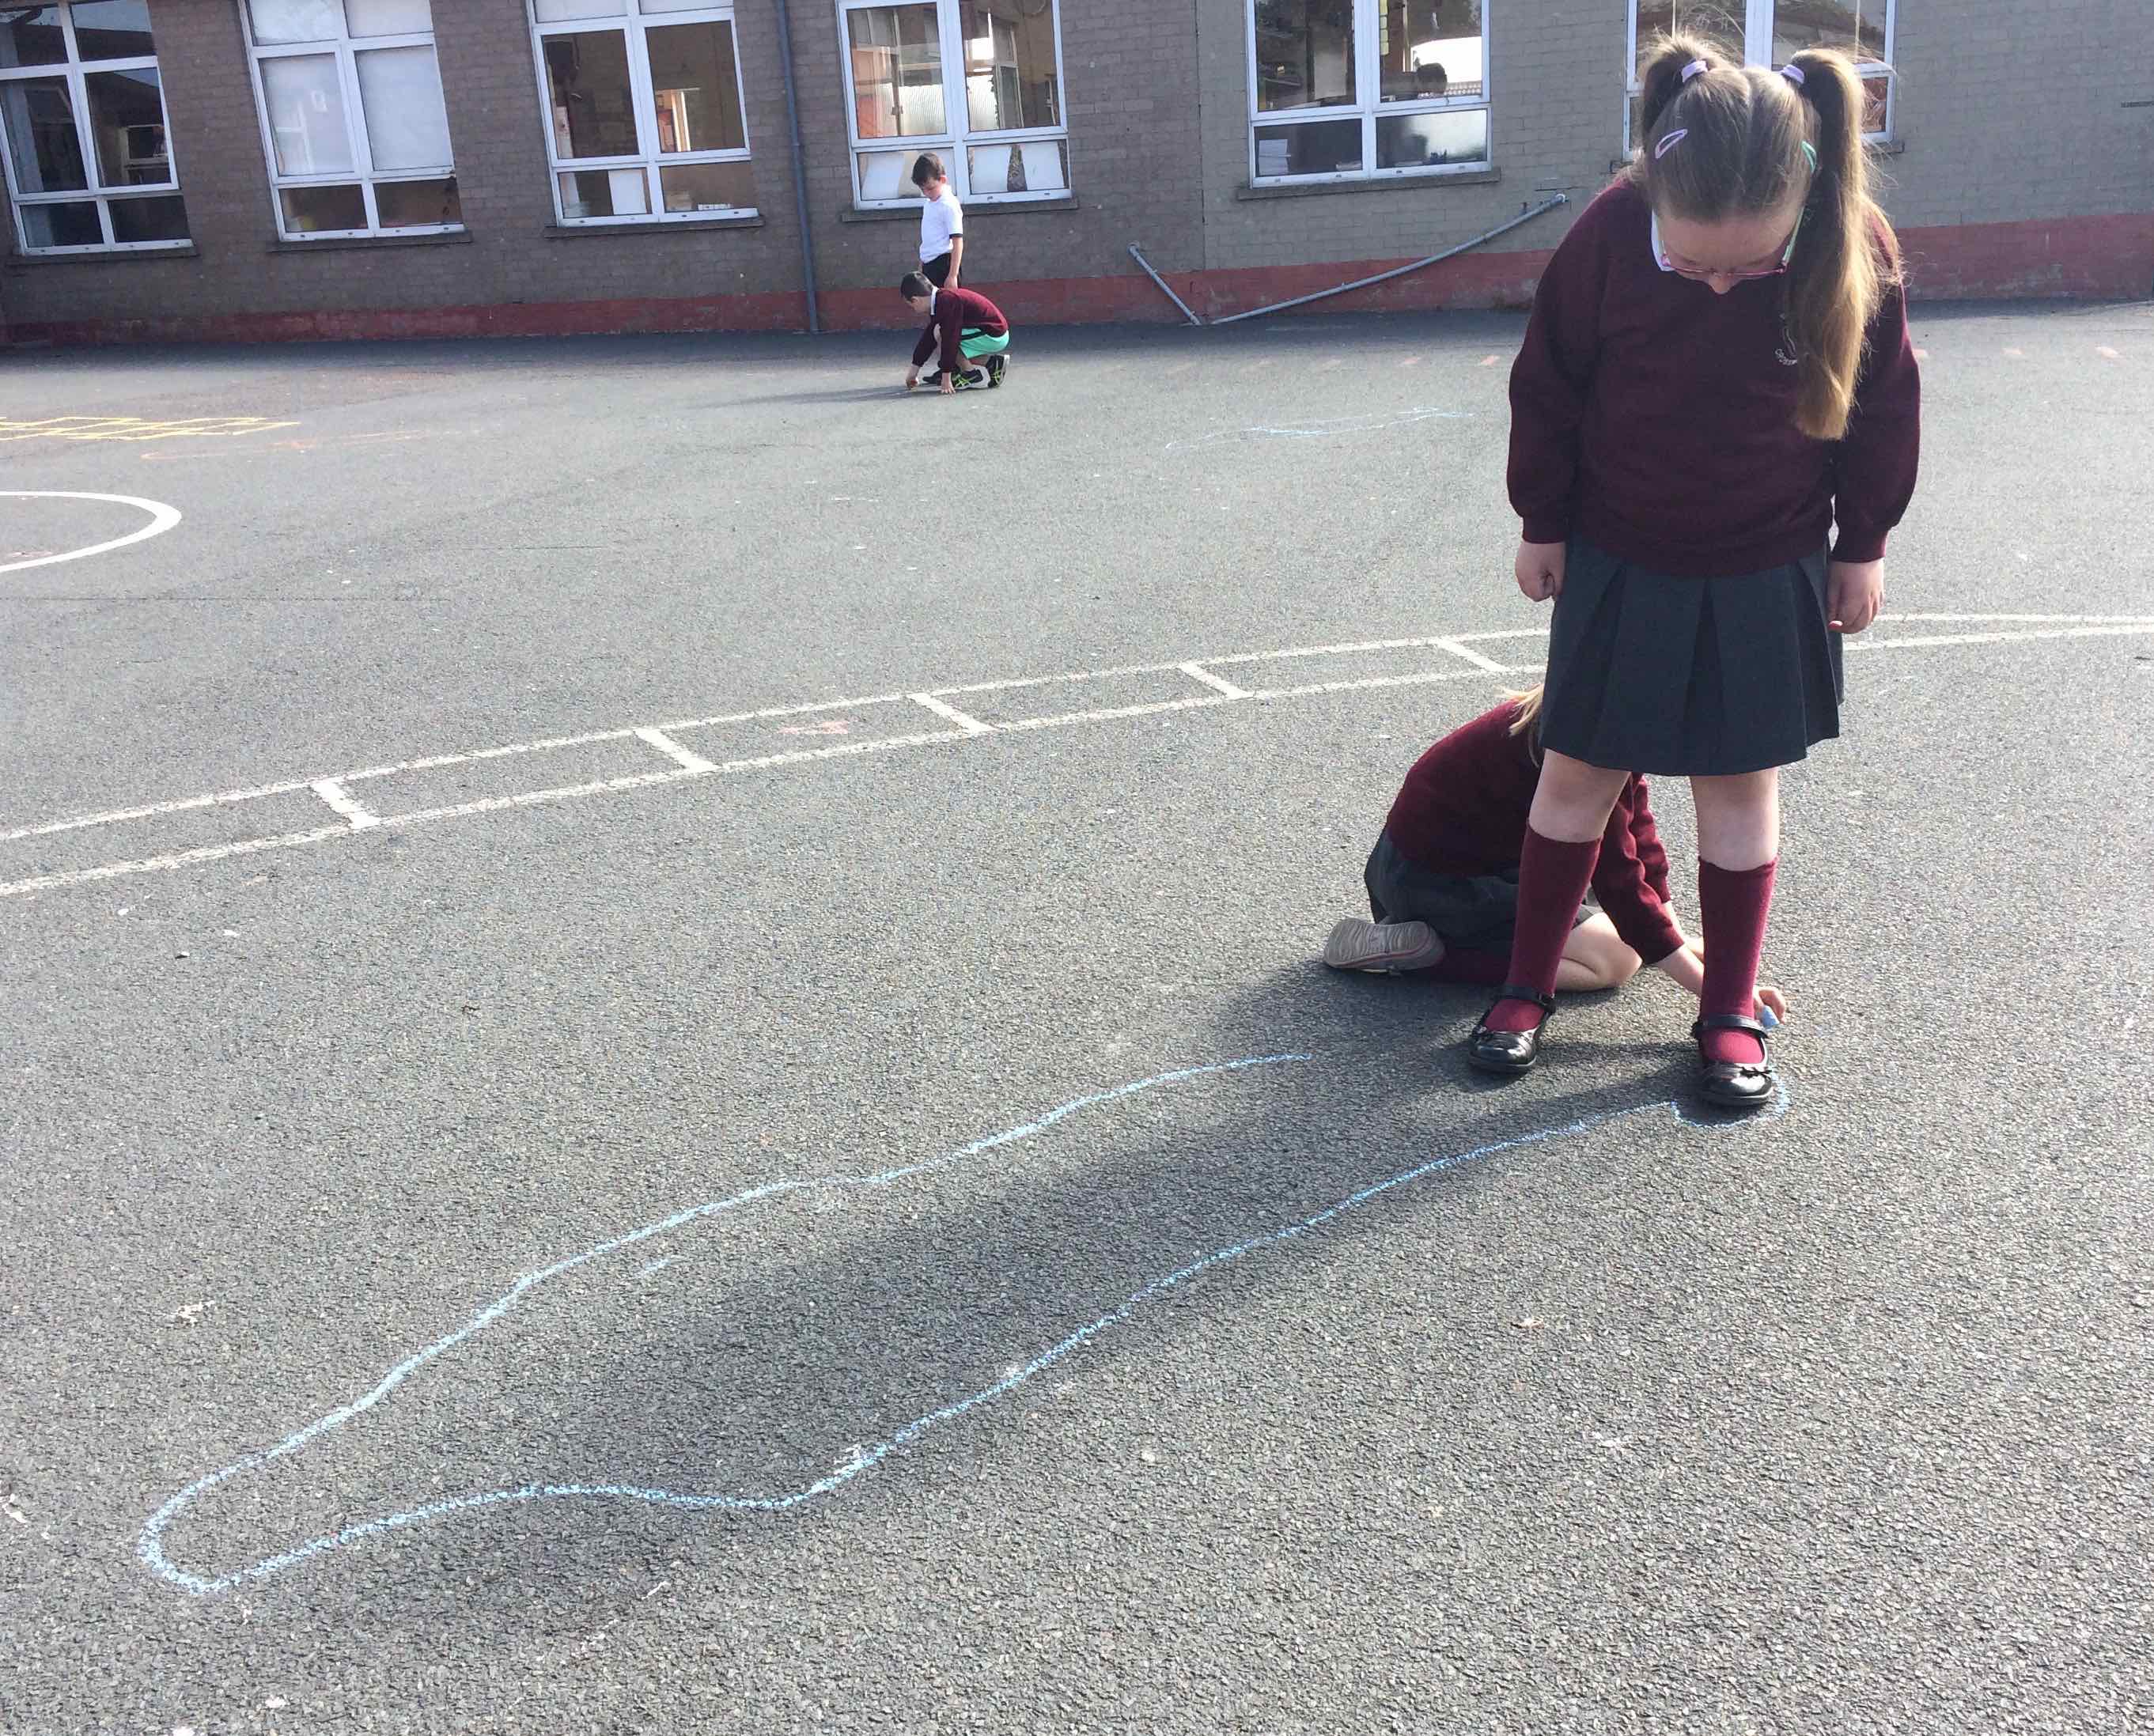
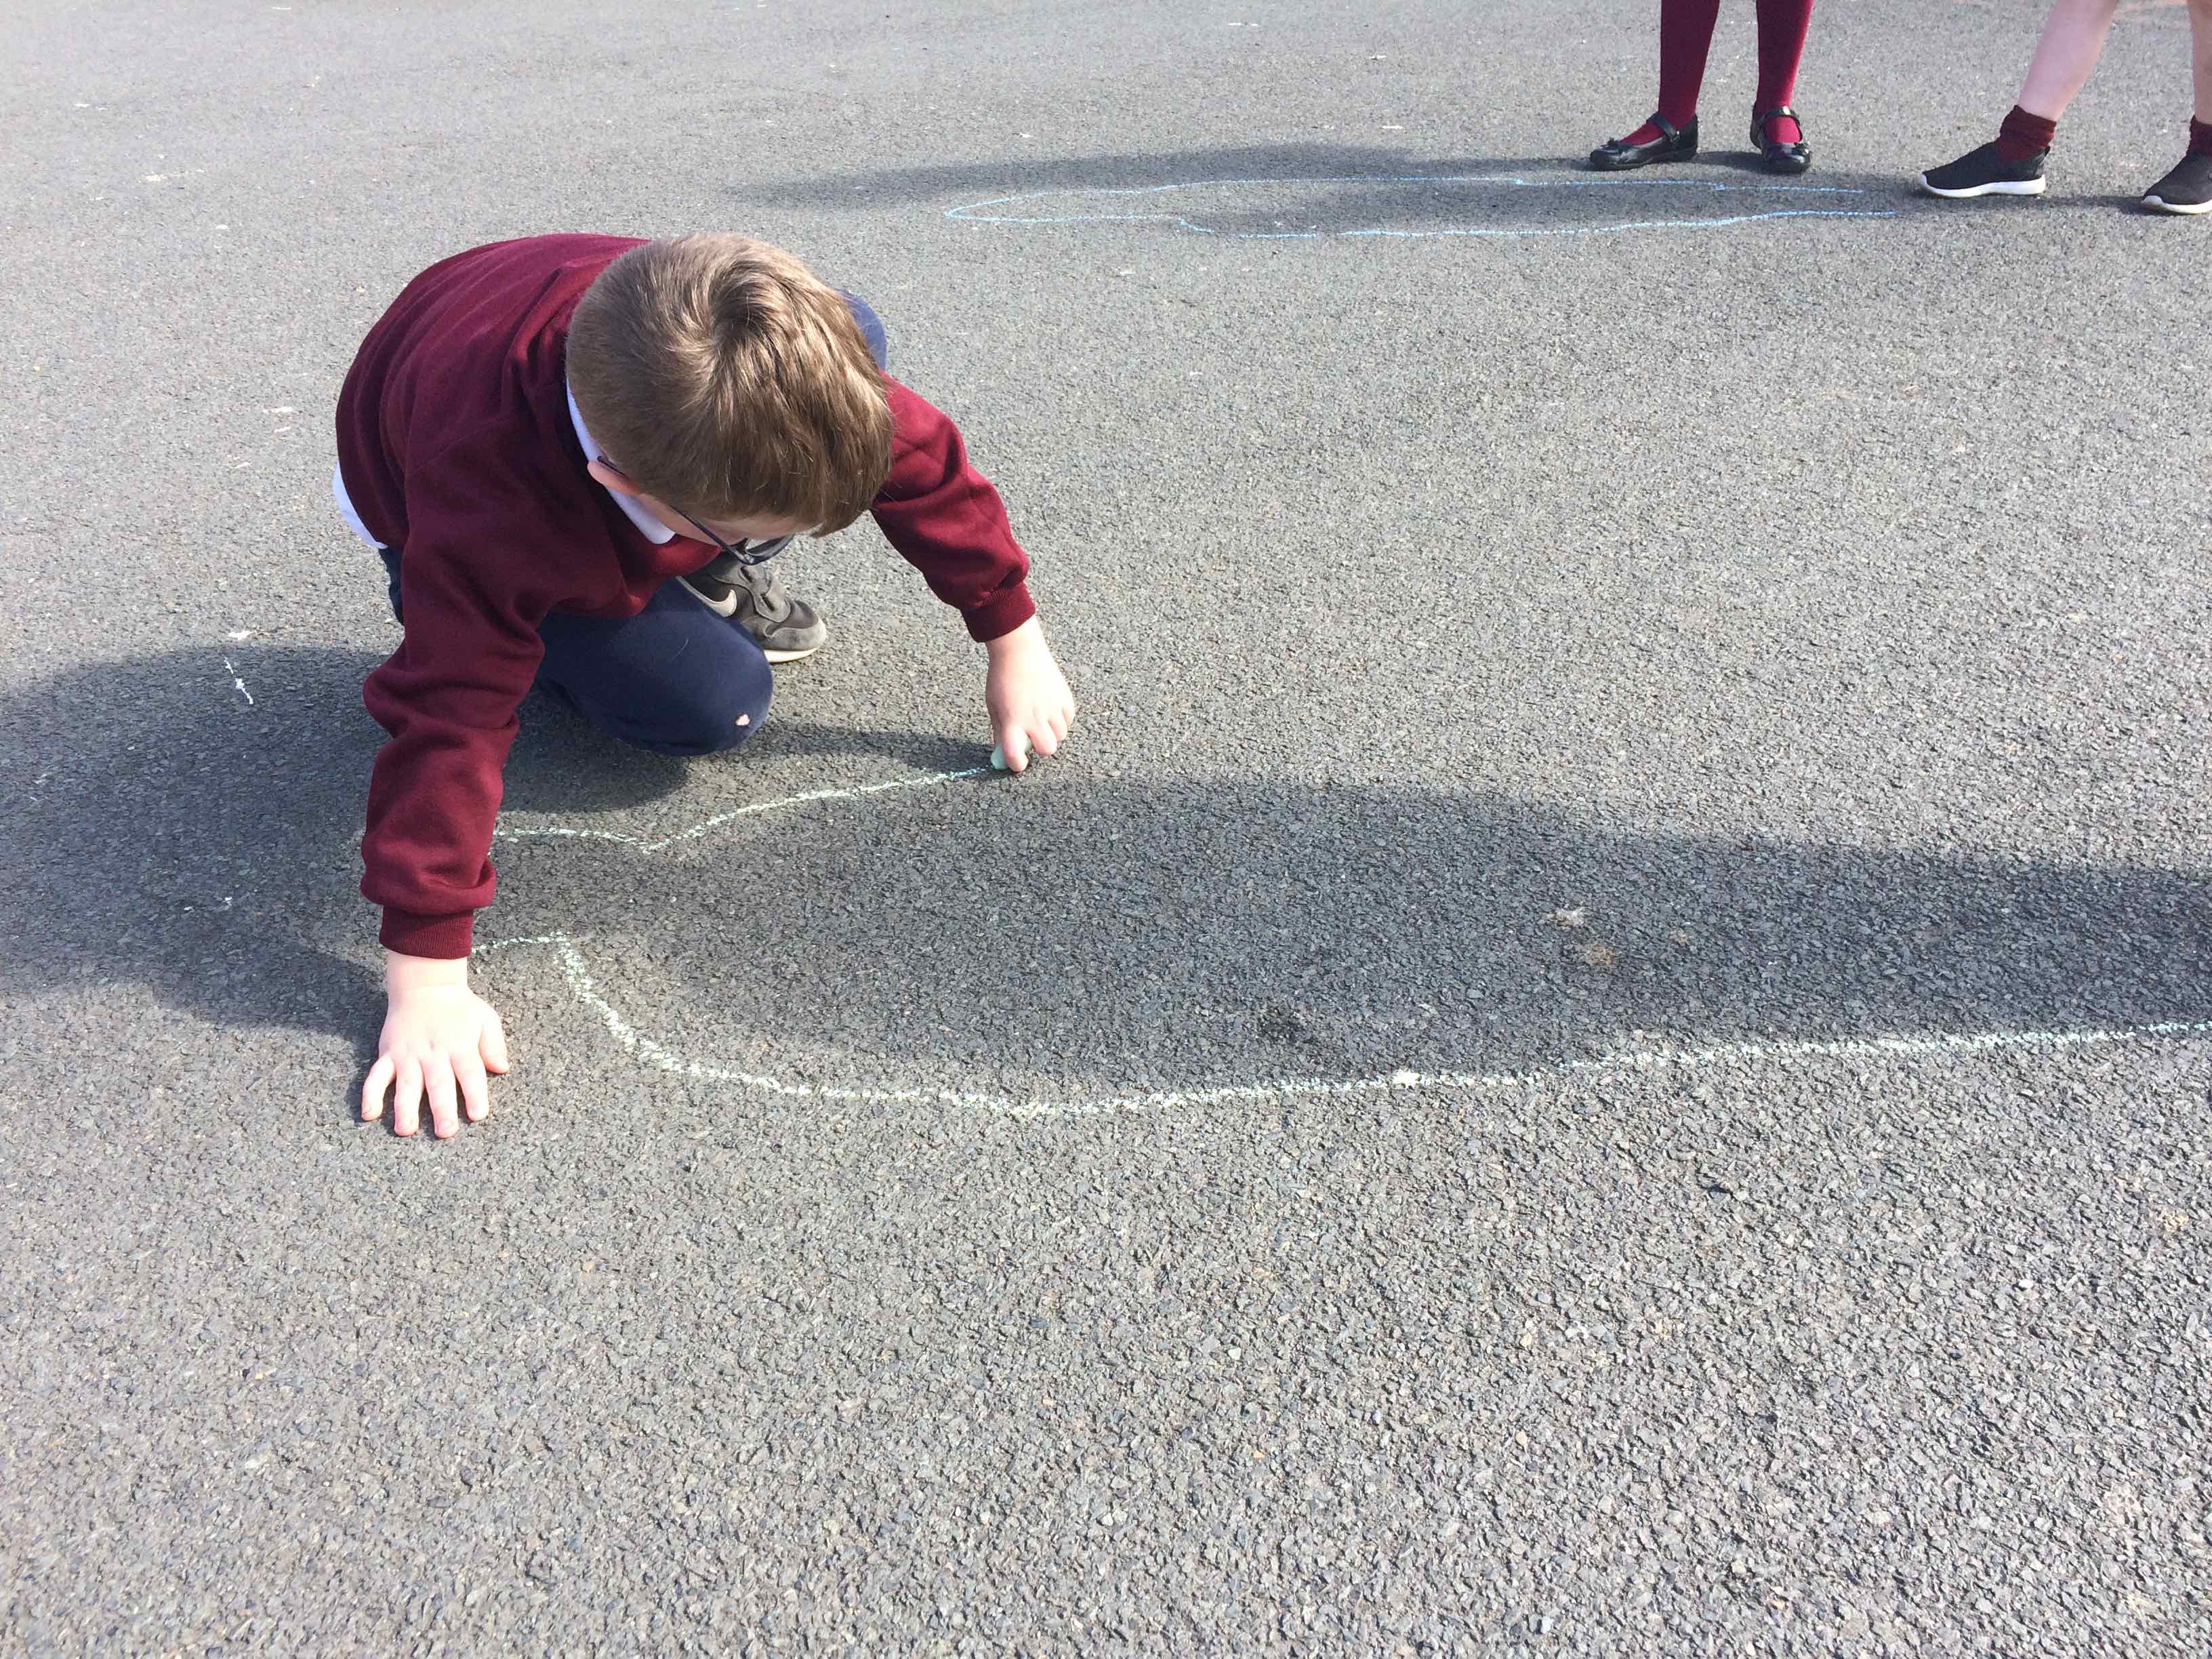
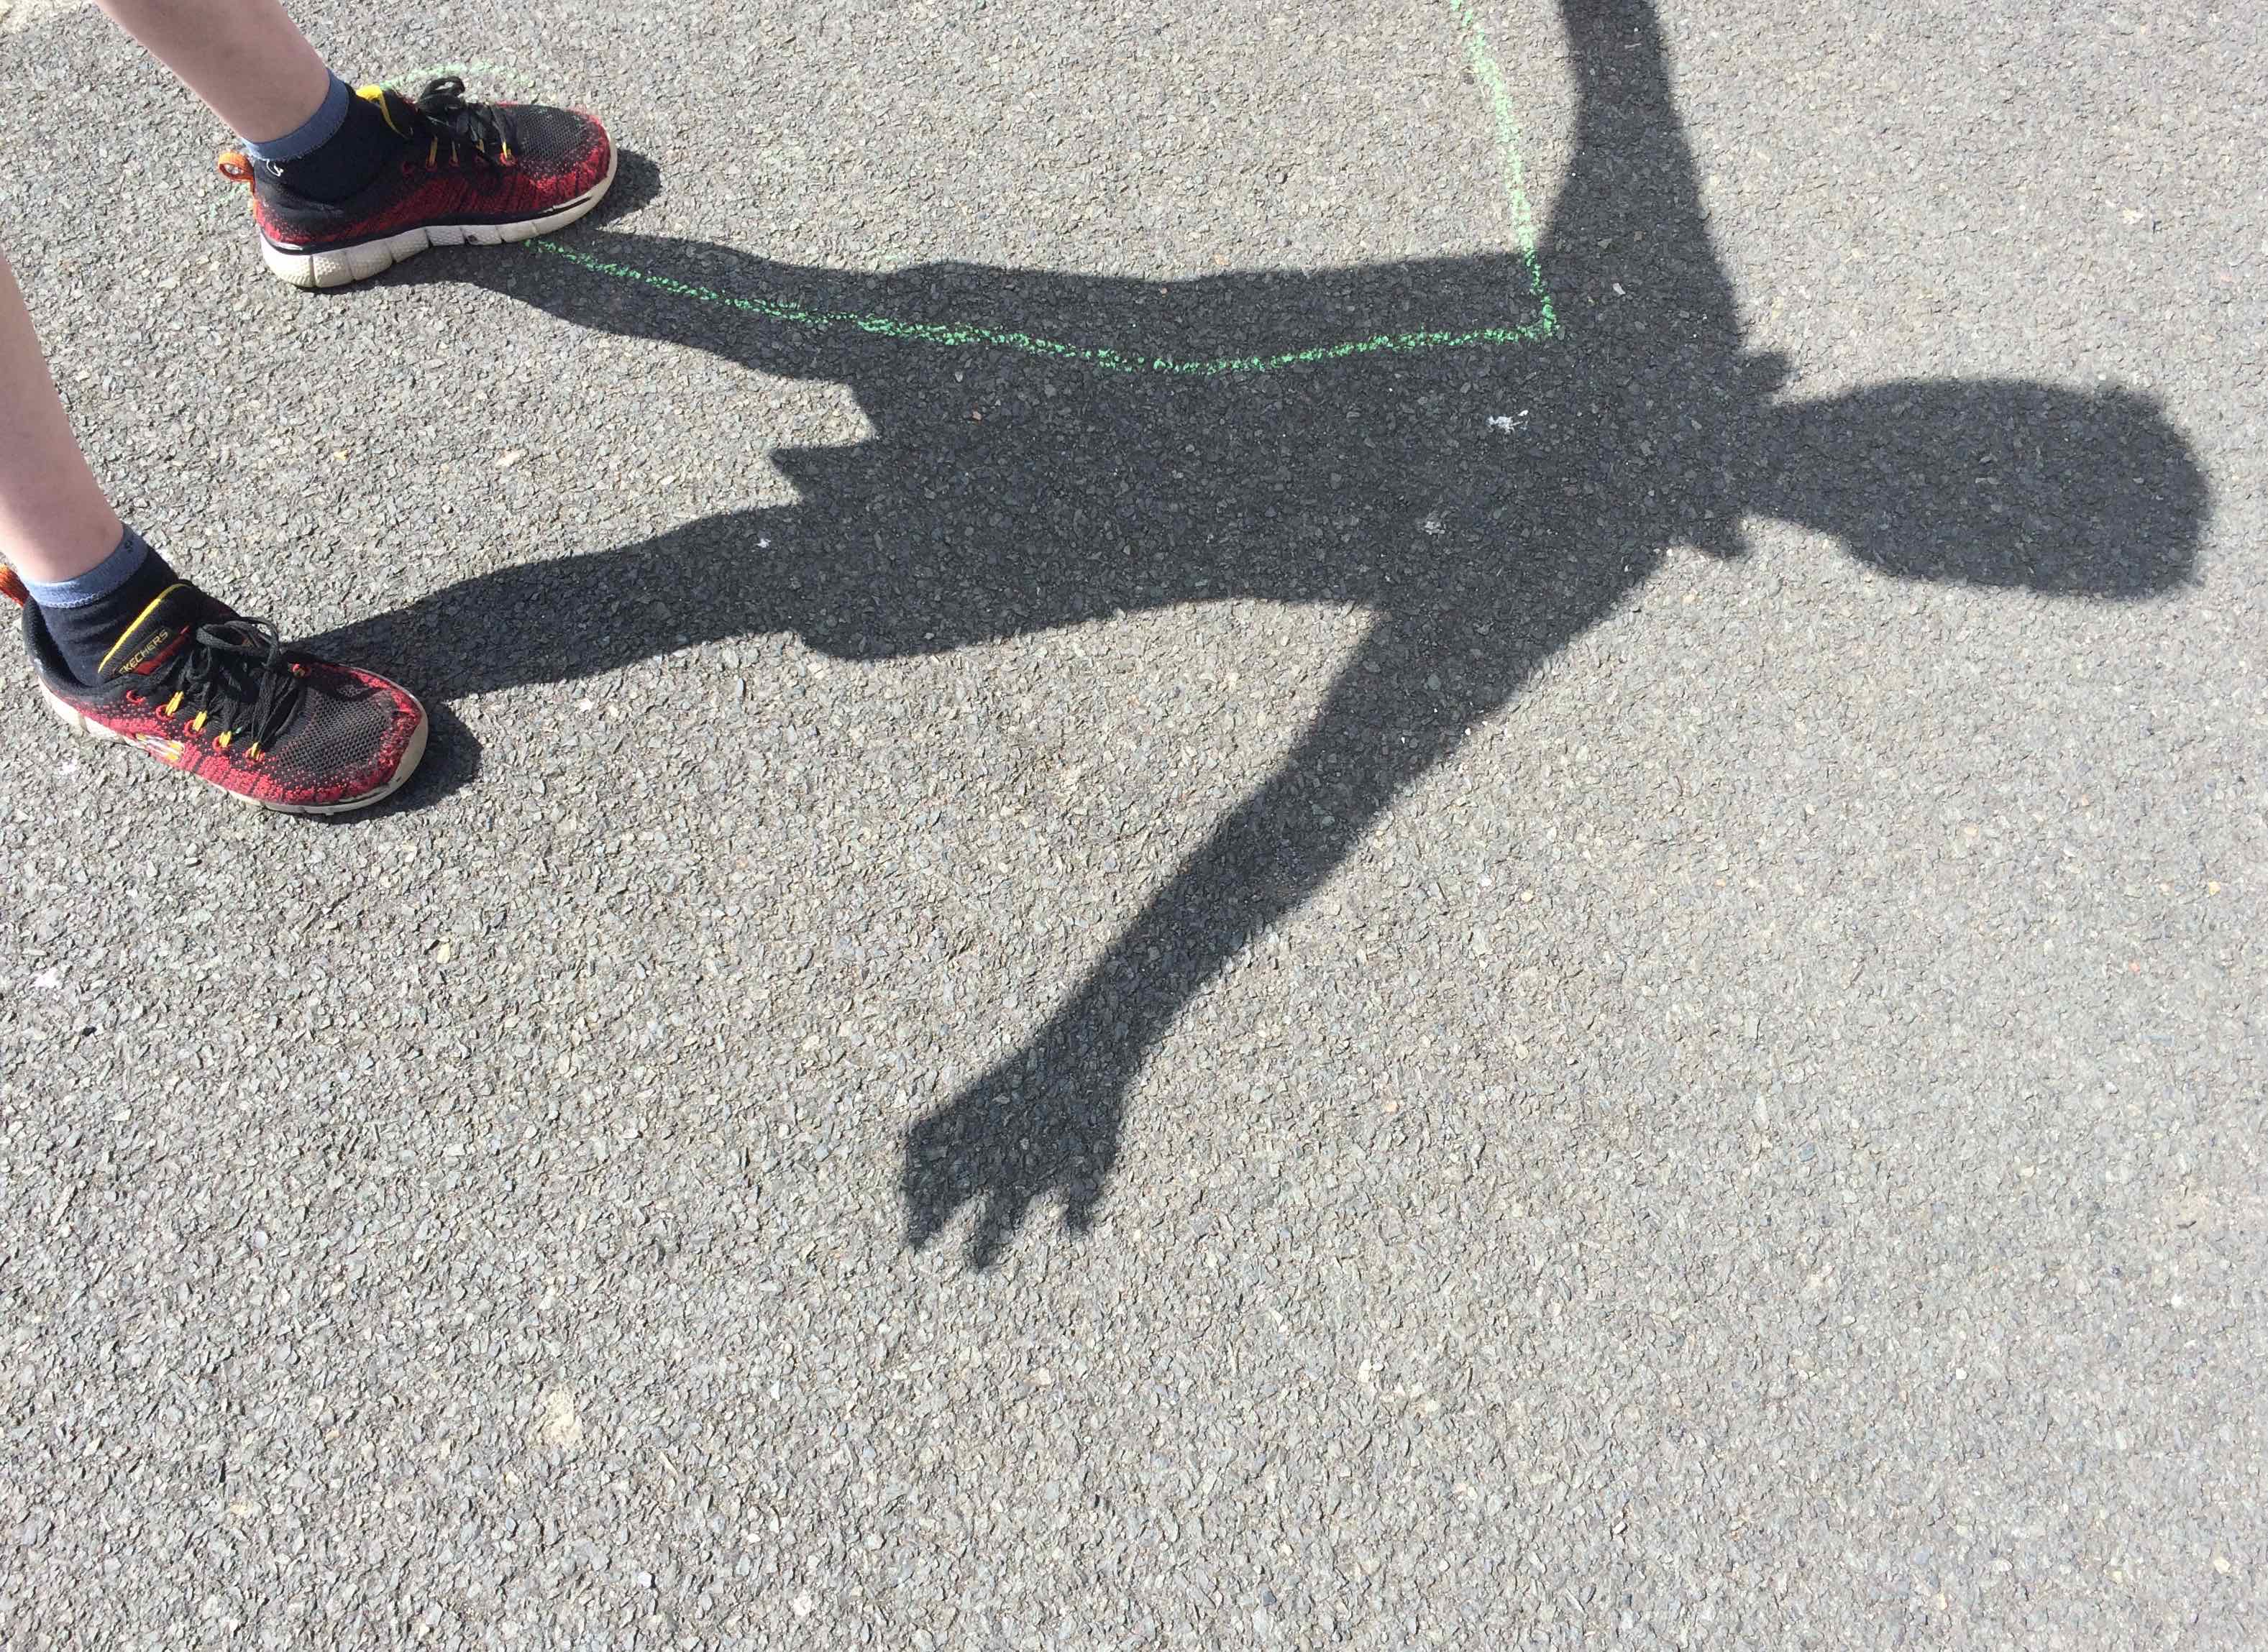
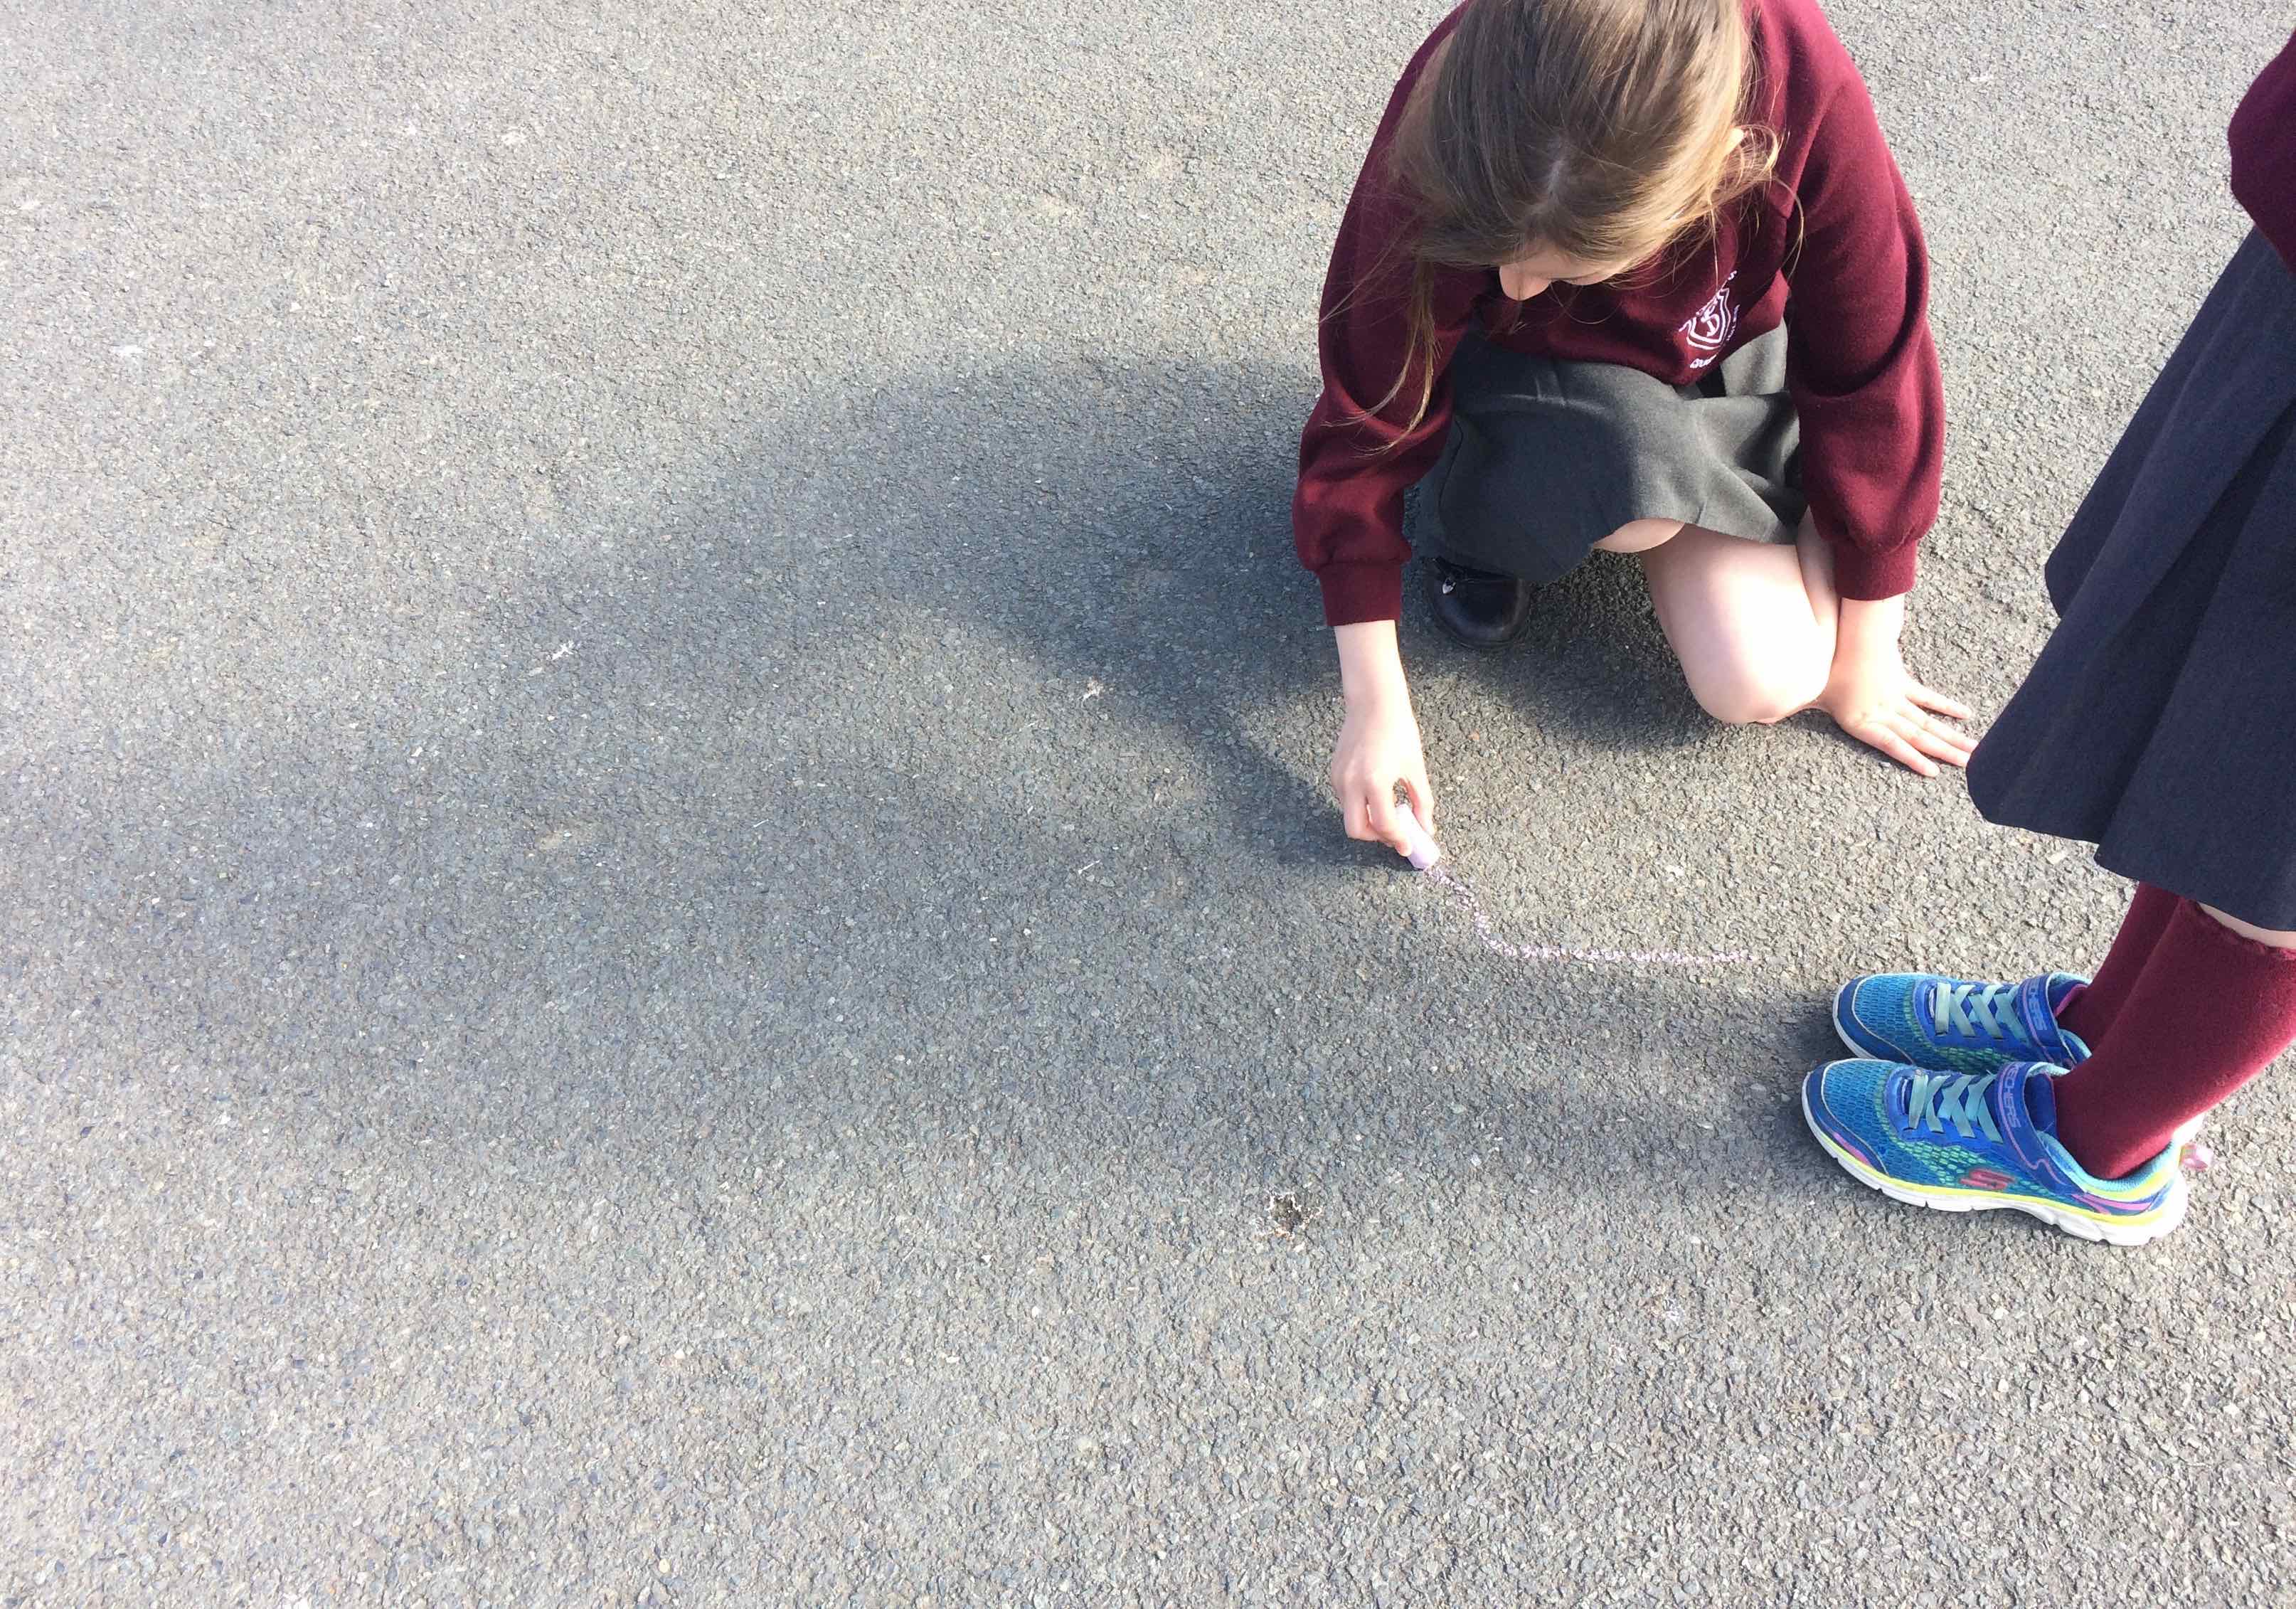
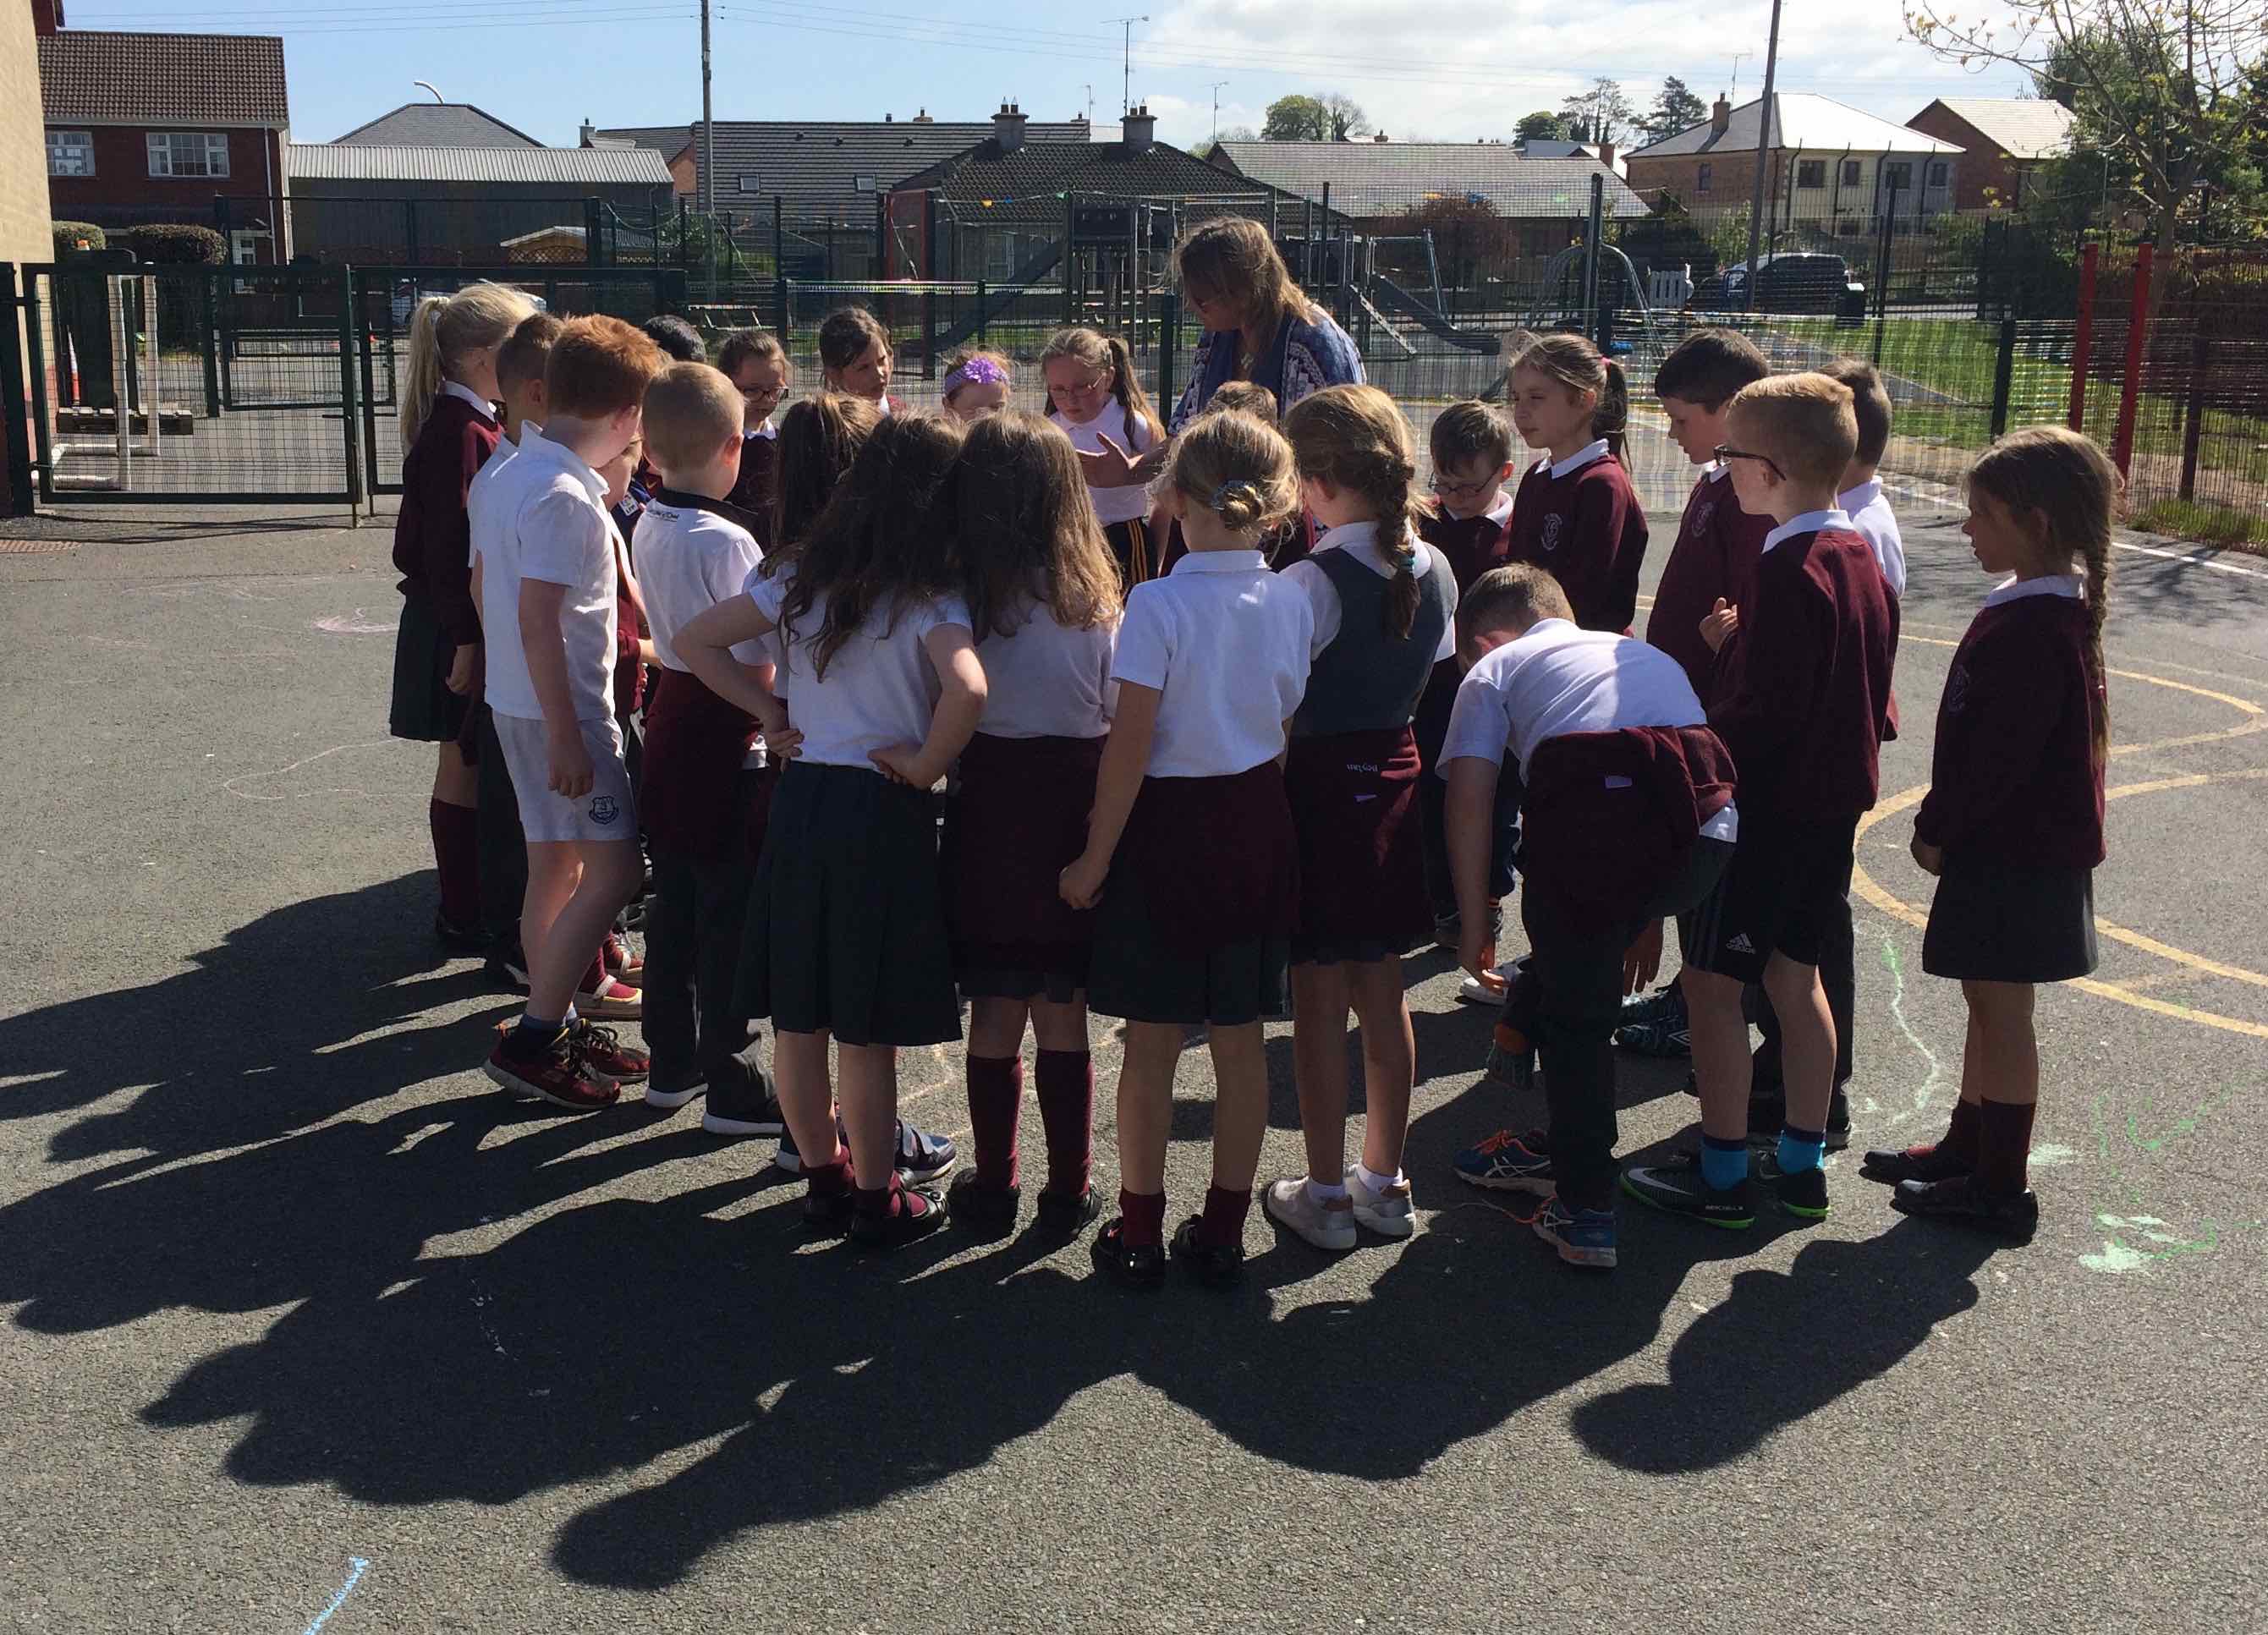
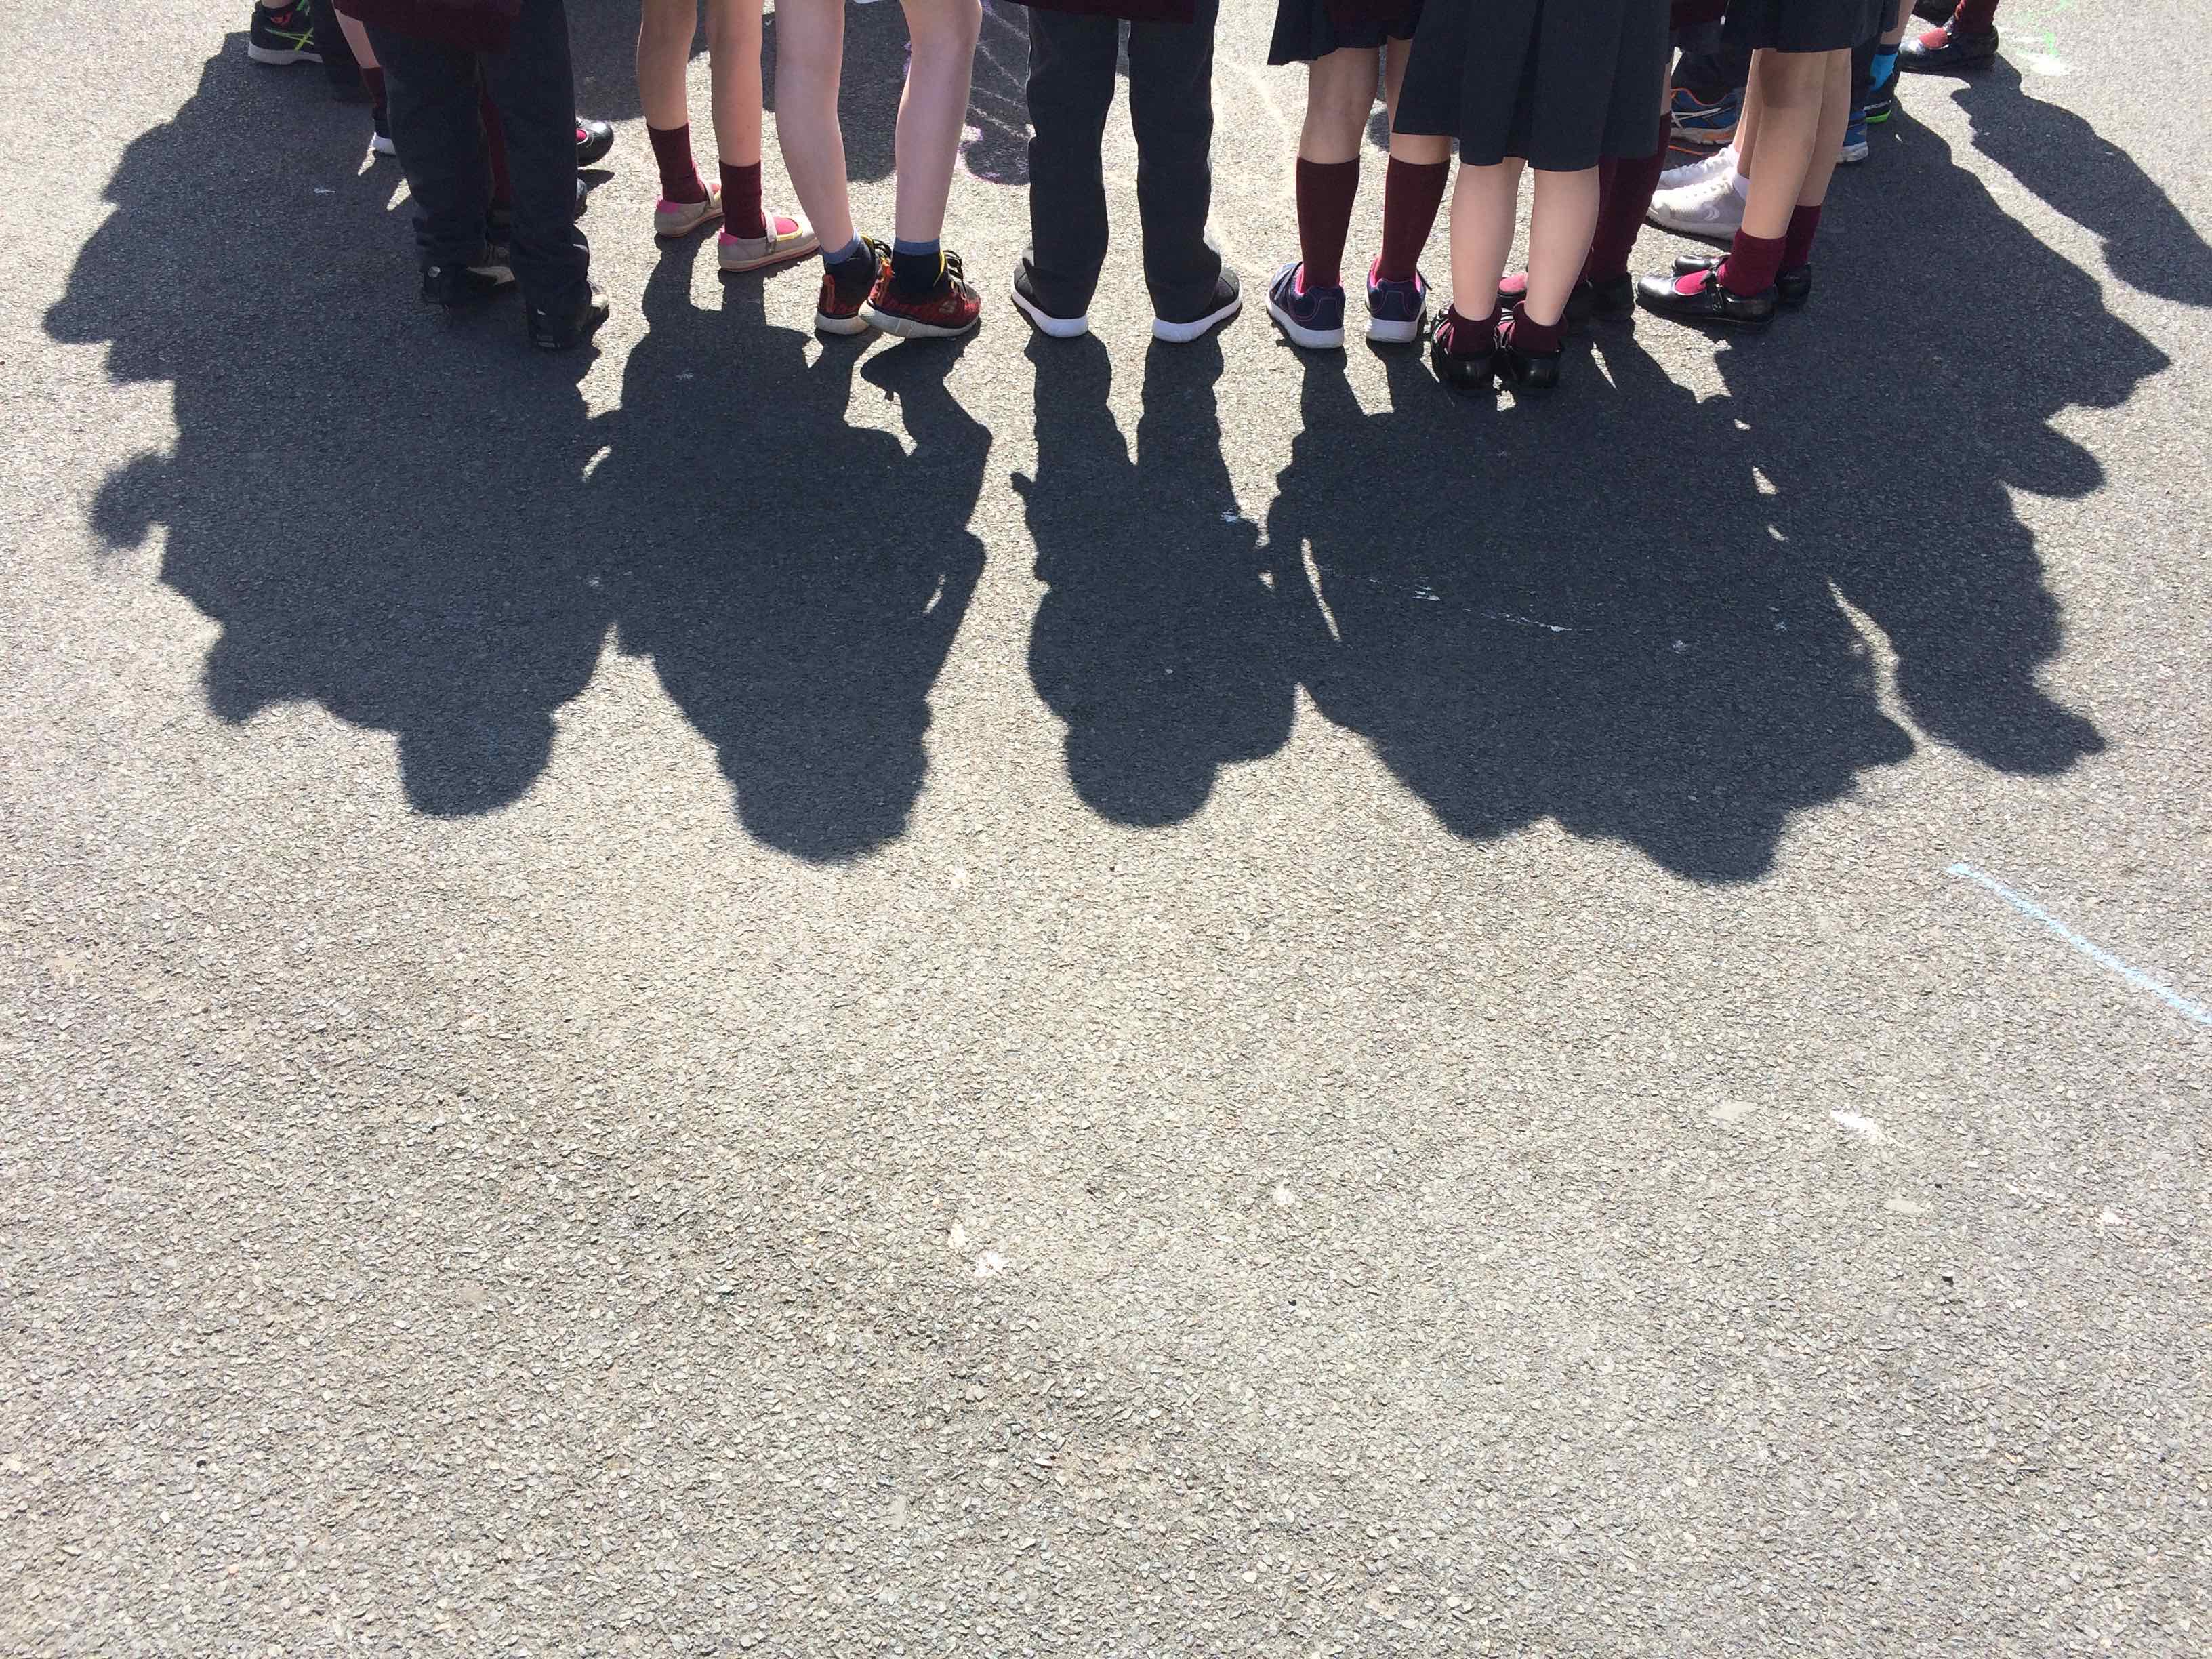
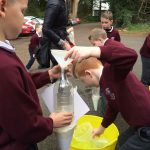
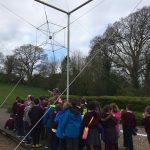
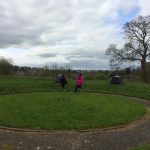
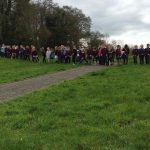
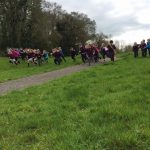
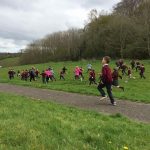
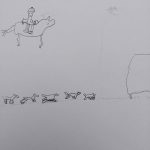
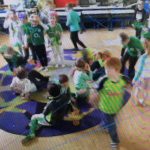
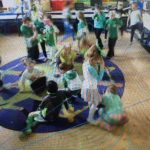
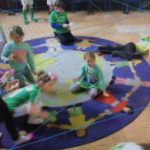
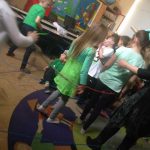
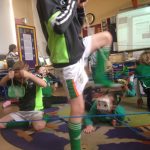
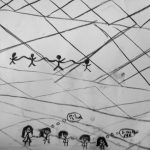
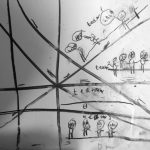
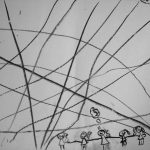
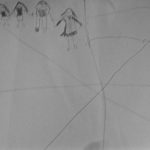
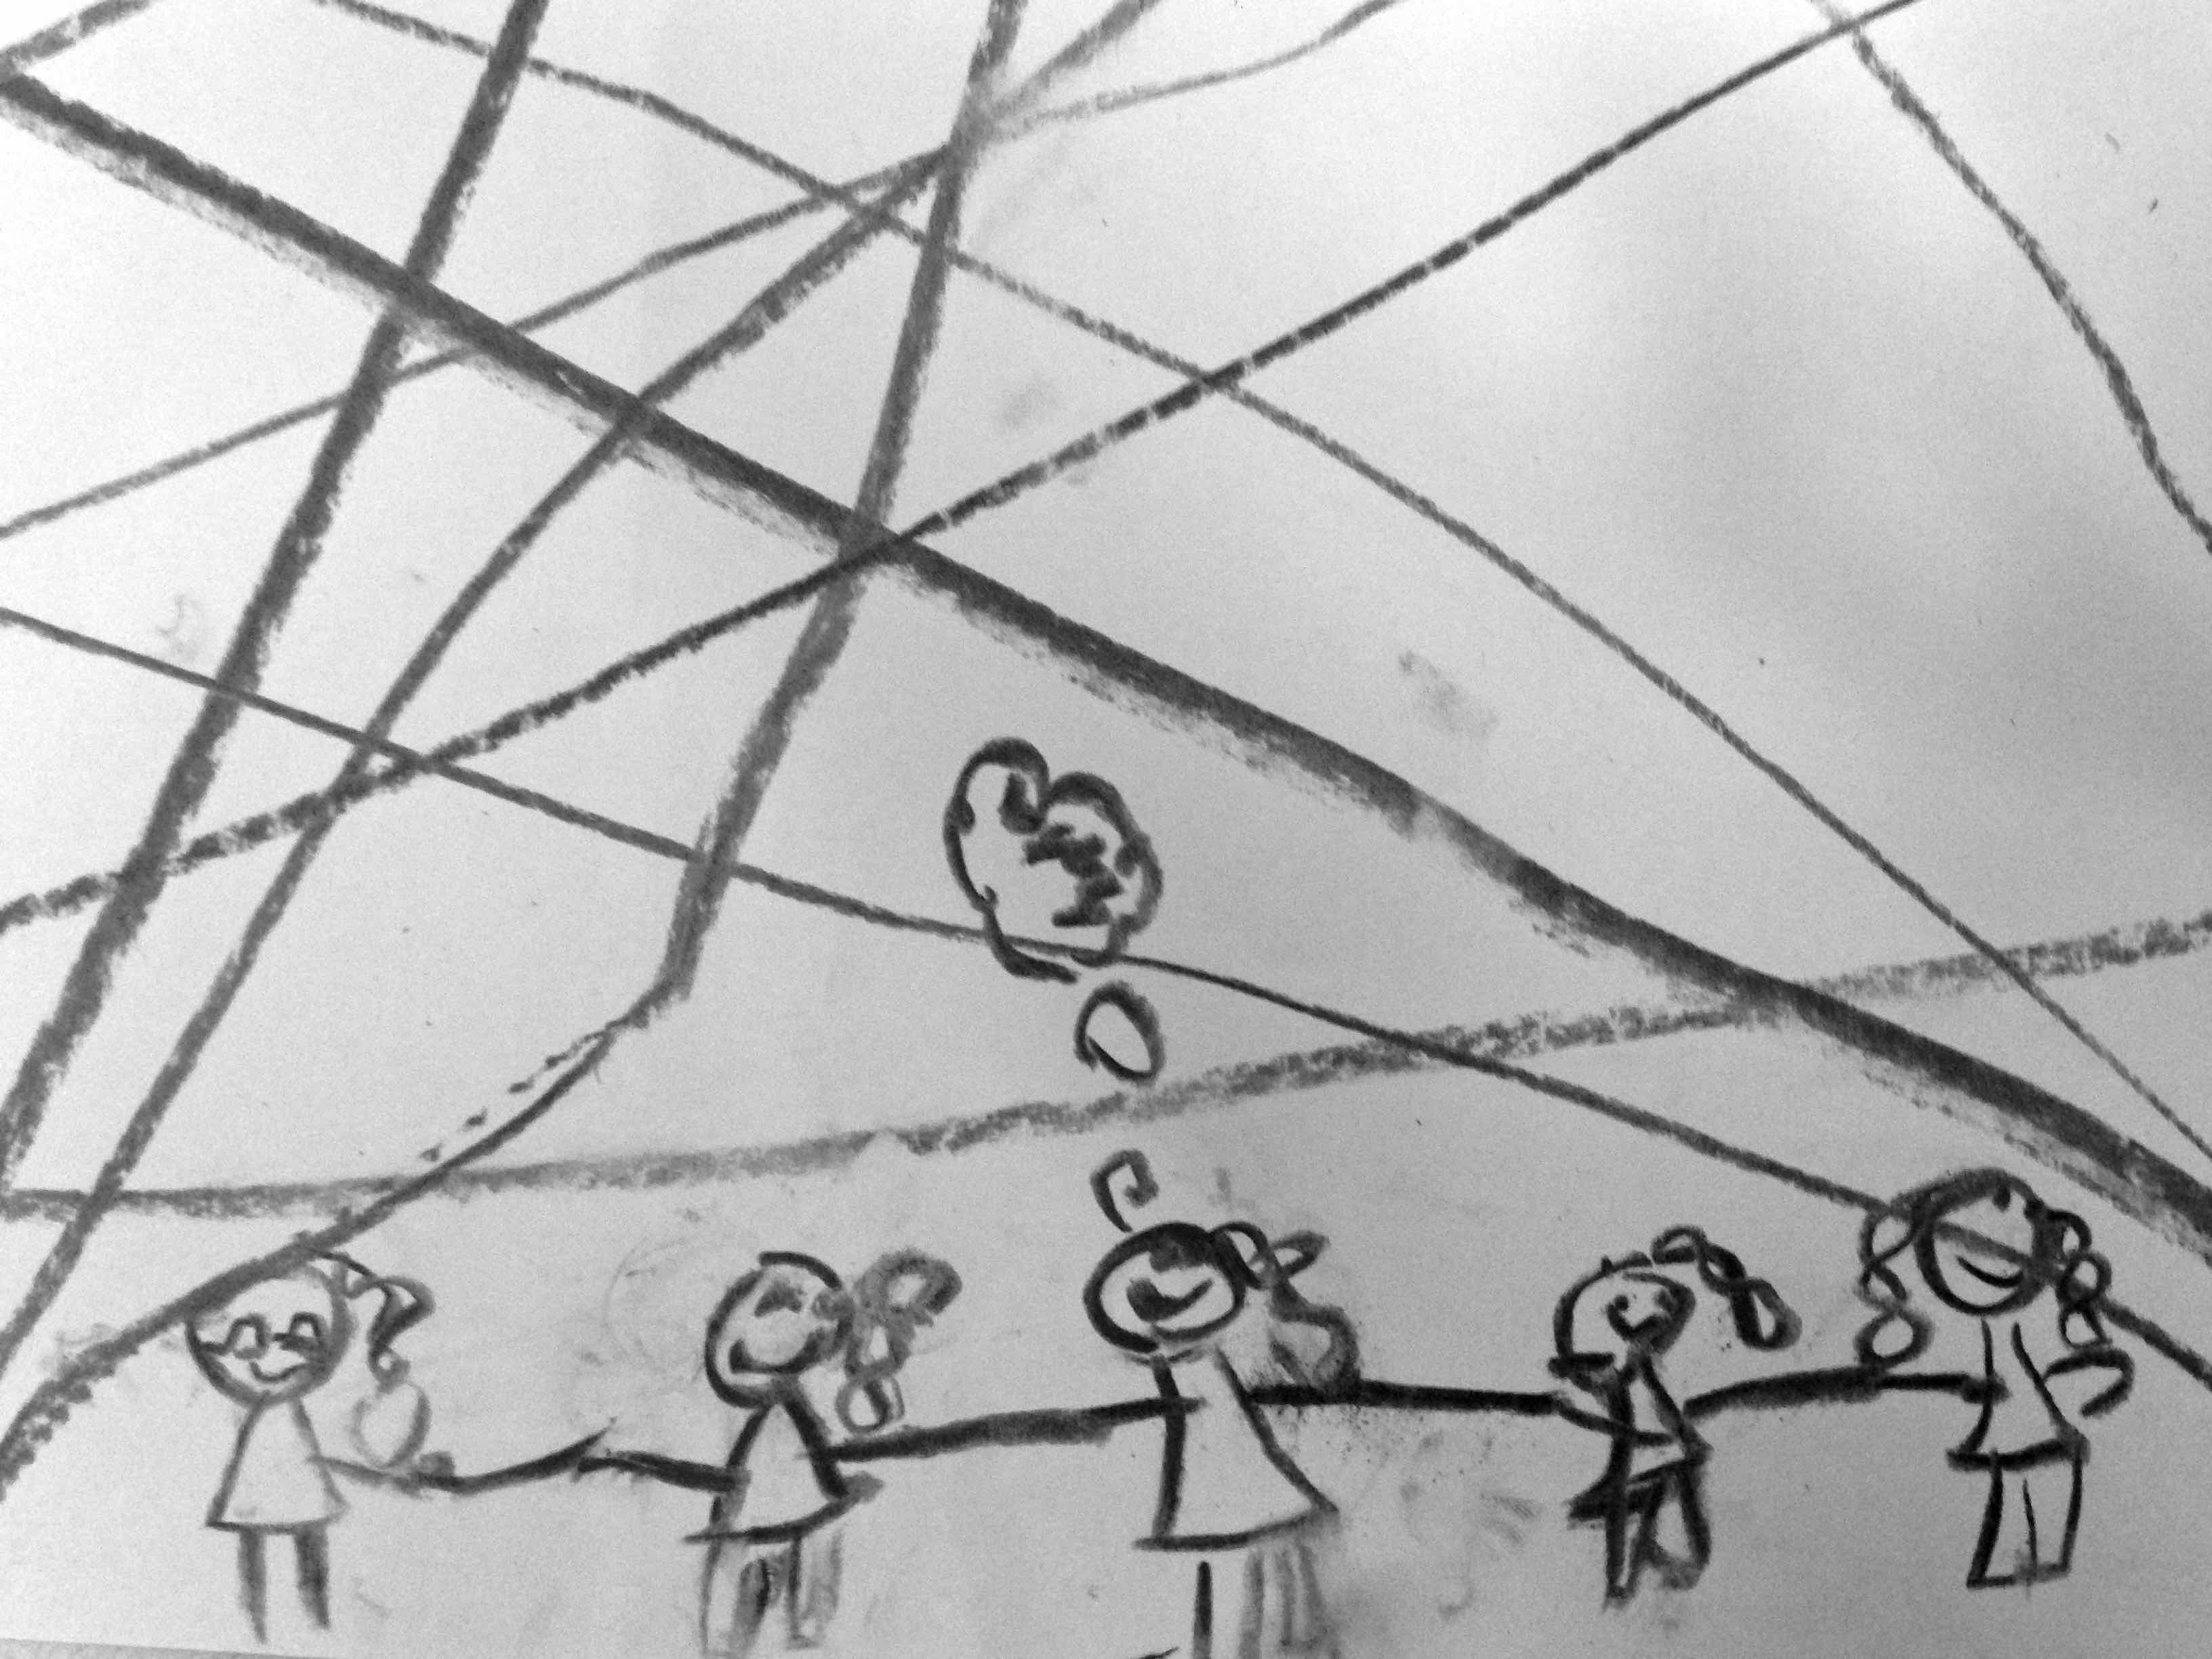
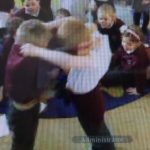
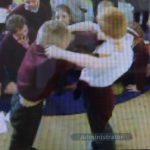
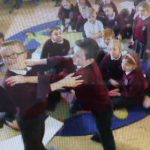
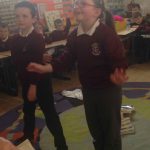
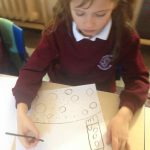
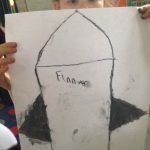
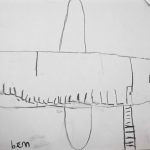
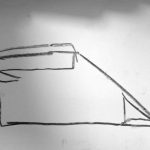
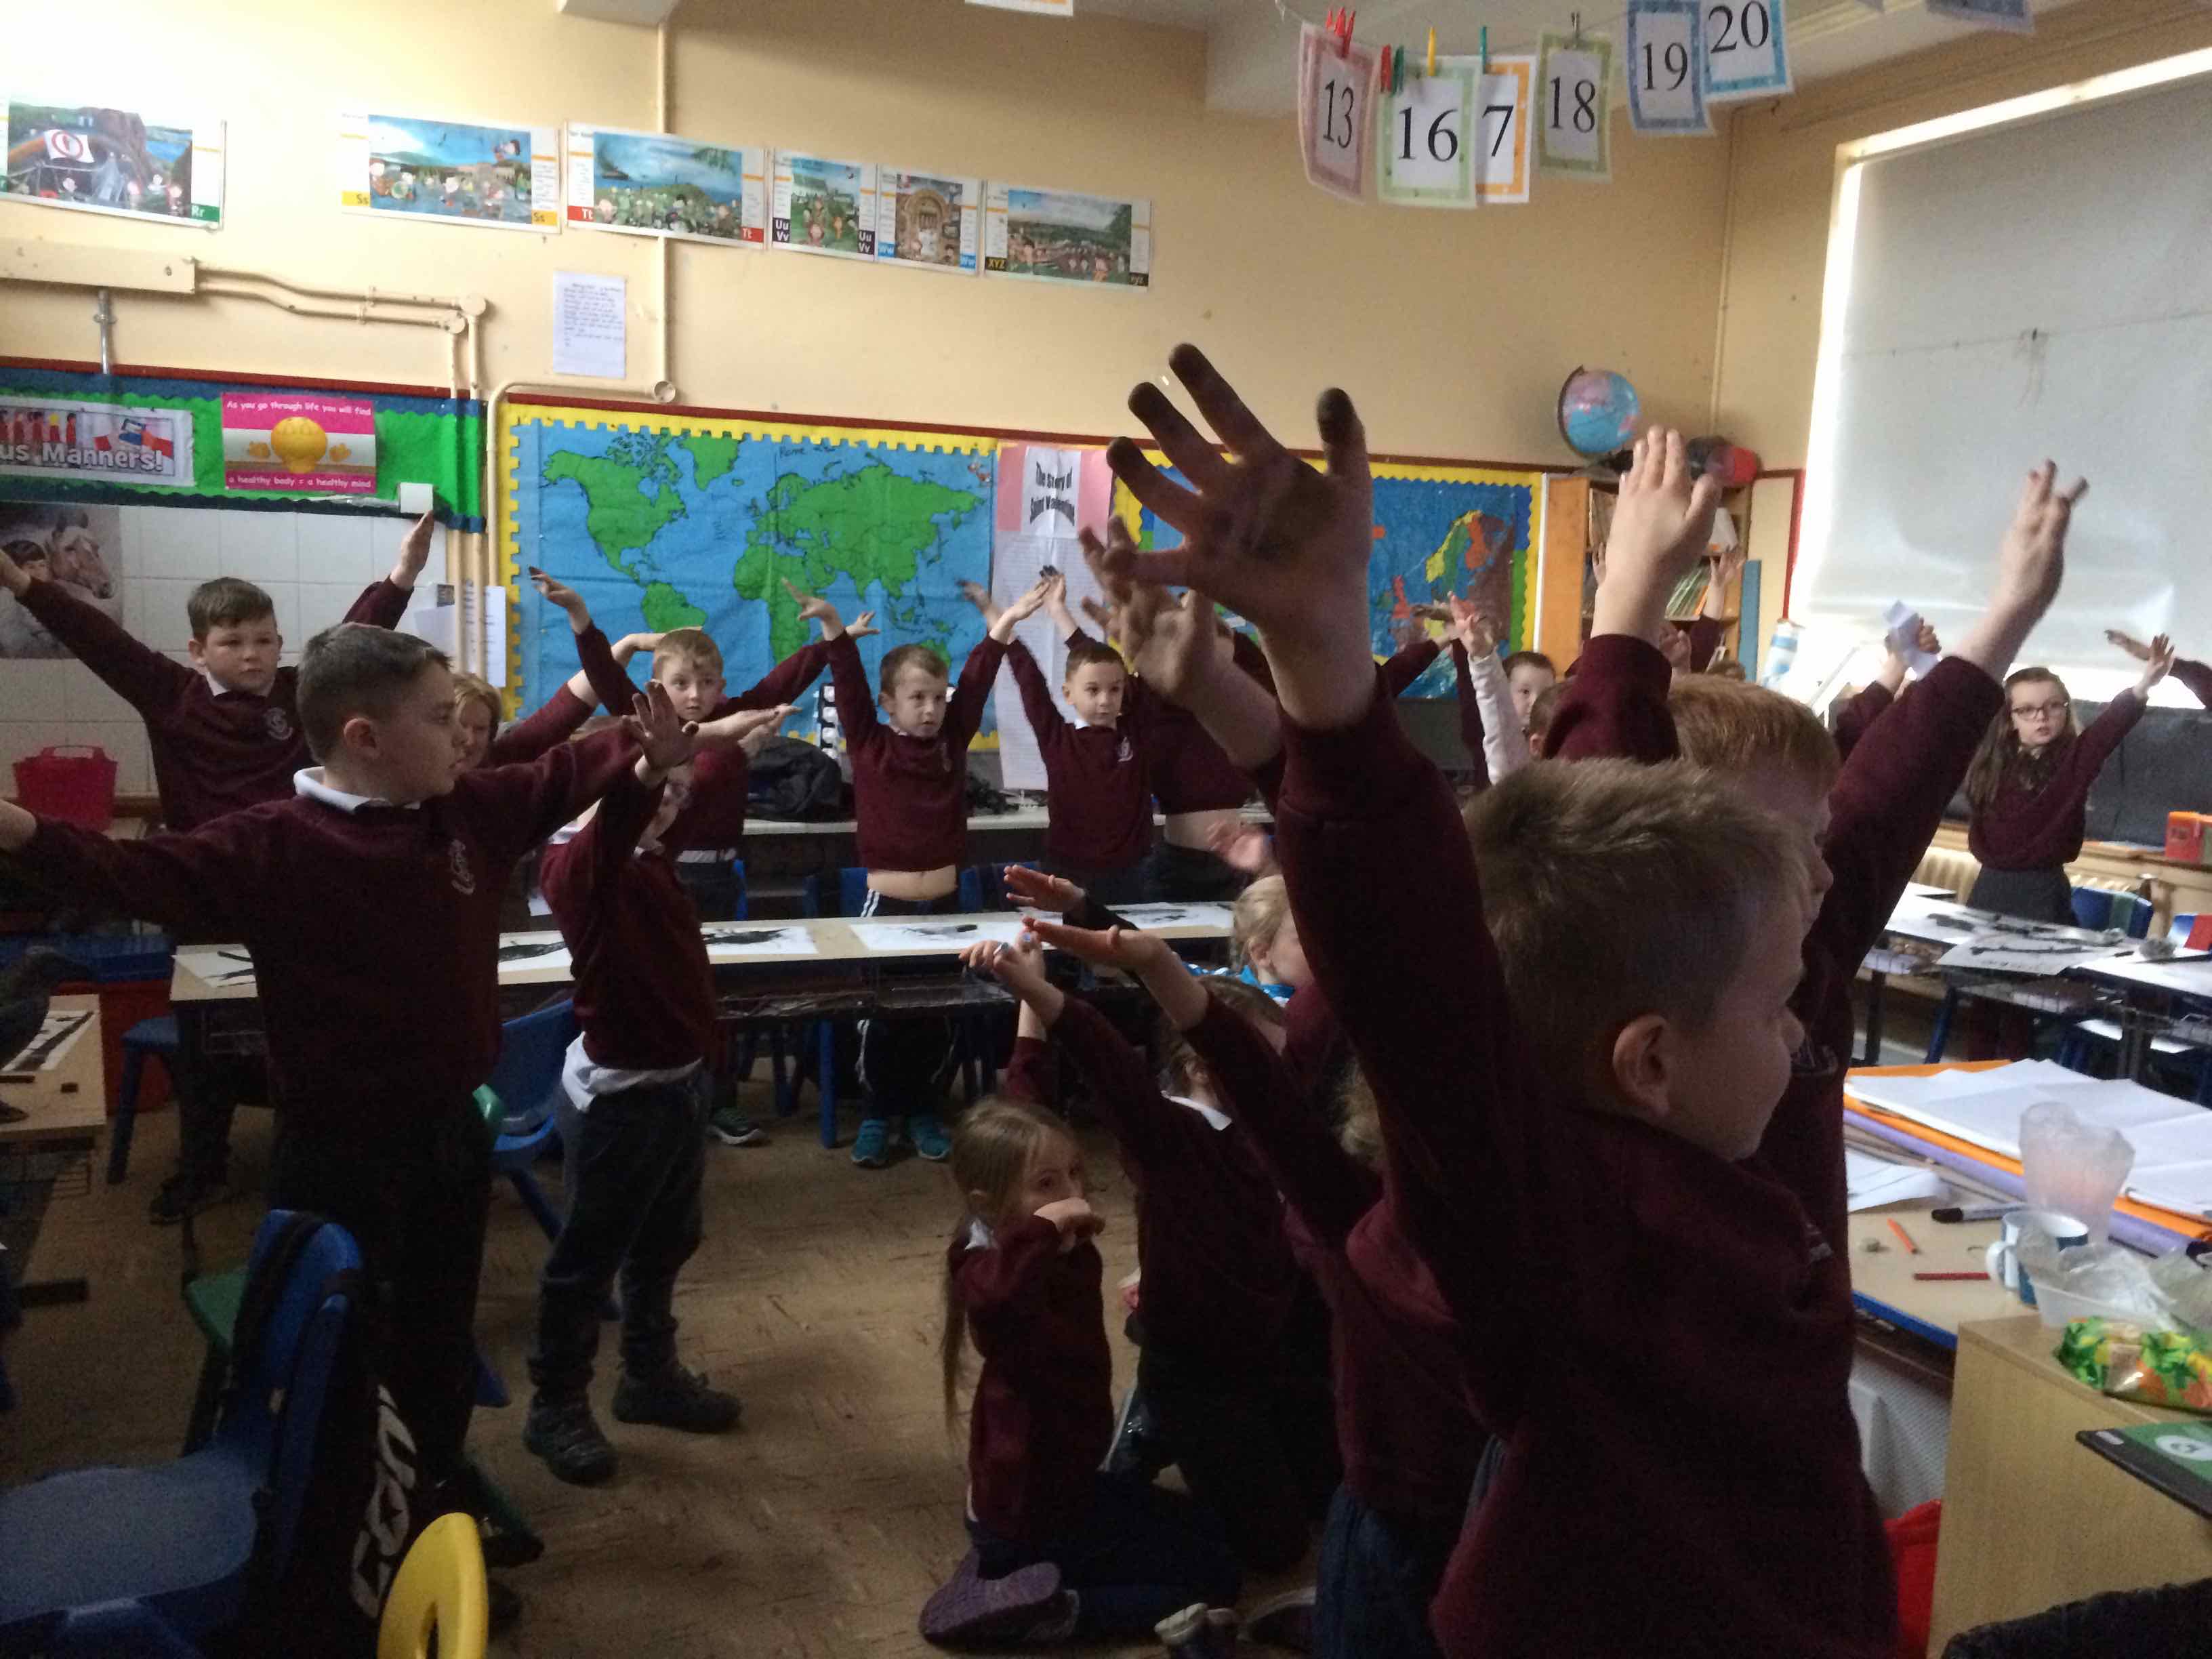
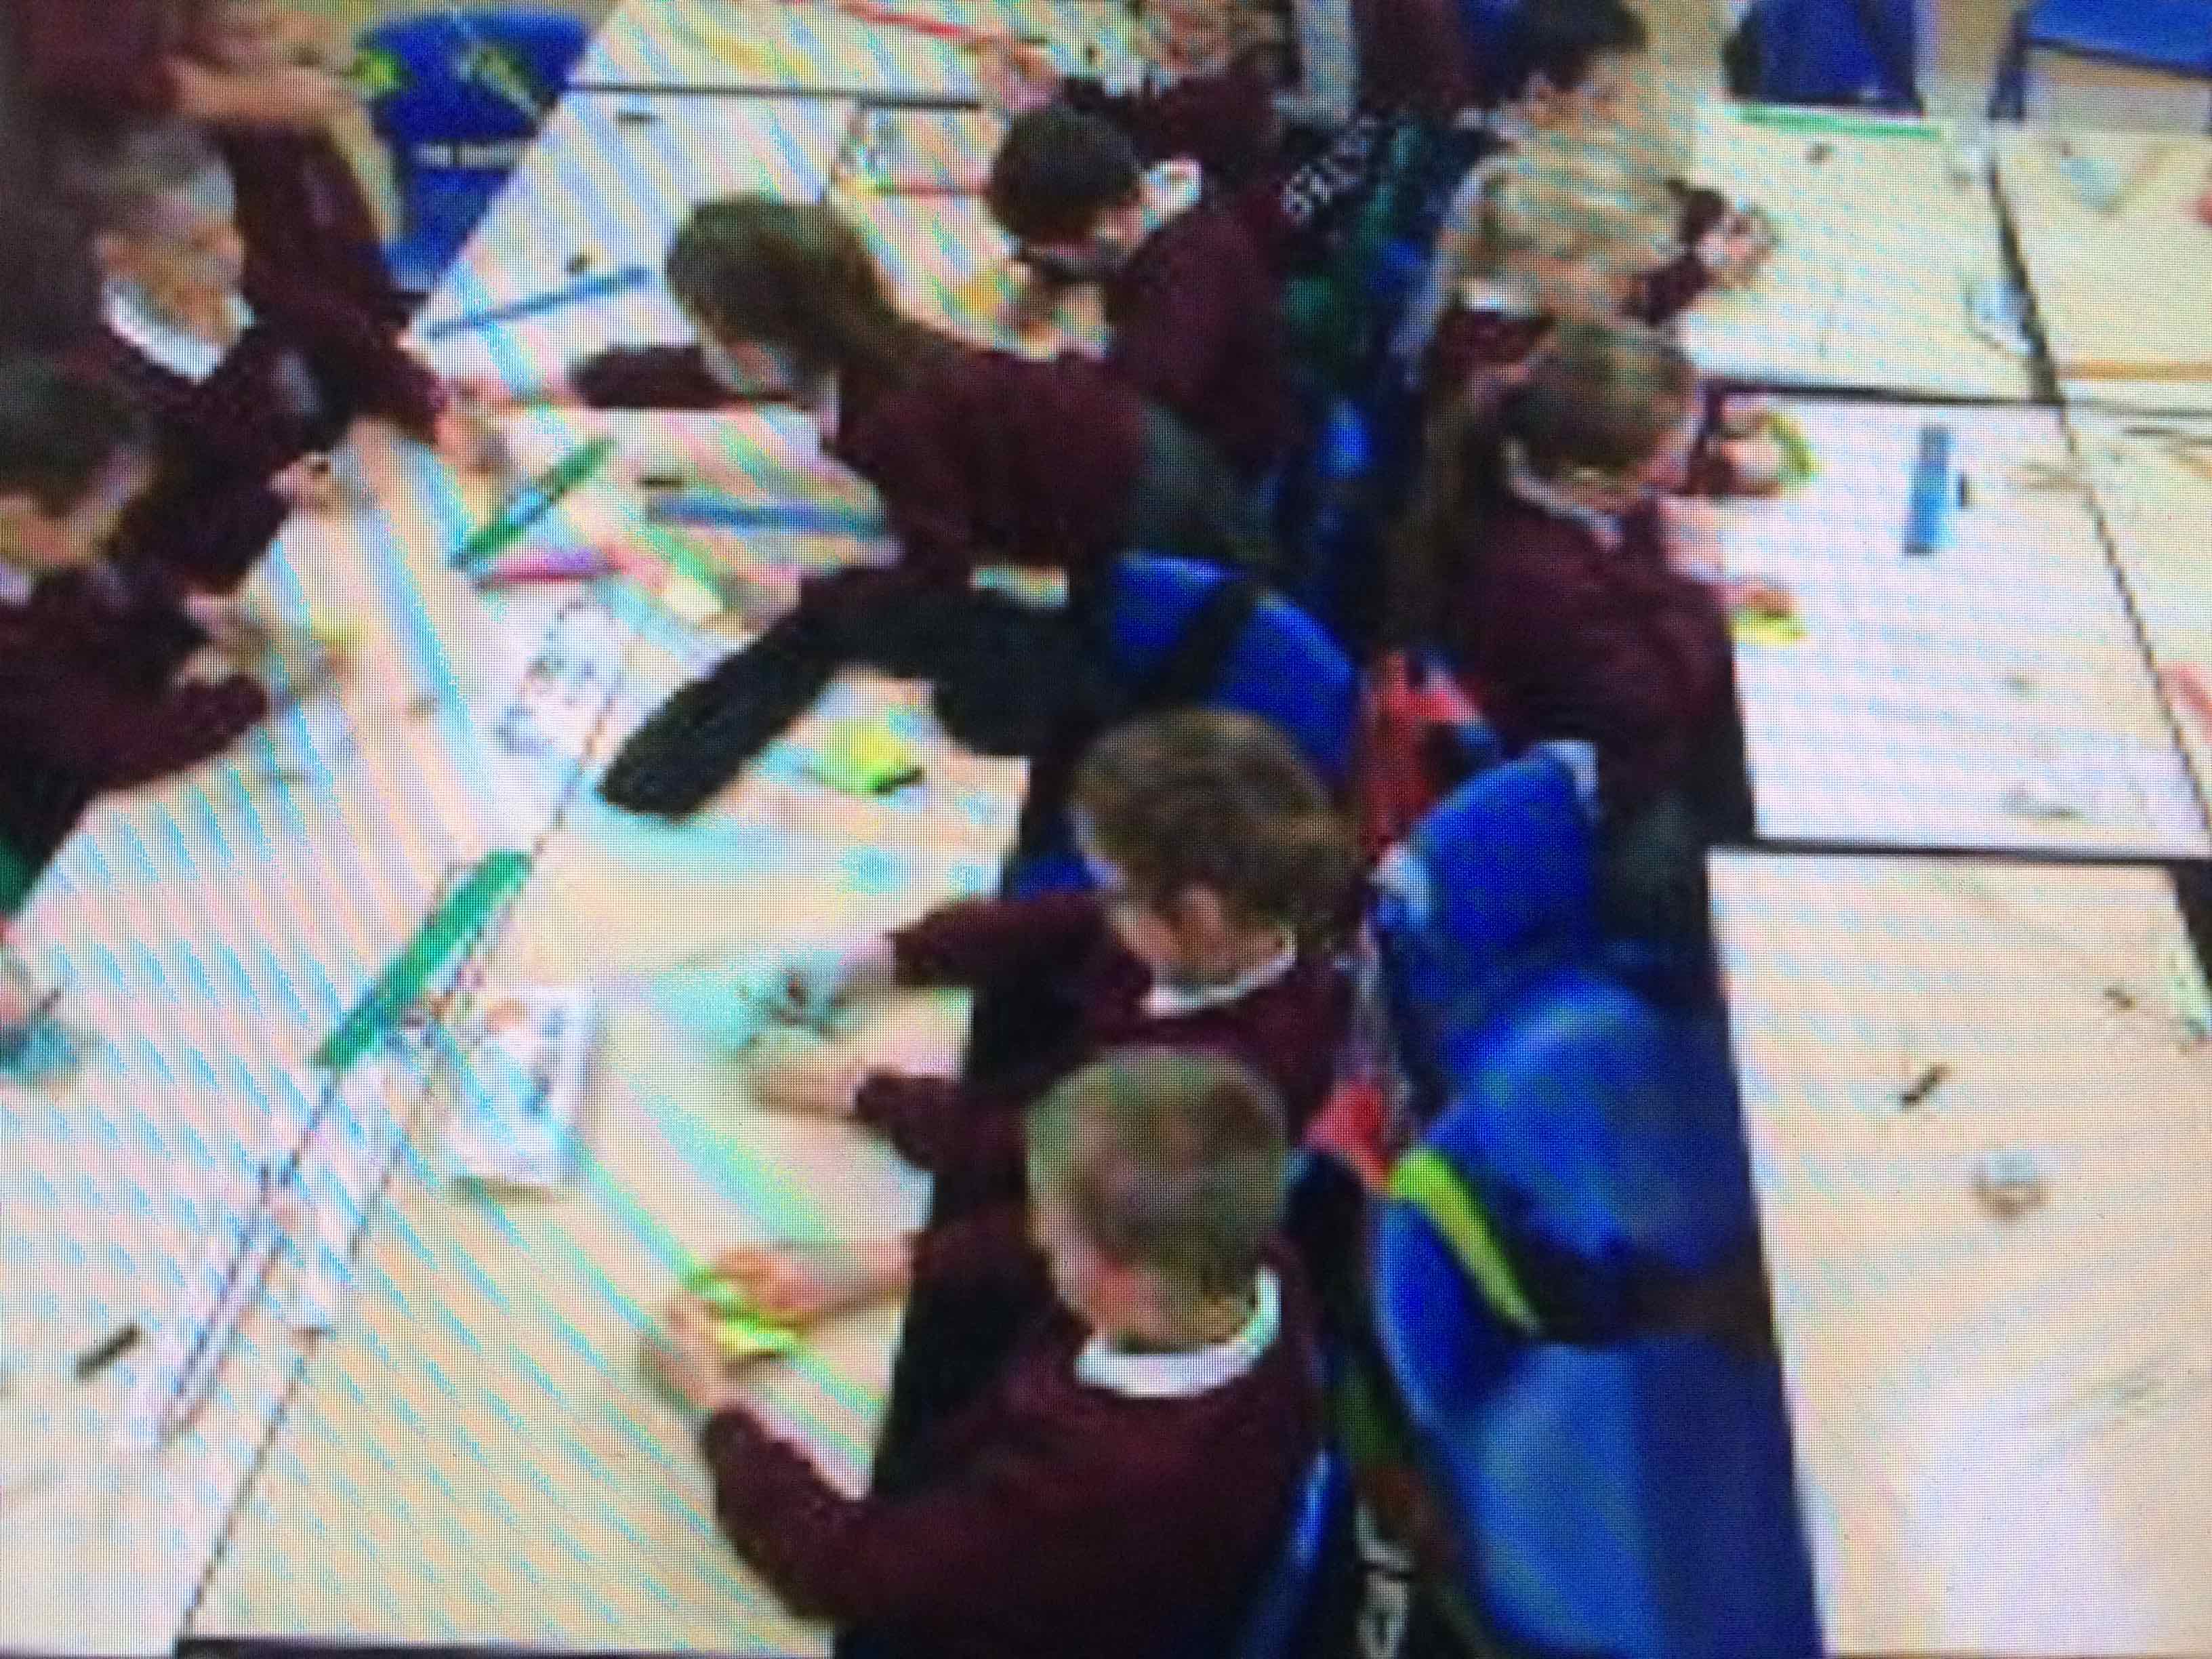
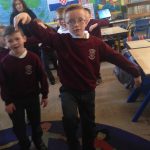
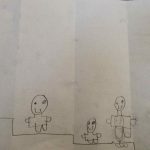
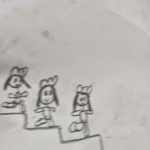
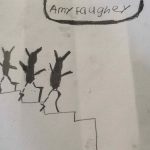
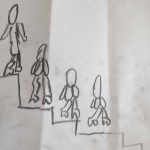
Mrs Hughes soon began to fire the children’s excitement about going out into the yard to ‘track’ our shadows and a discussion ensued about how time could be tracked using our shadows like a sundial. We decided to record our shadows position over the whole morning, by drawing round each other’s shapes every hour with chalk.


If the sun faded a little, we found it difficult to trace an outline…

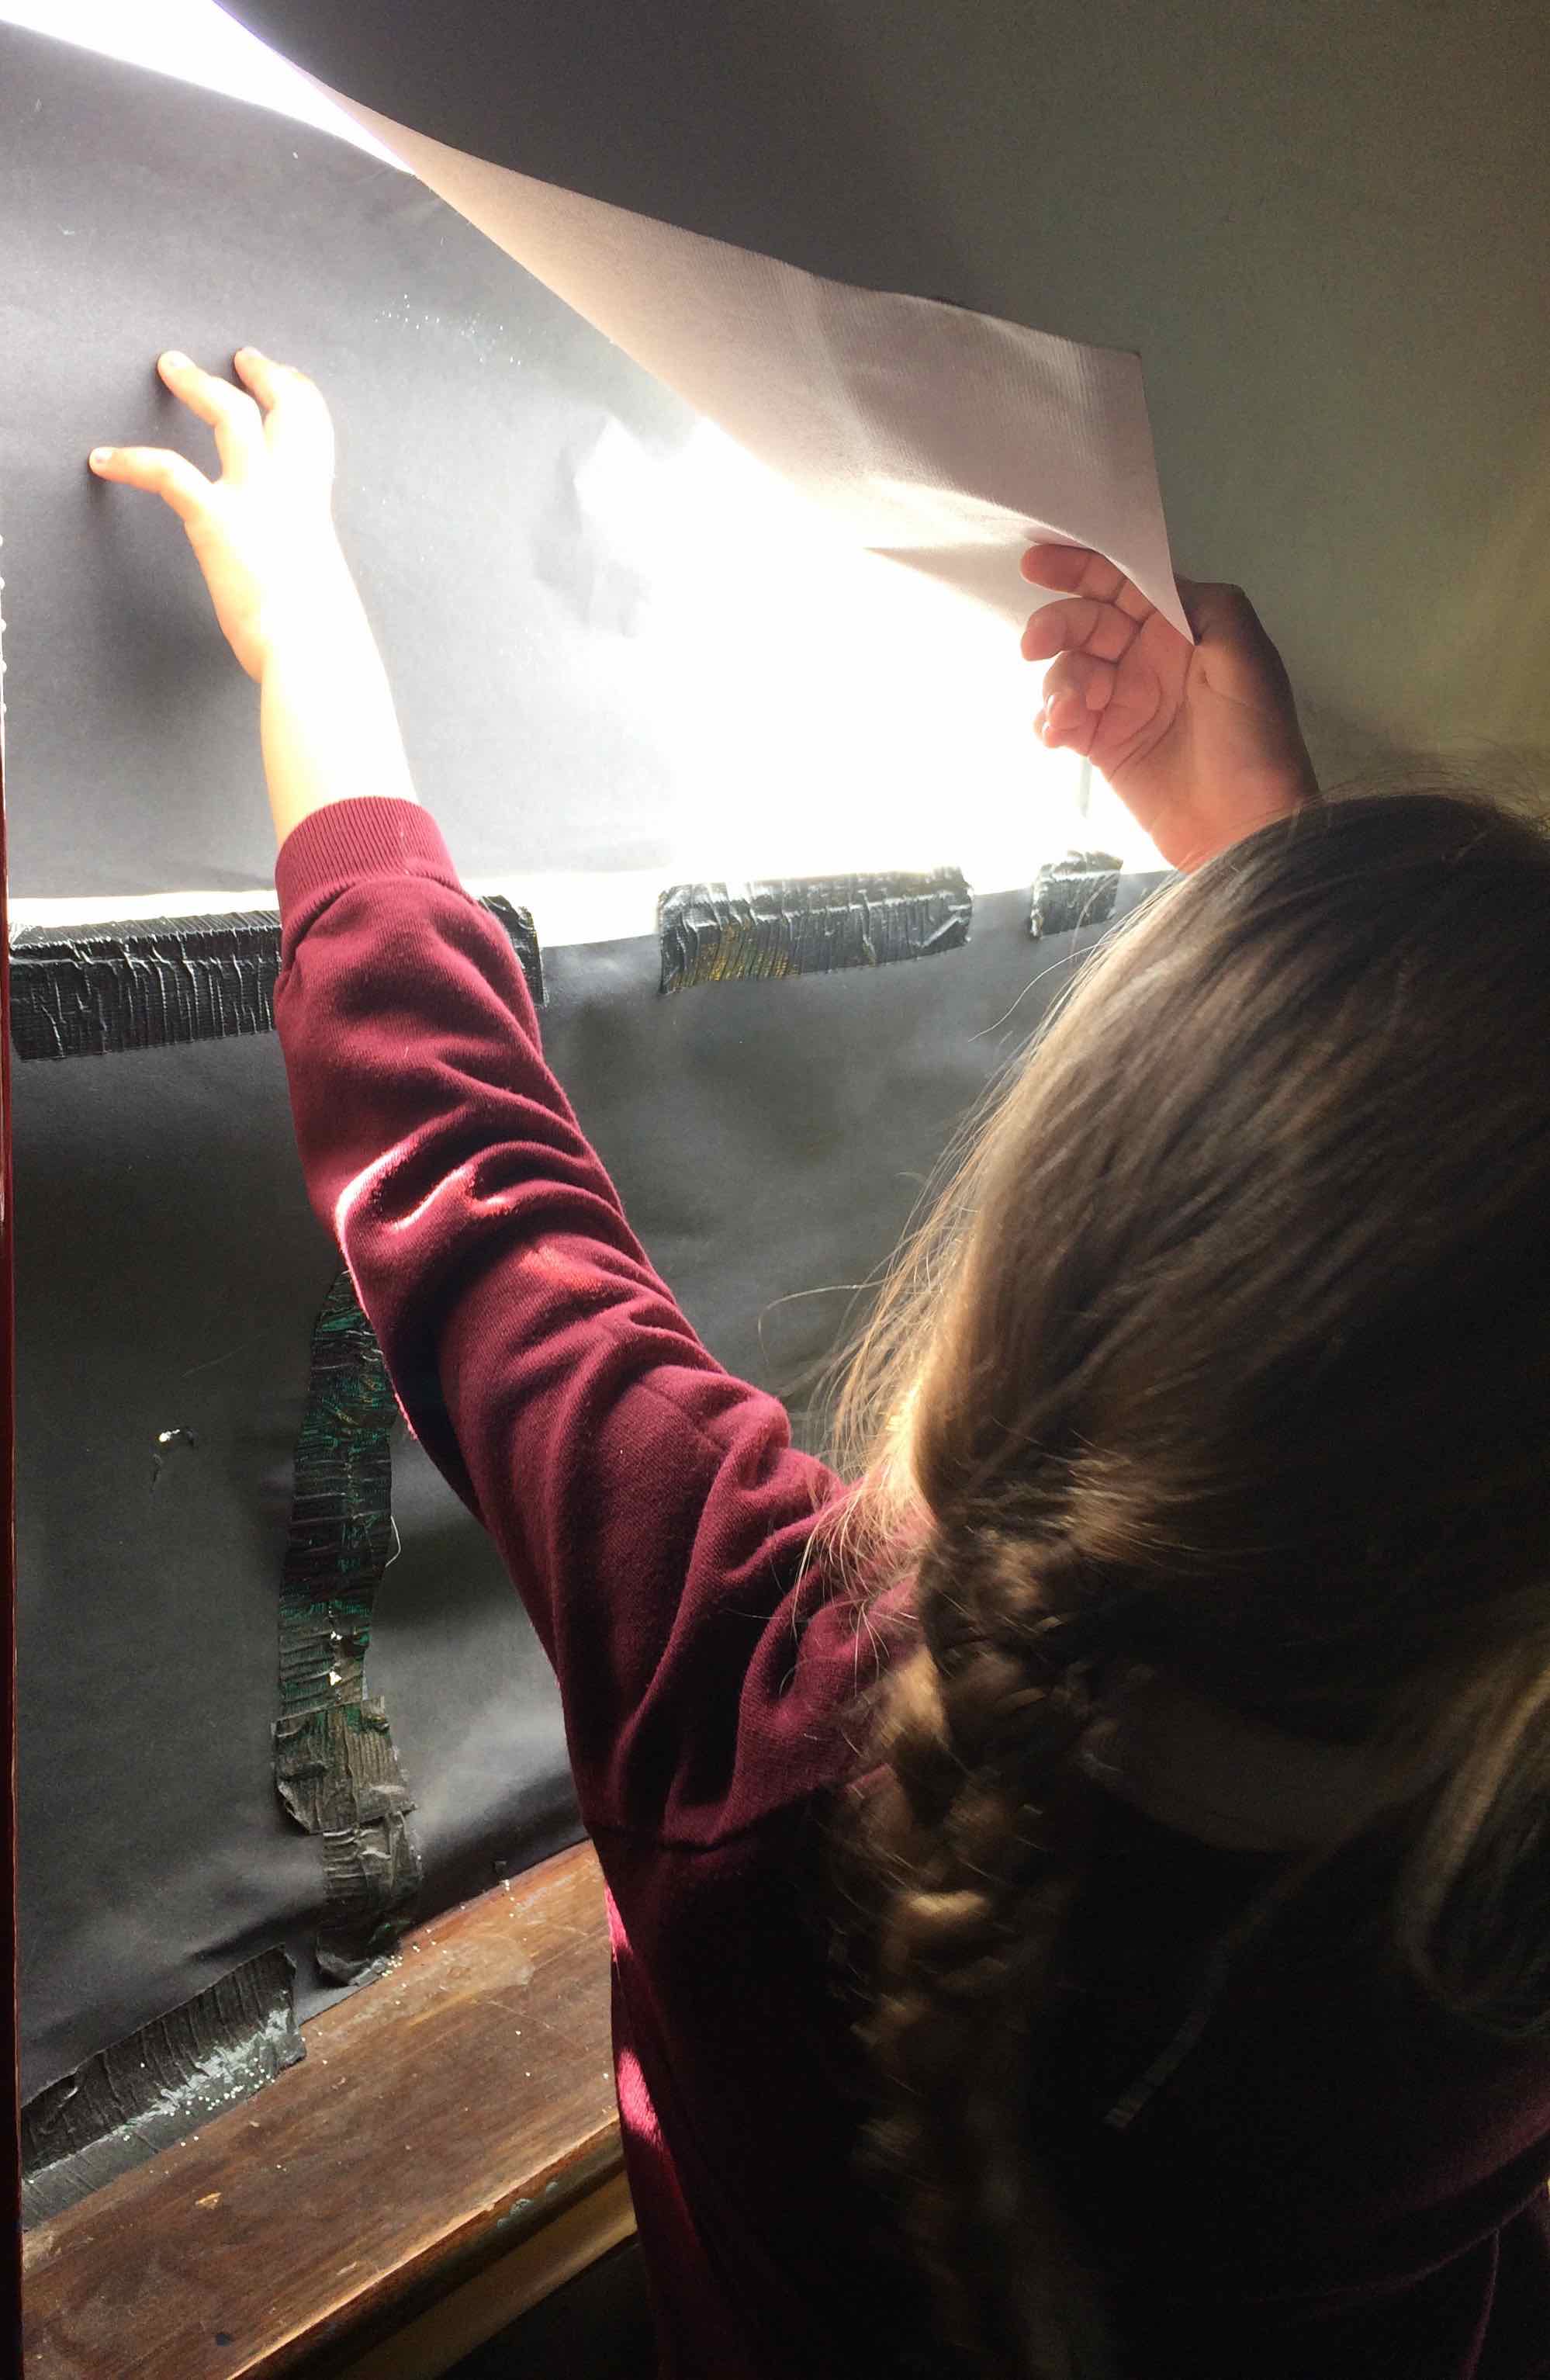
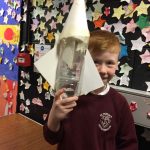
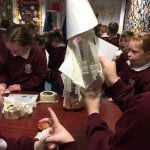
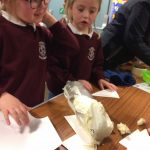
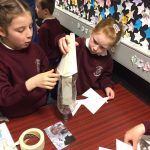
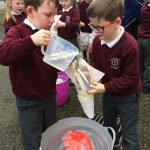
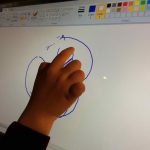
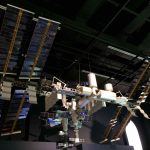
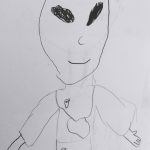
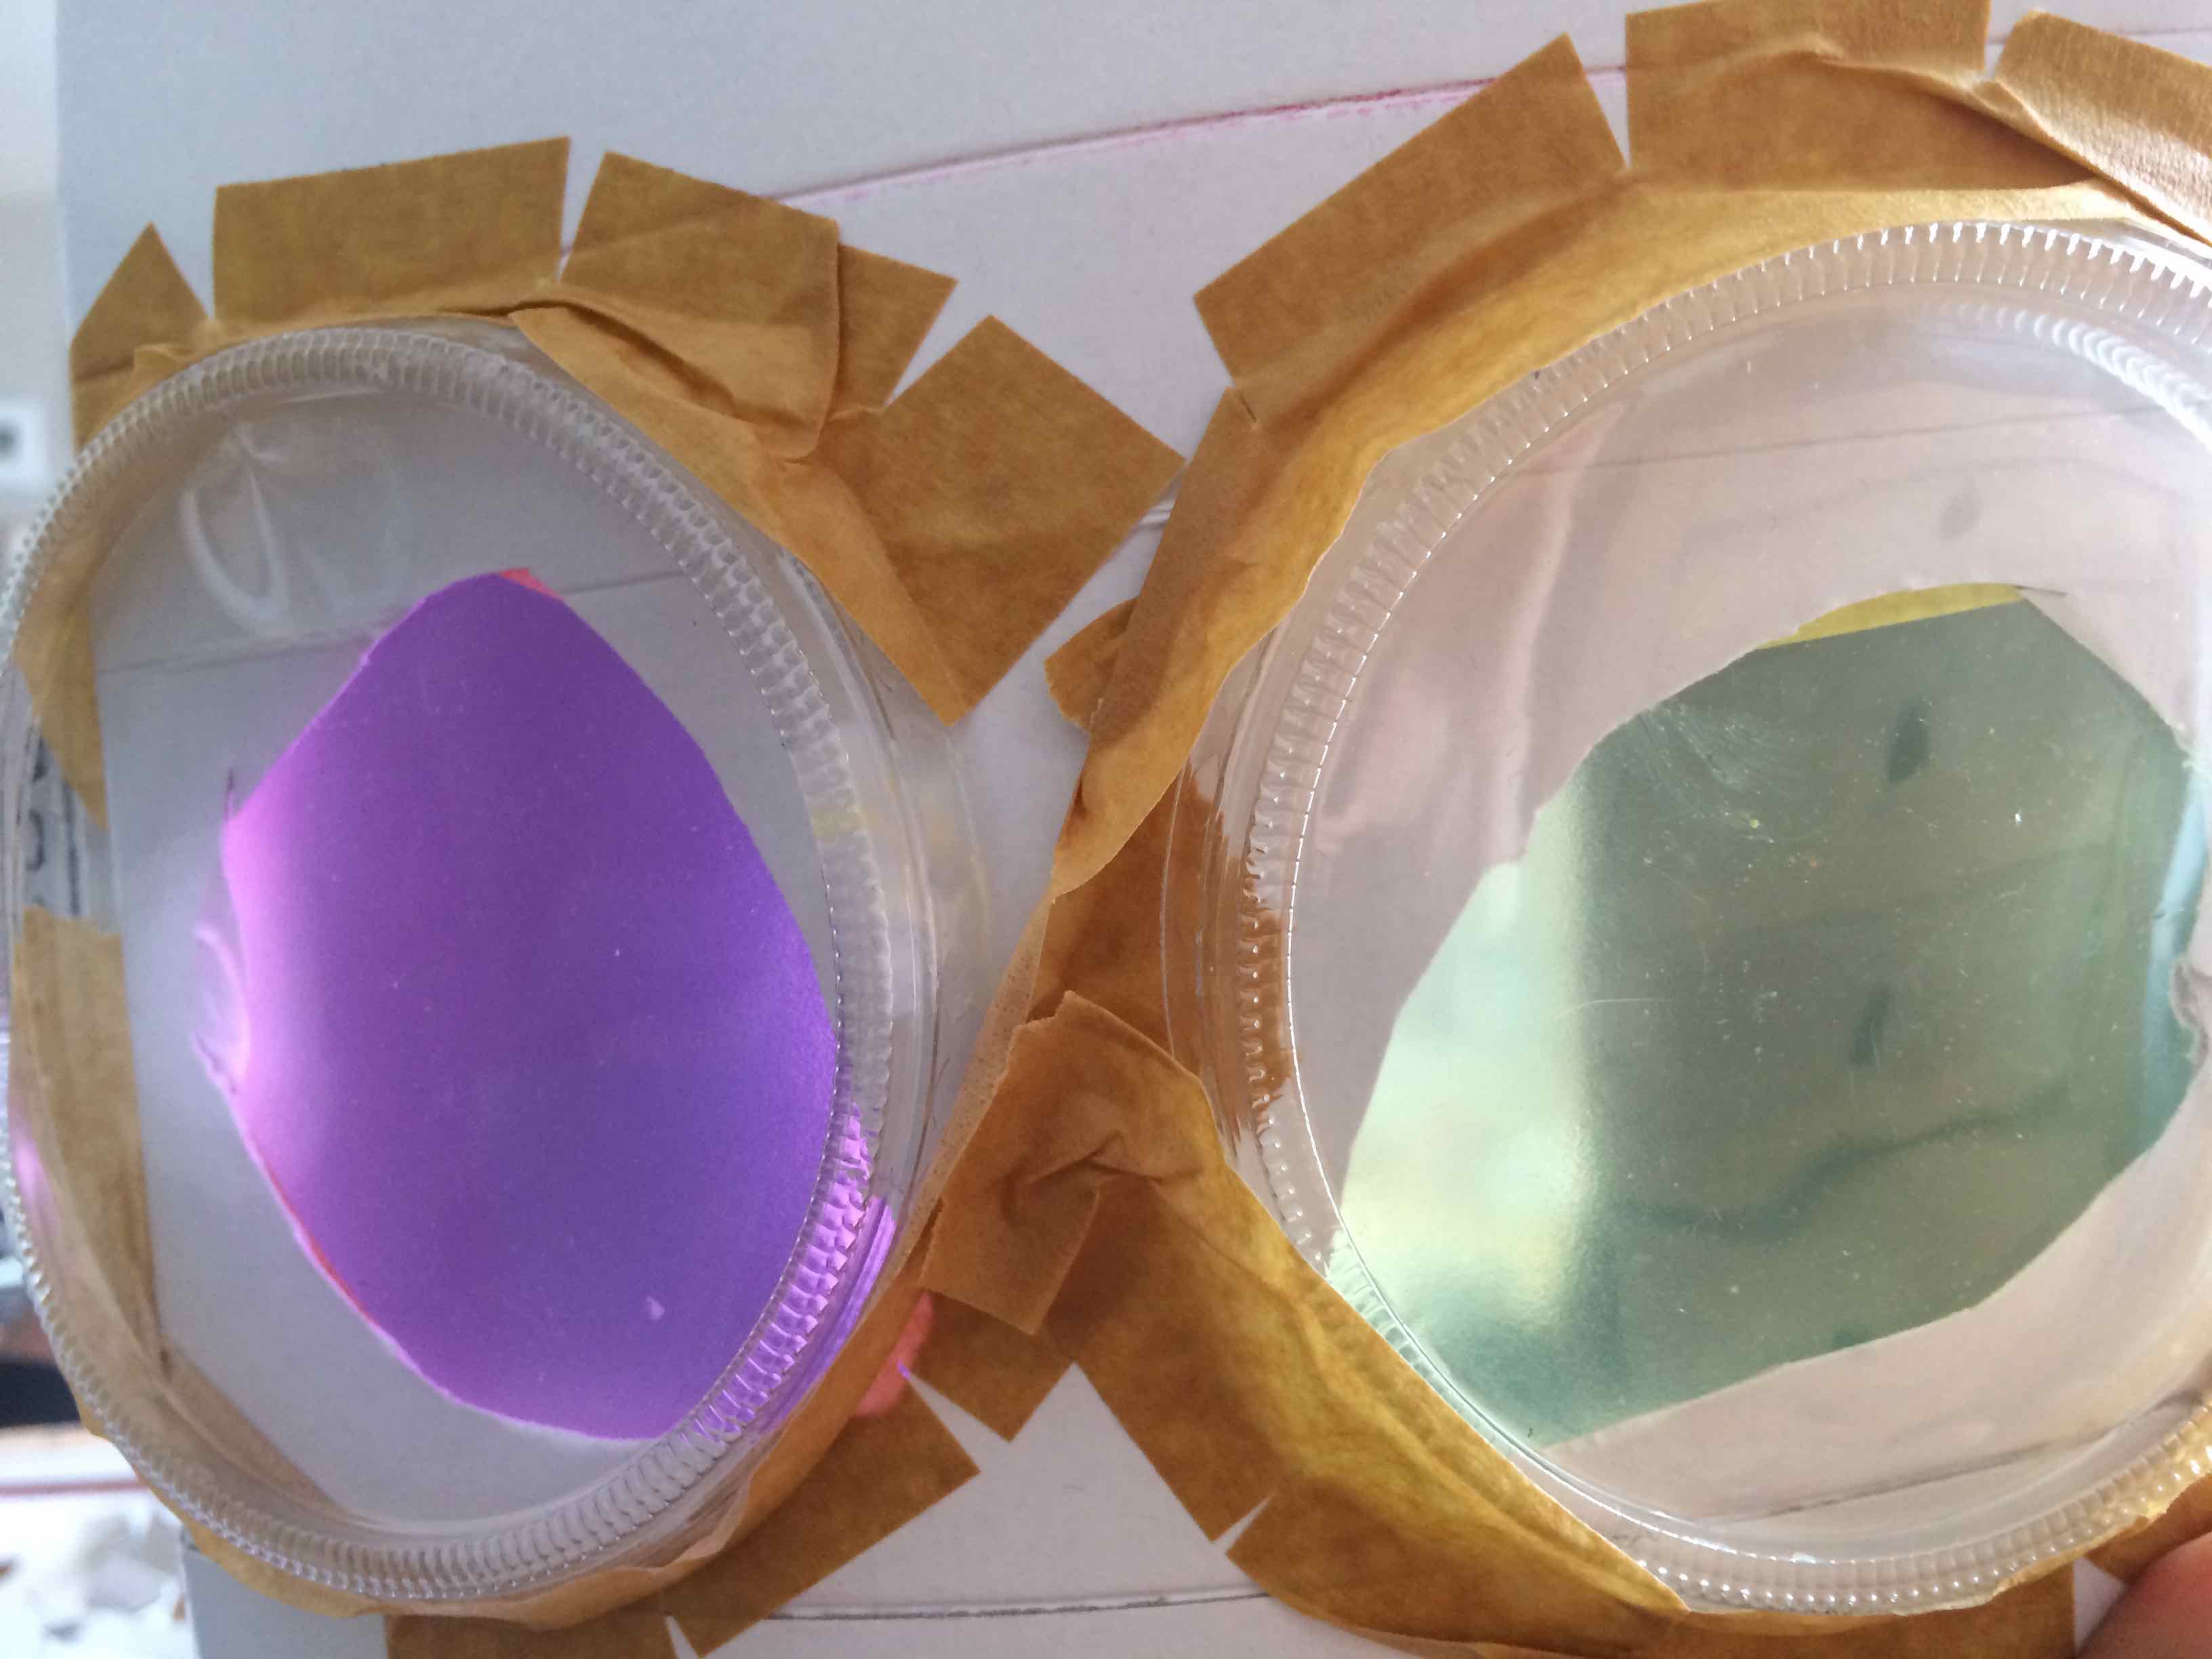
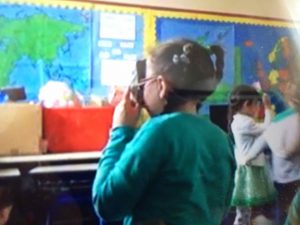
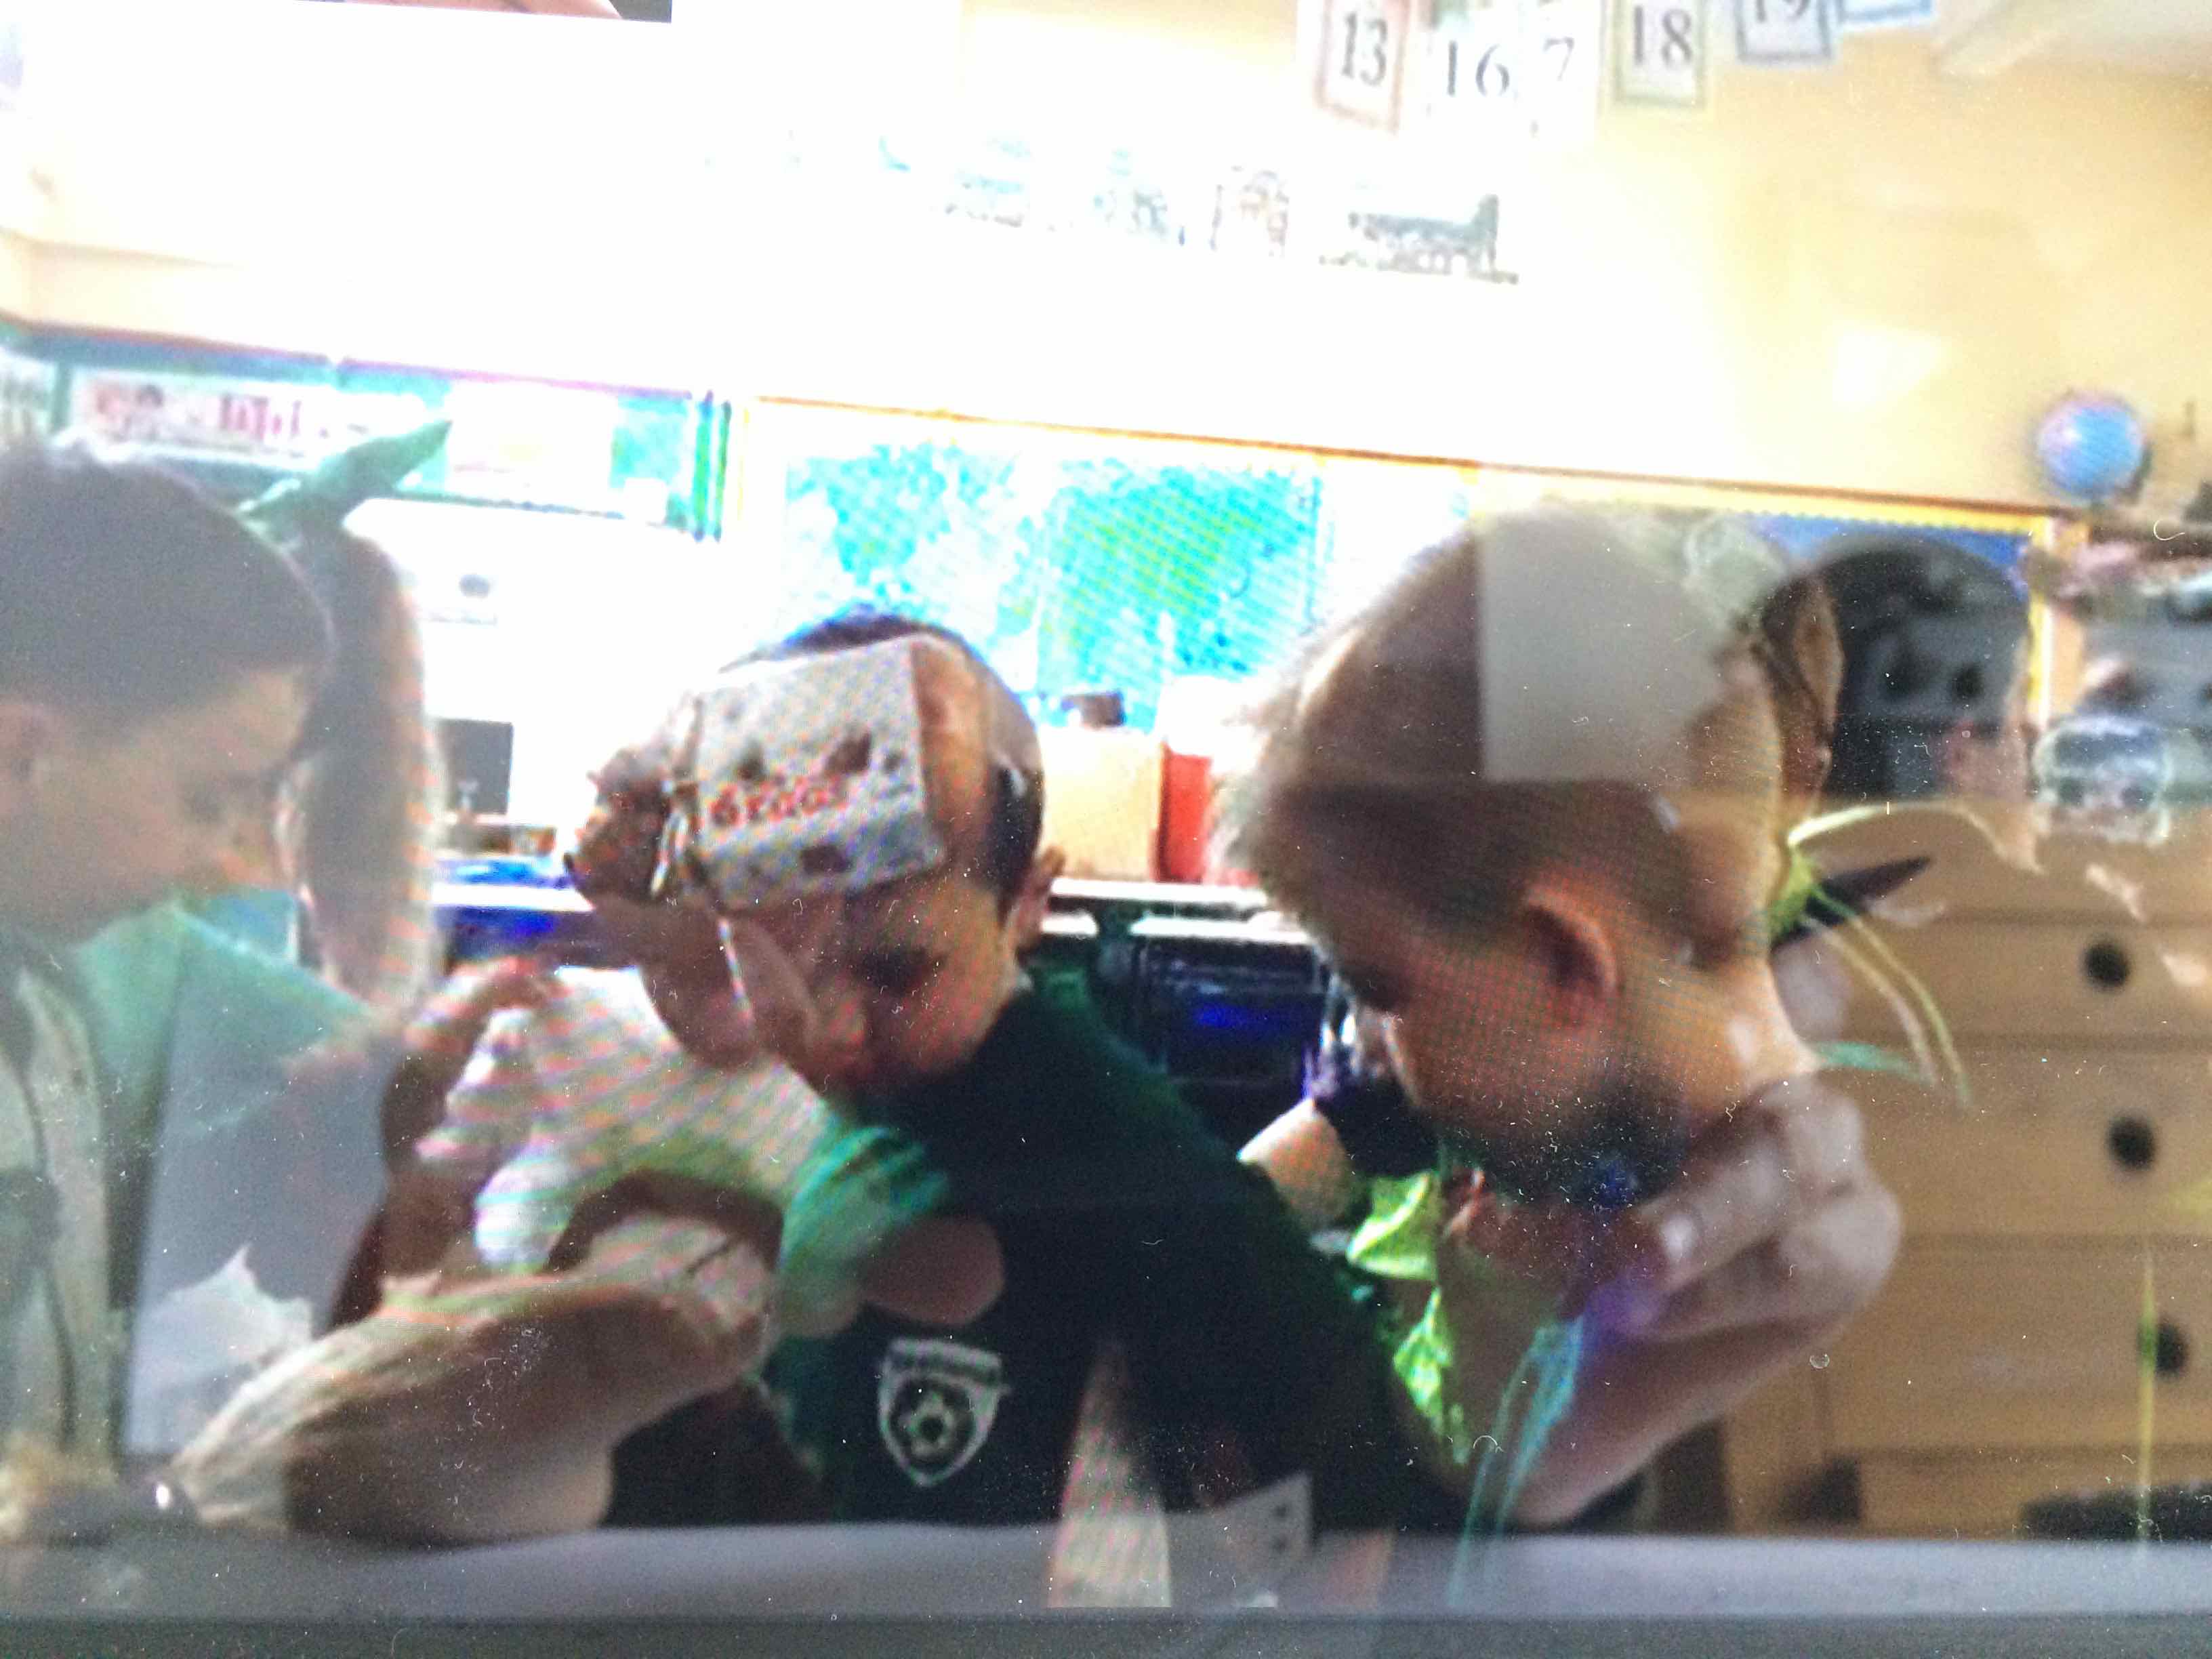
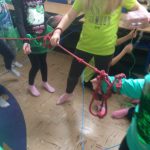
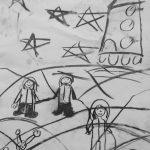
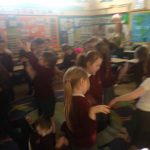
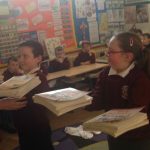
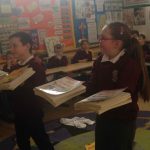
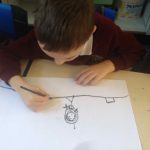
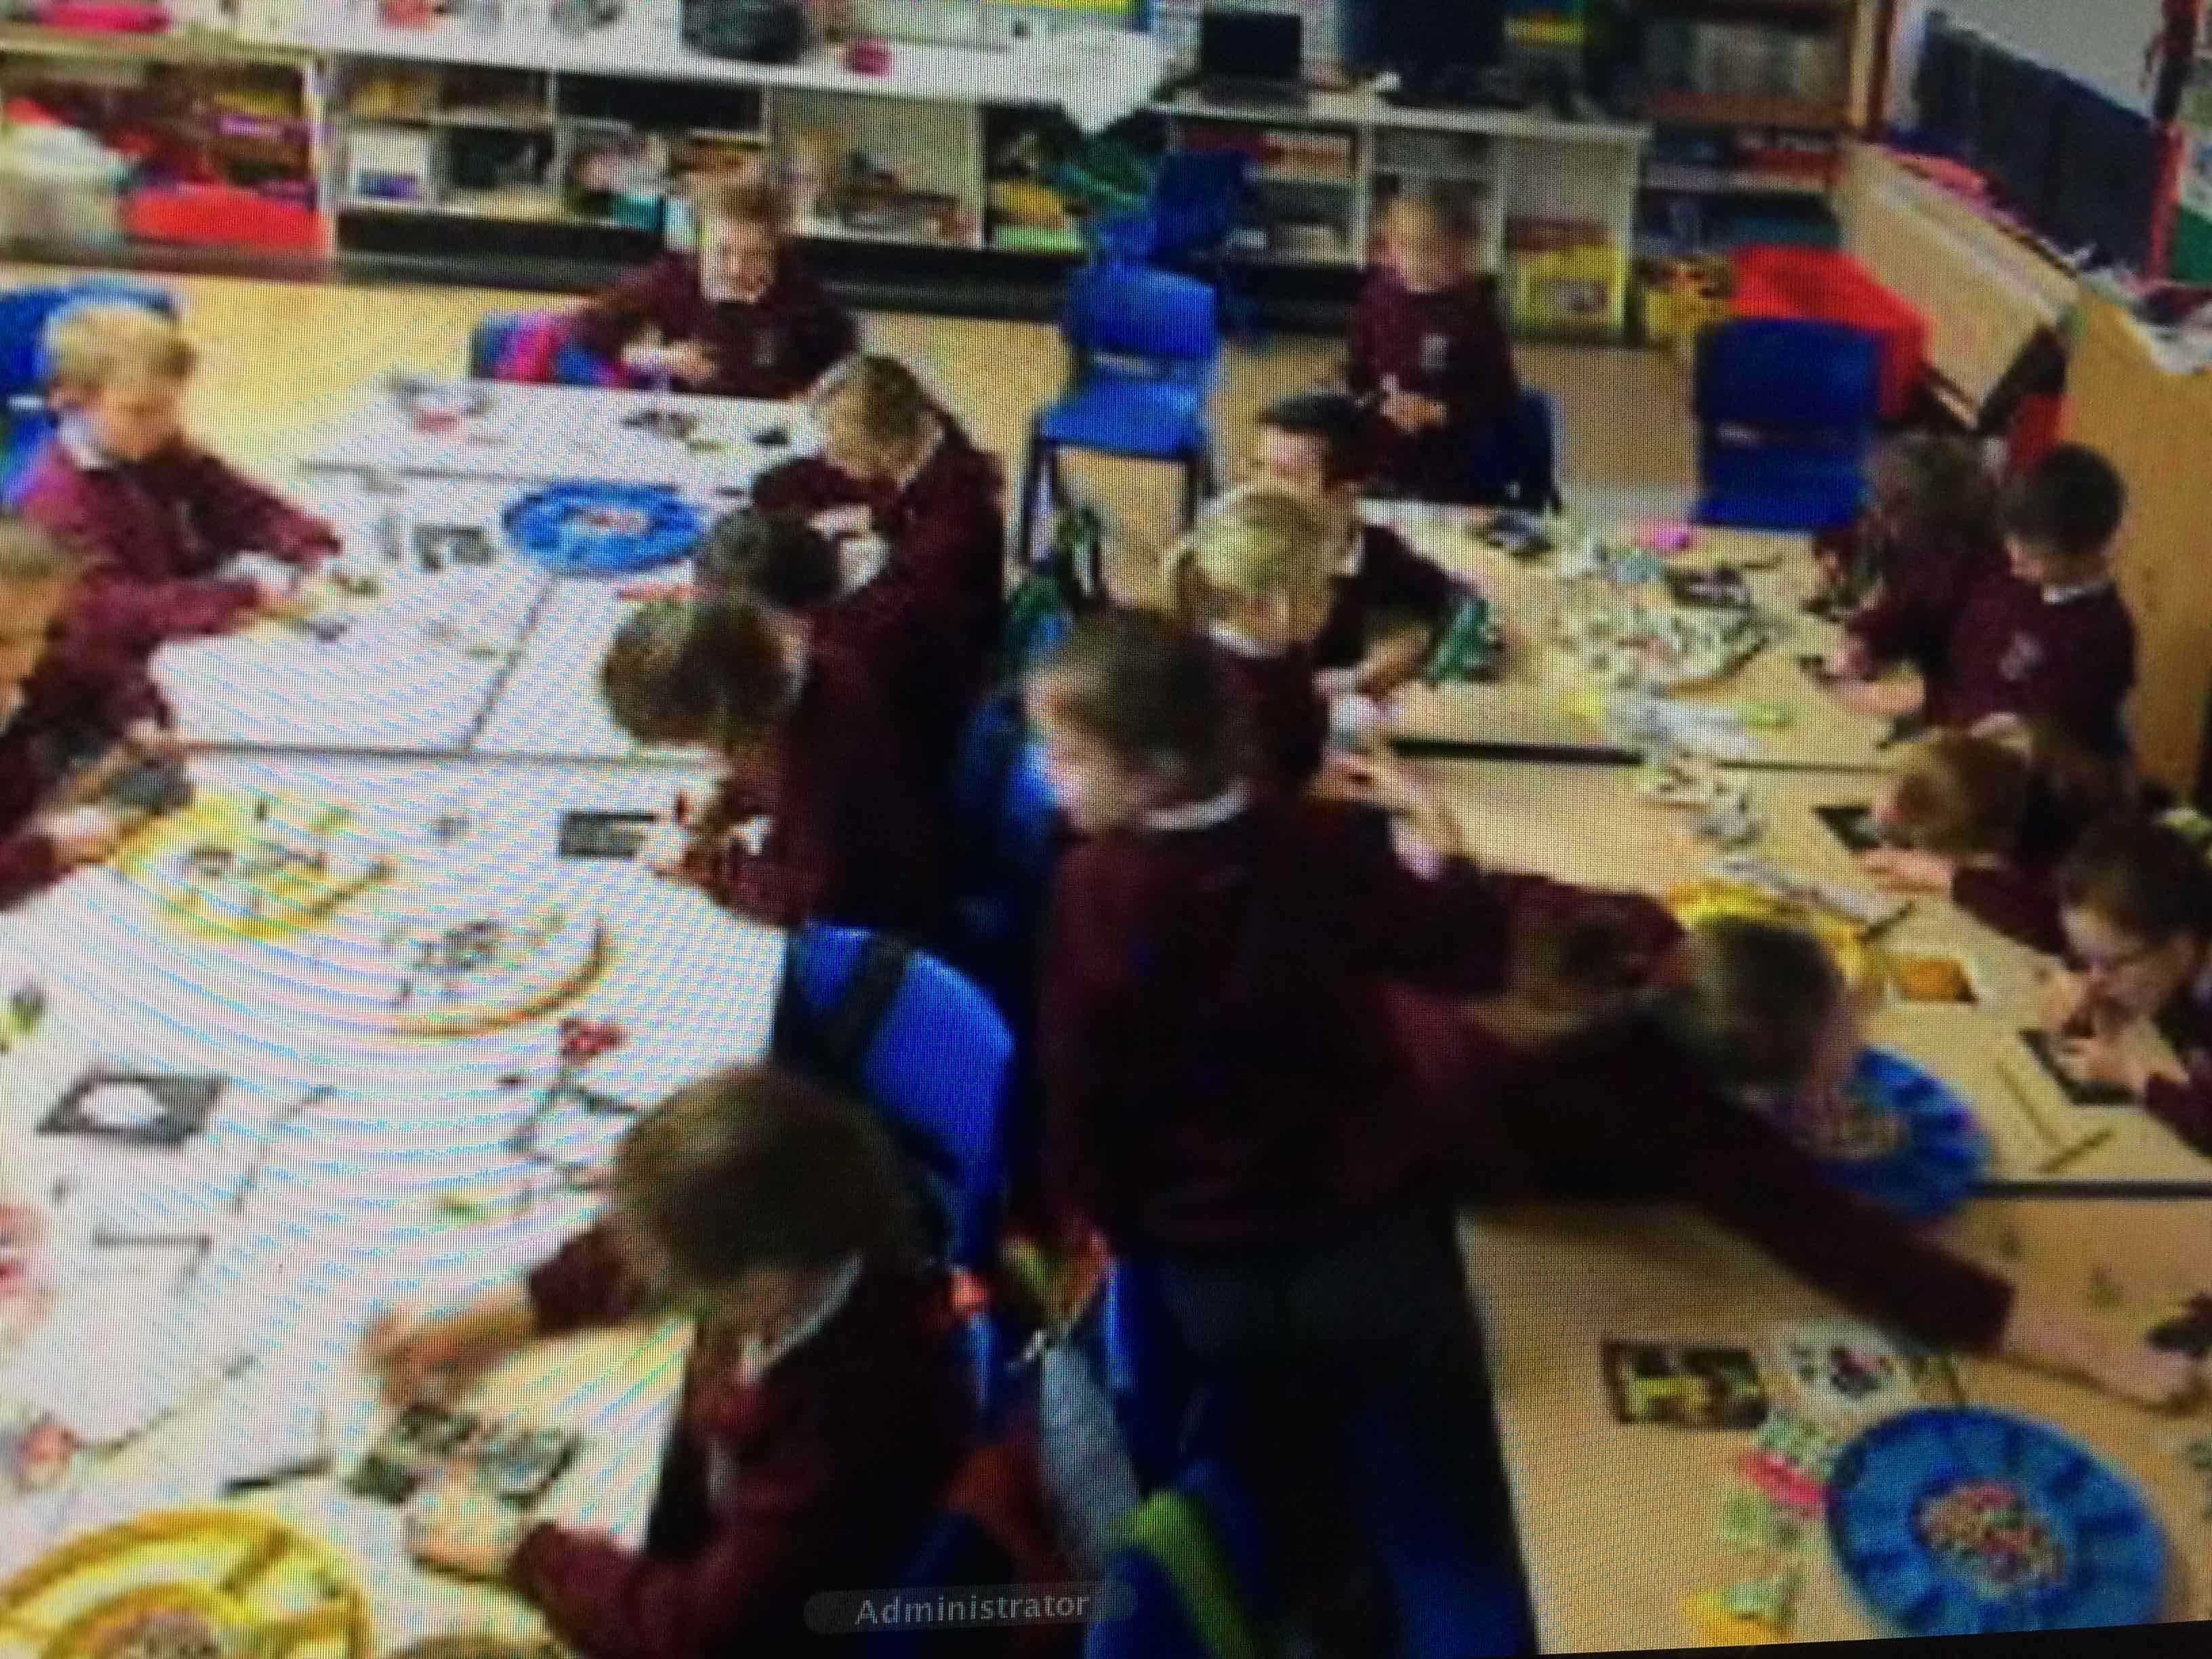
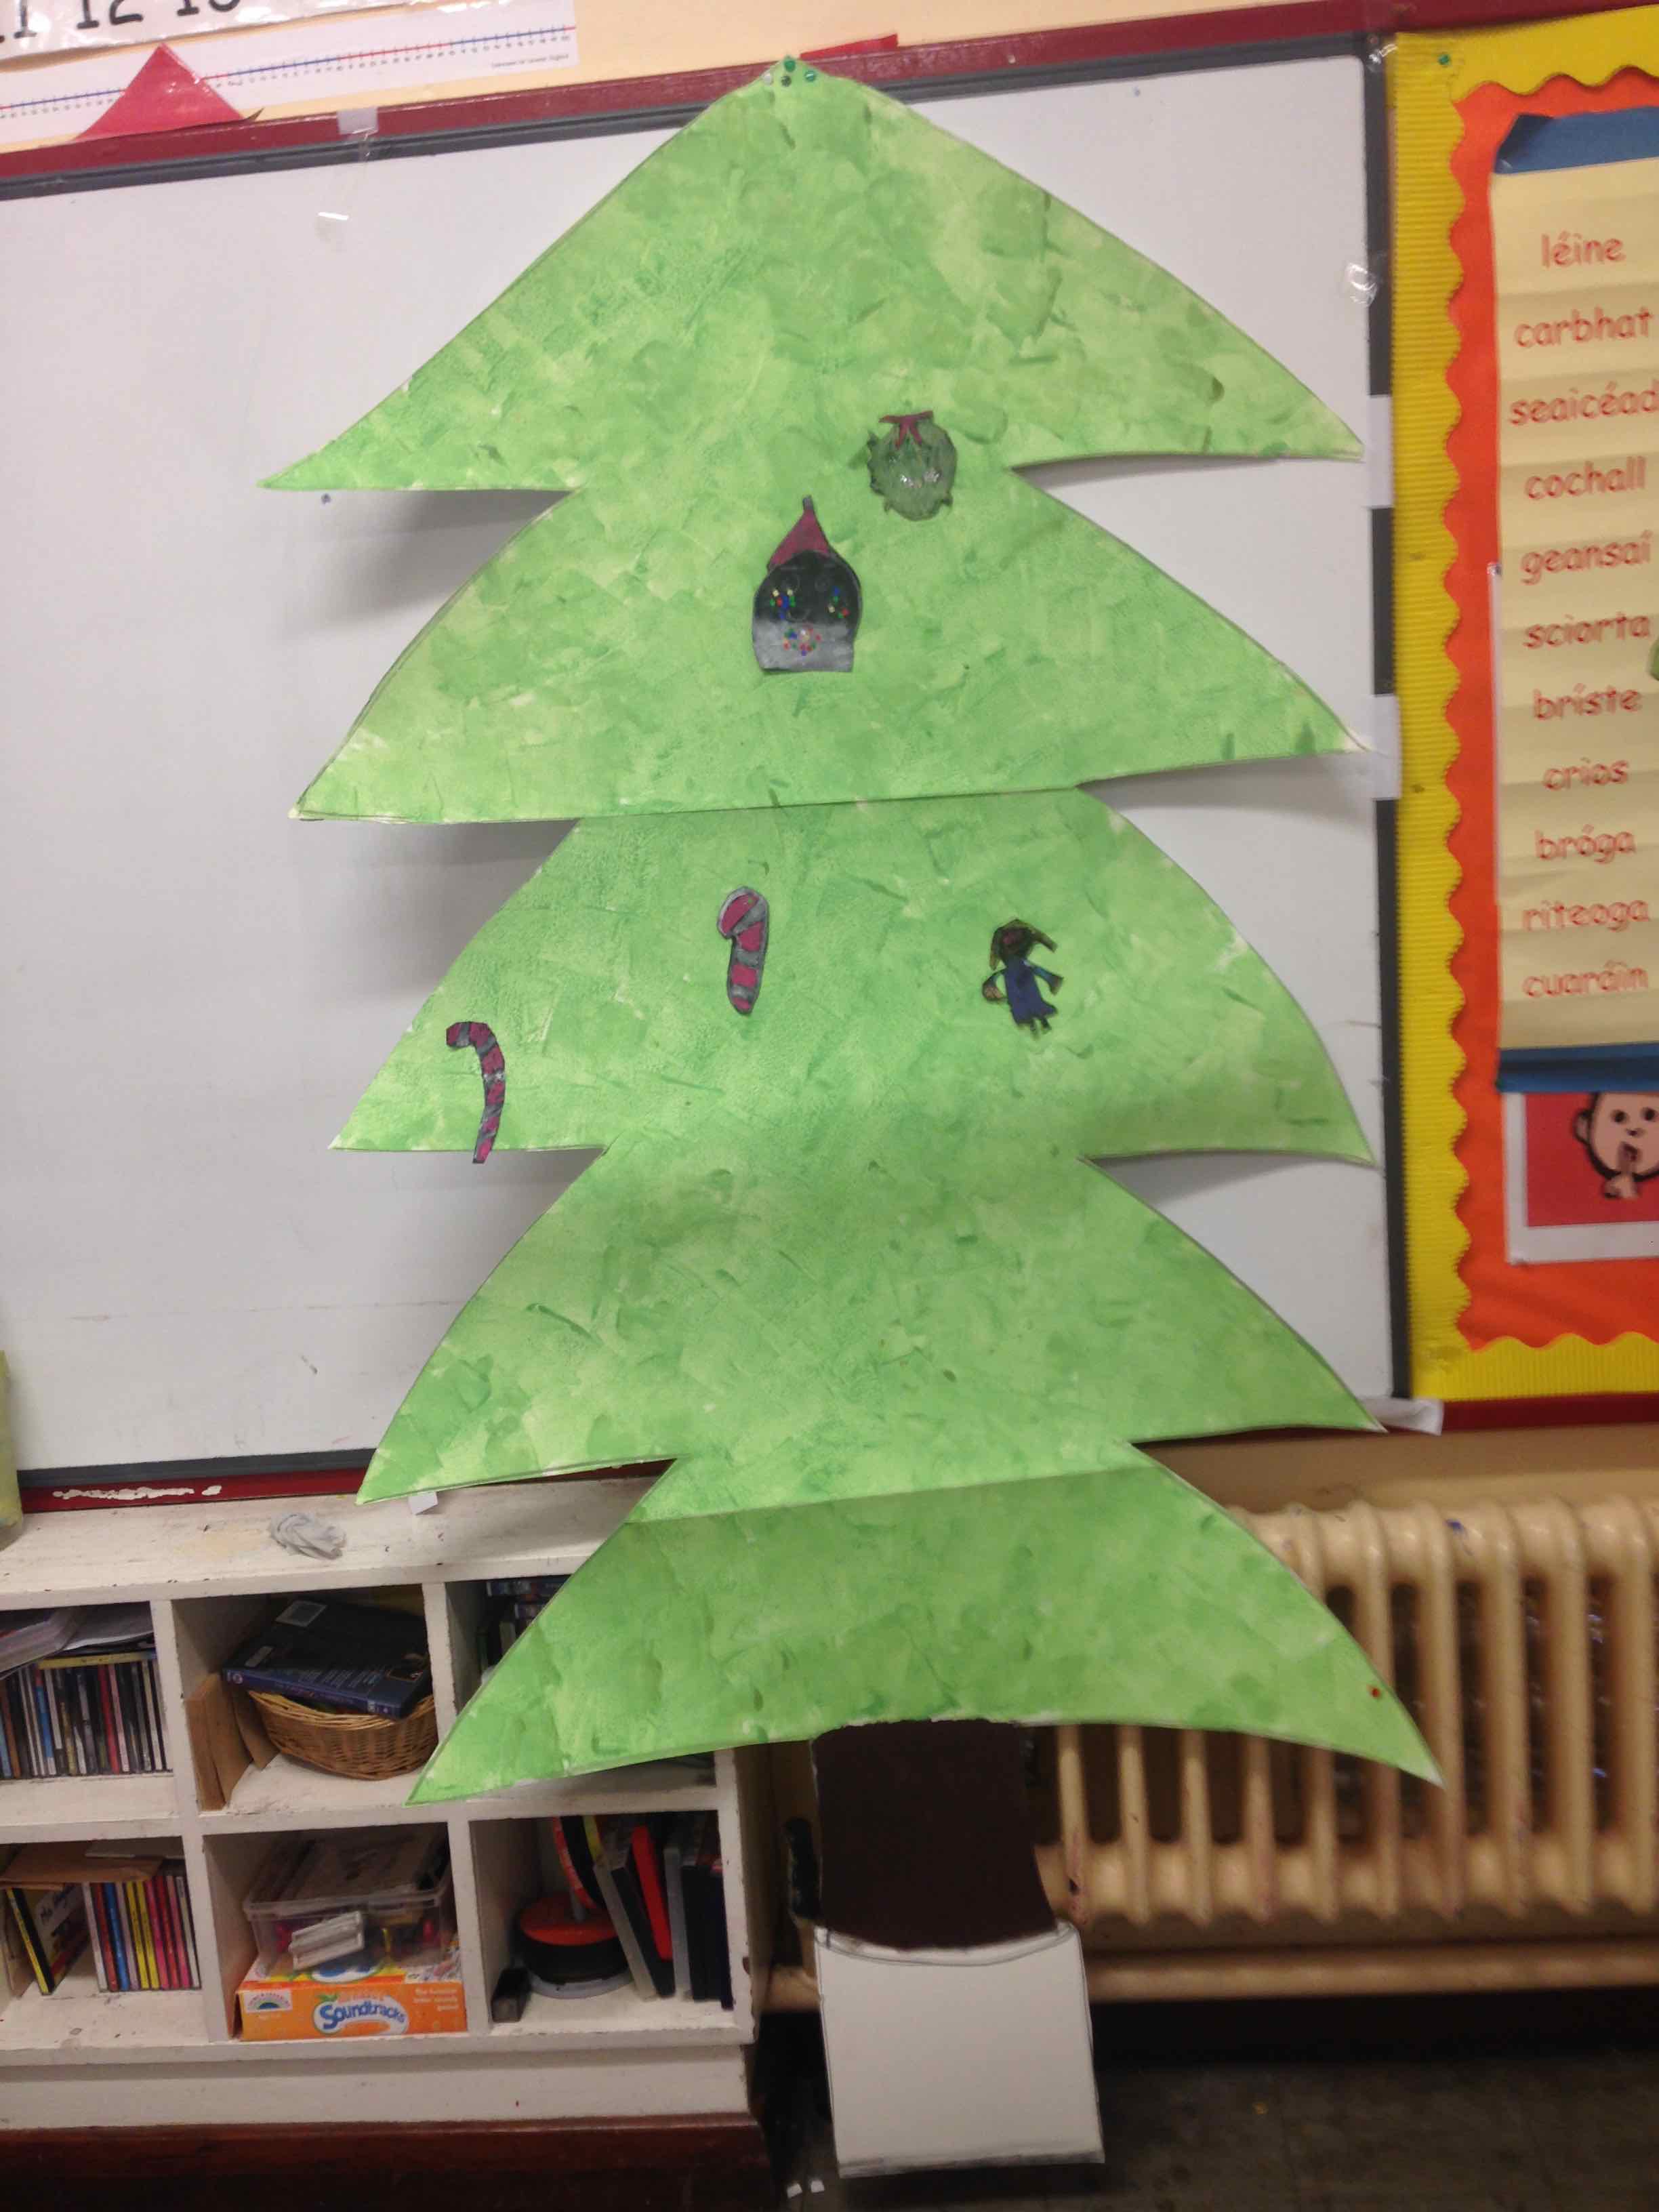
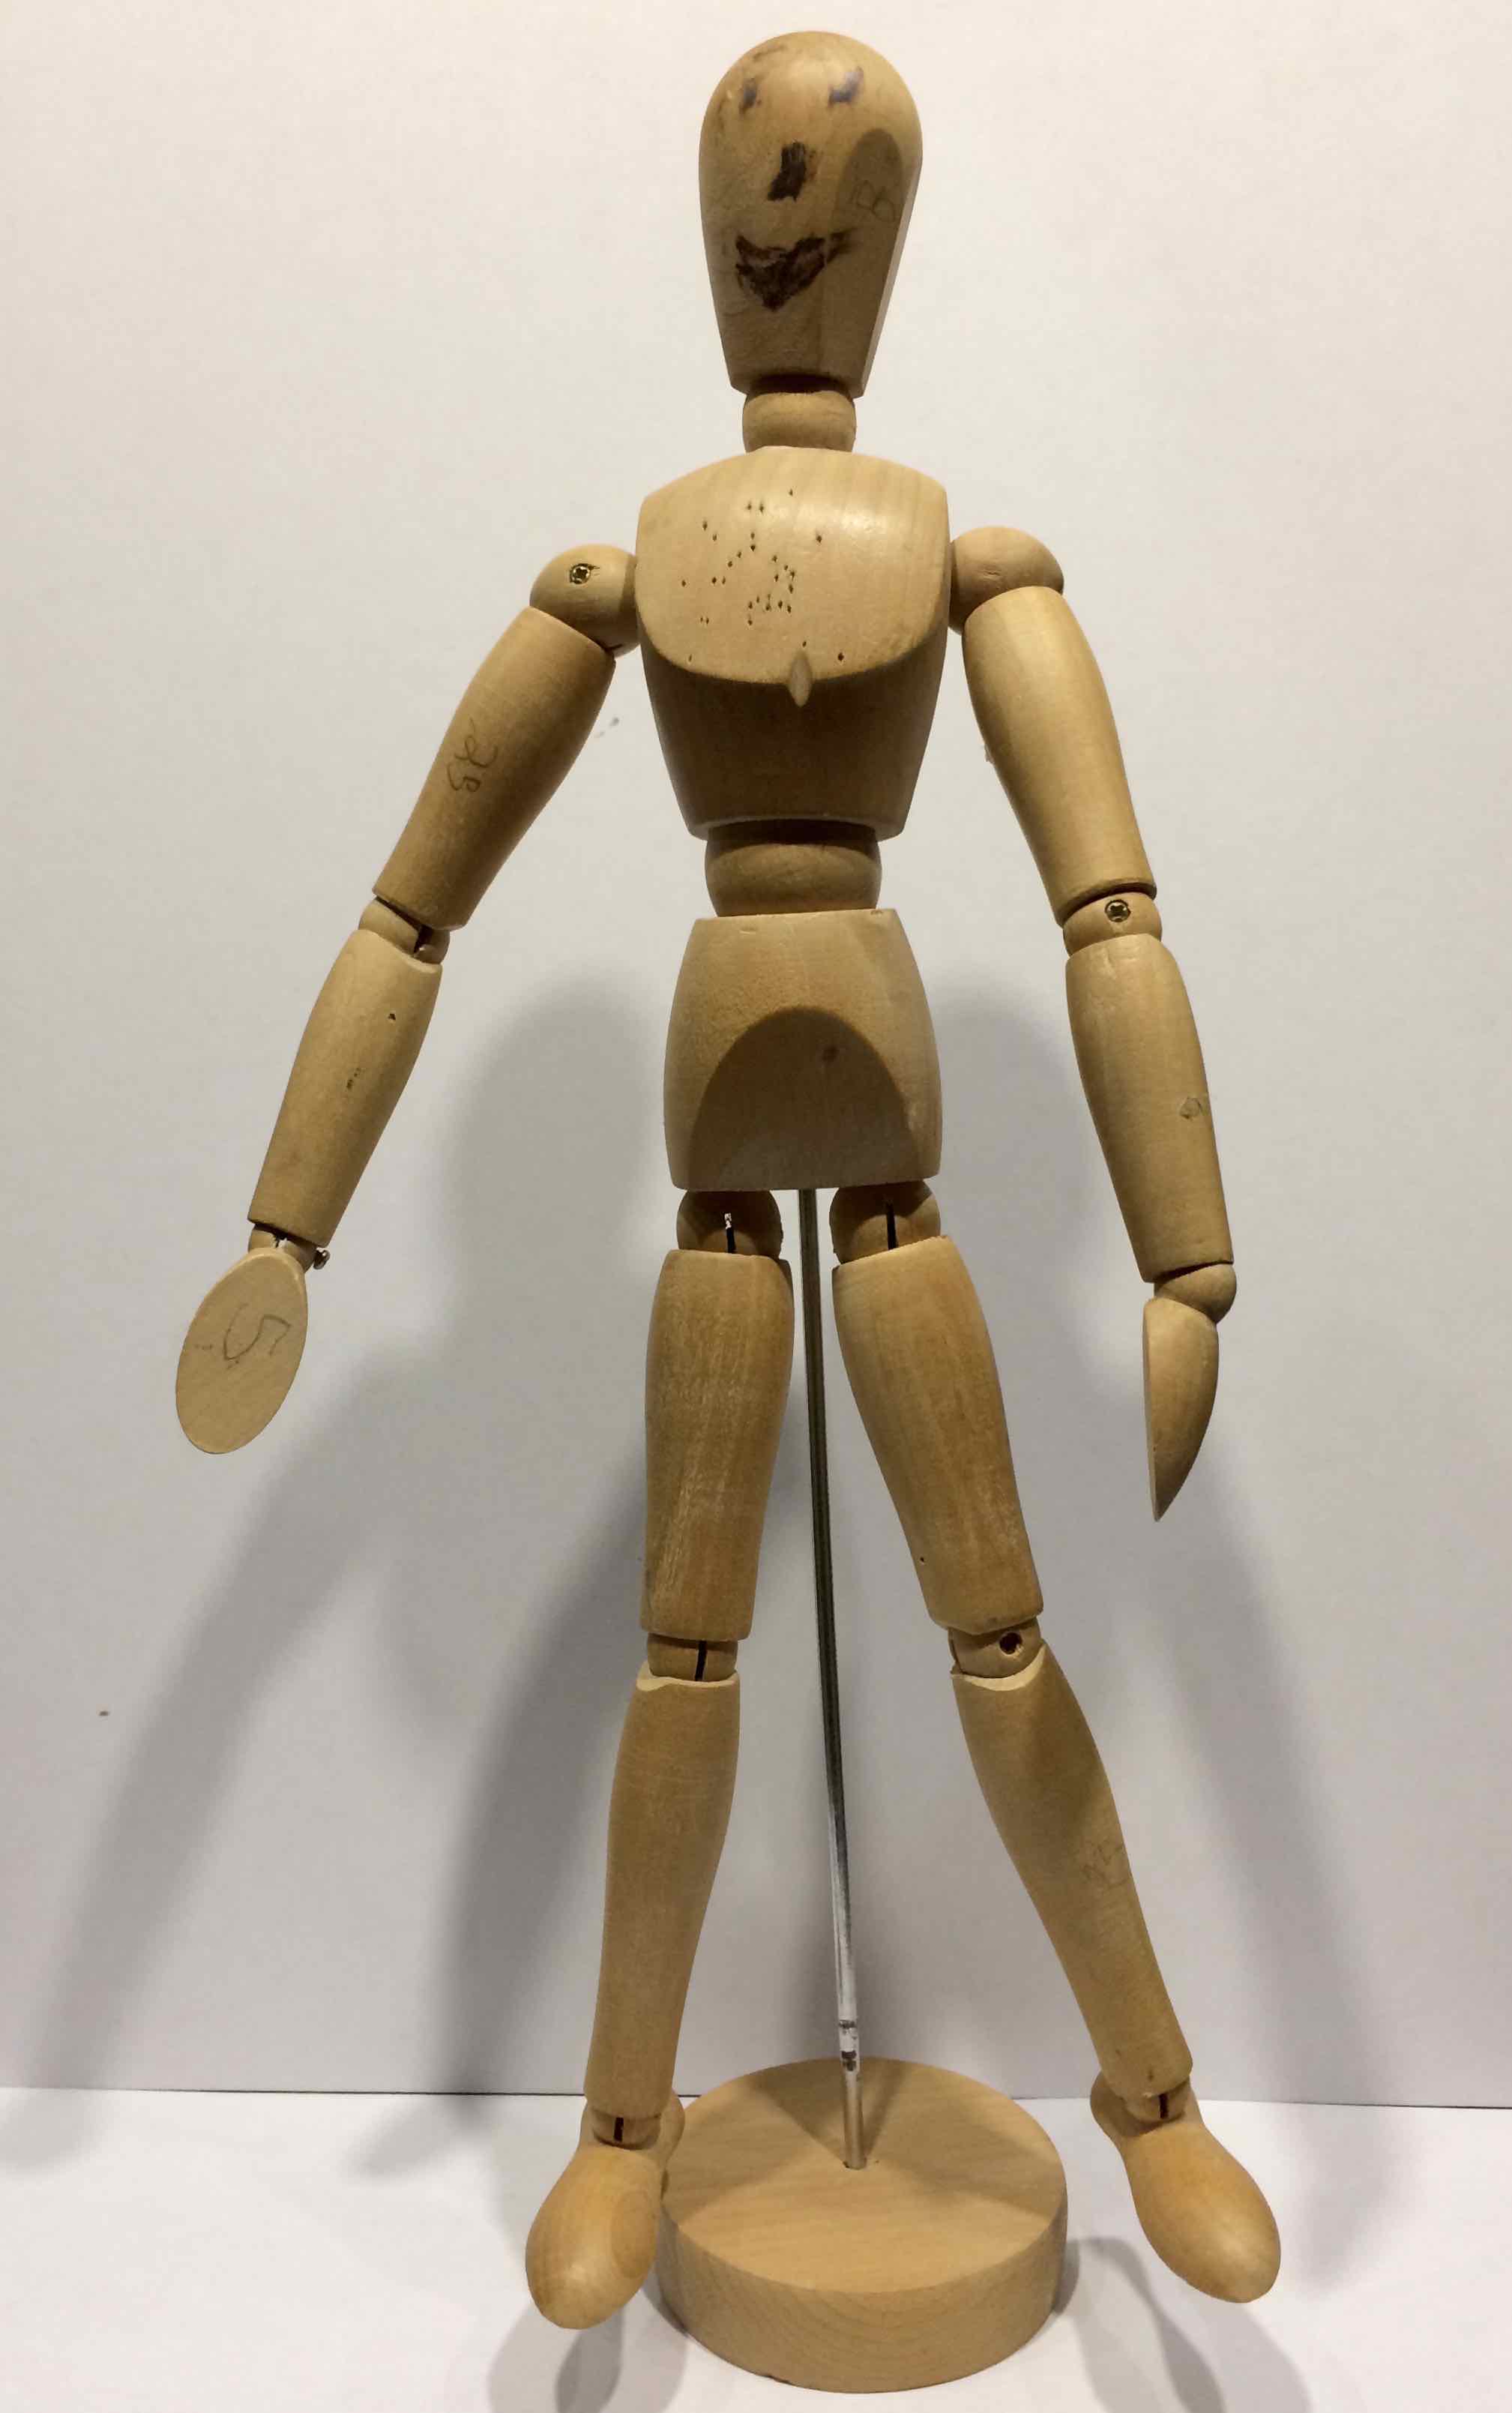
Back in the classroom I introduced two objects called lightboxes, first of all explaining to the children that artists would use these objects to view photographic slides…

A light box was used in the past to view photographic slides… light could pass through them to enable the image to be clearly seen. Slides were then put into a slide projector to enlarge and view on a screen or wall.
I brought an old file of slides, that were a documentation of artwork made 17 years ago to show the children…

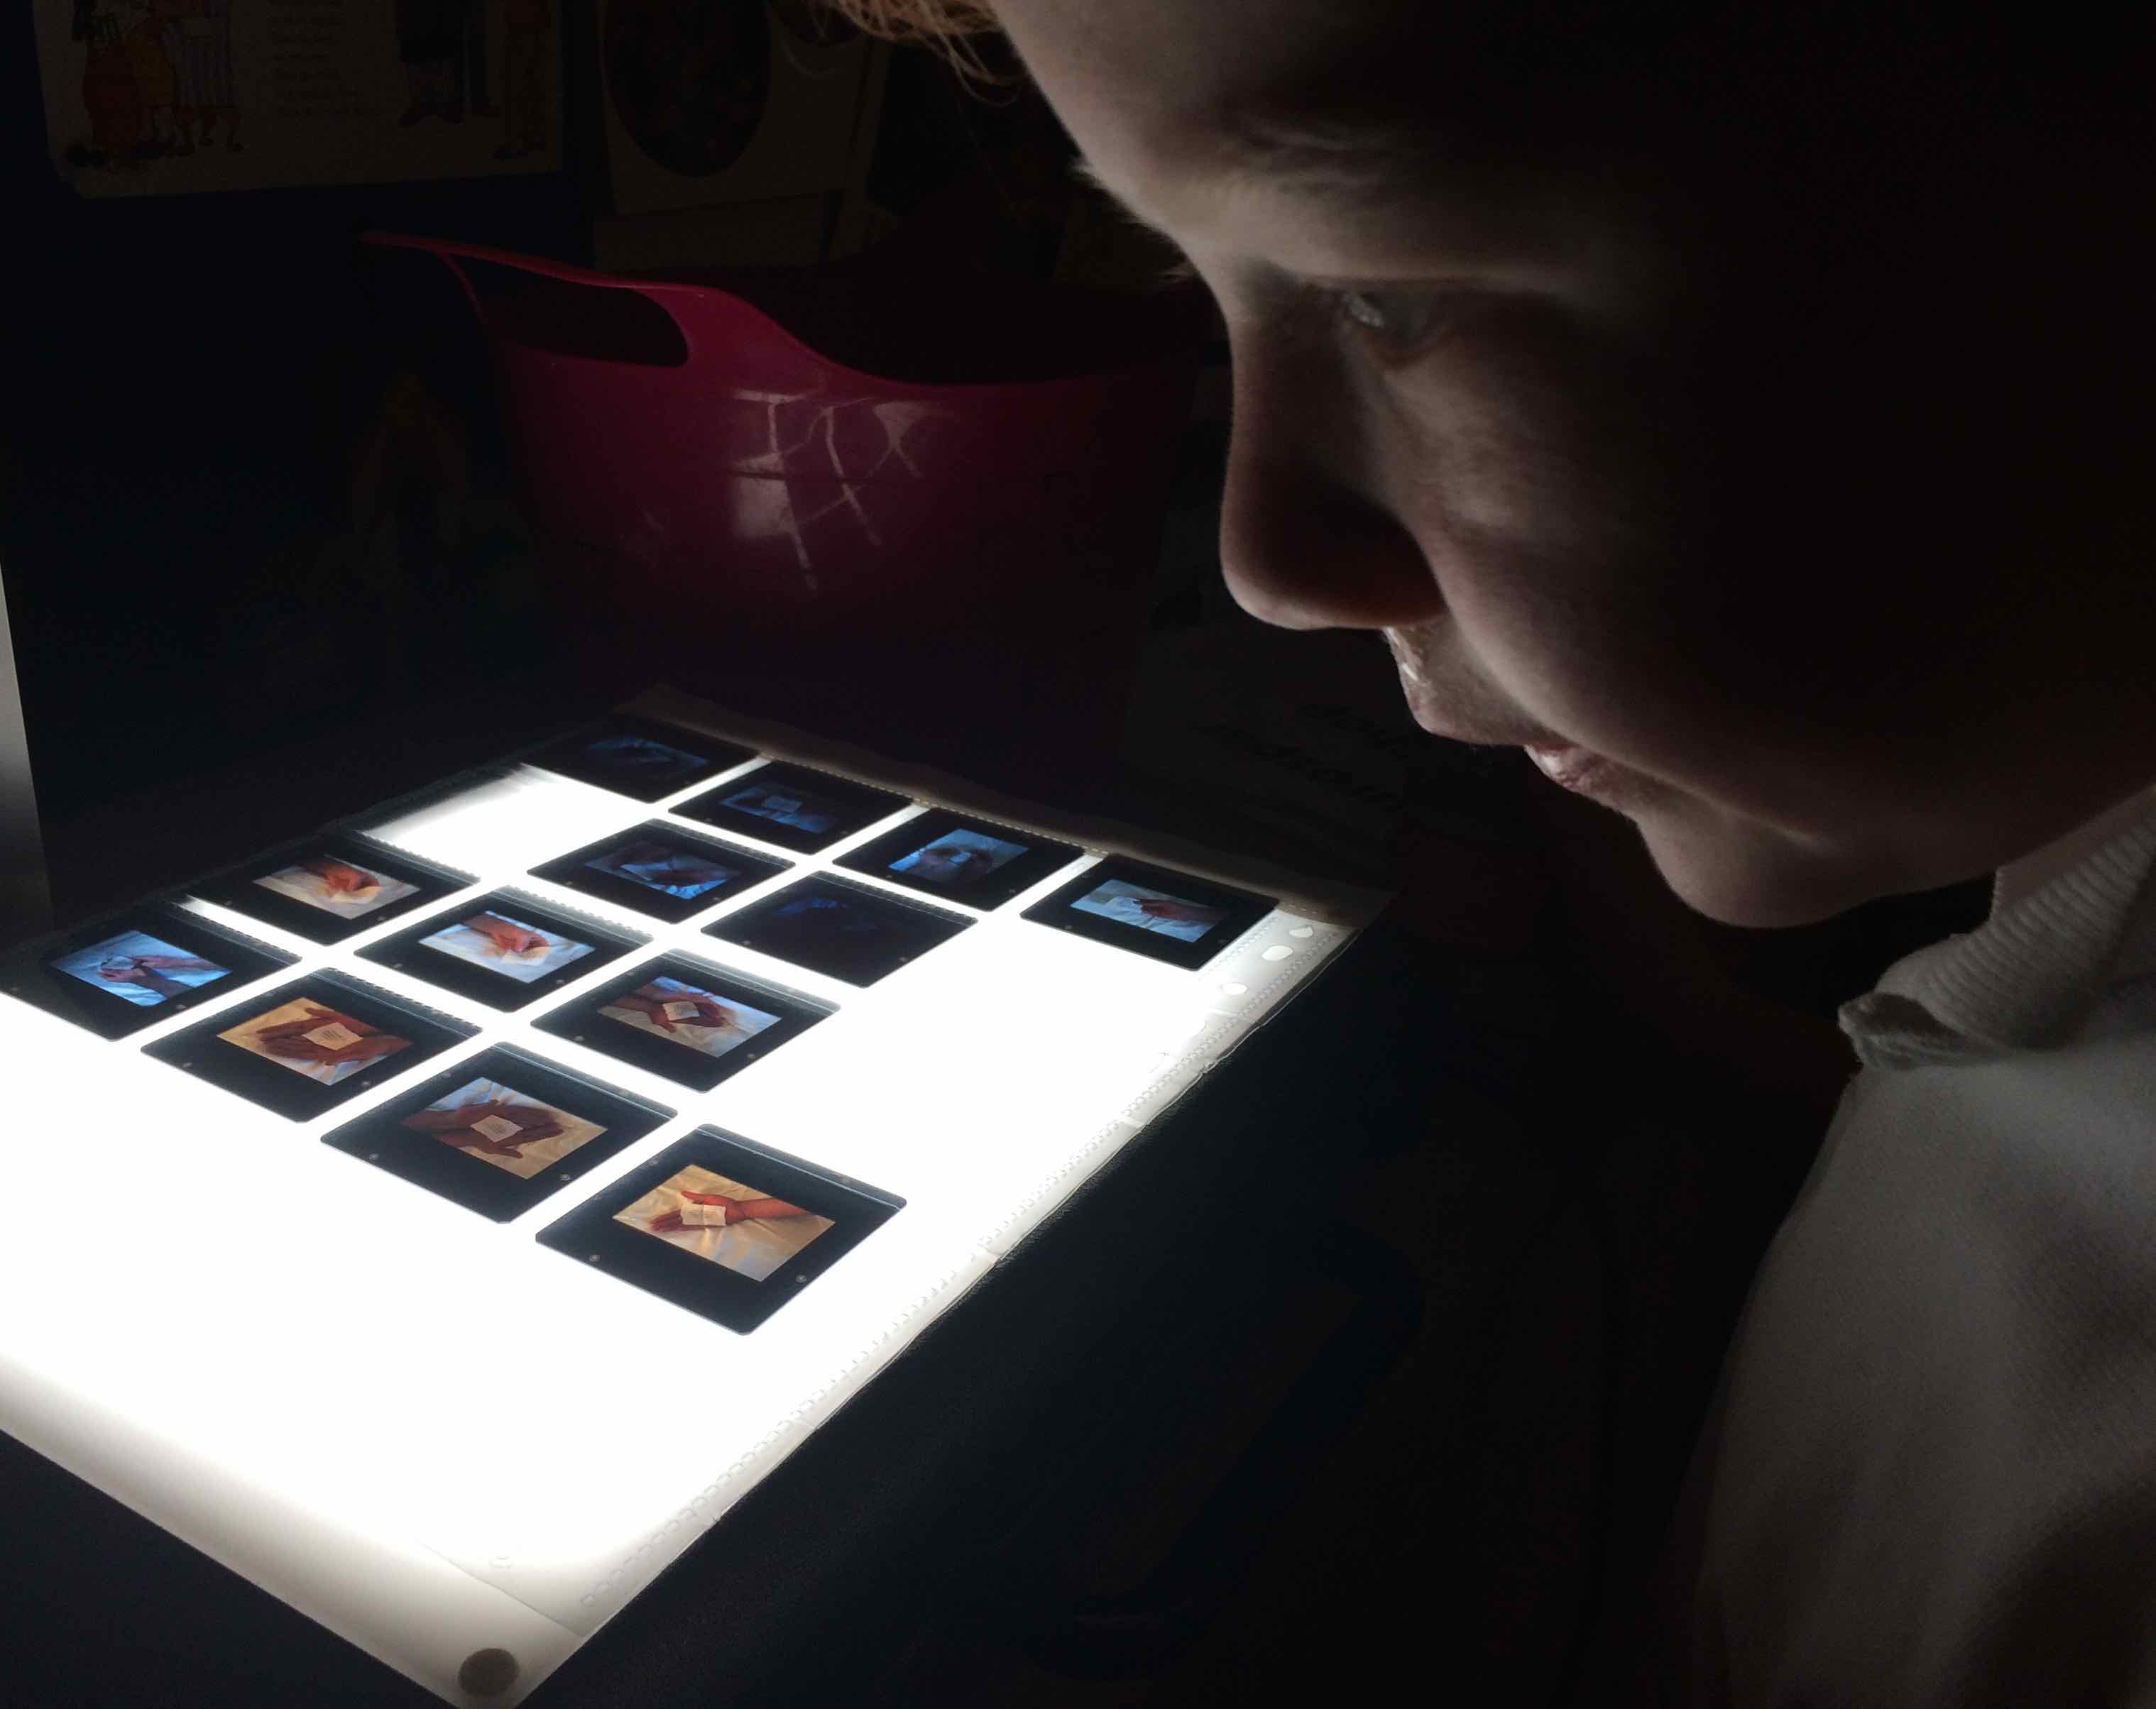
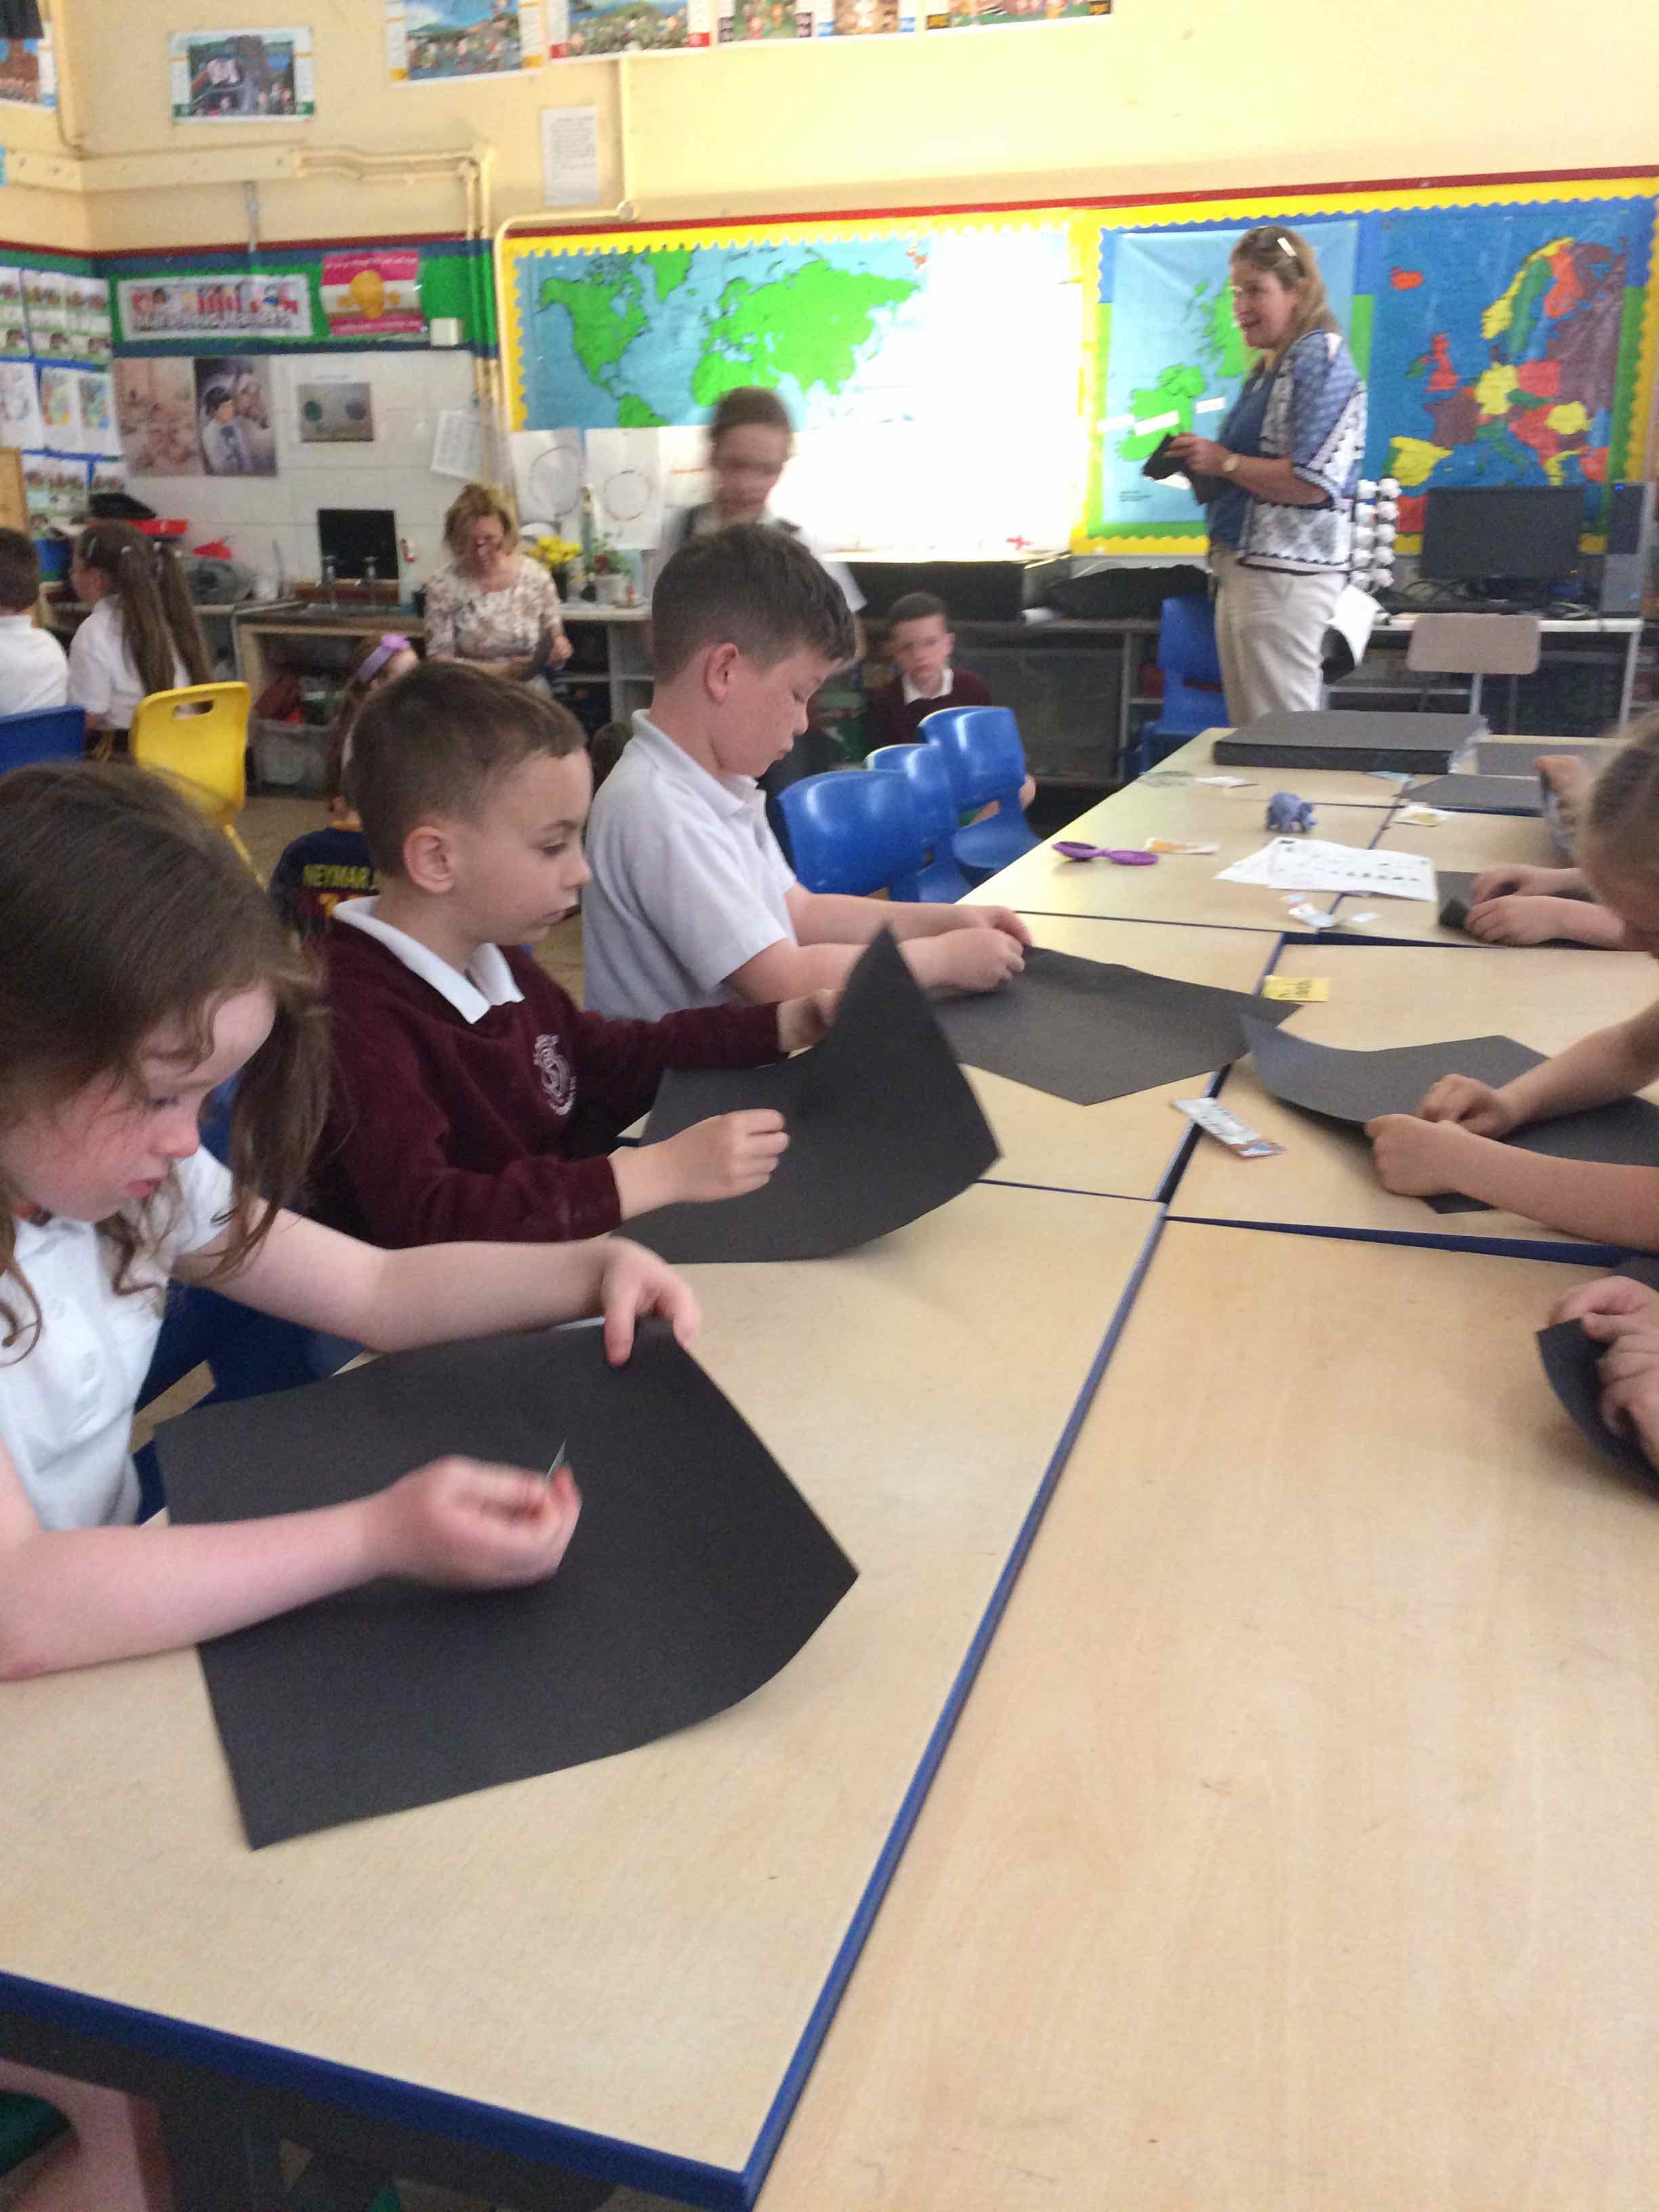
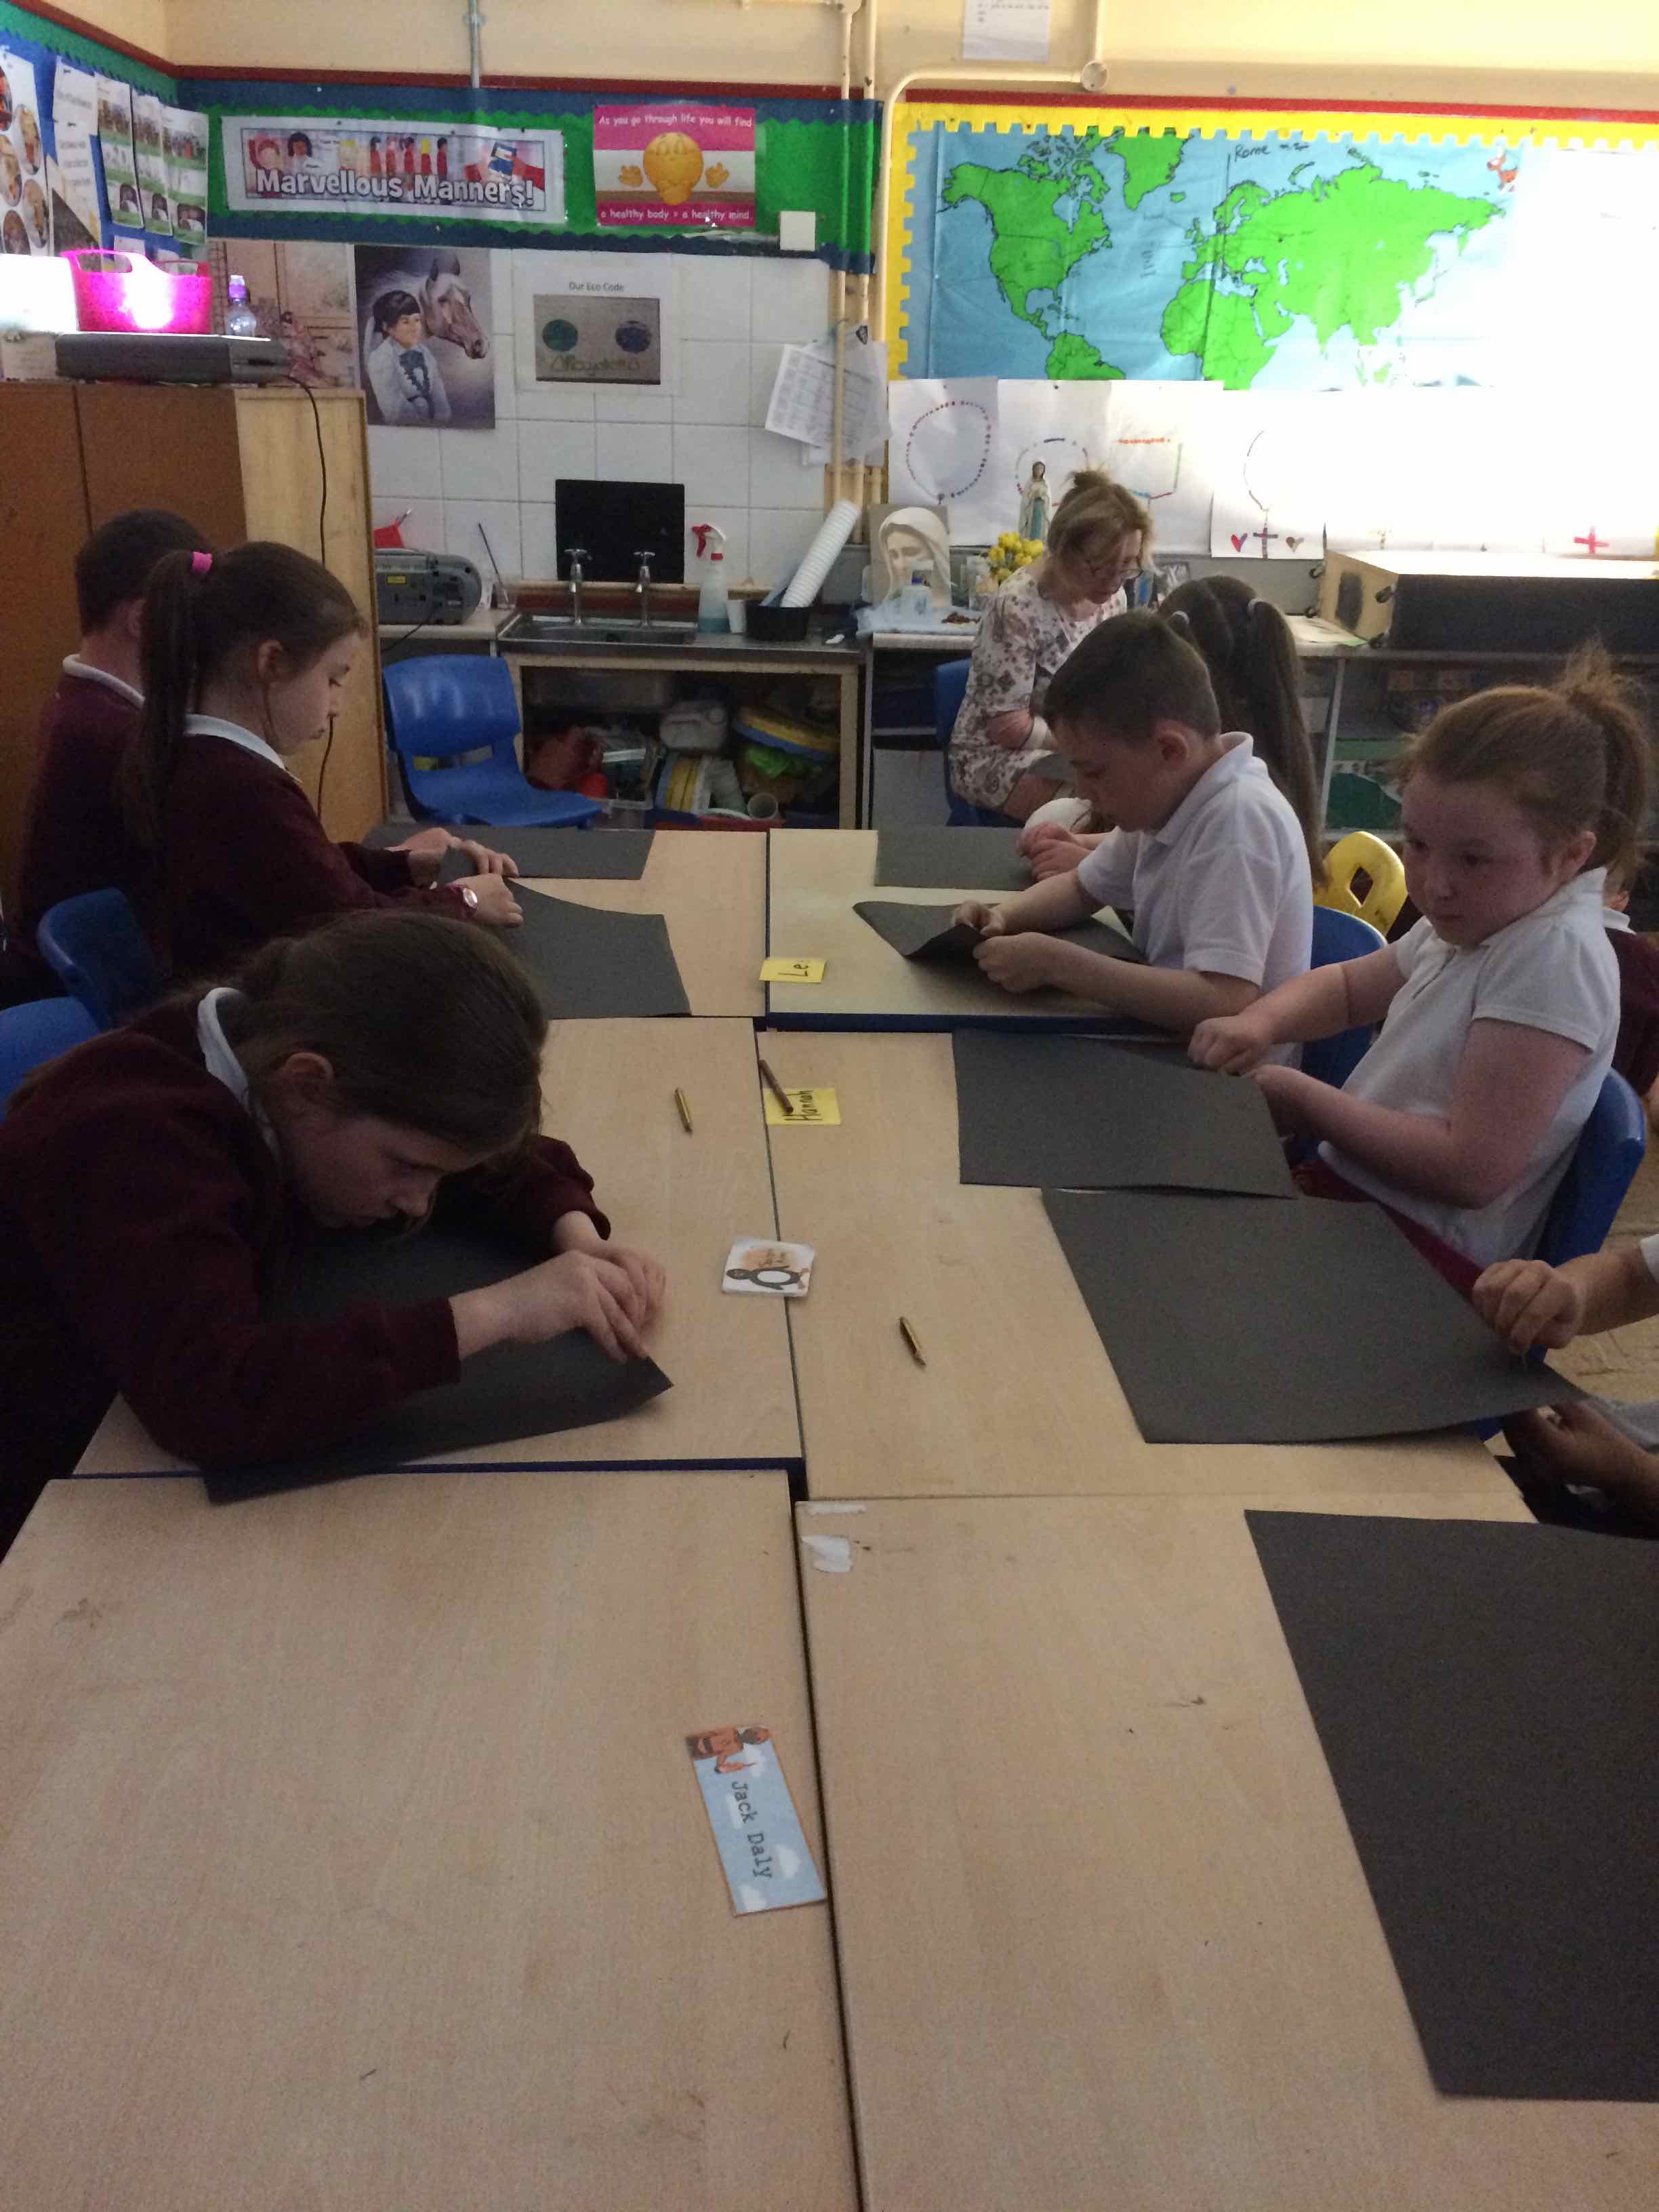
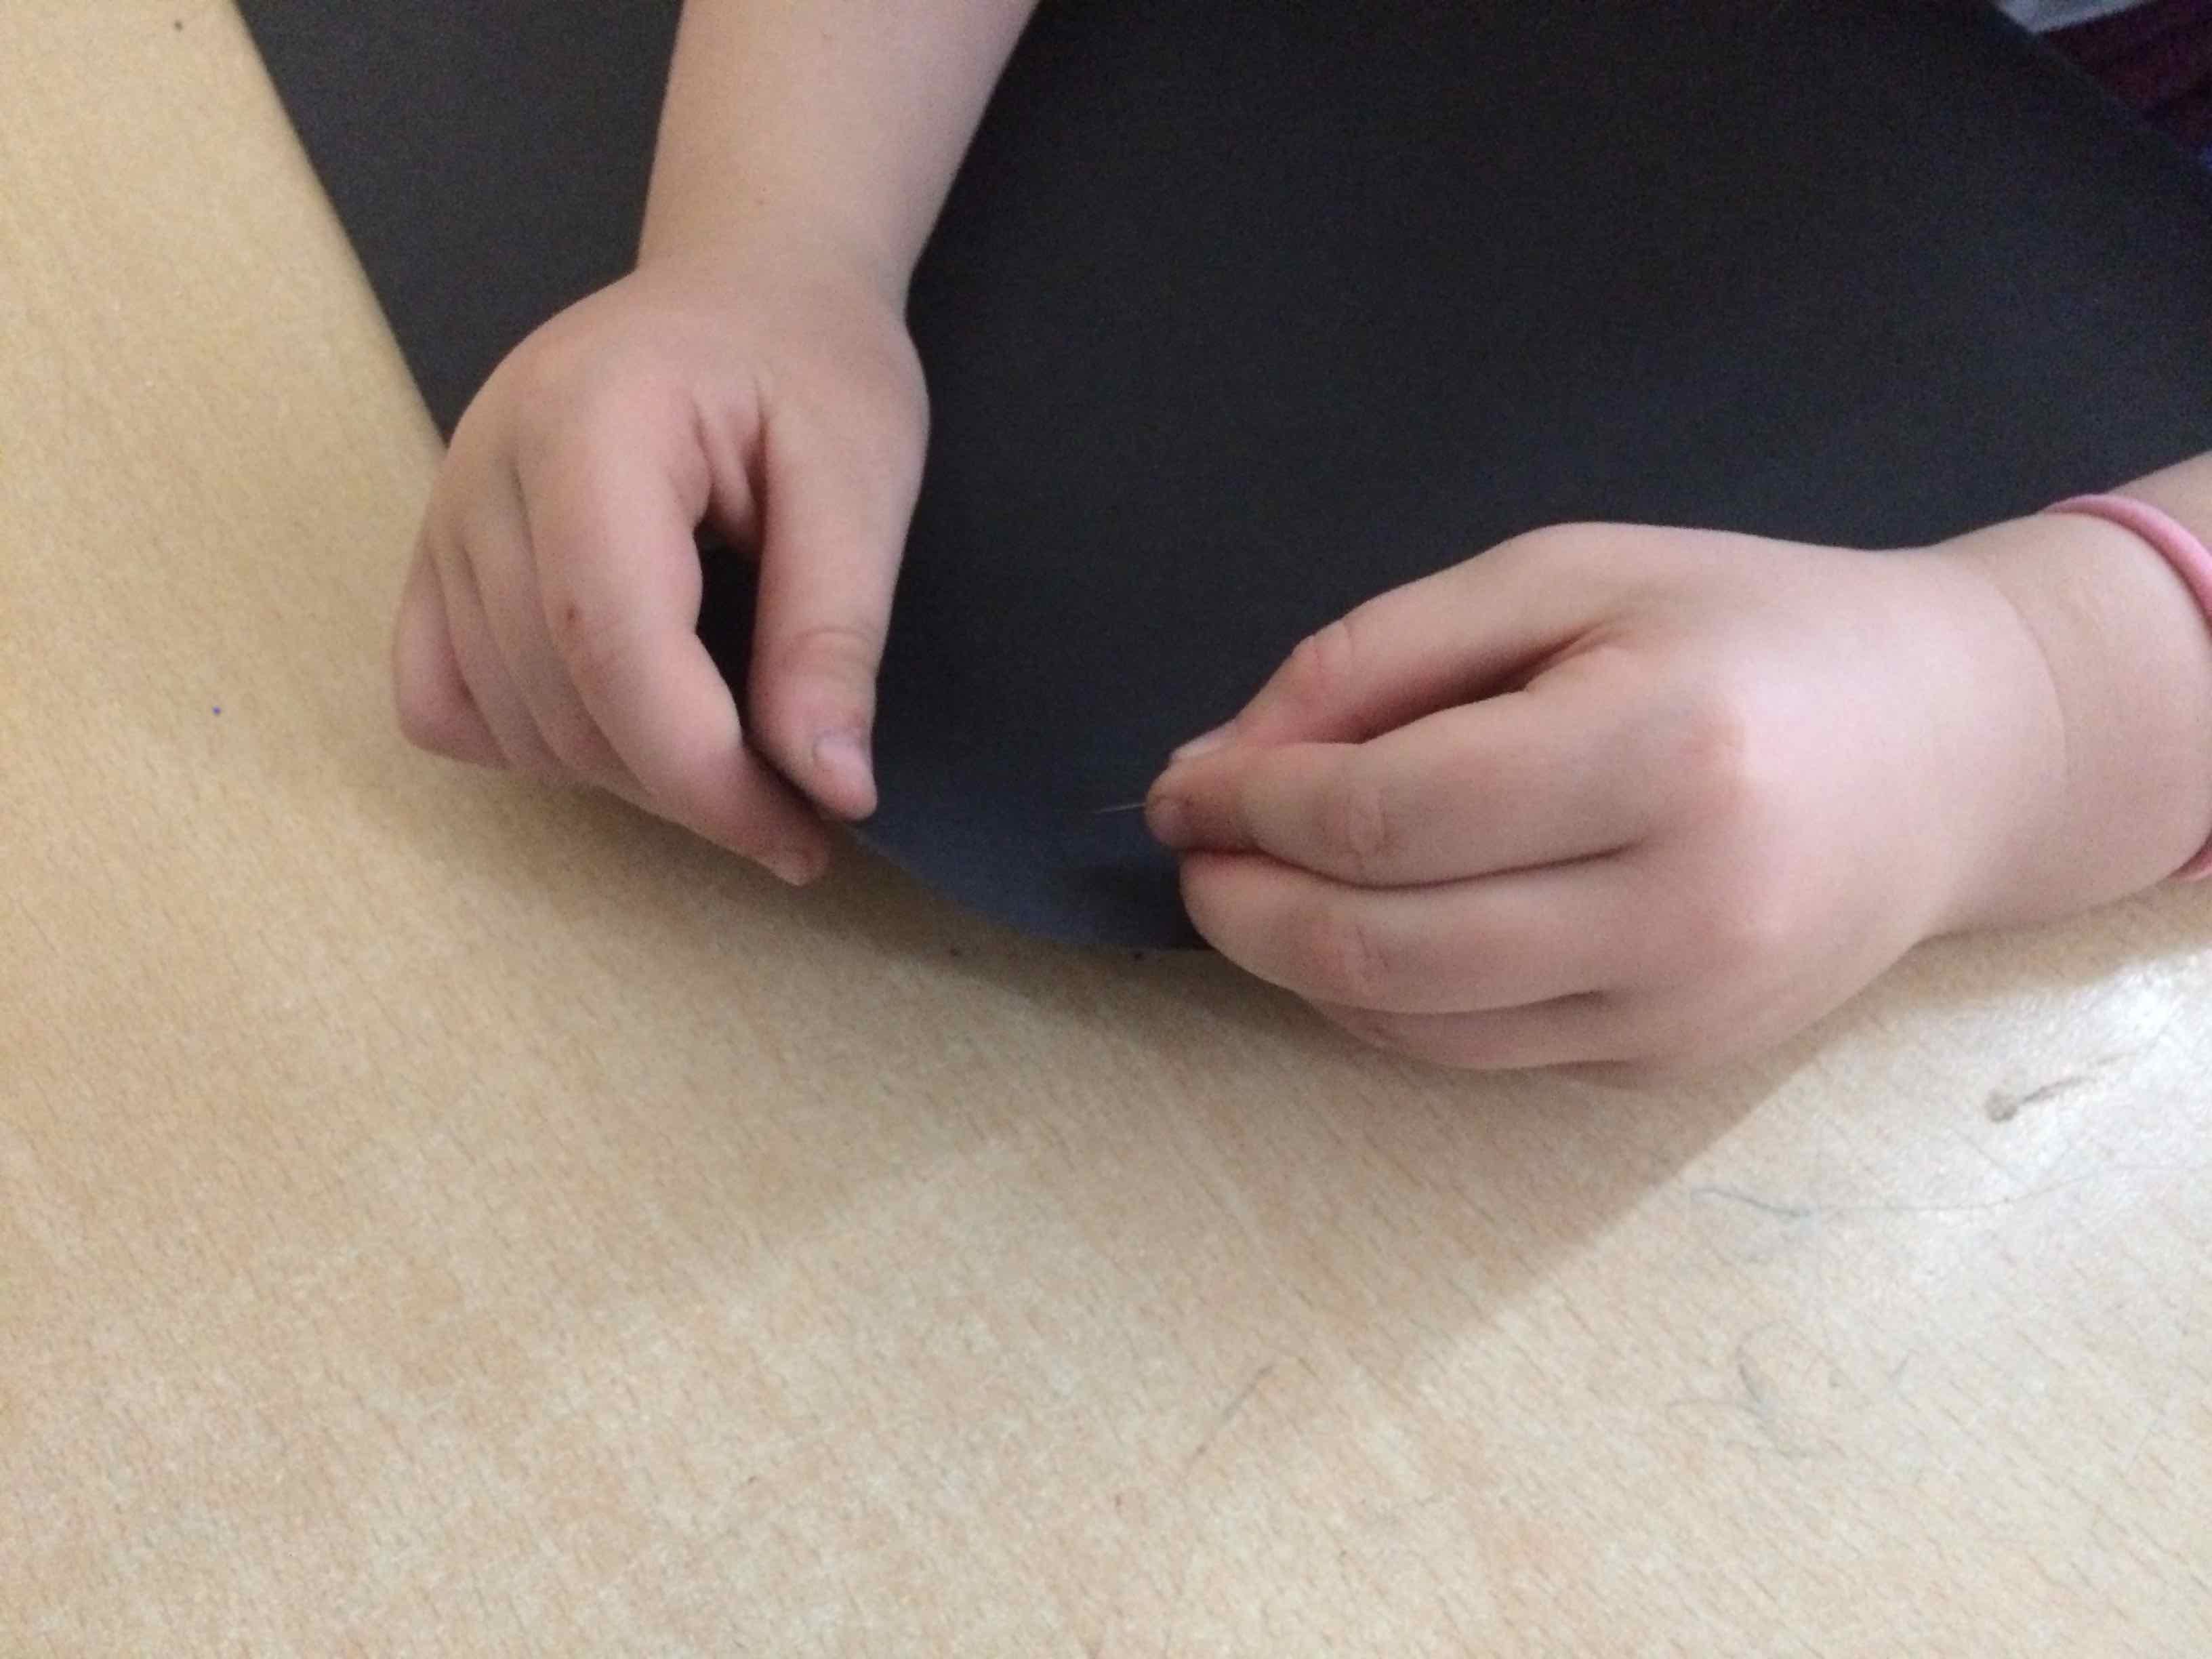
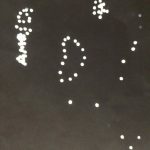
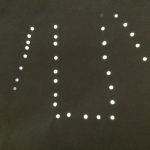
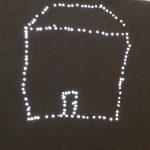
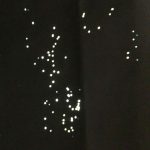
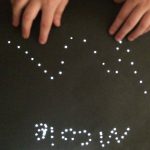
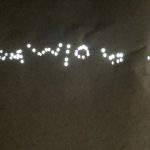
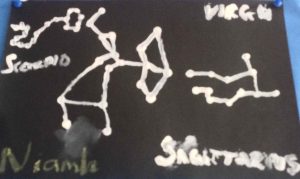
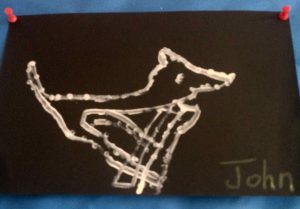
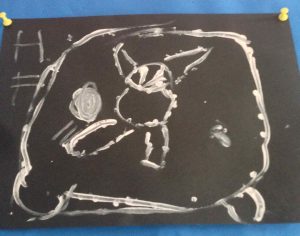
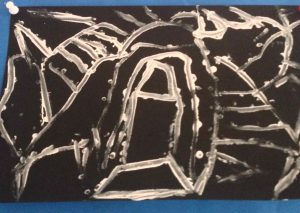
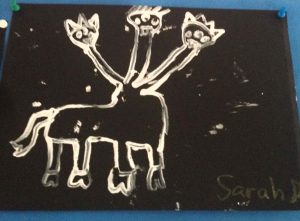
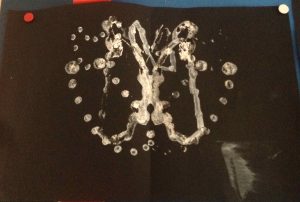
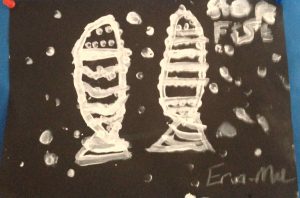
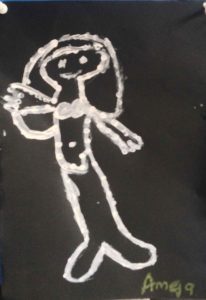
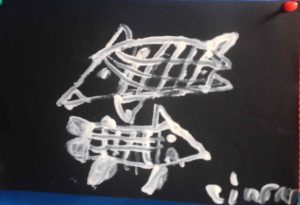
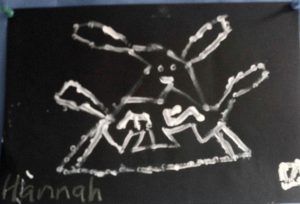
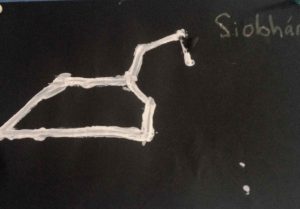
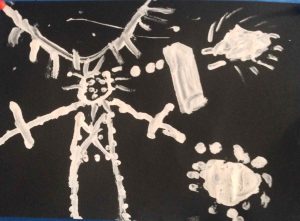
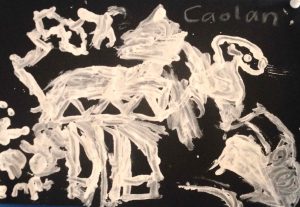
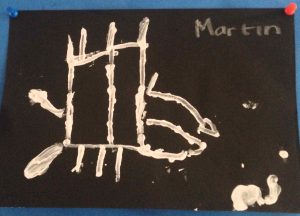
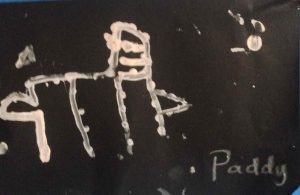
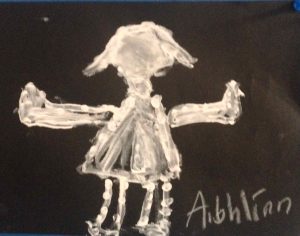
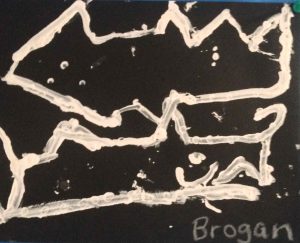
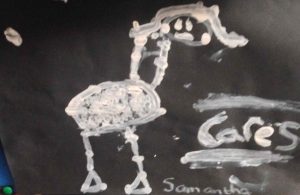
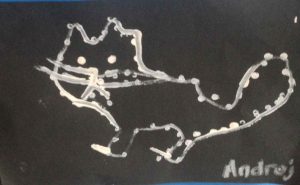
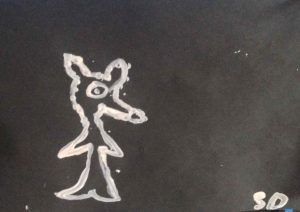
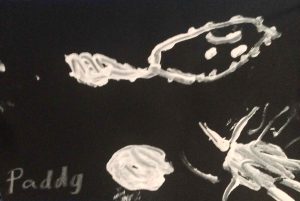
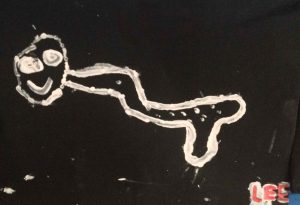
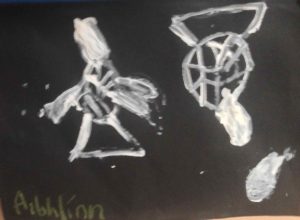
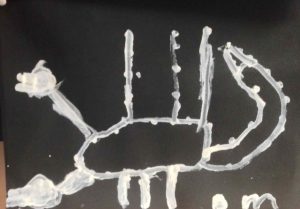
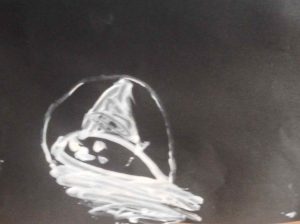
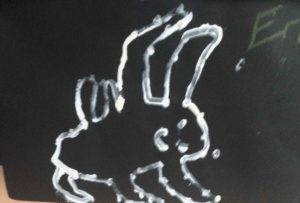
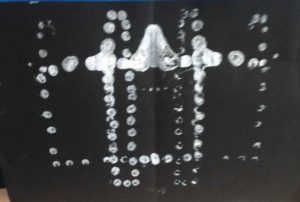
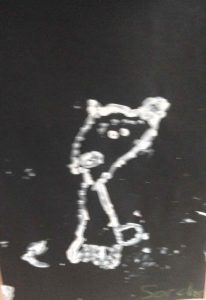
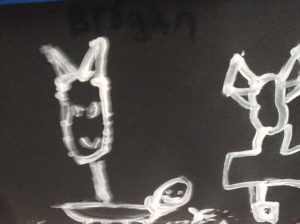
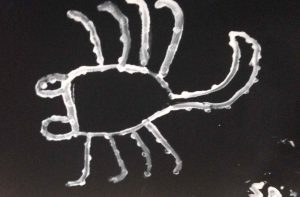
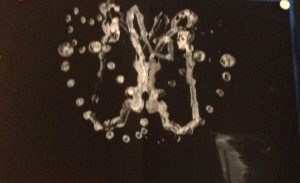
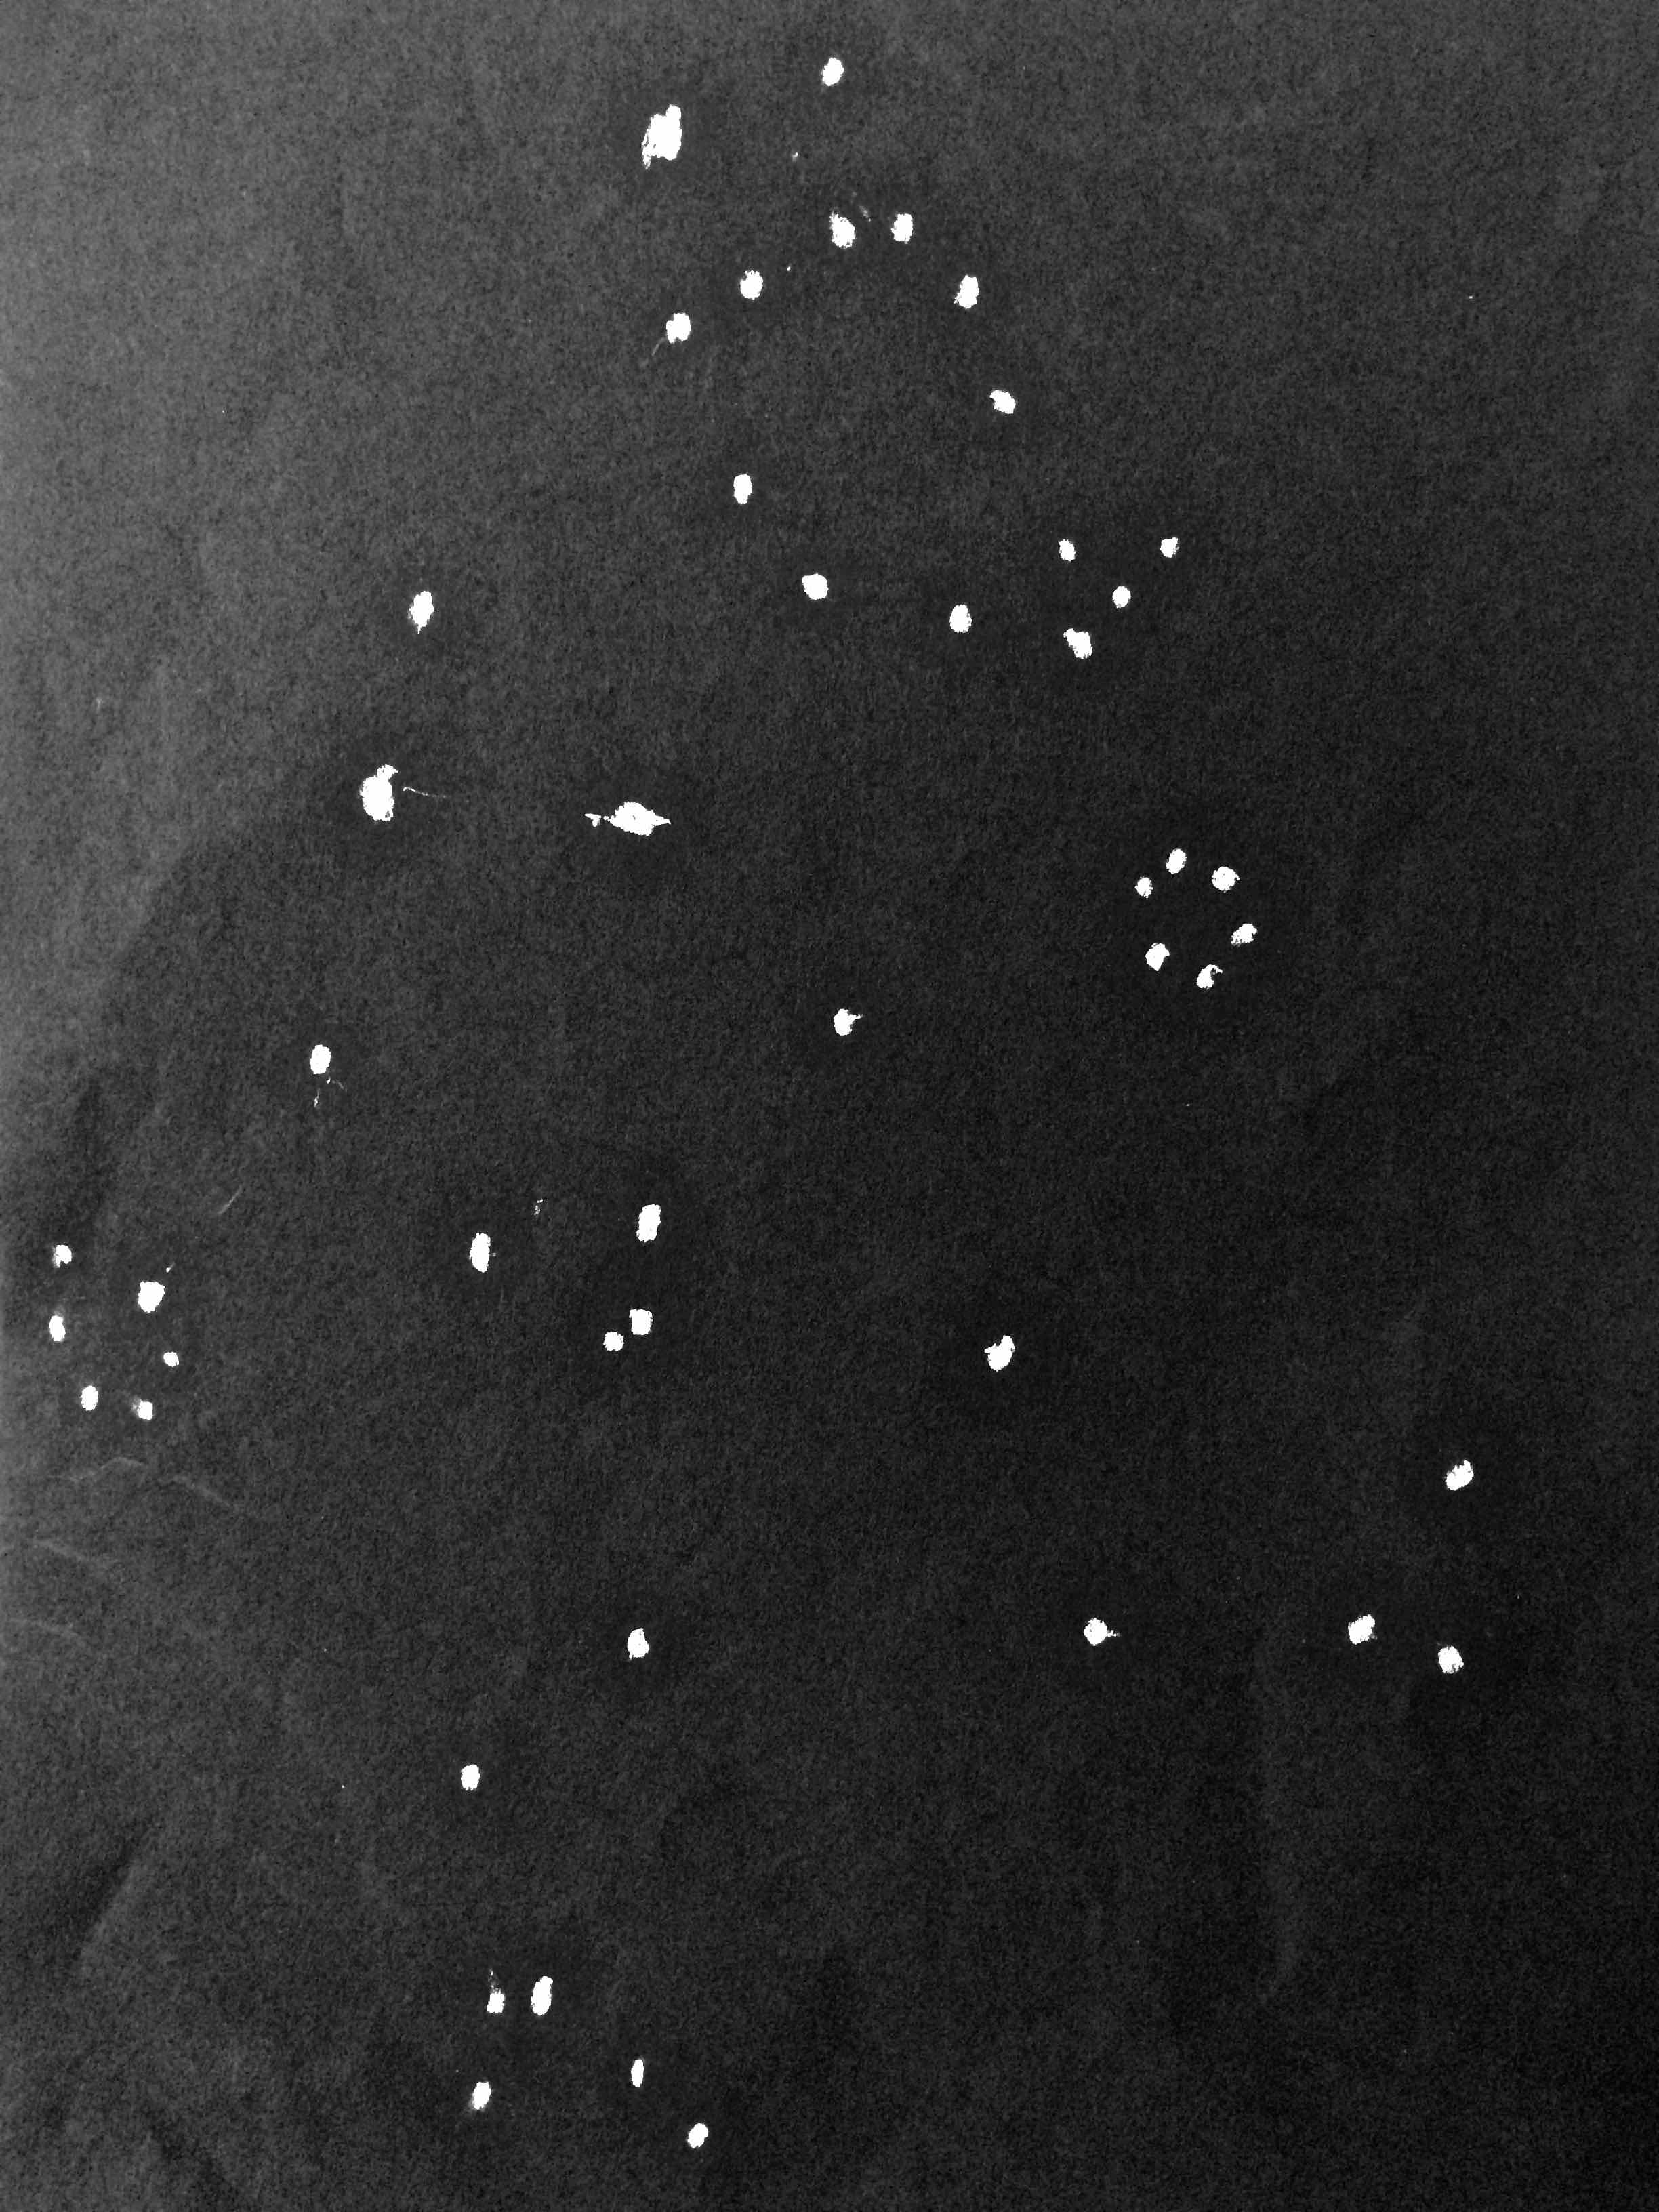
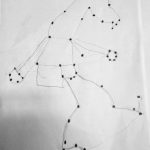
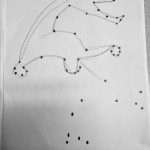
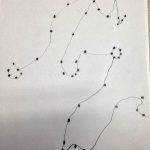
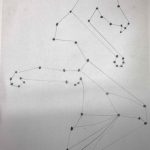
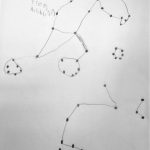
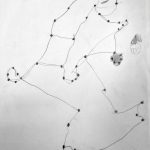
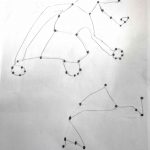
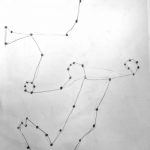
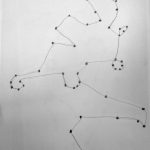
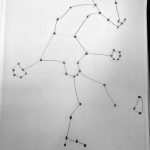
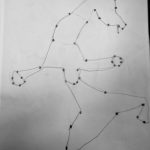
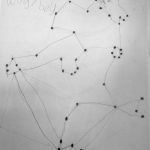
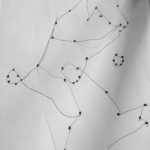
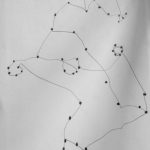
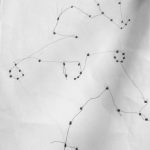
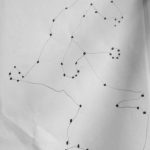
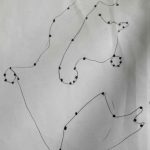
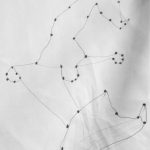
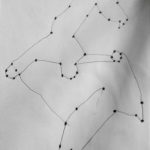
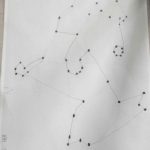
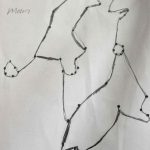
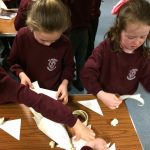
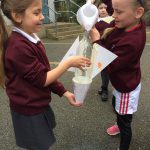
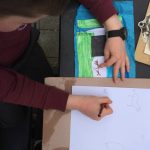
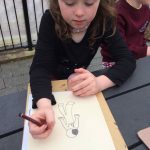
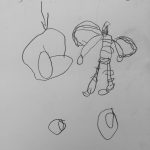
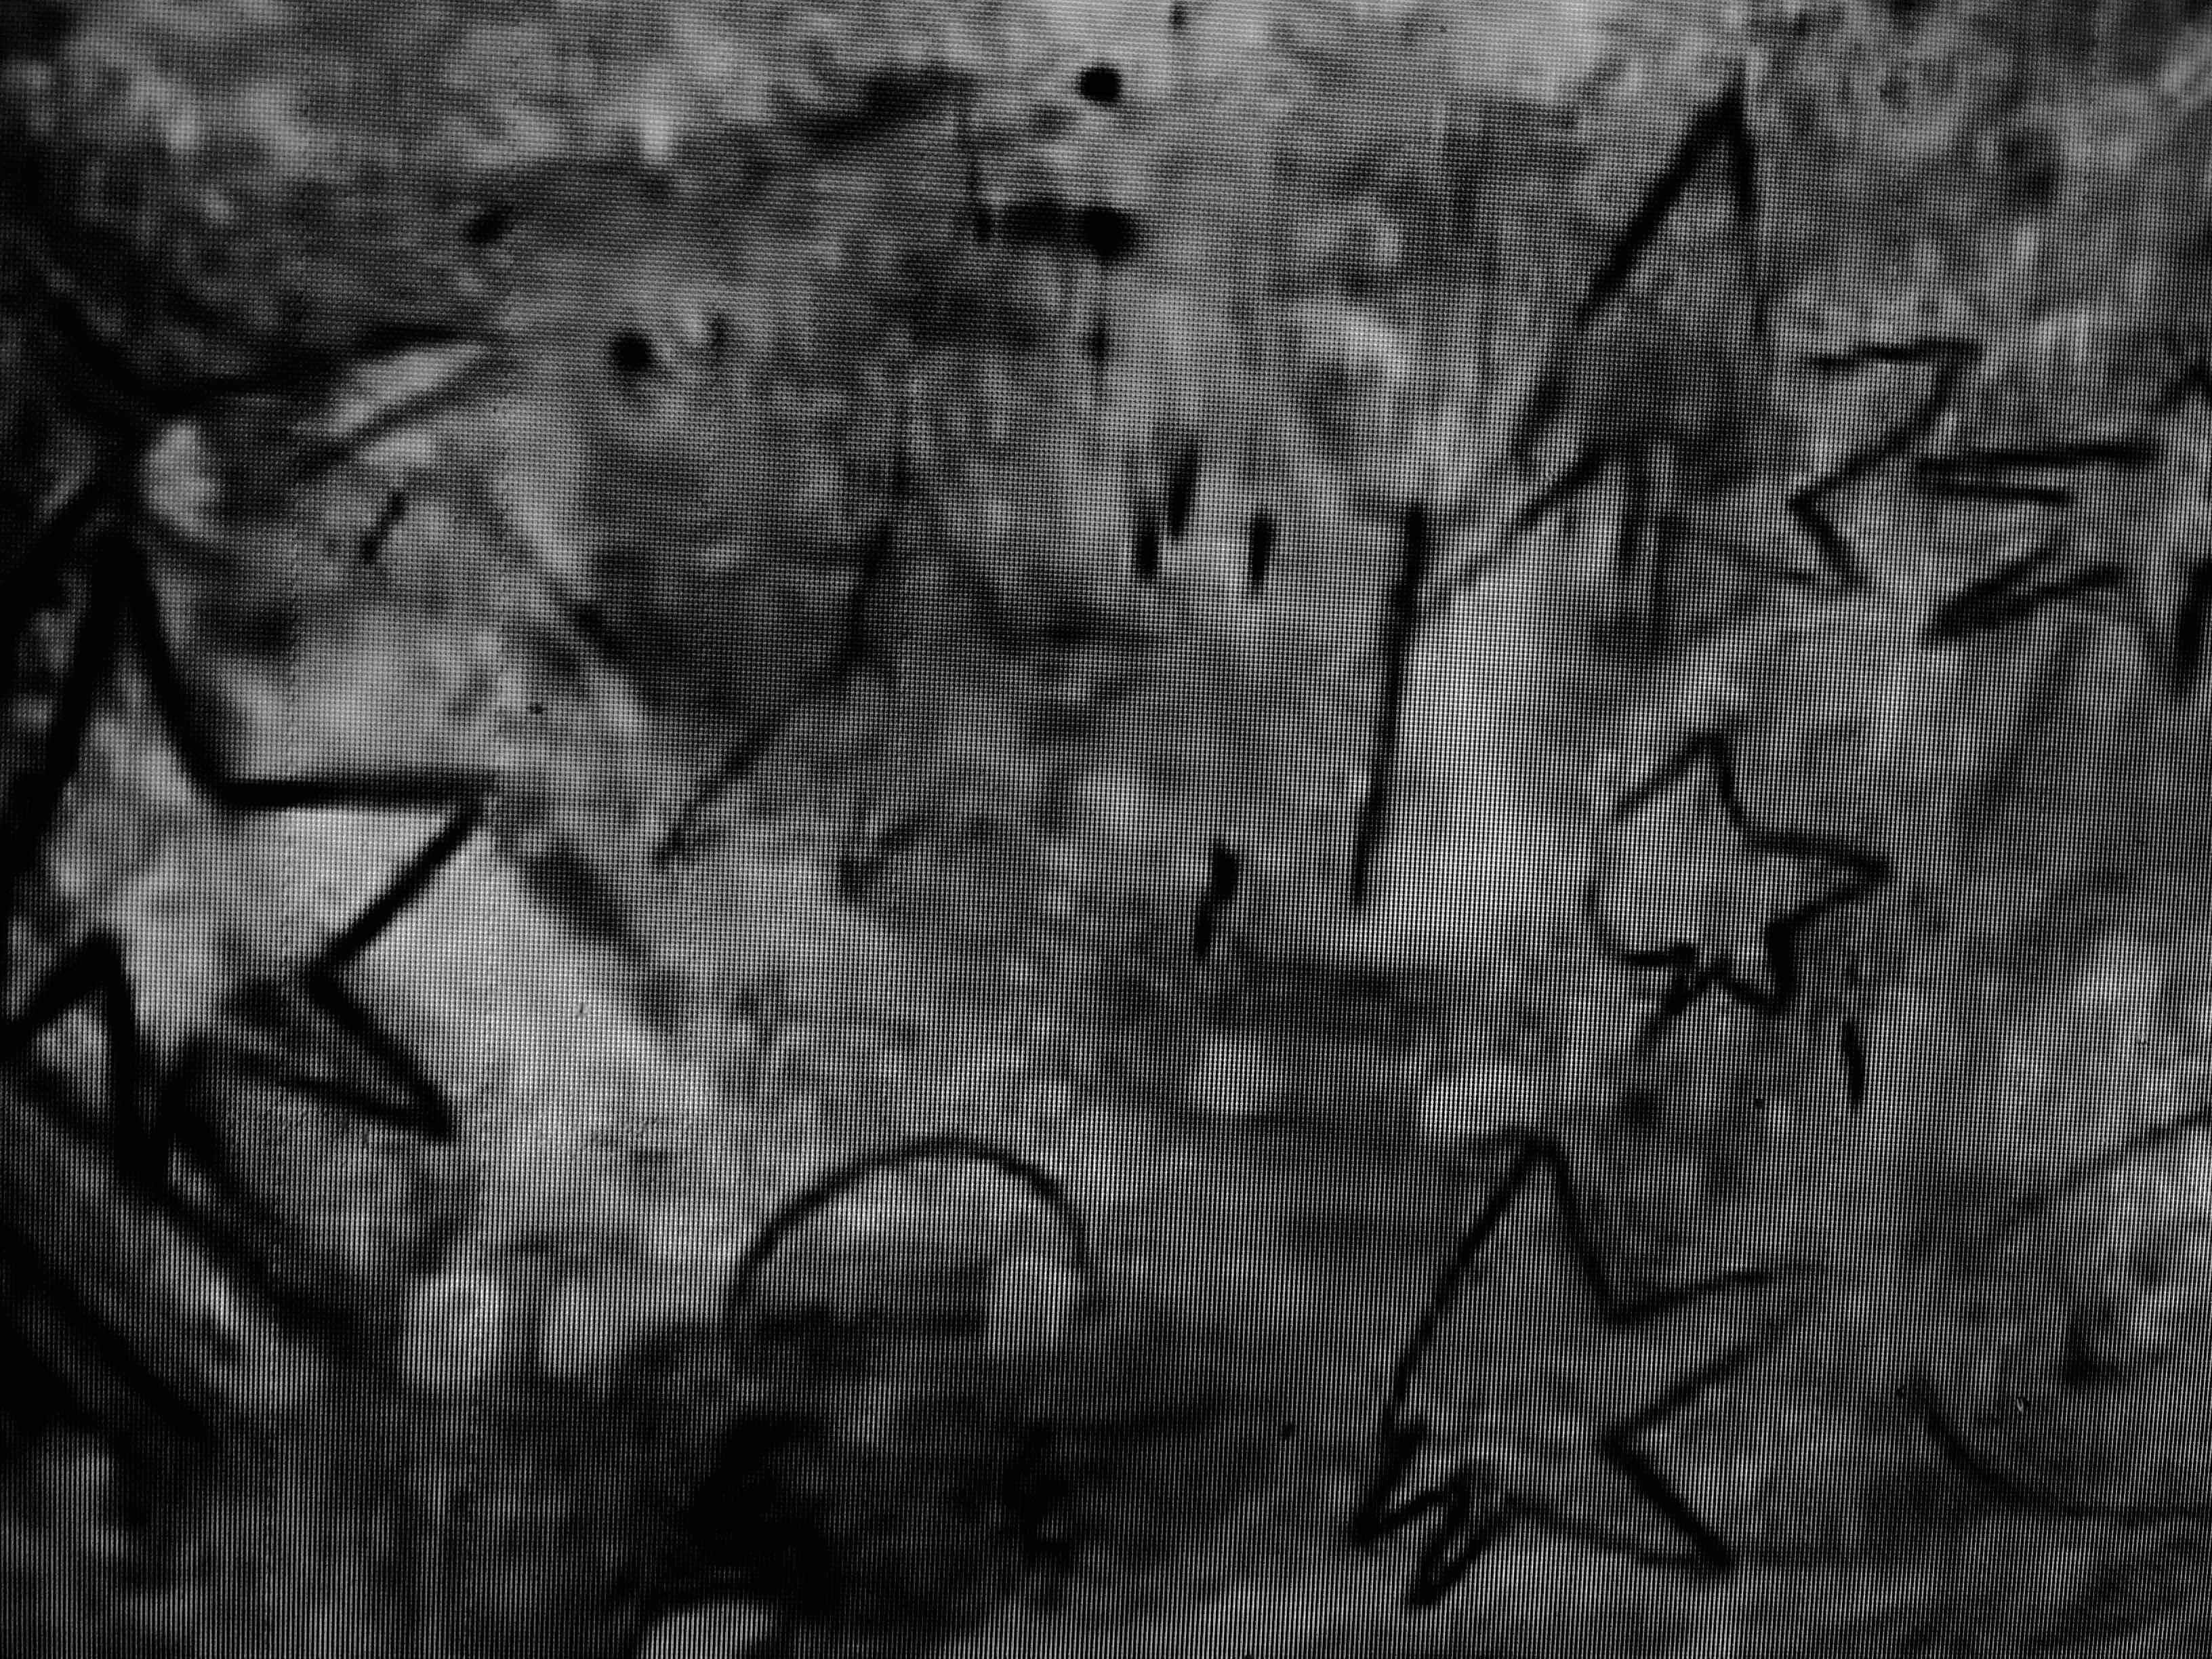
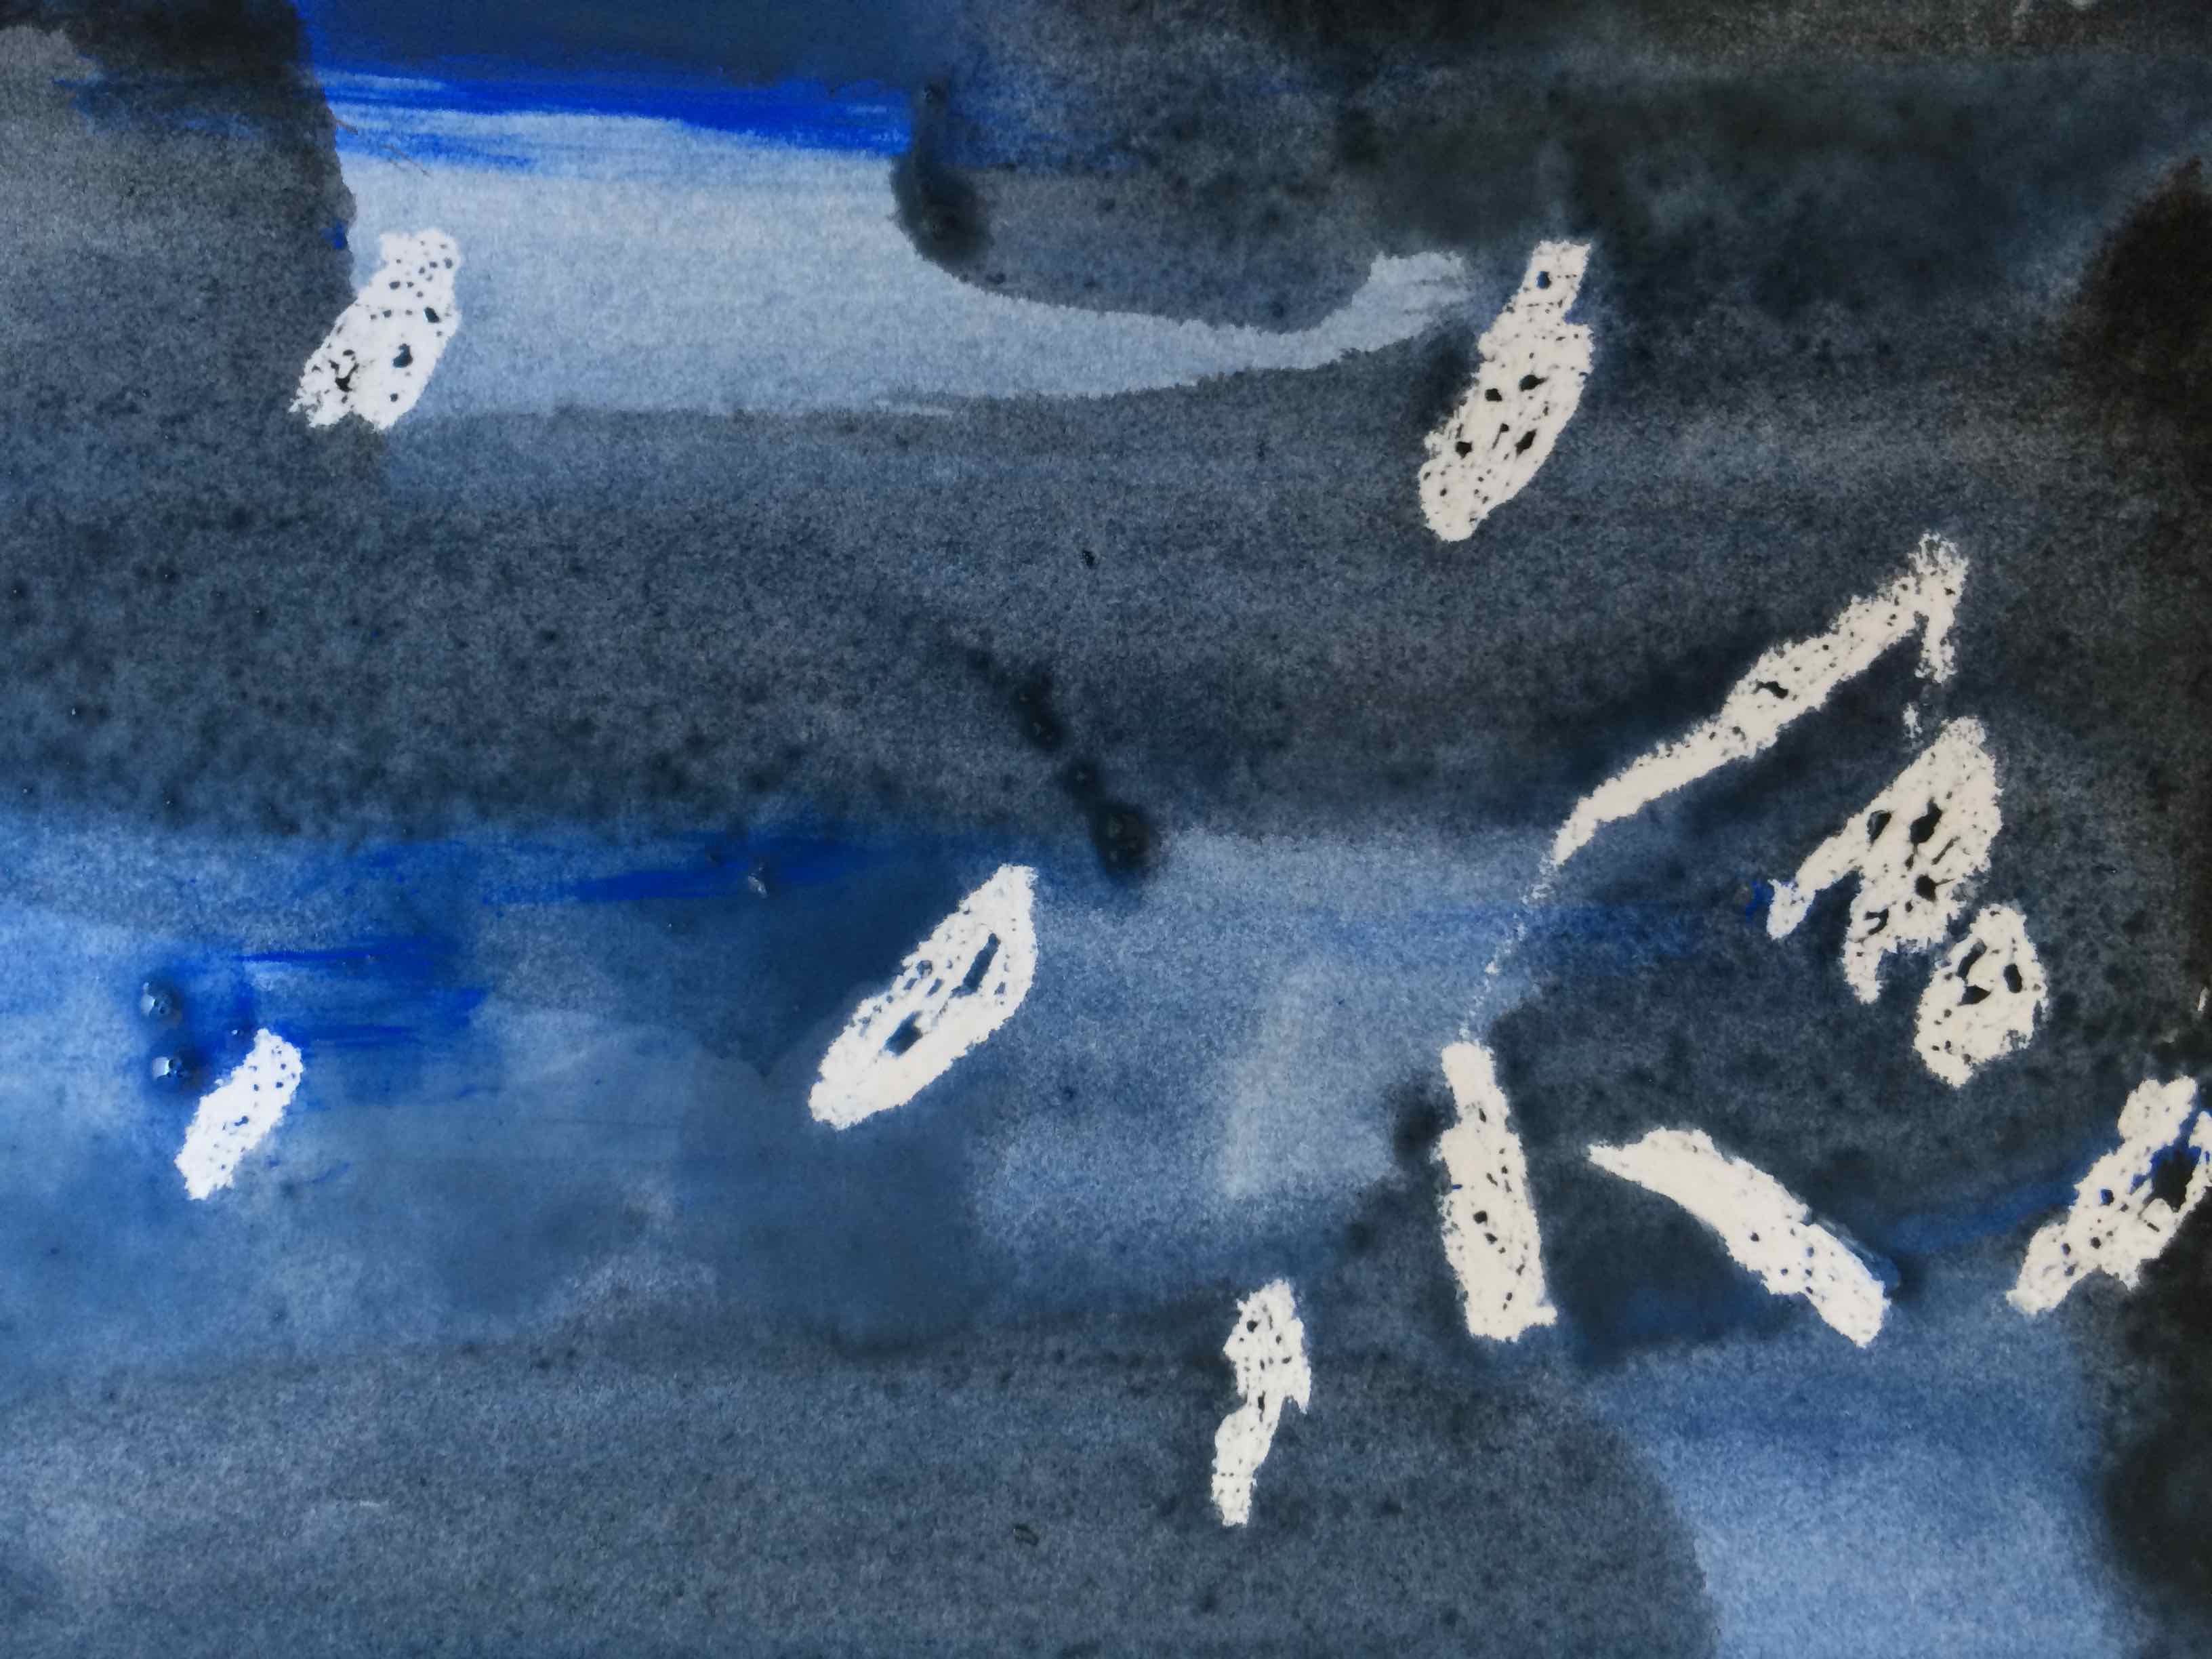
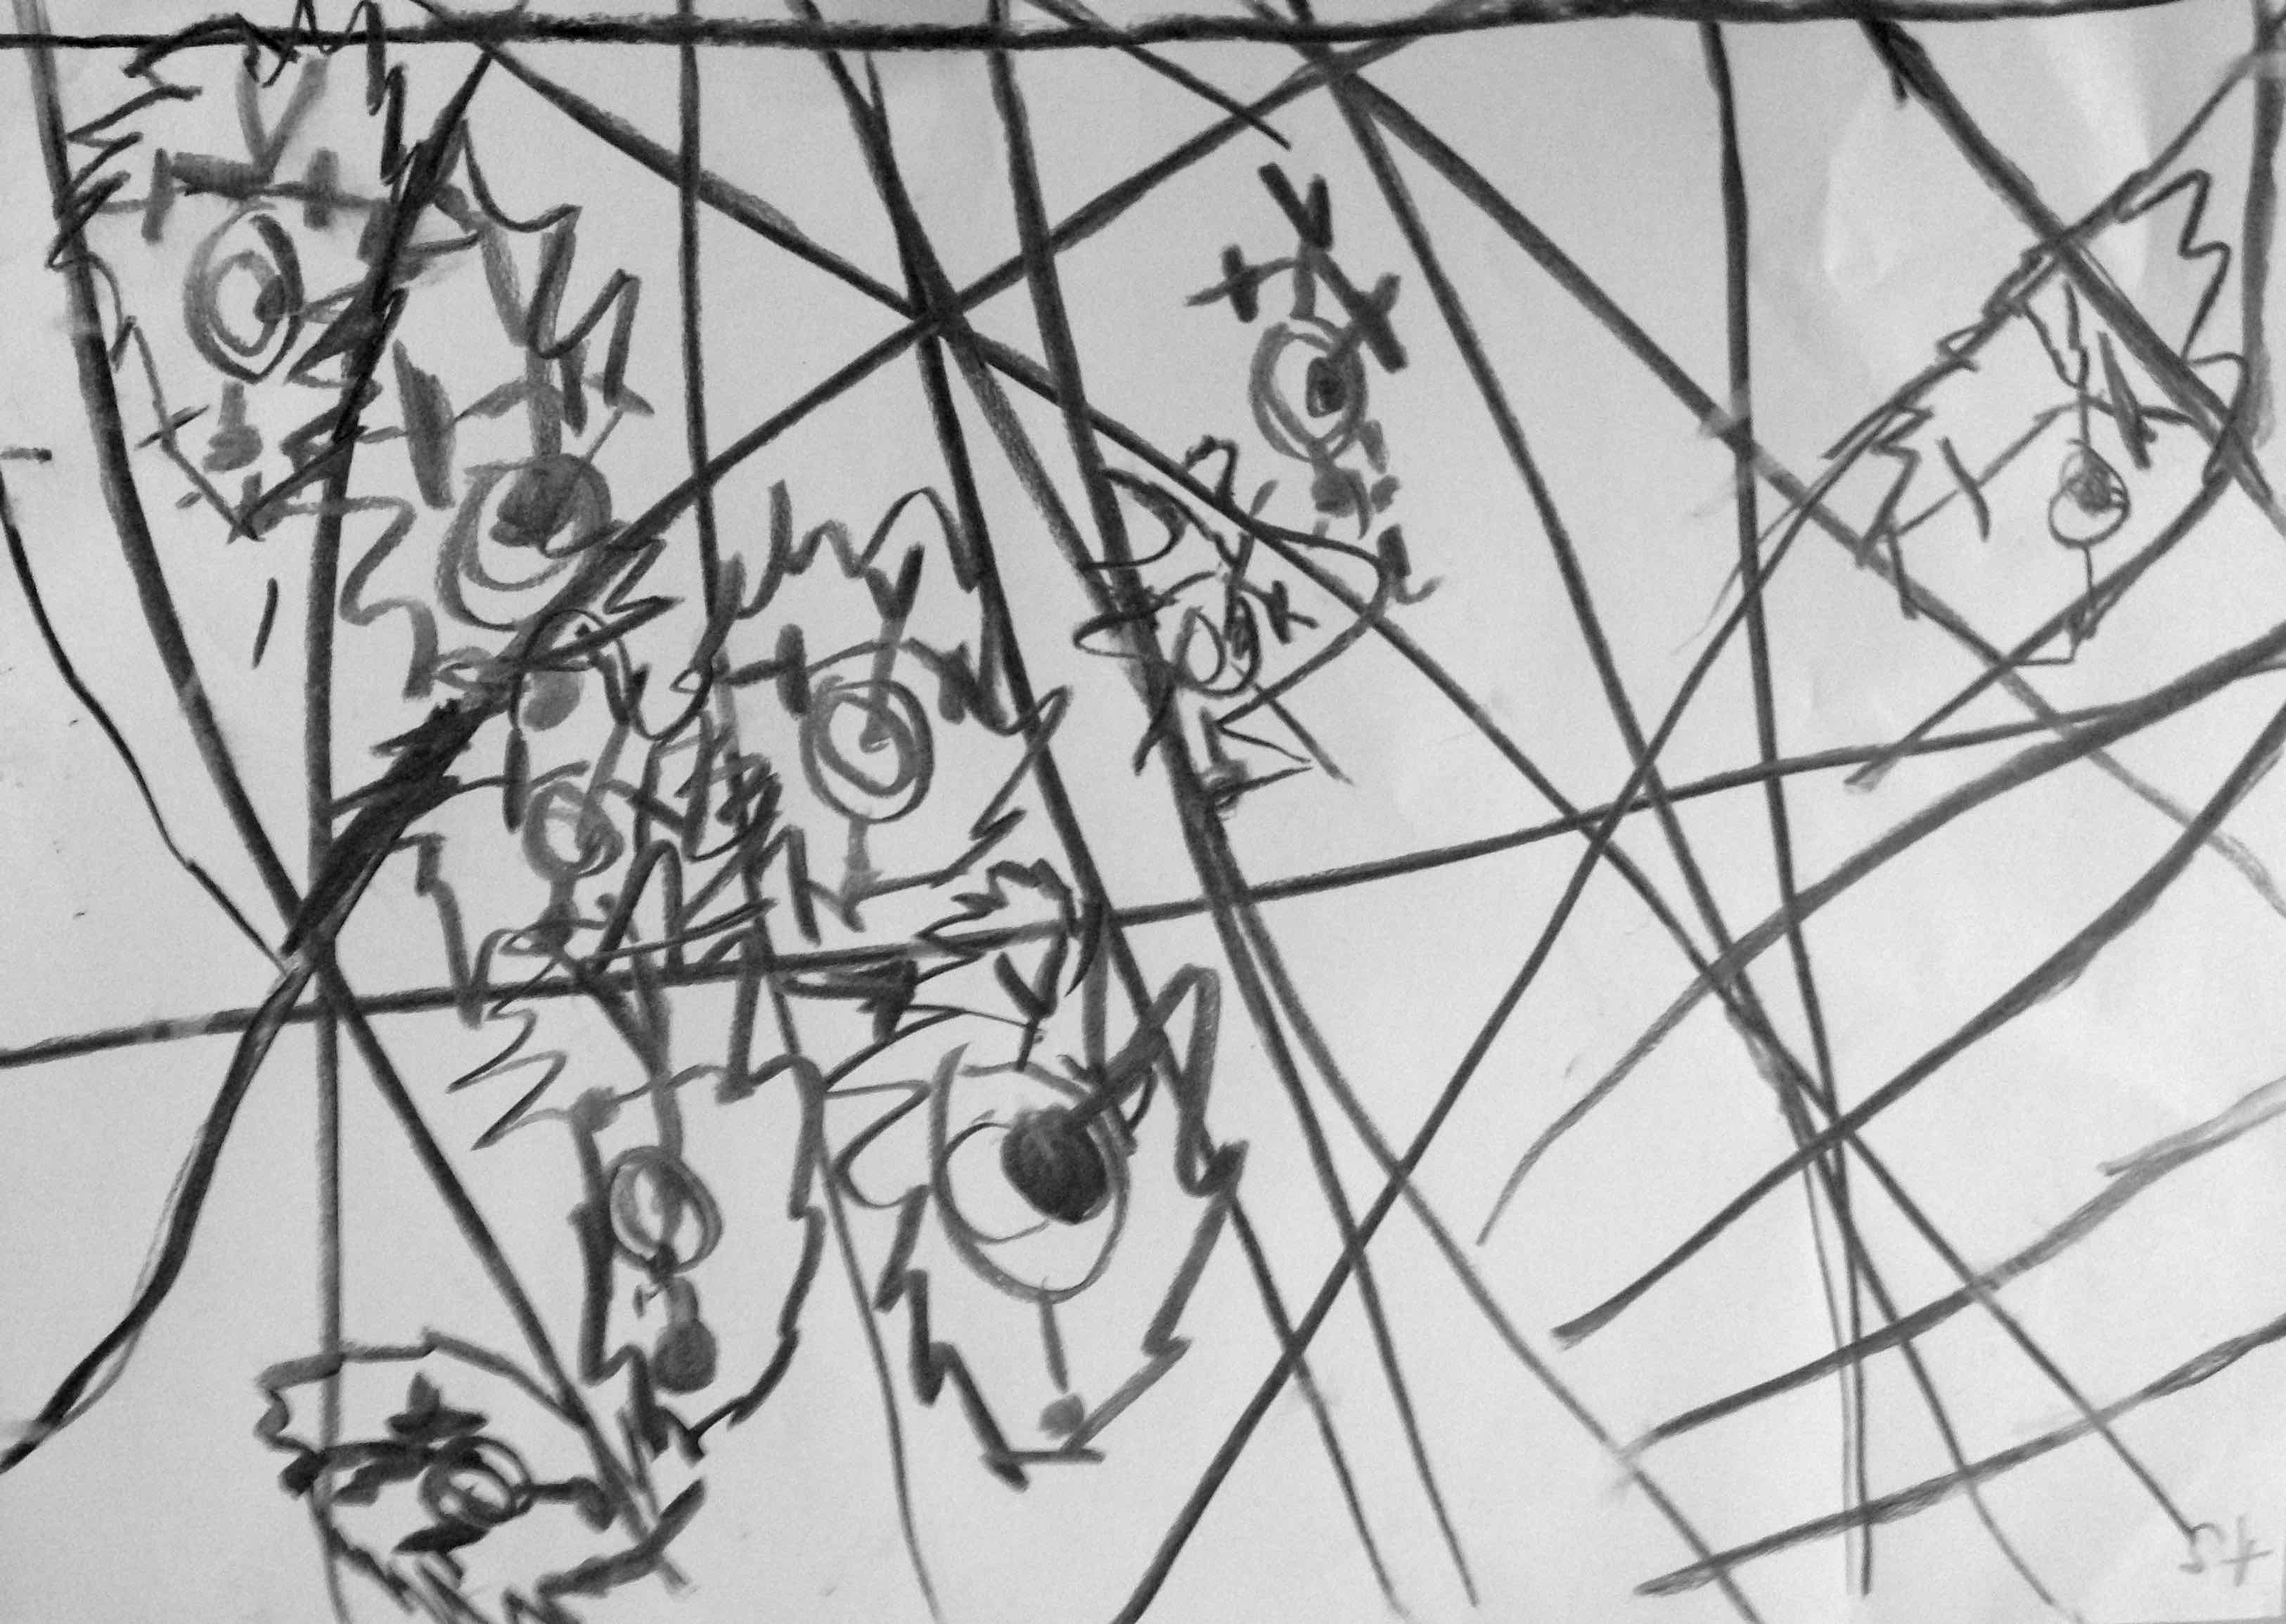
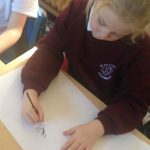
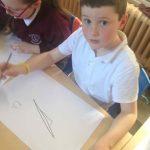
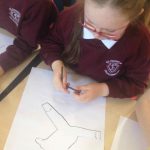
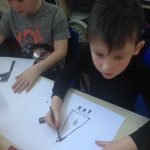
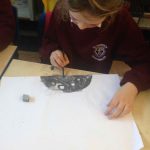
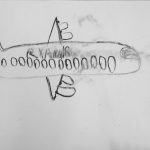
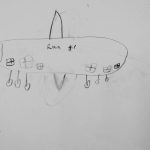
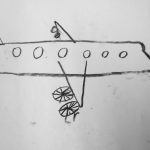
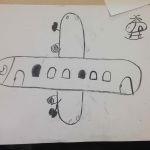
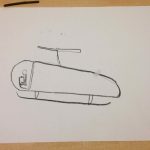
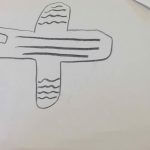
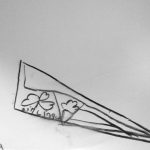
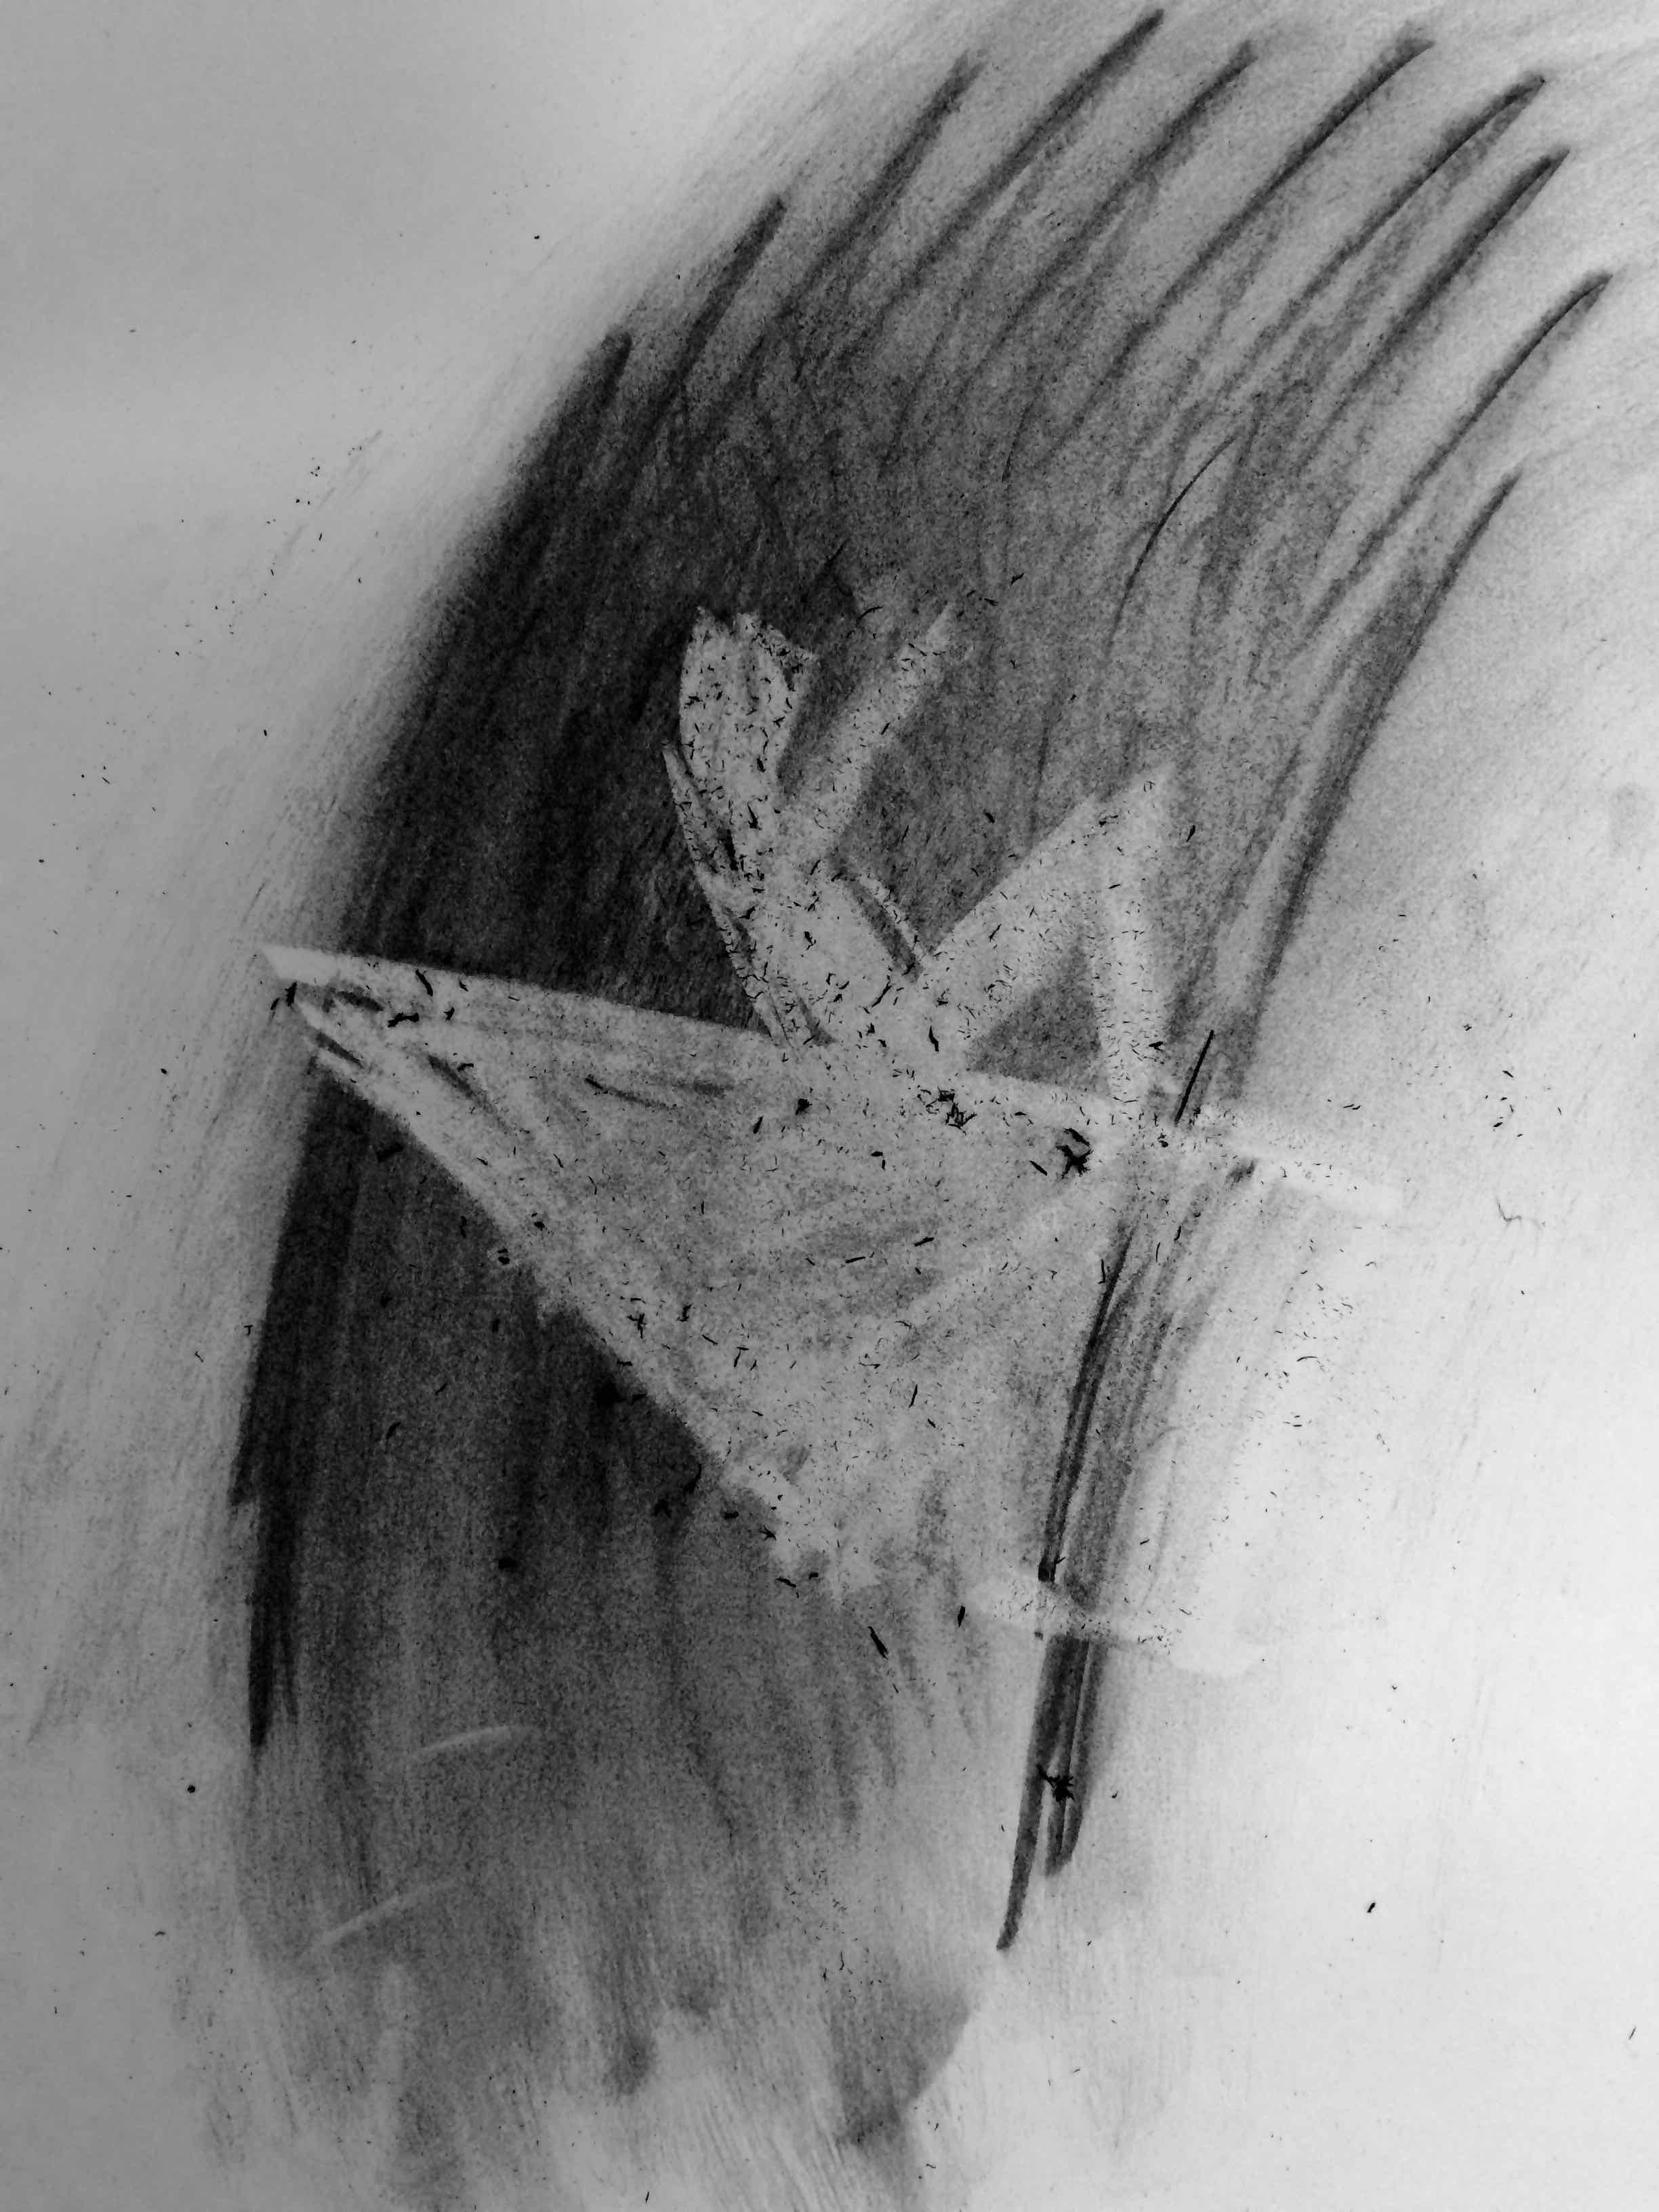
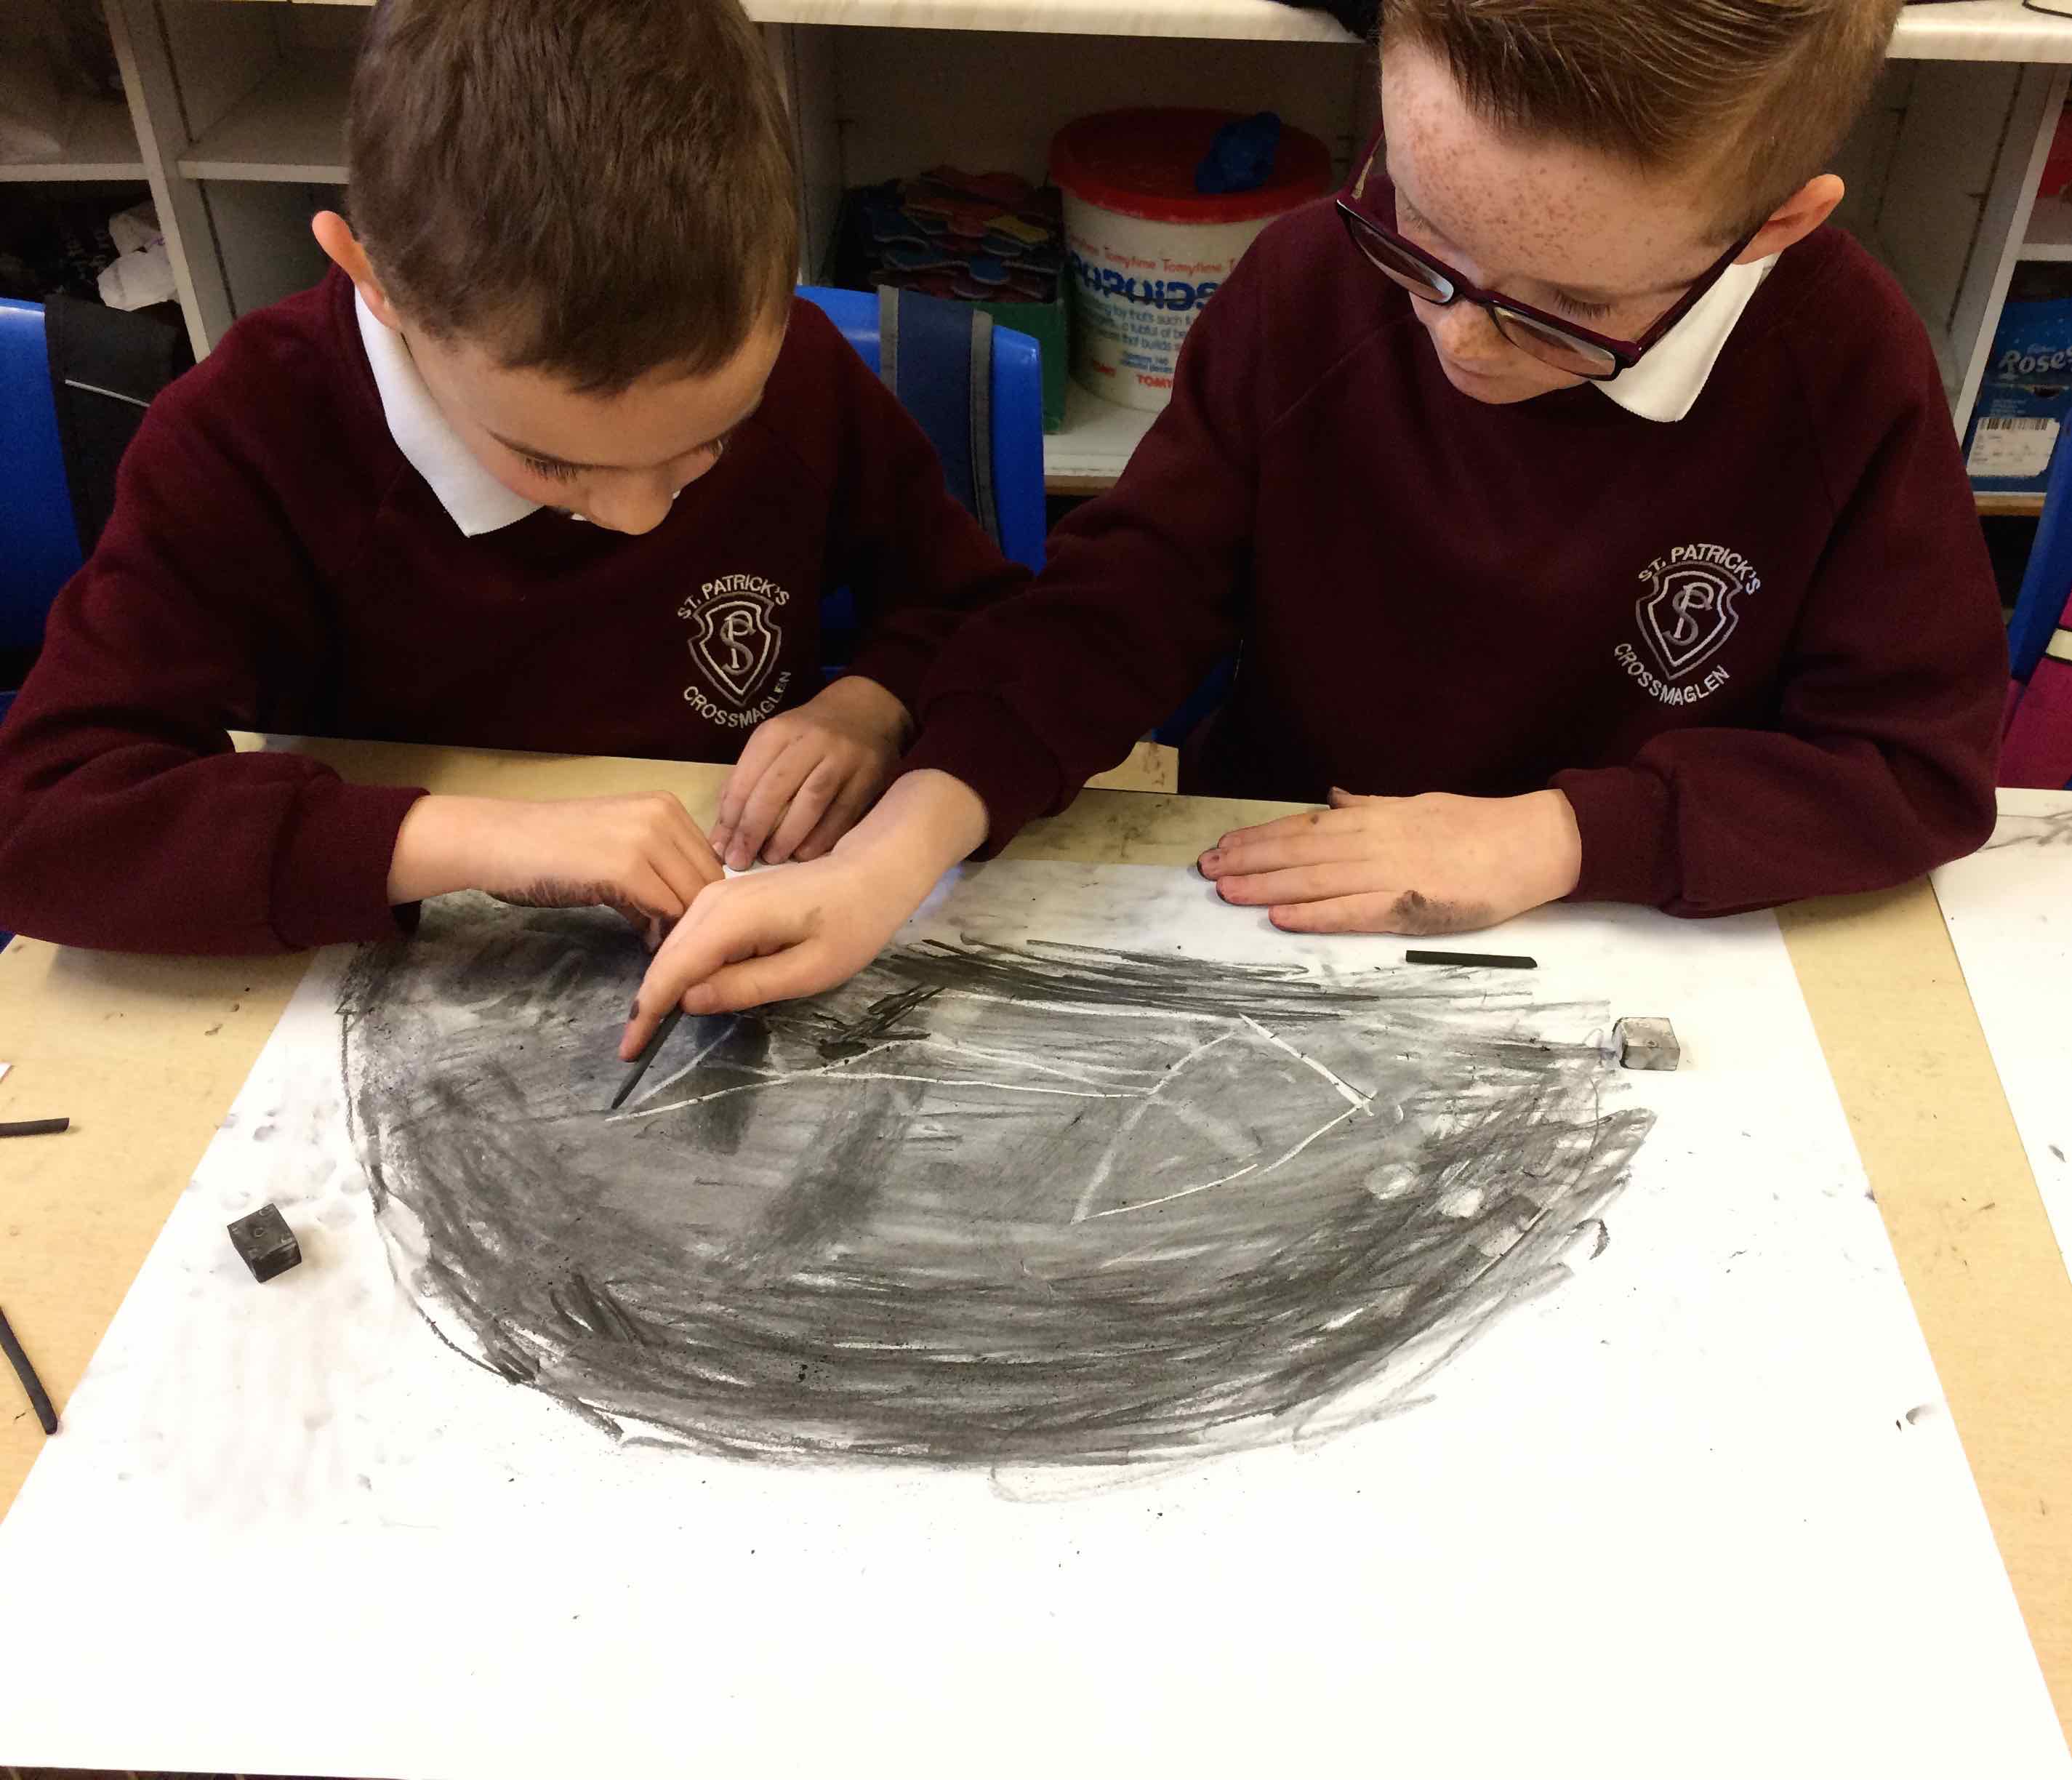
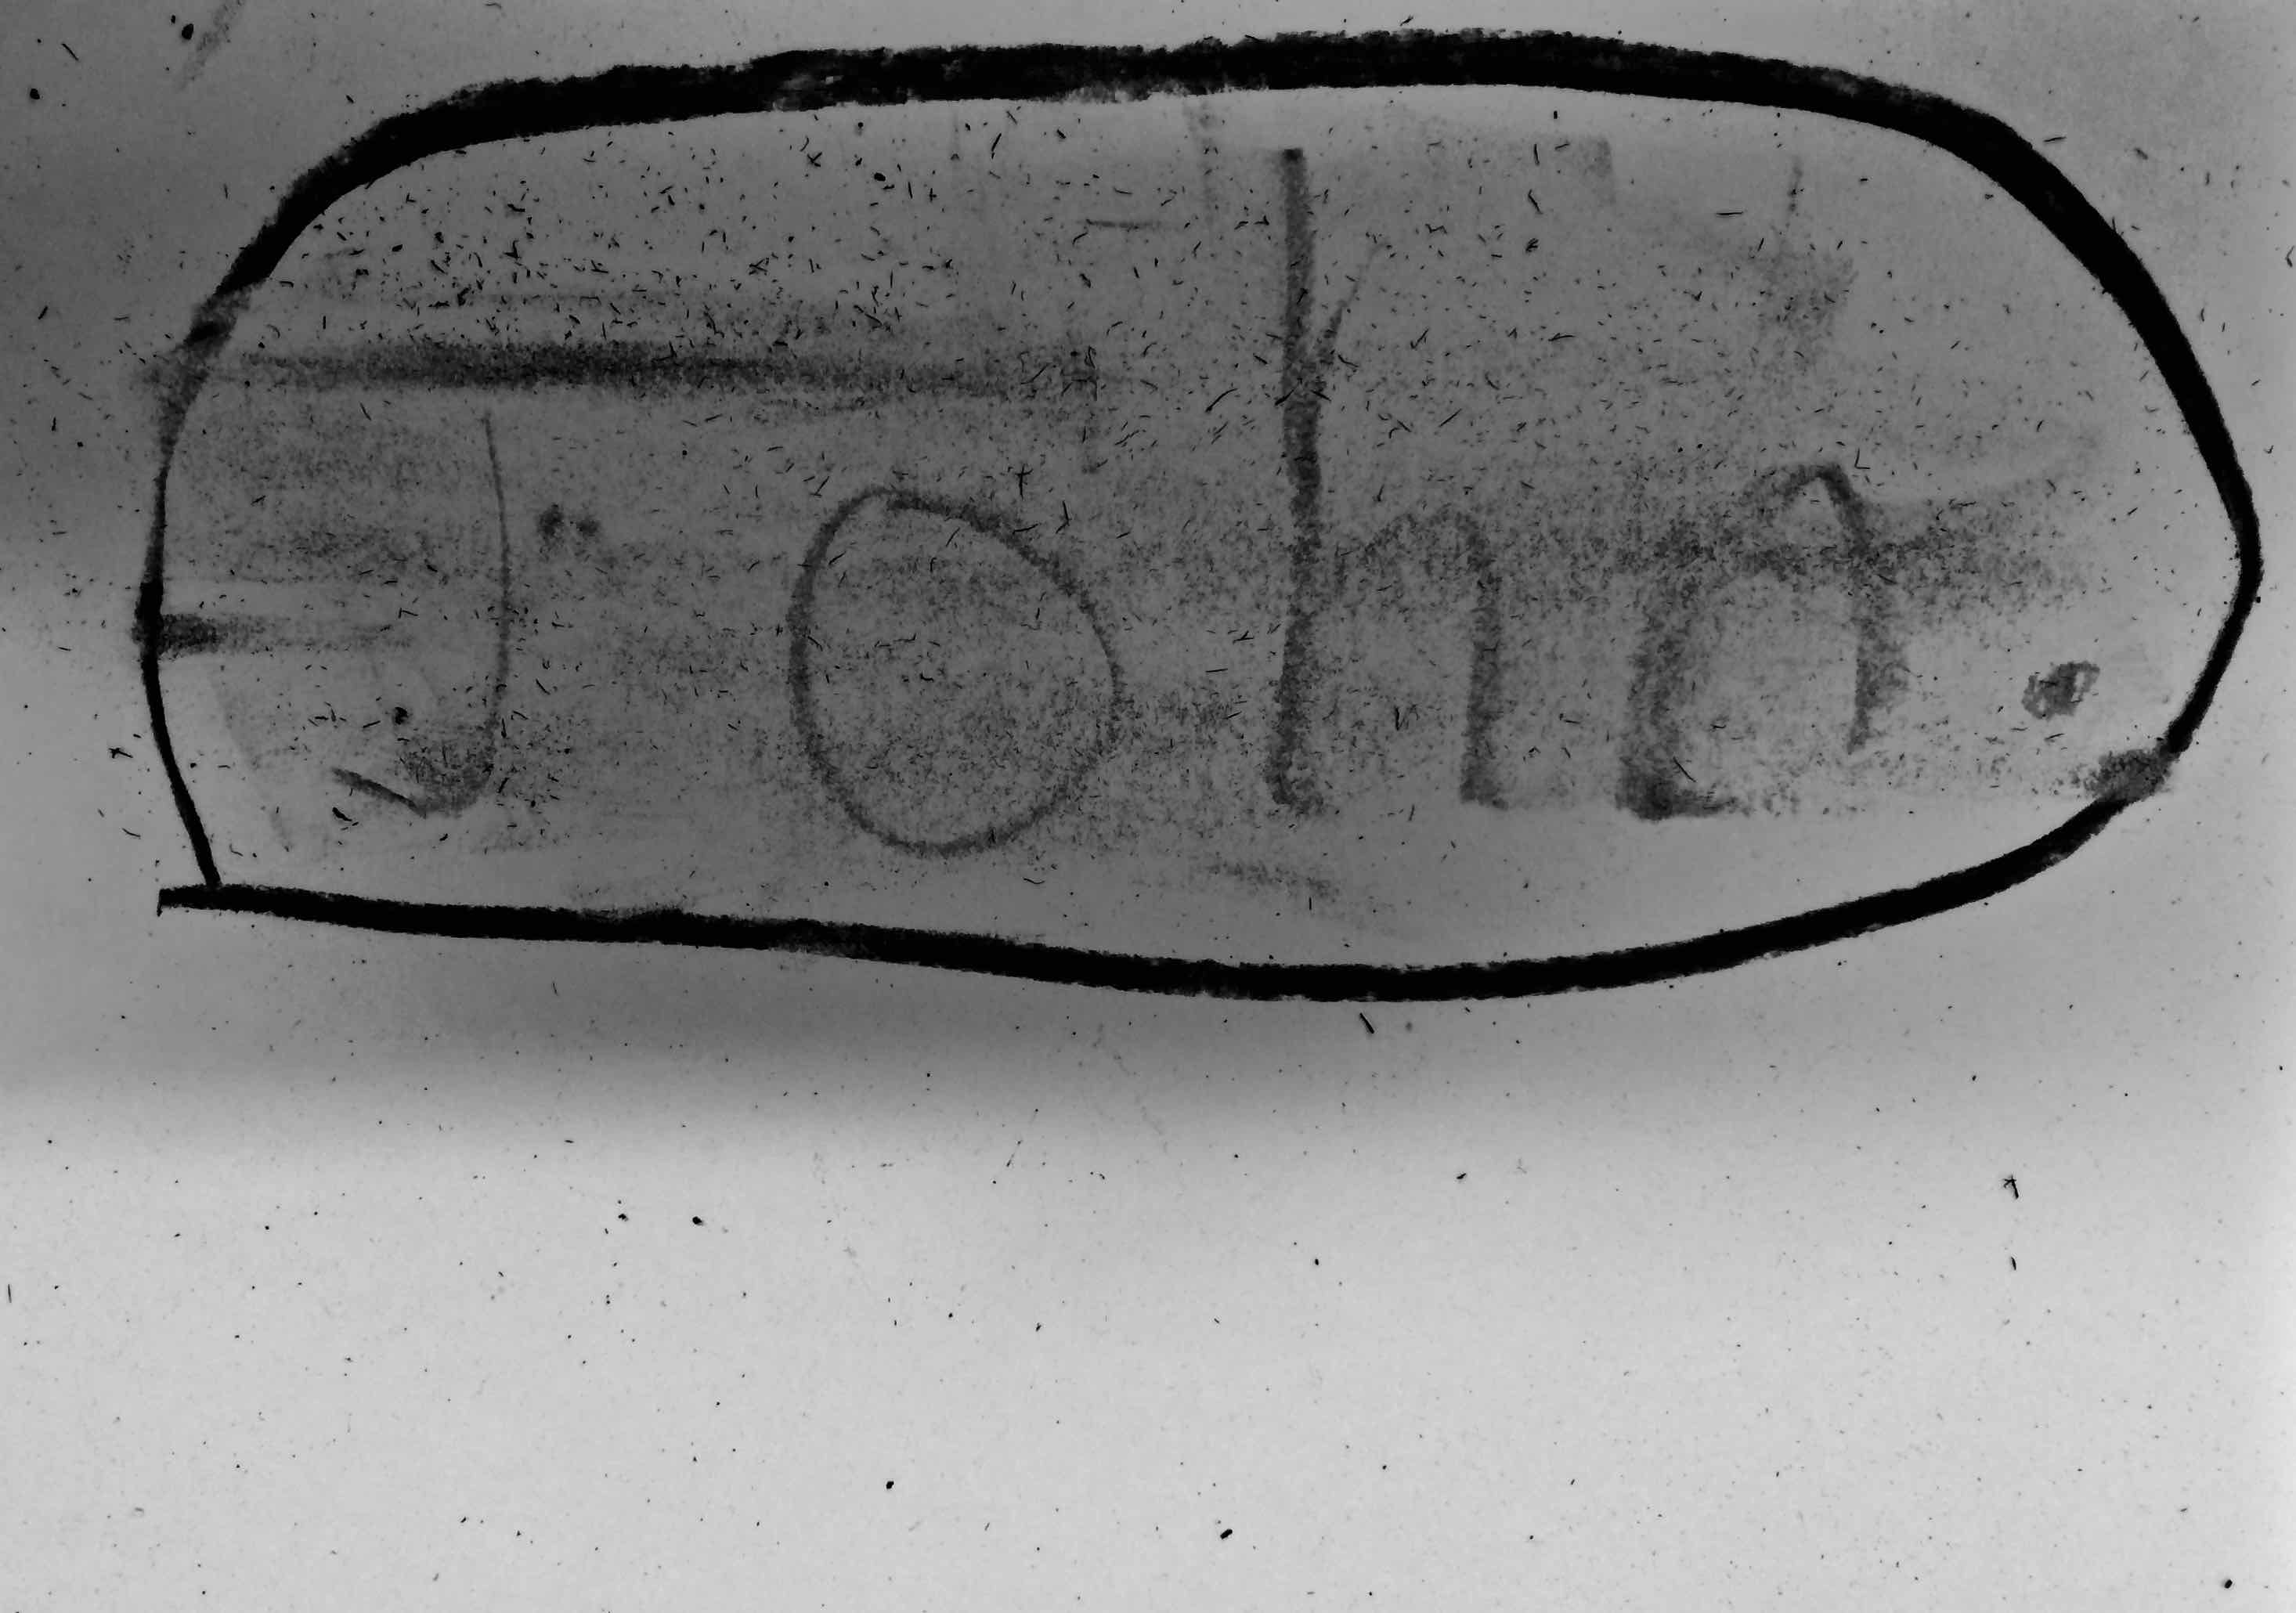
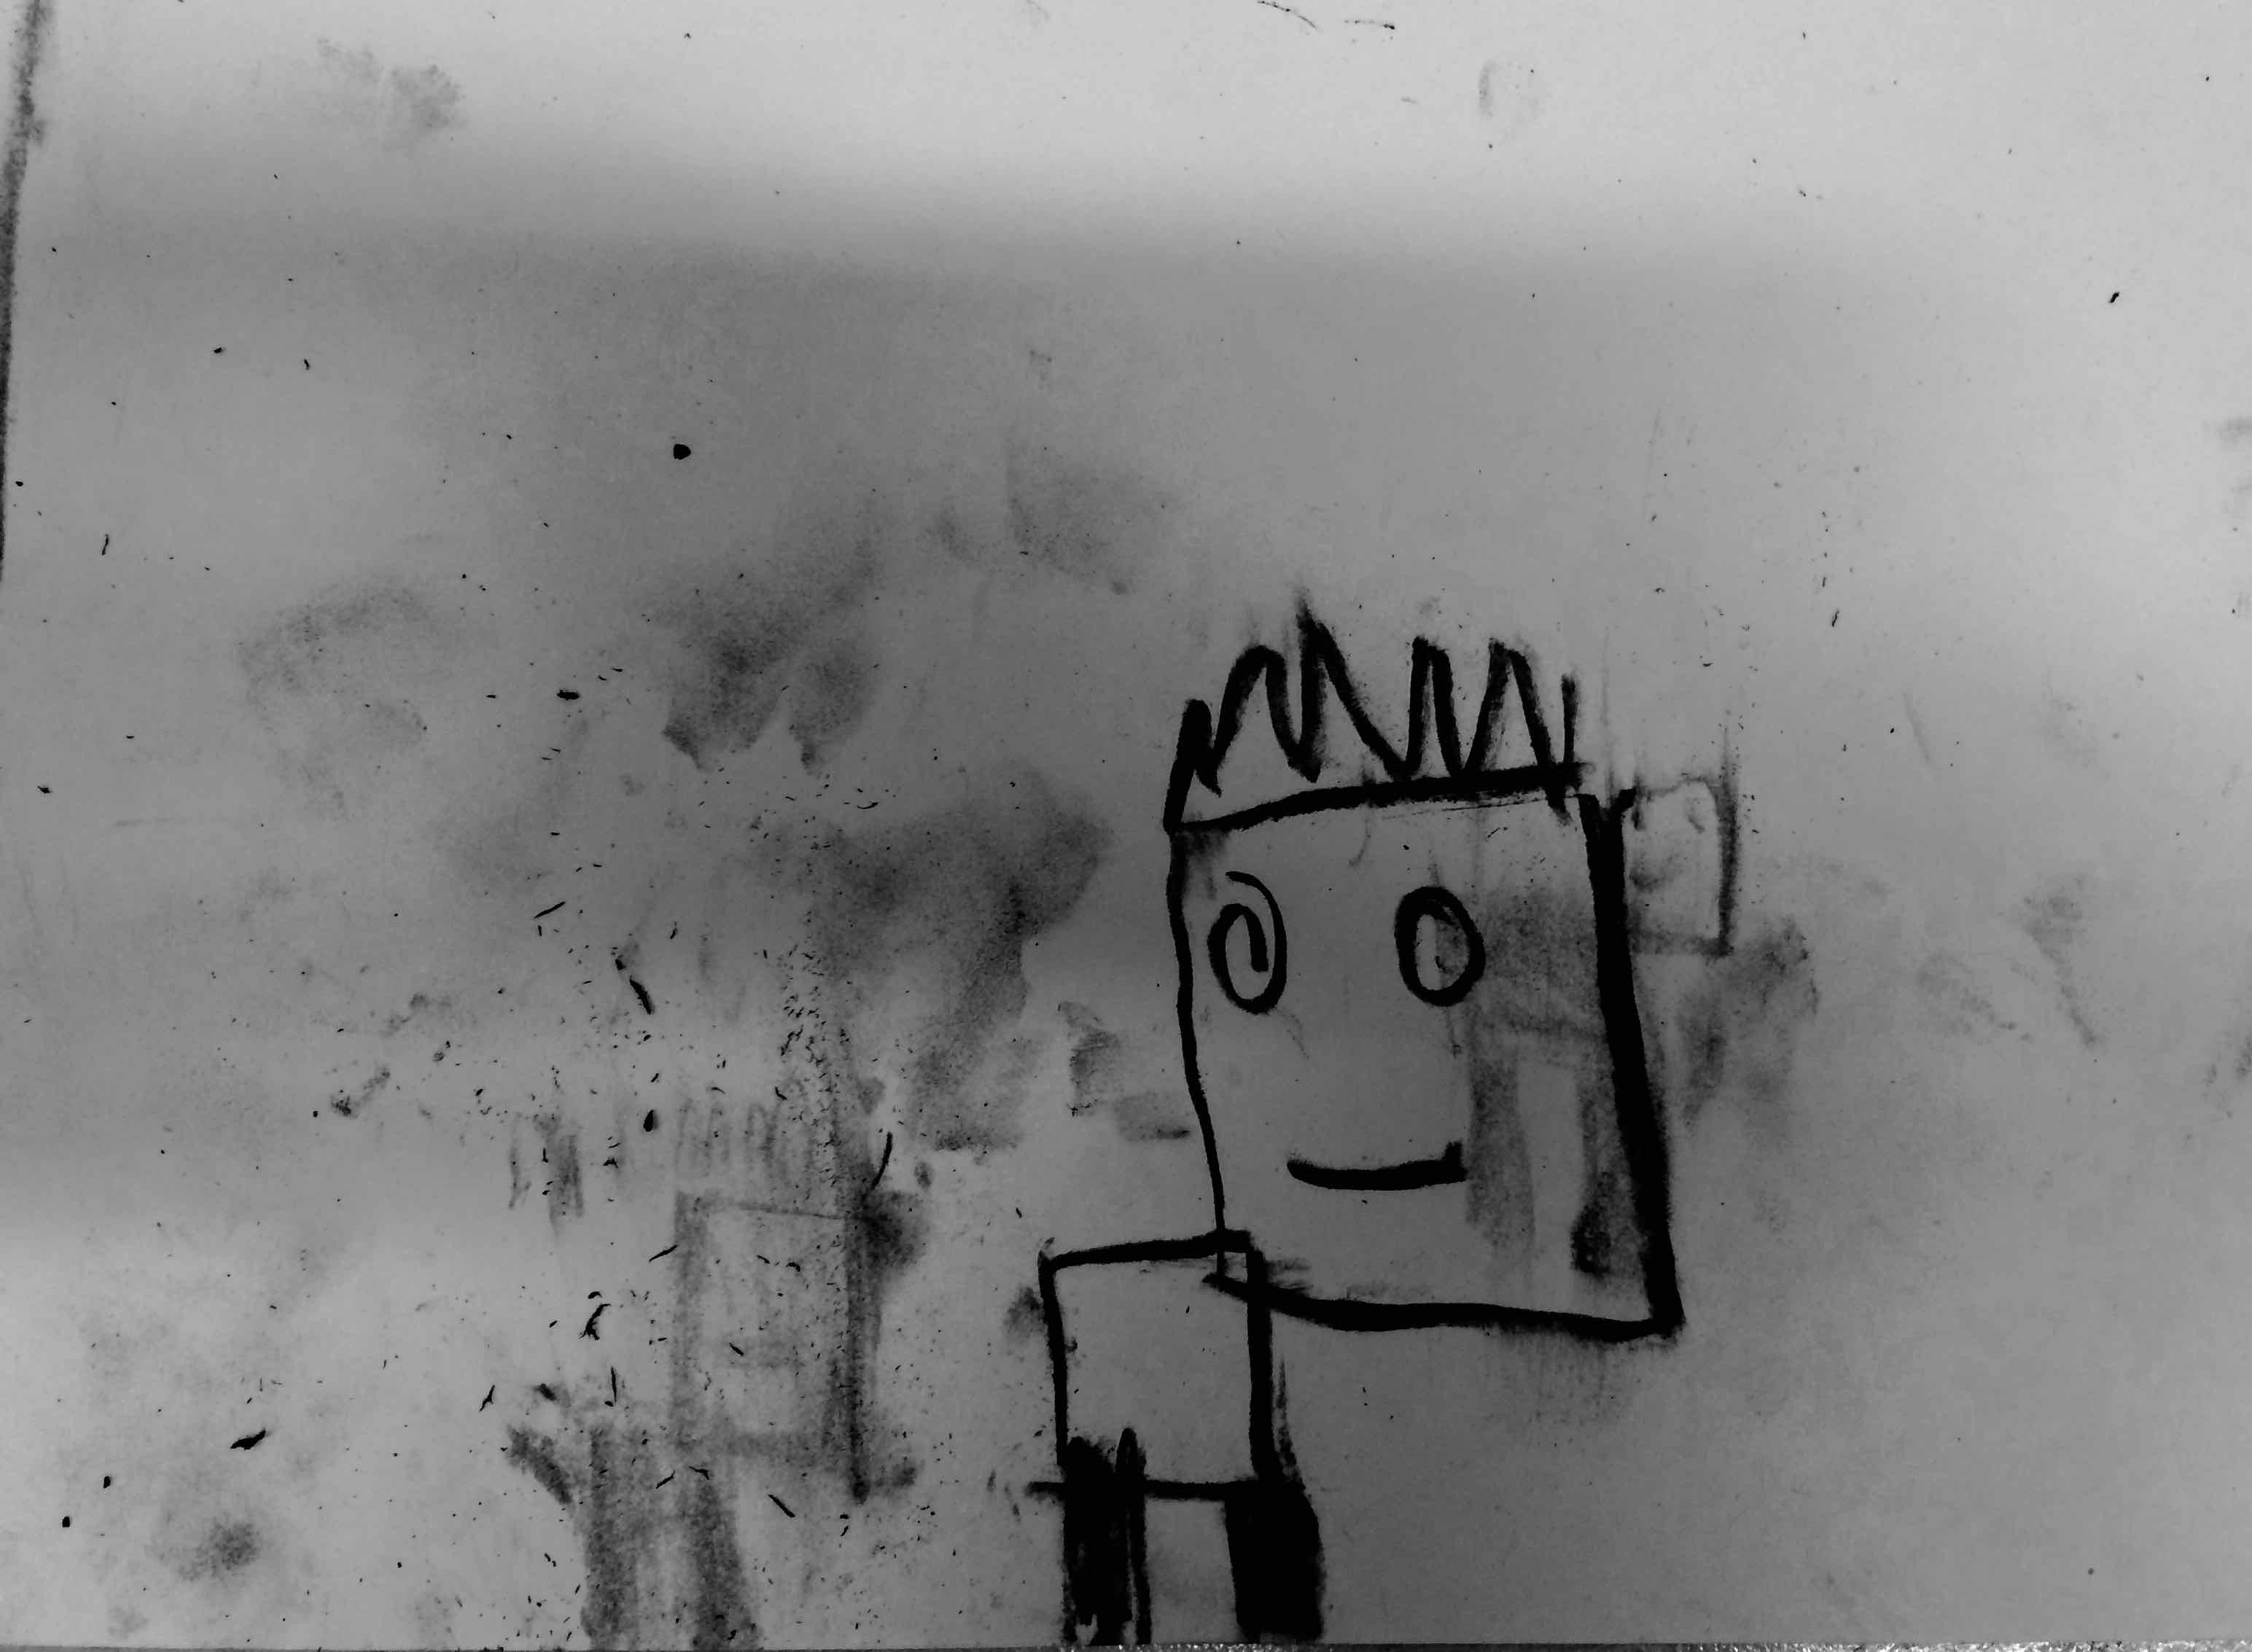
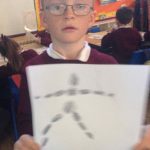
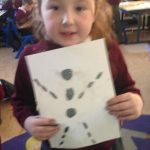
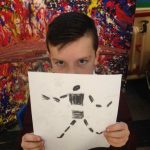
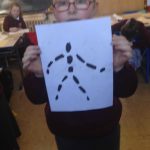
I invite the children to think about how we could create images using light and black sugar paper…. “make a hole and let the light pass through” they said!

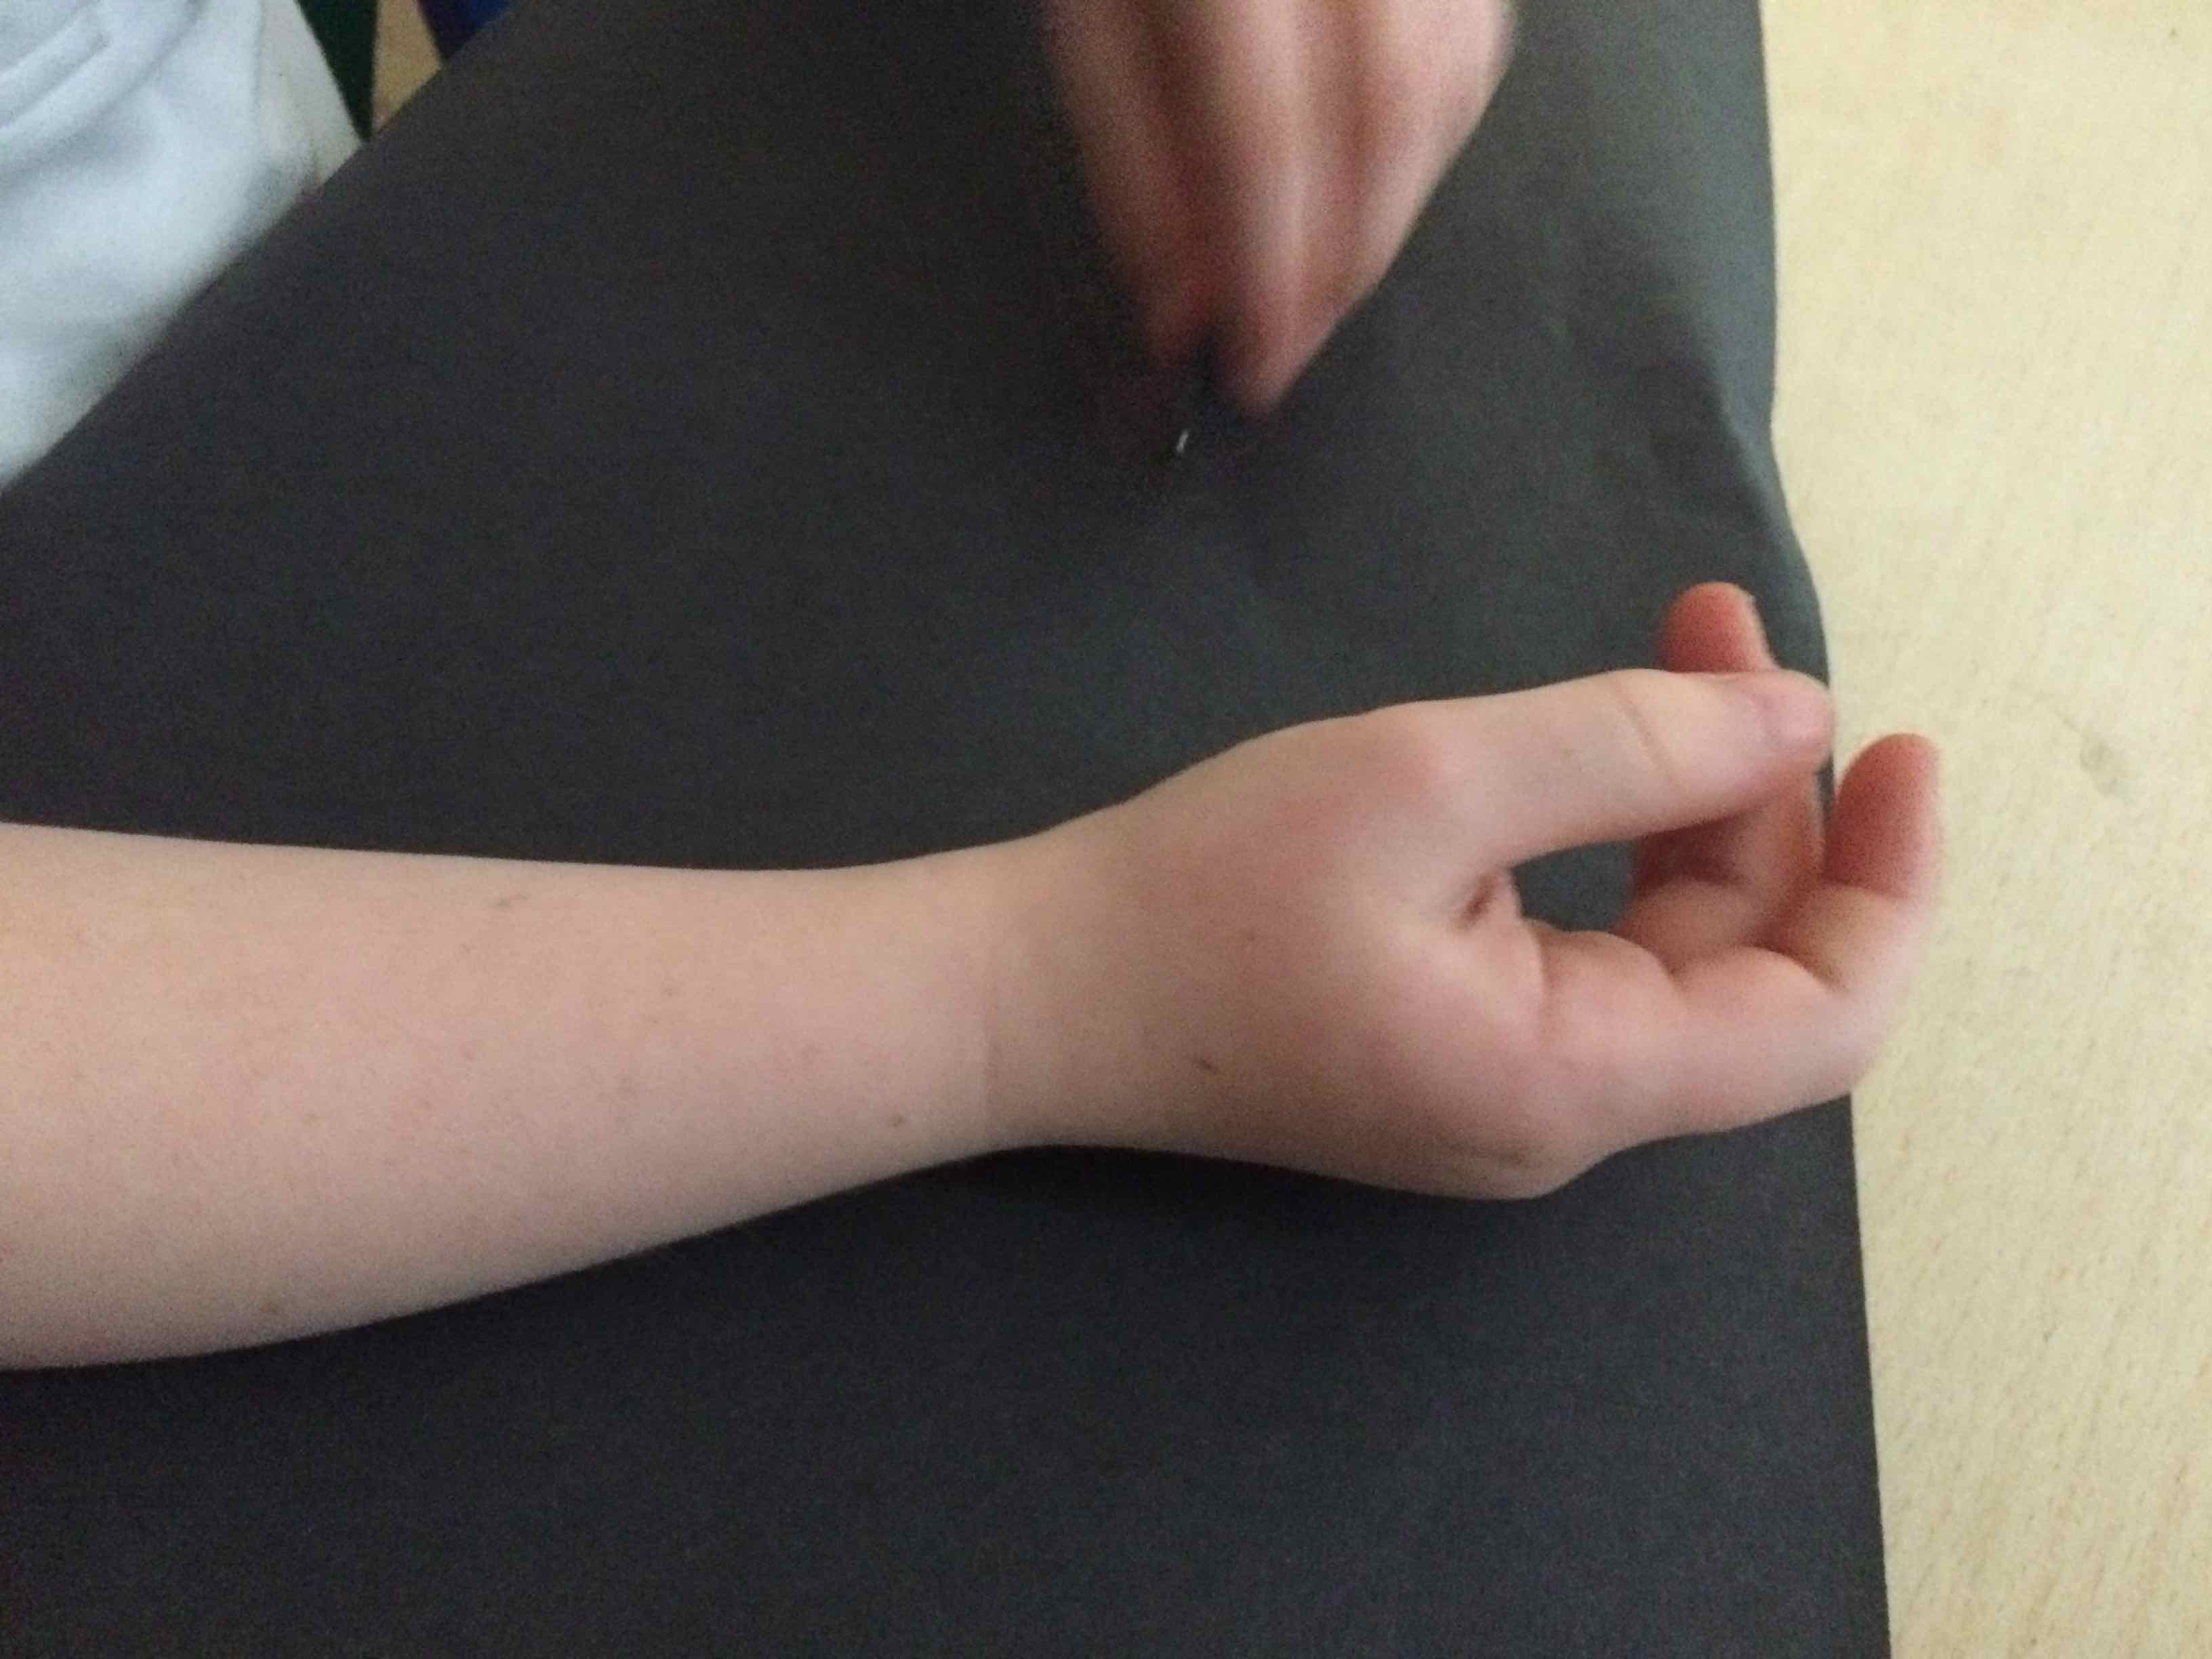
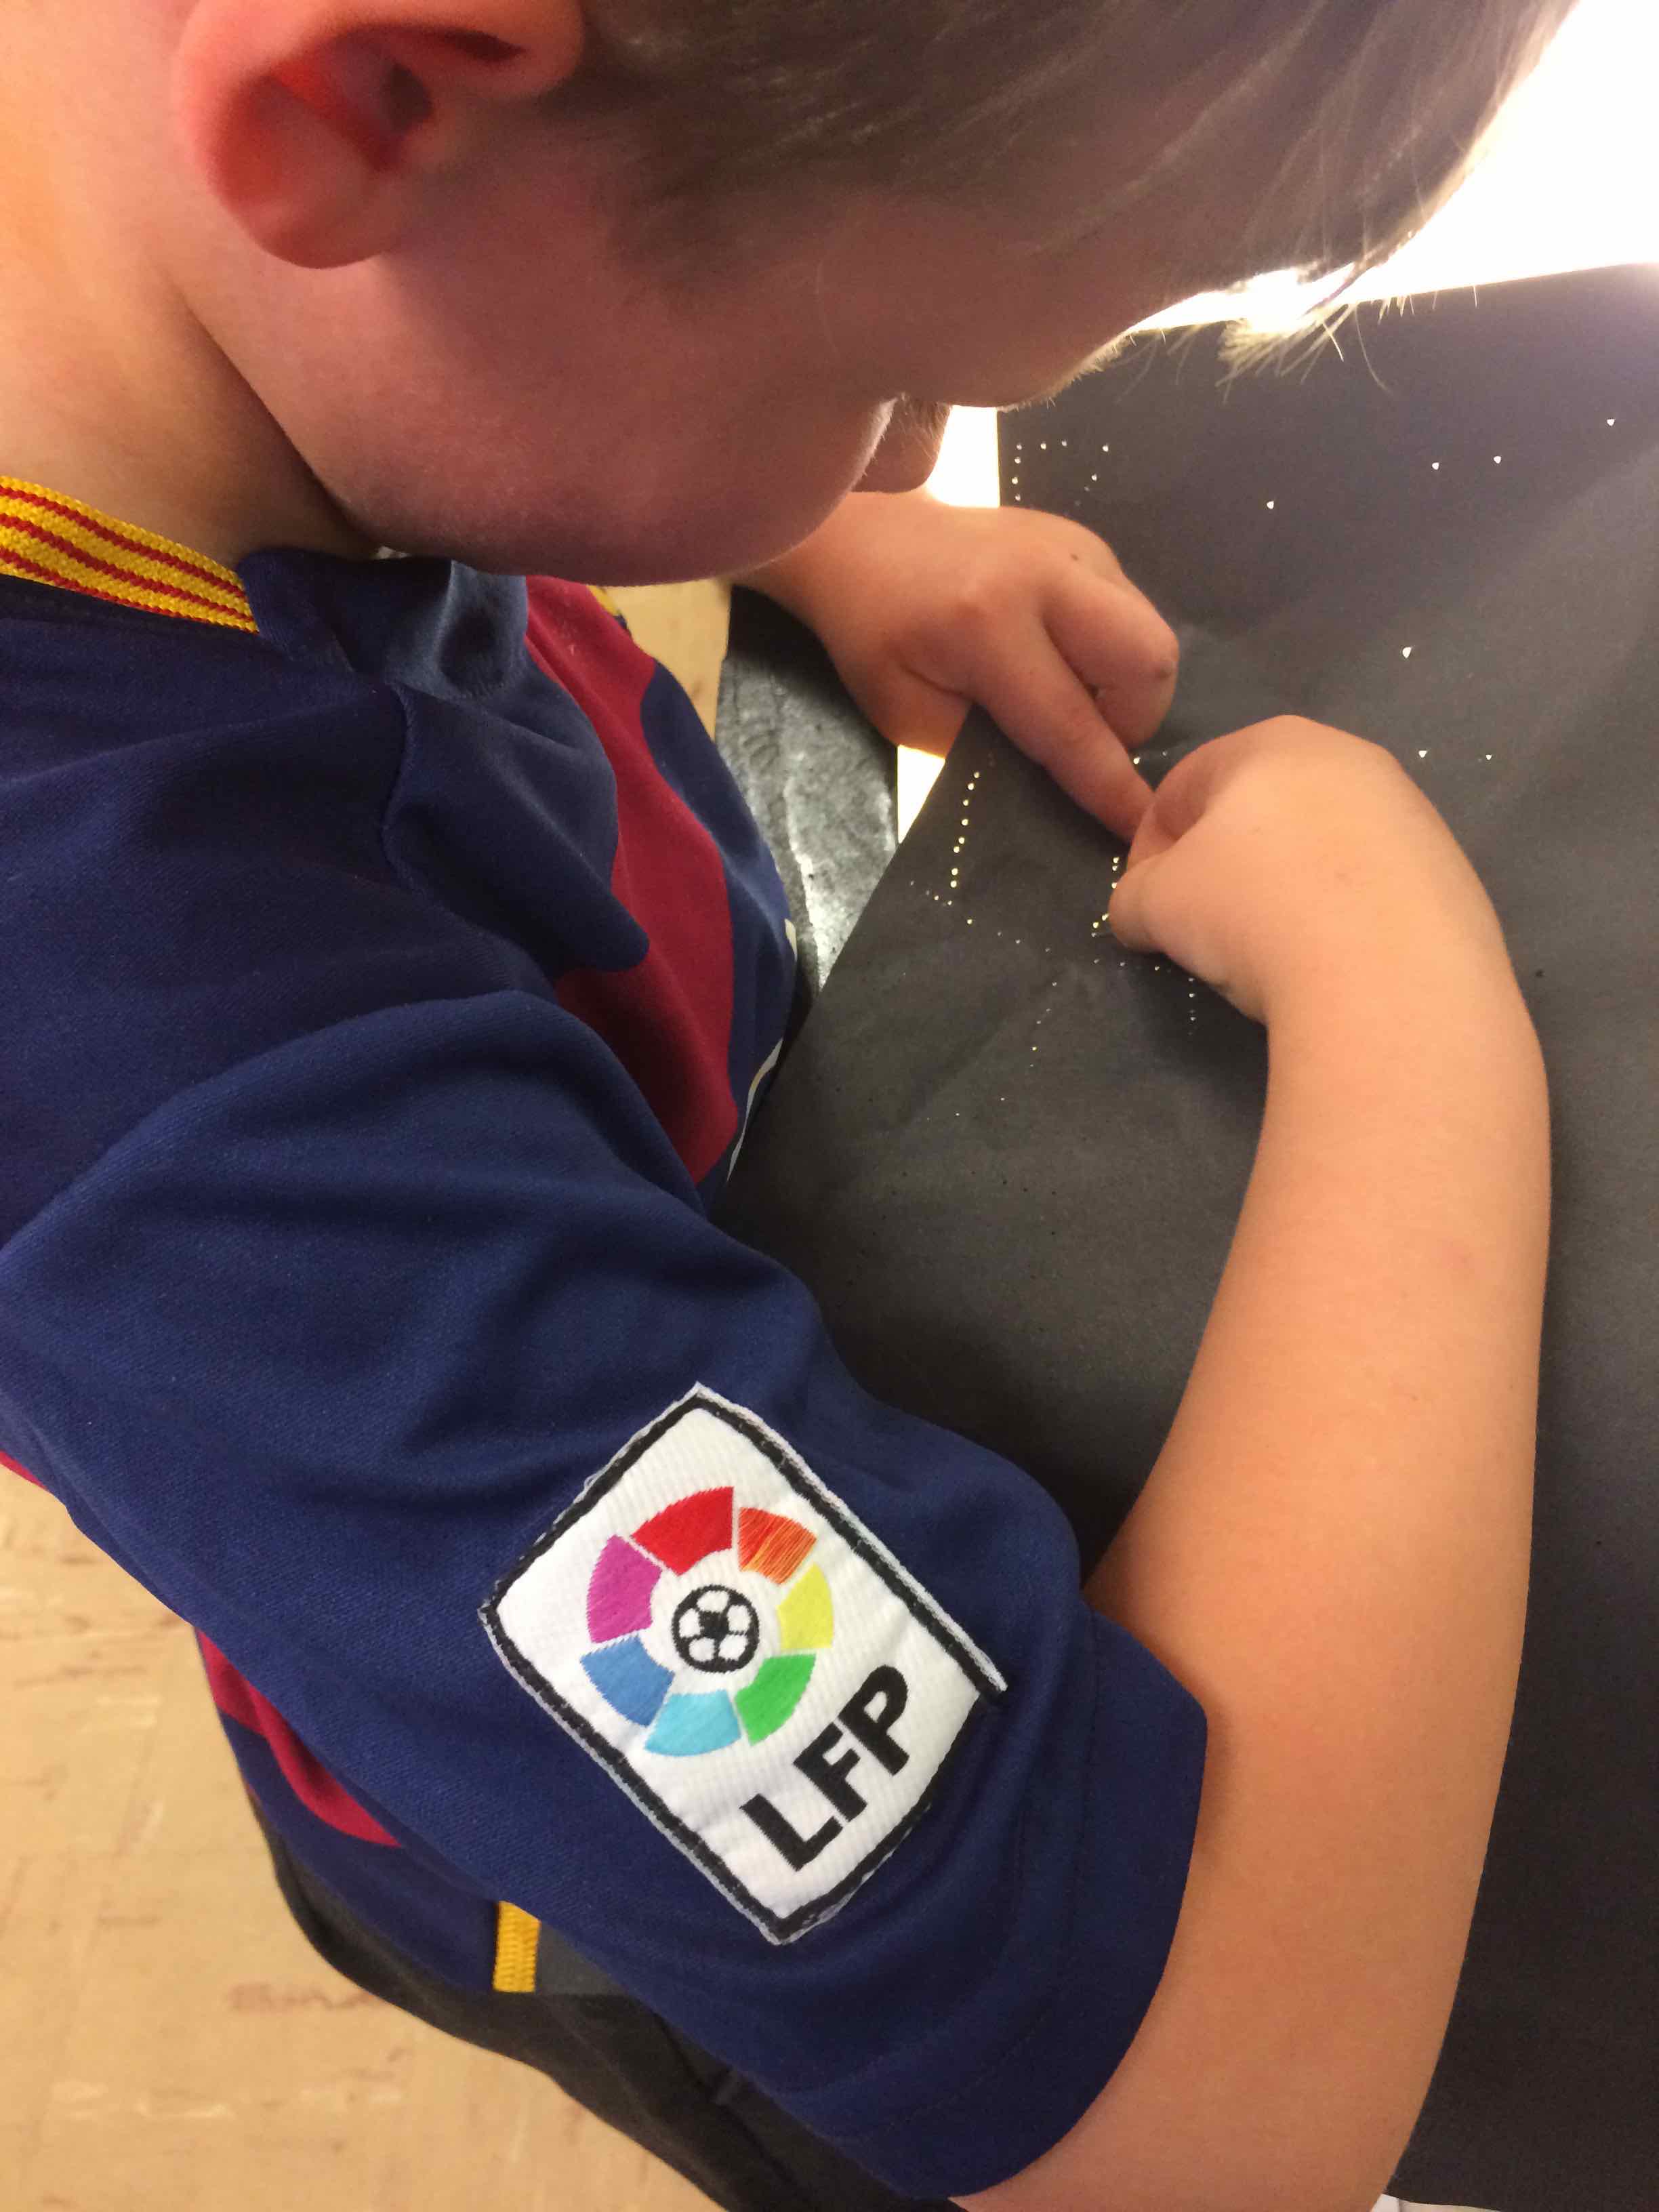
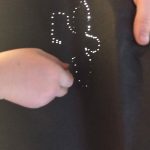
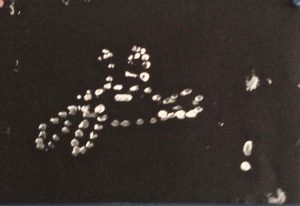
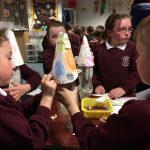
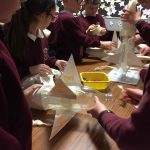
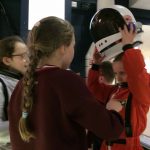
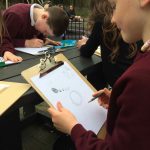
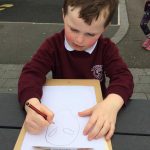
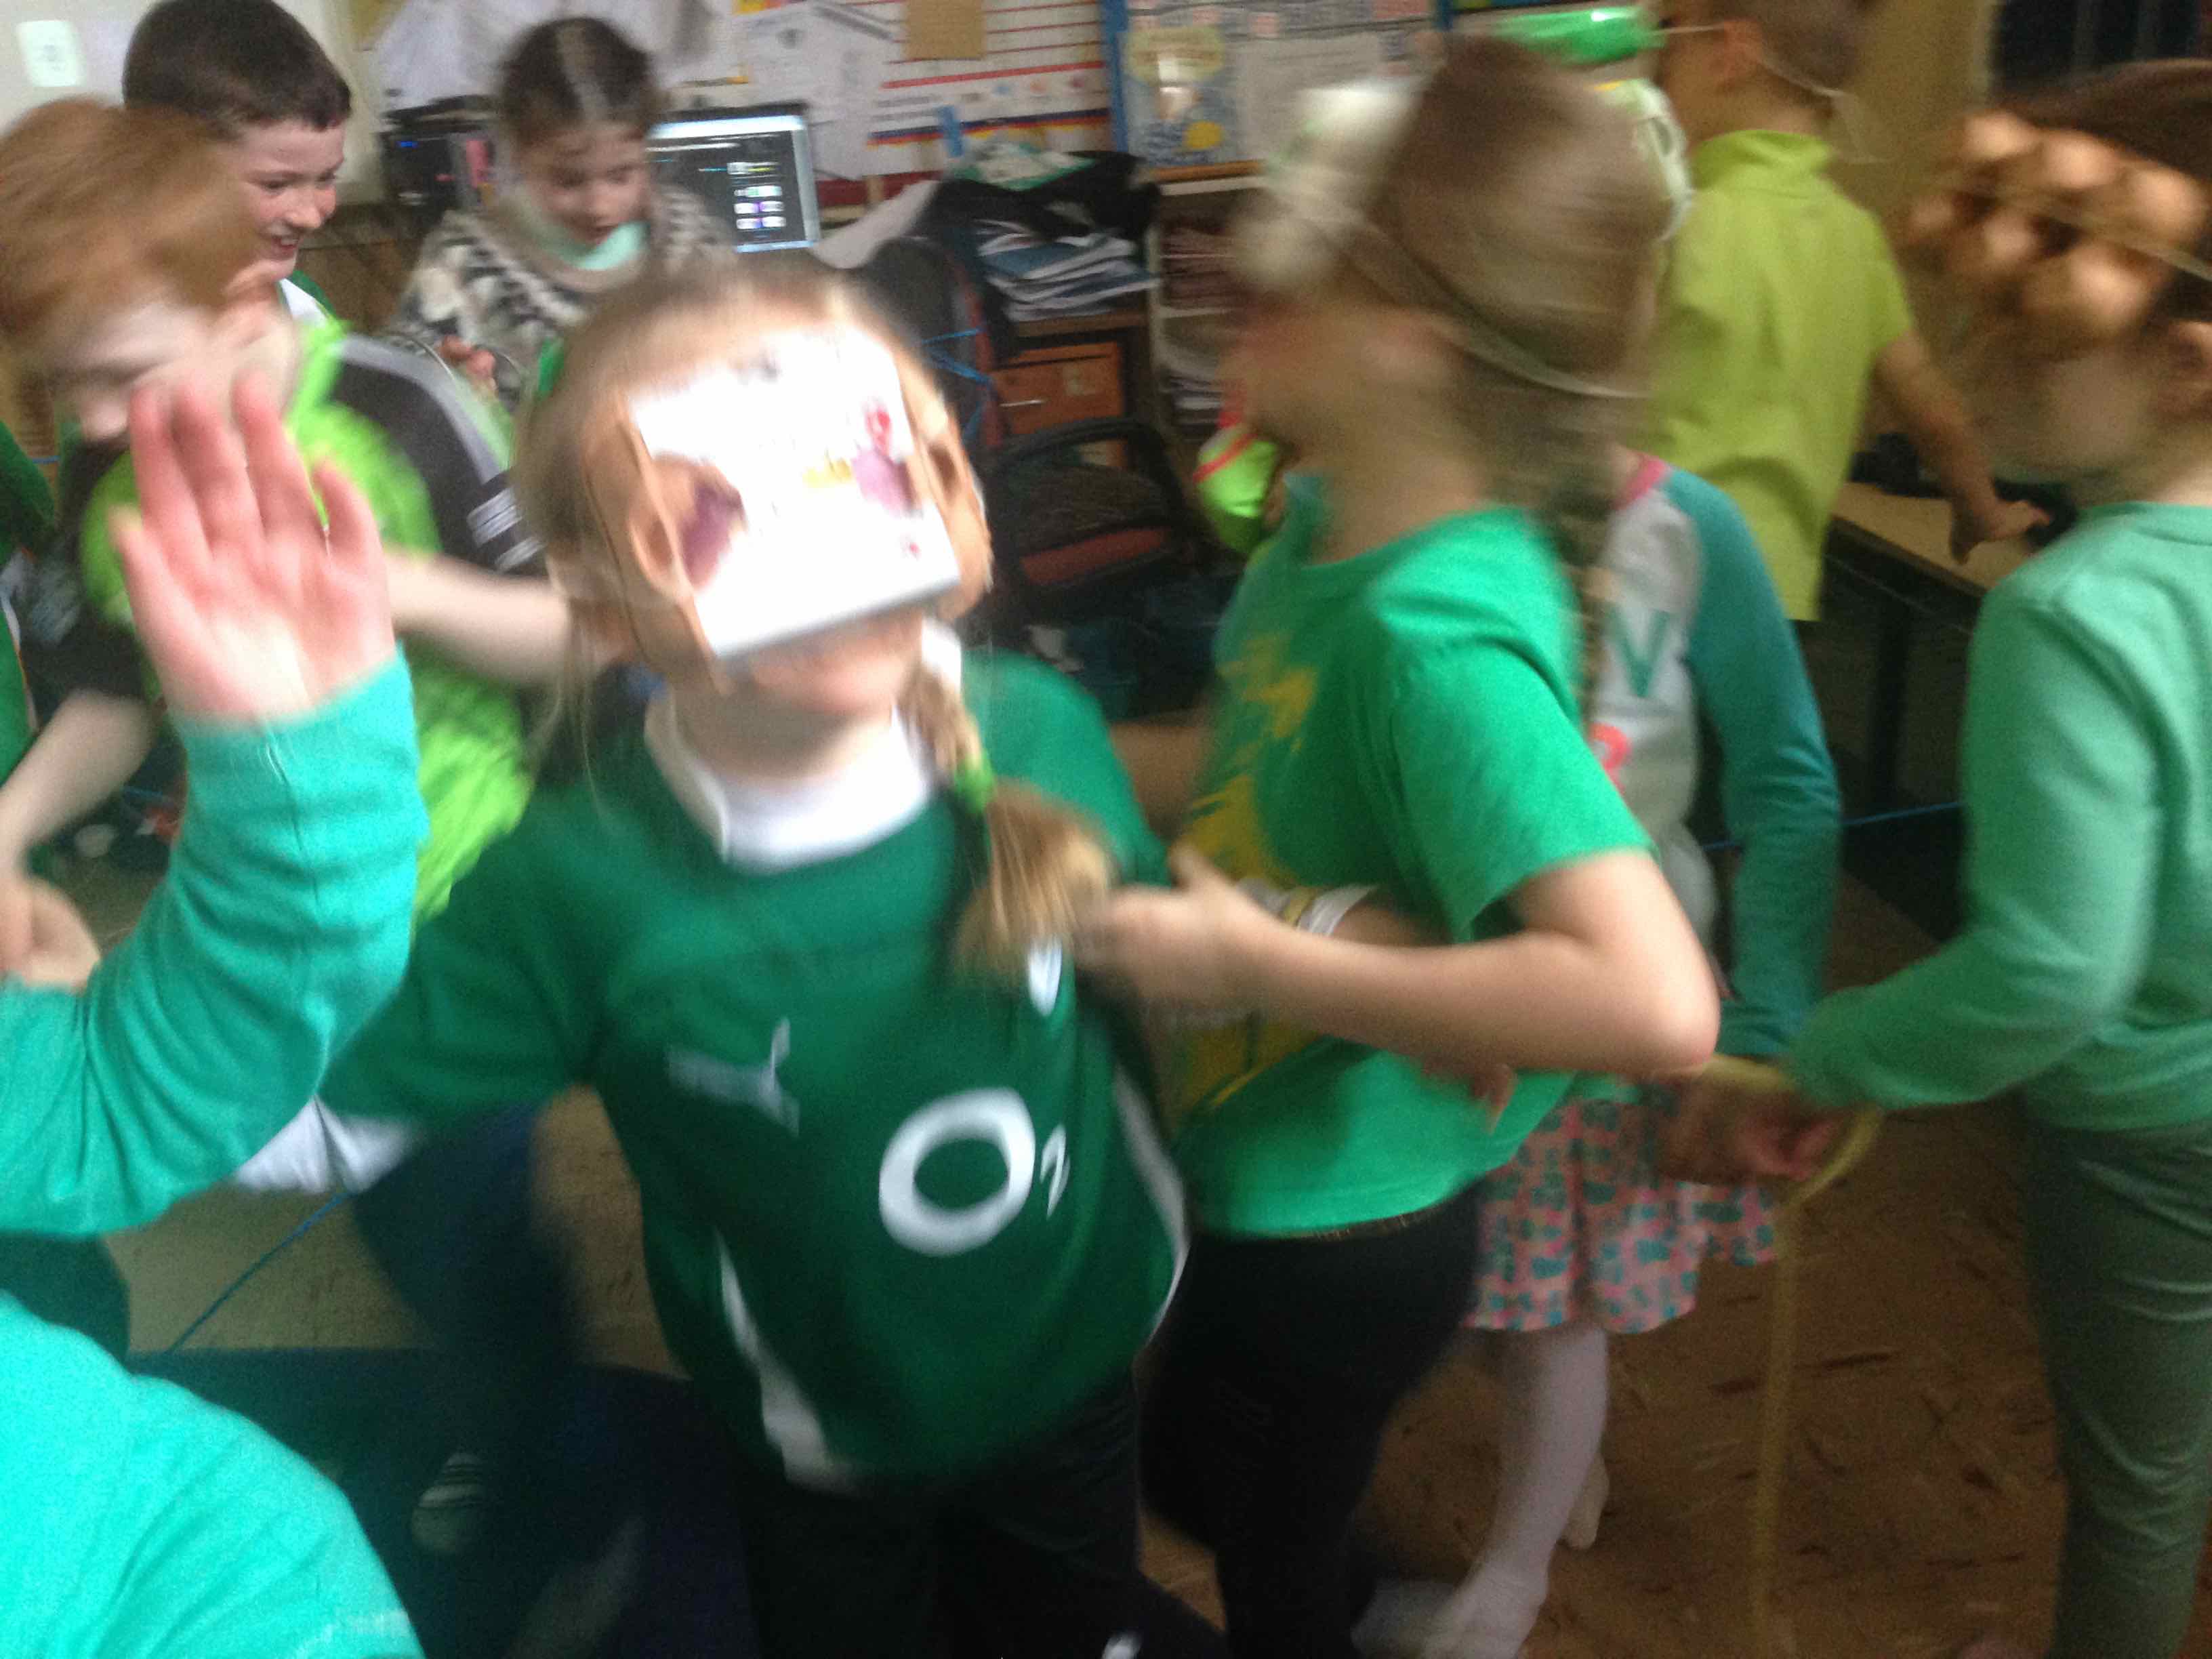
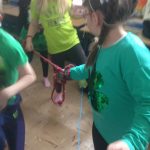
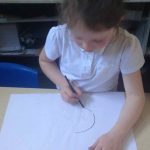
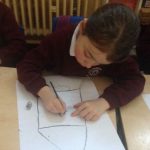
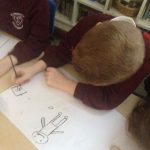
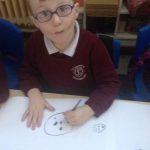
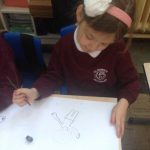
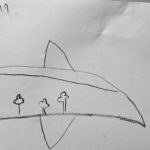
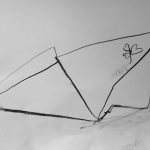
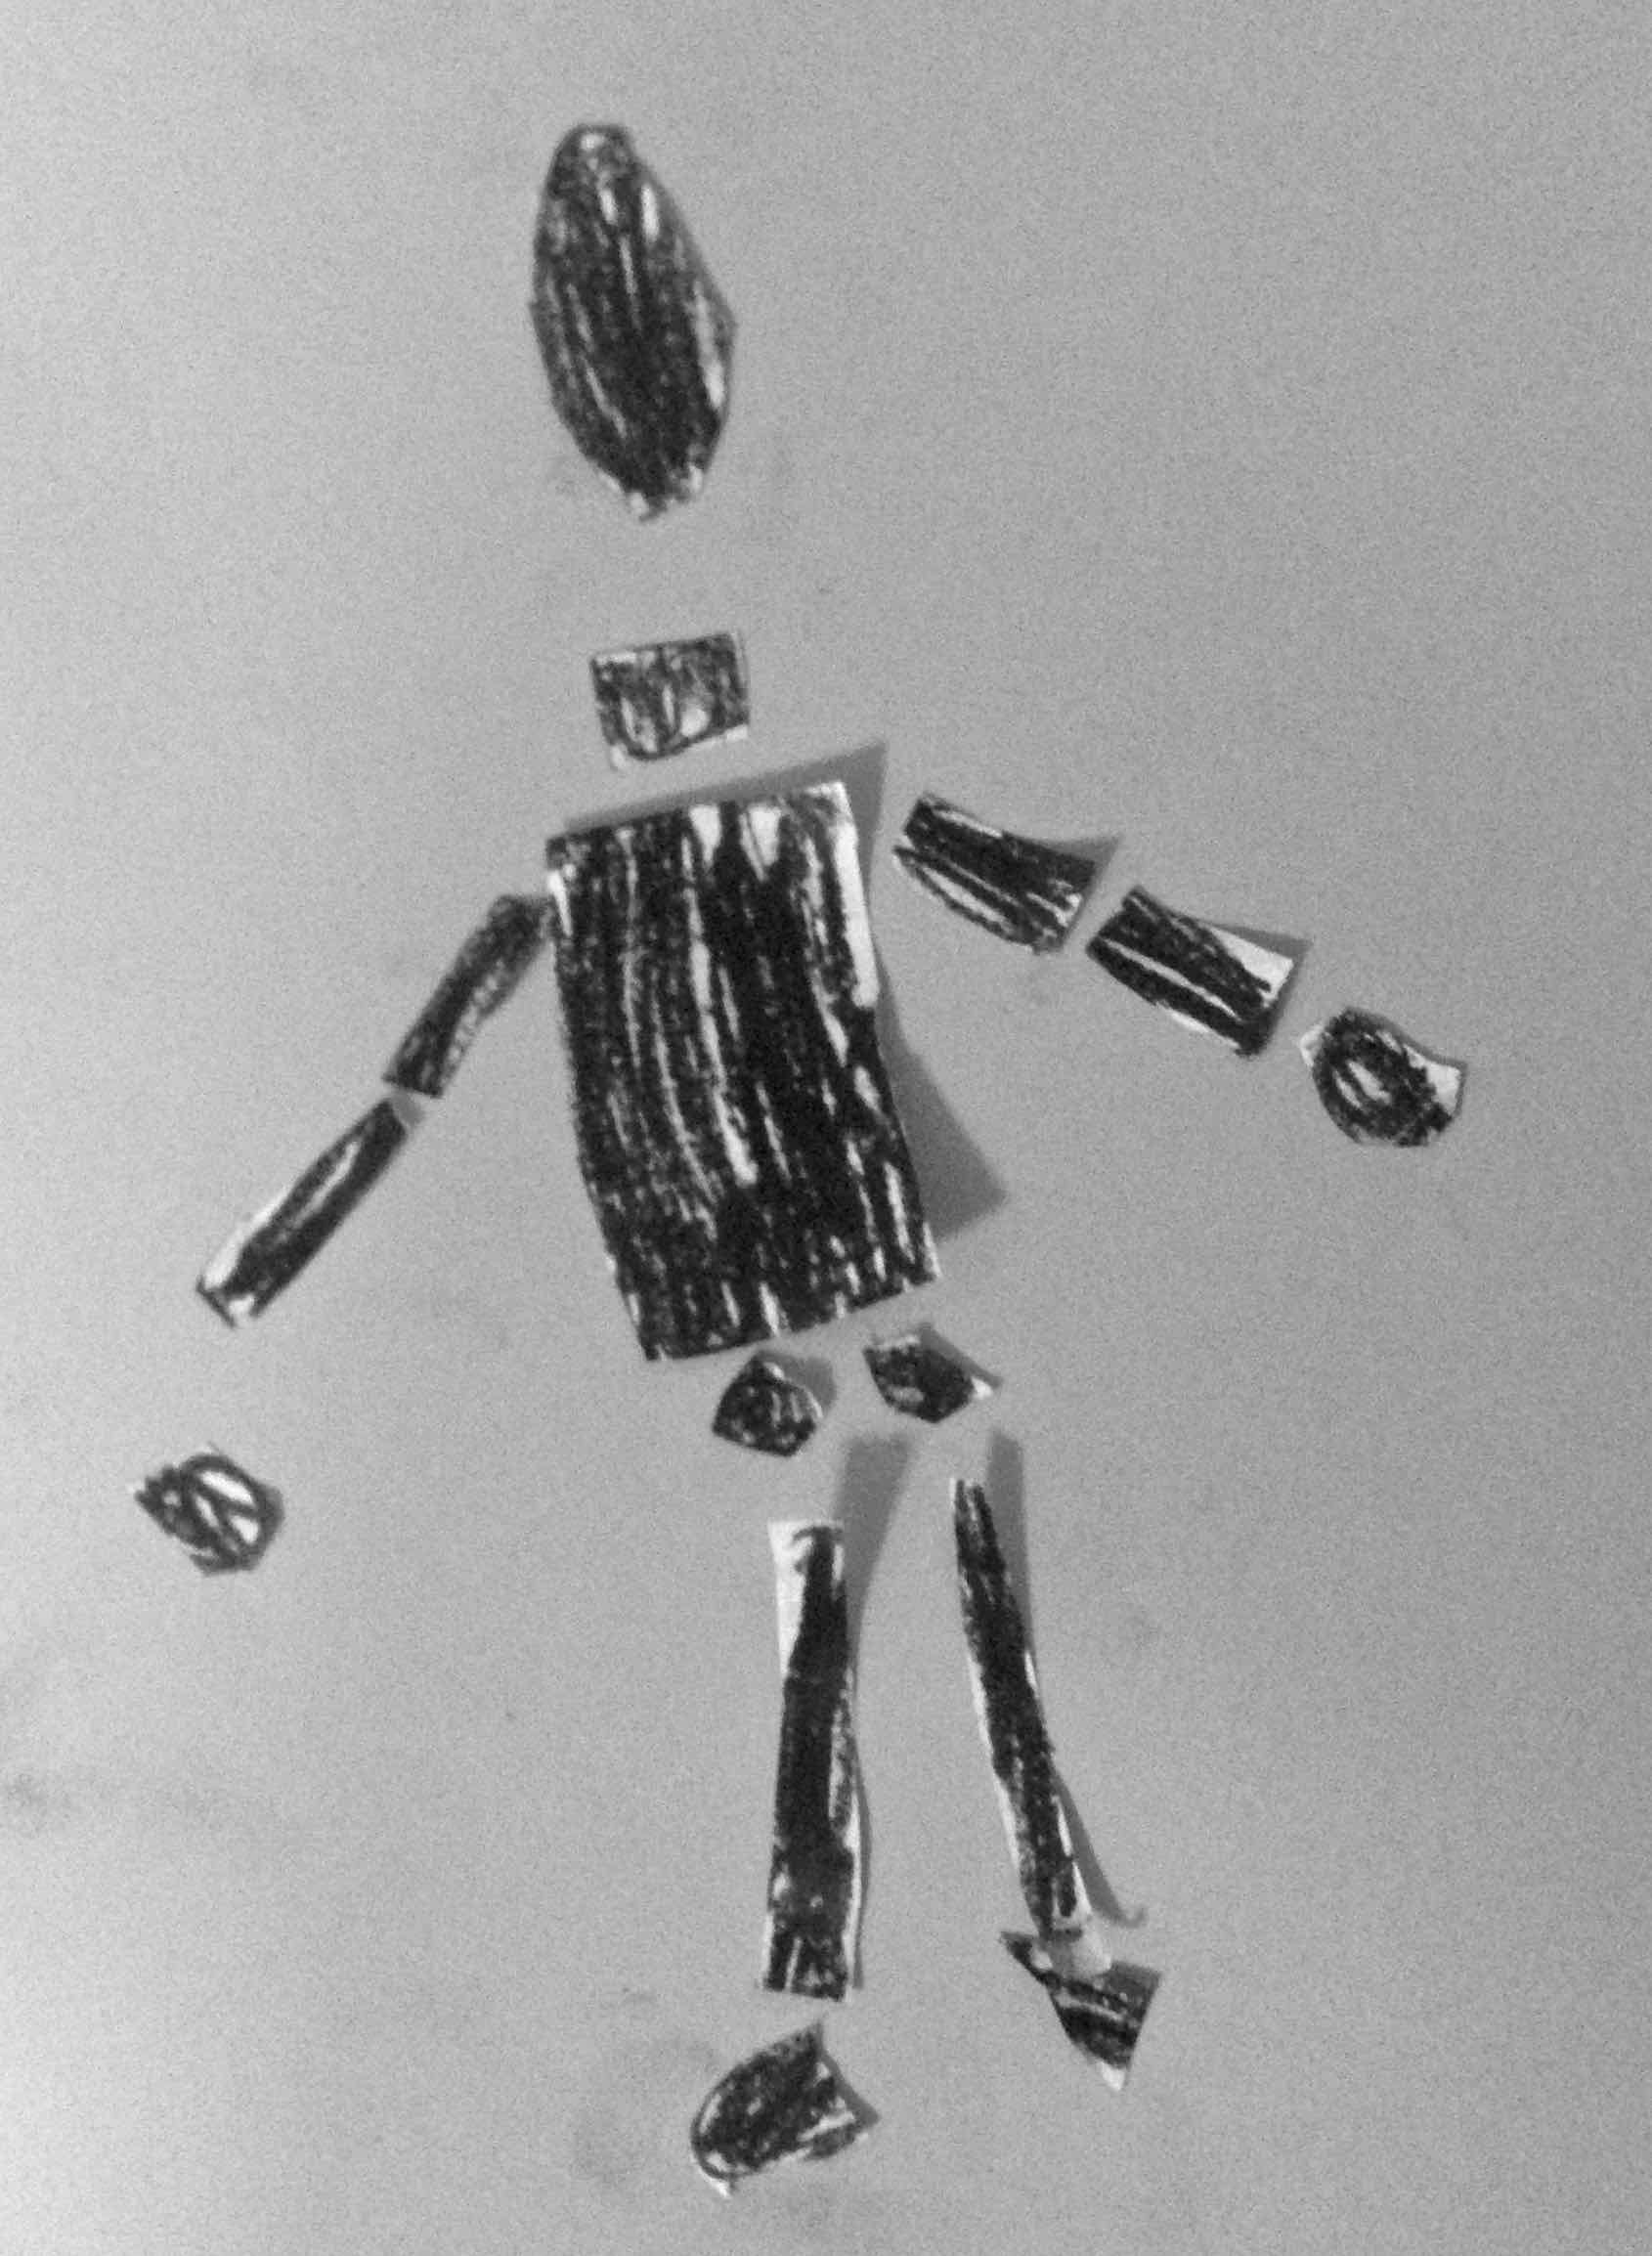
The children were each given a dressmaking pin and what happened next was lovely to observe… They patiently and carefully made tiny holes, developing their shapes and creating some wonderful drawings…


Each child took time to punch tiny holes in the black sugar paper…
Amazing concentration from each child…
They had to be careful not to prick their own fingers….
Working steadily to create a line…

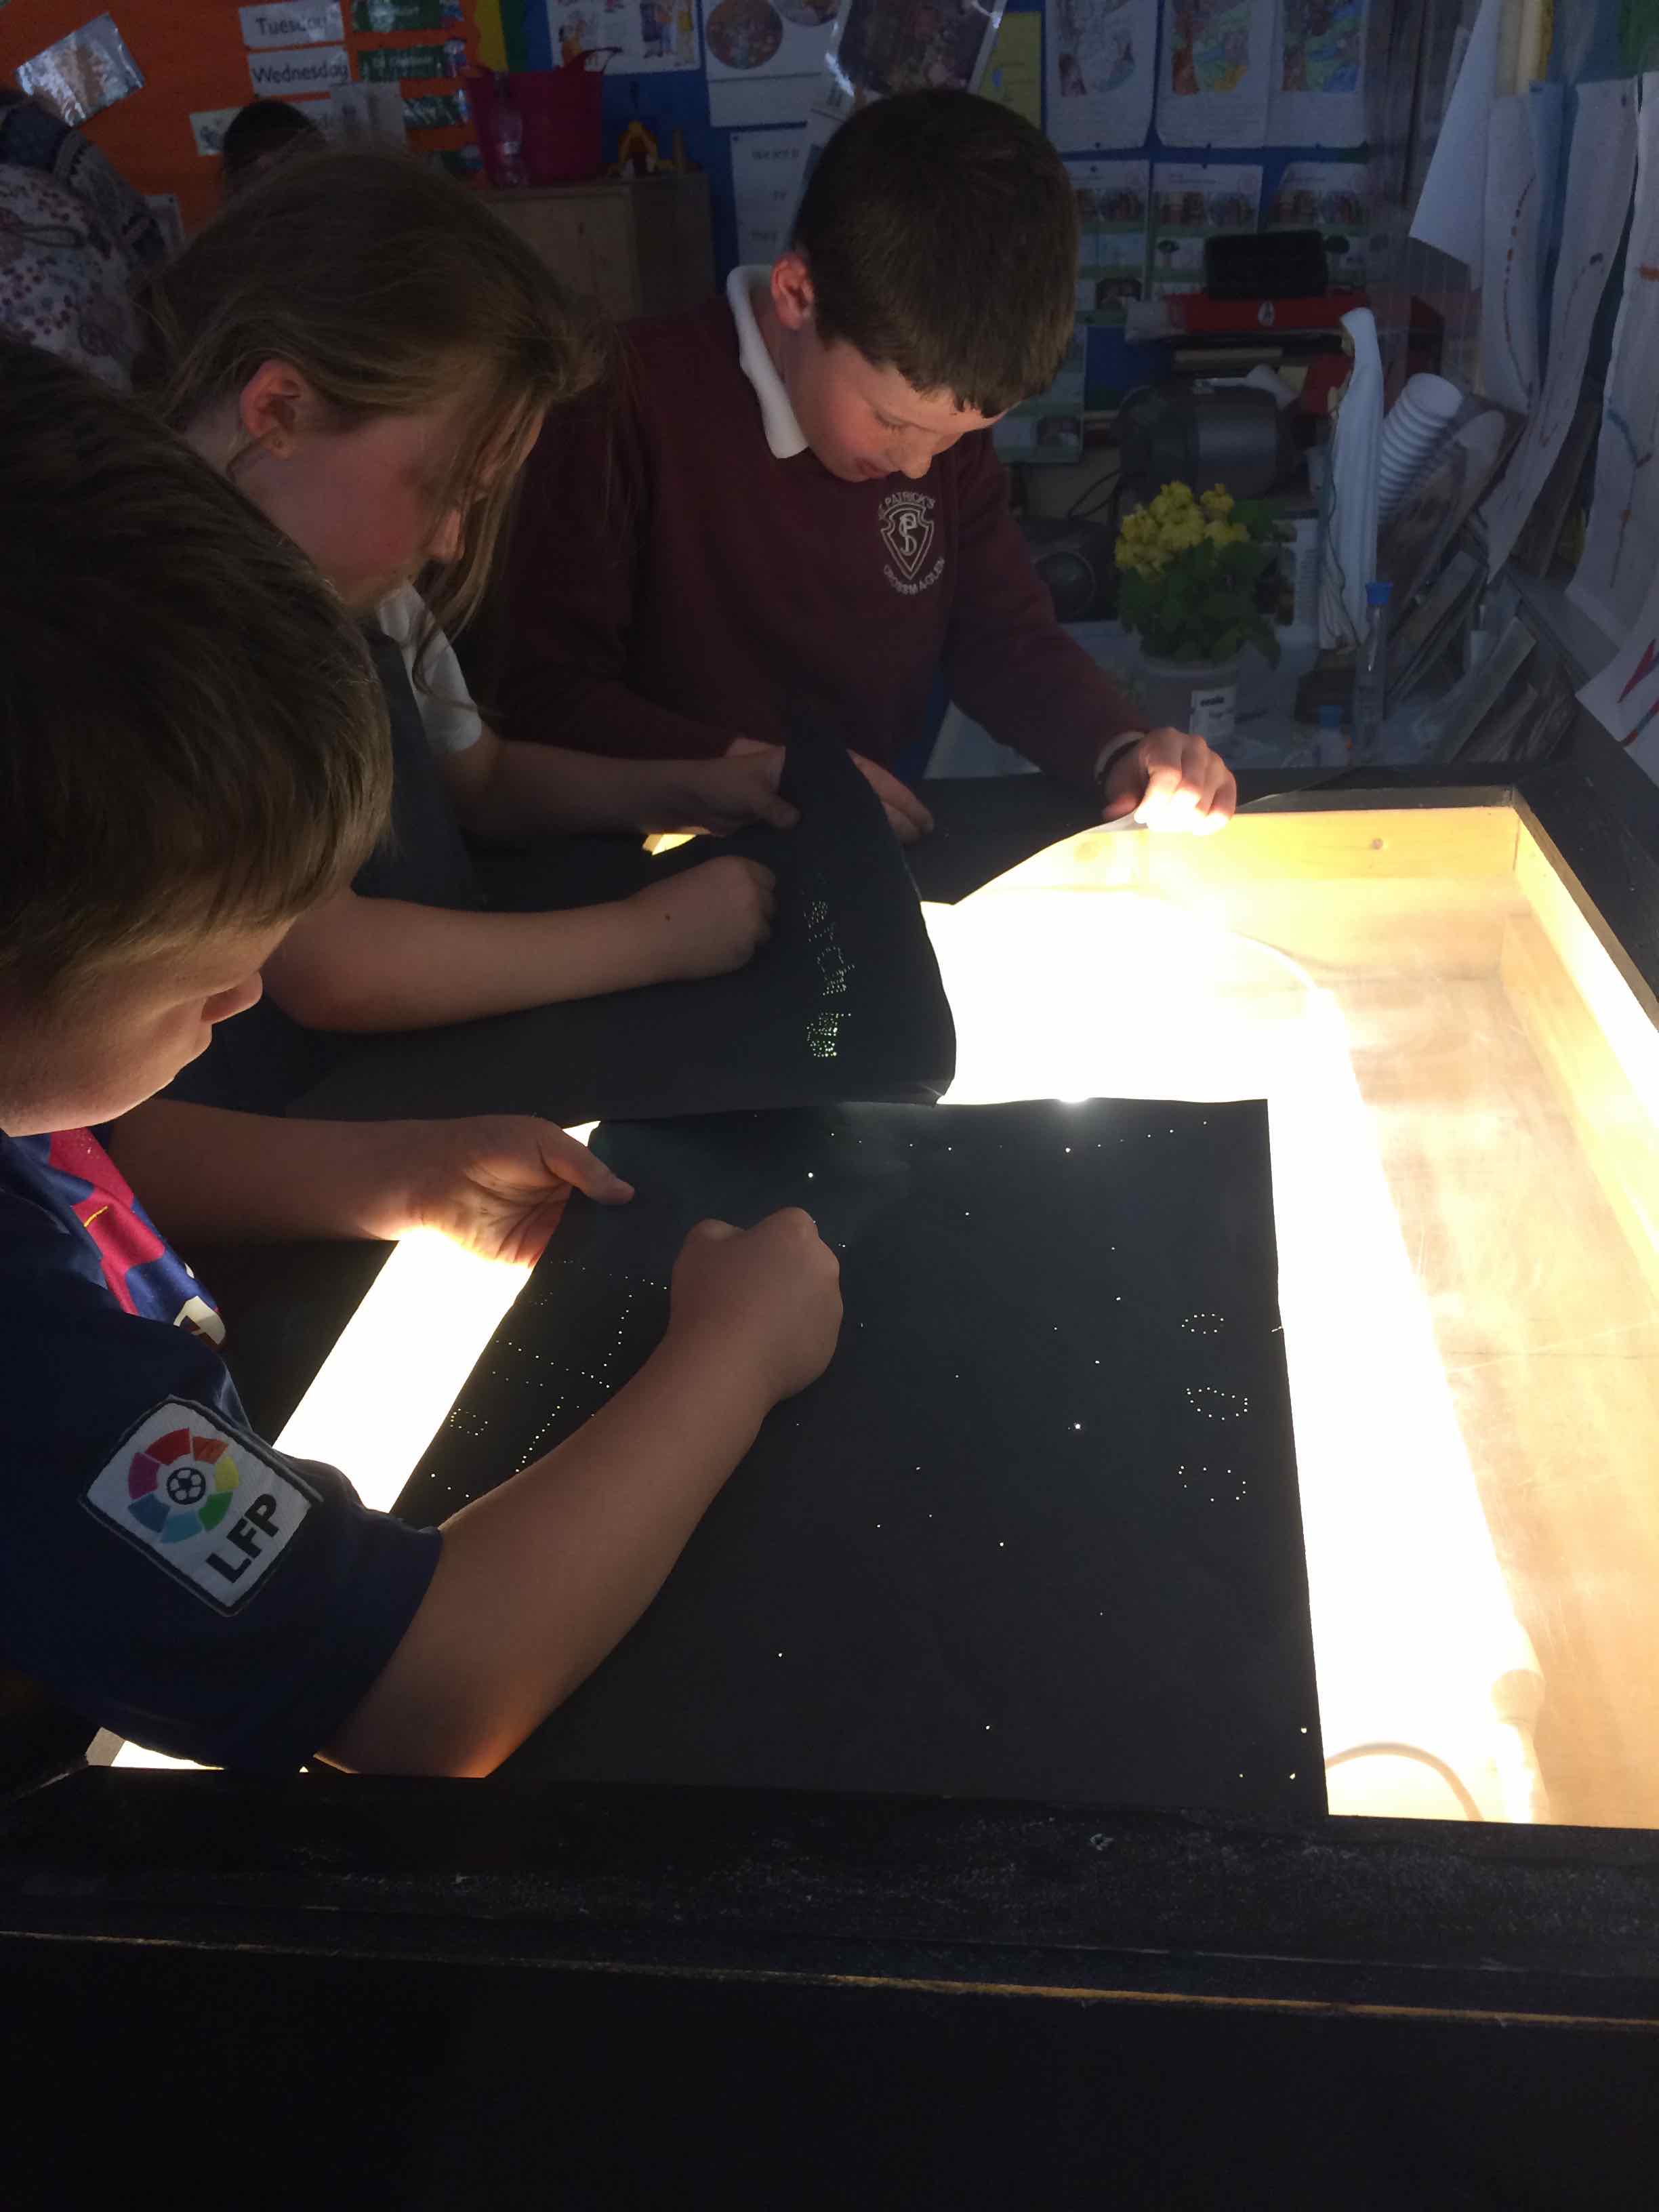
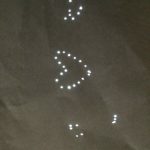
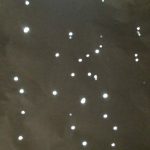
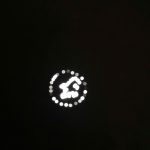
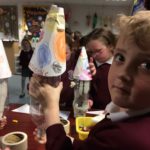
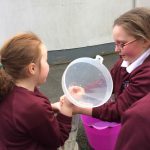
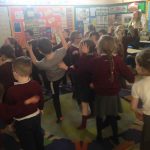
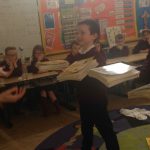
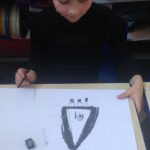
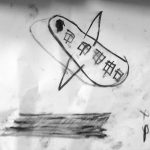
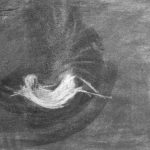
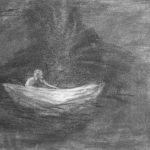
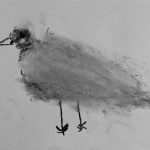
When we put the black sugar paper on the light box… look at the magical effects!

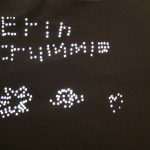
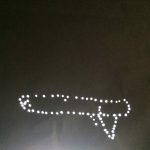
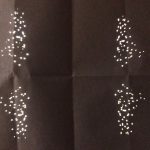
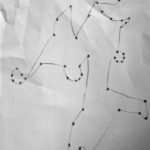
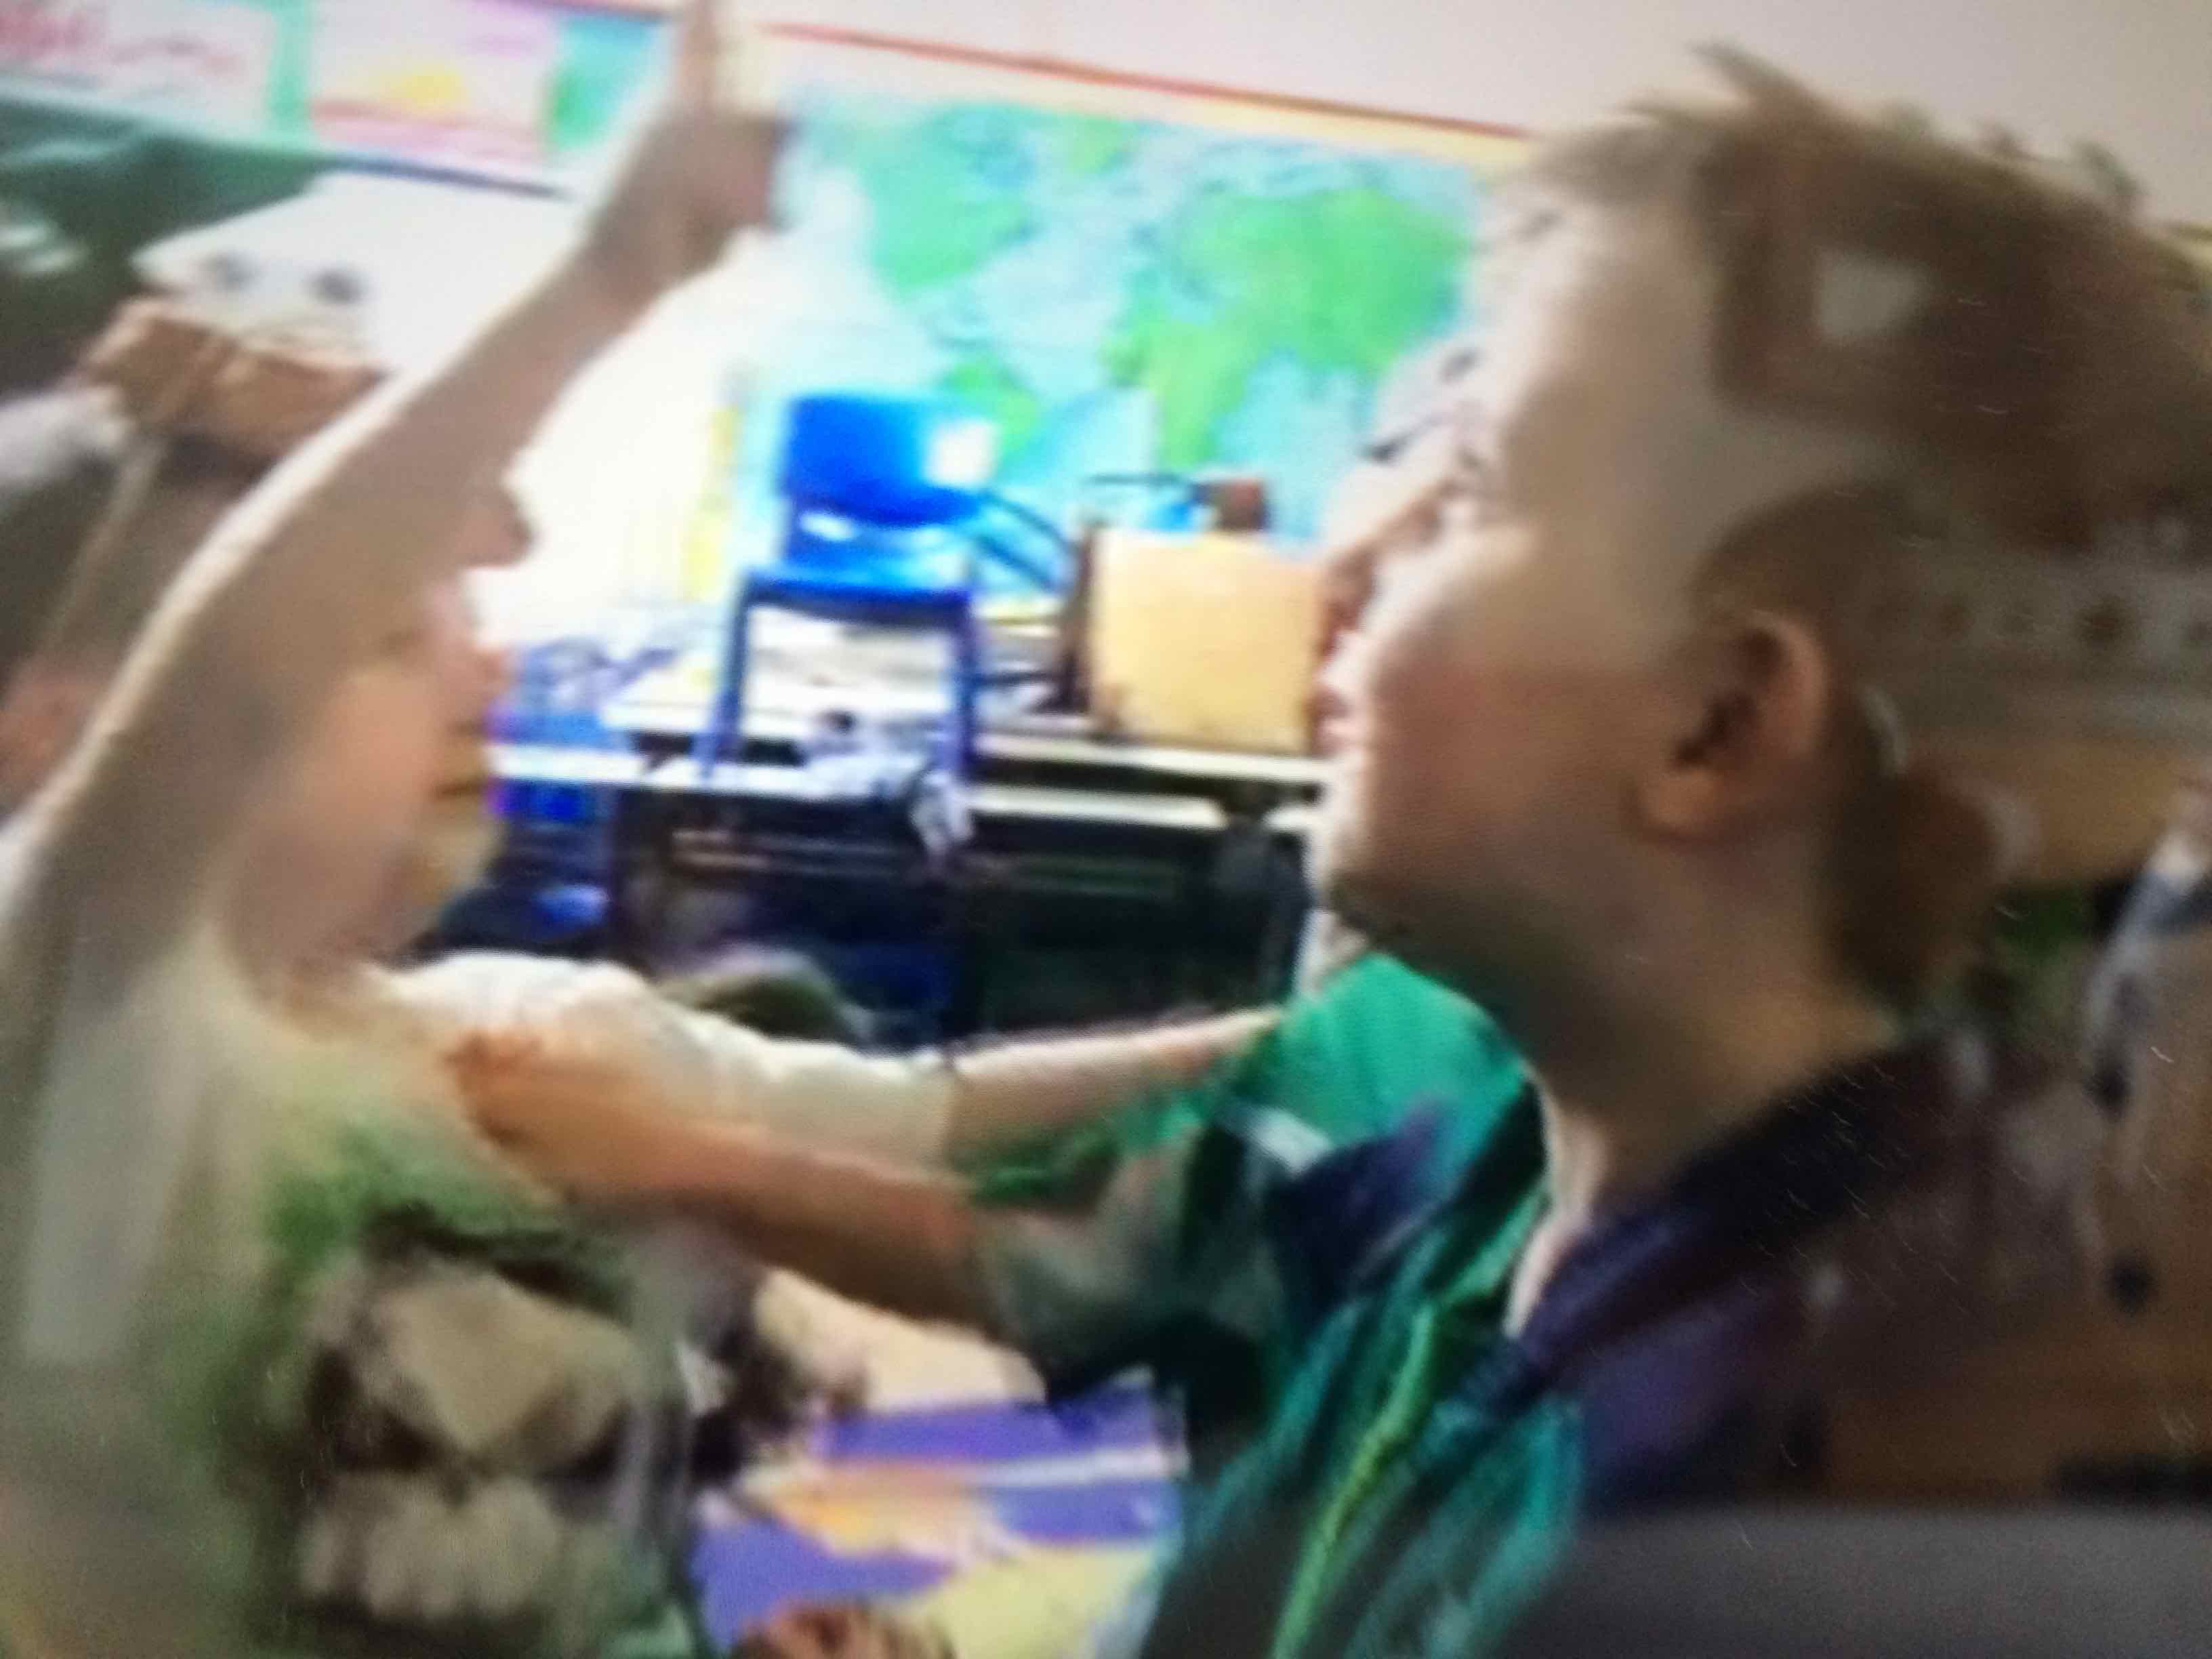
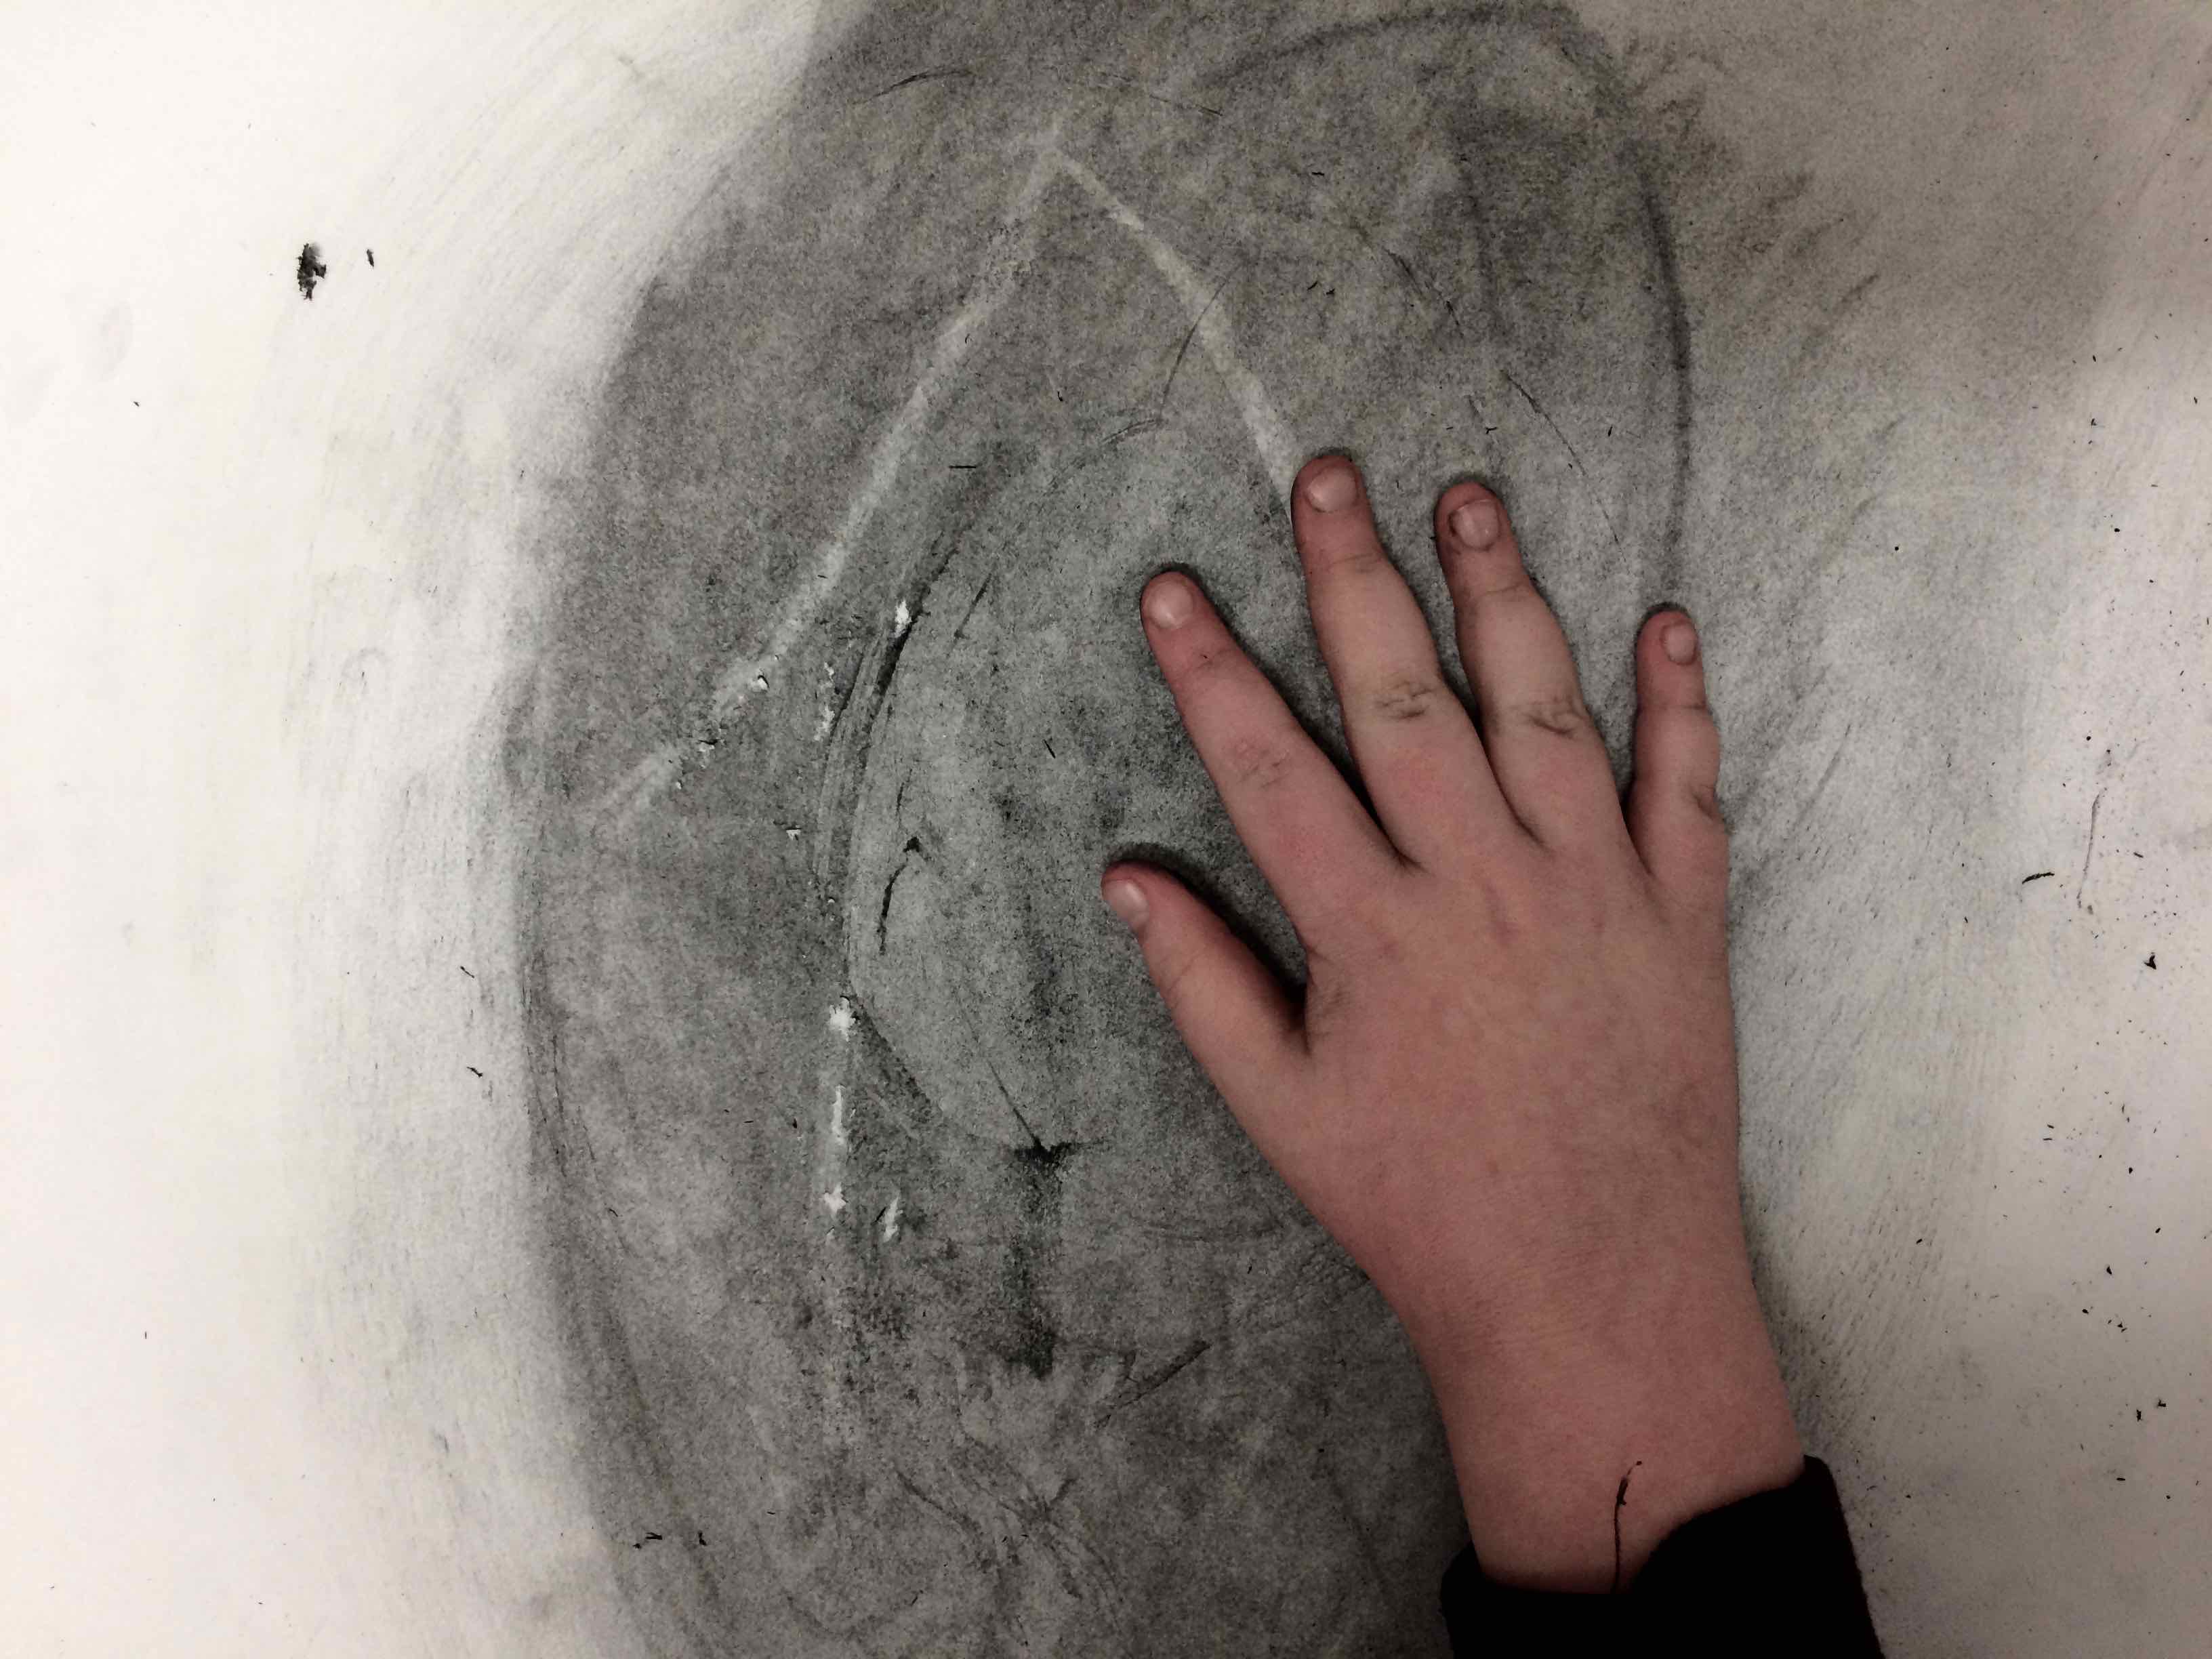
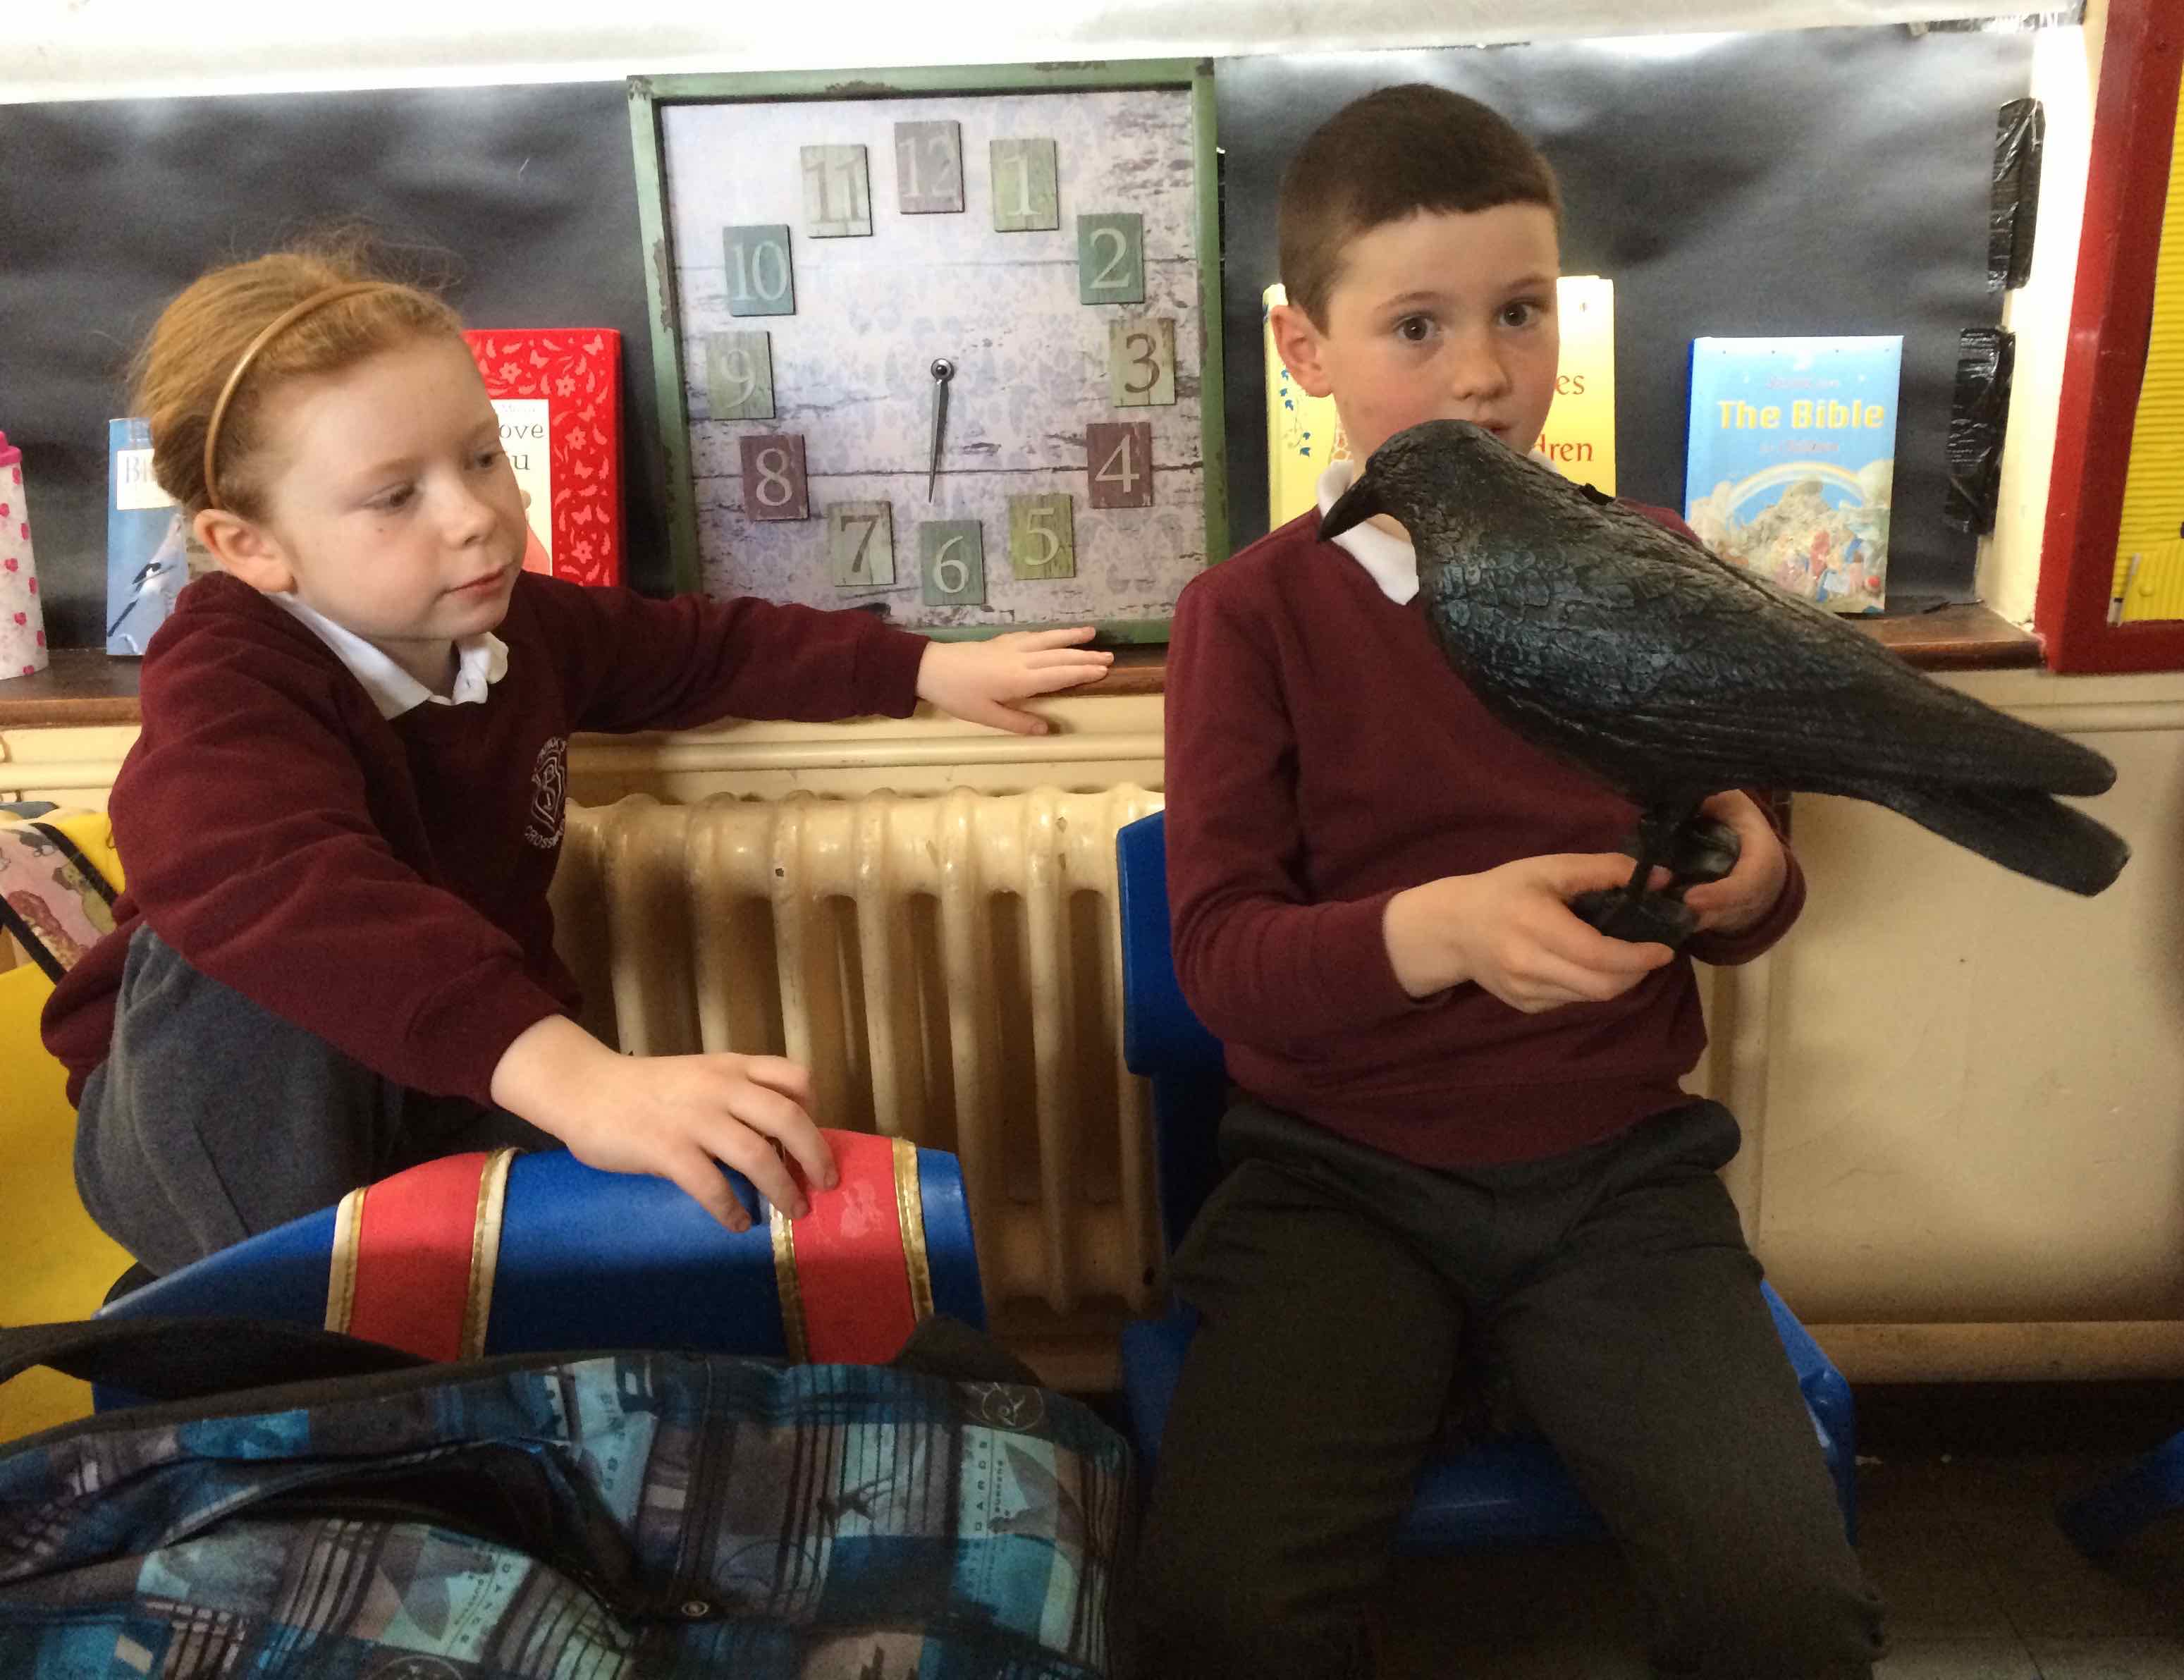
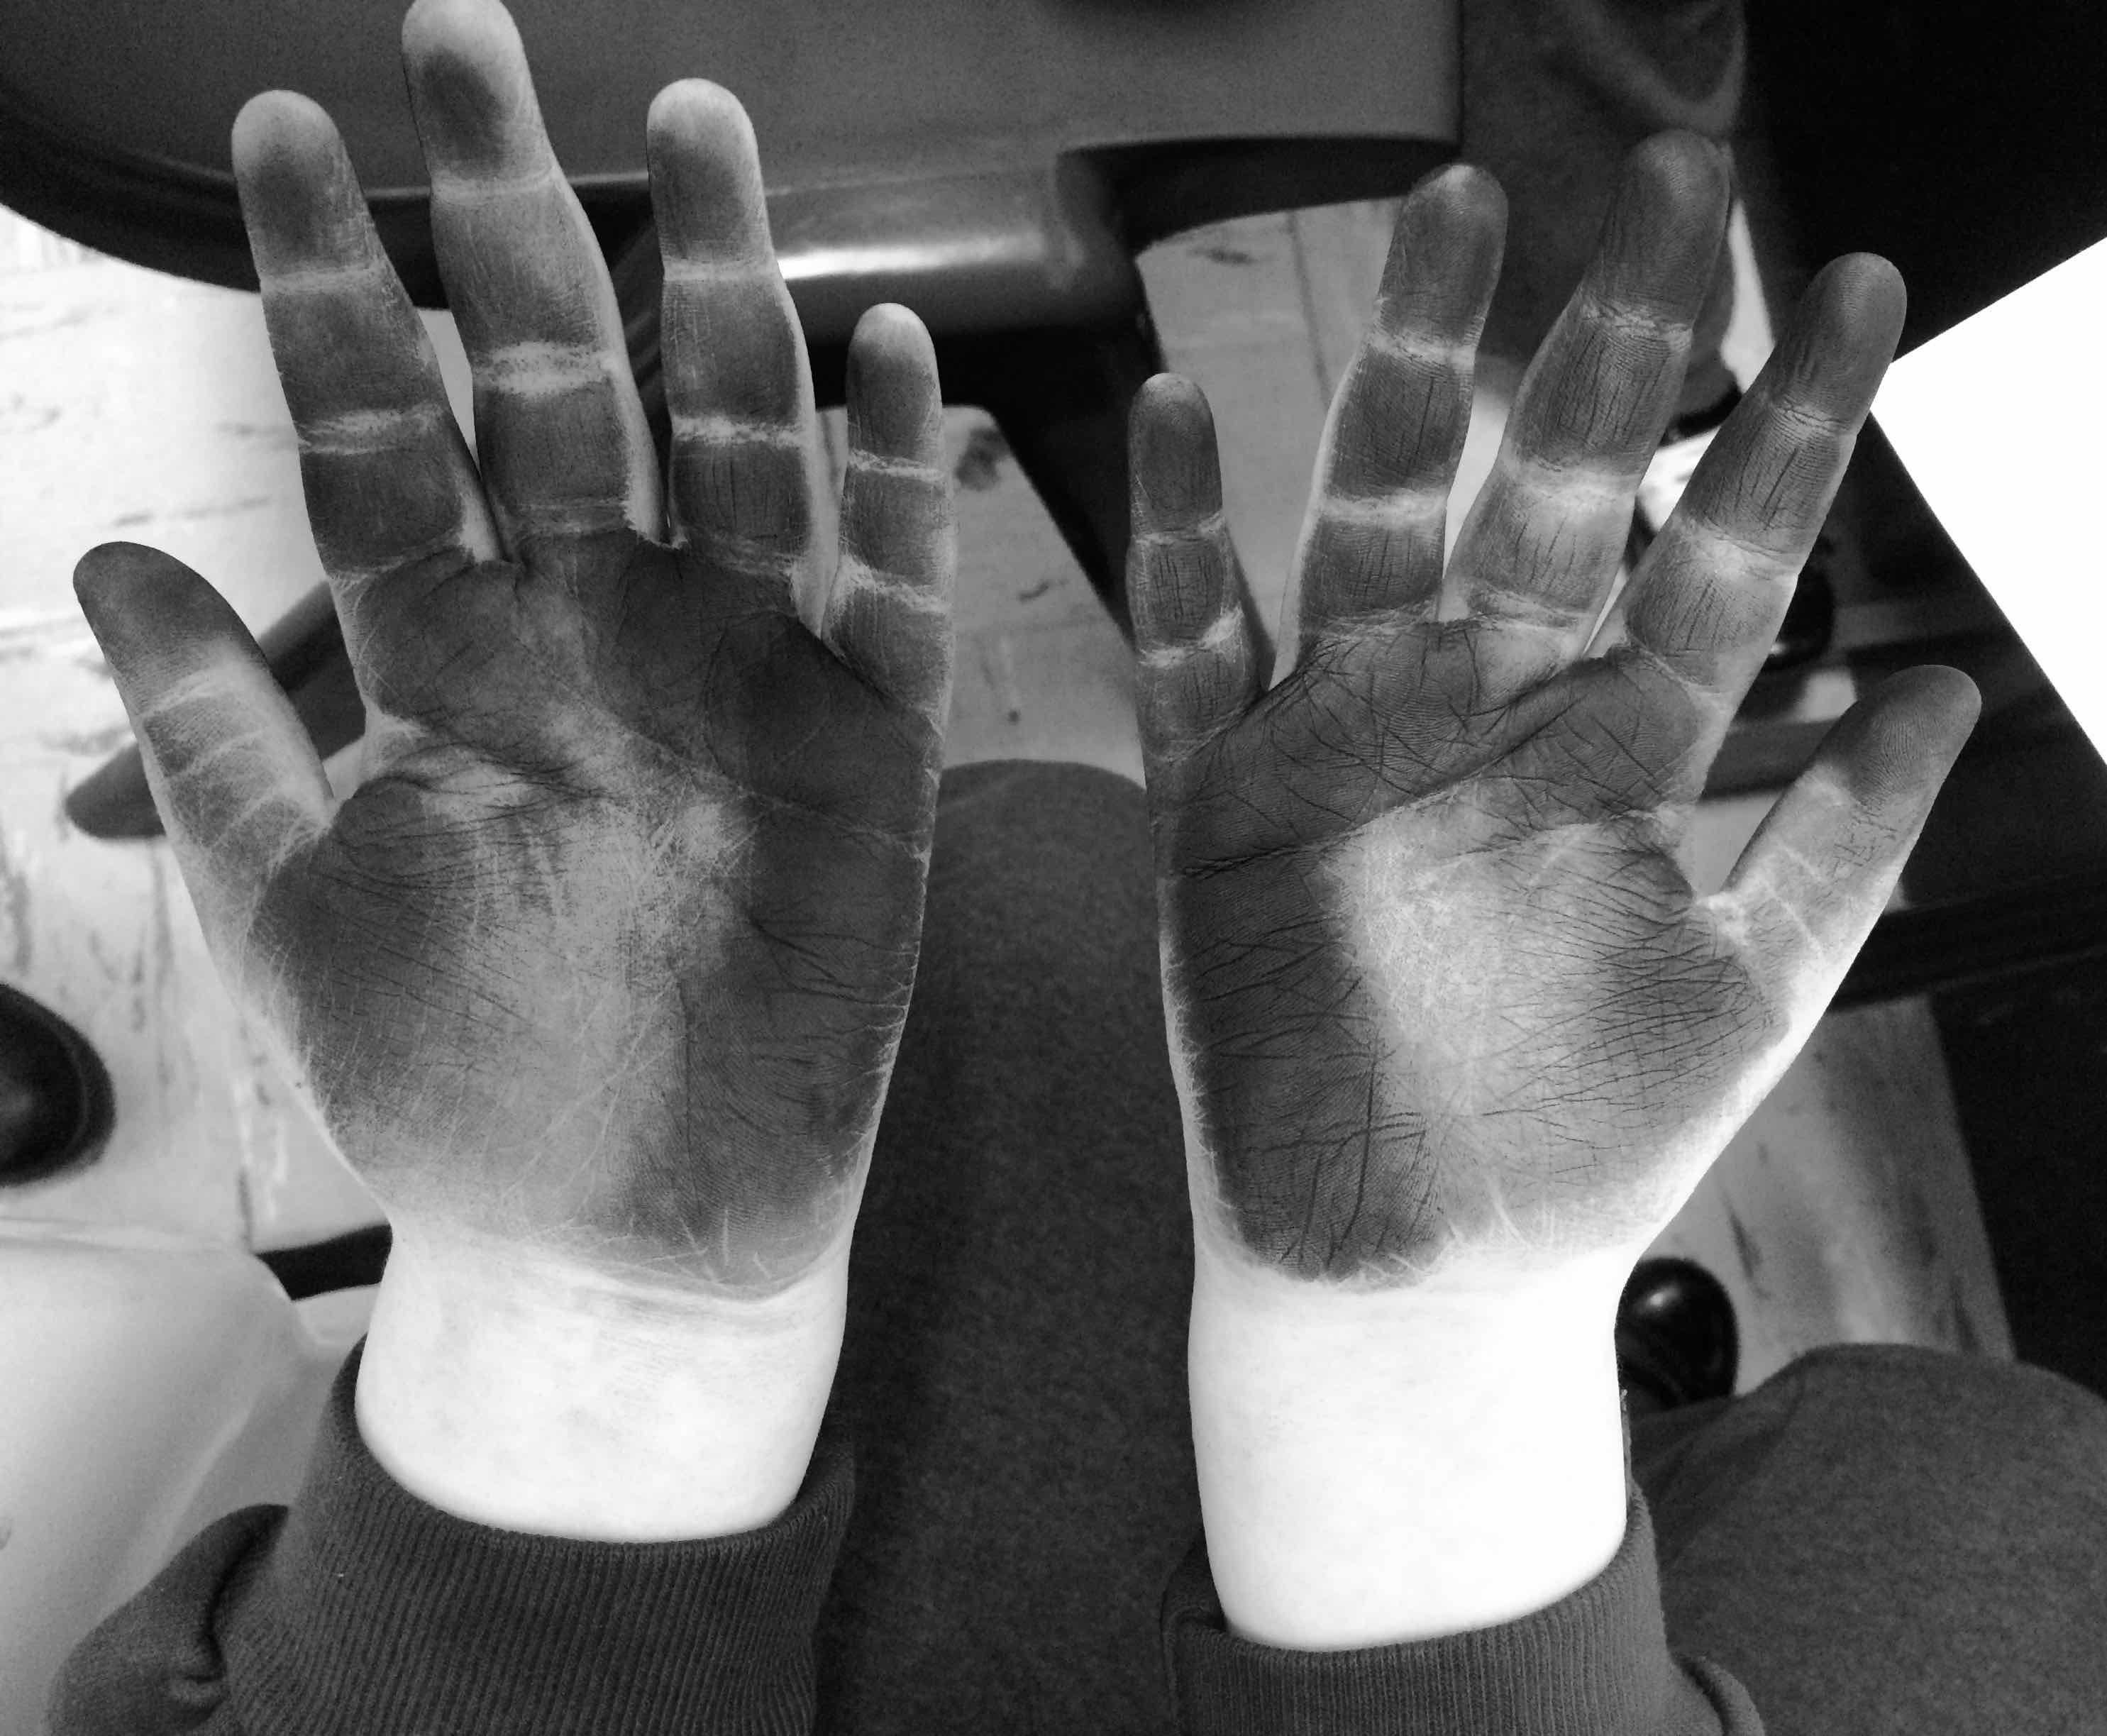
One very amazing thing that Eileen the classroom assistant discovered, was that when pin holes were made in one side of the paper, it caused a raised surface on the back of the page.. Mrs Hughes invited one child to show me their shape made by pin holes, but not by shining light through – I had to guess the shape by touch. I passed my fingers over the raised surface to try to feel the shape… Those who are visually impaired use this technique to read braille – shapes and letters made by raised surfaces on paper.

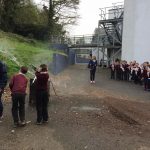
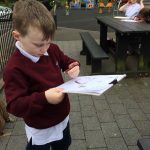
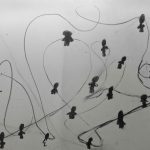
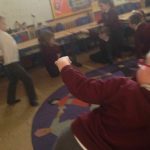
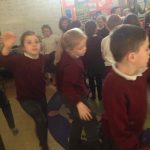
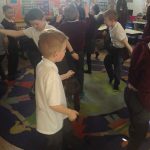
Meanwhile we still had to remember to track our shadows from time to time….

We traced our shadows several times during the morning, by standing in the same spot and seeing how the new shadow was in a different place!
Look at our chalk tracks…..
The changing shadows offered wonderful opportunity to learn about time and lengthening or shortening shadows…
We took time to discuss how our shadows had changed over the course of the morning.


All the children gather round to look at the shadow drawings.
Thank you P3 and P4 children, Eileen and Mrs Hughes for a memorable year on Virtually There Project!


Posted in Uncategorized | Leave a comment

We all see something different…

With all this exploring of space travel, I have been reading and wondering… one thing I read was that in the days before writing, the night sky was a picture book for humans – a gallery for their imaginations!

This wonderful thought spurred the idea of inviting the children to create images using their bodies and using simple dots (like the star constellation we witnessed at the planetarium and in our own night sky observances).

The children create shapes by placing themselves on the floor in a shape of one of the ZODIAC signs

Mrs Hughes and Eileen drape LED lights – what a great effect!

each child had identified their star sign and tried to create that shape

I showed some images on the white board of the dots that seem to make up the constellations
We checked out some full picture versions of the star signs and wondered how from sparse dots, a full picture could be imagined…

We remembered the line work we did when we explored Chinese calligraphy…

and I showed the children a set of YOGA postures that look like human letters…

The children decided to send me a message and while they organised themselves across the floor, I looked away…. can you read their message?

The children wished to explore their own shapes using white paint and cotton buds and created these wonderful imaginary constellations…

Then I set the children a task to create an image from the dots I emailed them while they were on break time… here’s the dot pattern I created:

Look at all the incredible imaginative responses…

Every one of them DIFFERENT… thank you for the great session, Eileen, Mrs Hughes, Bernard, Mrs Hughes son who assisted and all the children!

Posted in Uncategorized | Leave a comment

The Thrill of Space!

It was an action packed day visiting Armagh Planetarium. Thank you Mrs Hughes and everyone for a great time!

We  experienced the wonder of virtual space as we sat through the ceiling-wide presentation of the planets and solar system…

We made rockets…

We prepared them for launch….


We launched them by water-propelled launcher….

Then go find them… see who’s flew the furthest!


Then some time in the display area and pulling on gear as a space man or woman…

Then after lunch and a run up and down earth’s hills…

Then played and drew…

Here’s a few of the sketches… and a few ALIENS!!!


Posted in Uncategorized | Leave a comment

Starry skies

We all did some homework before number 11 session – which was to make sure and observe the NIGHT SKY. It just happened to be a clear night but if you were looking up to the night sky in Crossmaglen, you’d have seen a lot more visible stars than I did looking from my rooflight in the heart of Belfast City… I showed the children what I saw. I documented the view North and South from my windows, by taking photographs.


I looked out and saw lots and lots of lights, but they were from houses, buildings and streetlights…
This was looking out southwards, on the left side you can make out the spire from Queens University and if you look hard into the sky just over this you might make out a pale light… a star!
This is looking northward and over towards Cavehill… all I could see was city lights!

I asked the children what they saw and  they had indeed seen more starts than me!

We discussed the reason for this and they suggested that all the city lights had drowned the night stars out.  The children told me what stars they saw some saw 5 large stars spread out, very bright…

I invited them to make a charcoal drawing based on their night visions. Here are some, but you can see more on the Teacher section of the journal…


What lovely images! We were in the mood for some hands on working with art materials and decided to try the effects of wax resist….

We tried a mix of blue and black acrylic paint to make the night sky…


We used a candle to make marks and lines so that when we gave the paper a wash of bluey black paint, these marks resisted the paint.
I had sent the class some water soluble wax crayons which are lovely to use with a wet brush… look at the lovely effects…
Red and yellow water-soluble wax crayons after a wet brush has ‘loosened’ the marks…


Mrs Hughes has posted a lot of the children’s pictures on the Teacher Journal, go check them out…

The children’ s work had reminded me of the beautiful painting by Vincent van Gogh – The Starry Night’ painted in 1889 in the South of France.

We all talked about this painting the children loved the swirly patterns, the glowing yellow around the moon. We noticed some paler lights from the town below but the night sky was  so big and beautiful. The children liked the big silhouetted tree in the foreground and thought that maybe it was a stormy night when Vincent painted this scene.

We have cultivated a real interest in the space and the stars and are planning a trip to a local PLANETARIUM!

Posted in Uncategorized | Leave a comment

More Travelling, Experiencing and Recording

A WHOLE DIFFERENT VIEW! What a great picture Mrs Hughes!


Oh The image that Samantha had made last time, of the figures tethered together in space had stayed in my head so much I thought we should use it as a starting point for this session…  we planned to travel into space again, PREPARING for our trip by designing and wearing special goggles for space, EXPERIENCING a new planet and RECORDING what it felt like or what we saw.

After a brief reflection on what we did in our last session about GRAVITY, we were going to transform our classroom,  in our minds, into a whole universe…

A very resourceful Mrs Hughes had got together some string, tape, glue, coloured filter paper and egg boxes.. these were turned into special space goggles – each child made a pair for themselves and reported that they had trouble tying on string to hold the goggles on their head.

I made a pair in my spacecraft here in Belfast:

I used cardboard, tape, yogurt pot tops and filter paper to make my space goggles

Once the children finished theirs they took space walks in the classroom to test what they felt like…


We talked about TIME and DISTANCE and LIGHT YEARS…

that it takes a long time to travel big distances through space. Mrs Hughes spoke of TIME ZONES and that we could be in different layers of time.

Mrs Hughes and Lauren prepared the classroom into TIME ZONES using rope criss crossed over the room.

The children were then tasked with the job of travelling through time zones over the room…

Eventually they reached a new planet and broke into teams to explore this:

The boys go off exploring the new planet but for safety they are tethered together so no one can float away!
On the mission and working and exploring as a team…
The girls’ team mission underway…

We had some terrestrial interference and our connection was lost… we switched to Facetime to continue our session. These strange pictures were beamed to me from the new planet… but they are UPSIDE Down.. what an unusual view I was receiving!


The children reported that they had fun on this mission and that they felt safe tethered together, that their movements were slowed down because of this, they had to move carefully, but others reported that it felt claustrophobic in the goggles and that their breathing got hot and came back to them…

I observed the astronauts helping each other if they tripped and talking with each other as they moved.


Posted in Uncategorized | Leave a comment

Balancing forces


This session was dedicated to exploring FORCES, WEIGHT and GRAVITY  – how it affects us and objects in the world. This followed on from our testing paper airplanes last week and observing how they flew through the air because the paper was folded into STREAMLINED shapes.

We then investigated how paper might behave if we simply dropped it from a height…

We took flat paper and crumpled paper of the same size and dropped each from the same height.

We discussed the reason one fell faster than the other… The flat paper RESISTED the air because it was a larger shape. It slowed the fall. We understood that the paper shapes weighed the same but fell at different speeds! We talked about DENSITY and WEIGHT.

We soon asked why it fell at all! We had all heard of GRAVITY and that it is a FORCE that pulls everything to the ground…

The children also explored letting a light hollow plastic ball drop and a piece of solid wooden Jenga drop to observe what happened and to talk about the different properties of each object.

We talked about a FORCE and whether we could see it or feel it. Mrs Hughes demonstrated some forces like PULLING the door closed or PUSHING it.

The children tried balancing forces by leaning their bodies against each other to try and push each other over.

The boys here are very good at OPPOSING each other’s force or weight of each other.

We discussed what it might be like to have the sensation of no weight – to have no gravity.

However I learned that GRAVITY is everywhere but that in SPACE there is very low gravity. MICRO GRAVITY.   (MICRO = VERY VERY SMALL).

We tried to imagine what its like to feel WEIGHTLESS


We watched a YouTube video published by NASA that shows astronauts playing soccer in space… look at how the ball moves!

The children remembered feeling weightless in a swimming pool and how the water kept their body buoyant. They began to move around their classroom as if they were weightless…

The website page for Kitsou Dubois – exploring weightlessness.
Kisou Dubois exploring weightlessness through dance…

I posted up an image of a French dancer called Kitsou Dubois who over the years has explored movement and gravity and has worked with the French Space Agency to train astronauts on moving in low gravity…

To help us imagine a feeling of low gravity I suggested the children try holding a heavy weight over as long as time as possible so their arms grew heavier and heavier. Mrs Hughes gave out some heavy books.

Two children tried this and then we asked them how their arms felt when they eventually dropped the heavy books! How light are those arms now? Do they seem to float in the air?

We set the children the task of imagining taking off in a rocket and travelling into space,  feeling weightless…


We all enjoyed using this special imaginative thinking to take us out of the classroom and to feel something different! More exploring next week….


Posted in Uncategorized | Leave a comment

Balancing air pressure

Reflecting on the birds we drew in the last session, I thought it might be interesting to  explore how they fly… So, since they had been studying birds, I asked the children.

“They use their  wings and feathers”

“They flap”

“They Glide”

It was early and energy was high so we all tried flapping our arms to see how it would feel. I flapped away here in Belfast and the children stood in their classroom and flapped  – it was hard work and our arms got sore! We realised the birds have strong wing muscles!

Mrs Hughes suggested the children test out their flying skills and asked if they could take off and land in the same place after GLIDING and FLAPPING  round the room.

The children said it felt weird, fun and energetic to fly around their classroom!

We swiftly made the connection between BIRDS and AIRPLANES and wondered how such big heavy things could fly and not fall out of the sky!

I read about an experiment using an A4 plain piece of paper that you hold near your mouth, both your hands holding the long sides. Then blow hard over the top of the paper and watch what happens…

I invited the children to try it and when I tried it, my piece of paper floated upward a little… Its all to do with AIR PRESSURE and it was something that we will come back to because the children did not see the same reaction but instead some said all that blowing made them feel dizzy.

After continuing our discussion about airplanes, who had seen one, or been in one, we decided to draw one from memory or imagination.


Next the children all had a go at making a paper airplane and flying the planes across the classroom…

One paper airplane in particular flew… and flew… it flew along the corridor, gliding past the library and as far as the last door along the corridor – maybe 10 metres or more!

It turns out that John has been making paper airplanes for 2 years… and the practice has paid off because this airplane flew so well. We discussed why it this might be…

It was the right SHAPE

It was STREAMLINED

The front tip was POINTED

It was SYMMETRICAL

It was HEAVIER at the FRONT because lots of paper folds were there.

It was really interesting to discuss all these points. We were all keen , myself included to learn how John made his plane, so Mrs Hughes invited John to be the teacher and he showed all of us how to make the plane using a flat piece of paper.

John talks to the class and to me (via the iPad FaceTime). Here is my paper in the process of being made into a flying machine! John gave CLEAR instructions, which I followed by listening CAREFULLY.
The paper was folded 7 times…
Beautiful flying machine..


We all make another plane and I ask the children to draw this new plane…

I love the ANGLES and STRAIGHT lines in these drawings, they CONTRAST so much with the ROUNDED shapes and CURVY lines of the first imaginary airplanes.

I begin with lines that meet at a point in the front…
I look again and adjust some lines, but they don’t seem to make sense… I rub lines away and try again…


Finally I make the lines in heavier charcoal and erase lines I no longer want.


Thank you everyone for the great work and new skill I have in making paper airplanes!

I am amazed that an airplane I made could actually fly… mine flew very well. Thank you for the great instructions John!


Posted in Uncategorized | Leave a comment

We take off again… and look for ghosts!

This week I made a visit to Crossmaglen to re-connect in the real world since we have been on an extended break from the project. I wanted to join Mrs Hughes, Eileen the Assistant and the children to explore how we could use charcoal to create changing drawings.

First of all we remembered our last online connection when we looked at how Eadweard Muybridge had explored movement and change using photography. But this time Mrs Hughes and I showed the children an animated CHARCOAL drawing that I had made in response to the words of a song by Irish Band Horslips, ‘Rescue Me’.

Rescue Me from Sharon Kelly on Vimeo.

We watched this several times and afterwards a discussion took place about the imagery and how it made the children feel. This was wonderful to hear their thoughts and how  particular images  had stayed in their mind. The children spoke about ideas of longing for home, loneliness, feeling small, being secure and how it feels to have a home and family to turn to.

Some of the images from the animation that stayed with the children were these:

We talked about how the charcoal images were made on one sheet of paper and I told the children that I kept changing the image  and photographing the changes one by one to create a DRAWING ANIMATION. We wanted to explore what was so special about CHARCOAL when used for a drawing animation. I showed them sticks of charcoal – only one child had used charcoal before.  I told the children I made the drawings by adding the charcoal and taking away with an eraser…

We soon set to work to  FEEL the charcoal in our hands and EXPLORE what we could do with it:

use it on its tip to create a line, mark or shape…
use it on its broad side and make a big scribbly shape that grows and grows…
We talked about how we can use an eraser as a drawing tool to create lines in the charcoal…

It wasn’t long before images of figures in boats appeared.. what fantastic drawings!


amazing outlines of structures made with an eraser.. all conjured out of the children’s imagination.

We saw how when we rubbed a charcoal image away, either with our hand or with an eraser, that something was left behind..

GHOST IMAGES REMAIN IN THE DRAWING…
John wrote his name and rubbed it away and ghost letters remained!
Paddy saw ghost goats in his drawing!

Mrs Hughes and I felt it was important that we talked about the way the images had come about in the animation – that I had  not planned the way they would change but had let the charcoal drawing suggest images to me!

Another thing that became important was that we all watched a clip of artist WILLIAM KENTRIDGE (a South African artist who uses drawing and animation) talking about how he created his work. The children listened carefully to what he said about UNCERTAINTY and how important this was.

It was time to get busy again with the charcoal…

We used two large plastic birds to trigger our imagination and as a focus for our drawings.
Everyone got to work…
Eileen joined in creating a scribbled shape using the charcoal on its broad side and starting in the middle of the bird shape…
Other drawings were made by focusing on the OUTLINE edge of the bird shape…

The children had been studying birds and this focus was working so well, they enjoyed creating bird shapes:

Mrs Hughes and I quickly decided to ask the children to each make a drawing of a bird moving, so each child would create a still image of a stage of the movement… we could then join all the images and run it as an animation! Mrs Hughes quickly organised the children to decide which child would draw which stage!

The children enacting the wing stages of the bird moving…
This is the flight path of the bird with each child’s name marking a stage of the movement! Well done Mrs Hughes!
All the drawings were documented on the ipad and displayed on the whiteboard for all the class to see as we flicked through quickly creating a quick animation…

NOW CLICK THE LINK BELOW TO SEE  WHAT WE MADE!

Moving Birds MINI ANIMATION

Posted in Uncategorized | Leave a comment

Recording change


We reminded ourselves of the work made by Eadweard Muybridge by looking again at his still photographs of a horse in motion. Edward discovered that when still images were viewed very fast they appeared to show movement.

http://en.wikipedia.org/wiki/Eadweard_Muybridge#/media/File:The_Horse_in_Motion.jpg

A discussion followed in which the children offered comments on how they thought the still images seemed to move…

On the whiteboard screen I showed two images:

This picture shows how Eadweard Muybridge set up his camera equipment.. .he lined up 12 cameras to record different stages of the horse moving.


I had sent two wooden mannequins down to the class who were promptly named Sally and Quinn. The children moved the arms of the models up and down slowly to see how a simple movement like raising arms could be broken down into stages.

We realised that viewing lots of pictures quickly would make our eyes believe something was moving. I told the children about my son’s flip book from a trip to USA:

This flip book shows King Kong on the Empire State building in New York. If you flick the pages fast between your fingers the story comes to life!


I had sent down lots of post-it notepads for the children to try a simple flip book idea. We talked about what we could draw to show movement. Sarah had a great idea of drawing a snowball getting bigger and bigger…

Of course we had to be mindful where we placed each snowball on the page so it remained in the one place.

While the children set to work on theirs, I began mine…


The children tried to show me their flip books through the camera

We had the idea of recording a large Christmas tree as it got decorated… The children each drew and cut out a Christmas decoration for the tree, then one  by one they placed it on the tree.


Mrs Hughes invited each child to take a picture of the tree using the iPad every time another child added their decoration.


A discussion followed as to what we would now do with these 27 pictures! They soon discovered that if they simply flicked through the string of thumbnail photographs the larger images would flash past on the screen…

We thought in the New Year we could explore this all further…

Happy Christmas P3 & 4 and Mrs Hughes! See you in 2017!


Posted in Uncategorized | Leave a comment

Meet Poser…

We decided to connect online again quickly – a few days after our last session and continue to explore how our body moves…

I introduced this wooden mannequin to the children - who named him POSER we used him to help us see the important point over the body where we bend.
I introduced this wooden mannequin to the children – who named him POSER… we used him to help us see the important points over the body where we bend.
img_8653
The children explored their JOINTS and how they can move and bend…

Then we tried to draw the shapes of the body so that we could eventually create cut outs…

img_8660

img_8665

img_8674

img_8682

img_8675
Eileen the classroom assistant offered us a fantastic pose to draw…

img_8724        

img_8717

We stopped for a moment to find out about some interesting people from the past, who studied movement…

220px-muybridge-2
This is EADWEARD MUYBRIDGE who lived 1830 – 1904. He was an English photographer who used lots of cameras to capture the movement of people…


figures
The work of Eadweard Muybridge

We looked at the work of another man, Etienne-Jules Marey

Etienne-Jules marry was a French scientist who studied movement especially the movement of animals. He developed ways to record it ...
Etienne-Jules Marey was a French scientist who studied movement especially the movement of animals. He developed ways to record it …

Then we looked at a painting by French artist MARCEL DUCHAMP (1887 – 1968)

Nude descending staircase by Marcel Duchamp 1912

A lengthy discussion took place about what the children thought the picture was…

golden statues

golden keys

the entrance to a cave

wooden ships and sails

a door frame

a knight in gold armour…

img_8694

img_8695

Posted in Uncategorized | Leave a comment