Listening to the wind

IMG_2871

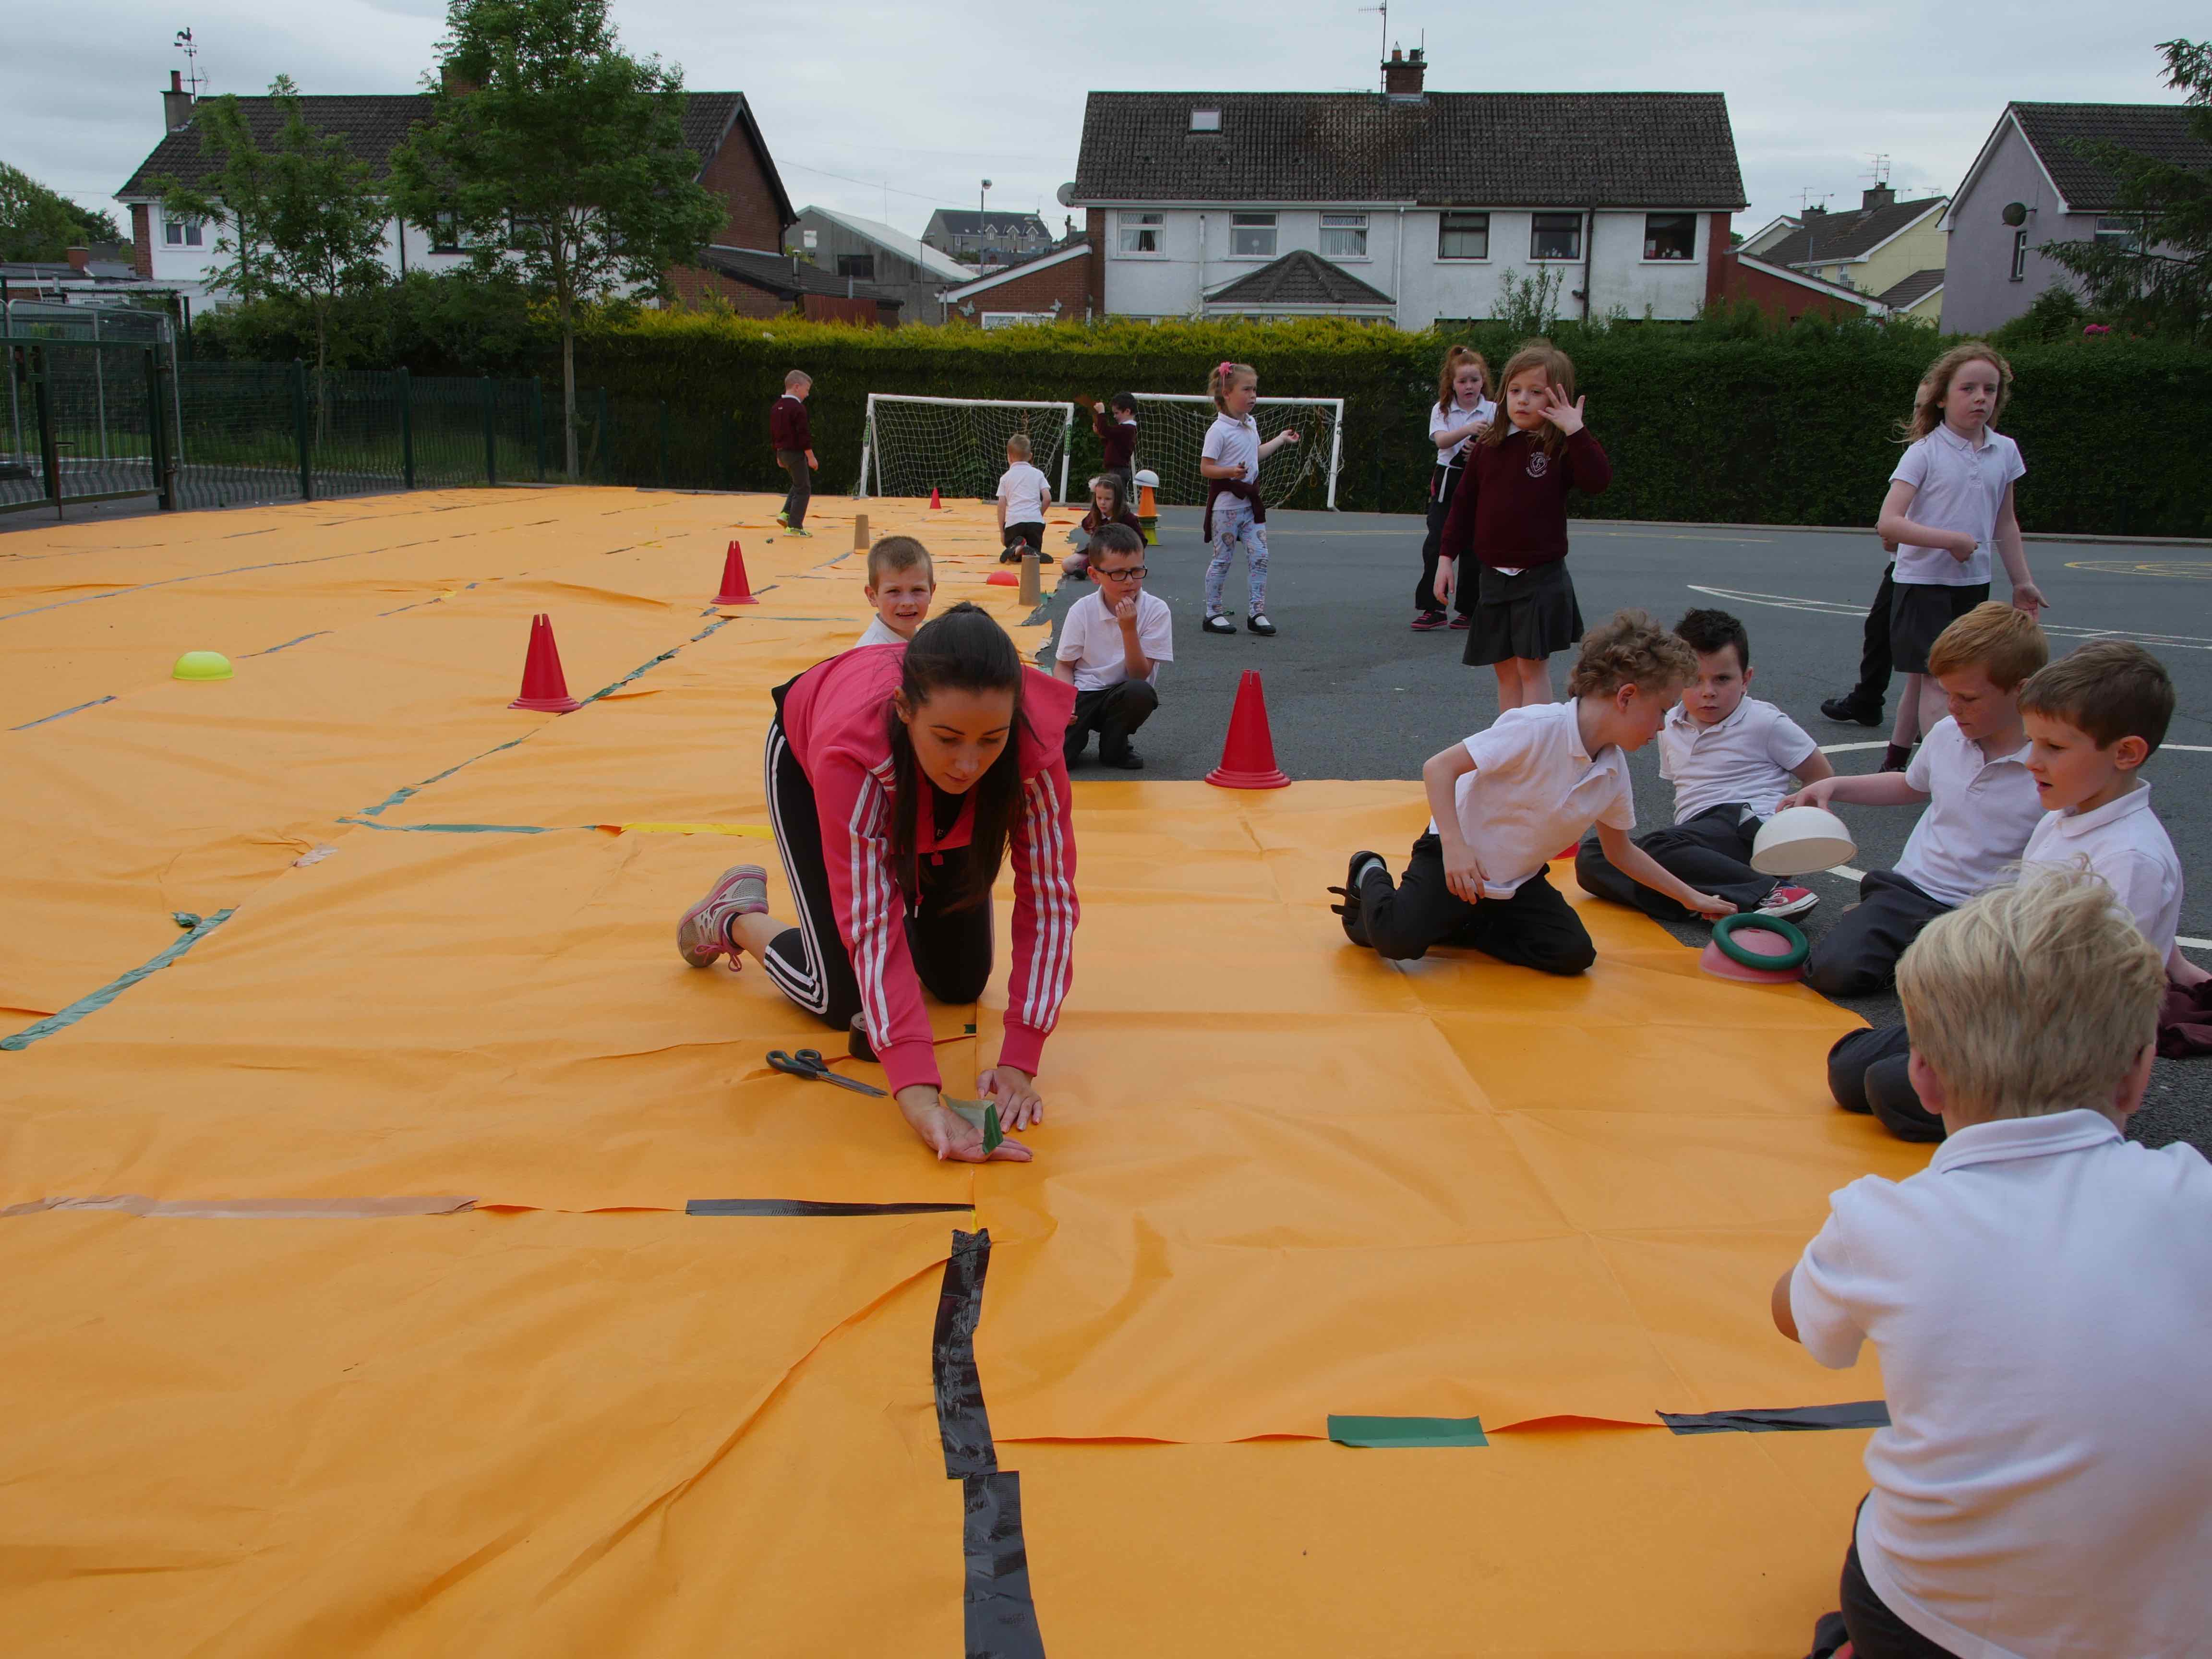
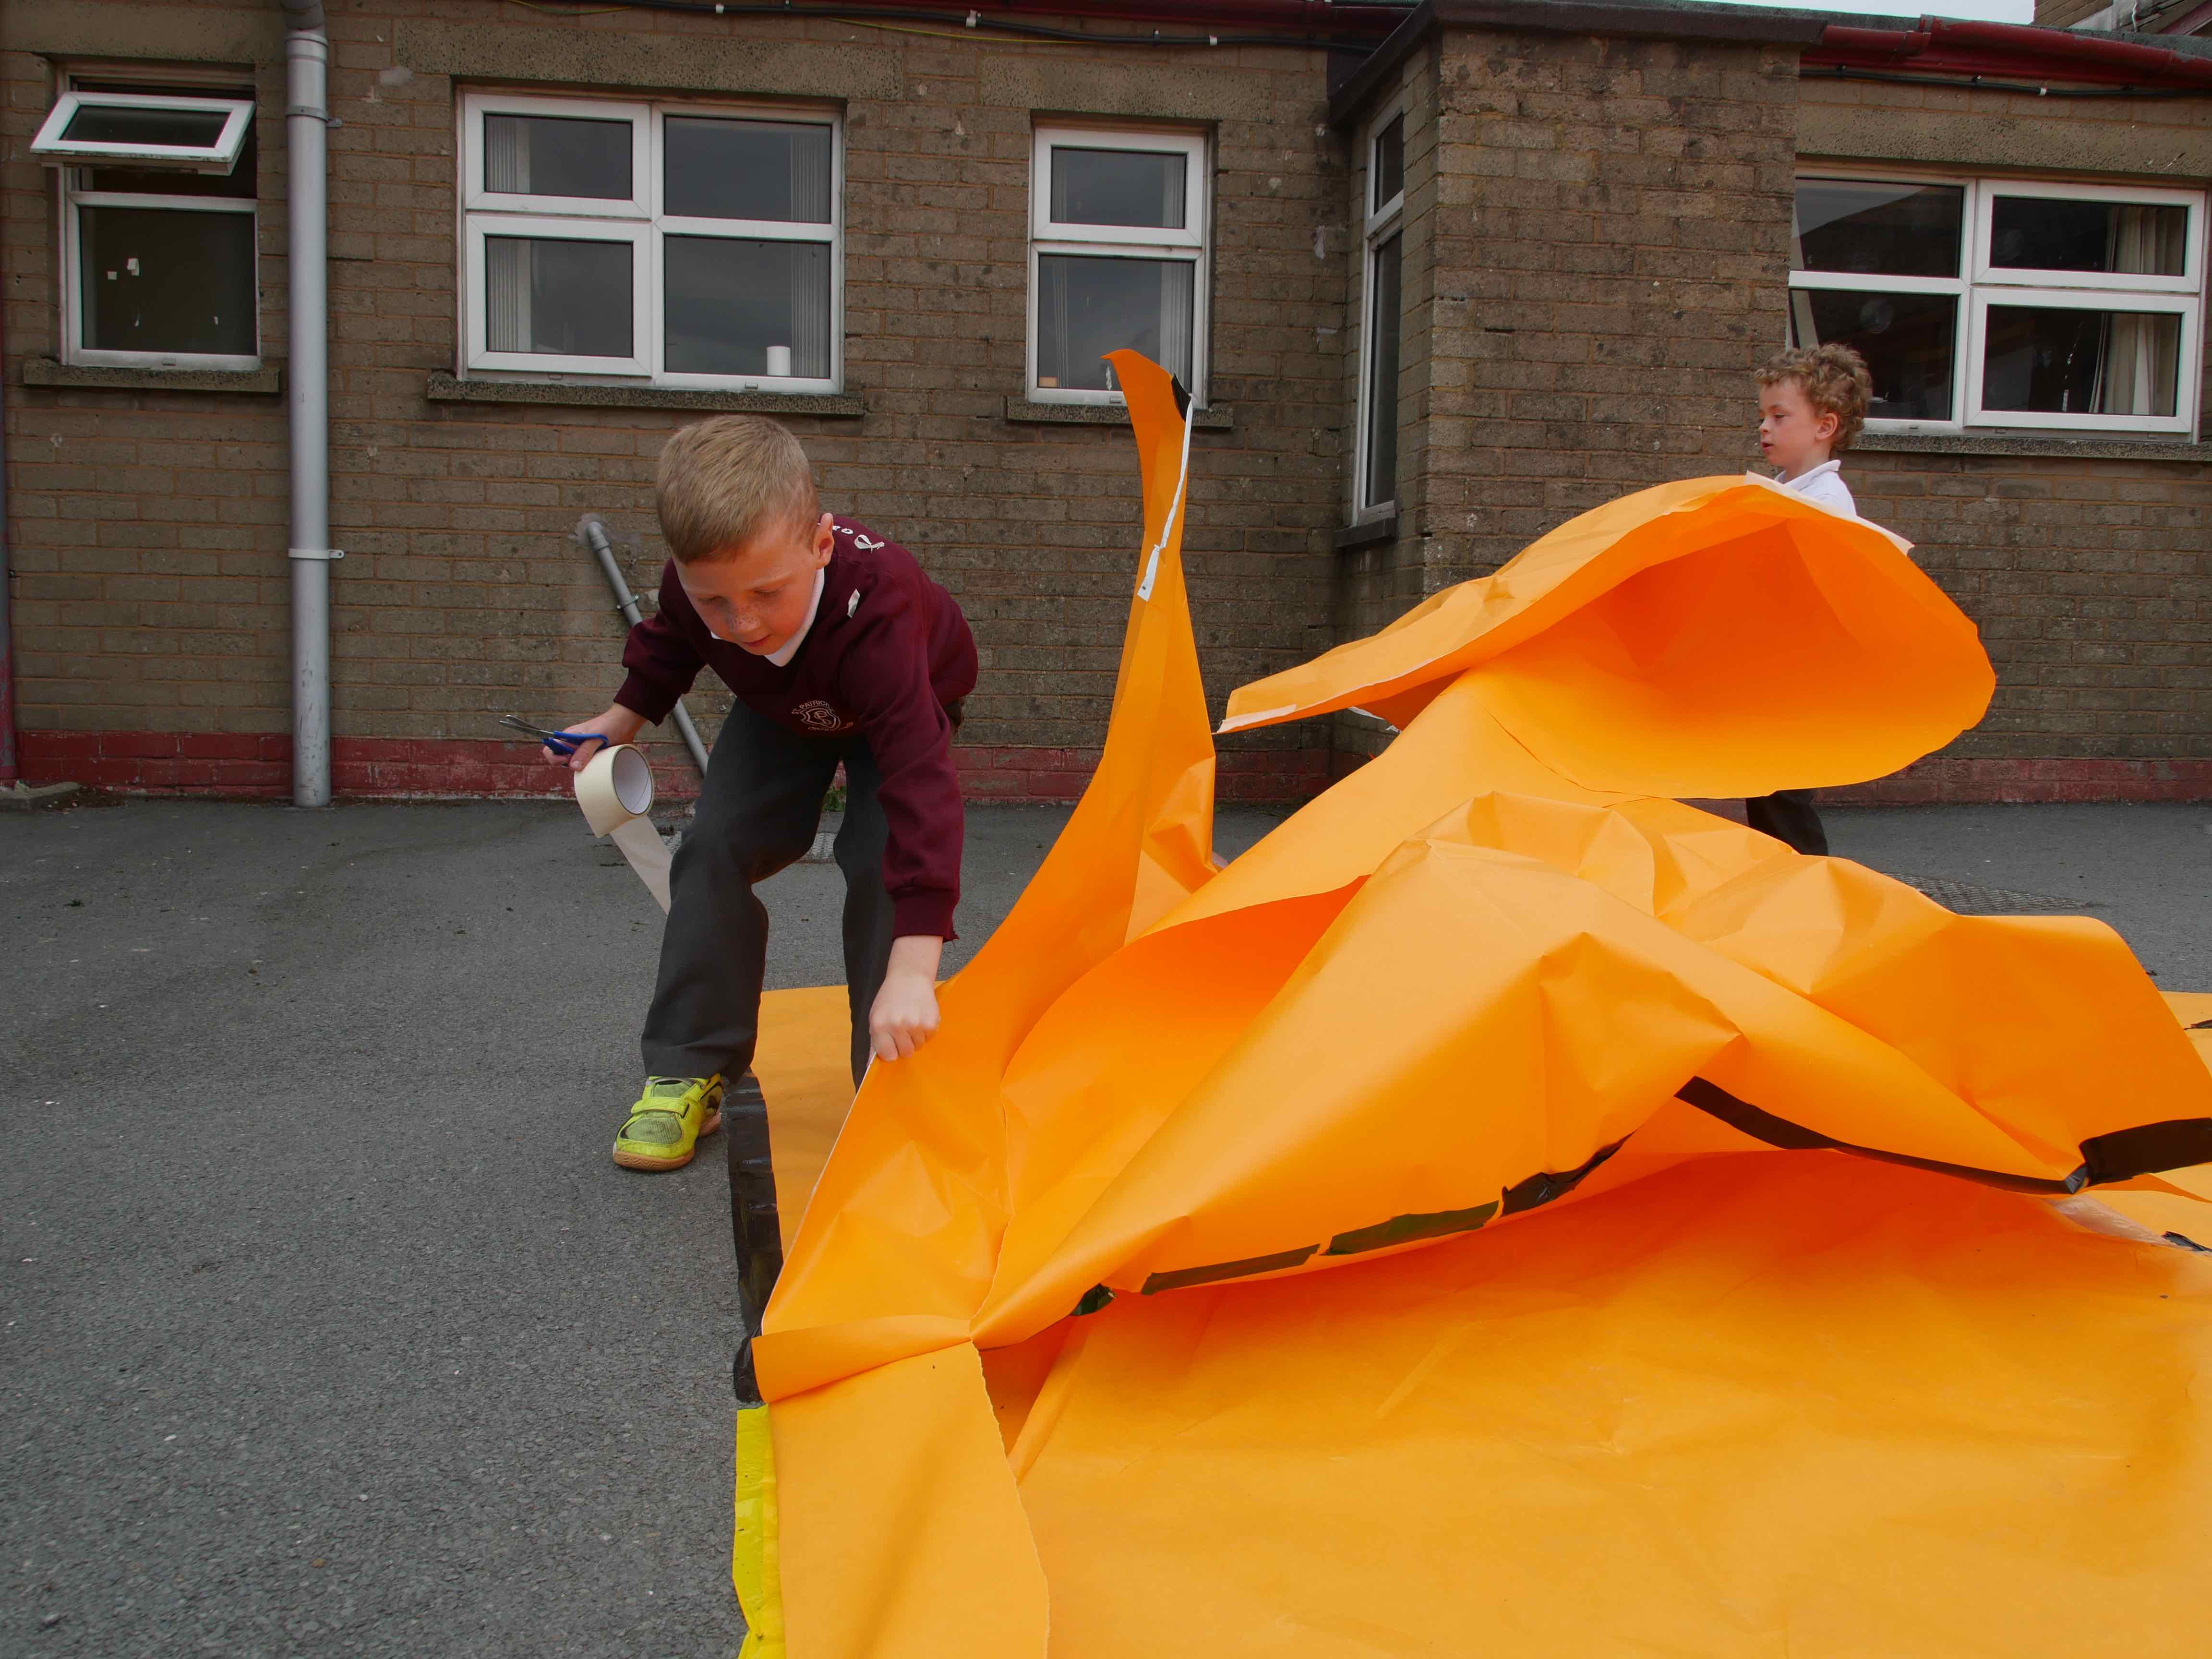
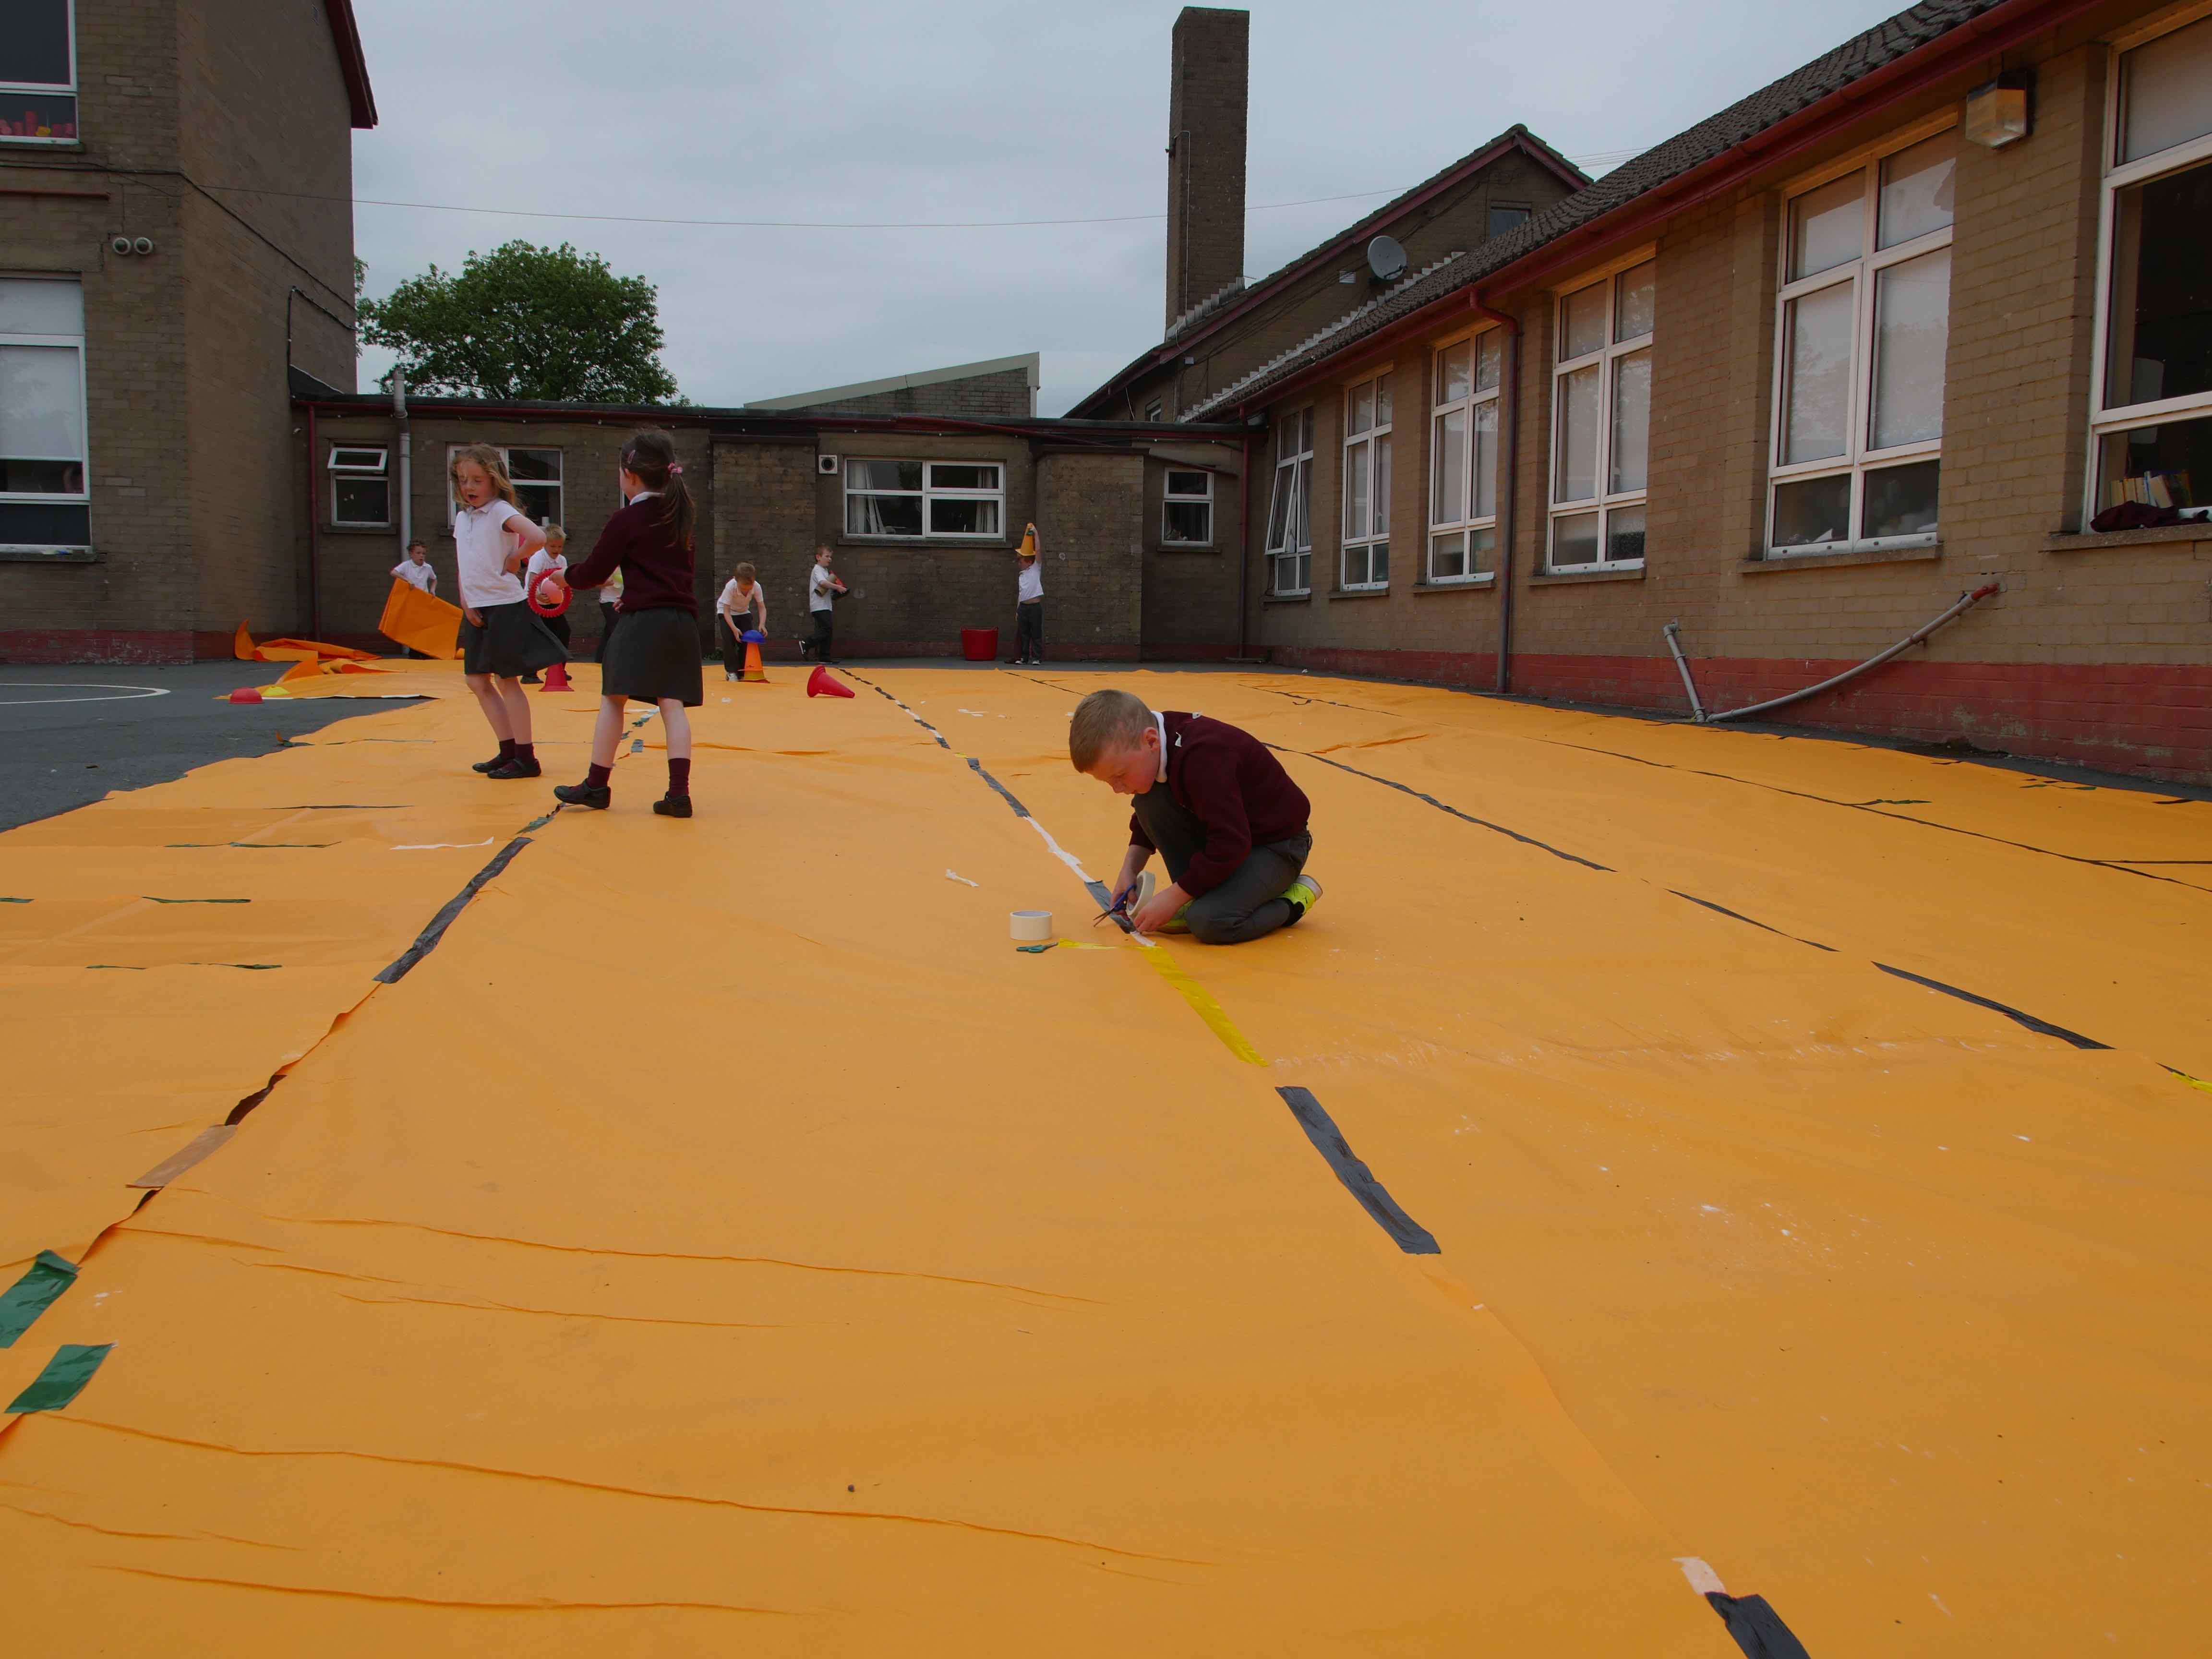
We focused our attention this week on the wind. P3 had been investigating wind strength and wind direction, so just before the start of our online session, the children had been outside to FEEL the wind on their bodies for themselves. Today was a very windy day!

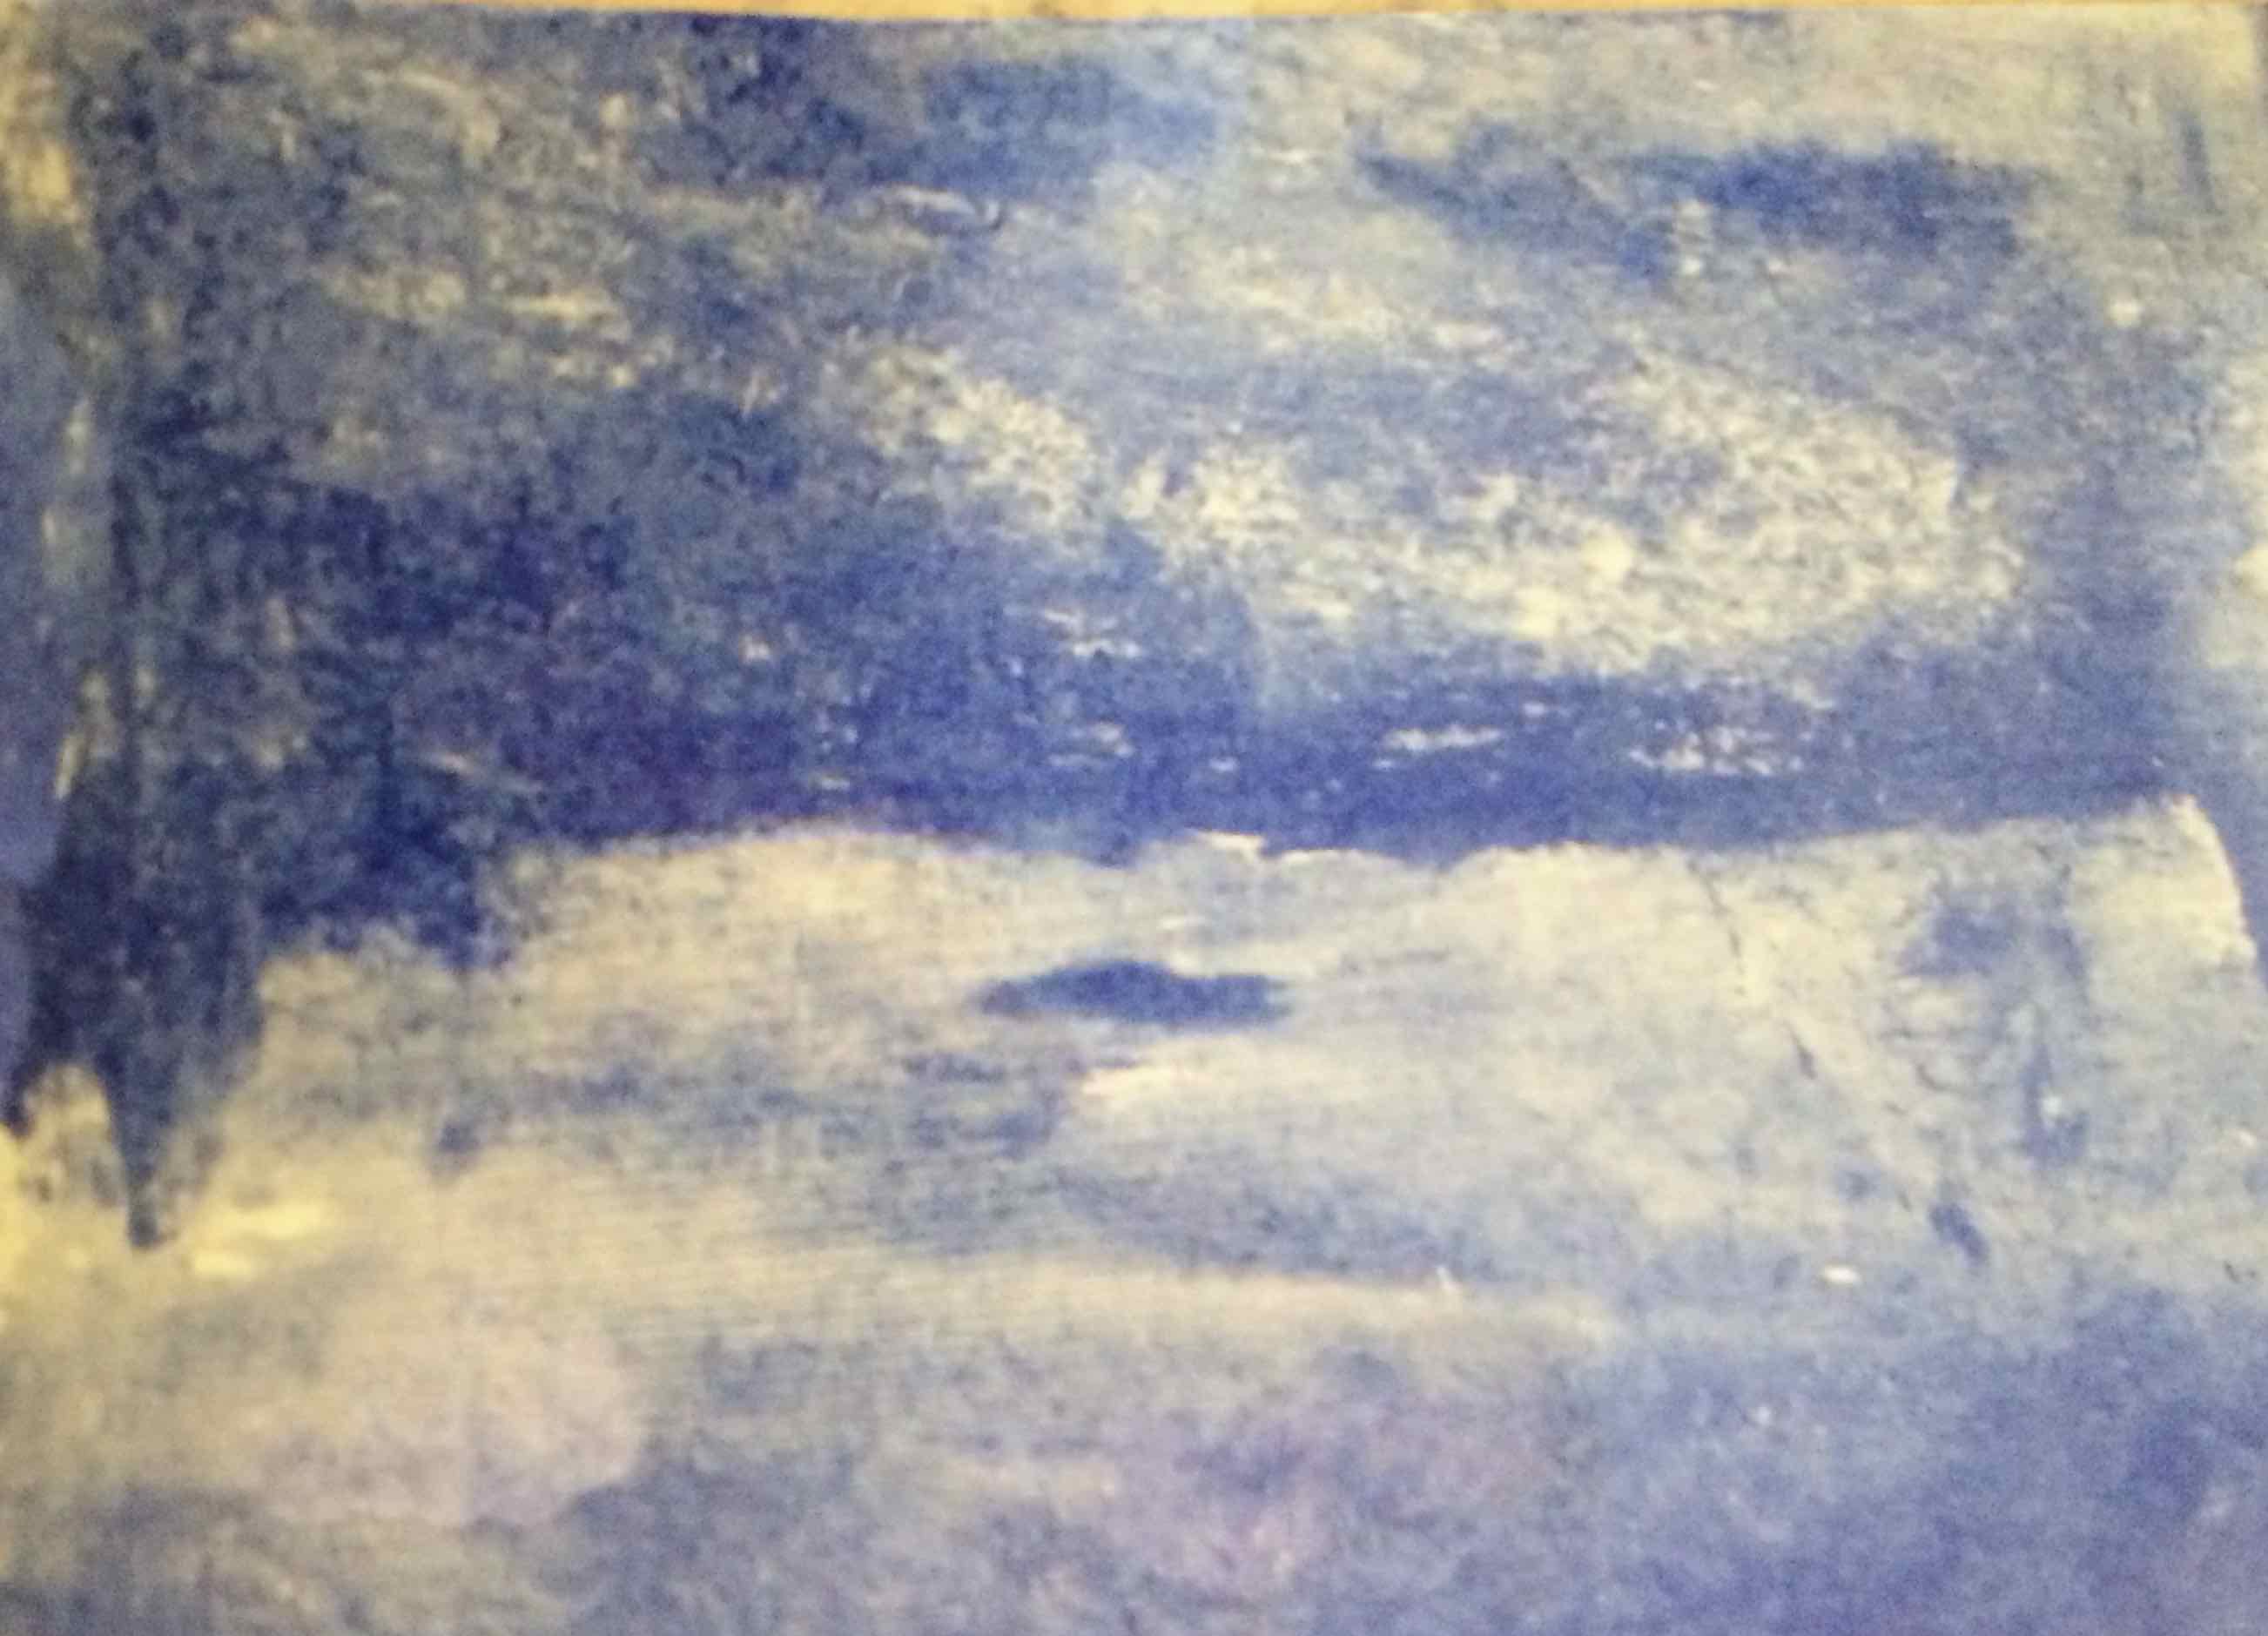
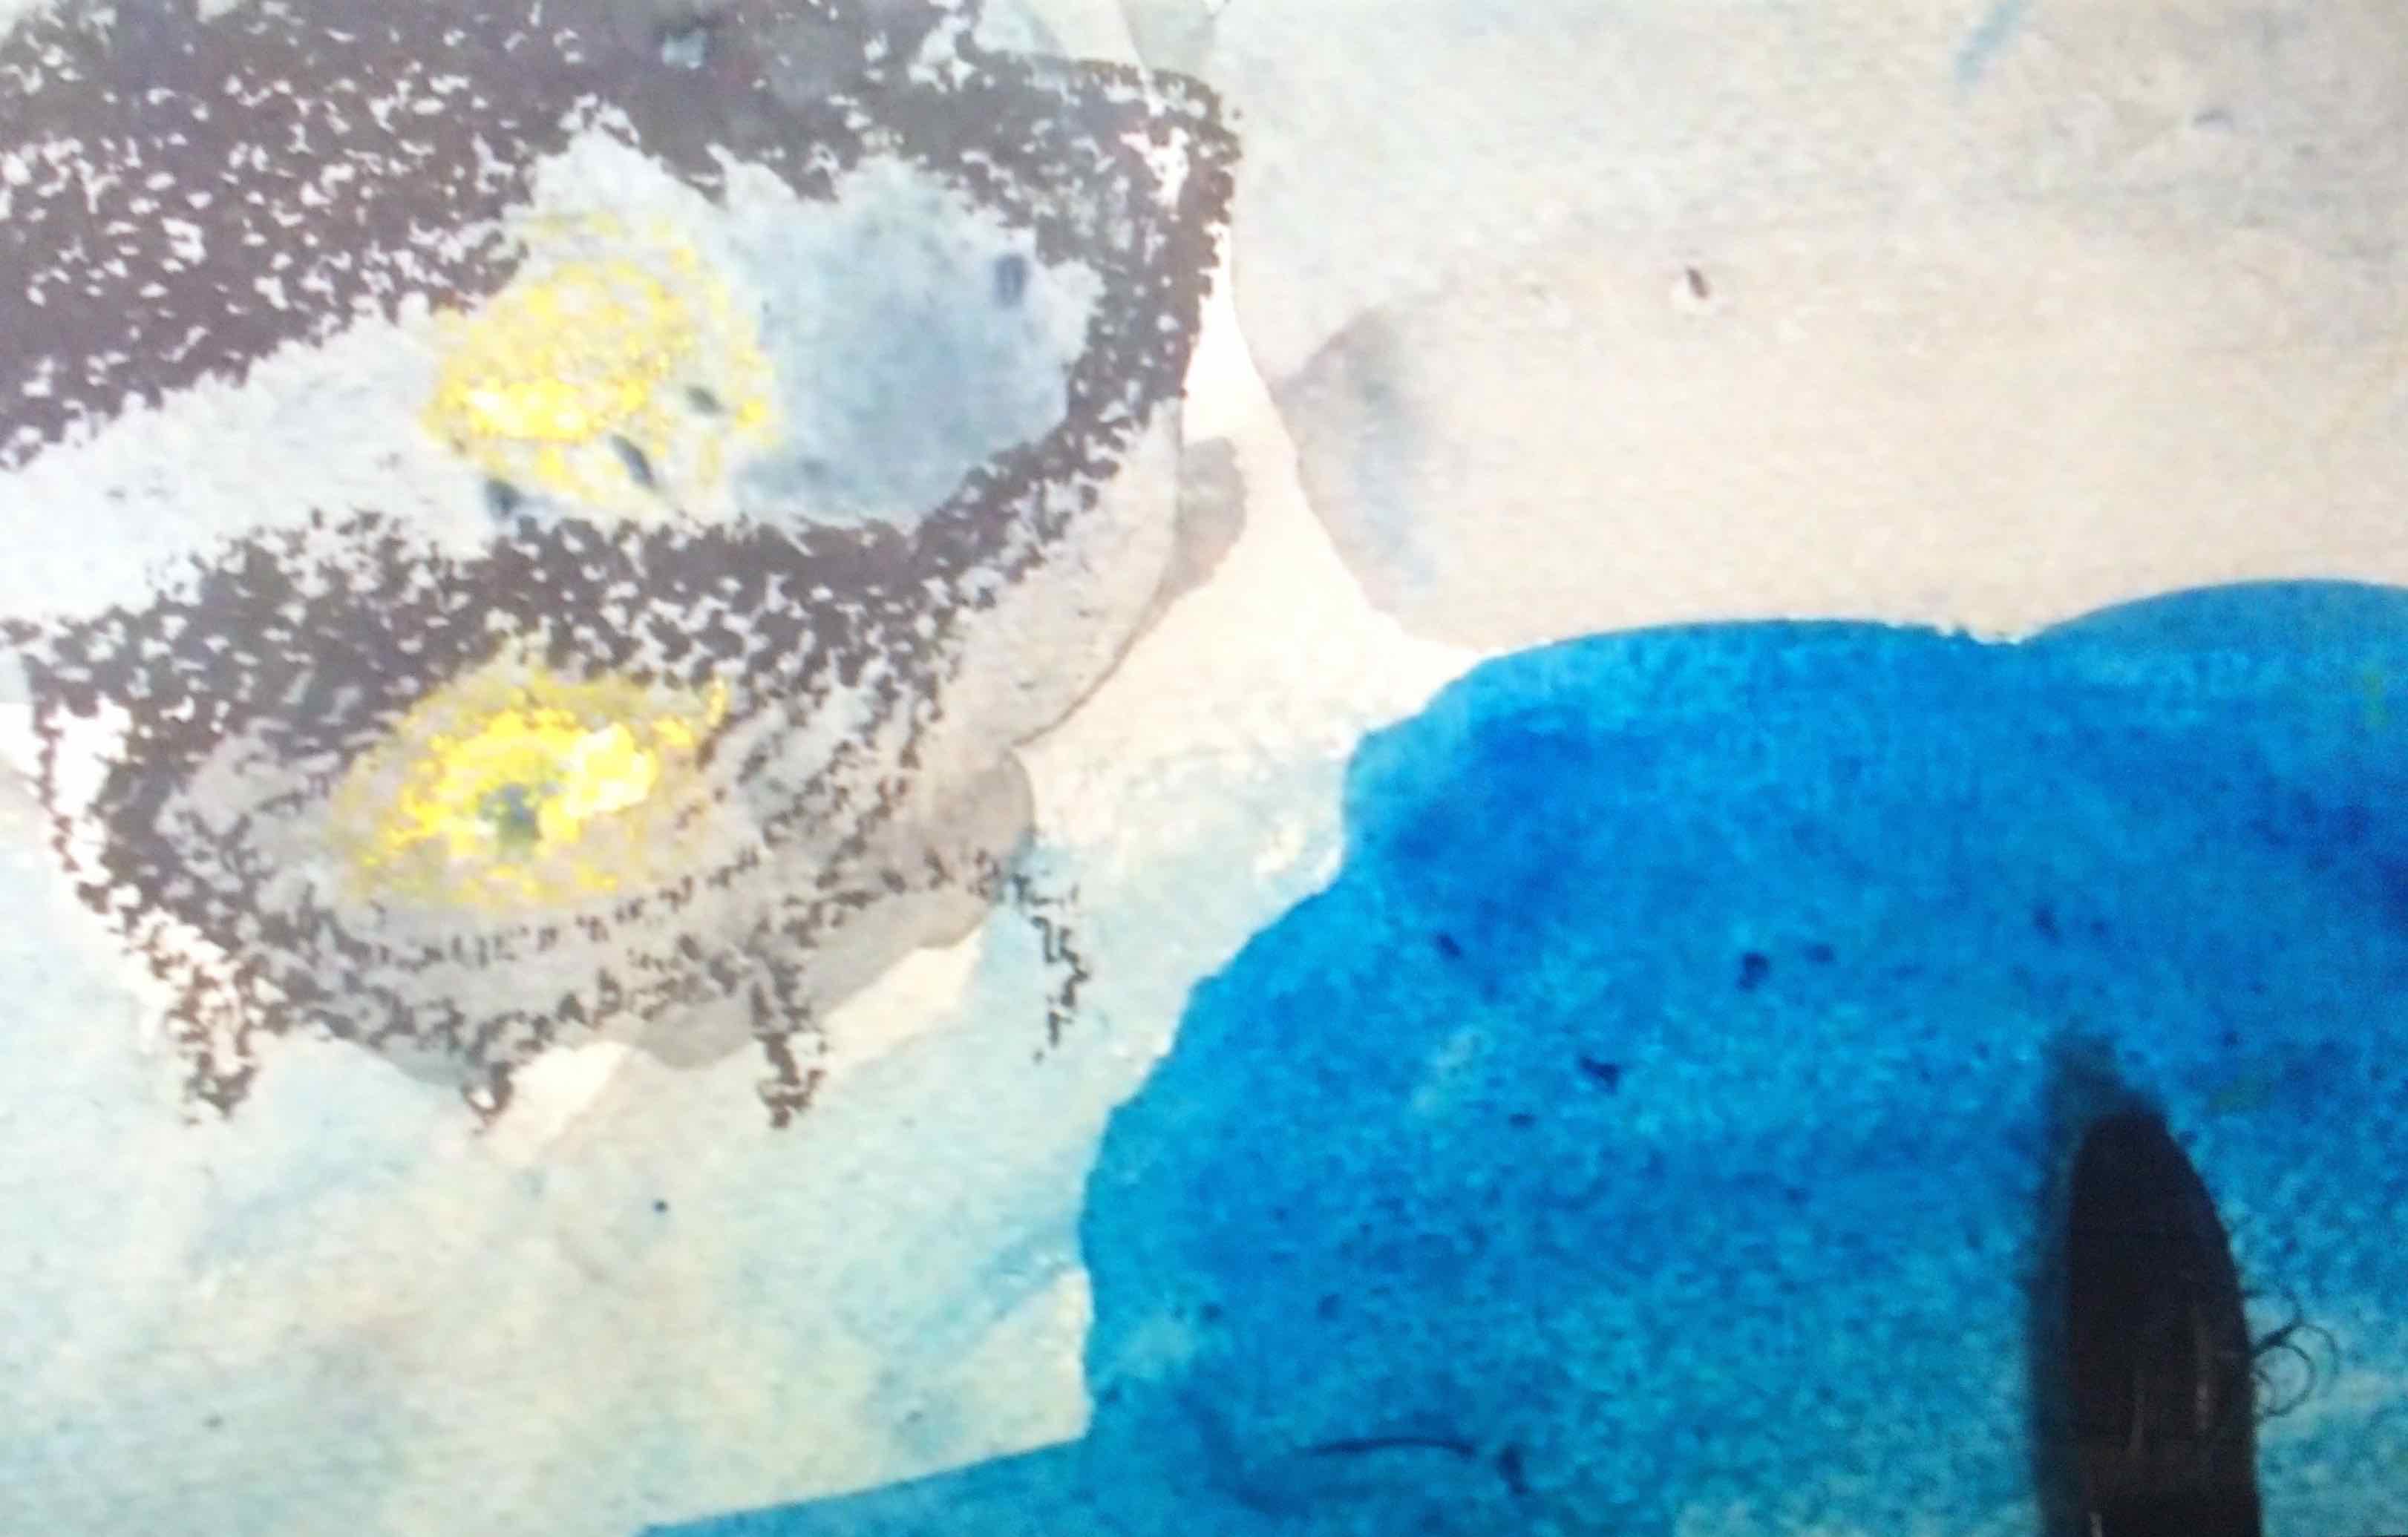
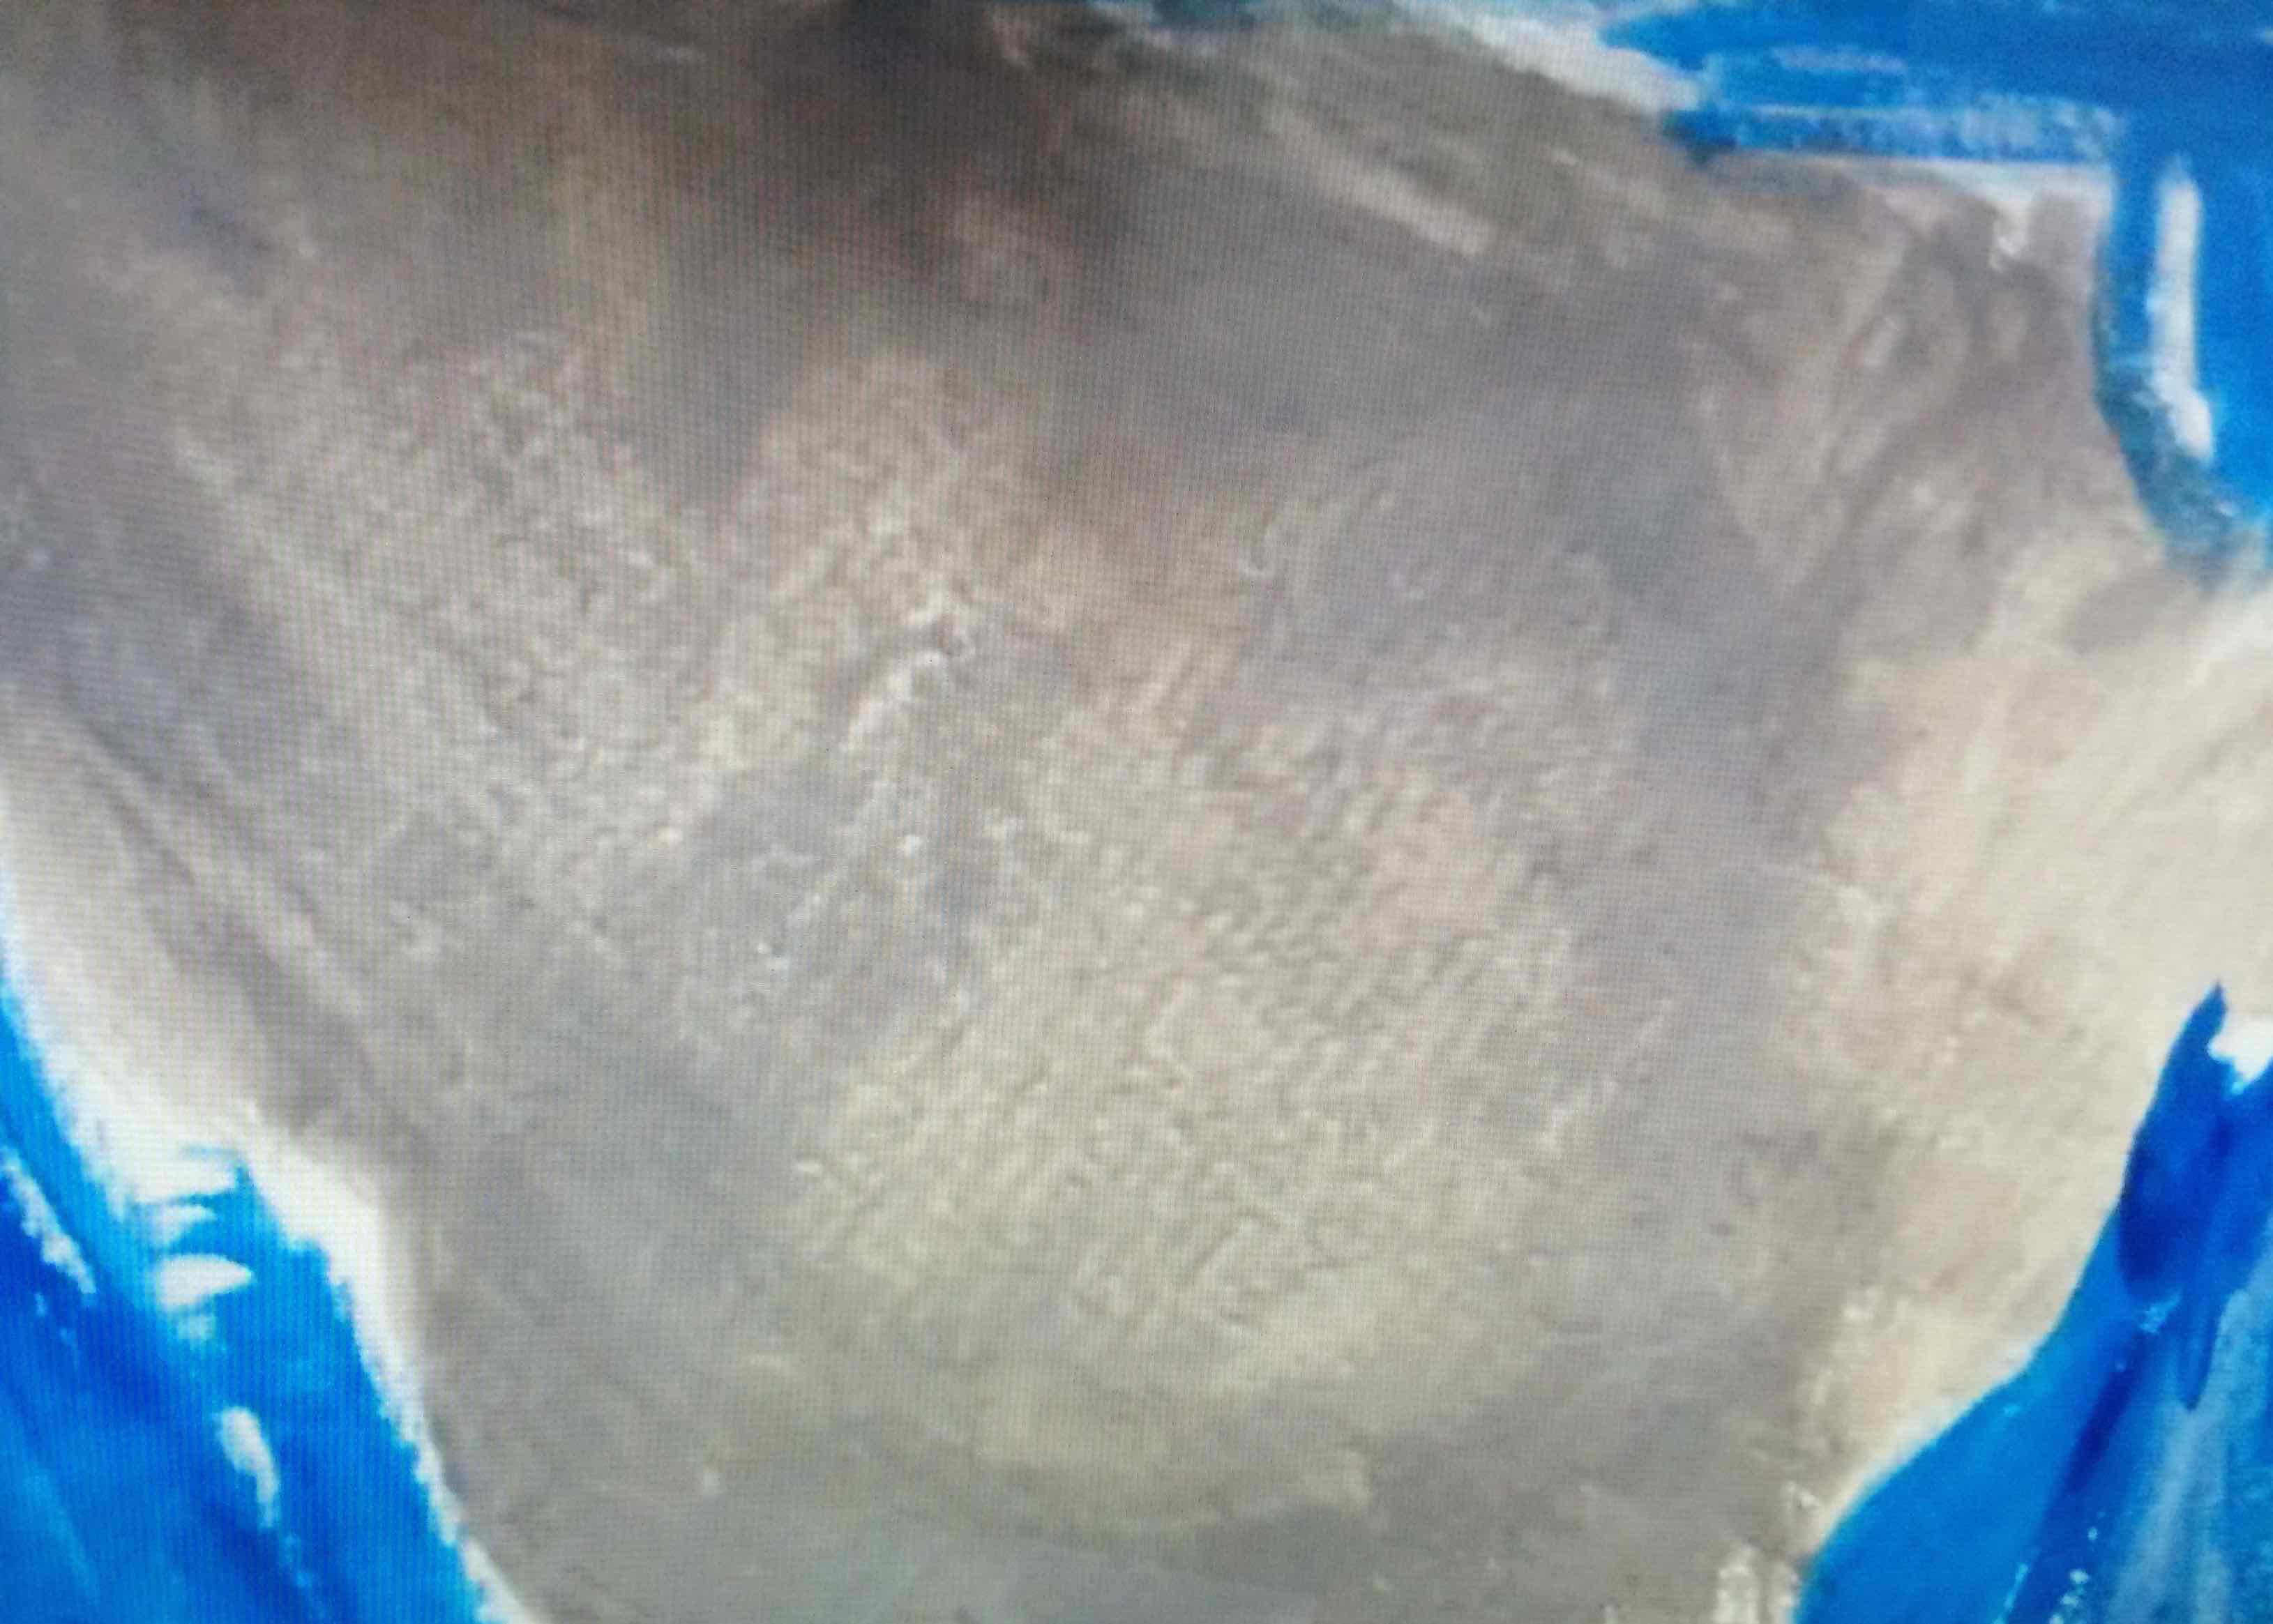
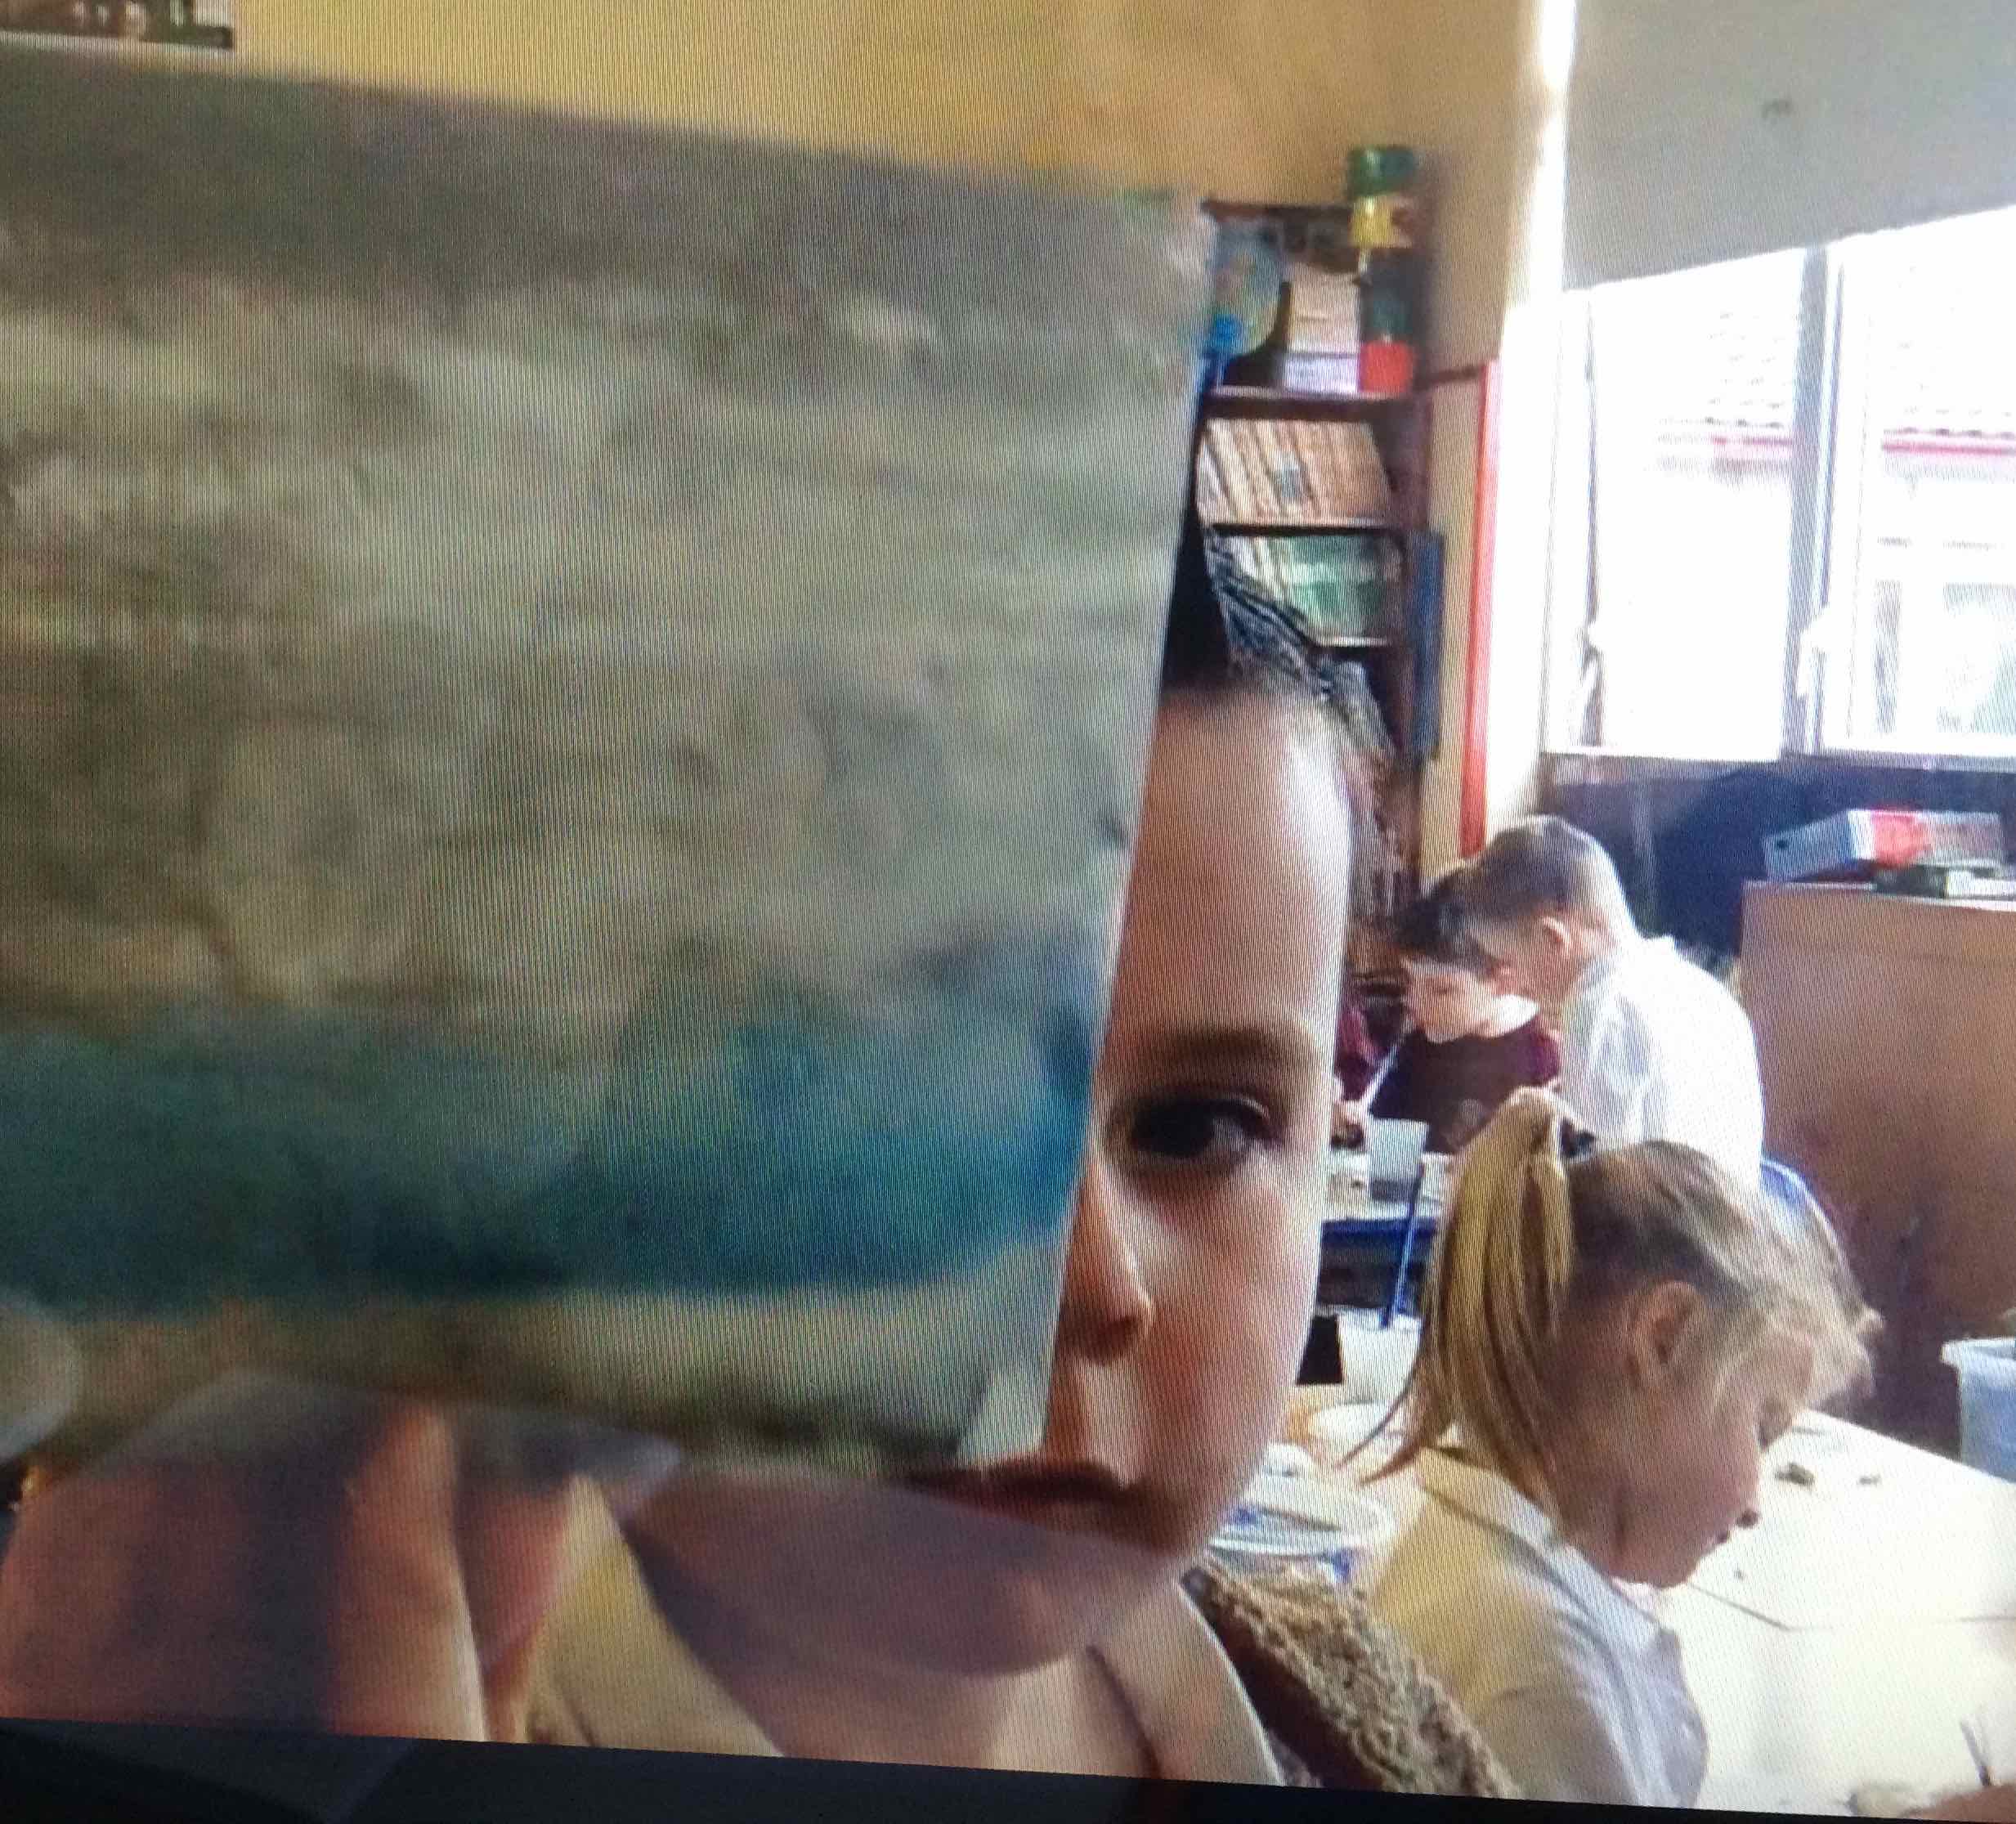
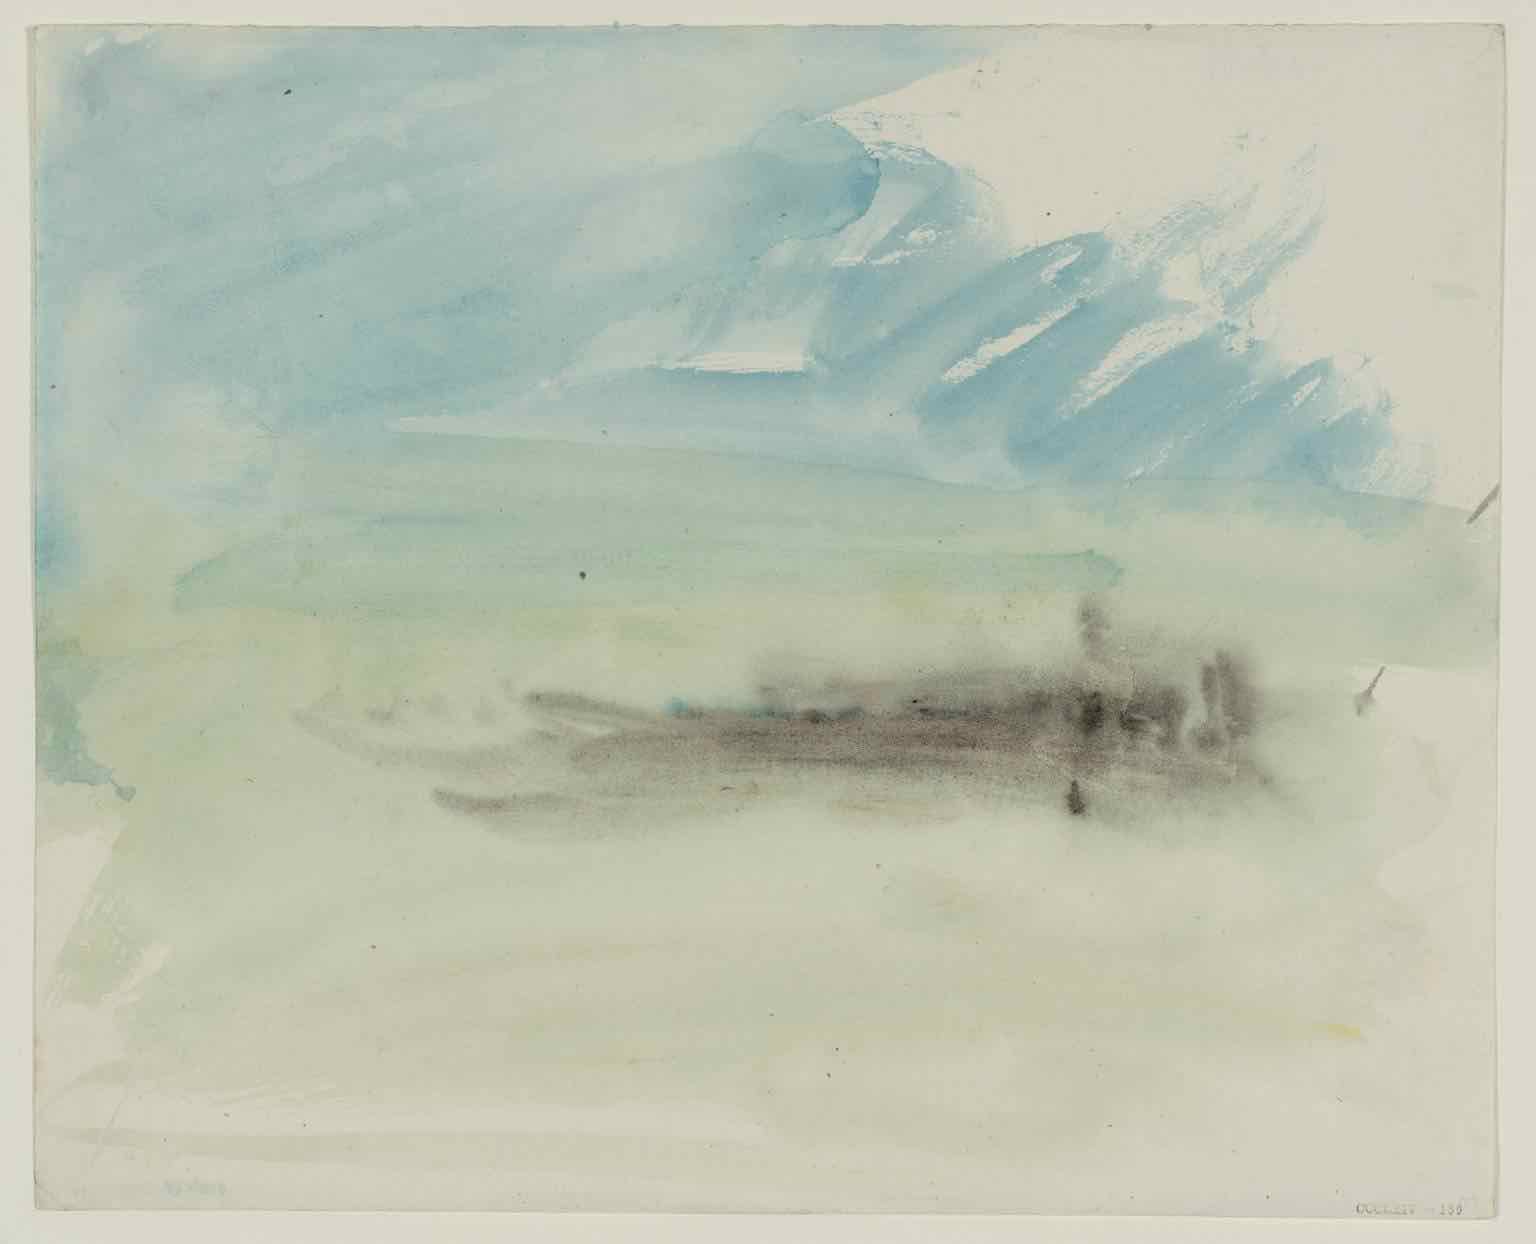
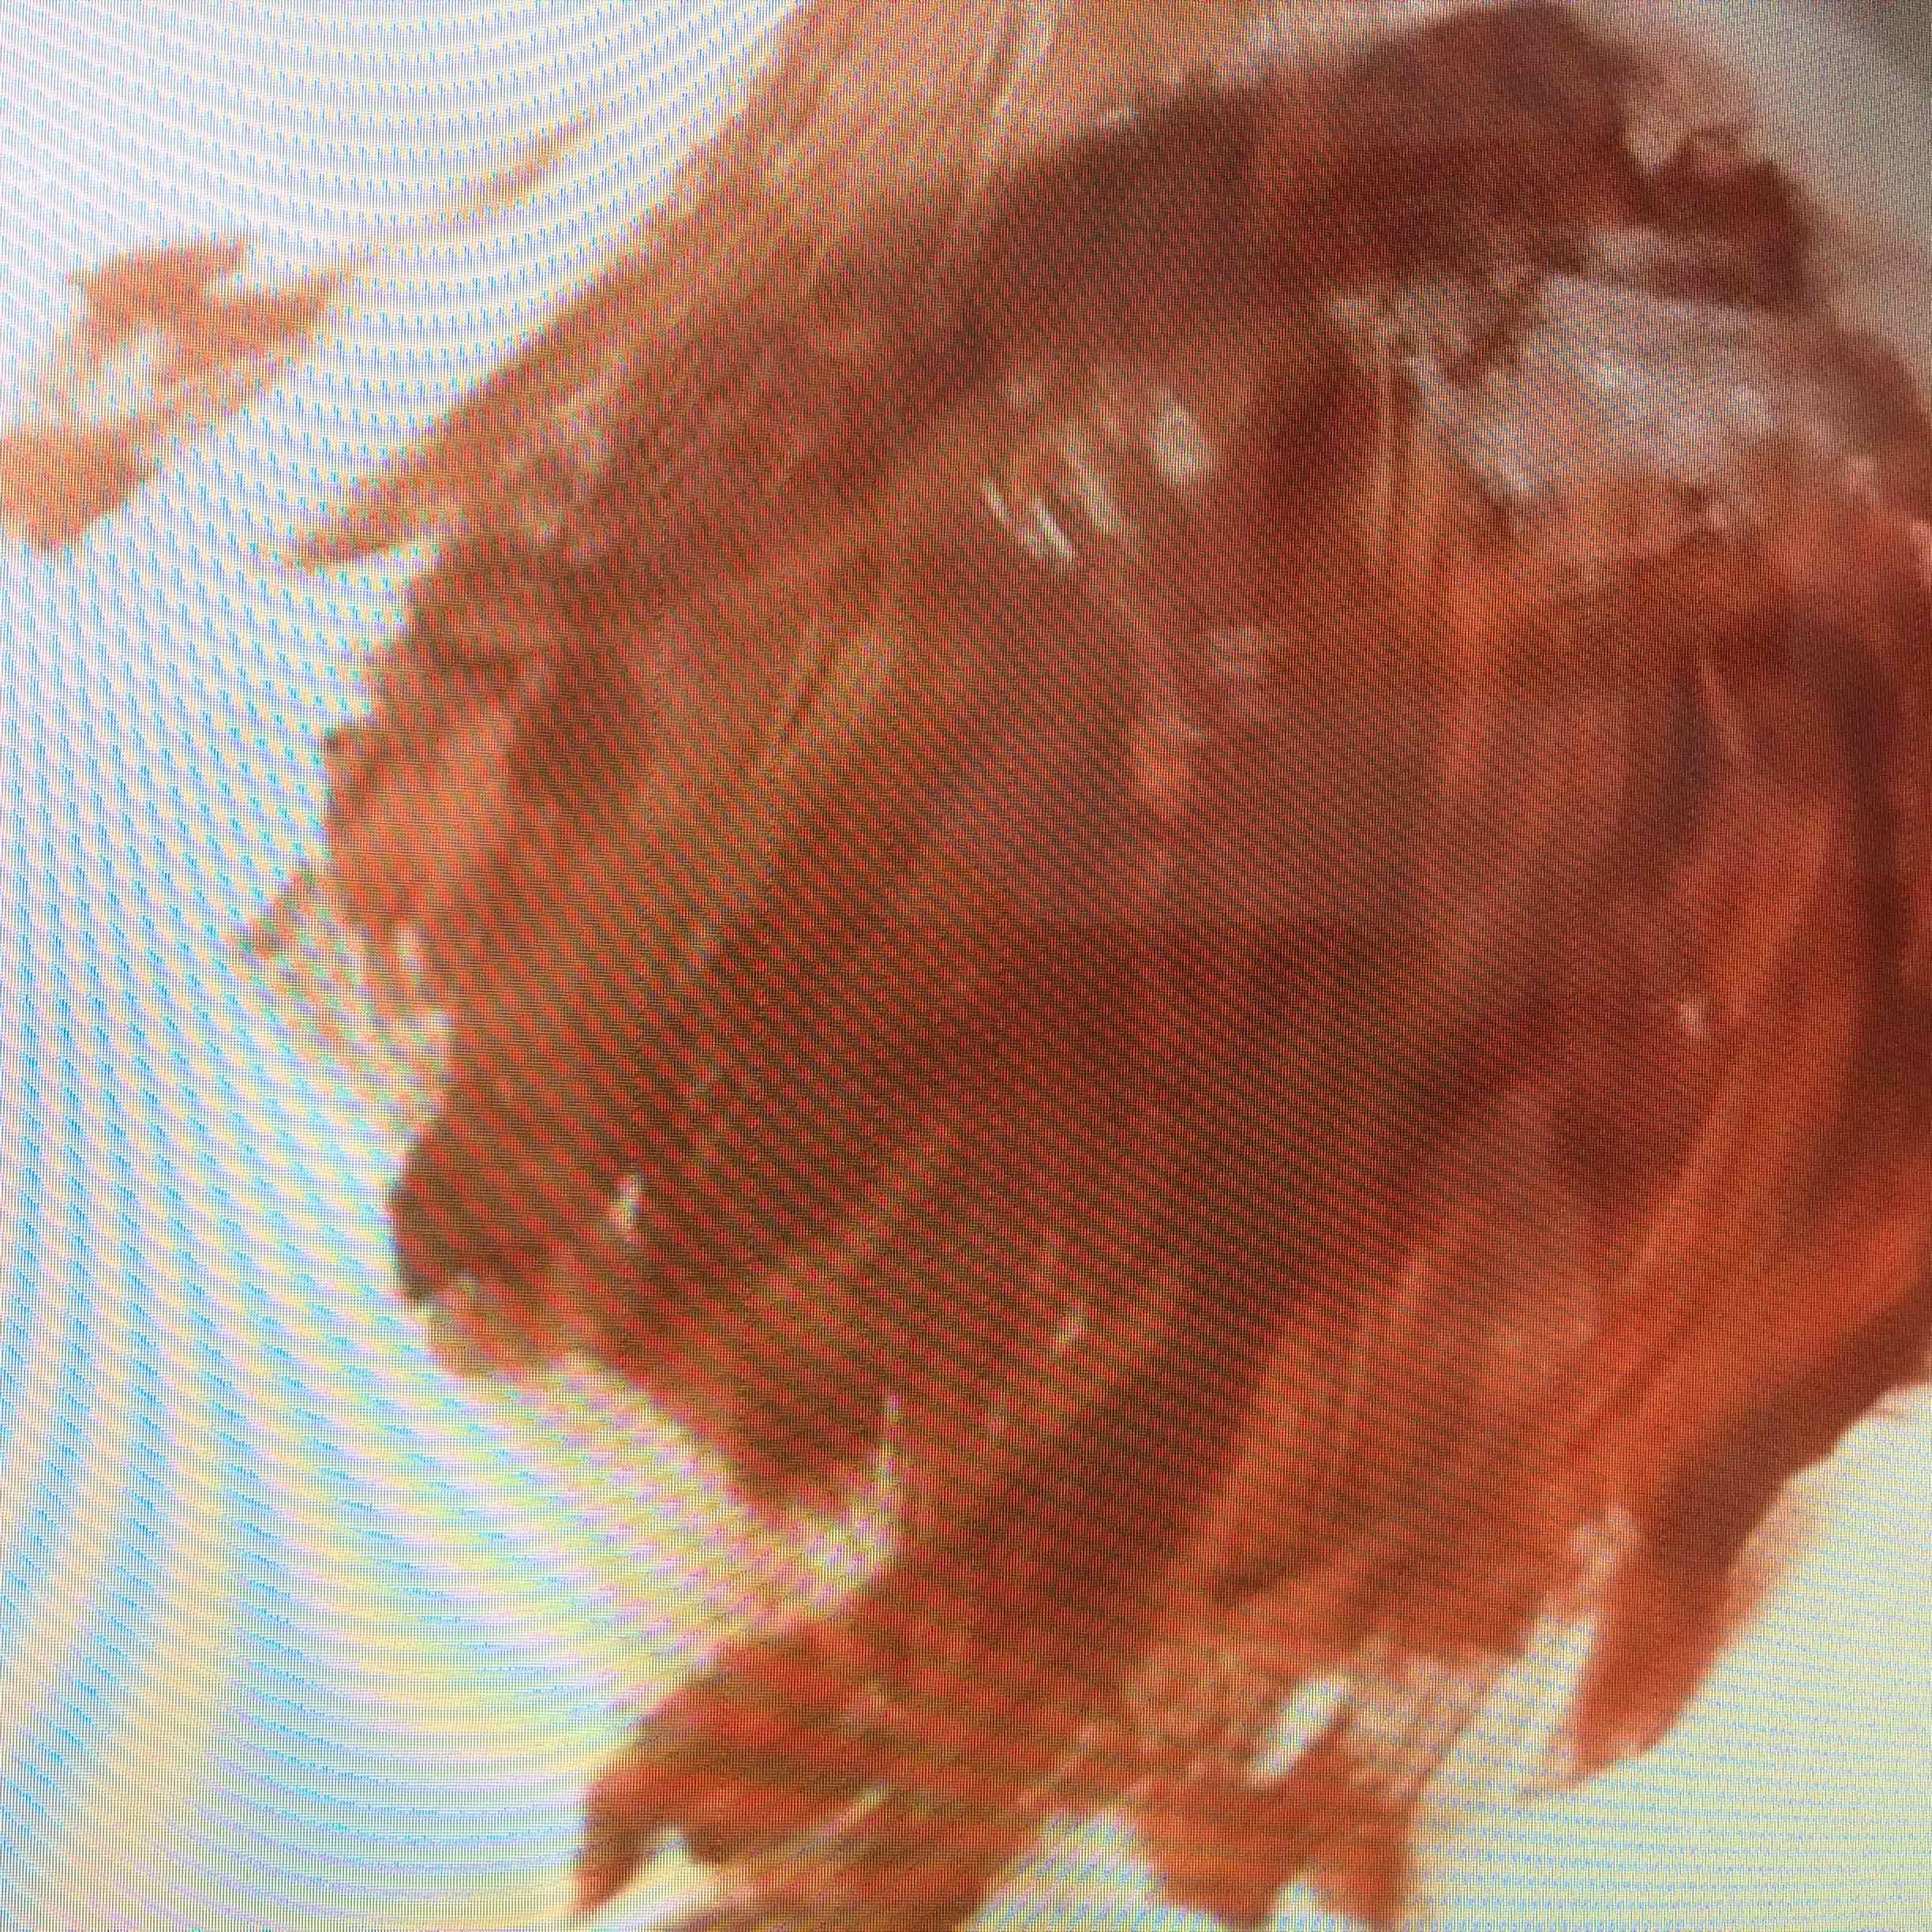
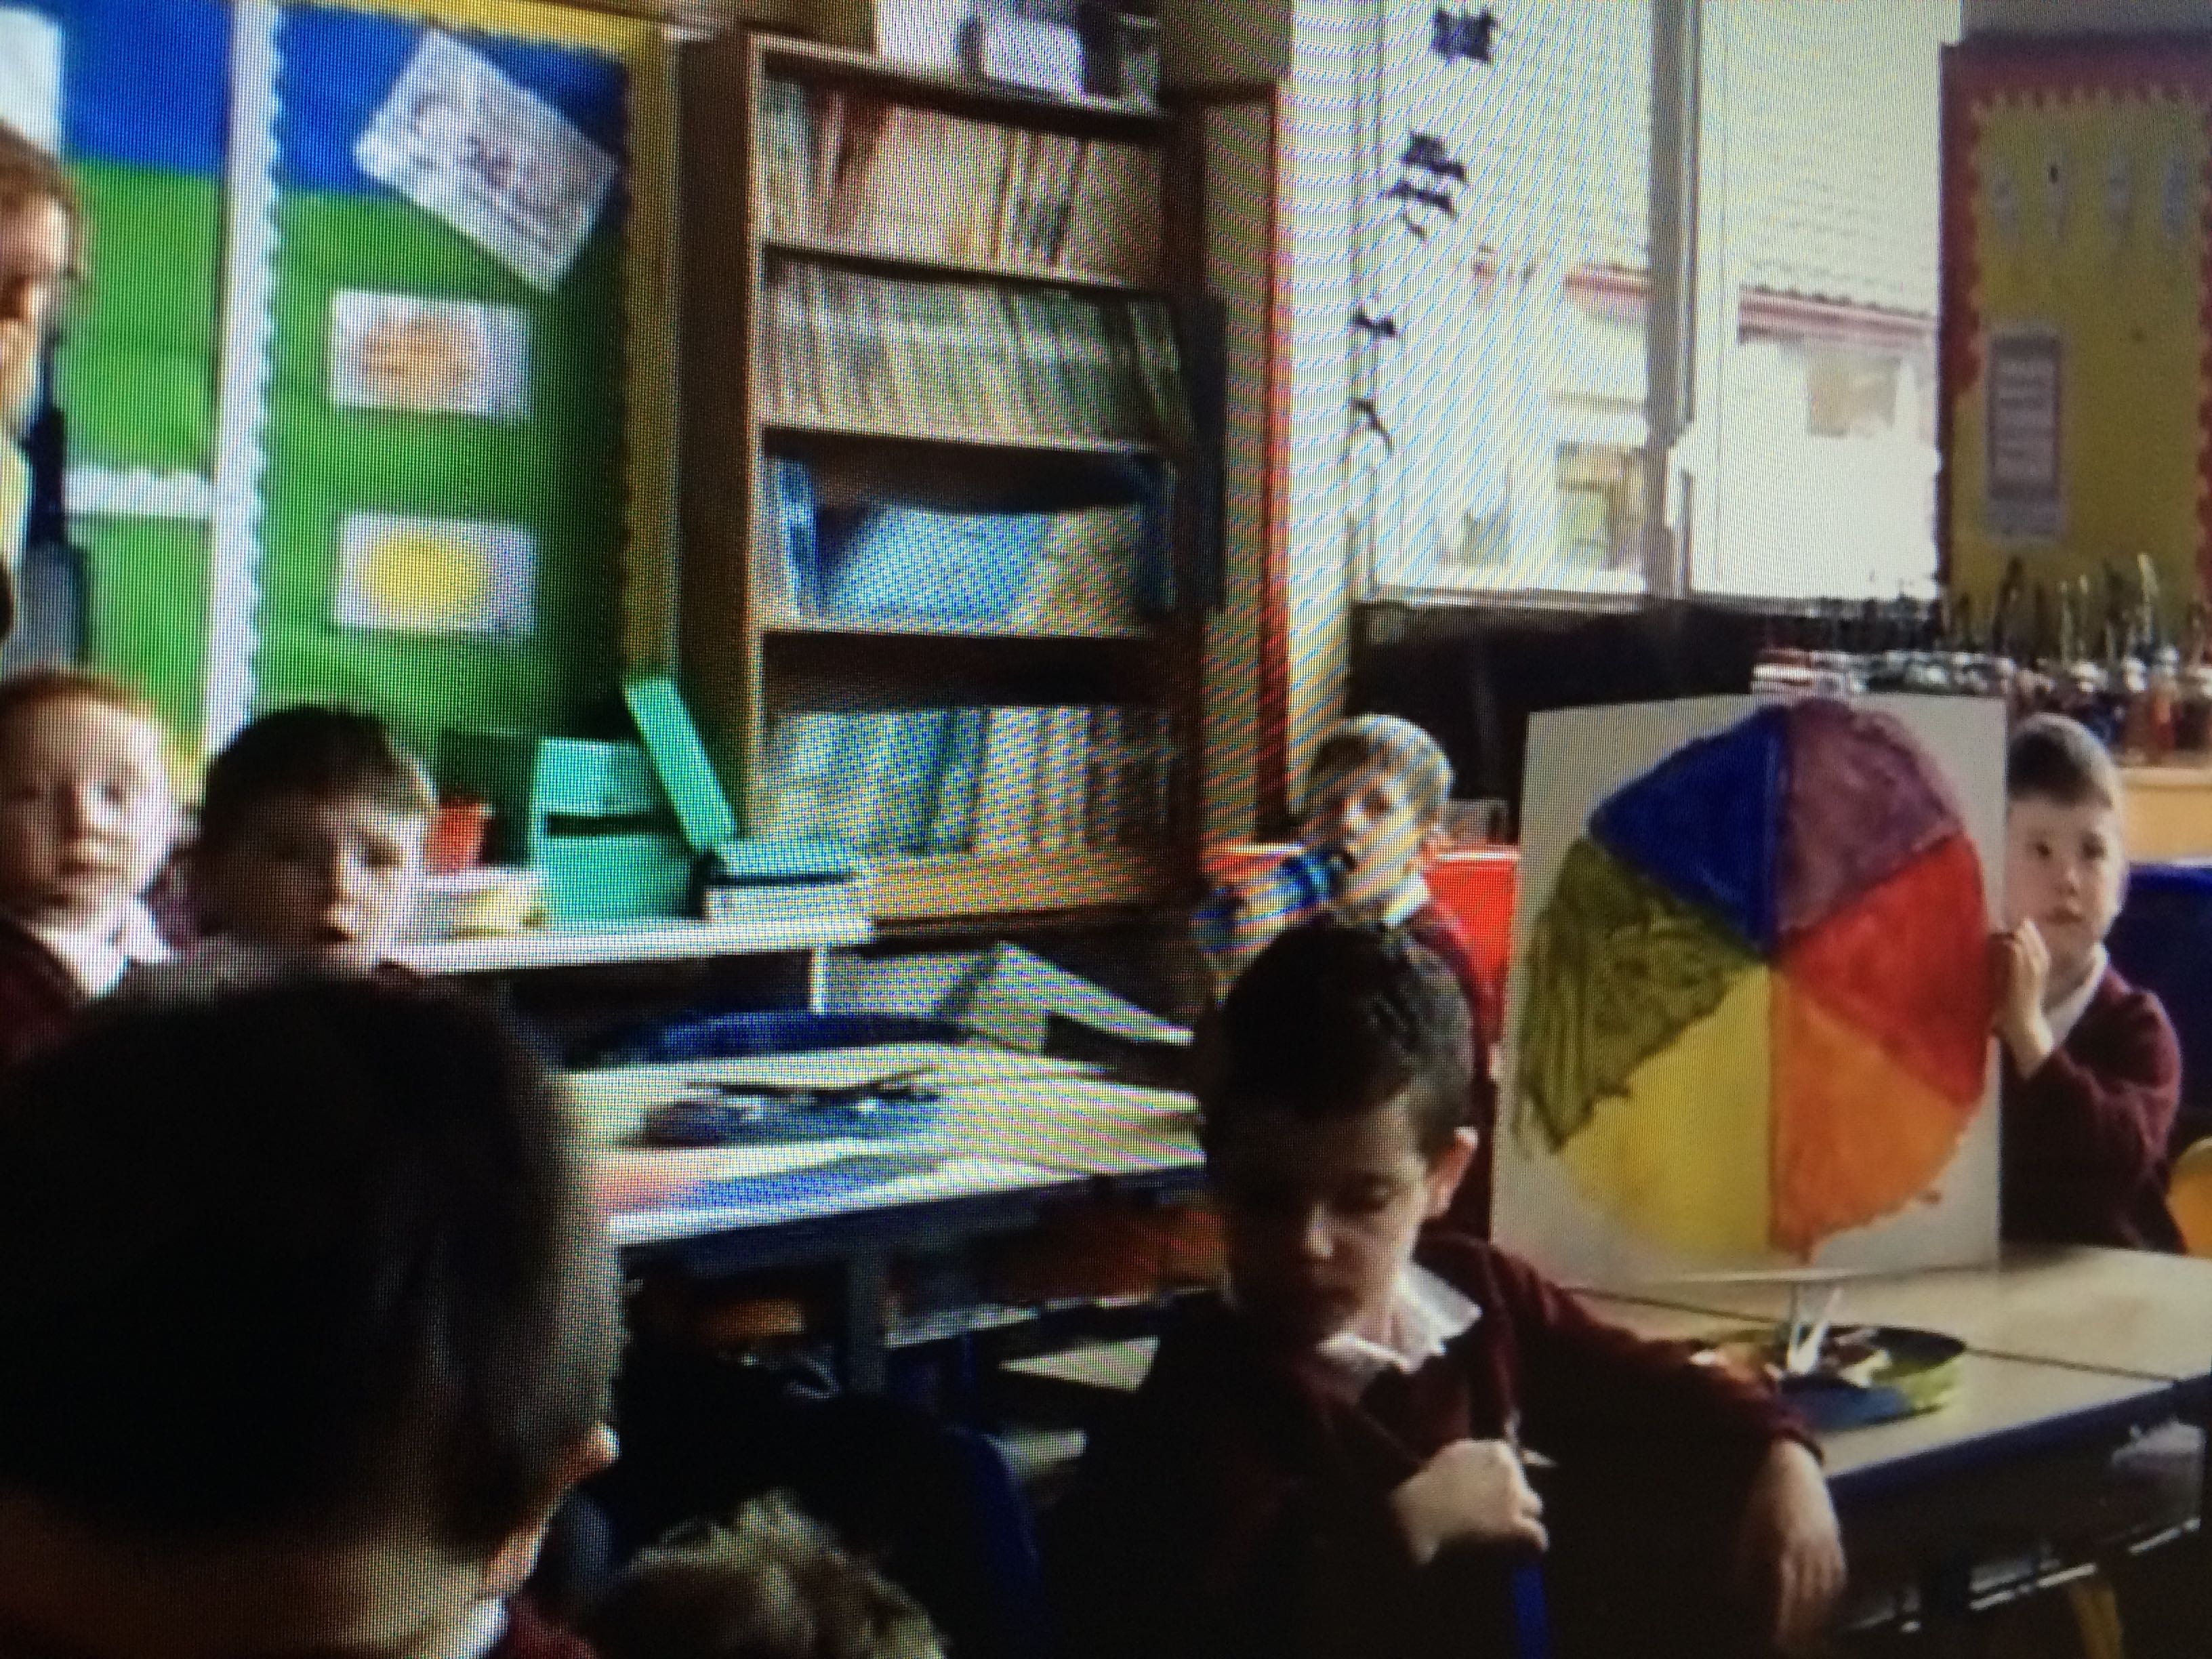
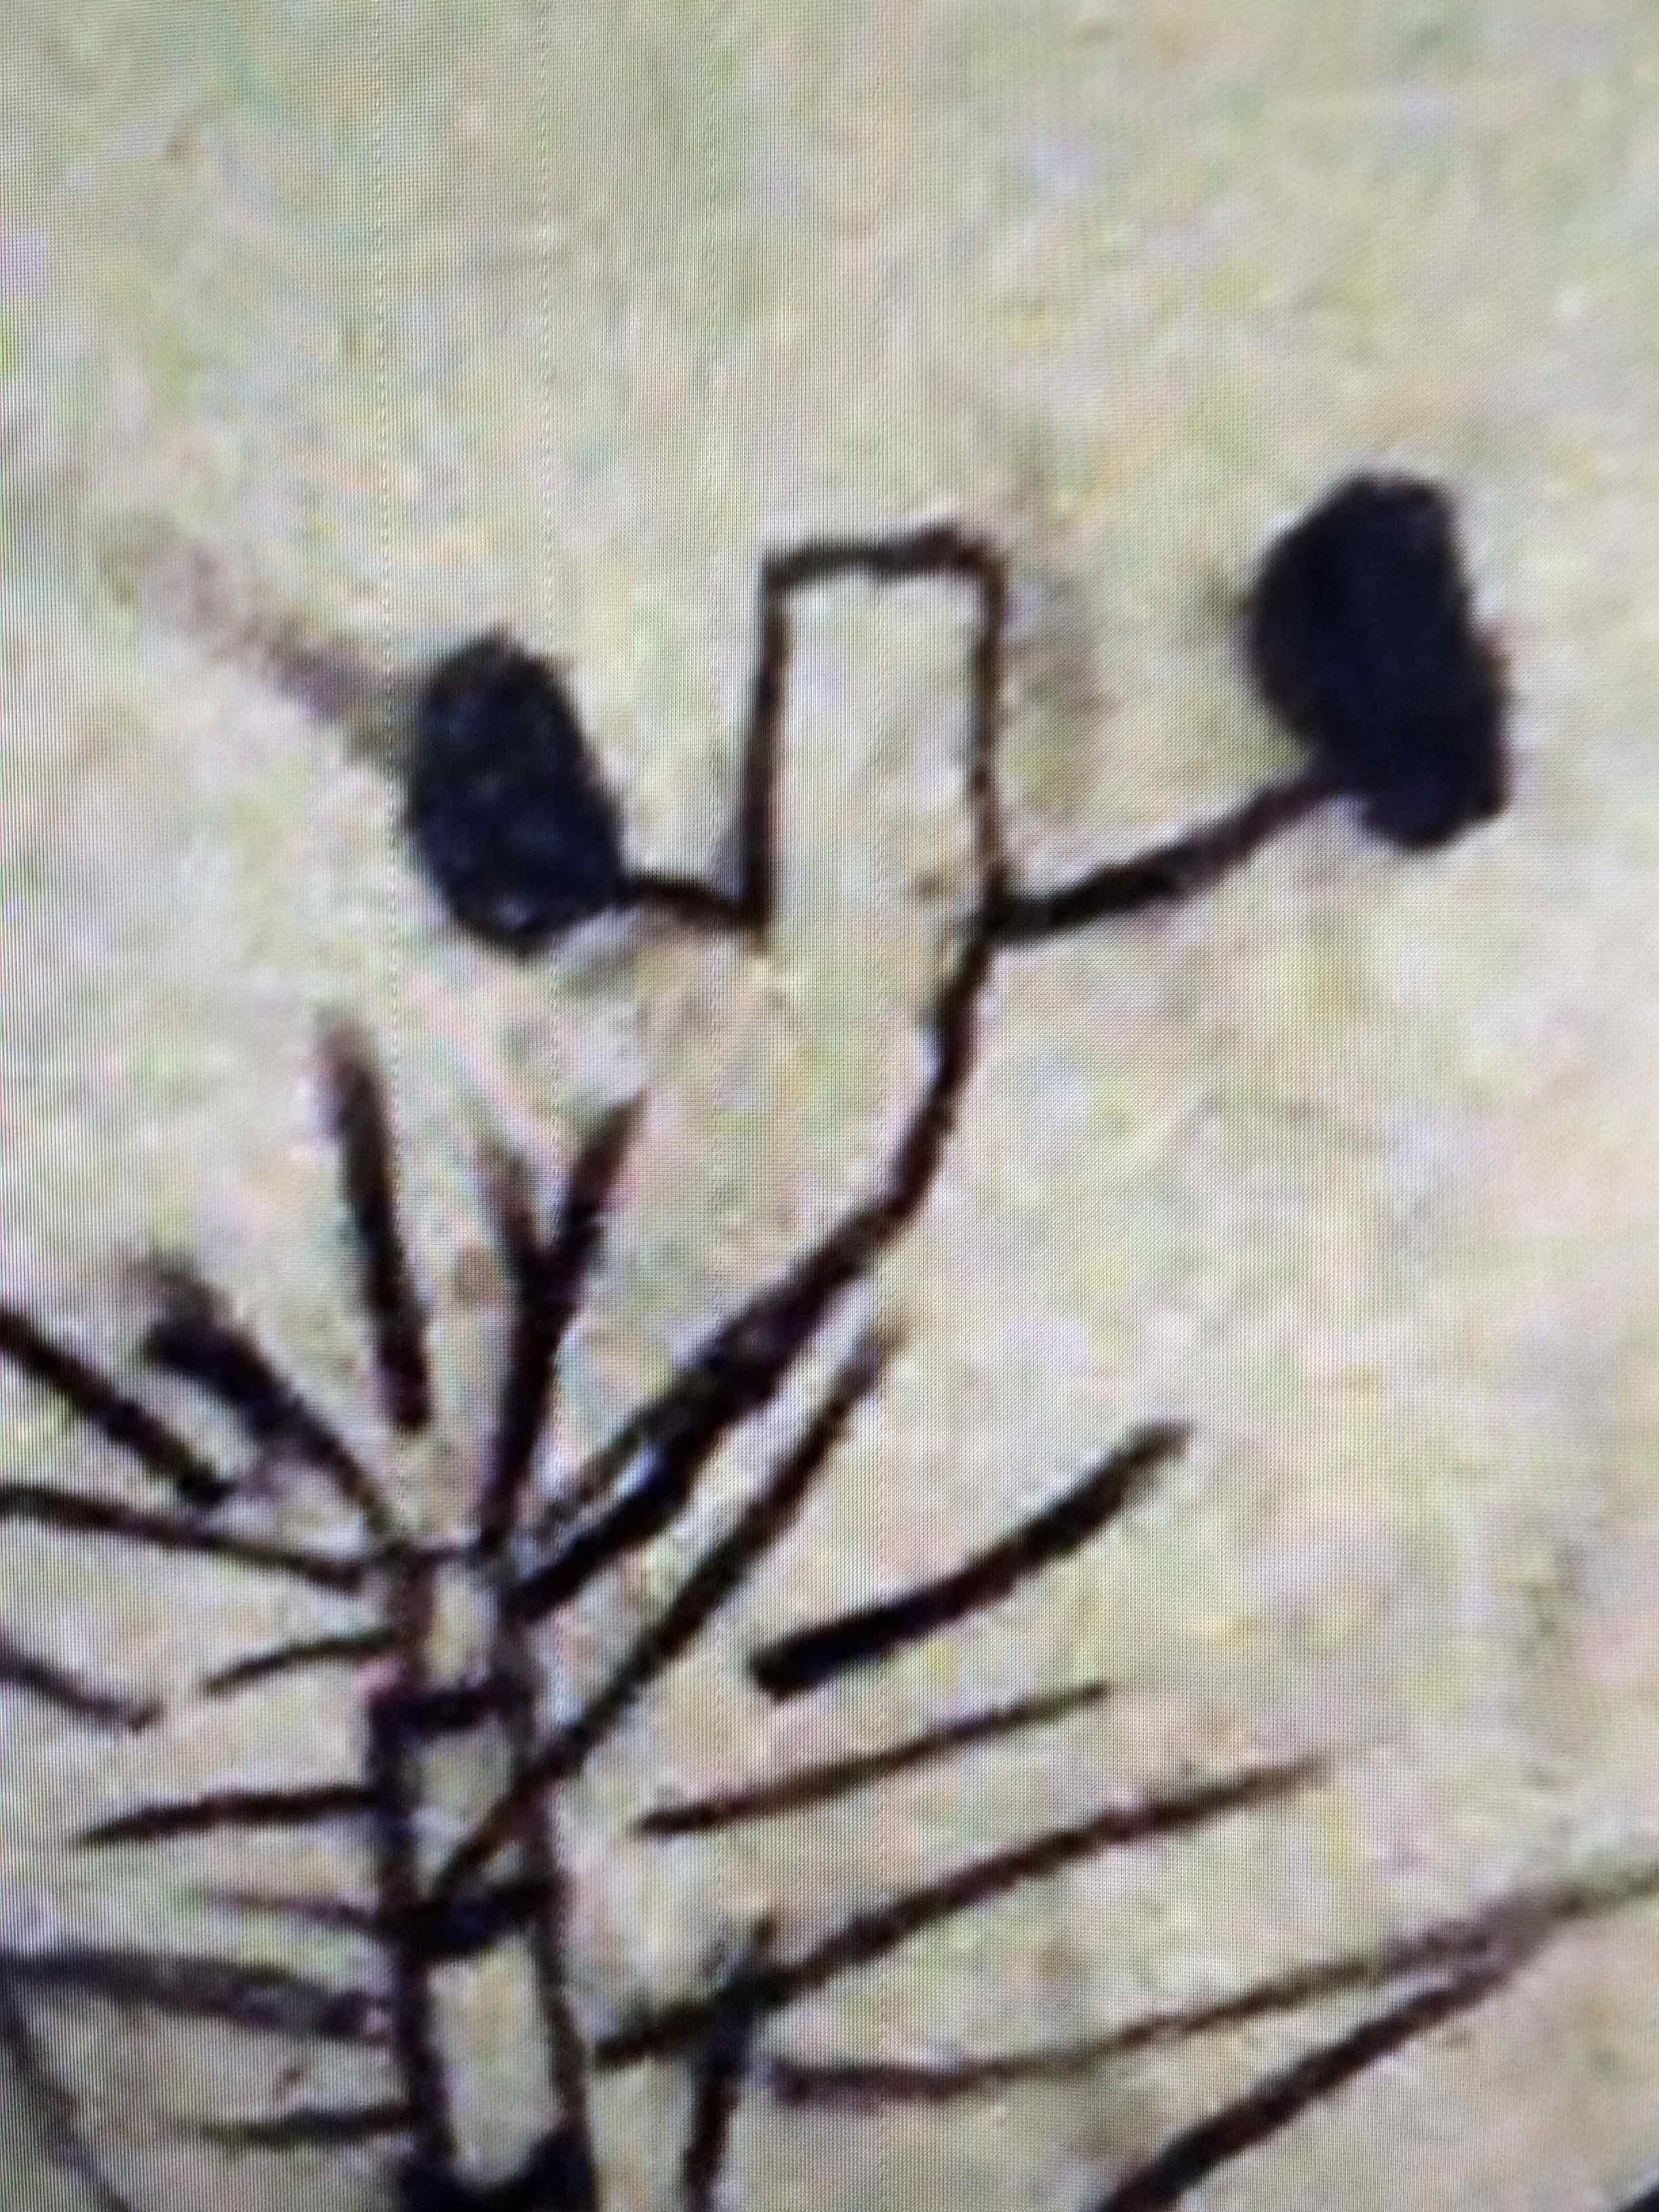
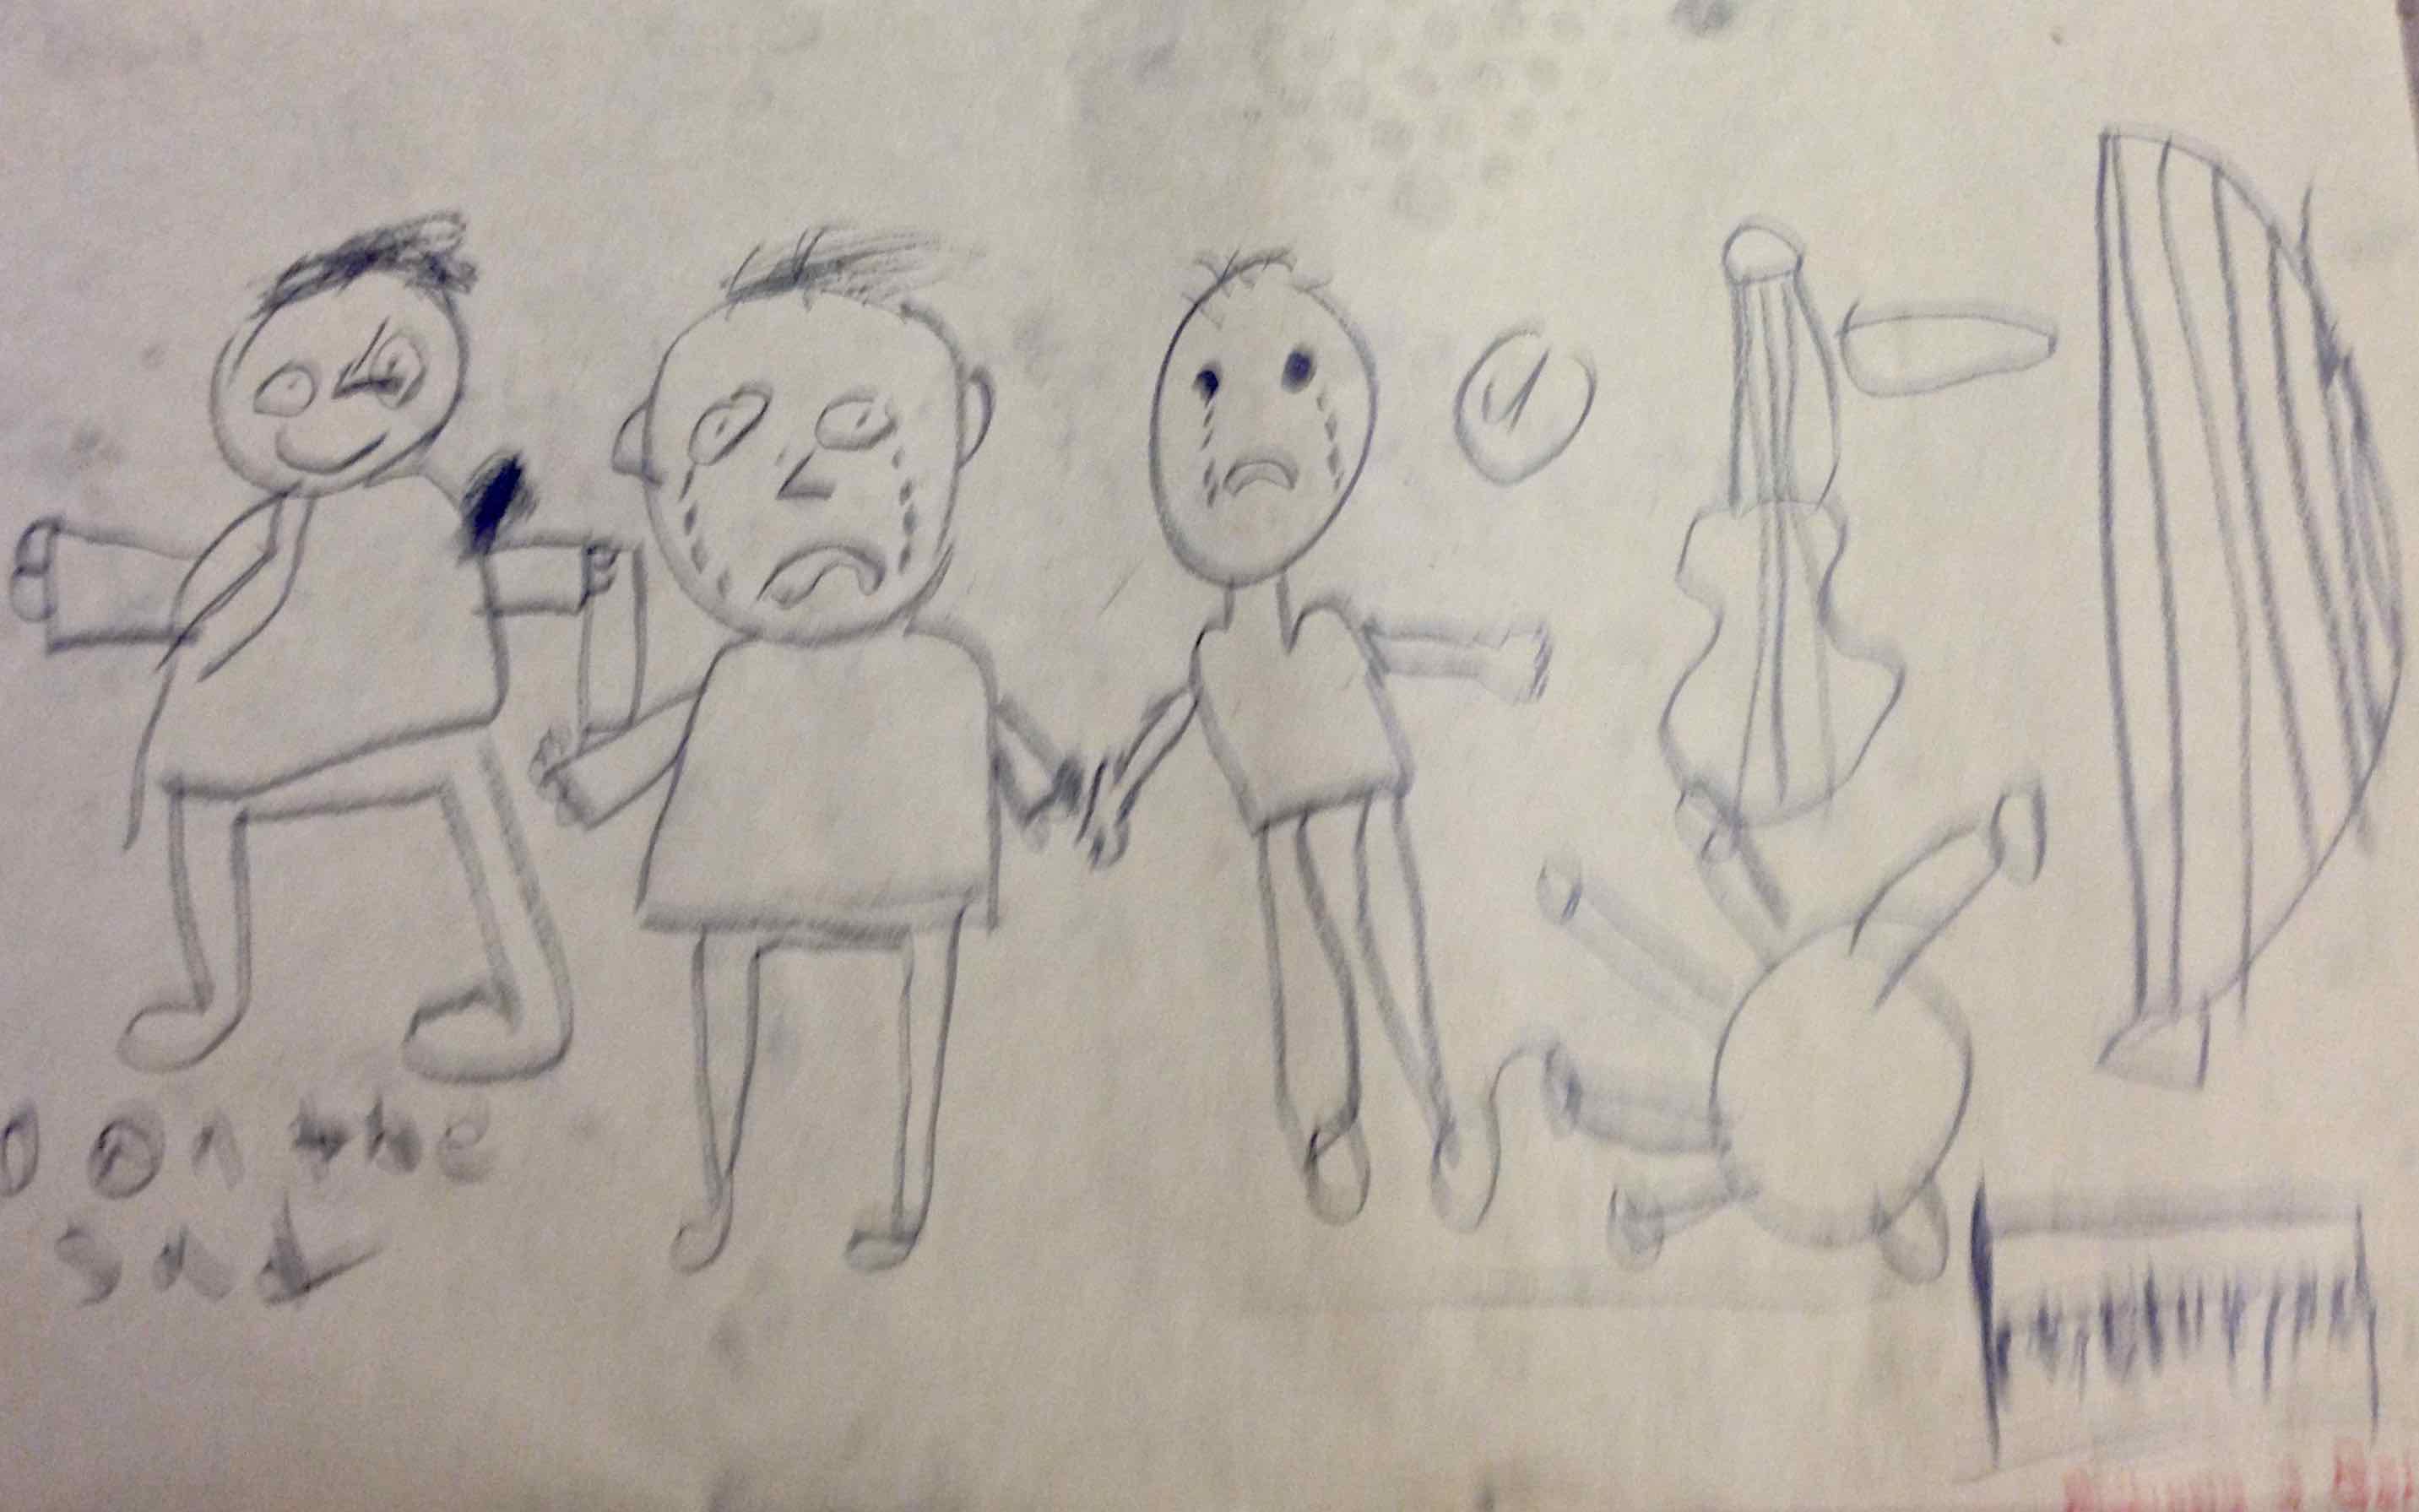
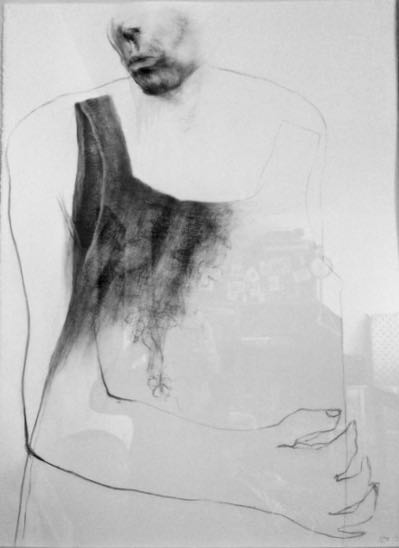
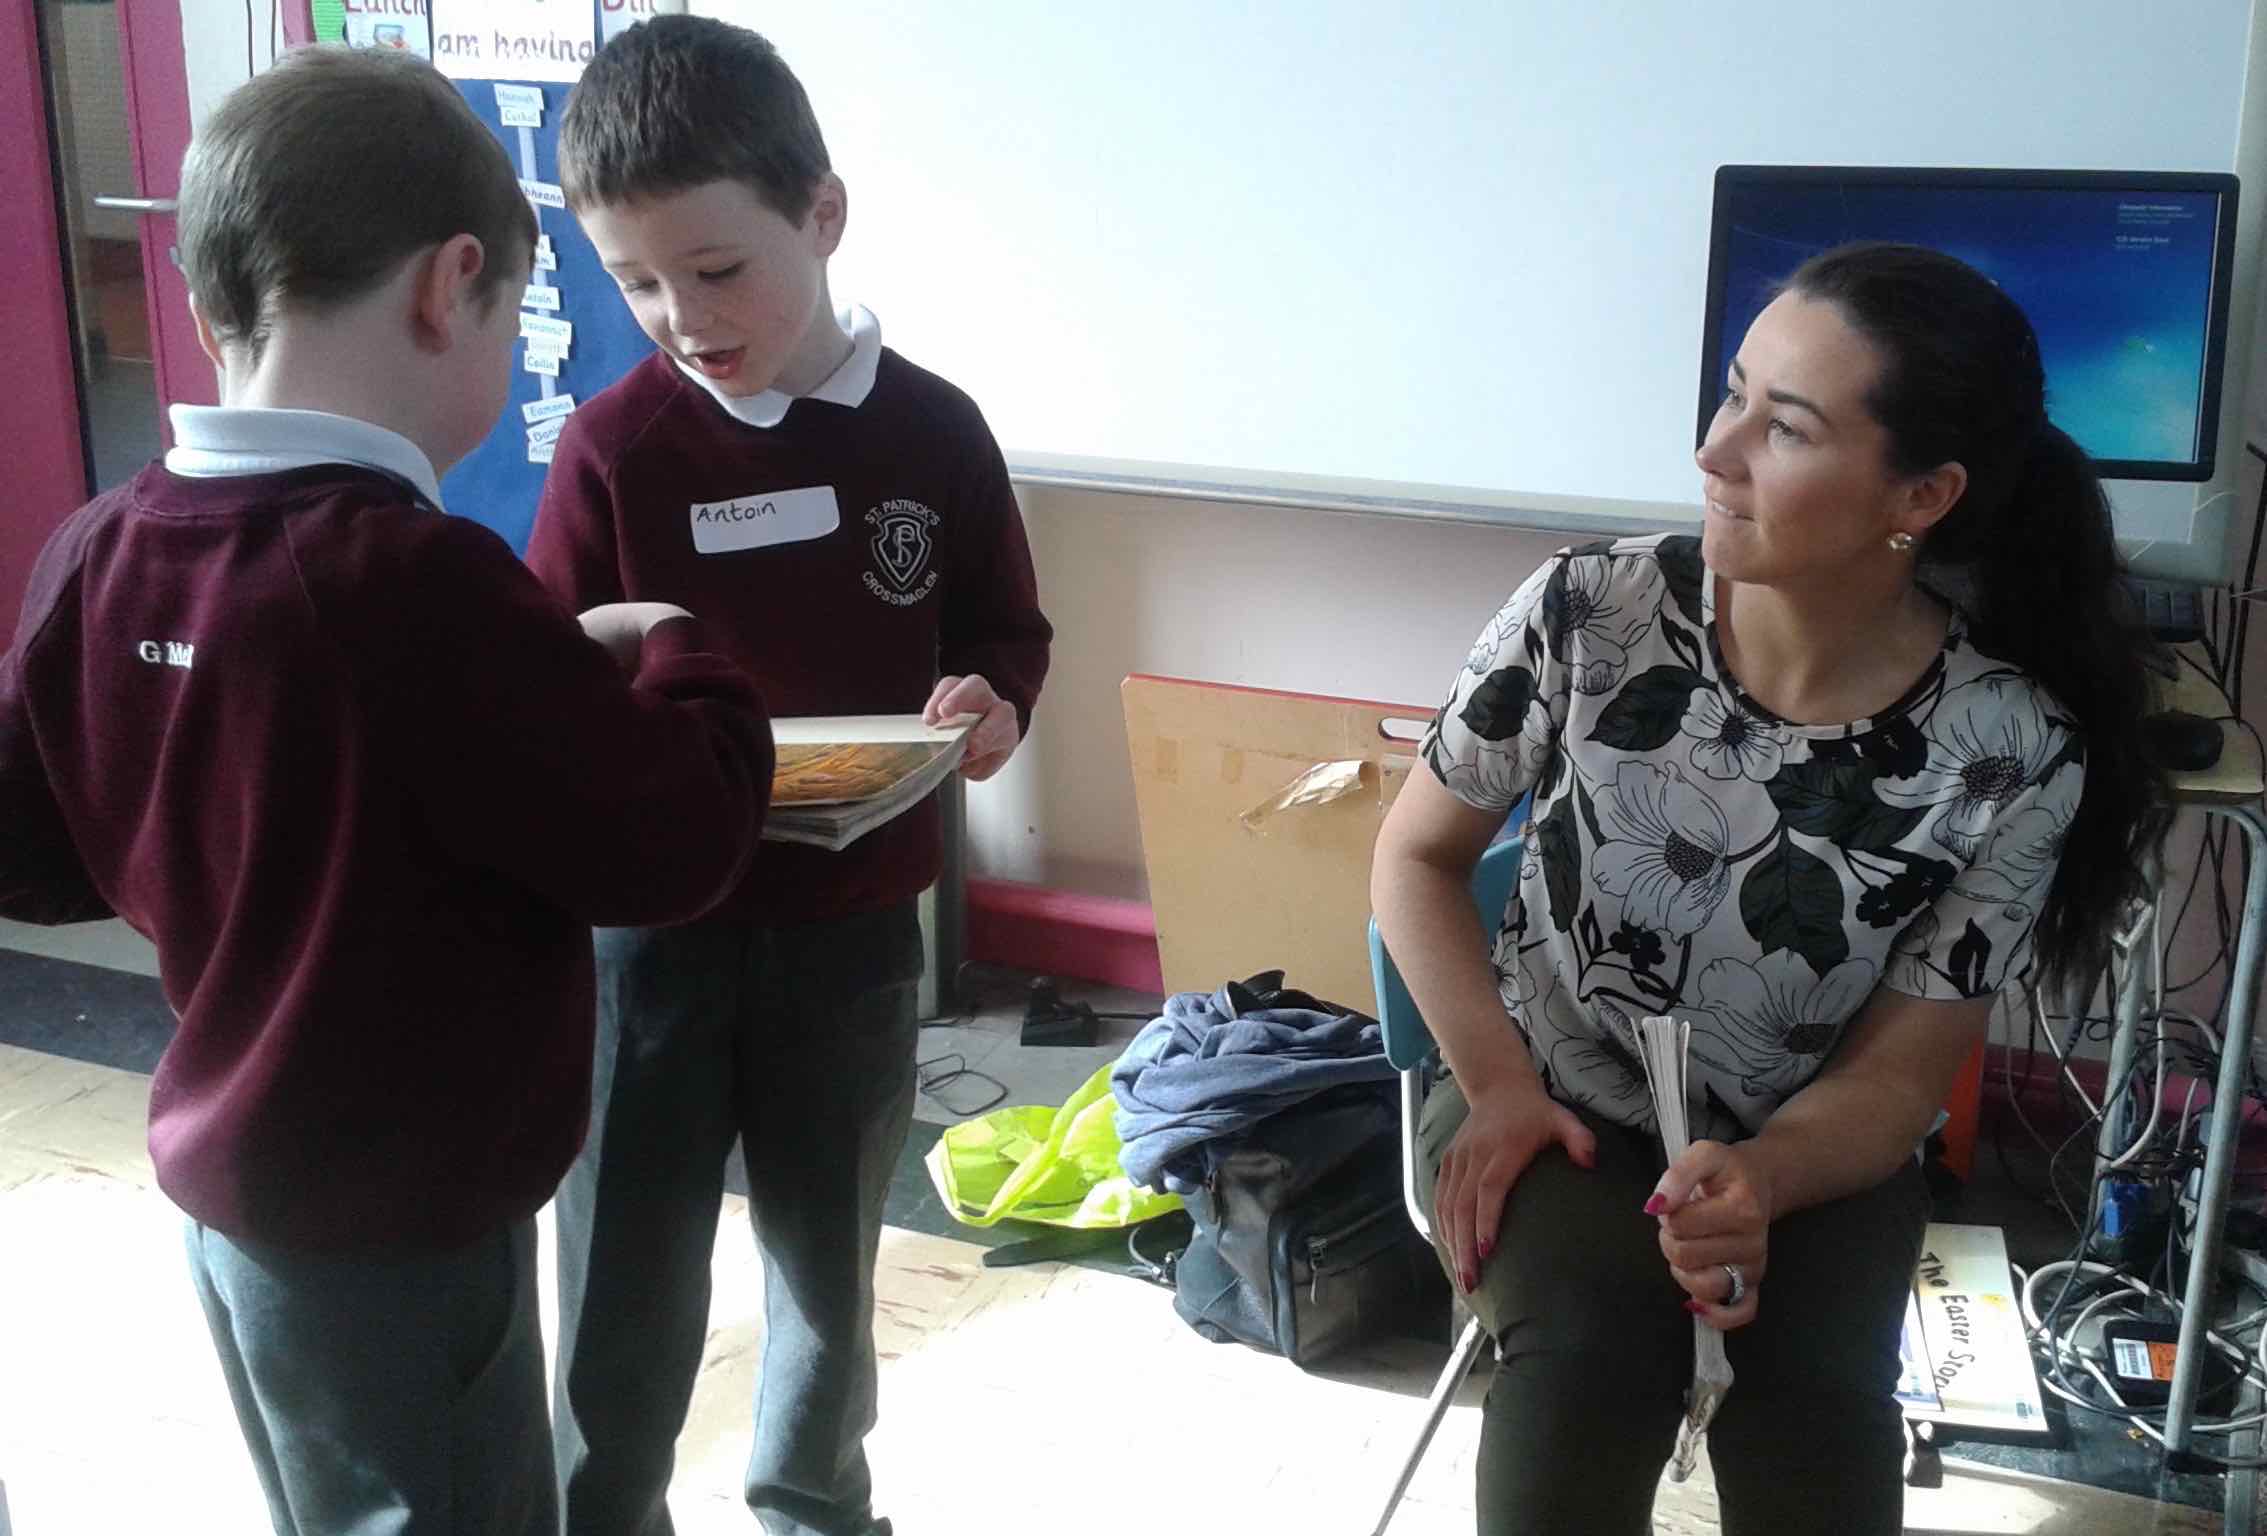
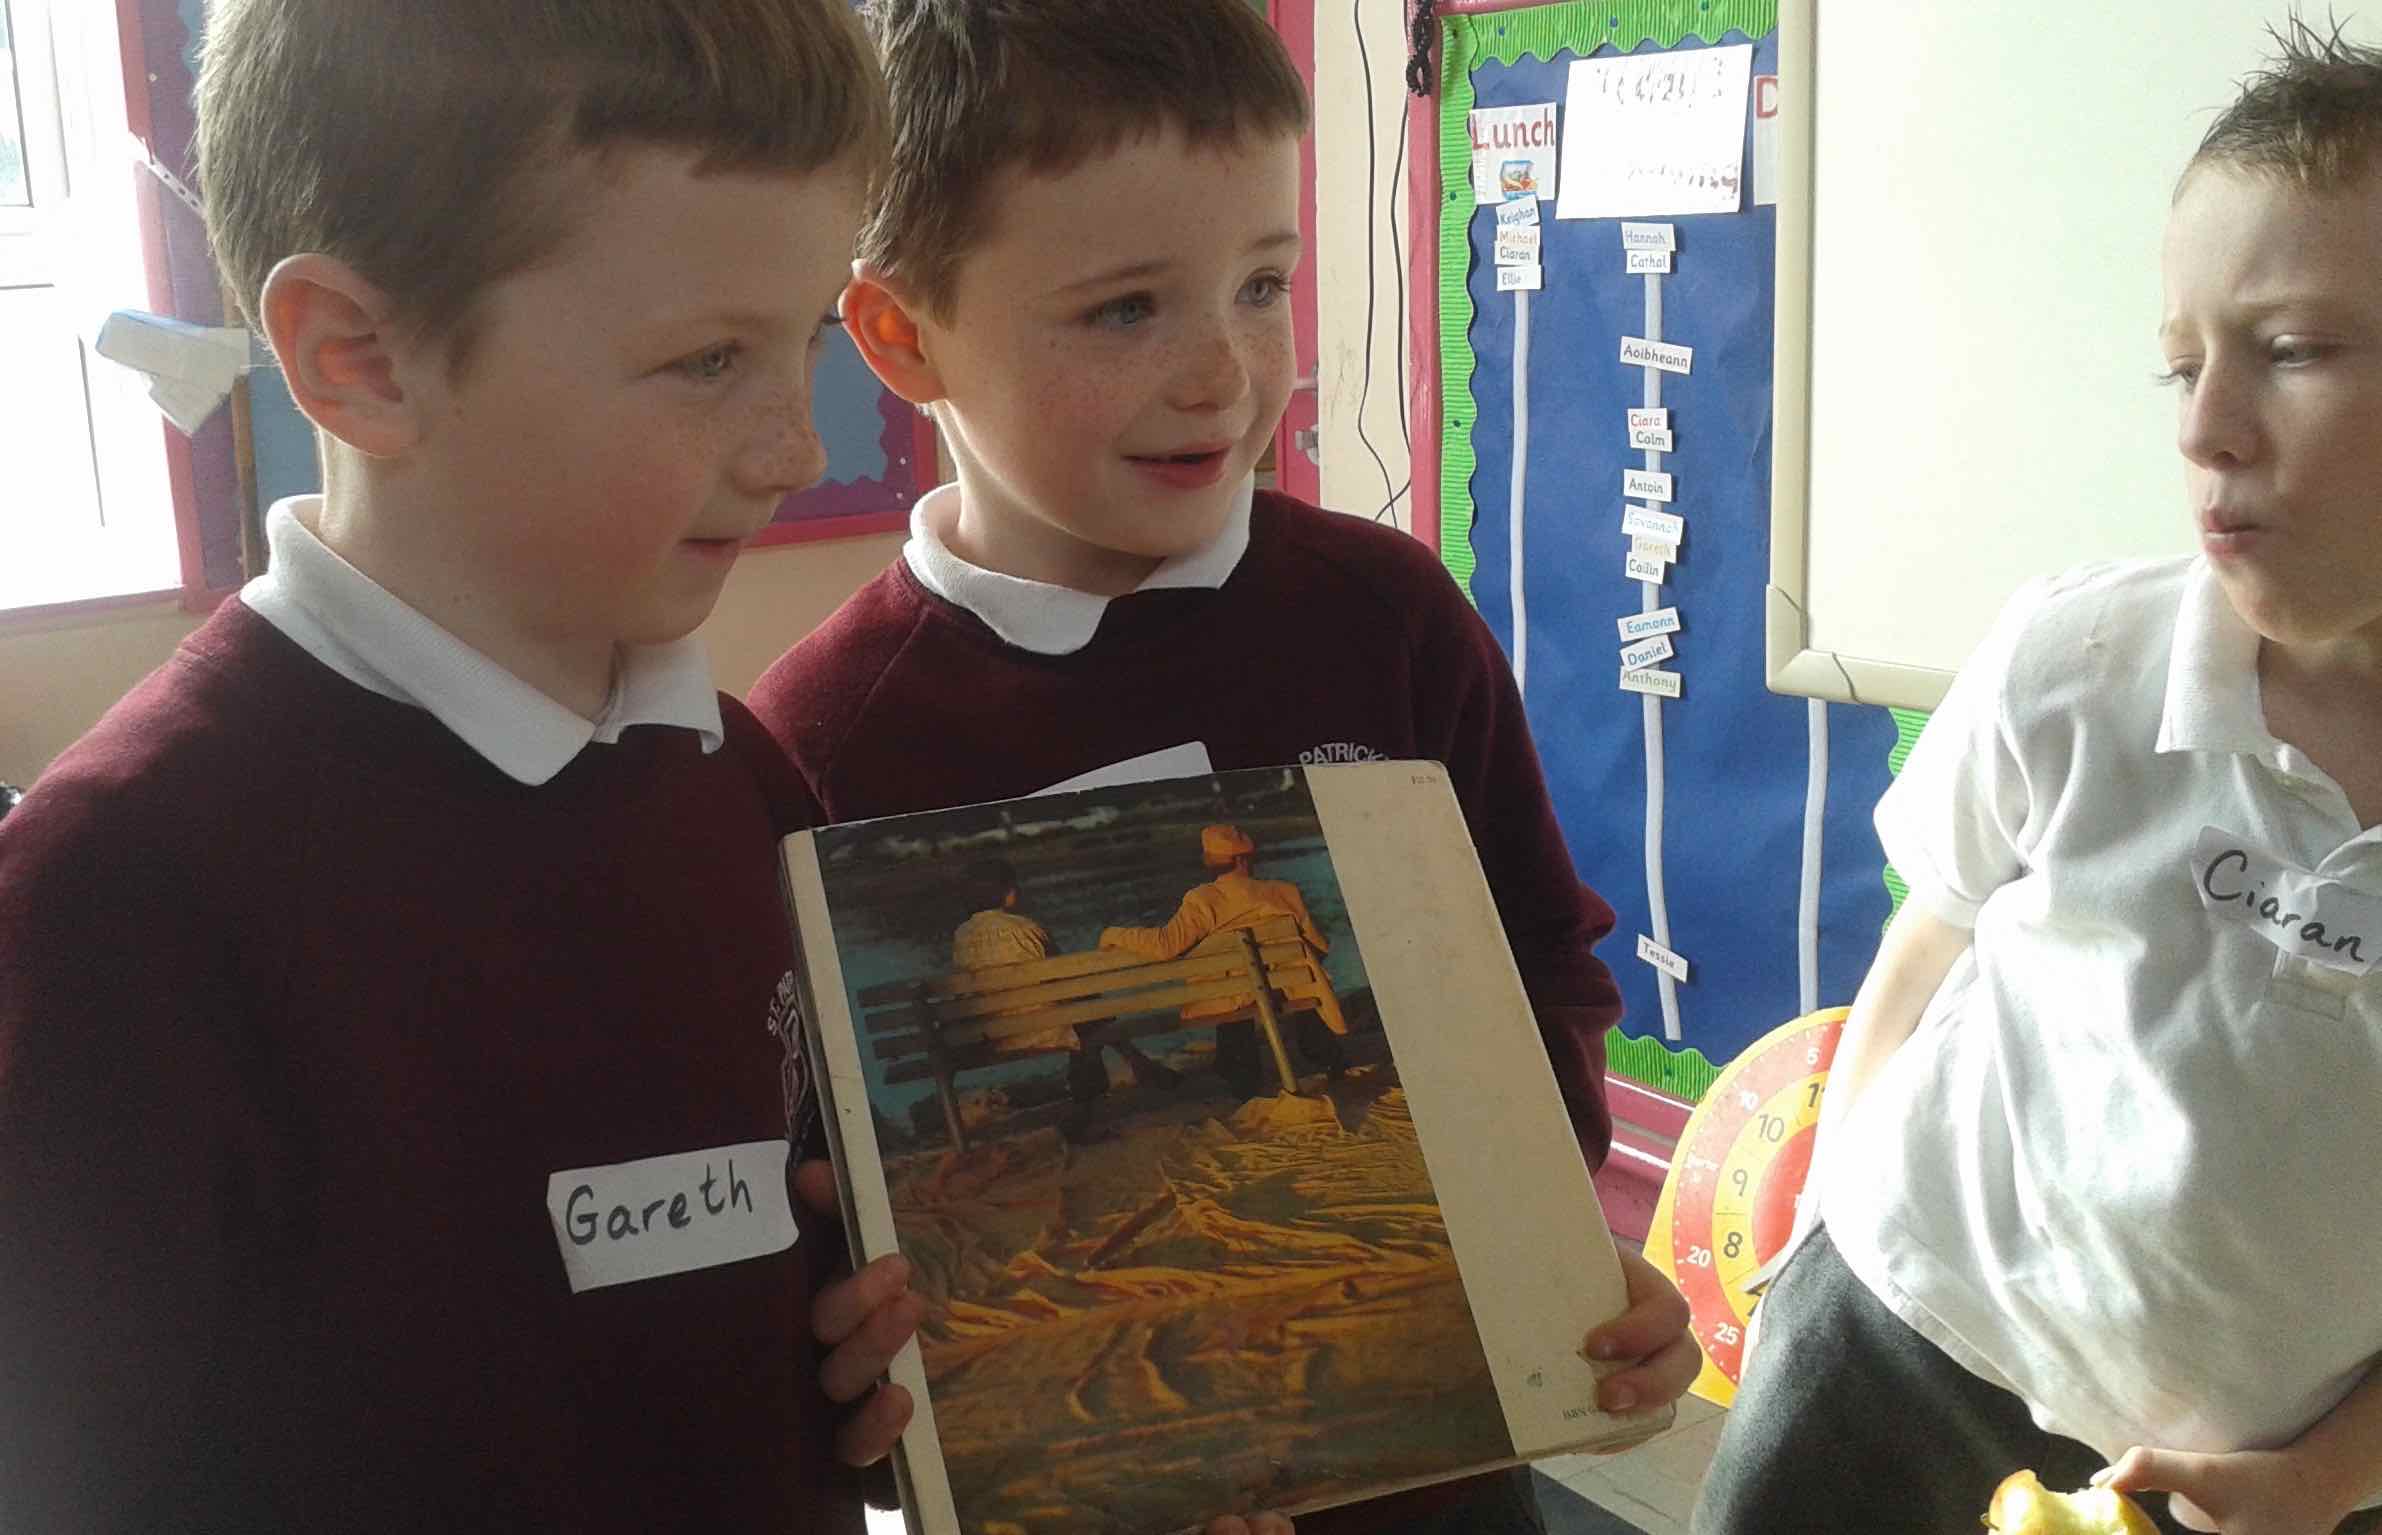
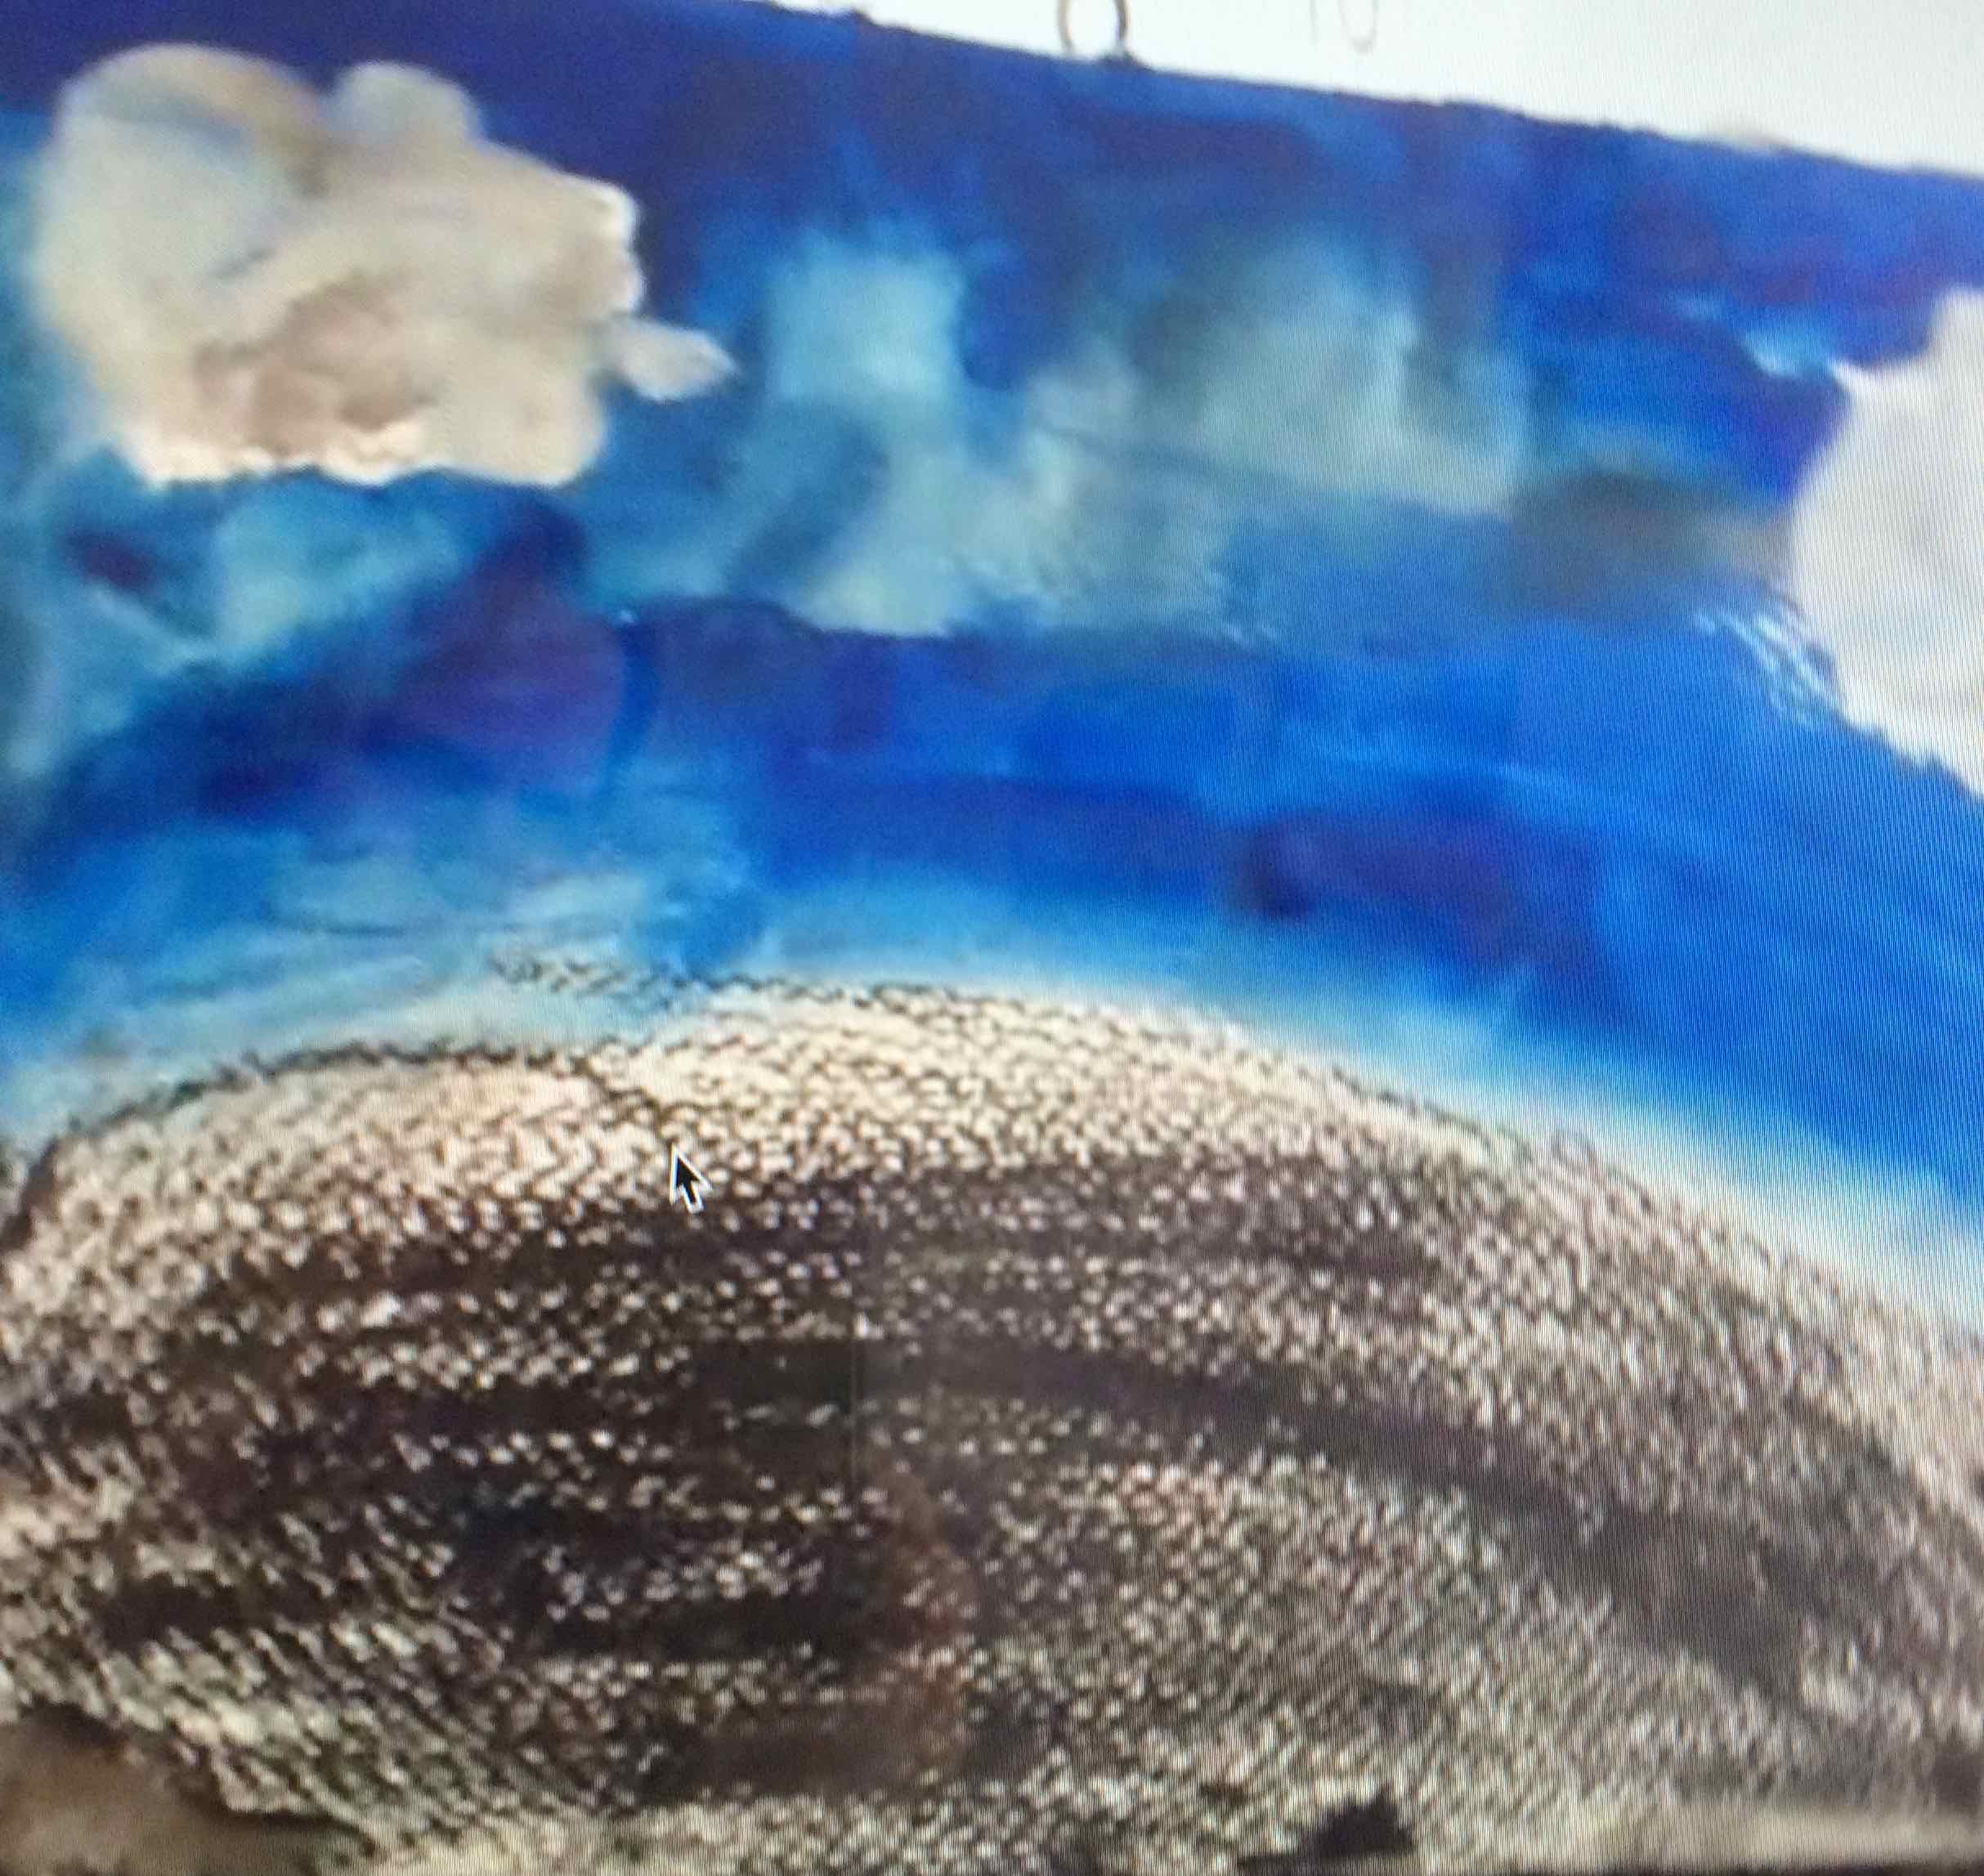
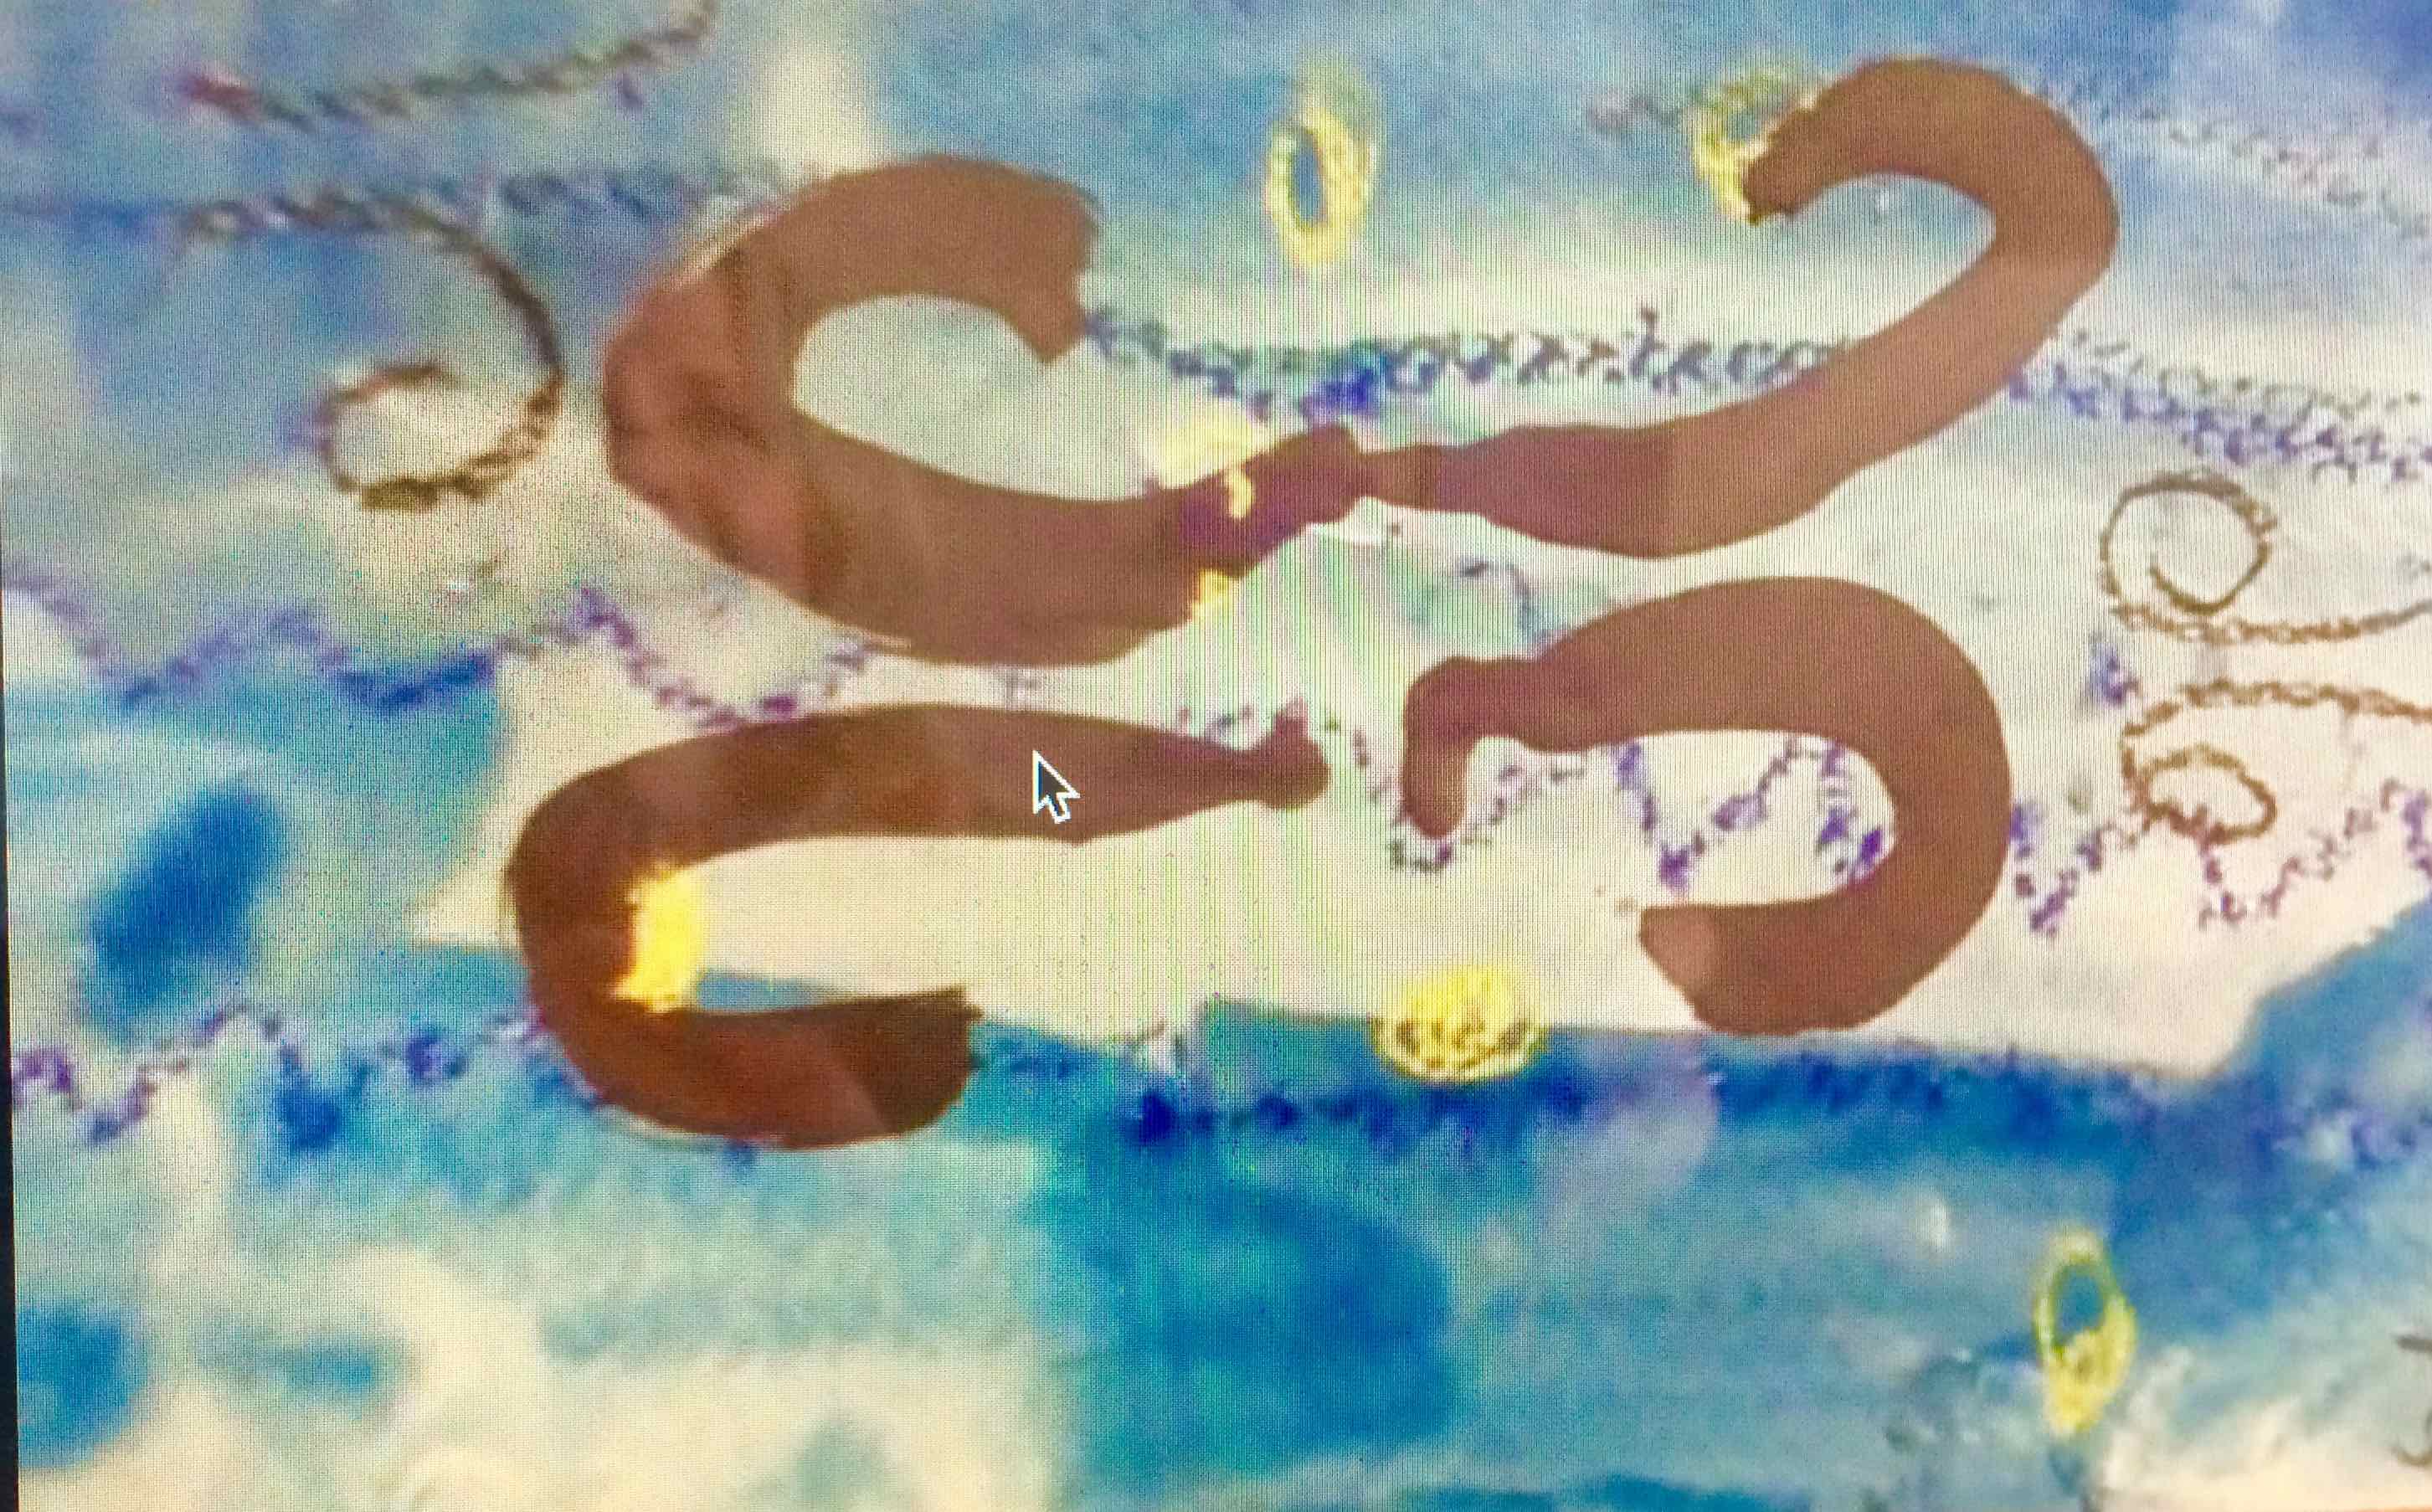
Our discussions began by talking  about the wind effects and I showed them a painting by Paddy McCann

The ready Wind eroded My Face 2016 by Co Armagh artist Paddy McCann
The Keady Wind has eroded my face, oil on linen 2016 by Co Armagh artist Paddy McCann

Paddy told me that the painting was about standing looking in one direction for too long! The wind had worn away his face. The children offered some interesting responses to the image and one child told the class that he had taken a kite up to  Slieve Gullion at the weekend and had to hold on tight to his father’s hand because the wind was so strong!

We began a discussion by offering up all the WORDS describing what the WIND does.

Mrs Hughes listed the words as to whether they were USEFUL or DANGEROUS or both!

GUSTY,  BLOWING,  HURRICANE,  TOUGH,  SUPER FAST , FLOATING,  OUT OF CONTROL, GALE FORCE, SPINNING, CONTROLLING YOU, PUSHING, LIFTING, GLIDING….

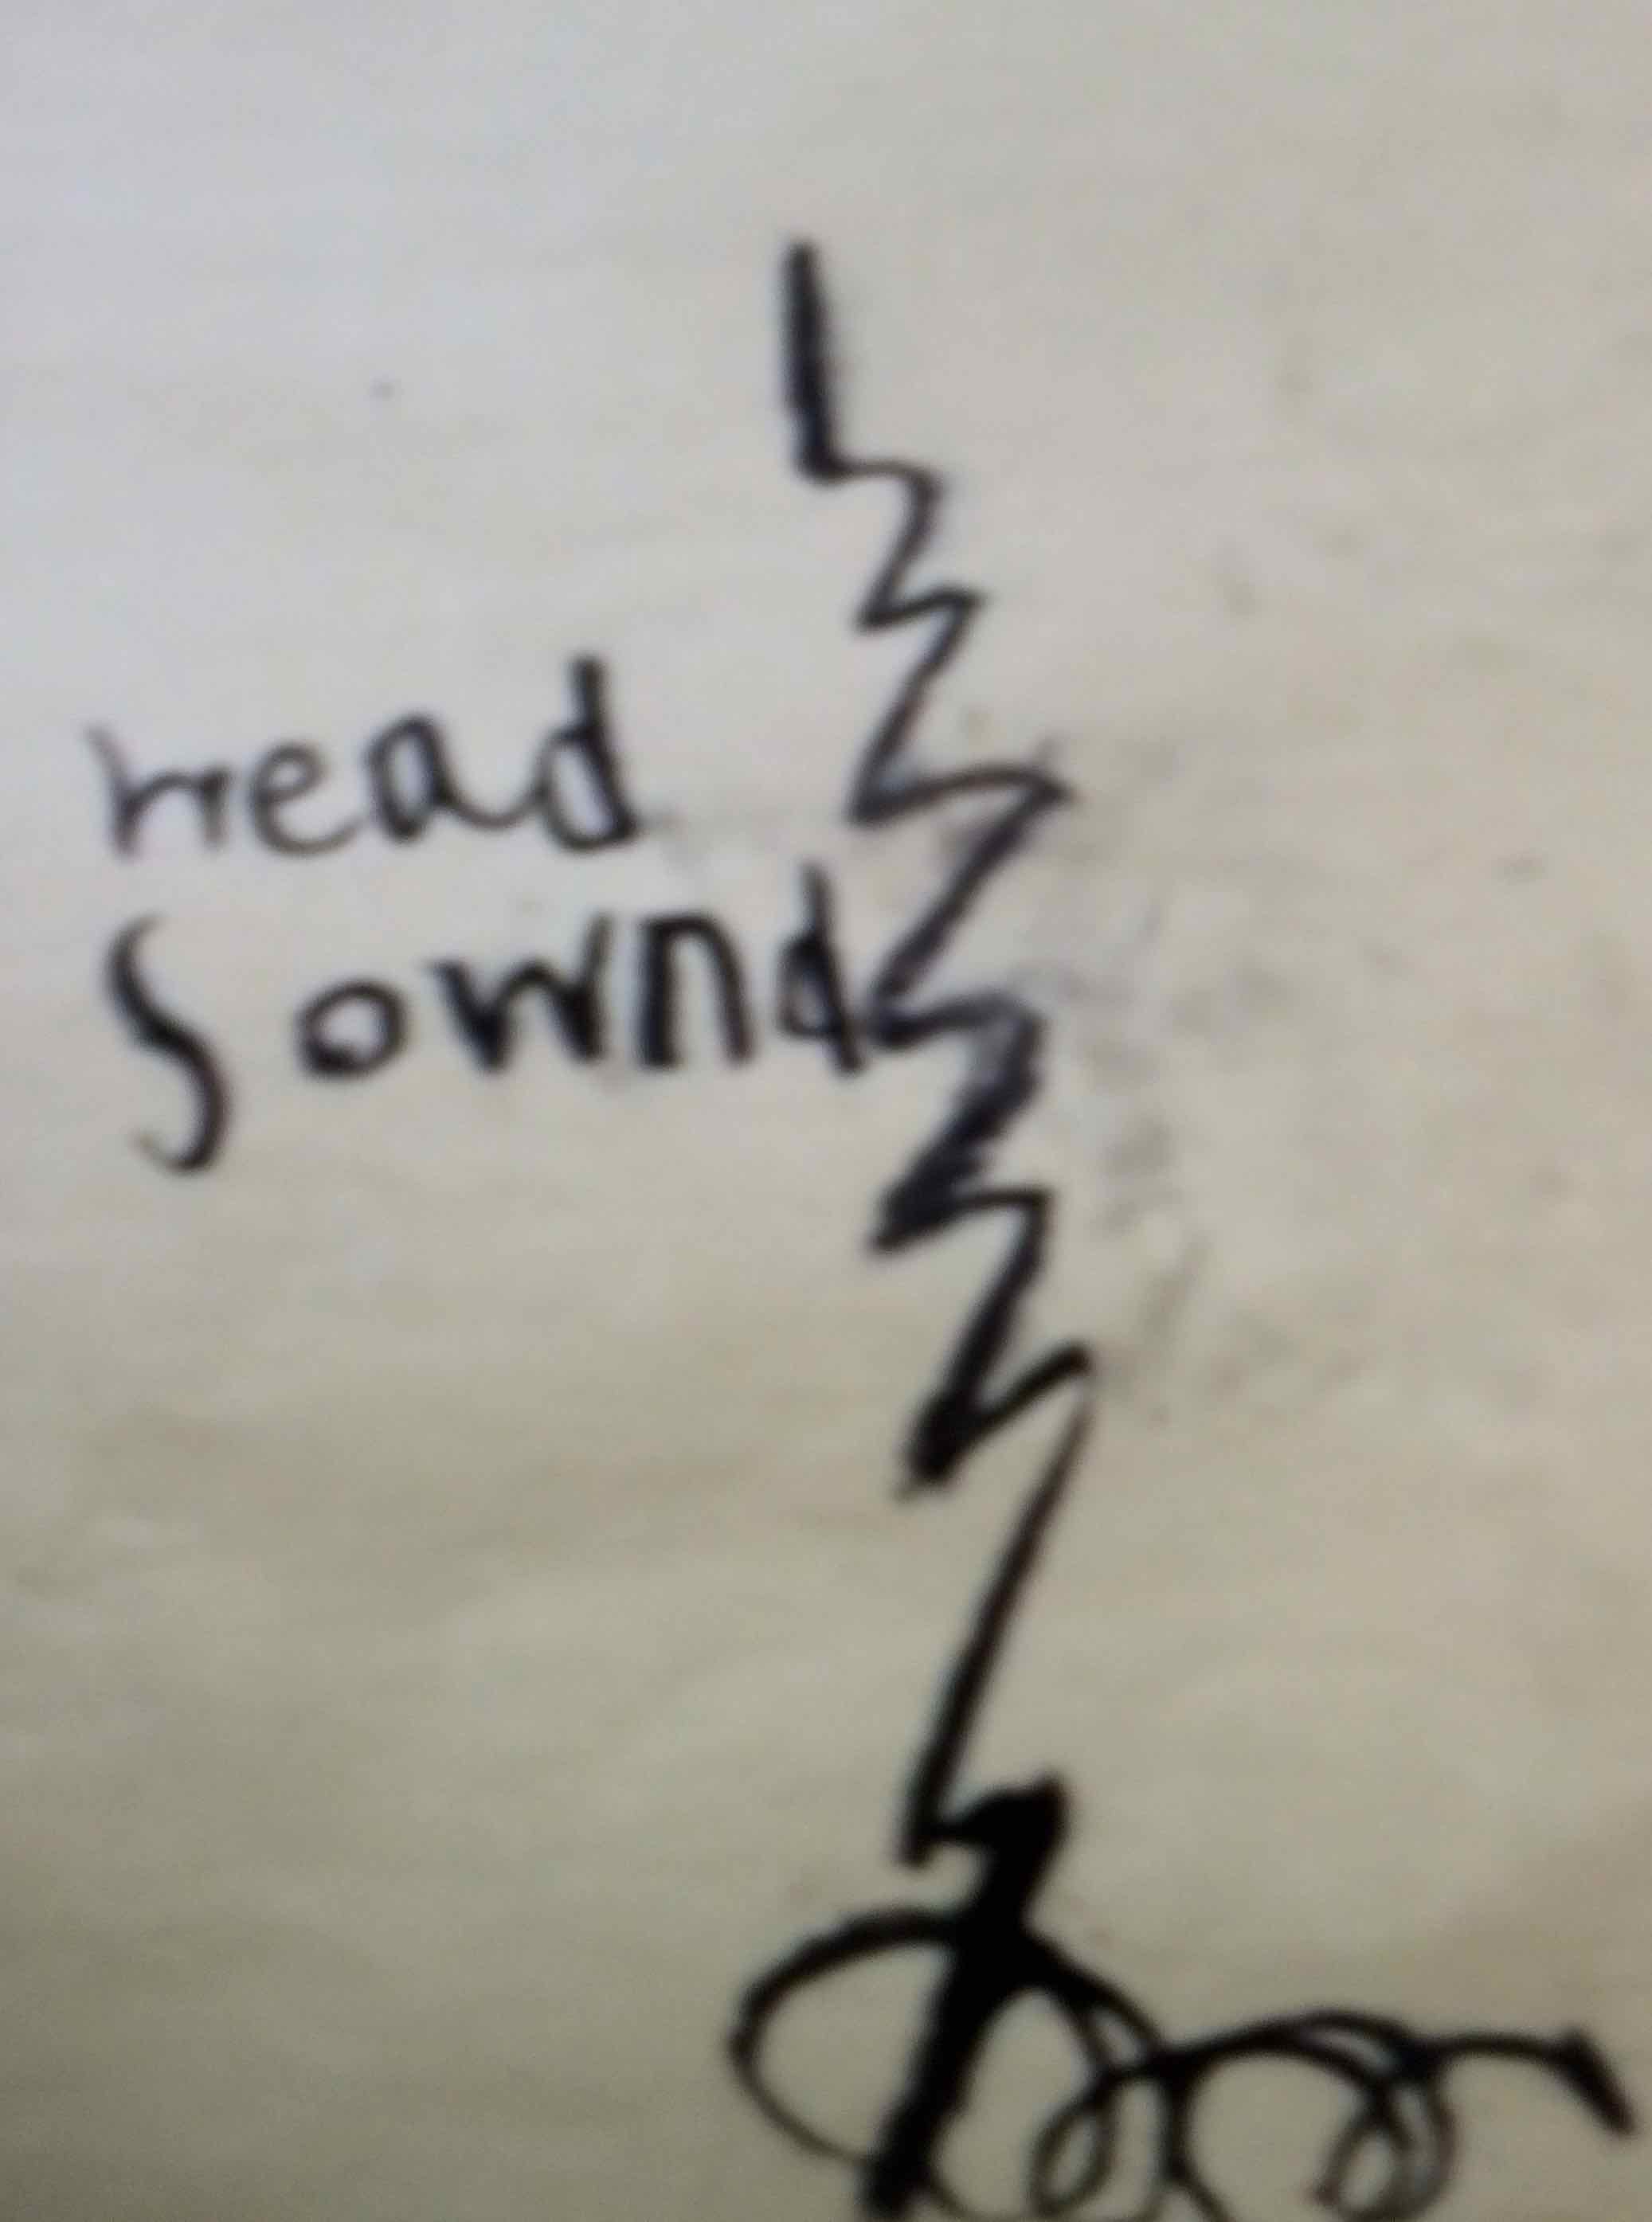
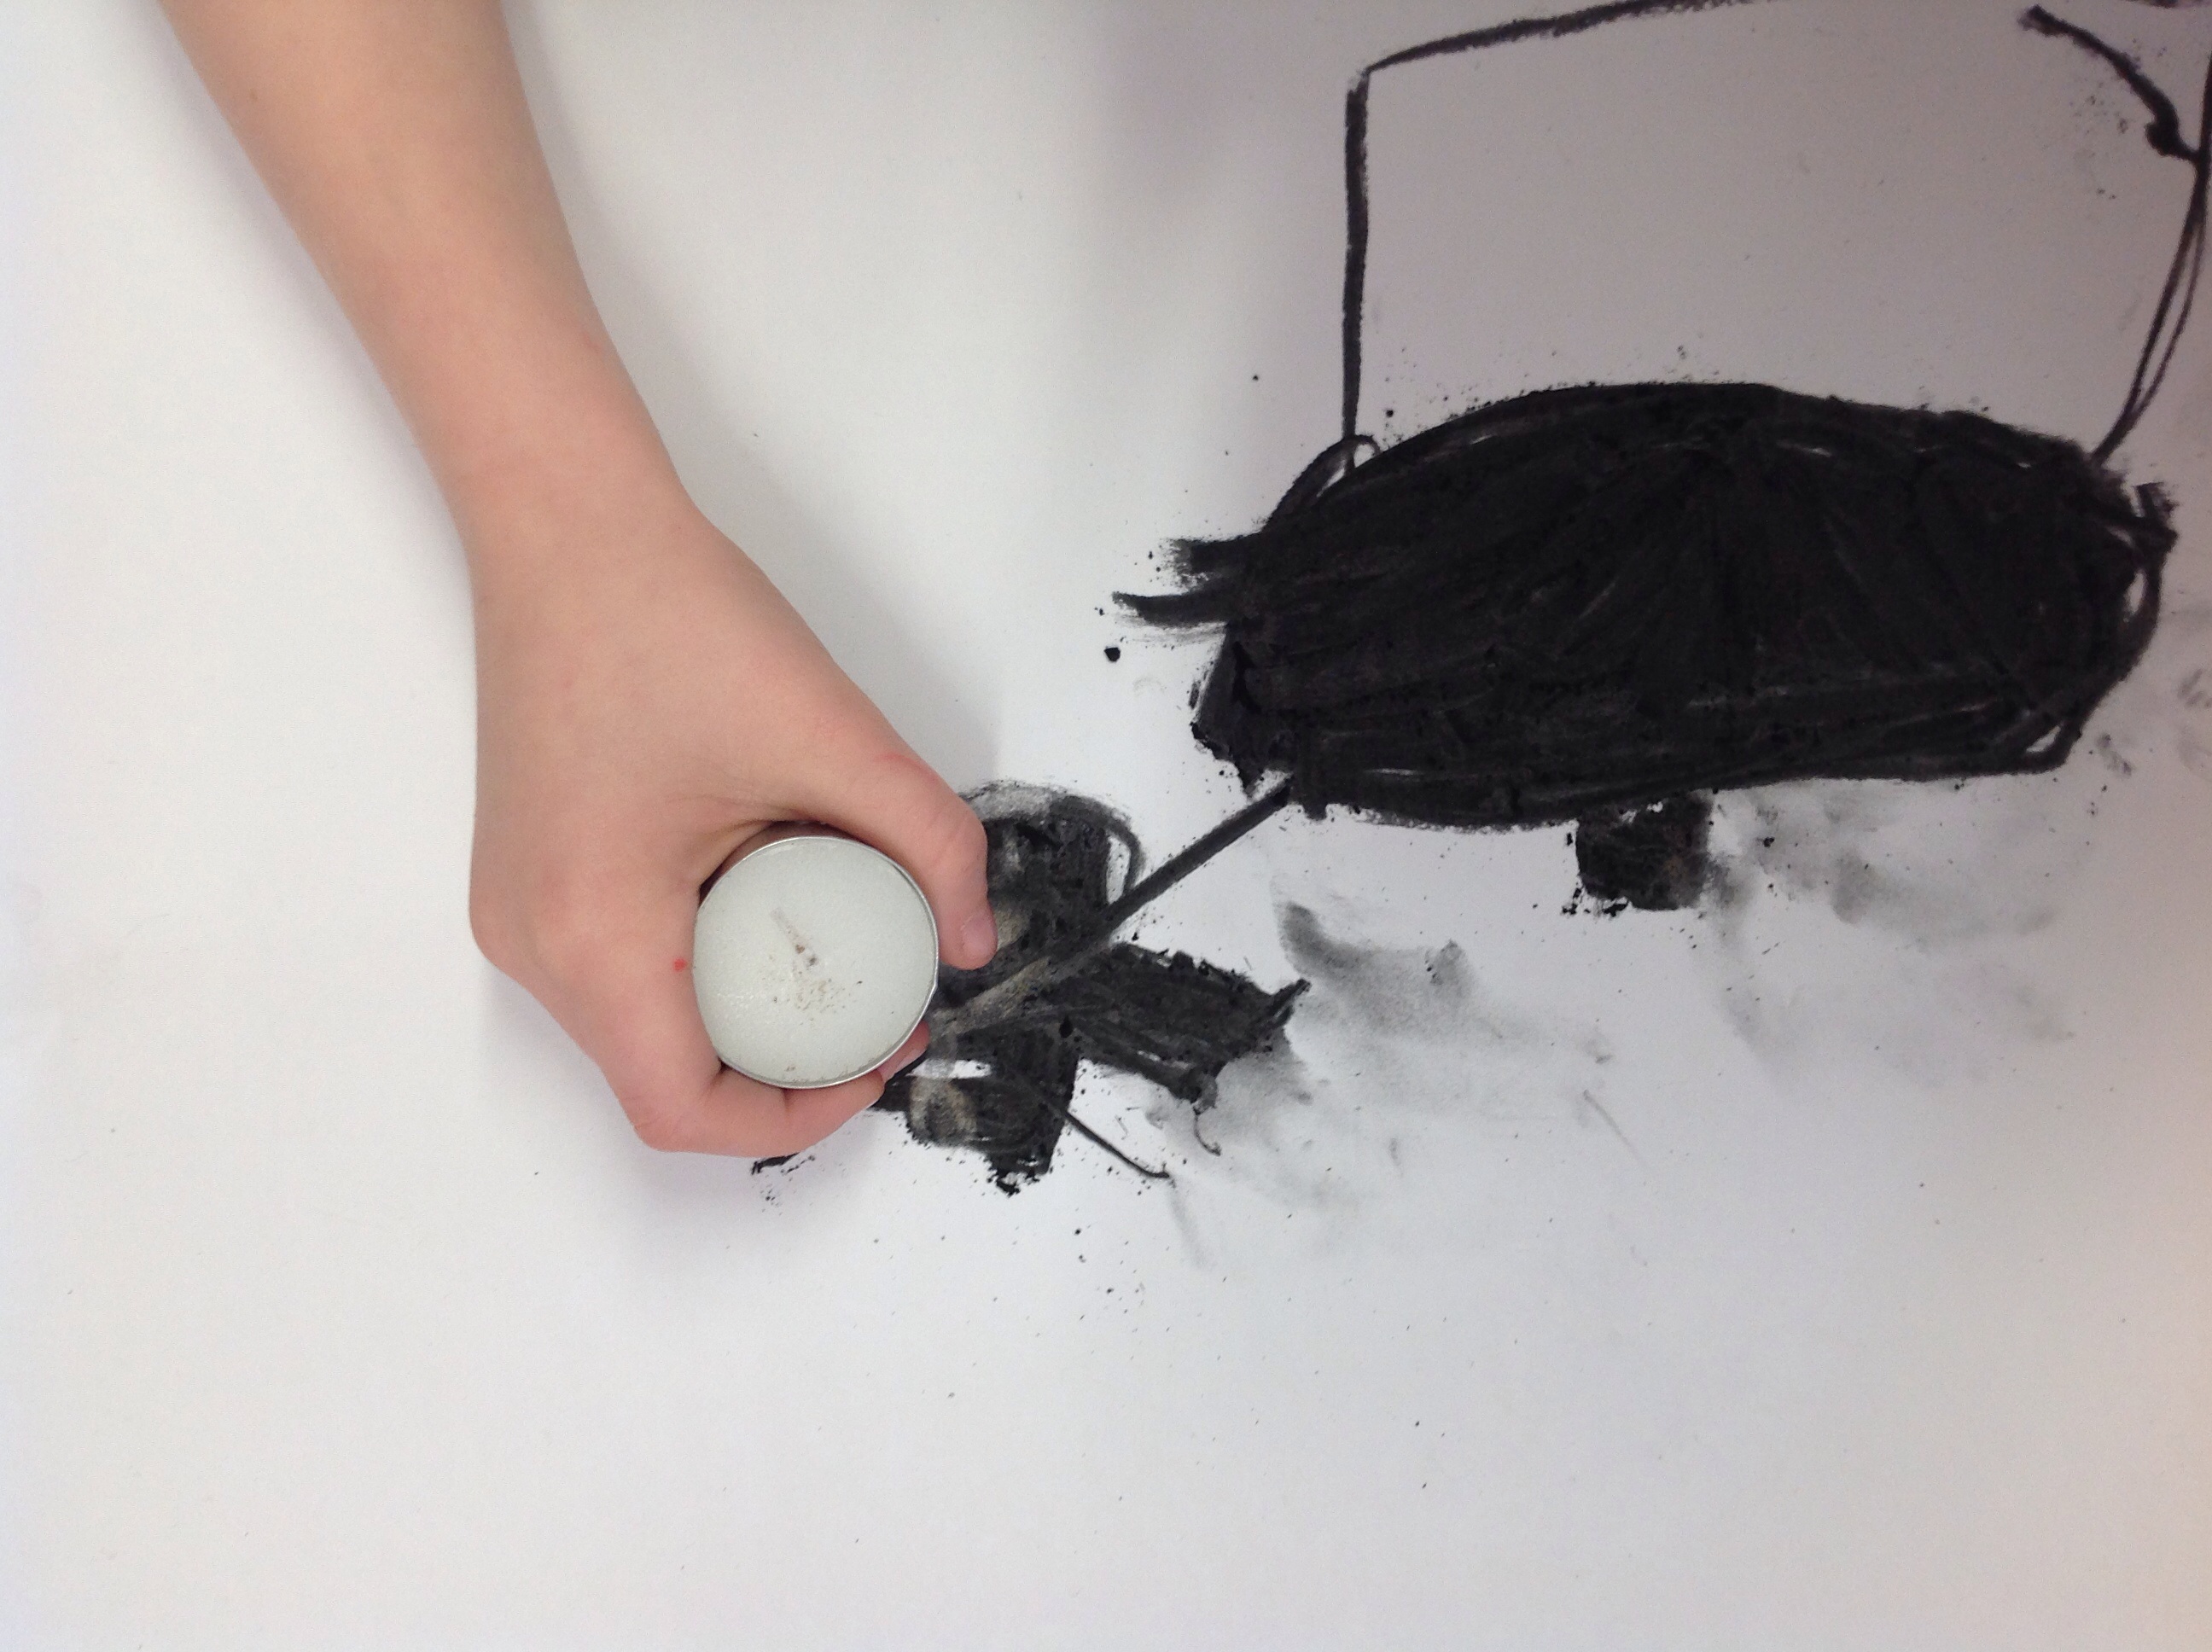
I ASKED THE CHILDREN IF THE WIND HAD A VOICE HOW WOULD IT SOUND?

CHATTERING, MURMURING, WHISPERING, WHISTLING, SHOUTING, SCREECHING, SCREAMING, YELLING, ECHOING, SQUABBLING….

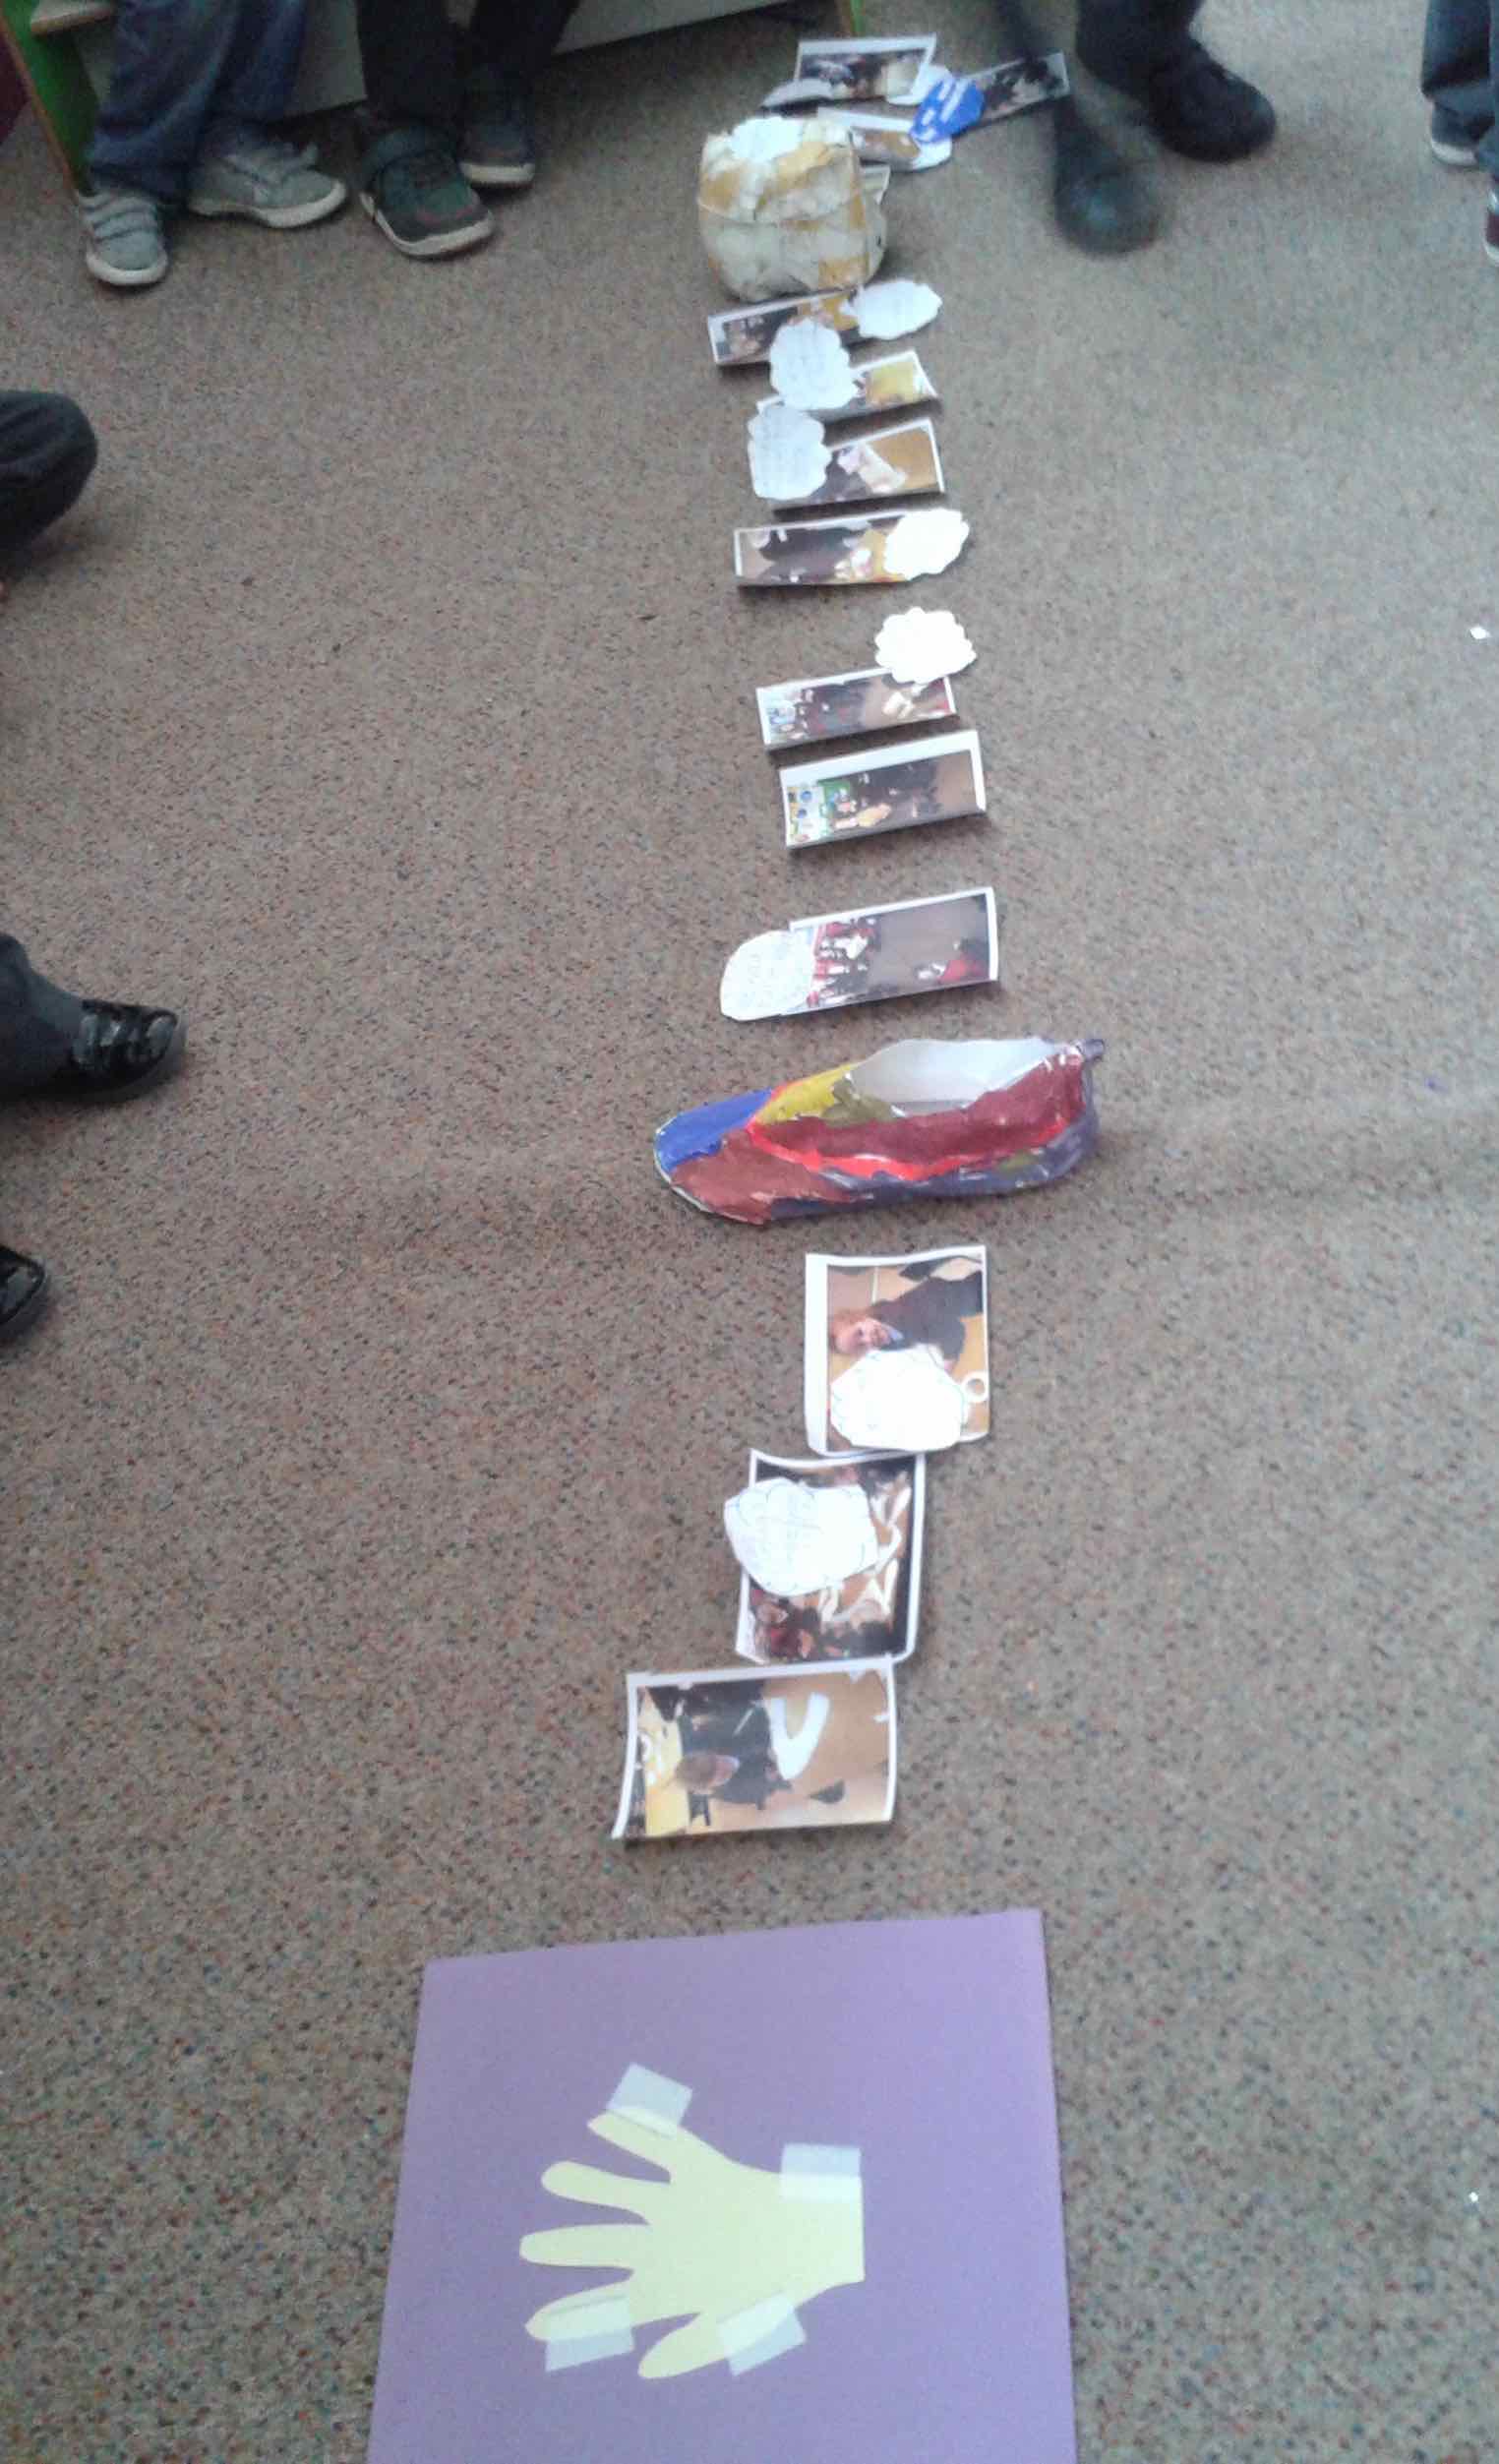
Mrs Hughes had recorded the children outside and also the children had recorded the SOUND of the wind. I hope to link to these videos shortly.

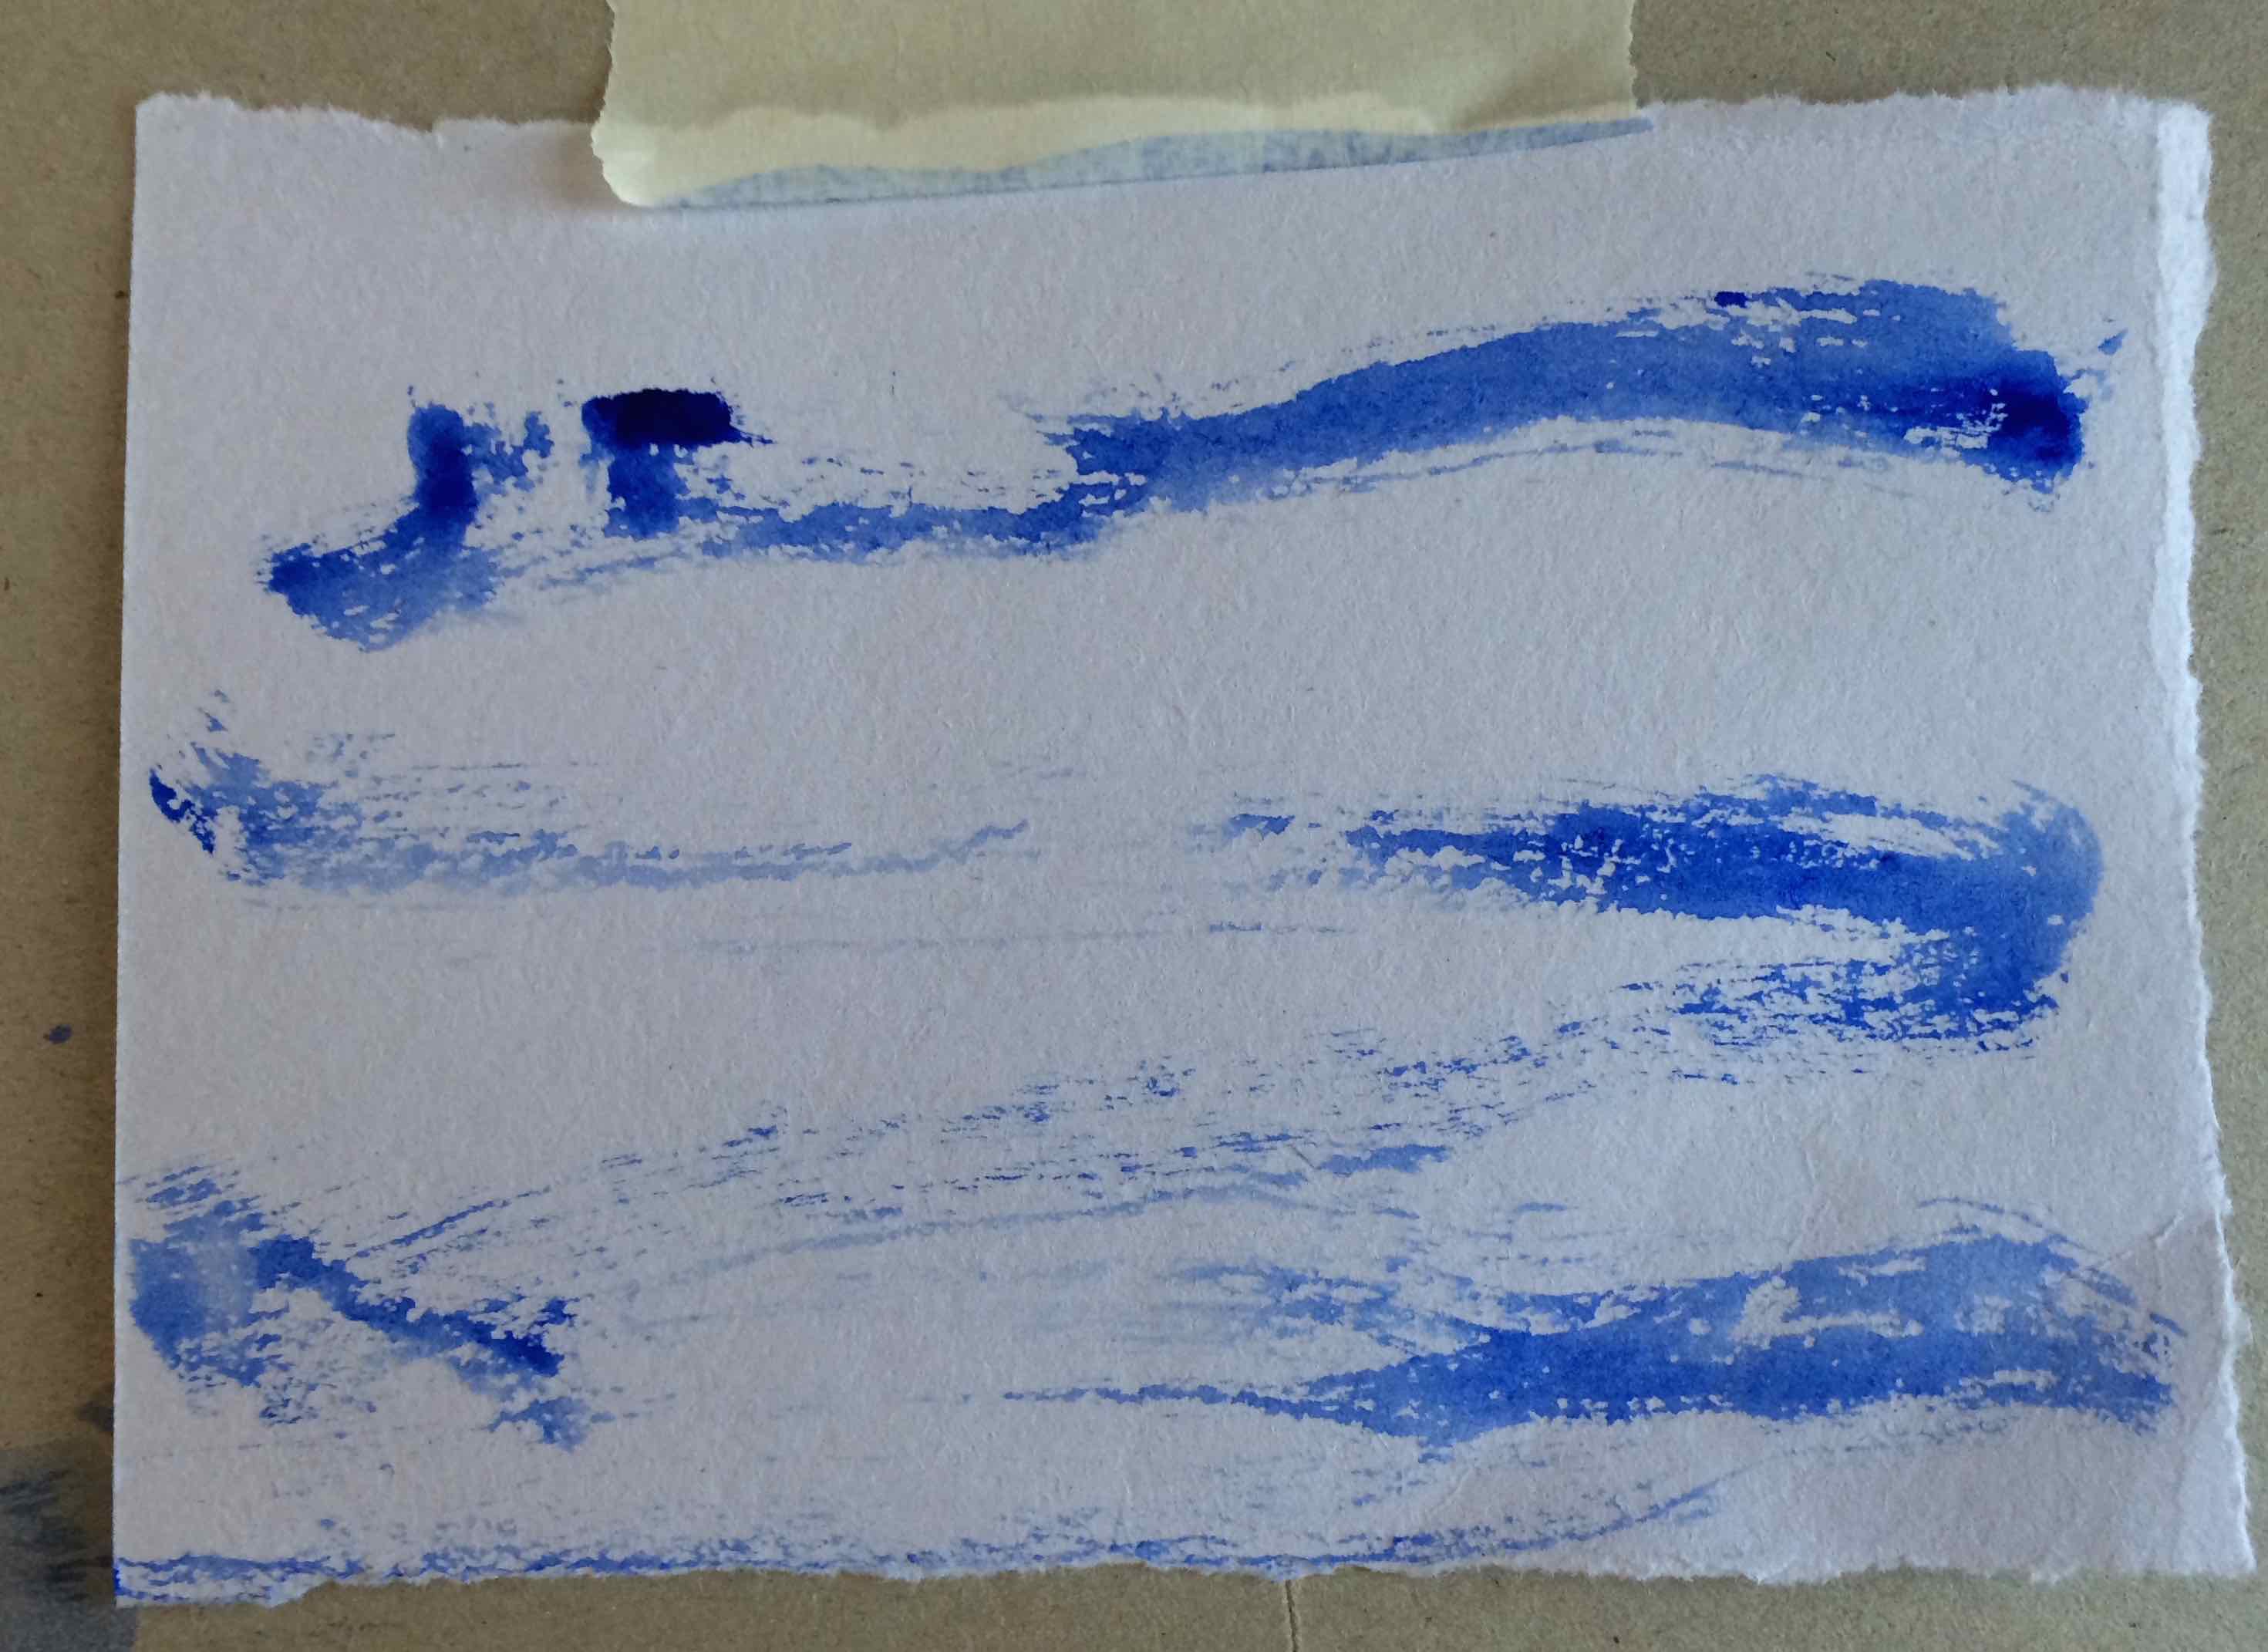
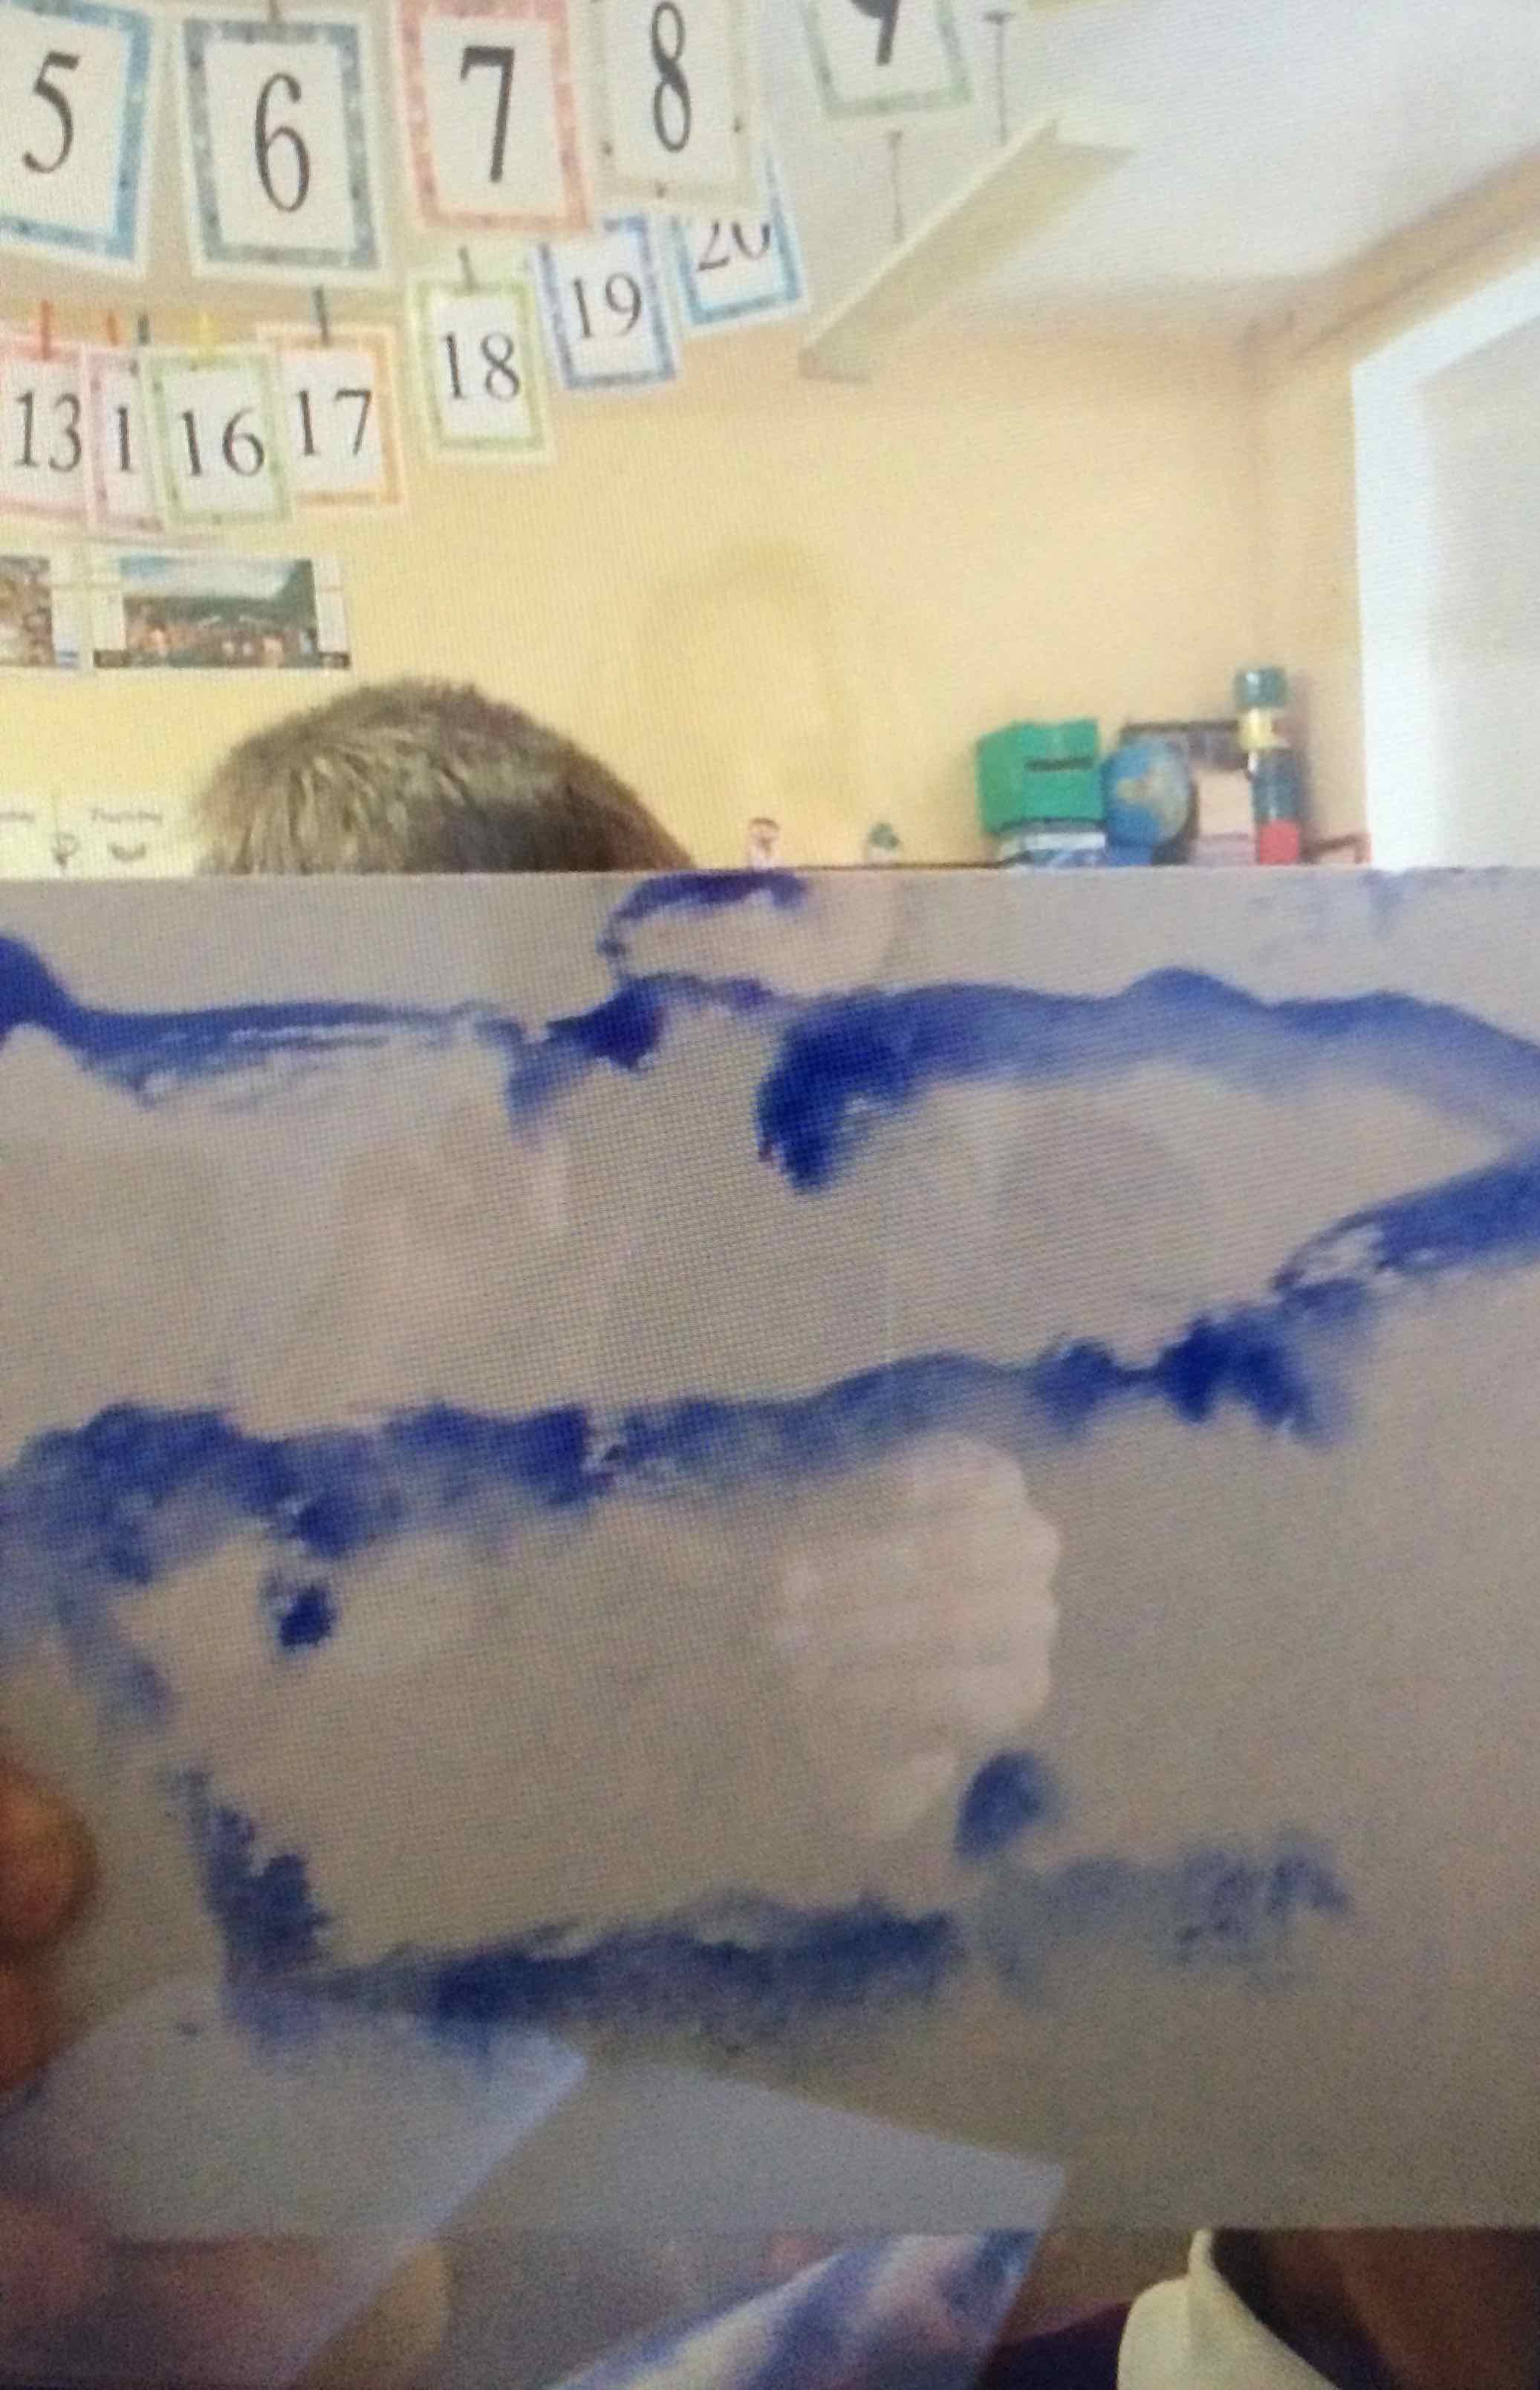
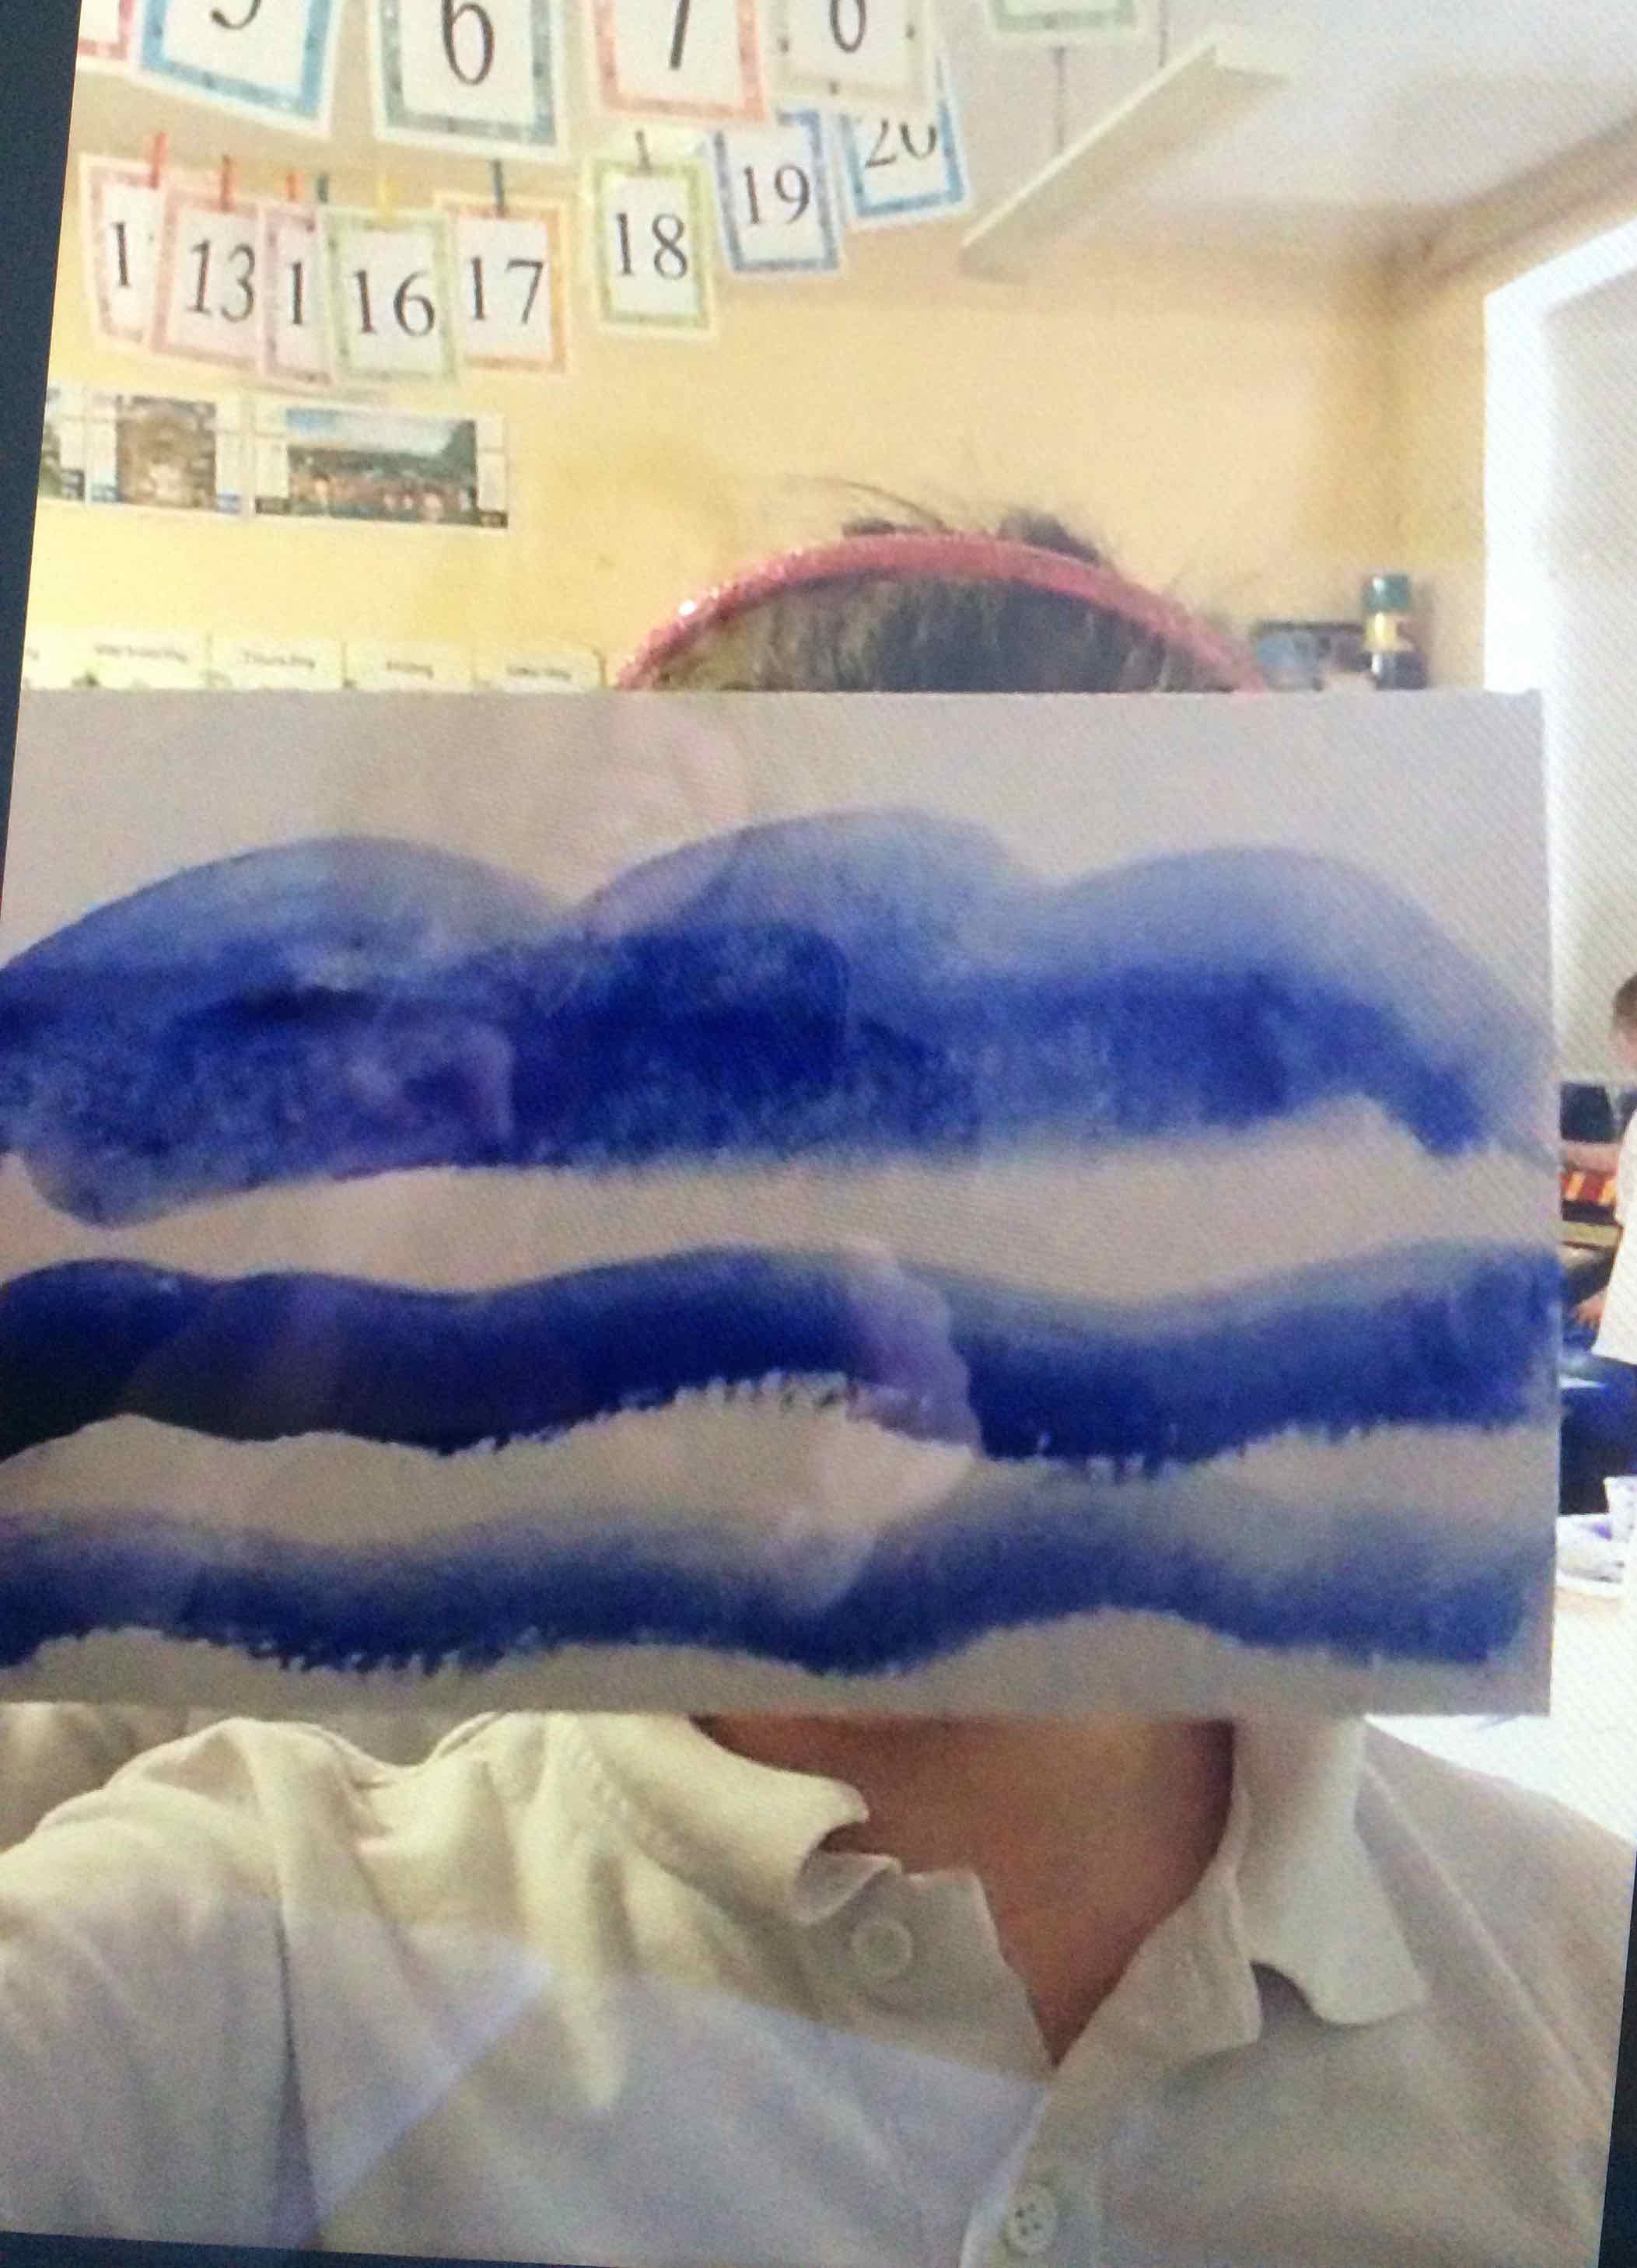
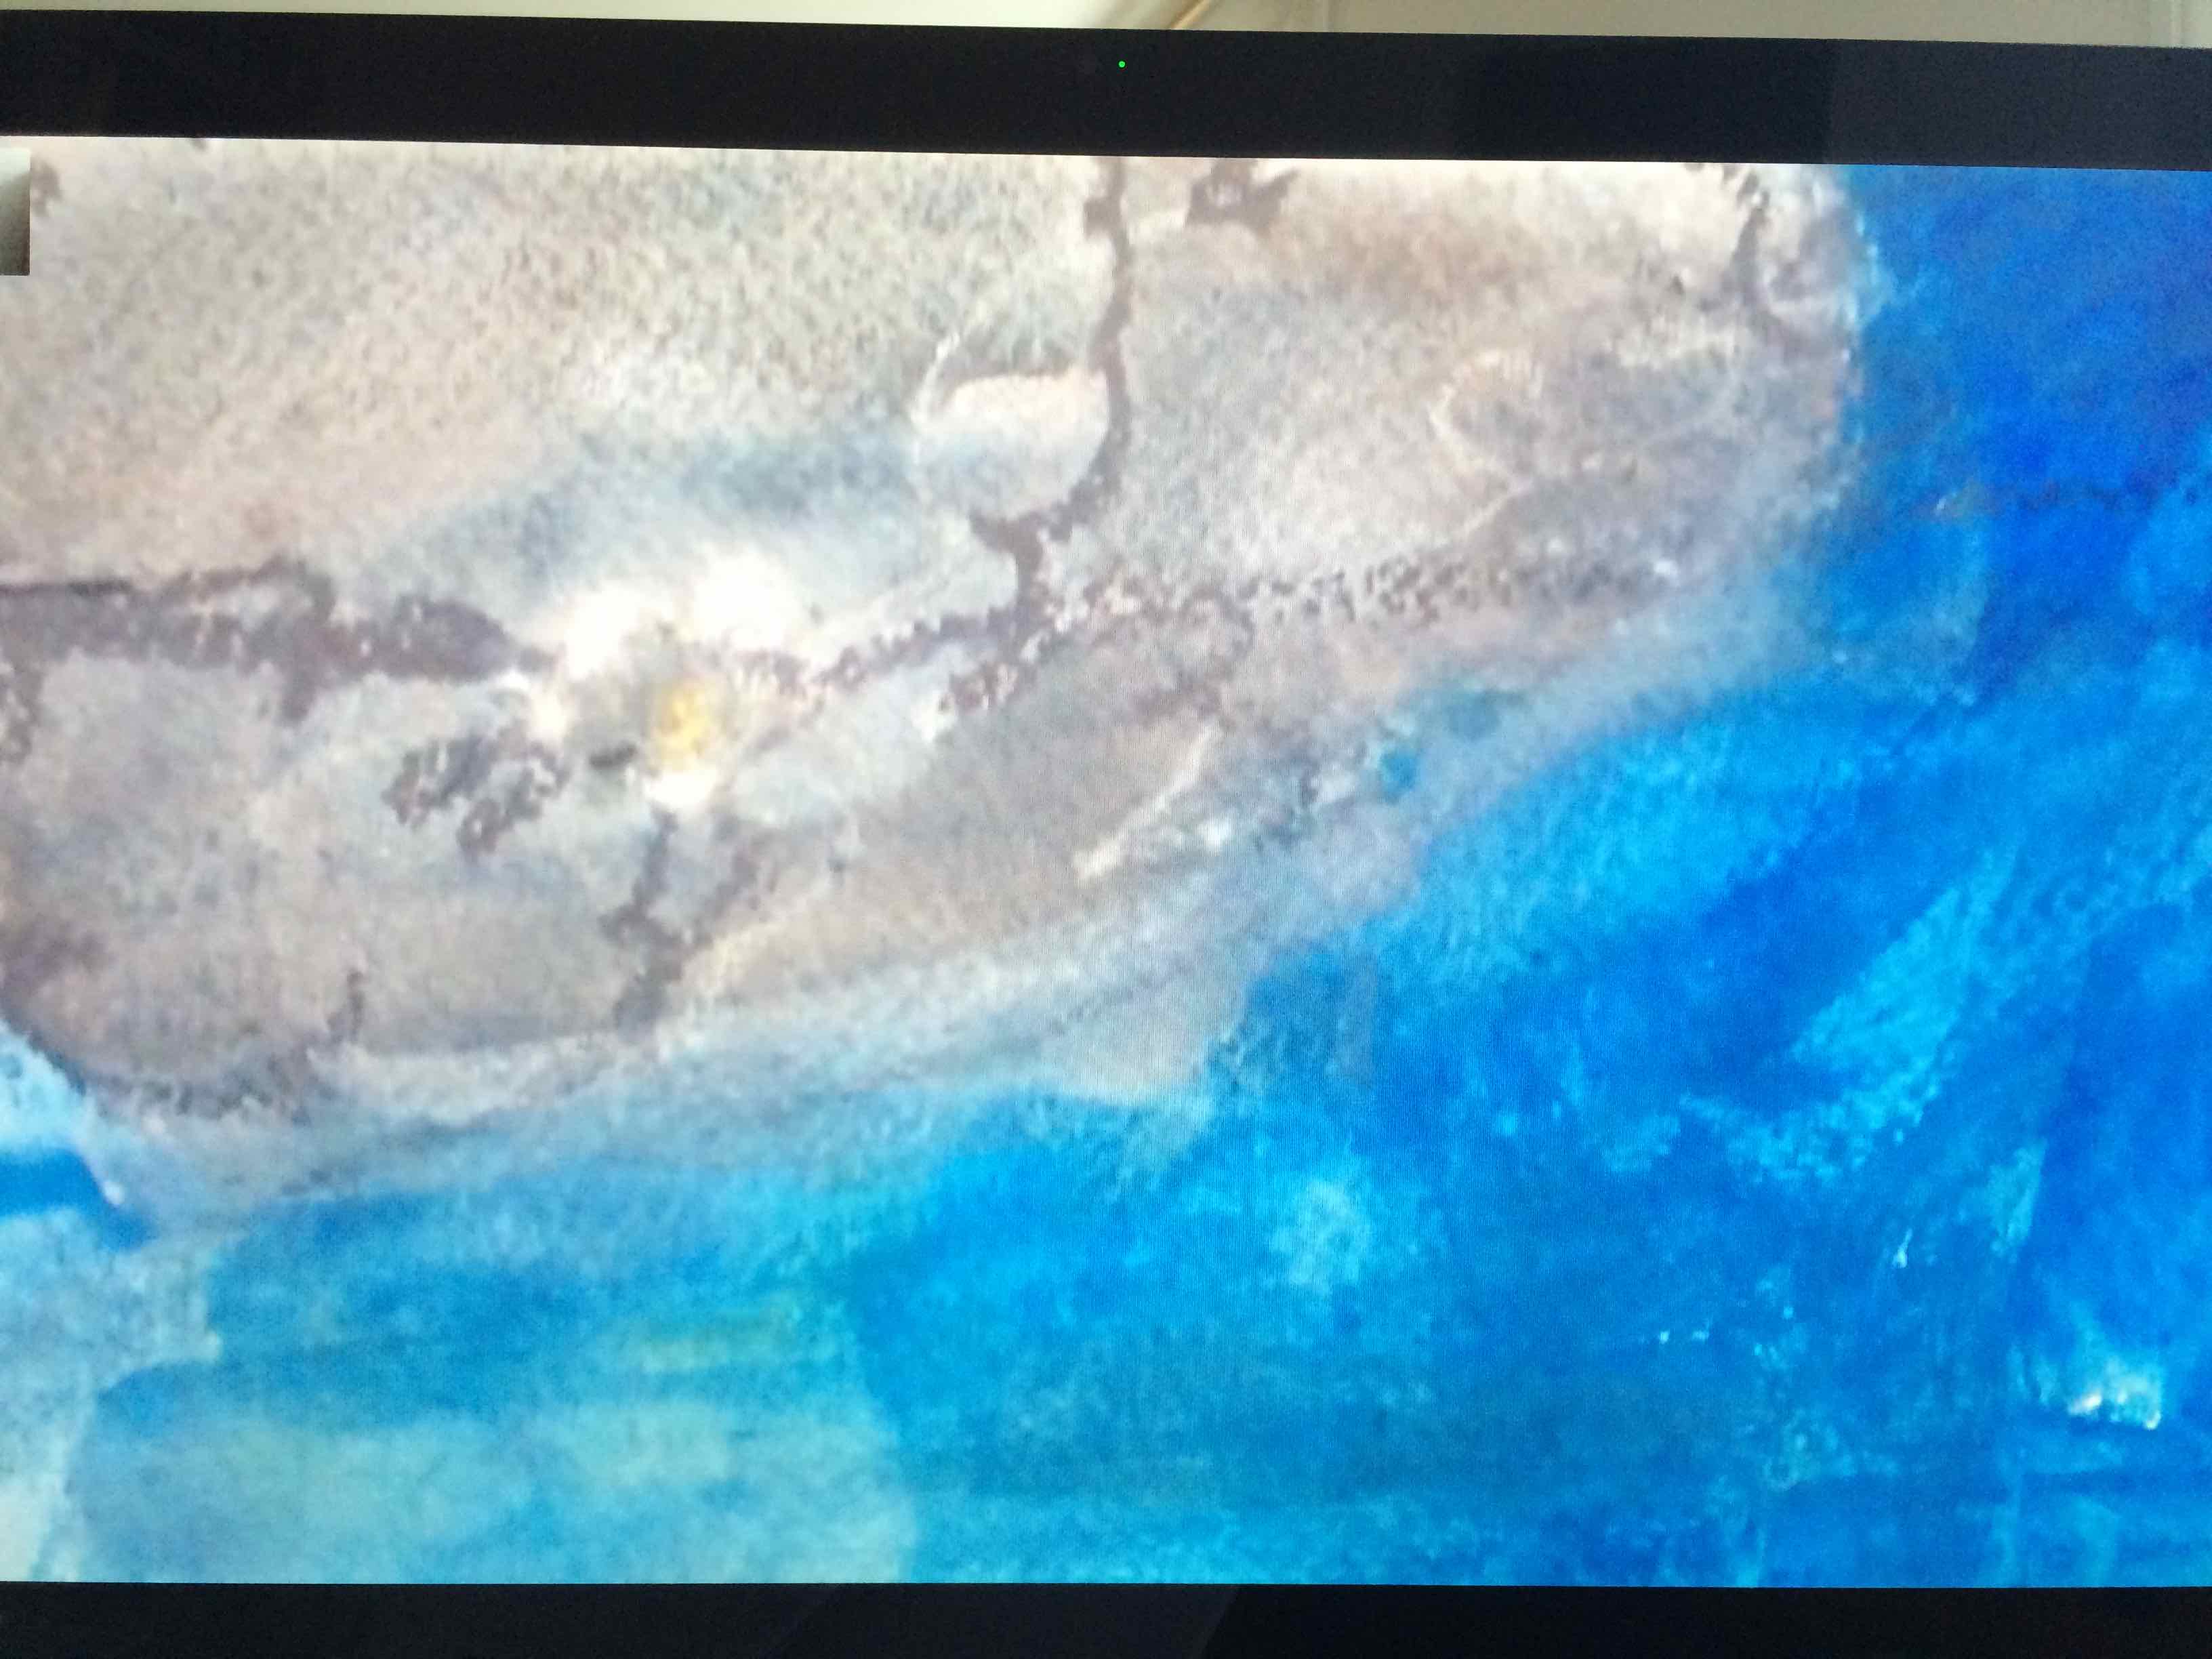
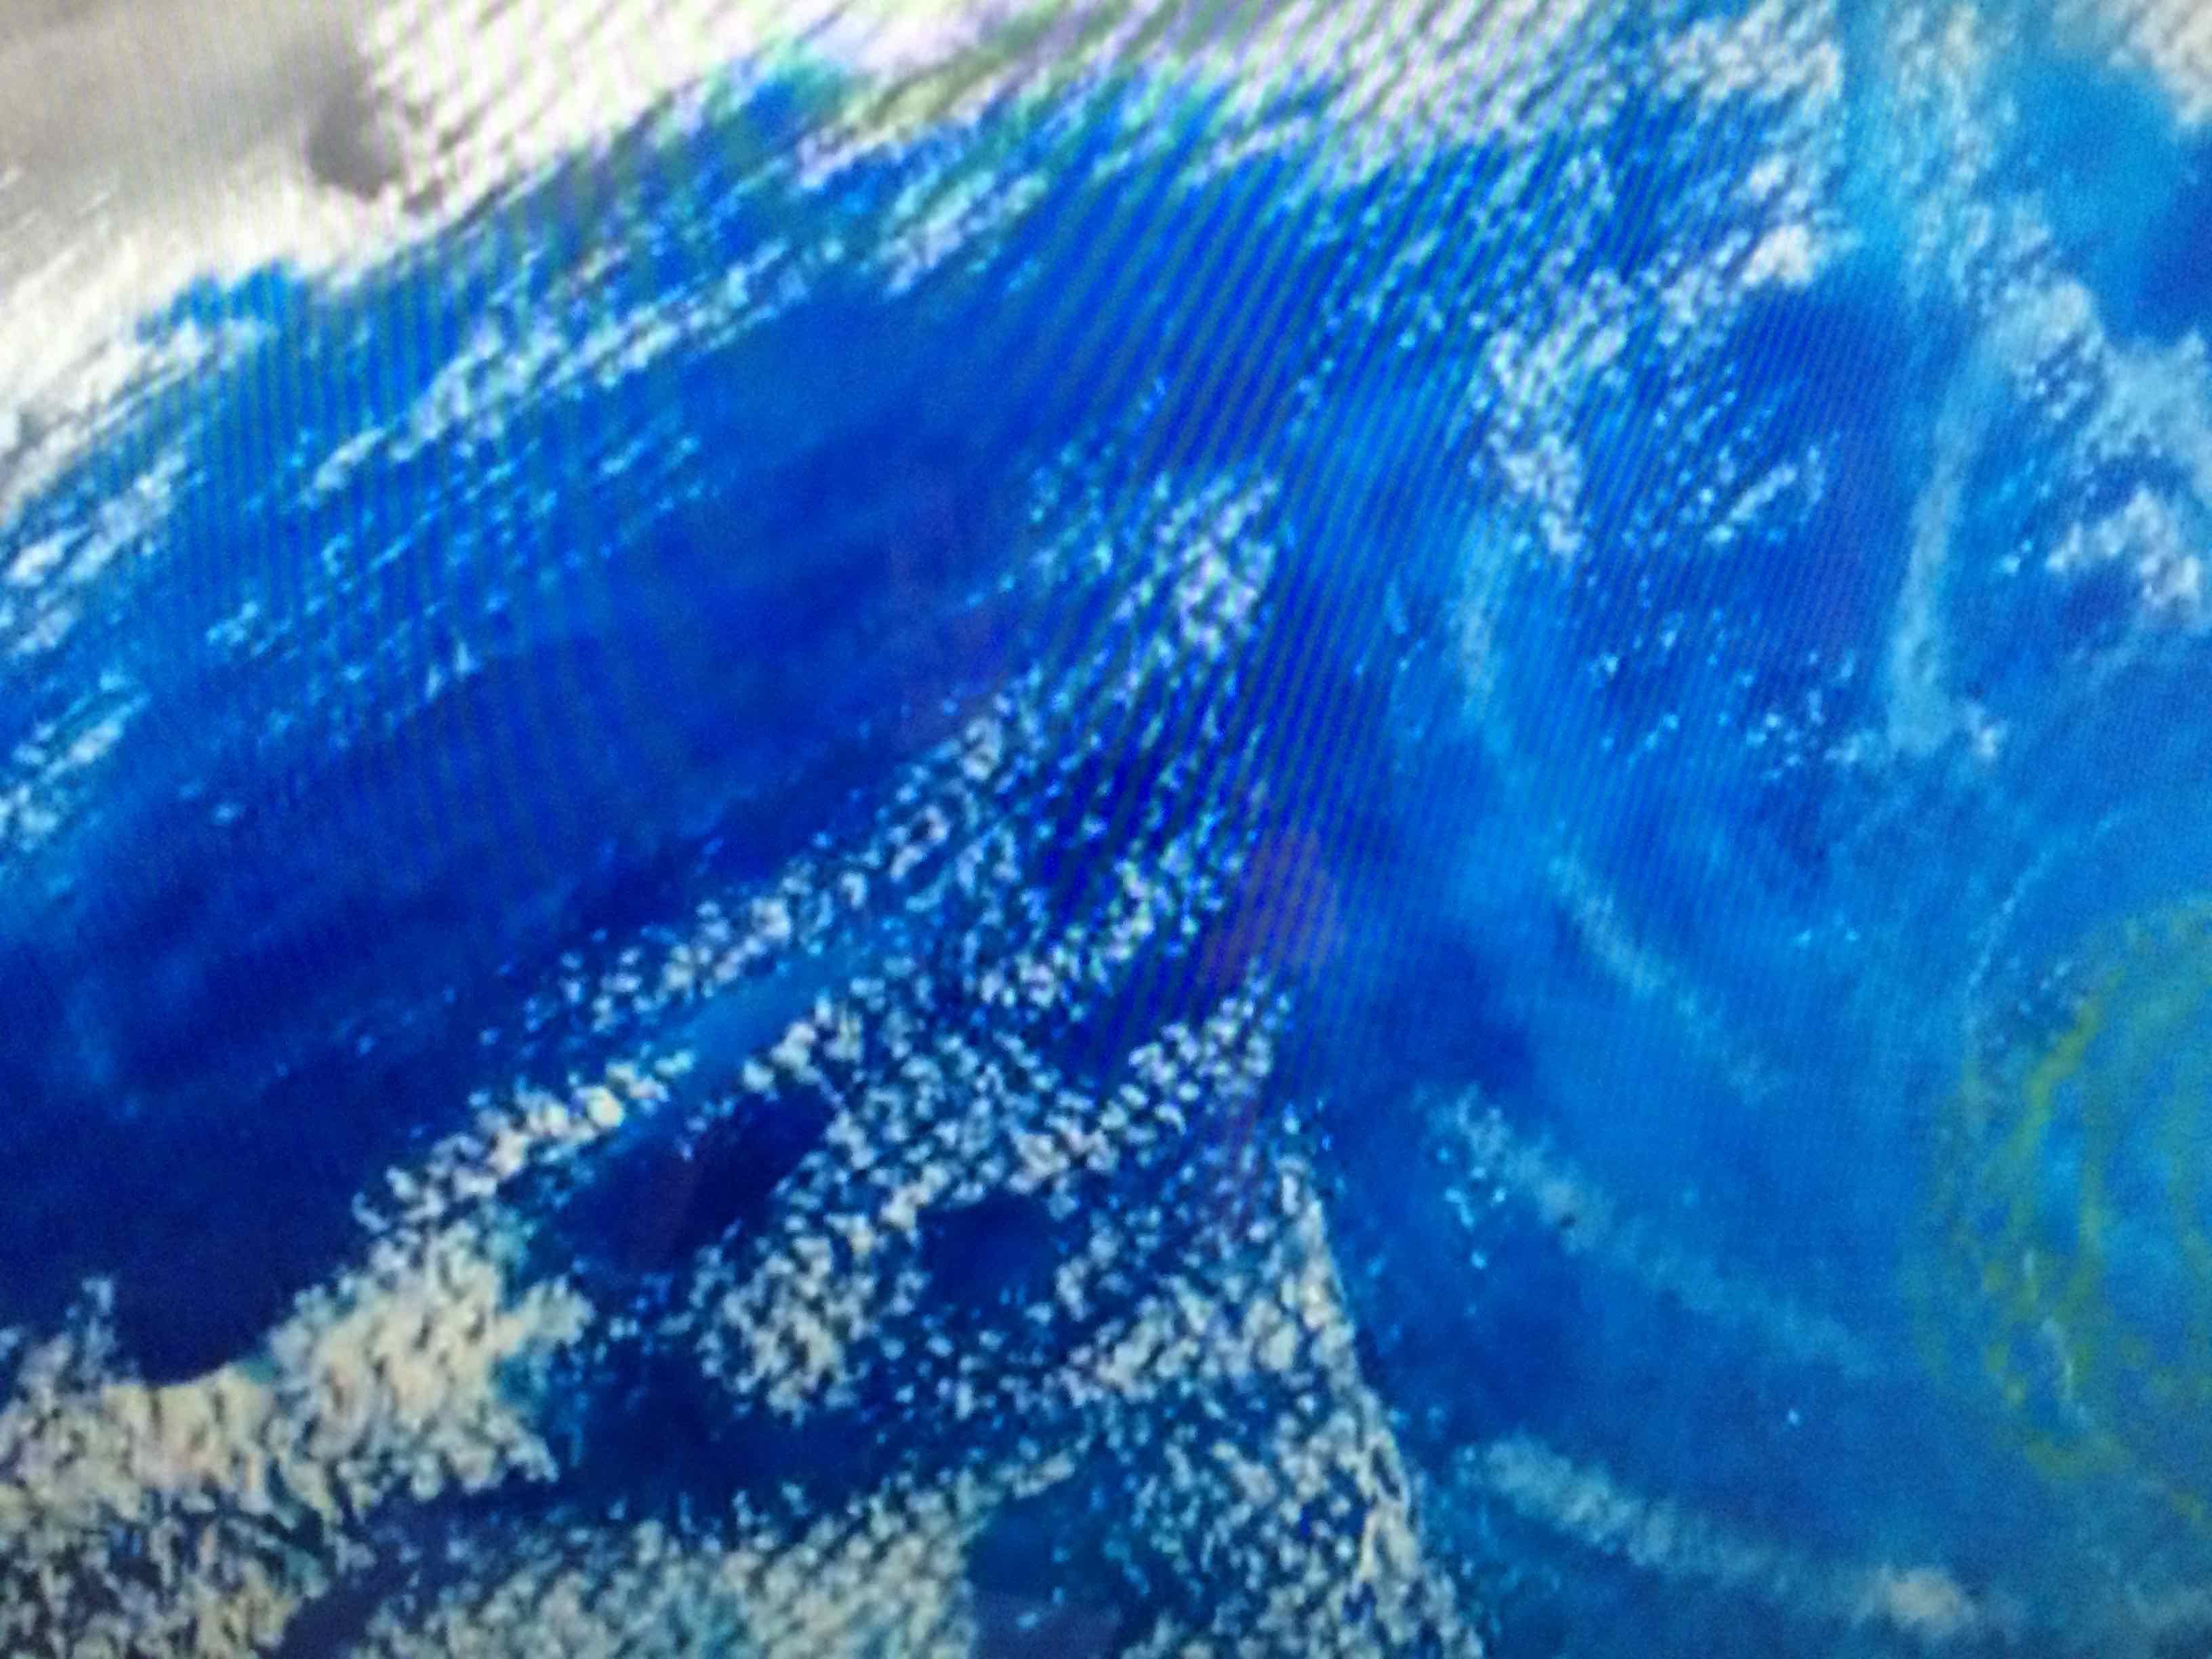
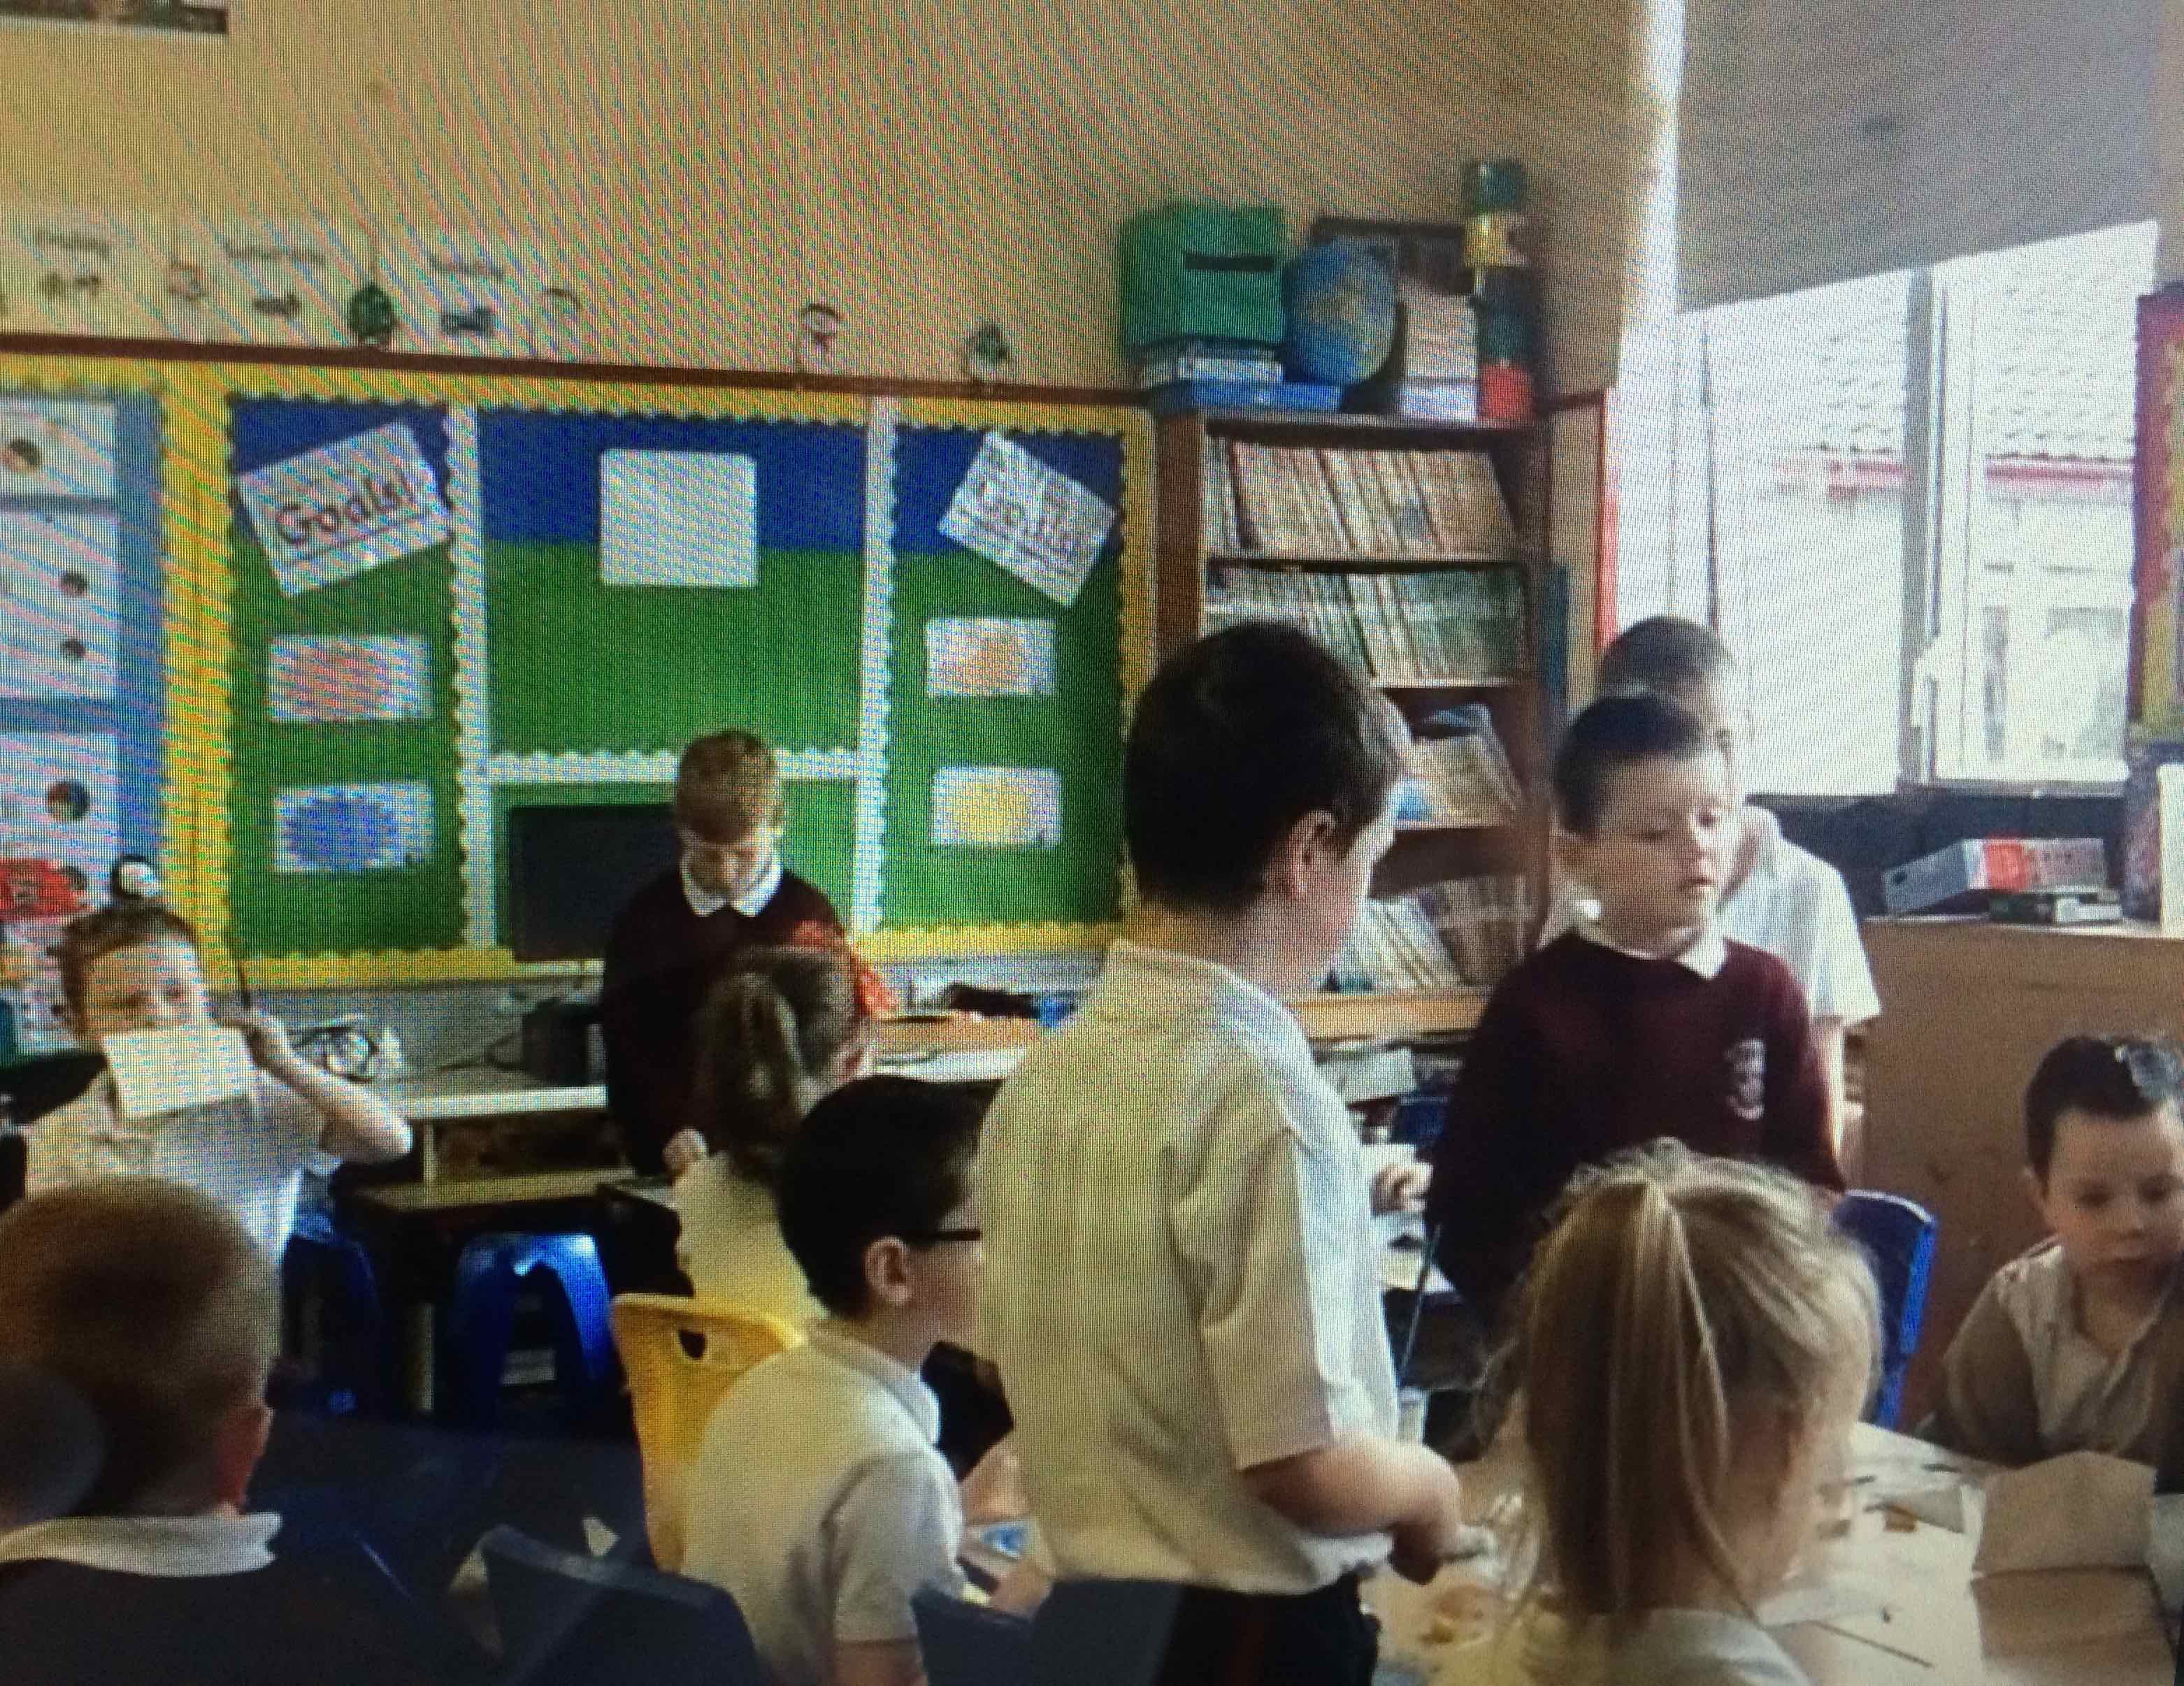
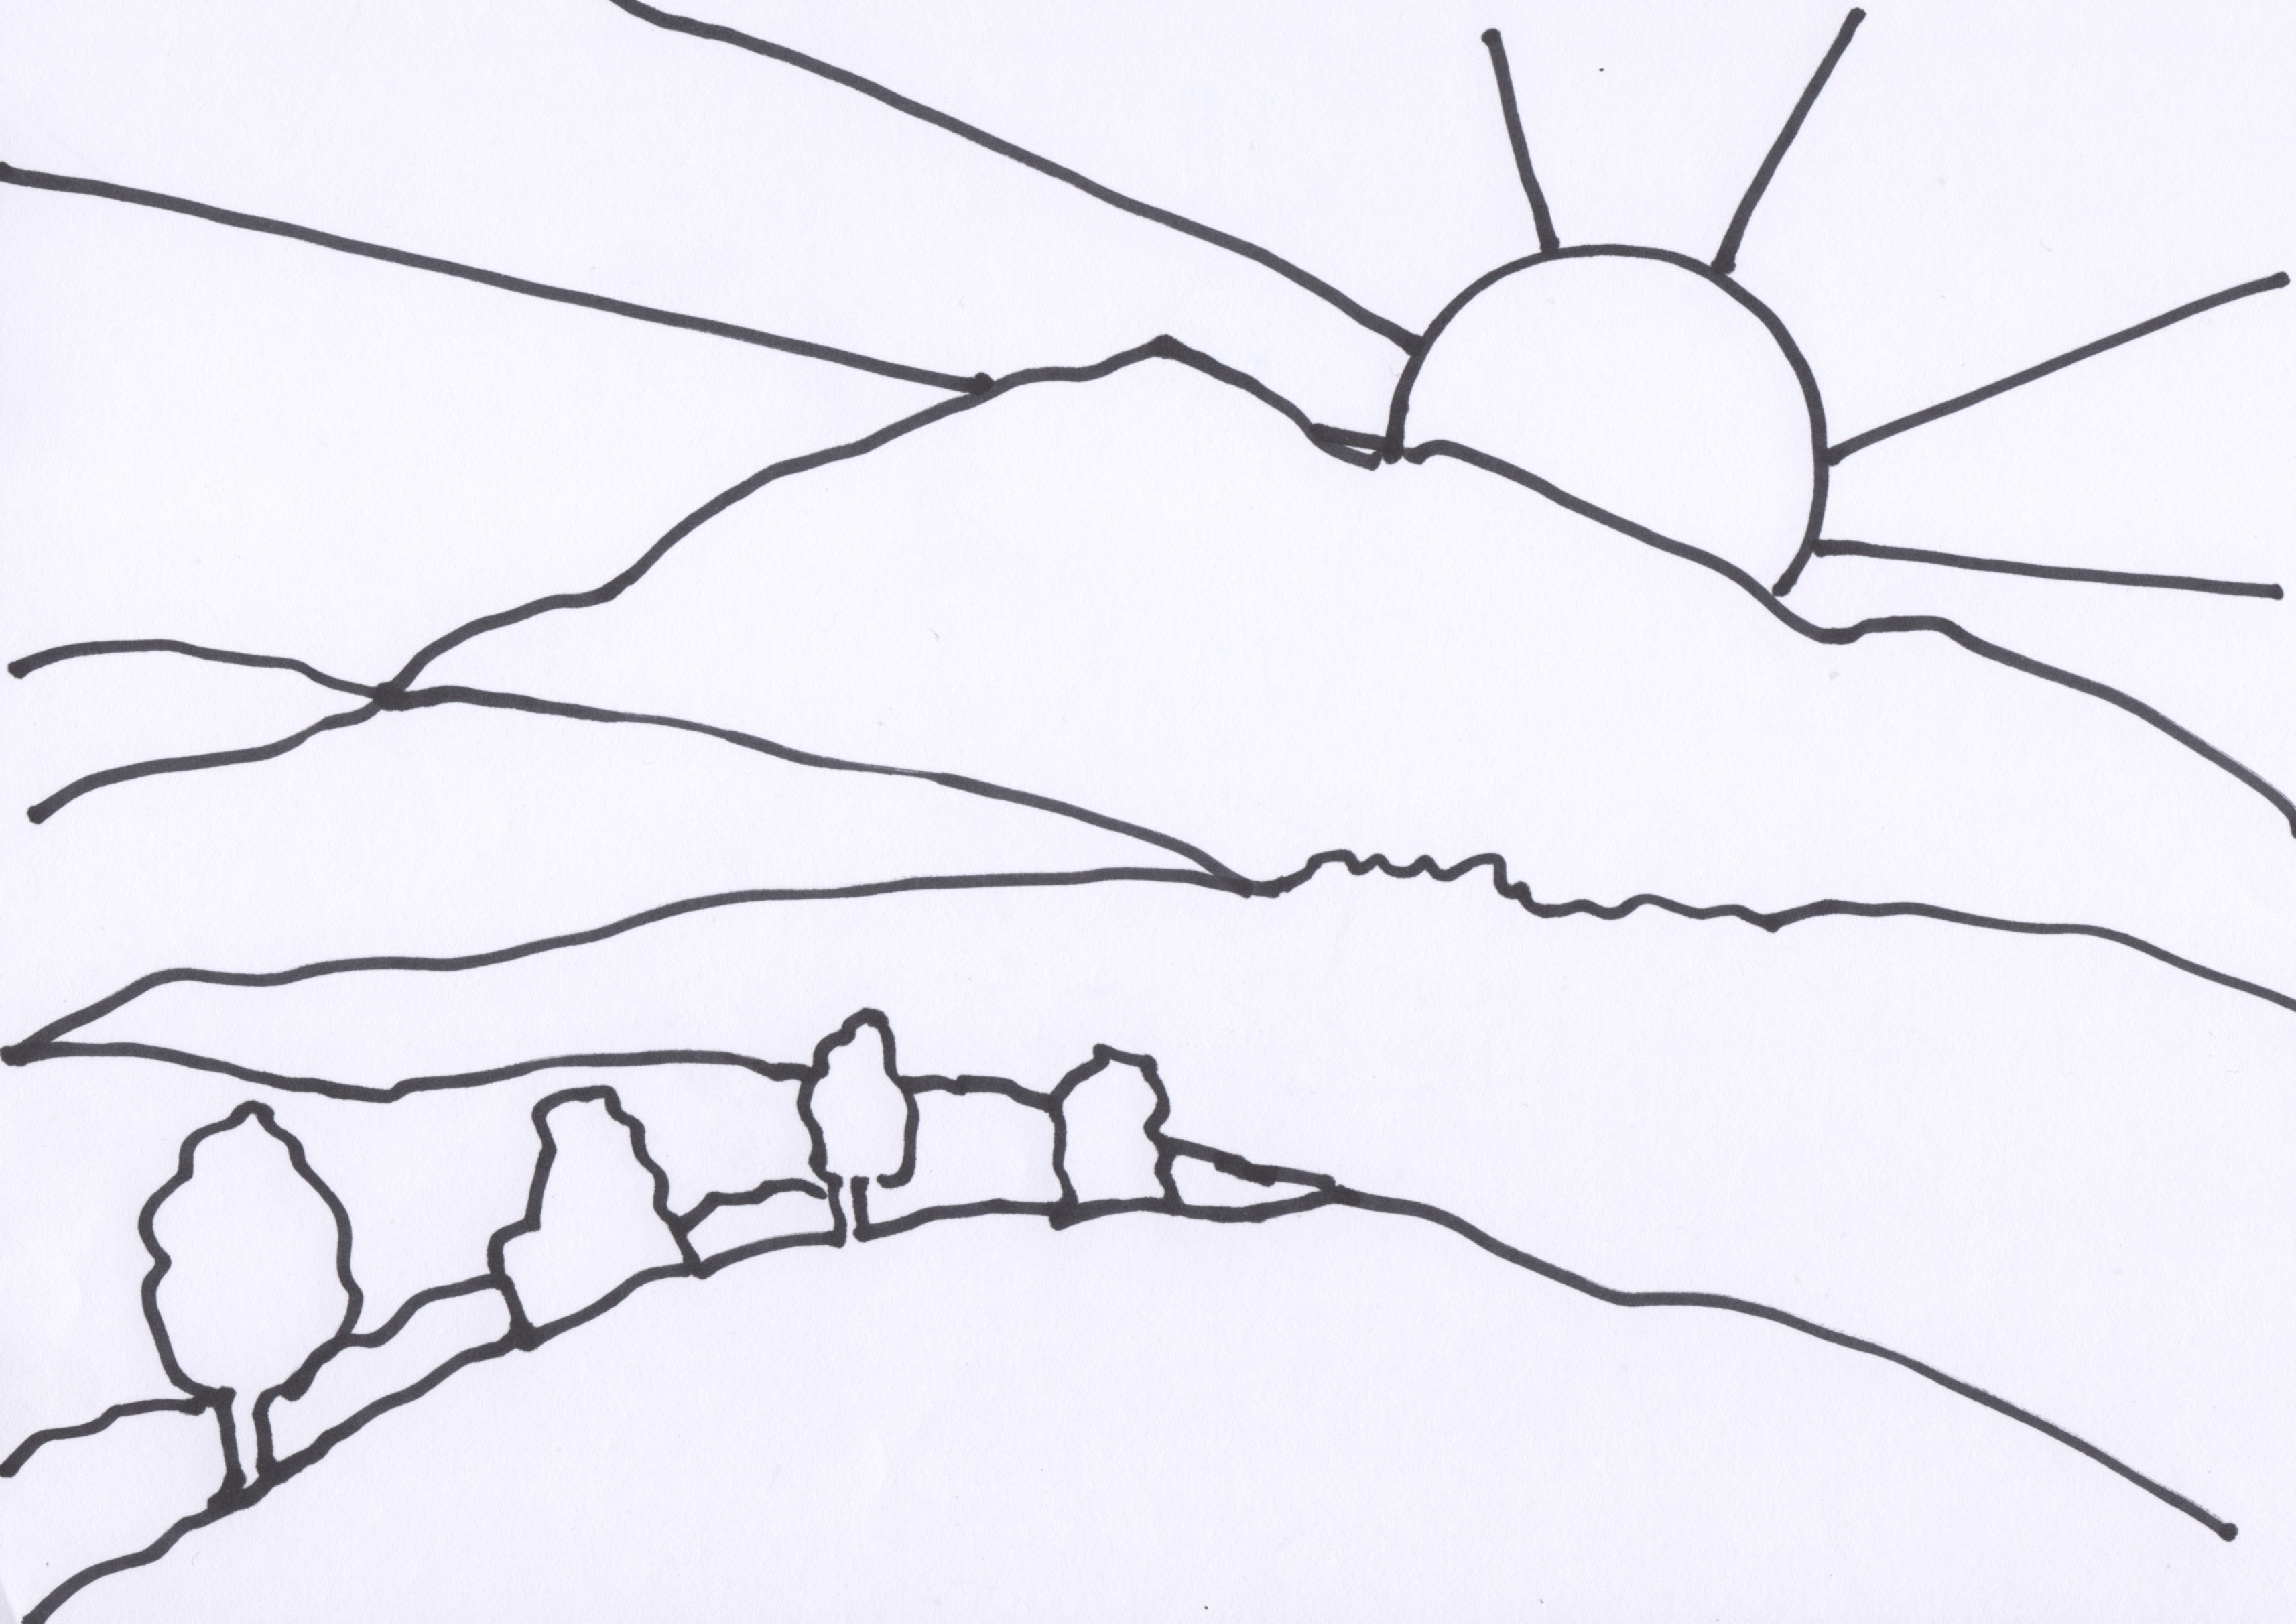
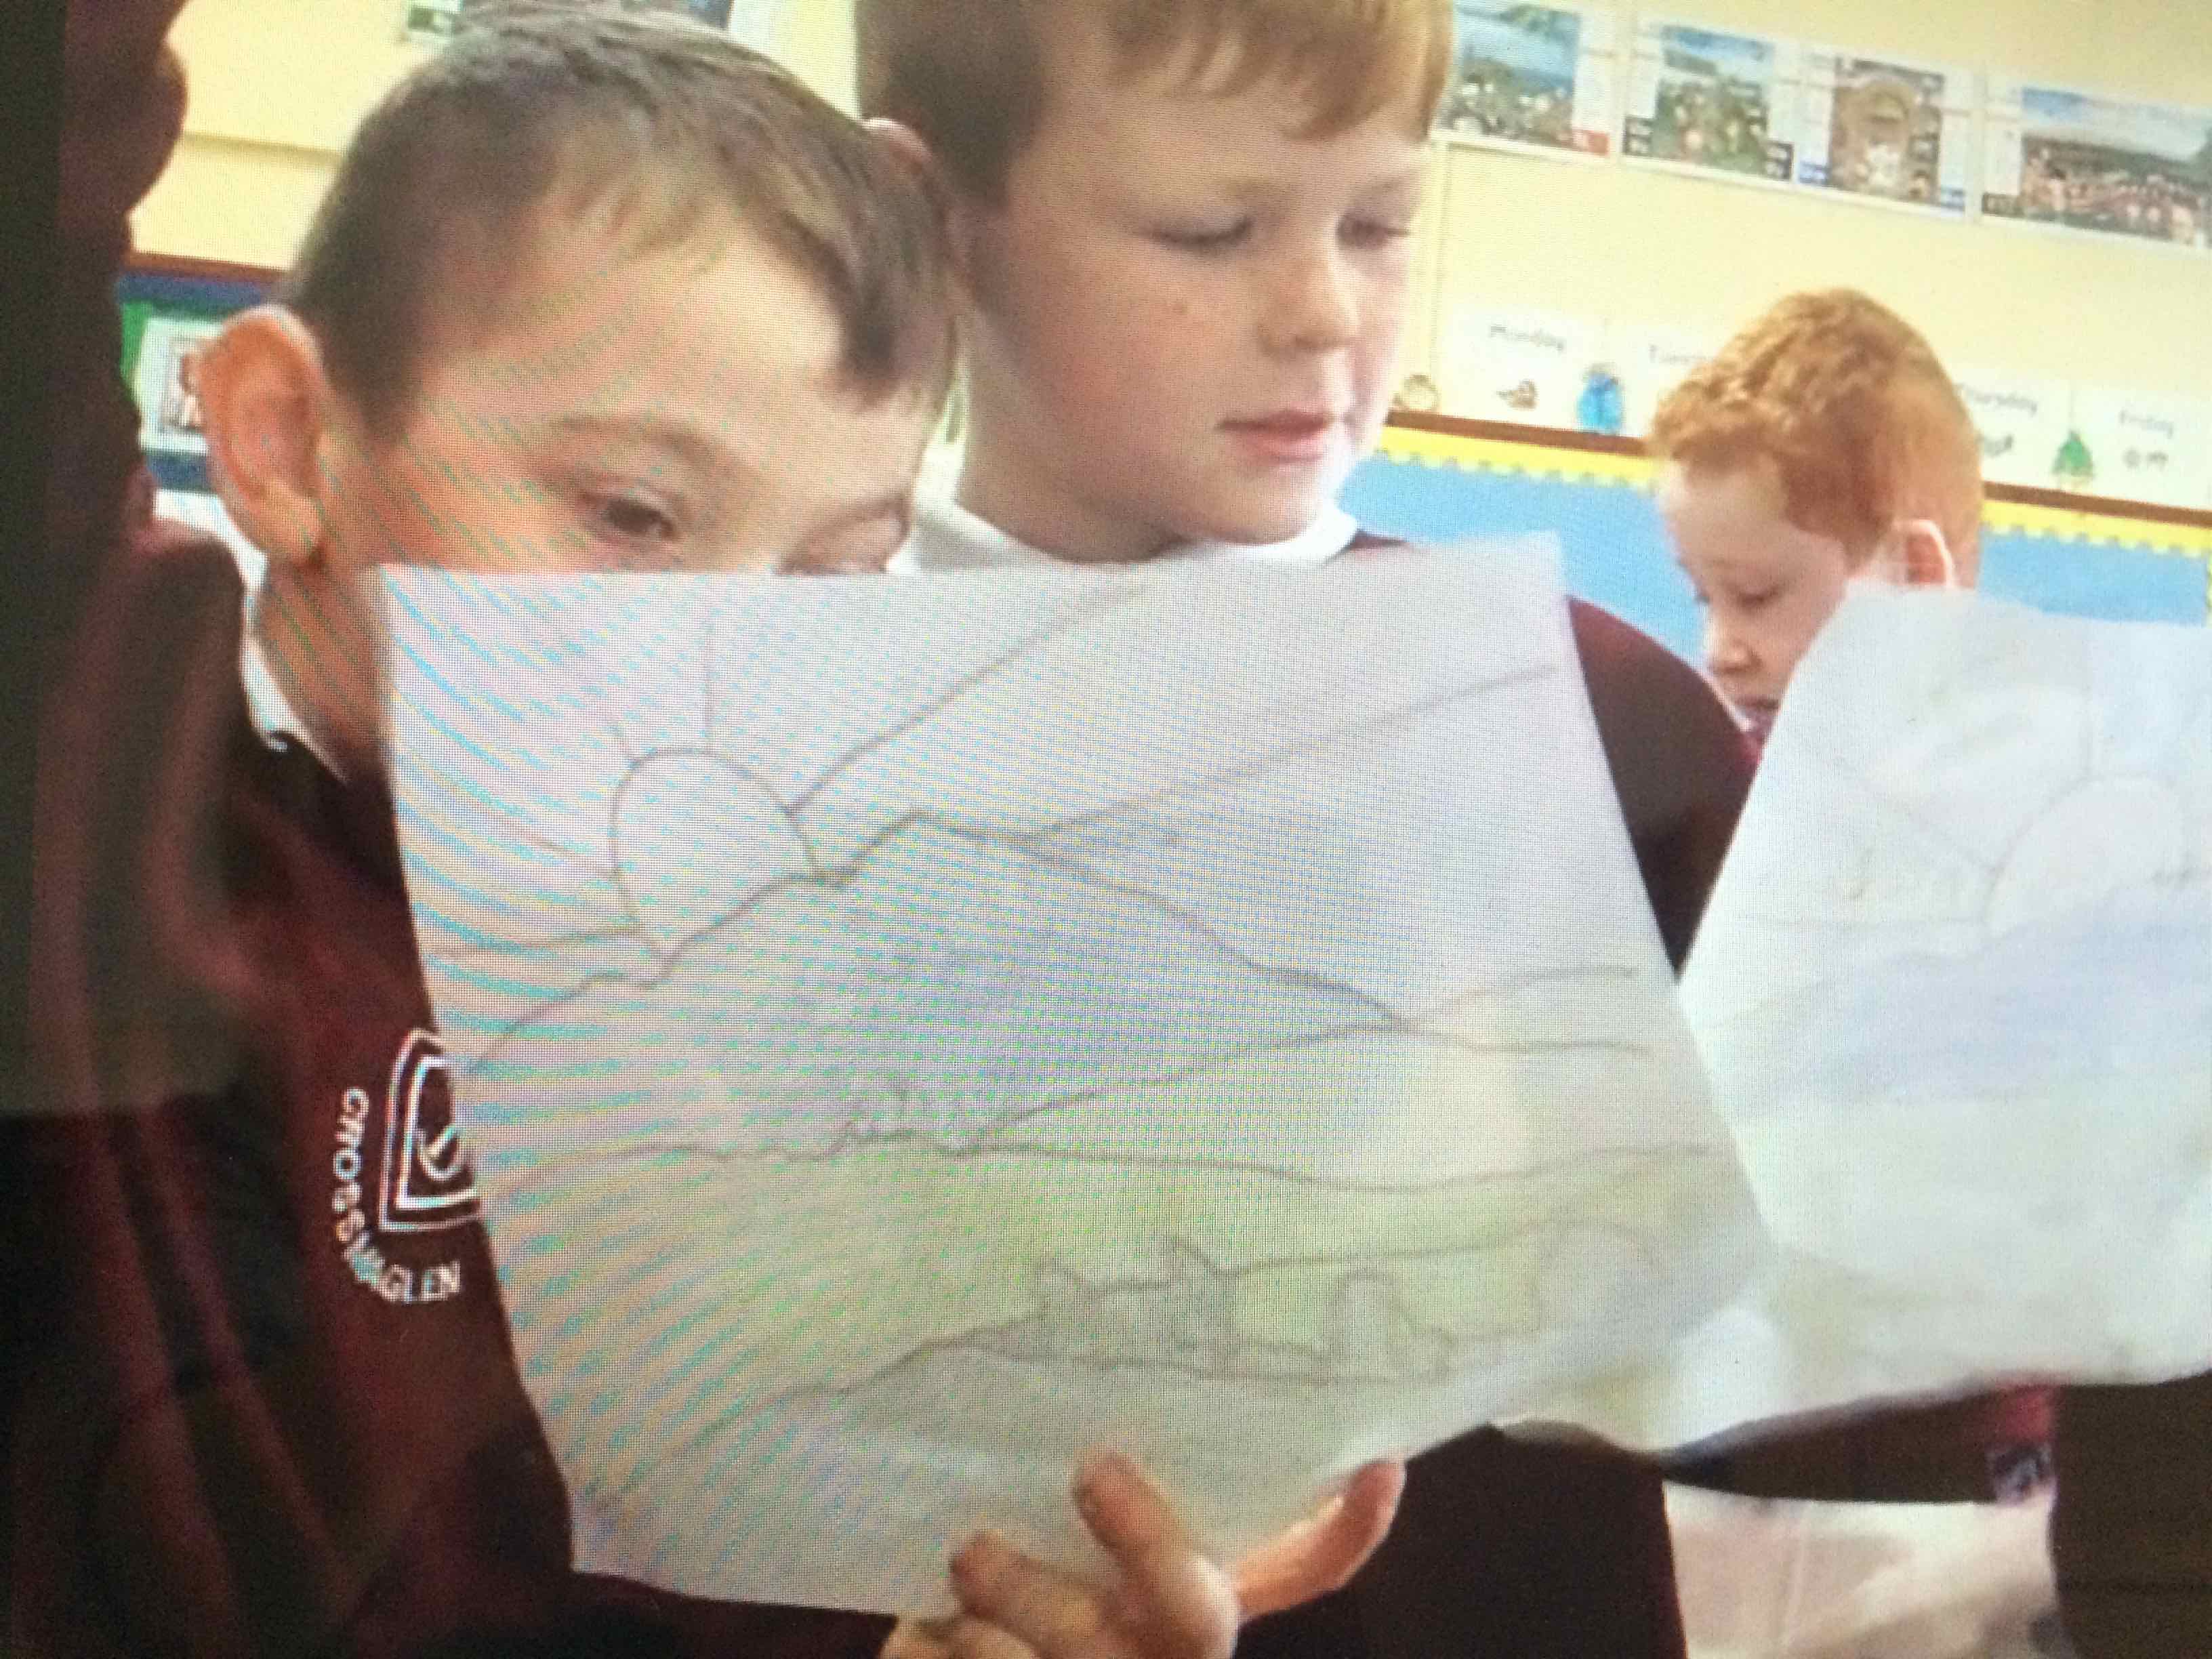
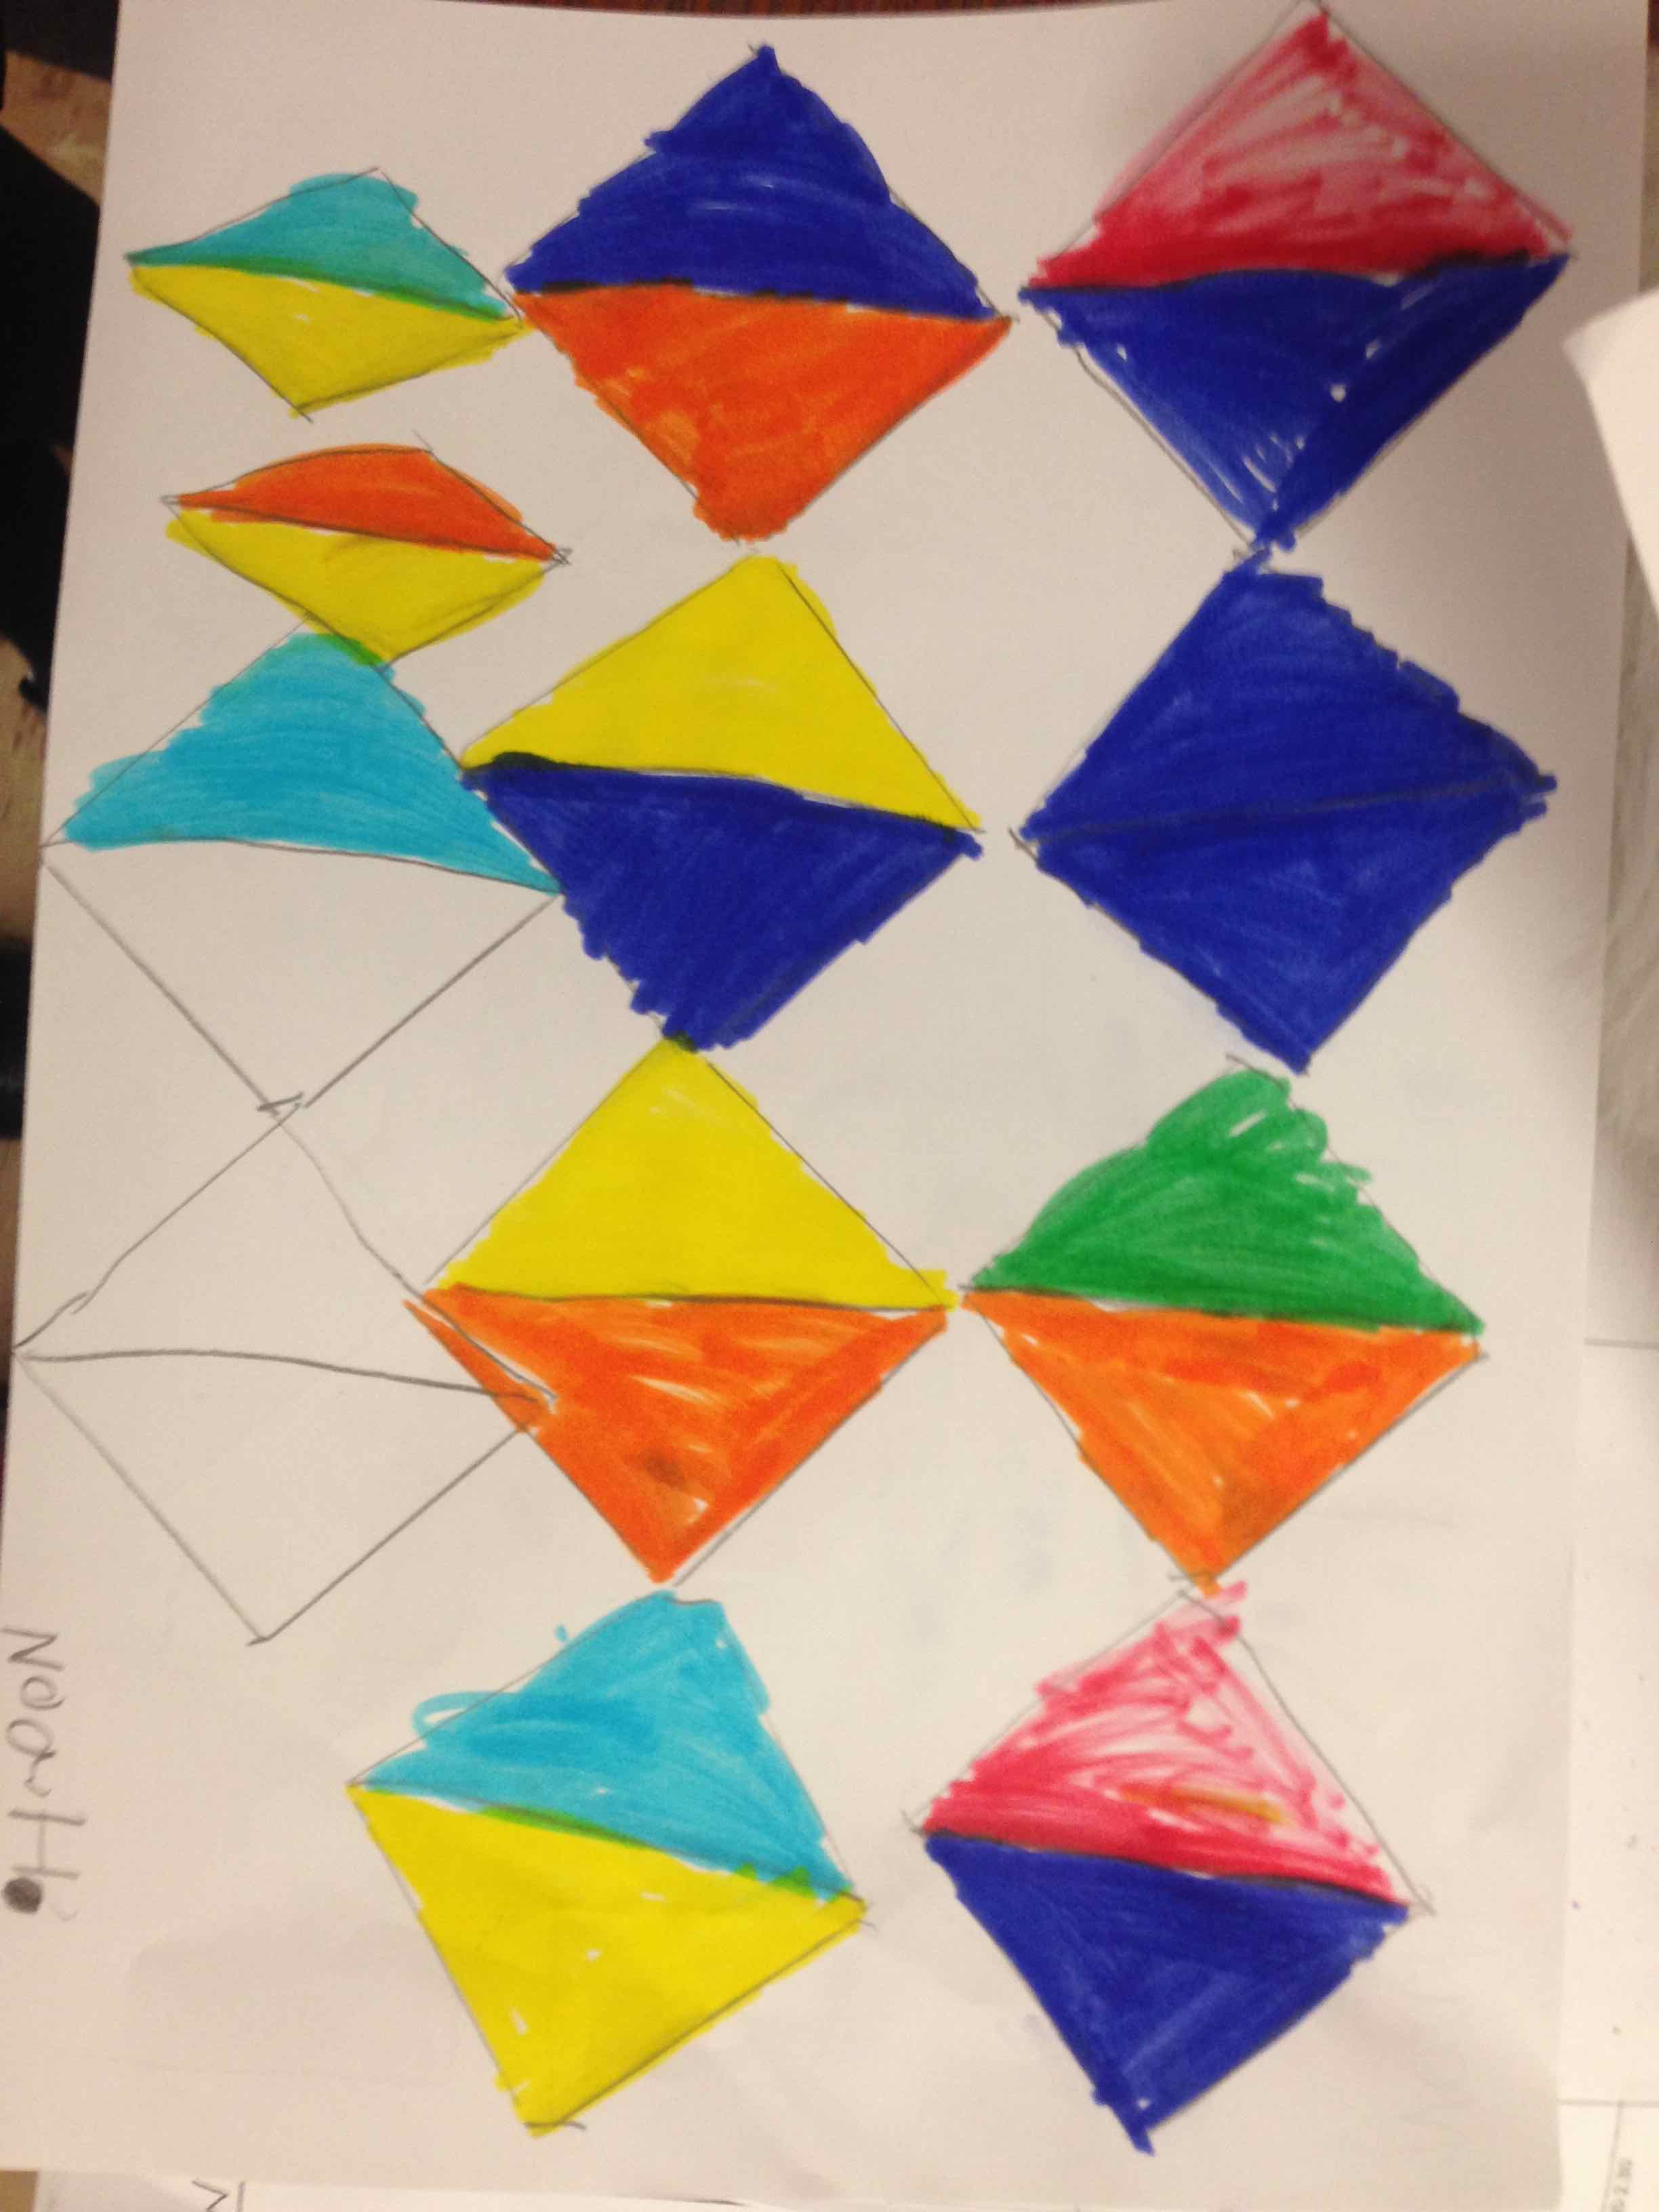
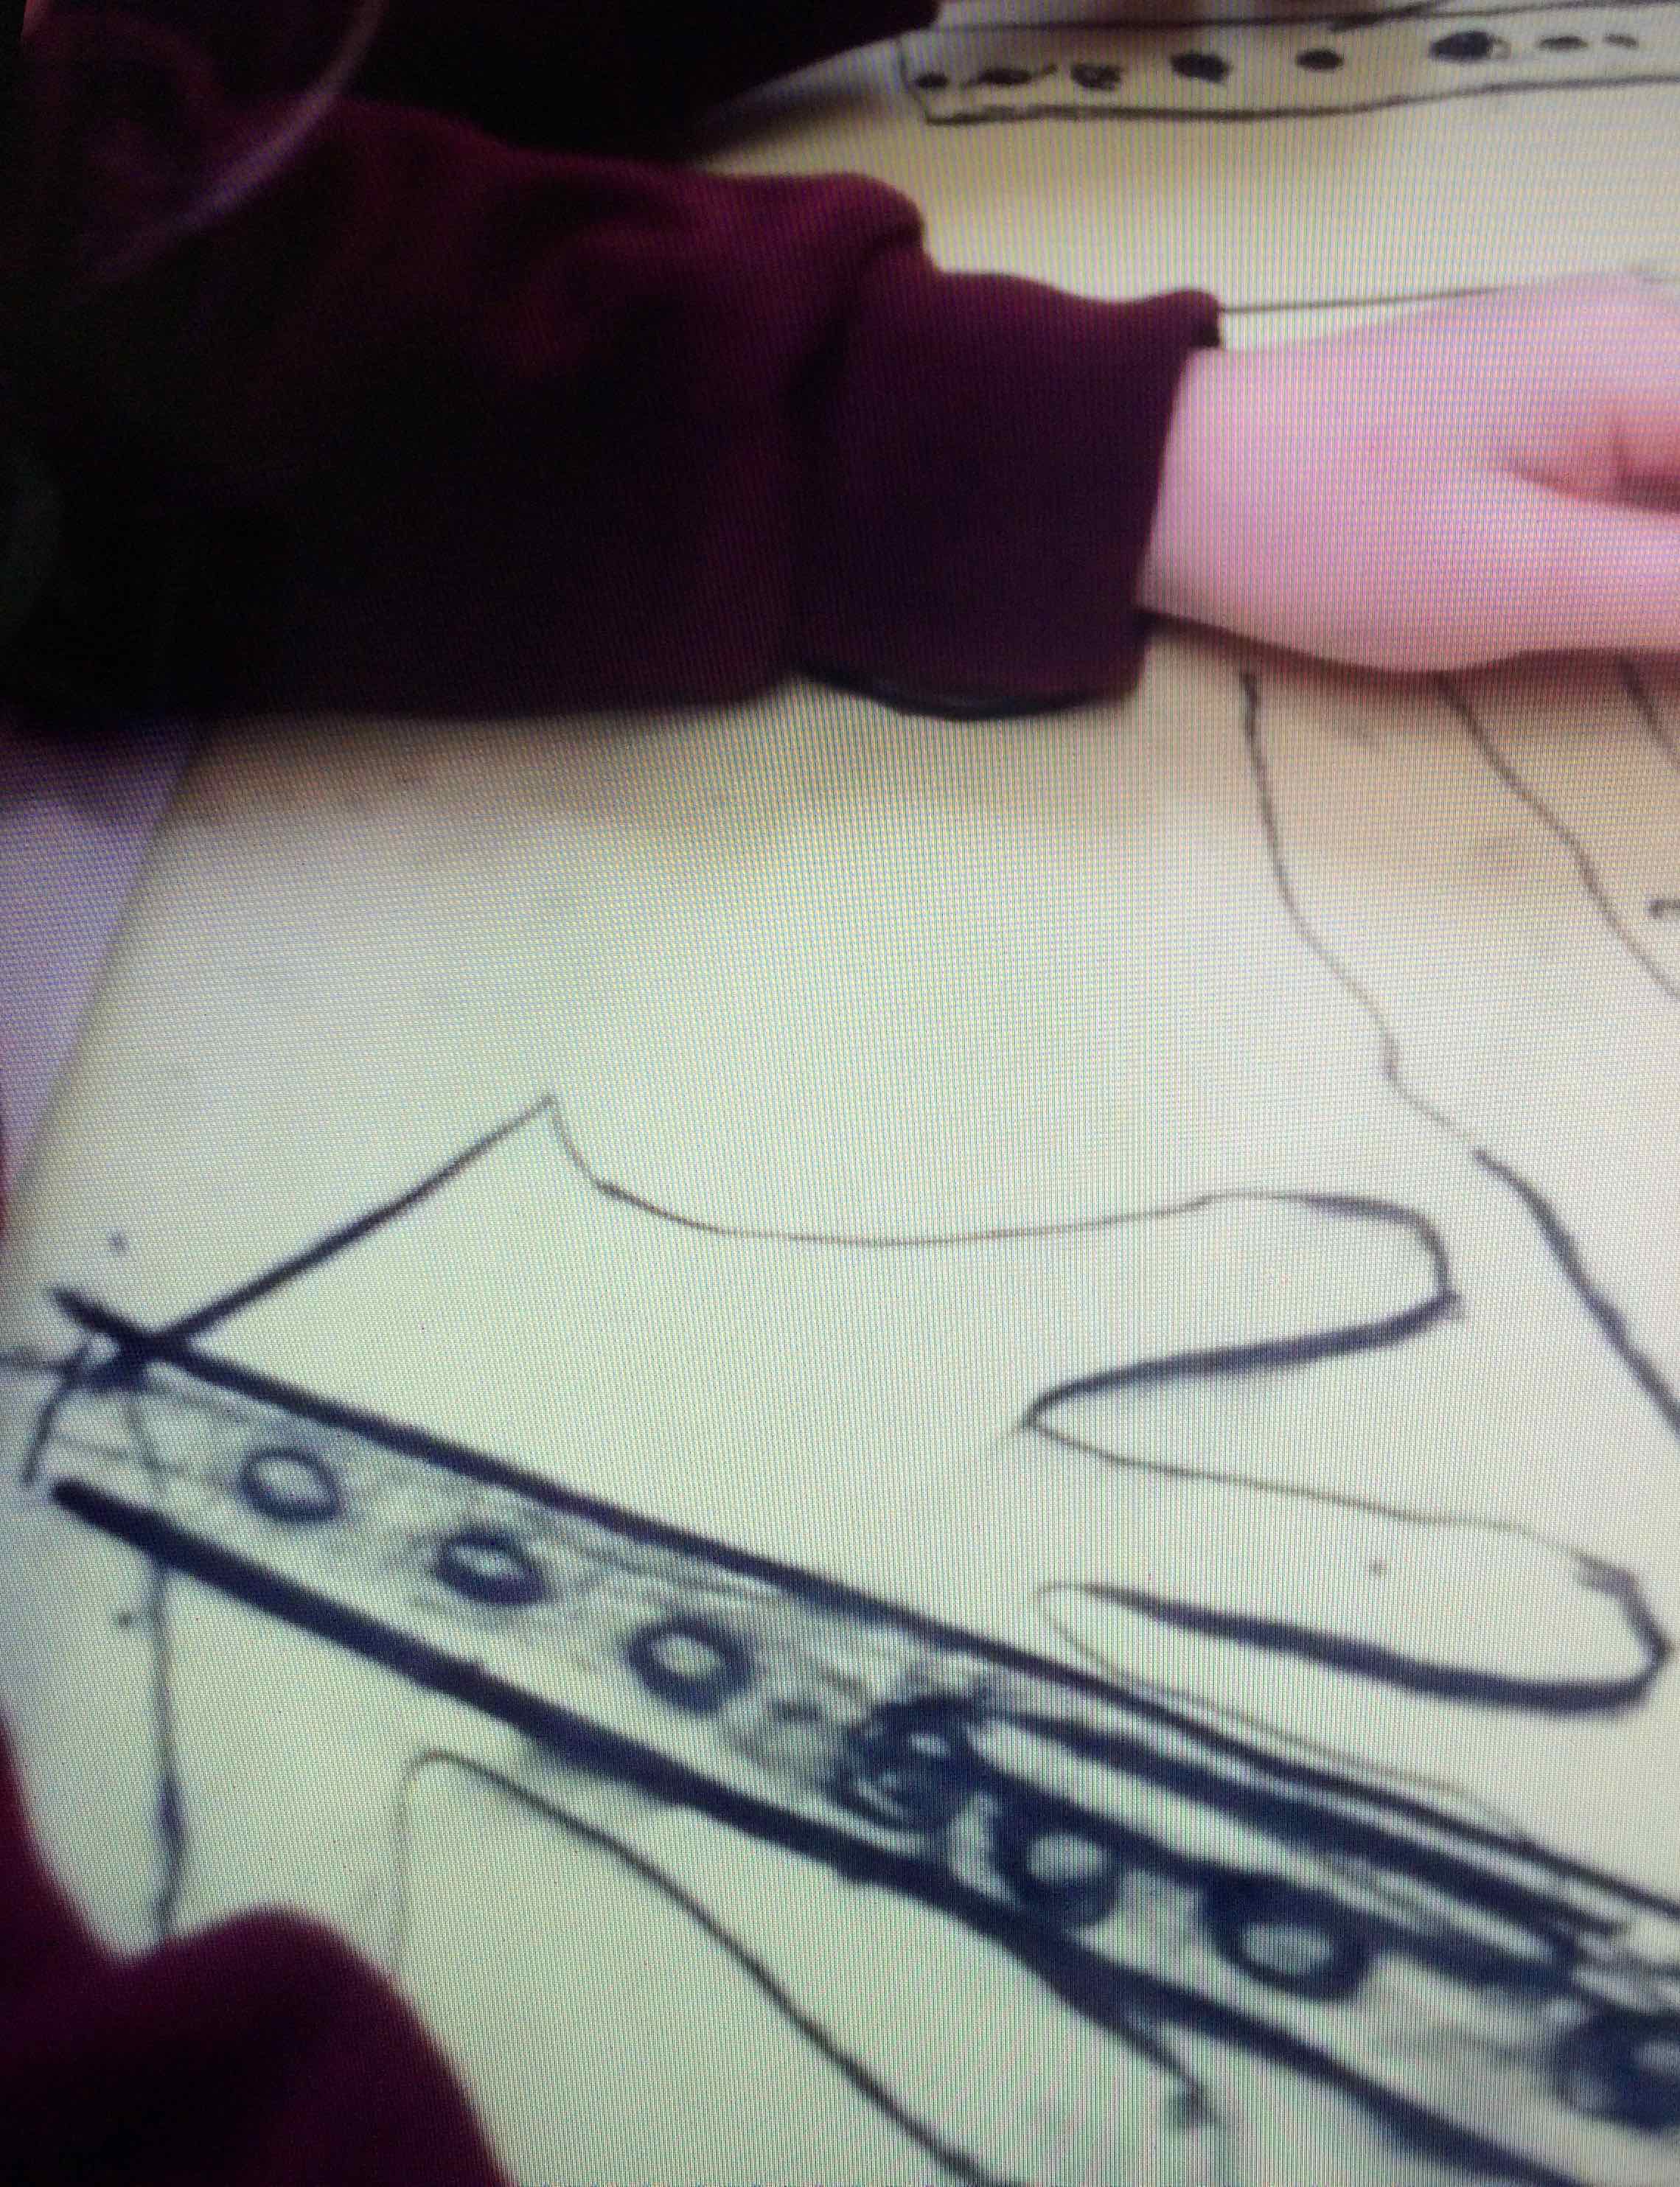
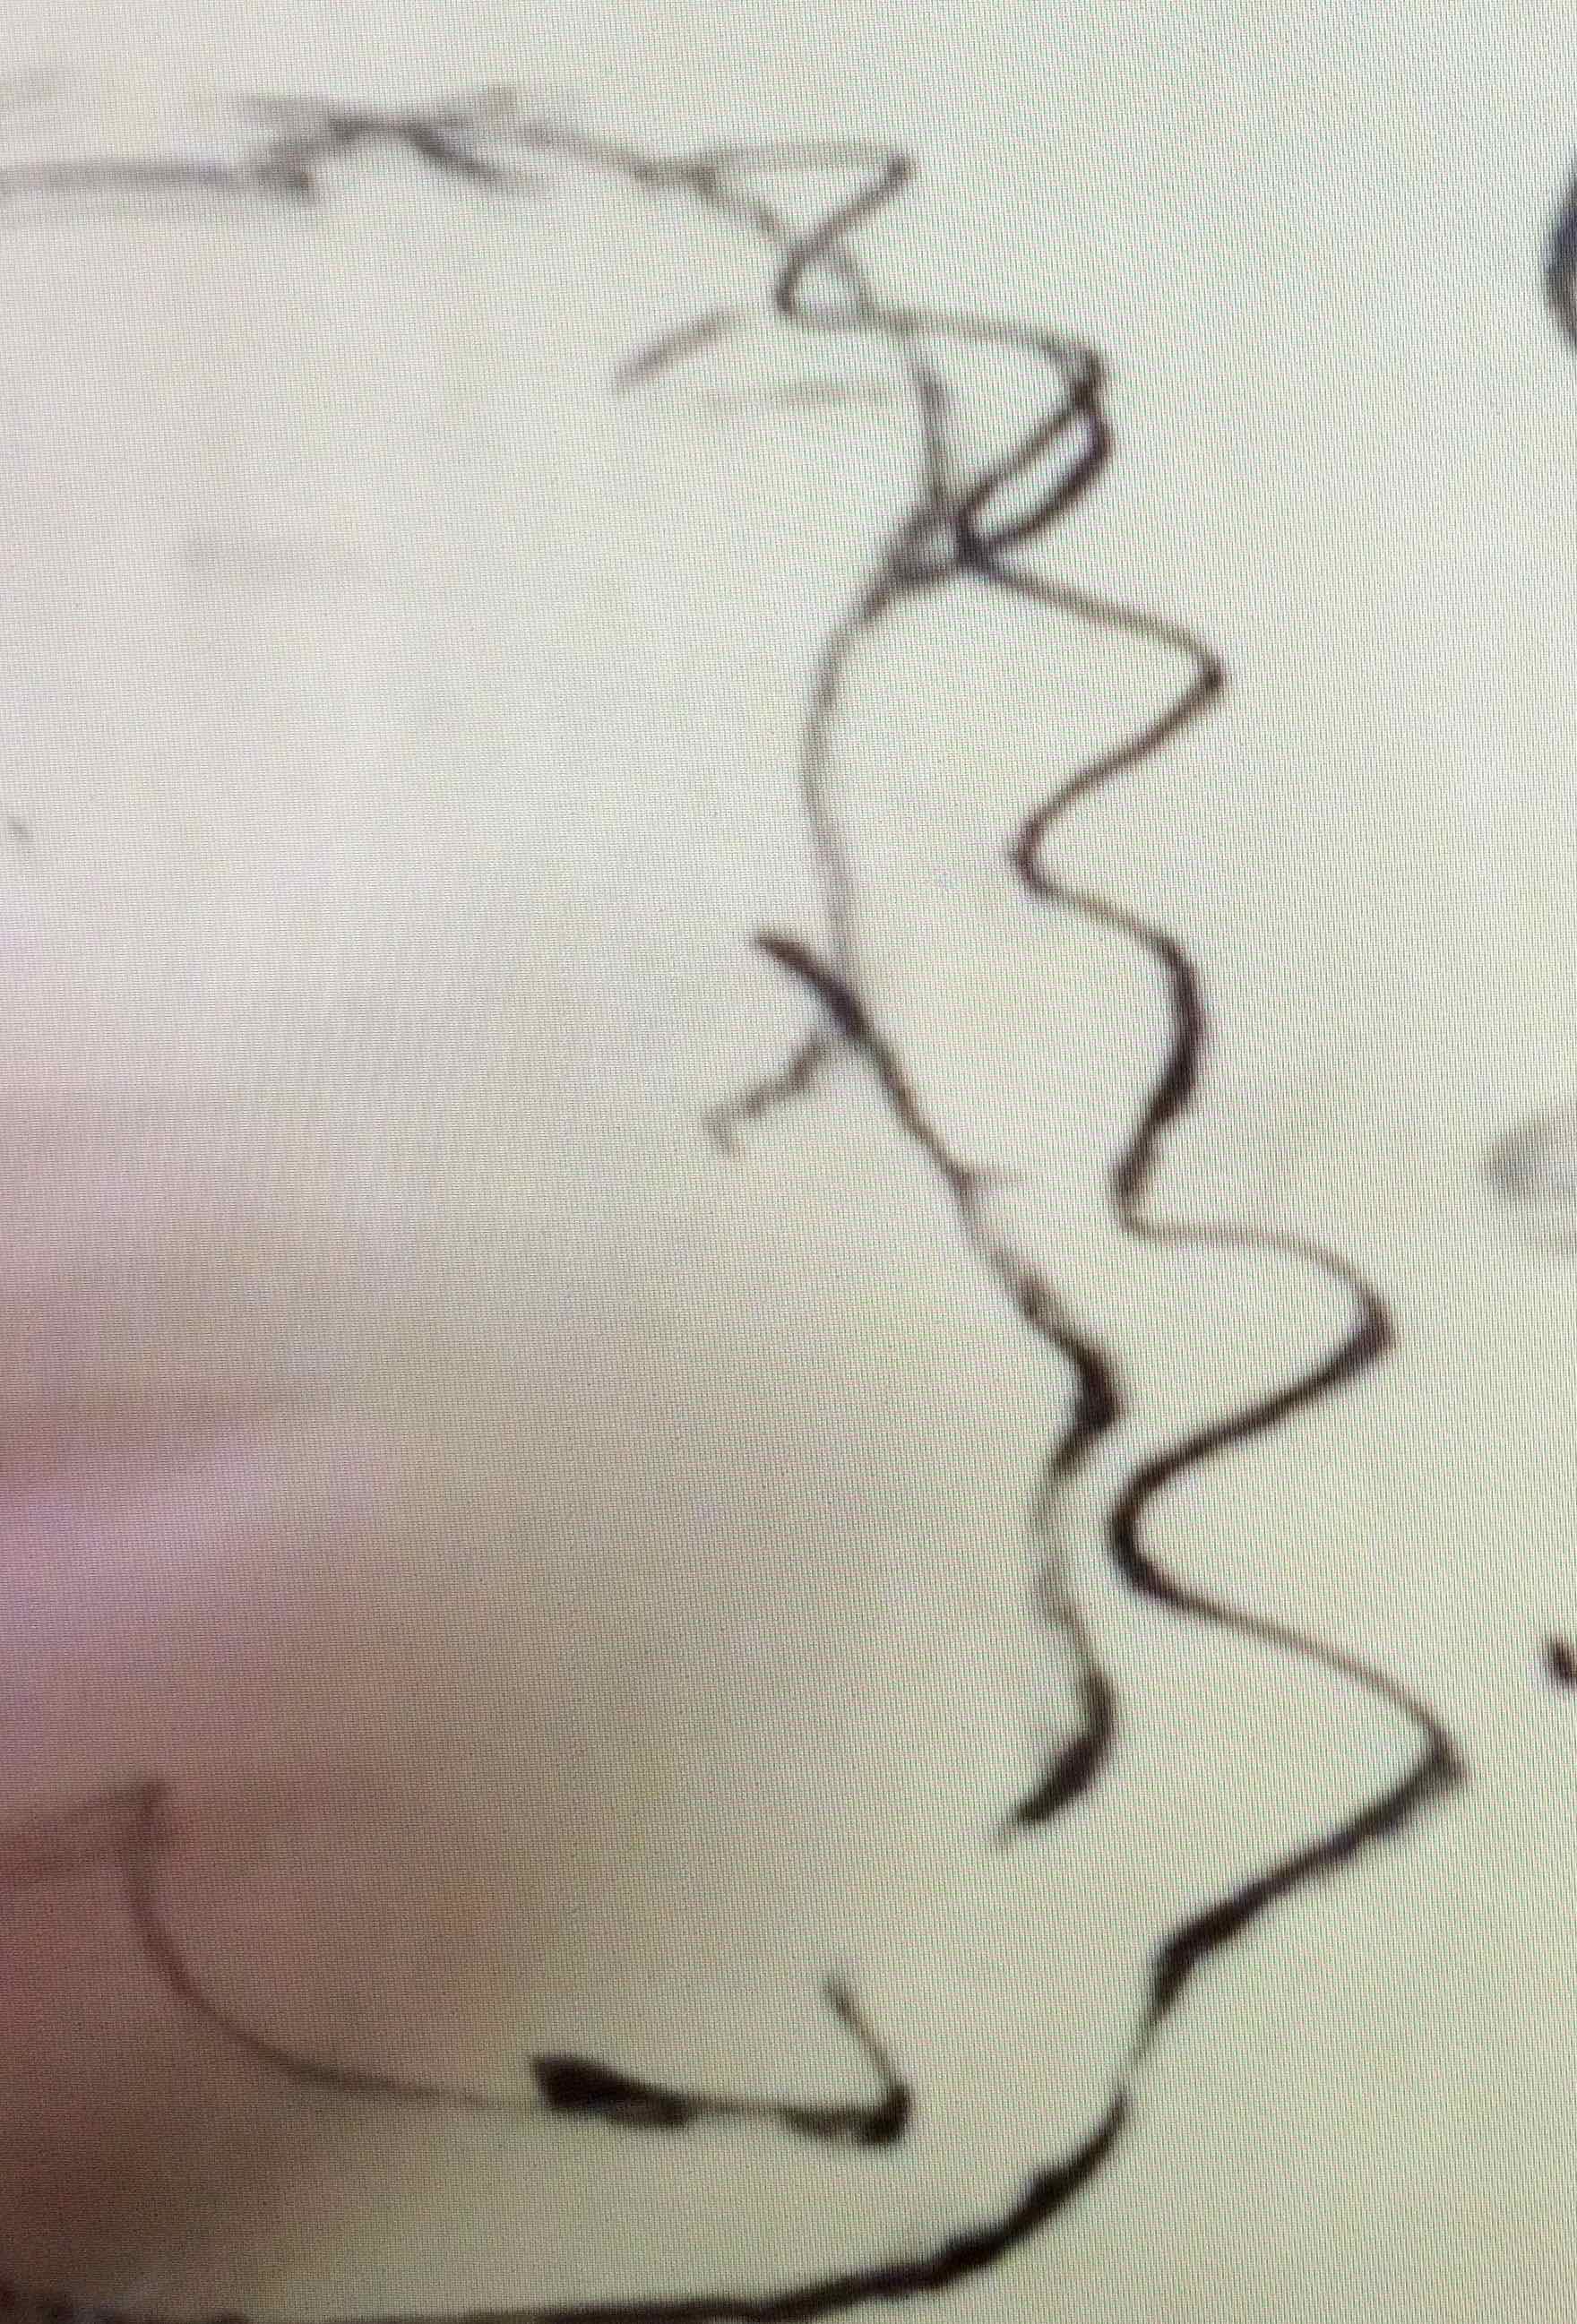
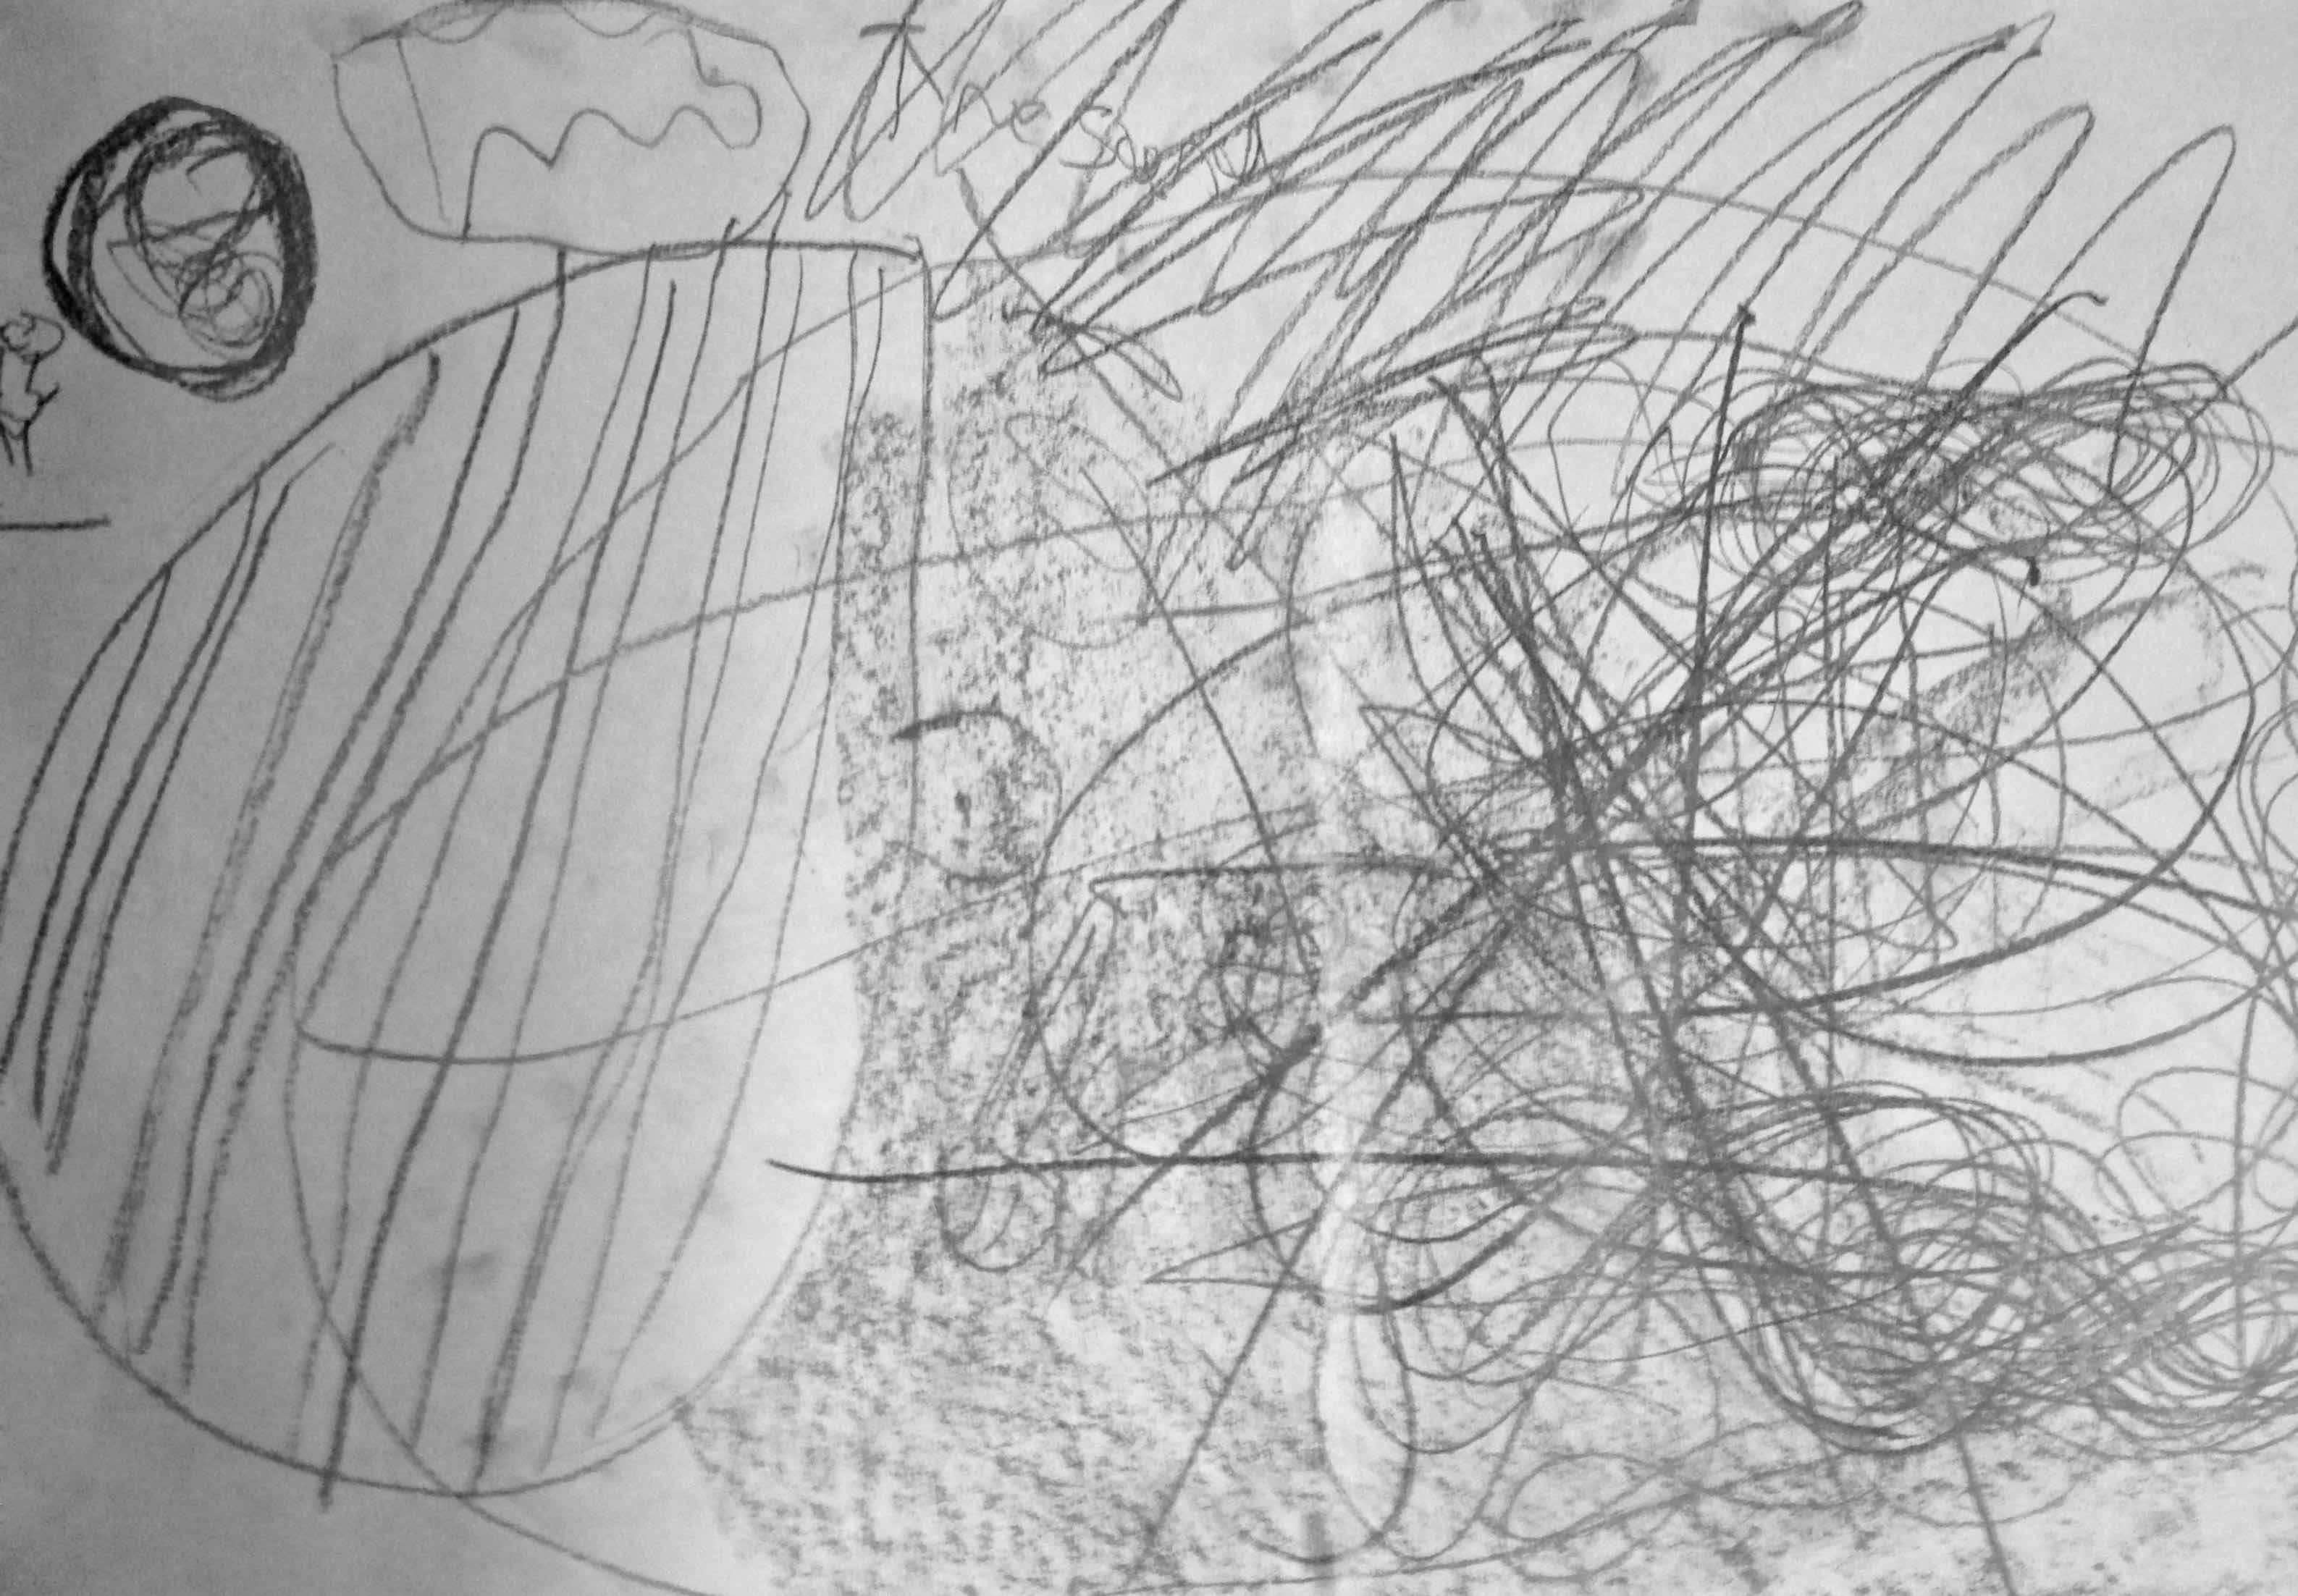
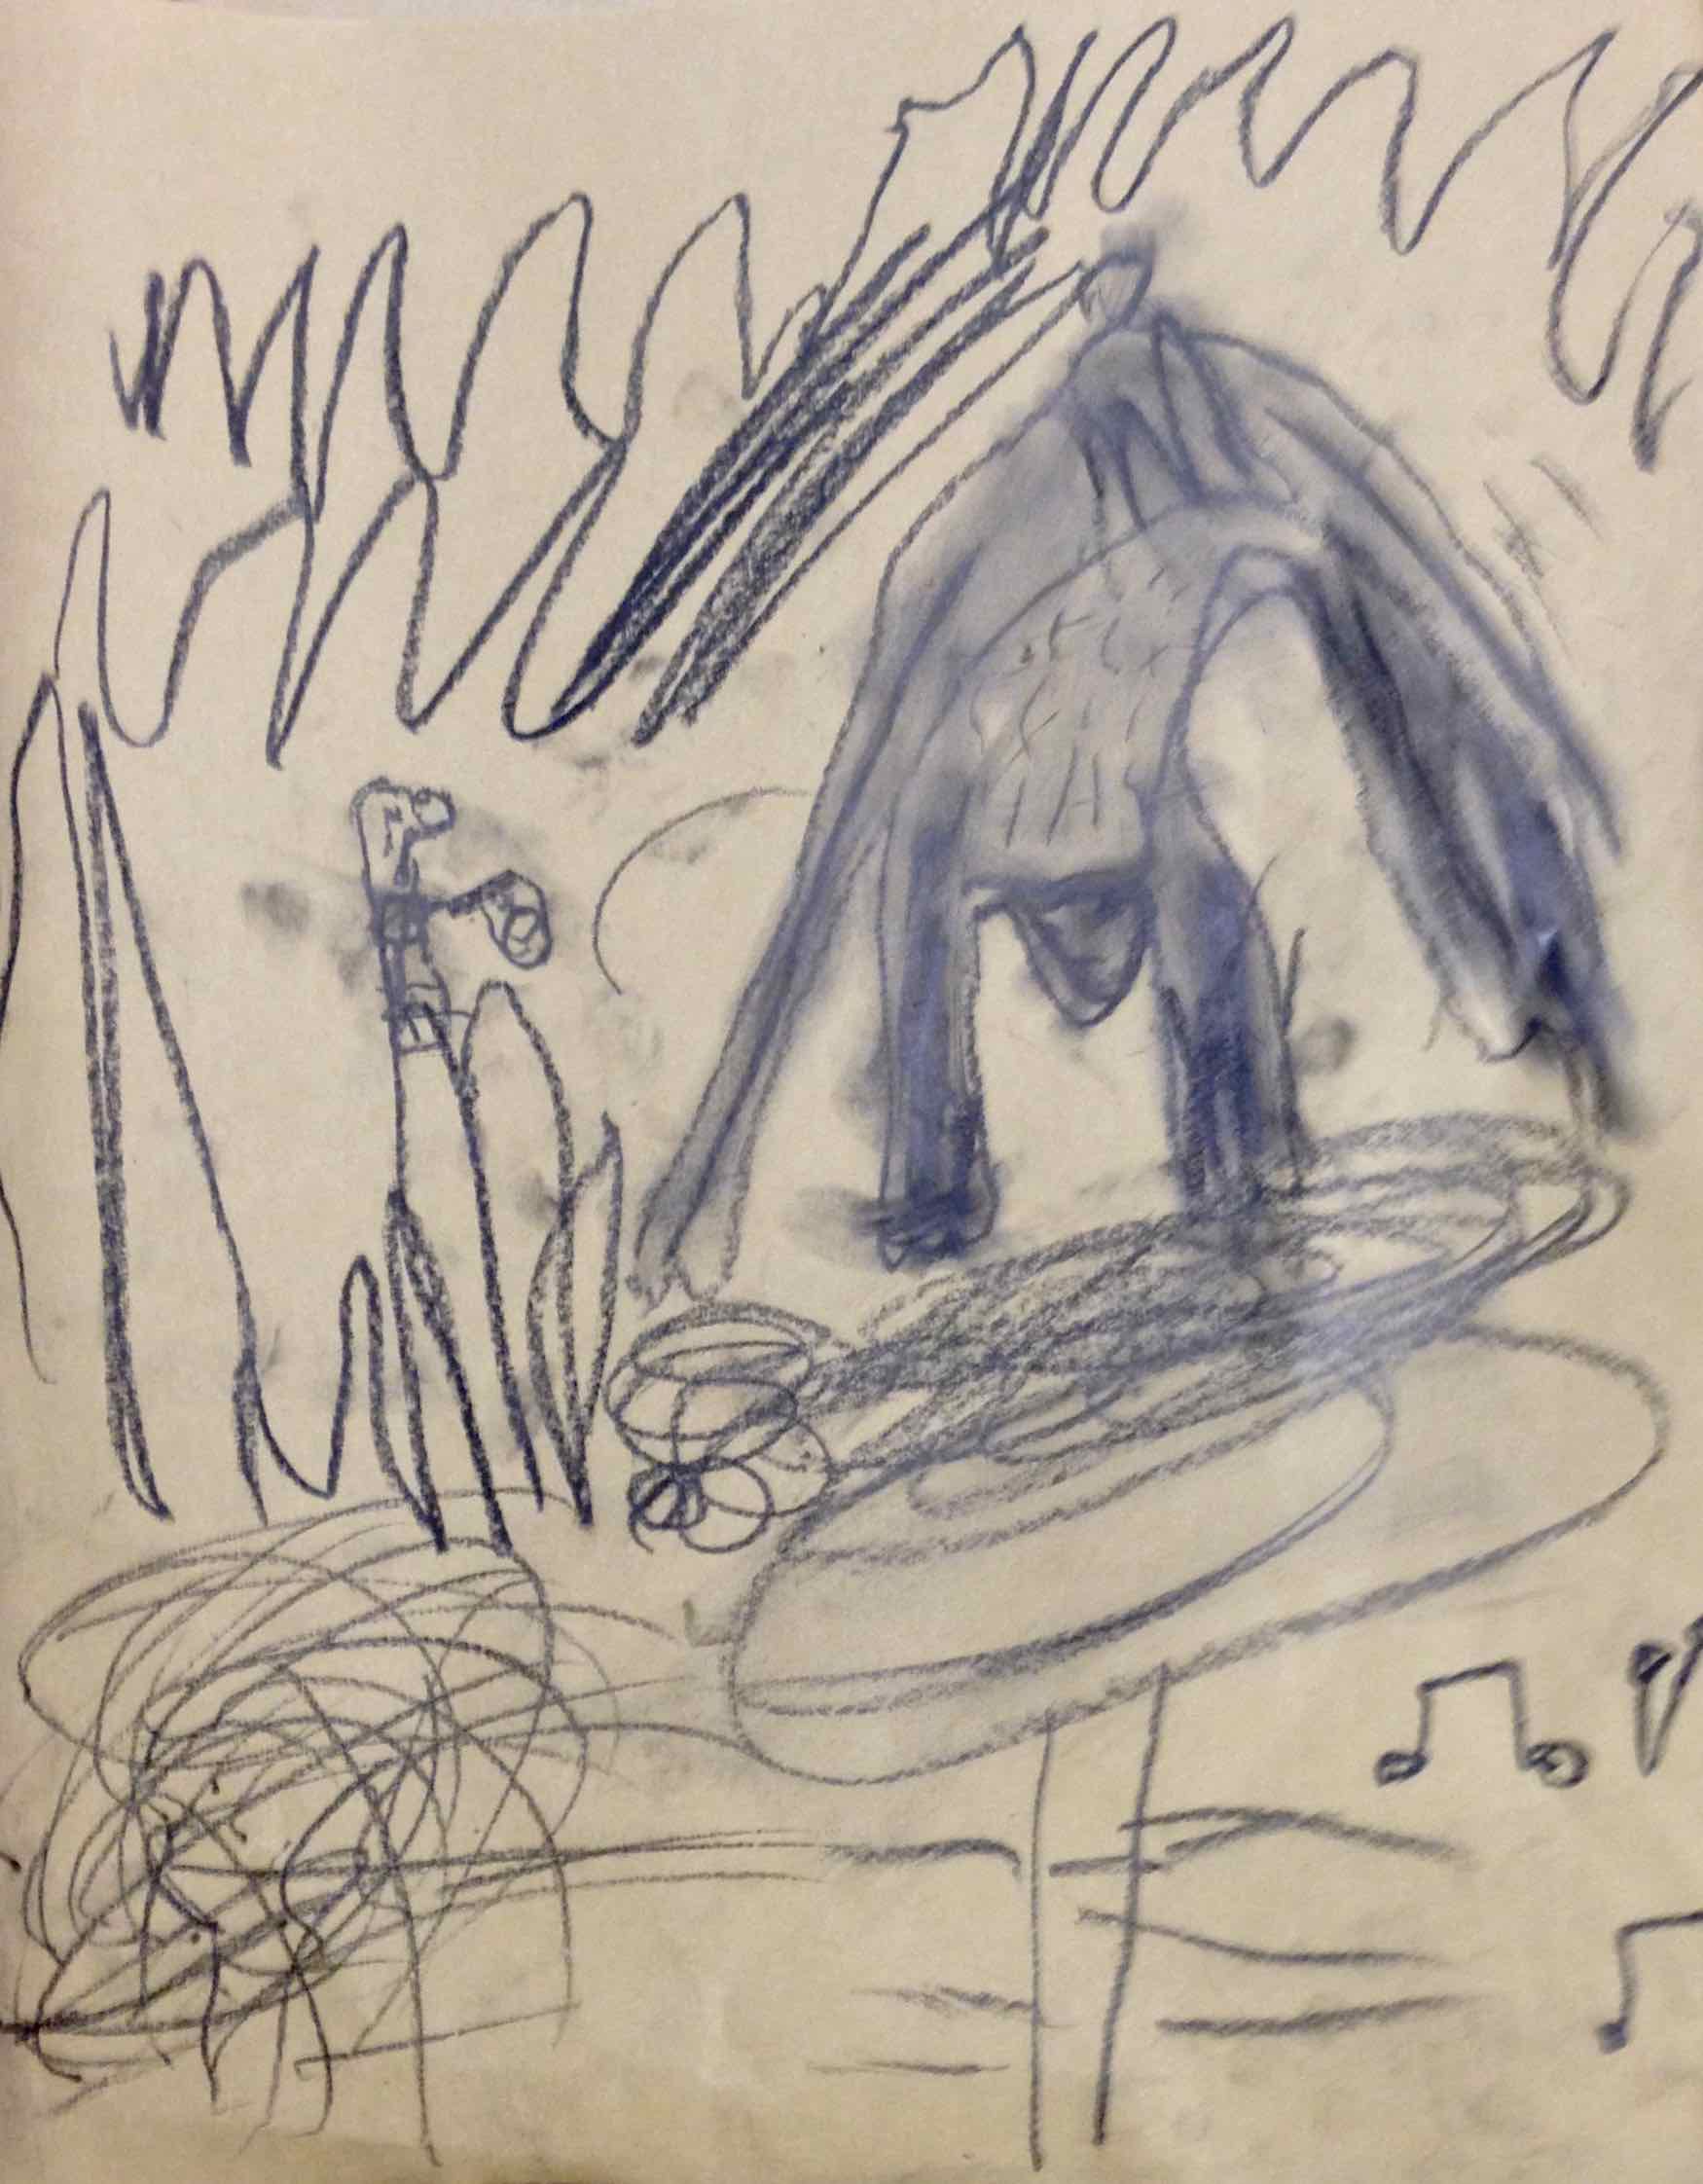
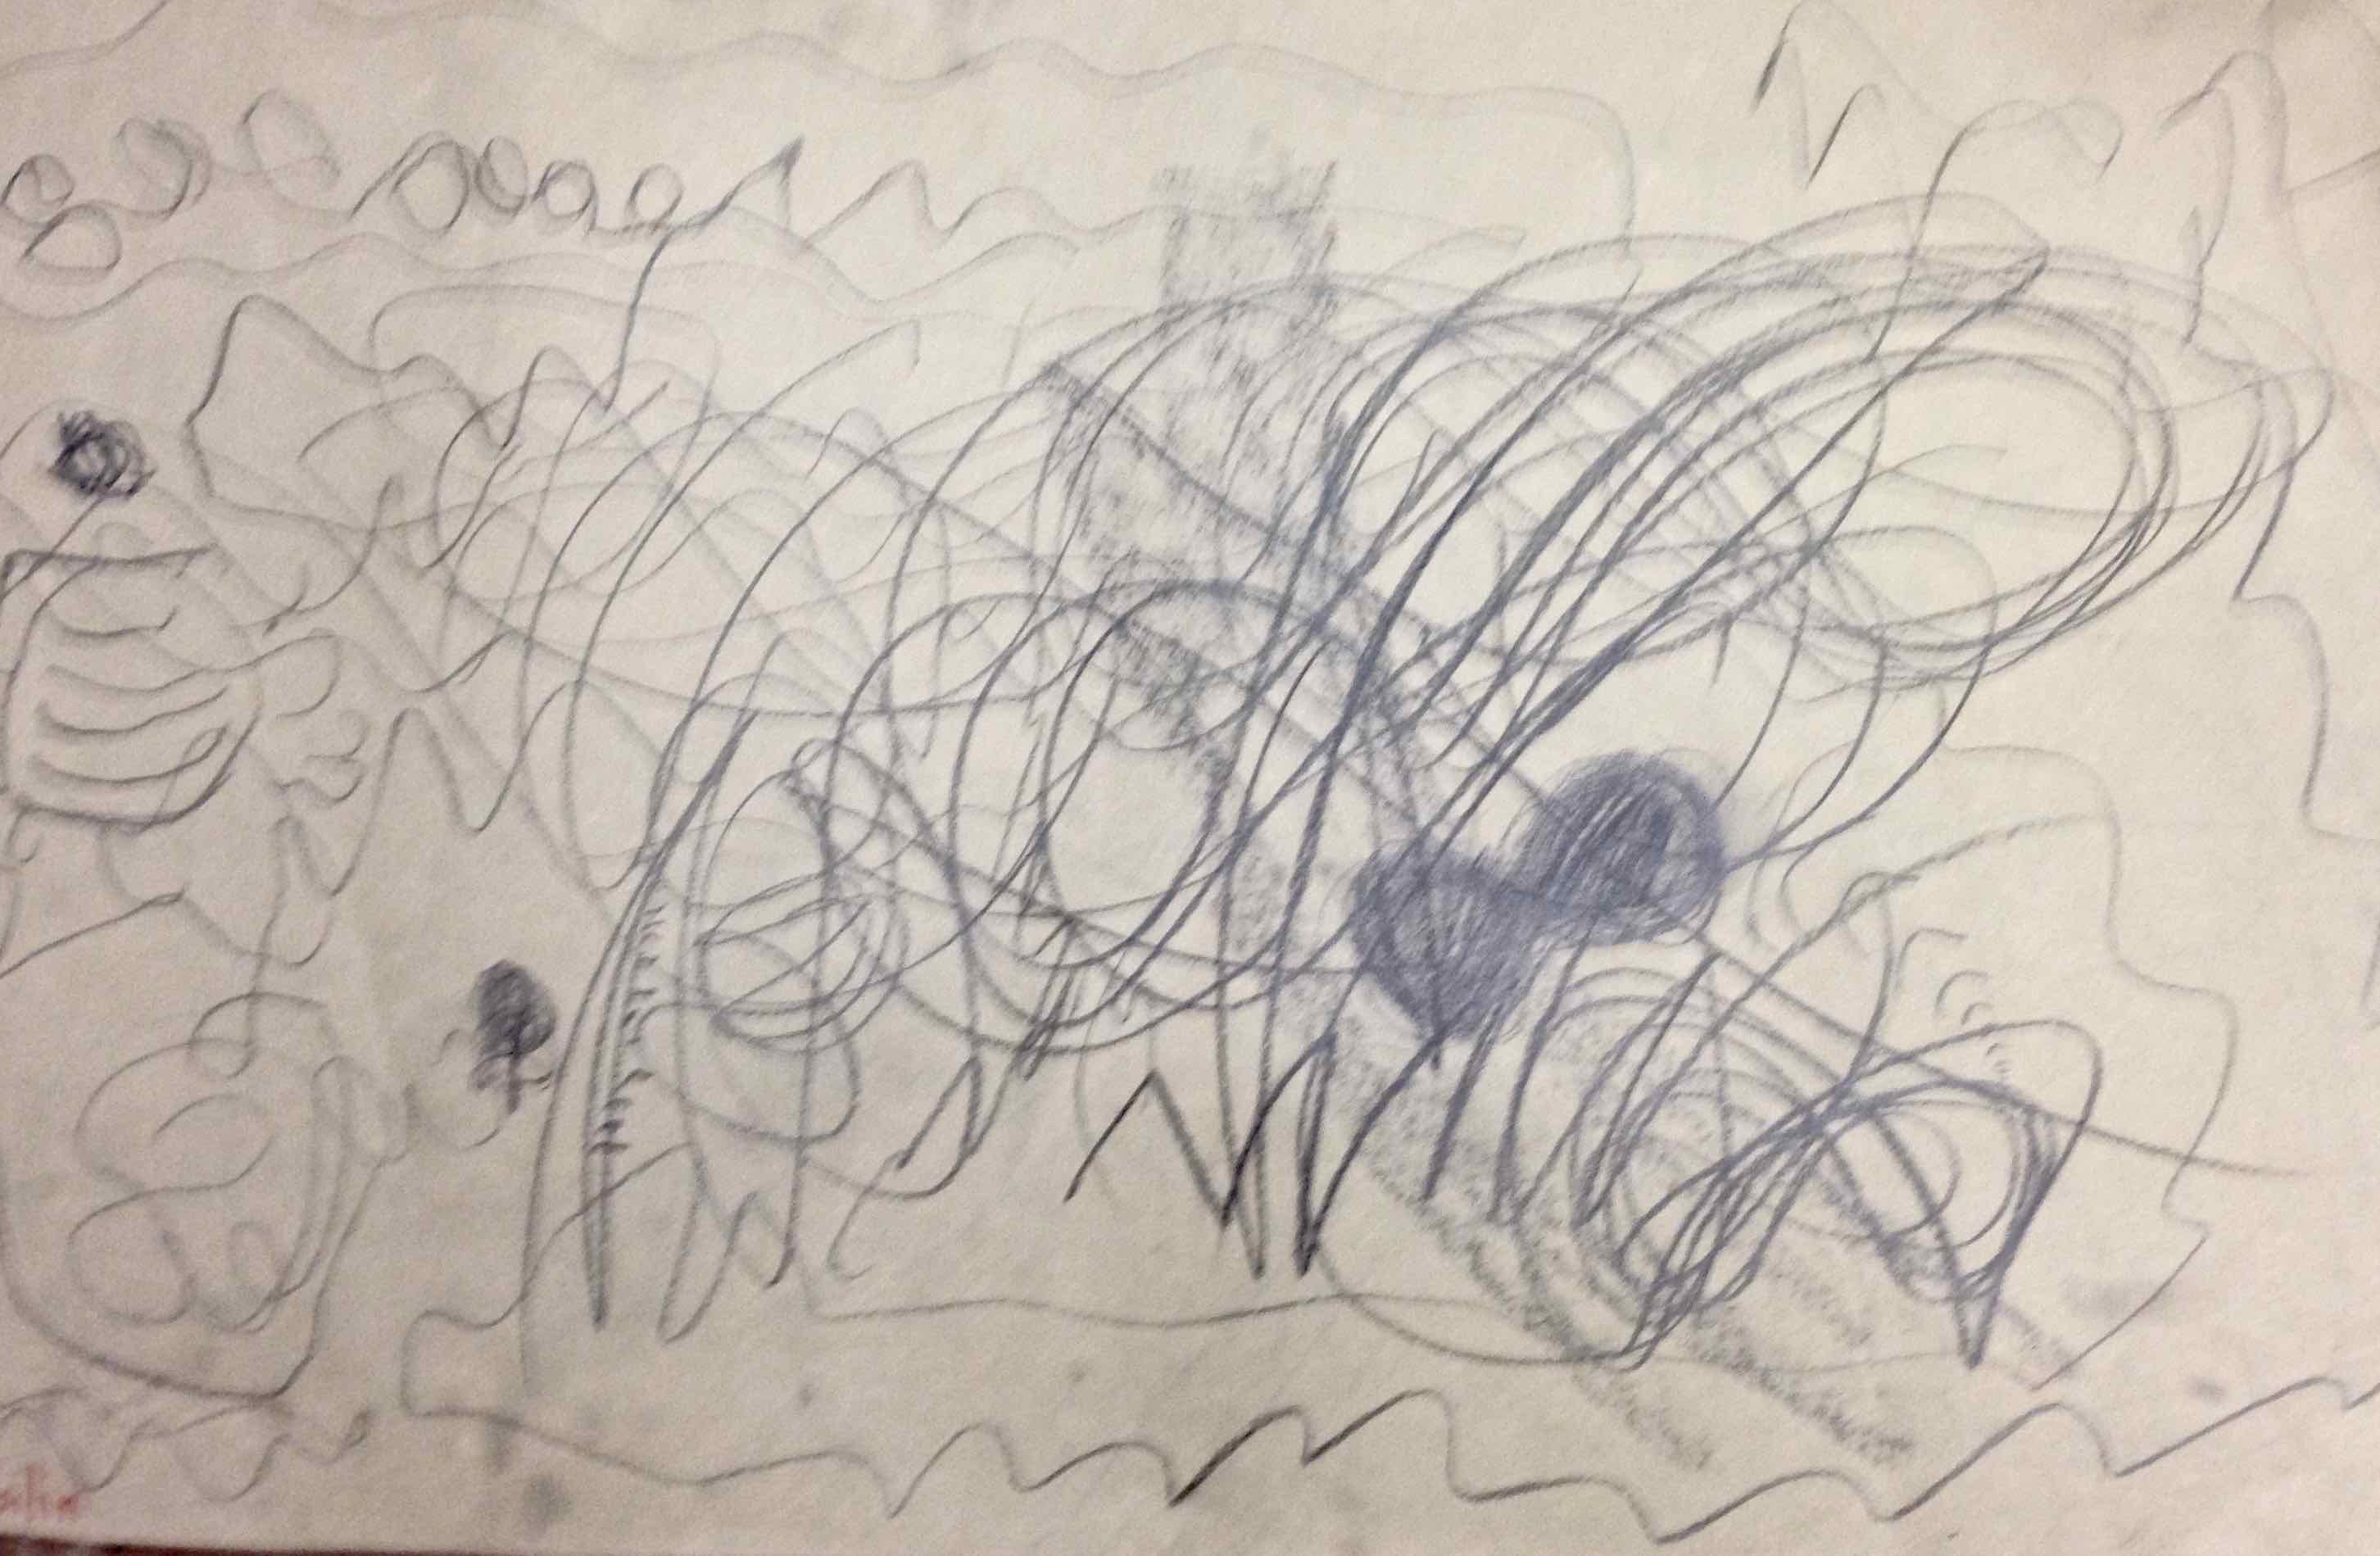
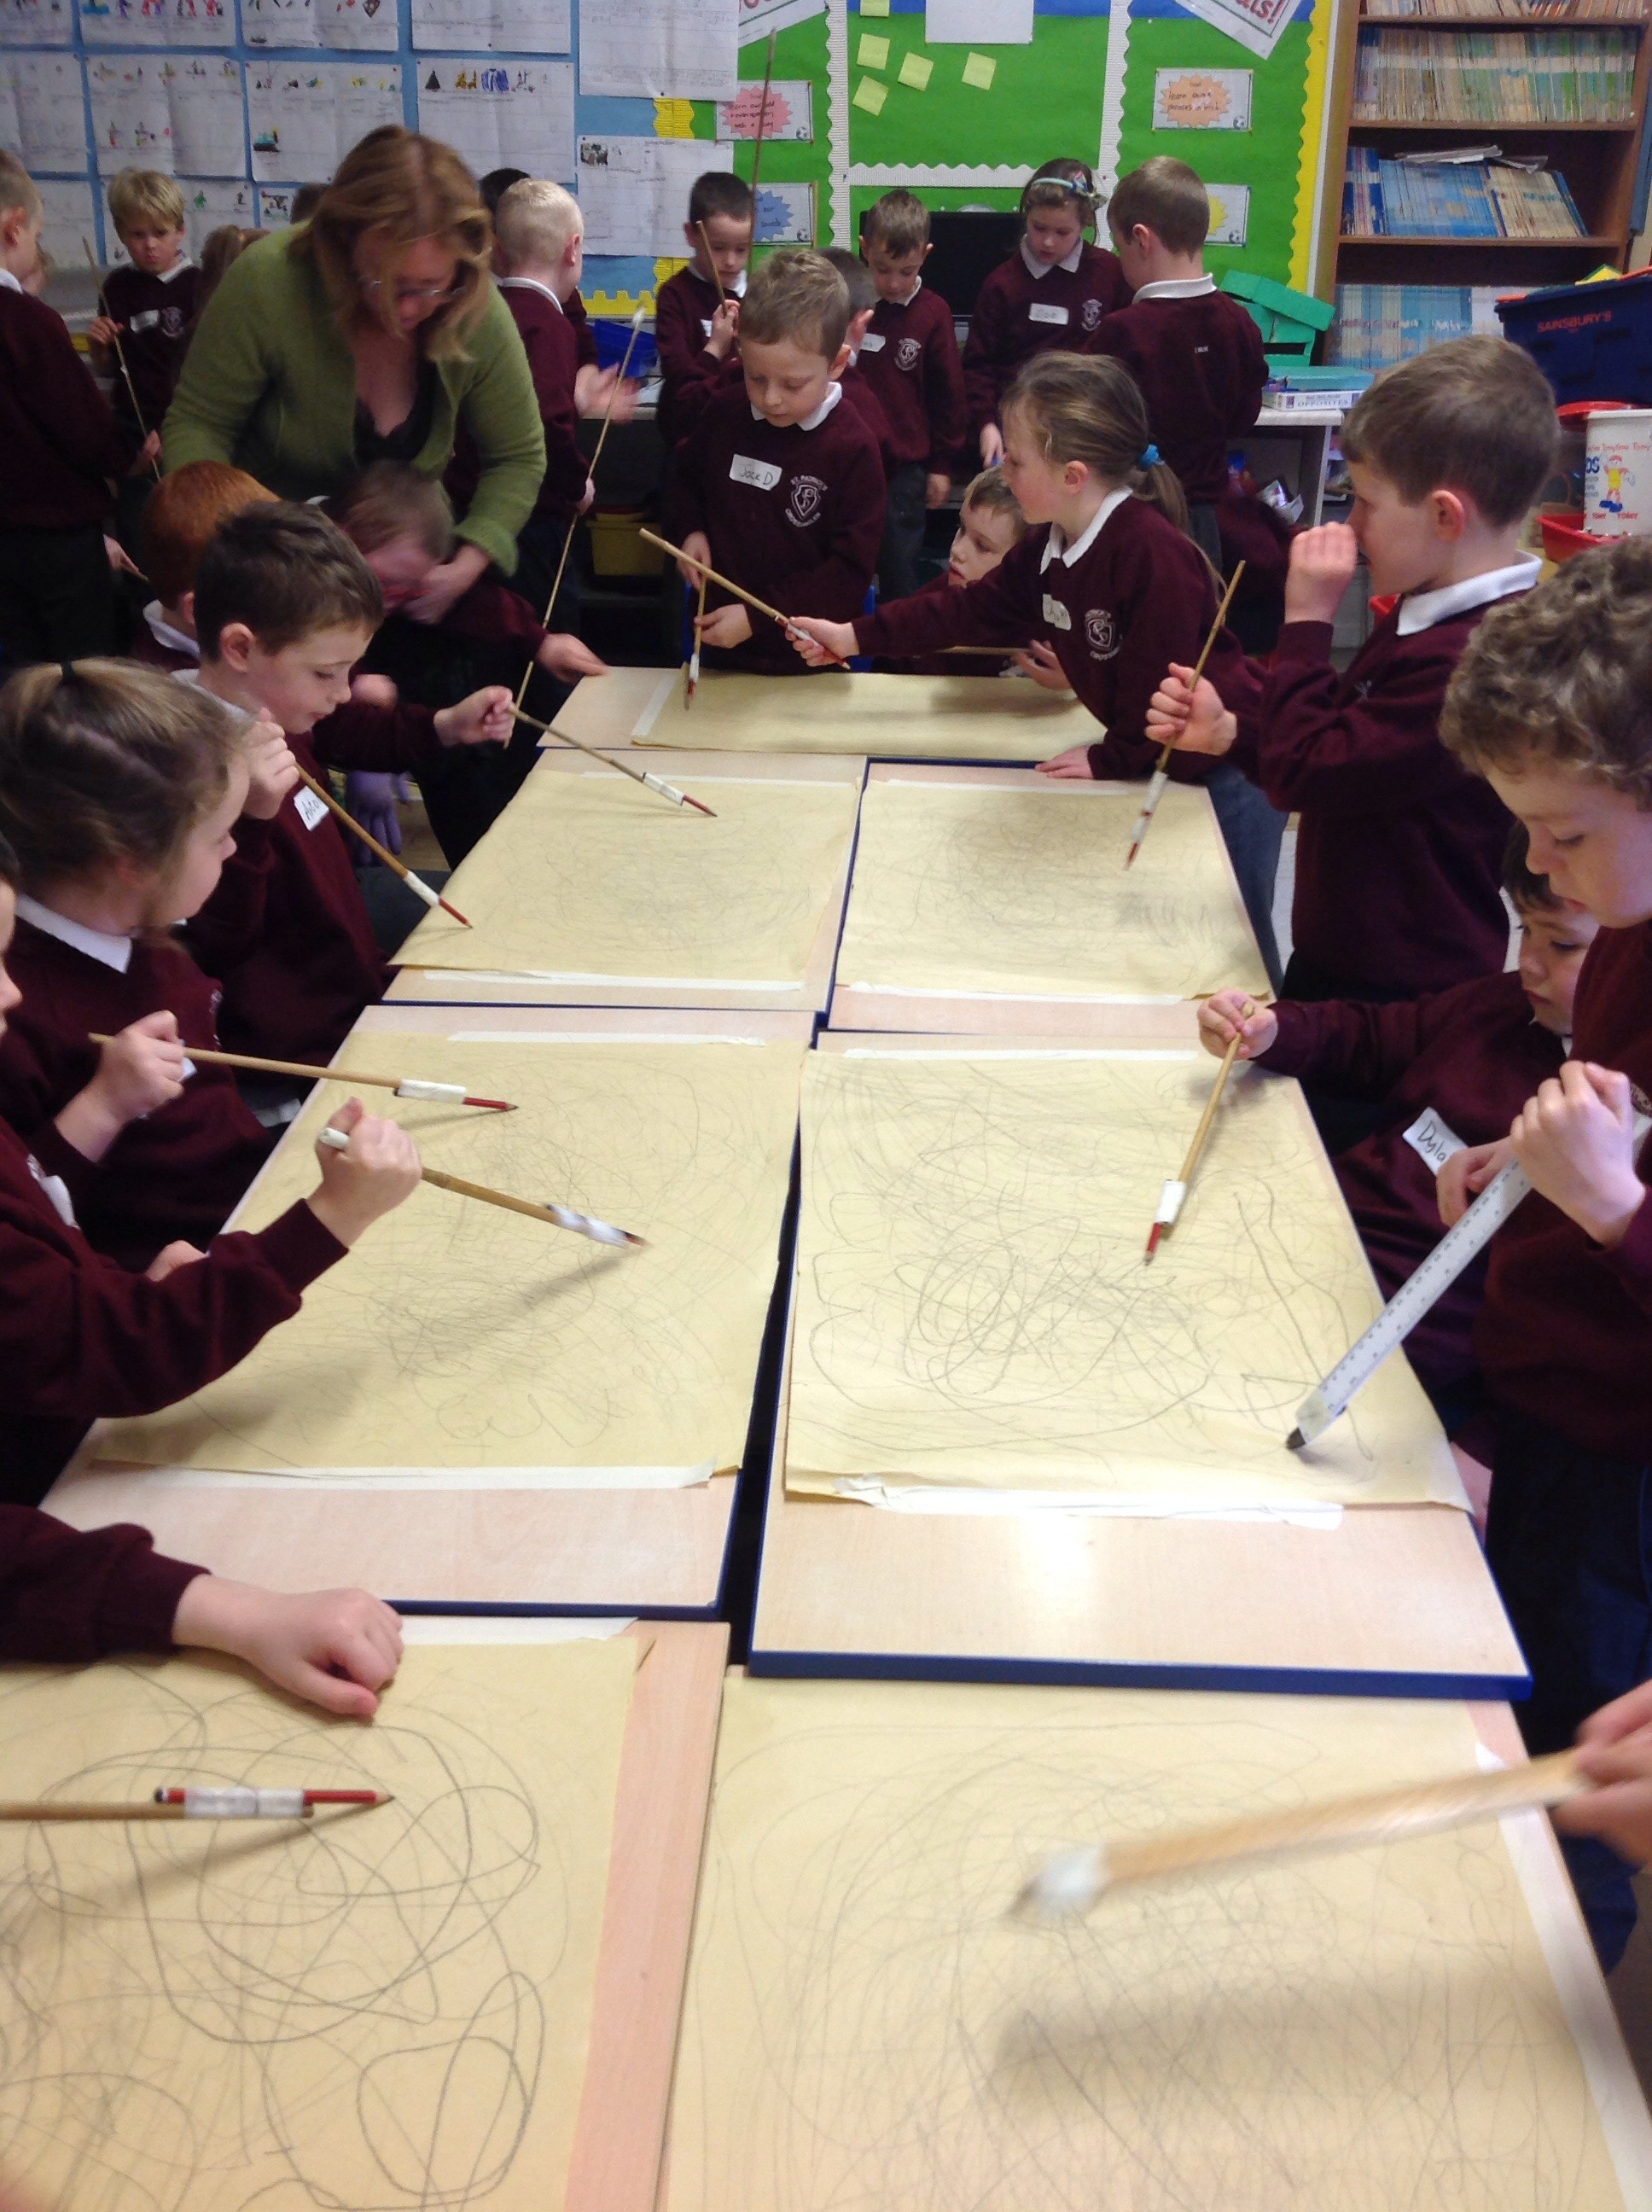
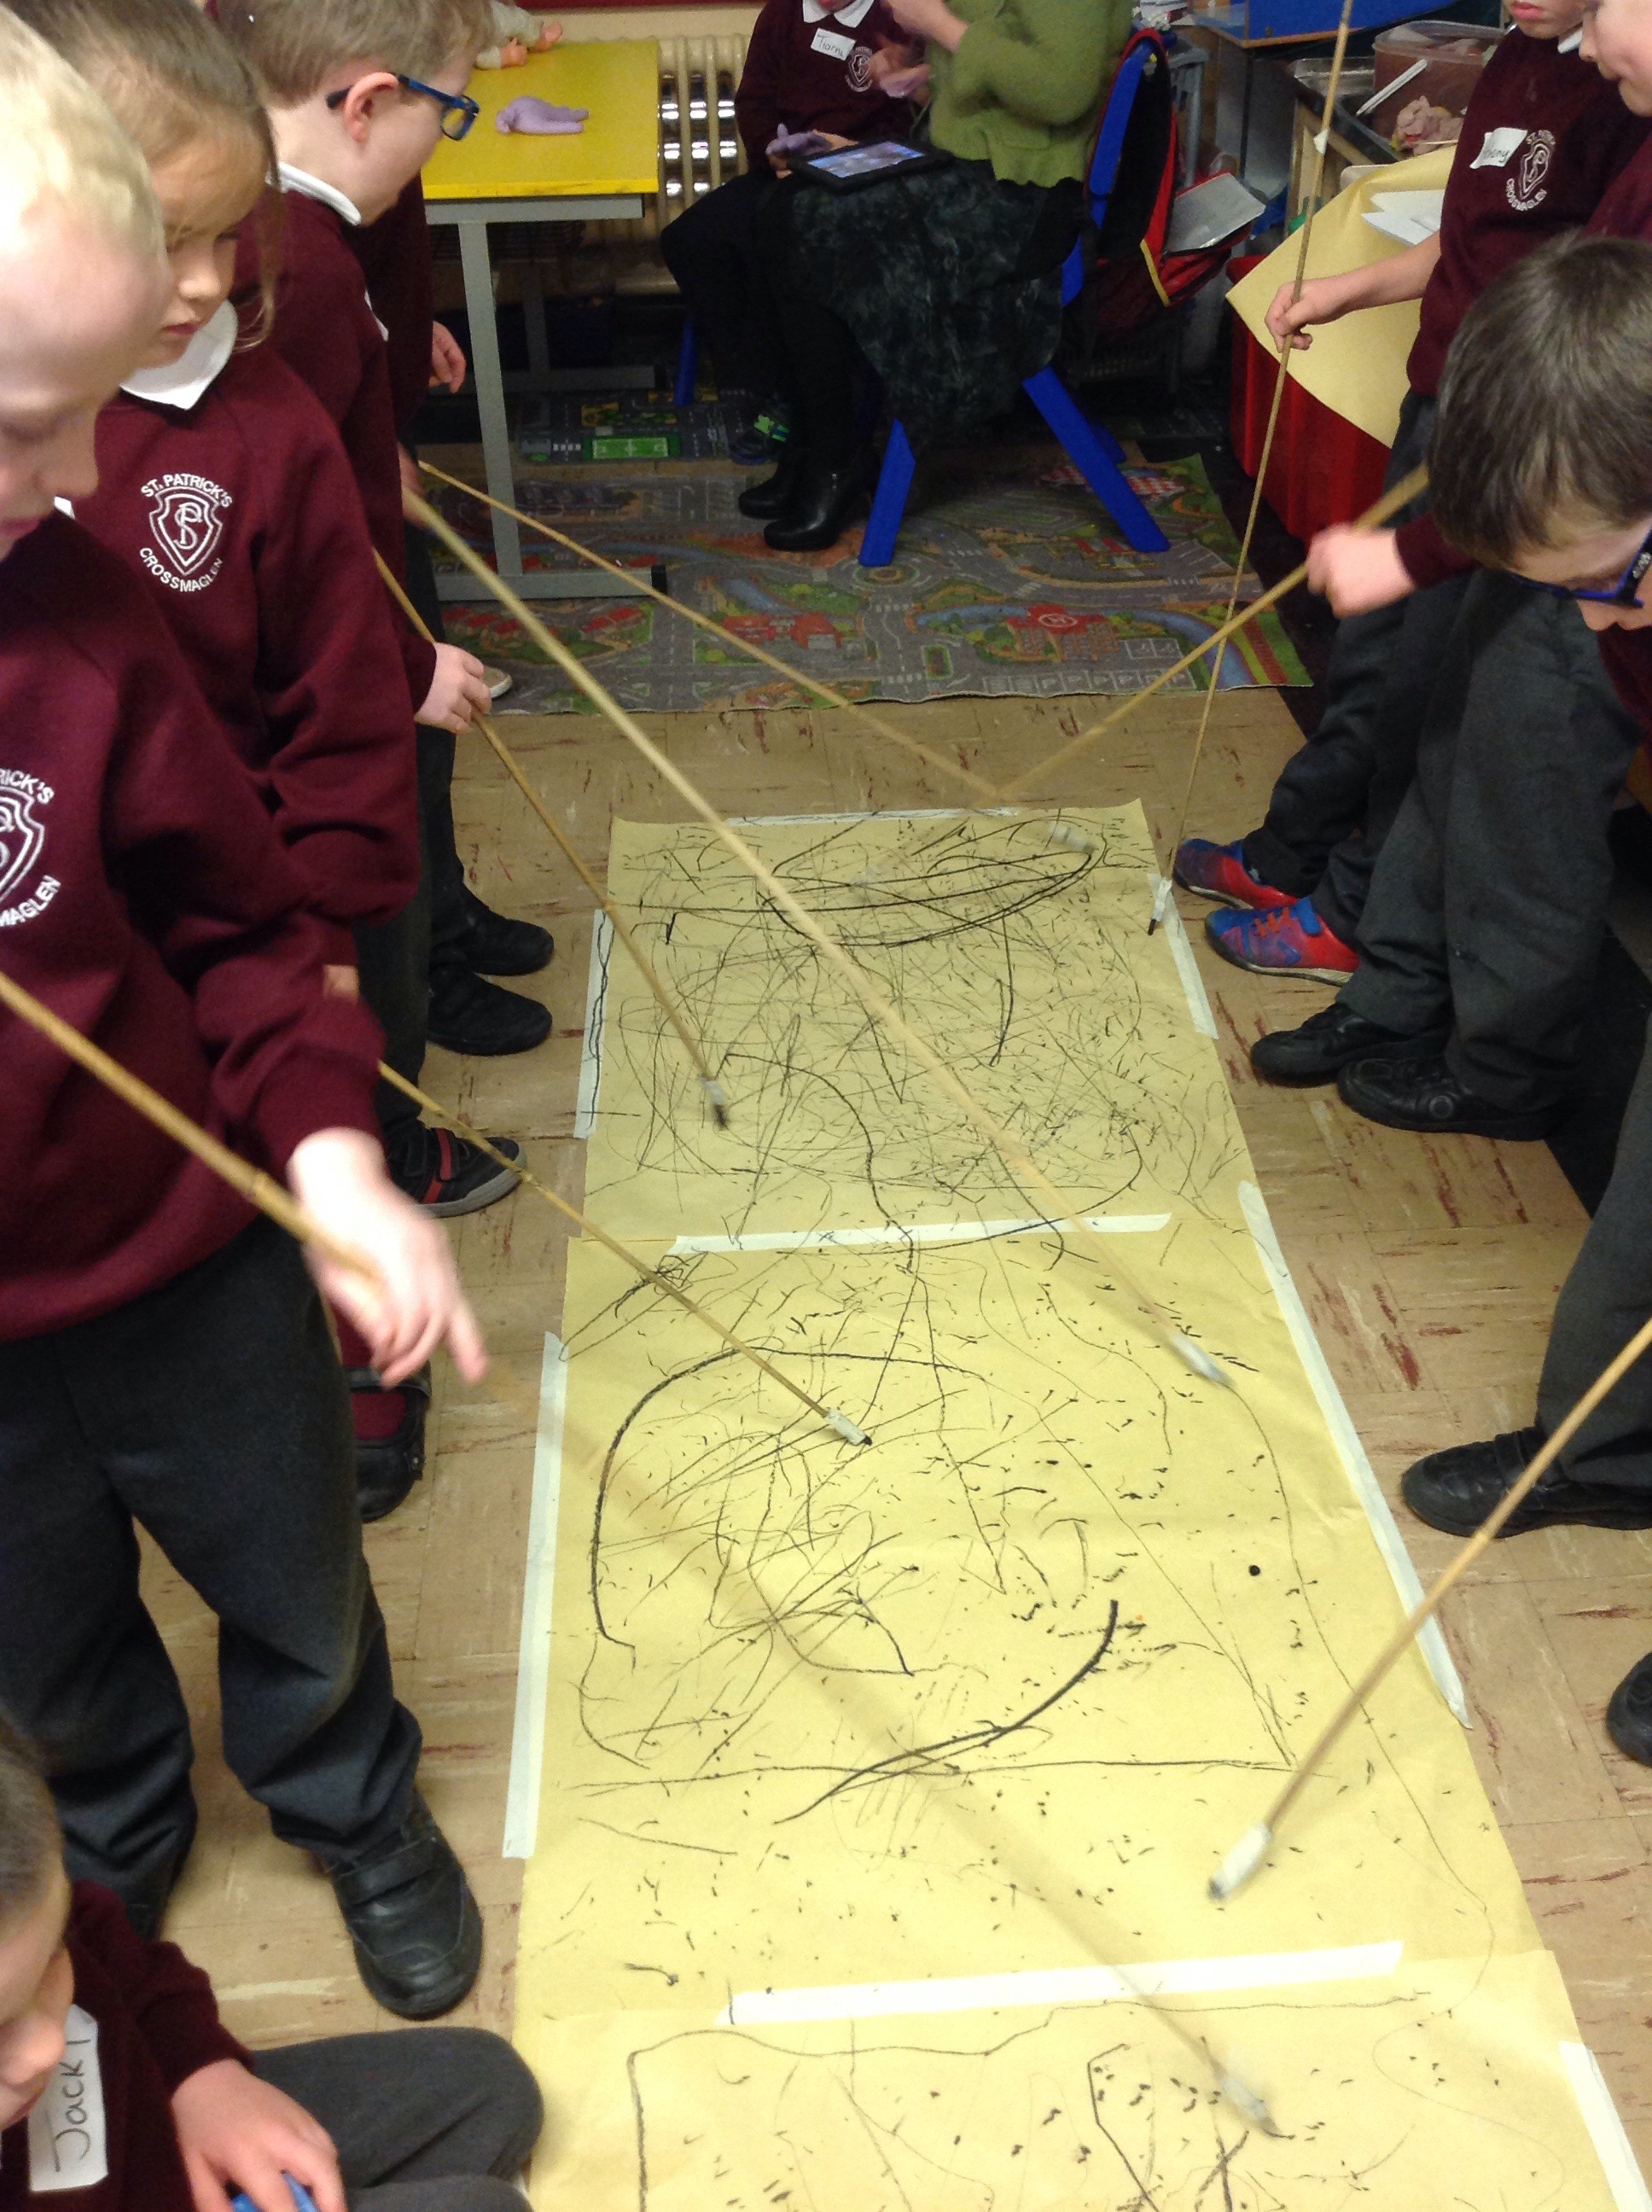
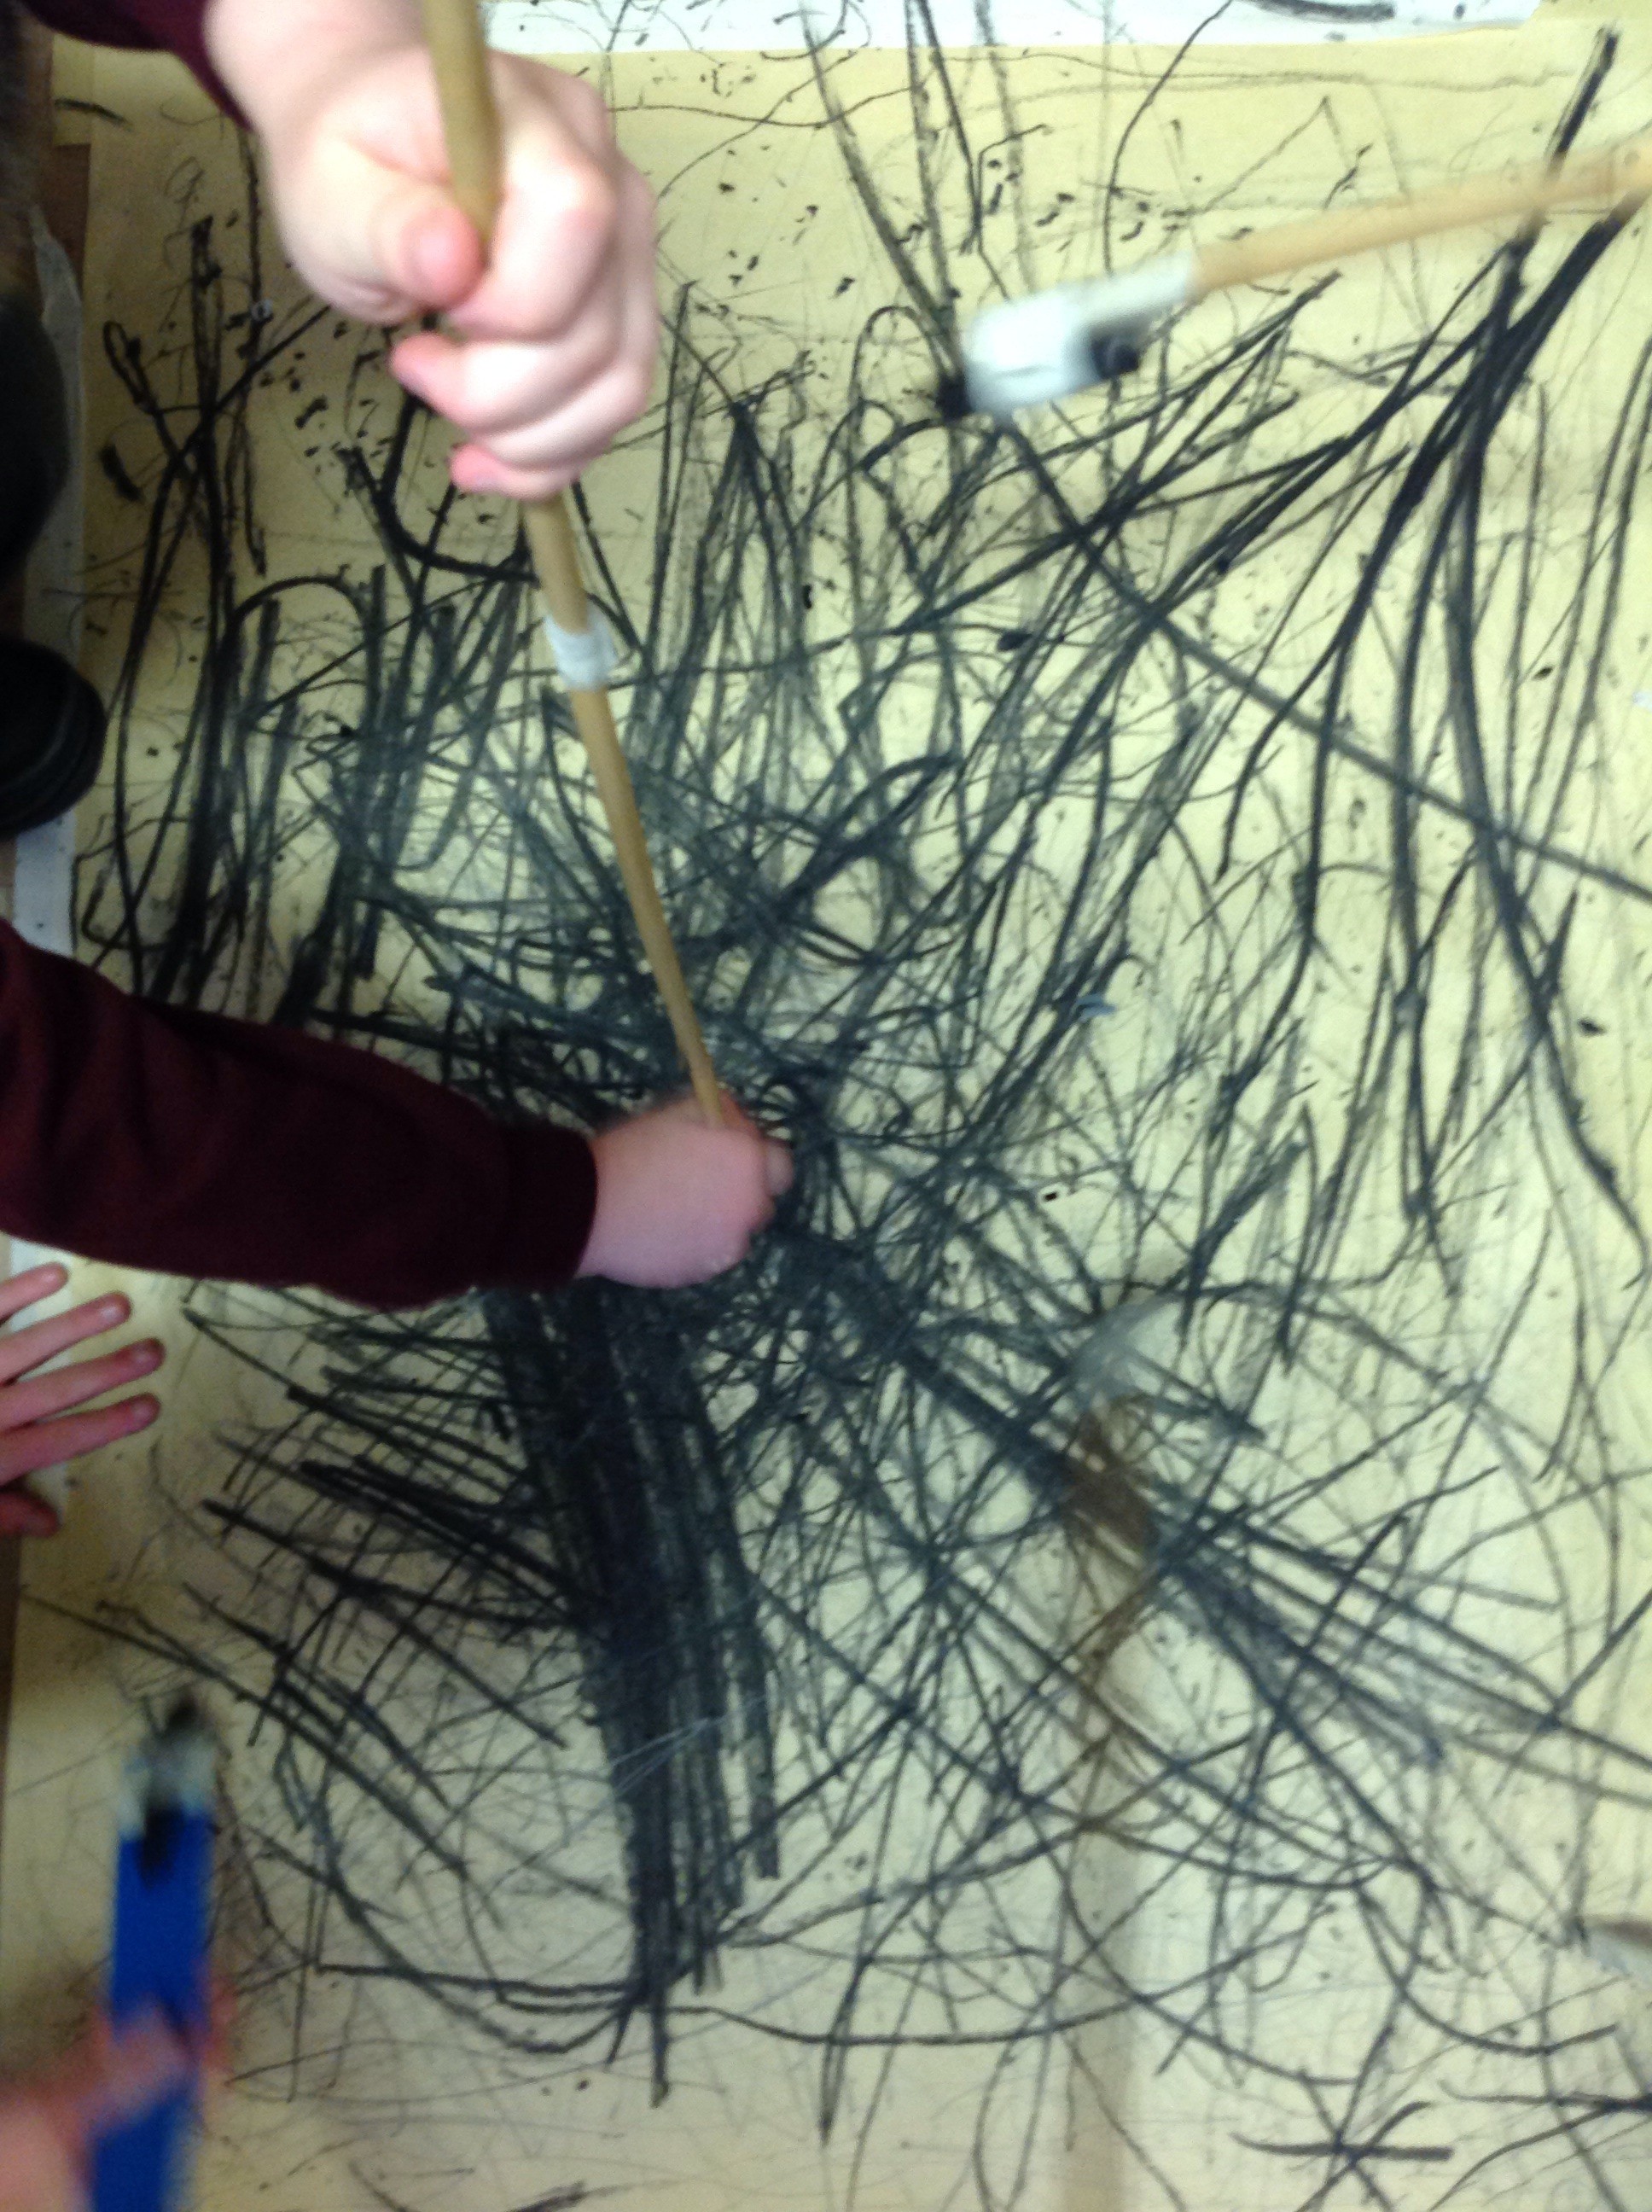
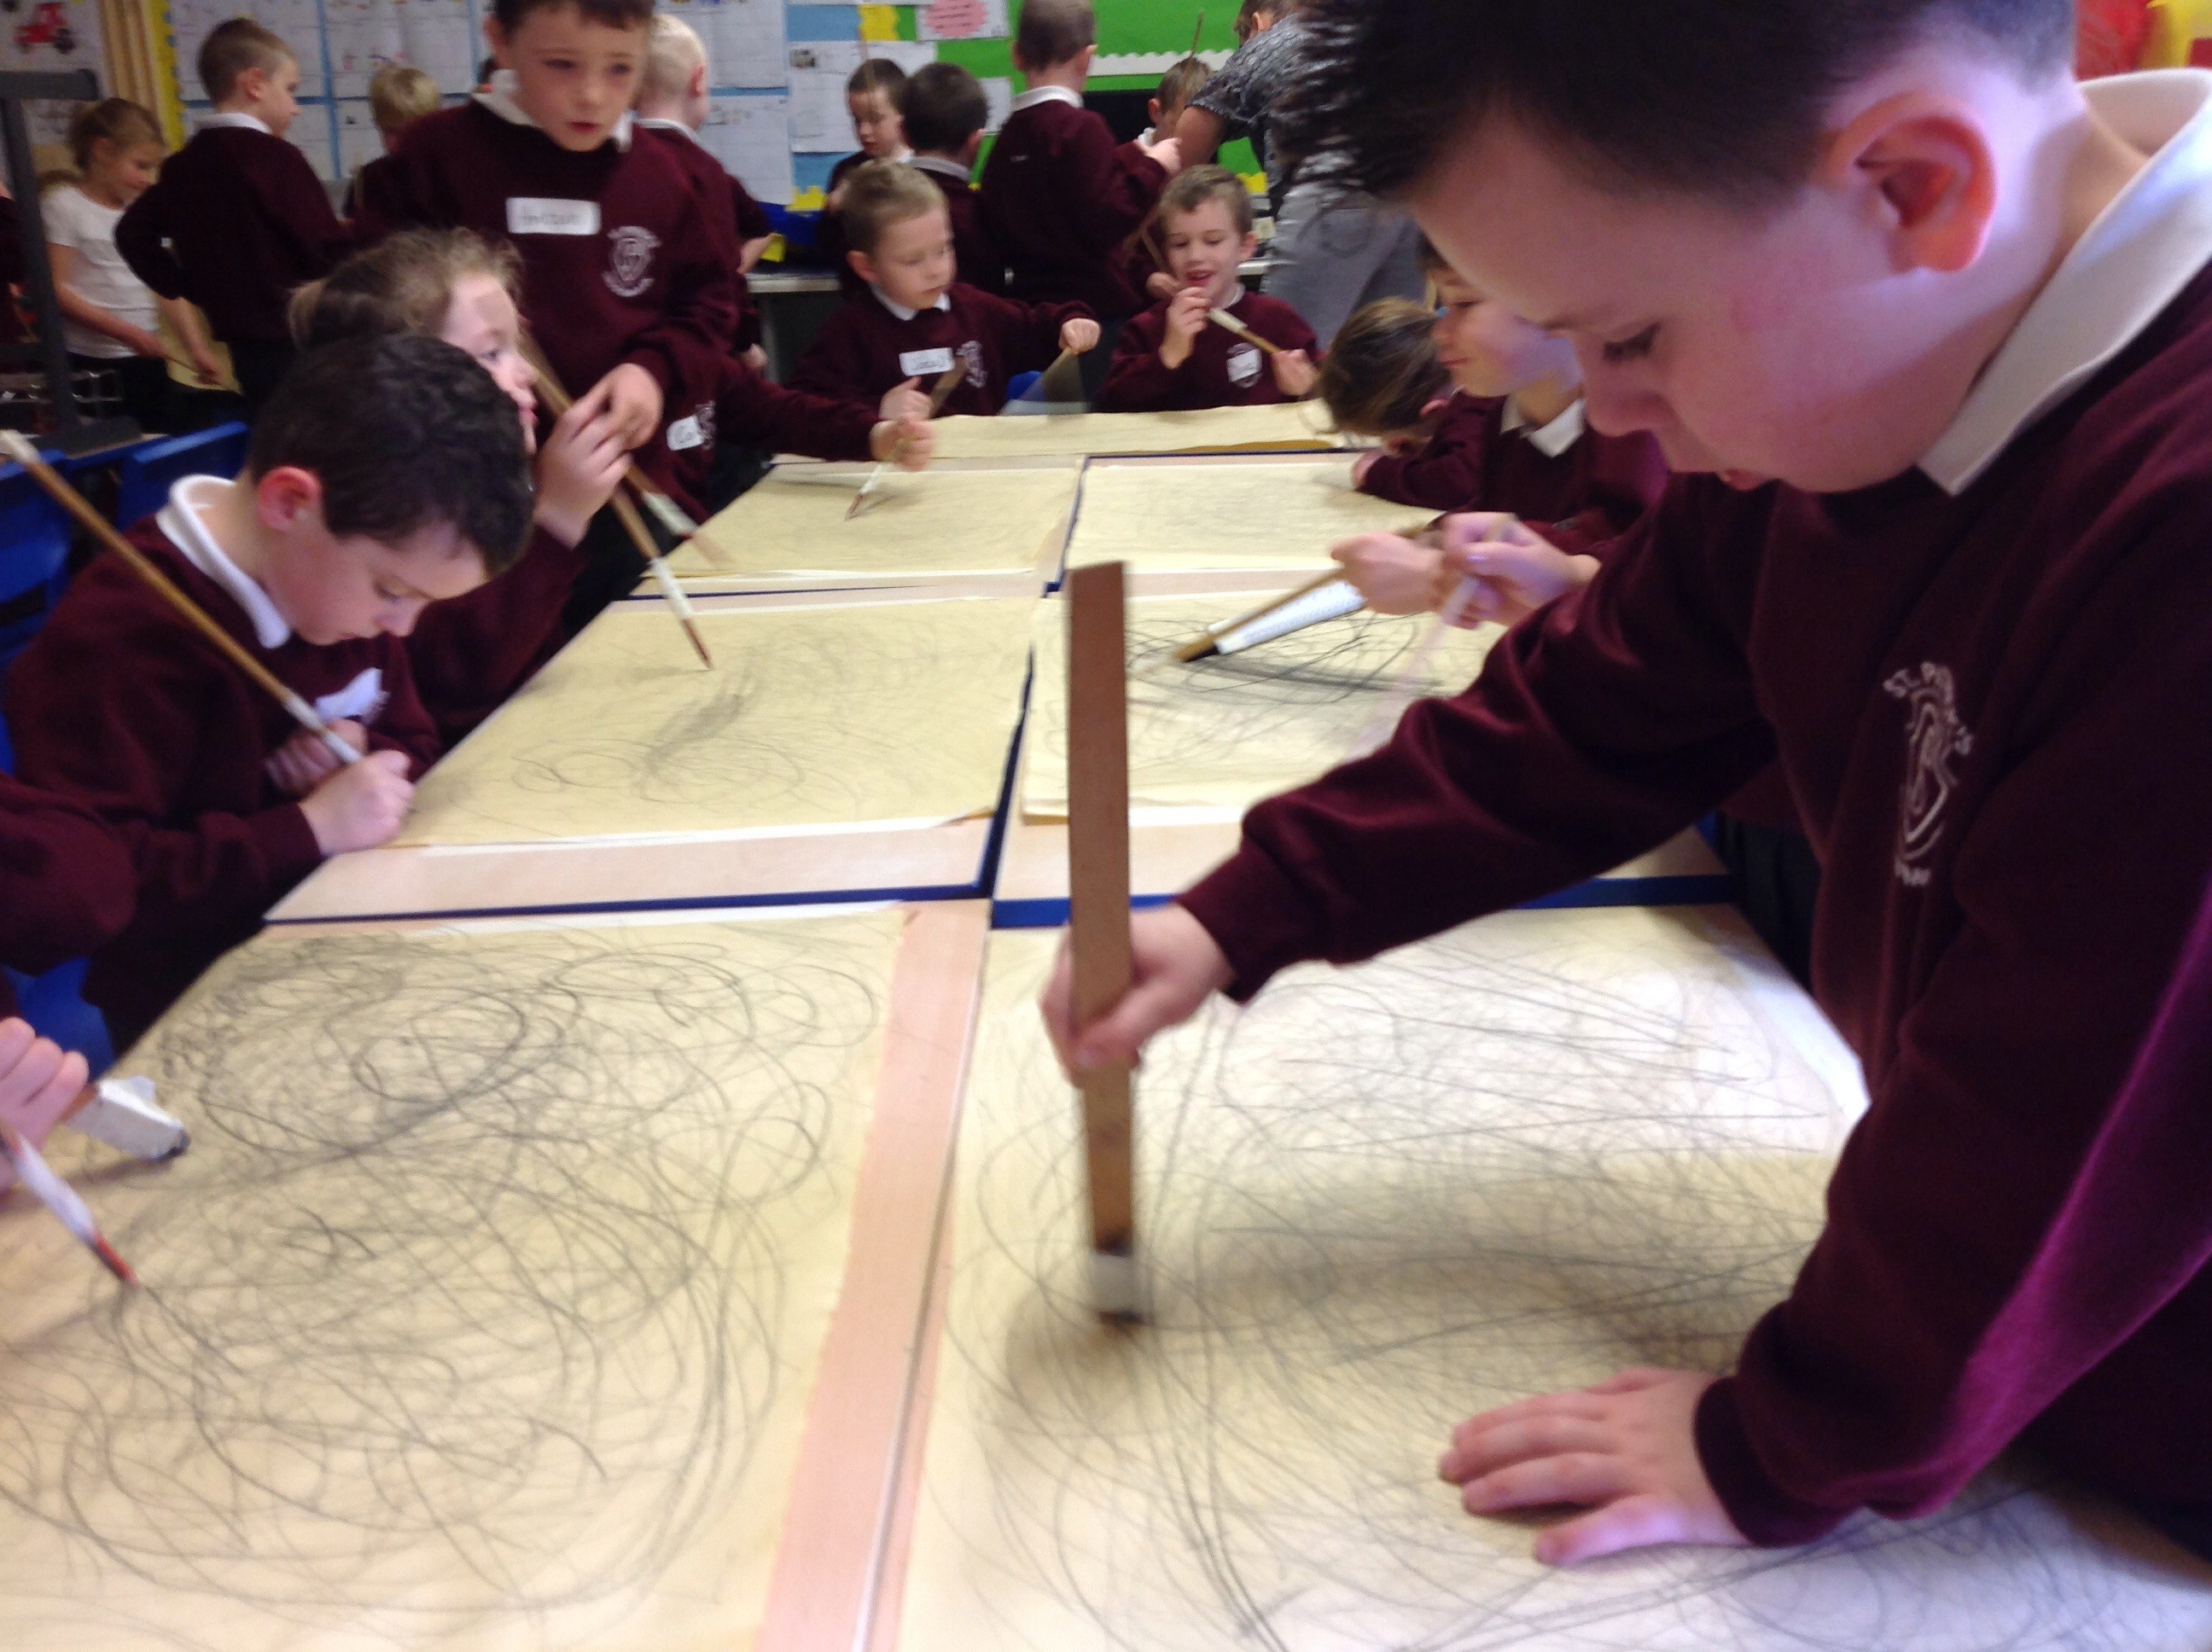
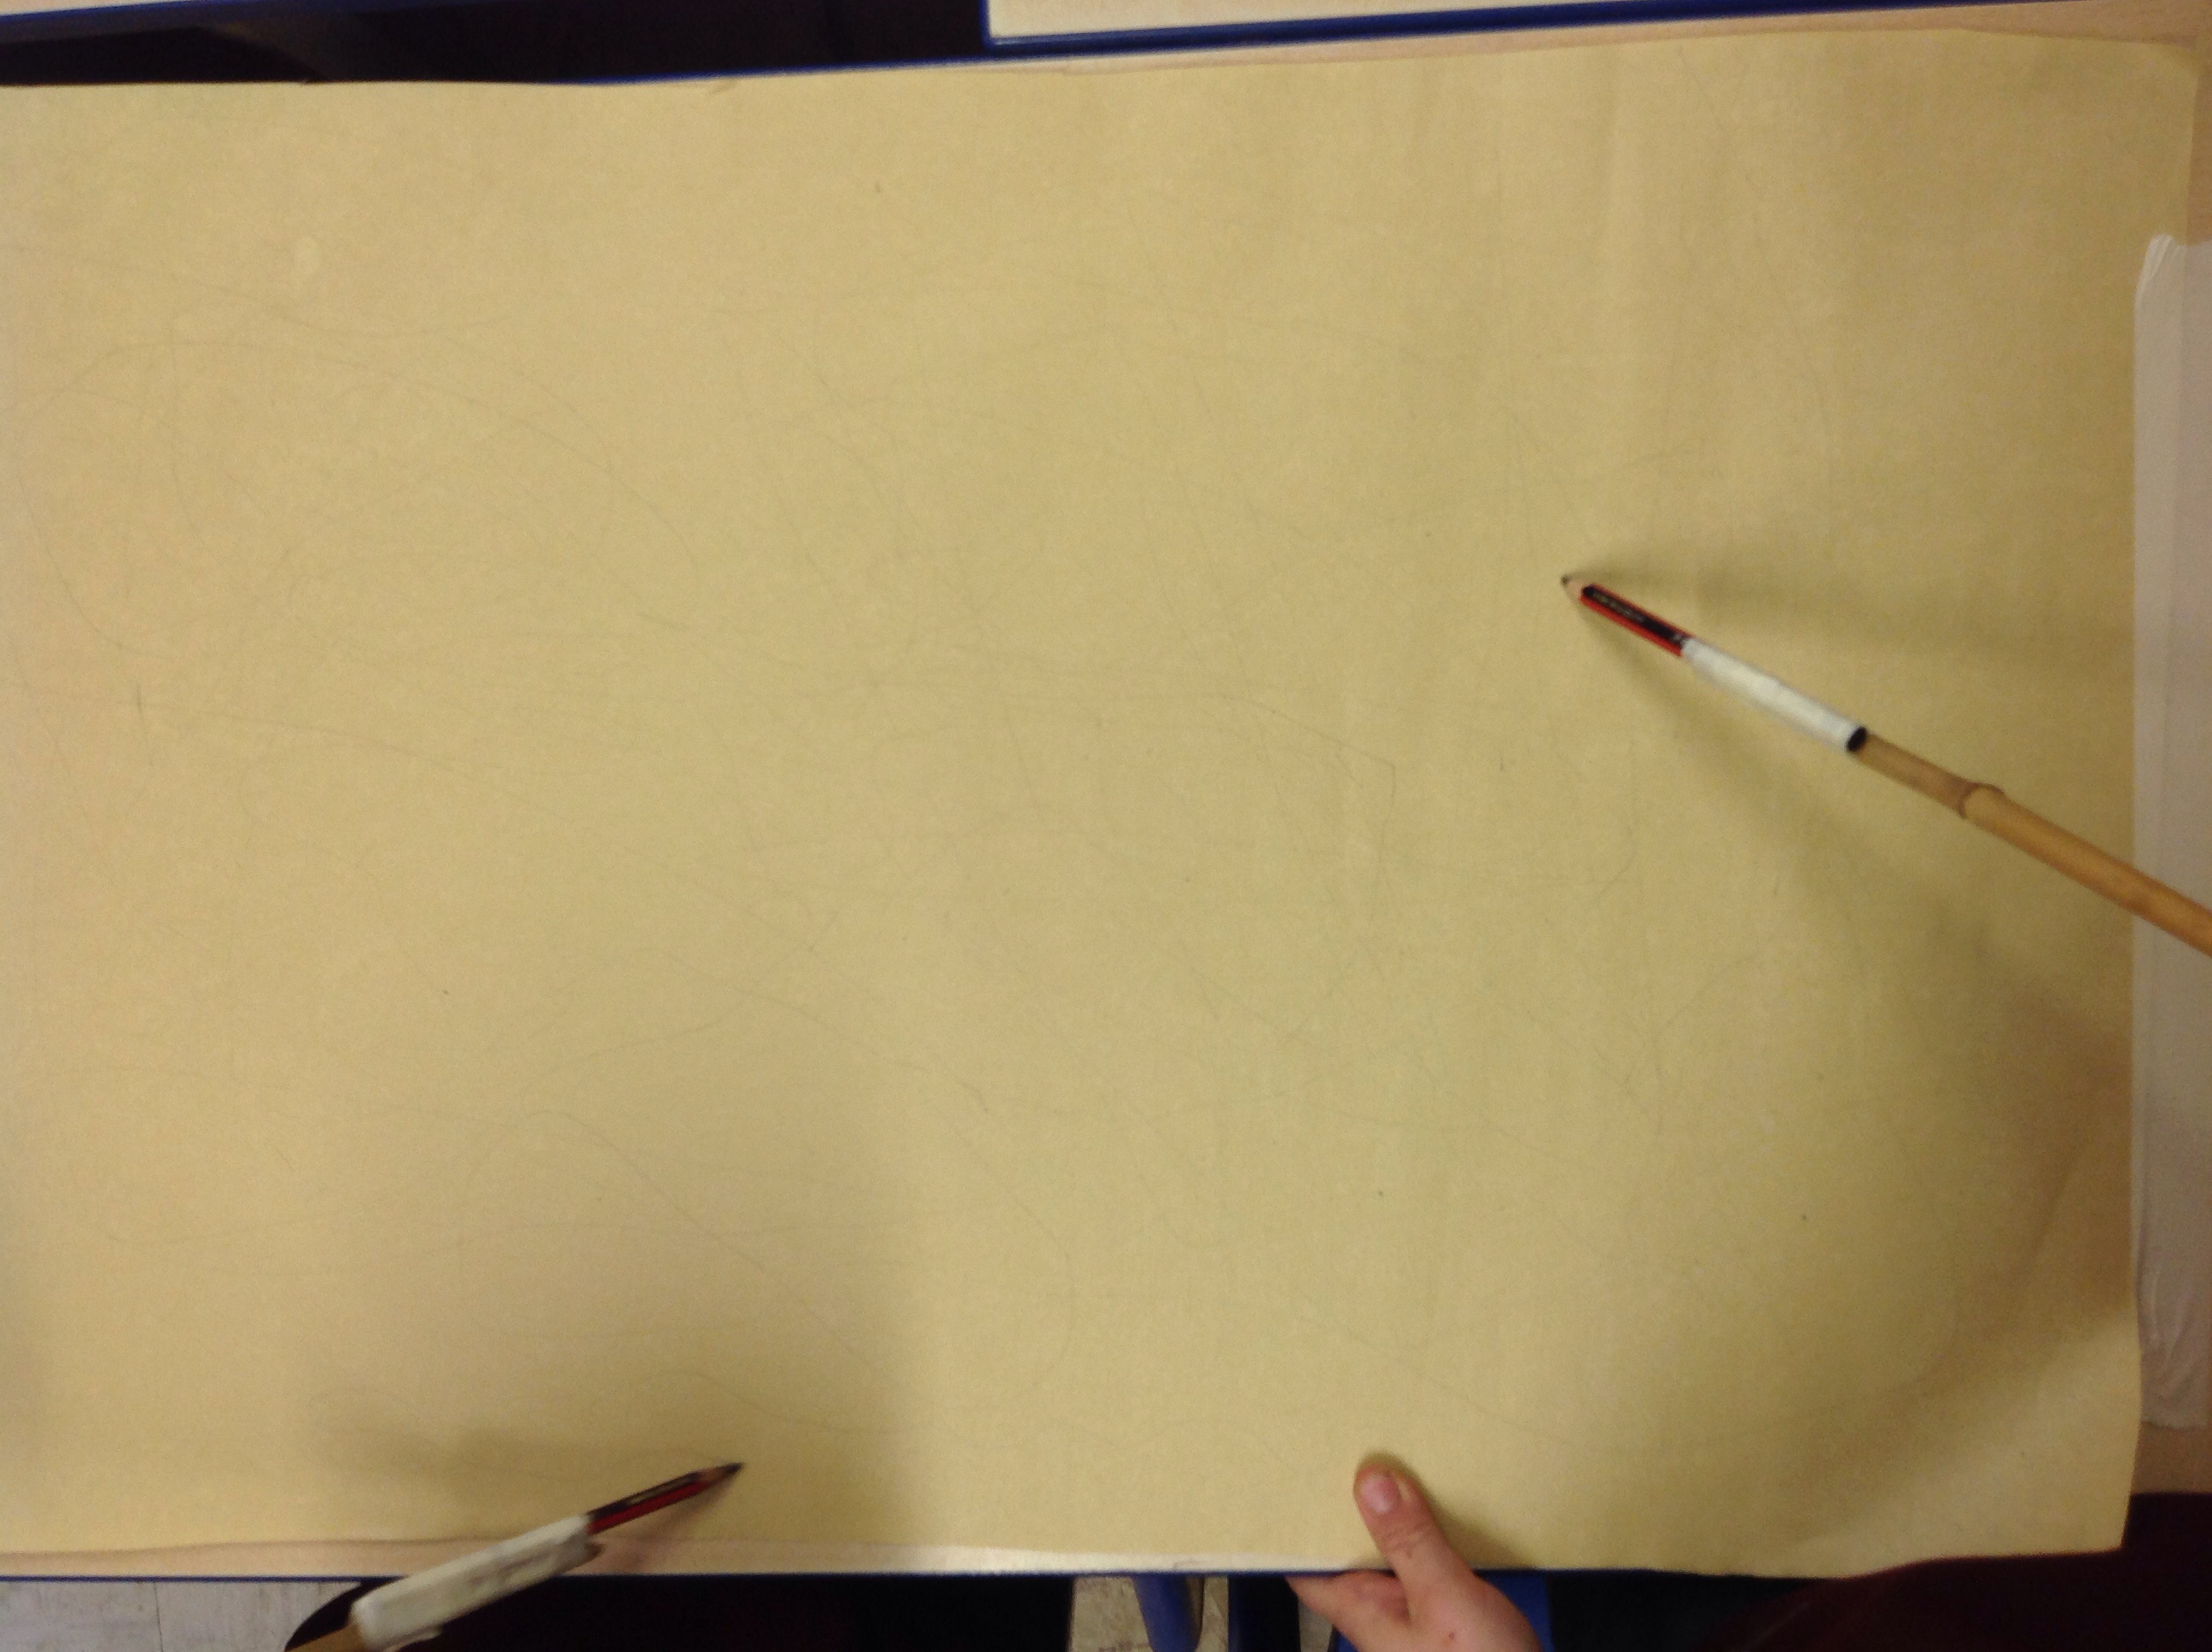
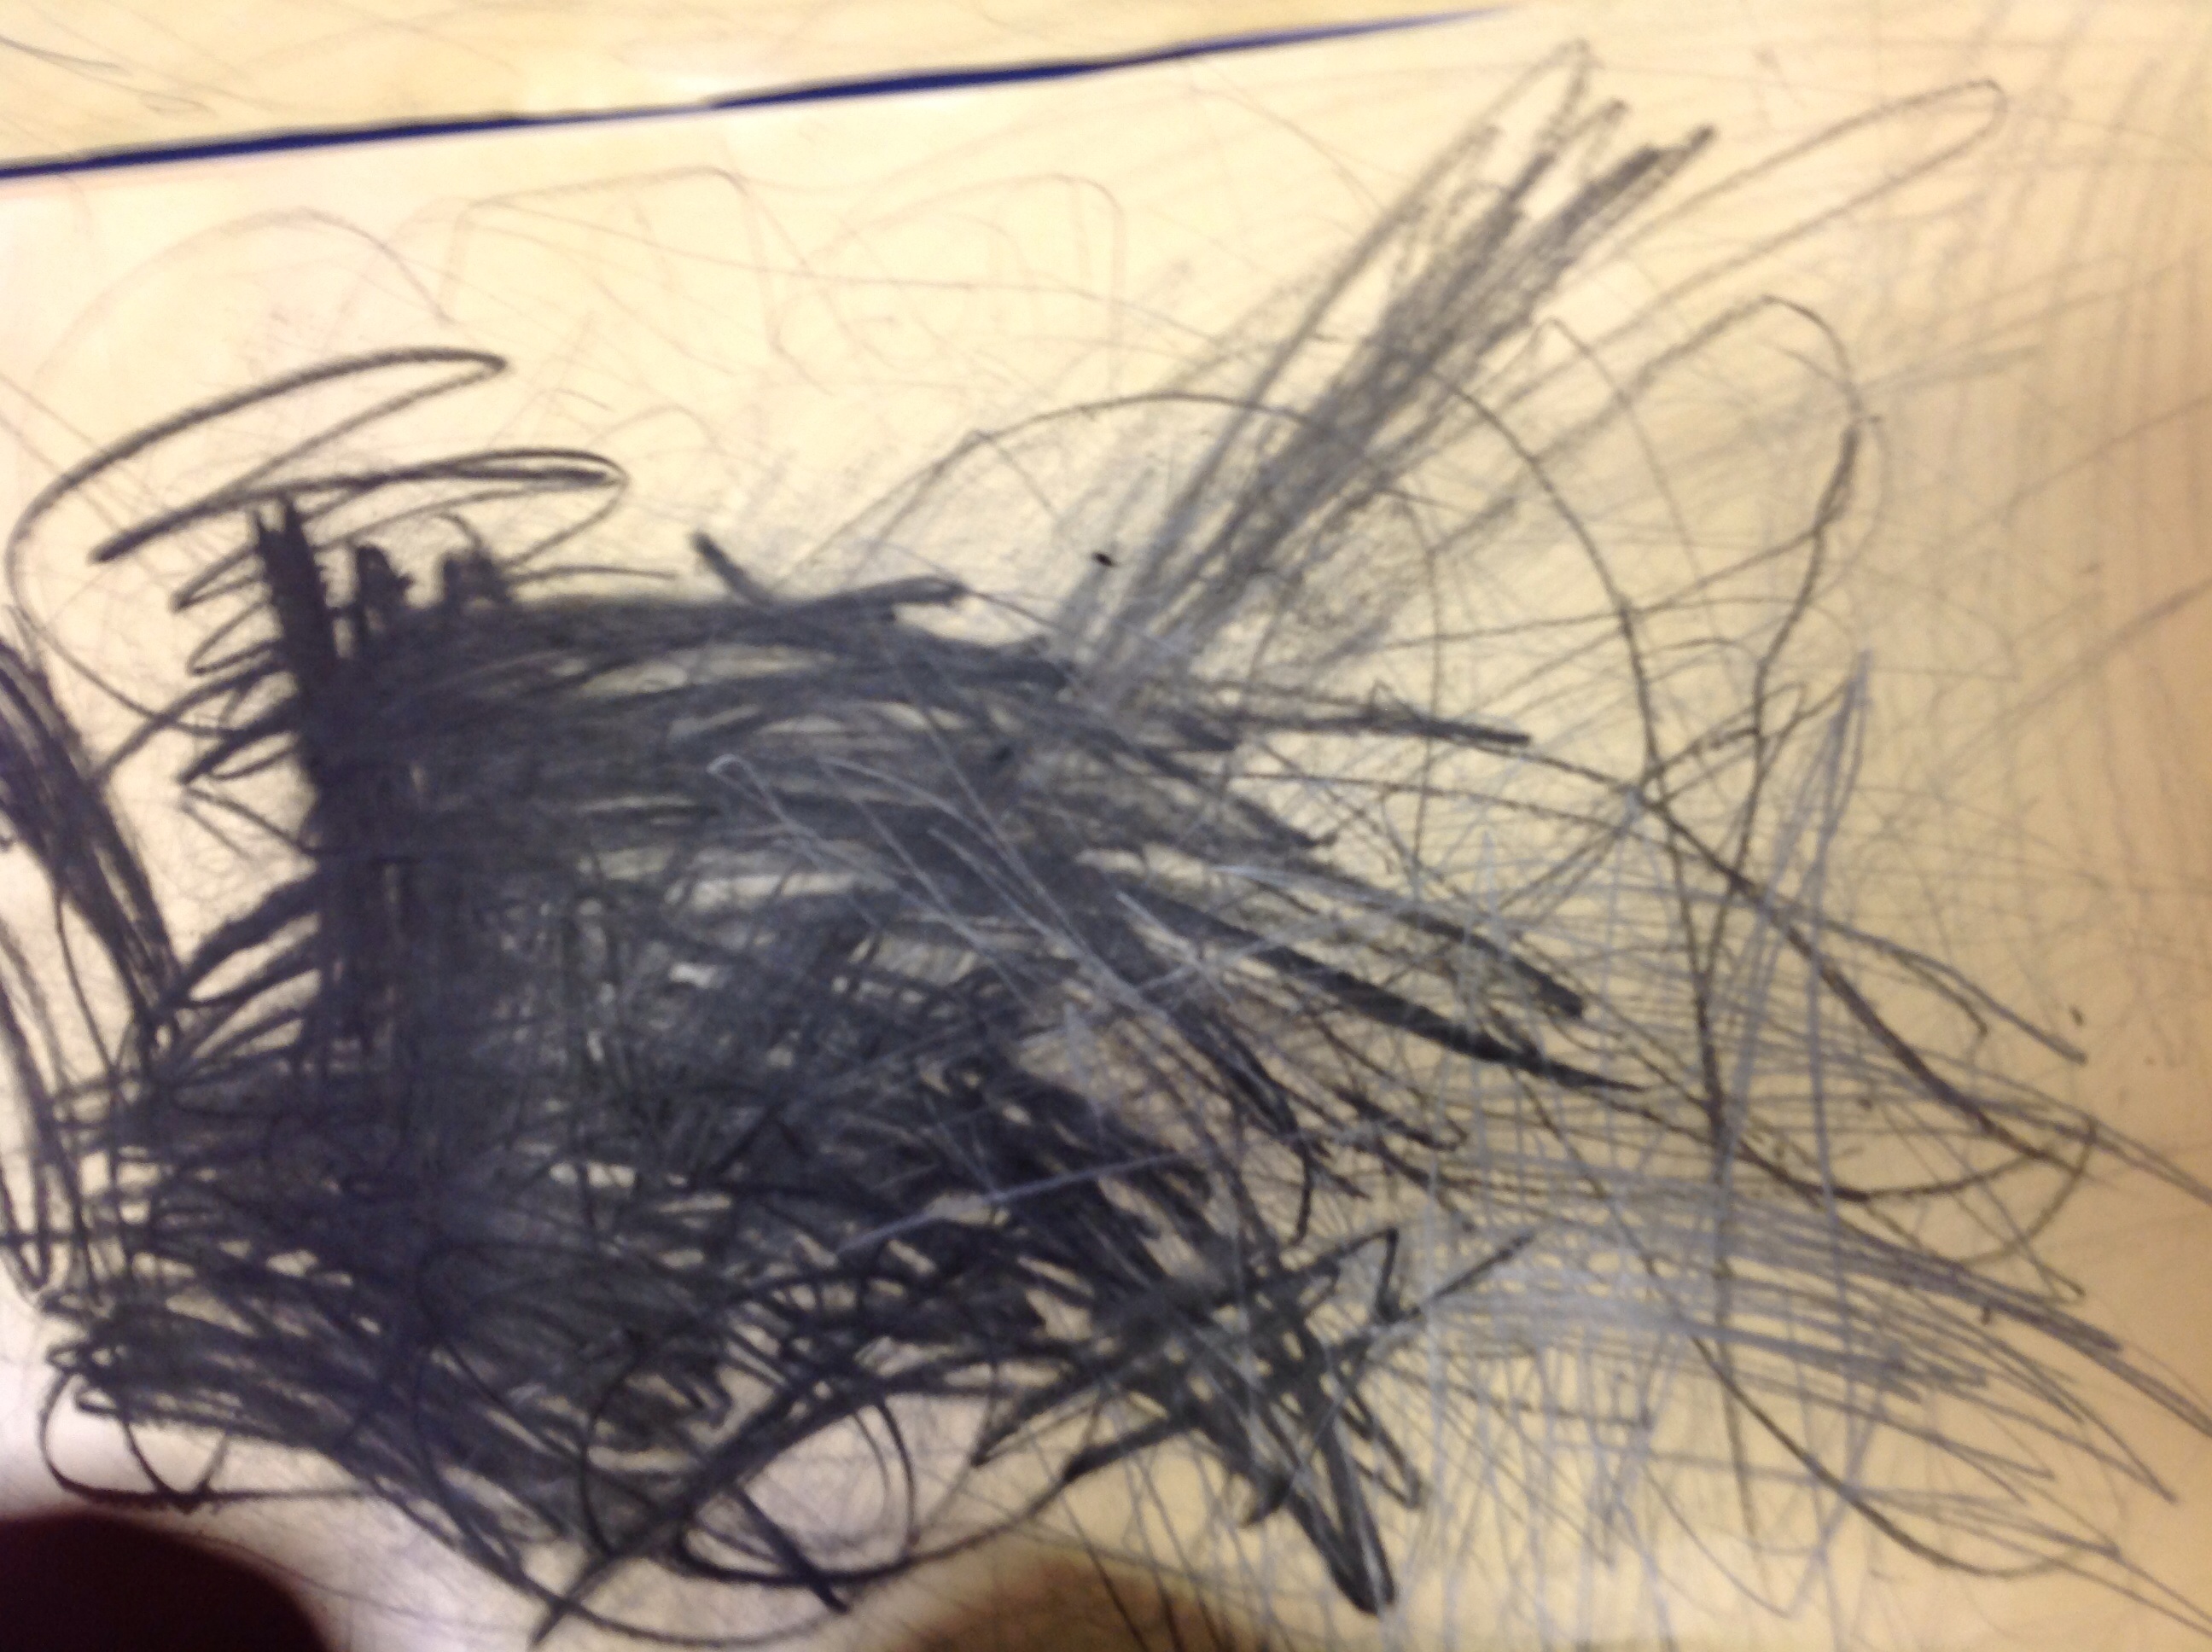
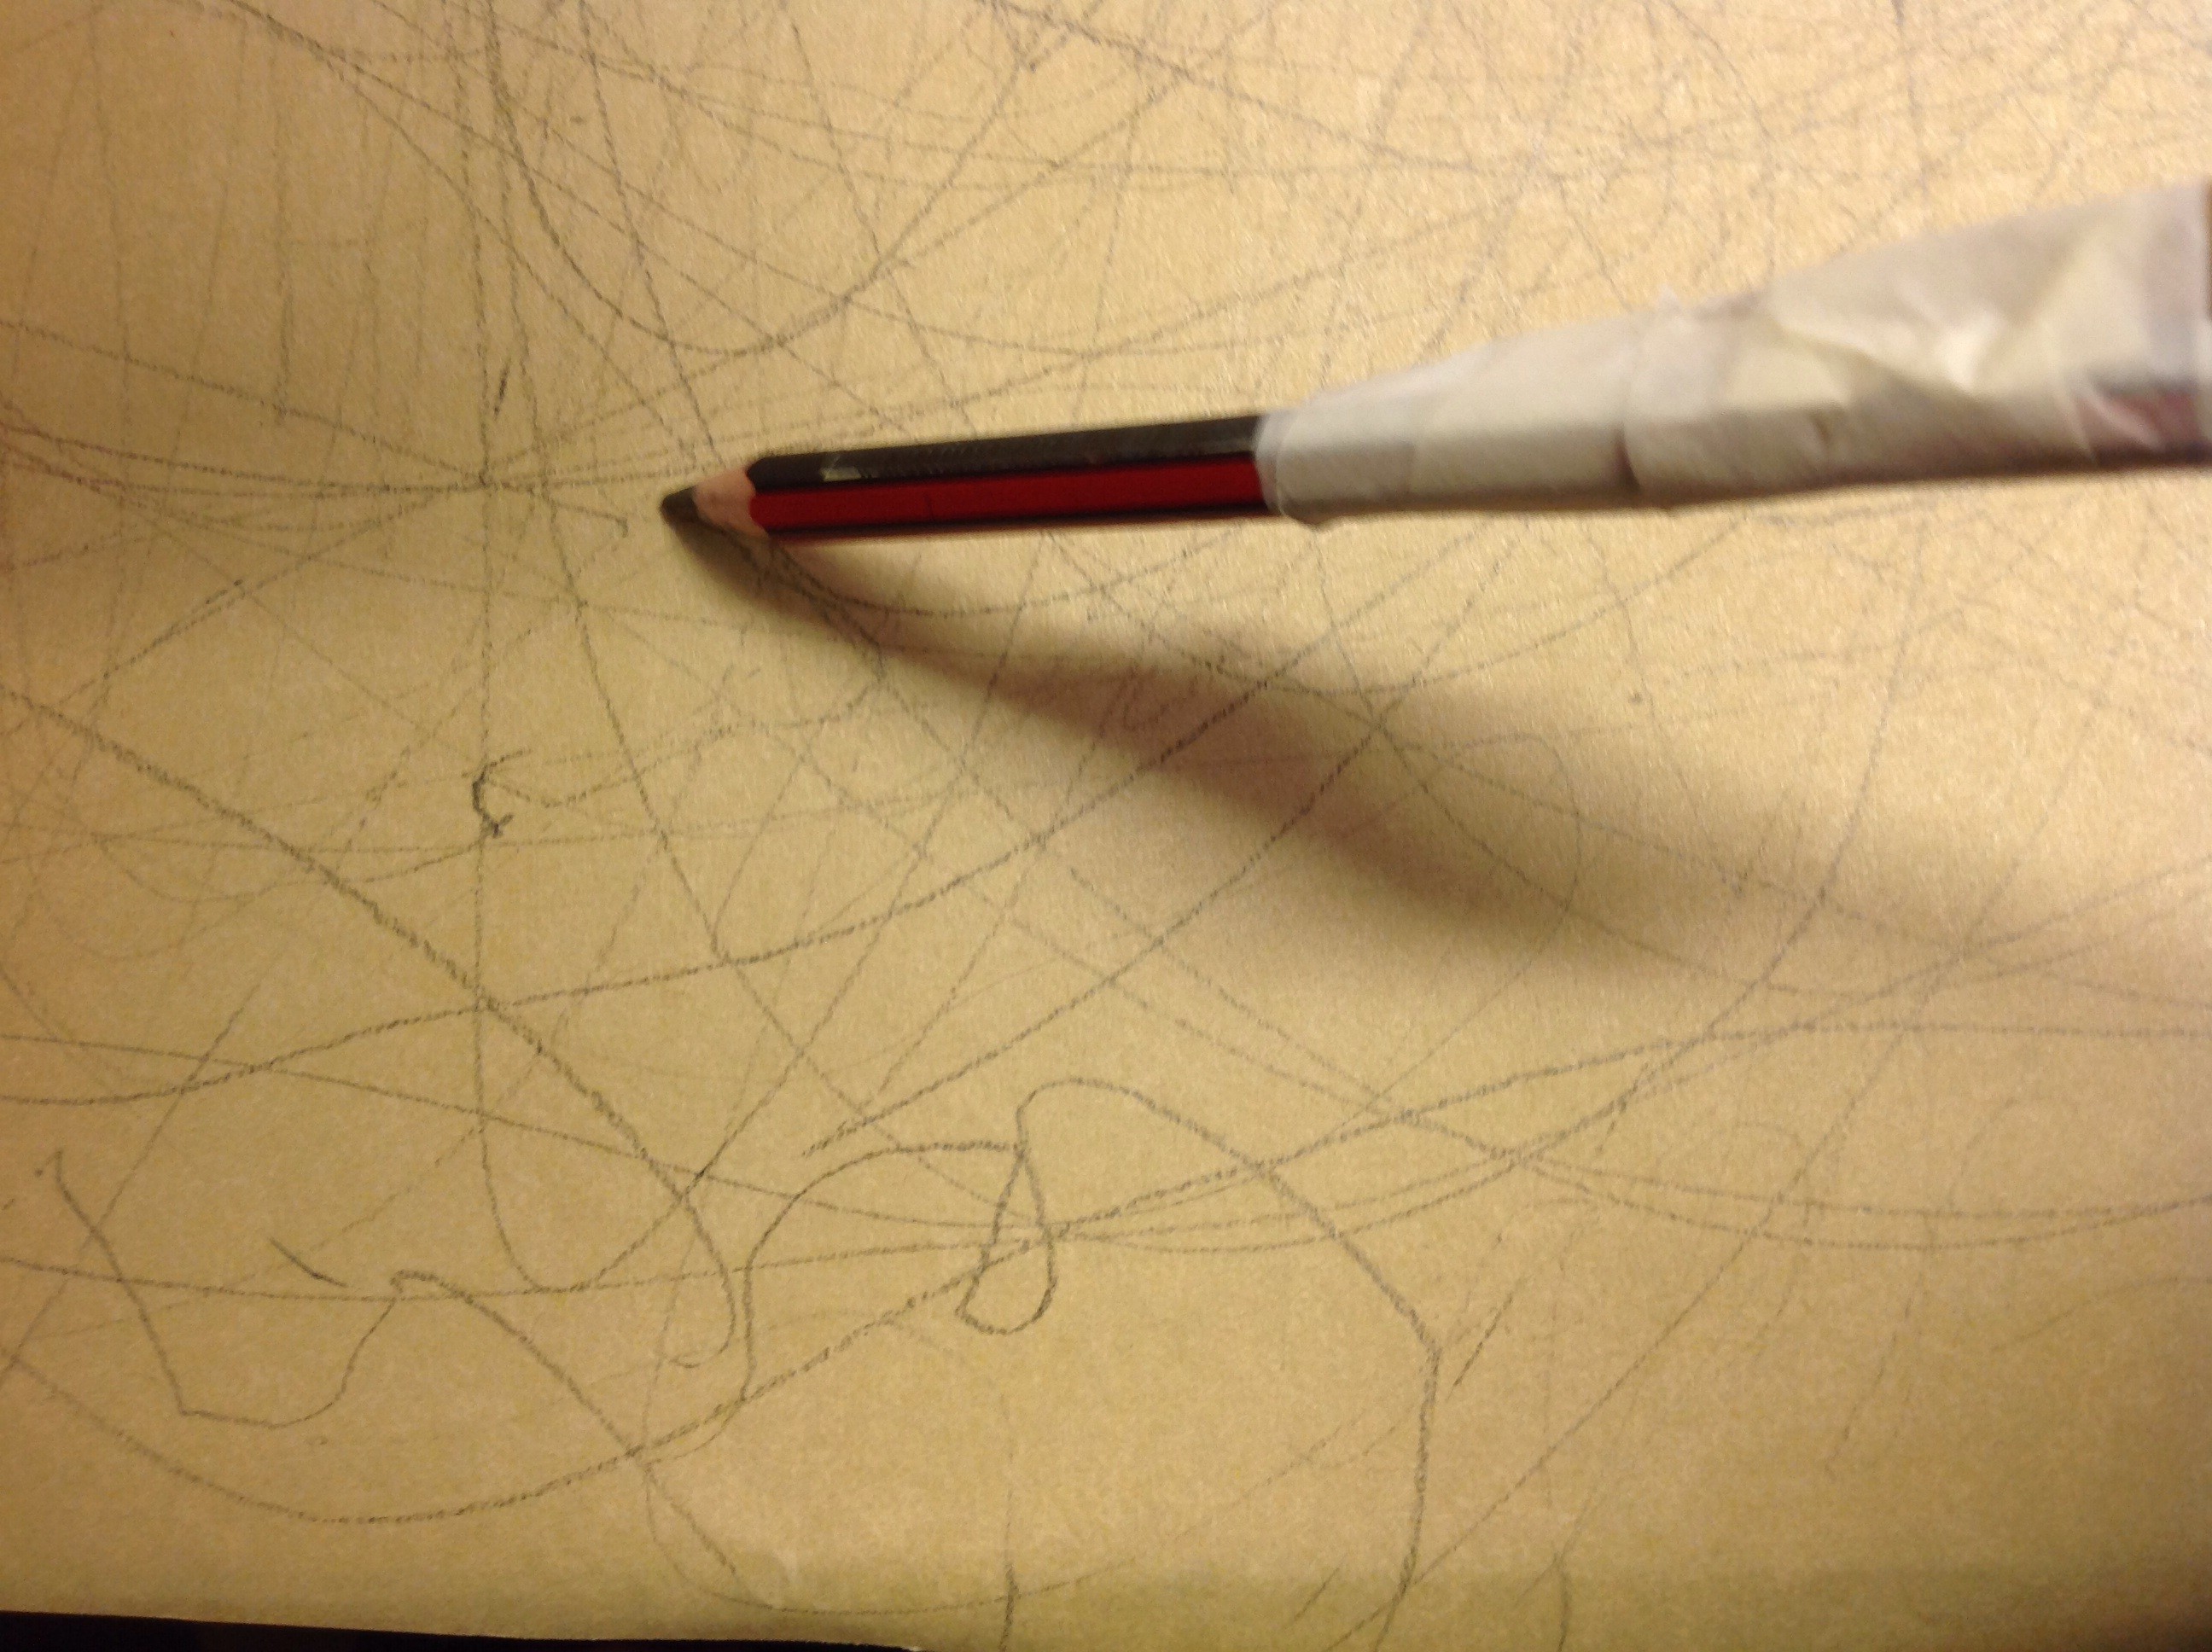
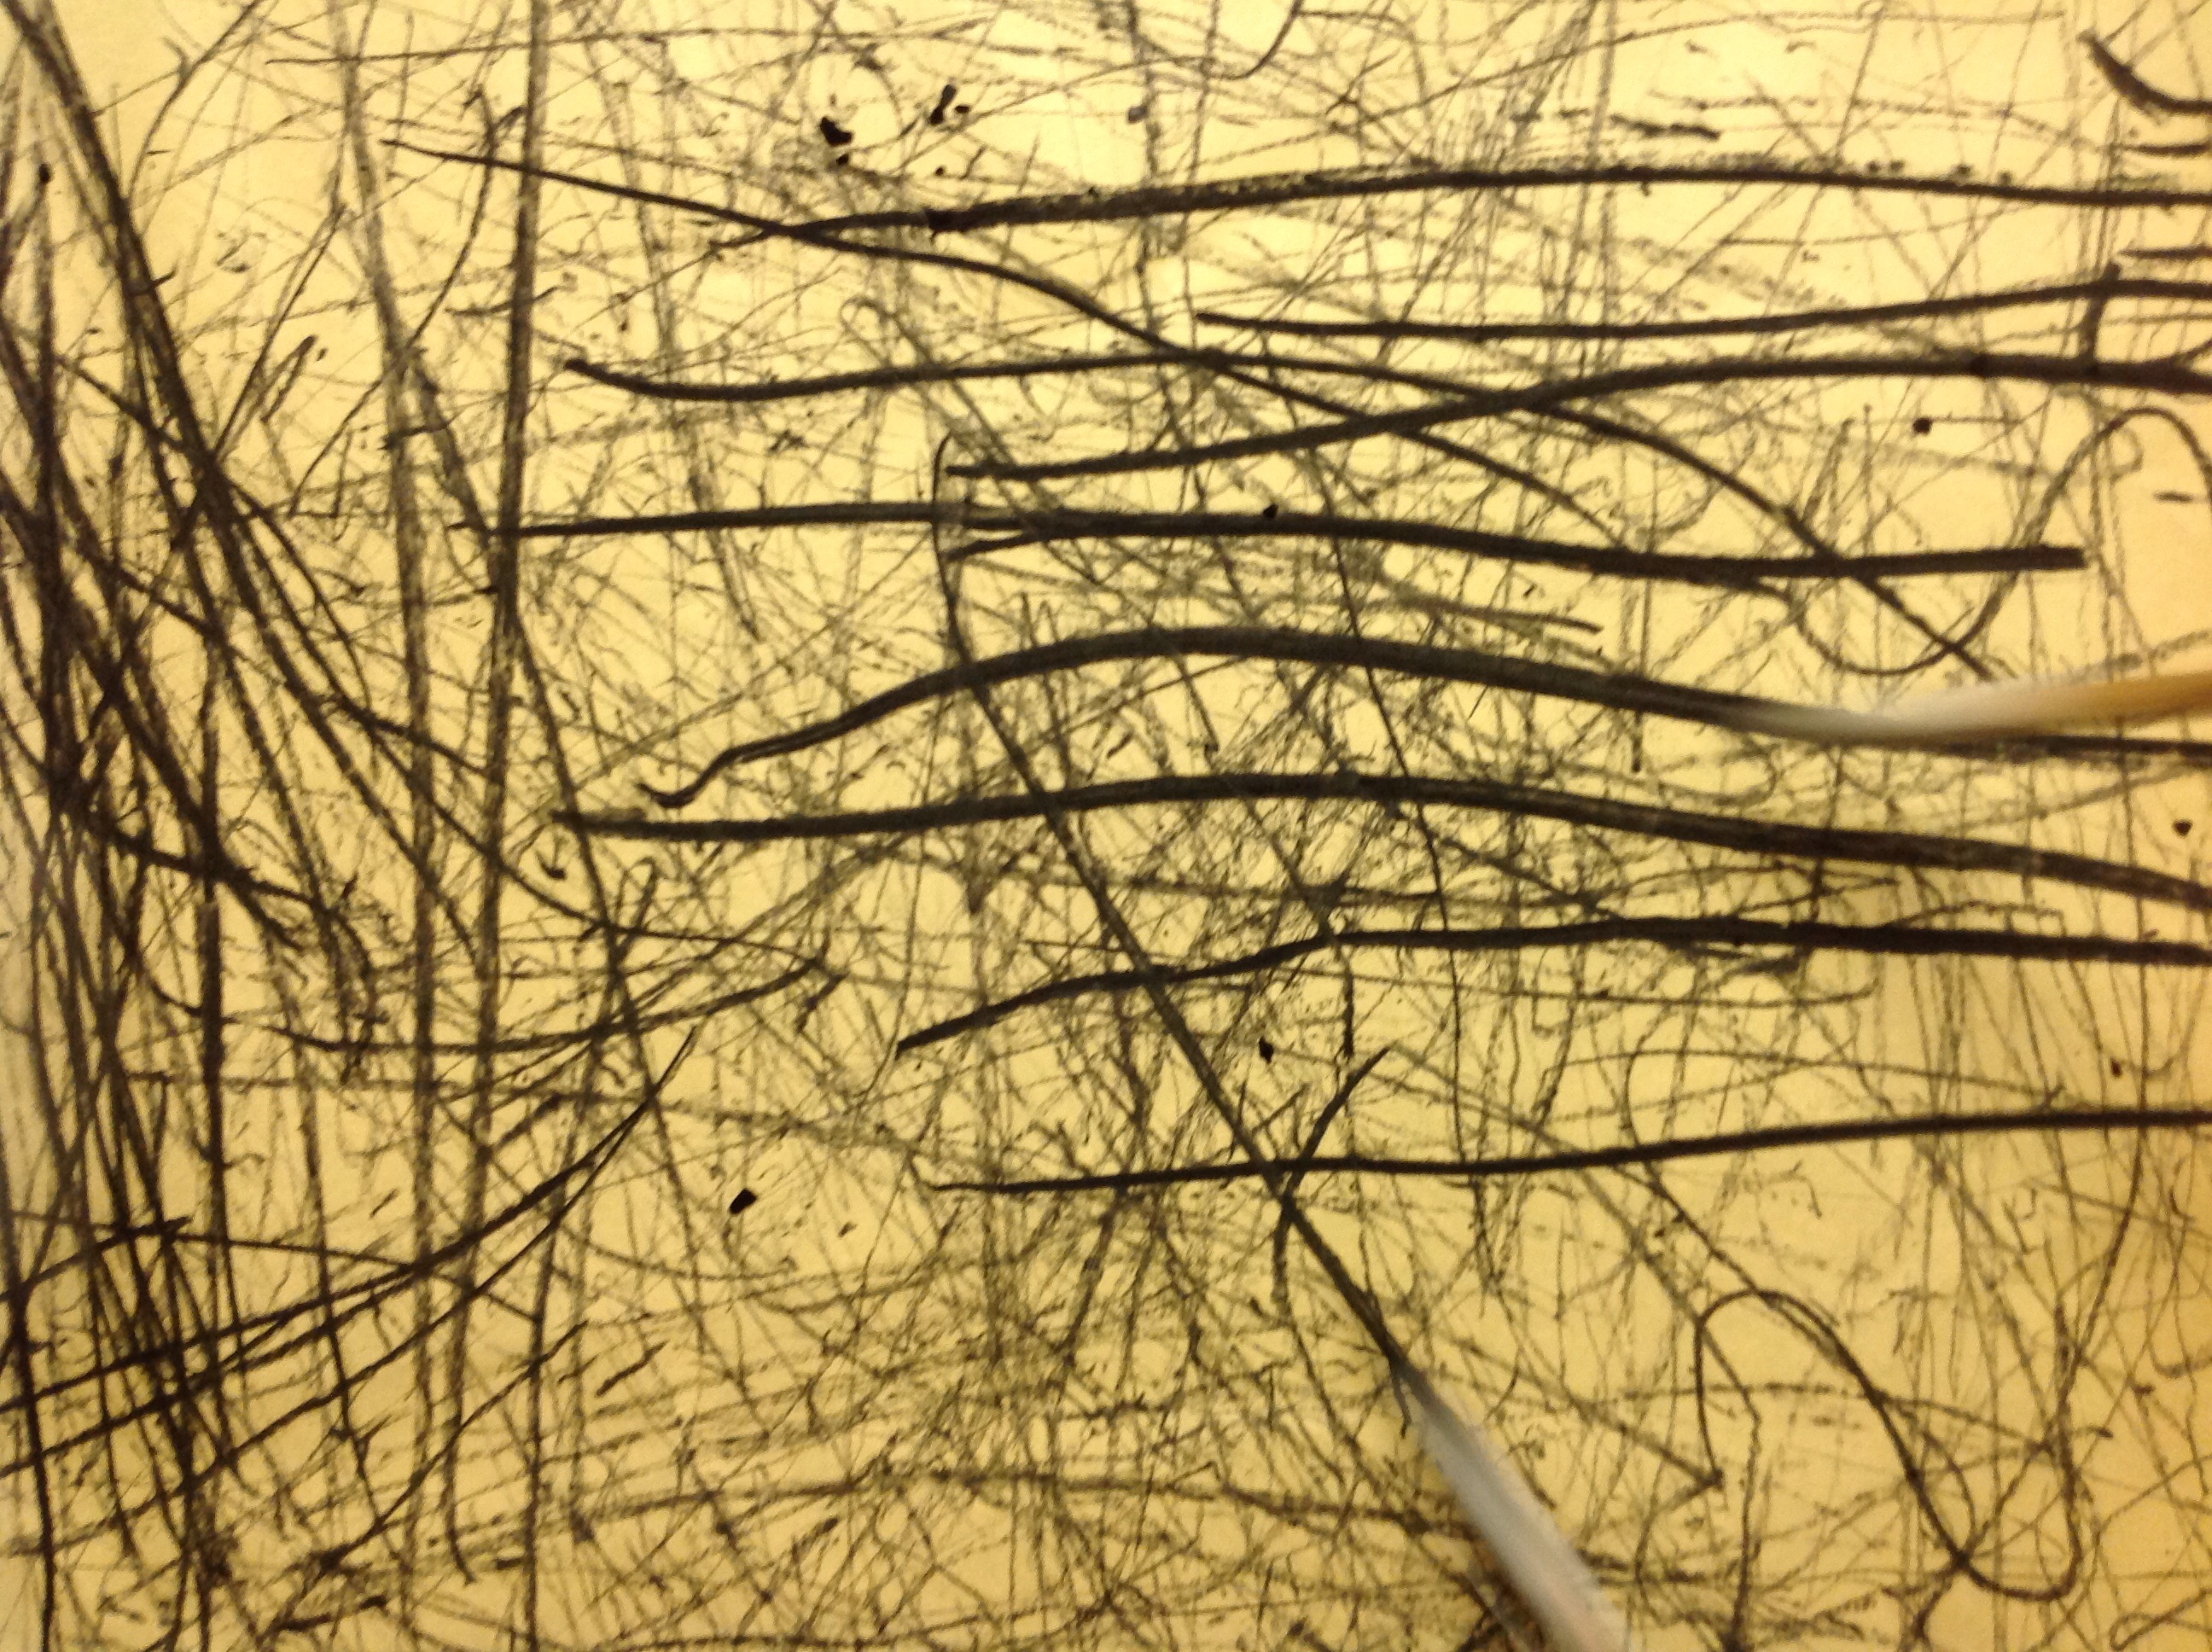
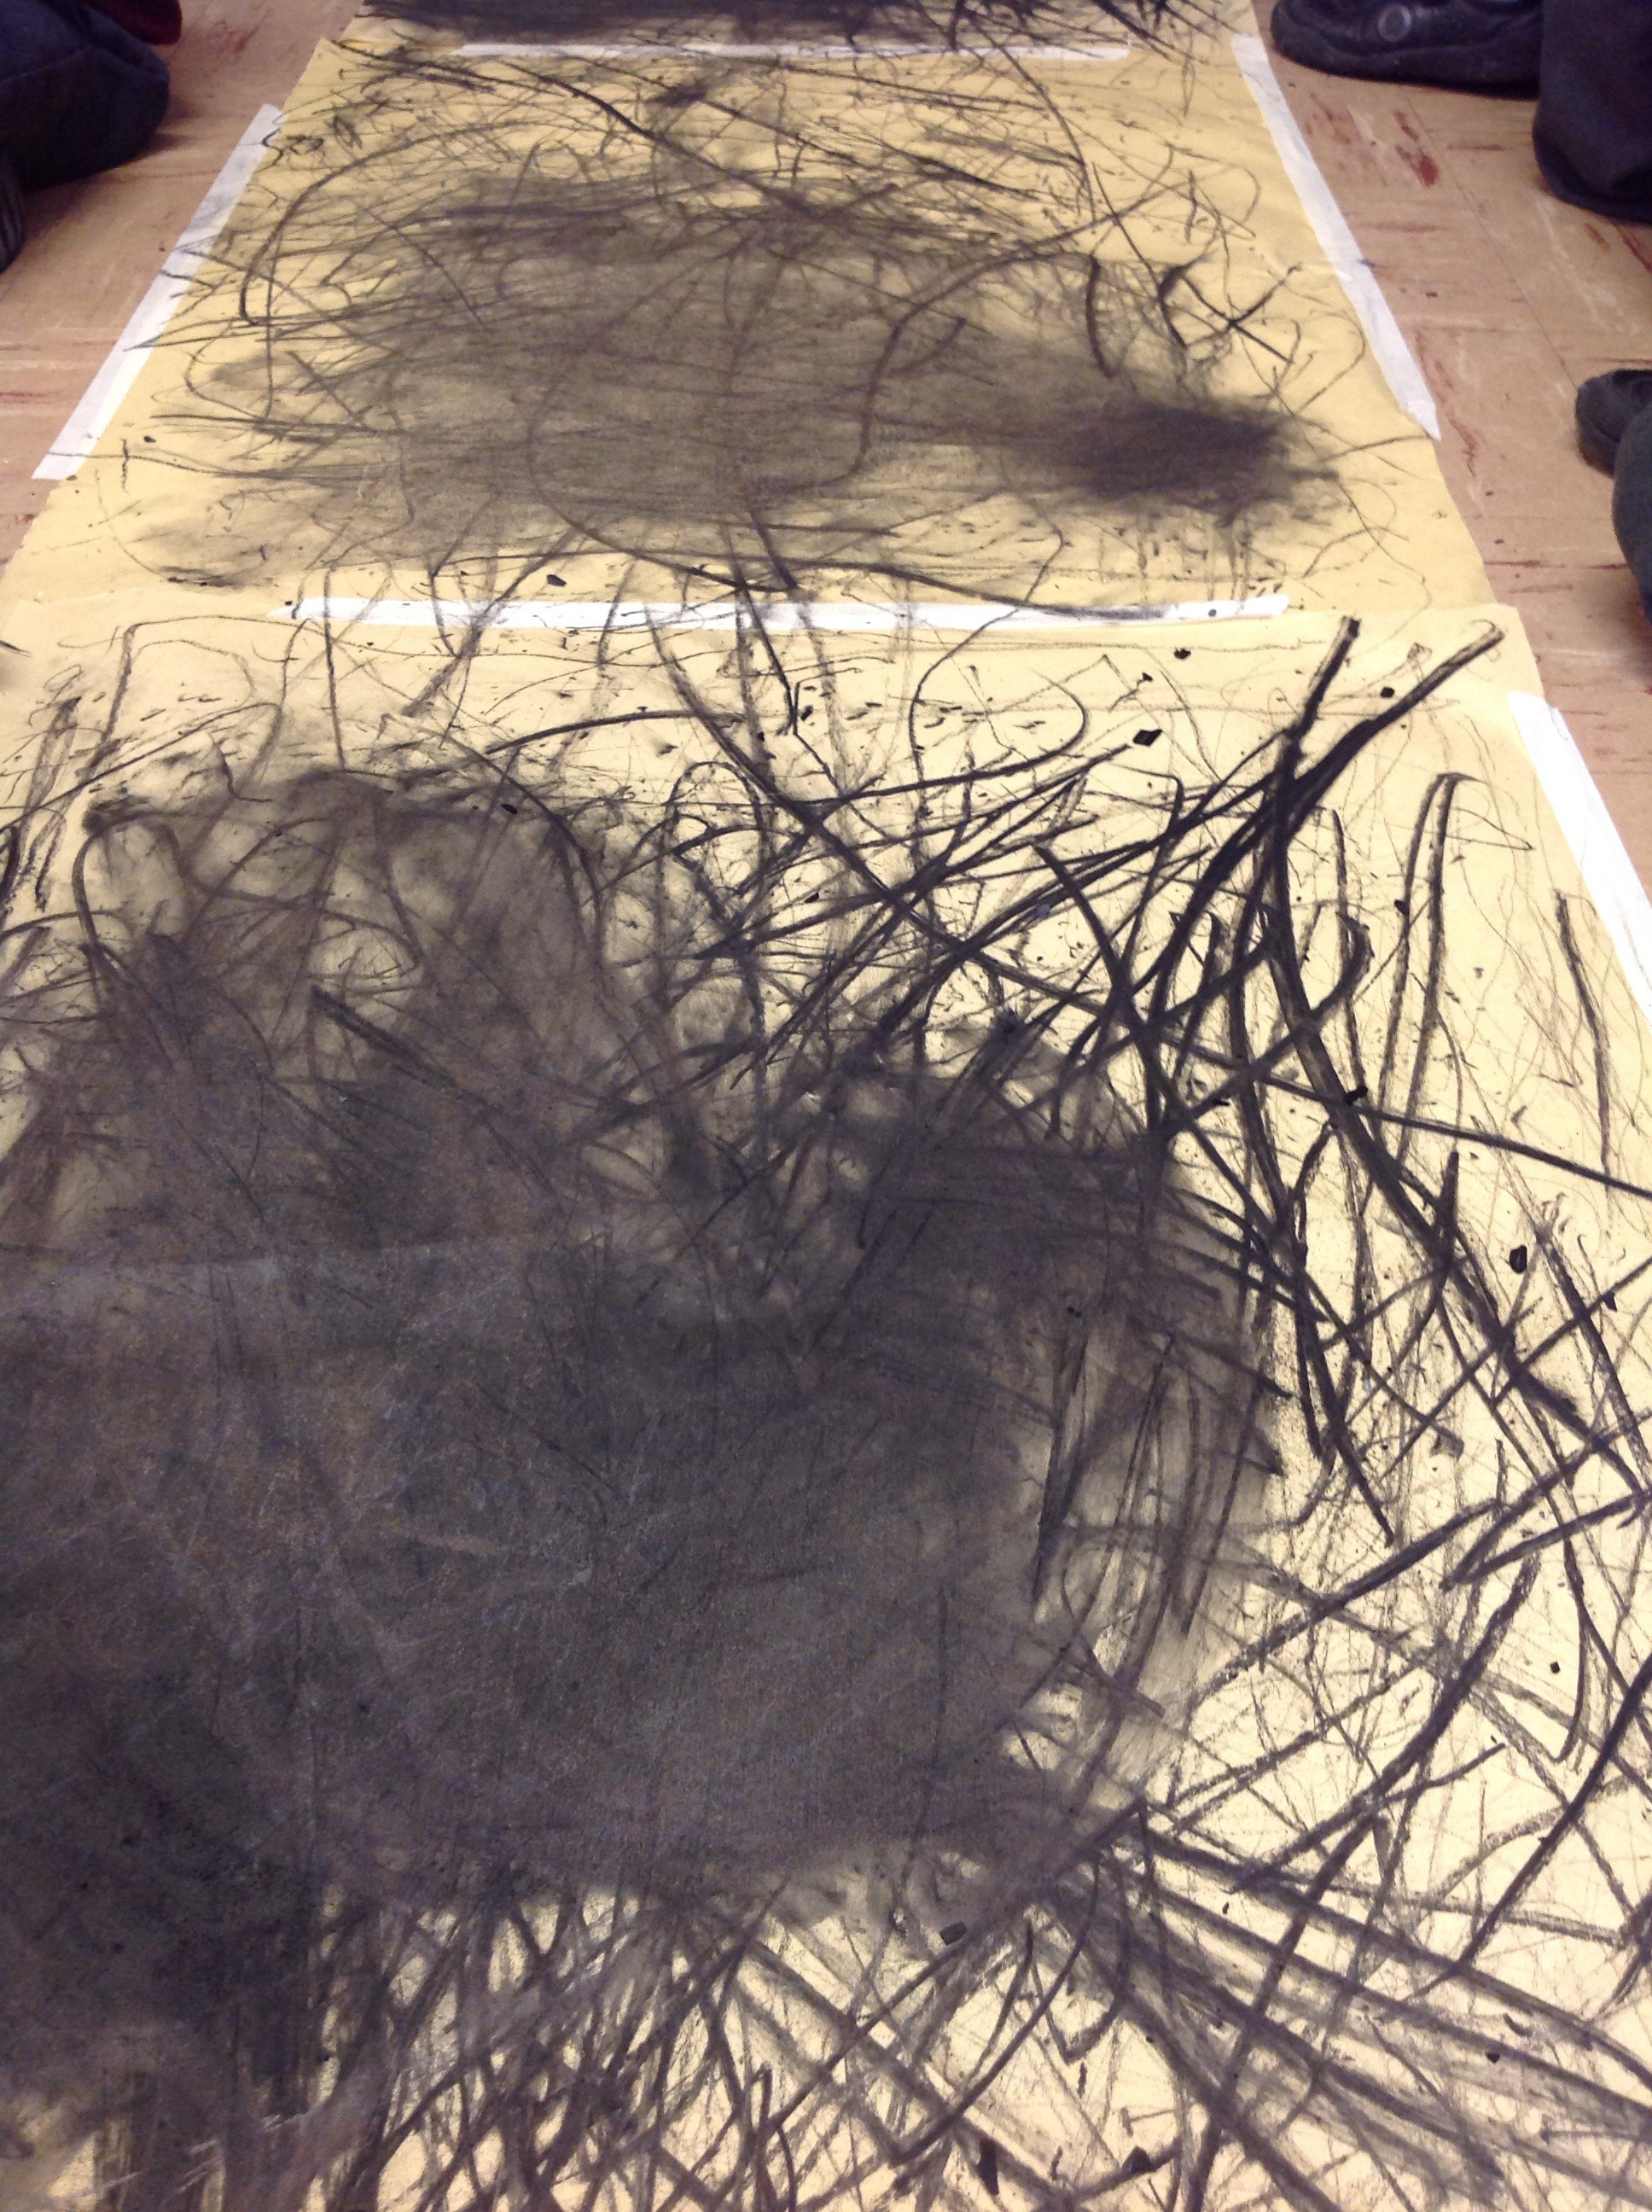
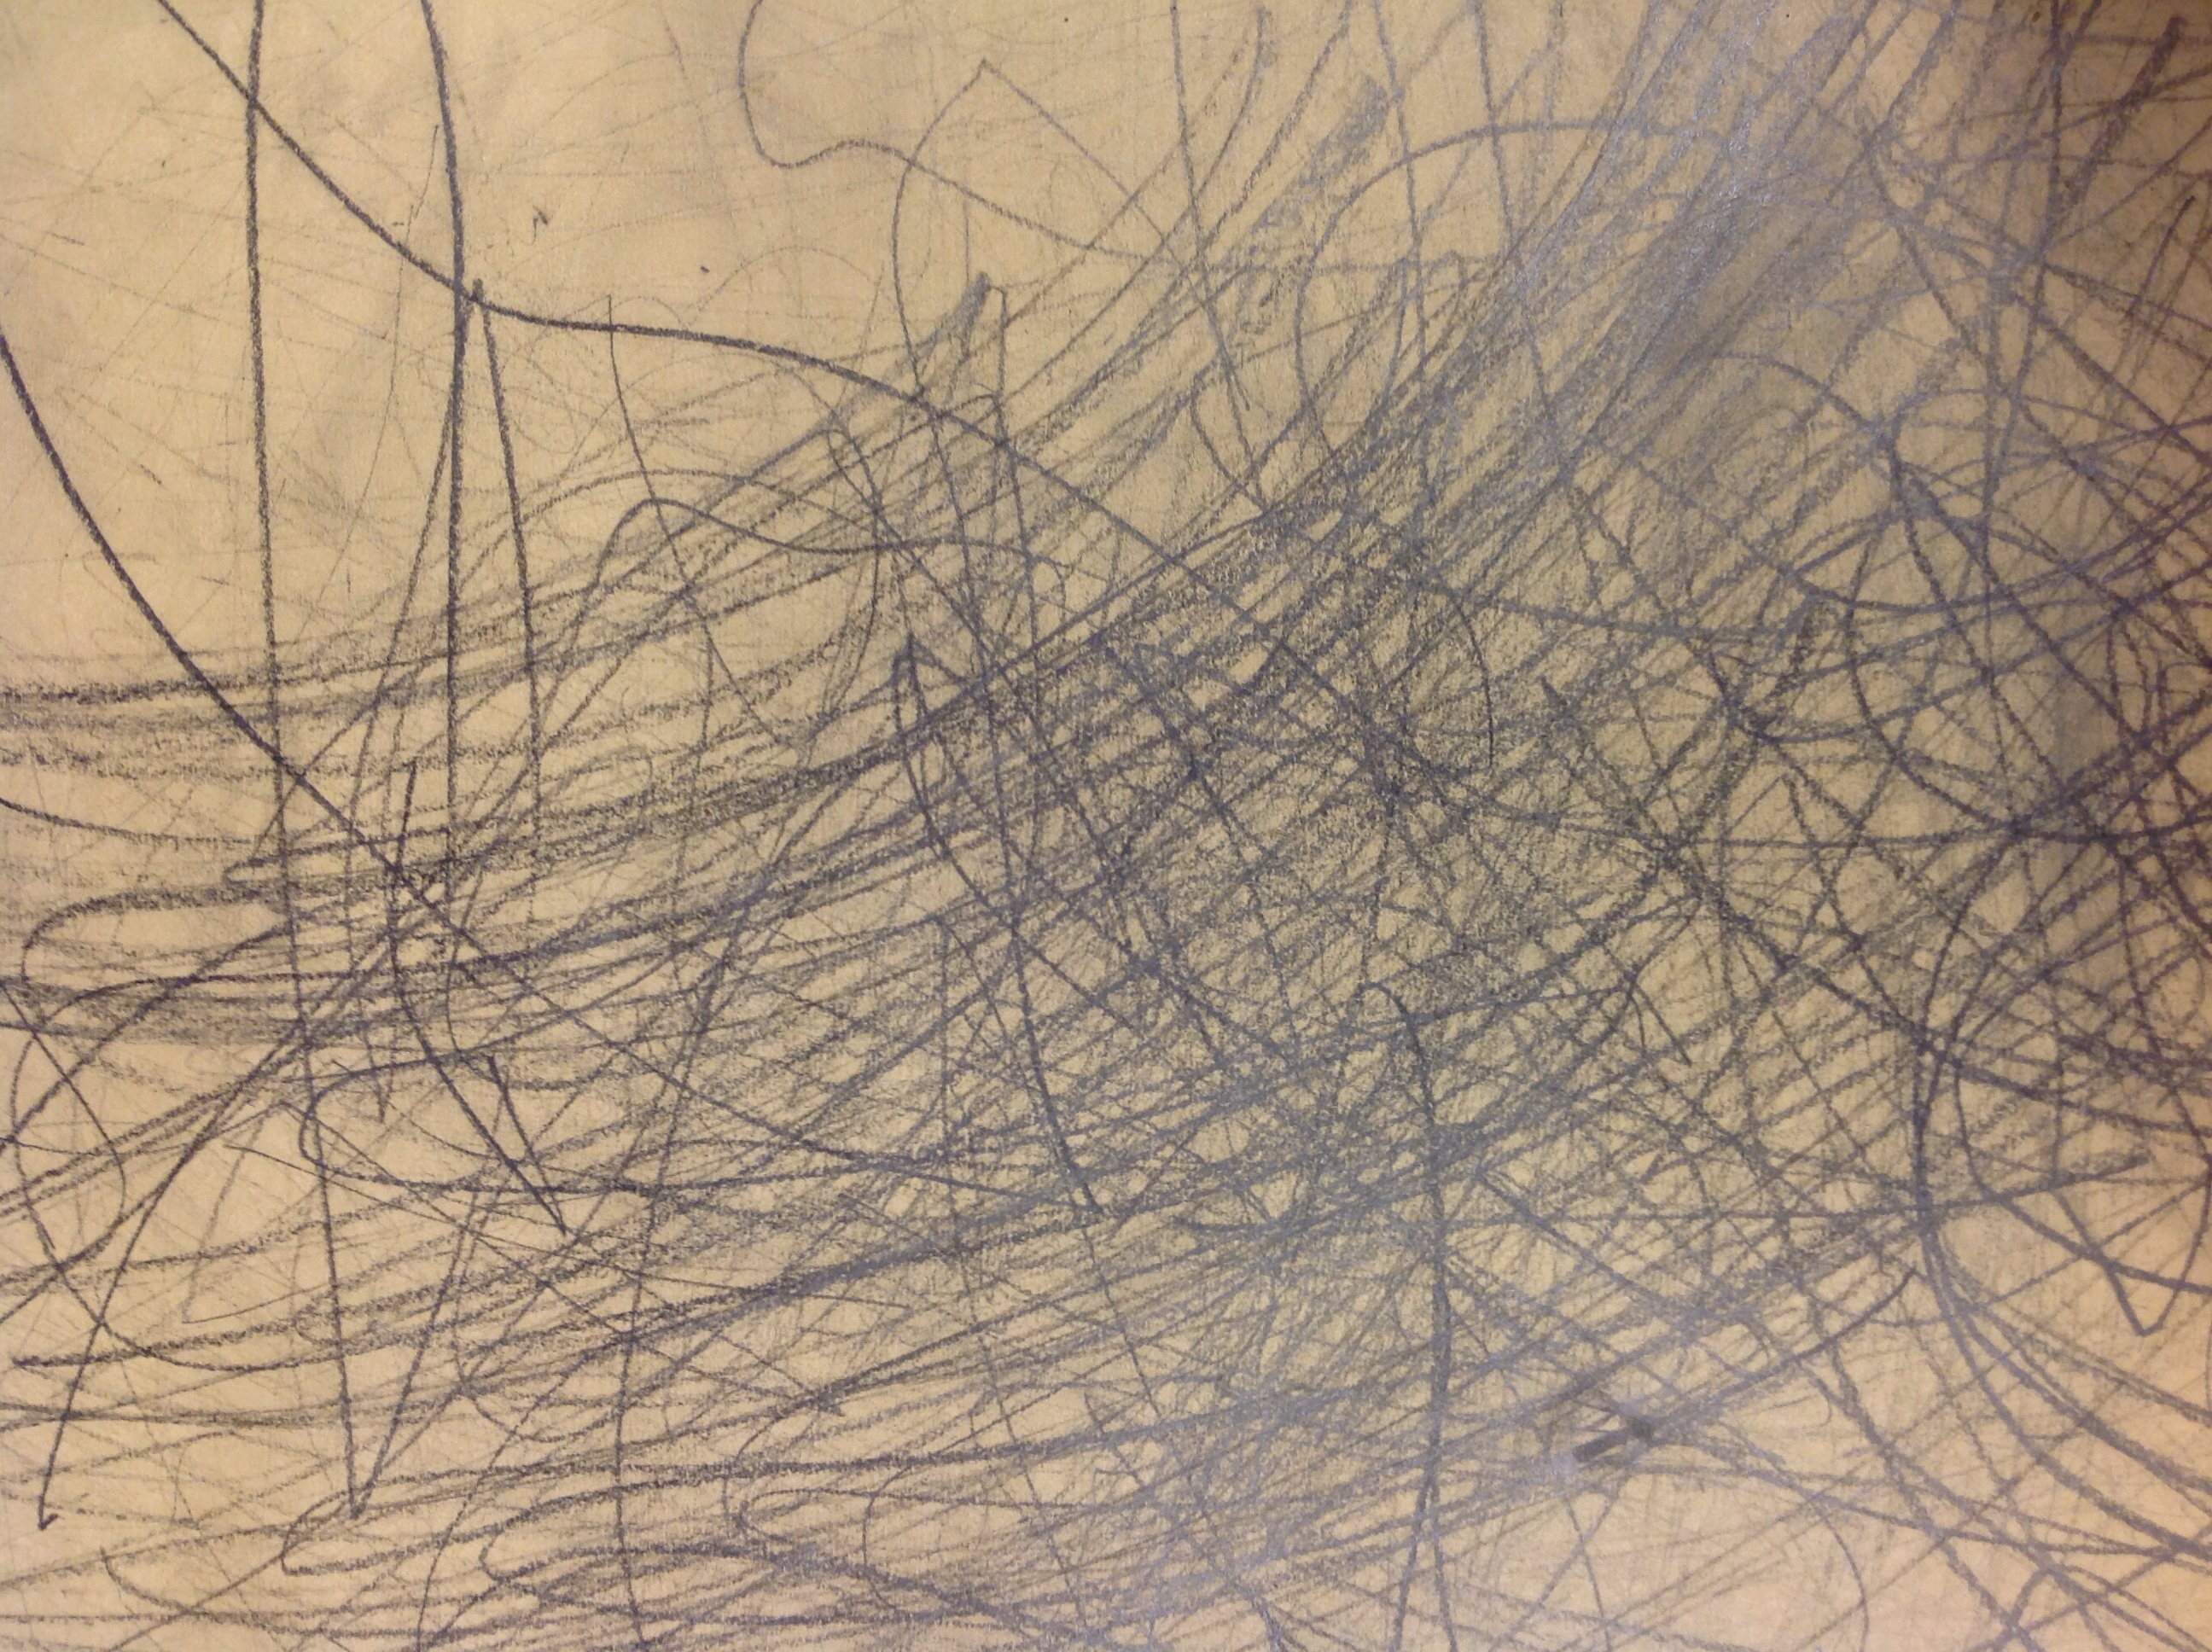
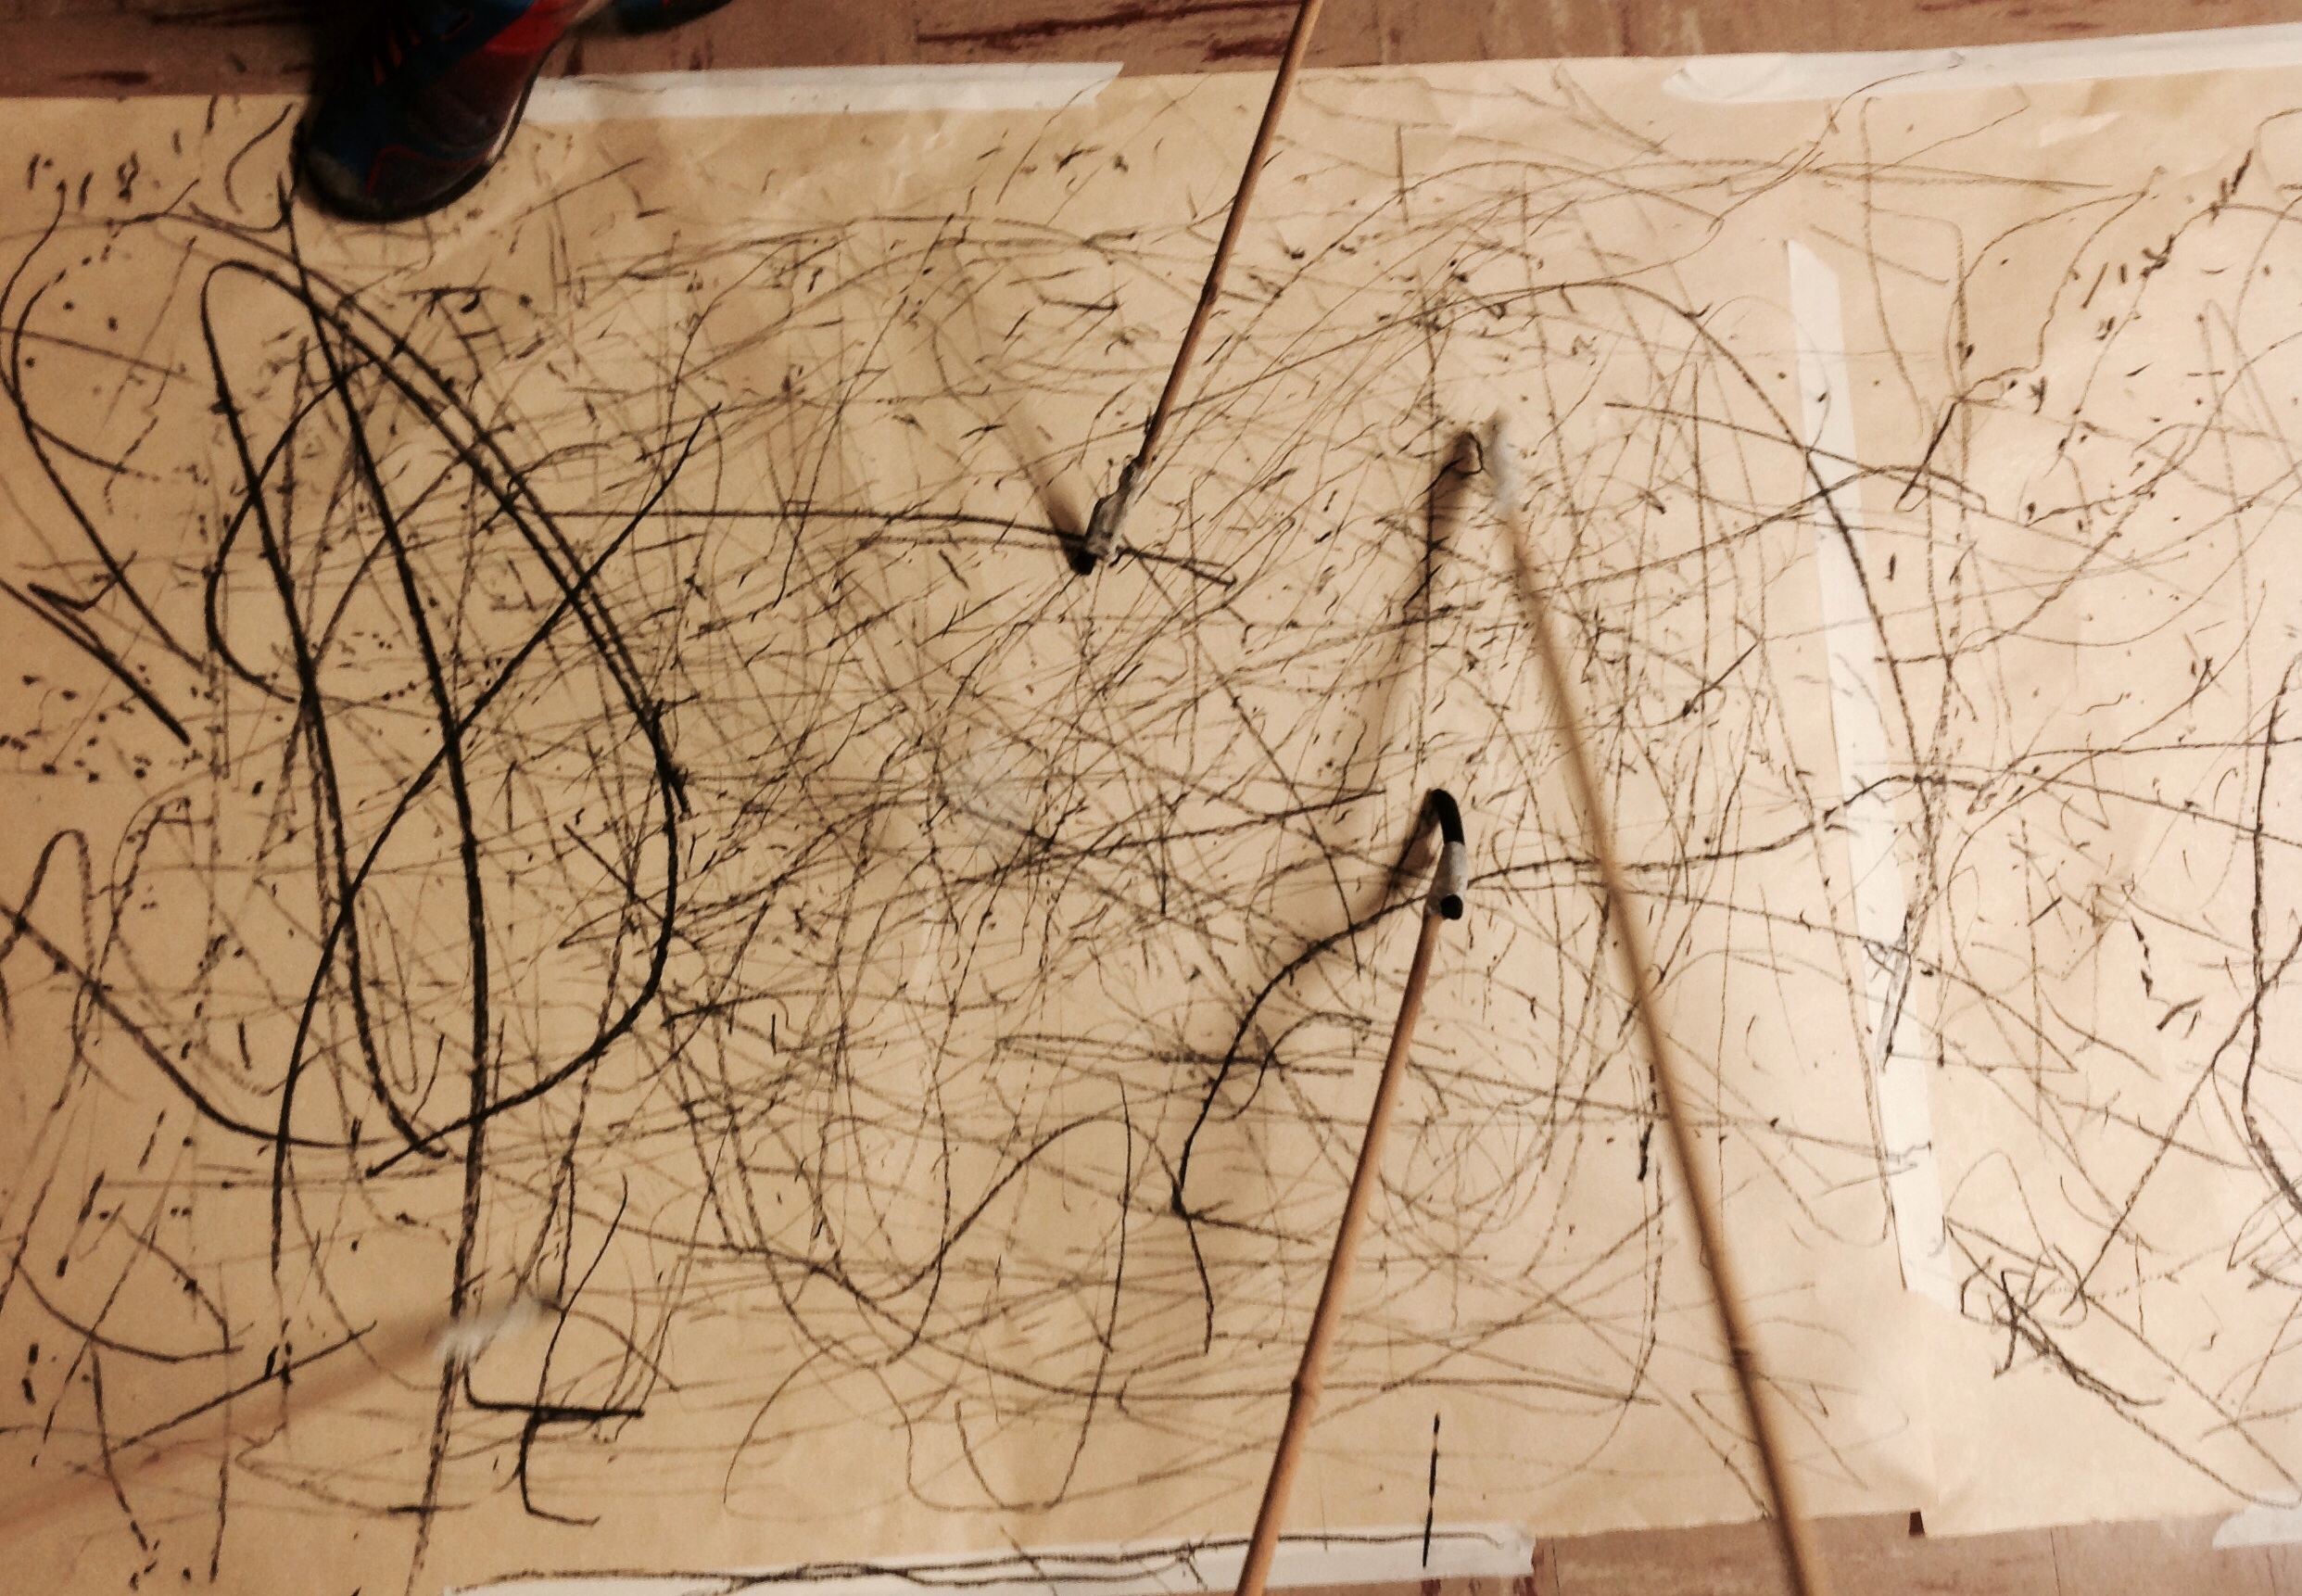
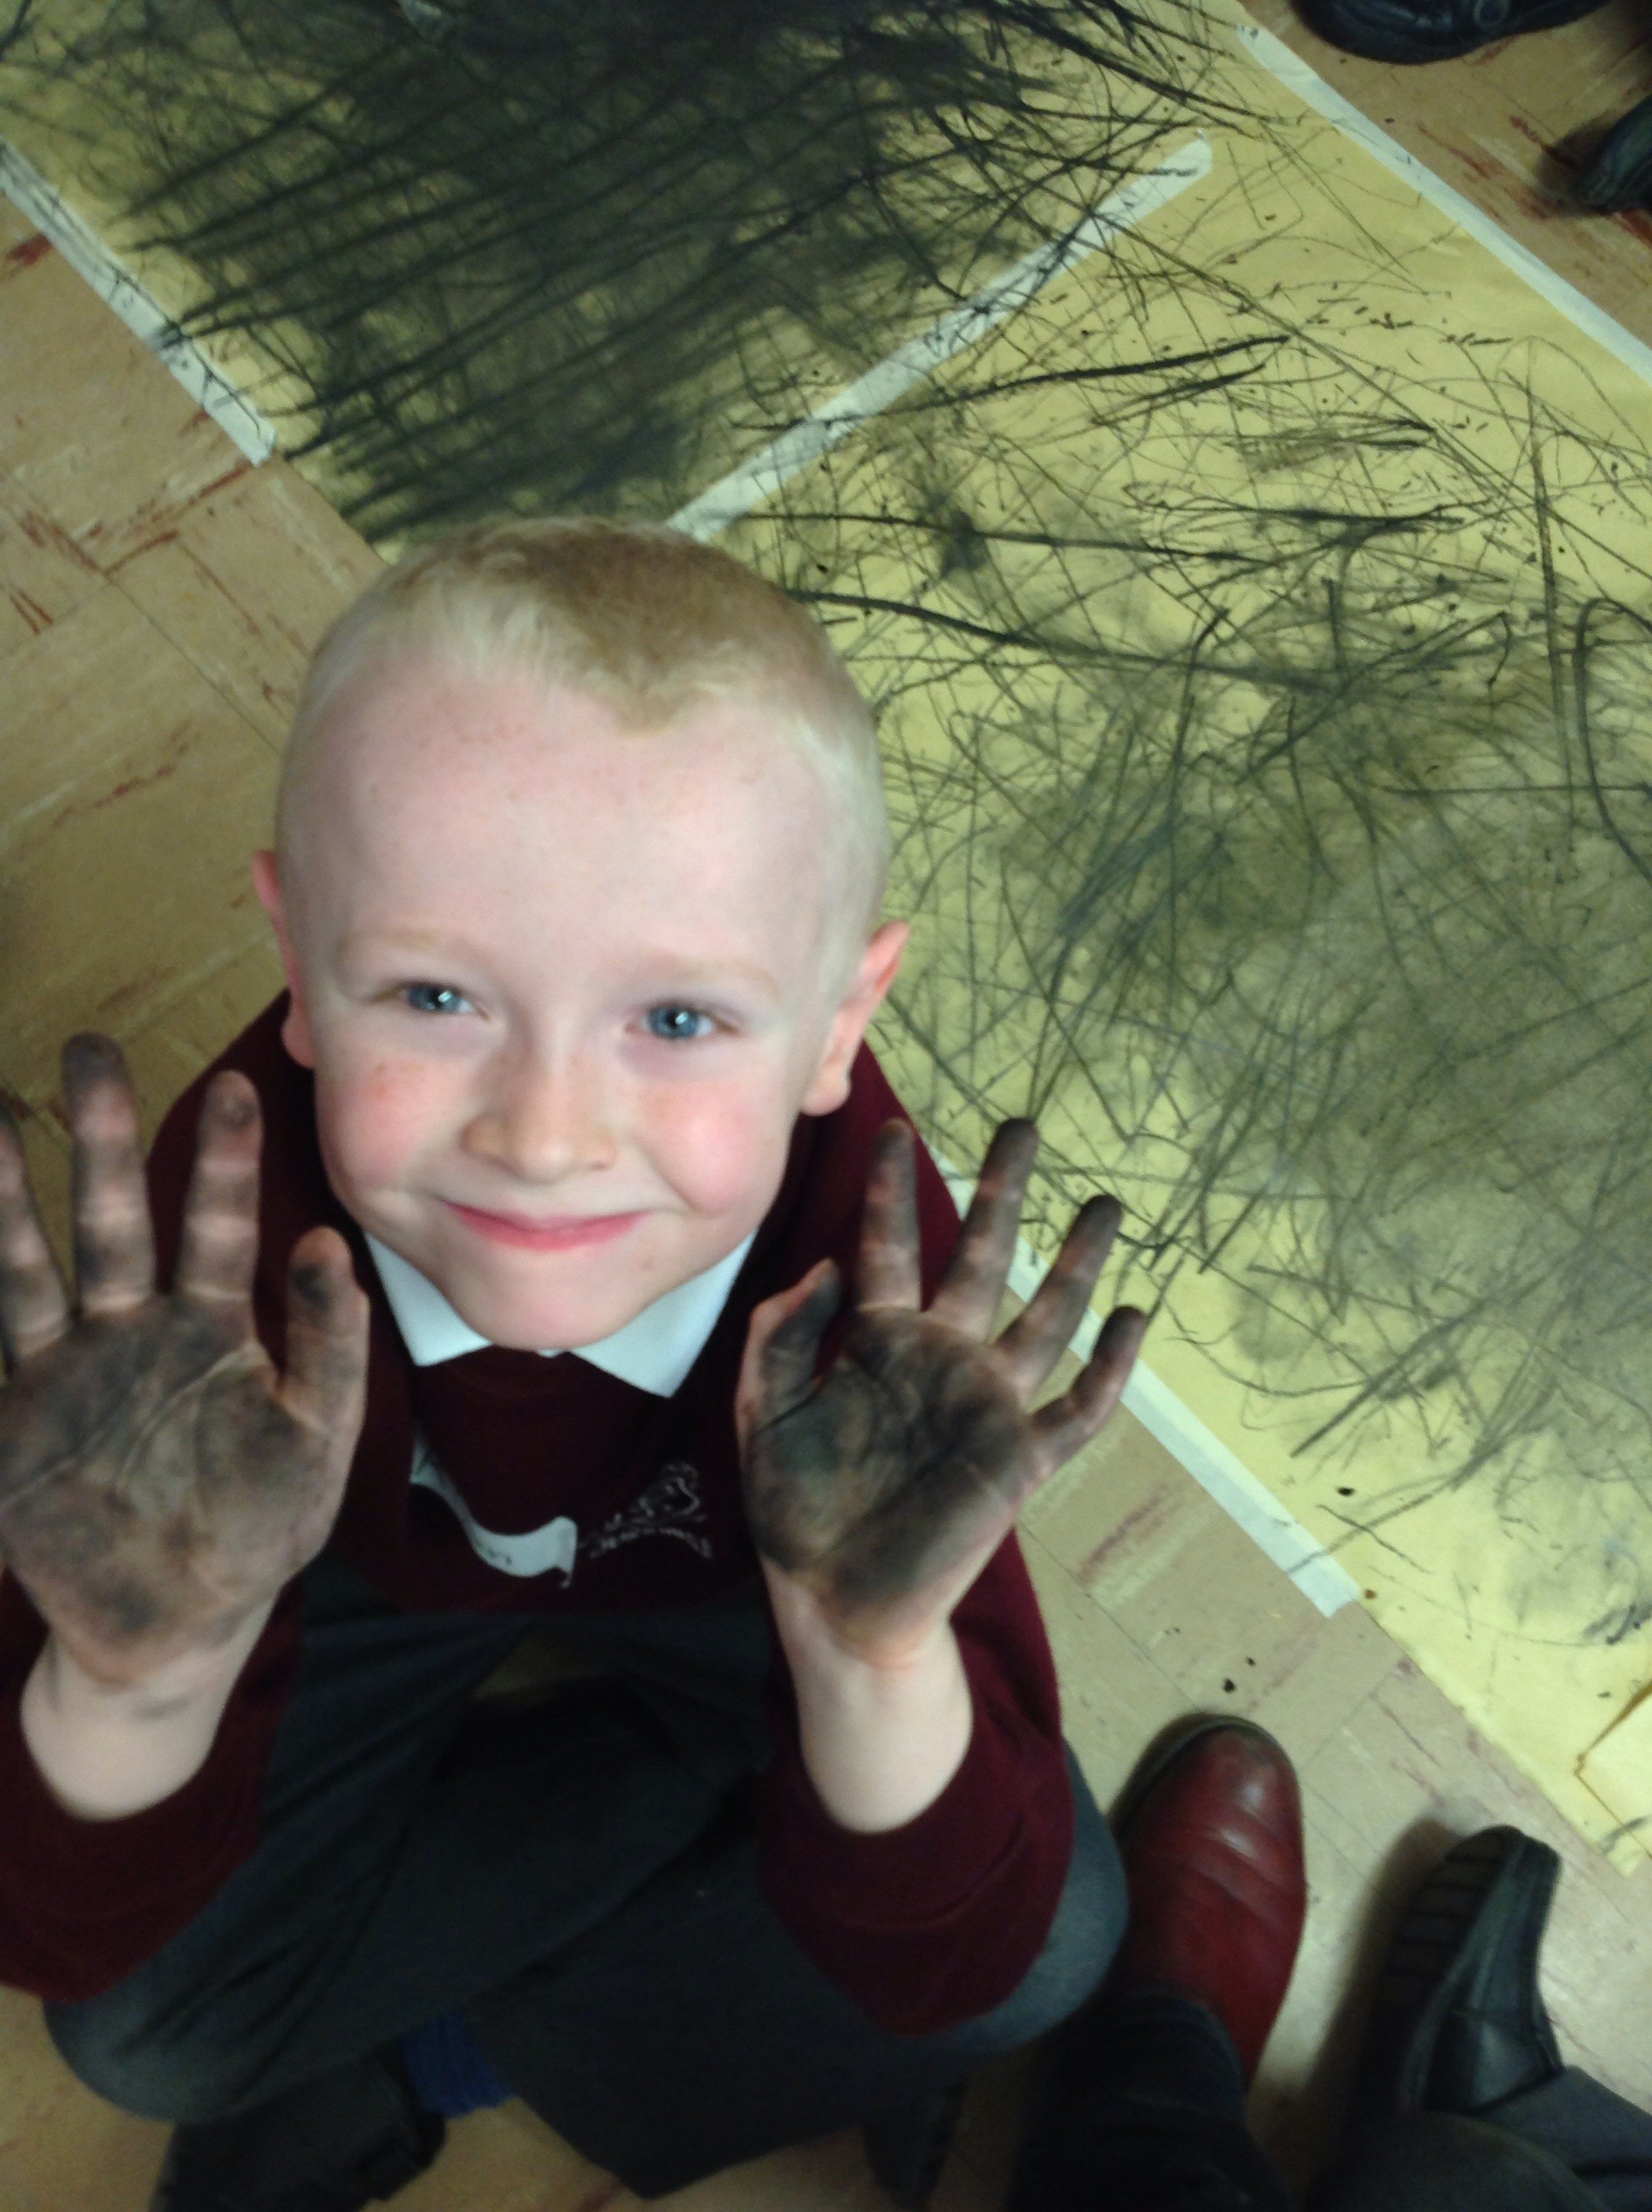
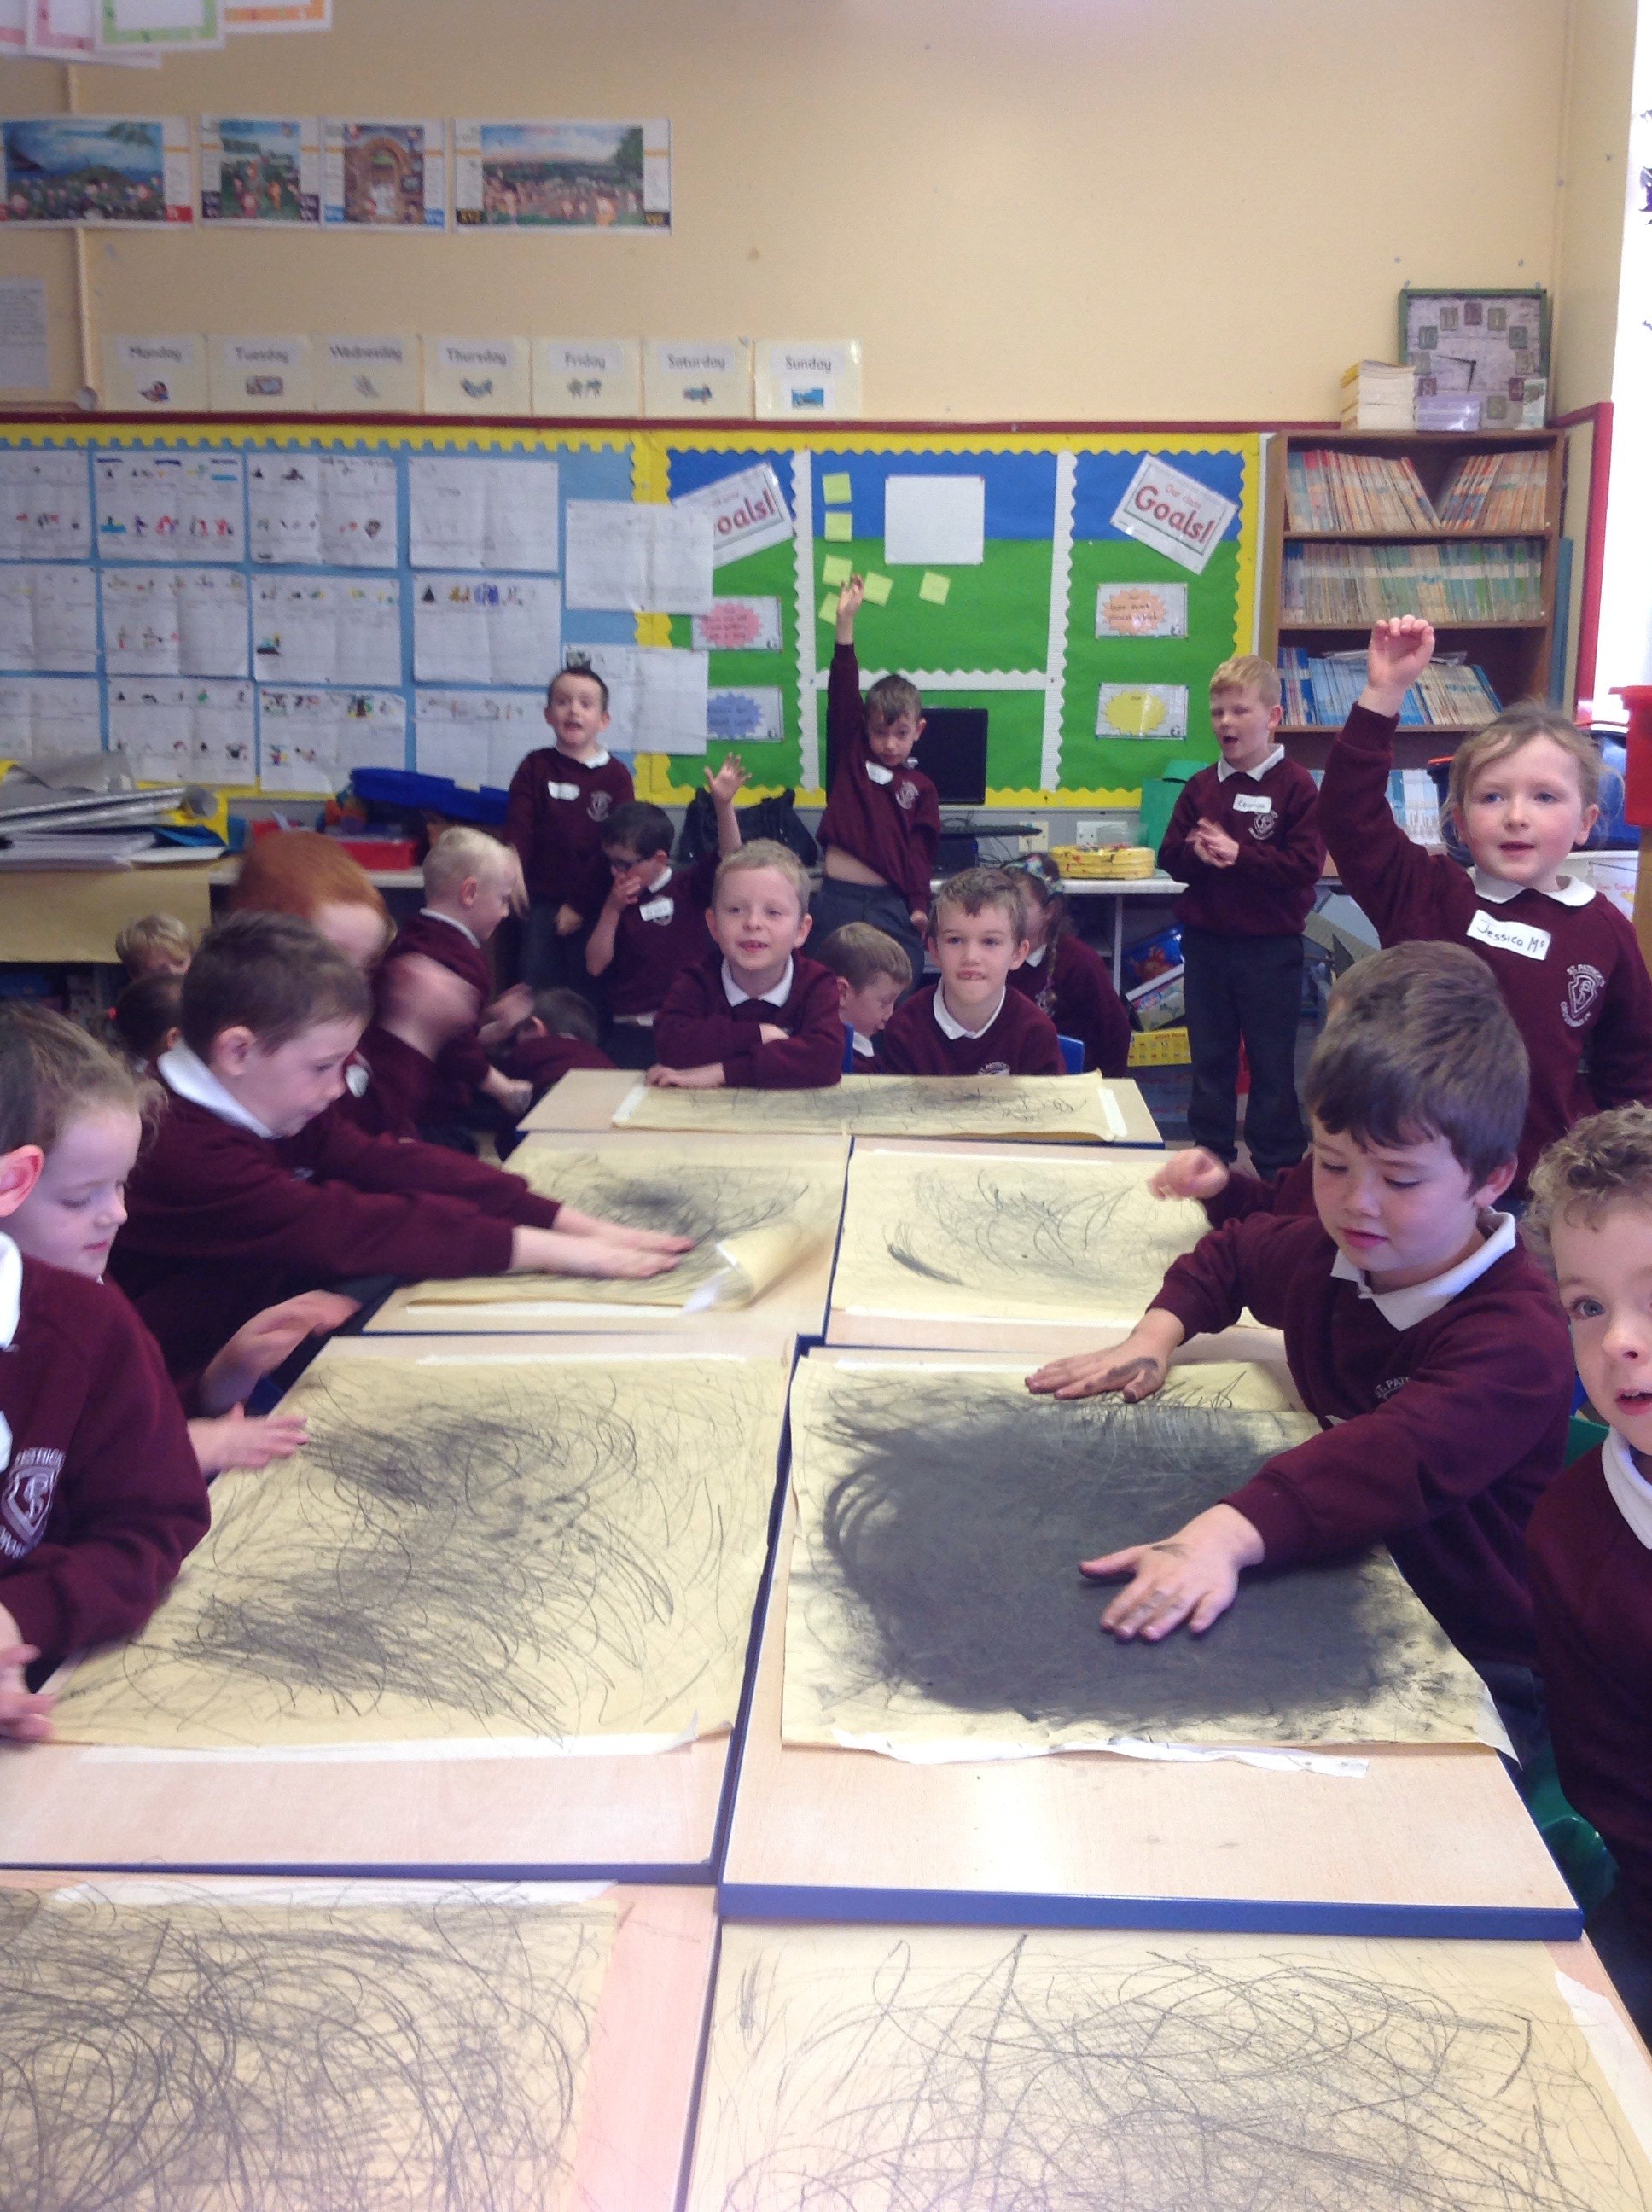
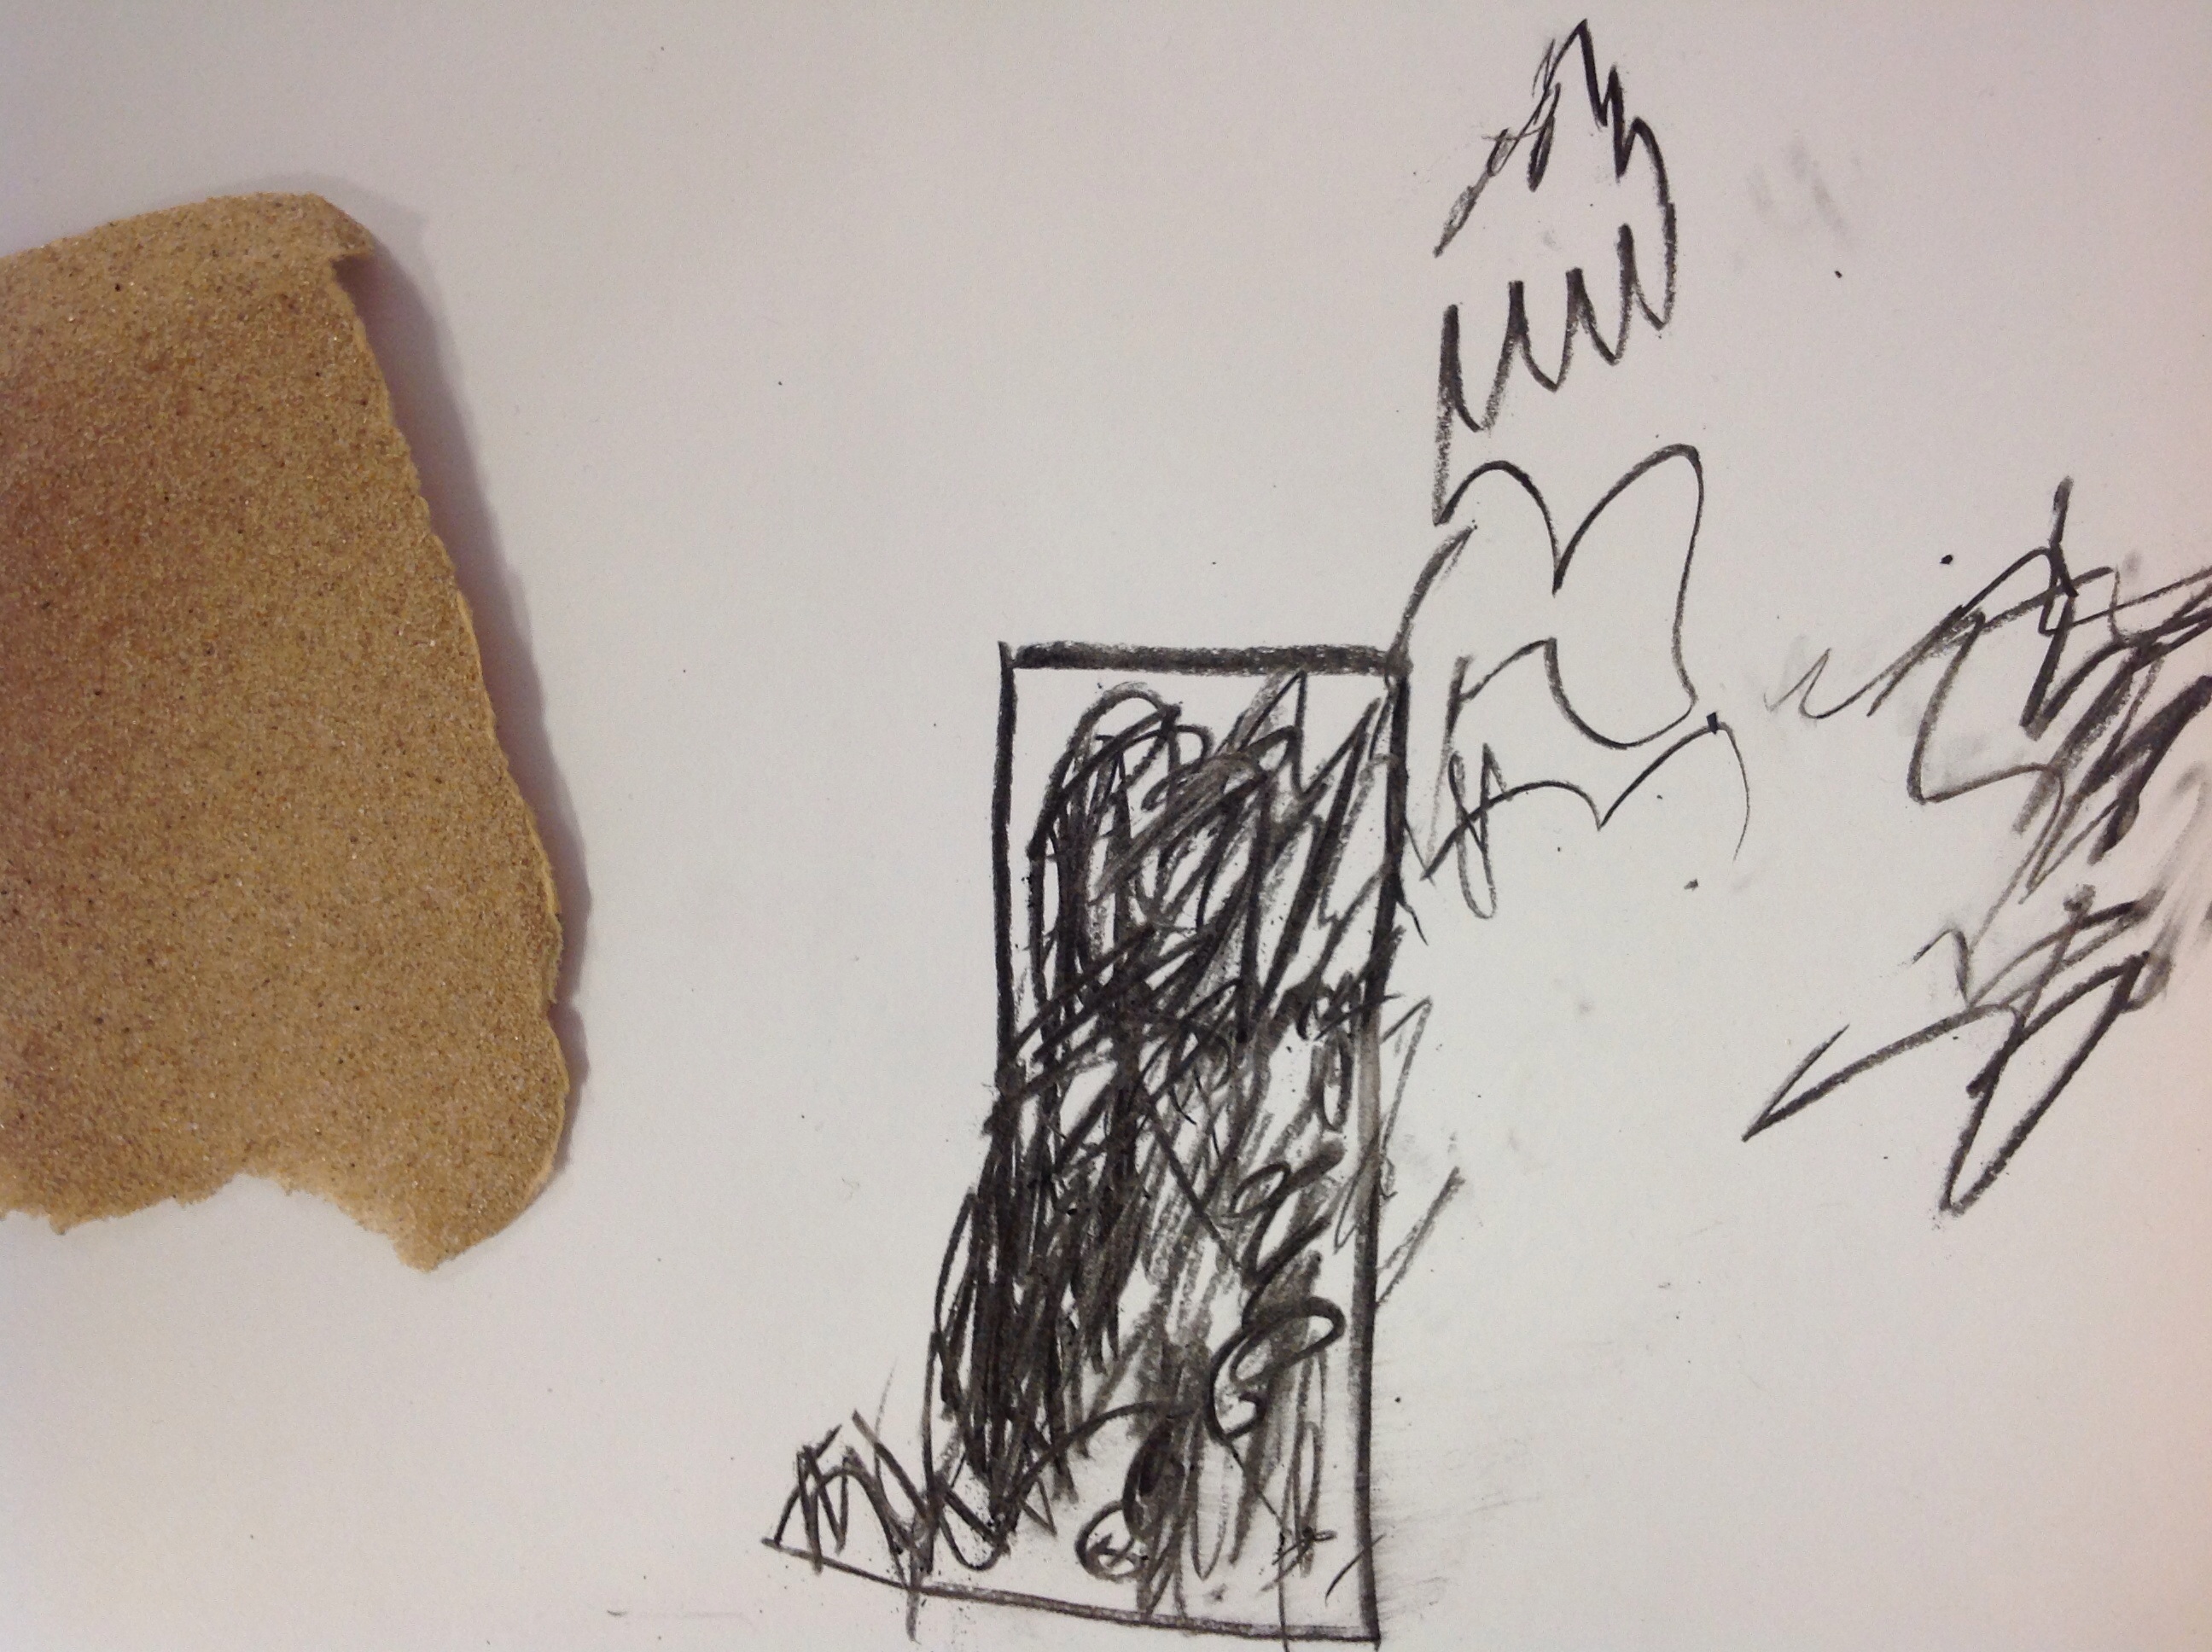
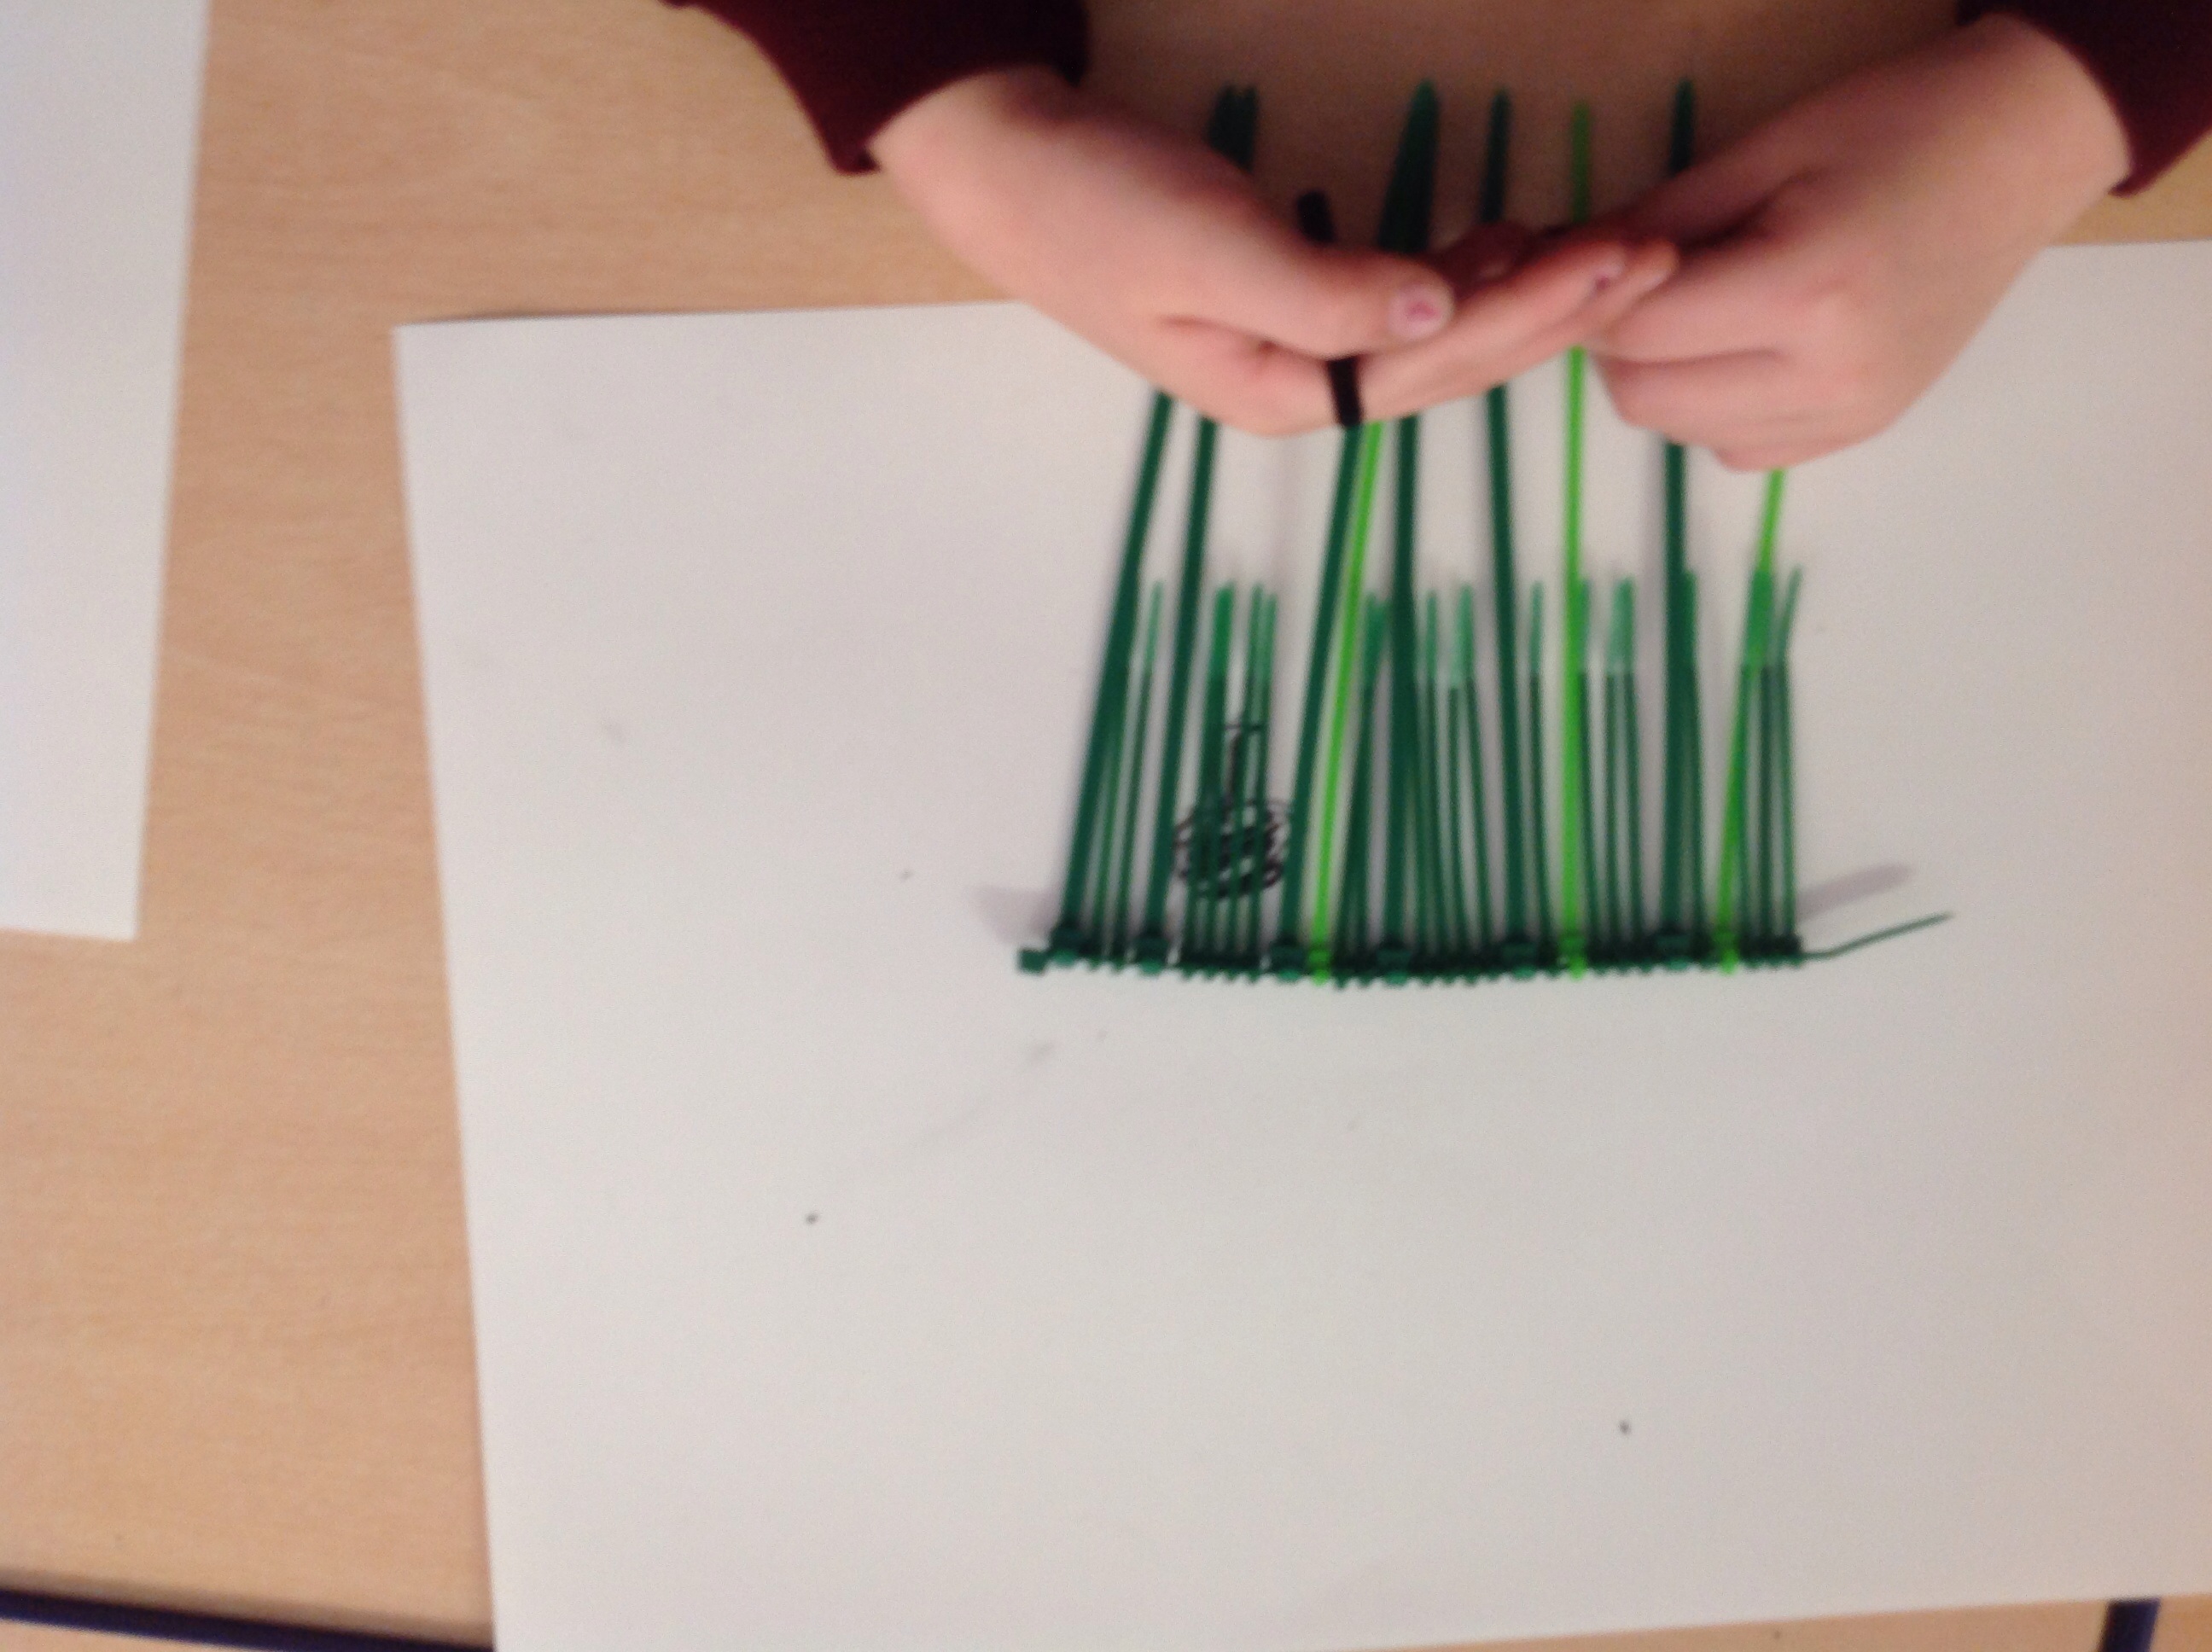
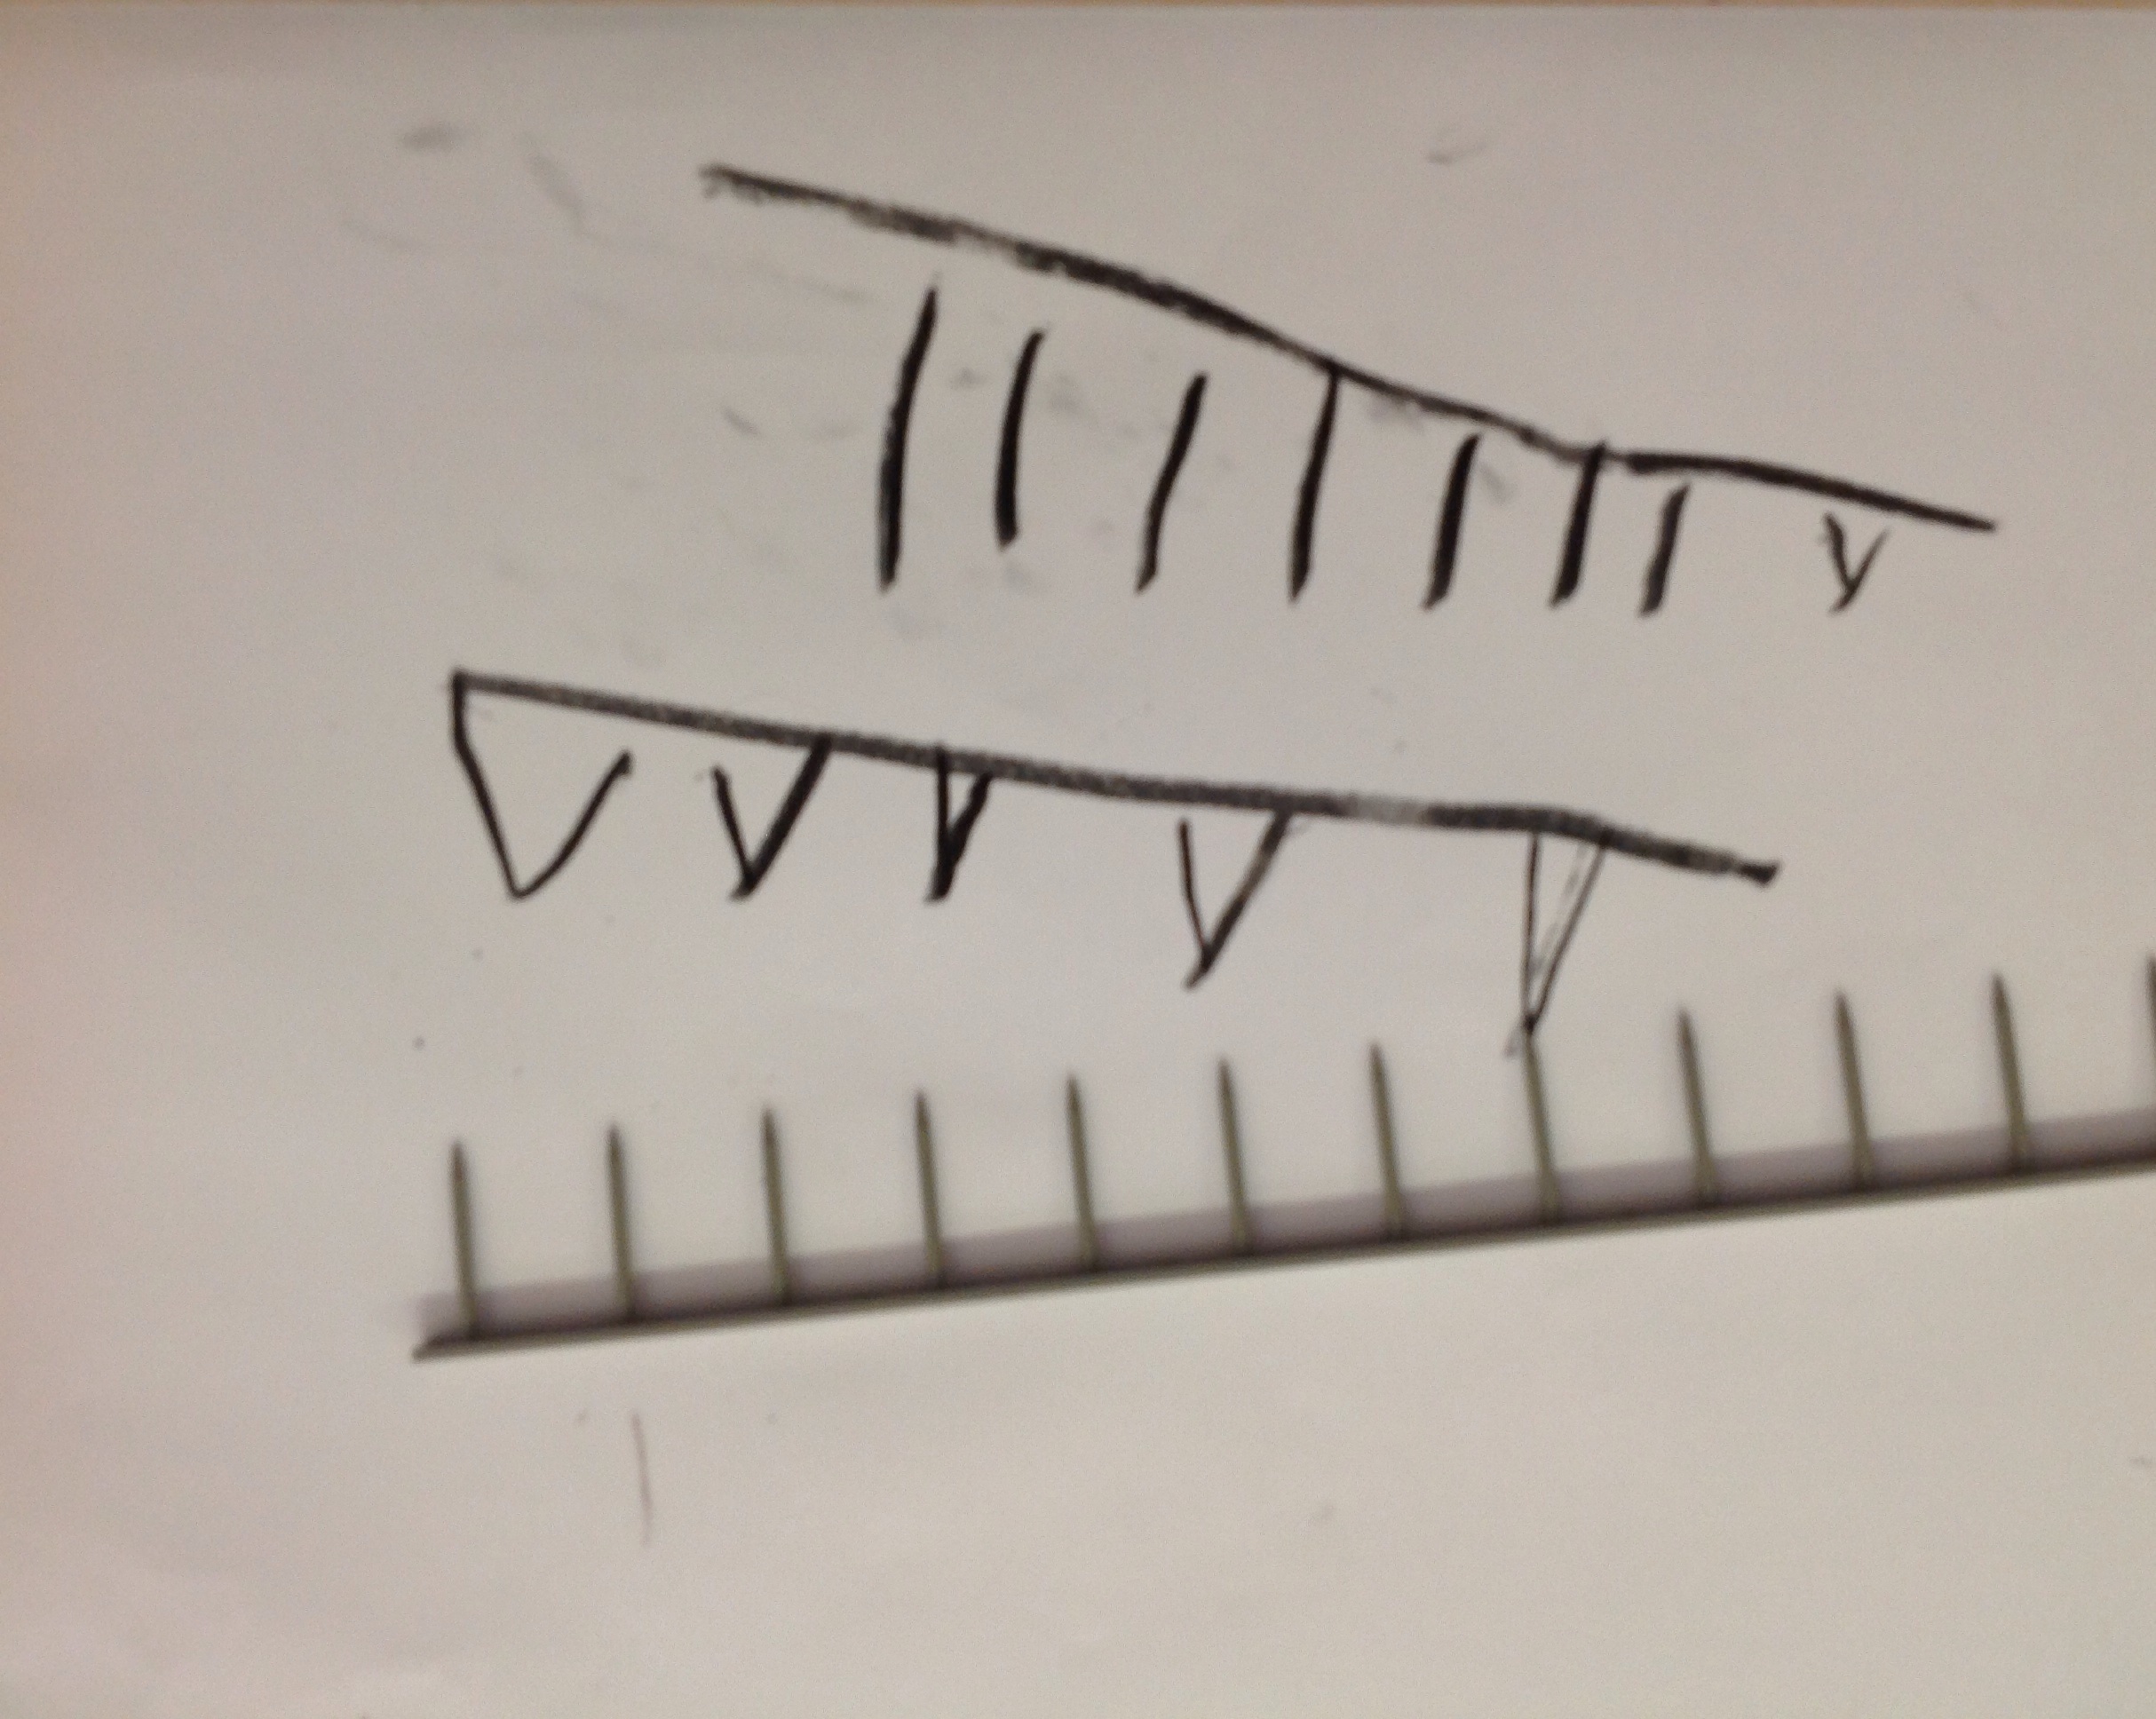
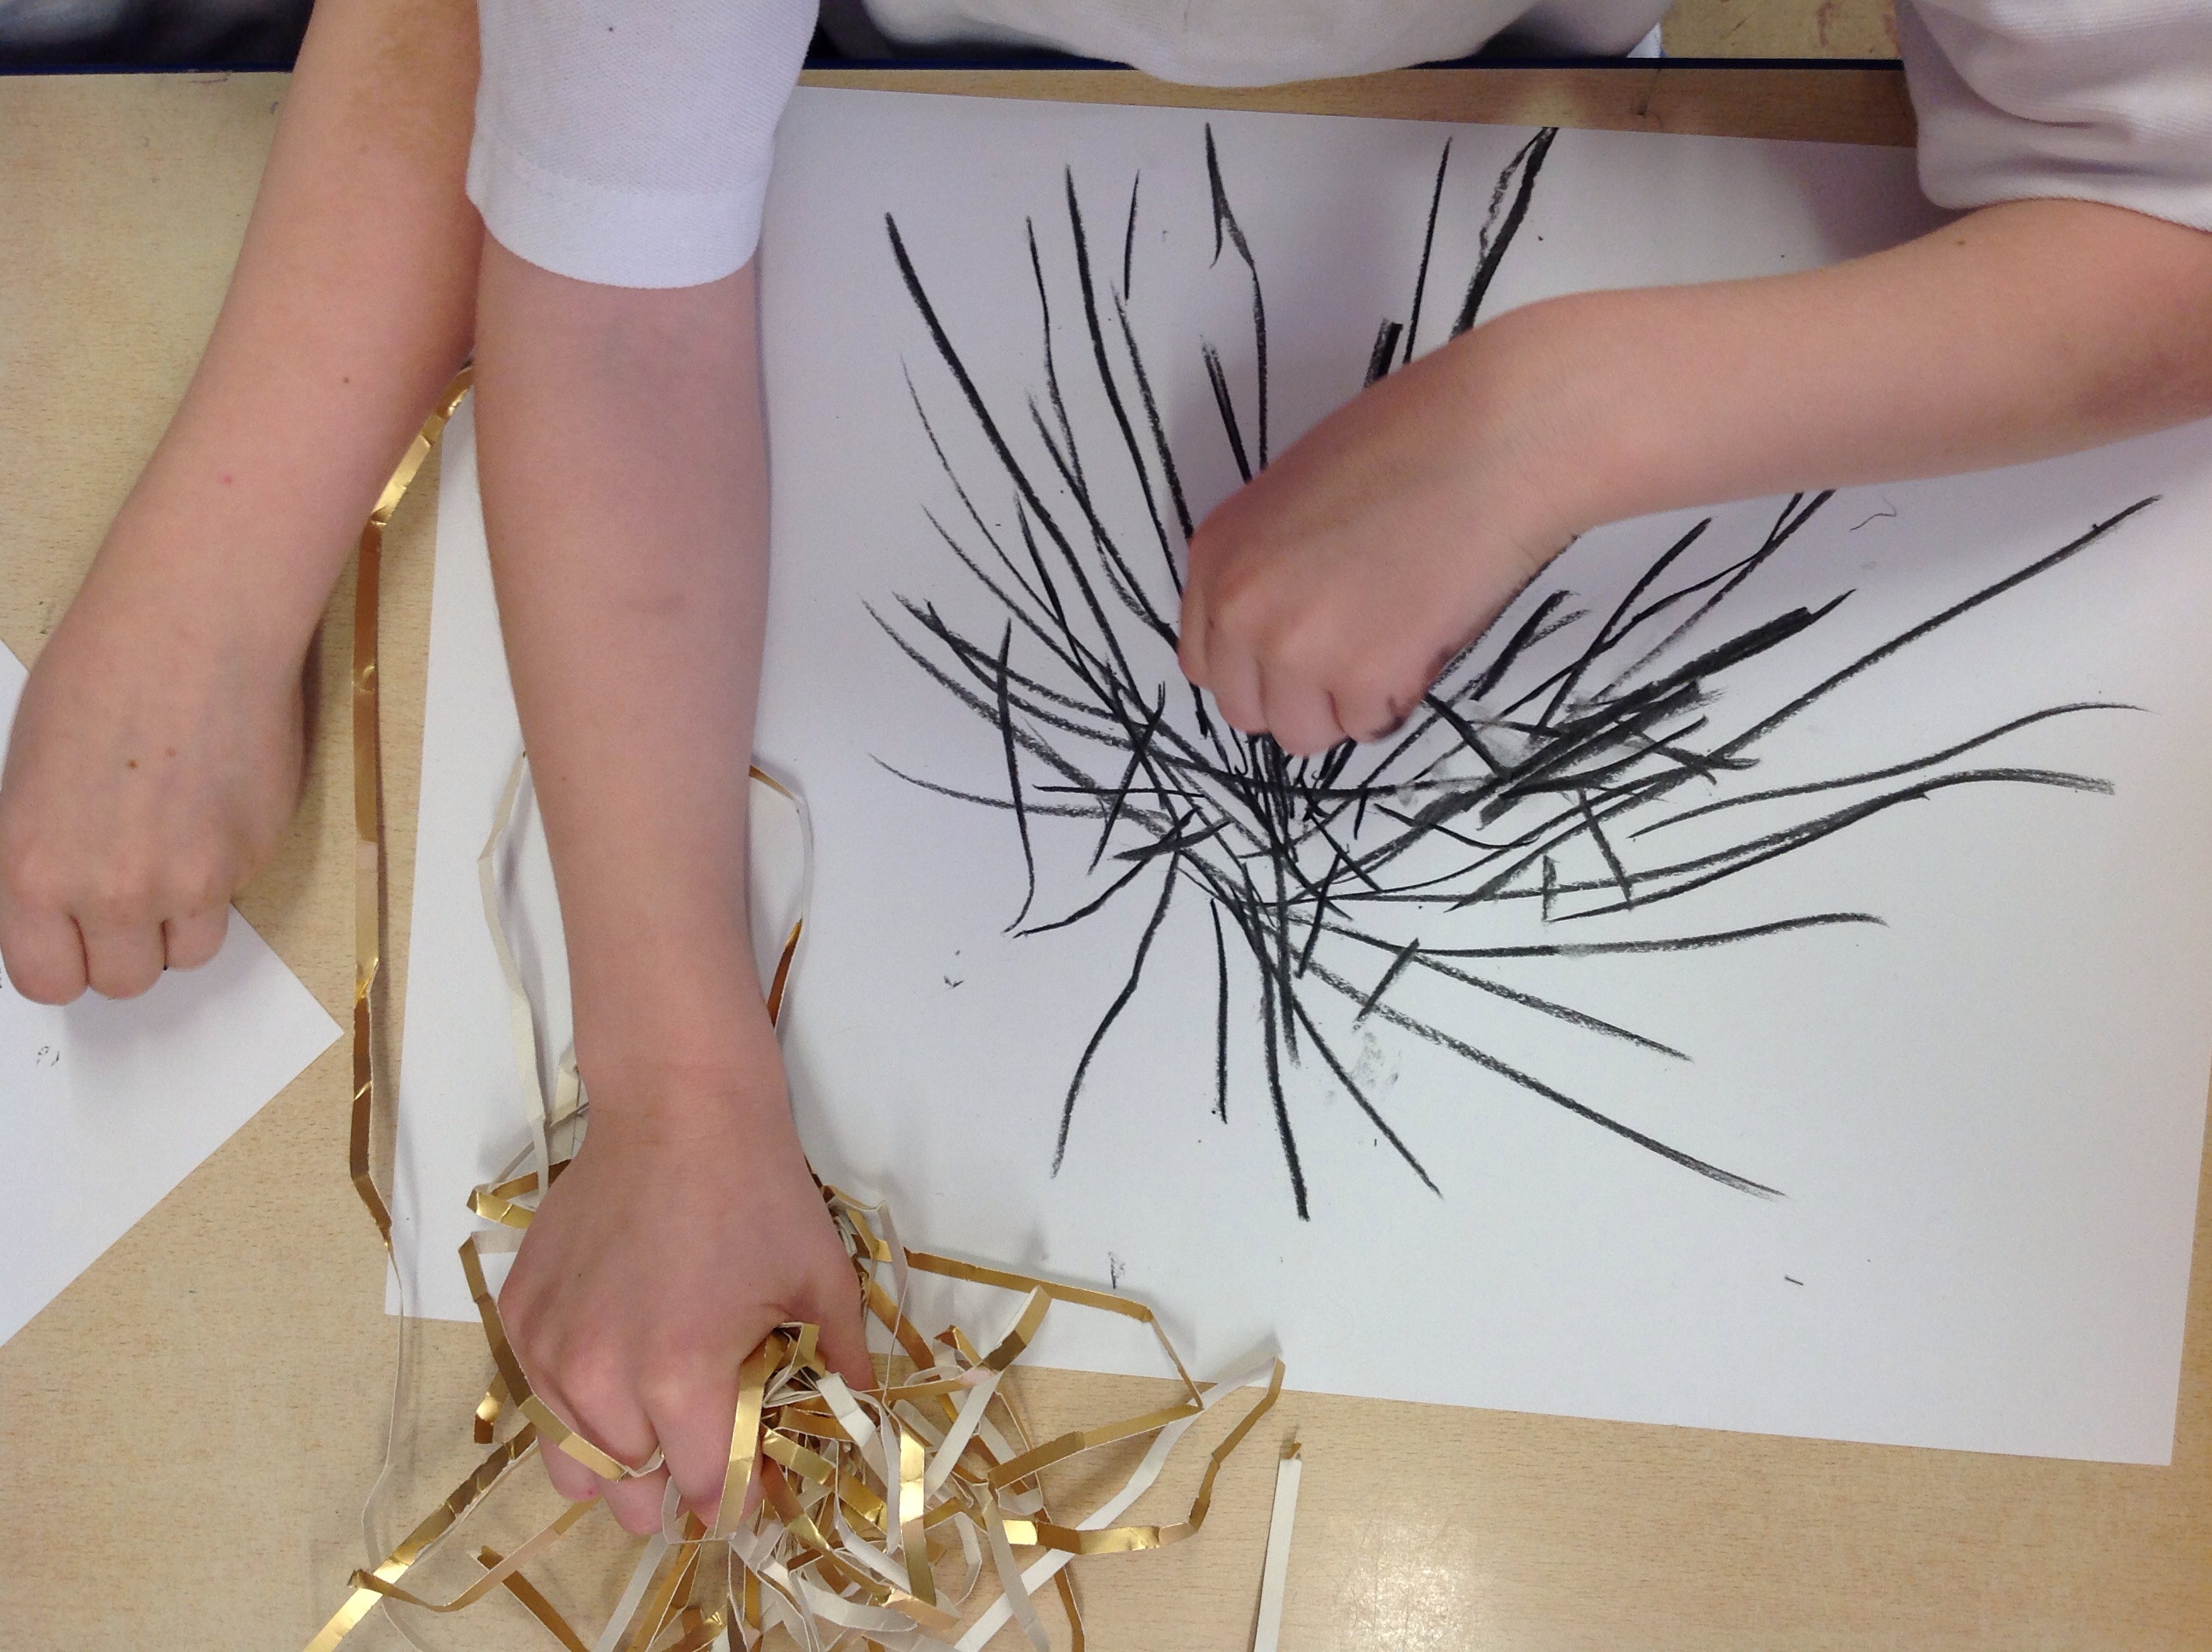
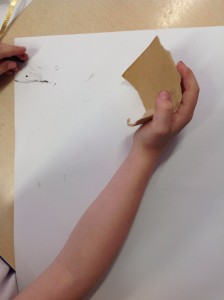
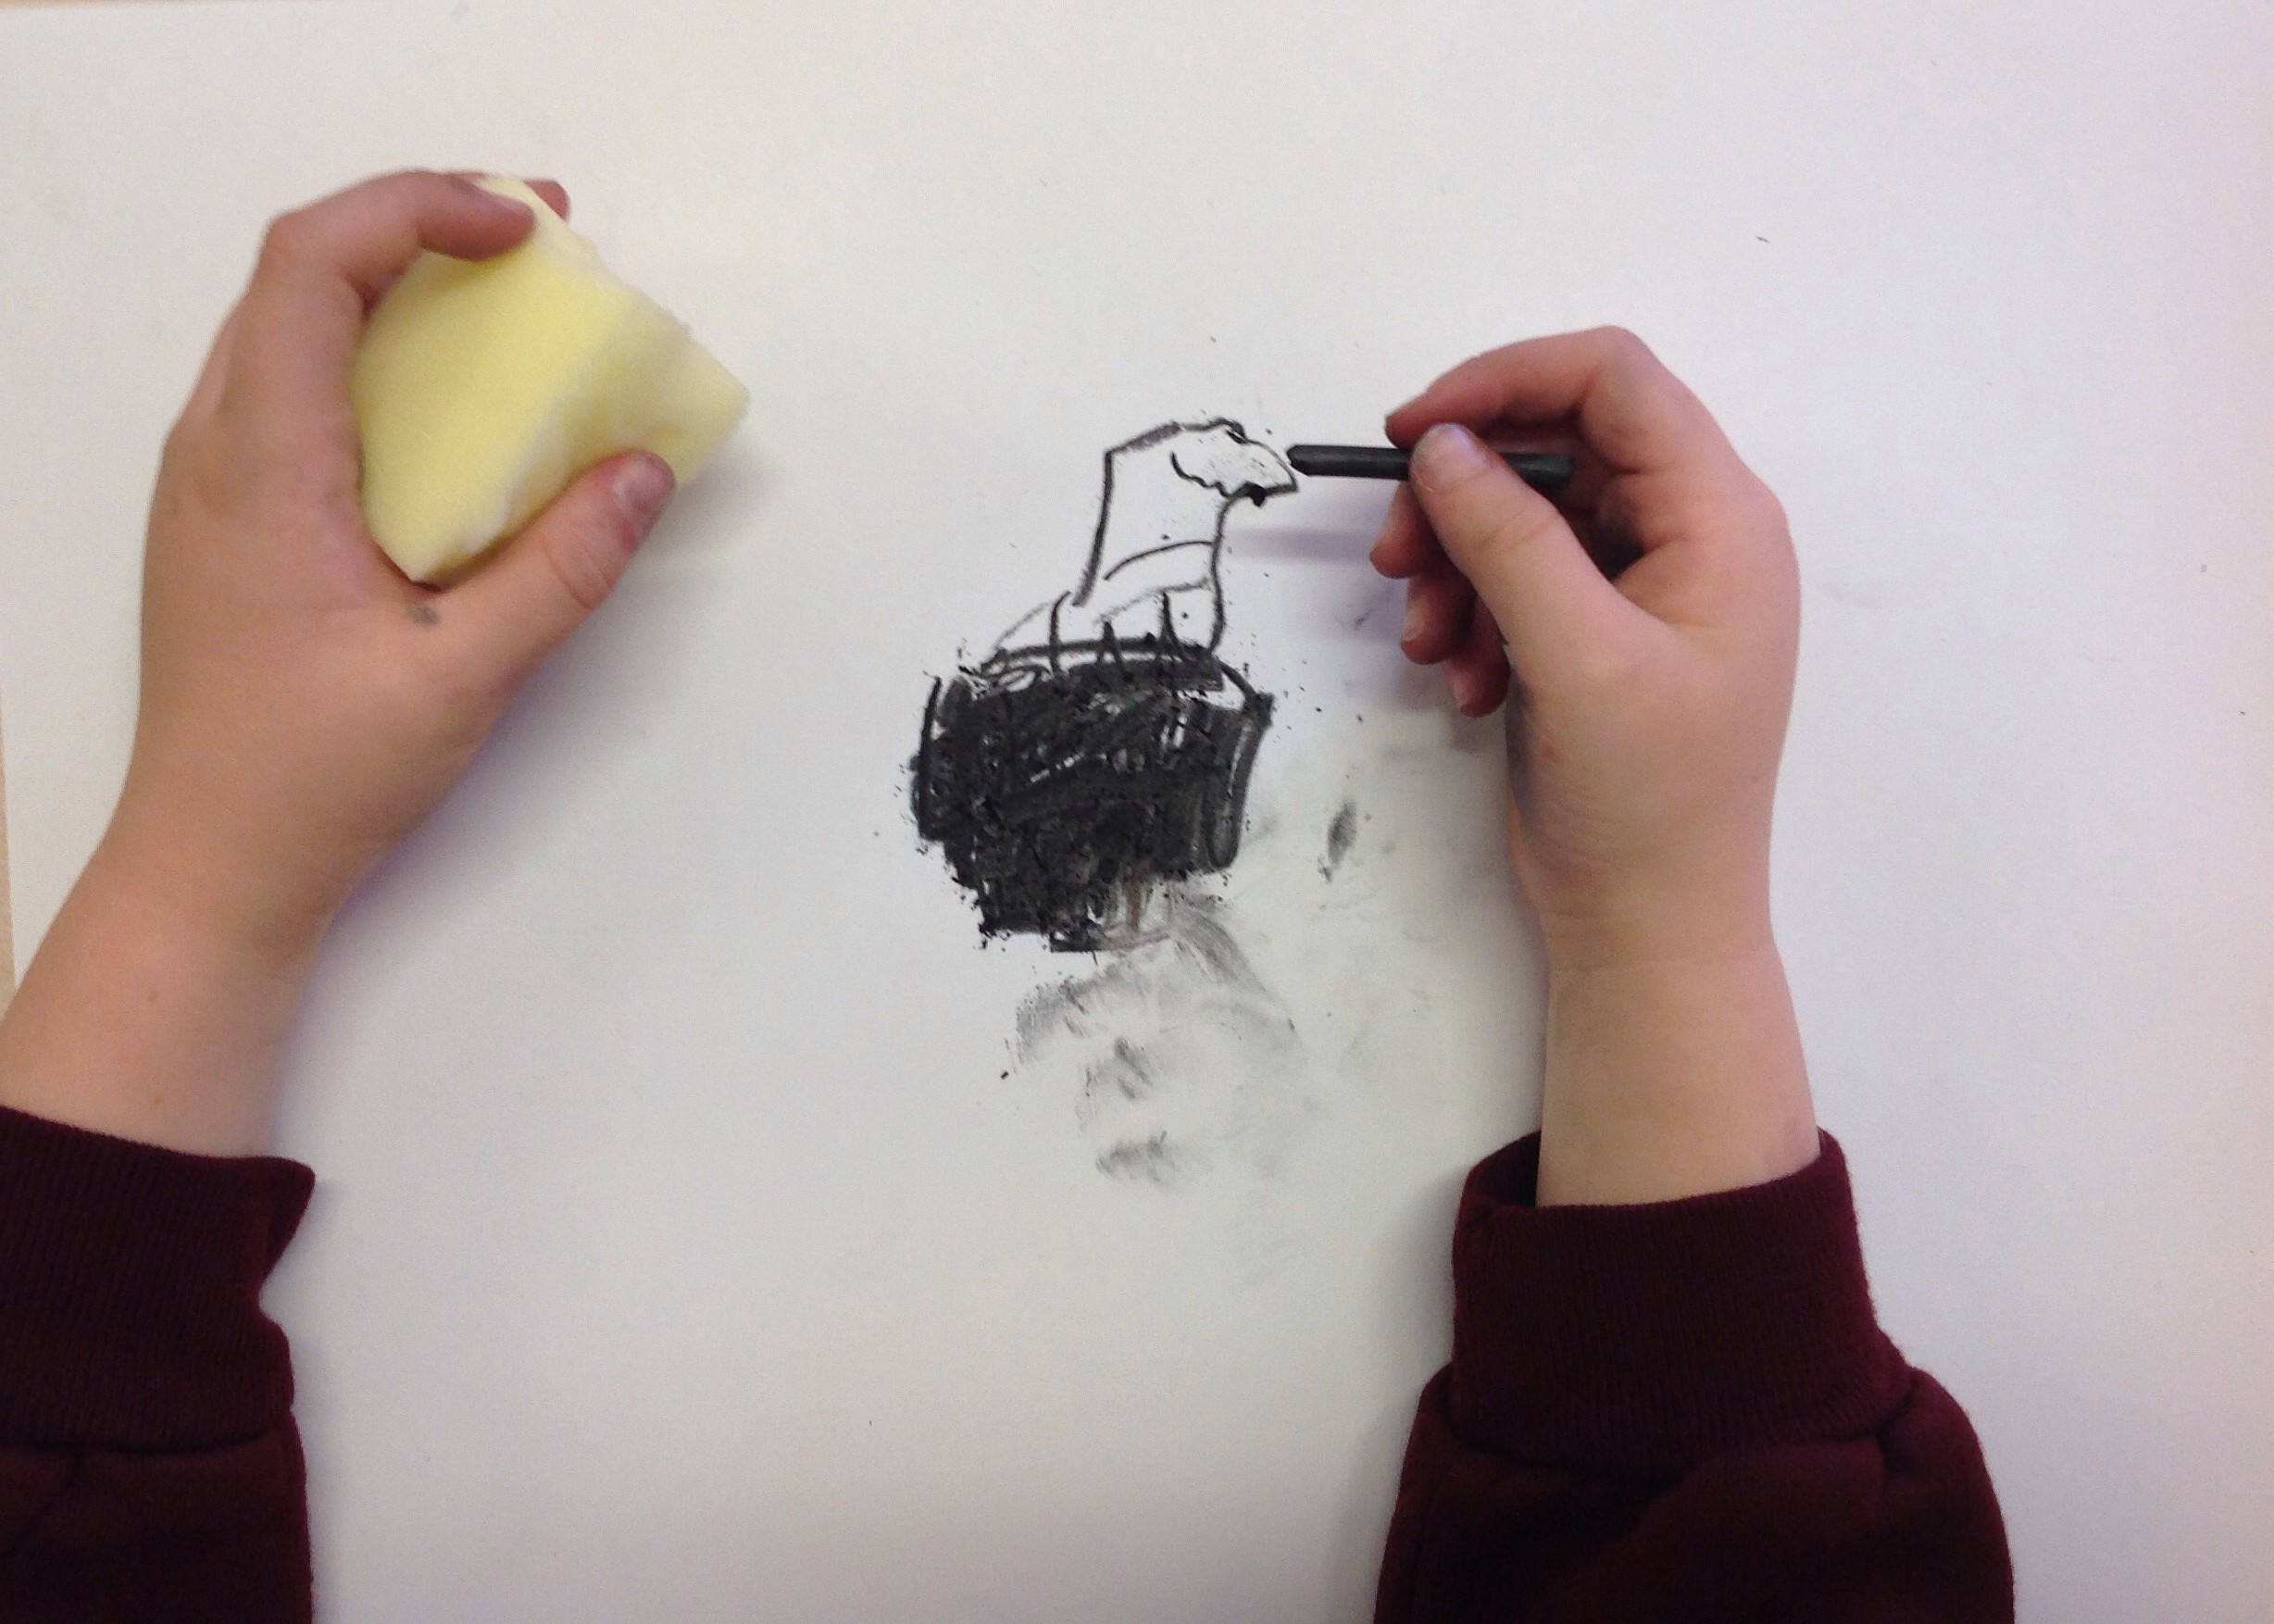
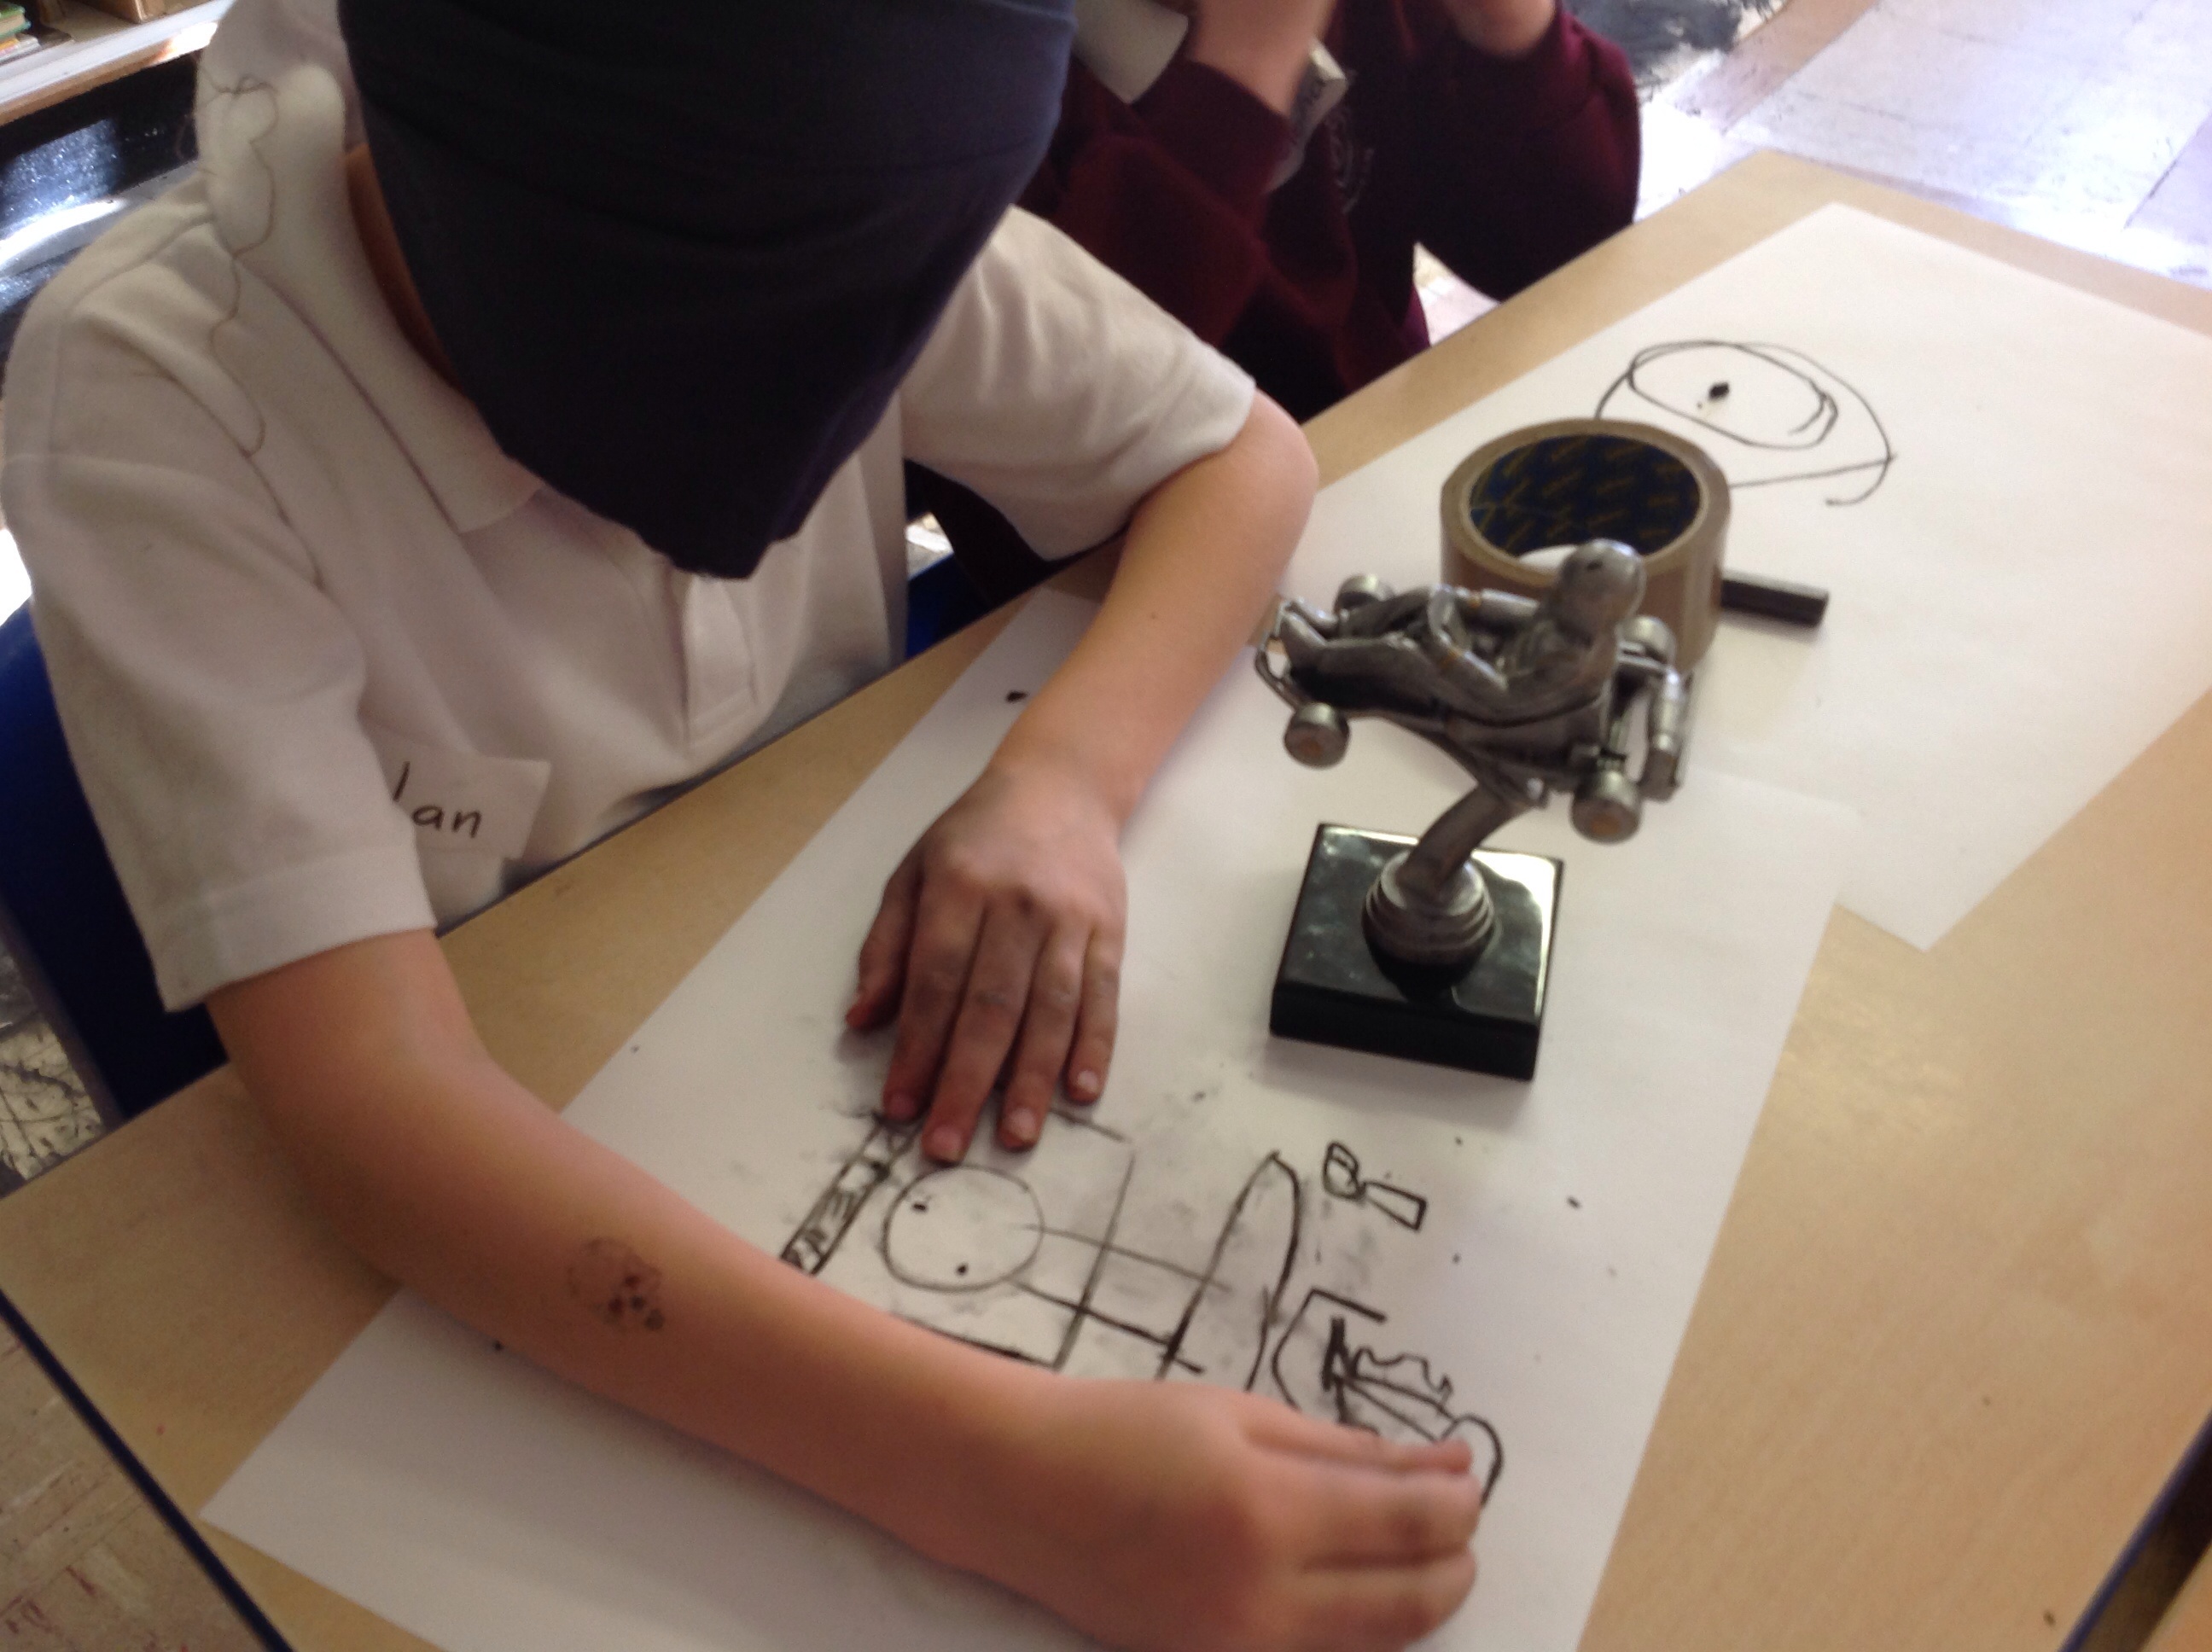
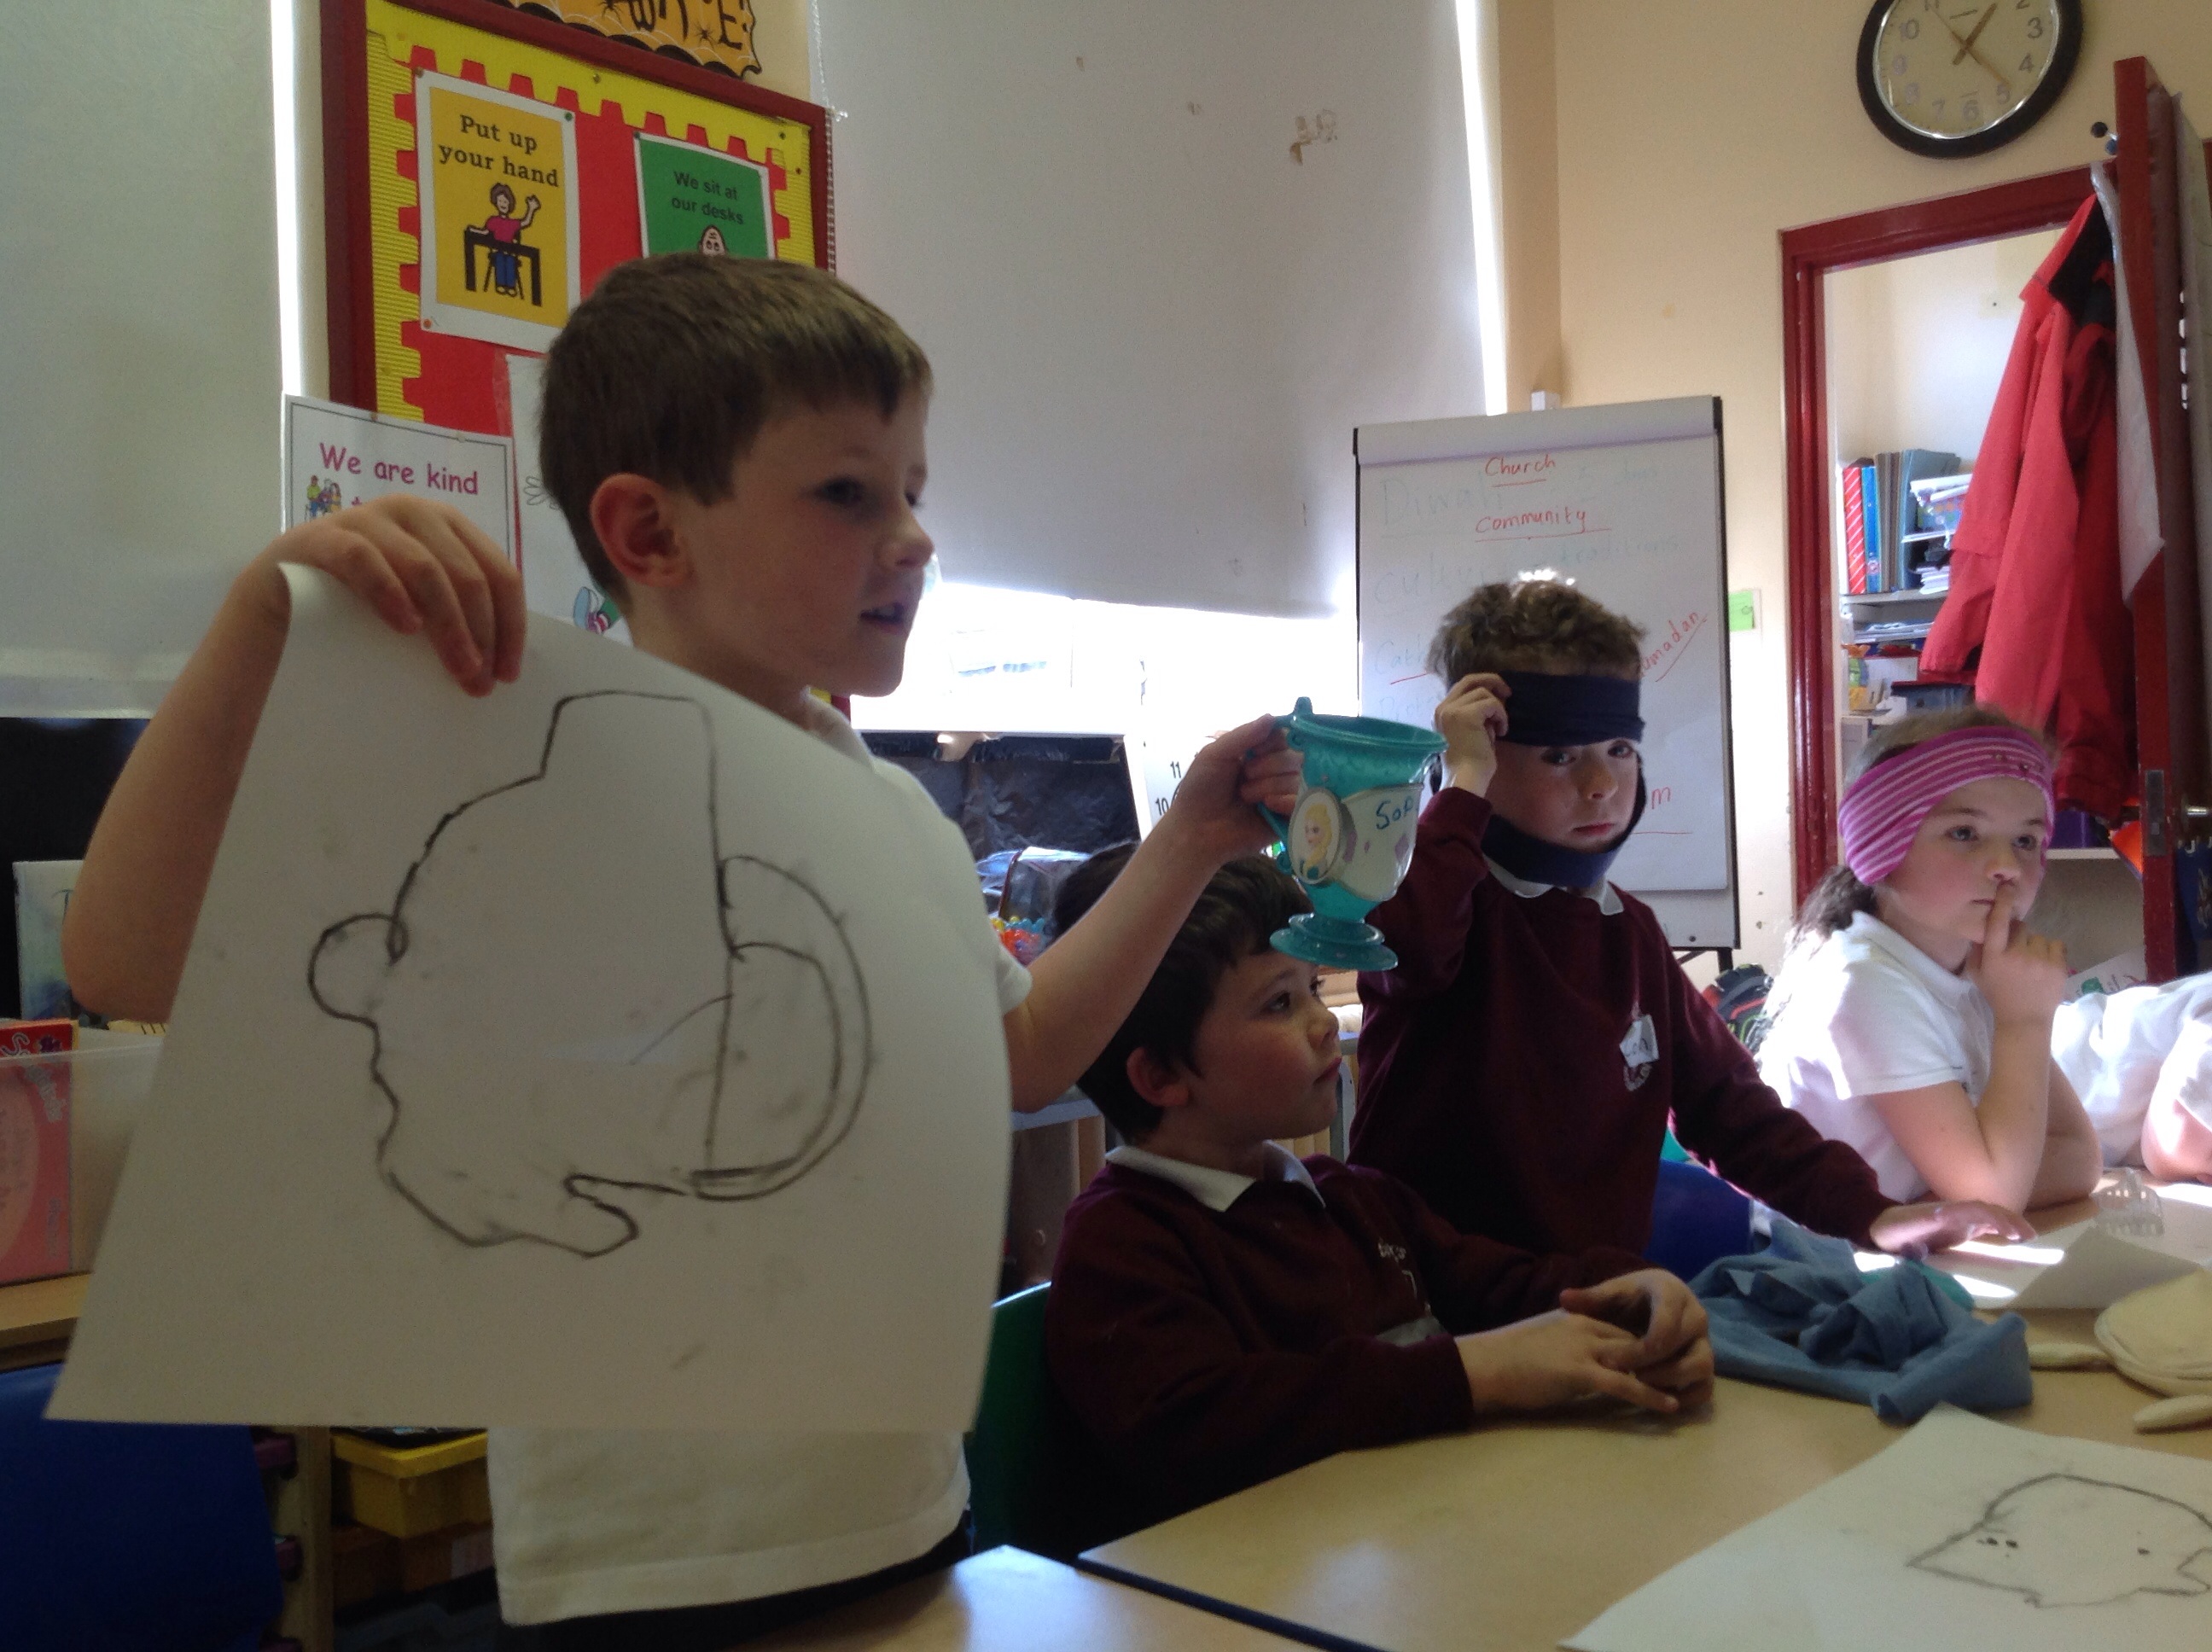
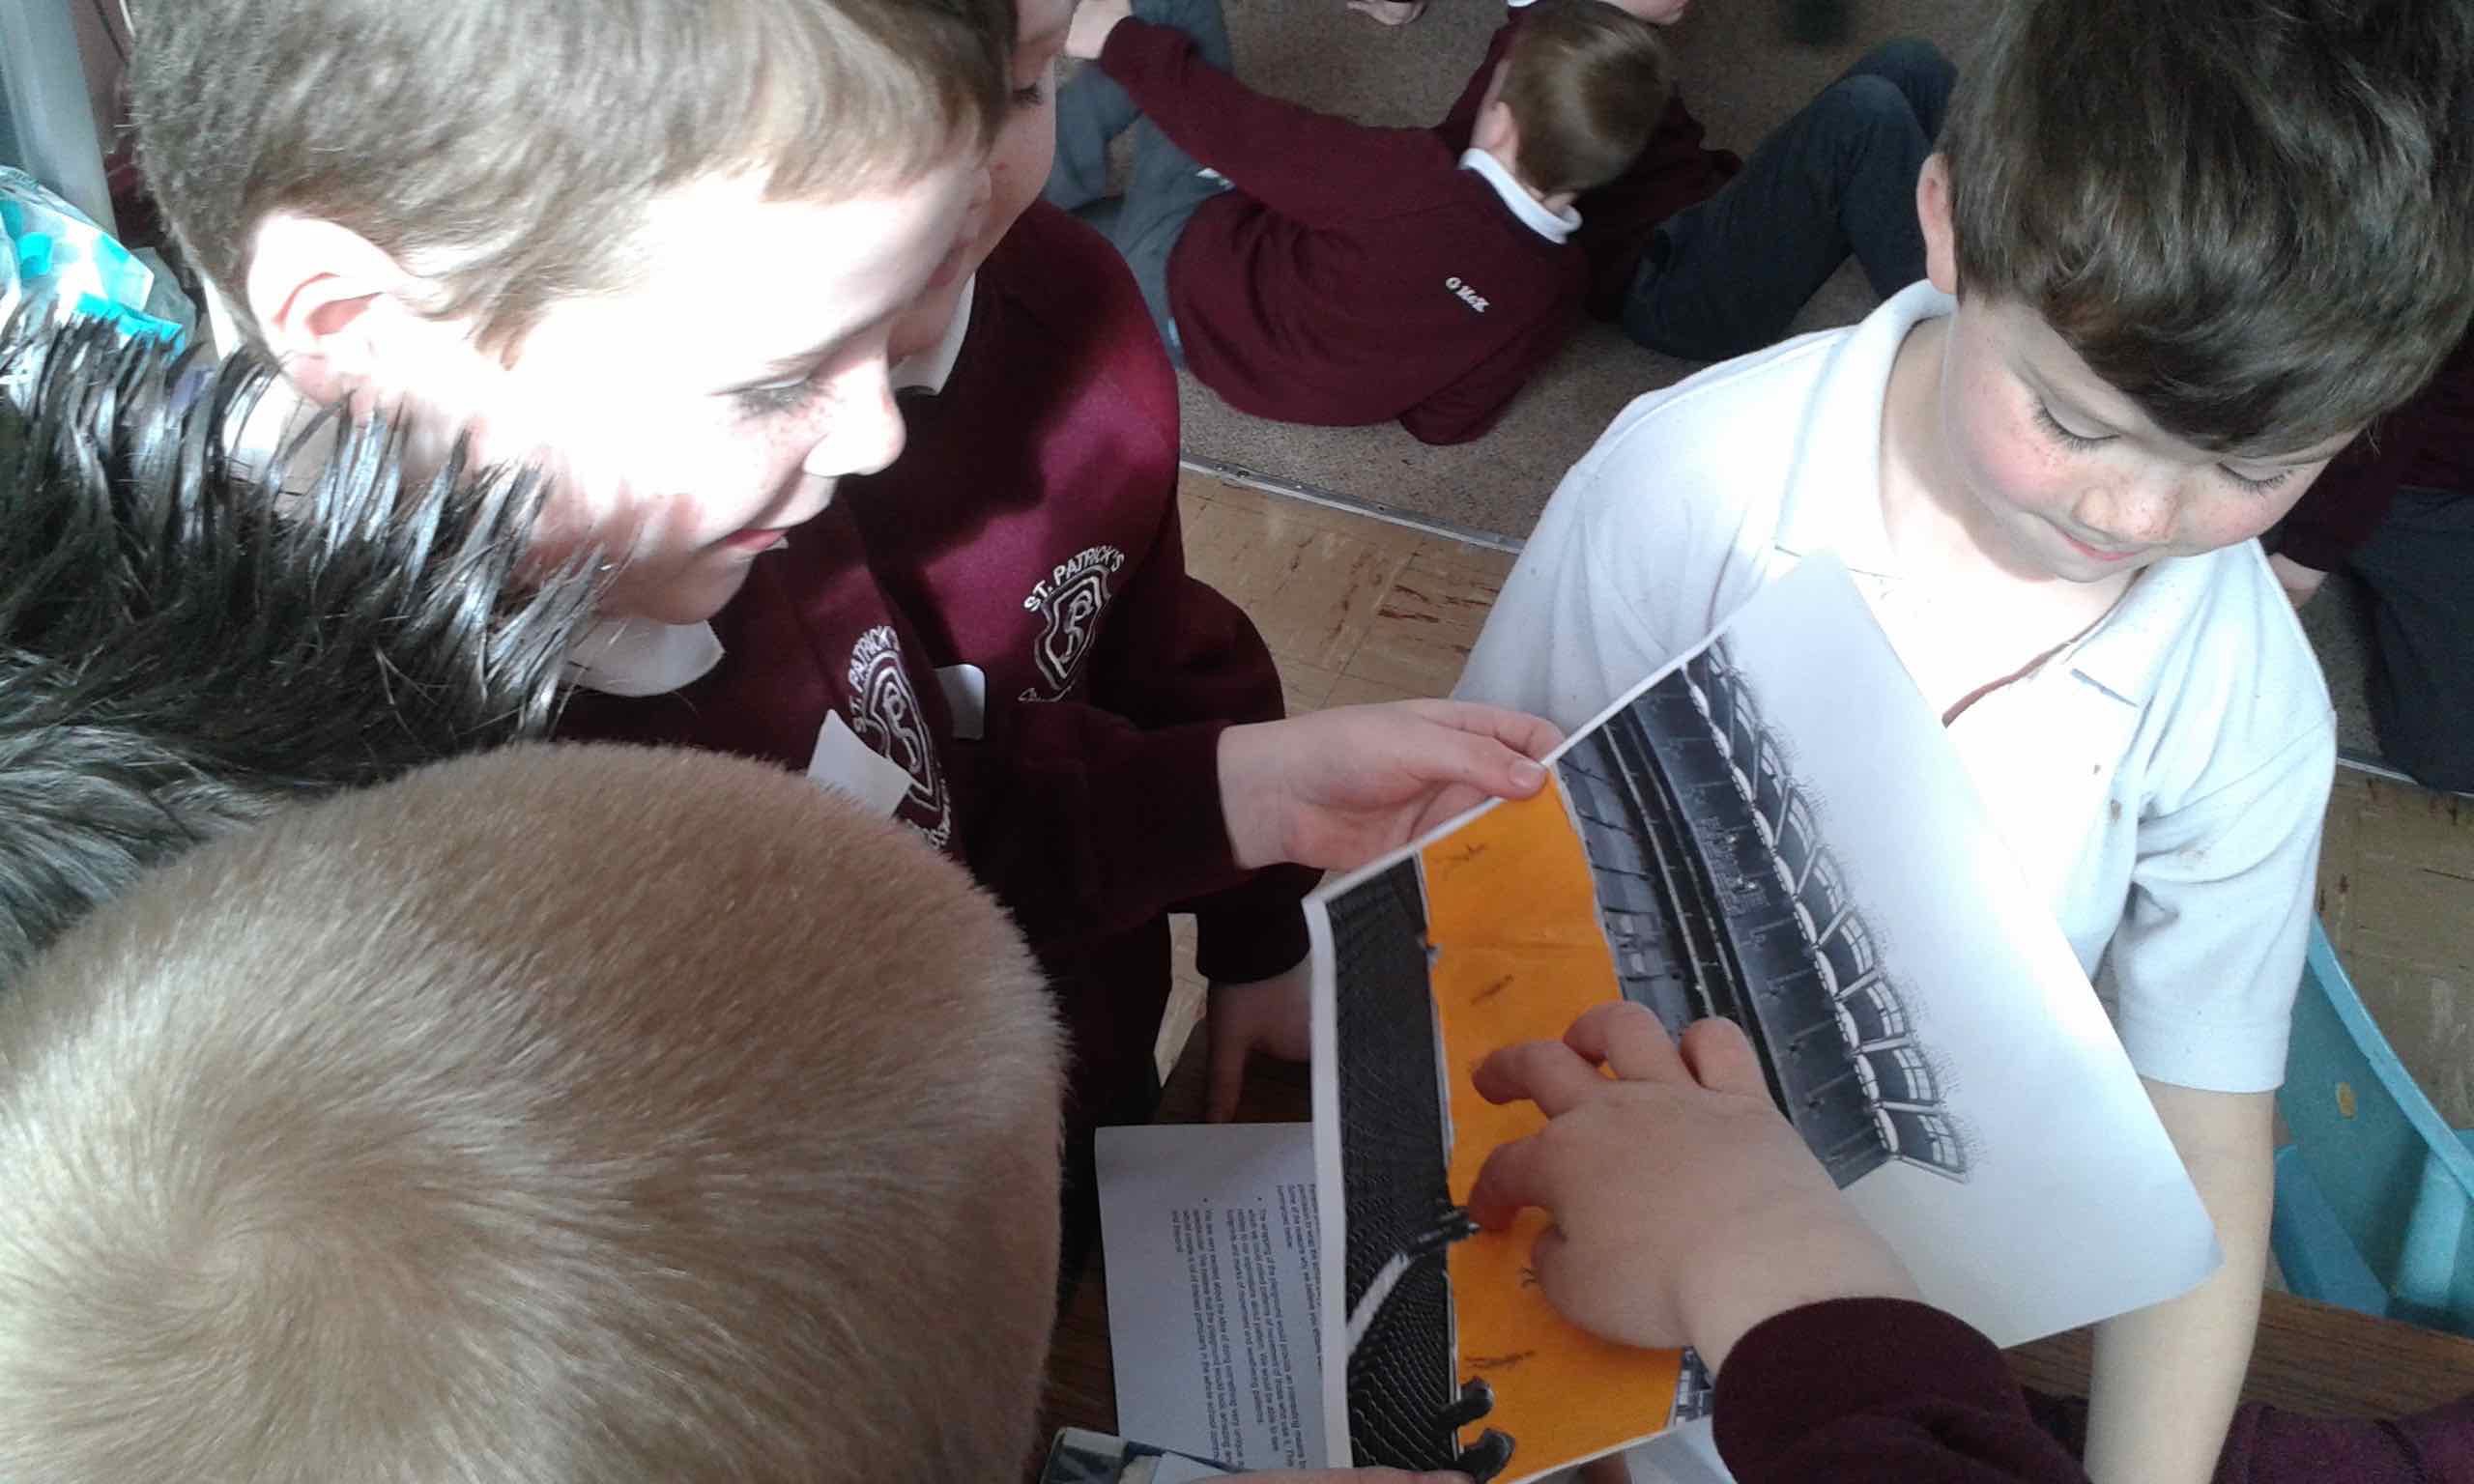
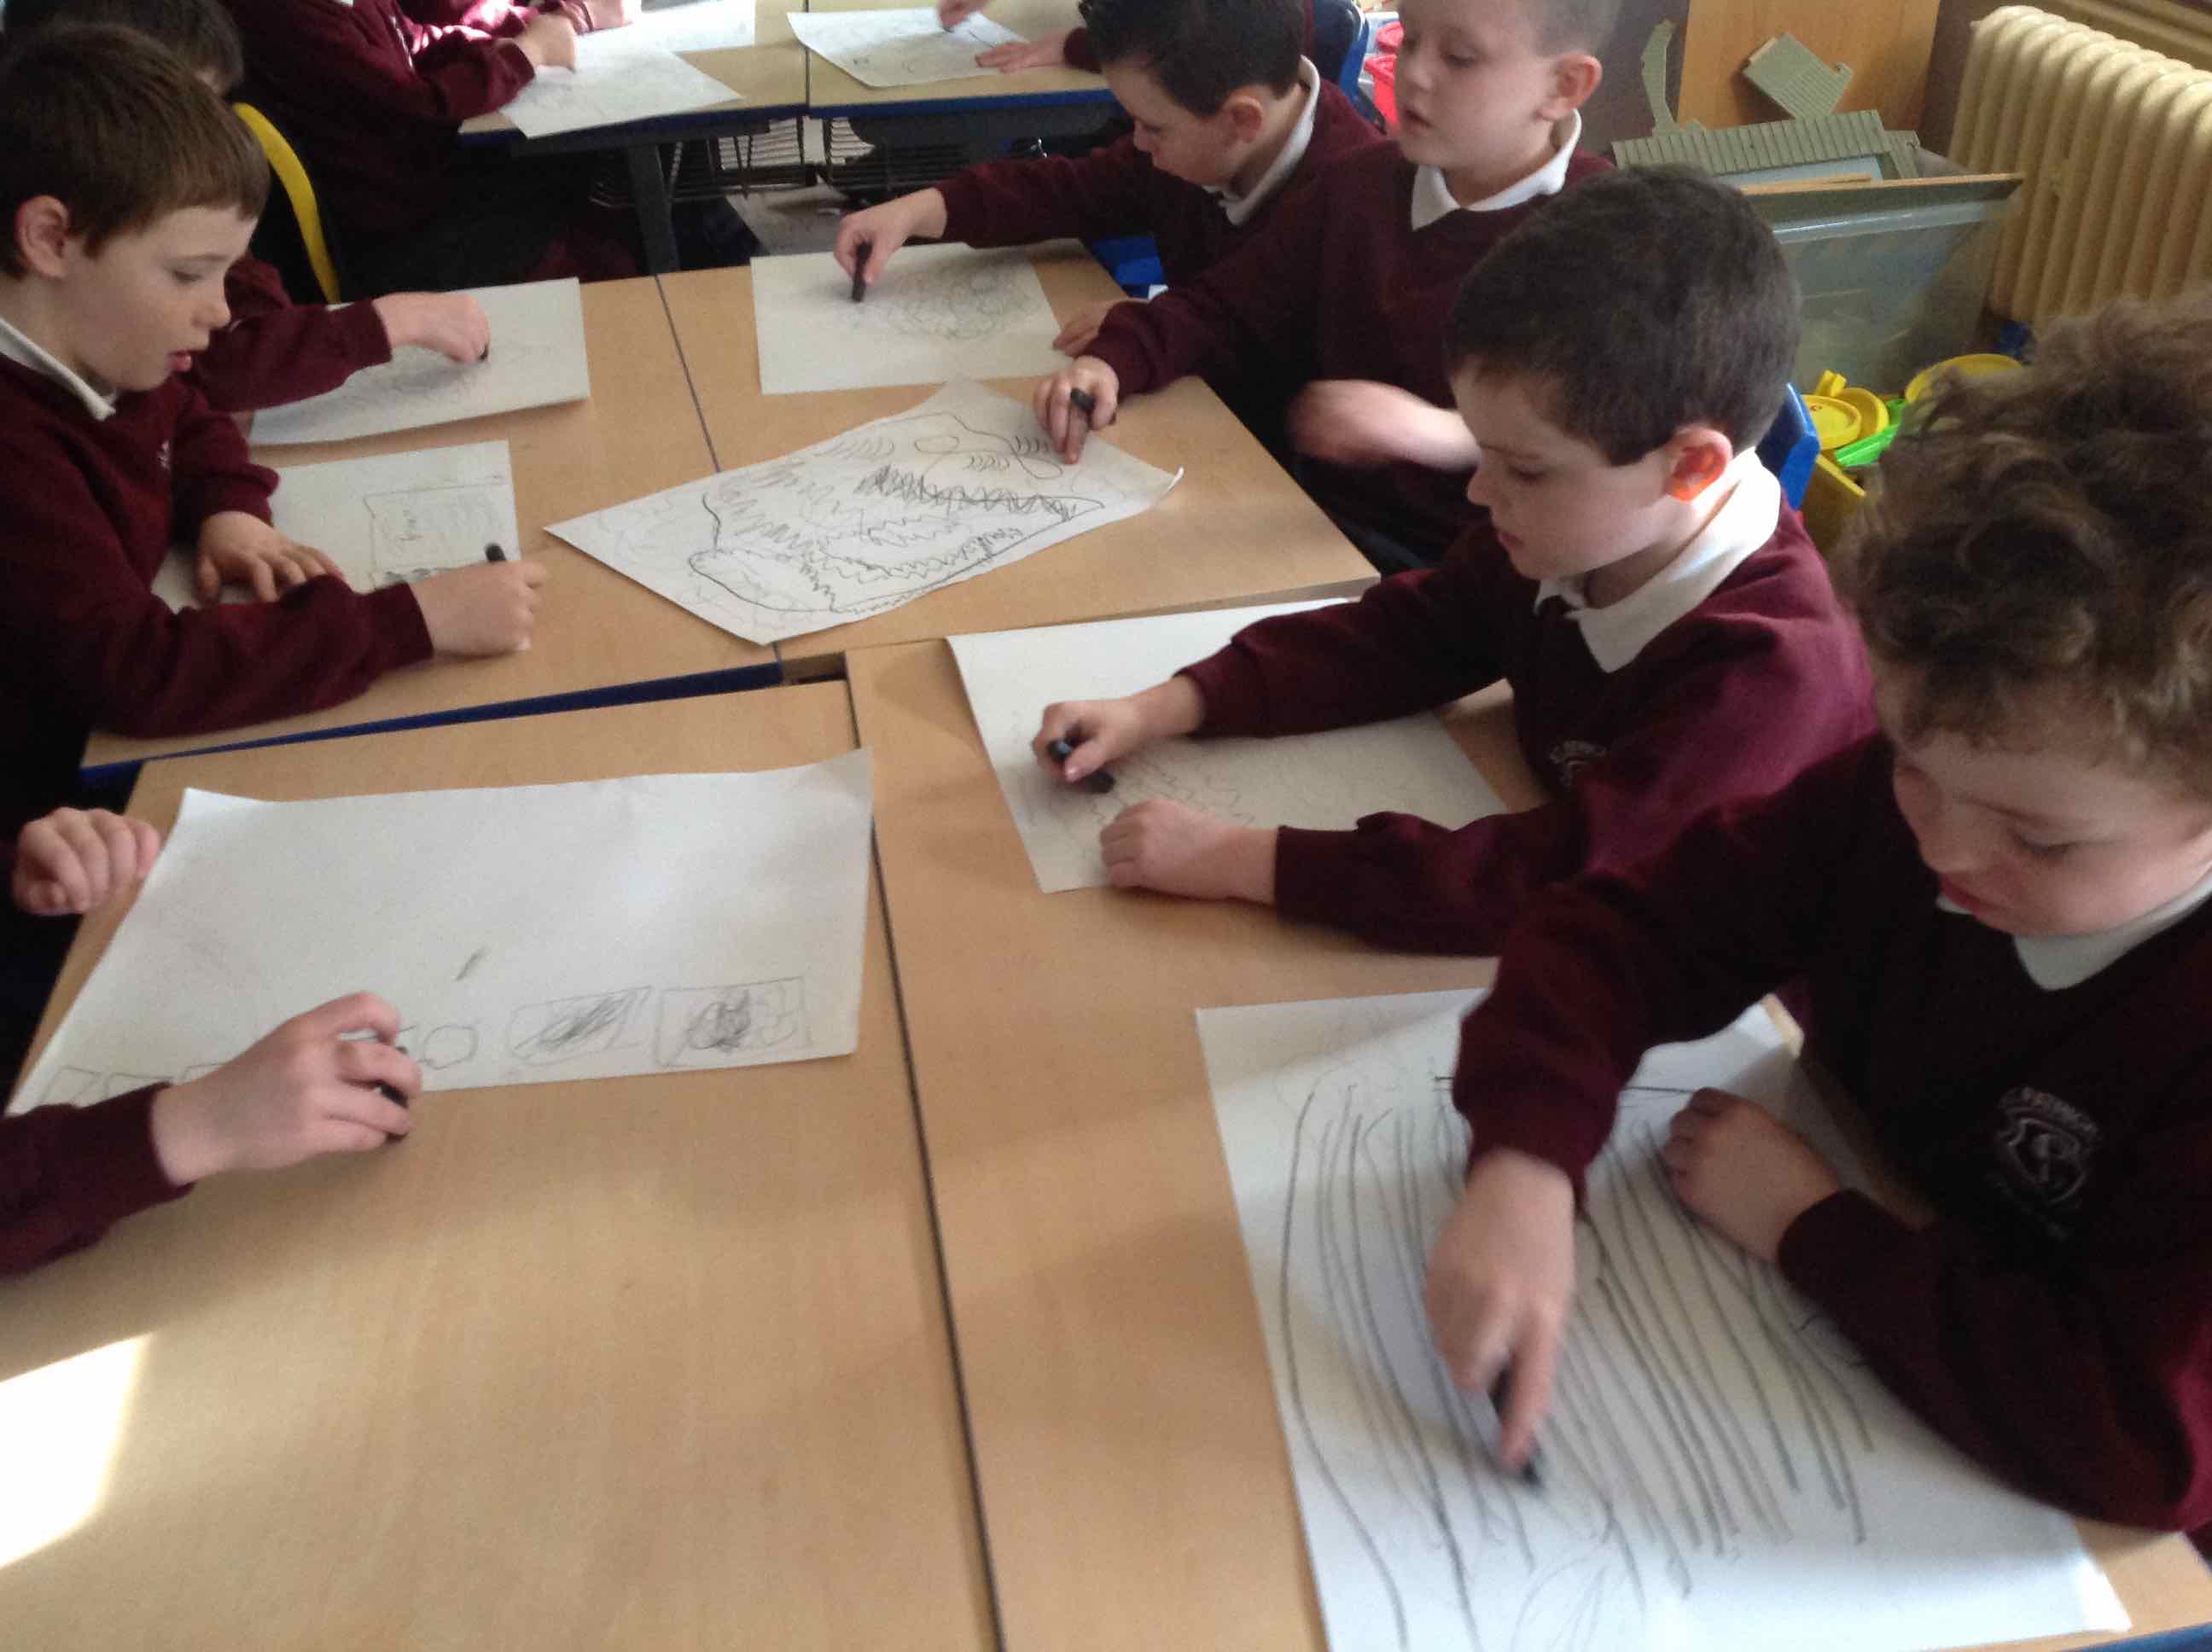
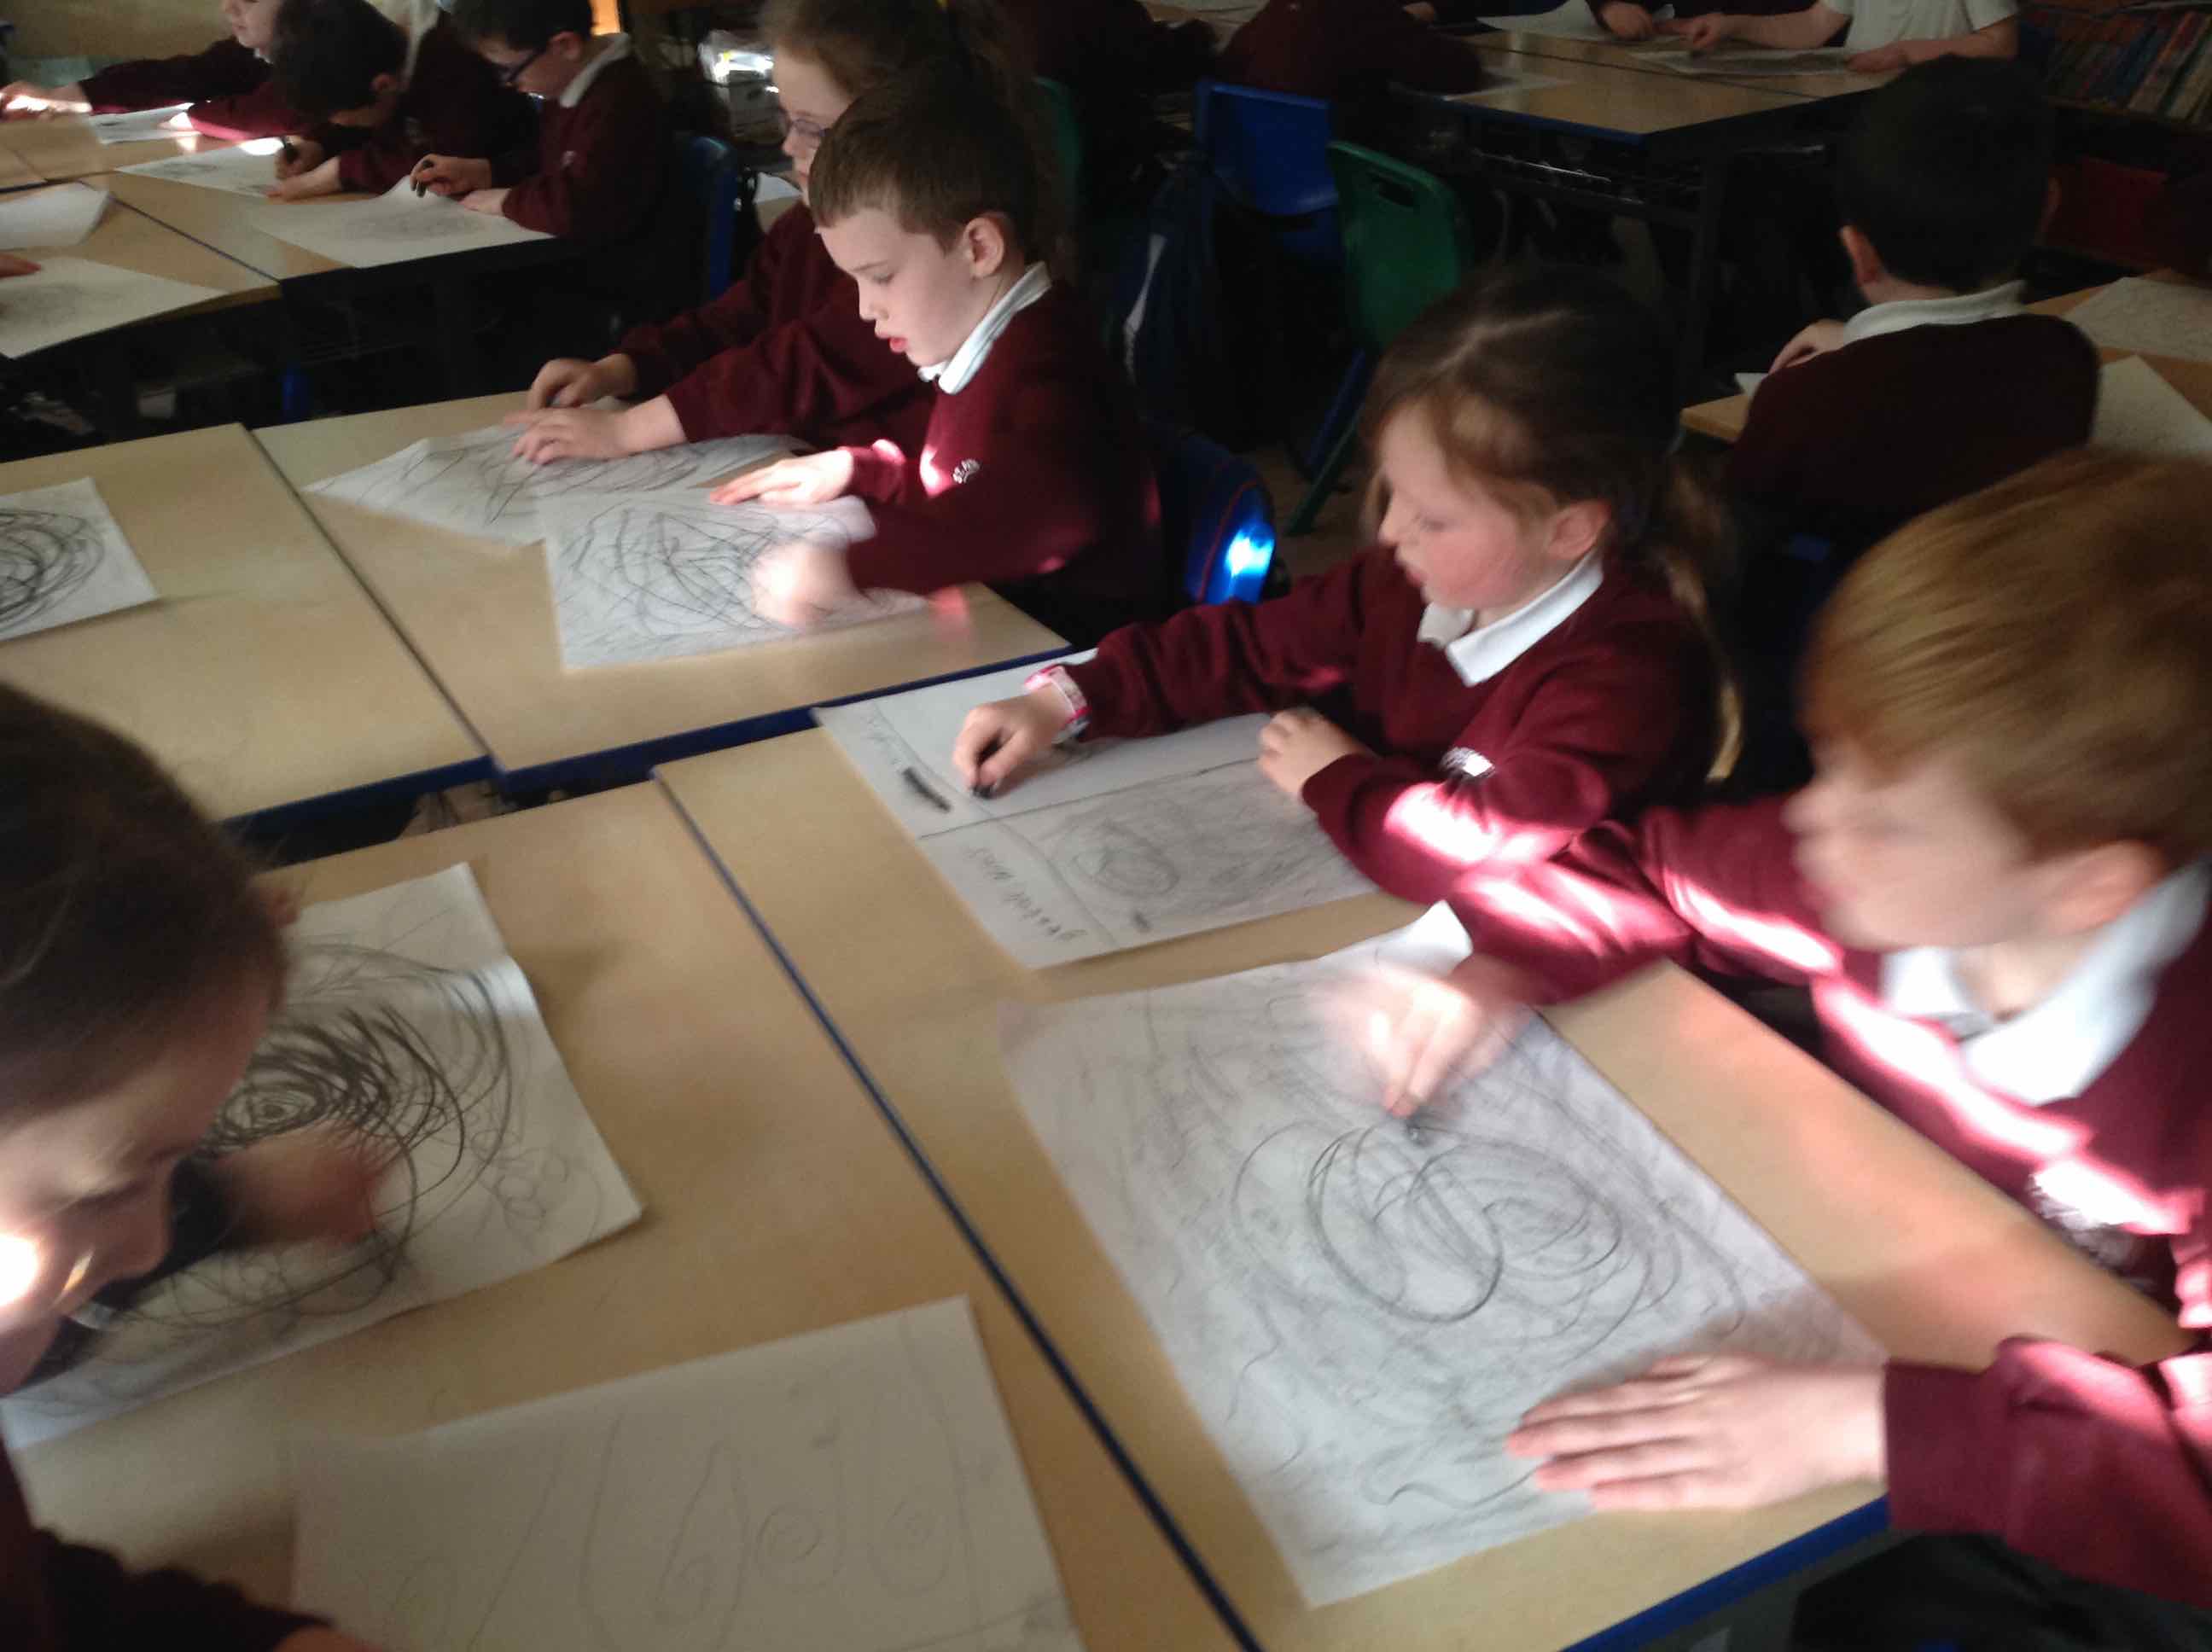
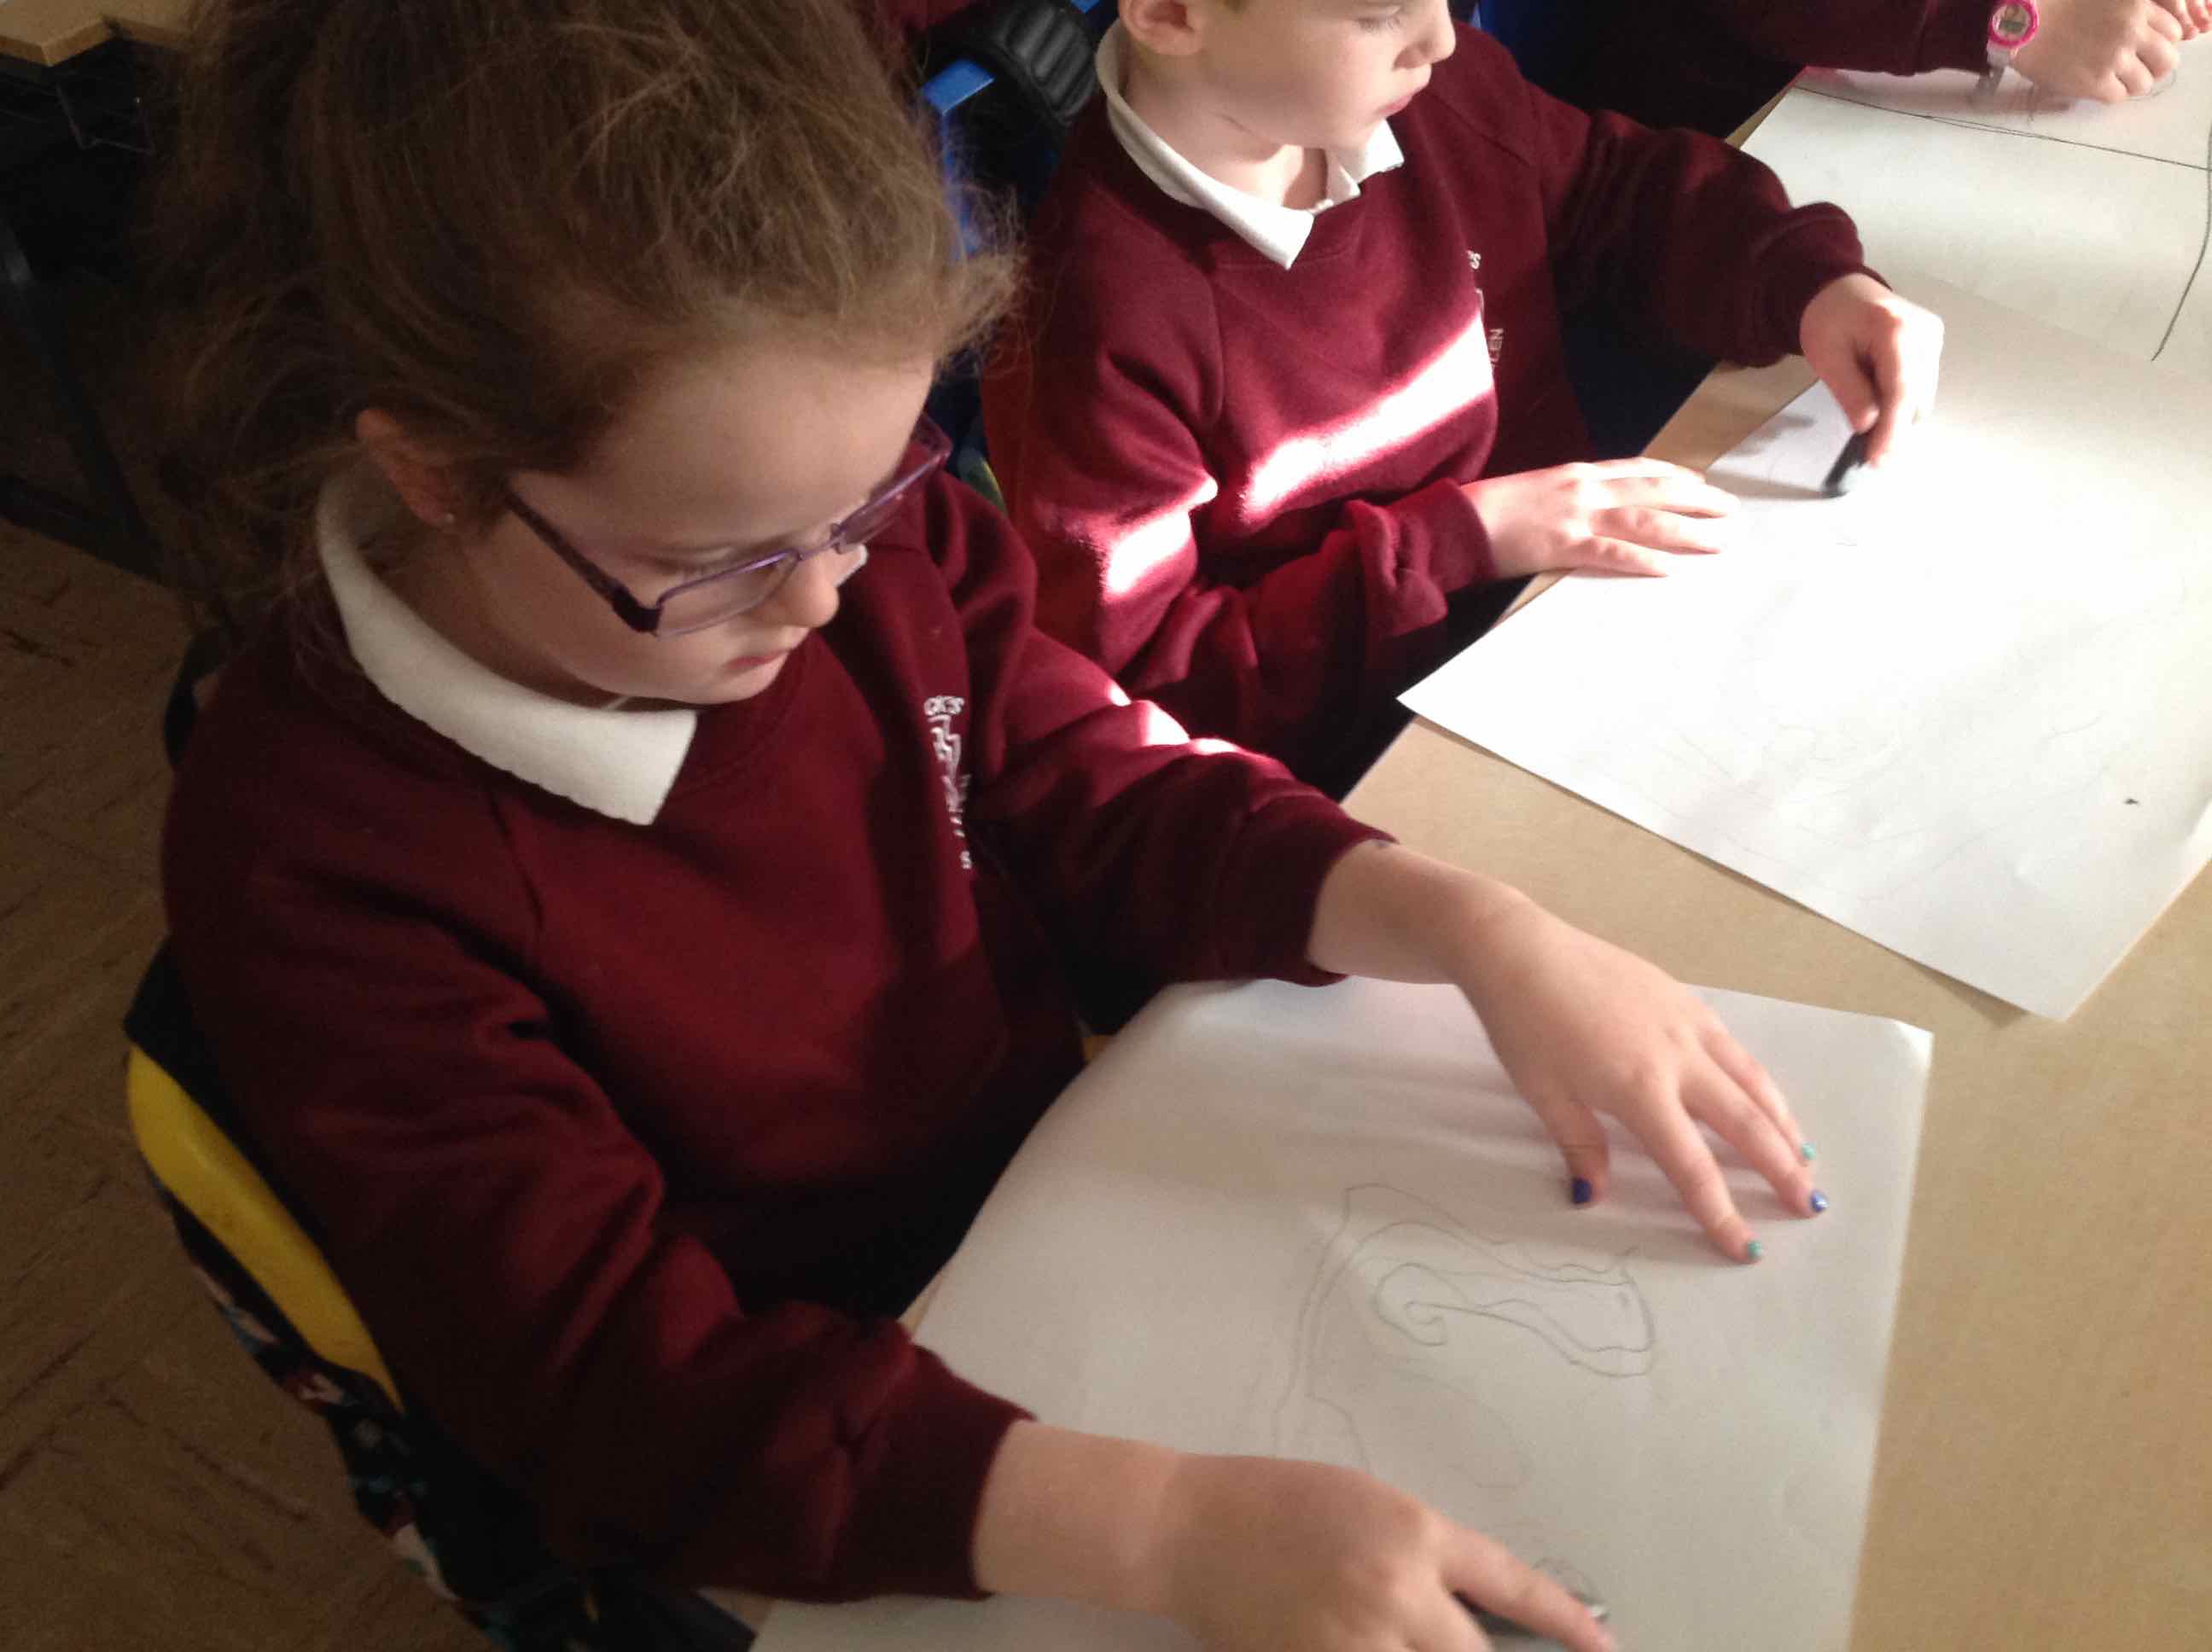
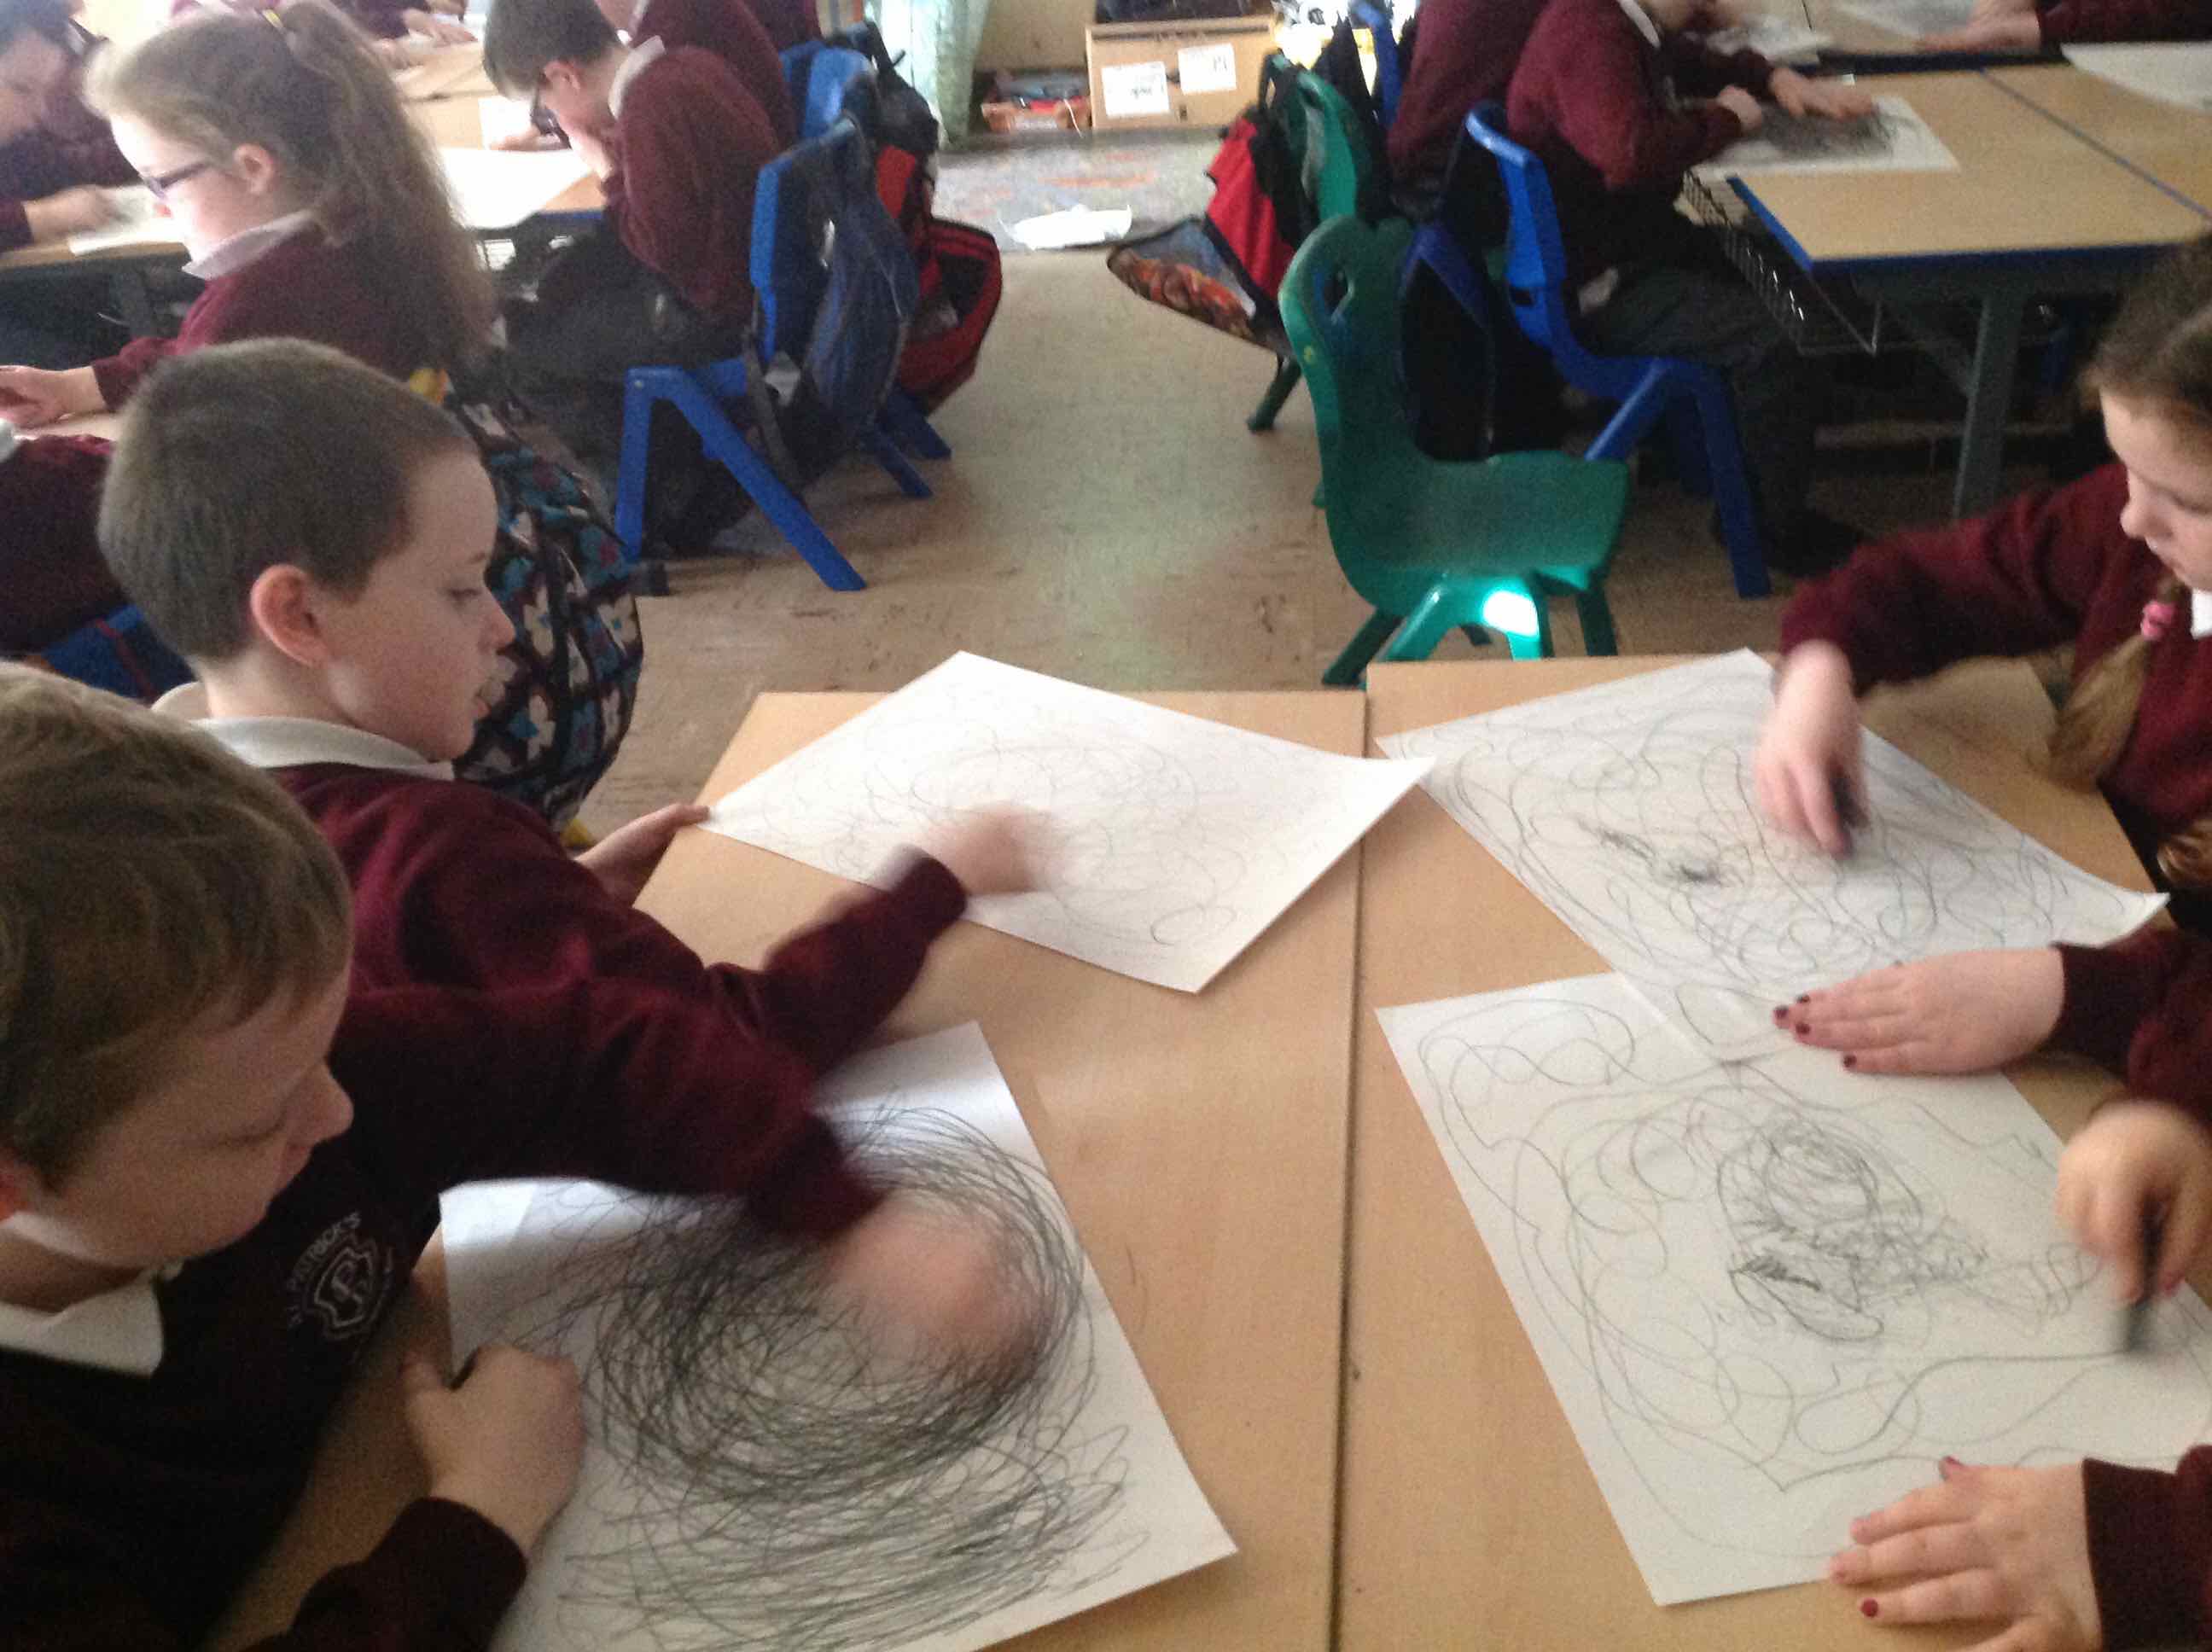
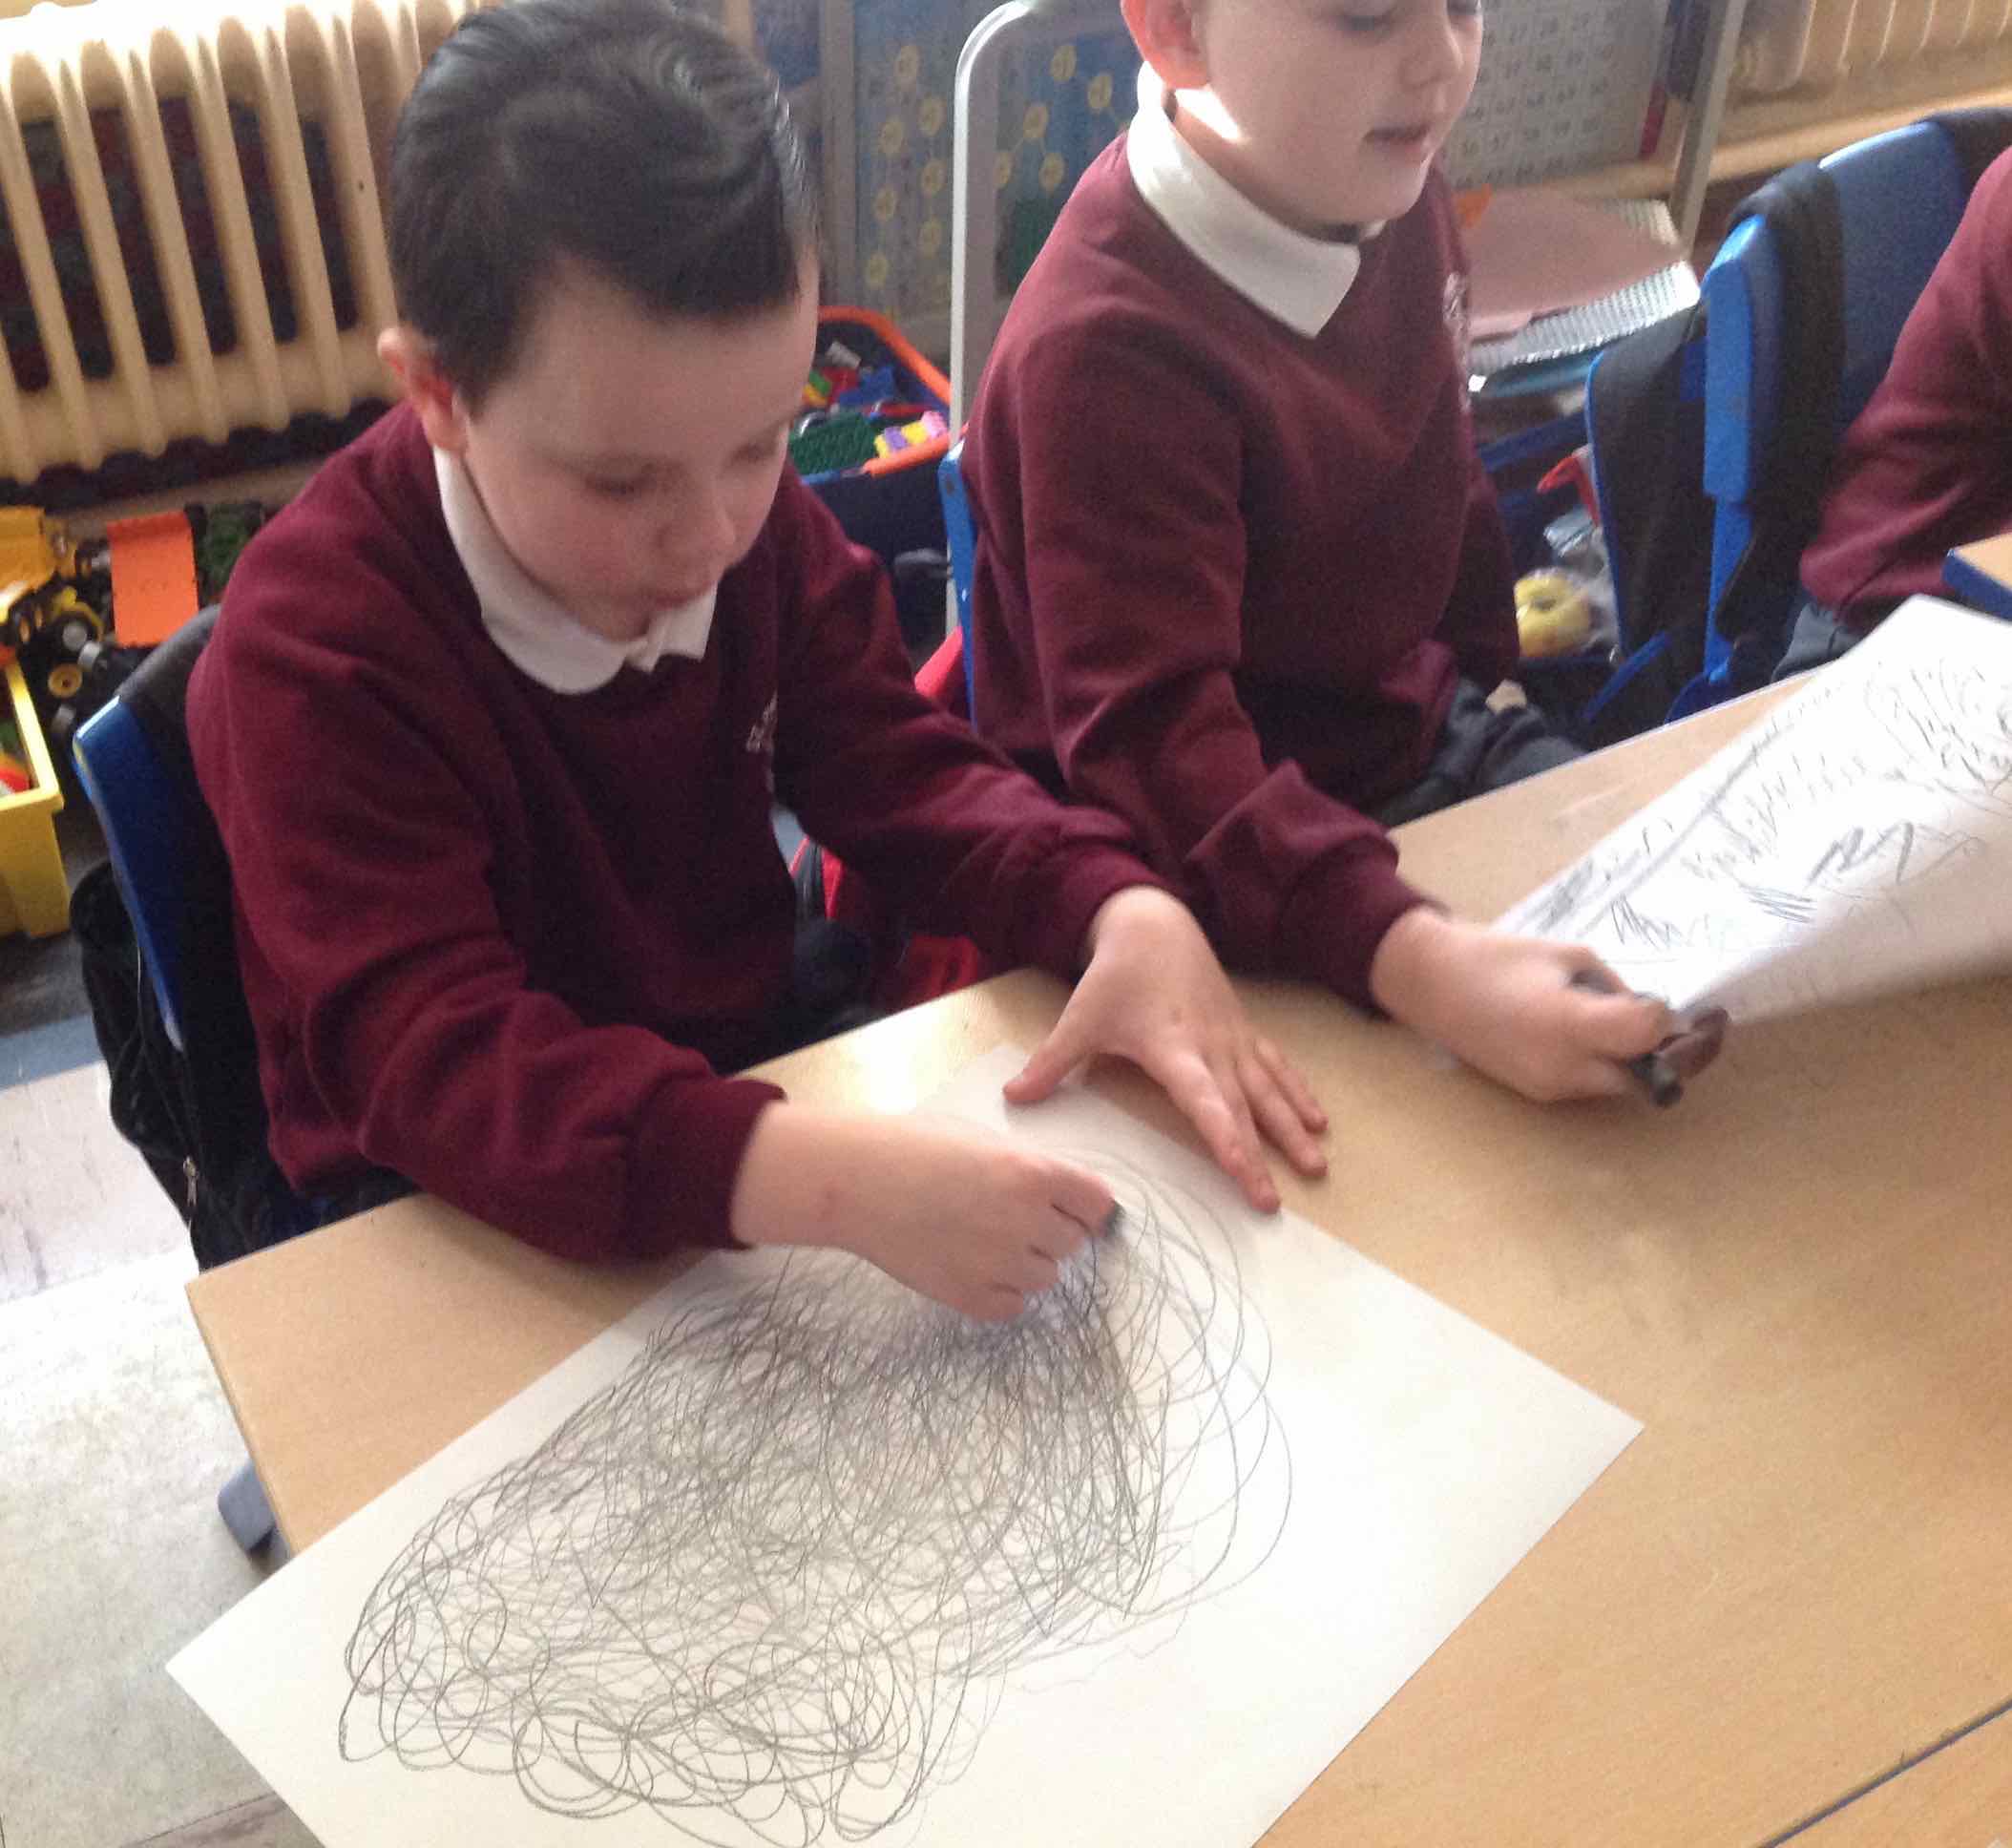
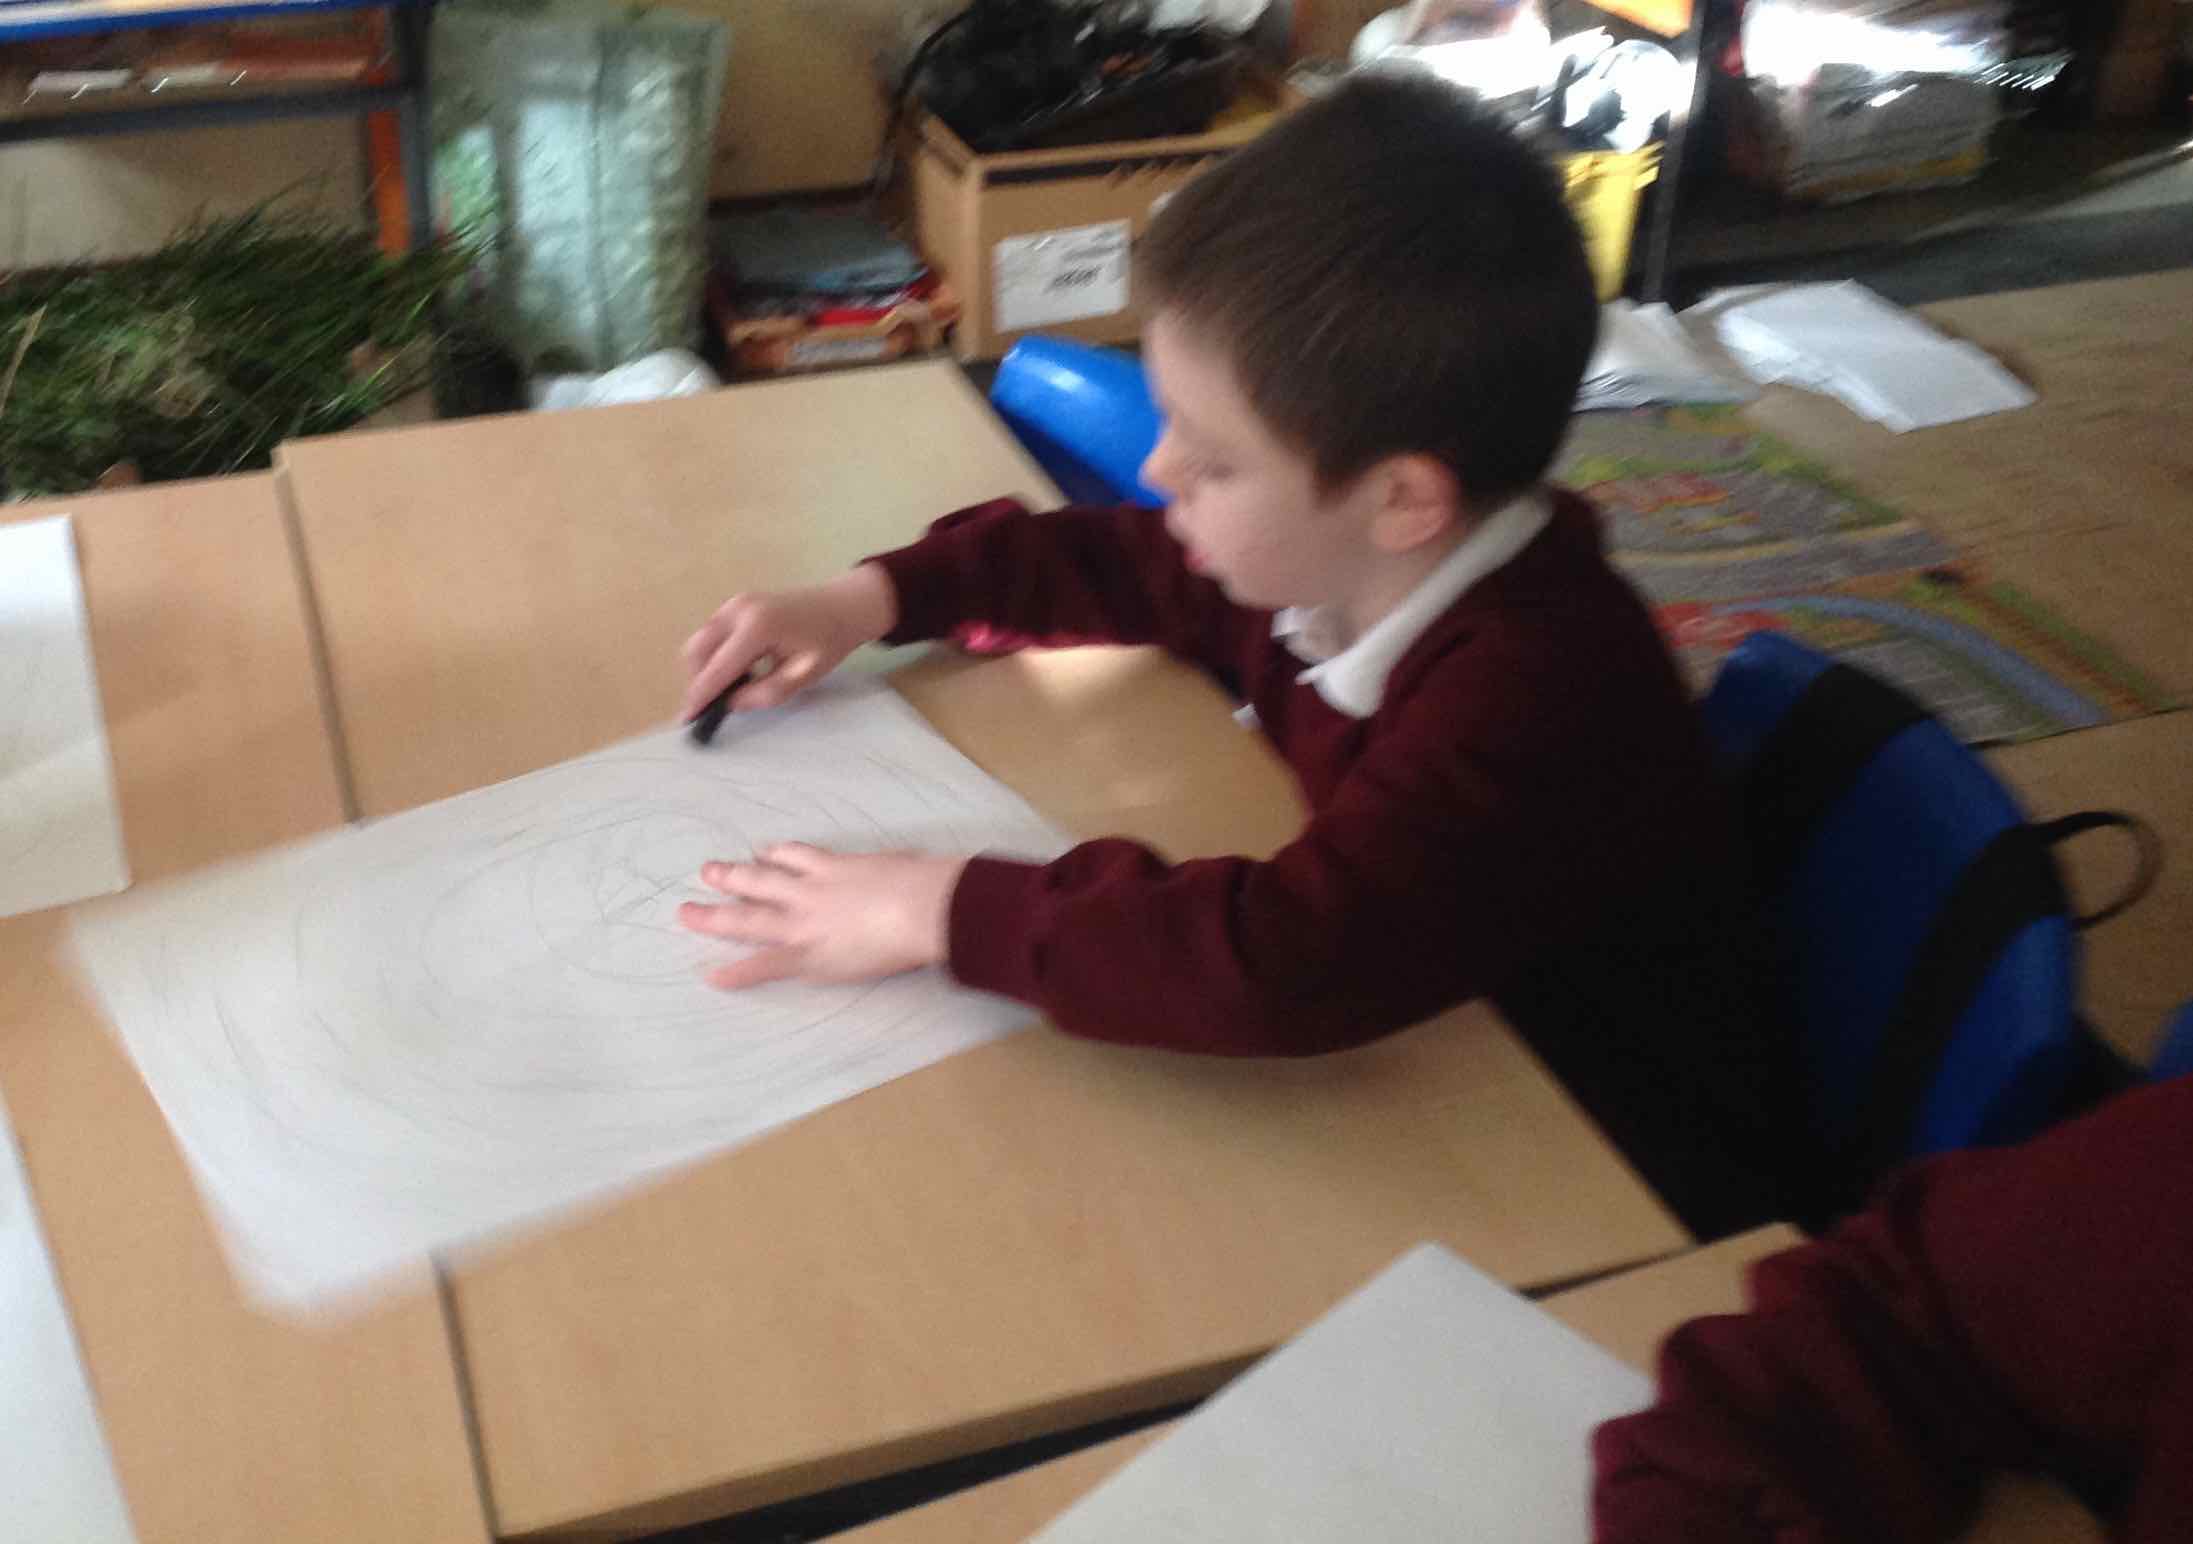
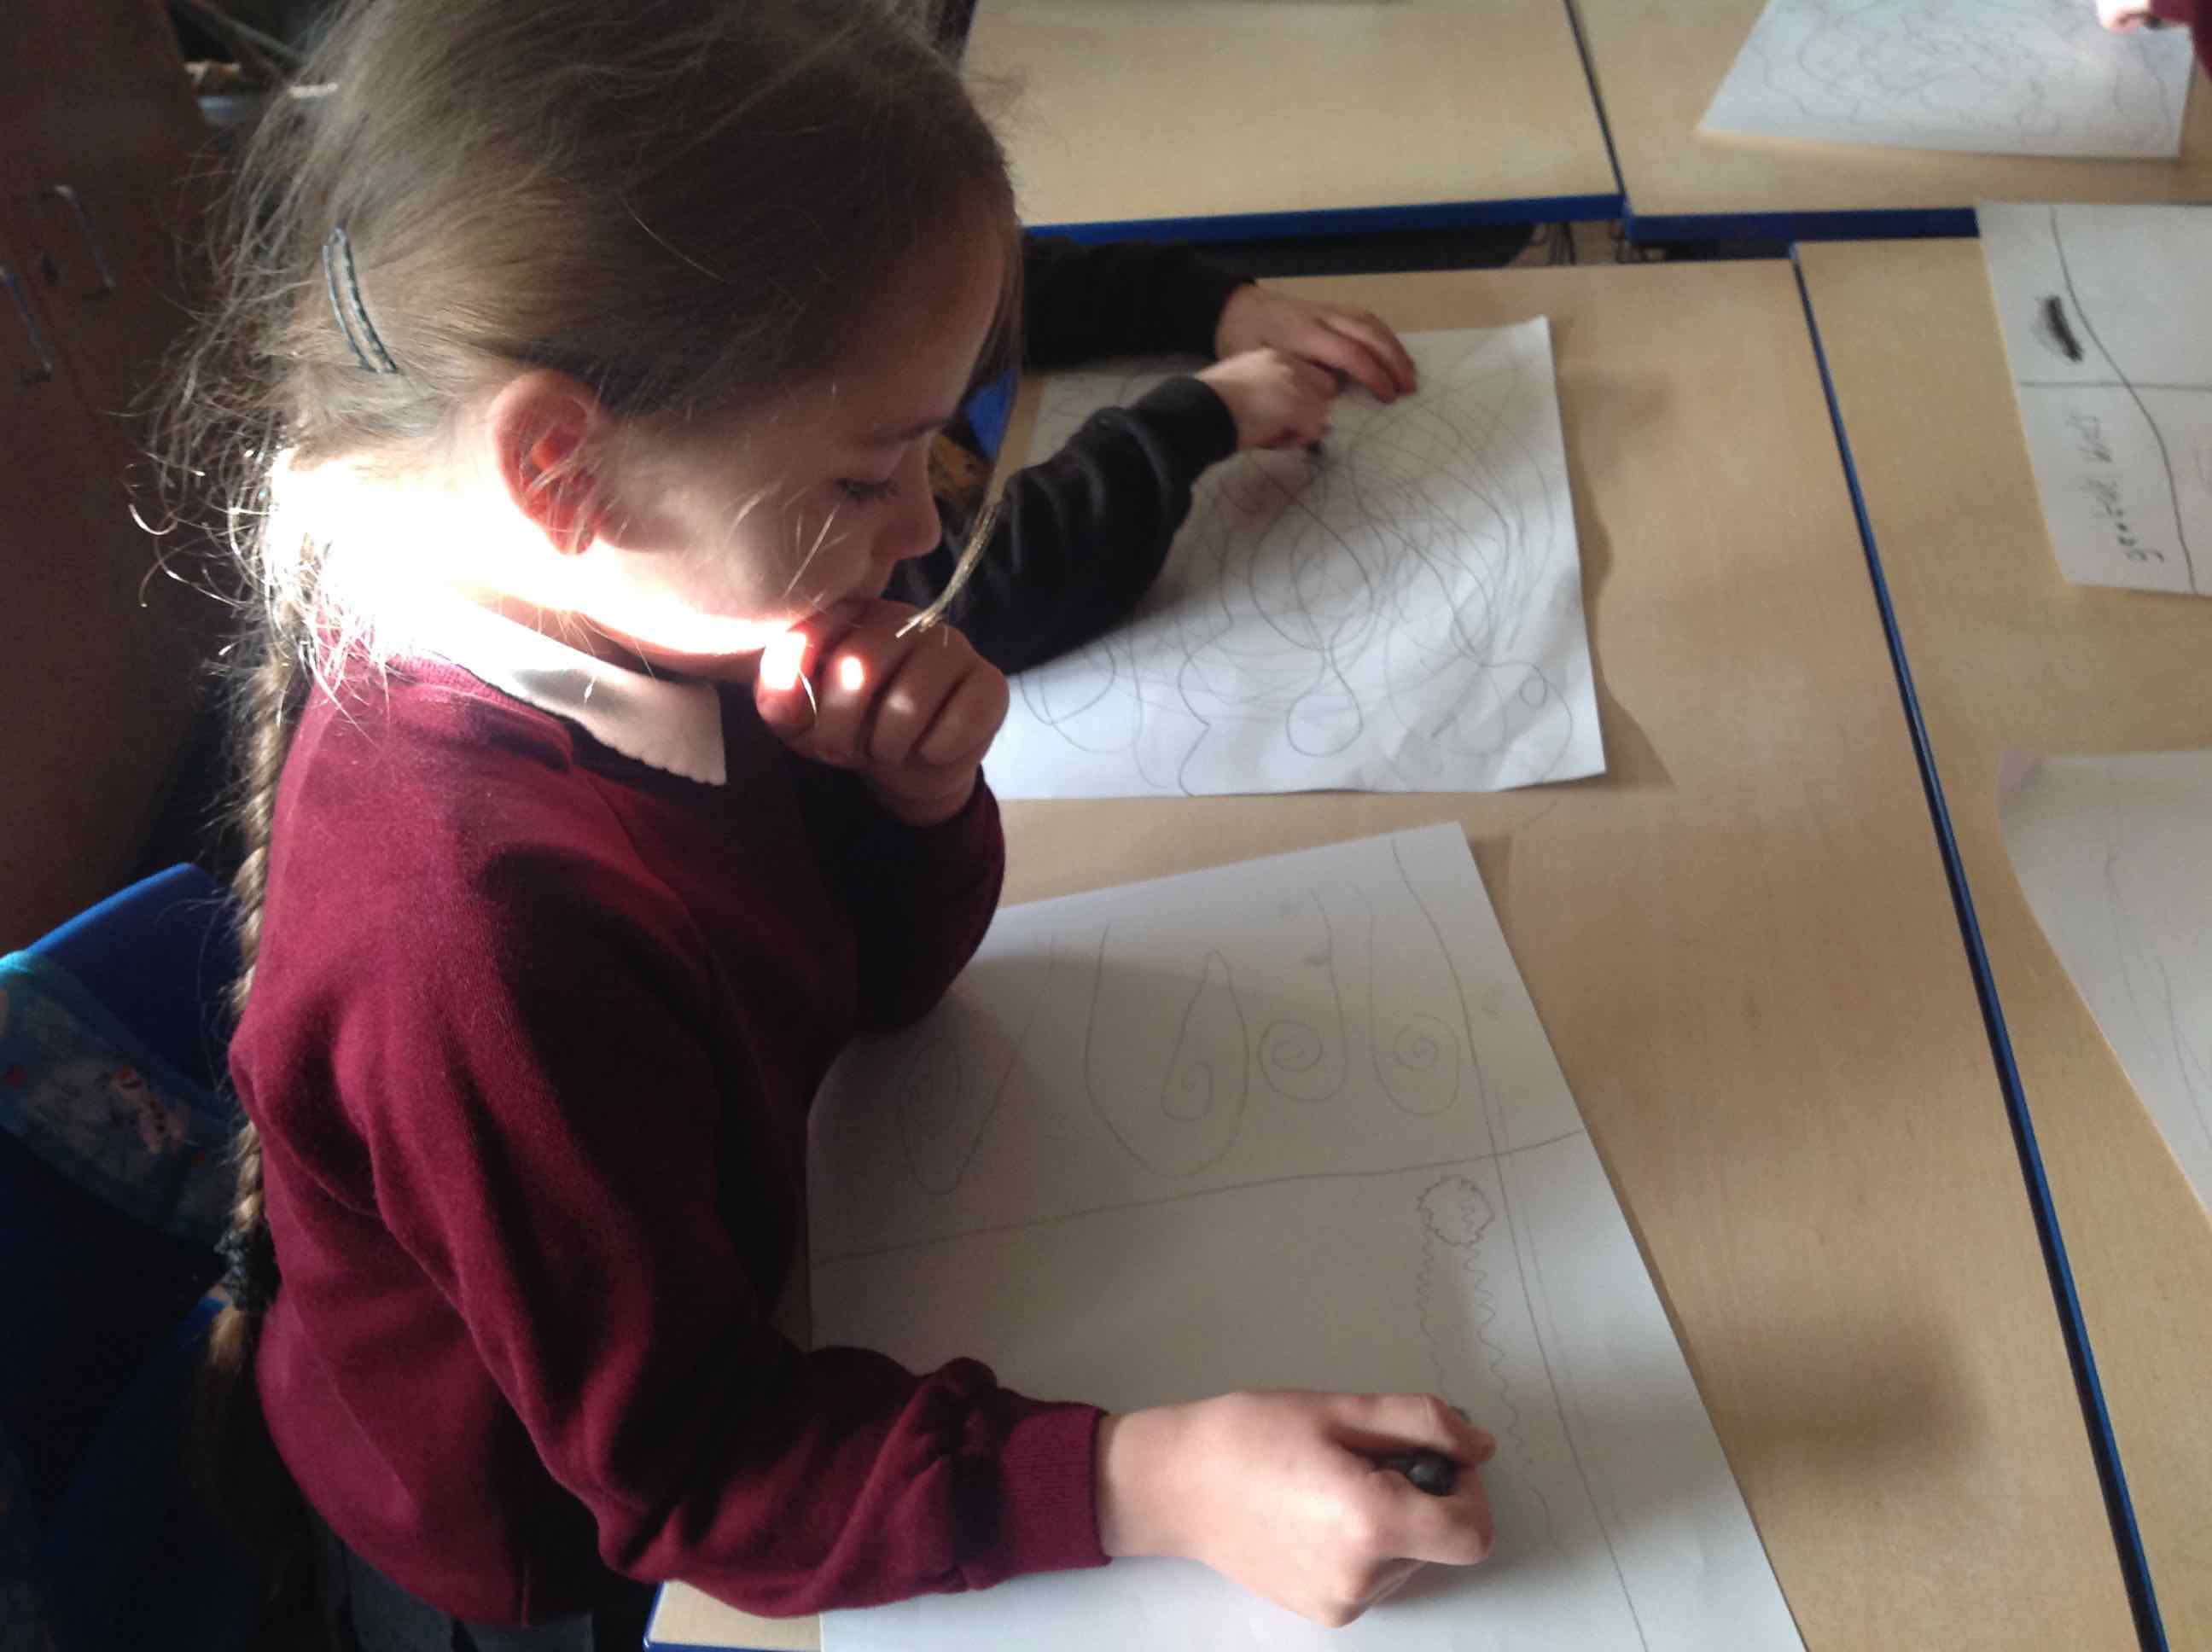
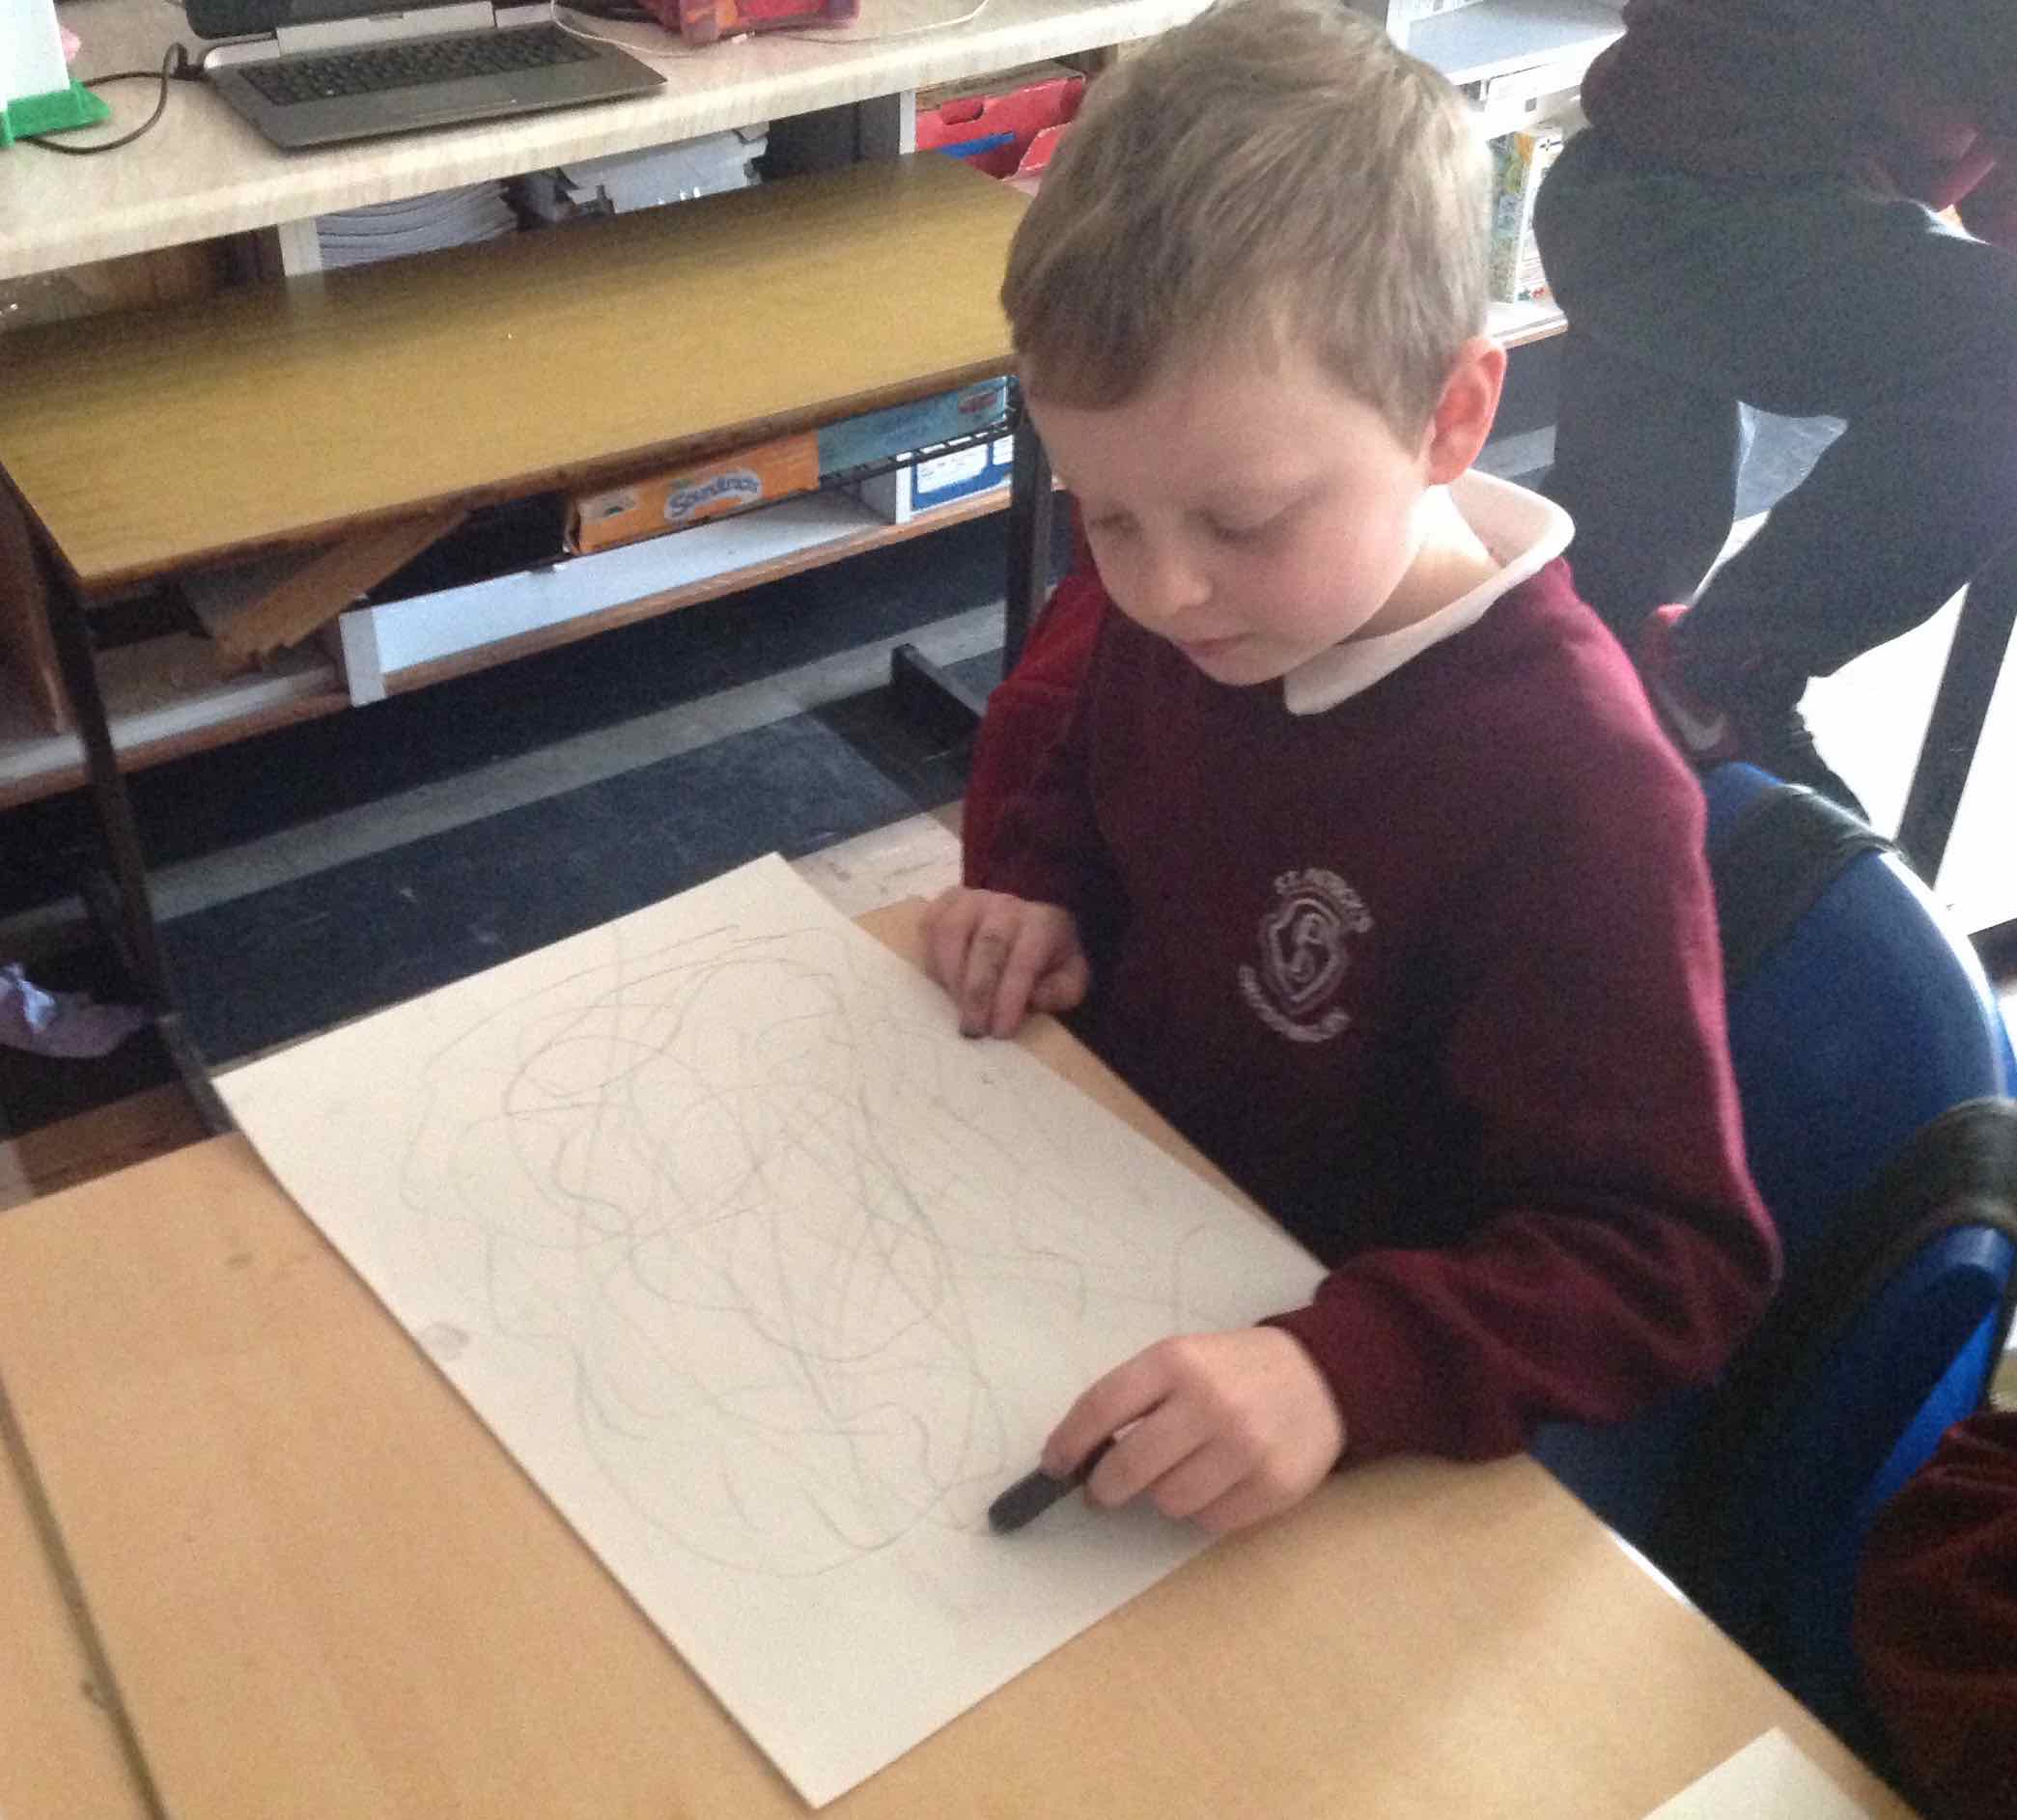
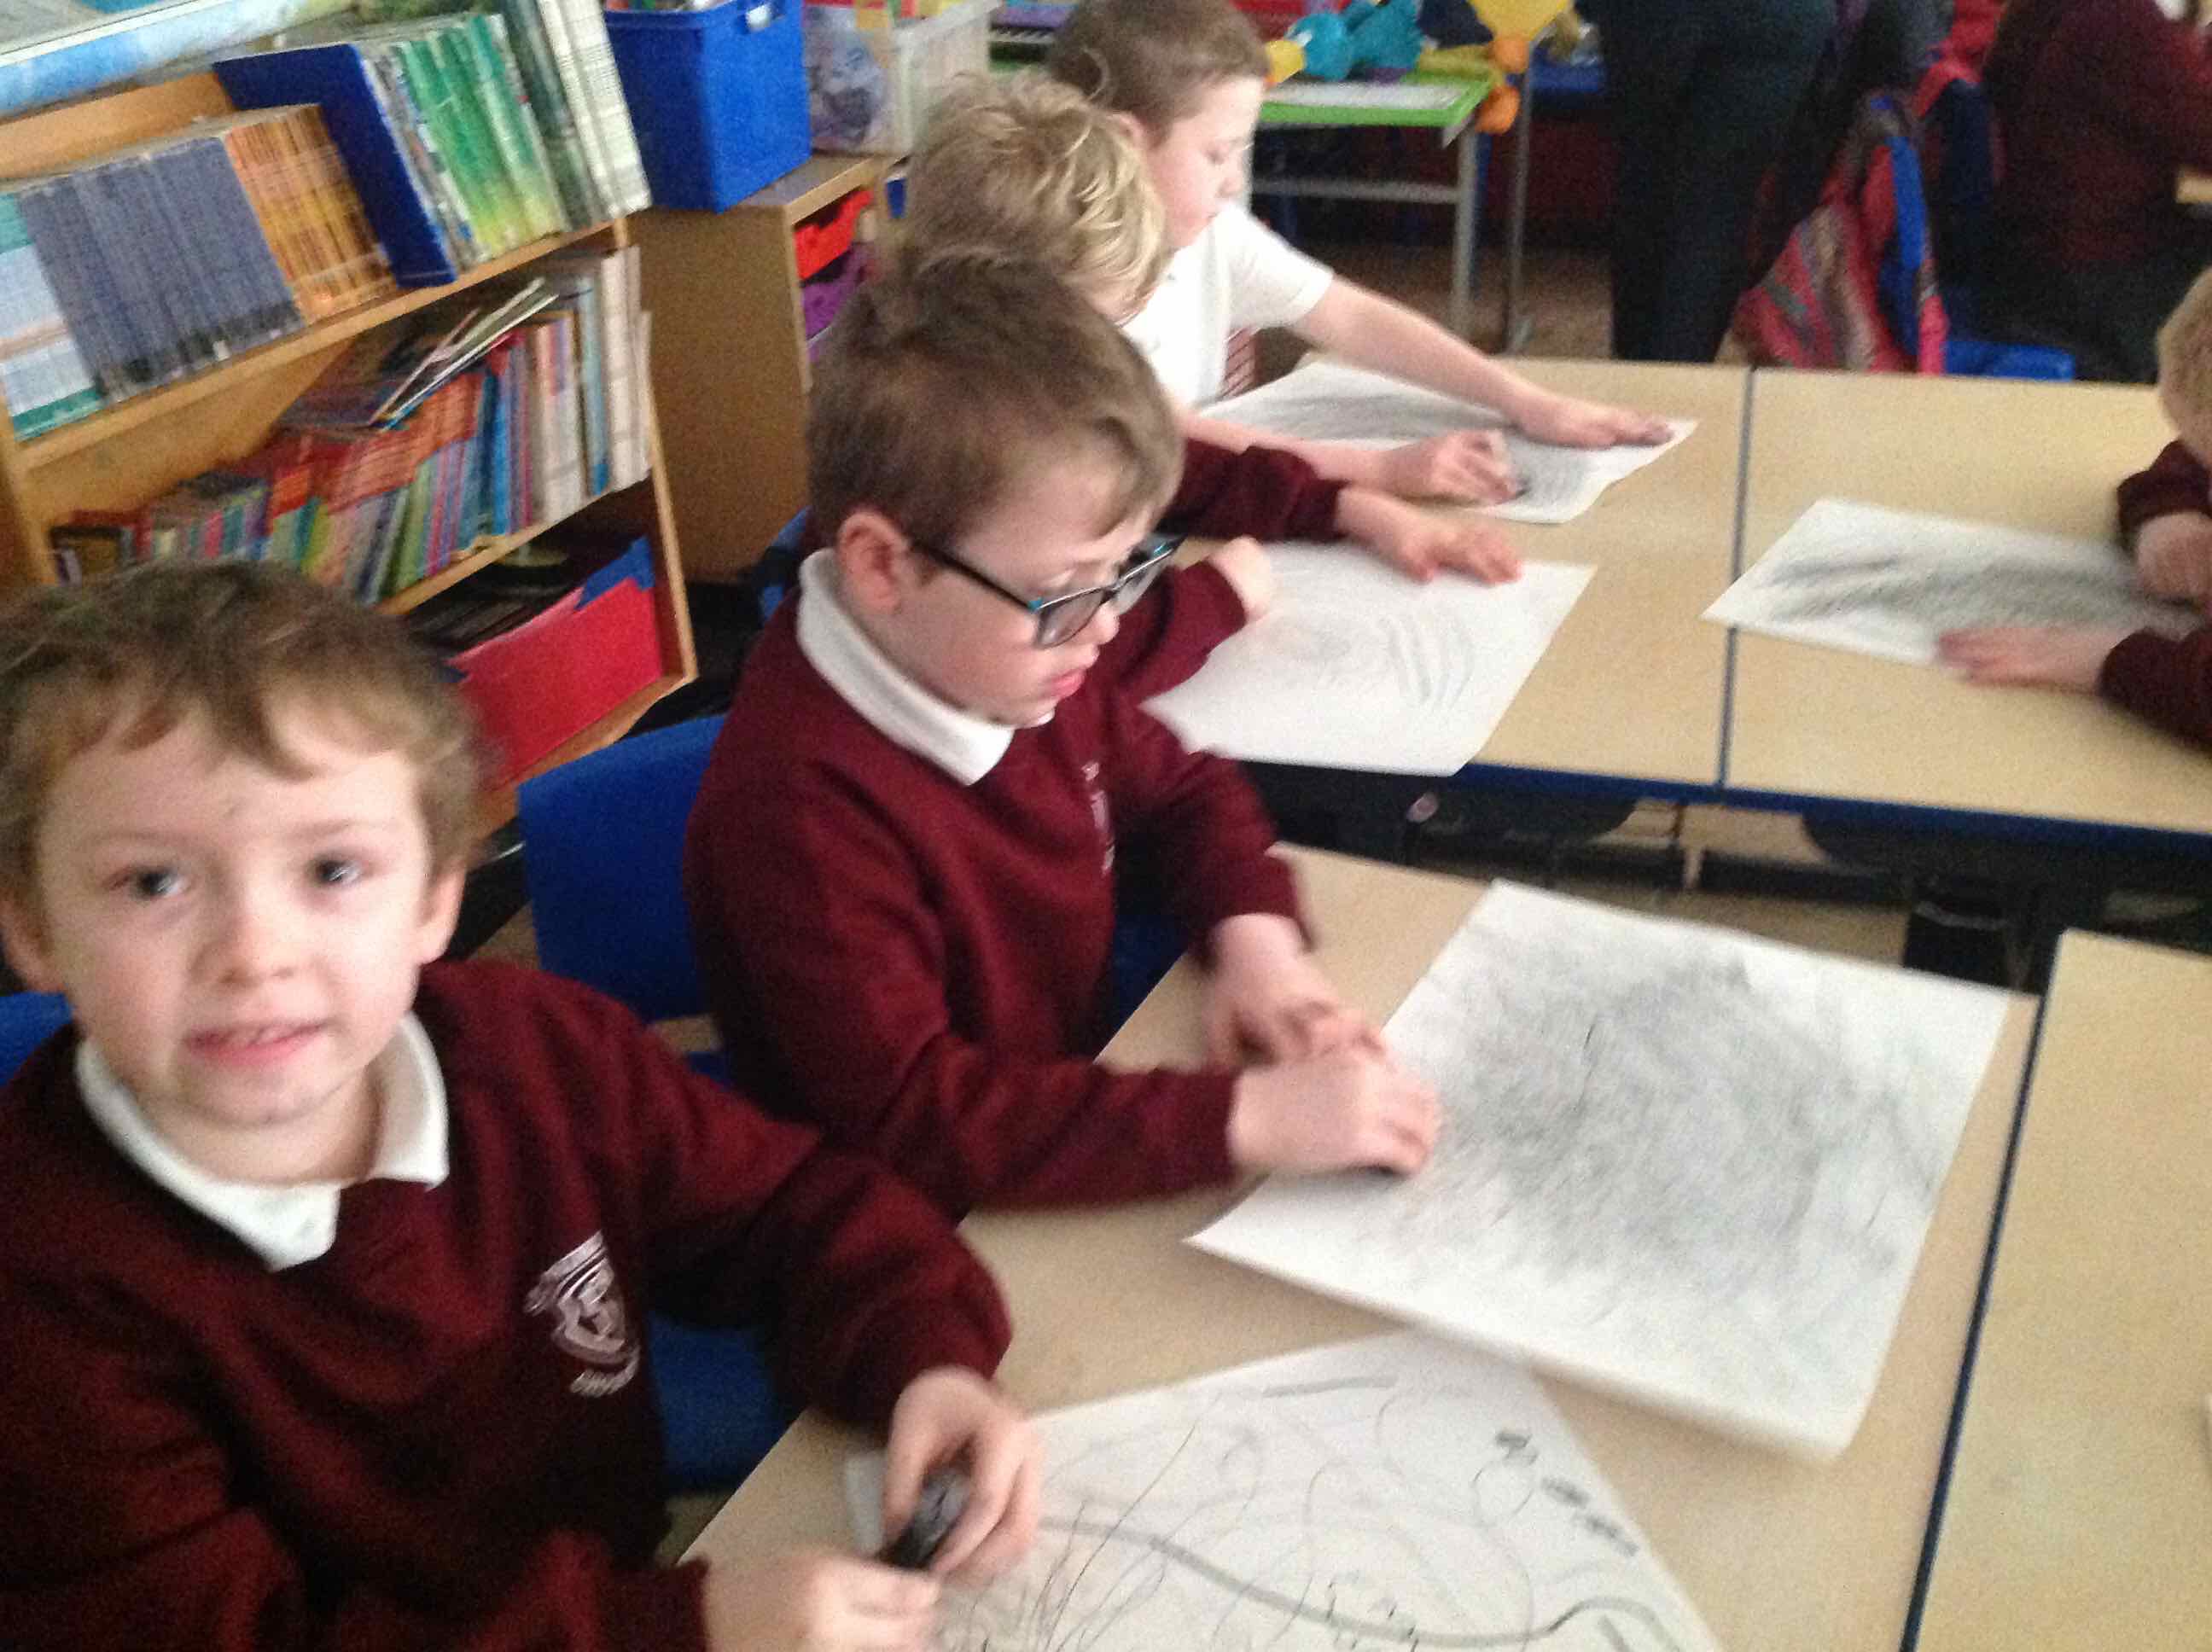
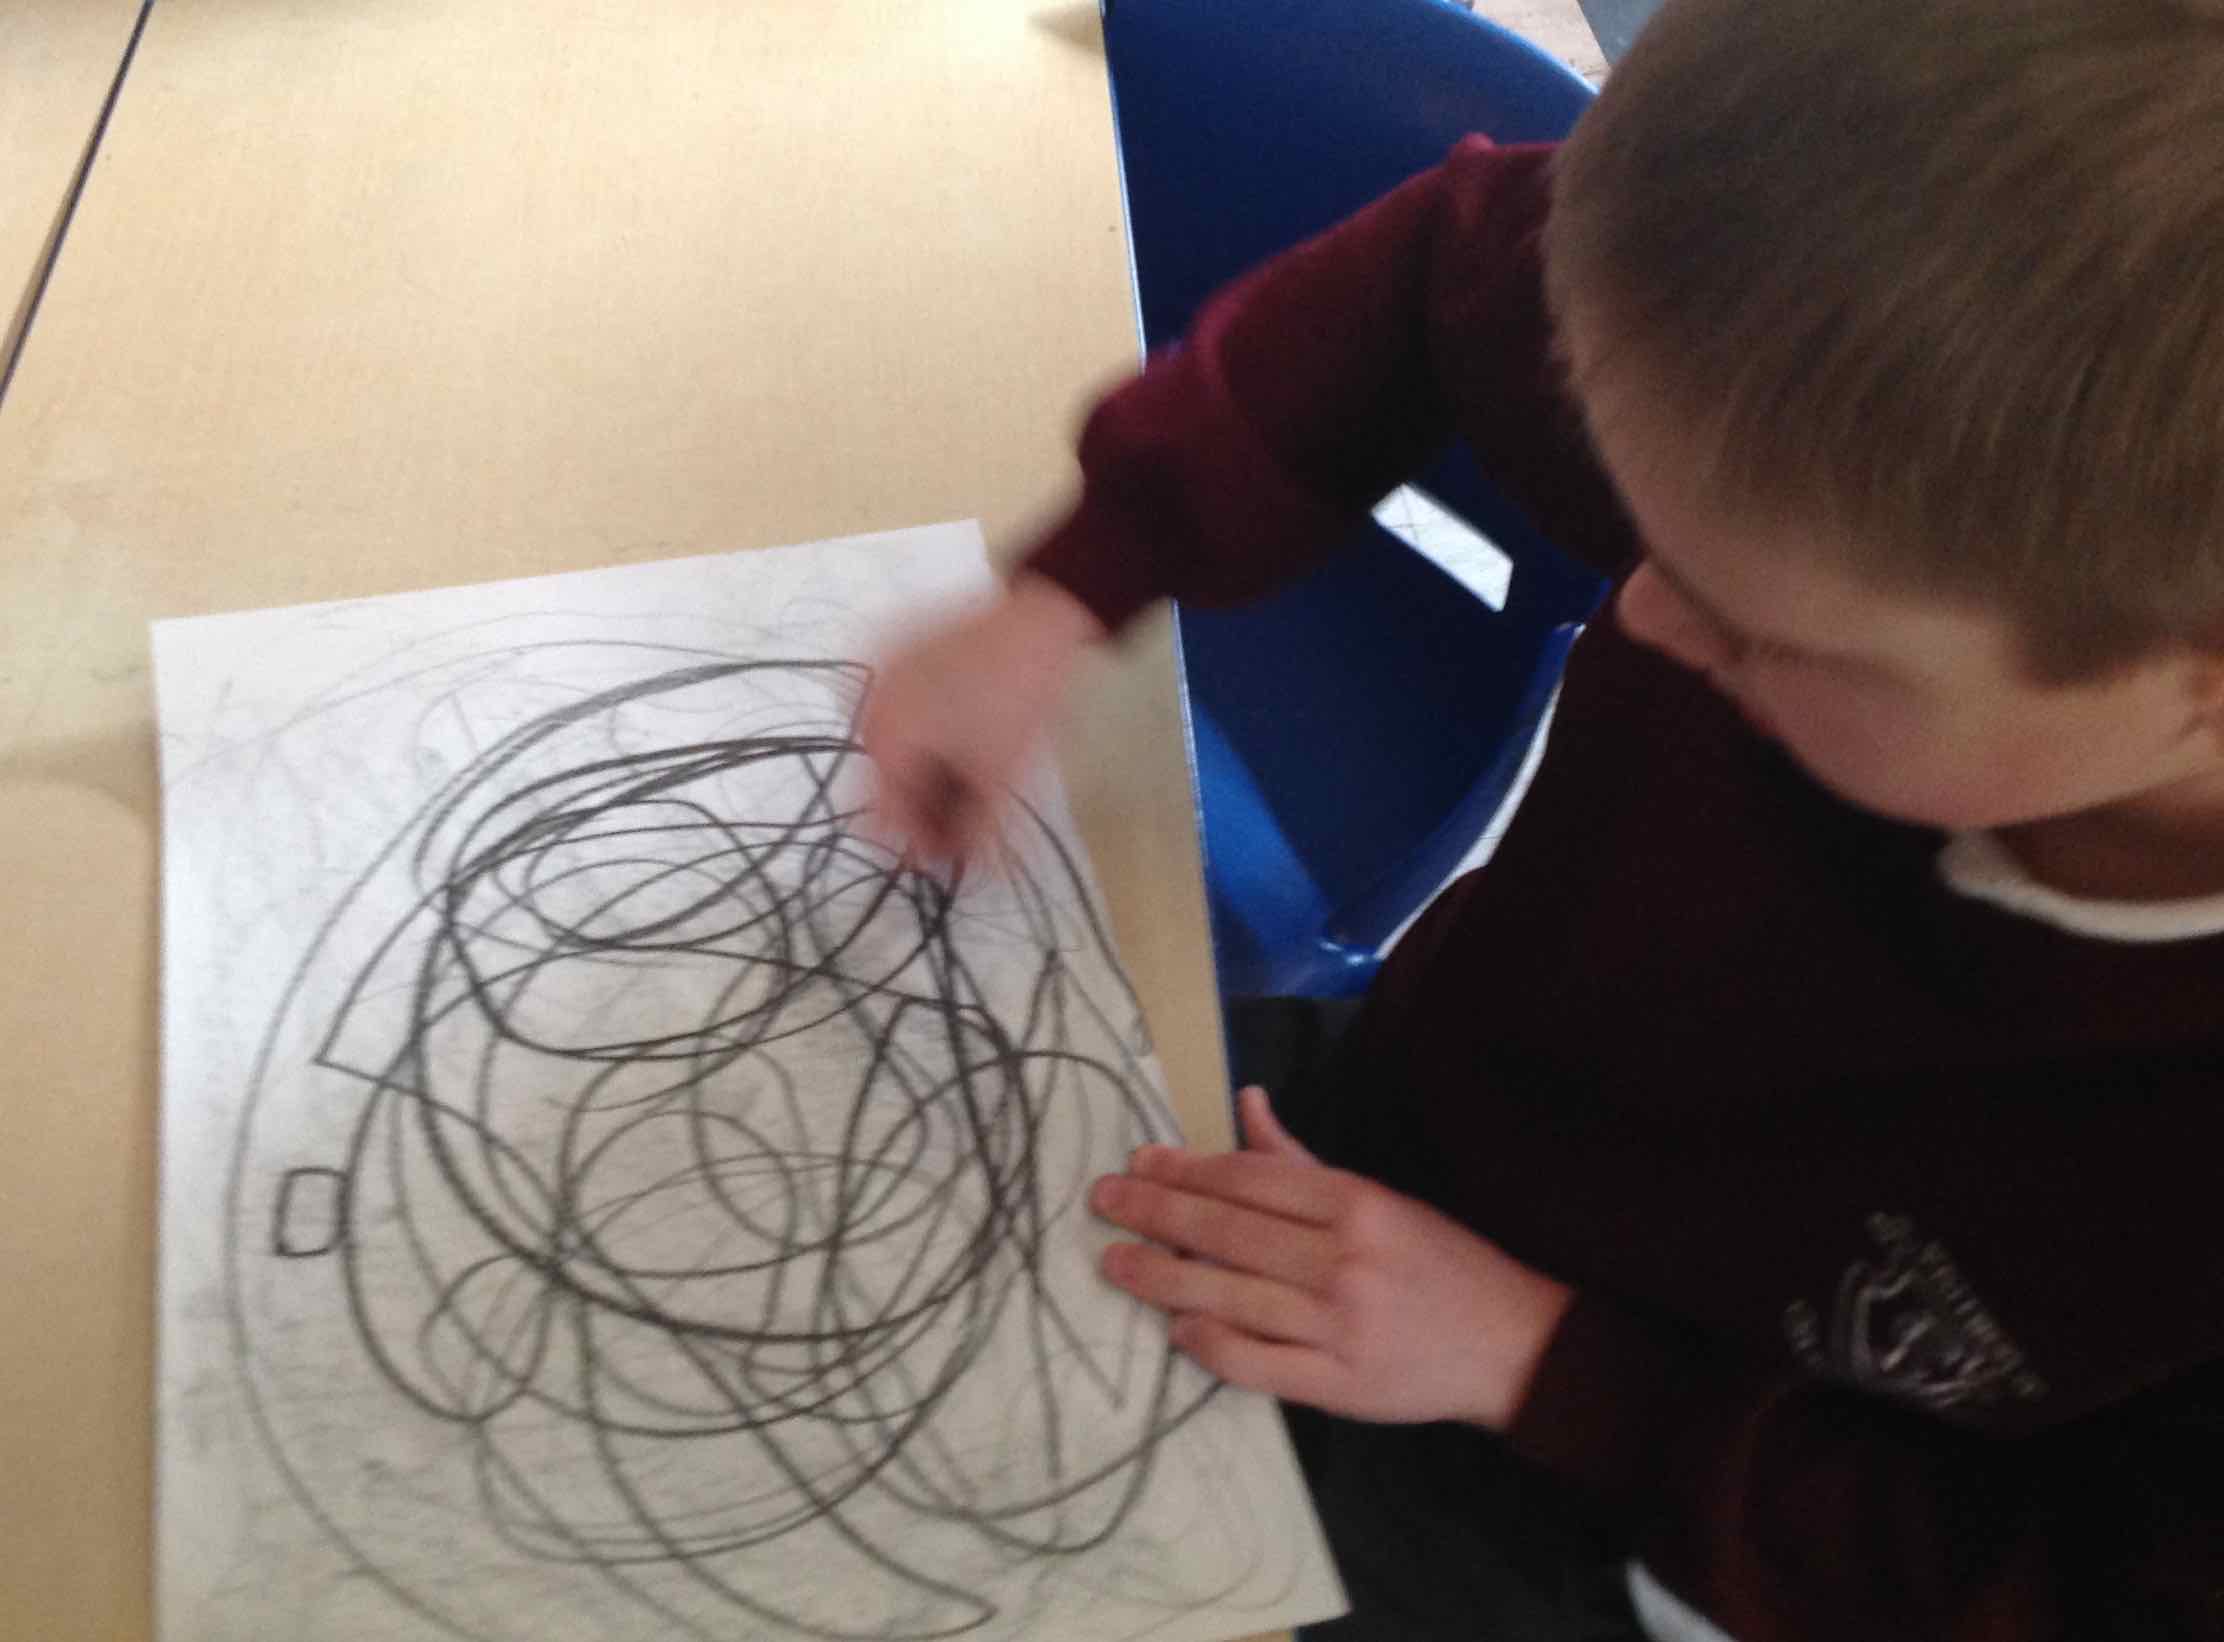
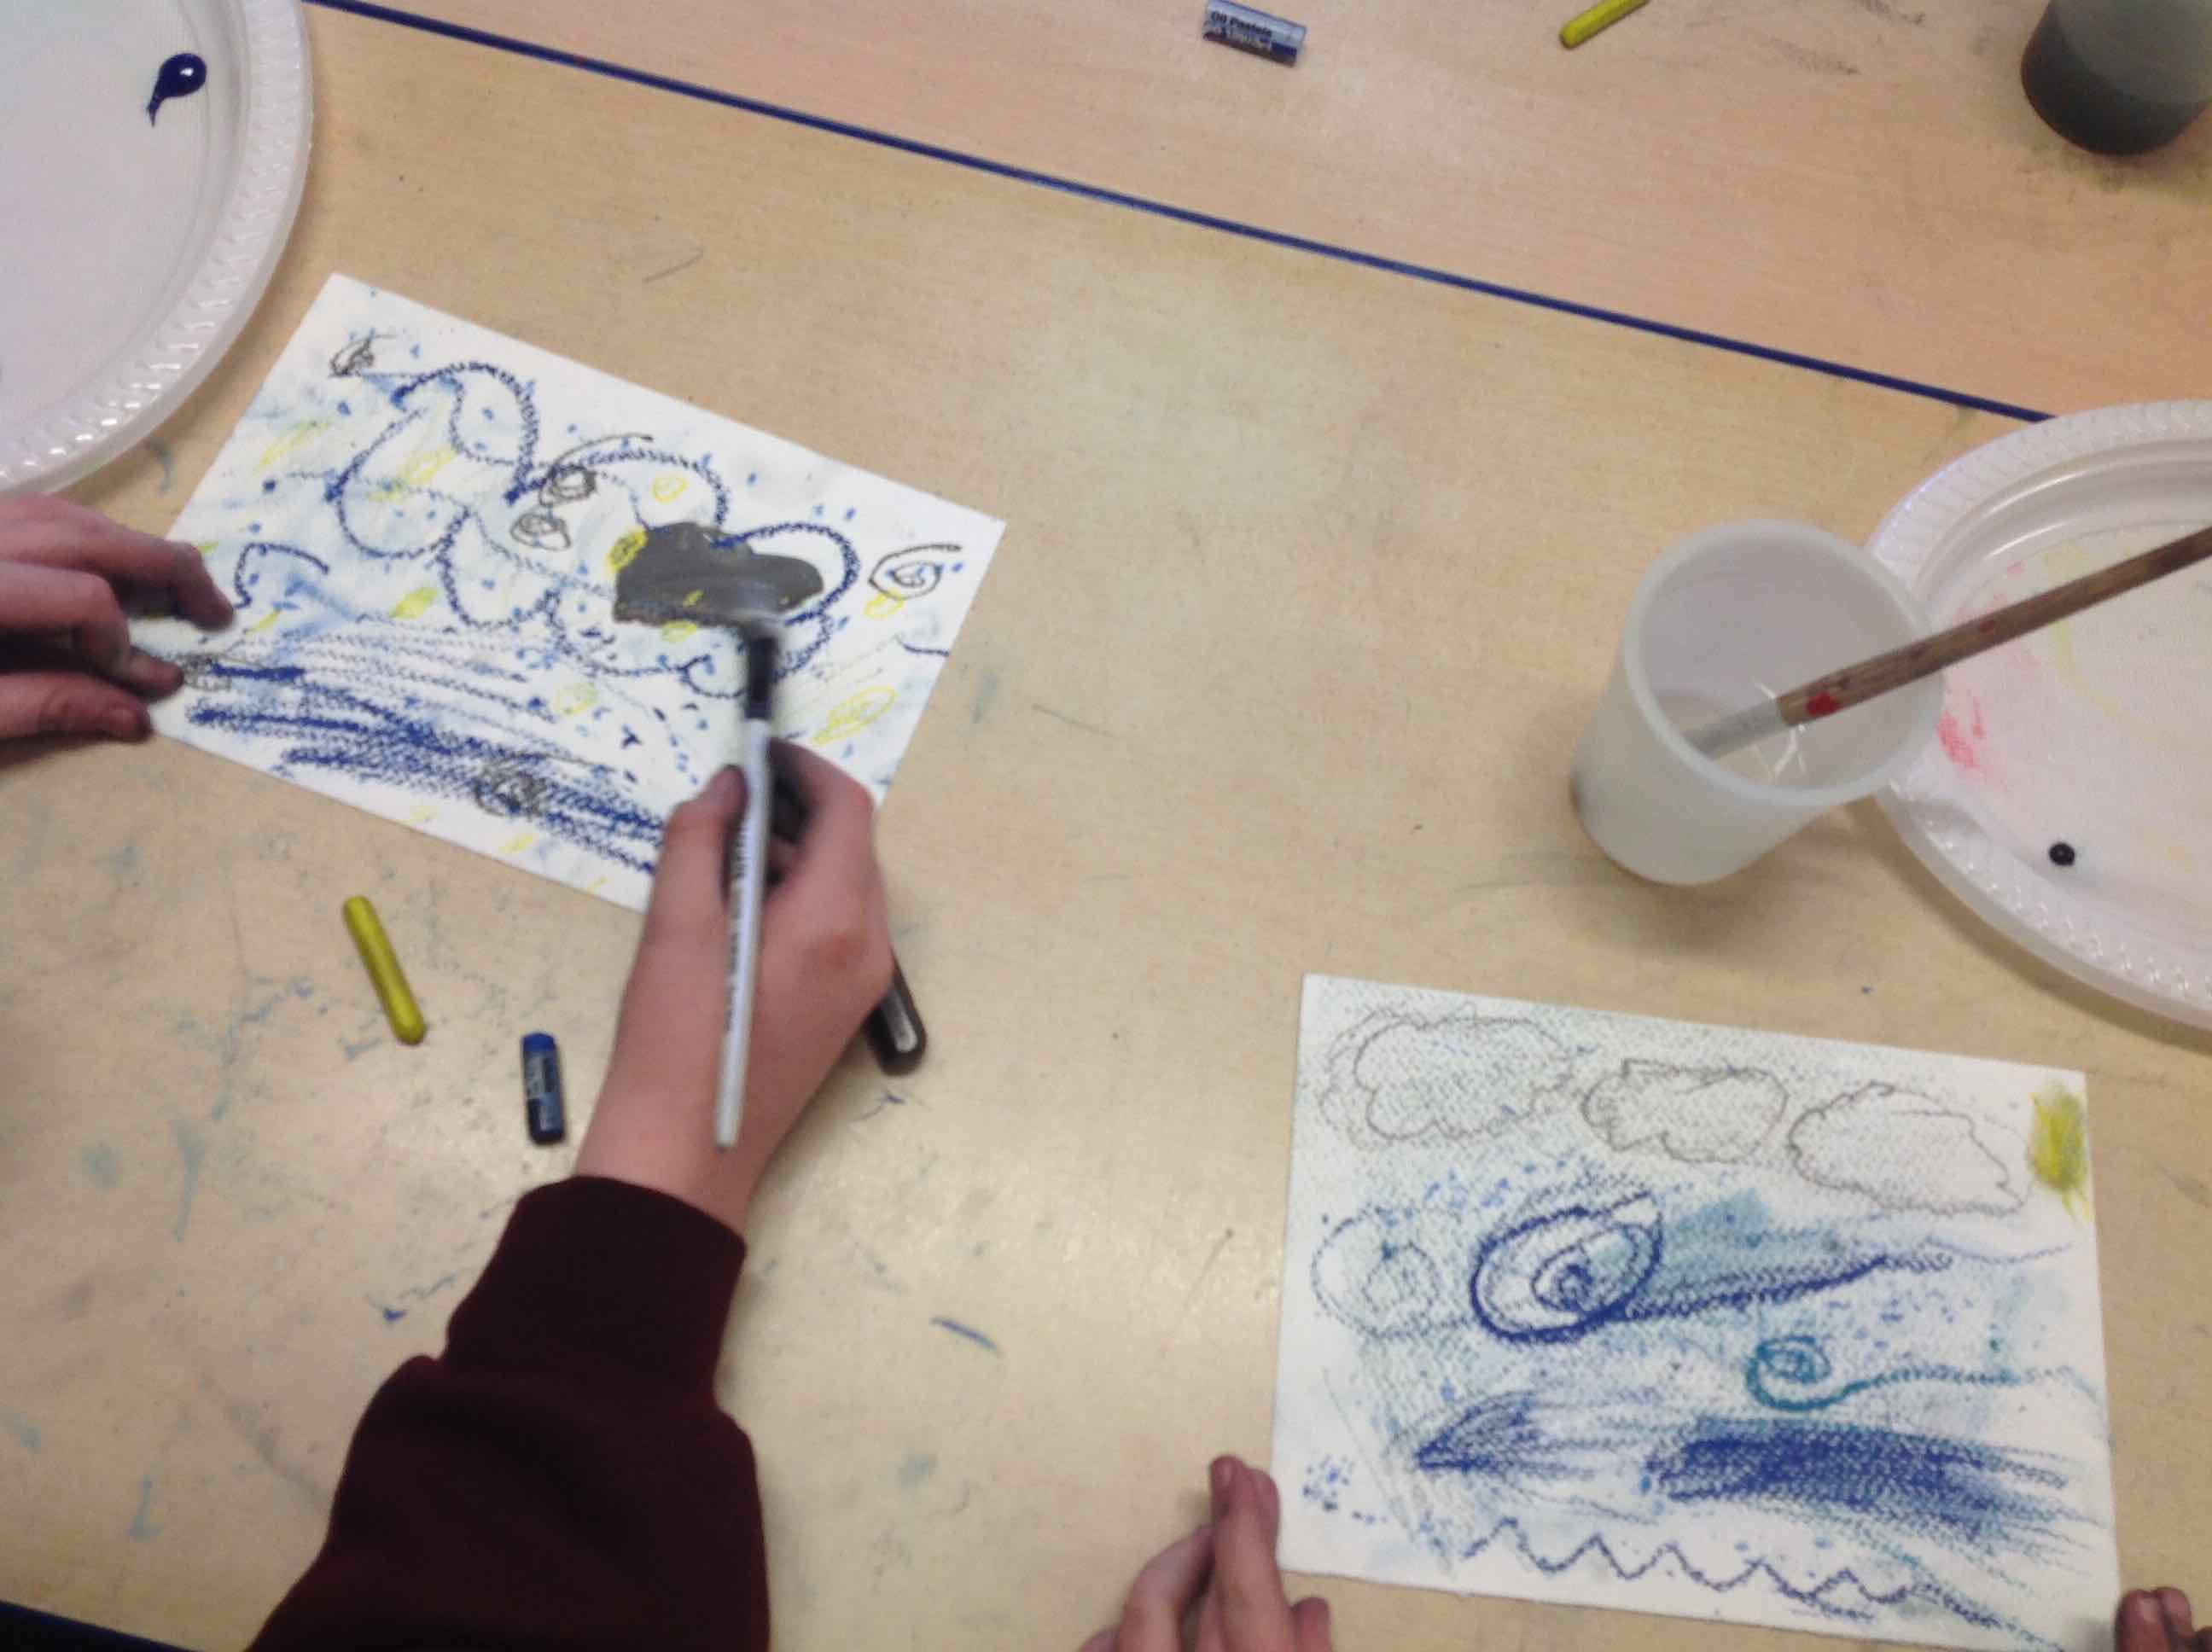
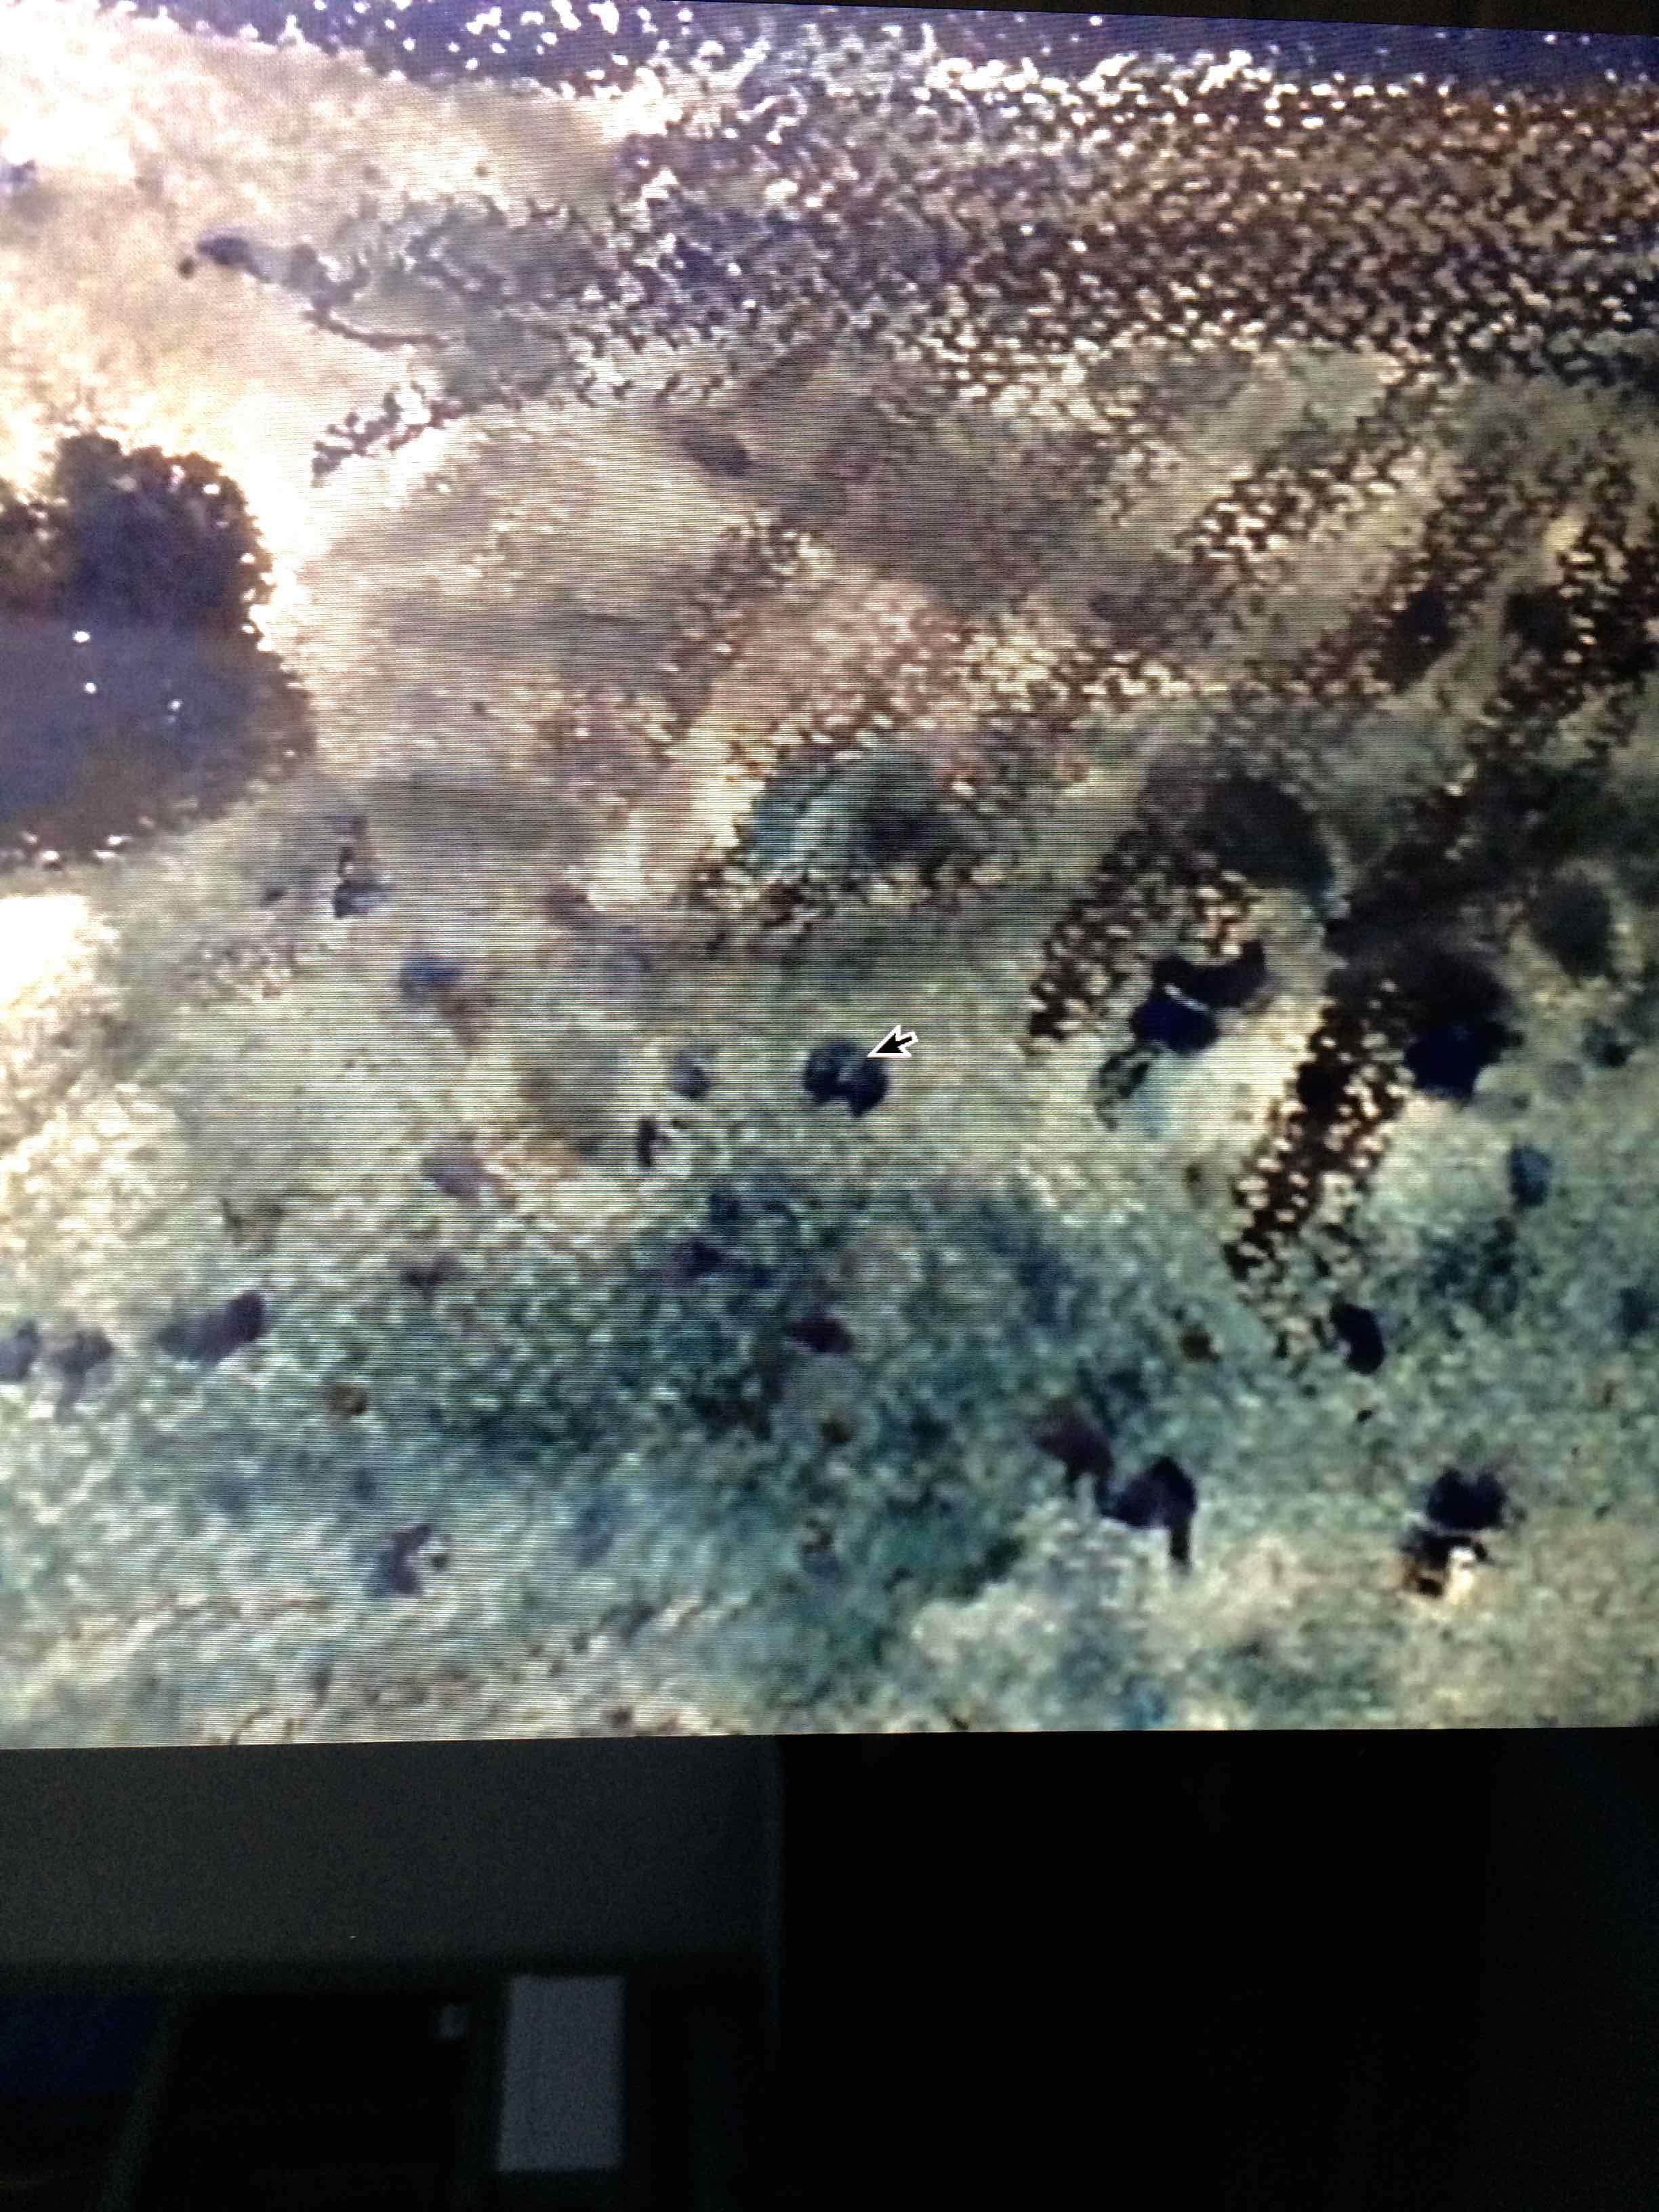
We thought it might be interesting to see if we could VISUALISE the WIND by drawing its different strengths. However first of all we had a look at a WIND MAP. During the week I sent Mrs Hughes a link to a website that interpreted the wind direction all over the globe! However if you scroll the globe, you can focus in on Ireland and watch the wind streams, crossing the country. 

http://www.gaelforceenergy.com/blog/?p=185

It was amazing as Mrs Hughes could swivel the globe around on screen and view the weather as it hit the coasts of Ireland and then swivel to countries the other side of the world! The children enjoyed watching this and gave us some inspiration for our own drawings.

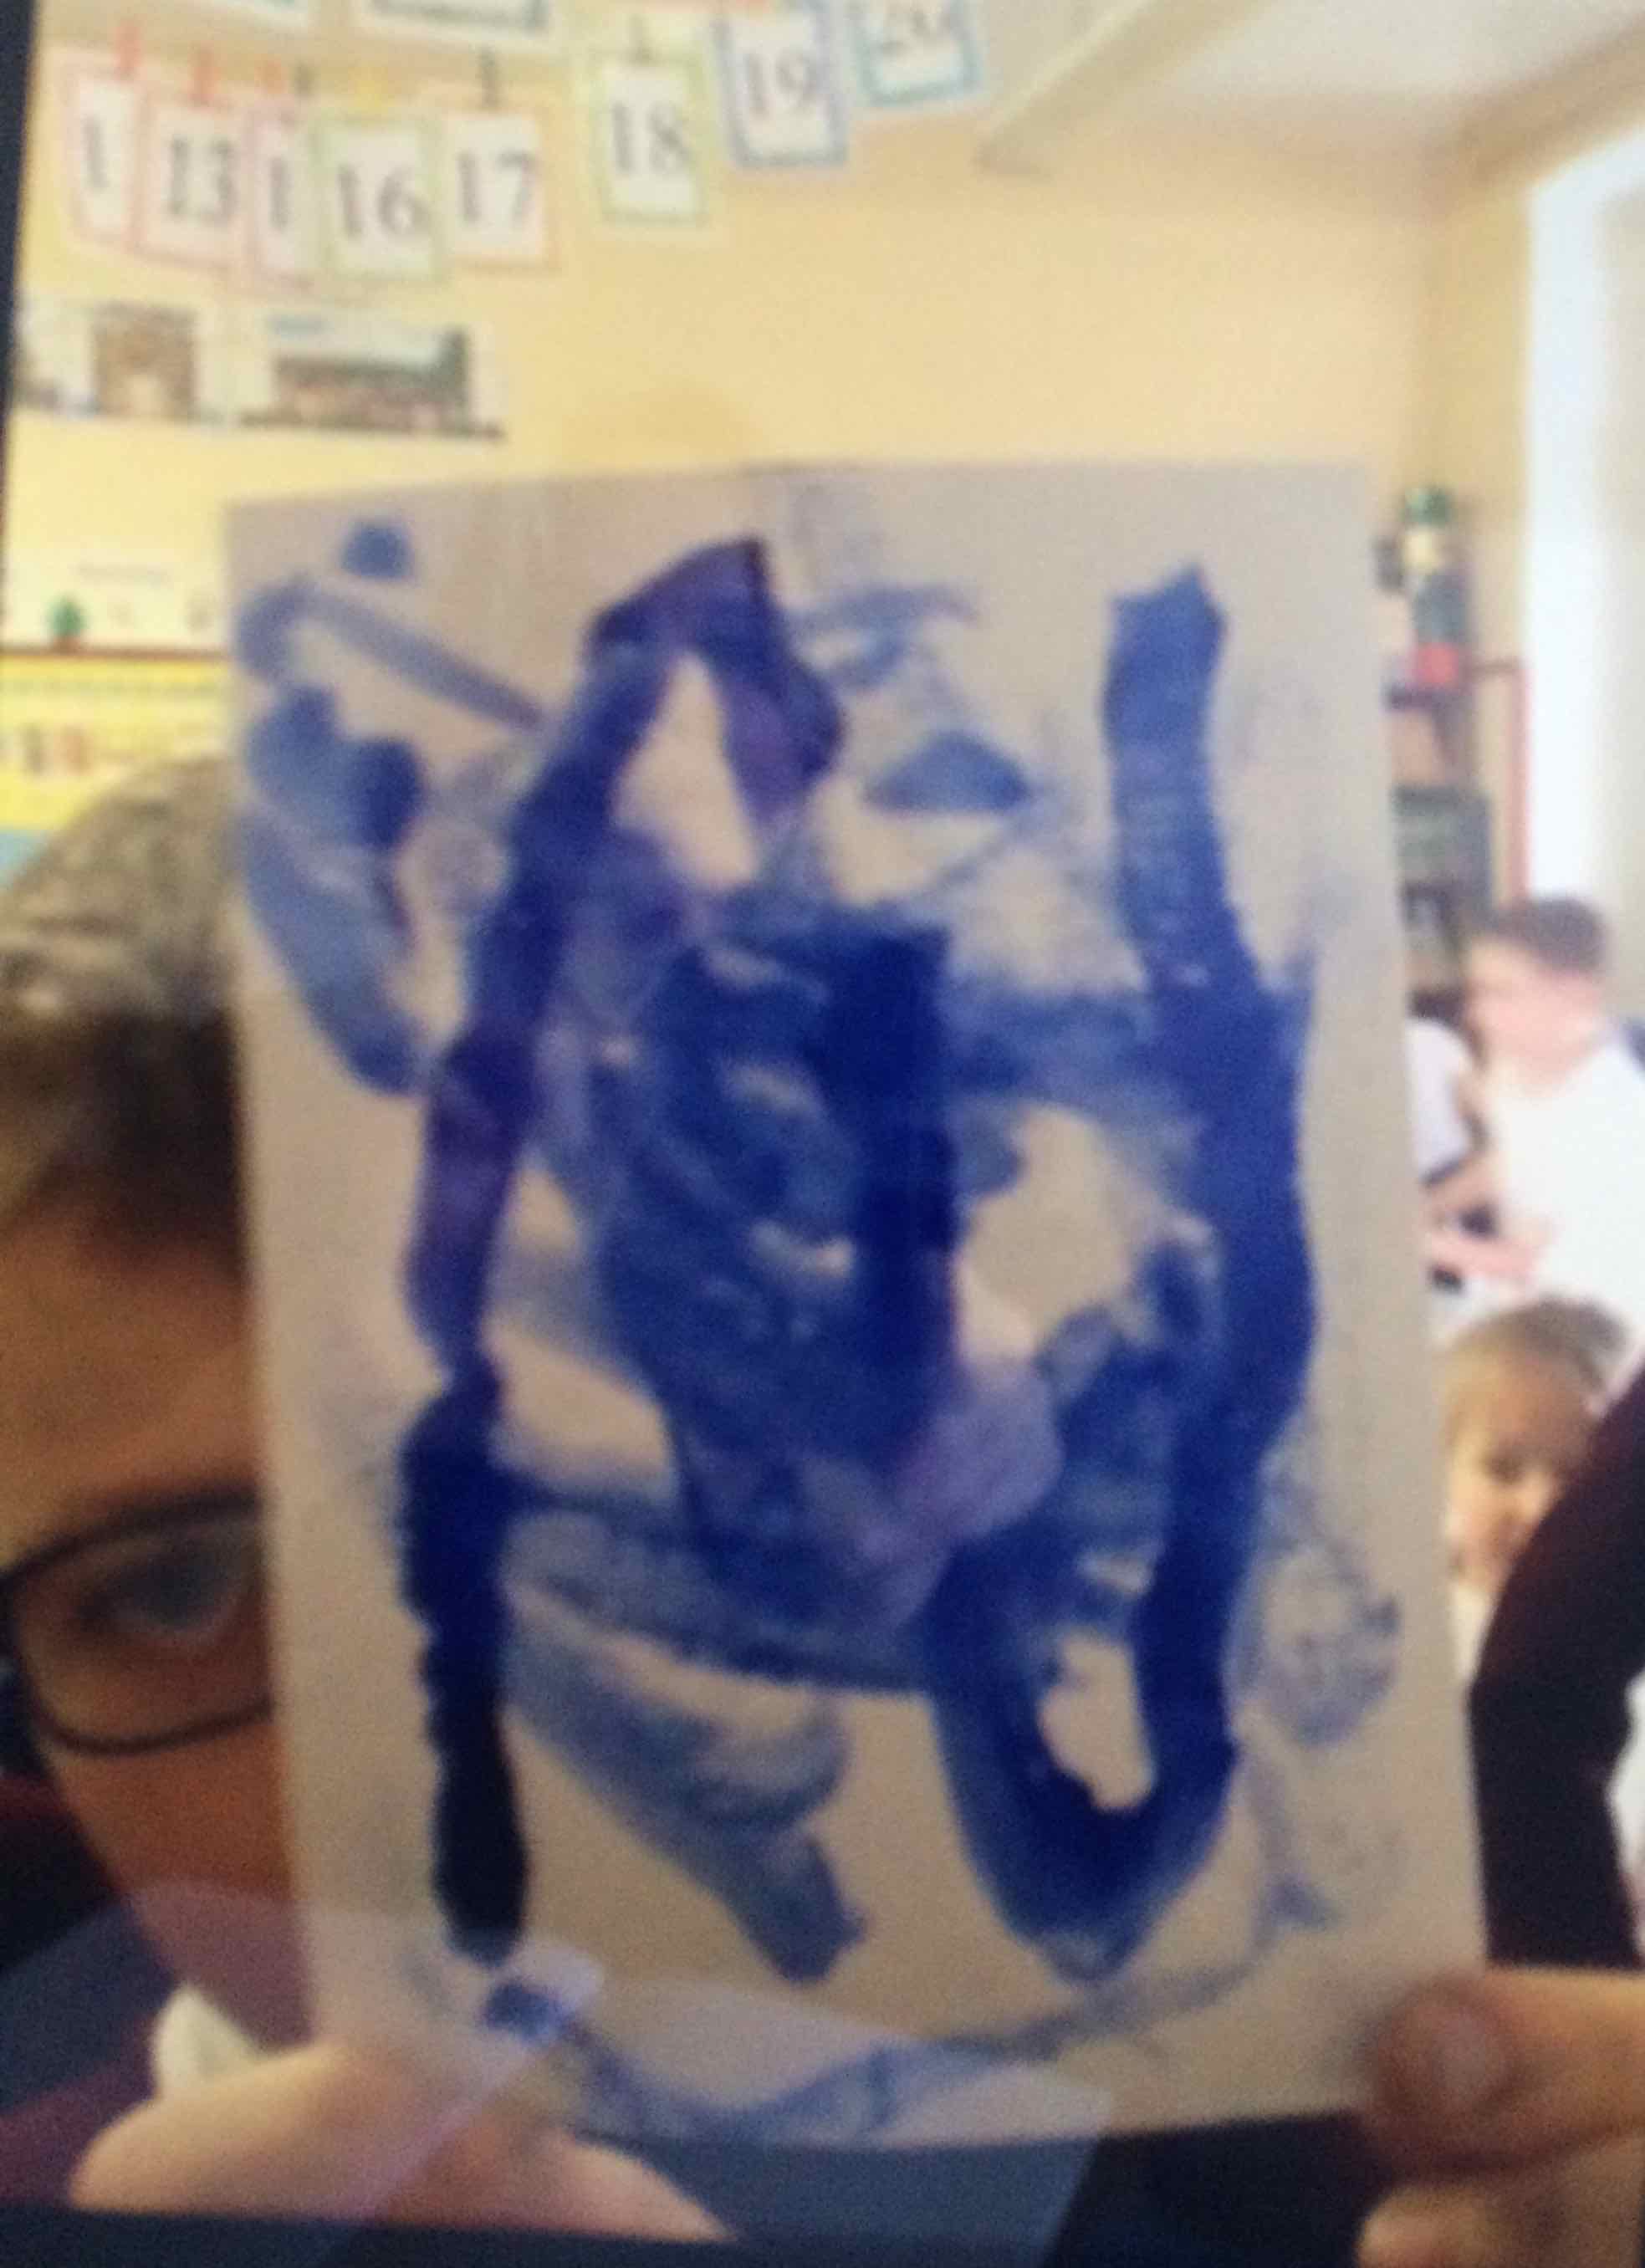
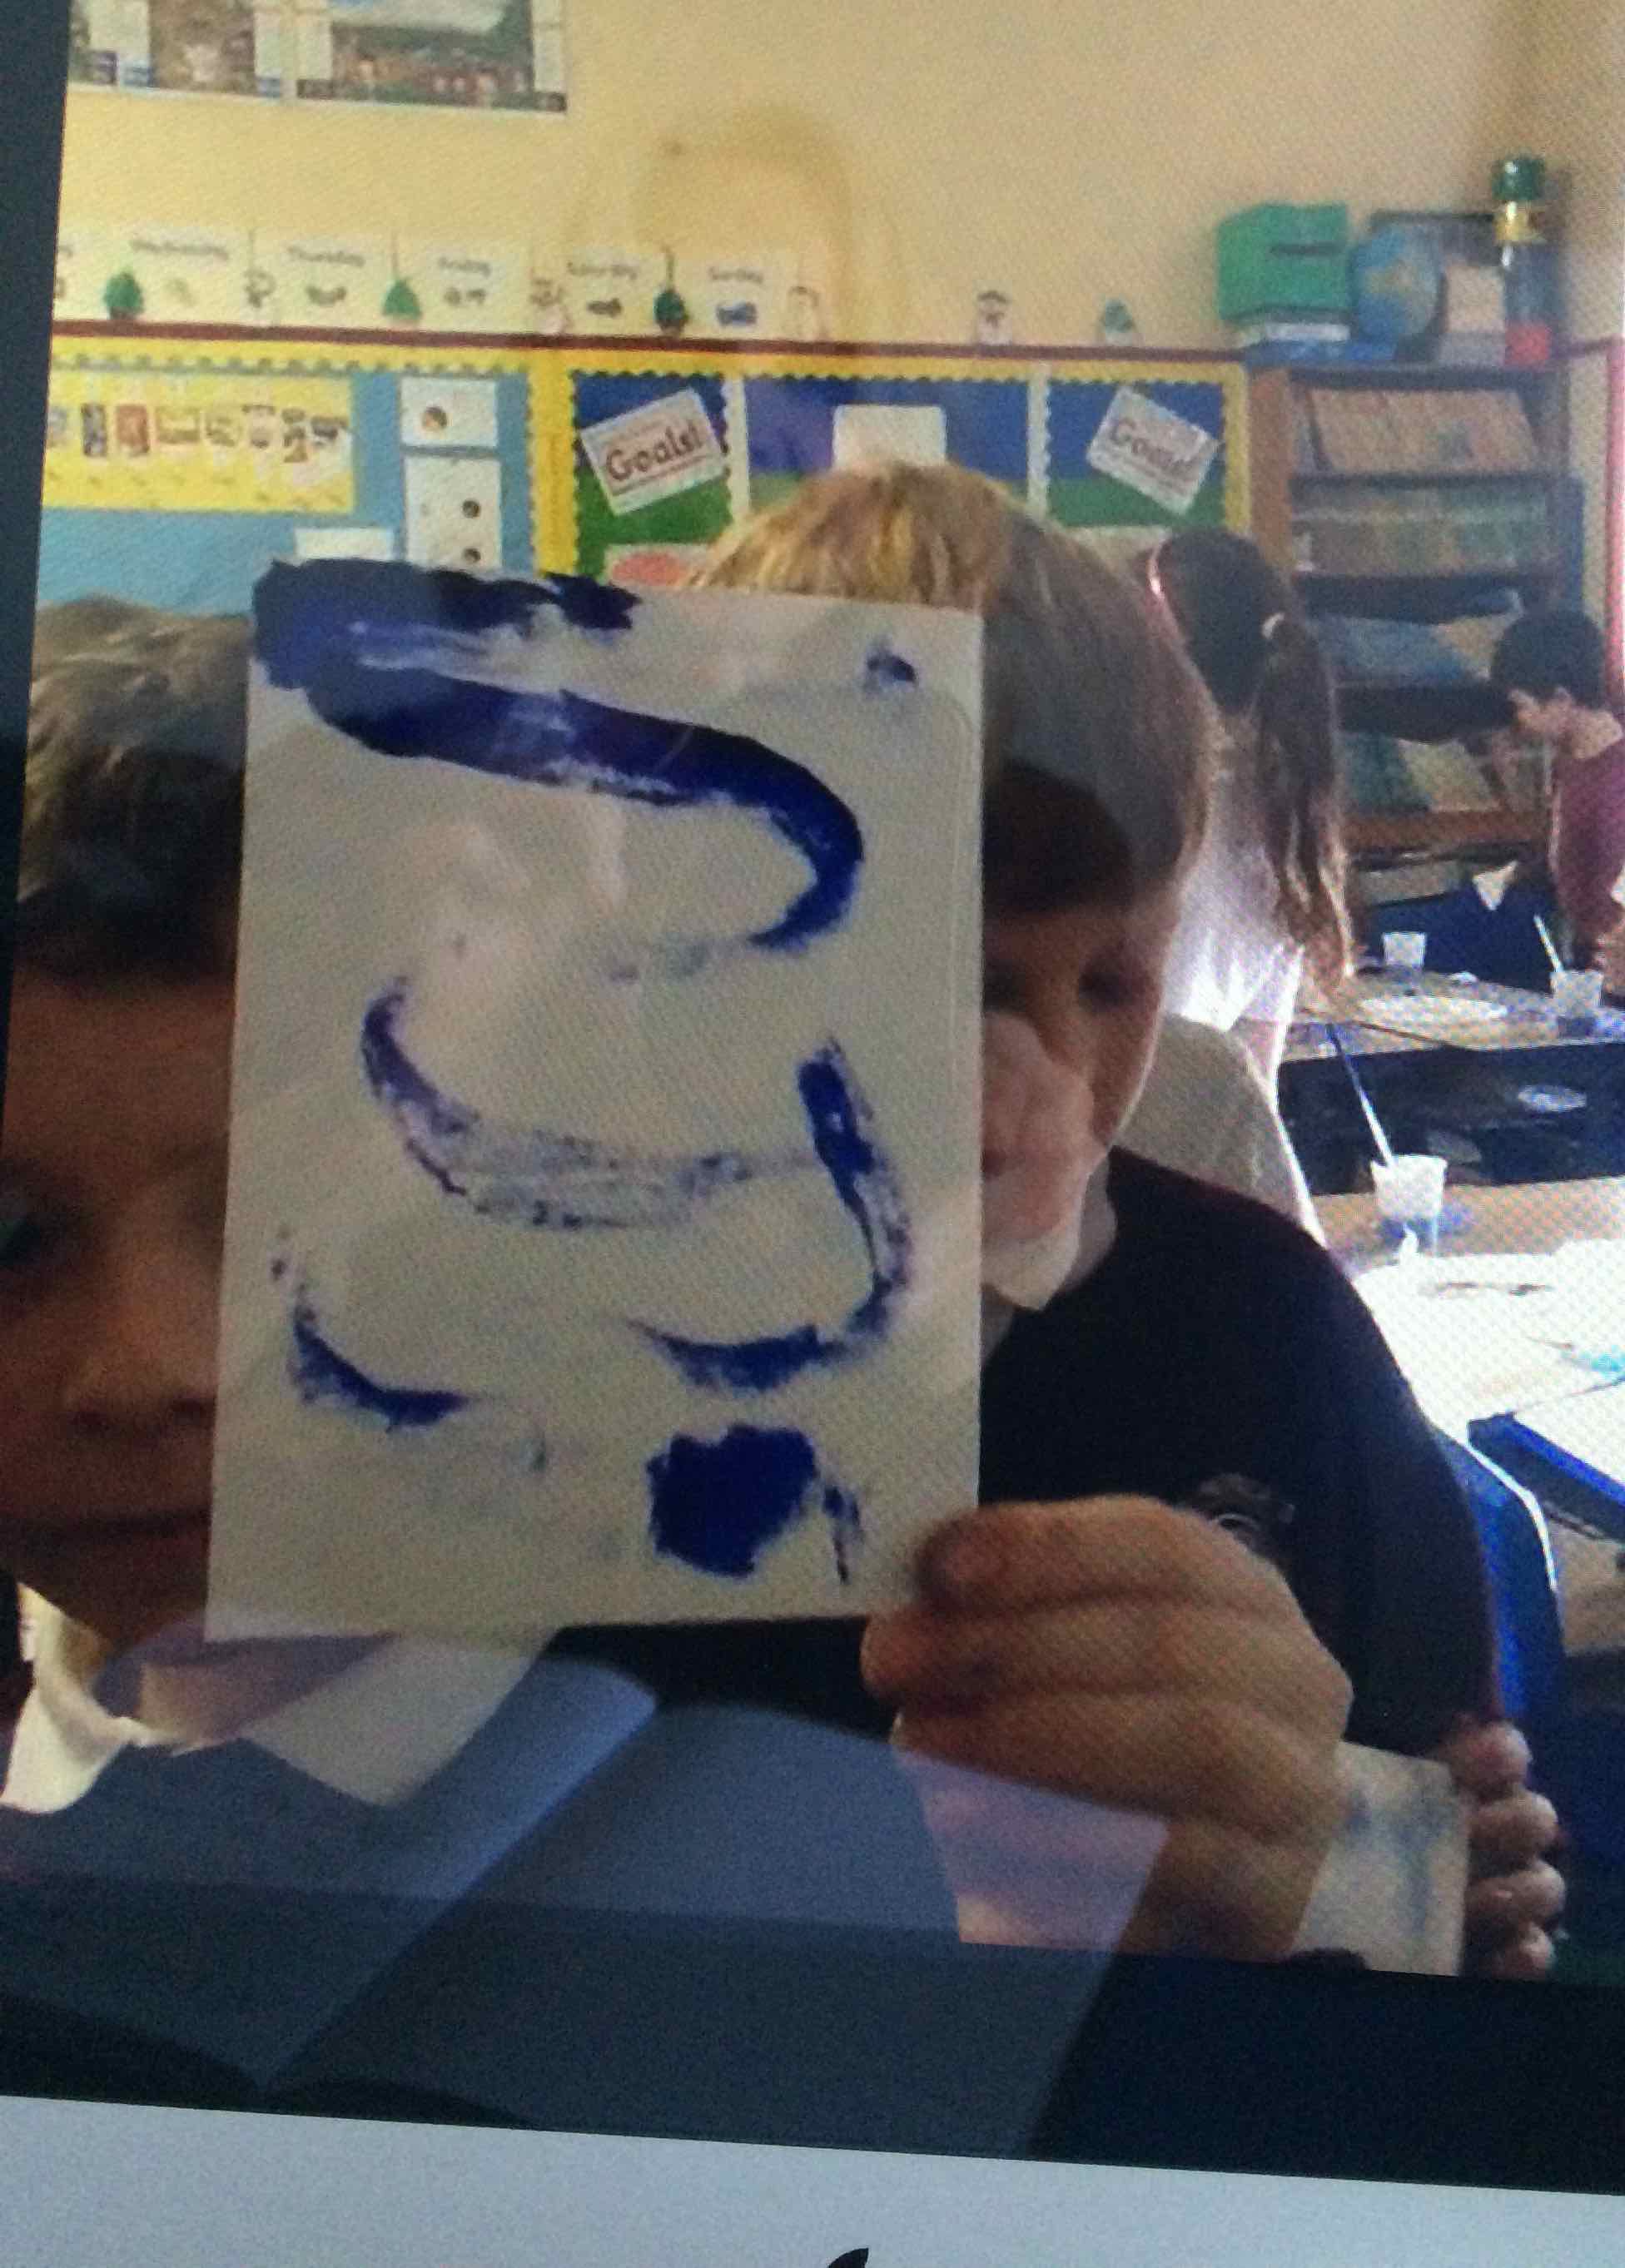
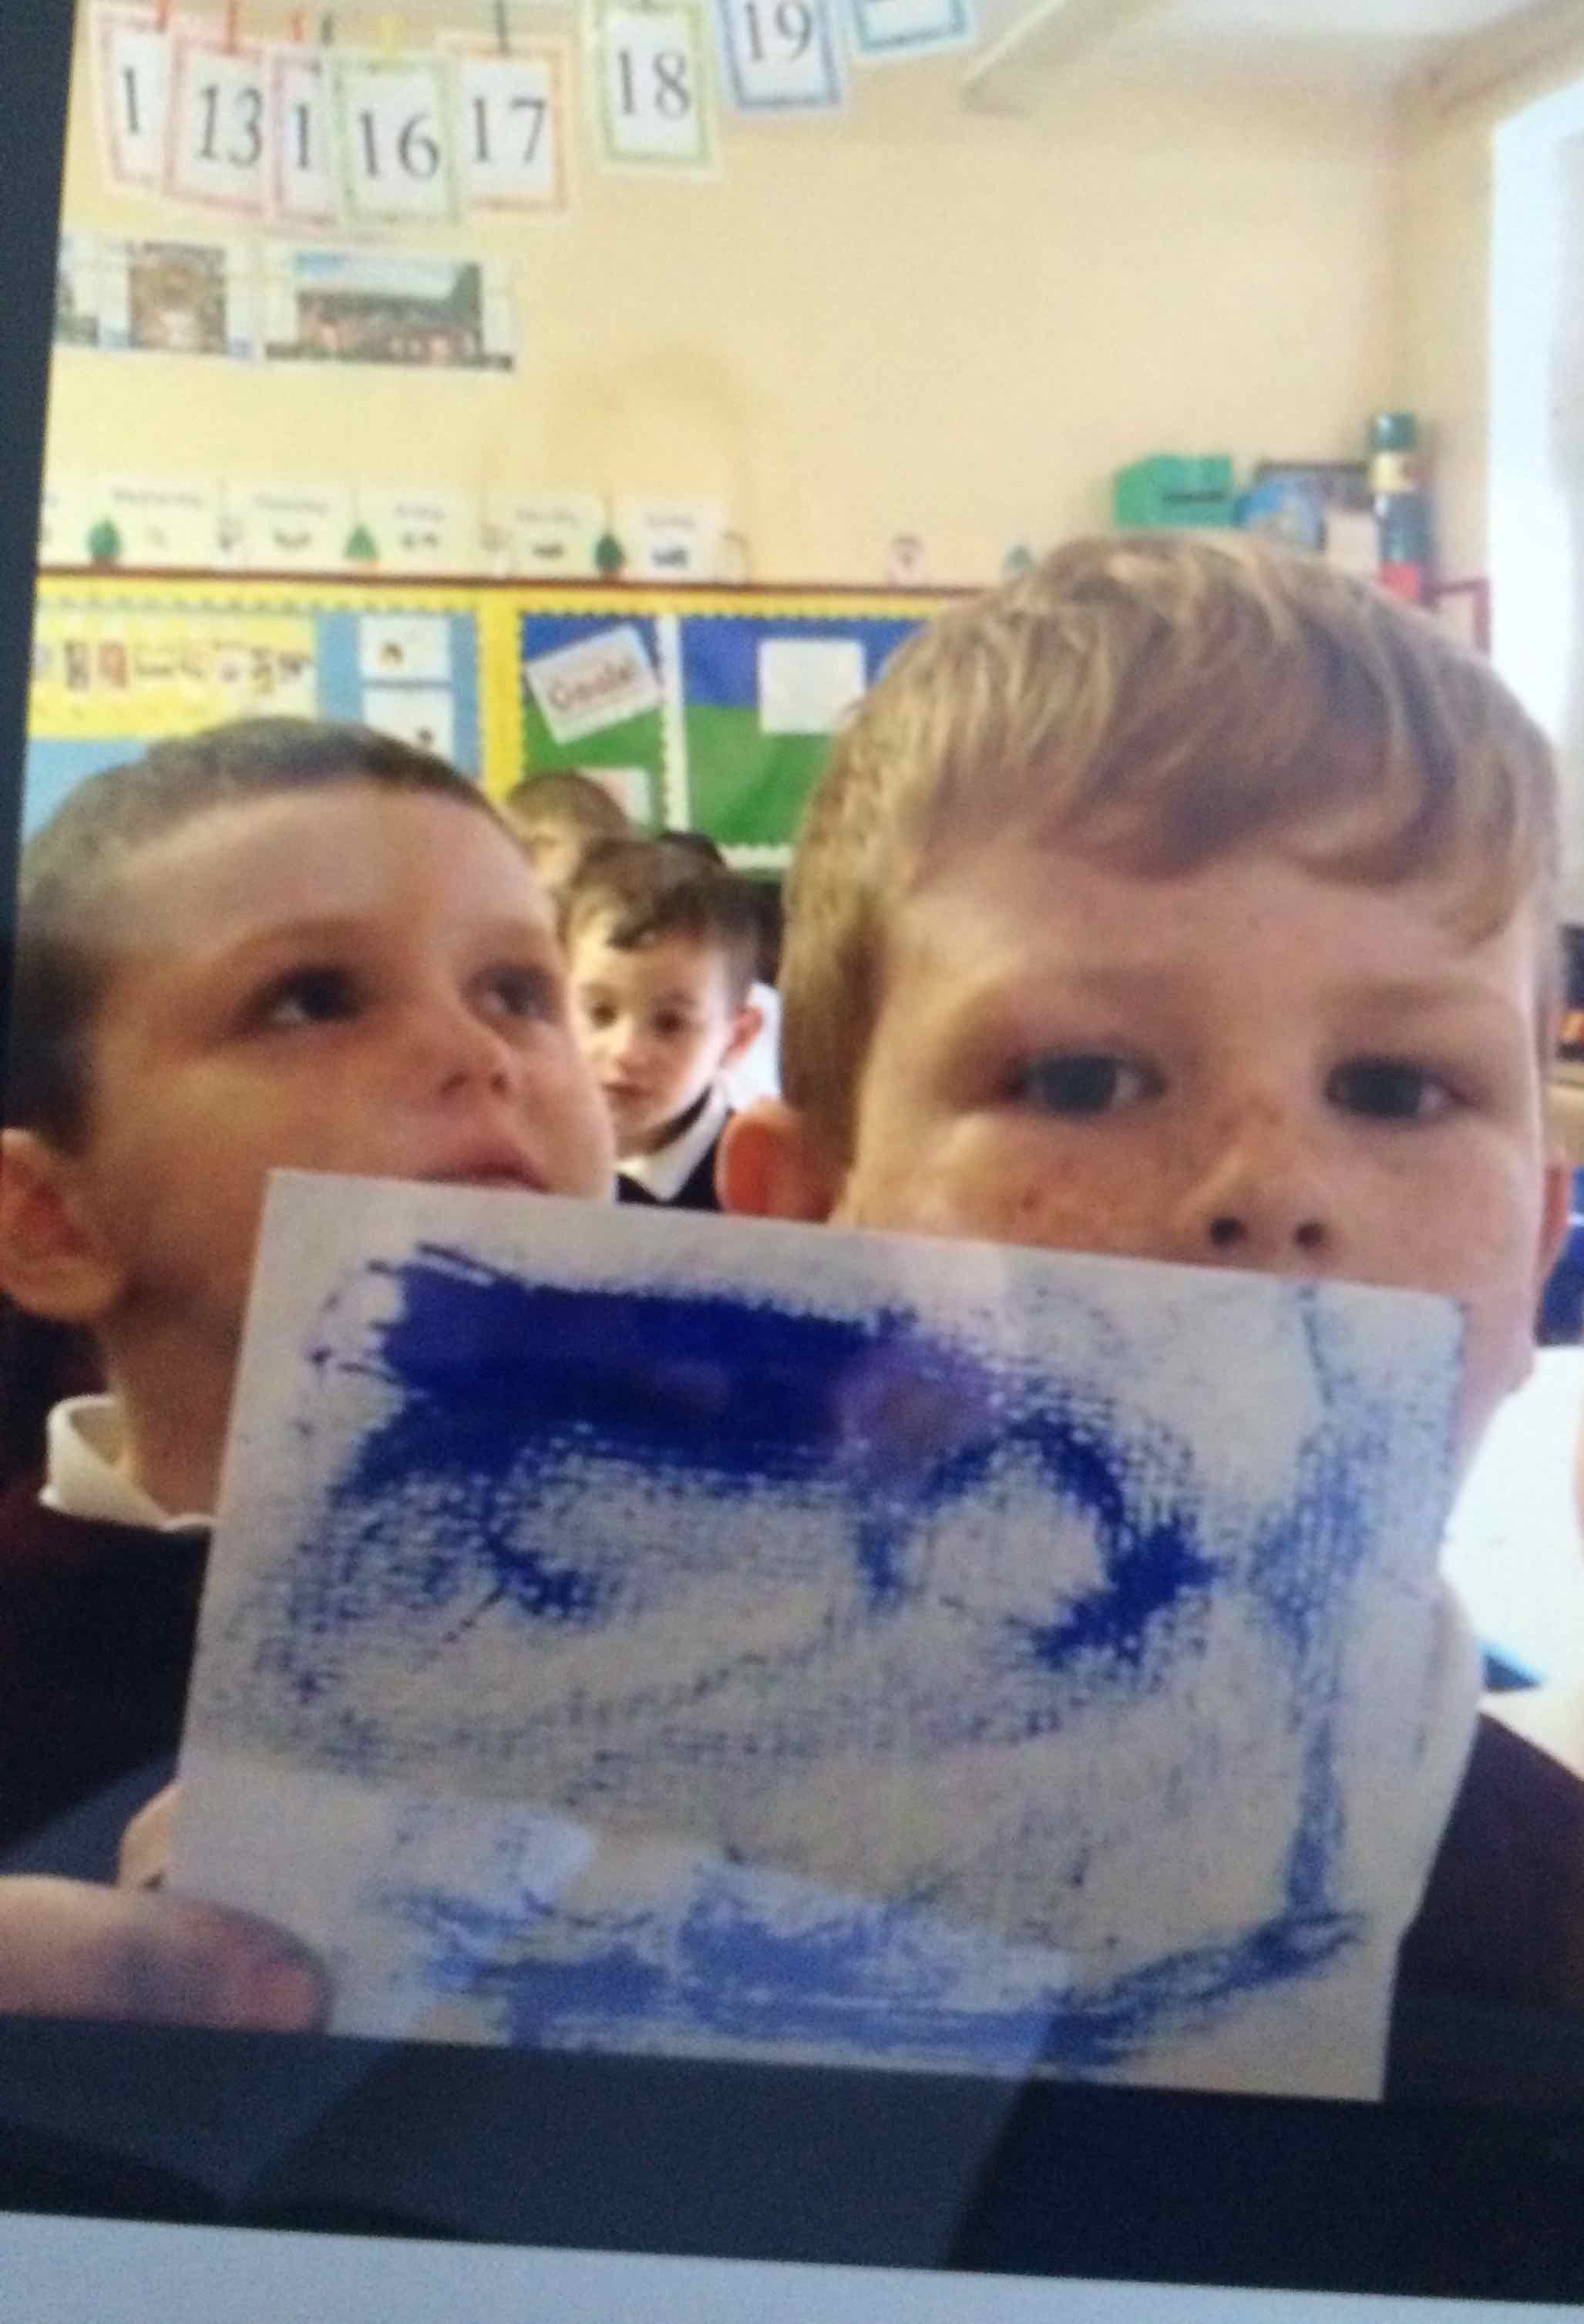
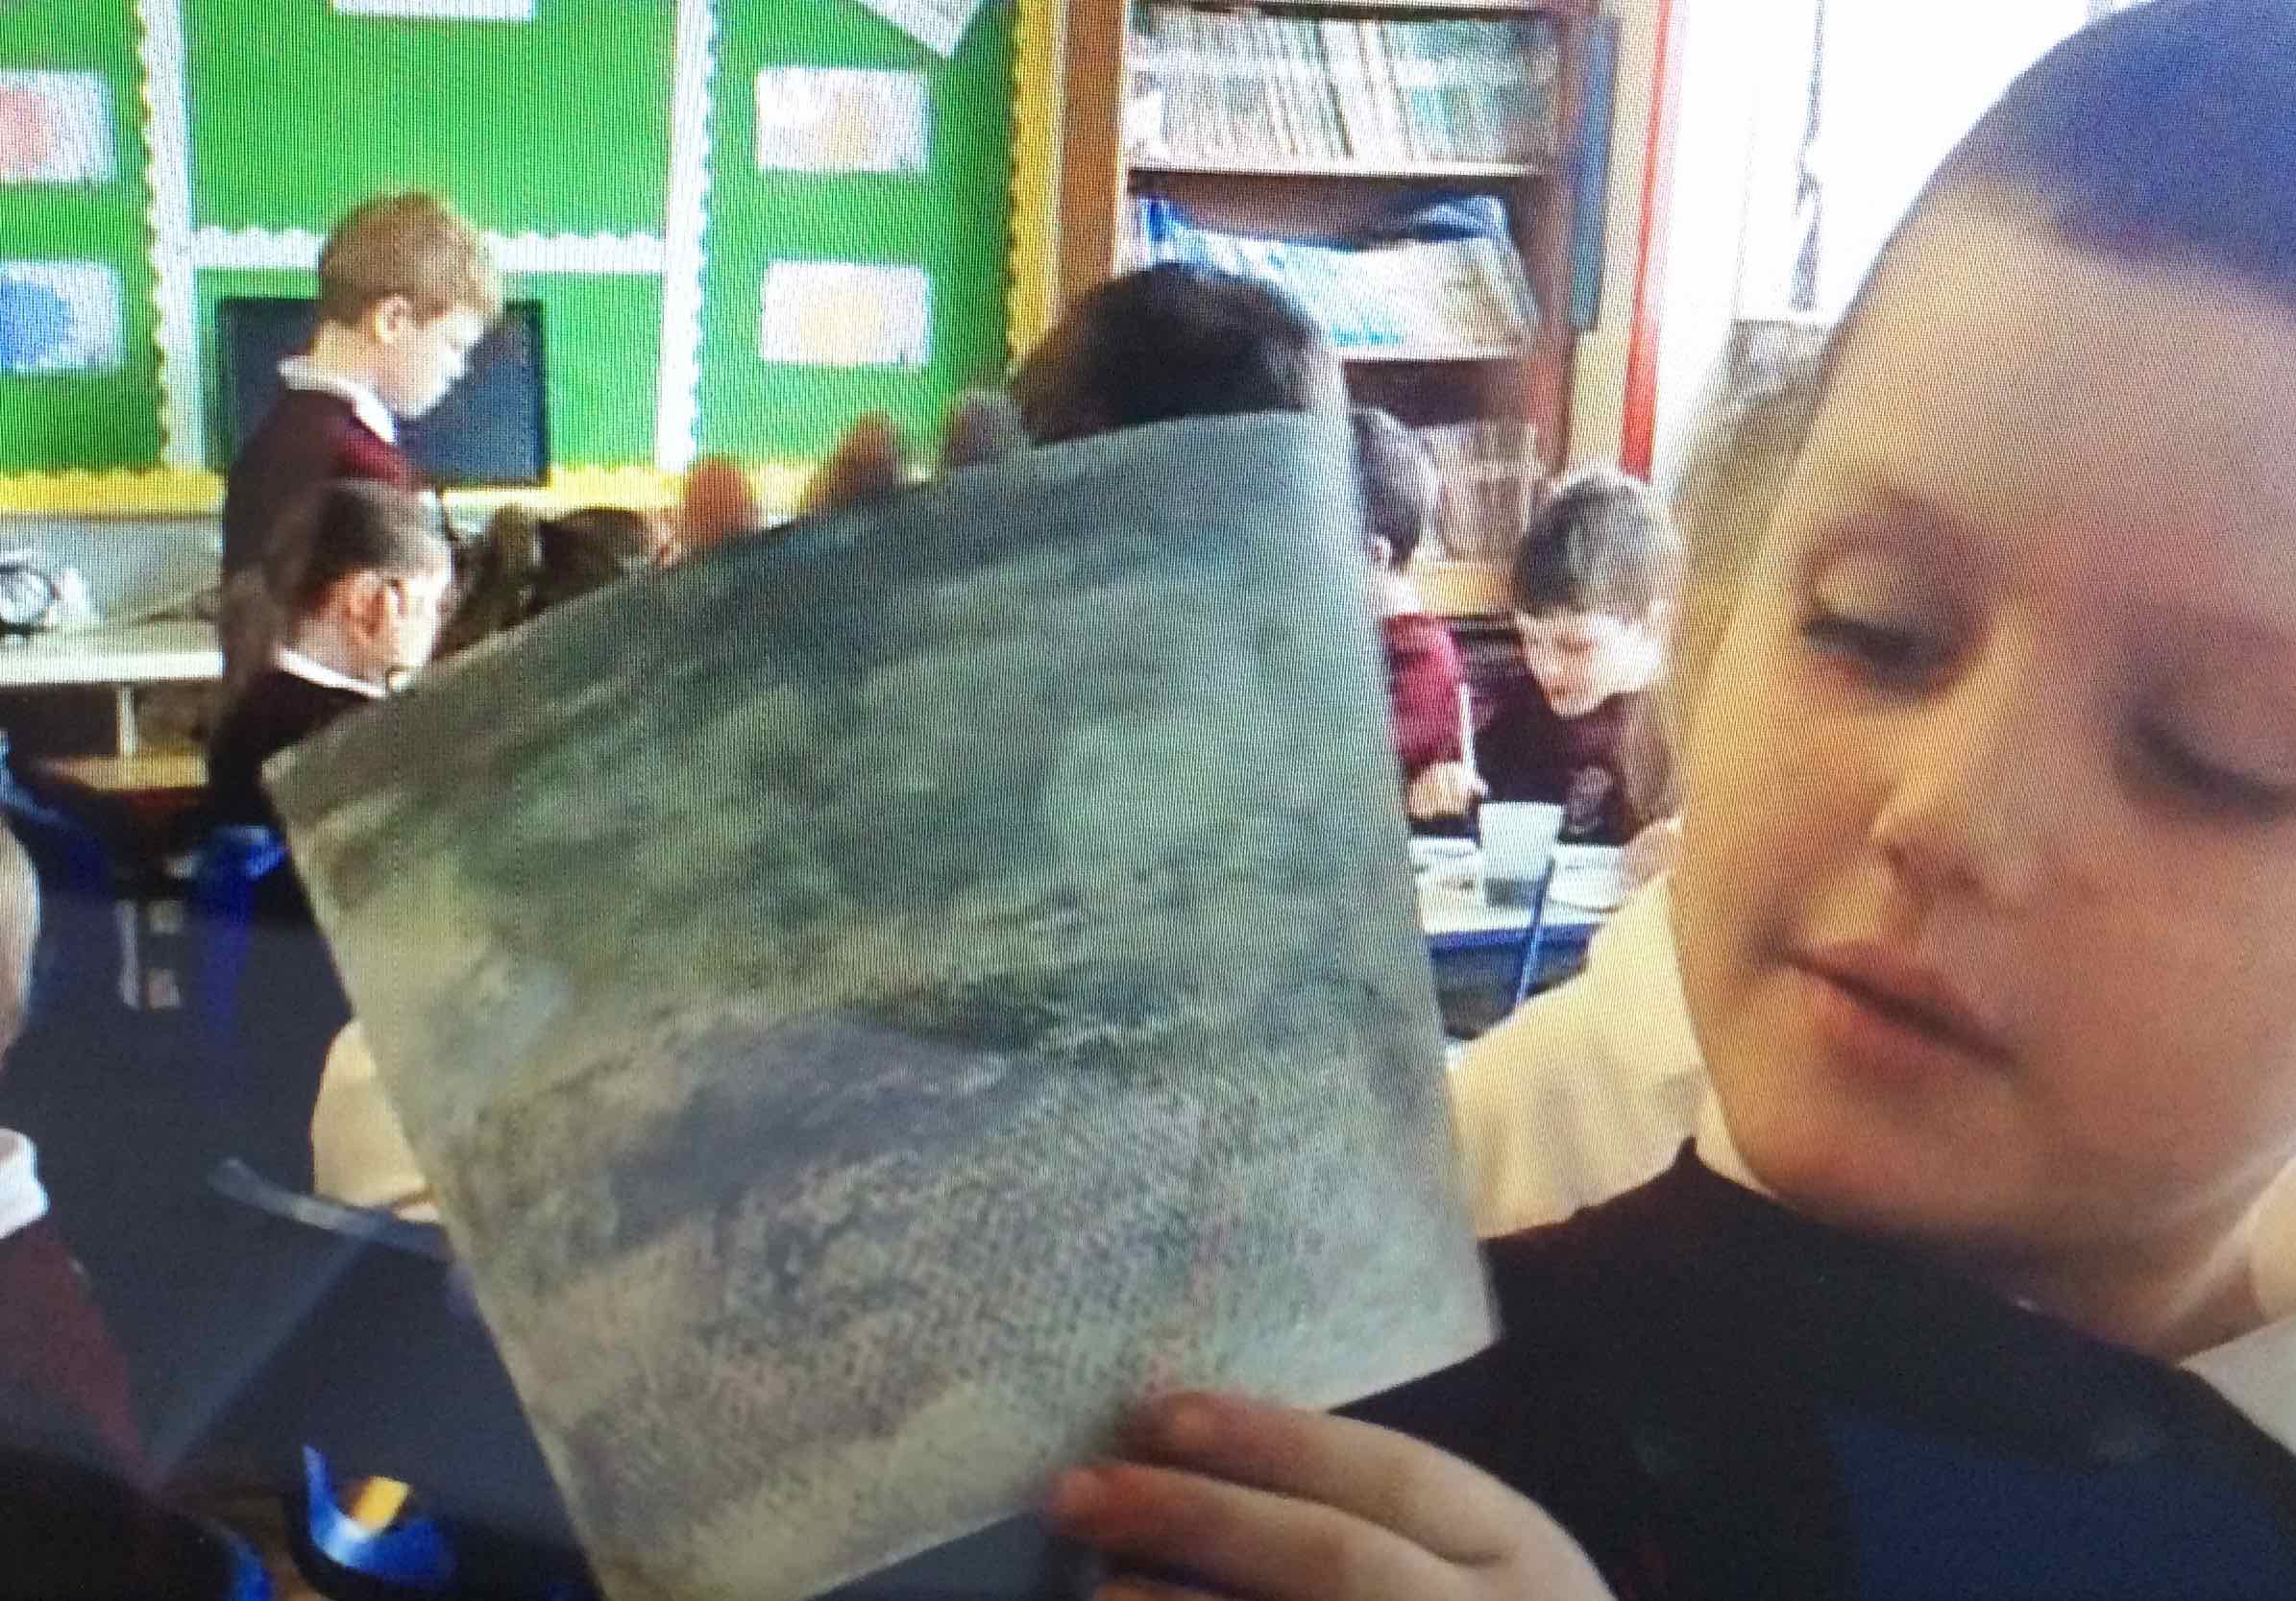
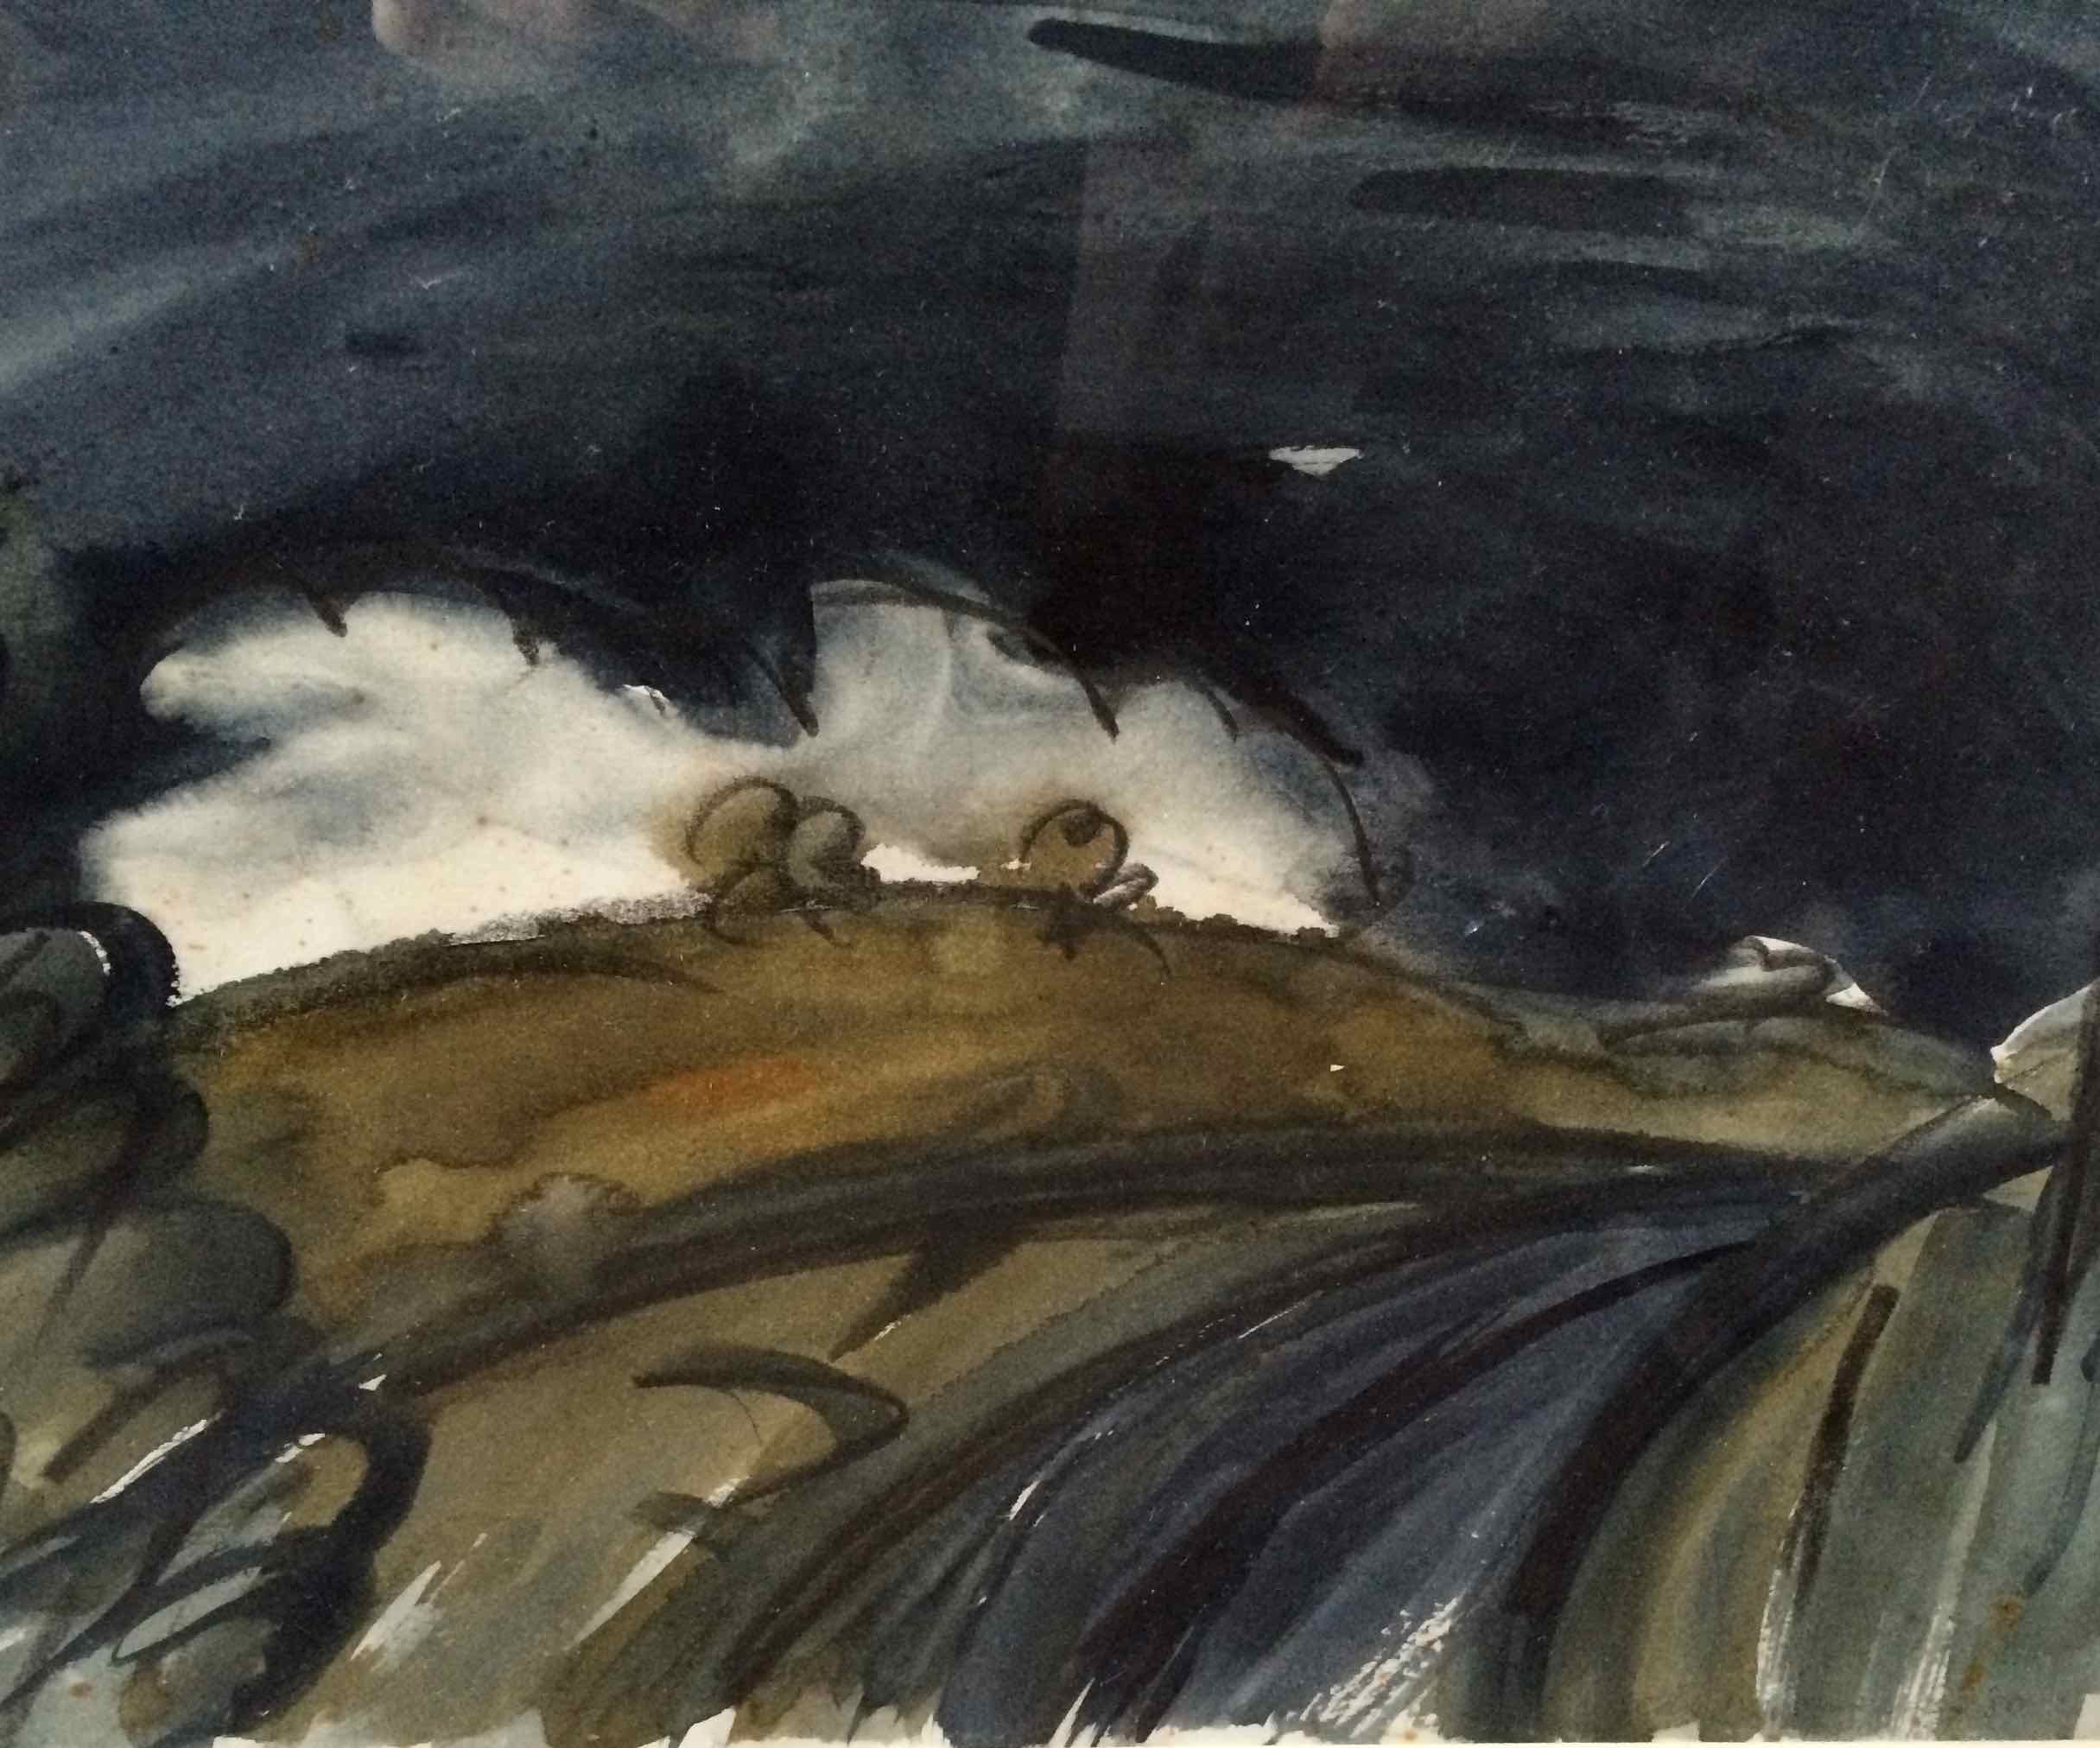
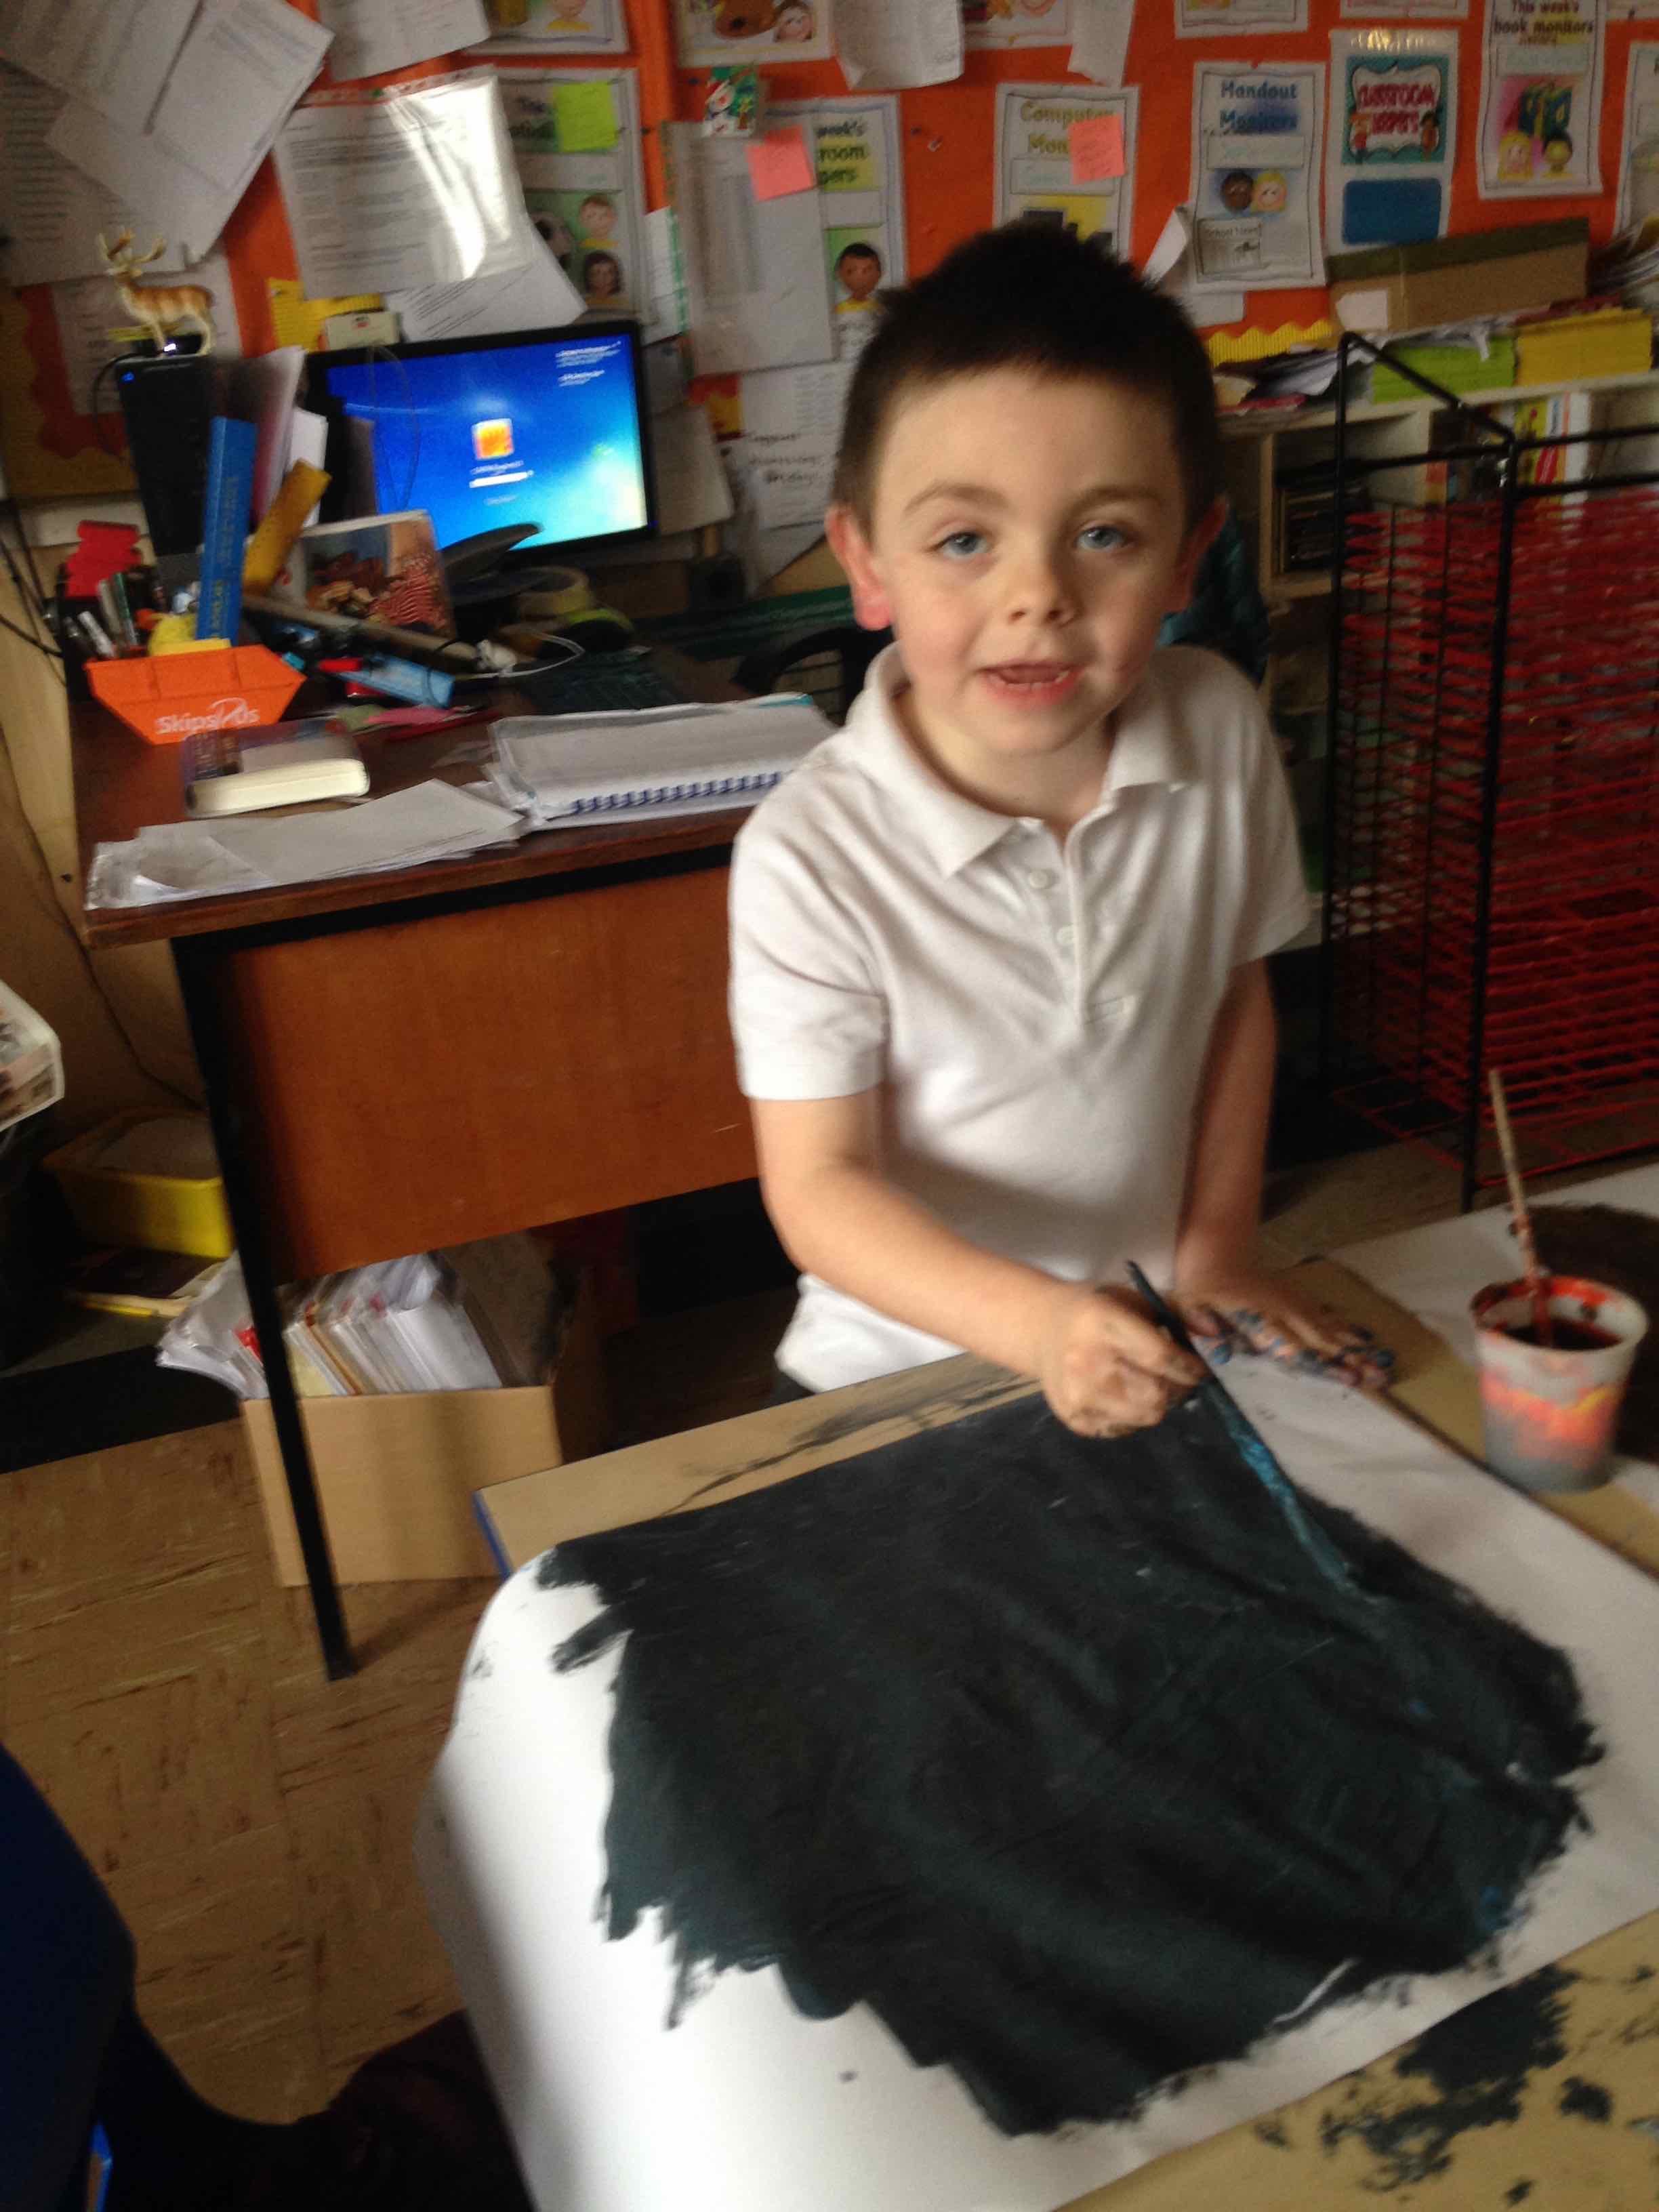
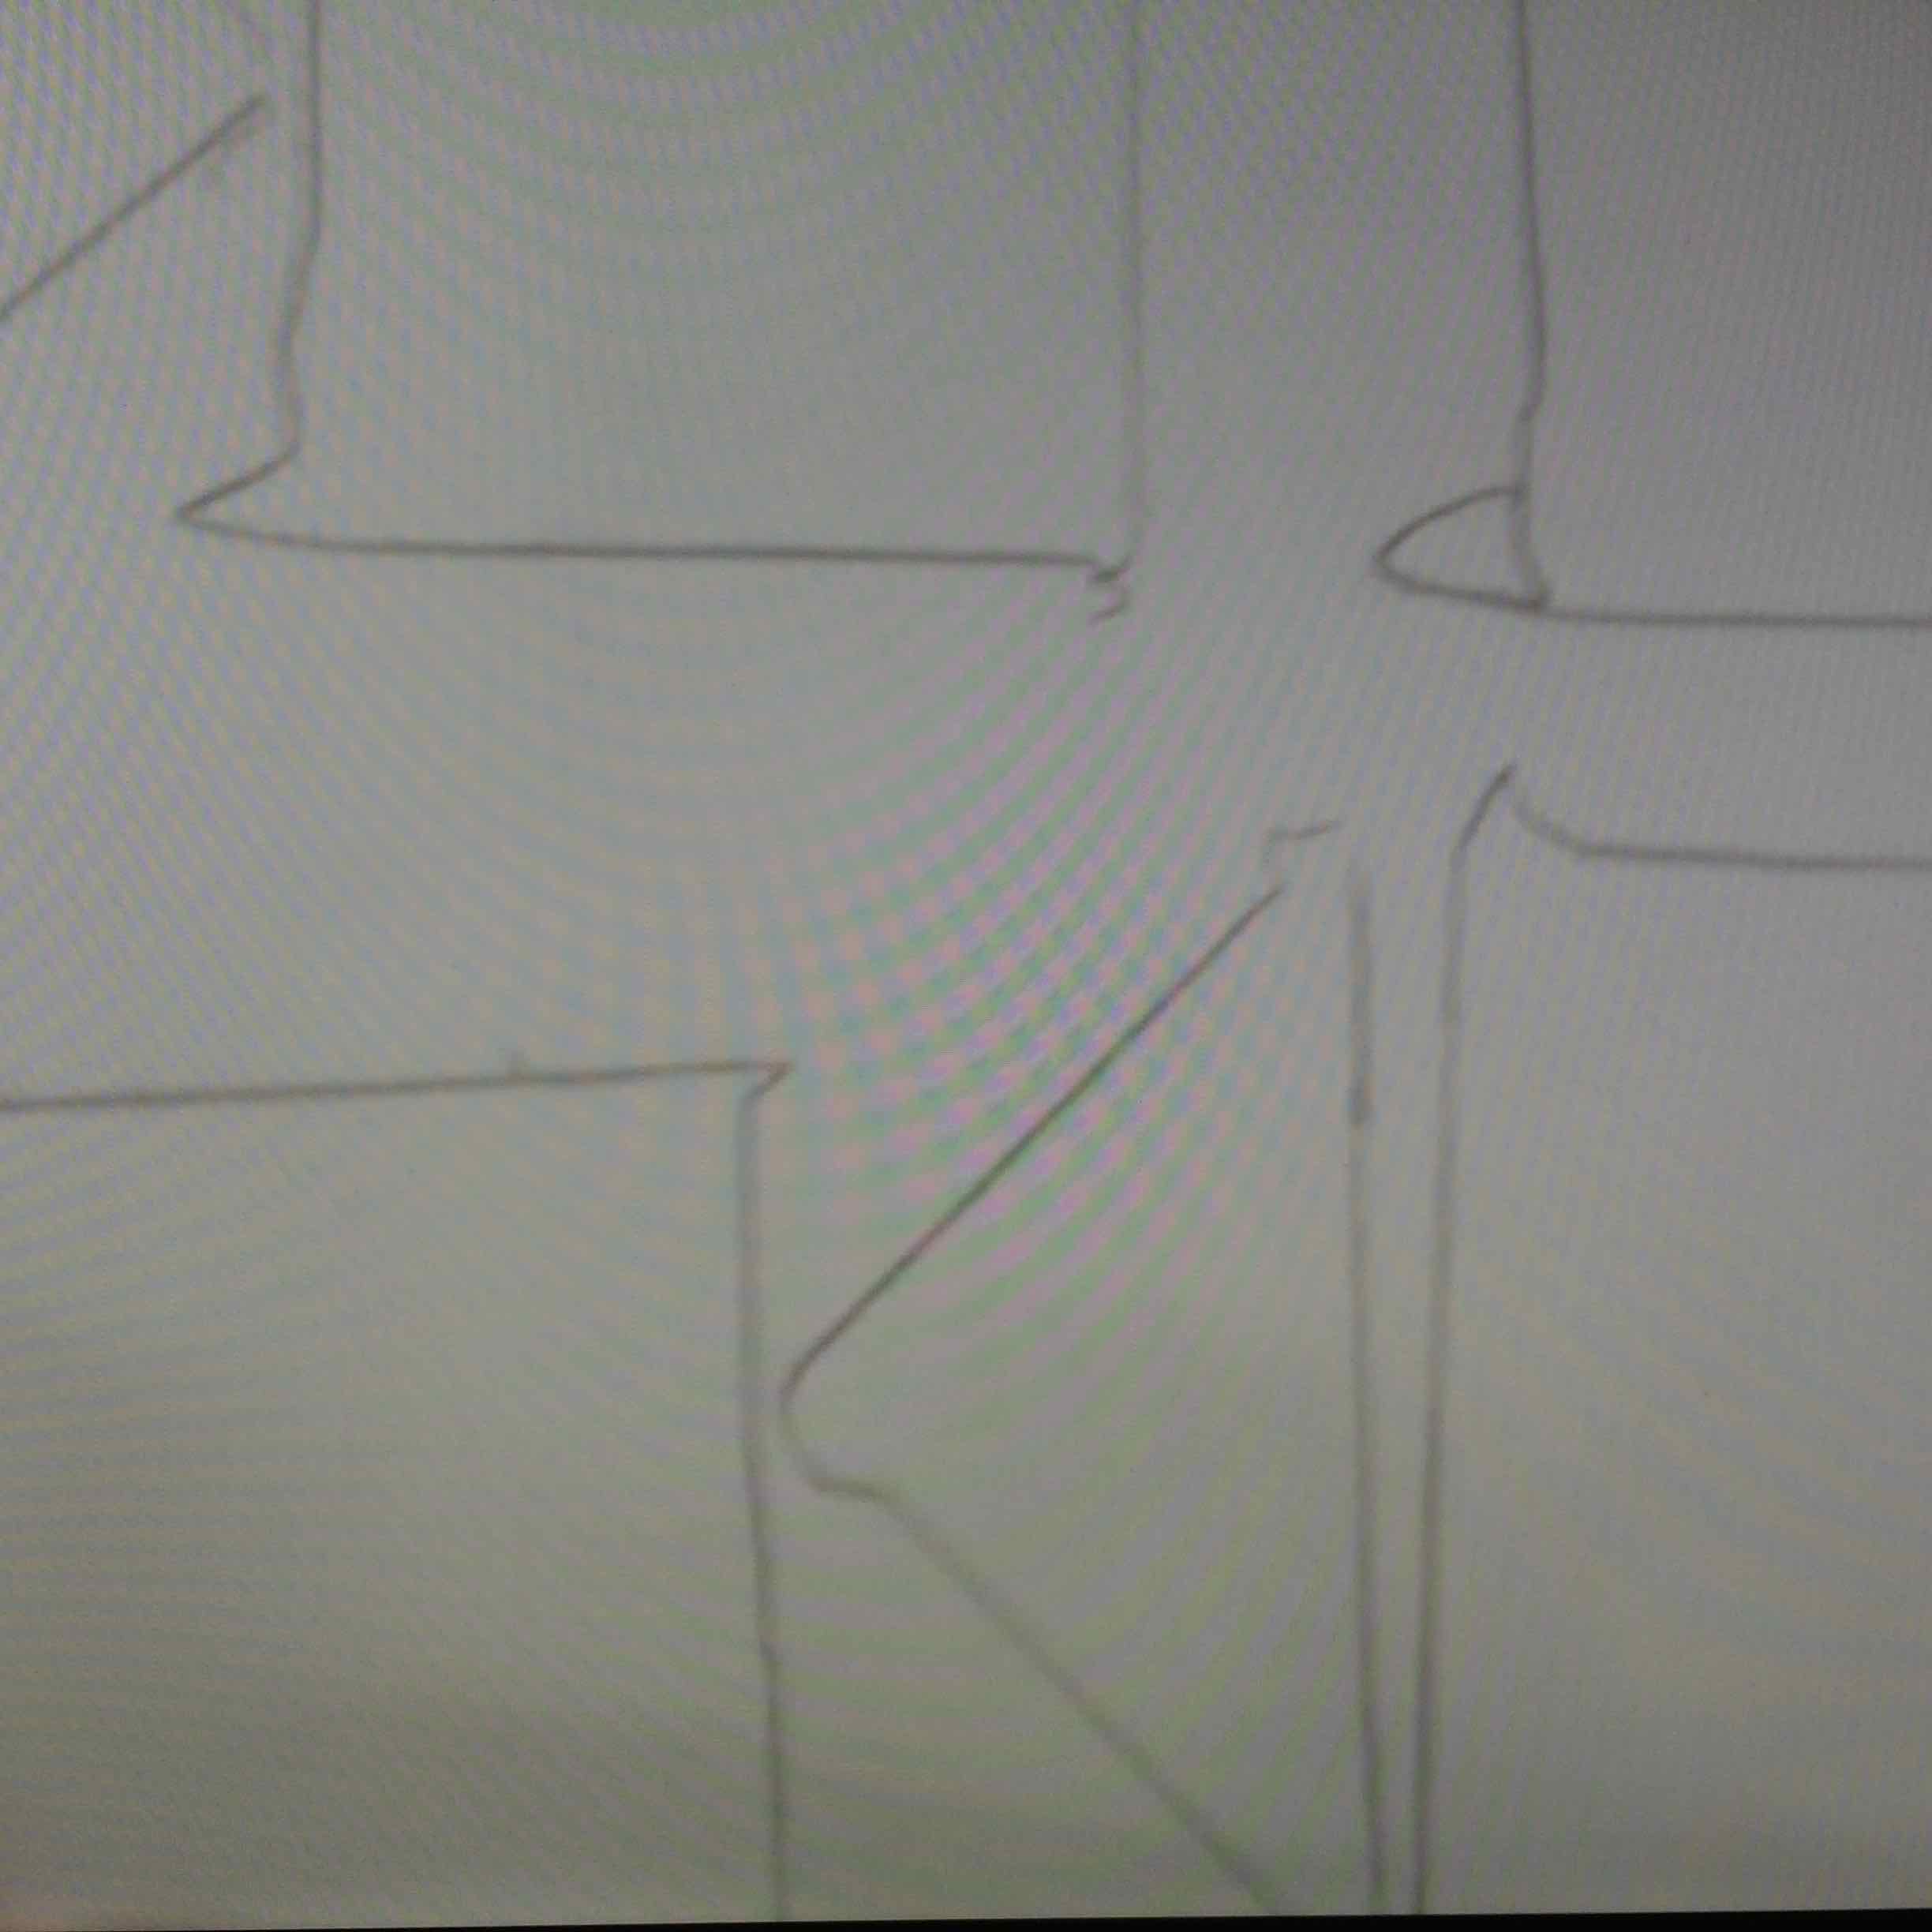
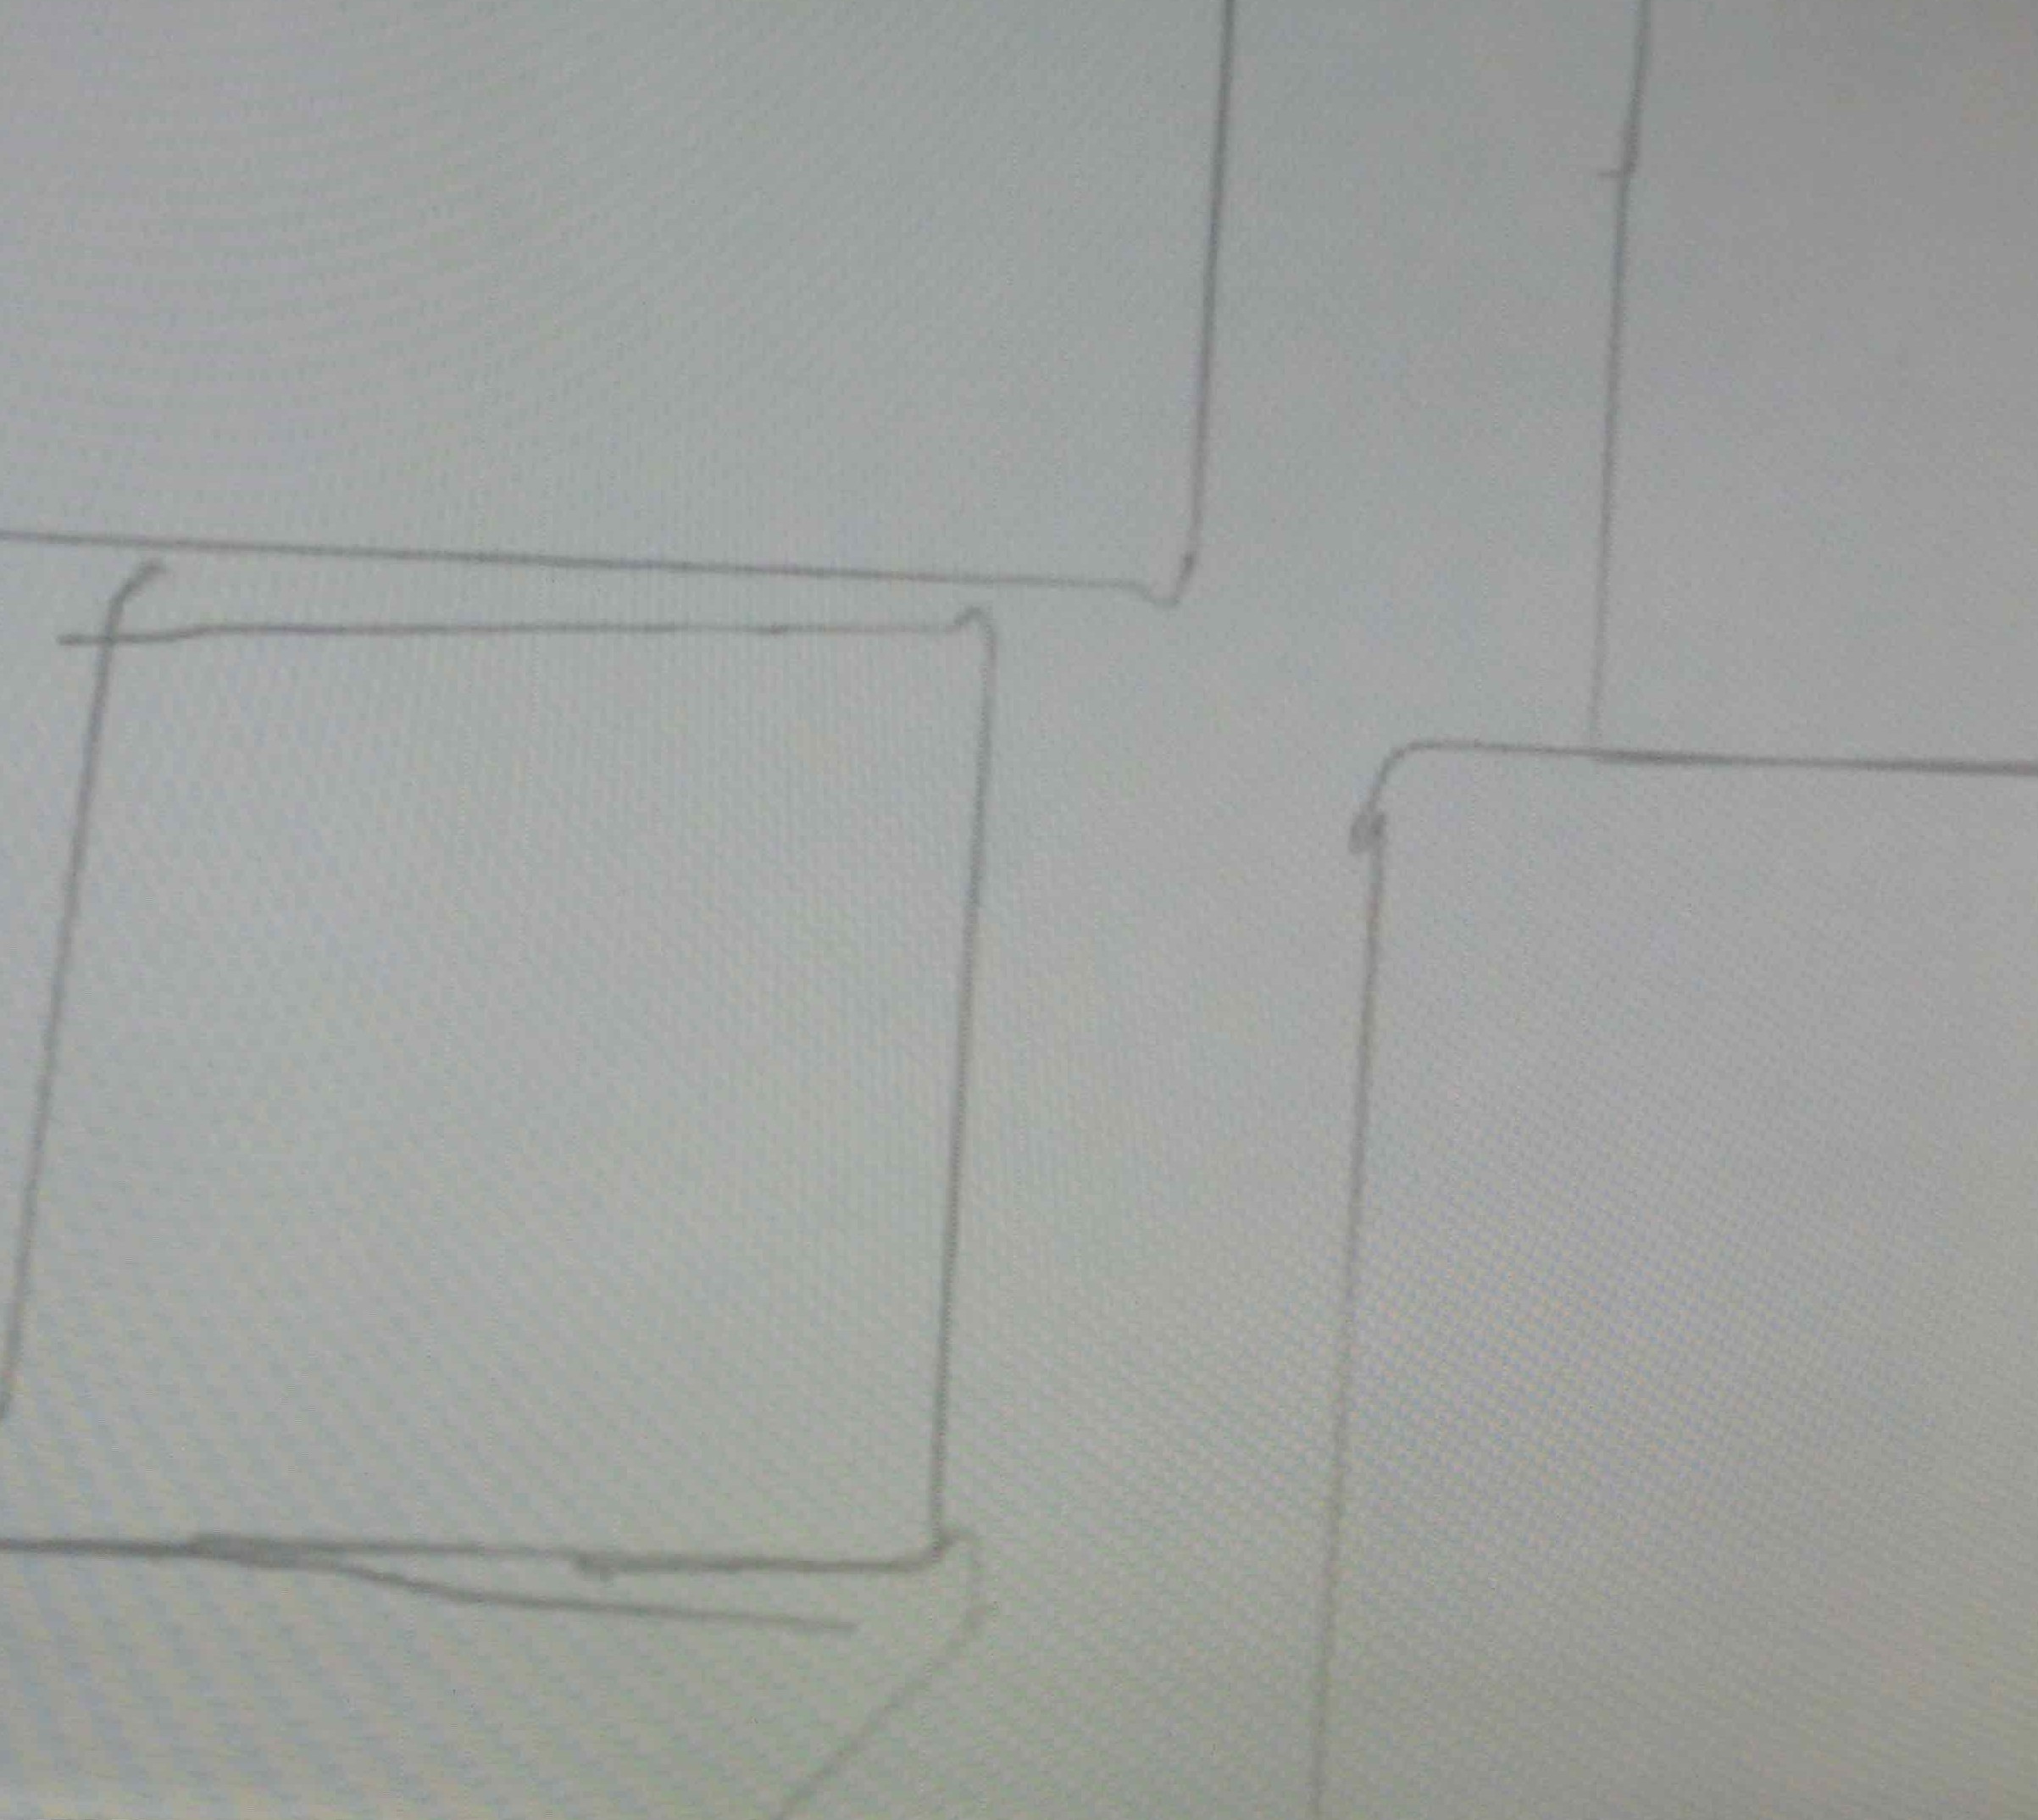
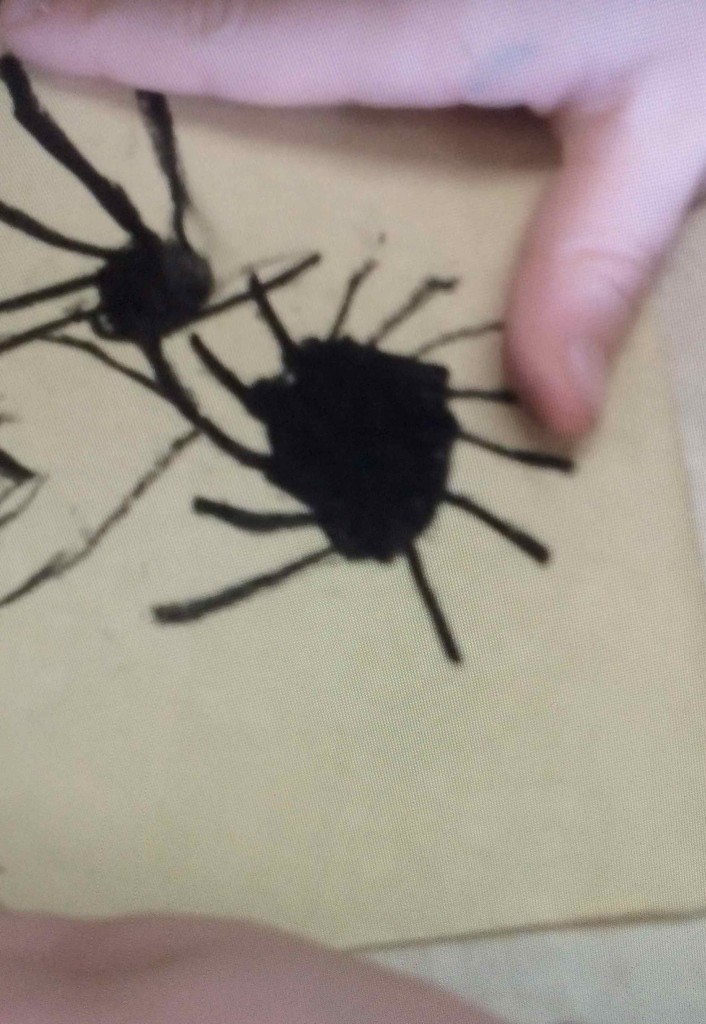
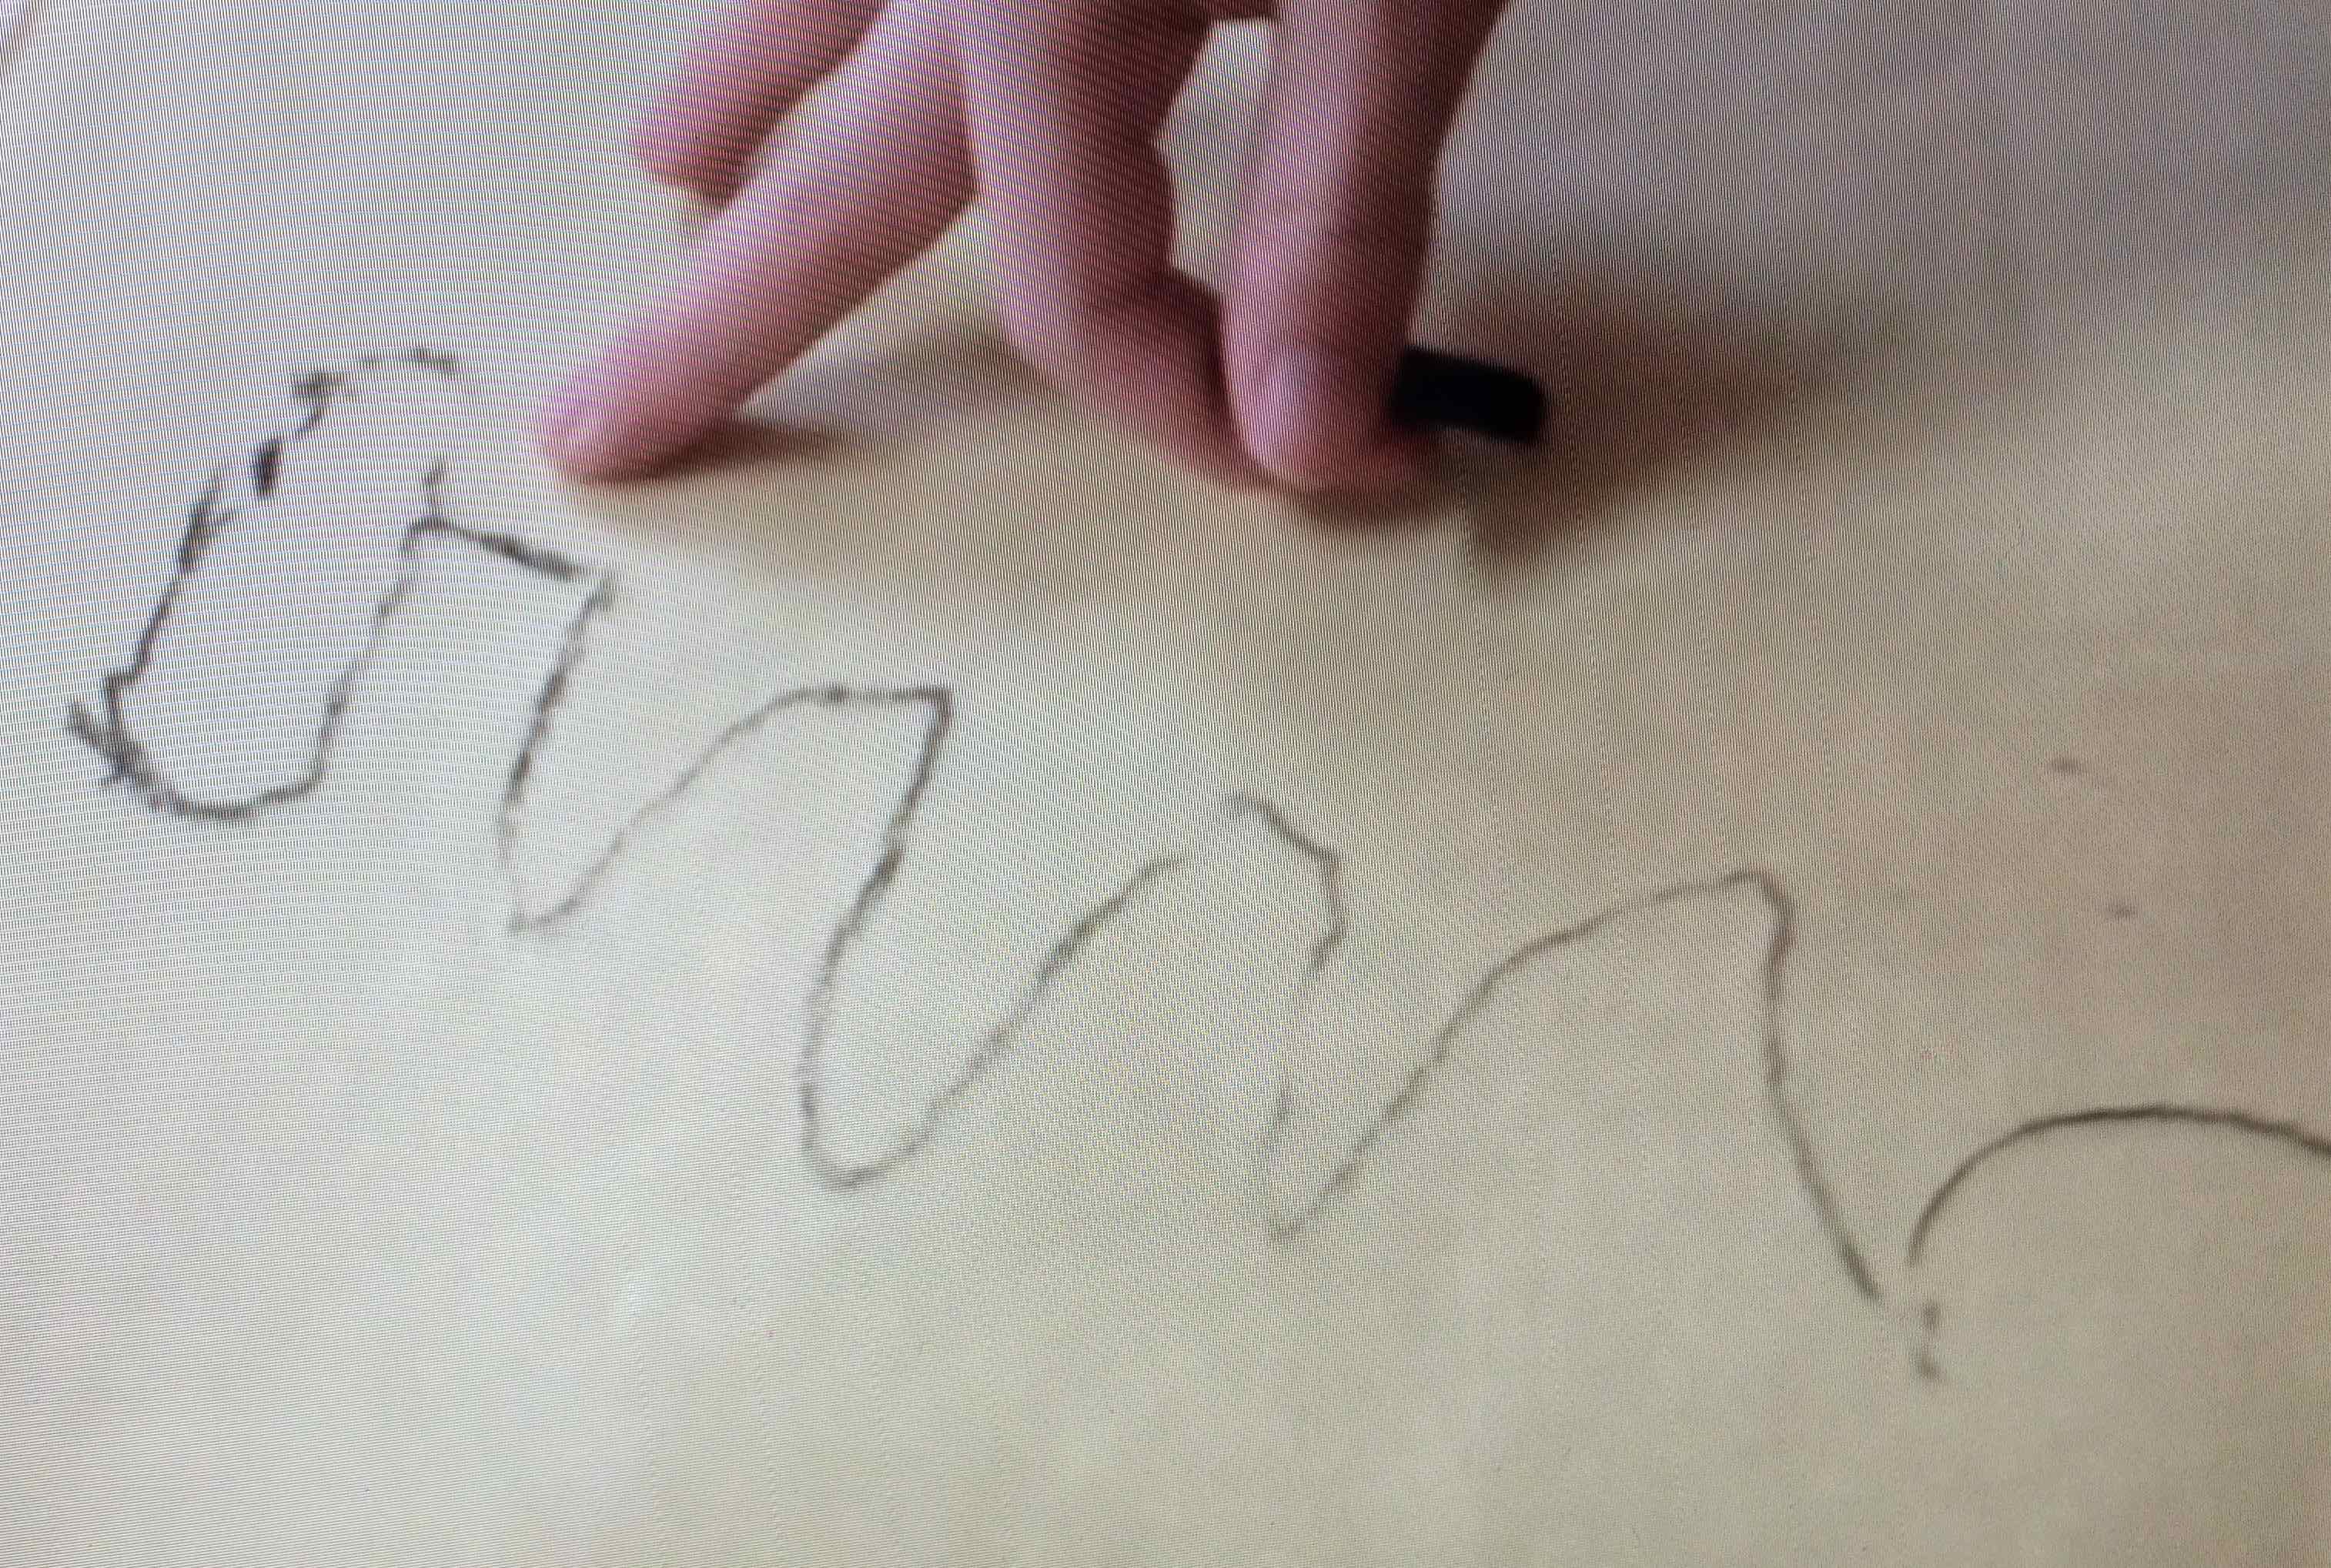
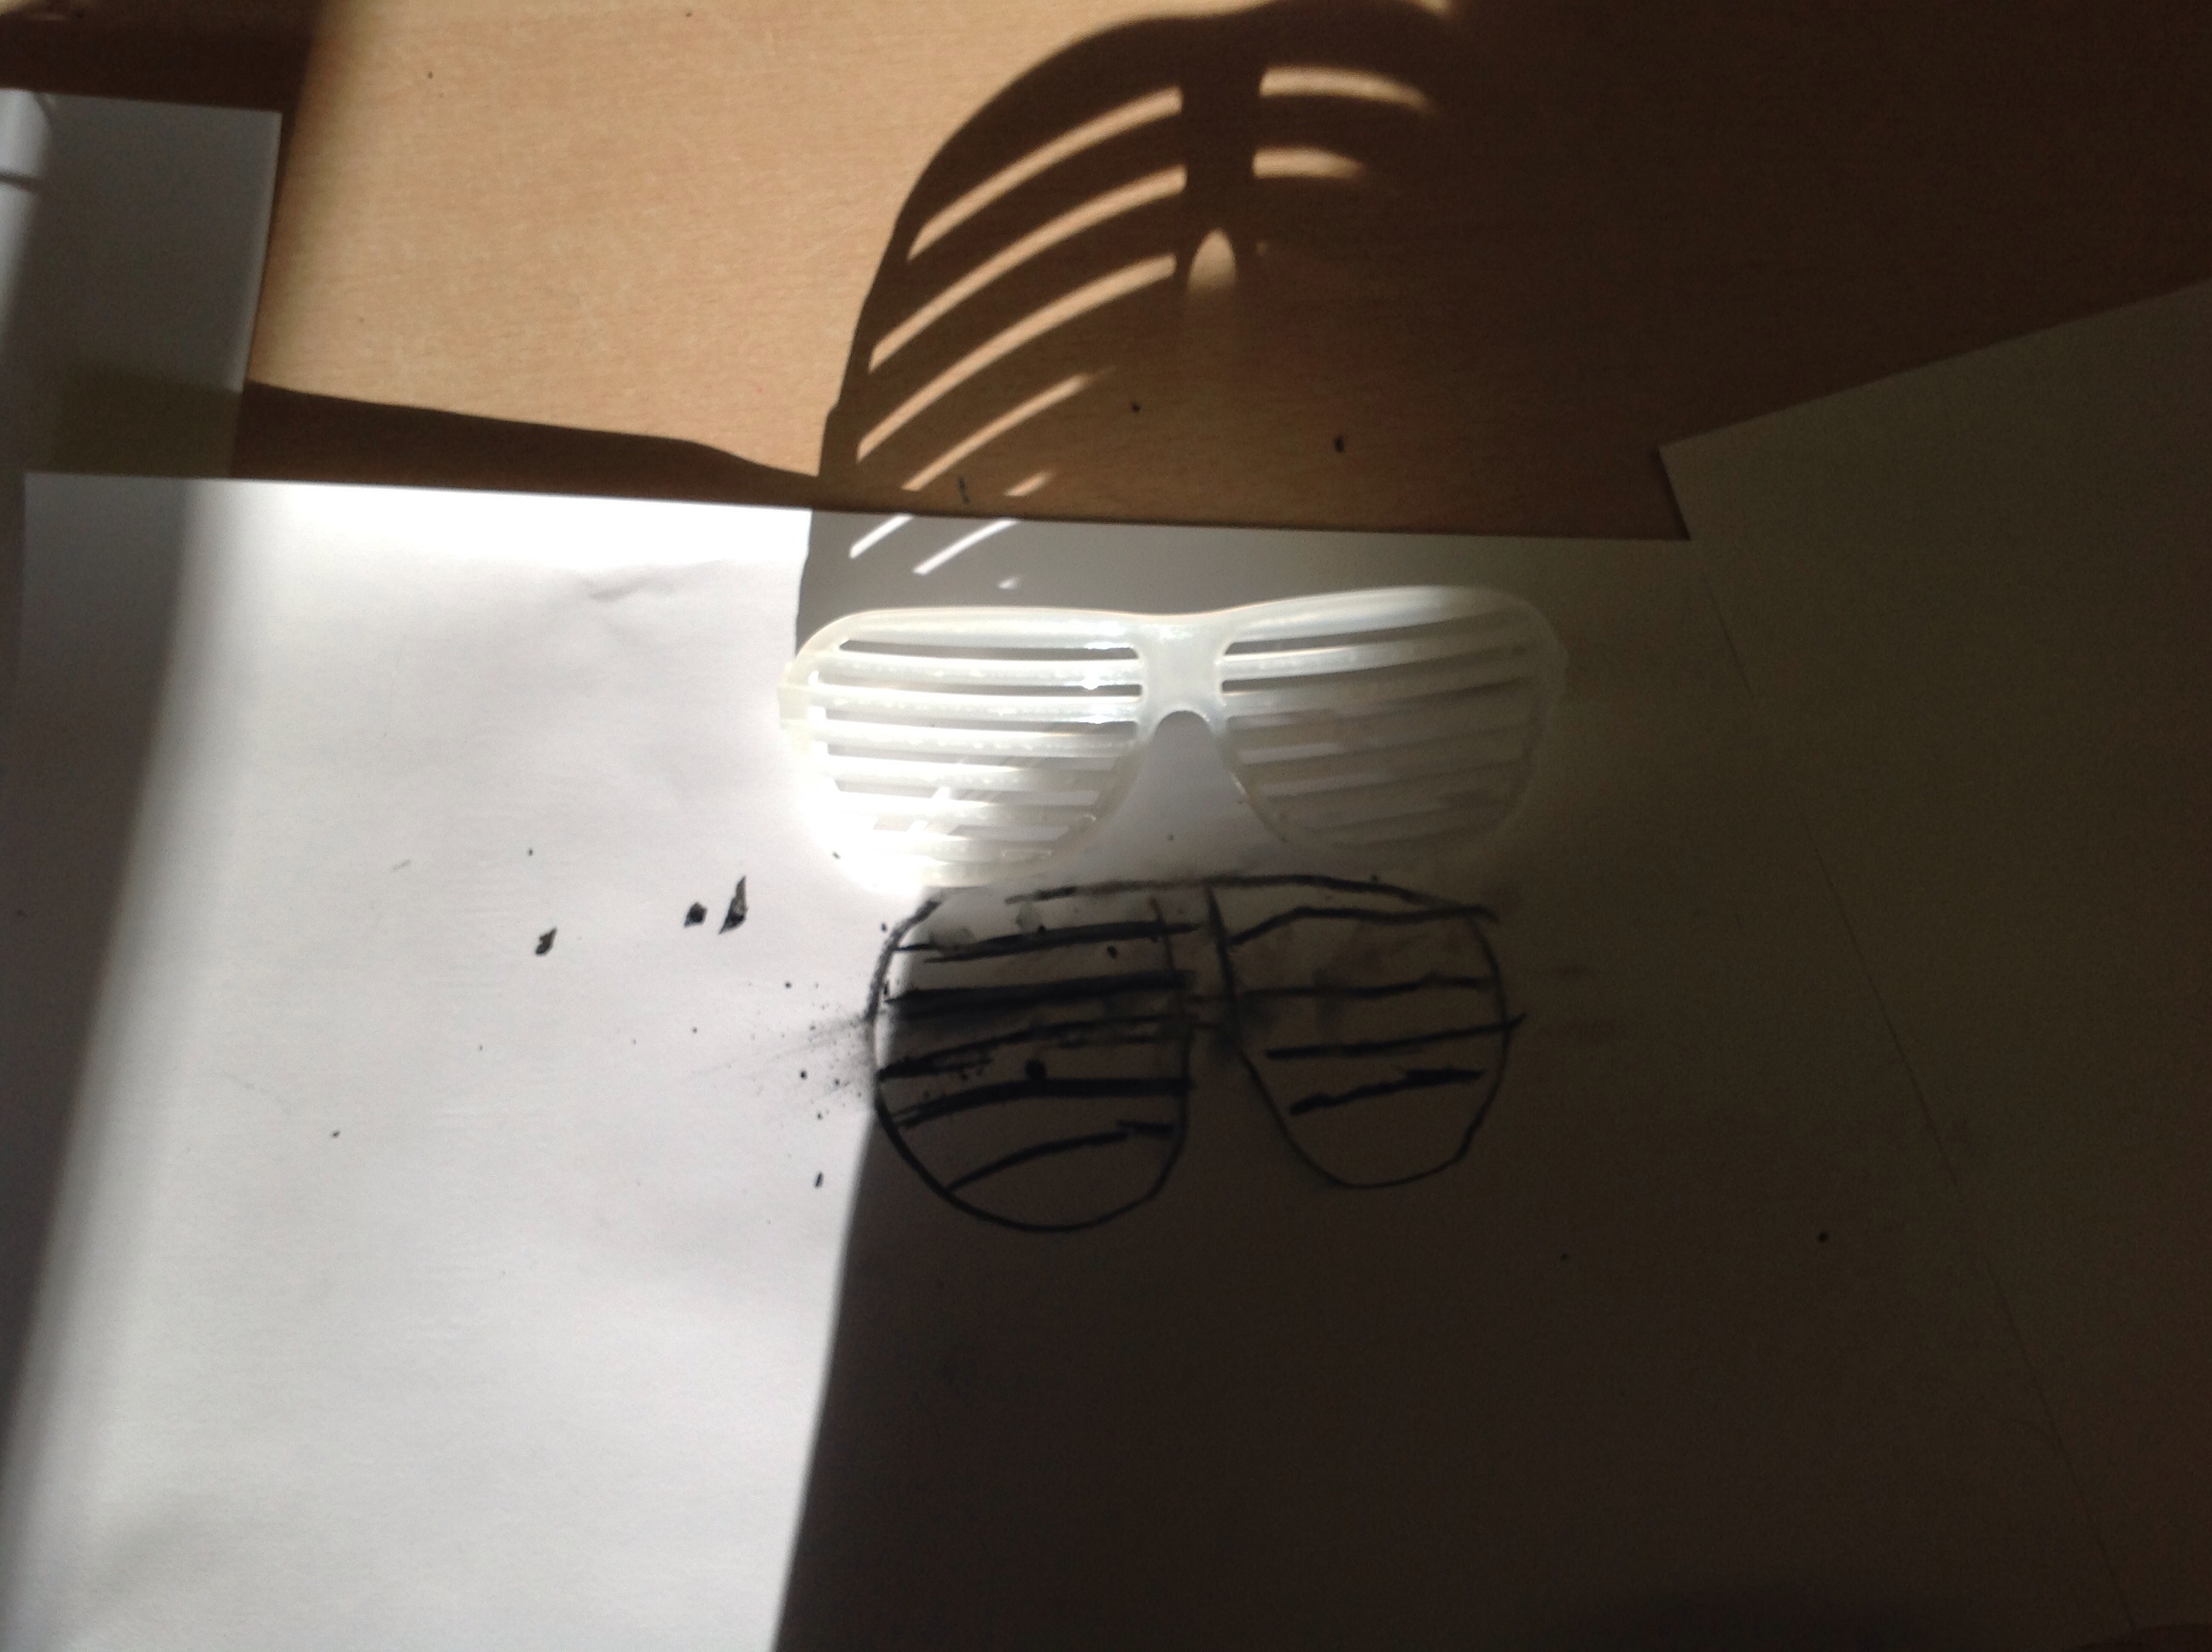
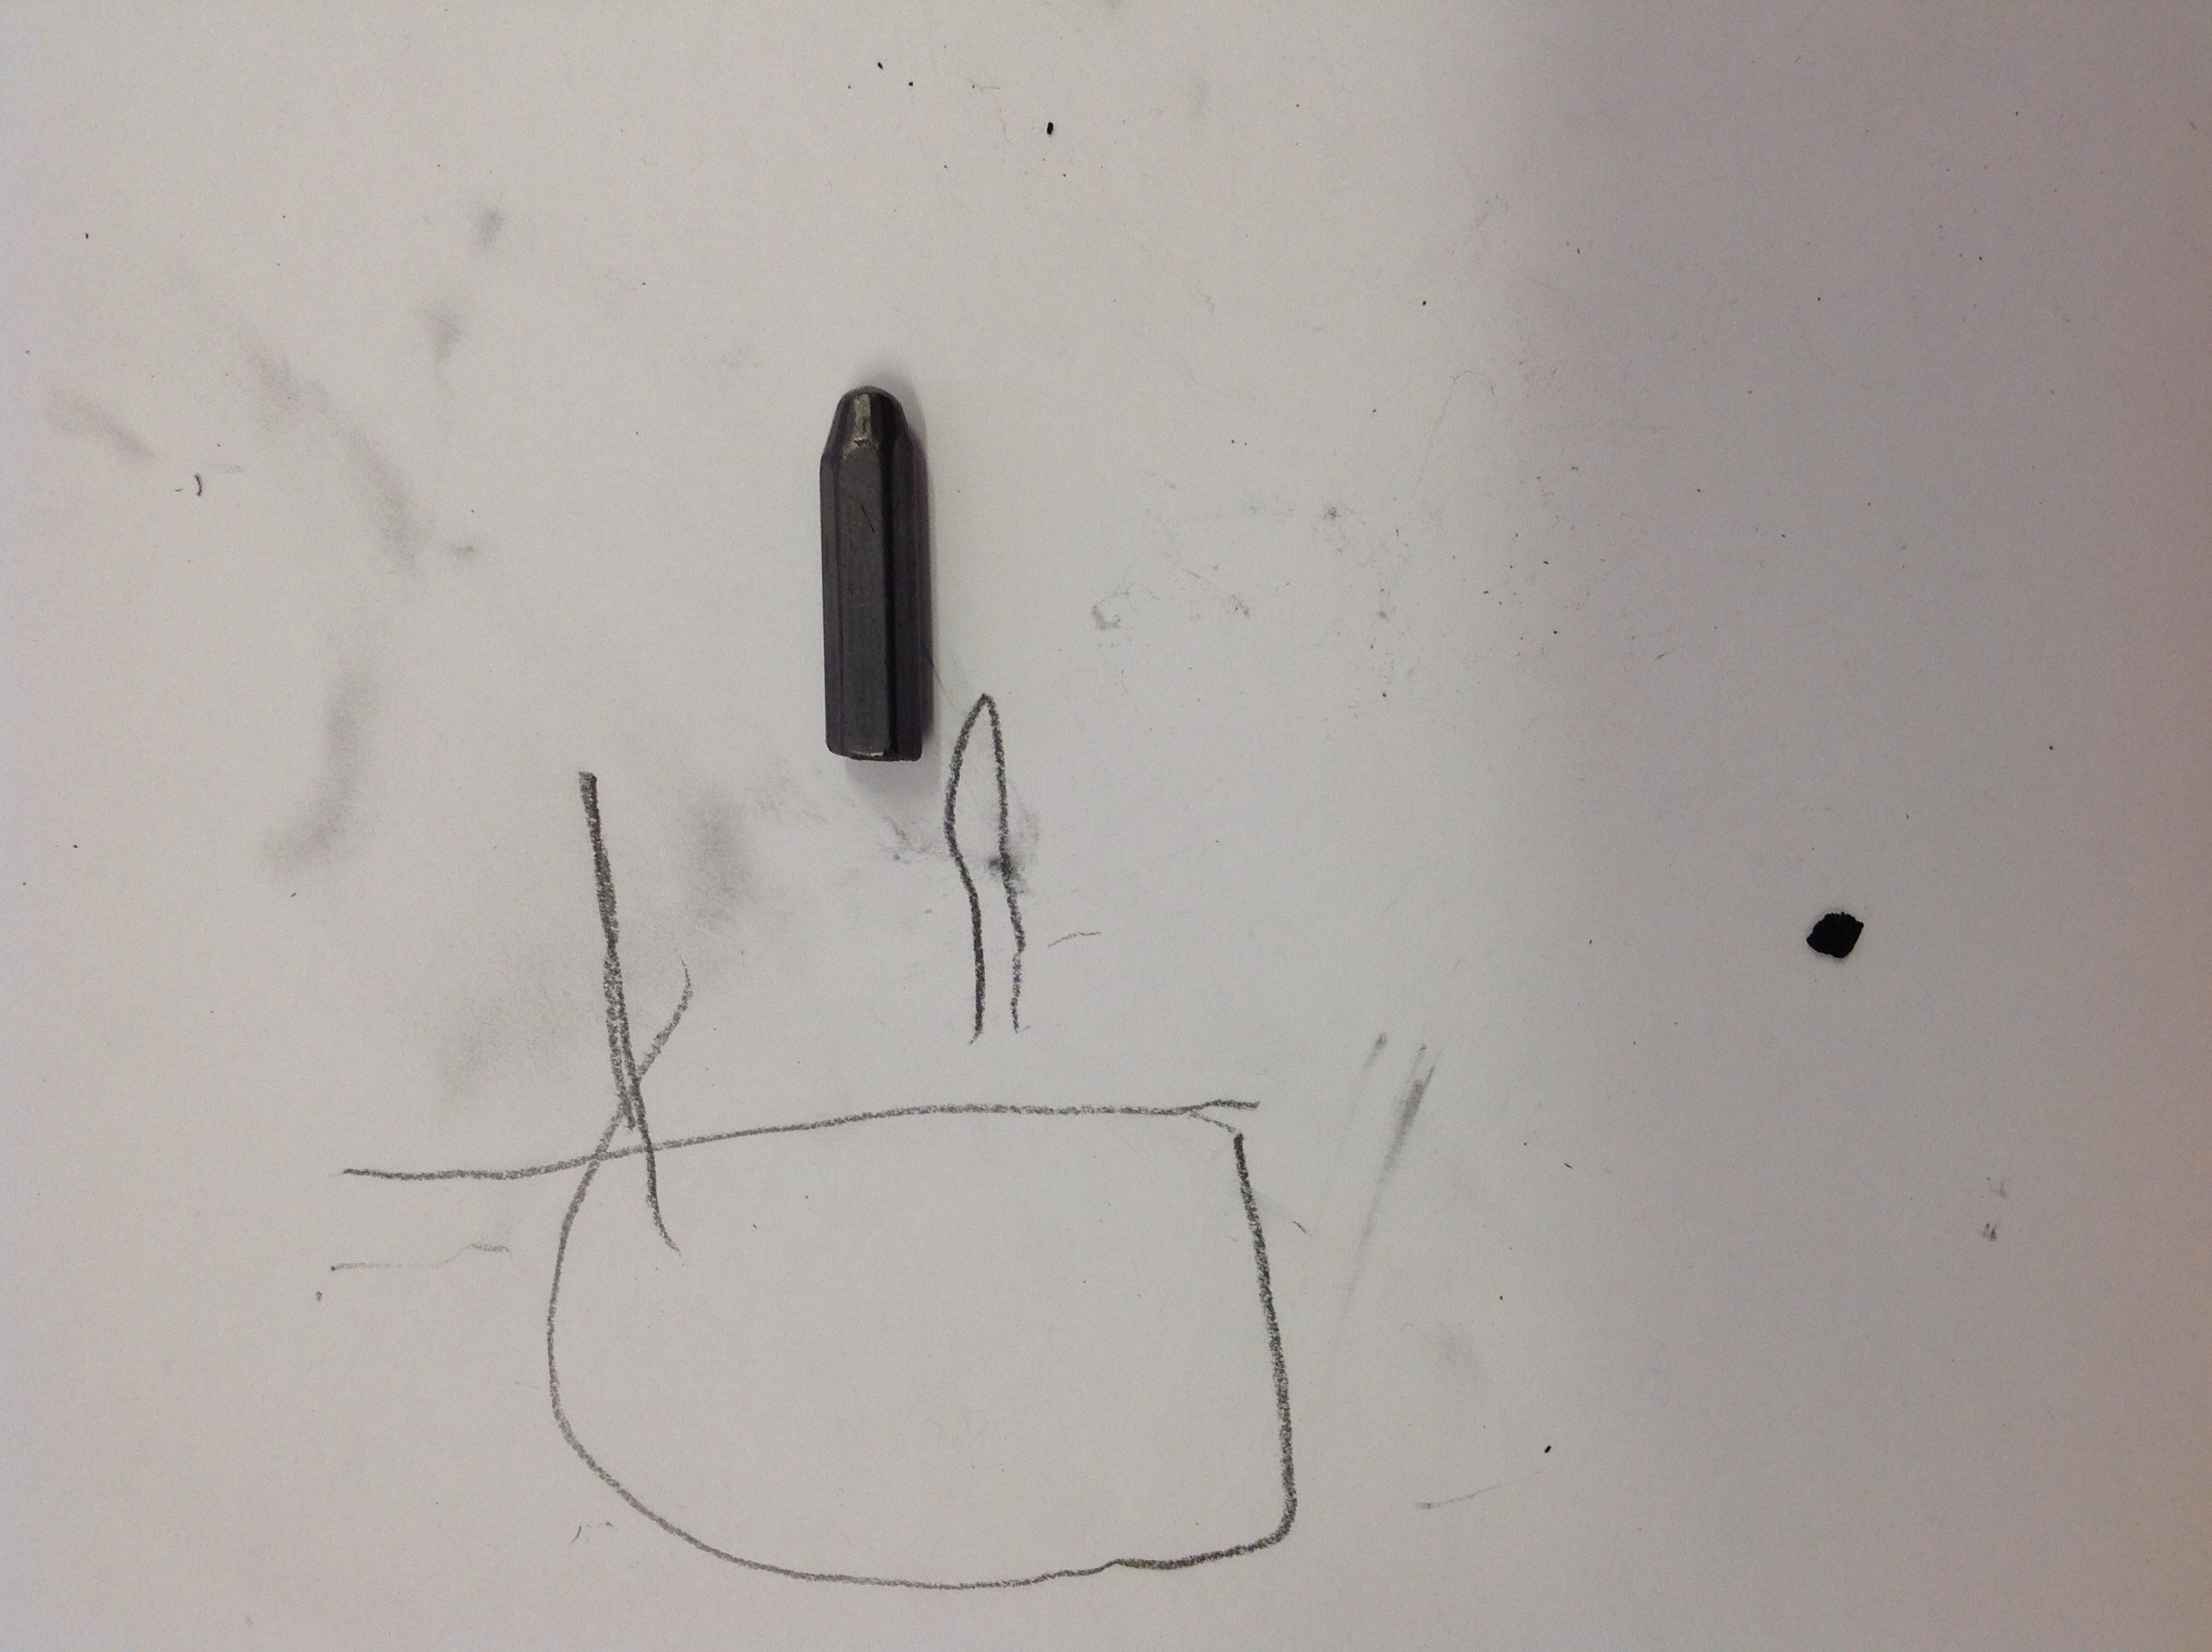
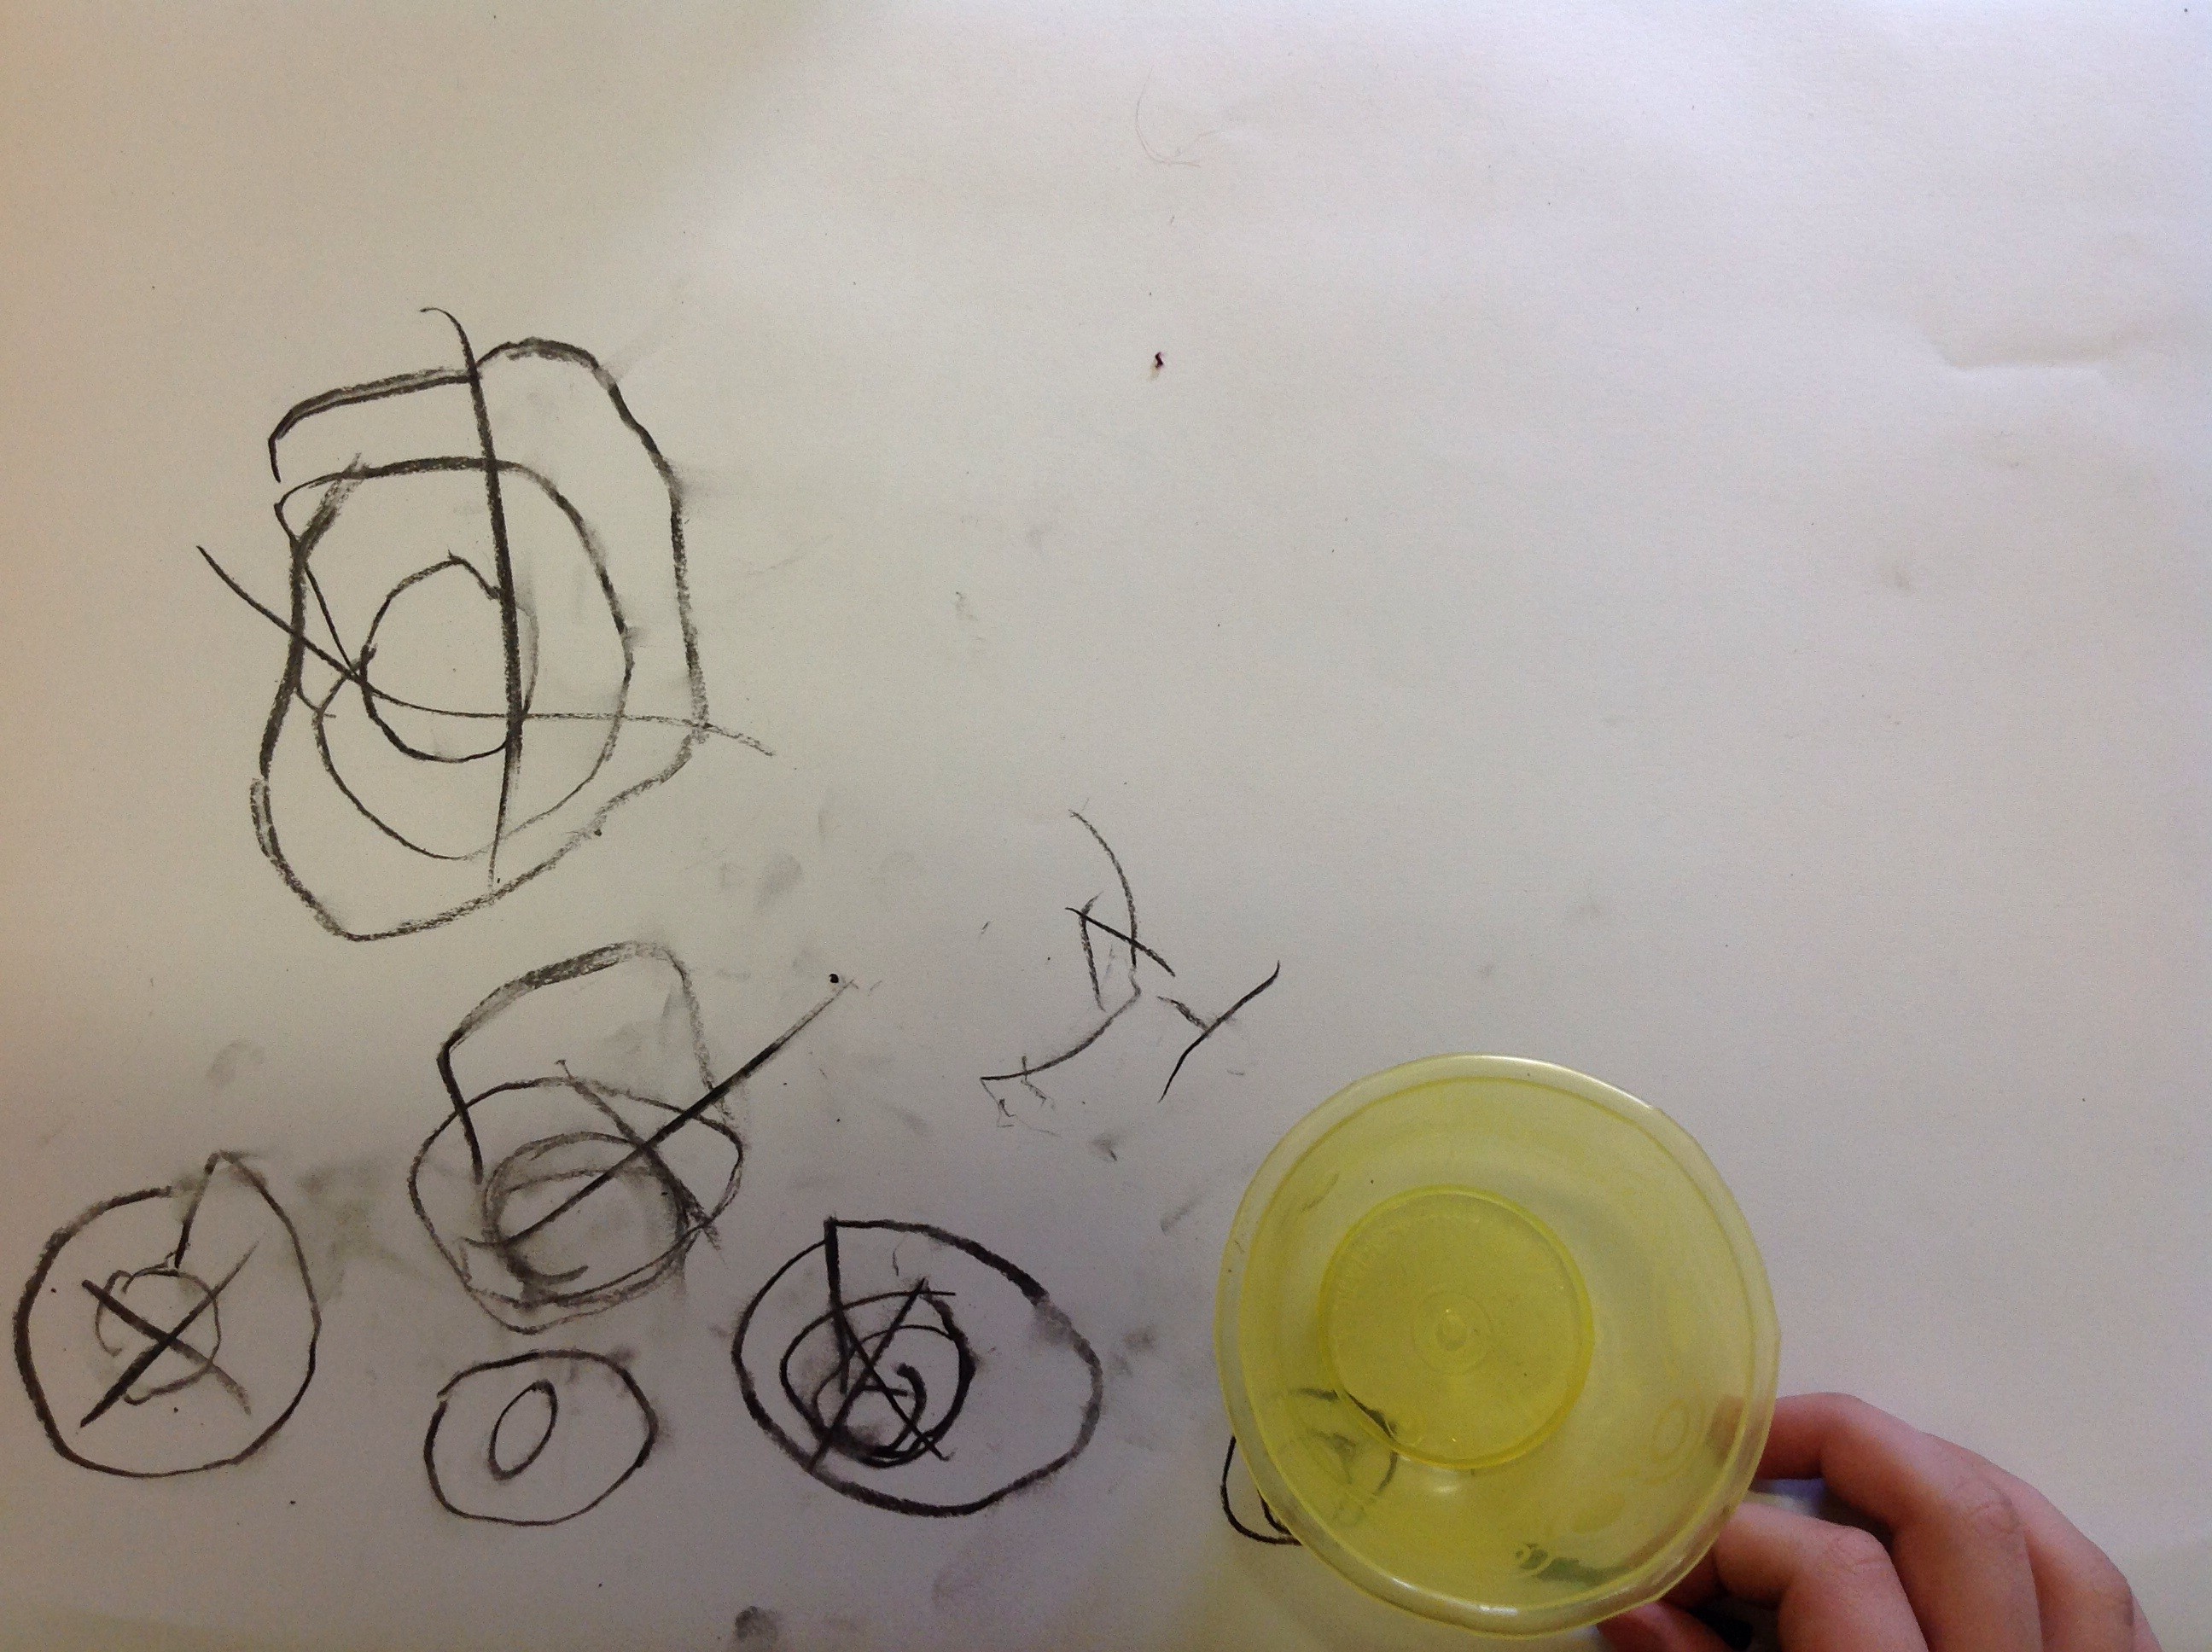
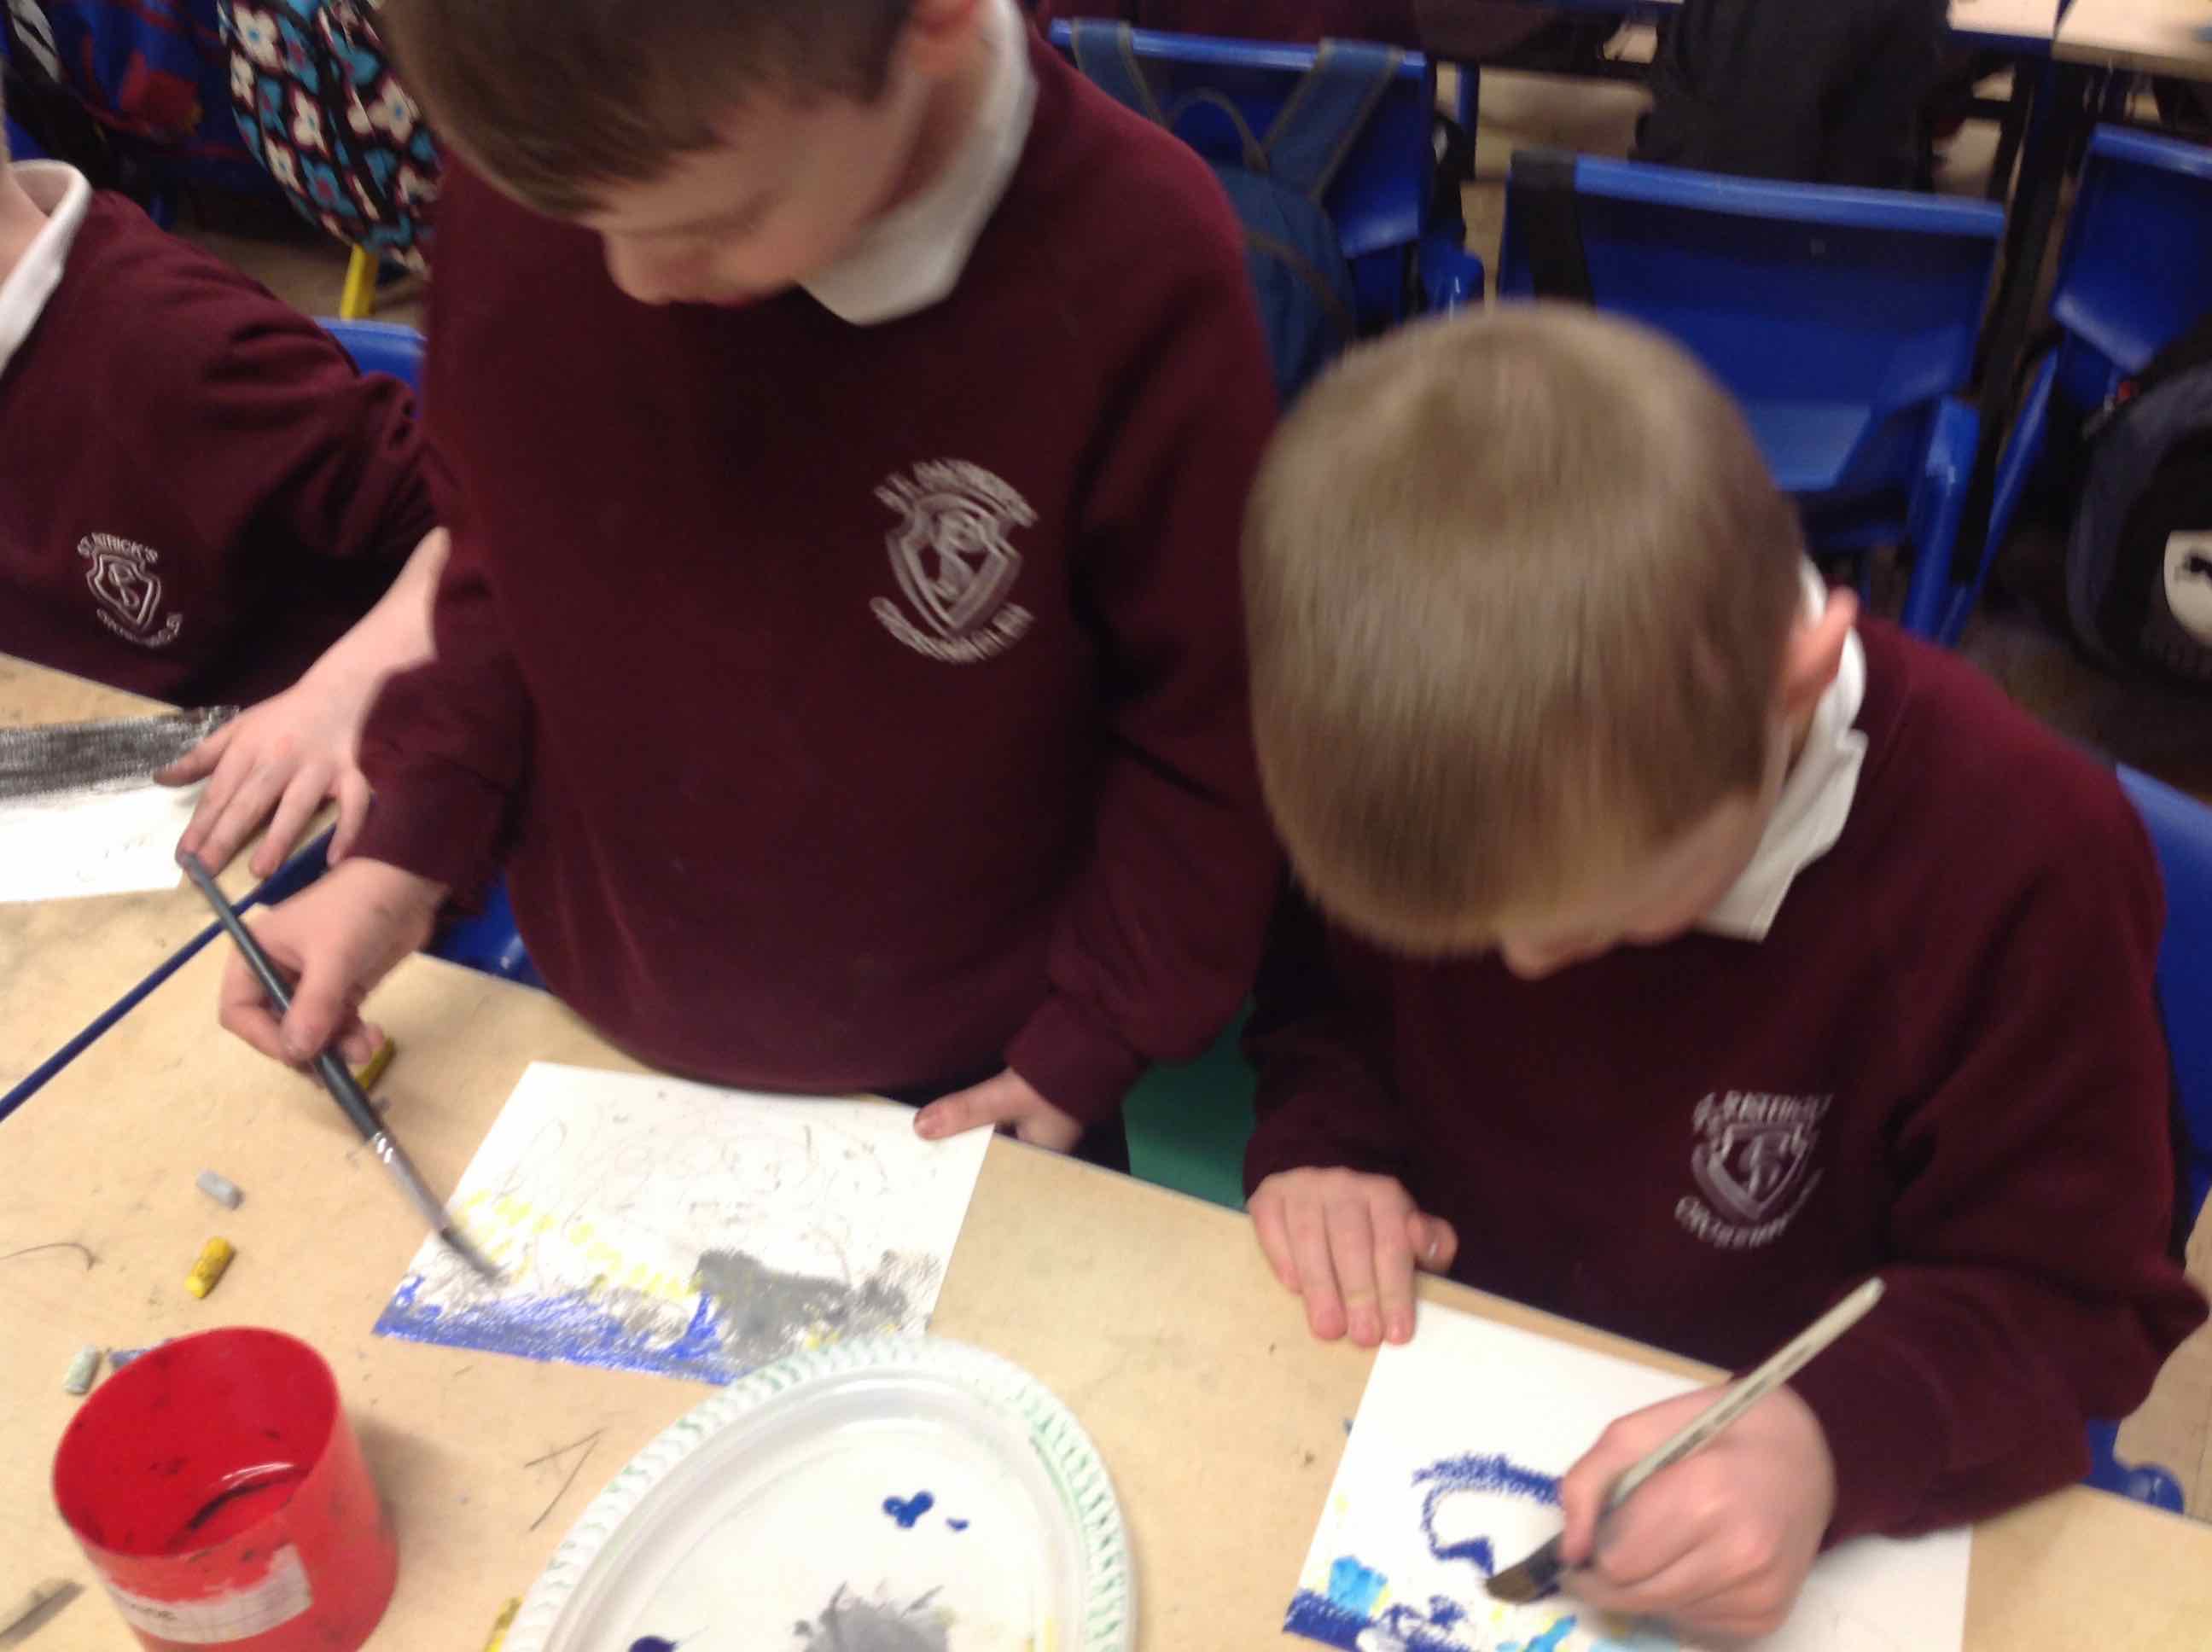
These were made using graphite on paper and by responding to the words that the children had offered describing the VOICE of the WIND. So we began by mururming, then working up to a full gale force angry wind!

IMG_2851    IMG_2874

IMG_2878    IMG_2877

IMG_2872

IMG_2868       IMG_2870

IMG_2865   IMG_2864

IMG_2860     IMG_2859

IMG_2858      IMG_2857

IMG_2848

IMG_2875

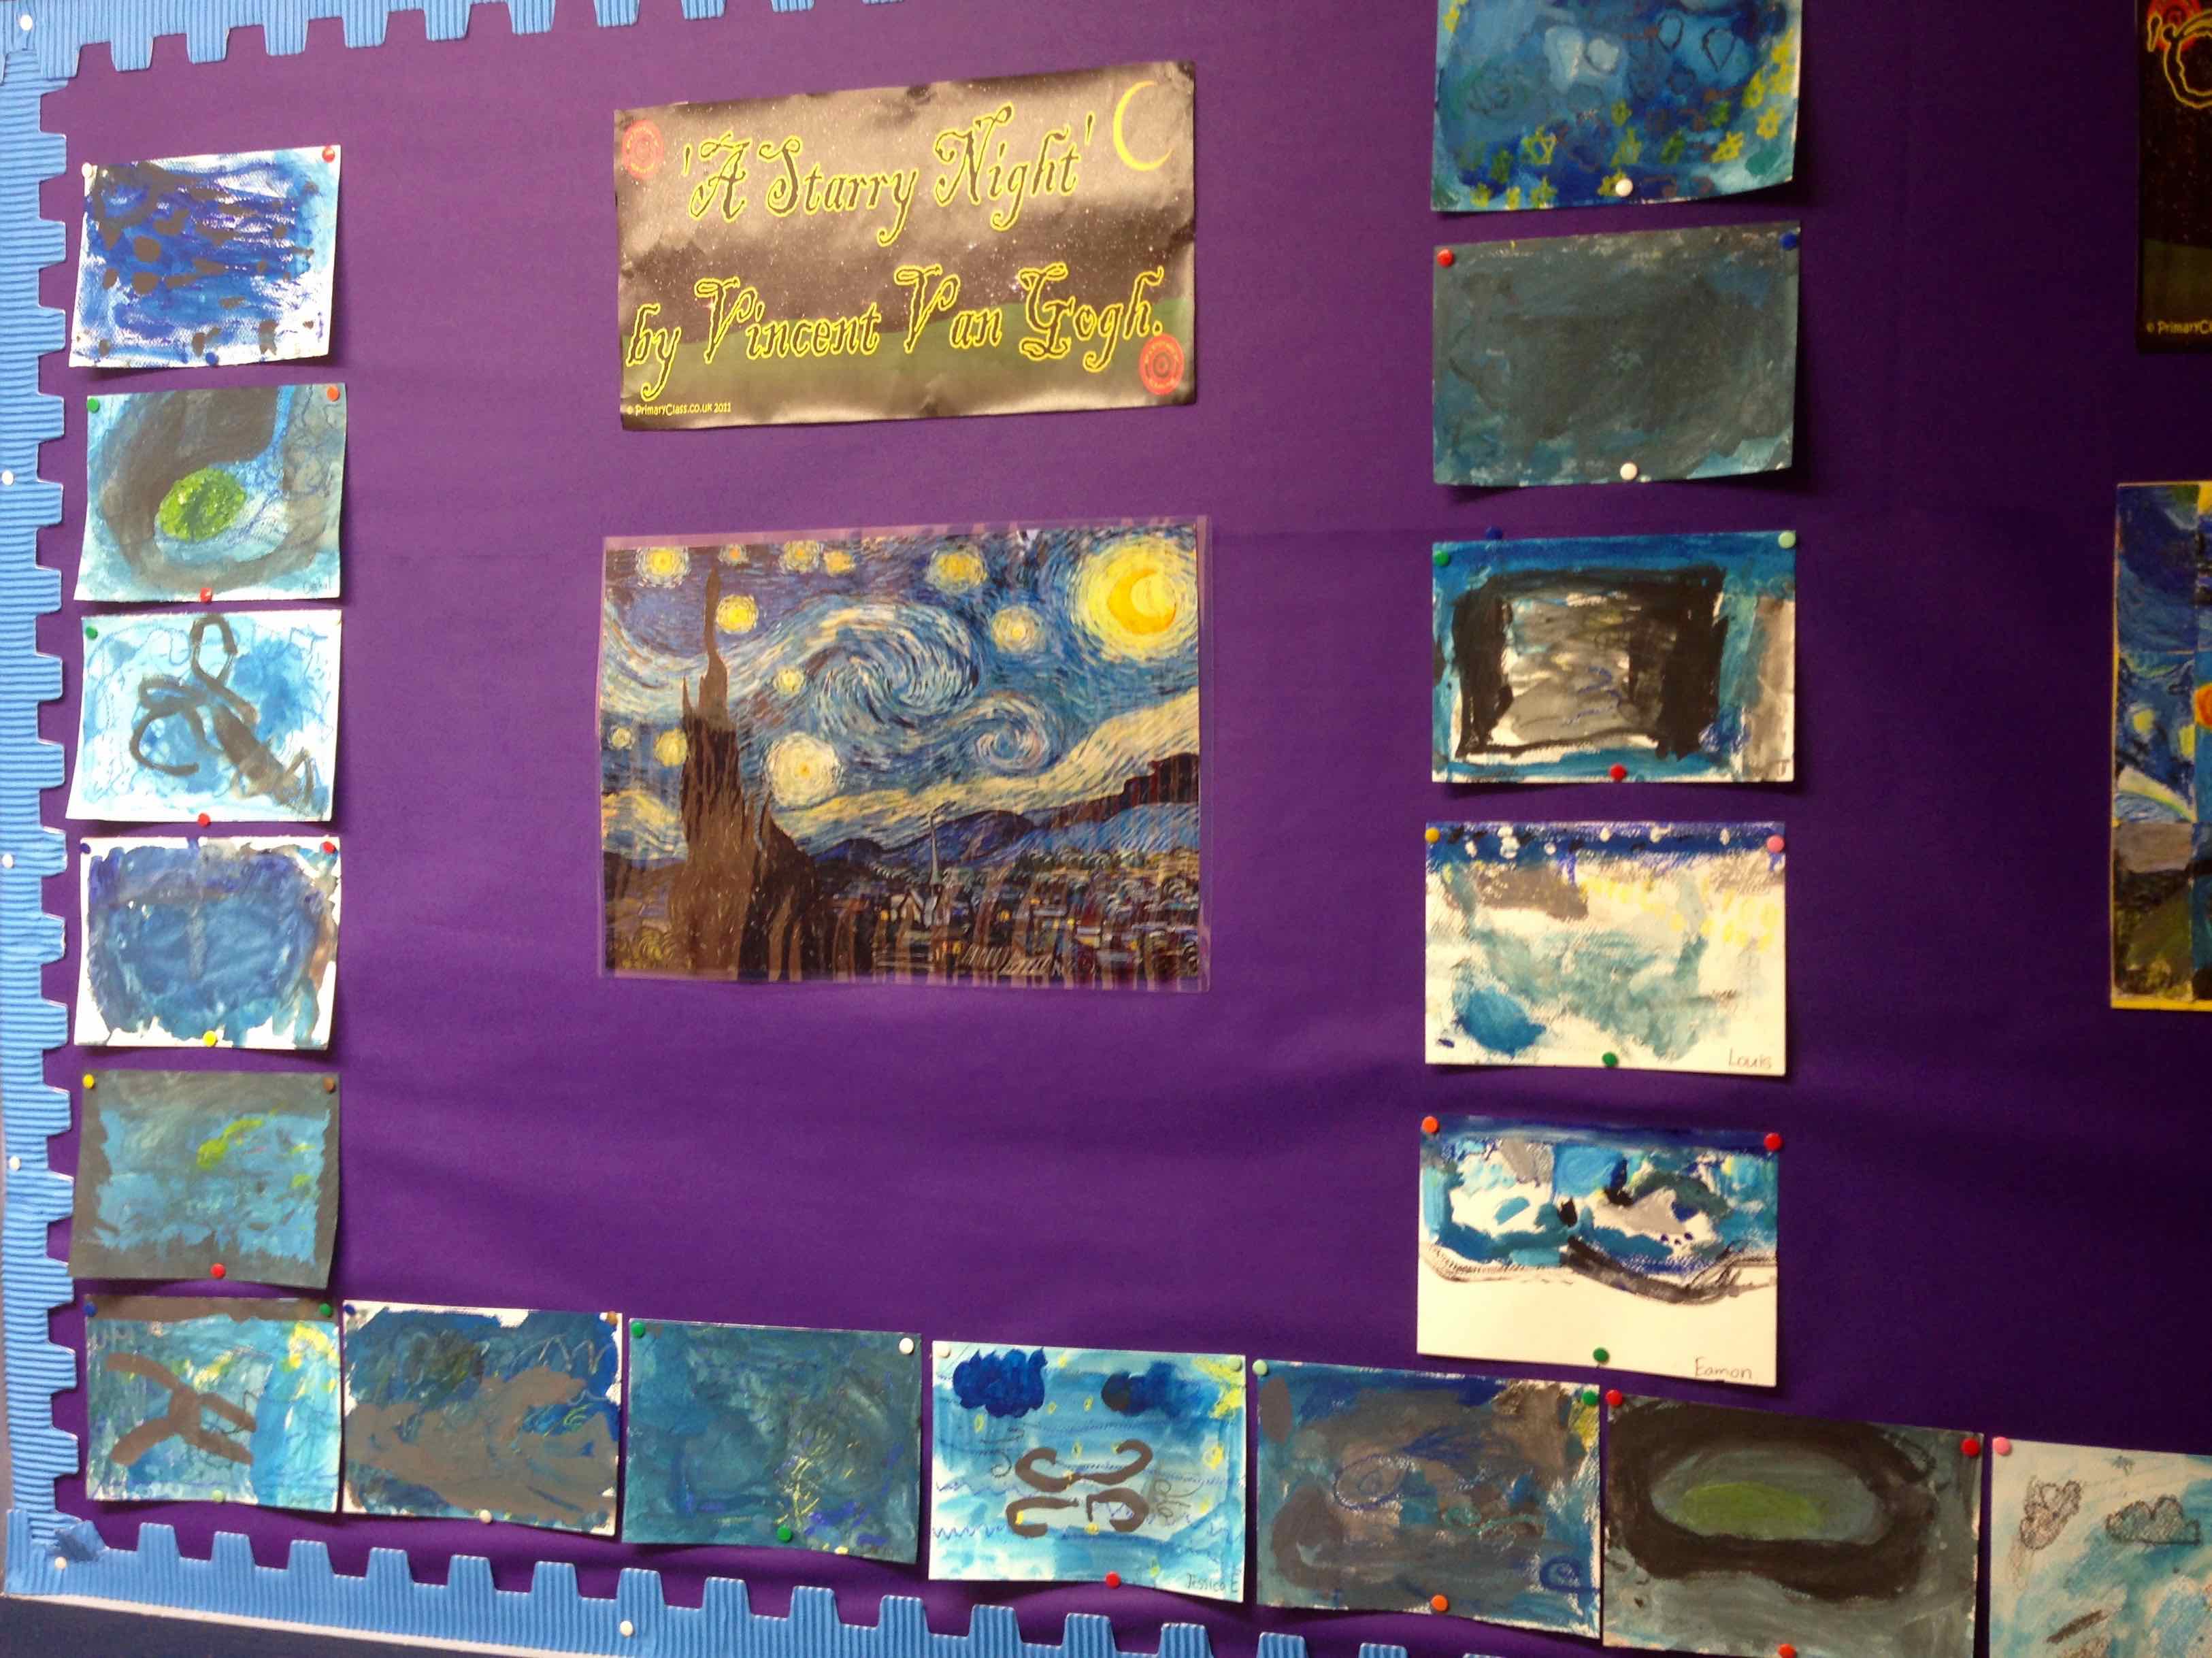
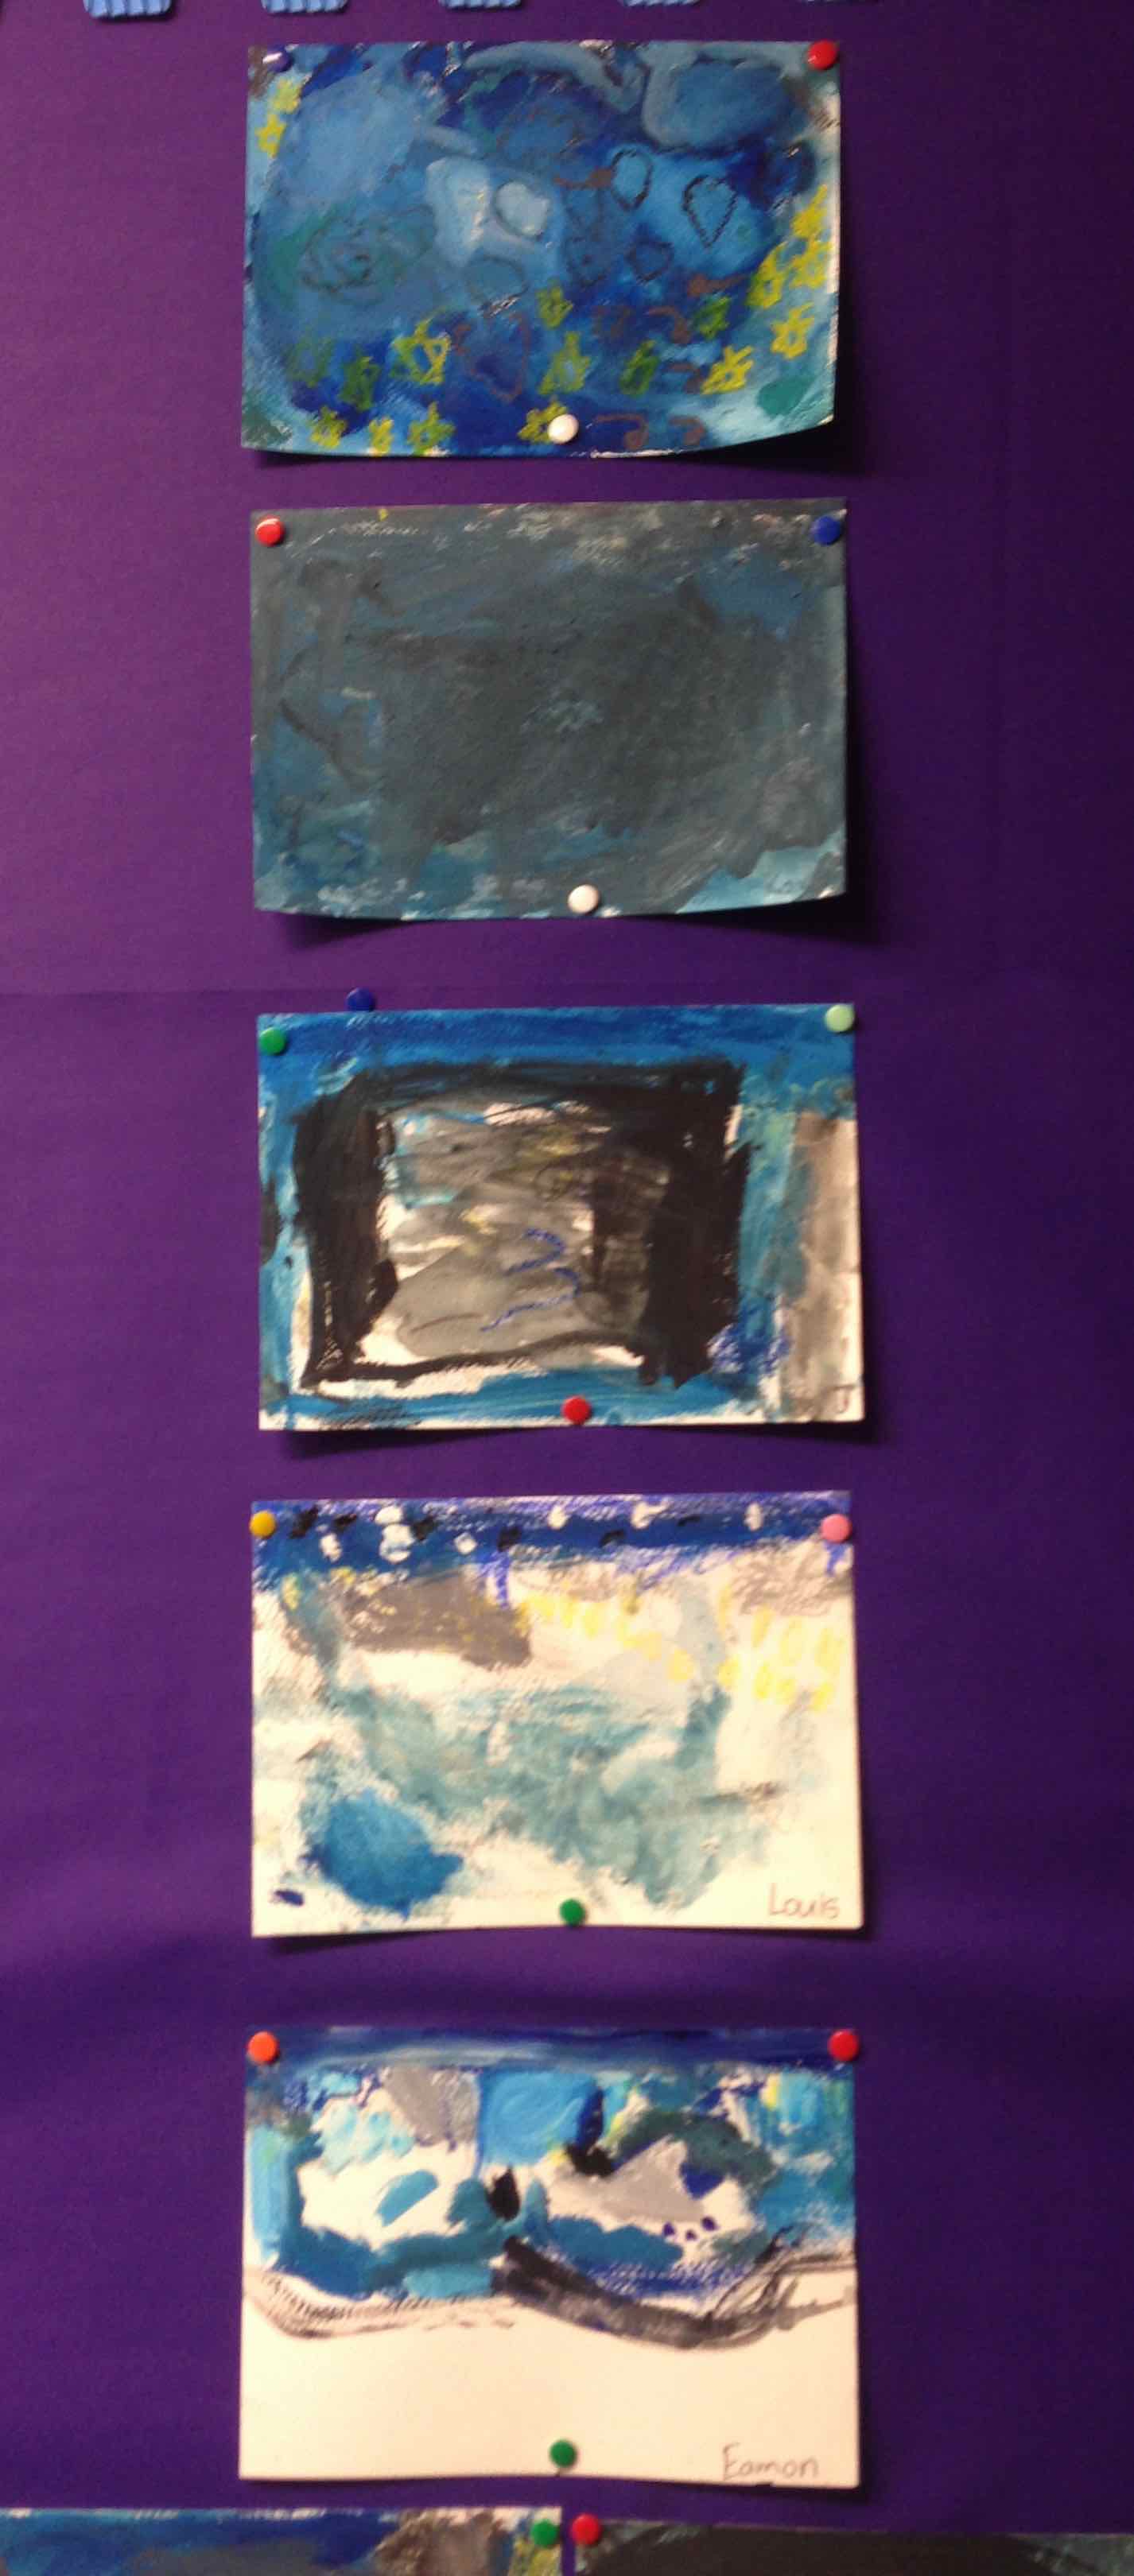
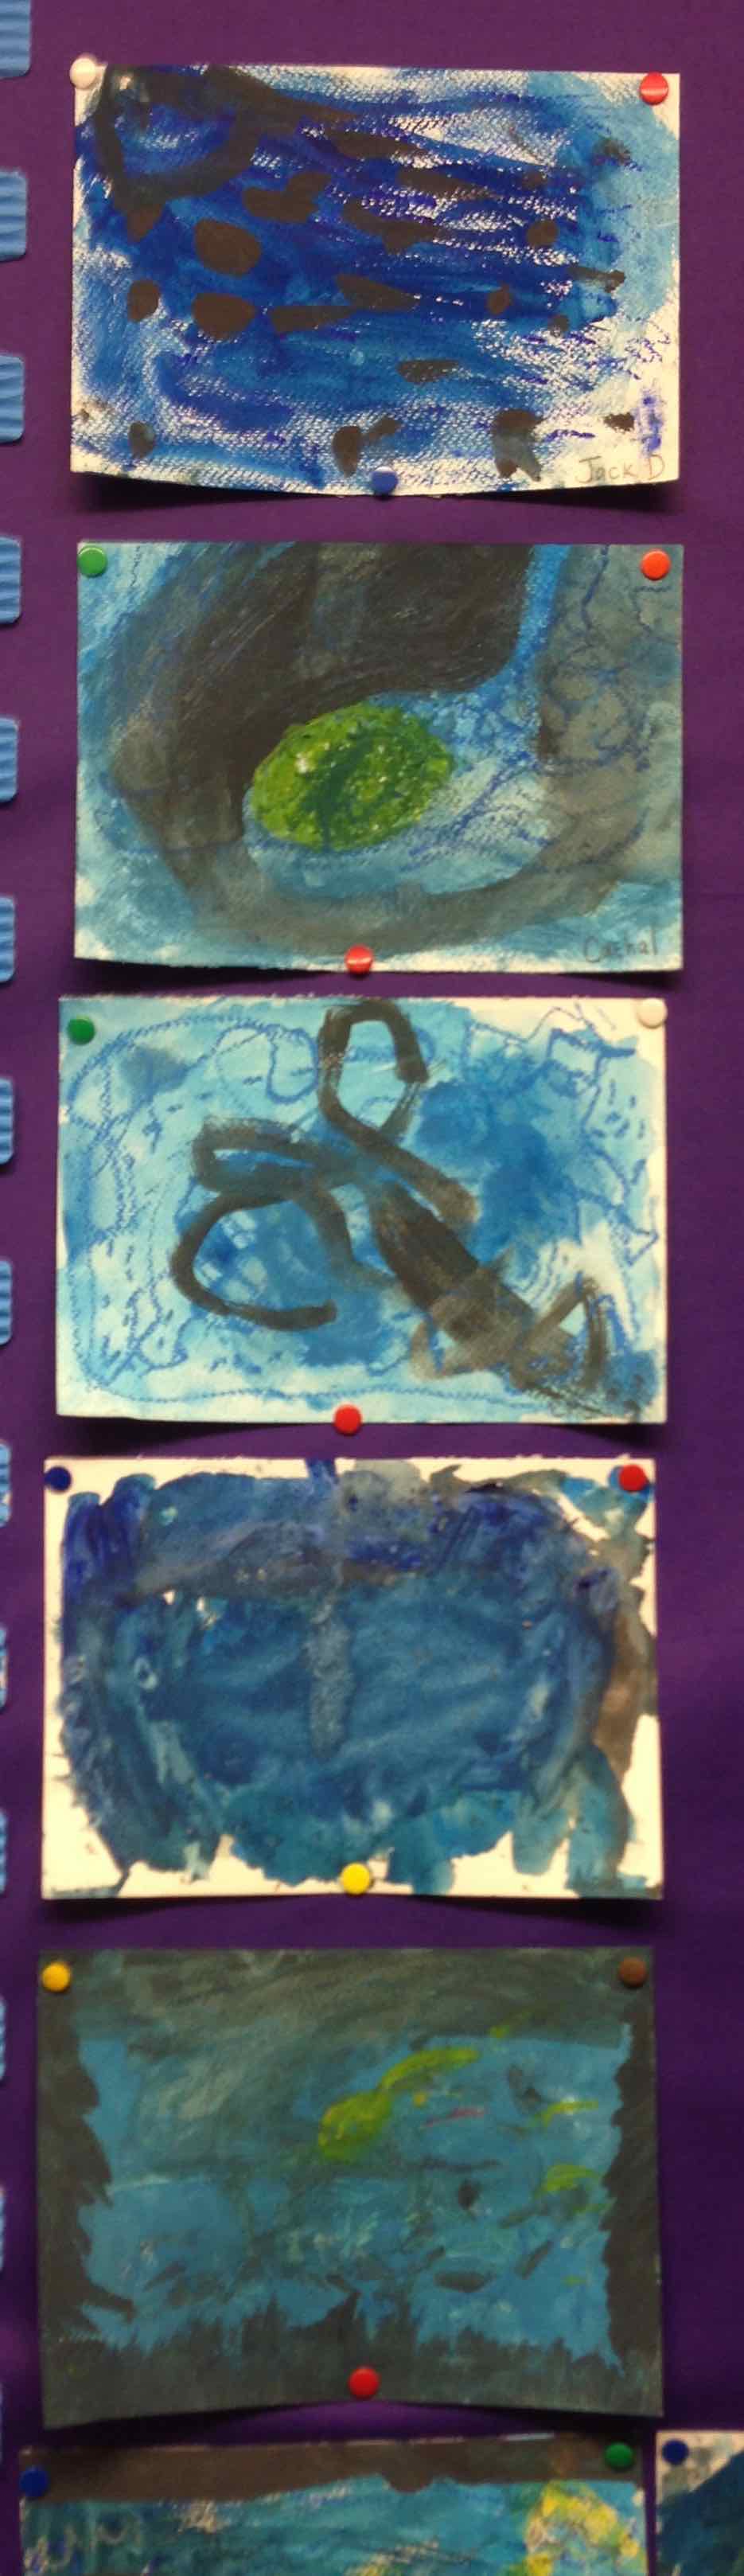
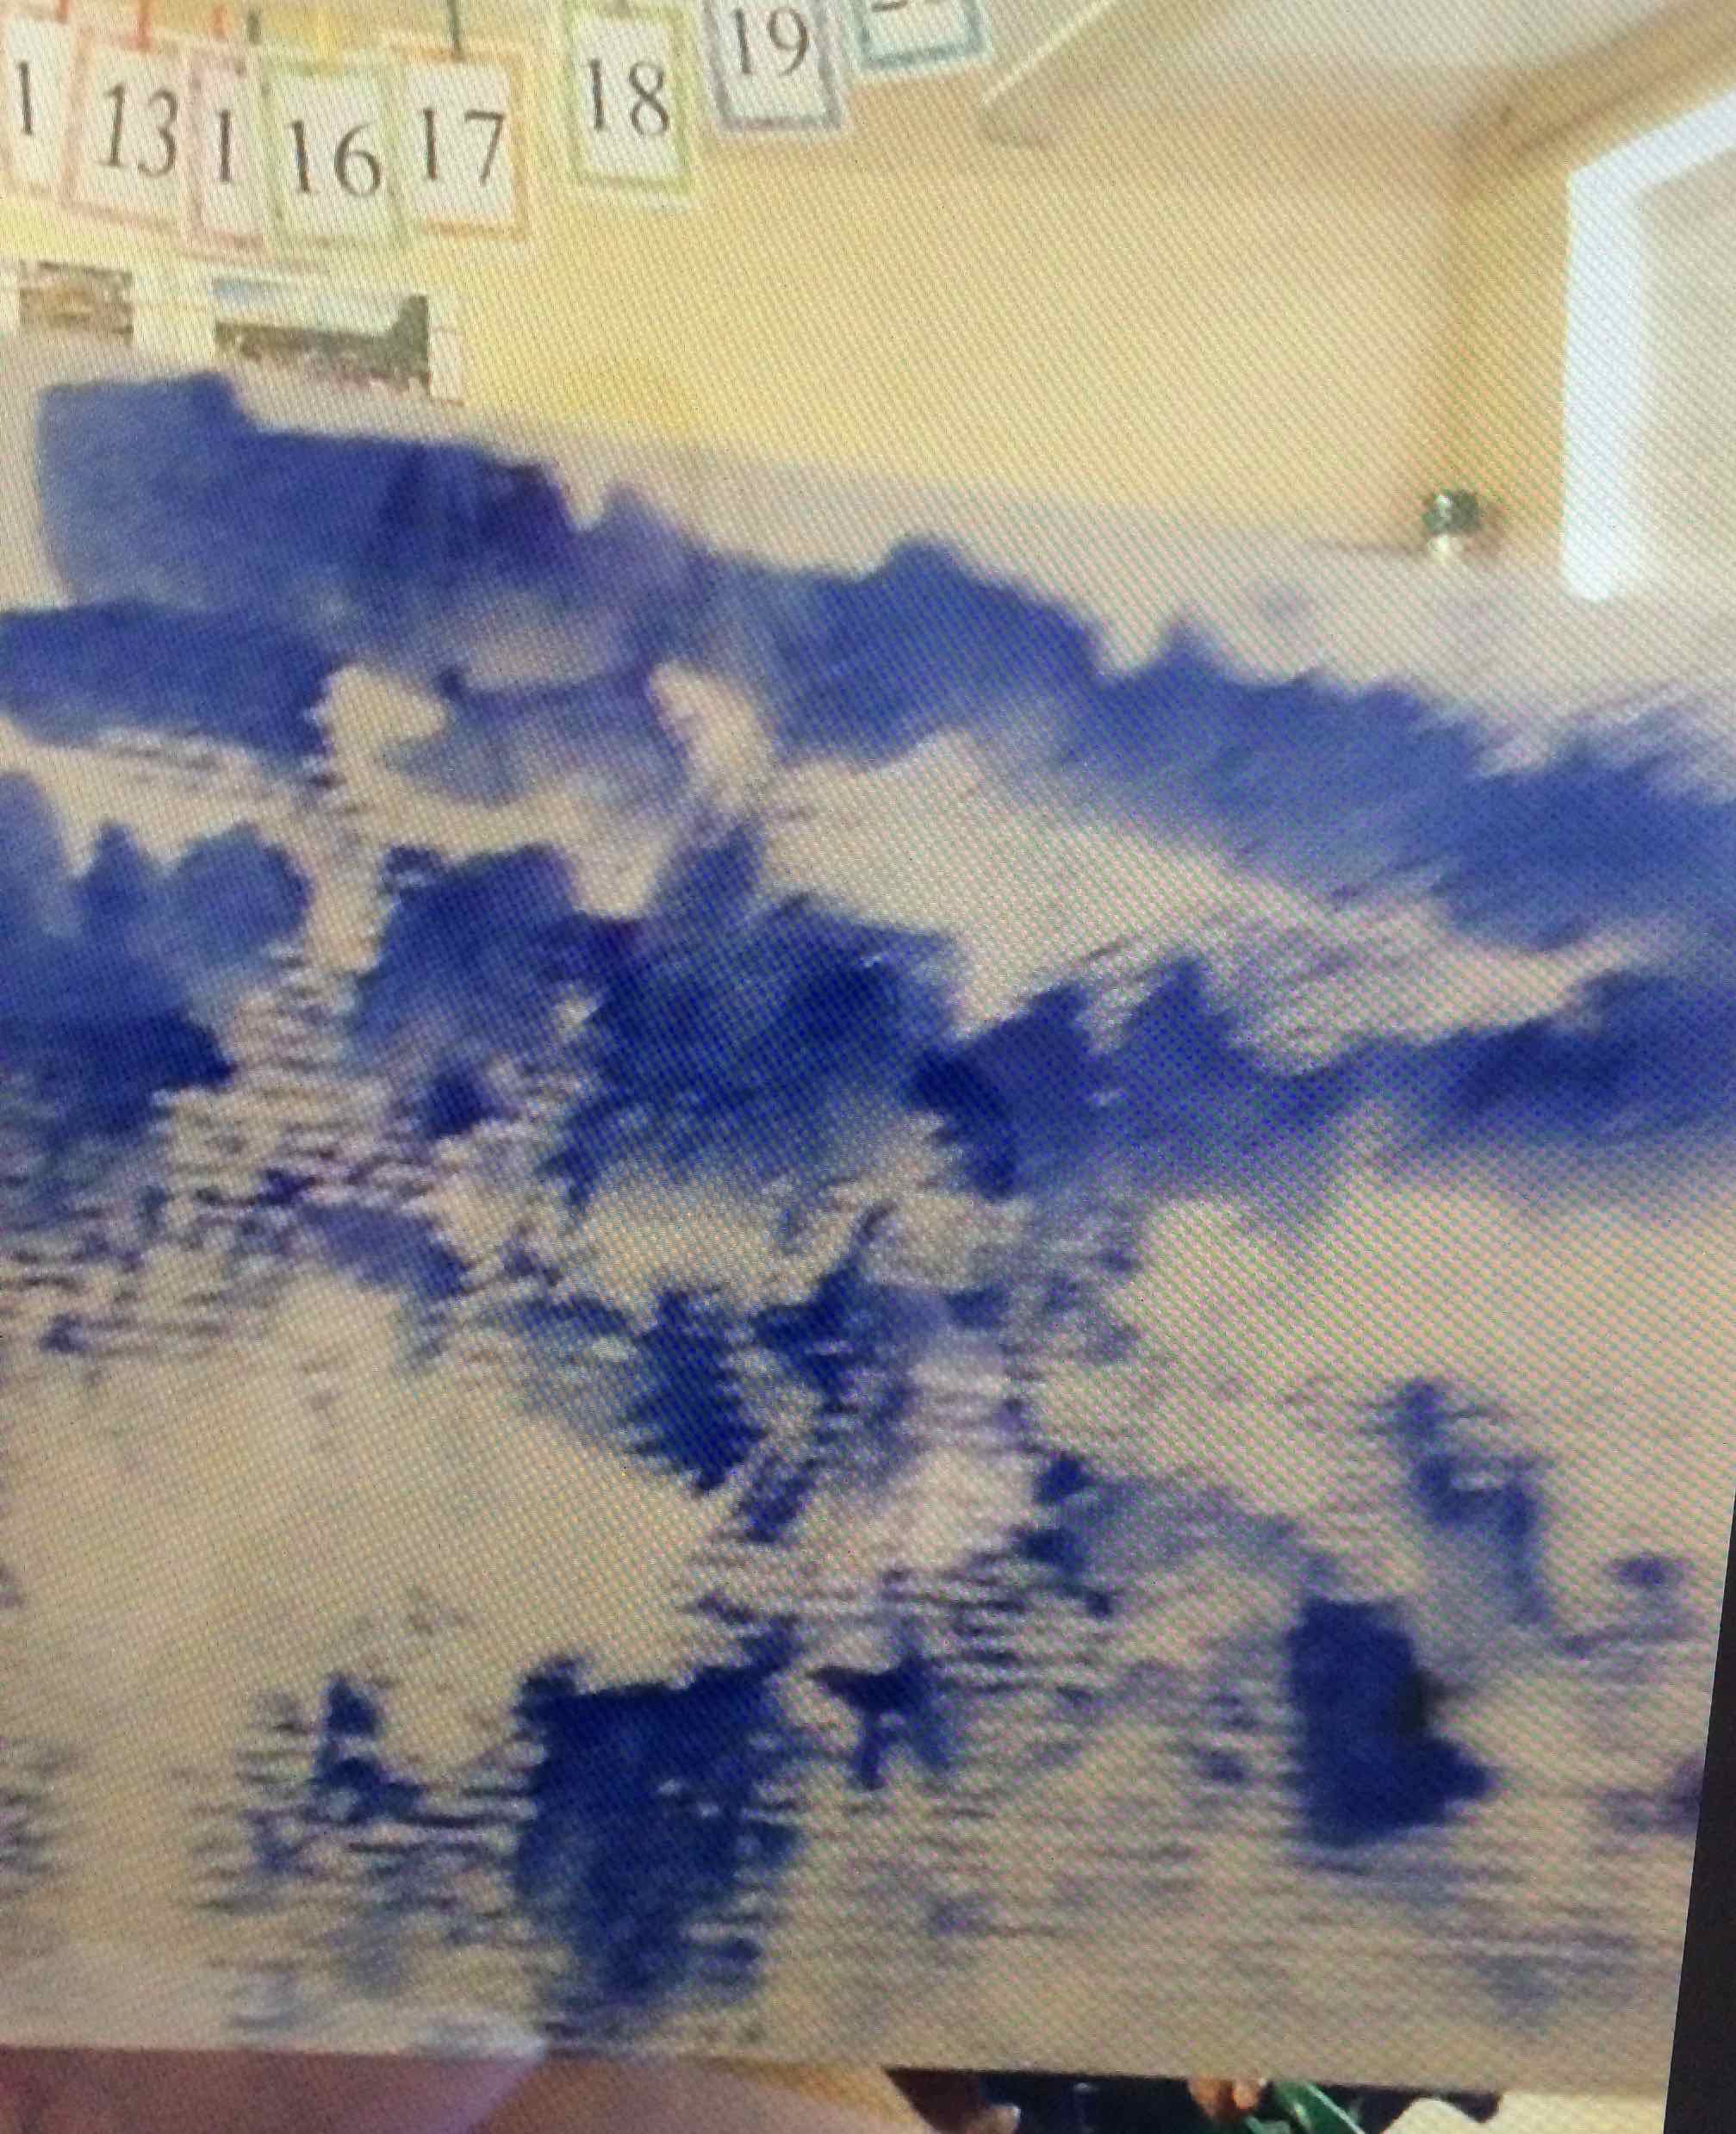
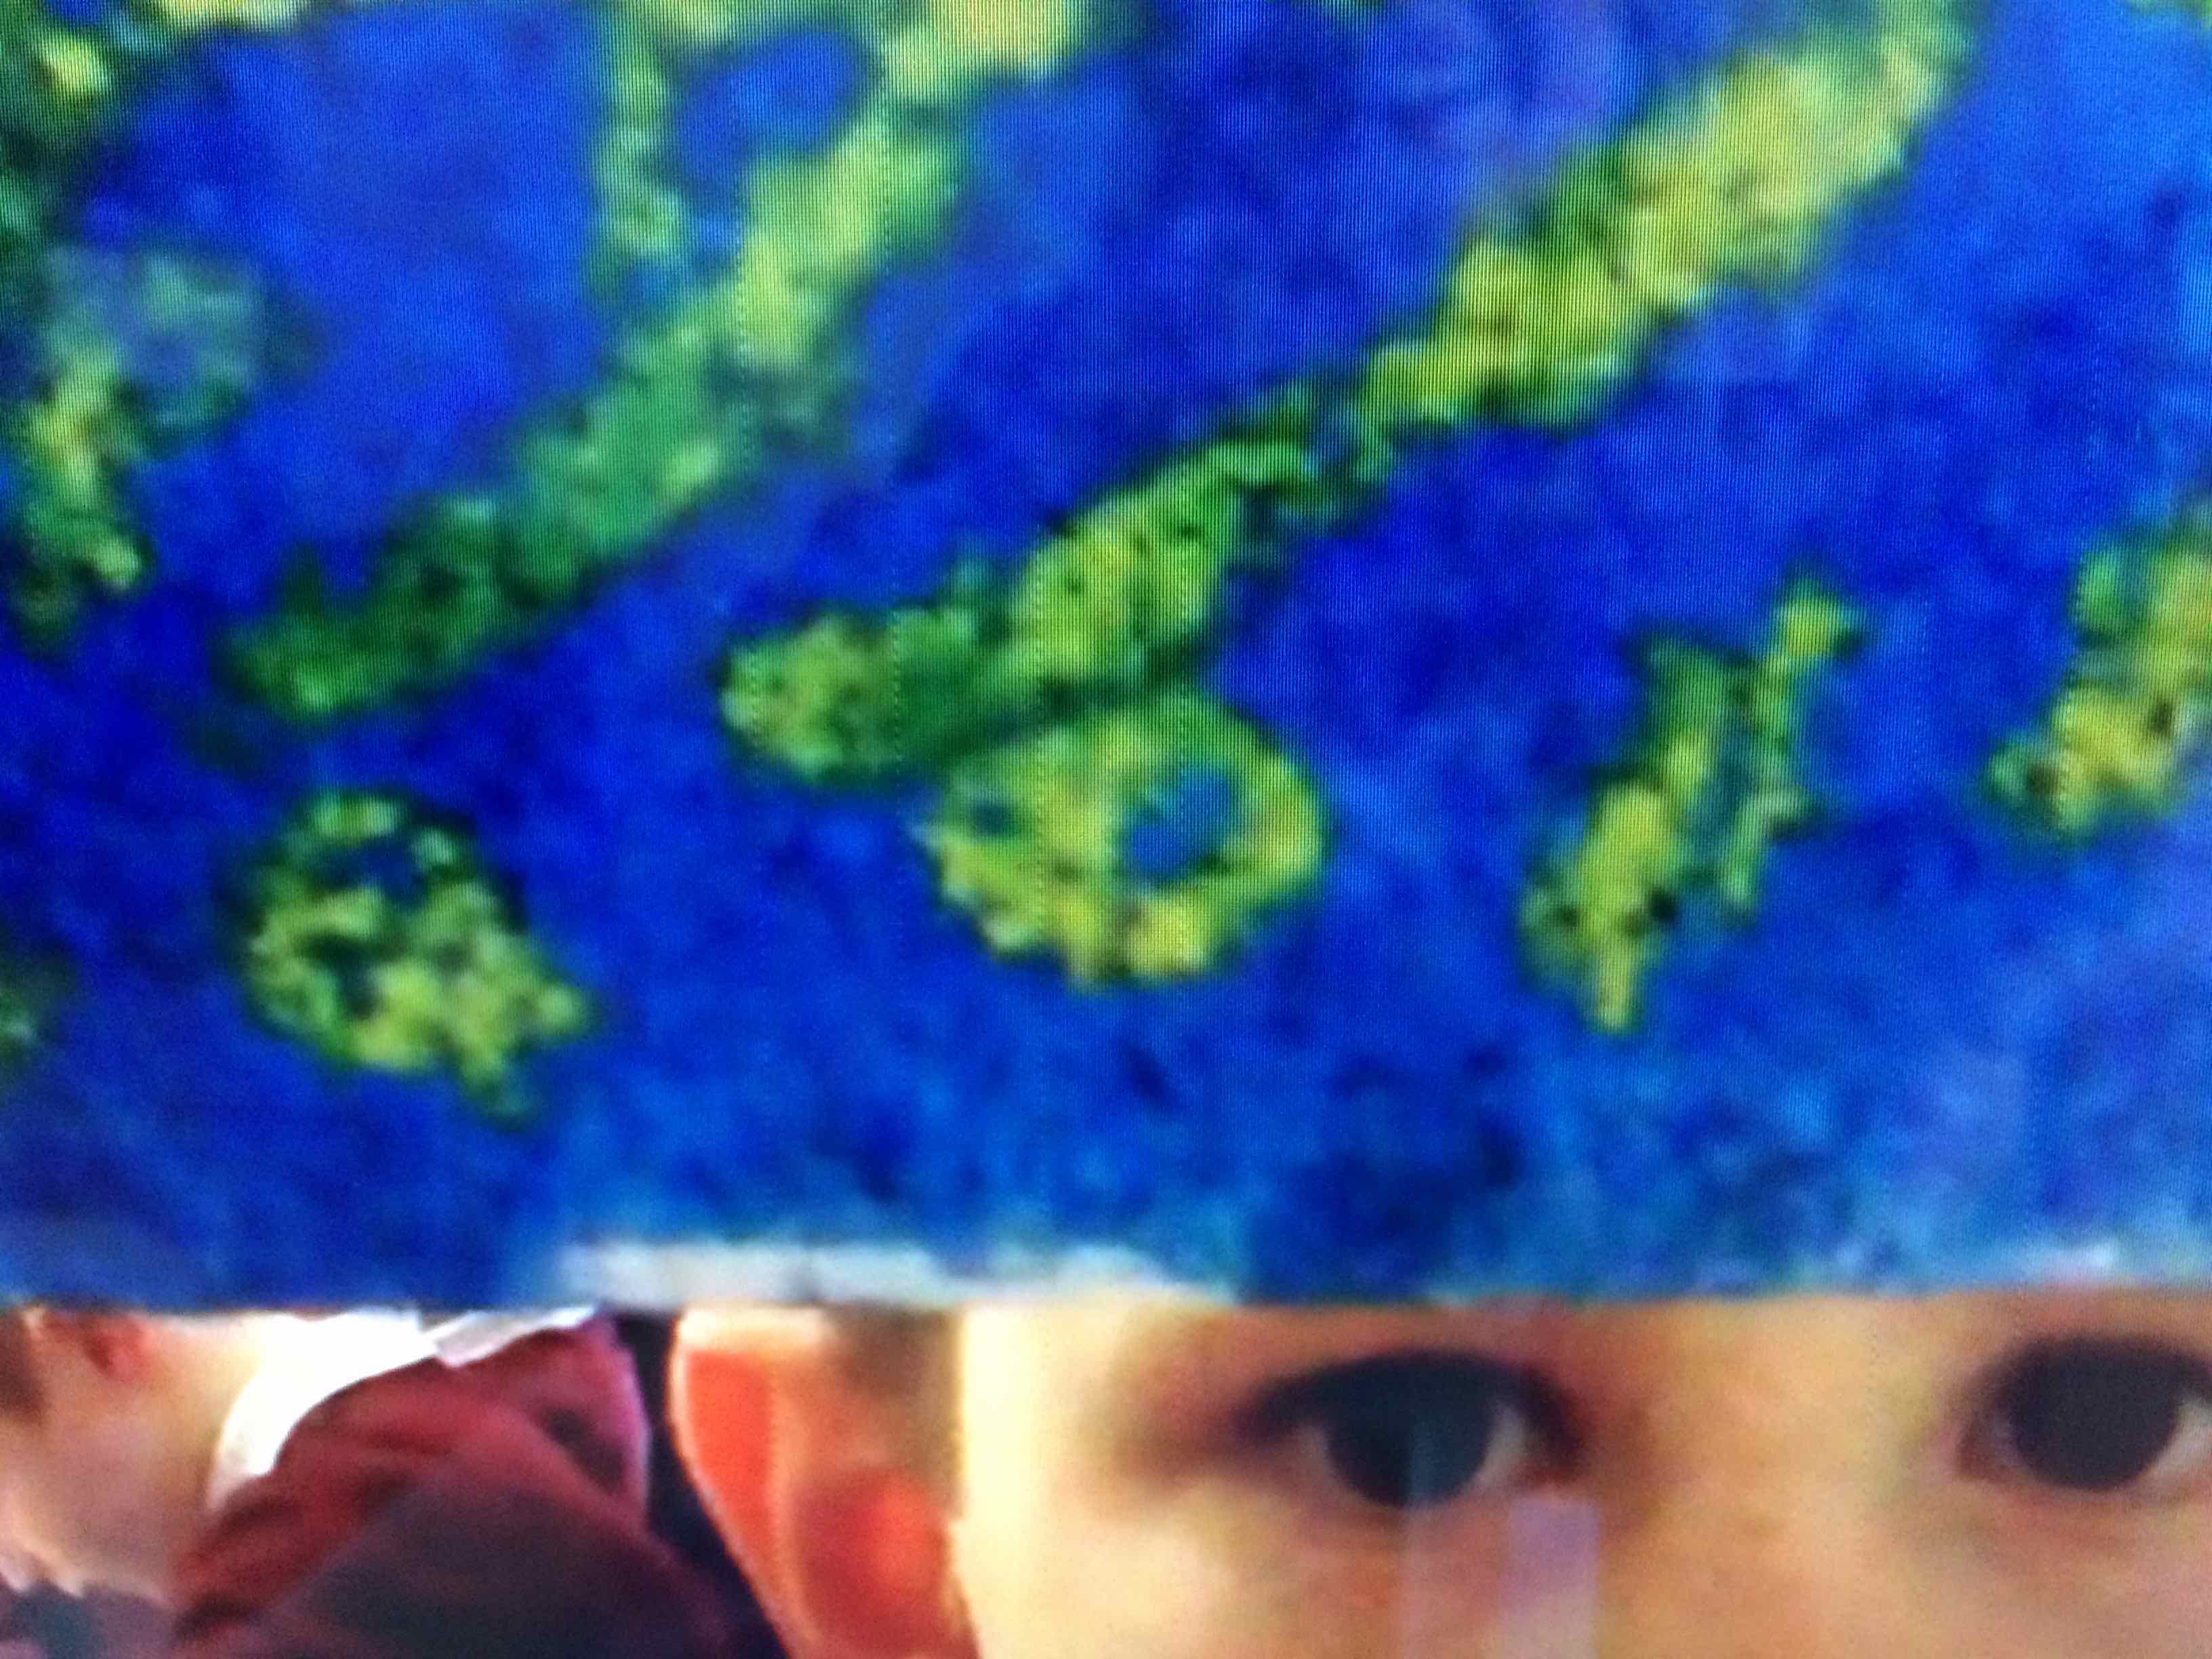
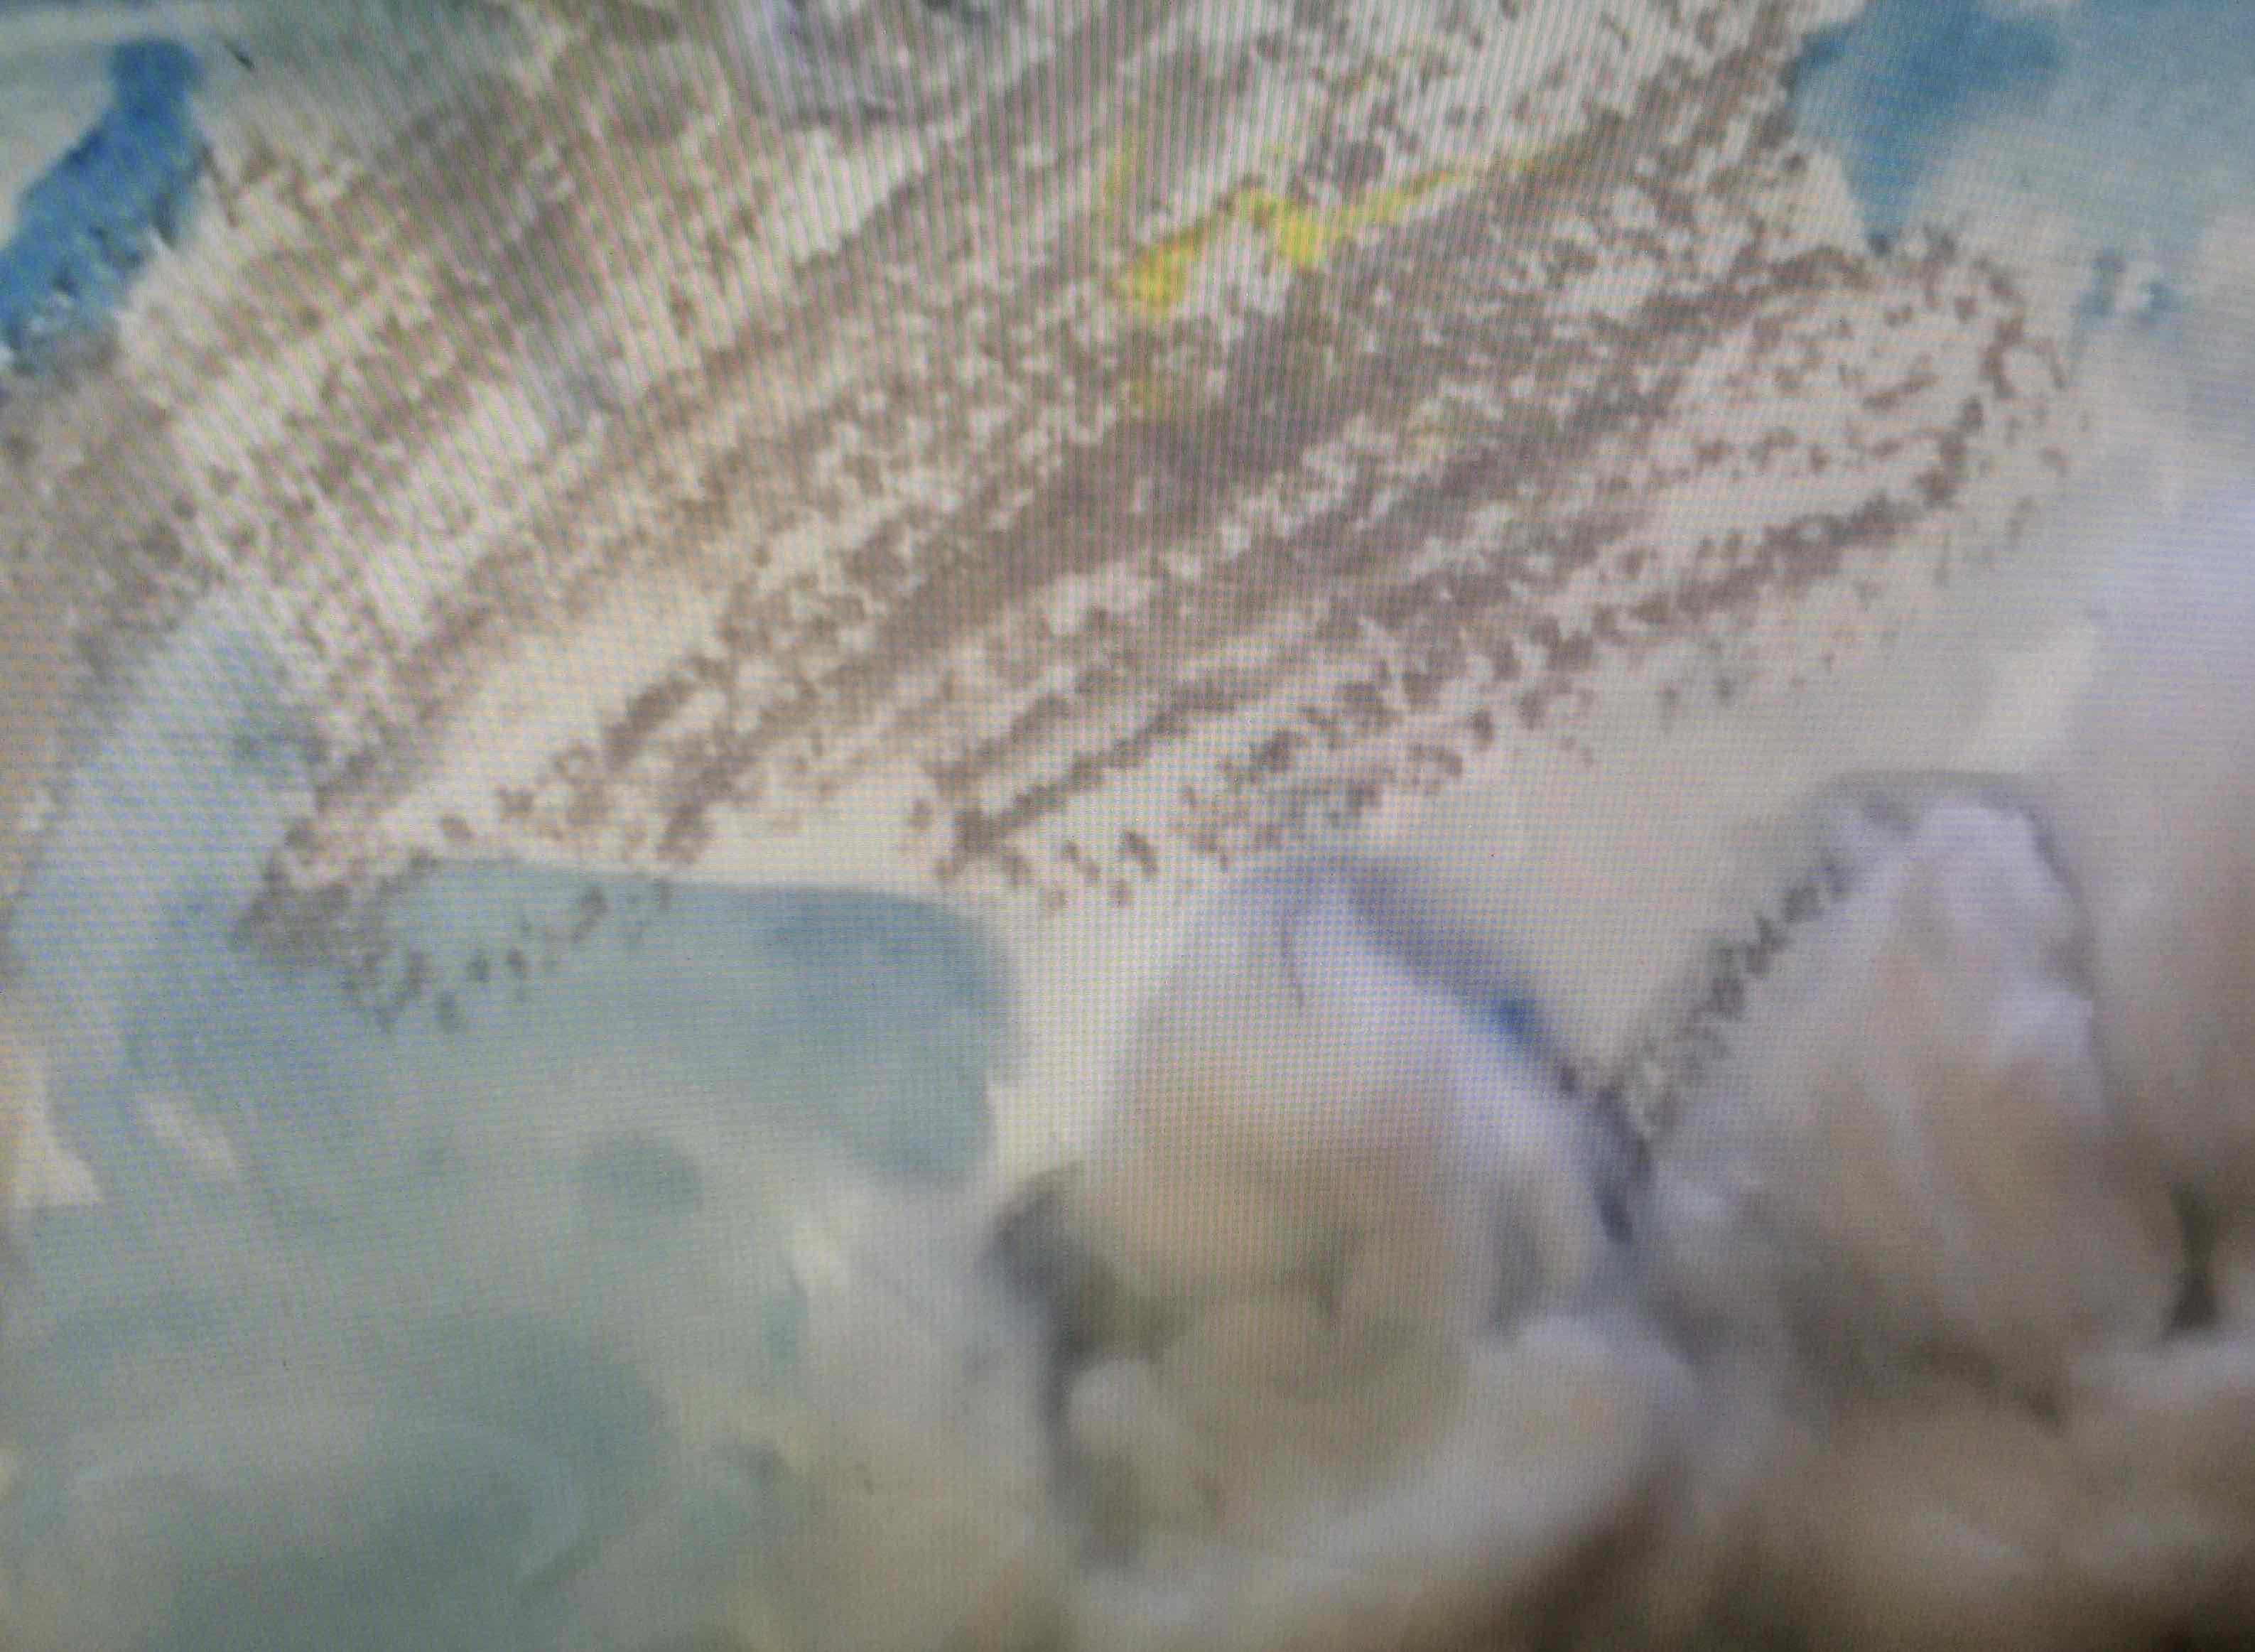
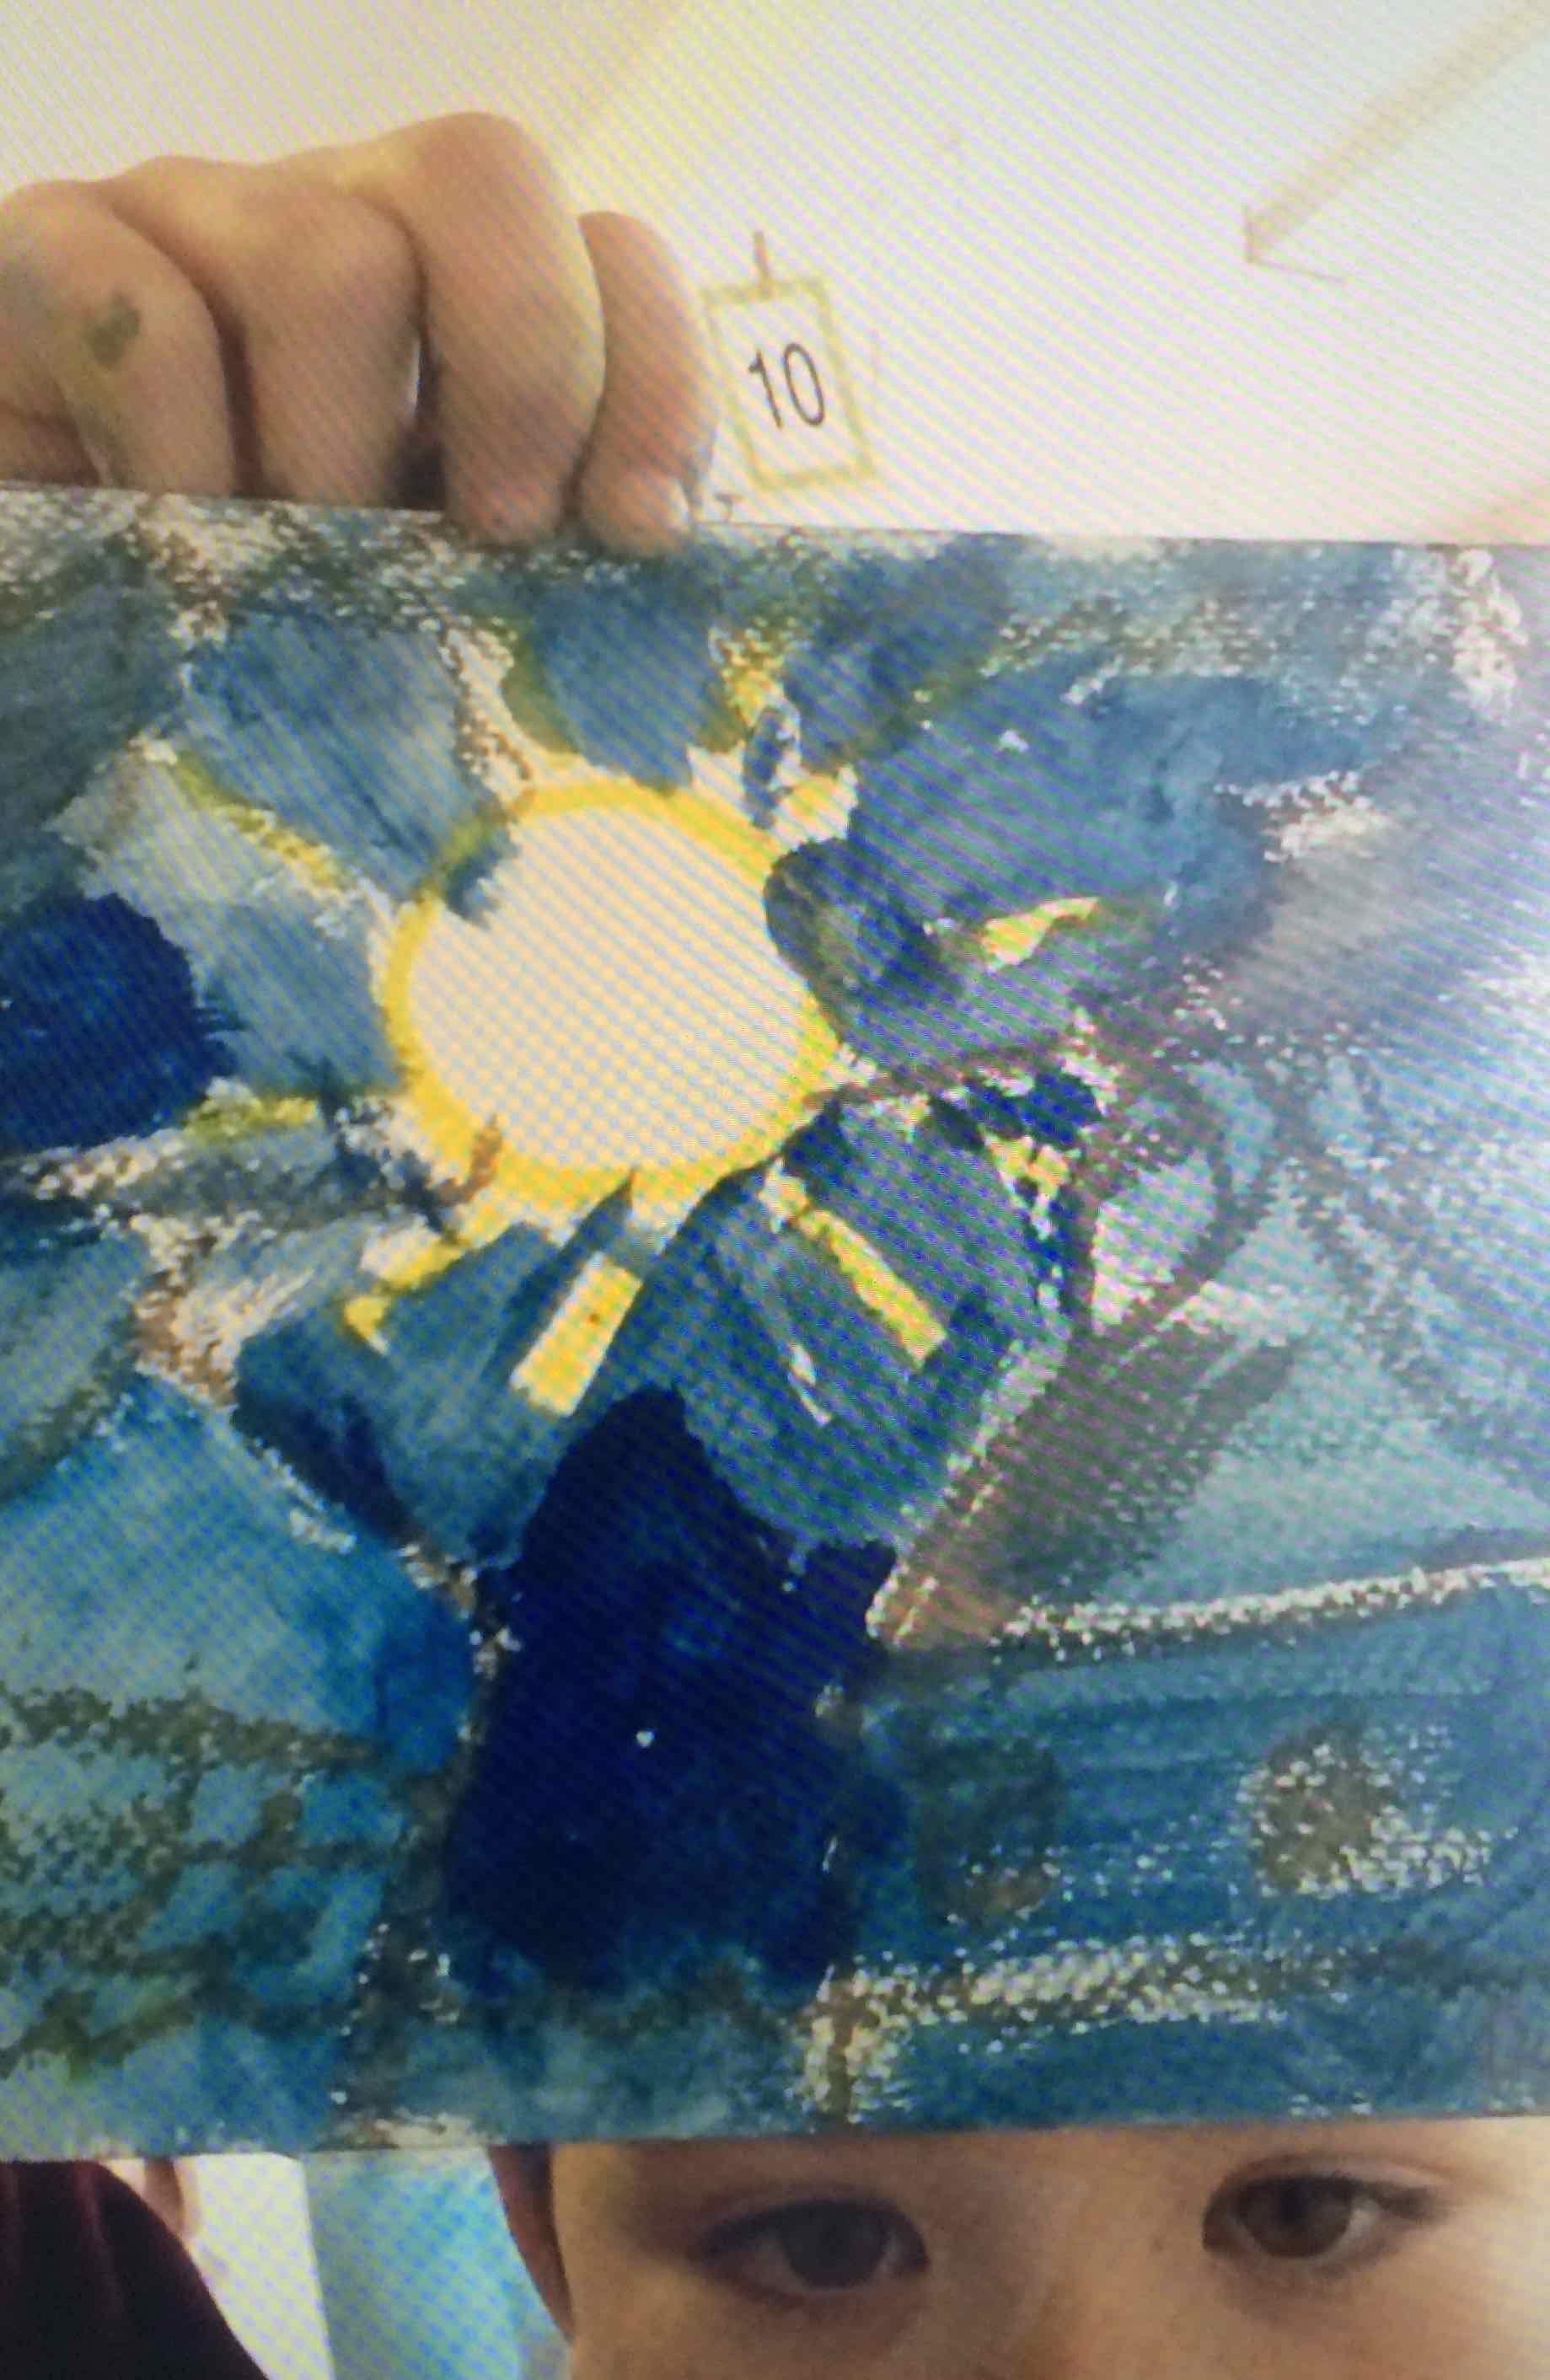
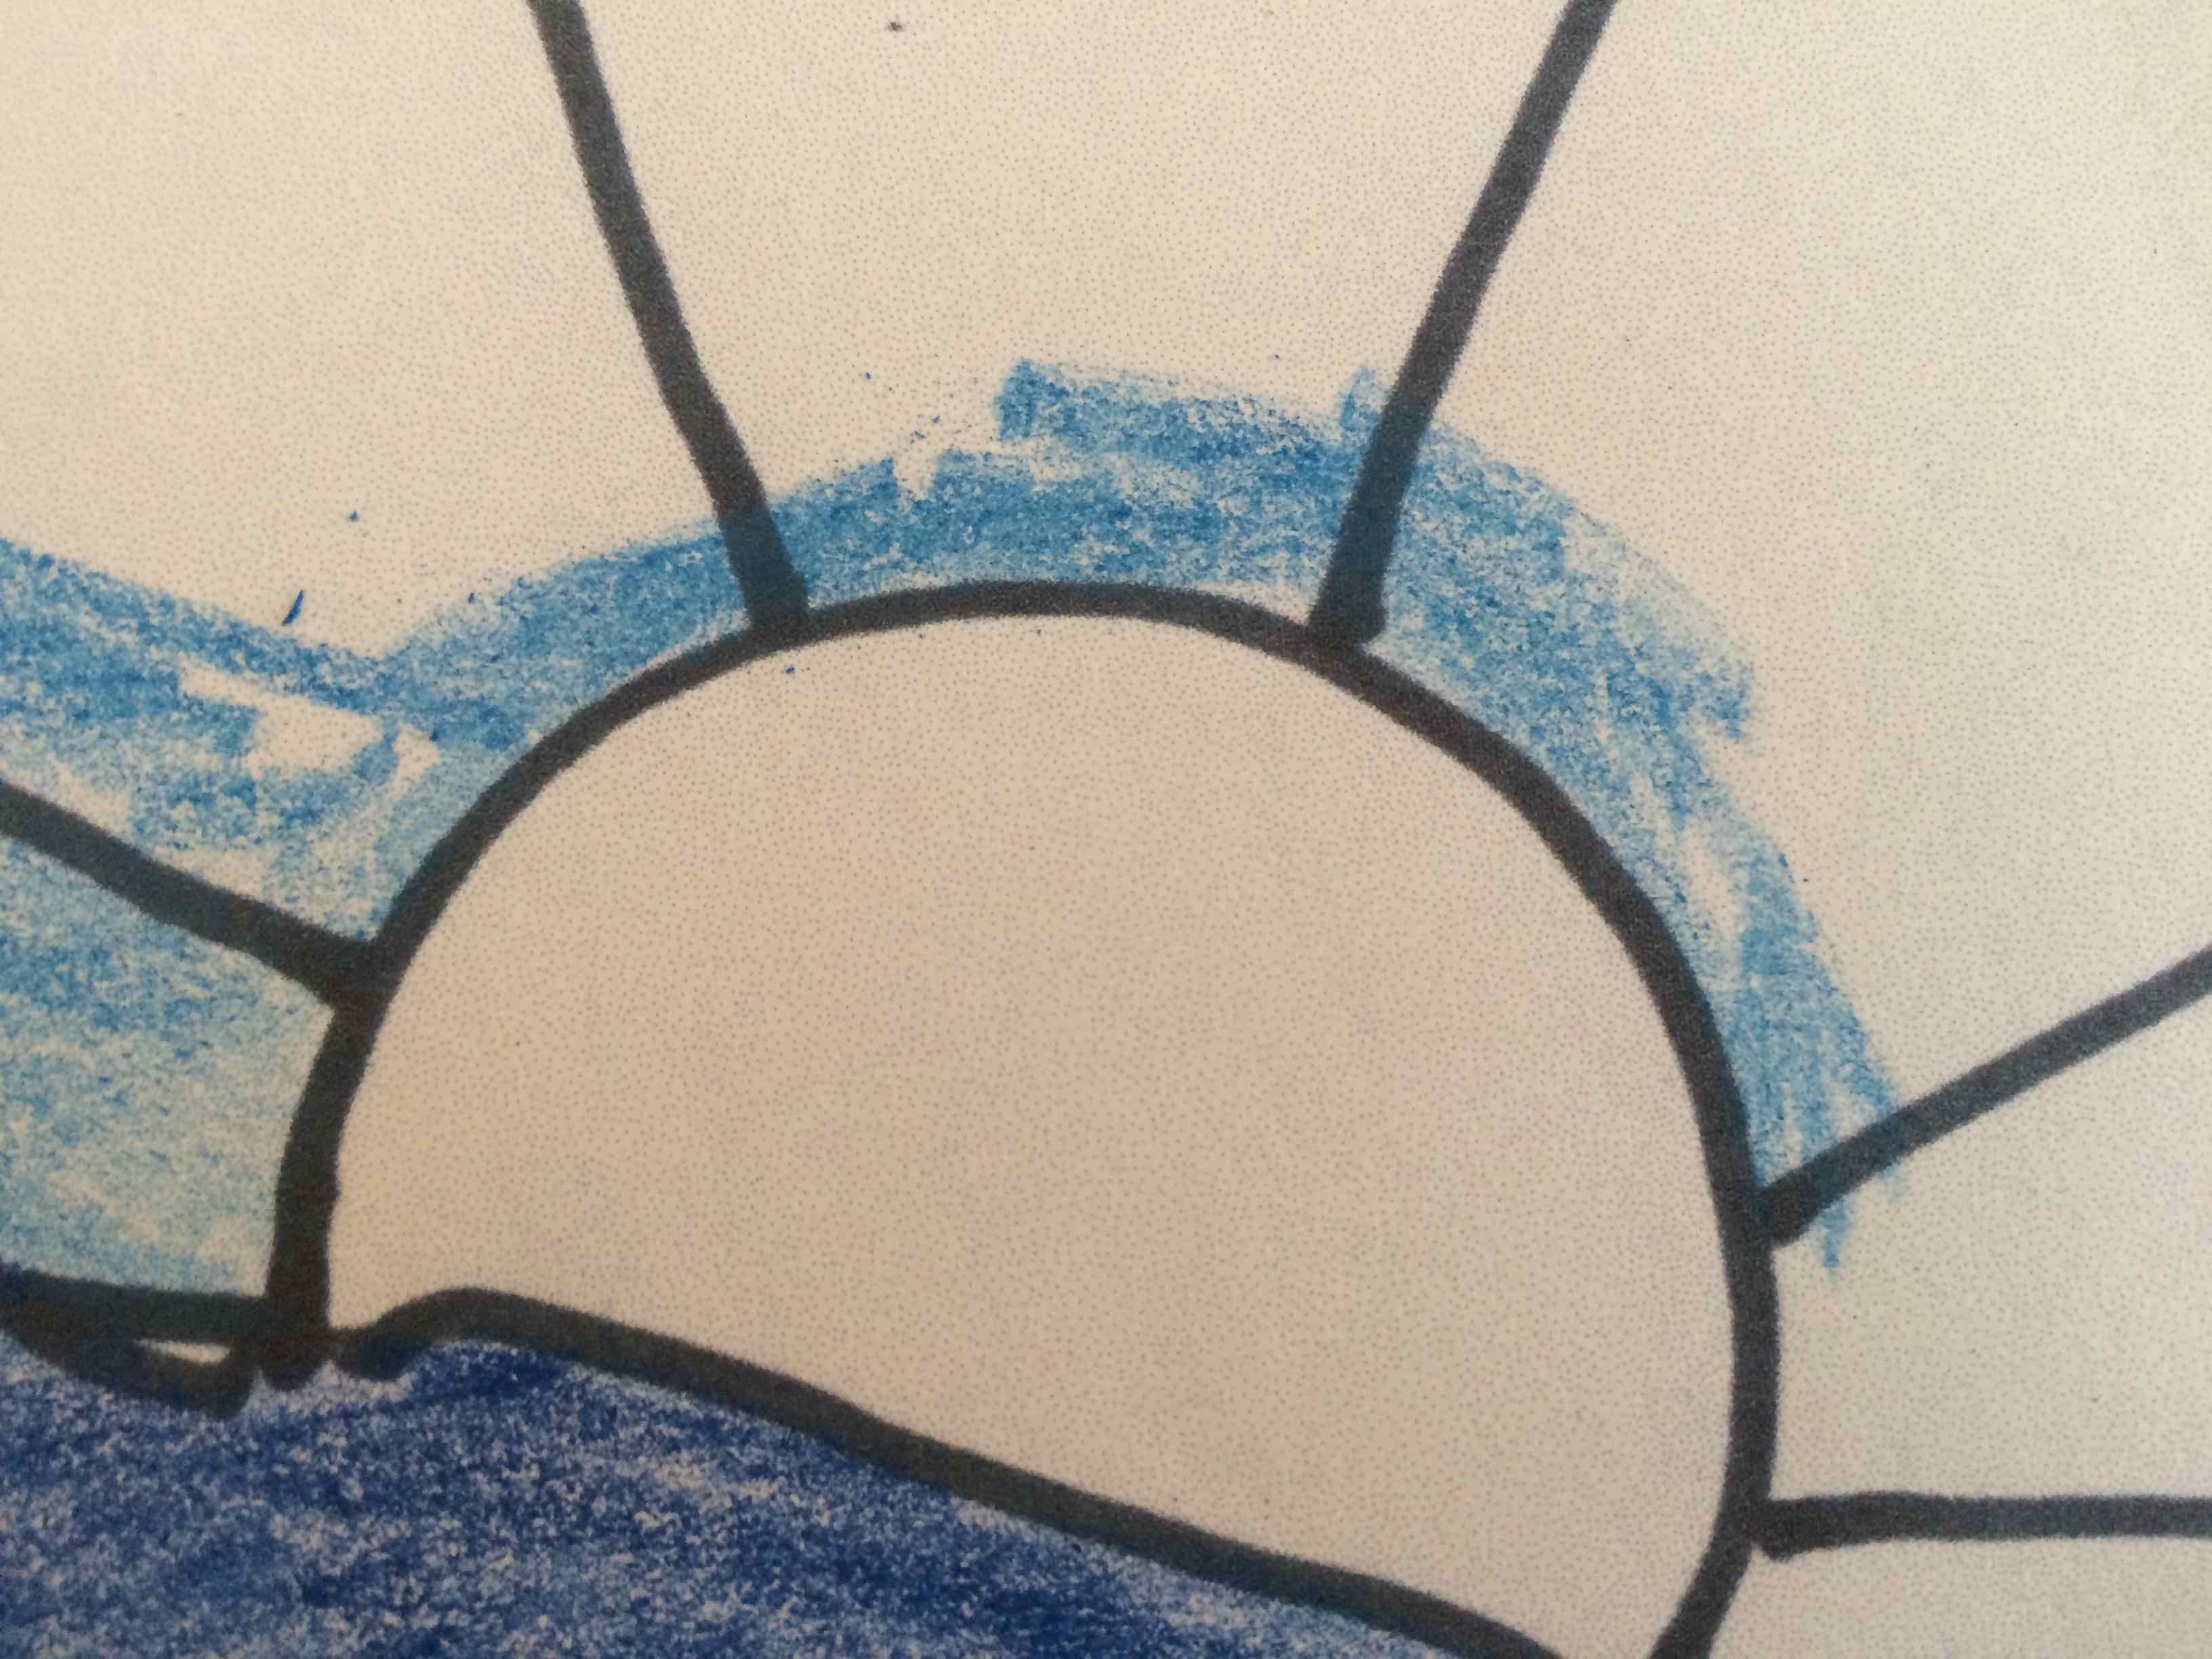
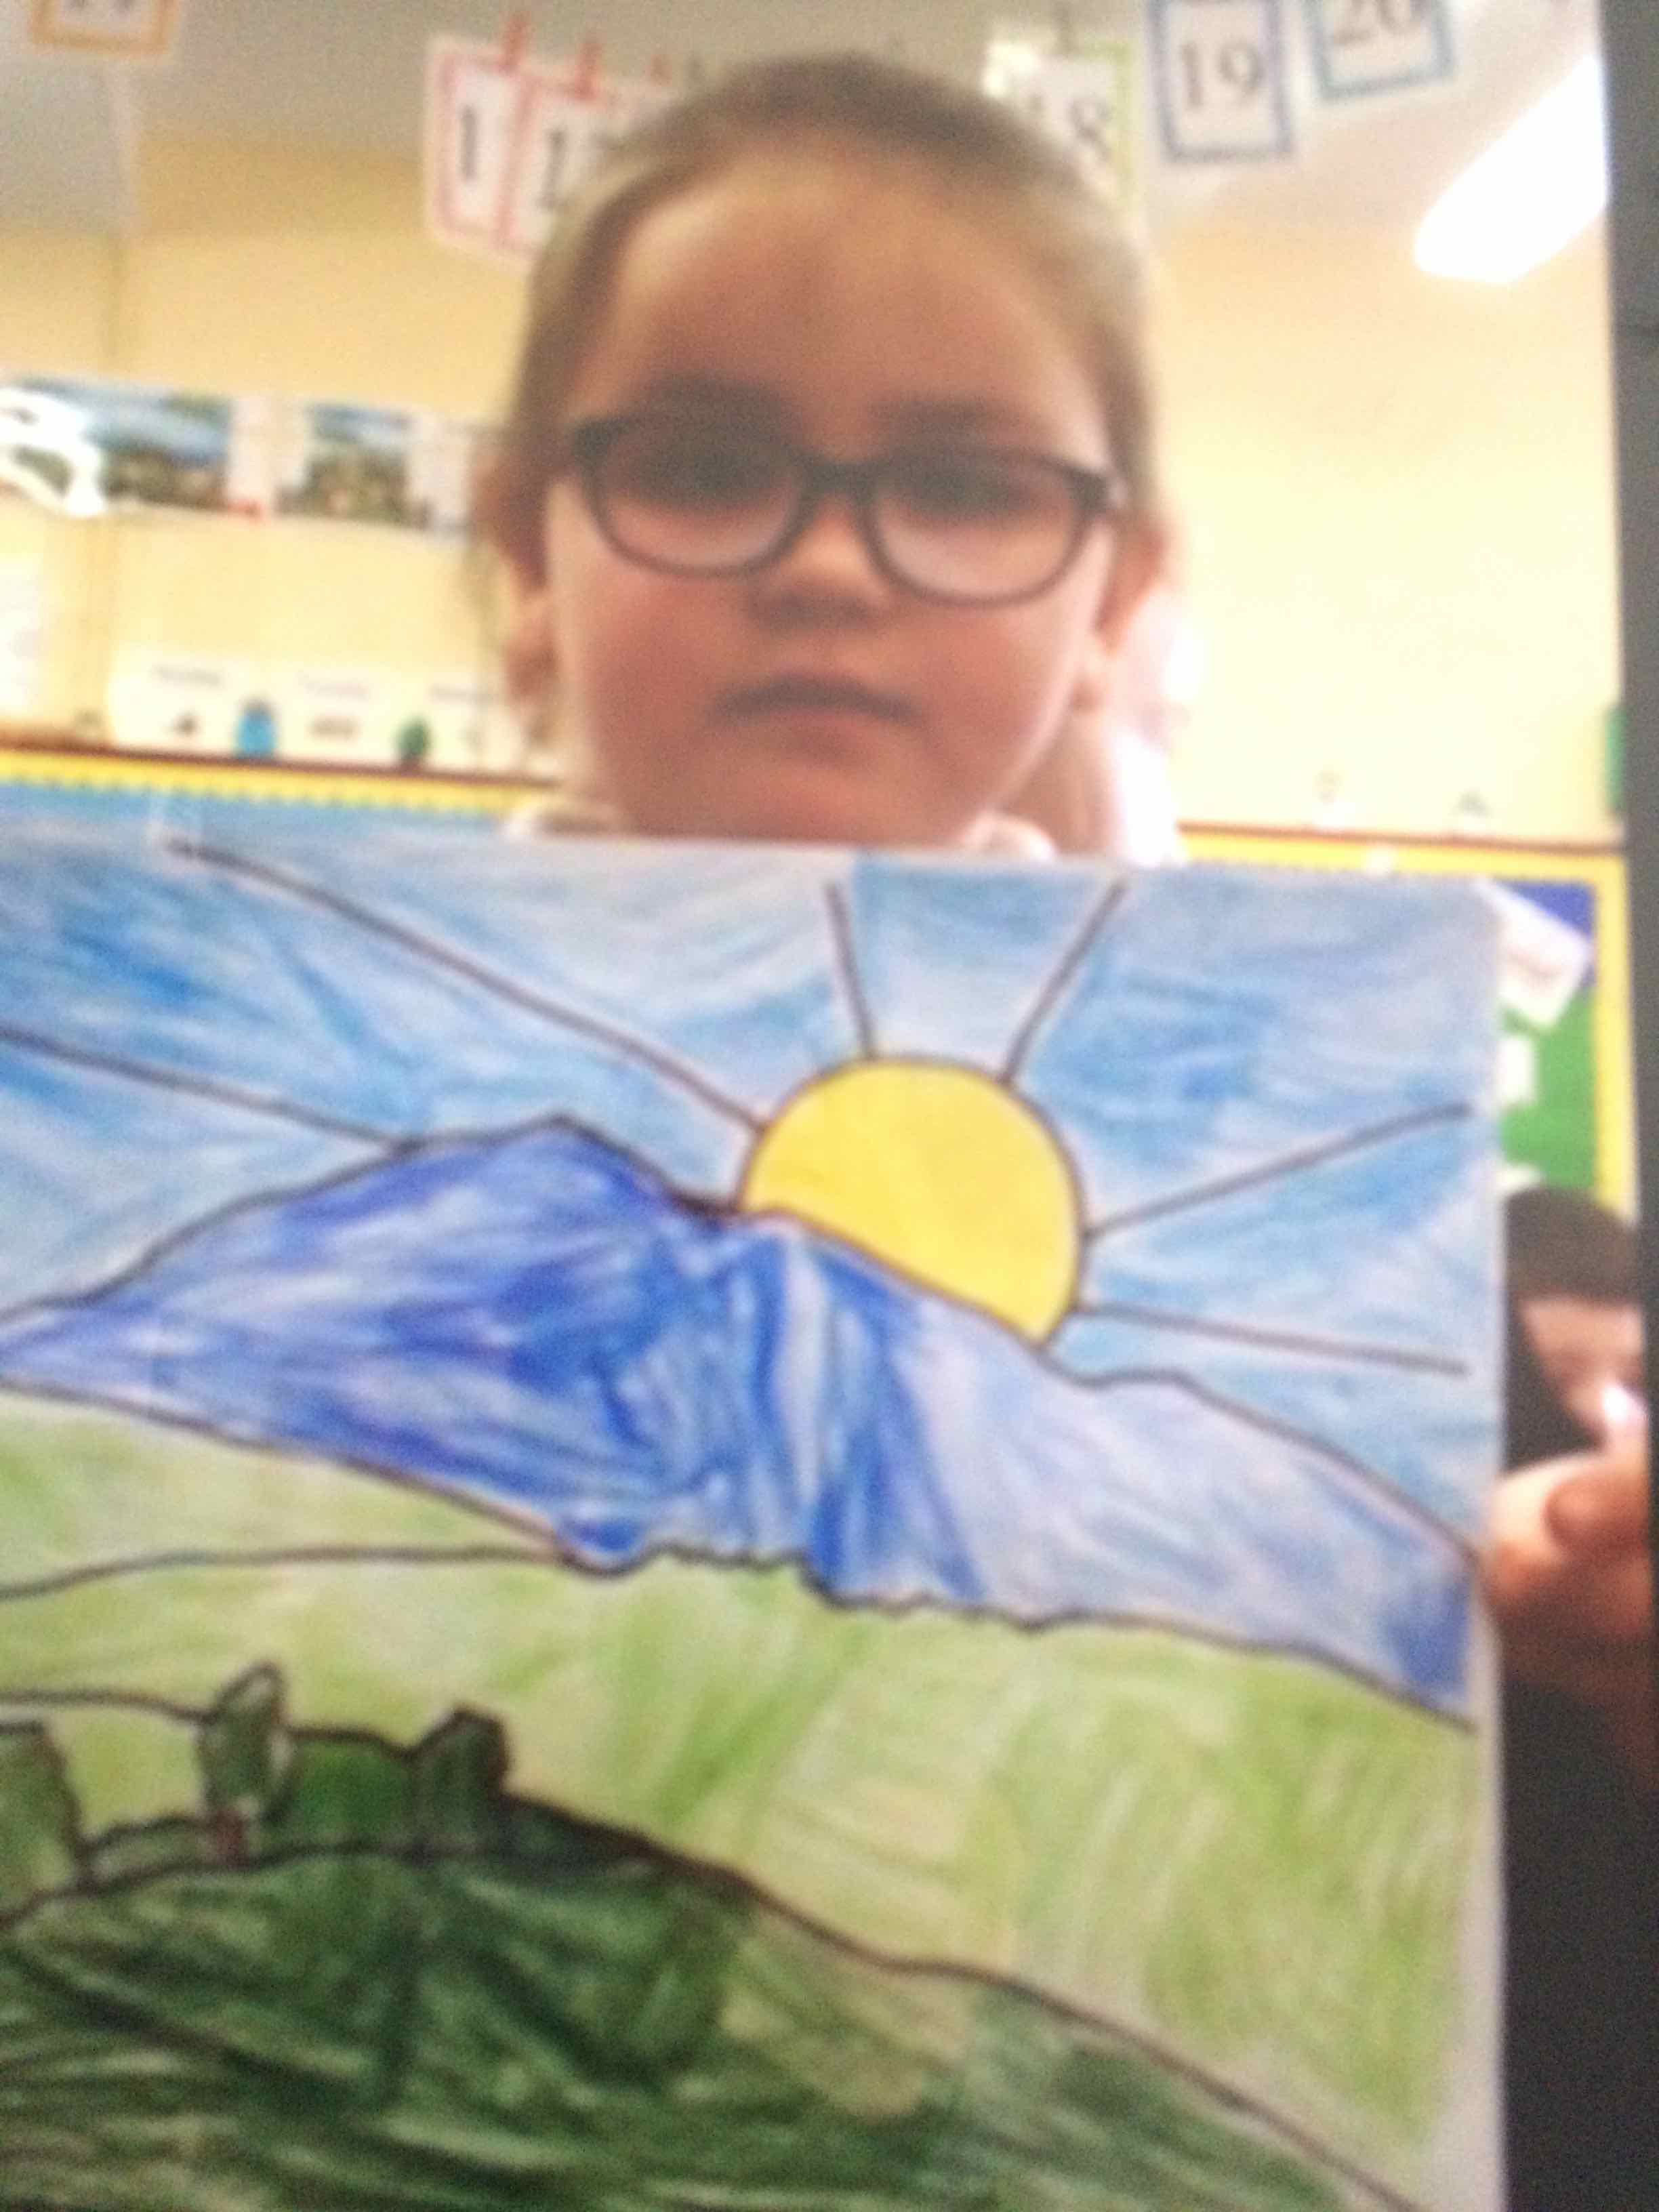
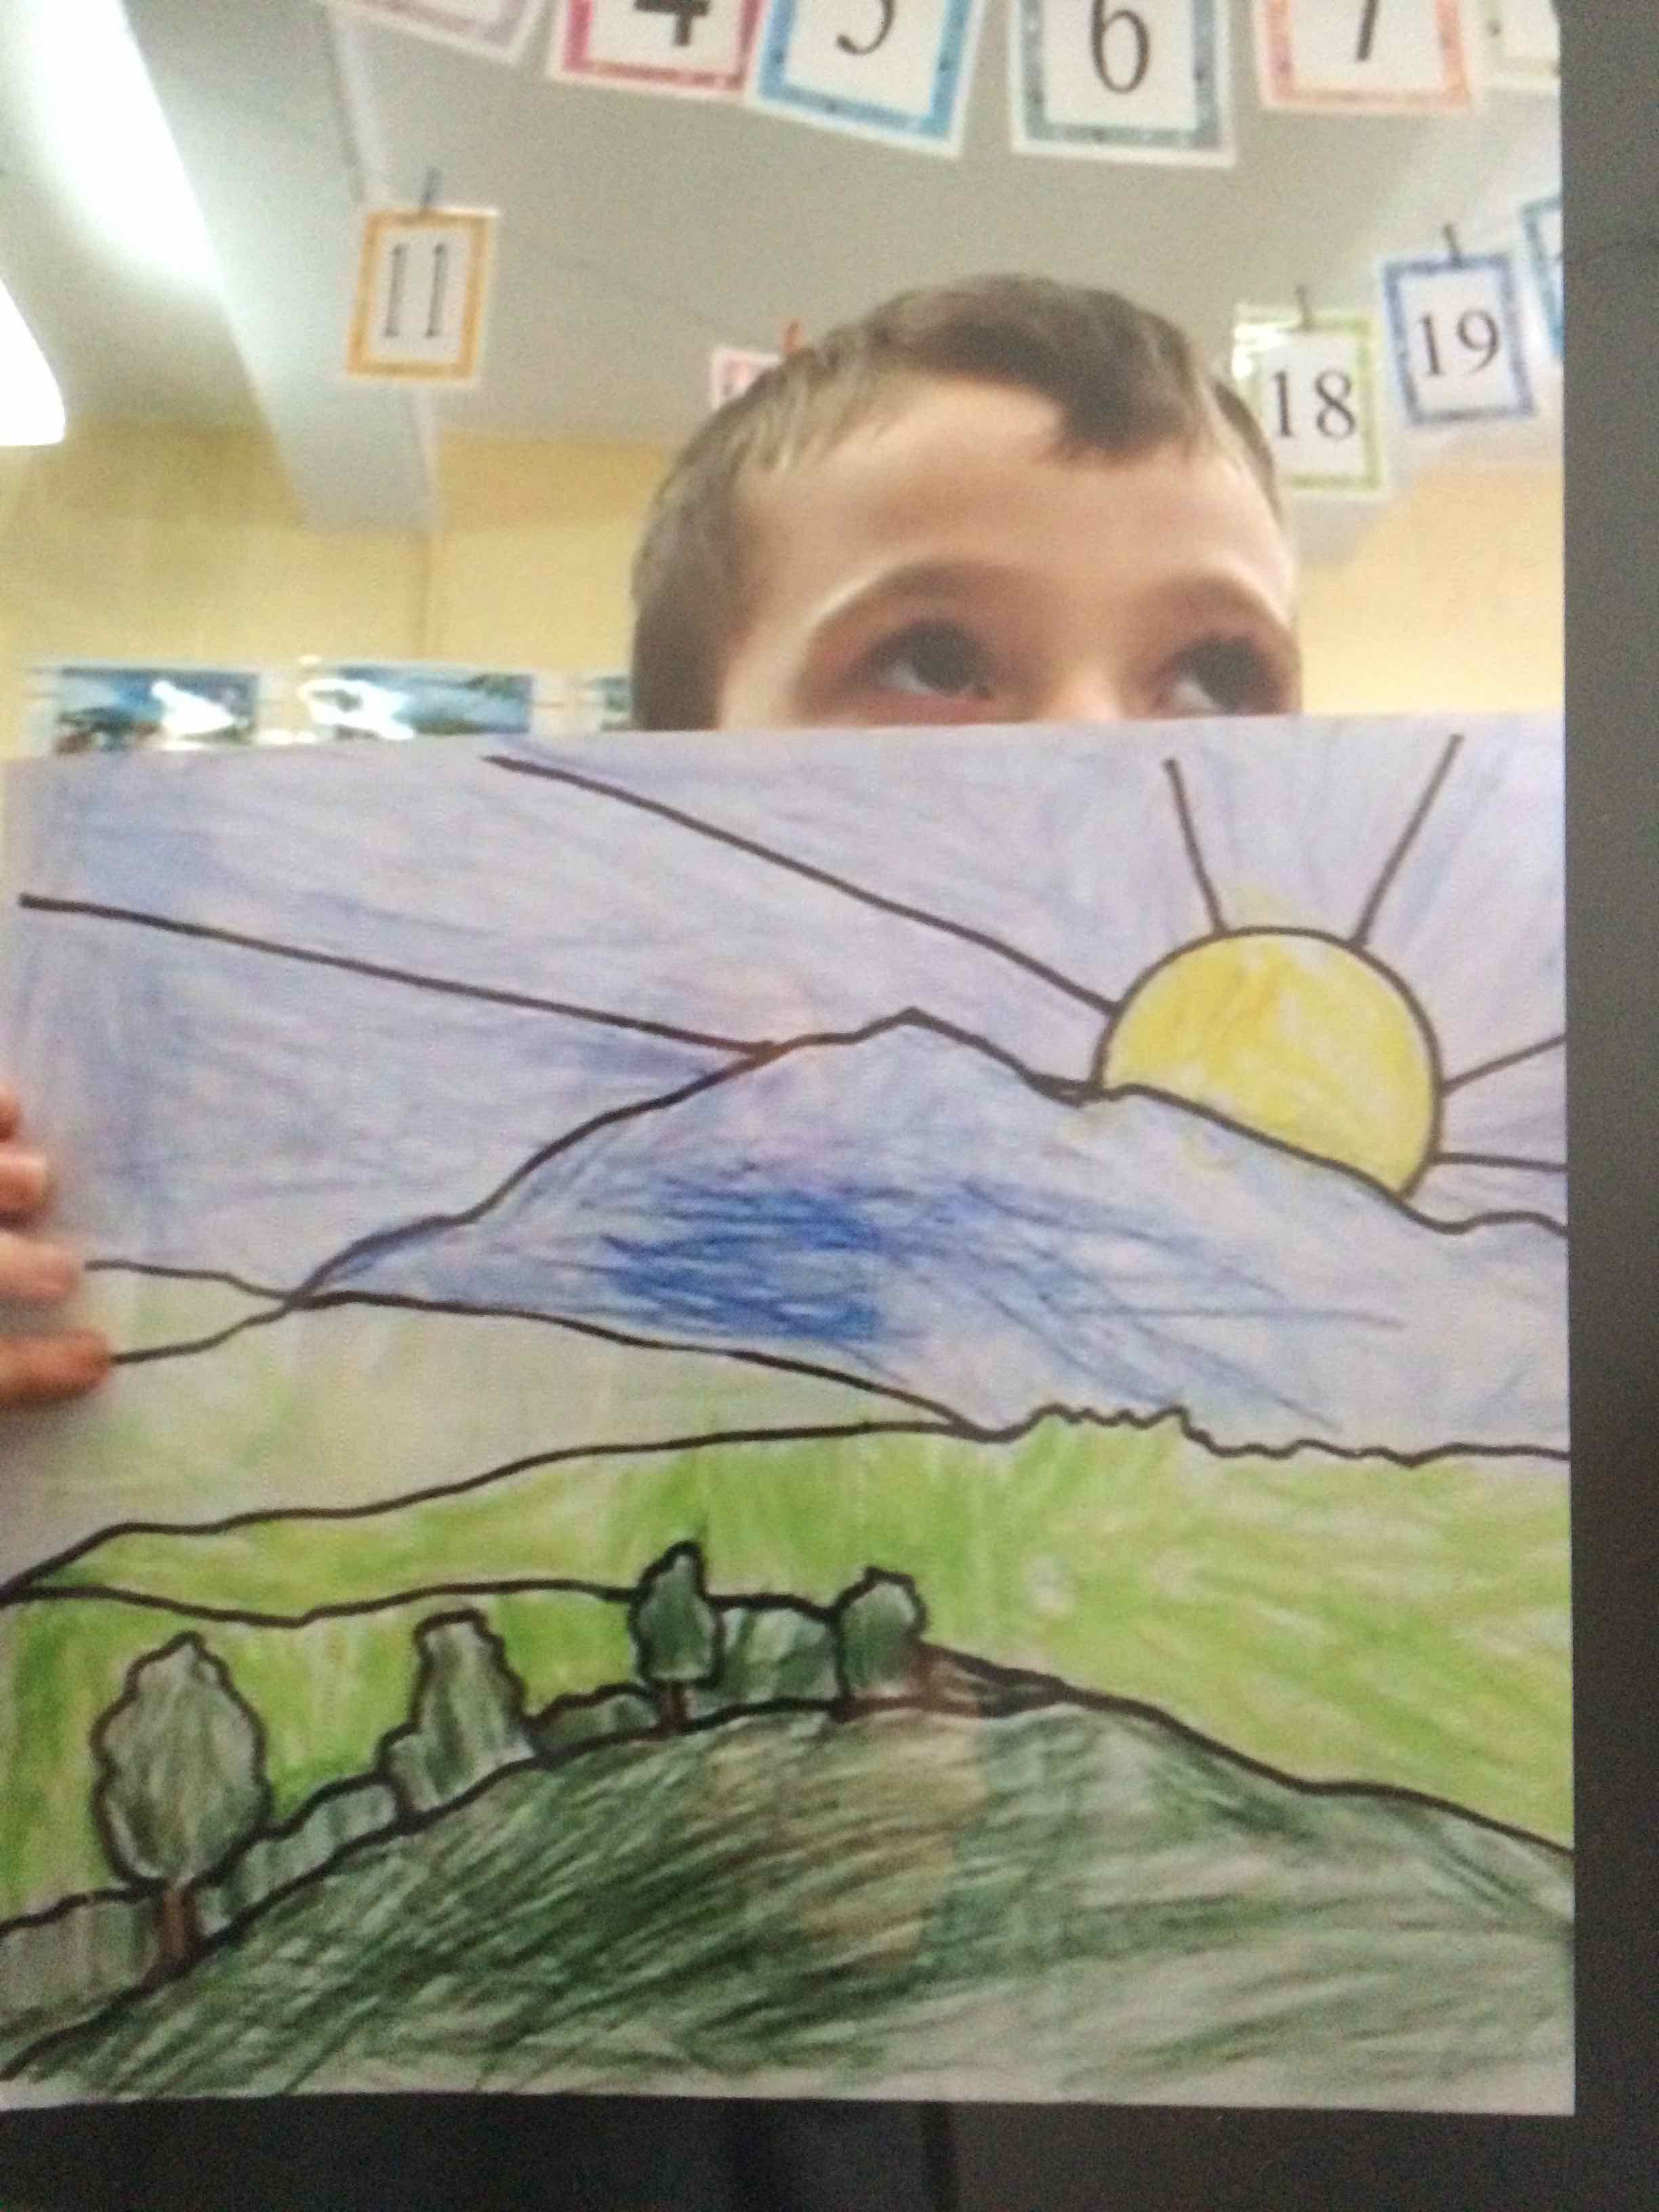
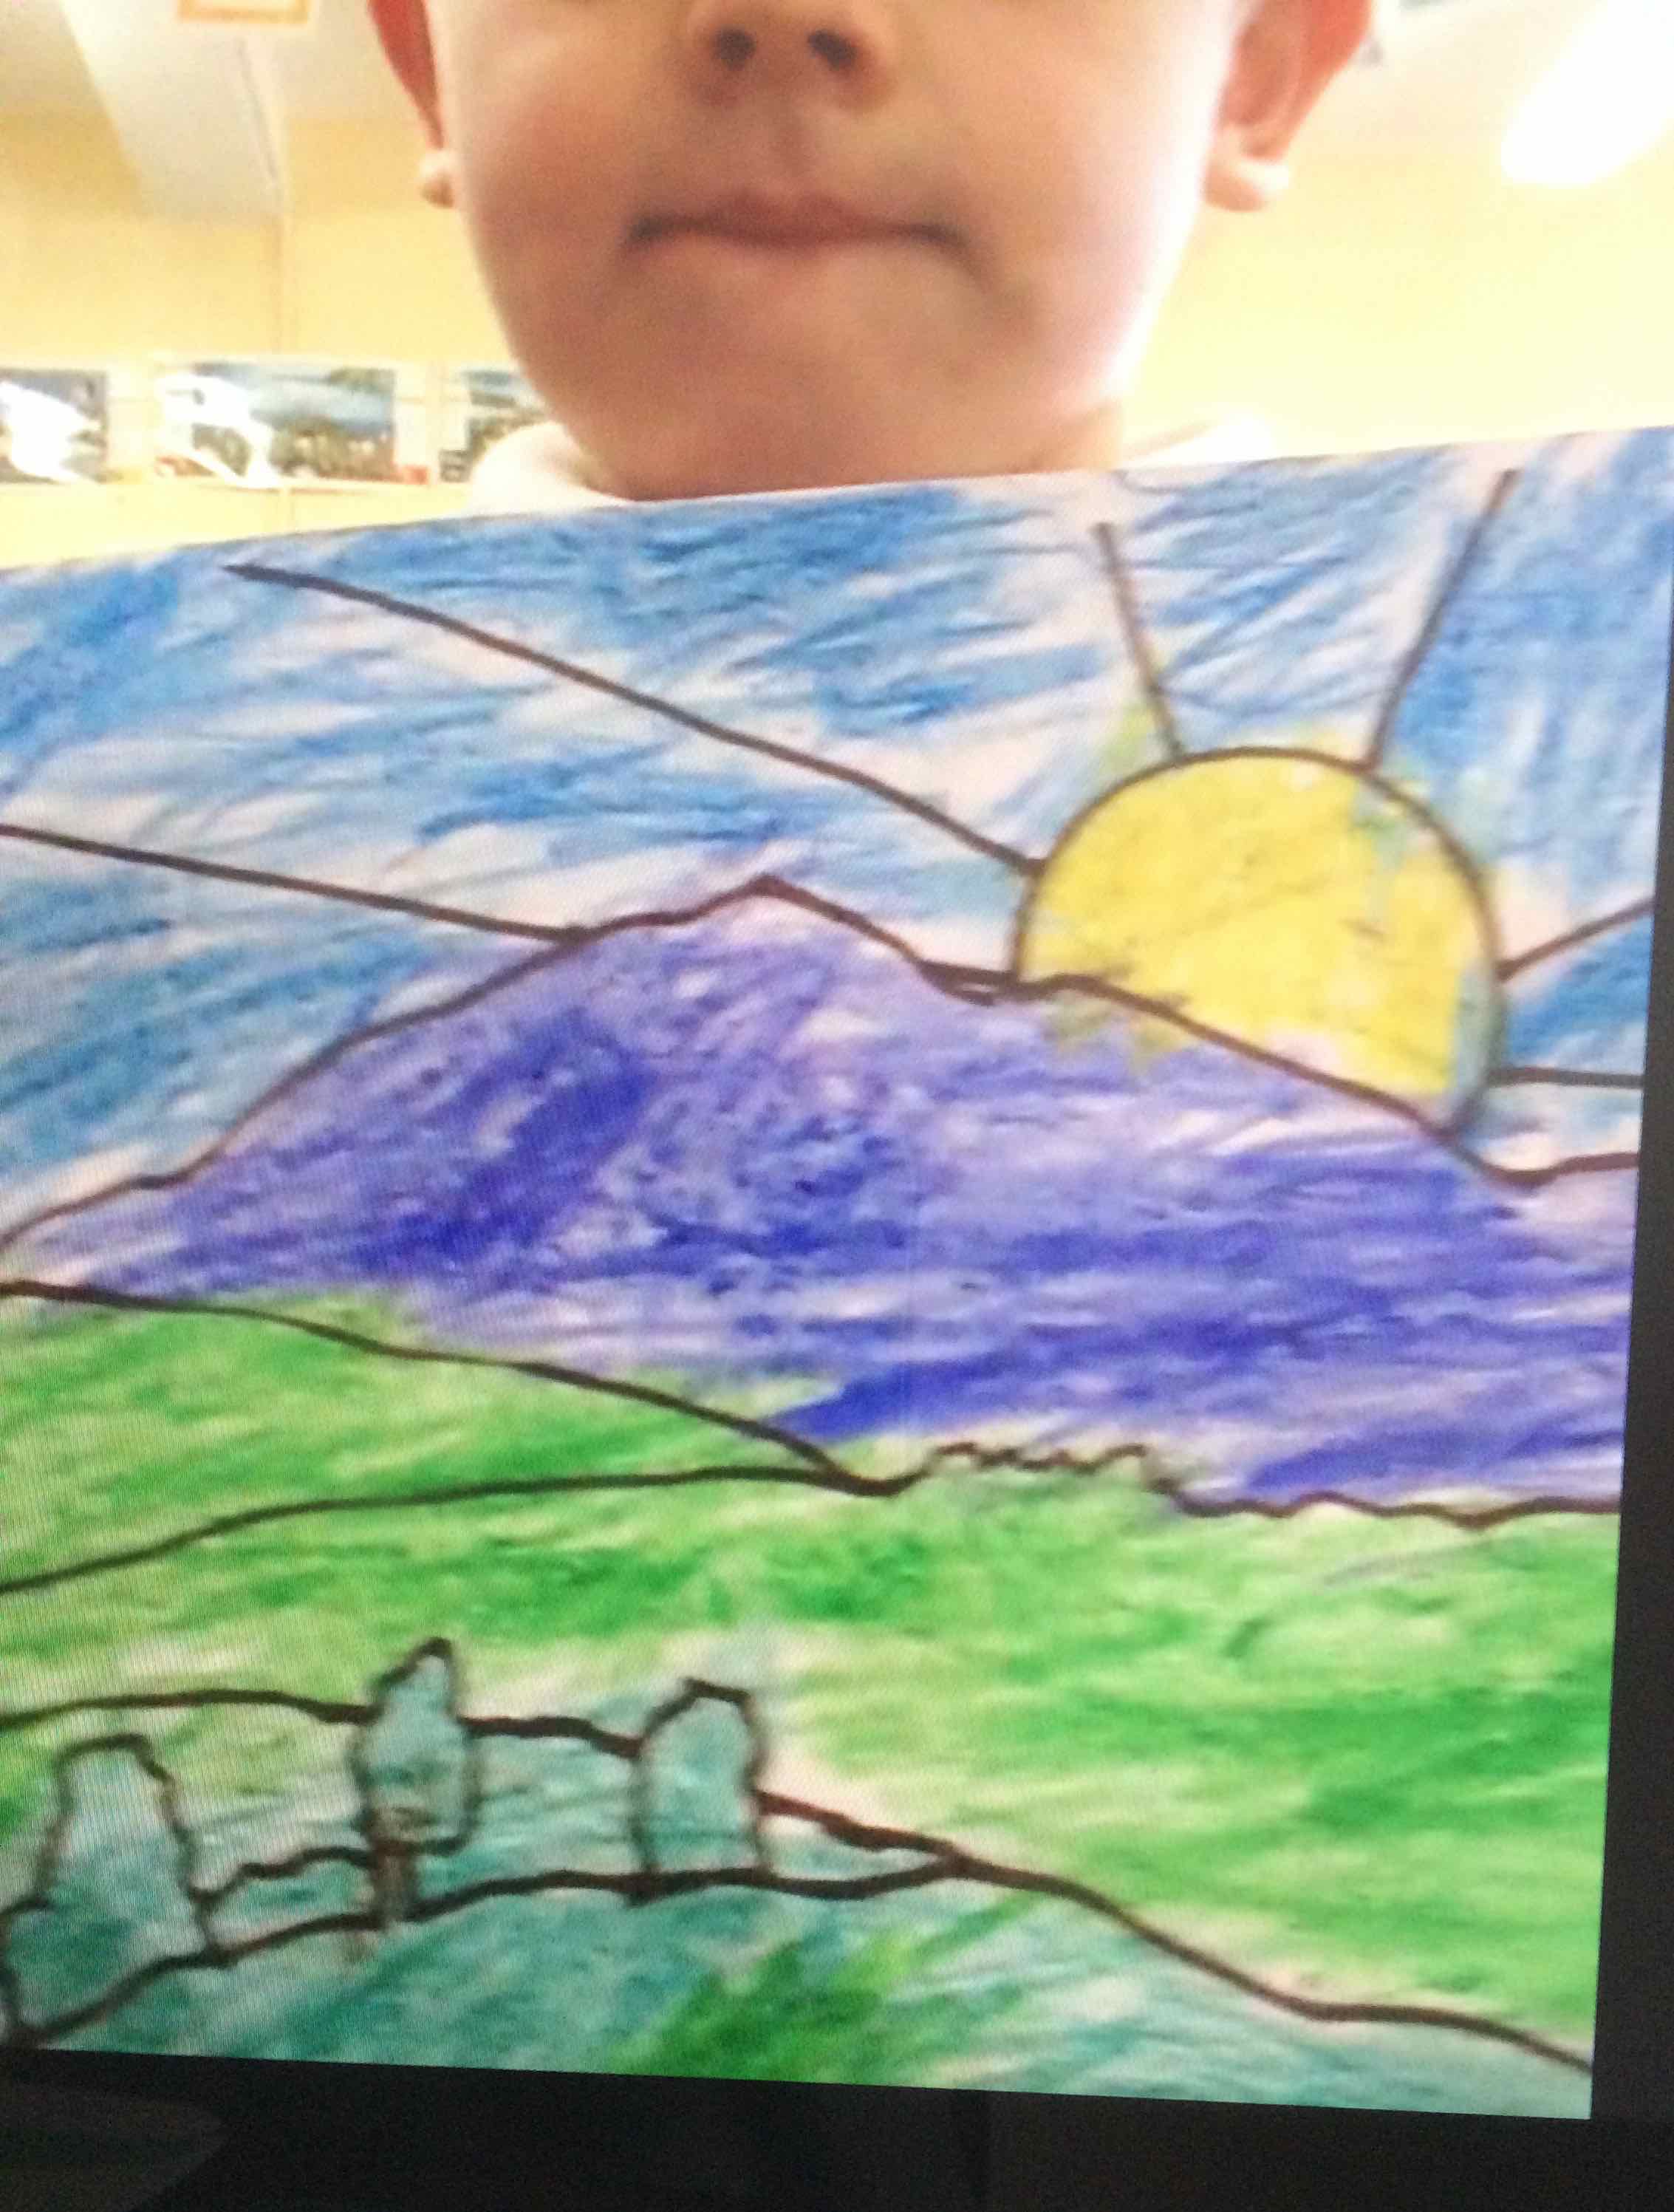
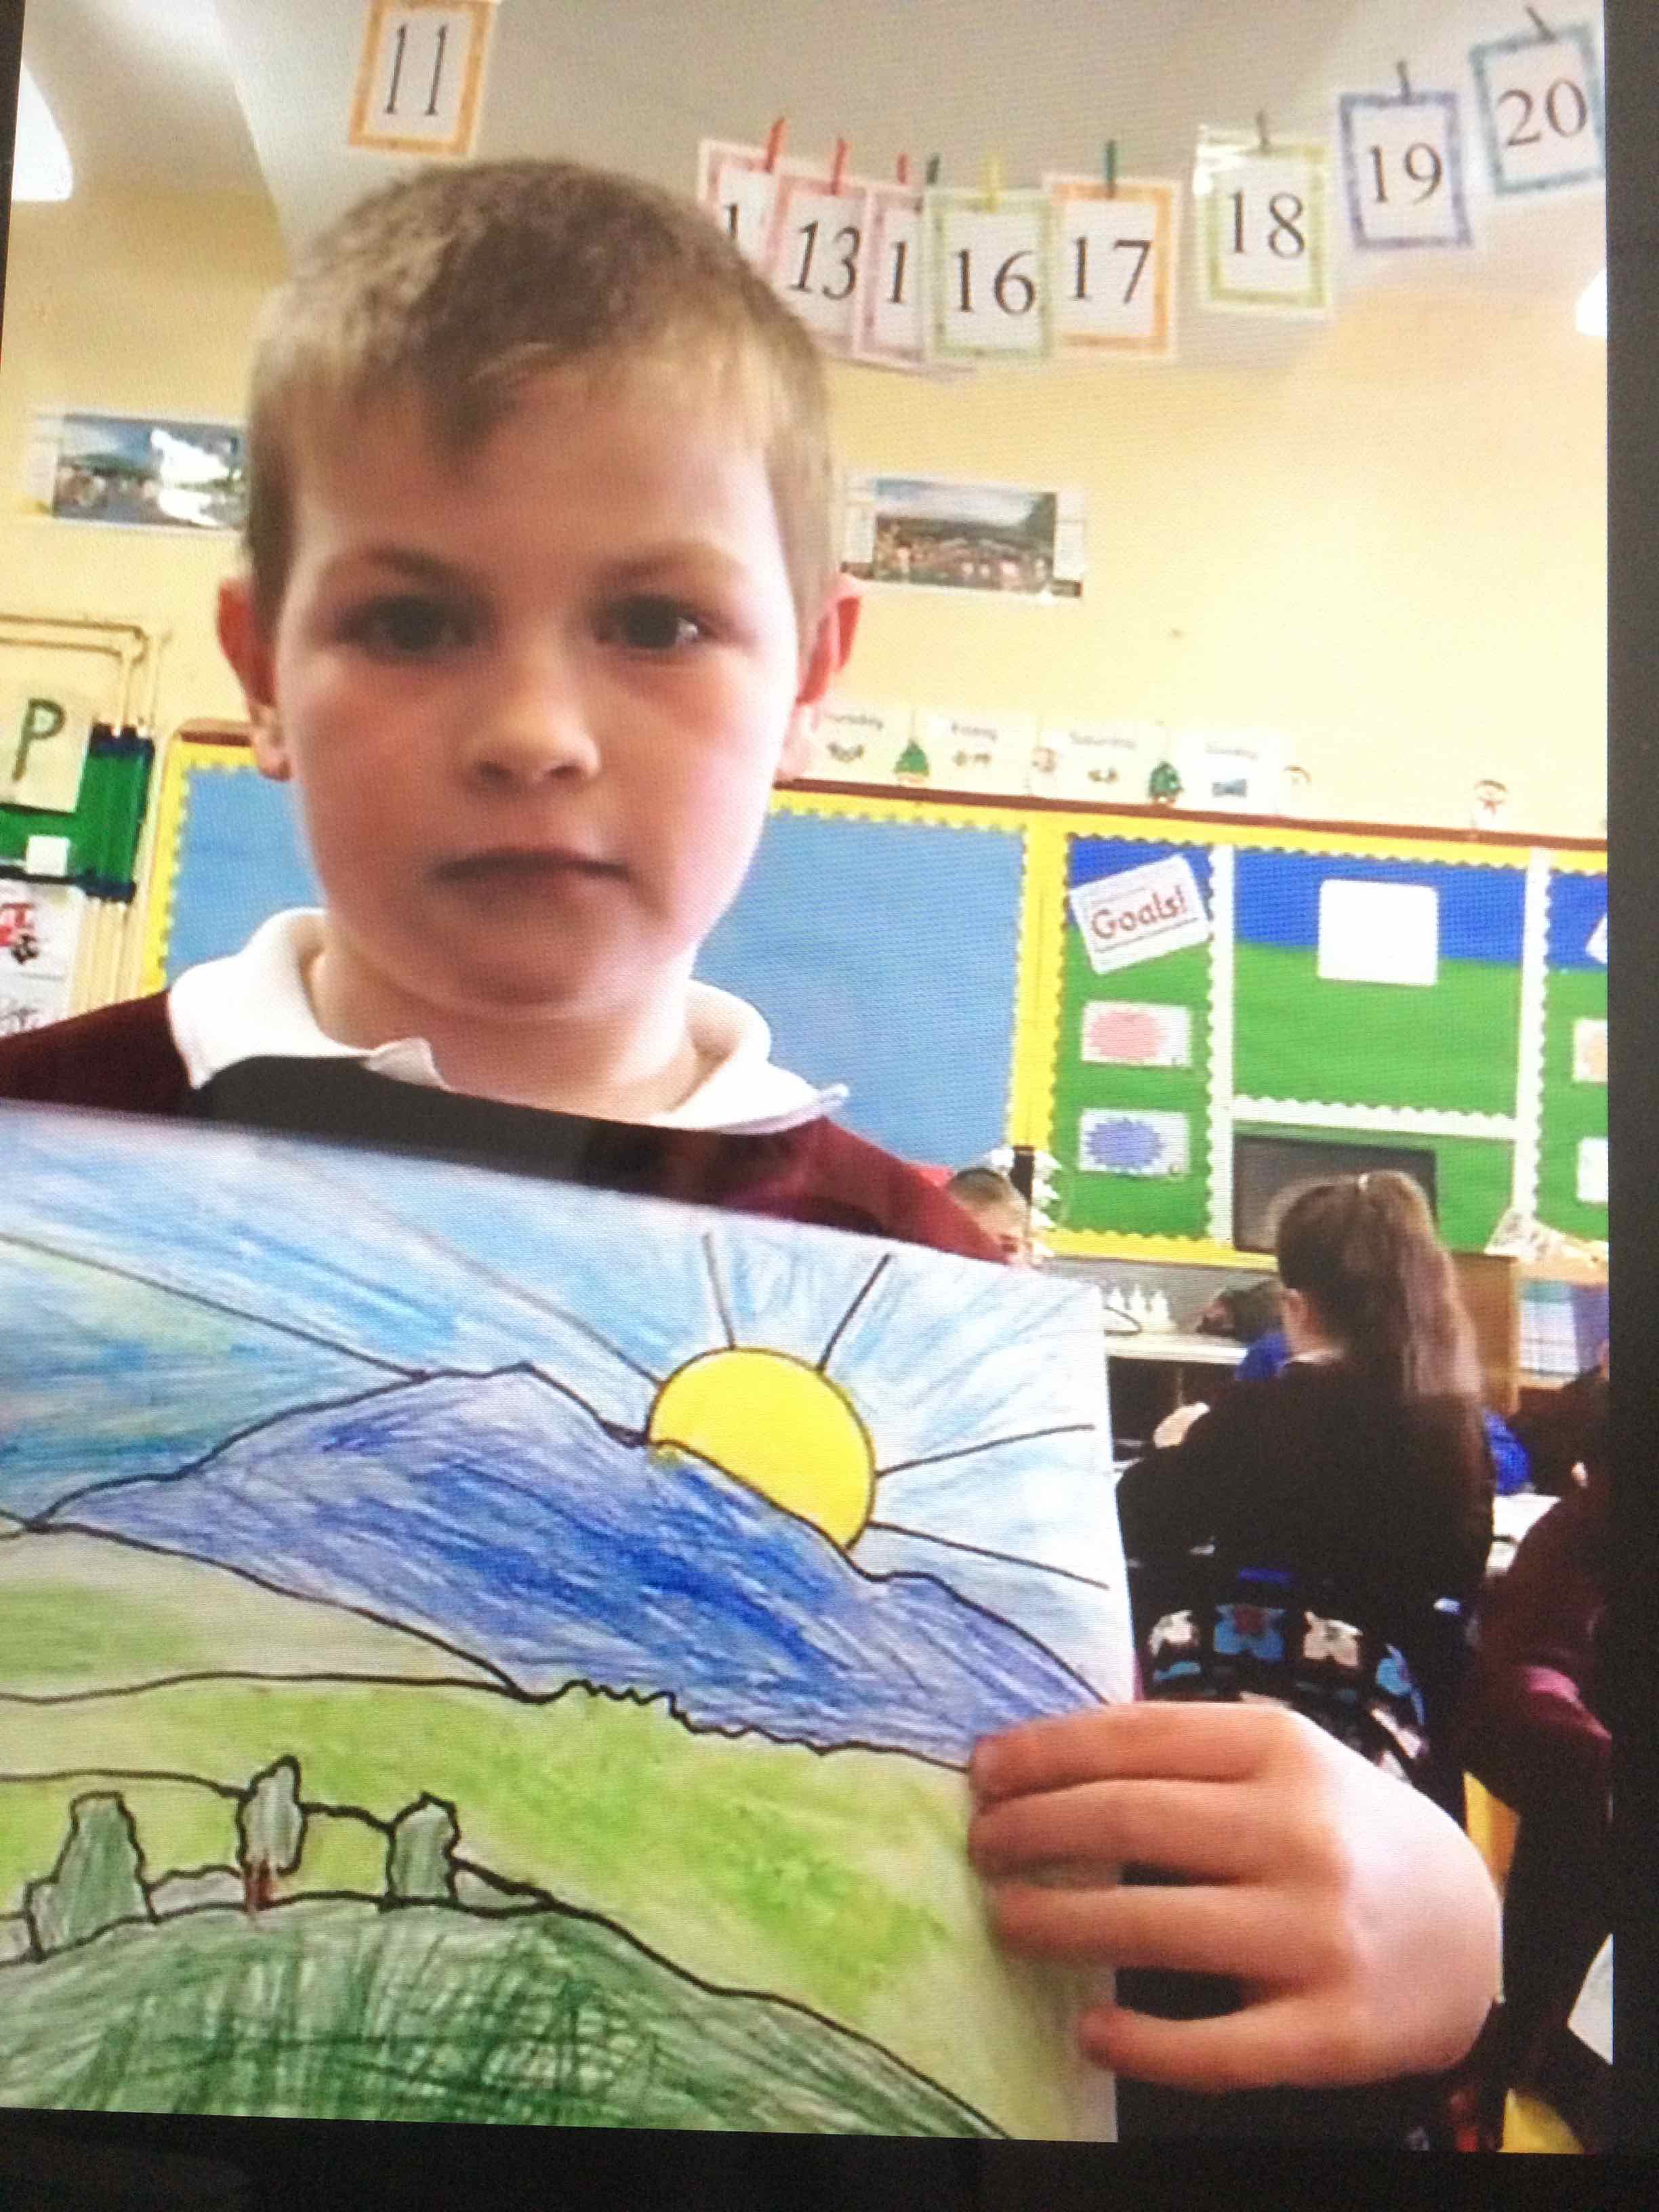
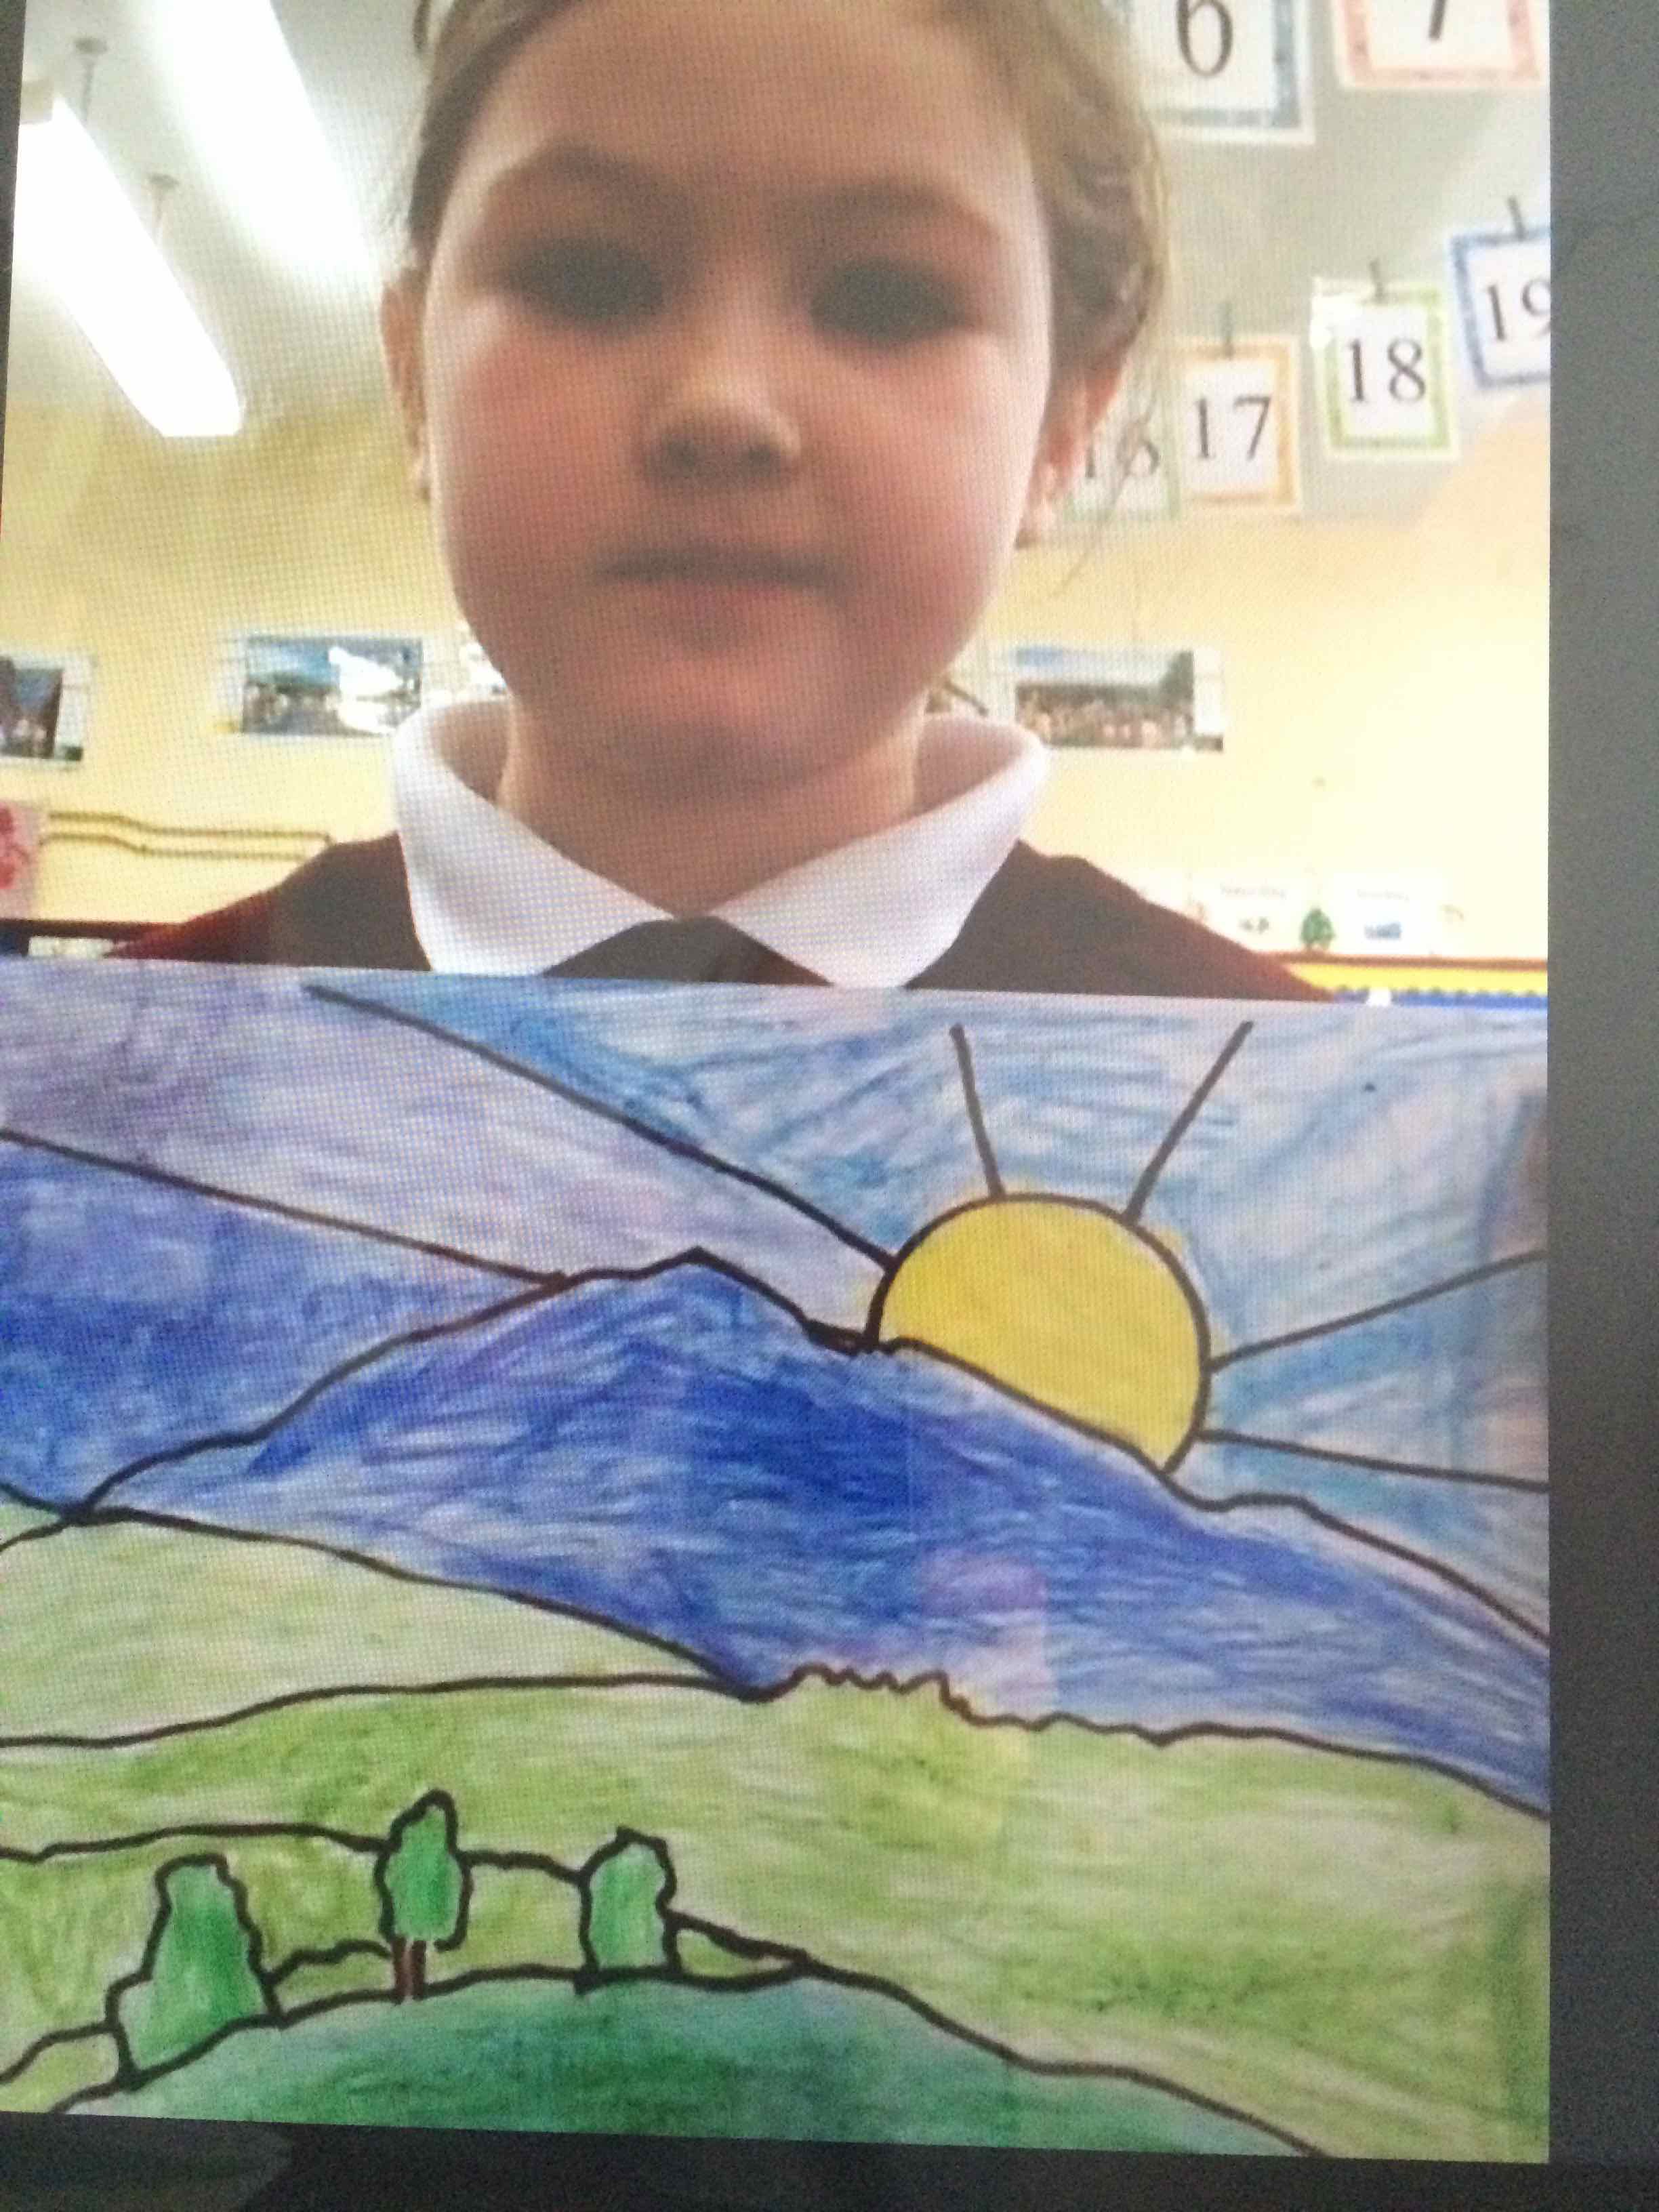
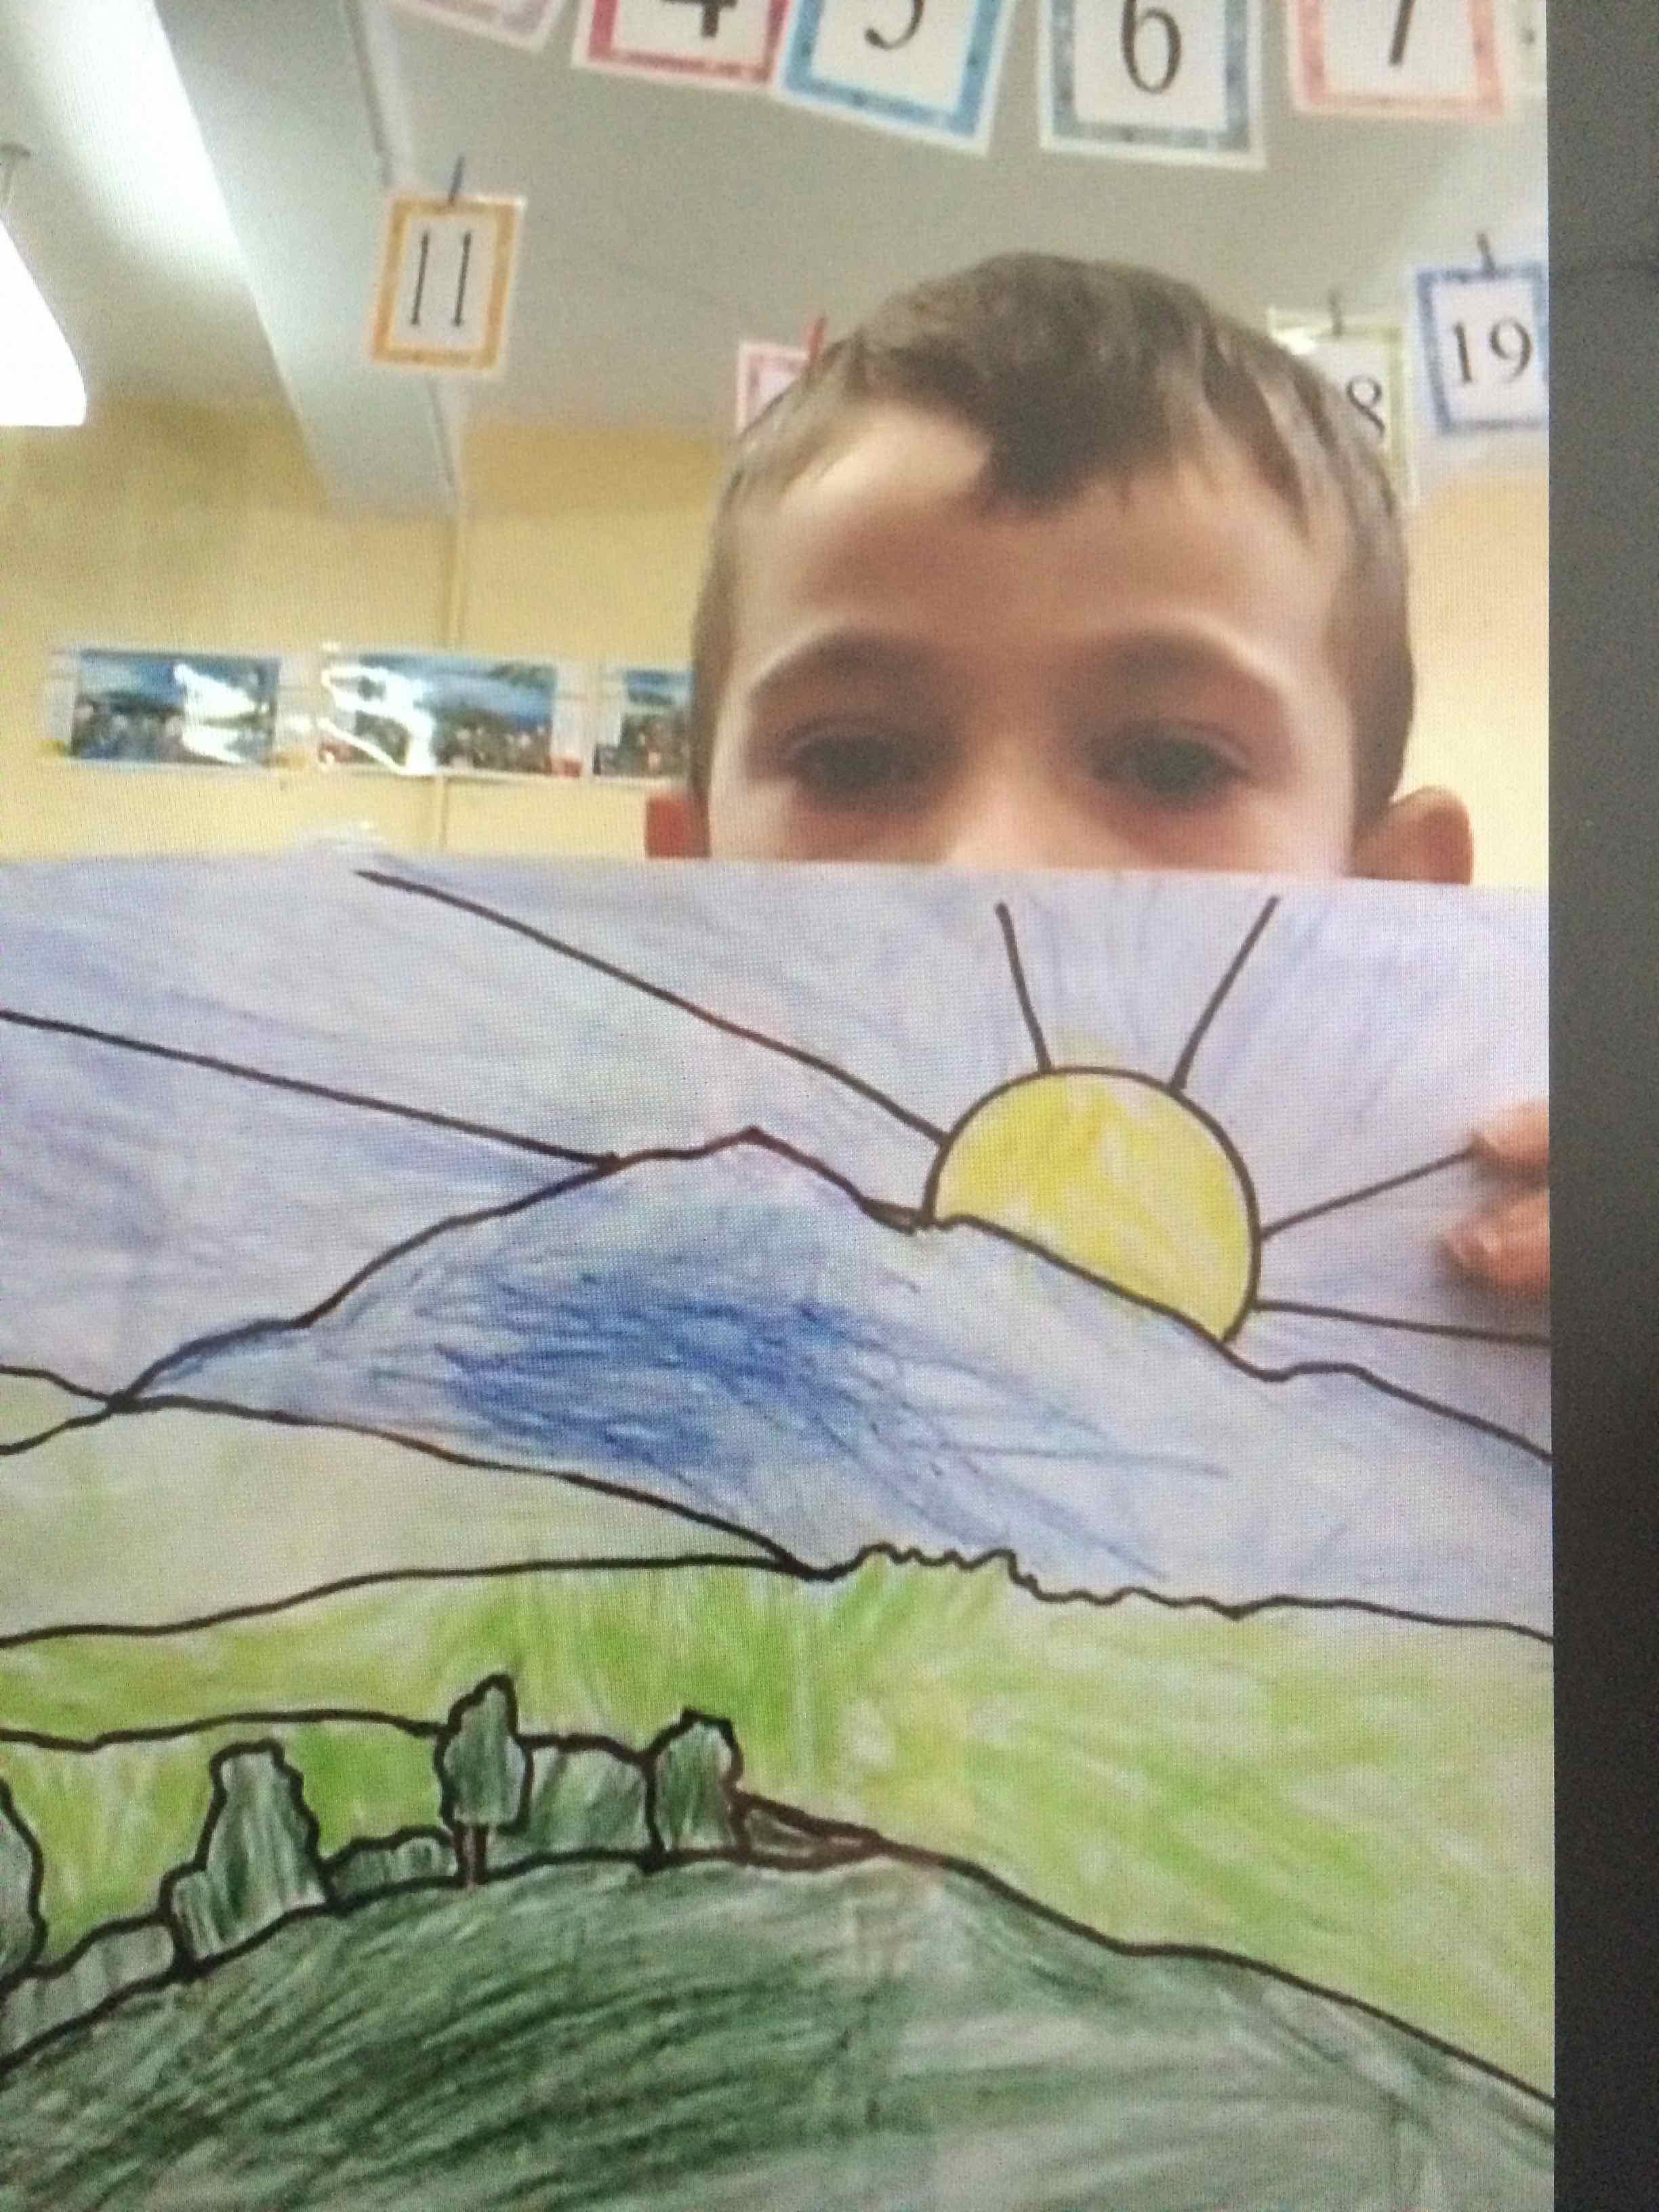
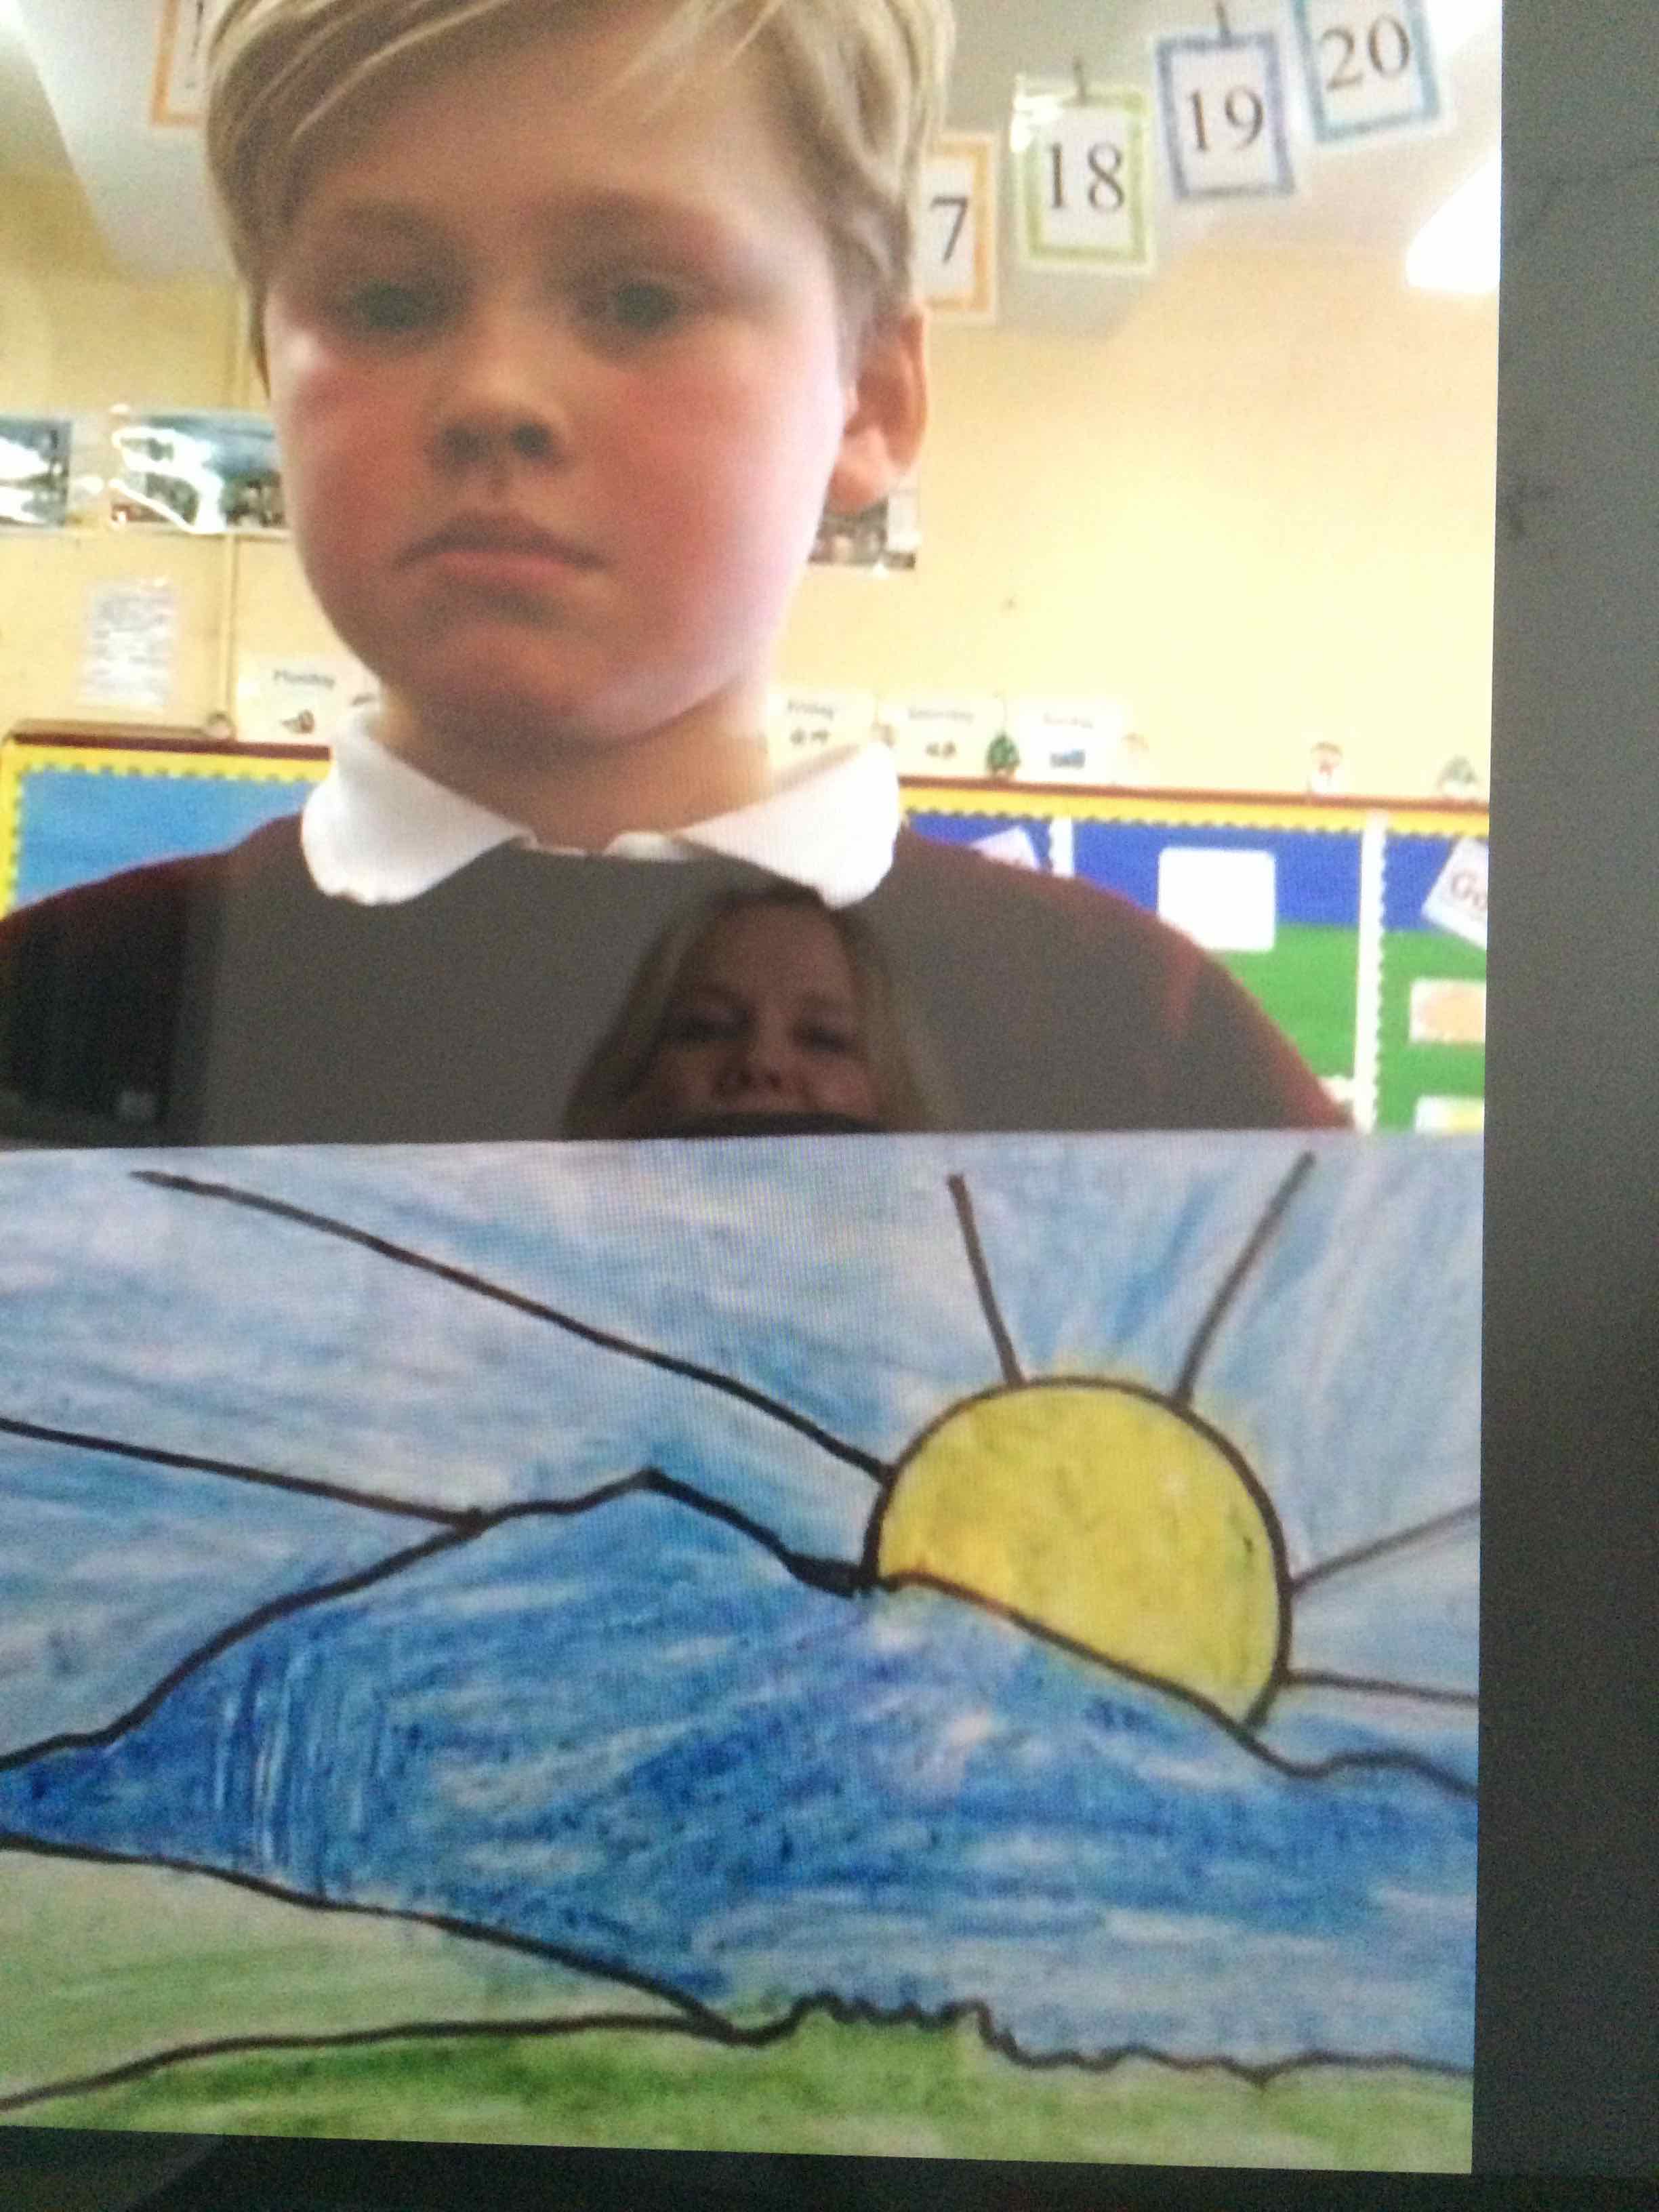
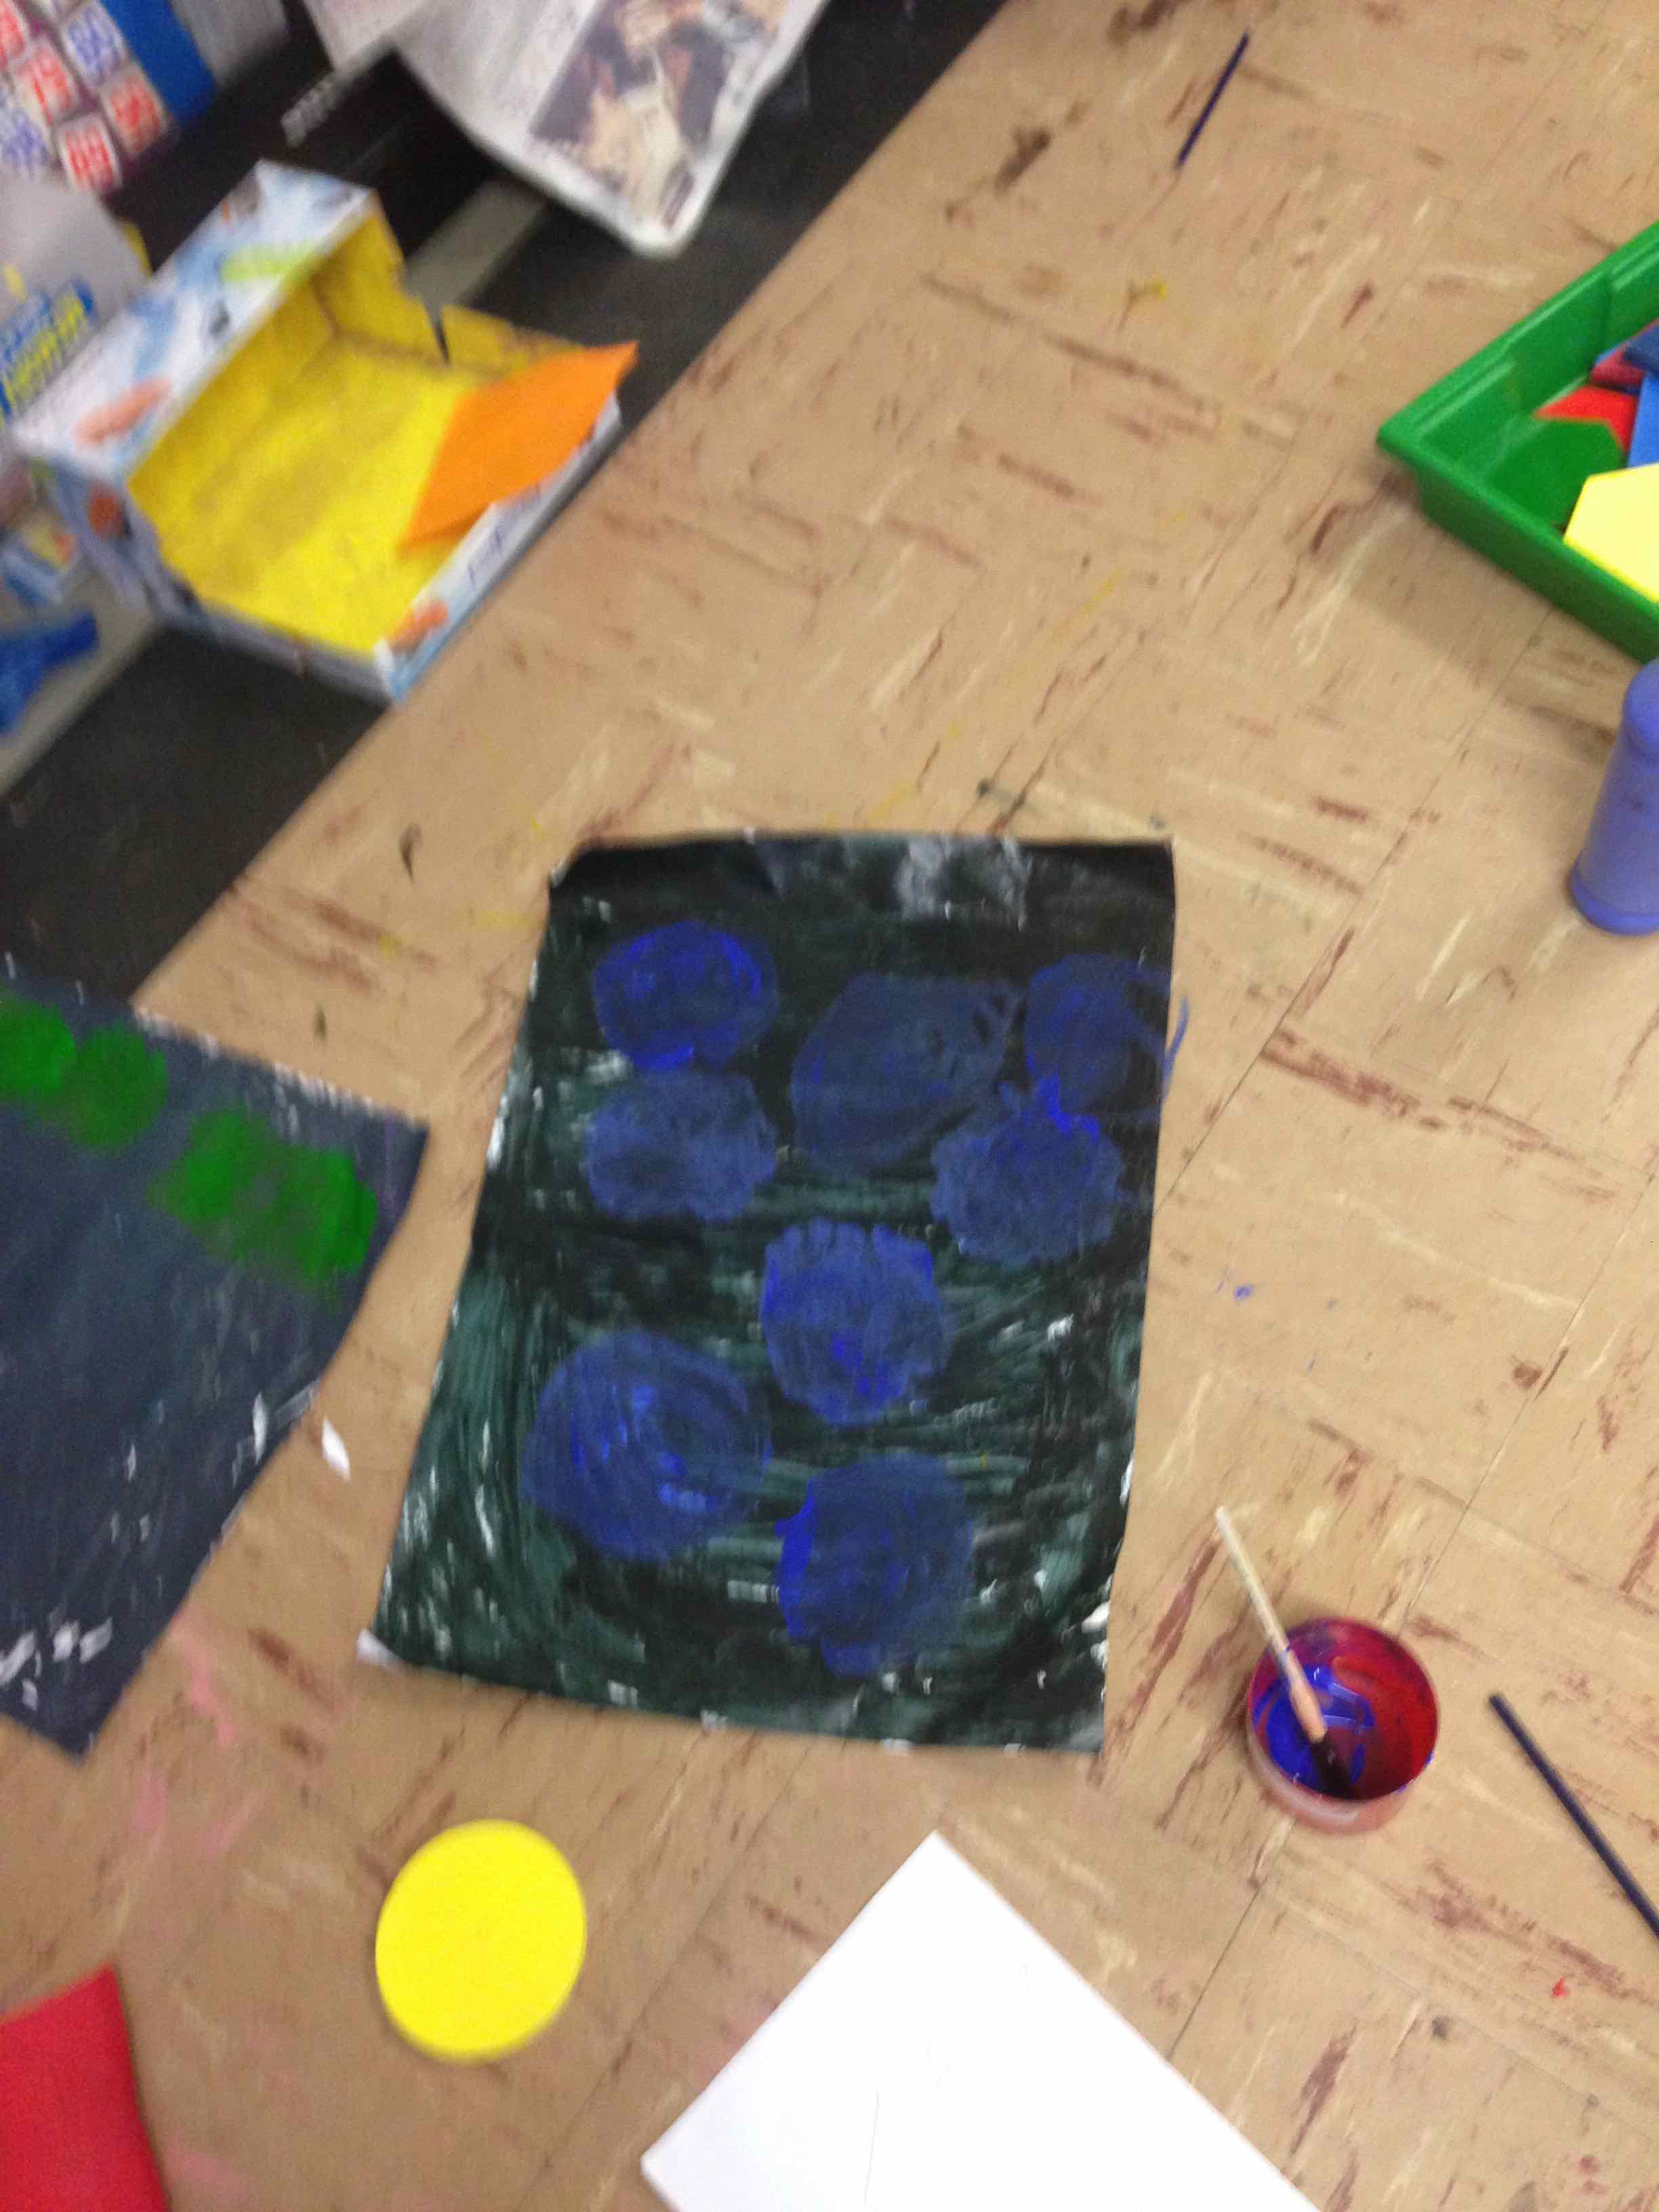
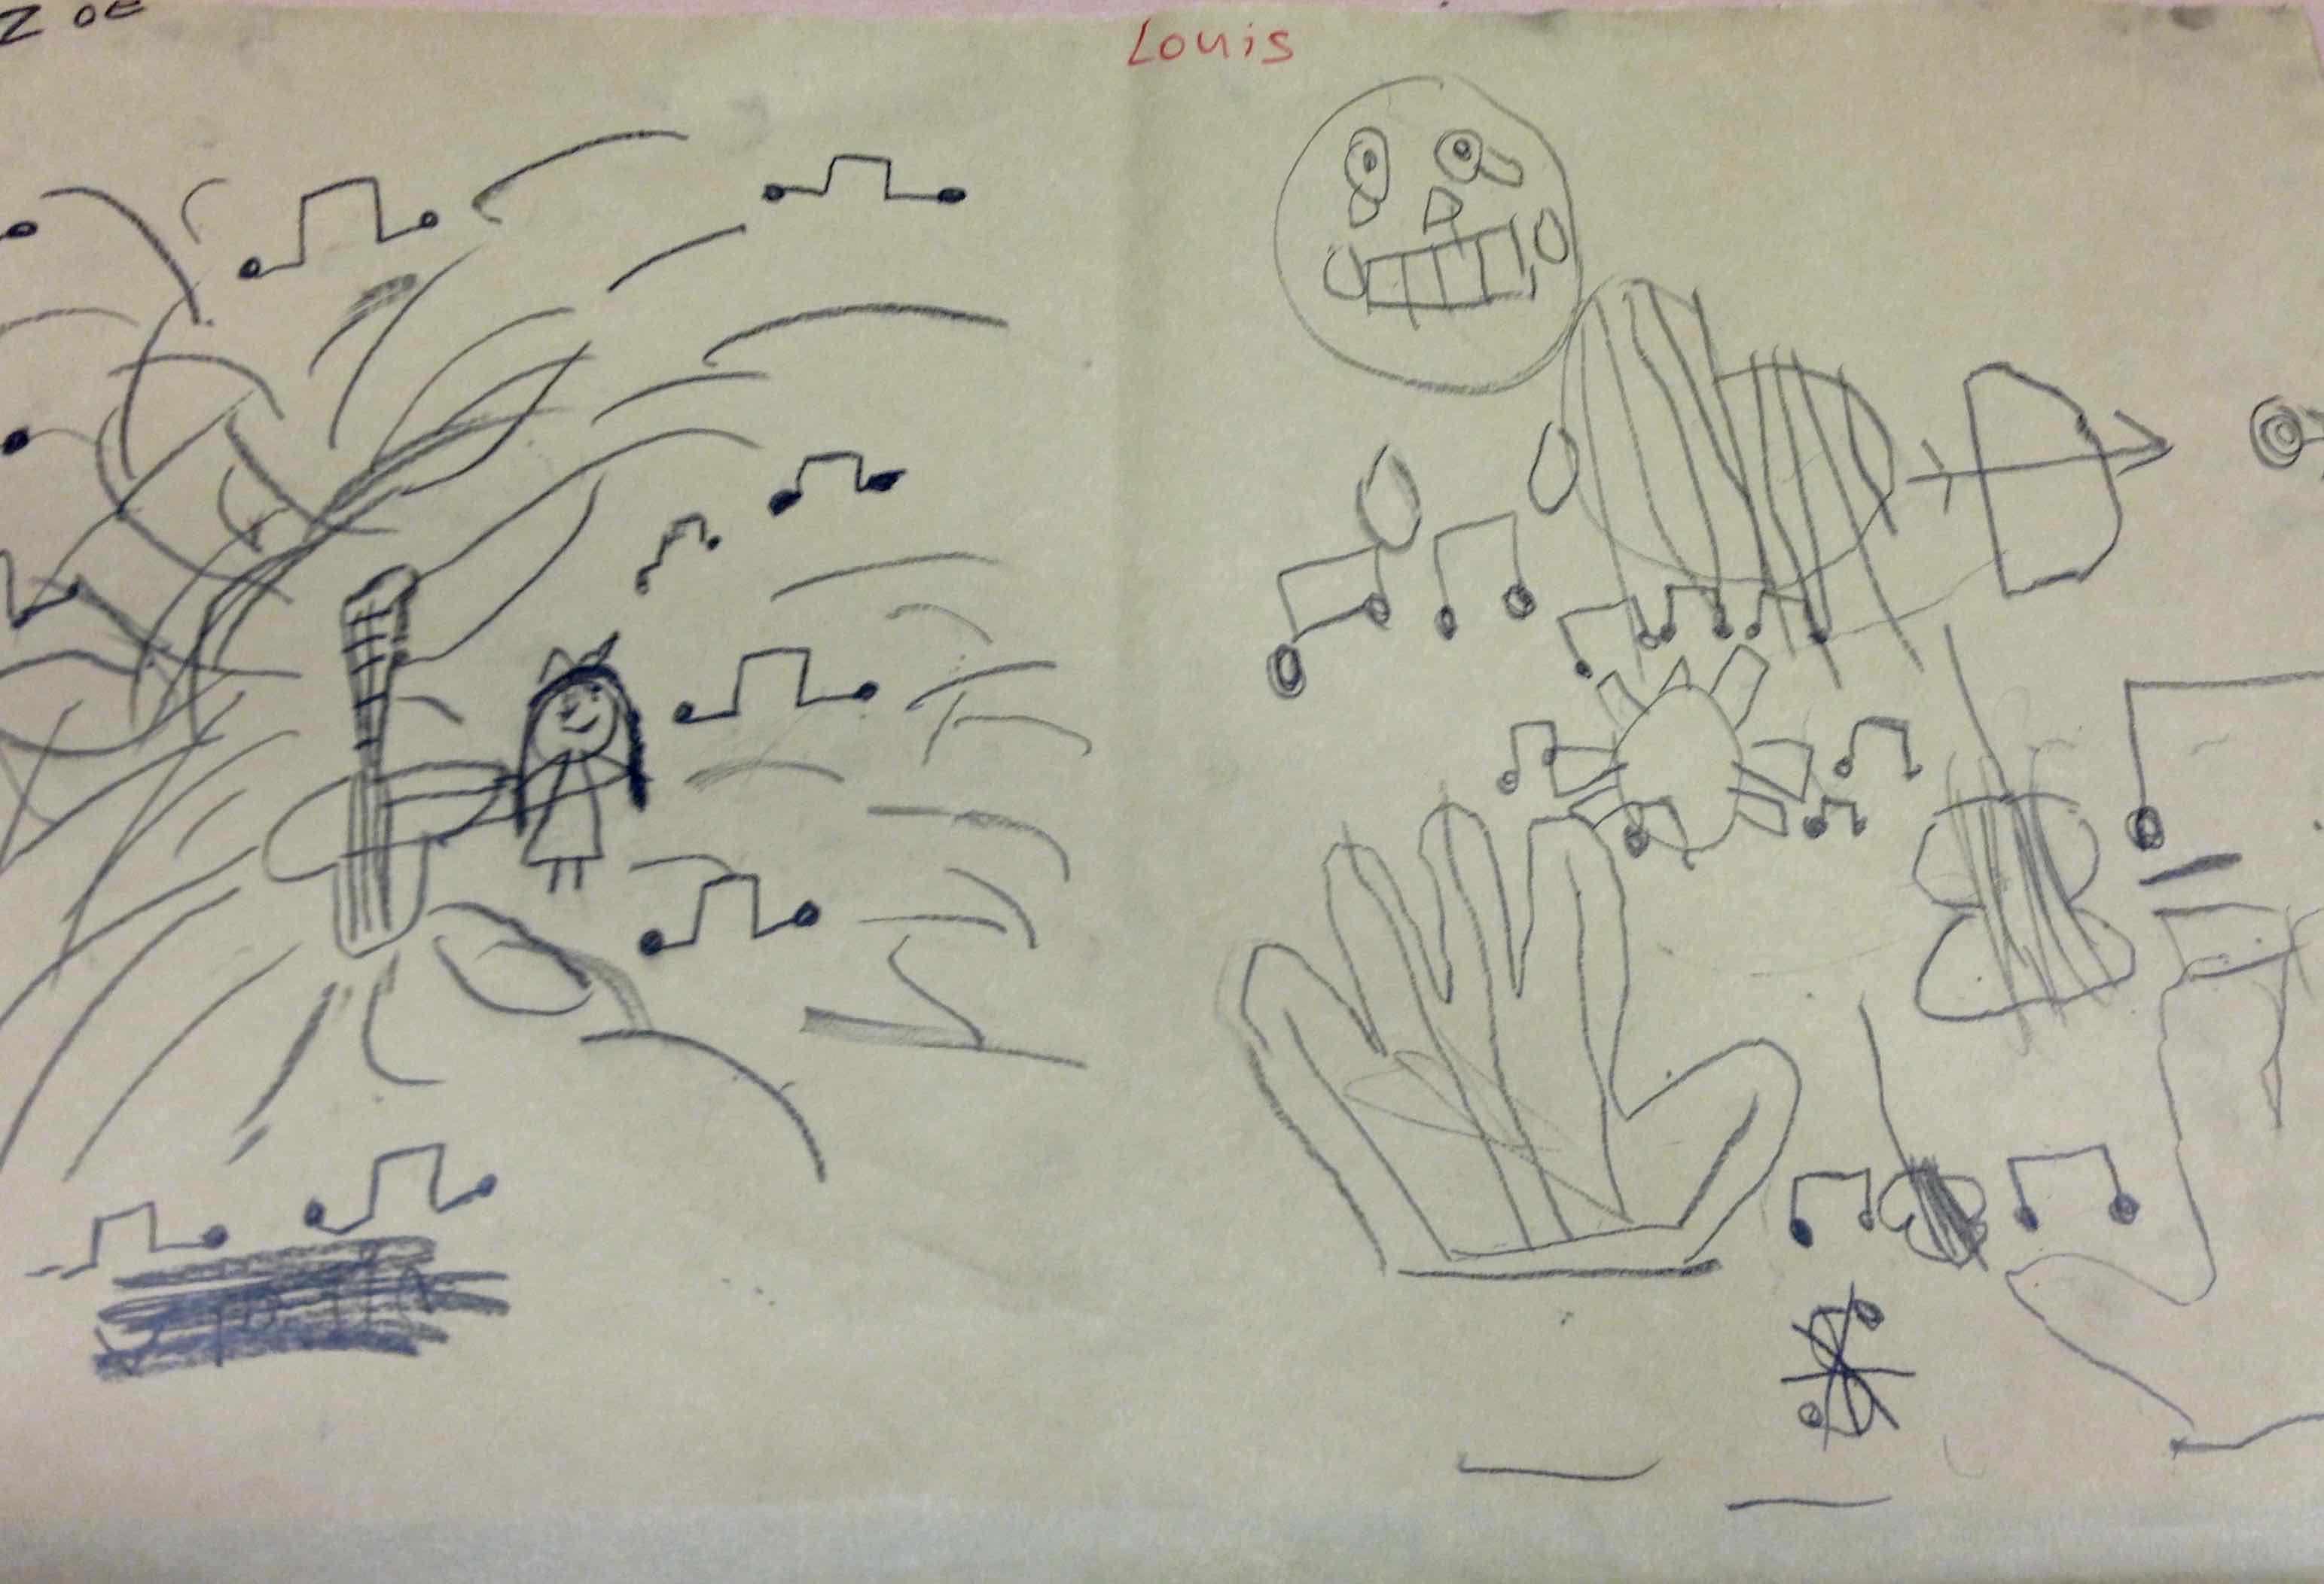
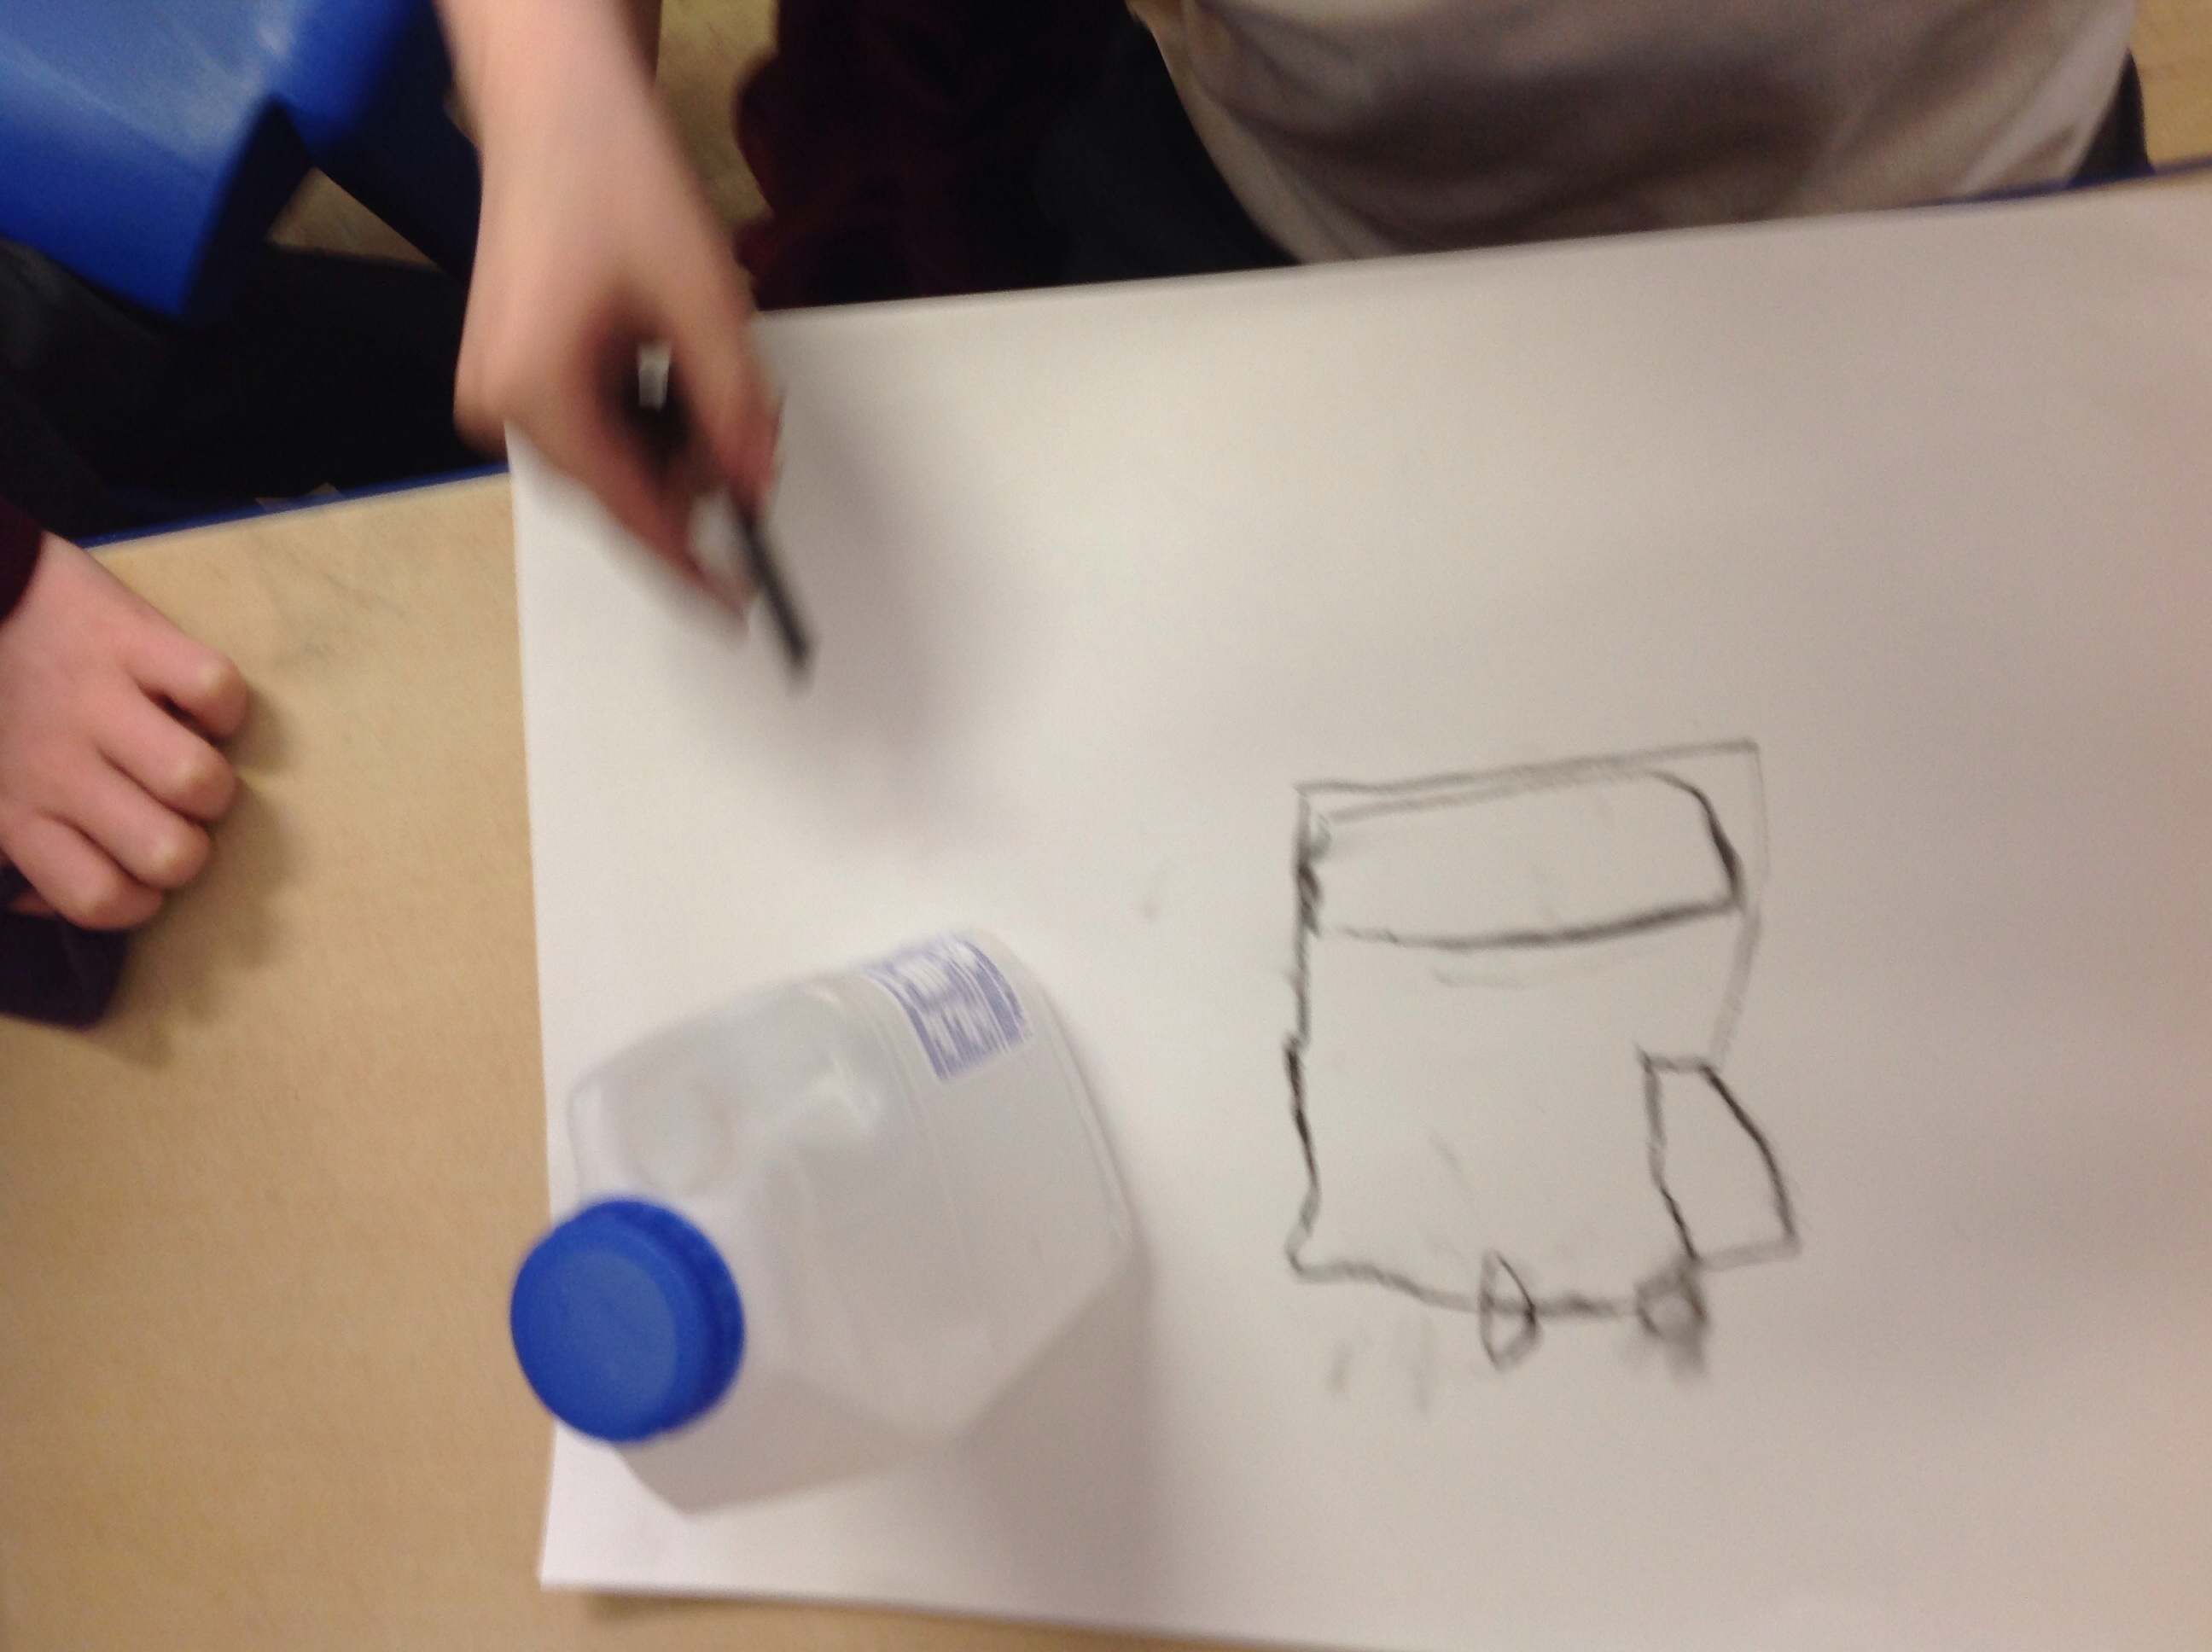
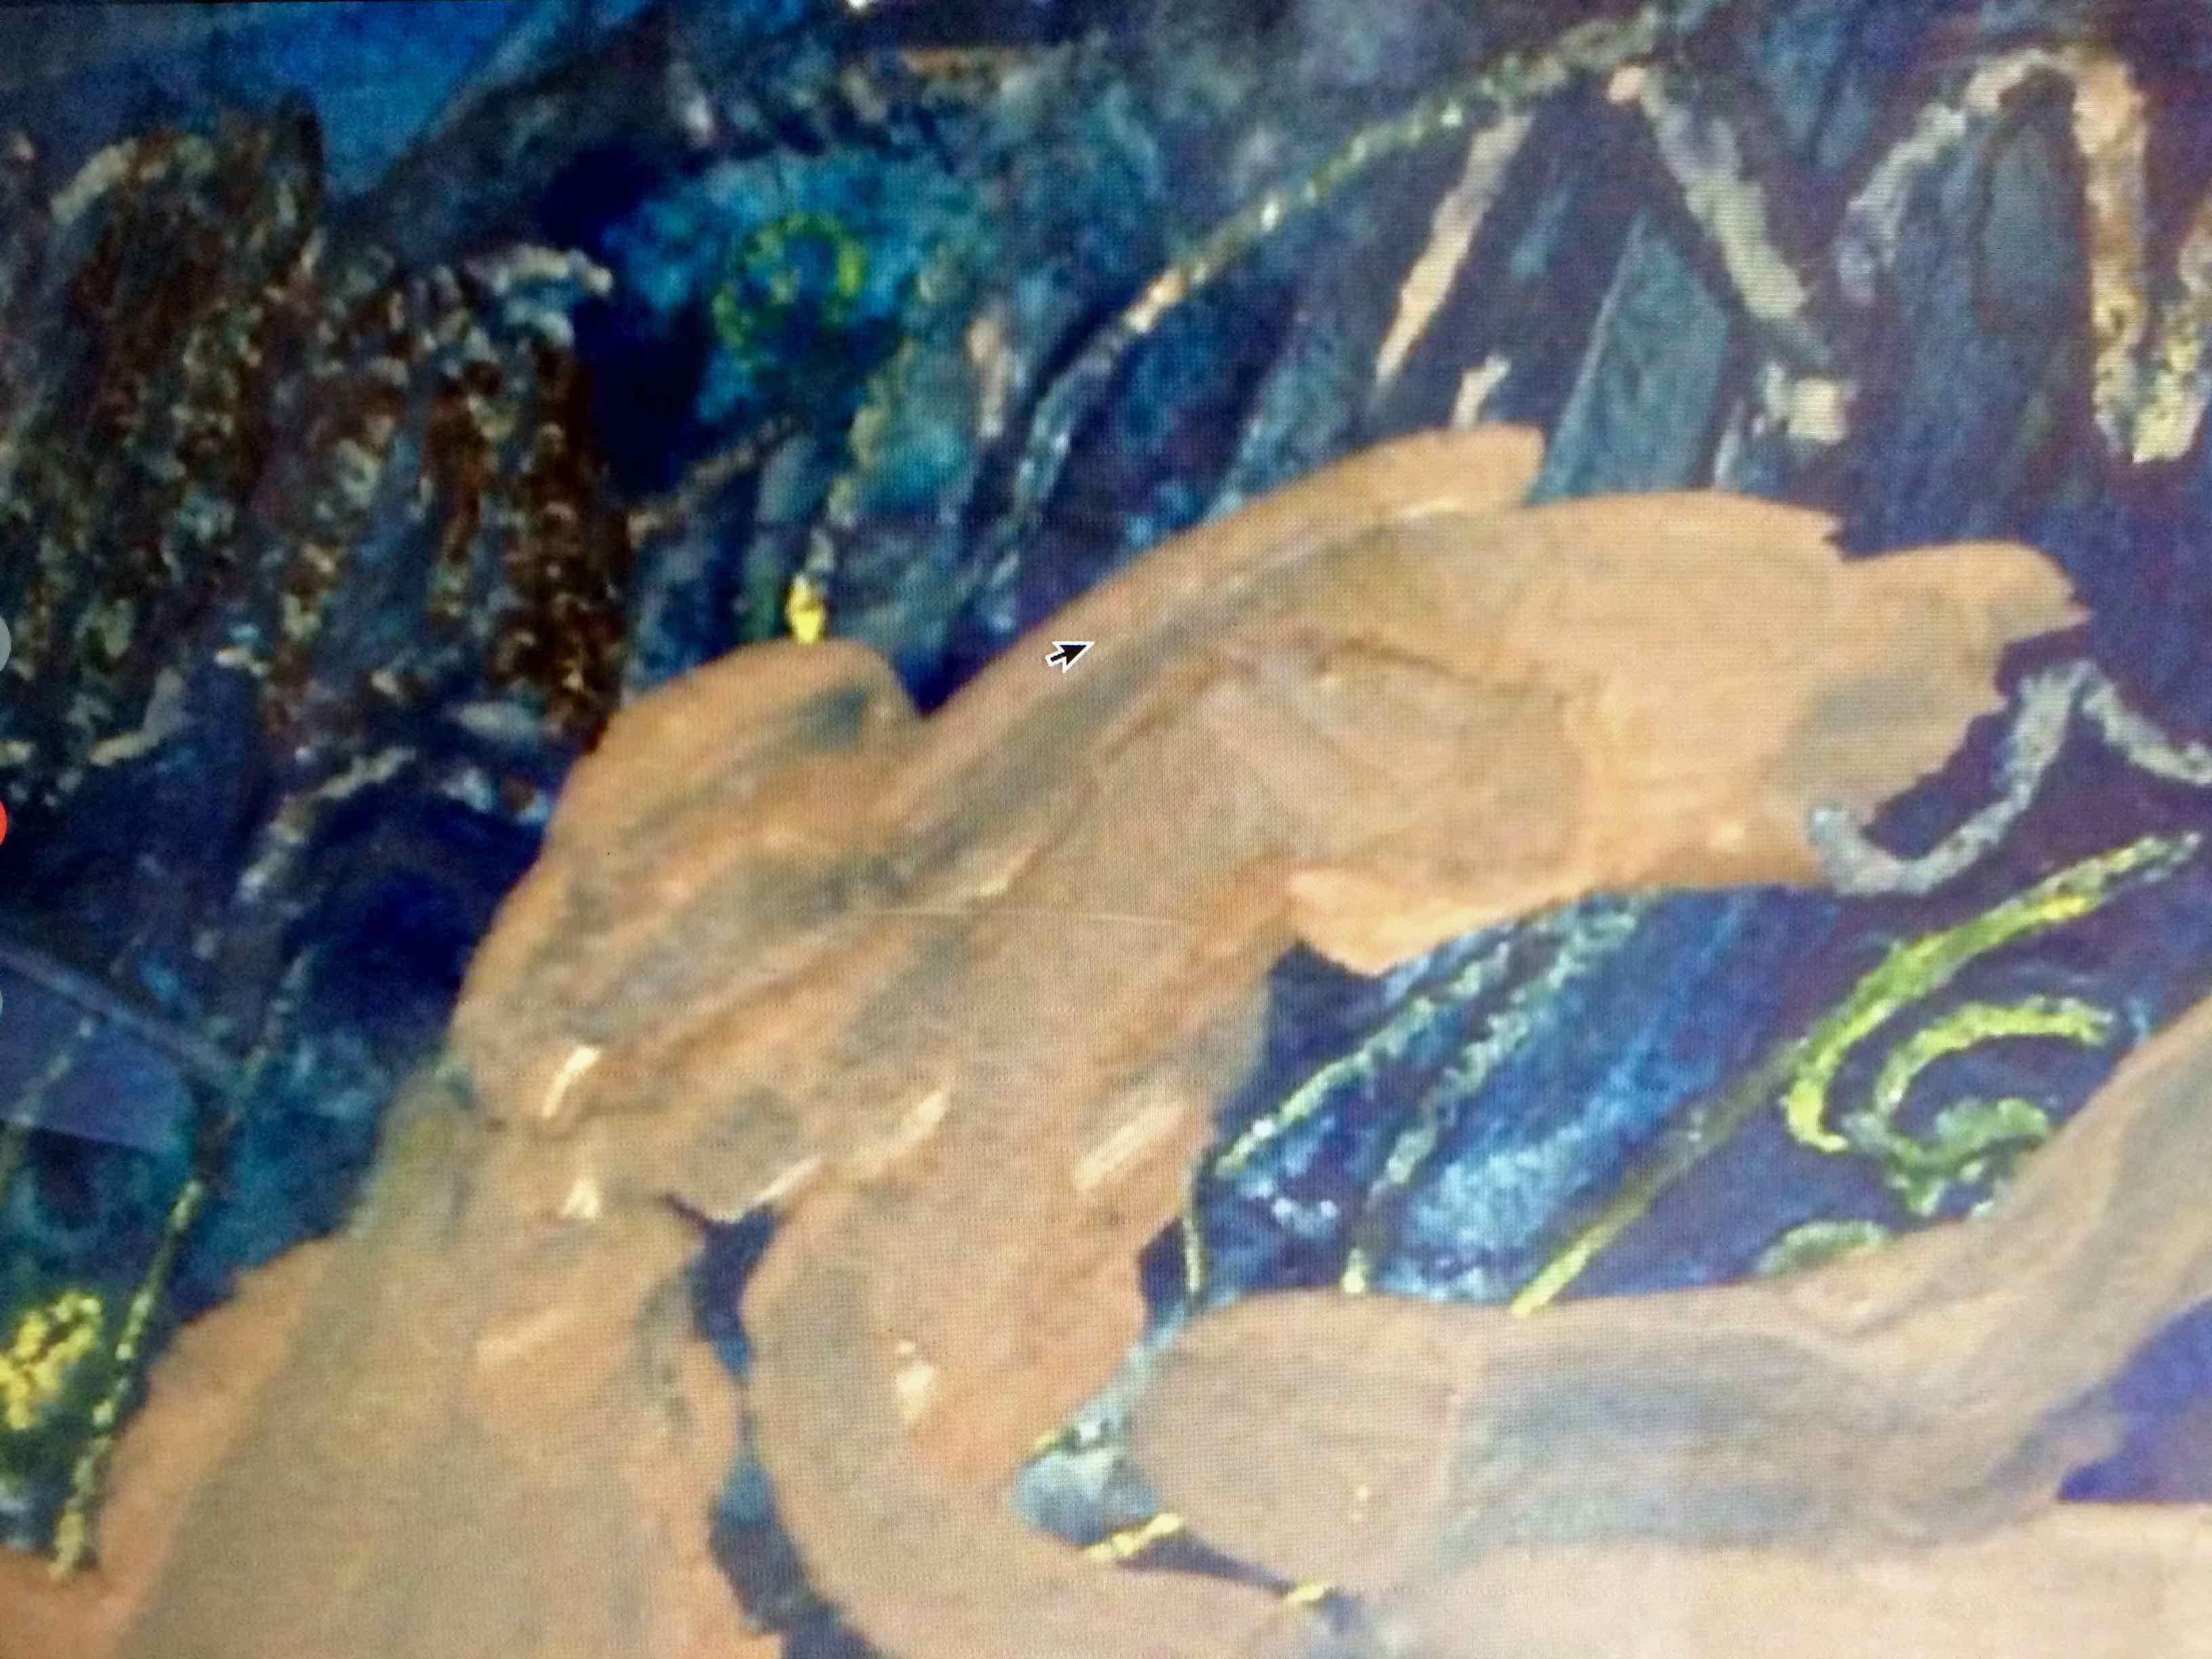
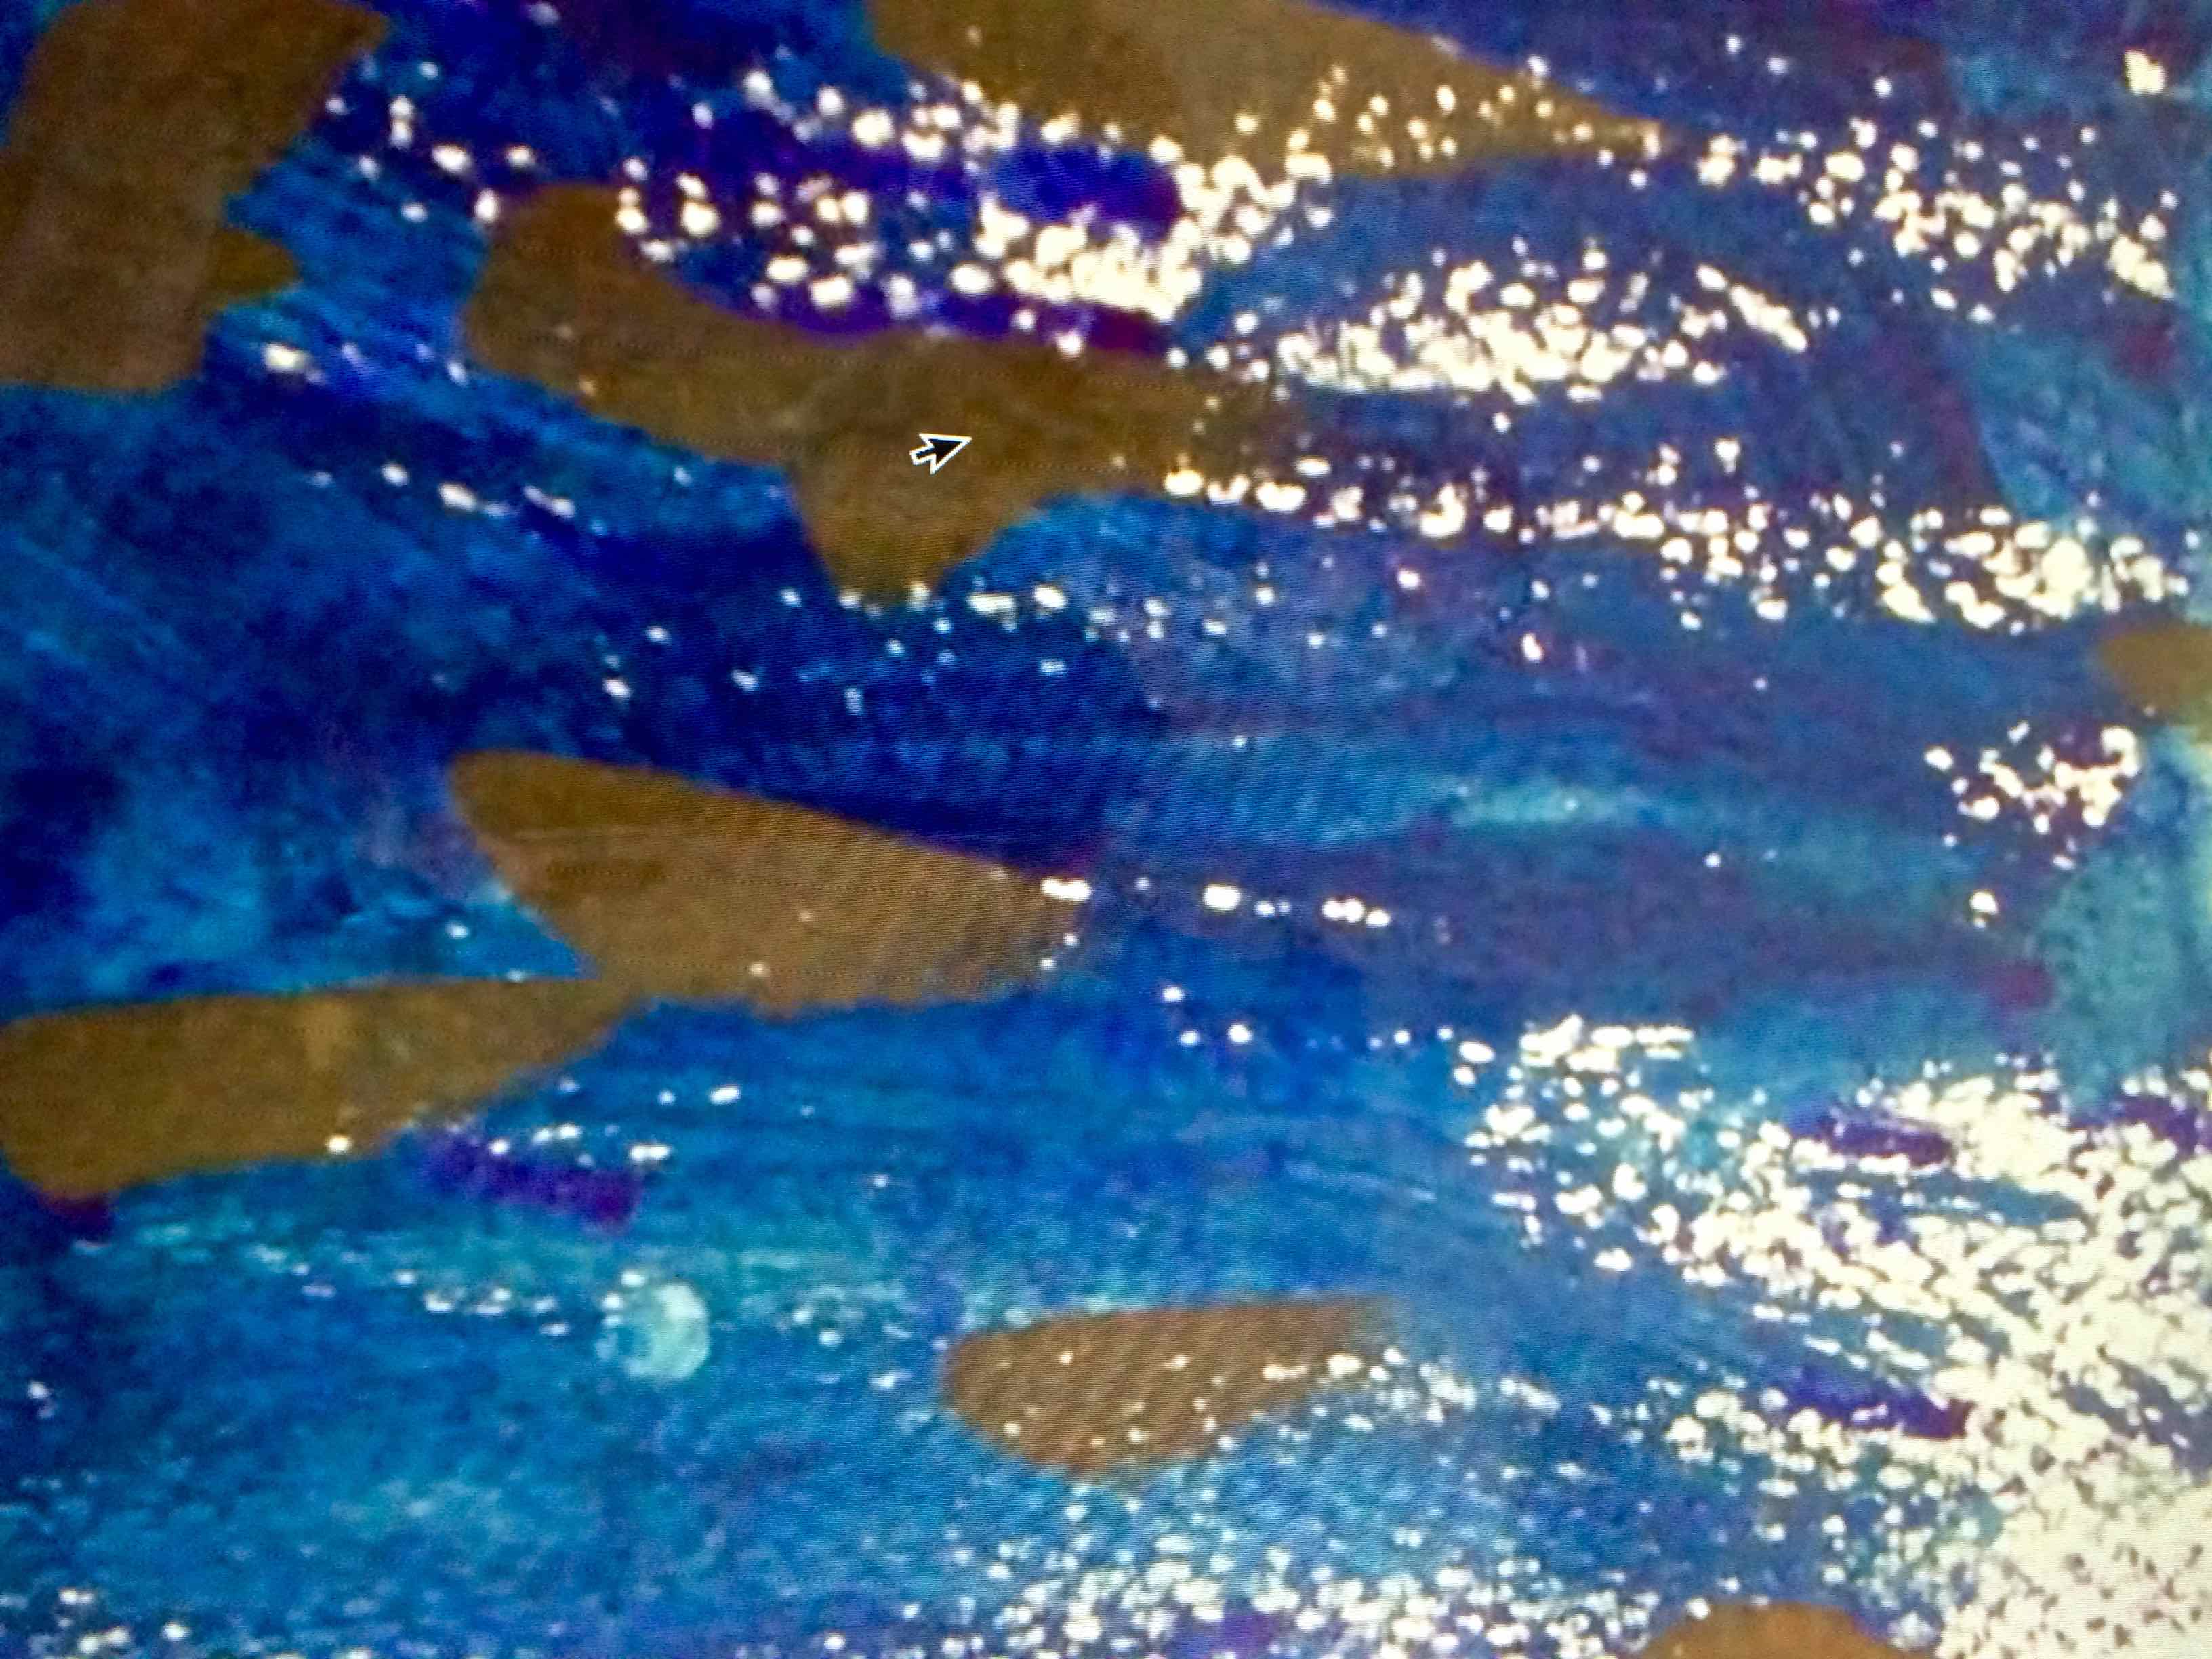
We had a look at how other artists had responded to windy skies.. Dutch artist VINCENT Van GOGH ( 1853 – 1890) made these wonderful paintings.

Wheat filed with Crows, by Vincent Van Gogh
Wheat field with Crows, by Vincent Van Gogh
Starry Night by Vincent Van Gogh

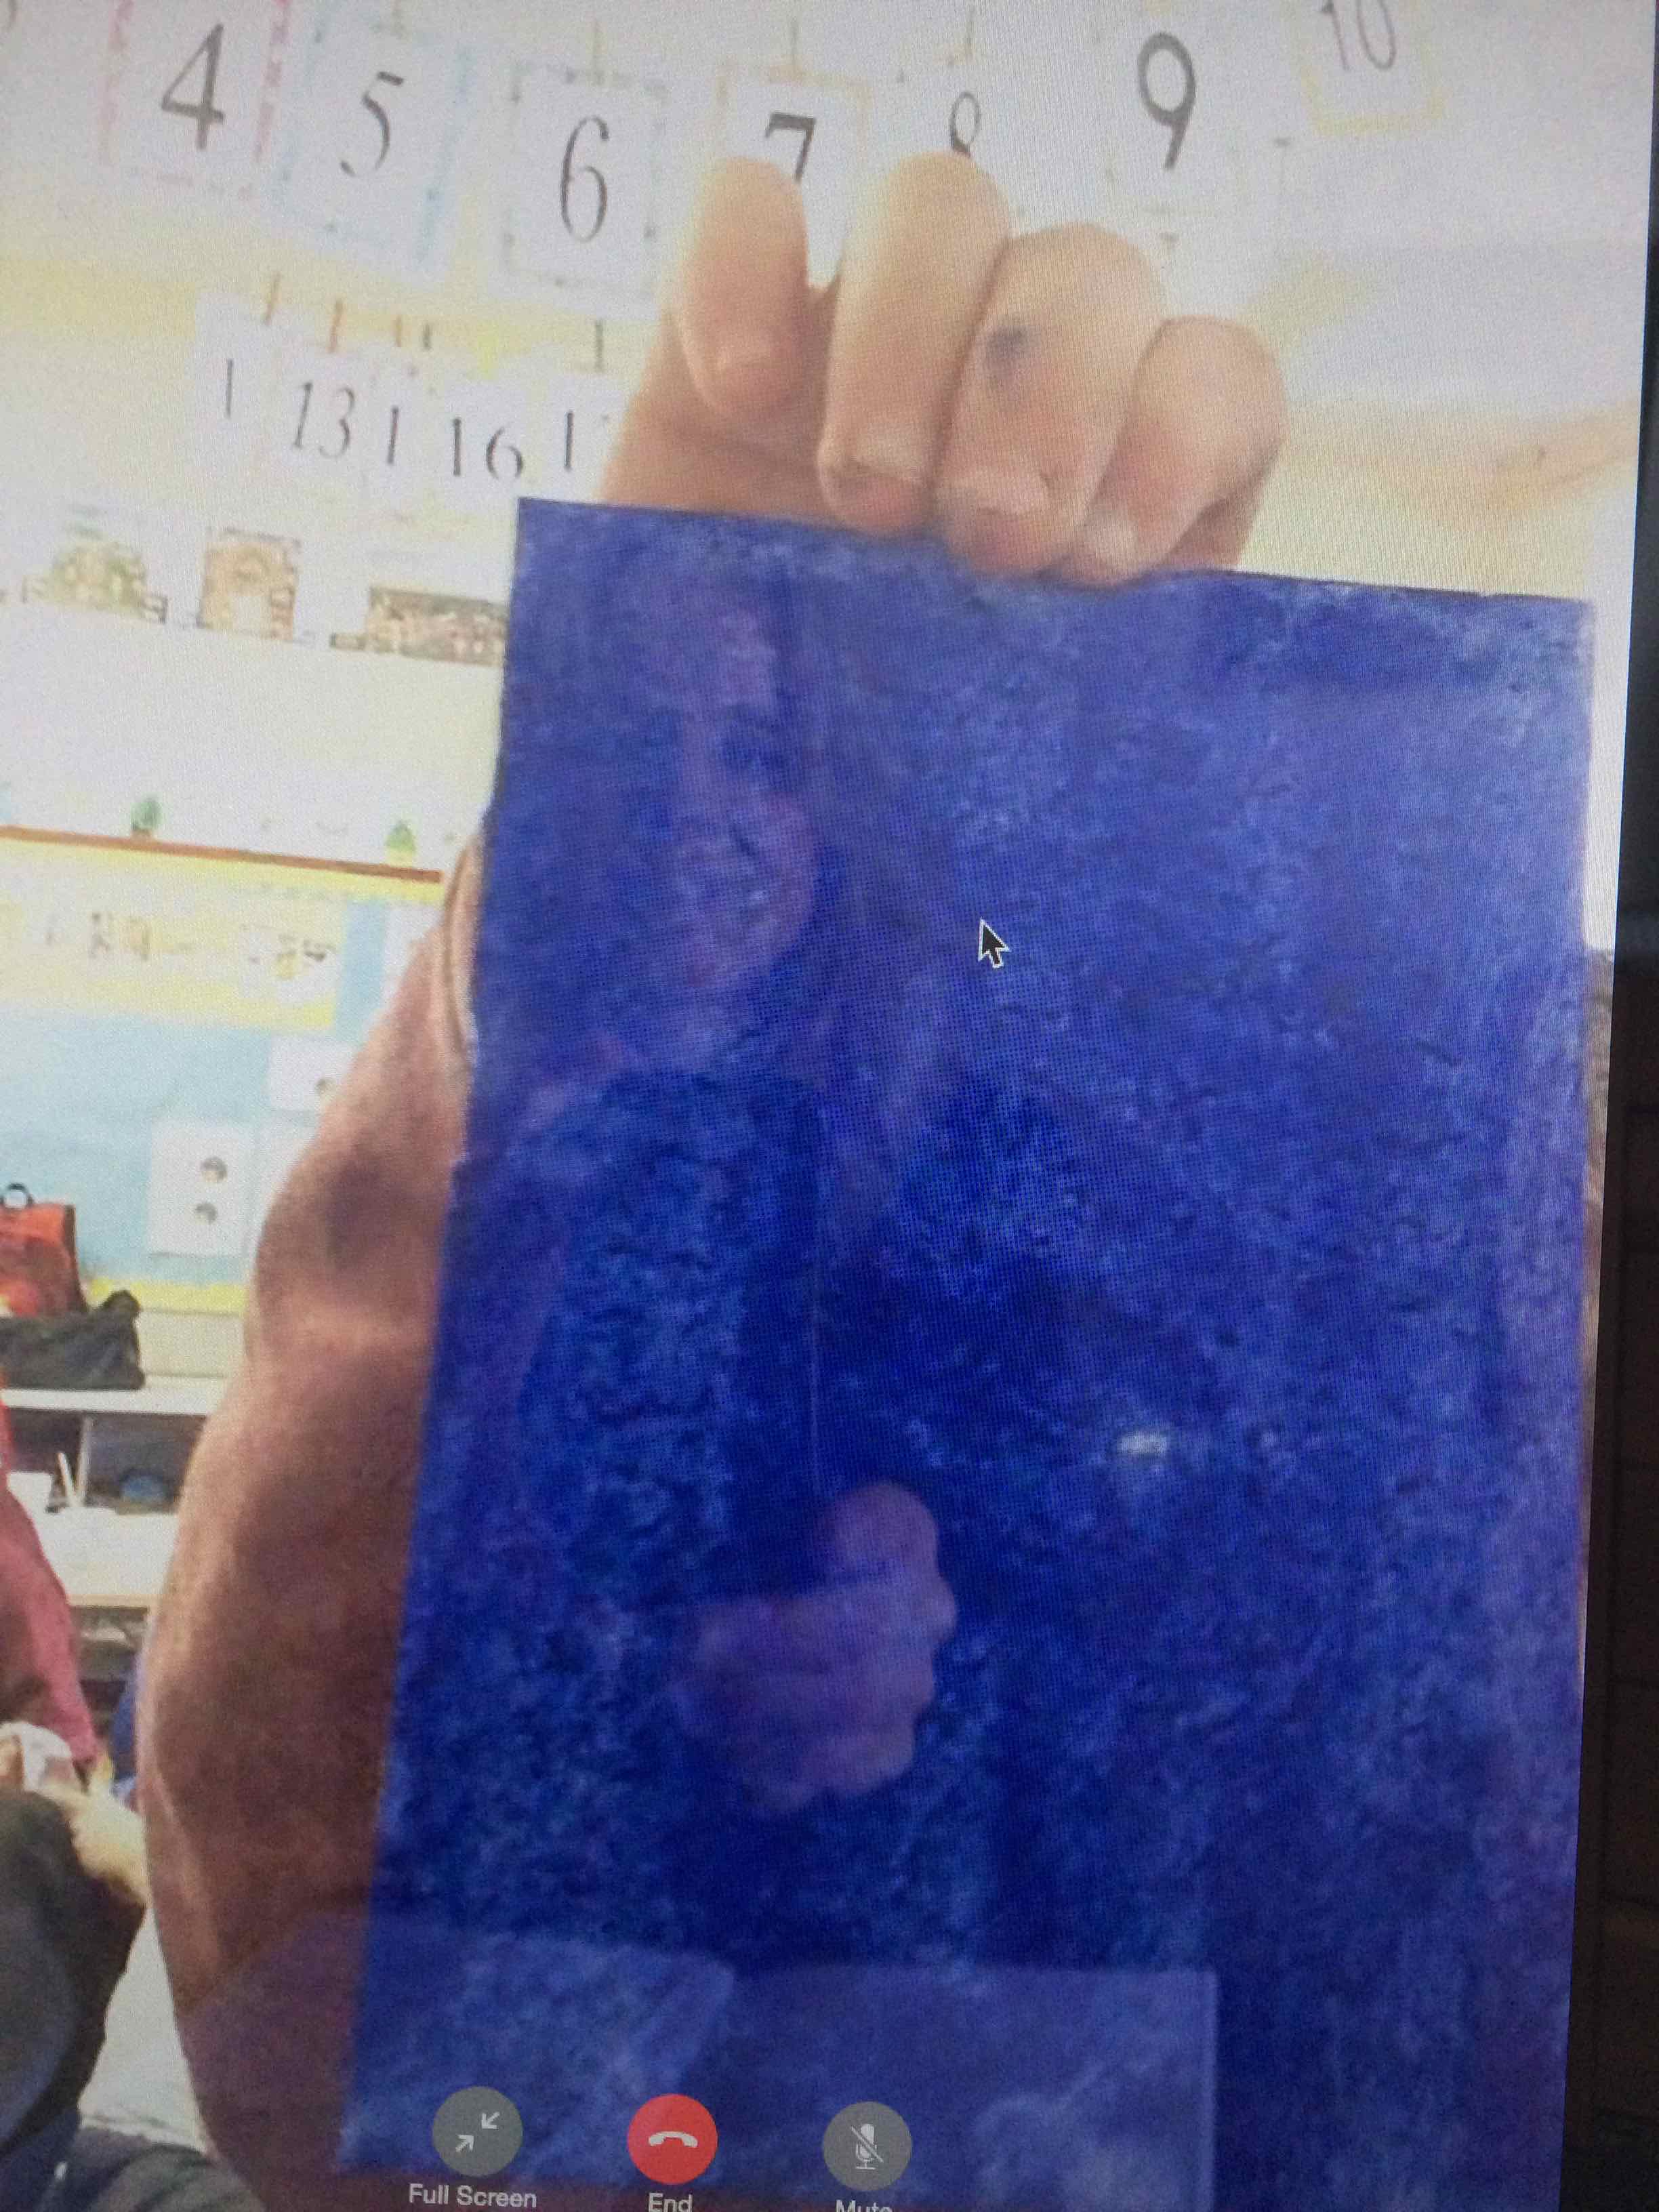
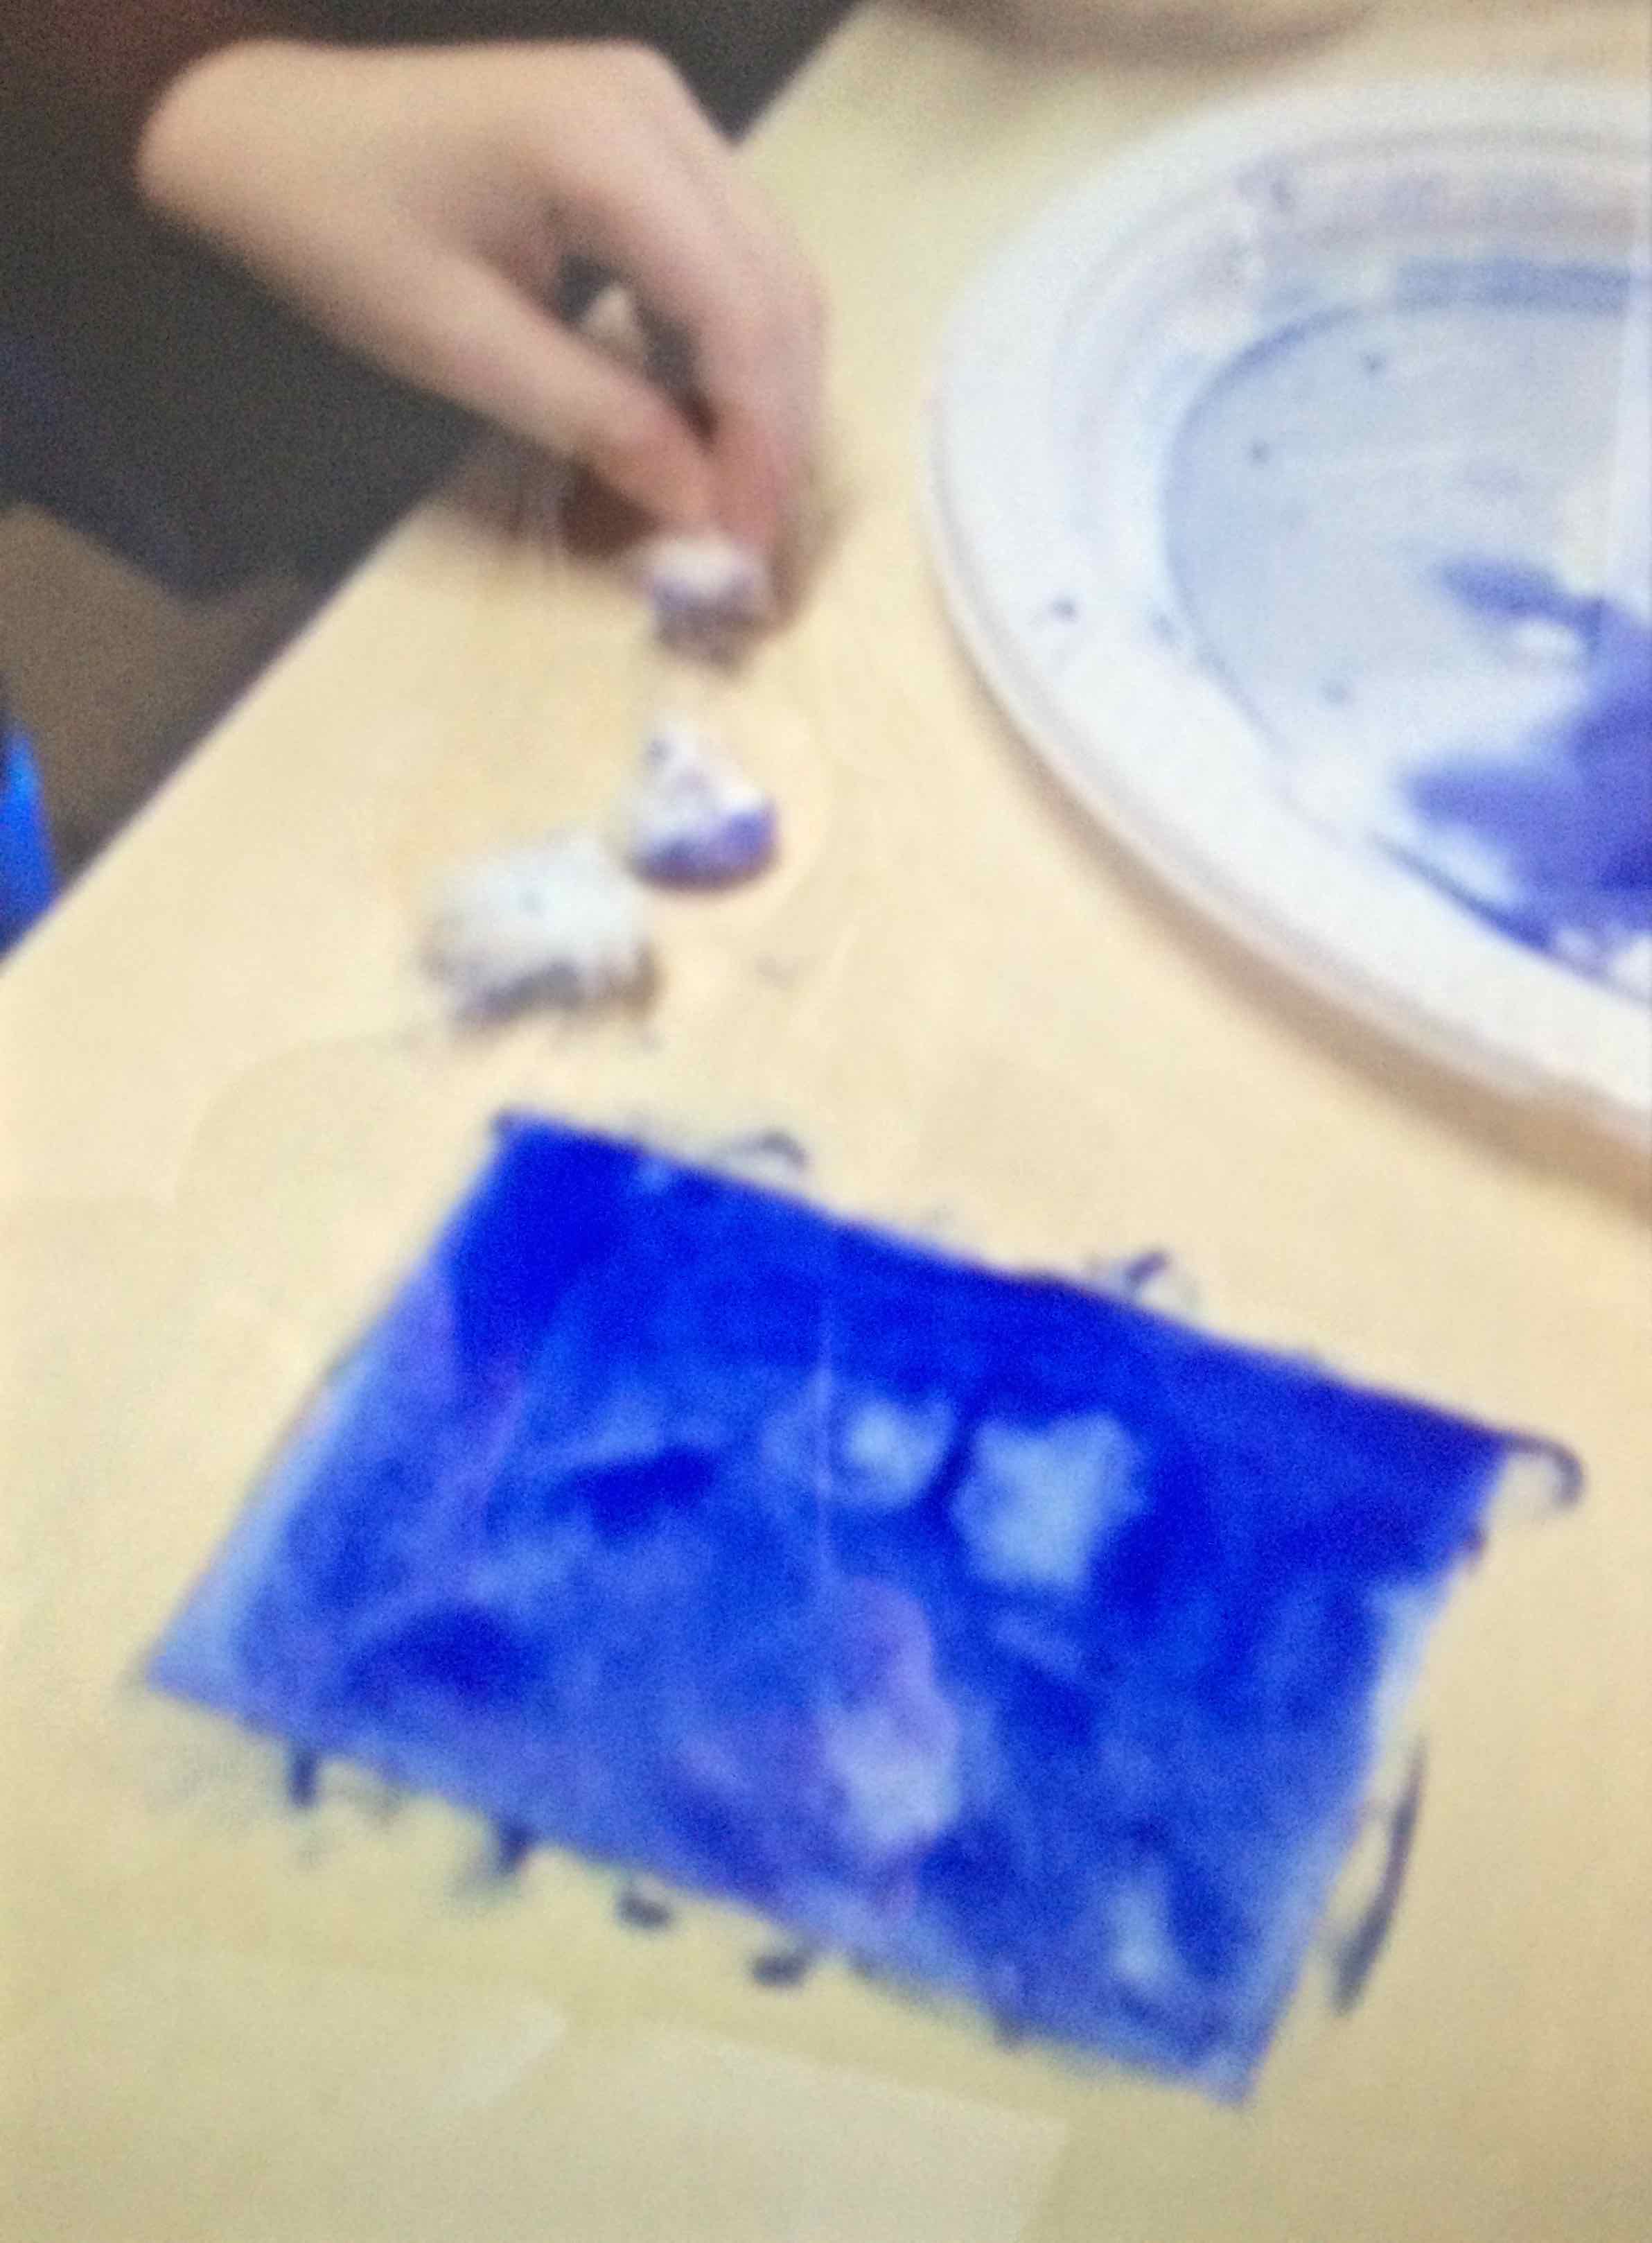
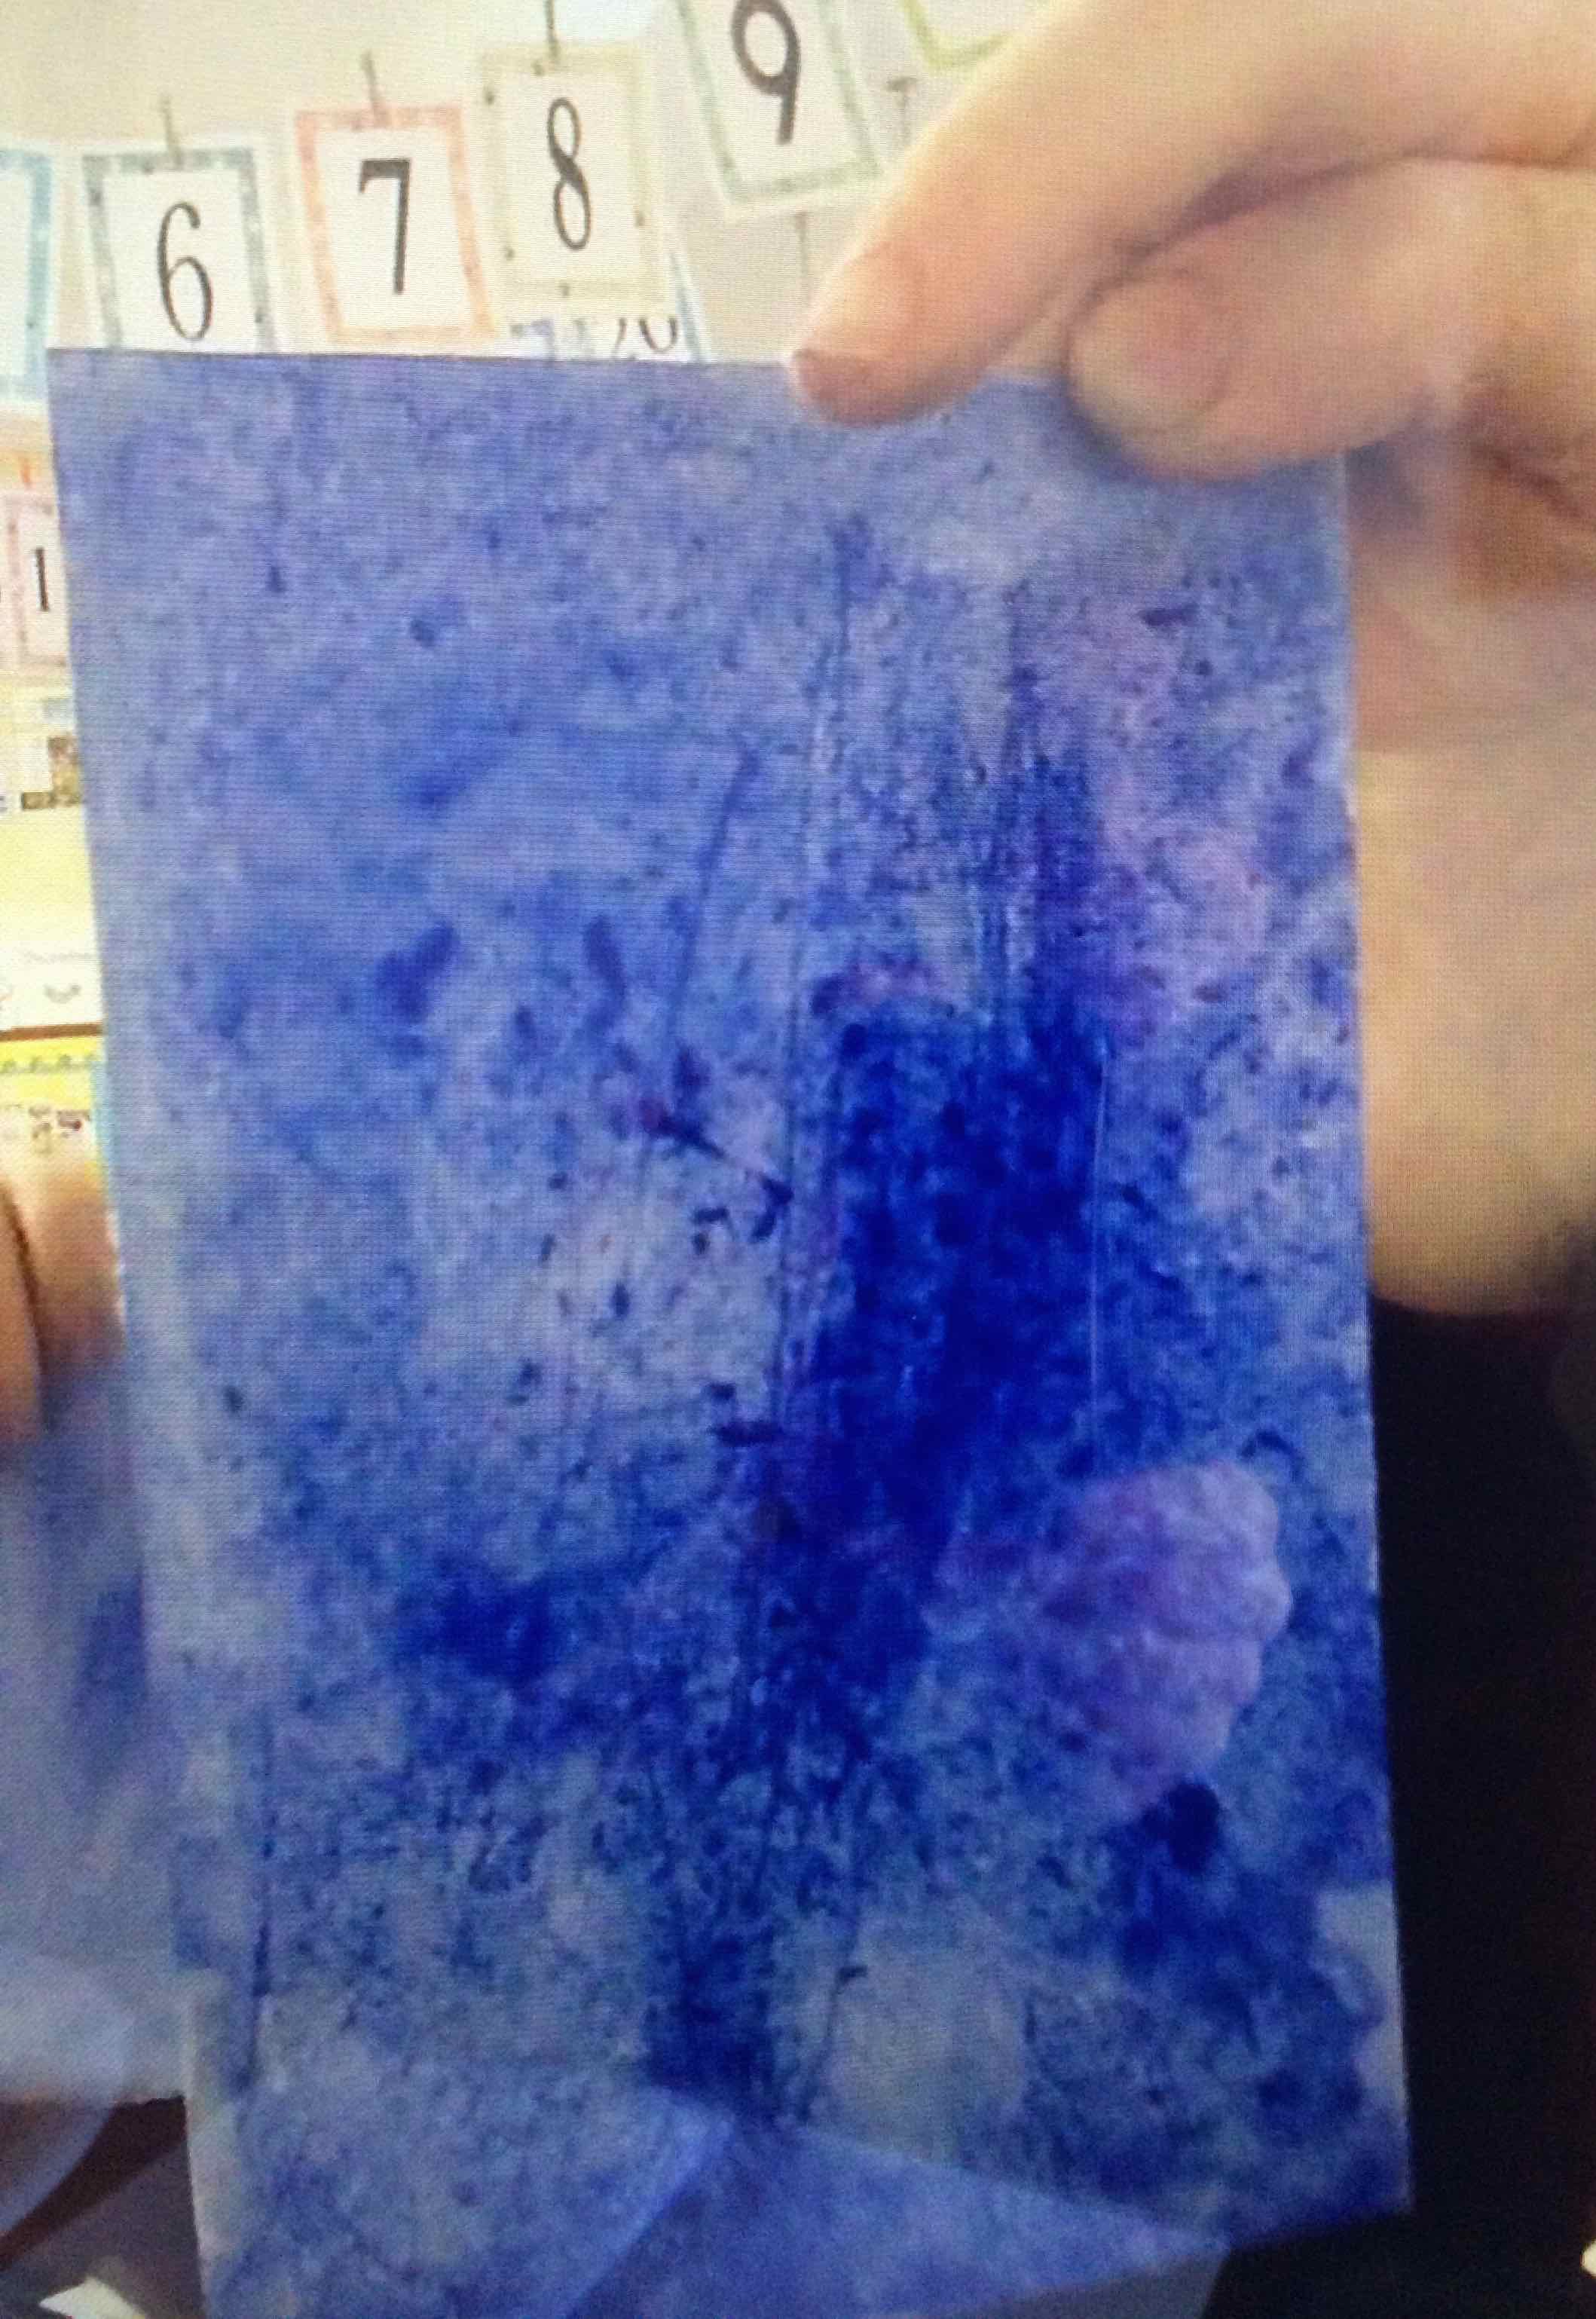
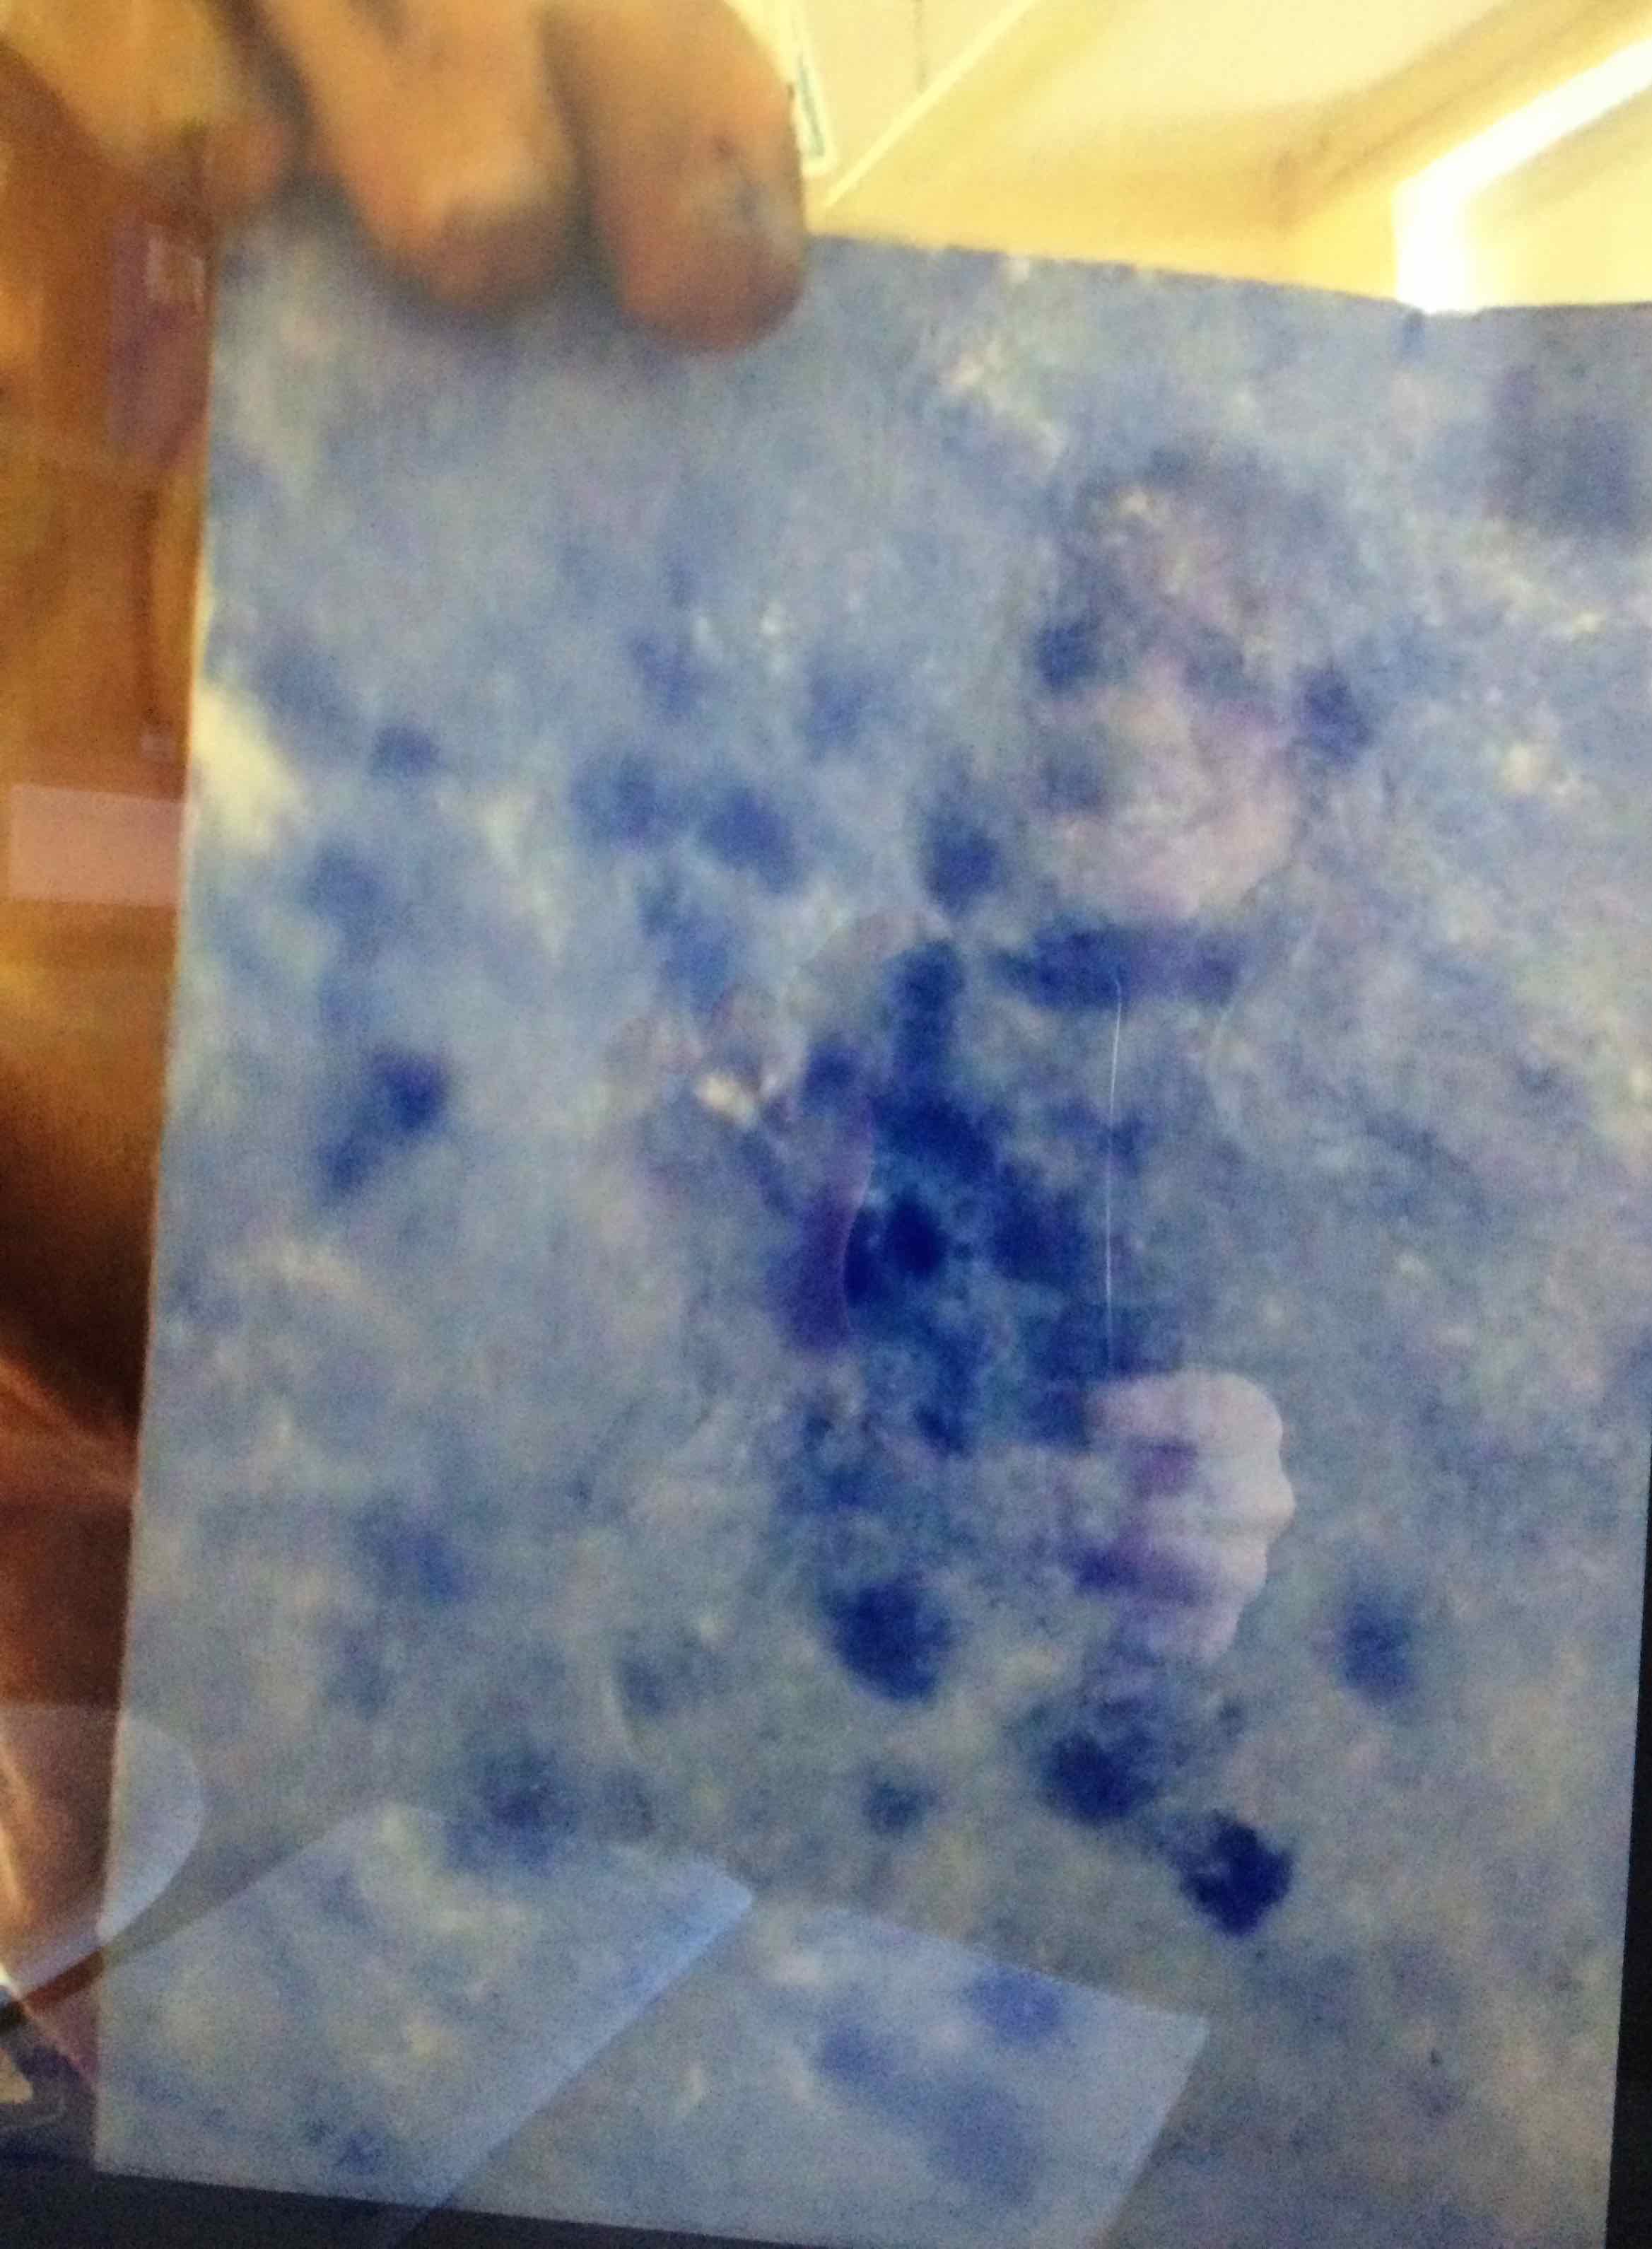
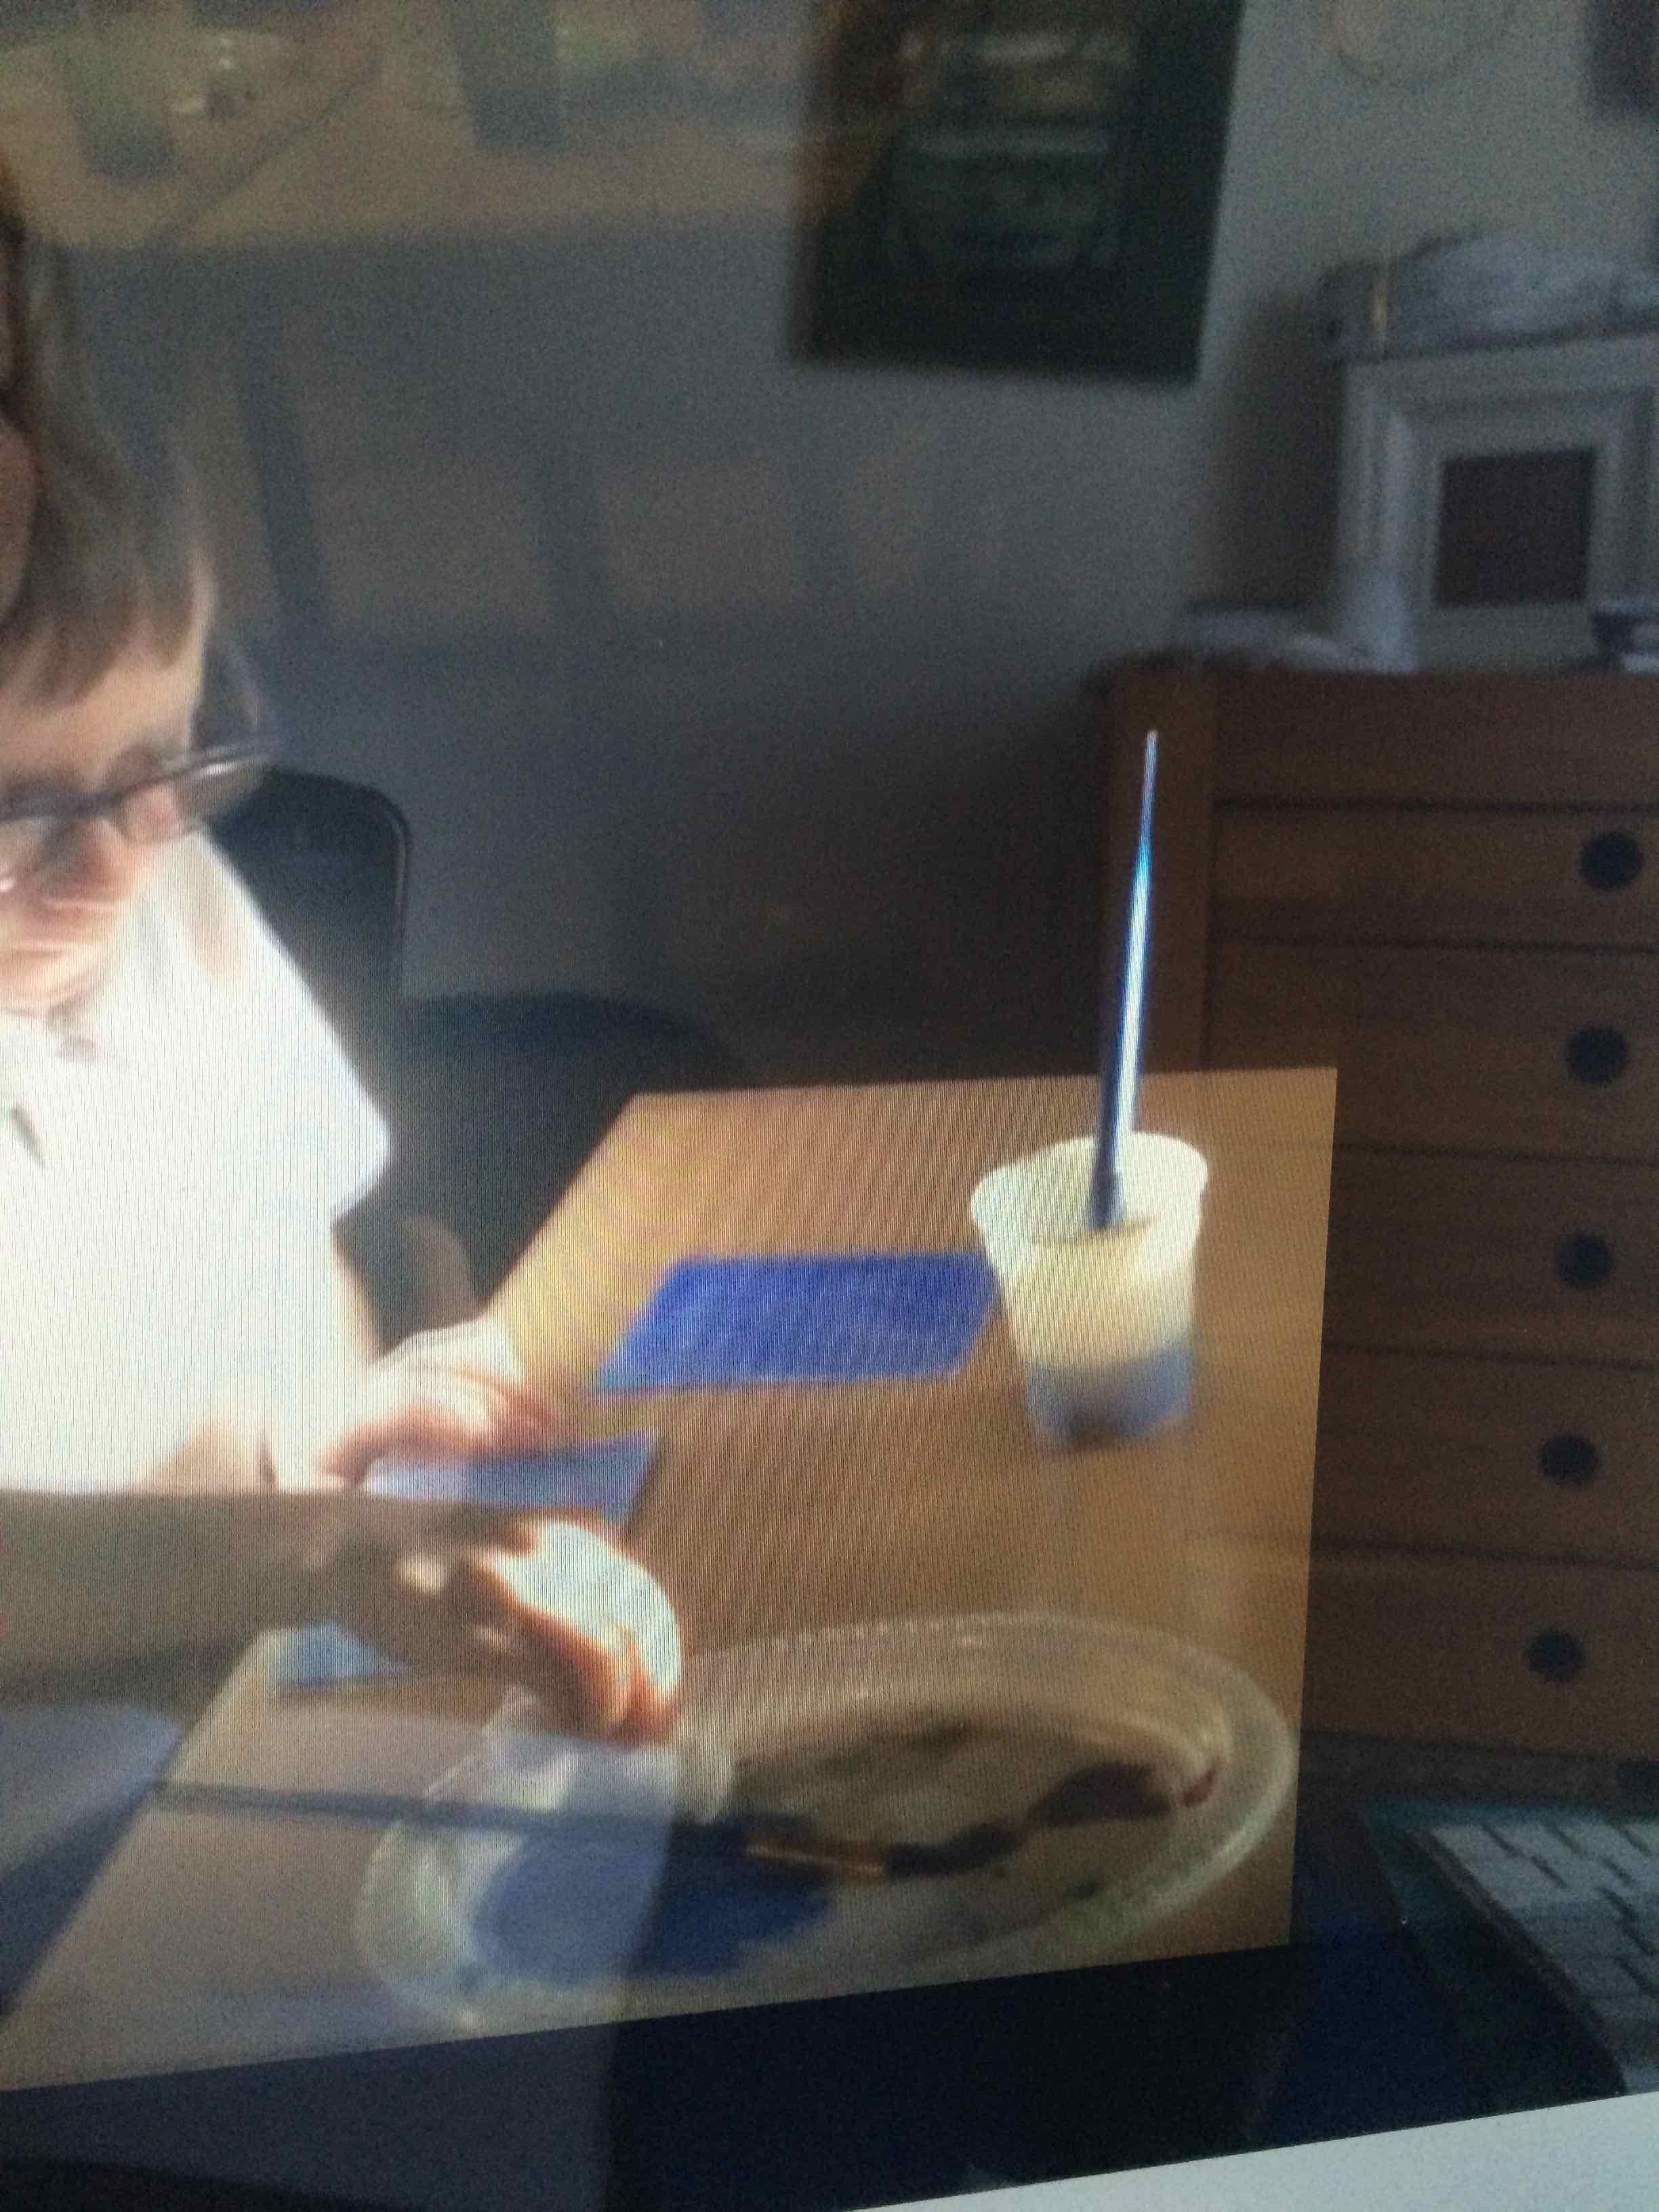
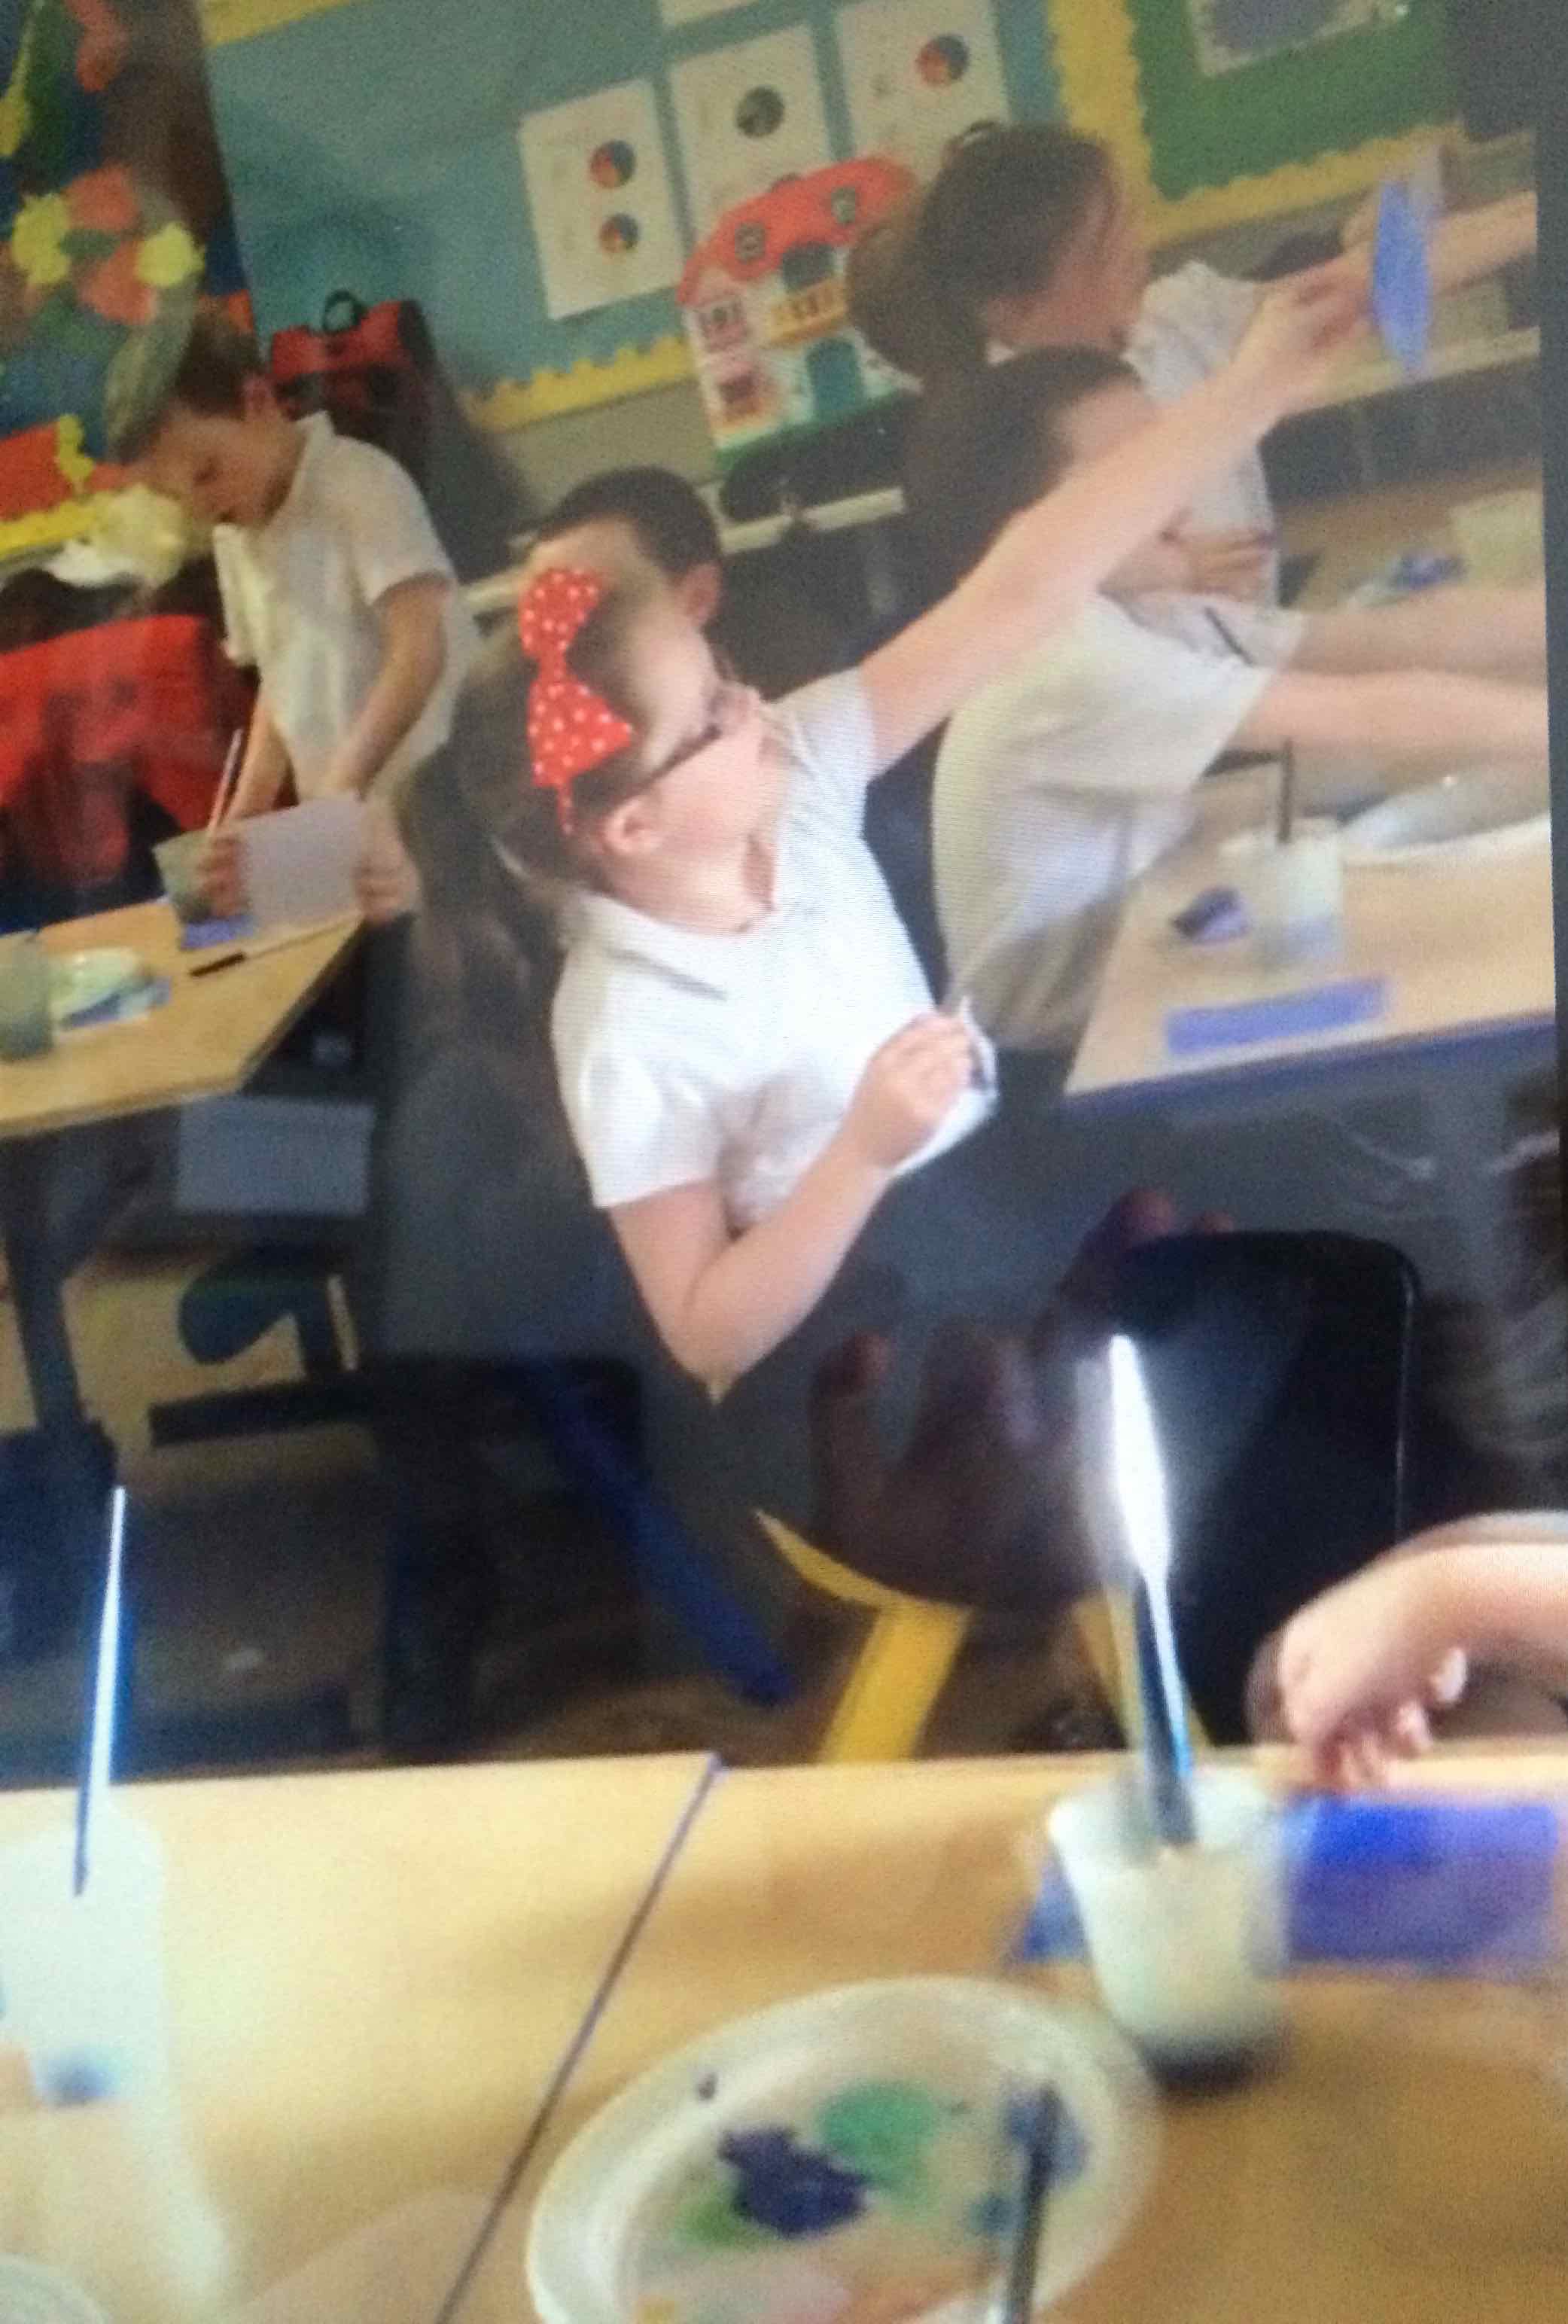
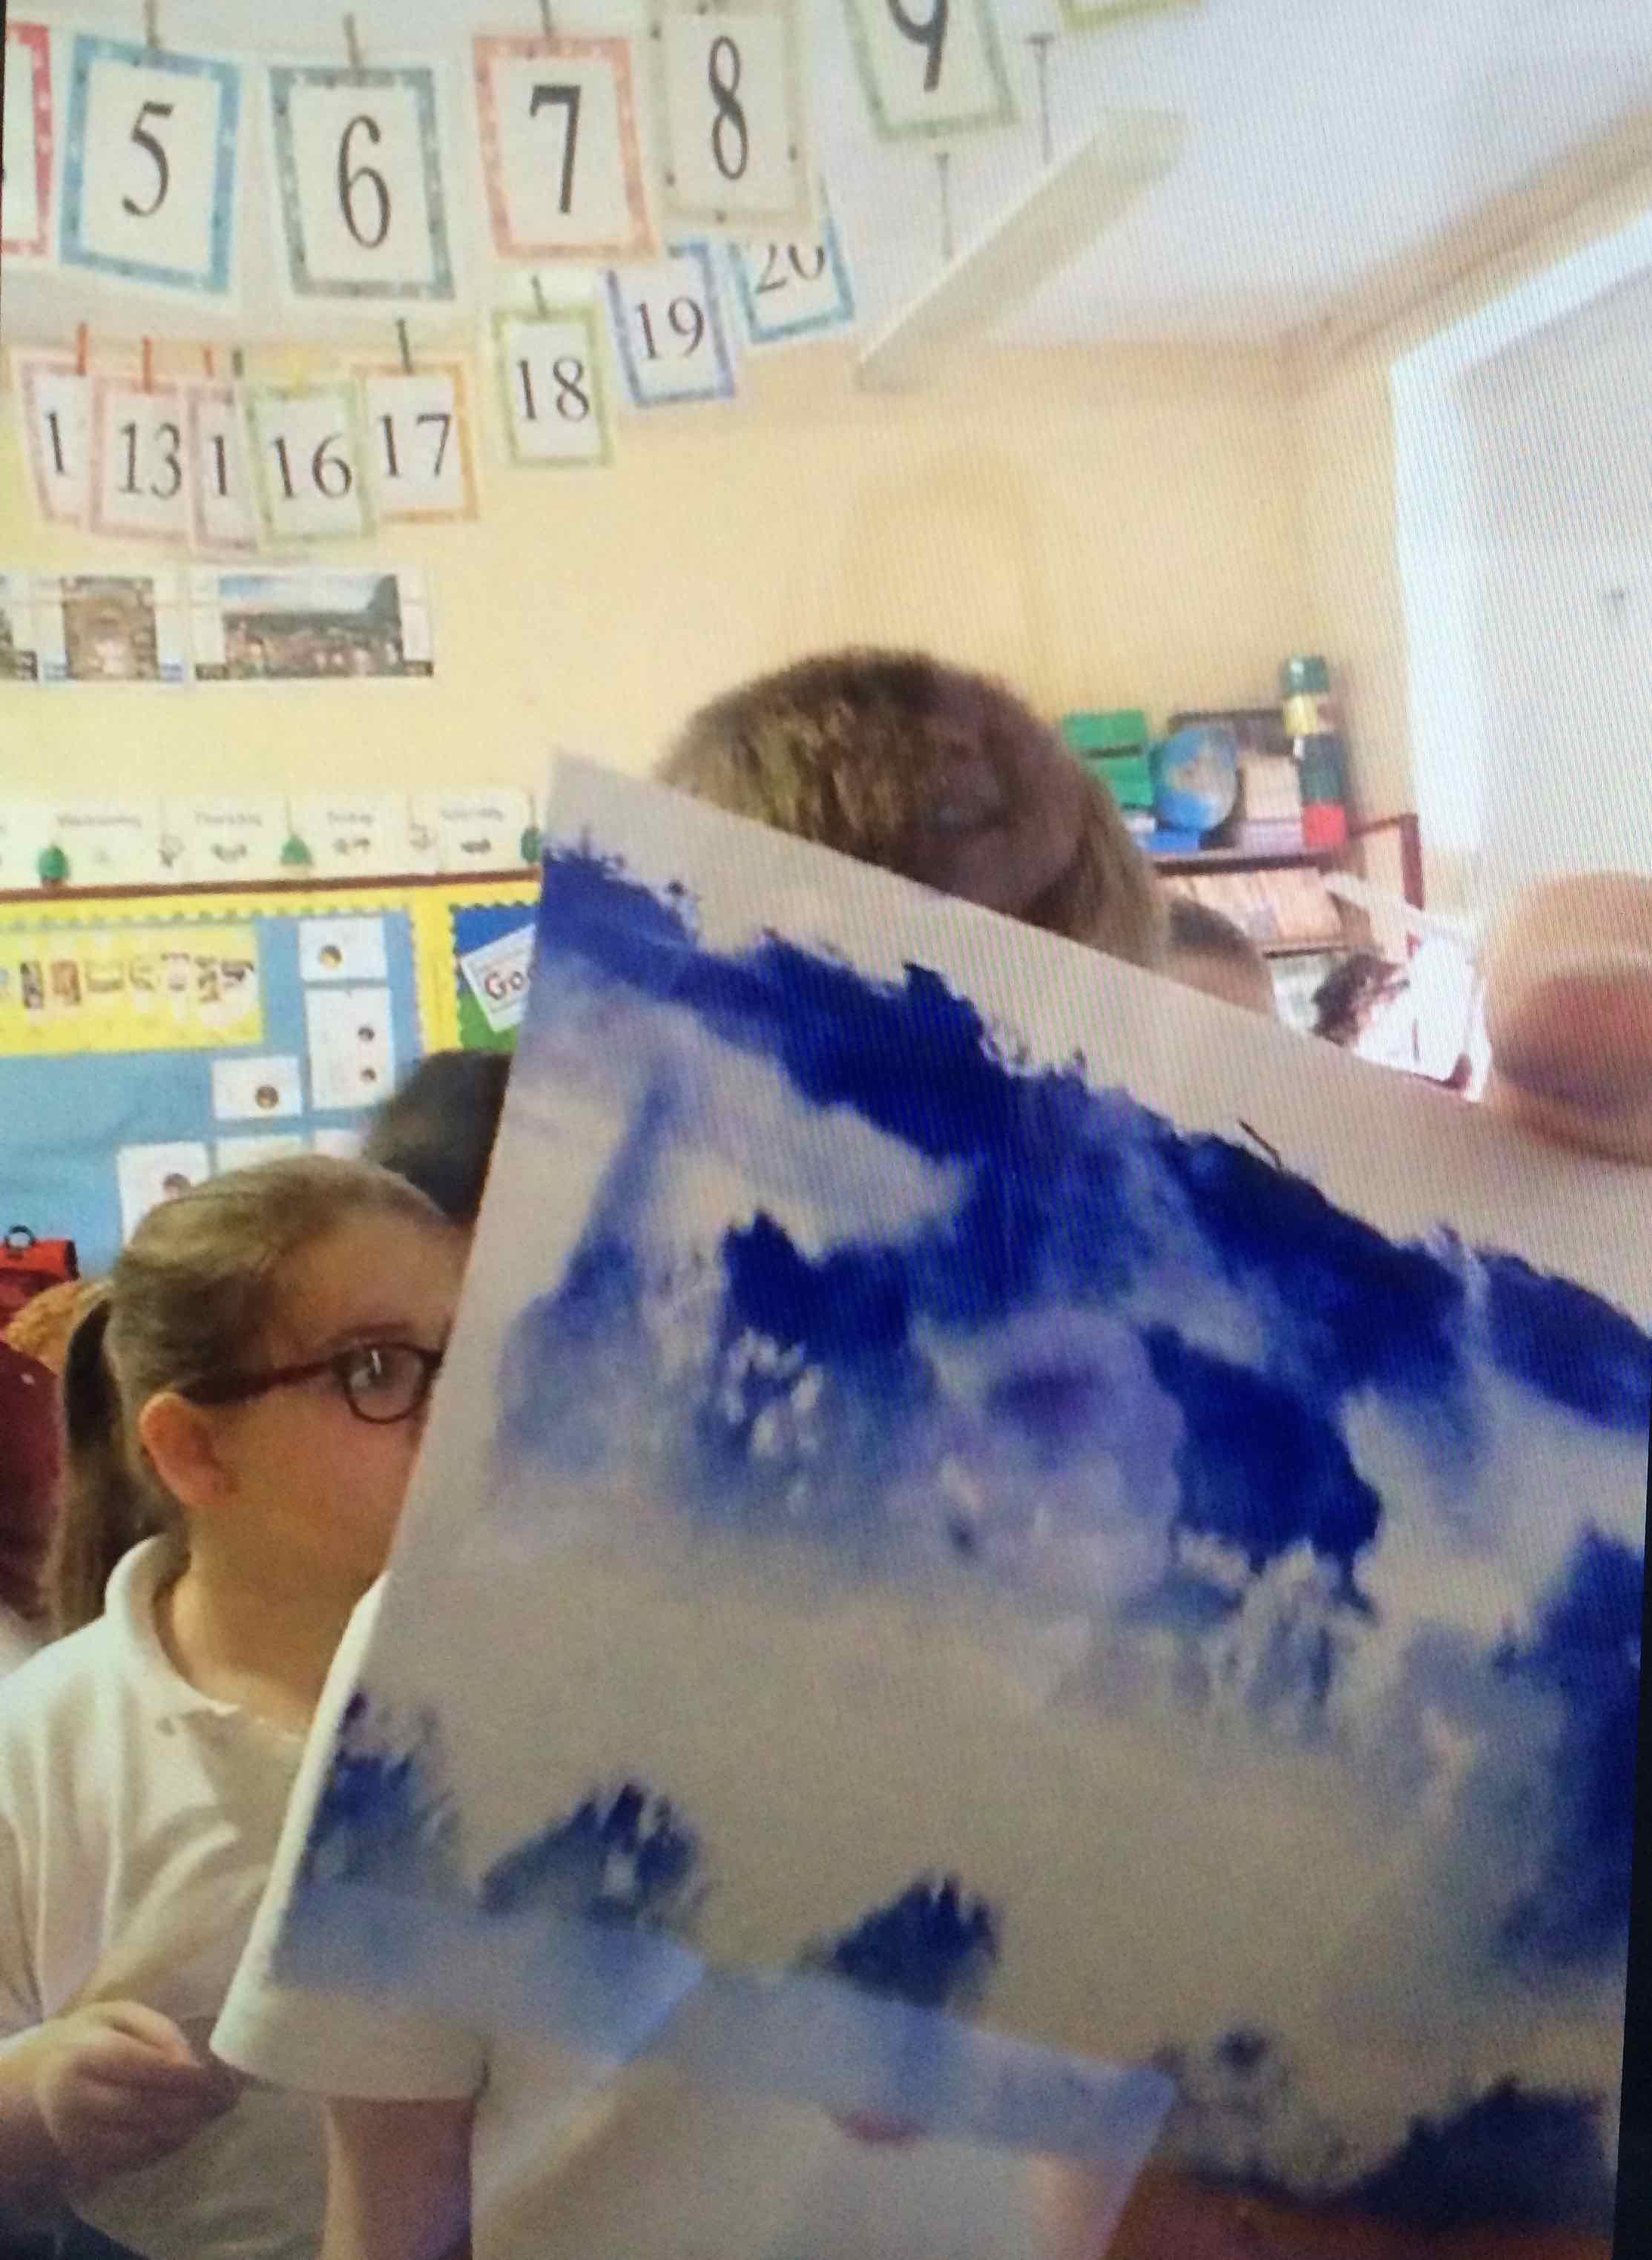
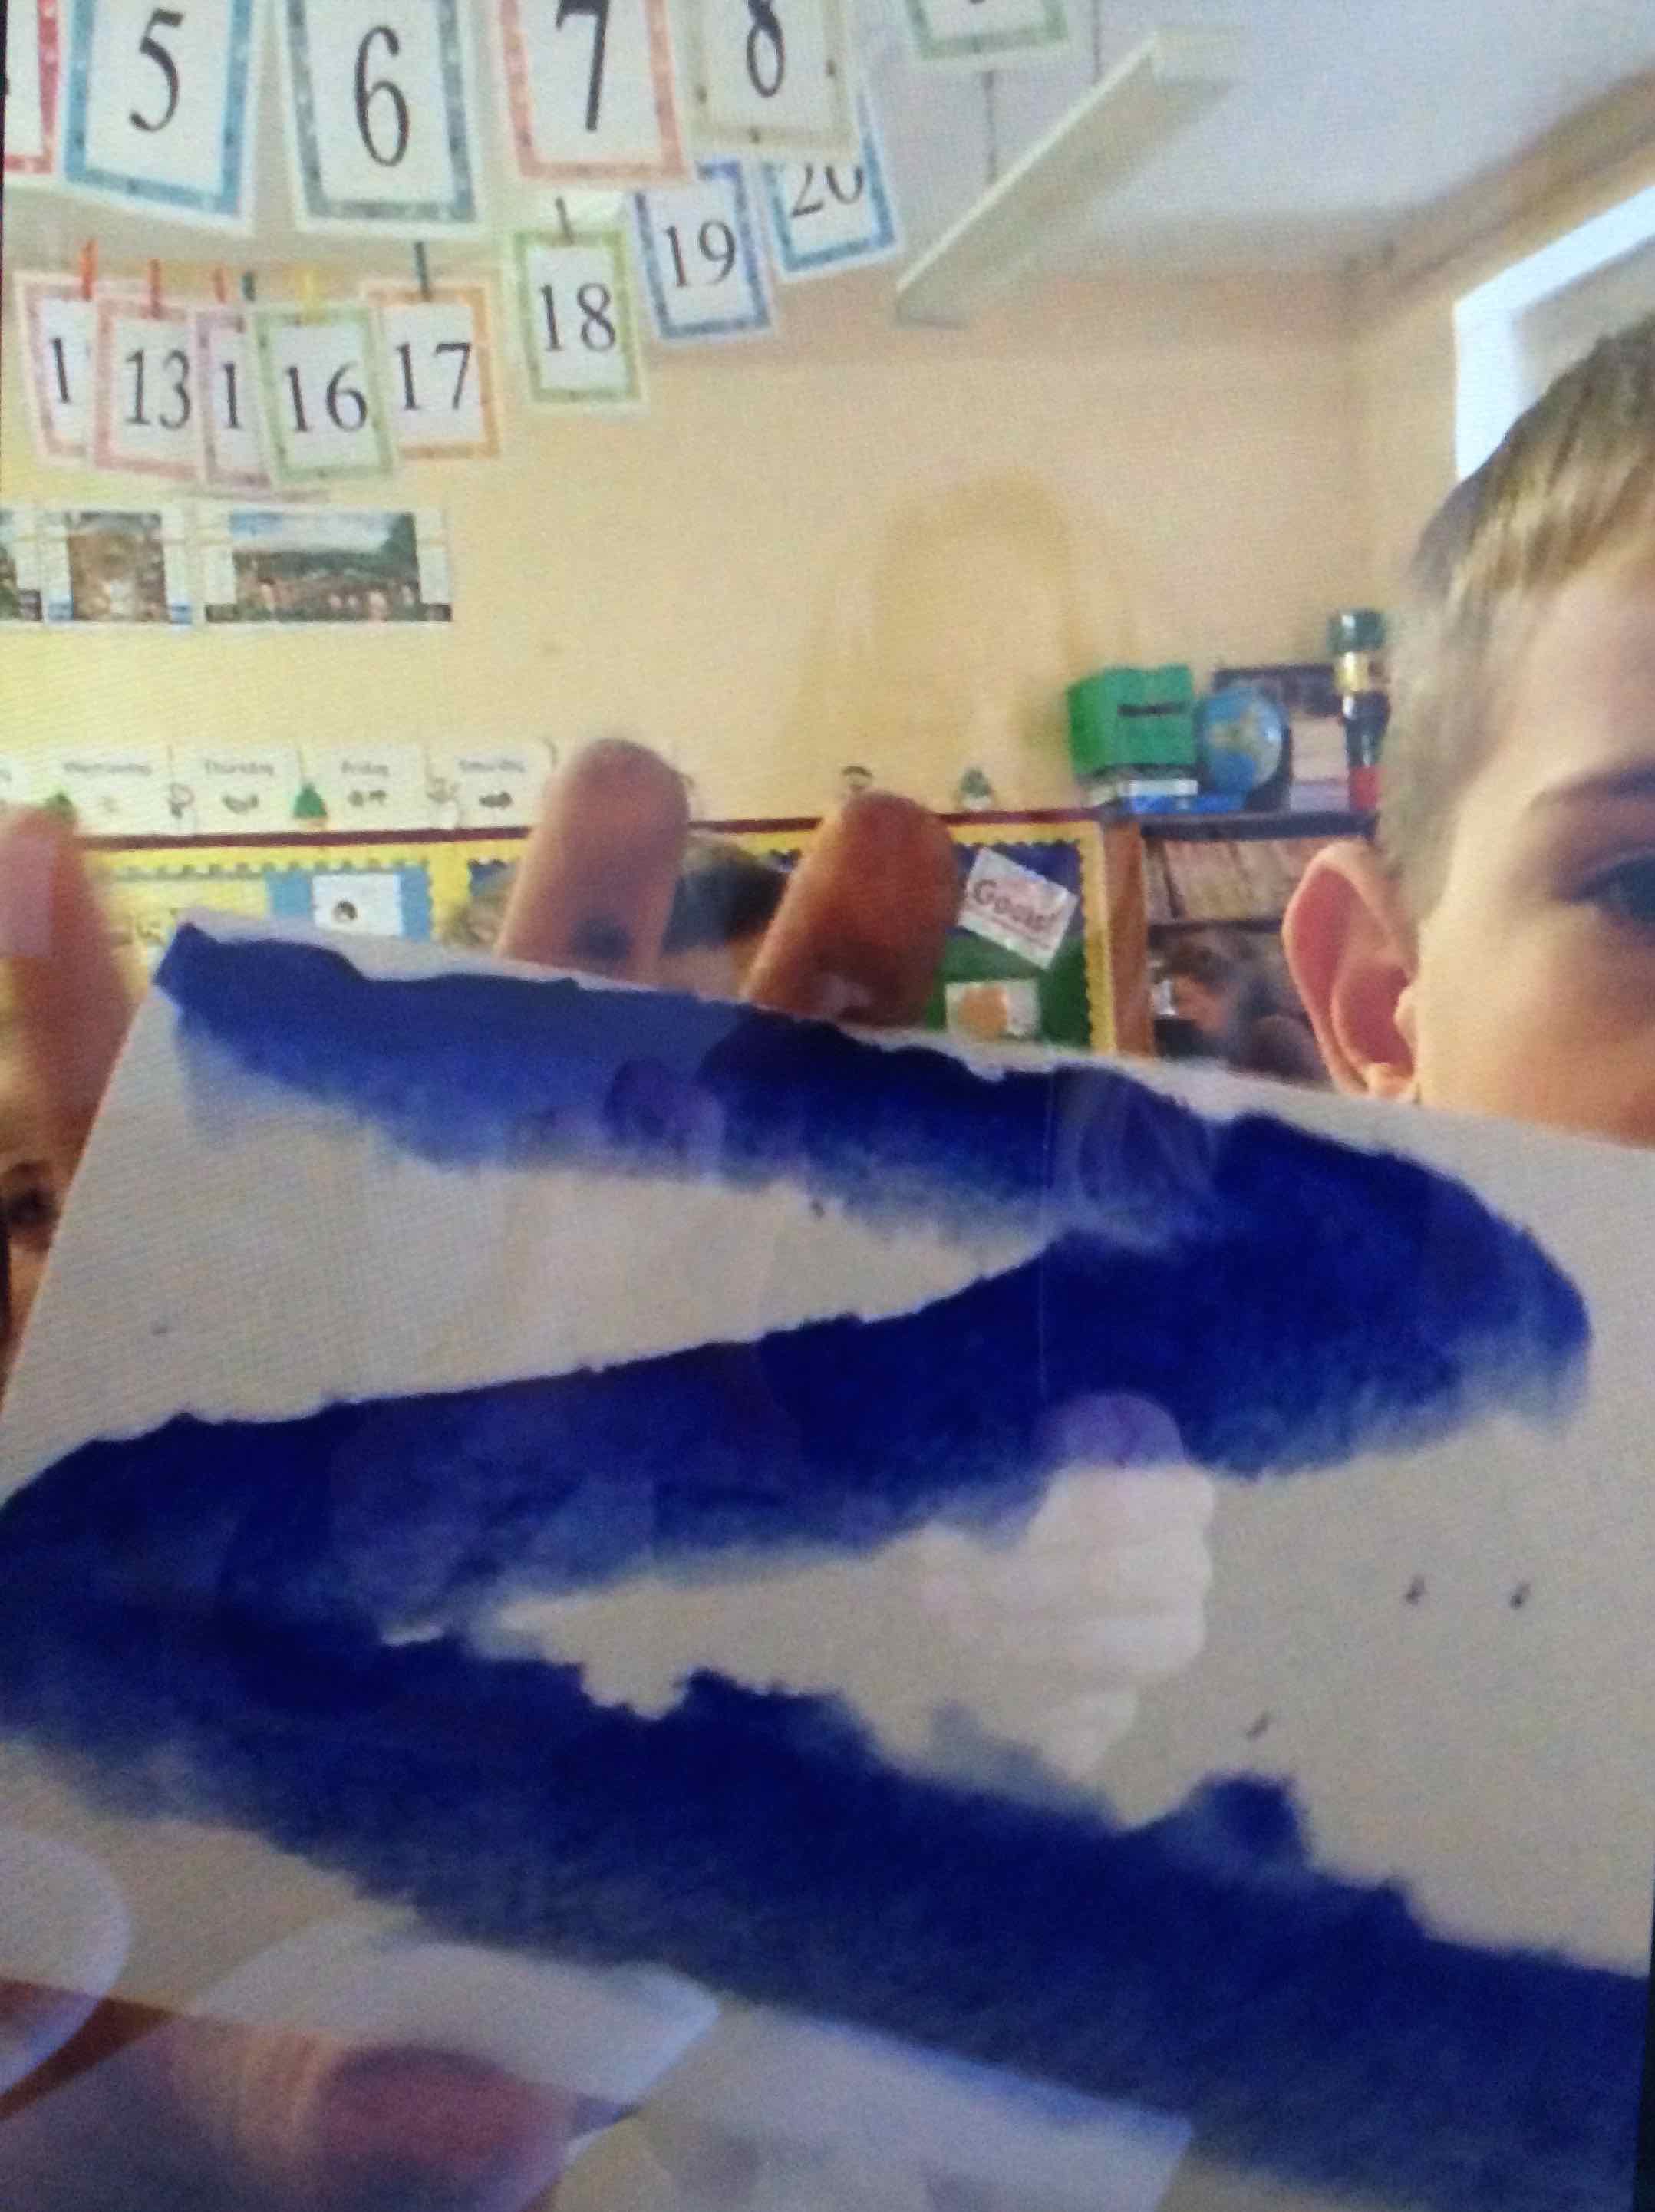
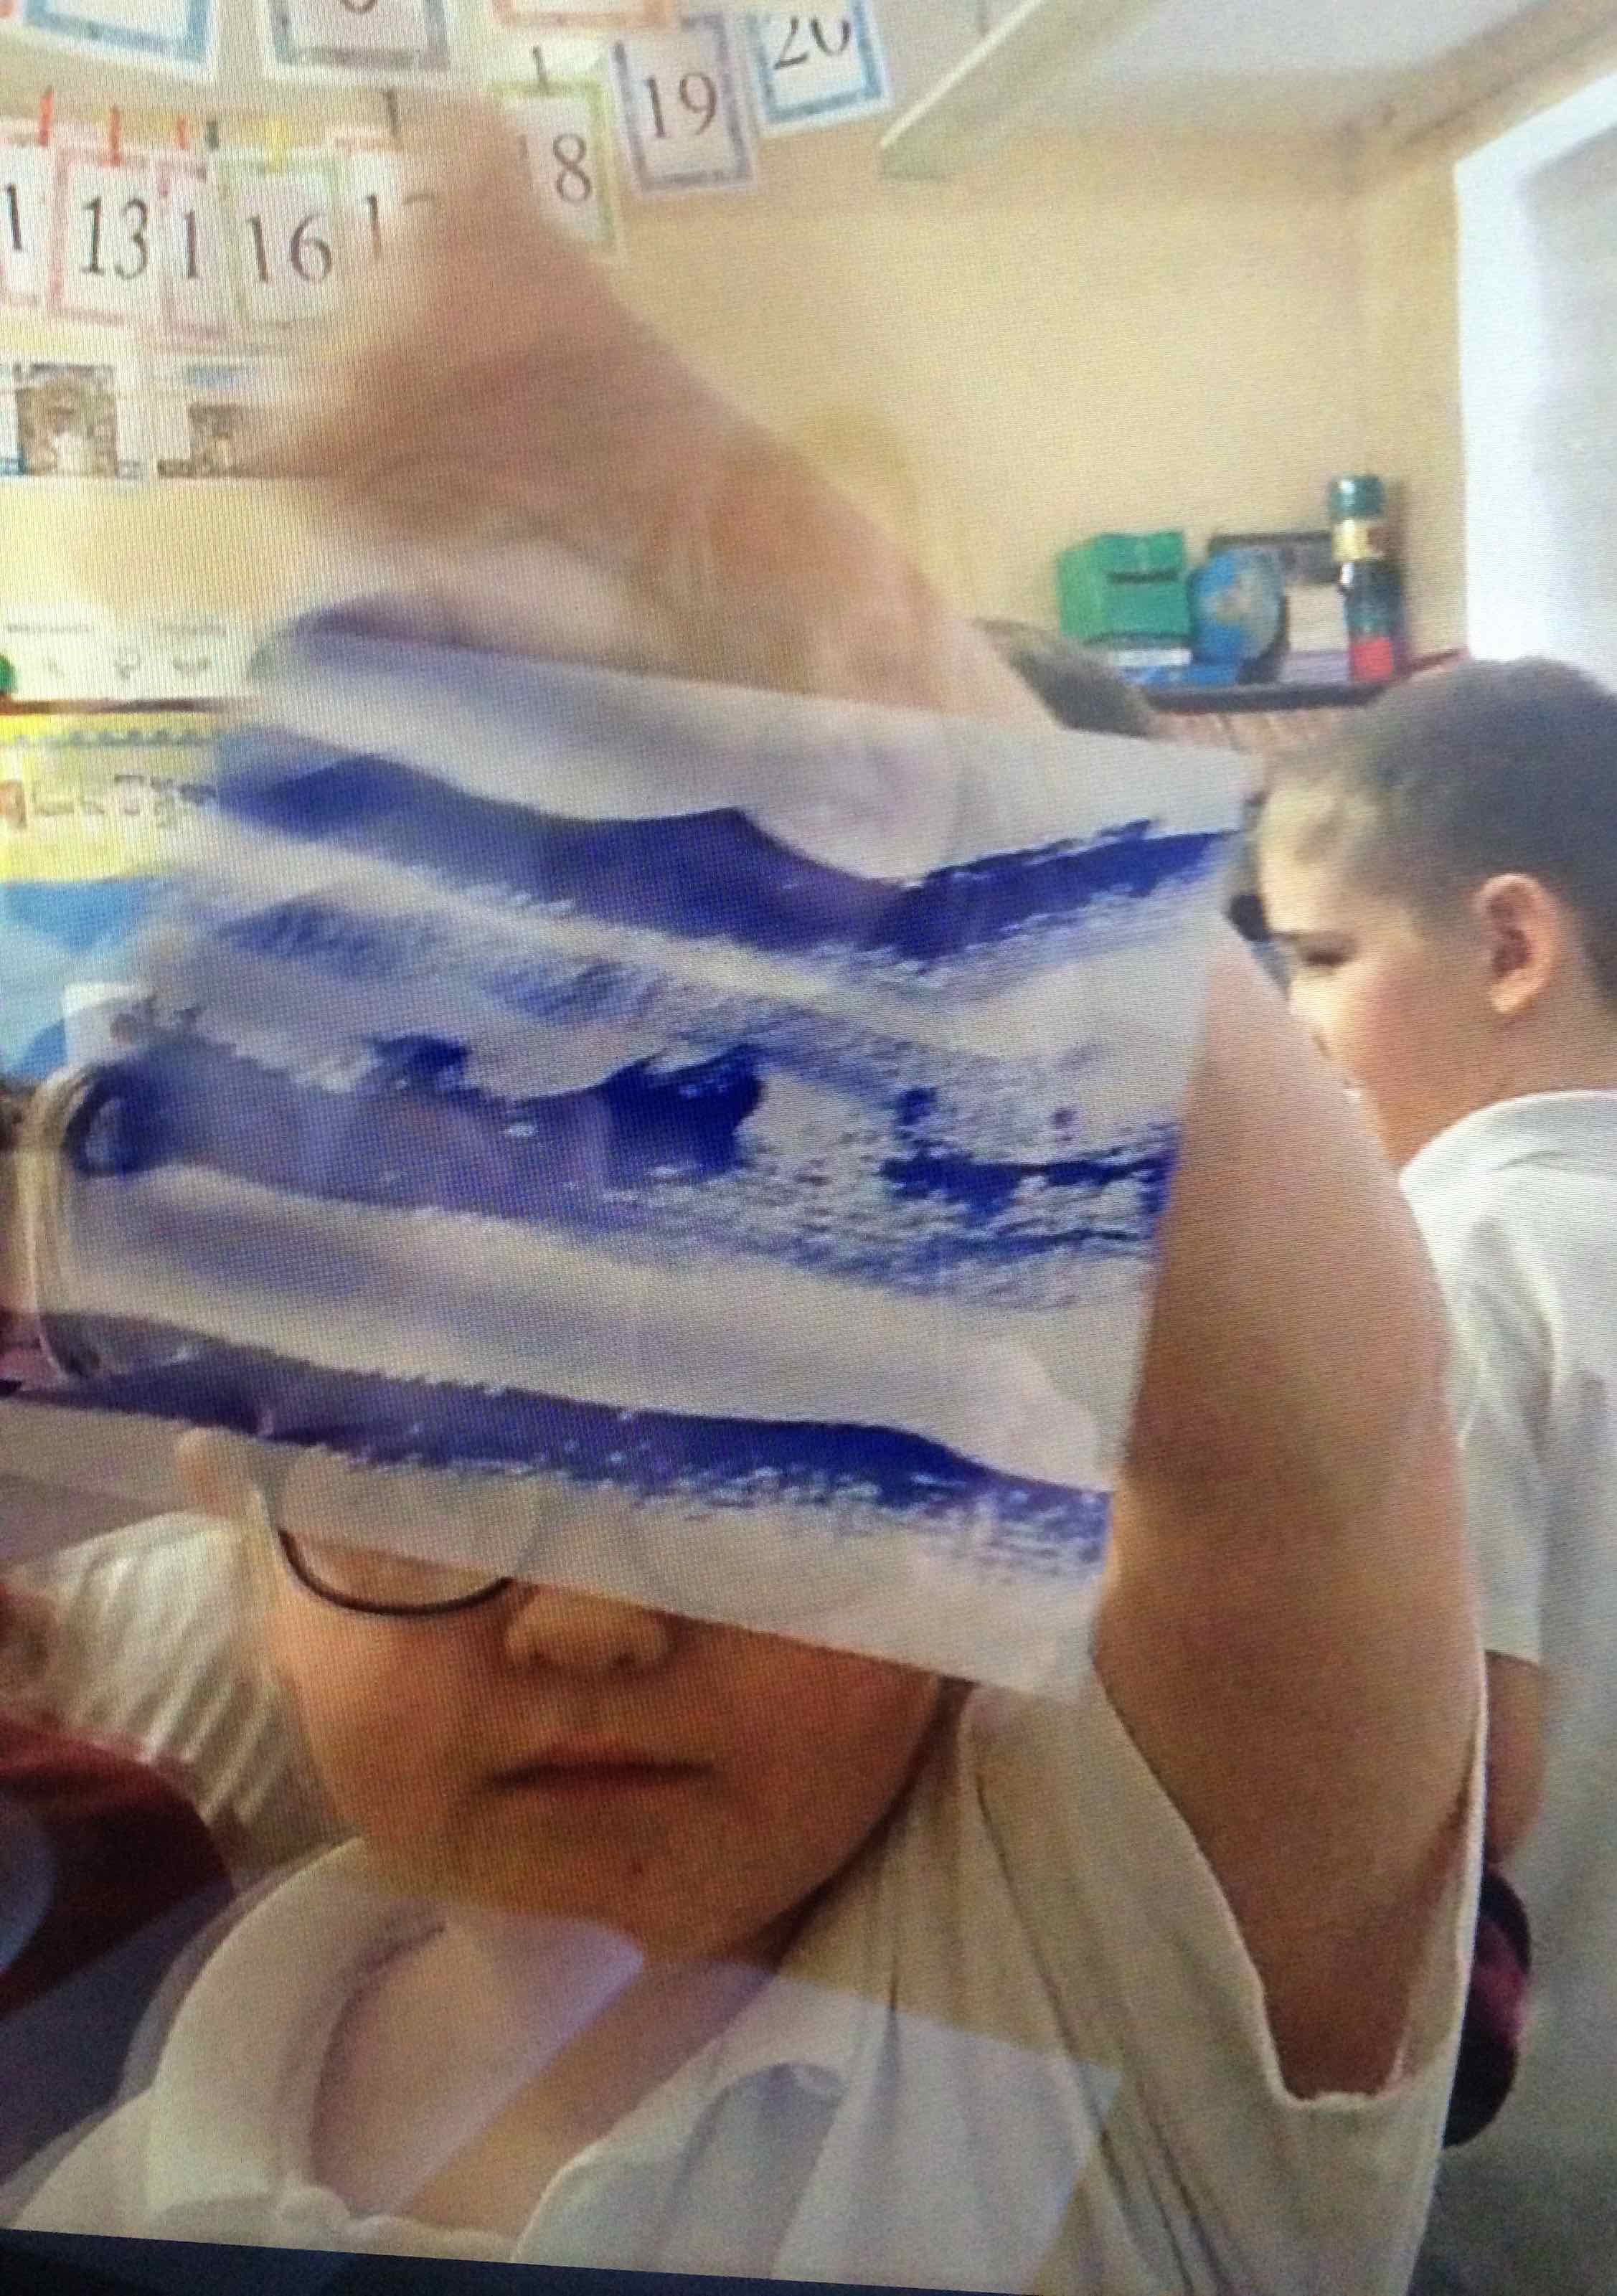
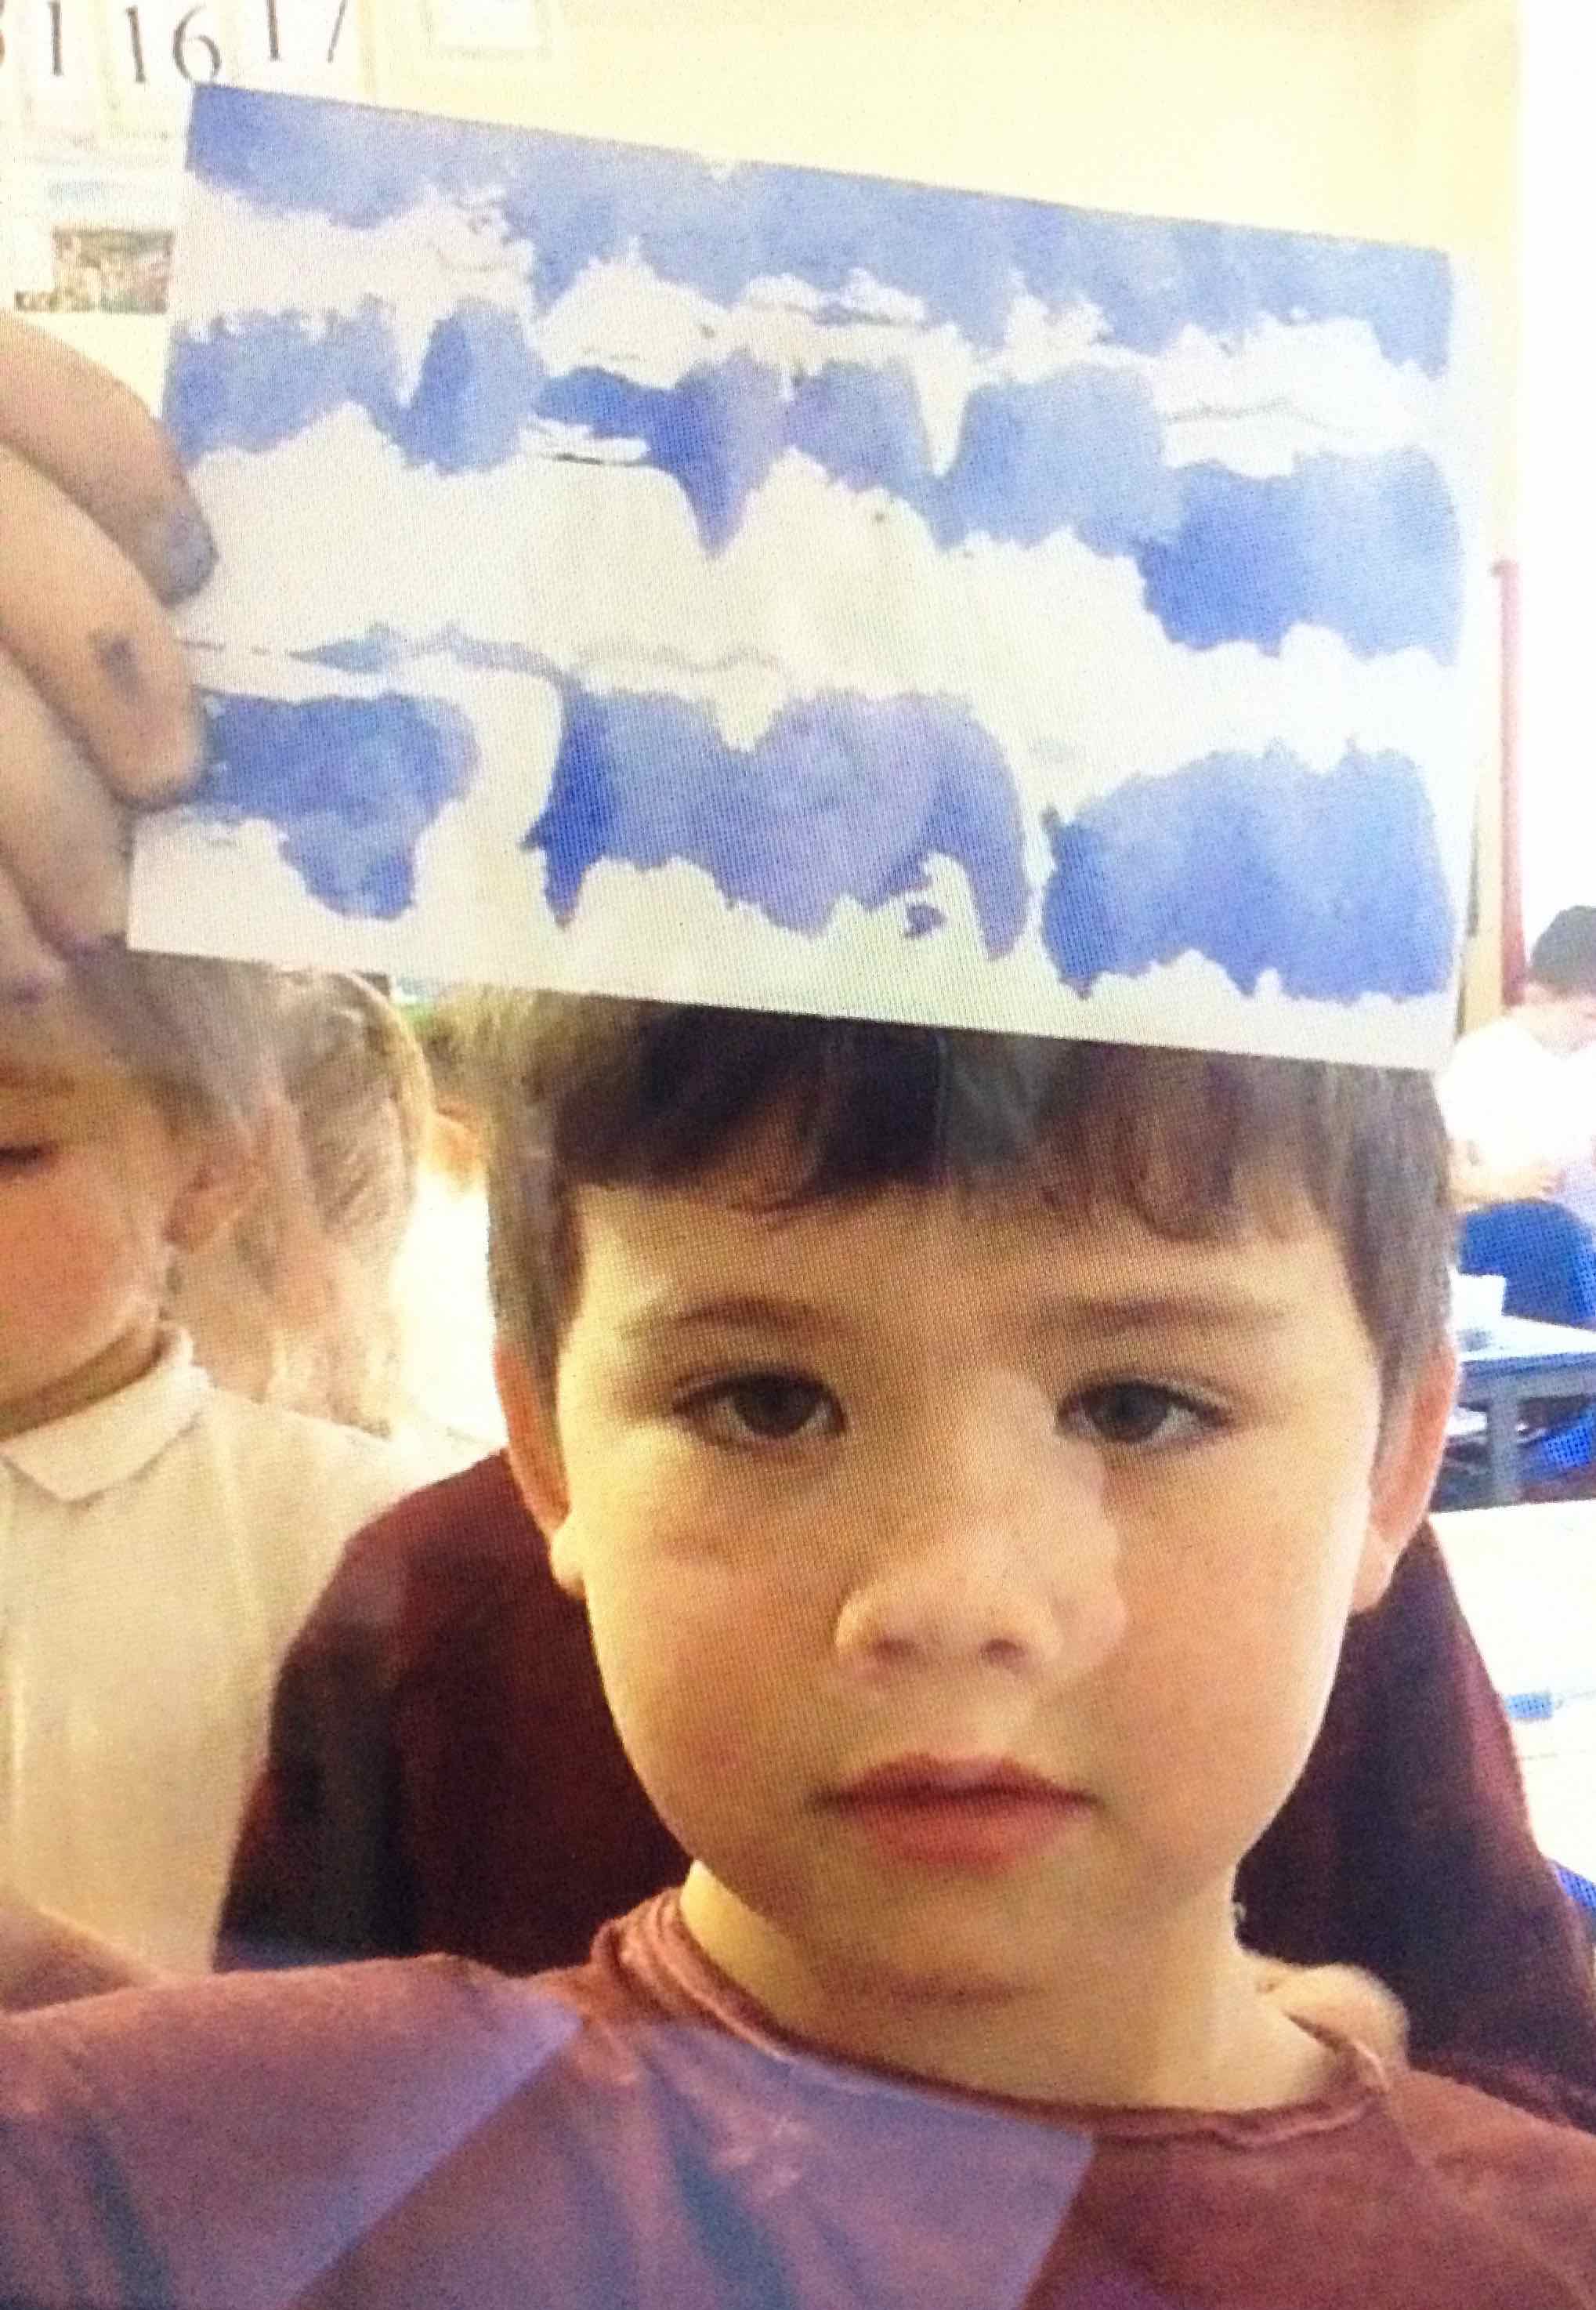
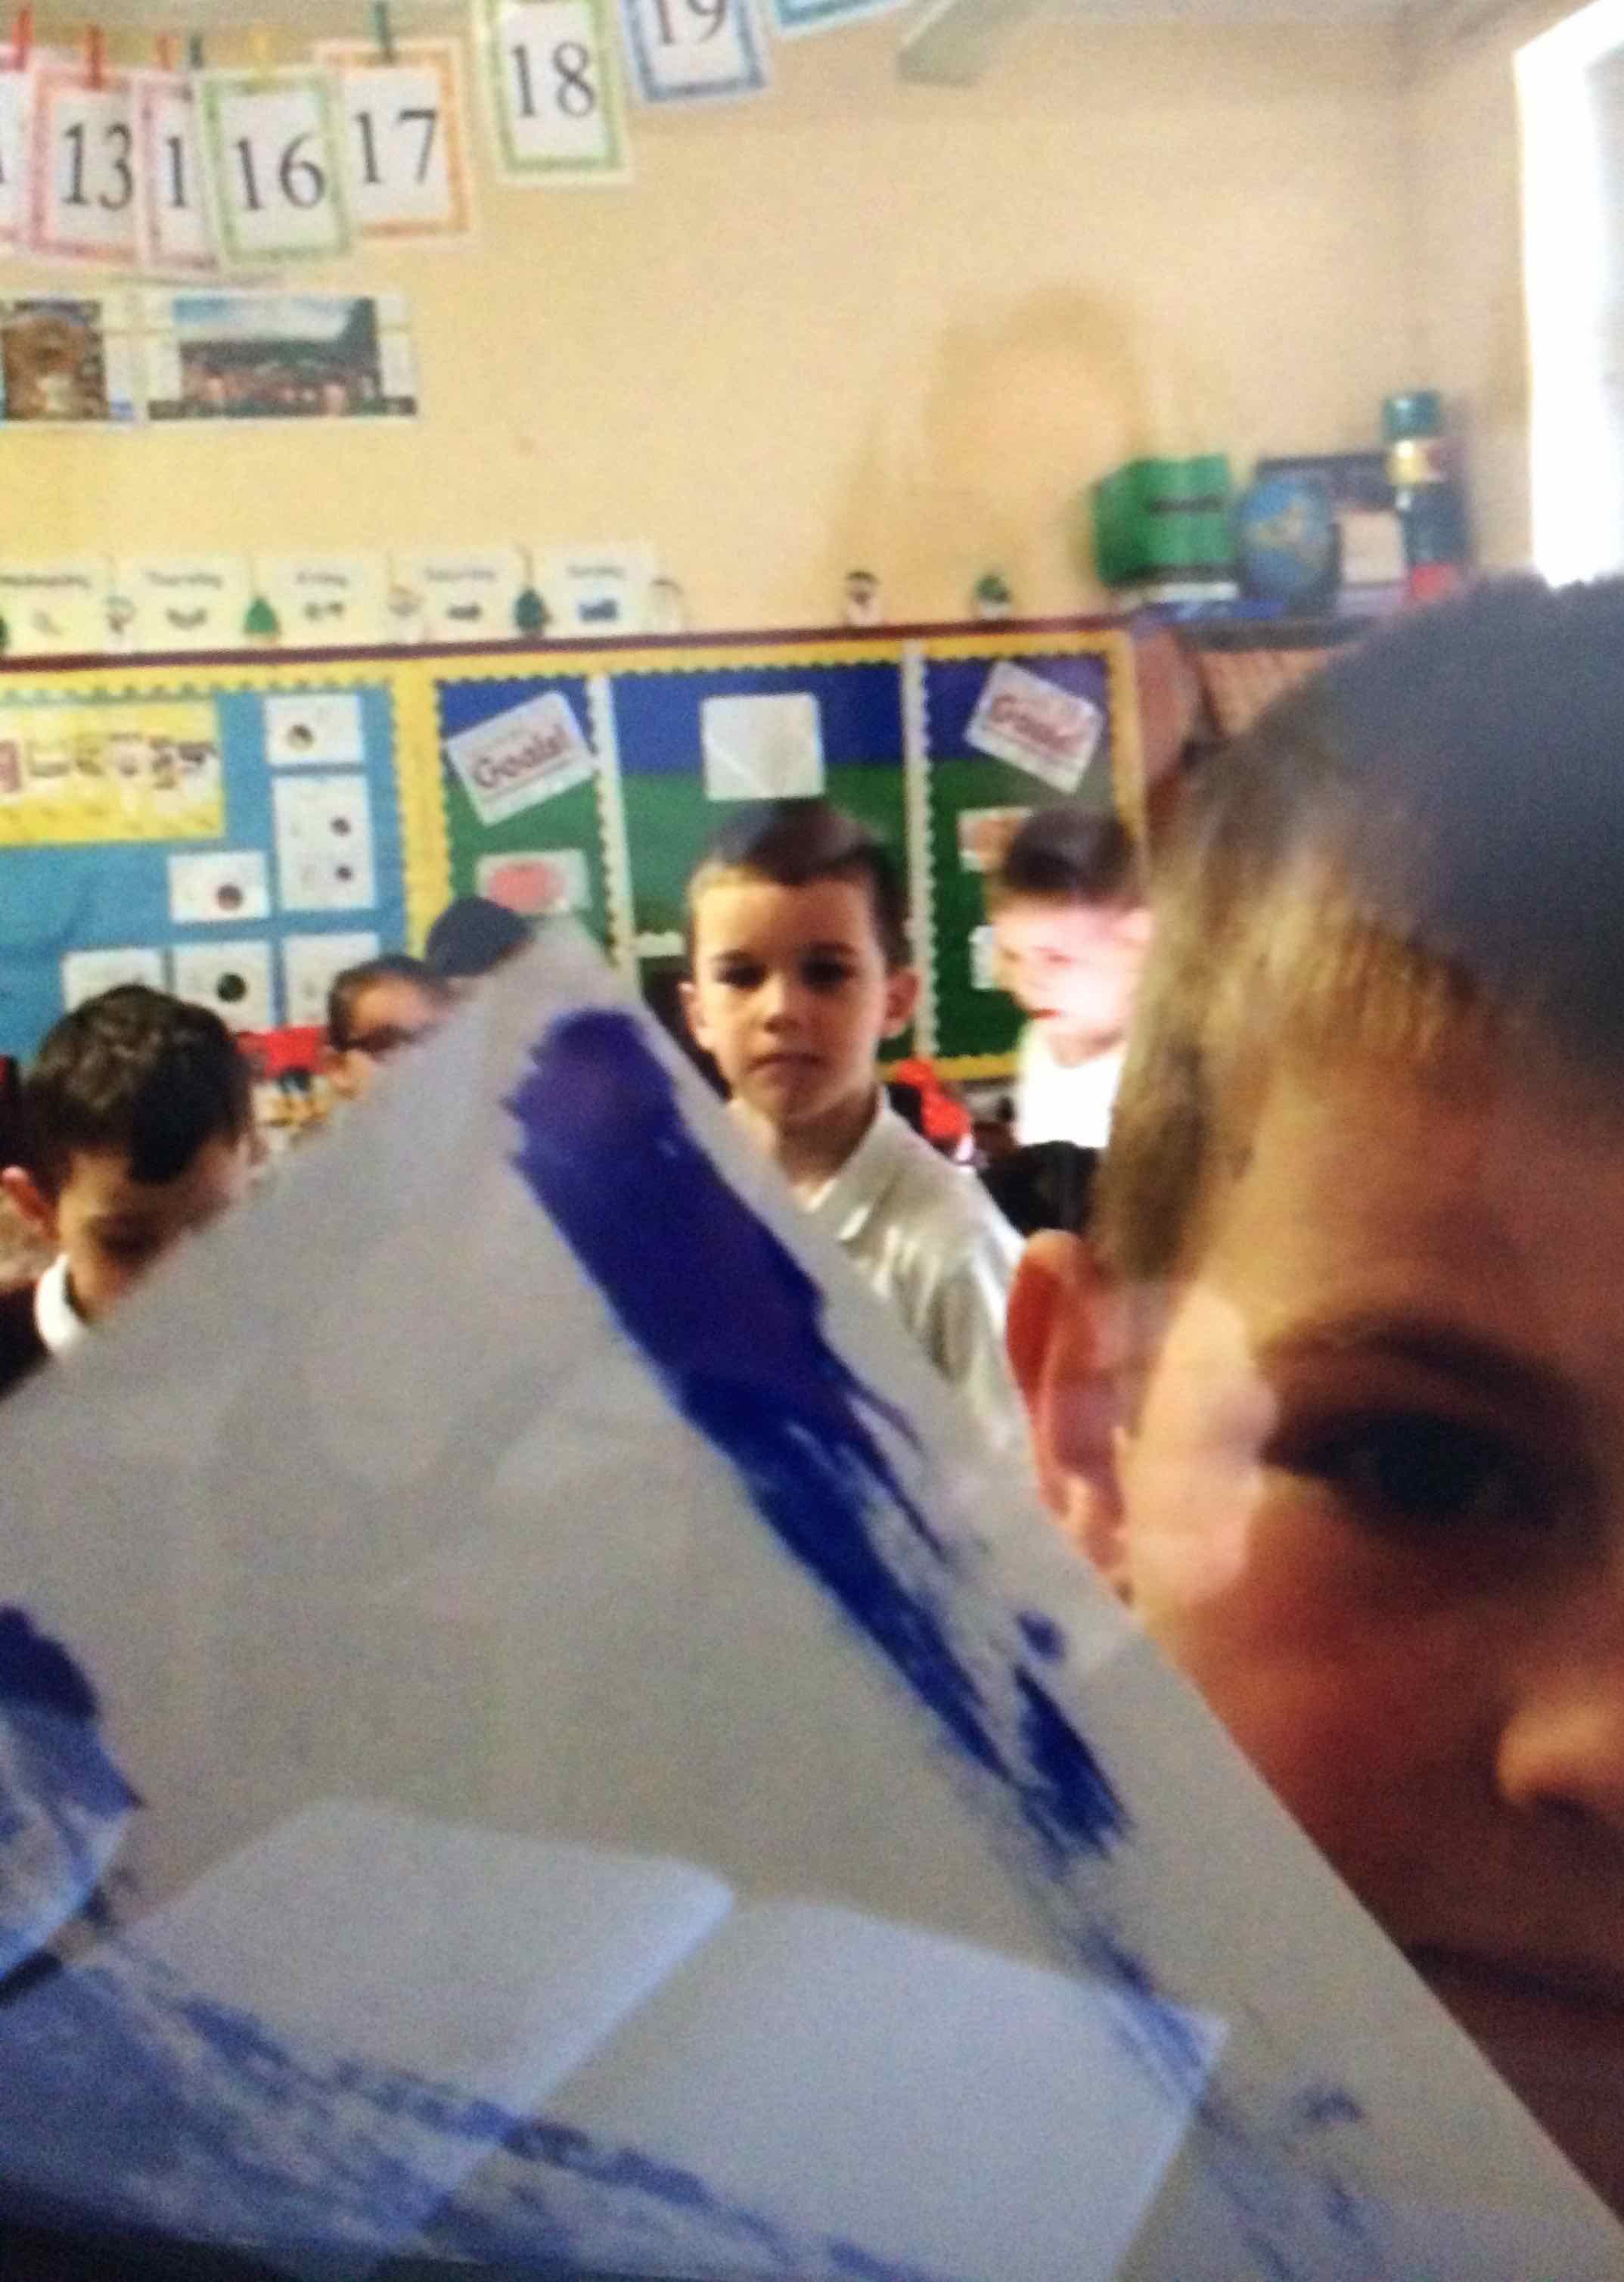
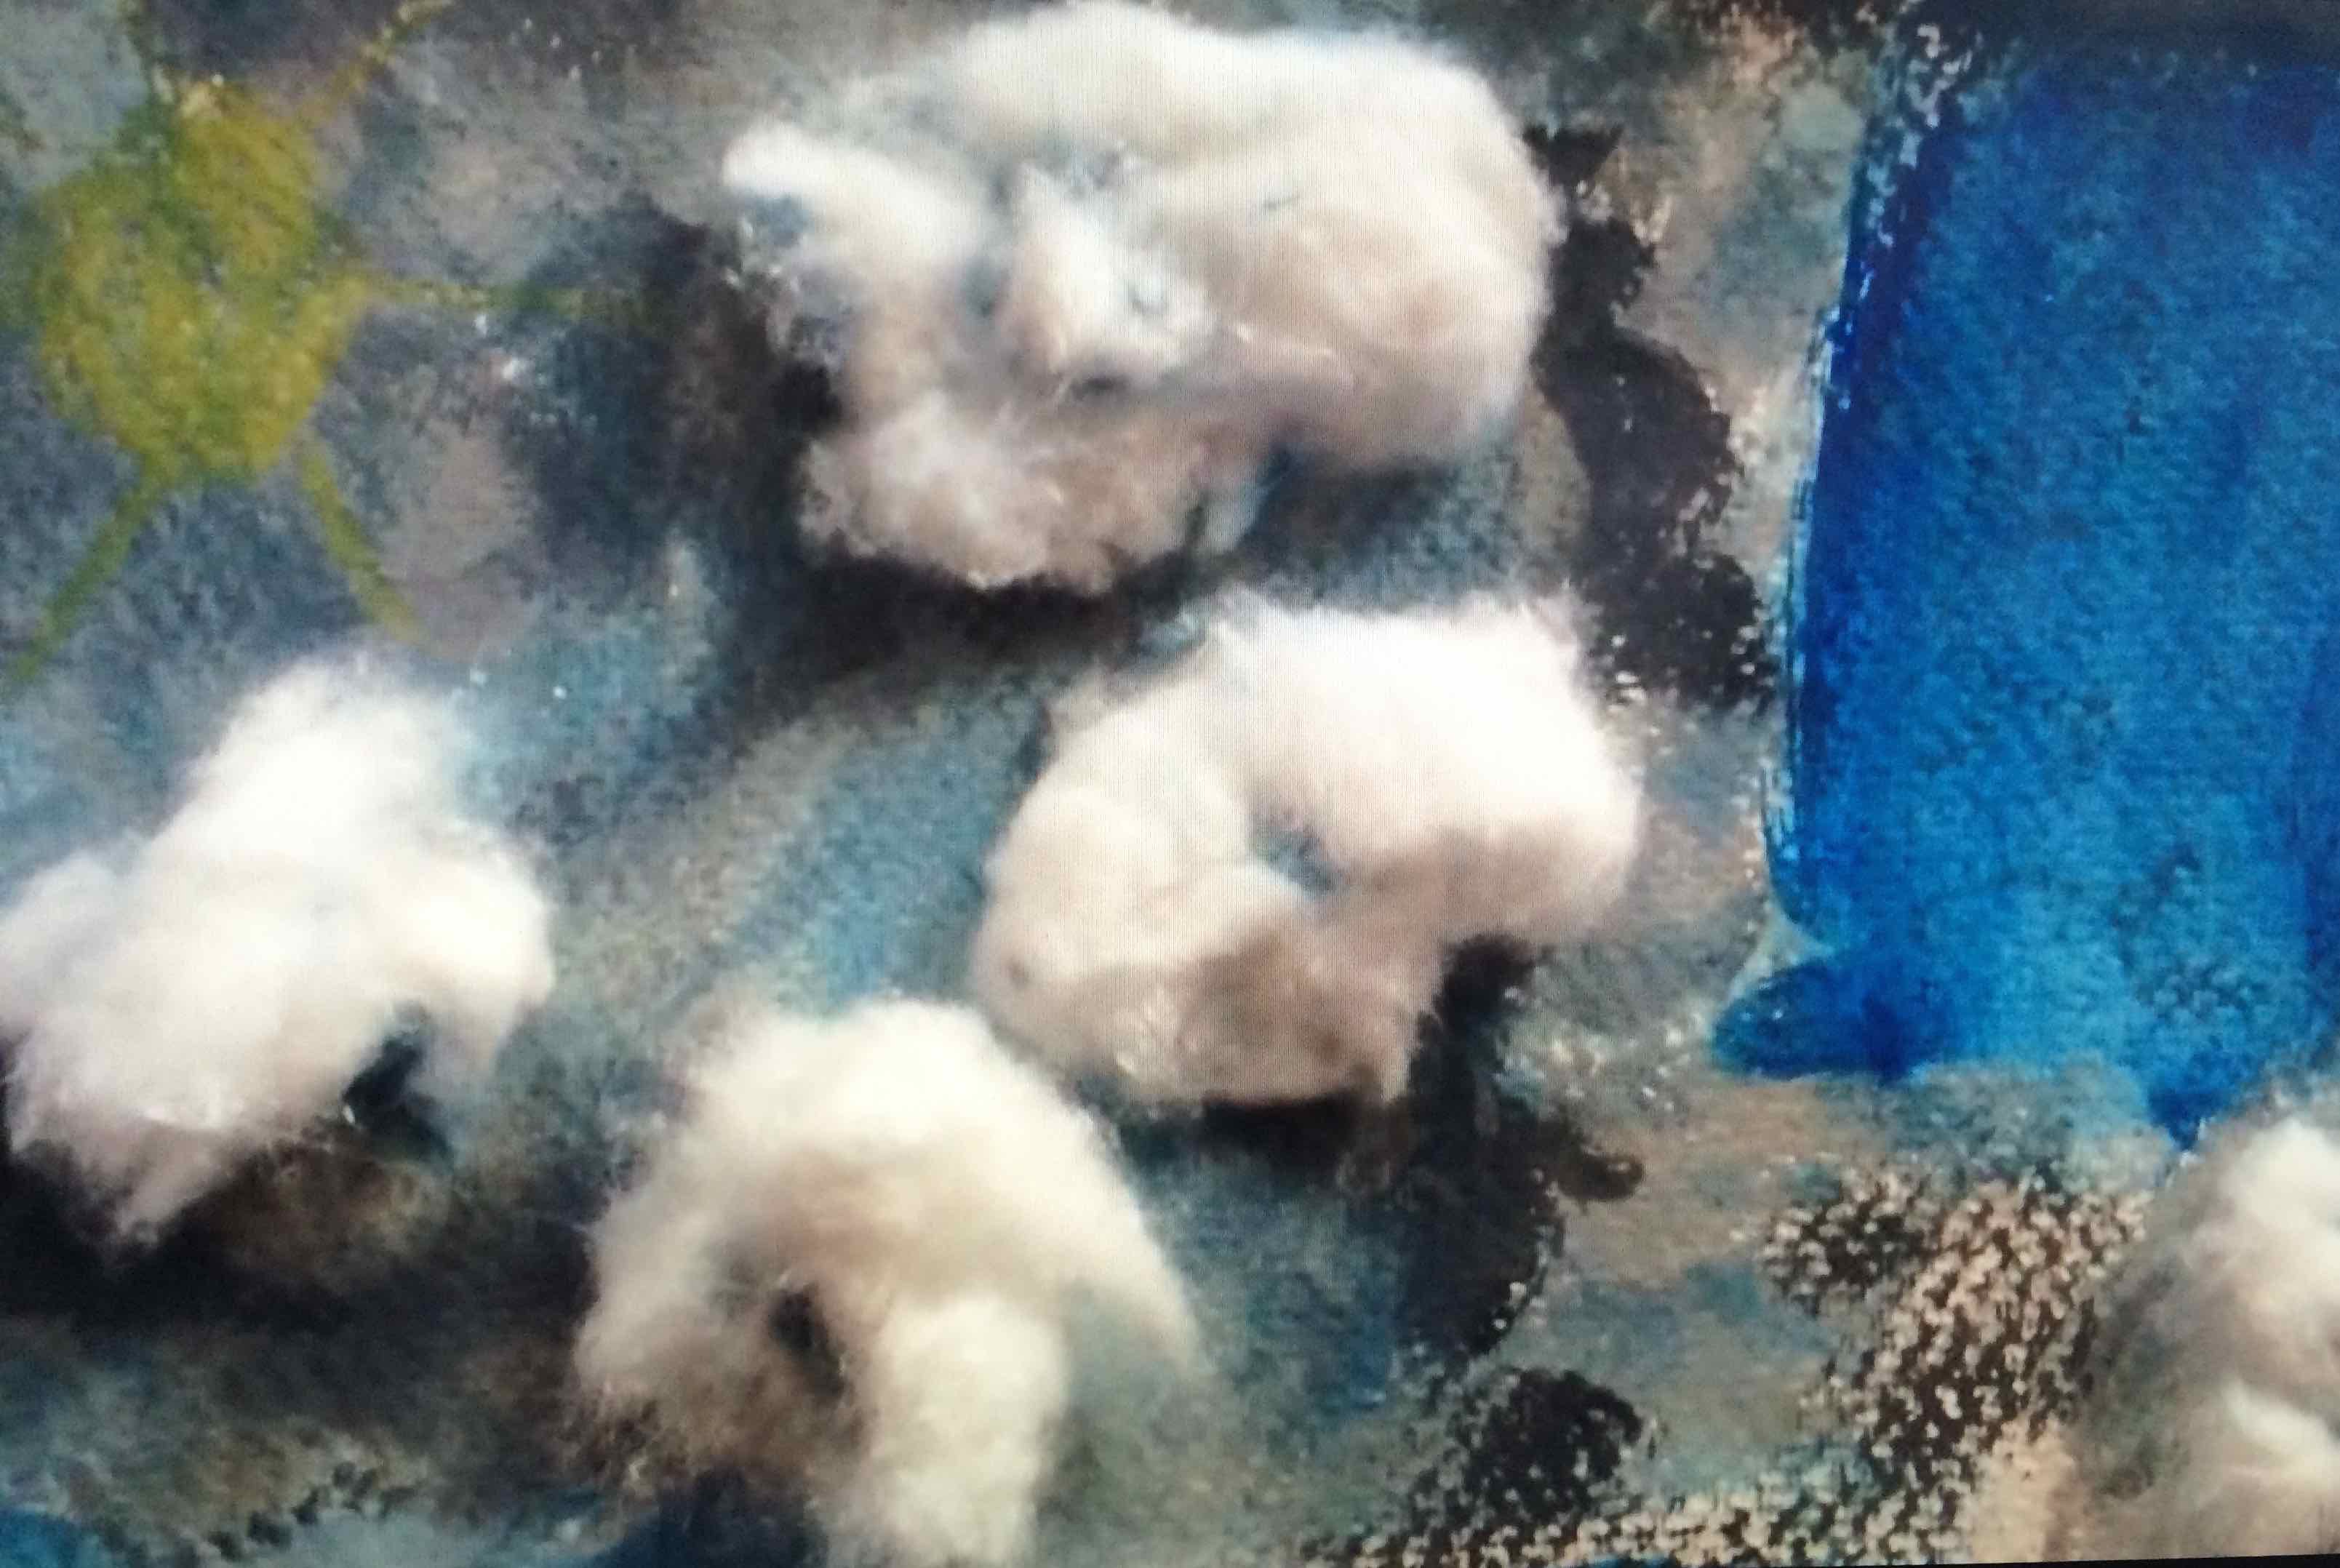
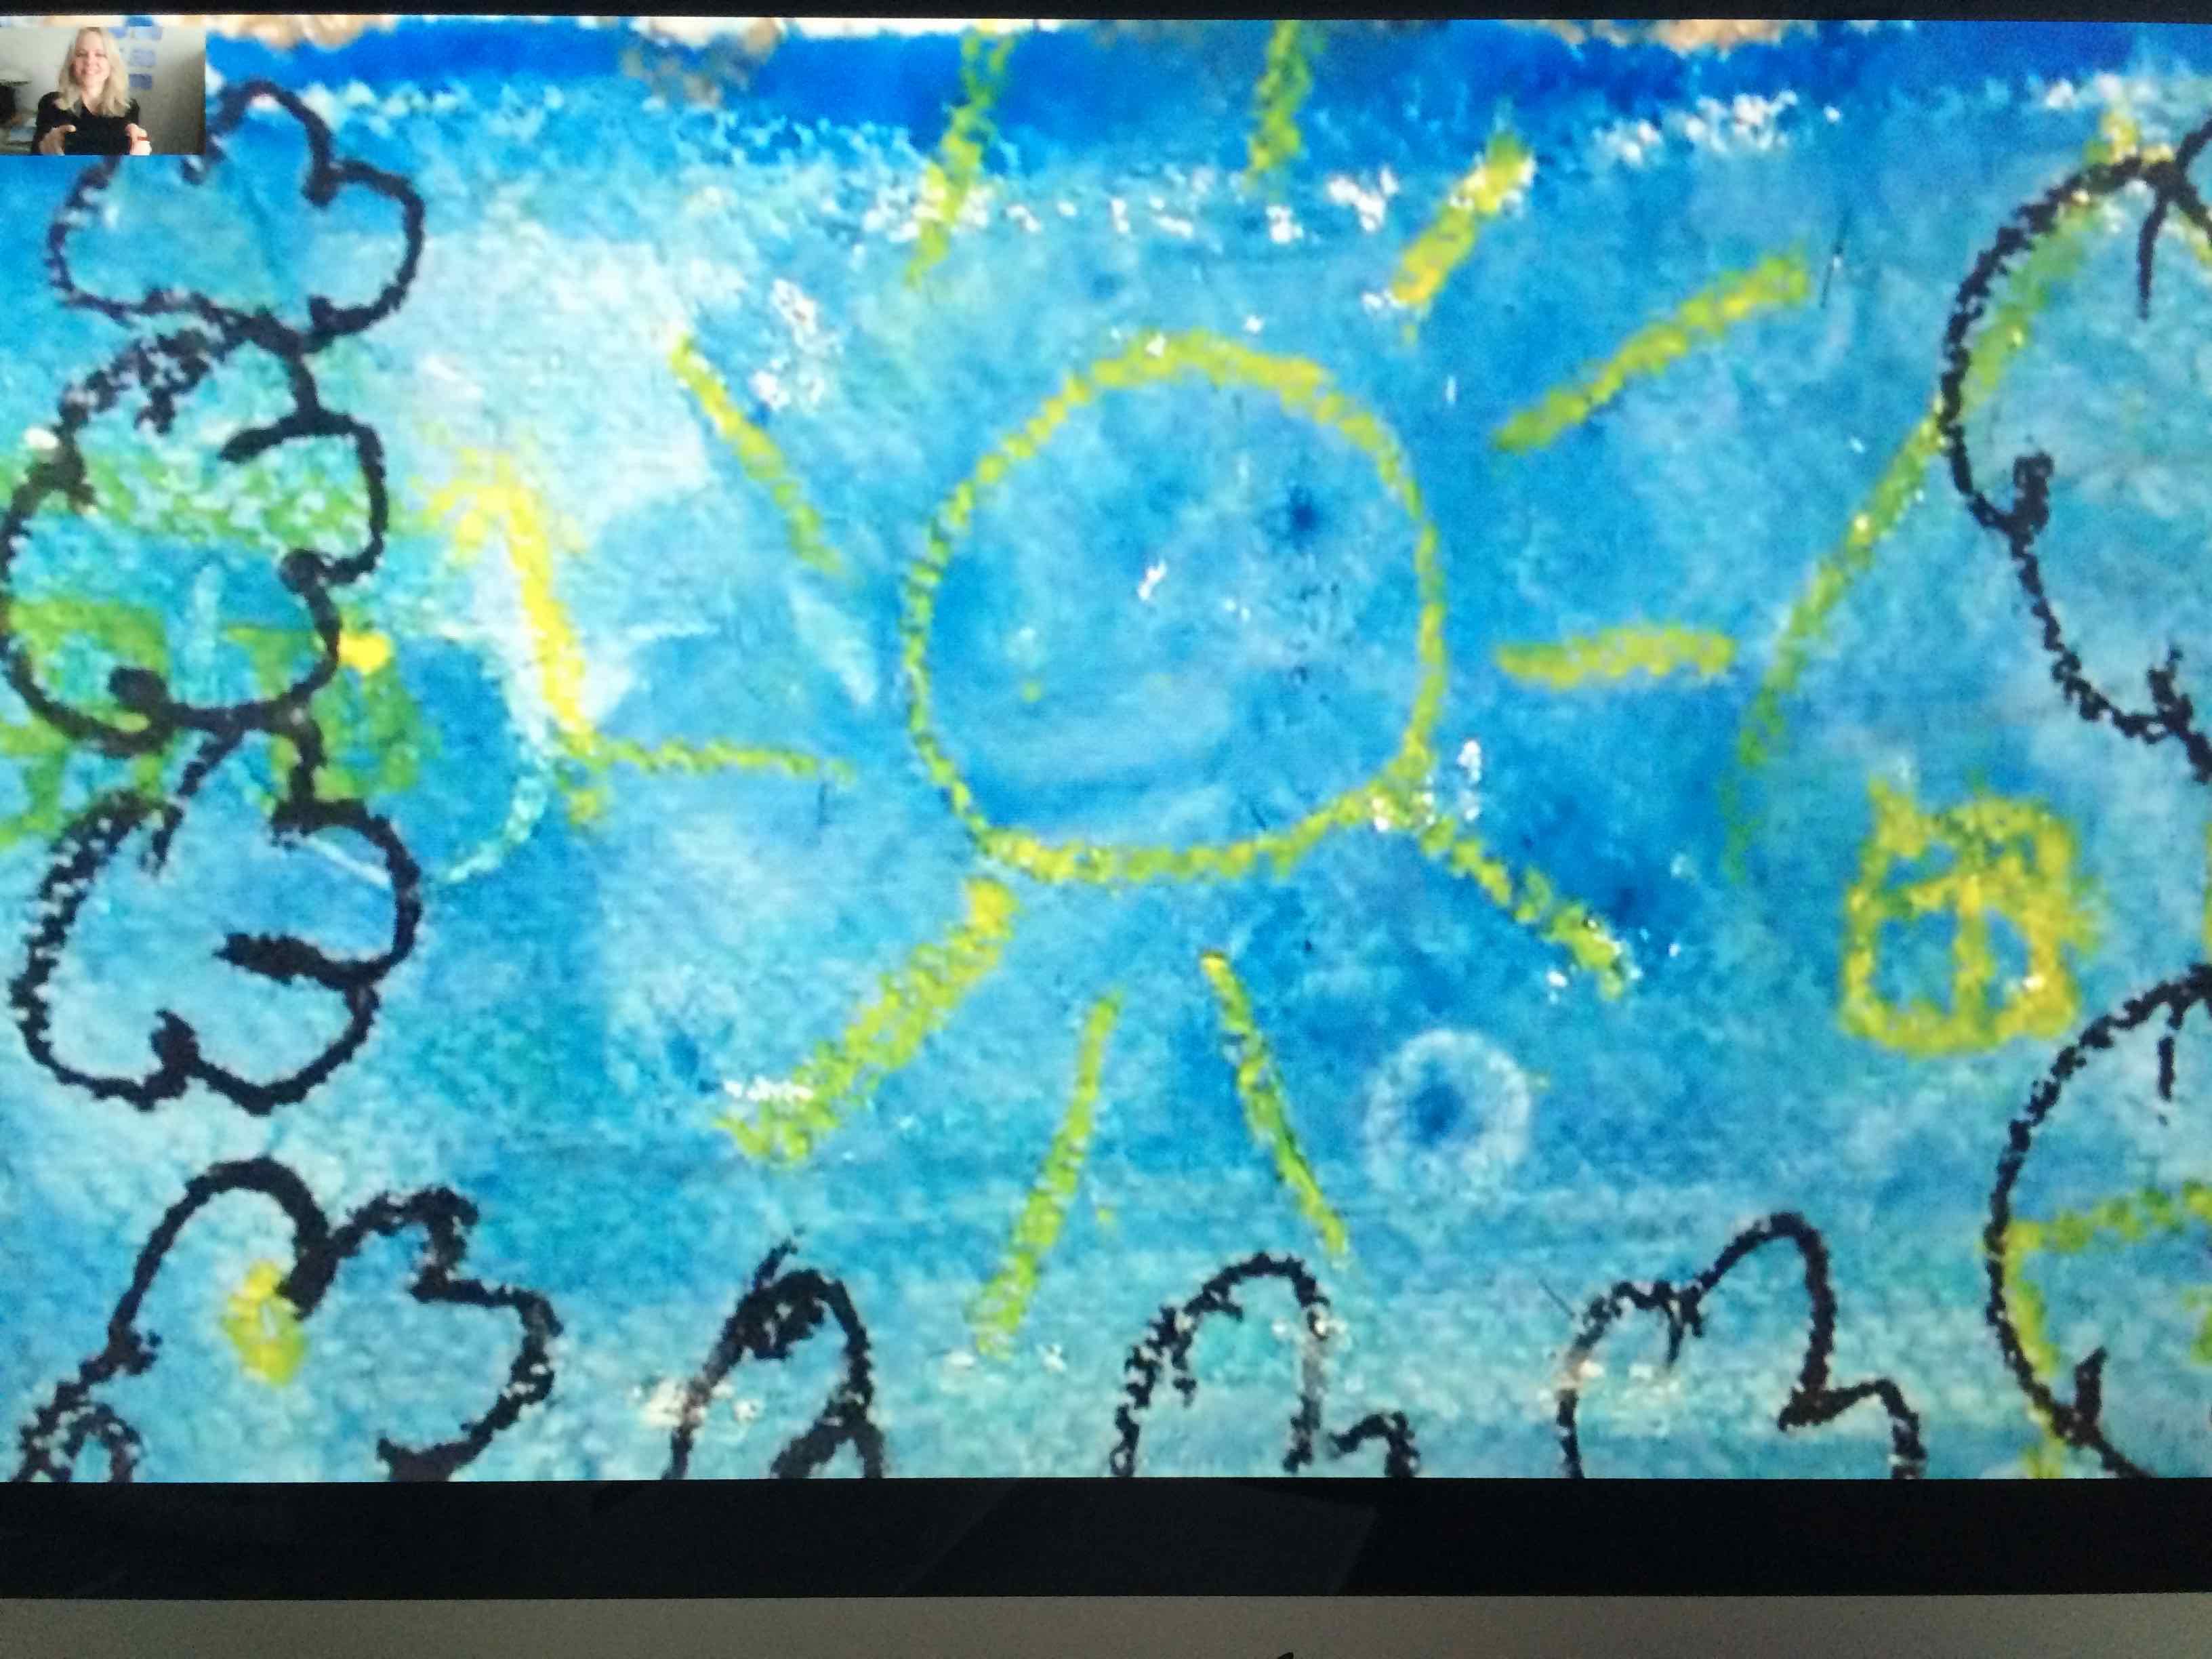
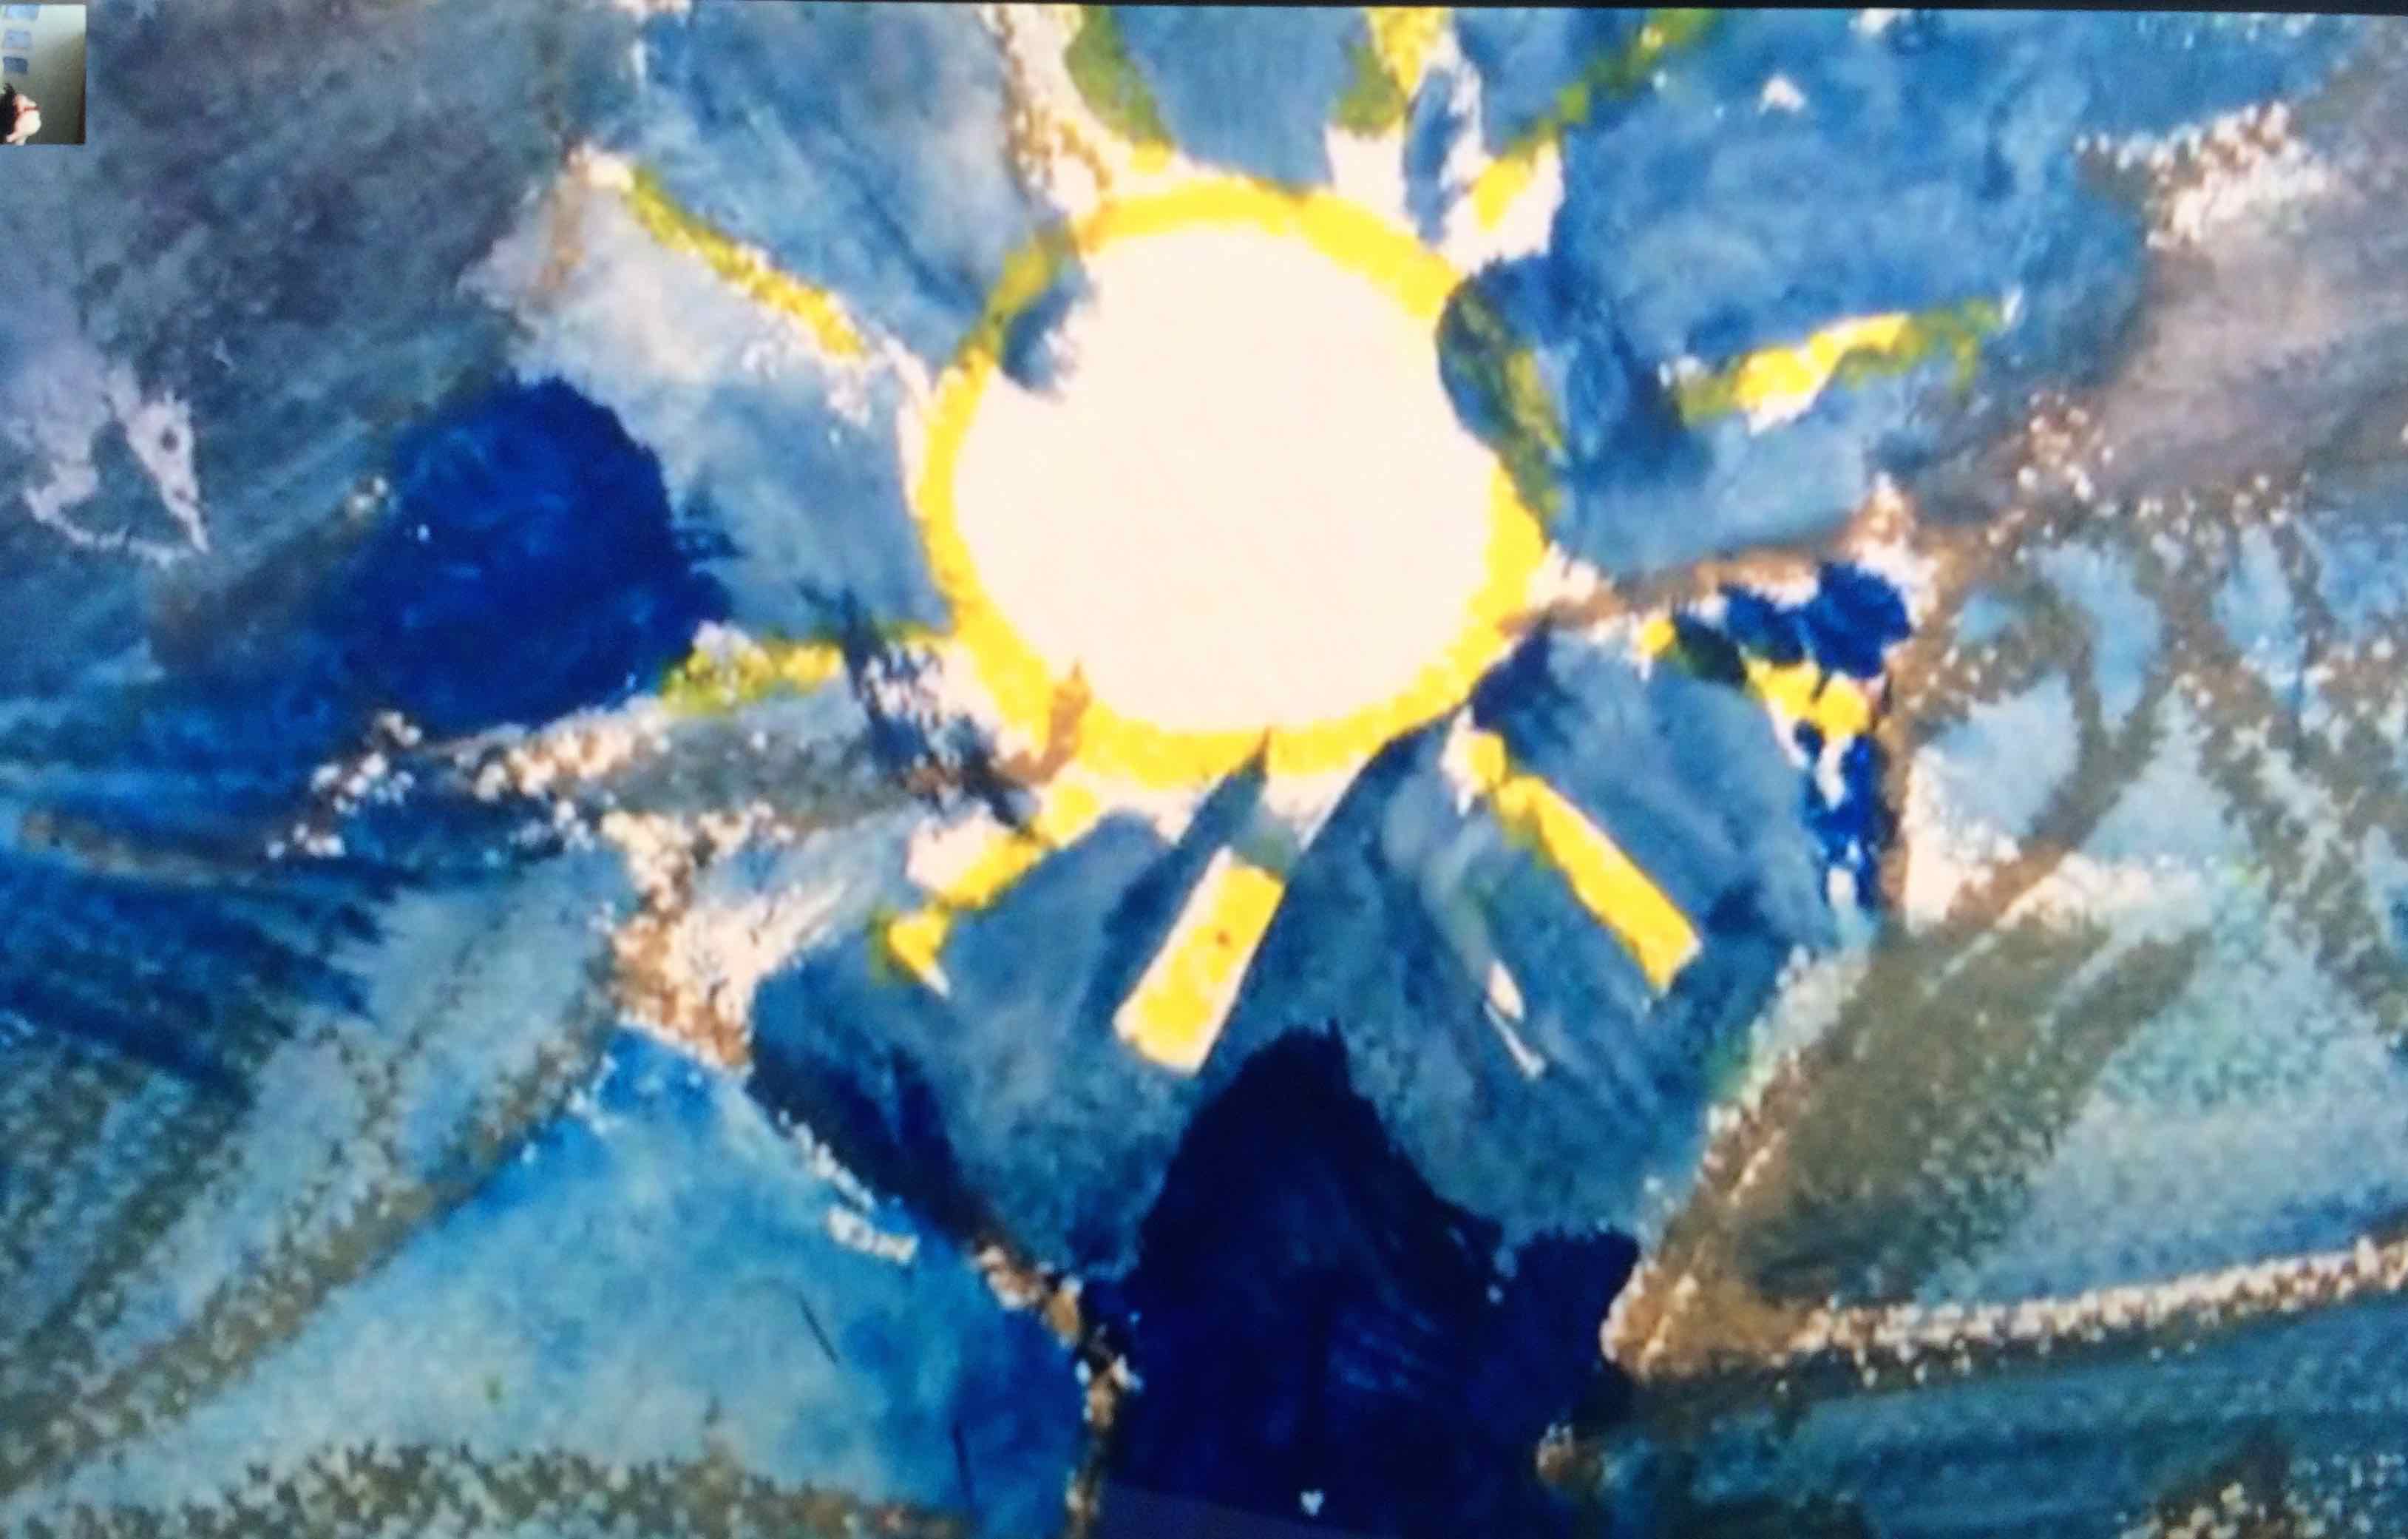
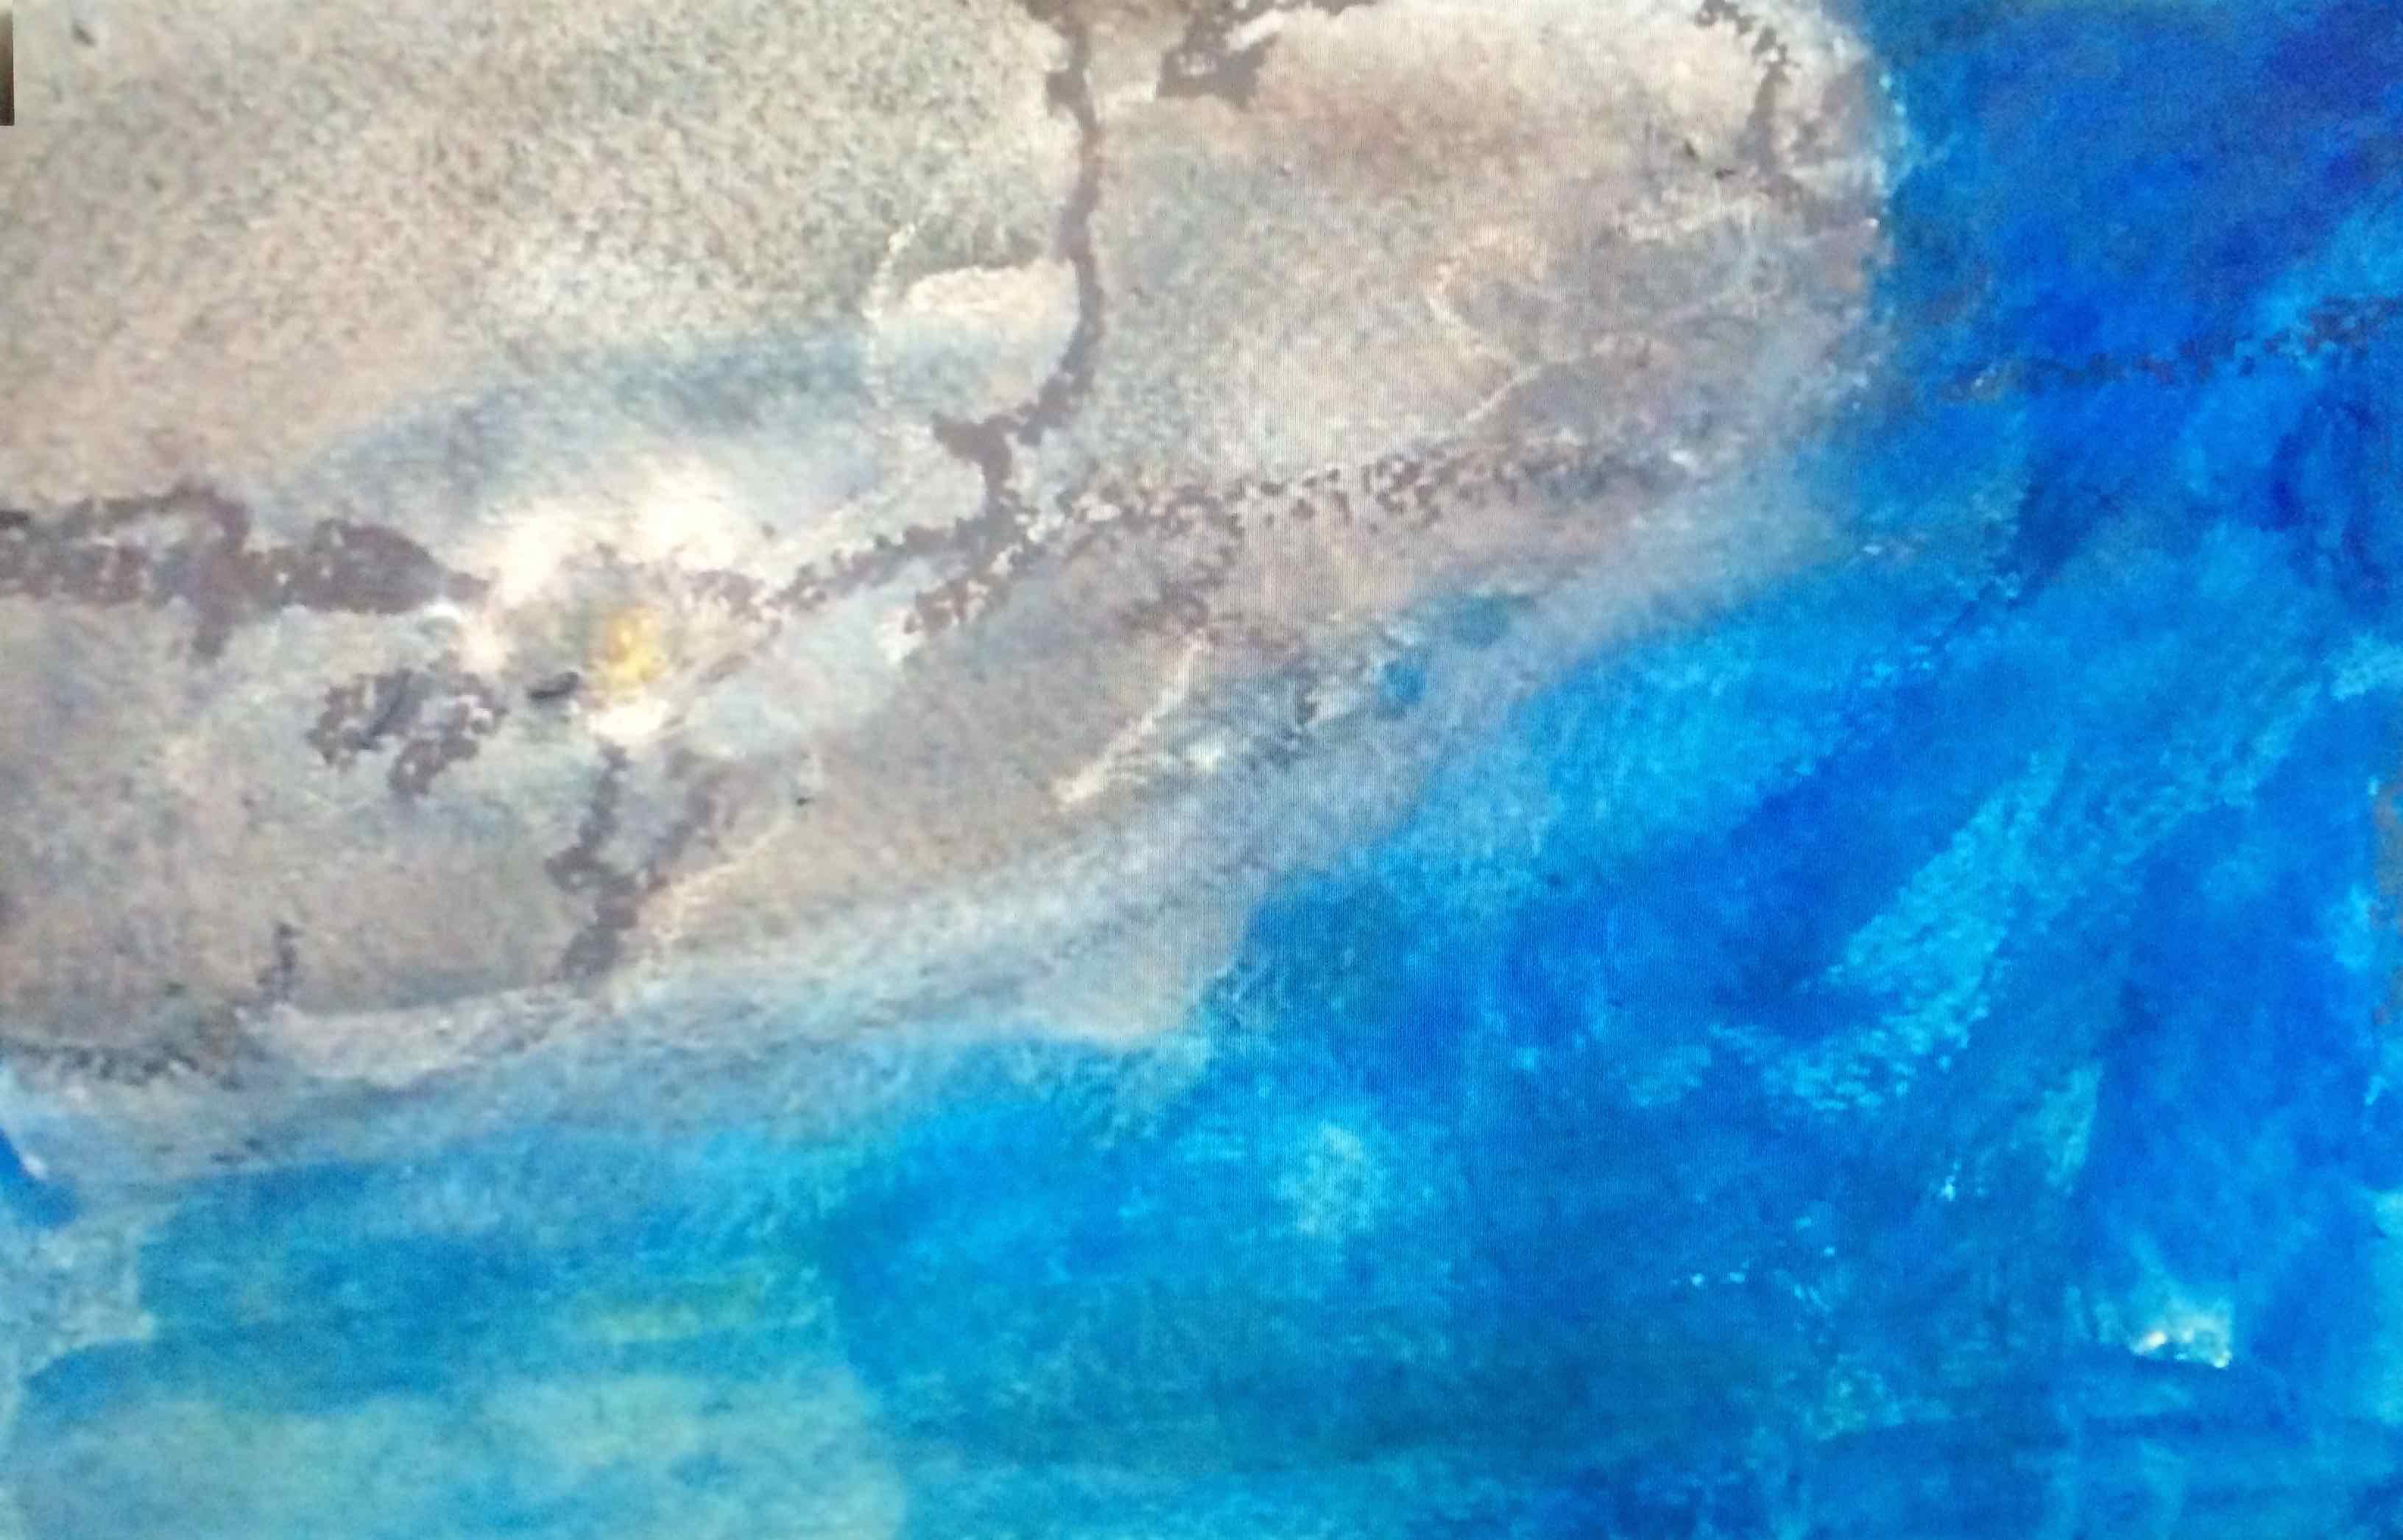
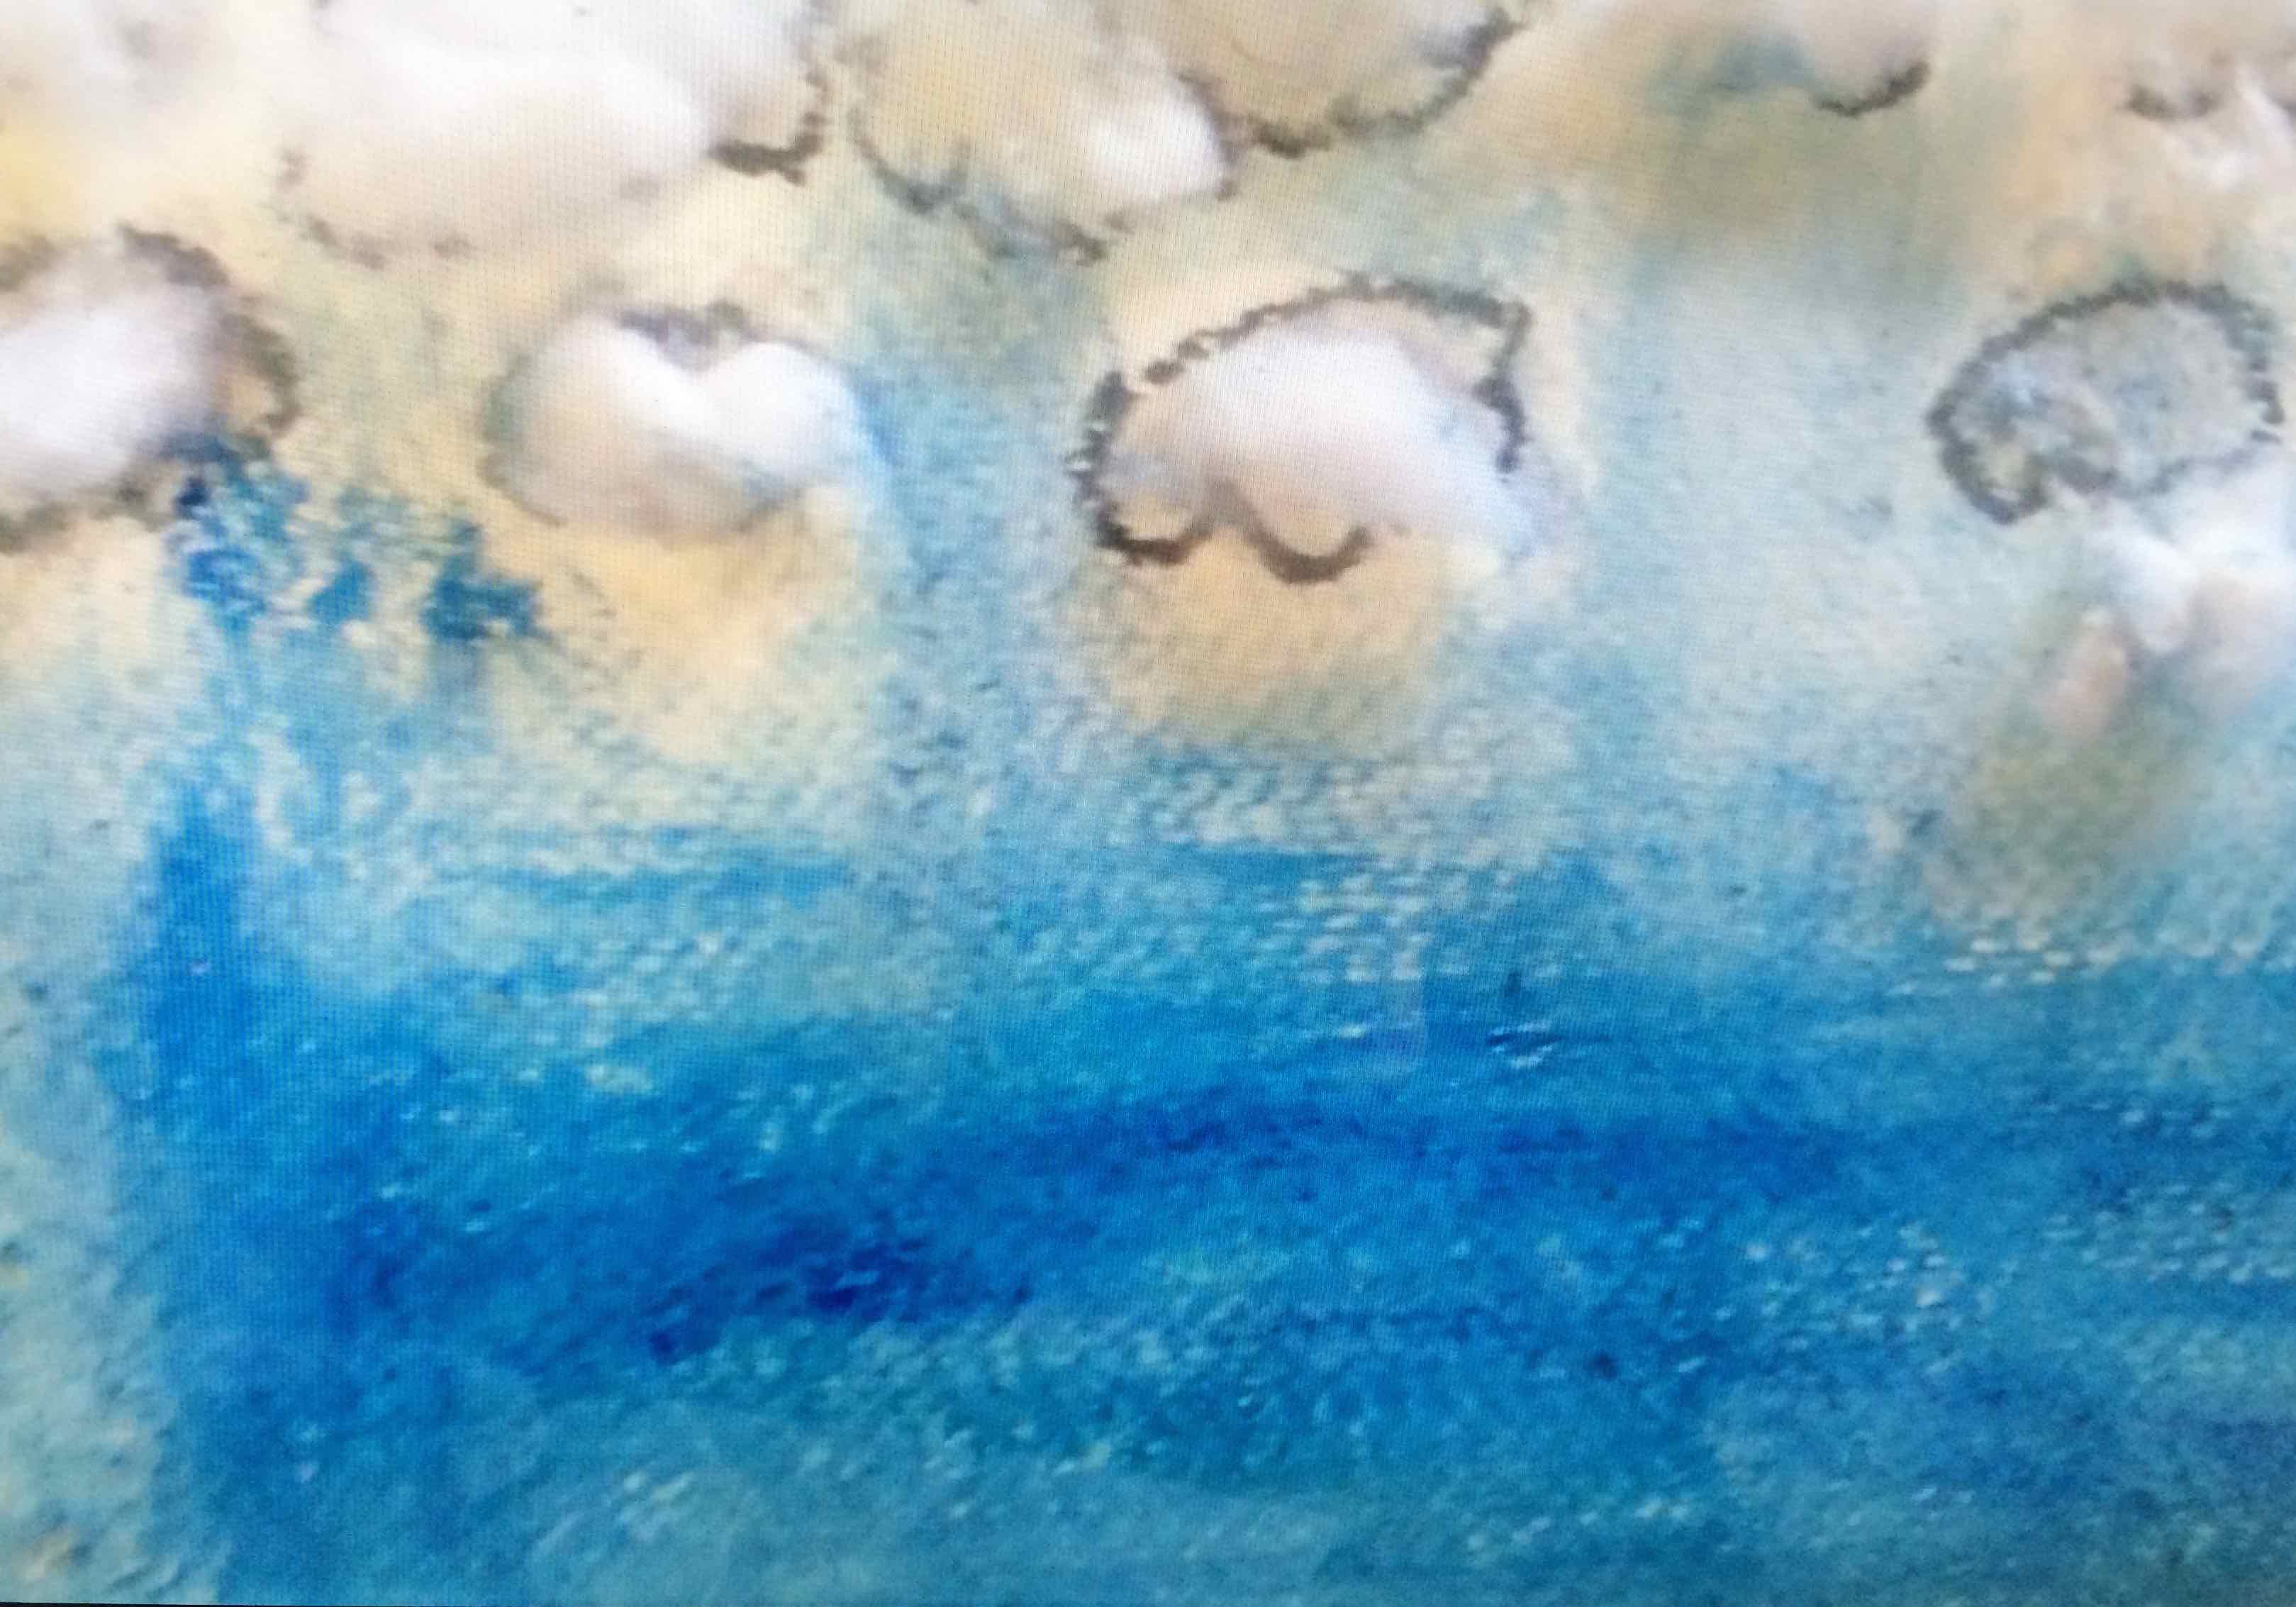
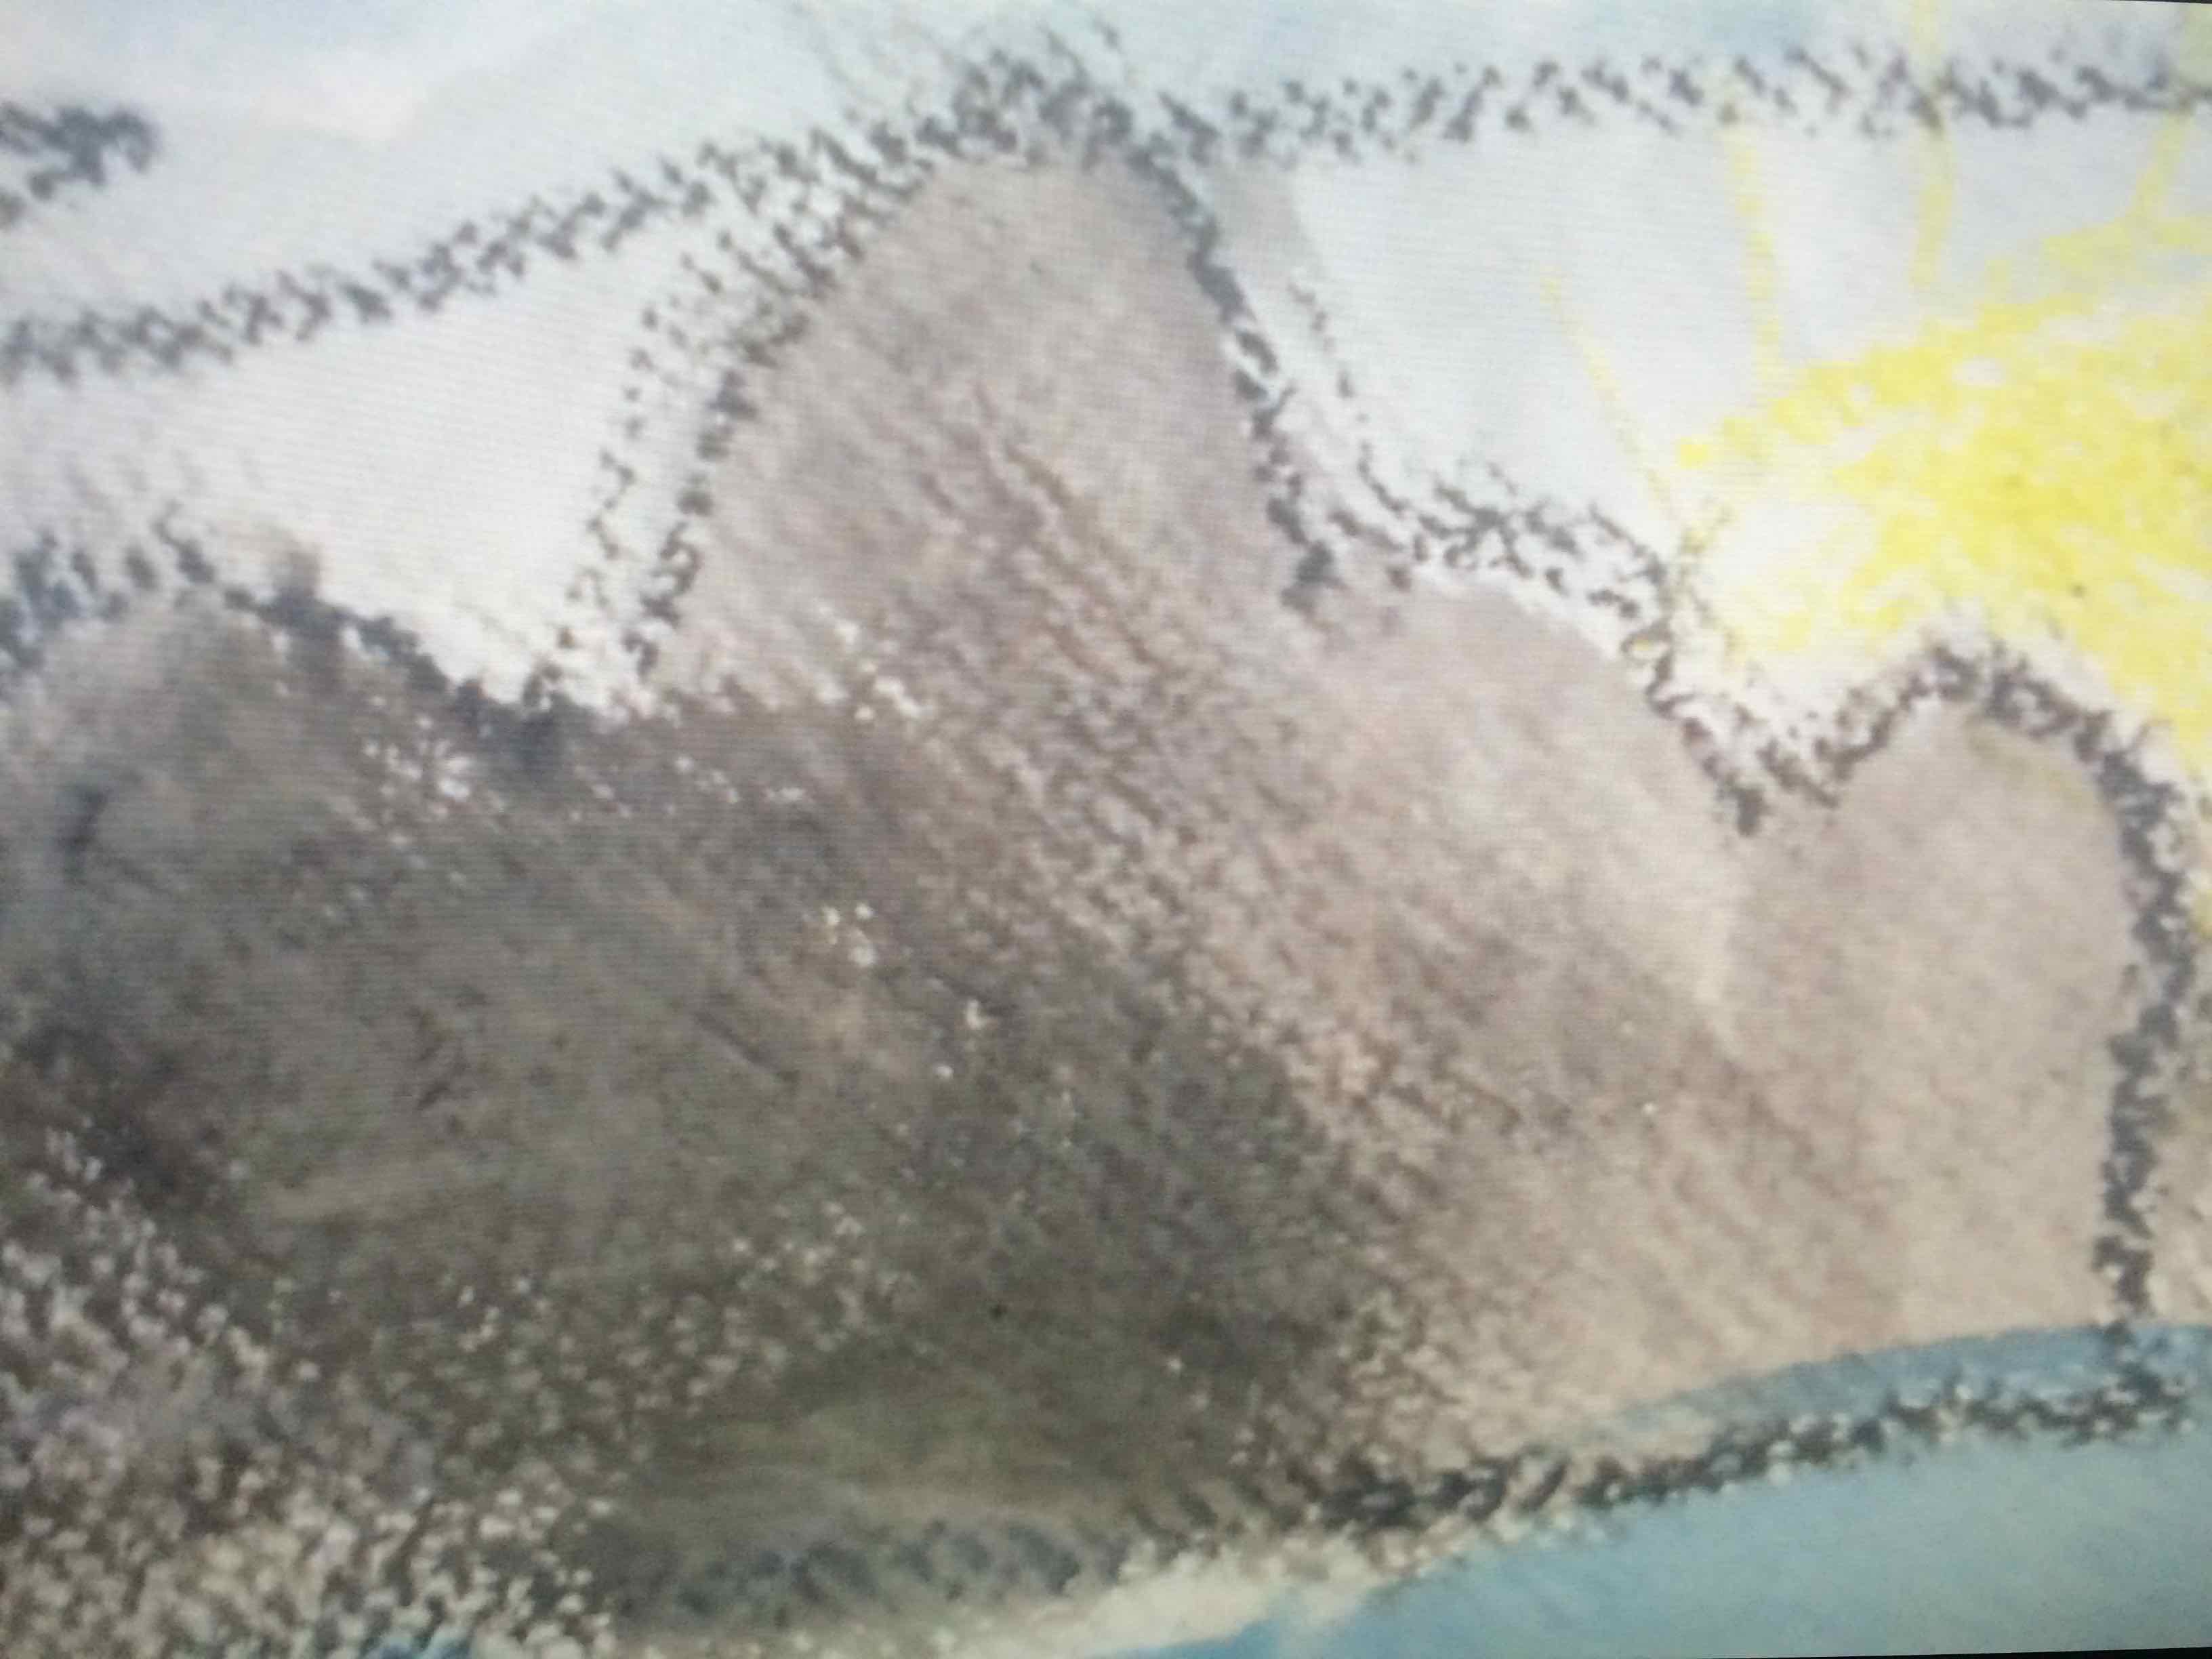
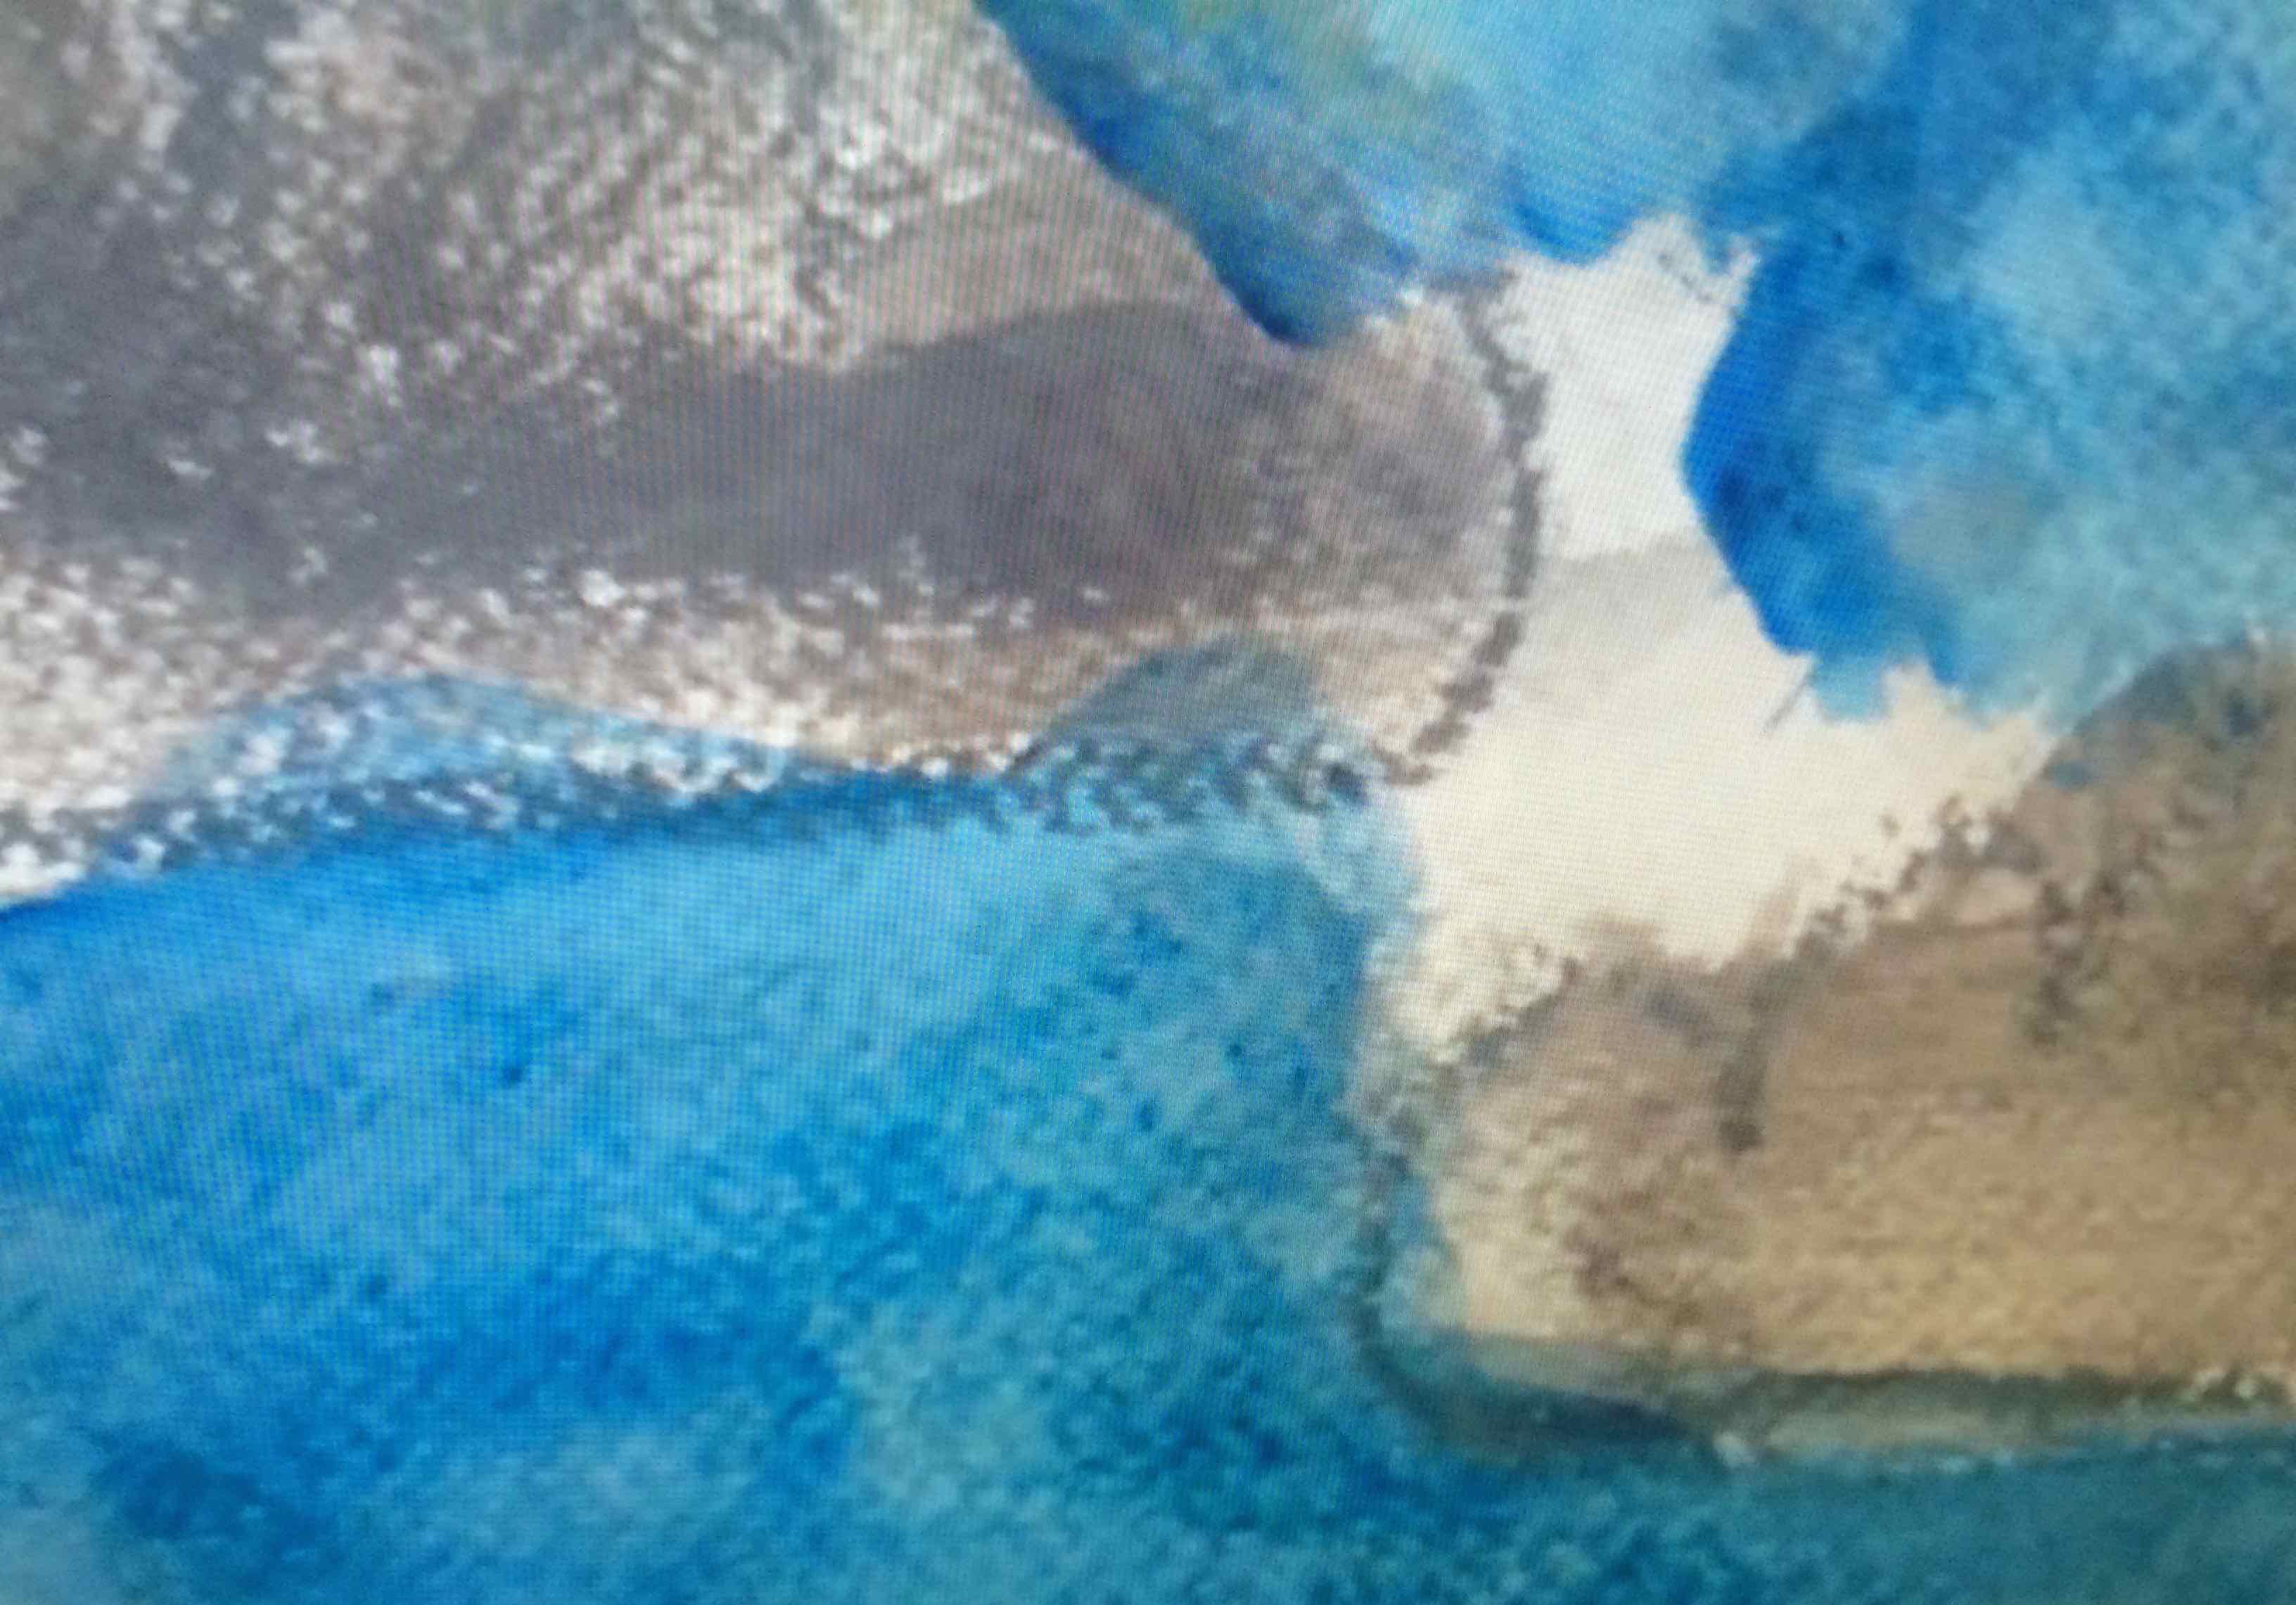
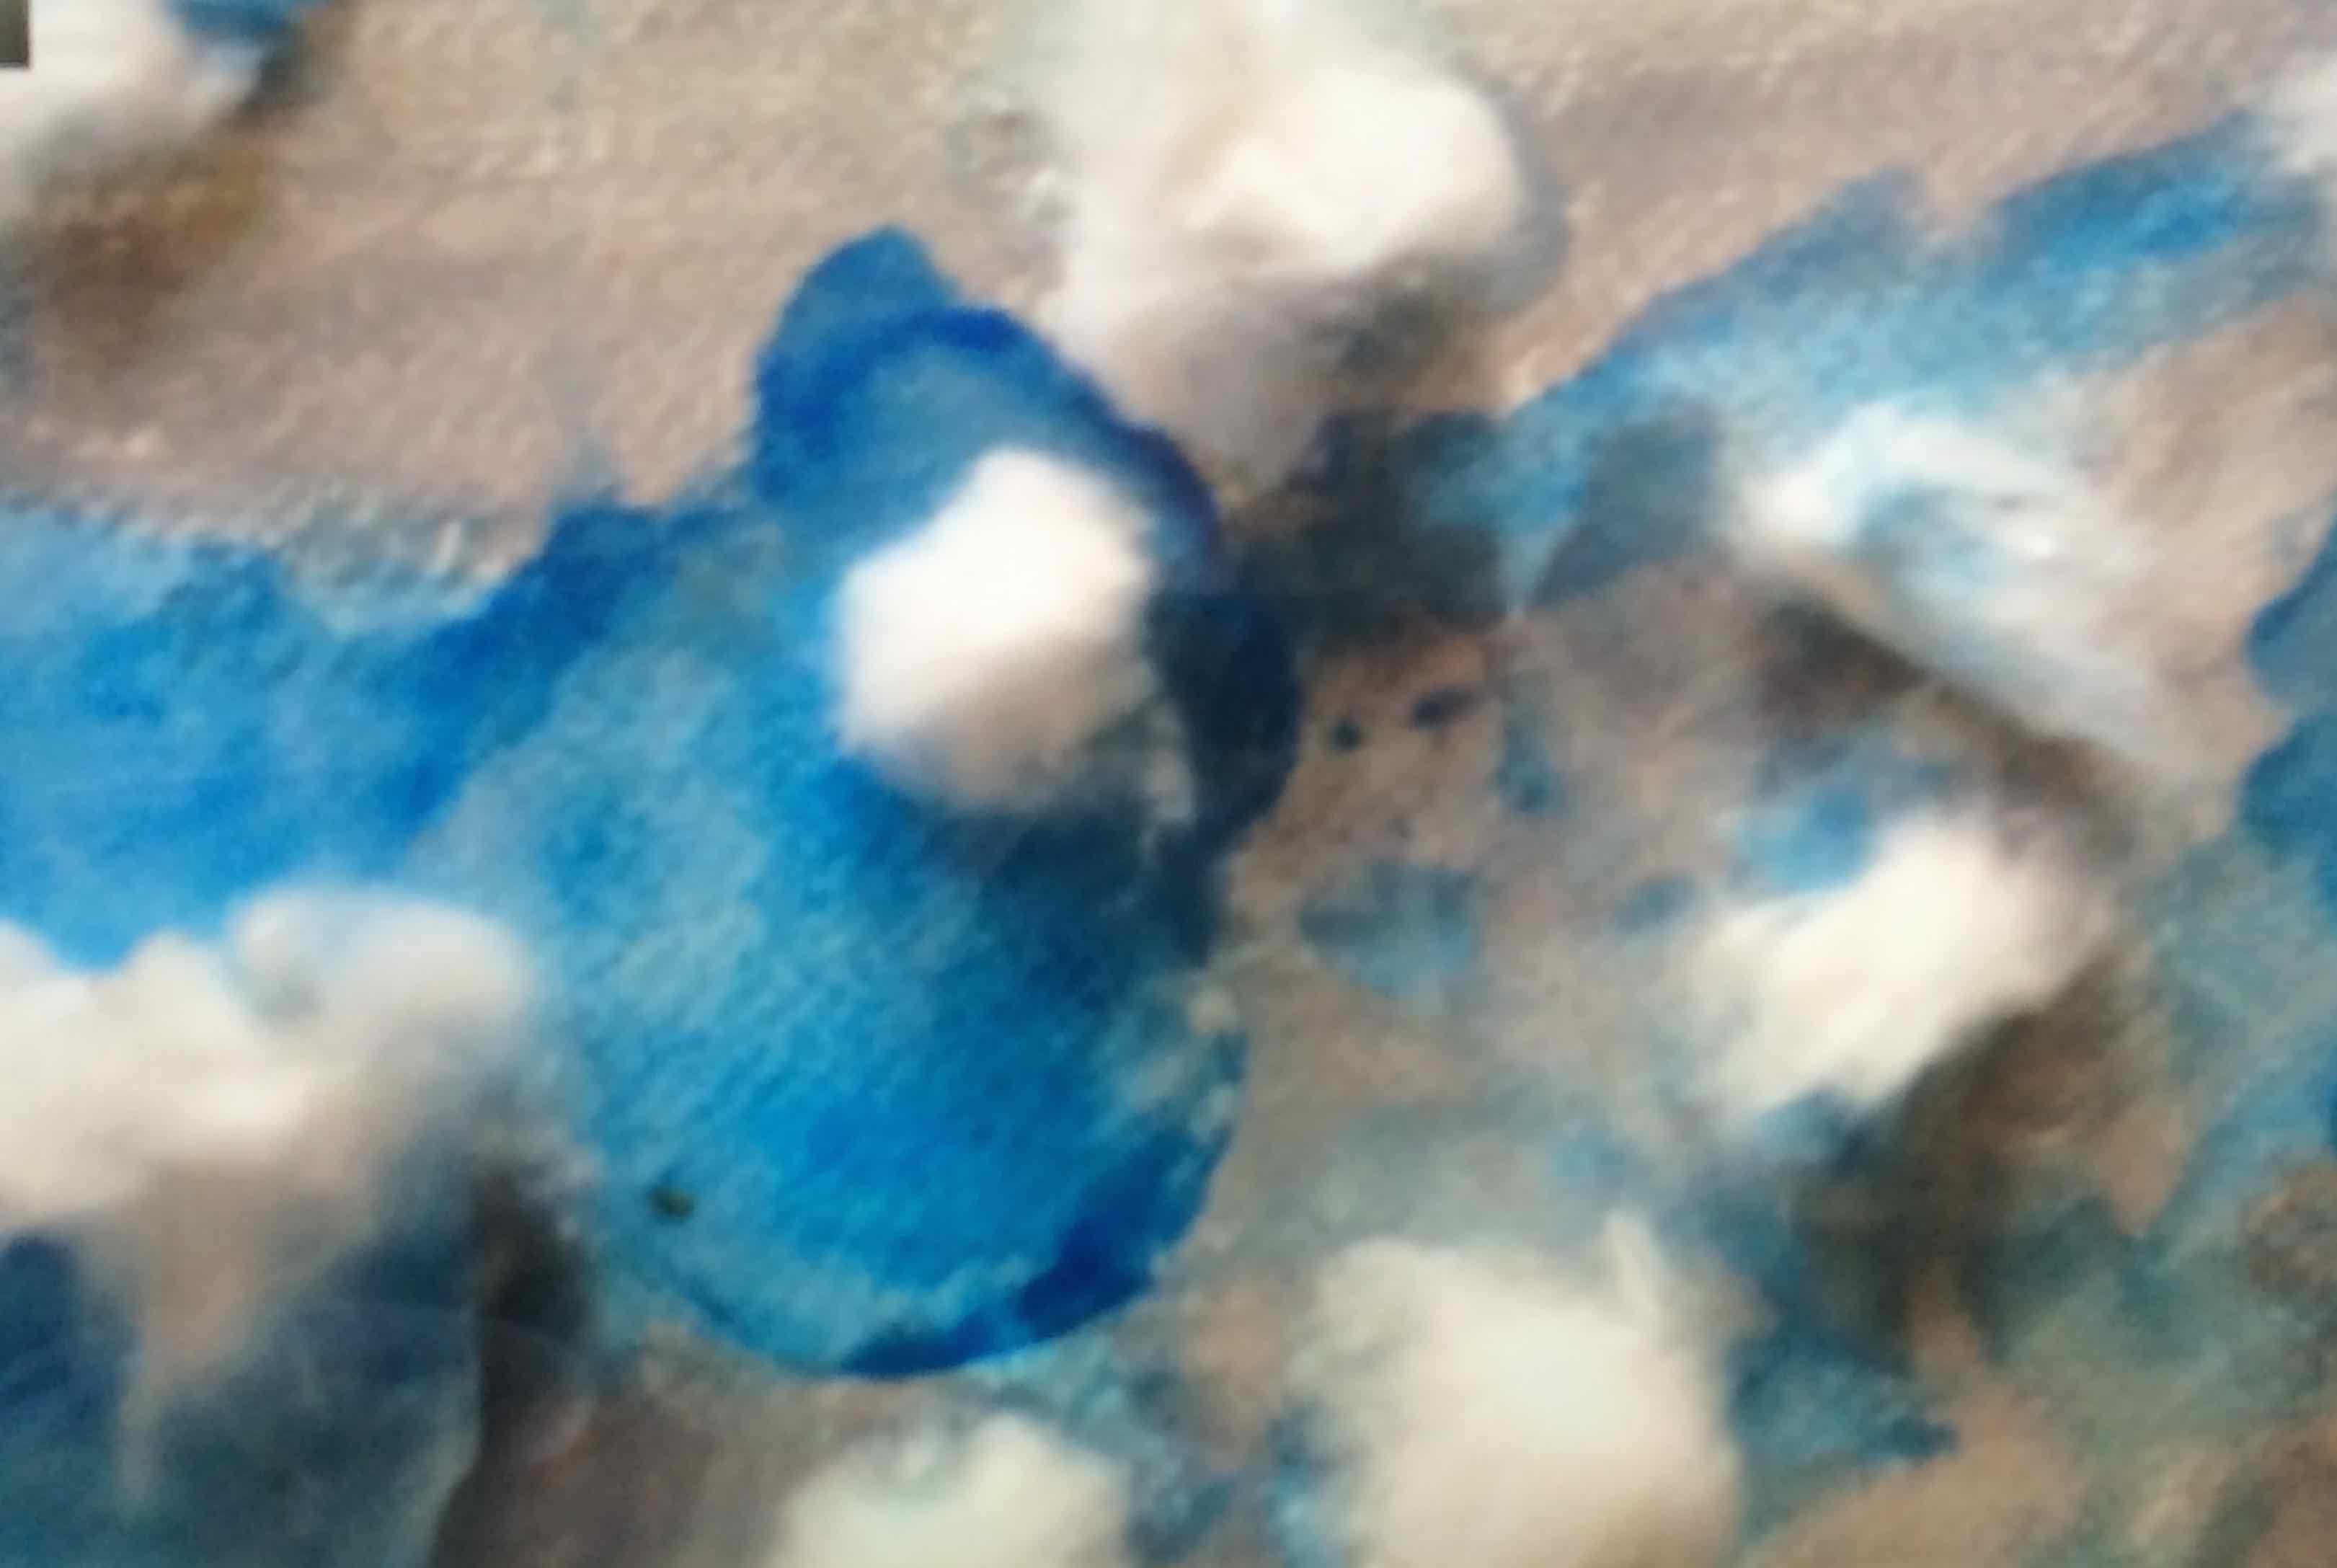
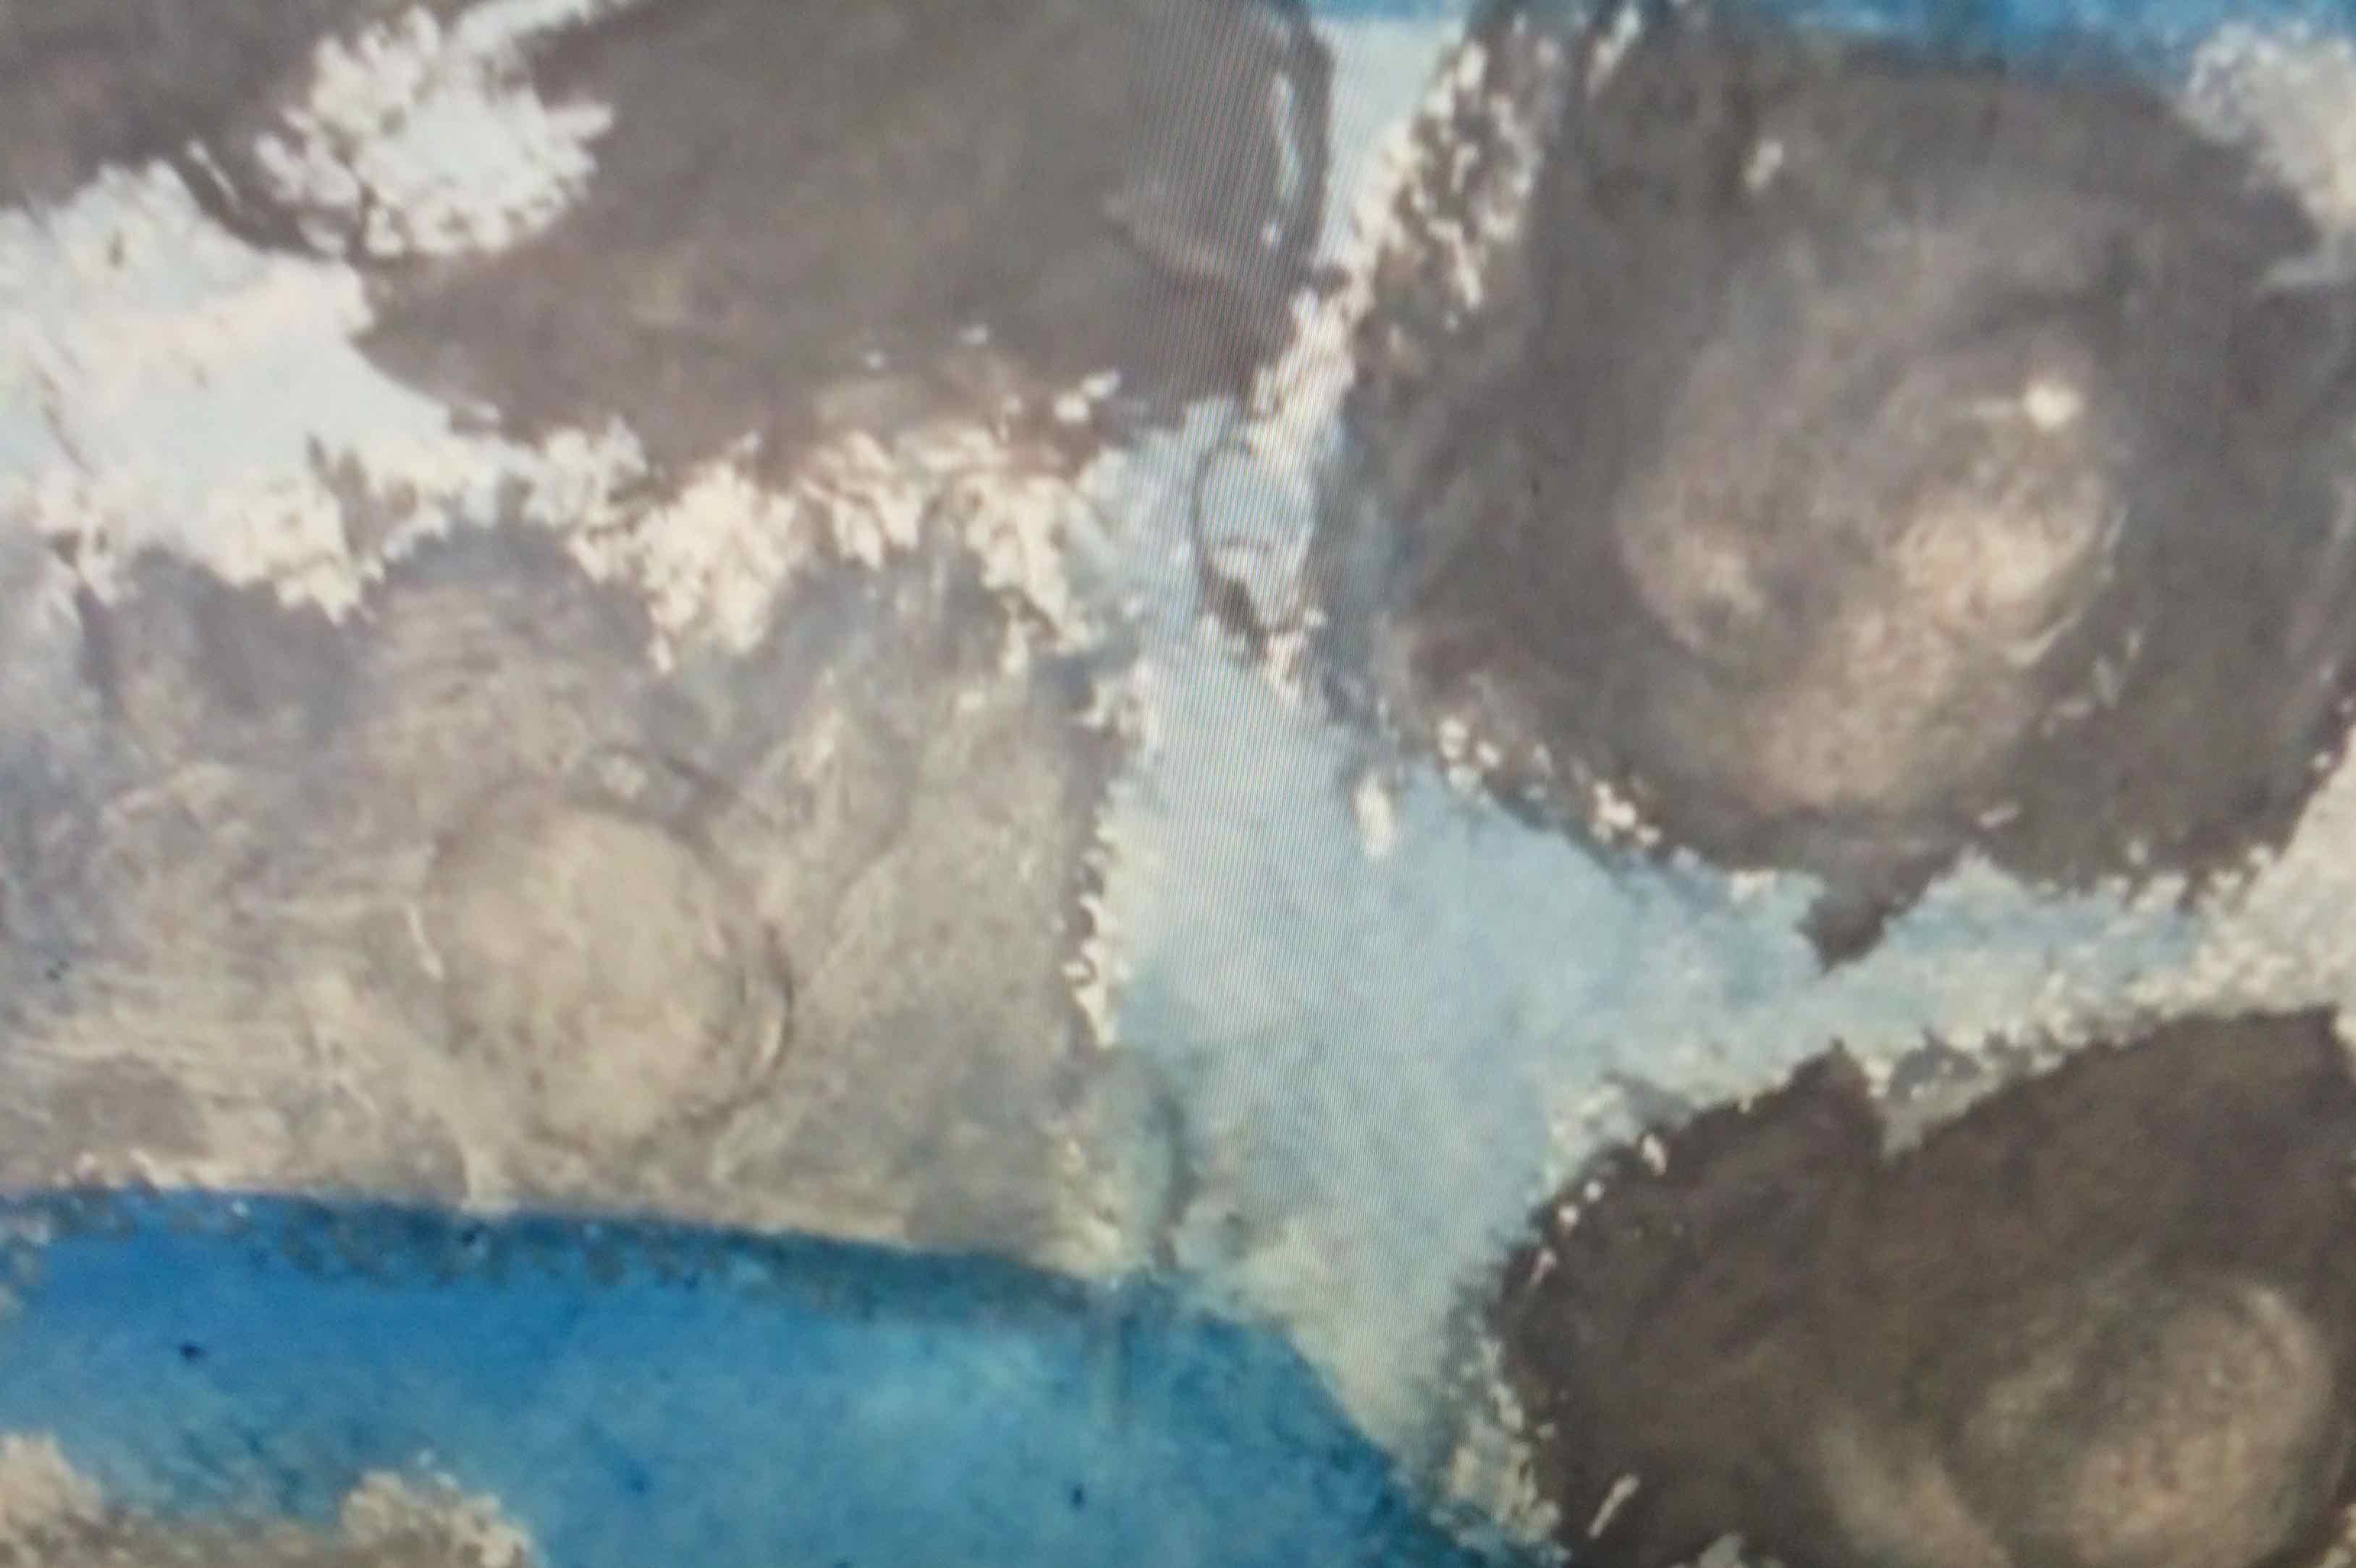
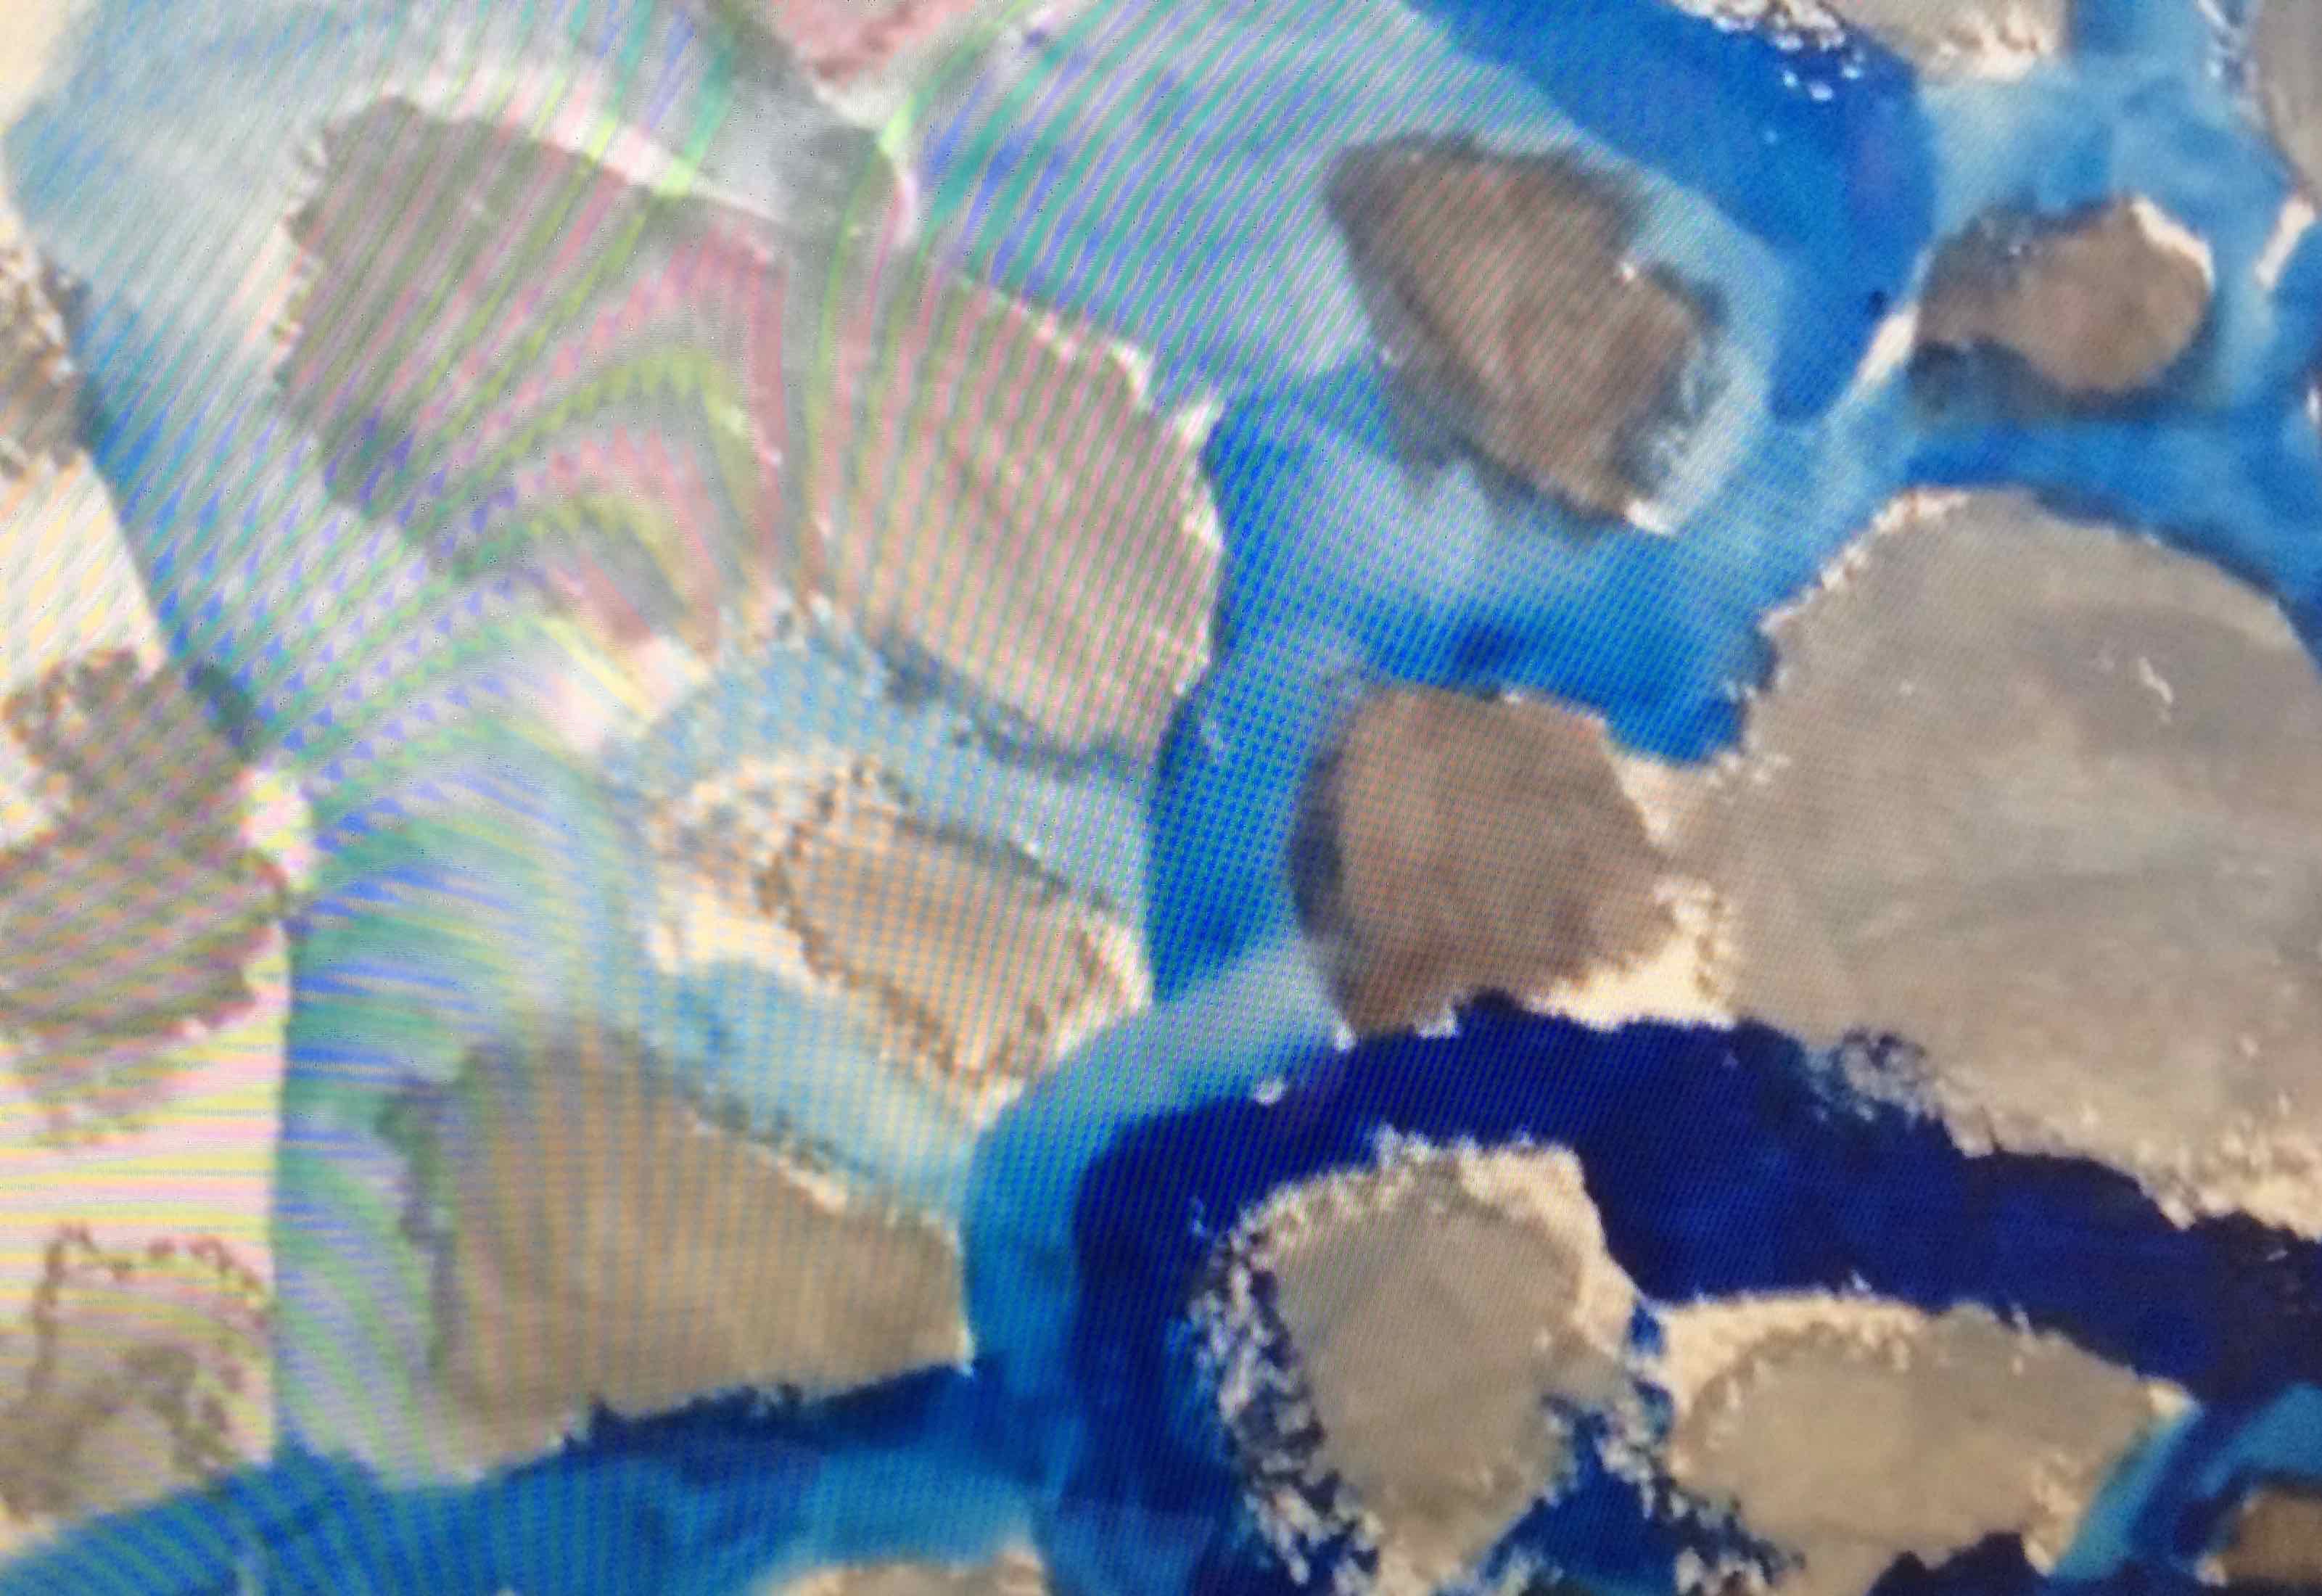
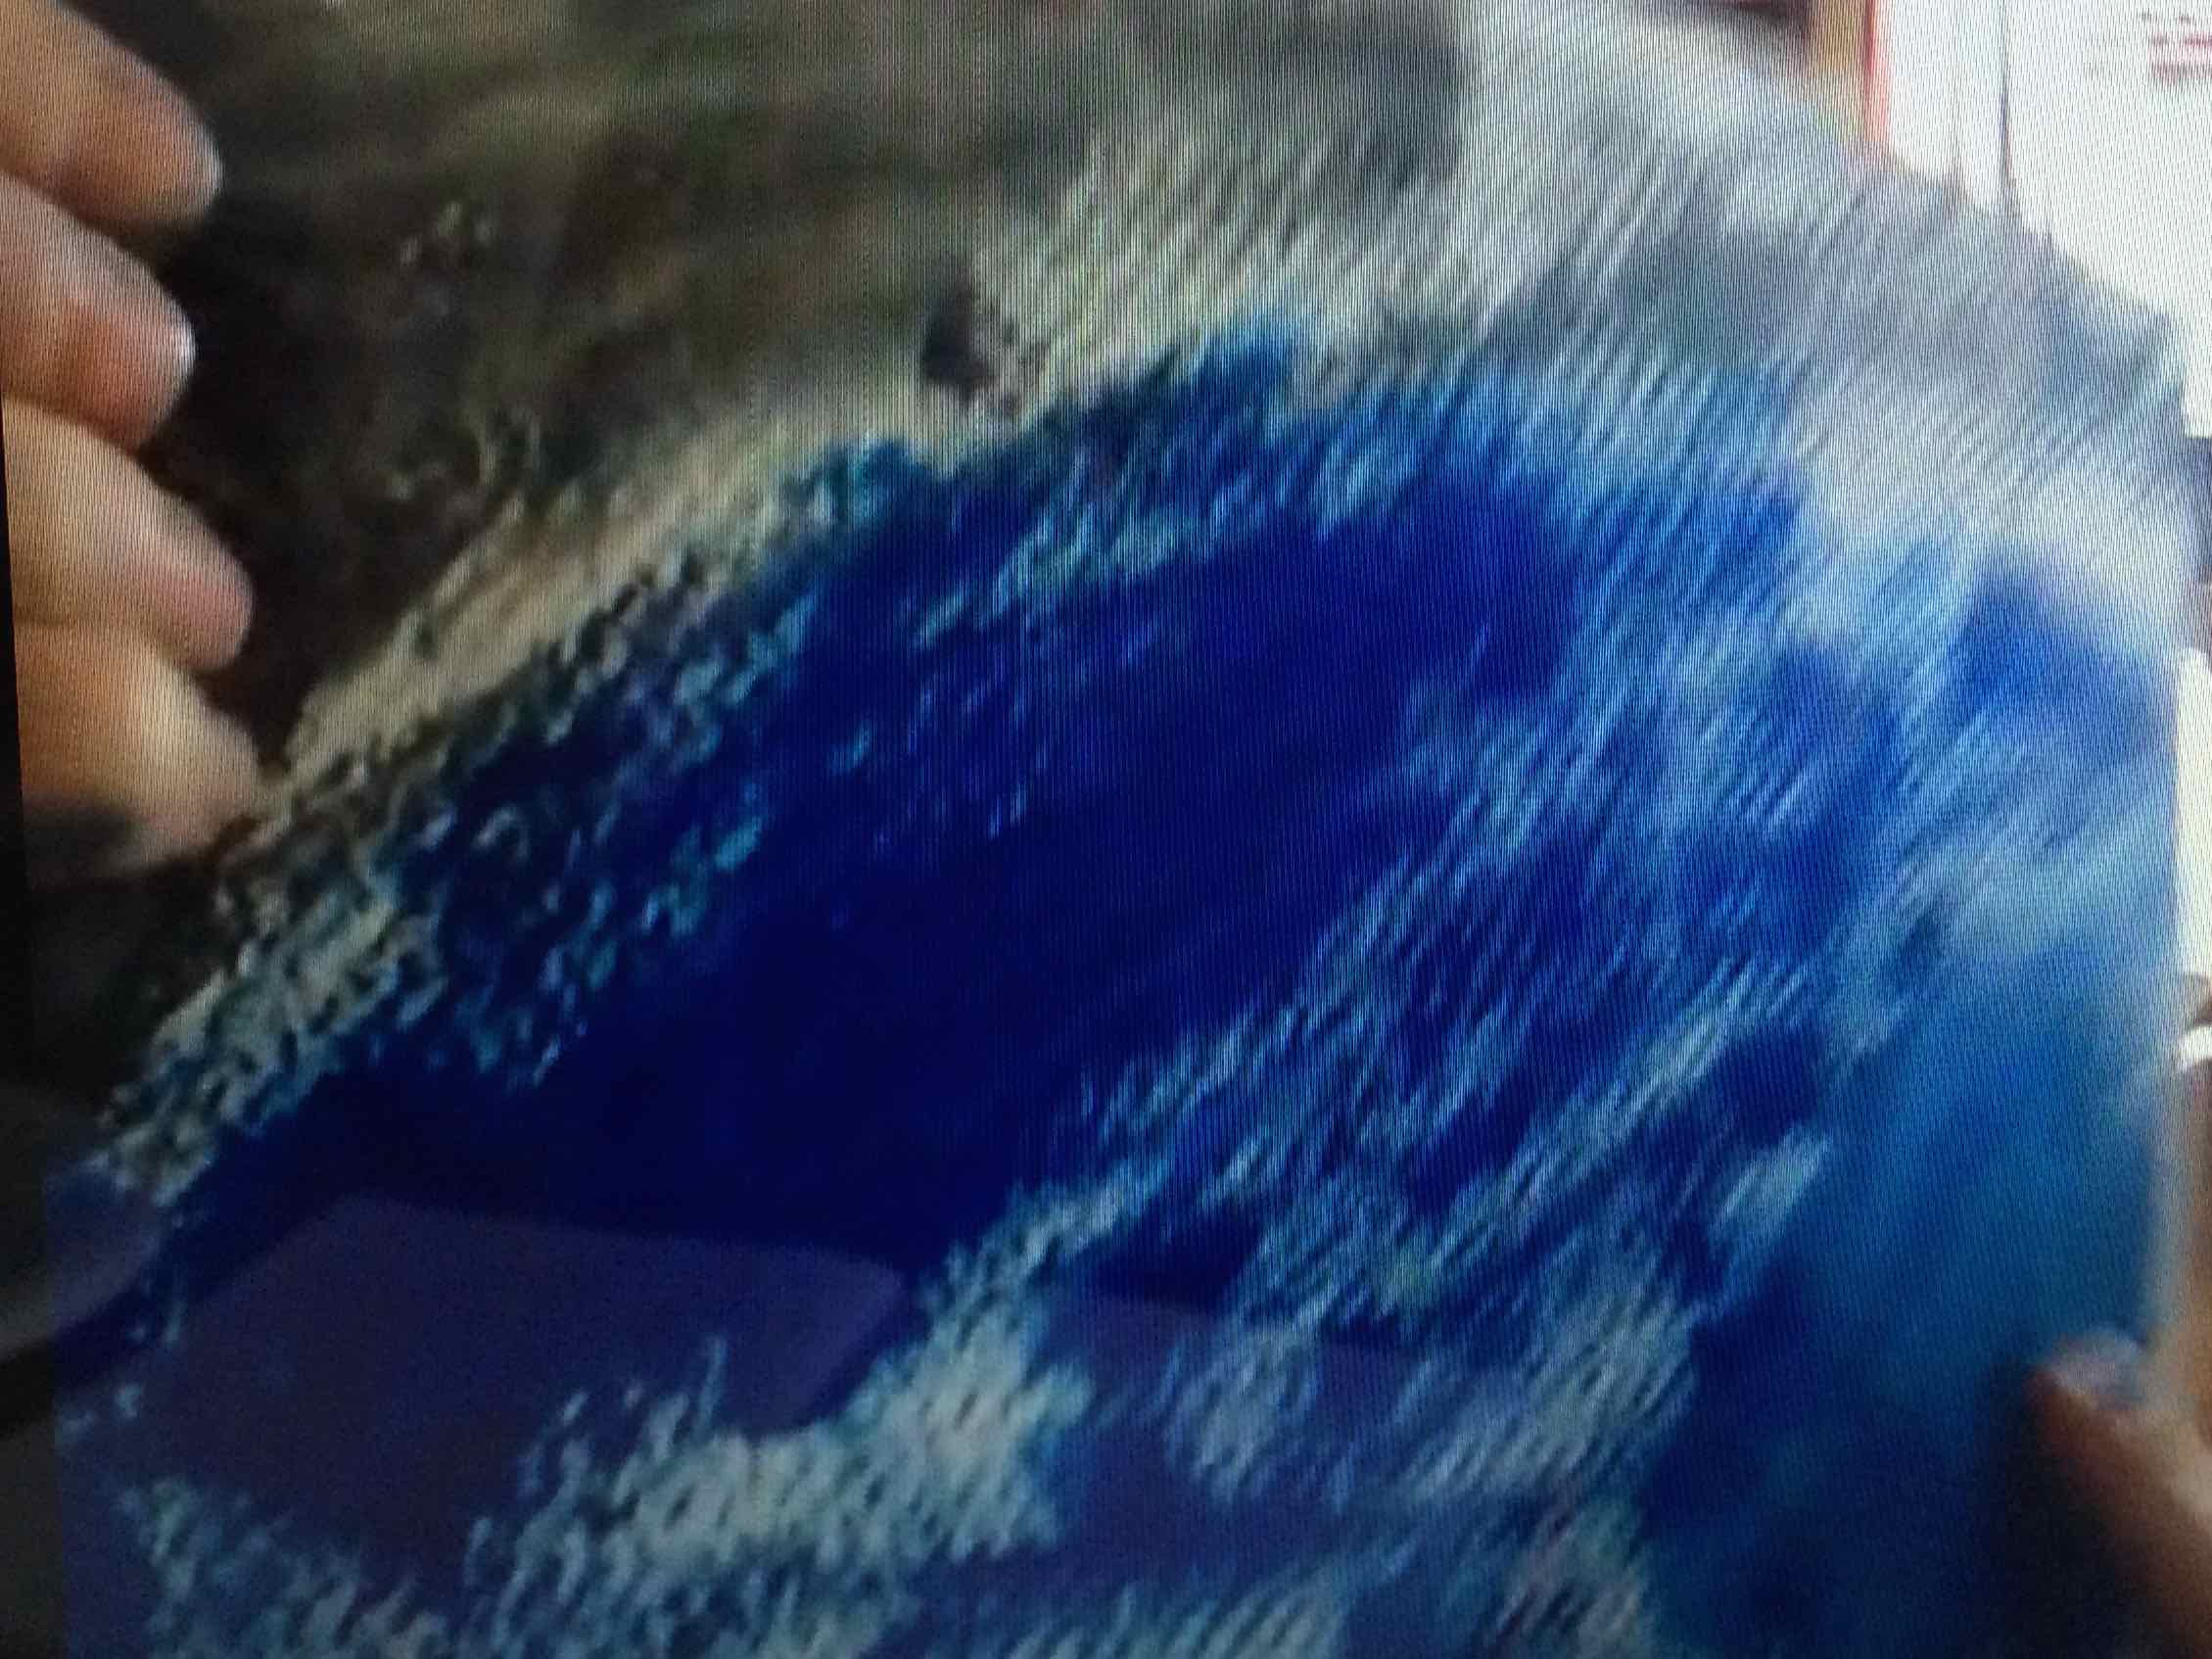
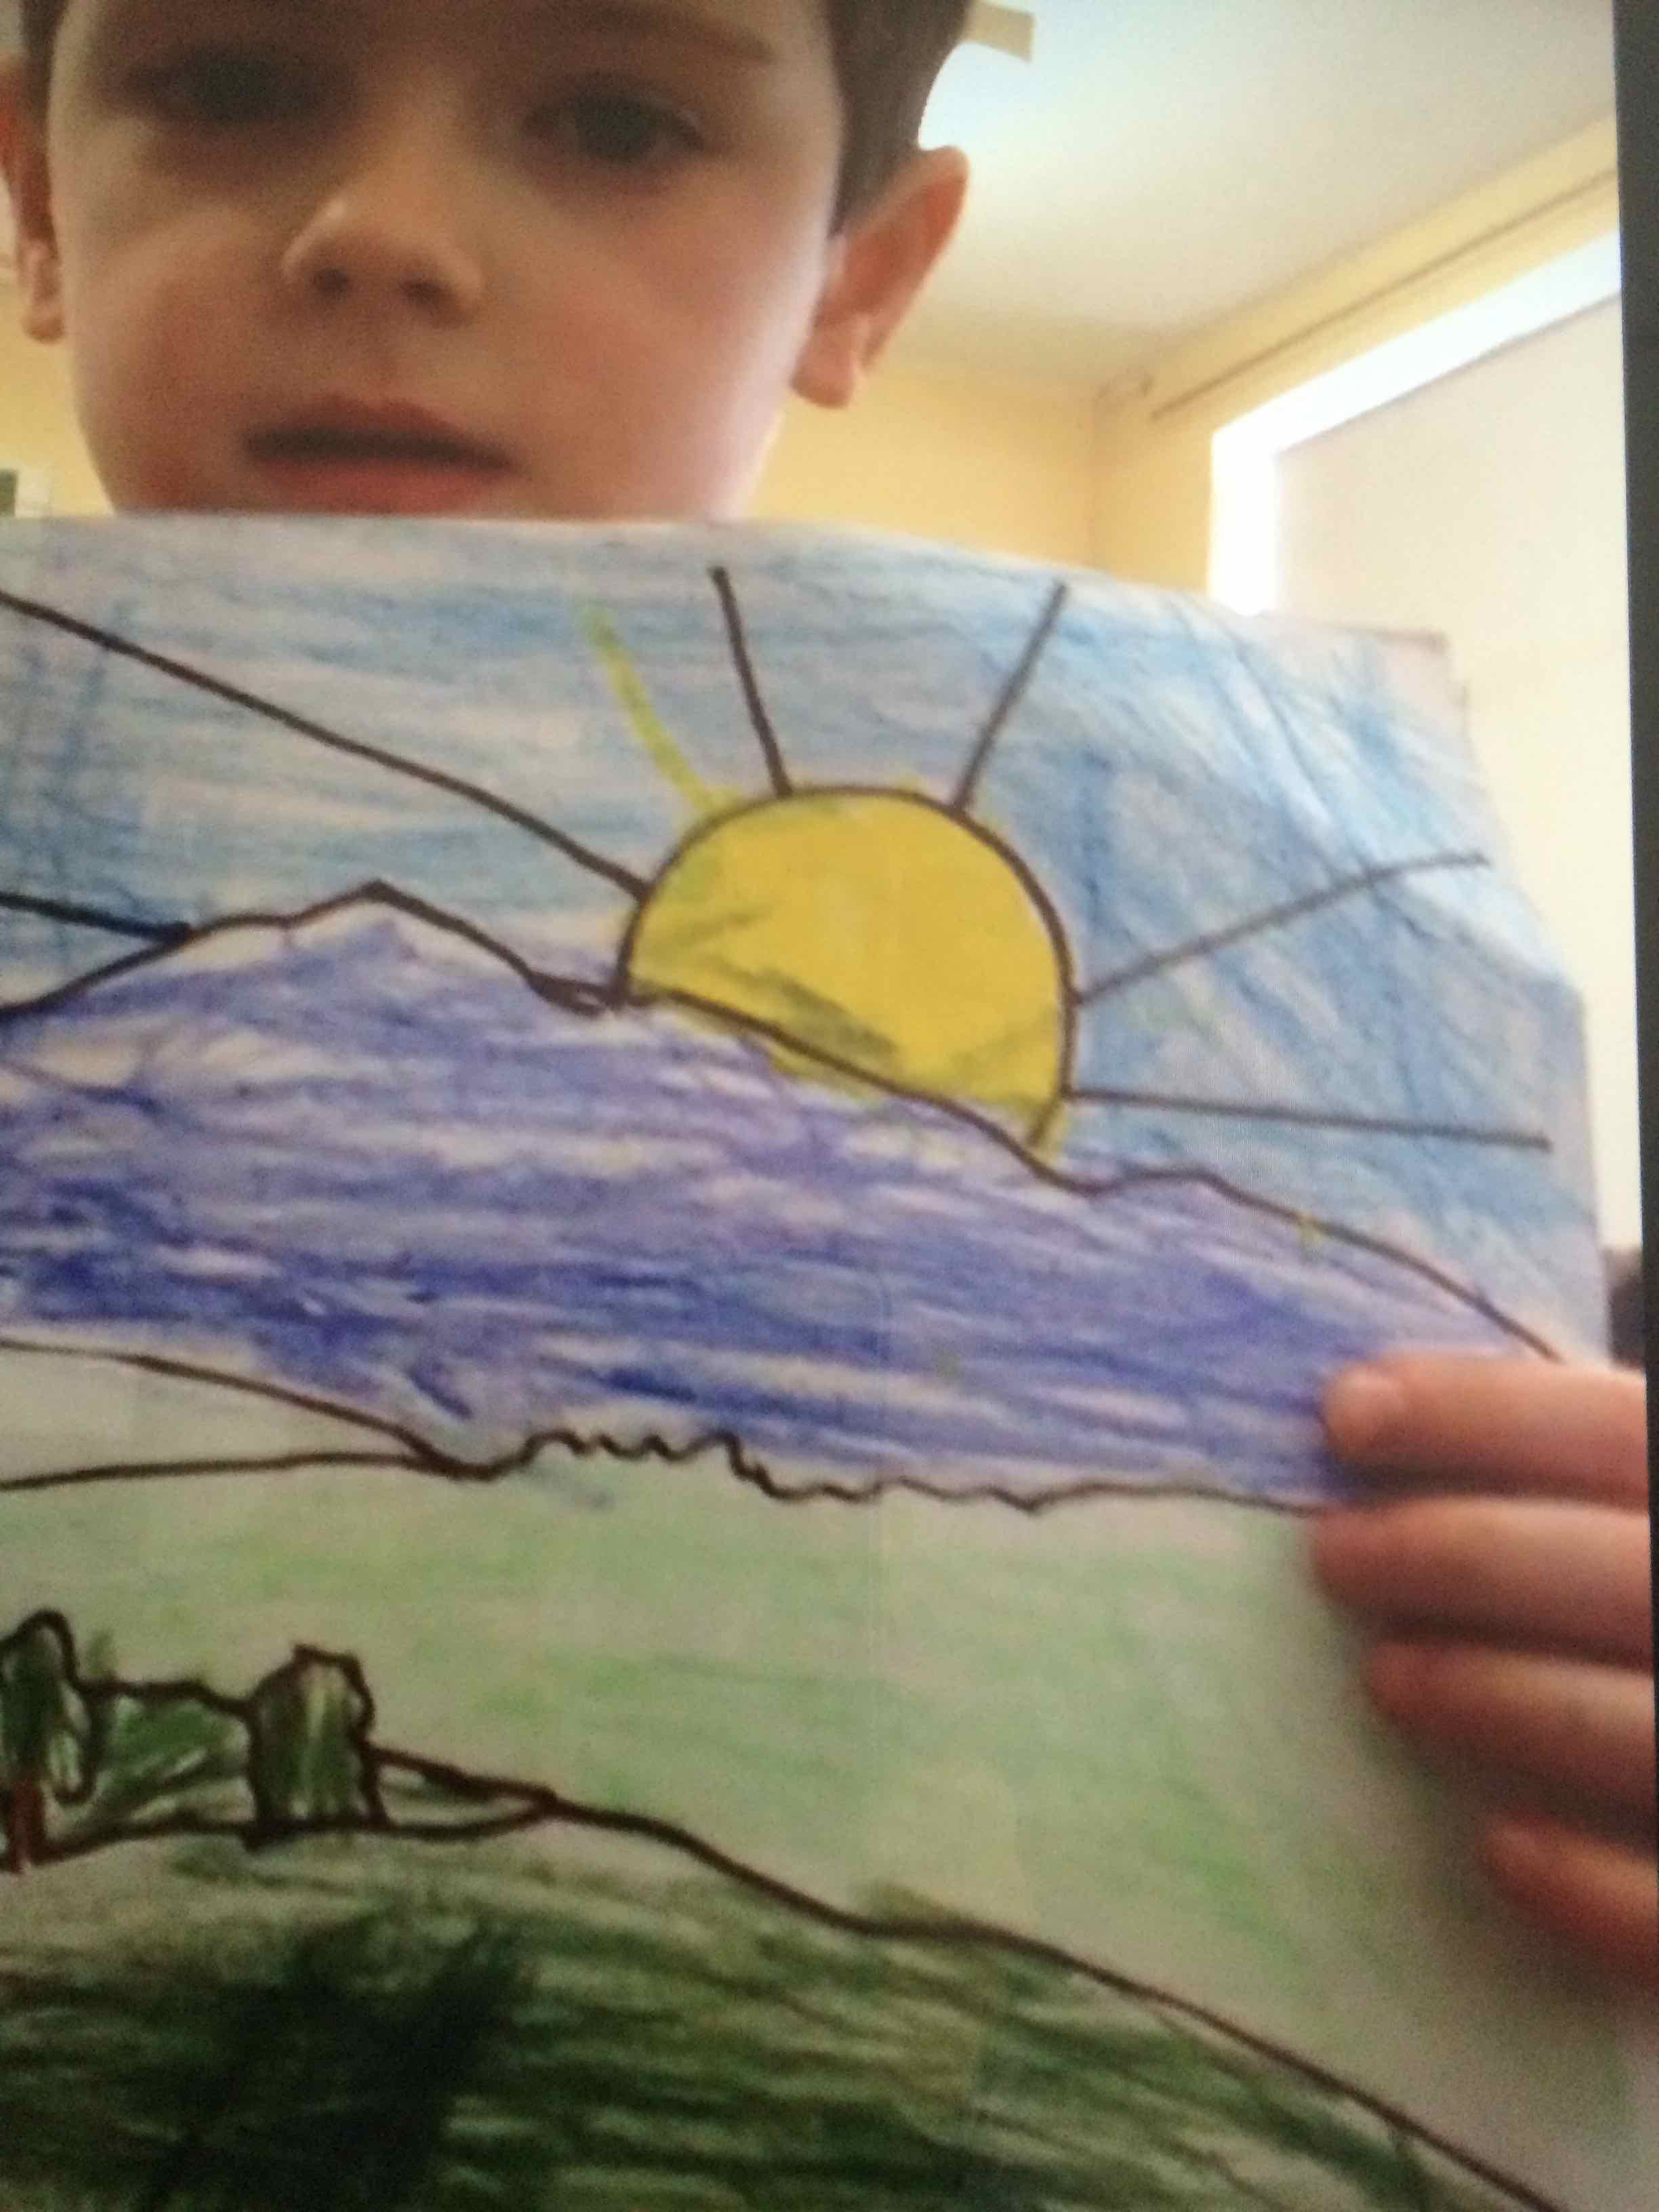
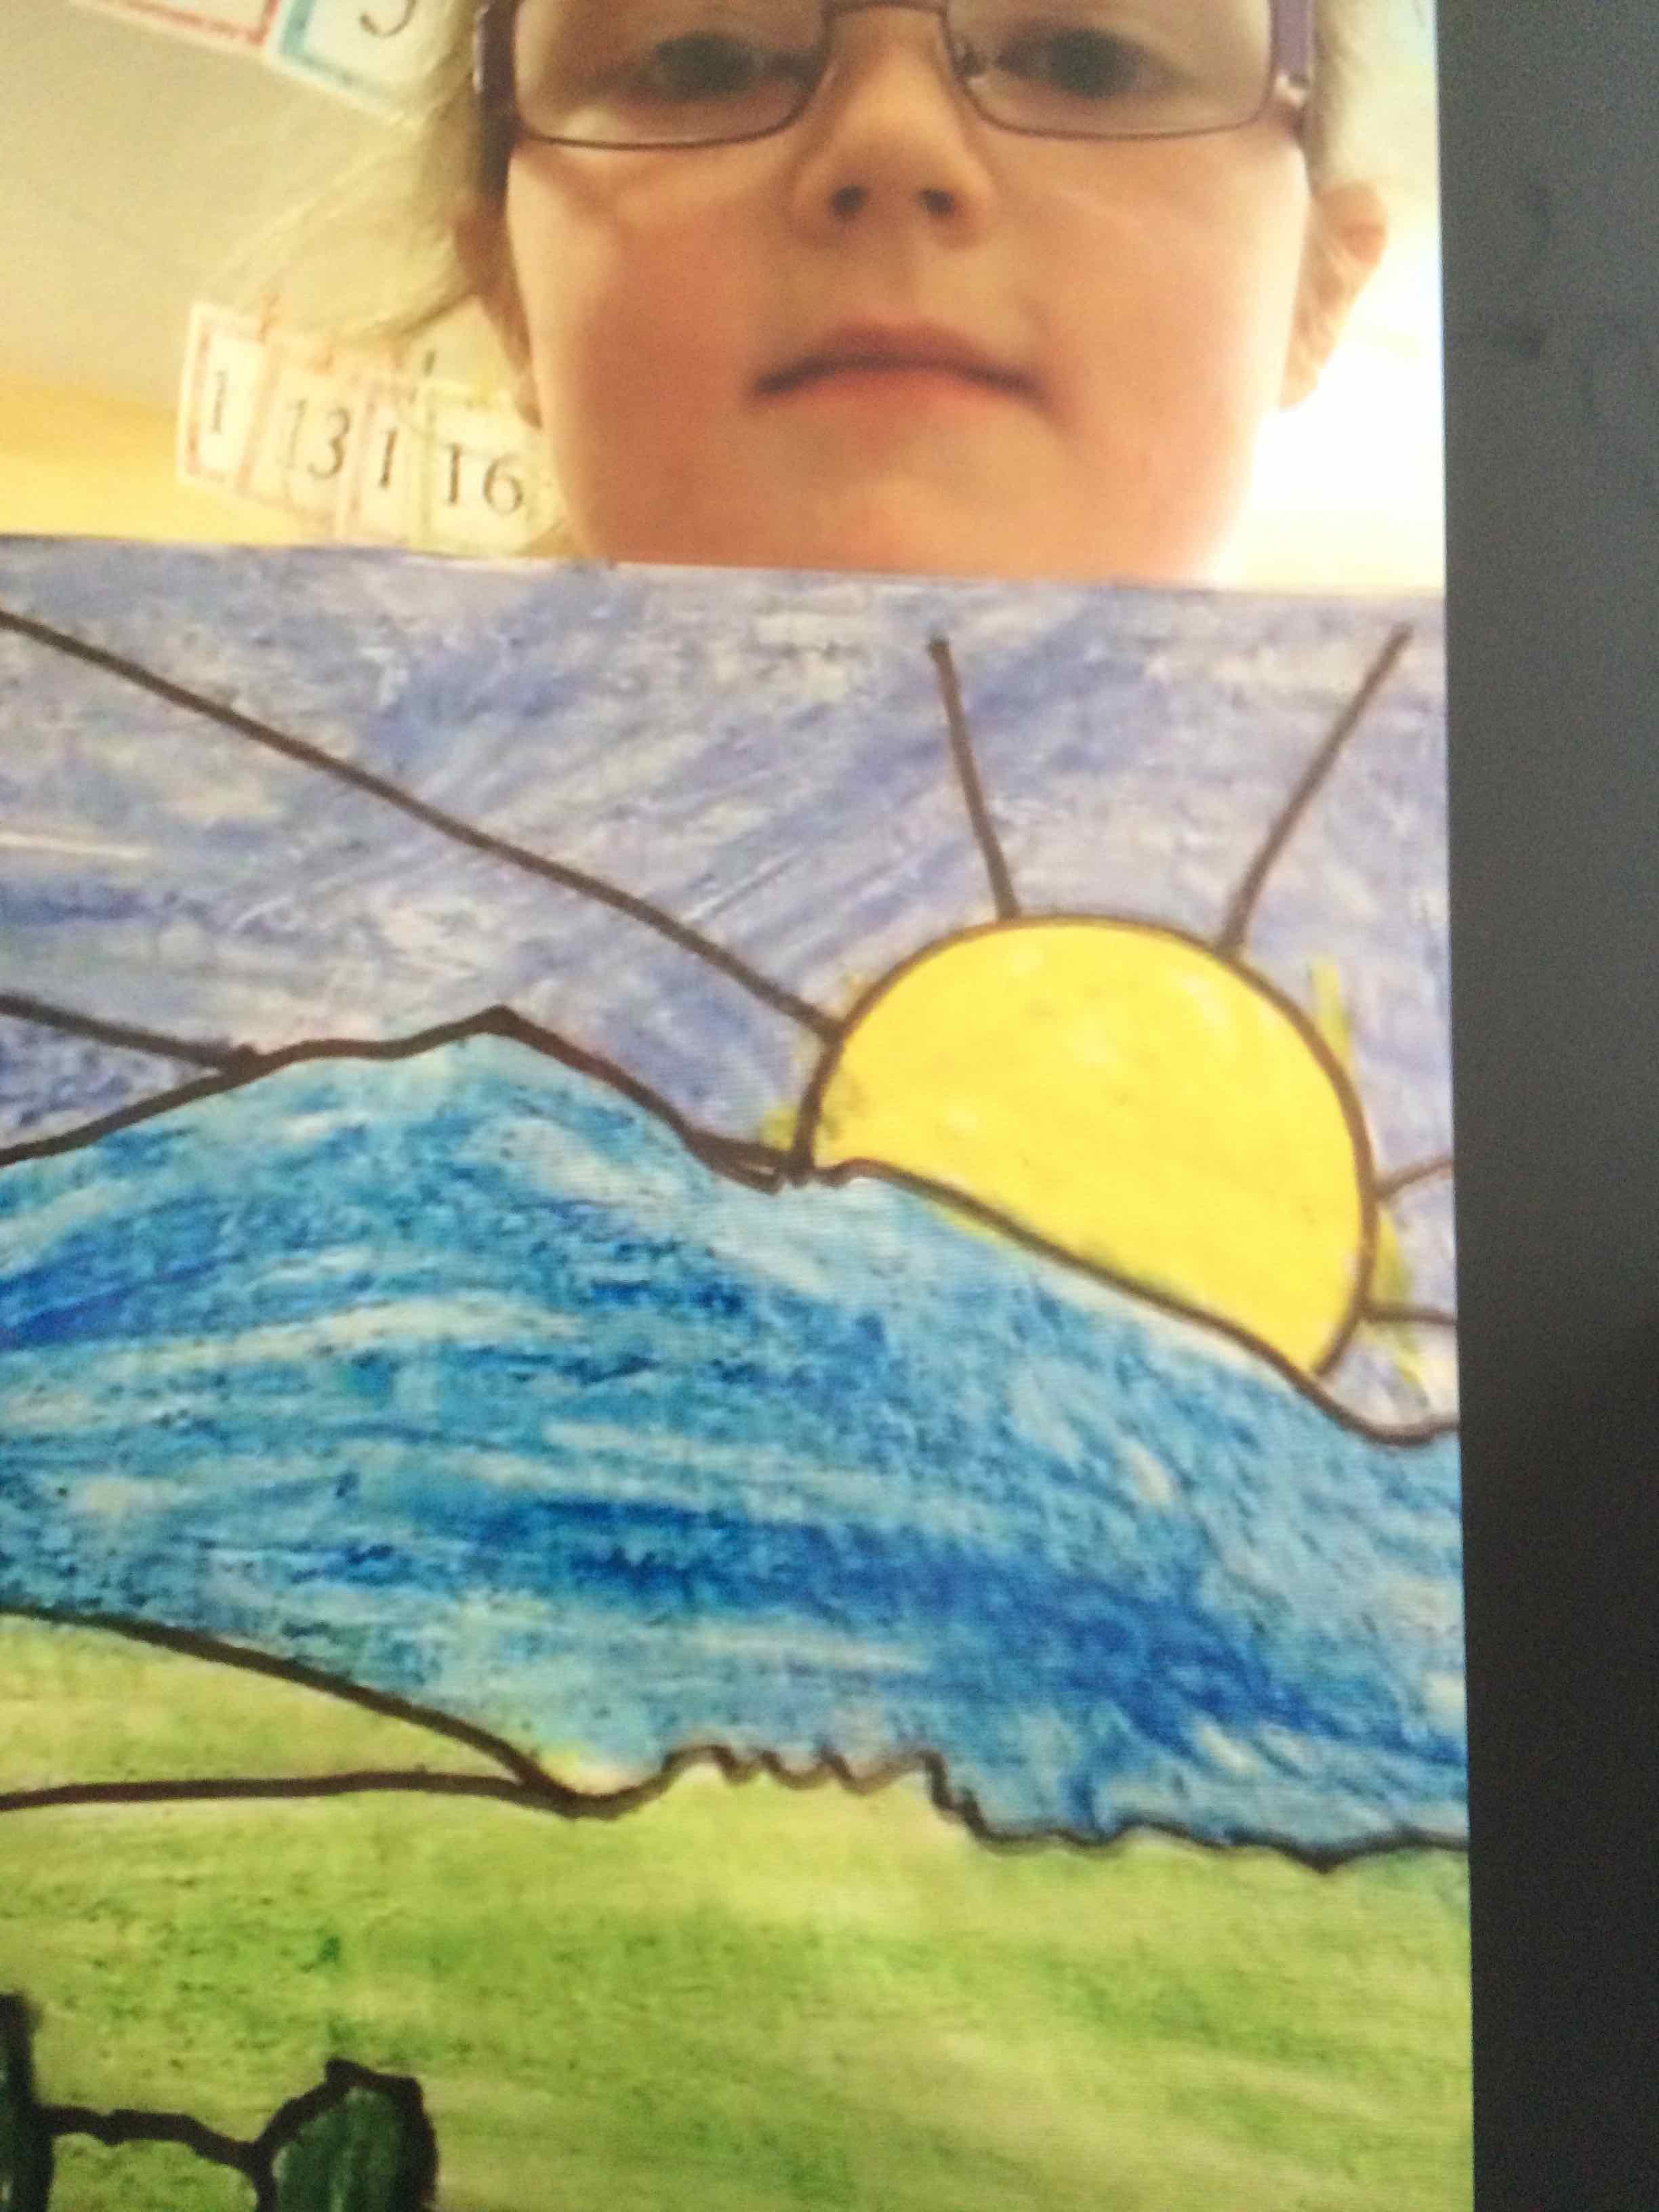
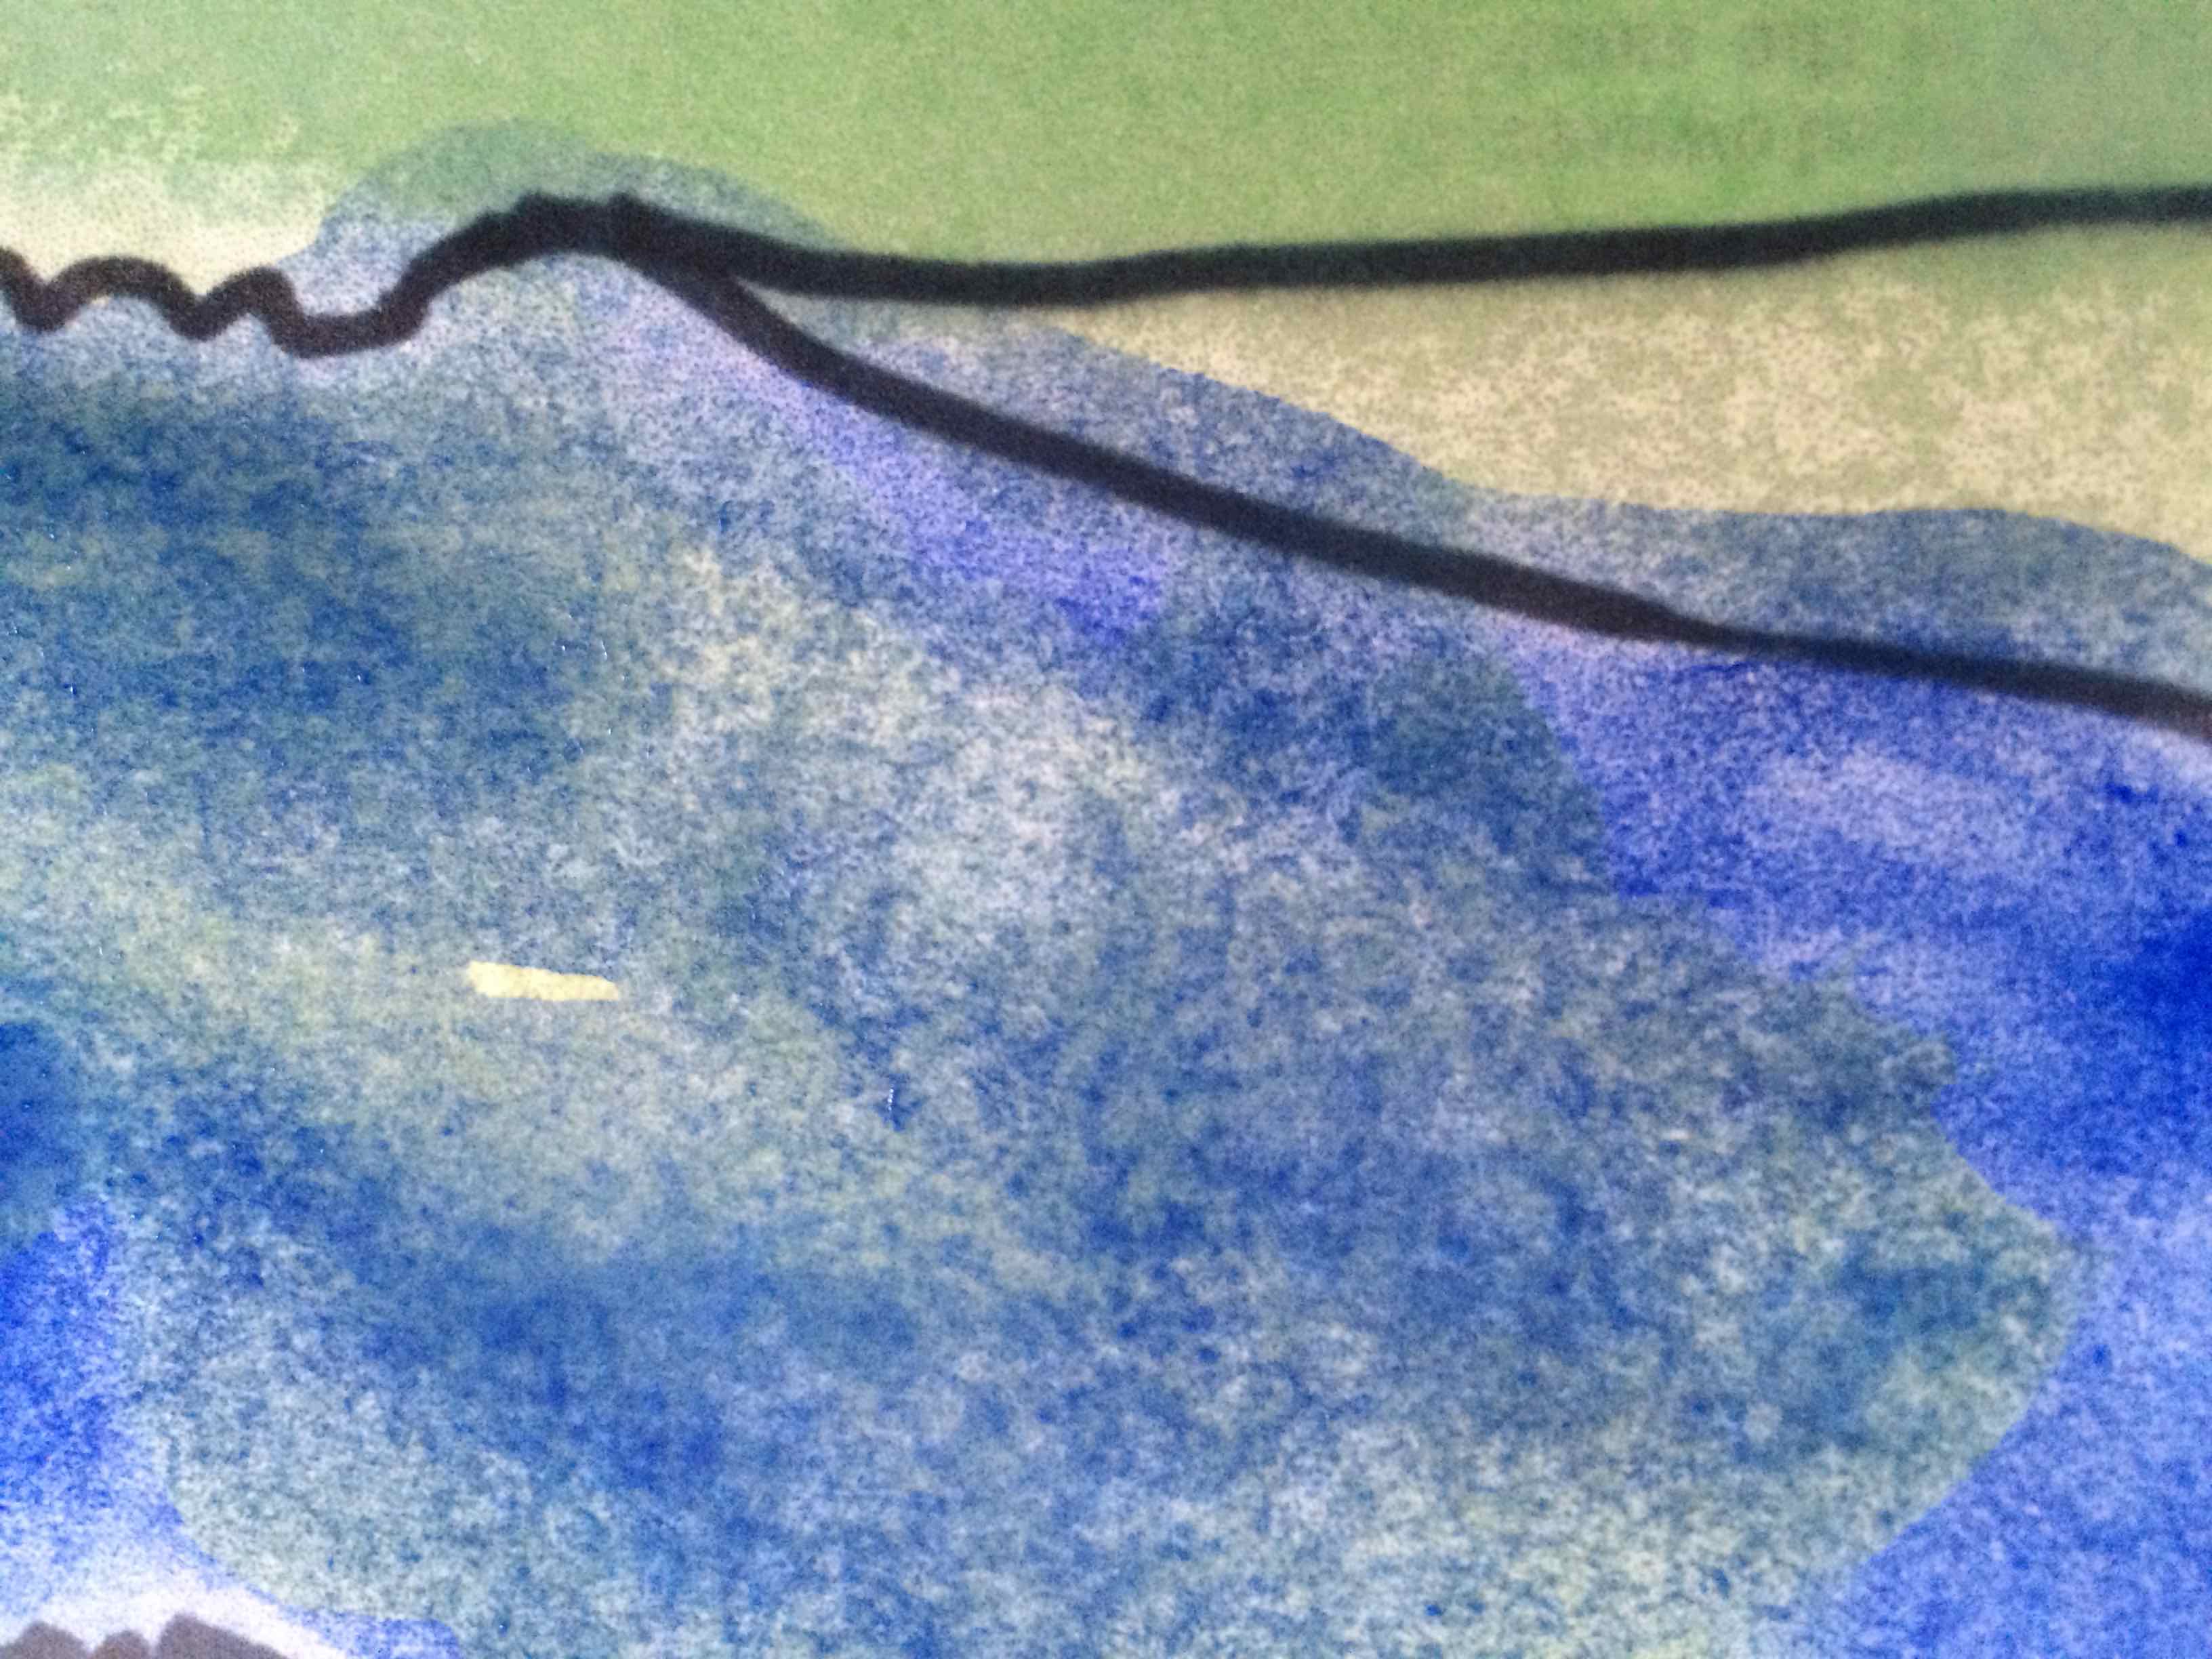
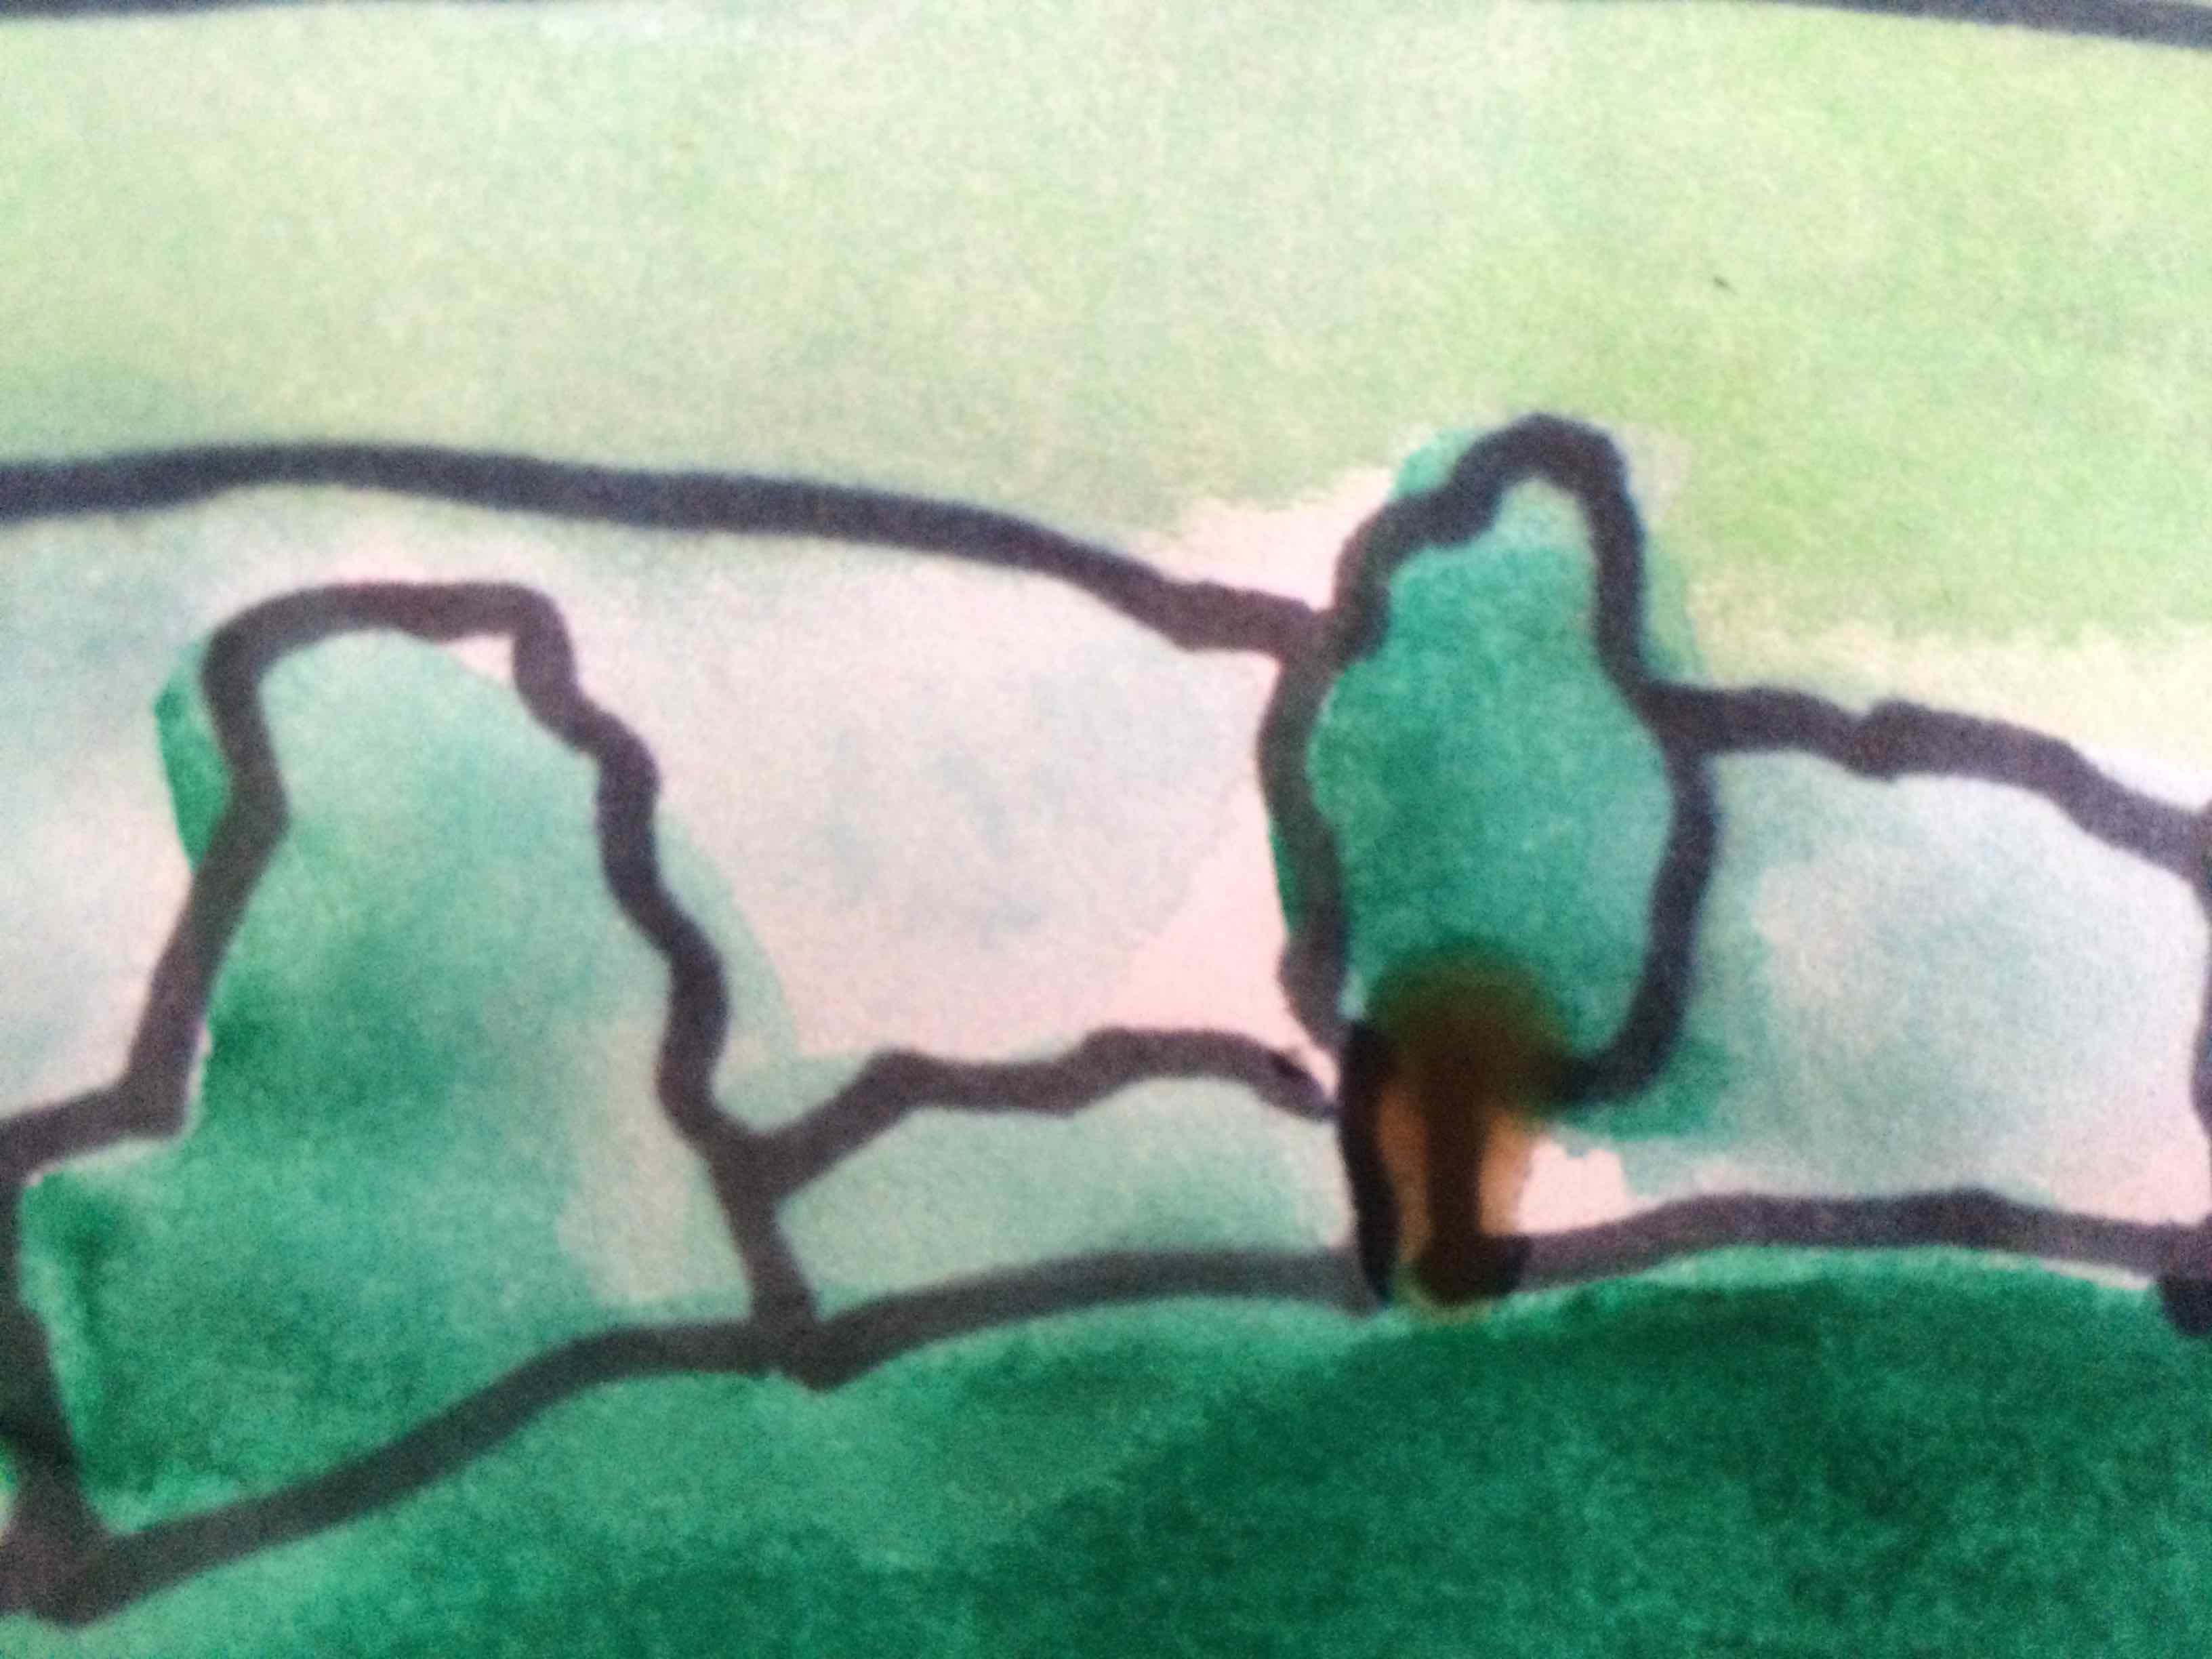
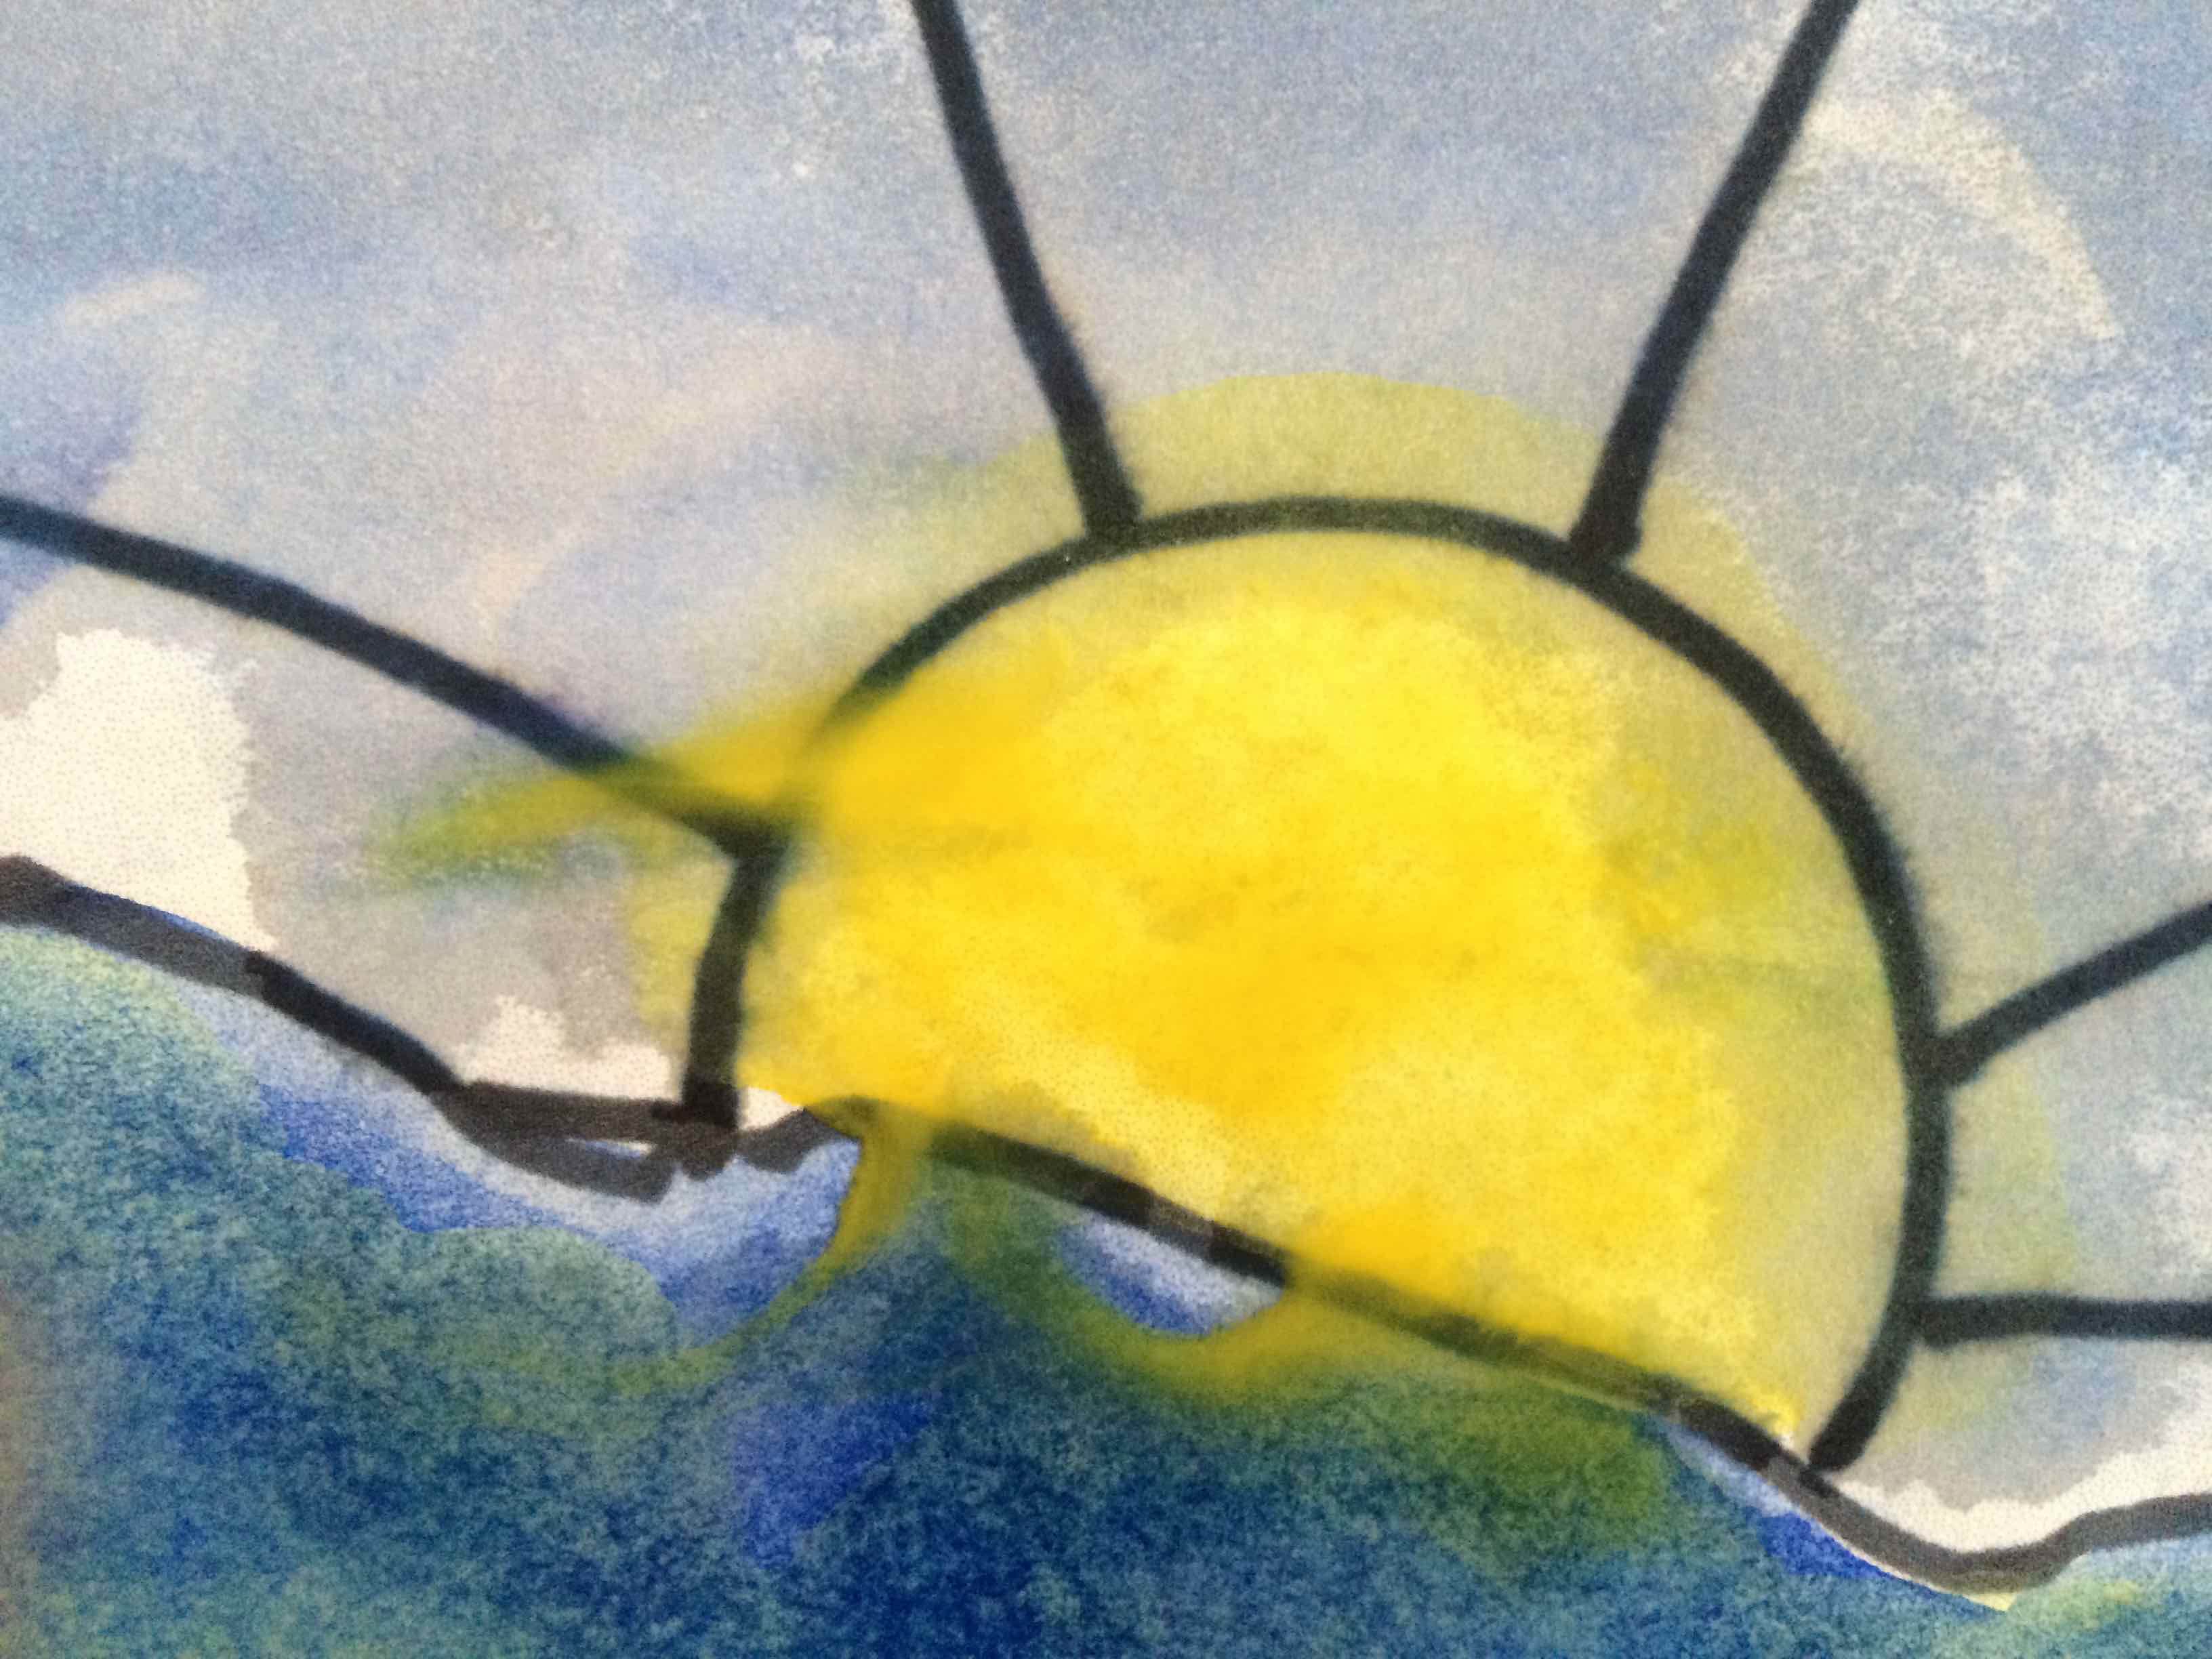
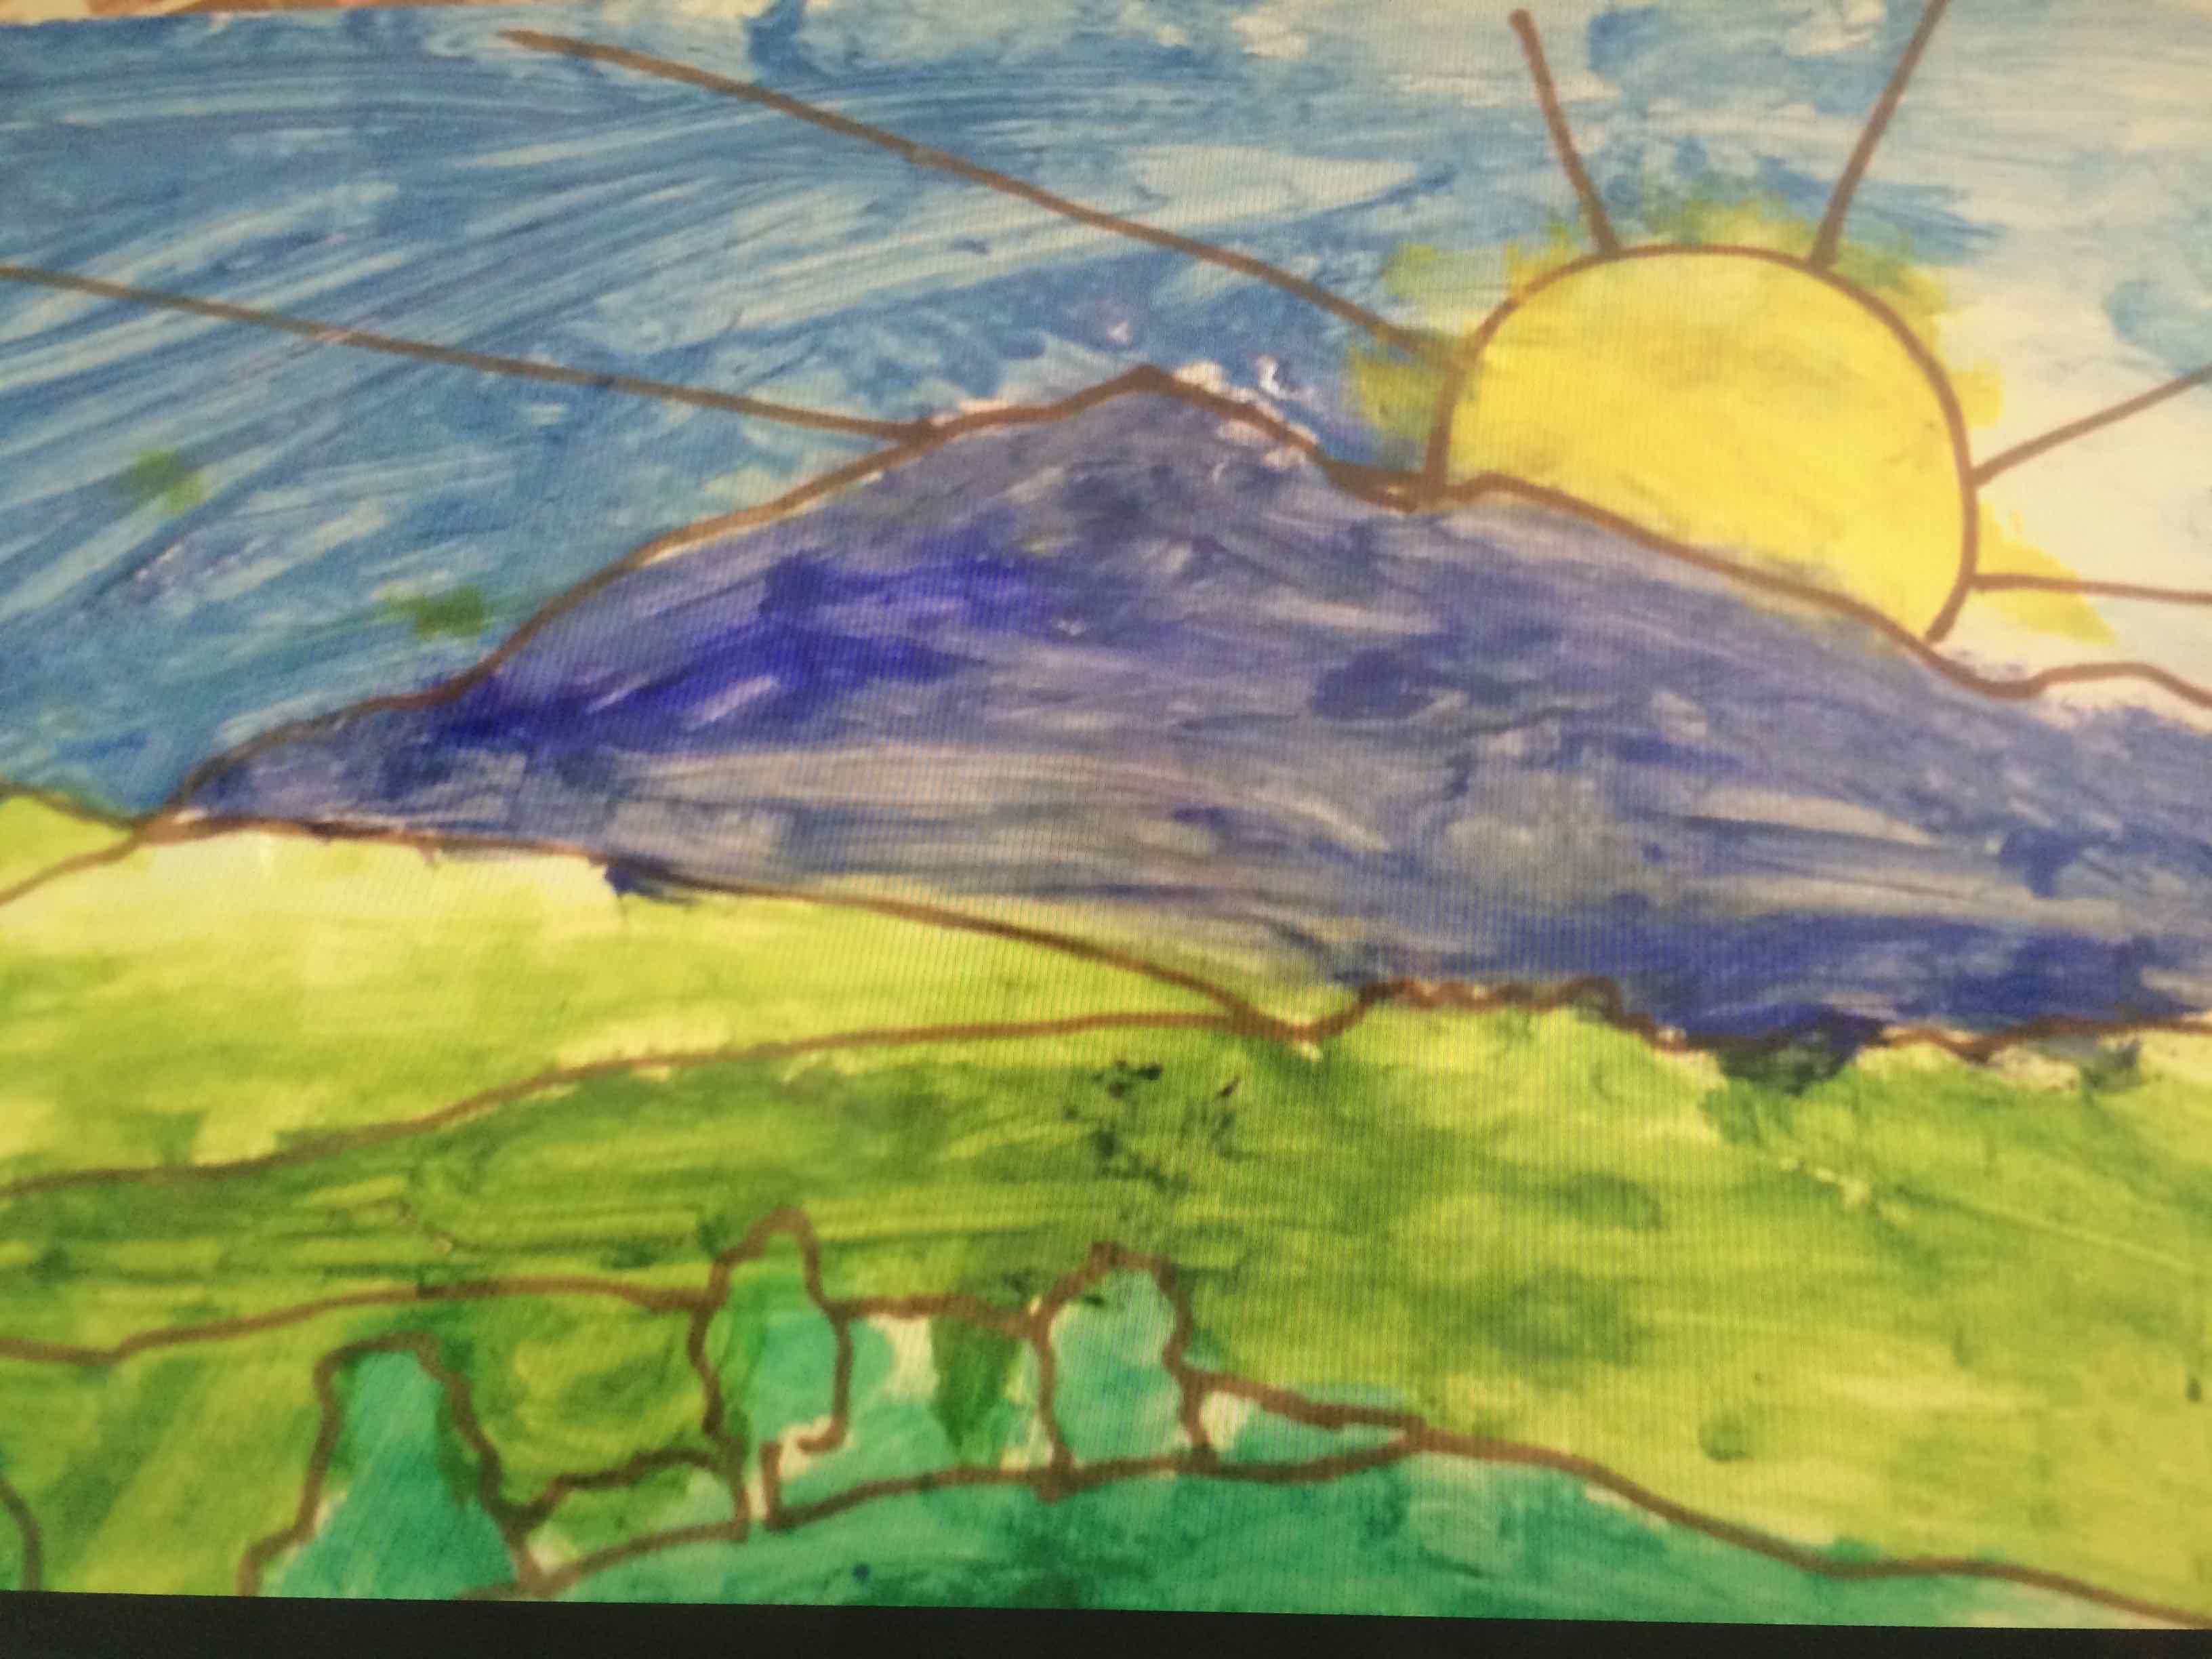
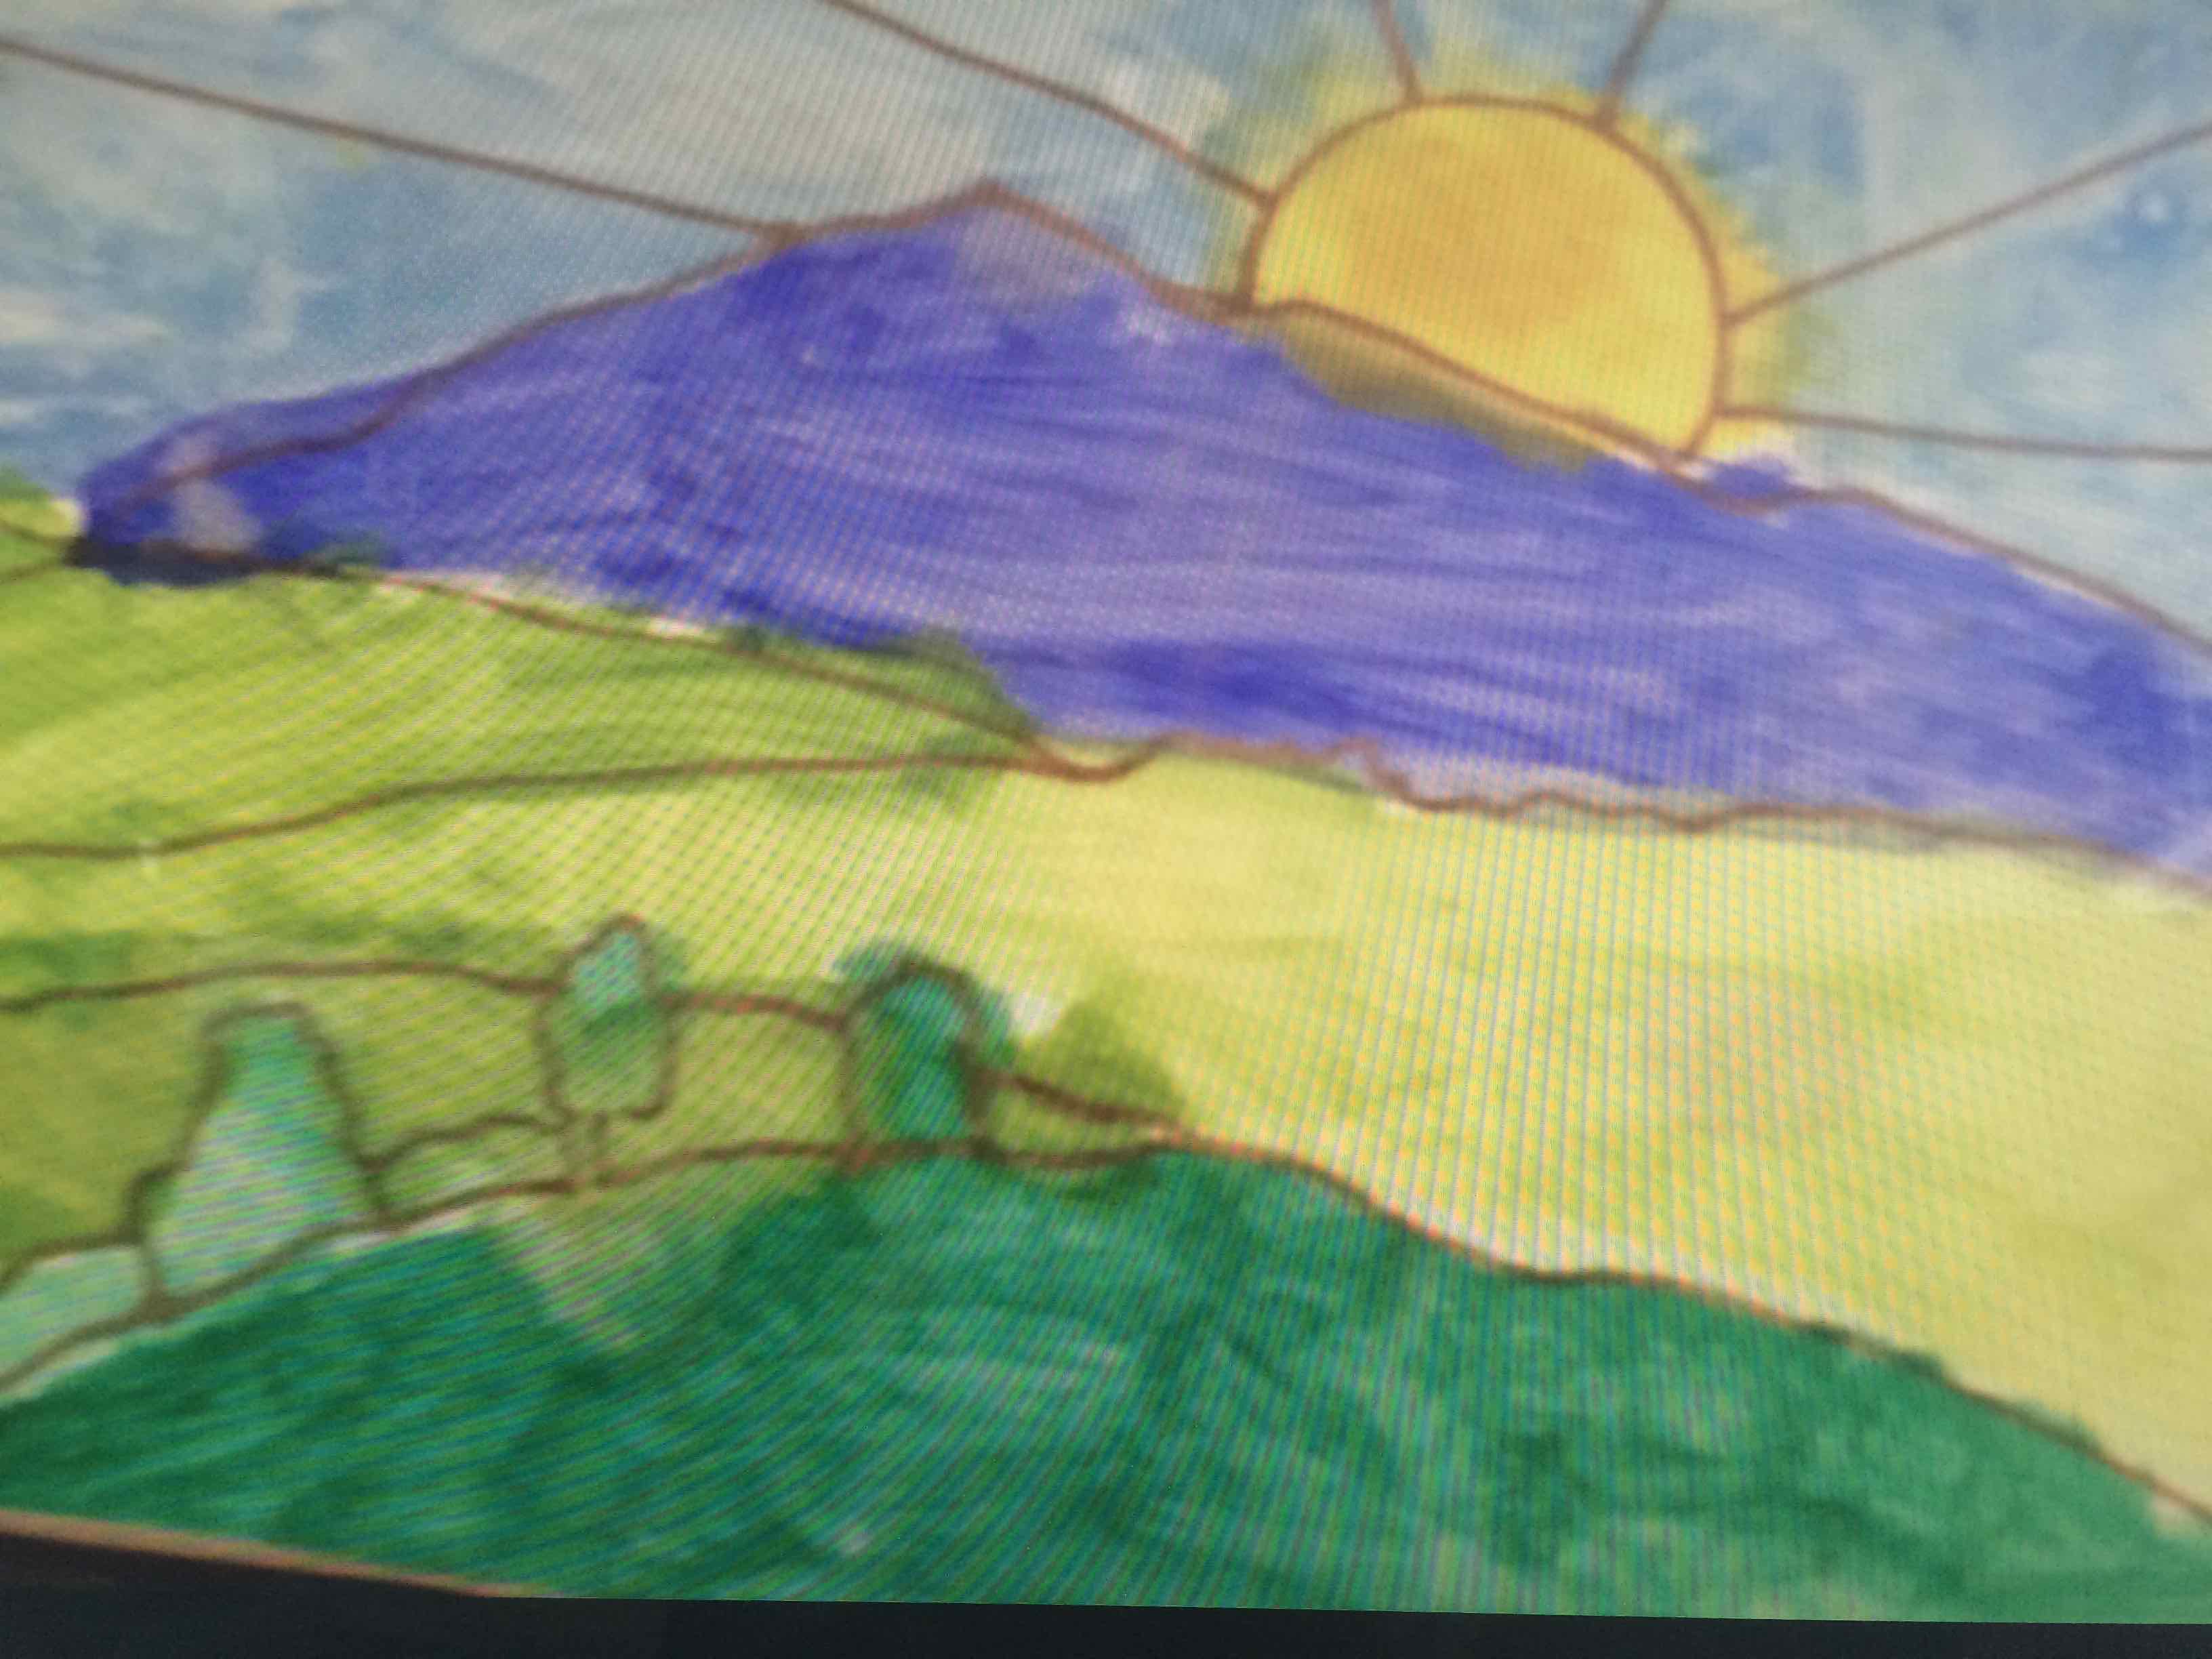
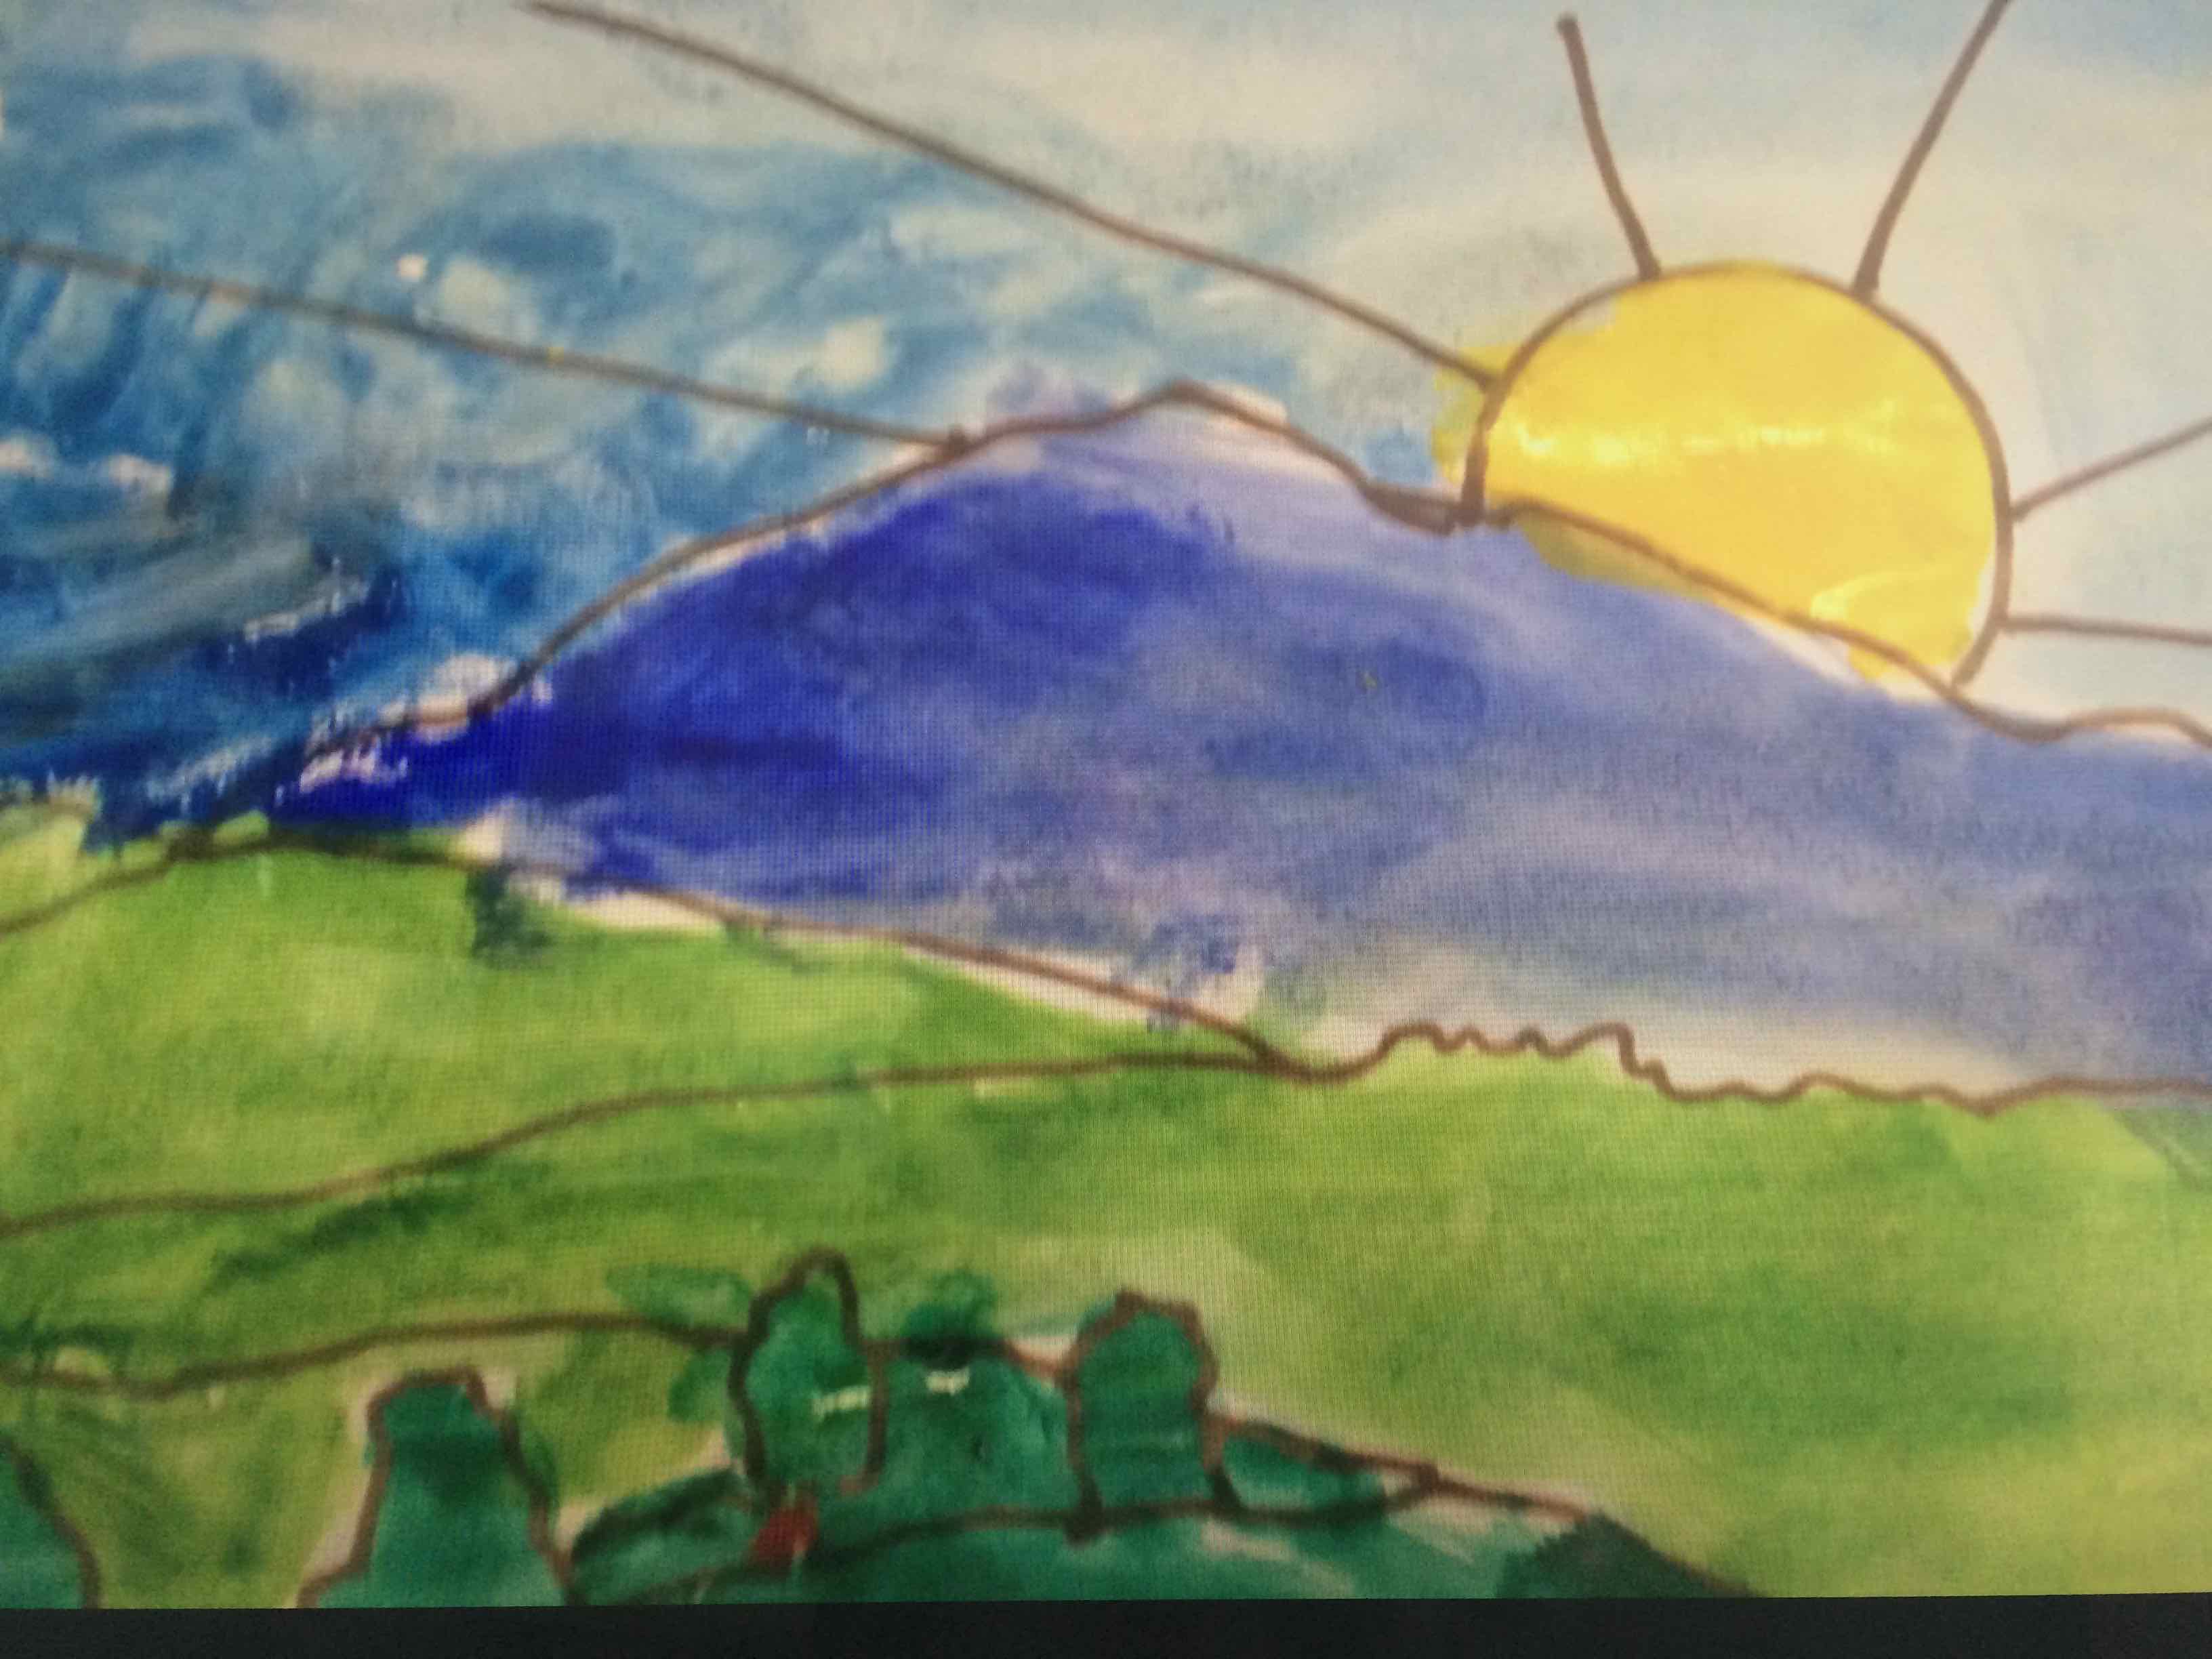
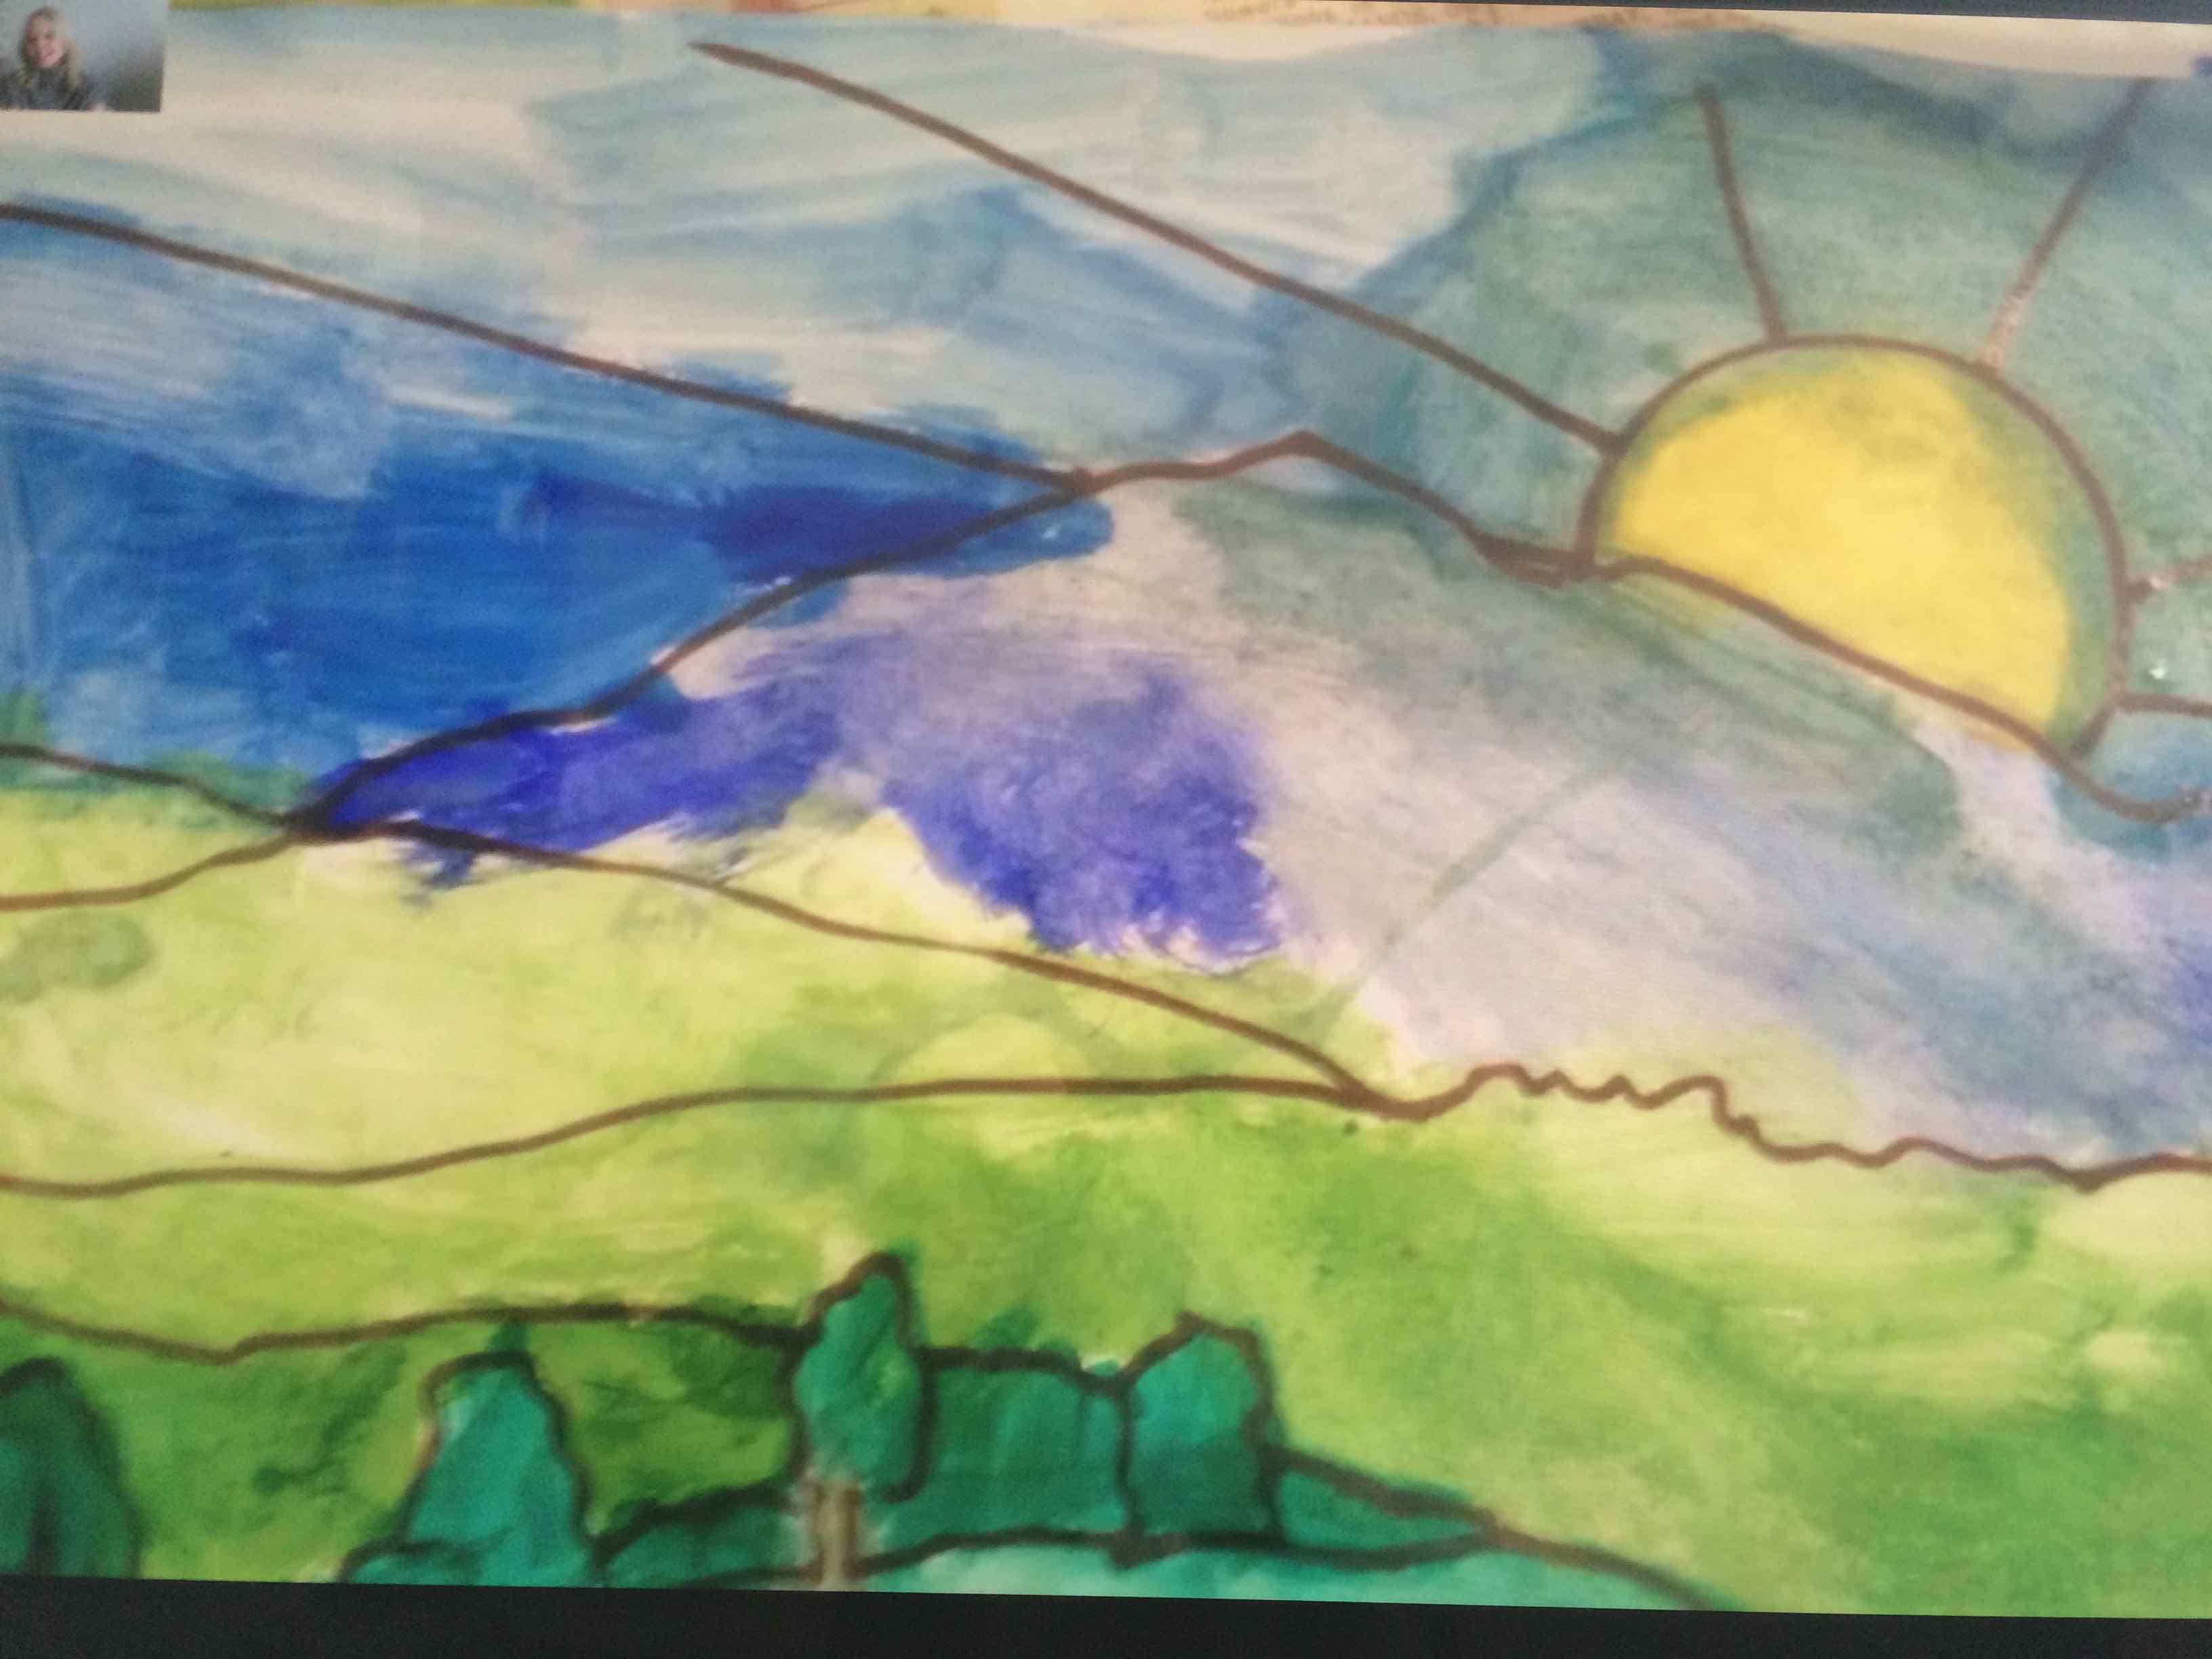
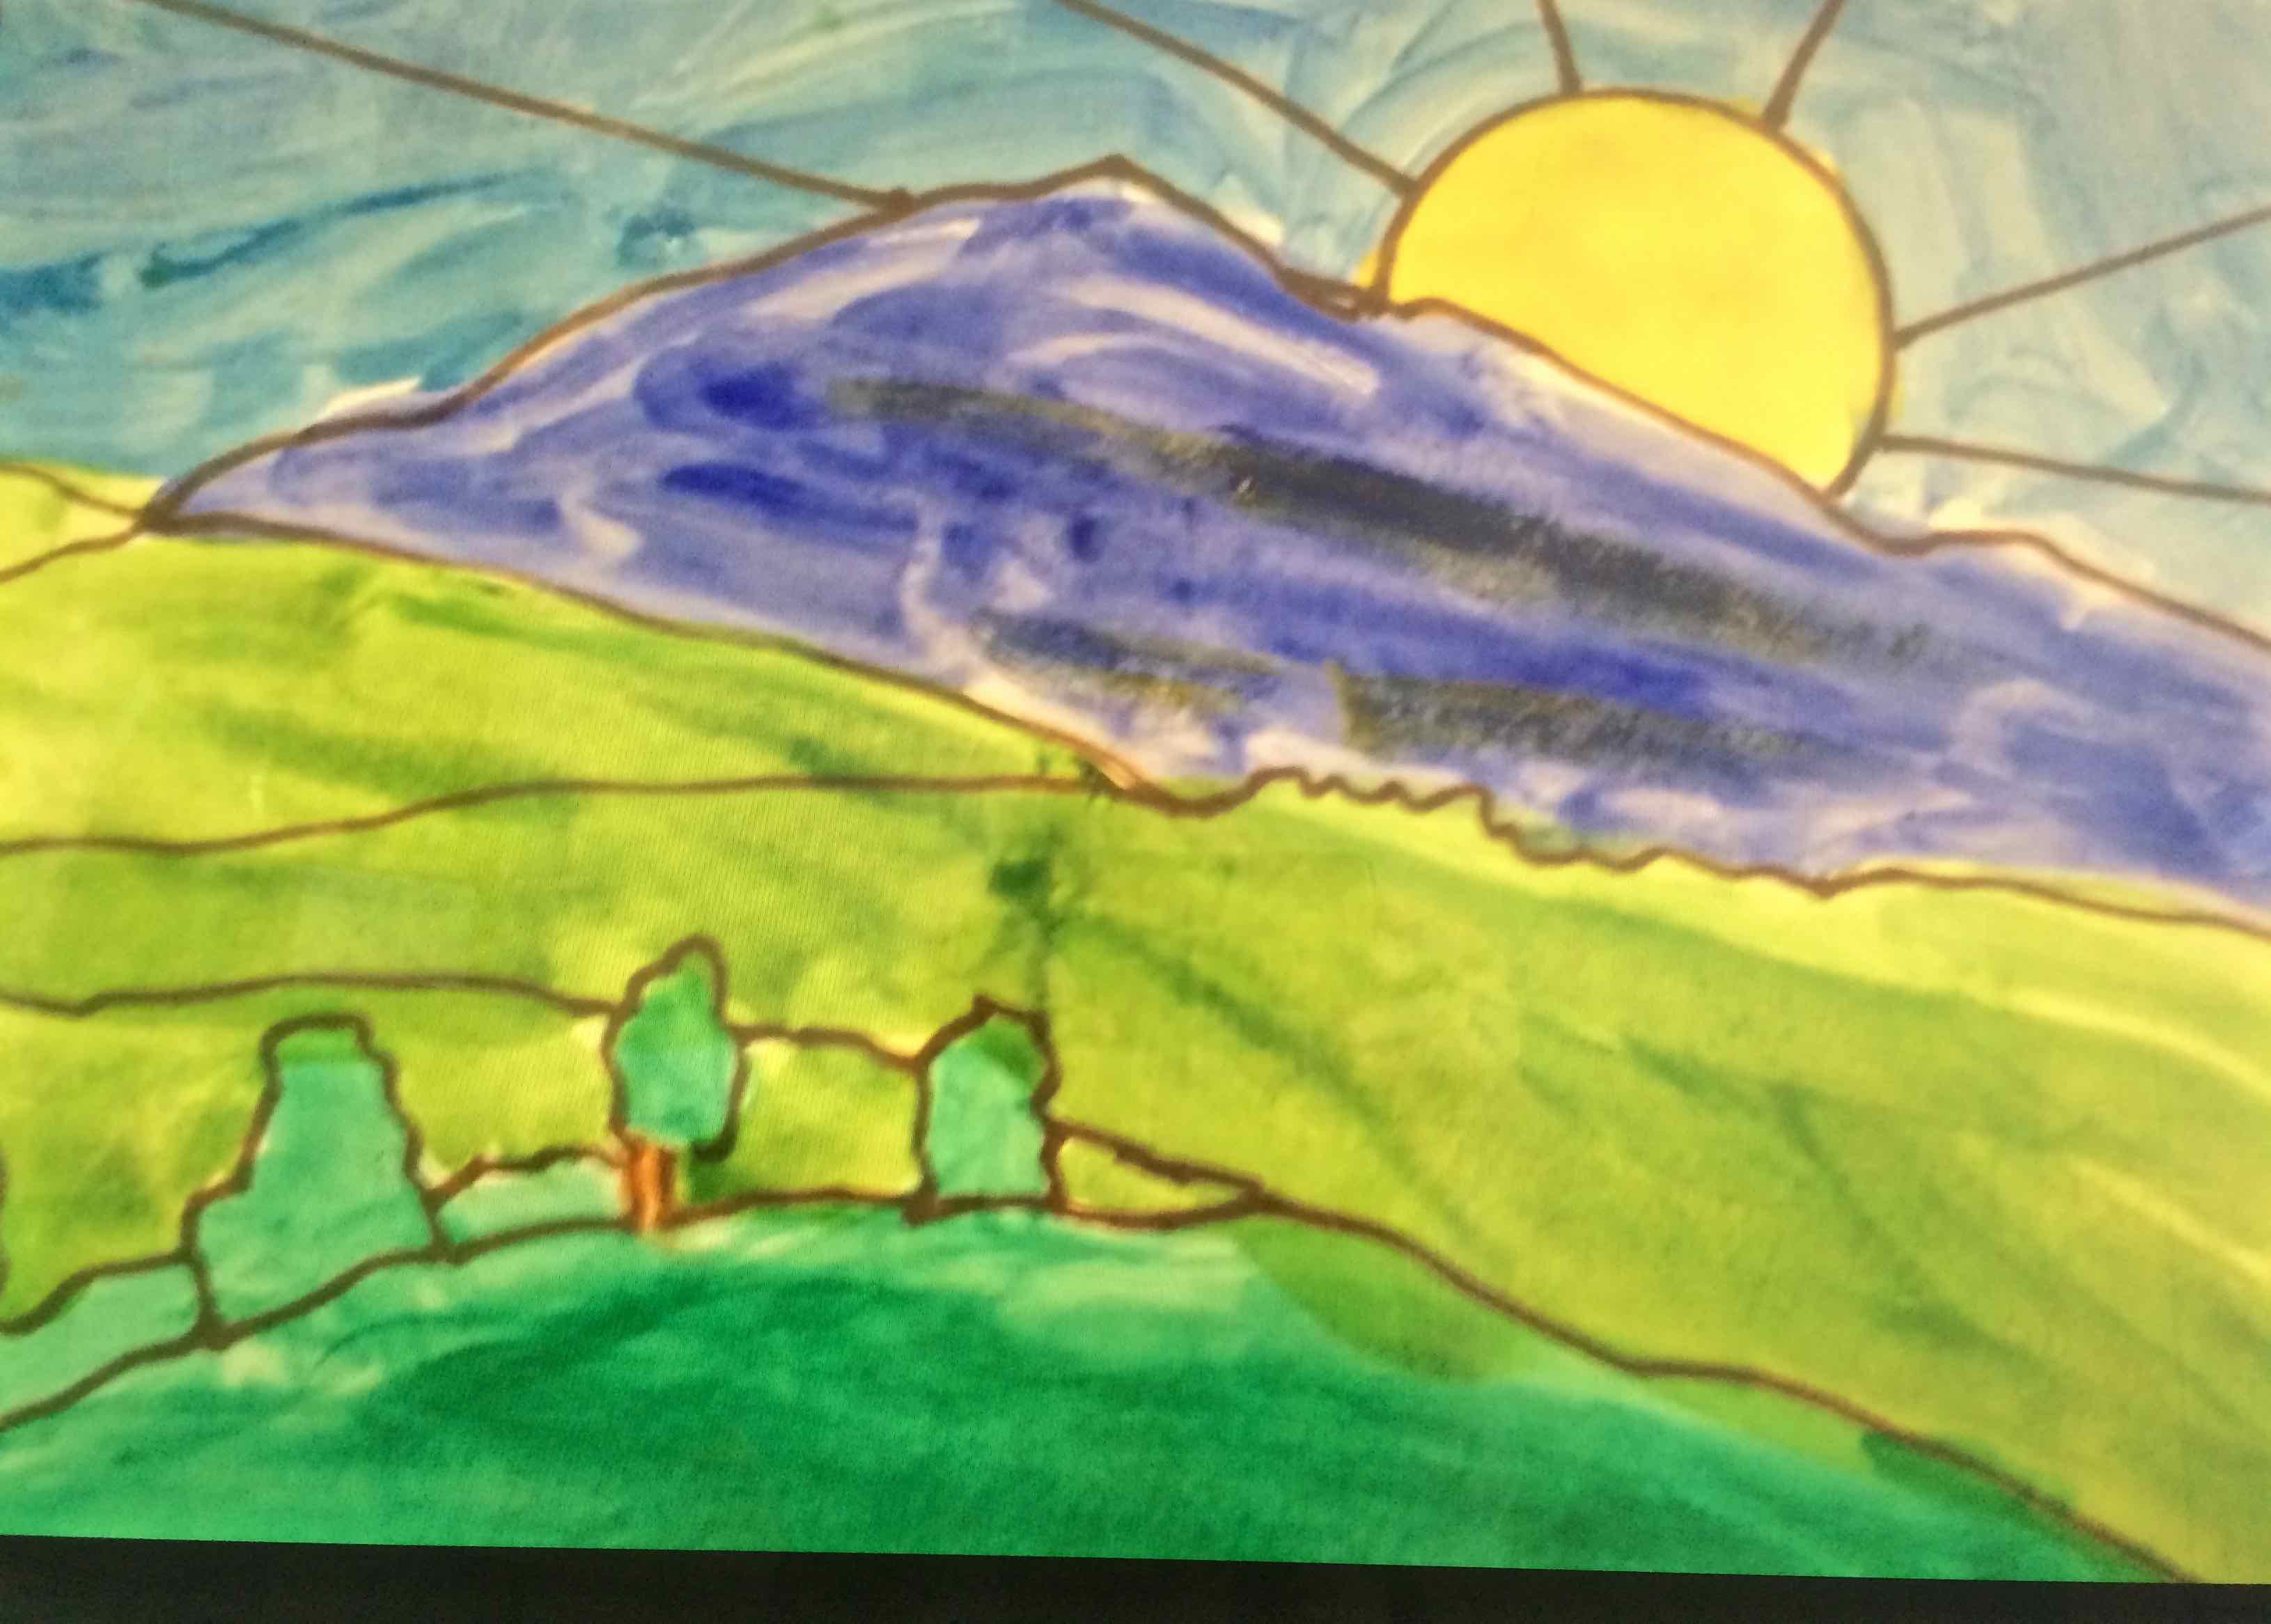
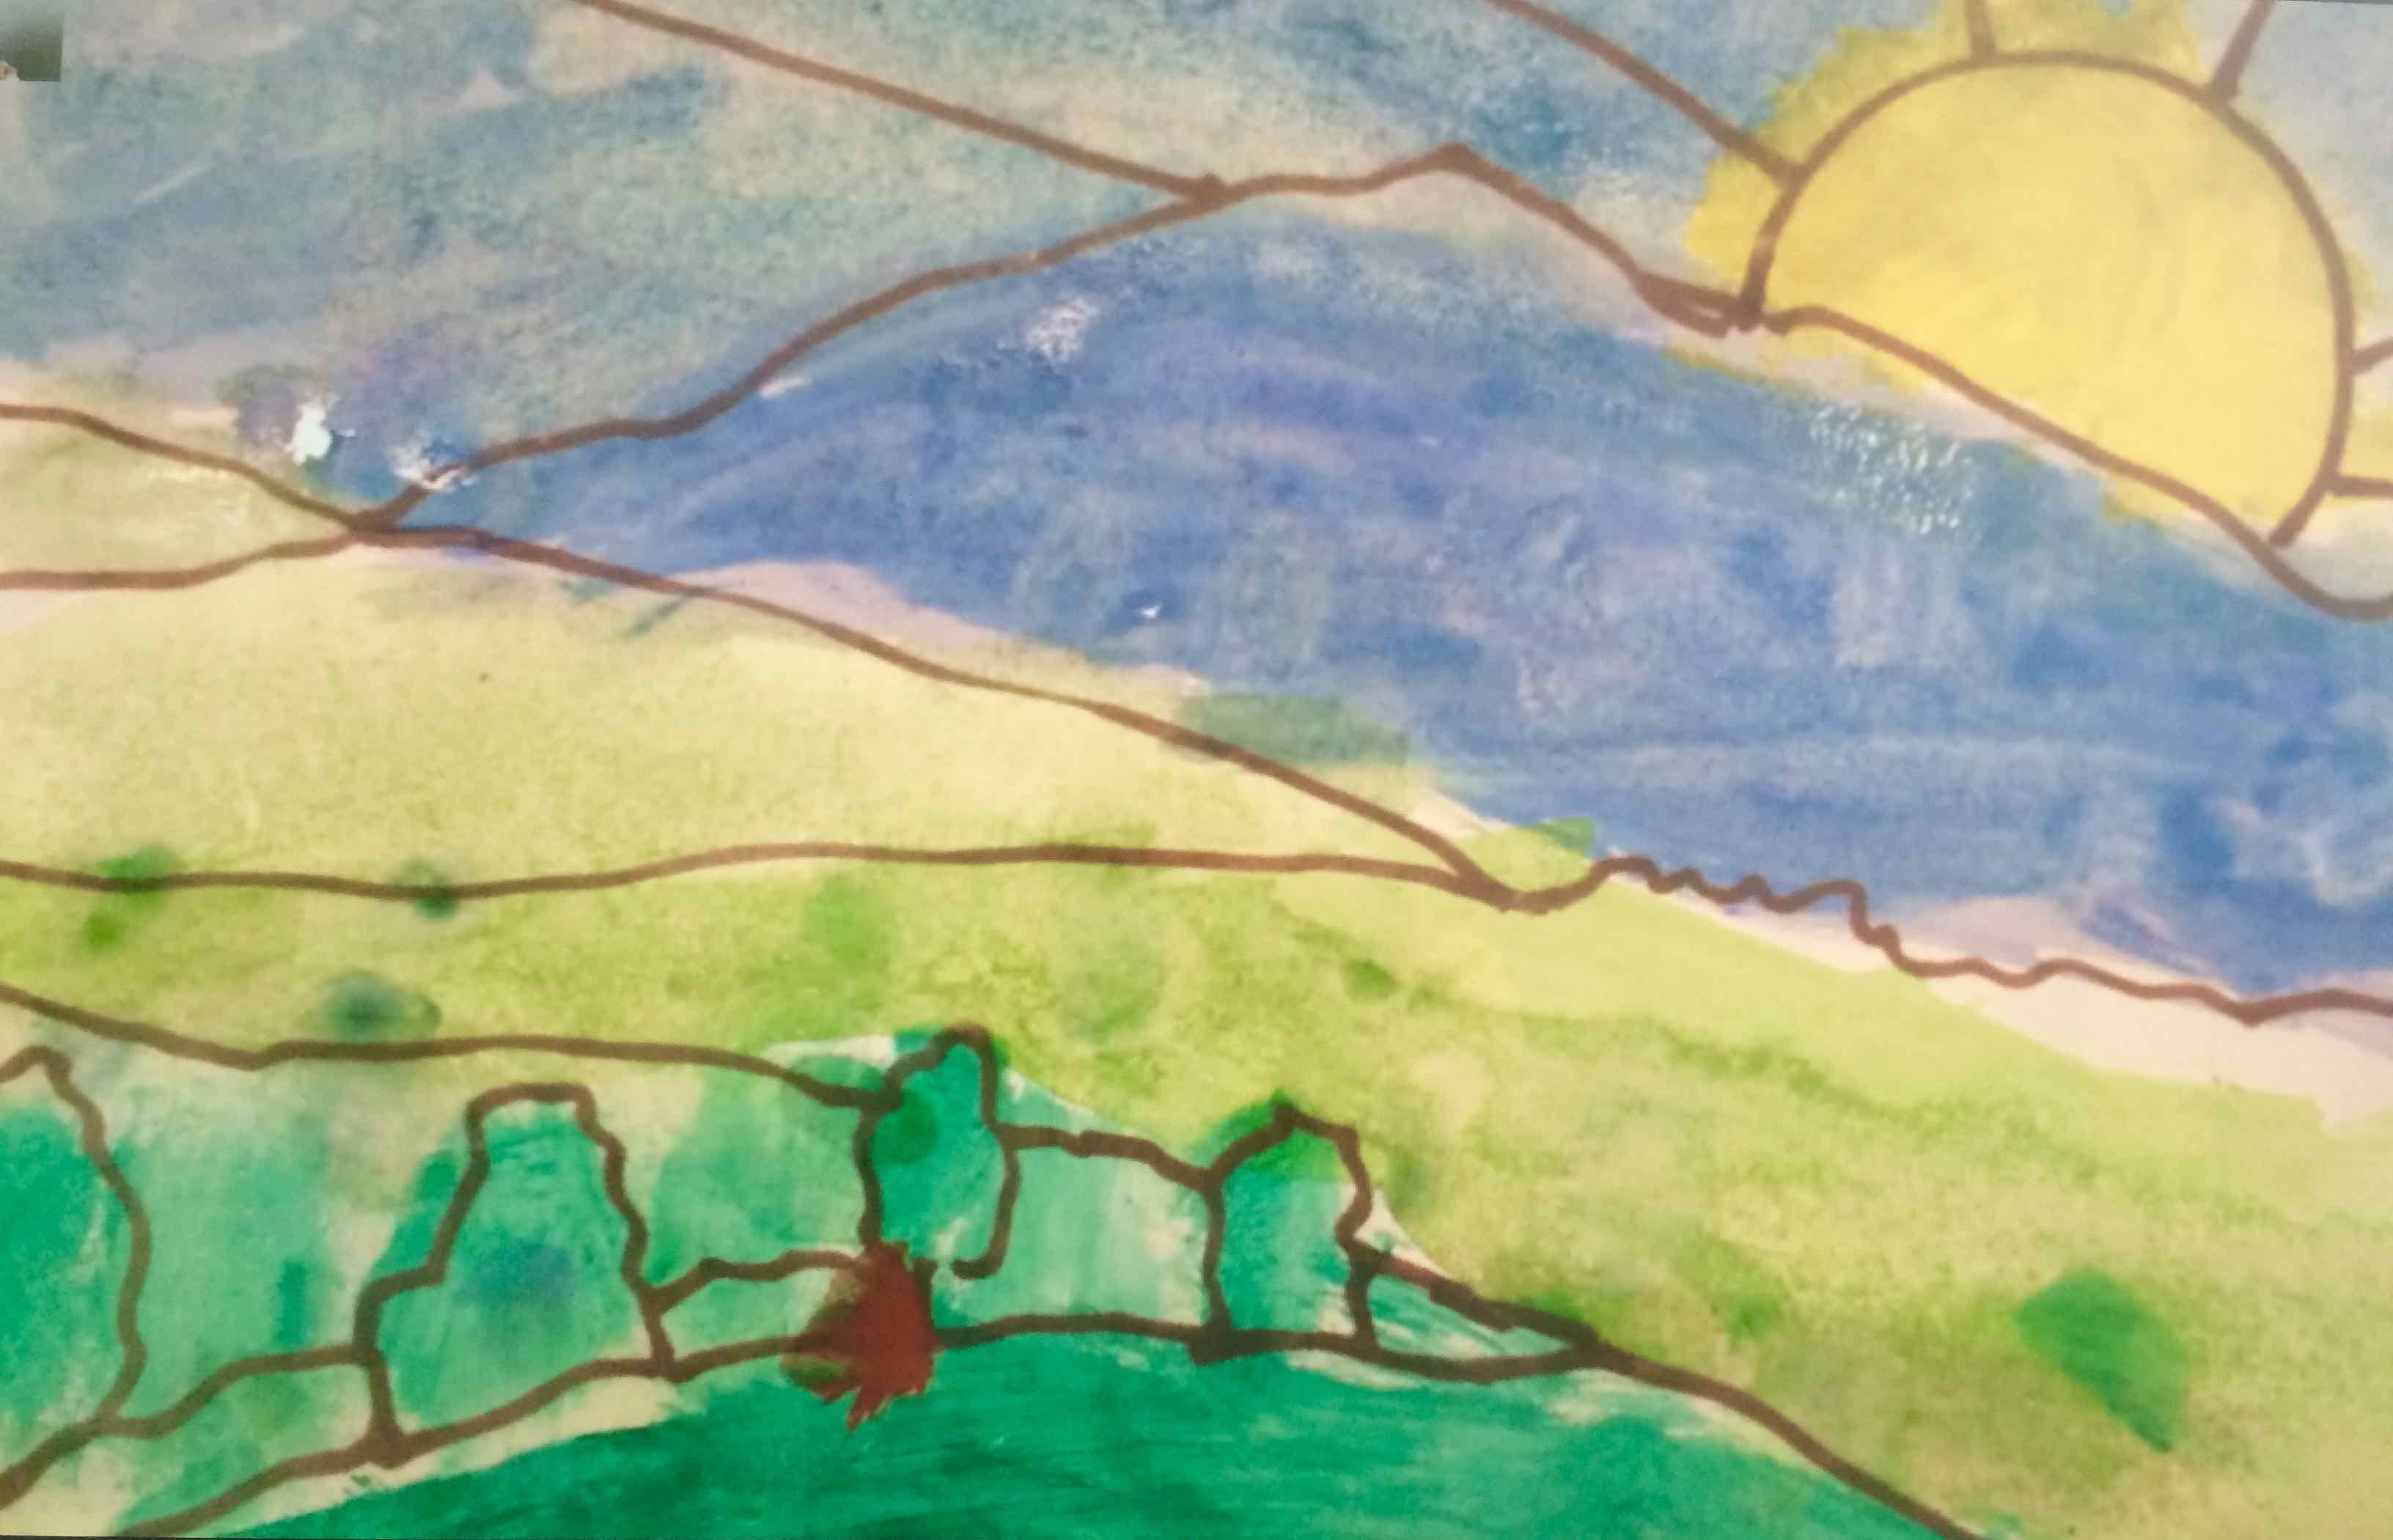
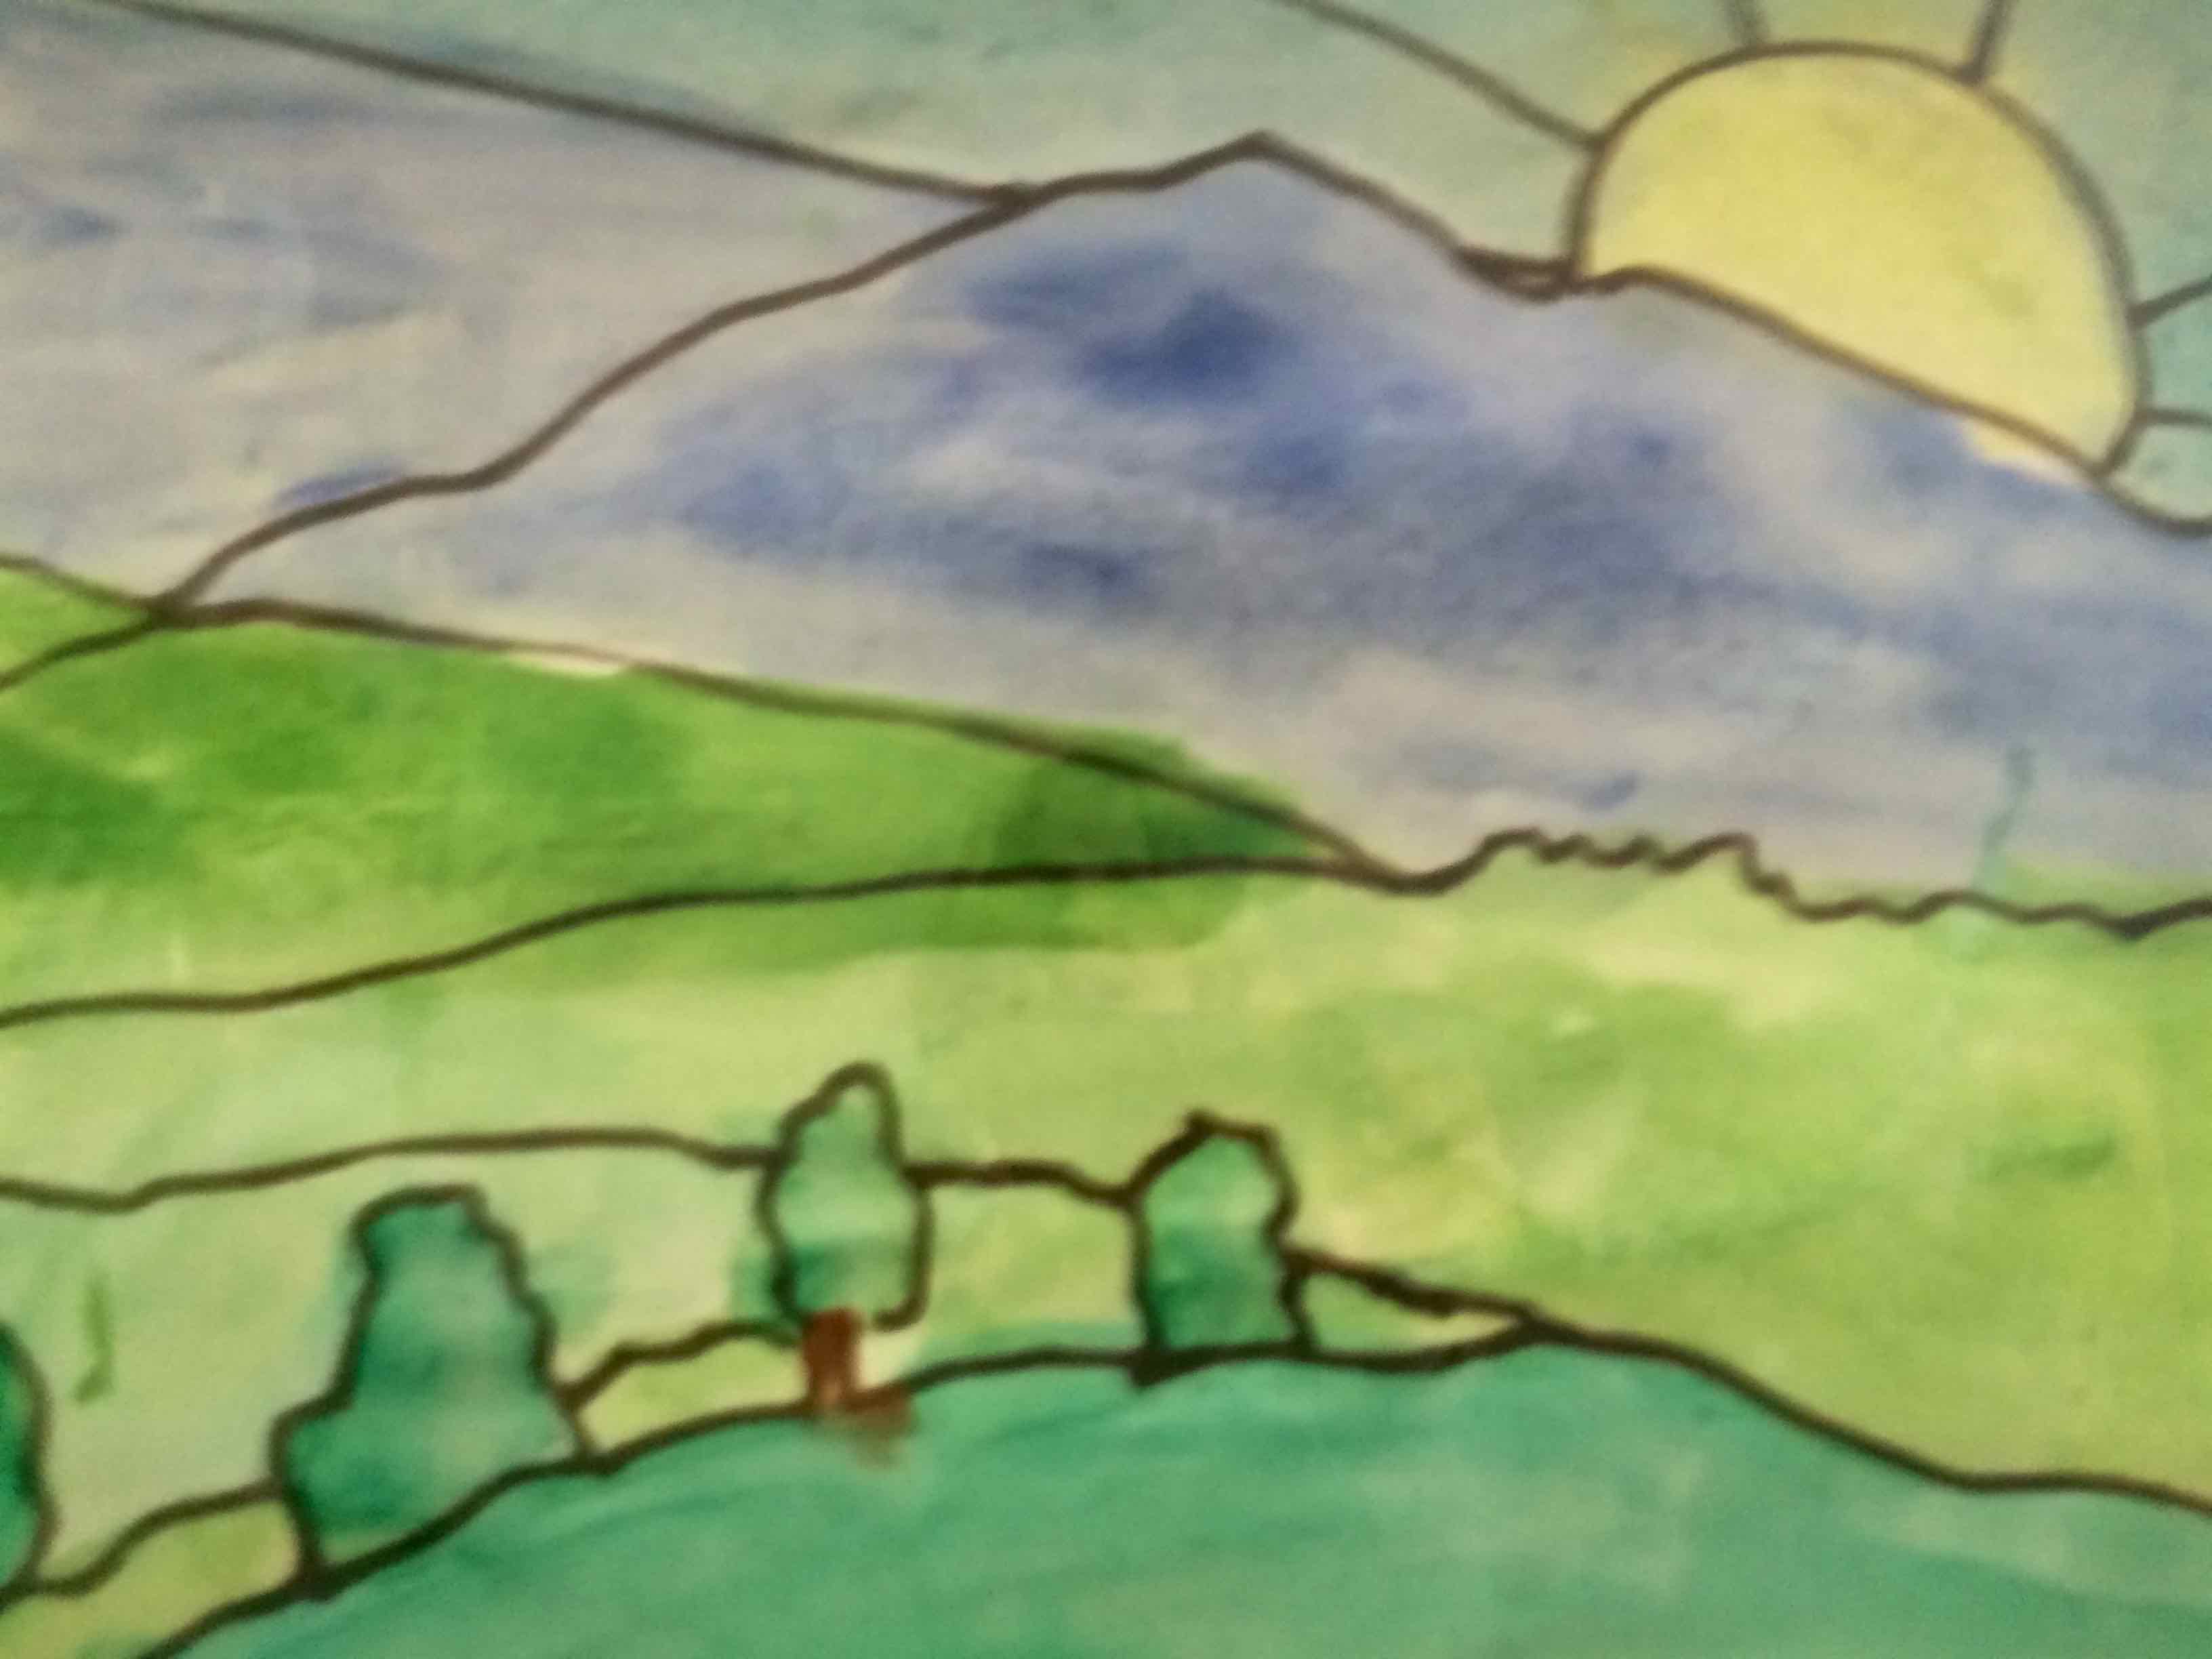
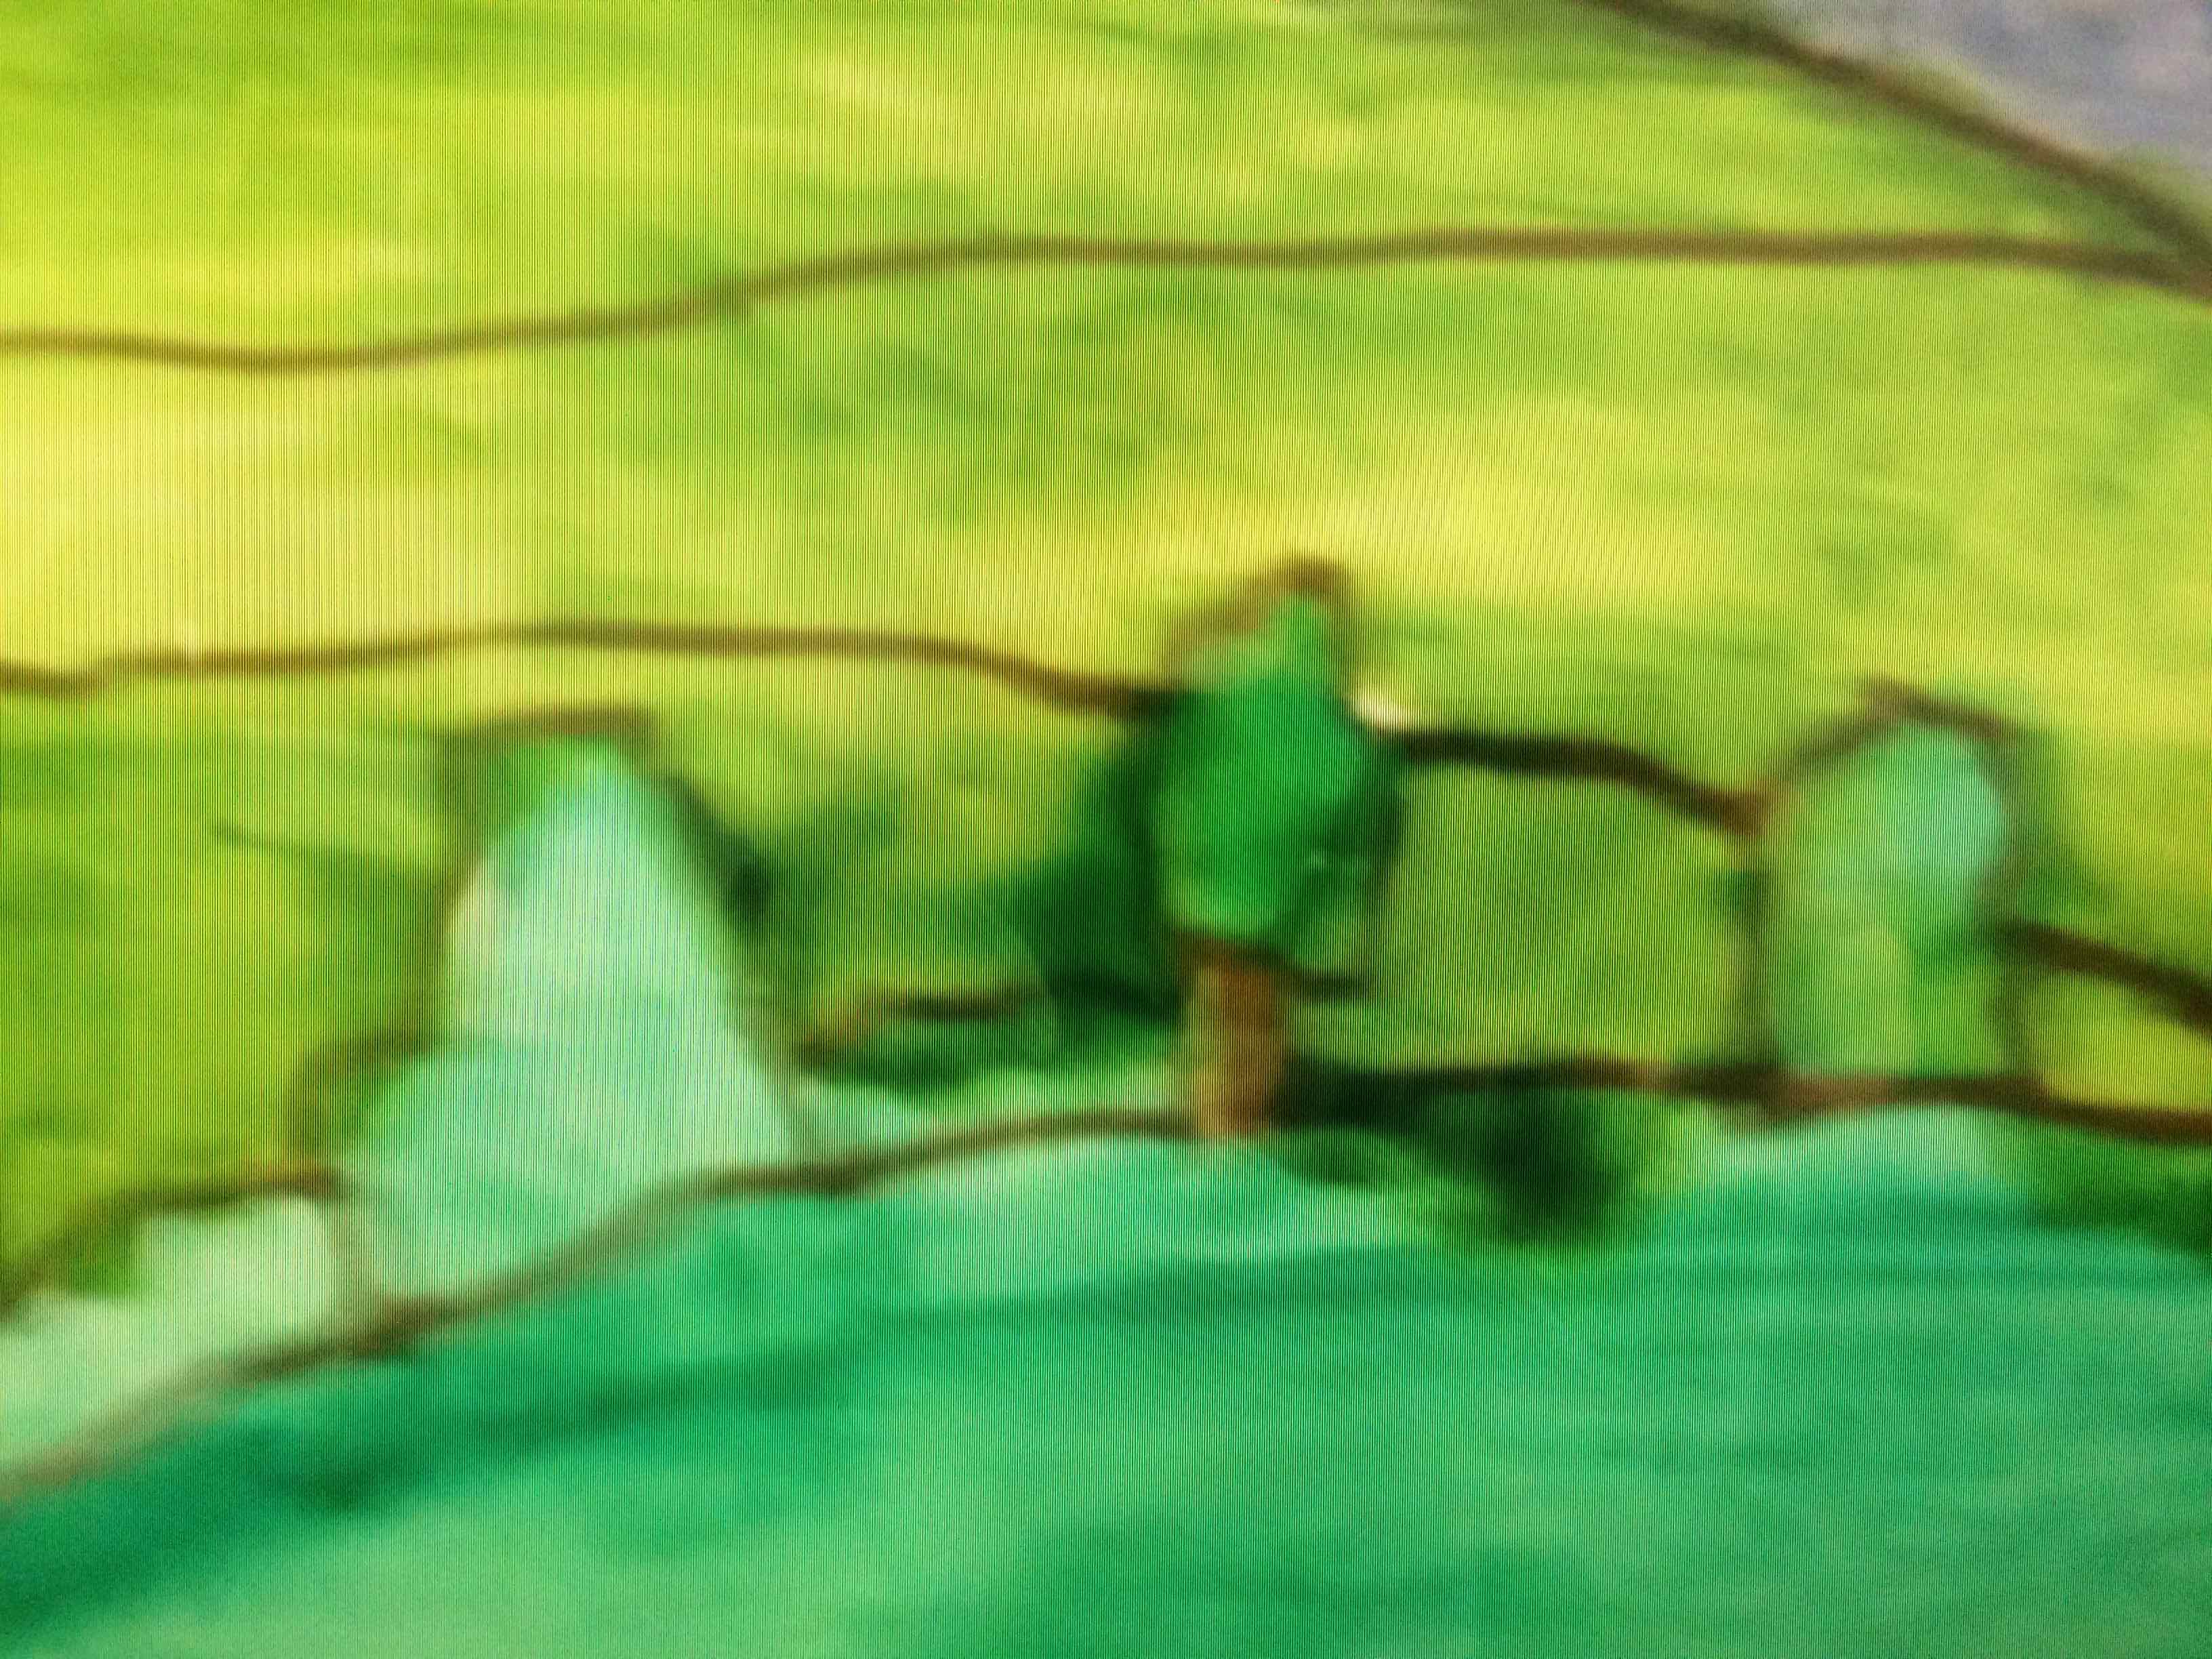
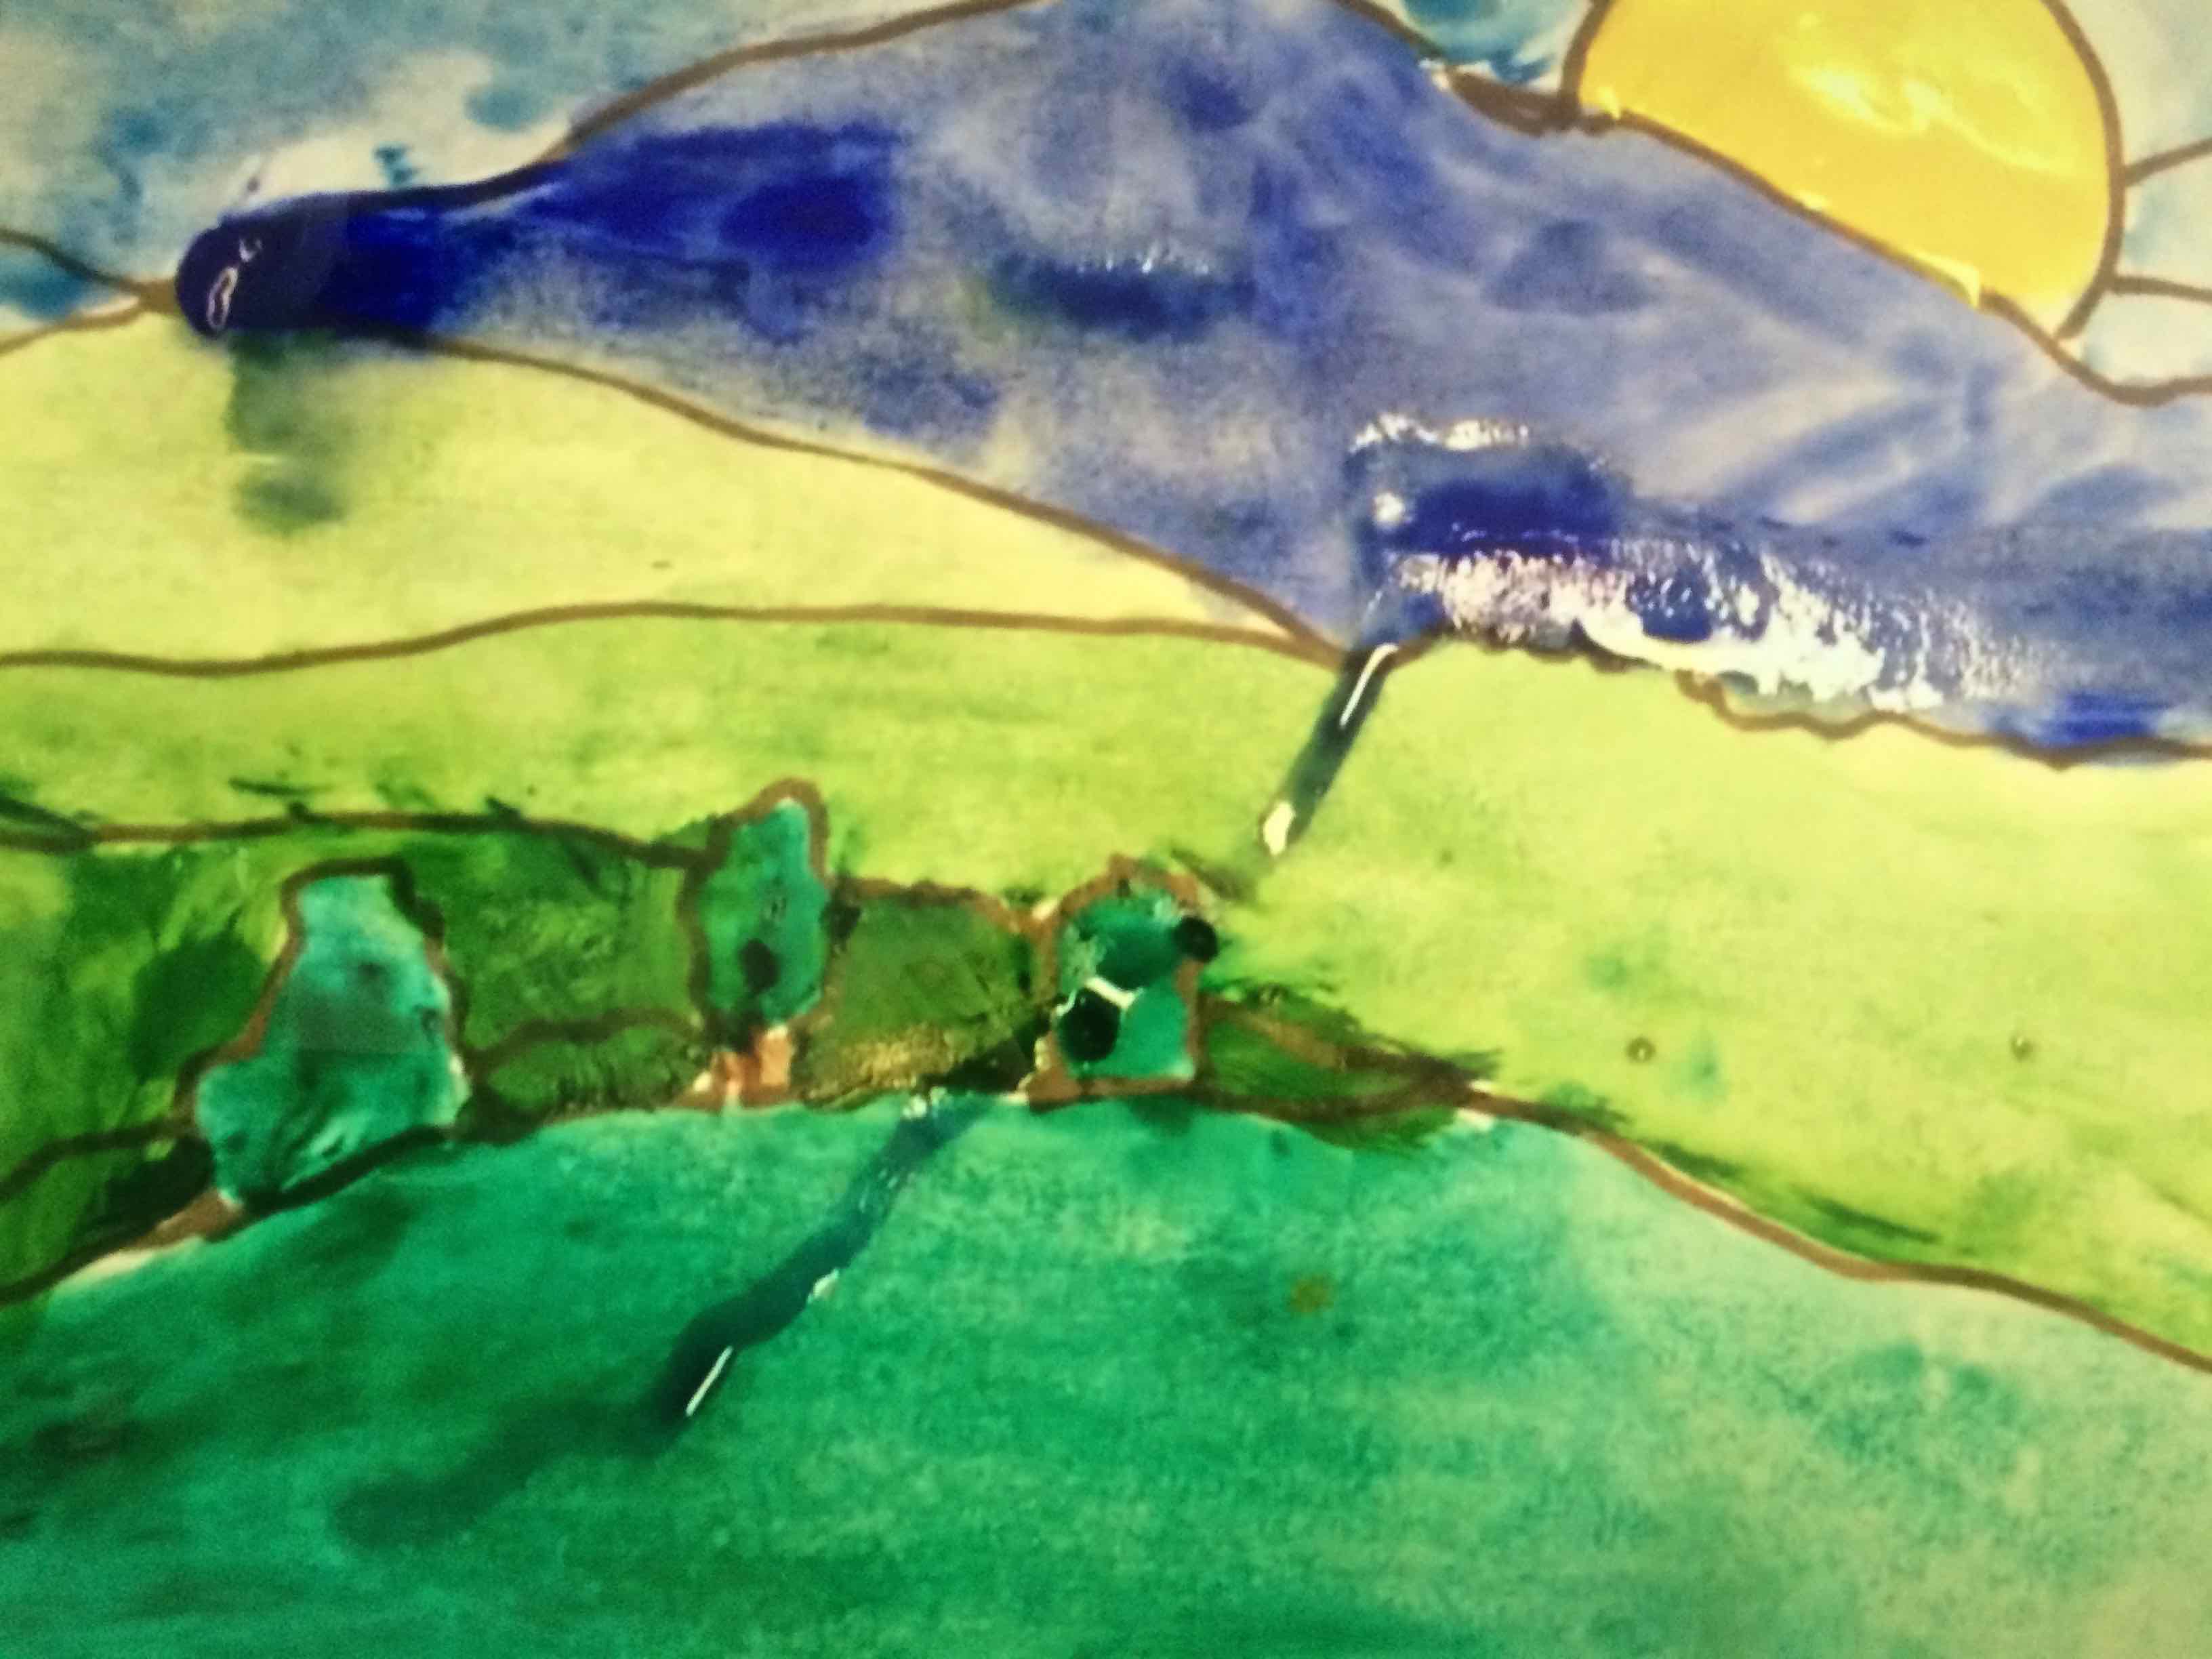
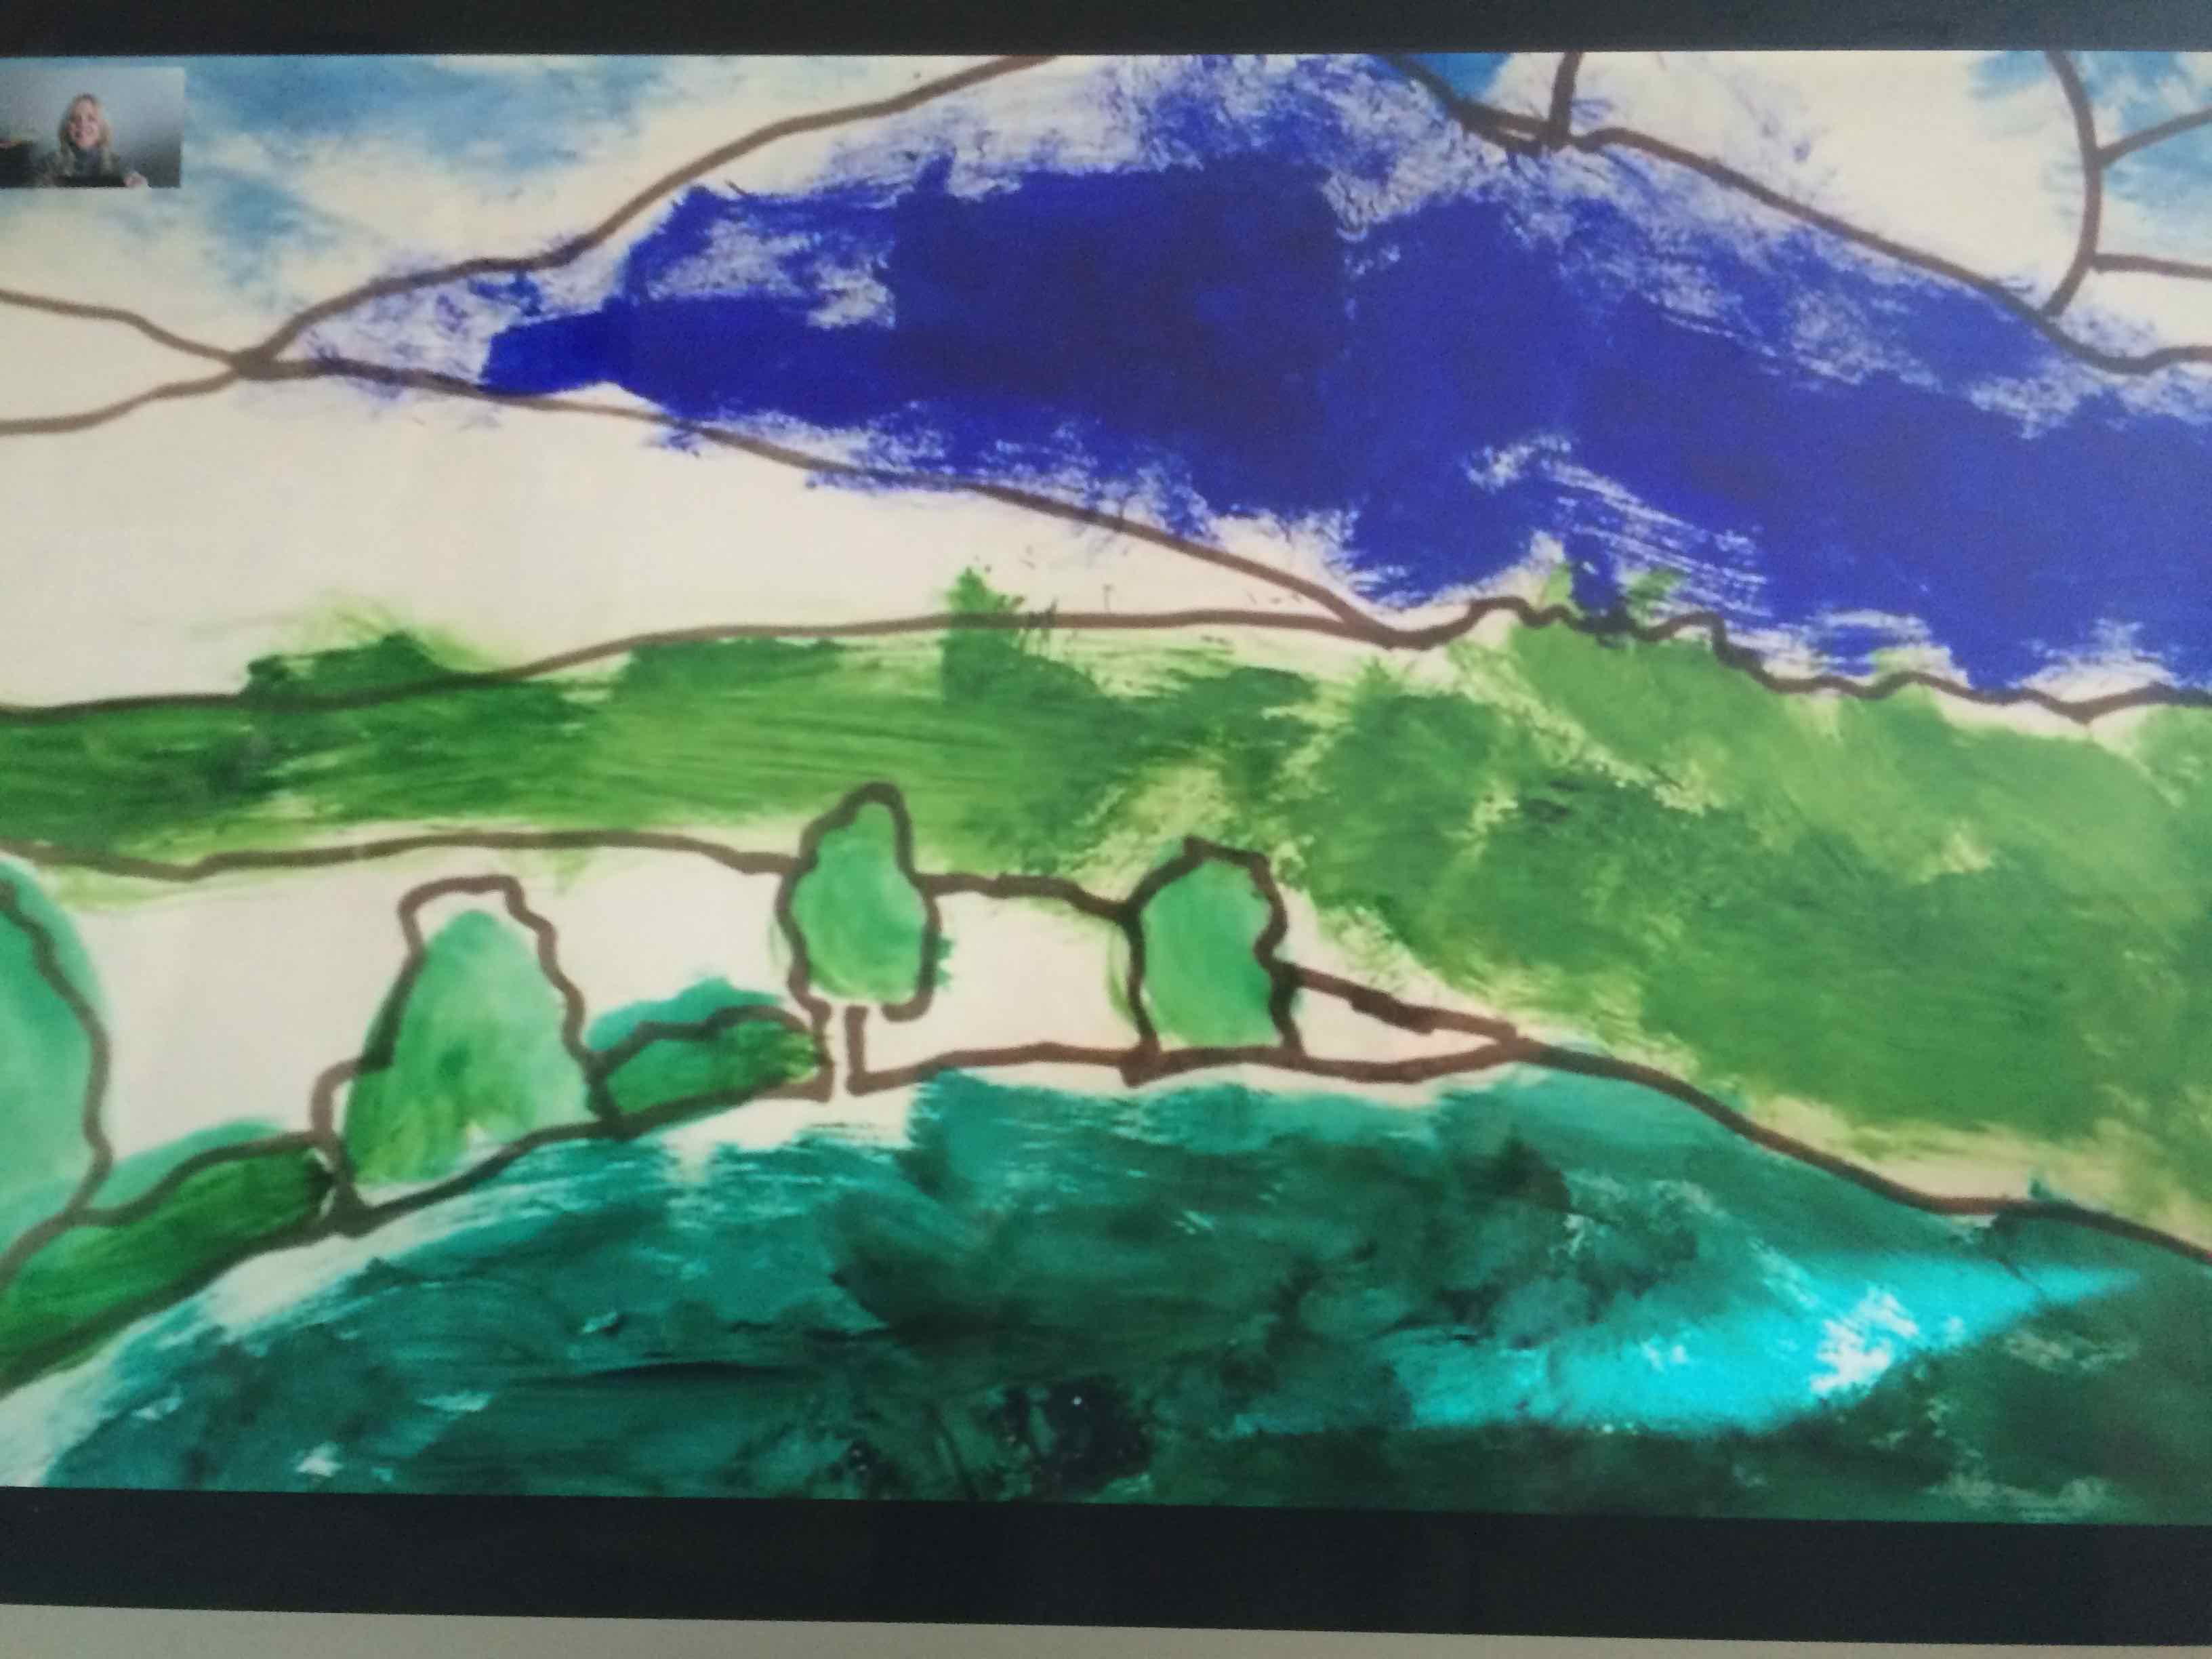
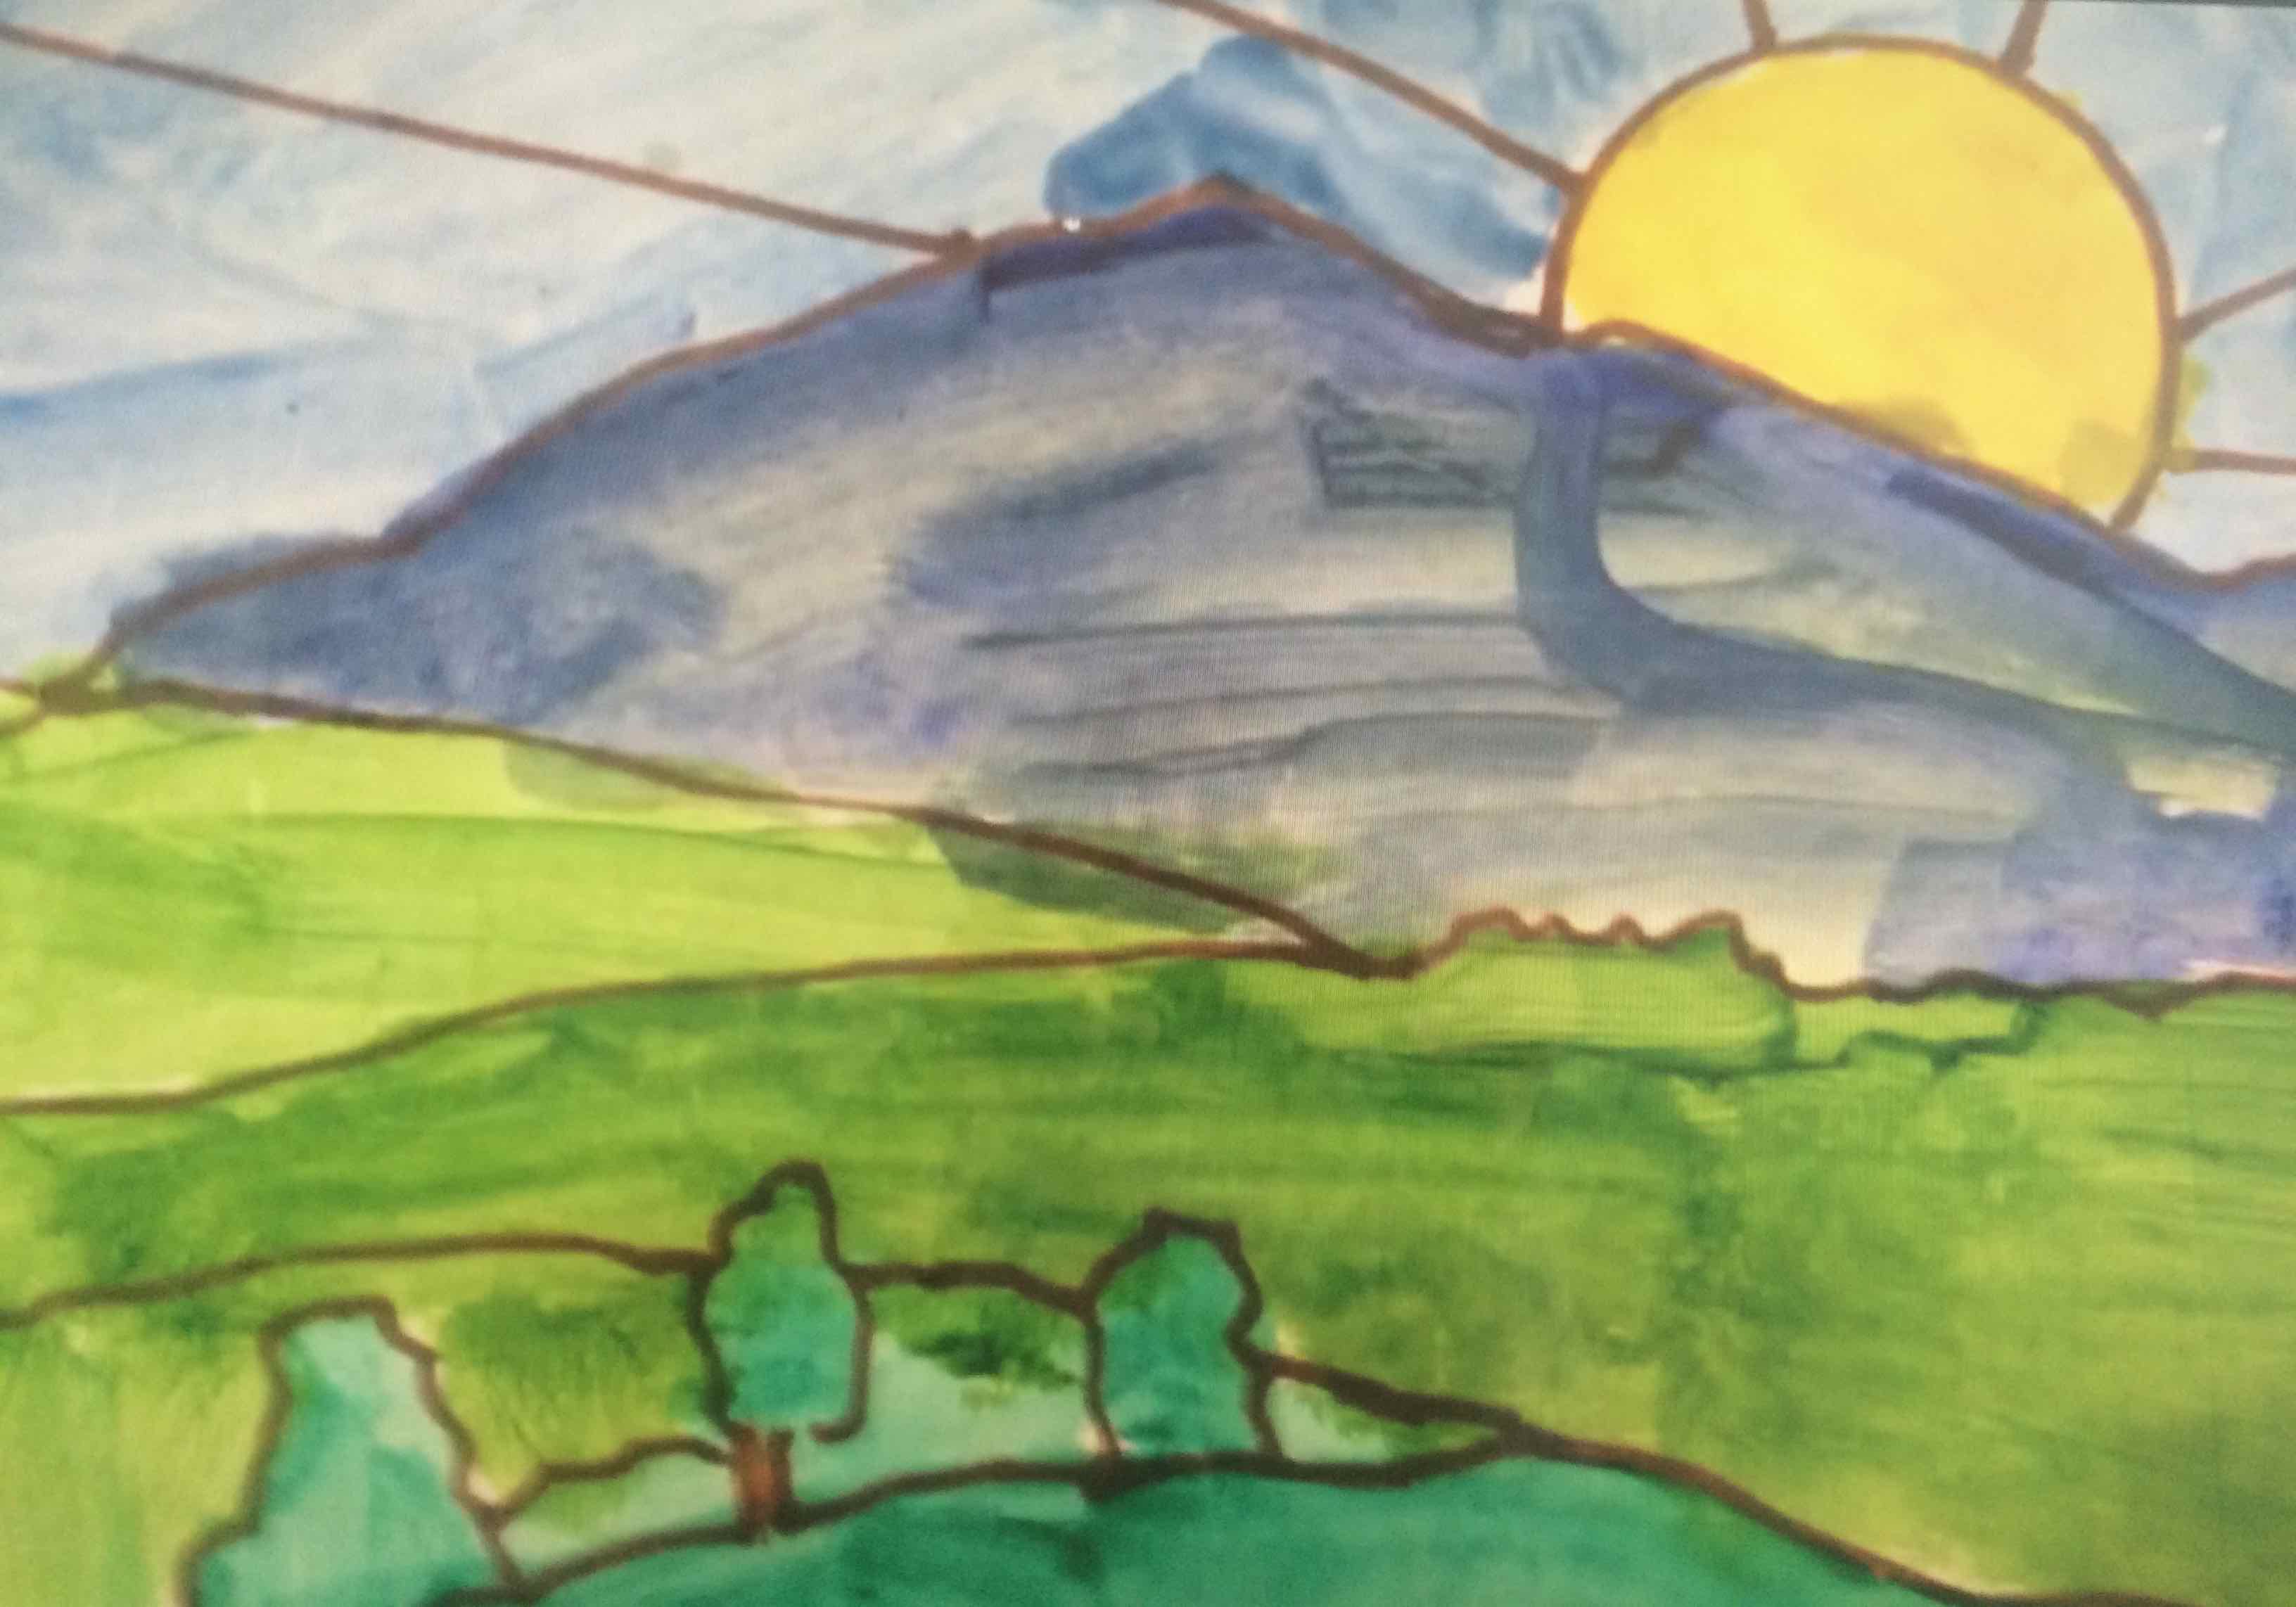
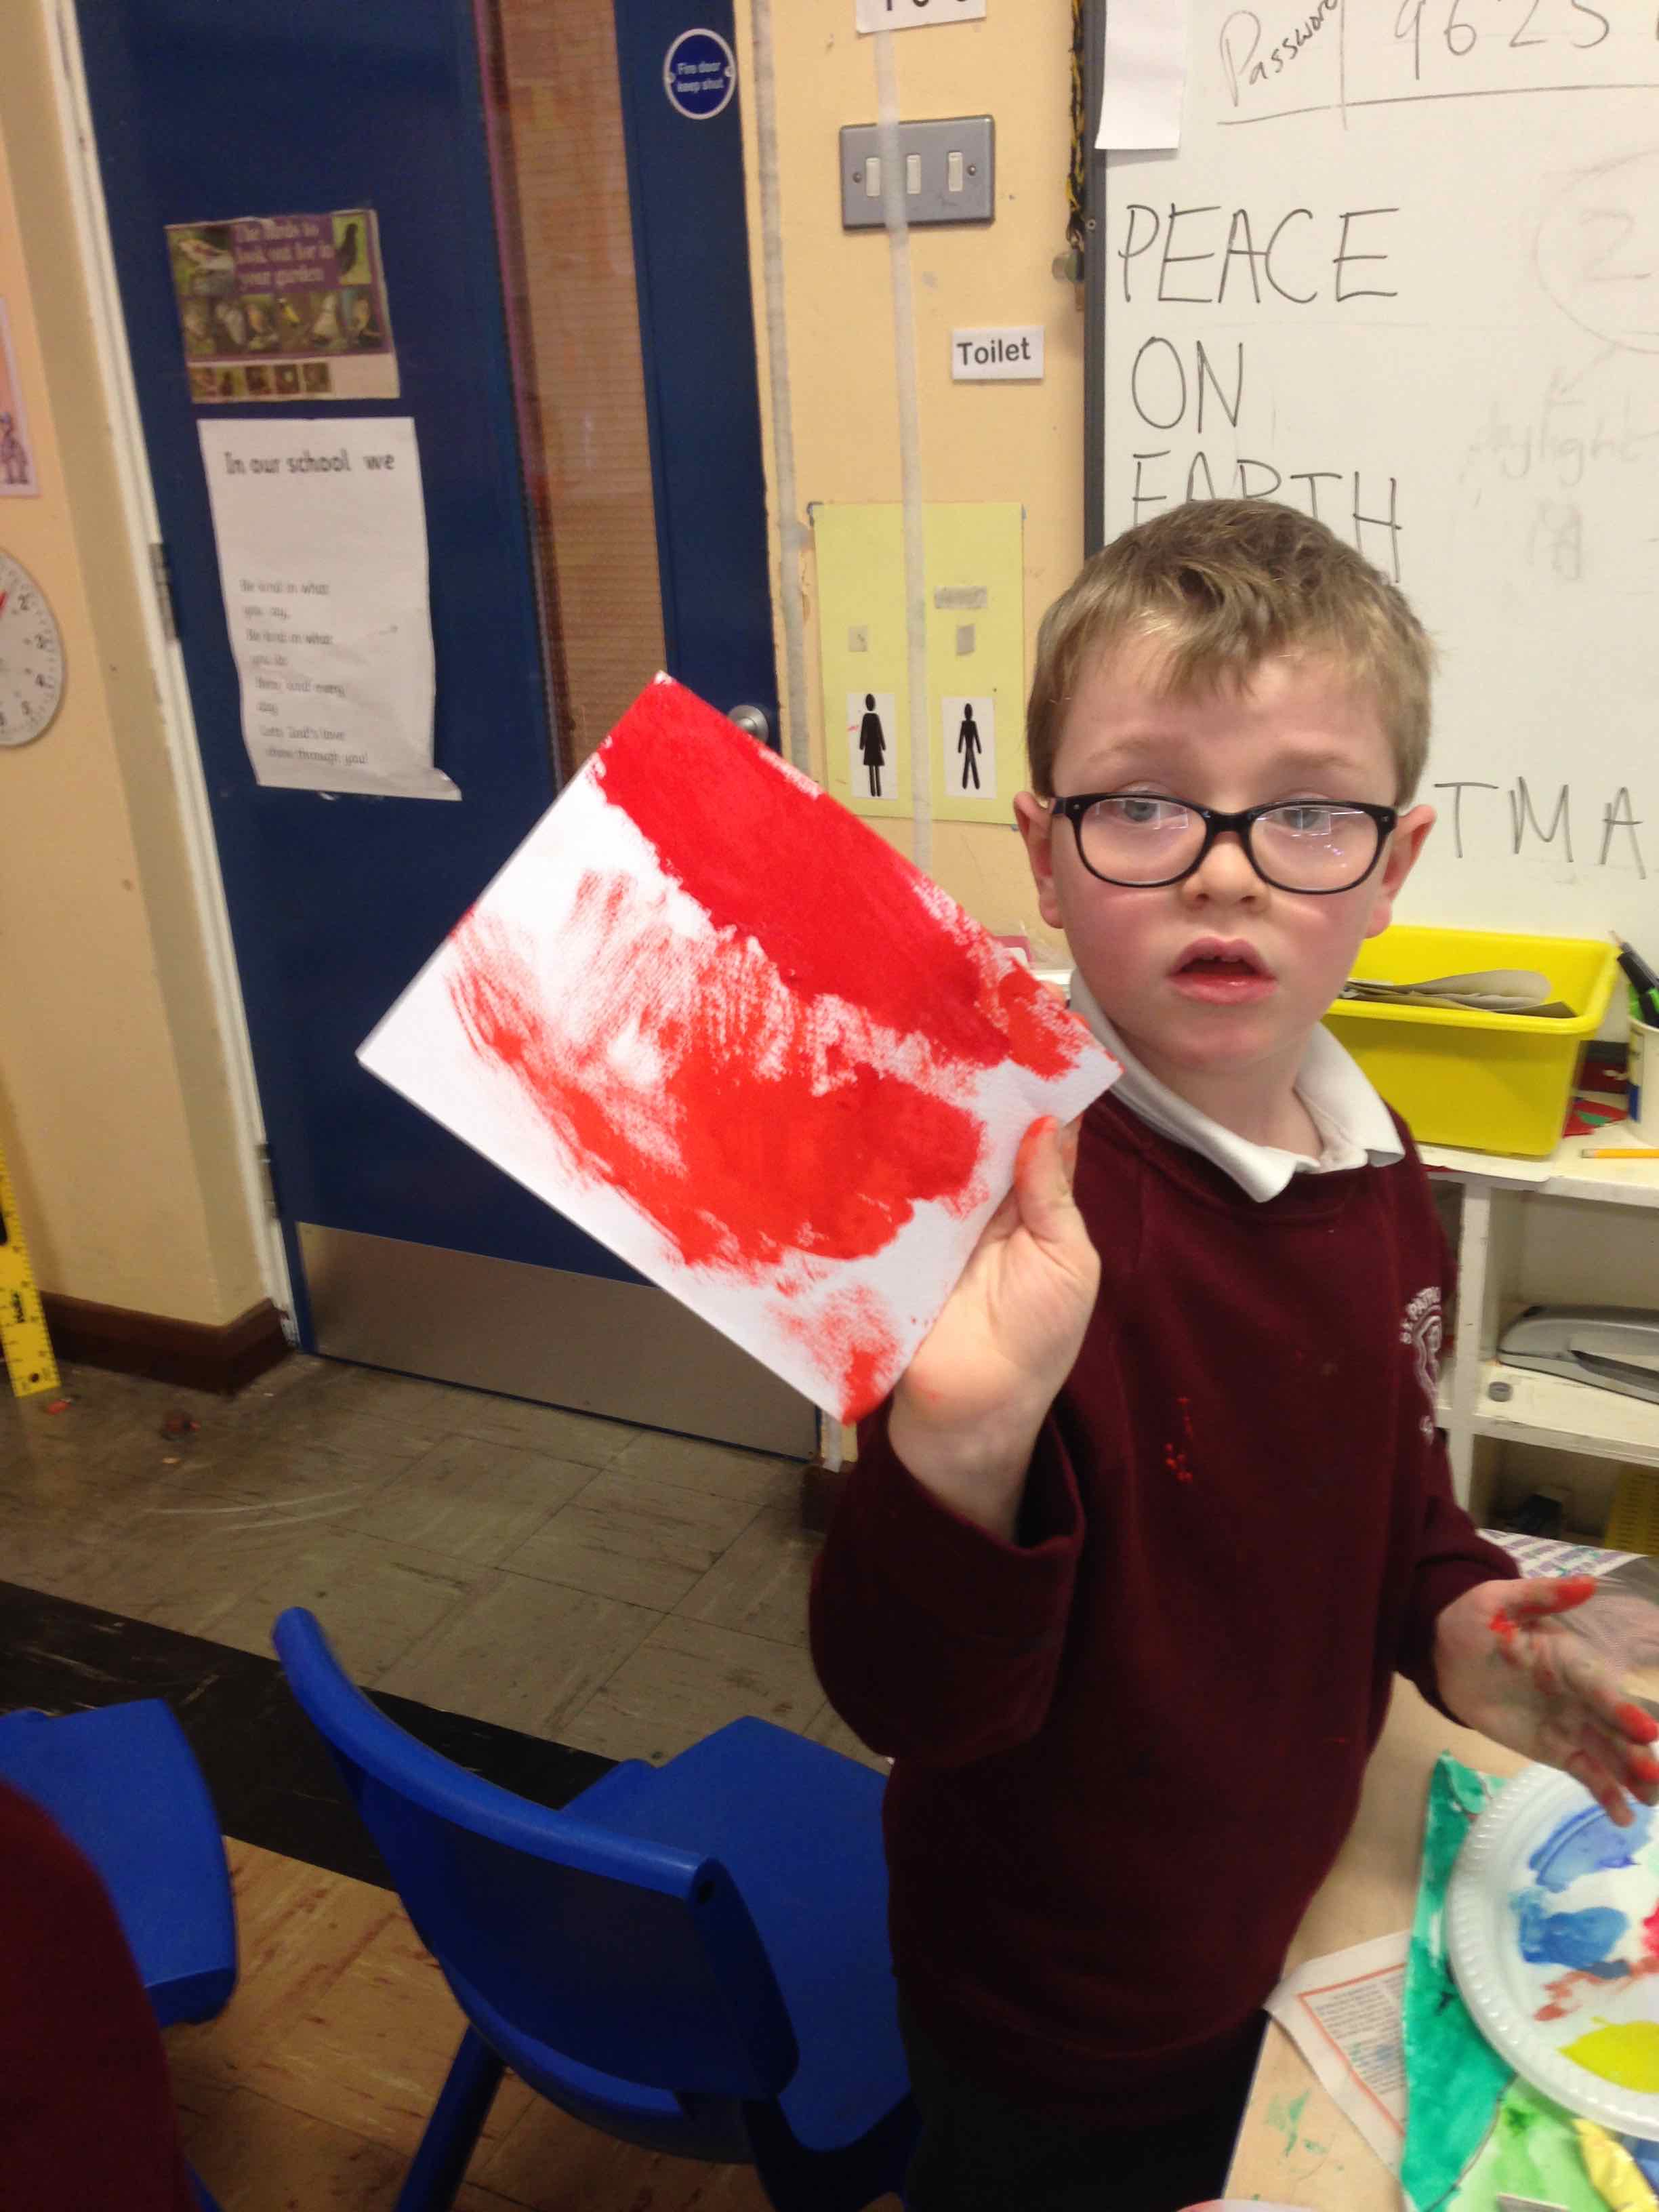
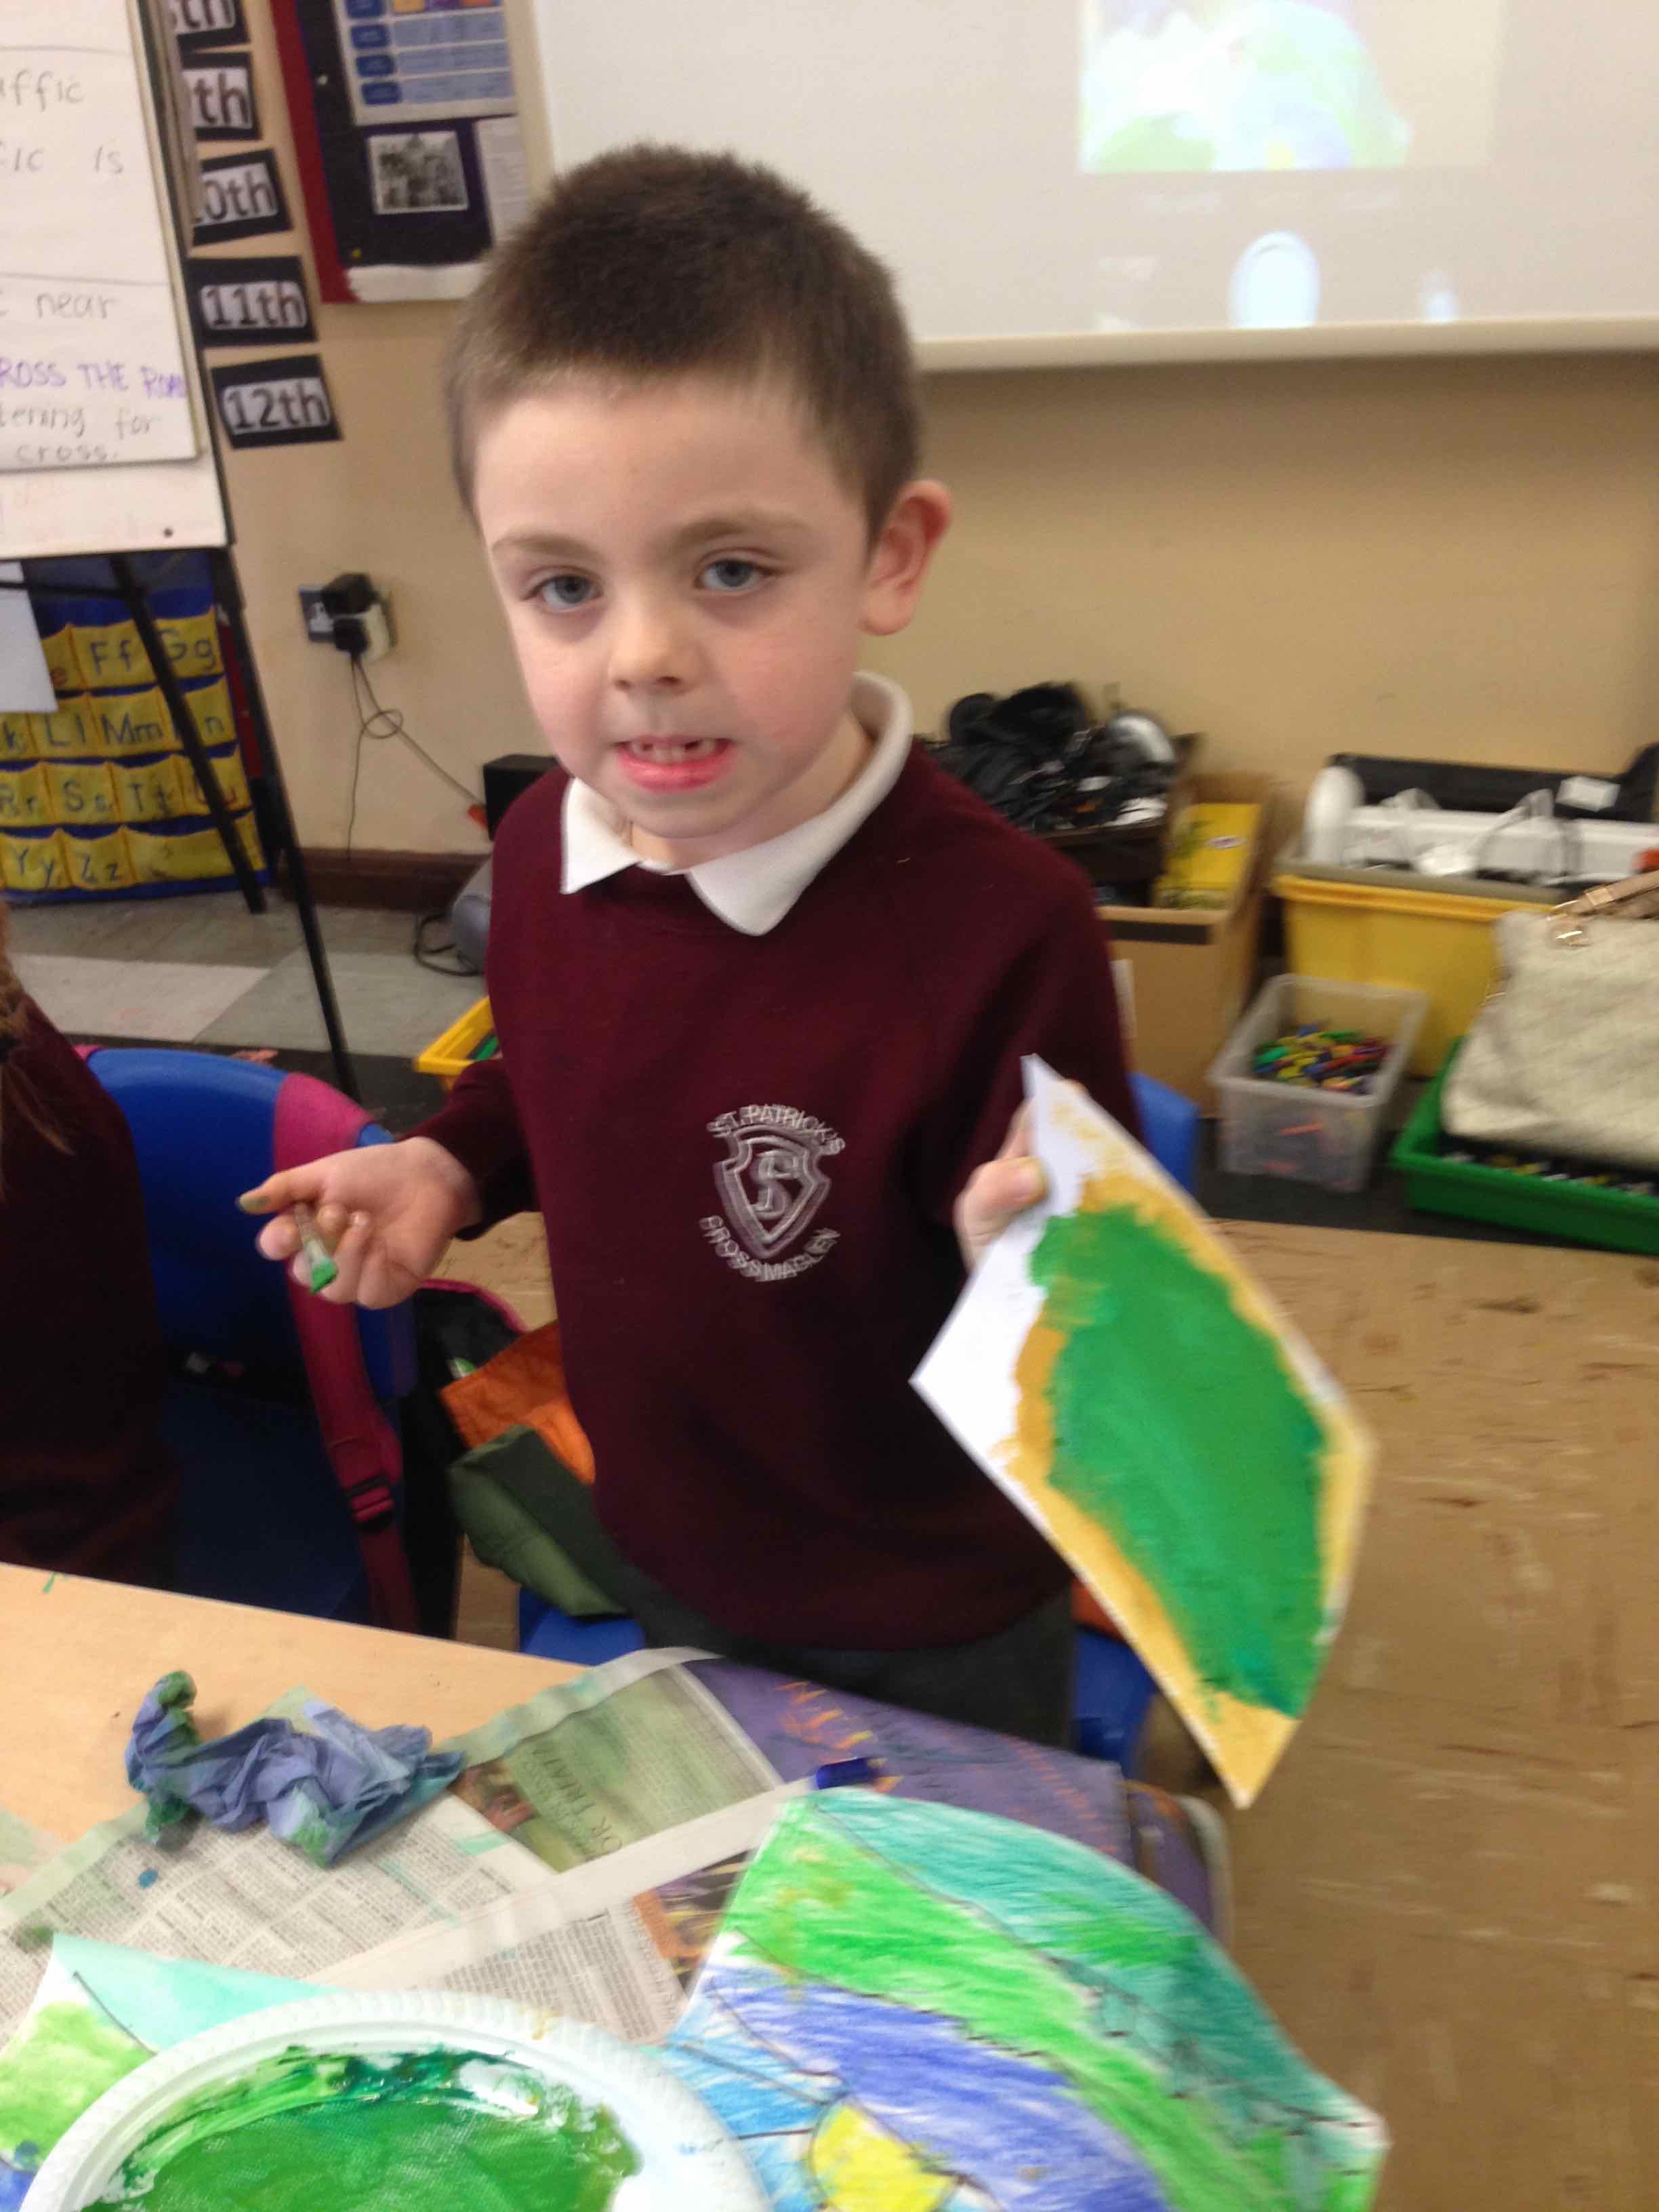
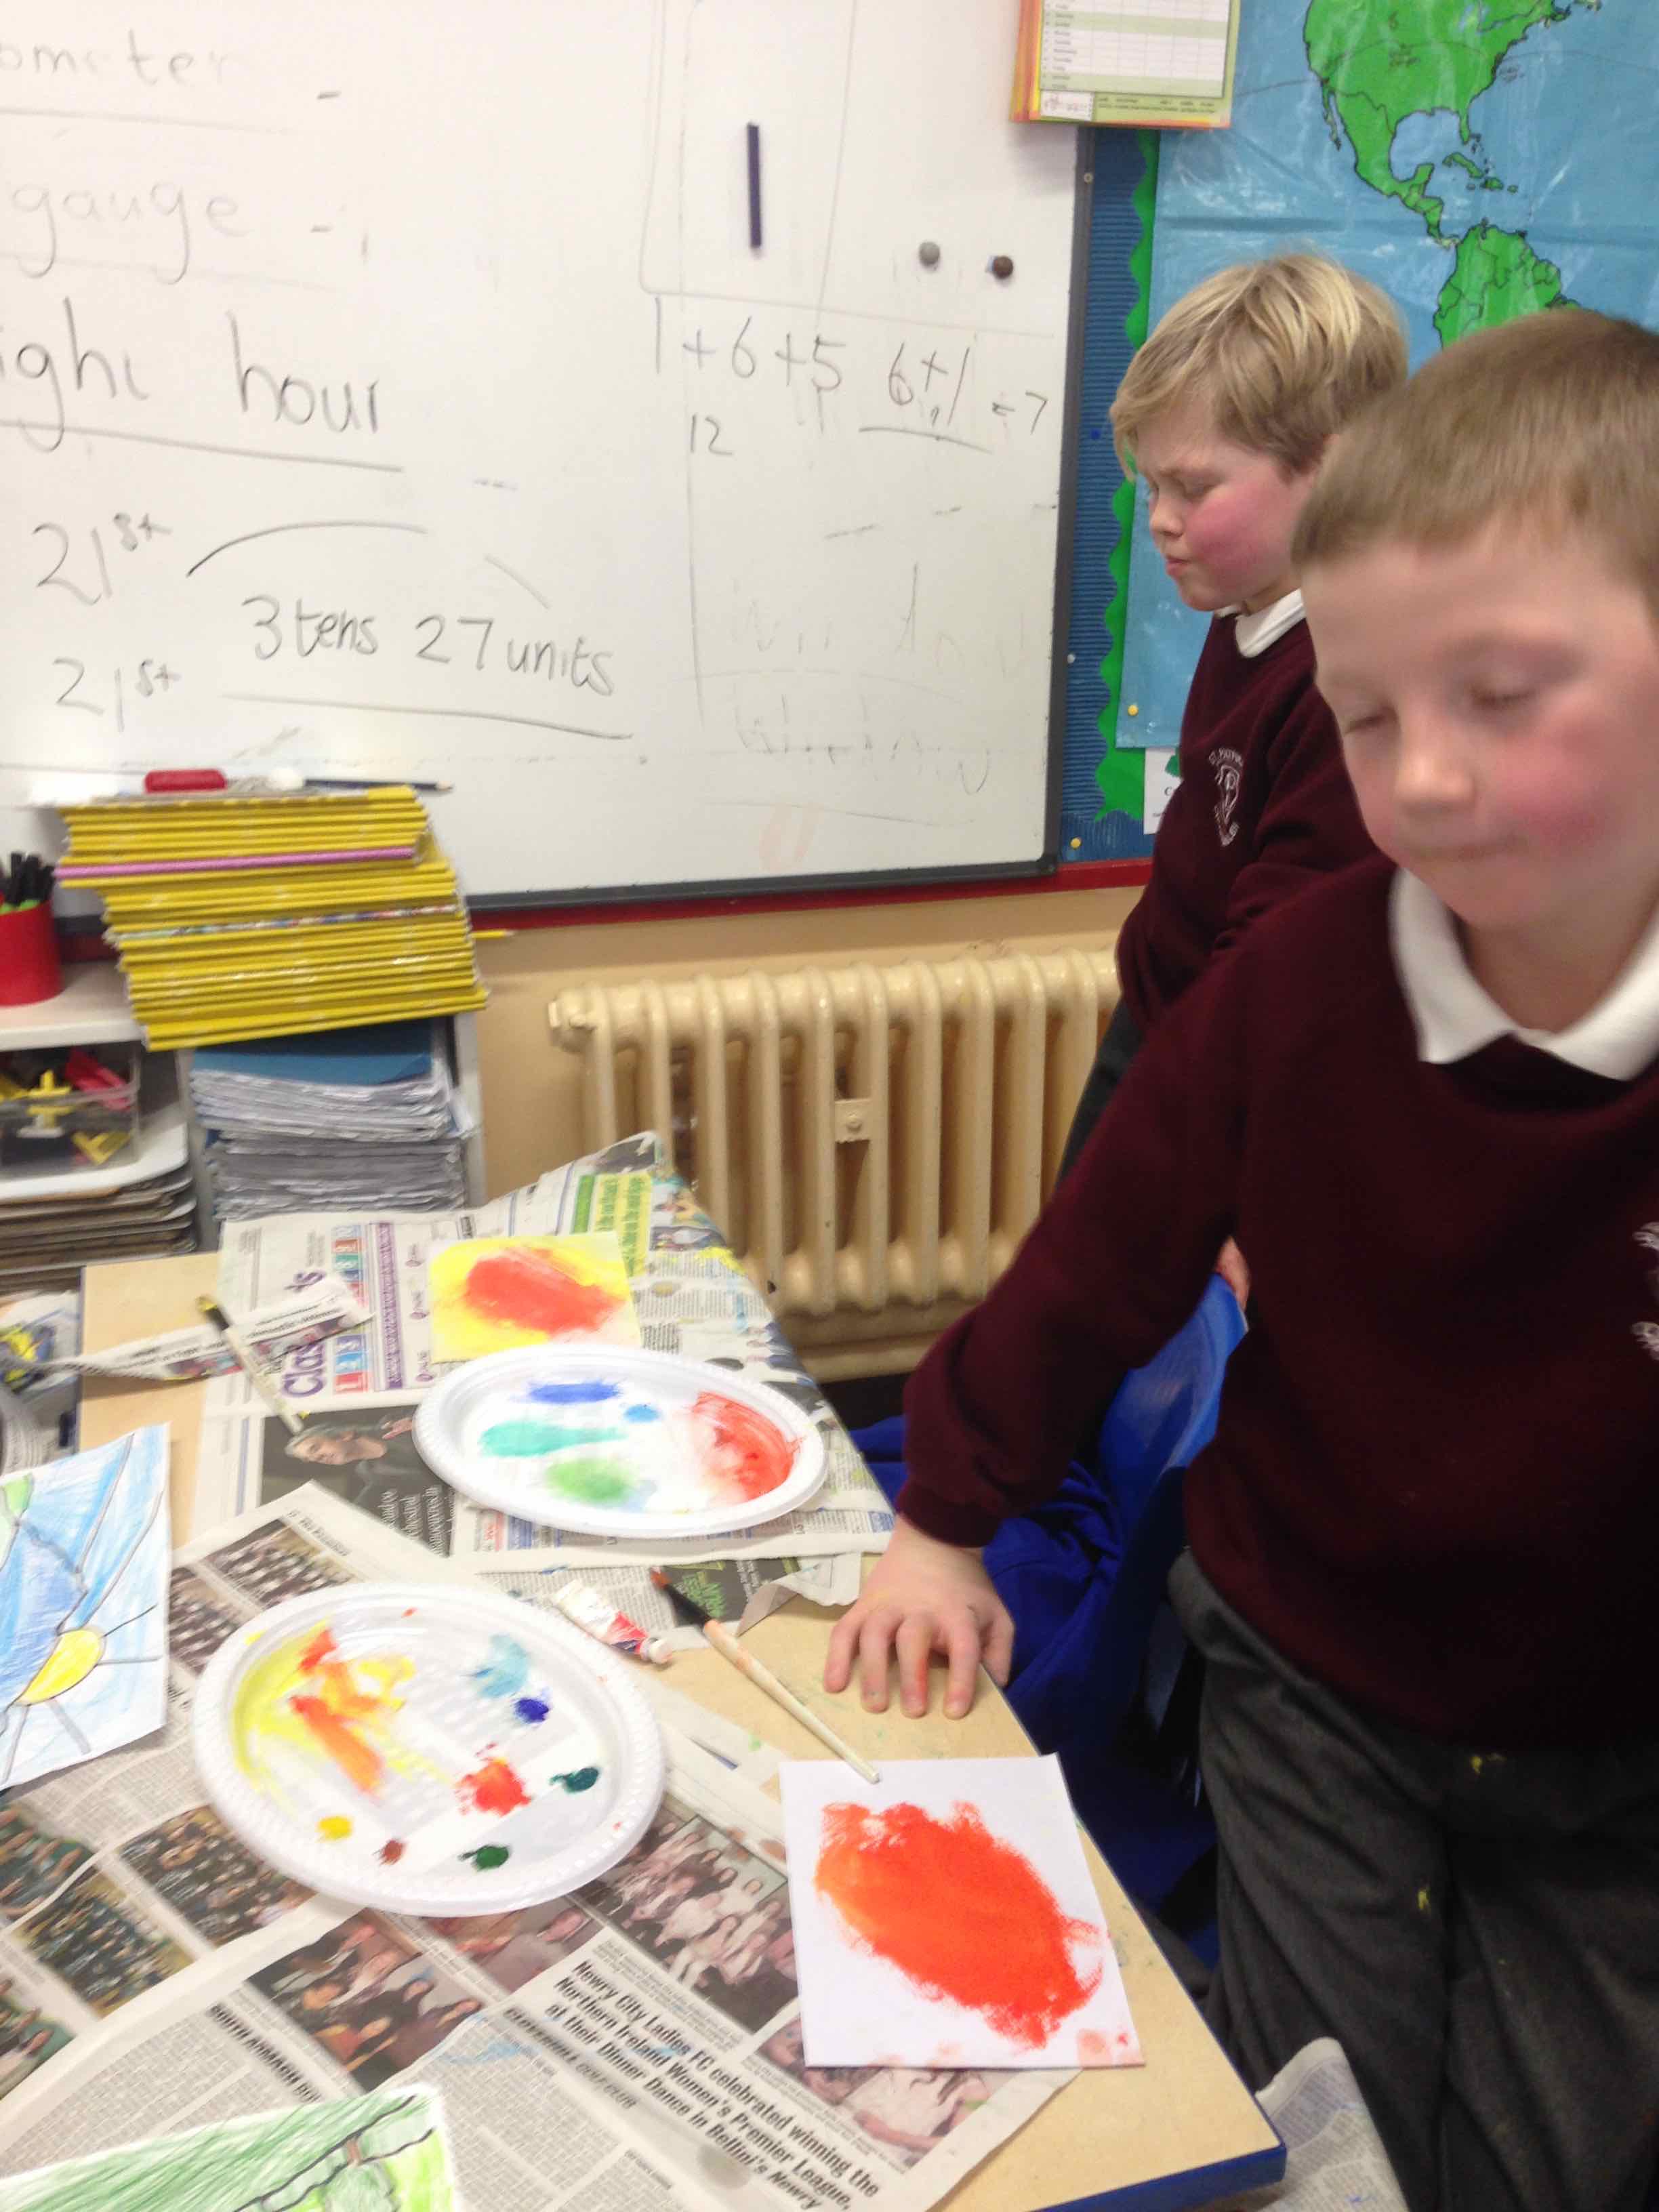
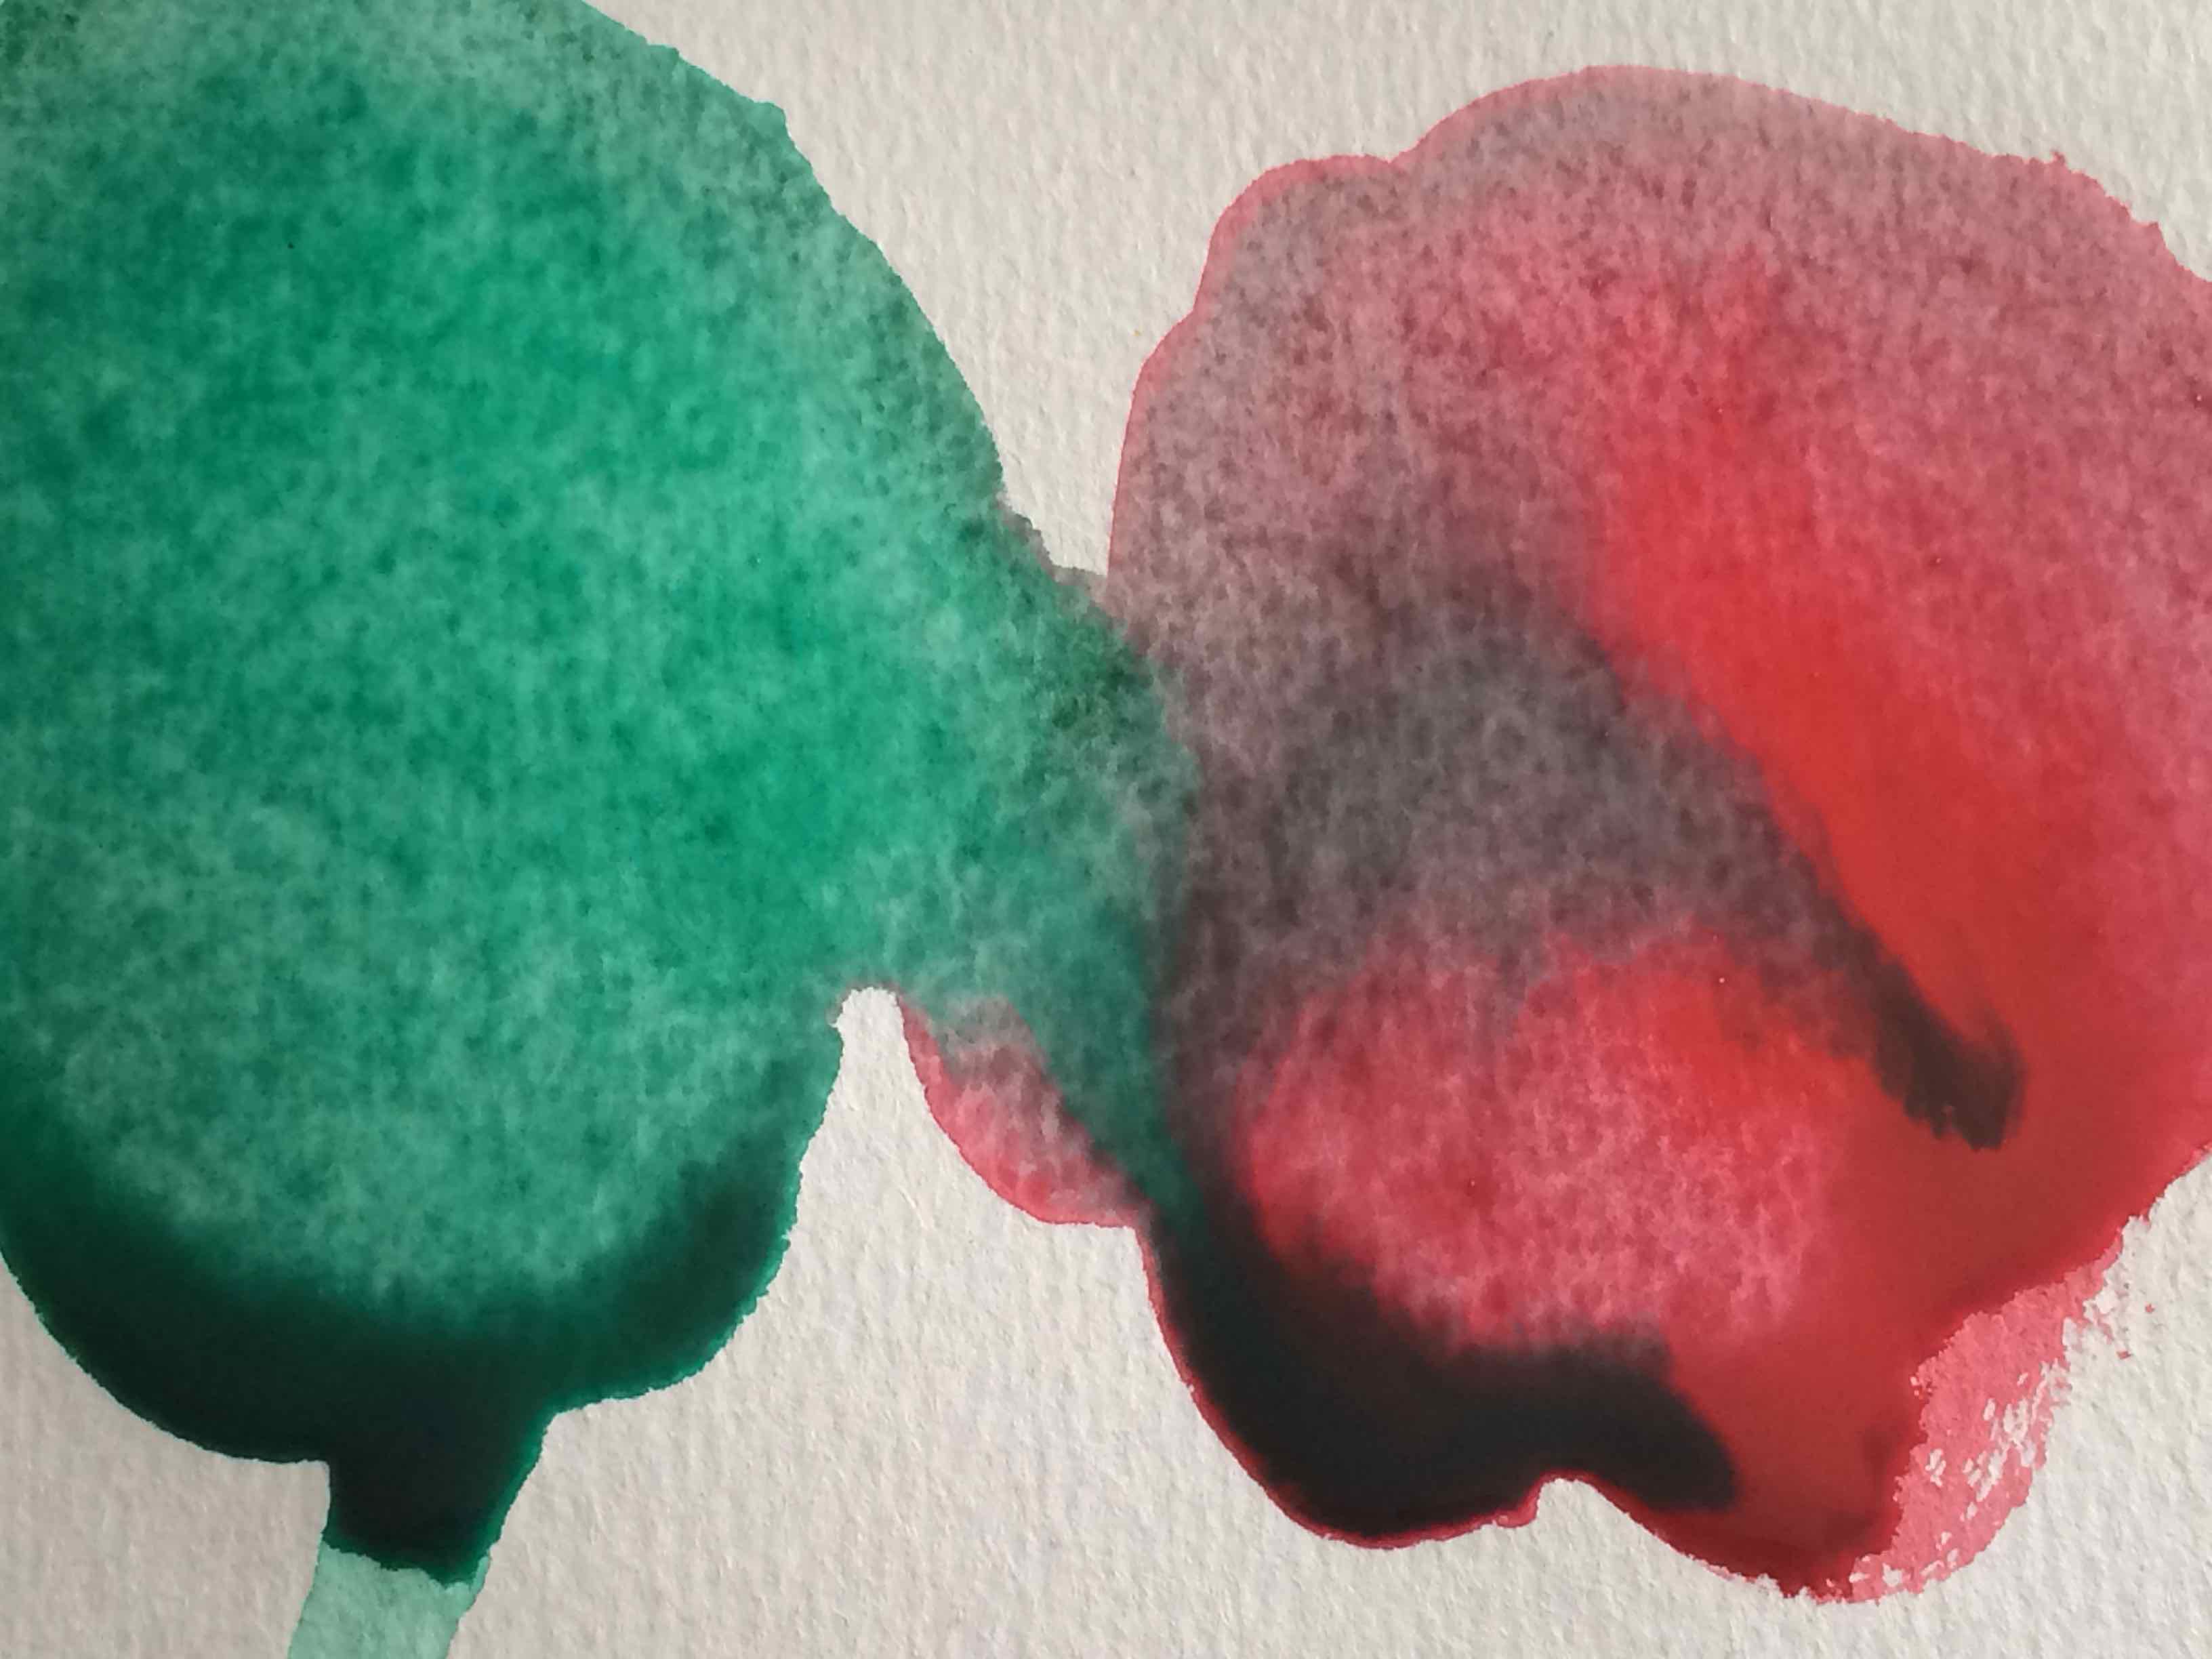
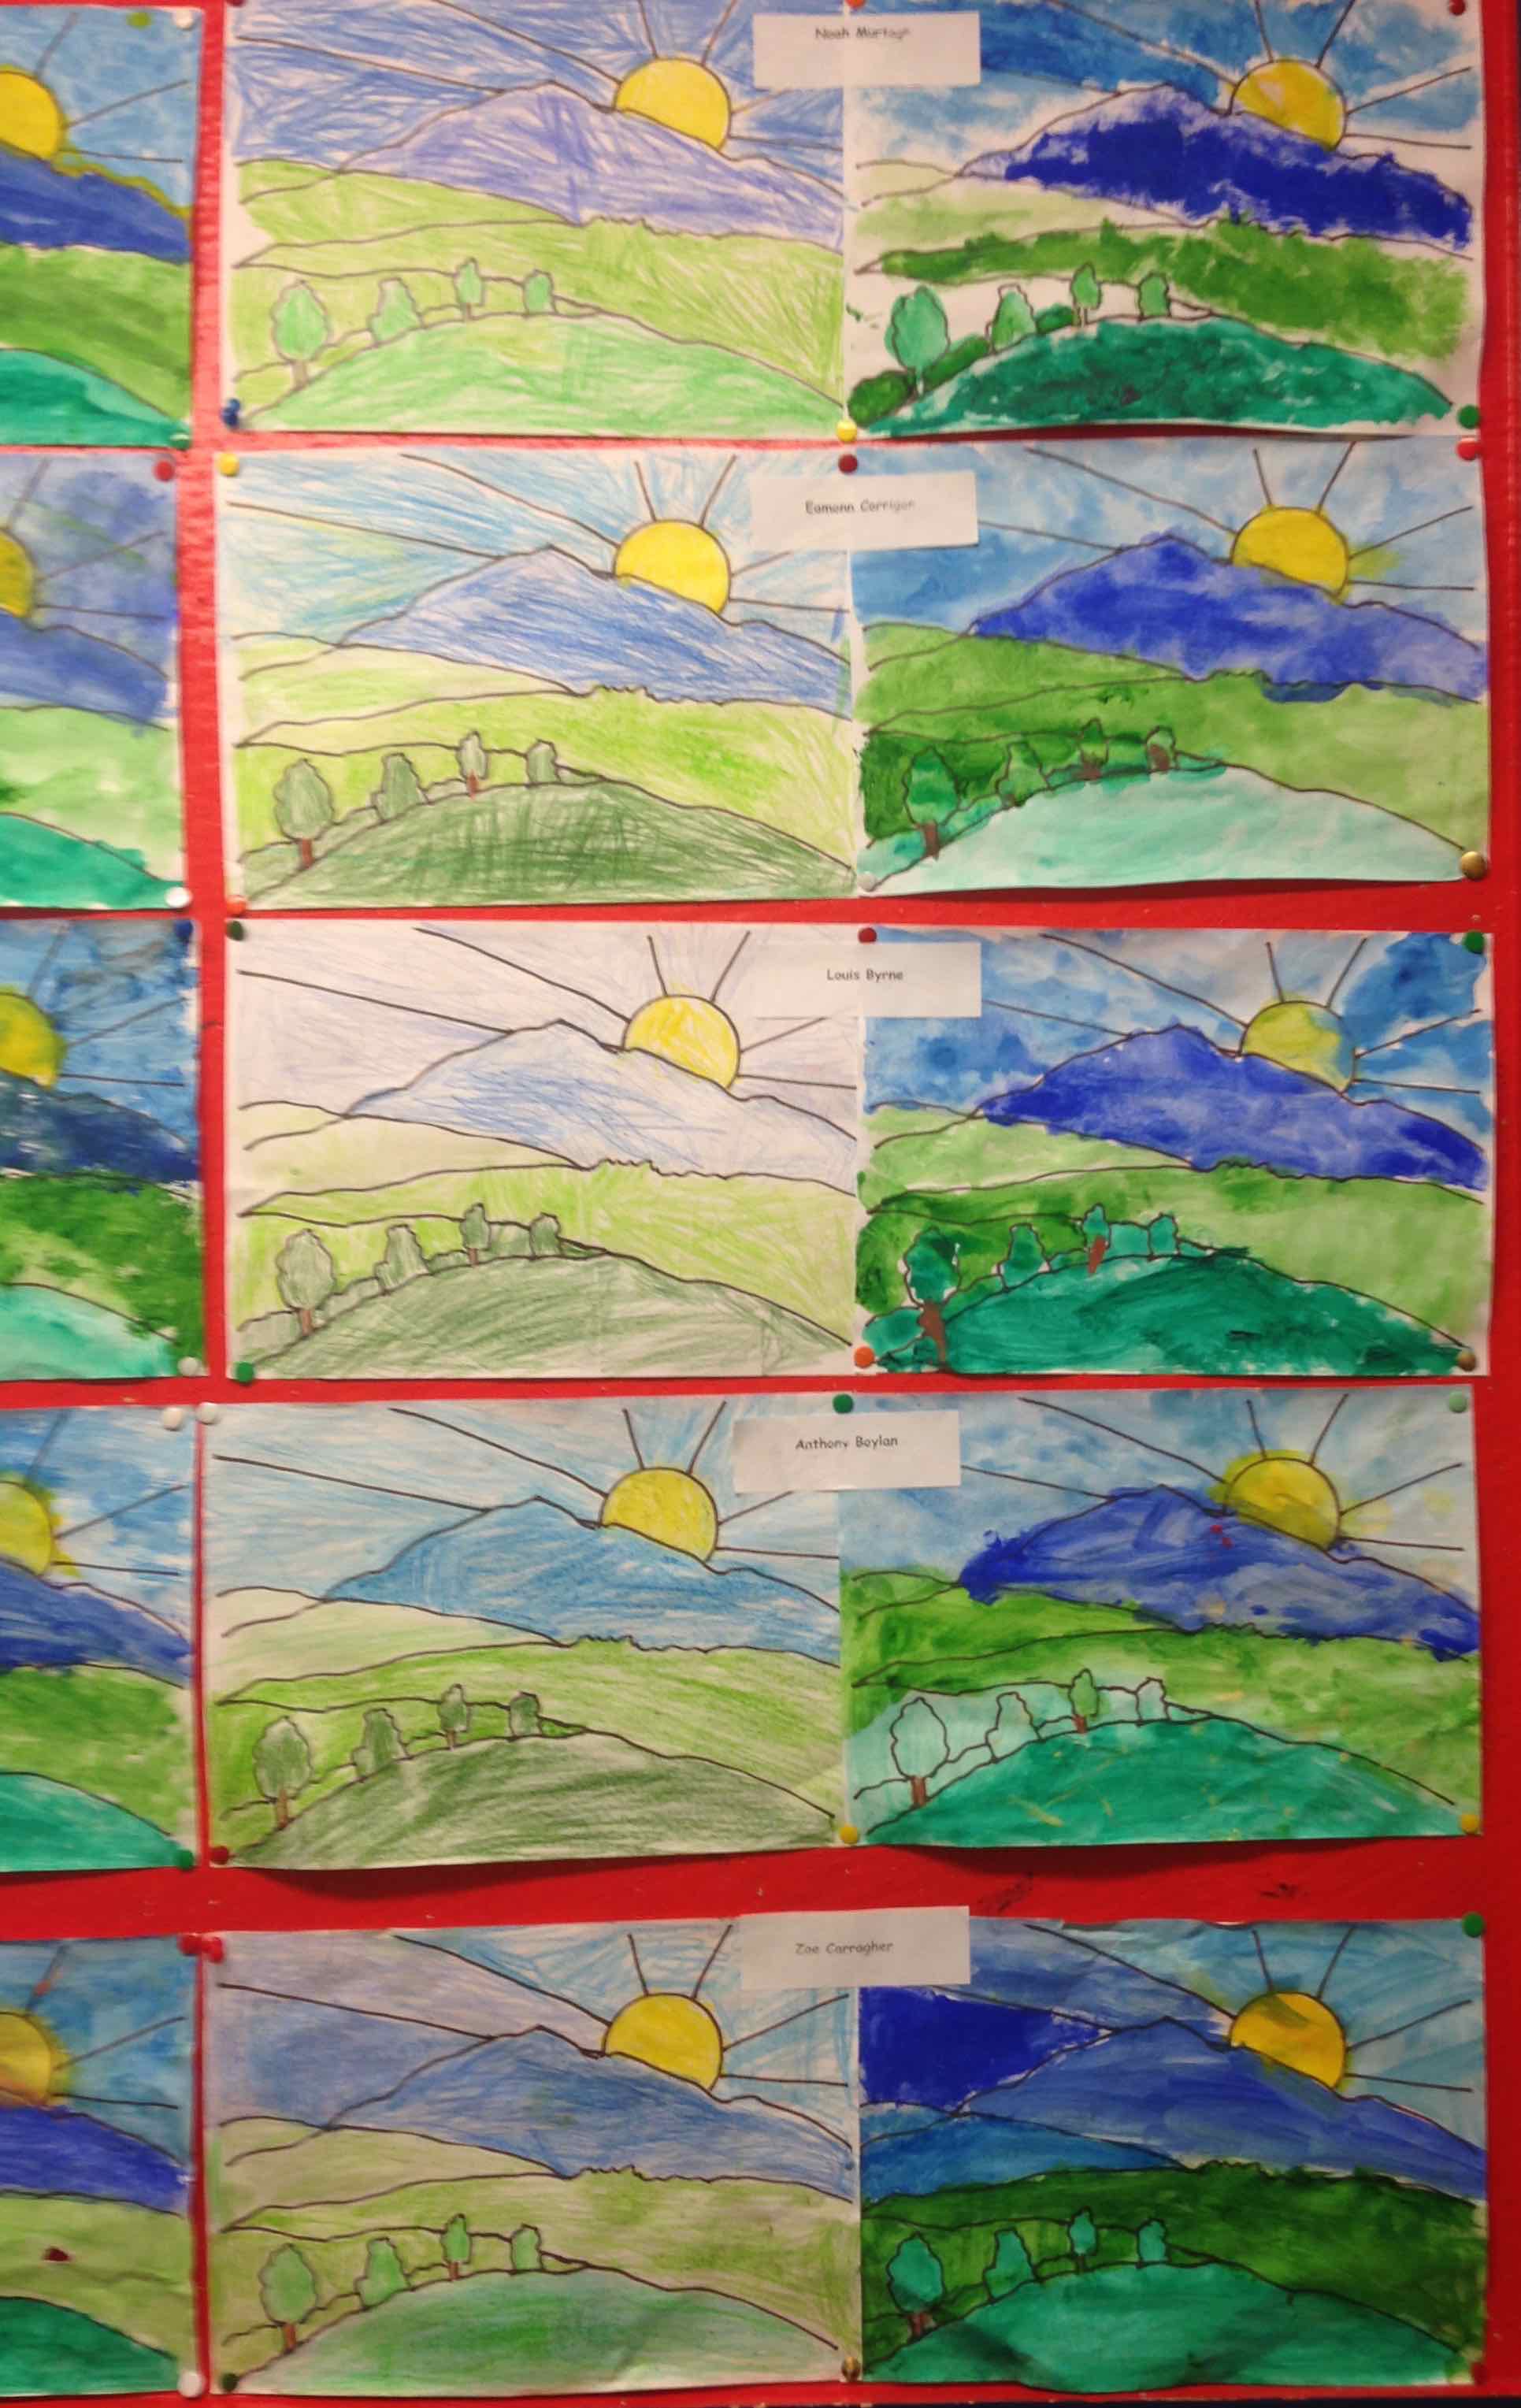
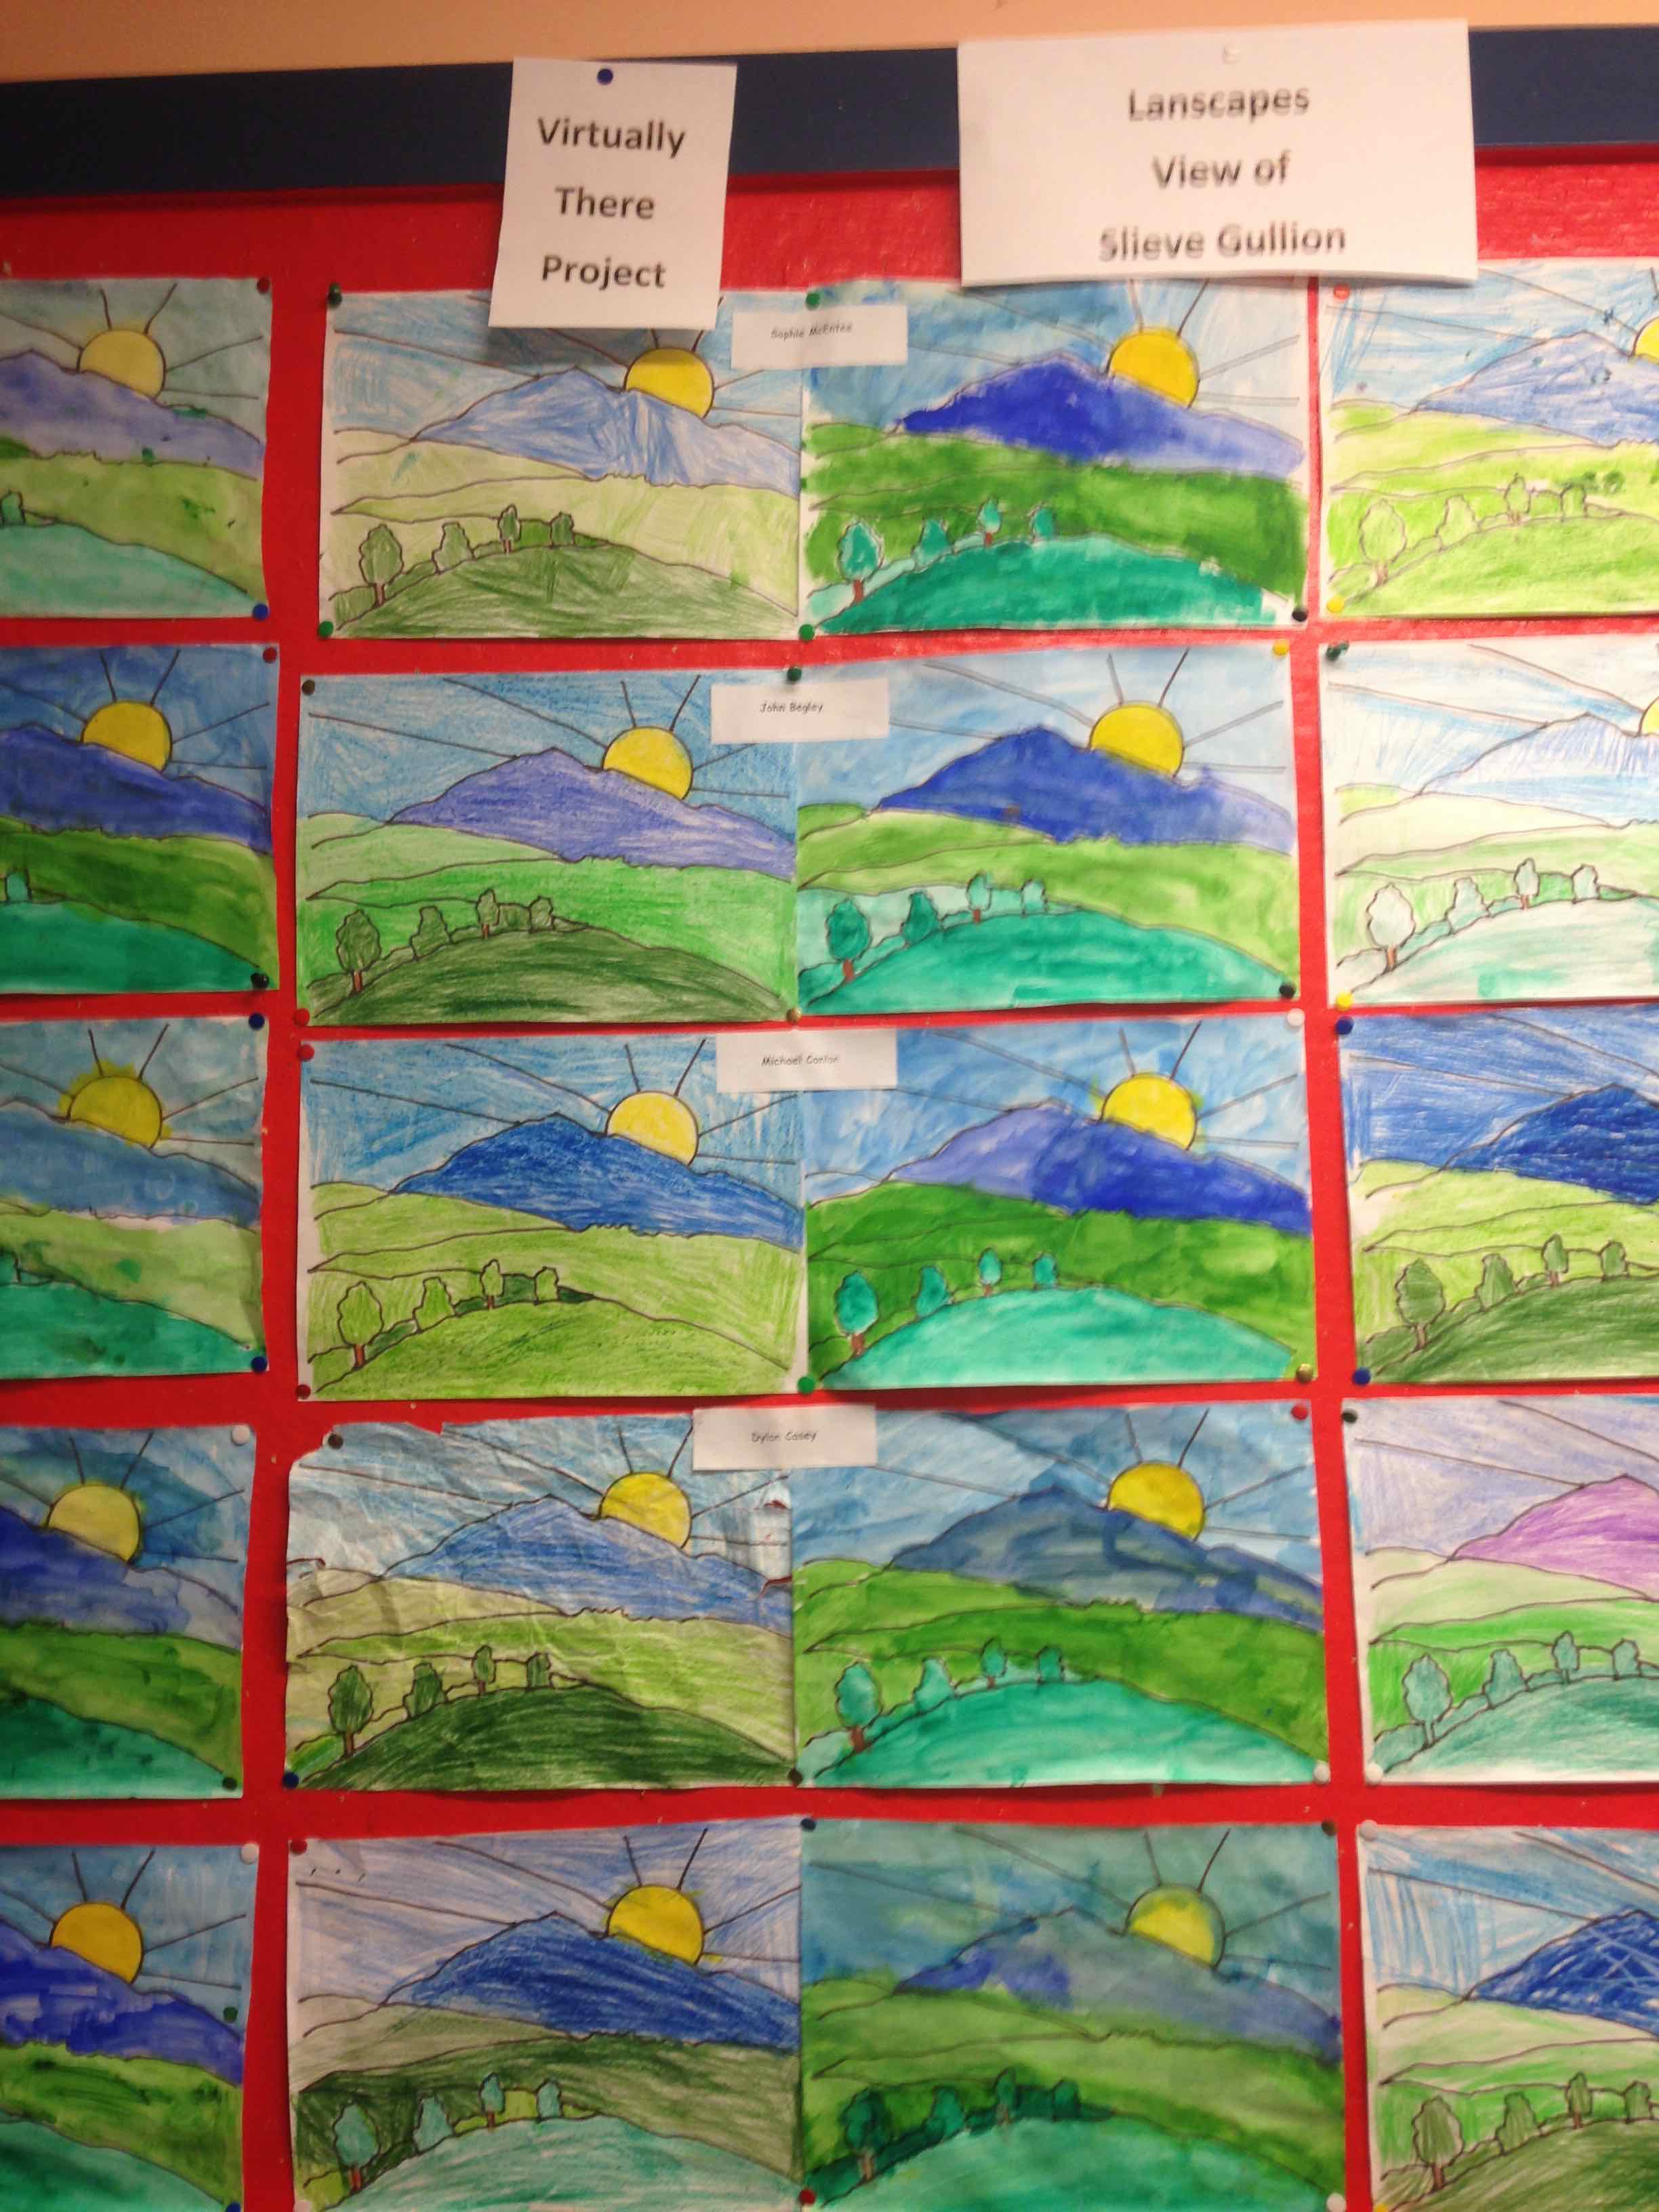
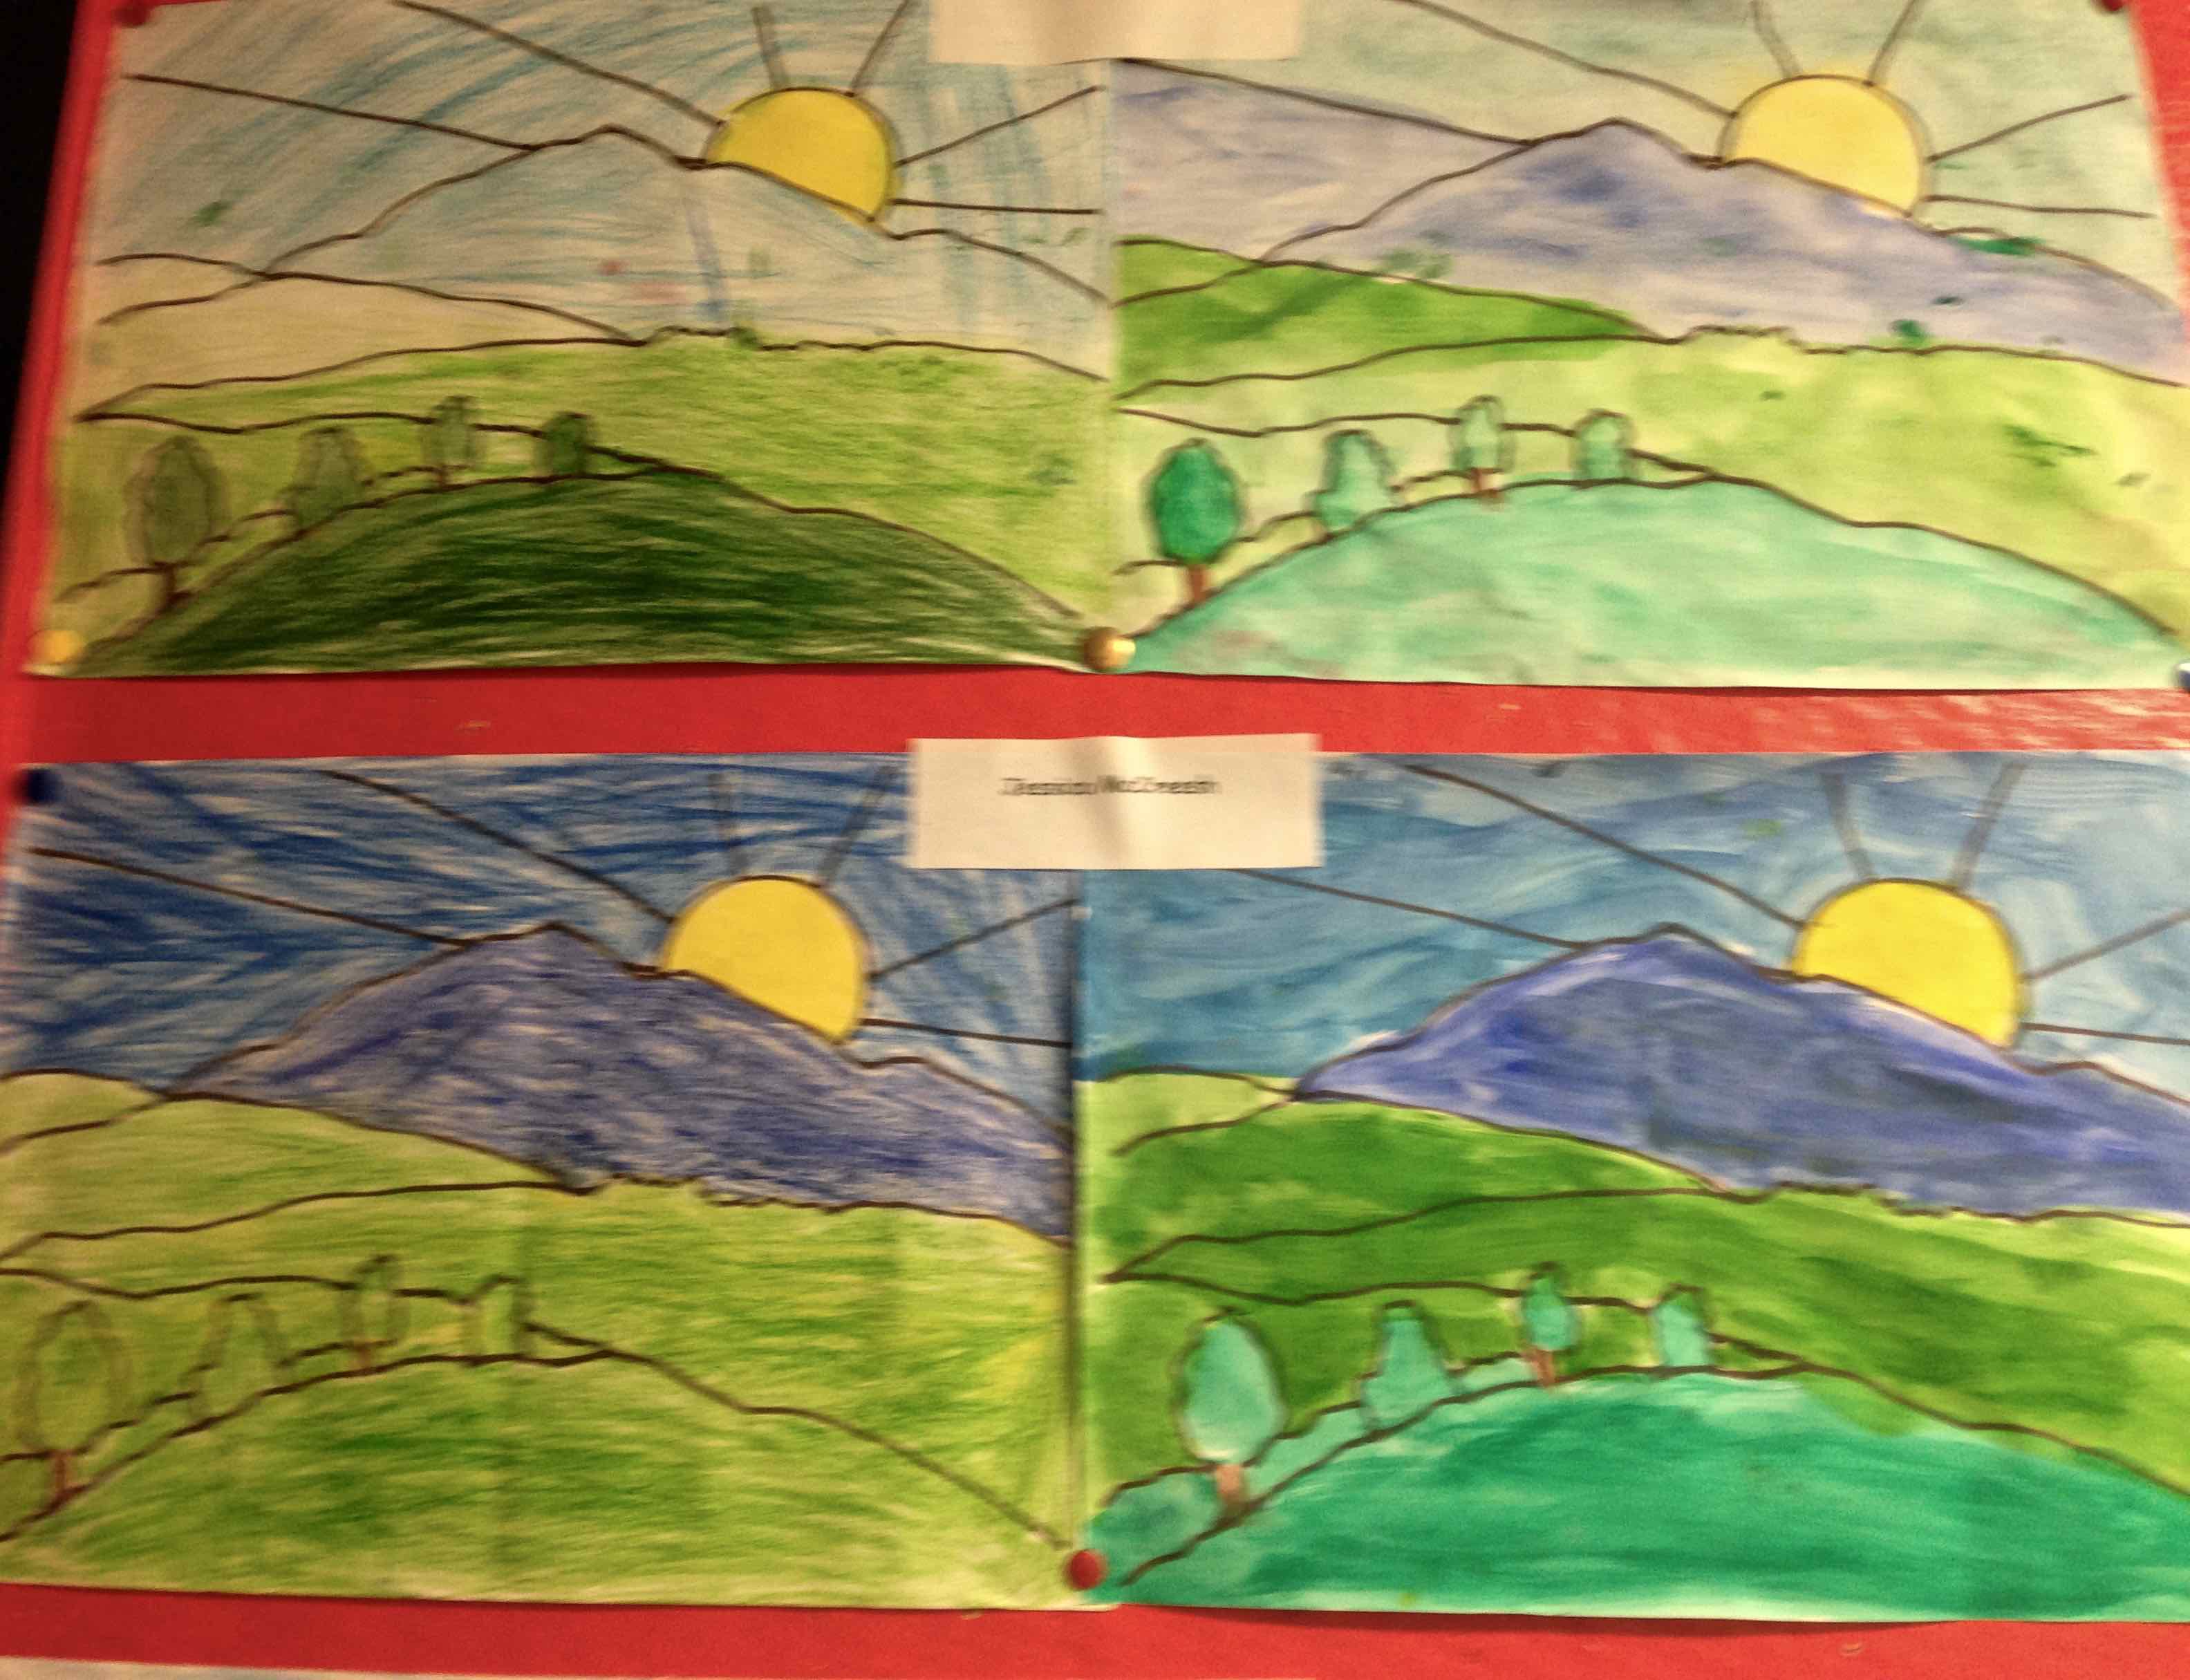
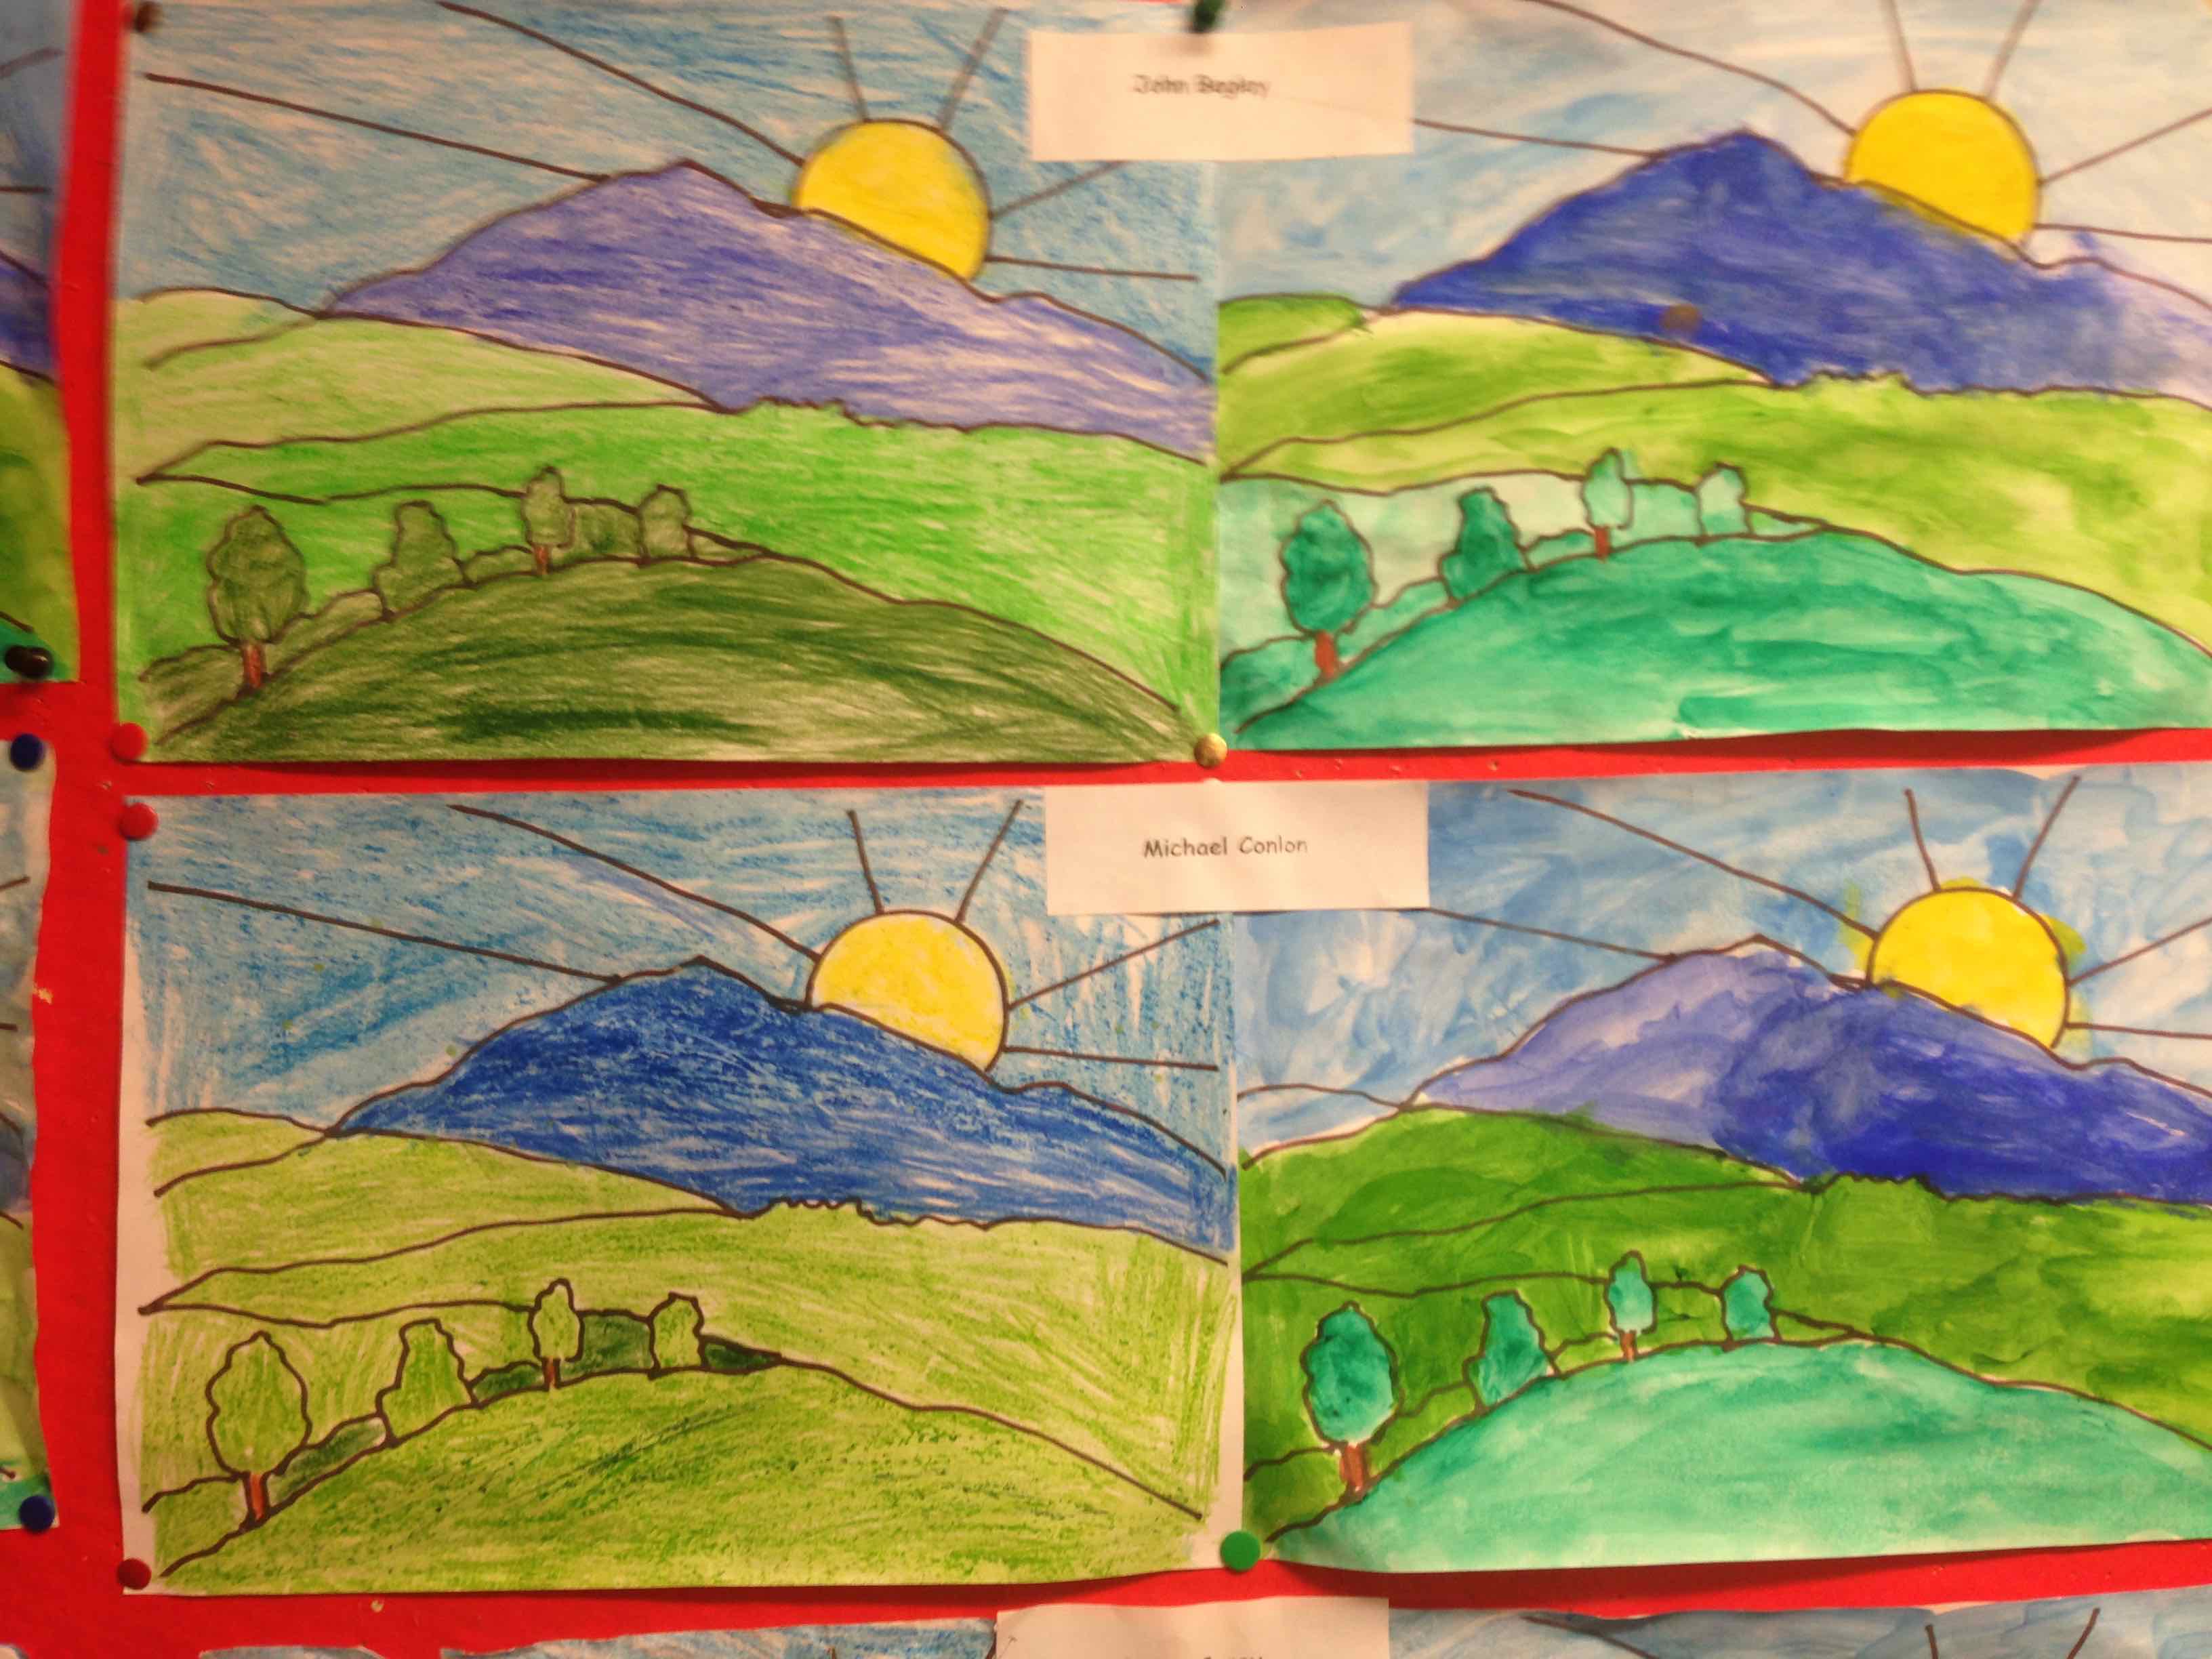
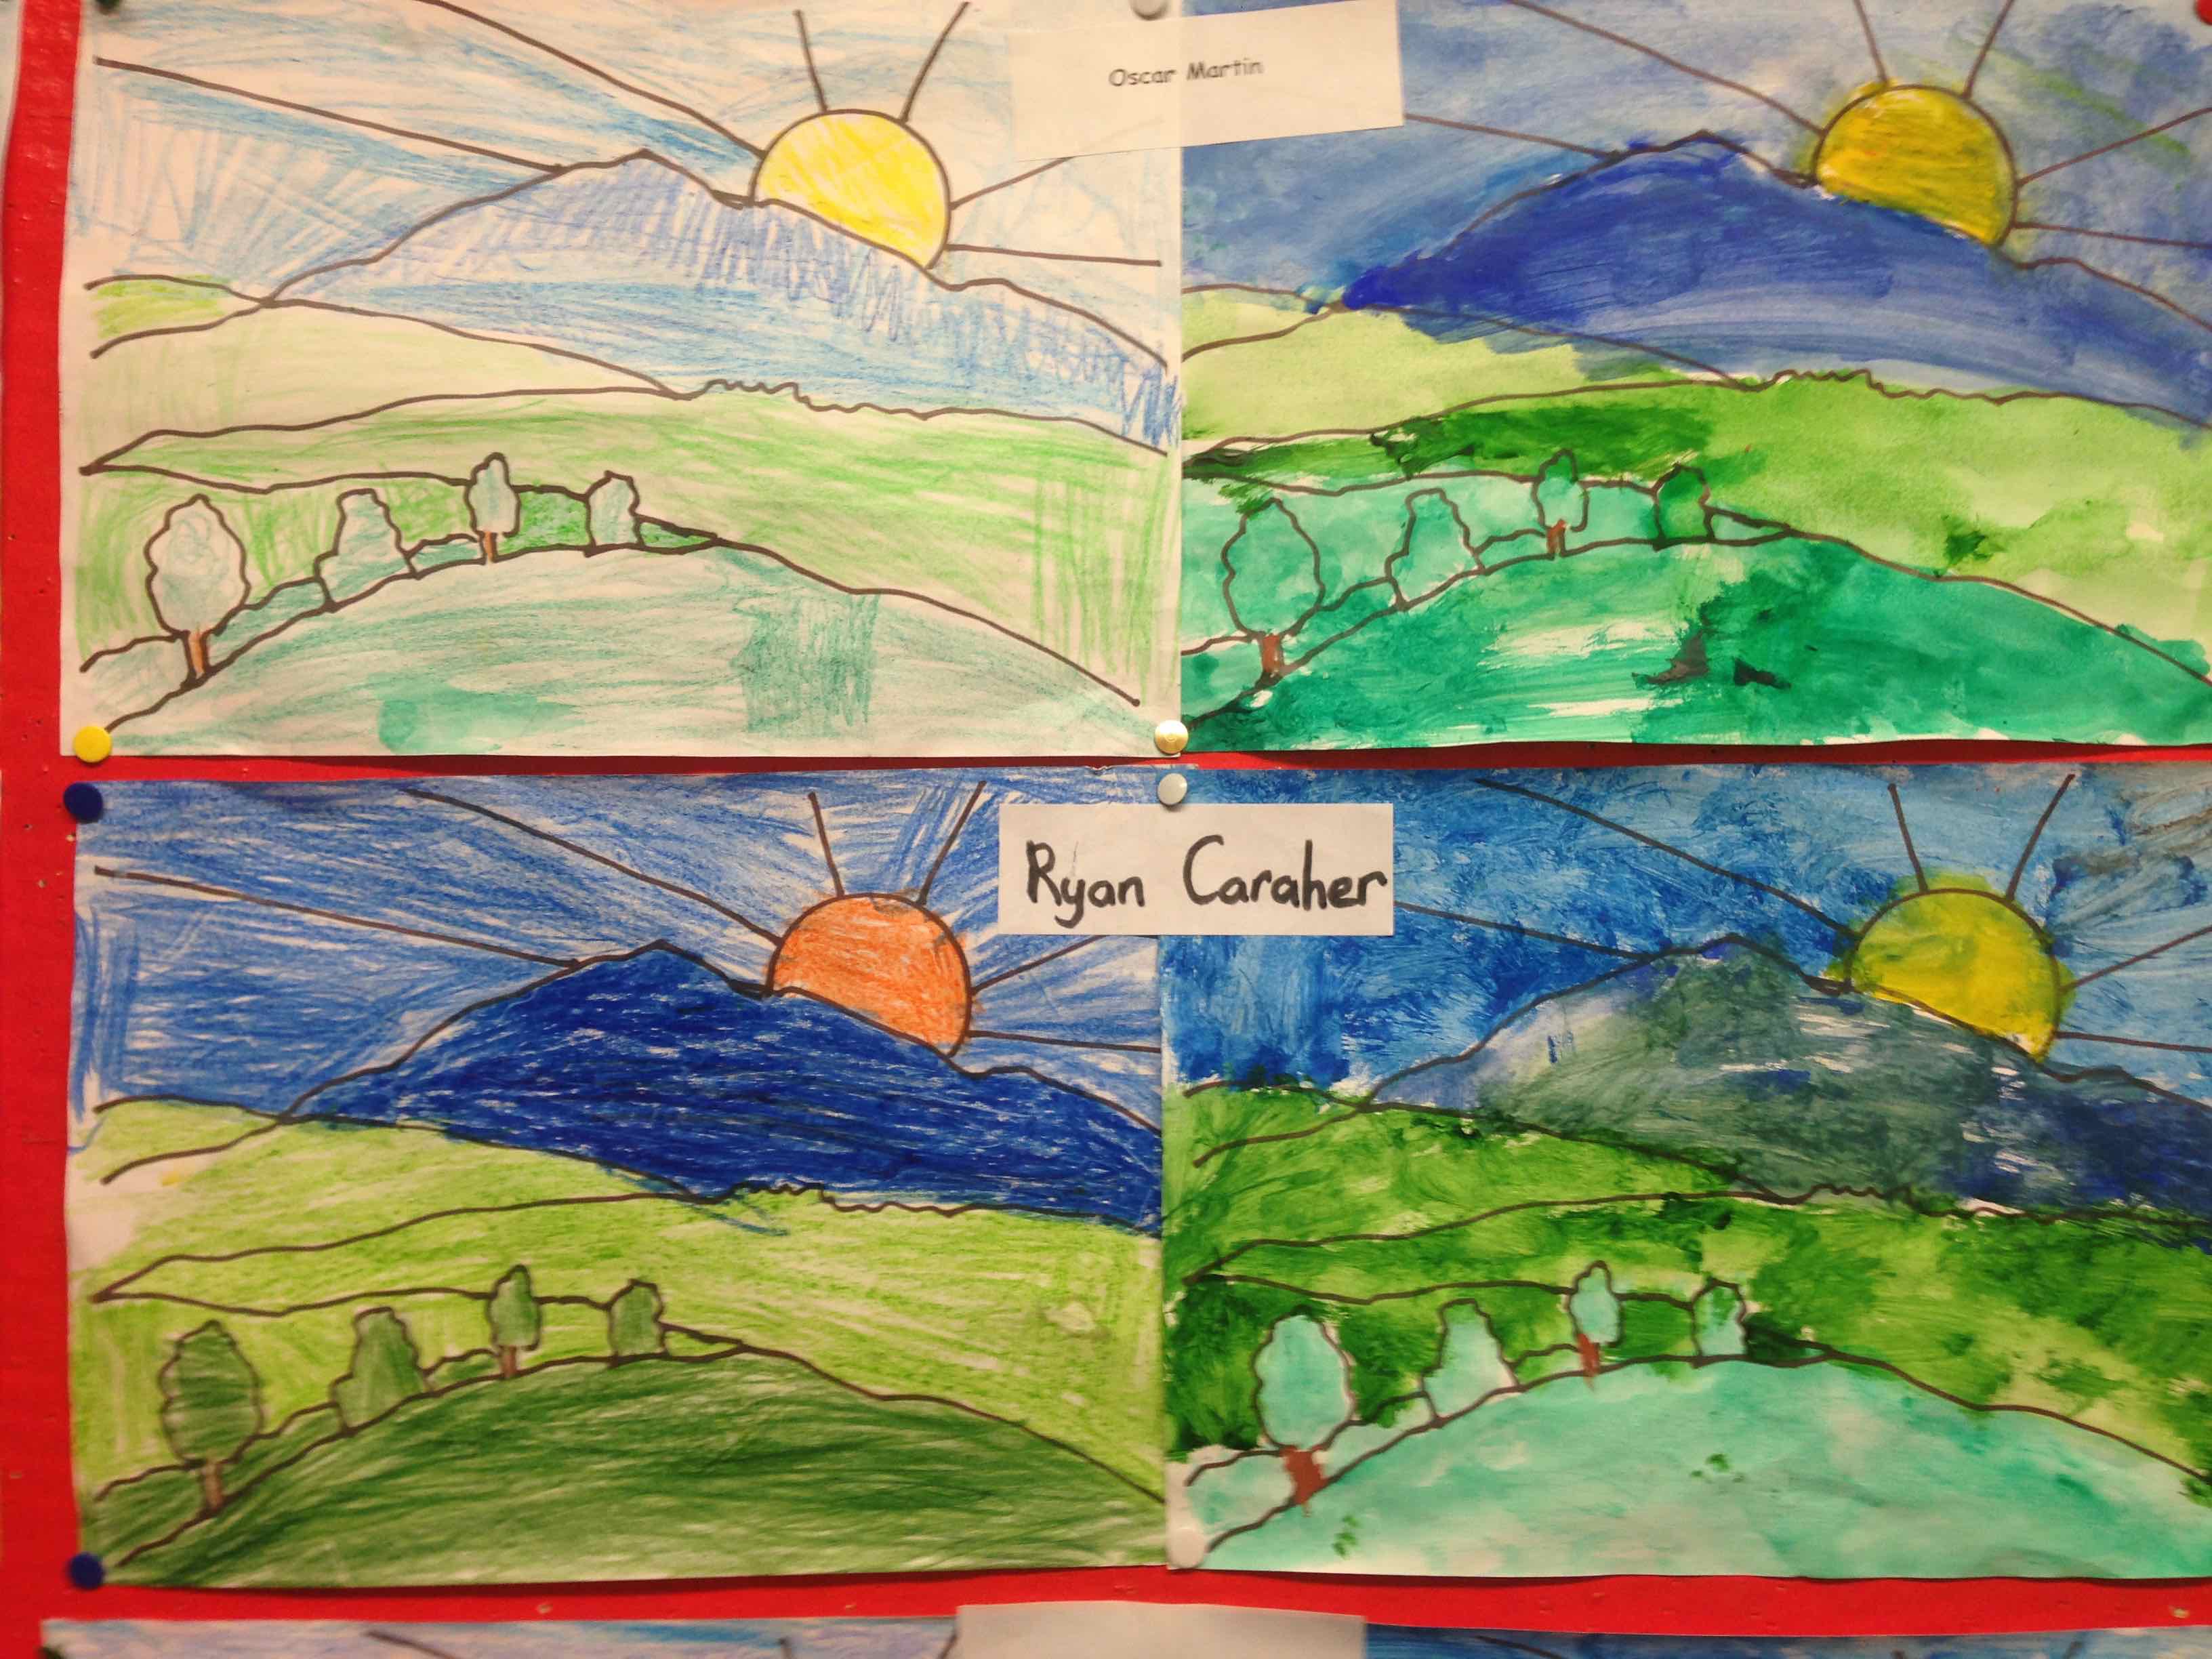
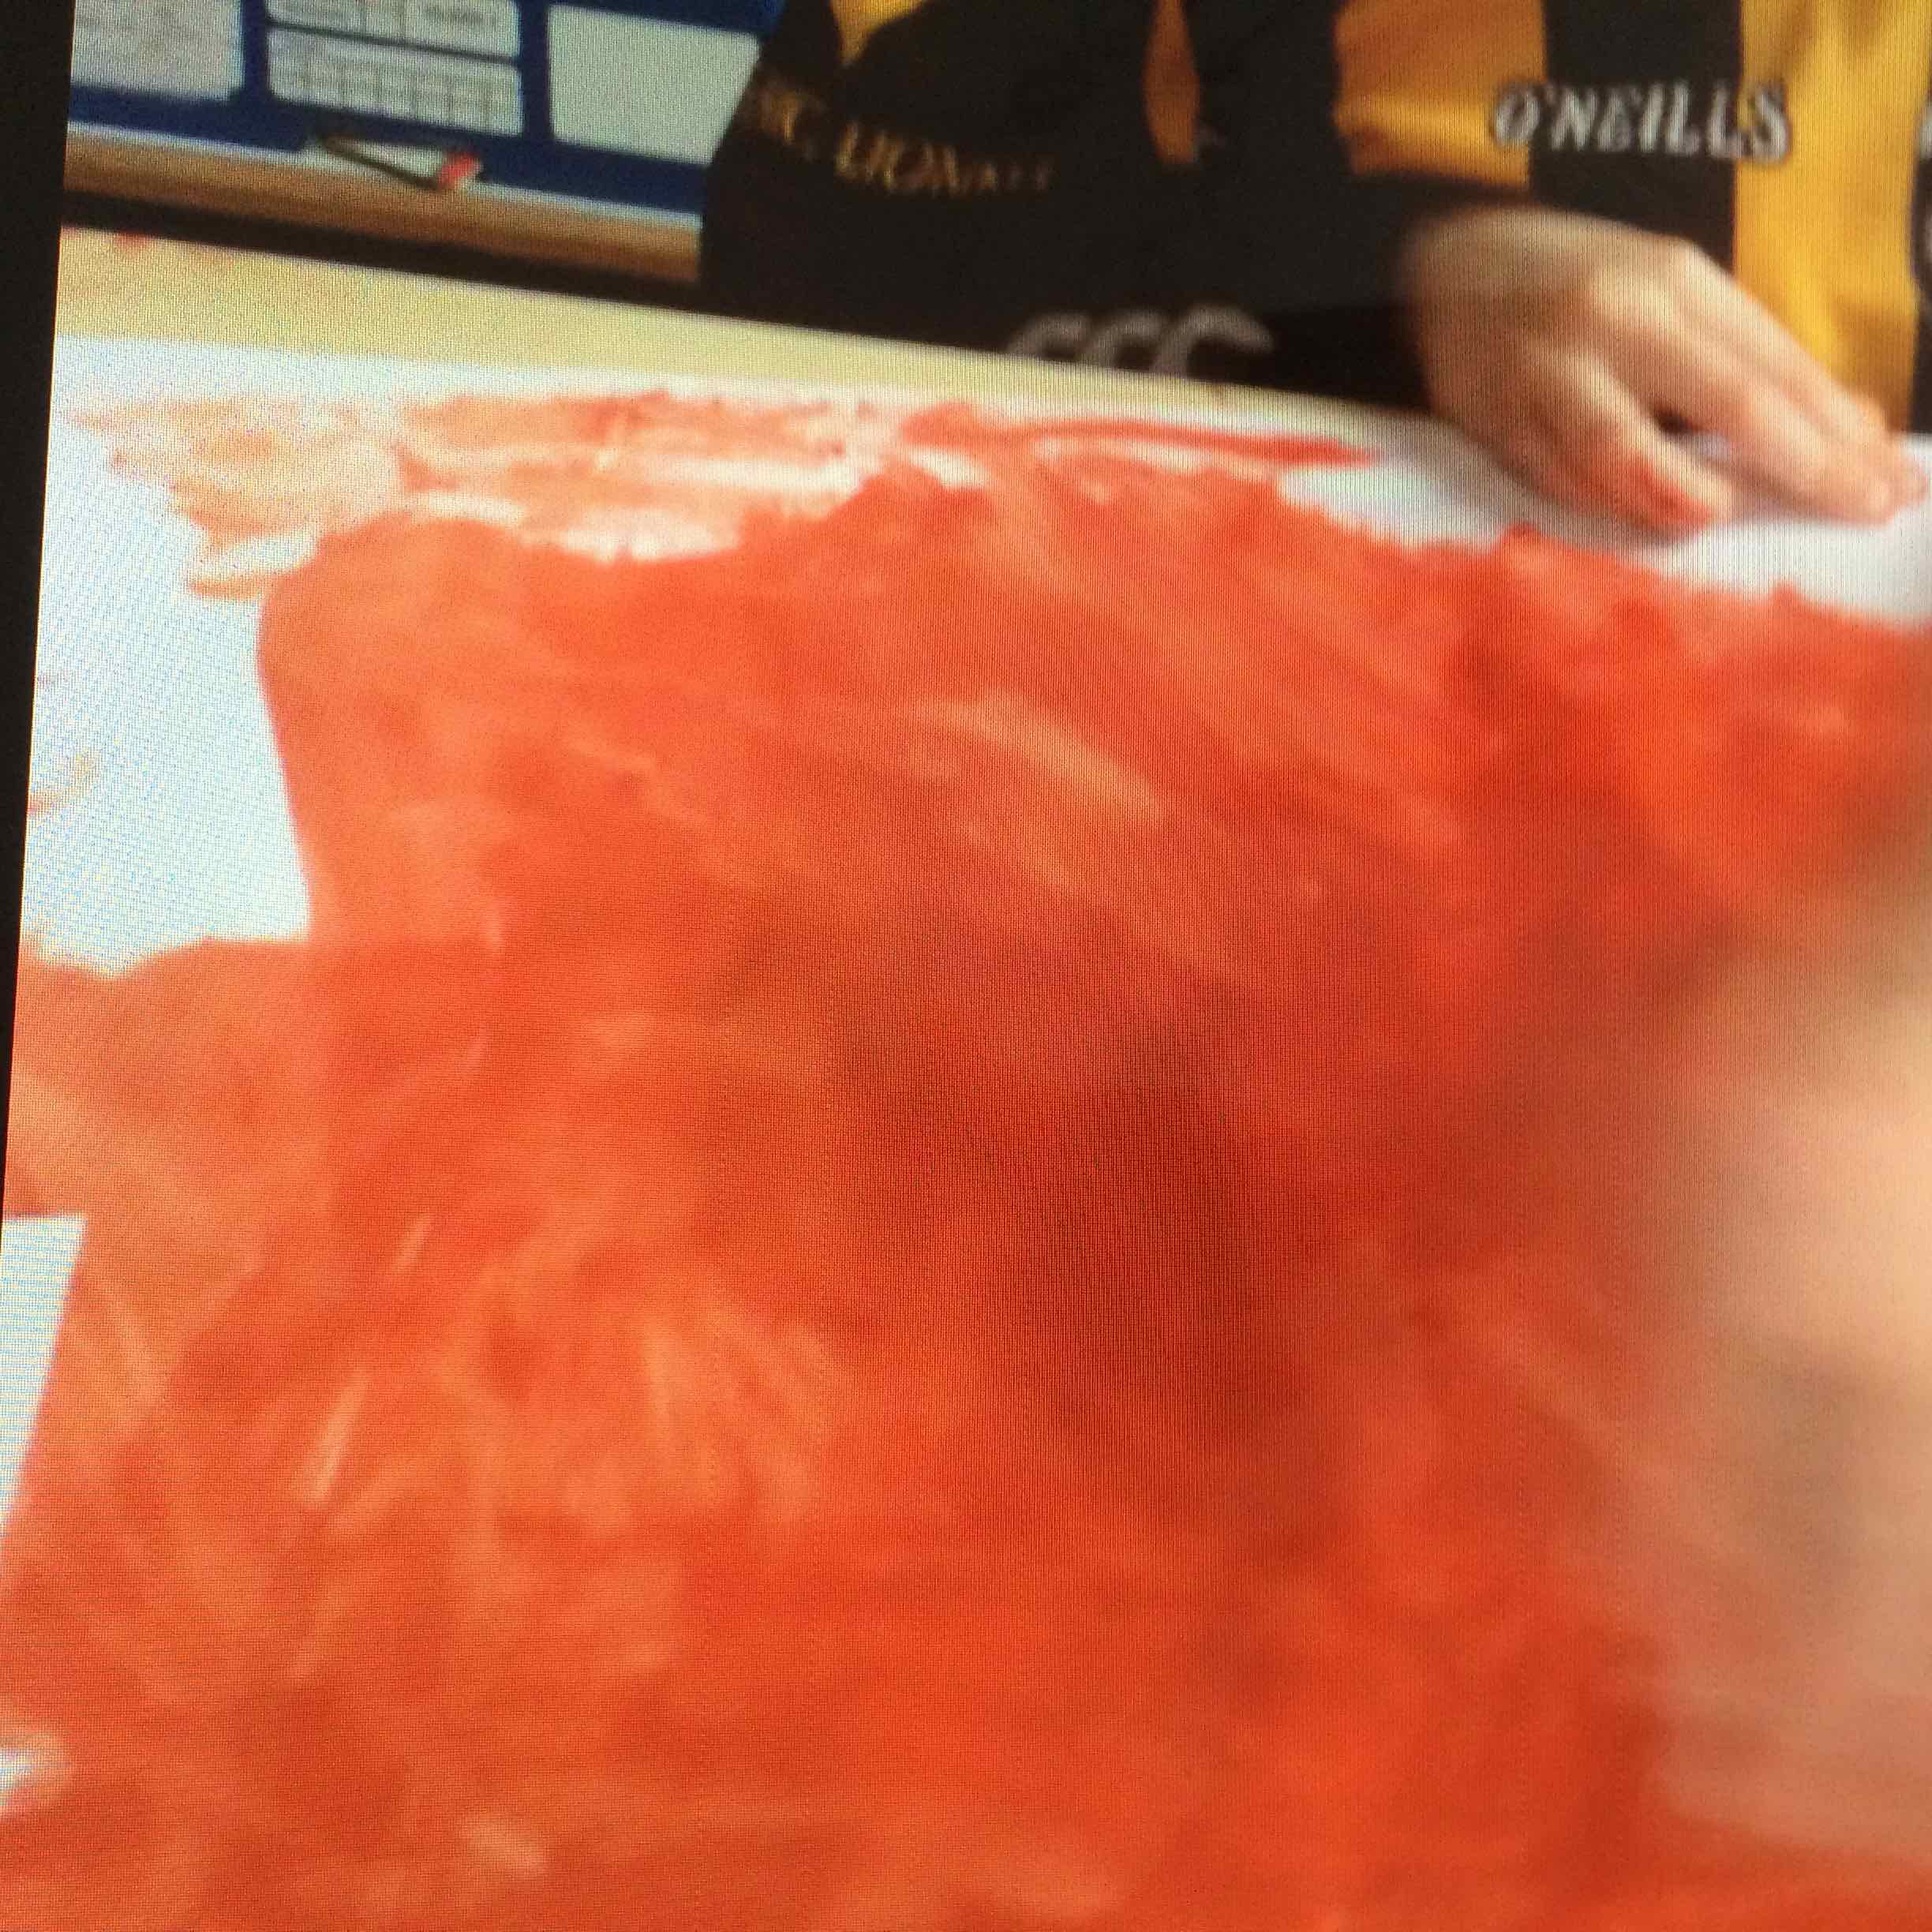
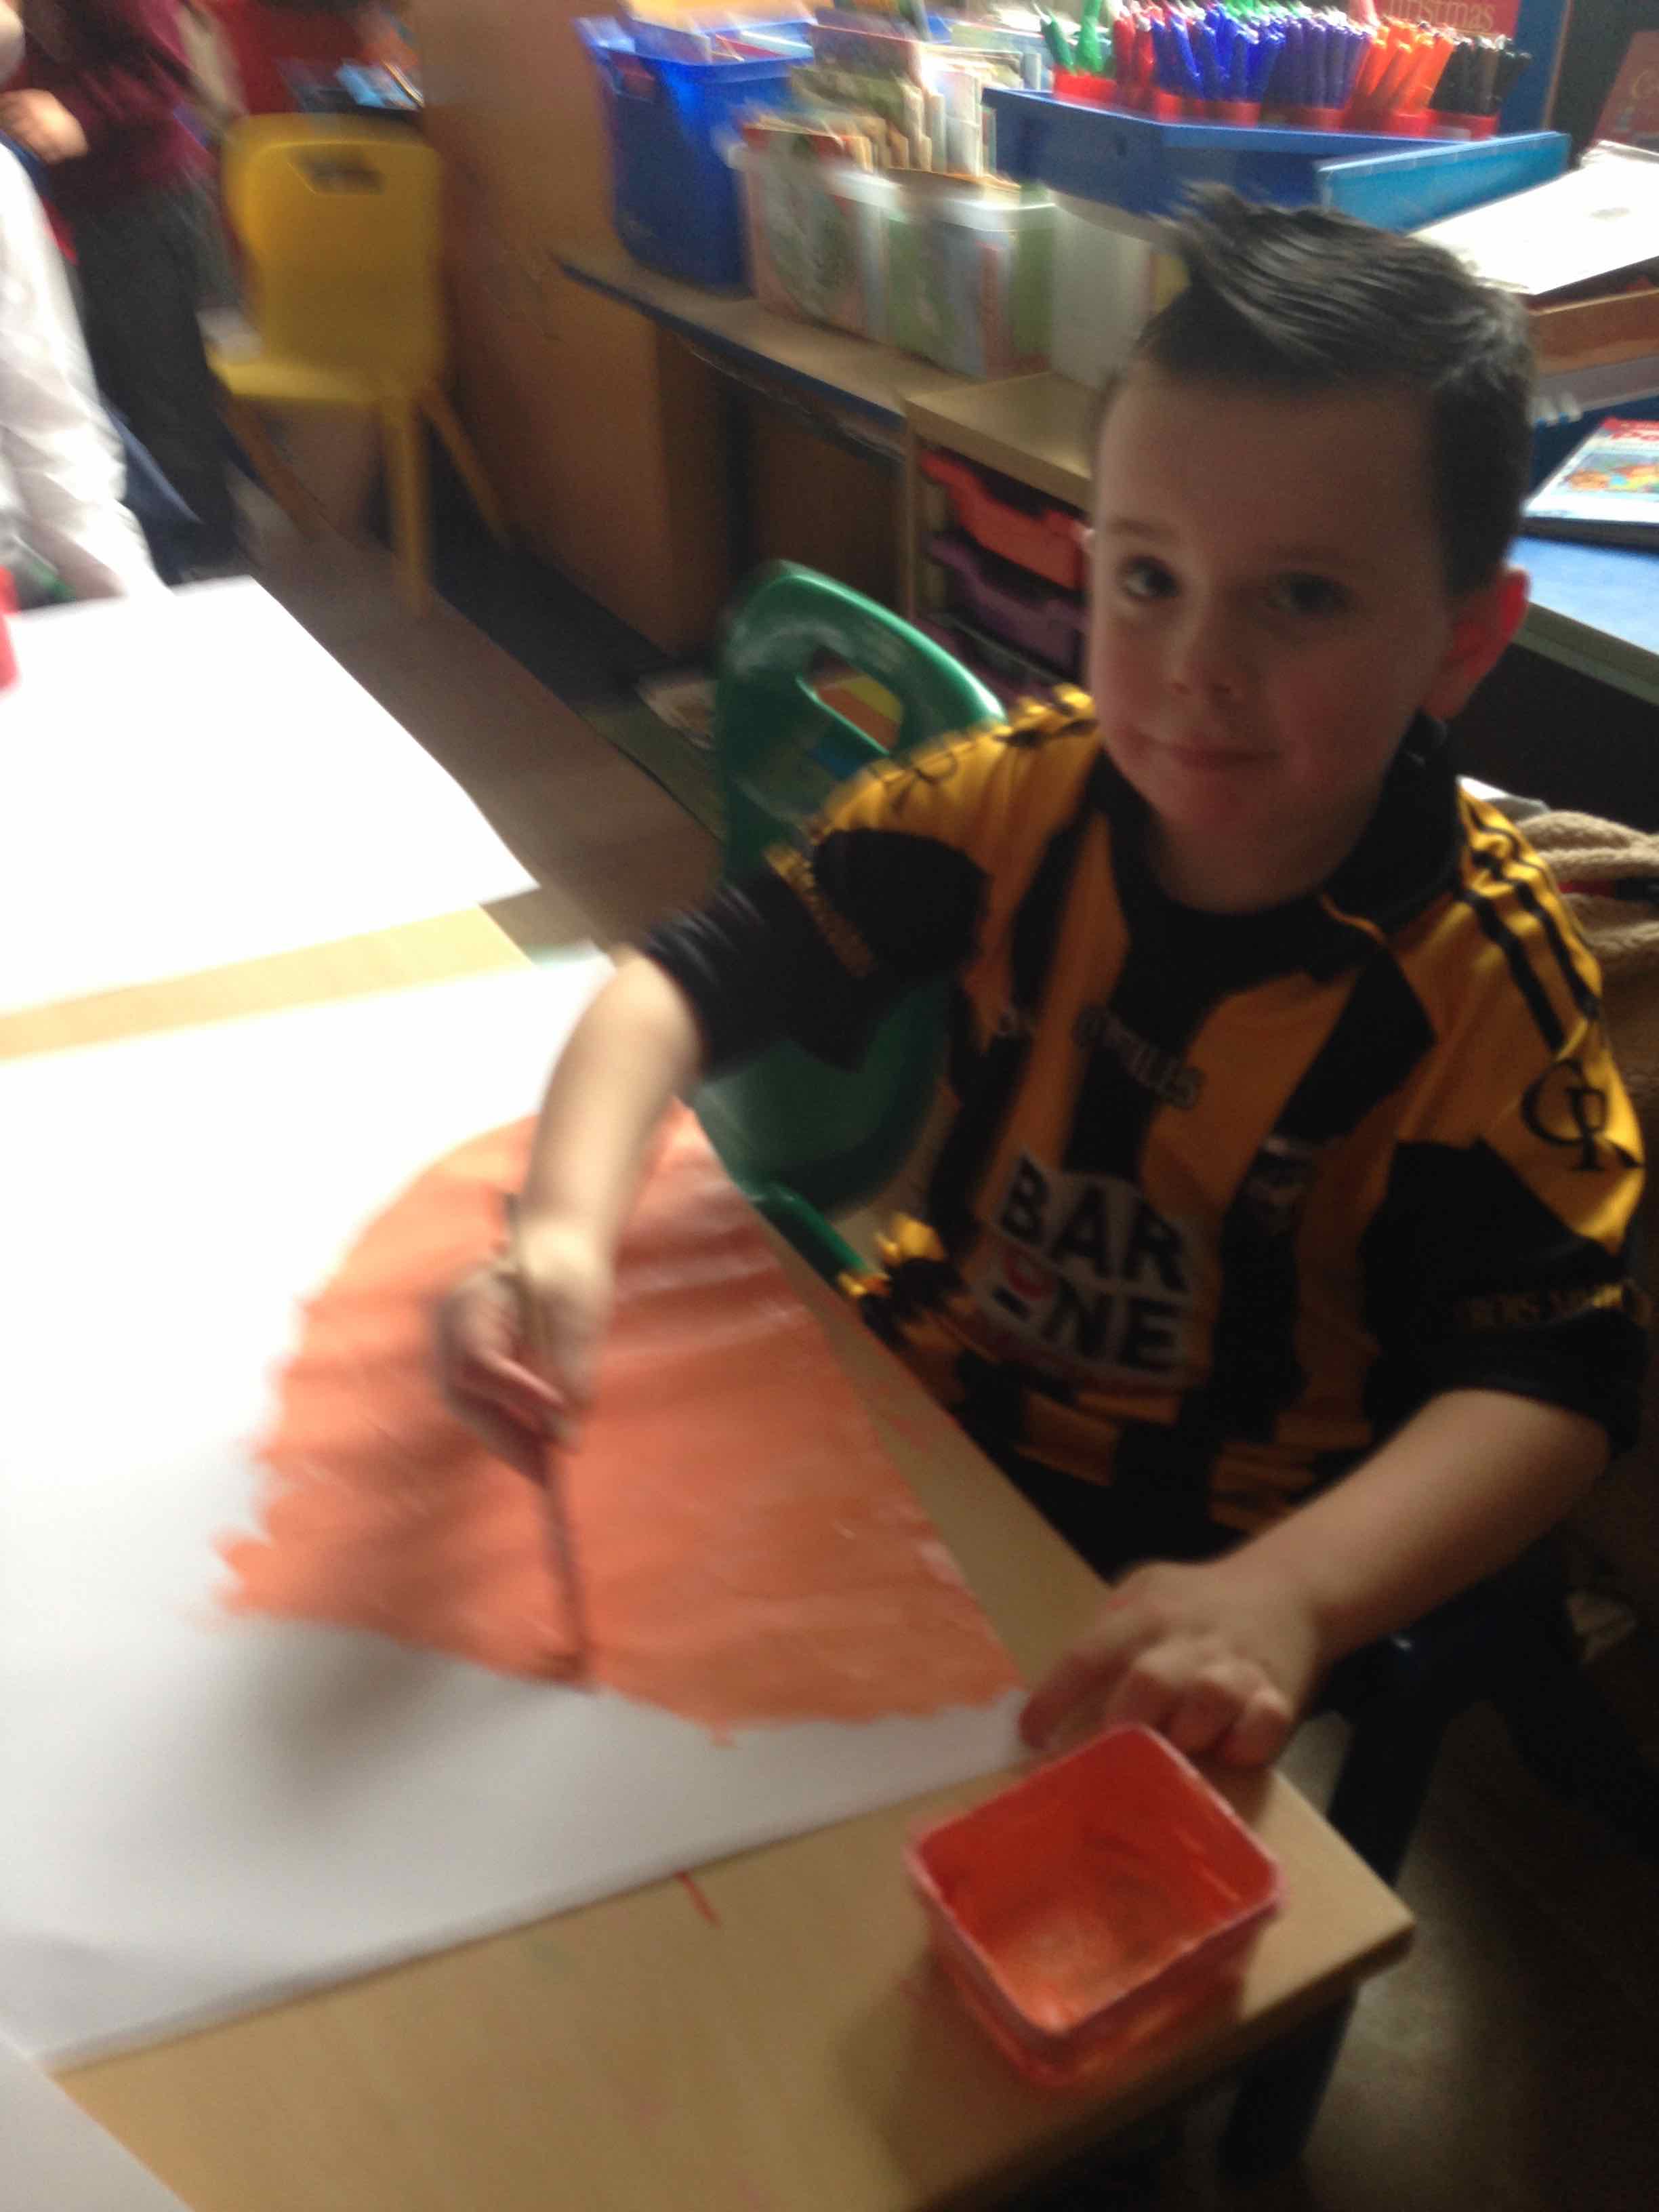
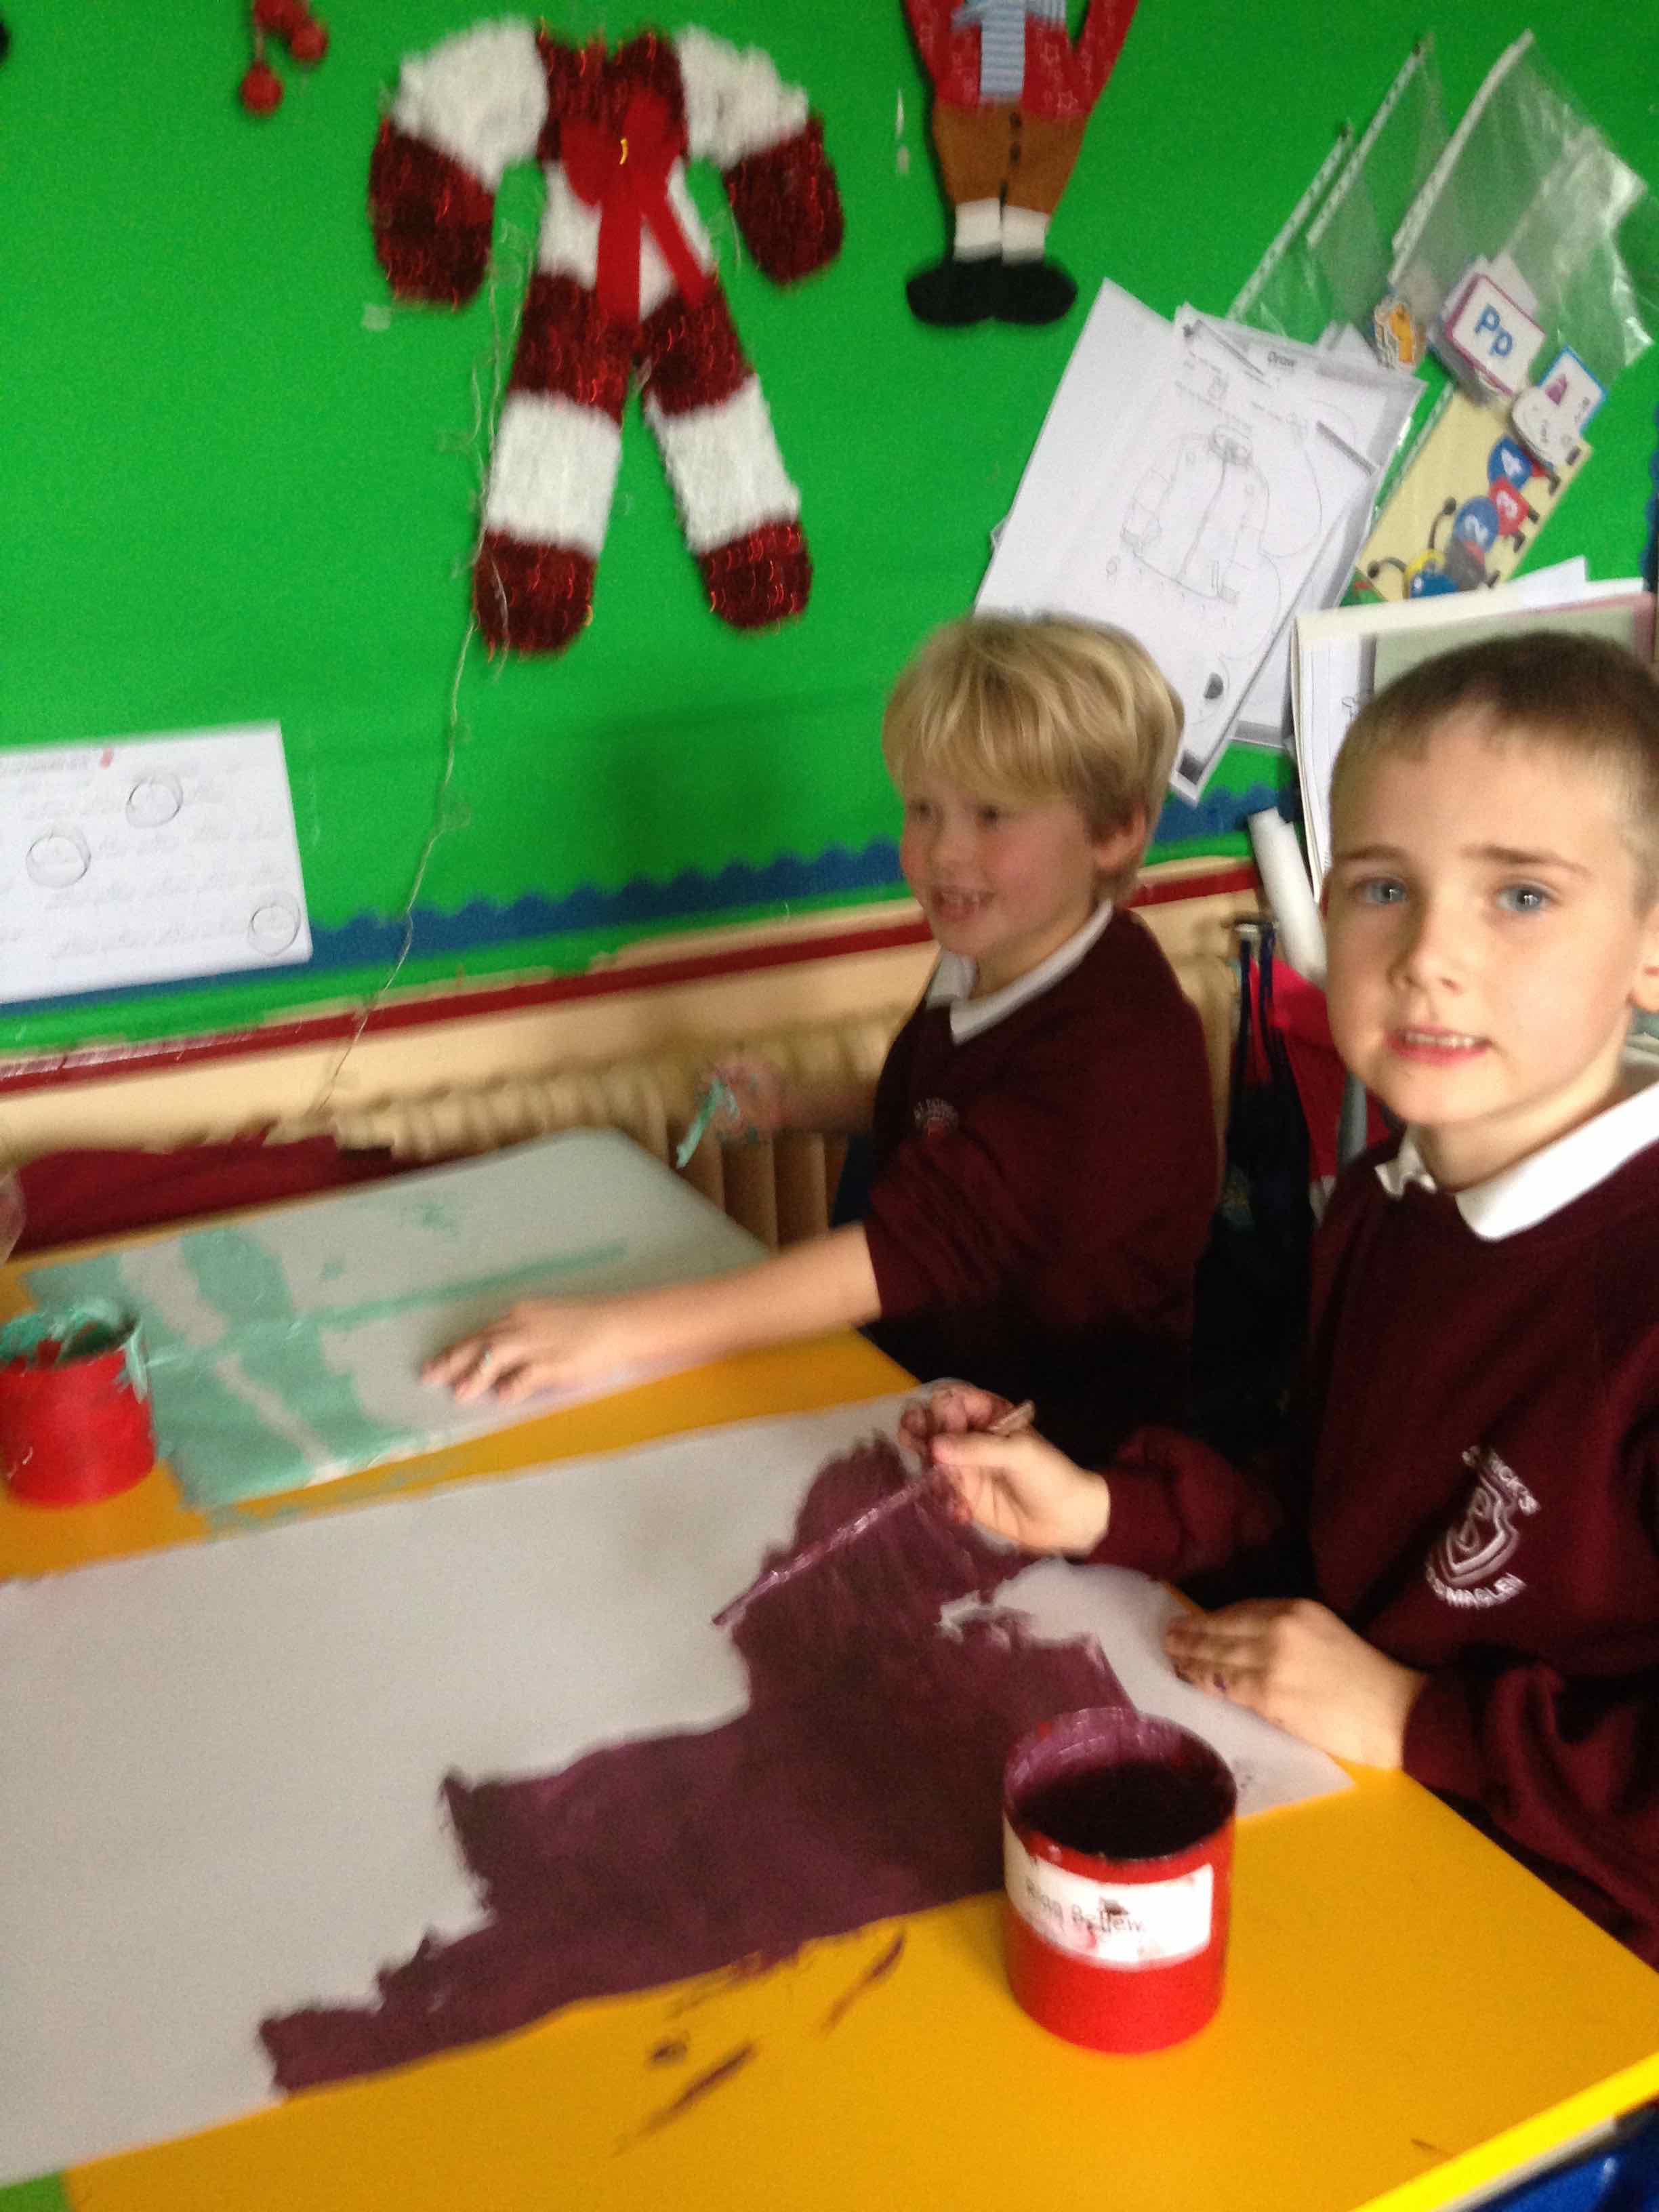
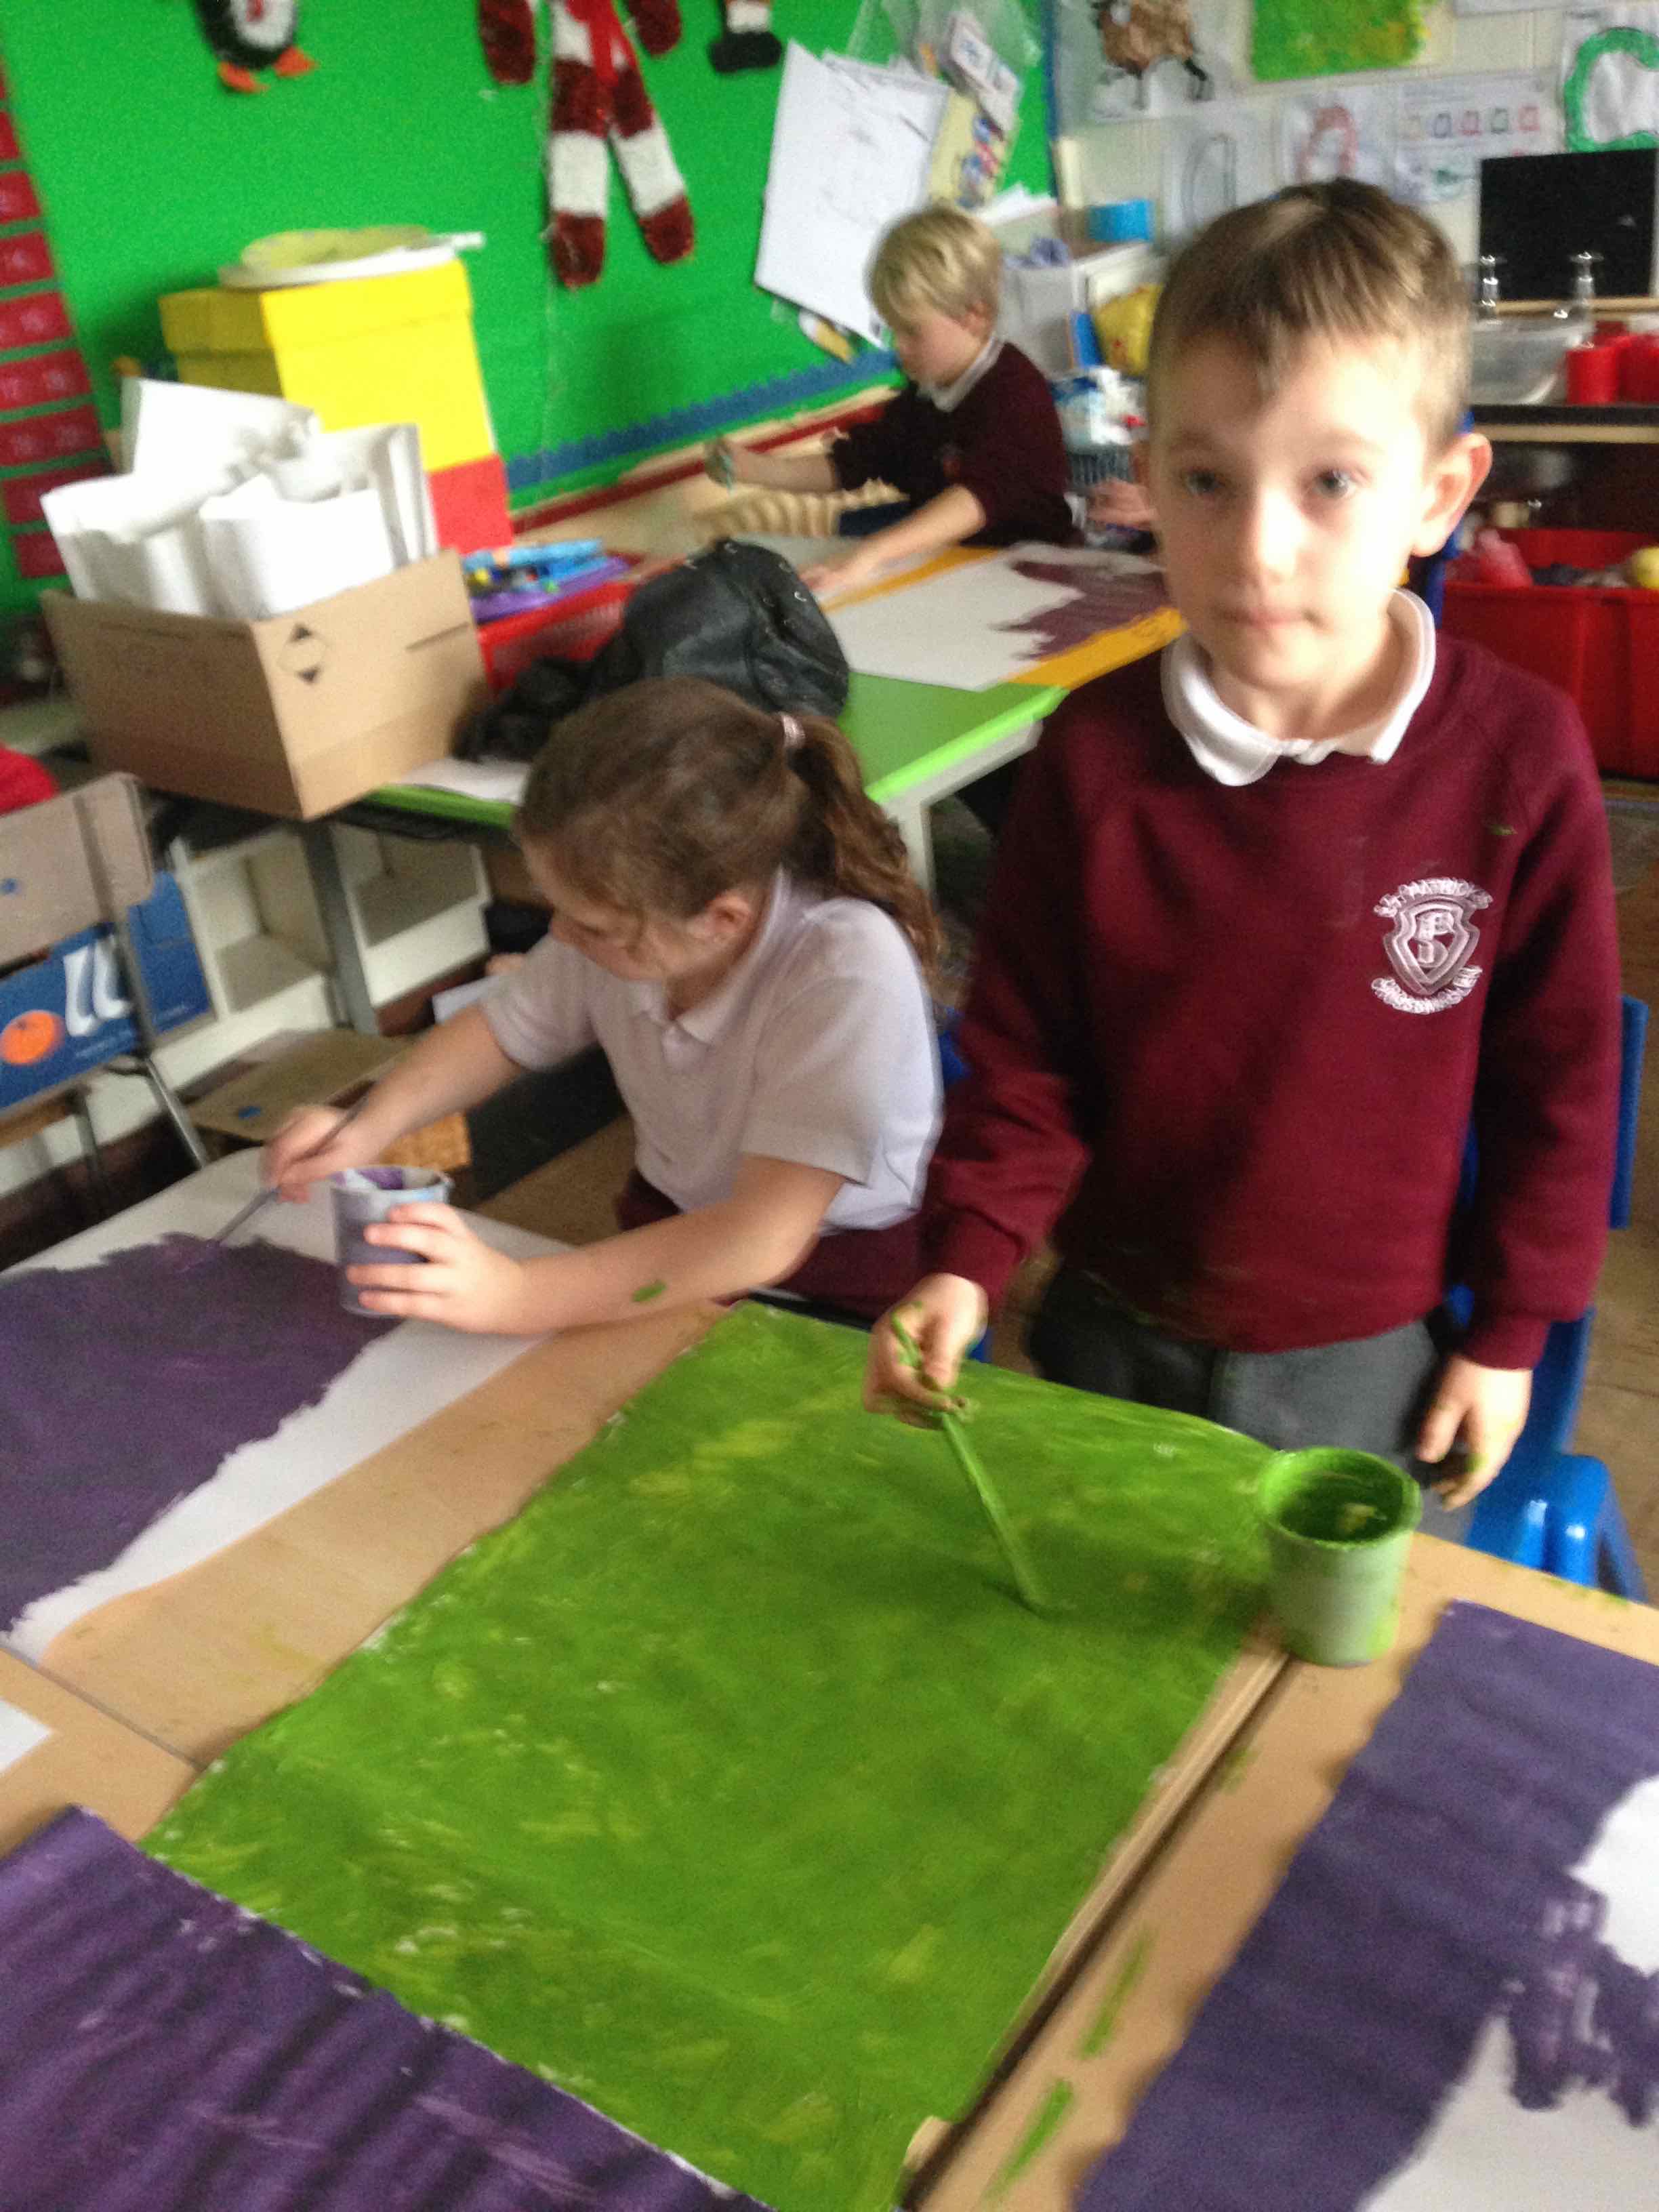
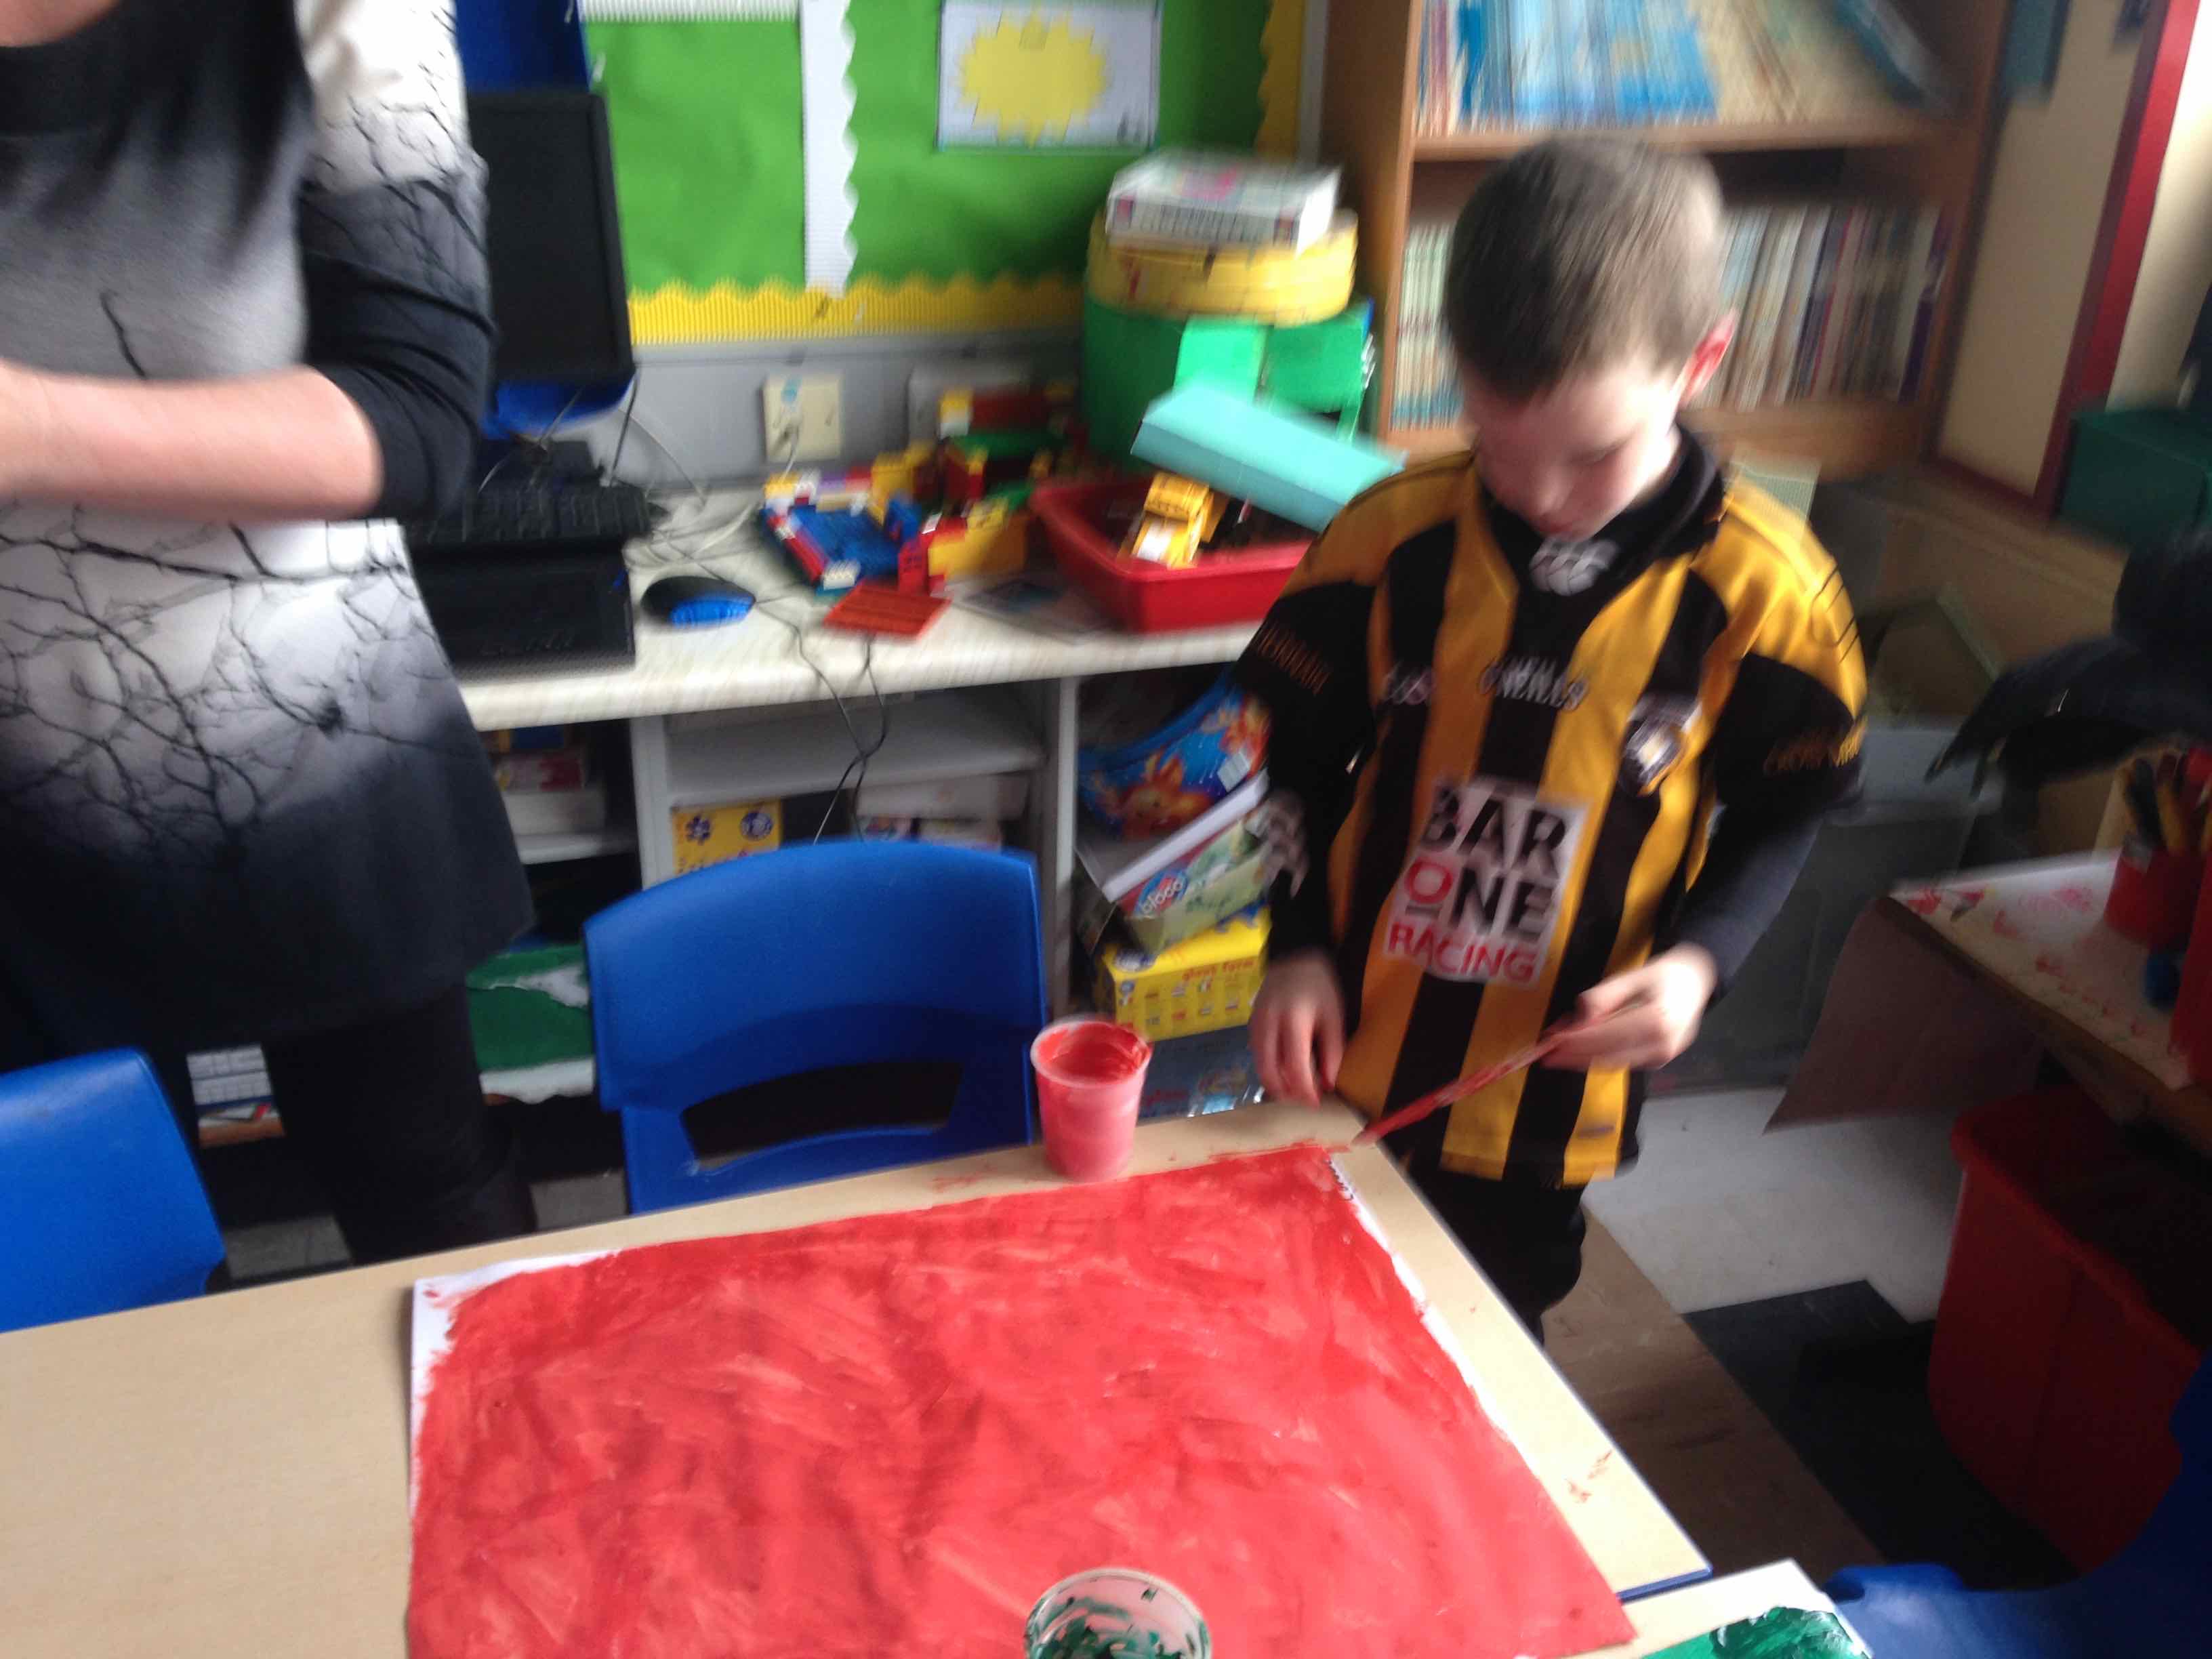
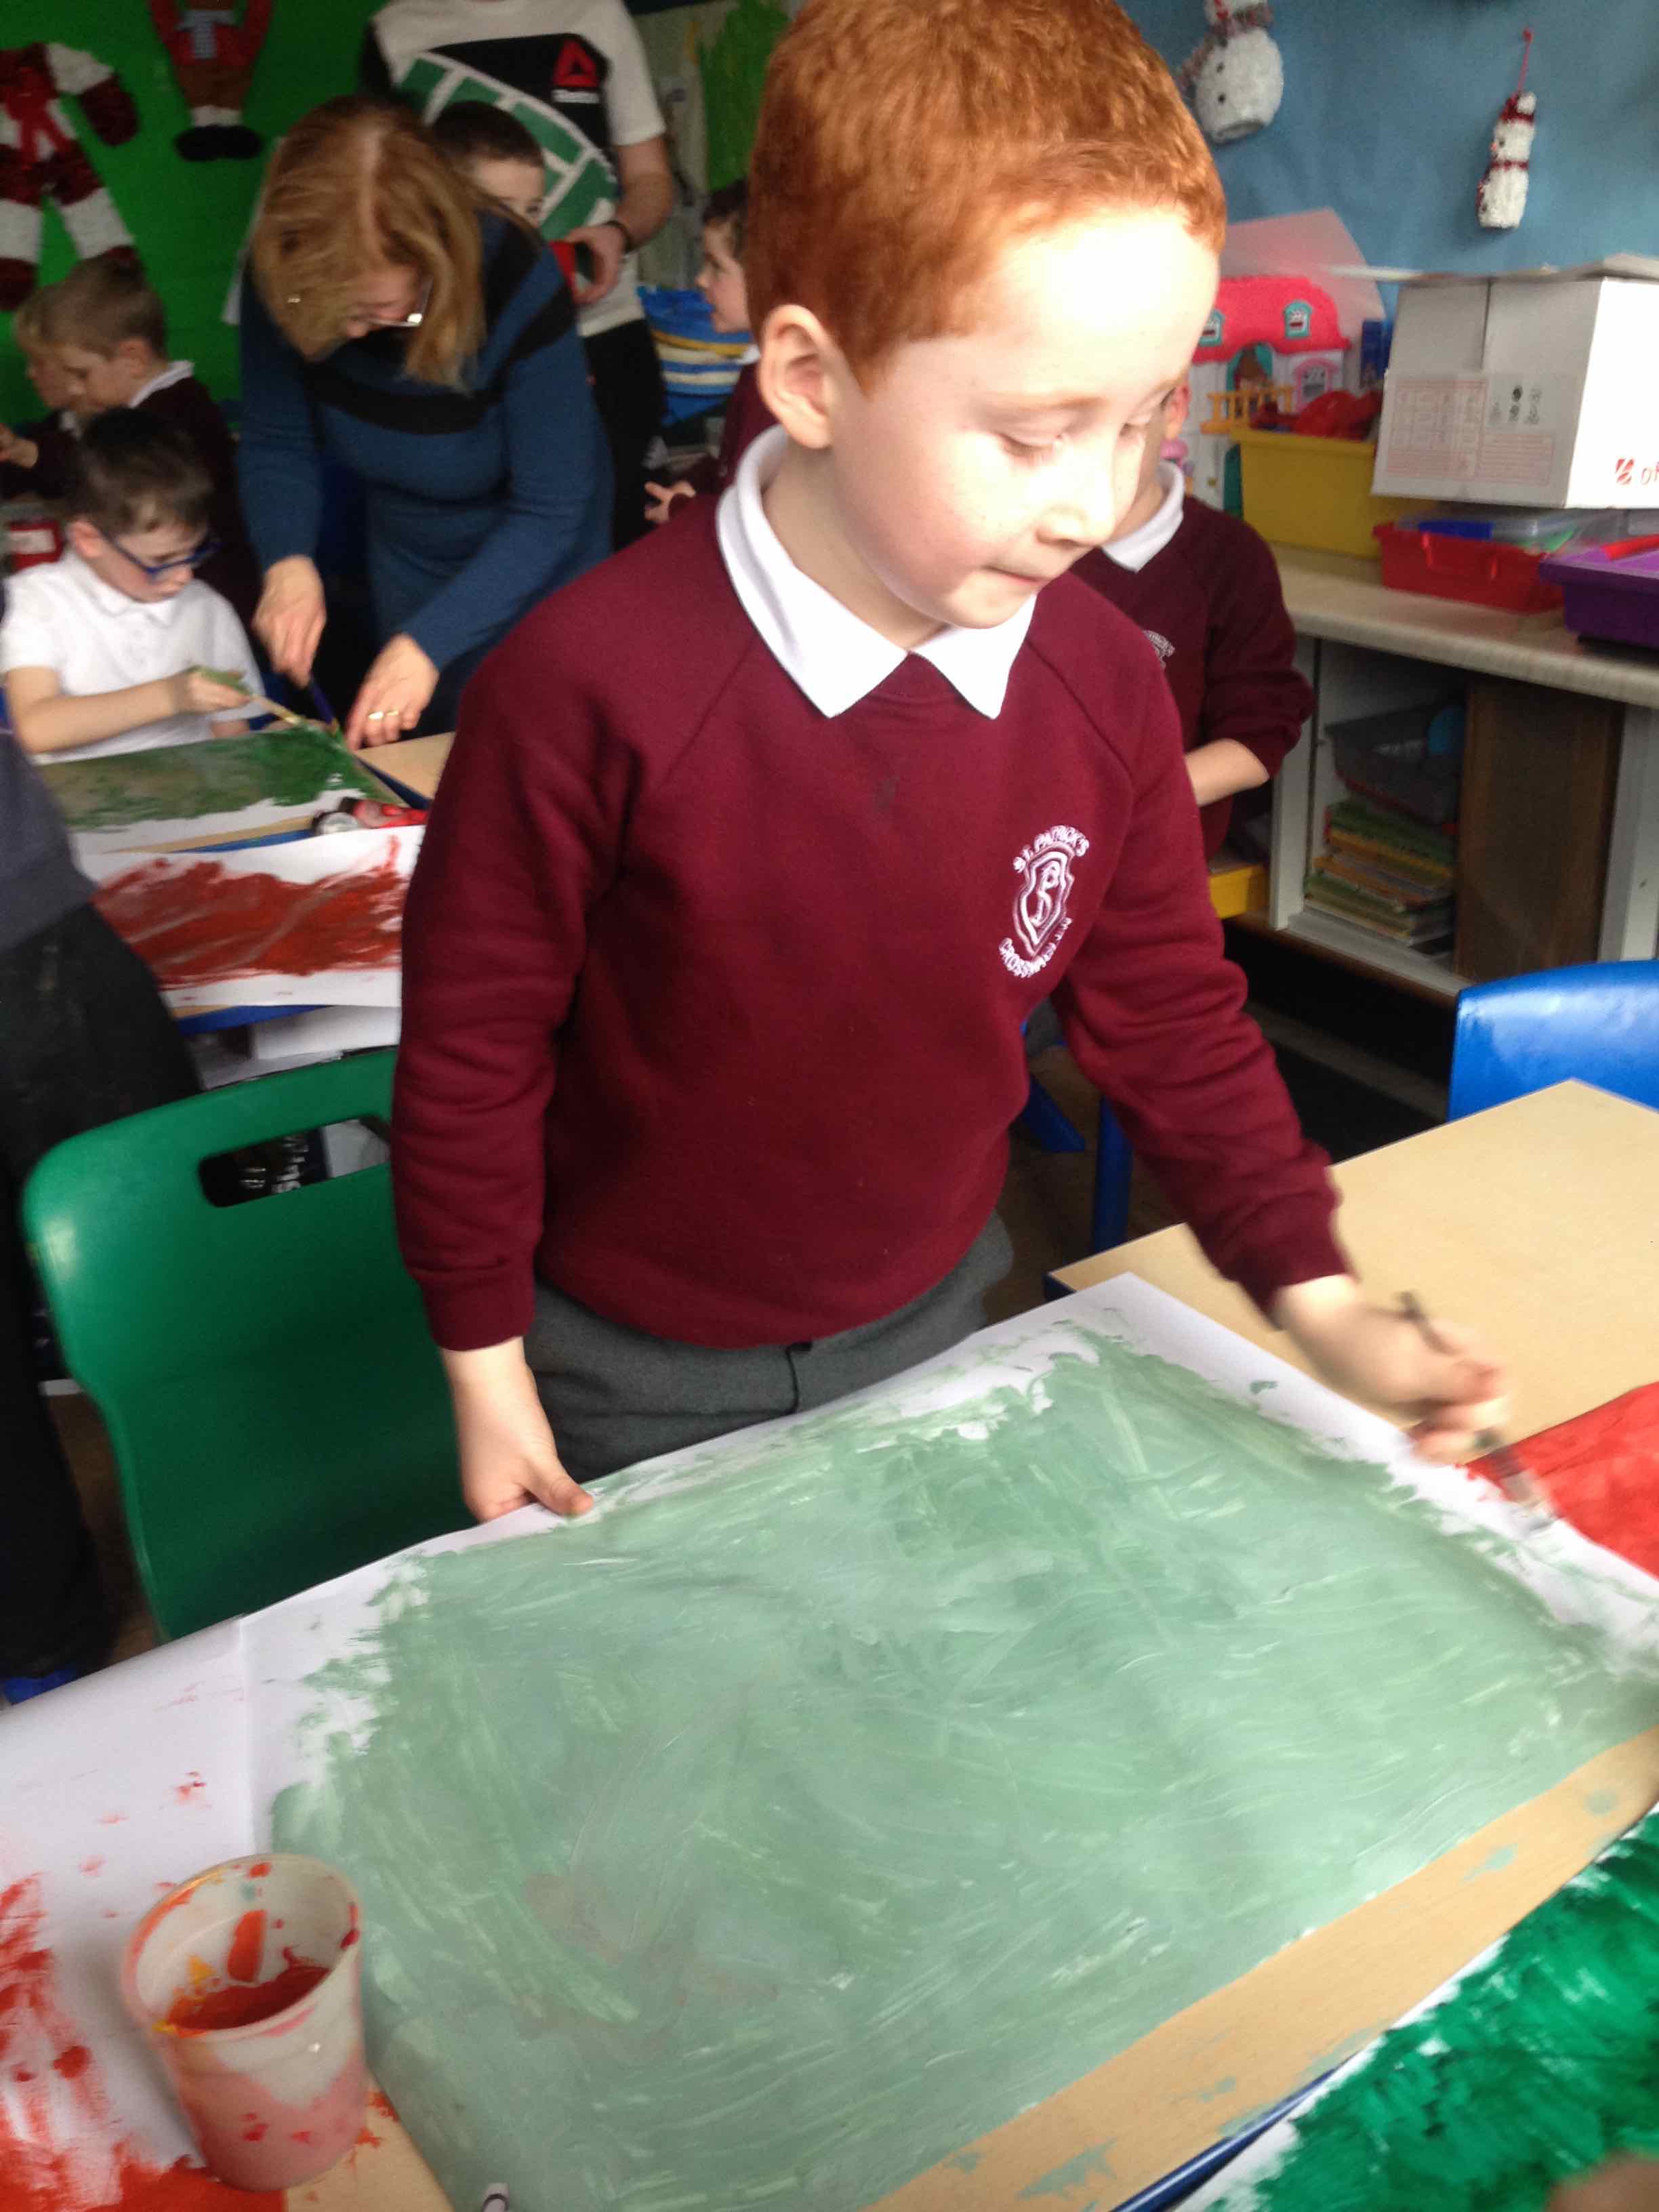
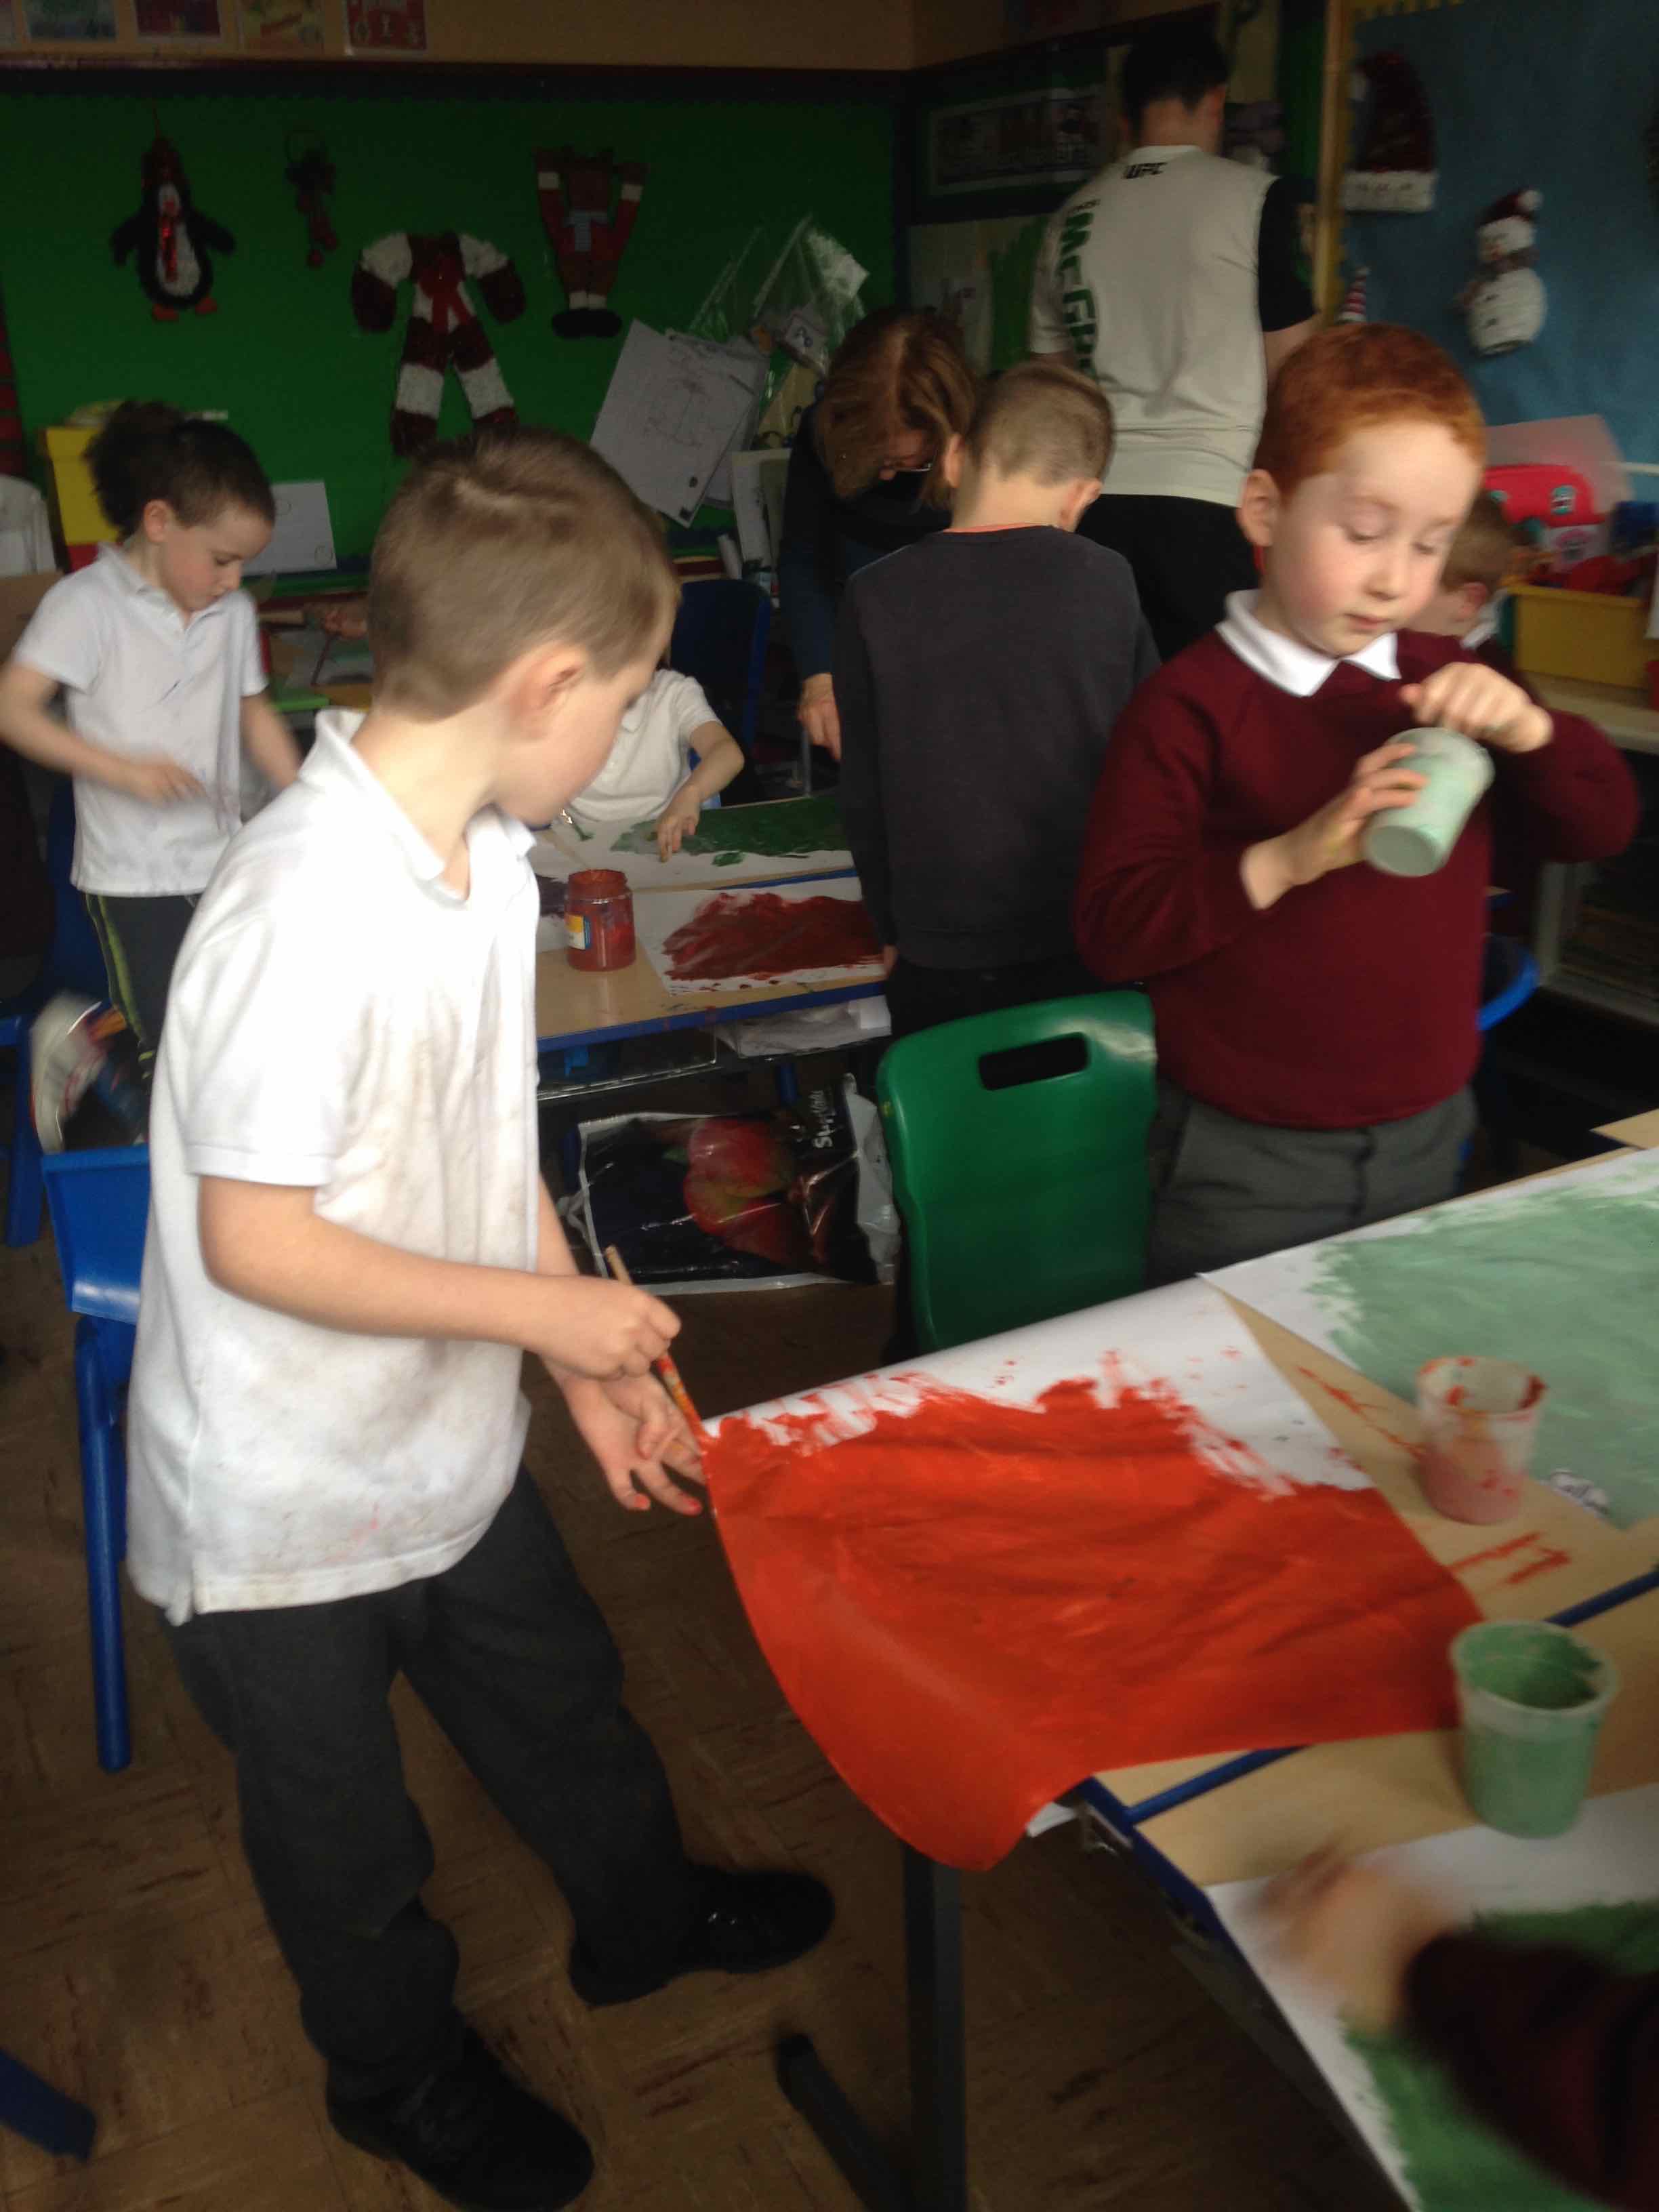
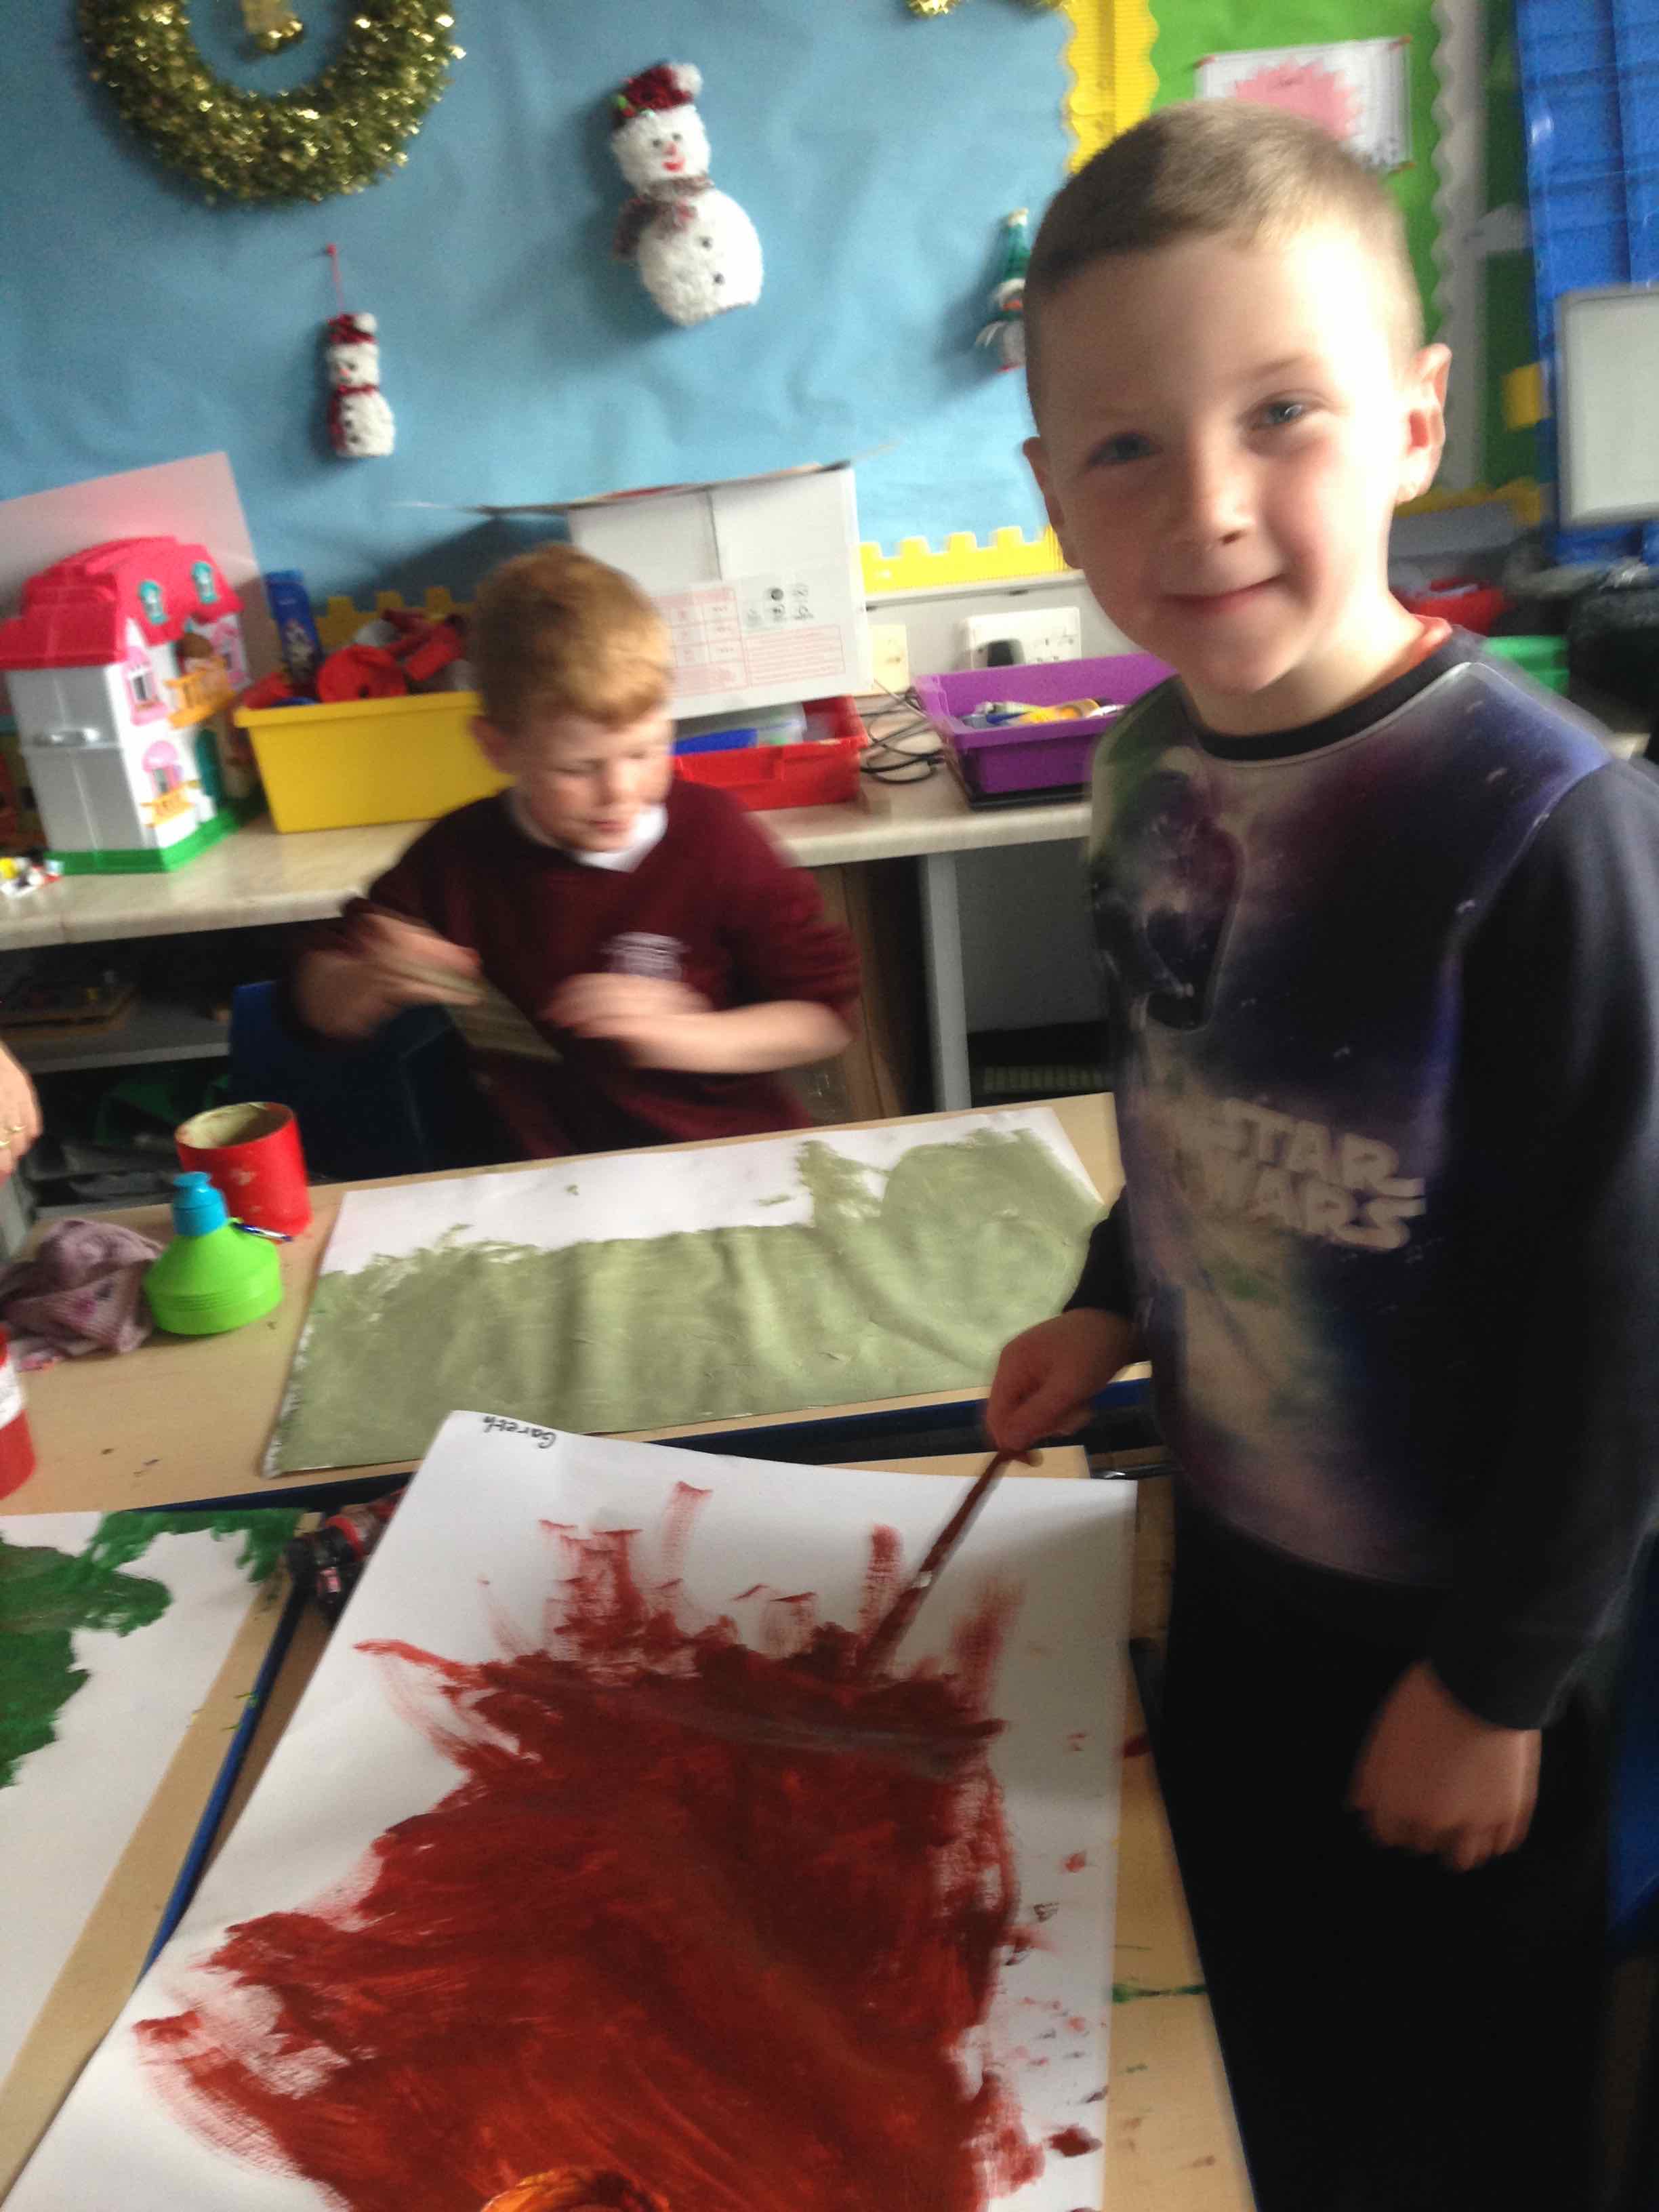
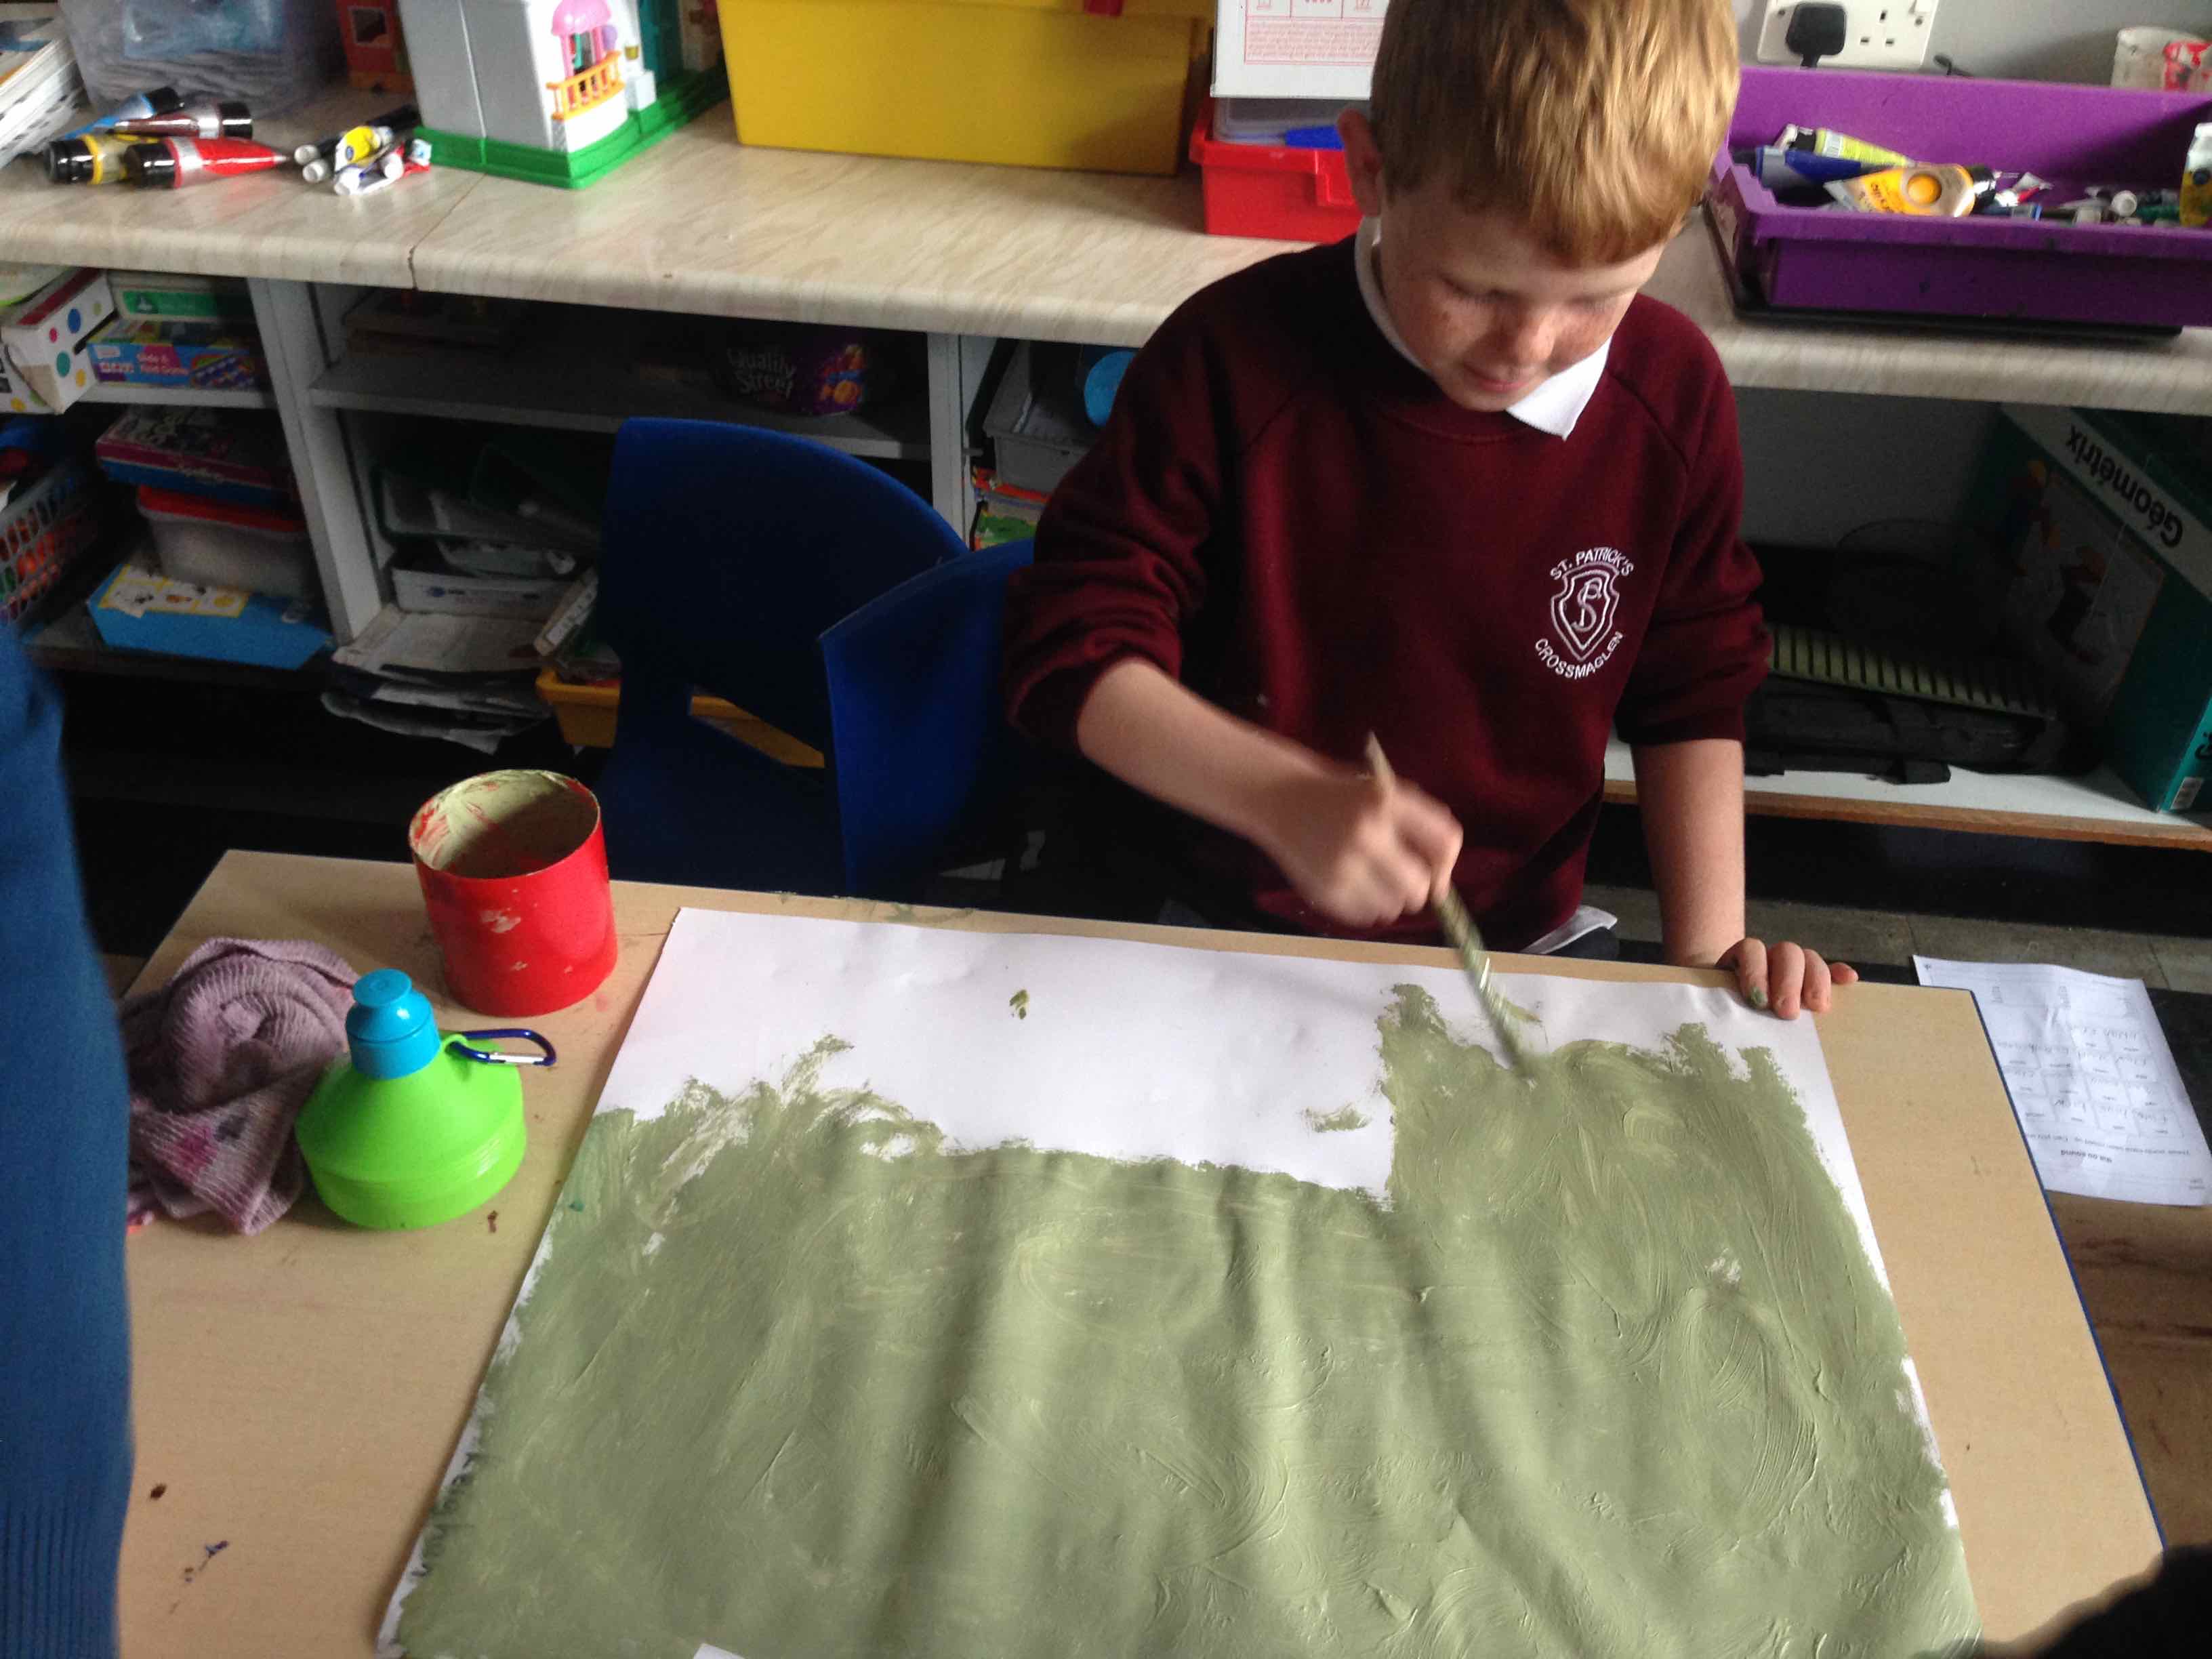
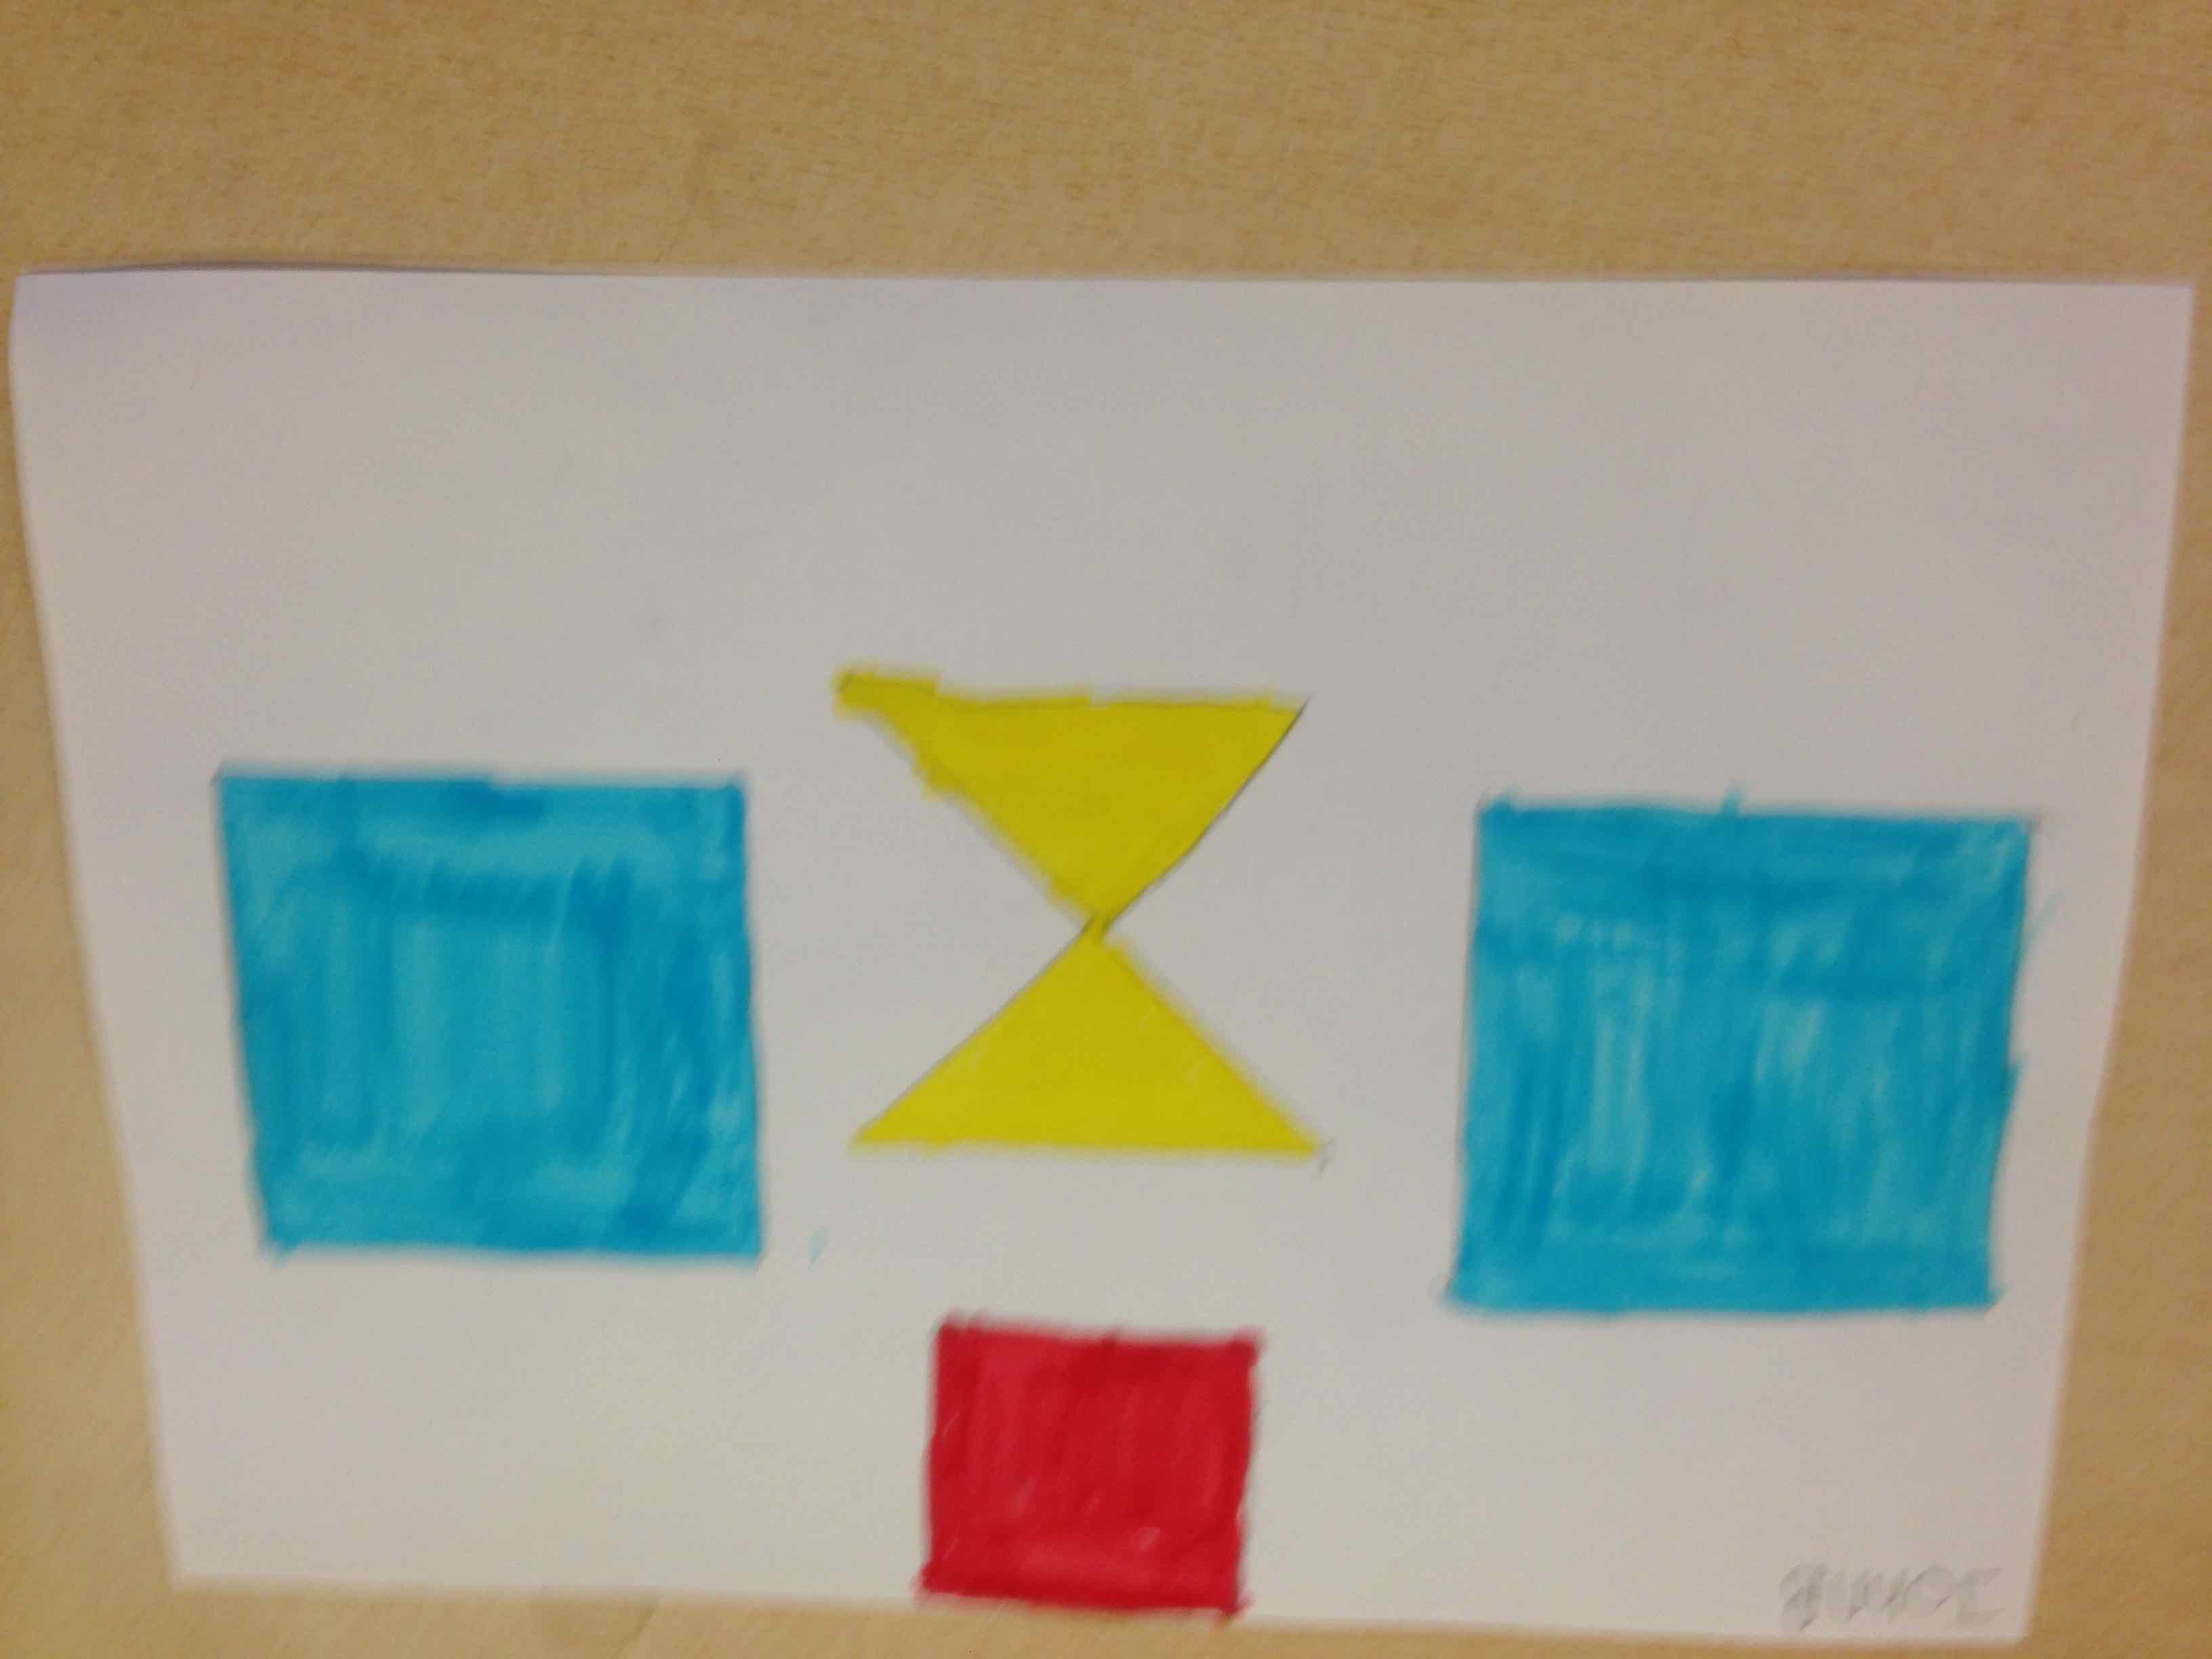
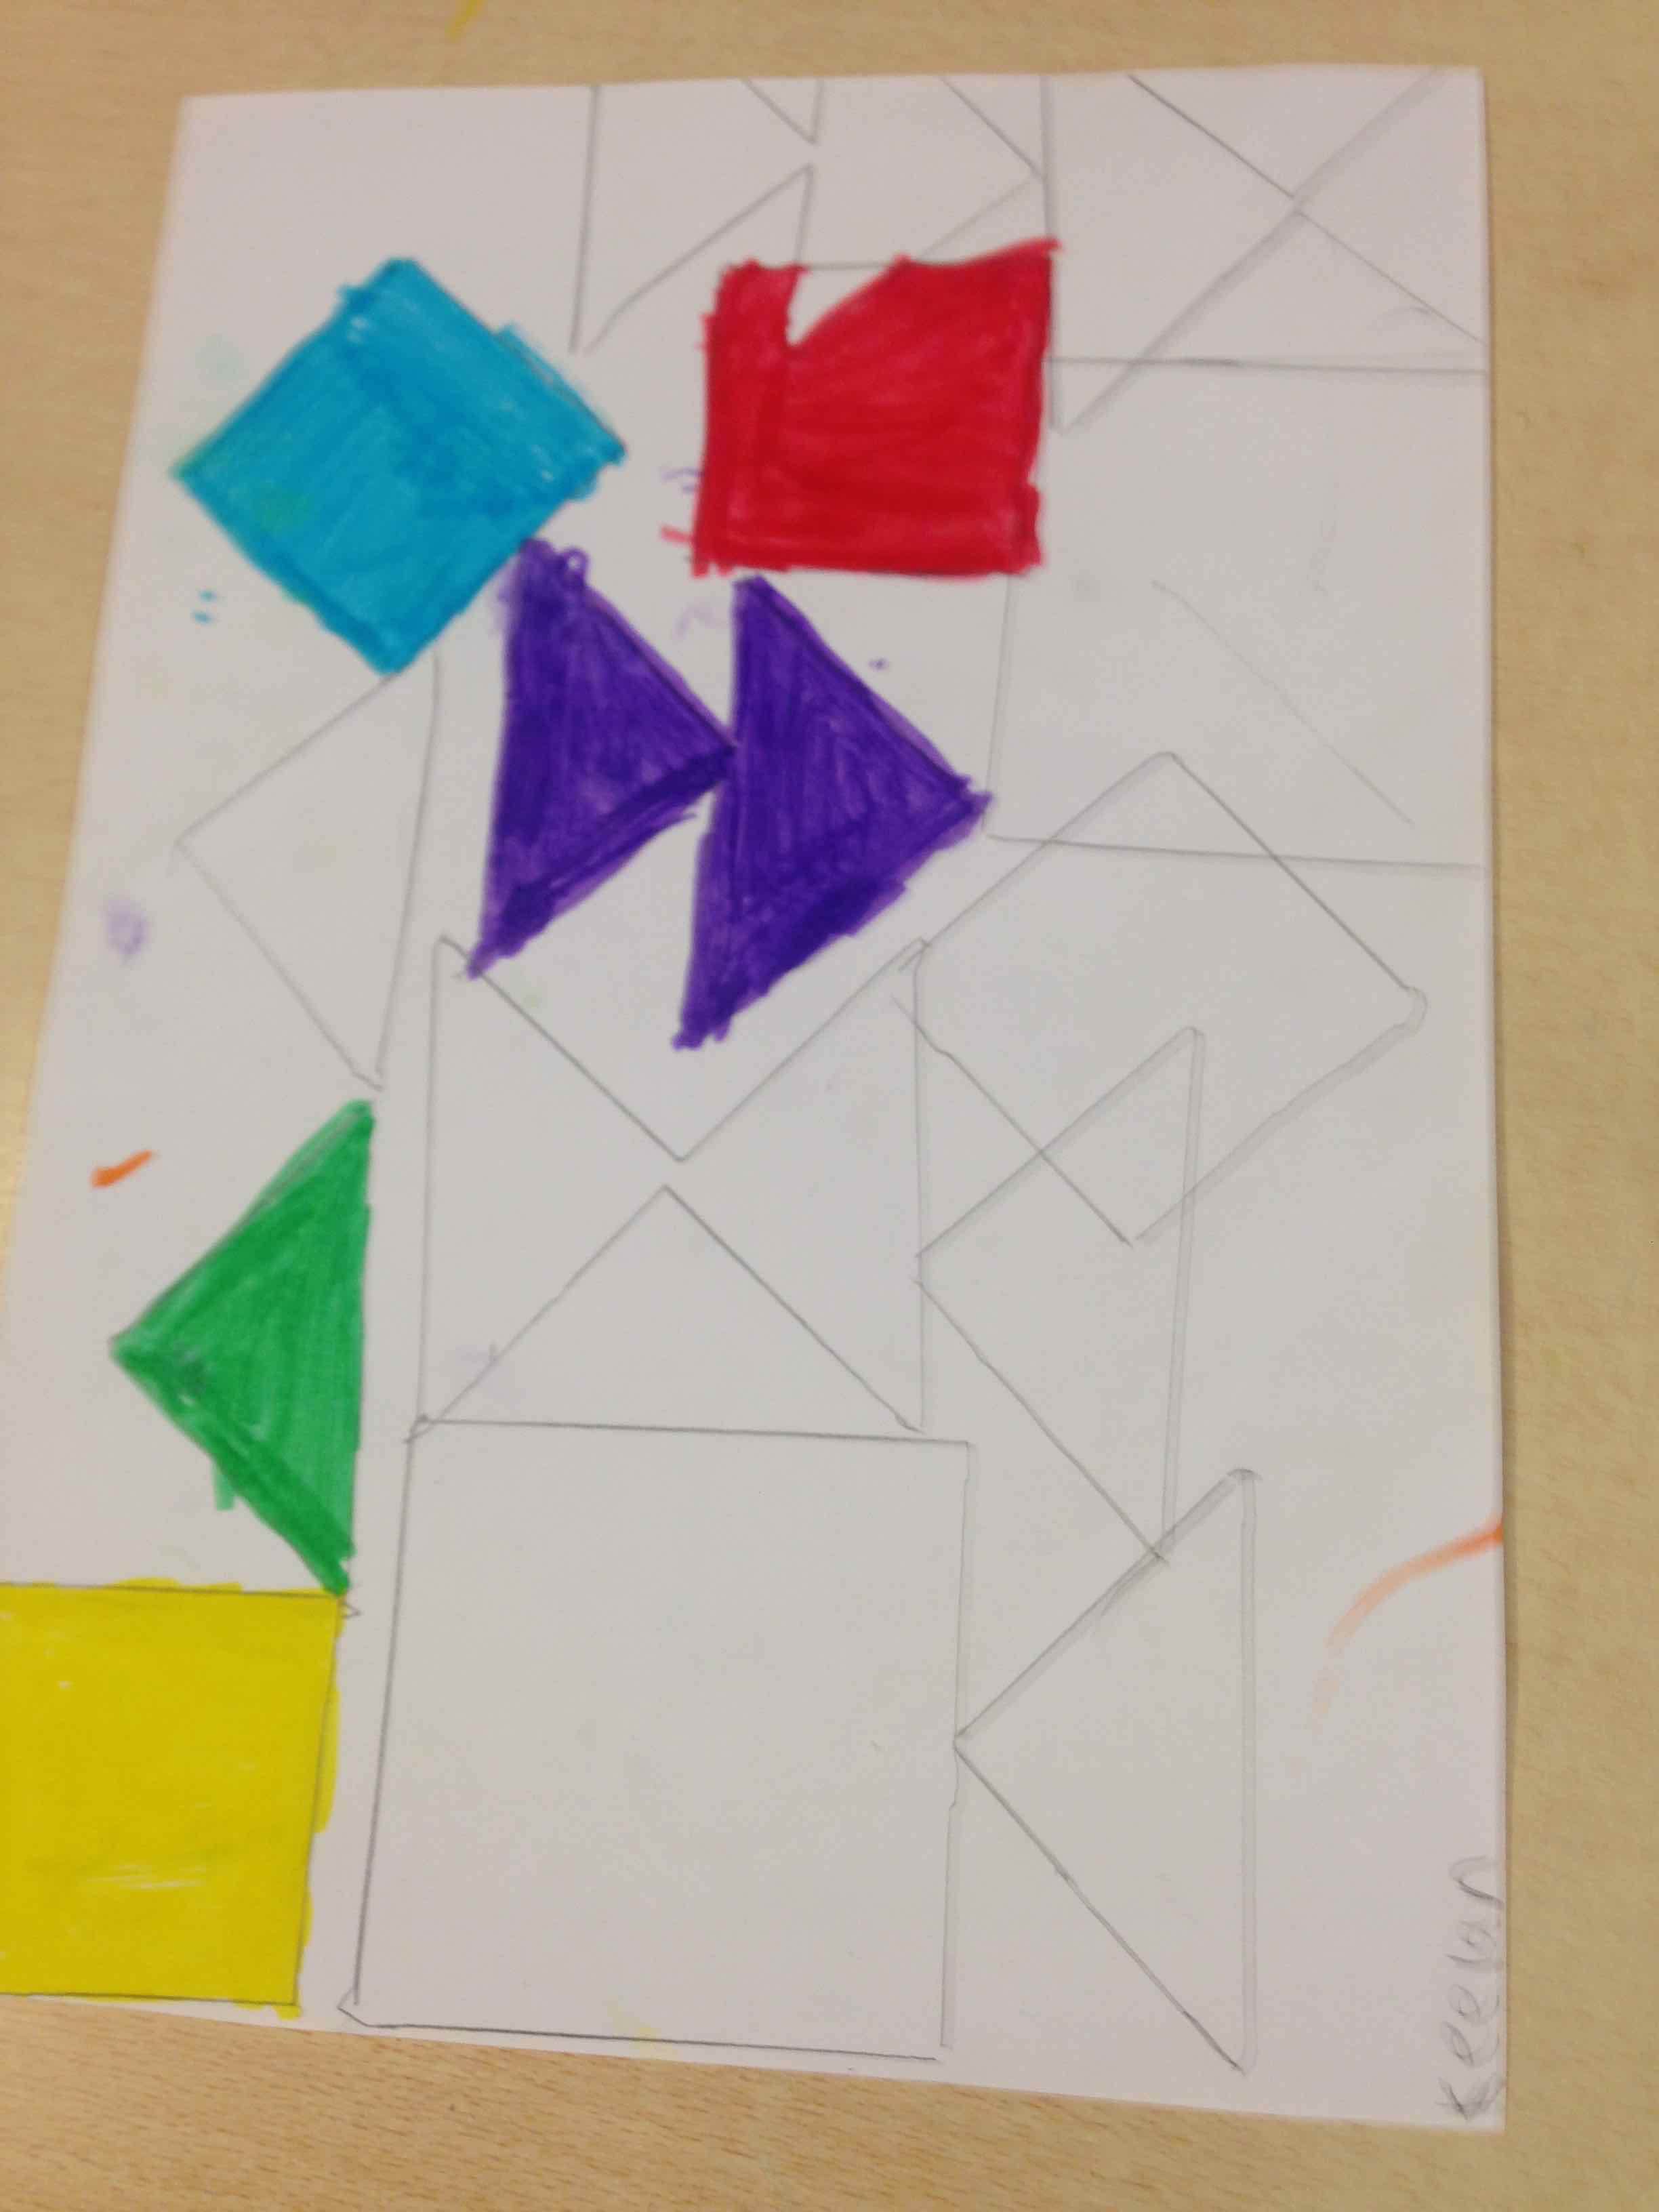
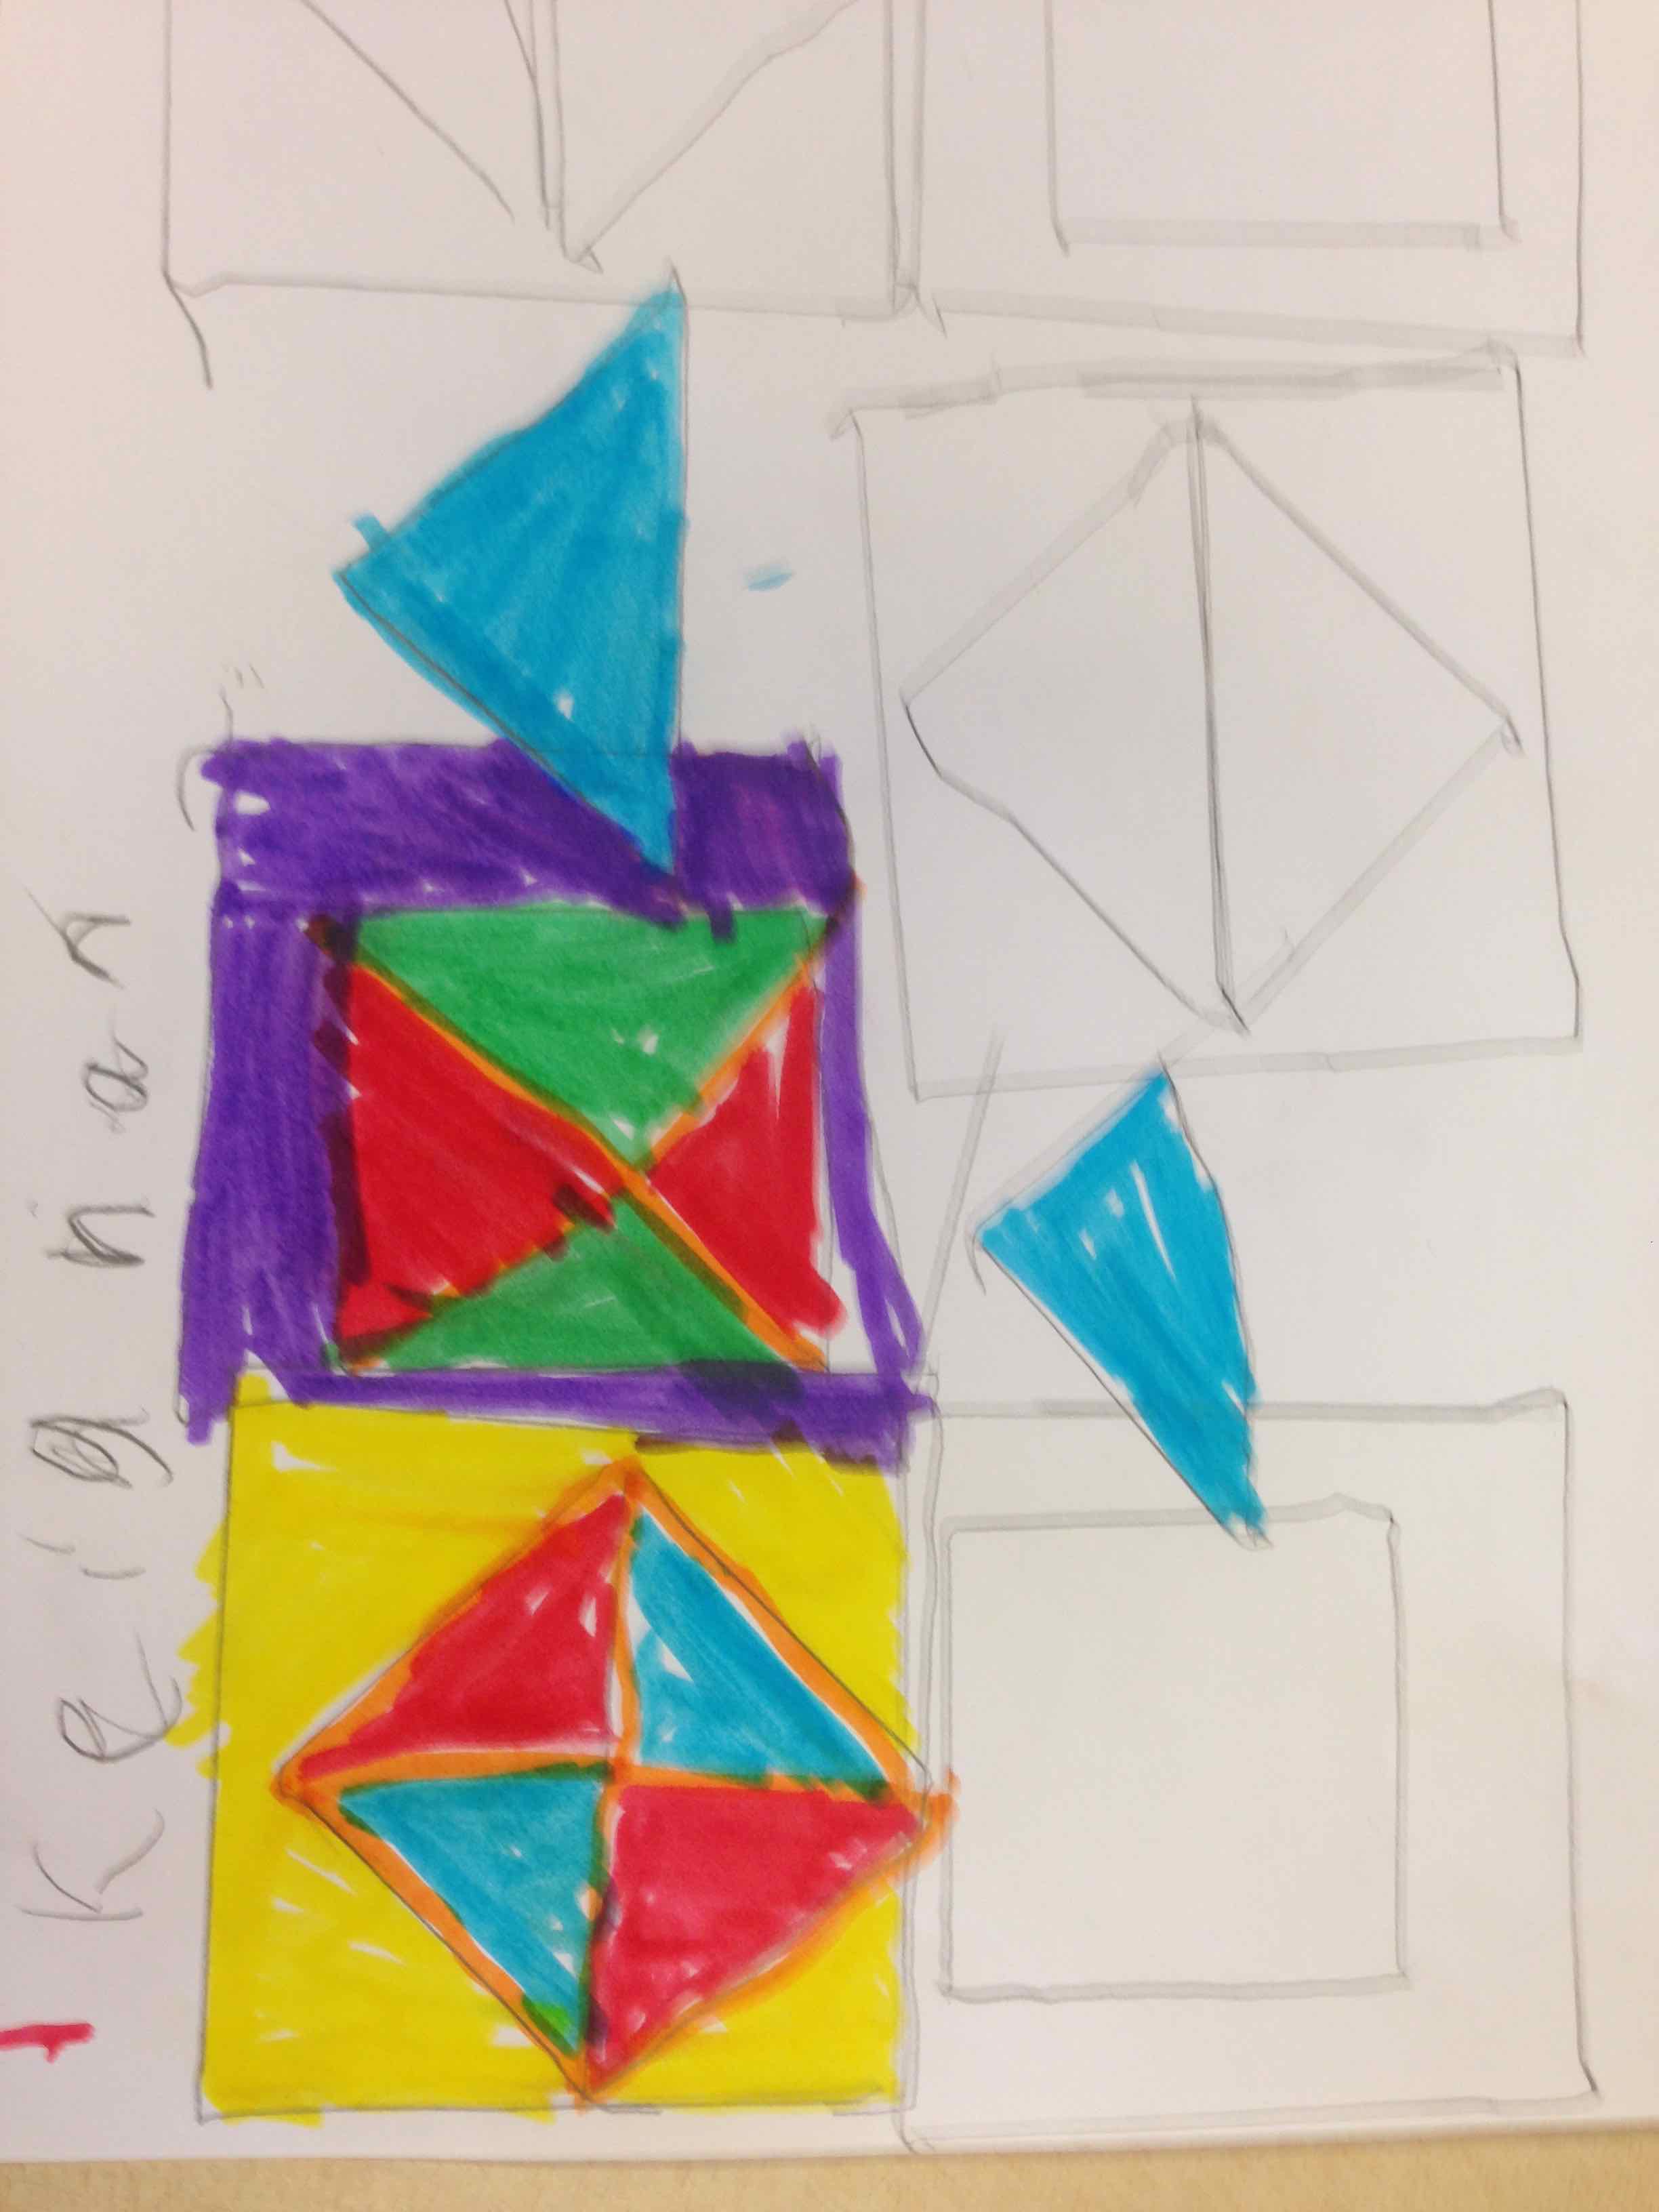
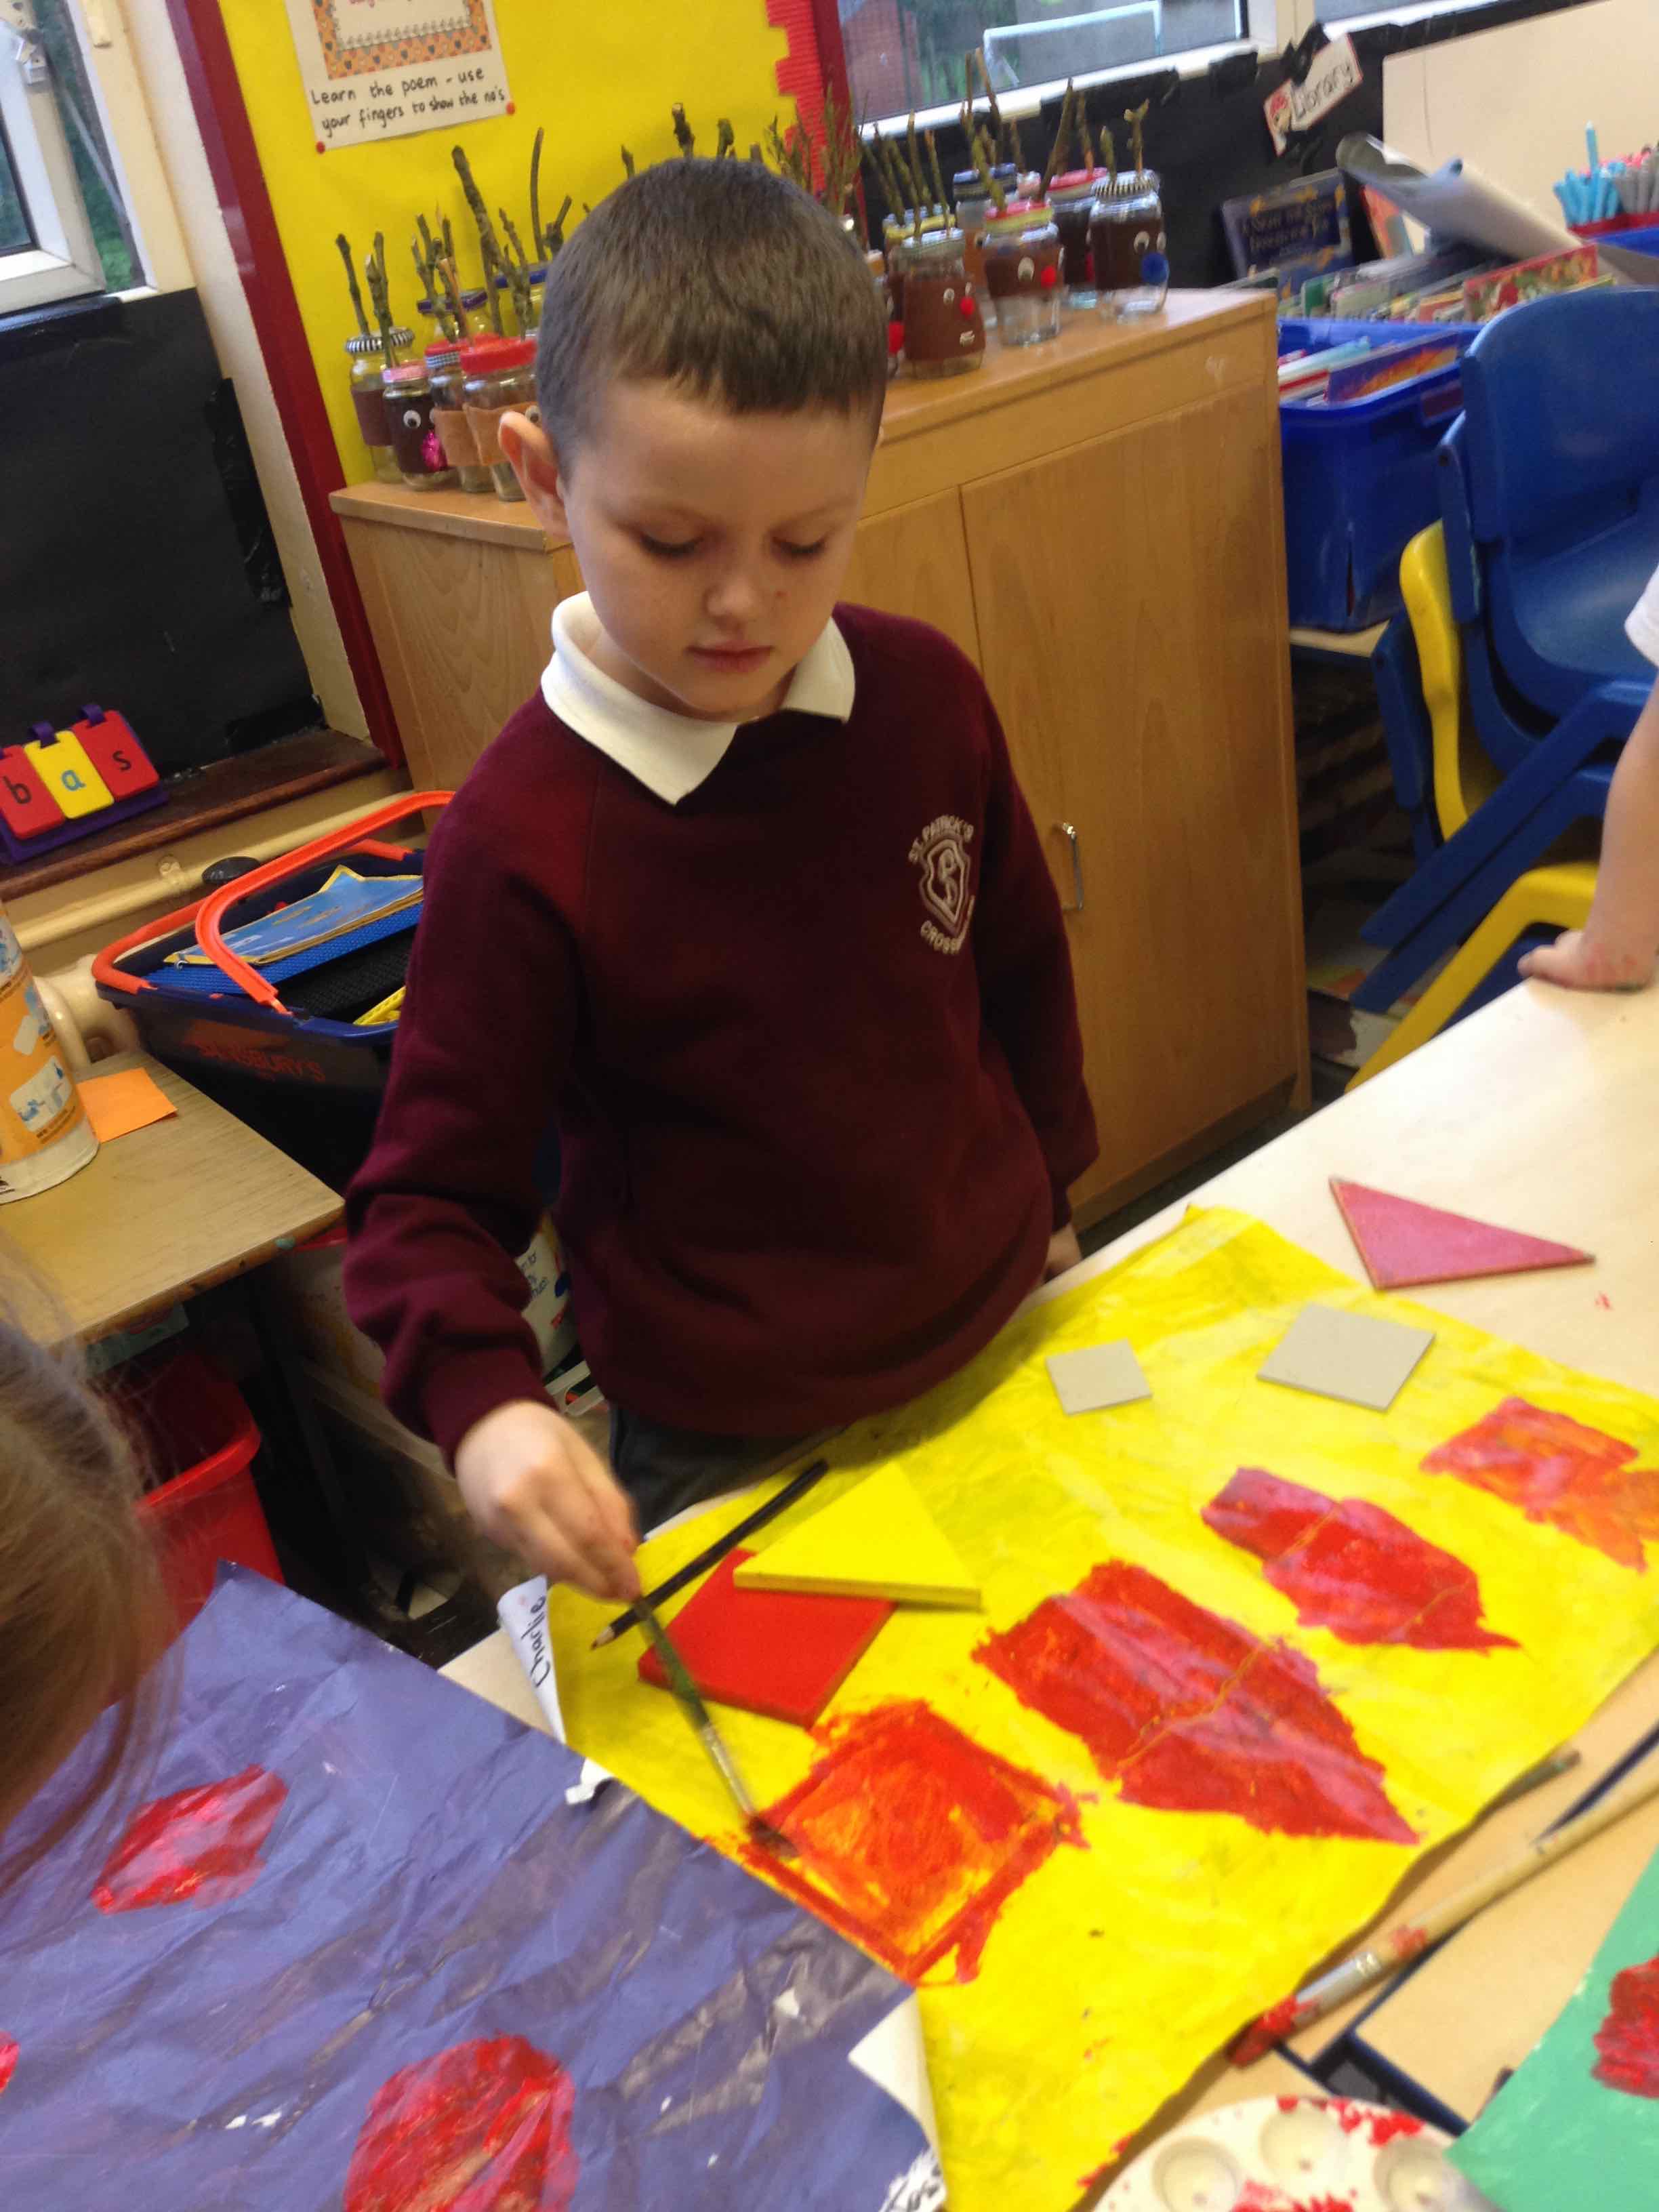
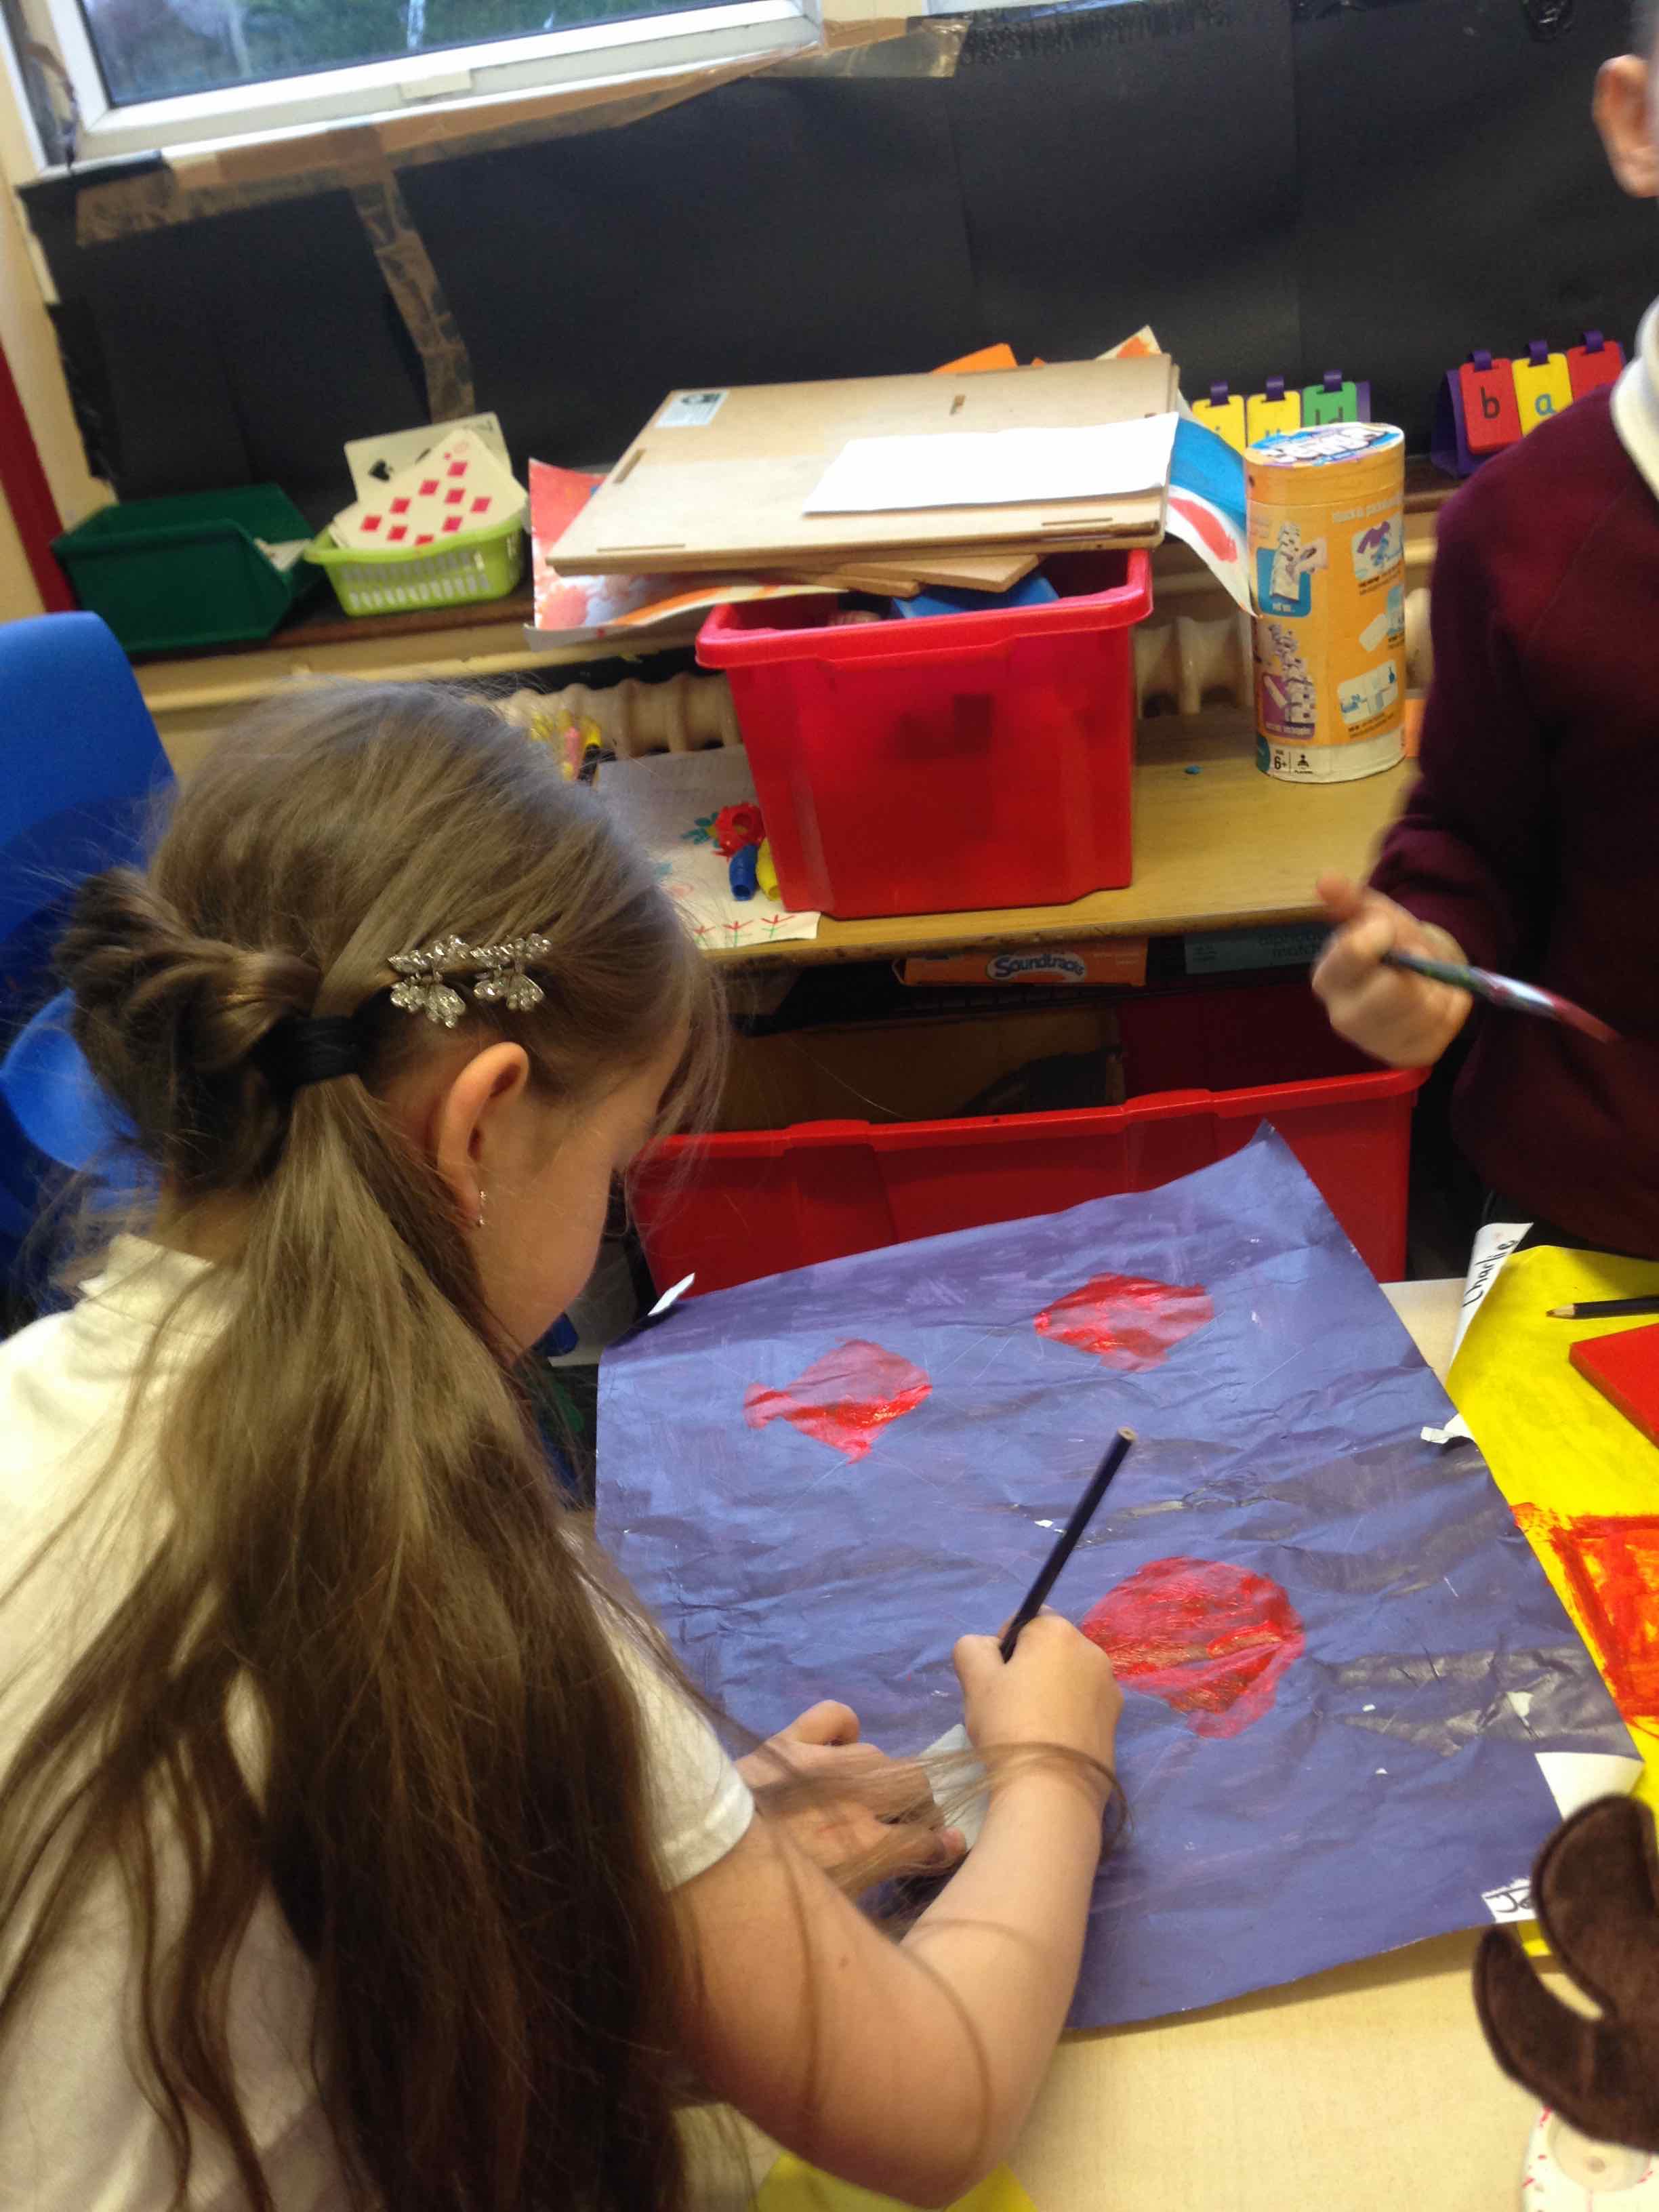
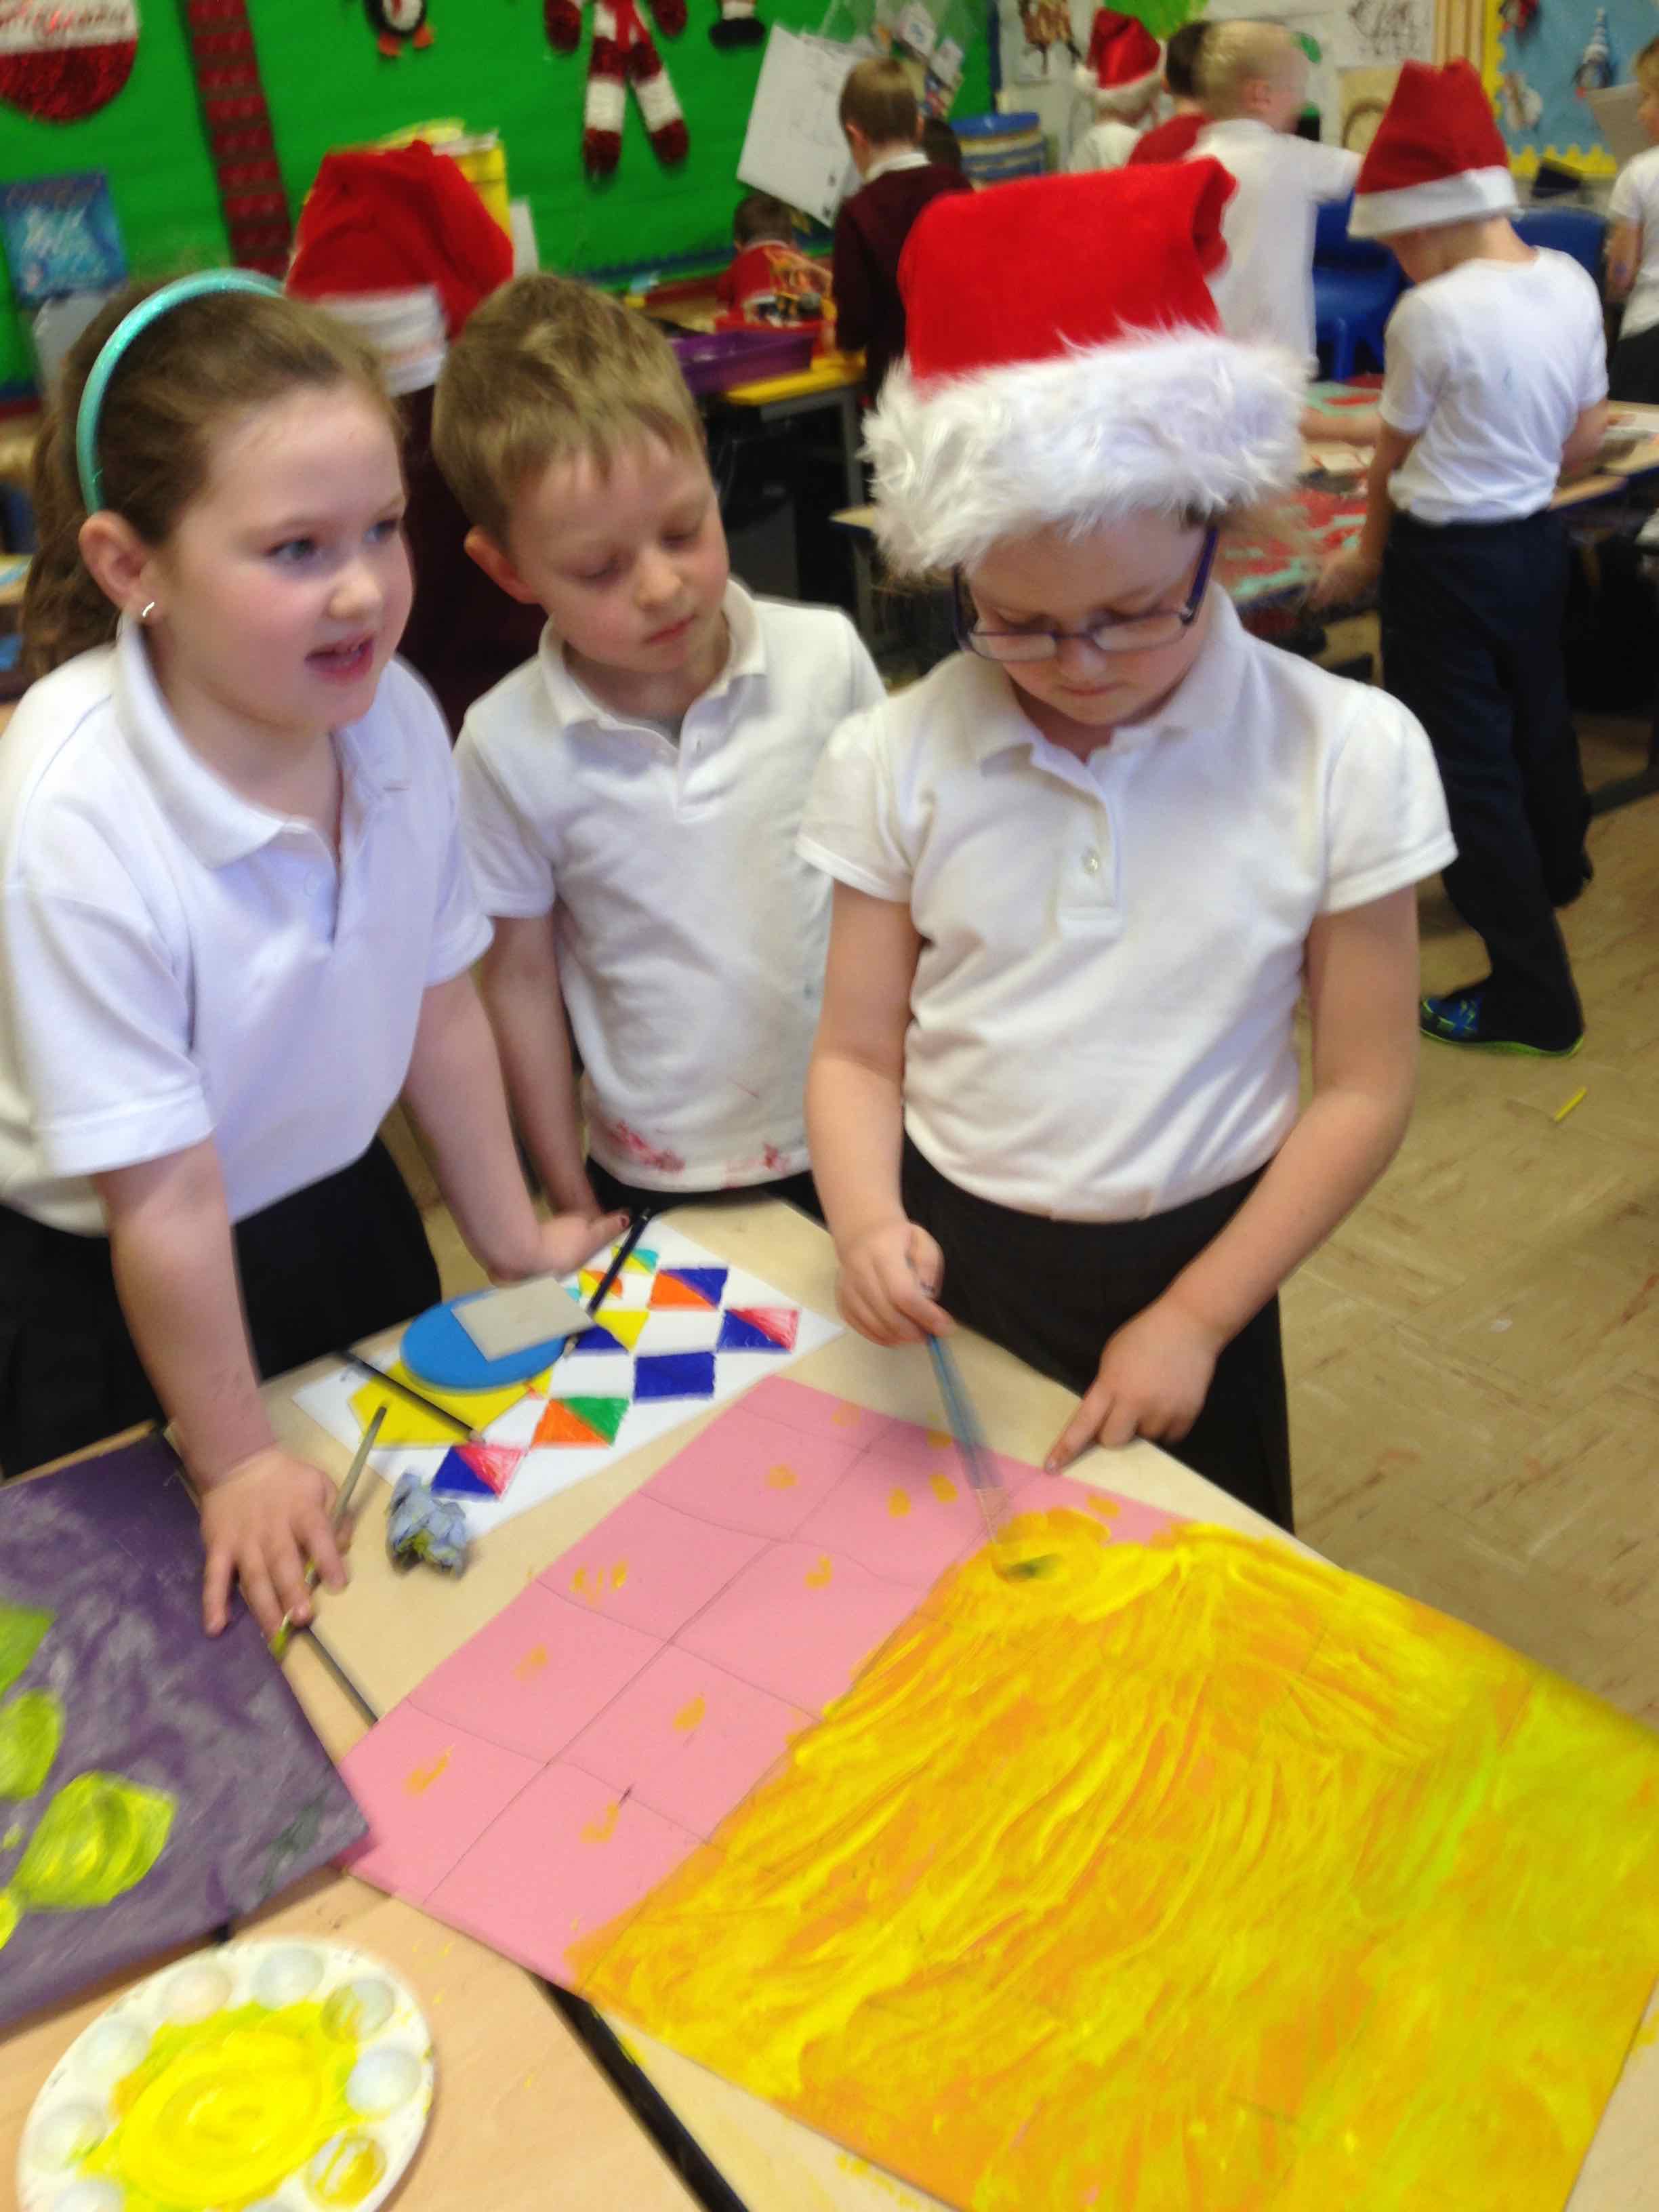
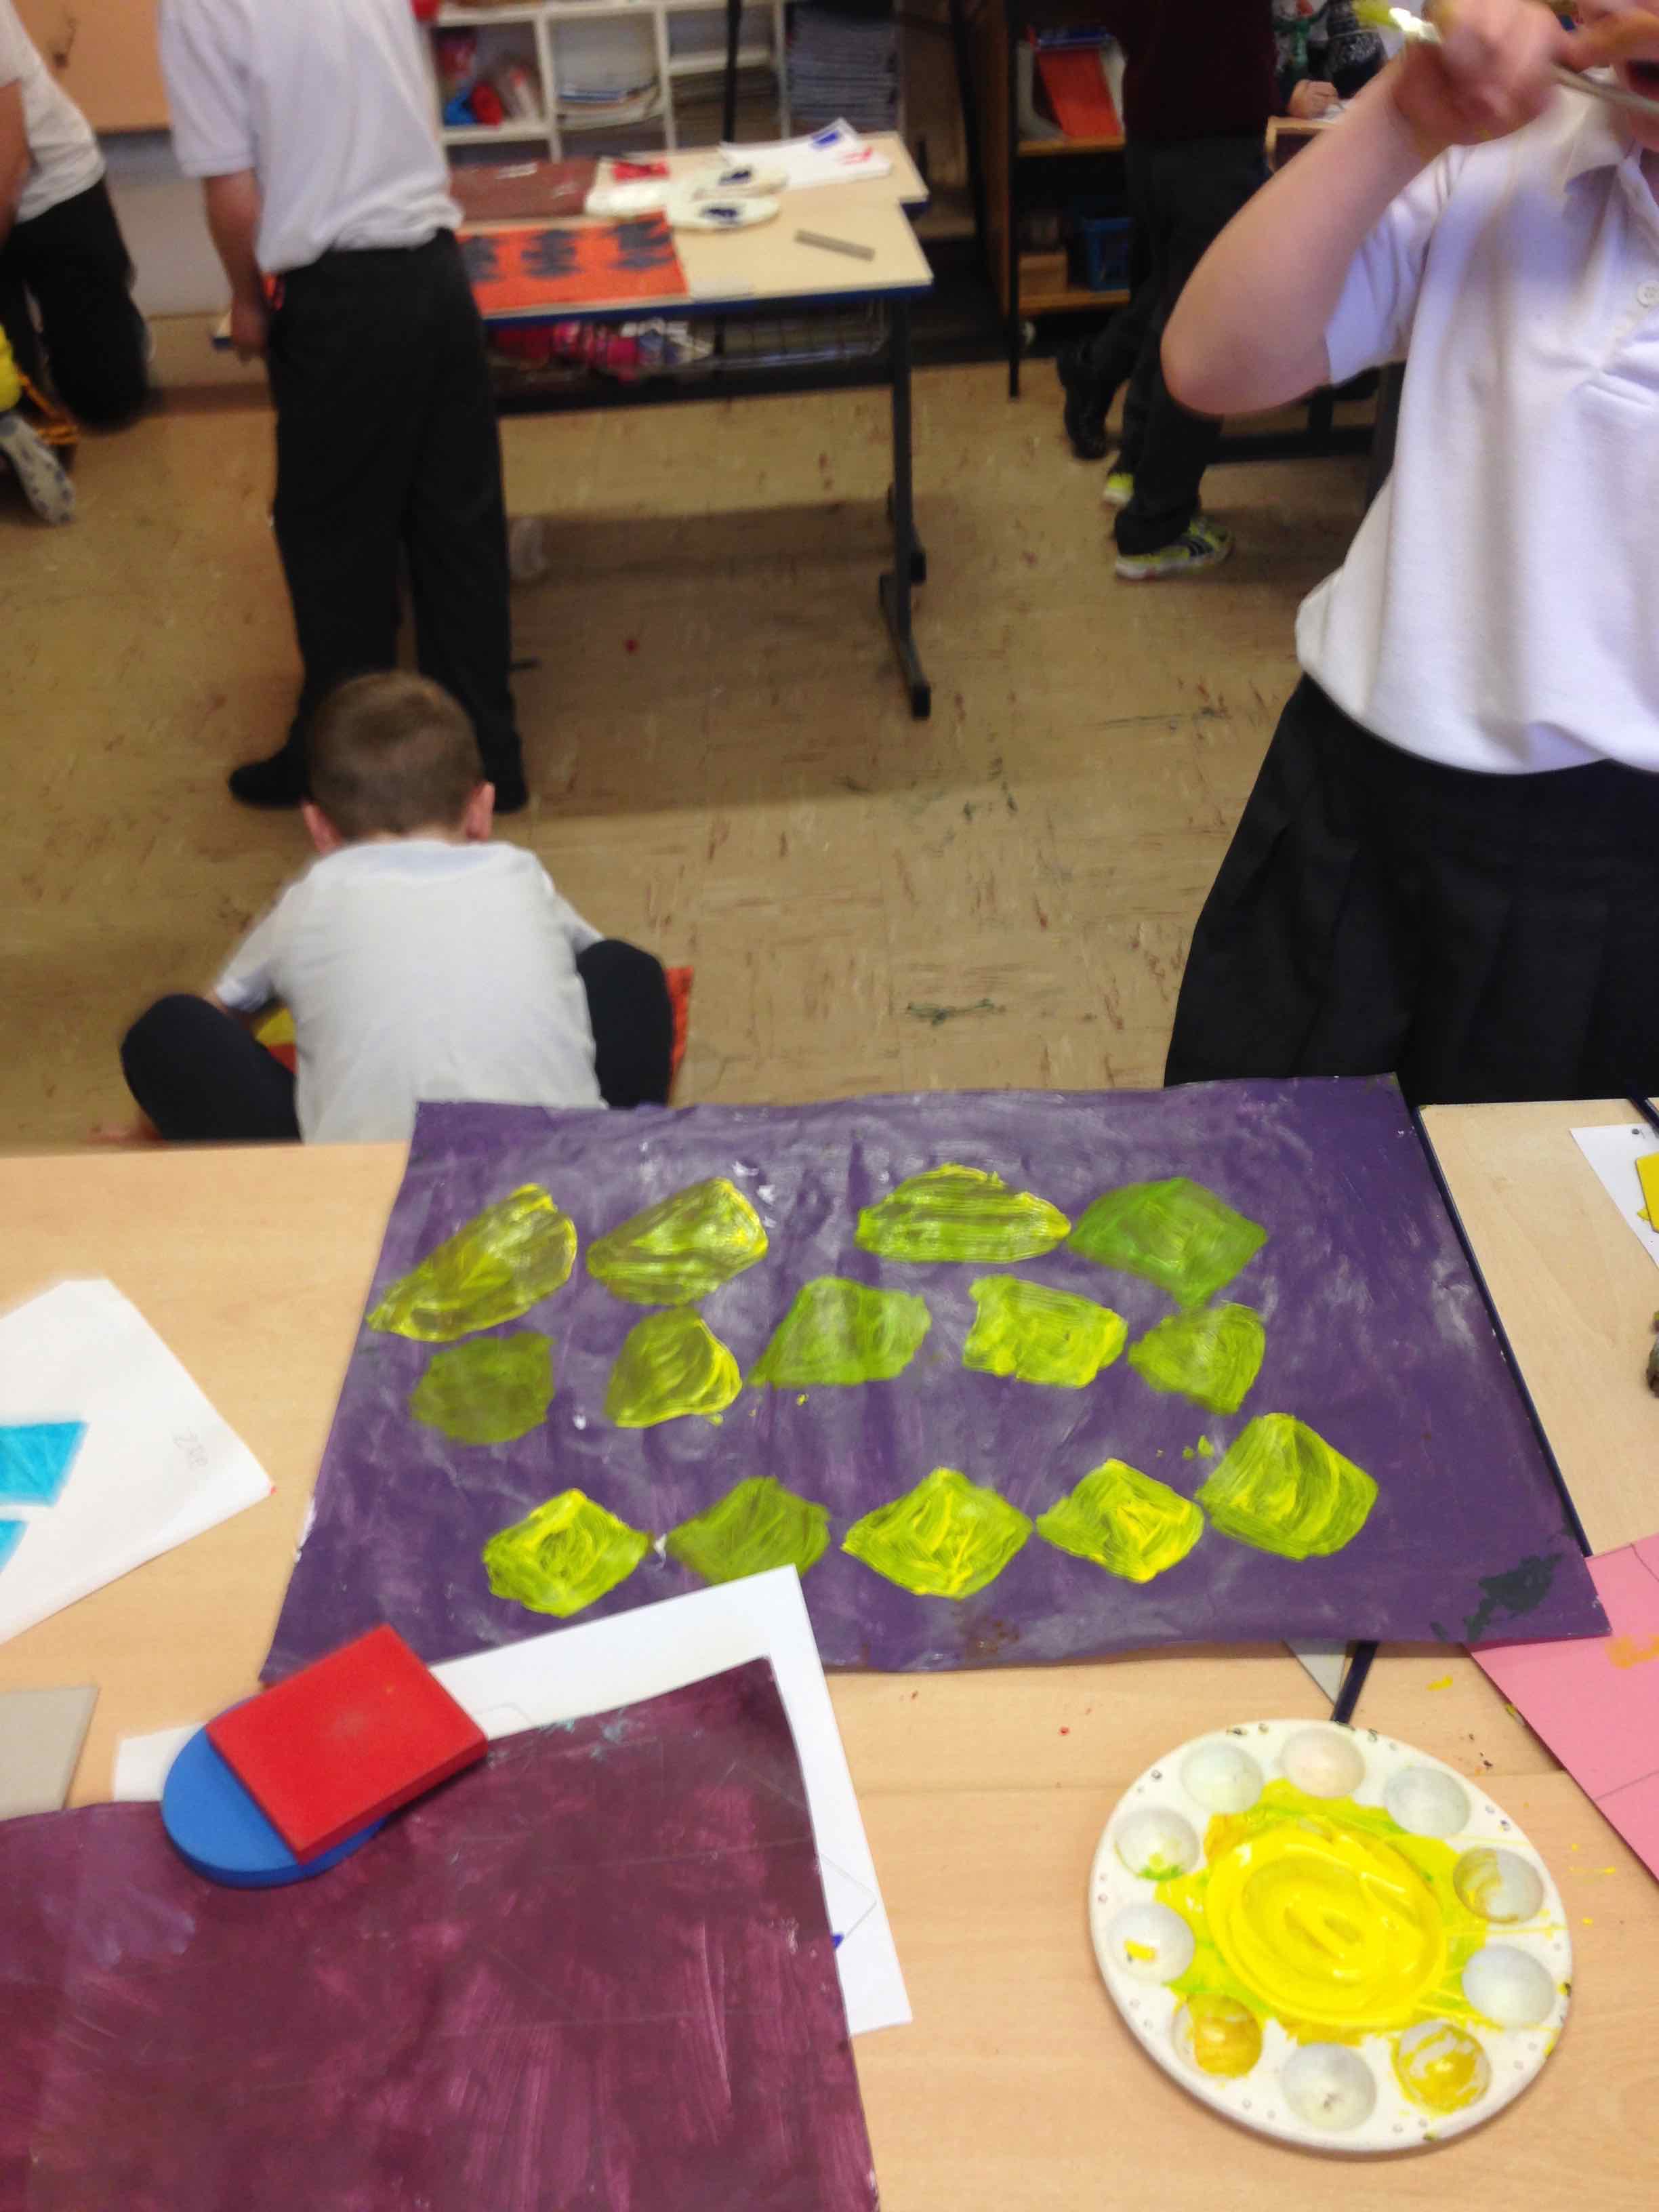
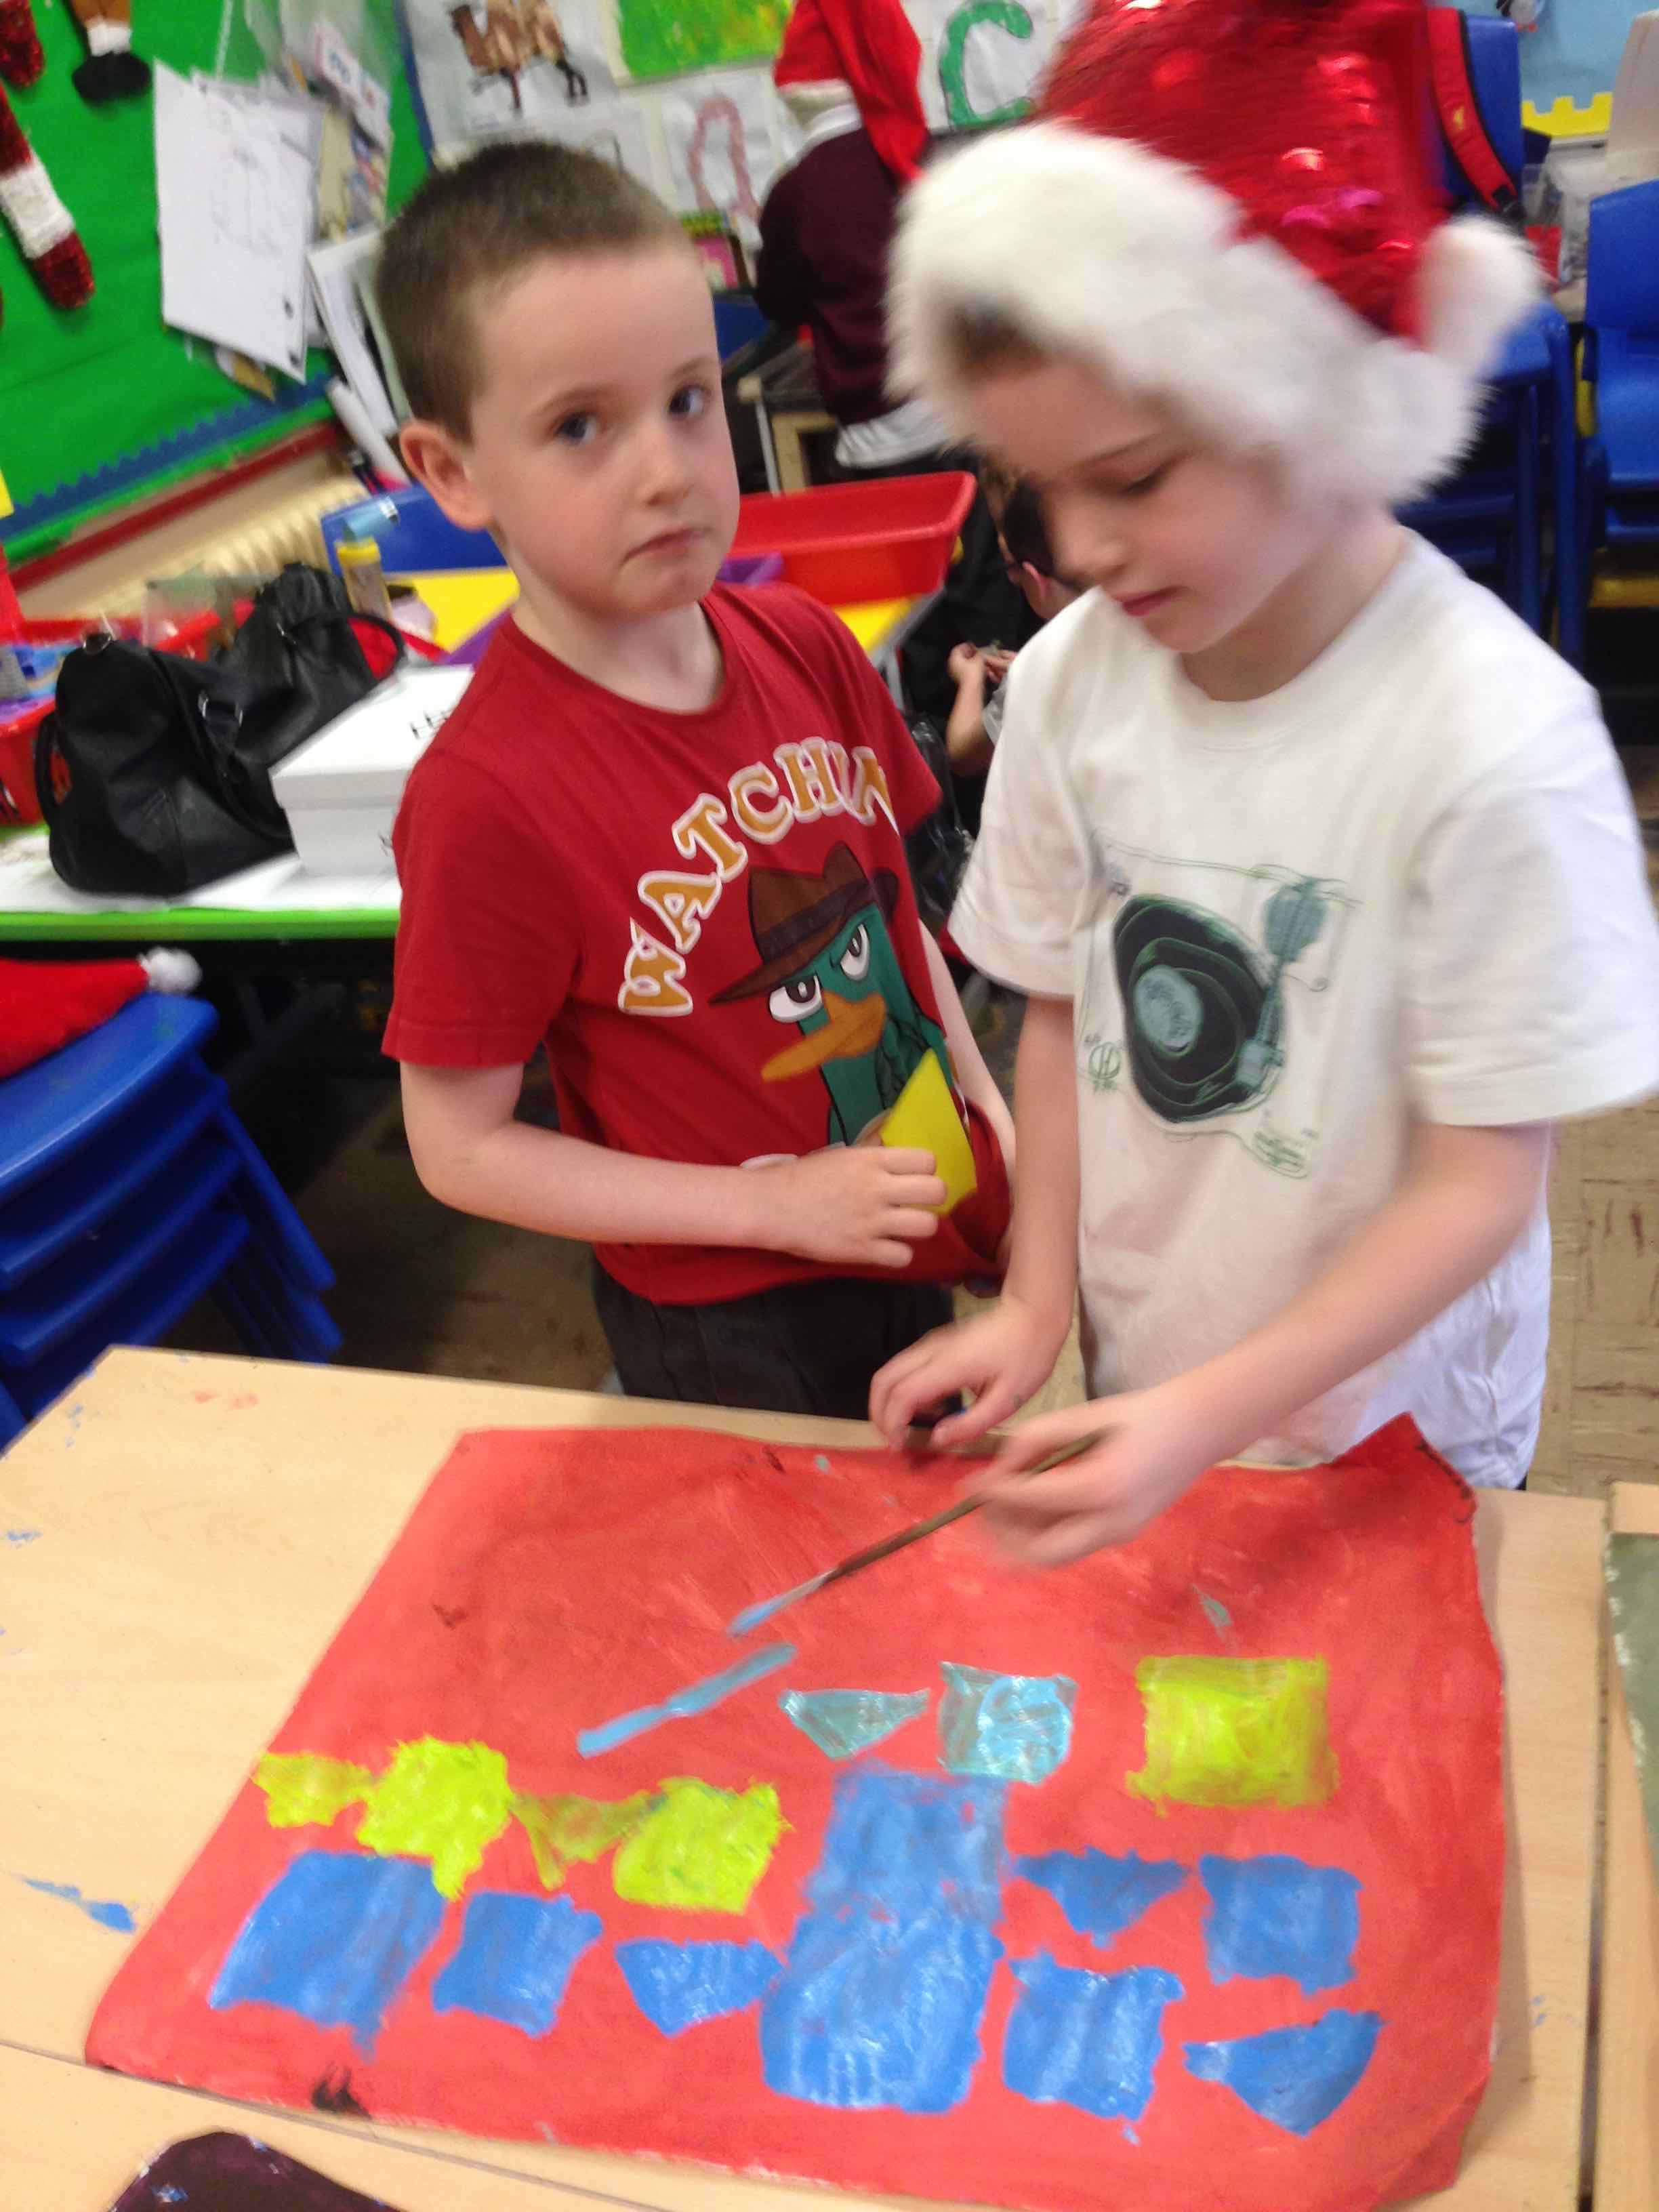
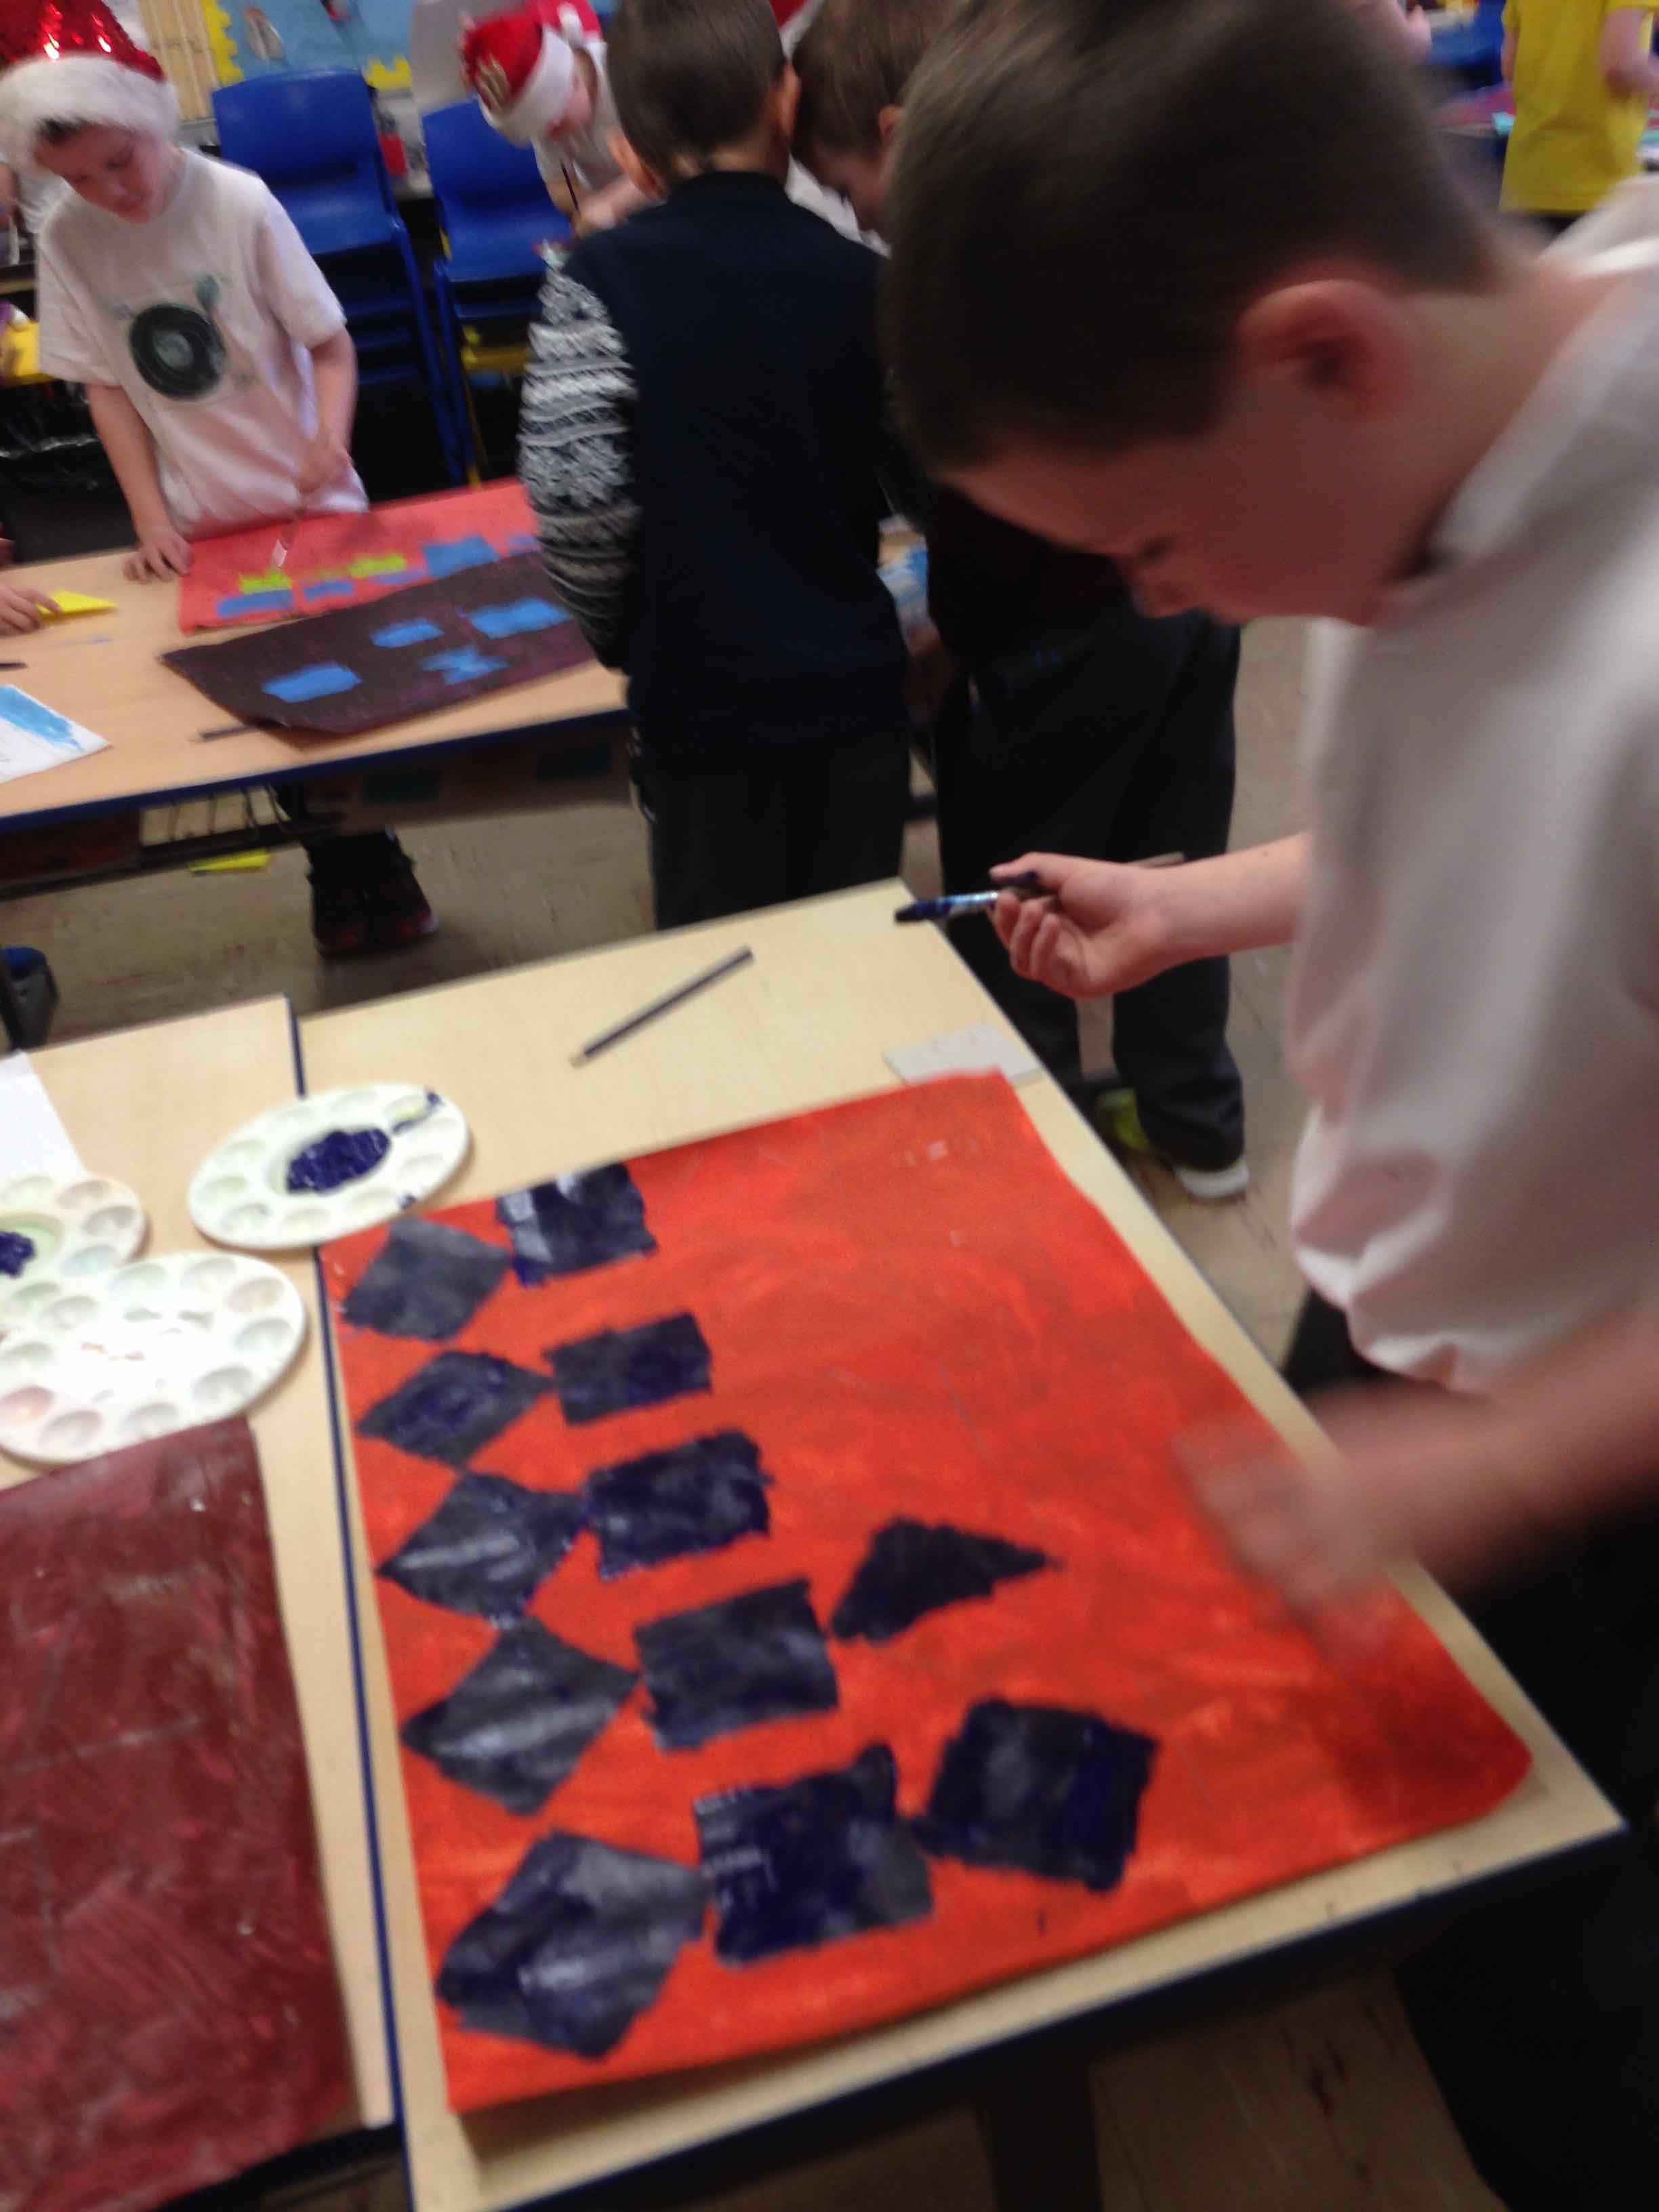
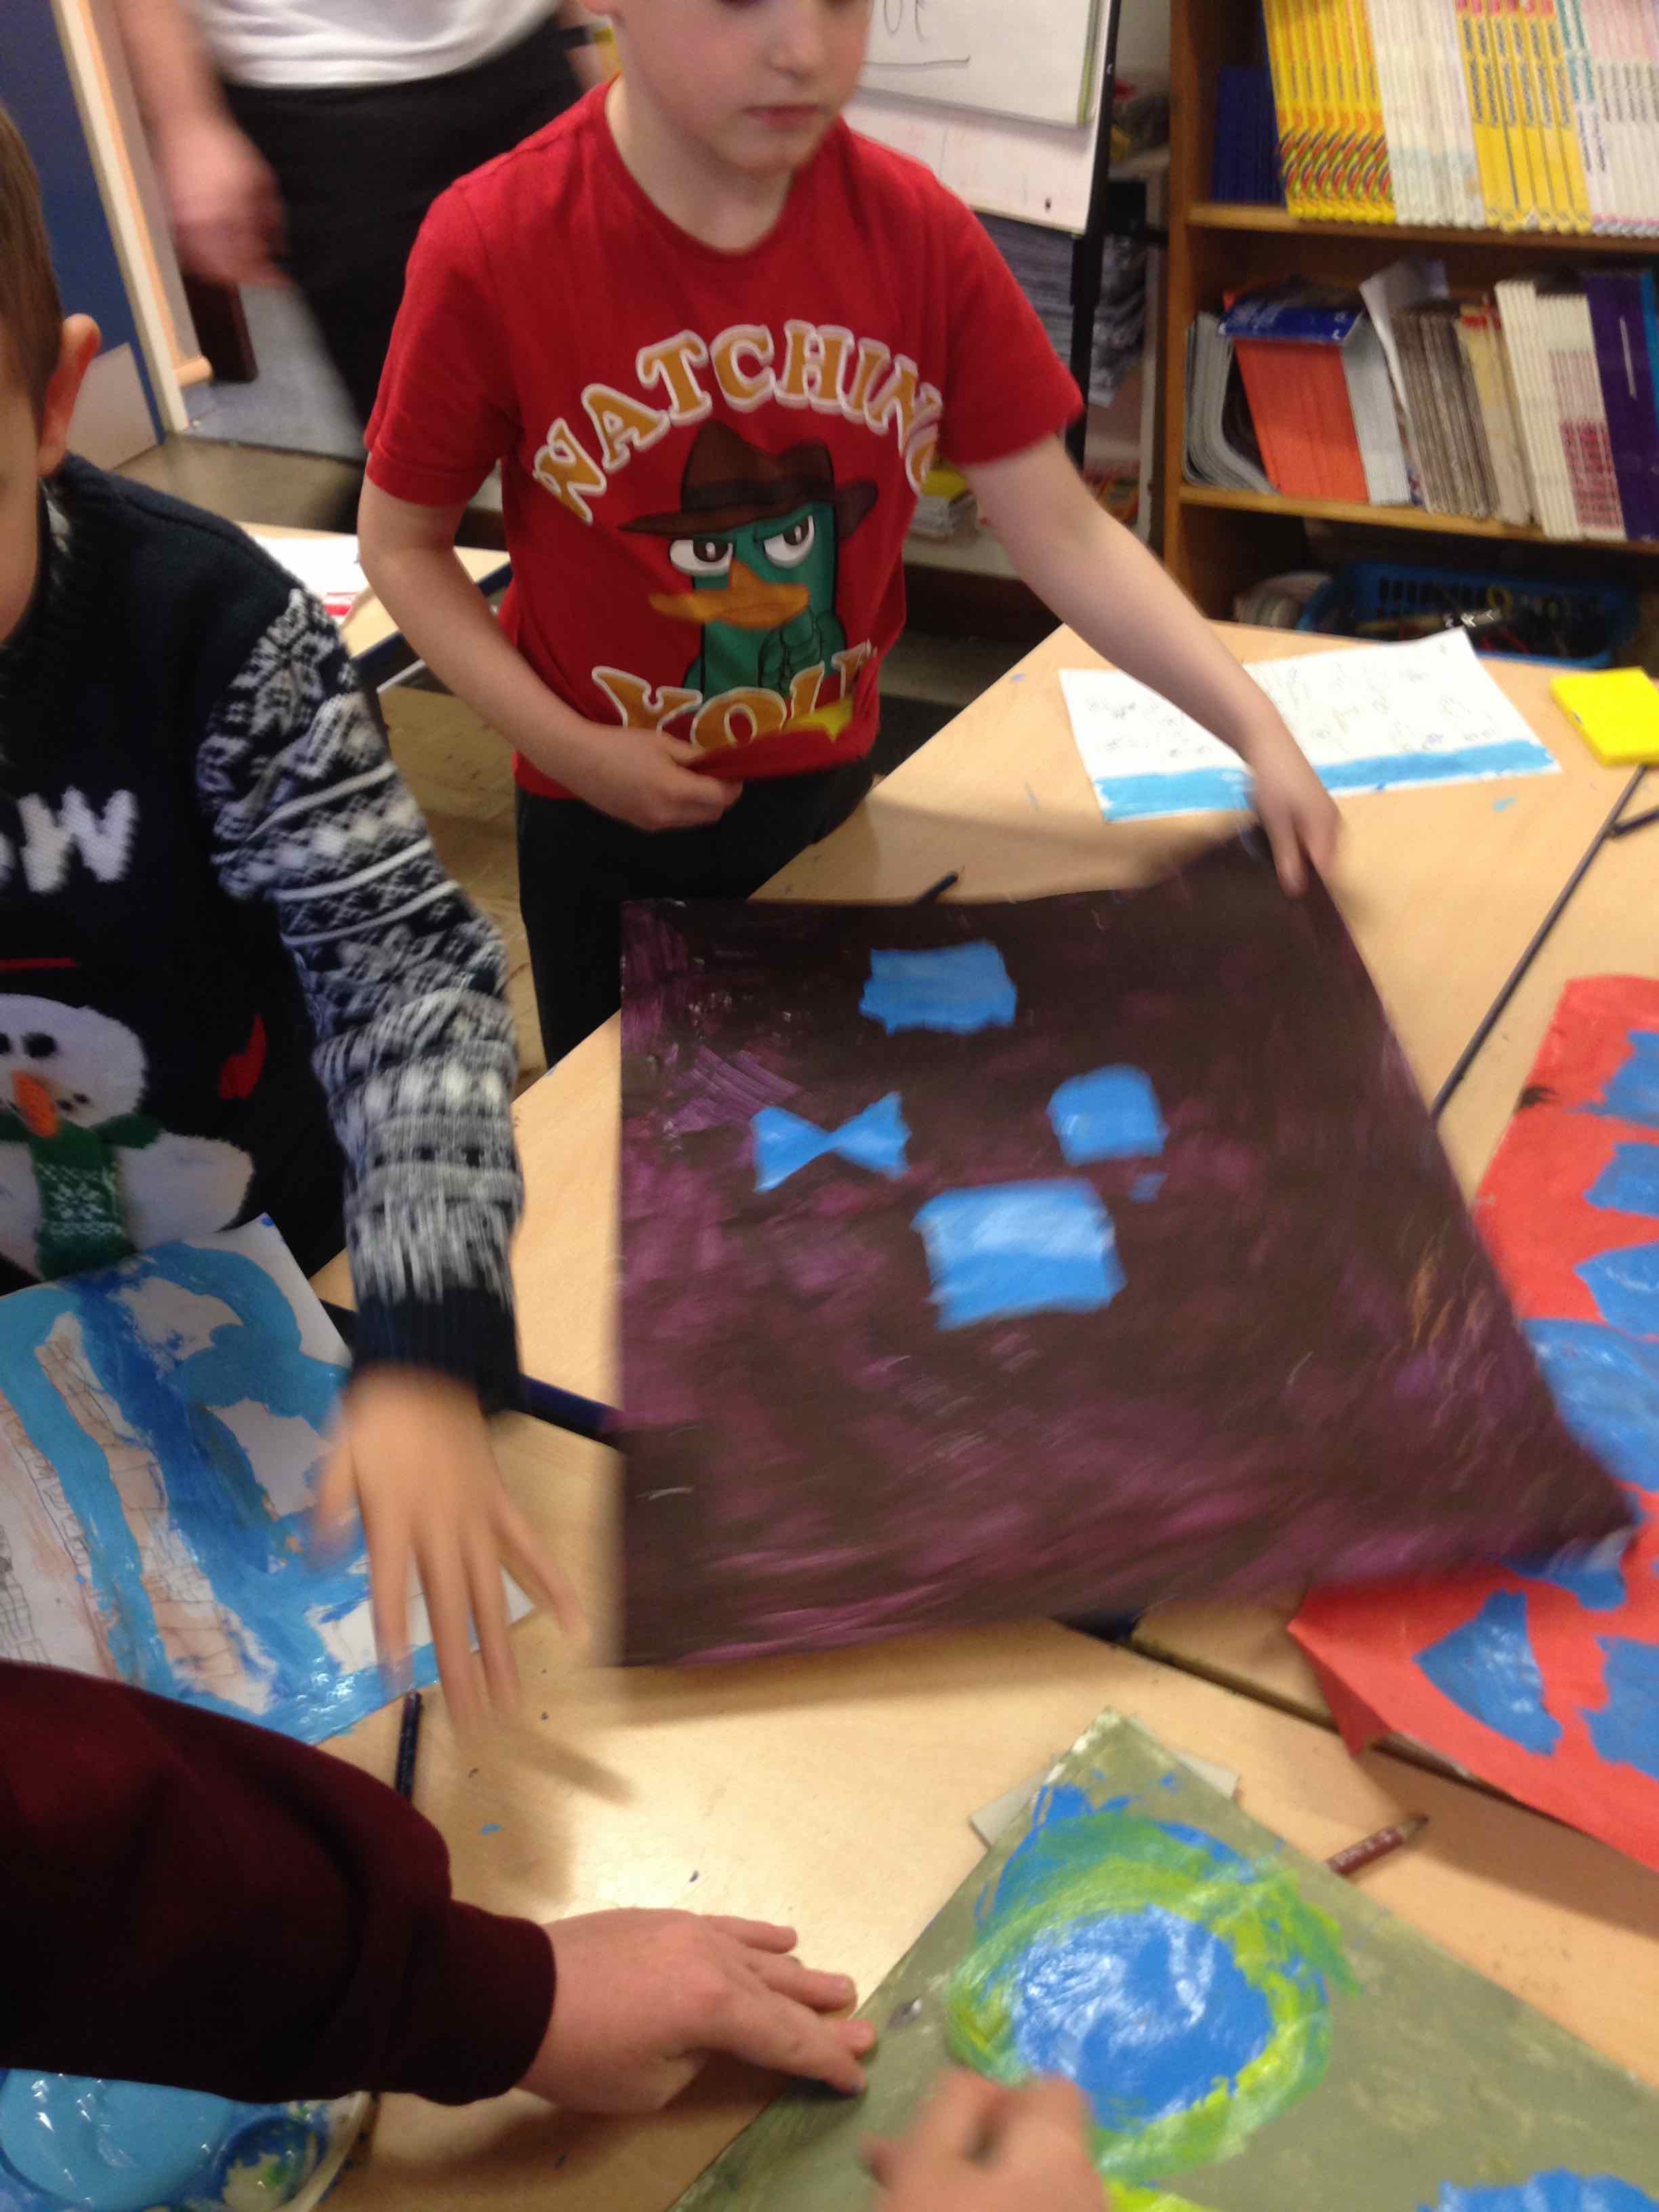
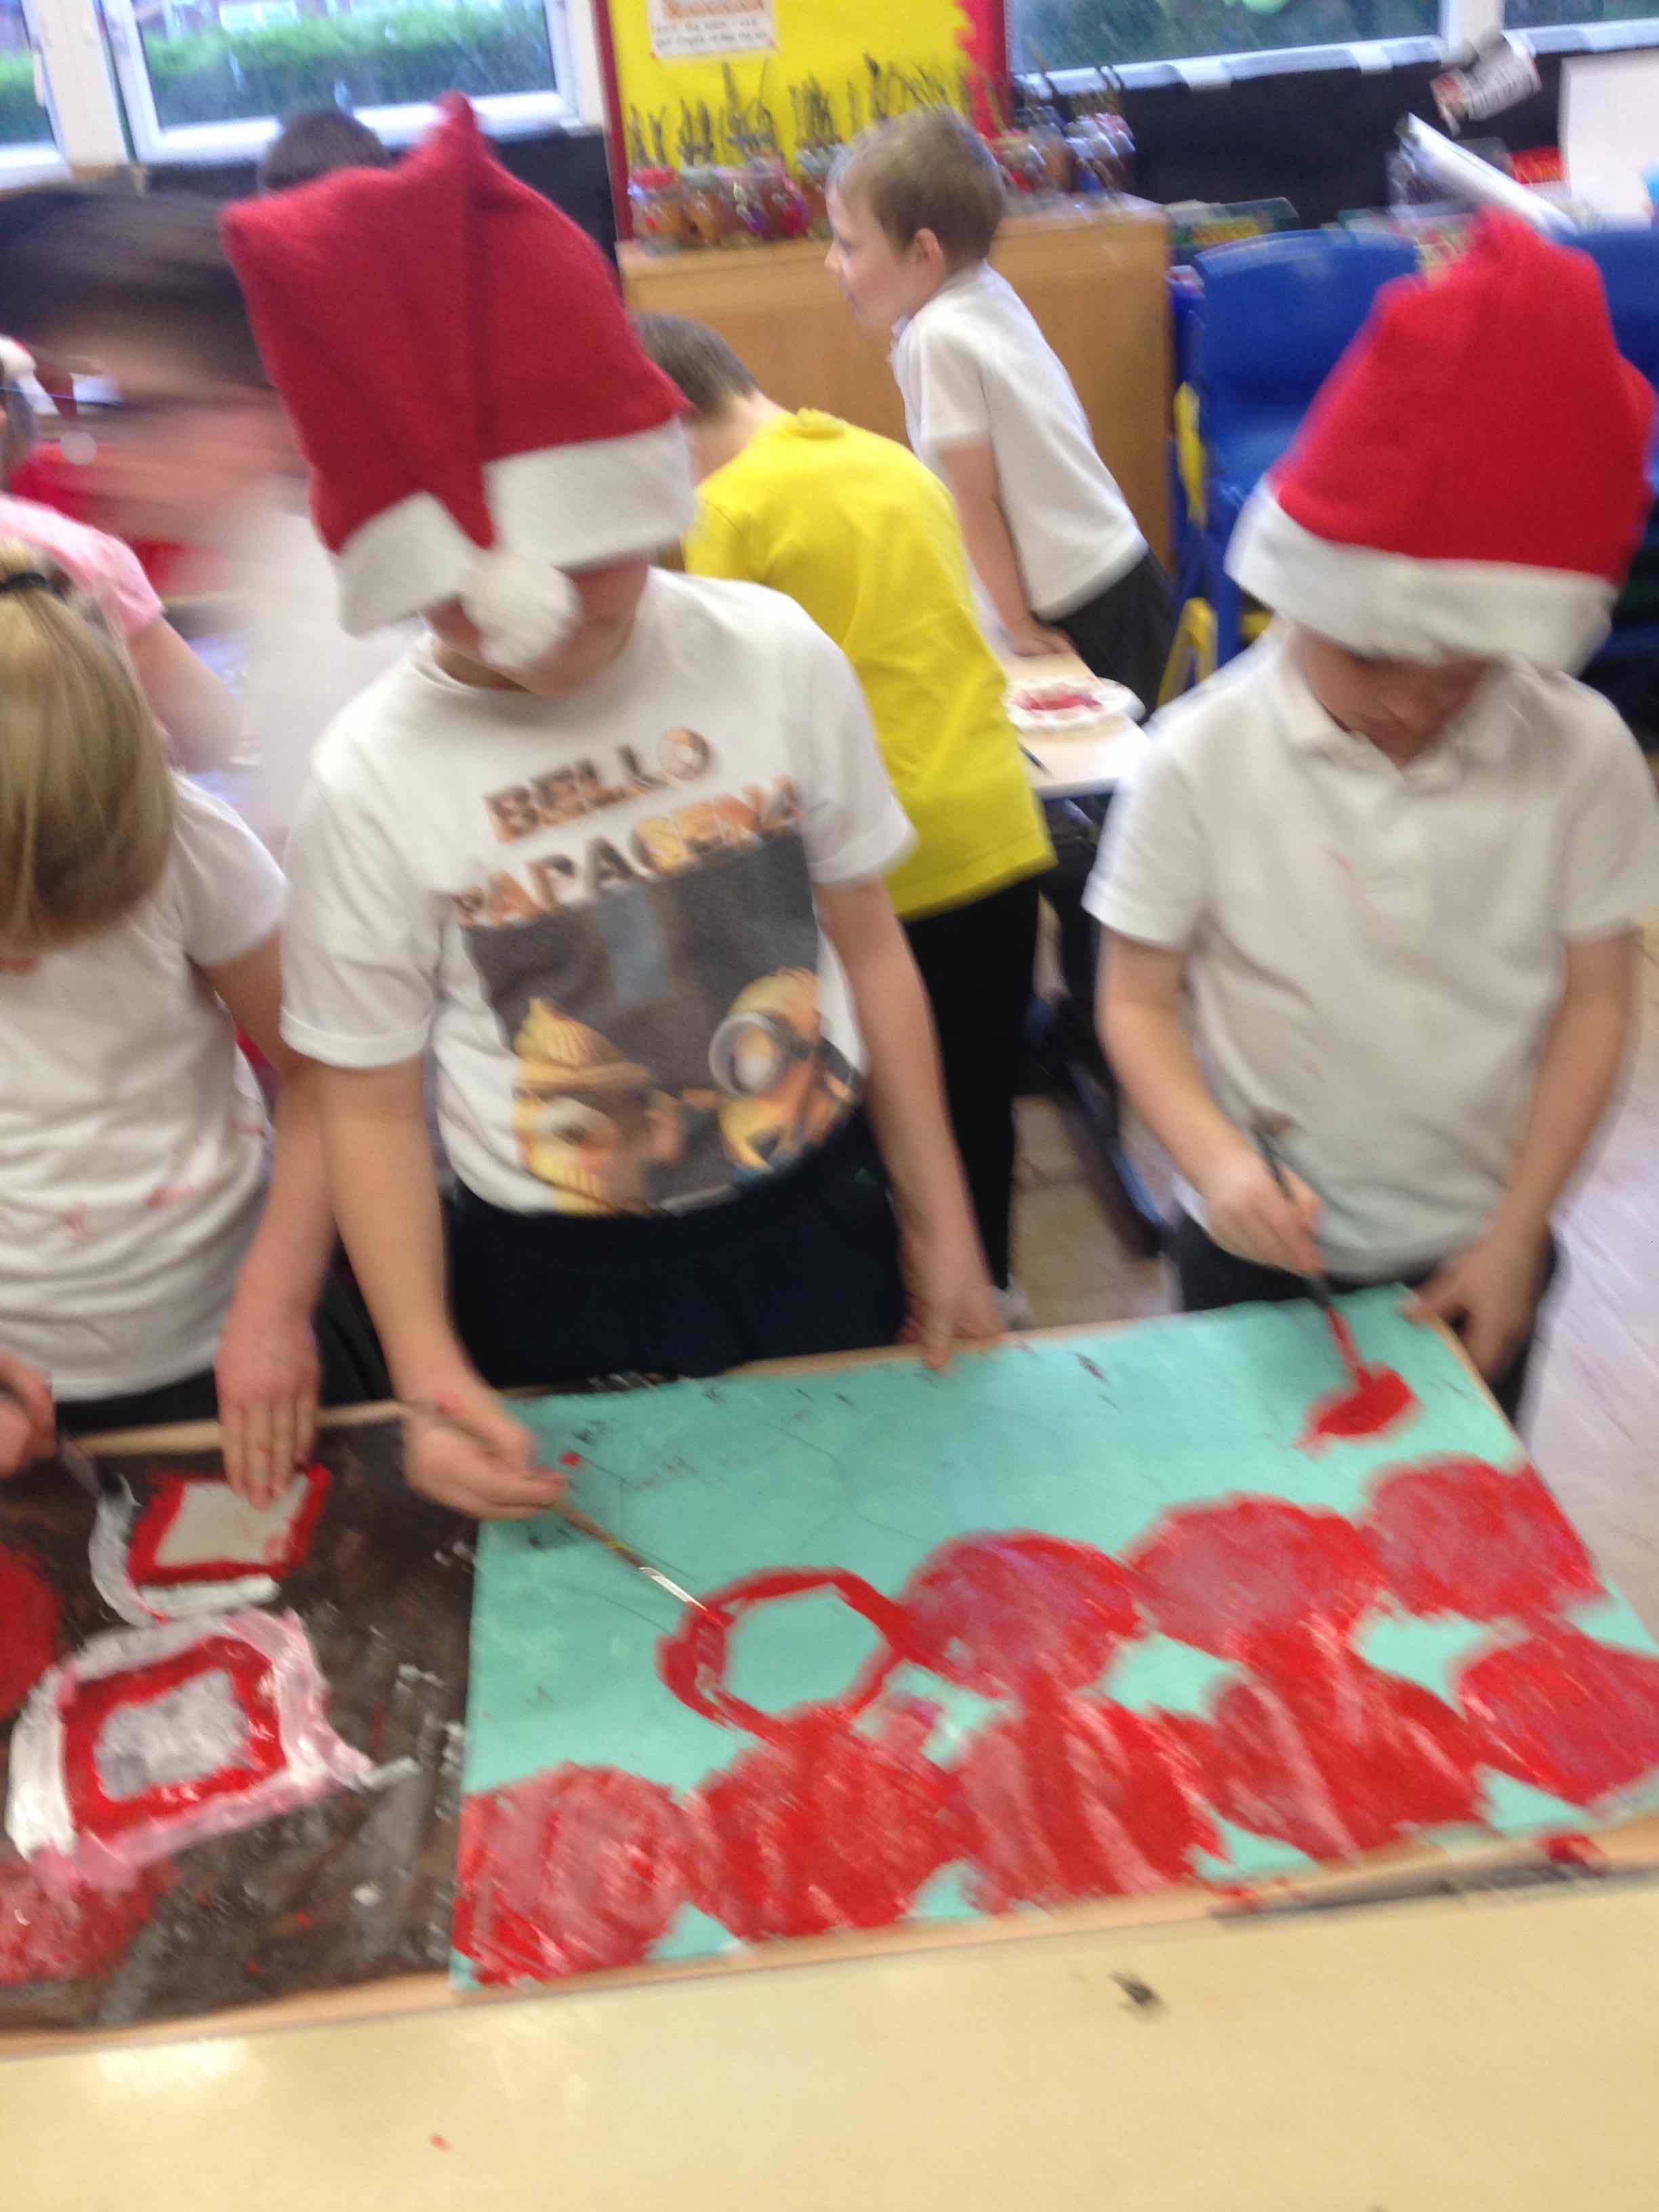
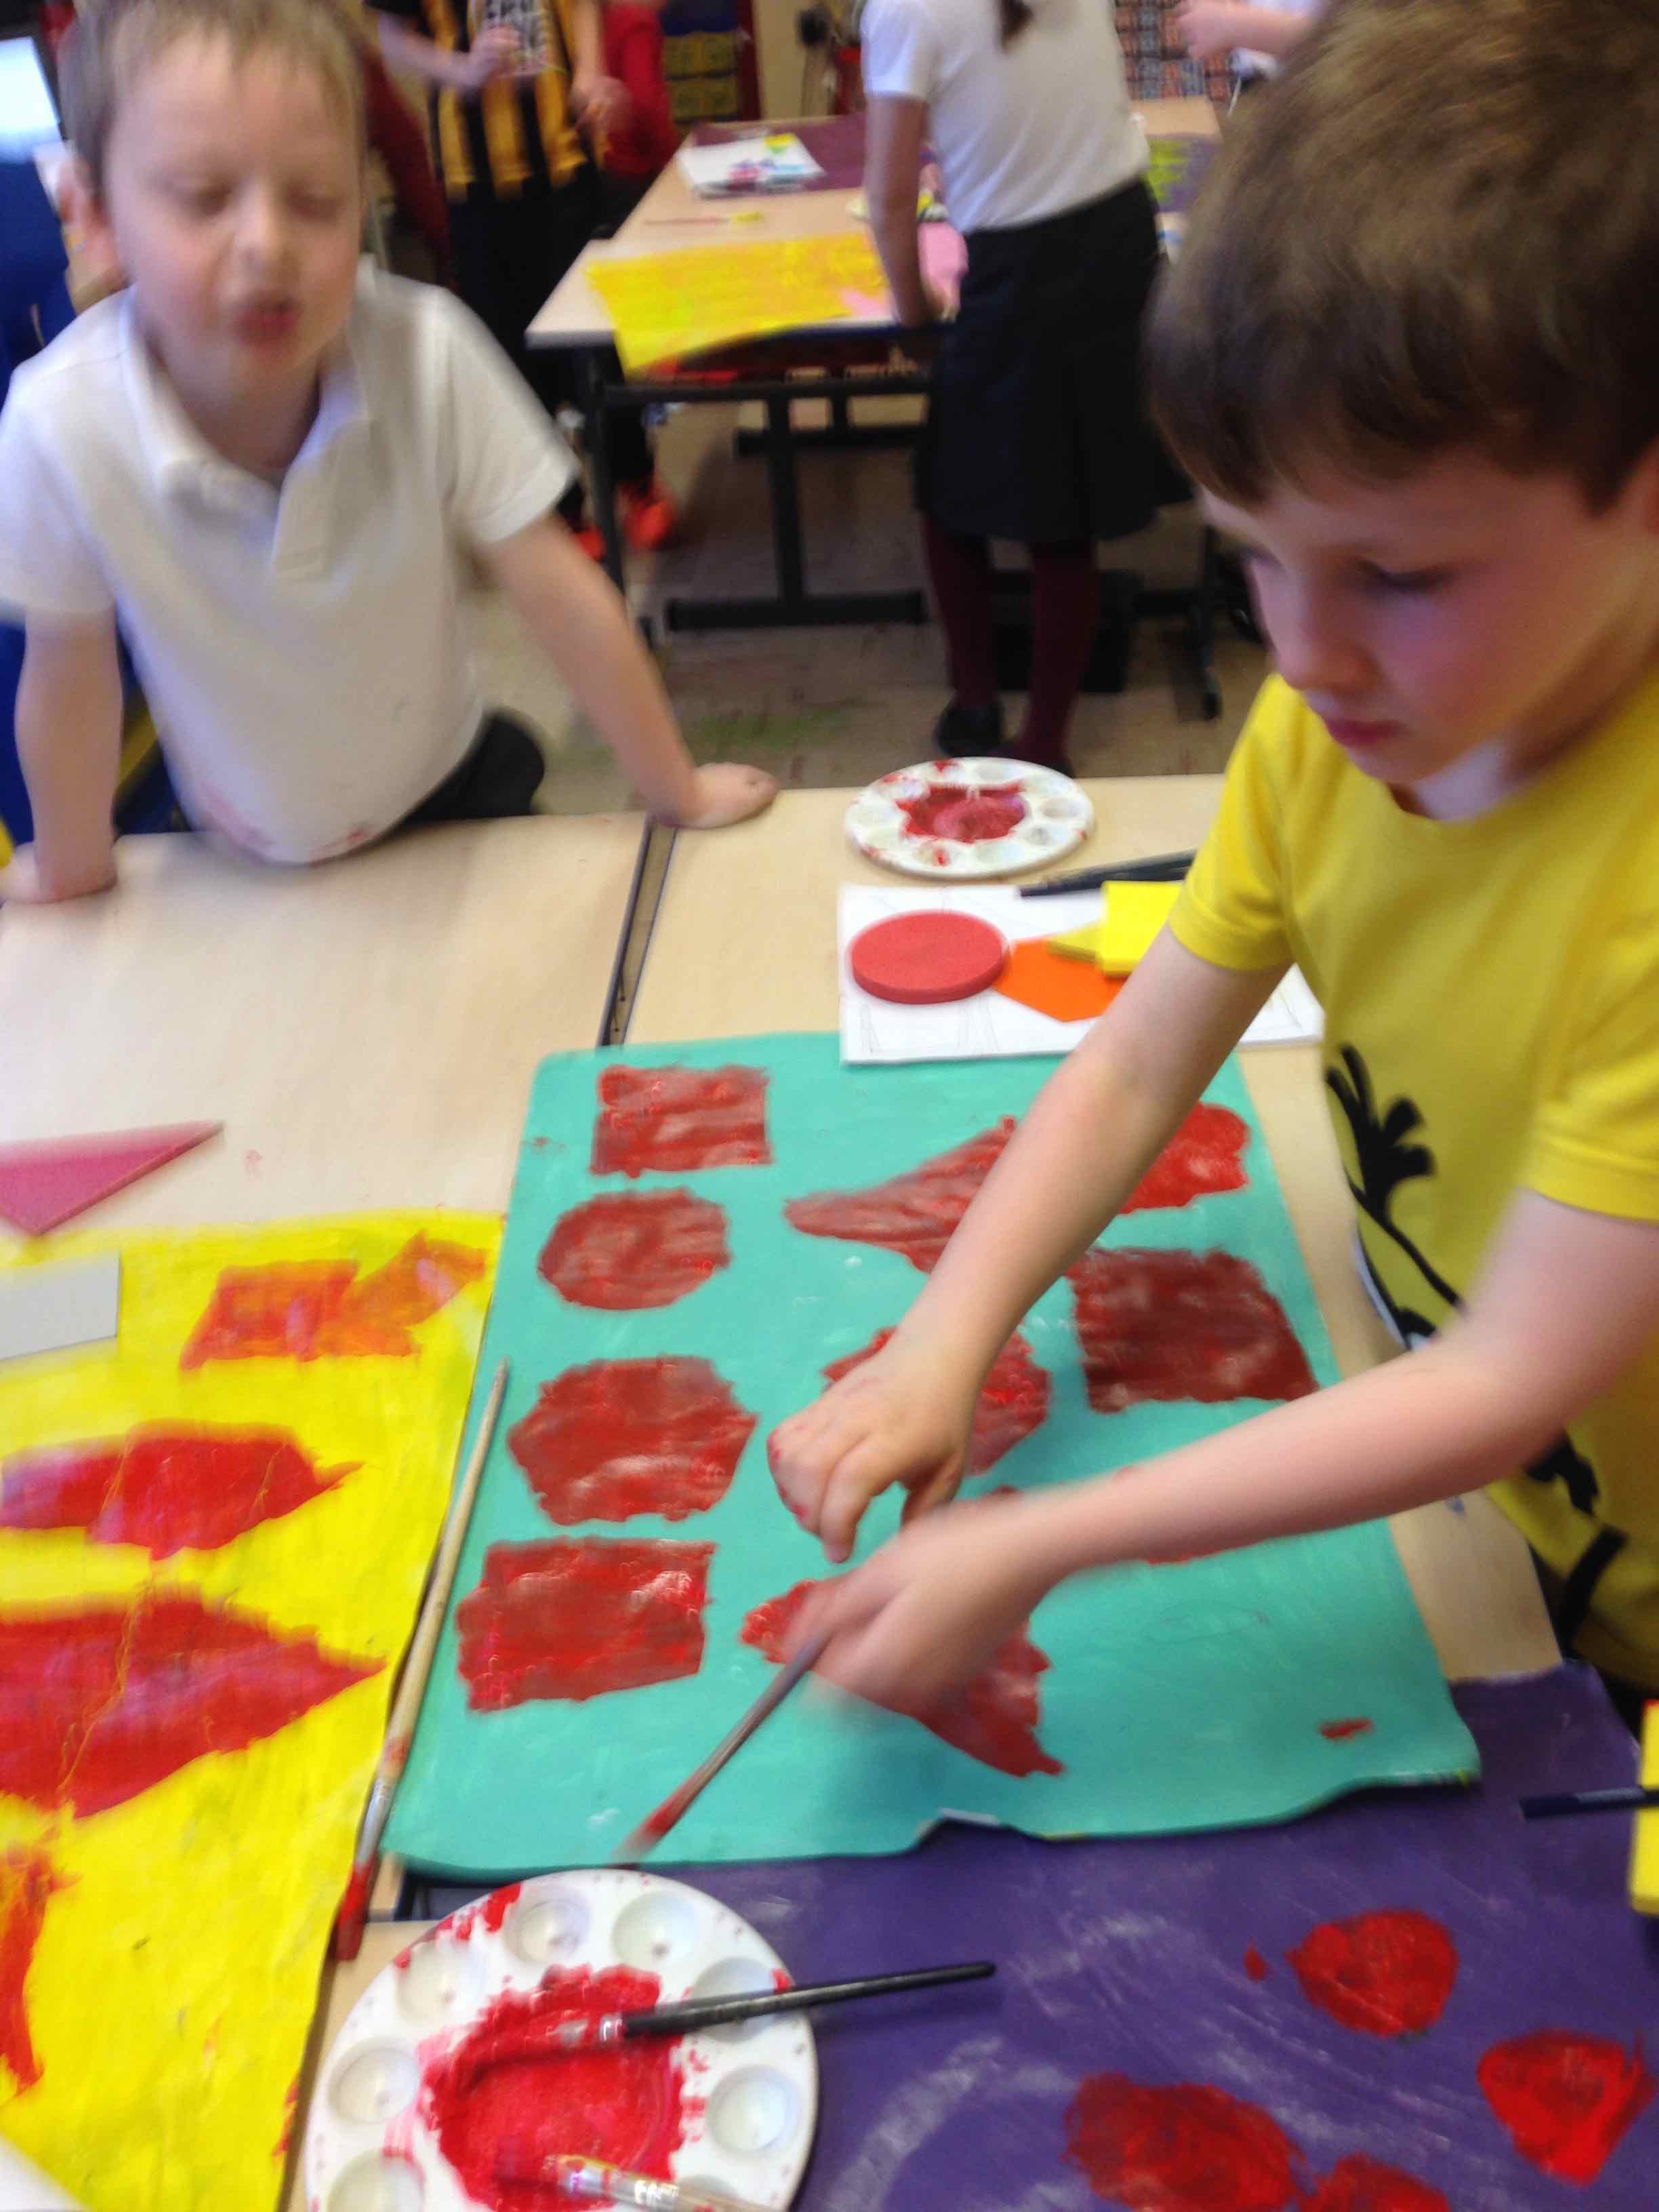
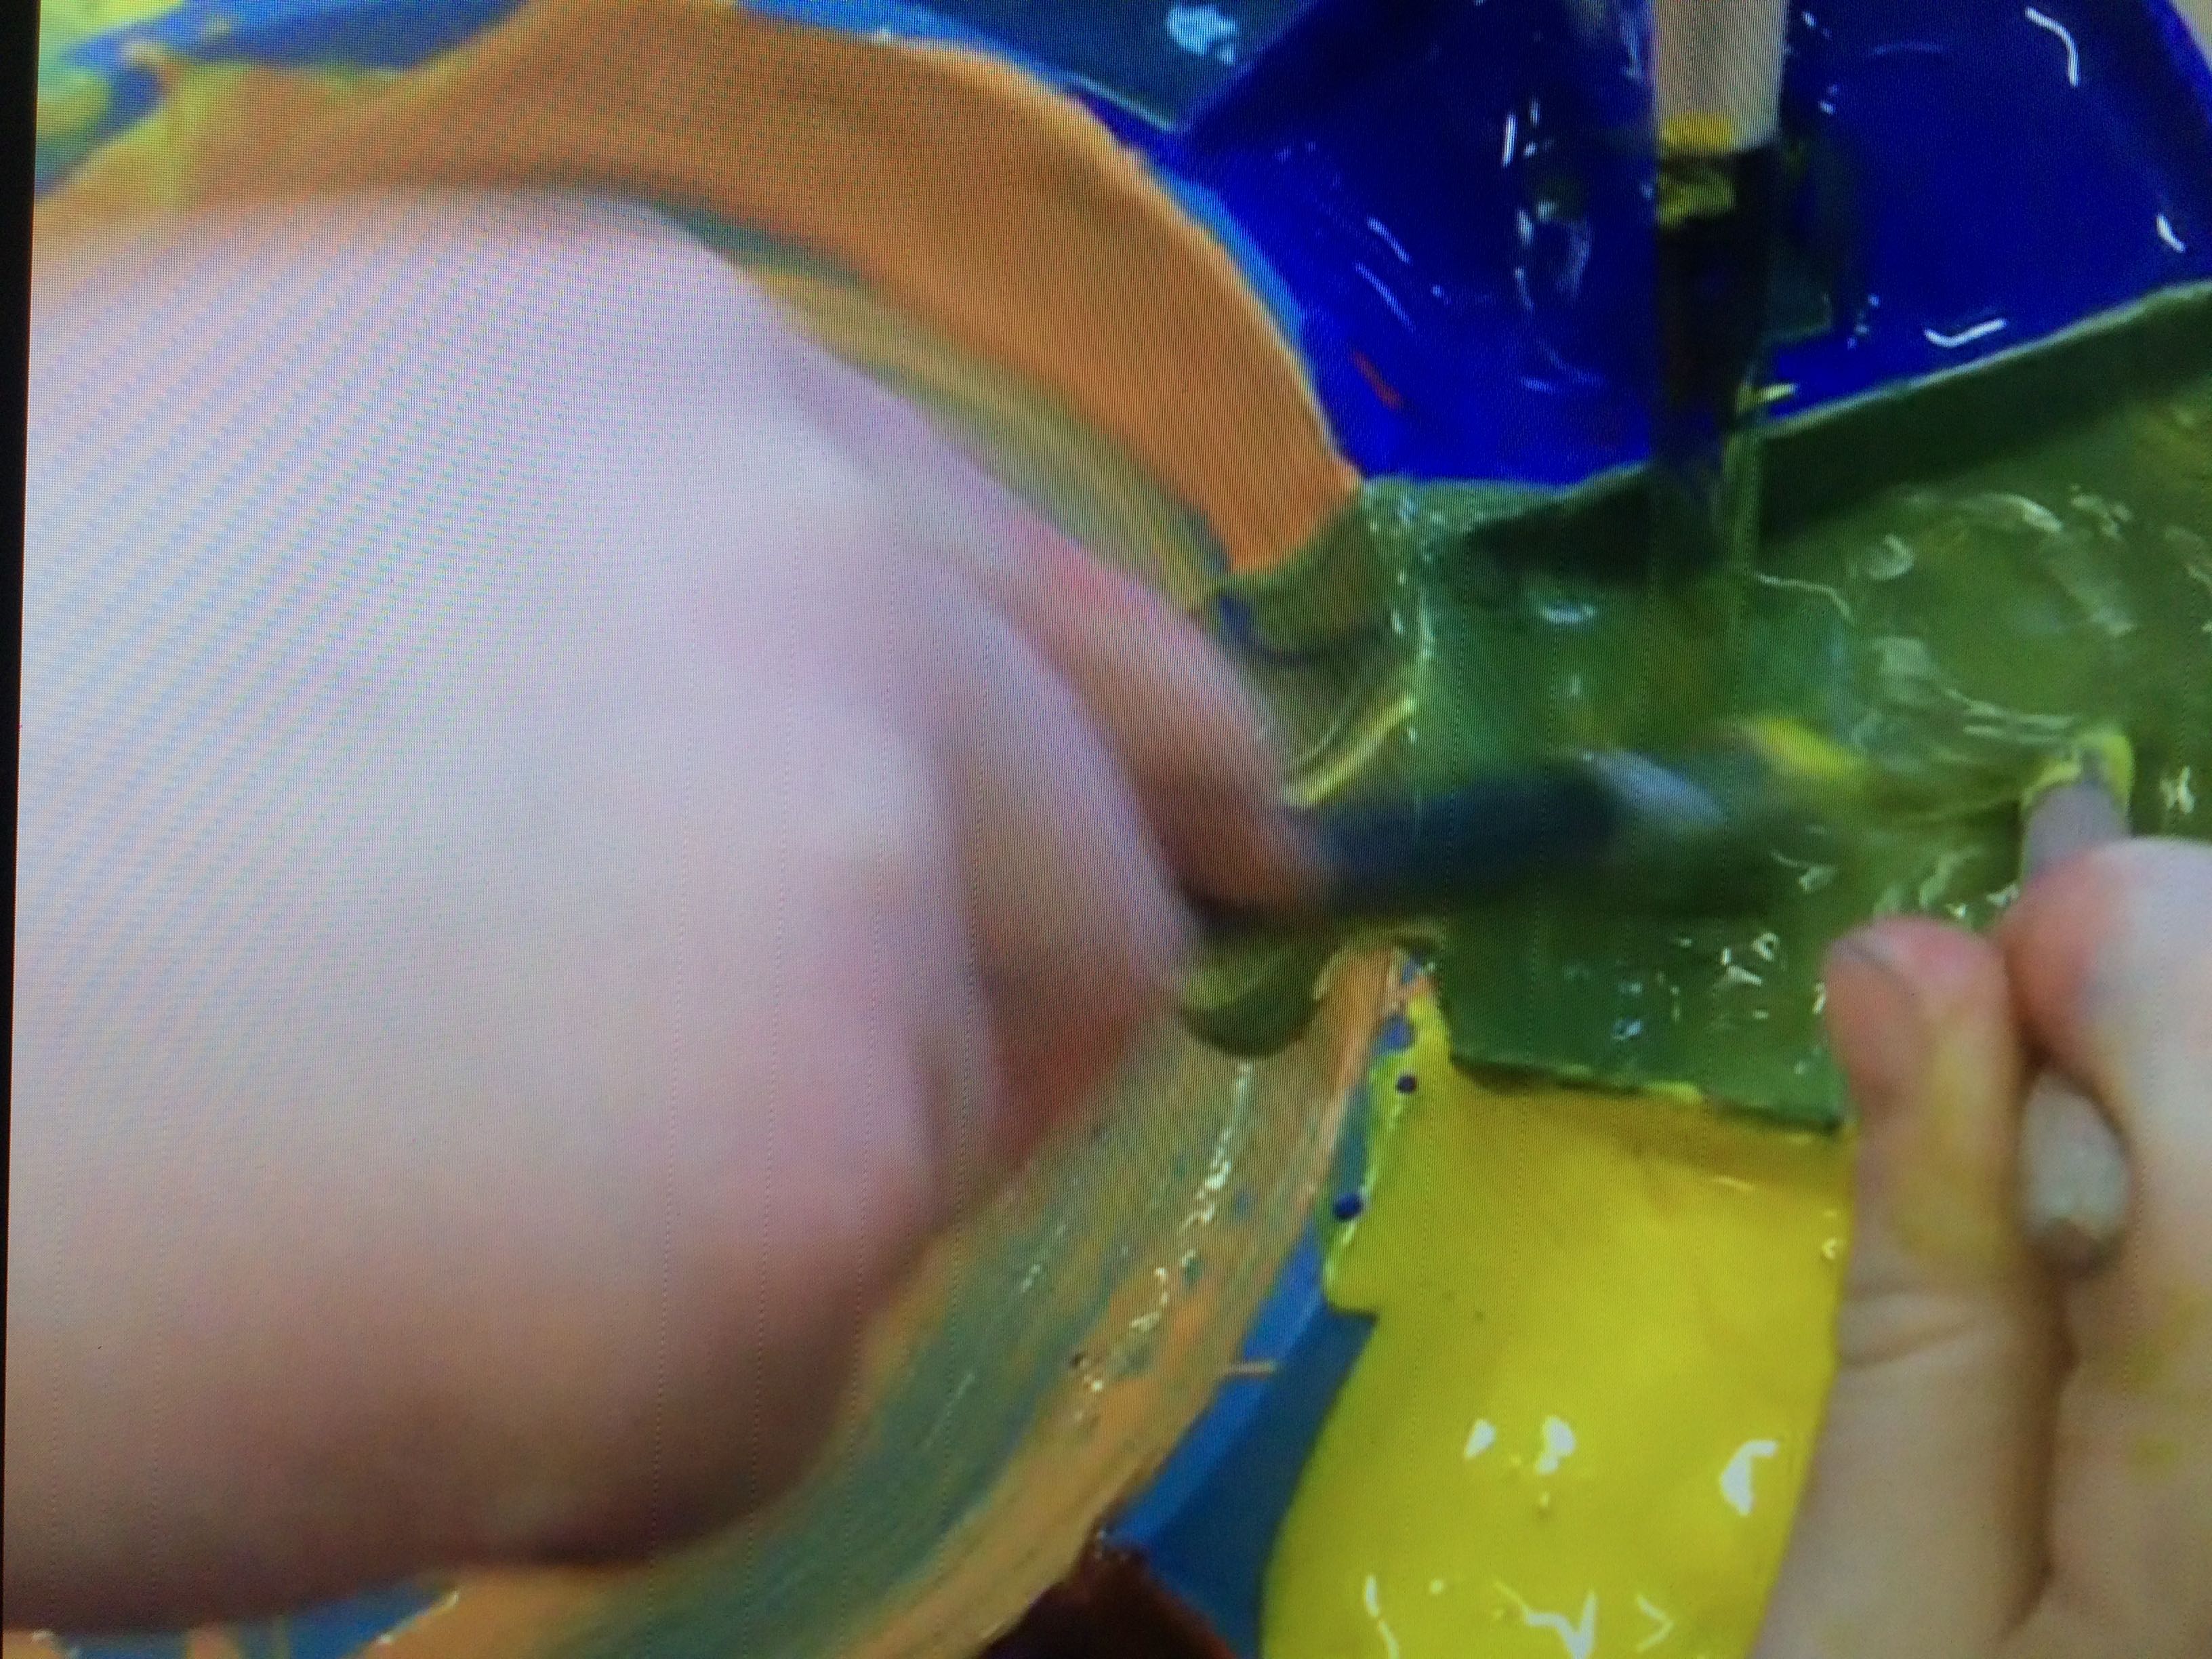
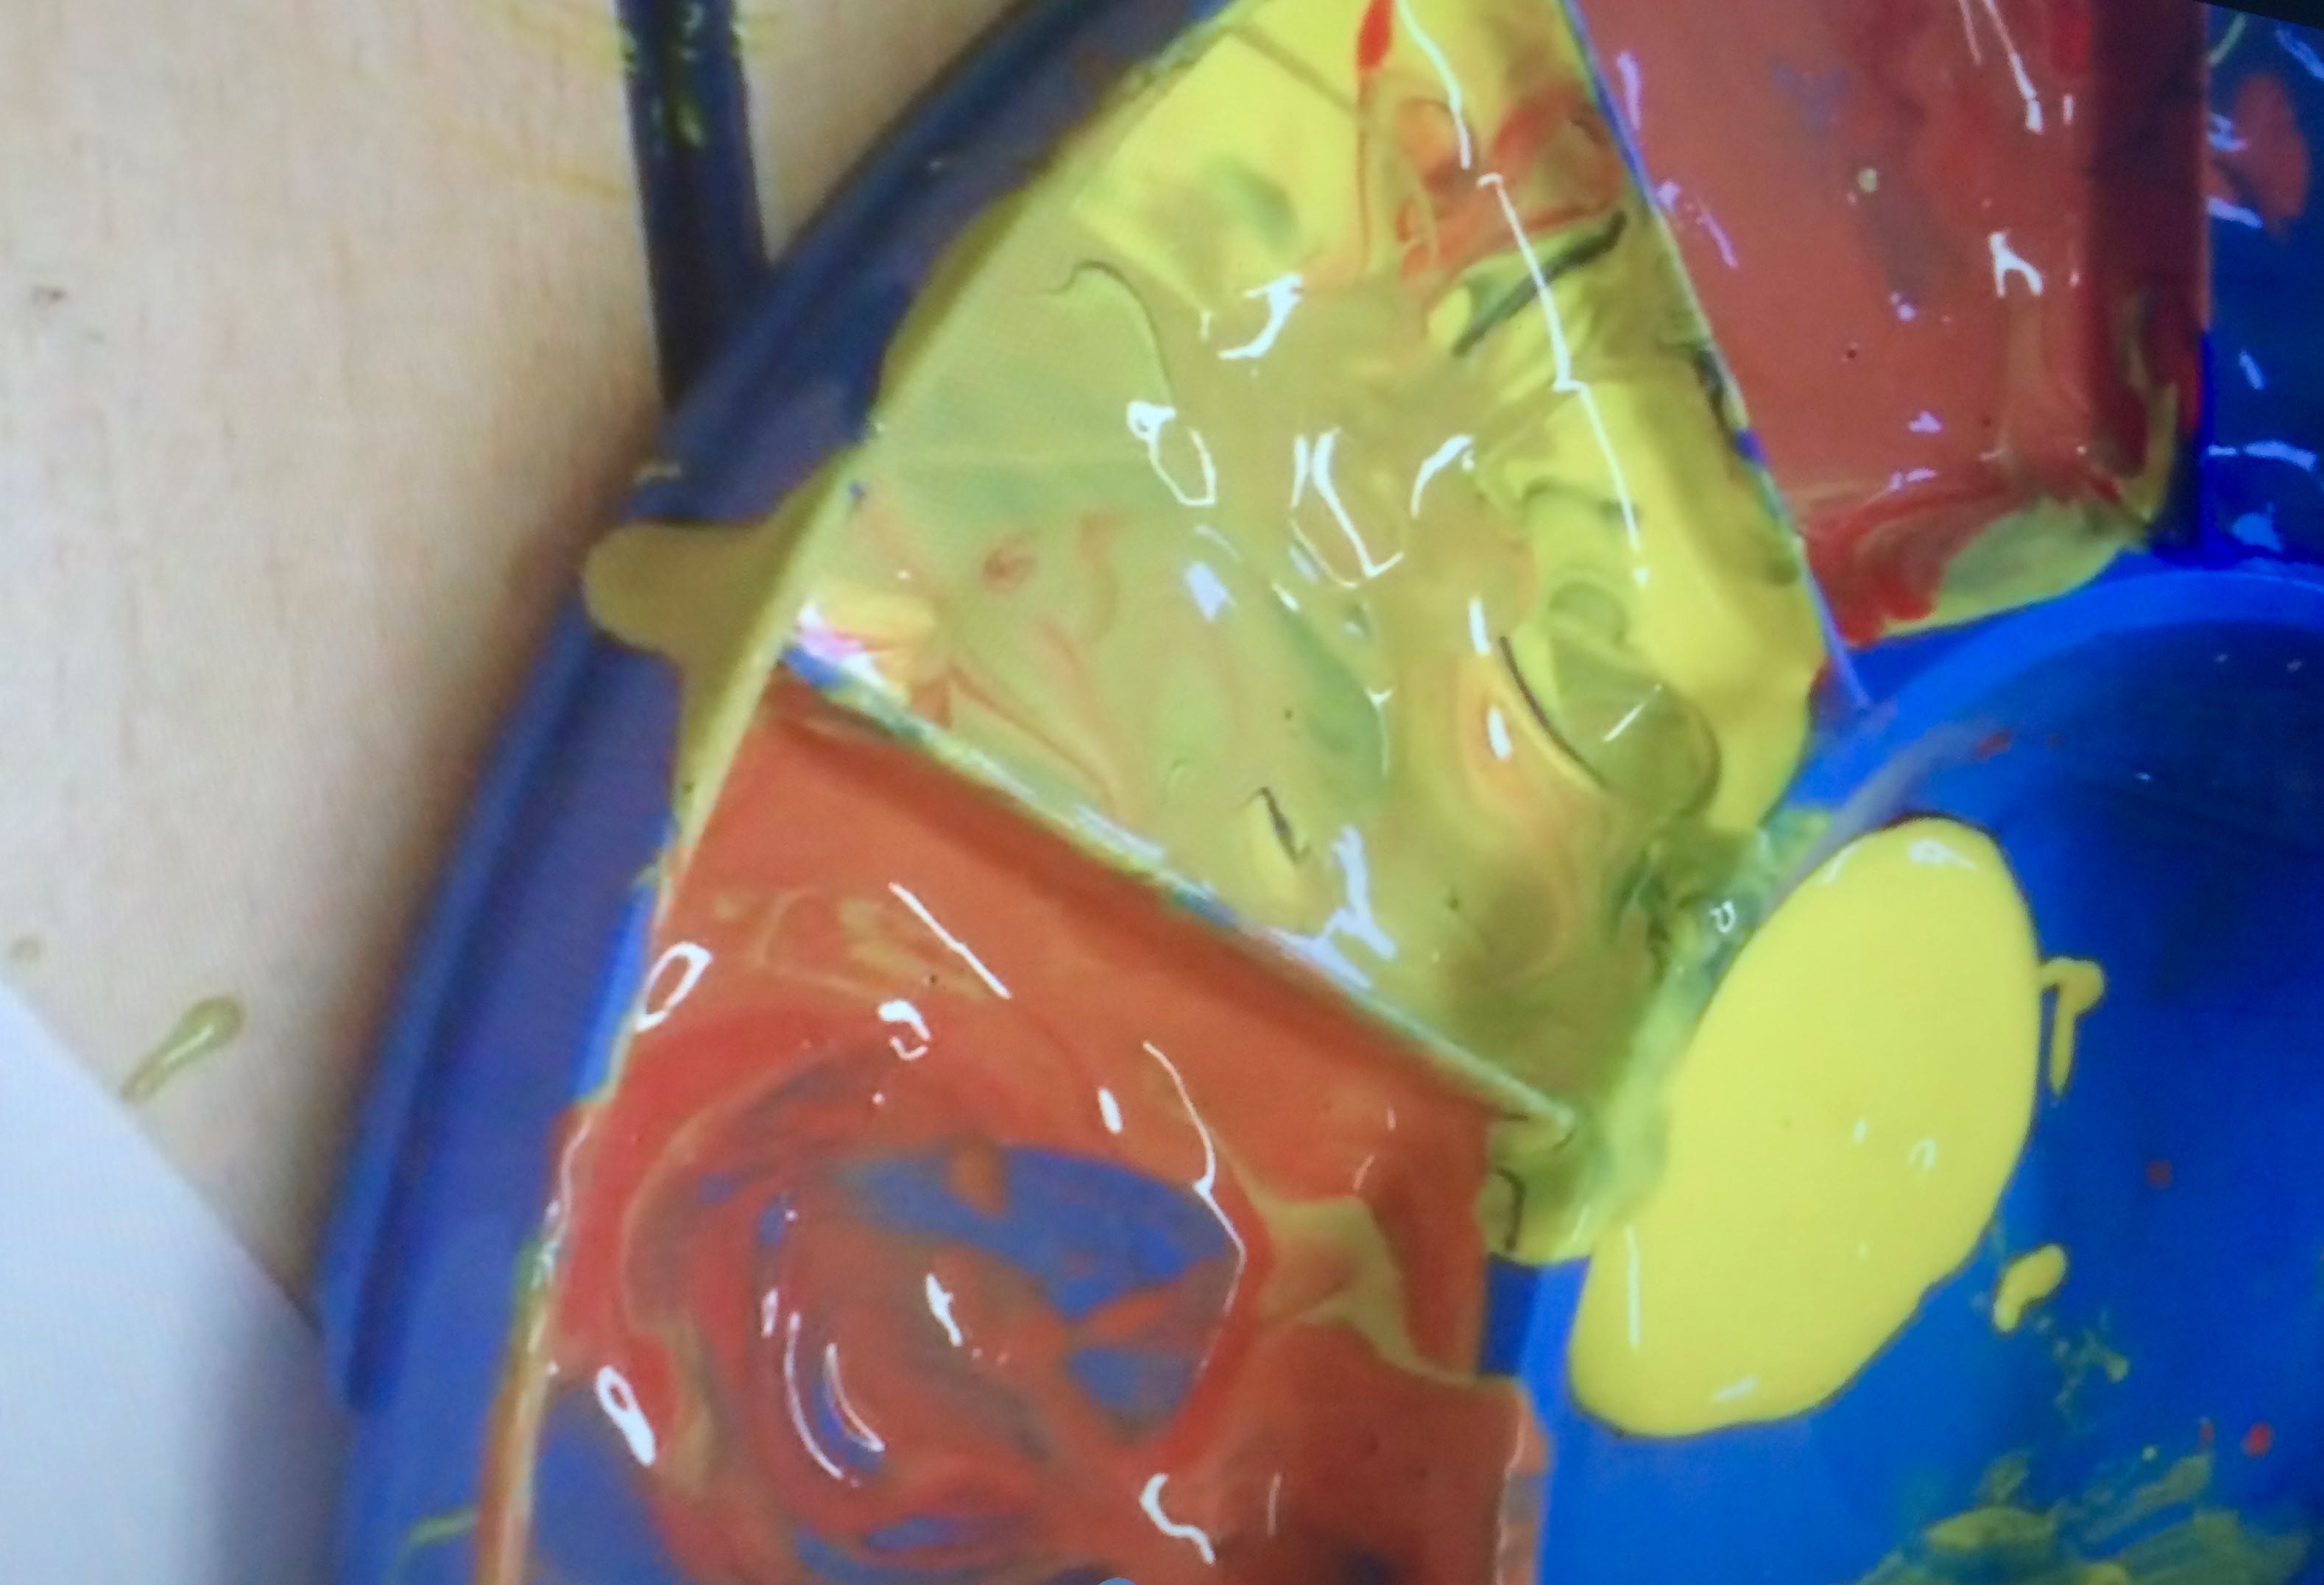
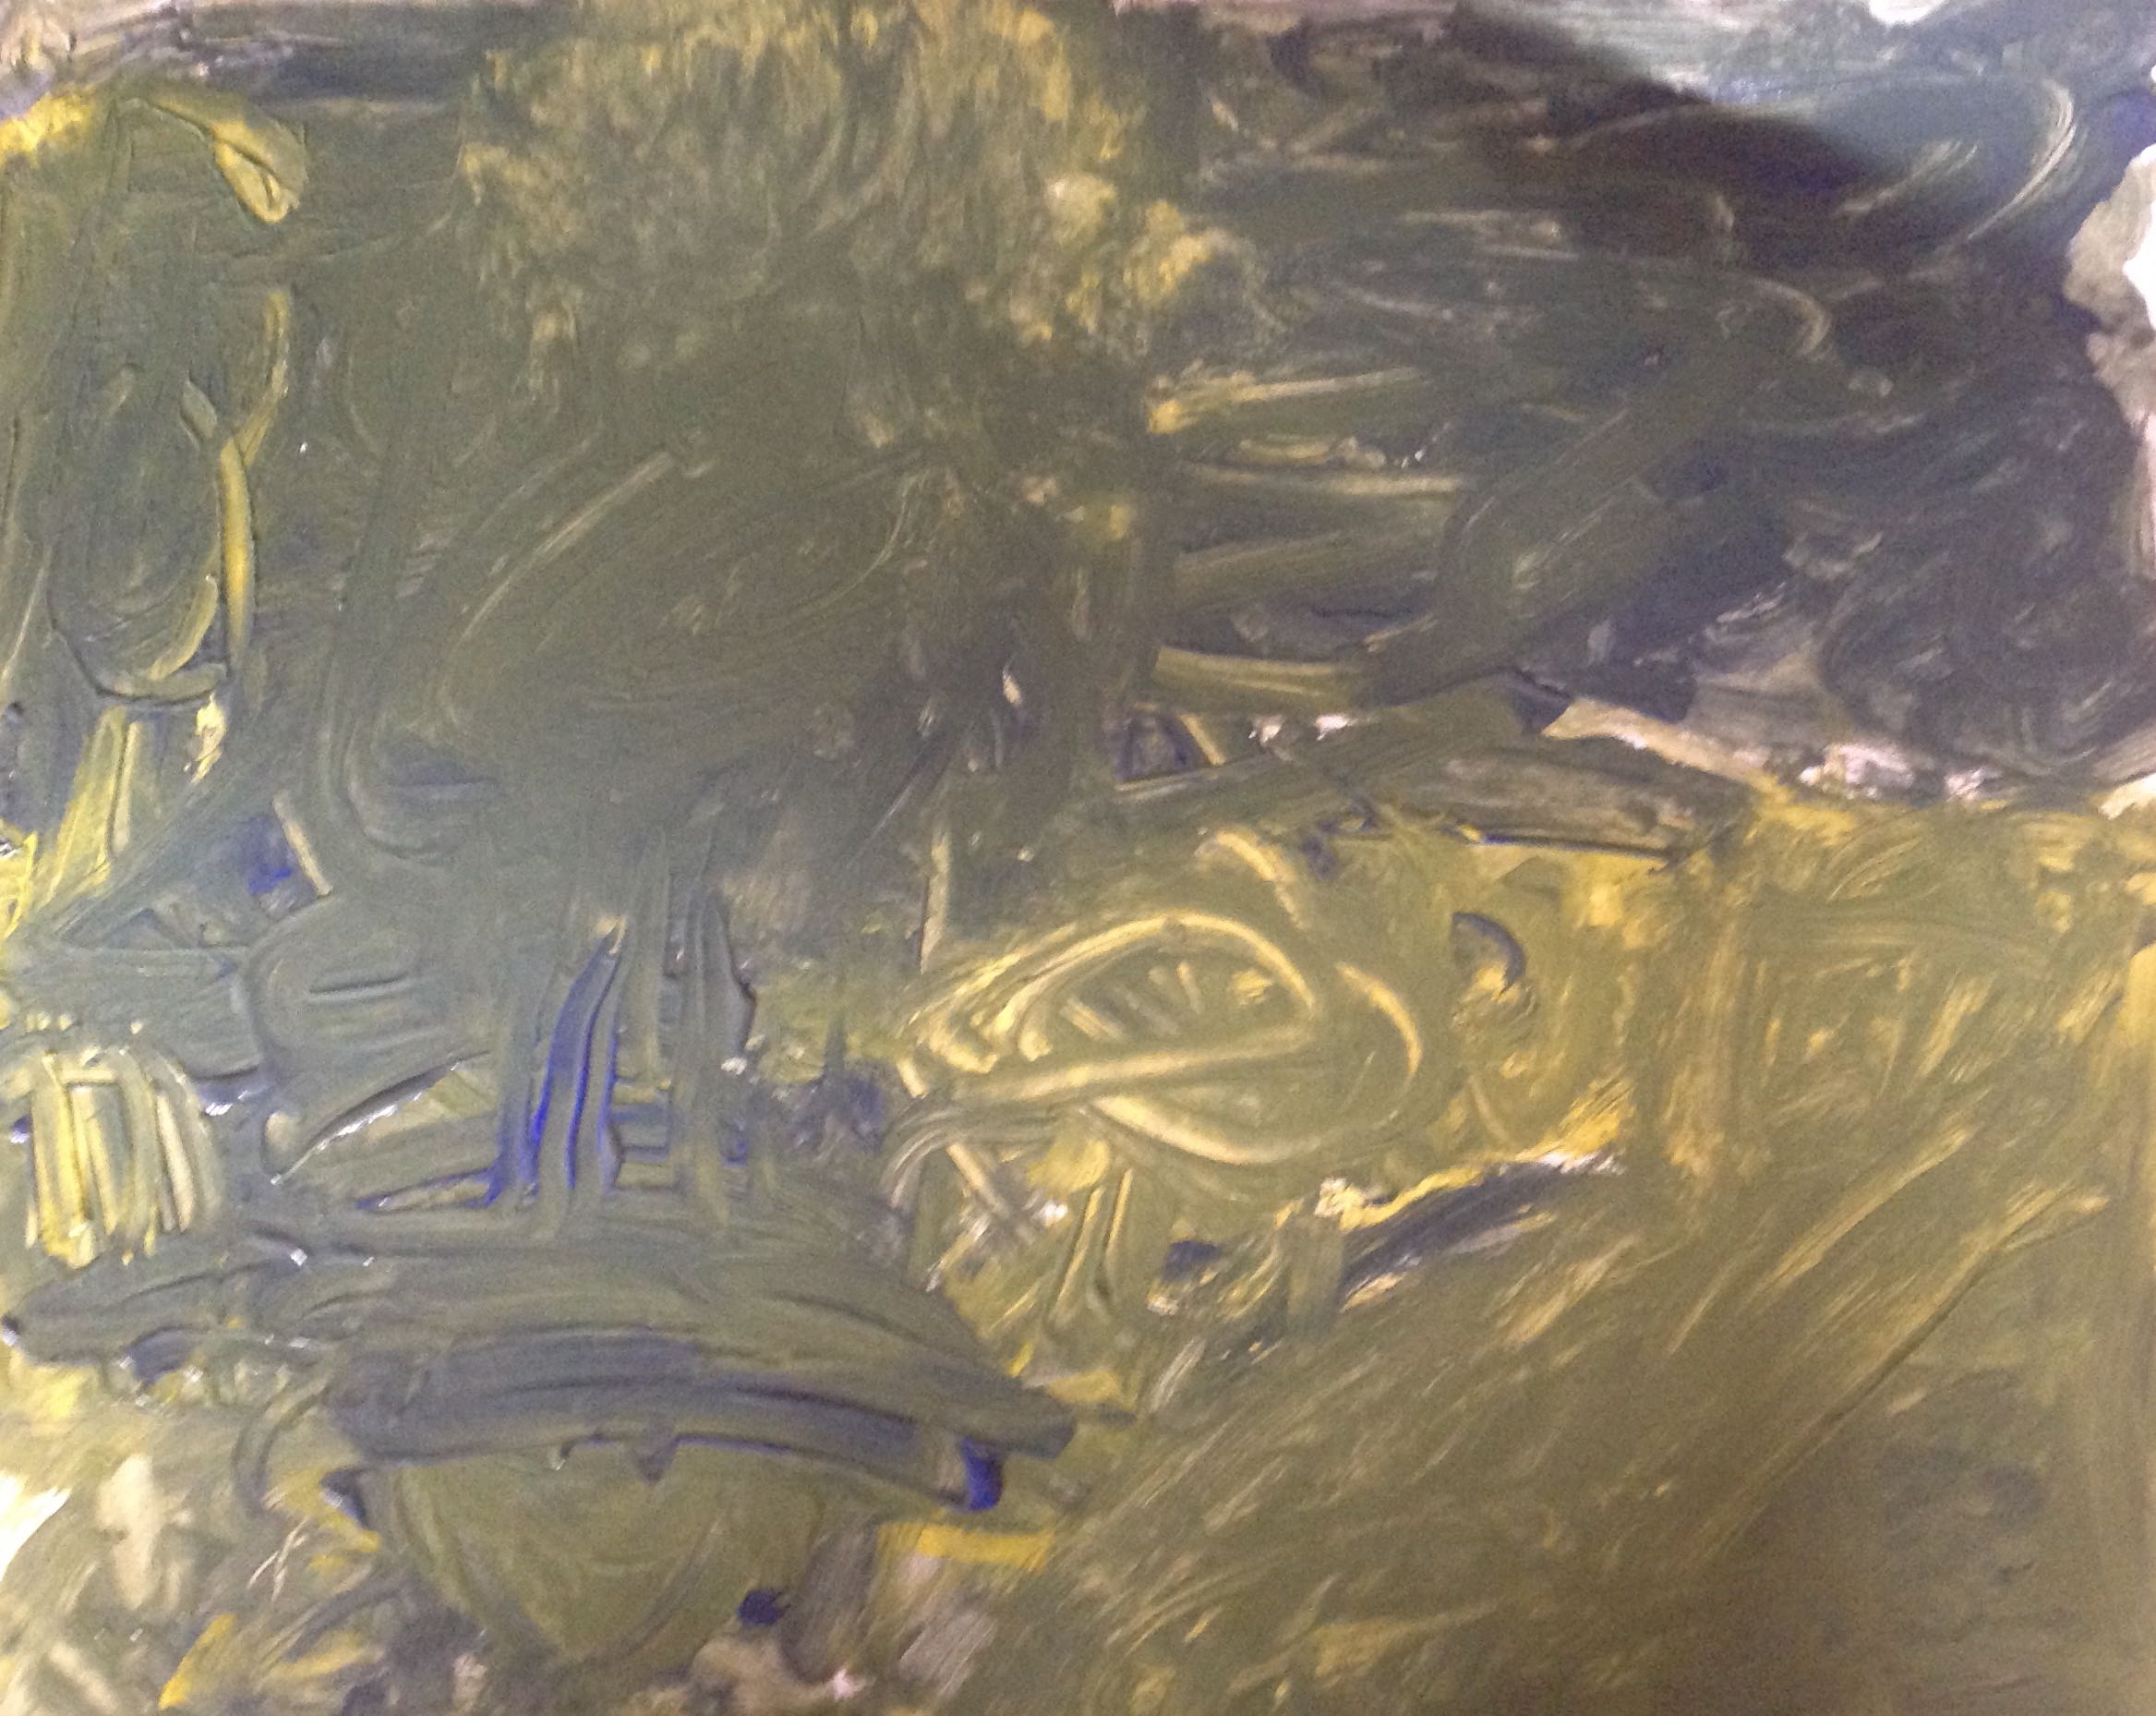
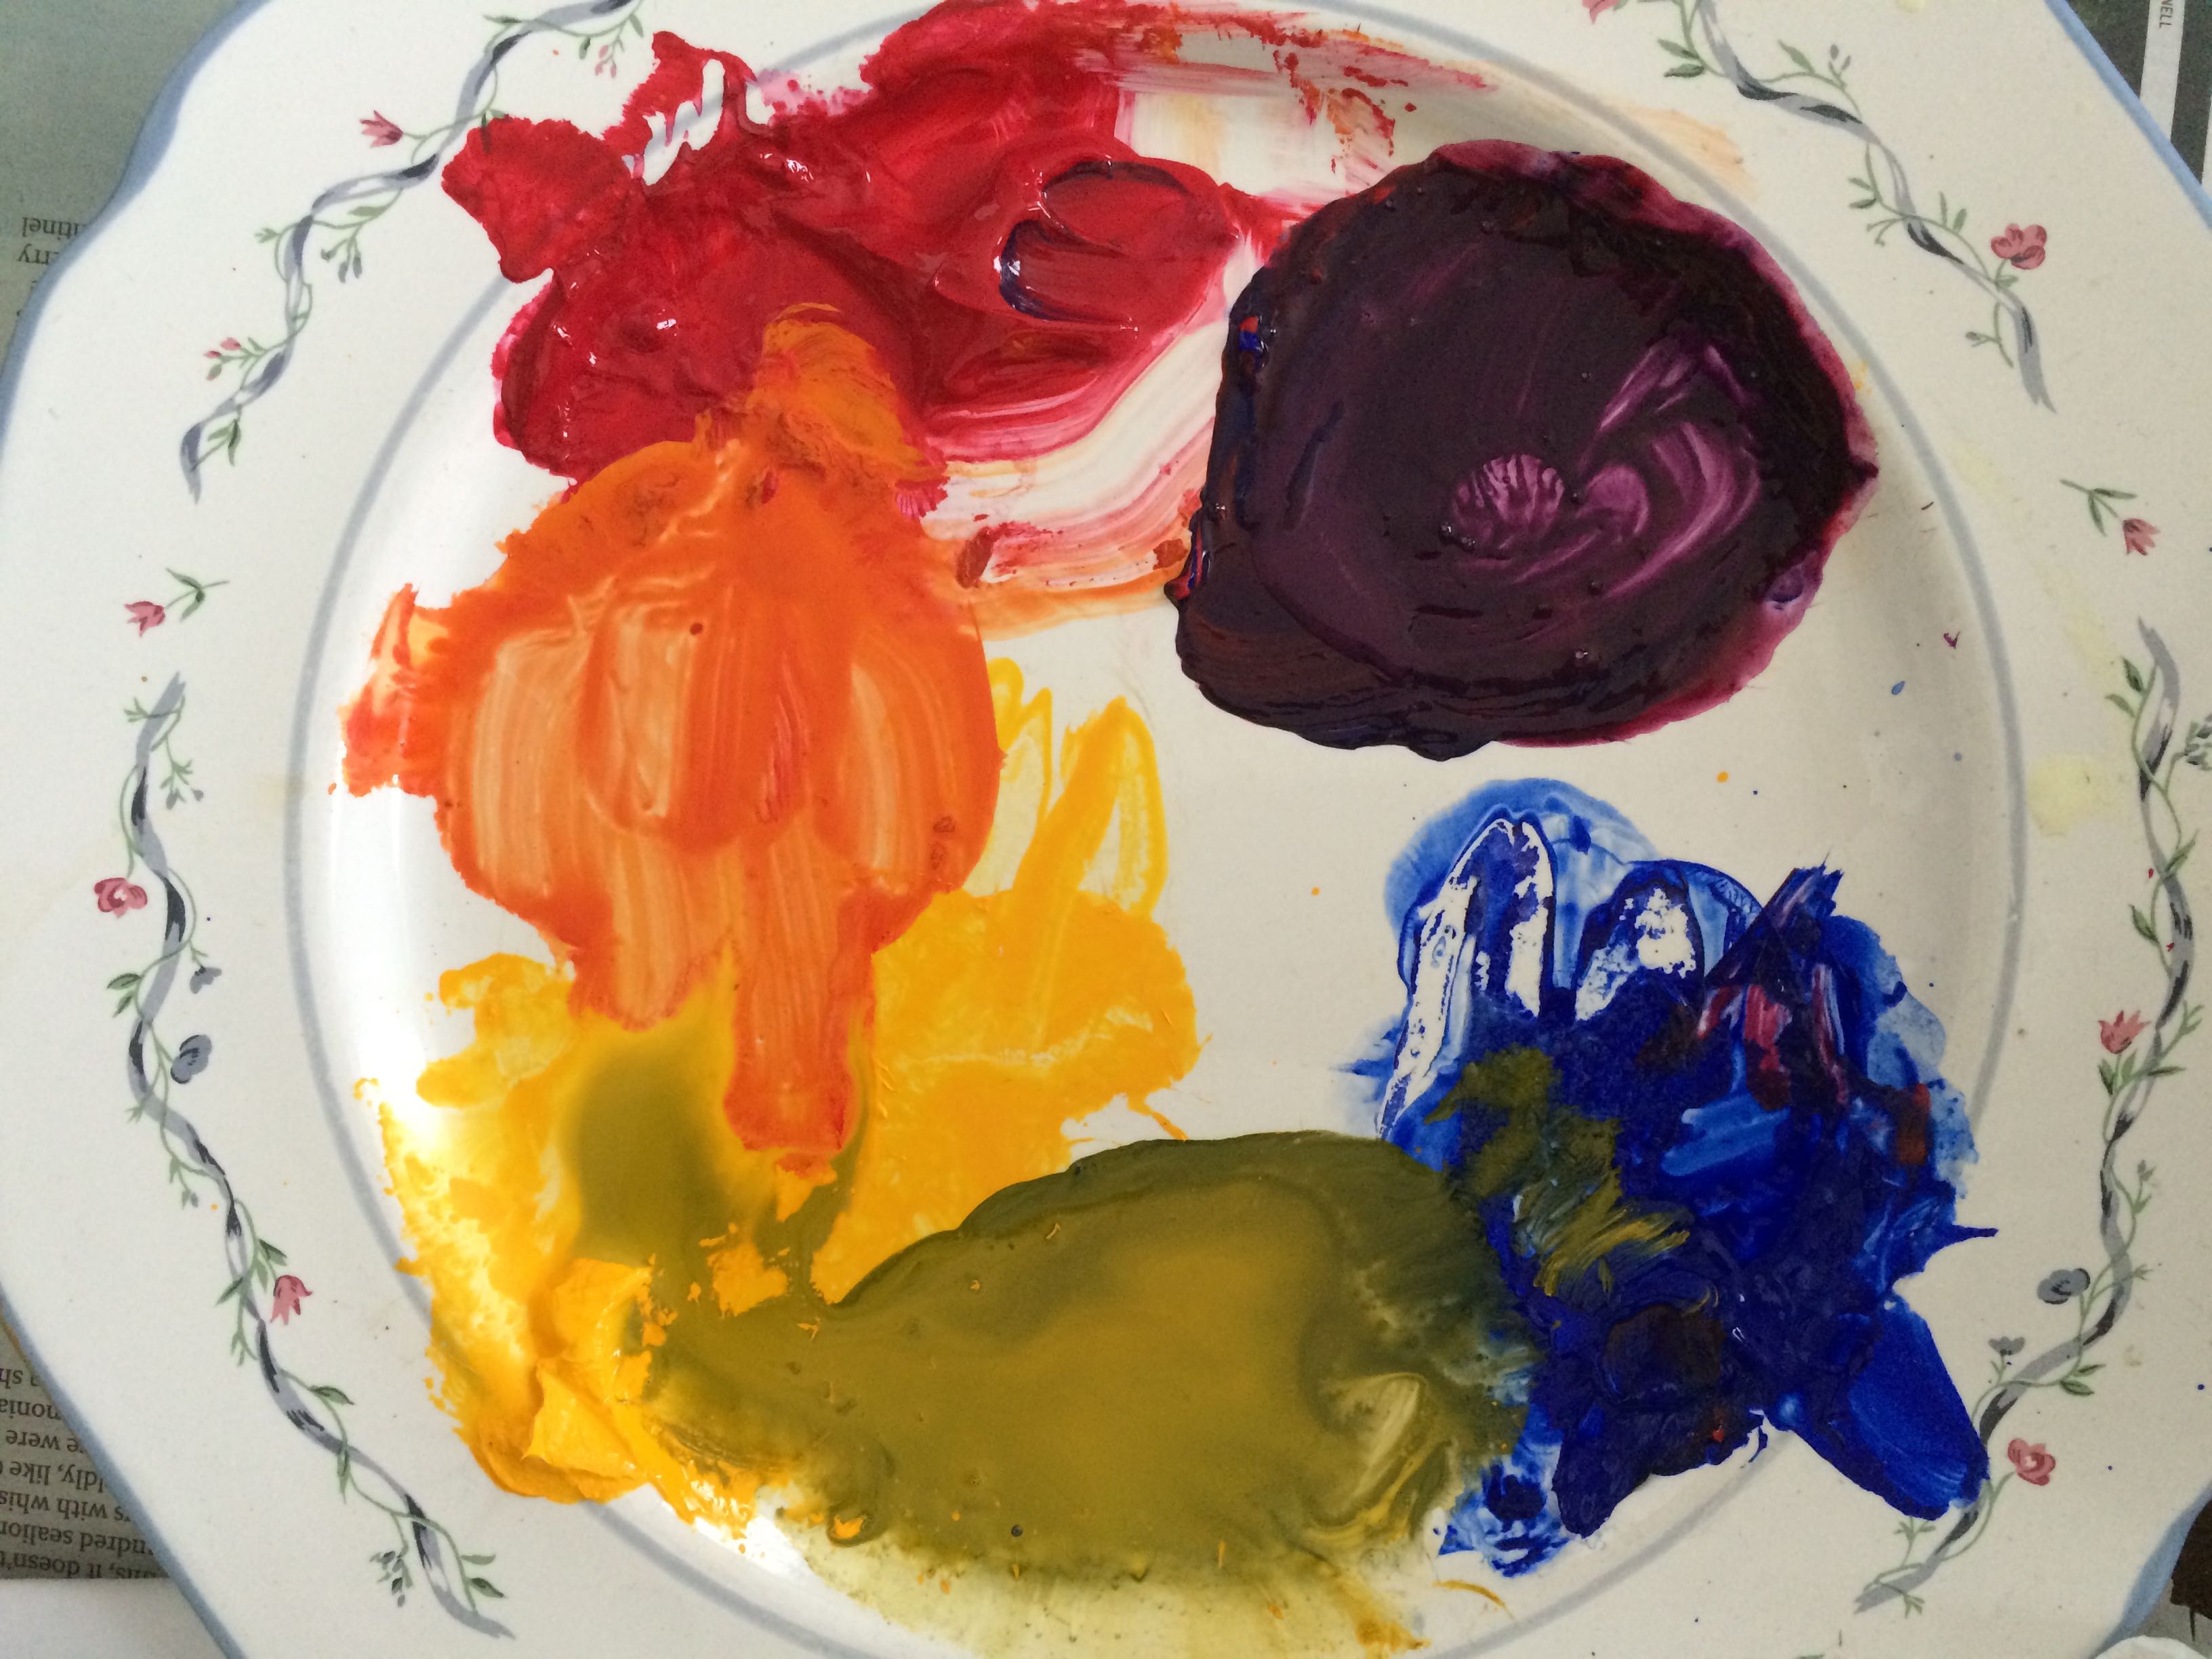
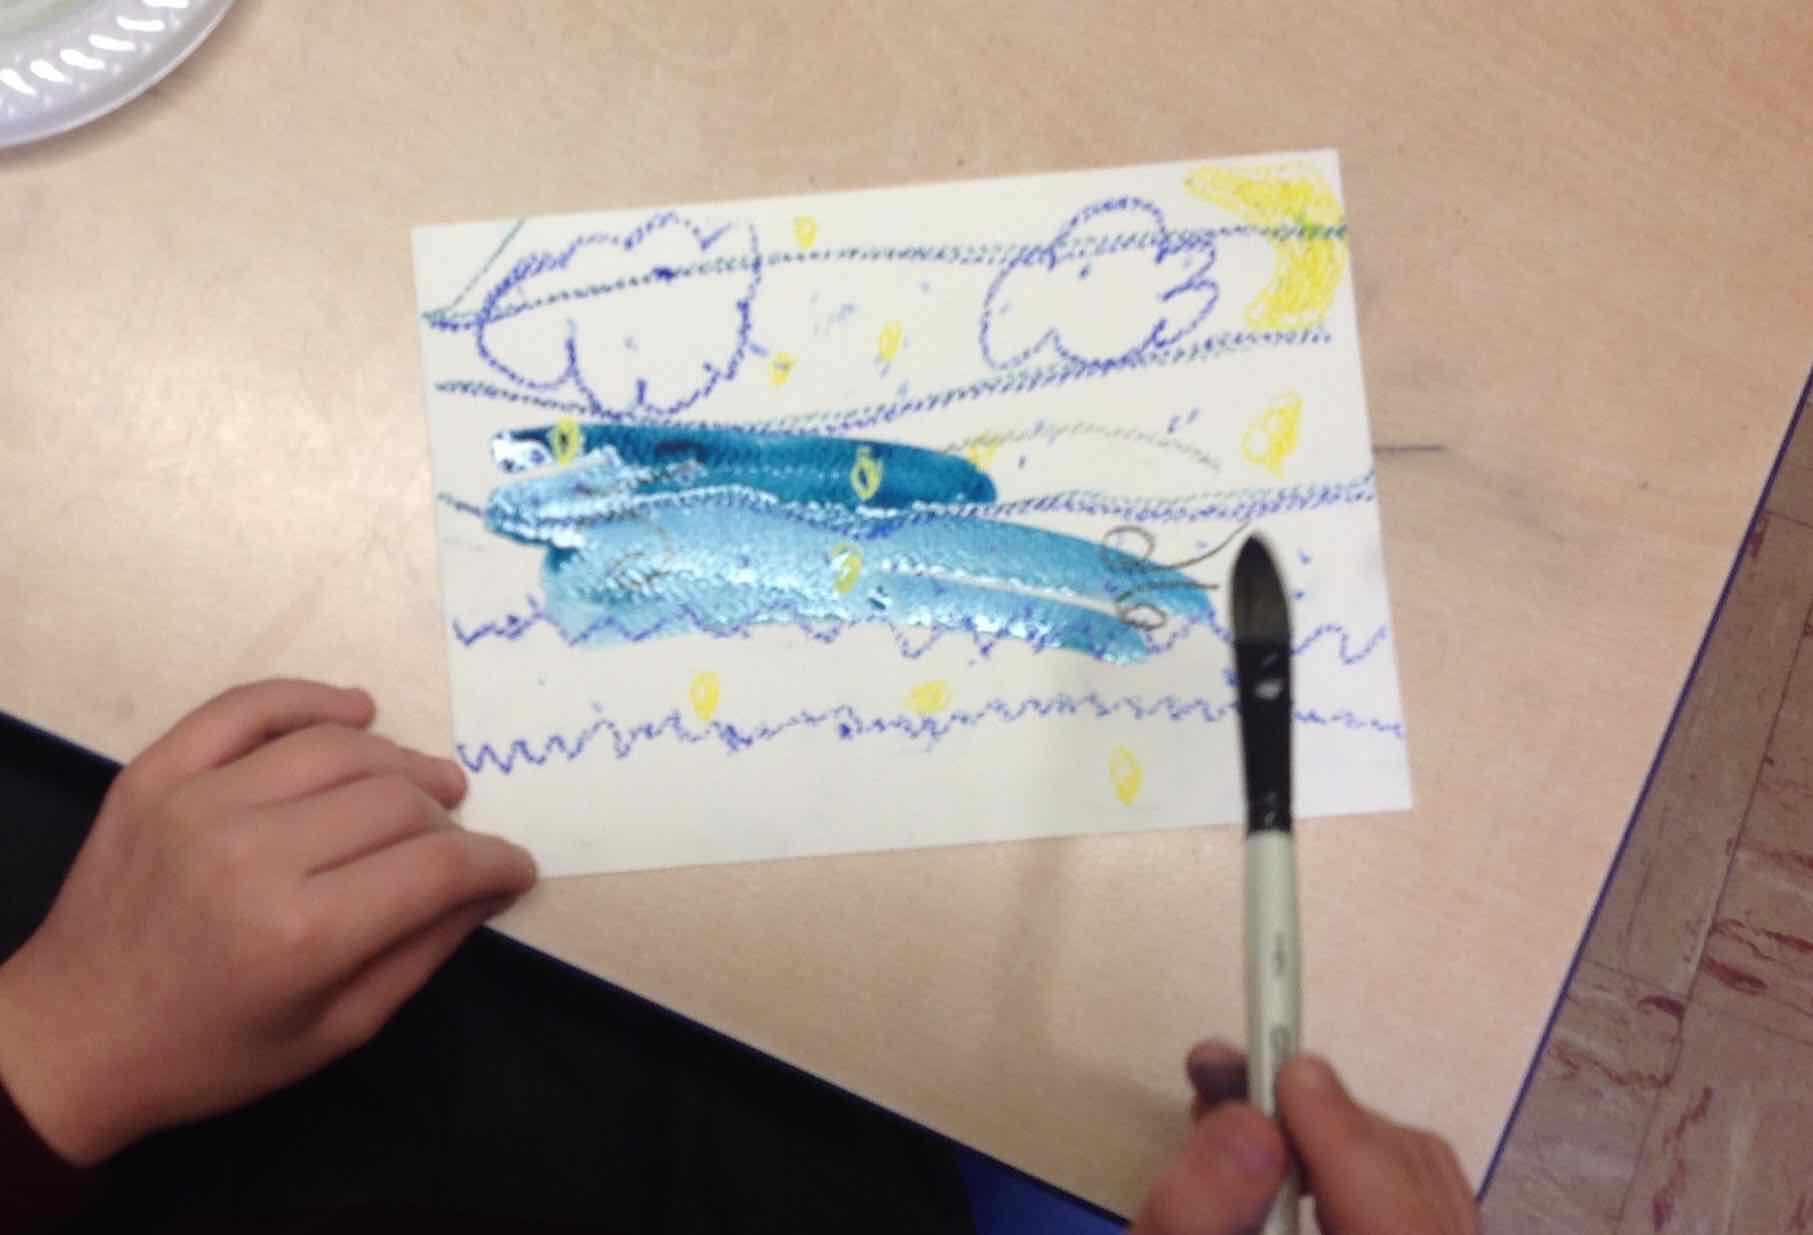
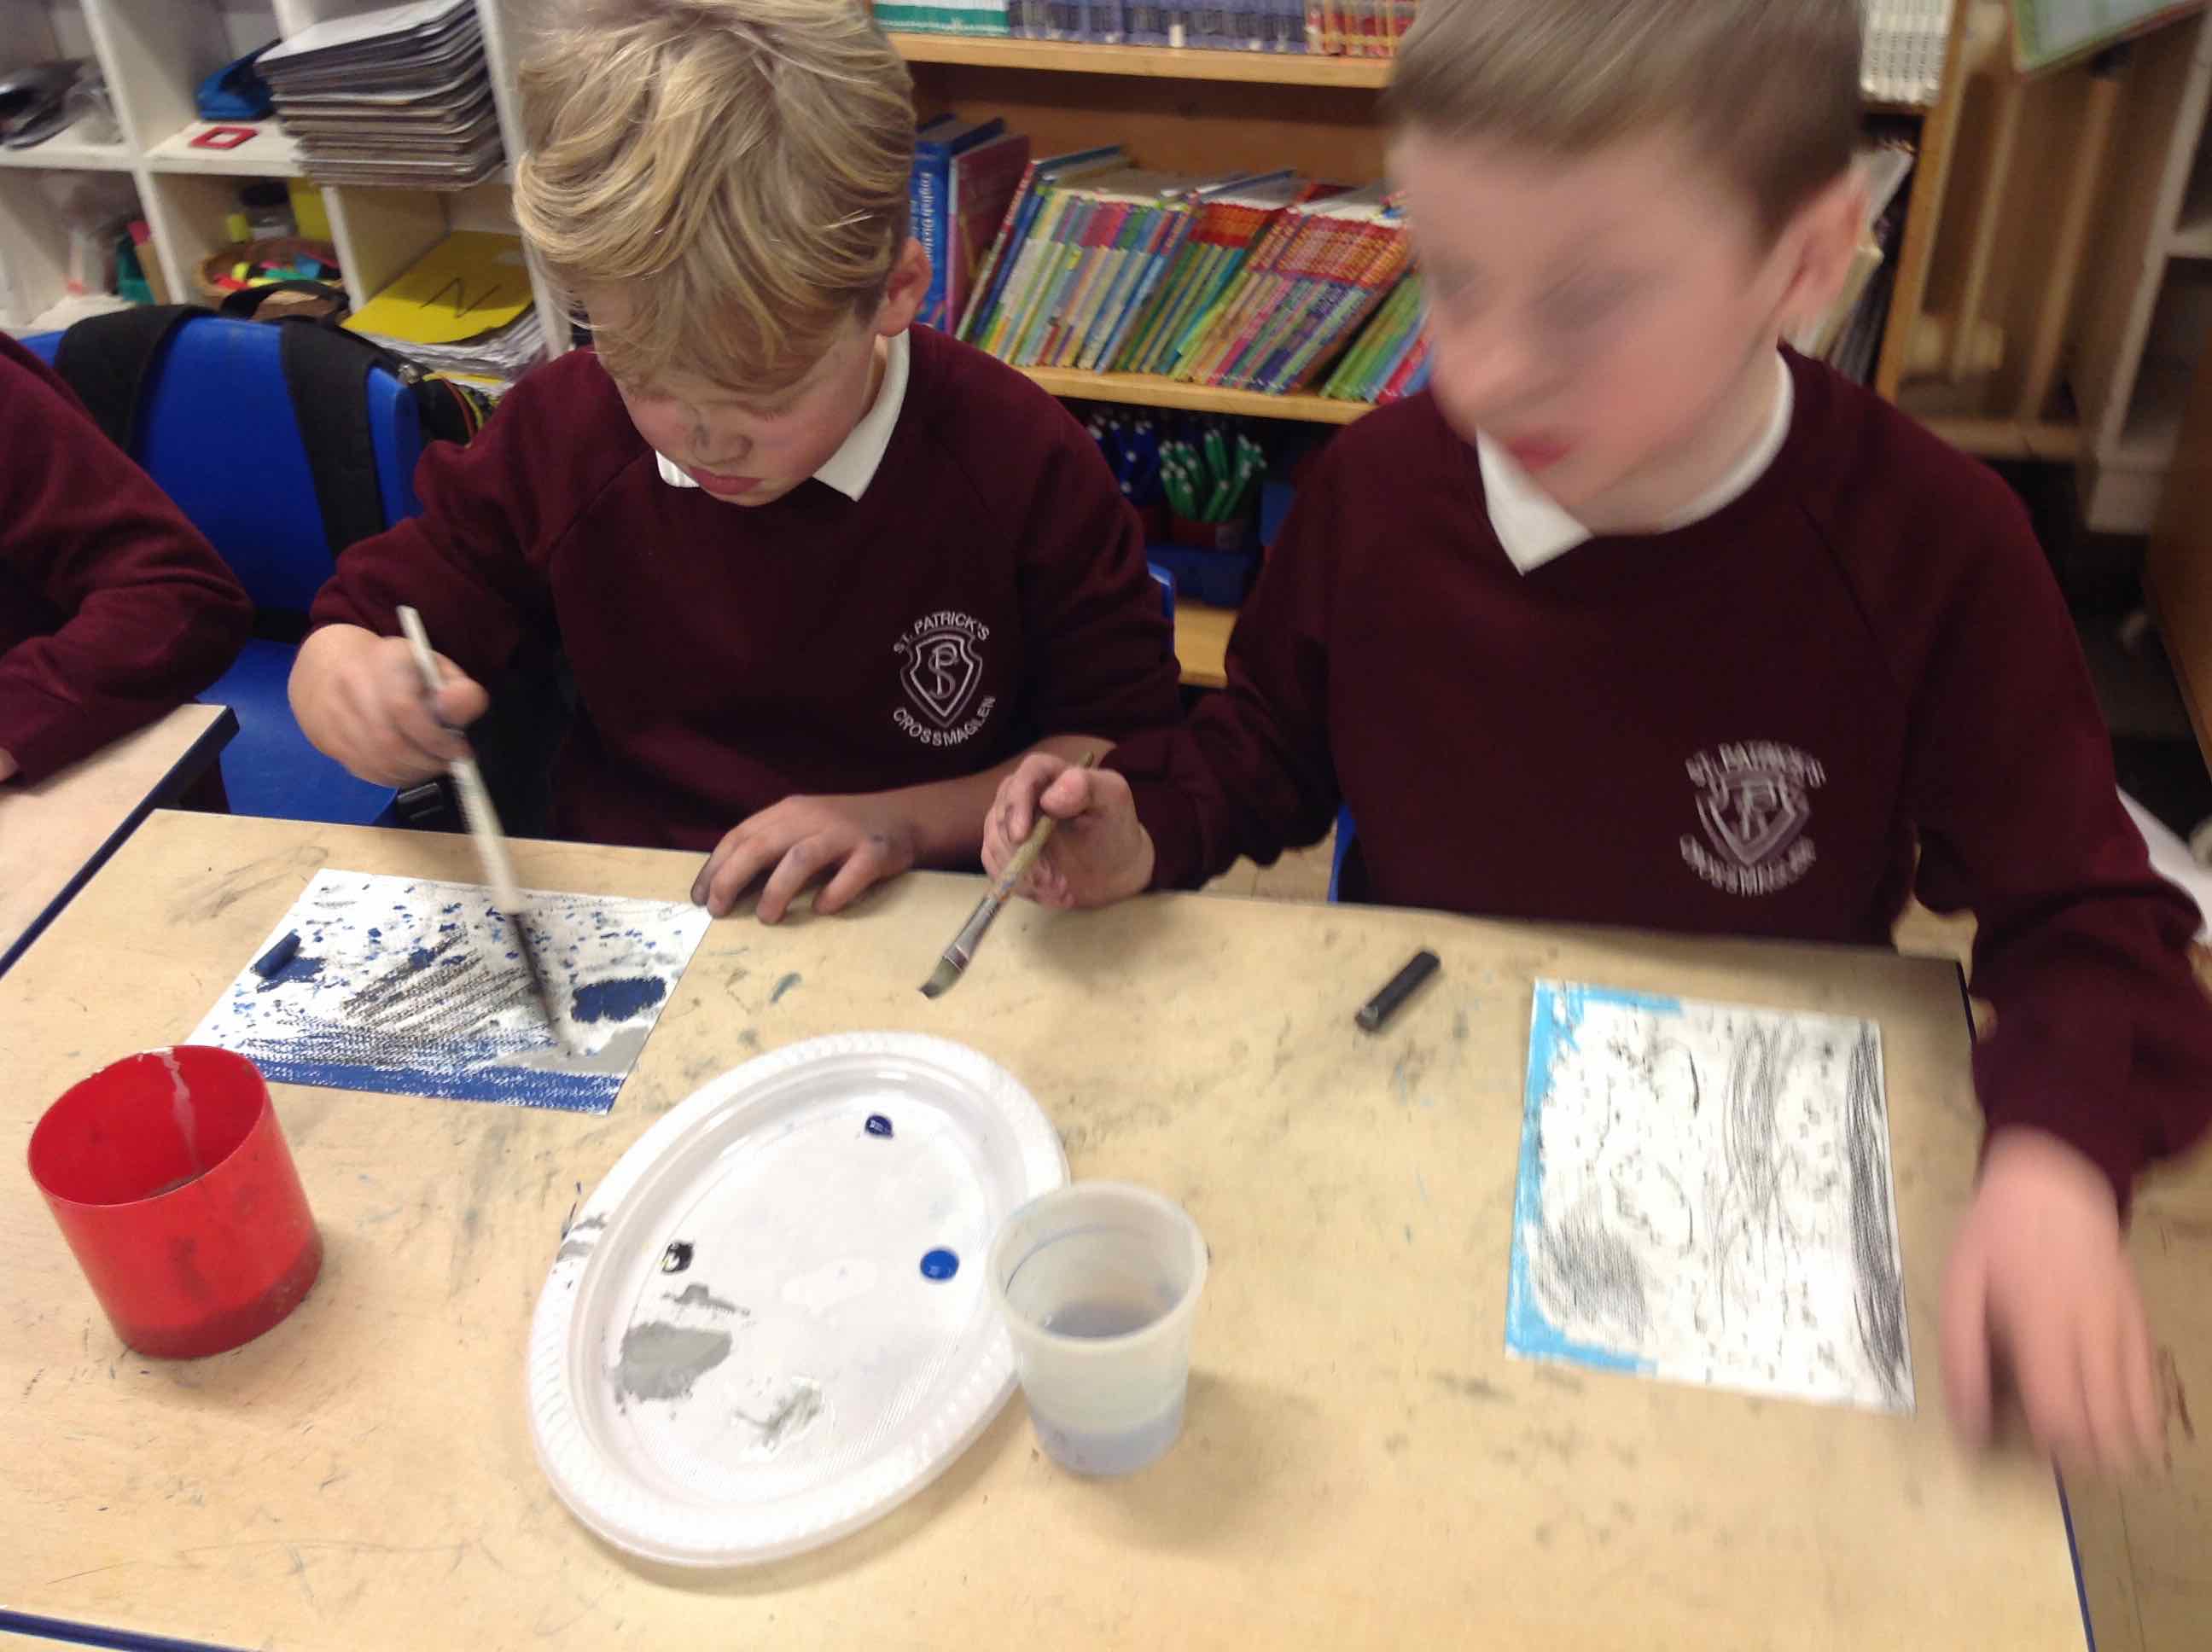
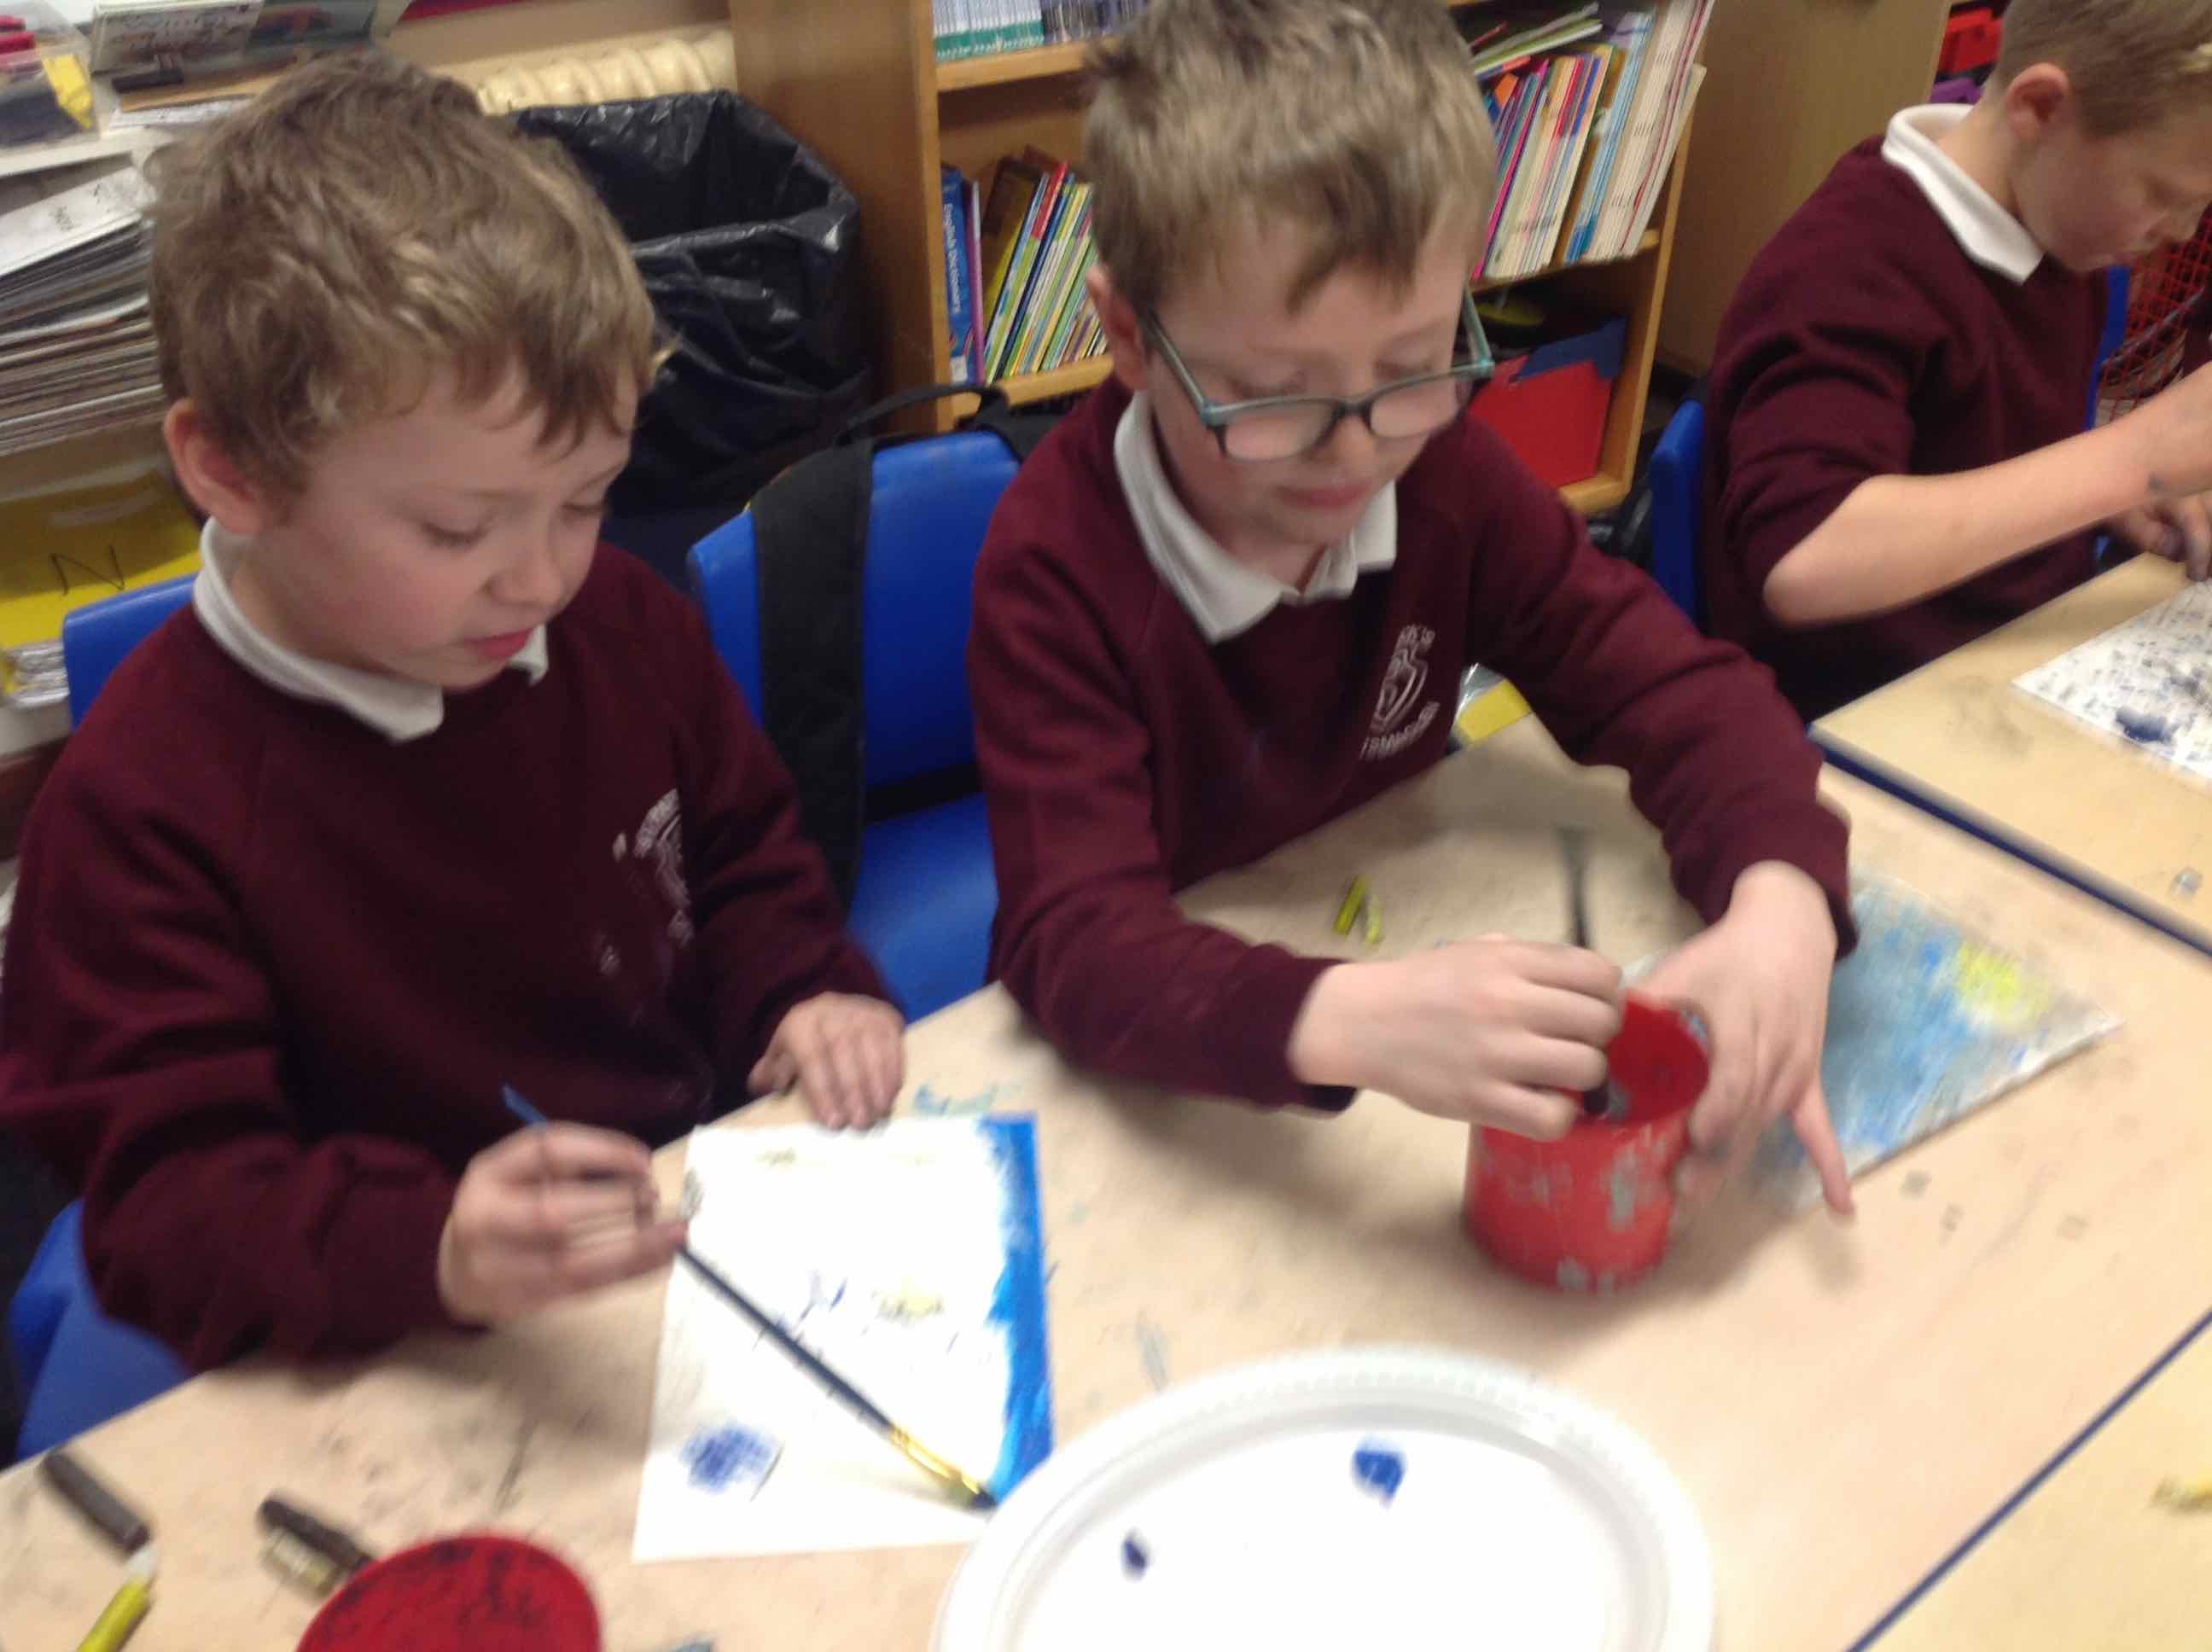
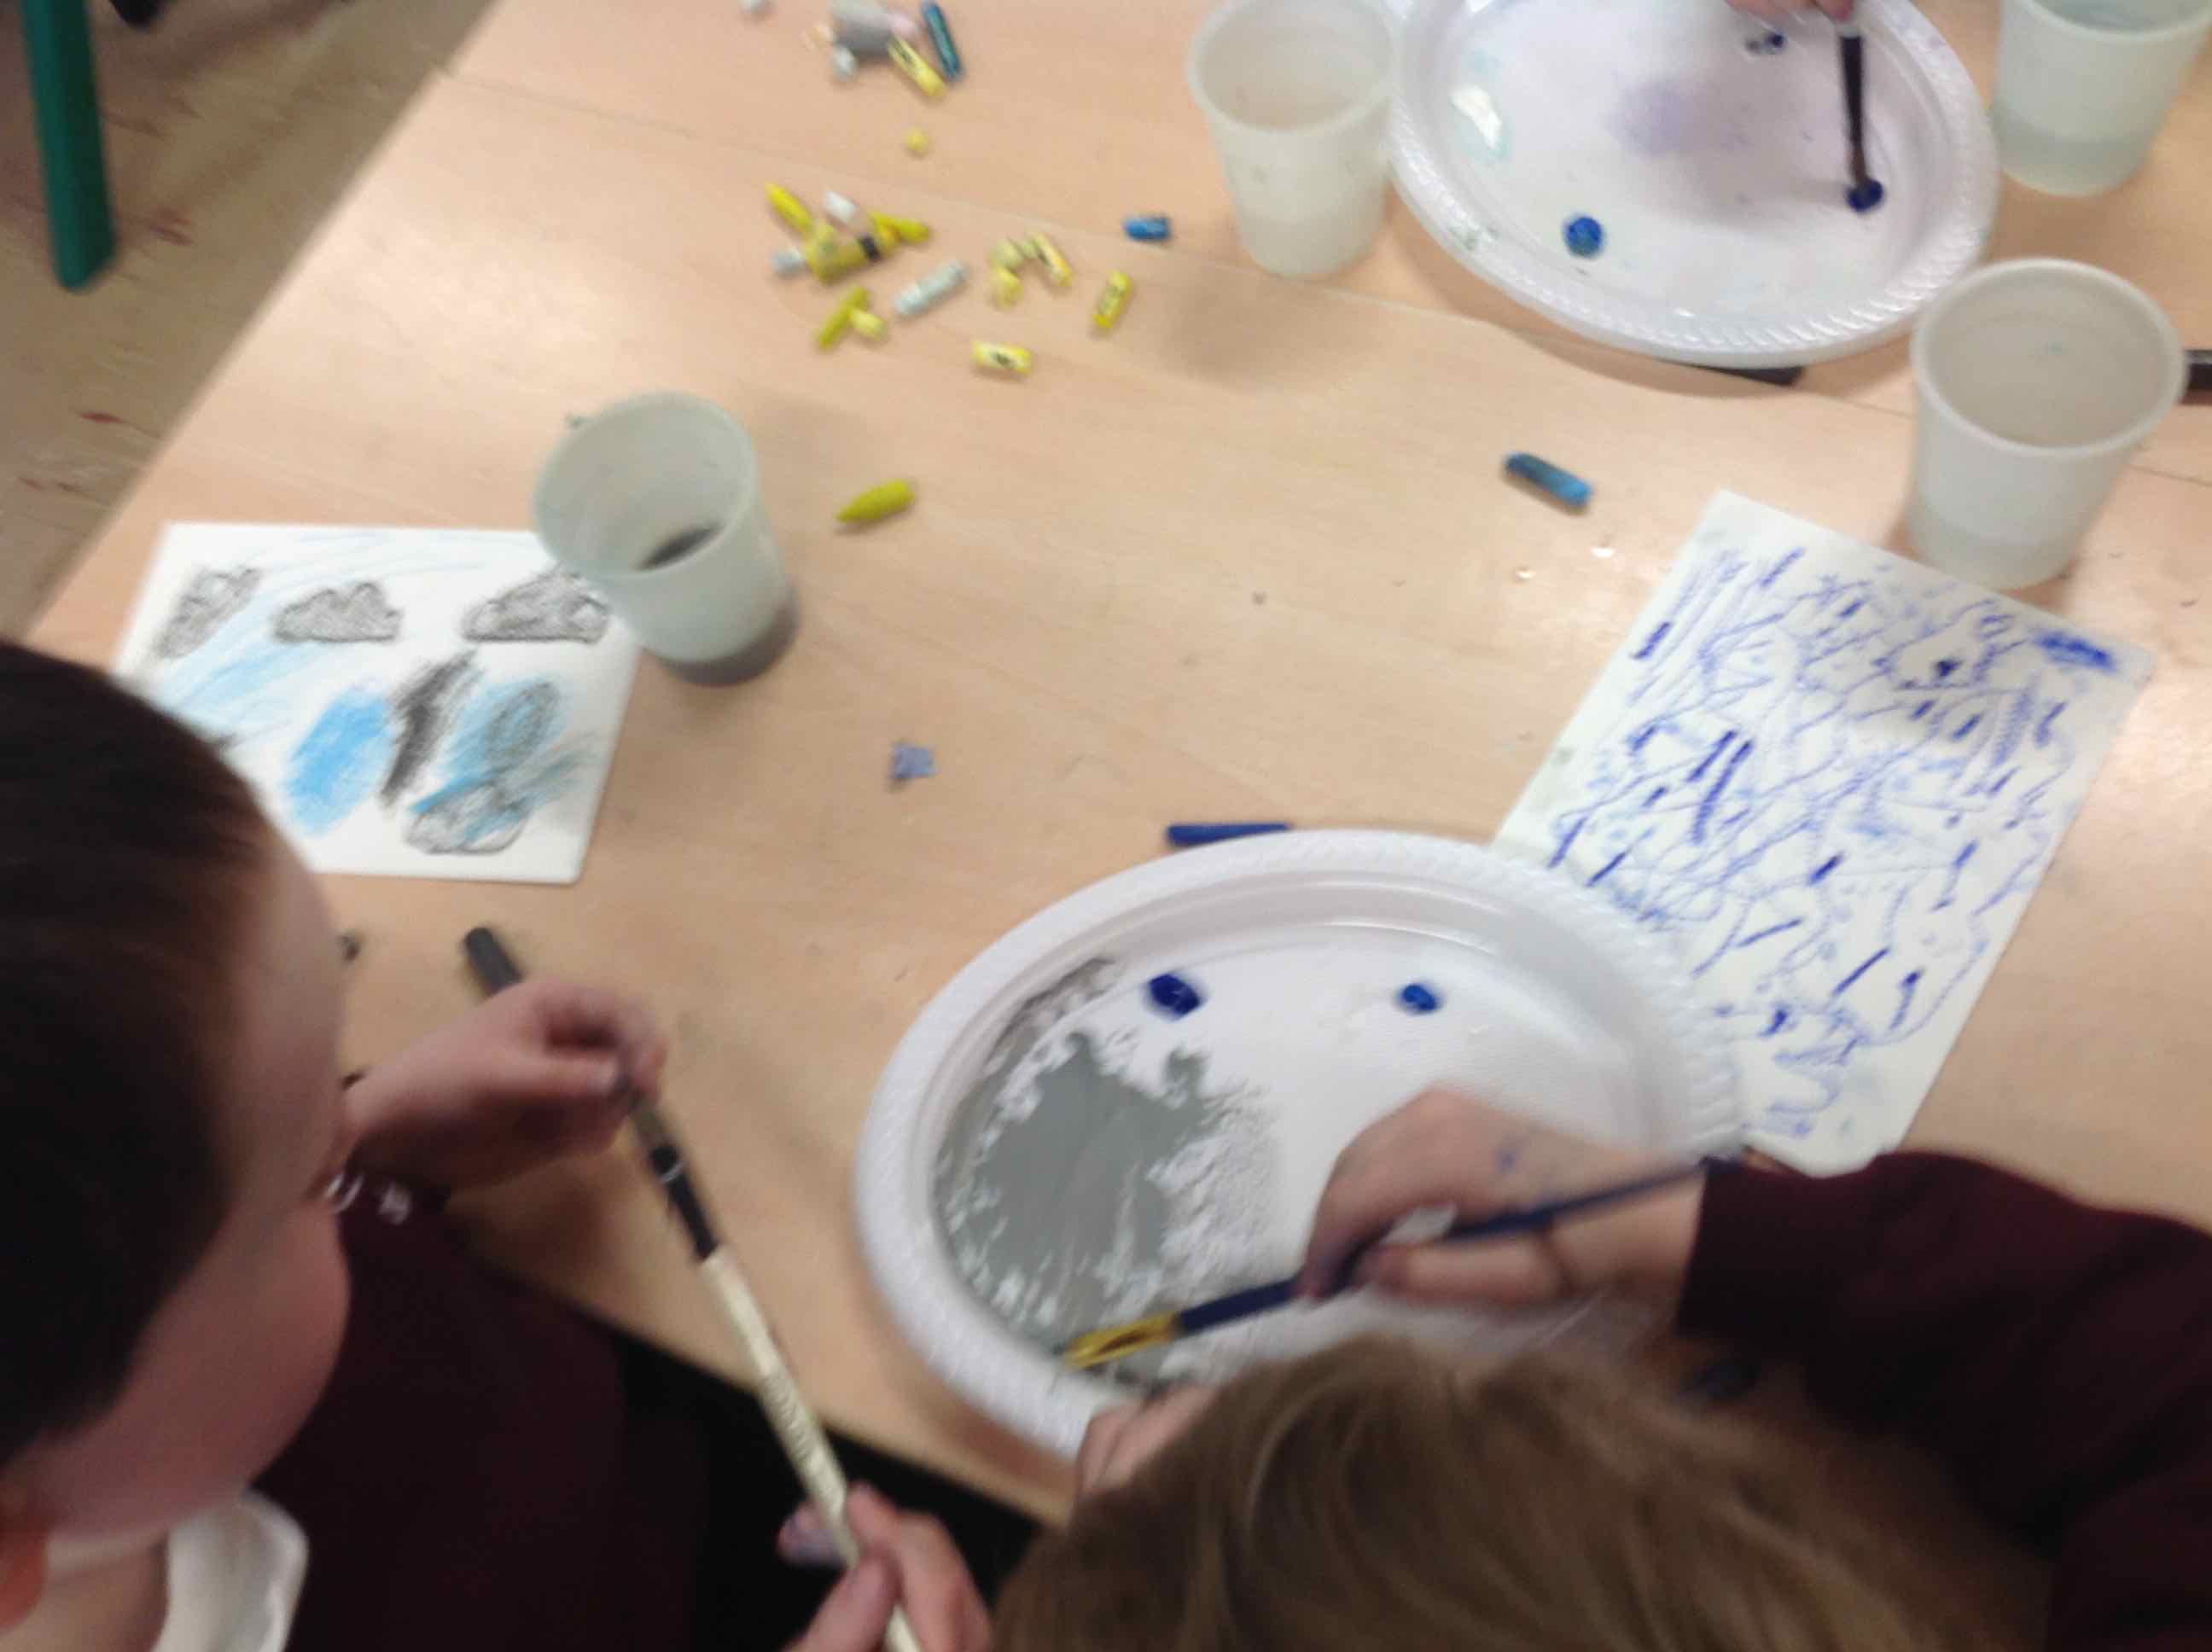
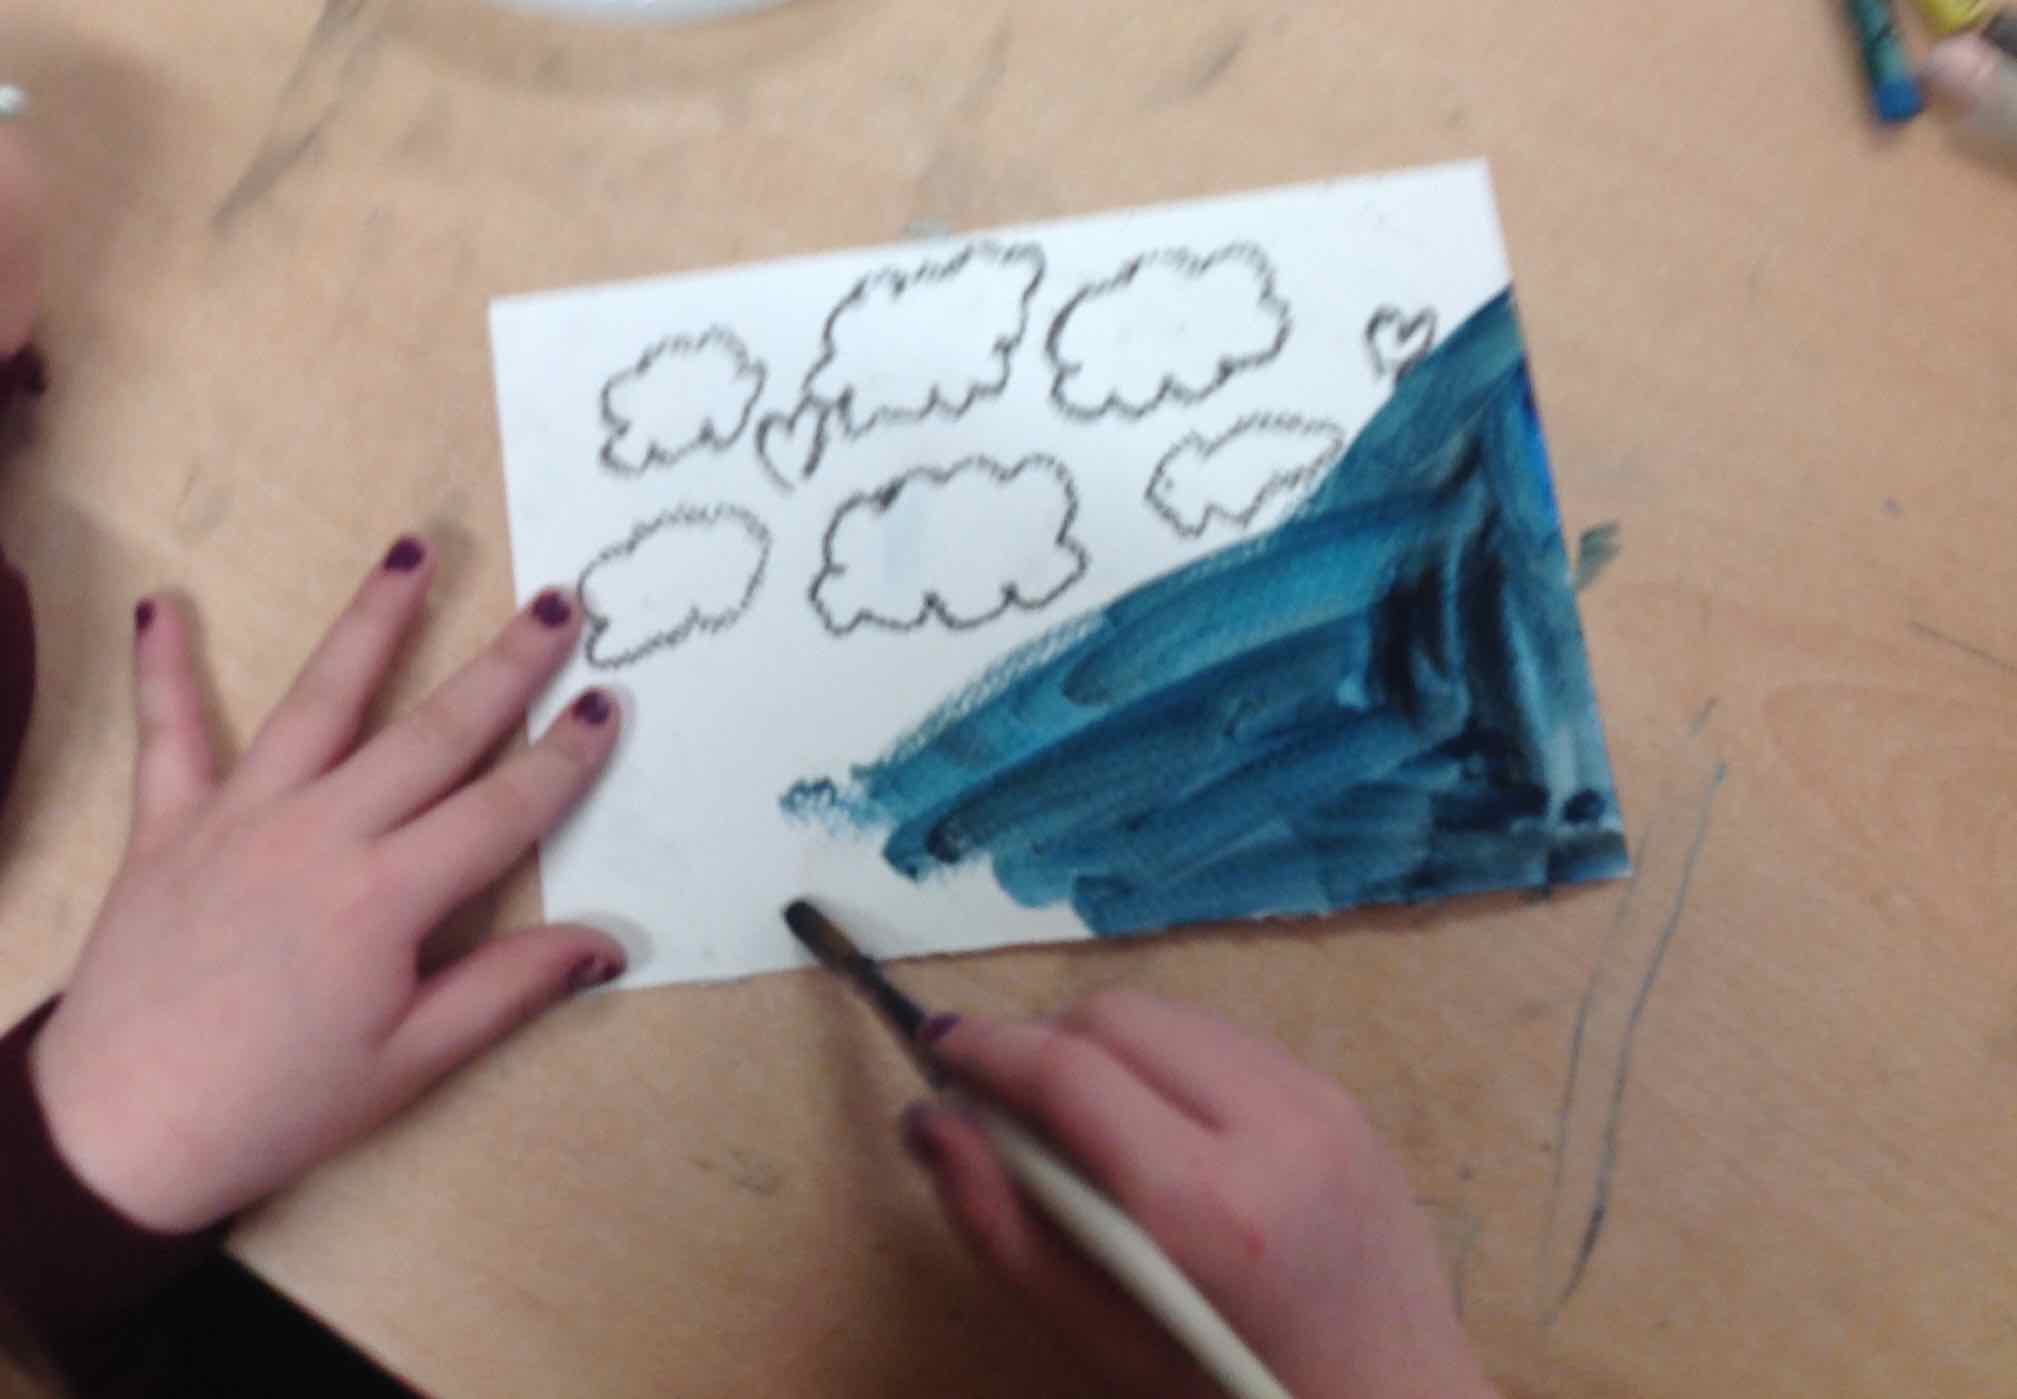
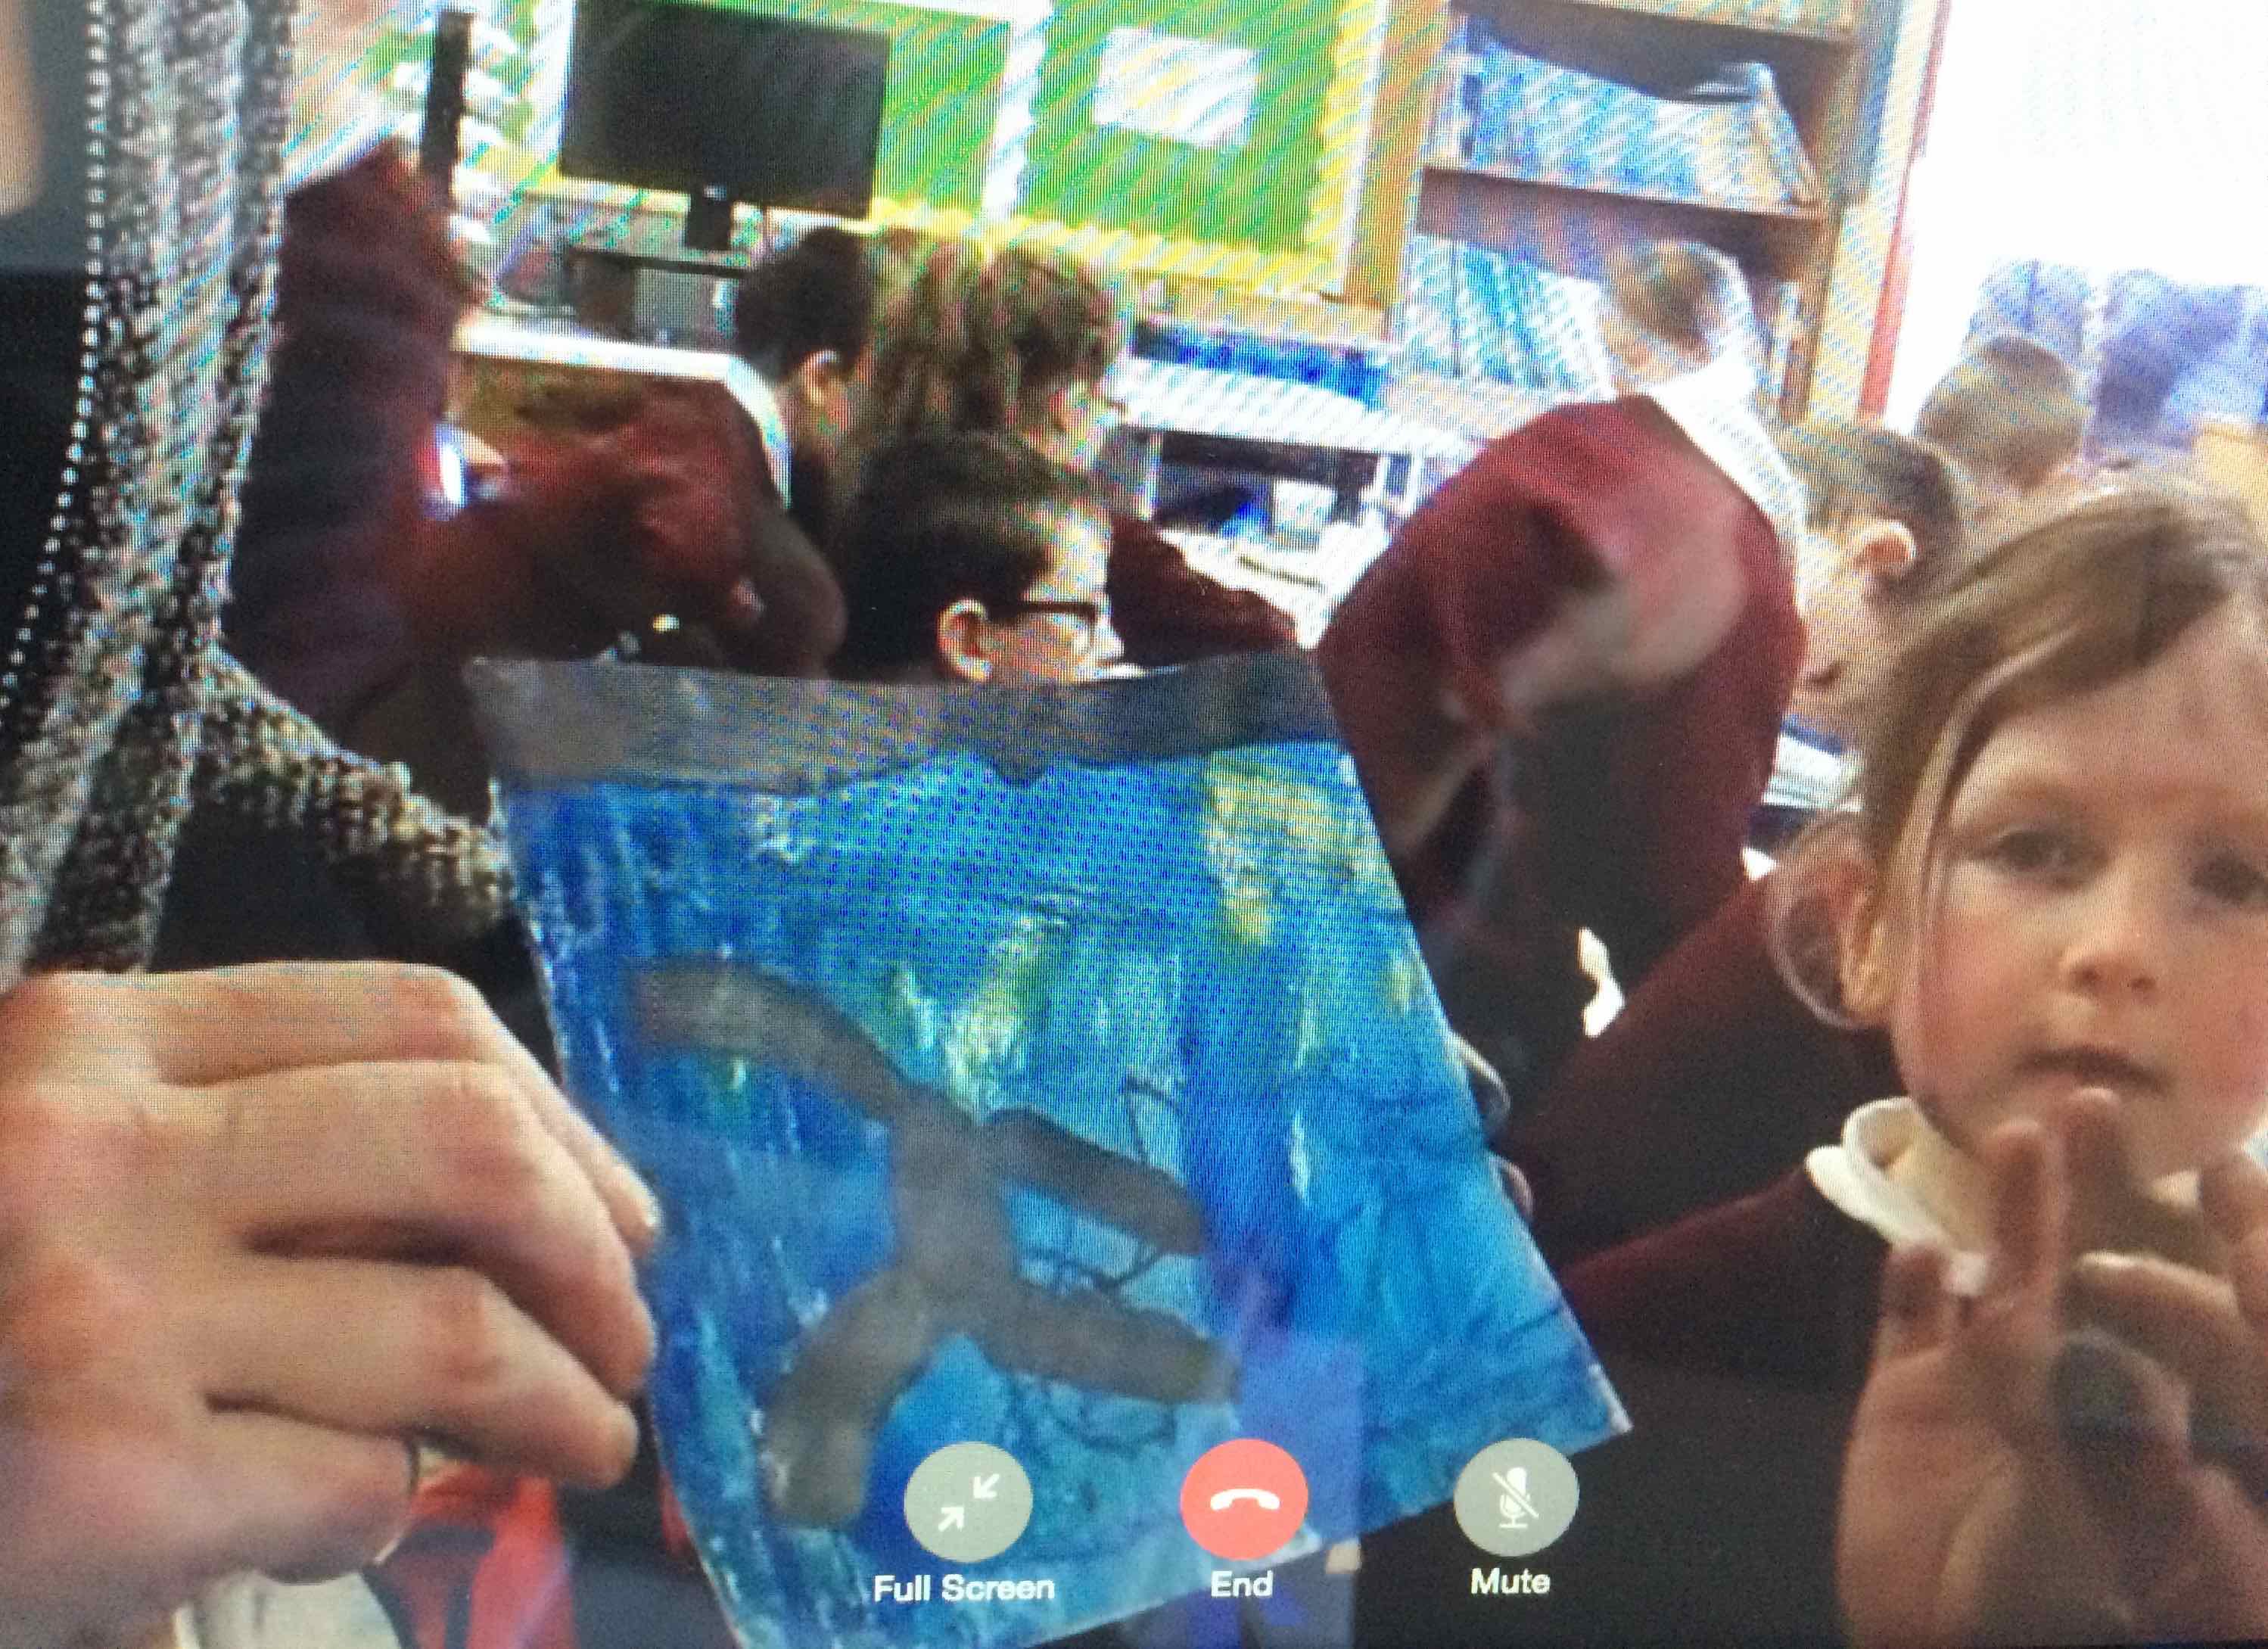
The children used the techniques they had experimented with last week to create wax and graphite resist paintings of their own windy sky.

IMG_2862    IMG_2861

IMG_2849    IMG_2850

IMG_2876    IMG_2879 (1)

IMG_2863    IMG_2866

IMG_2867

We used wax and graphite resist with a watercolour wash

IMG_2753

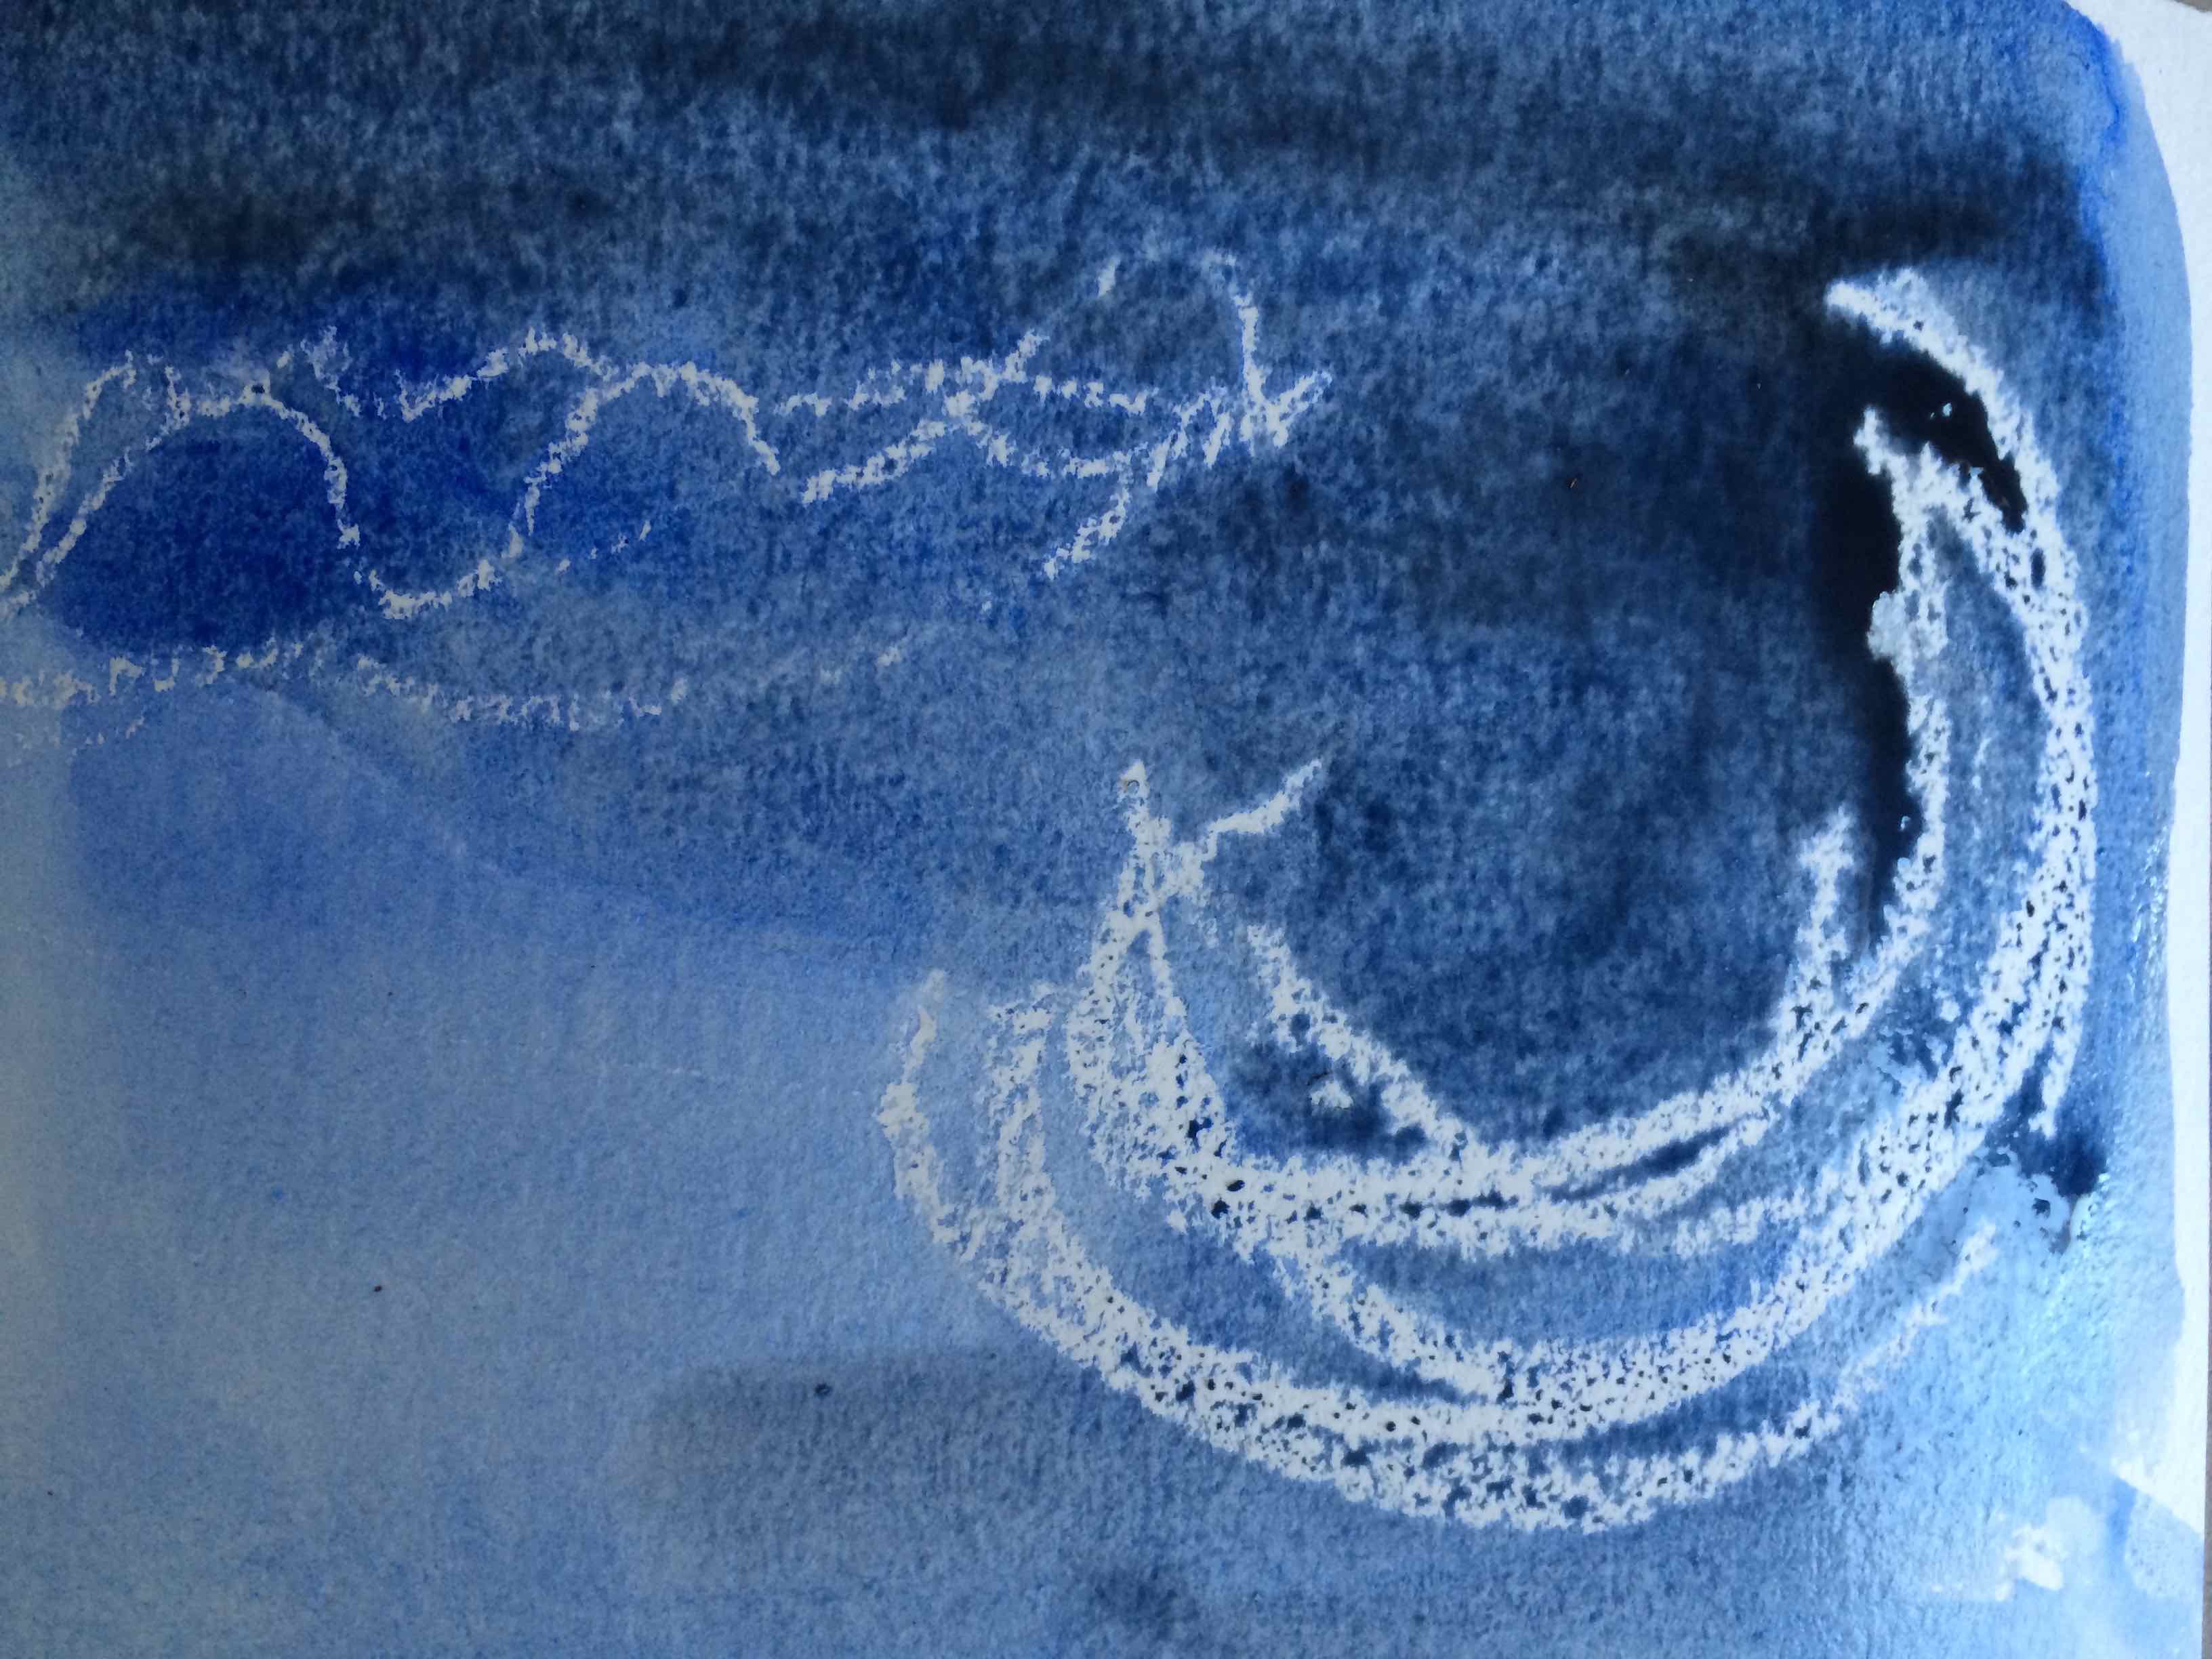
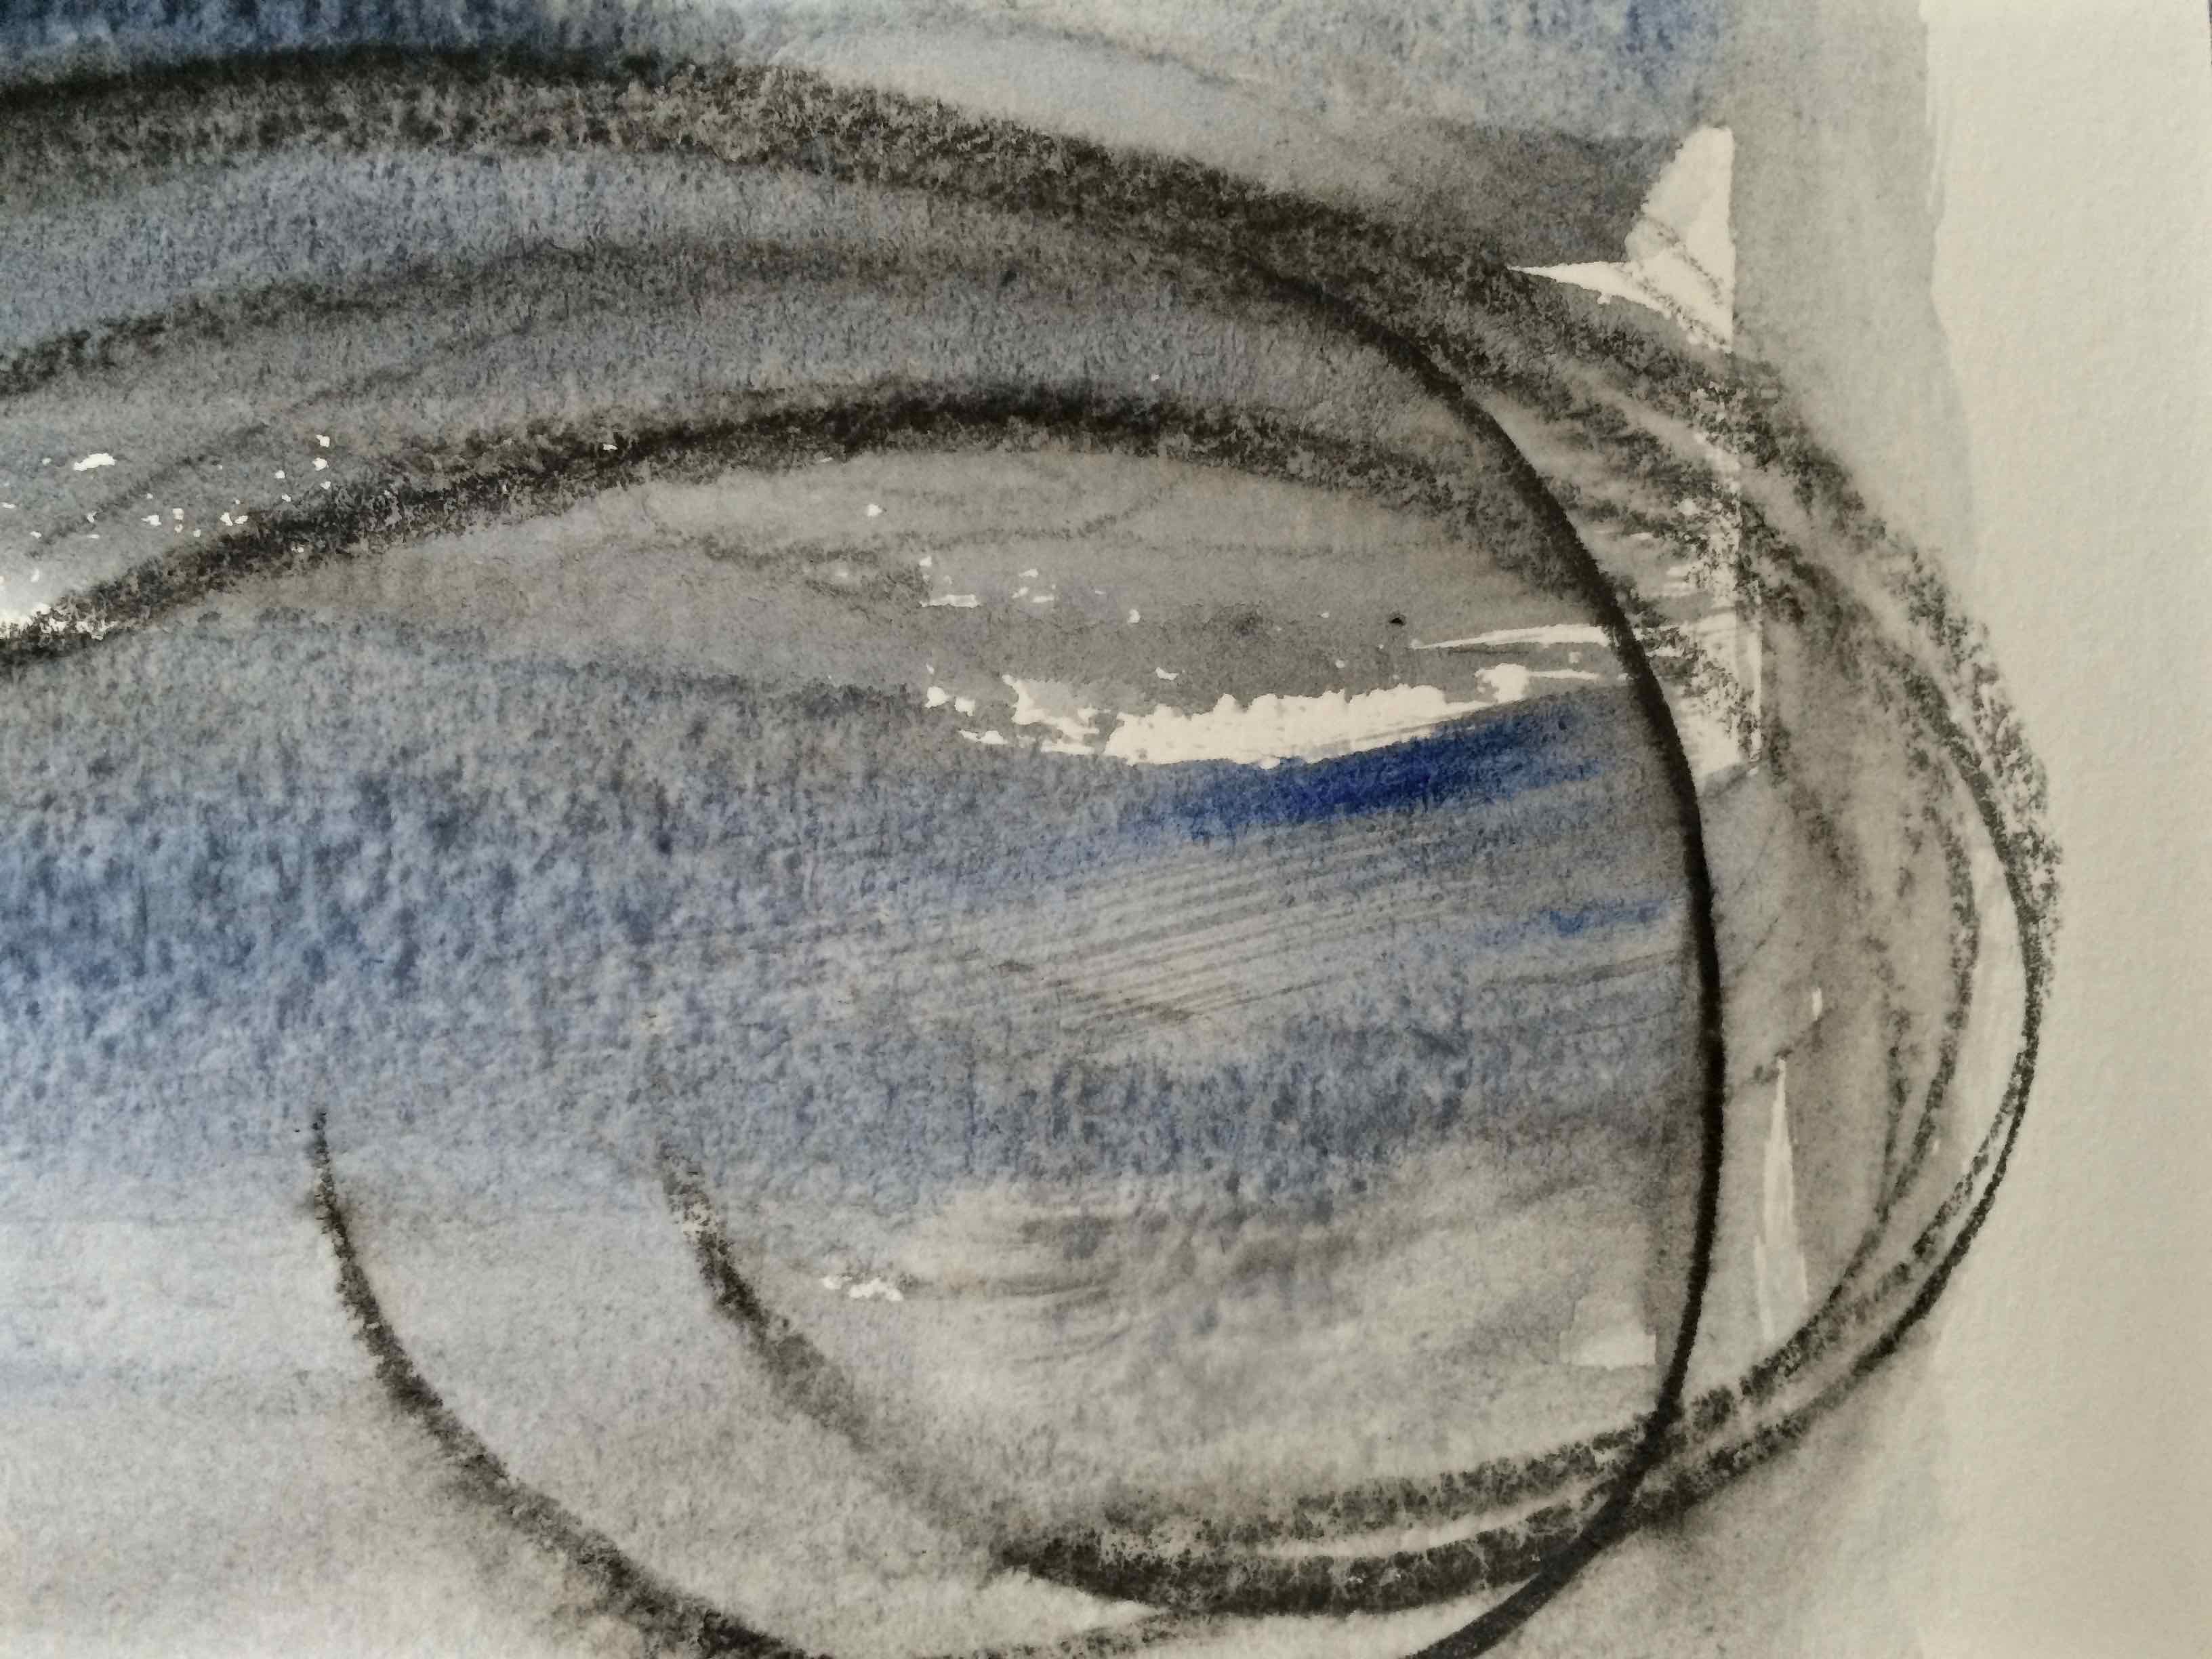
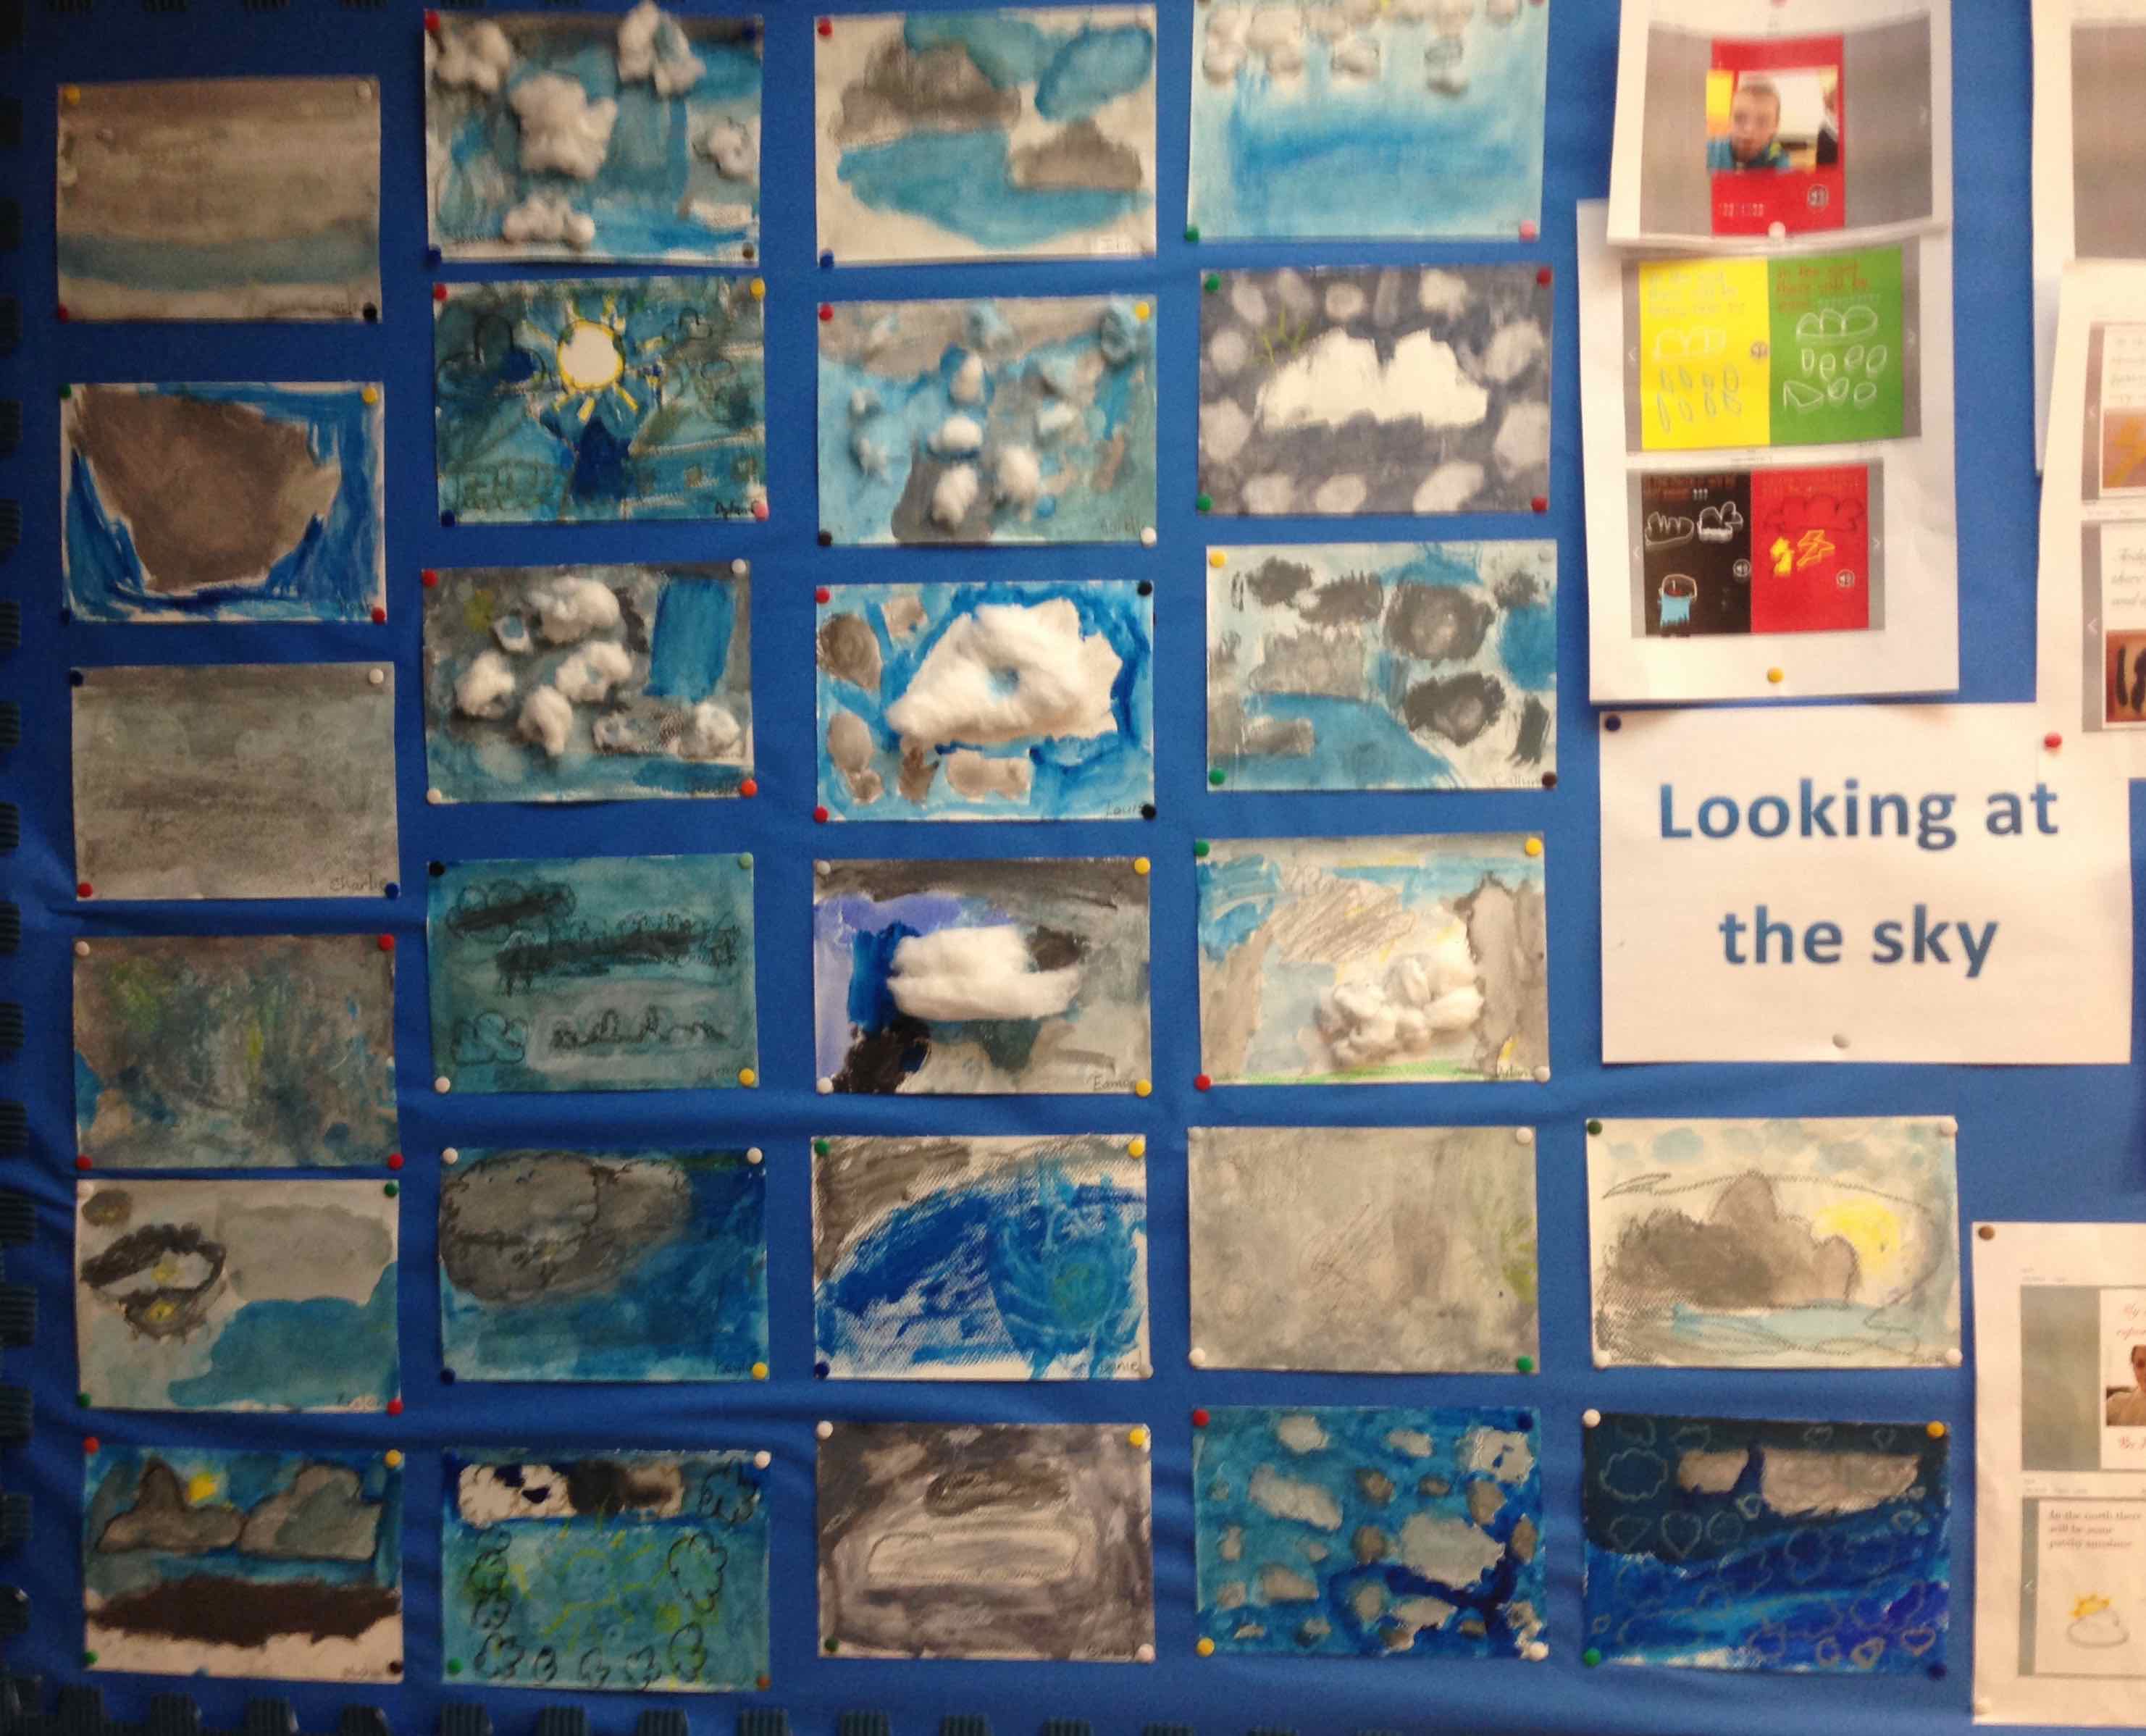
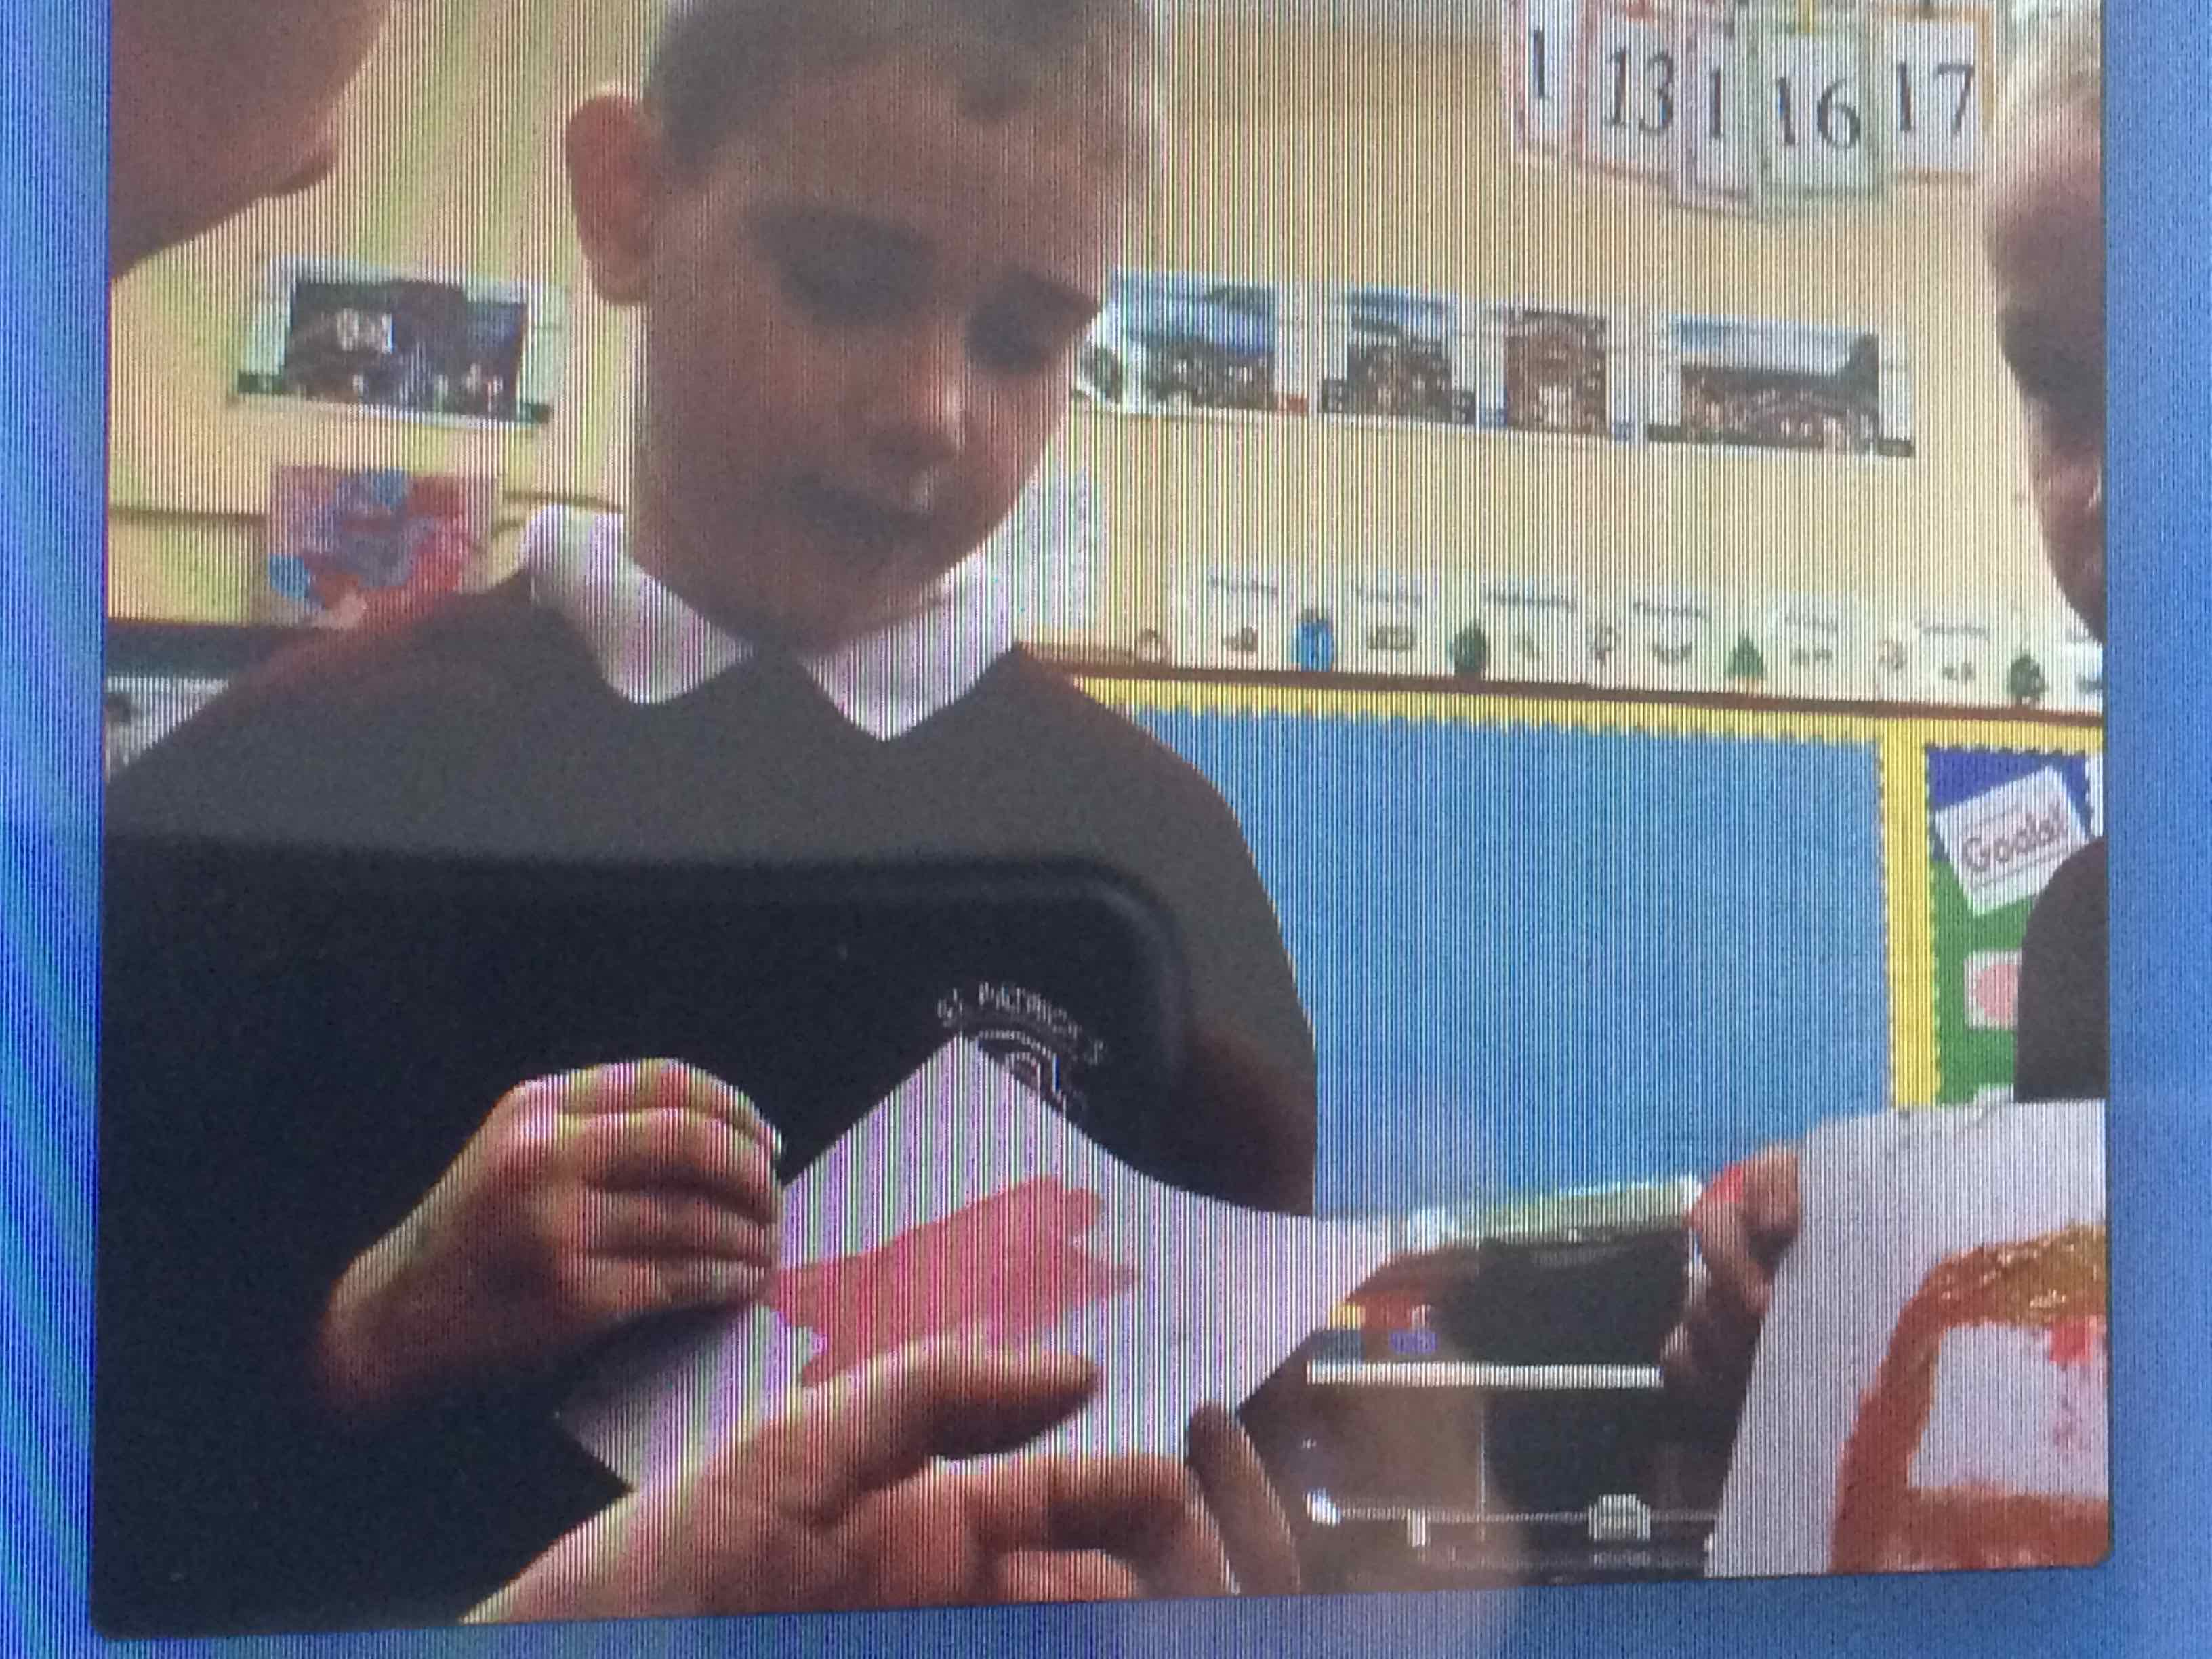
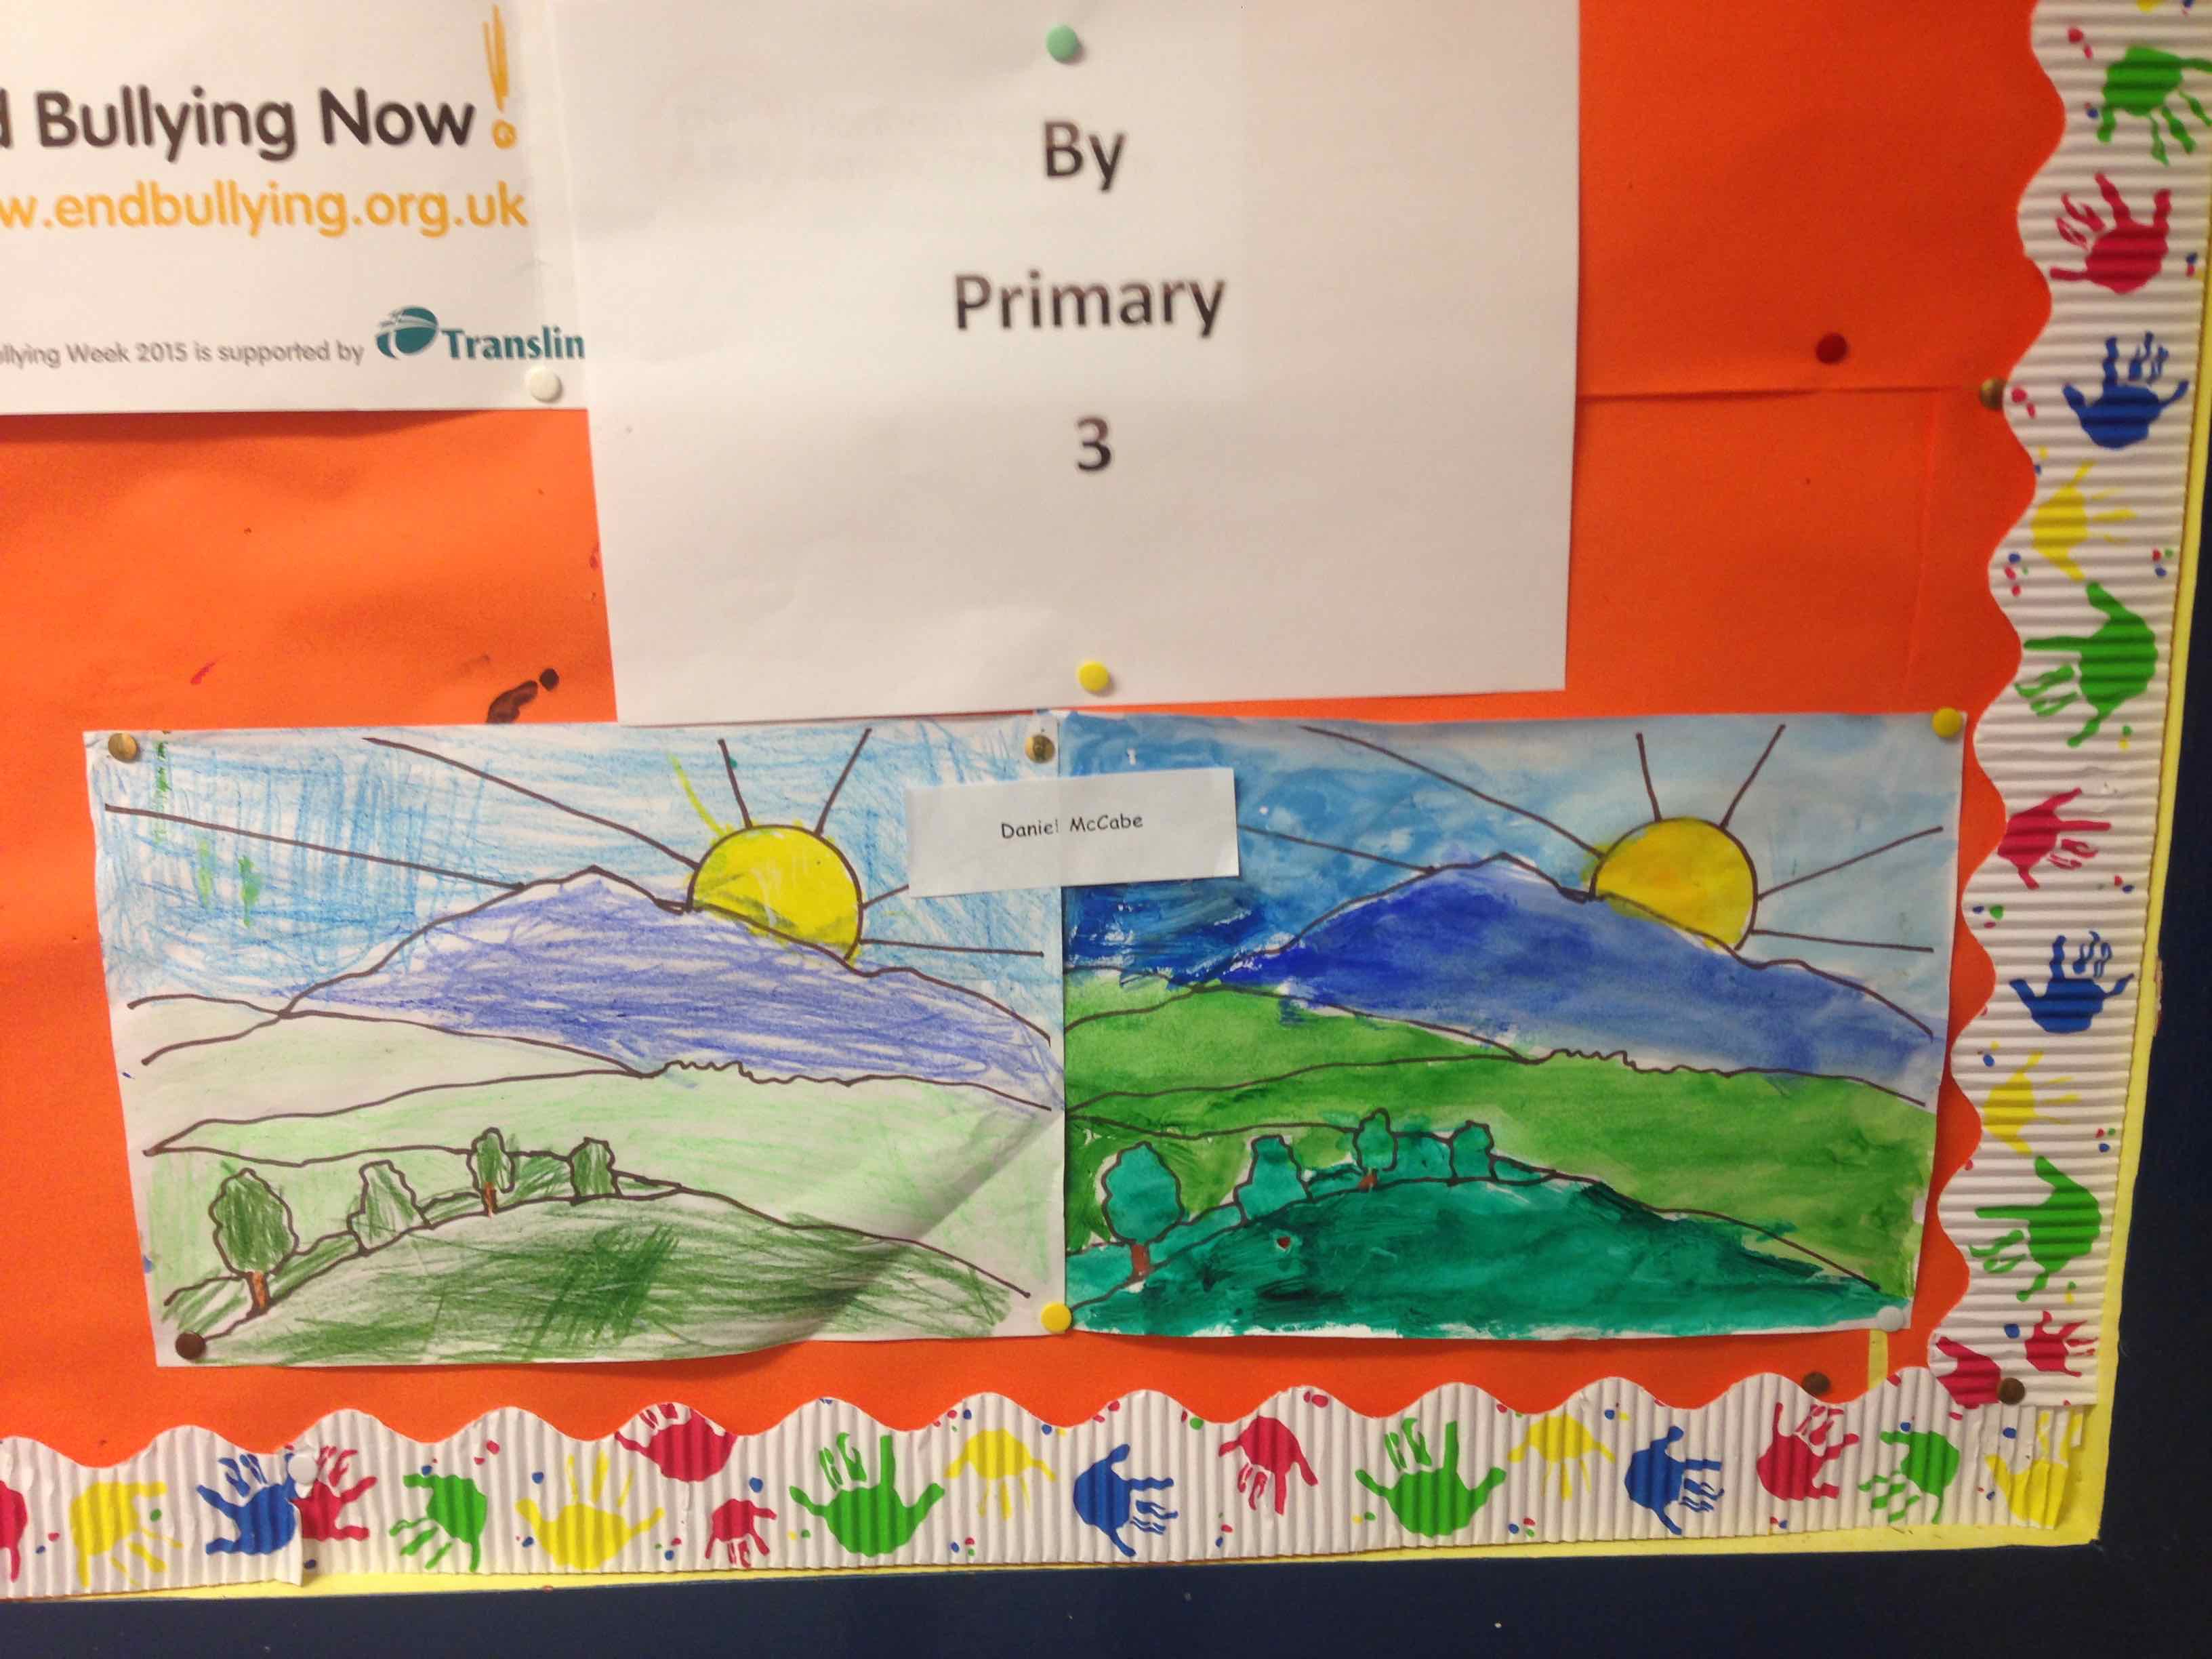
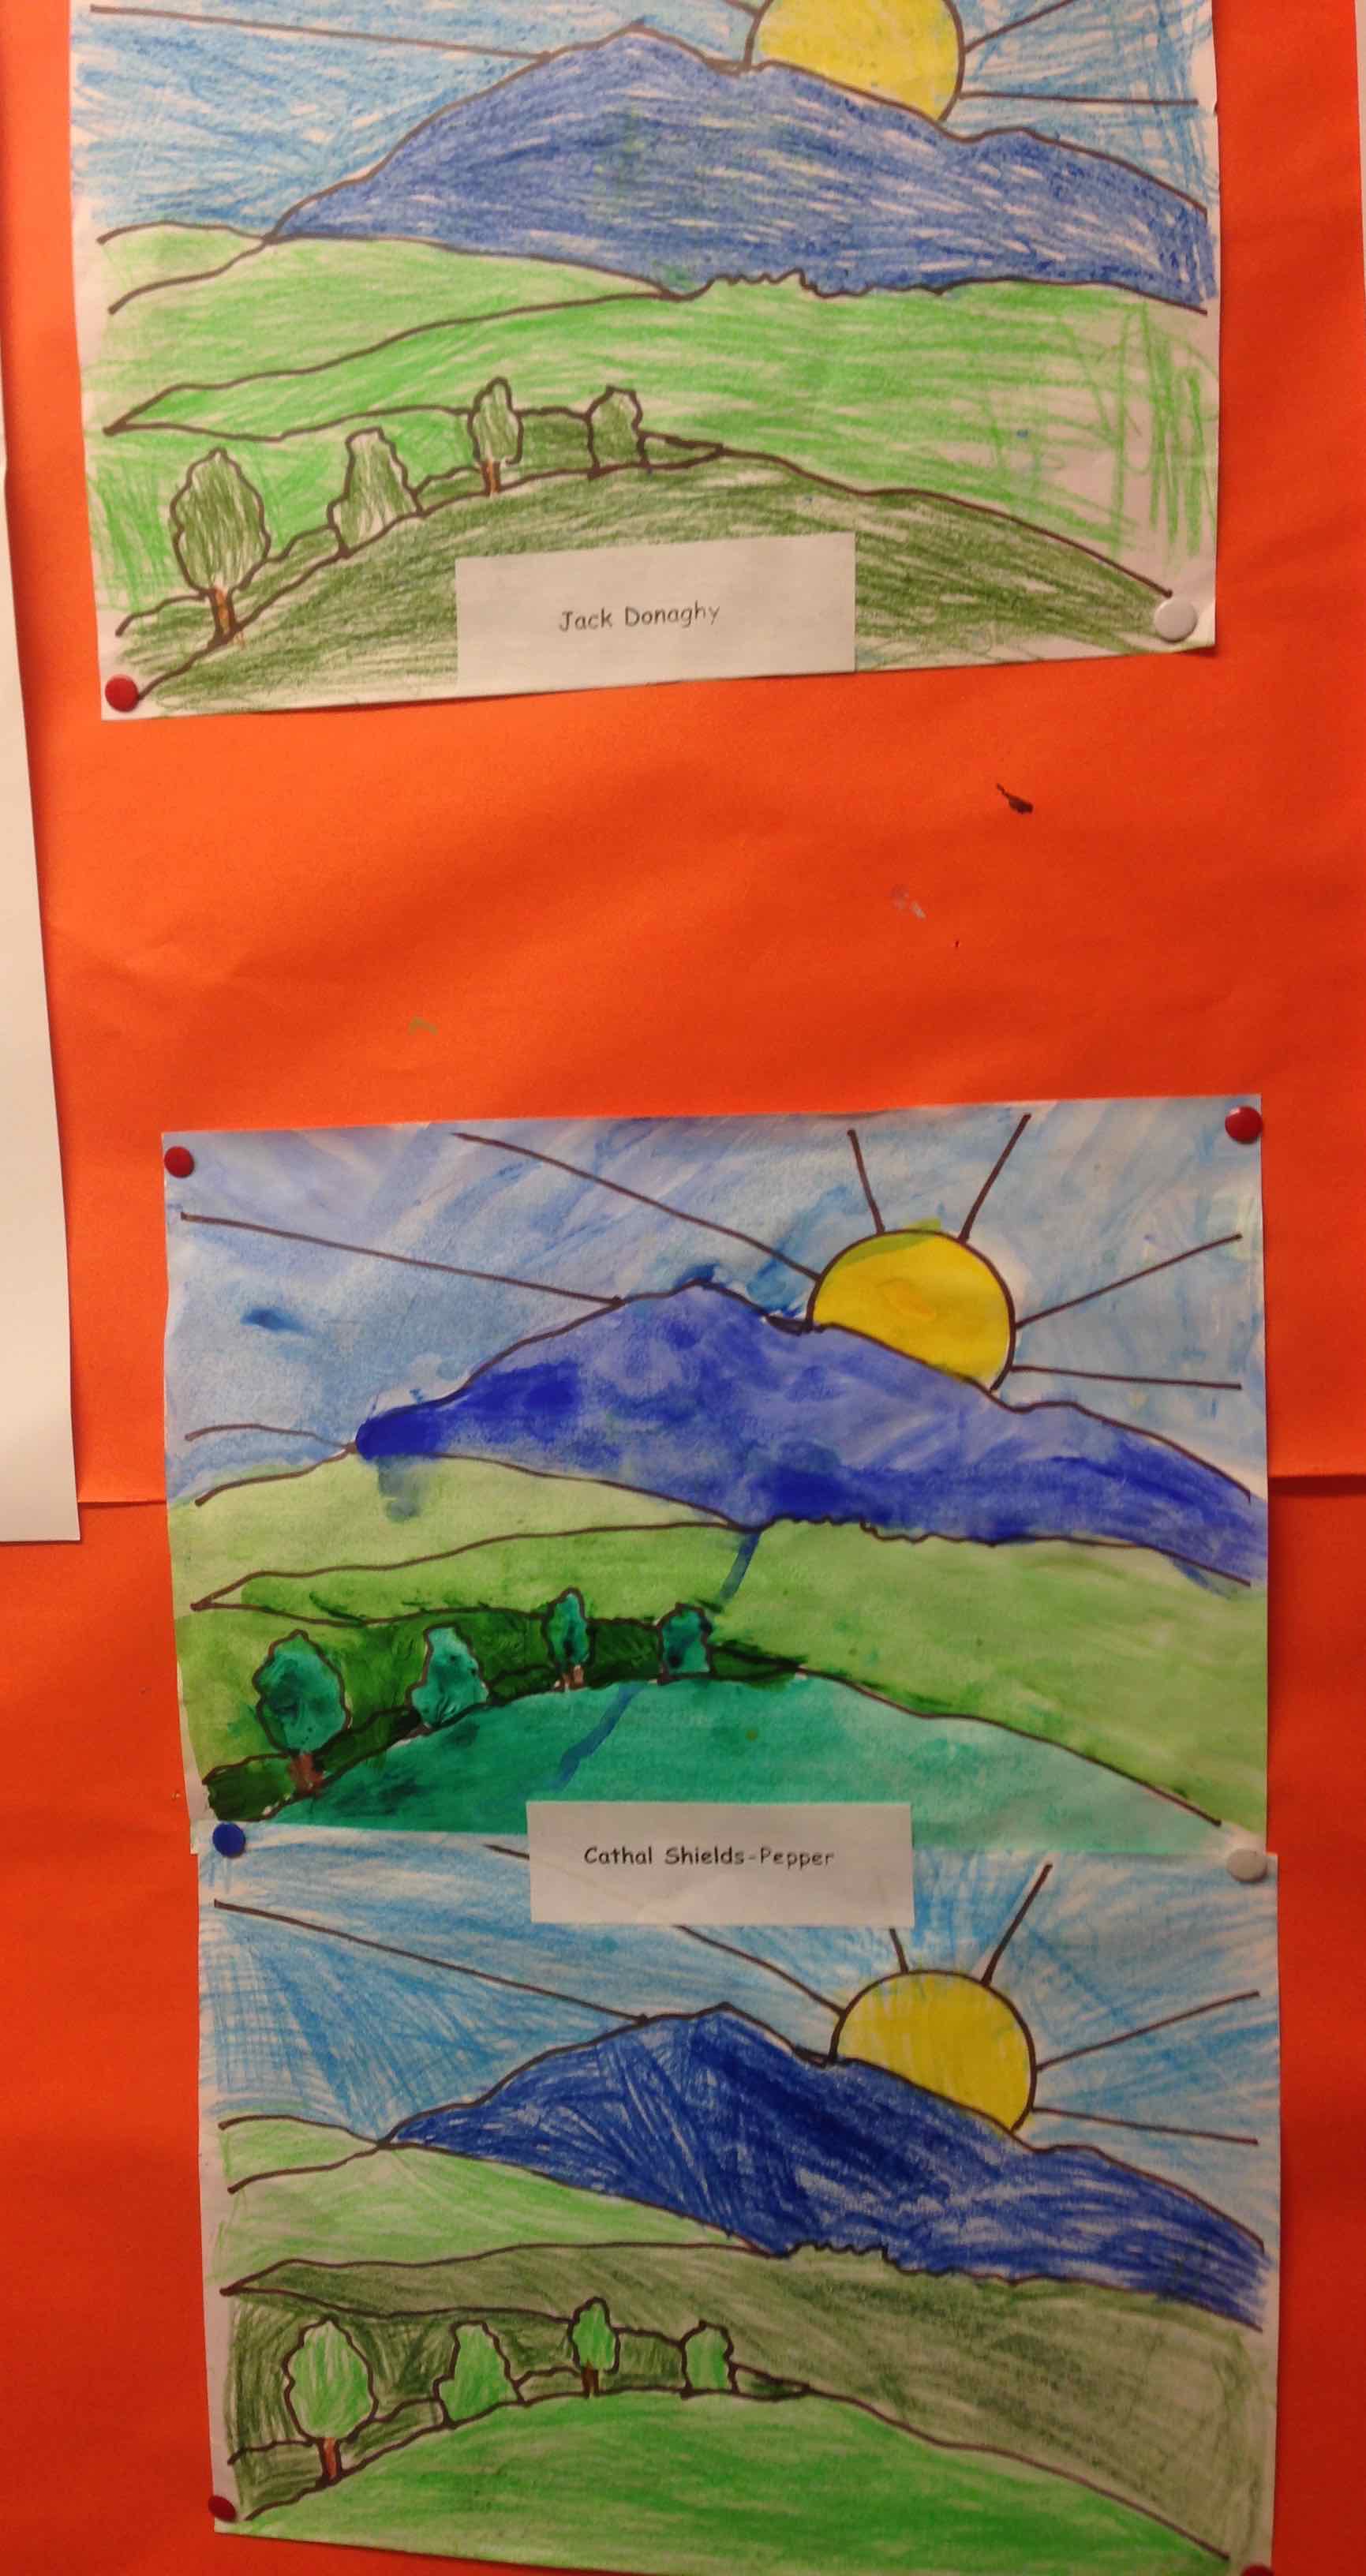
I really enjoyed seeing these works via the online camera! Thank you P3 they are beautiful!


IMG_2791    IMG_2798

IMG_2787    IMG_2785

IMG_2783

IMG_2782

IMG_2780     IMG_2767

IMG_2762

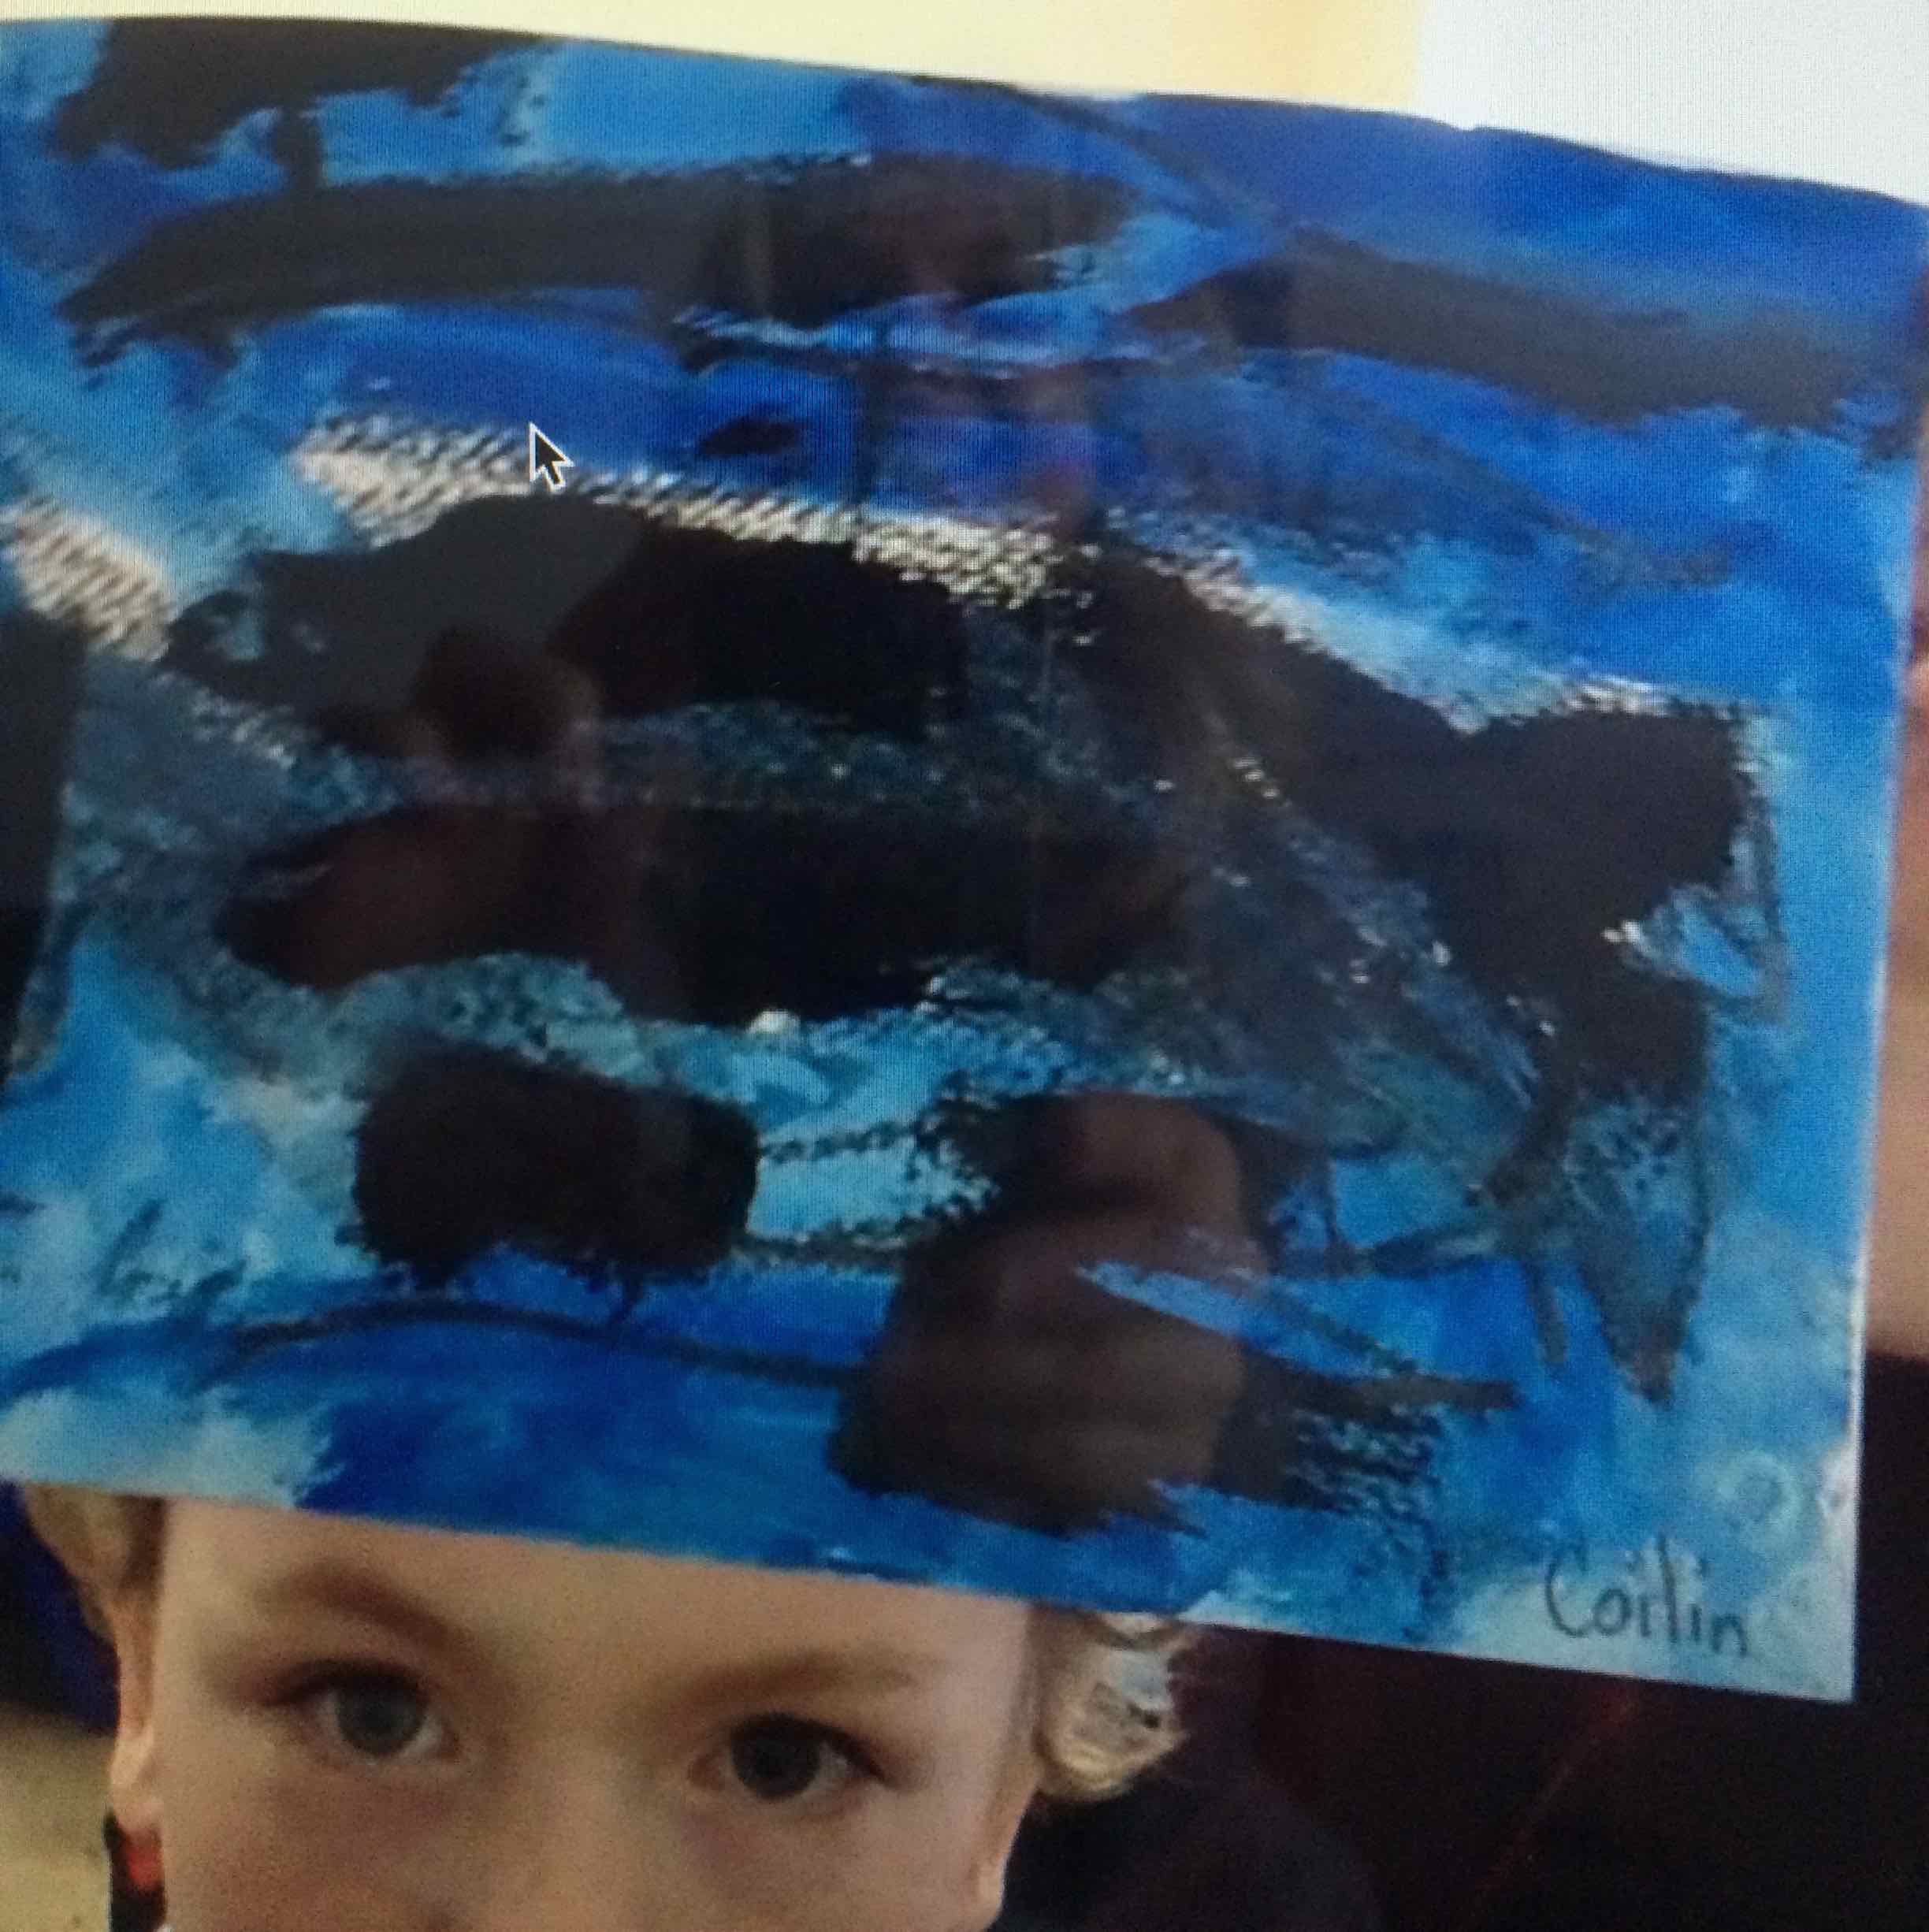
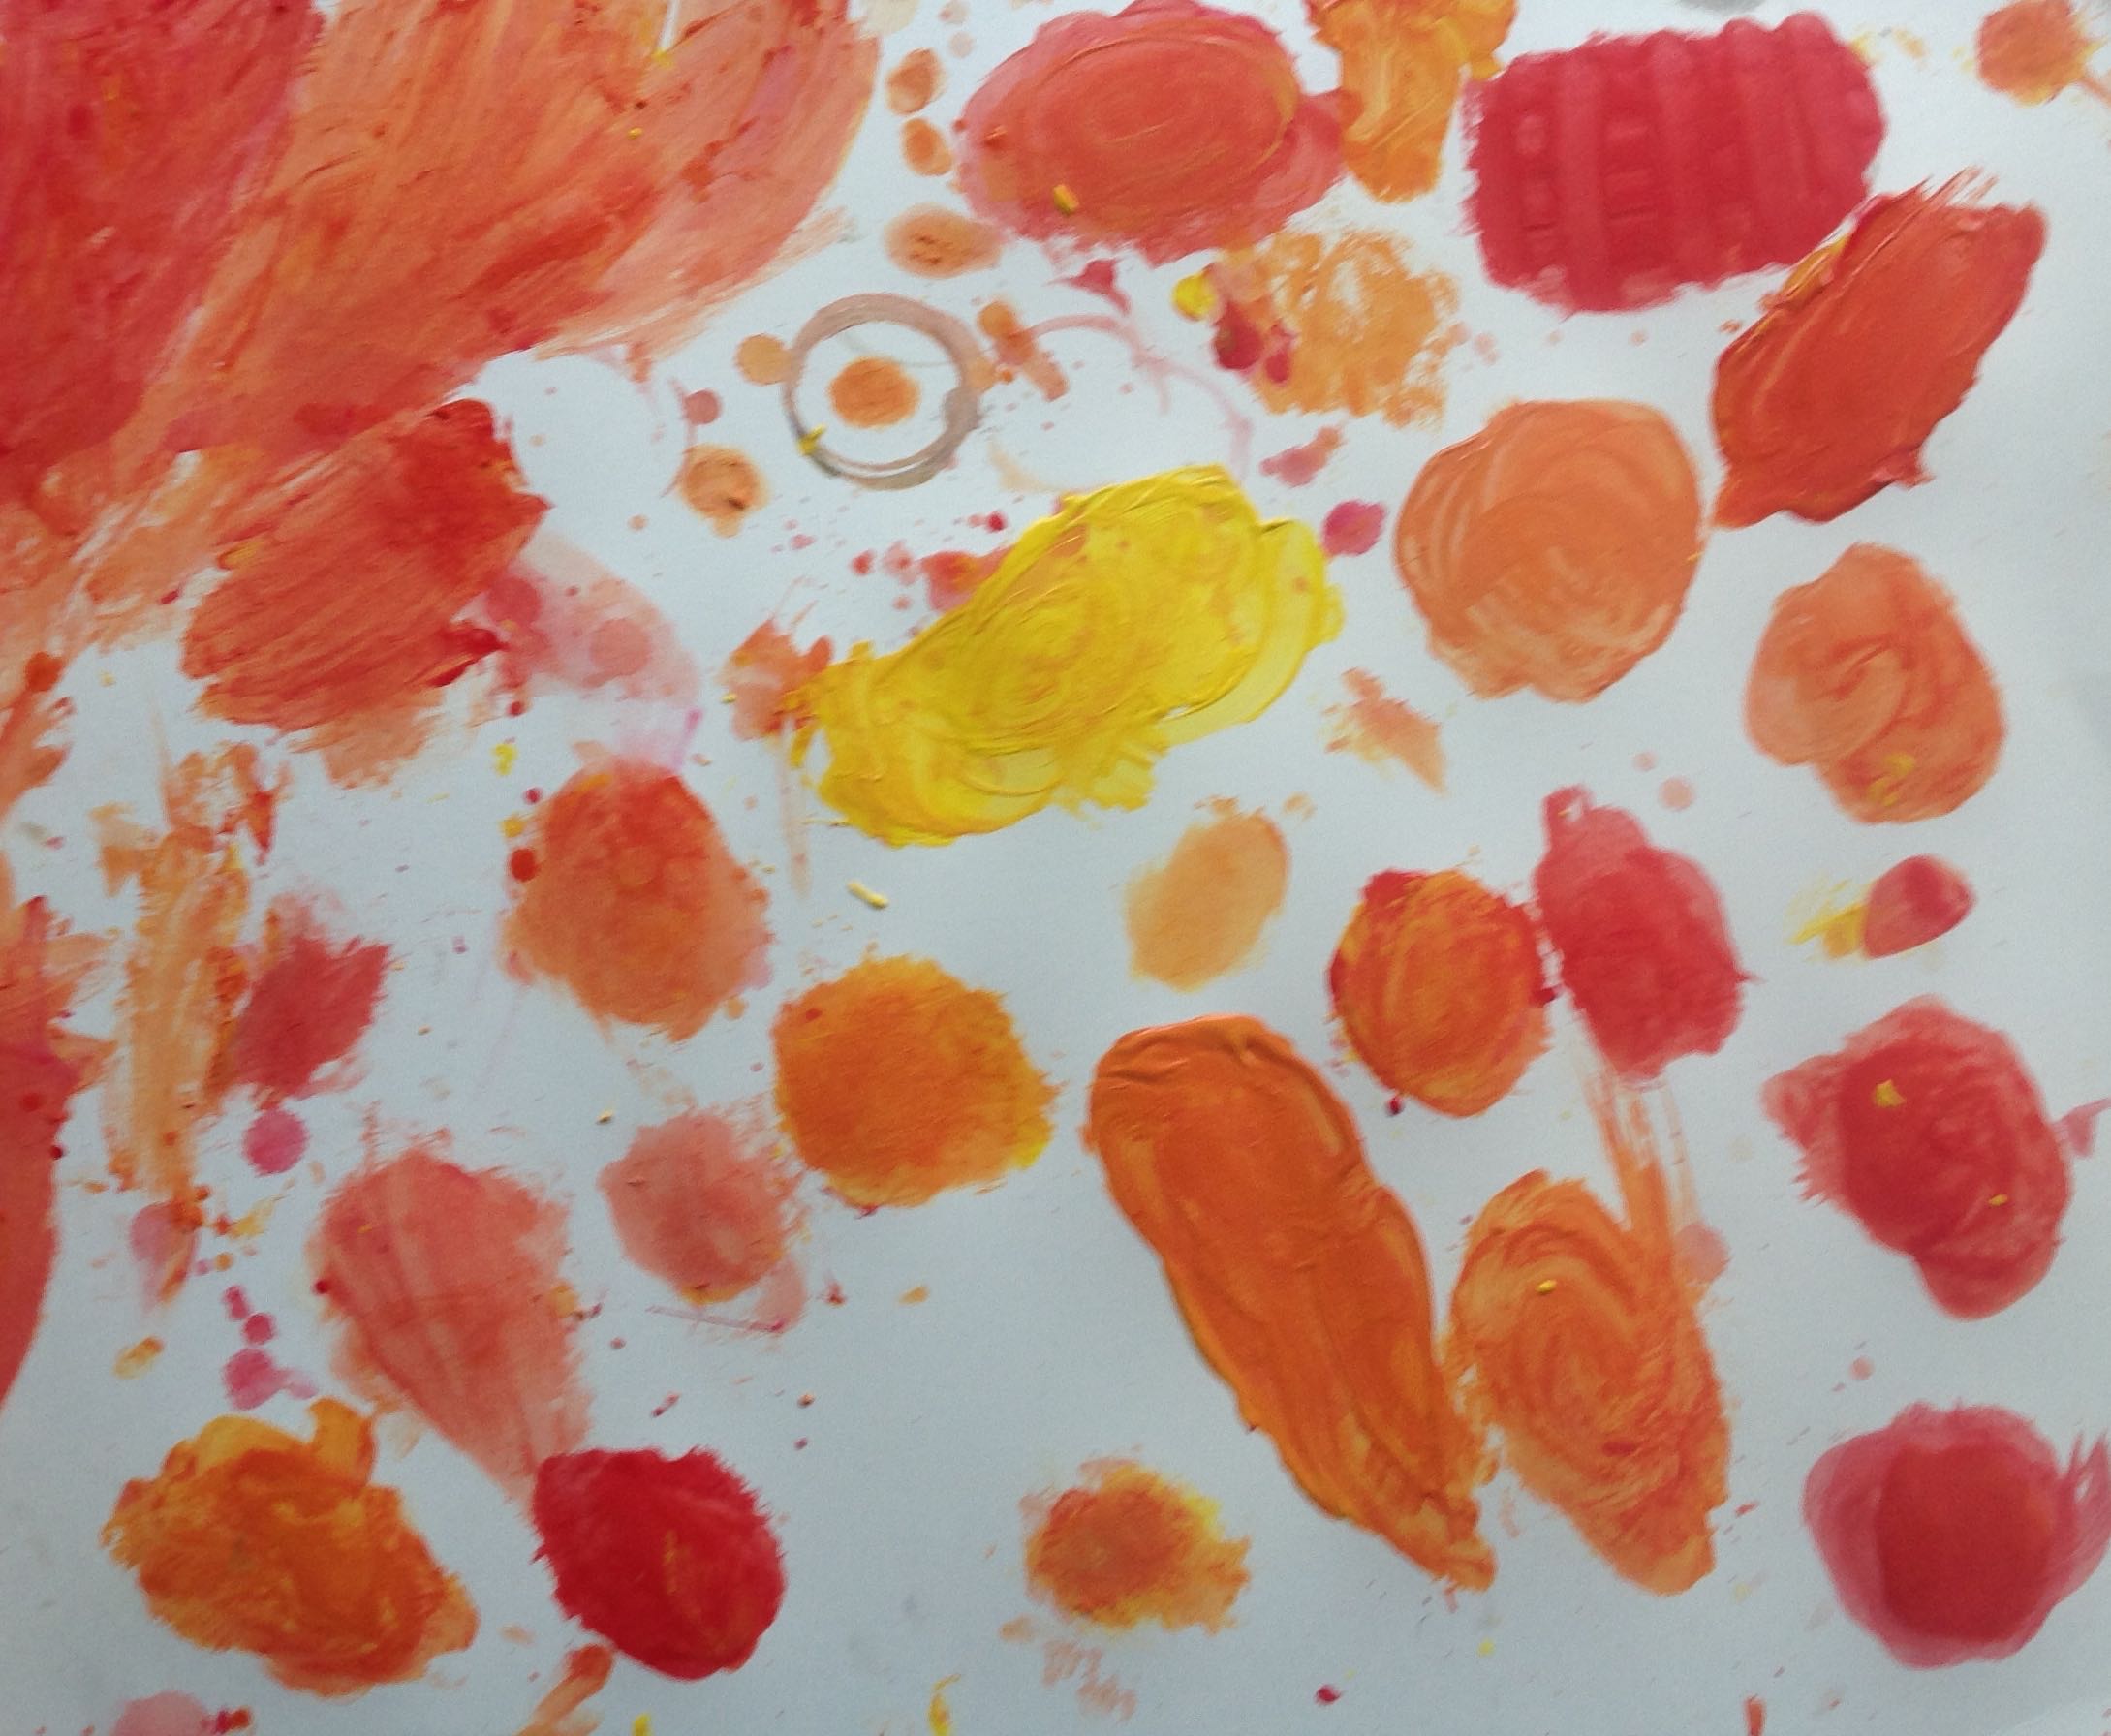
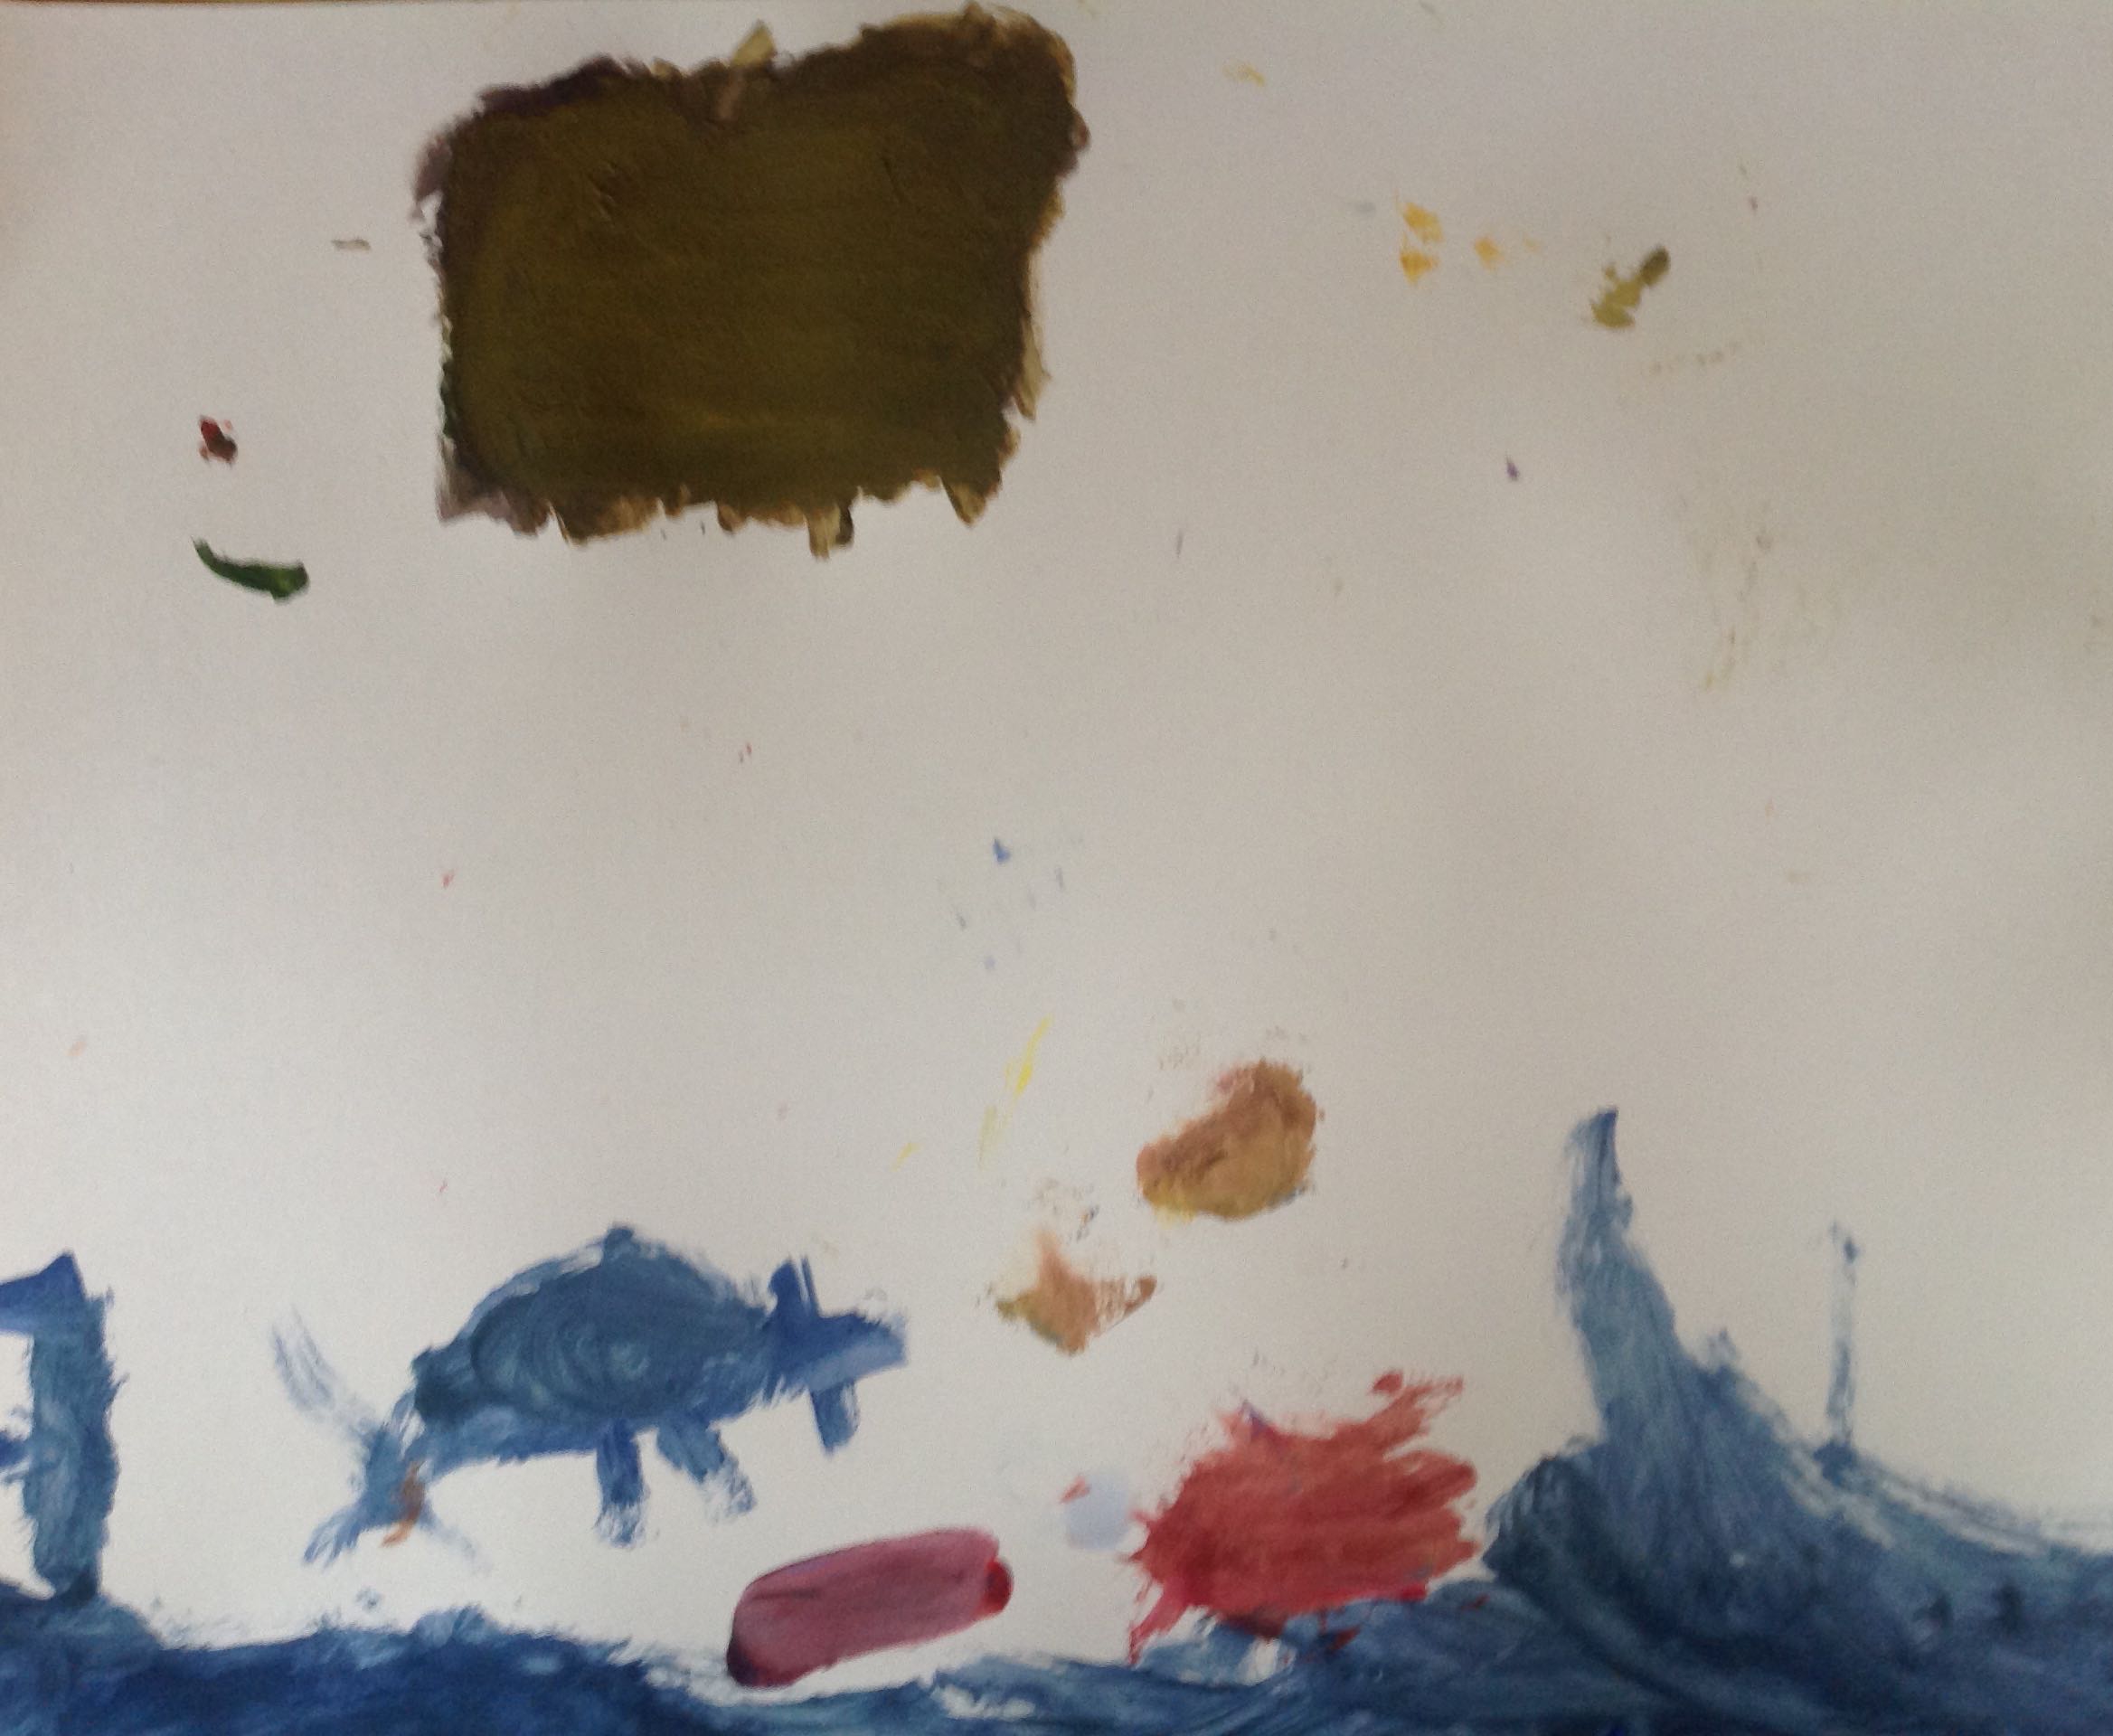
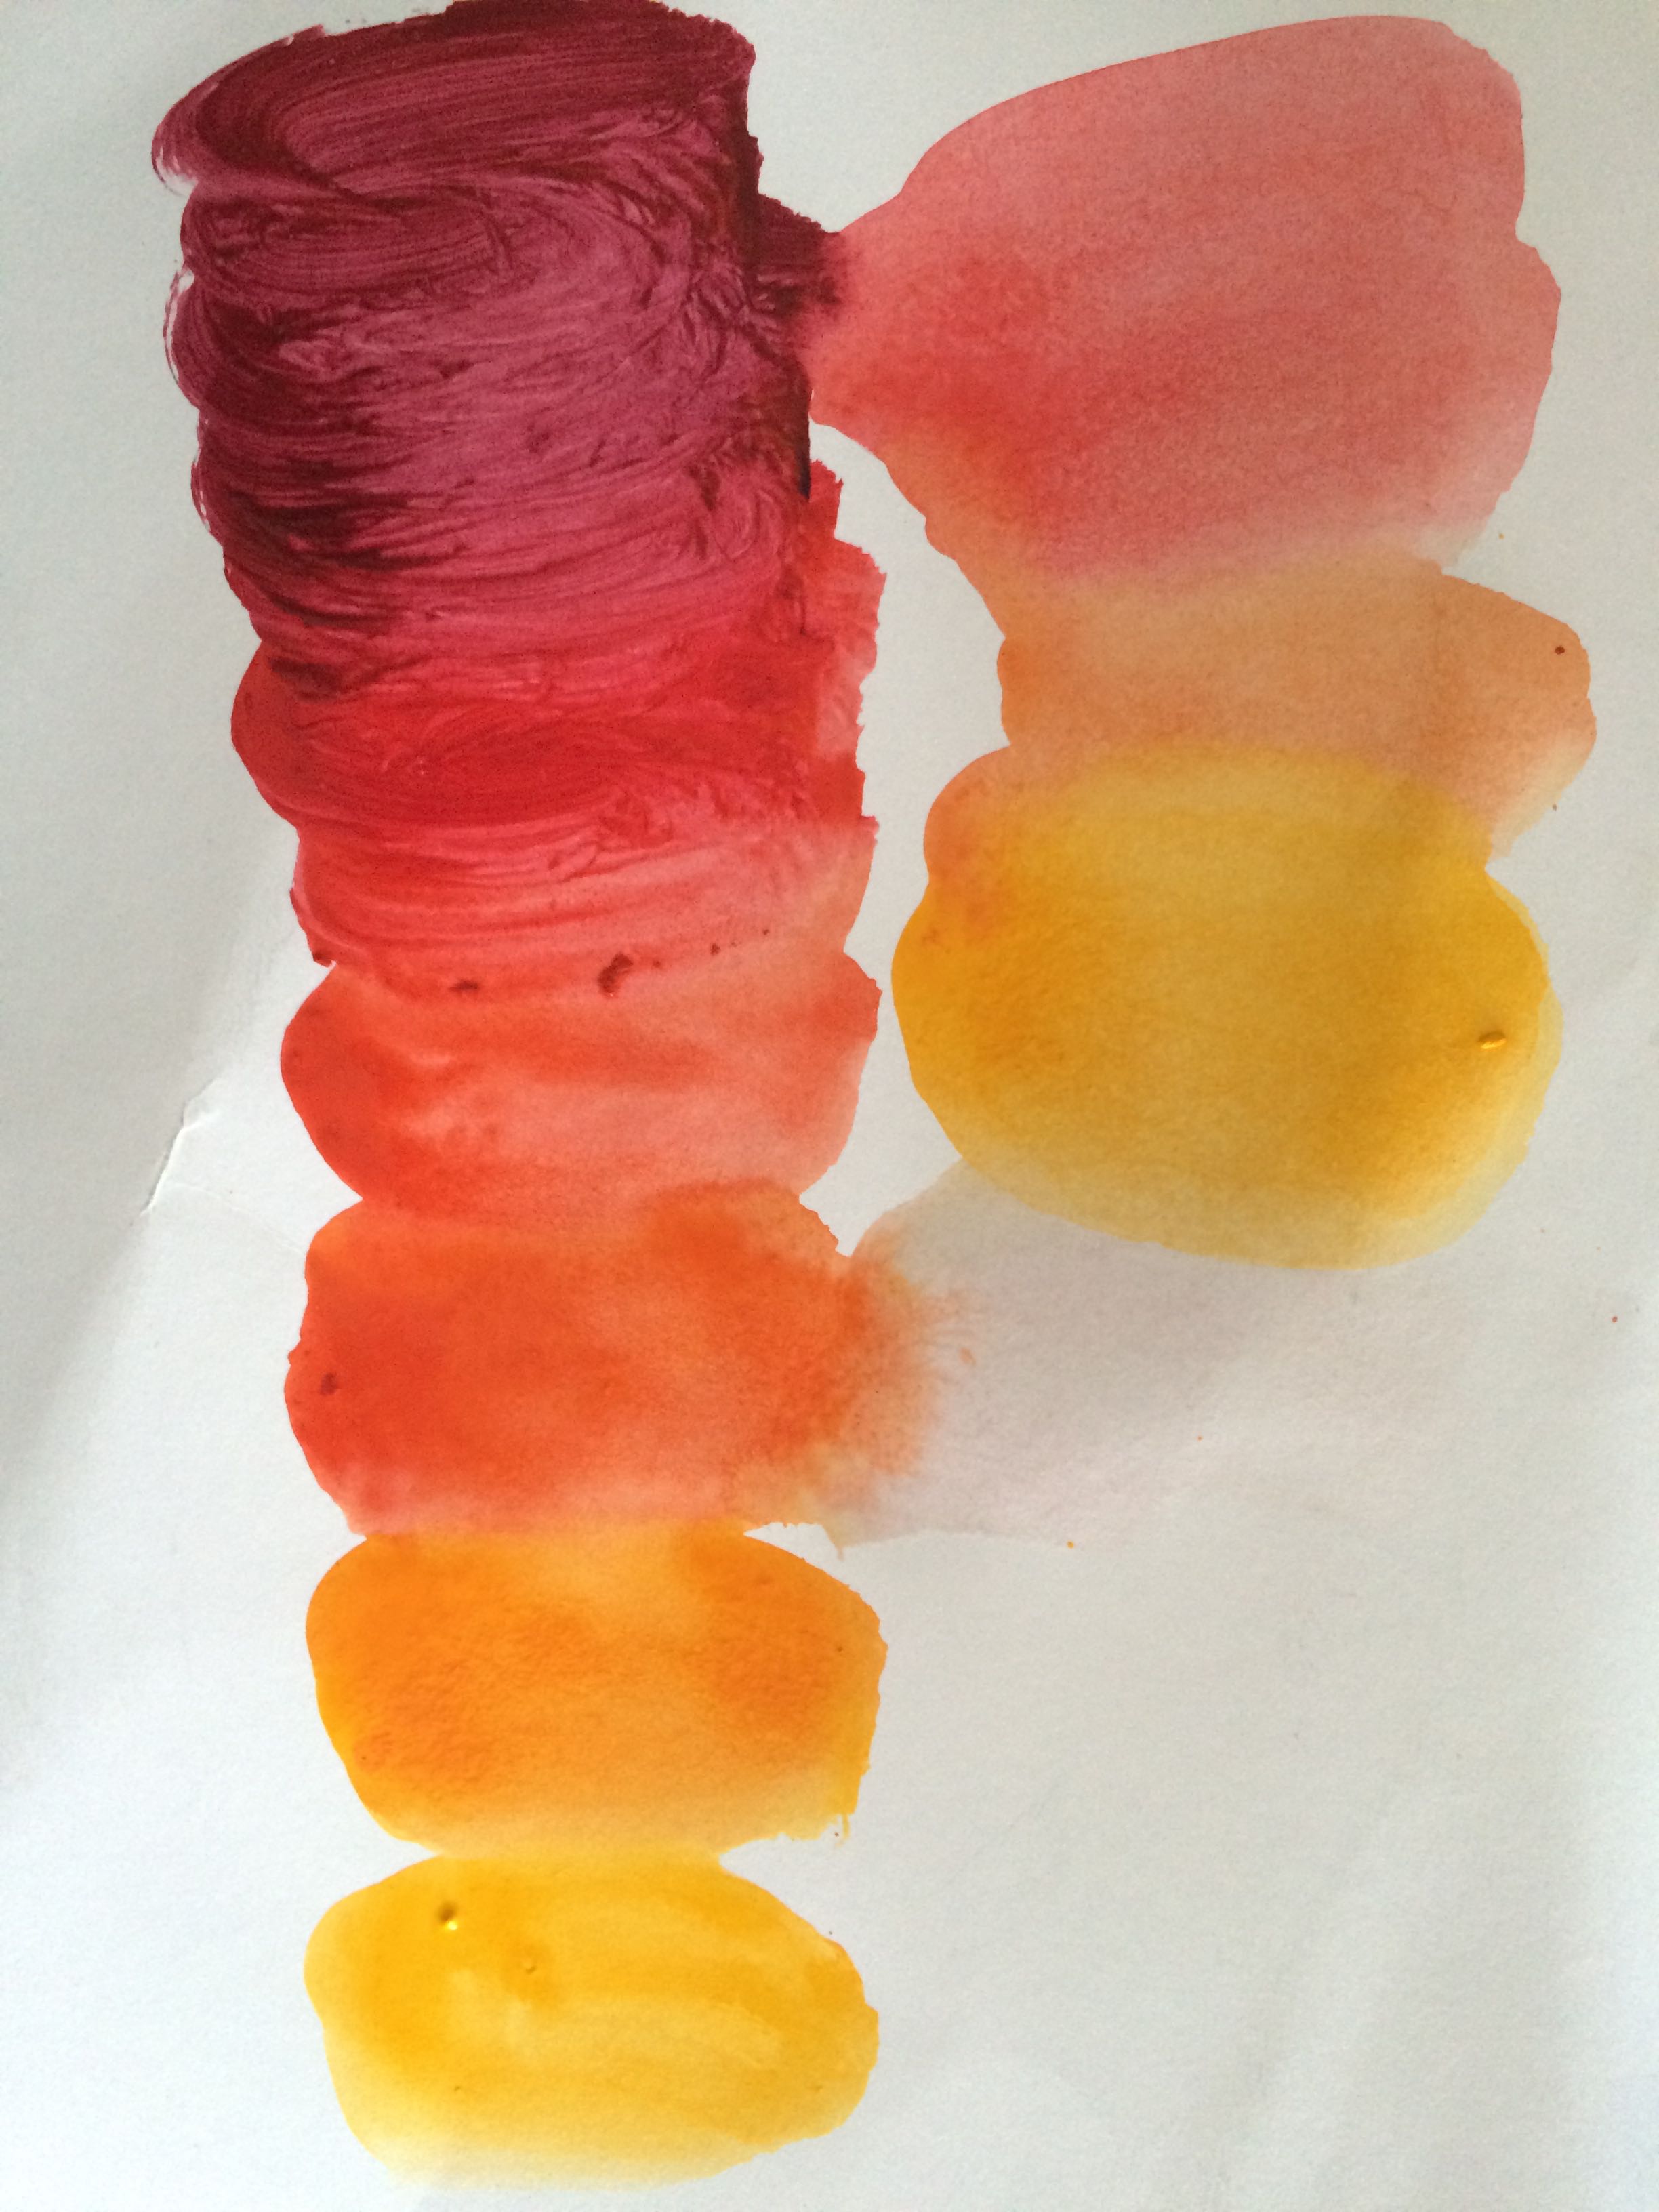
The children said they felt happy when they were painting the wind with watercolours, that they enjoyed this new experience with paint and one child said he felt like he was flying as he painted the wind blowing!

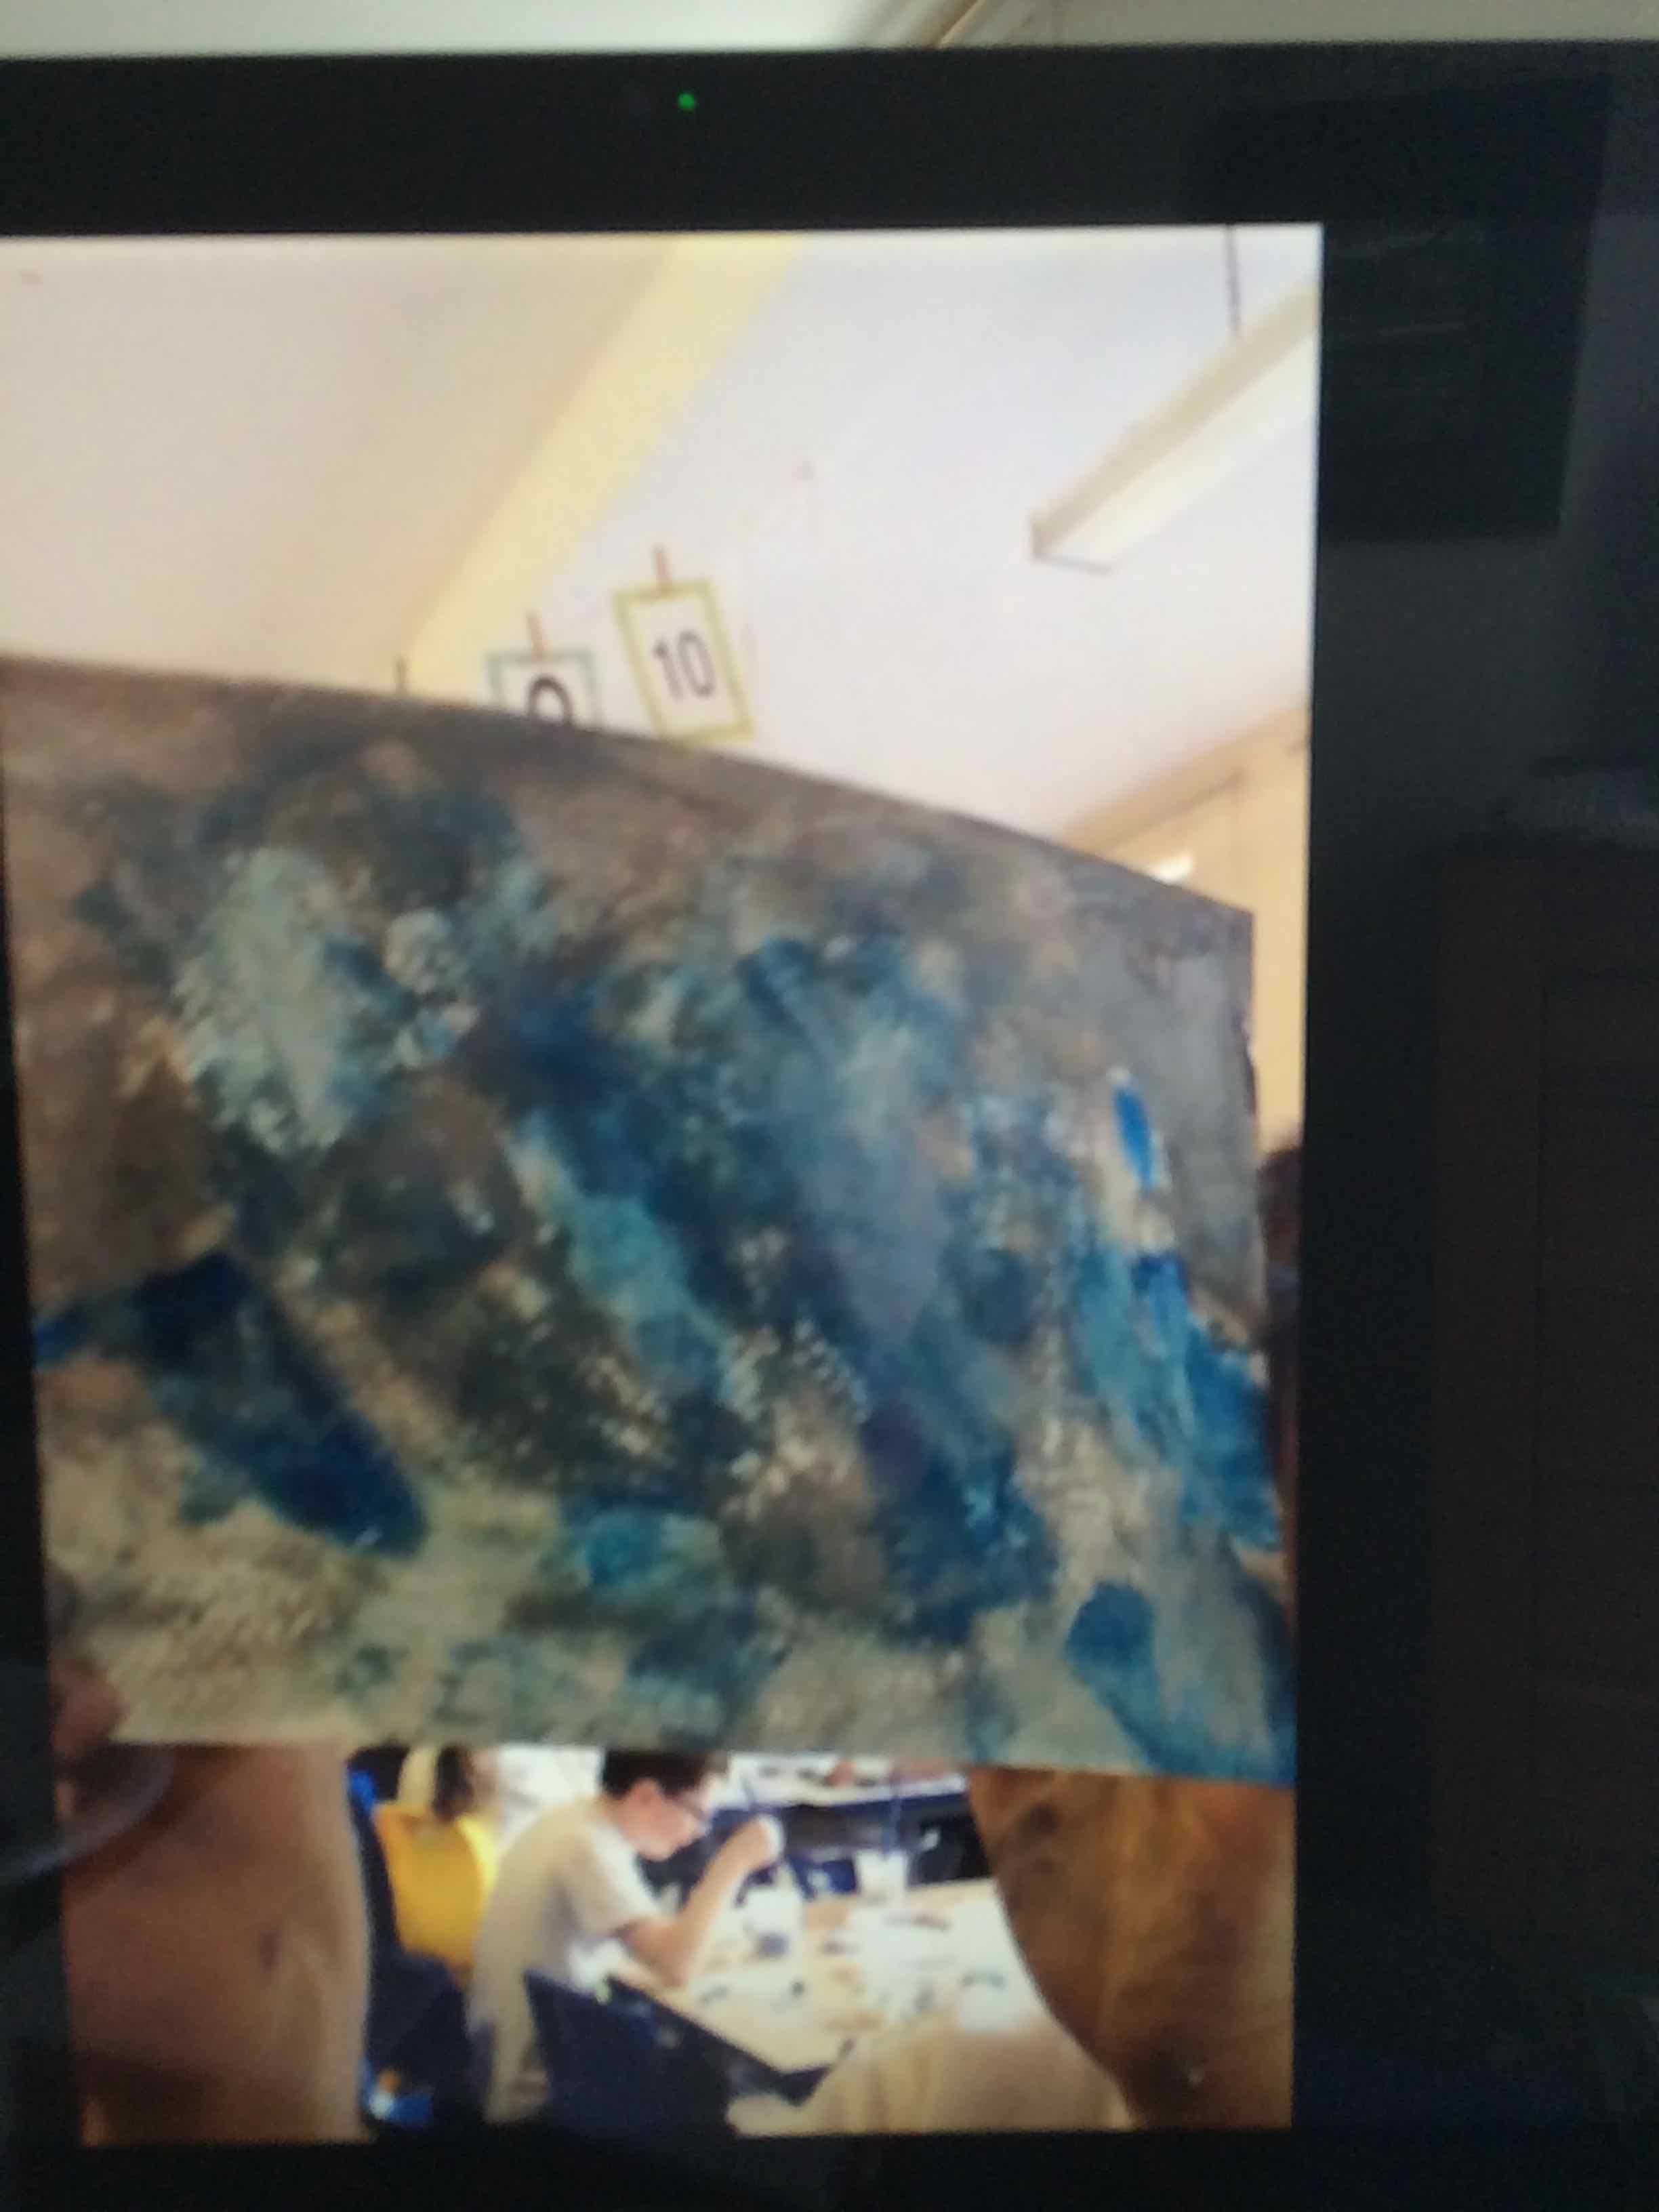
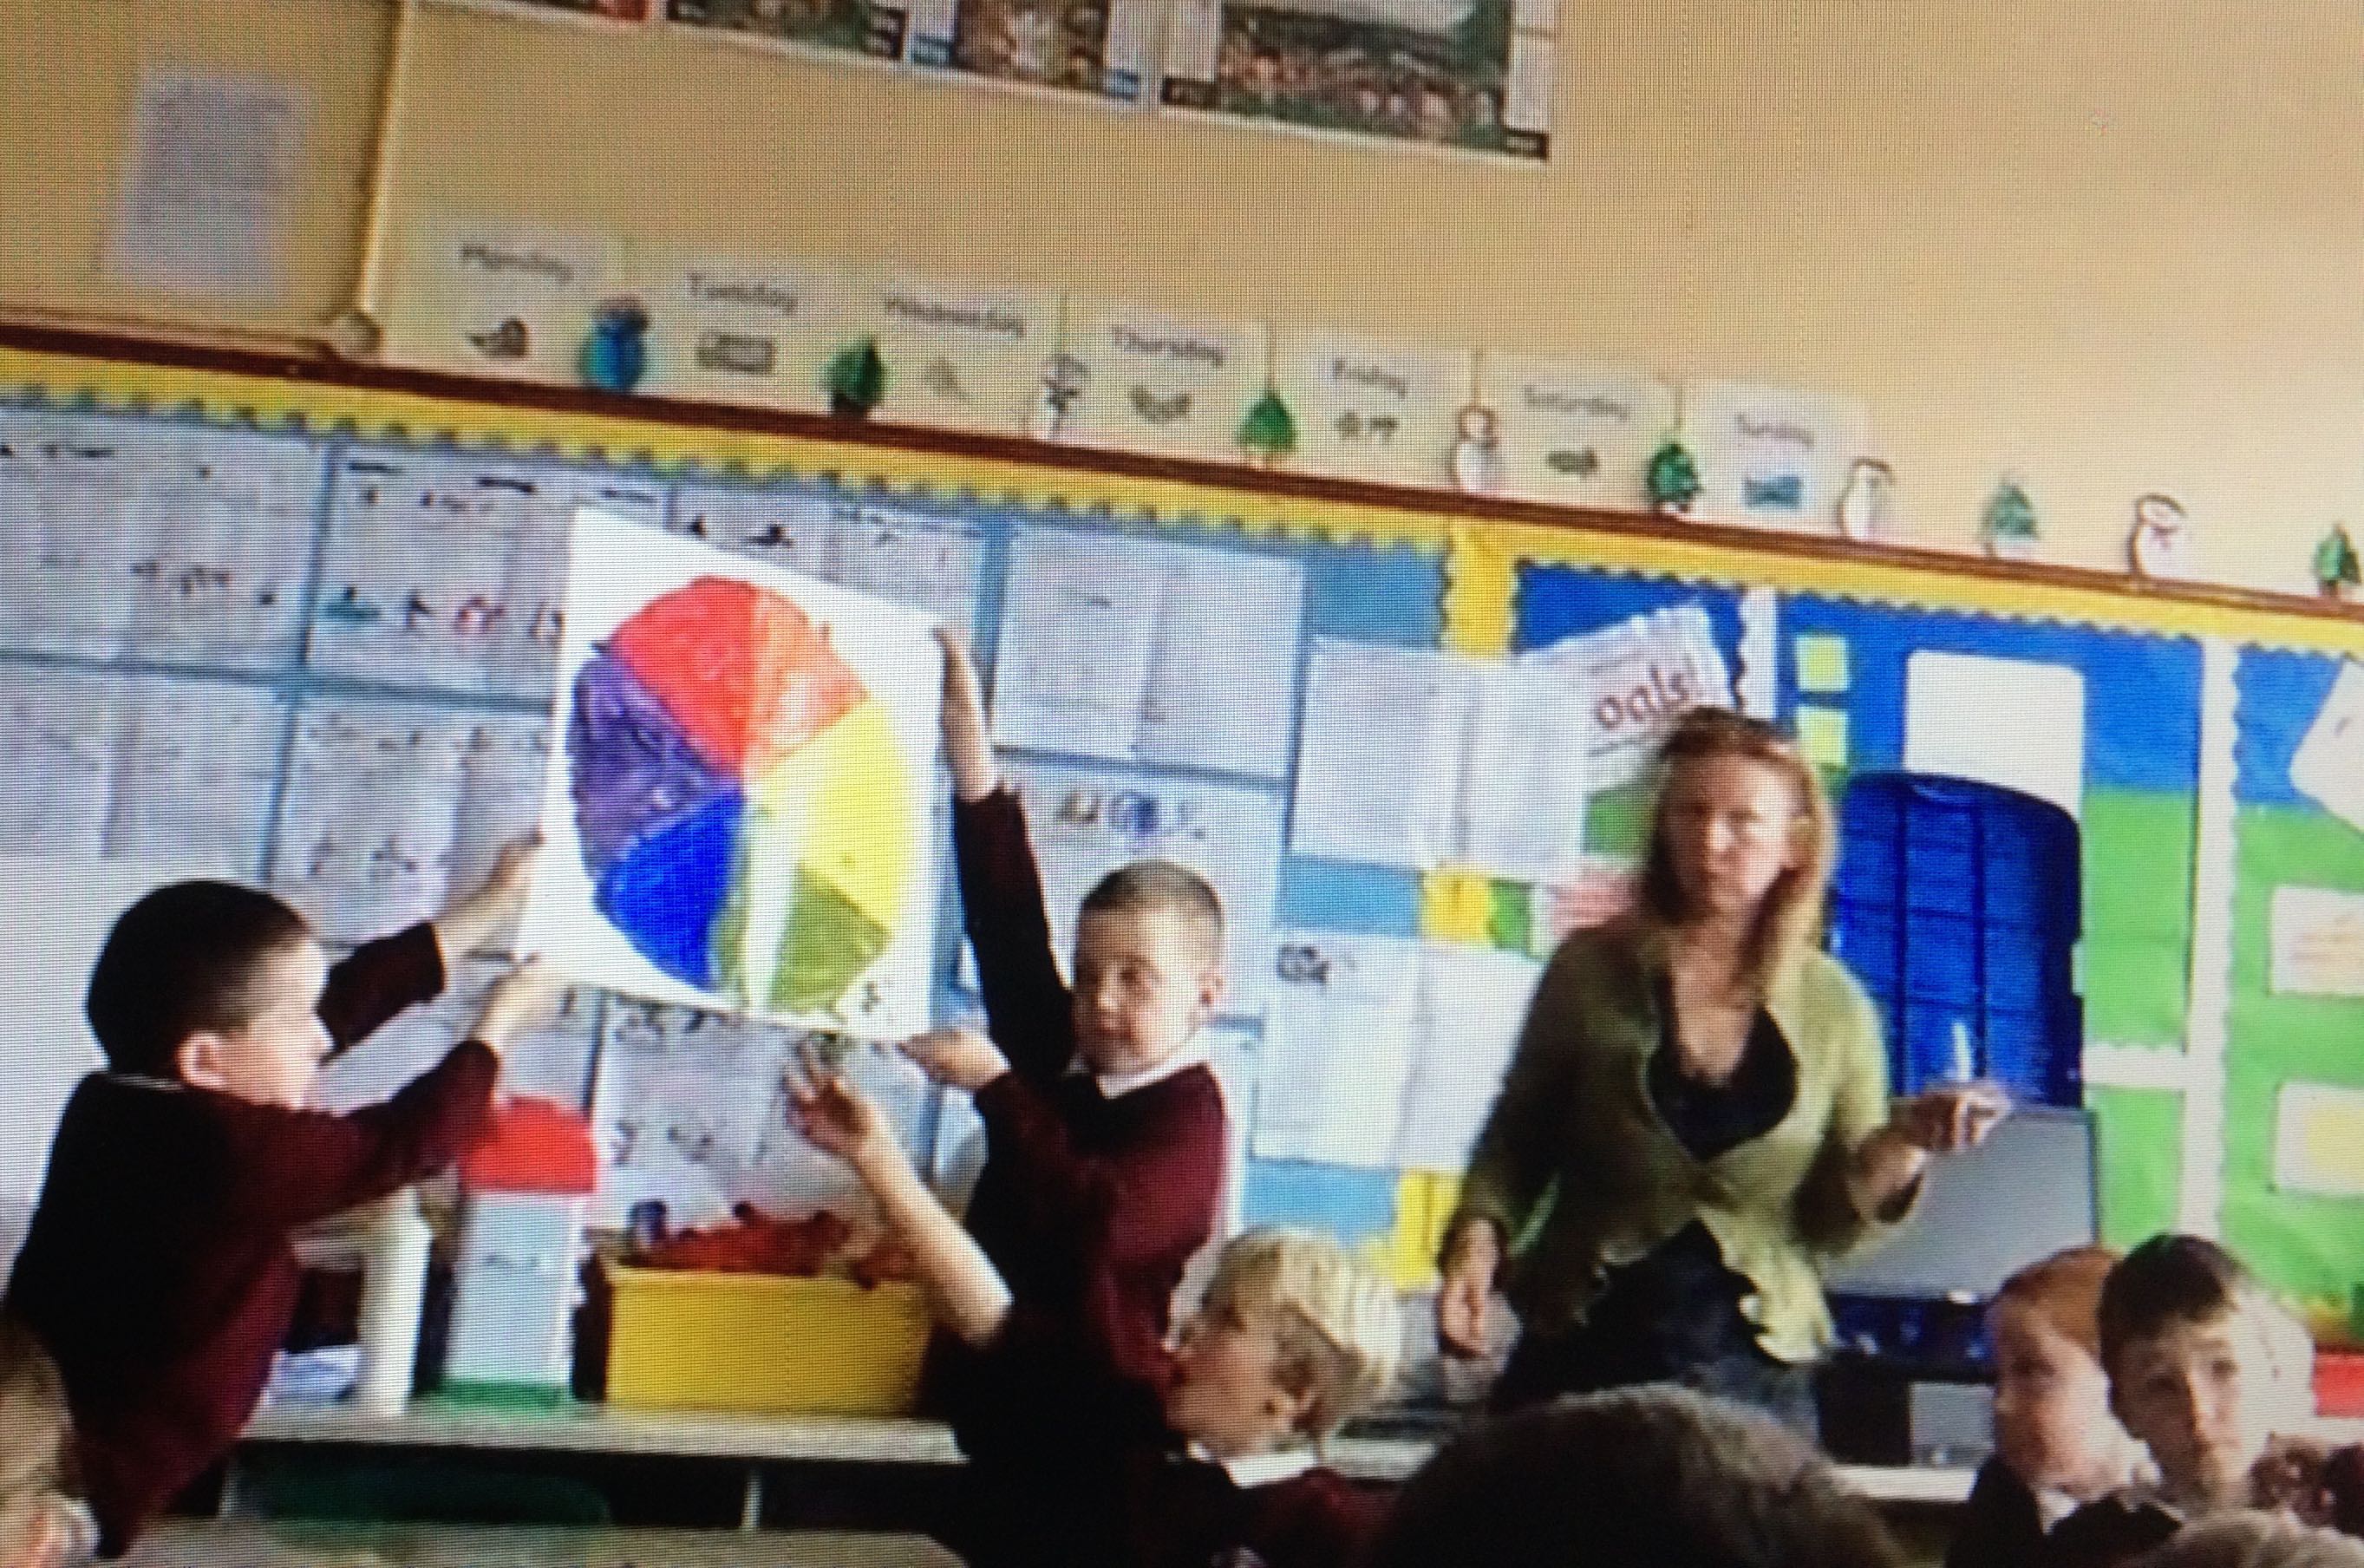
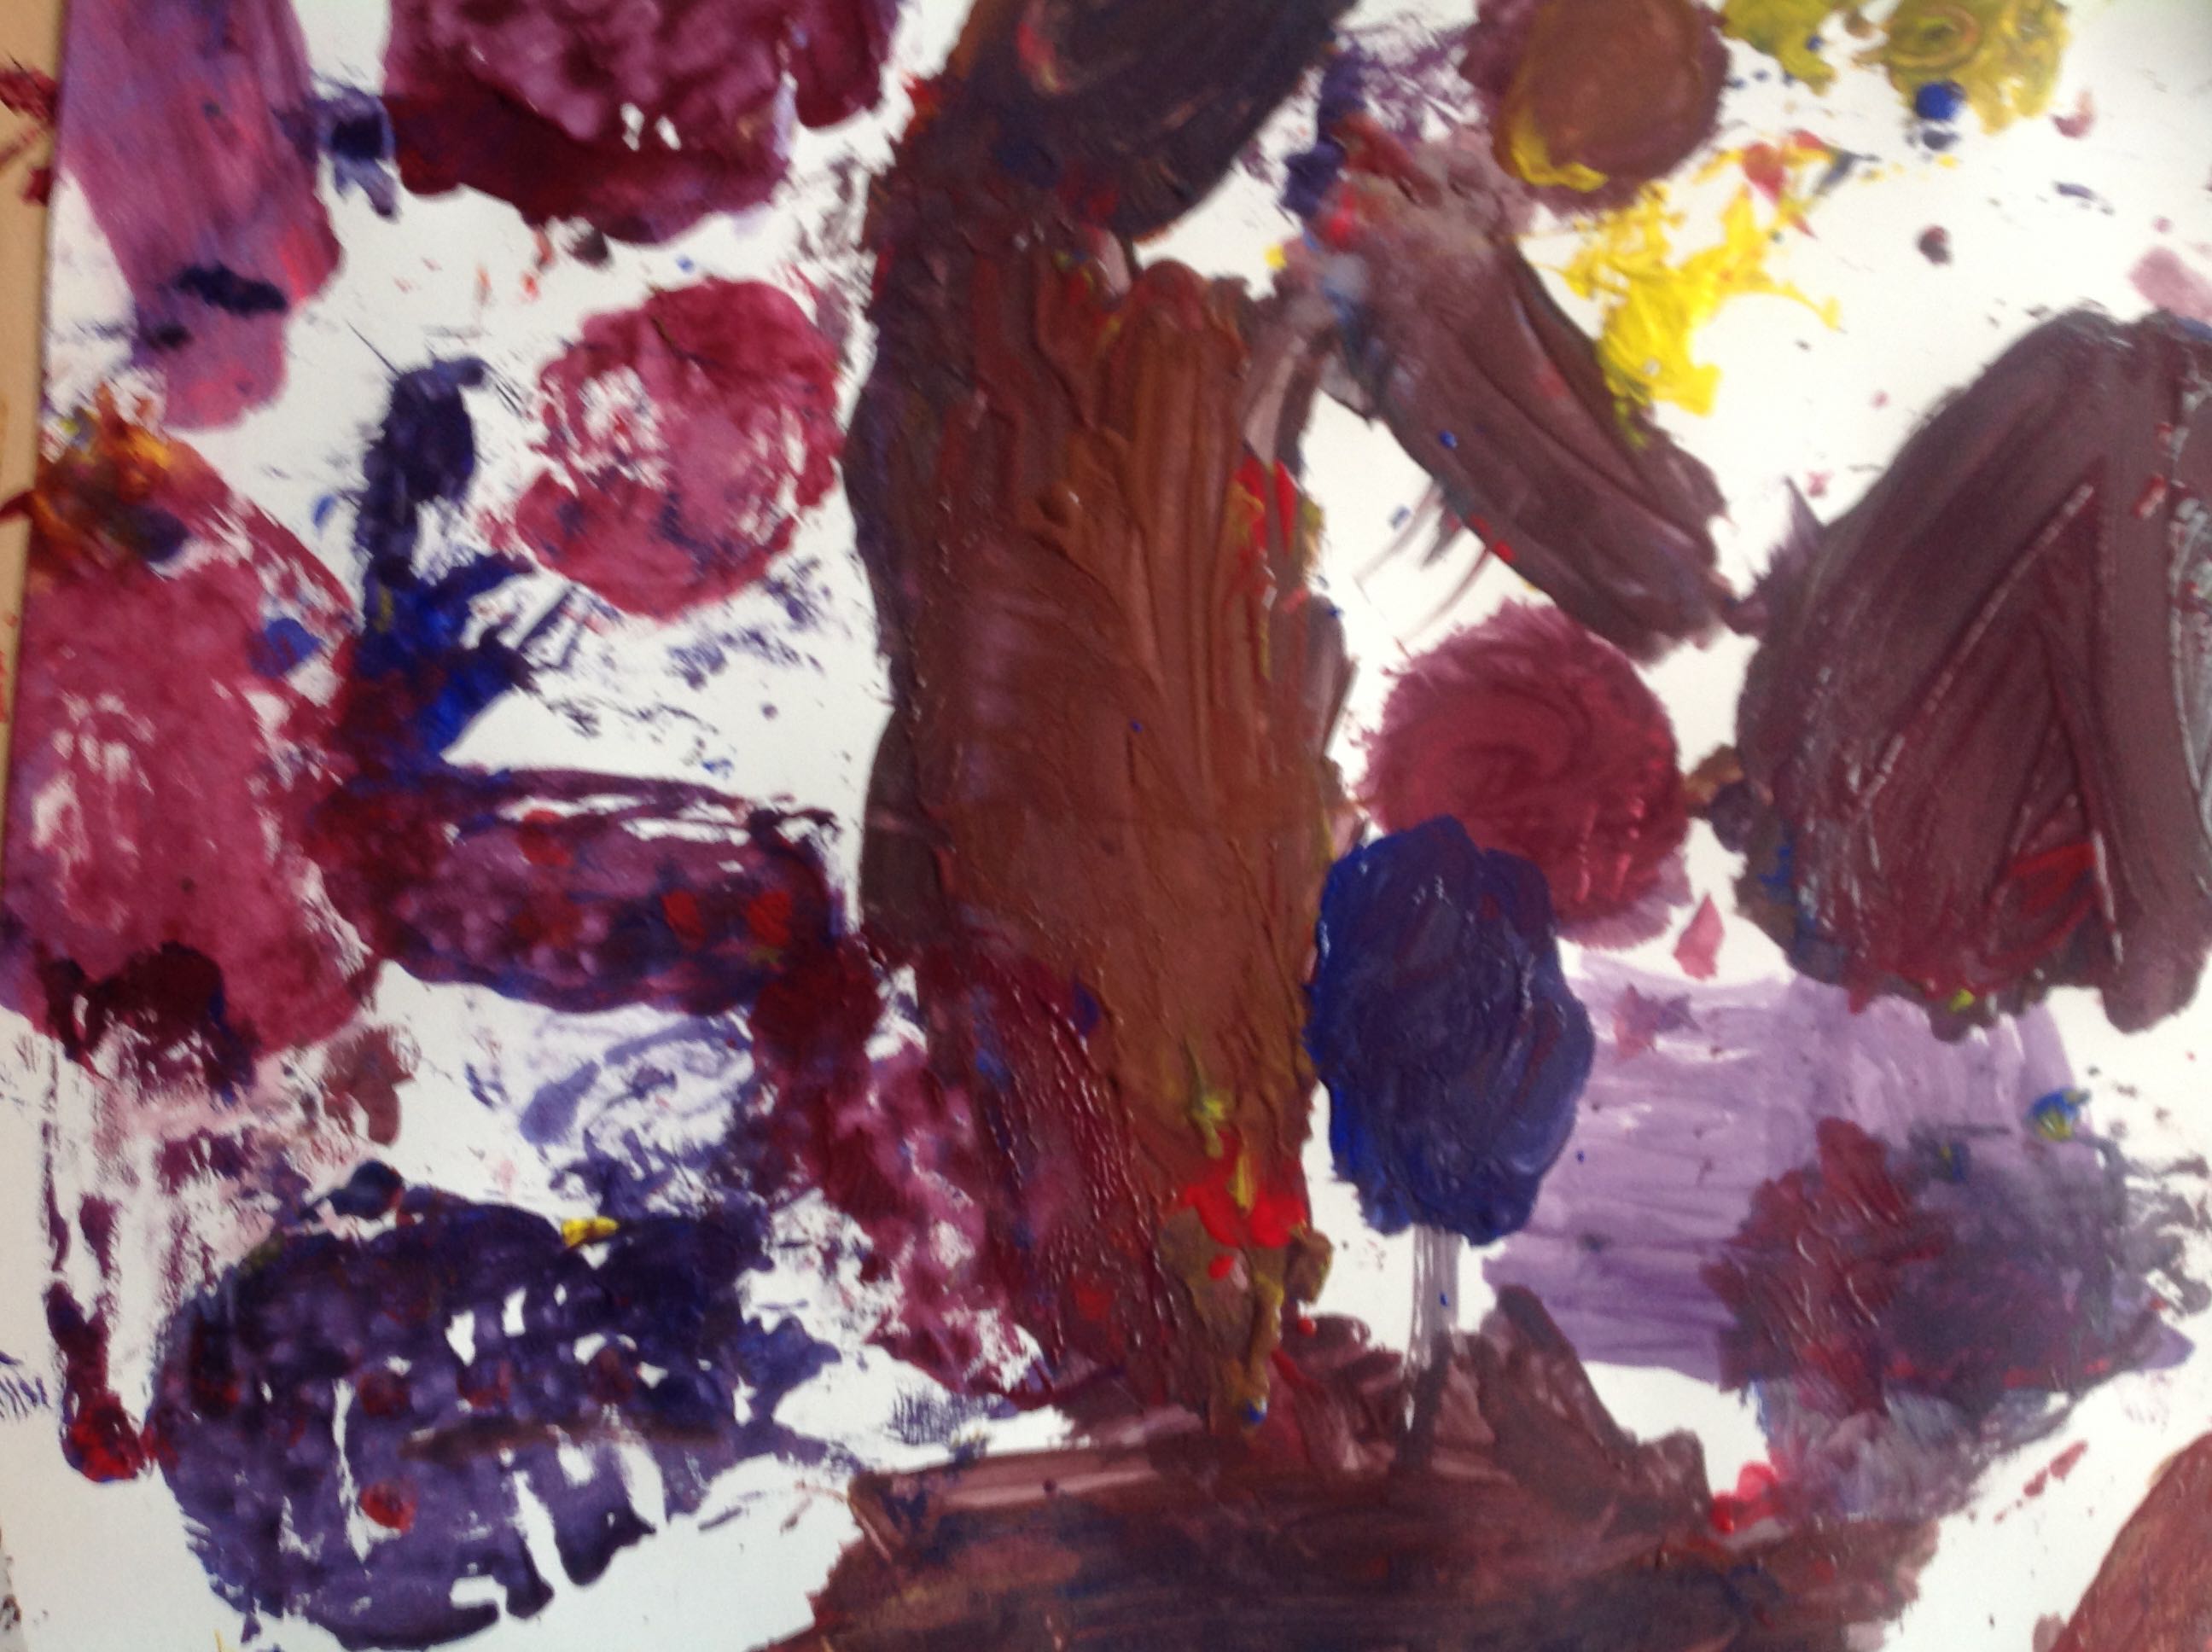
Mrs Hughes quickly made a display for these works.


IMG_2884    IMG_2885

IMG_2886 IMG_2856


Posted in Uncategorized | Leave a comment

The skies over Crossmaglen!

IMG_2453

We first spent a few minutes discussing the work we did last week and how we did it… under tight control and then in preparation for the EXPERIMENTS IN WATERCOLOUR, we talked about the qualities of the watercolour paint and how we found out that we could allow the colours to run or ‘bleed’ together, how interesting effects were created by letting the paint move from one part of the paper to another. One child said the paint ‘SURFED’ the paper, causing a colour mixing effect!

Today we wanted to EXPERIMENT and see how we could use the paints to PAINT THE SKY! P3 were studying the weather at the minute so this linked in so well with the subject.

Our aim was to try a few TECHNIQUES and then use what we learned to paint the sky.

We used TESTER pieces of watercolour paper and first tried painting a WASH.

A WASH is where you paint a colour over the whole page or part of the page. It can be flat and even like this....
A WASH is where you paint a colour over the whole page or part of the page. It can be flat and even like this….
or it can be uneven or GRADUATED like this. Its darker at the top and lighter towards the bottom.

The children tried this for themselves, a couple of times so that they knew what they were doing. I was guiding them from the screen.

TAKE A PIECE OF PAPER AND WIDE BRUSH AND AFTER MIXING UP ENOUGH PAINT AT A TIME, TAKE THE BRUSH LOADED WITH WATERY PAINT AND PAINT FROM ONE SIDE OF THE PAPER TO THE OTHER, STARTING AT THE TOP AND WORKING DOWNWARD.

YOU CAN TILT YOUR PAPER AS YOU DO THIS, TO HELP THE PAINT RUN DOWN. YOU TRY TO COVER ALL THE PAGE.

IMG_2284   IMG_2285

IMG_2288    IMG_2292

On the second attempt the children tried using tissue tor cotton wool to DAB OFF some of the paint to see what sort of effects it created.

IMG_2313    IMG_2316

IMG_2359       IMG_2361

IMG_2347

IMG_2348      IMG_2365

IMG_2367     IMG_2339

IMG_2328     IMG_2335

Next we tired different ways of using the brush…

TAKE A CLEAN PIECE OF PAPER AND A DRYISH BRUSH WITH PAINT ON AND TRAIL YOUR BRUSH FROM ONE SIDE OF THE PAGE TO THE OTHER. DRAG THE BRUSH OR ROLL IT….

GREAT RESULTS P3!

IMG_2355    IMG_2373

IMG_2375      IMG_2376

IMG_2377     IMG_2379

IMG_2380      IMG_2383

IMG_2372     IMG_2369

IMG_2384     IMG_2385

IMG_2386     IMG_2388

IMG_2391

Another TECHNIQUE is WAX RESIST and for most children this was a totally new experience.

USING A WAX CRAYON OR OIL PASTEL MAKE LINES, SHAPES OR MARKS OVER PART OF THE PAGE. THEN TAKE A BRUSH LOADED WITH PAINT AND PAINT OVER THE CRAYON MARKS… LOOK WHAT HAPPENS!

IMG_2401

IMG_2413

IMG_2418
Look the wax crayon RESISTS the paint and shows through vibrantly!

After break the children told me the sky over CROSSMAGLEN was:

GREY

PATCHES OF BLUE

WHITE SUN BEHIND THE CLOUDS

Mrs Hughes said the were excited to try the learned techniques to paint the sky.. look at these wonderful skies….

IMG_2522     IMG_2521

IMG_2520     IMG_2511

IMG_2512      IMG_2513

IMG_2514     IMG_2517

IMG_2519     IMG_2510

IMG_2509     IMG_2504

IMG_2503    IMG_2502

IMG_2499

IMG_2496     IMG_2490

IMG_2489    IMG_2488

IMG_2477    IMG_2475

IMG_2474      IMG_2470

IMG_2468     IMG_2460

IMG_2456     IMG_2455

IMG_2454    IMG_2450

IMG_2445

Cahill made this wonderful sky using shades of blue and grey and by using a crayon.
Charlie used his crayon on its side and dragged it across the paper to create this texture.
Charlie tells the rest of the class how he used his crayon.
Charlie standing to the right in this photograph, tells the rest of the class how he used his crayon.

I didn’t get time to show the children some other artists work, but here’s some more watercolour skies……..

First Joseph Mallord Turner who liked to sketch with watercolour out in the open air.

Sea and Sky after circa 1830 Joseph Mallord William Turner 1775-1851 Accepted by the nation as part of the Turner Bequest 1856 http://www.tate.org.uk/art/work/D36003
Storm Clouds circa 1820-30 Joseph Mallord William Turner 1775-1851 Accepted by the nation as part of the Turner Bequest 1856 http://www.tate.org.uk/art/work/D25340


Also this amazing painting by Seán McSweeney who lives and works in North County Sligo.

'Lugglass' by Sean McSweeney. This picture was given to myself and husband as a wedding present by Sean and I look at it every night before I go to sleep. Look at the wonderful sky!
‘Lugglass’ by Seán McSweeney . This picture was given to myself and husband as a wedding present by Seán and I look at it every night before I go to sleep. Look at the wonderful sky!

Here I found an interesting interview with Seán made by young people in Sligo a few years ago. Have a look at the link. Seán talks about how he gets his inspiration and how important it is that he looks at the world around him.. the sea and the sky.


http://themodel.ie/weblog/young-model-interview-san-mcsweeney


The children enjoyed the painting experiments.


IMG_2882    IMG_2883

Posted in Uncategorized | Leave a comment

Remote Control

Landscape image

The return to our project about feeling kicked off today exploring the idea of CONTROL. This came about because in the feedback on some of the activities before Christmas break, the children had said they really enjoyed the FREEDOM of painting and drawing what they wanted… with no-one telling them what to do.

I was interested in looking at this idea more closely and thought about contrasting FREEDOM with CONTROL. Such things as PAINTING BY NUMBERS and COLOURING IN activities came to mind.

Mrs Hughes and I agreed to work with an image I had prepared and emailed through to the class to be photocopied twice for each child. The children were to colour these in.

Before we began we had a discussion about the picture itself and about the word CONTROL.

THE CHILDREN SAID:

Its a picture of mother nature…

Maybe it was made on an iPad app…

They didn’t think a child made it…

It was drawn from a photograph…

It was a picture of a sunset and a mountain…

Then we tried looking at the picture just as a collection of different shapes… how many shapes could we count? What sort of shapes were they? IRREGULAR we discovered!

And what does CONTROL mean?  The children thought….”everything in its place”

“in charge’, “like a robot”,  “by force”, “a remote control”

Mrs Hughes said  that I was the REMOTE CONTROL because I was going to give the class  a set of strict instructions to colour the picture in. They were NOT ALLOWED to choose their colours and they HAD TO colour in without going outside of the thick black lines of each shape. So we began …

First dark green, then light green, then light and dark blue….. vary the pressure used to go lighter on the page…

Using school crayons the children were told NOT to let their colouring in go outside the black lines of each shape!
IMG_2028
The children were told how to LIGHTEN their colour by NOT pressing as hard on the page as they coloured in…

All the time I was reminding them REMOTELY to KEEP CONCENTRATING and DO NOT TALK!

There was a bit of complaining going on that it was hard work!

IMG_2022

IMG_2024    IMG_2069

IMG_2080      IMG_2083

IMG_2086      IMG_2094

IMG_2093      IMG_2091

IMG_2087     IMG_2088

Actually it was really hard work! Some children said it was difficult to stay inside the lines. The children showed me their work… I am not sure that these are the happiest faces holding up their pictures? Do you think they look a little grumpy?

Then I showed them my work…

IMG_2061

We compared pictures... were they all the same? The children did notice small differences in the shades of each colour and how differently the colouring had been done.
We compared pictures… were they all the same? The children did notice small differences in the shades of each colour and how differently the colouring had been done.

After break we tried again to COLOUR IN the picture, using the other copy but this time we were going to use WATERCOLOUR PAINT, WATER and BRUSHES.

IMG_2098
Plastic plates were used as palettes and a pea sized blob of paint was squeezed out of a tube of watercolour paint.
Wet the brush and loosen the paint...
Wet the brush and loosen the paint…

I encouraged the children to use LOTS OF WATER and they soon discovered that the way to make a LIGHTER shade was to add more water to the paint. The other thing we discovered was that the water really soaked the paper and this made the paper very easy to rip or tear.

How easy was it to stay within the black lines?
IMG_2103
How easy was it to CONTROL the watery paint? 
small spaces like the tree trunk were very hard to paint.
And look what happens when two colours are painted next to each other!

Here’s a selection of the children’s work:

IMG_2196    IMG_2190

IMG_2182     IMG_2177

IMG_2166

IMG_2163    IMG_2160

IMG_2150     IMG_2147

We like the differences in these works and the effects of the paint…

Here’s some more:

The drippy paint in this picture has created a sort of path all he way to the mountain!
The drippy paint in this picture has created a sort of path all the way down from the mountain!
Overlapping two colours creates a beautiful effect!
All the brush marks are visible and it creates a lovely flowing effect!

Next we used REAL WATERCOLOUR PAPER instead of copy paper and printed image.

The children said the paper felt stiffer and less bendy than the other paper. they thought it wouldn’t rip when water soaked in.

IMG_2226


We tested two colours... look at the subtle difference in these two reds.
We tested two colours… look at the subtle difference in these two reds.

IMG_2810      IMG_2809

IMG_2808       IMG_2823

seeing what happens when we use watery paint1
seeing what happens when we use watery paint…
Comparing how the paper reacted to crayon and to watery paint.... one remained flat the other buckled up.....
Comparing how the paper reacted to crayon and to watery paint…. one remained flat the other buckled up…..

We ran out of time and so we hope to continue our exploration of watercolour and its effects as it relates to our project!

Colours seem to blend without us trying to CONTROL it! Wonderful1
Colours seem to blend without us trying to CONTROL it! Wonderful!


Here’s the P3 display showing the similarities and differences that we explored…

IMG_2826 (1)       IMG_2827

IMG_2828        IMG_2830 (3)

IMG_2831       IMG_2832

IMG_2833 (1)

IMG_2834 (1)     IMG_2835 (1)

IMG_2836


Posted in Uncategorized | Leave a comment

We planned, designed and painted……

IMG_1508     IMG_1543

Our opening discussion focused on PLANNING since we were doing our best to be organised to design and paint our wrapping paper…

We looked at other DESIGNS like wallpaper and saw how shapes and colours were used:

IMG_1444
This design has flower and leaf SHAPES set against a background – it was the idea of a BACKGROUND that interested us…..

We refreshed our memories about the COLOUR WHEEL and the PRIMARY and SECONDARY colours and learned a new name for the colours that sat OPPOSITE each other on the colour wheel: COMPLEMENTARY COLOURS.

We discussed the idea of COLOUR CONTRAST and that we could design our wrapping paper using shape and 2 colours that stood out from each other. The planning thing meant that we should paint our BACKGROUND first and let that dry, then design the pattern.

The children selected a colour from the colour wheel, mixed and painted their white sheet of paper.

What a beautiful Orange mixed by COMBINING red and Yellow!
IMG_1366
Purple was mixed by COMBINING RED AND BLUE.

IMG_1427

IMG_1424    IMG_1413

IMG_1493    IMG_1492    IMG_1491 (1)

IMG_1489    IMG_1488    IMG_1487

IMG_1486    IMG_1483    IMG_1482

IMG_1481    IMG_1480    IMG_1479

IMG_1478    IMG_1485    IMG_1484

The children named their colours…

Dino green, blackberry pie, ocean blue, shadowy orange, gold, mint, jade, flower purple, pepper green……

Reflecting on what we had done the children said they enjoyed painting the sheet because they could paint where ever they wanted …crazy all over the sheet!  Now we just had to wait for the paint to dry overnight and continue our plan tomorrow.

As ‘homework’ I asked the children to look out round their homes for PATTERNS….

In the morning we connected again online and the children told me they found lots of patterns everywhere. From curtains, wallpapers, sofa covers to the Crossmaglen Rangers football shirt!

So our task was to DESIGN a pattern then draw it out and paint it…. we had no time to loose! Christmas was coming and so was the Christmas dinner and early lunch! So with Christmas jumpers and hats all on the children set about exploring SHAPE AND PATTERN using cardboard shapes I had cut out and sent in the post.

3 minute small groups COLLABORATIVE task:

Work together to create a ‘picture’ with 3 different shapes.

Look at the great ideas!

IMG_1516    IMG_1521   IMG_1527

IMG_1503

TRANSFORMER created by overlapping shapes - it really looks 3D!
TRANSFORMER created by overlapping shapes – it really looks 3D!
ROBOT shapes have been carefully arranged and stacked - it looks like a sturdy machine!
ROBOT shapes have been carefully arranged and stacked – it looks like a sturdy machine!
CASTLE WITH A DIAMOND ON TOP - amazing!
CASTLE WITH A DIAMOND ON TOP – amazing!
MUSEUM - what an imaginative design!
MUSEUM – what an imaginative design!
CROSS SQUARE HOTEL - this is great collaborative work!
CROSS SQUARE HOTEL – this is great collaborative work!

We still had a lot of testing out shapes and patterns to do and next we tried PATTERN and TESSELLATION – this we discovered means leaving no spaces or gaps between shapes when they were repeated.

IMG_1564    IMG_1560

IMG_1543   IMG_1574

IMG_1553   IMG_1567

IMG_1591

While Mrs Hughes was showing the children some TESSELLATION patterns on the computer, I noticed a Christmas creature trying to get a peep!

IMG_1584      IMG_1586

Playing with shape was really interesting and eventually the children settled on a design / pattern for their own paper, then tested out the colour pattern too….

IMG_1755     IMG_1754

IMG_1753    IMG_1752

IMG_1751      IMG_1750

Here’s some pictures of them working up the shapes onto the background paper and painting with acrylic paint because it was brighter and dried better.

IMG_1643    IMG_1634

IMG_1686    IMG_1708

IMG_1756    IMG_1758

IMG_1759    IMG_1760

IMG_1761     IMG_1762

IMG_1763     IMG_1764

IMG_1765     IMG_1766

IMG_1768     IMG_1771

IMG_1770     IMG_1772

IMG_1767

From Belfast I saw lots of very busy Christmas Elves!


more to come….

Posted in Uncategorized | Leave a comment

Exploring colour

IMG_0983

Our exploration of FEELING is continuing this time looking at the idea of EXCITEMENT (well Christmas is coming….!) So our online session began with a discussion about excitement by asking: how we knew we were excited?

One child said they felt they were so excited they were going to pop! It reminded him of a trip on a roller coaster!

We discussed the opposite of EXCITEMENT and came up with sad, scared, frightened, dull.

I asked each child if EXCITEMENT had a colour, what colour would it be?

a Rainbow

Blue like the sky

Green like army toys

Red like Santa

Pink  – a good light pink

We looked at a familiar object and the colours used which look very bright and vibrant….

IMG_0938
The Armagh County Football shirt uses very strong colours….

We looked at an artist who used a colourful PALETTE….

'The Snail' by Henri Matisse 1952 / 53
‘The Snail’ by Henri Matisse 1952 / 53


We looked at an artist who used the OPPOSITE of a colourful palette…

'Natura_Morta', painting by Giorgio Morandi 1956
‘Natura Morta’ painting by Giorgio Morandi 1956

I told the children that artists use a thing called the COLOUR WHEEL to help them ‘play’ with colour. We decided to make our own..

IMG_0918

IMG_0932

IMG_0925

IMG_0936

IMG_0998

We  discussed the term PRIMARY colour and placed these on the drawn circles we had prepared….. Then we began mixing colours…..

IMG_1008

IMG_0997


IMG_0989

IMG_0983

IMG_0978

IMG_0969


IMG_1012

IMG_1010

We learned that mixing two PRIMARY colours next to each other on the colour wheel would create a SECONDARY colour! Some fabulous new colours were made. We discovered how to make a colour seem BRIGHTER and how to make a colour DARKER. Look at the fantastic range of shades made from the colours !

IMG_1088   IMG_1057   IMG_1053

IMG_1066   IMG_1095    IMG_1073

IMG_1148

IMG_1149

IMG_1150

IMG_1151

IMG_1152

IMG_1153

We decided to name the colours – a bit like paint samples do to sound exciting and describe a colour…

IMG_1123

Later after class Mrs Hughes sent me a video of the children naming all their colours – what a fantastic idea! Here they are:

Miranda Purple / Purple of our school jumper / blueberry pie / magenta purple / New Holland Blue / custard blue / bristol blue / navy / matto / wood / fire / junior / senior / sun / cookie /dark green / fabric green / dark green  / blue green / lime green /peasy green / limey cabbage green / blue green / warm green / croc green / John Deere Green / Jungle green / current  green / diarrhoea green /shirt blue /golden purple /dinosaur green / croke orange / crocodile green /

And….I got a great lesson in tractor colours!

Thank you to all the children, Mrs Hughes and all the helpers on the day!

IMG_0936

IMG_1006

IMG_1021

IMG_1116


Posted in Uncategorized | Leave a comment

feeling sound…

IMG_0825

In the first session we saw how we  used our sense of touch better when we could not see something. Now we wanted to see what would happen if we restricted our sight and touch to  focus on hearing.

We all tried this by covering our eyes and putting our heads down to concentrate on the sounds that could be heard wherever we were.

In Belfast I heard: cars outside, the clock ticking, the hiss of electrical things, heater…

In Crossmaglen the children heard:

The projector fan

whistling noises… the wind?

knocking

feet tapping

other people breathing

After the sharing these sounds, we talked about how we don’t hear them when we are in the class usually because other noise drowns them out.

IMG_0716
Next we tried covering our ears tightly so that we could hear the internal sounds of our body……


IMG_0713
We all tuned into our own sounds….

The children reported that they heard their hearts beating, blood flowing, air trying to get out of ears, breathing sounds, bones tingling, buzzing noises. It was amazing to sit quietly and calmly and listen to our bodies!

Next we talked about if we could FEEL sound and tried by experimenting with paper and our voices. We felt the vibrations in our throat when we hummed and held paper to our mouths to see what happened…

IMG_0728
Holding a thin sheet to their mouths the children spoke through the paper…
IMG_0779
They saw and felt VIBRATIONS as they spoke through the paper!

I suggested we might try to draw the feel of the sounds we heard in our bodies and in the classroom.

IMG_0792

IMG_0799

IMG_0804

IMG_0807

IMG_0815

IMG_0817

I found a piece of music and sent the teacher and children a link:

This is the  MUSIC  I chose – it was a classical piece and we did not tell the children the name of it or anything about it.

here are their drawings made while listening the the music.

IMG_0845

IMG_0857

IMG_0867

IMG_0876

IMG_0877  IMG_0878

IMG_0879  IMG_0882

IMG_0883  IMG_0884

IMG_0885   IMG_0886

IMG_0887

IMG_0888

IMG_0889

IMG_0890

IMG_0891

Posted in Uncategorized | Leave a comment

New Phase – First session

image
Our theme for this project is ‘FEELING’

What a great warm welcome I received in the P4 Classroom from the children and their Teacher, Mrs Hughes!

Our project takes as its starting point: FEELING….

I introduced myself and showed the children two drawings I had made – one from 10 years ago – as sort of self portrait with a dress:

IMG_0696
‘Portrait of self with loose hand’ charcoal on paper 2004

We had a wonderful discussion about ‘feeling’ after I told the children the drawing featured a partially drawn dress which I had worn every summer for over 20 years… and finally packed it away – it was made of linen and embroidered with colourful flowers but had become very threadbare….

I even found the dress and brought it along to show the children…

image      image

I explained I had good feelings and memories attached to the dress but it was also drawn as a way of saying ‘goodbye’ to my youth, so feelings were both happy and sad.

The children enjoyed touching the fabric and talked about linen and how it was made and that it had a good feeling for your skin as Mrs Hughes said it helps your skin breathe….

The second drawing was one made more recently about running and moving or more specifically about not being able to move…

The children enjoy responding to the 'running' drawing and offer lots of interpretations....
The children enjoy responding to the ‘running’ drawing and offer lots of interpretations….
'Fear of not moving' charcoal on paper 2013
‘Fear of not moving’ charcoal on paper 2013

On this real visit as we discussed ideas and undertook activities, alot of ideas and interesting thoughts have been raised….  One of these thoughts offered by Keighan,  asked whether FEELING (when we touch something) has anything to do with FEELING that we feel inside (happy, sad, etc).

We tried some activities that explored the idea of NOT BEING ABLE TO TOUCH SOMETHING. First the idea of not being in touch with the paper or the drawing tool so half the class used charcoal on very long sticks, drawing on  paper taped to the floor and half the class used pencils attached to shorter sticks at the table.

image

image

image           image

I had suggested to the children that they should not draw anything specifically, but  just explore making marks and lines… At first we made our marks very very light…

image

then very very dark…

image

image

image

image

image

image

image

Putting the sticks away, the children were happy to actually get their hands dirty and touch the paper and charcoal with their hands!! Interestingly the children said they enjoyed the freedom of making any  lines and marks they wanted… no one told them what to draw…..

image      image

We next tried moving around the classroom without touching anyone else or any furniture or art work!! Very tricky in a small space…

image

Our last activities involved using a blindfold, so we covered our eyes and drew something we couldn’t see……. we tried to respond to the texture and shape and the feeling it gave us…

image   image

image   image

image   image

image   image

image   image

image   image

image      image

image         image

Finally the children had brought into class an object from home and we mixed all these up so that they wouldn’t be able to guess what they had to draw… the results were very interesting.

image   image

image   image

image   image

image   image

image   image

image

image

image

image

image

image

The children explore guessing who it is by relying on their sense of touch!

image

image

Thank you P4 and Mrs Hughes!

Posted in Uncategorized | Leave a comment

Wrapped Yard!

20150616_123024


P2 & P3 class proudly present Wrapped Yard…………………….

Huge thank you to:

All the Children

Irma the assistant

Mrs Crummy the teacher

Mr. Madine the headmaster

It was so much fun and very memorable way to end our project!

20150616_103655


20150616_102446

20150616_101815

20150616_104506

20150616_104232

20150616_104853

20150616_113431

20150616_131057

20150616_131045

20150616_131110

P1000206

P1000202

P1000194

P1000210

P1000212

P1000249

P1000248

P1000243

P1000242


P1000271

P1000274

P1000280

P1000283

P1000310

P1000342

P1000343

P1000345

P1000349

P1000352

P1000377

P1000368

P1000366


P1000375


P1000394


P1000355

Posted in Uncategorized | Leave a comment

Permission is granted and a date is set!

20150614_203900


Tuesday 16th June……….. the date for P2 / 3 to wrap their playground!

The weather forecast is good……

The excitement is building…..

I hope I can get the huge roll of bright coloured paper out of my door, into my car and down to St Patrick’s Primary School Crossmaglen!

There’s a few breaks in the roll and I have had to secure with black gaffer tape…. There looks like a familiar pattern emerging………

Unbelievable!

20150614_203658

Posted in Uncategorized | Leave a comment

Presenting our case…….

session 11 - 15

I made a real visit to work with P2/3 and Mrs Crummy to finalise our work to be displayed along the school corridor. The children had decided at the last session that they would compose a letter to Mr. Madine and that I should also write a letter! Today was a bringing together of all the work and finding a way to present it to everyone.

Our discussions began with remembering all the things we had done so far…..

Mrs Crummy printed out some photographs of our explorations and journey and the children each wrote something to go along with the image for the display.

session 11 - 31
Mrs Crummy asked the children for any important words they might want to use and wrote it on the whiteboard.

session 11 - 32

We discussed what order these should all go in and so the children laid their work out in a line along the floor of the classroom in order to get everything correctly positioned in relation to what we did and when during the process. It was a great way of revisiting  and remembering all the hard work and fun we had along the way!

session 11 - 36 session 11 - 35 session 11 - 33 session 11 - 37 session 11 - 38

session 11 - 30
The large-scale plan drawing of the playground was re-constructed…

session 11 - 29


I had remembered to bring along the books on Christo and these were scrutinised by the children in great detail….

session 11 - 28

session 11 - 27

session 11 - 25
Gareth and Antoin noticed that there was a picture of two people on the back cover of one of the books… it really looked like Christo and Jeanne-Claude finally sitting down to view their project at Loose Park, Kansas!


session 11 - 24          session 11 - 23

session 11 - 22

session 11 - 21

session 11 - 19
Gareth appreciates all the planning that went into Christo’s project.

session 11 - 17

session 11 - 14
The children get to see the photo-collage of Croke Park that I had showed them online a few days before.

session 11 - 10

Mary reads out the P2/3 letter to Mr Madine to the rest of the class and to me!

session 11 - 09

session 11 - 13
Children line up to sign their letter.


Here is the letter I wrote to Mr. Madine:


Dear Mr Madine


As you know I have been working with P2 / P3 and Mrs Crummy on the latest phase of the Virtually There project. We have been exploring ideas around the theme of ‘Pattern’. Our explorations have come a long way and in order to conclude our project we have worked towards the idea of wrapping the playground that the children use.
We would like the opportunity to explain to you what we are doing and show you all the work and research undertaken which has led us to this idea. It would take a long time to explain to you, fully in this letter, so we would like you to visit our display that will provide you with the background to this project and further details.
We have been inspired in particular by two artists called Christo and Jeanne-Claude. They were a husband and wife team who proposed and created some of the most wonderful public art projects of the last decades. They were internationally known for such projects as the wrapping of a whole coast in Australia in 1968/9 and the wrapping of the Reichstag in Berlin 1995.


All of these projects took a lot of planning and sometimes the projects were not realized because the authorities did not grant permission. We are therefore presenting you with our ideas in the hope that you might grant us permission to wrap the school playground.


Some of the reasons why we believe you should support our proposal are summarized below:
  • The wrapping of the playground would provide an interesting means by which we could collect patterns of movement of those who use it. This relates to our explorations about pattern. We would be able to see footprints and marks of movement and weathering patterns.
  • We are very excited about the idea of doing something very unique and spectacular. We believe that the playground would look amazing and would create a lot of interest particularly in the whole school community and beyond.
  • In 1976 Christo proposed to wrap the walkways in St. Stephen’s Green in Dublin, but this idea was never realised. Eventually Christo brought this idea to fruition in Loose Park, Kansas City, Missouri, USA in 1978. We therefore like the link to the proposed Irish project and as a follow up to that unrealized project, we wish to re-ignite a similar idea by wrapping the school playground.
  • You may recently have seen the images of the Temple of Hope in Derry – a public art event in which a beautiful wooden structure was built and finally burned. Such a project involves a huge team effort and the value of a project such as this, lies in its collaborative nature, as well as the potential to create a memorable experience. In wrapping the playground – a project that the children have imagined, and researched – it has the possibility to create a rich experience and retain an after-image and positive memories, long after the project itself ends.
We all look forward to welcoming you to the display and P2/3 classroom to discuss the project. I know you have a busy schedule but hope you can take some time to consider this proposal positively.


Very best wishes


Sharon Kelly

IMAGES OF OUR DISPLAY

session 11 - 45
The display along the school corridor.

session 11 - 44

session 11 - 43

session 11 - 42

session 11 - 41

session 11 - 39

session 11 - 06
Christo and Jeanne-Claude present their ideas. Image from internet.


session 11 - 05
Christo and Jeanne-Claude. Image from the internet


Posted in Uncategorized | Leave a comment