PPP: persuasion, promotion and permission

session 10 - 17
Noah’s vision of the playground


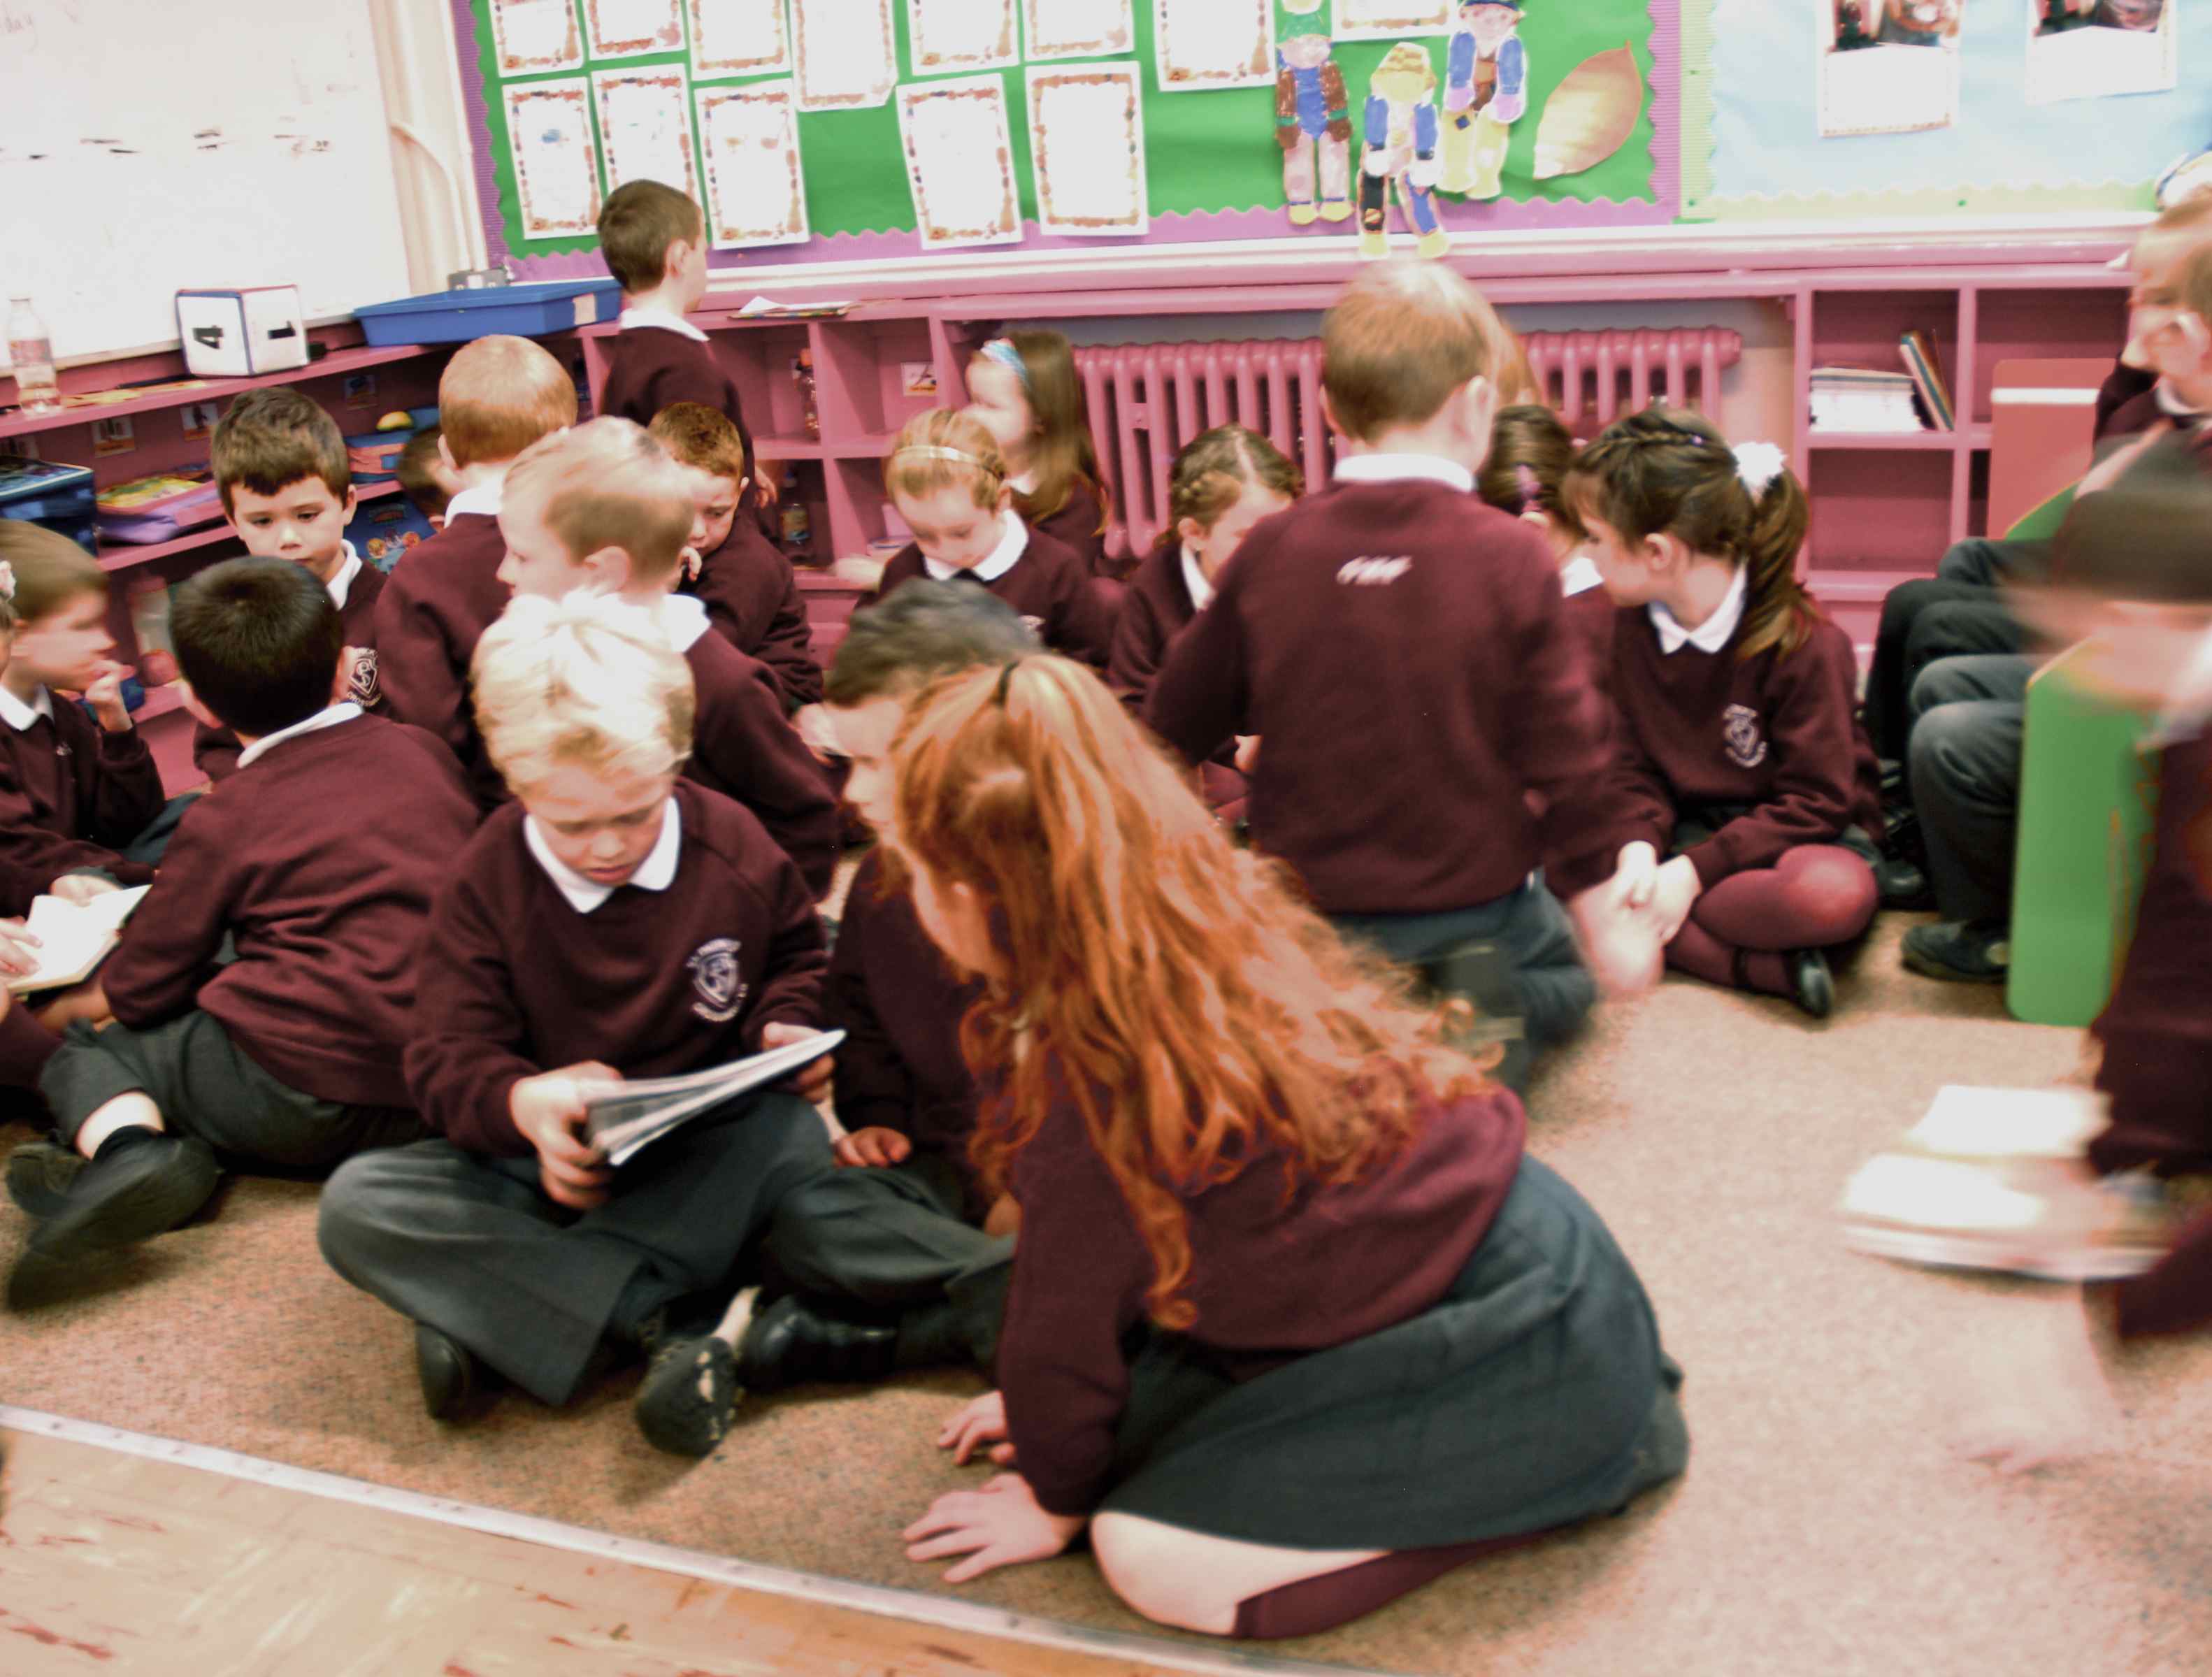
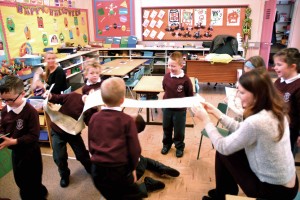
After all our work and research, we now need to seek permission from the Headmaster to realise our idea of wrapping the playground. How will we do that? How can we persuade him? This online session was mainly discussion. We listened carefully and patiently to each other and we discussed the matter of PERMISSION.

Some suggested we could Beg him to PLEASE allow us to wrap the playground!

We also thought we could actually PERSUADE him by making an argument FOR him to support this. We discussed the fact that we might send him a formal letter to explain:

What we are doing

Why we are doing it

Why we think he should say YES!

session 10 - 20
Charlie’s Vision of the playground.


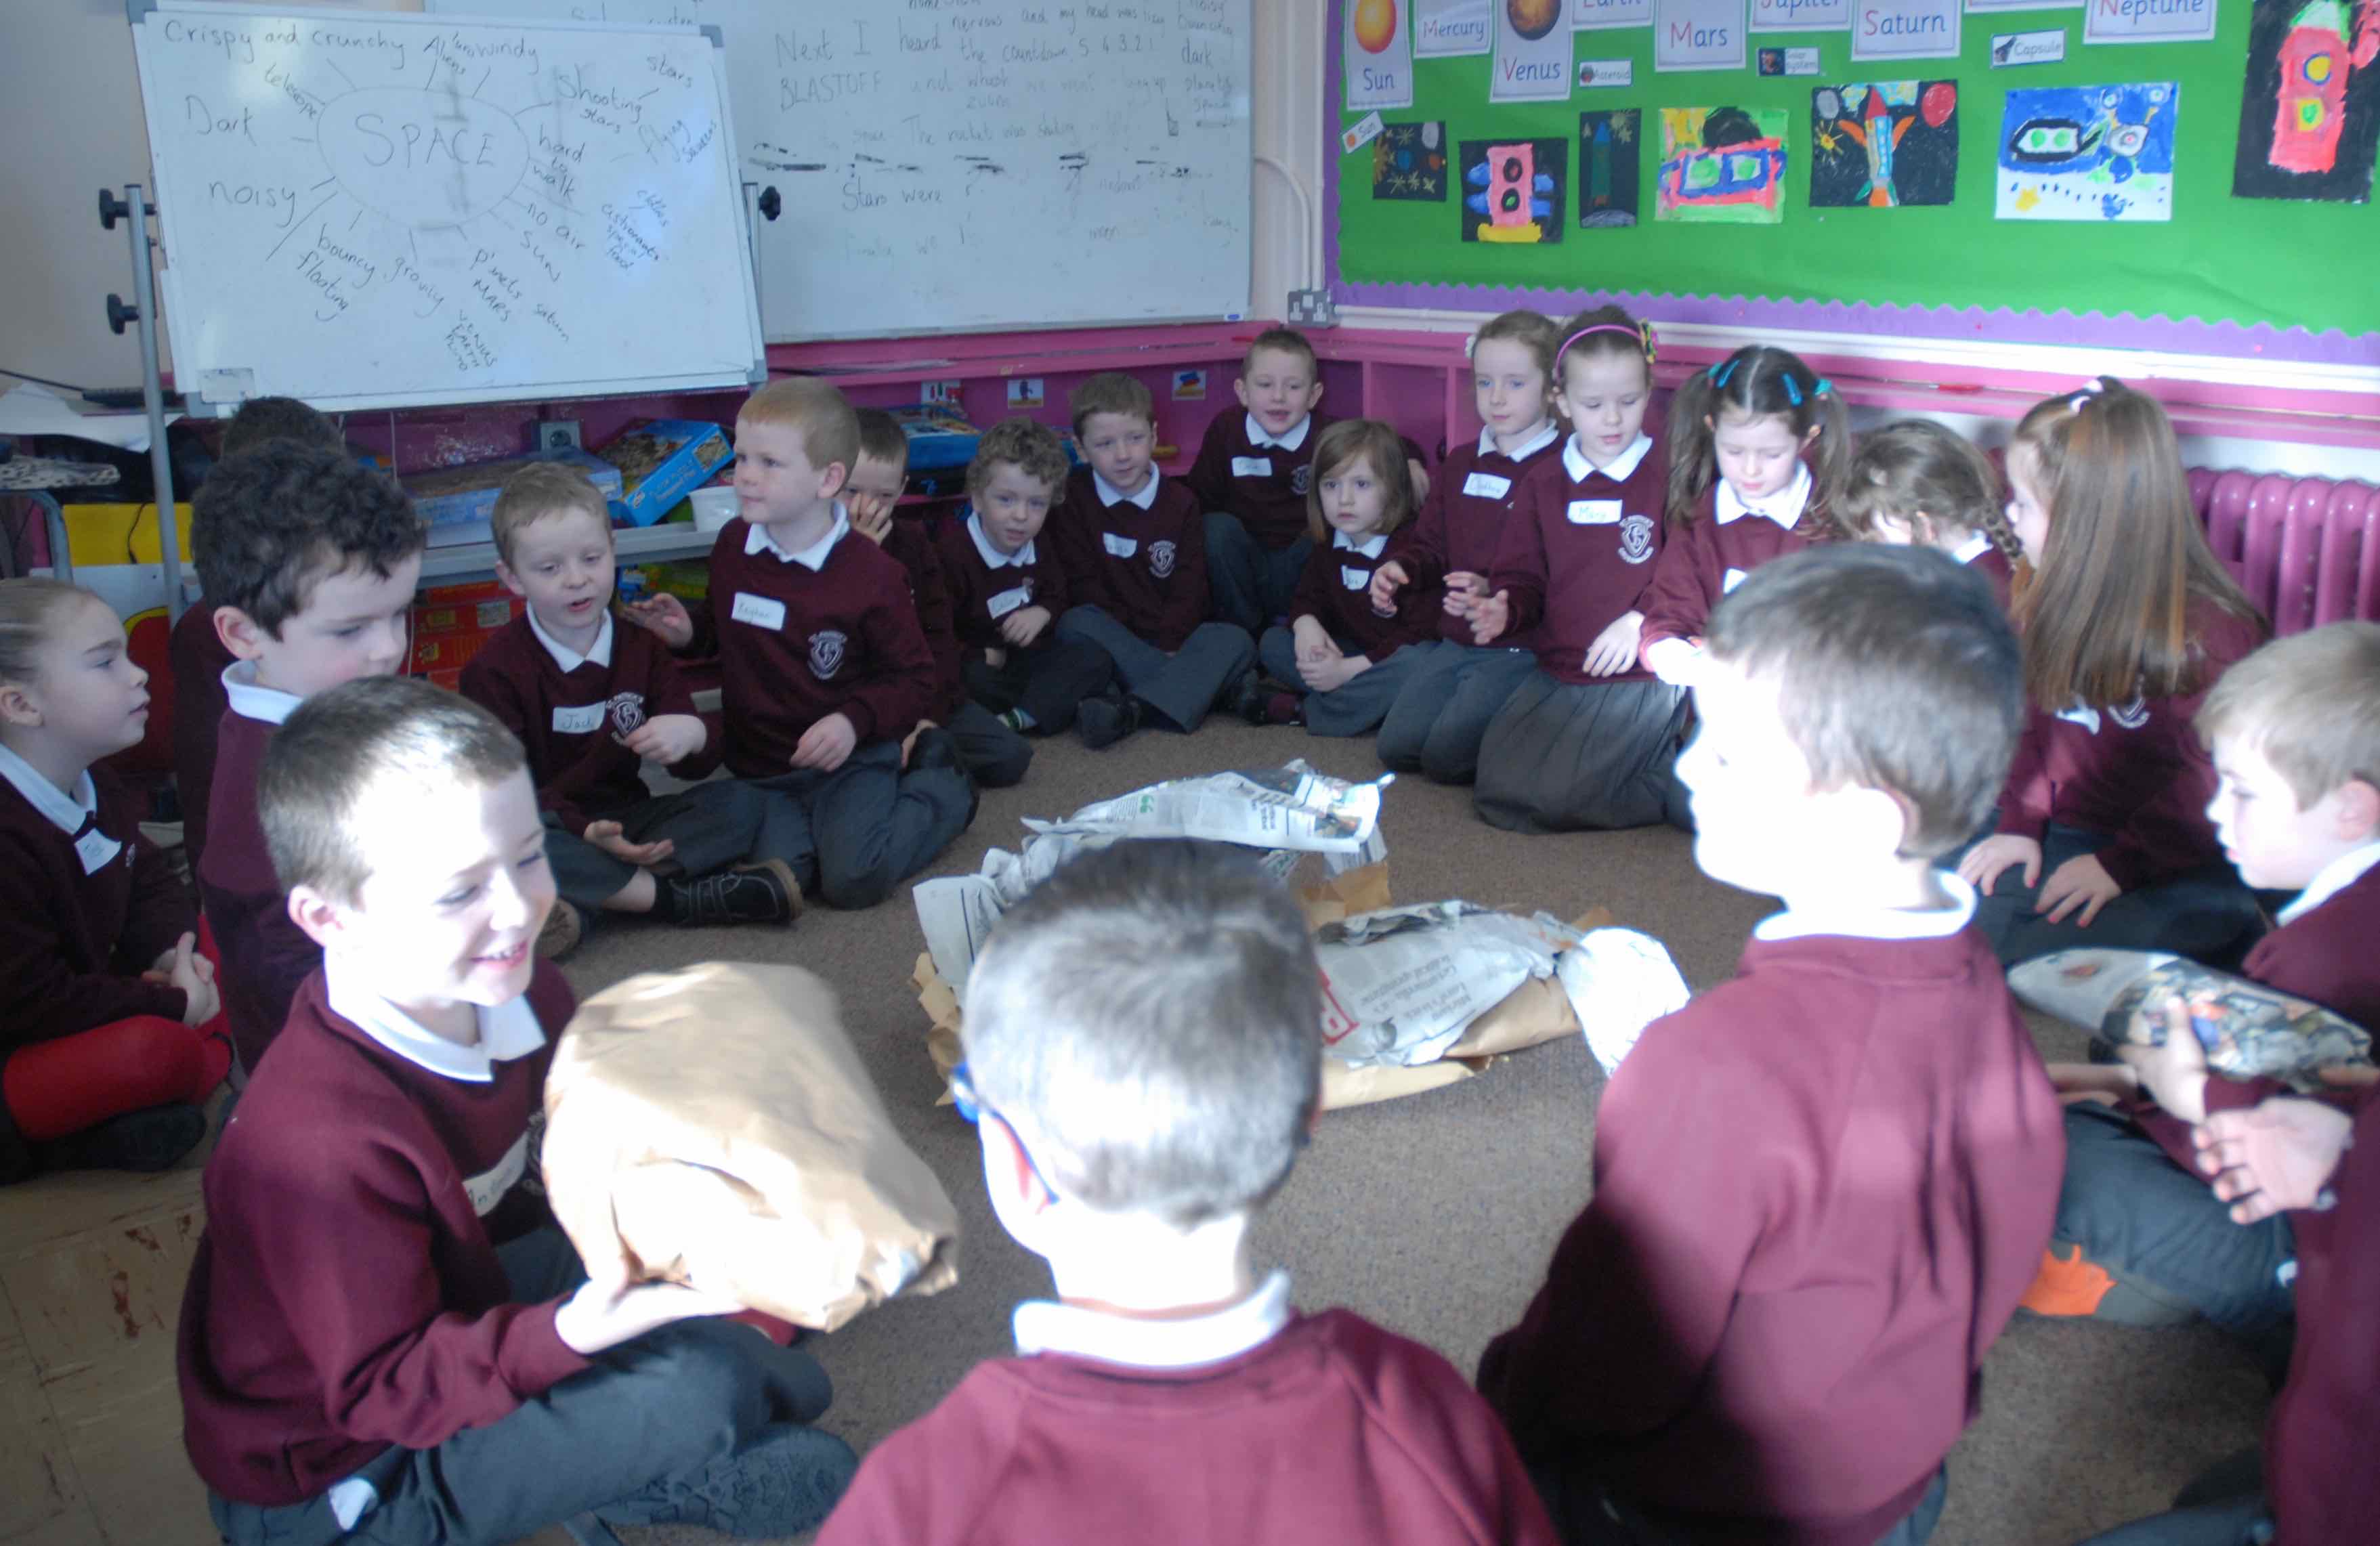
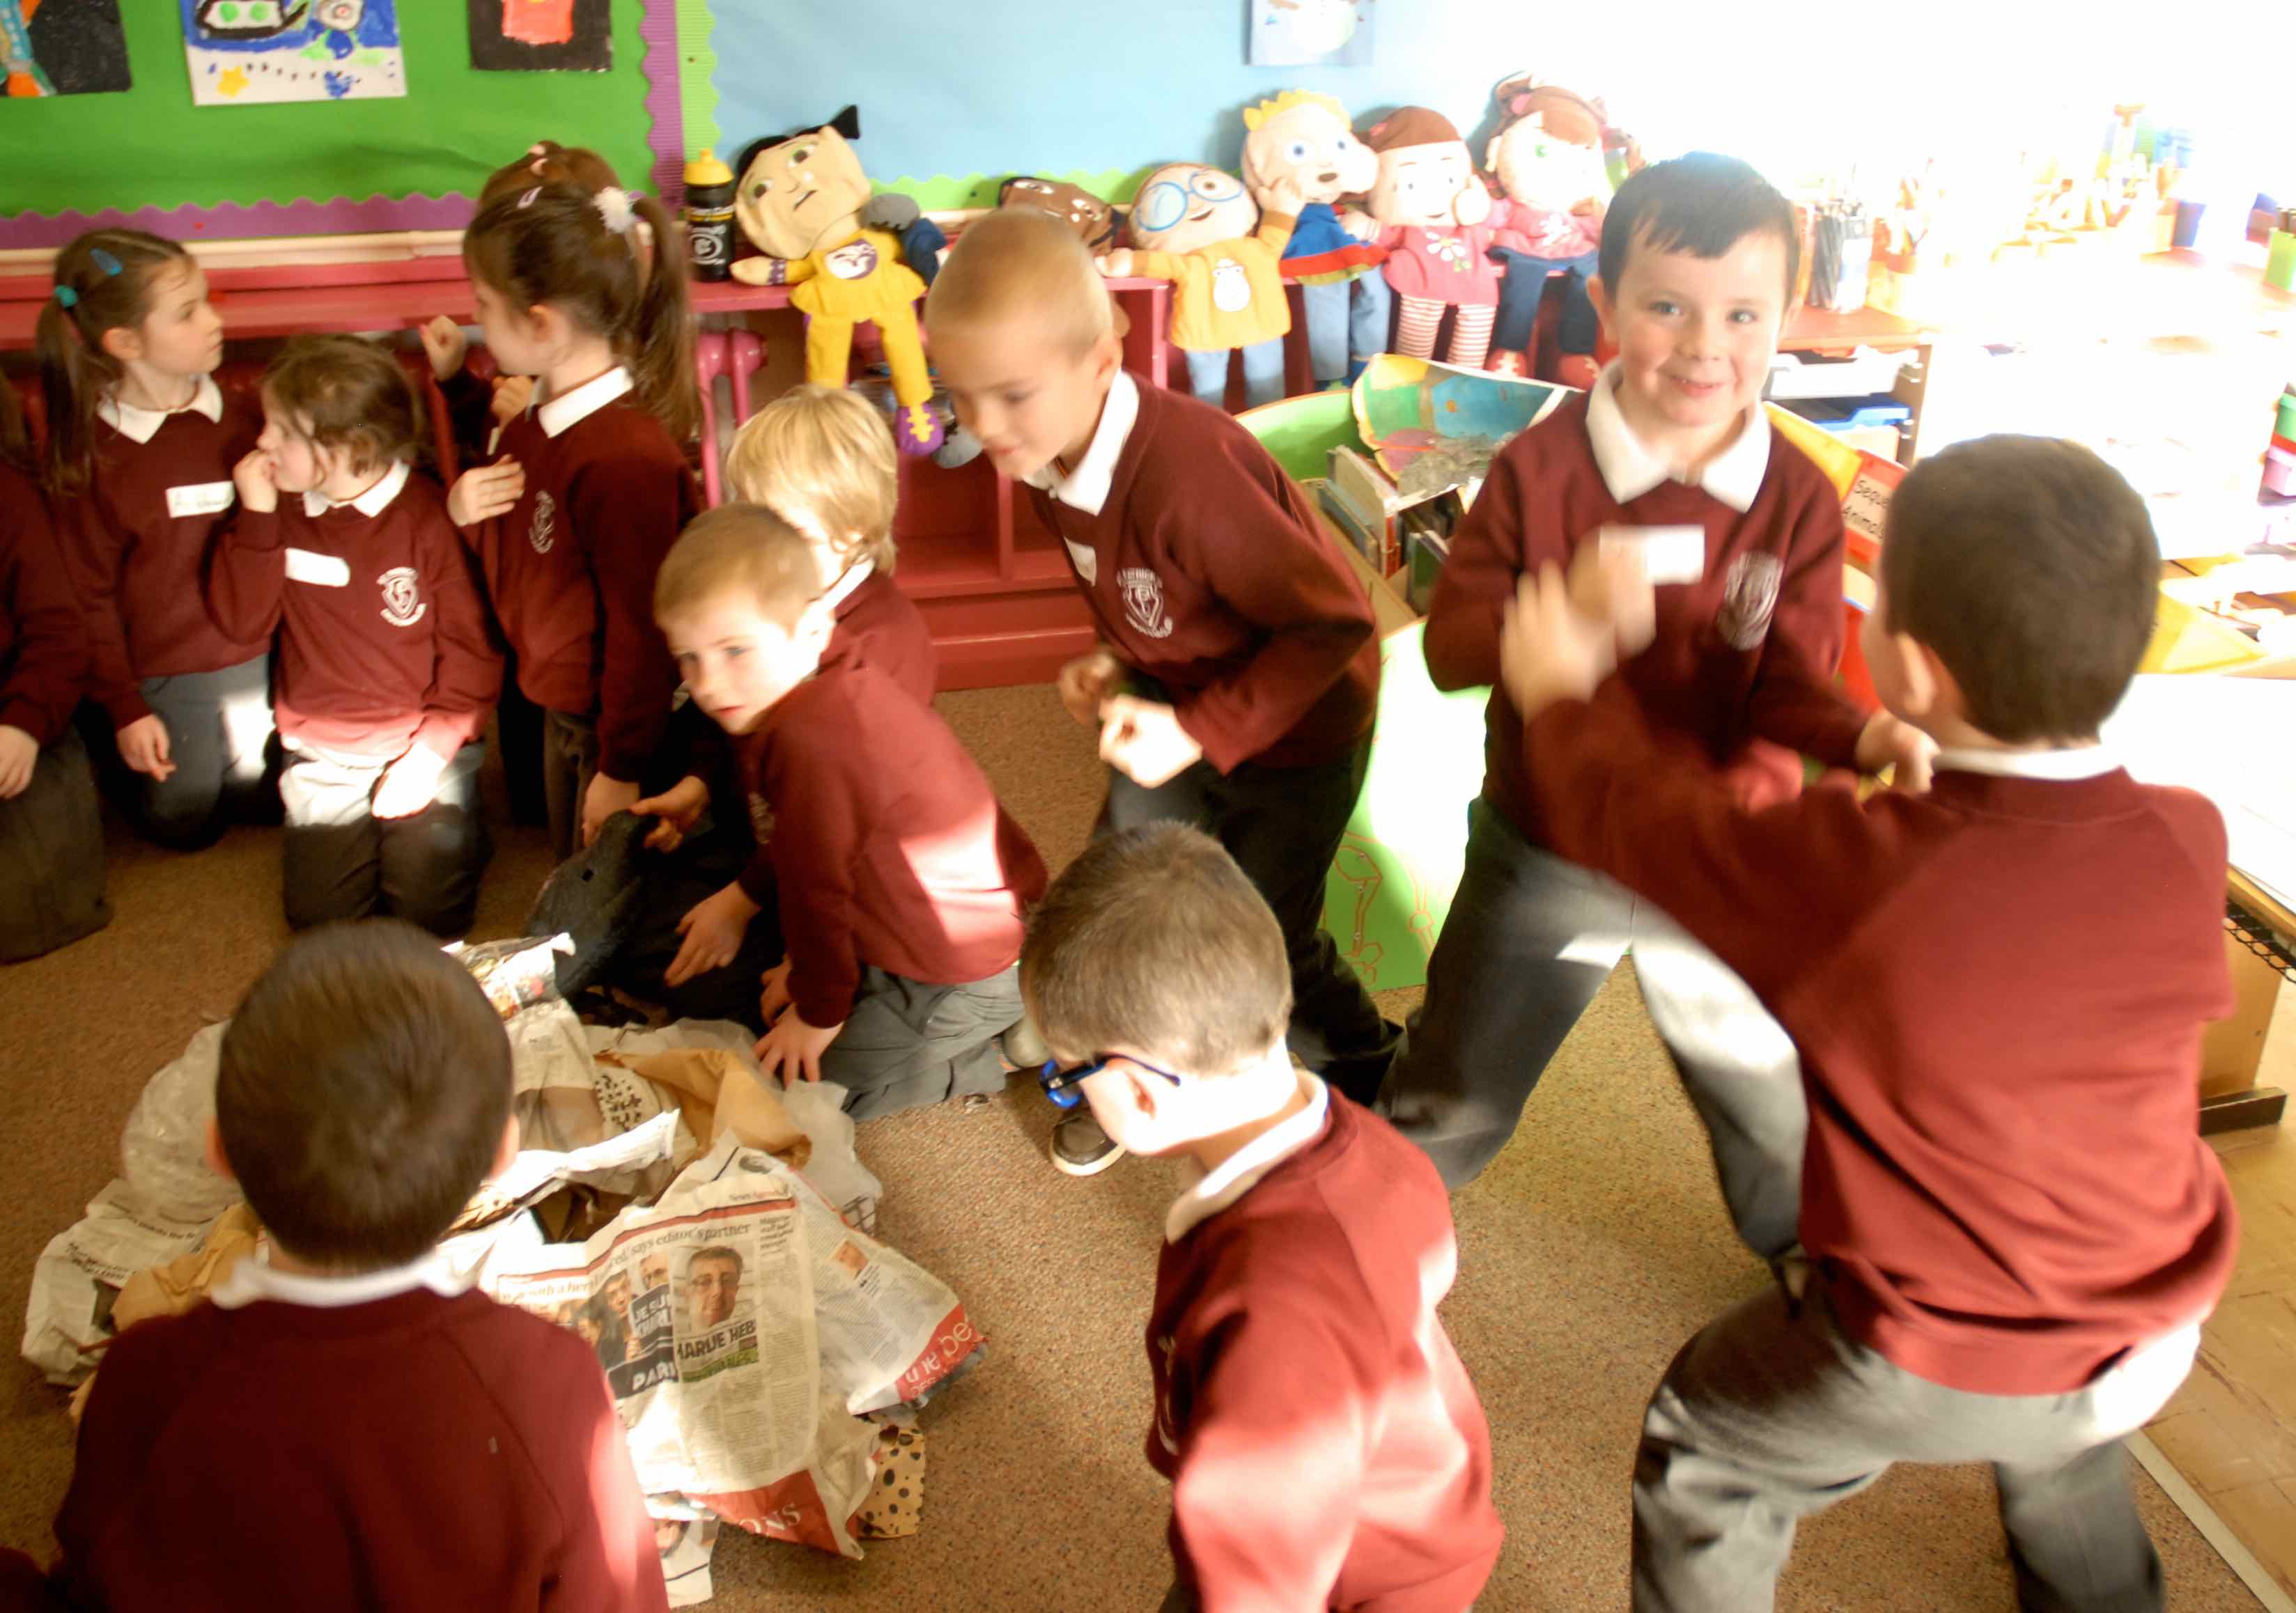
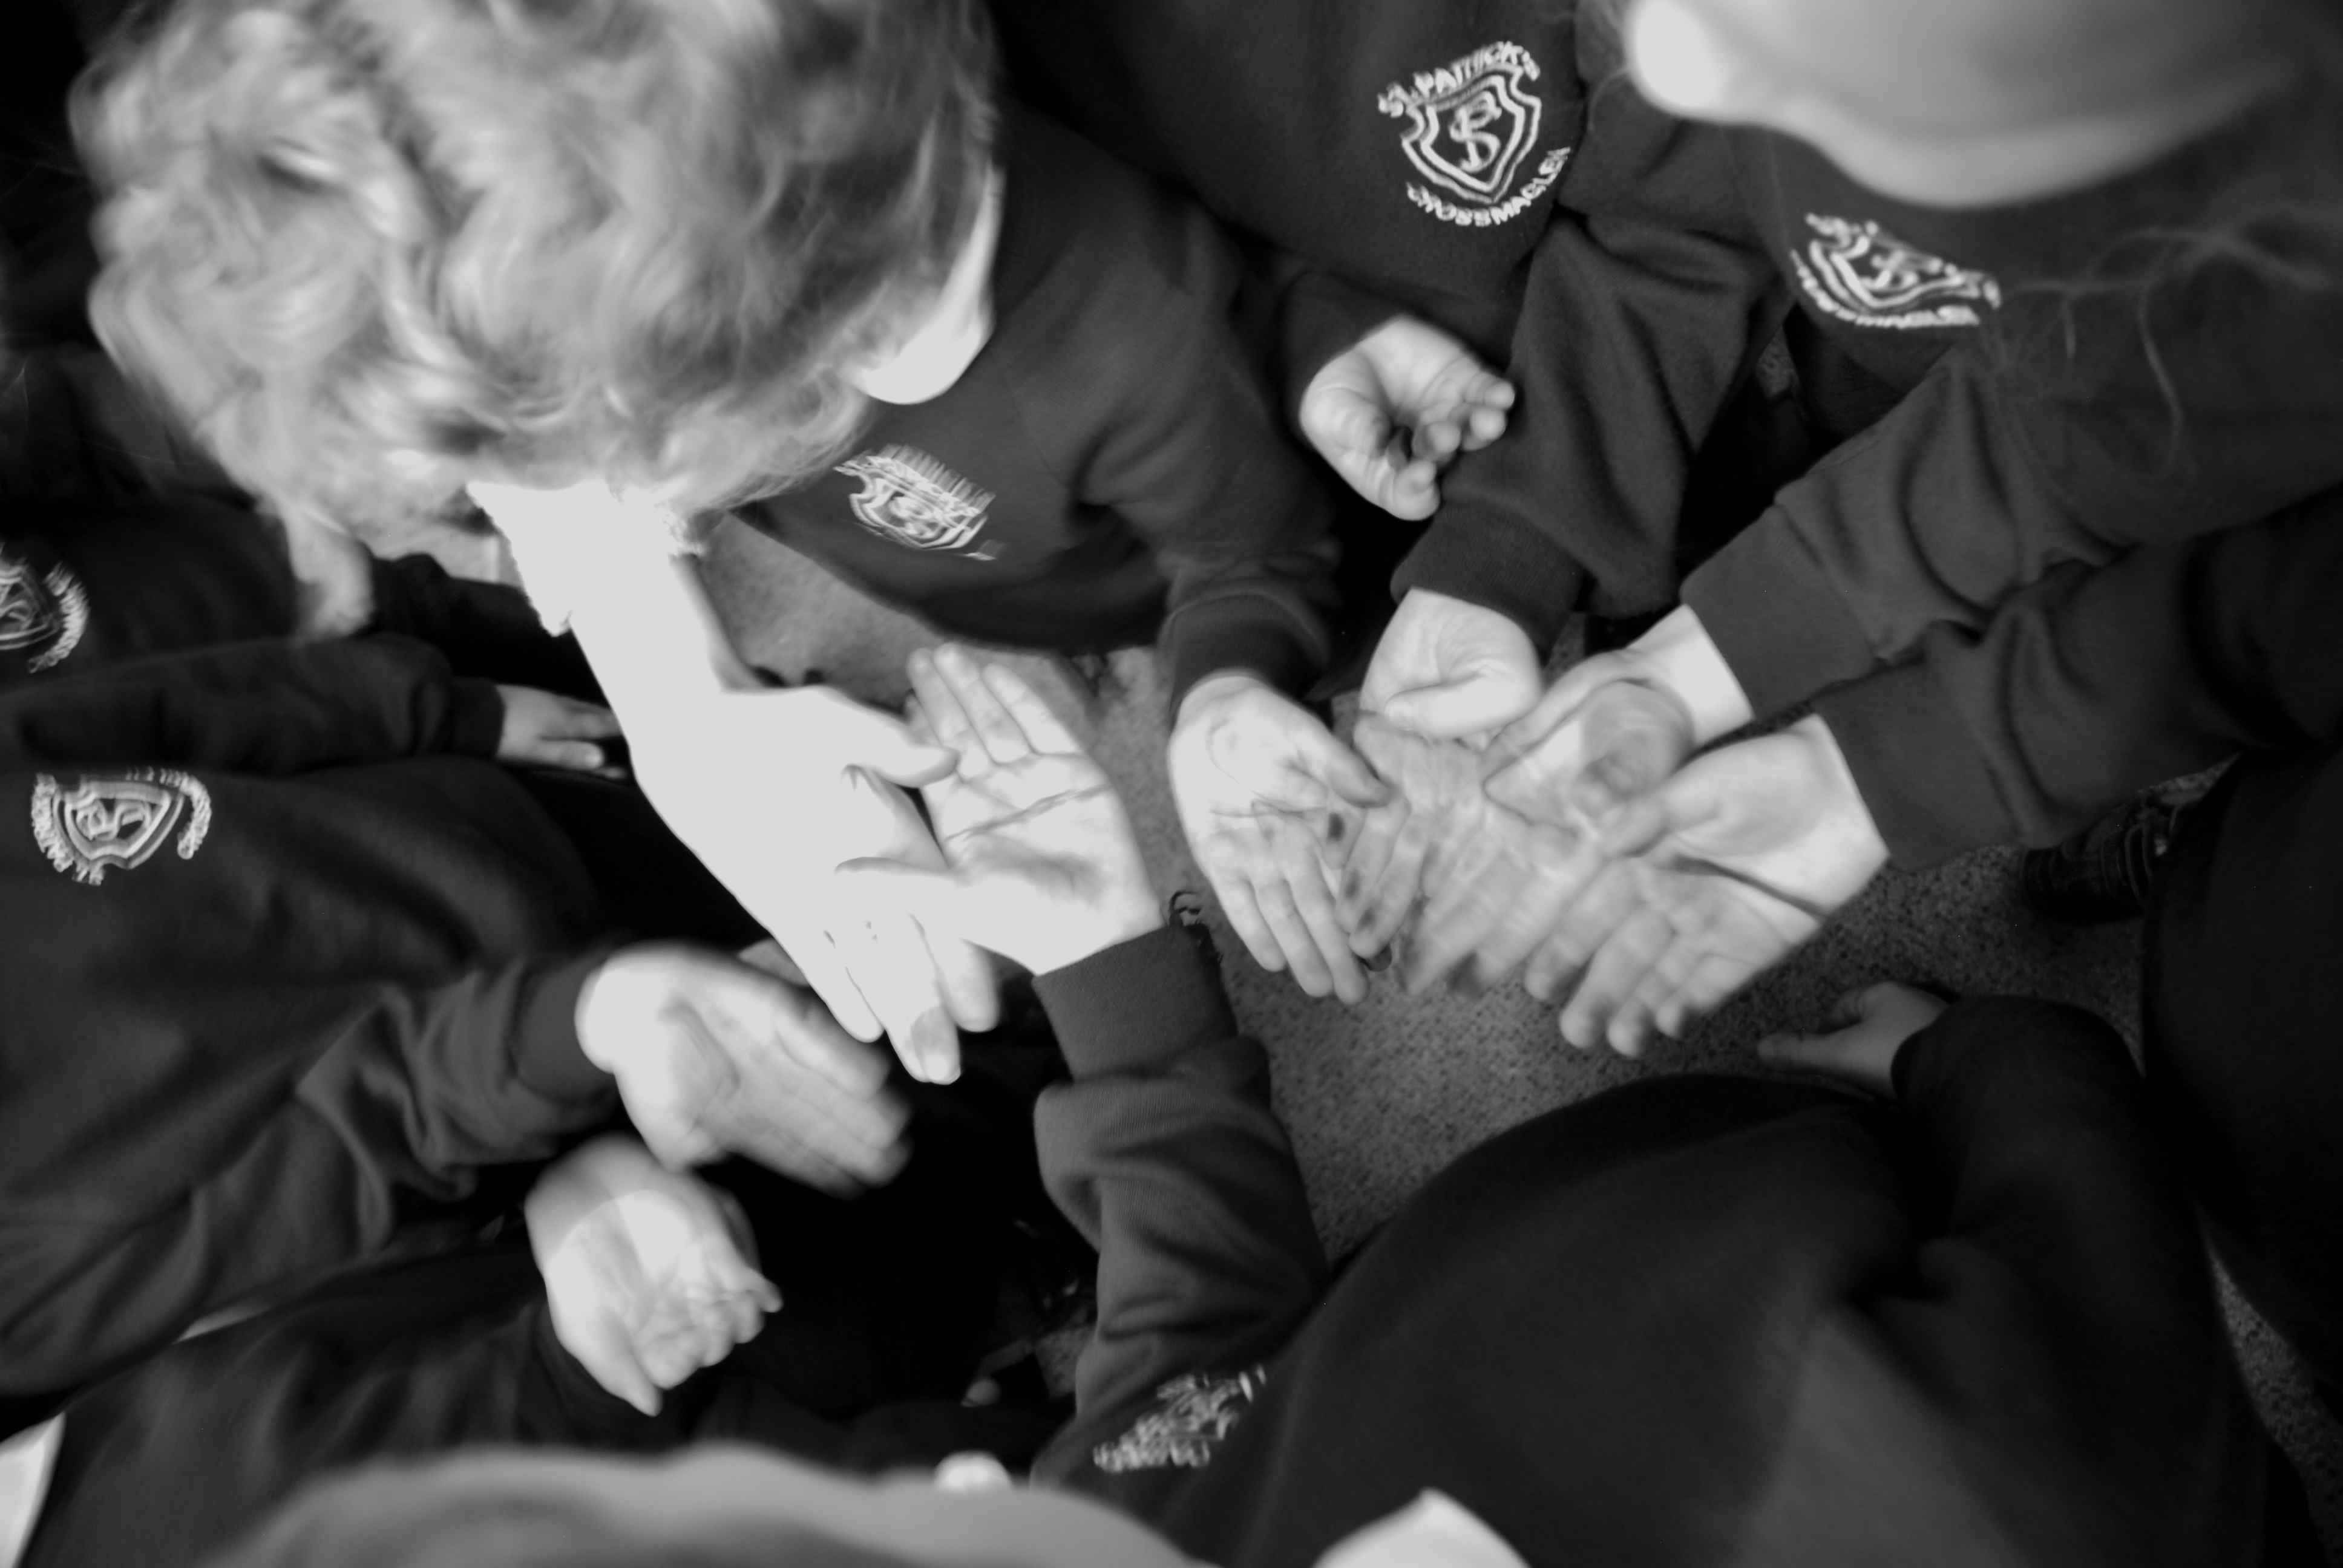
The children broke into 2 groups one would try to think of all the reasons why we should be allowed to wrap the playground and the other group would think of all the possible reasons why the headmaster might say ‘No’.

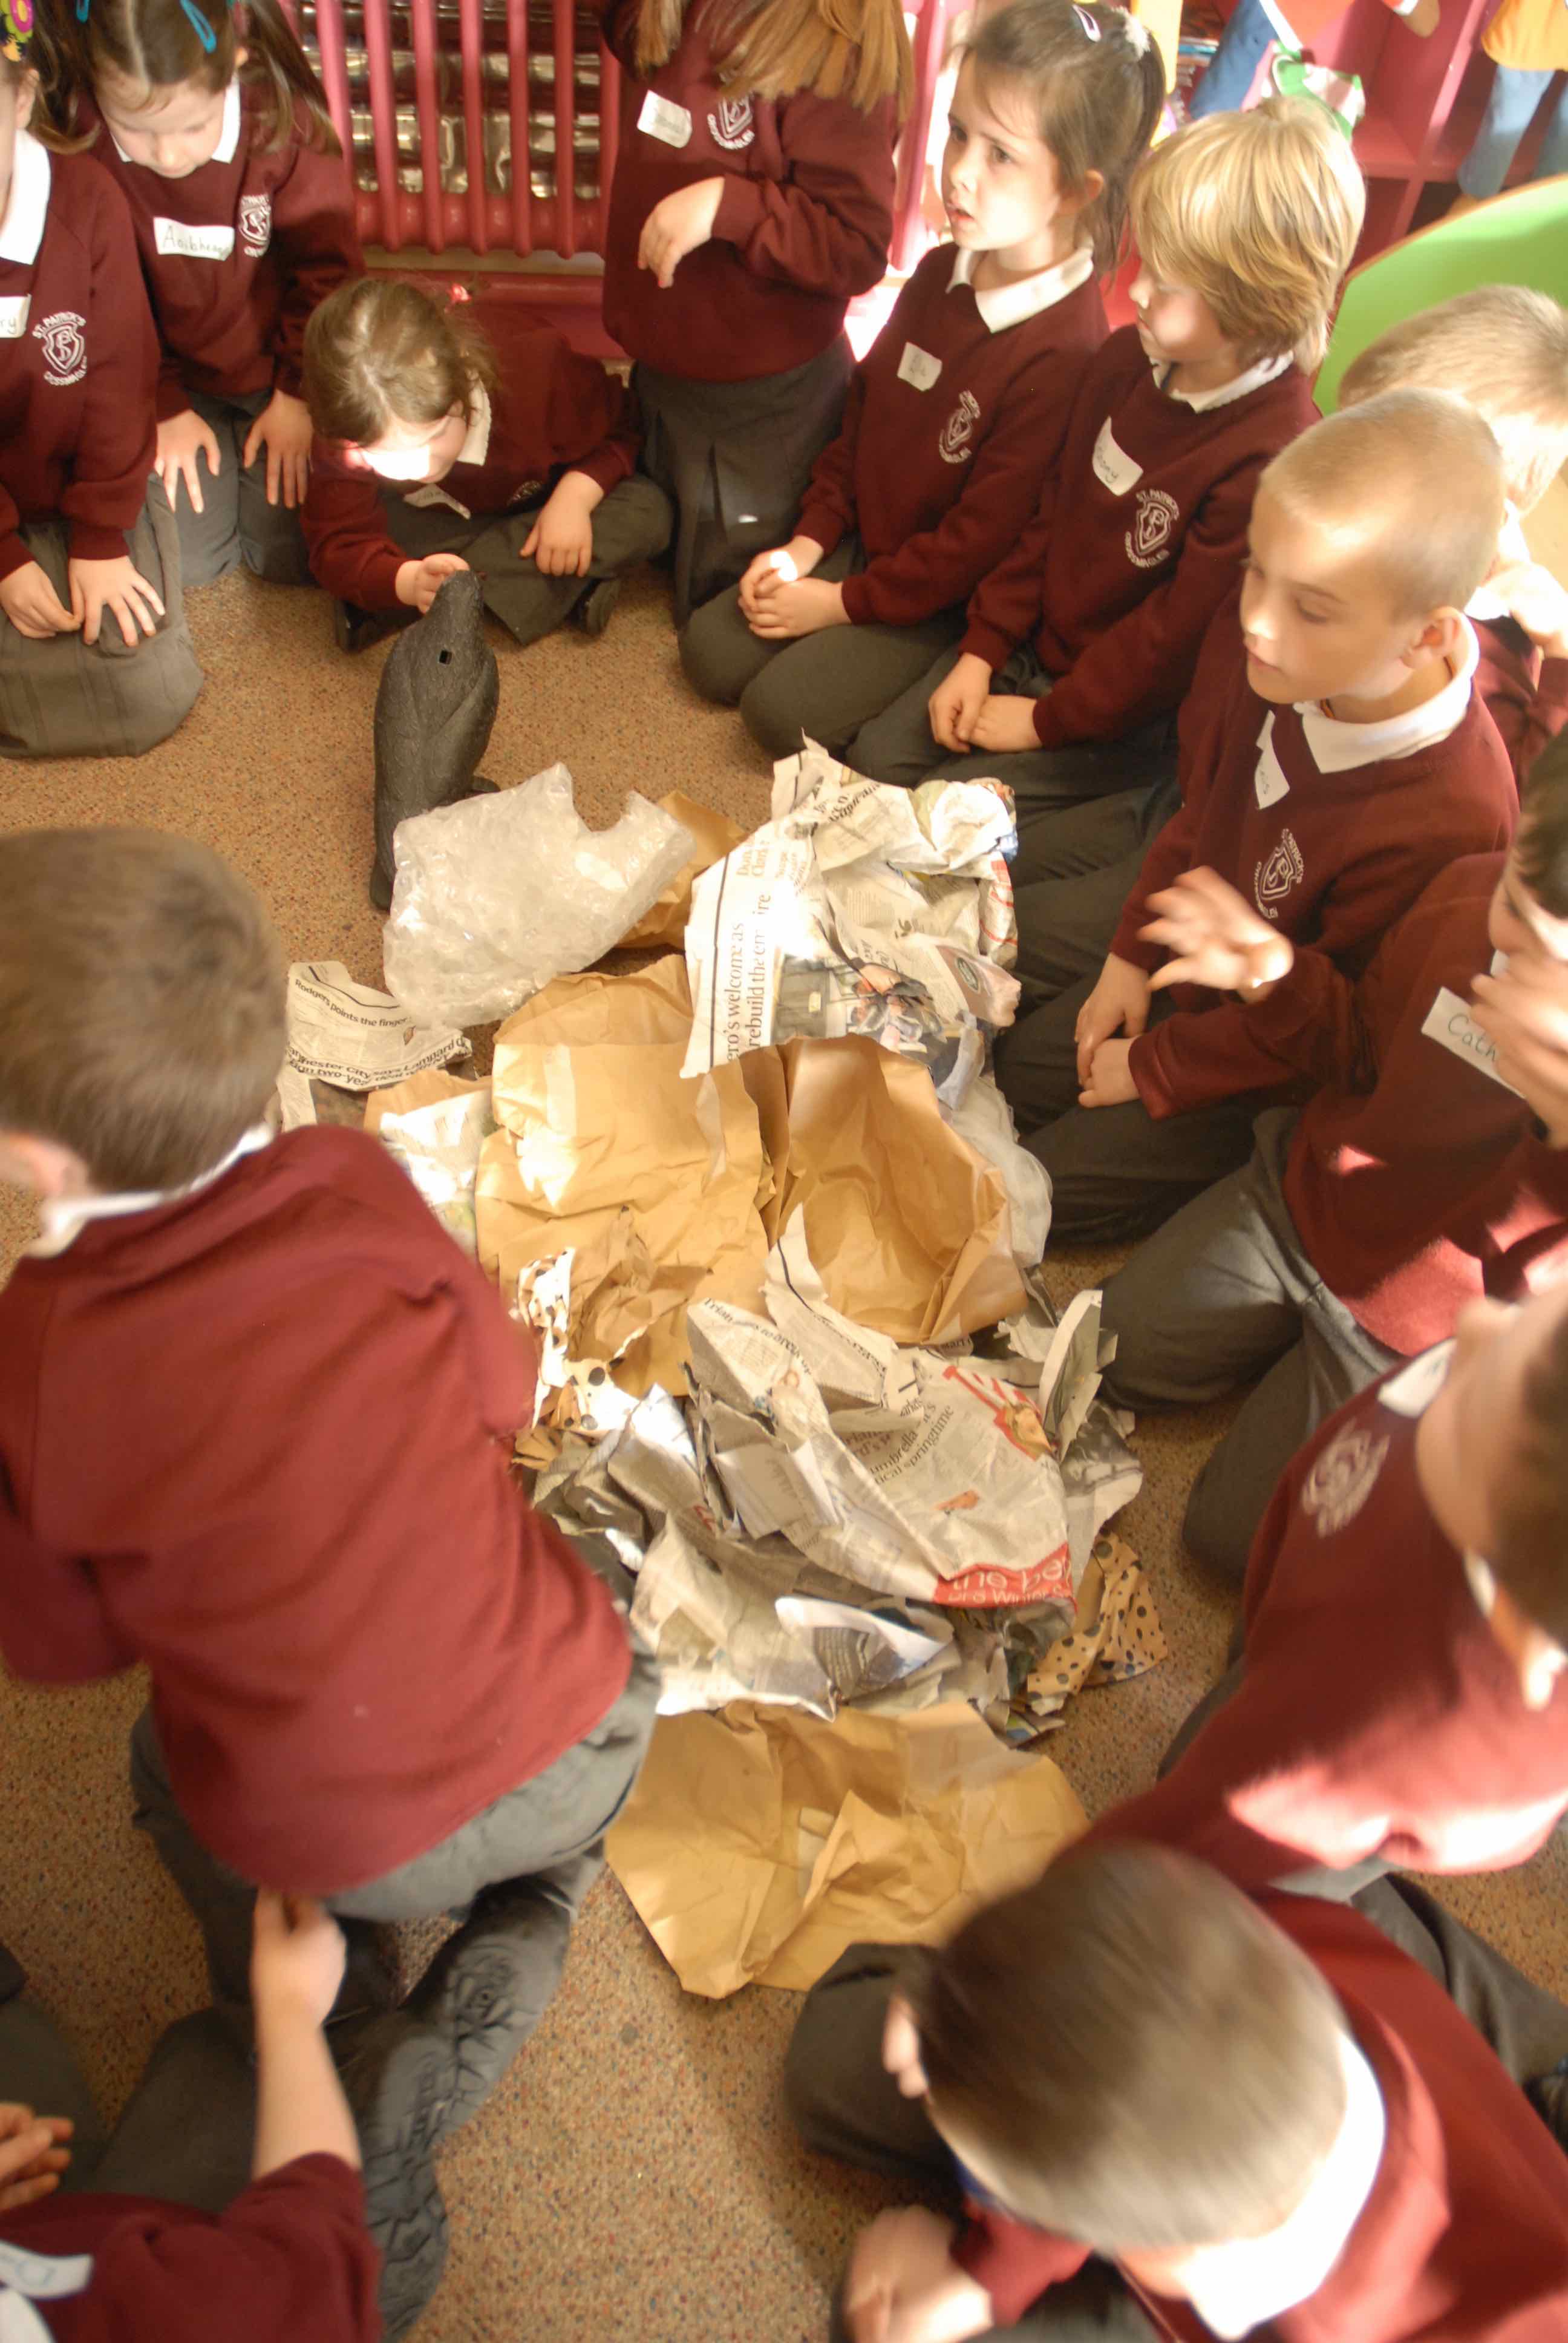
Before the debate began we discussed the idea of ADVERTISEMENTS and how they are used to PERSUADE us to buy or like something. We looked at the language they used; lots of ADJECTIVES to describe things. We looked at the sorts of colours they used to ATTRACT us.

THE ARGUMENT AGAINST:

We might be using a material that would rip and tear and it would not be successful…

A new playground covering would confuse the younger P1 children

People might slide around on it and fall.

Children would not be able to find their game markings for PE

No hopscotch / no snakes and ladders for playing and learning …

There’s nothing wrong with the yard so why wrap it?

THE ARGUMENT FOR:

It would be good for school visitors

It would be a beautiful, extraordinary sight and look amazing, bright and cheery

It would cause a lot of interest maybe from the newspapers and television!

It would be MEMORABLE

It would be fun

No one else would have wrapped their playground!

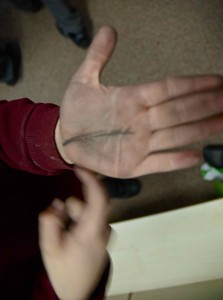
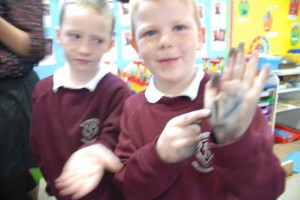
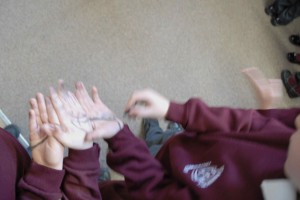
We could indeed collect footprints as patterns of movement for our project on PATTERN

All these great ideas could be used to write the letter to Mr Madine, the Headmaster.


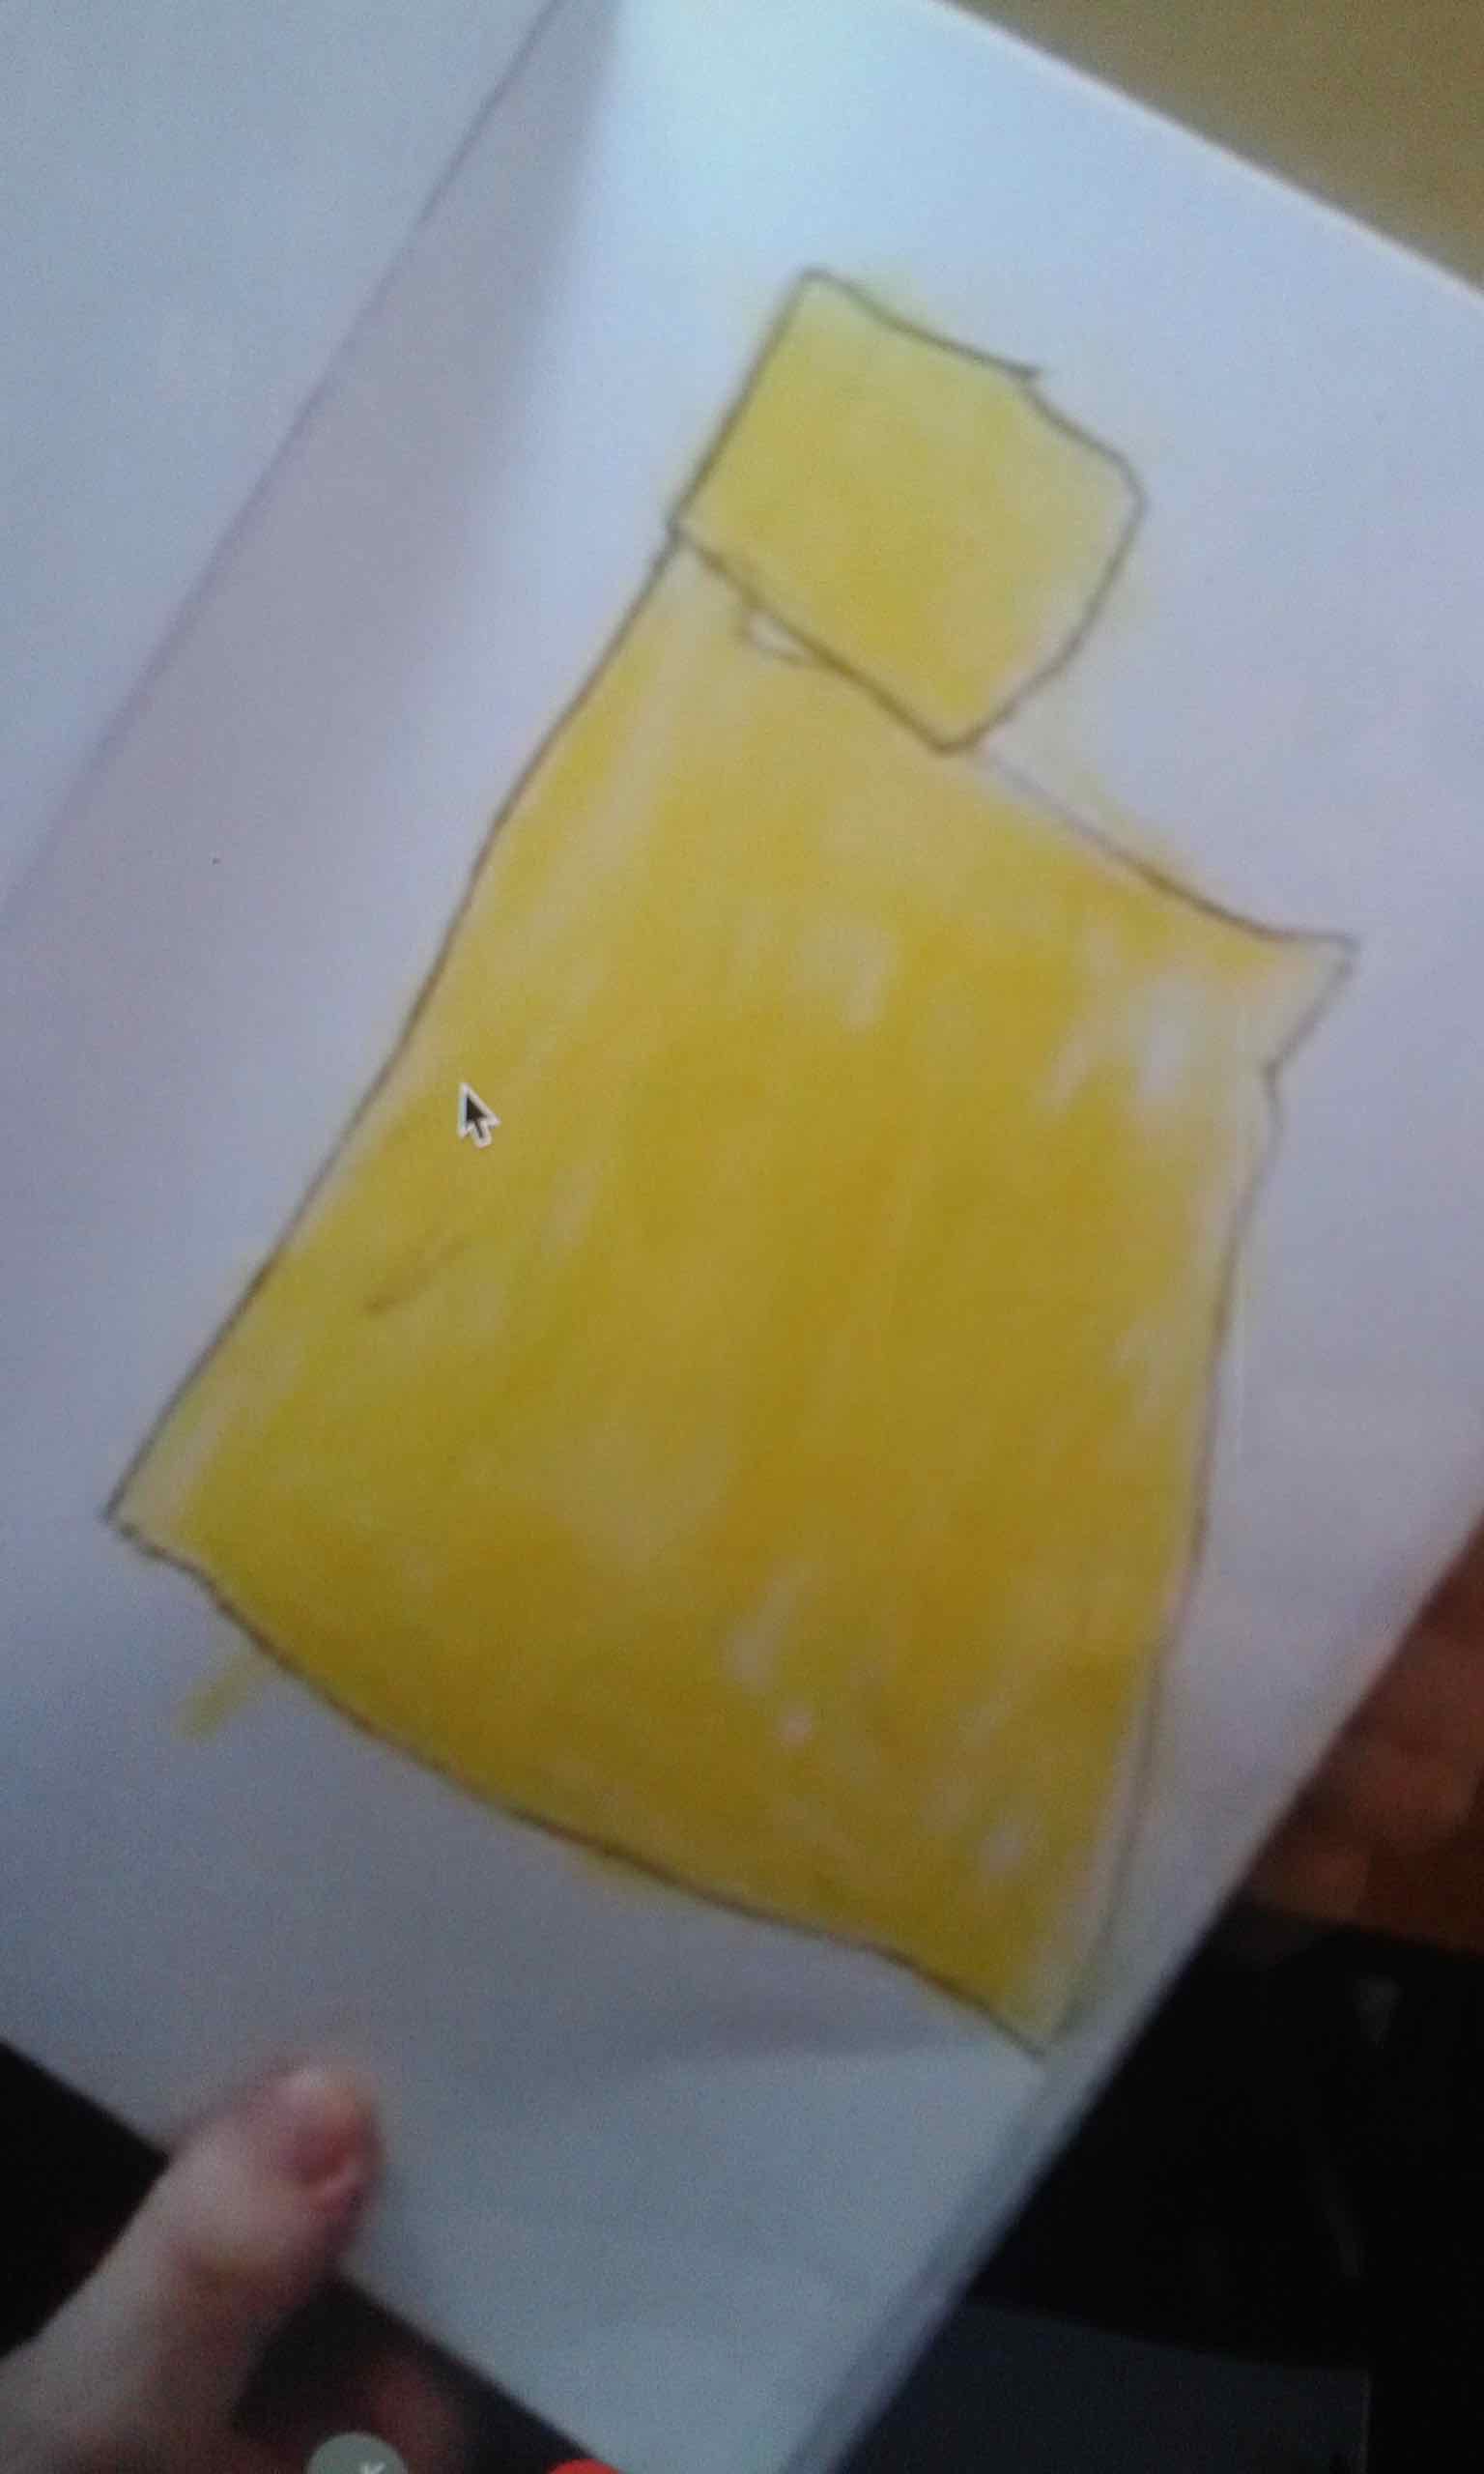
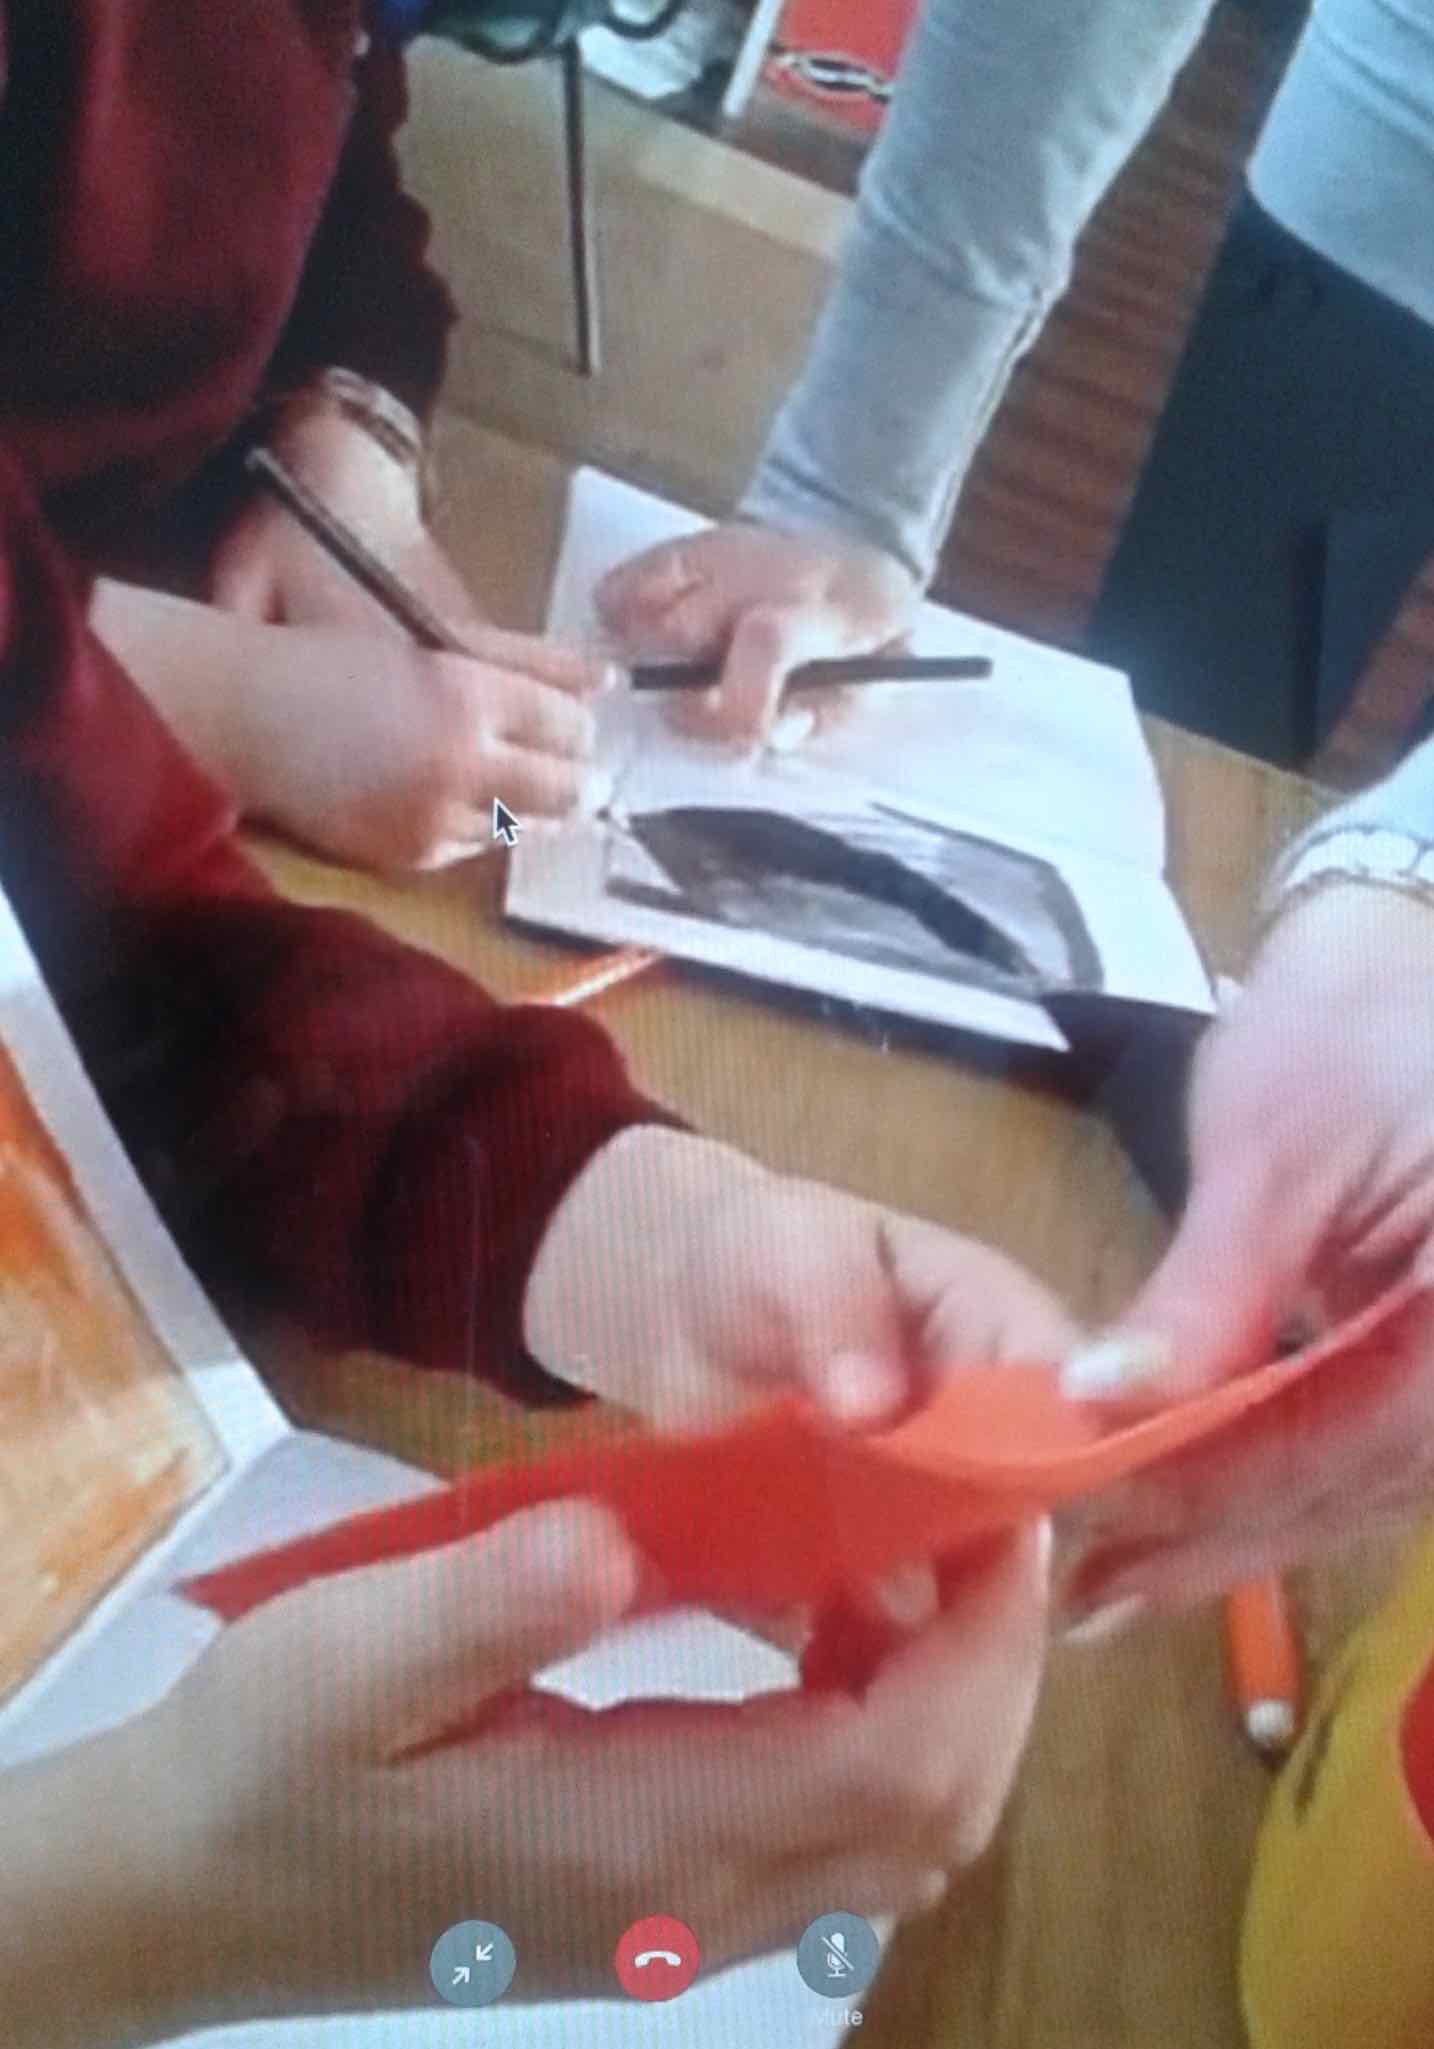
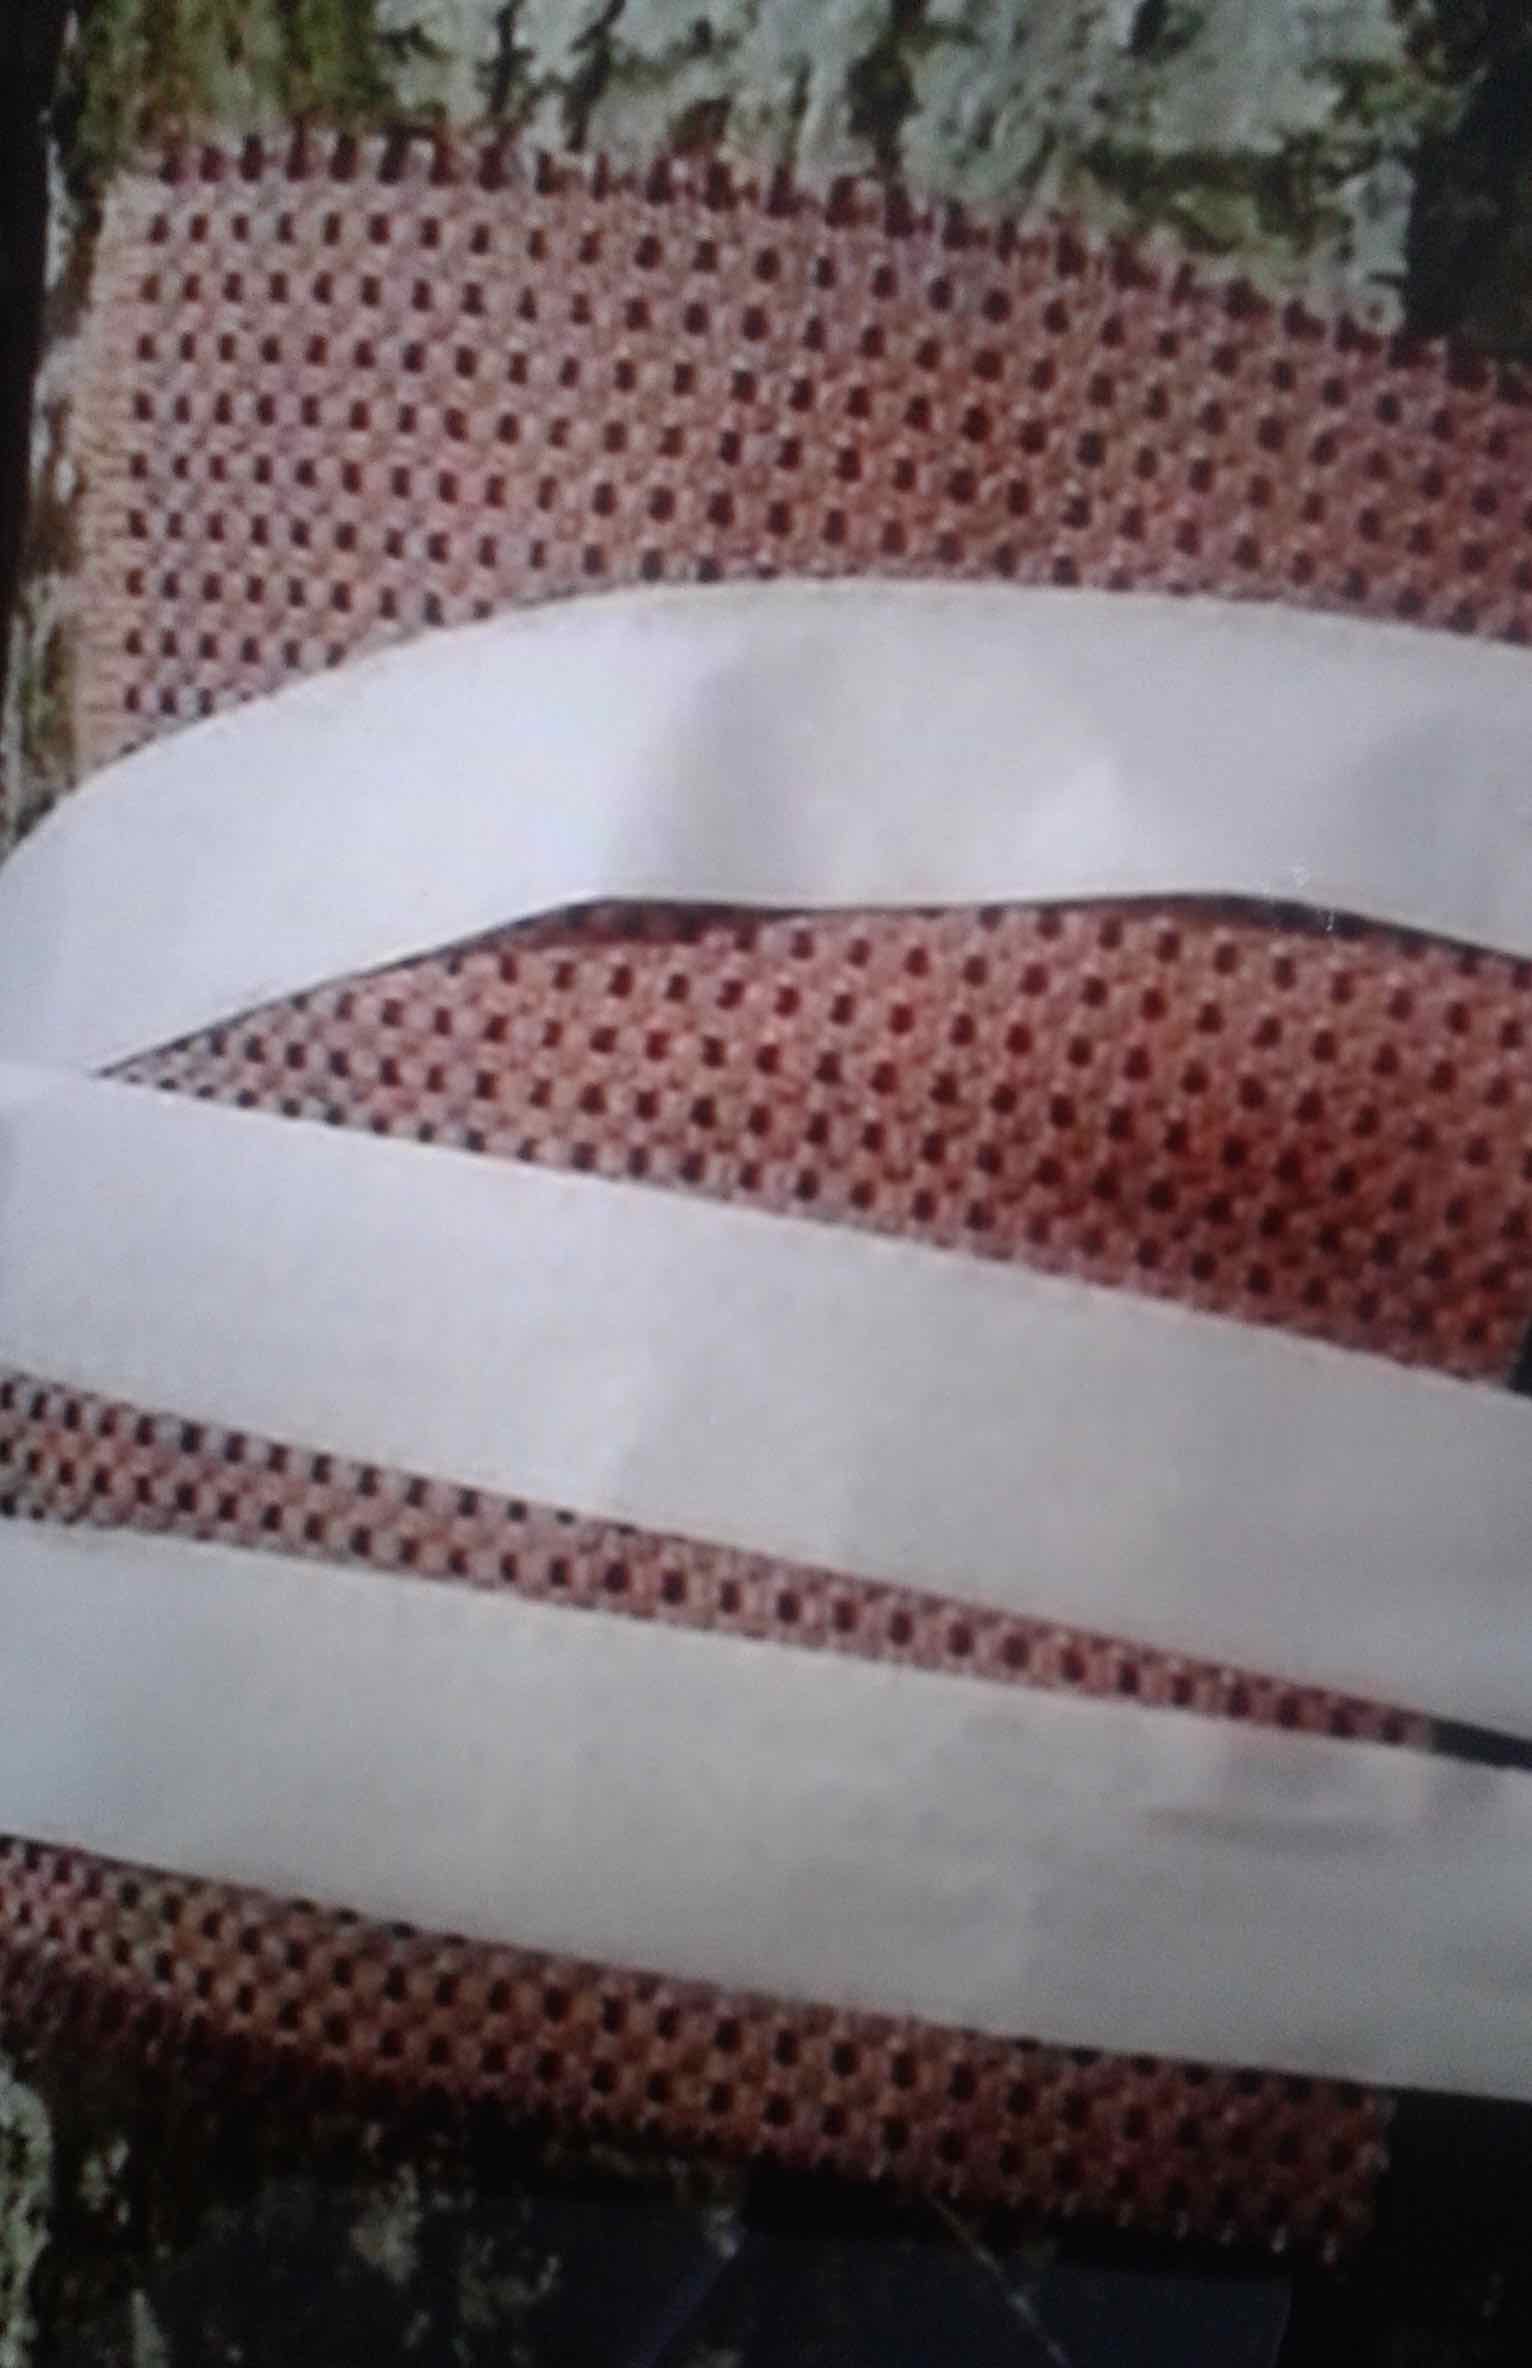
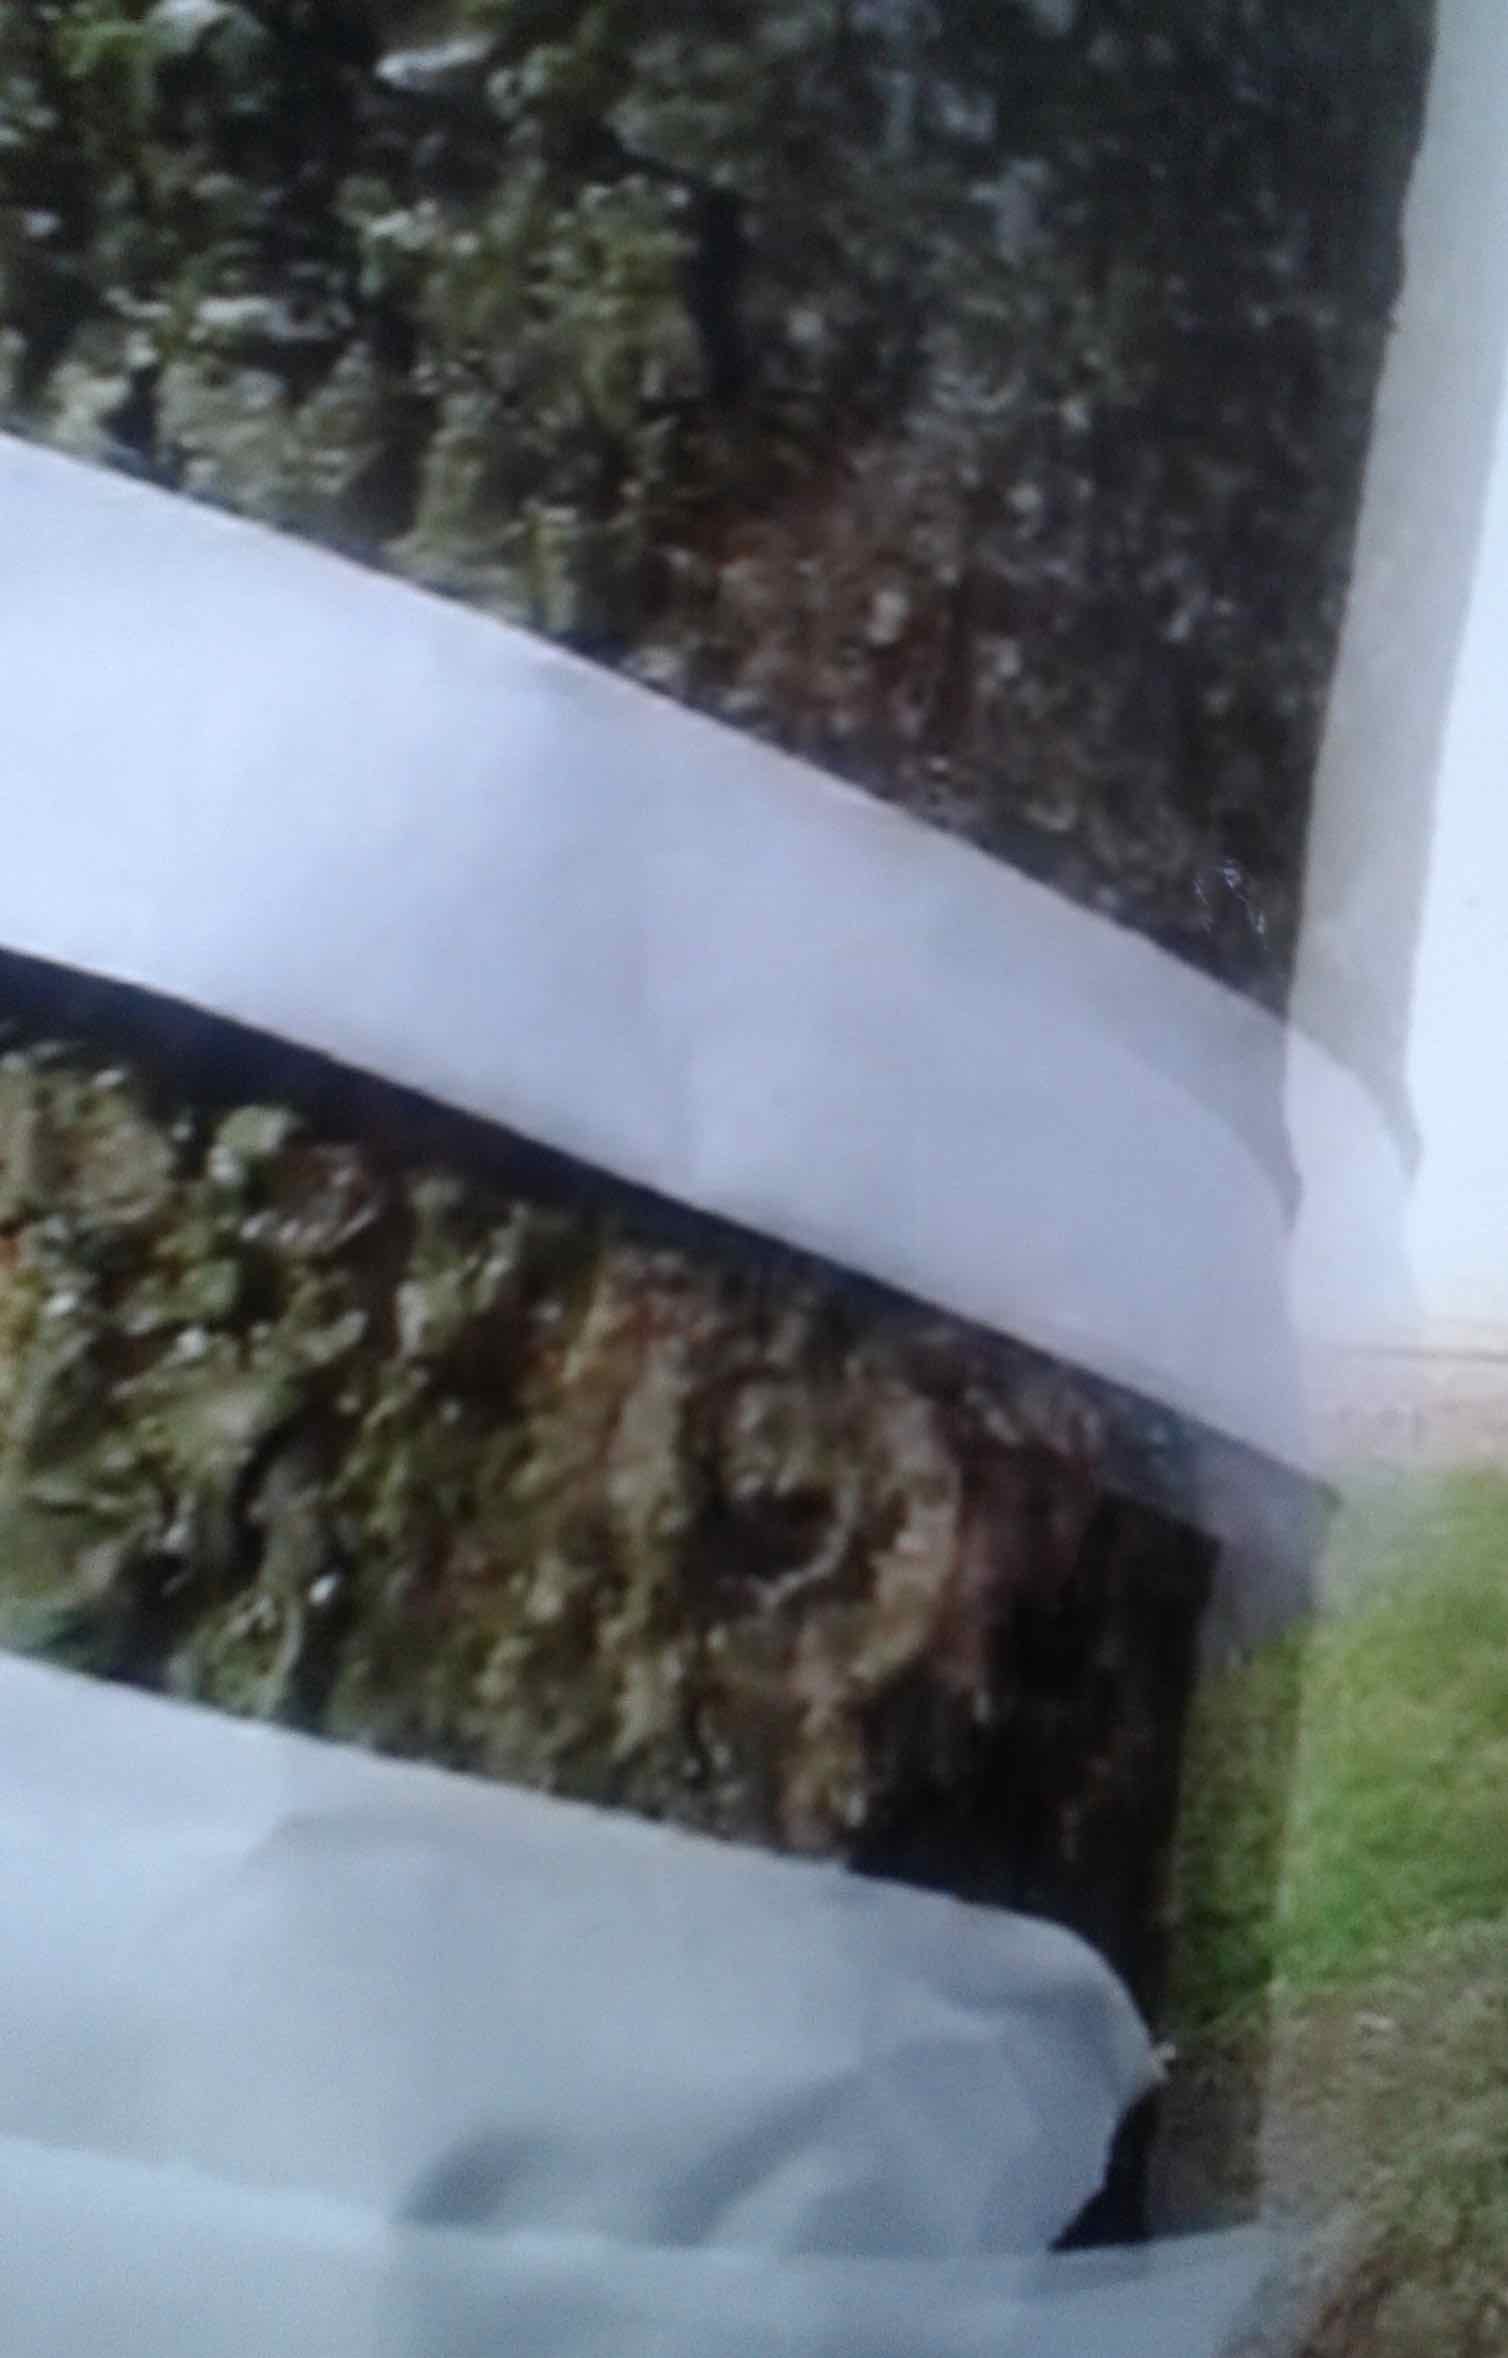
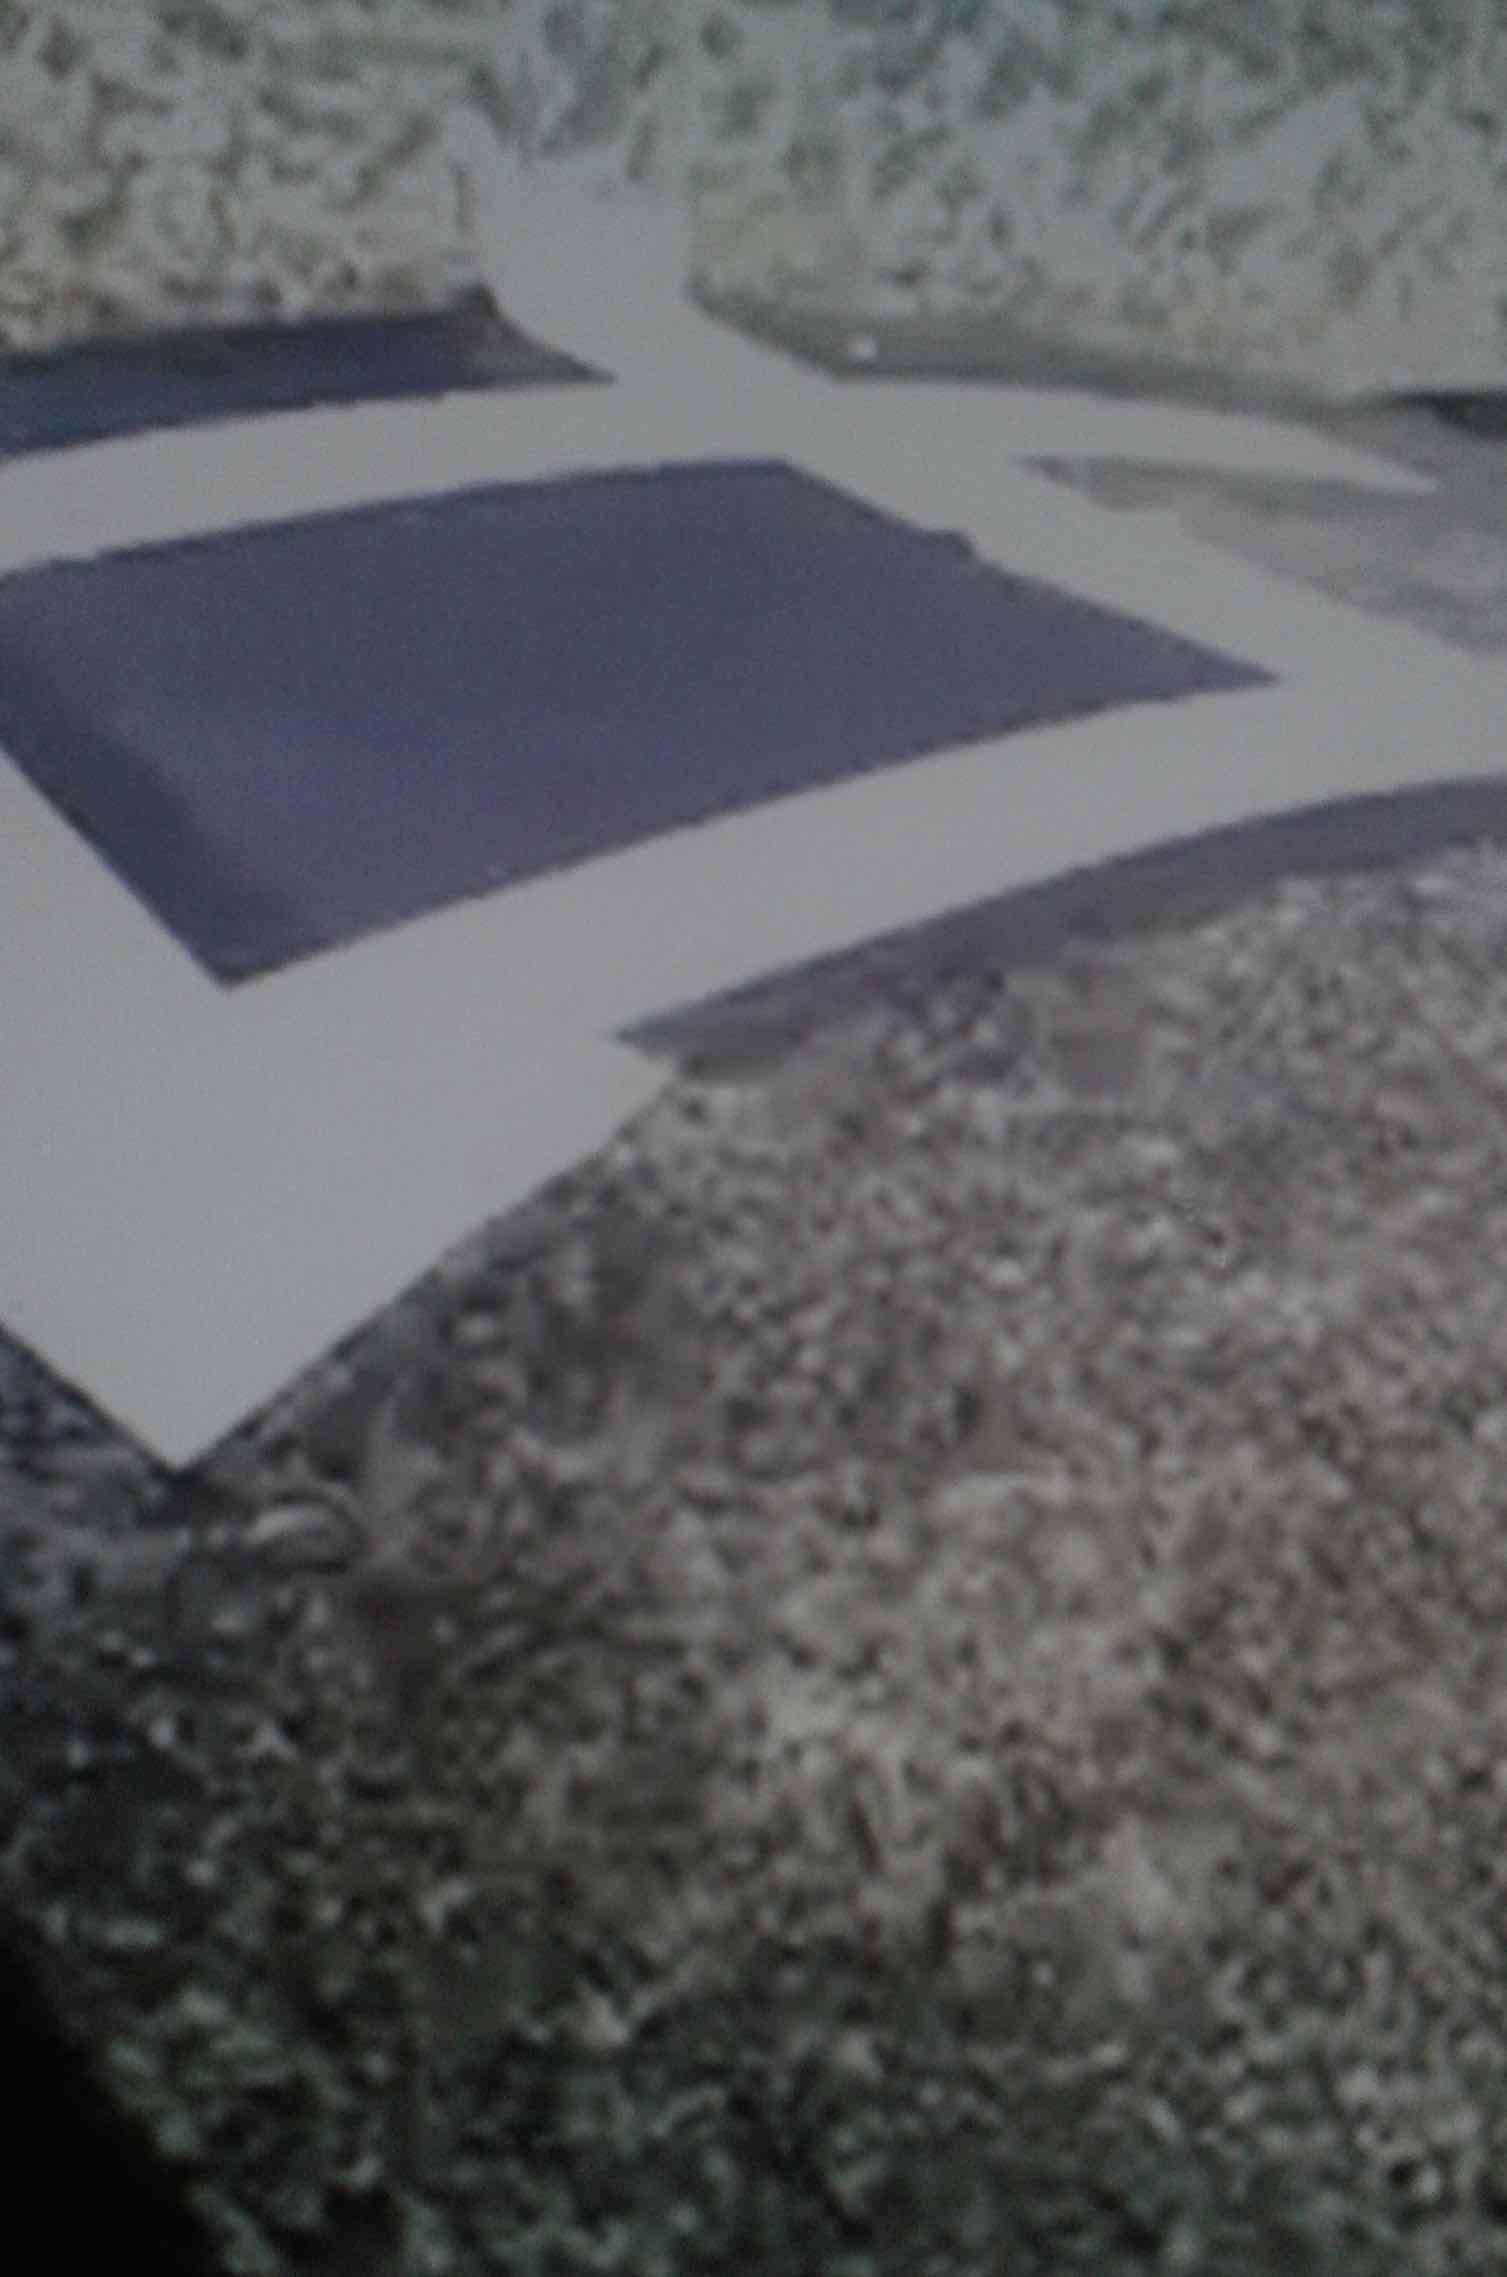
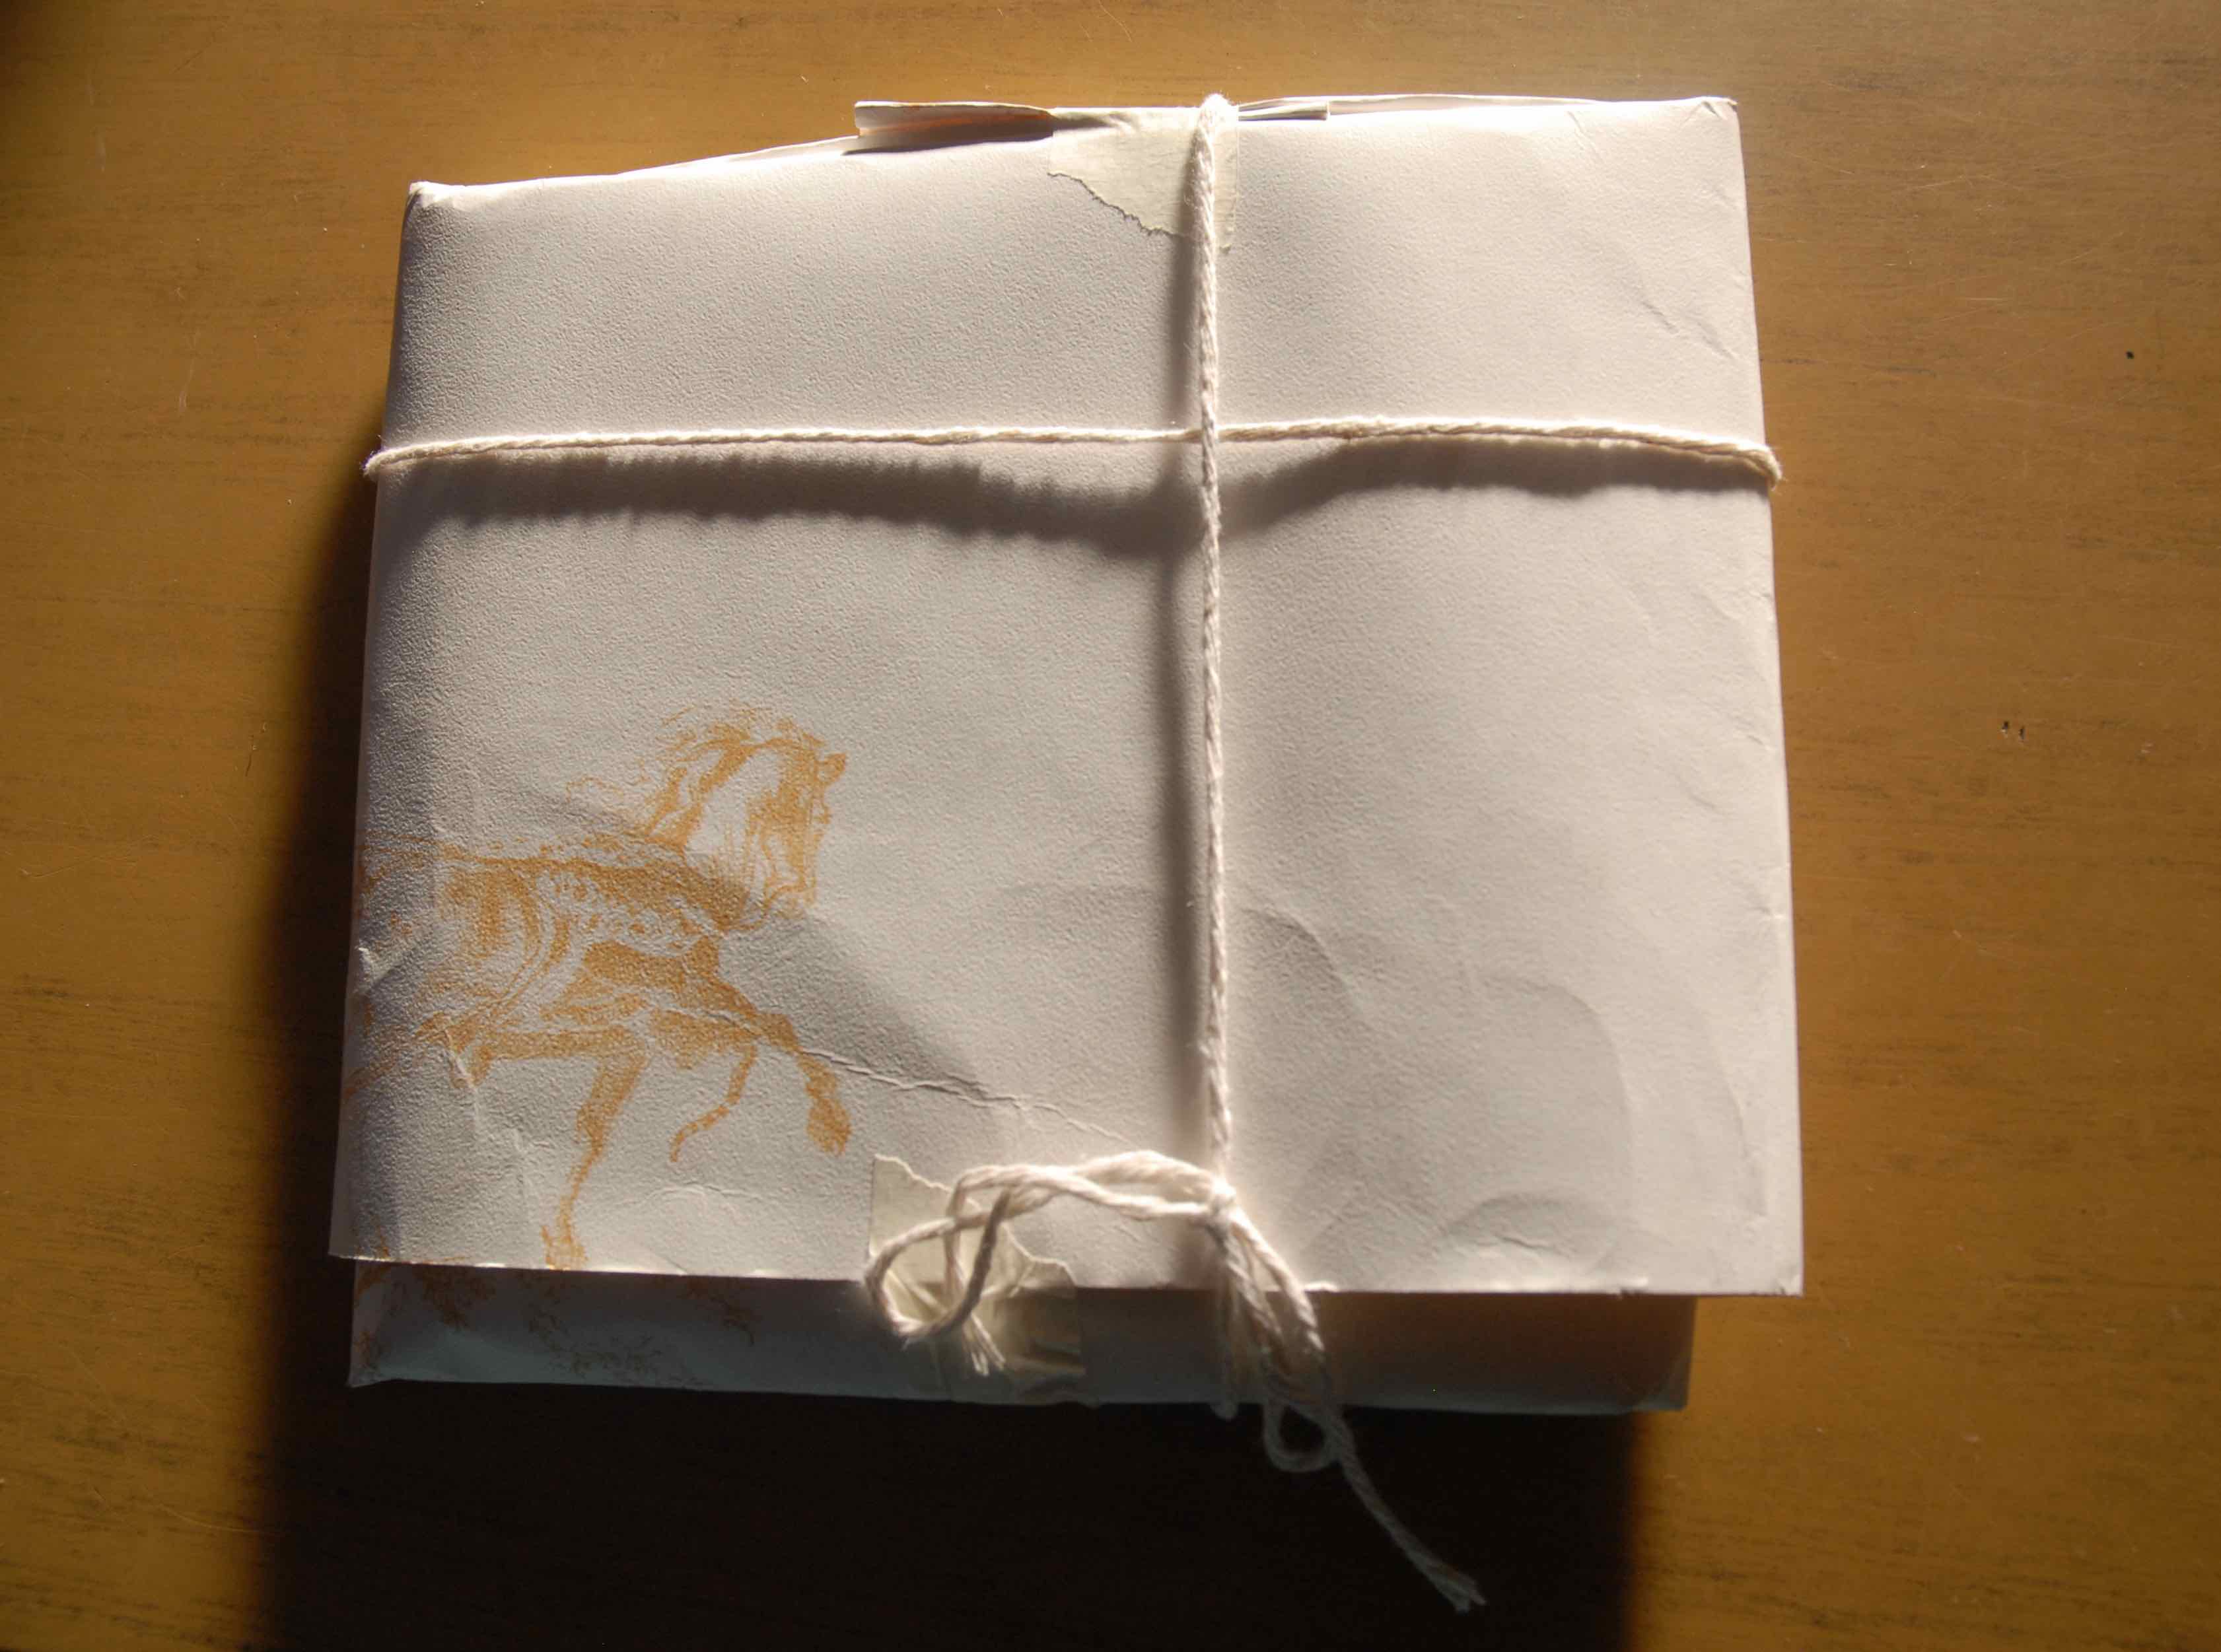
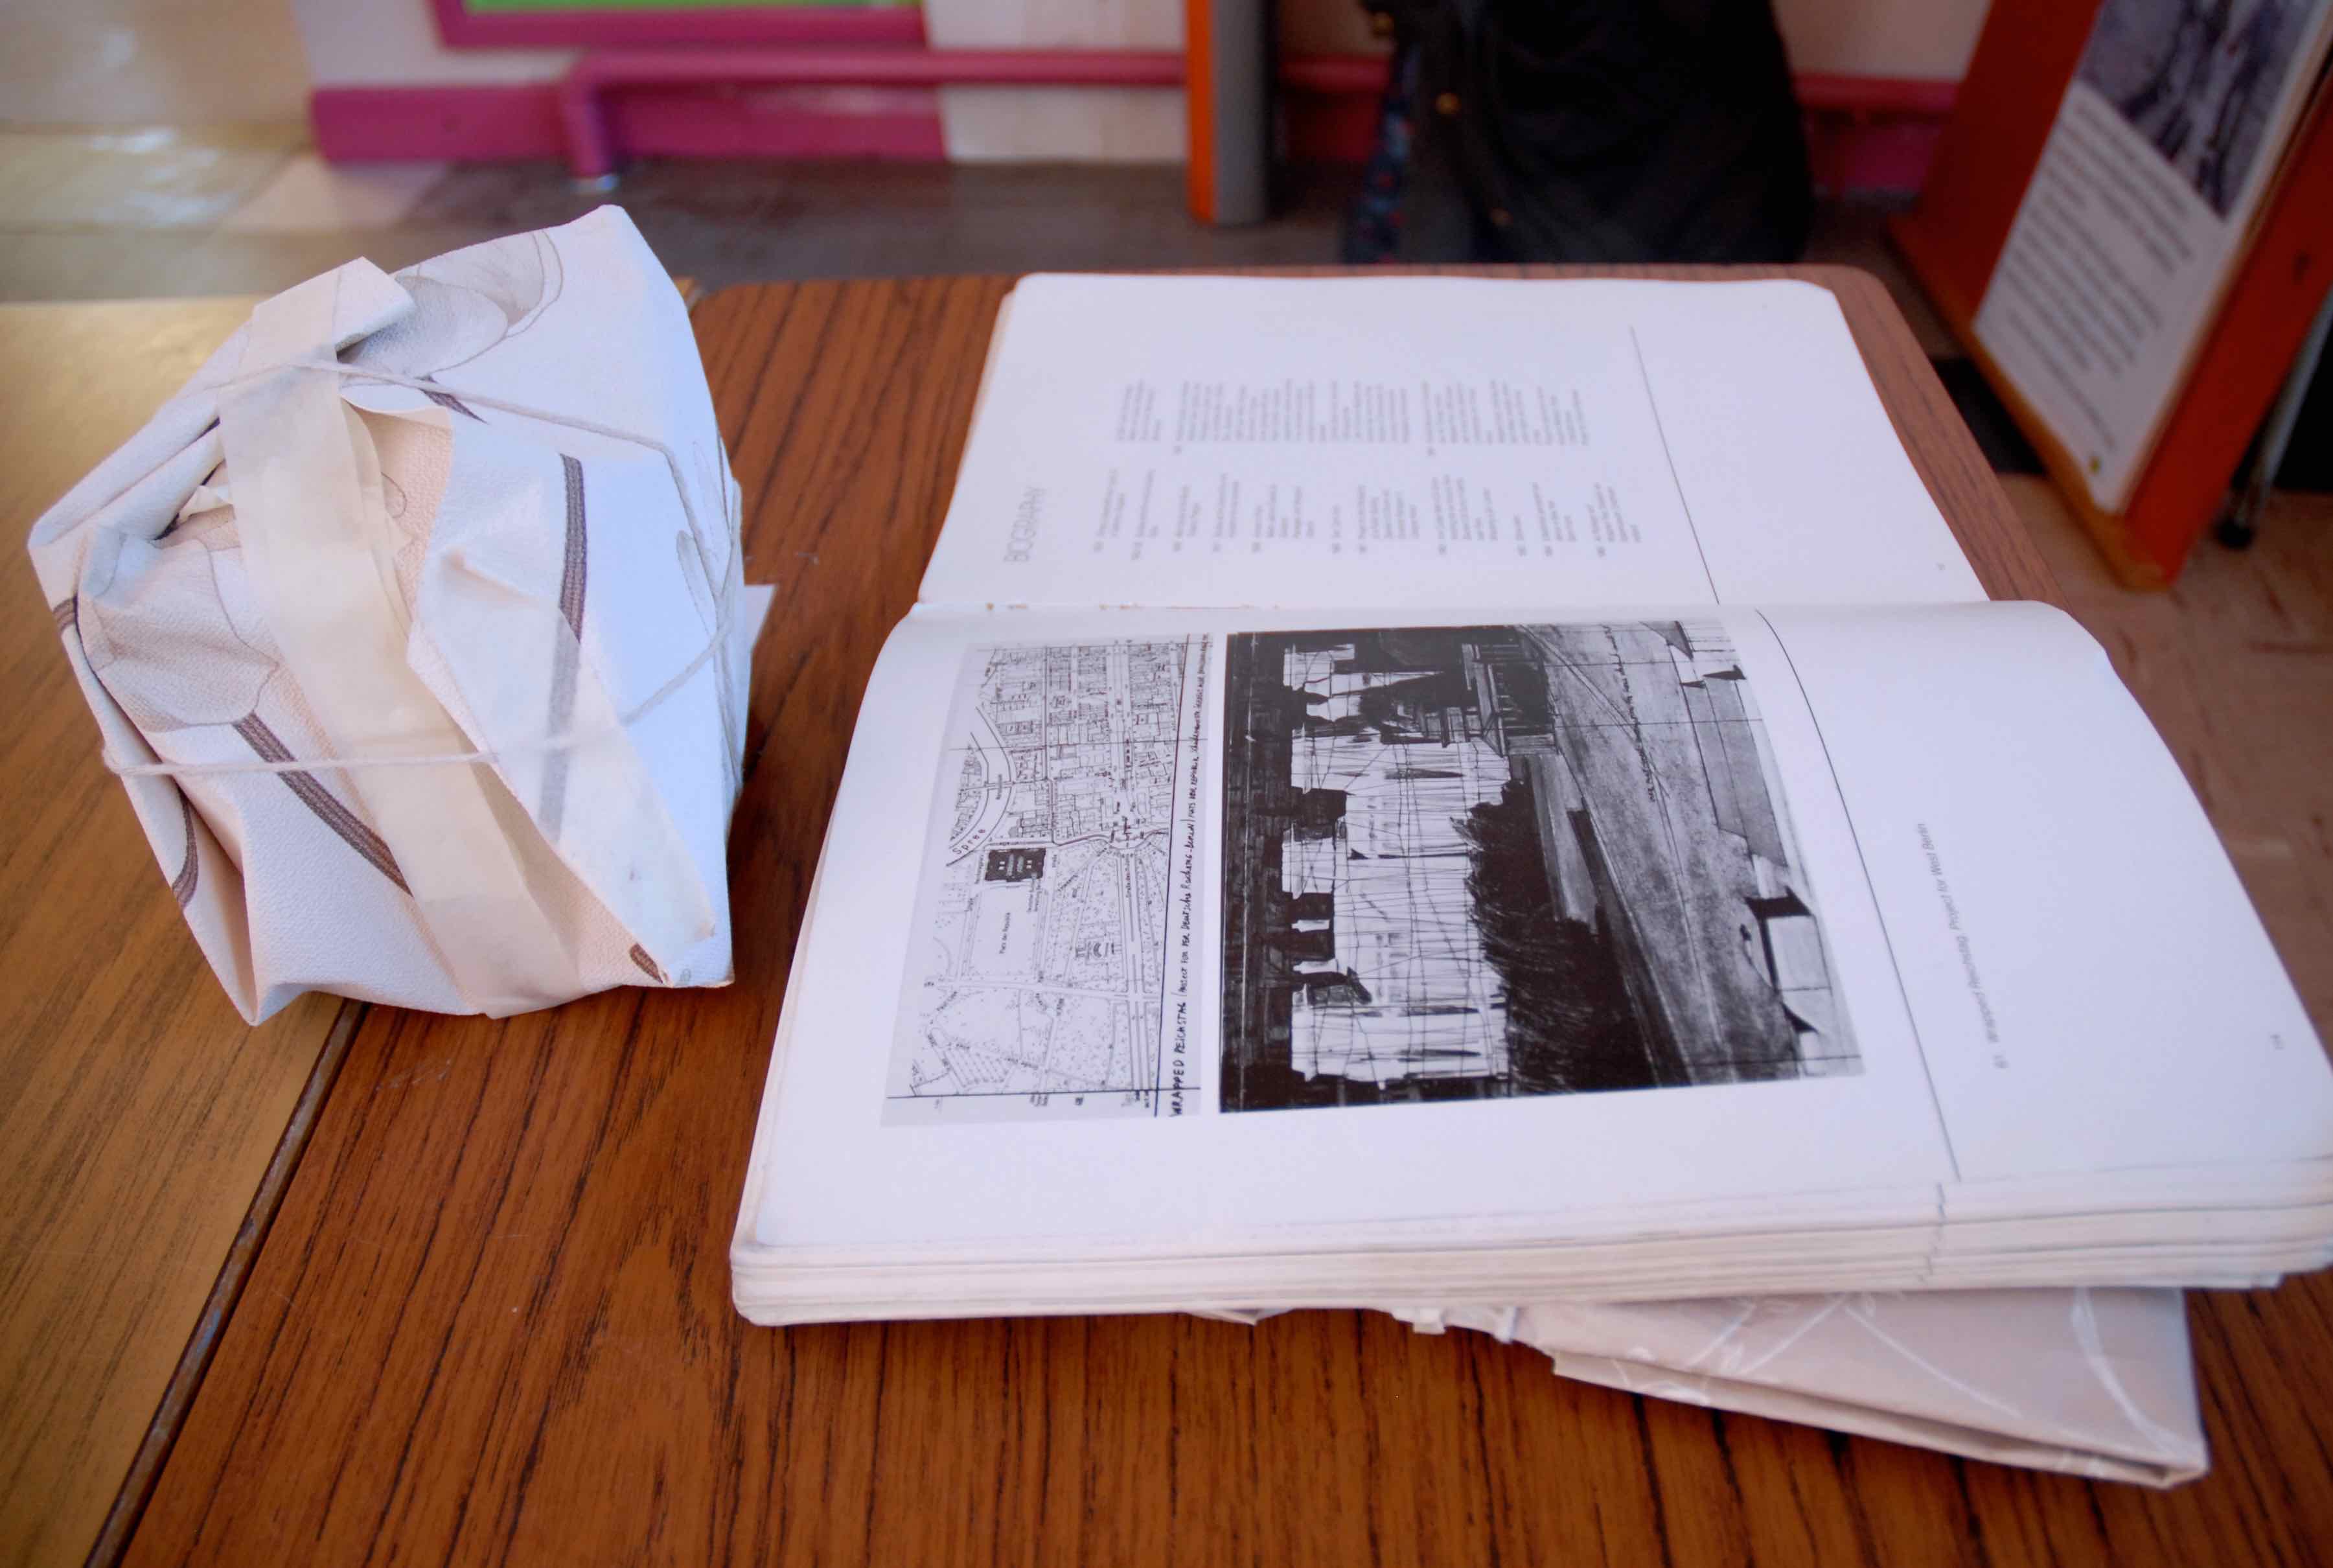
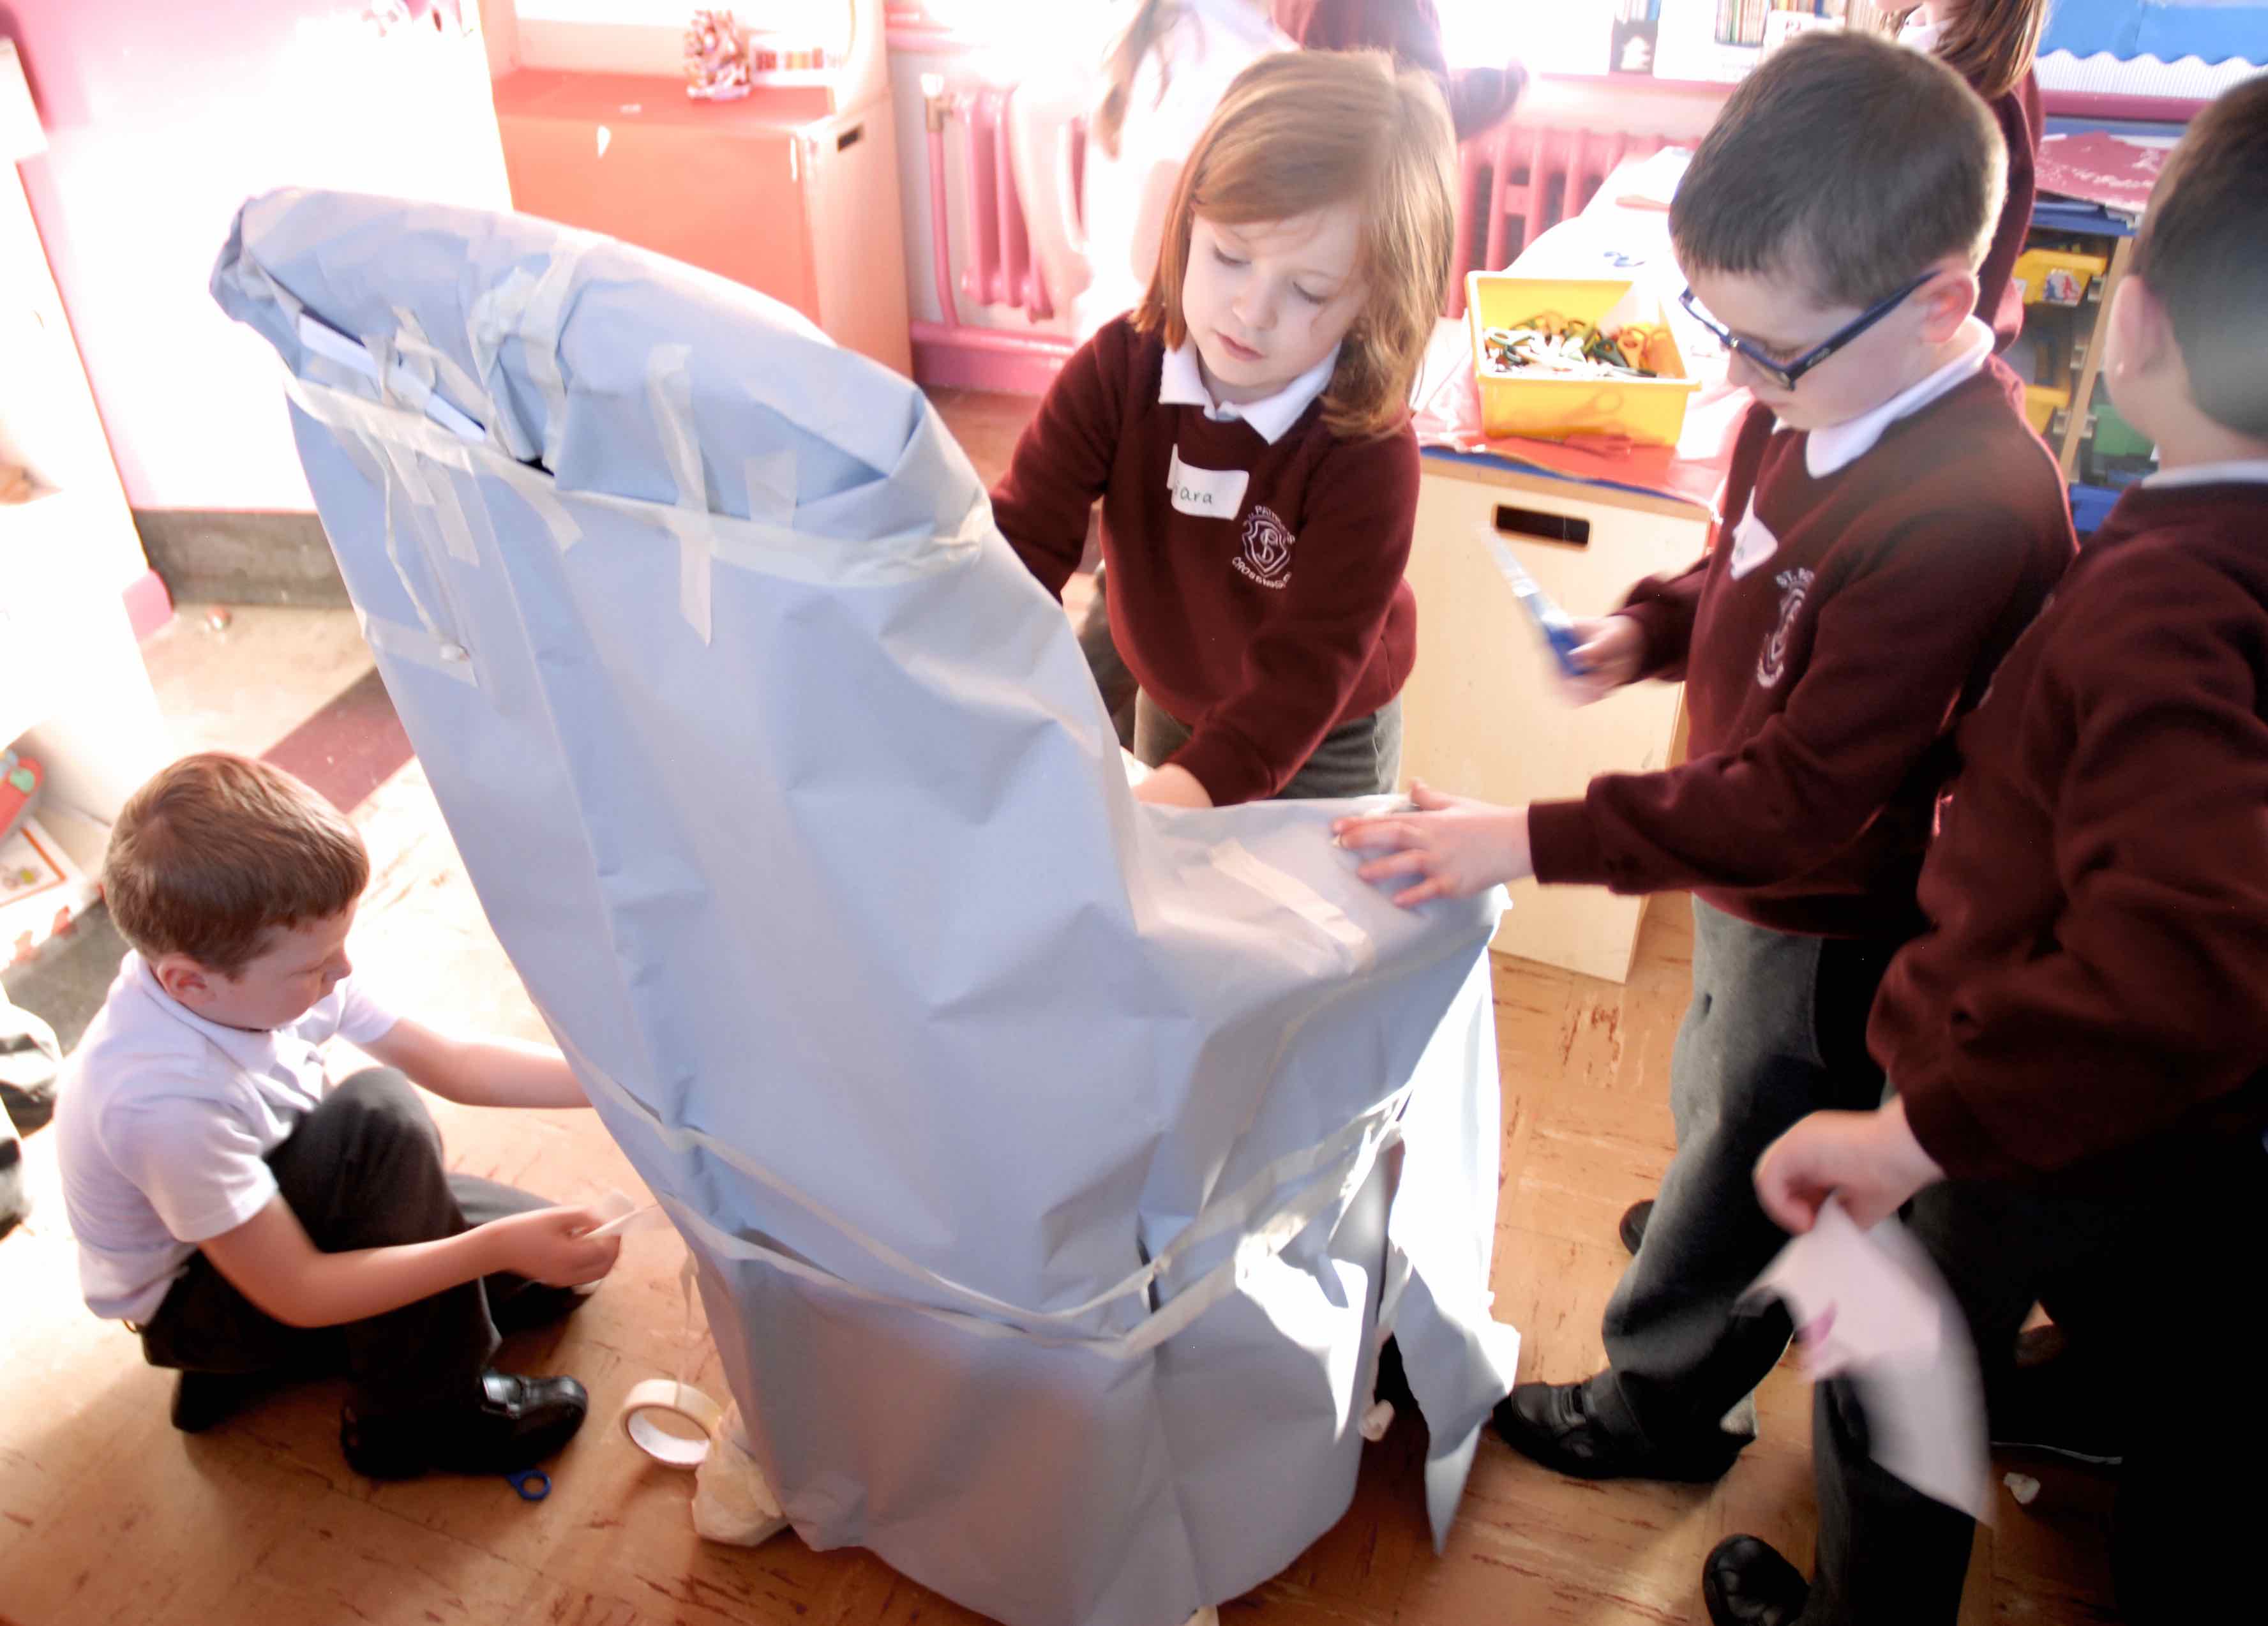
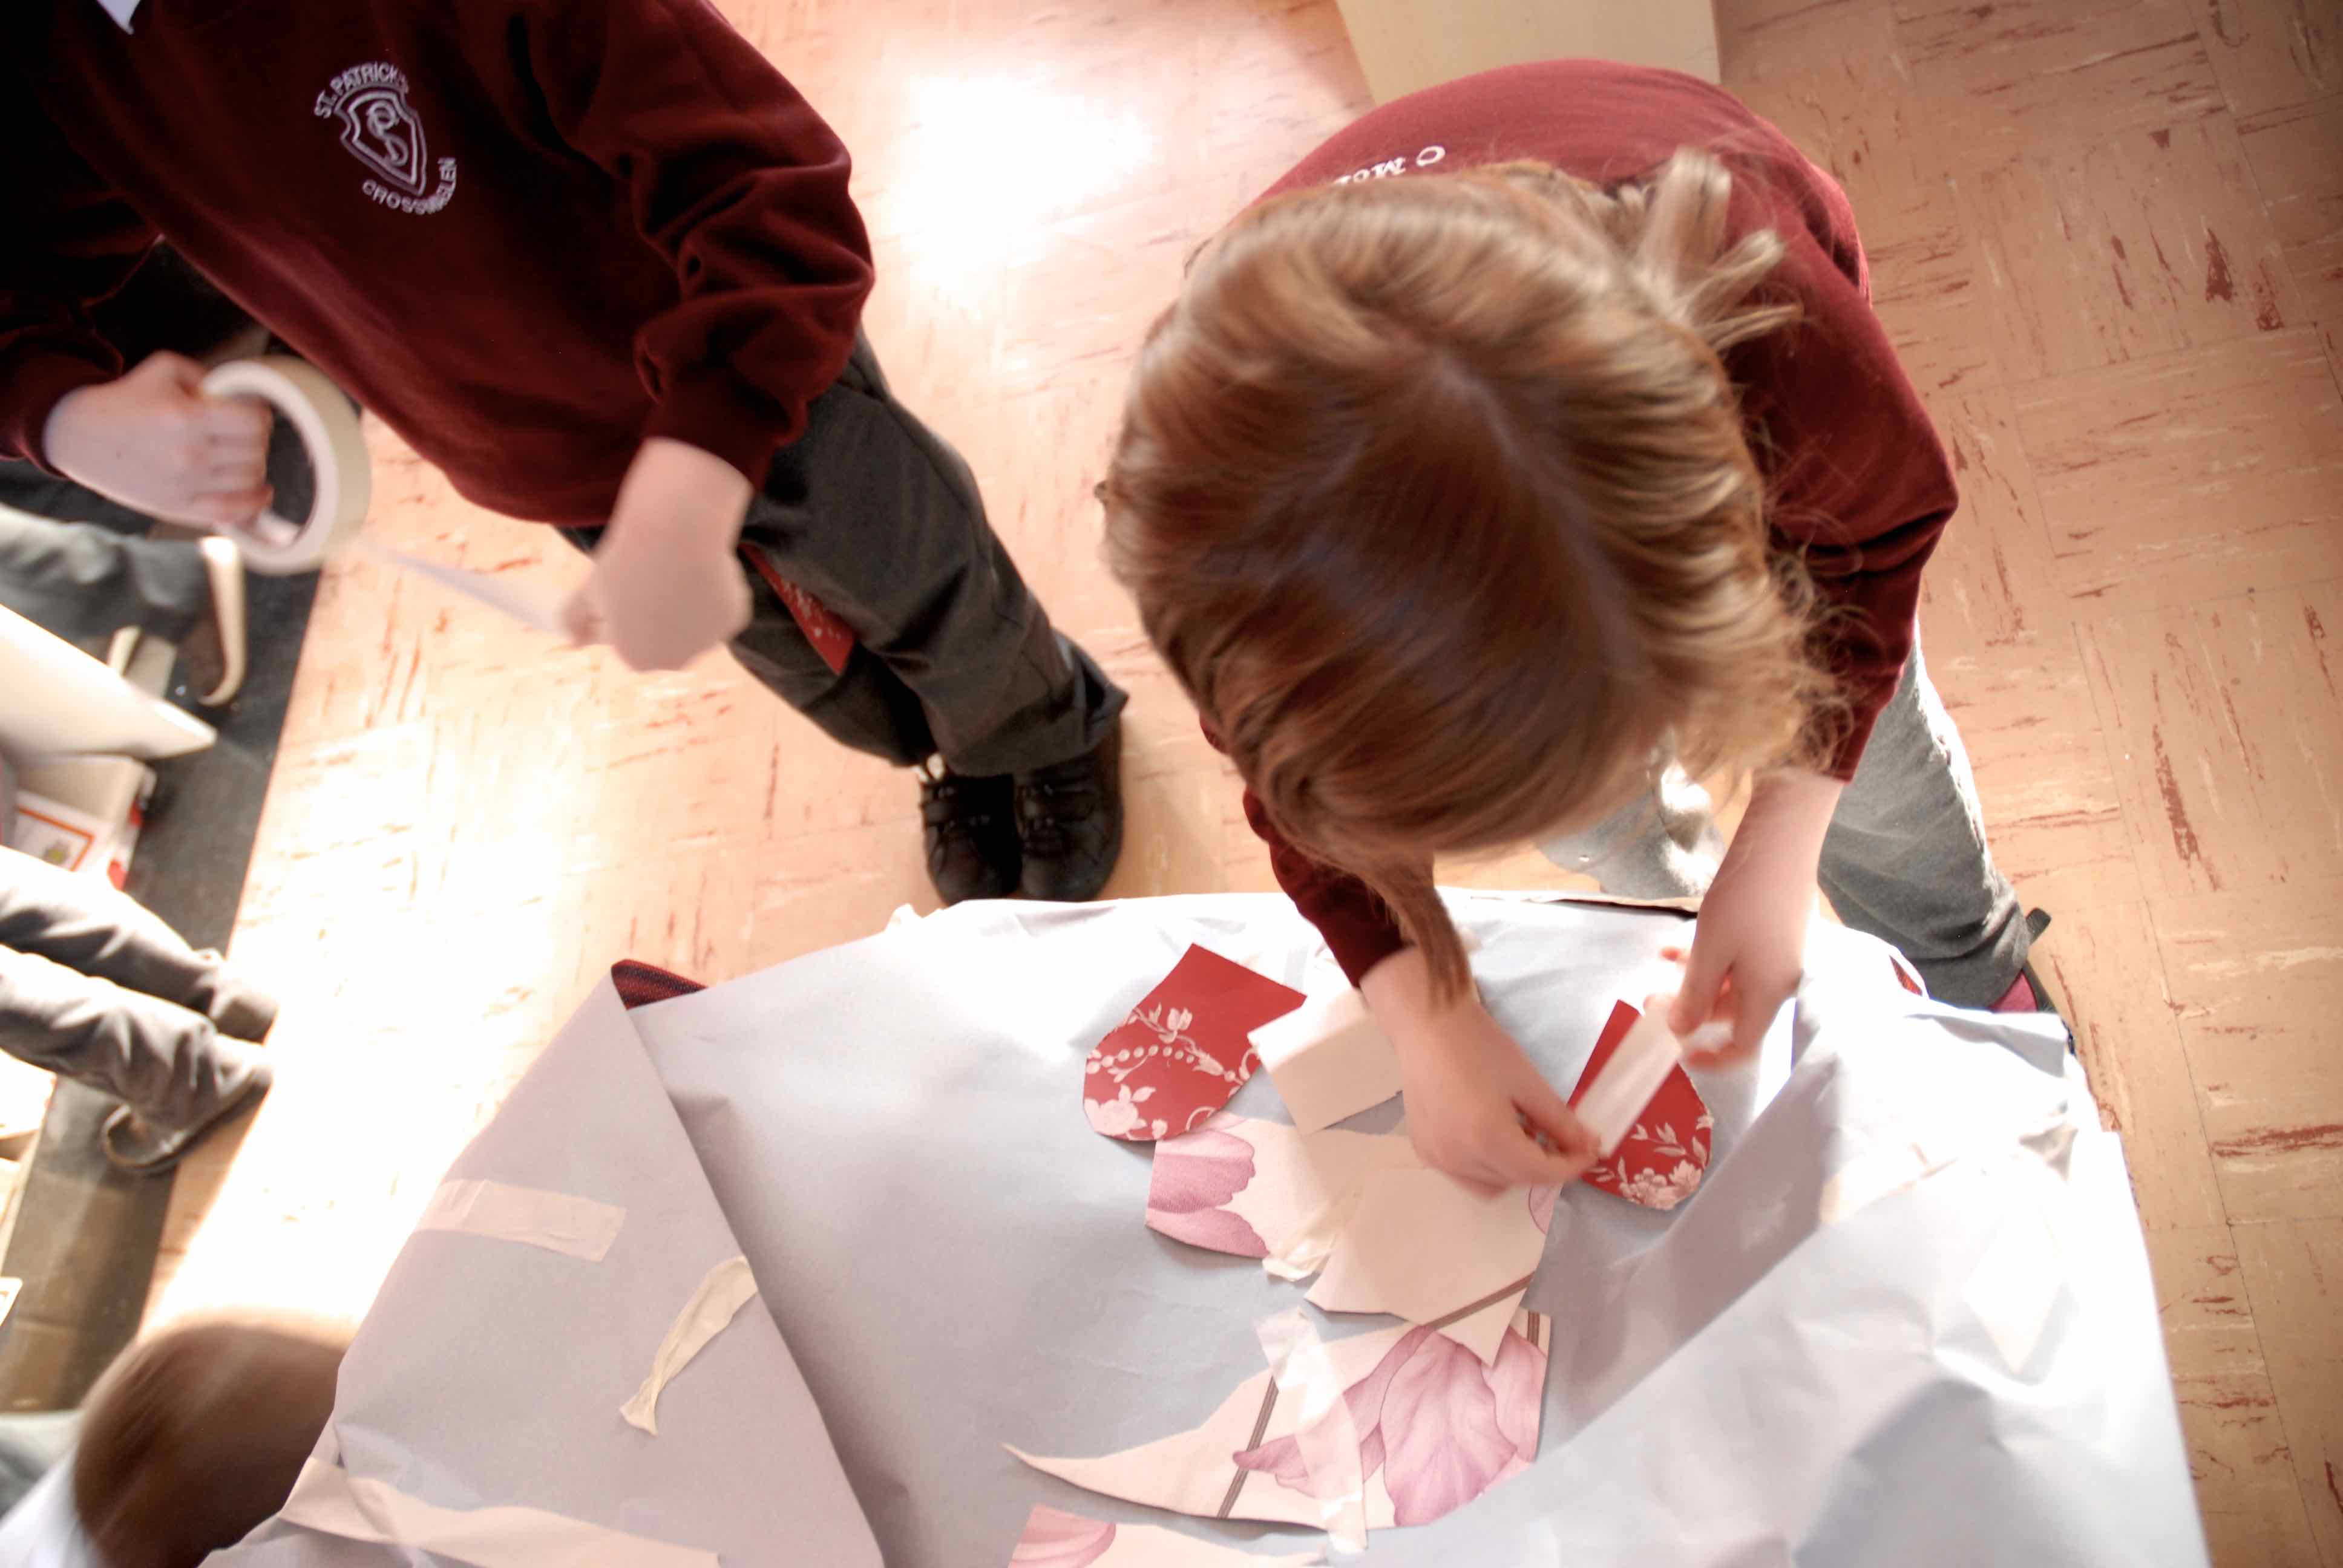
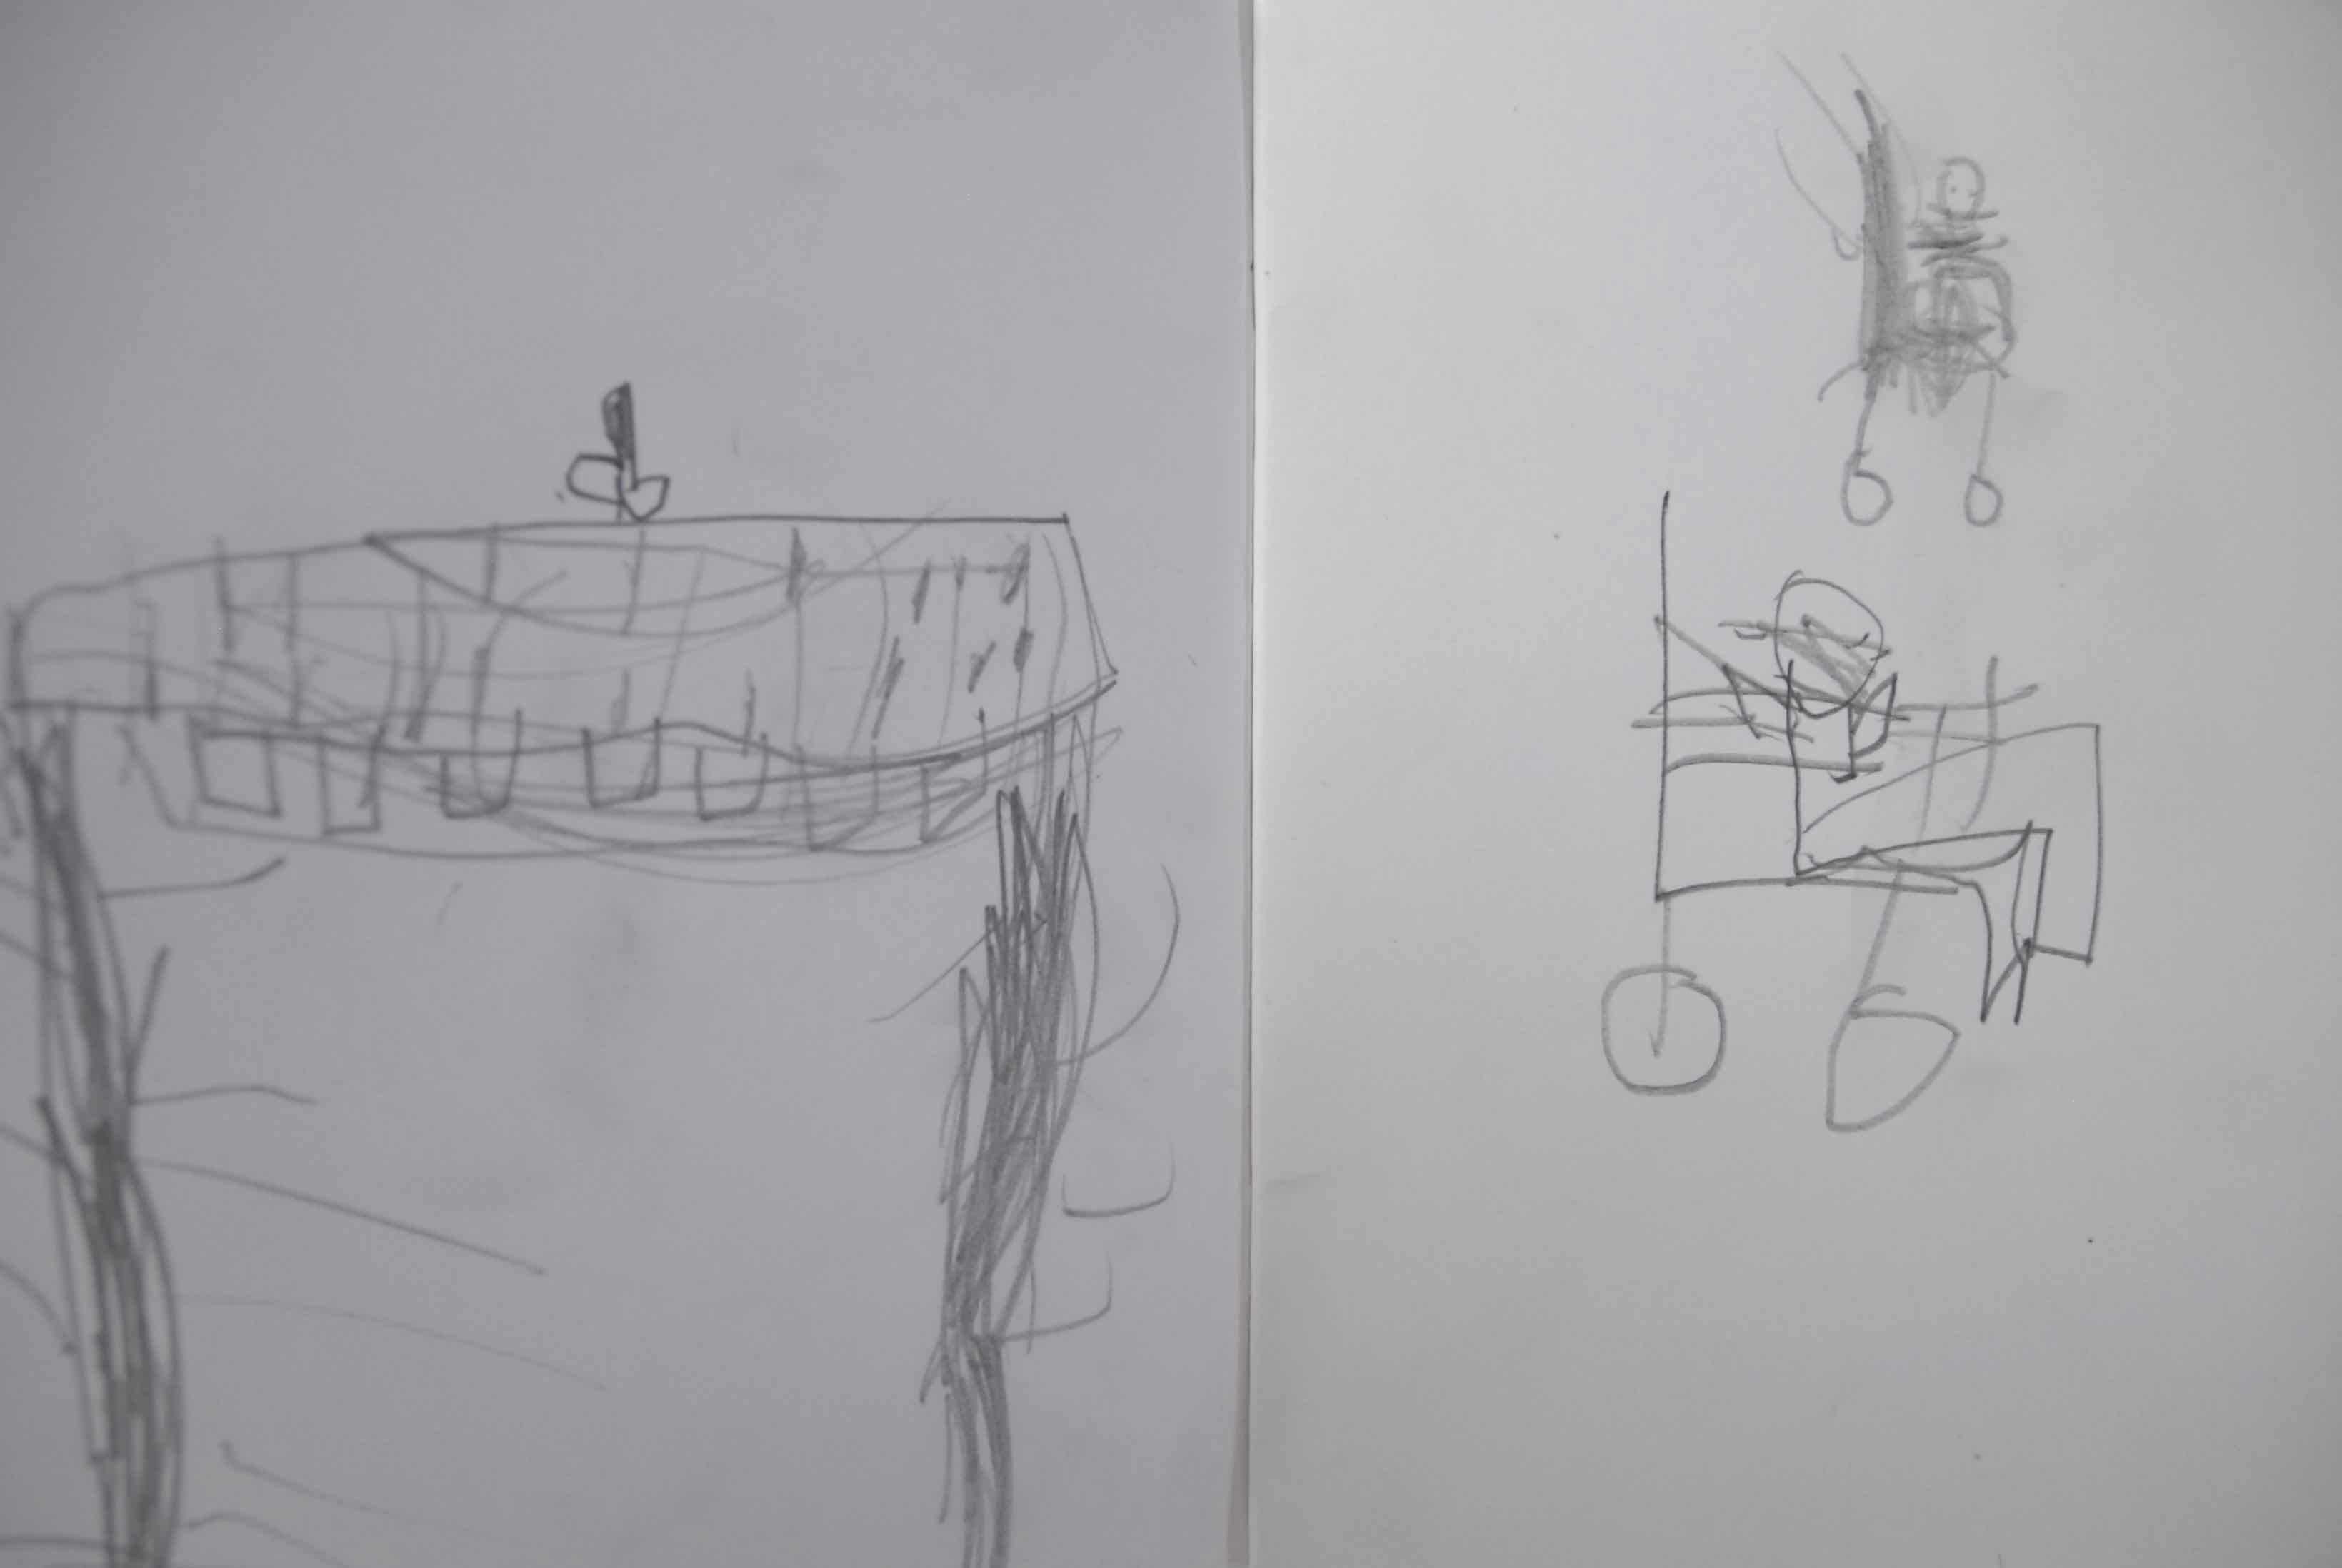
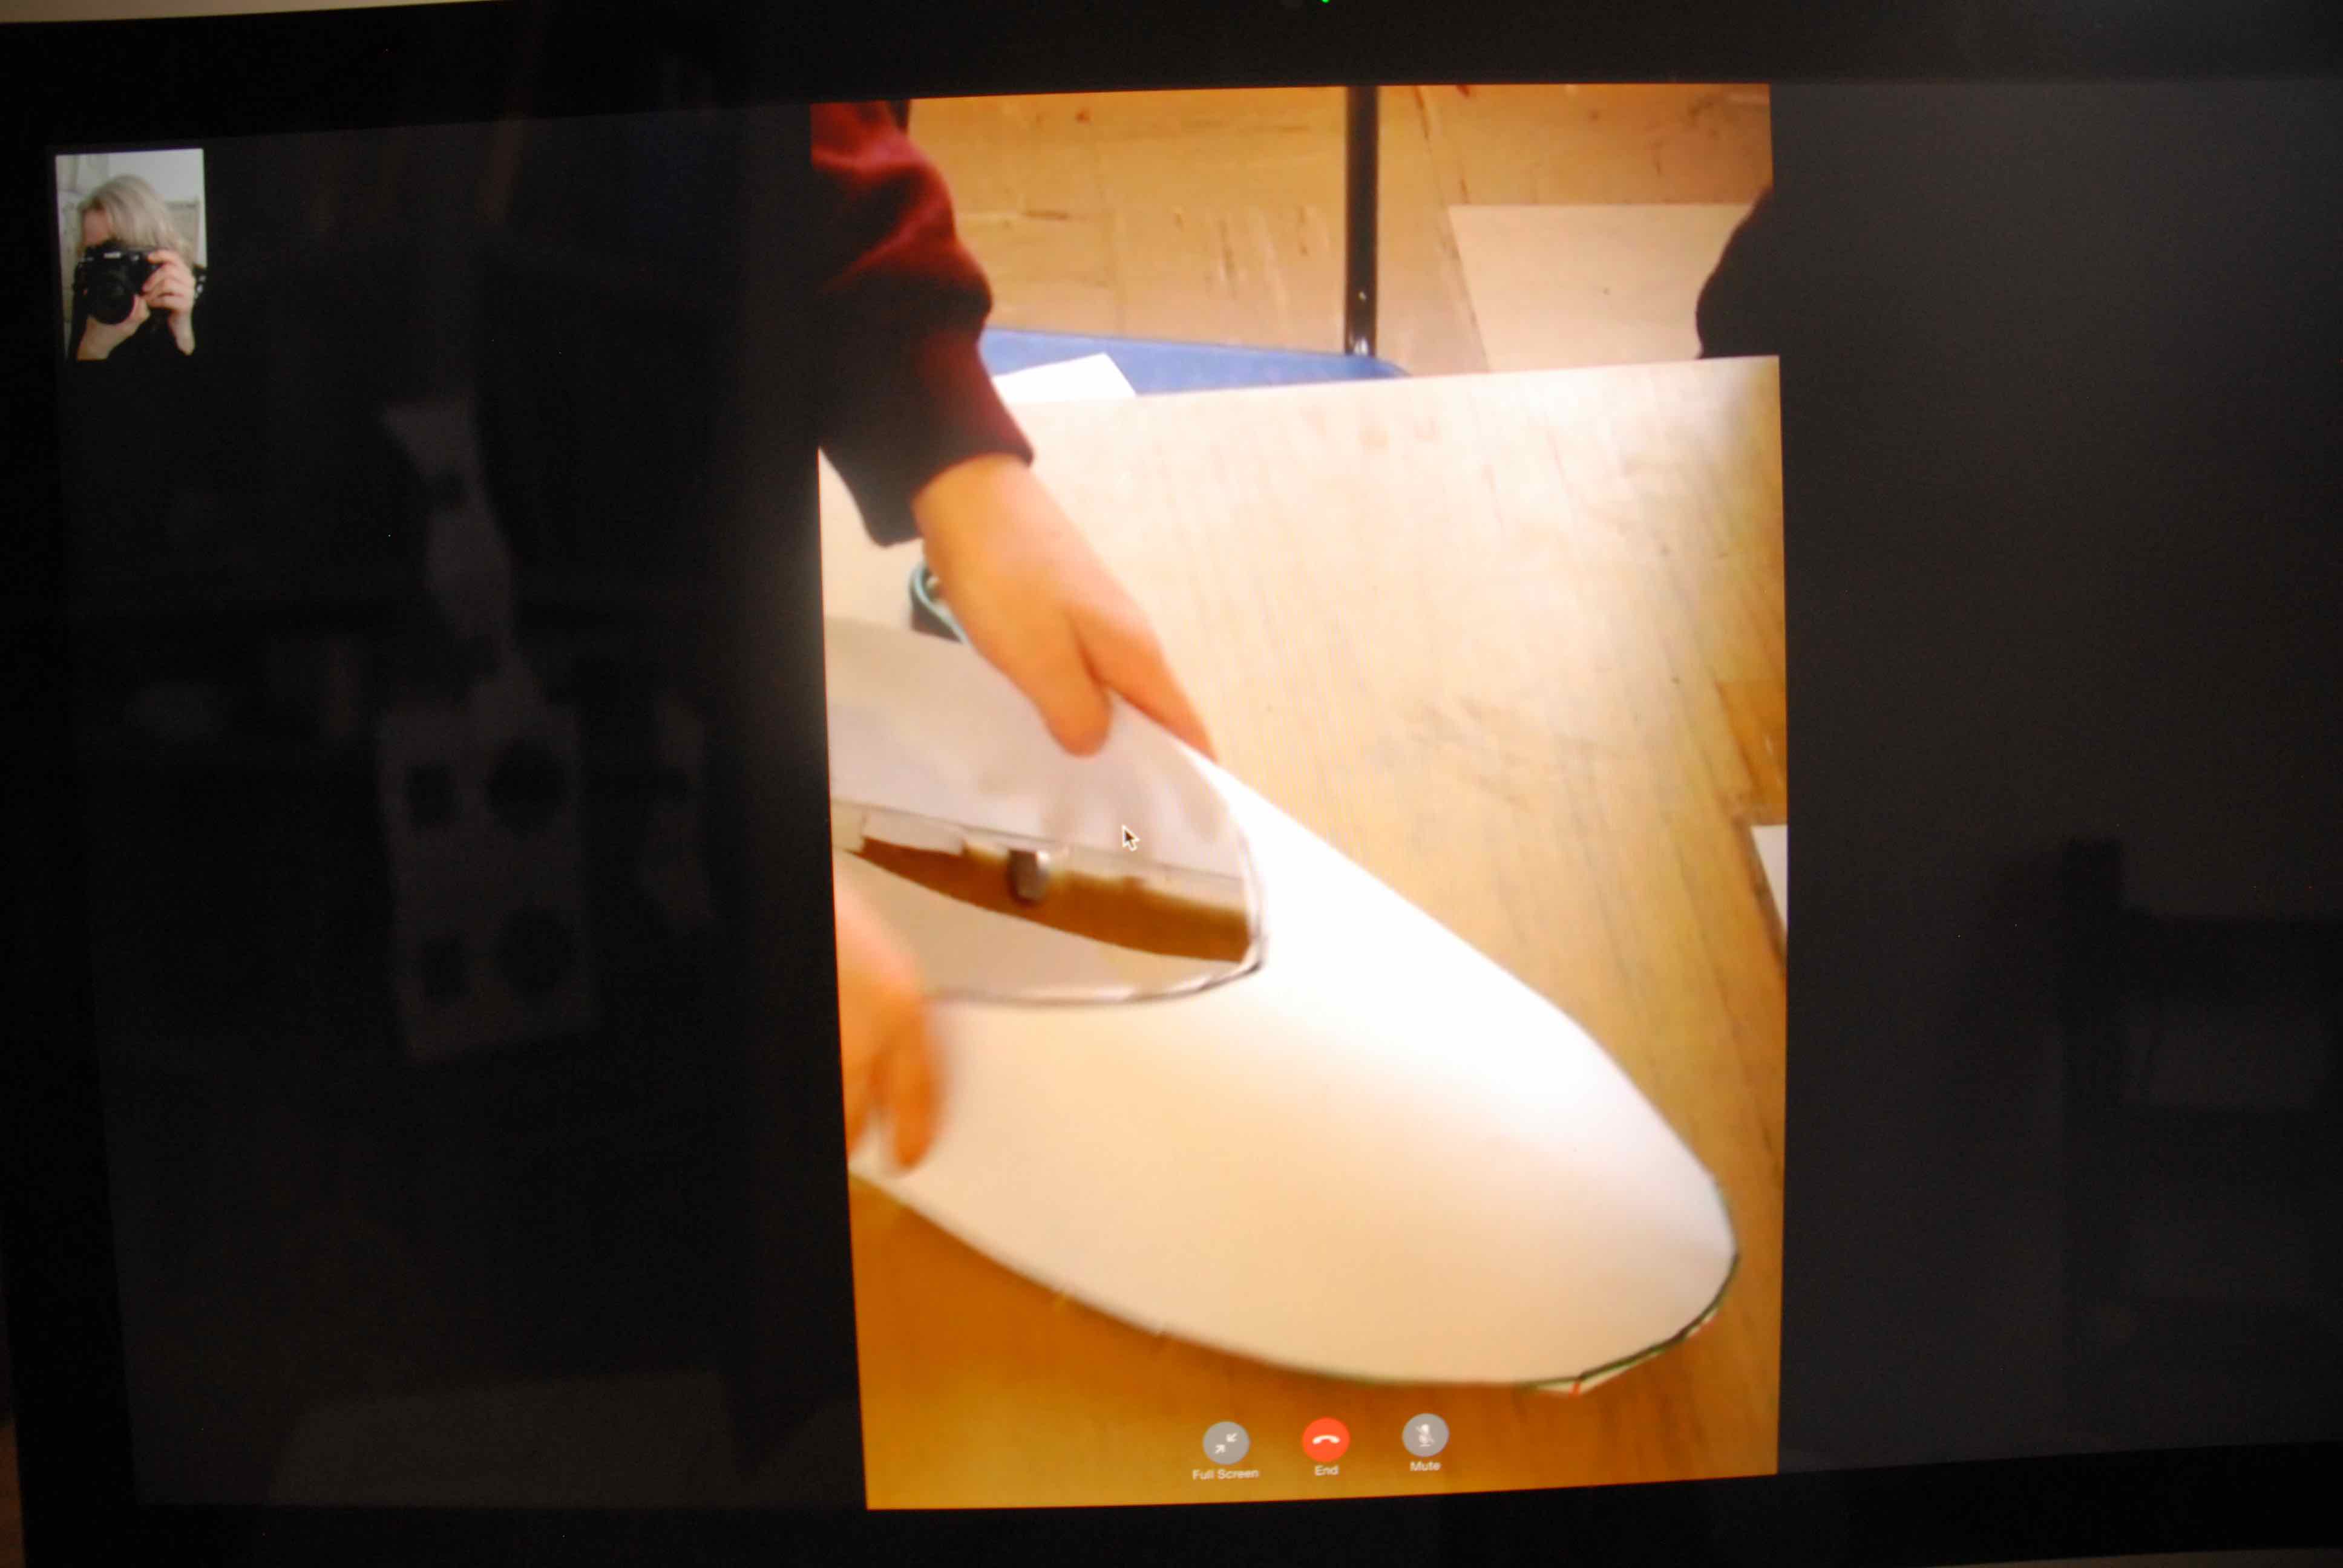
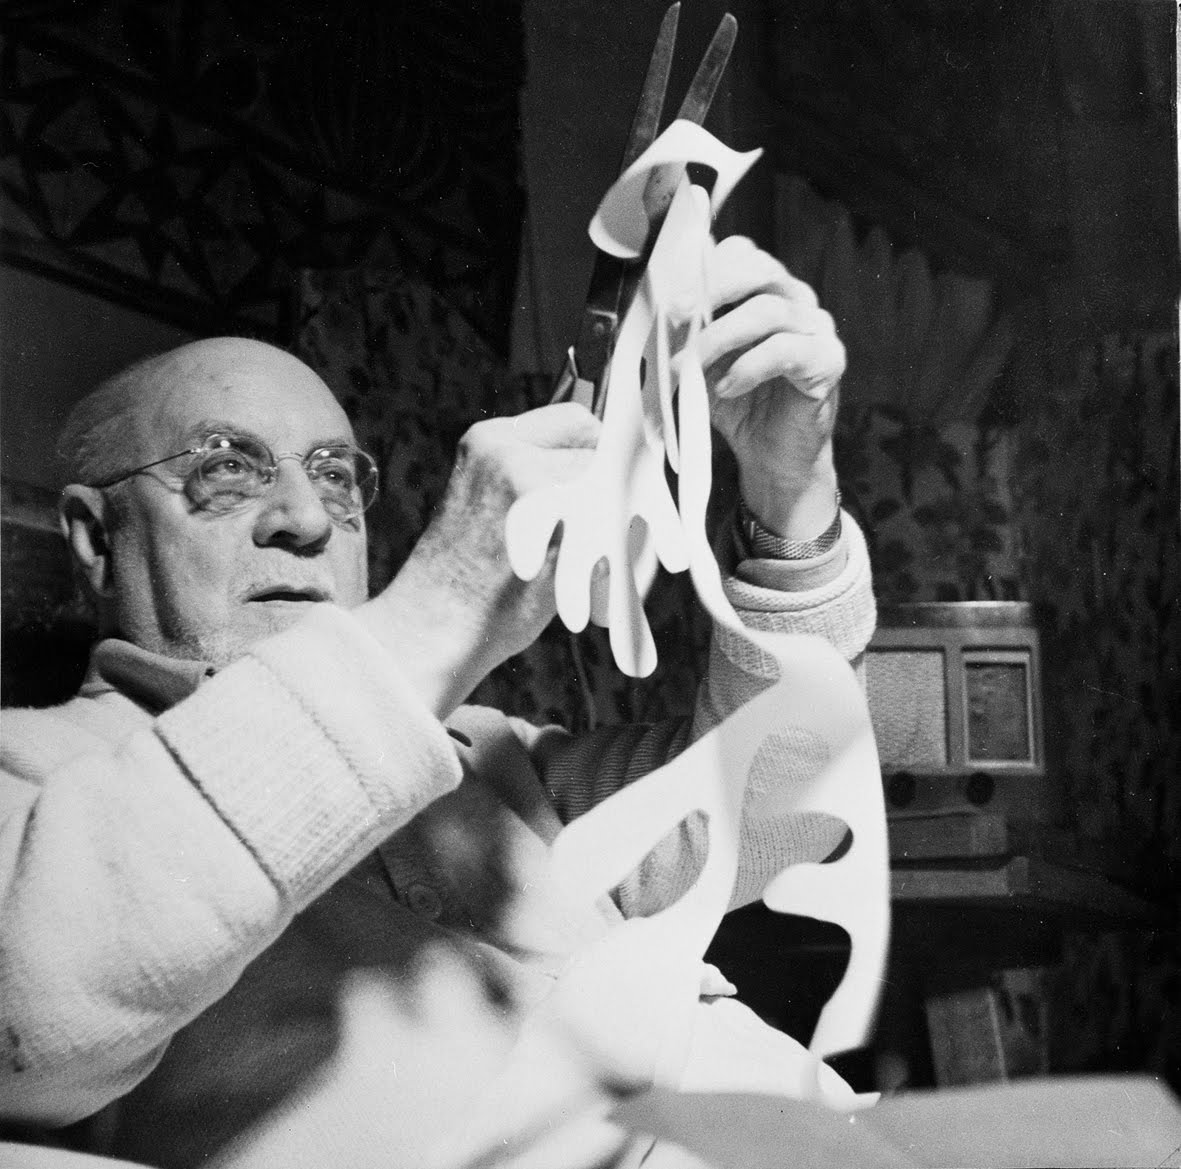
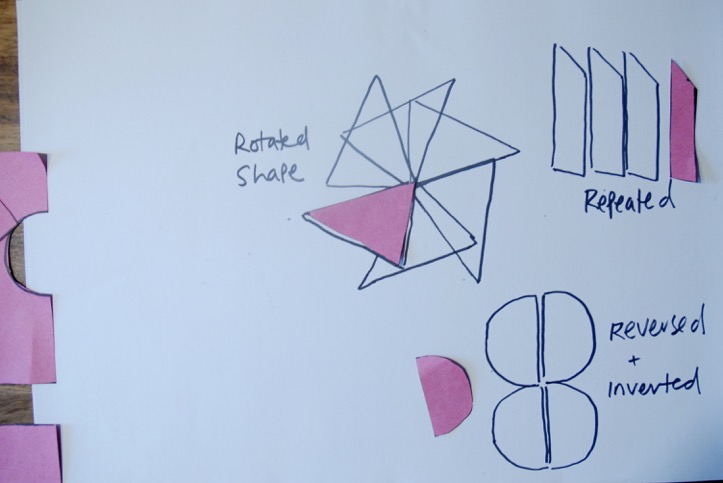
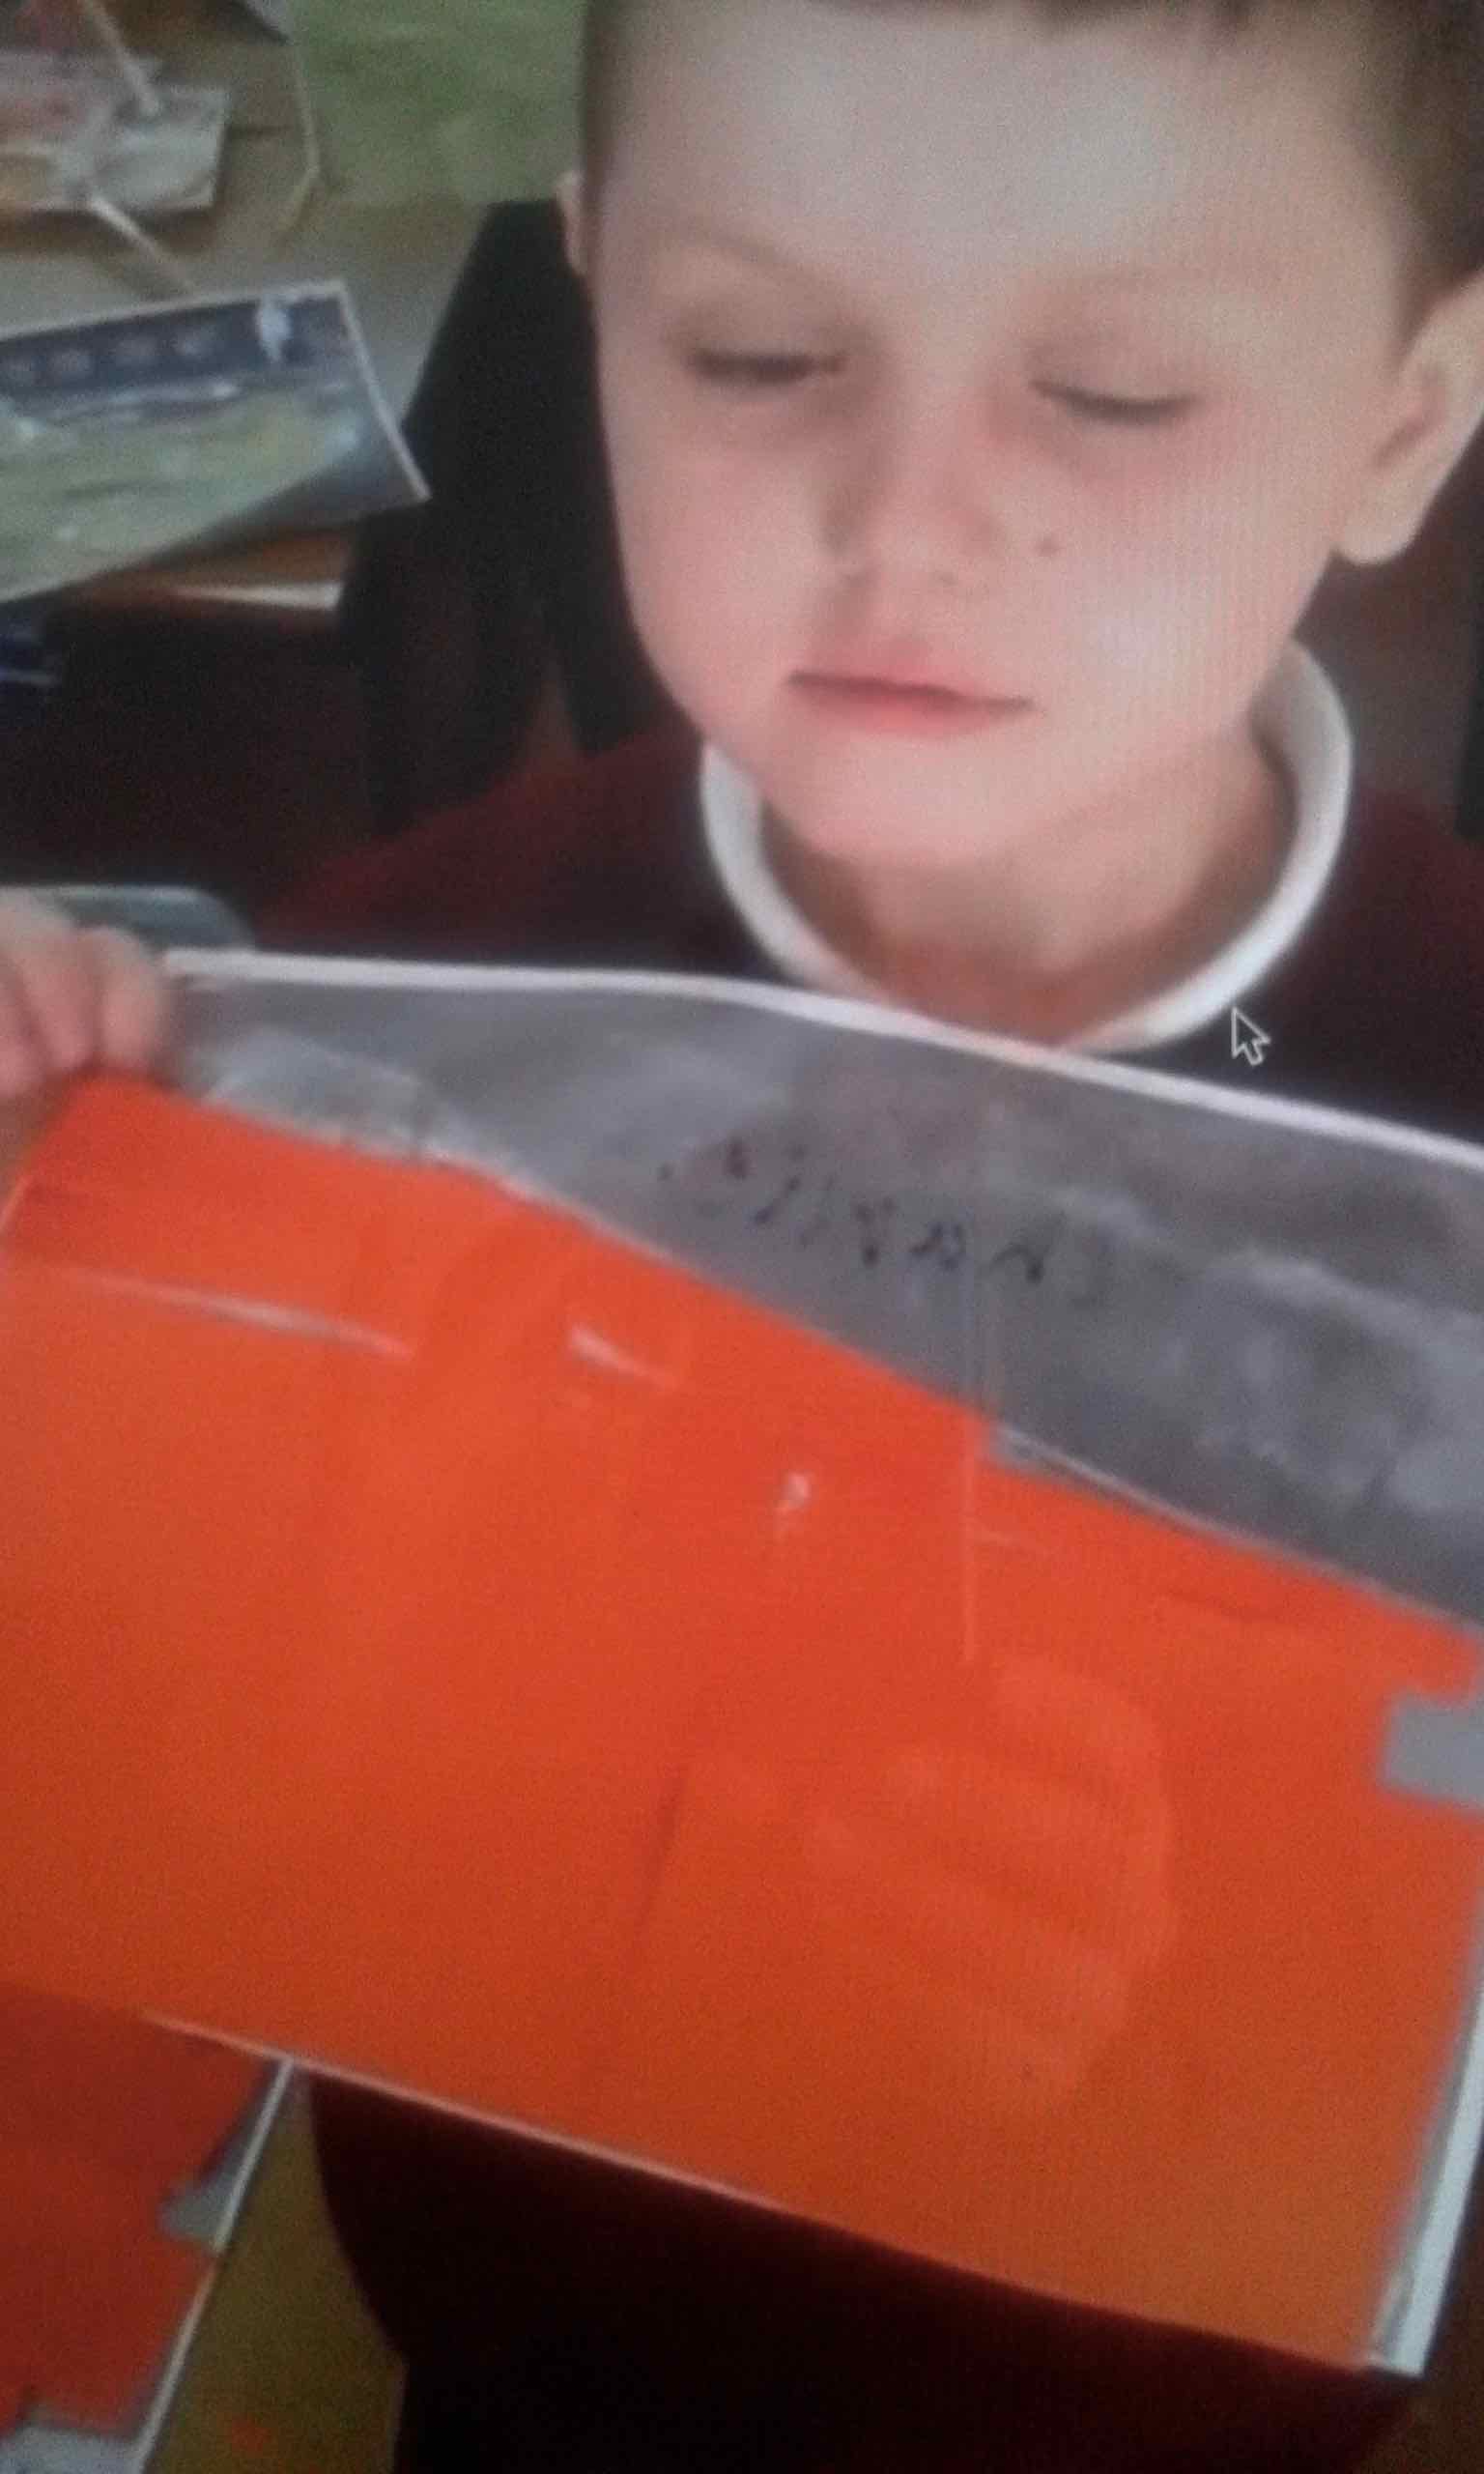
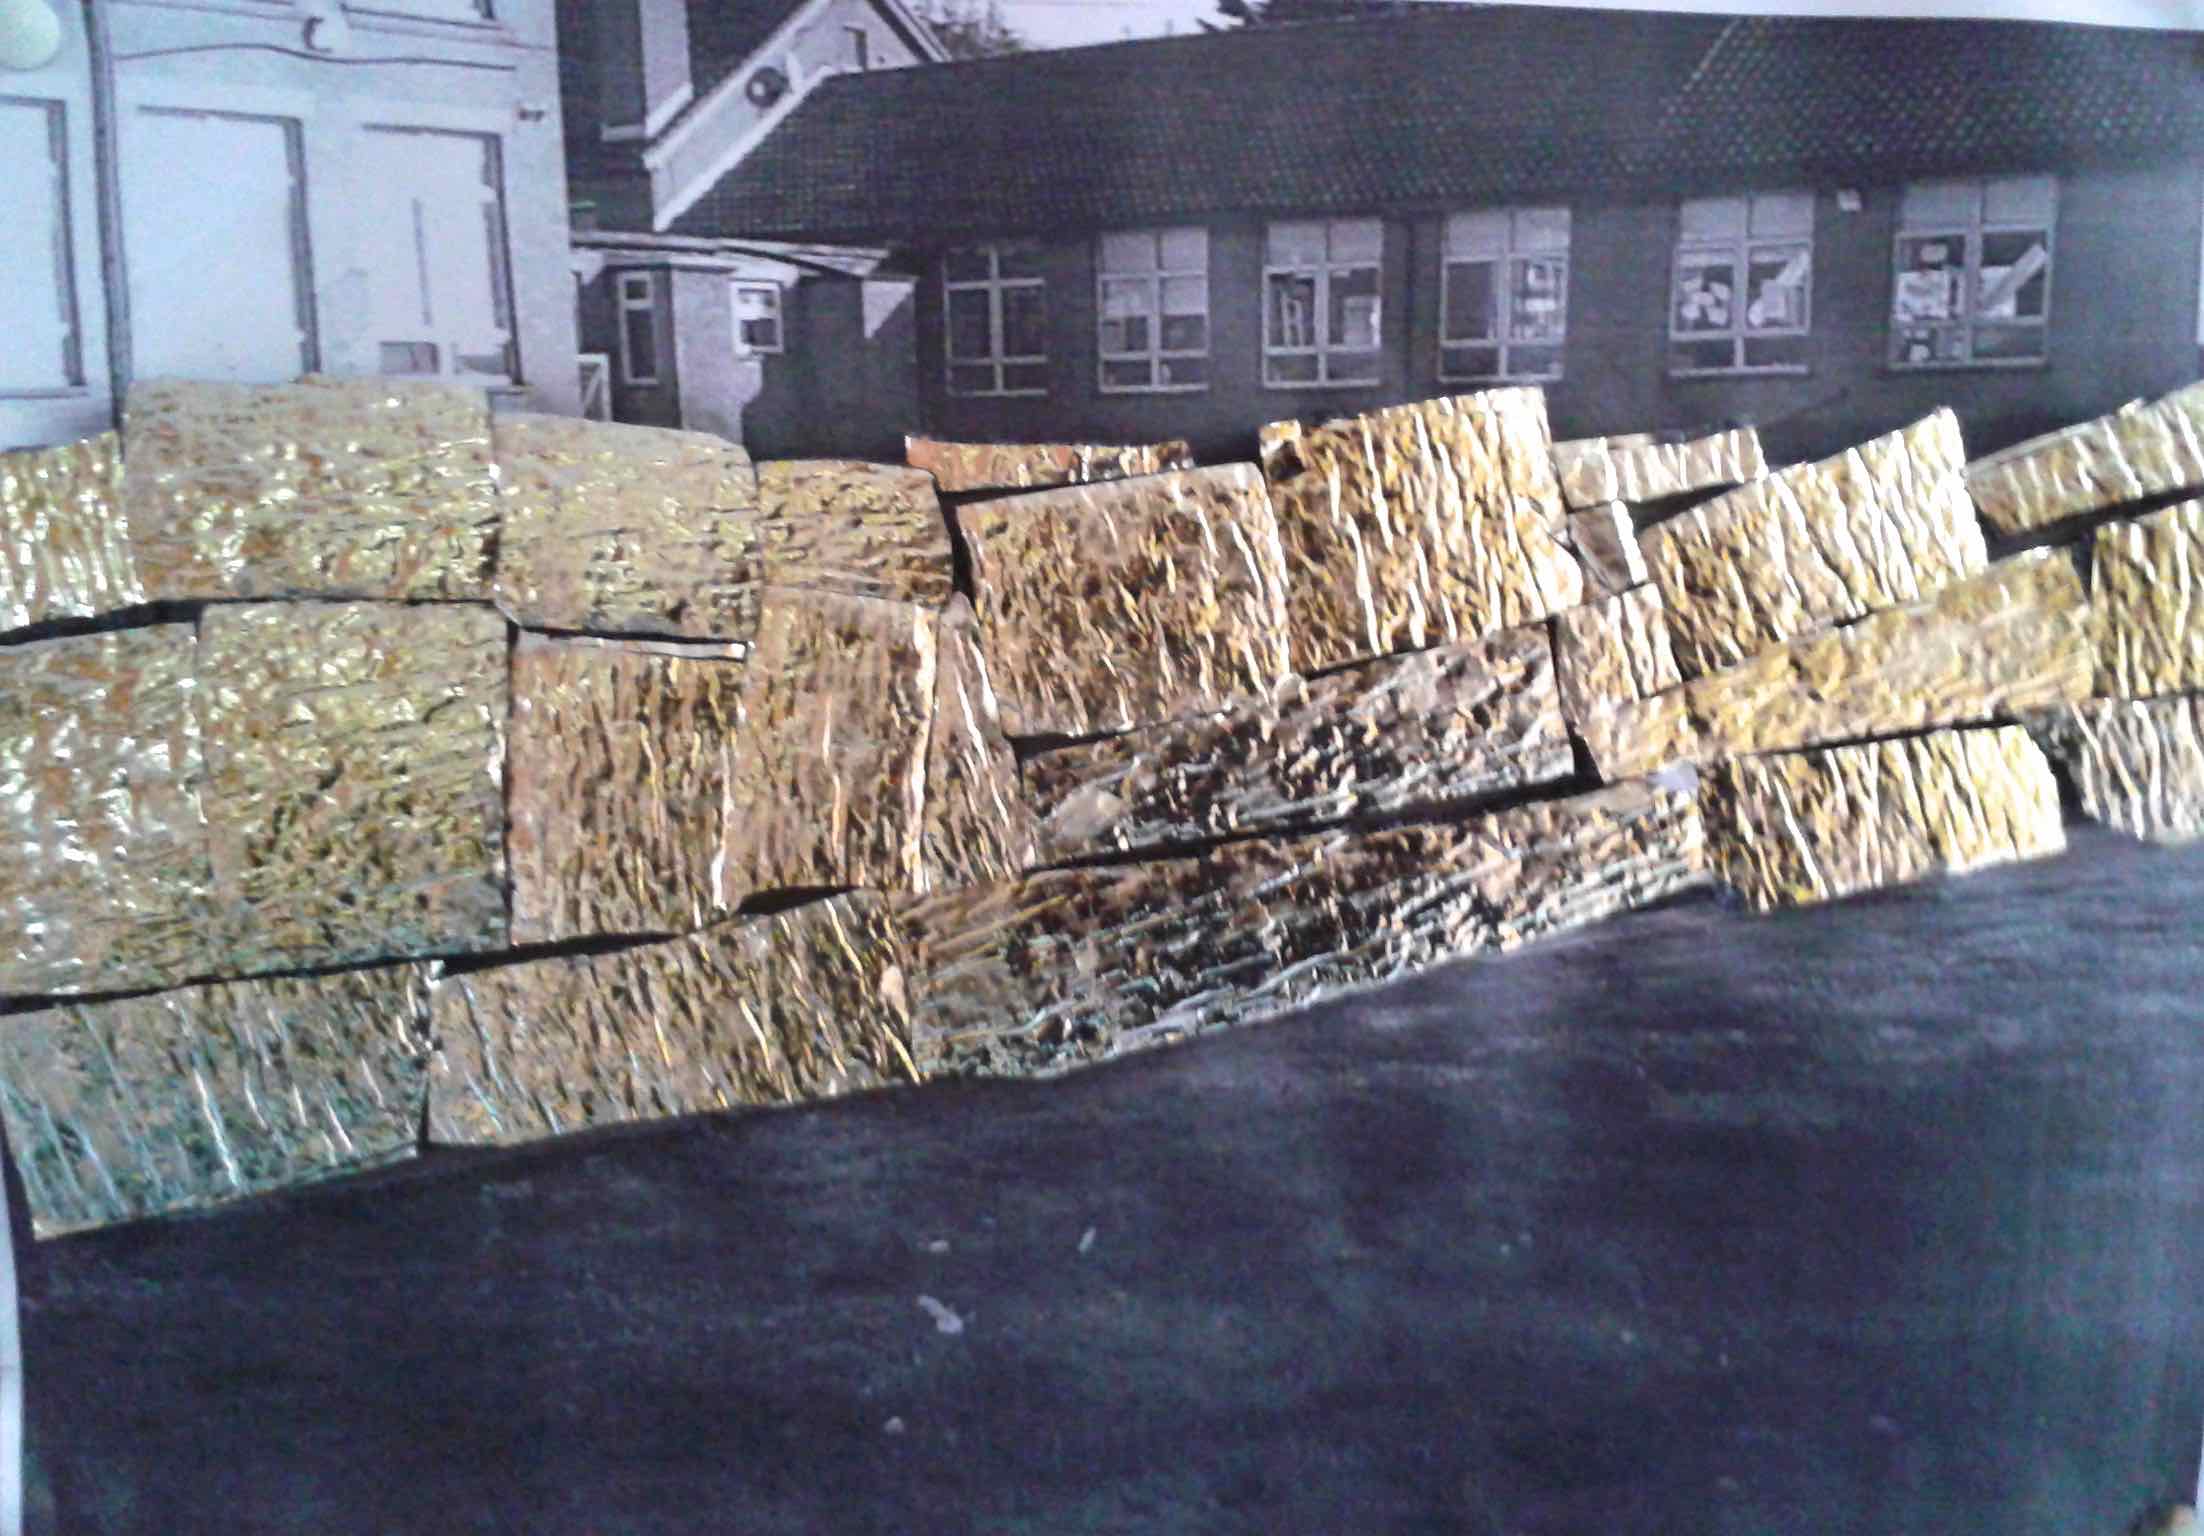
I reminded the children of how CHRISTO and JEANNE-CLAUDE persuaded the authorities to allow them to realise their projects. Christo used documentation, plans and PHOTO-COLLAGES to show people what the idea would look like.

session 11 - 01
Photo-Collage by Christo of the Wrapped walkway project, Loose Park, Kansas USA
session 11 - 03
Documentation by Christo for the Wrapped Reichstag, for Berlin, Germany

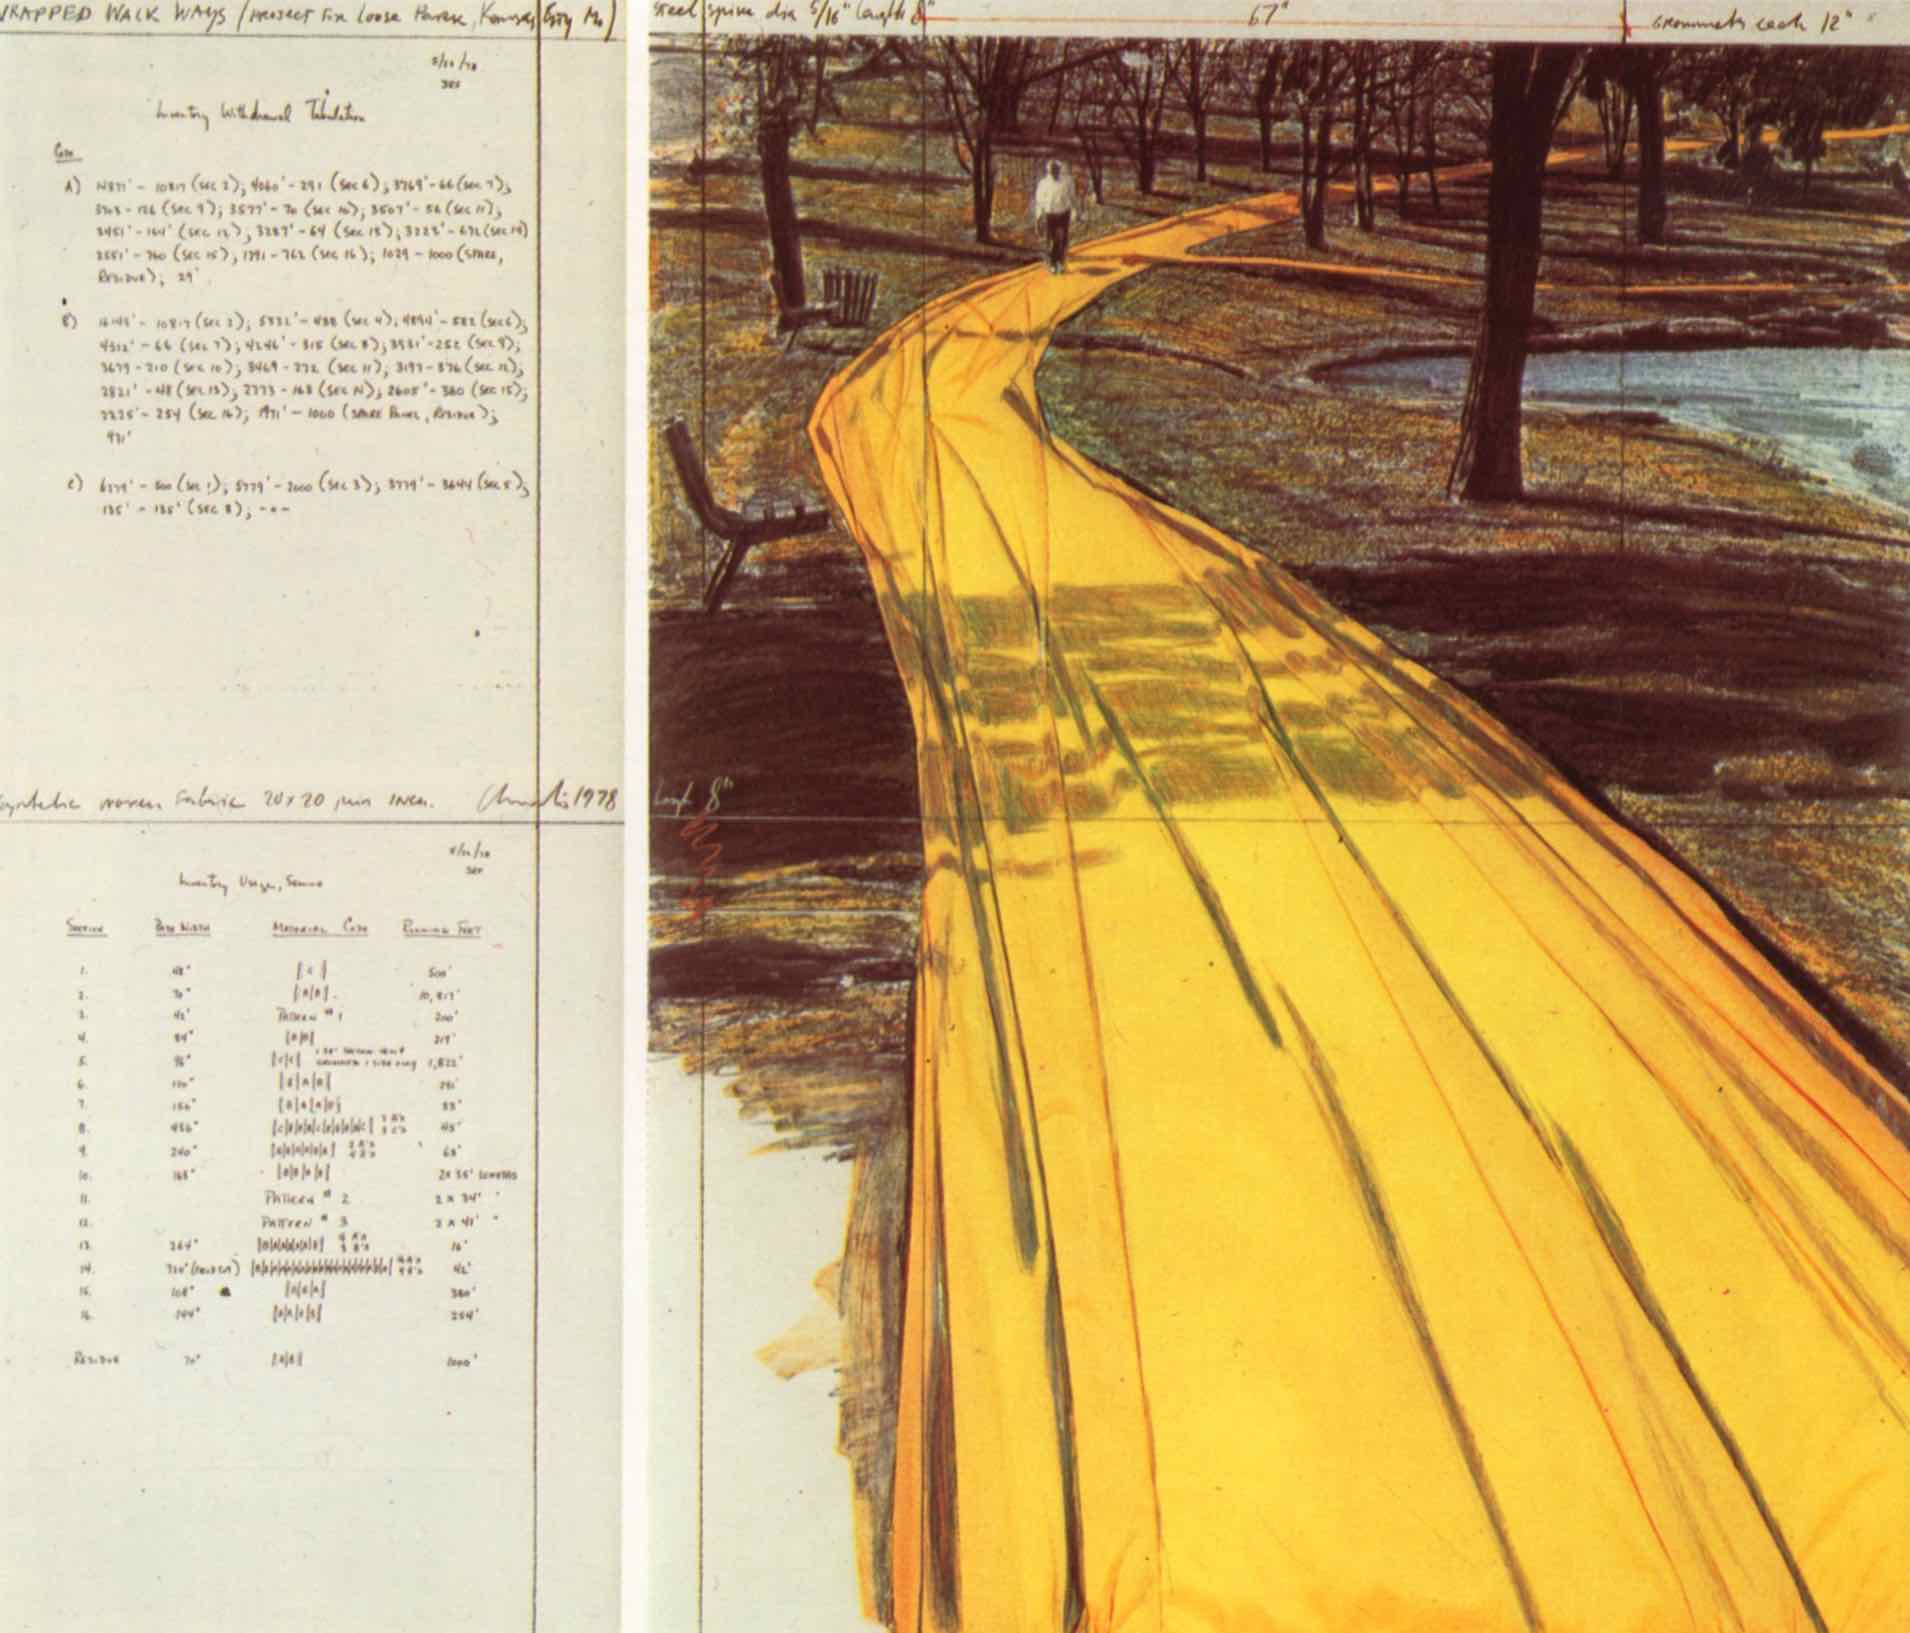
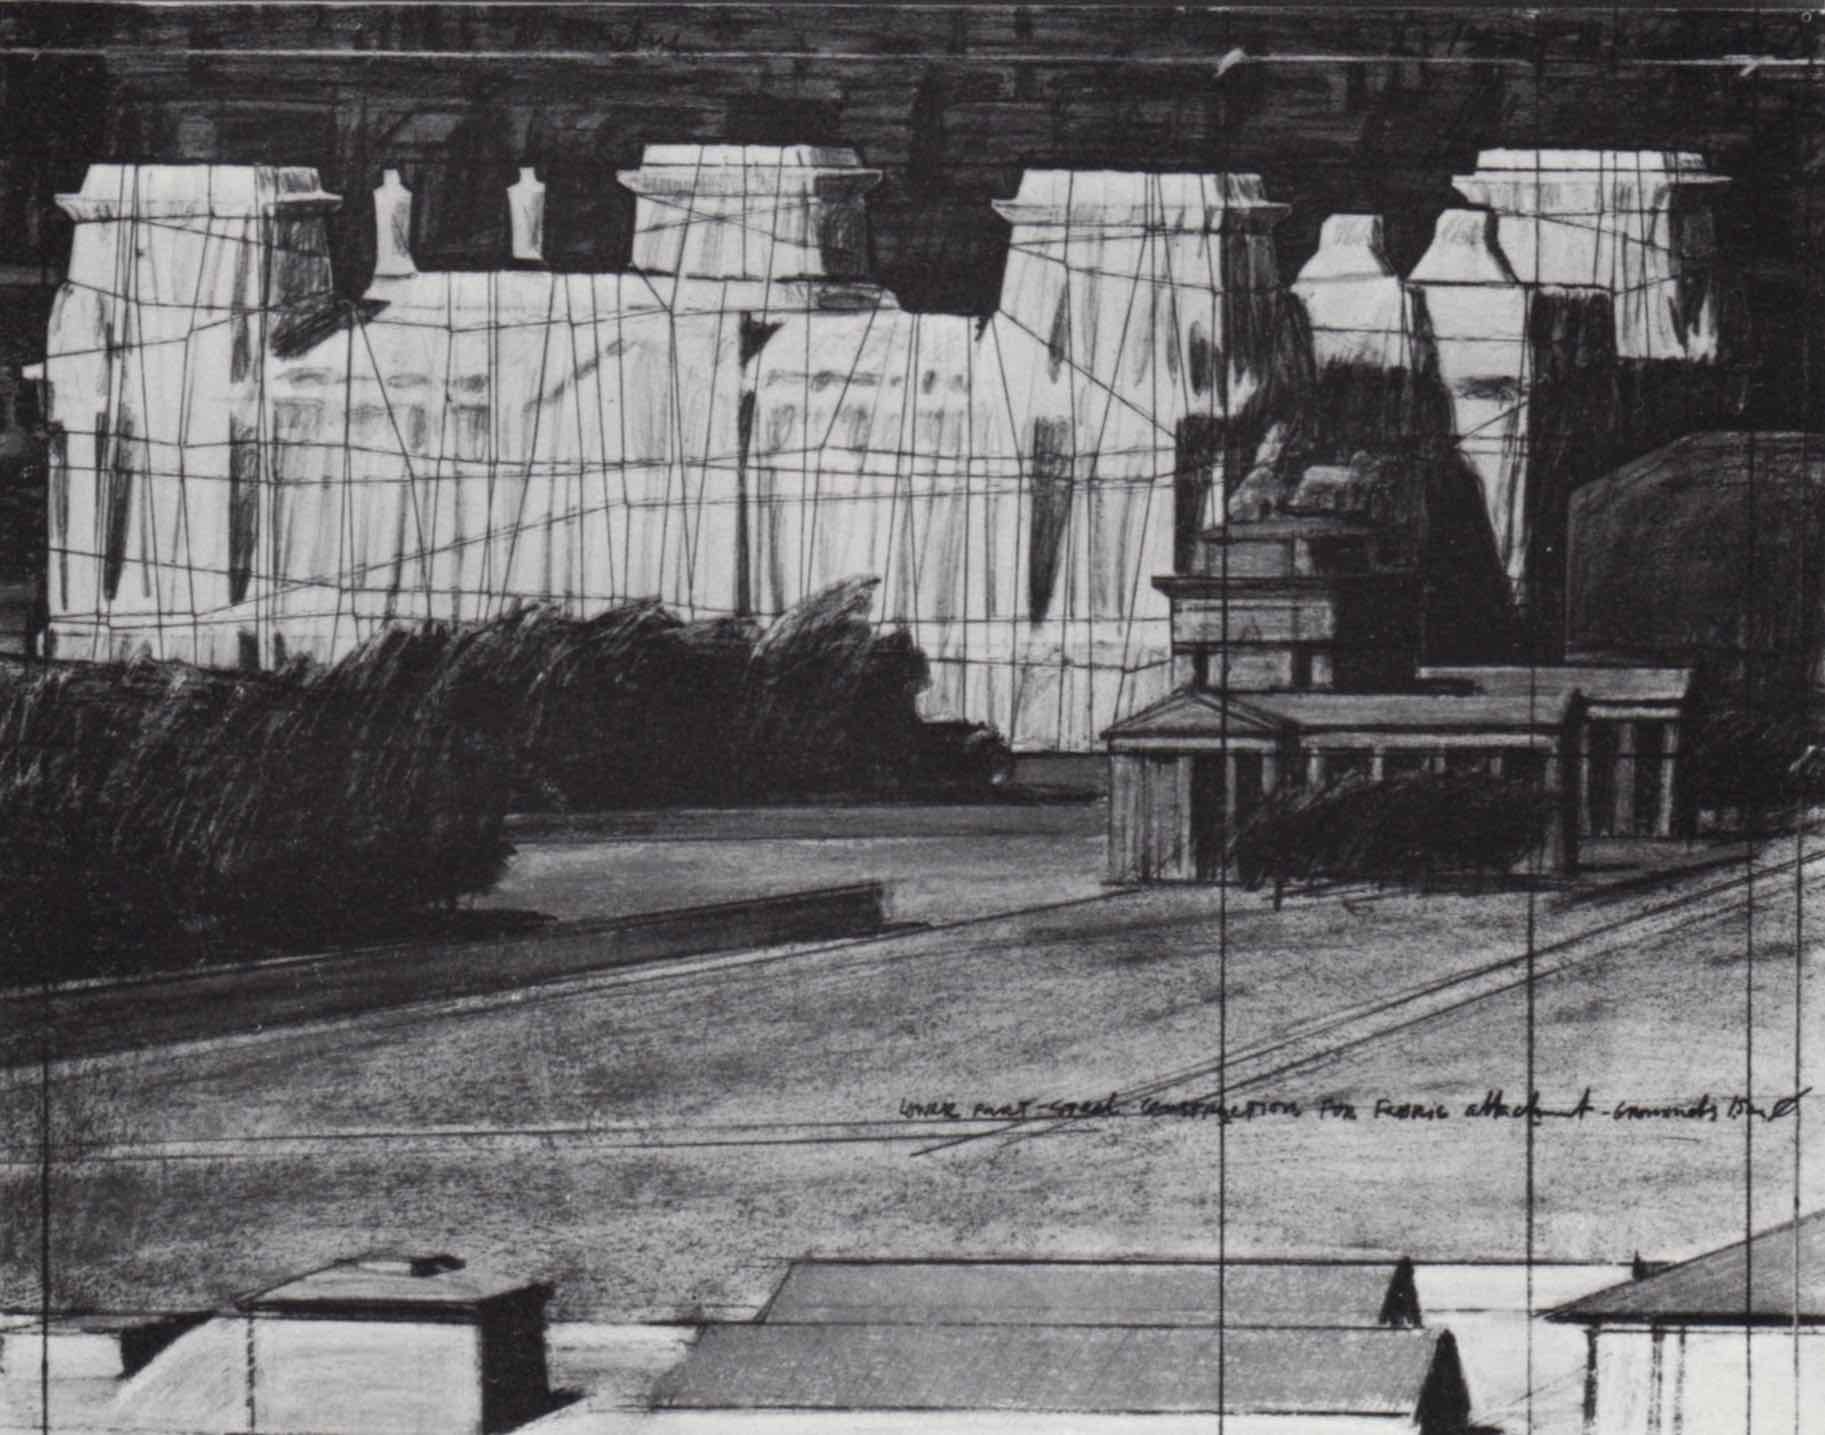
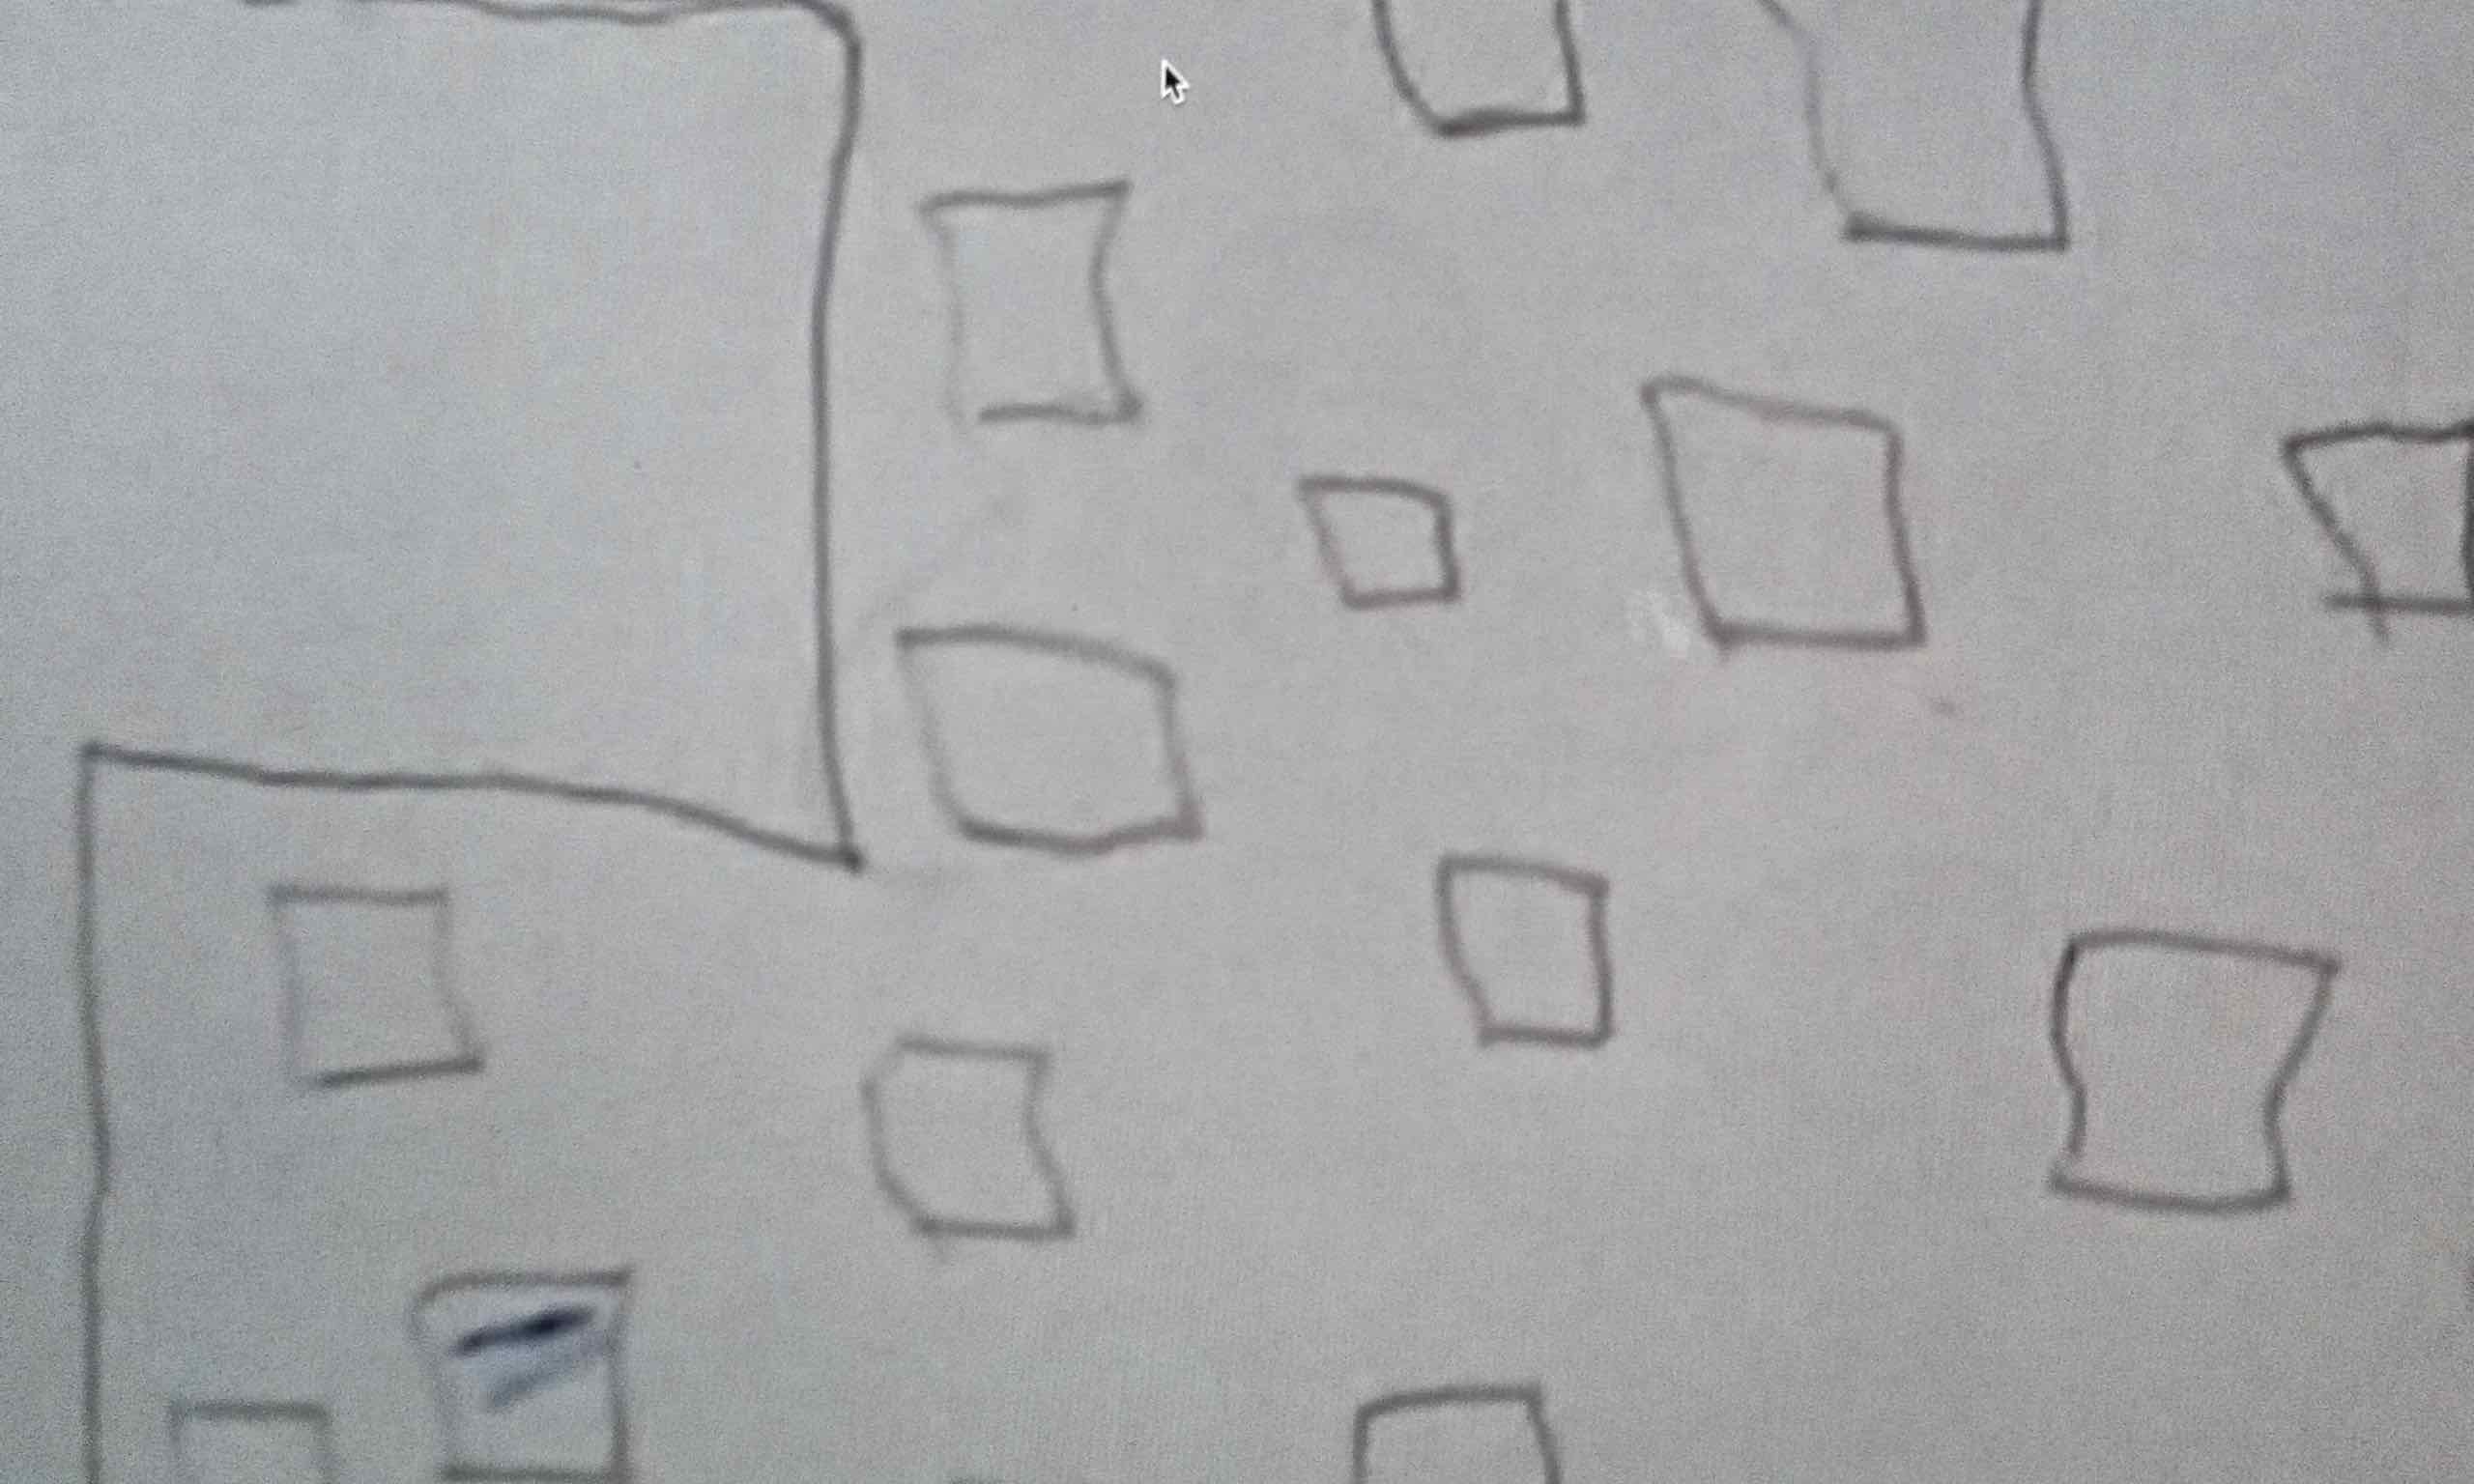
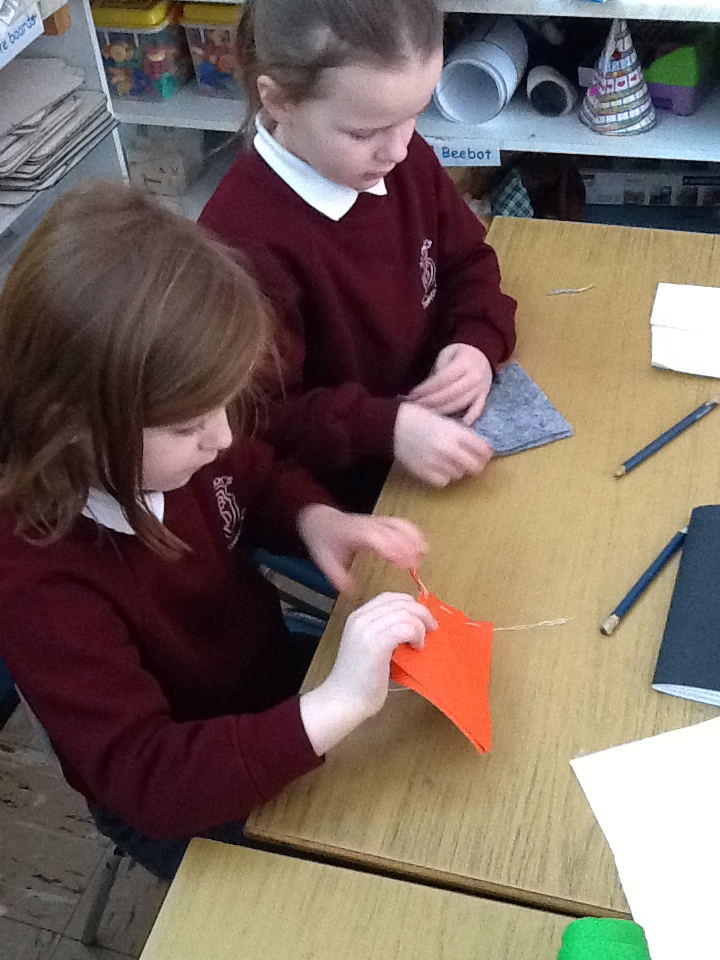
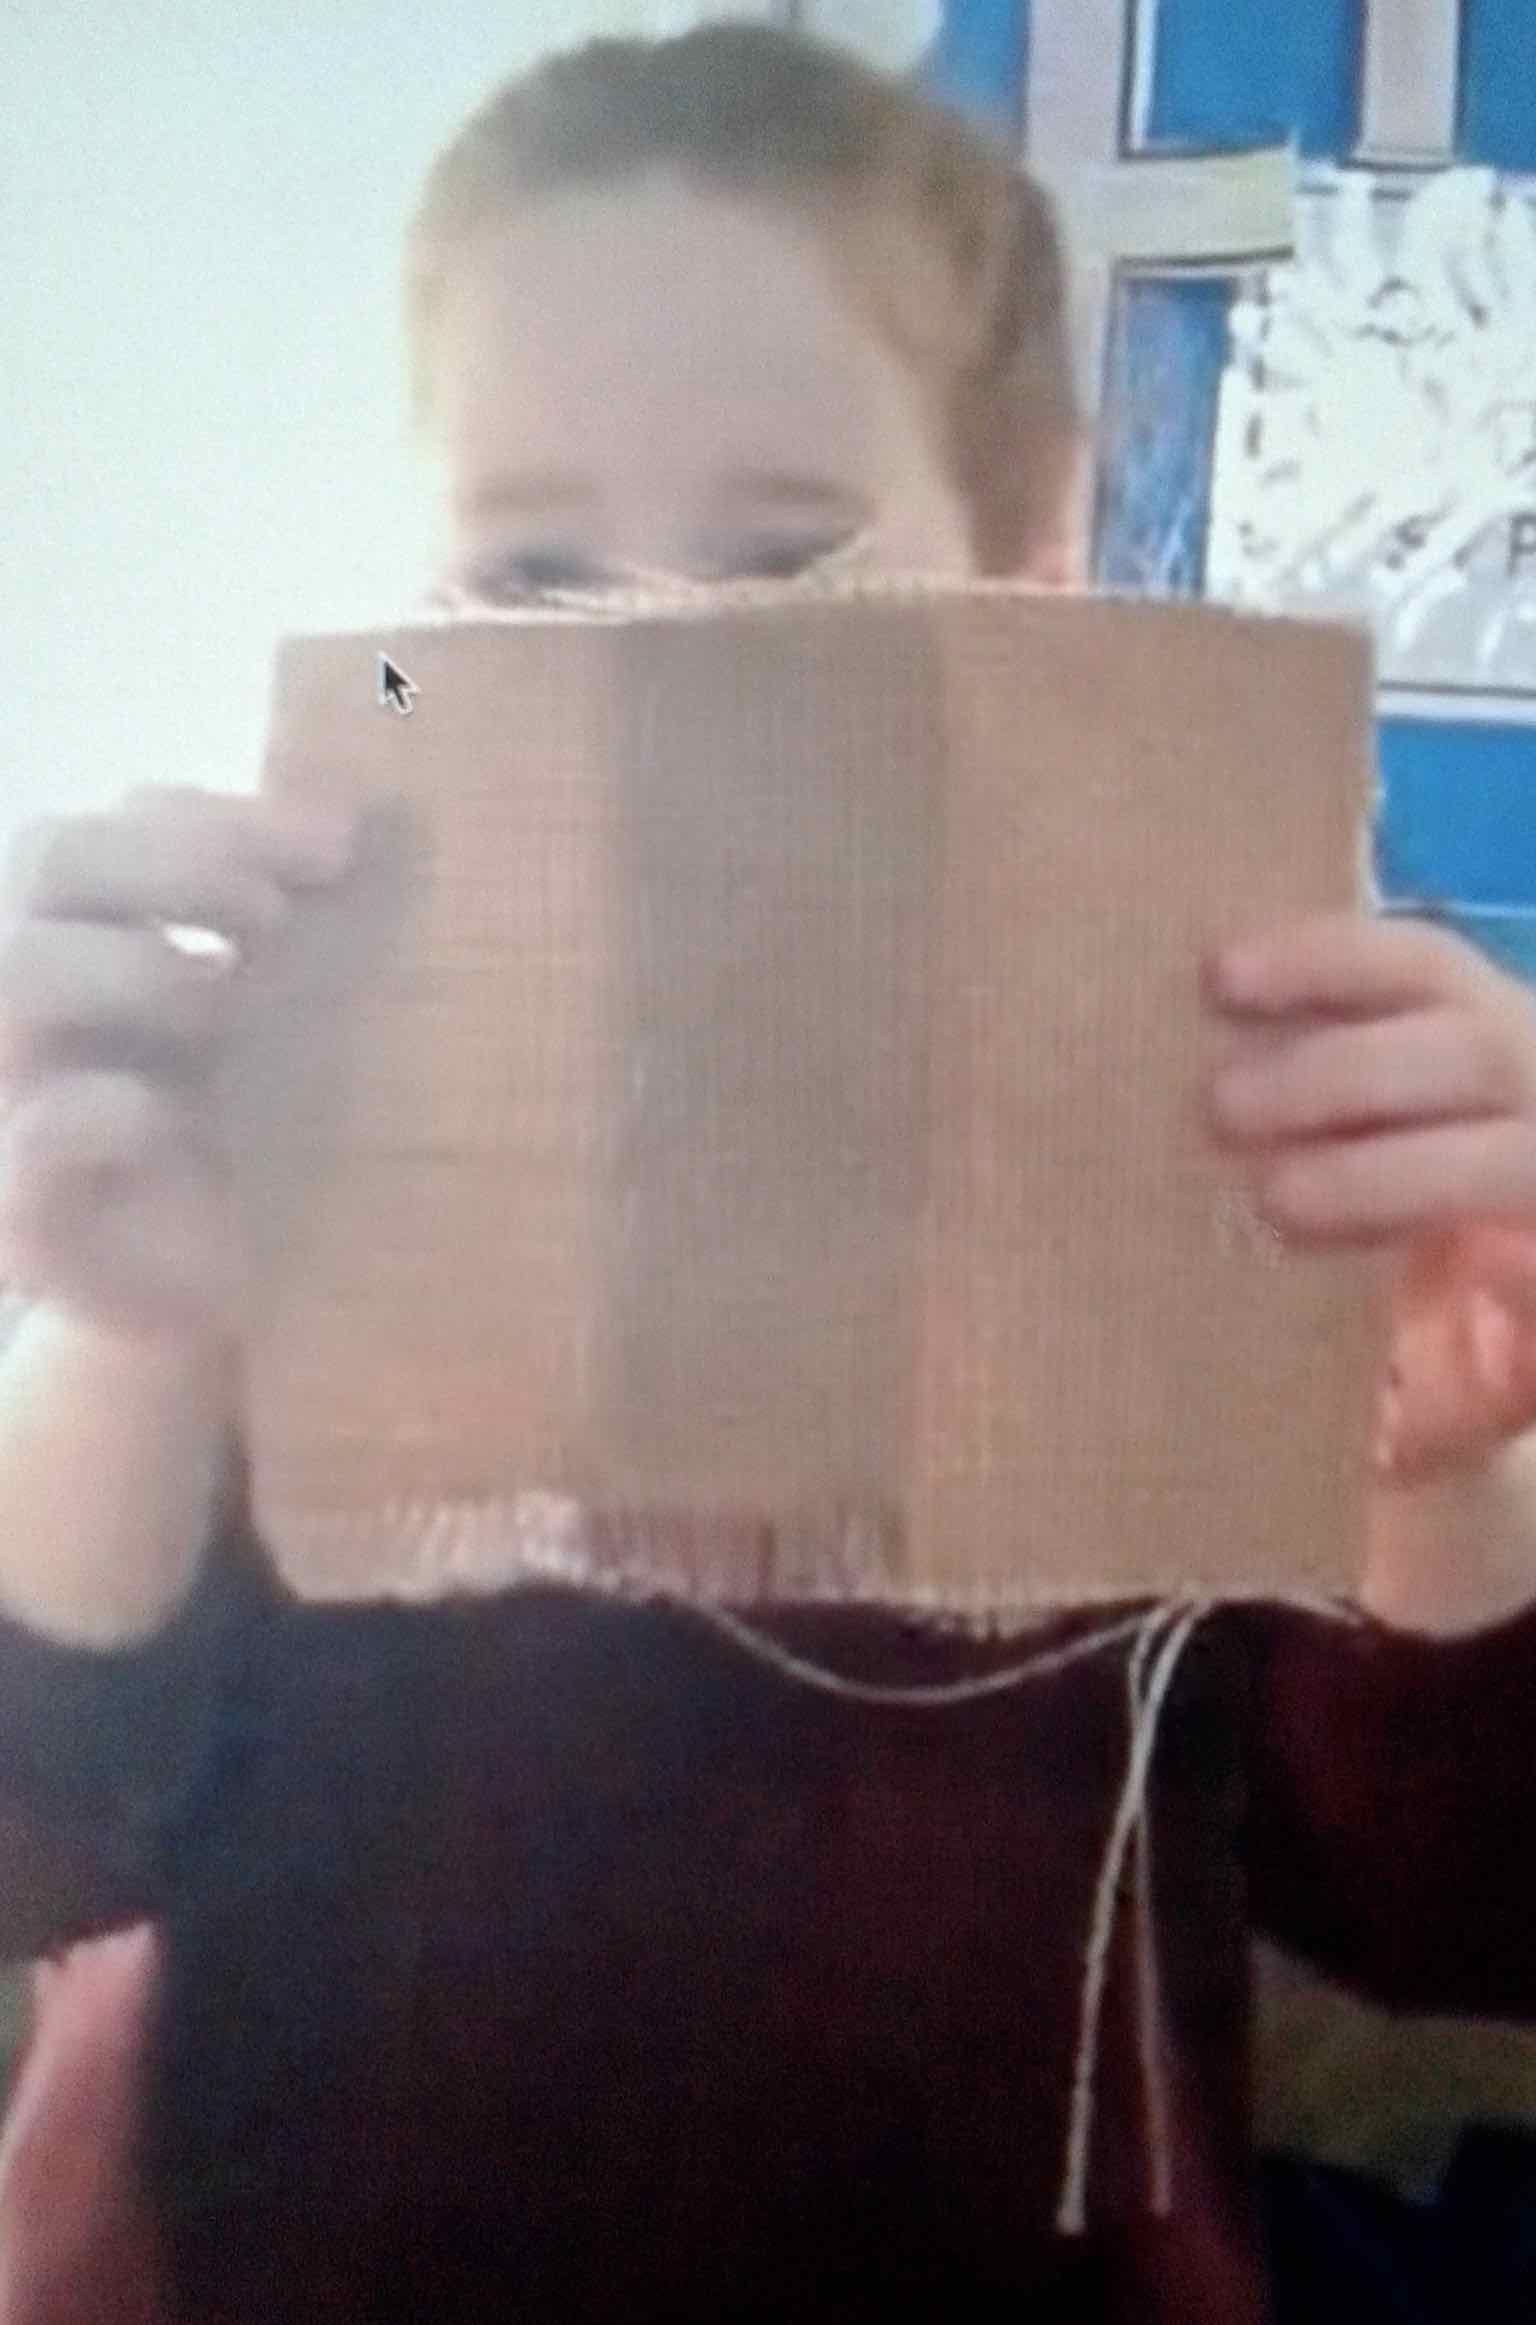
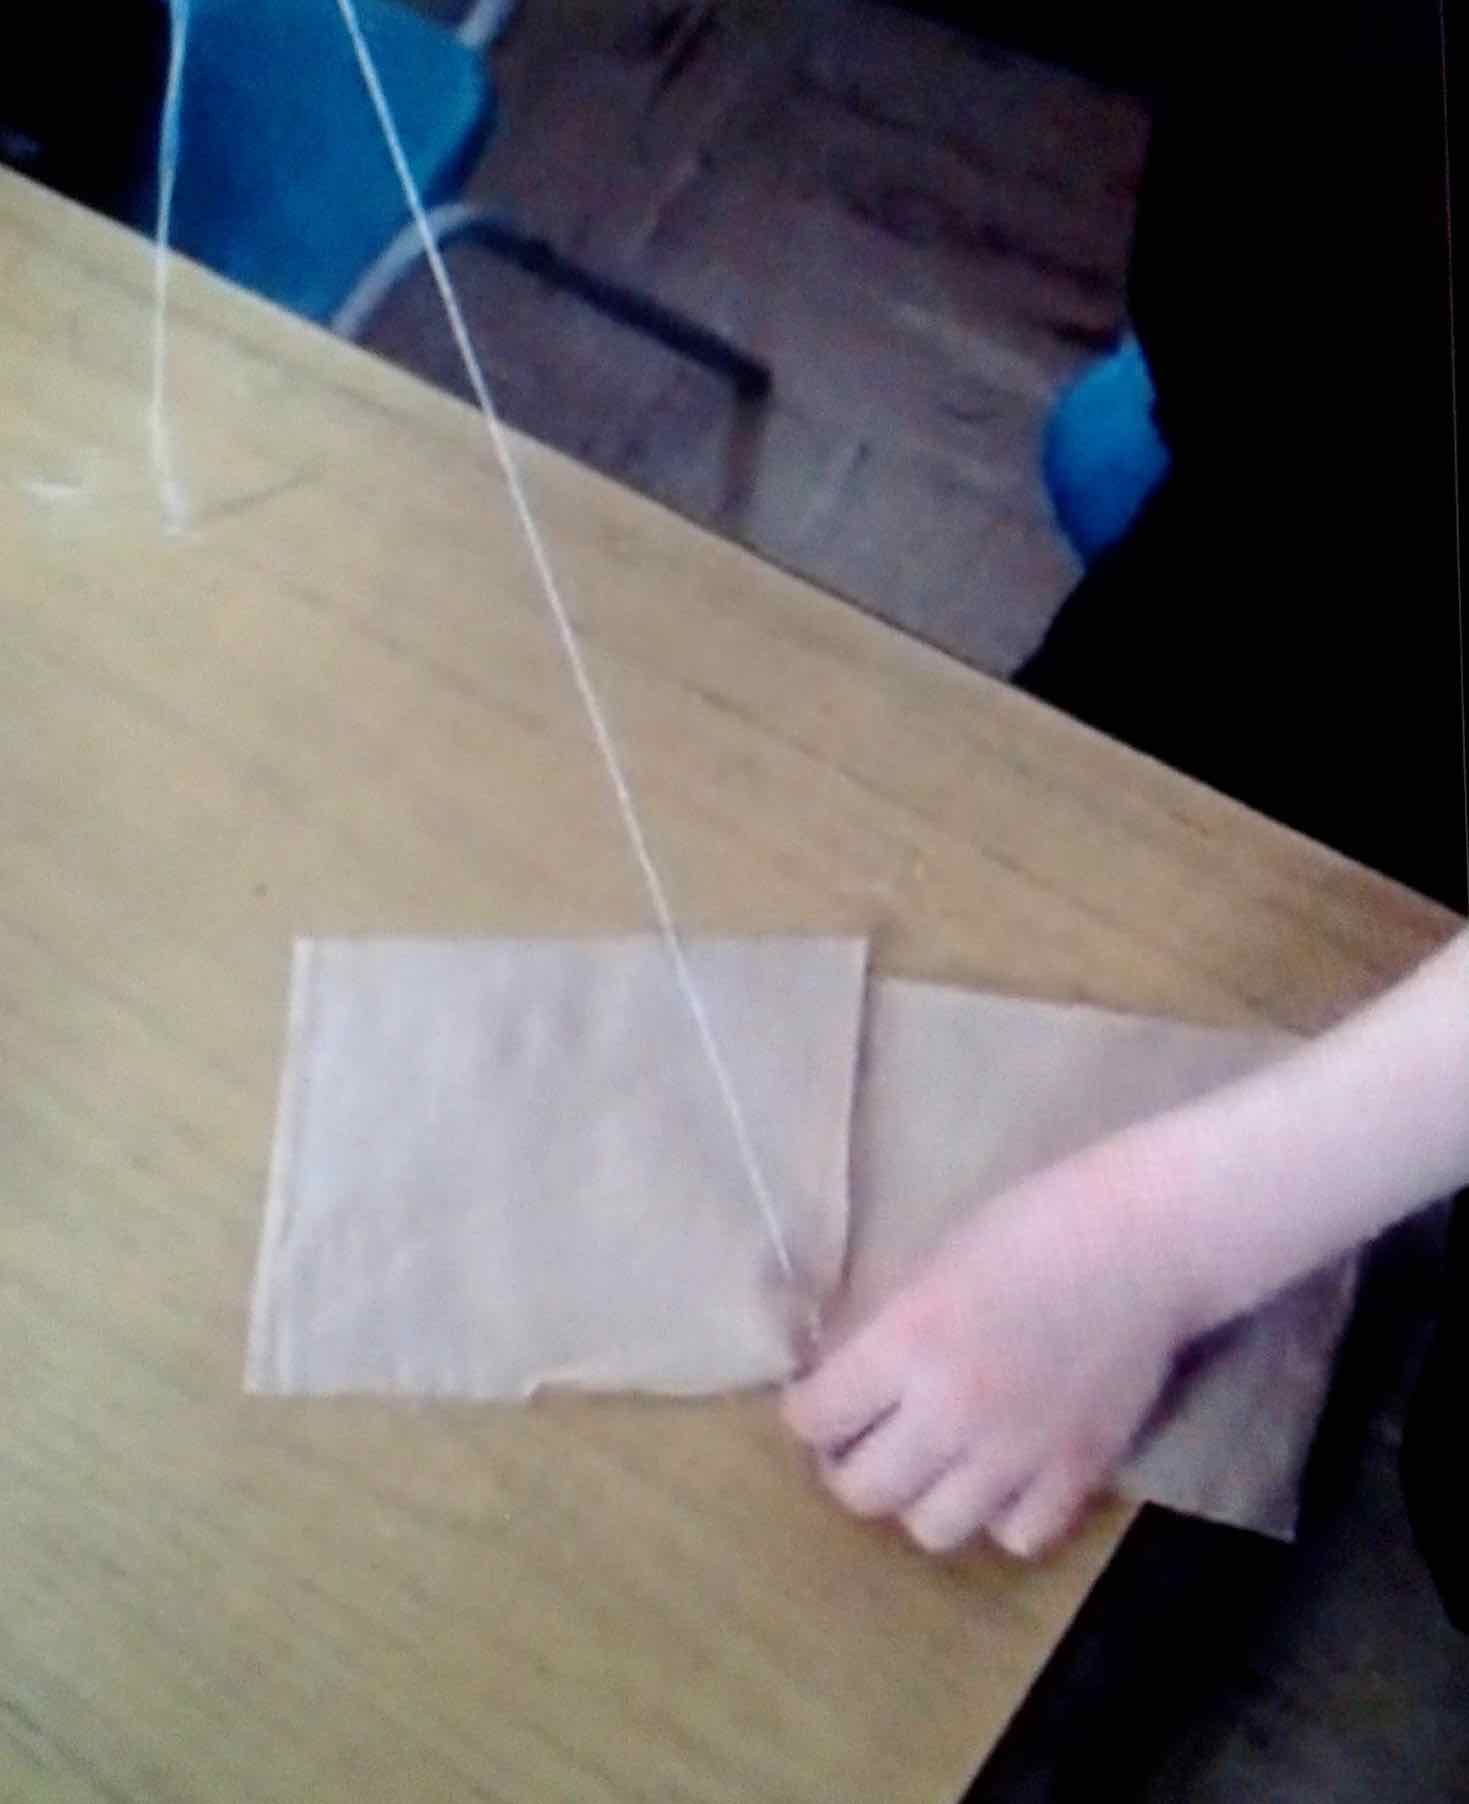
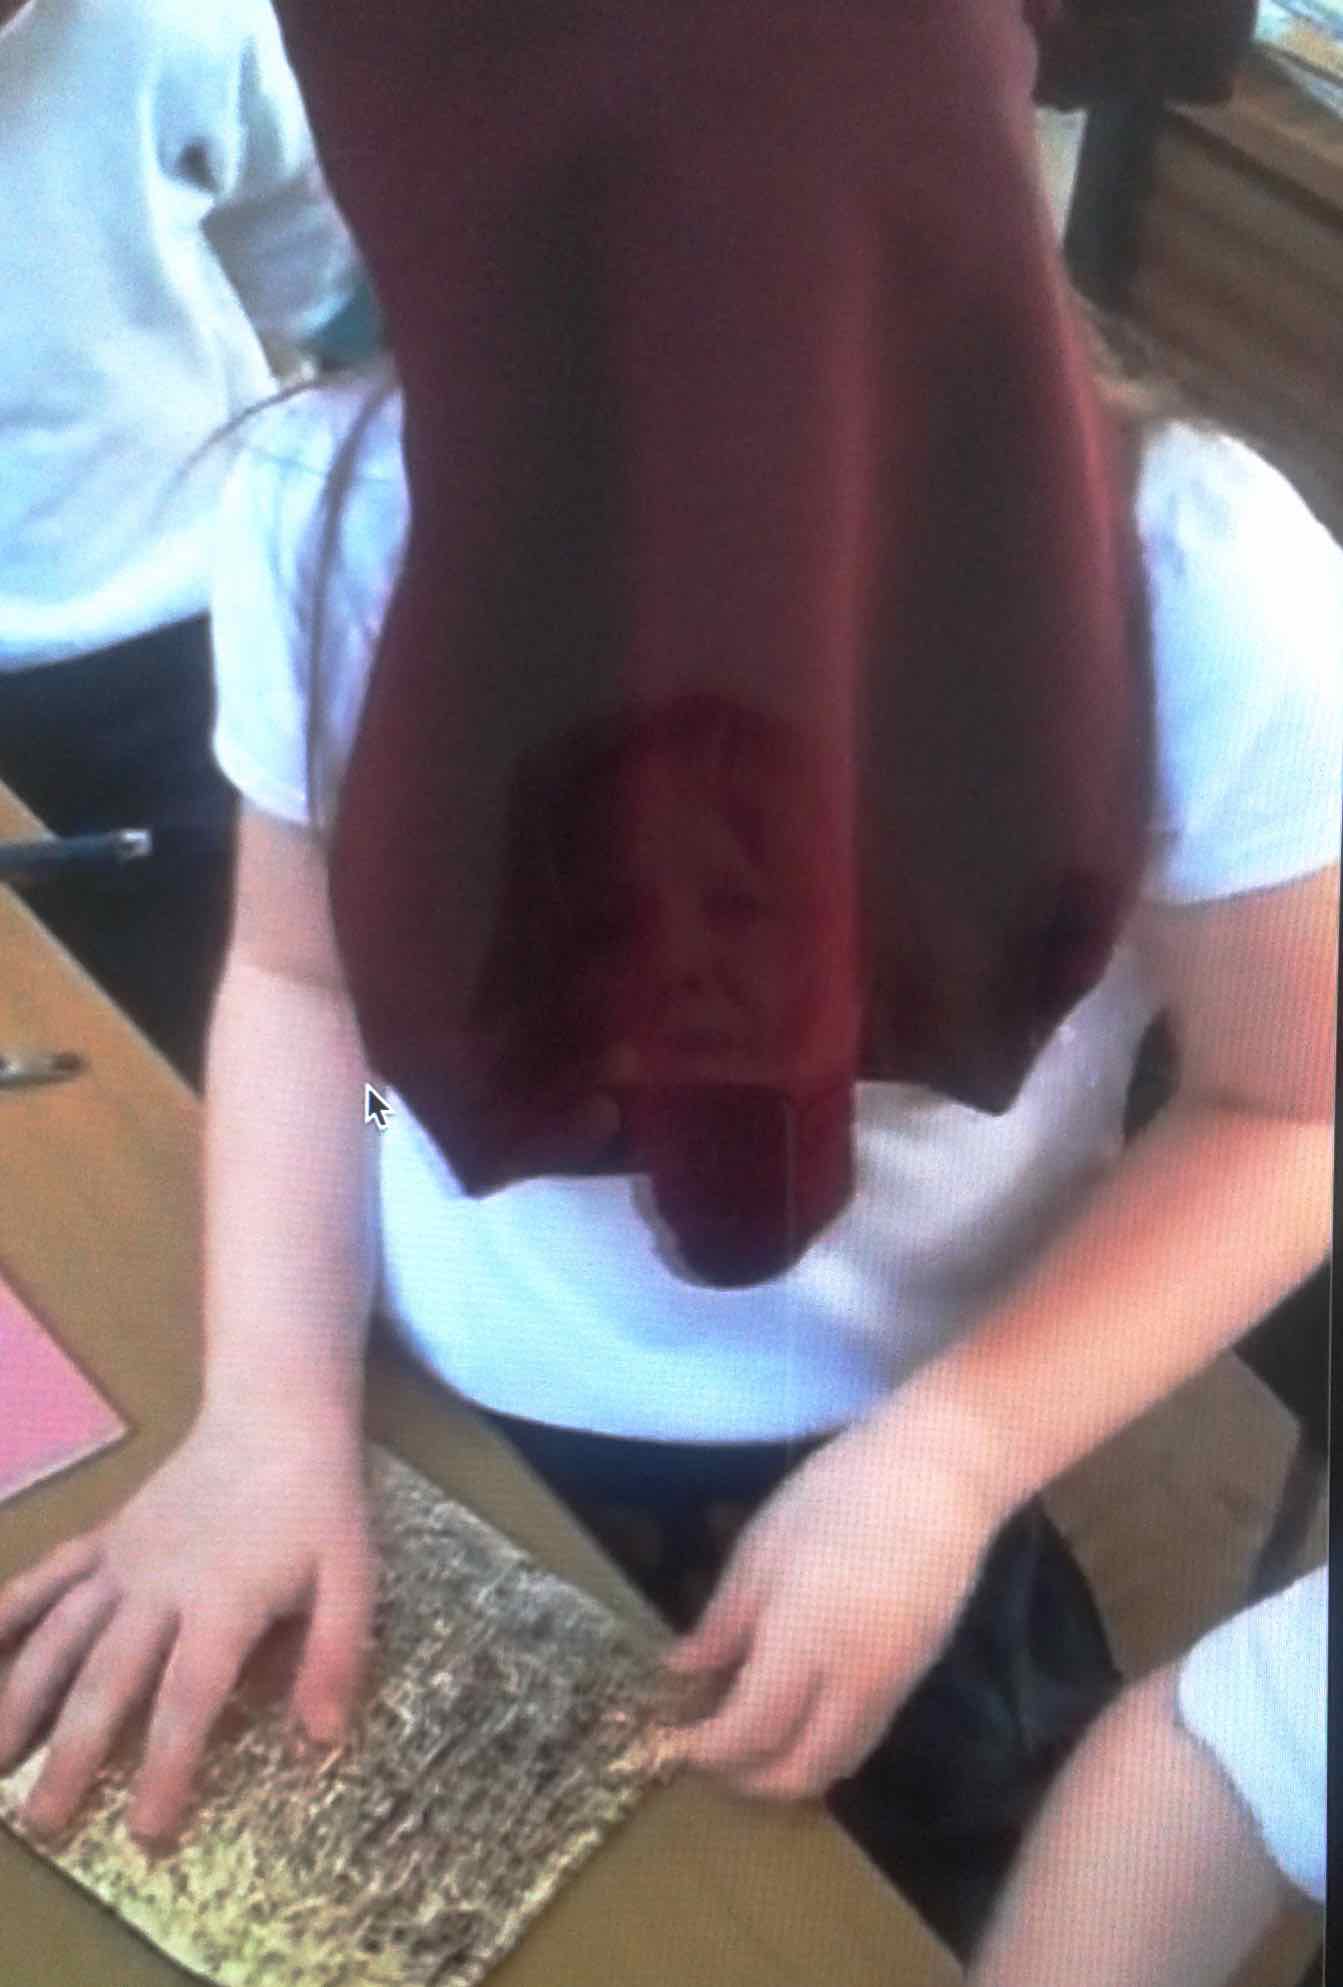
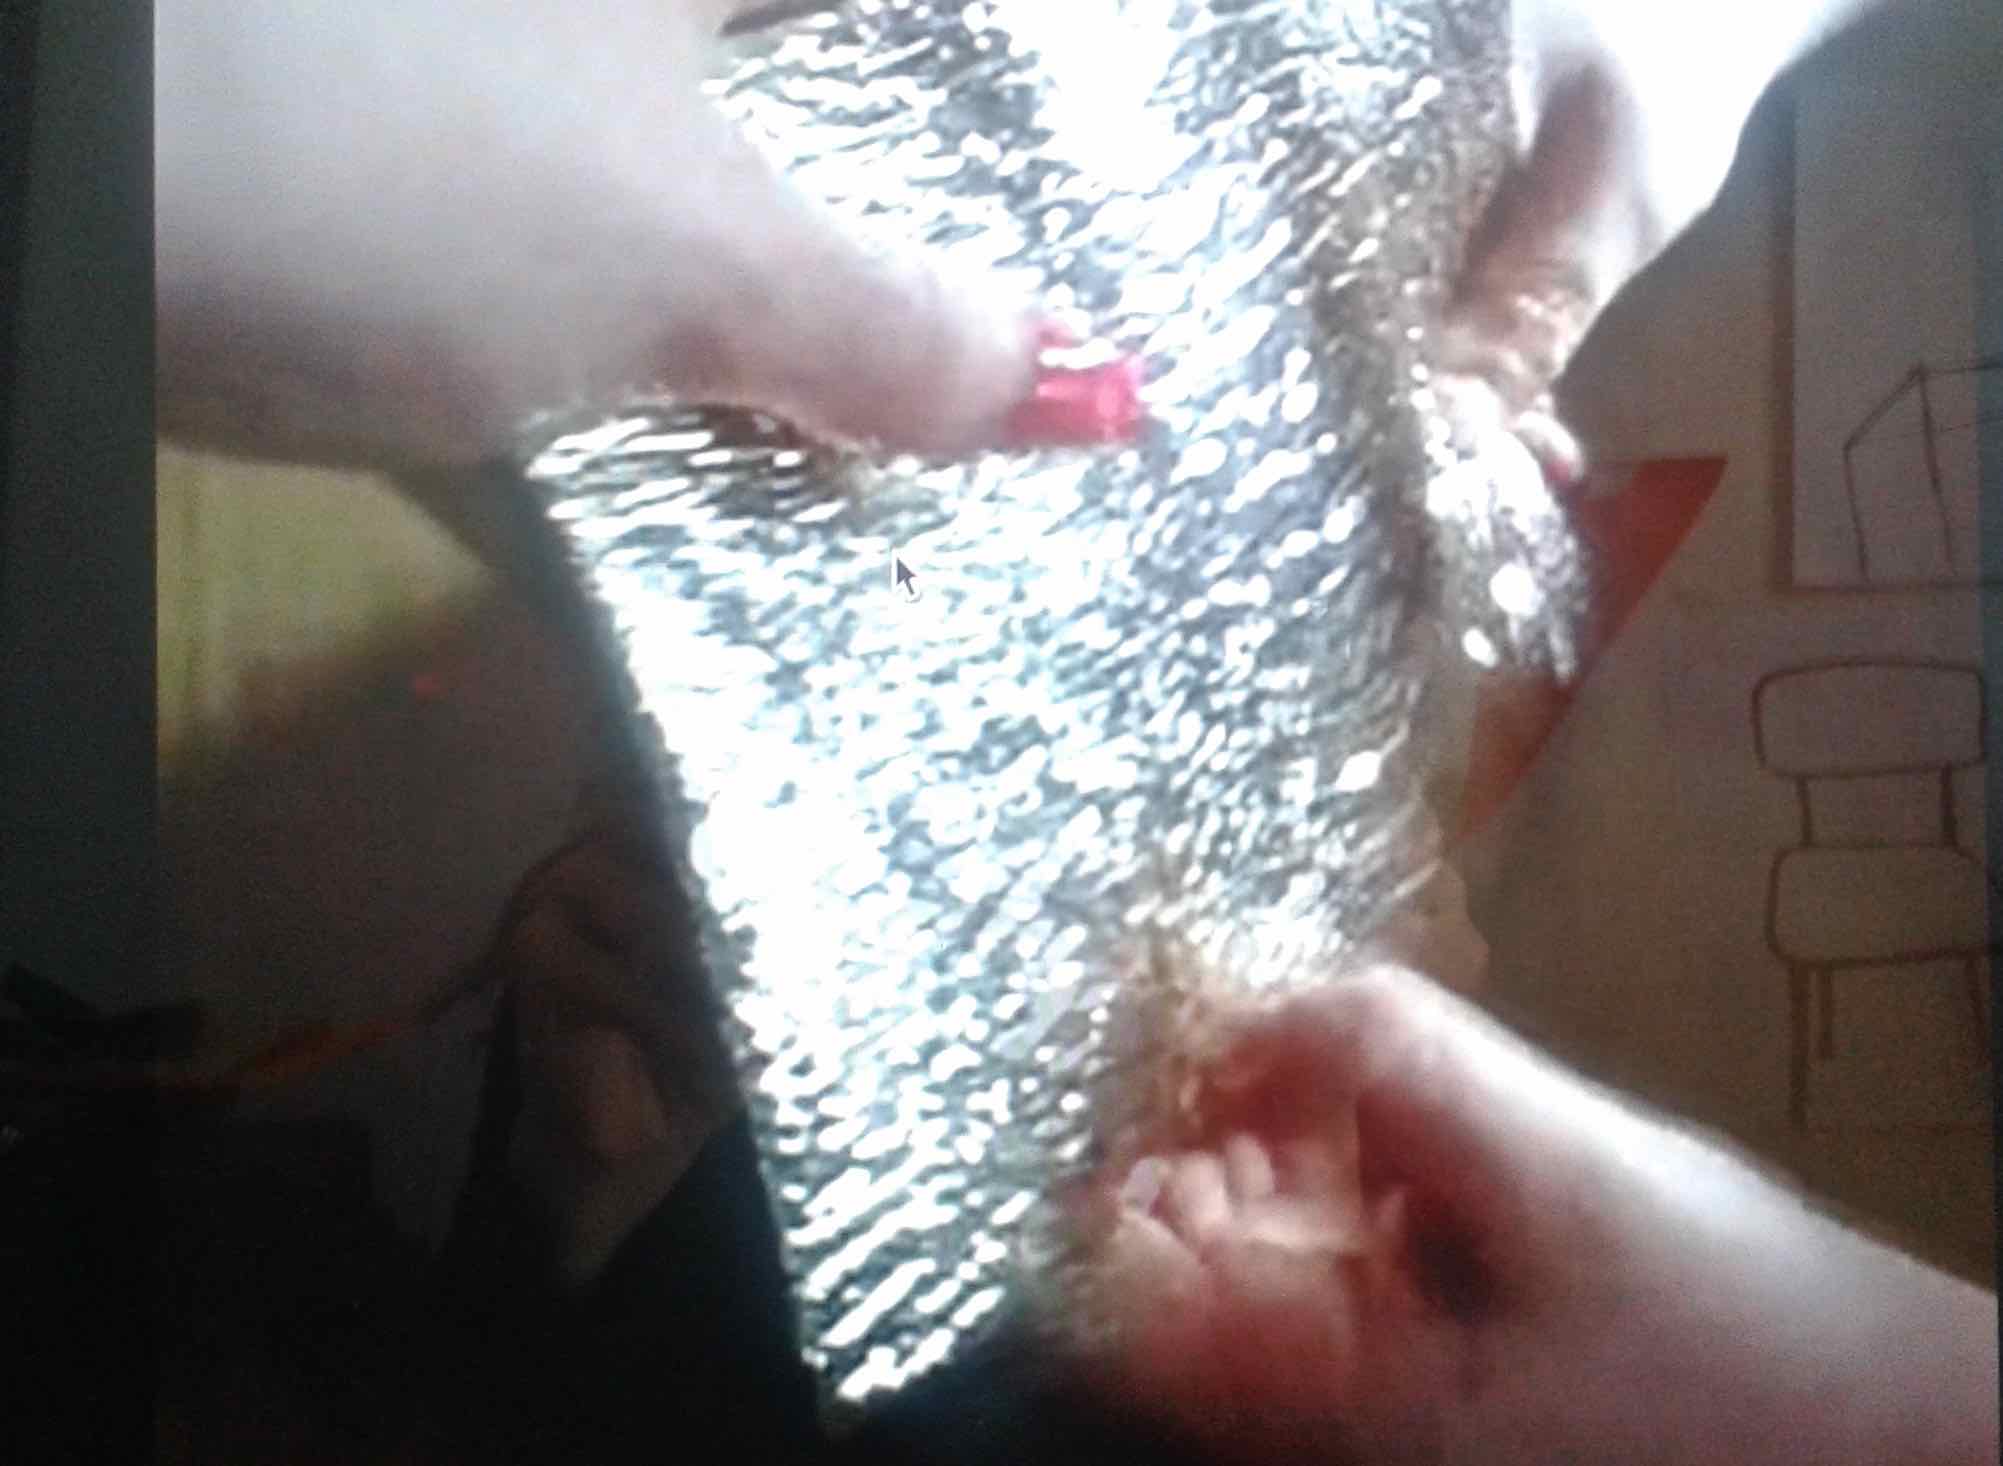
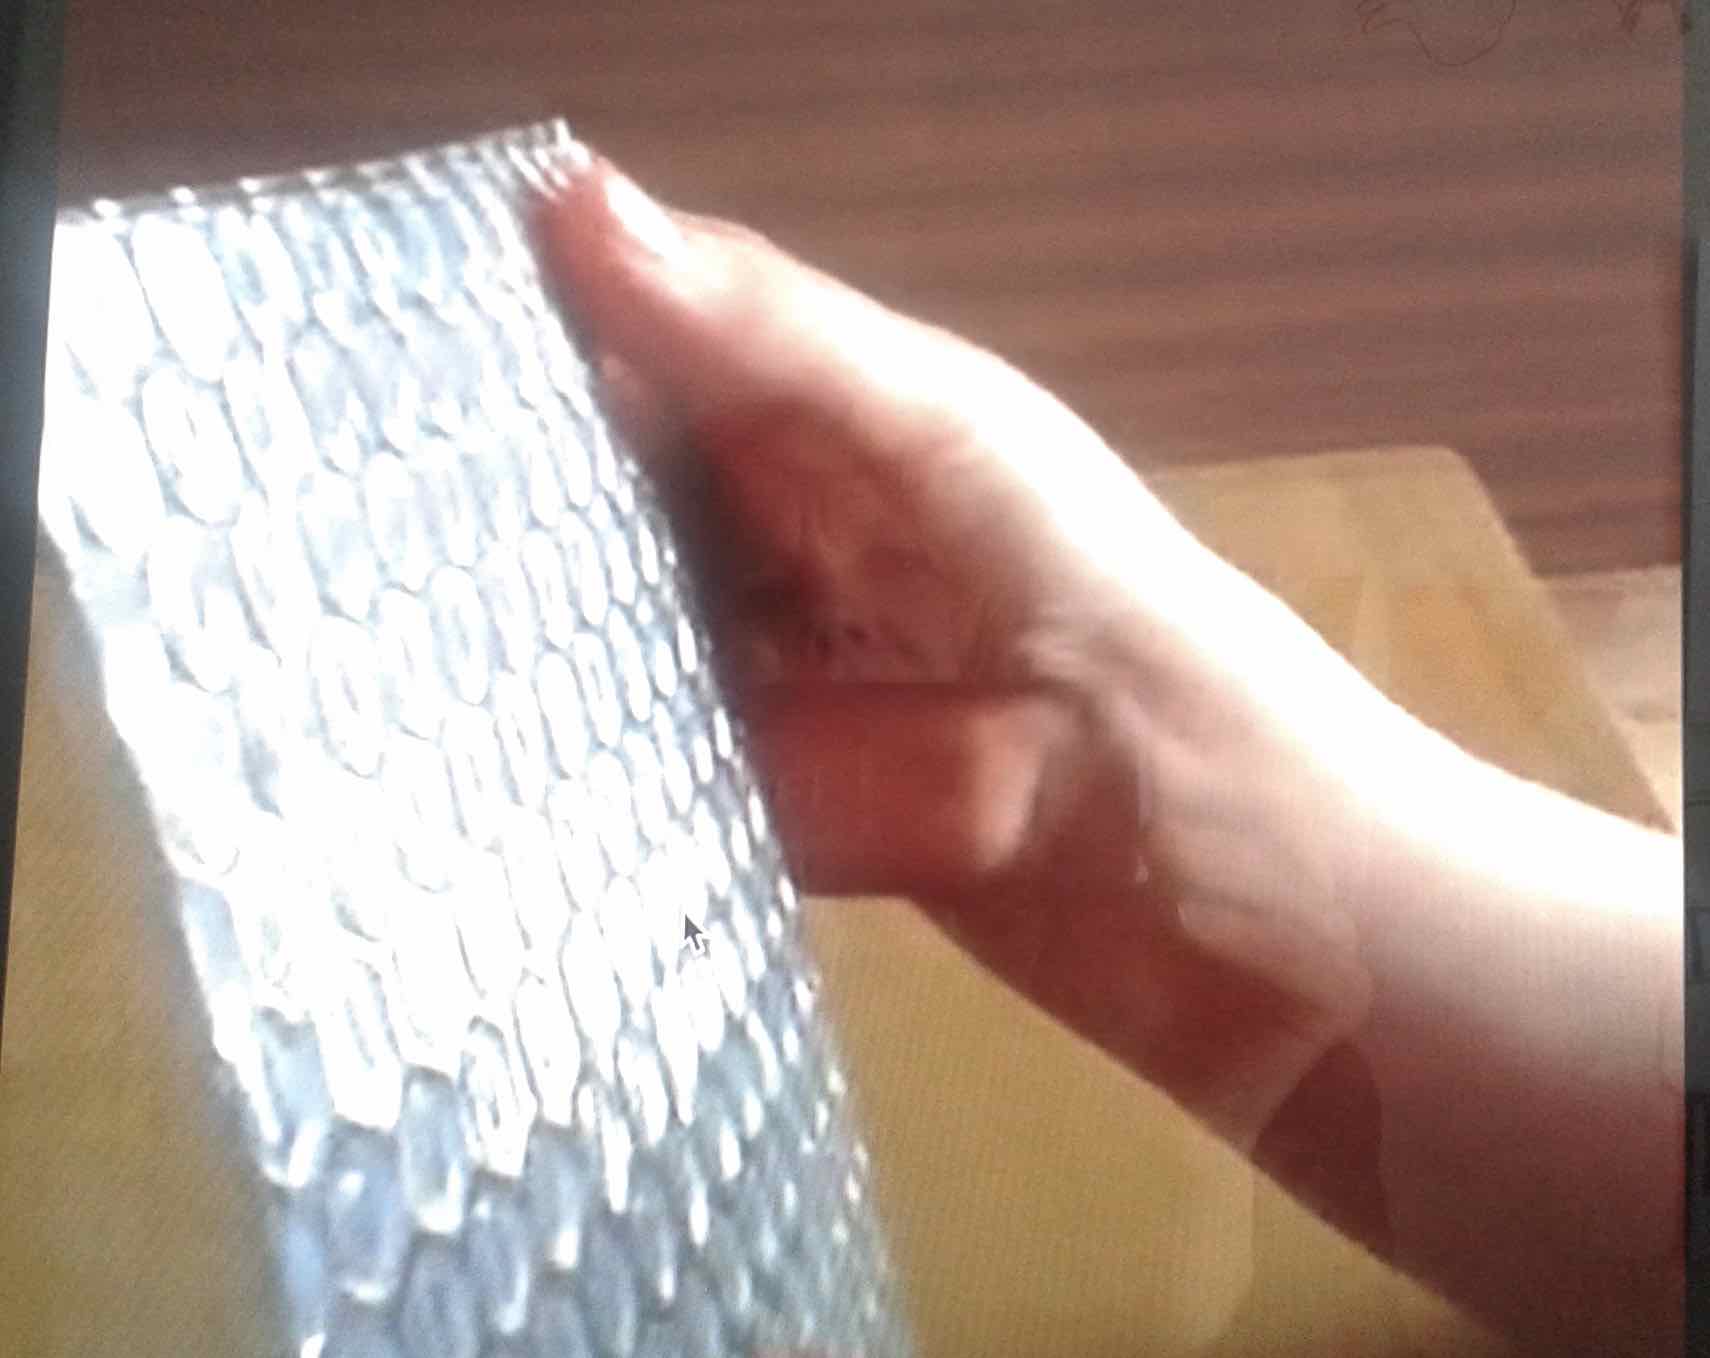
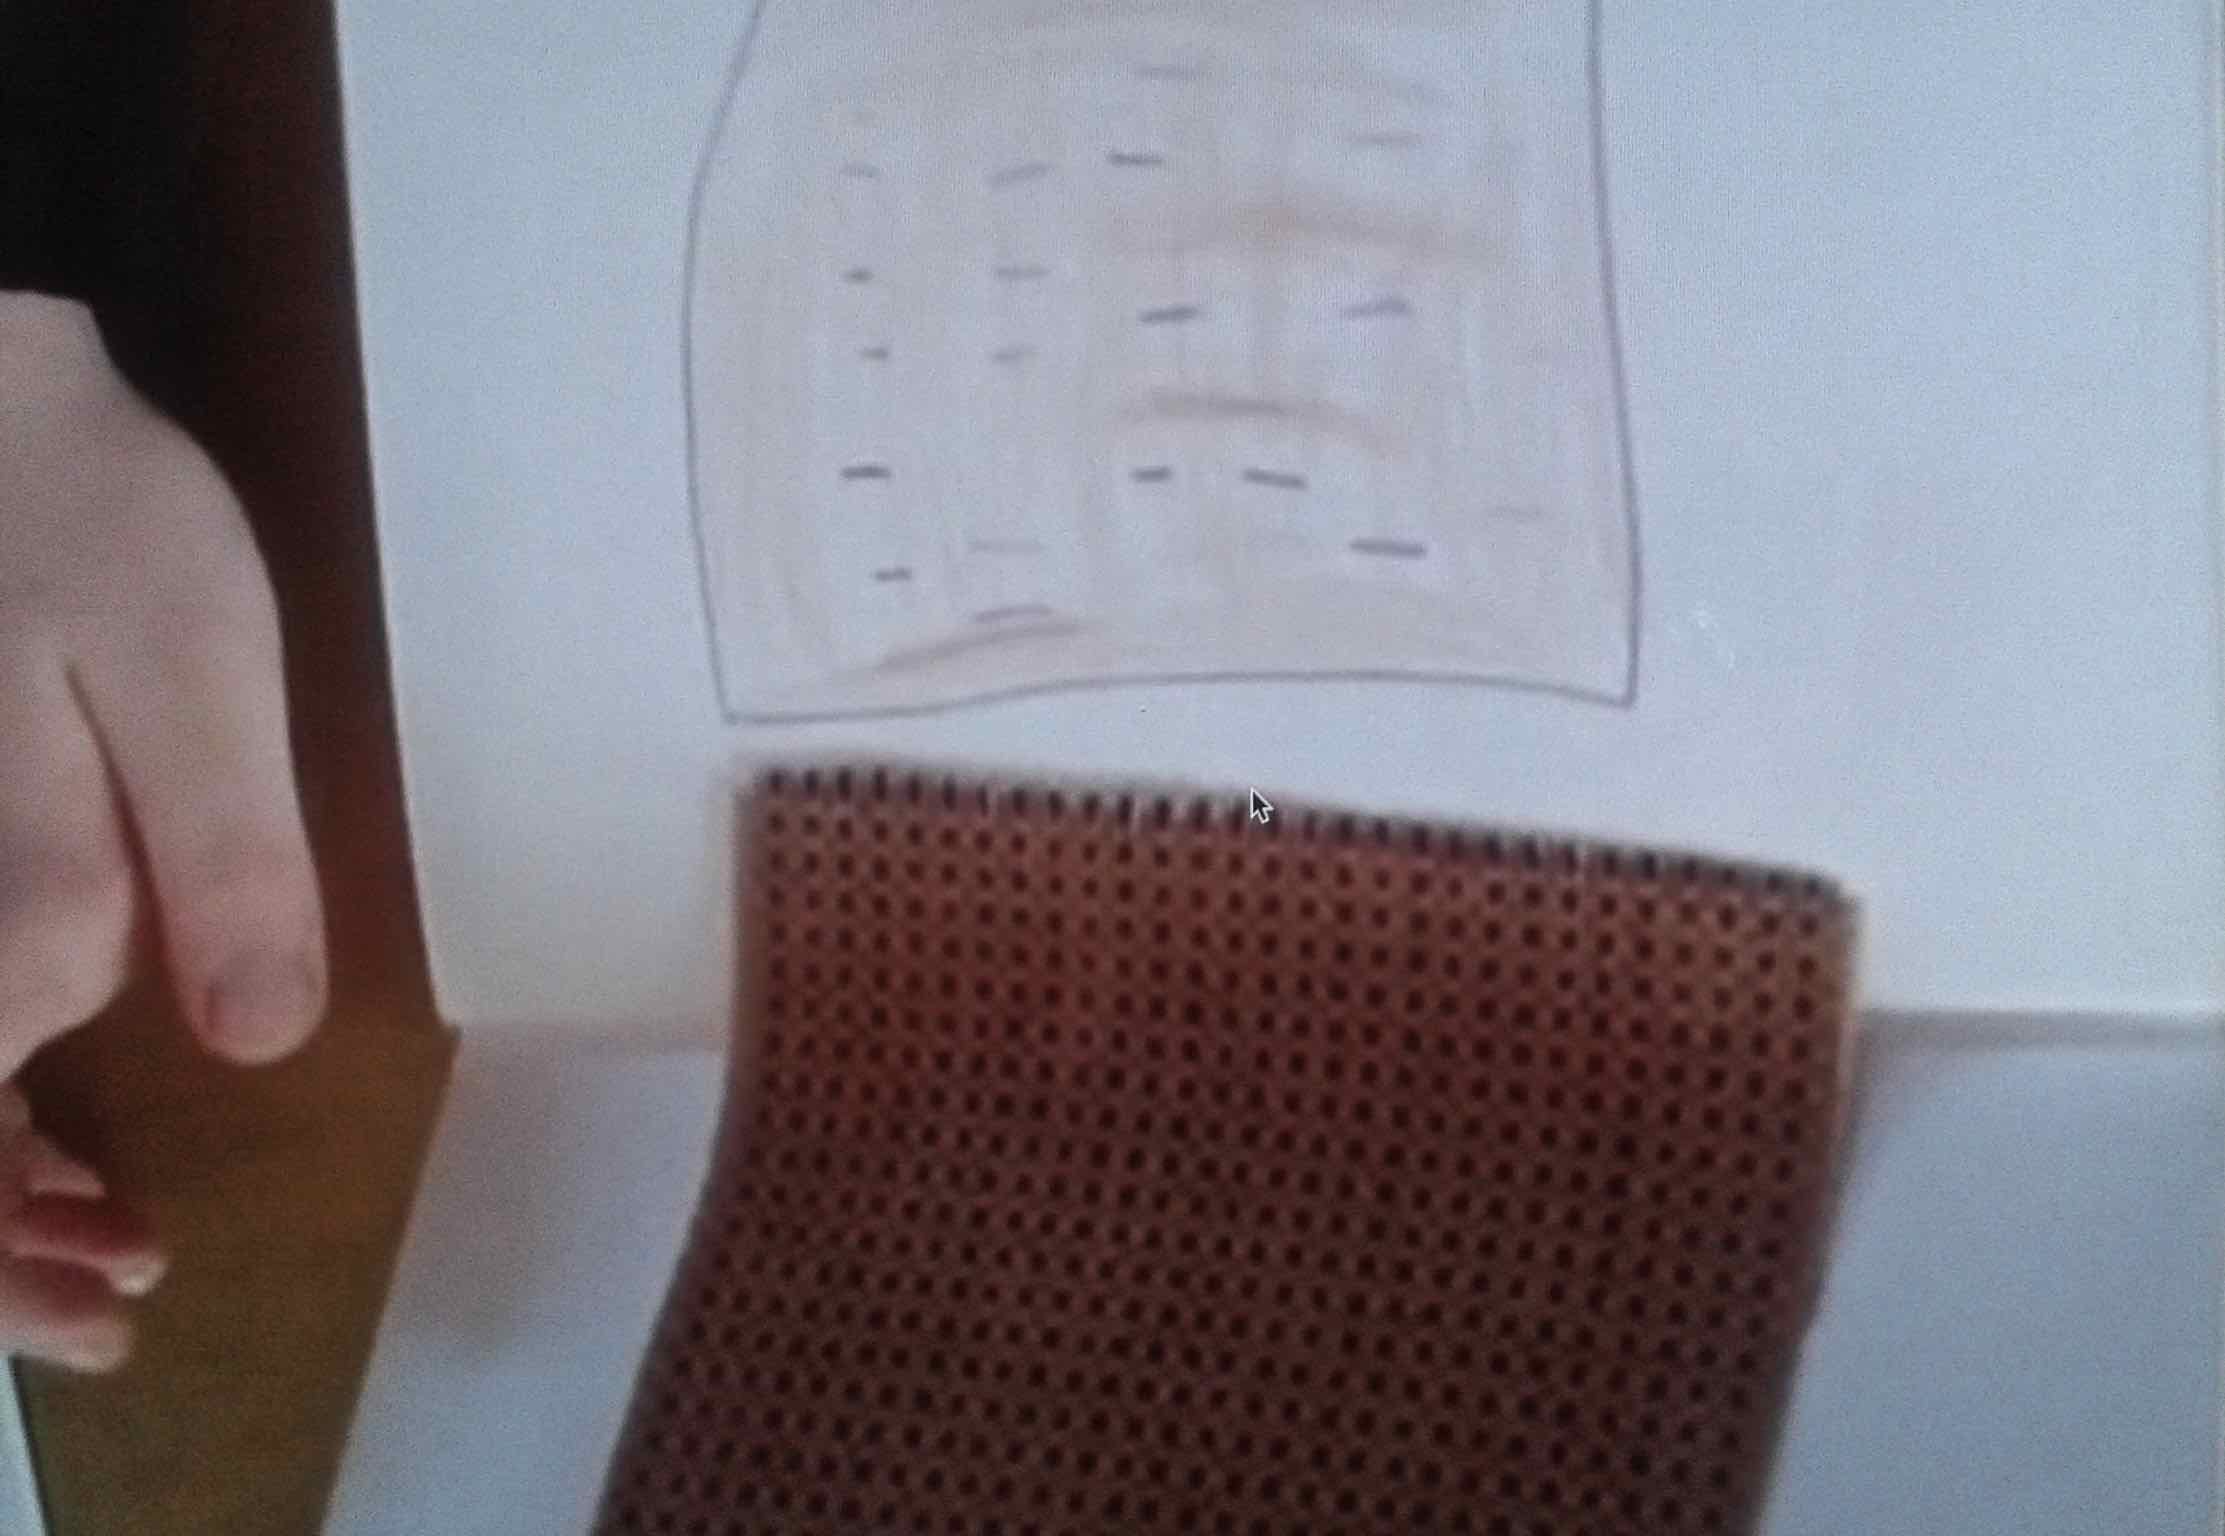
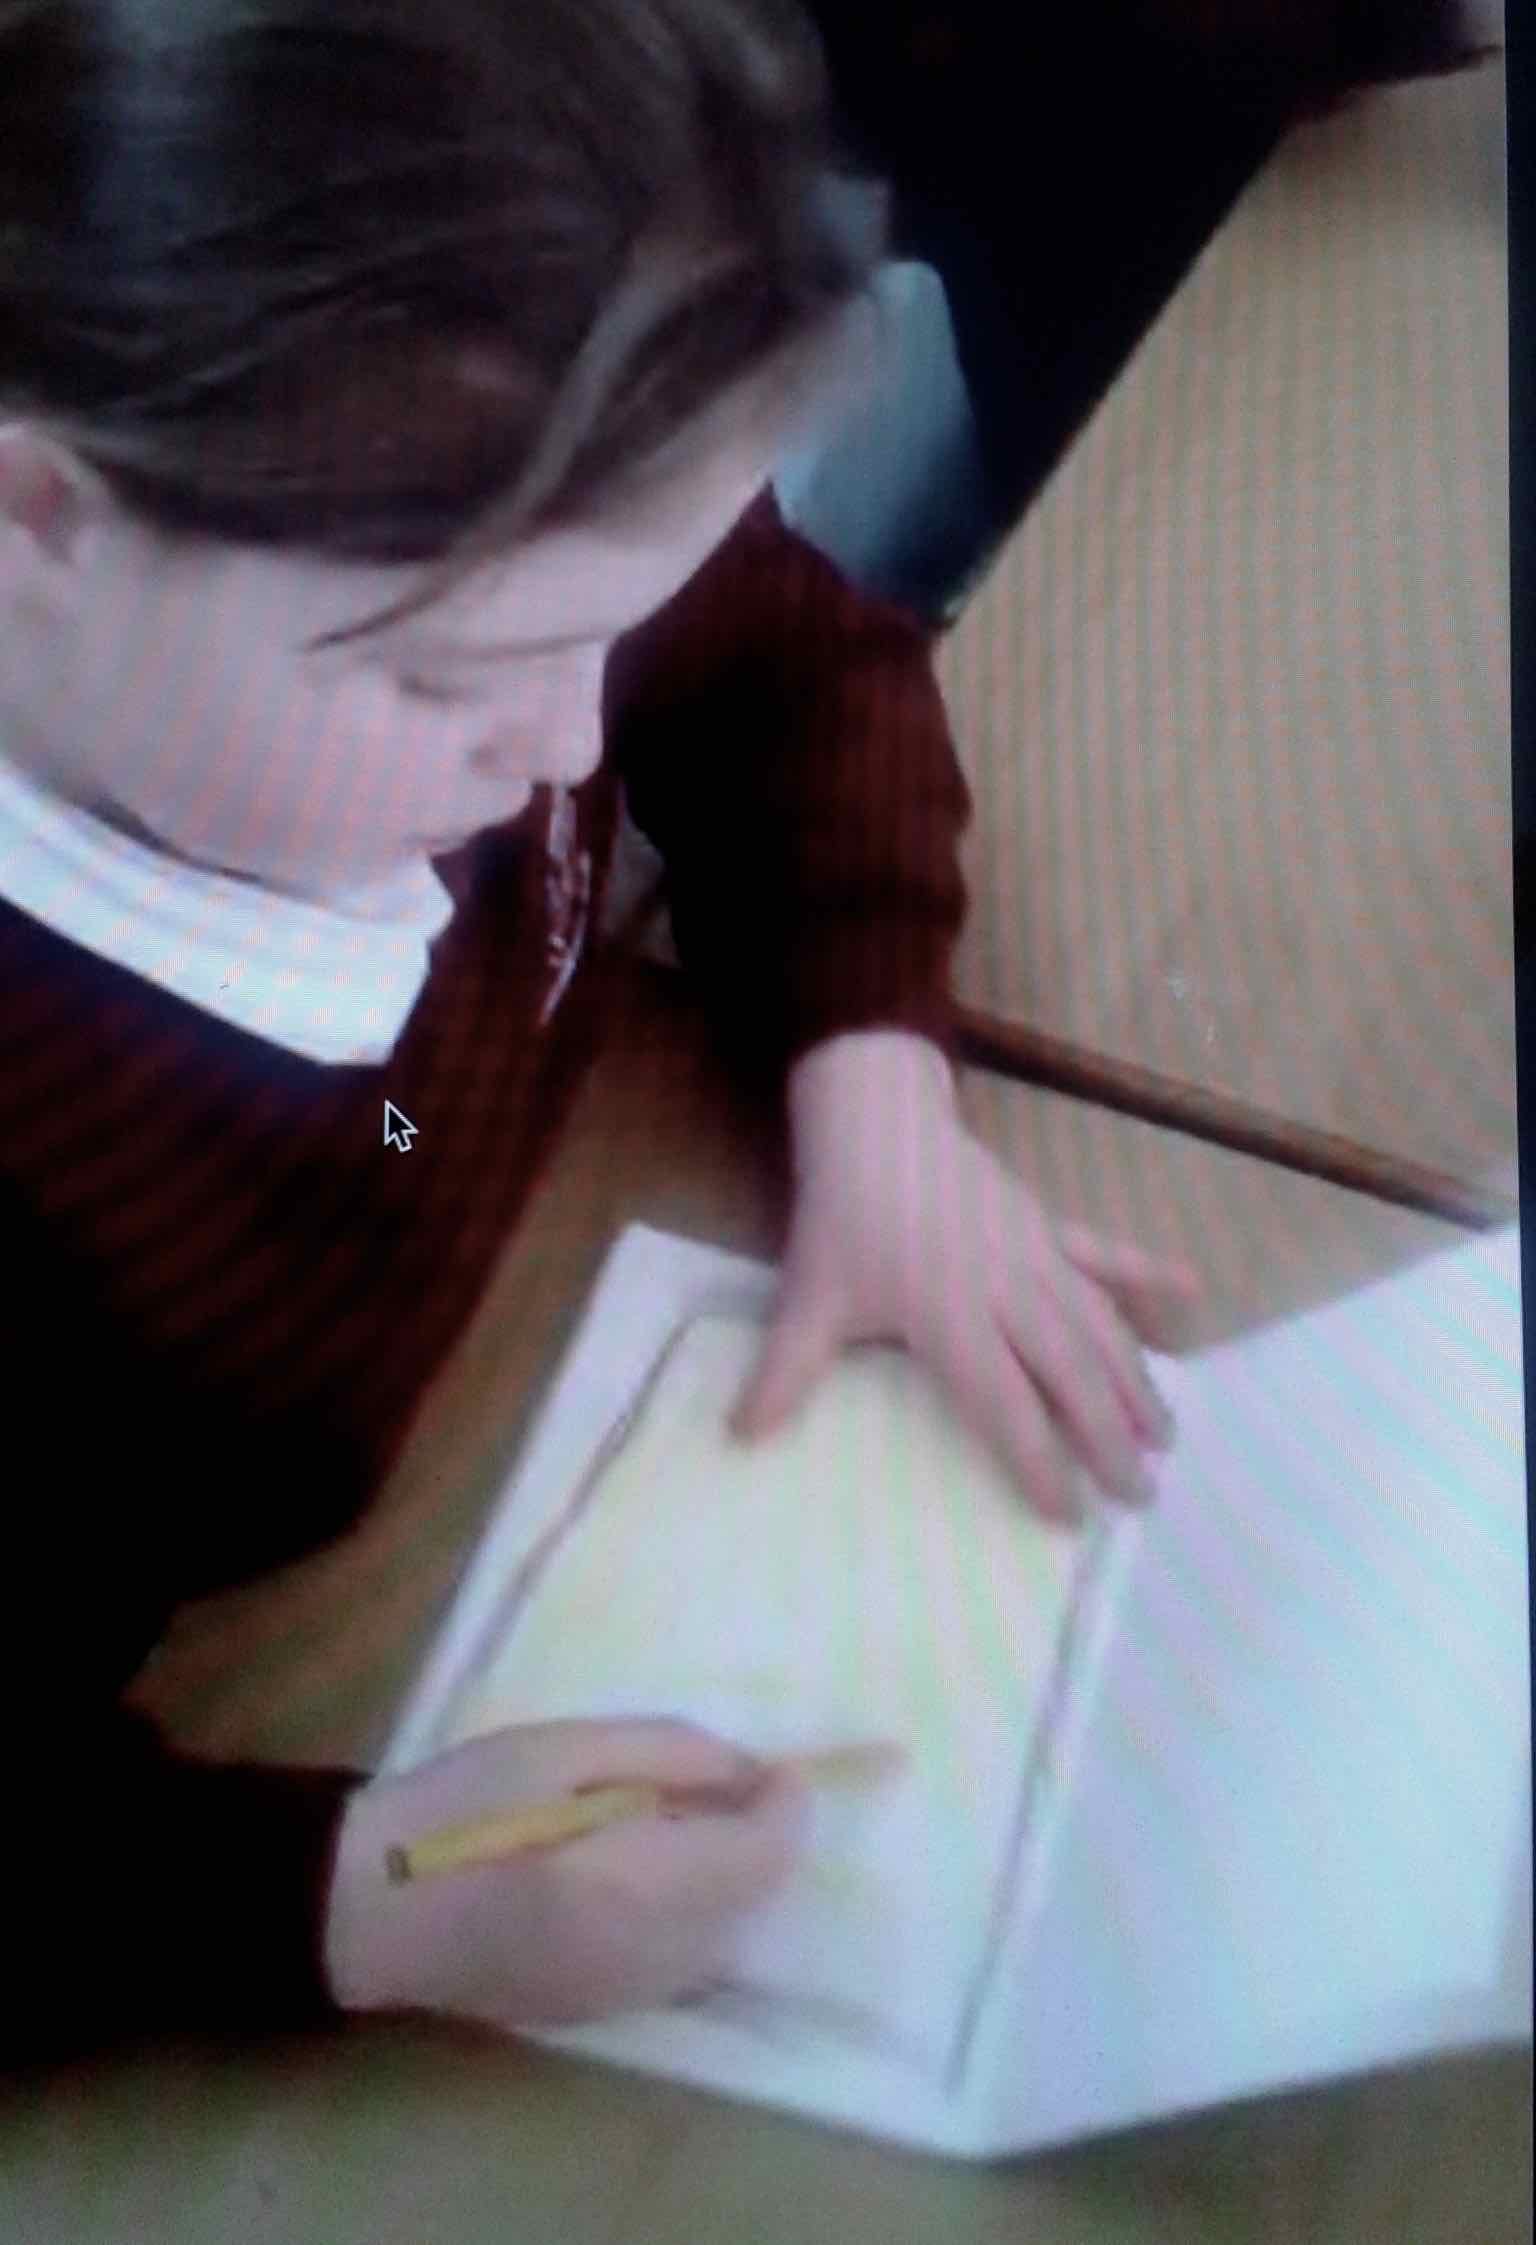
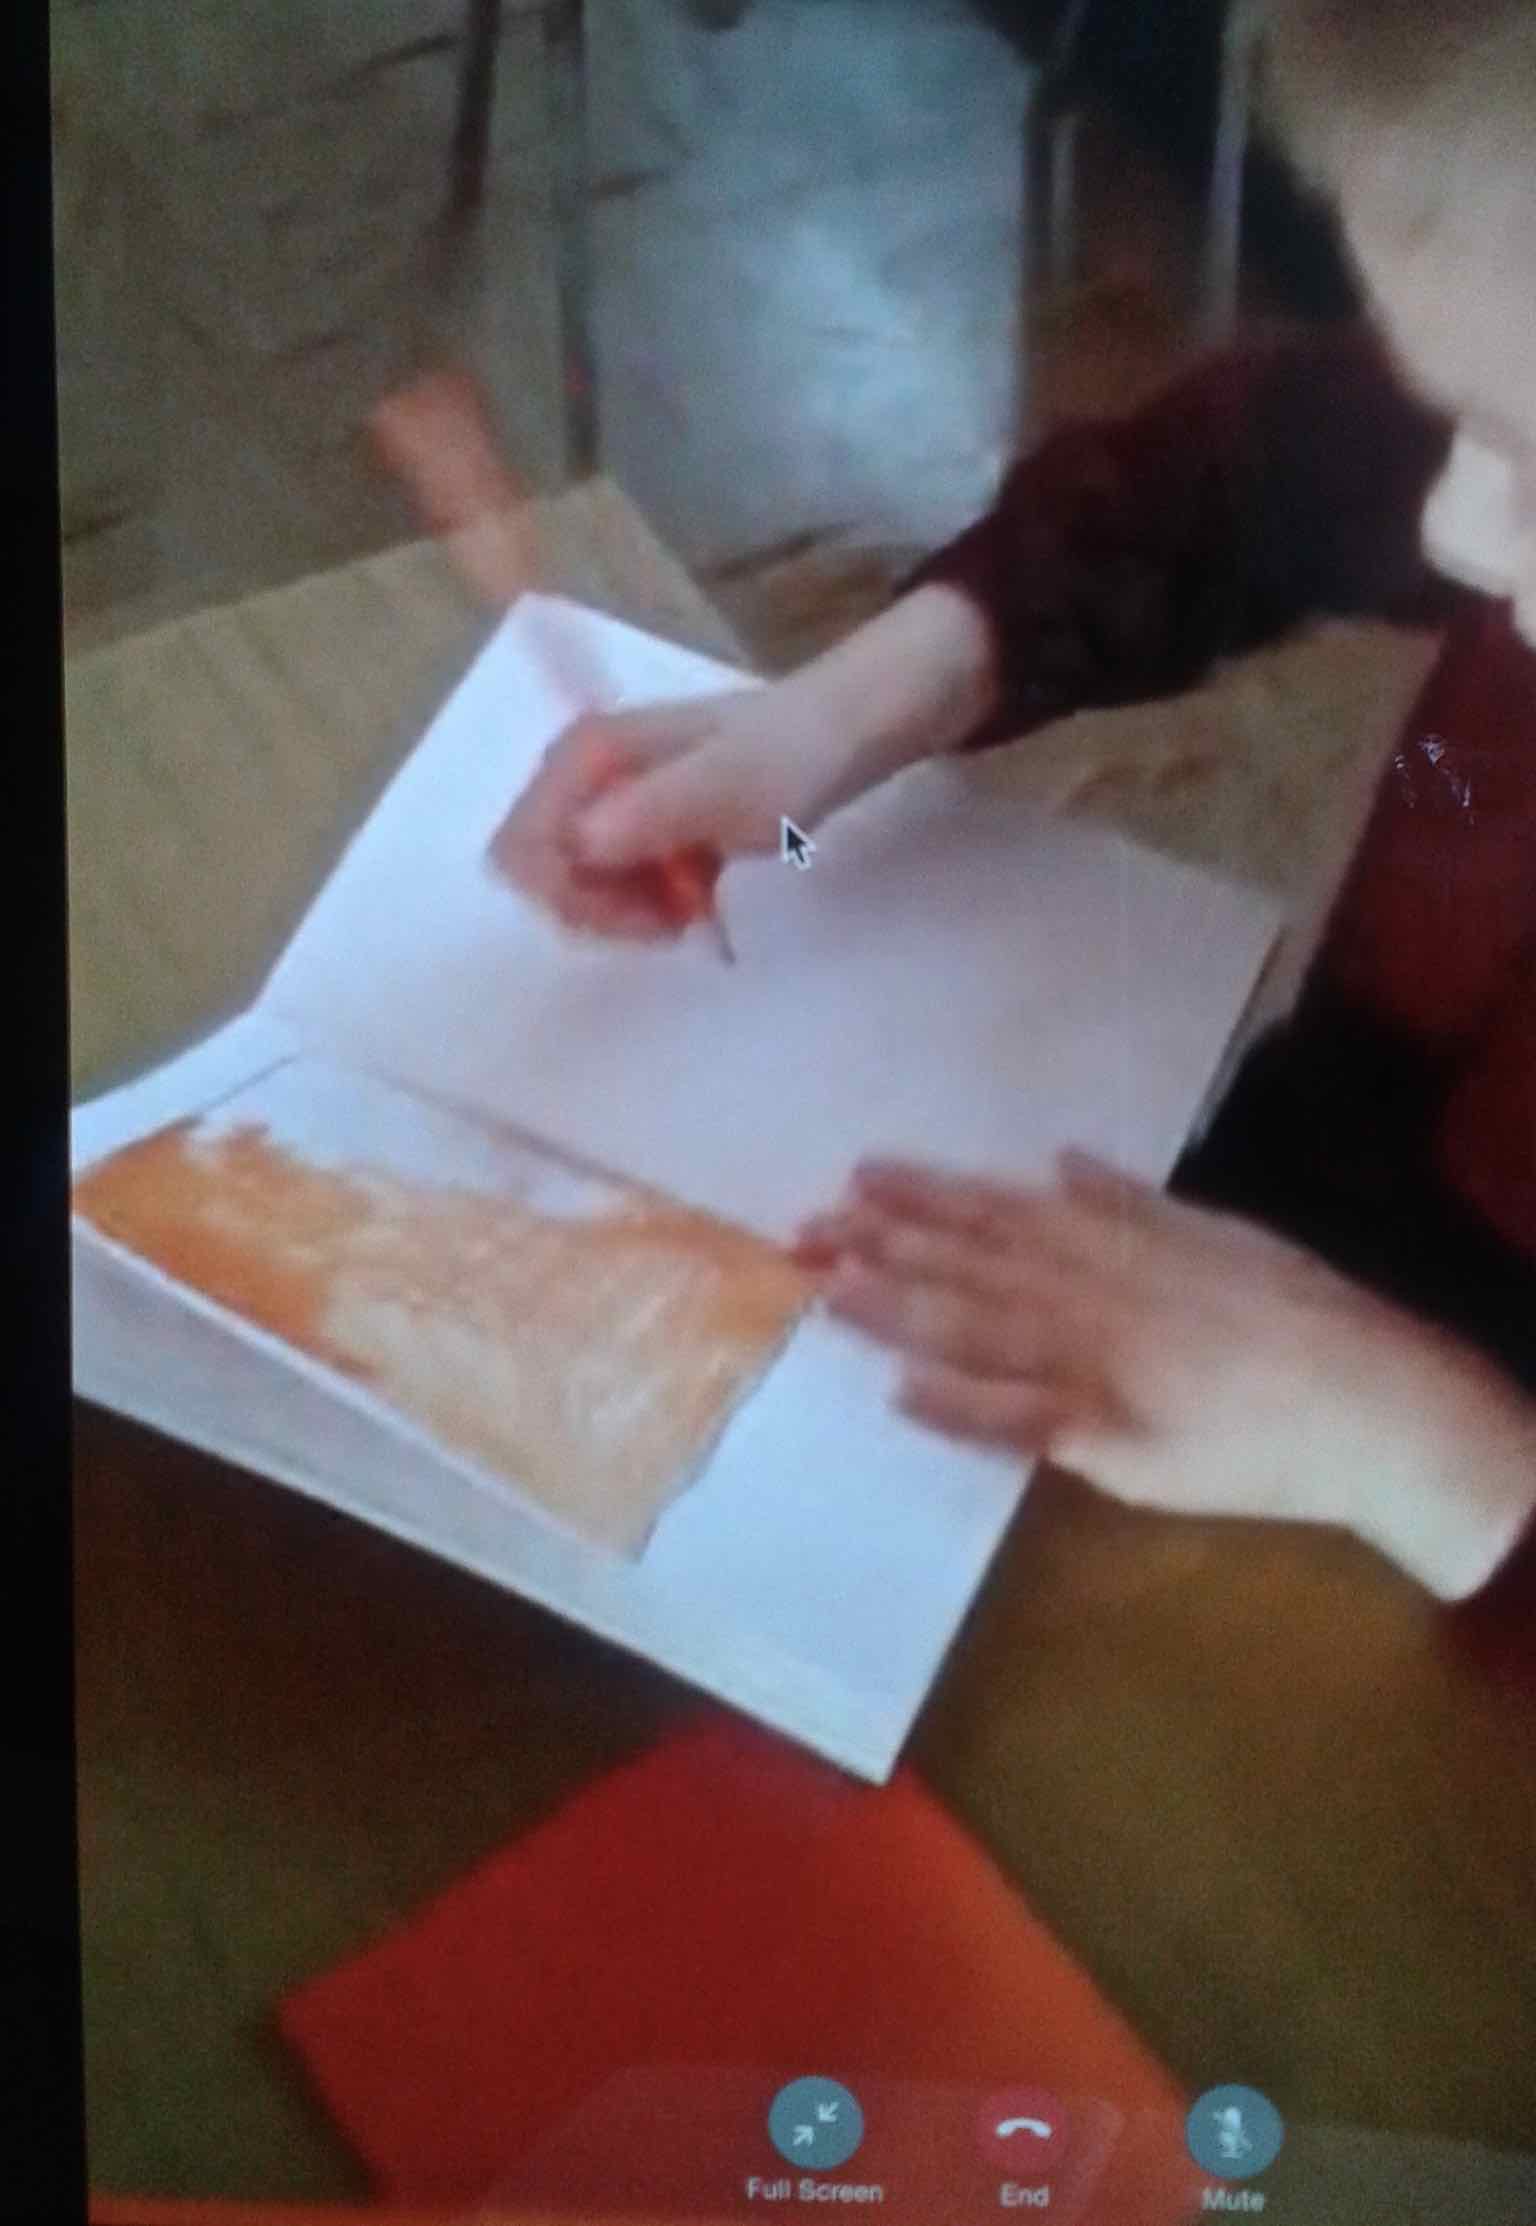
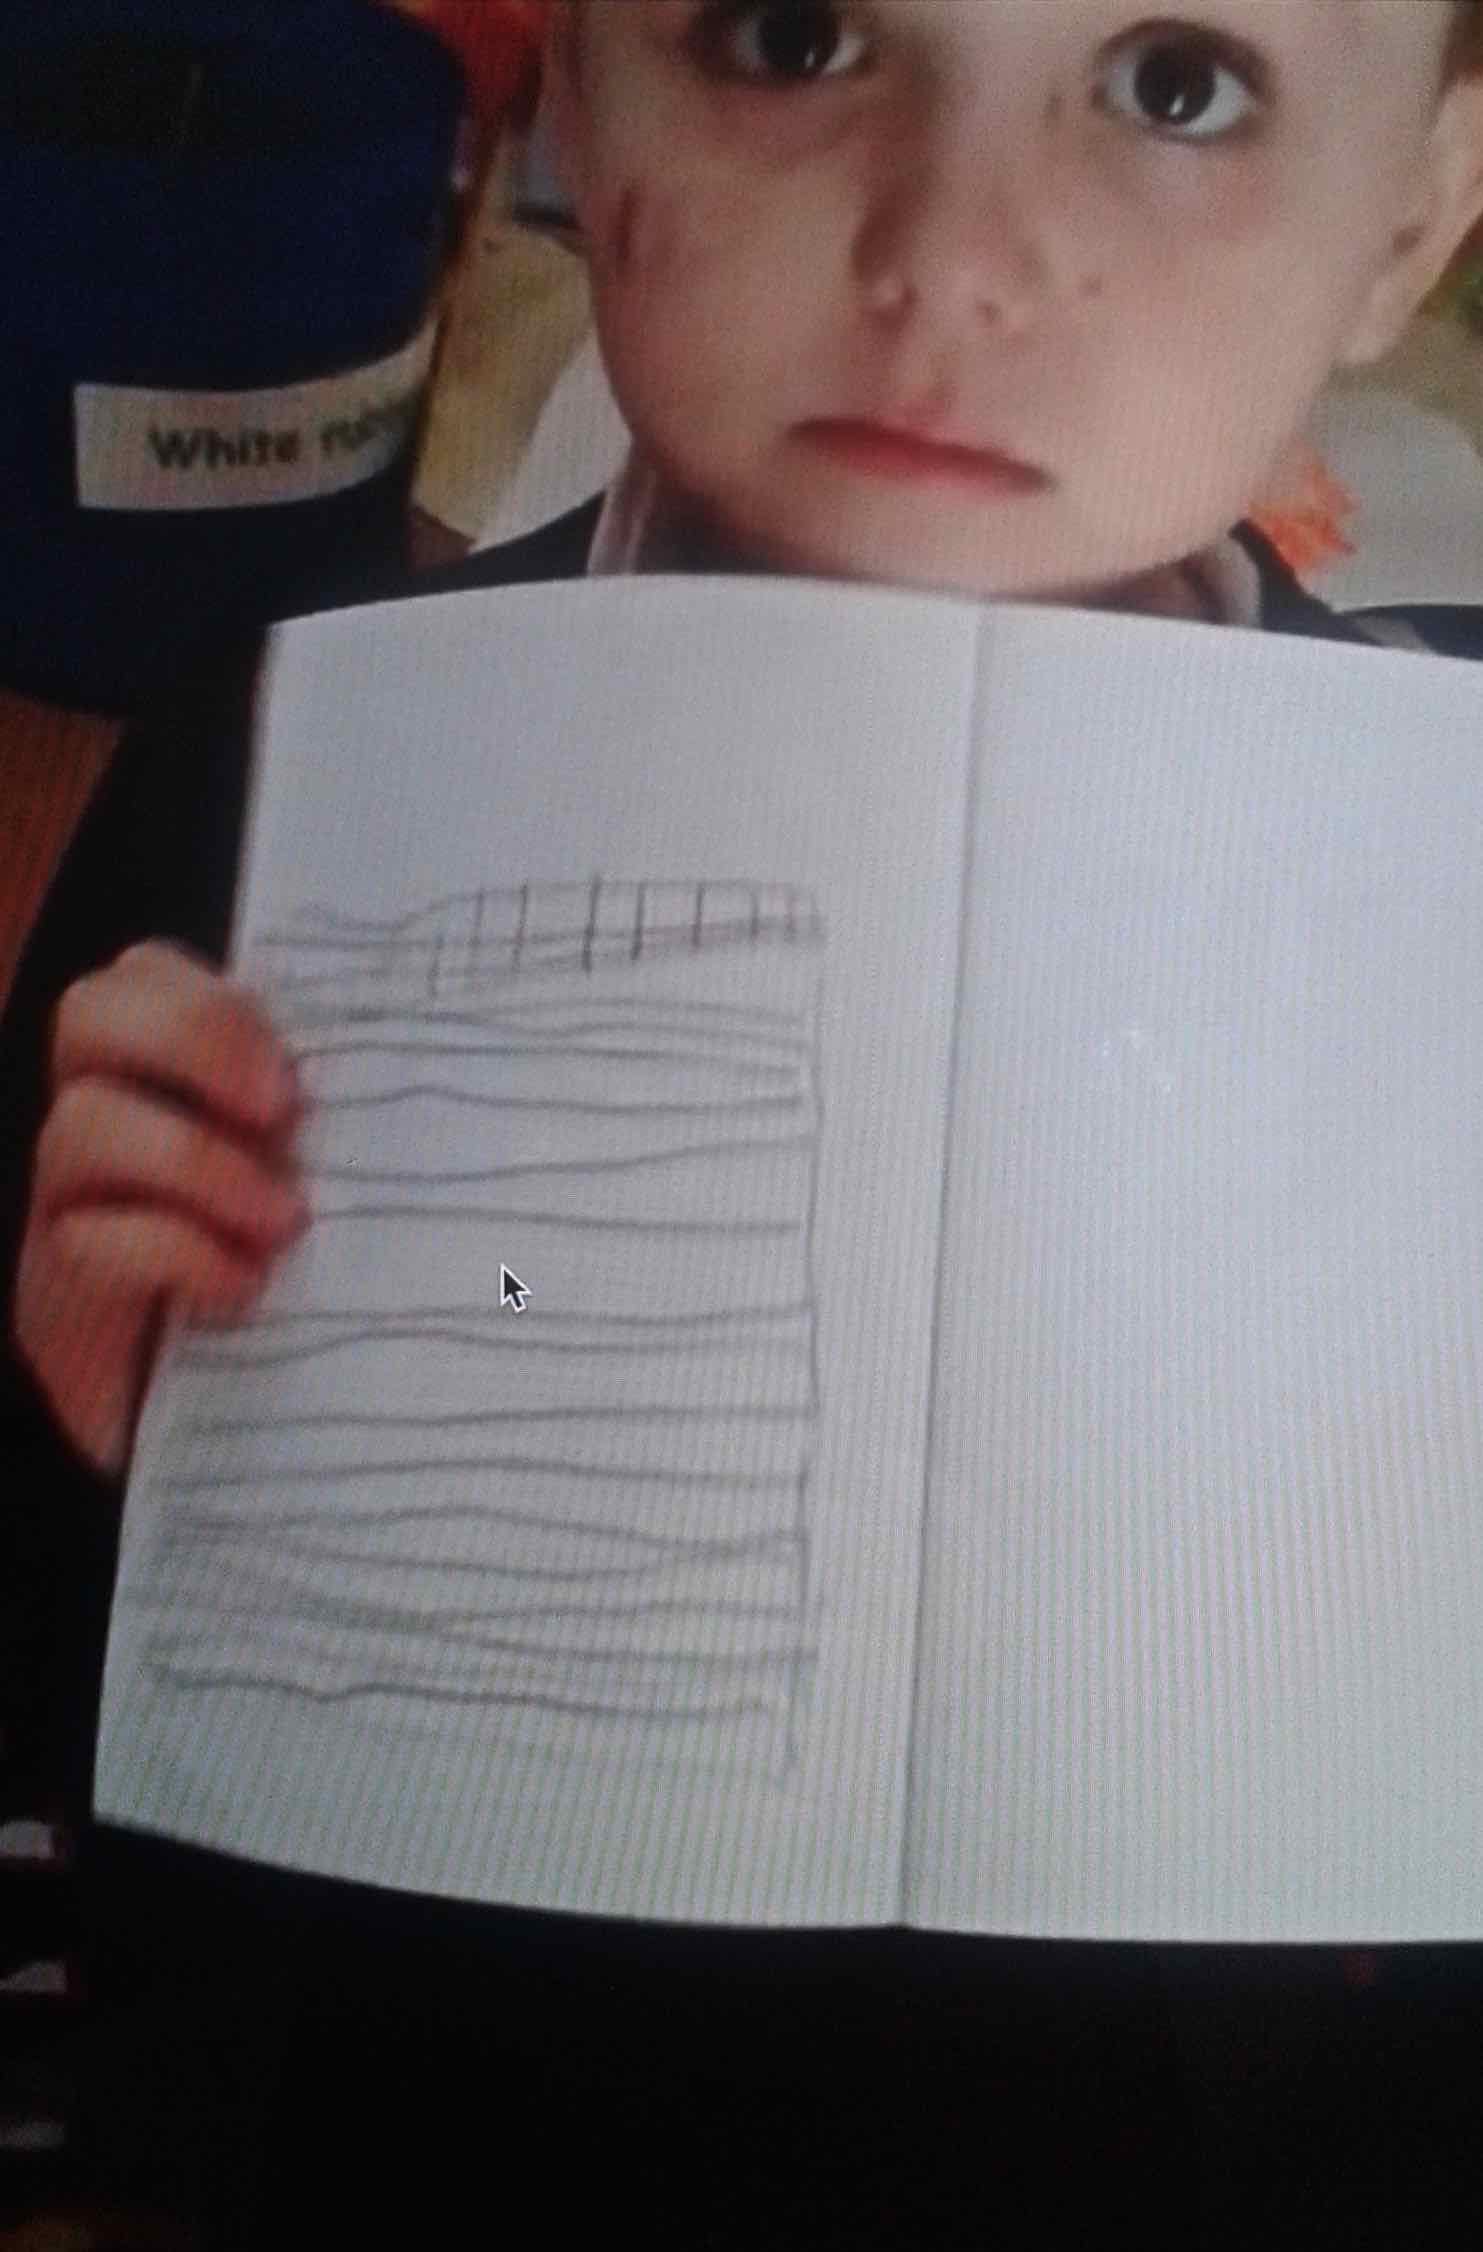
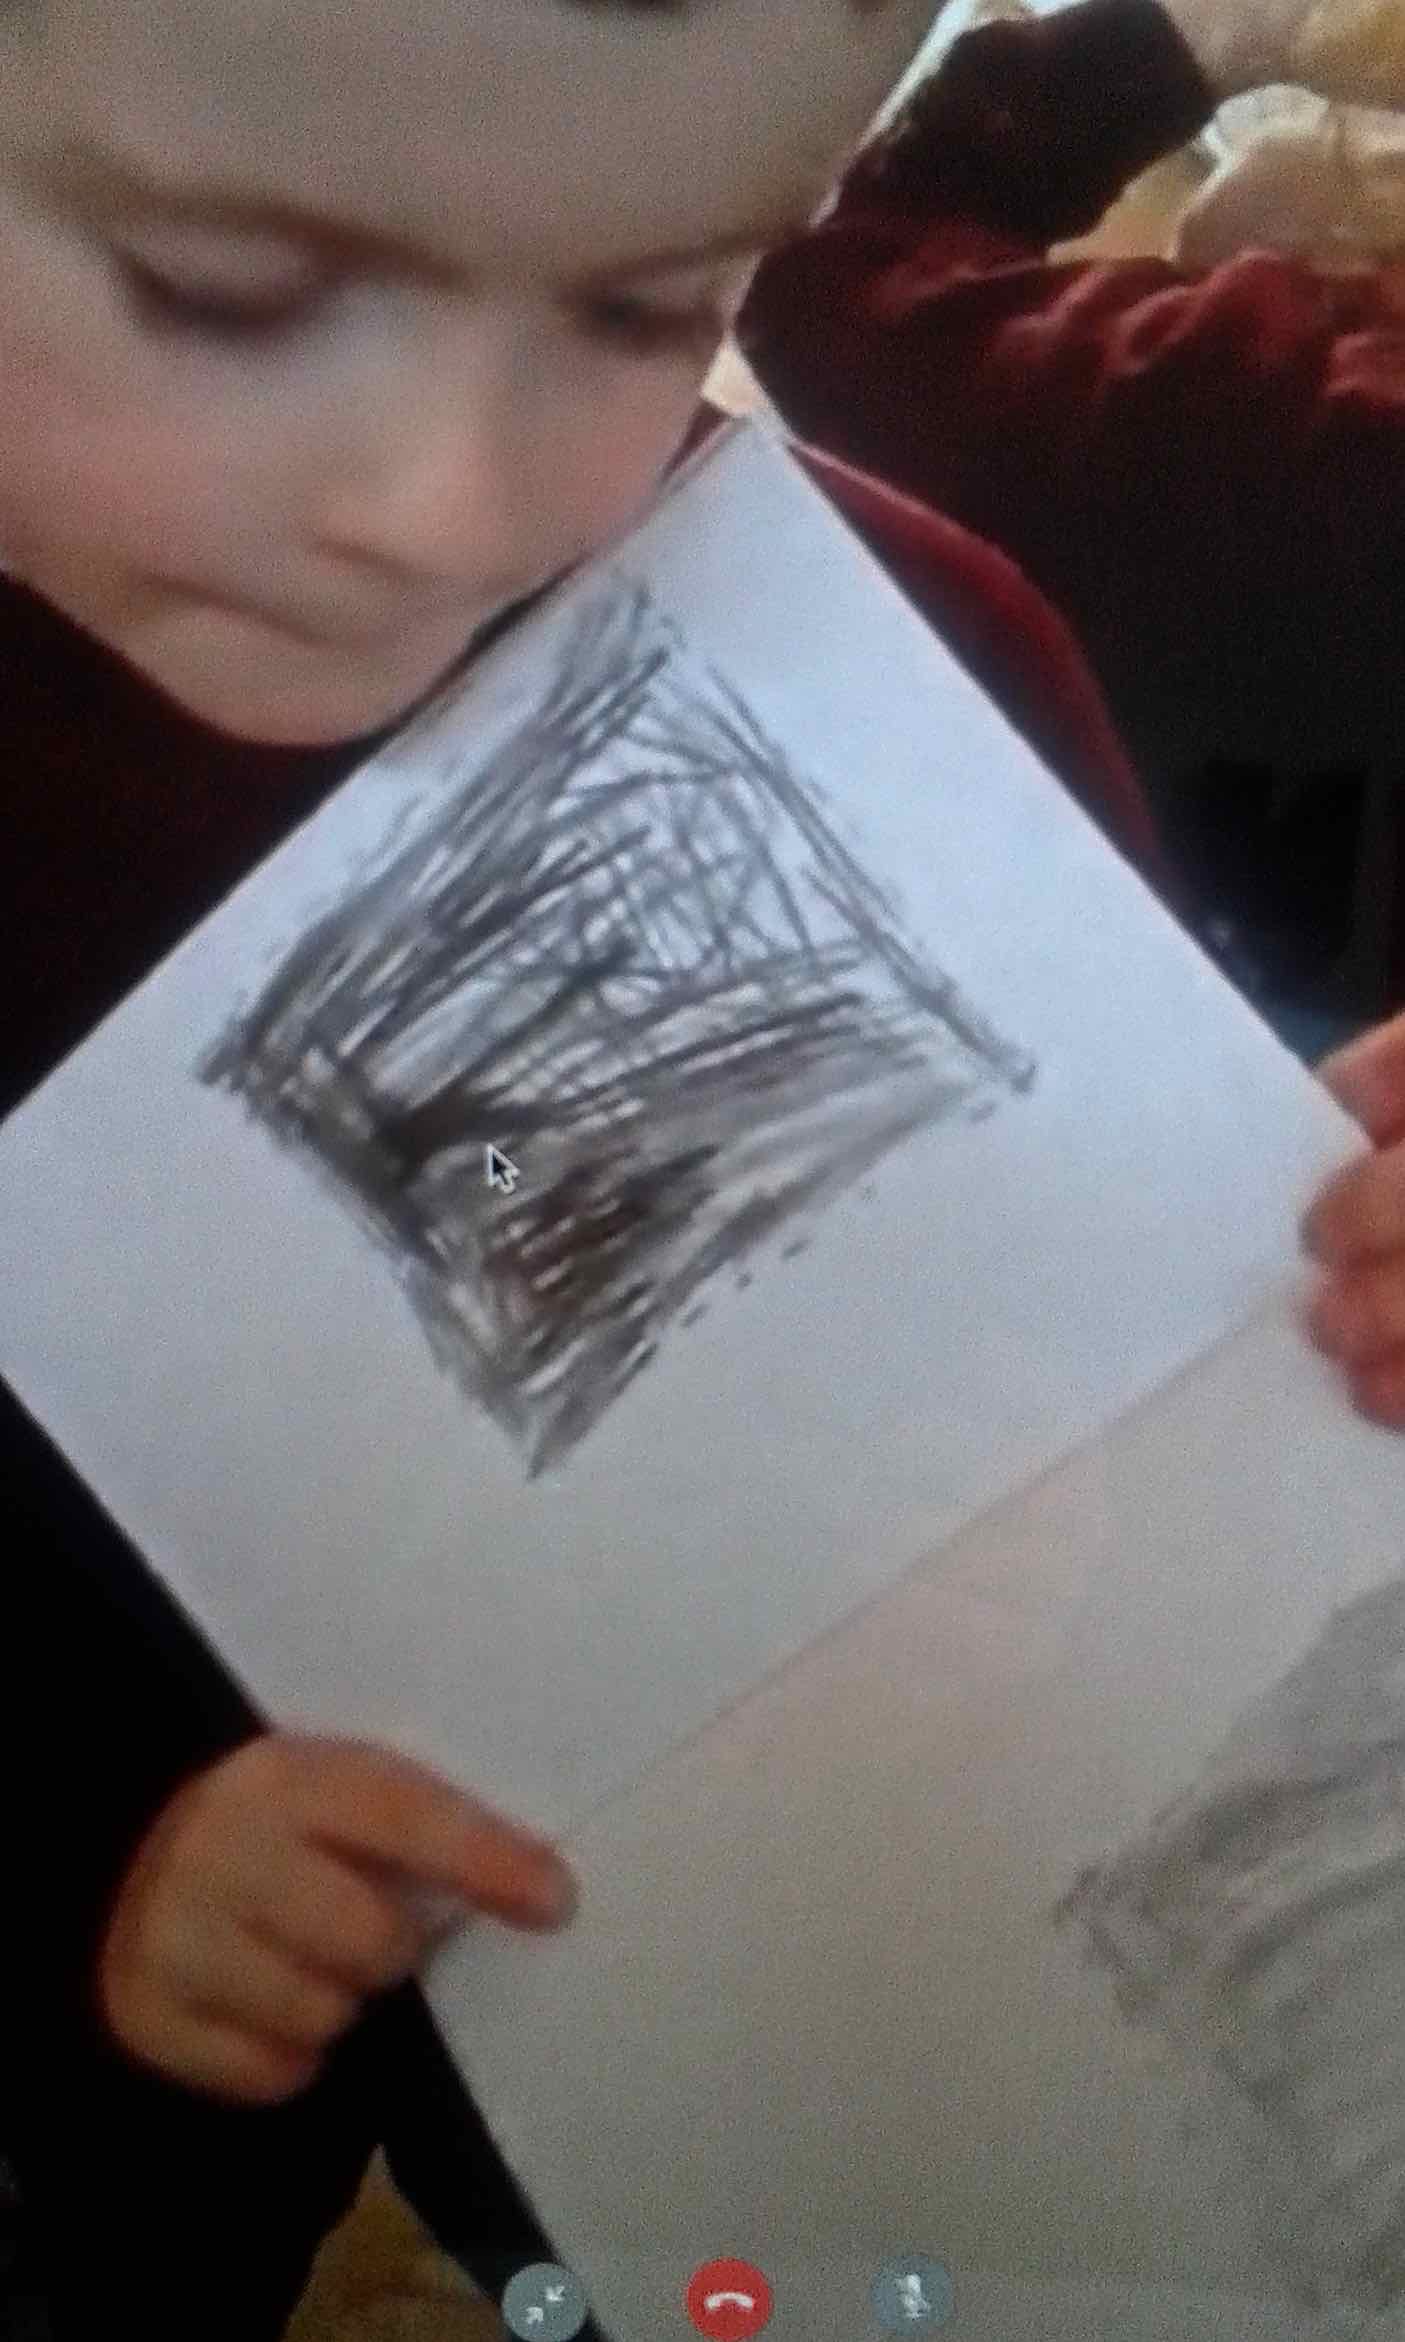
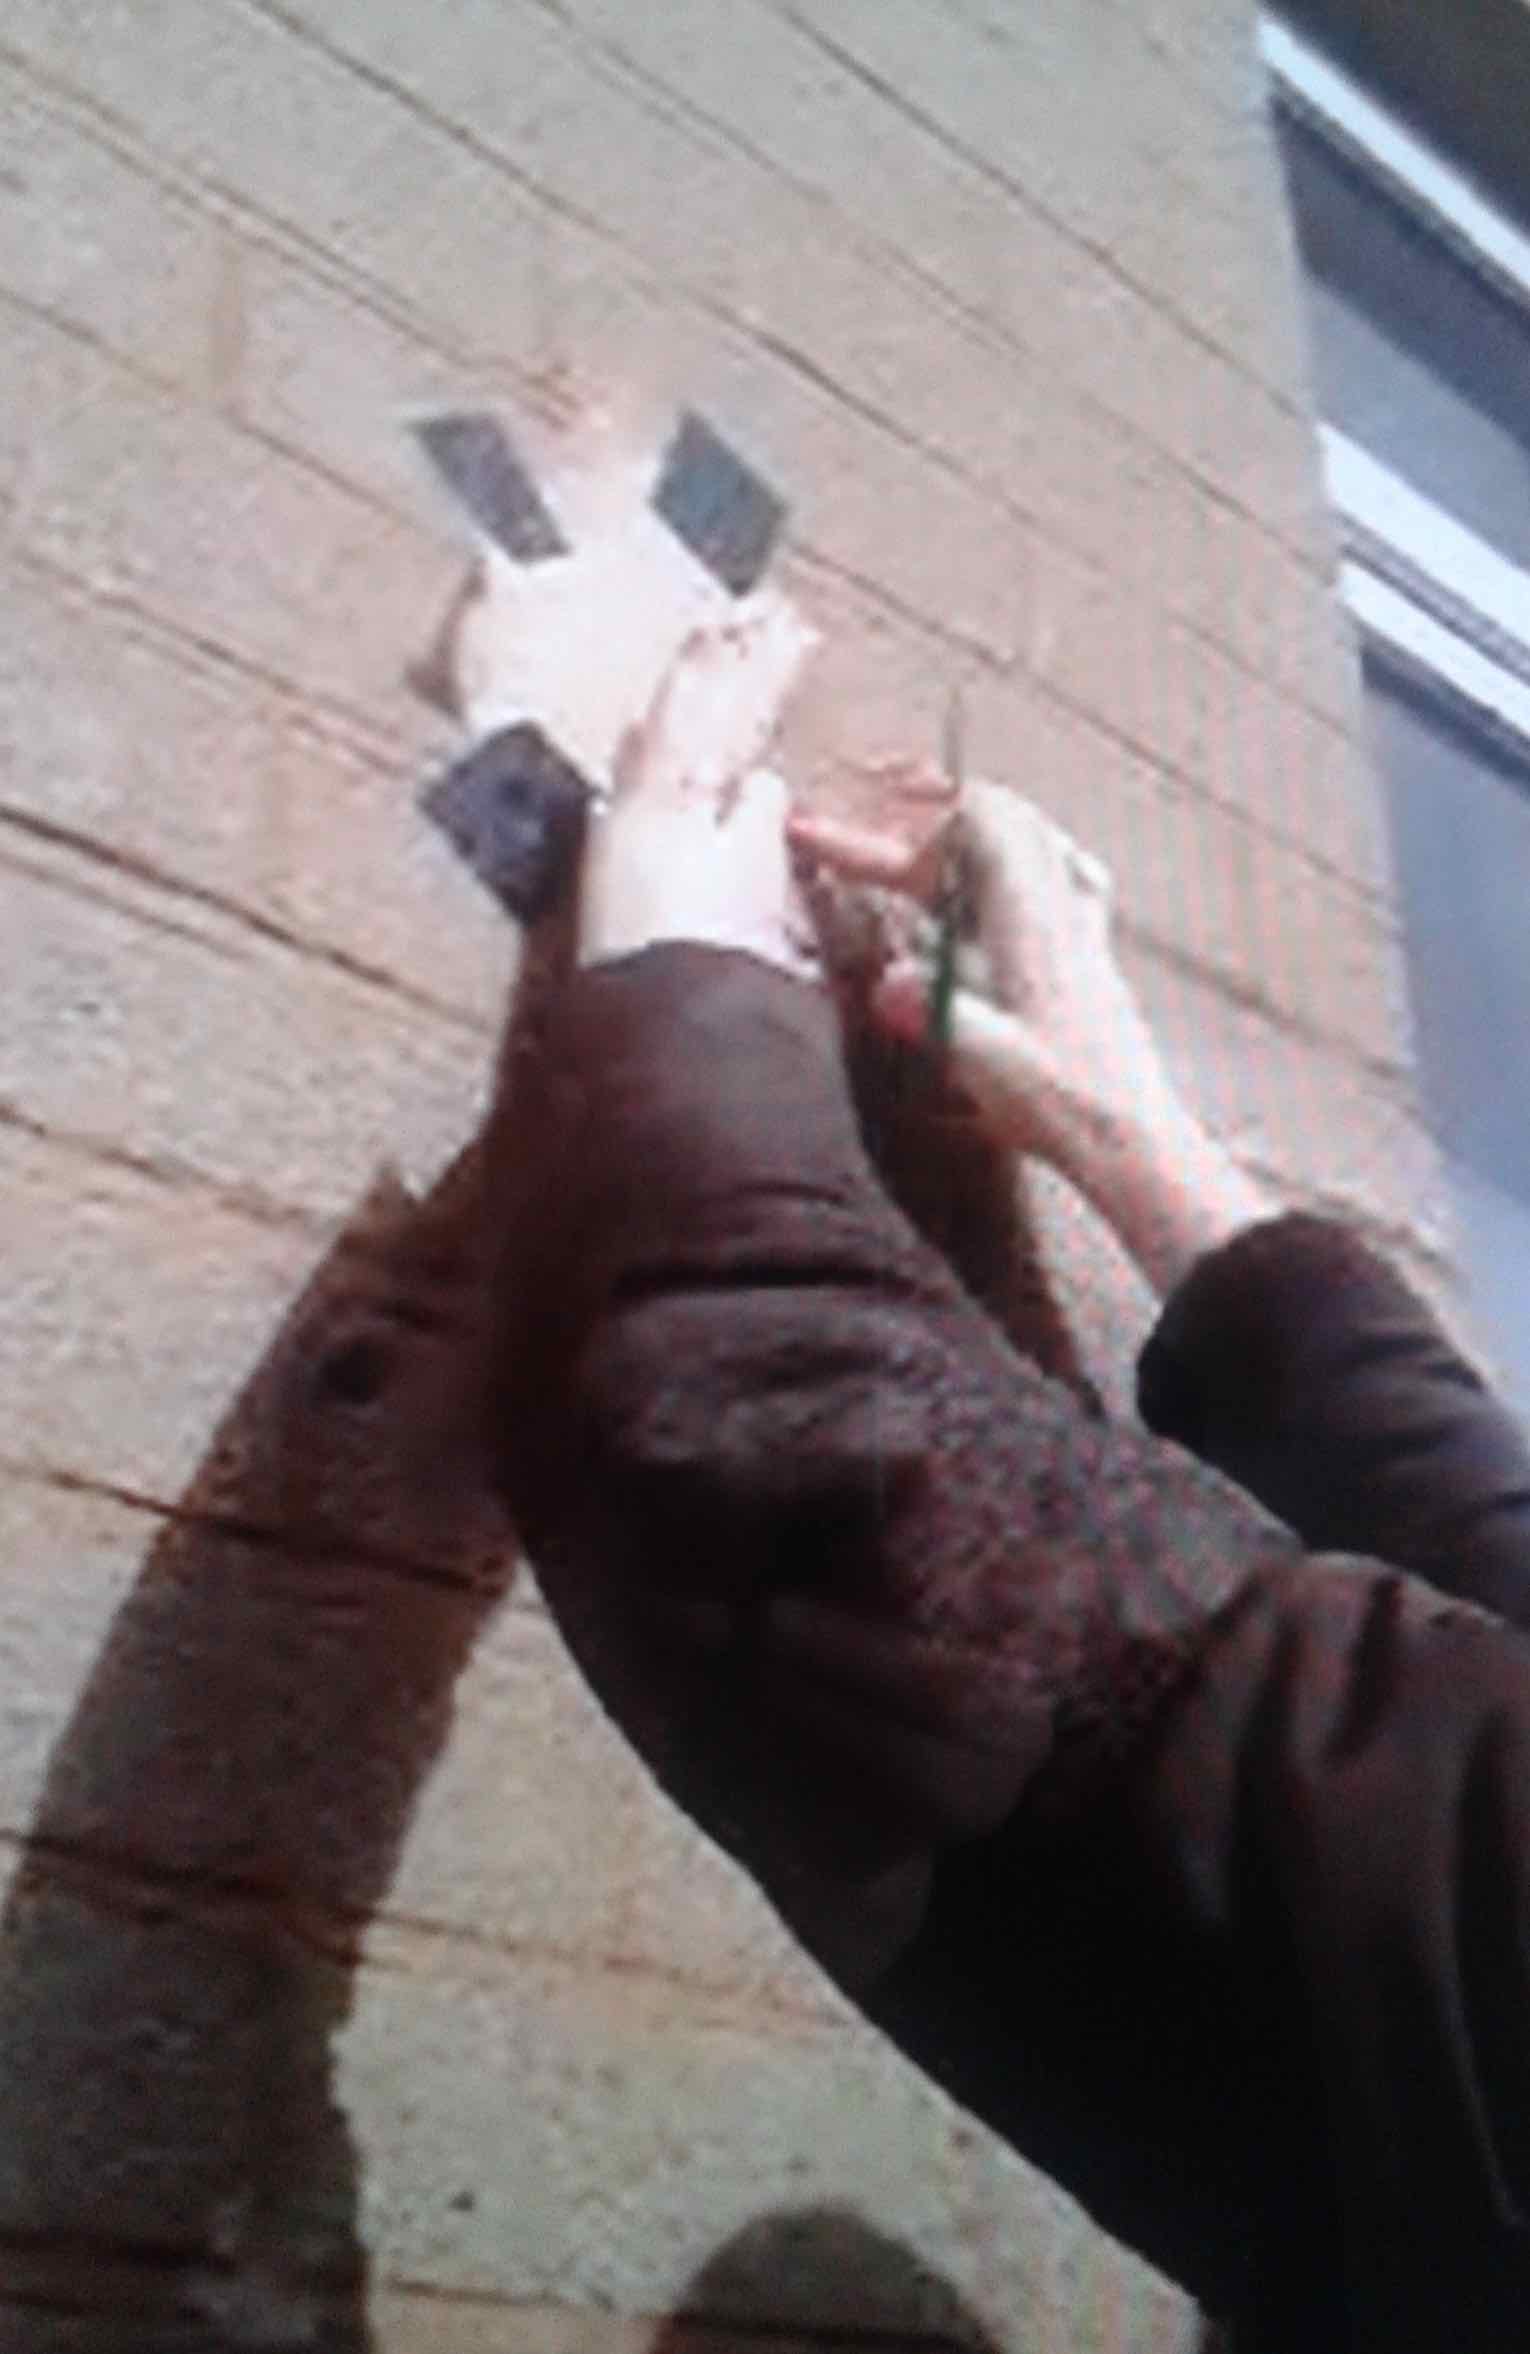
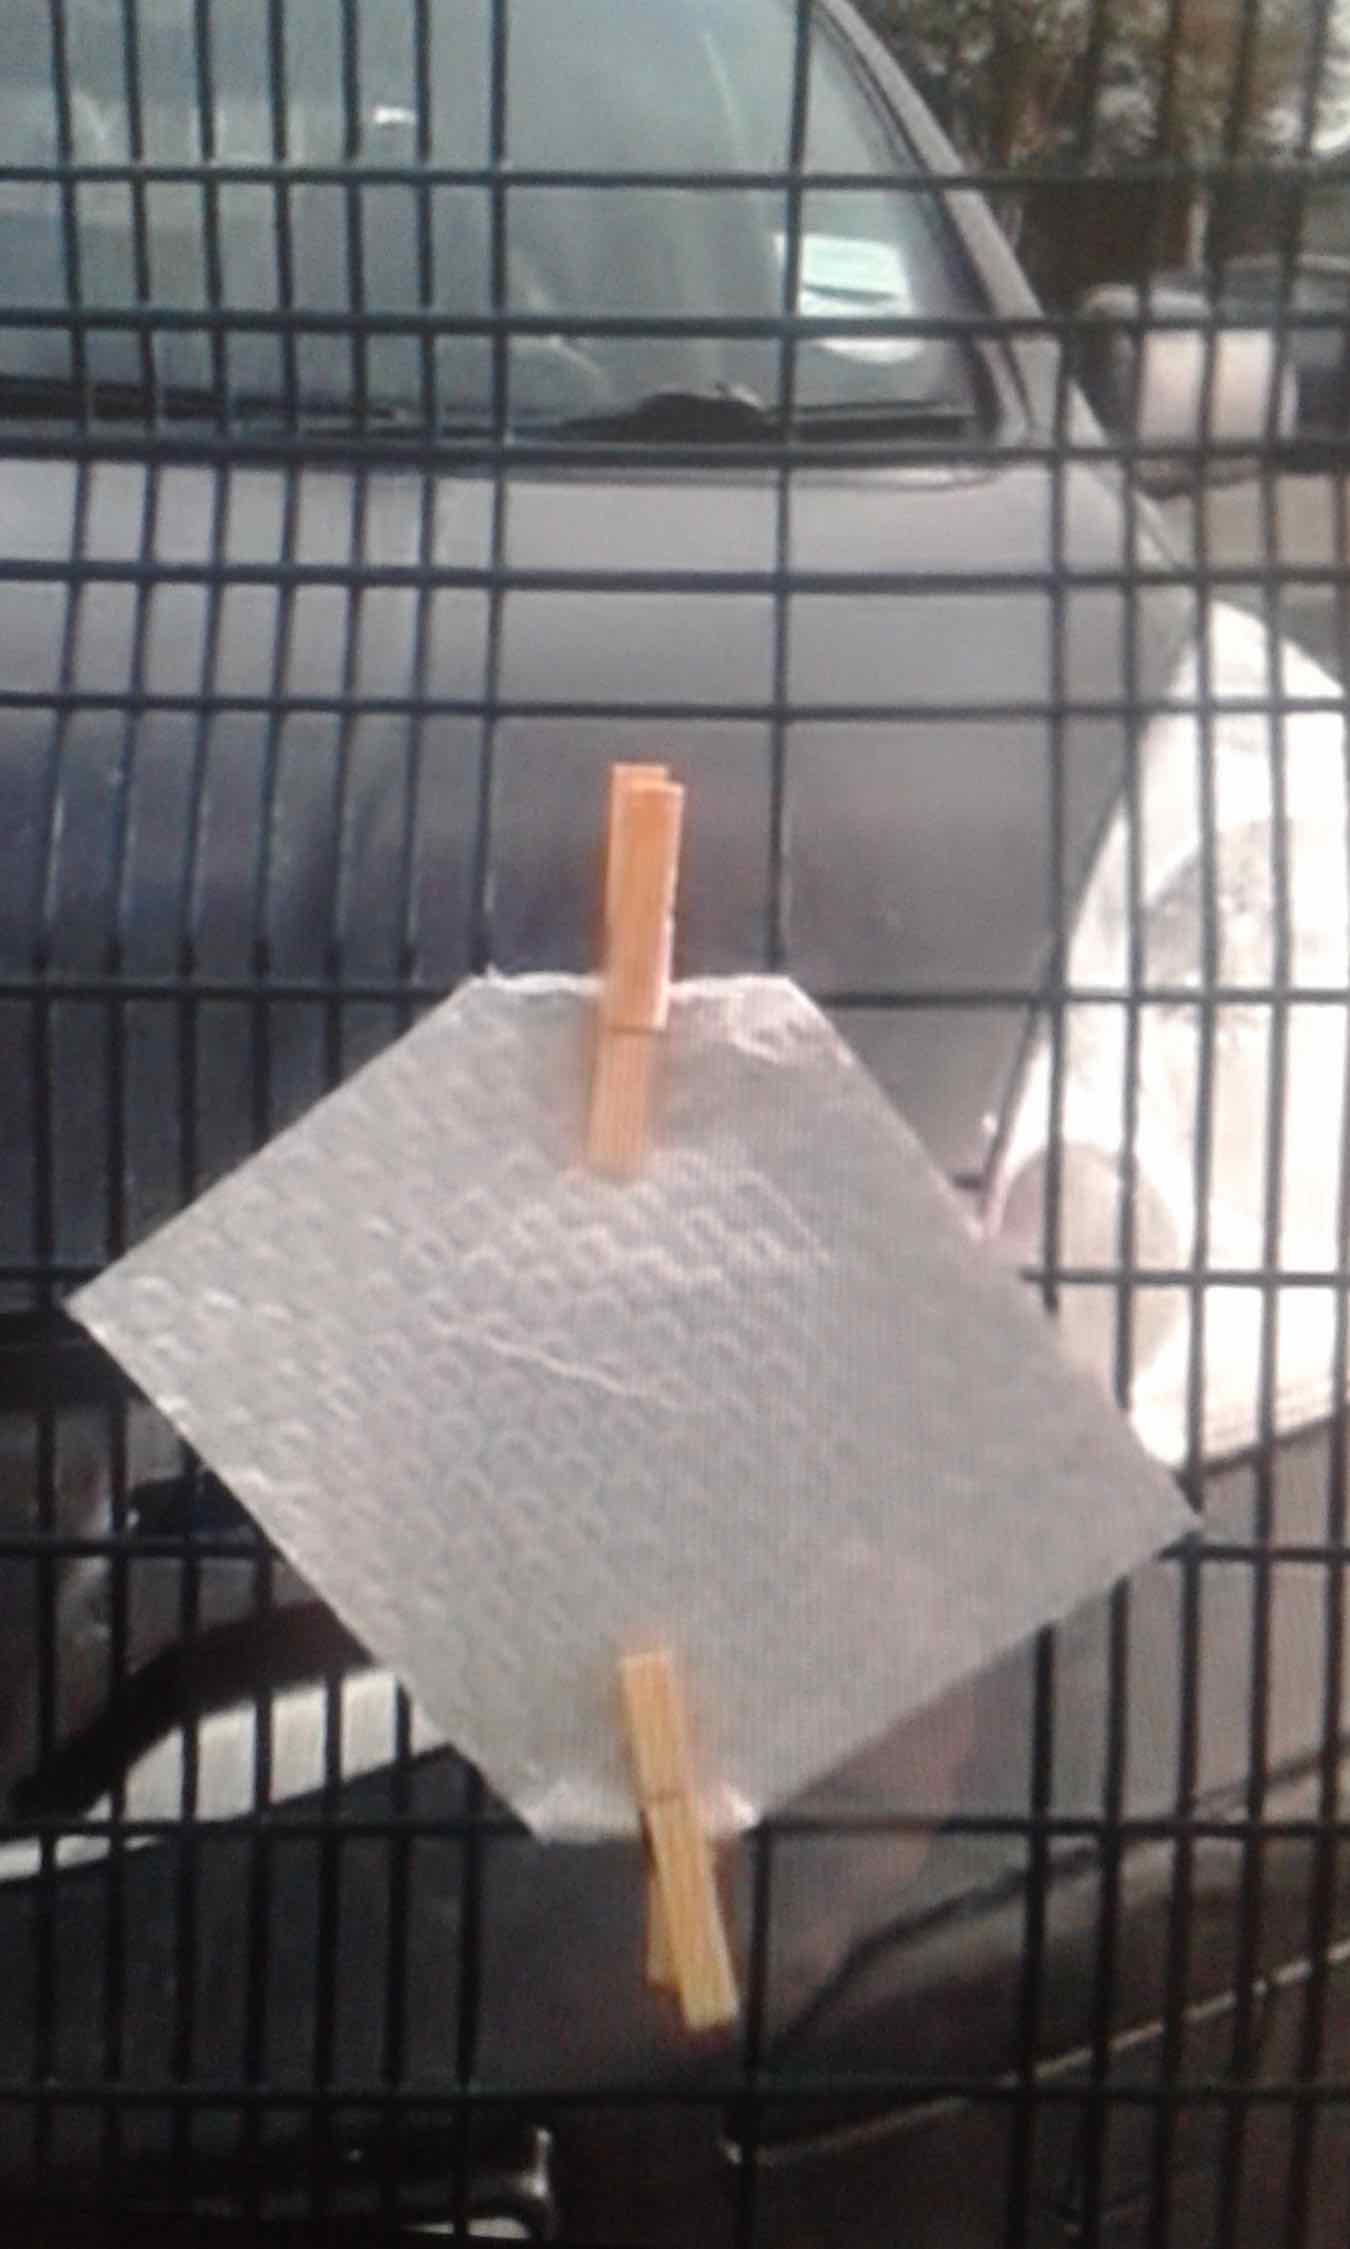
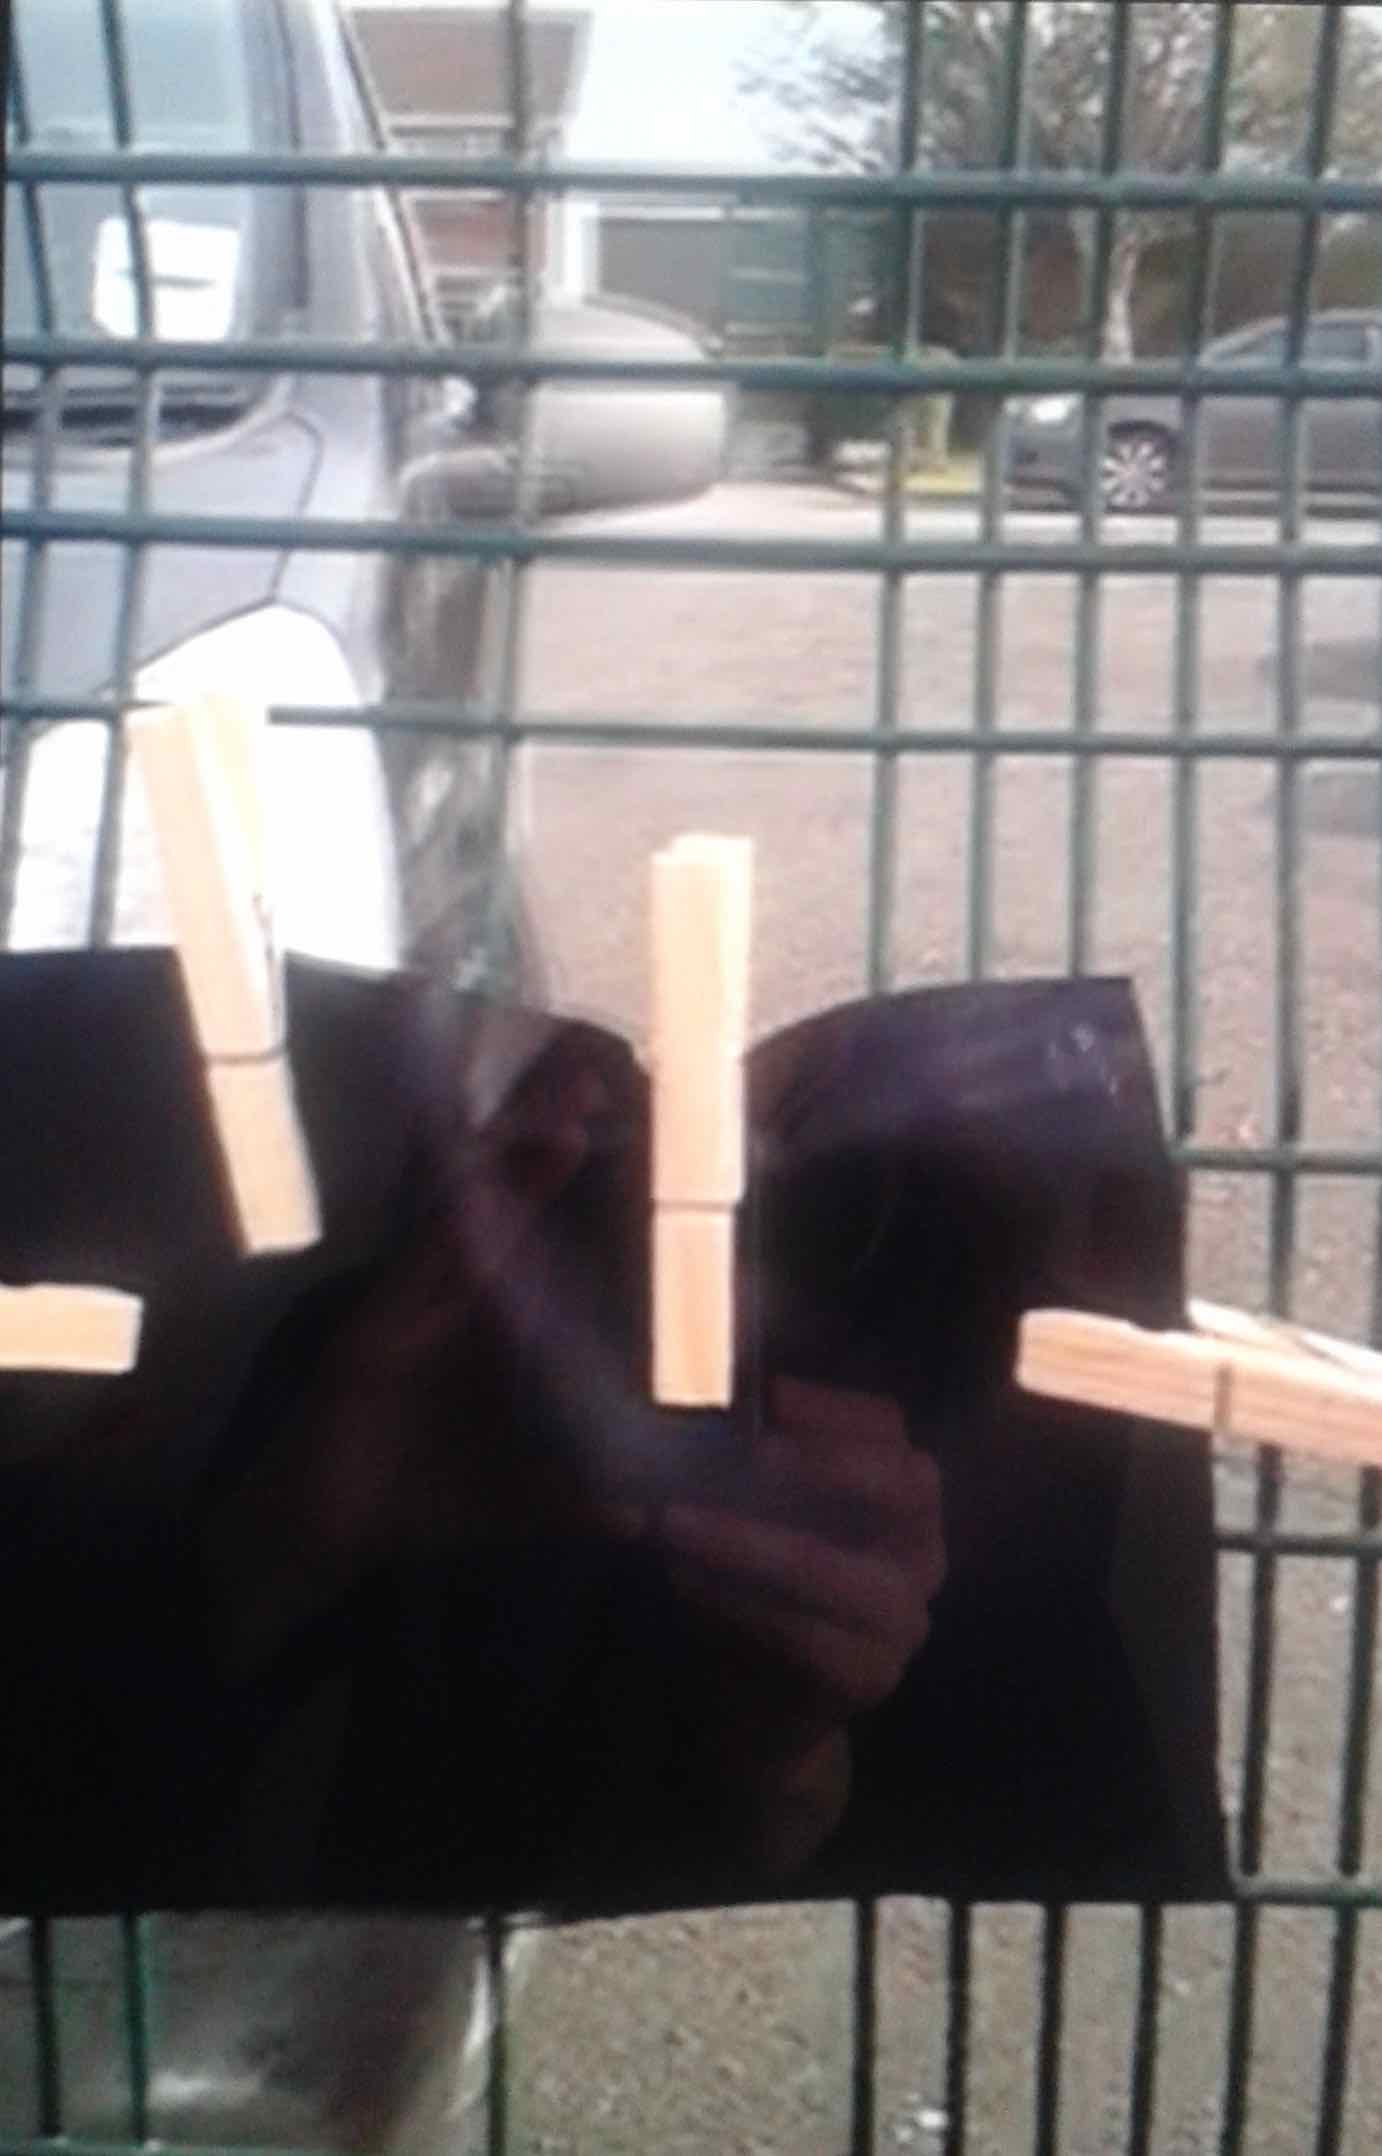
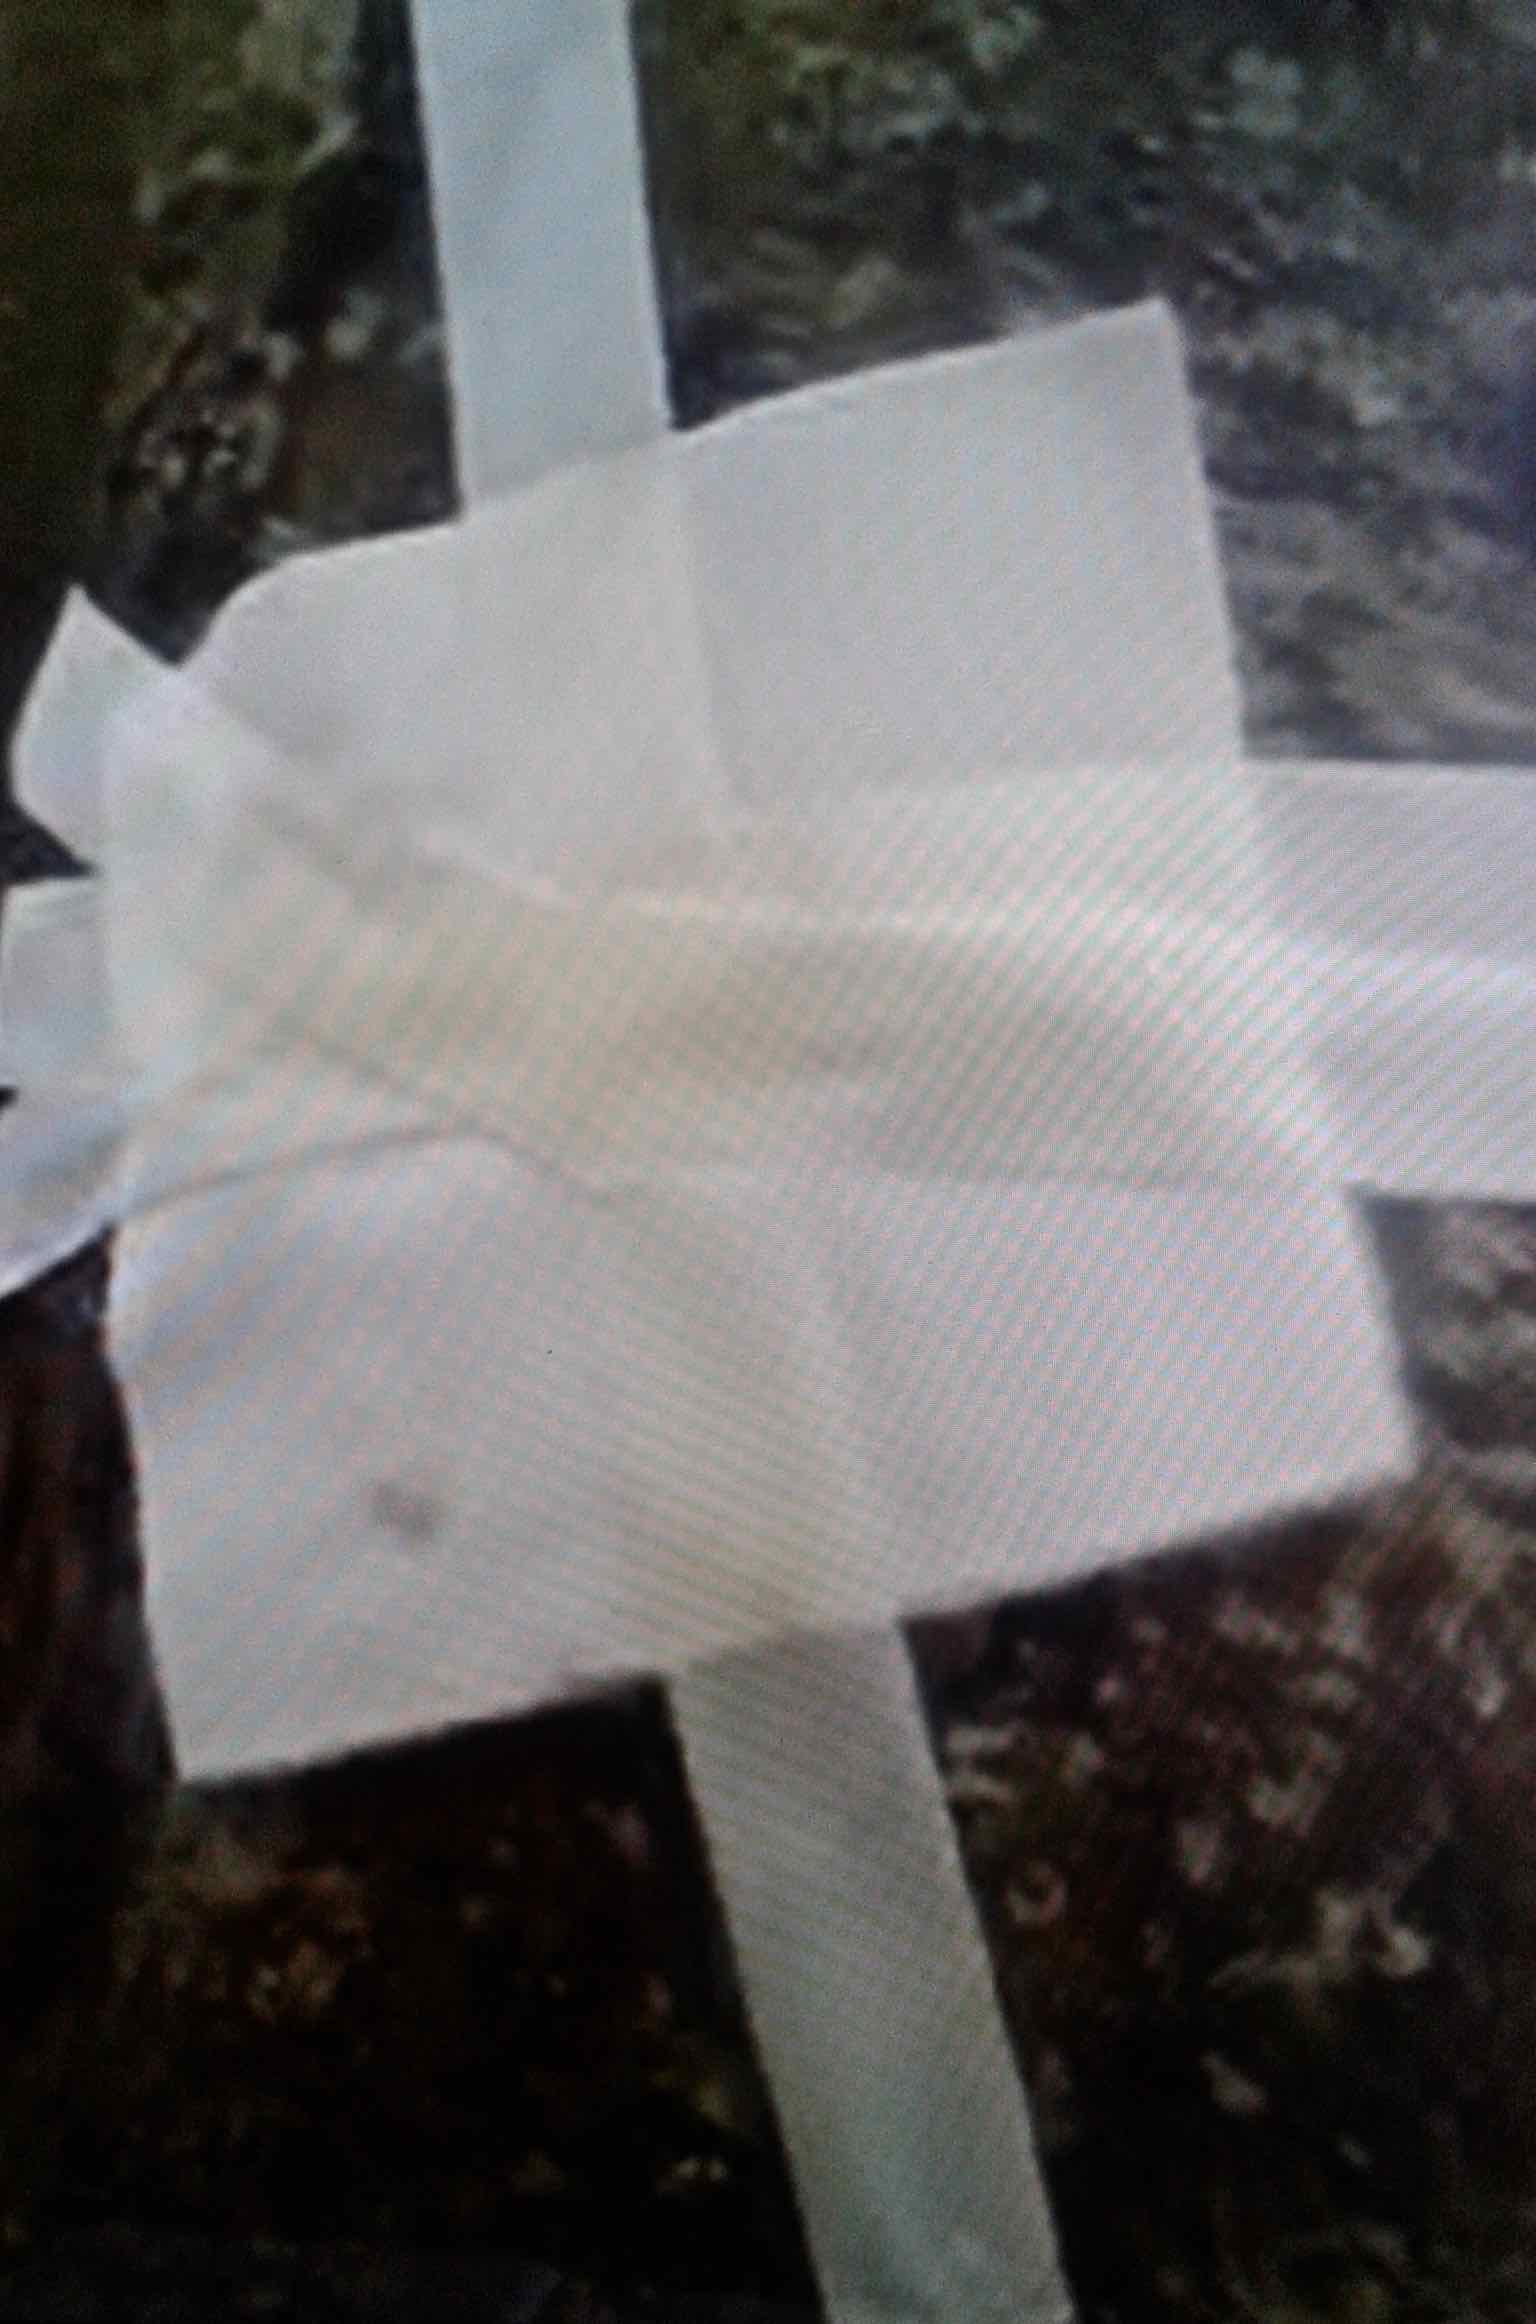
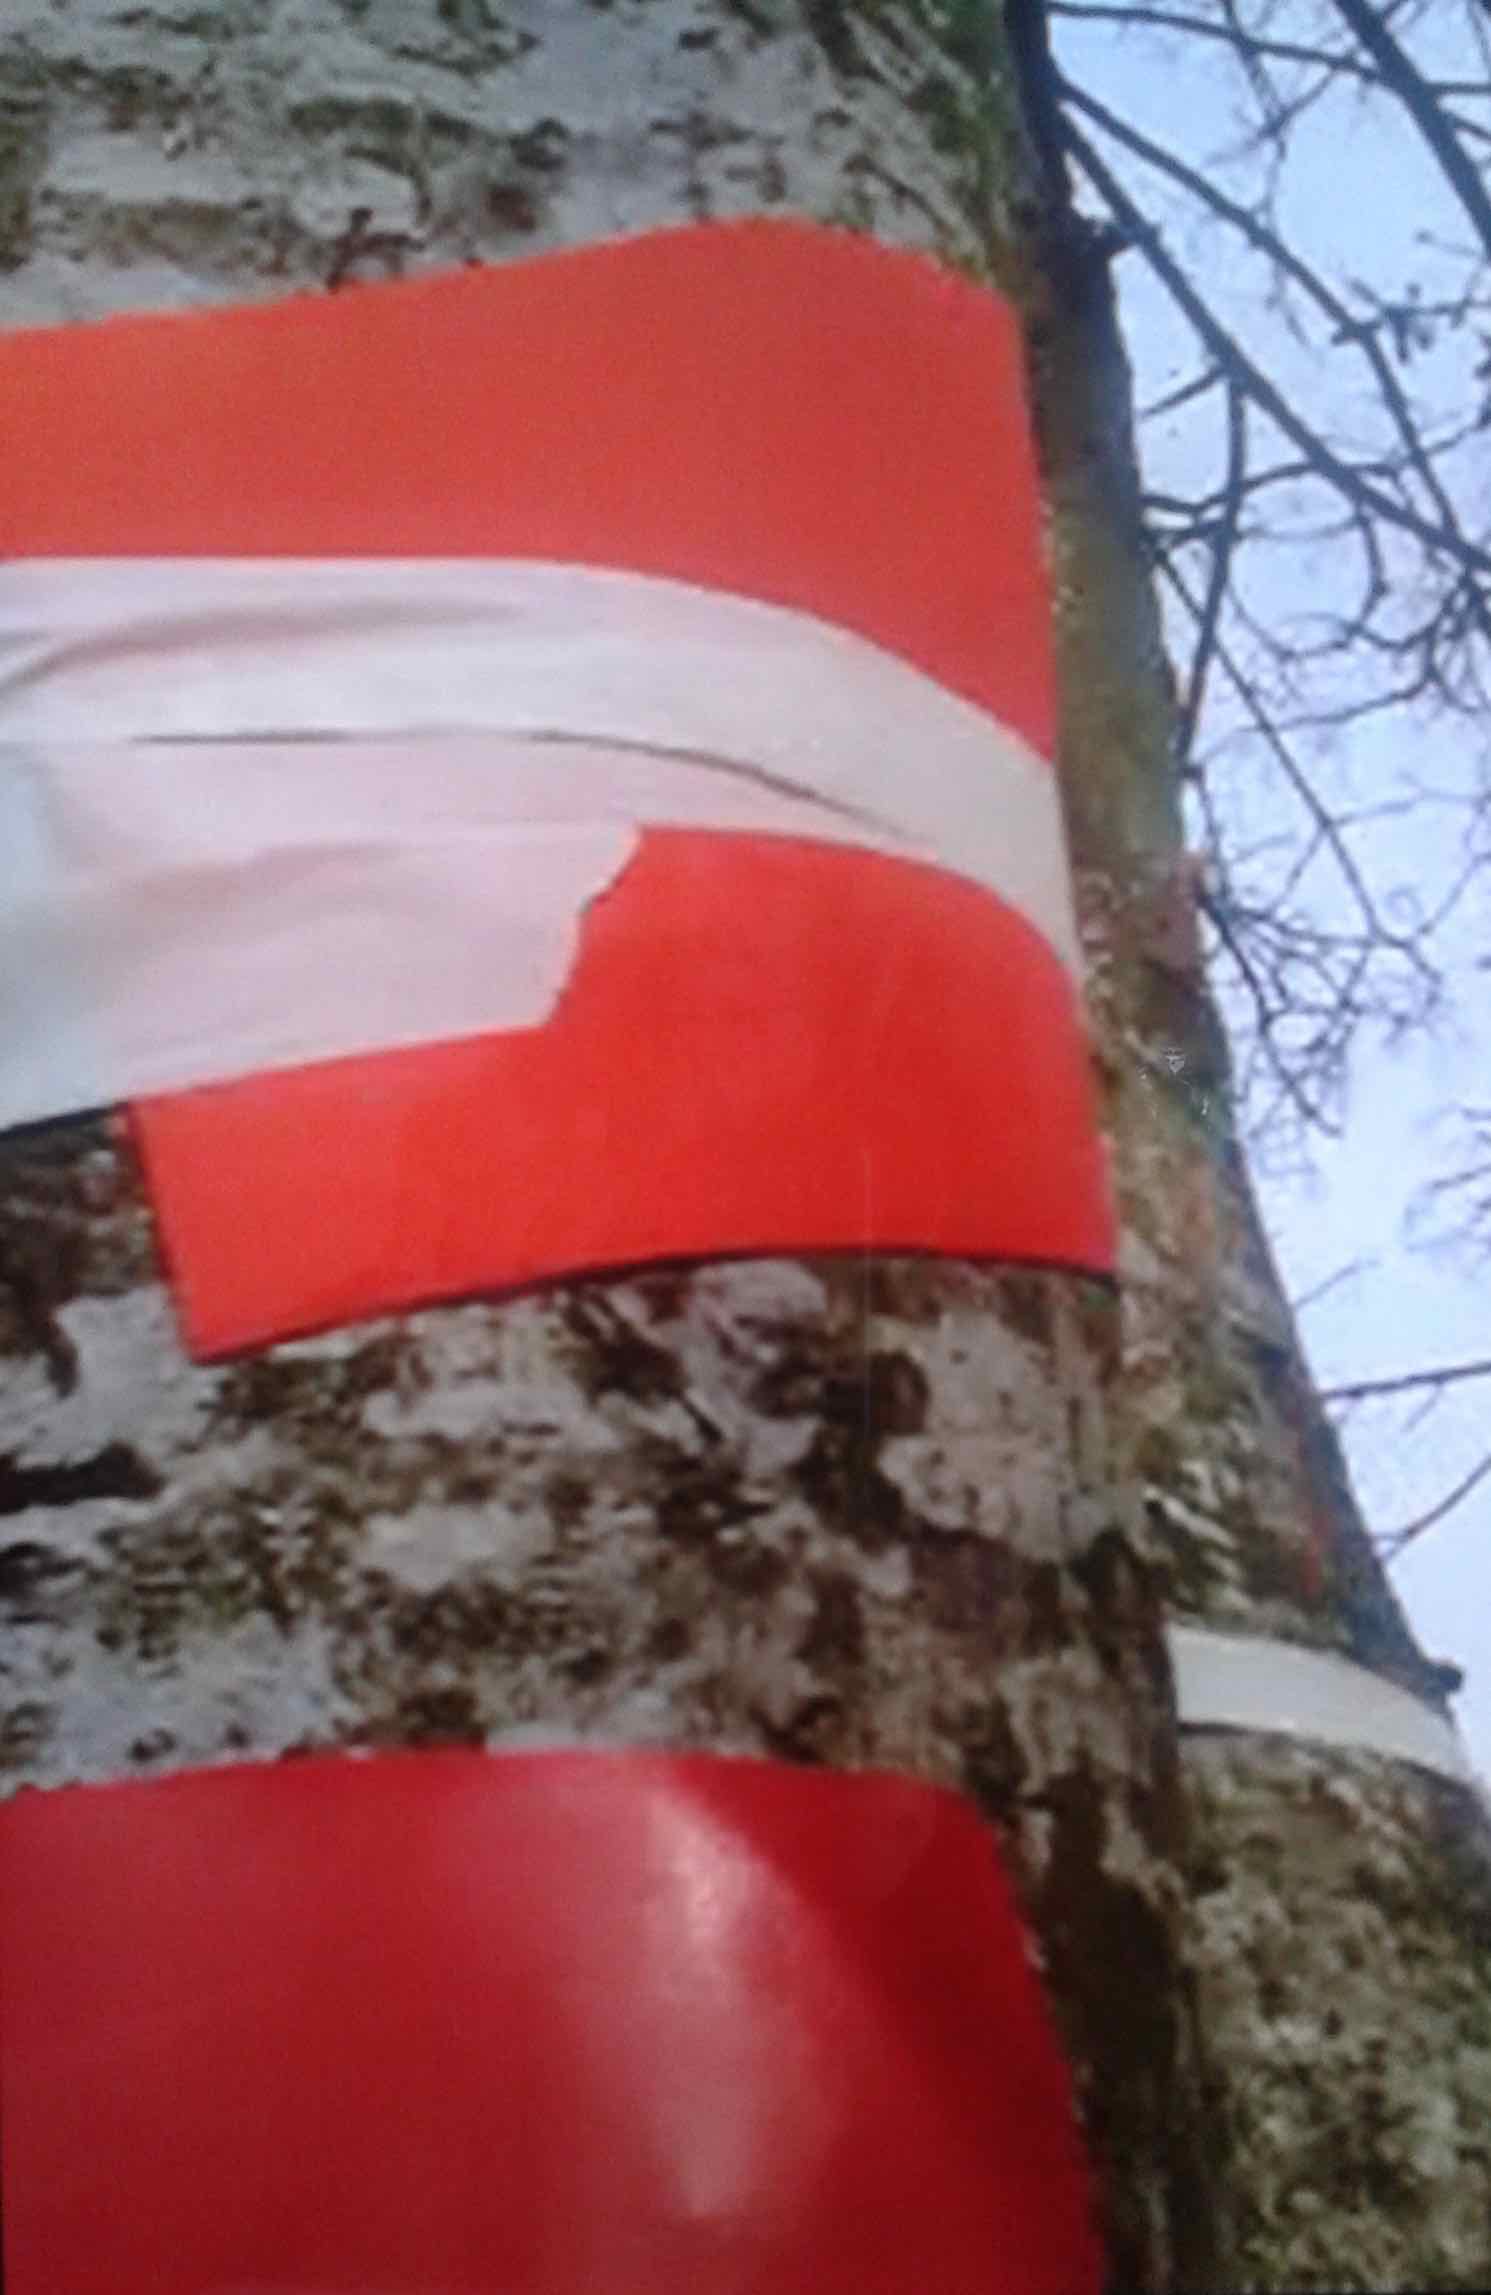
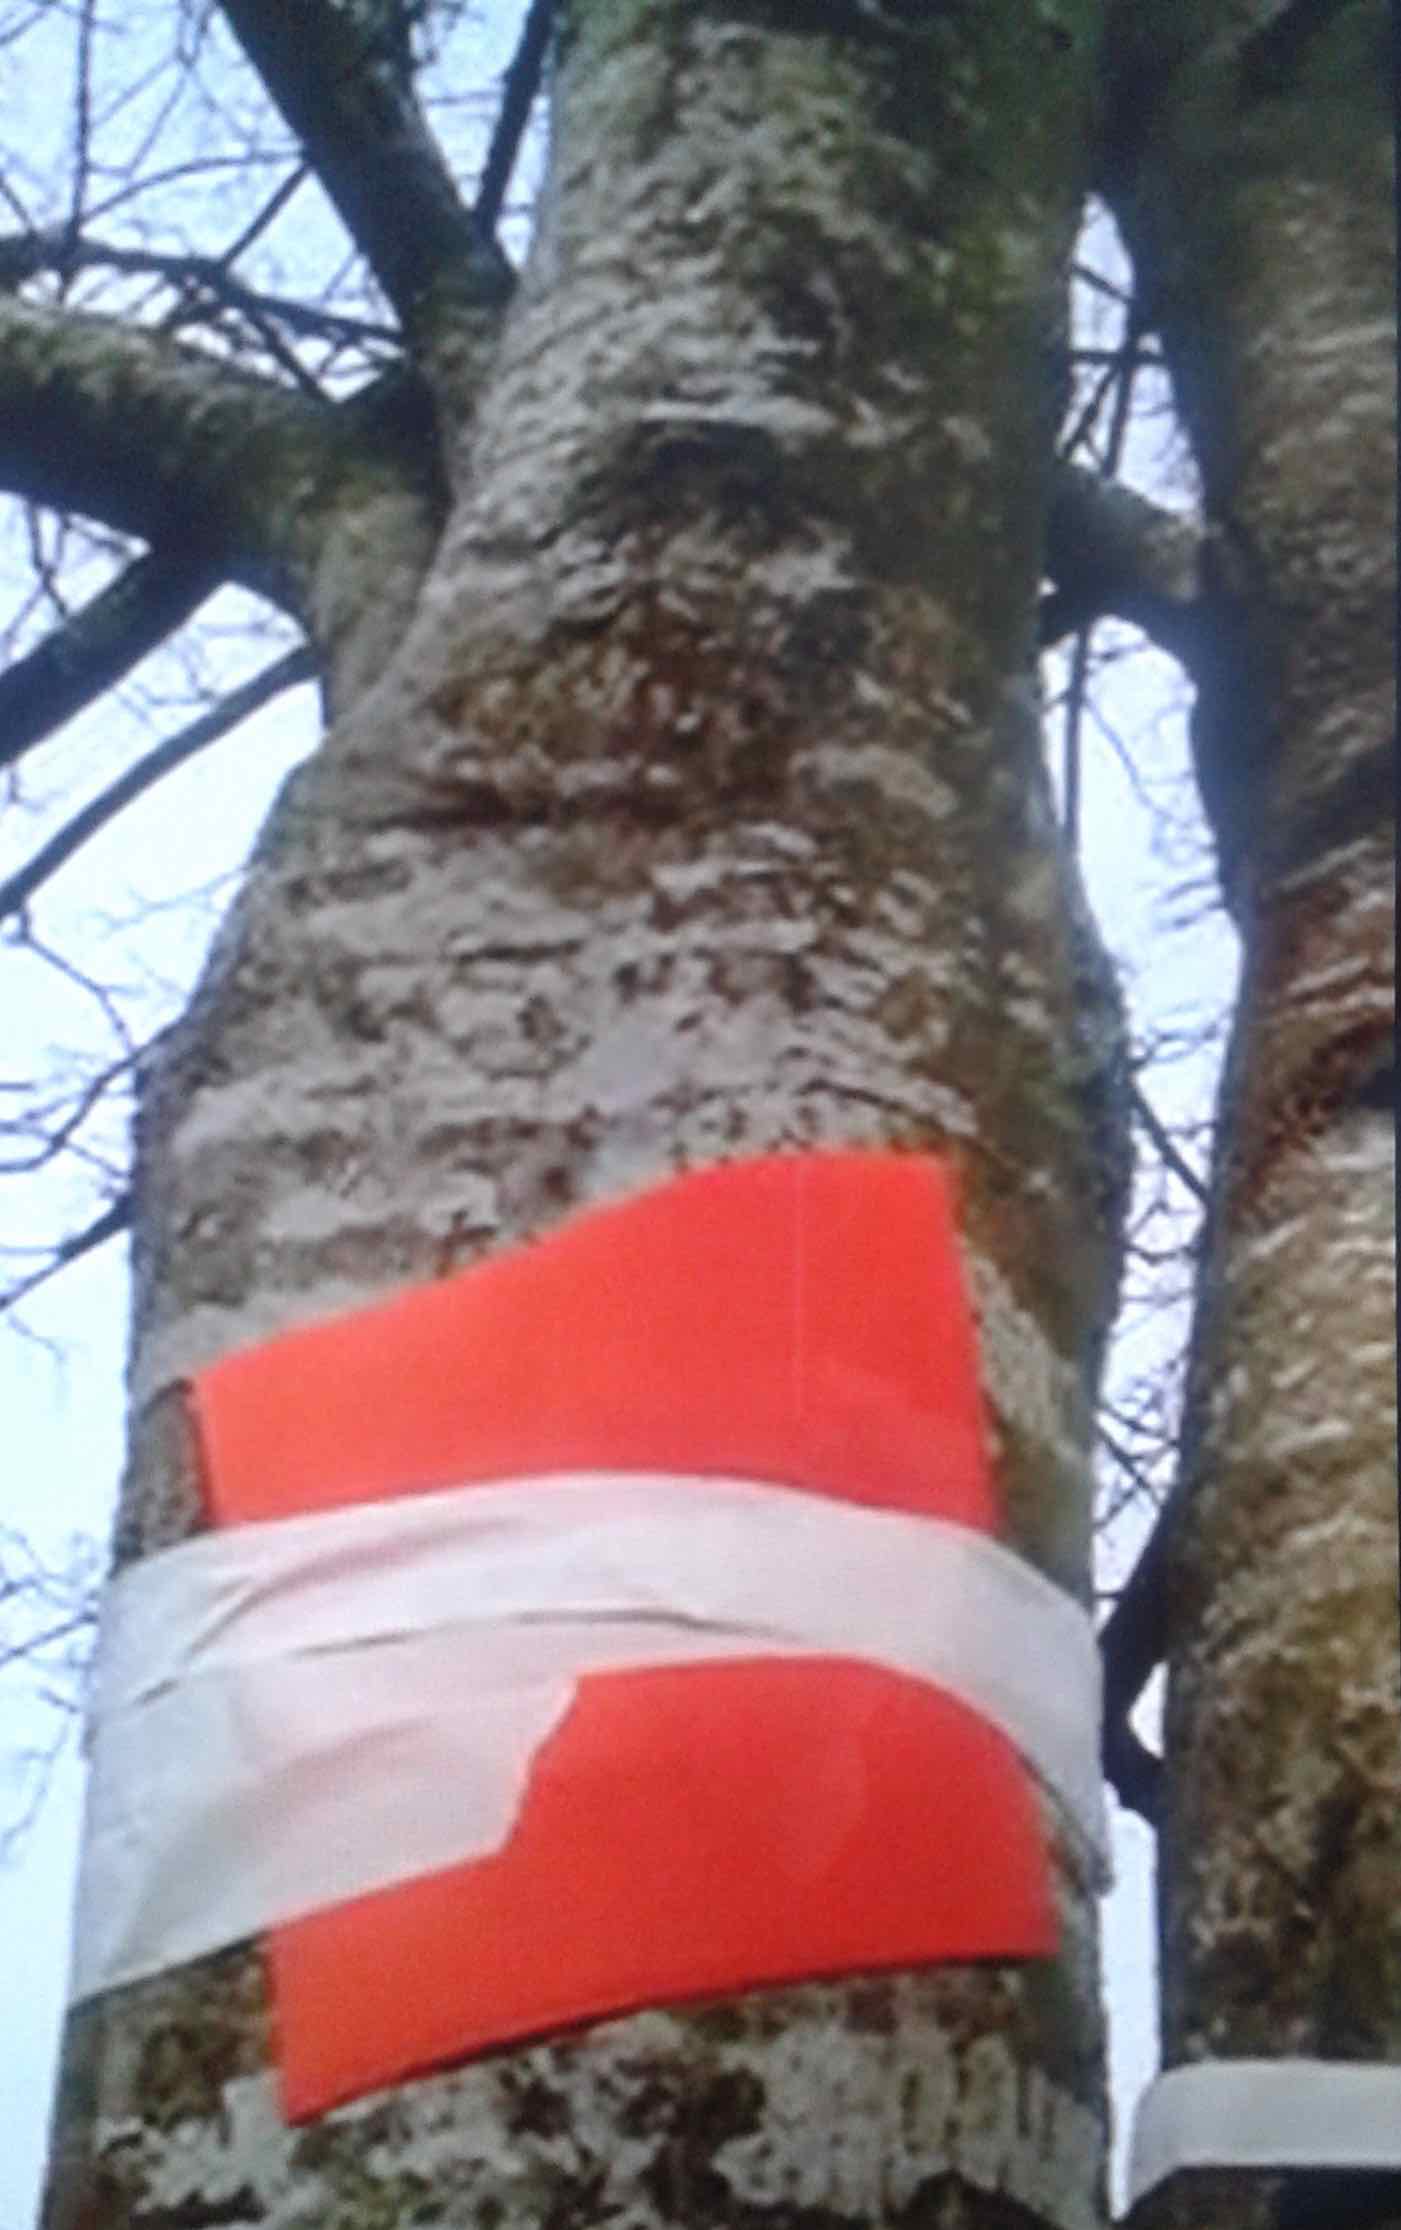
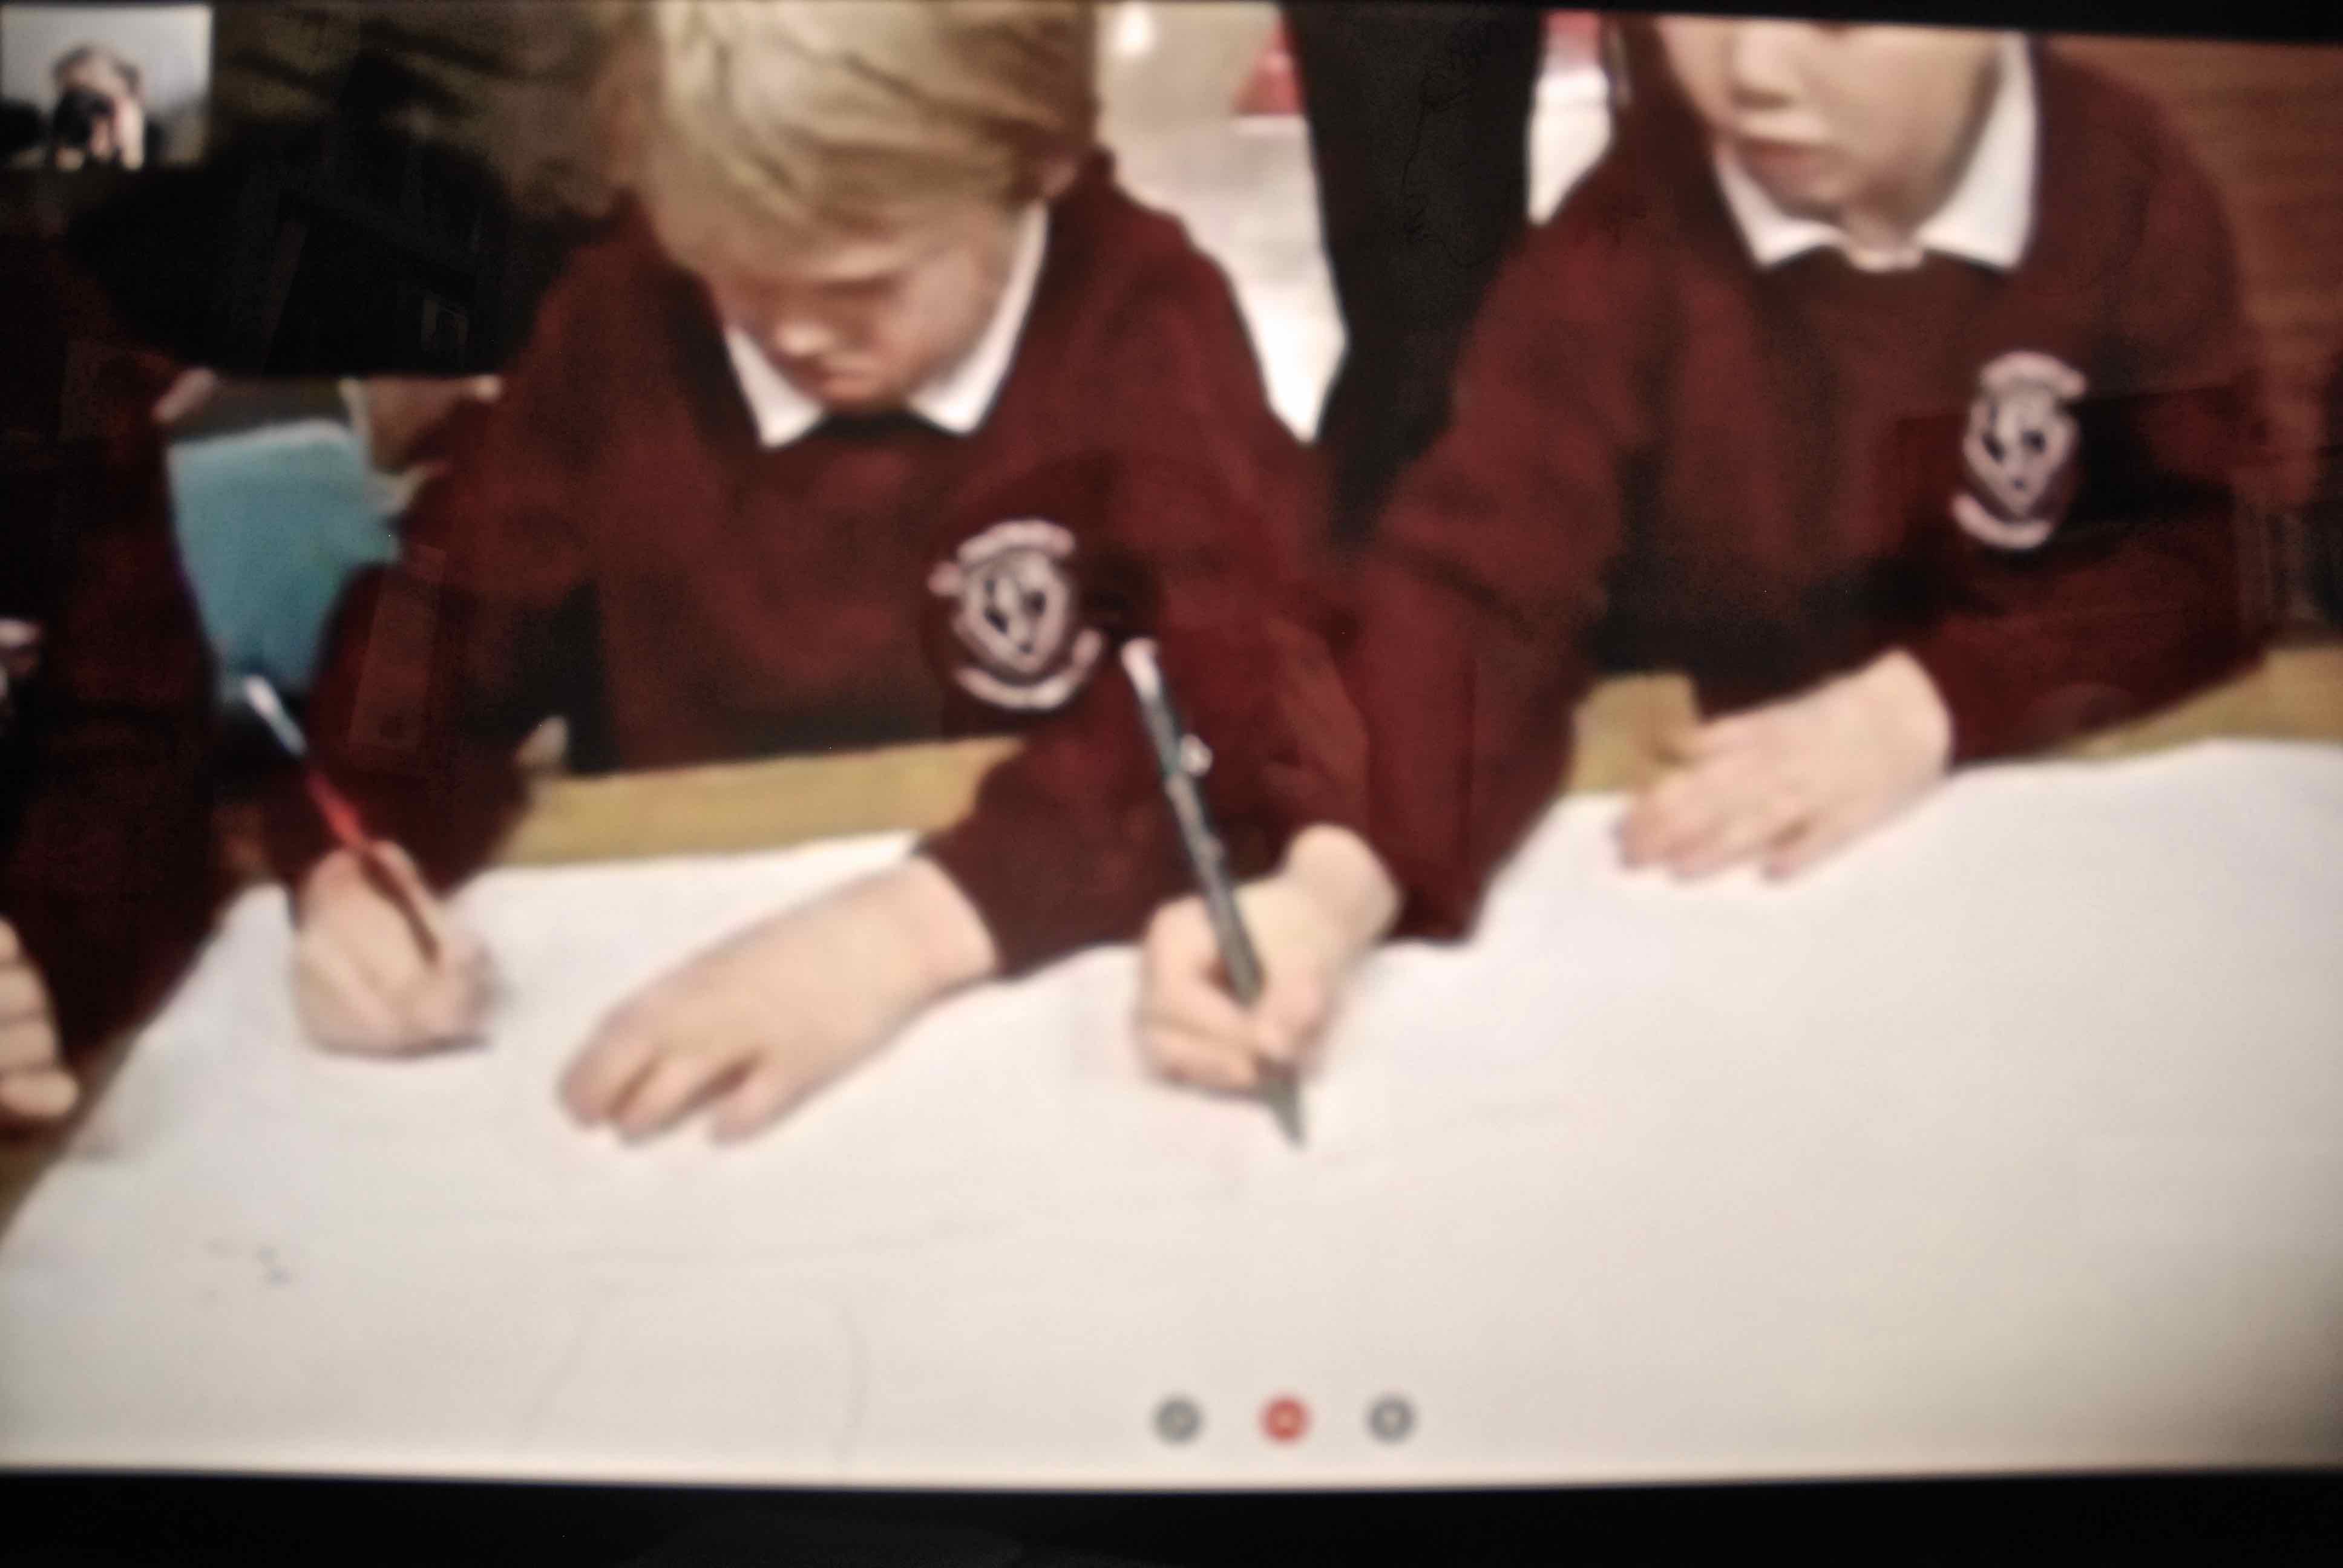
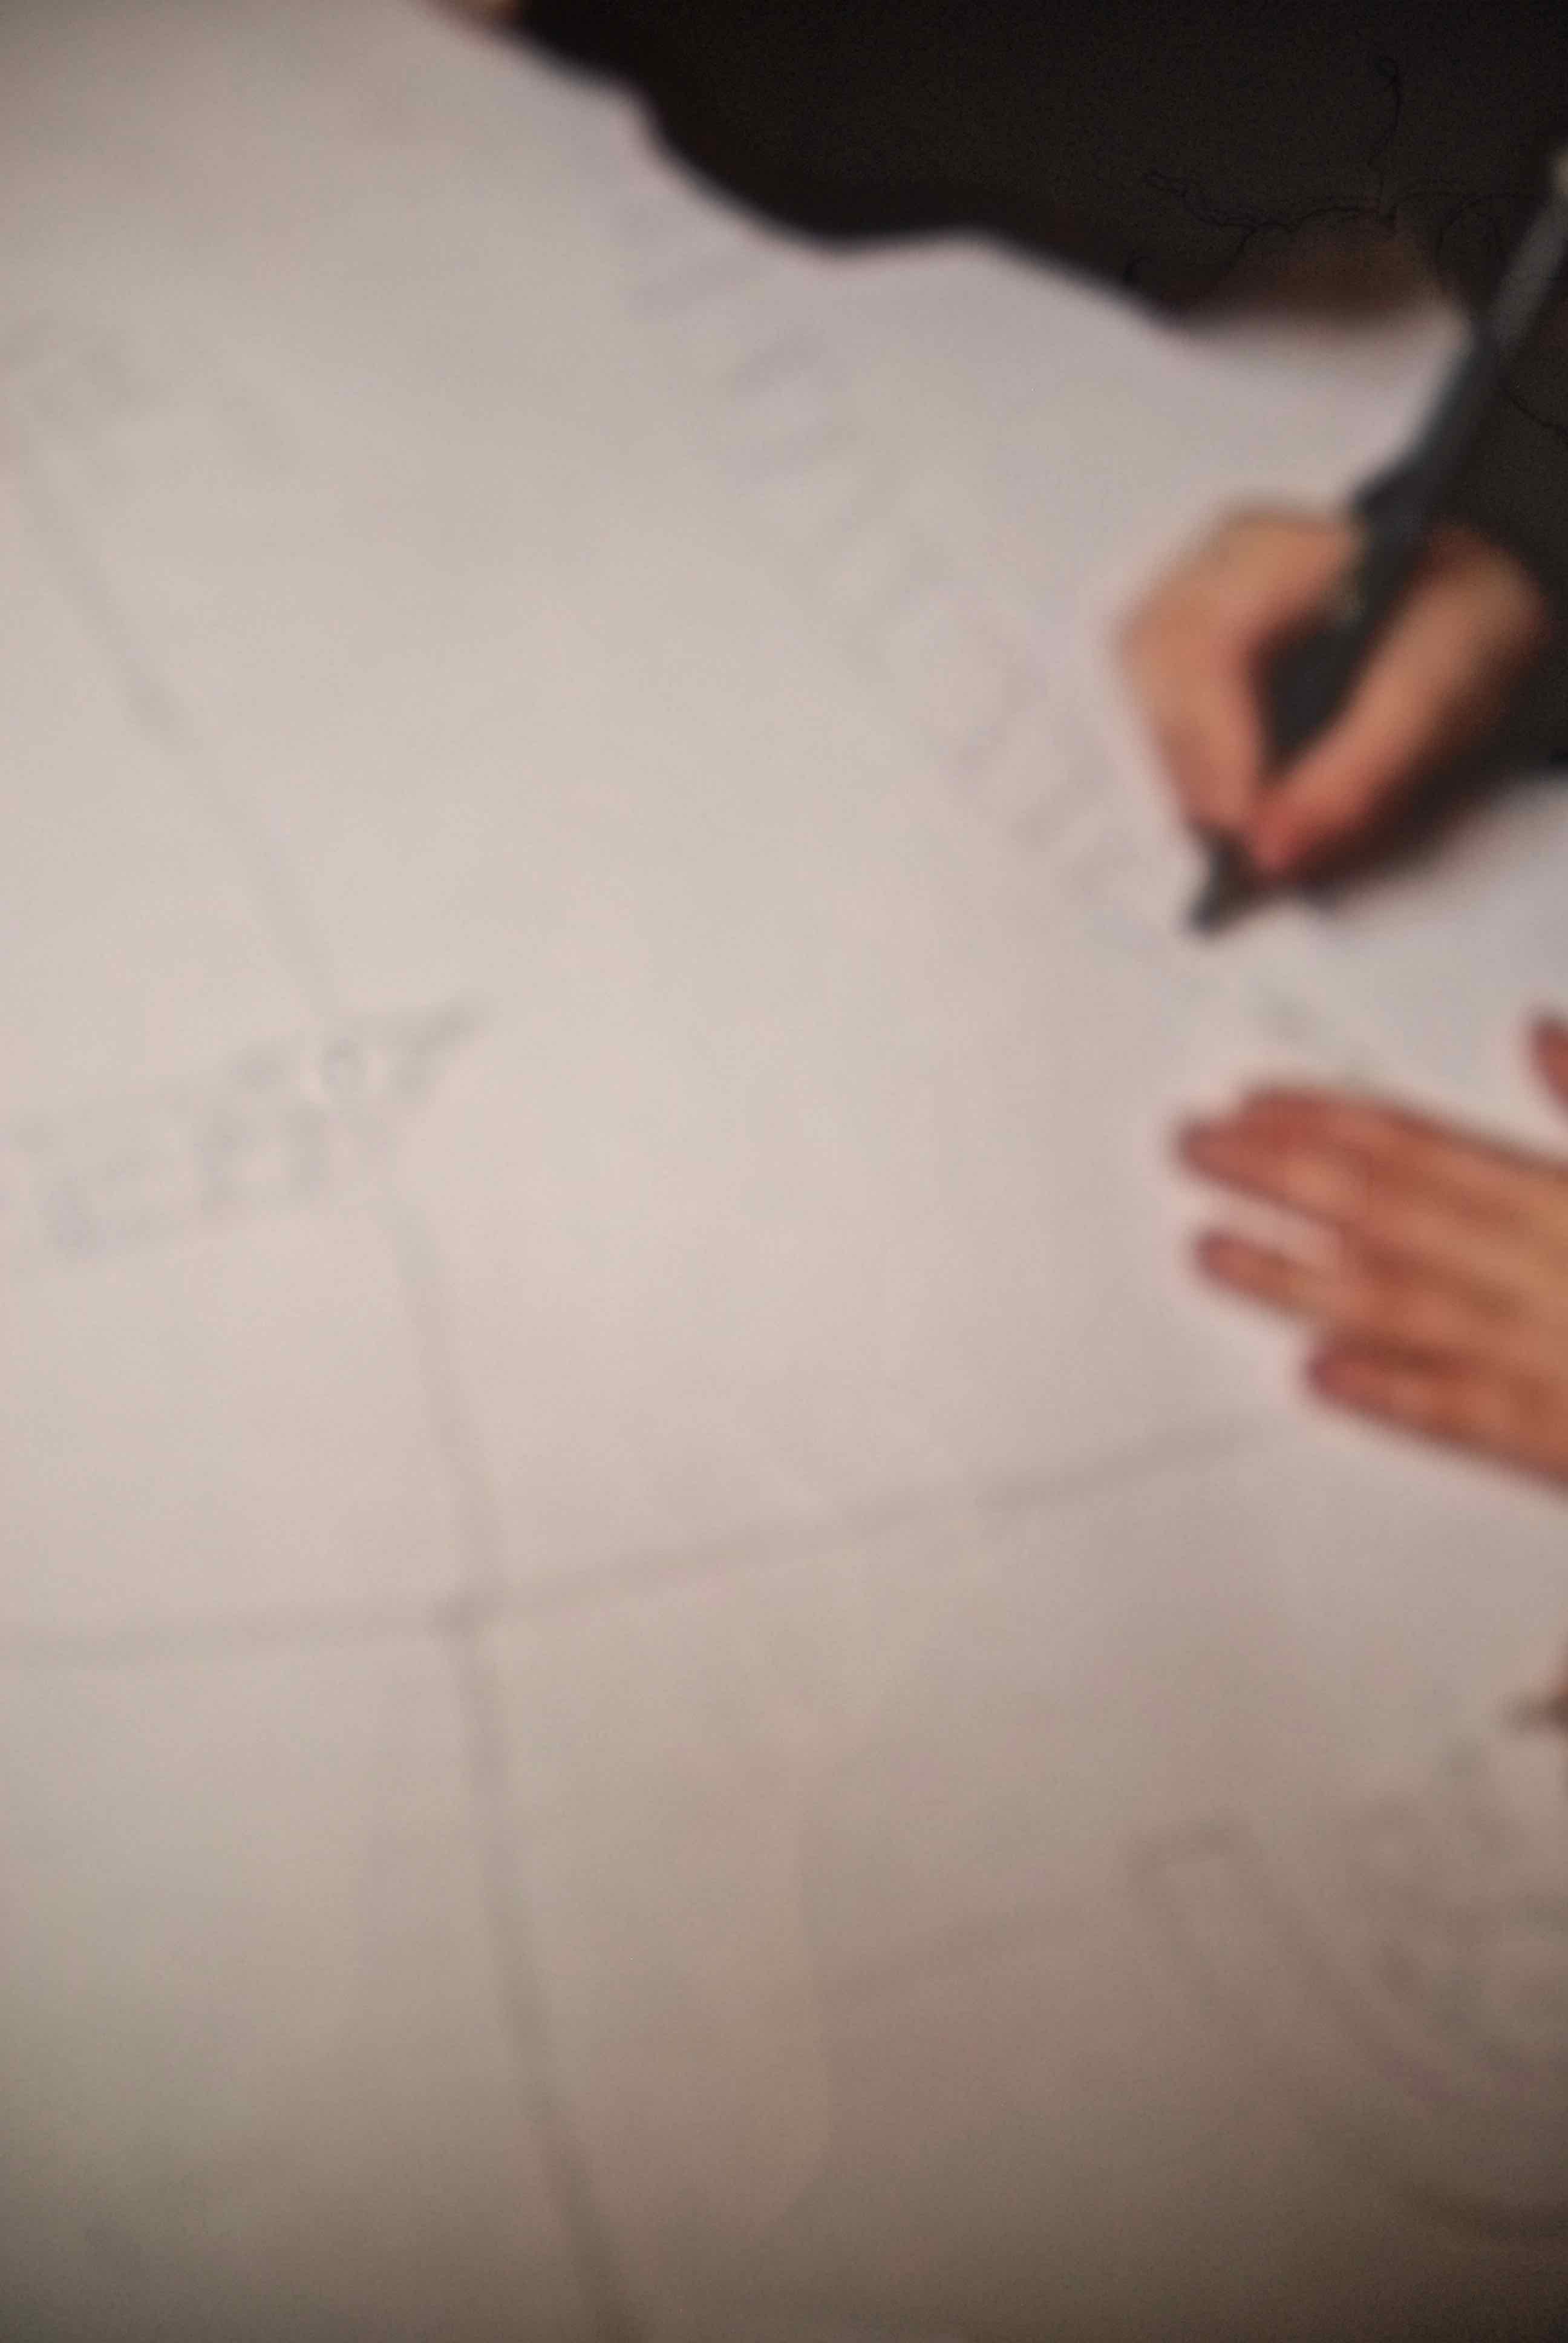
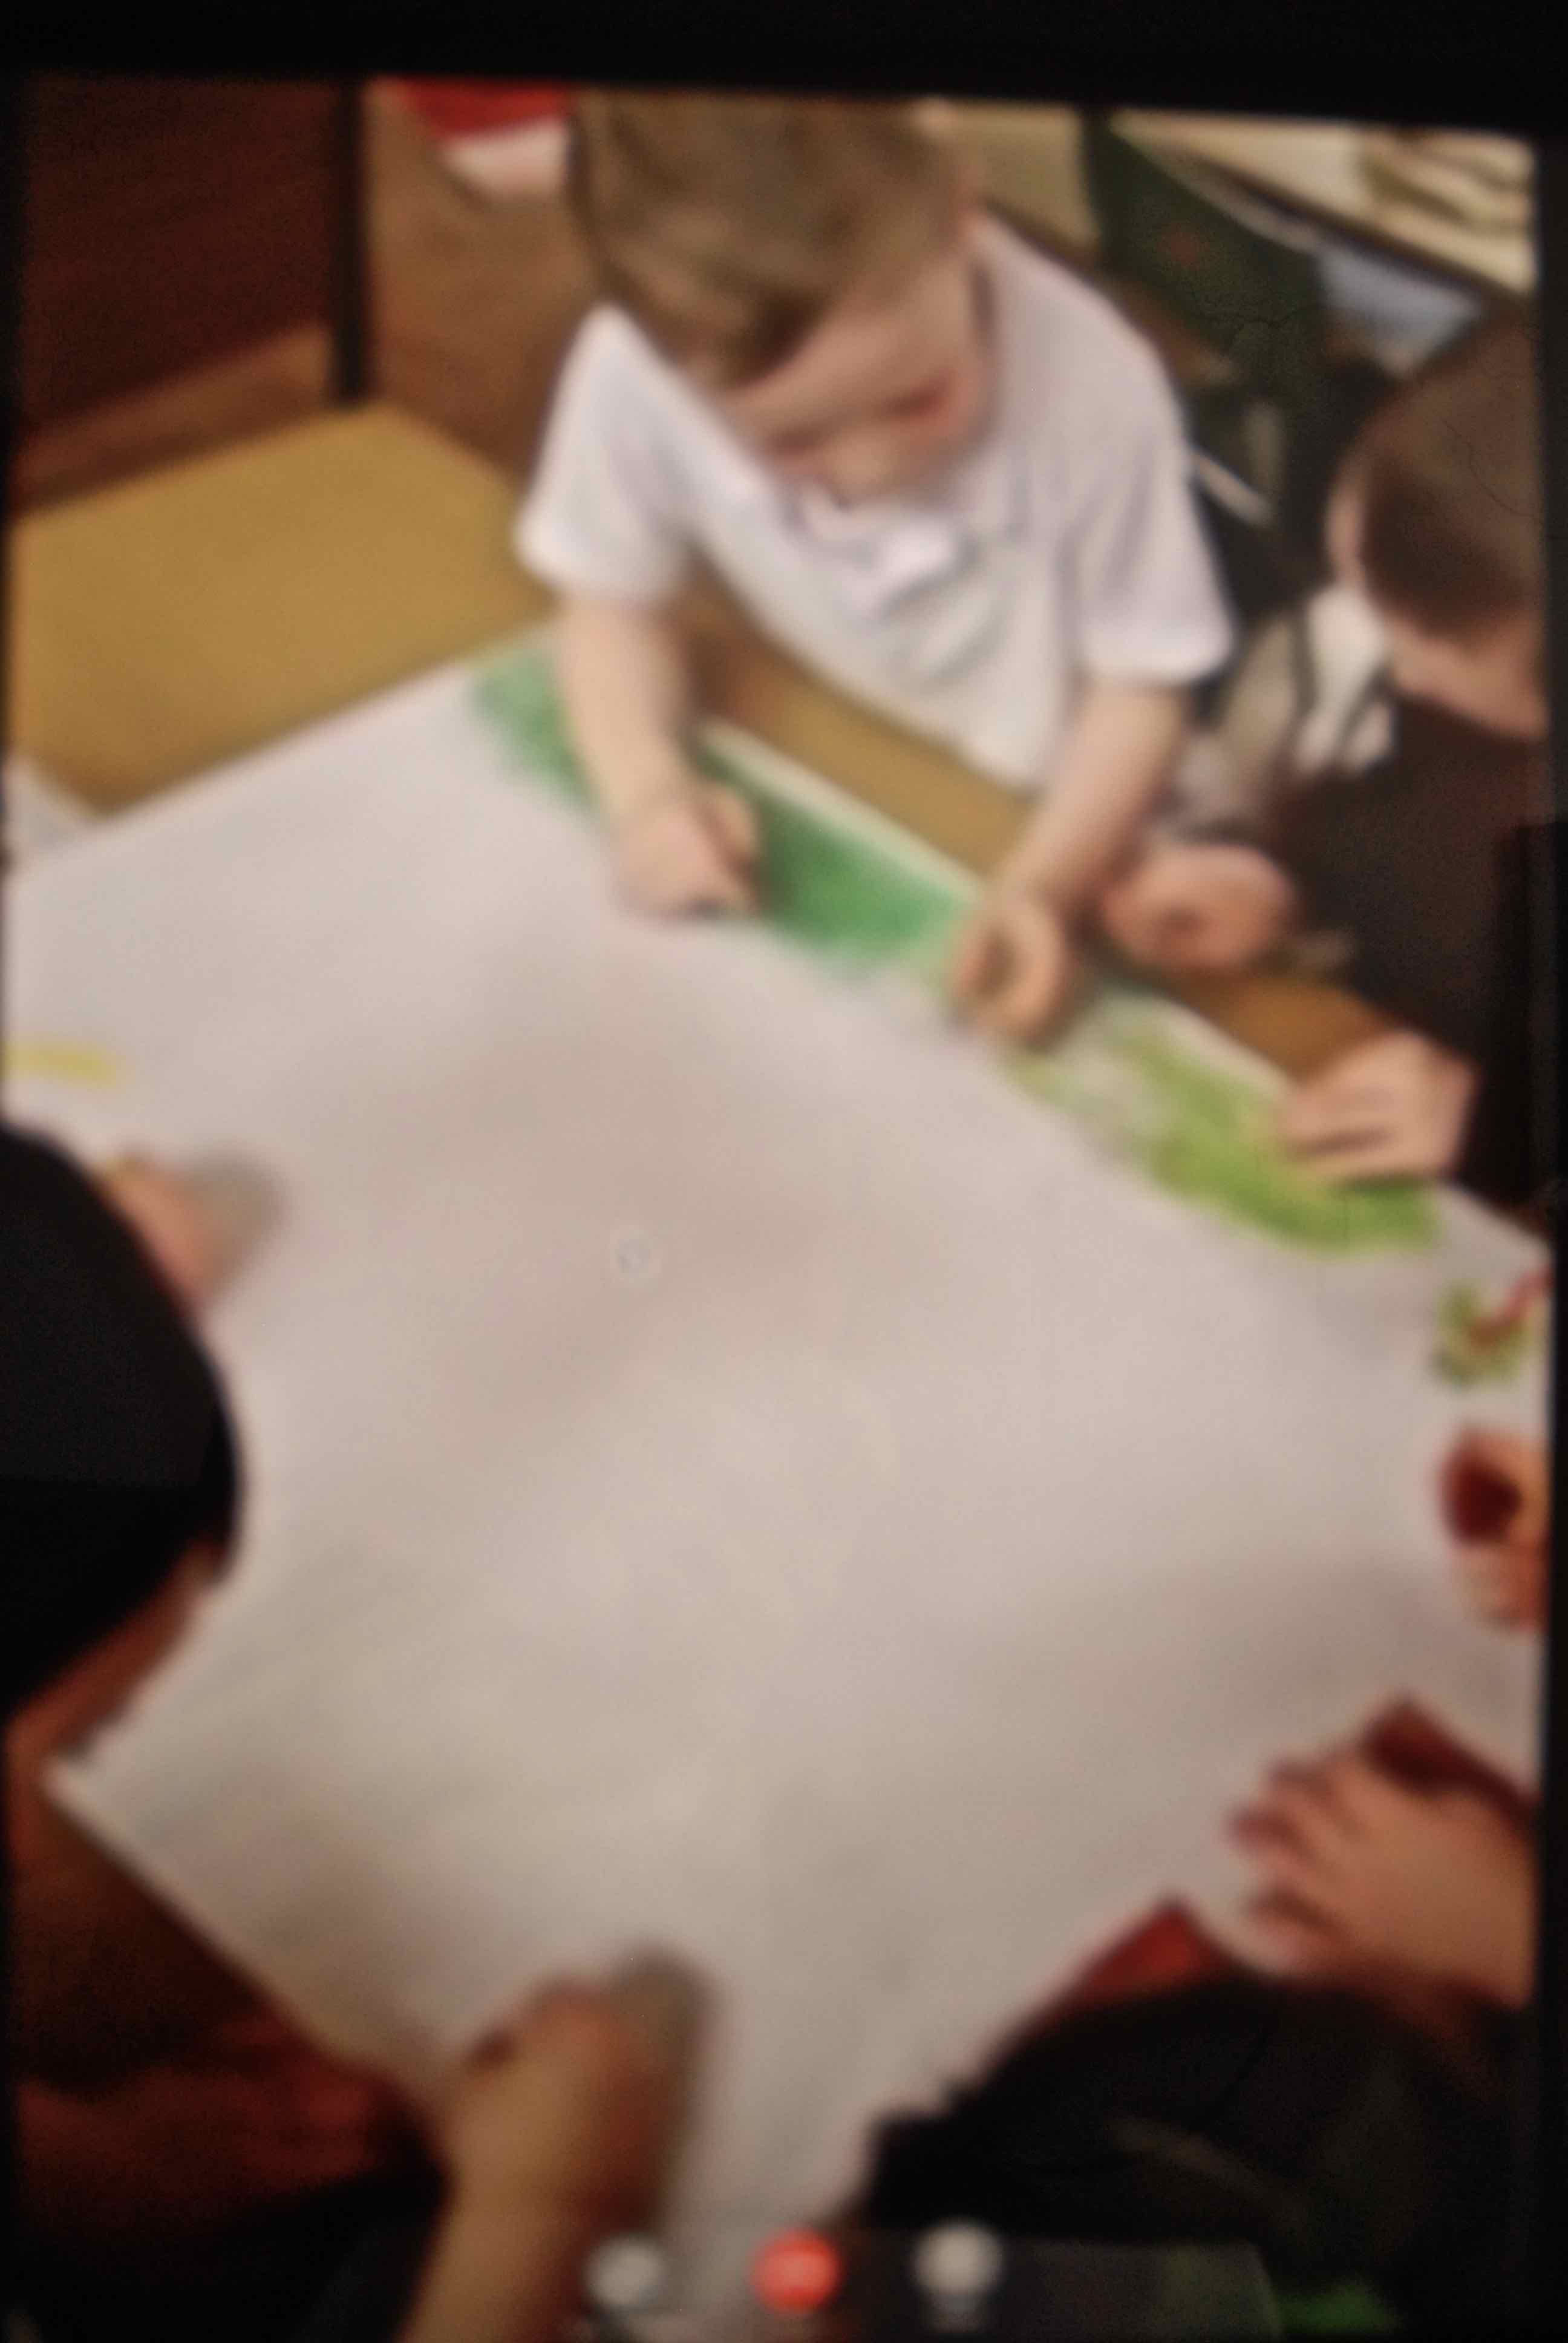
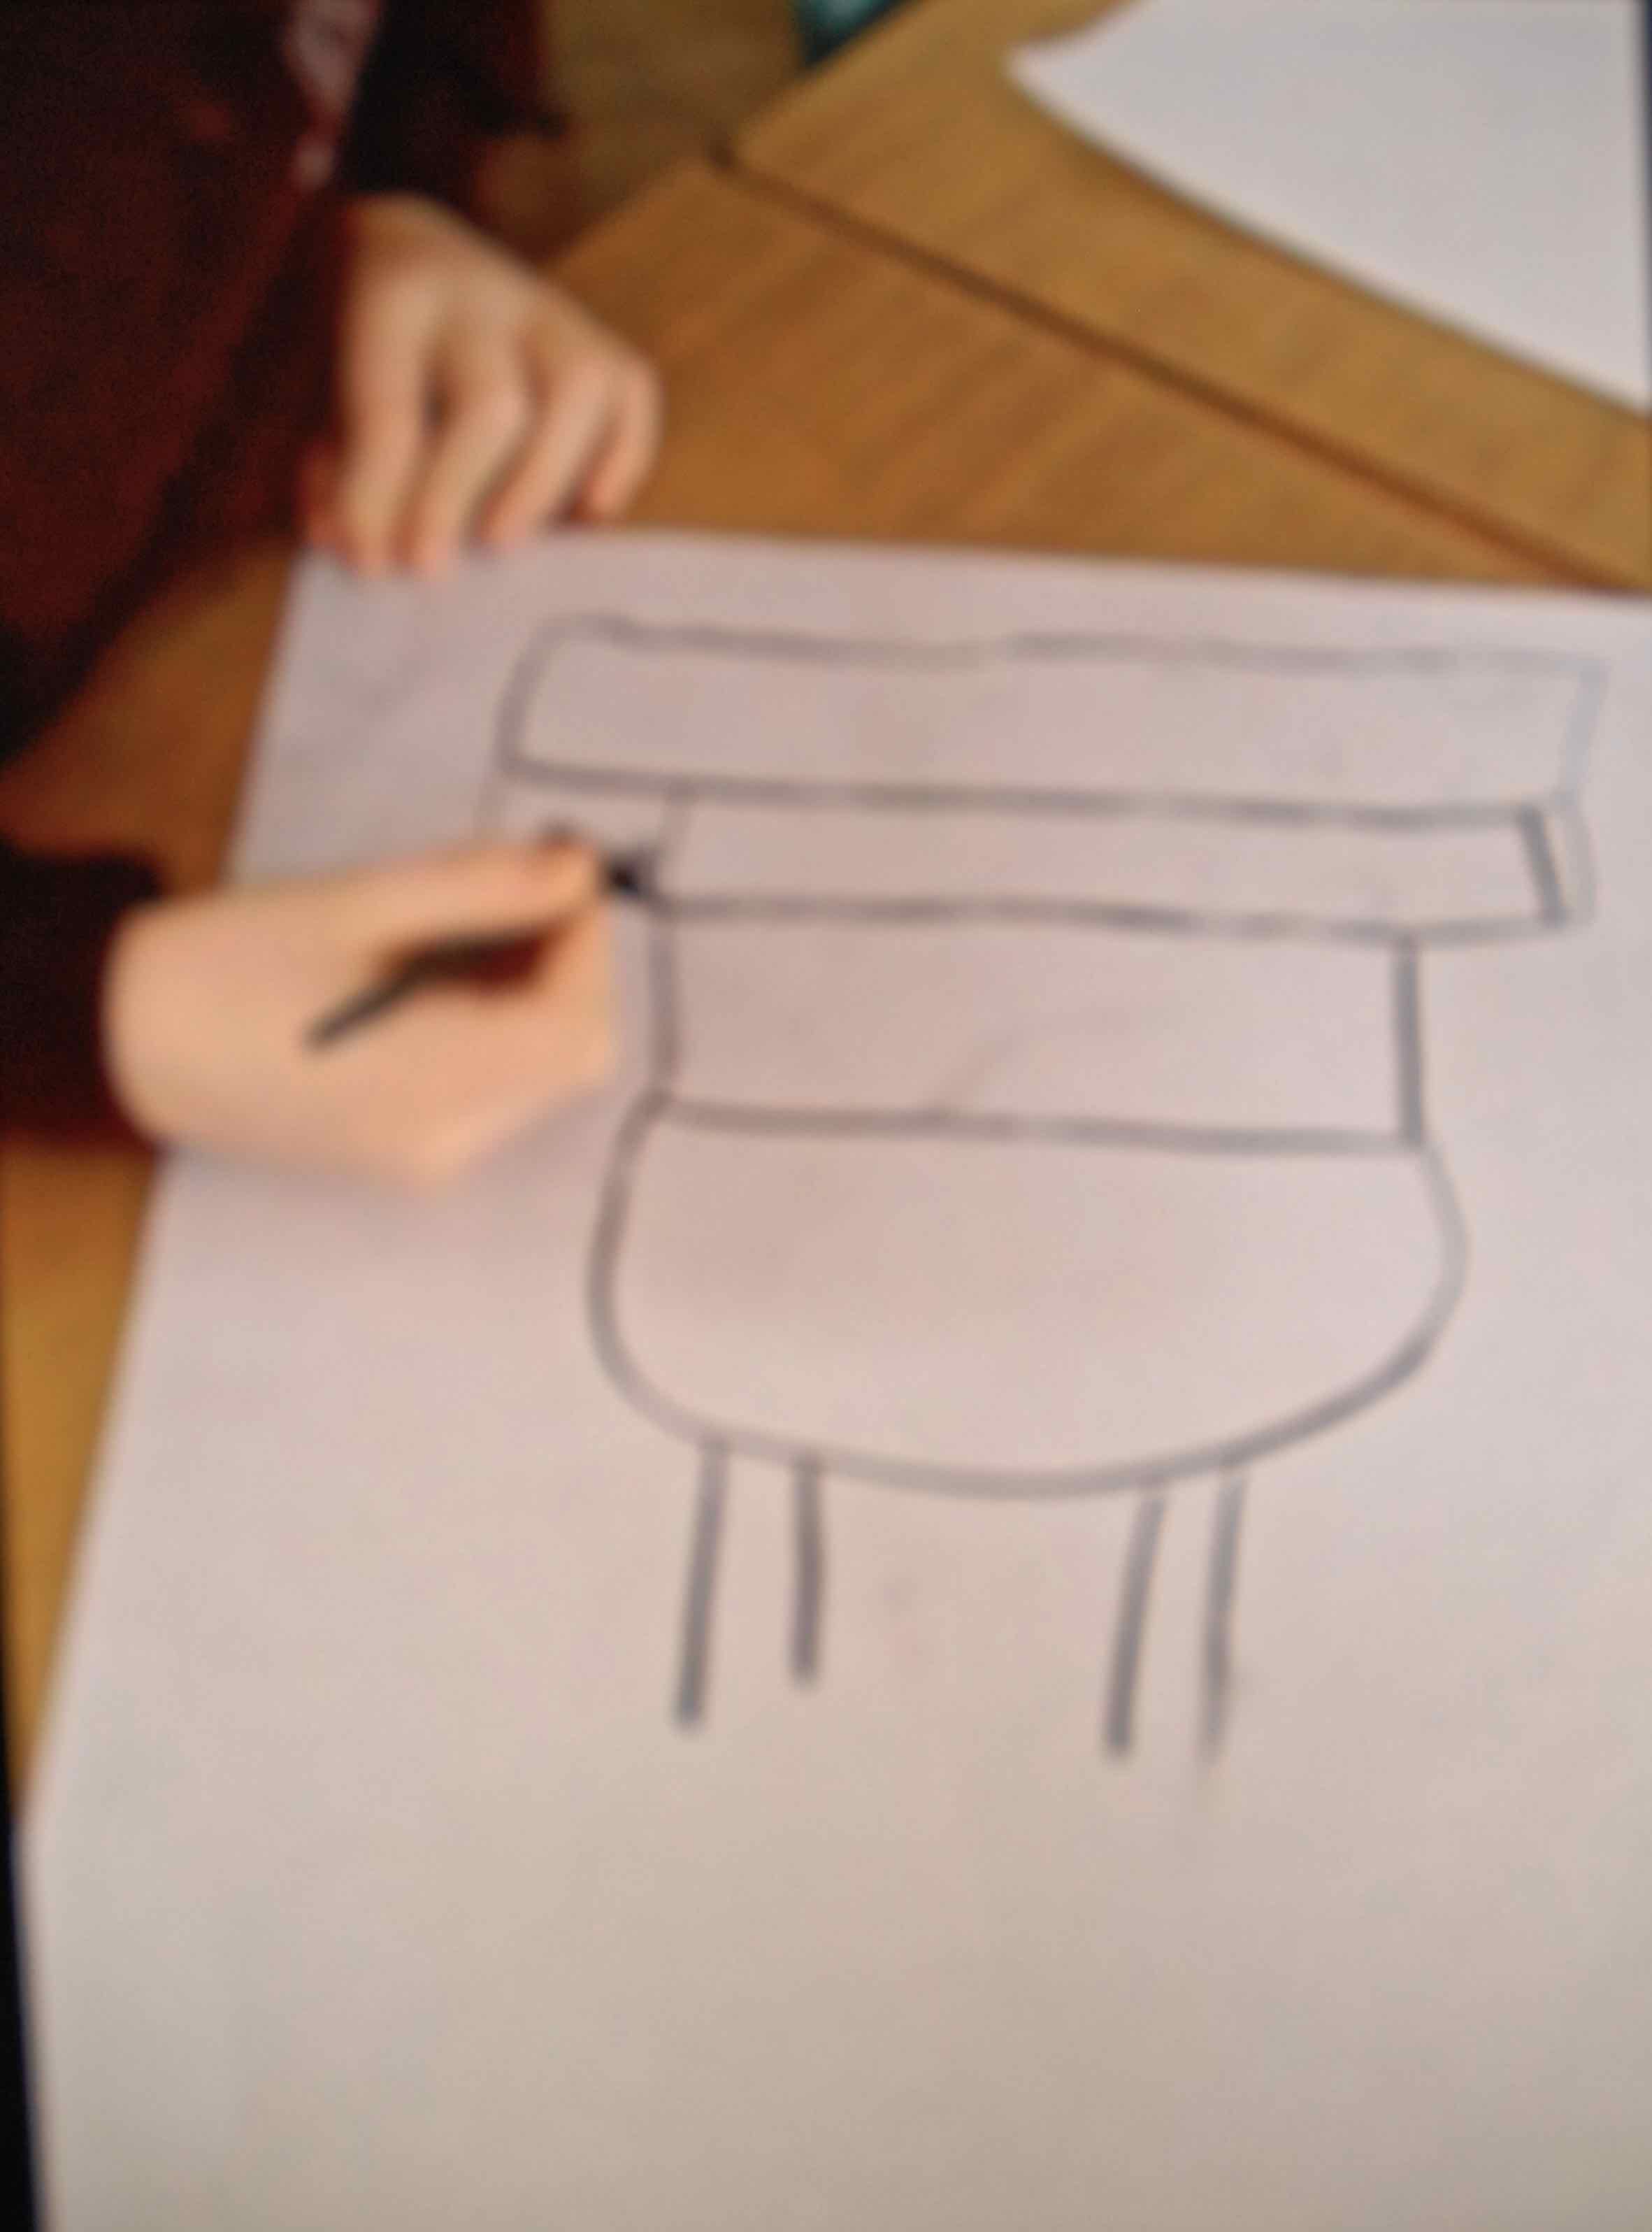
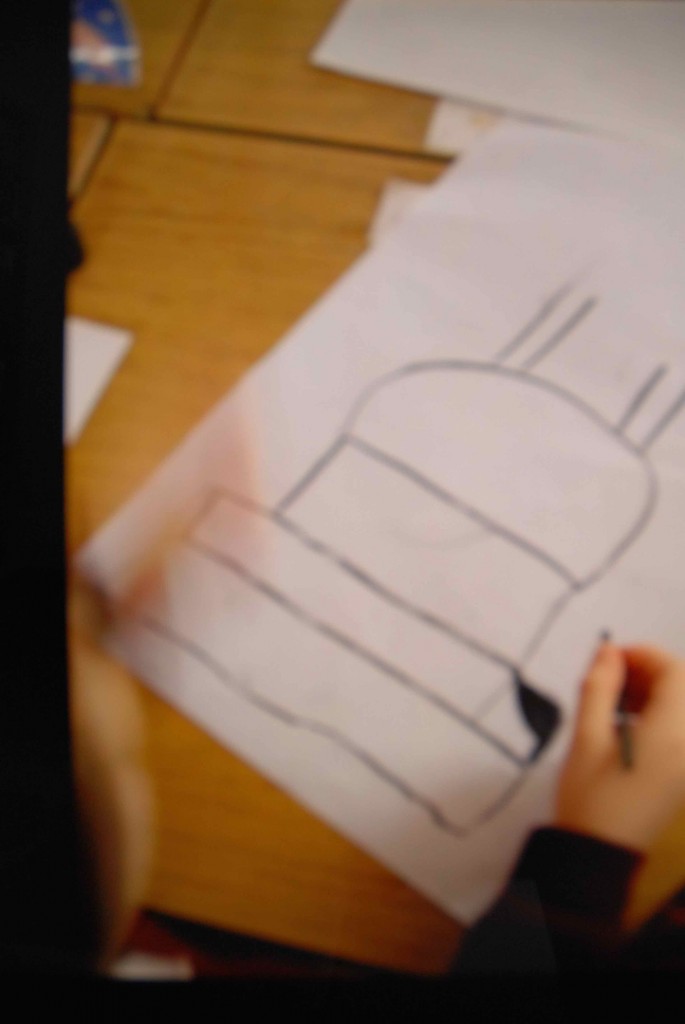
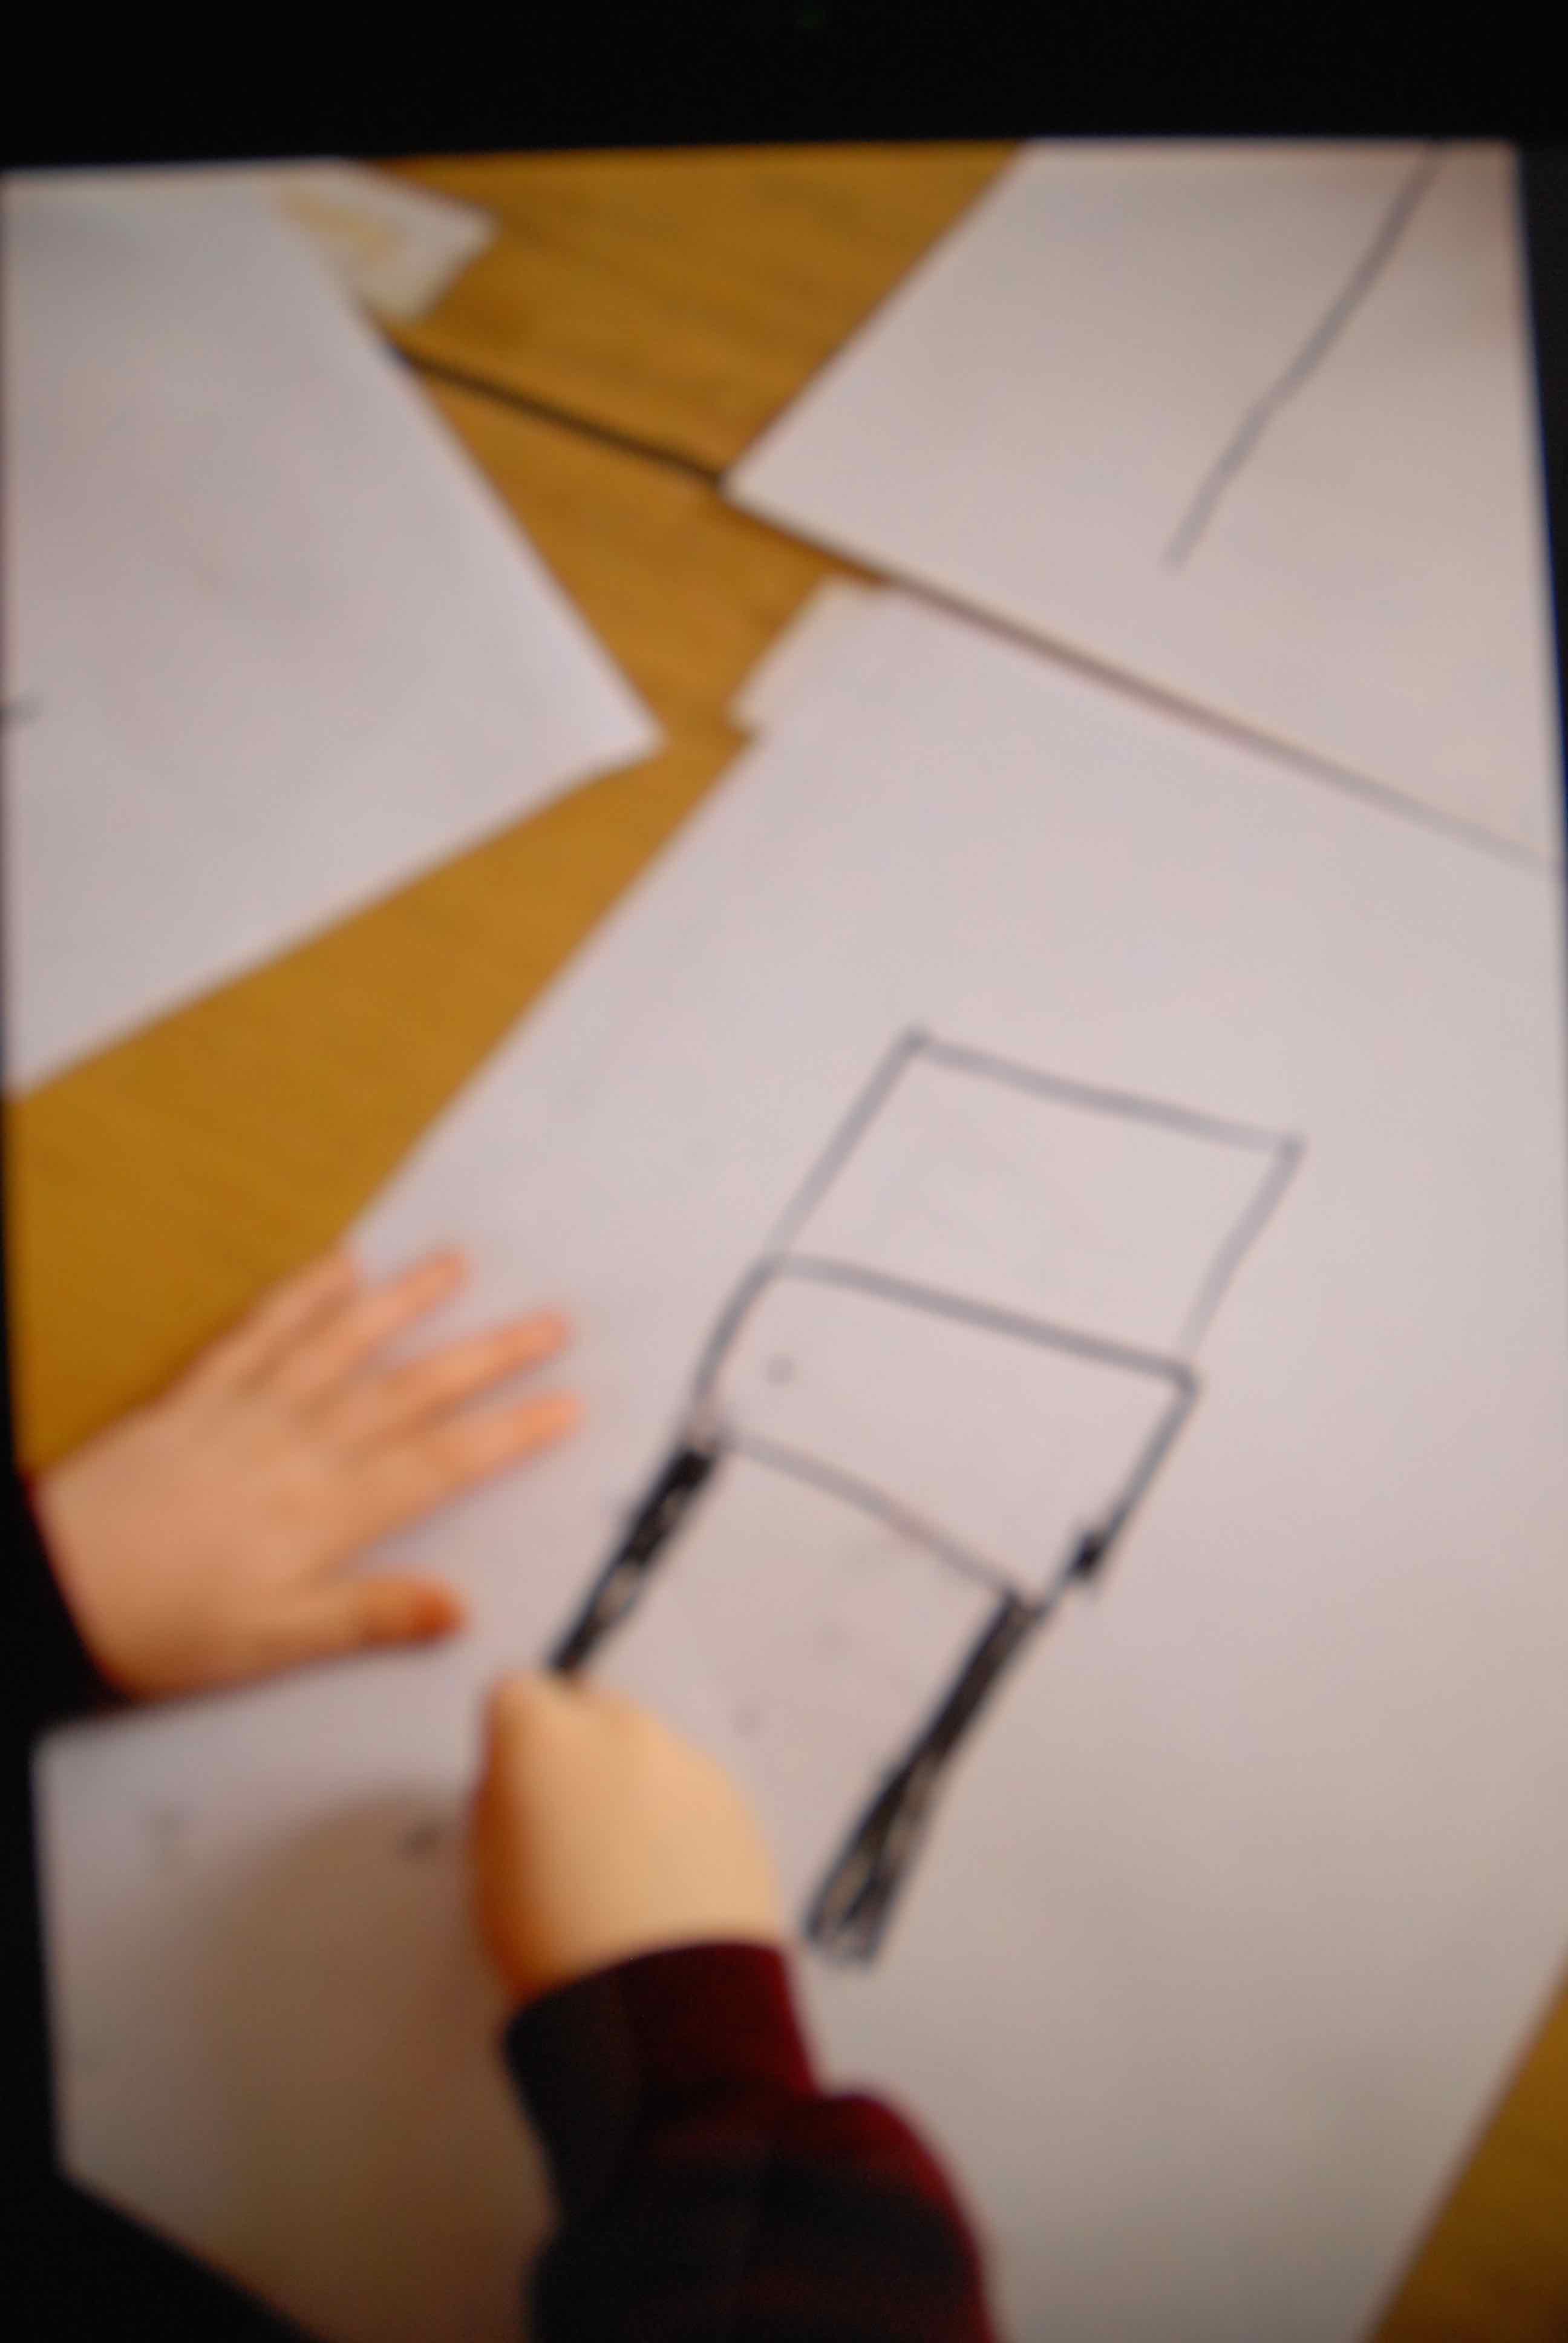
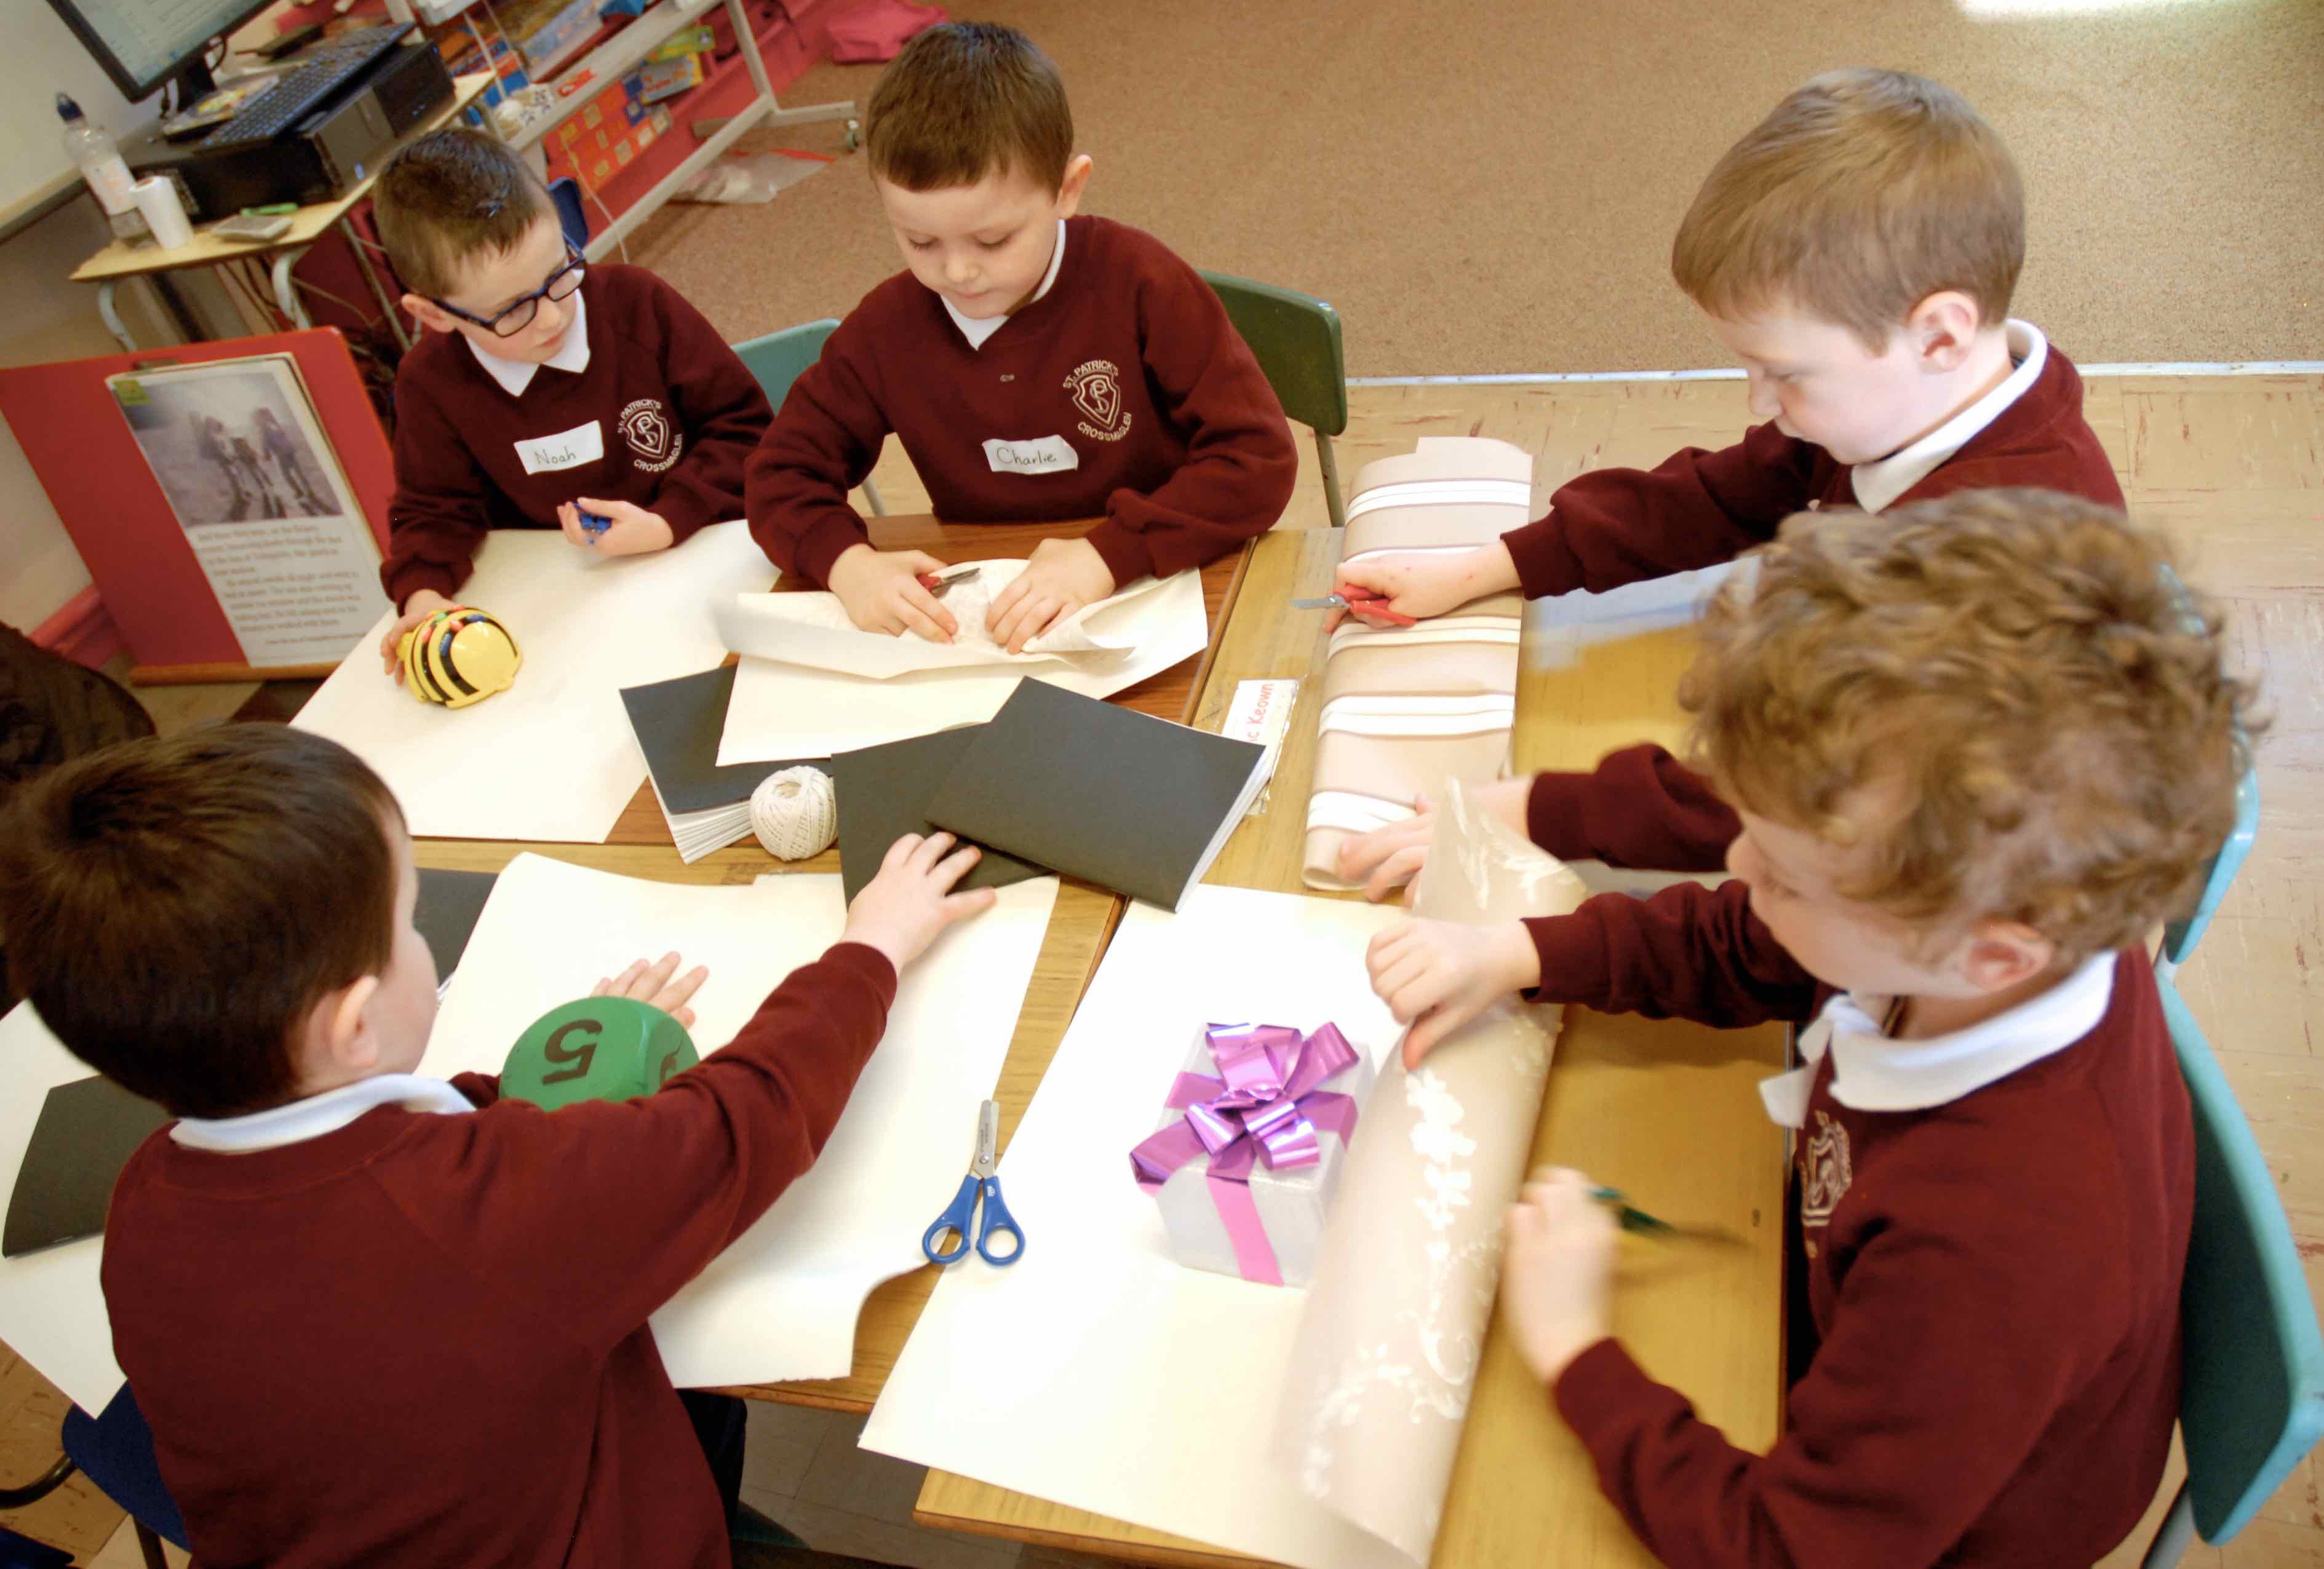
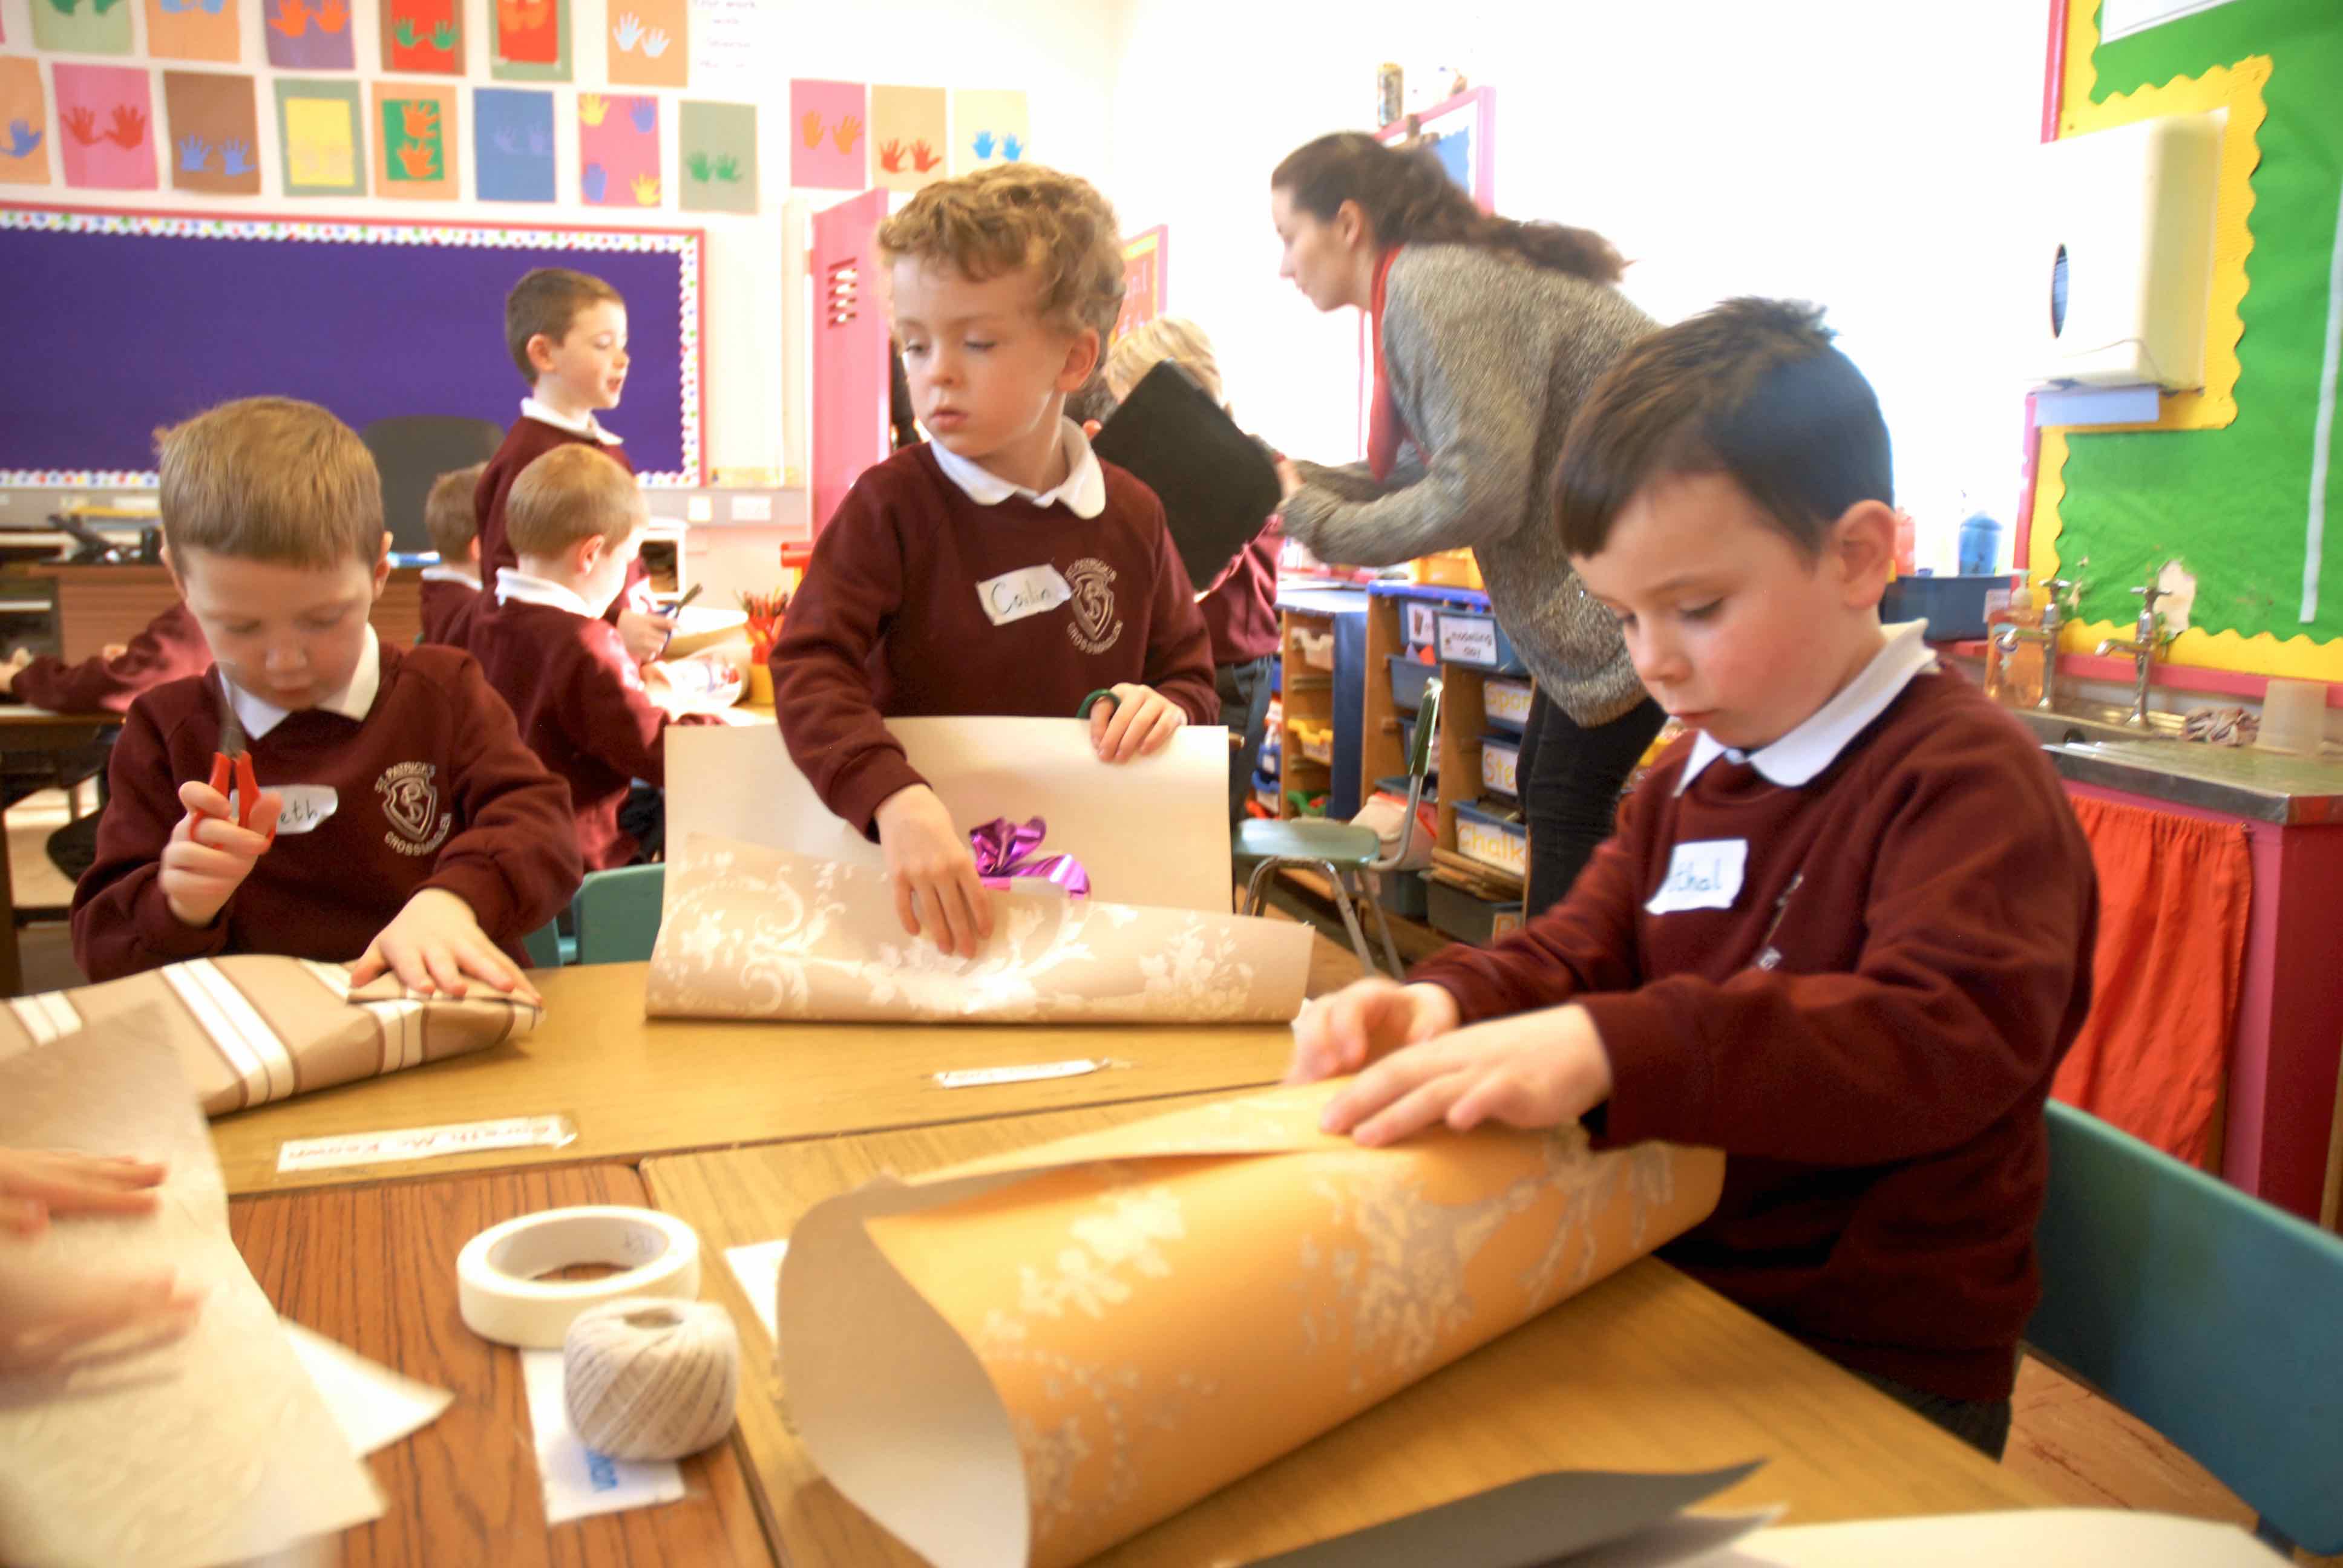
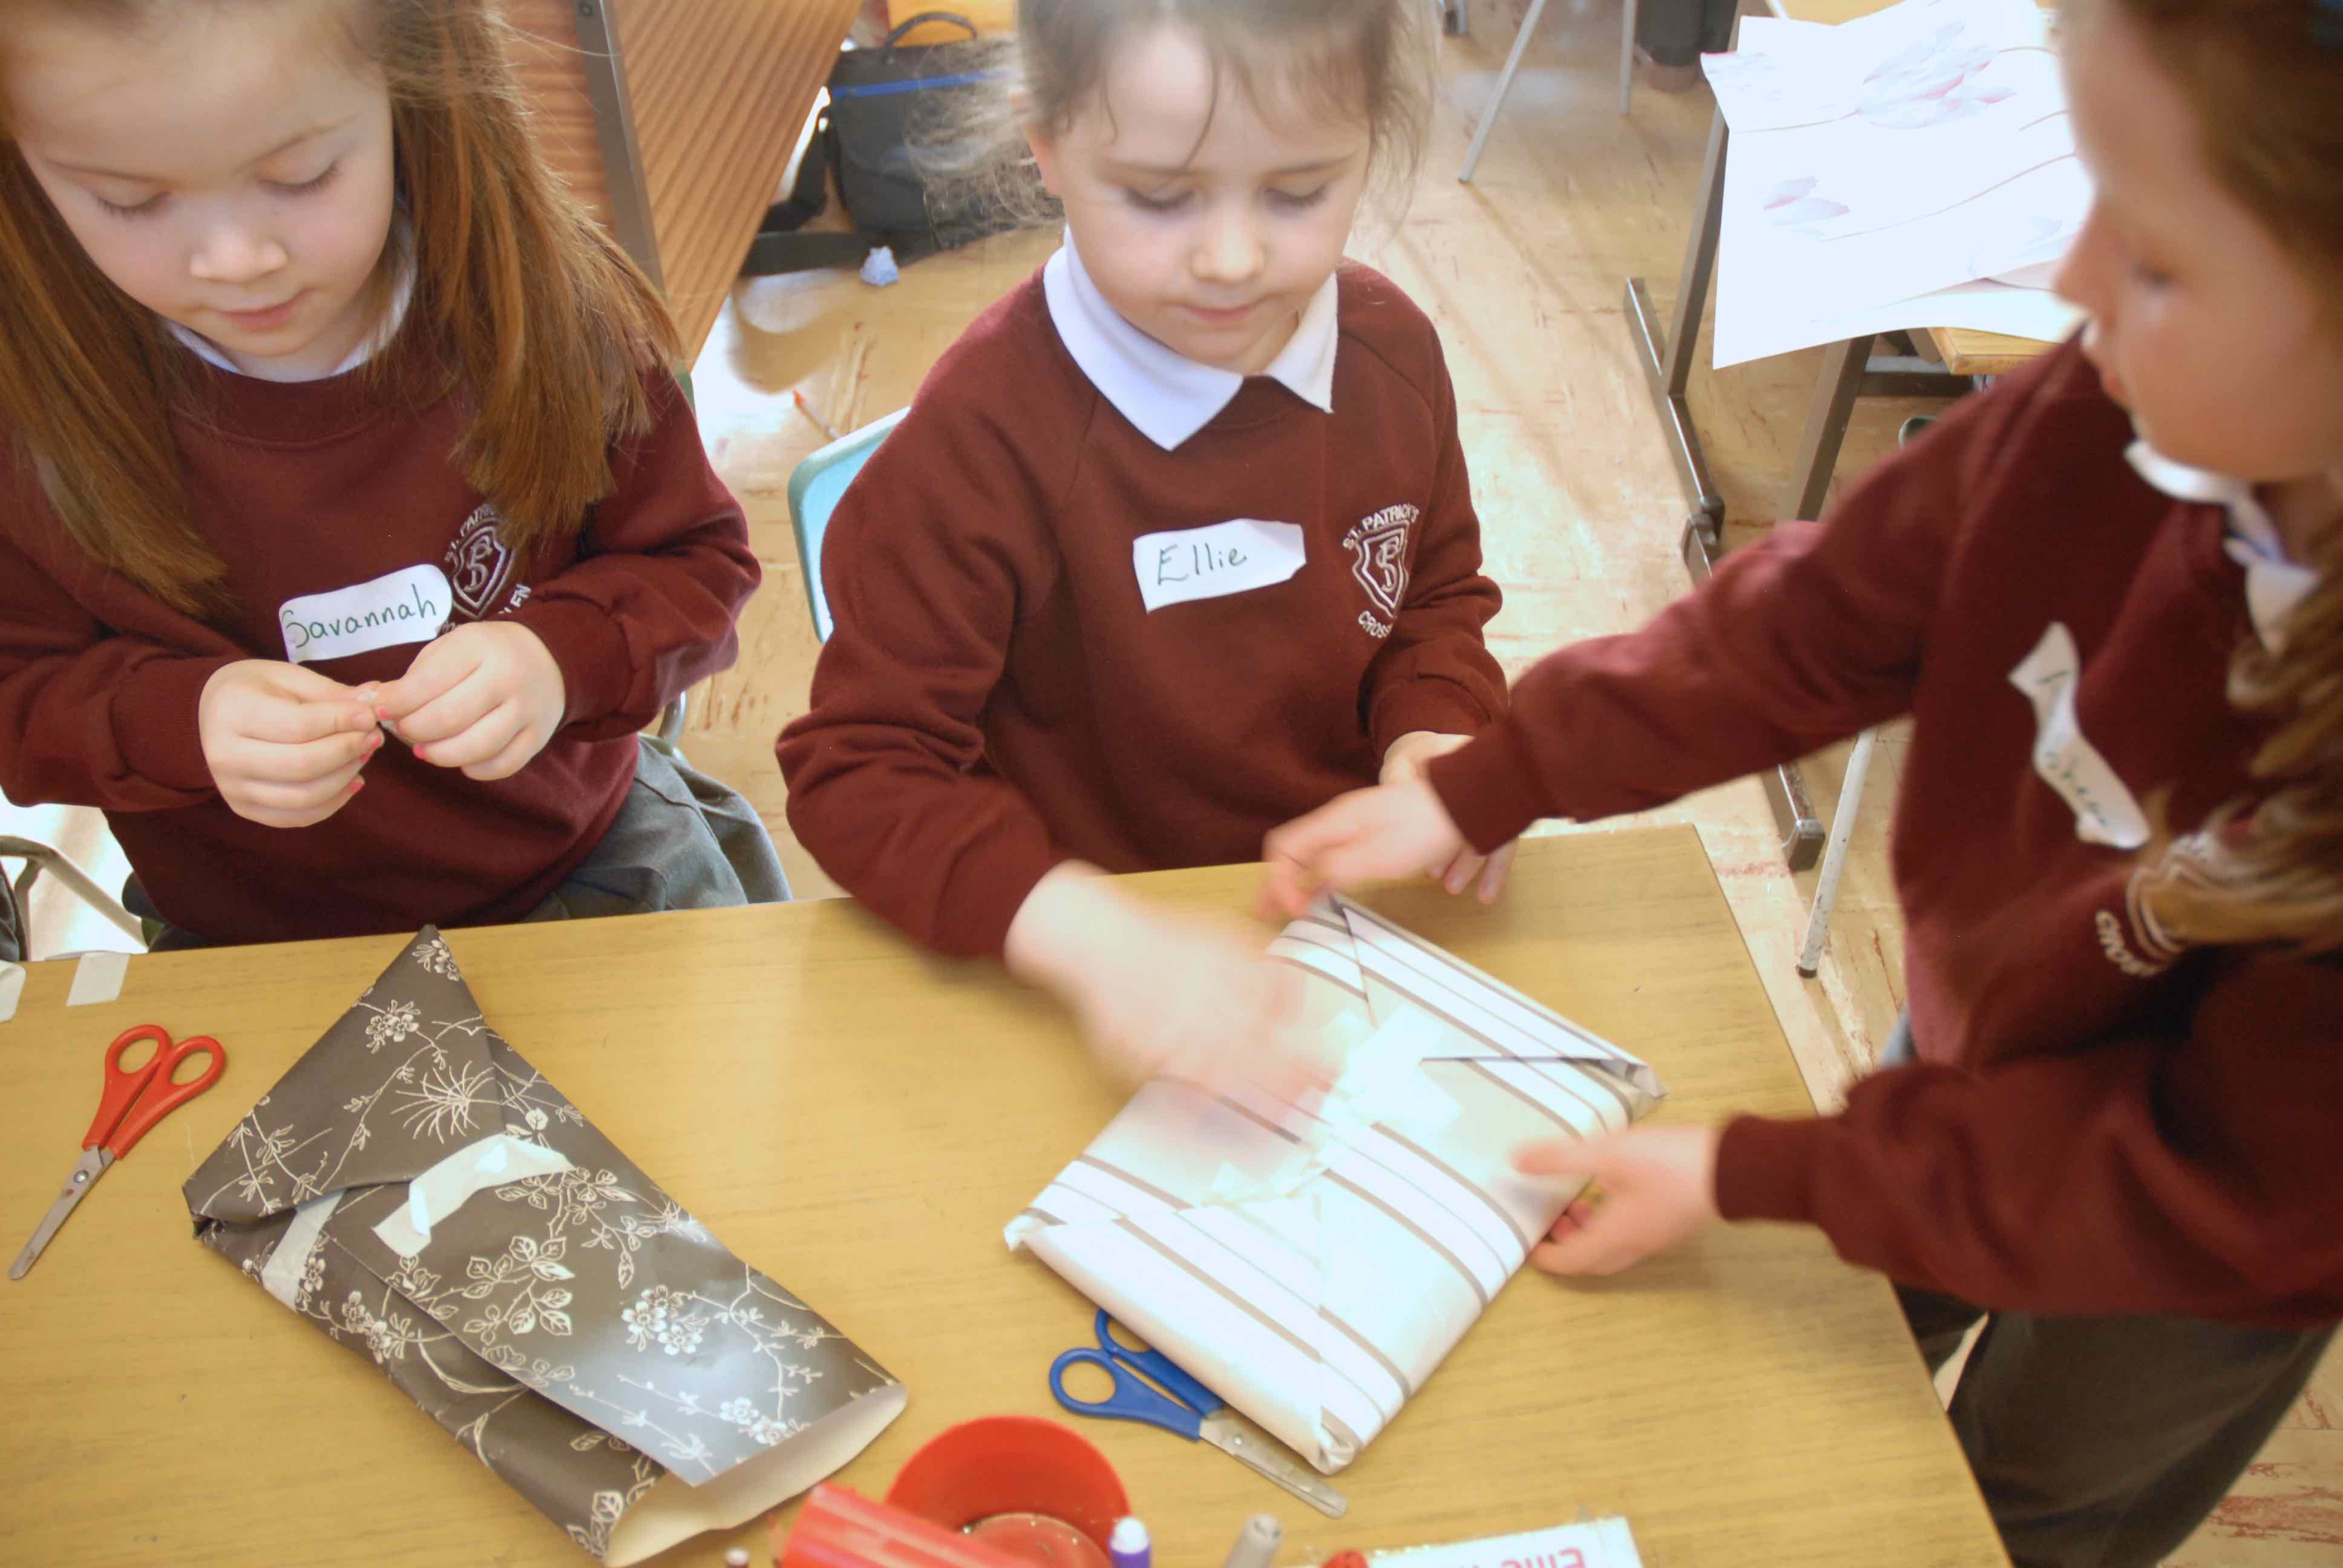
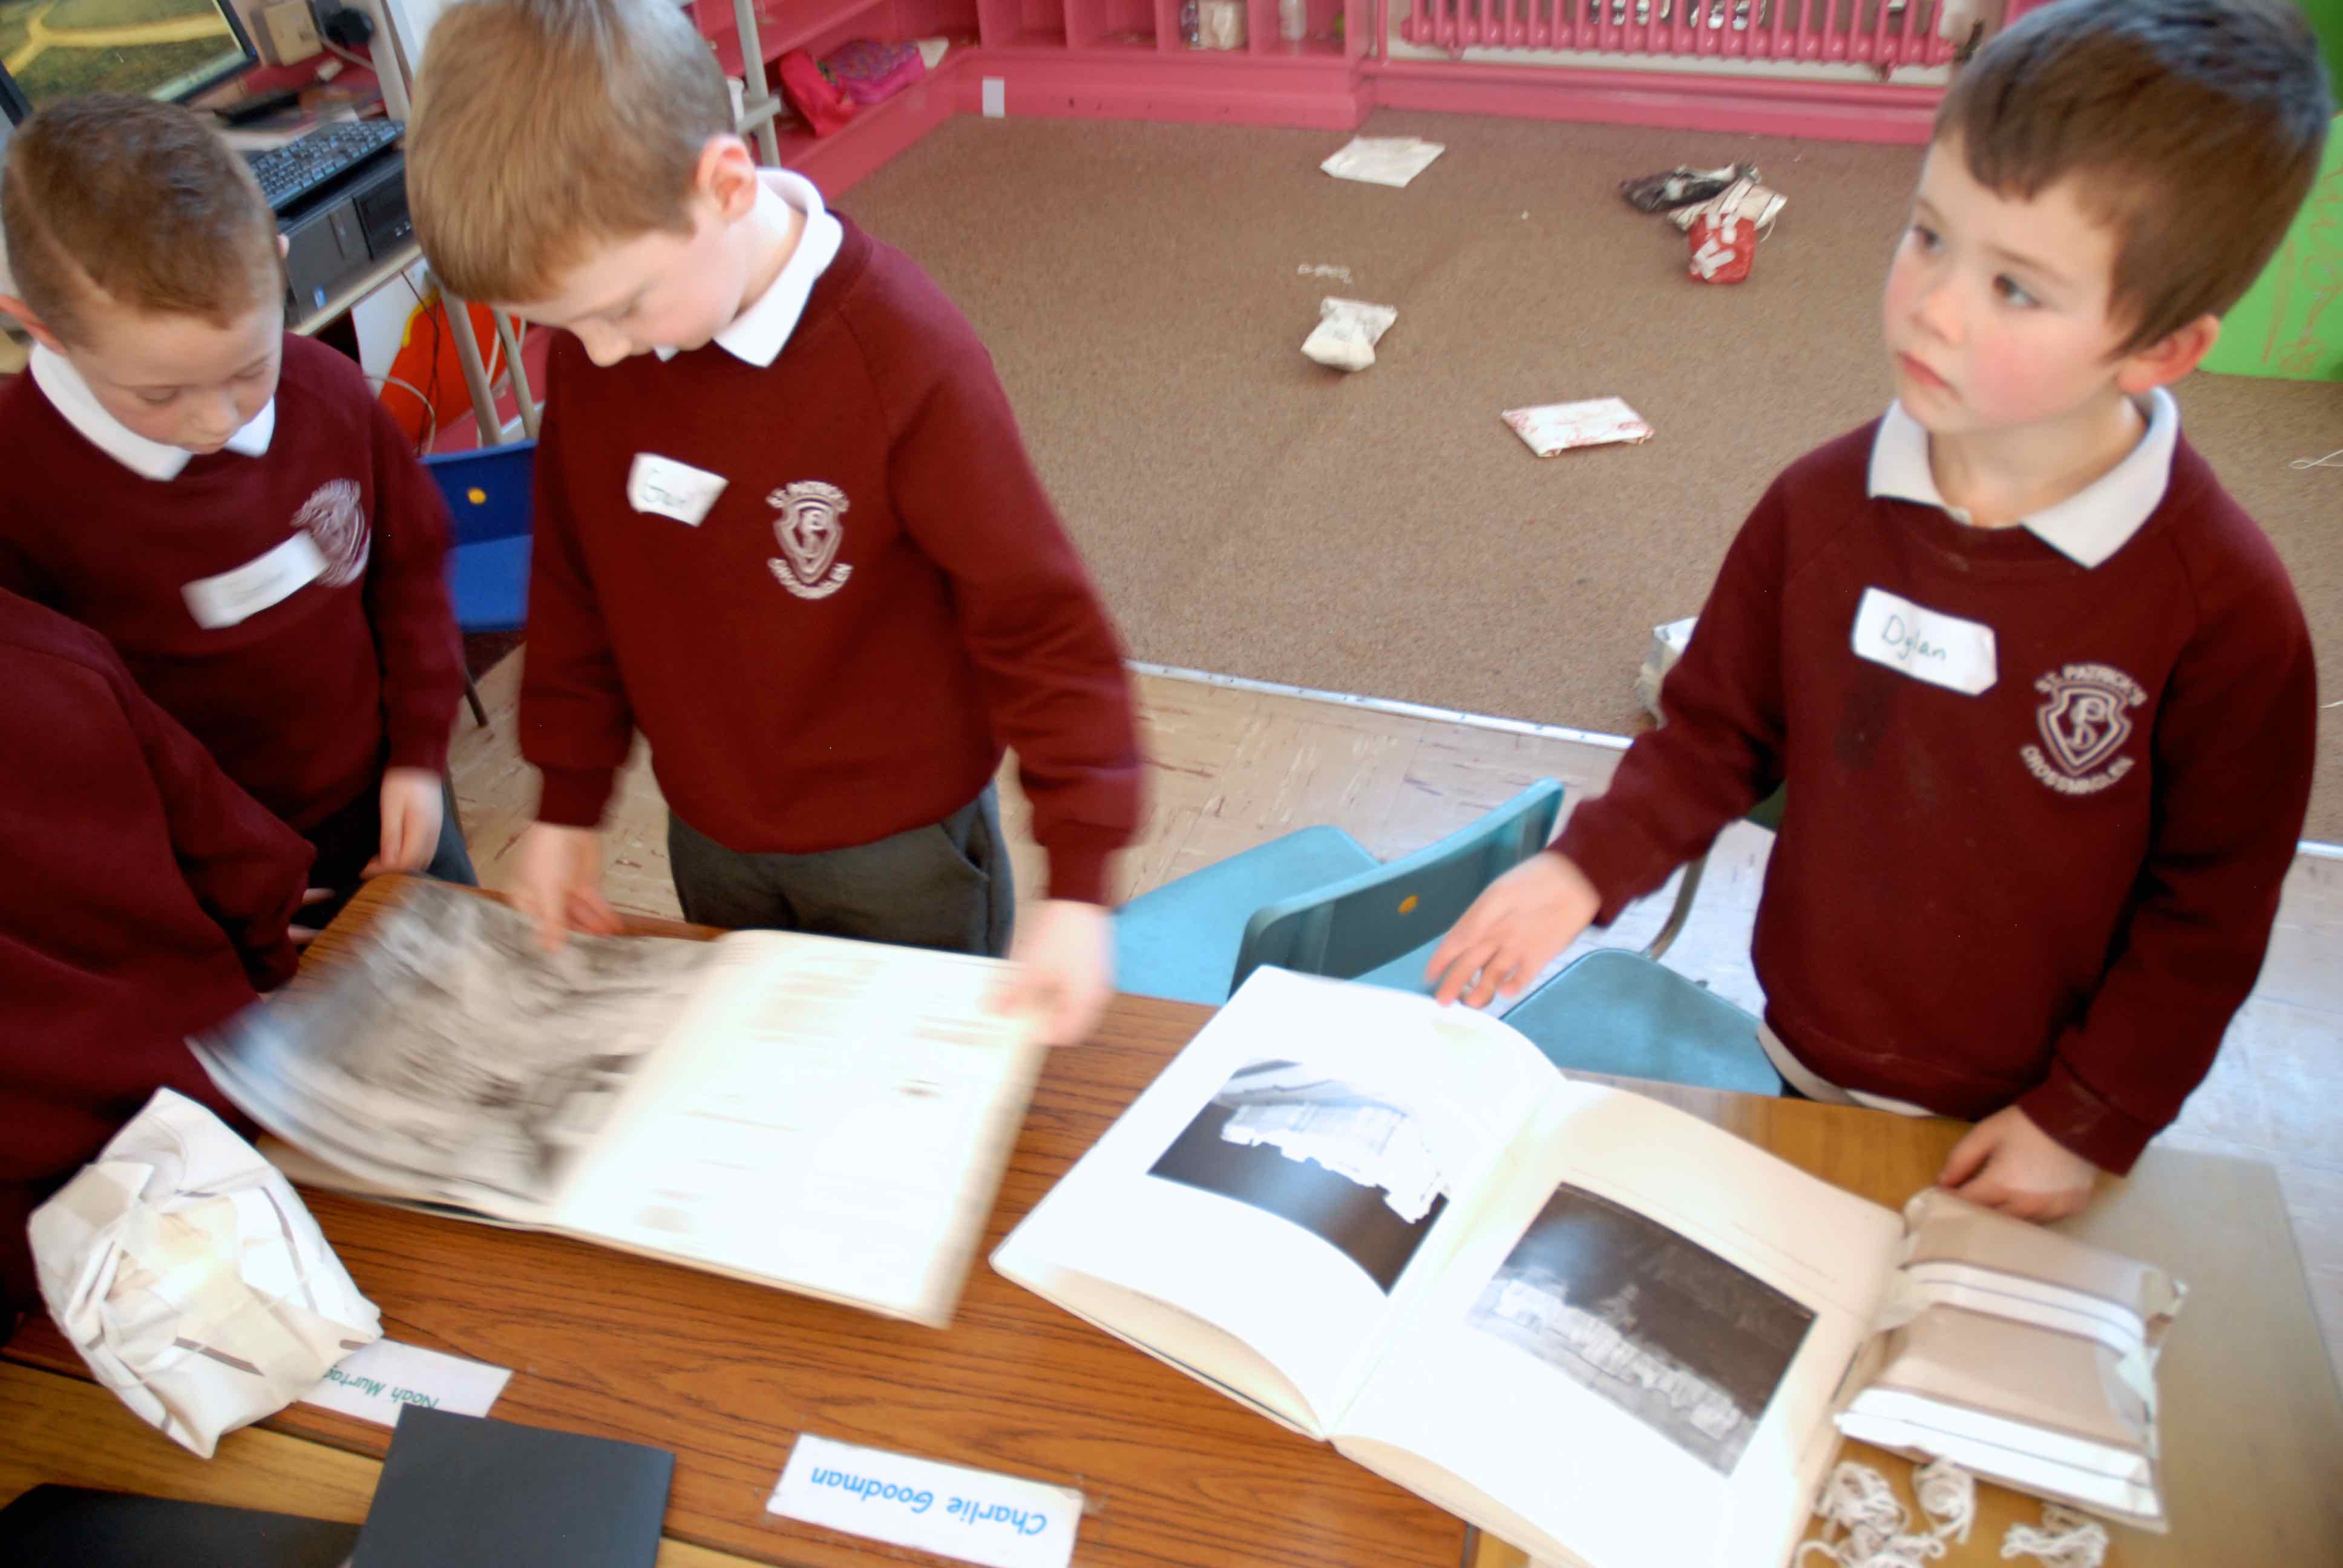
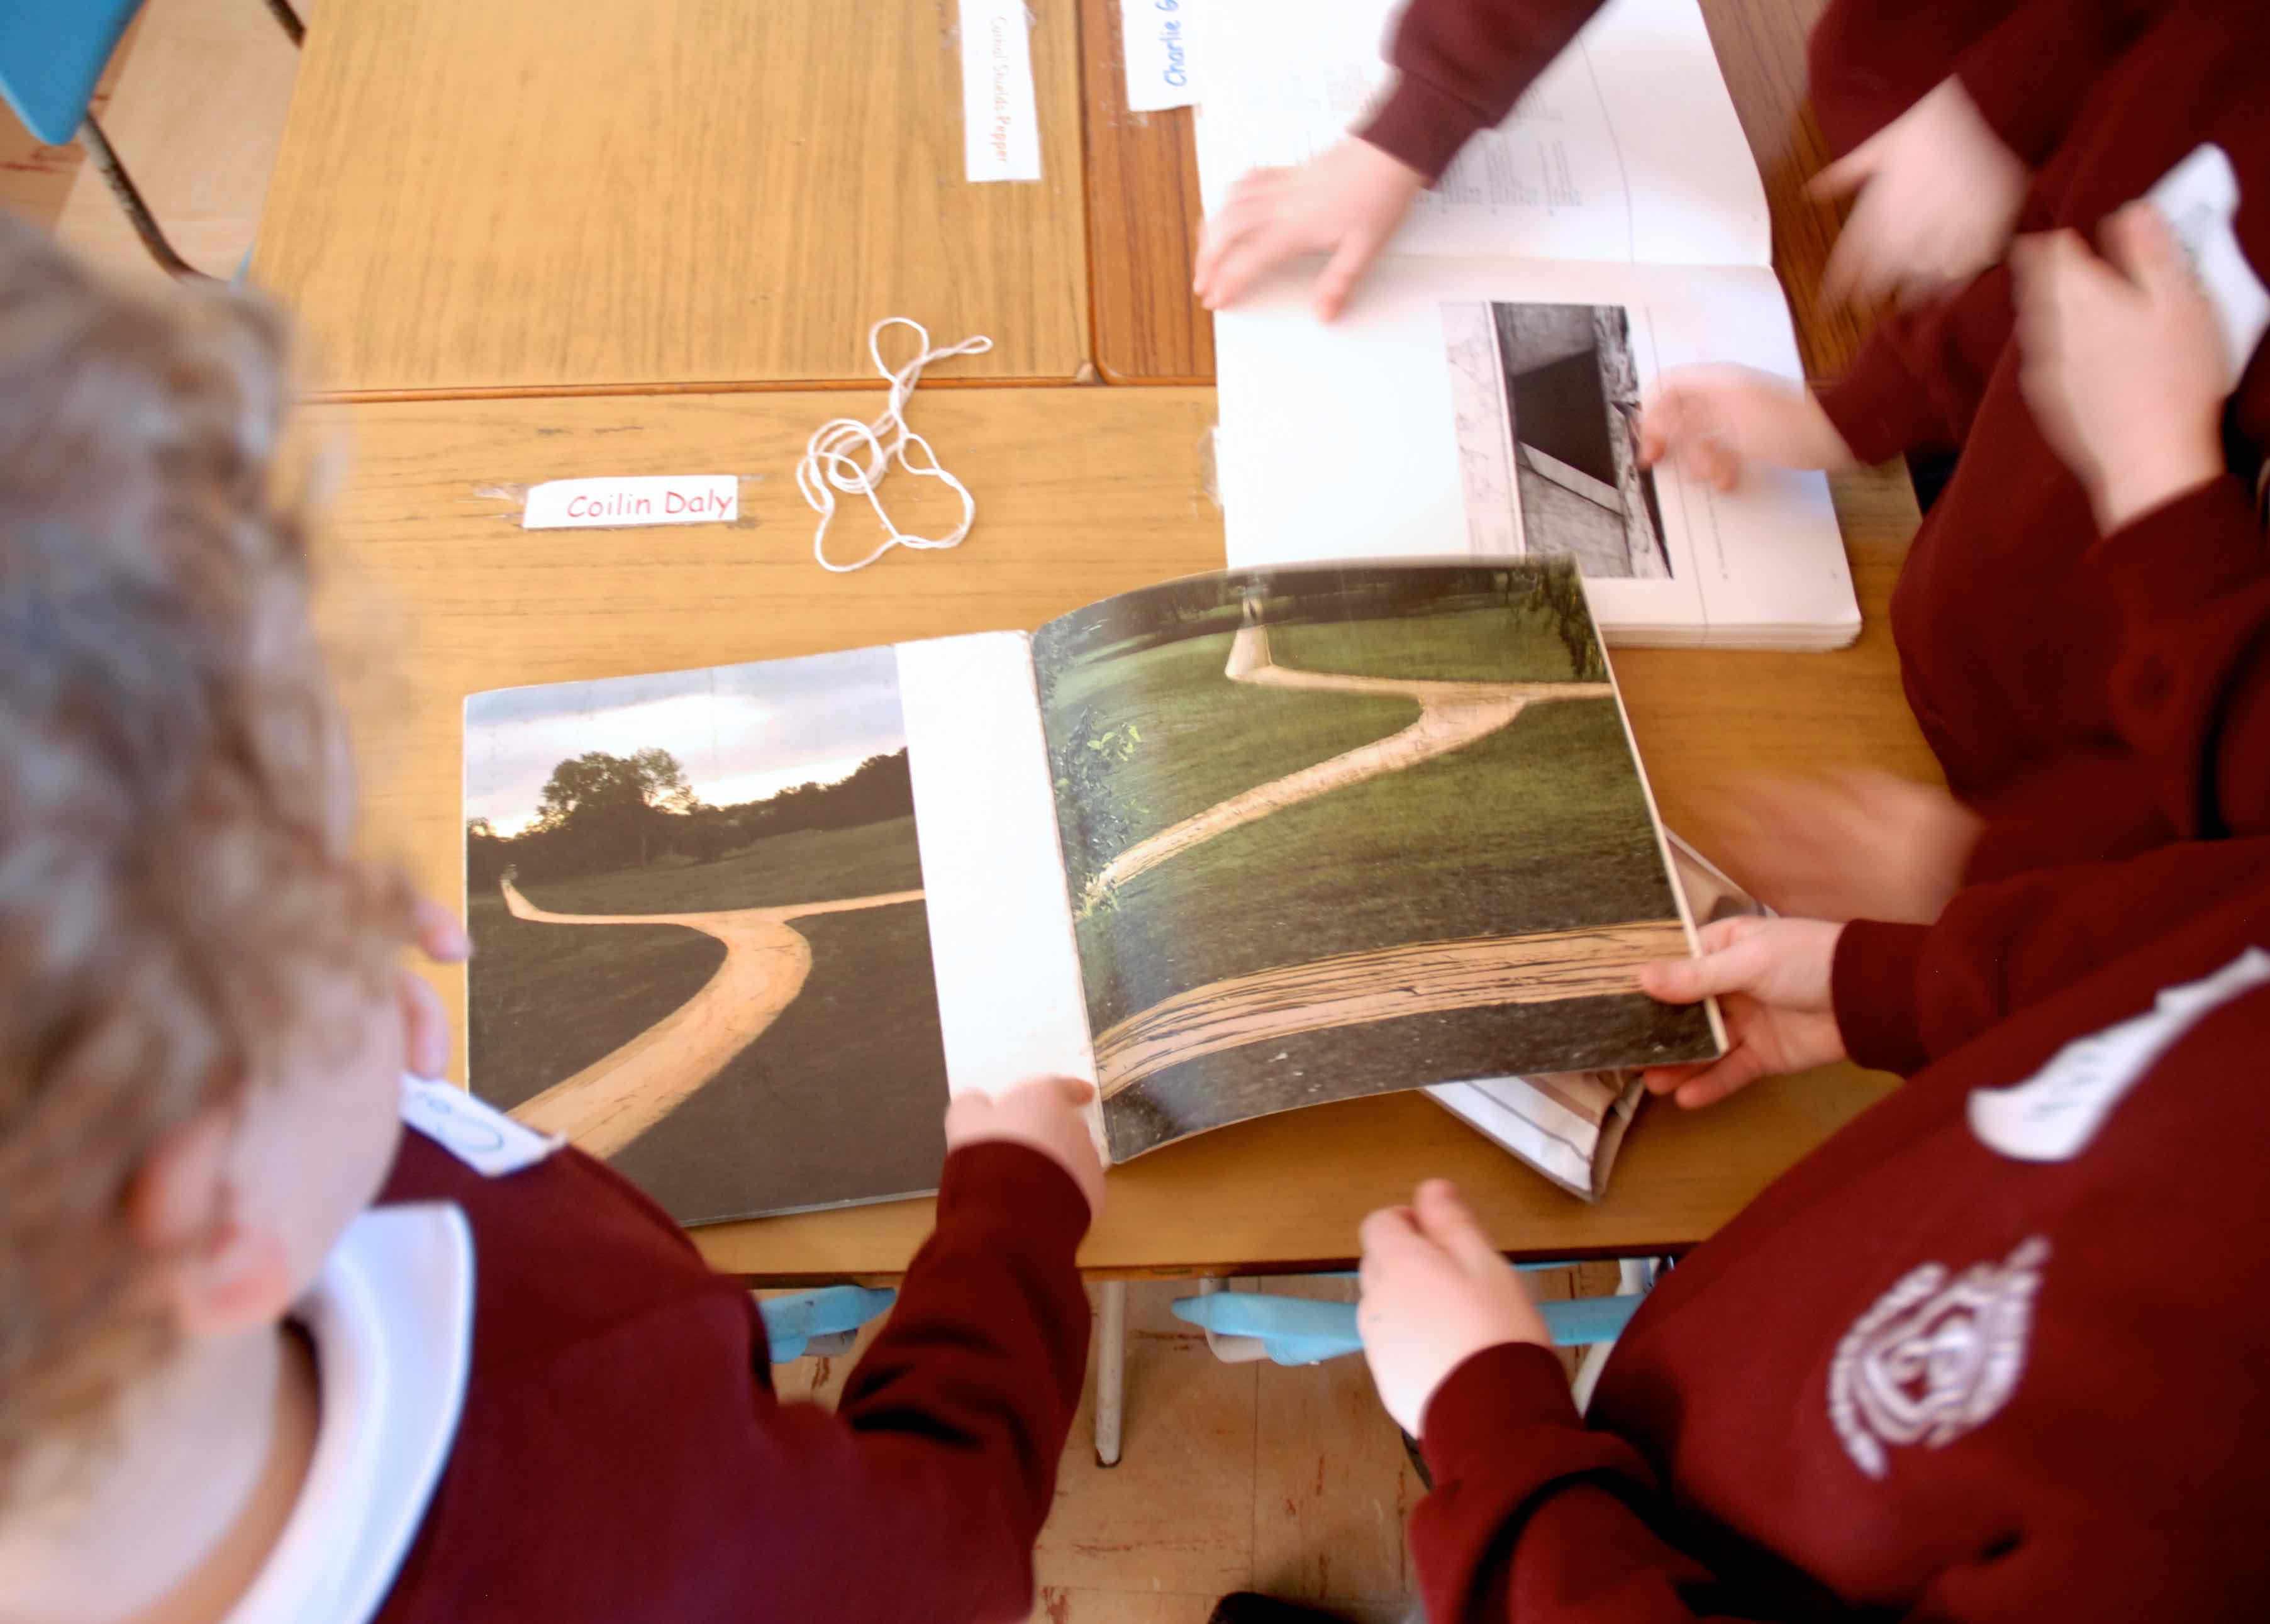
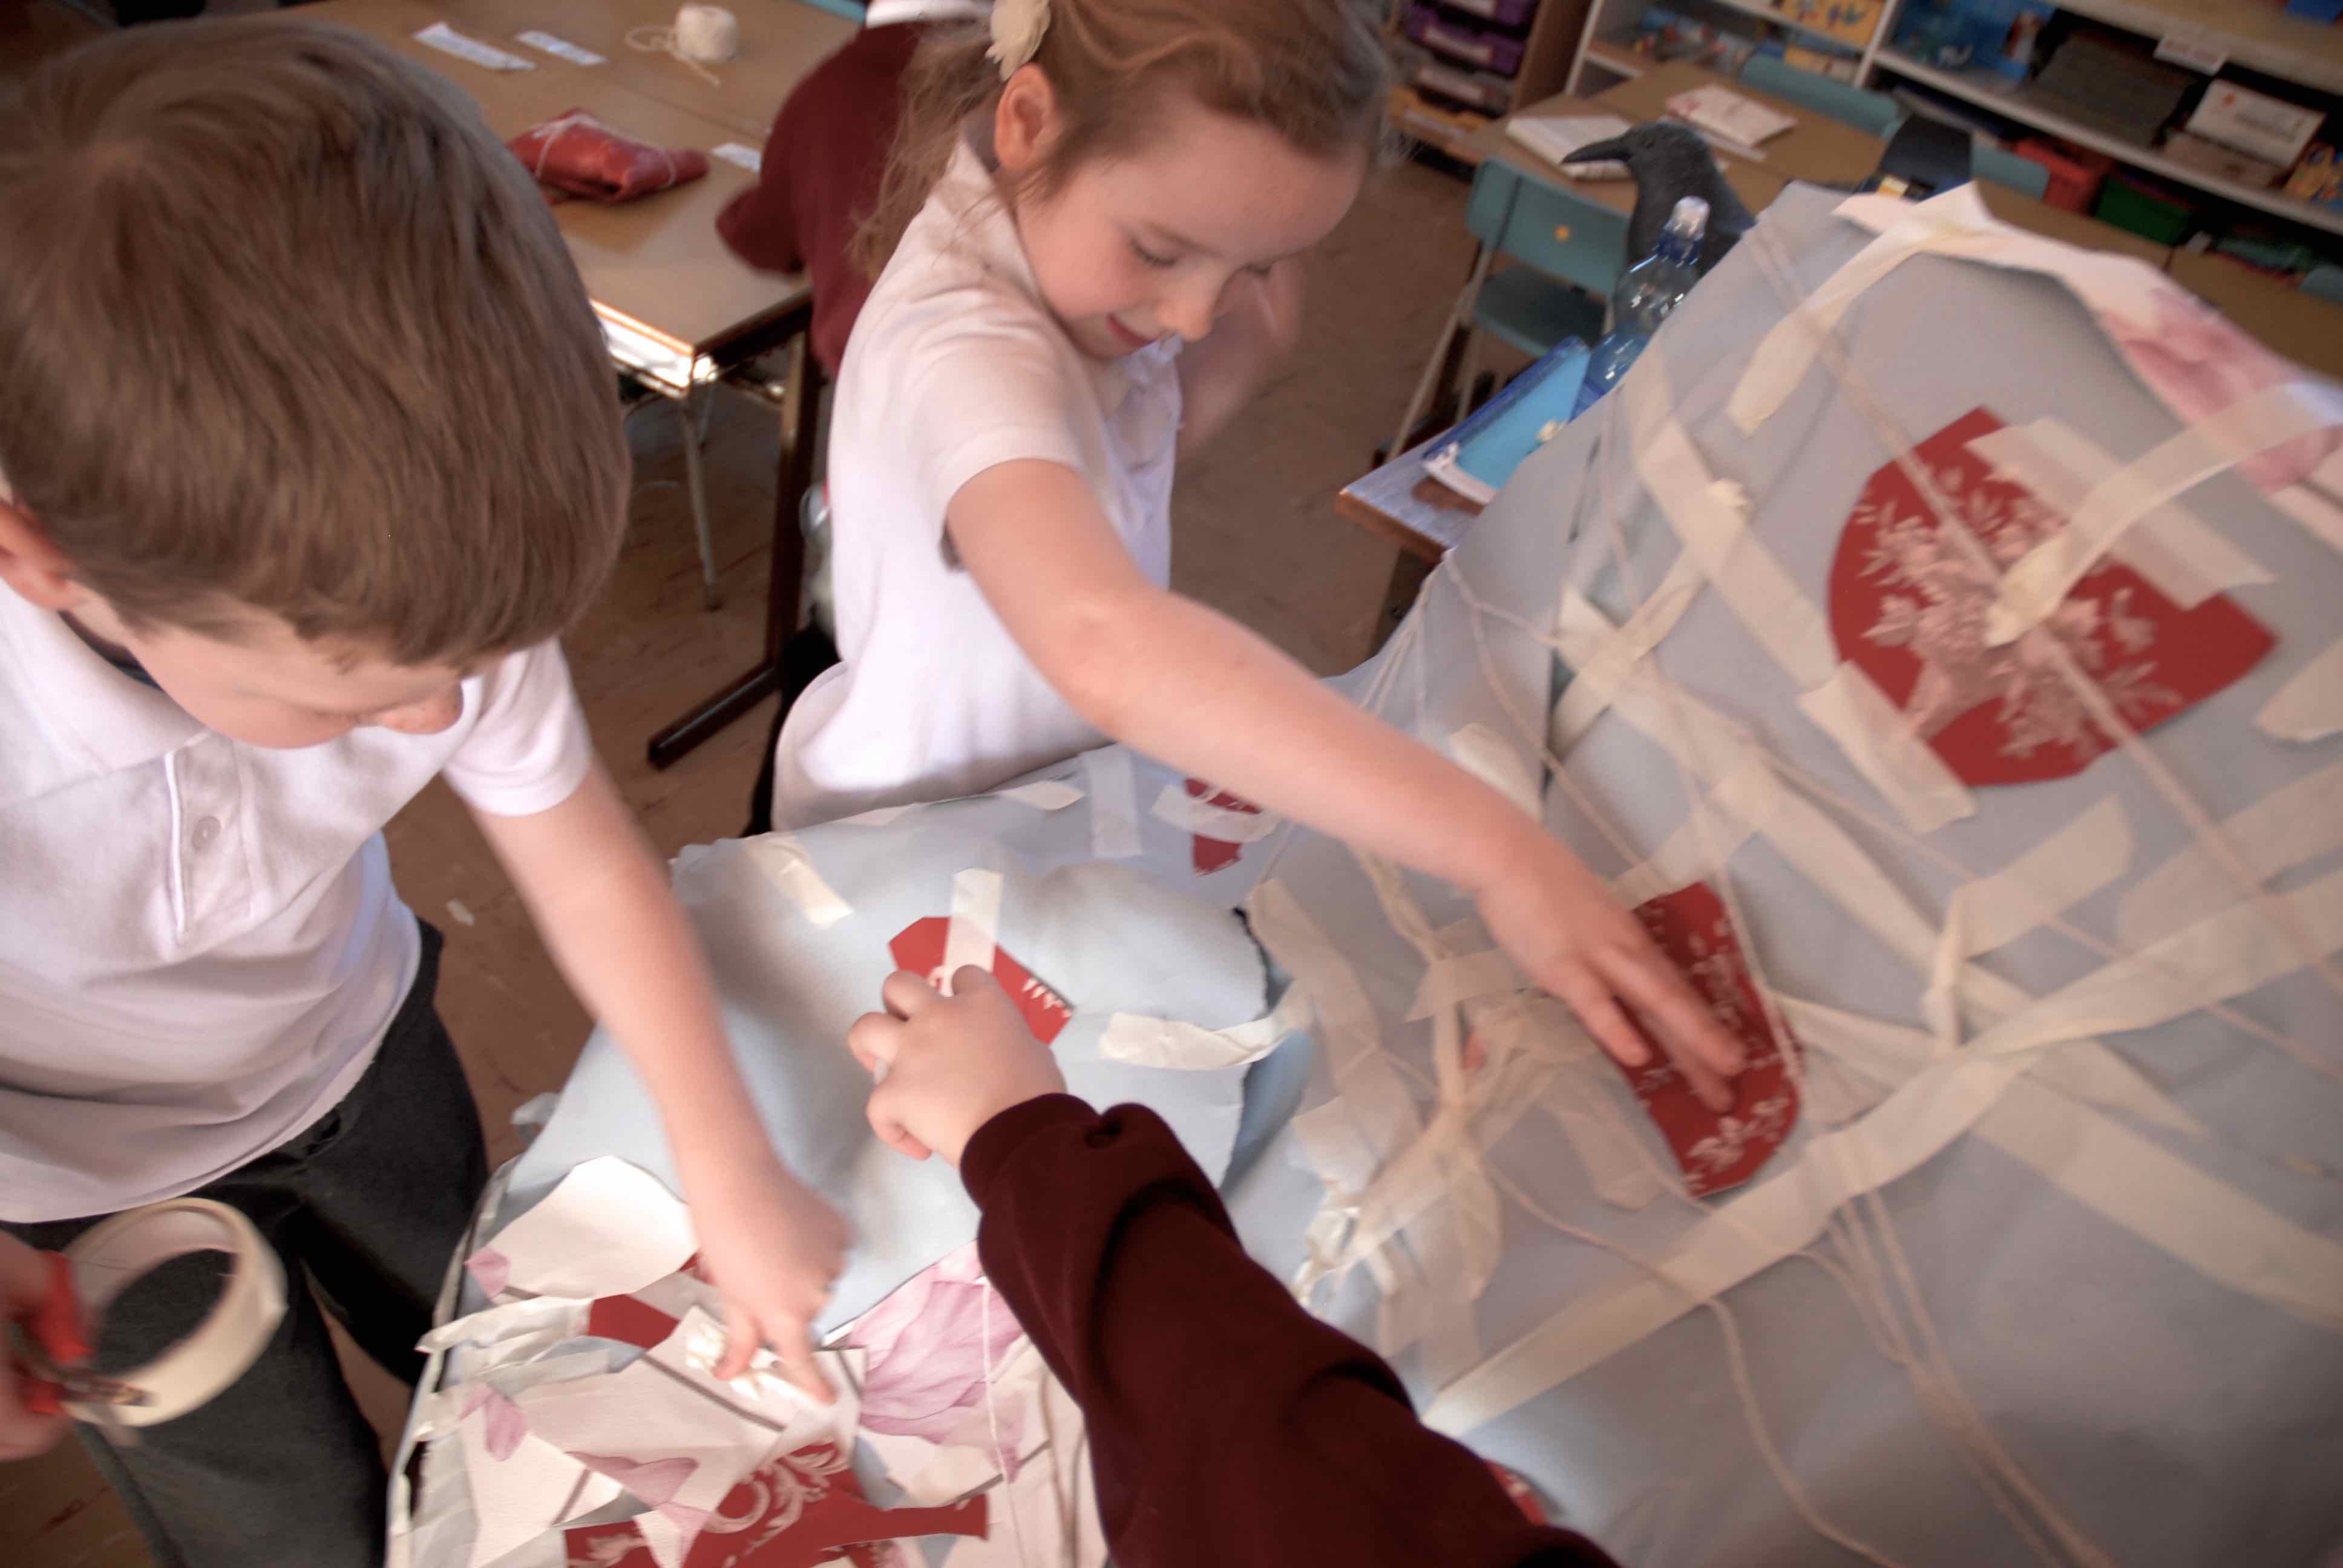
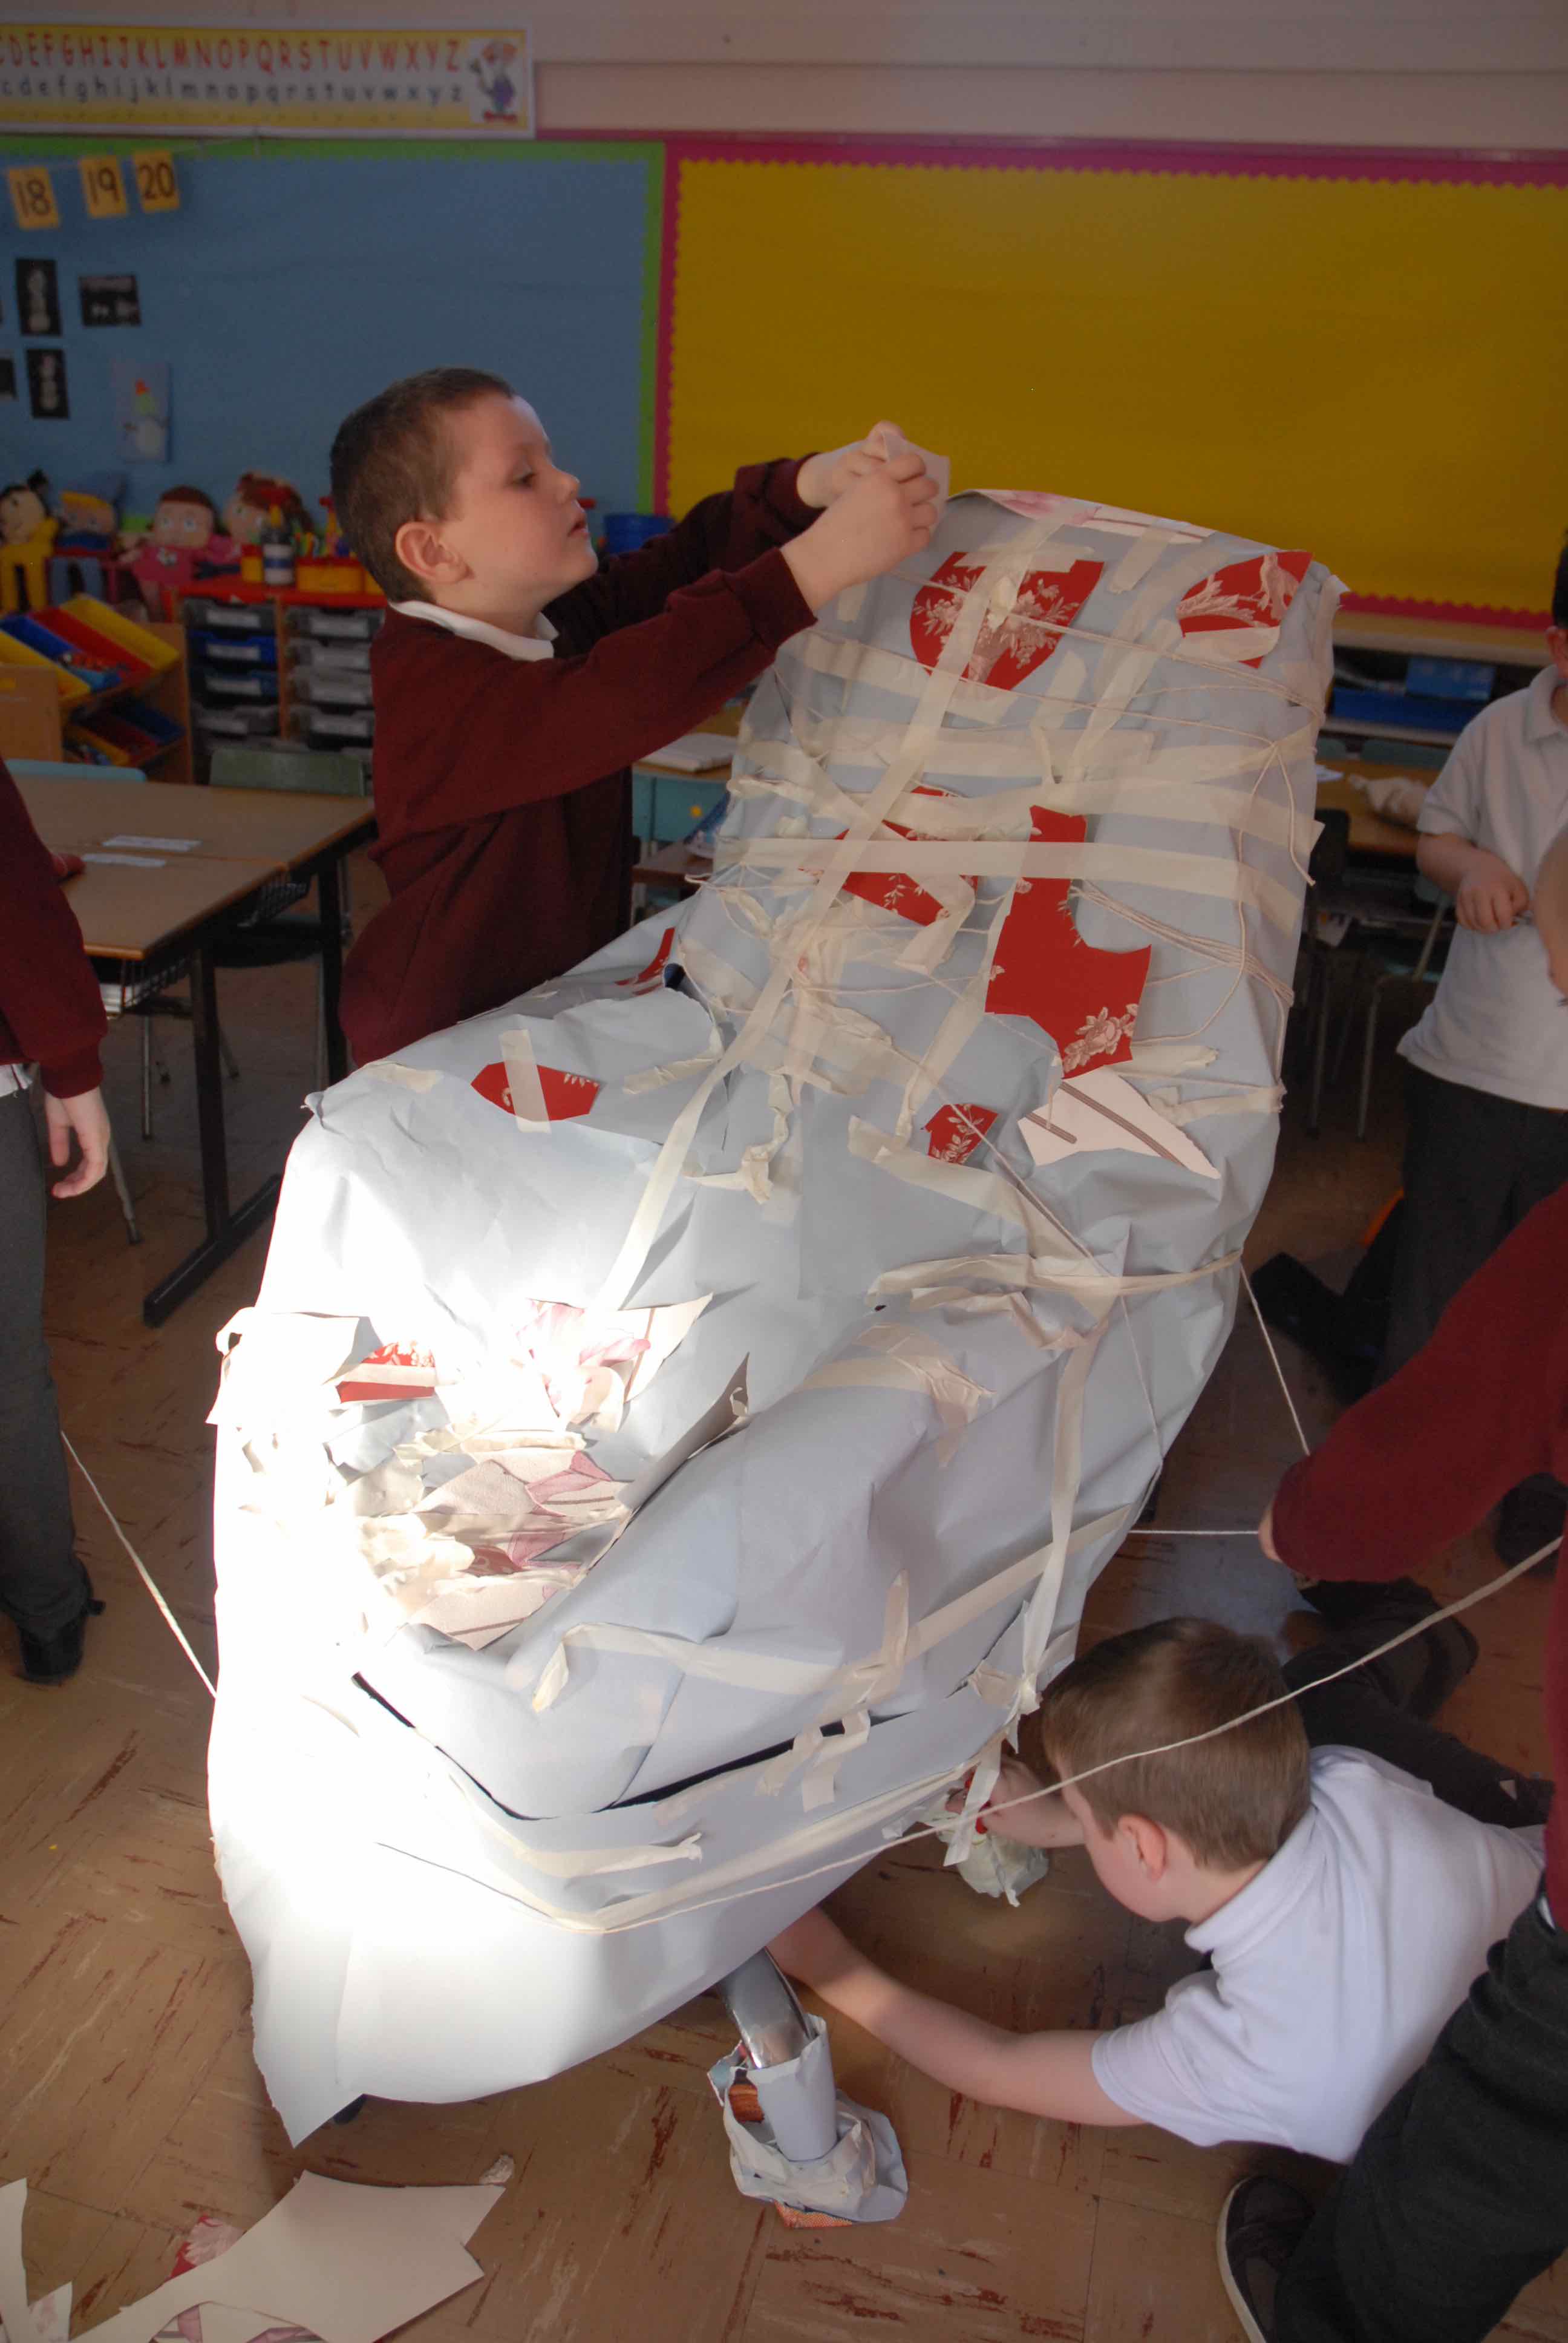
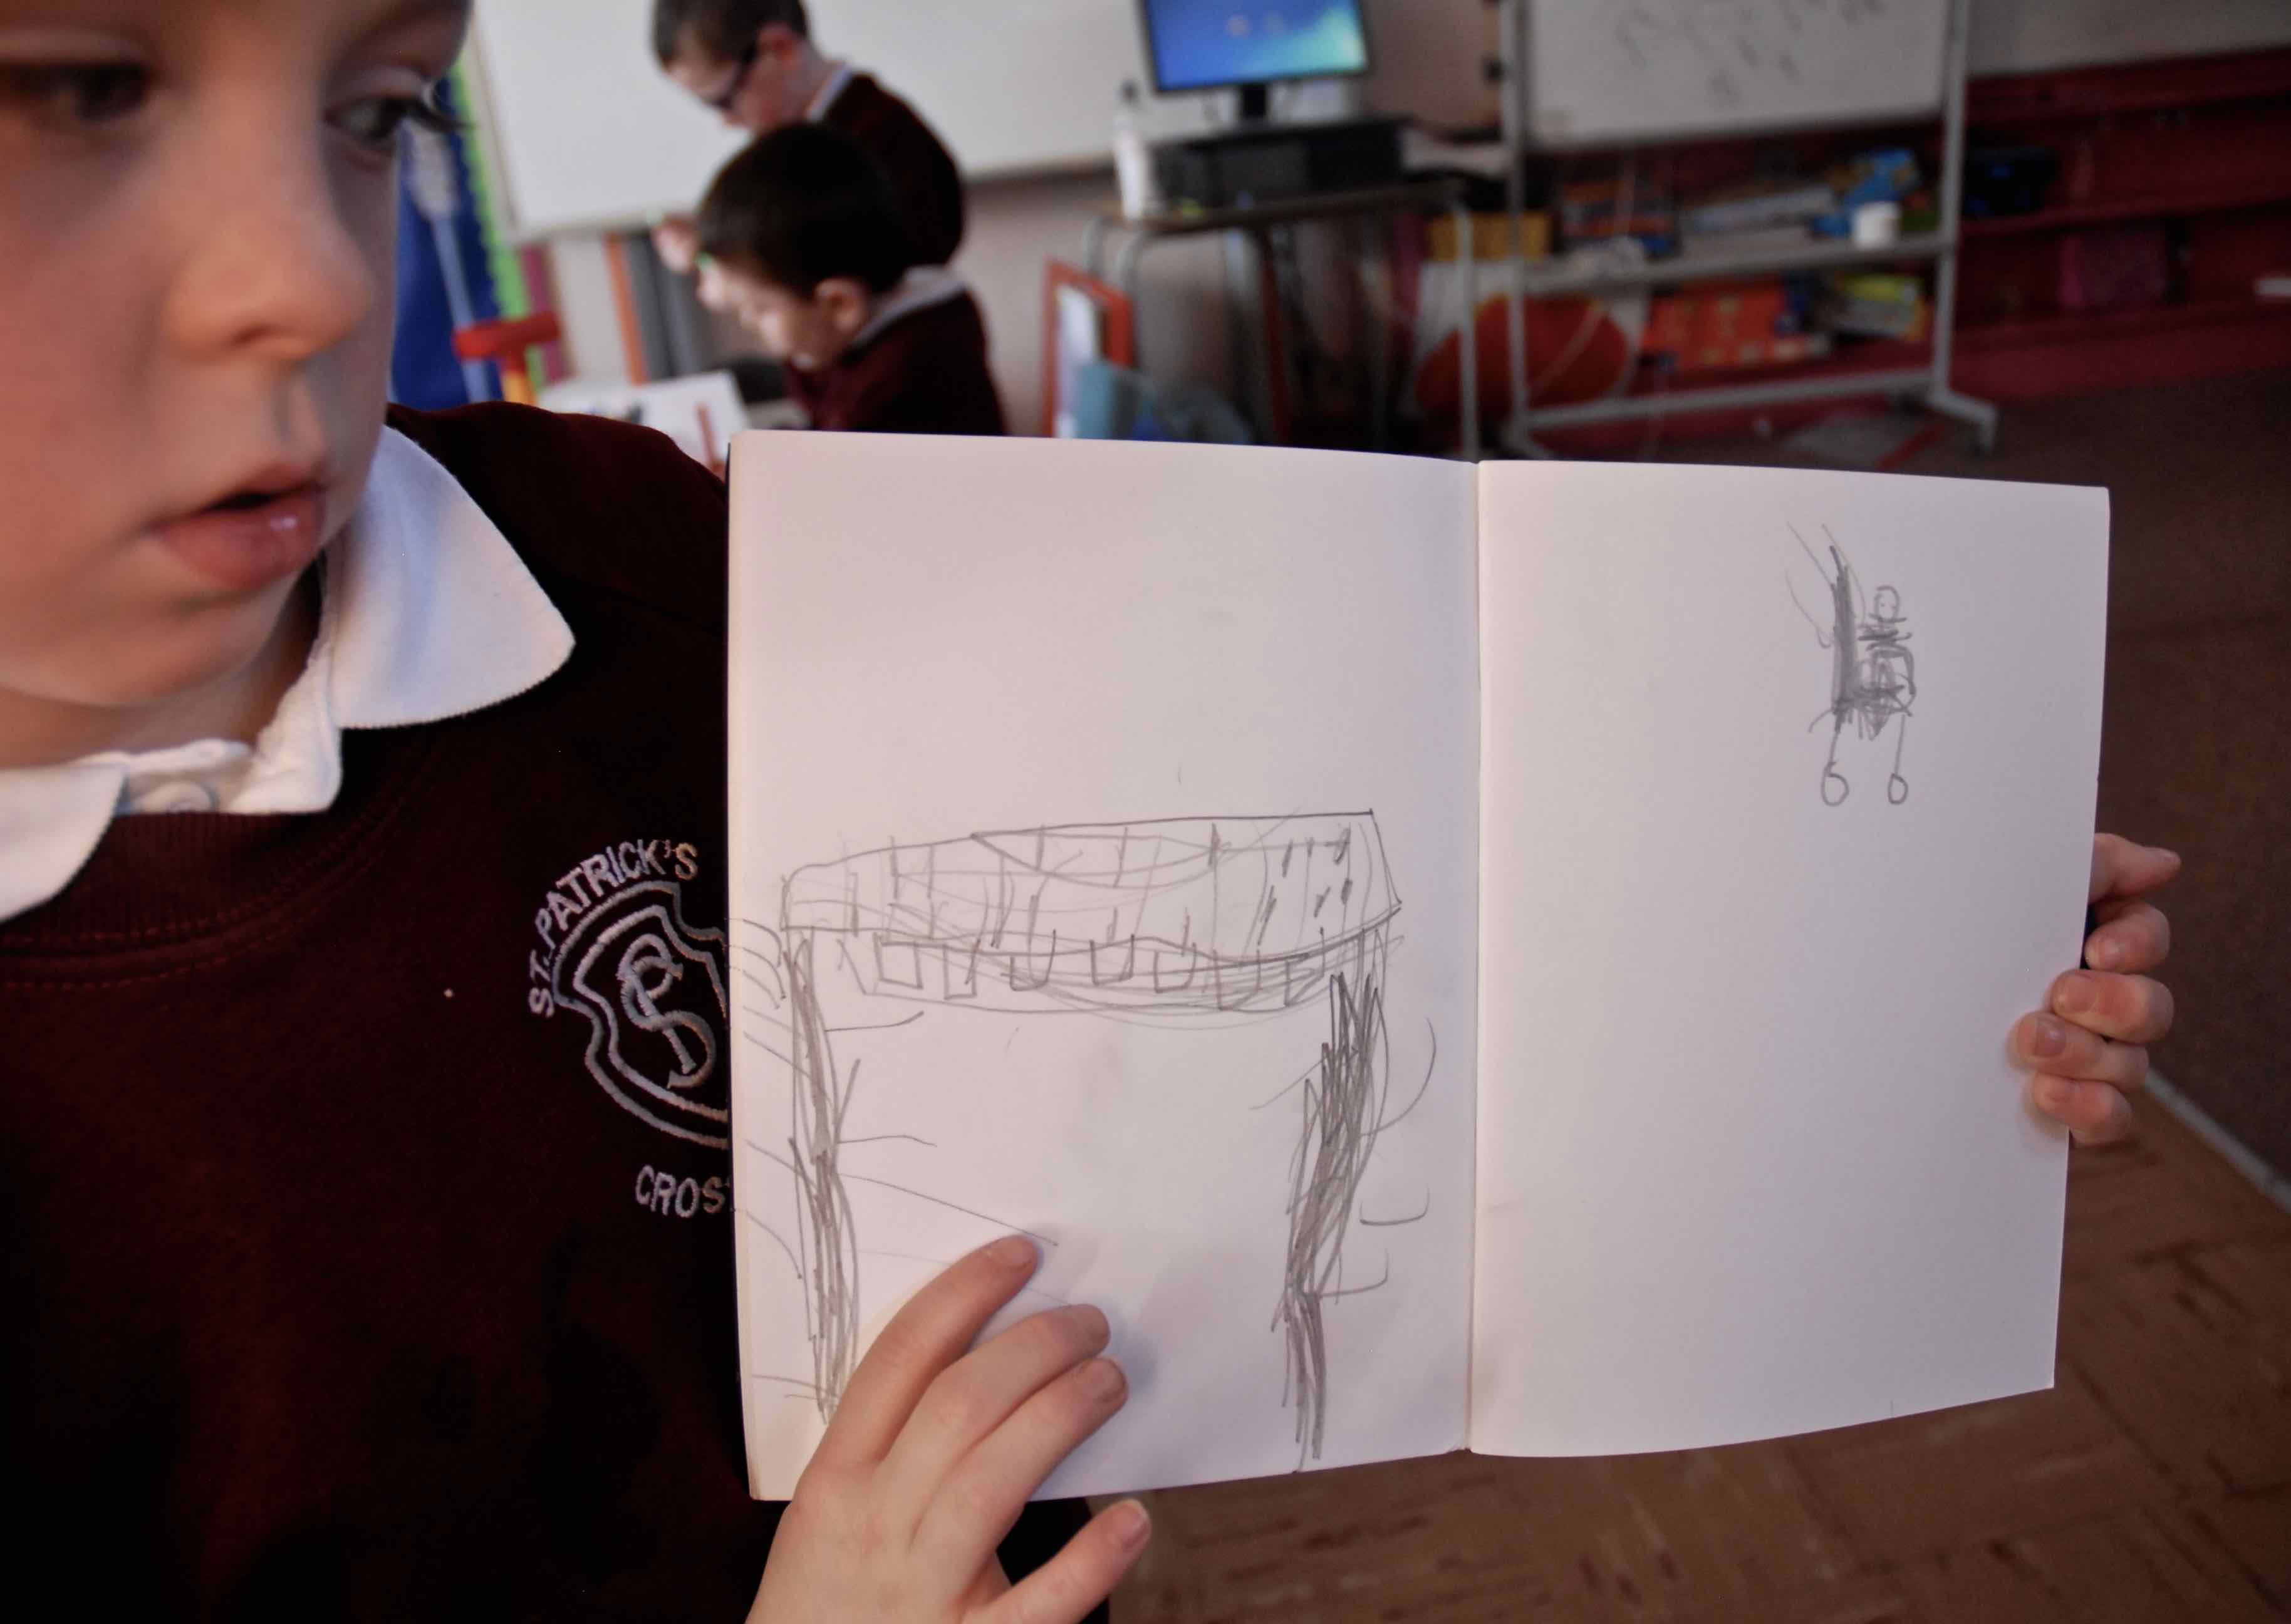
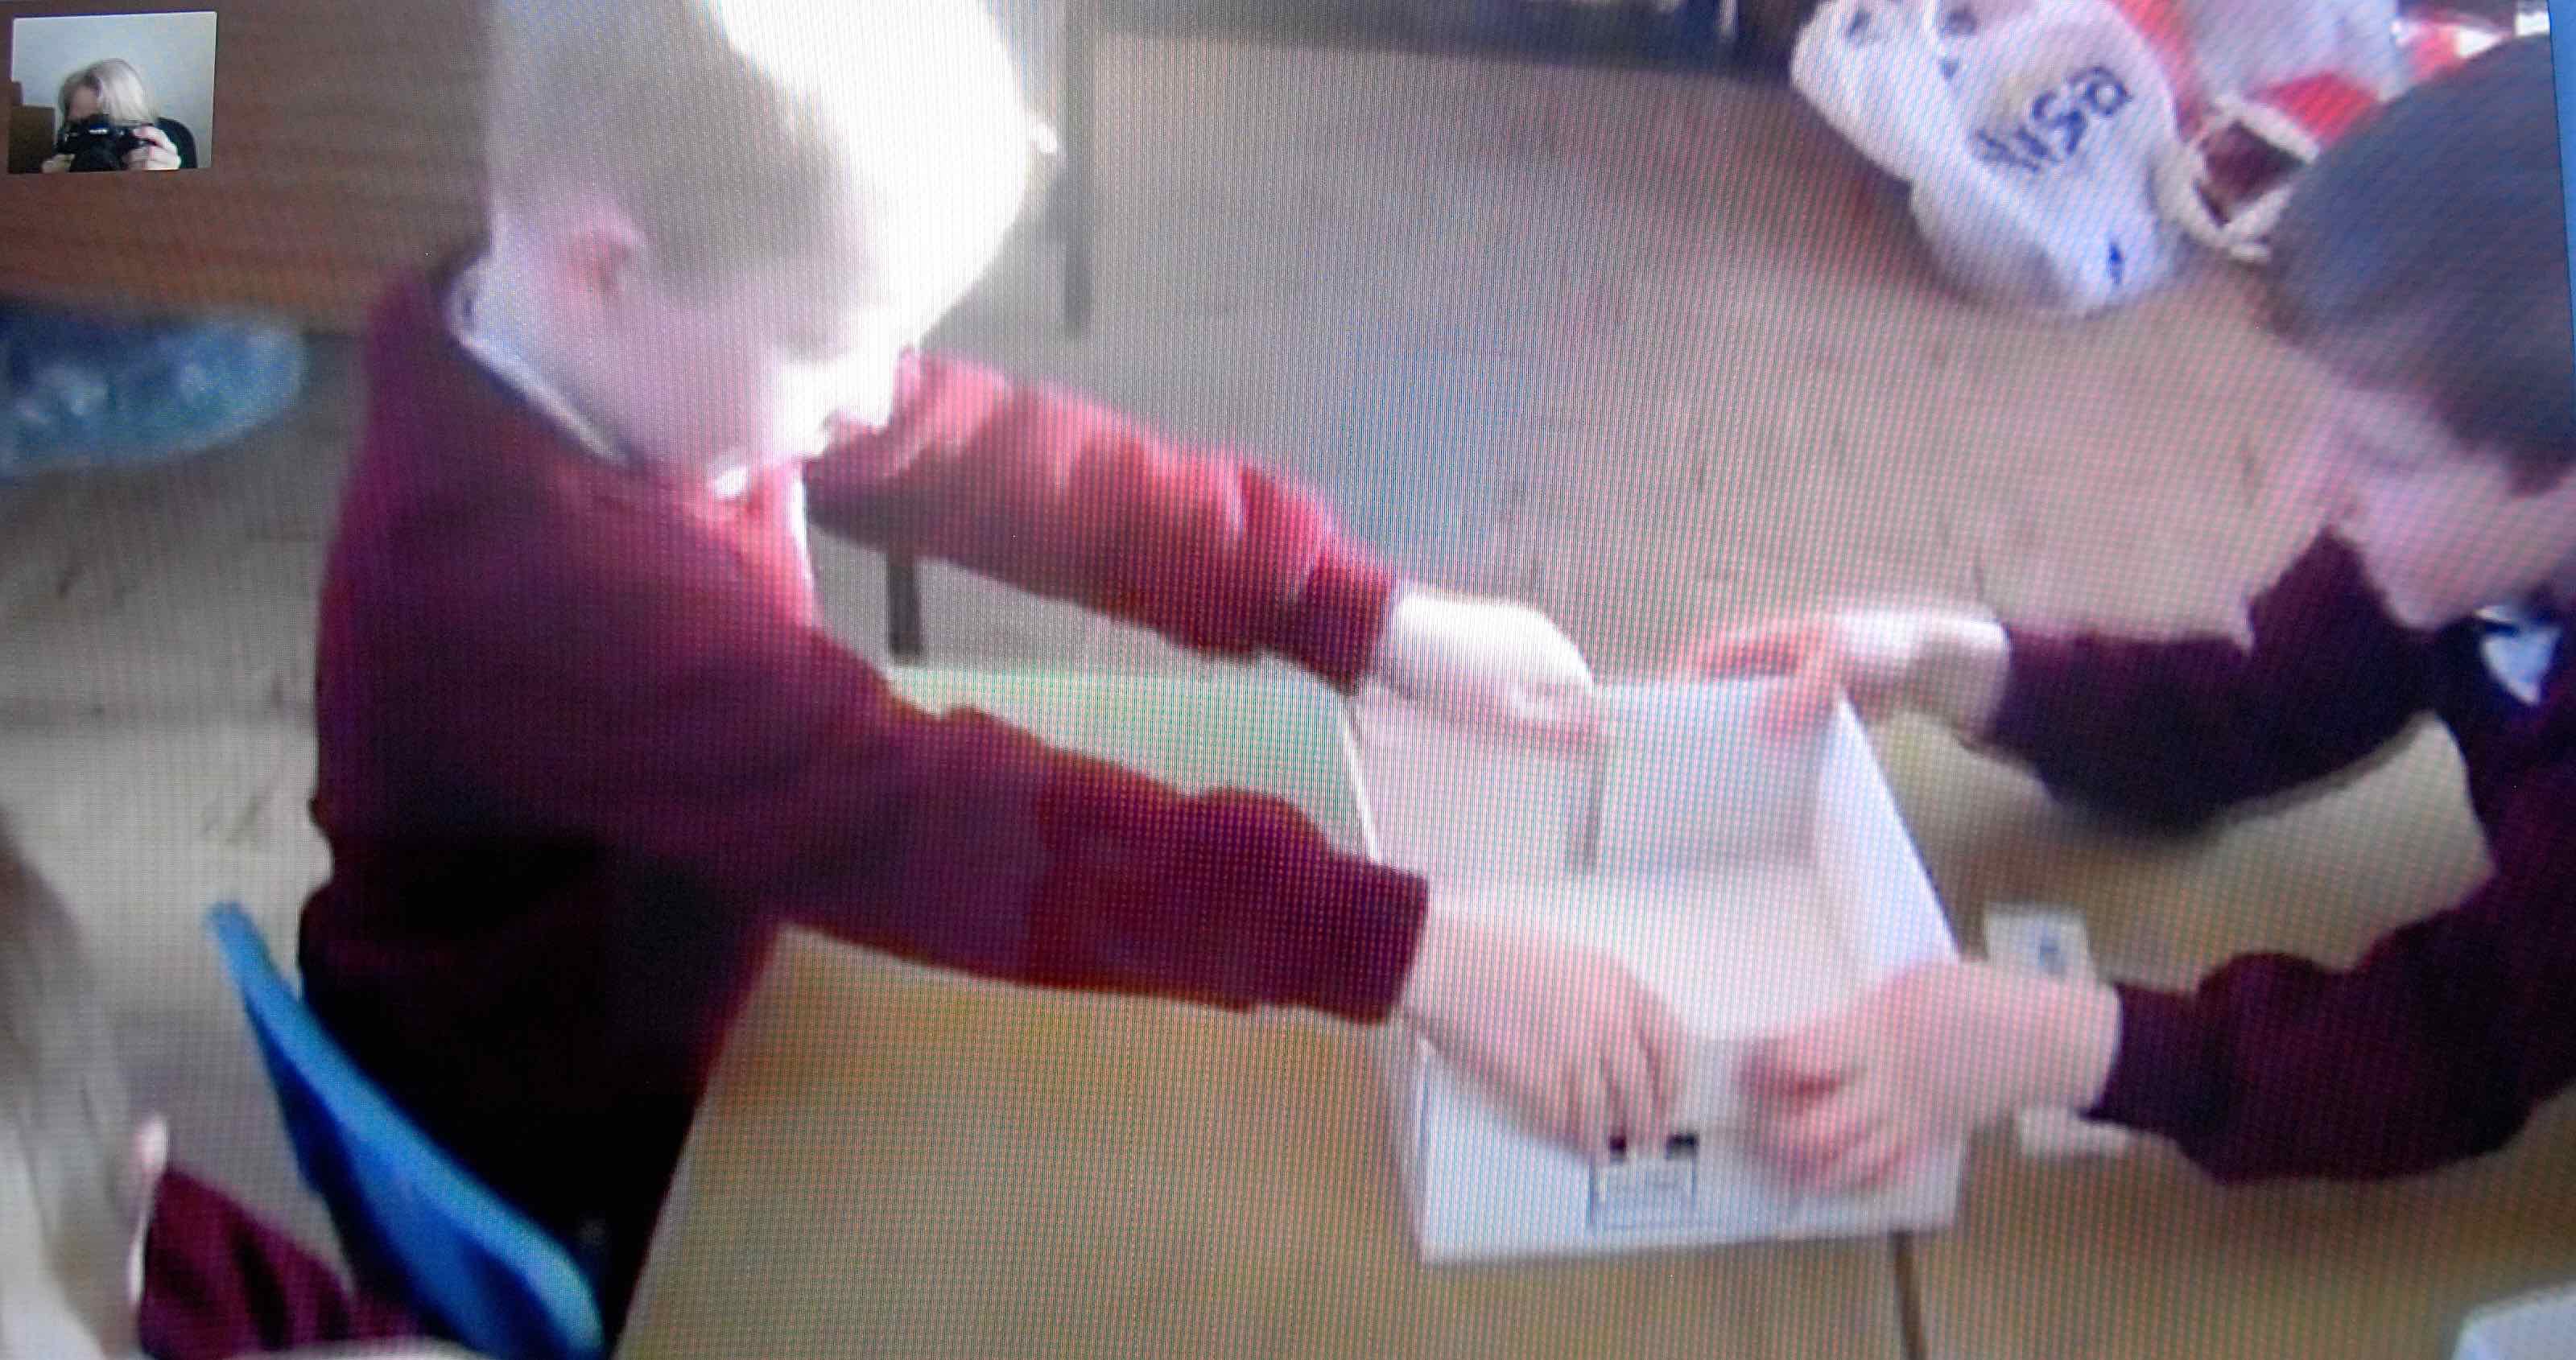
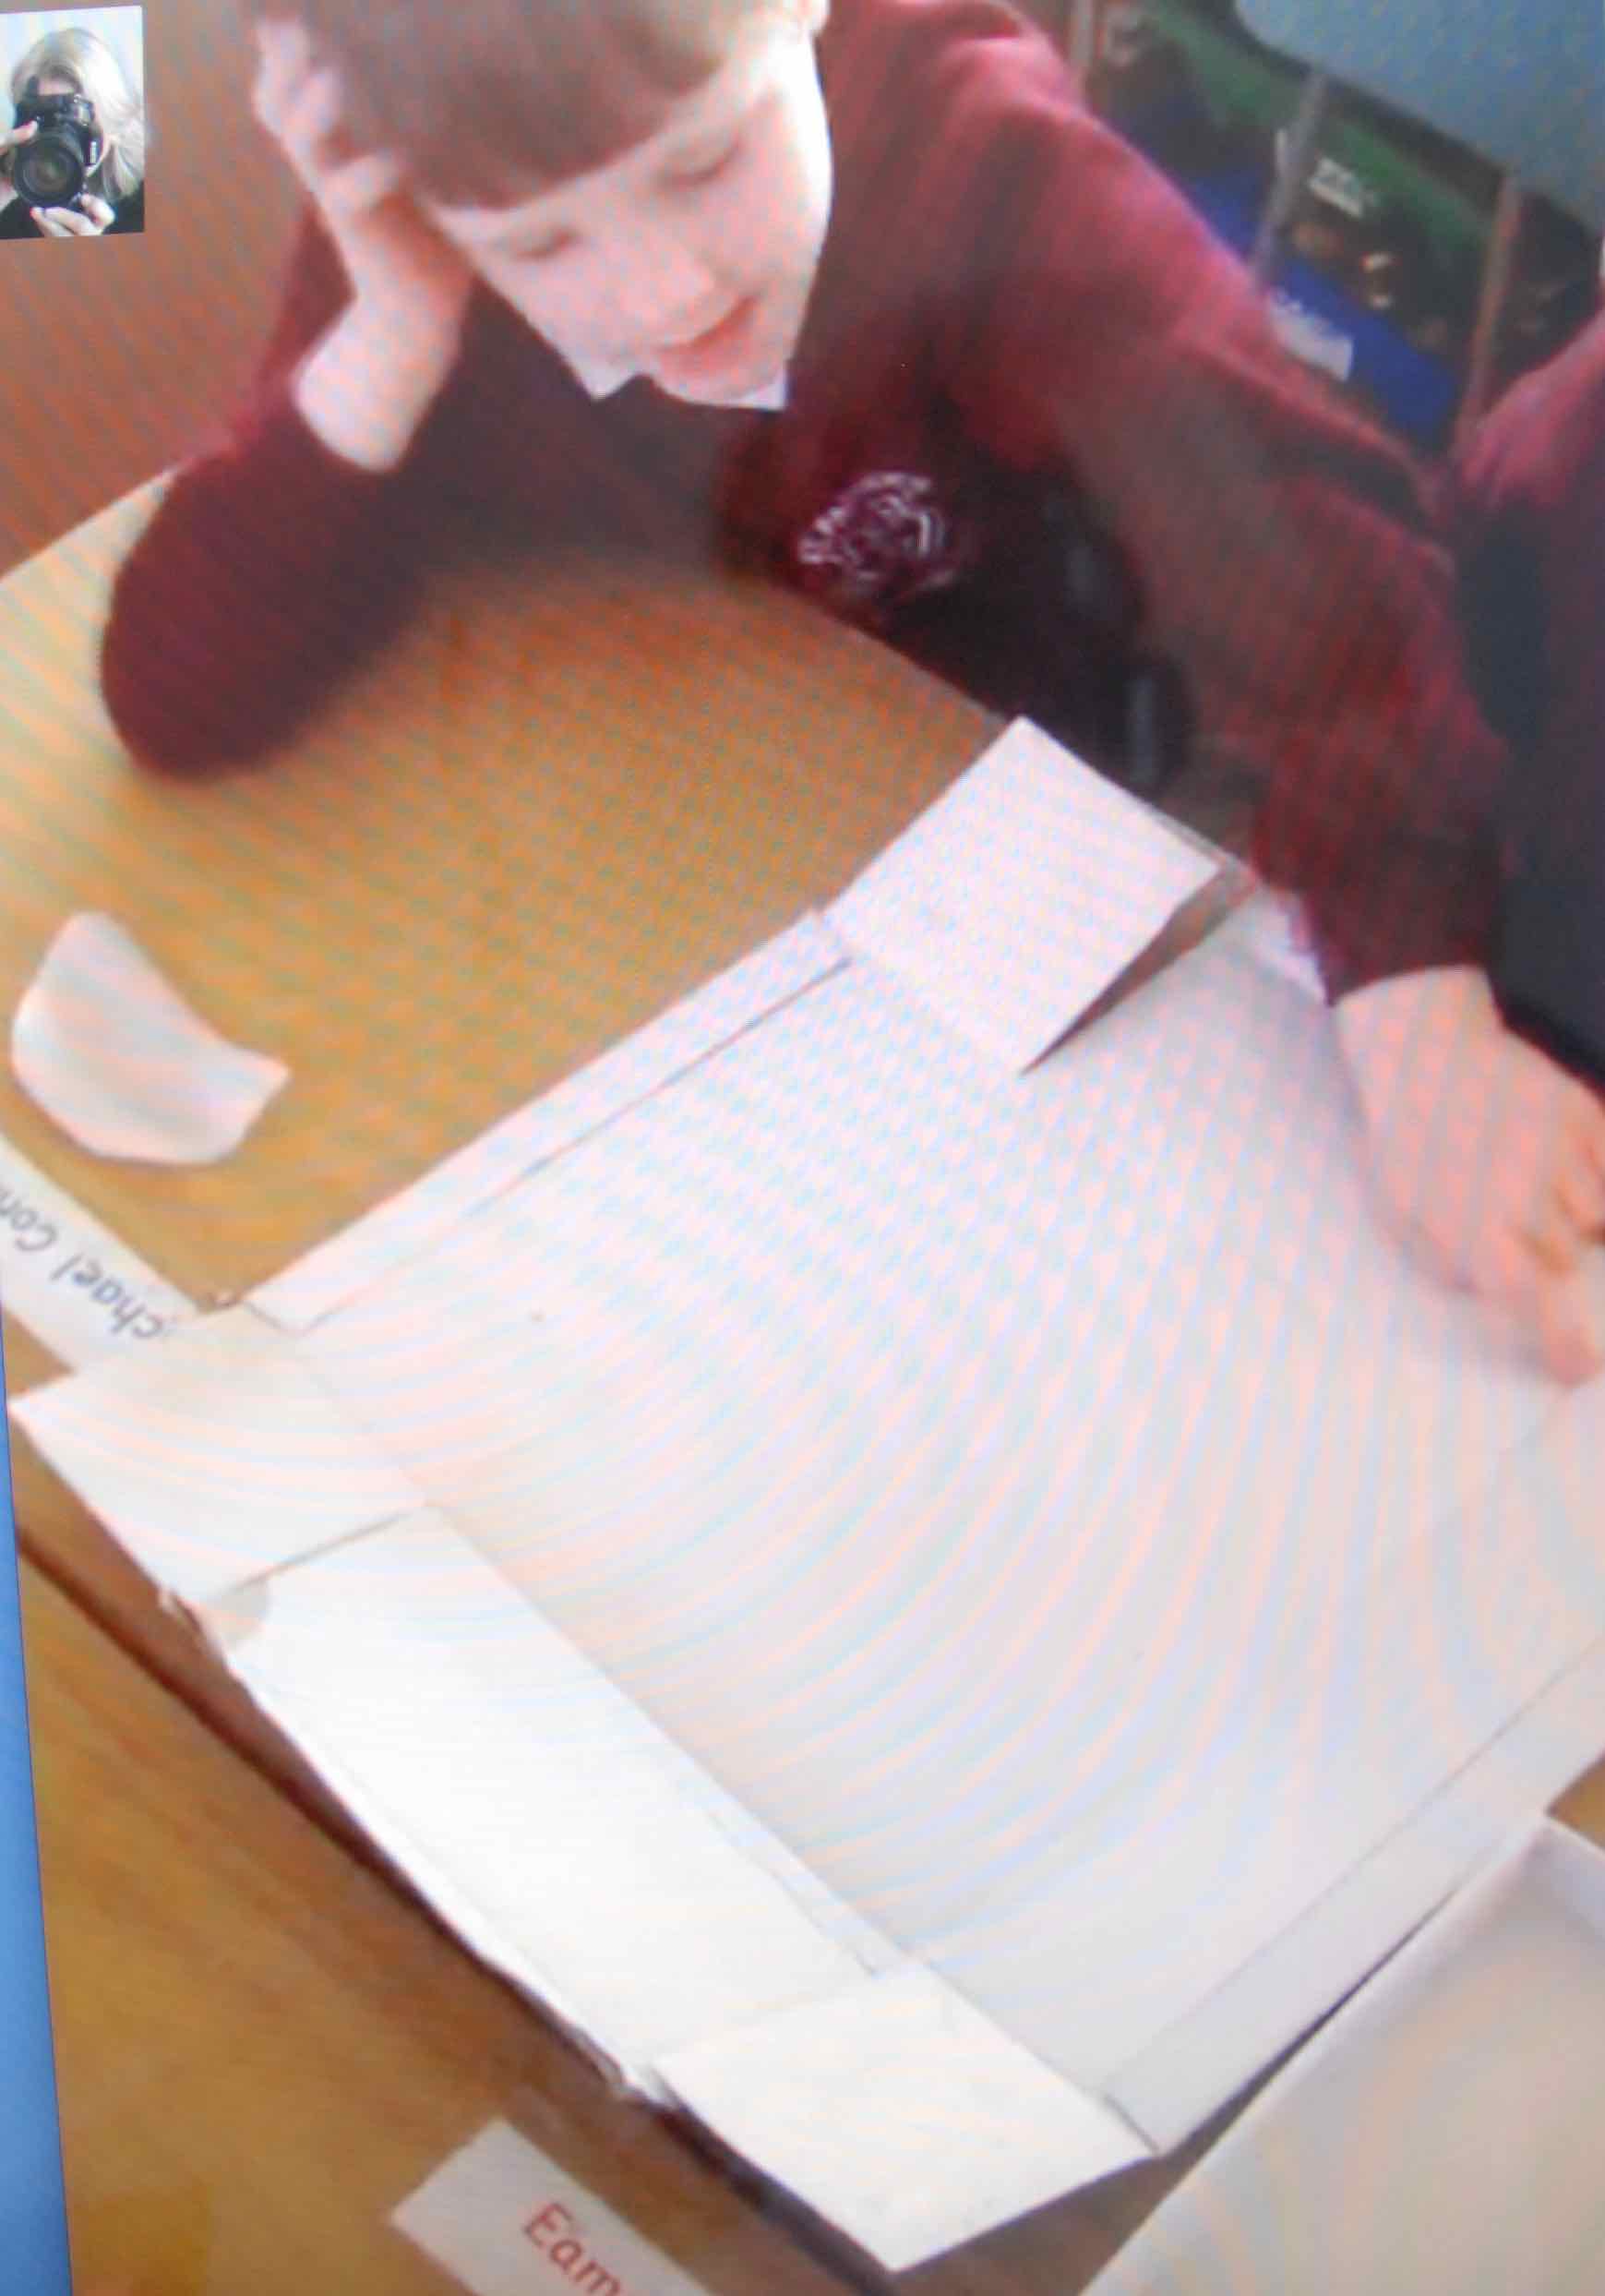
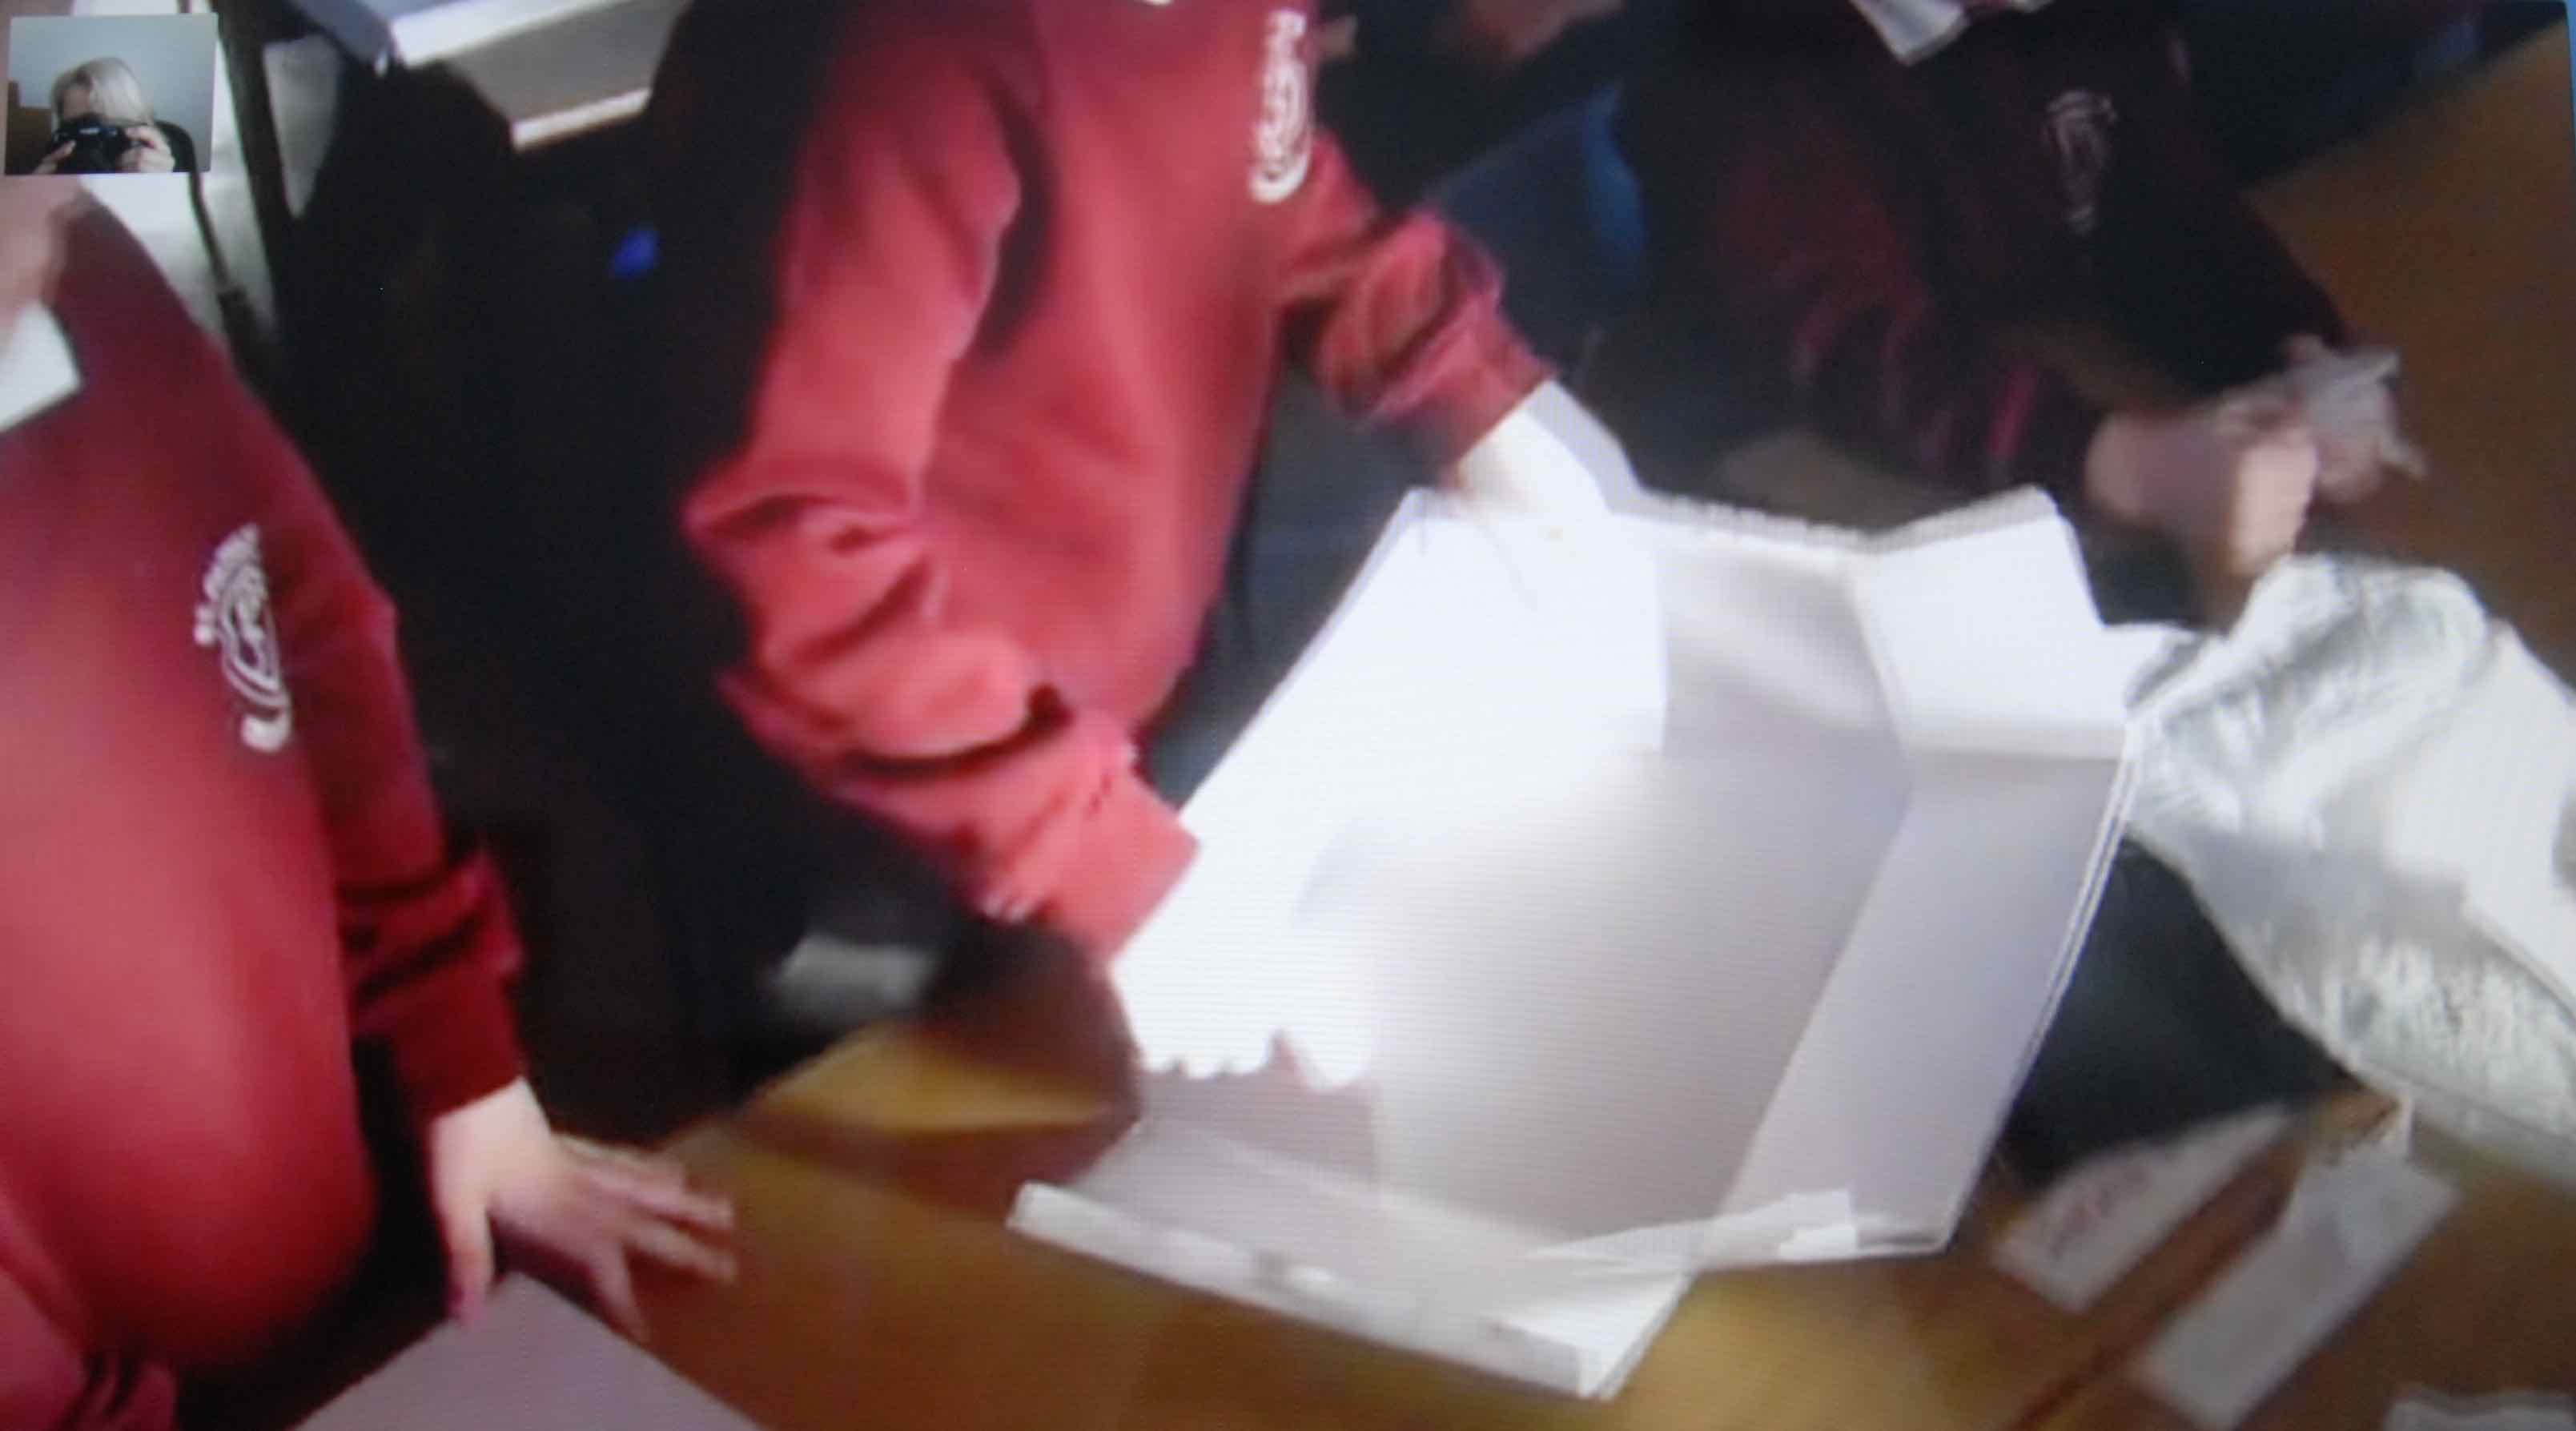
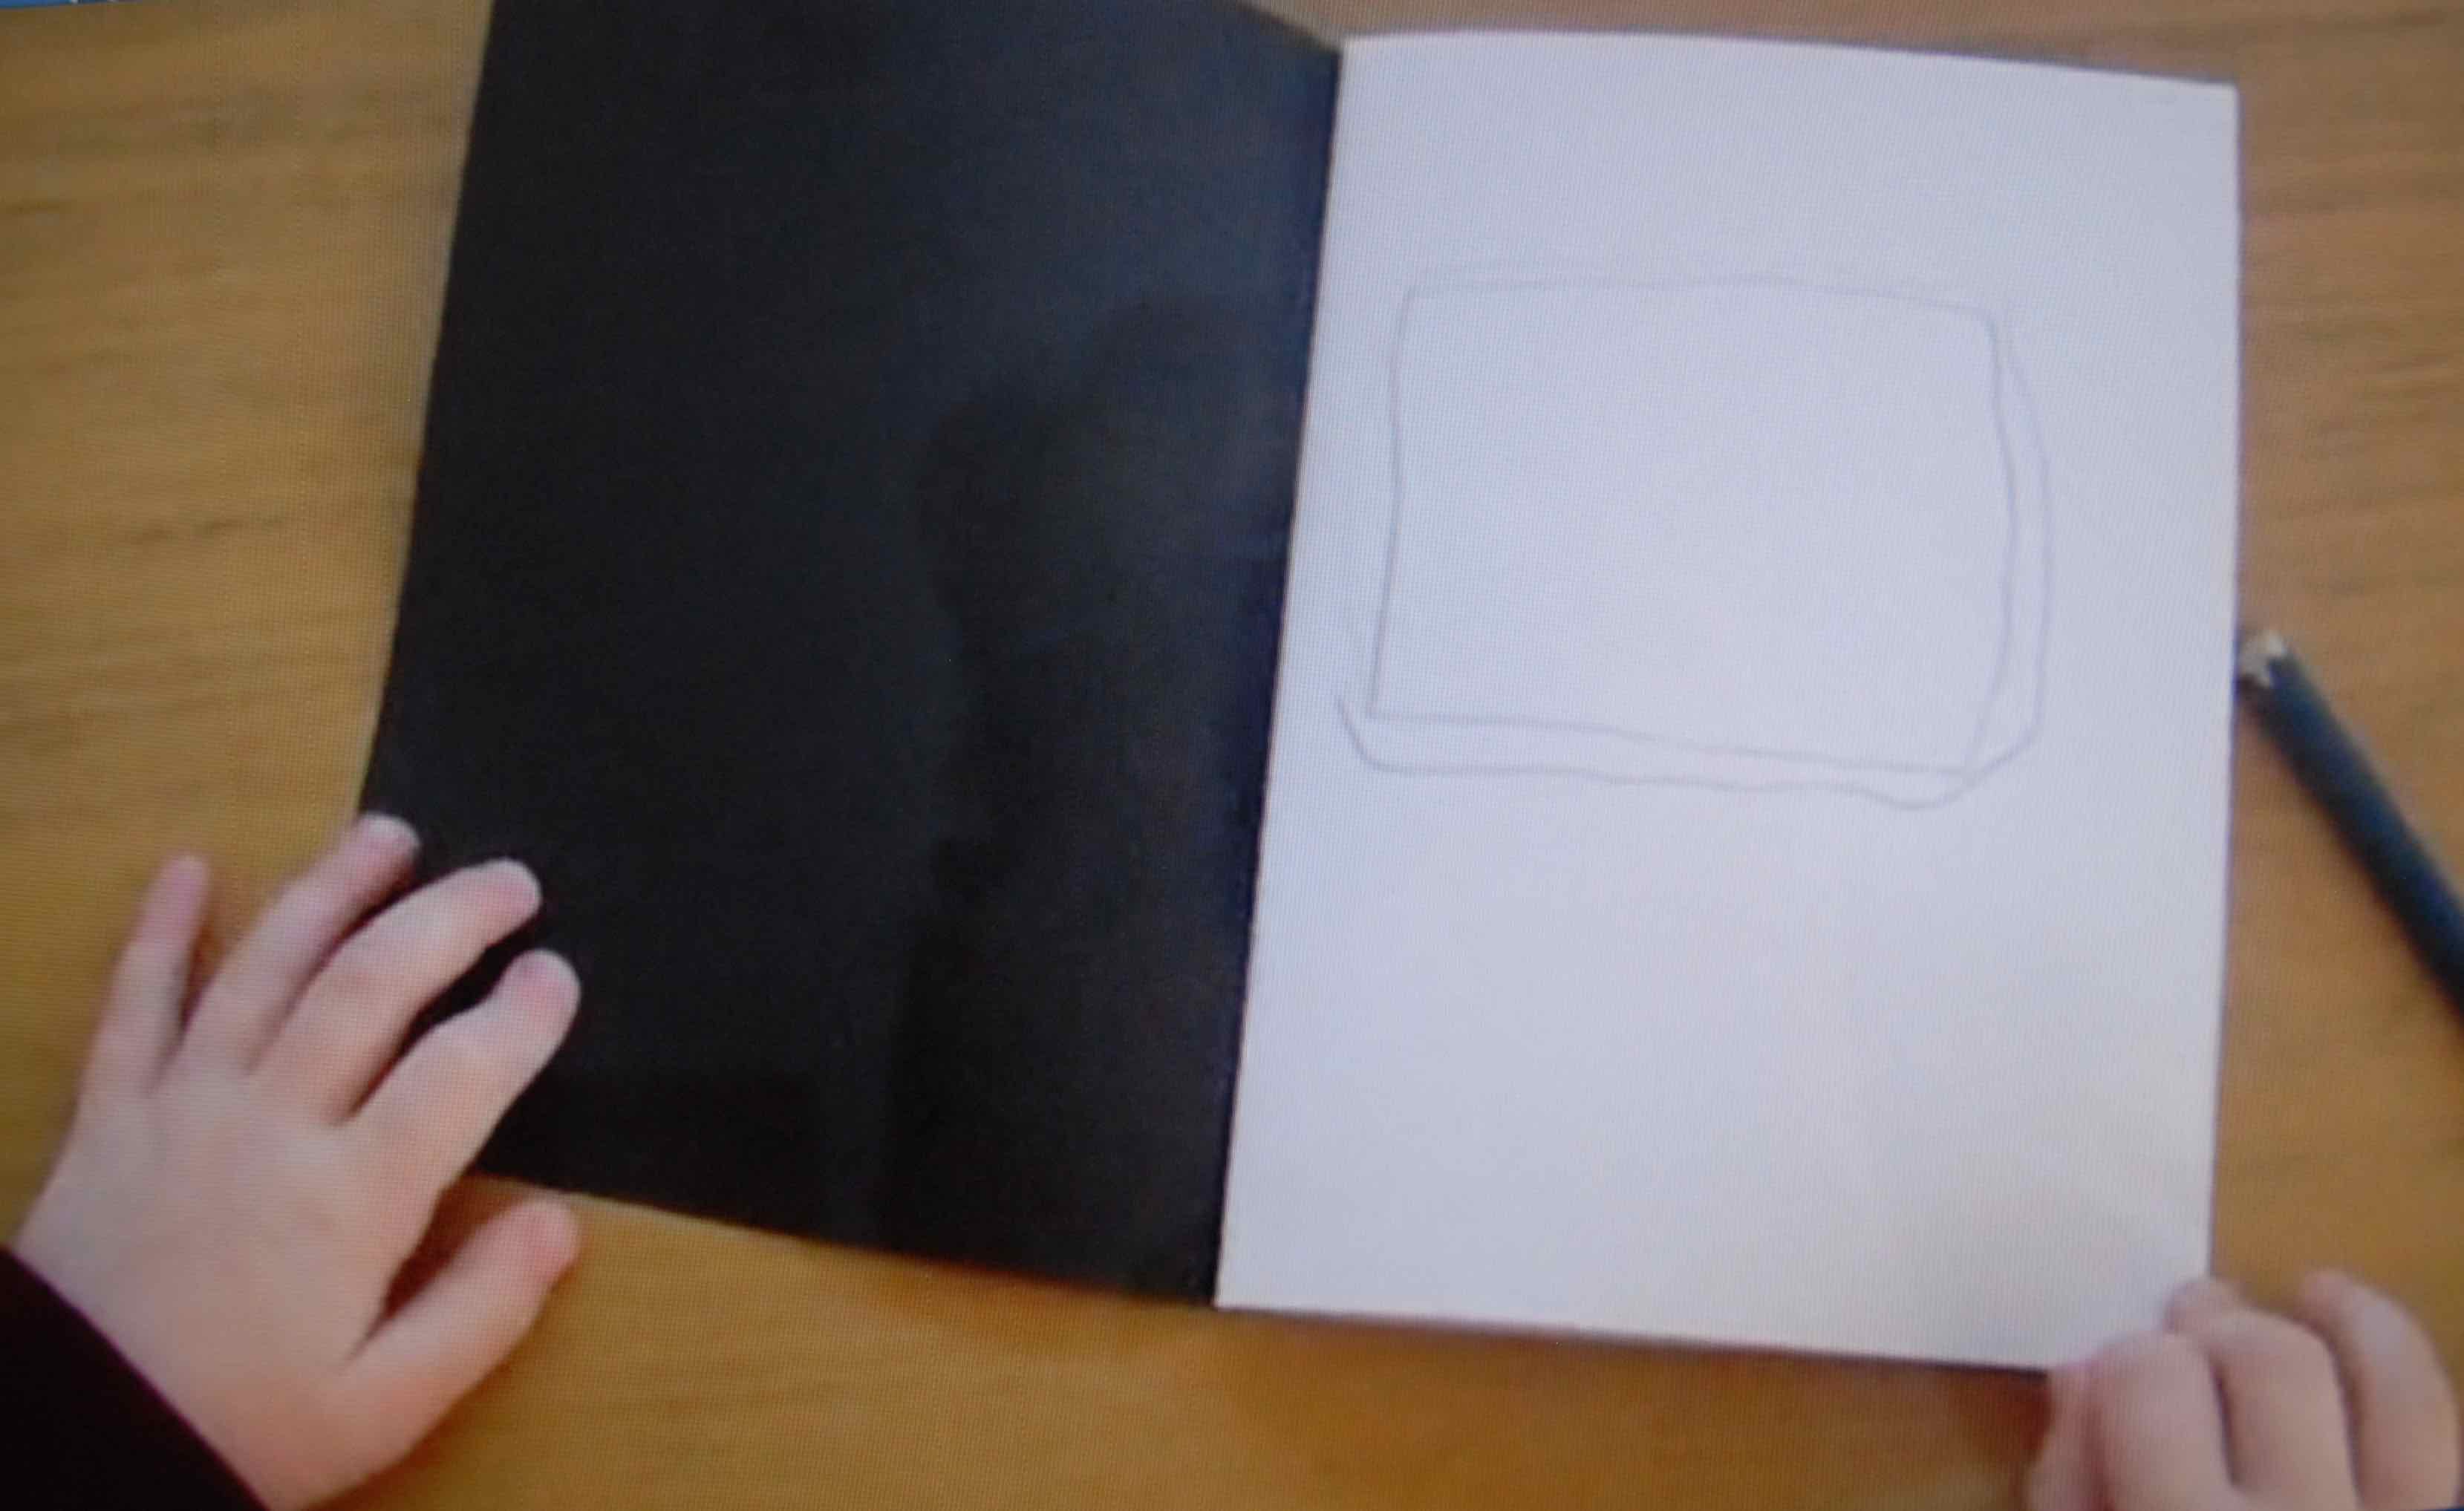
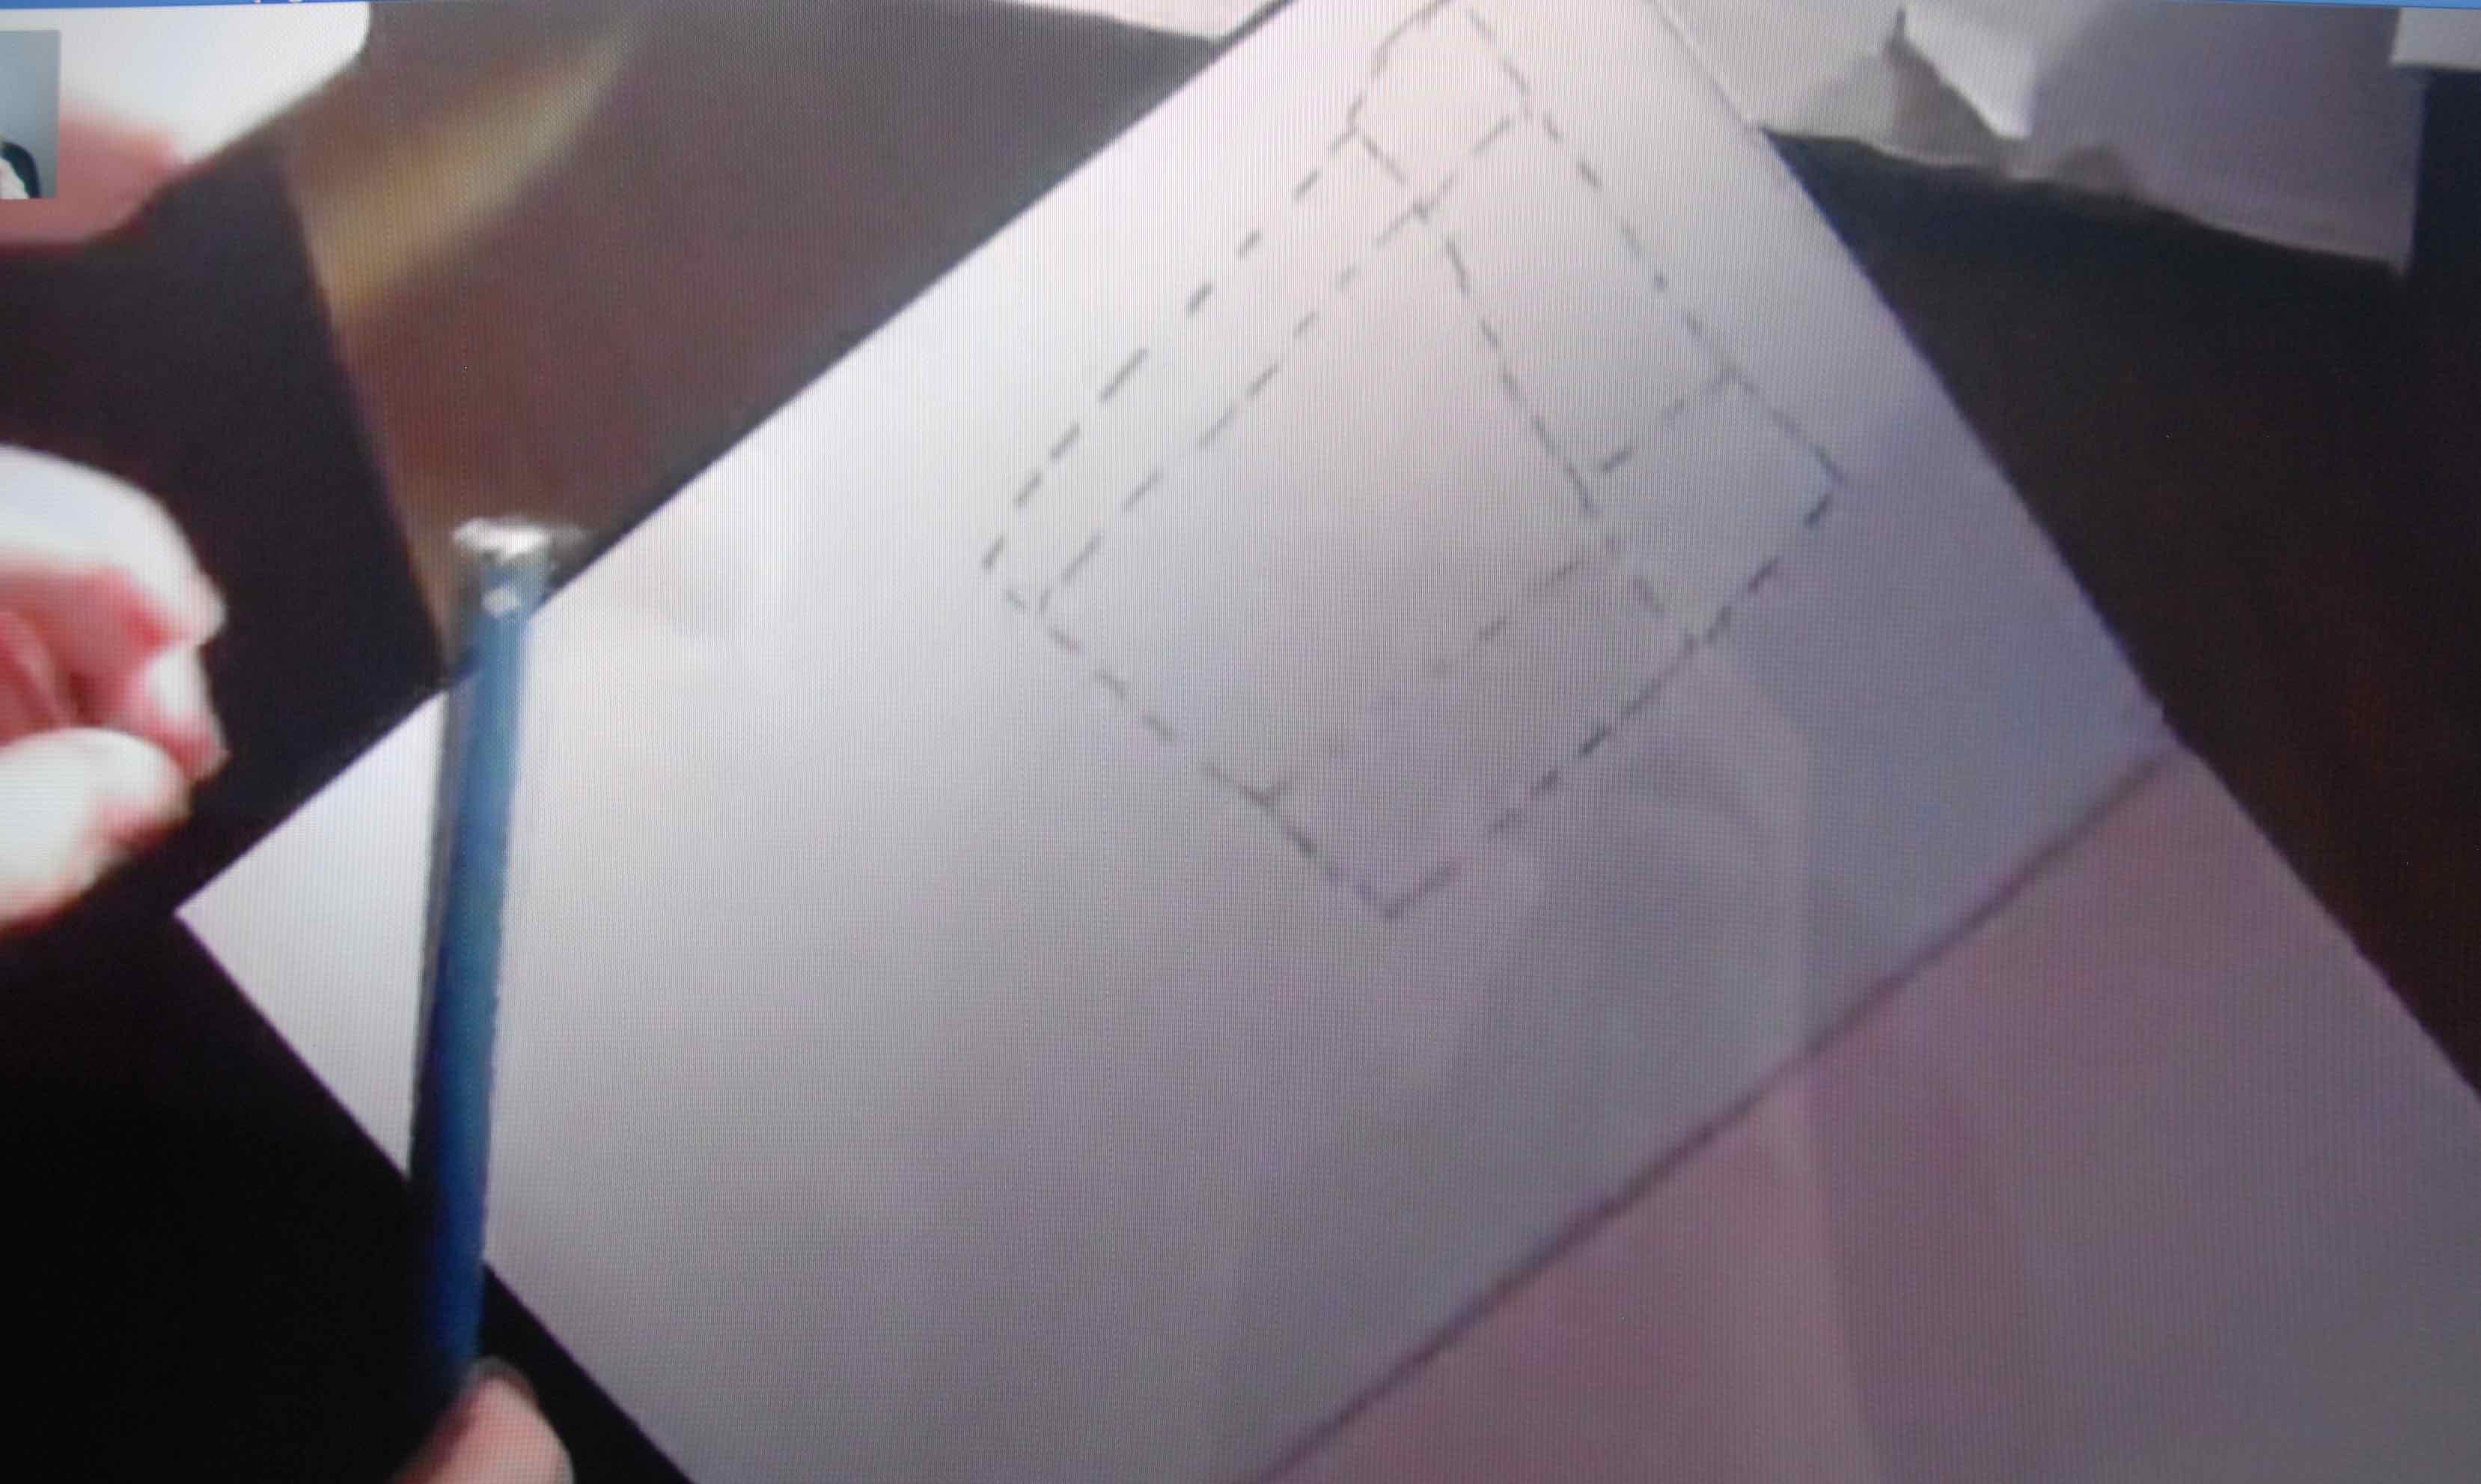
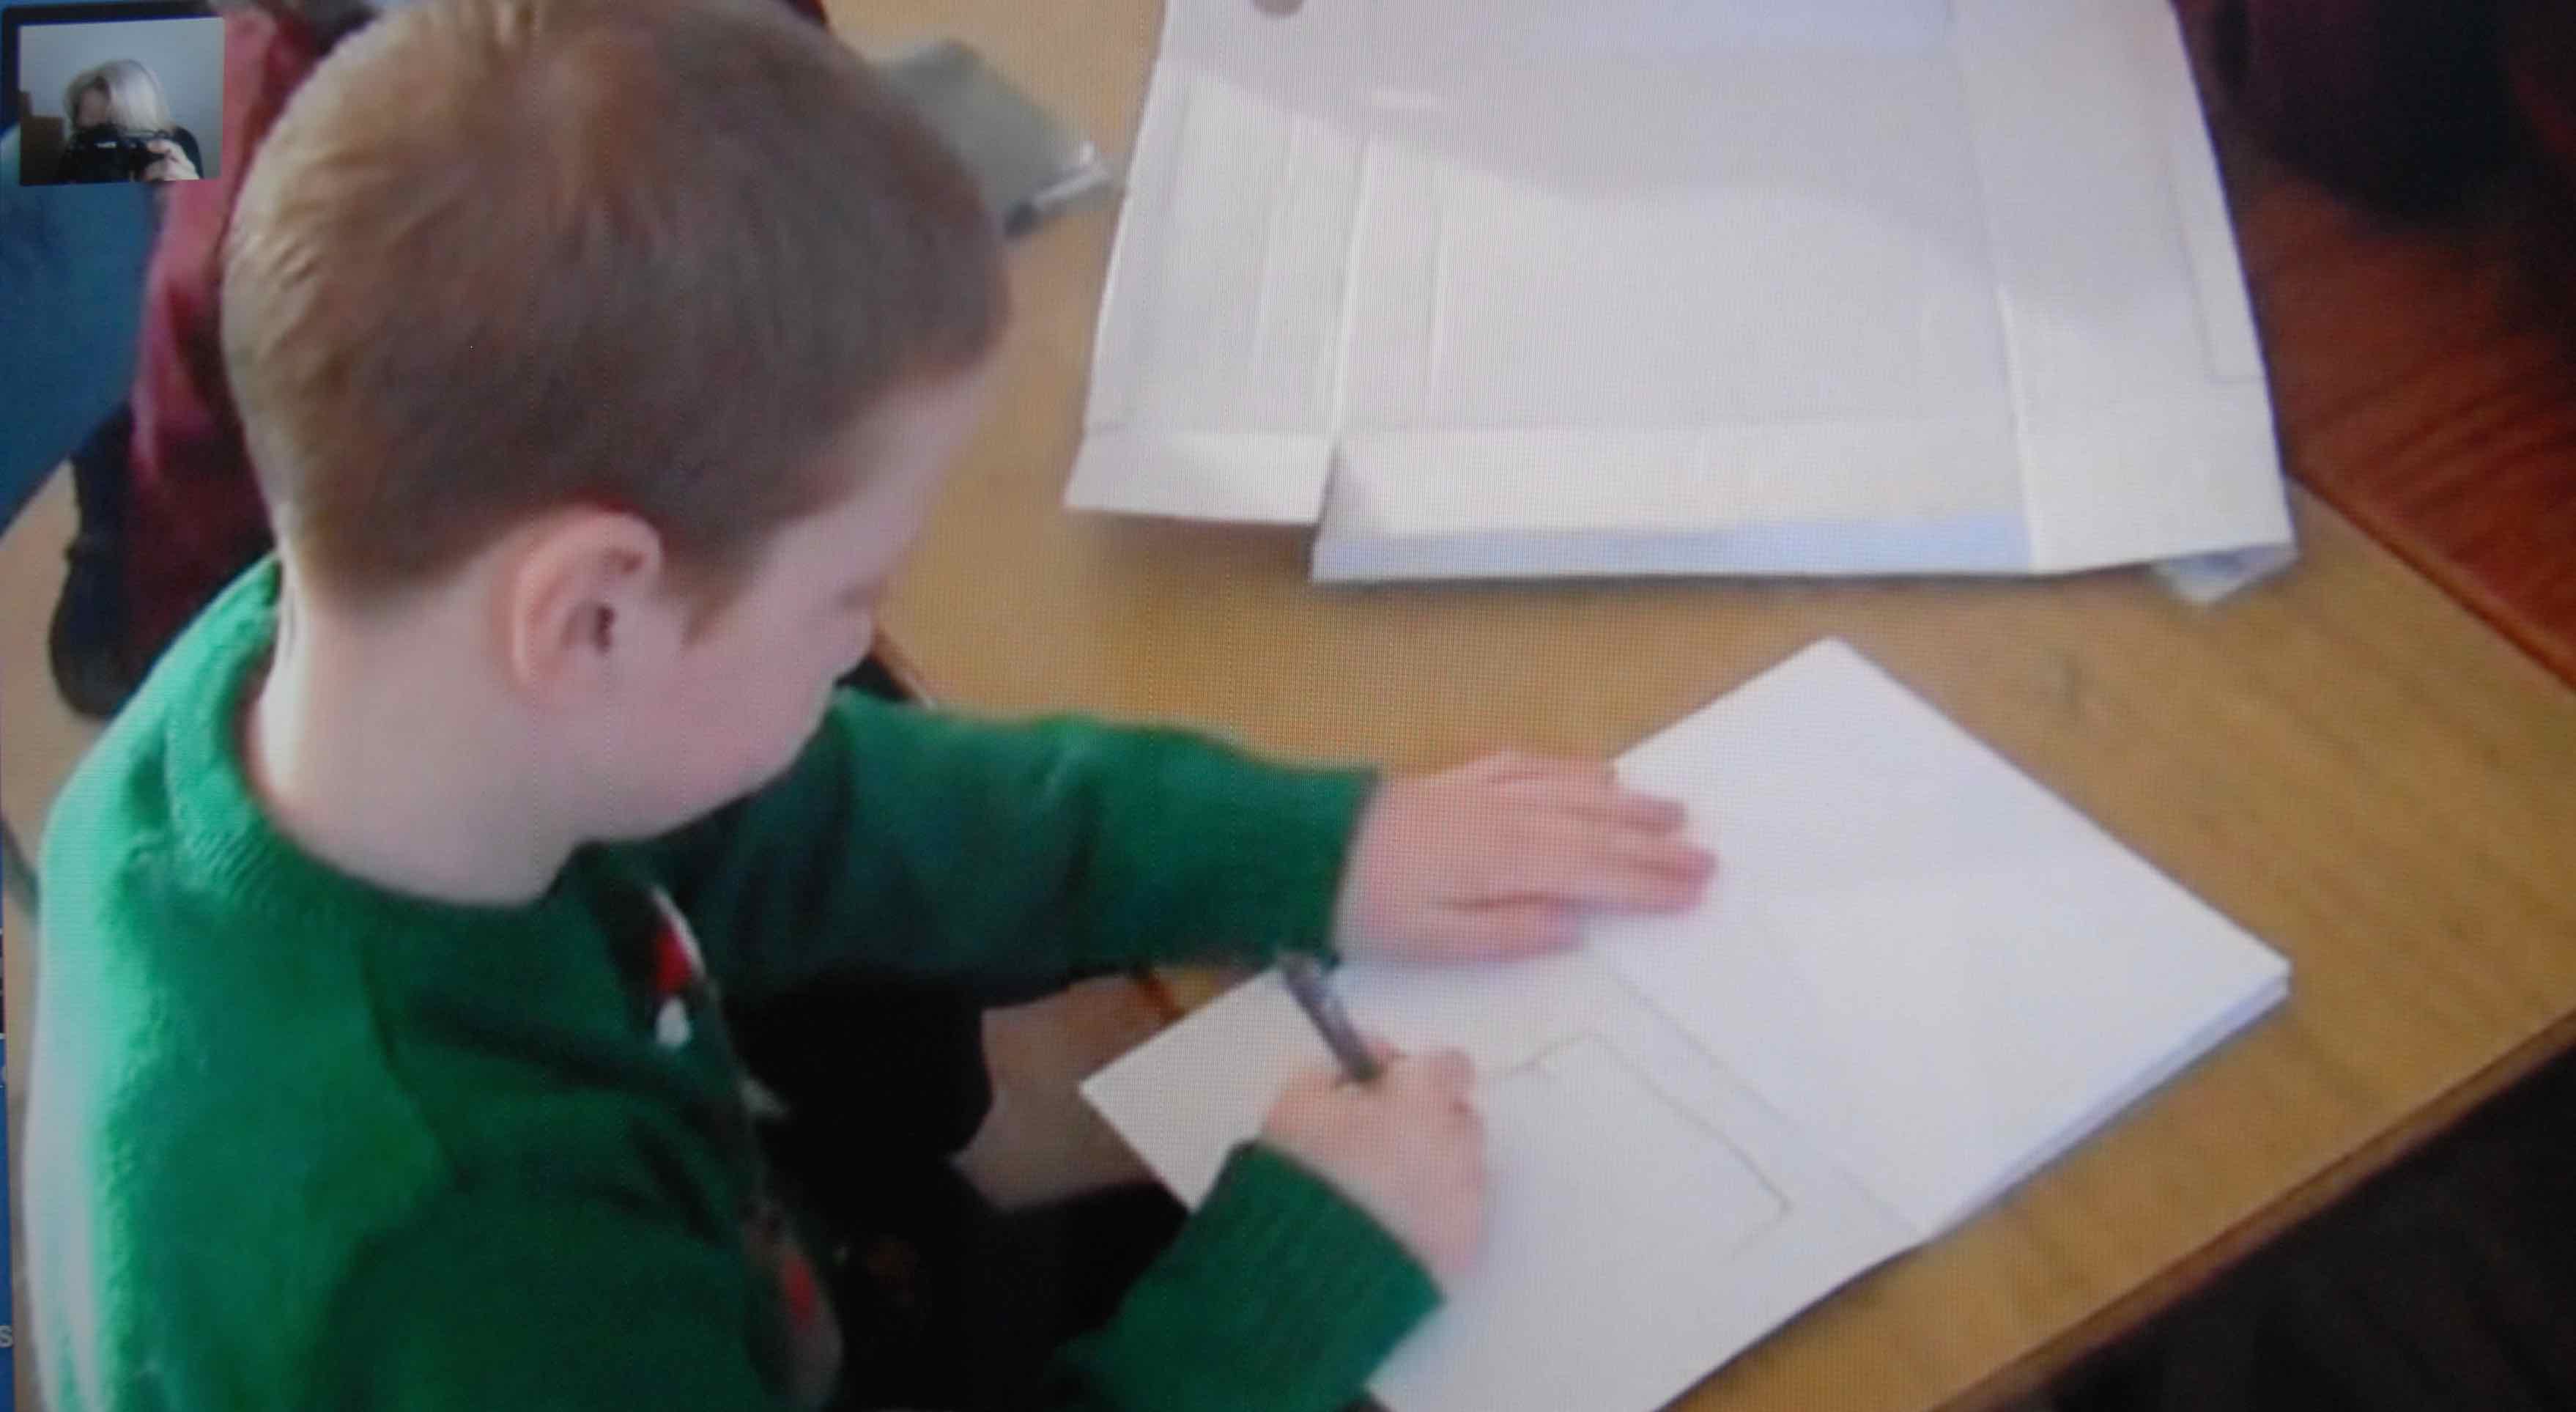
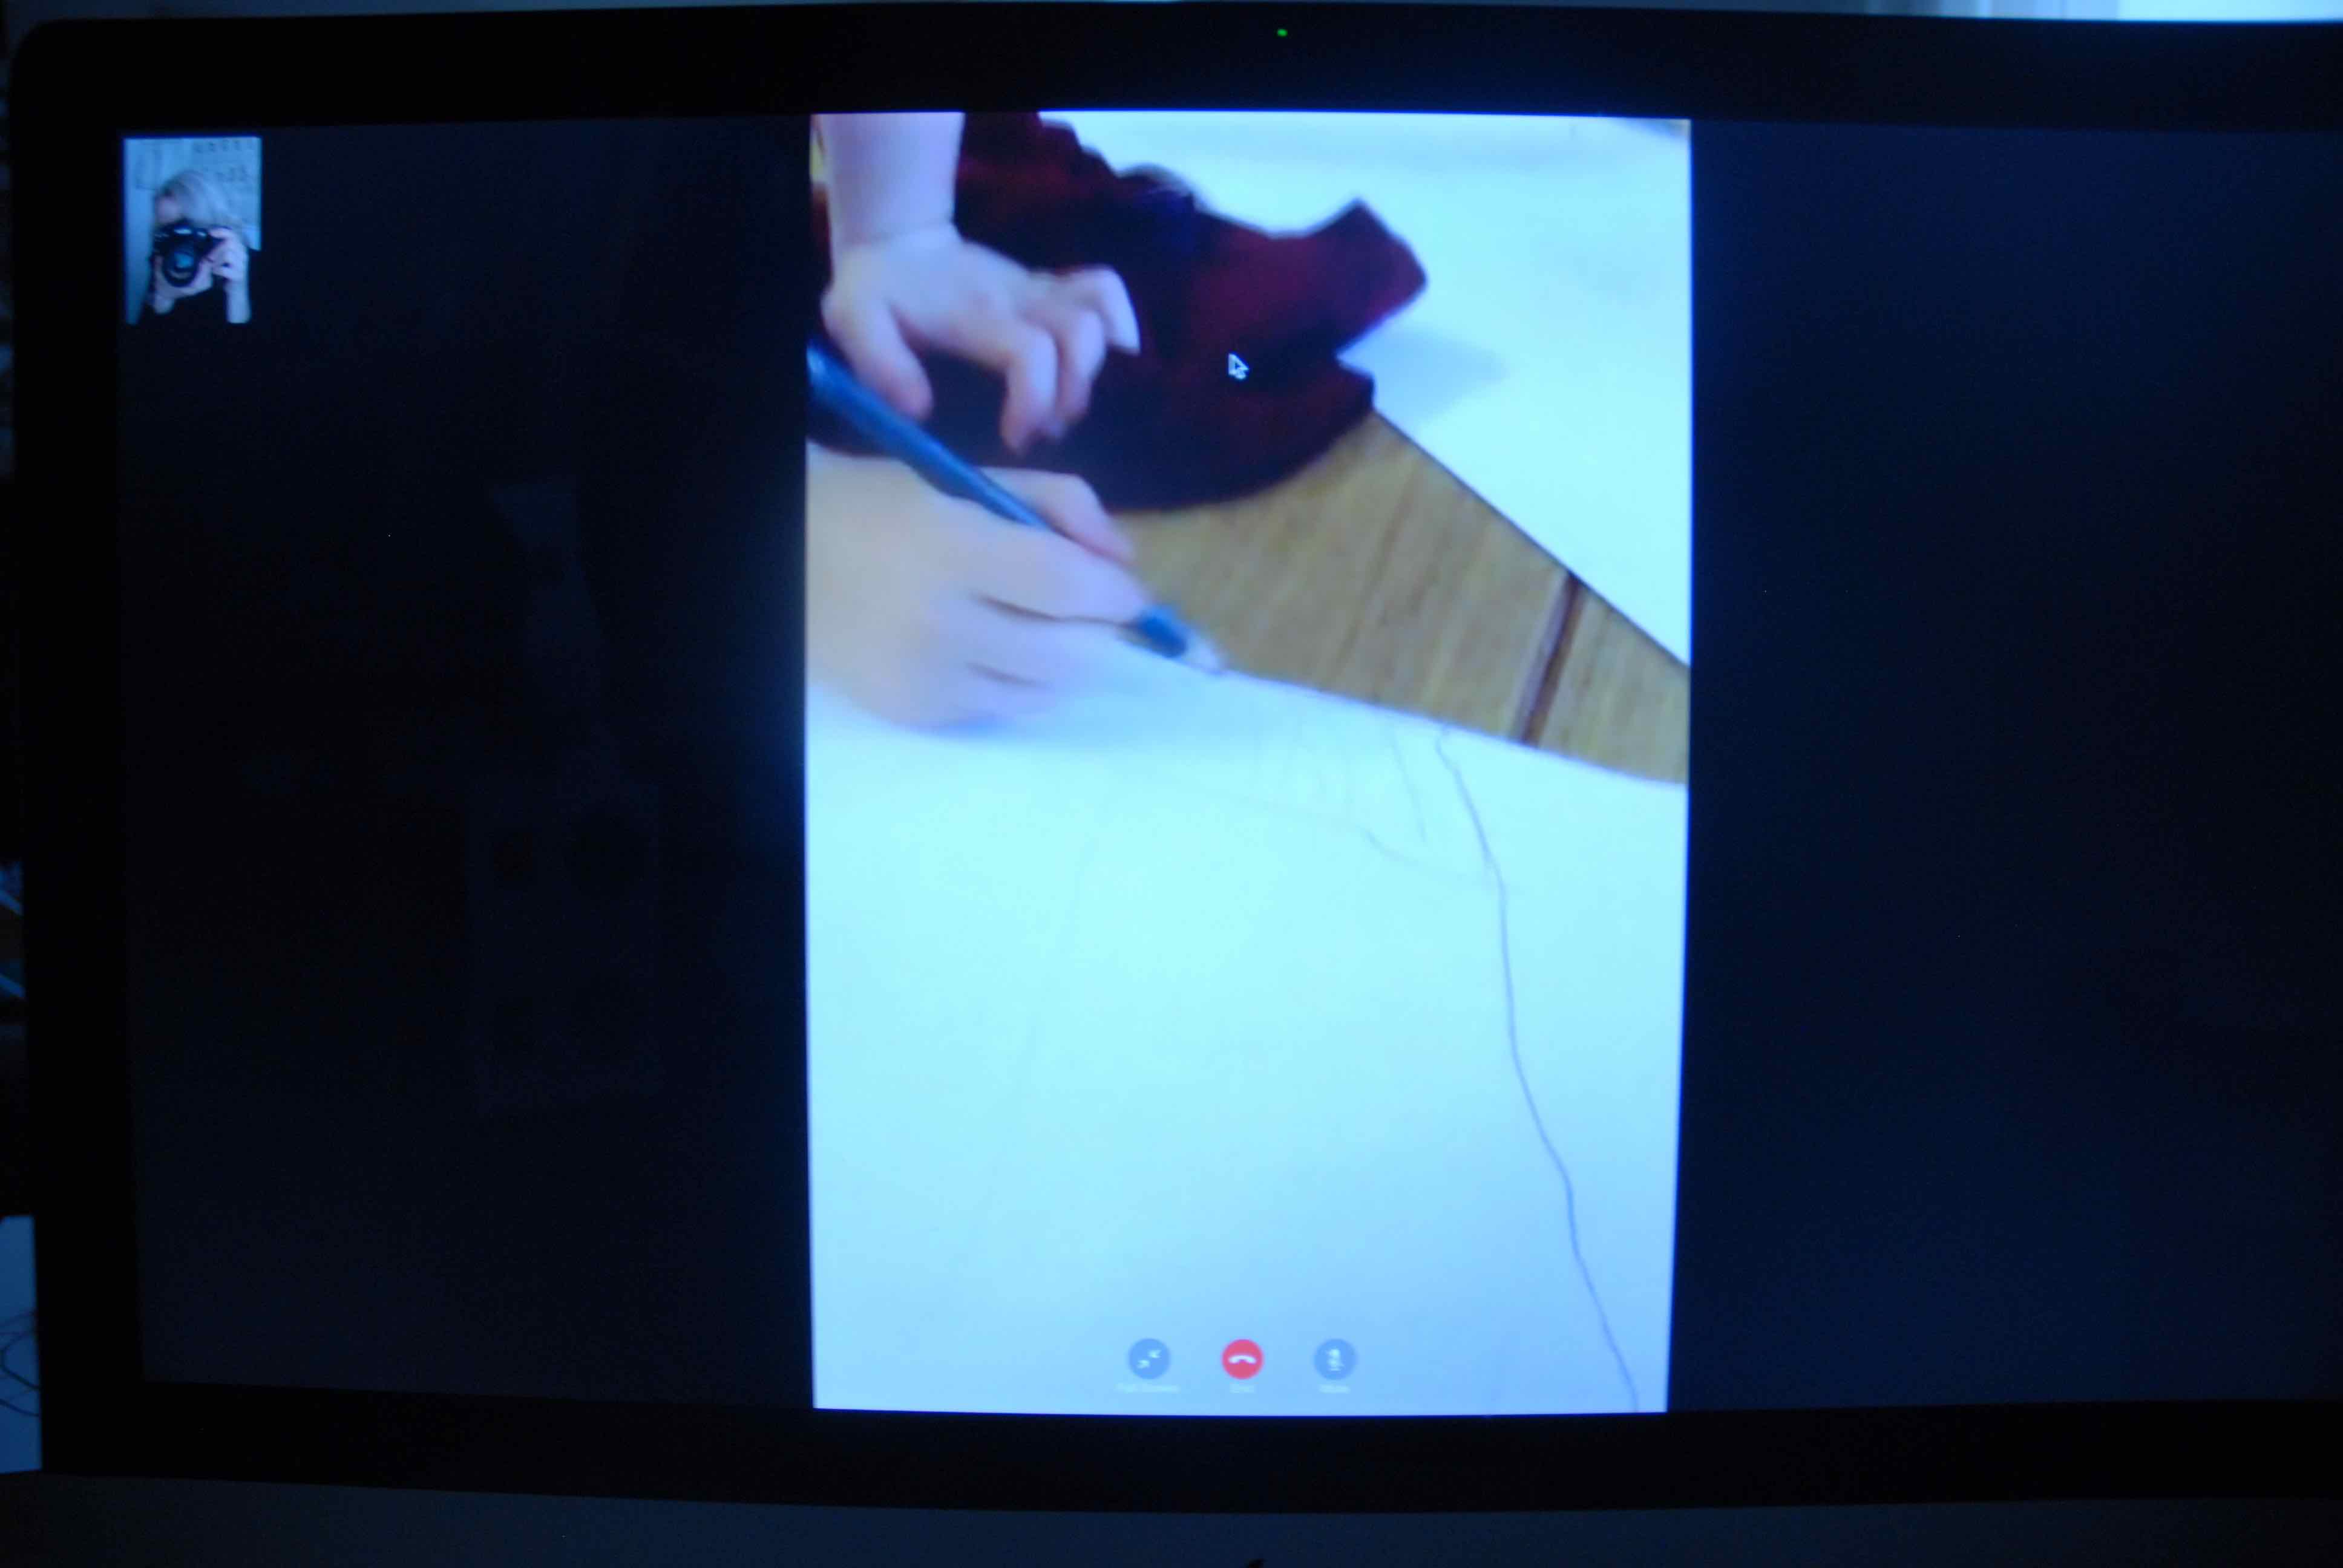
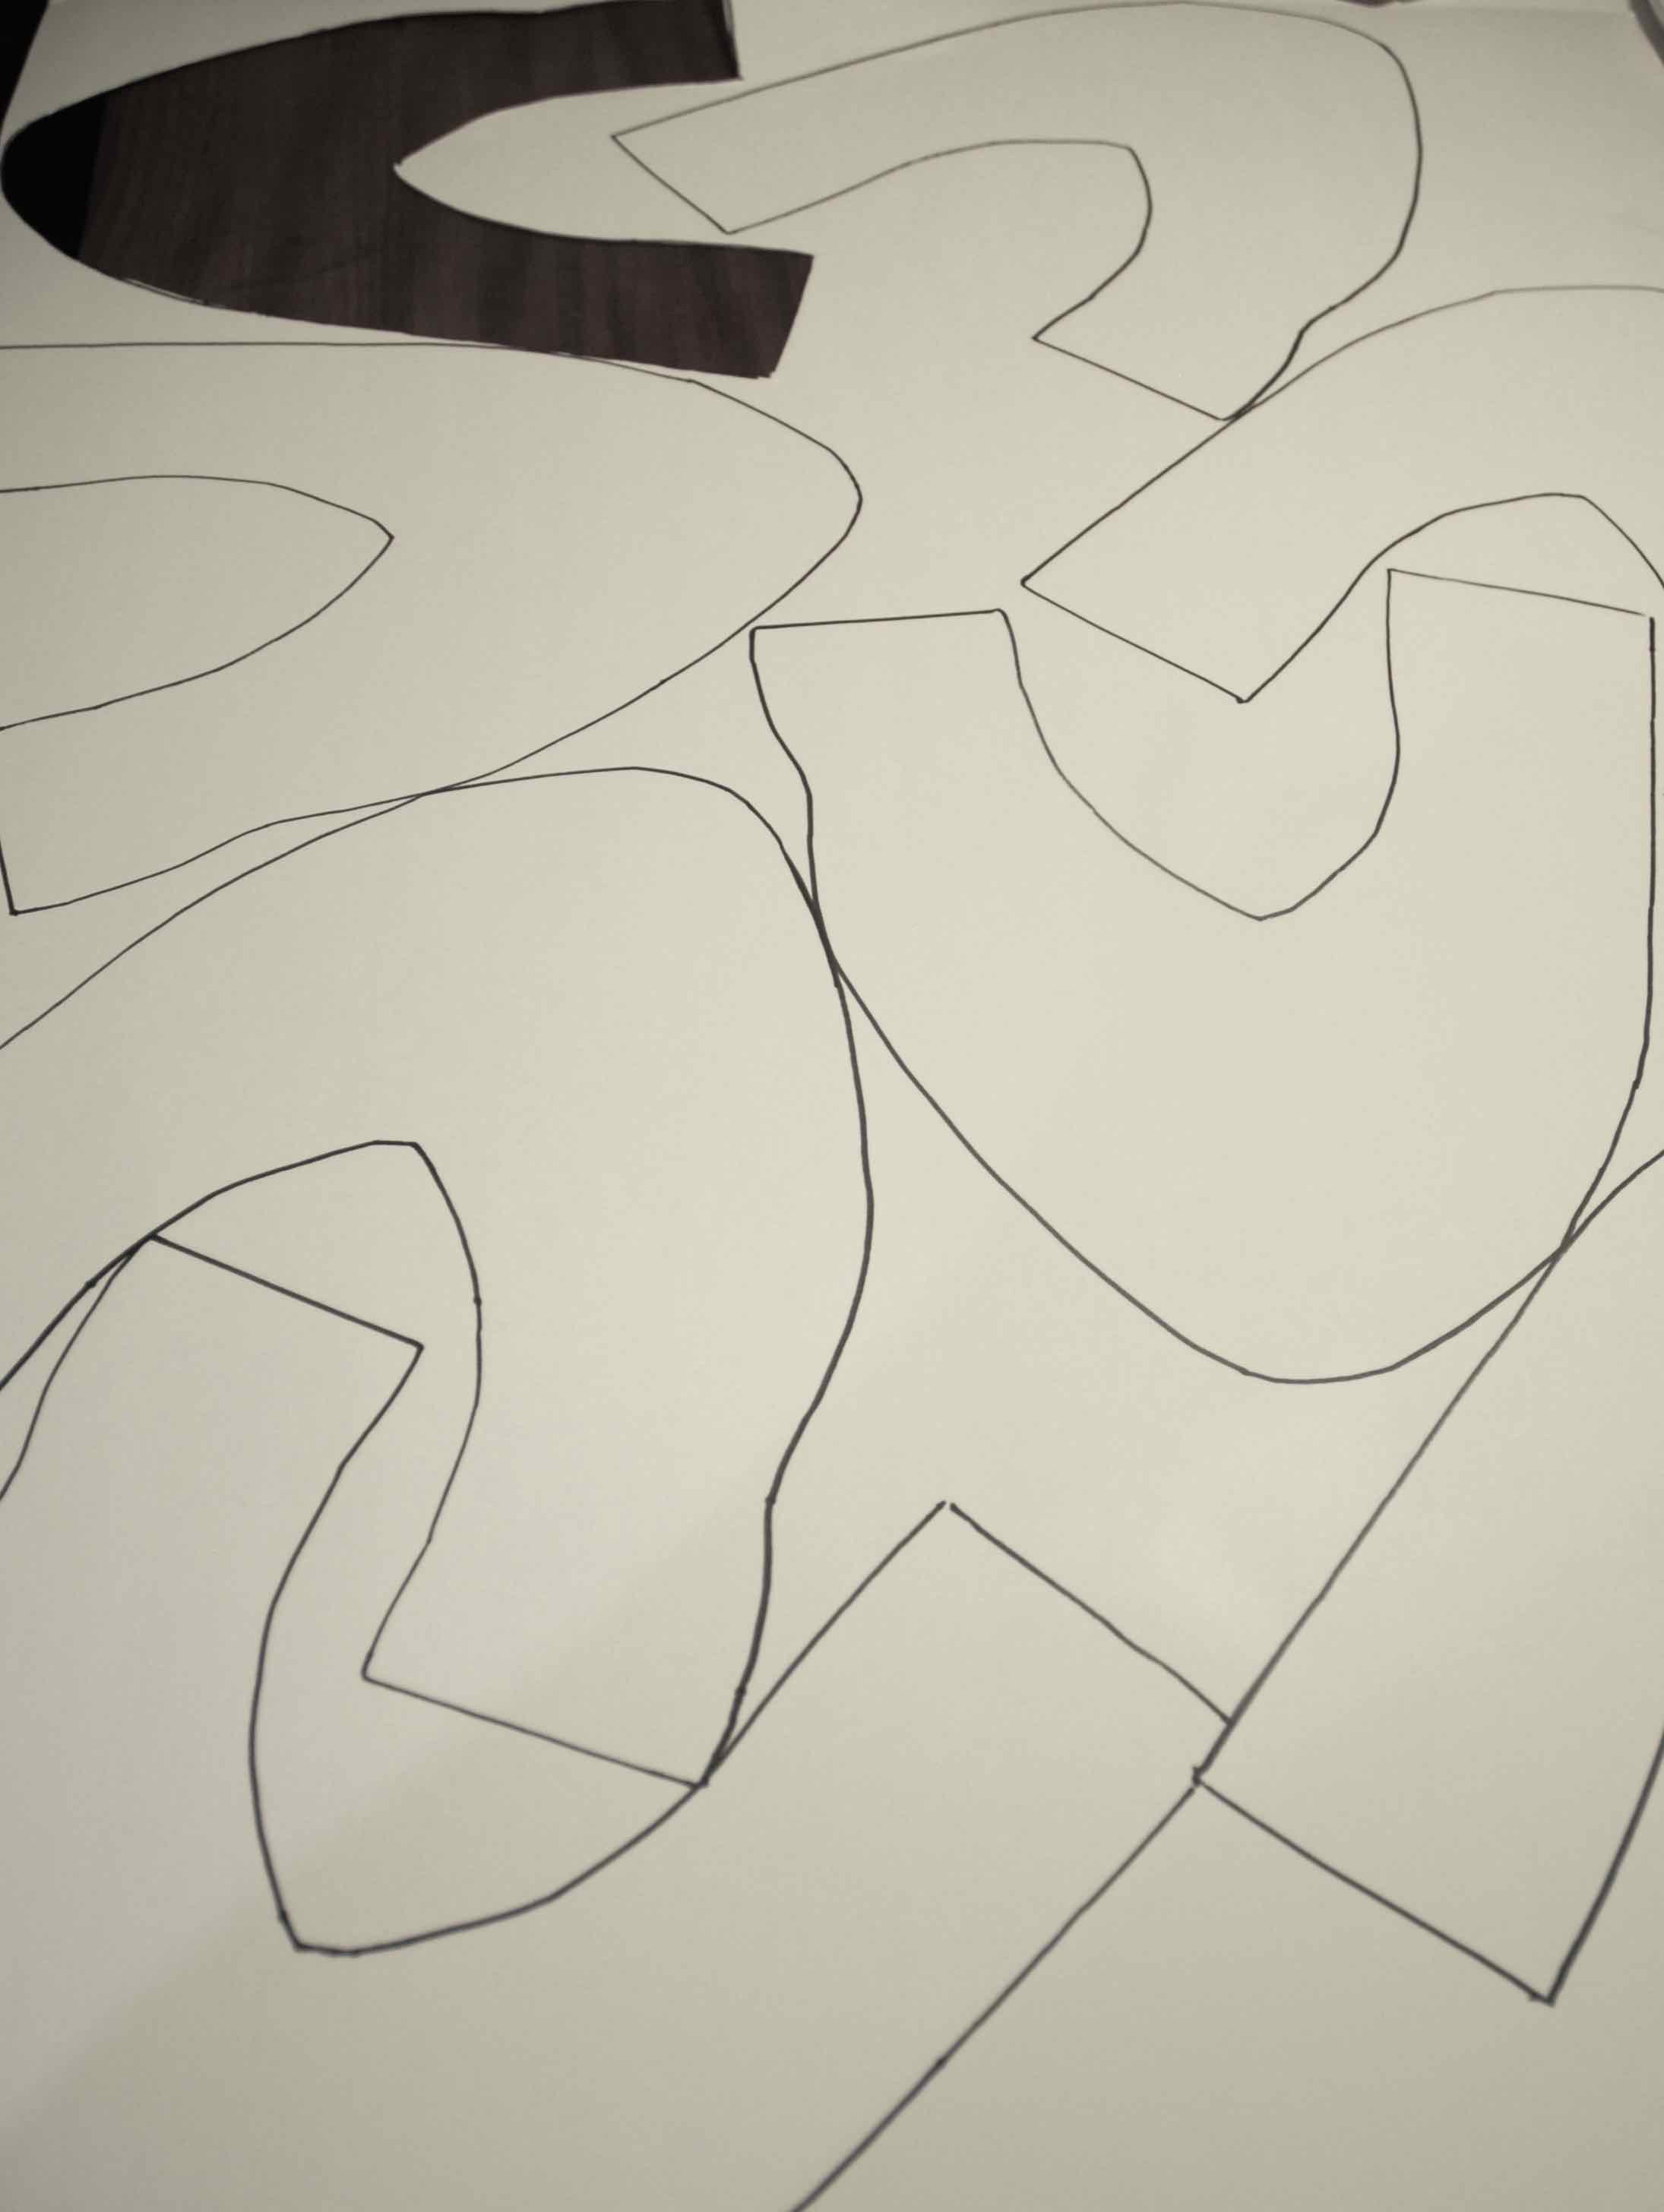
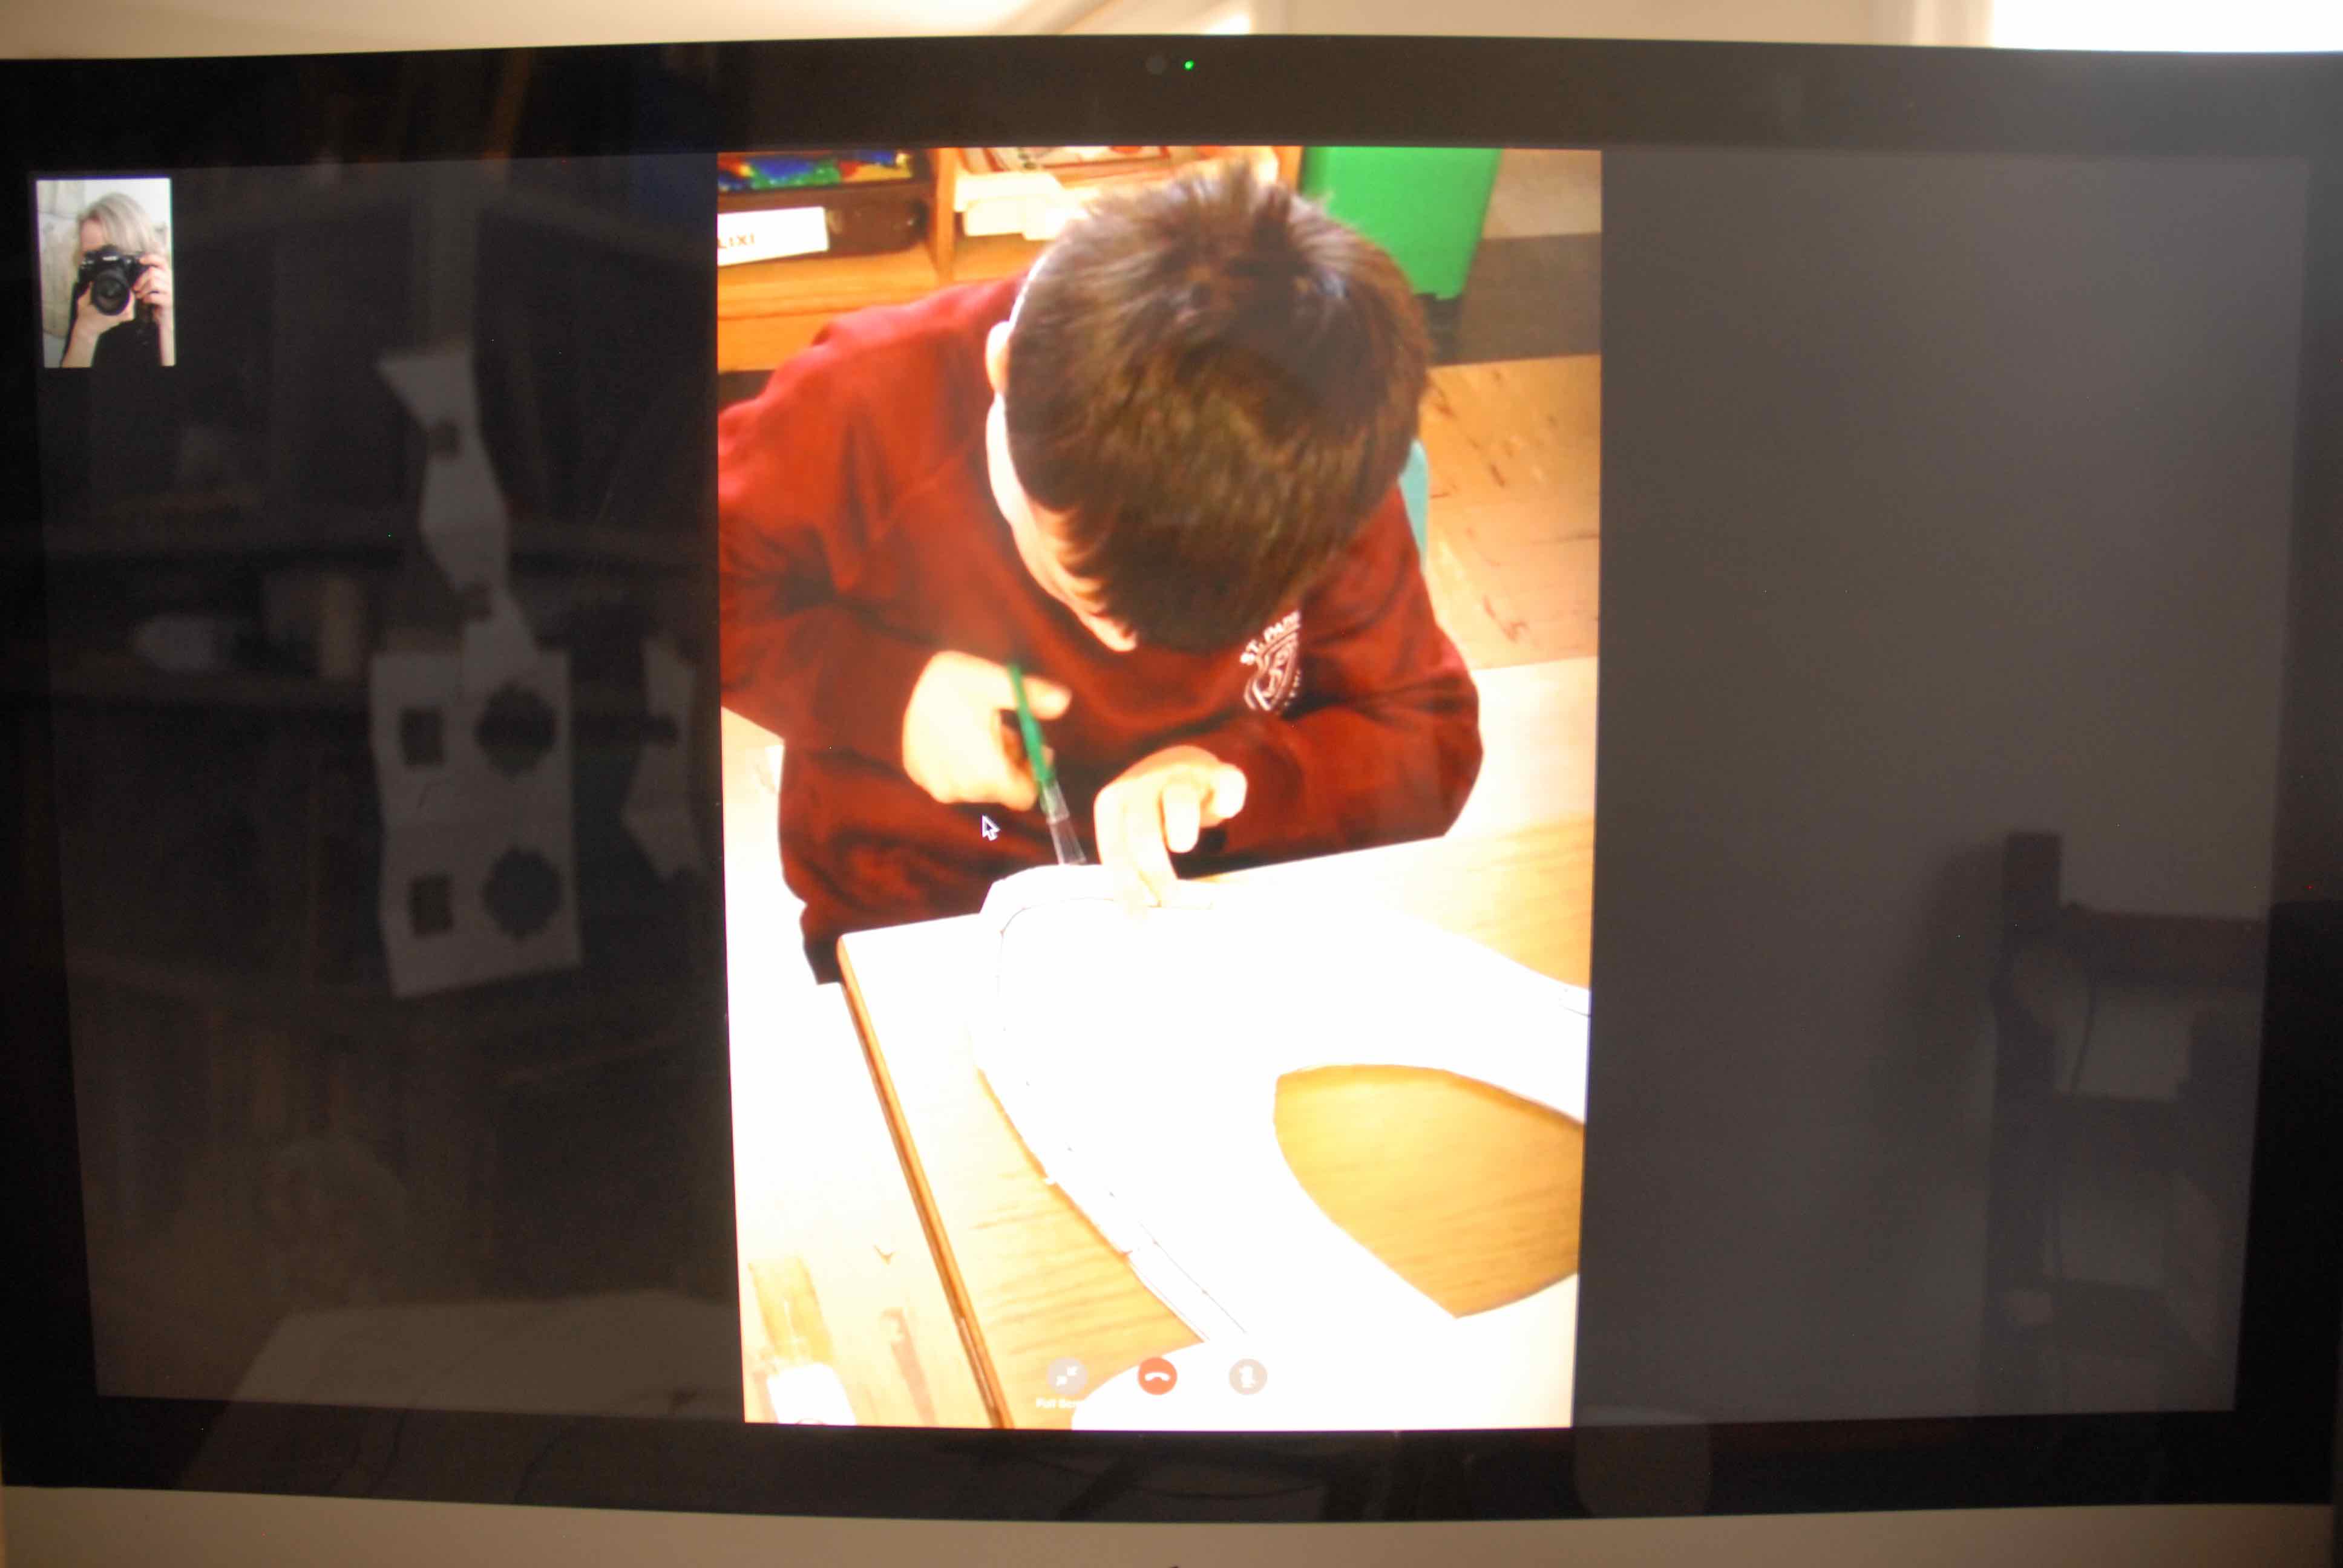
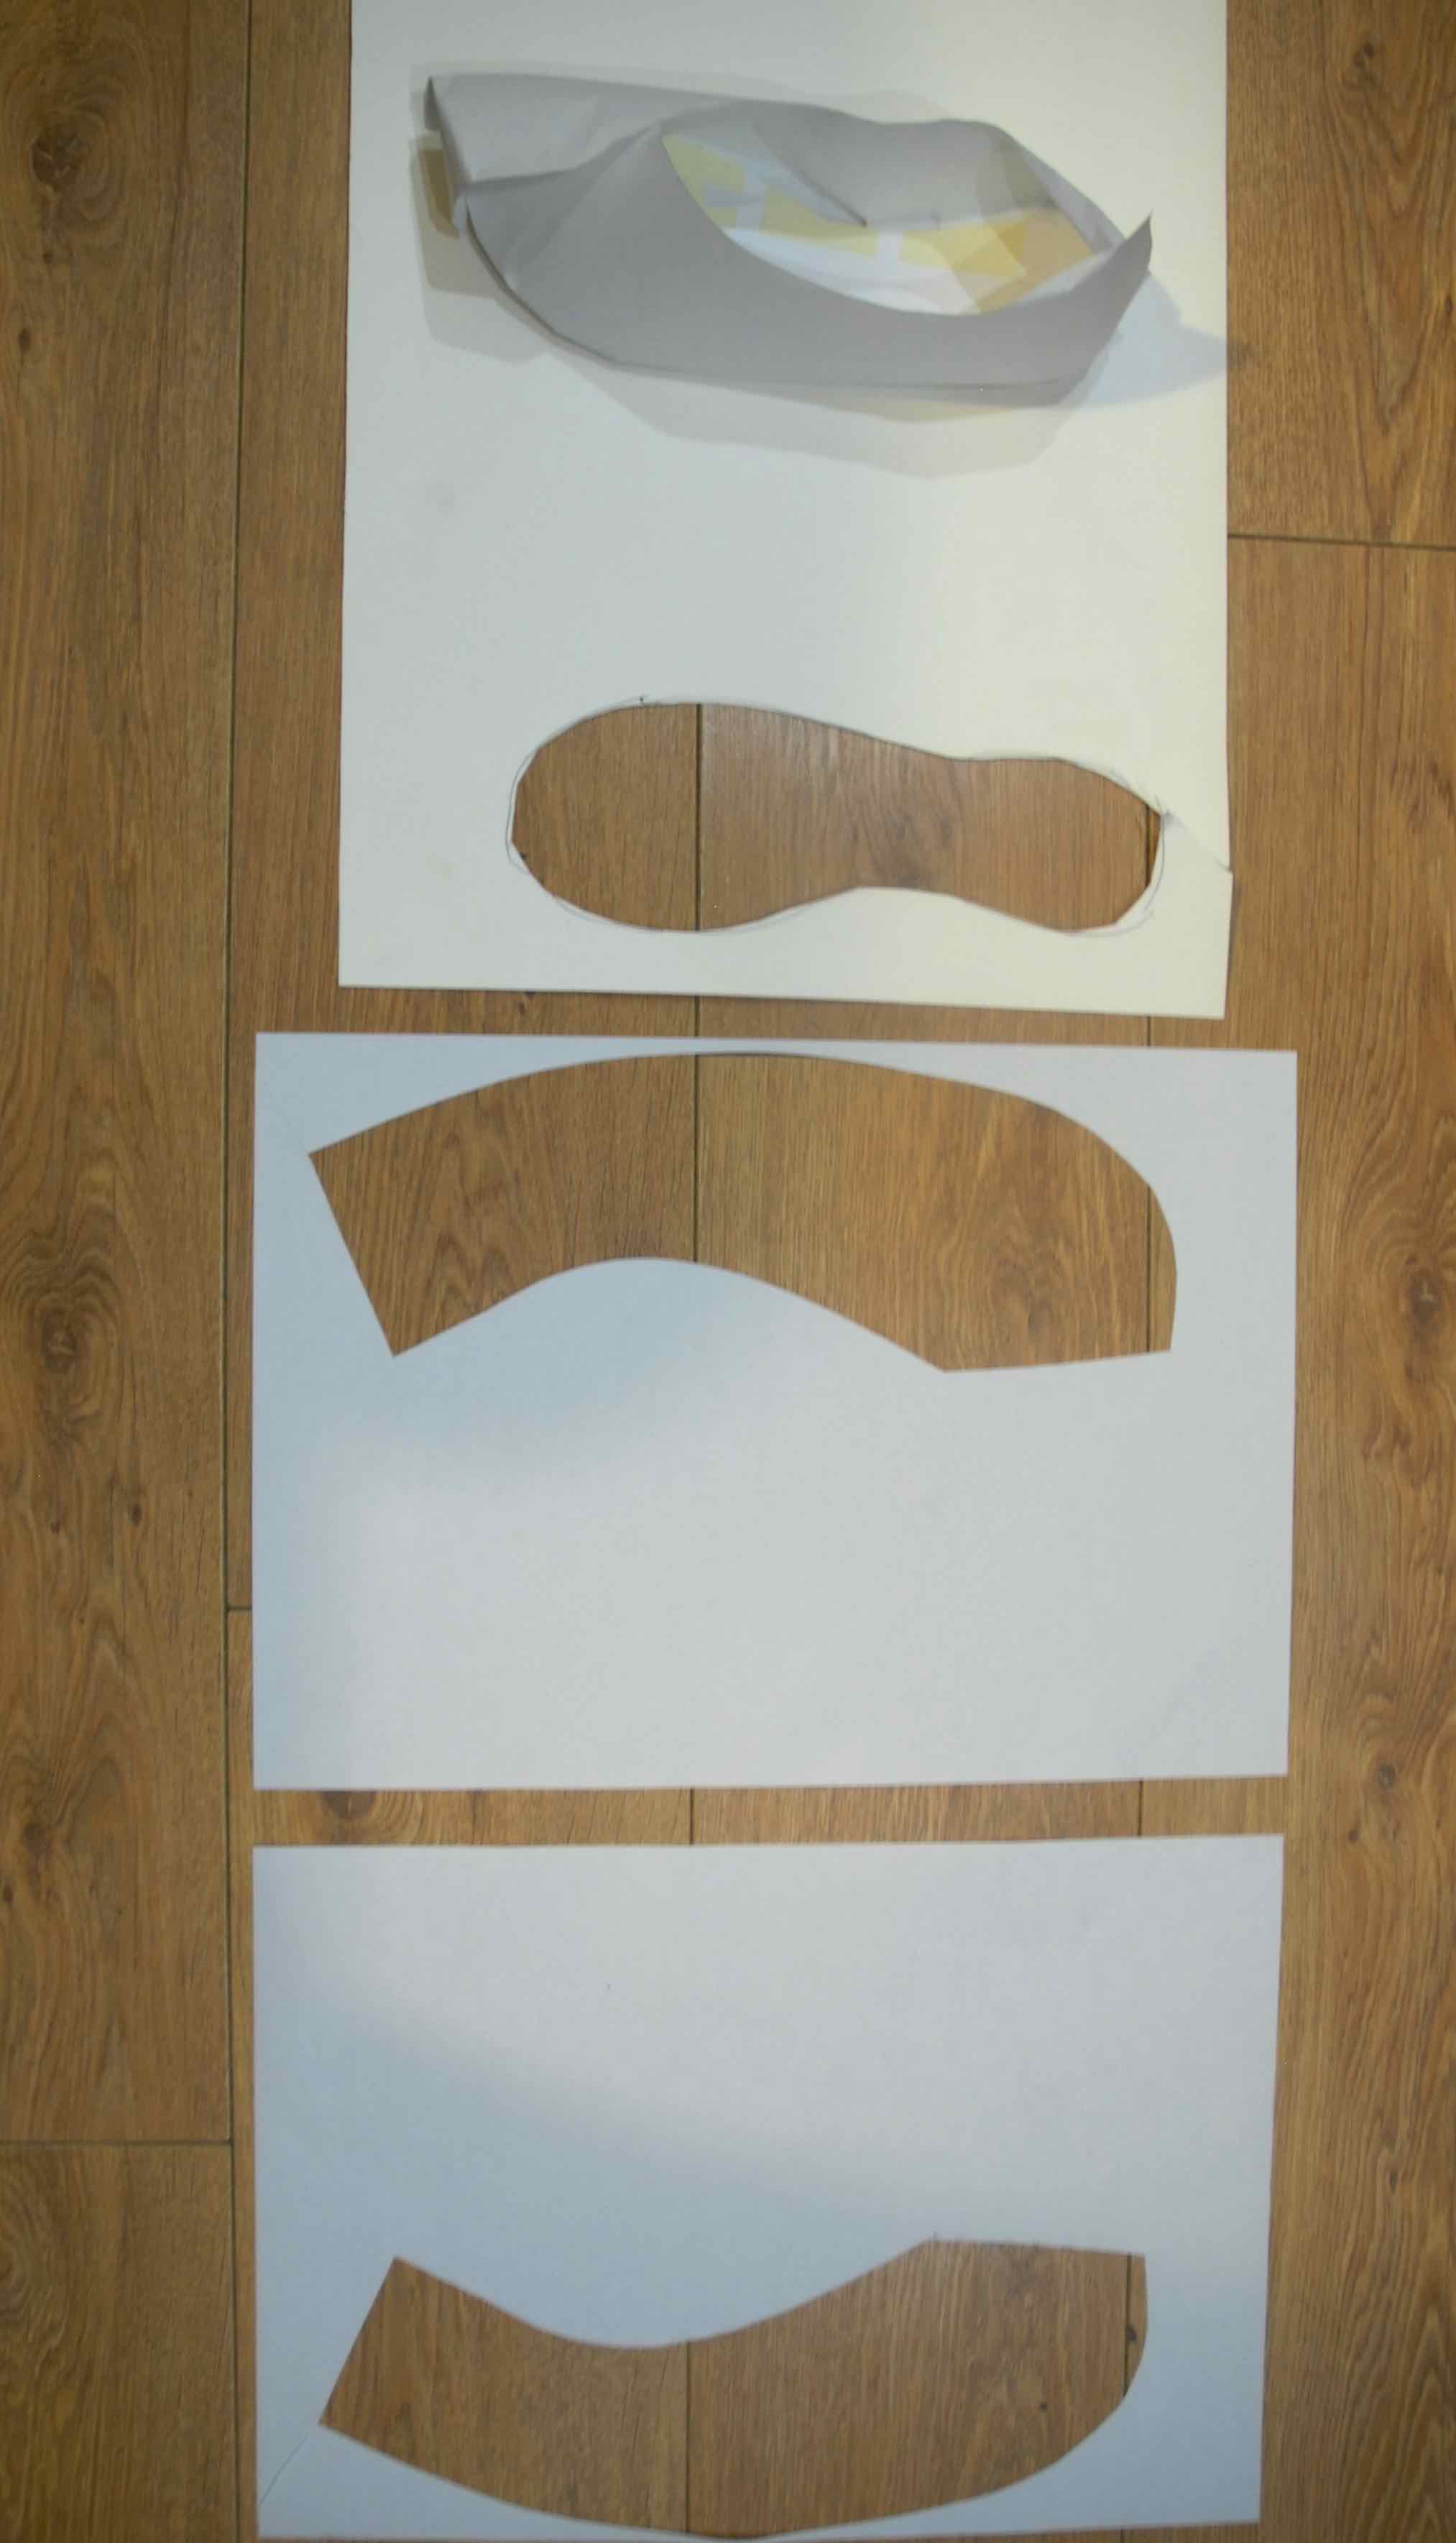
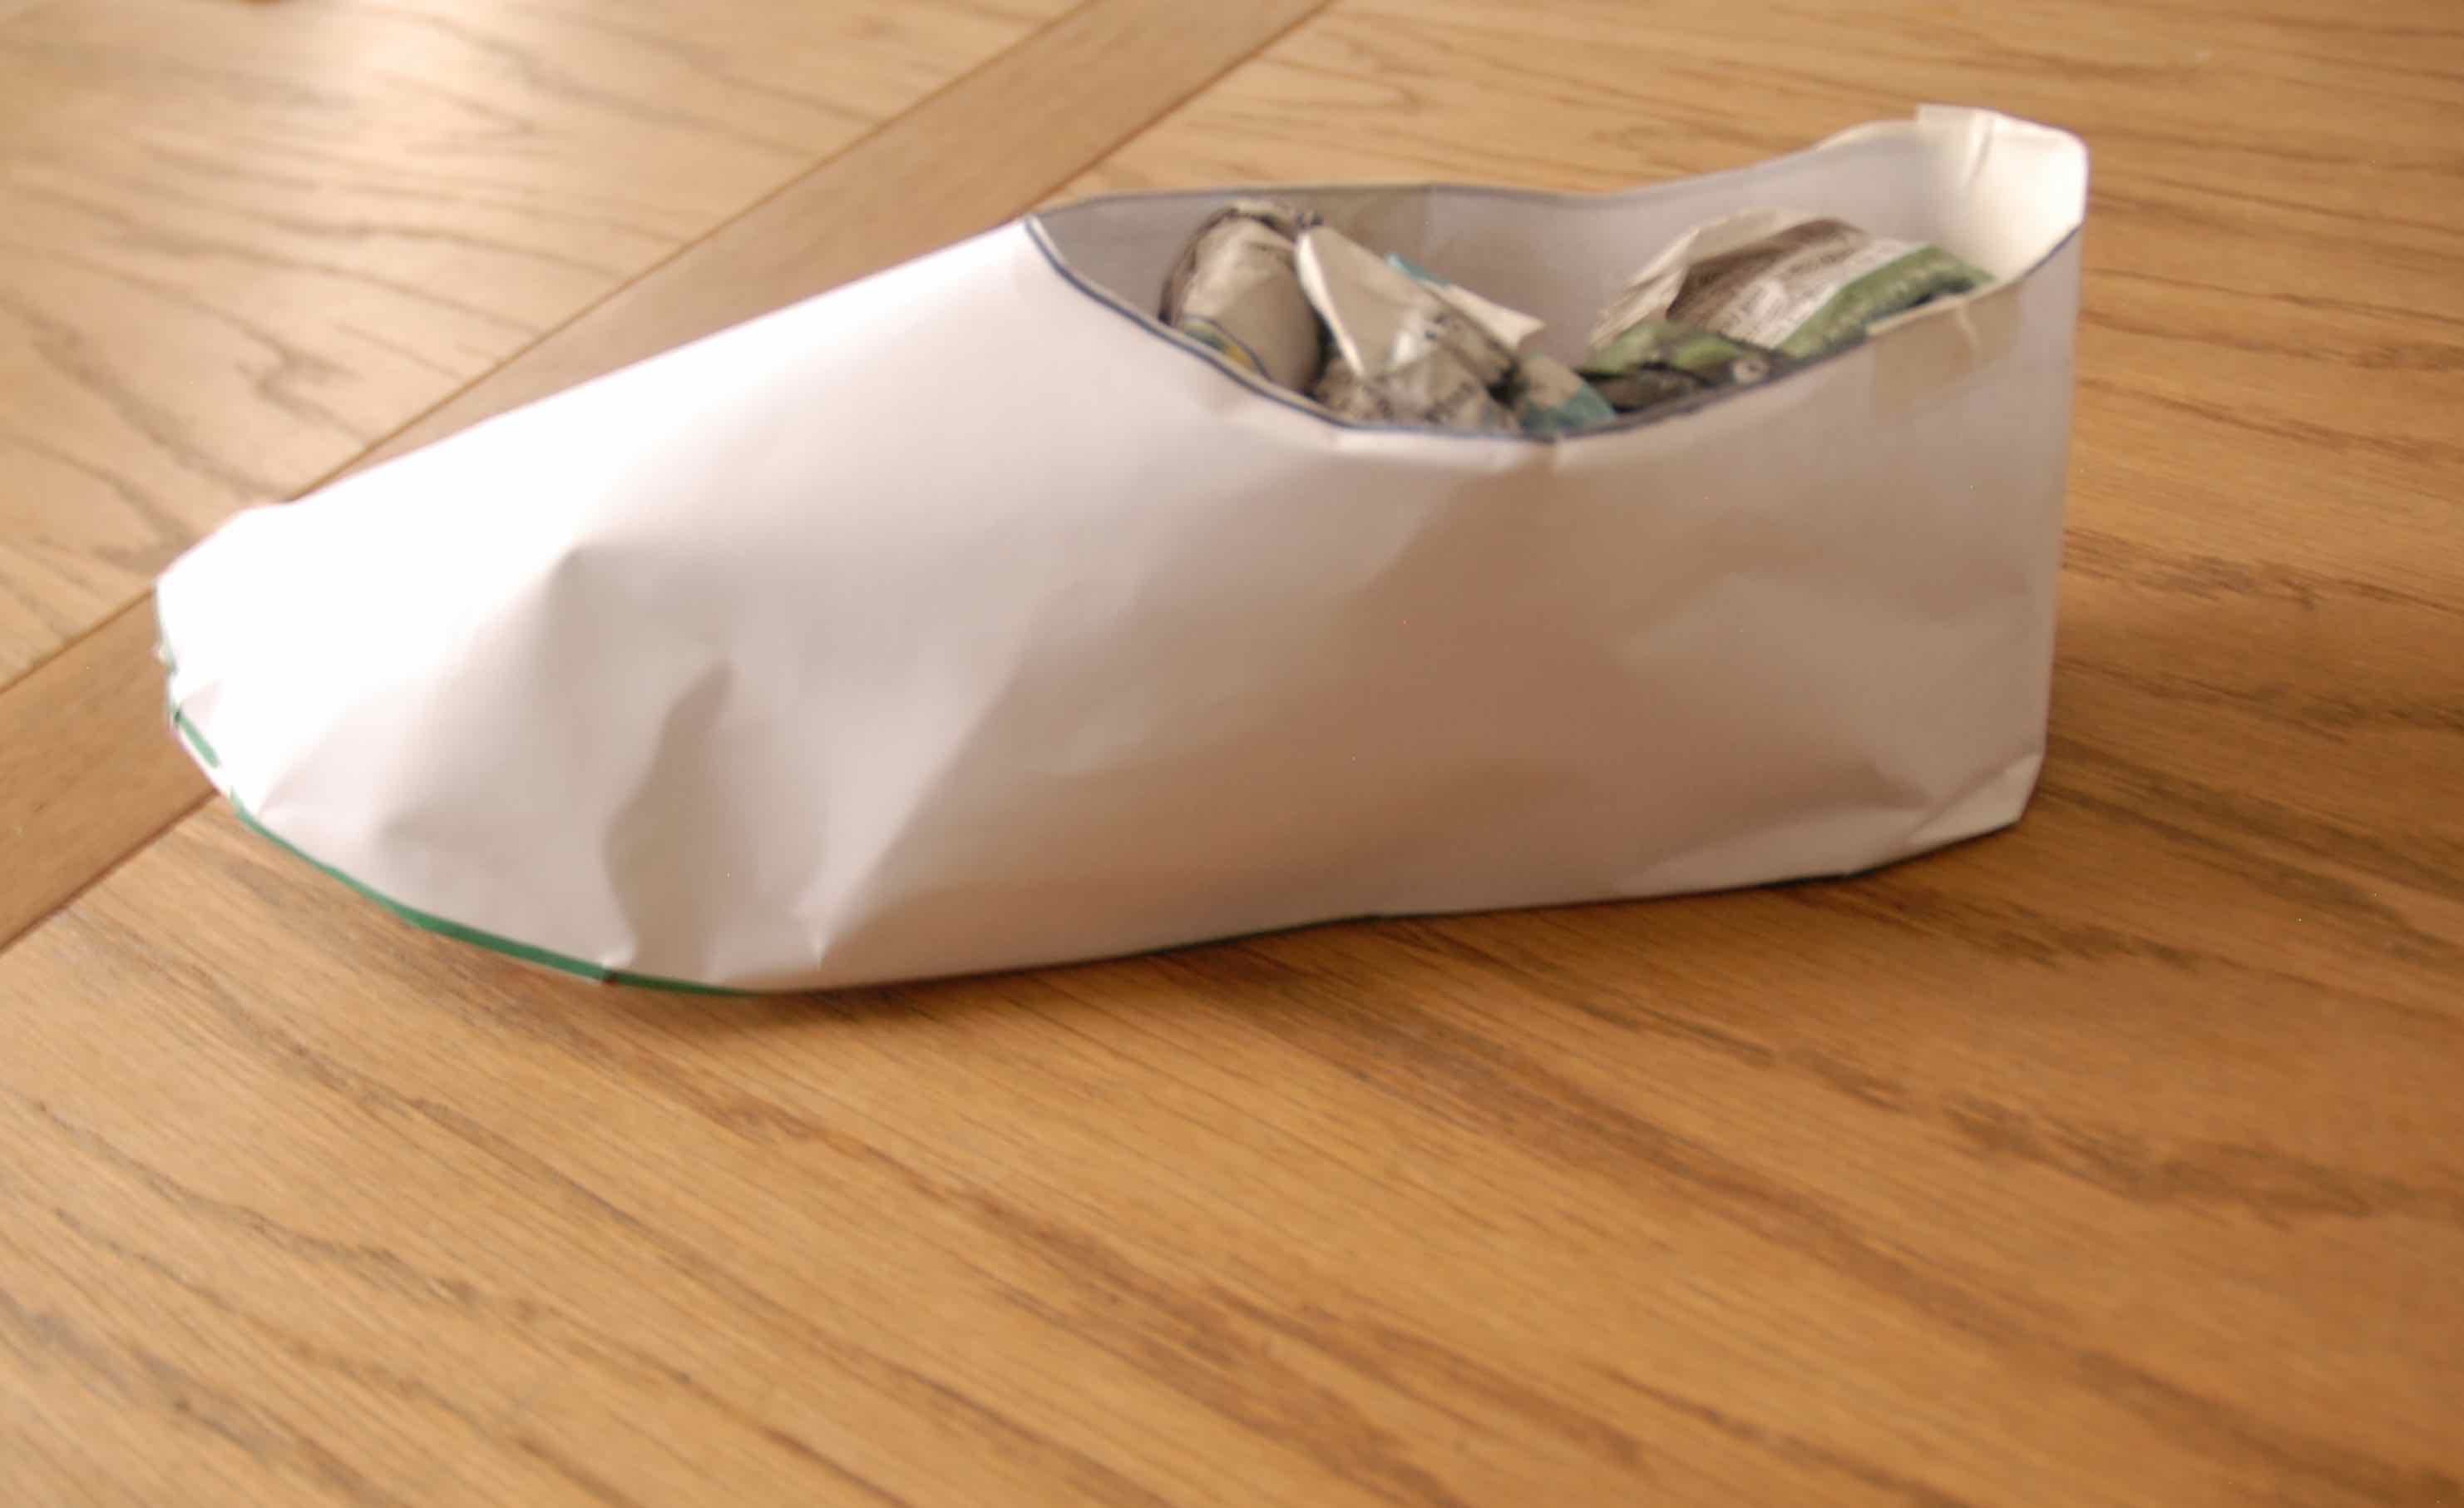
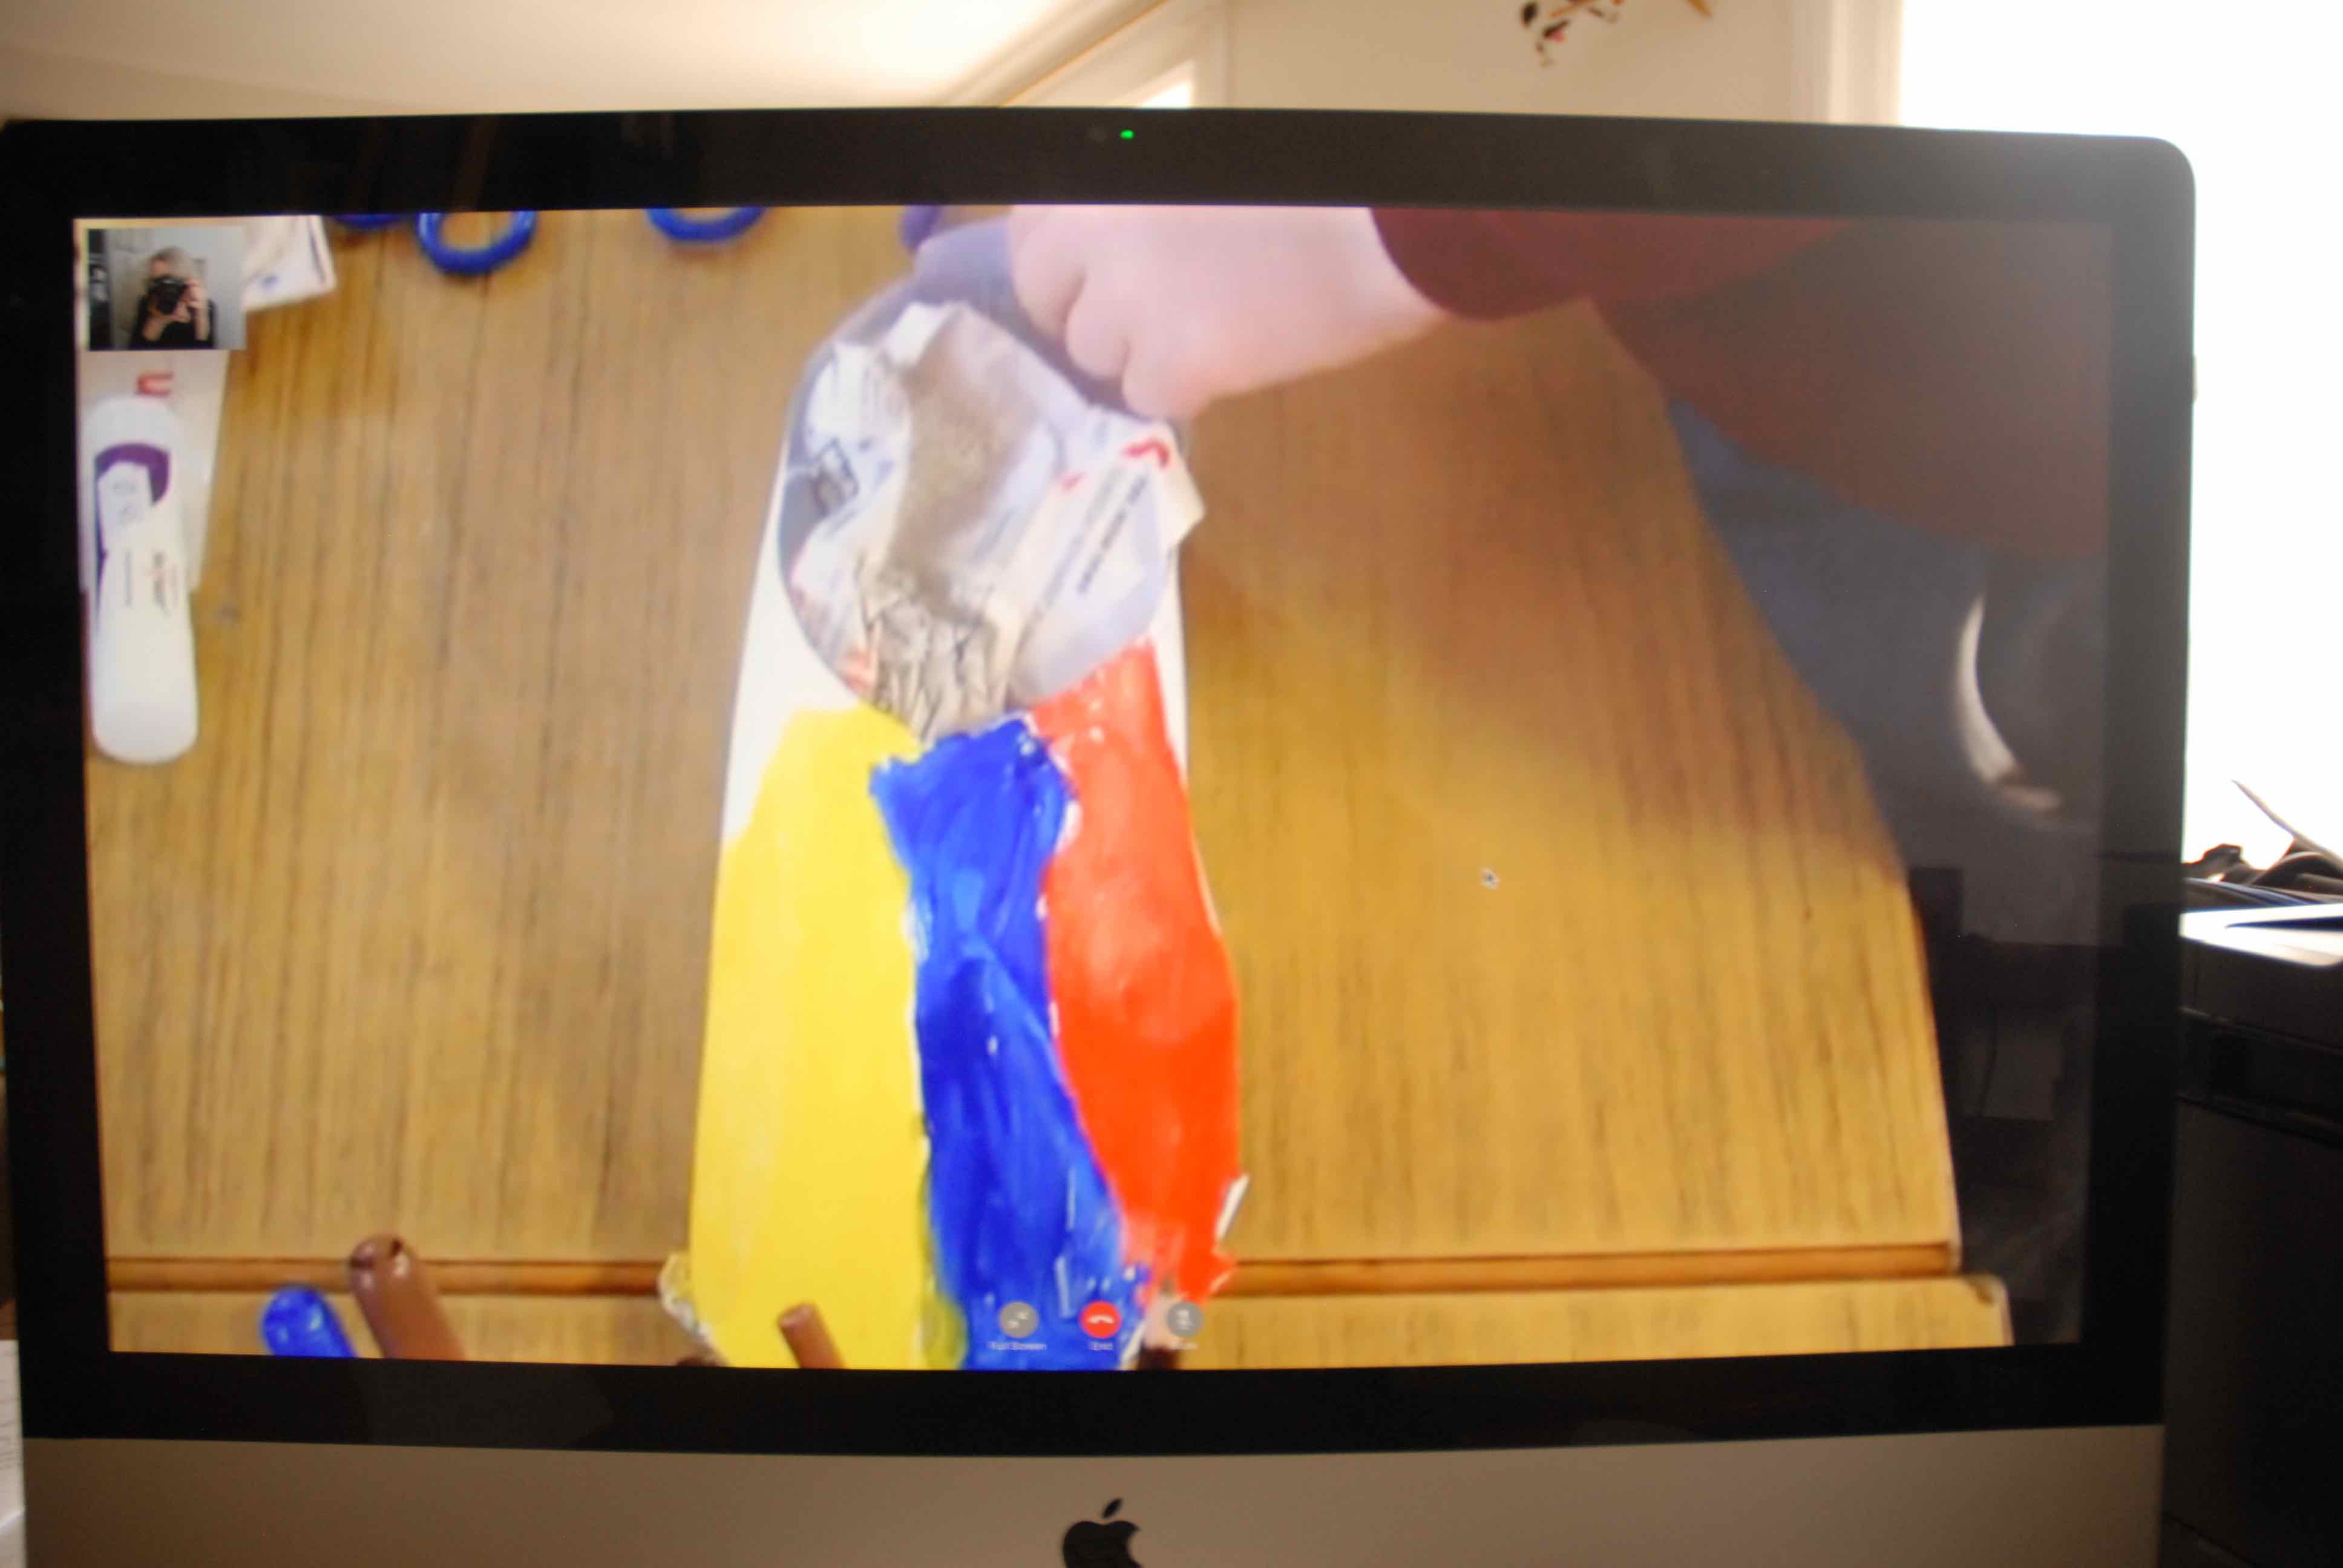
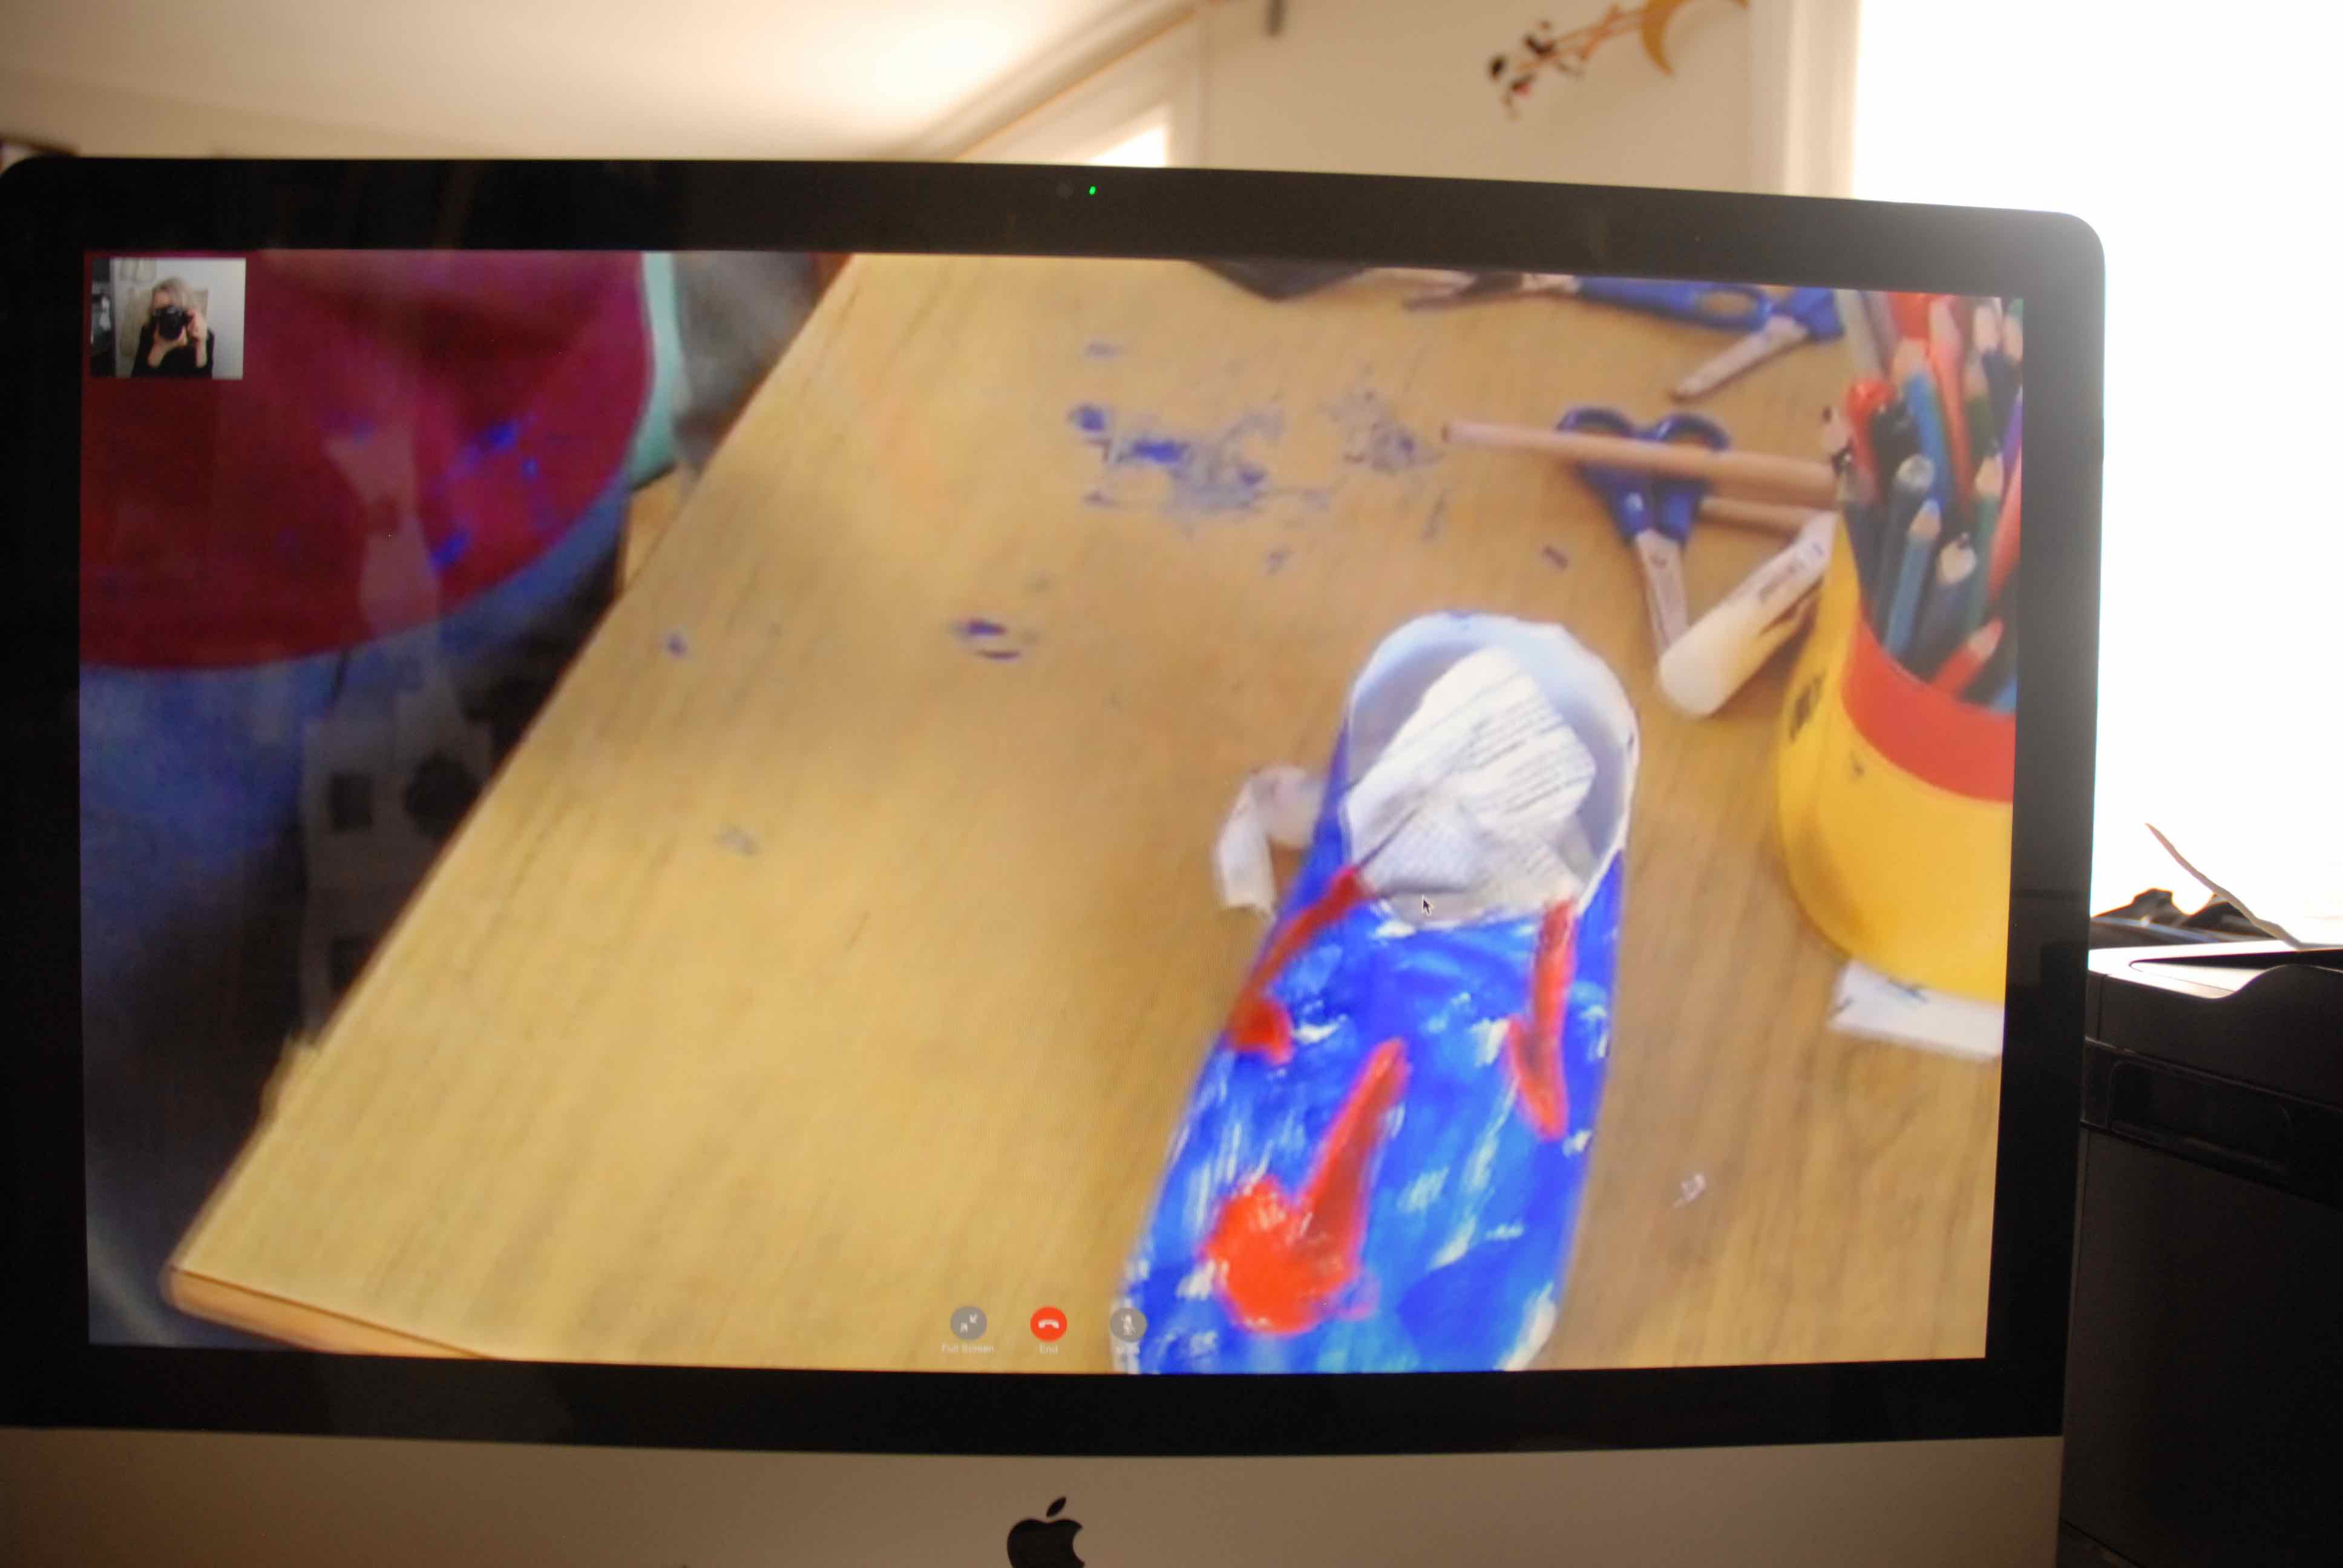
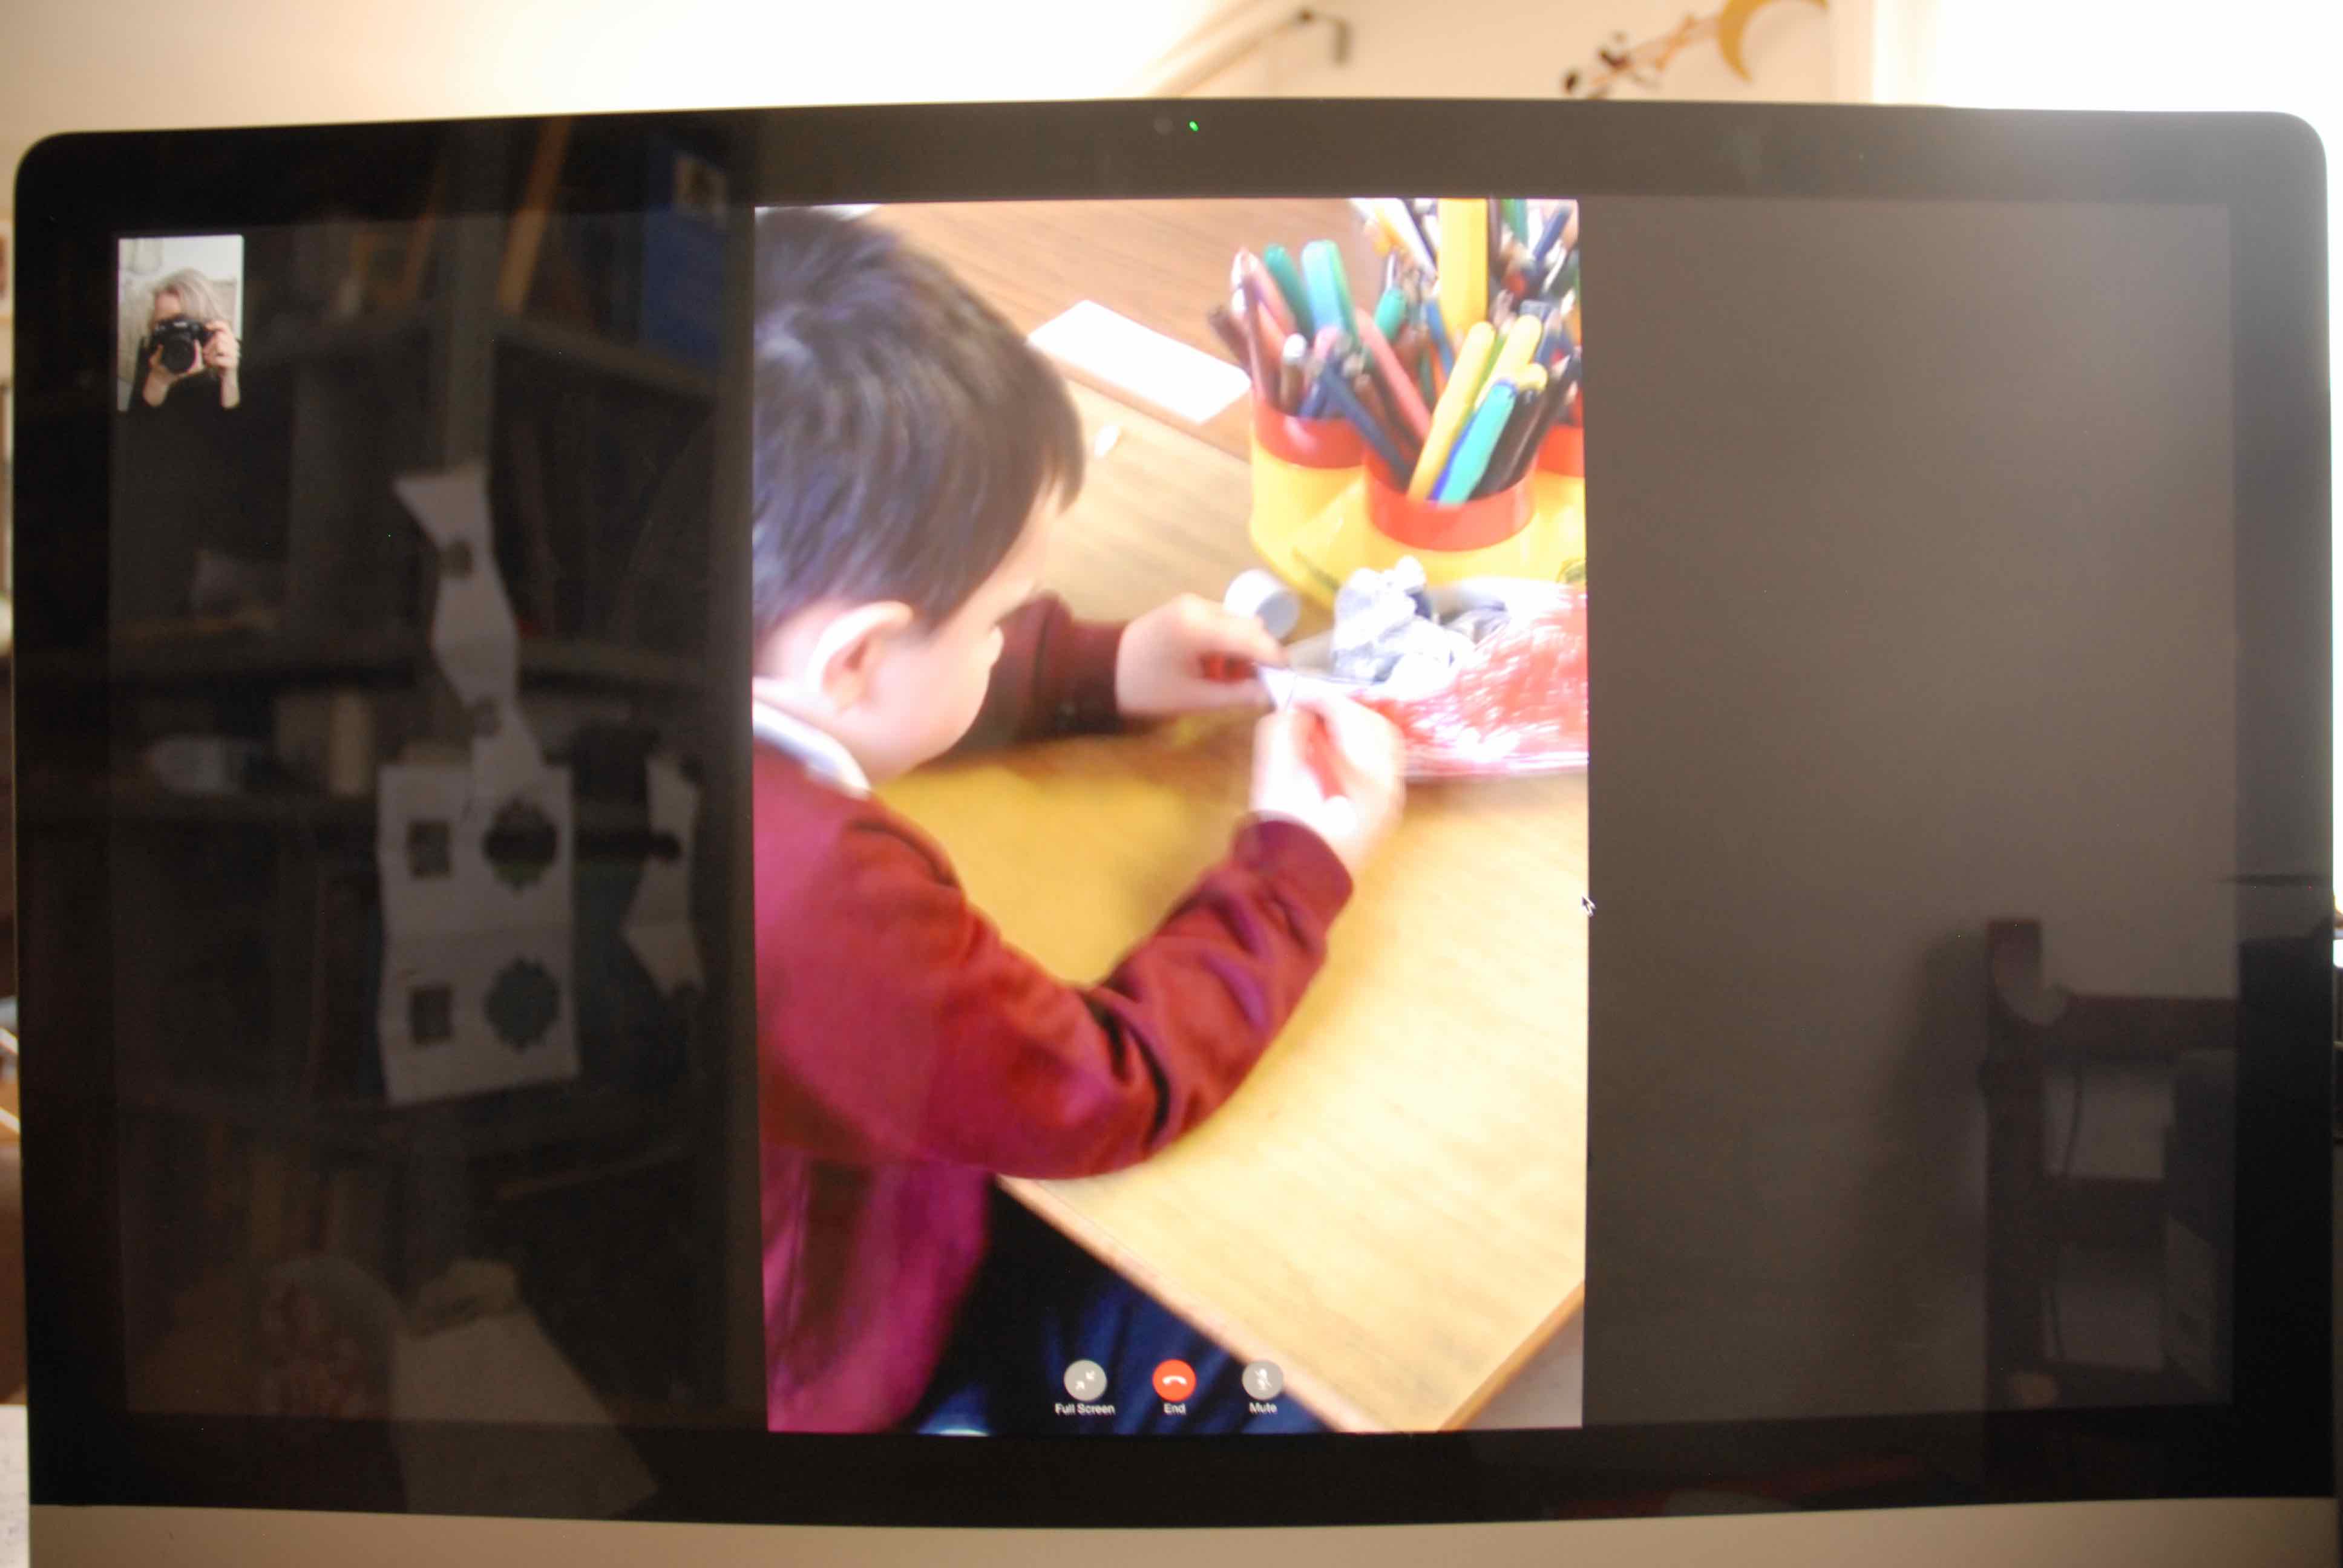
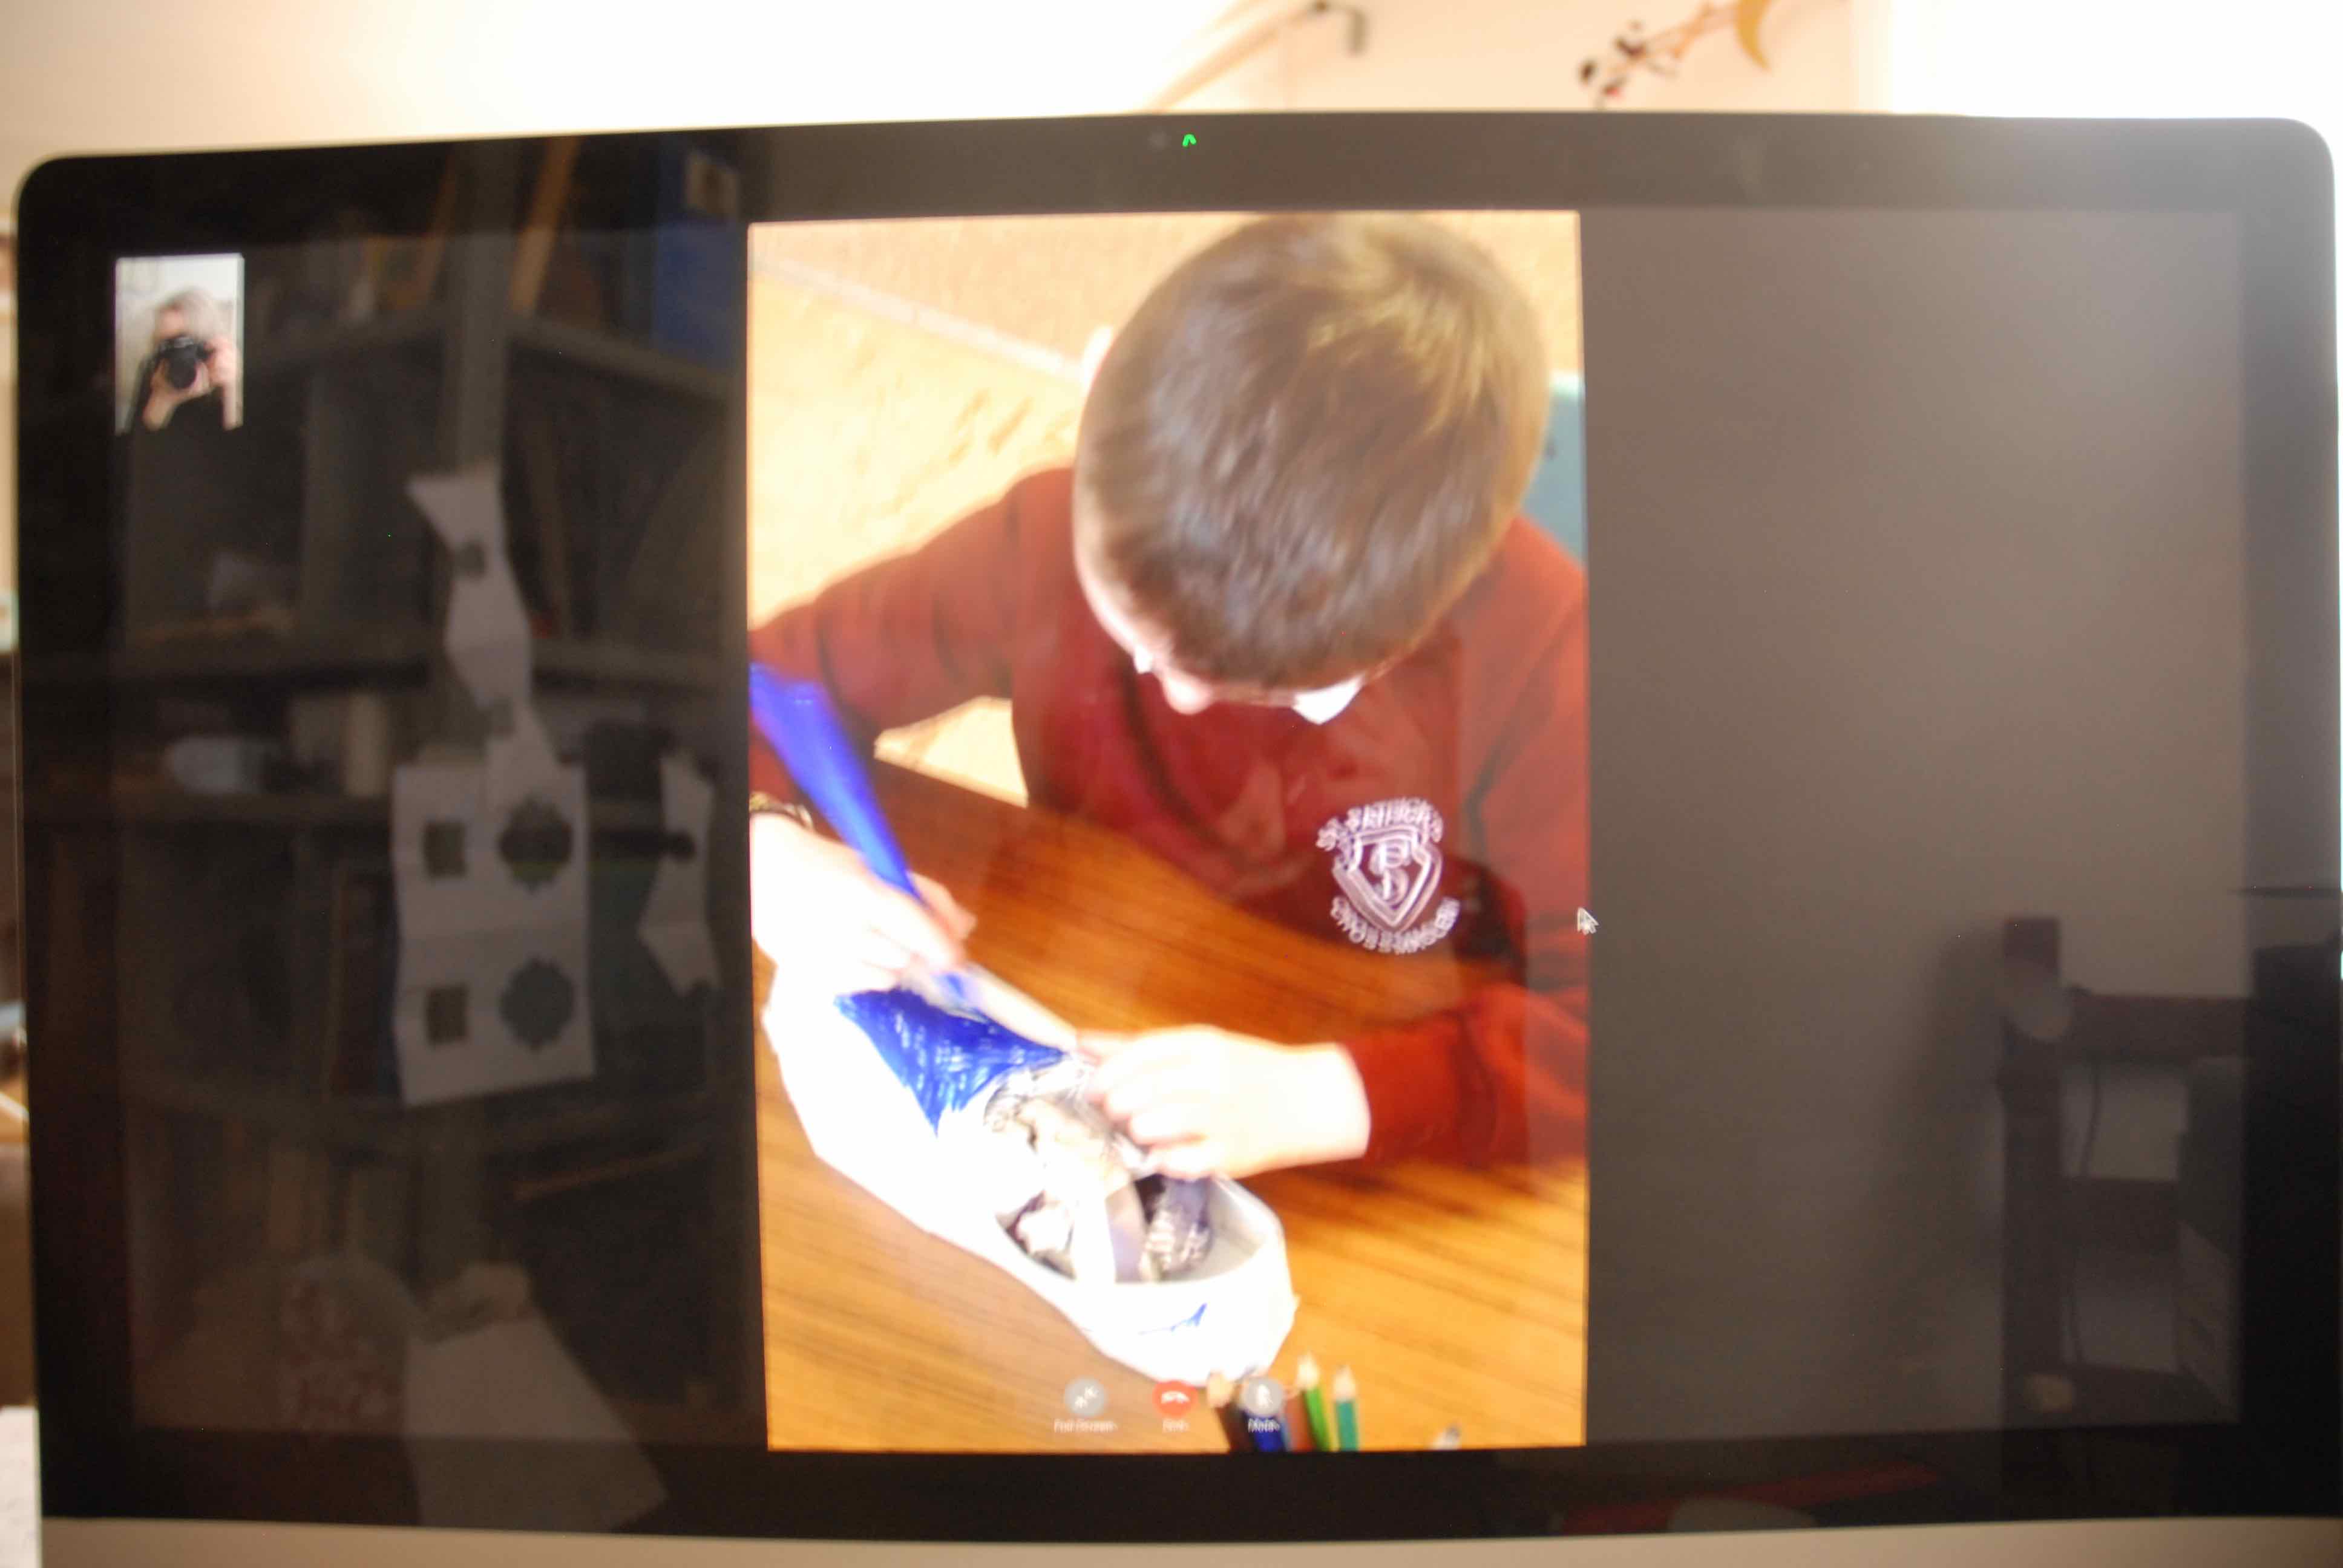
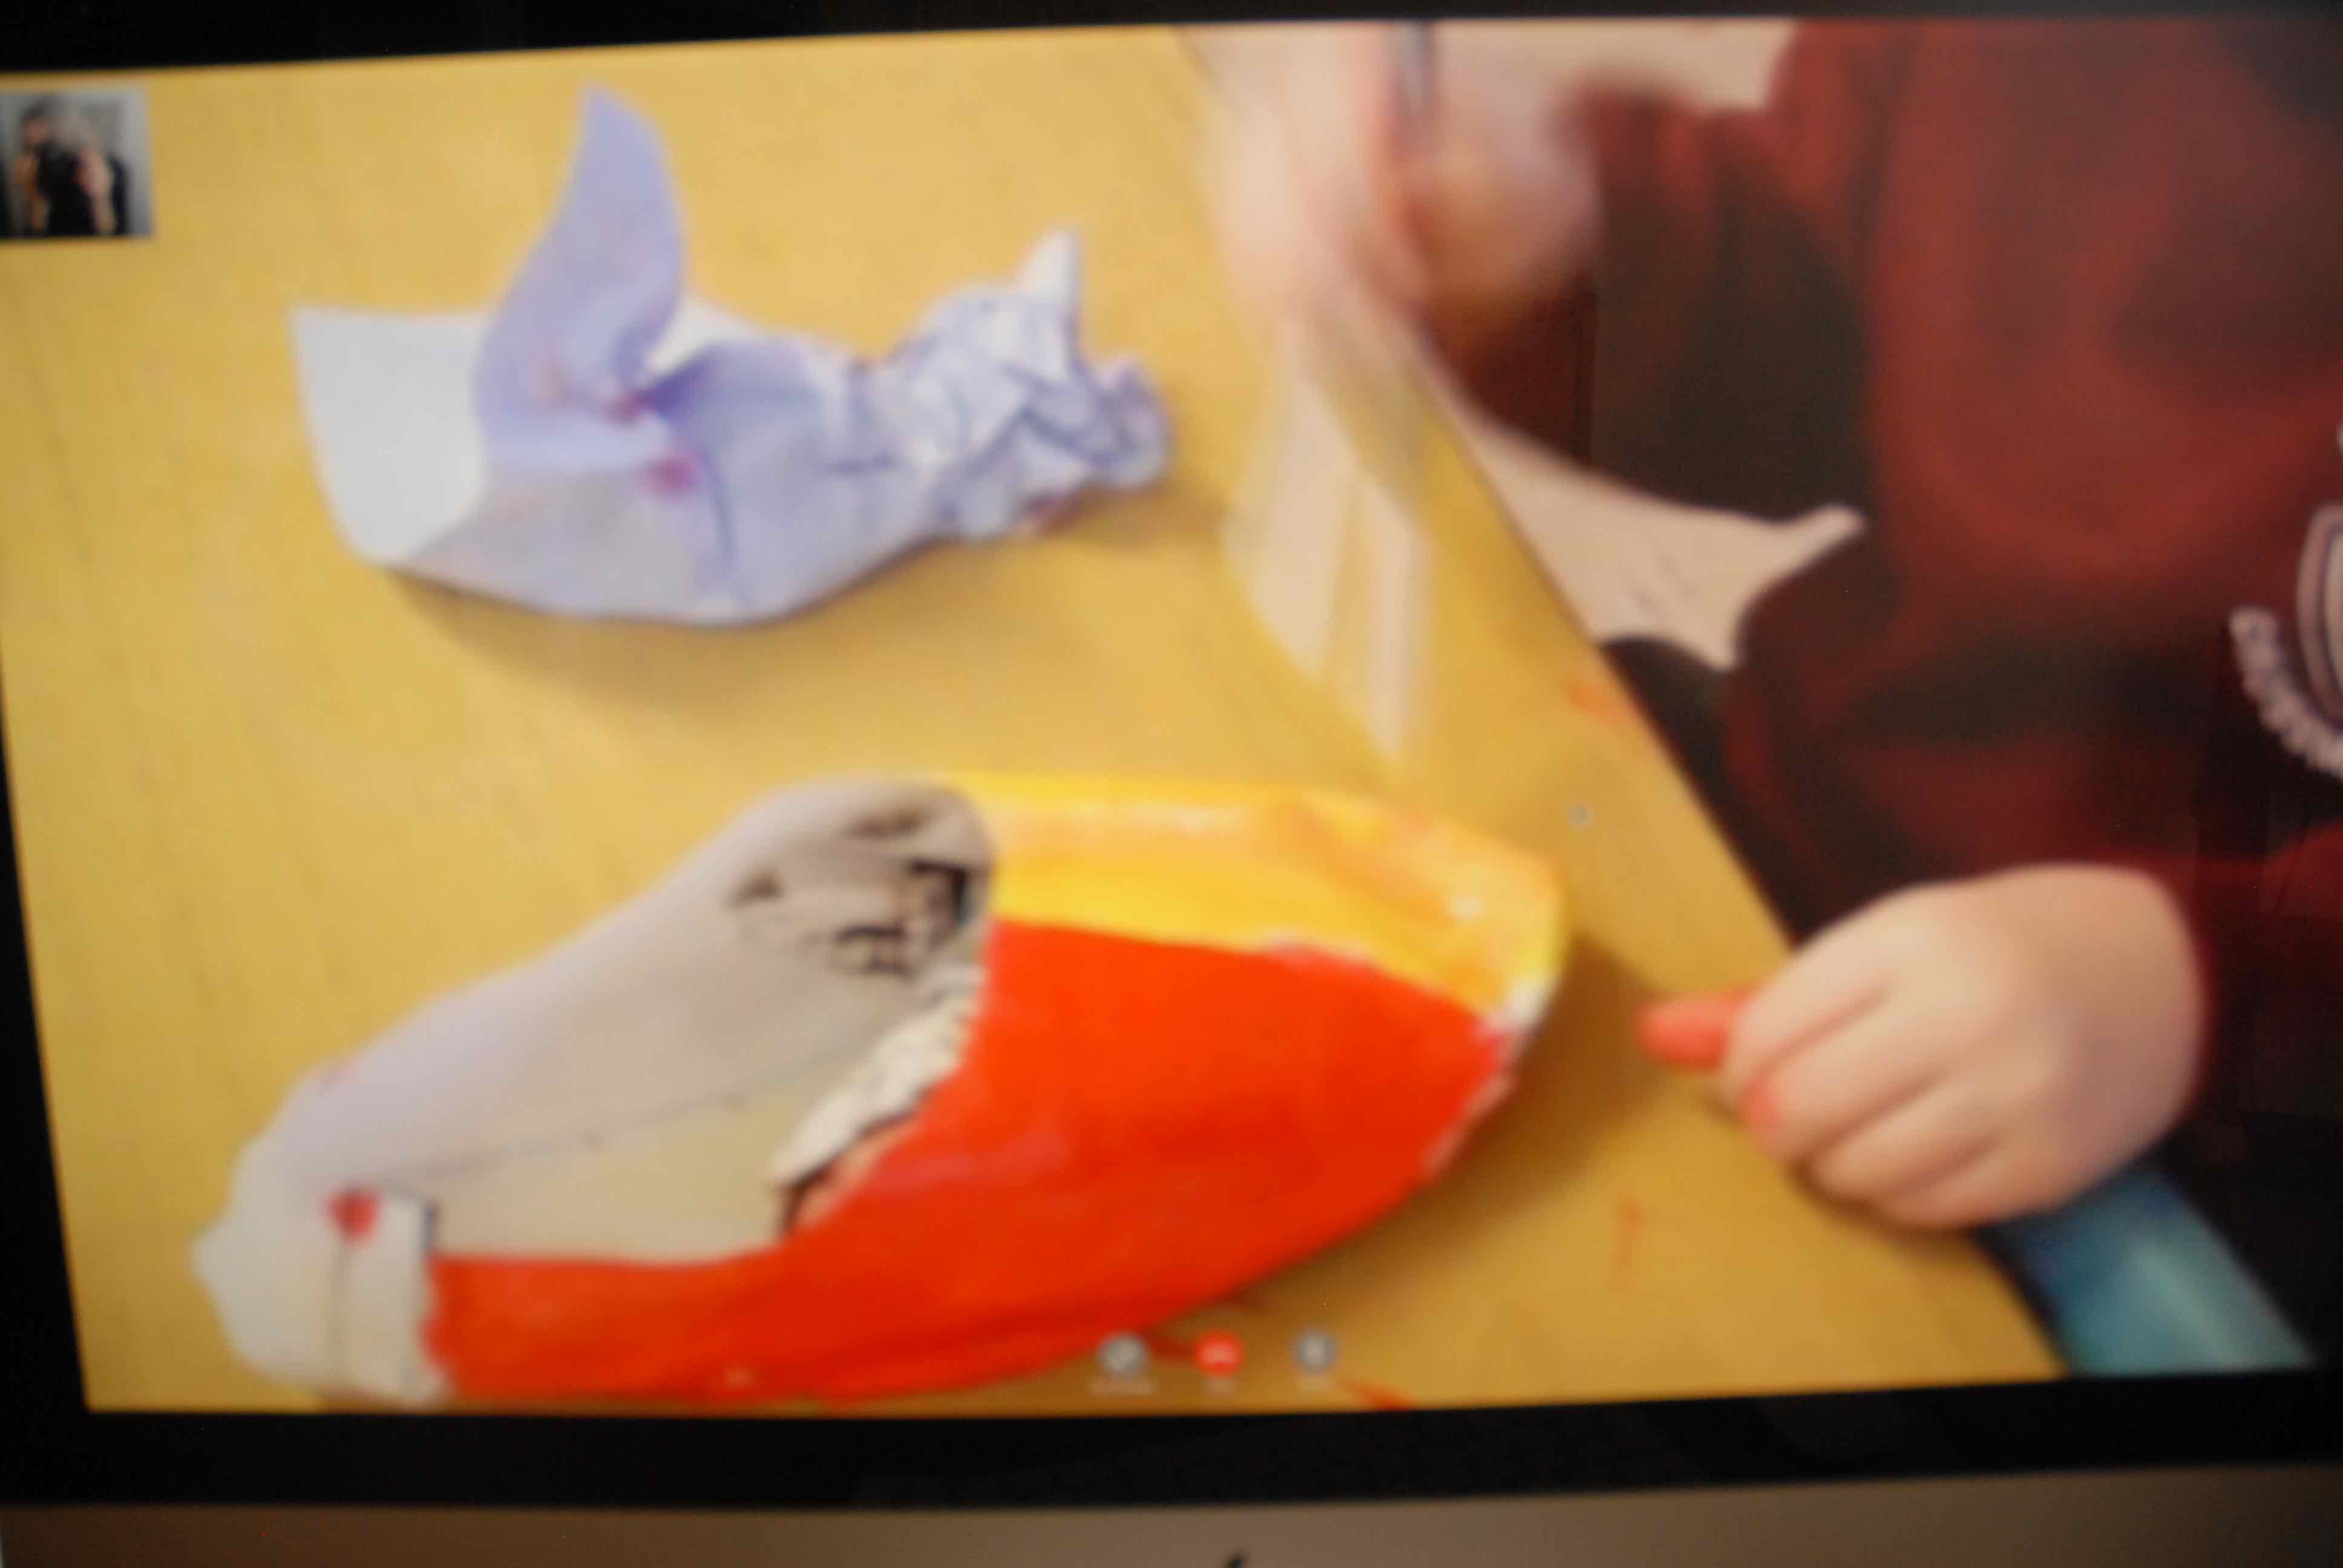
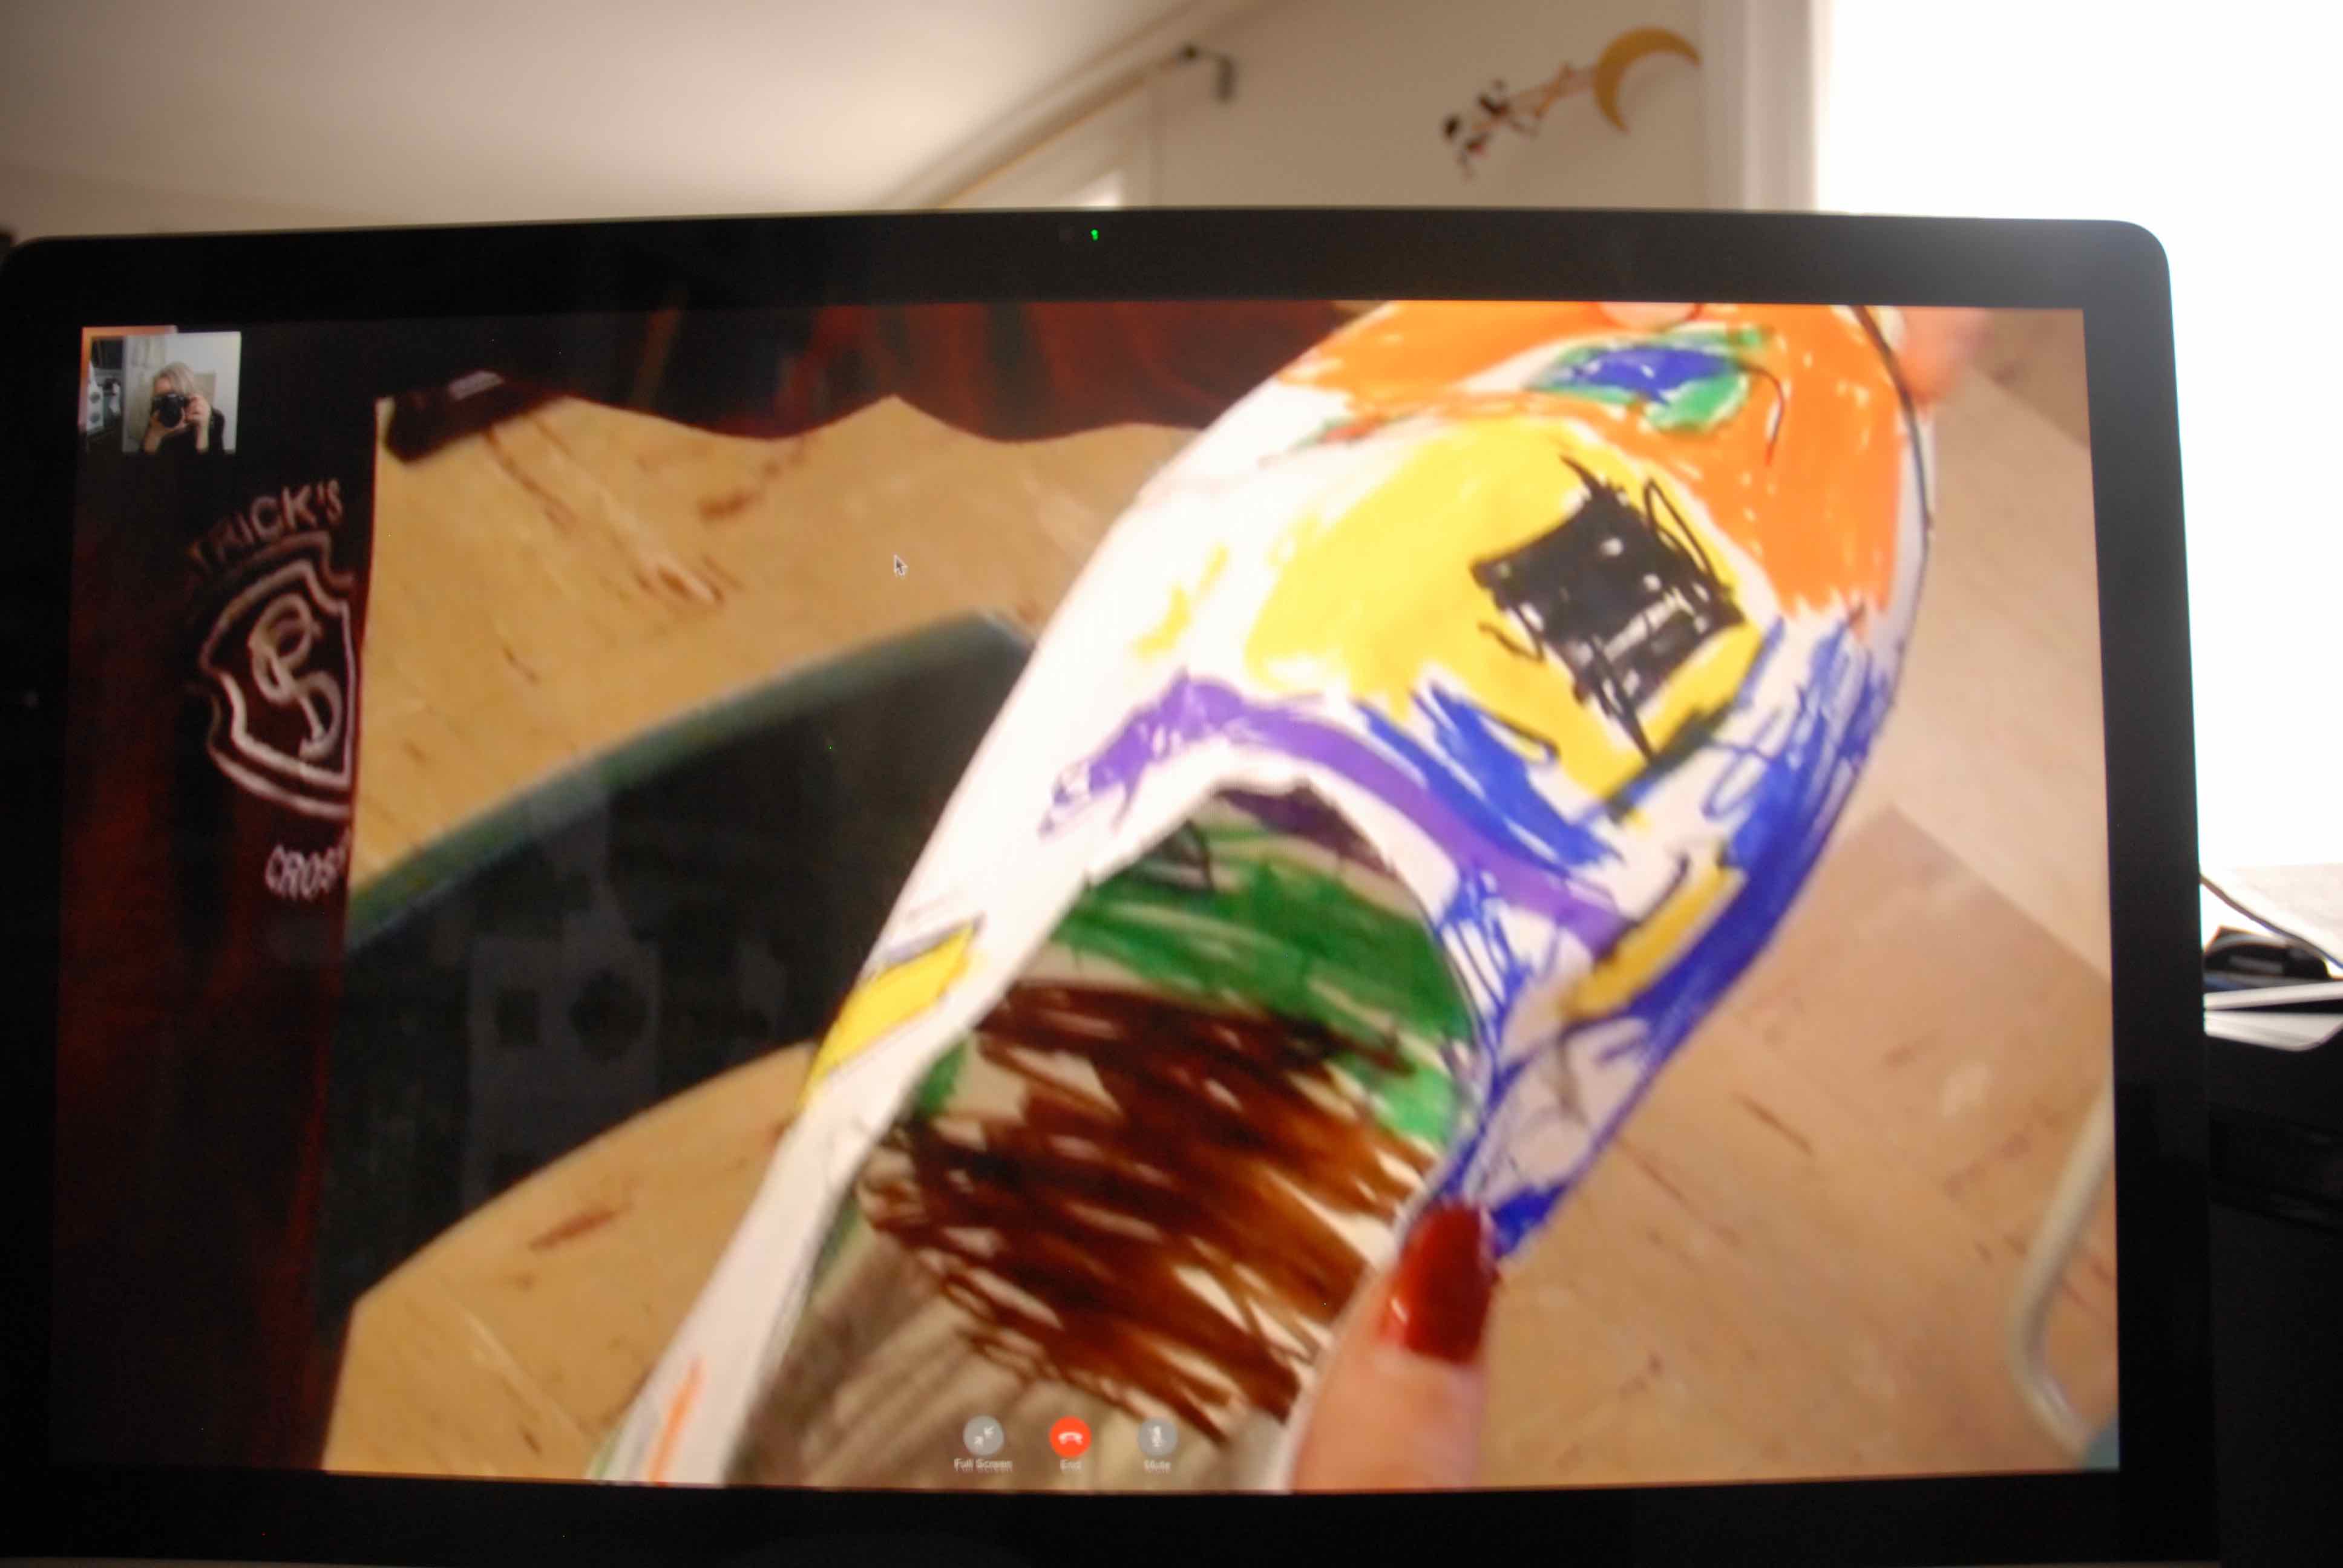
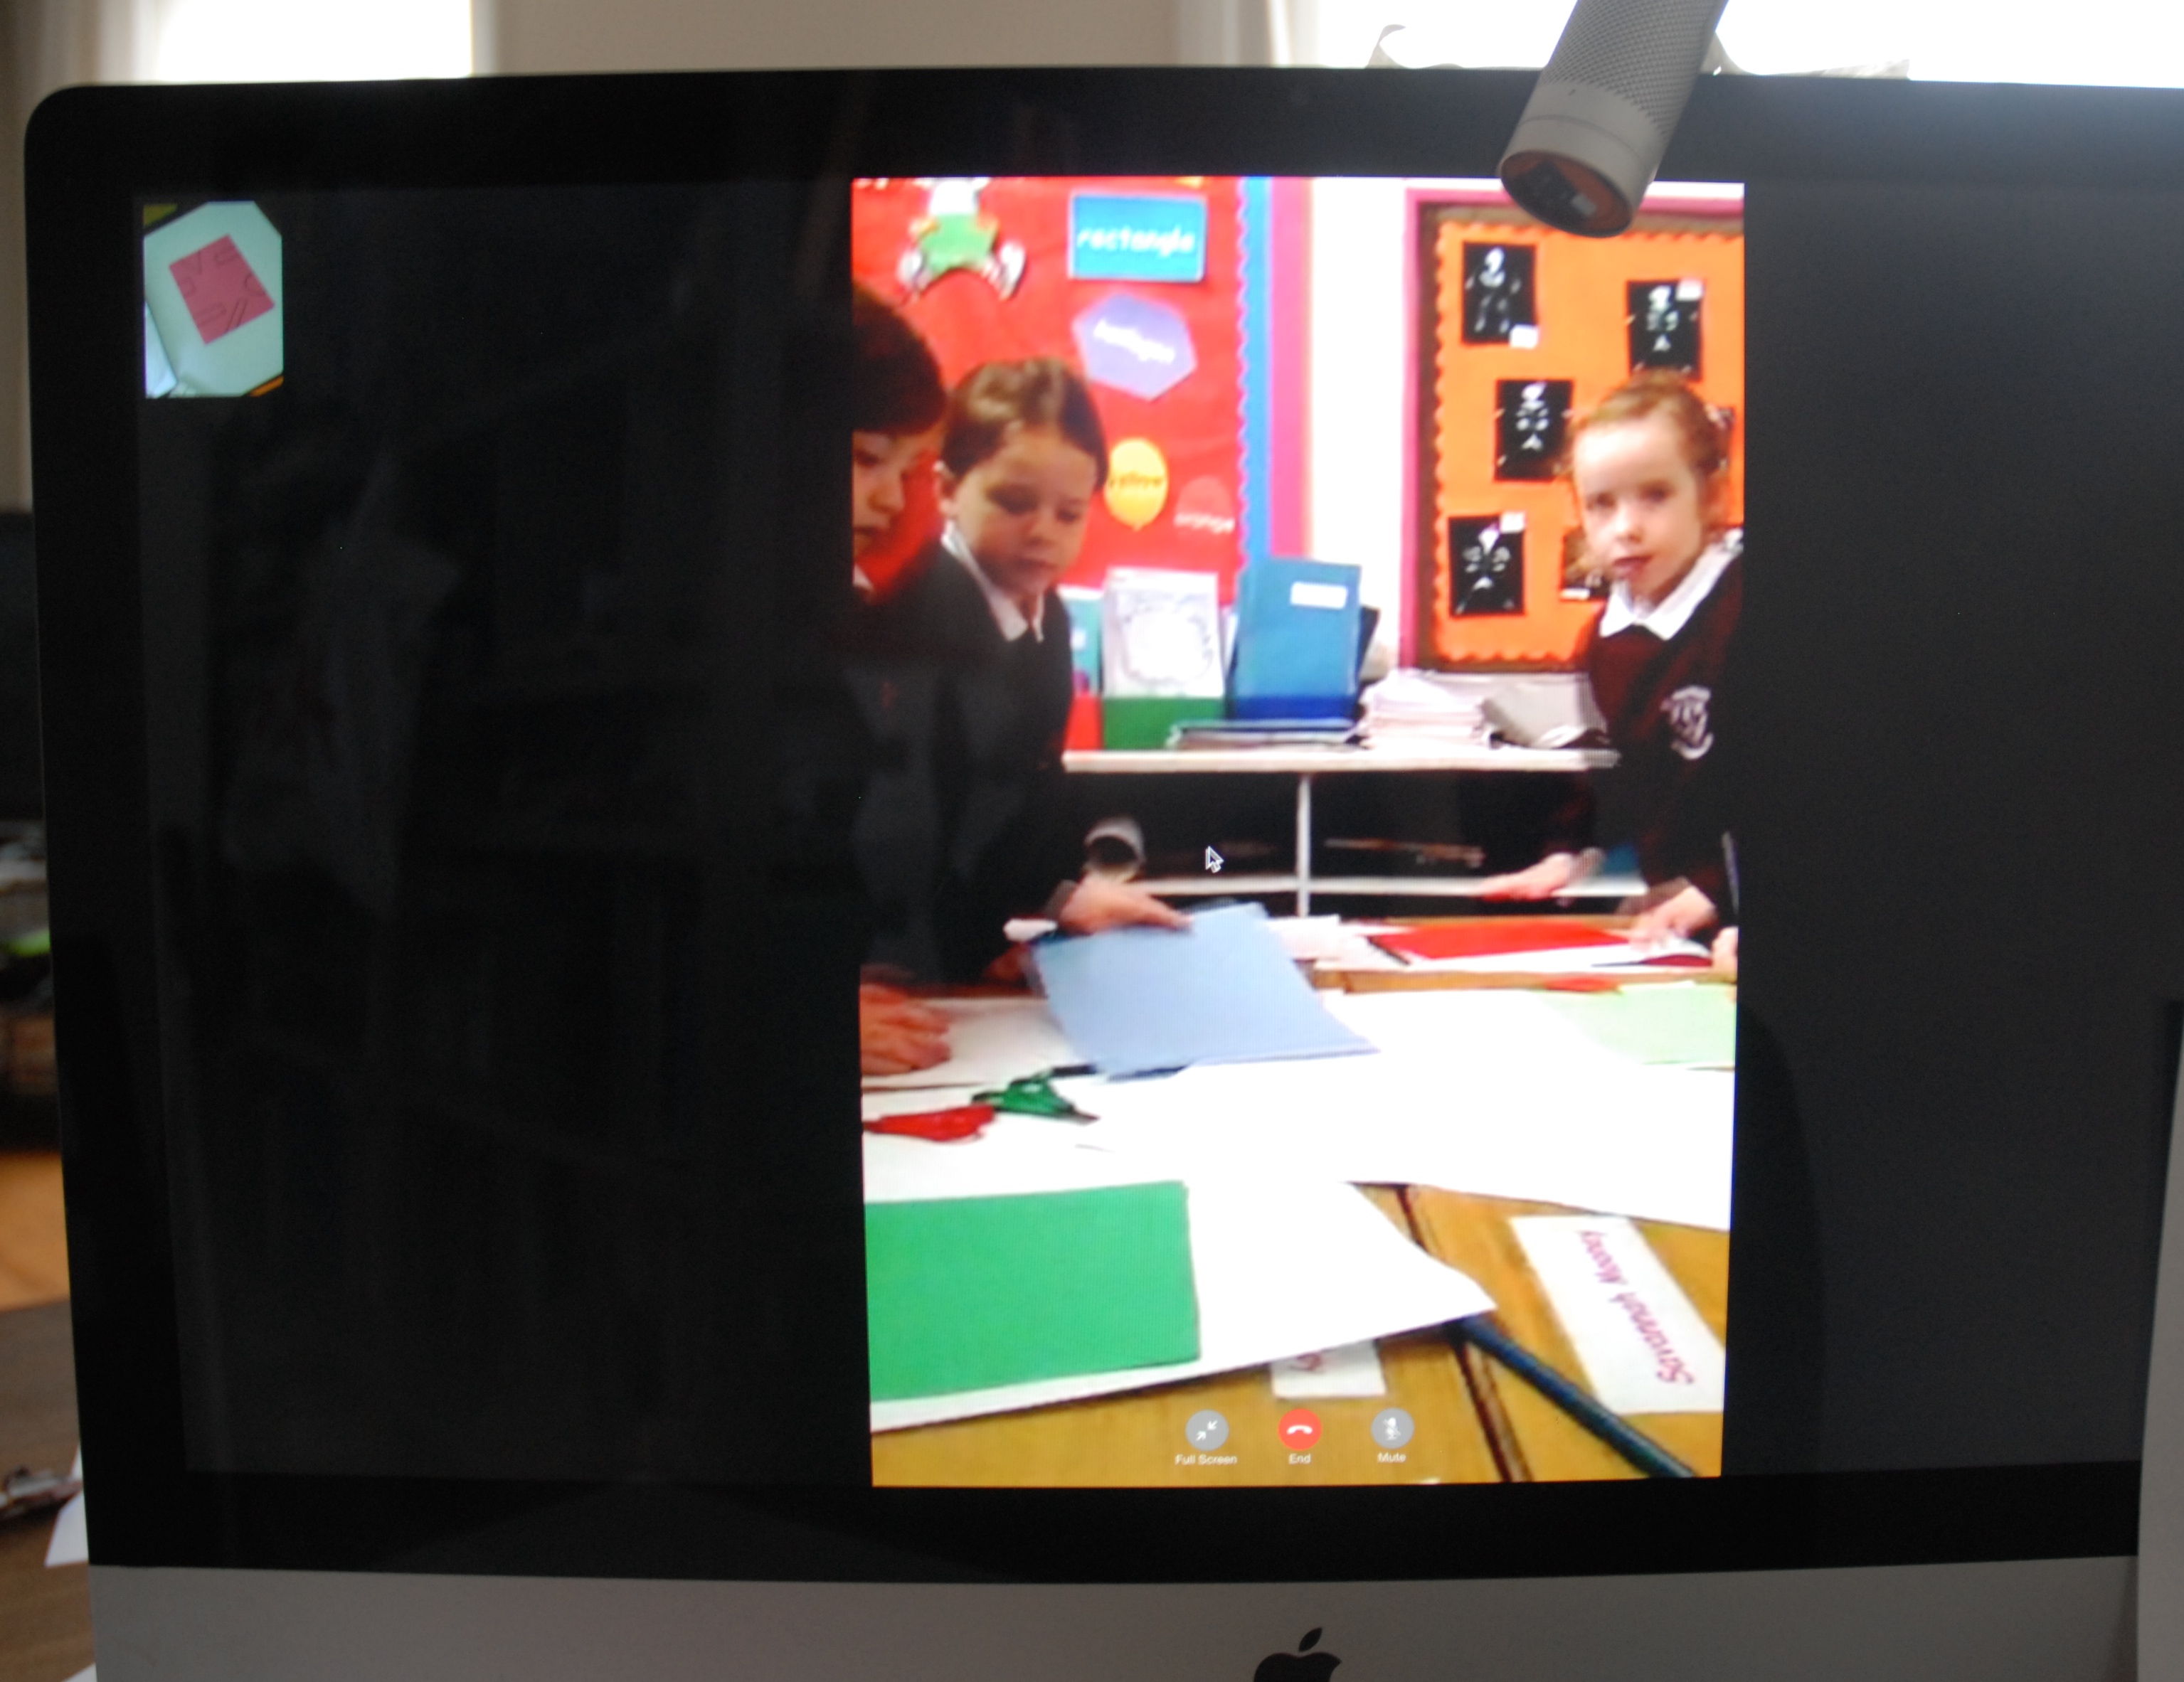
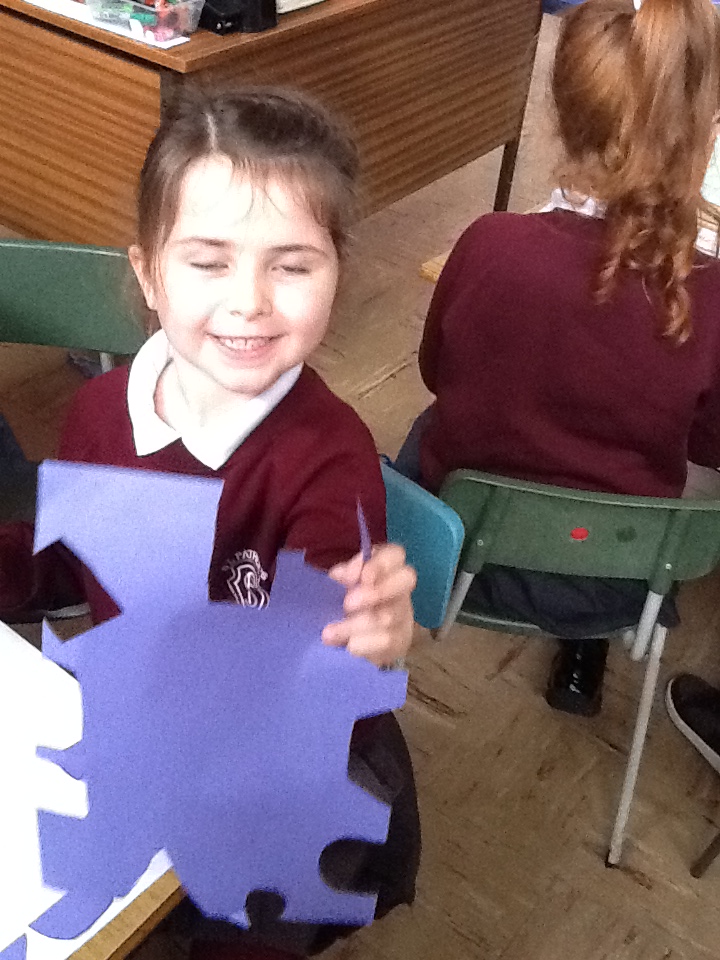
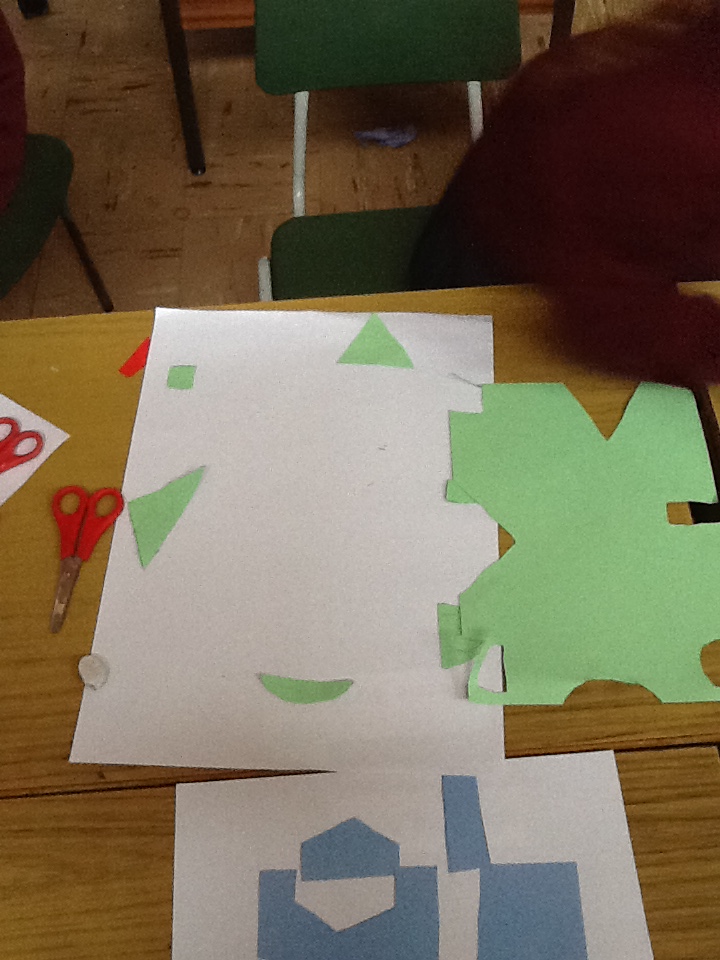
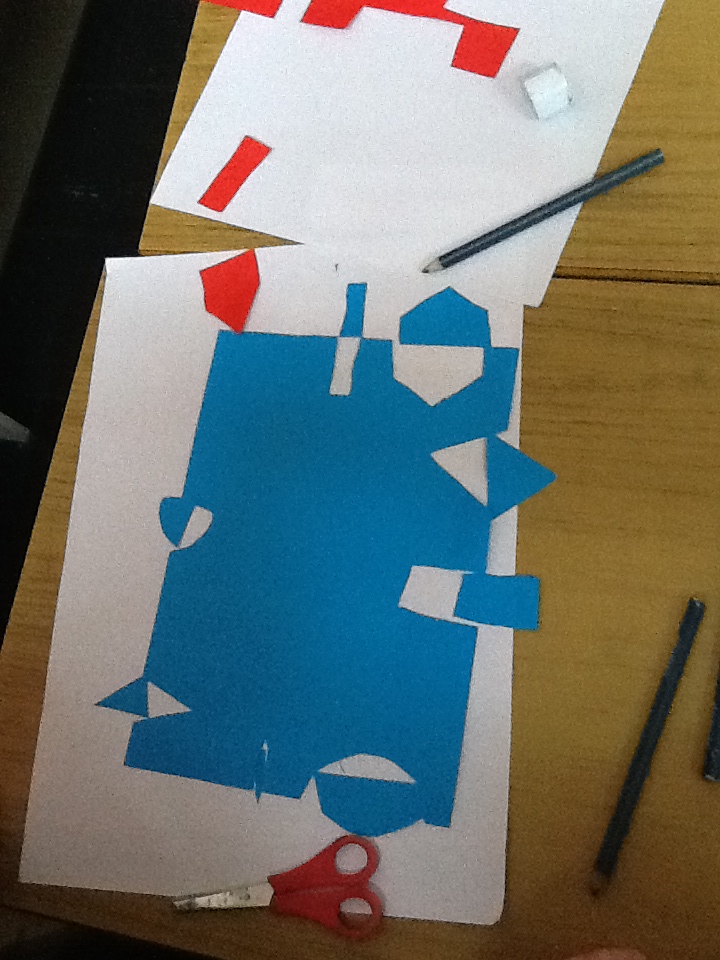
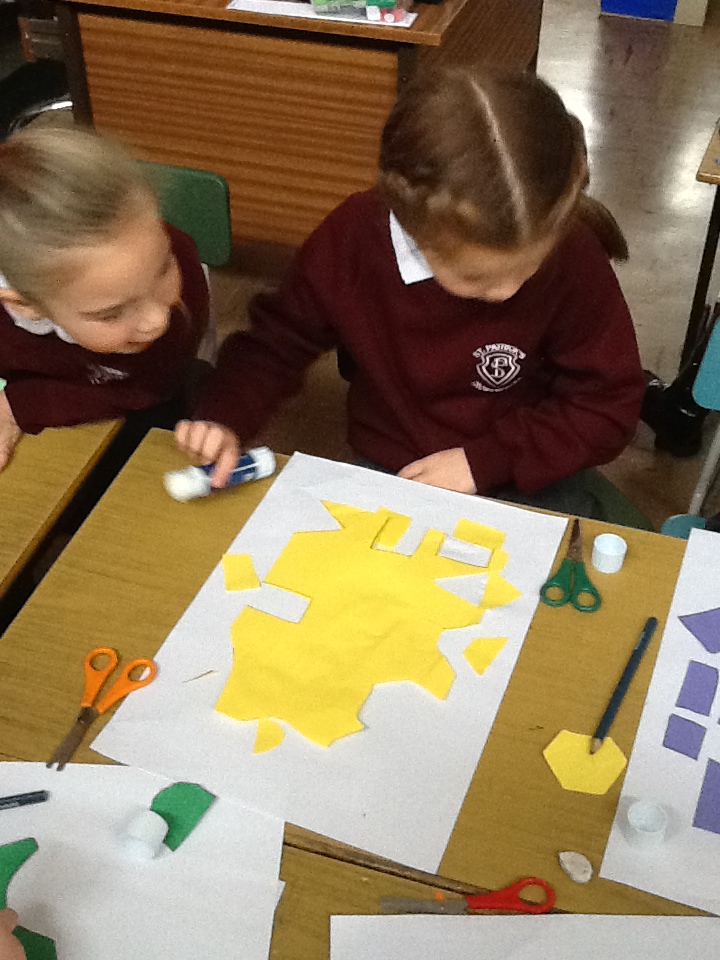
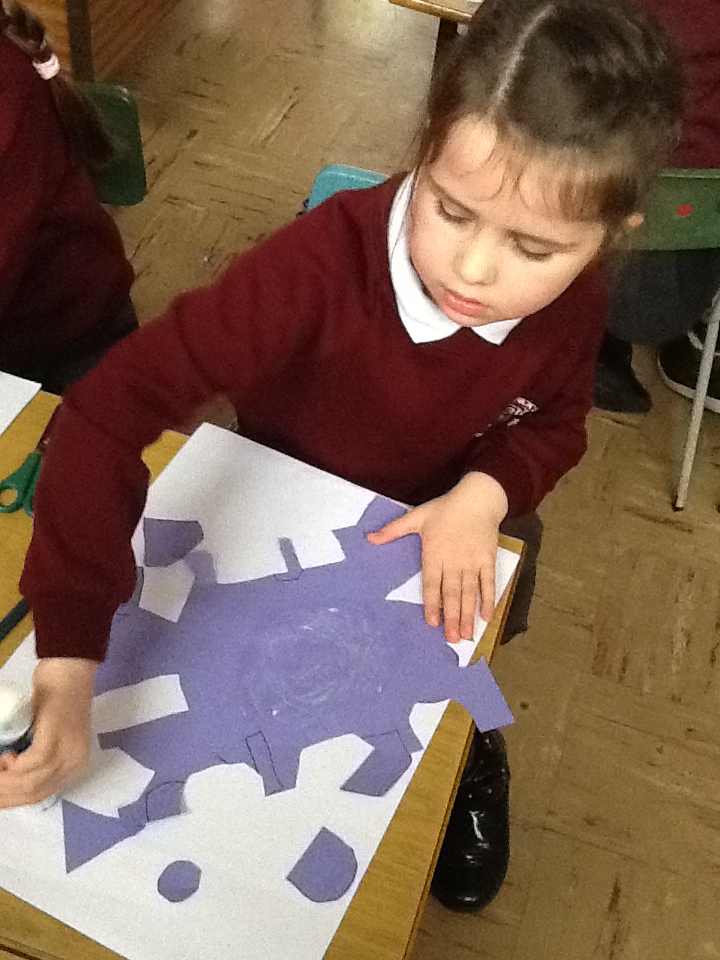
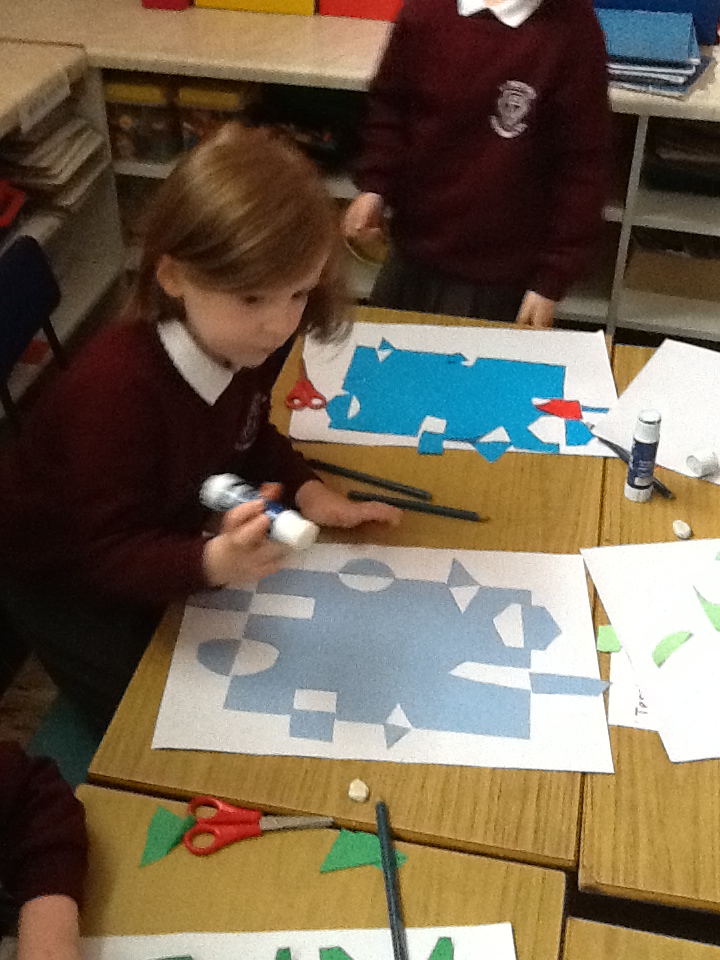
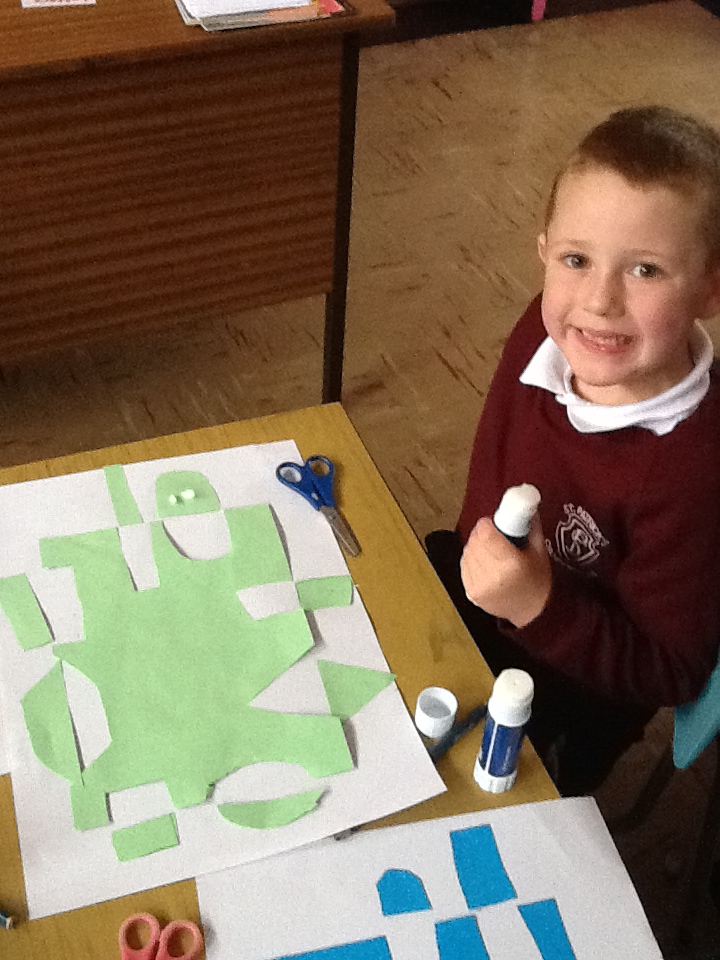
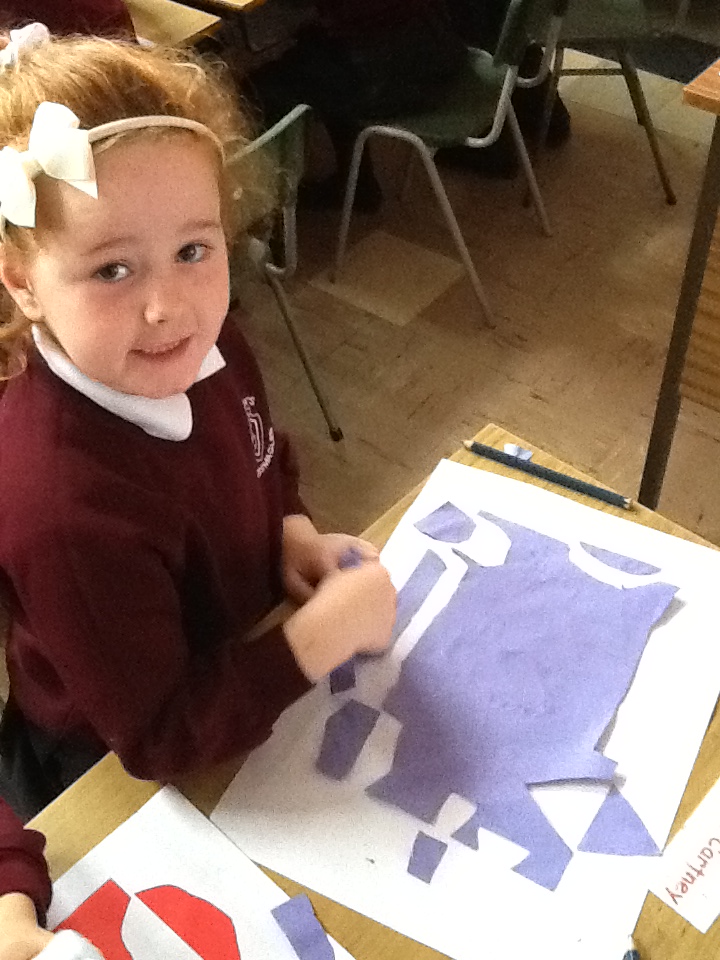
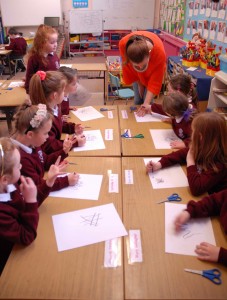
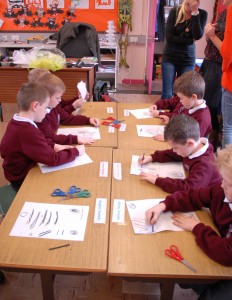
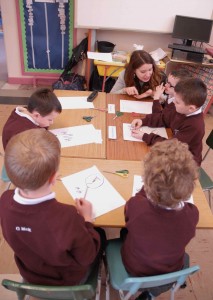
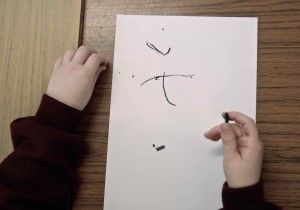
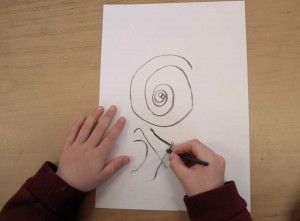
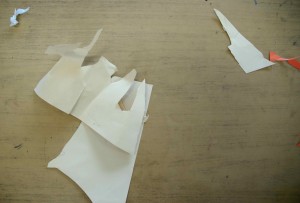
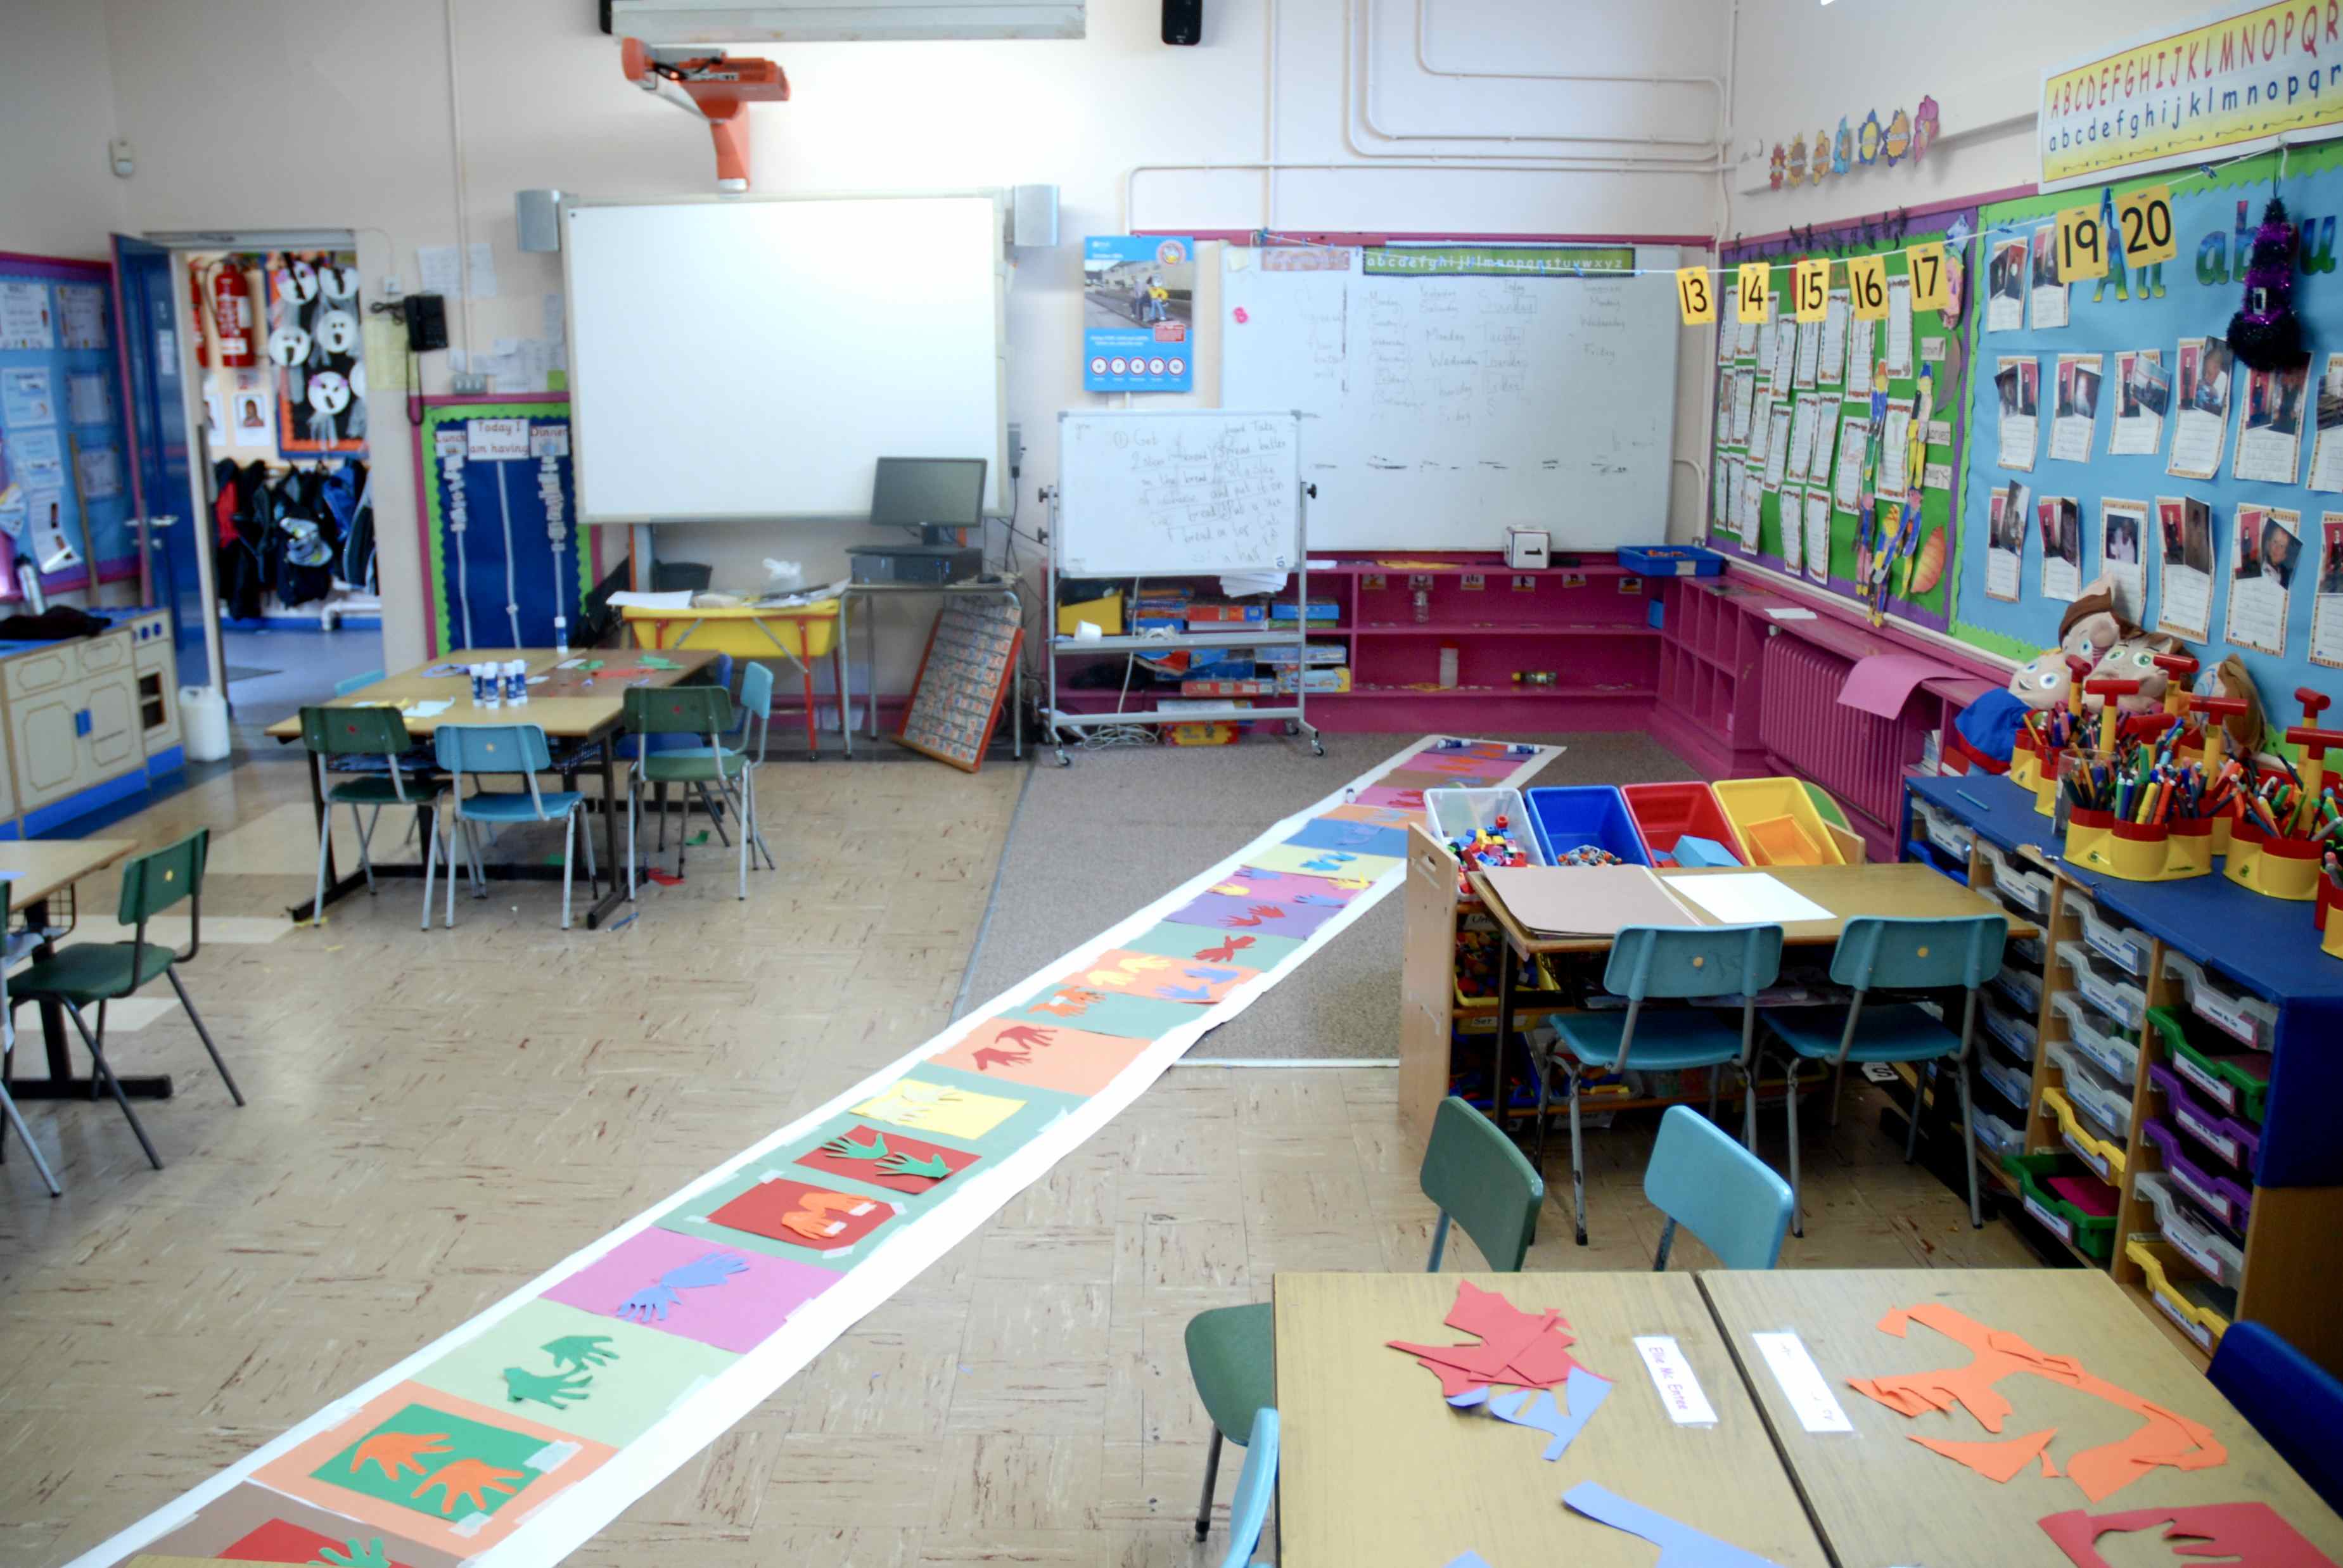
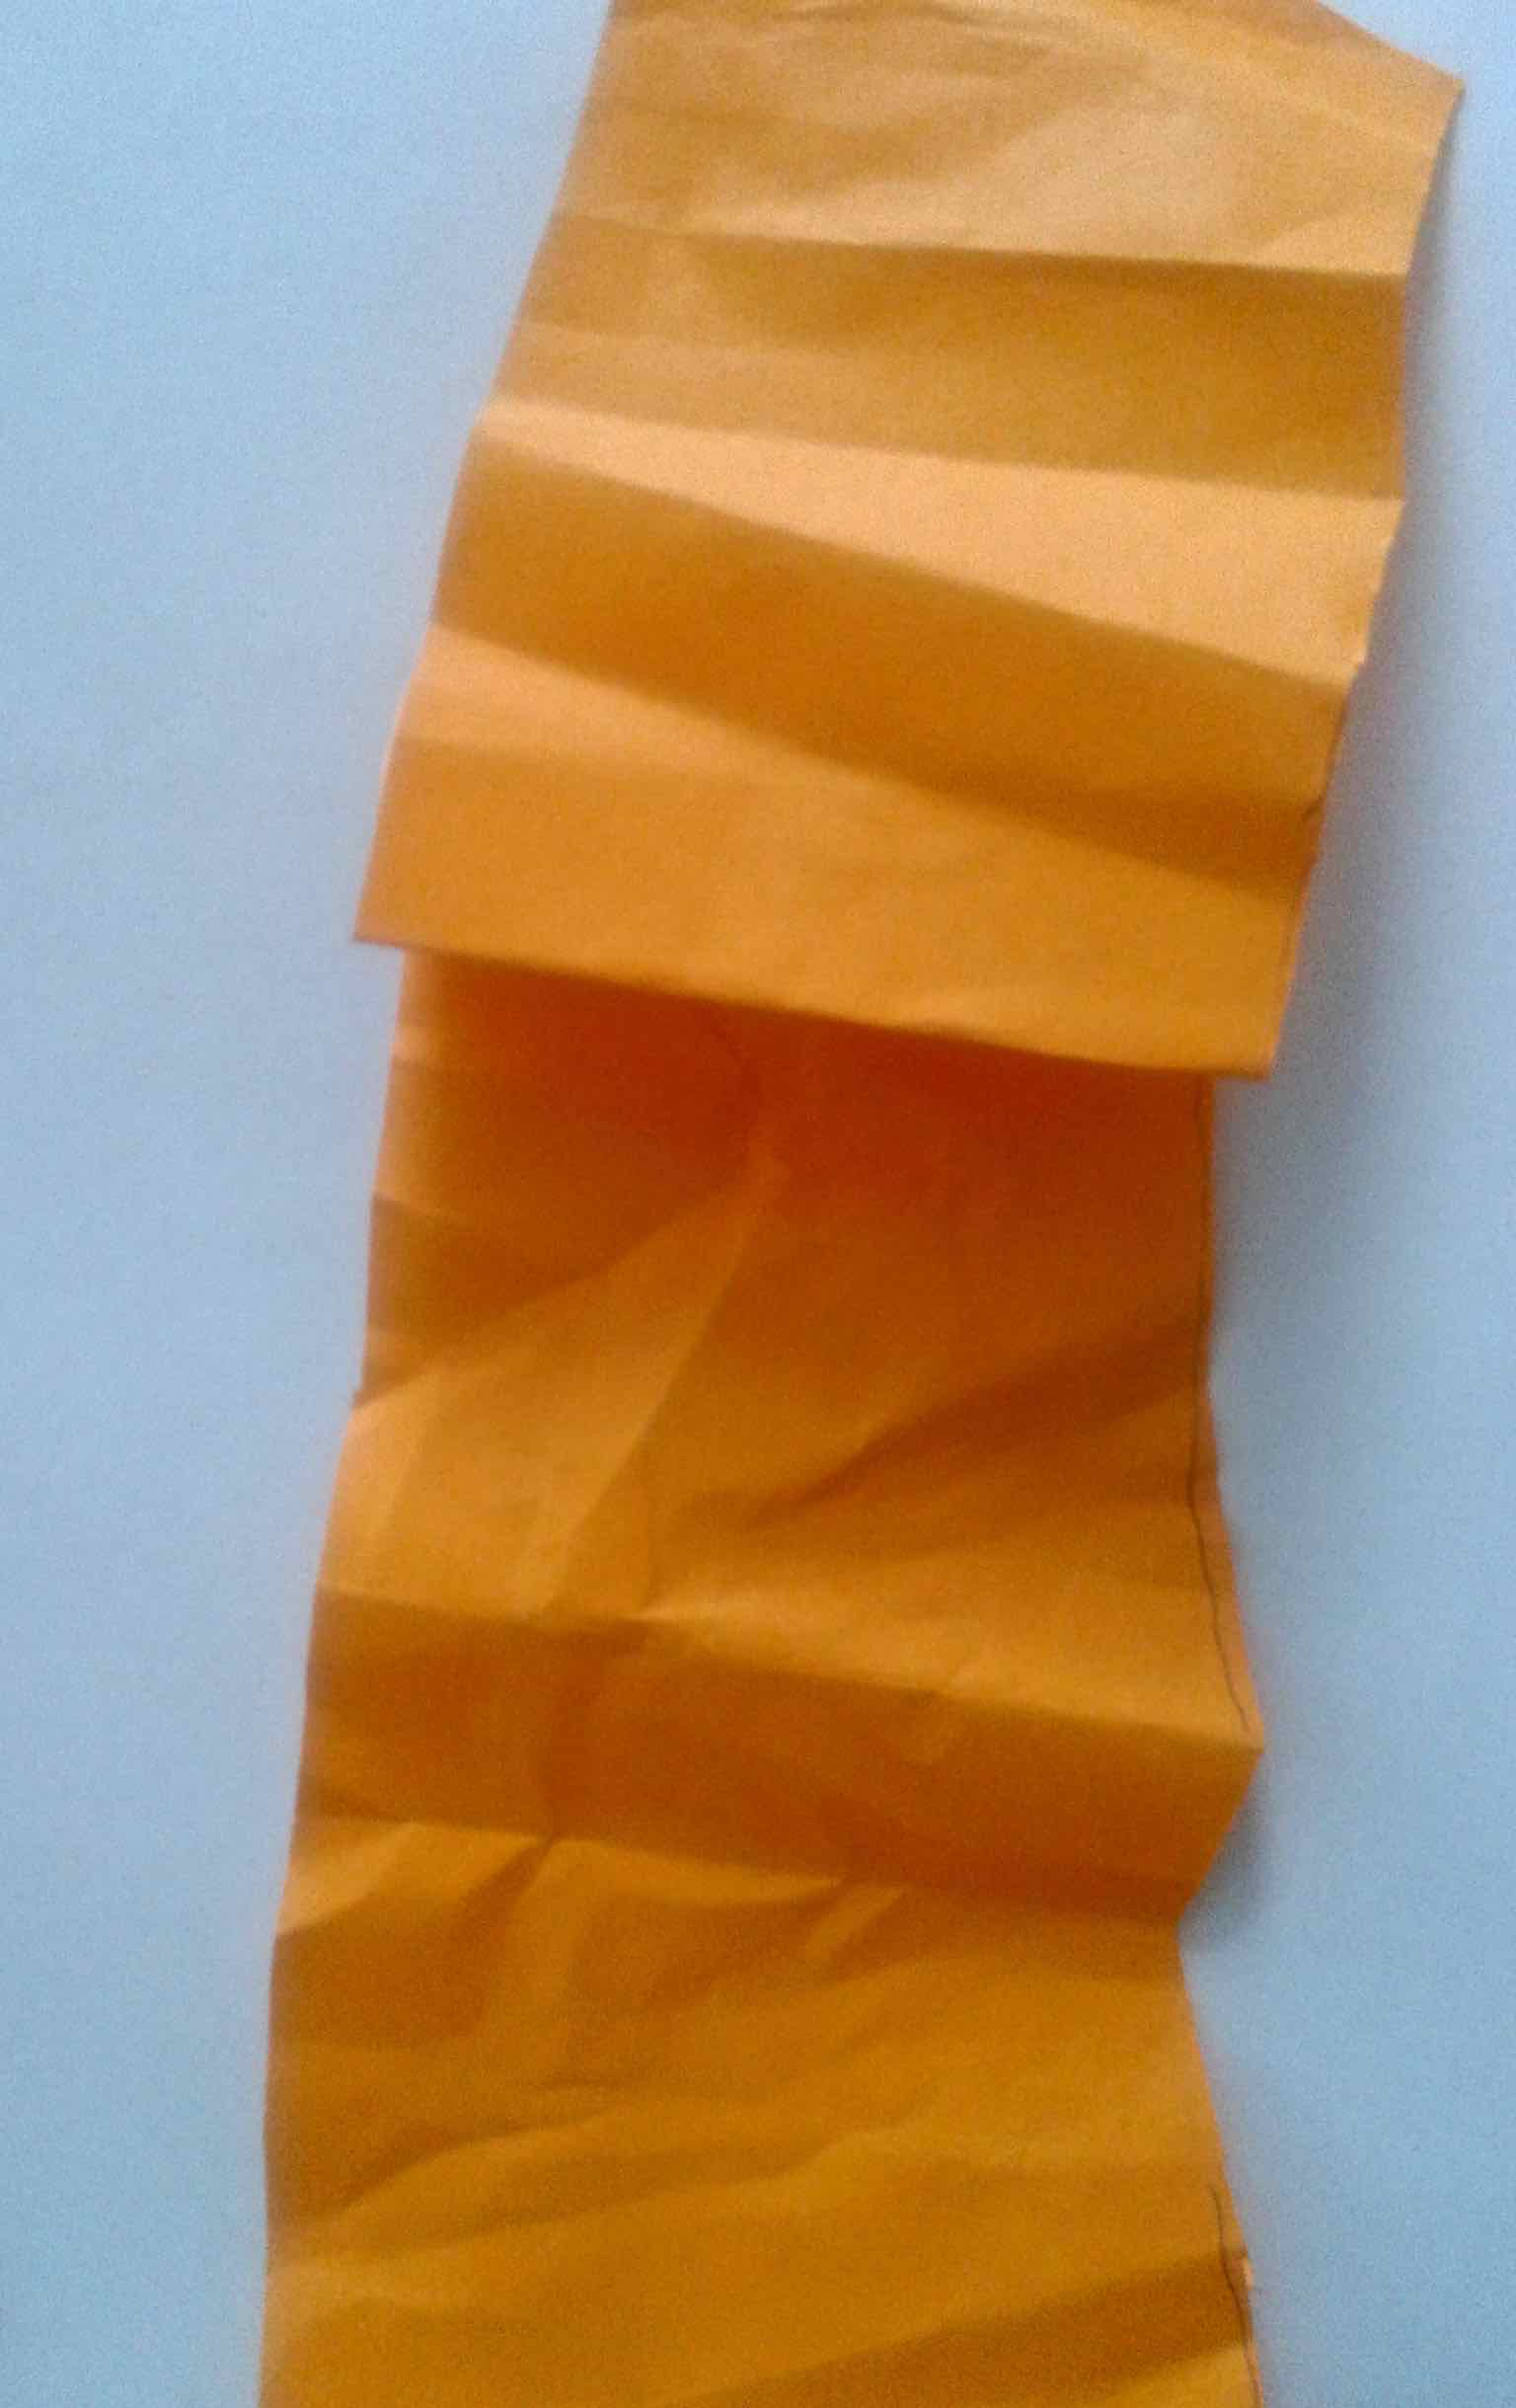
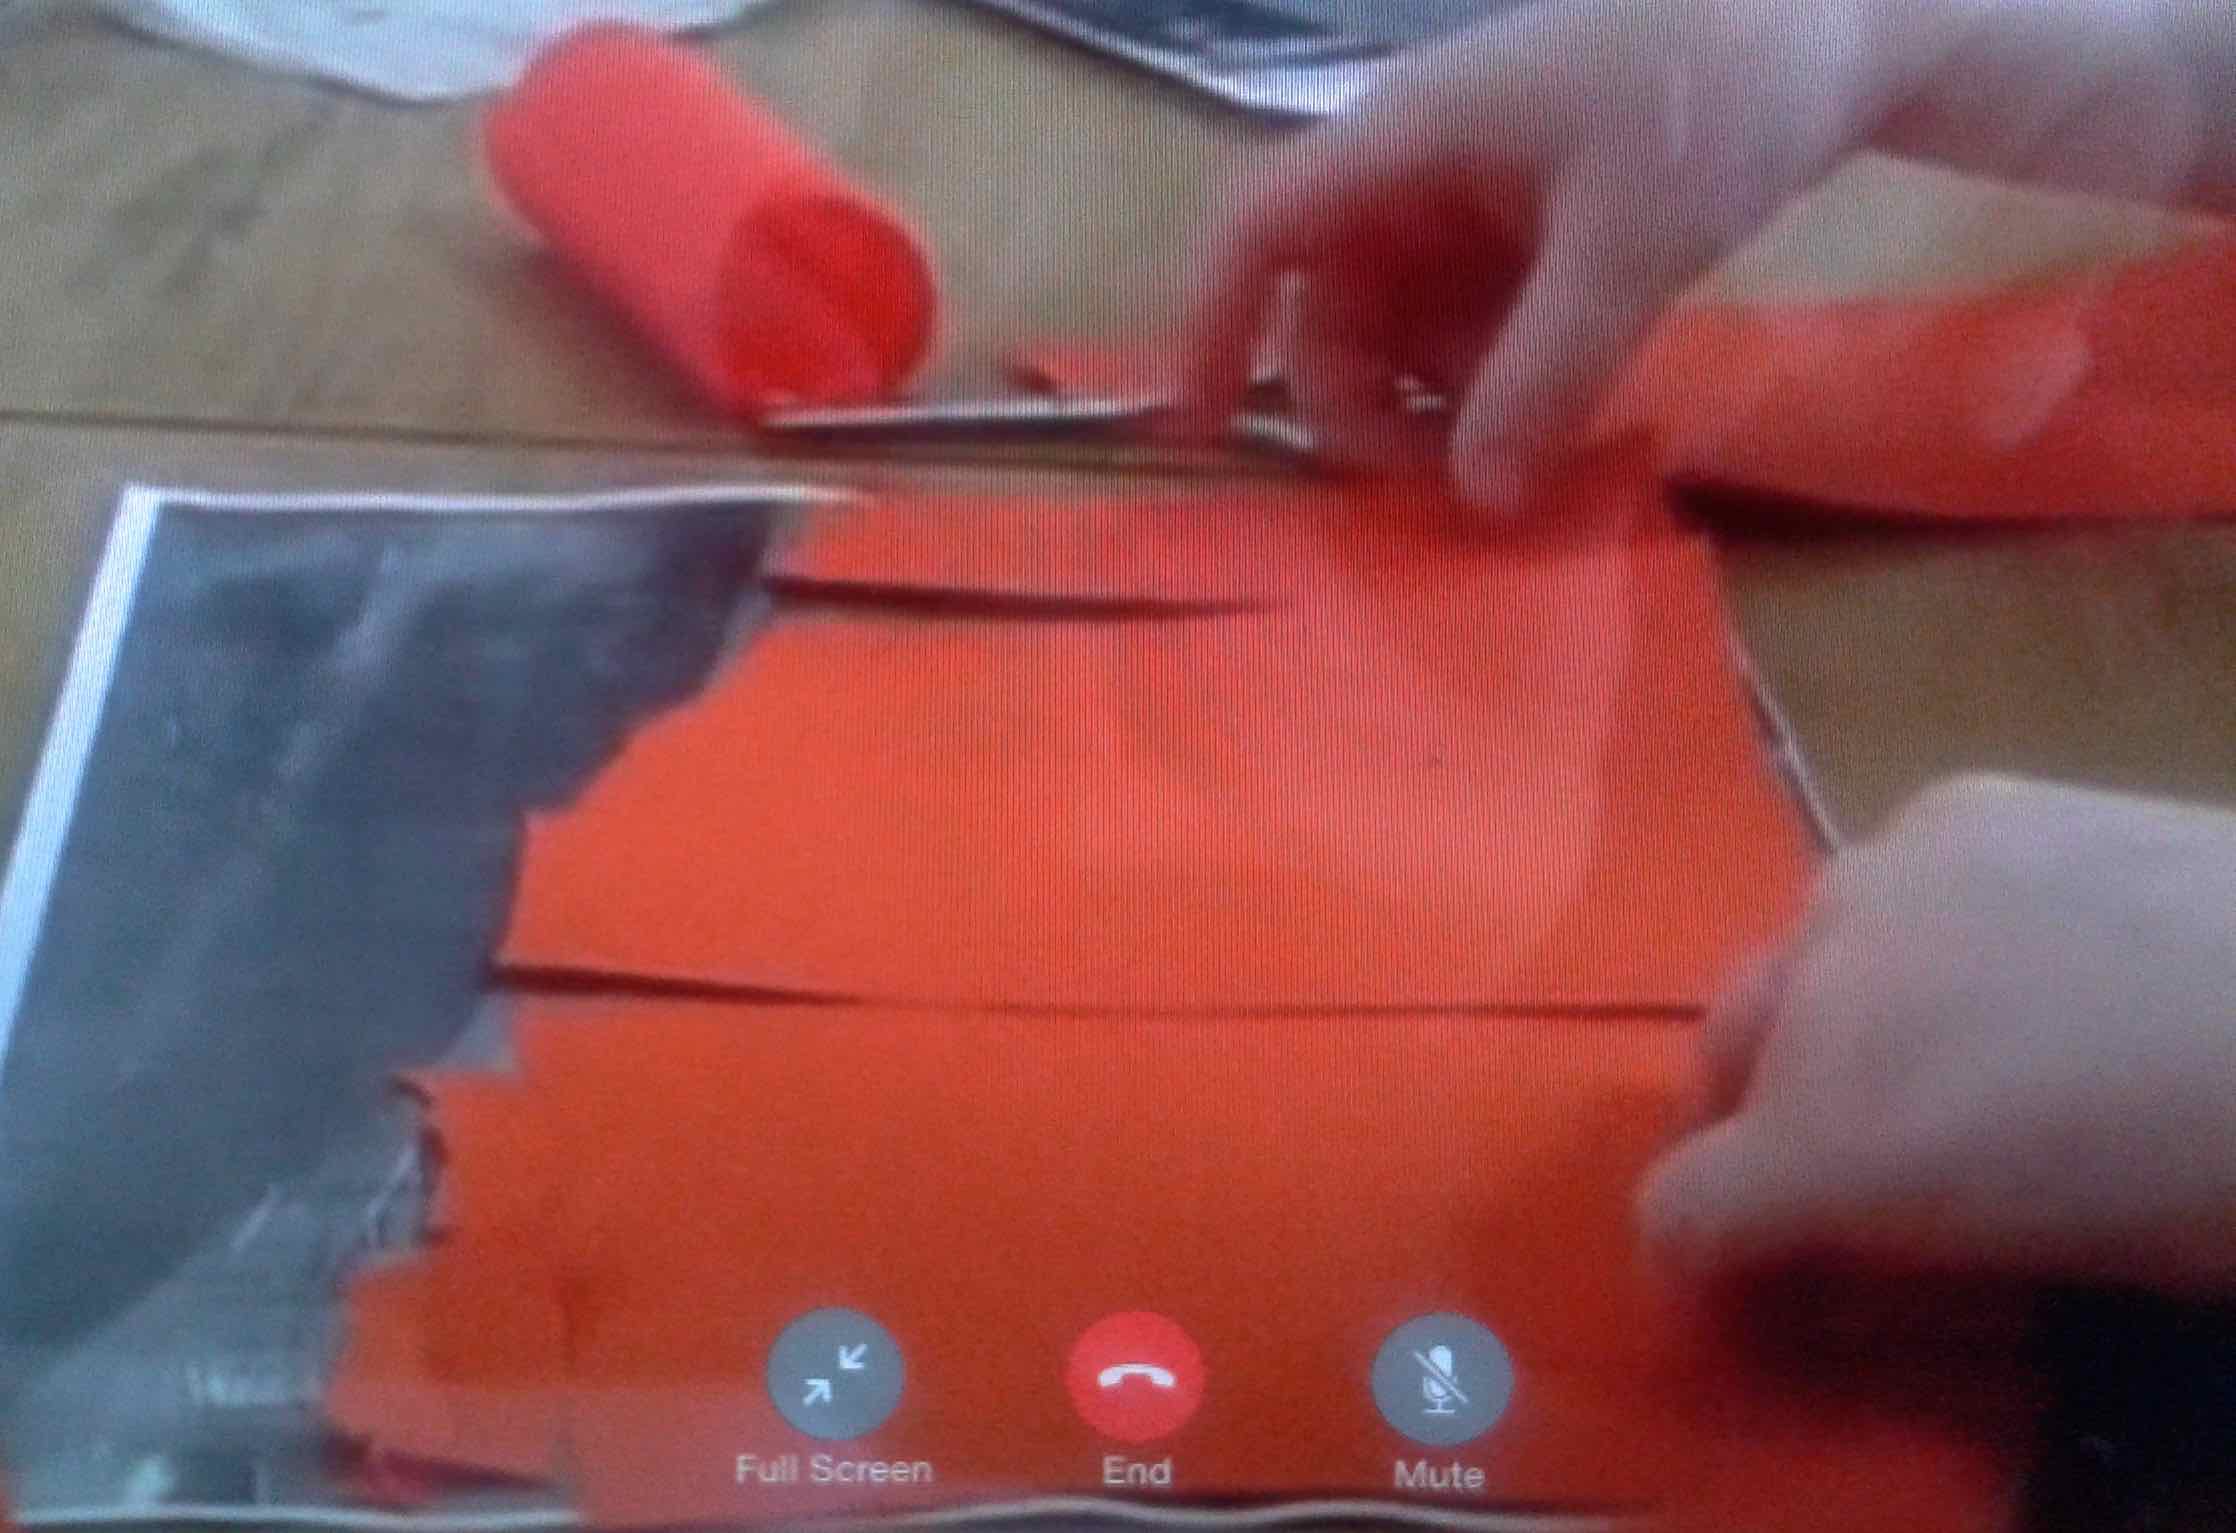
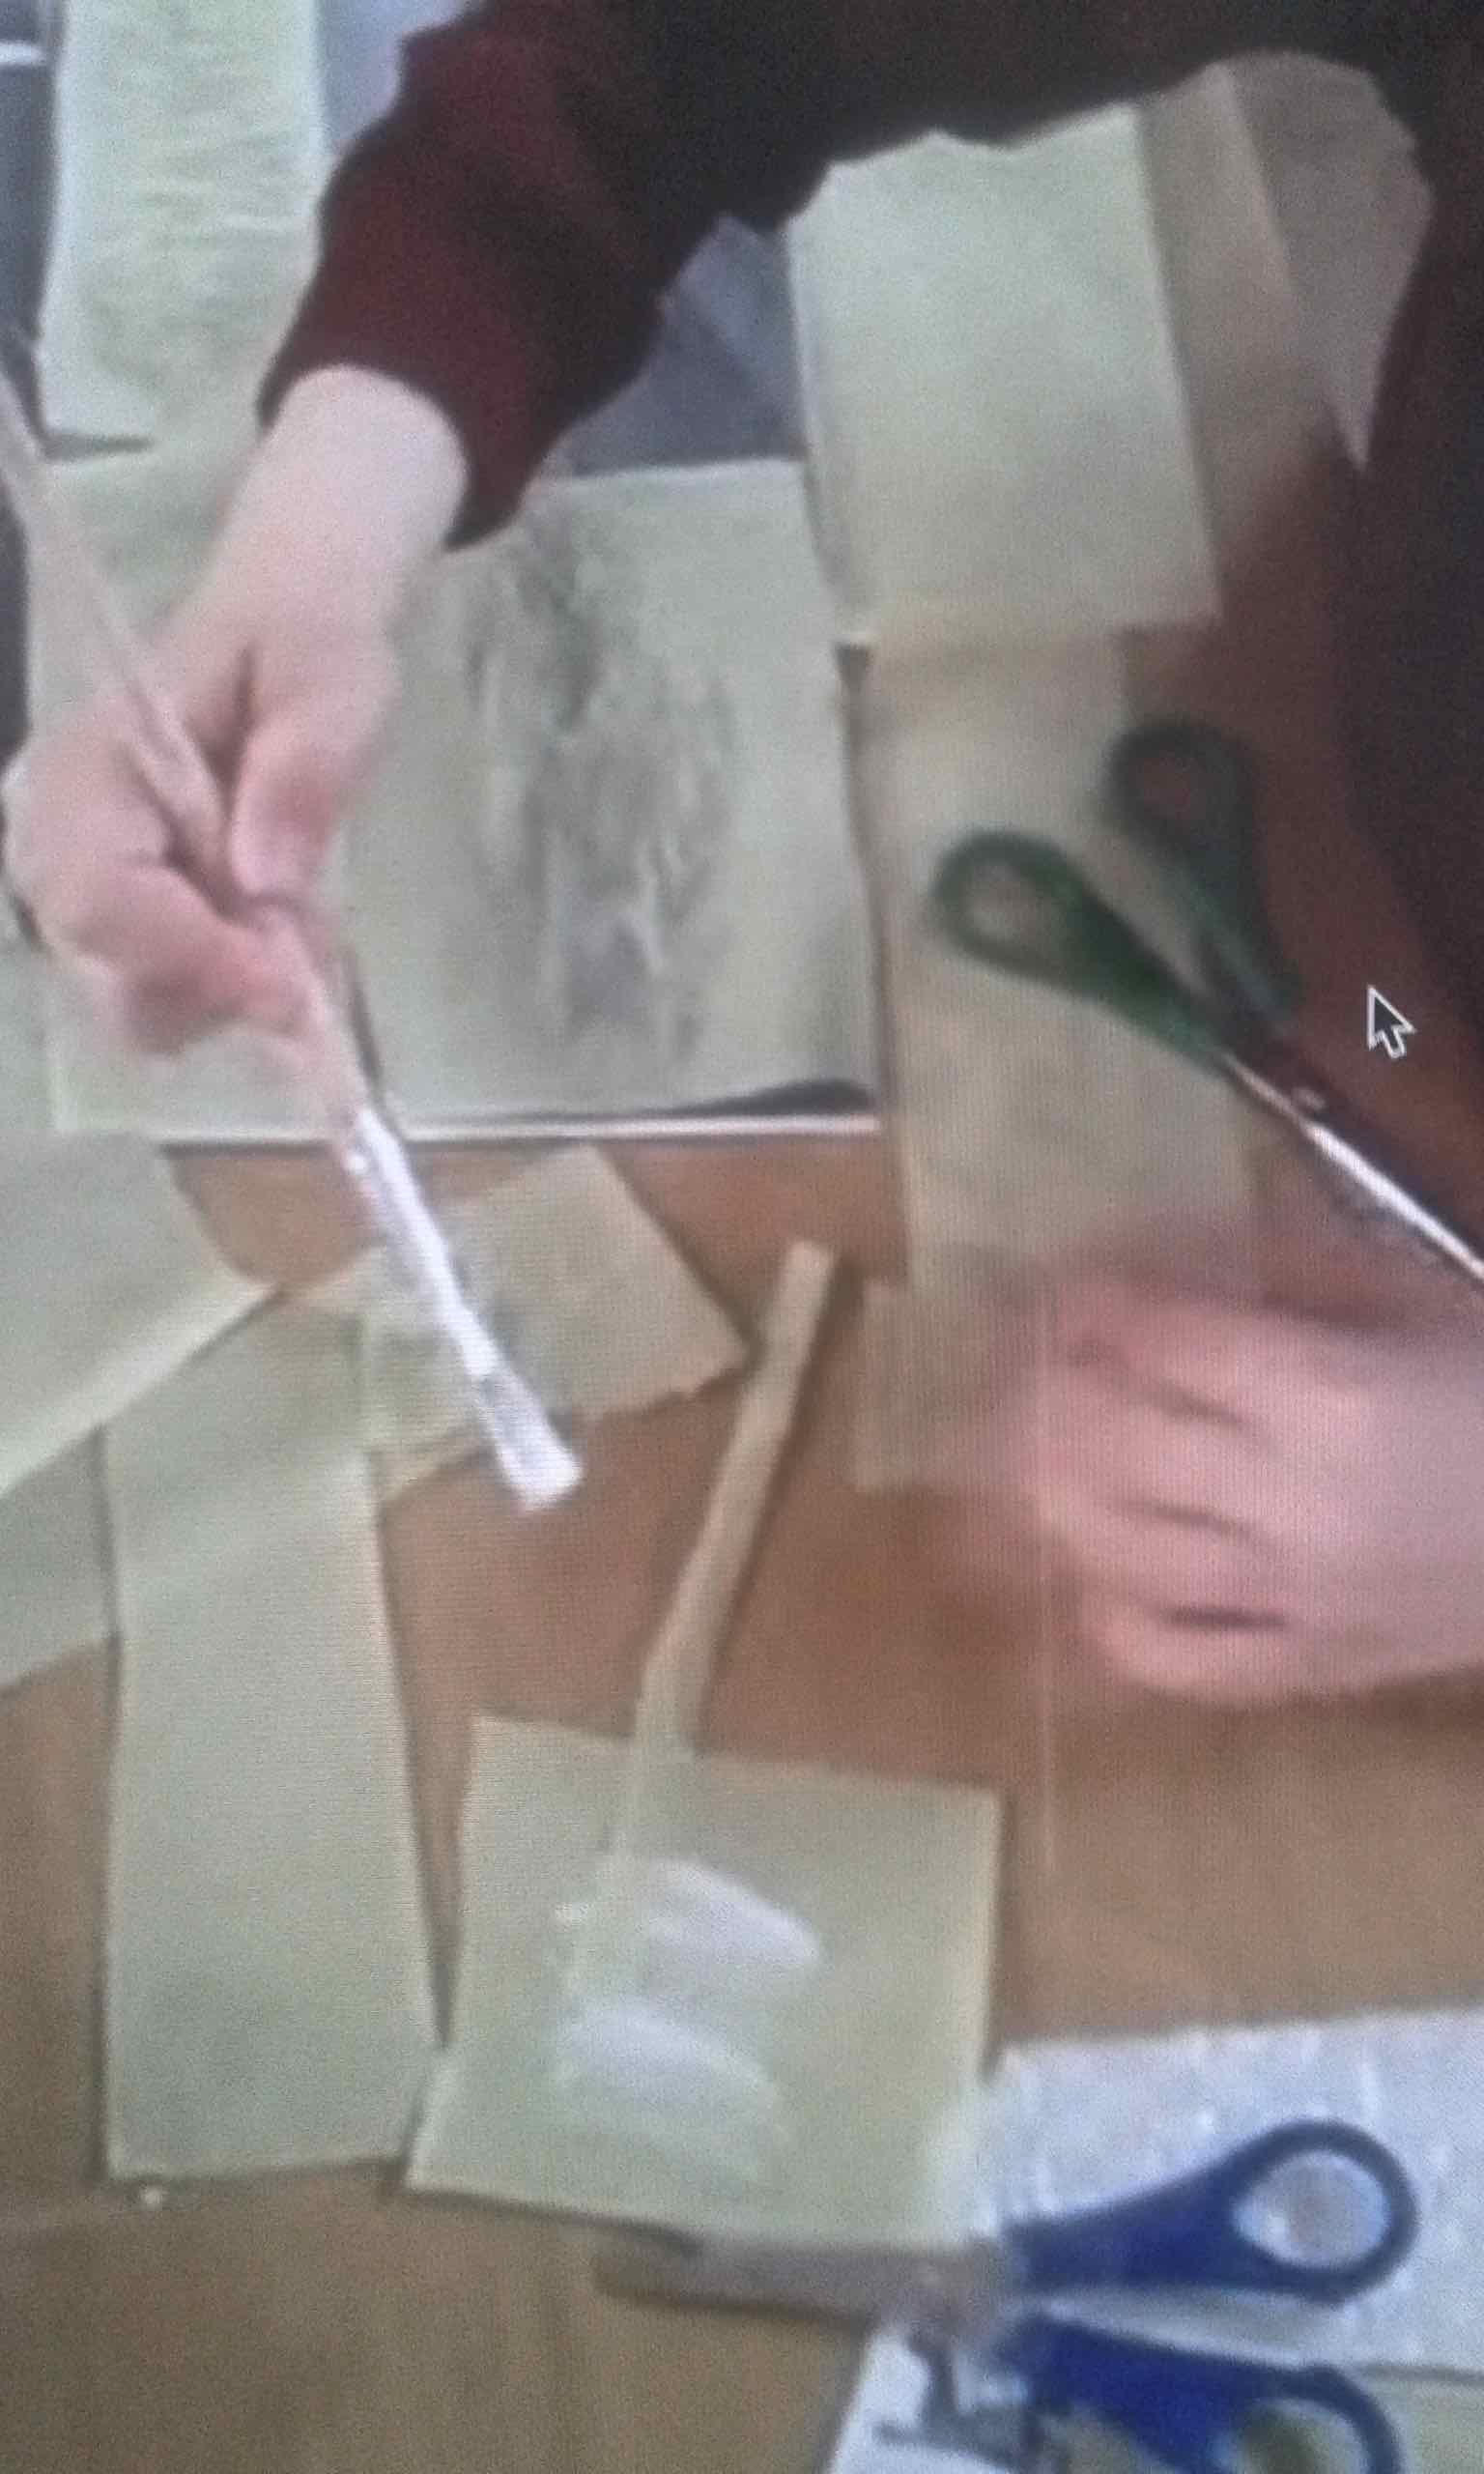
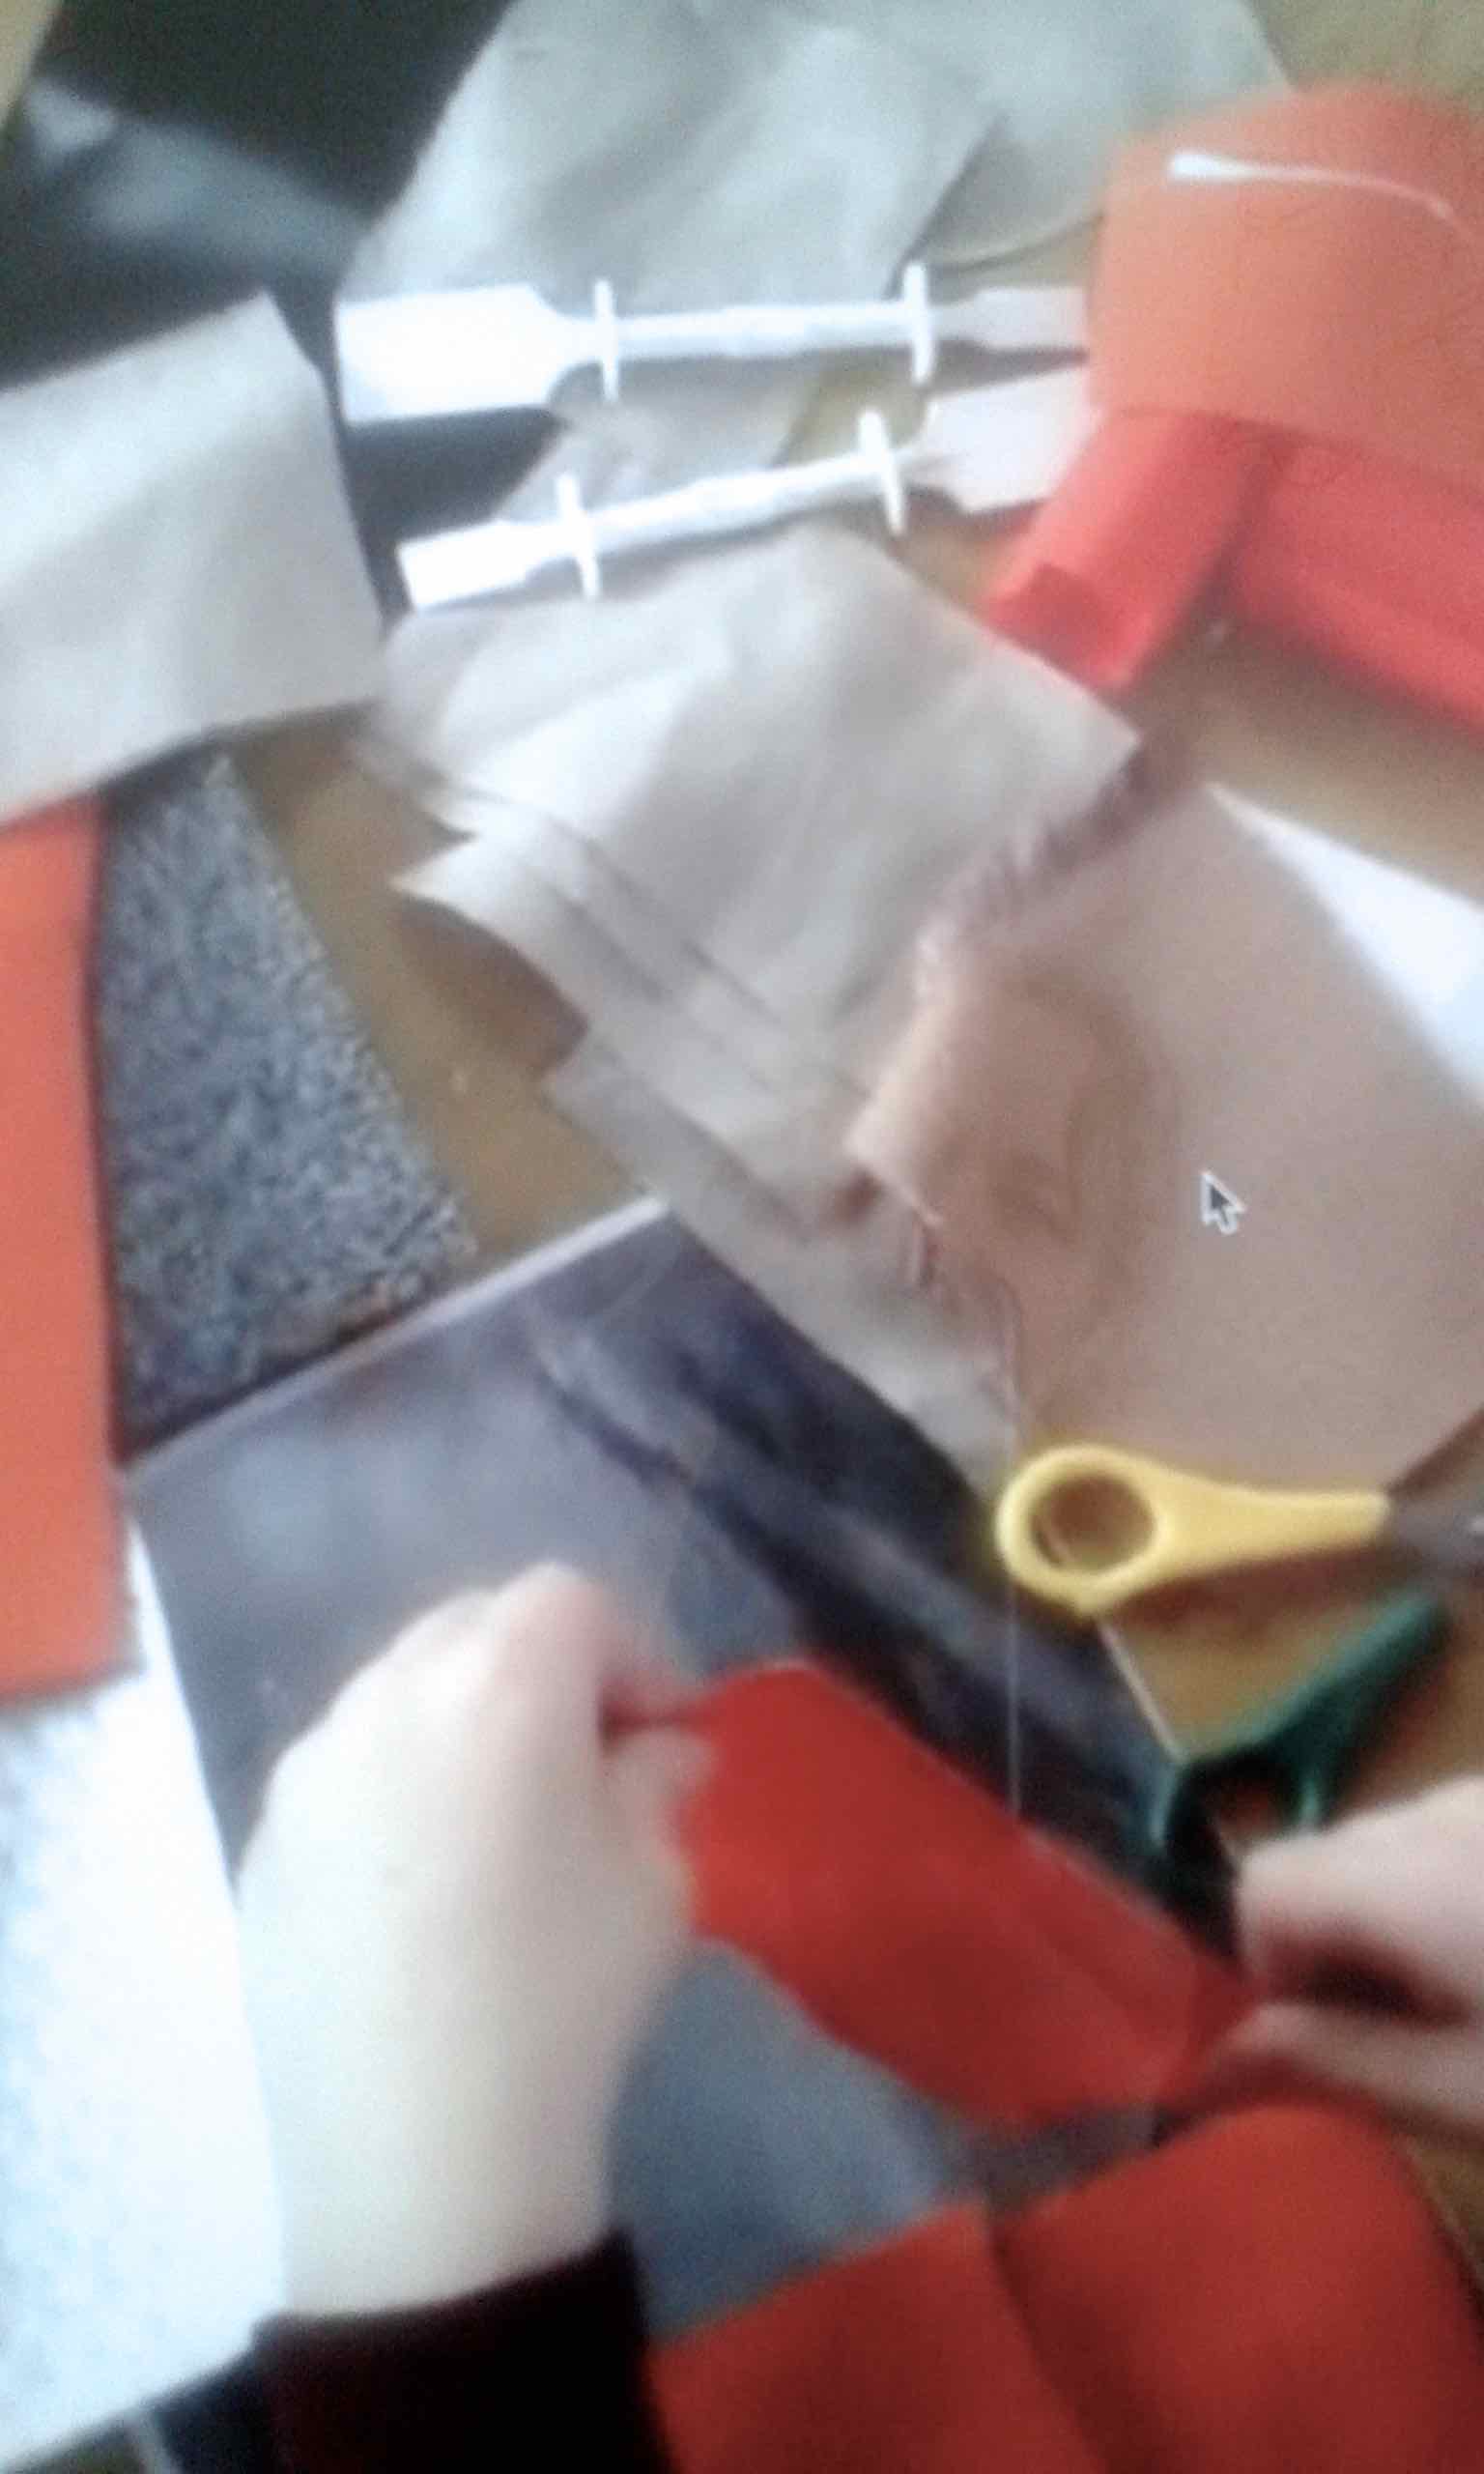
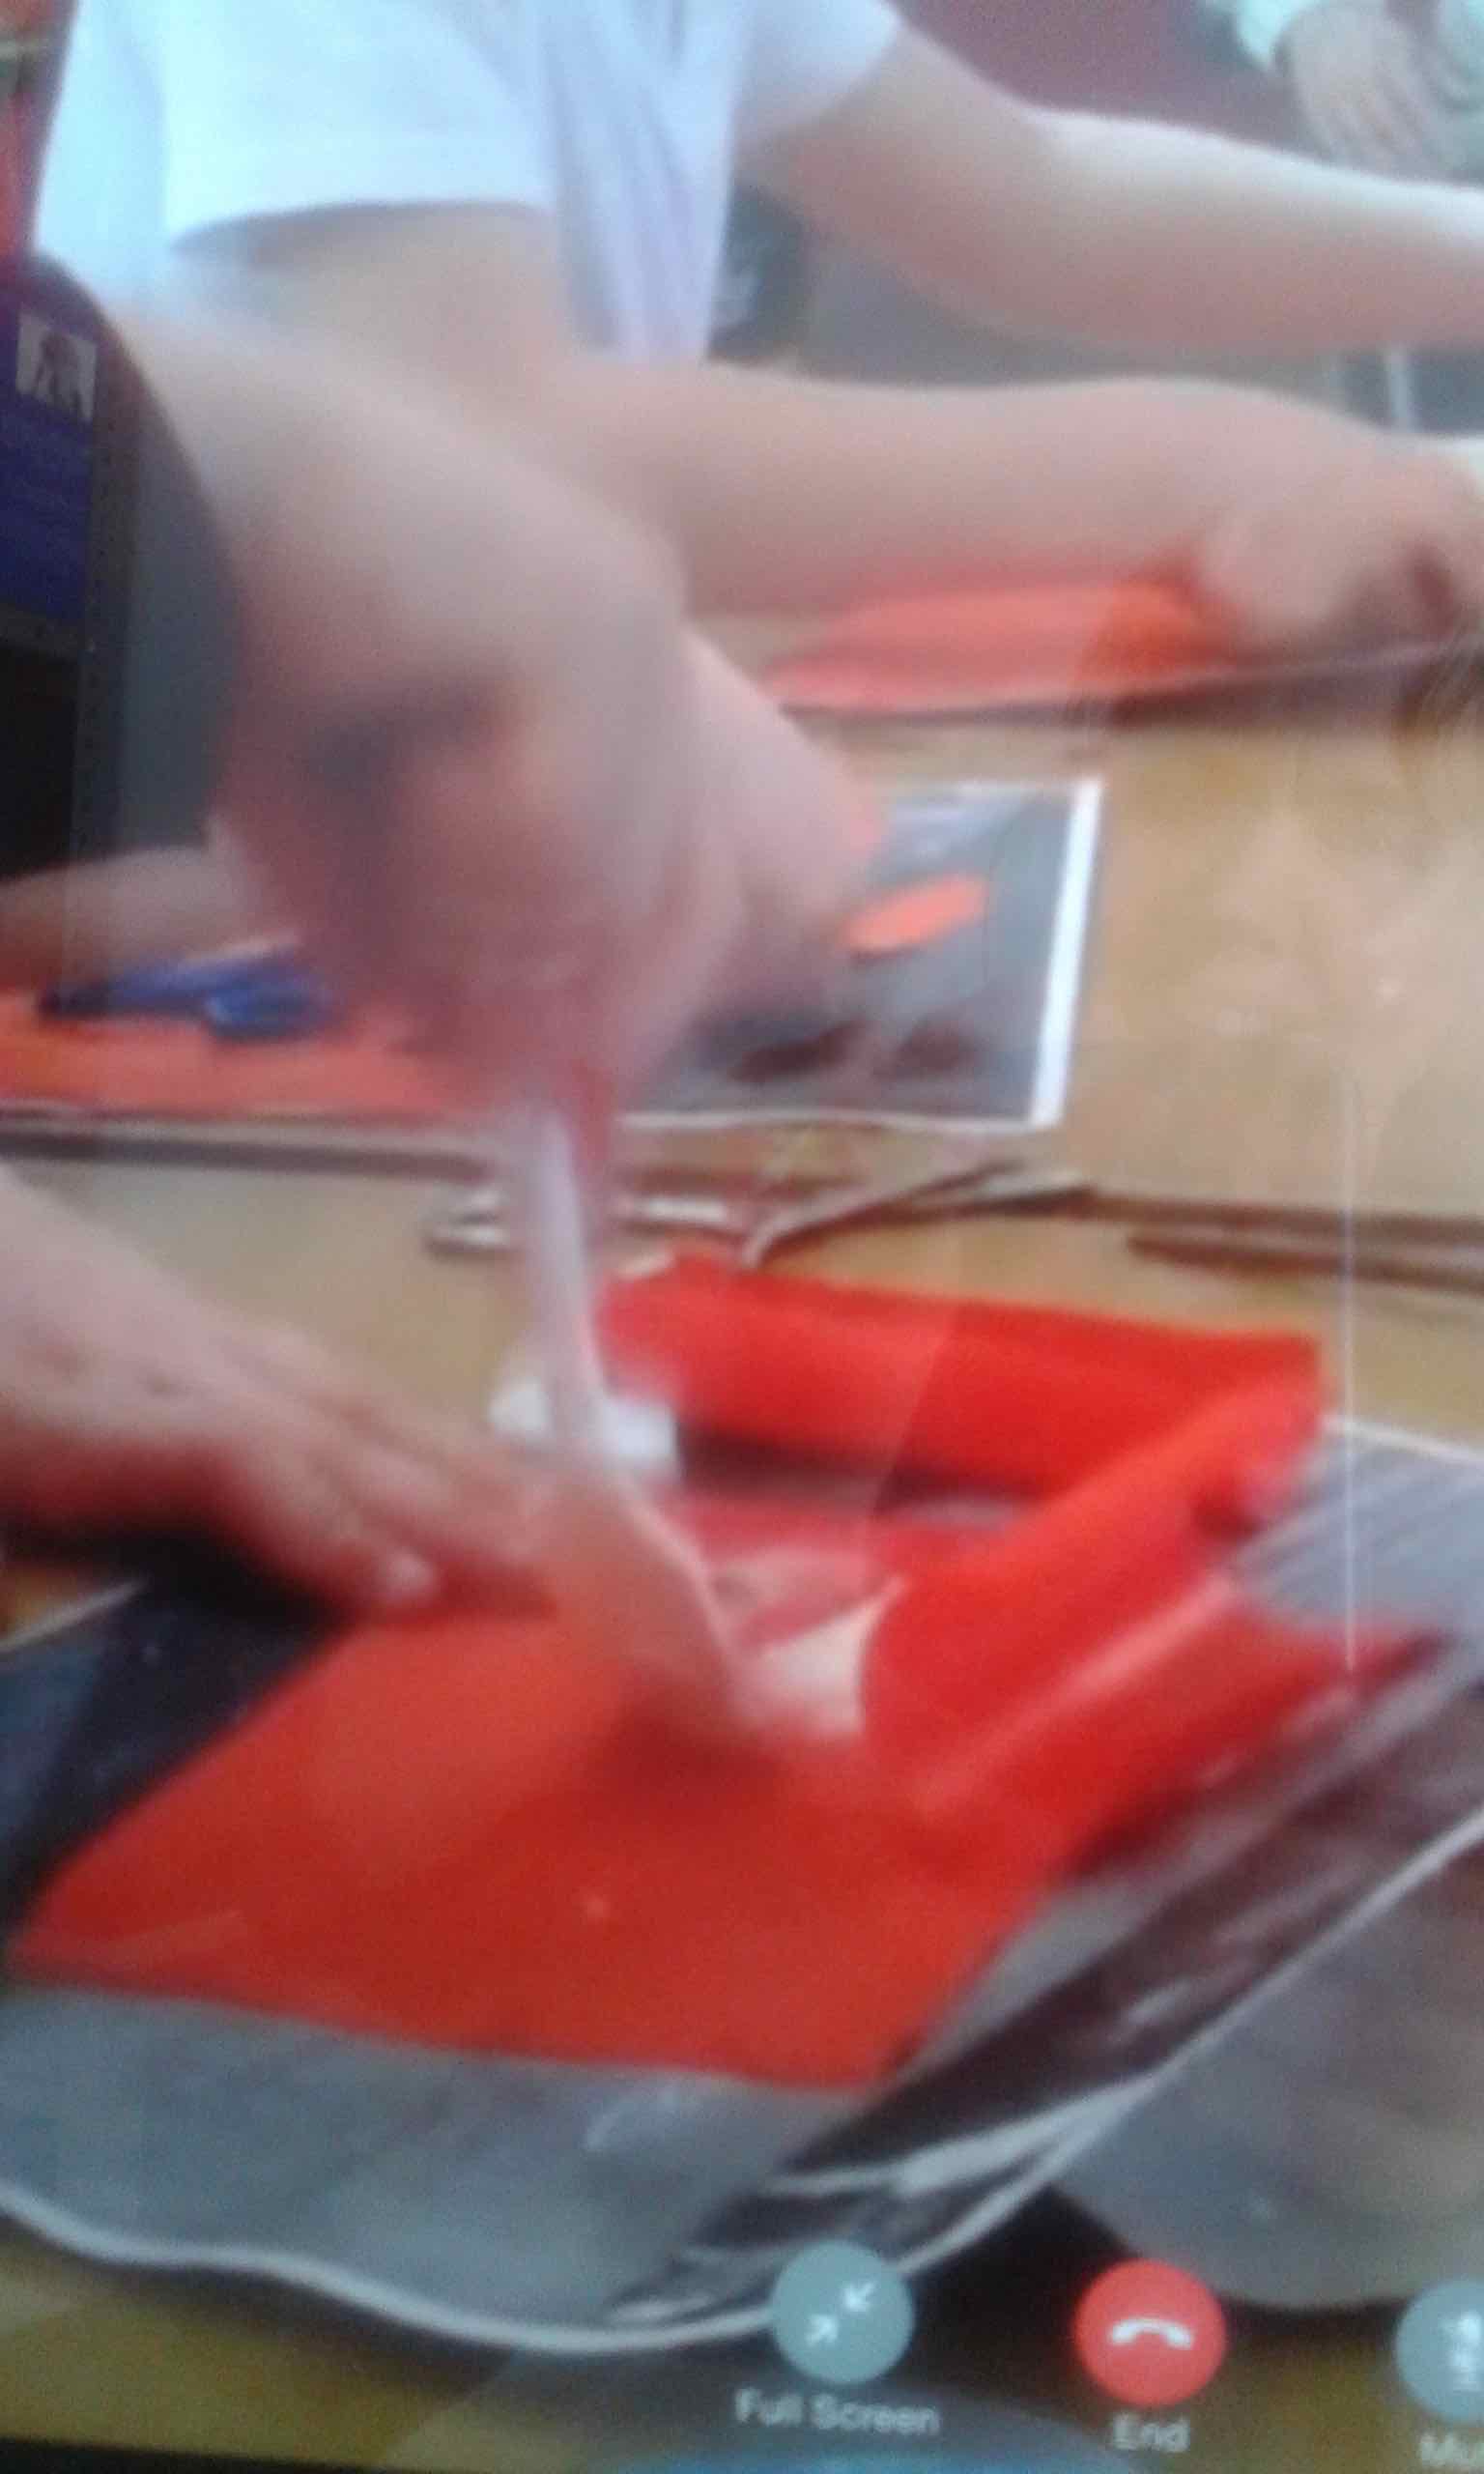
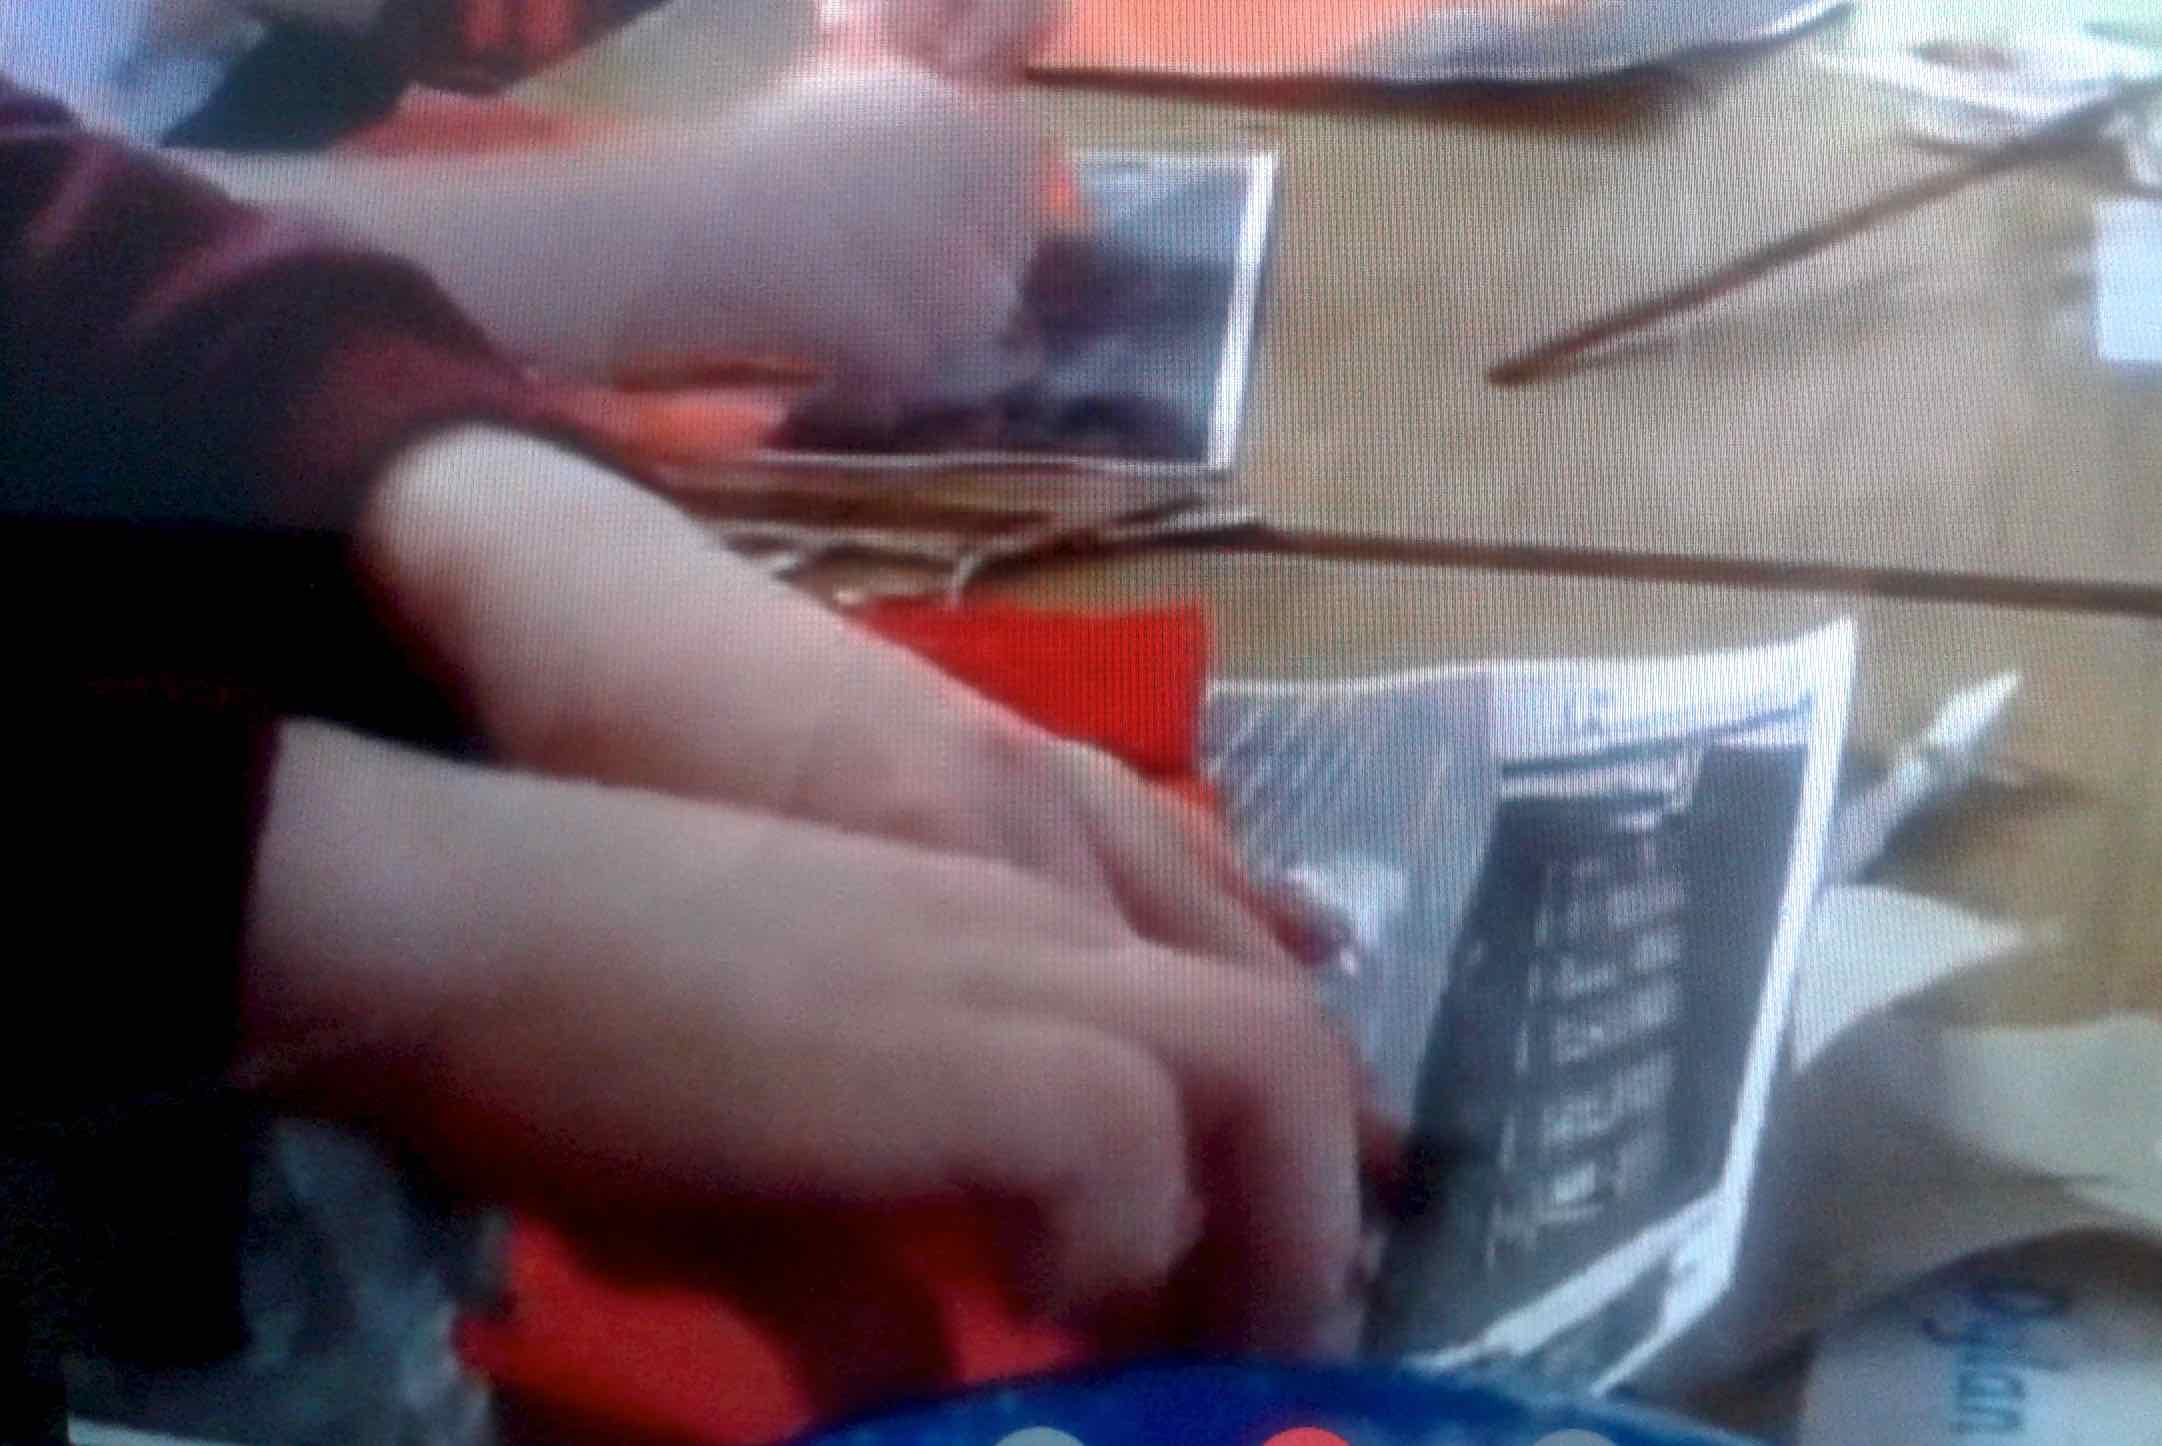
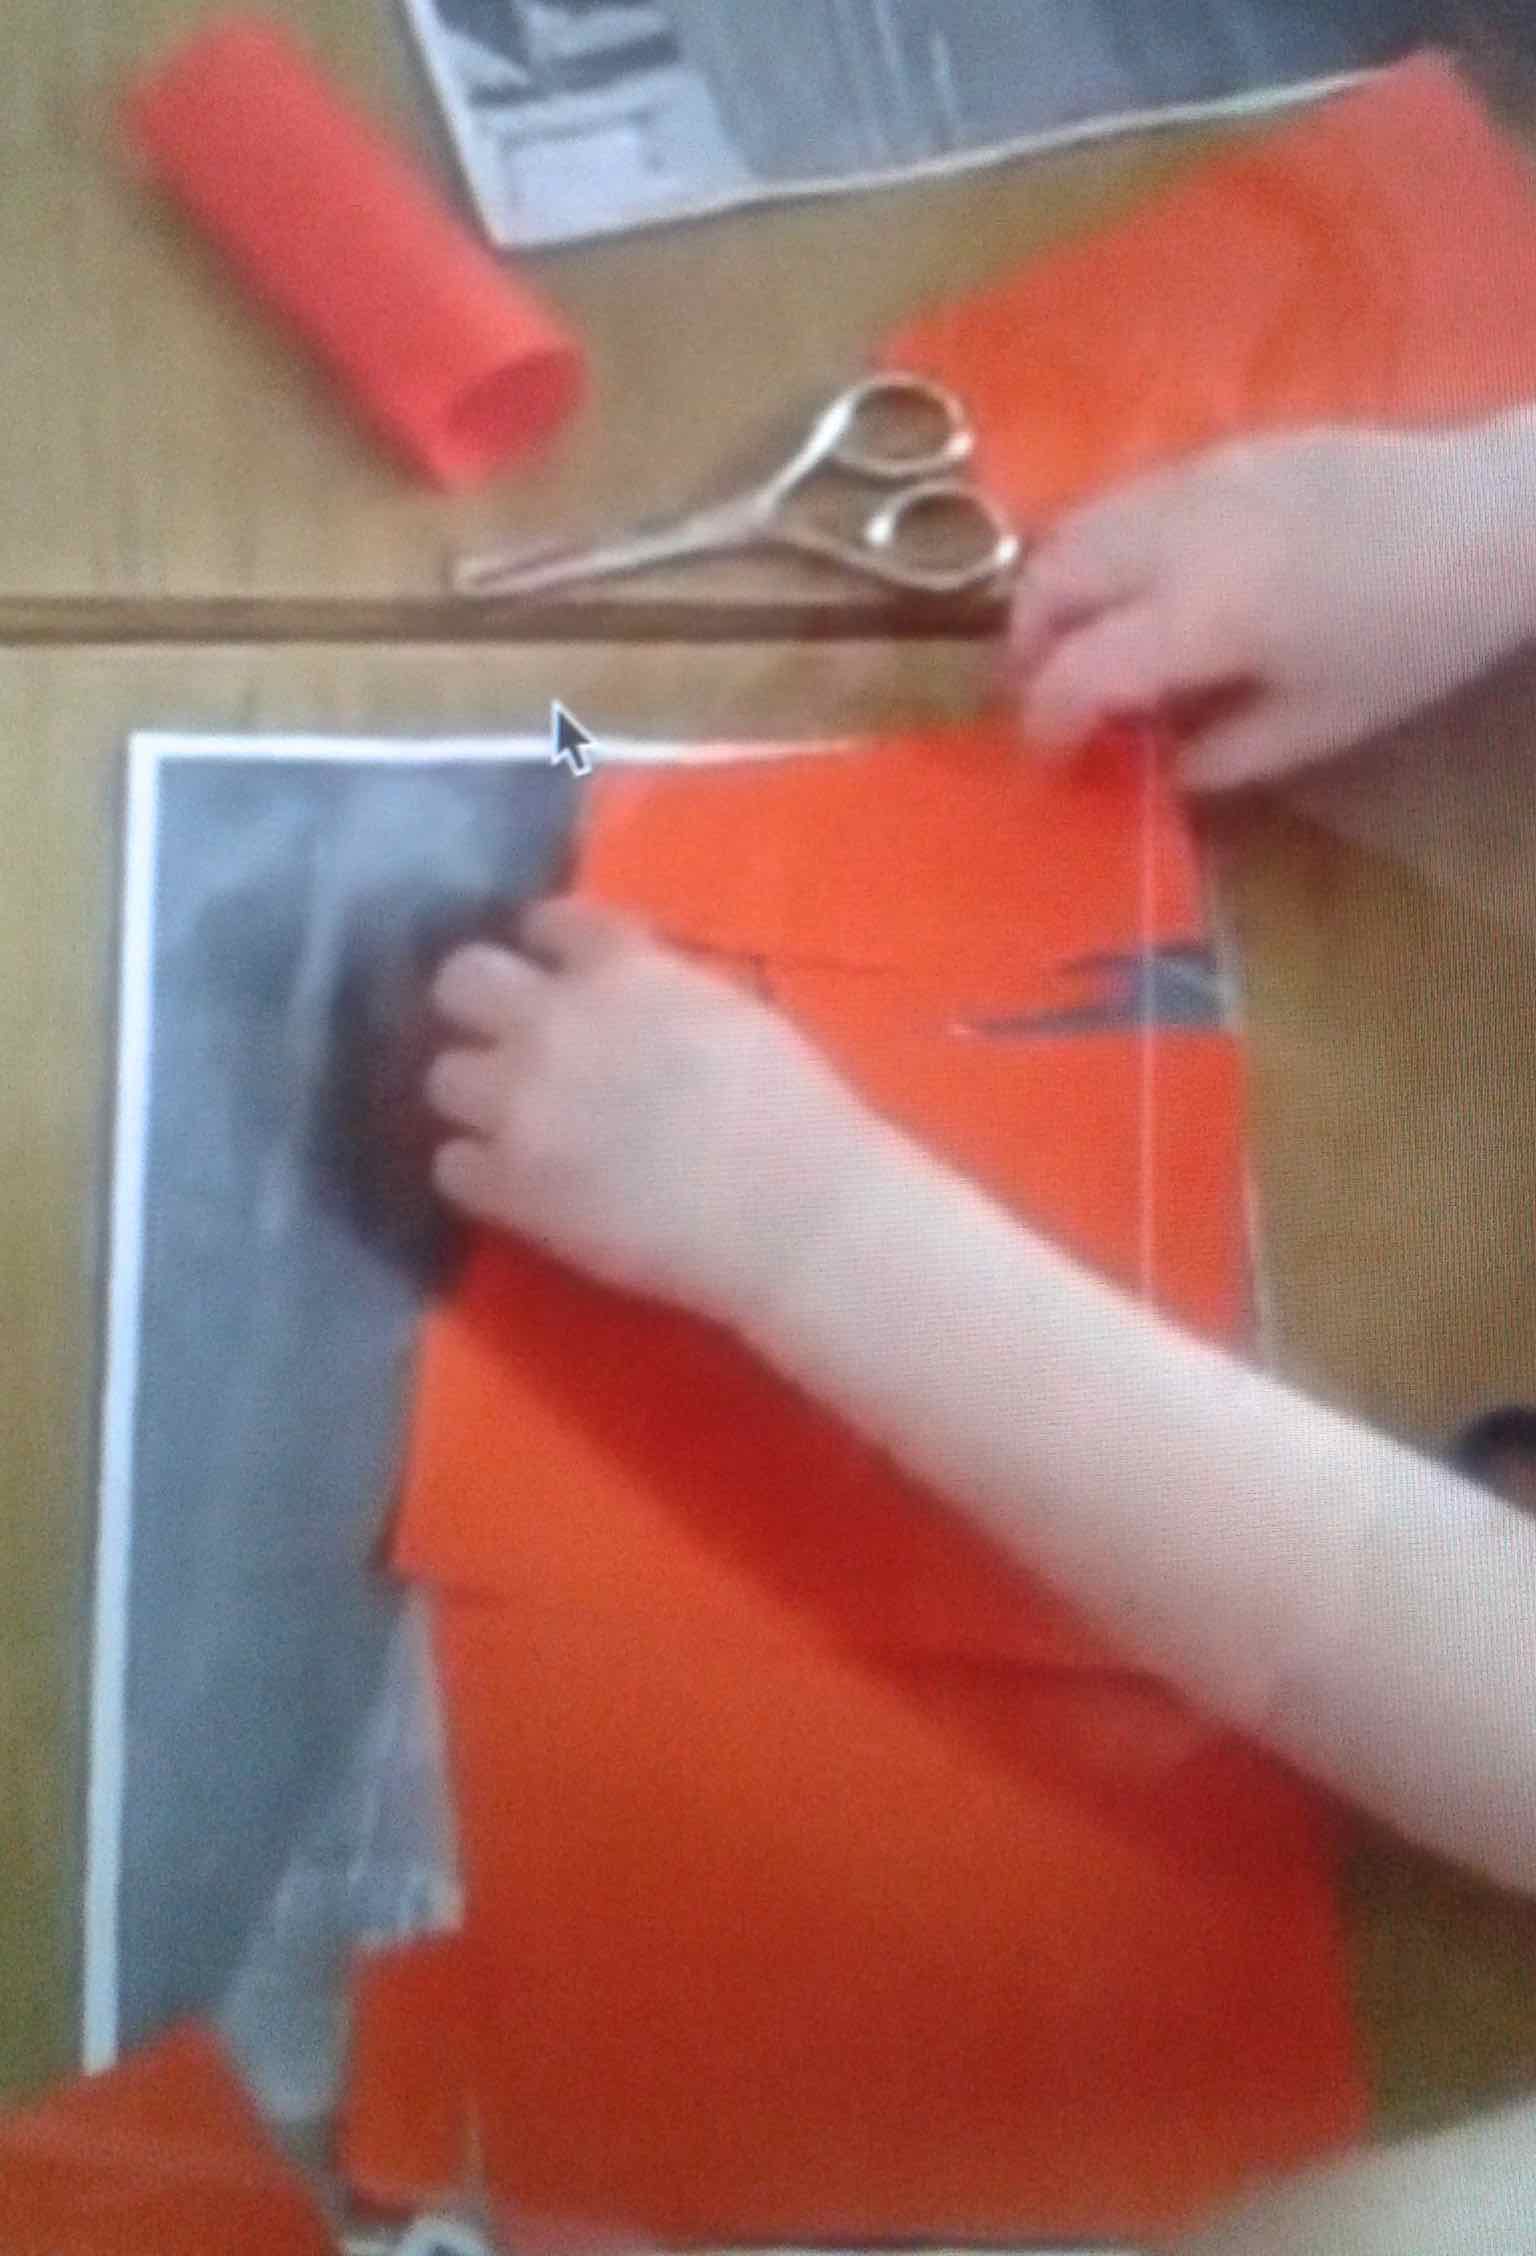
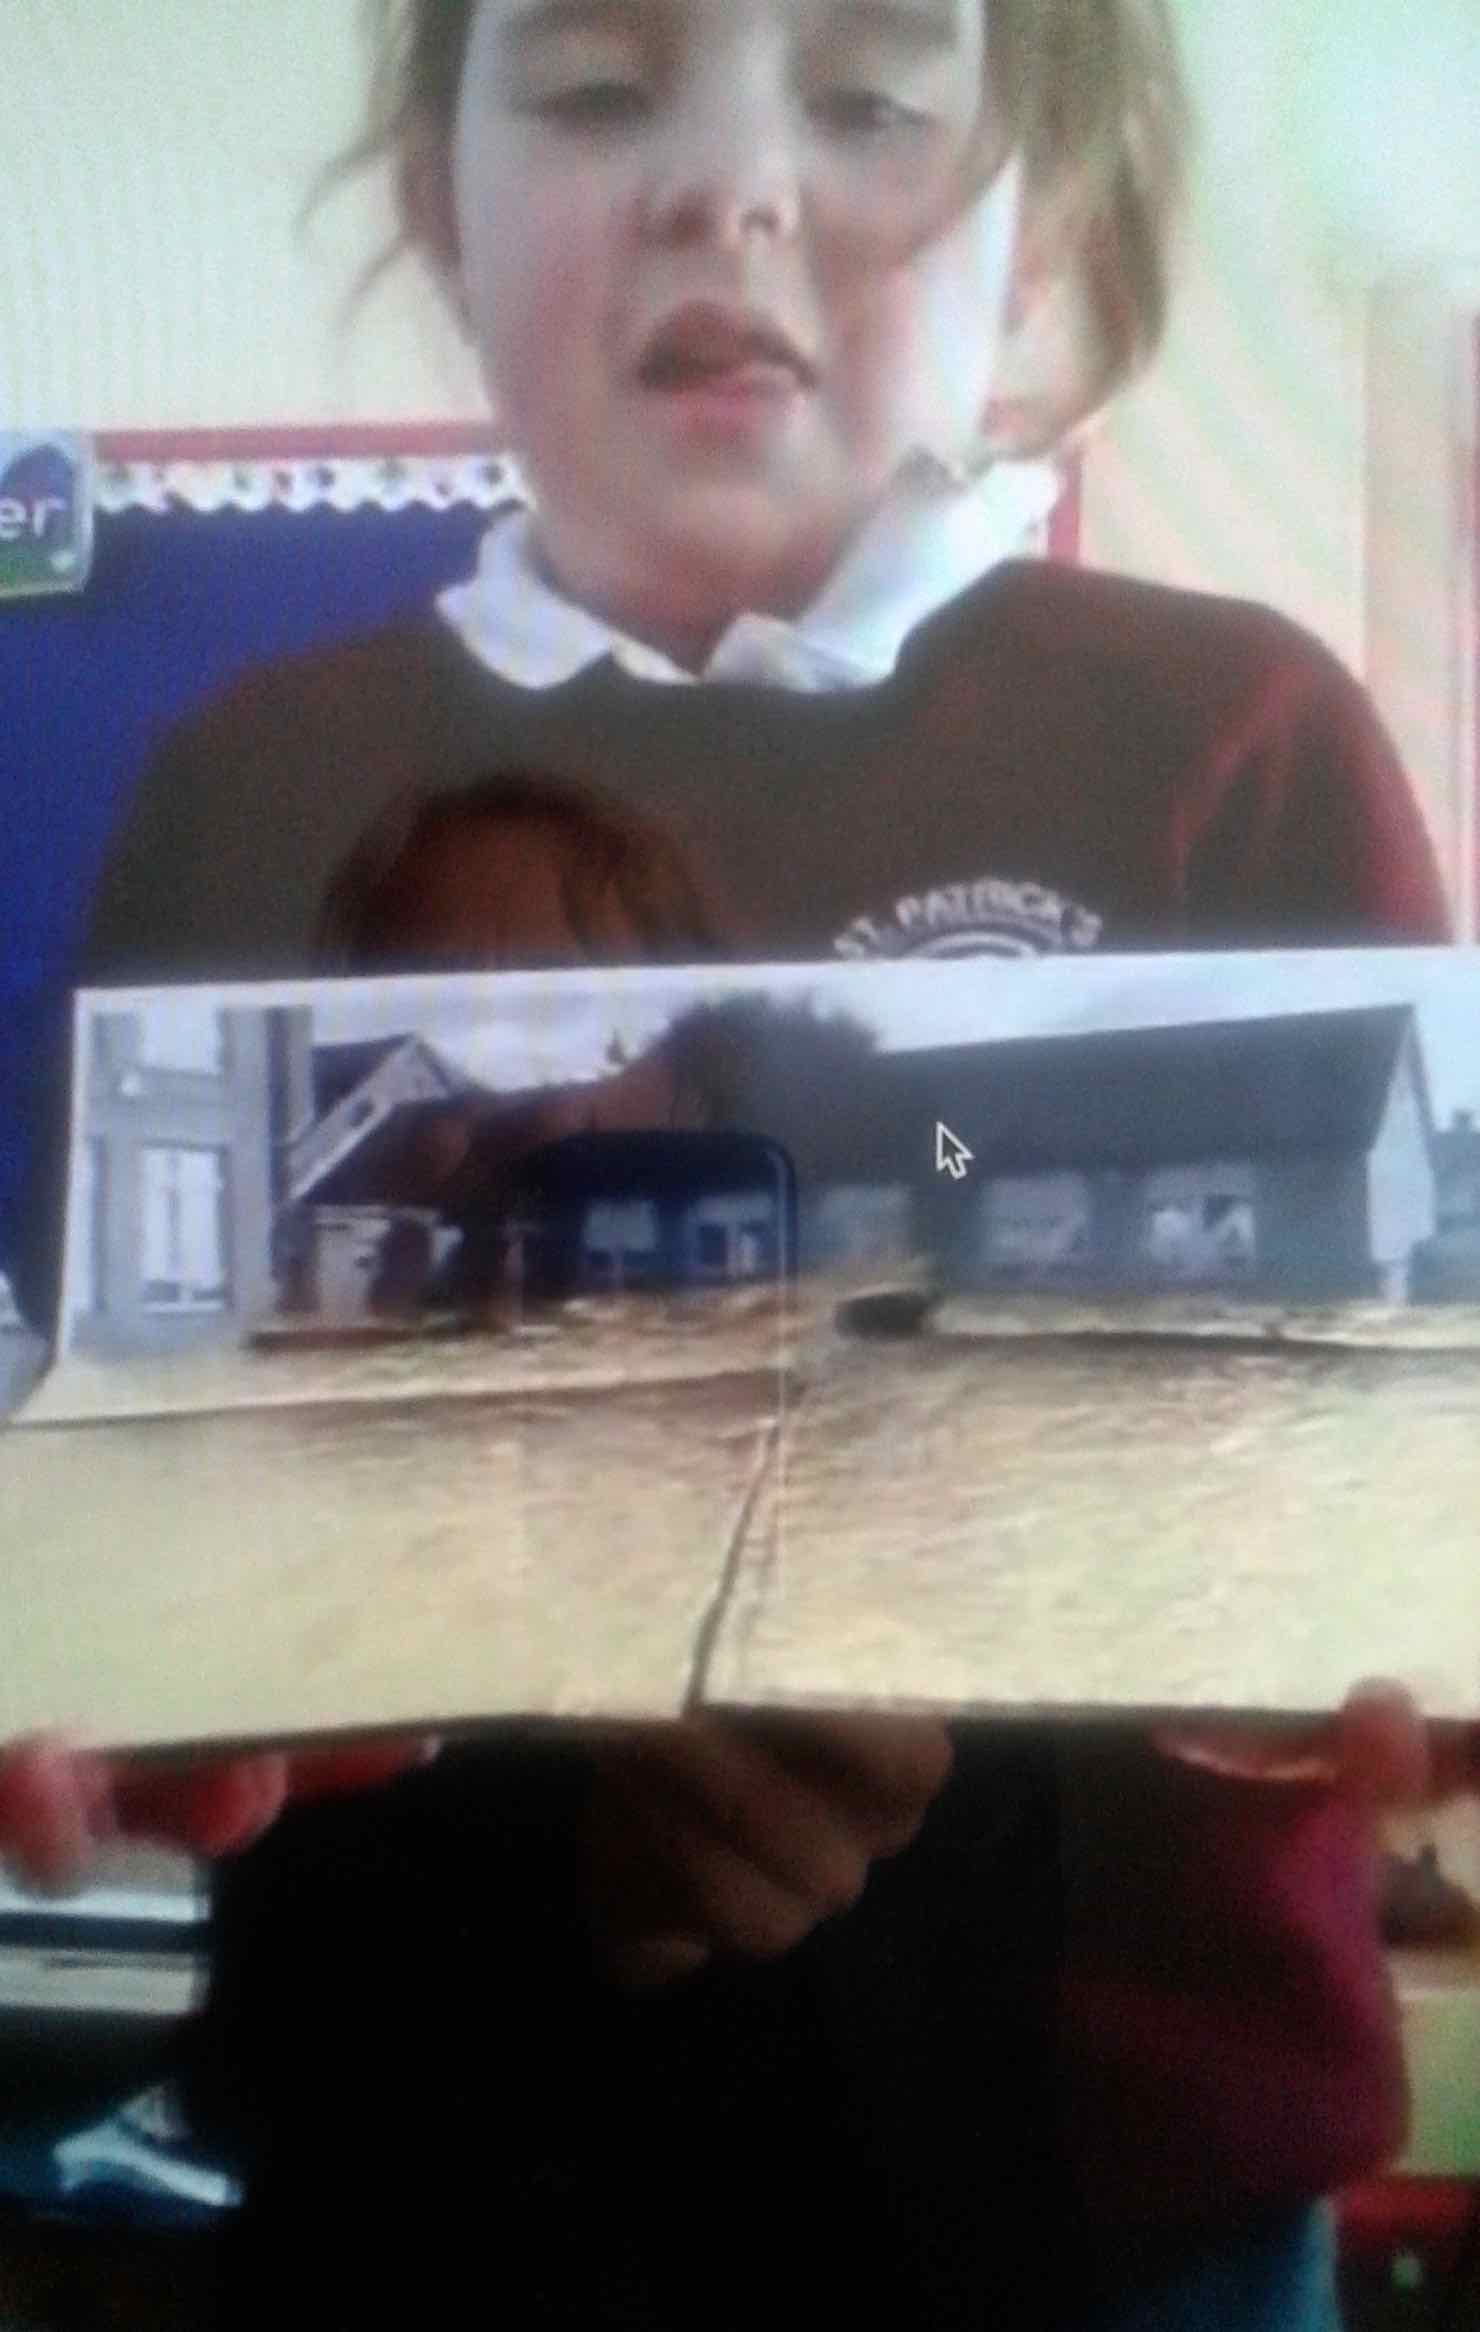
The children wanted to make their own photo-collages so Mrs Crummy gave out a black and white photocopy of a photograph of the school playground (some photographs taken from different angles, had been taken of the playground prior to the session and photocopied for each child).  I explained to the children that they should look at the SHAPE of the playground and cut out a piece of material or several pieces to stick down to cover that shape. I showed them a hot-collage I had made. I didn’t have a picture of their playground but I did have picture of Croke Park, Dublin from a visit a few years ago. Here’s my vision of a wrapped Croke Park Pitch!

session 10 - 01


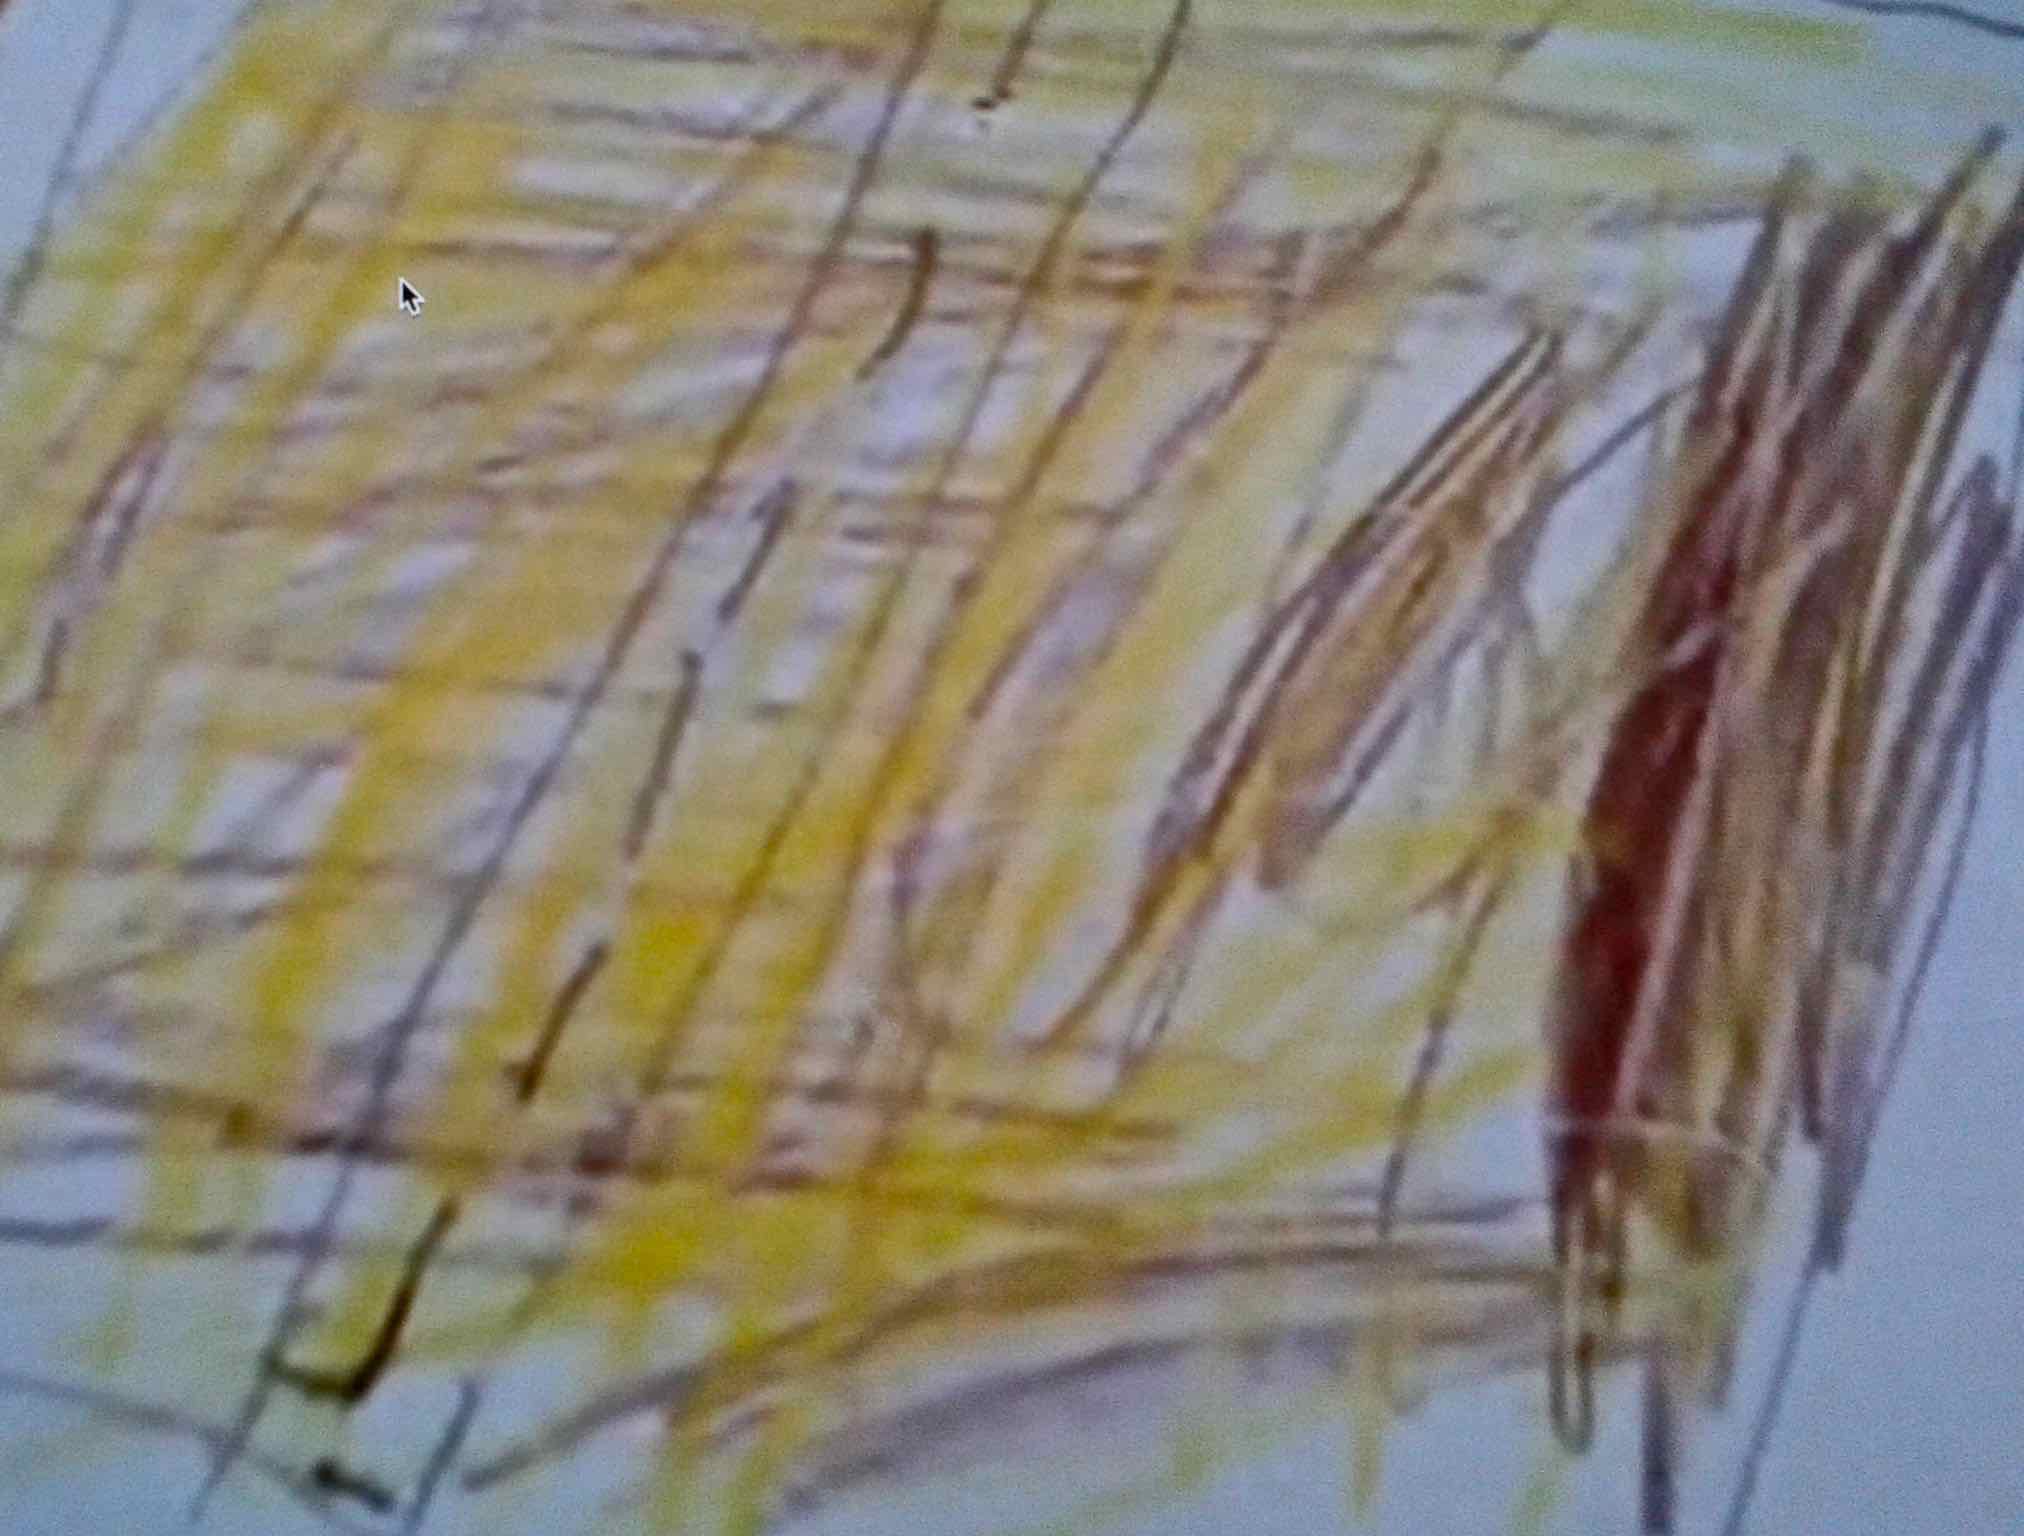
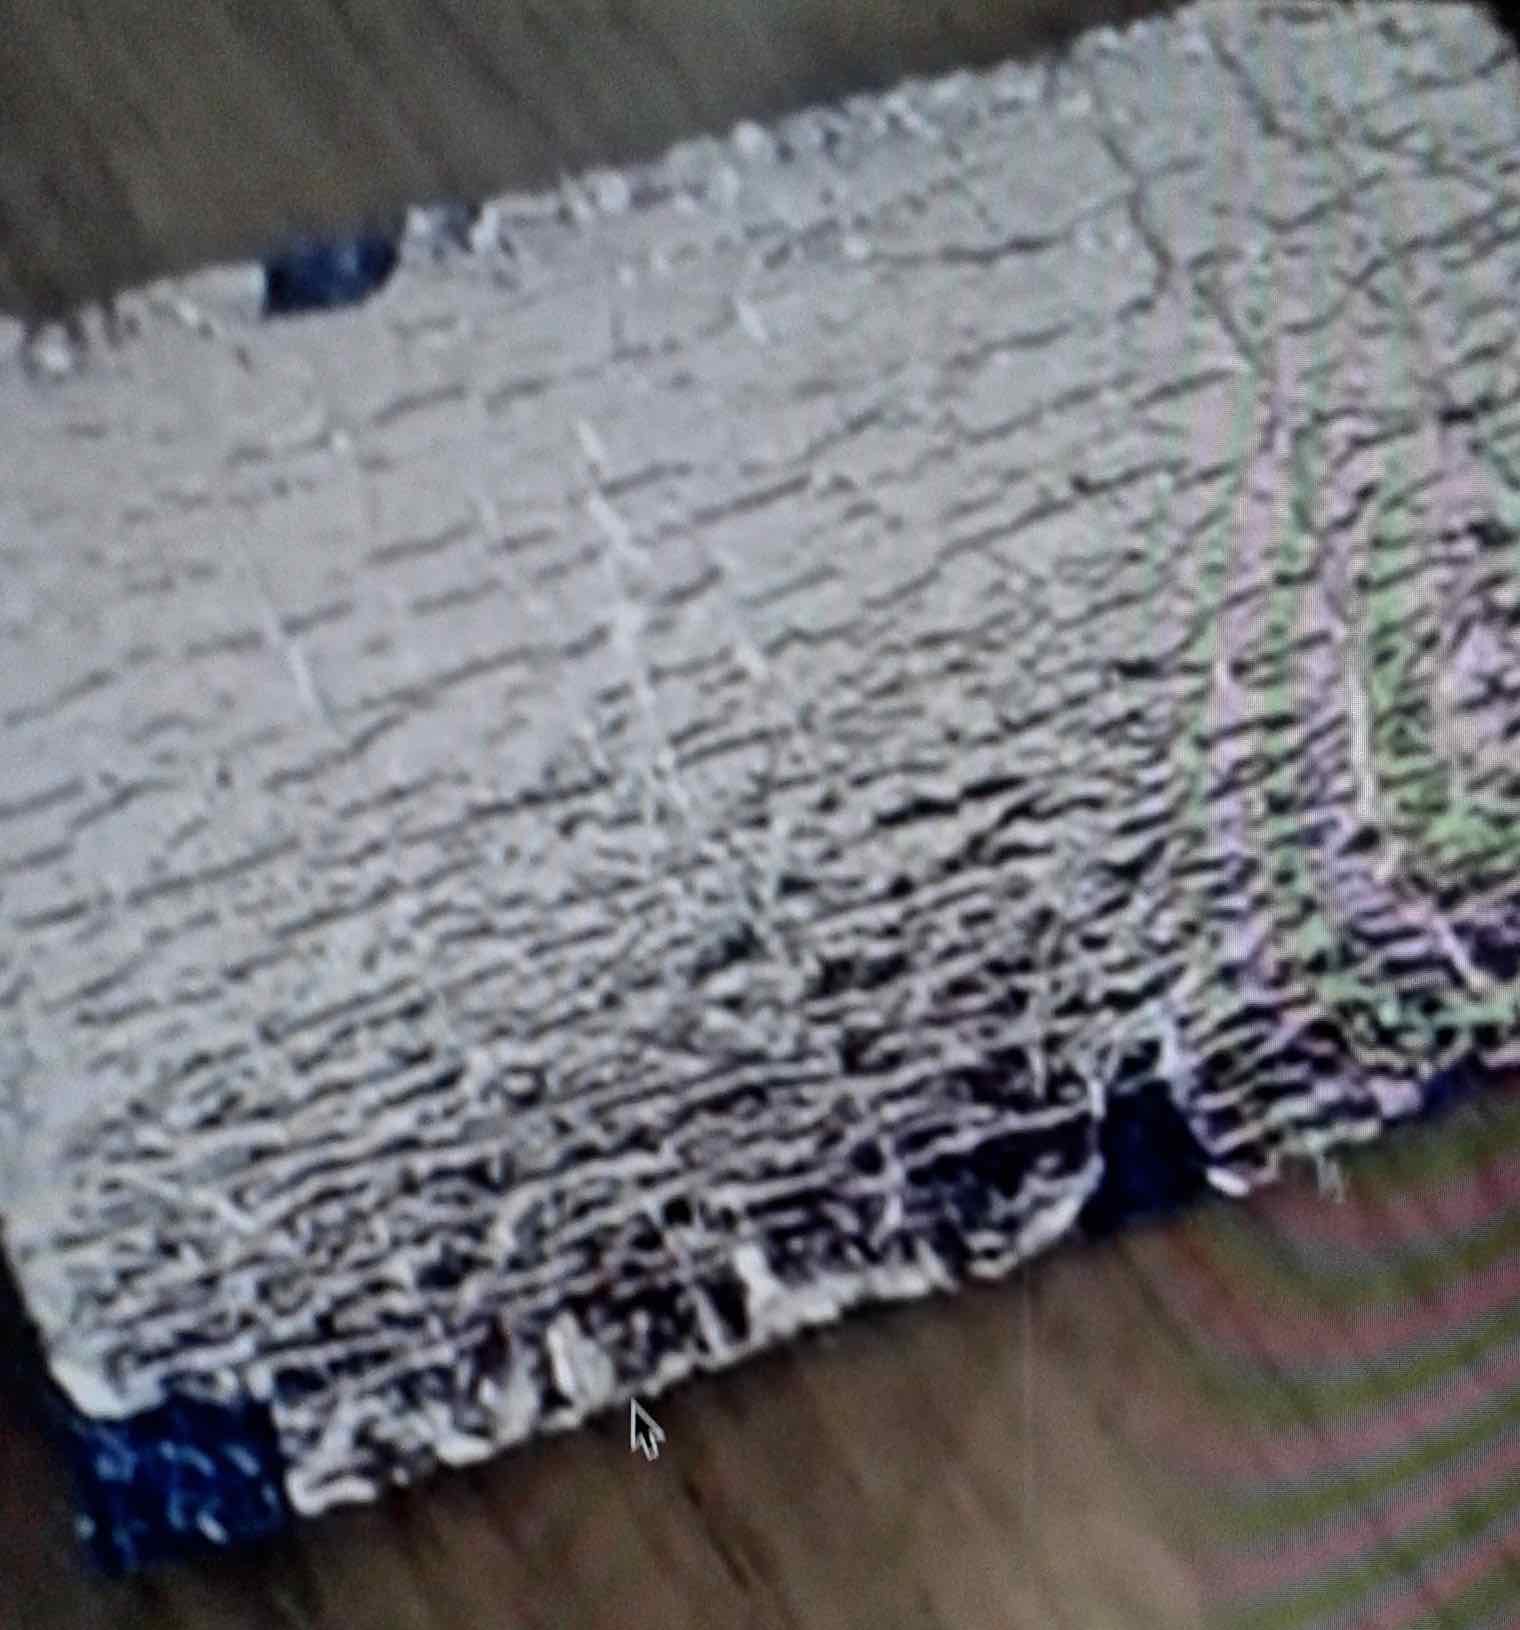
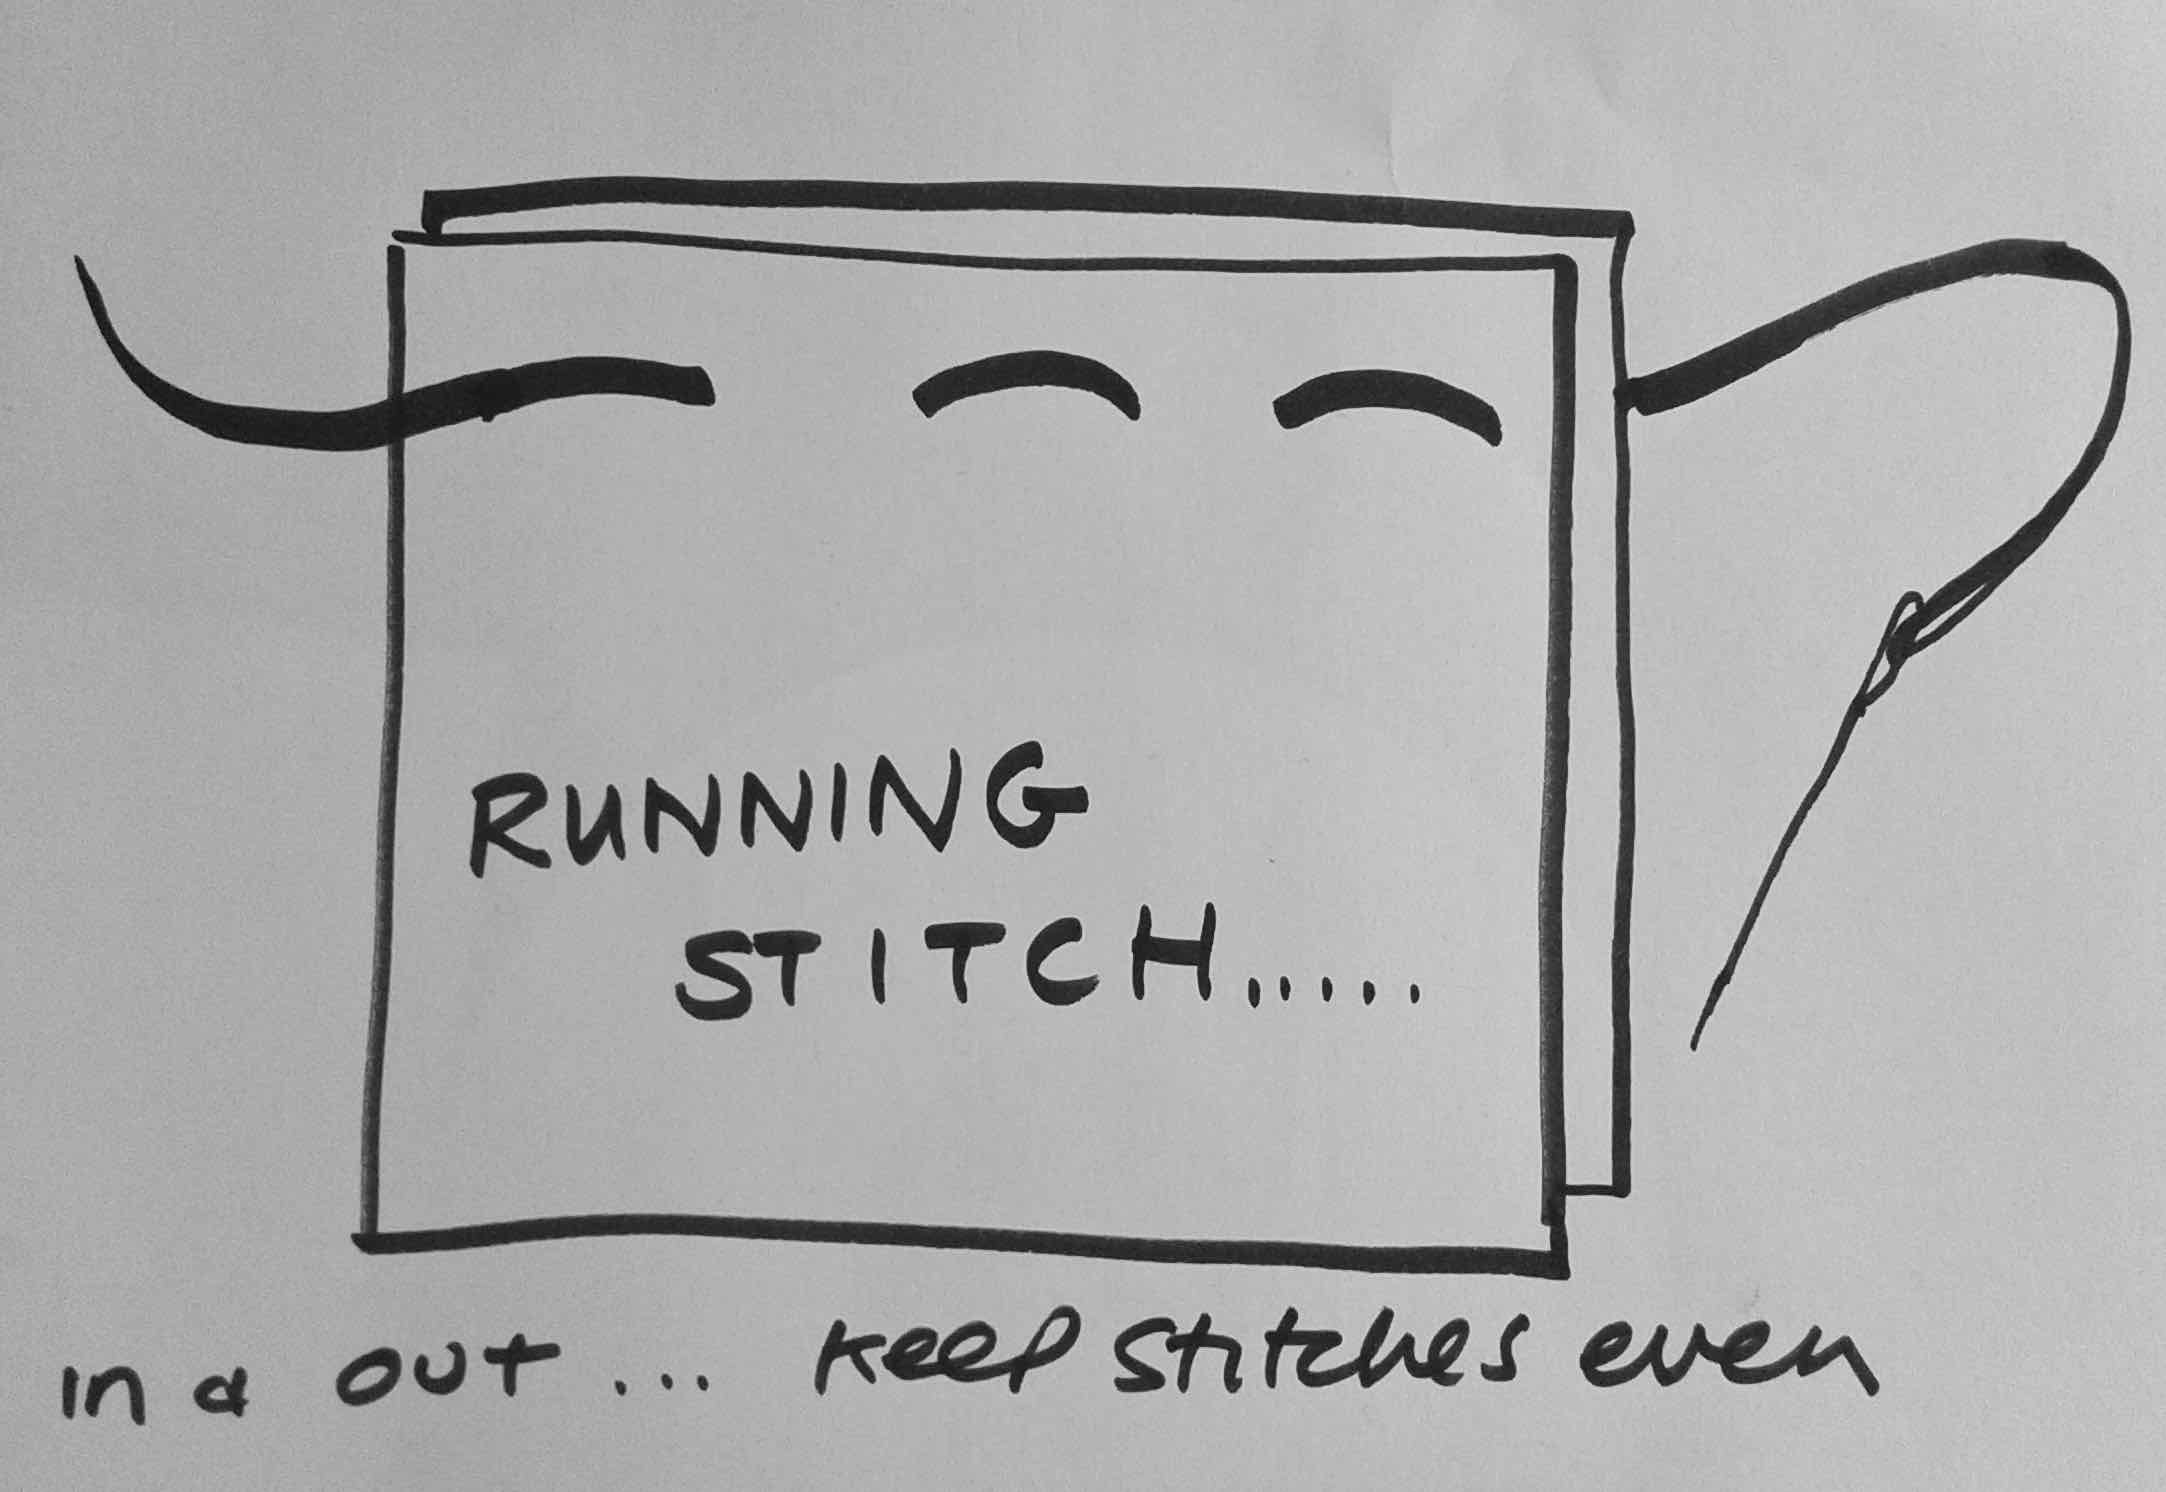
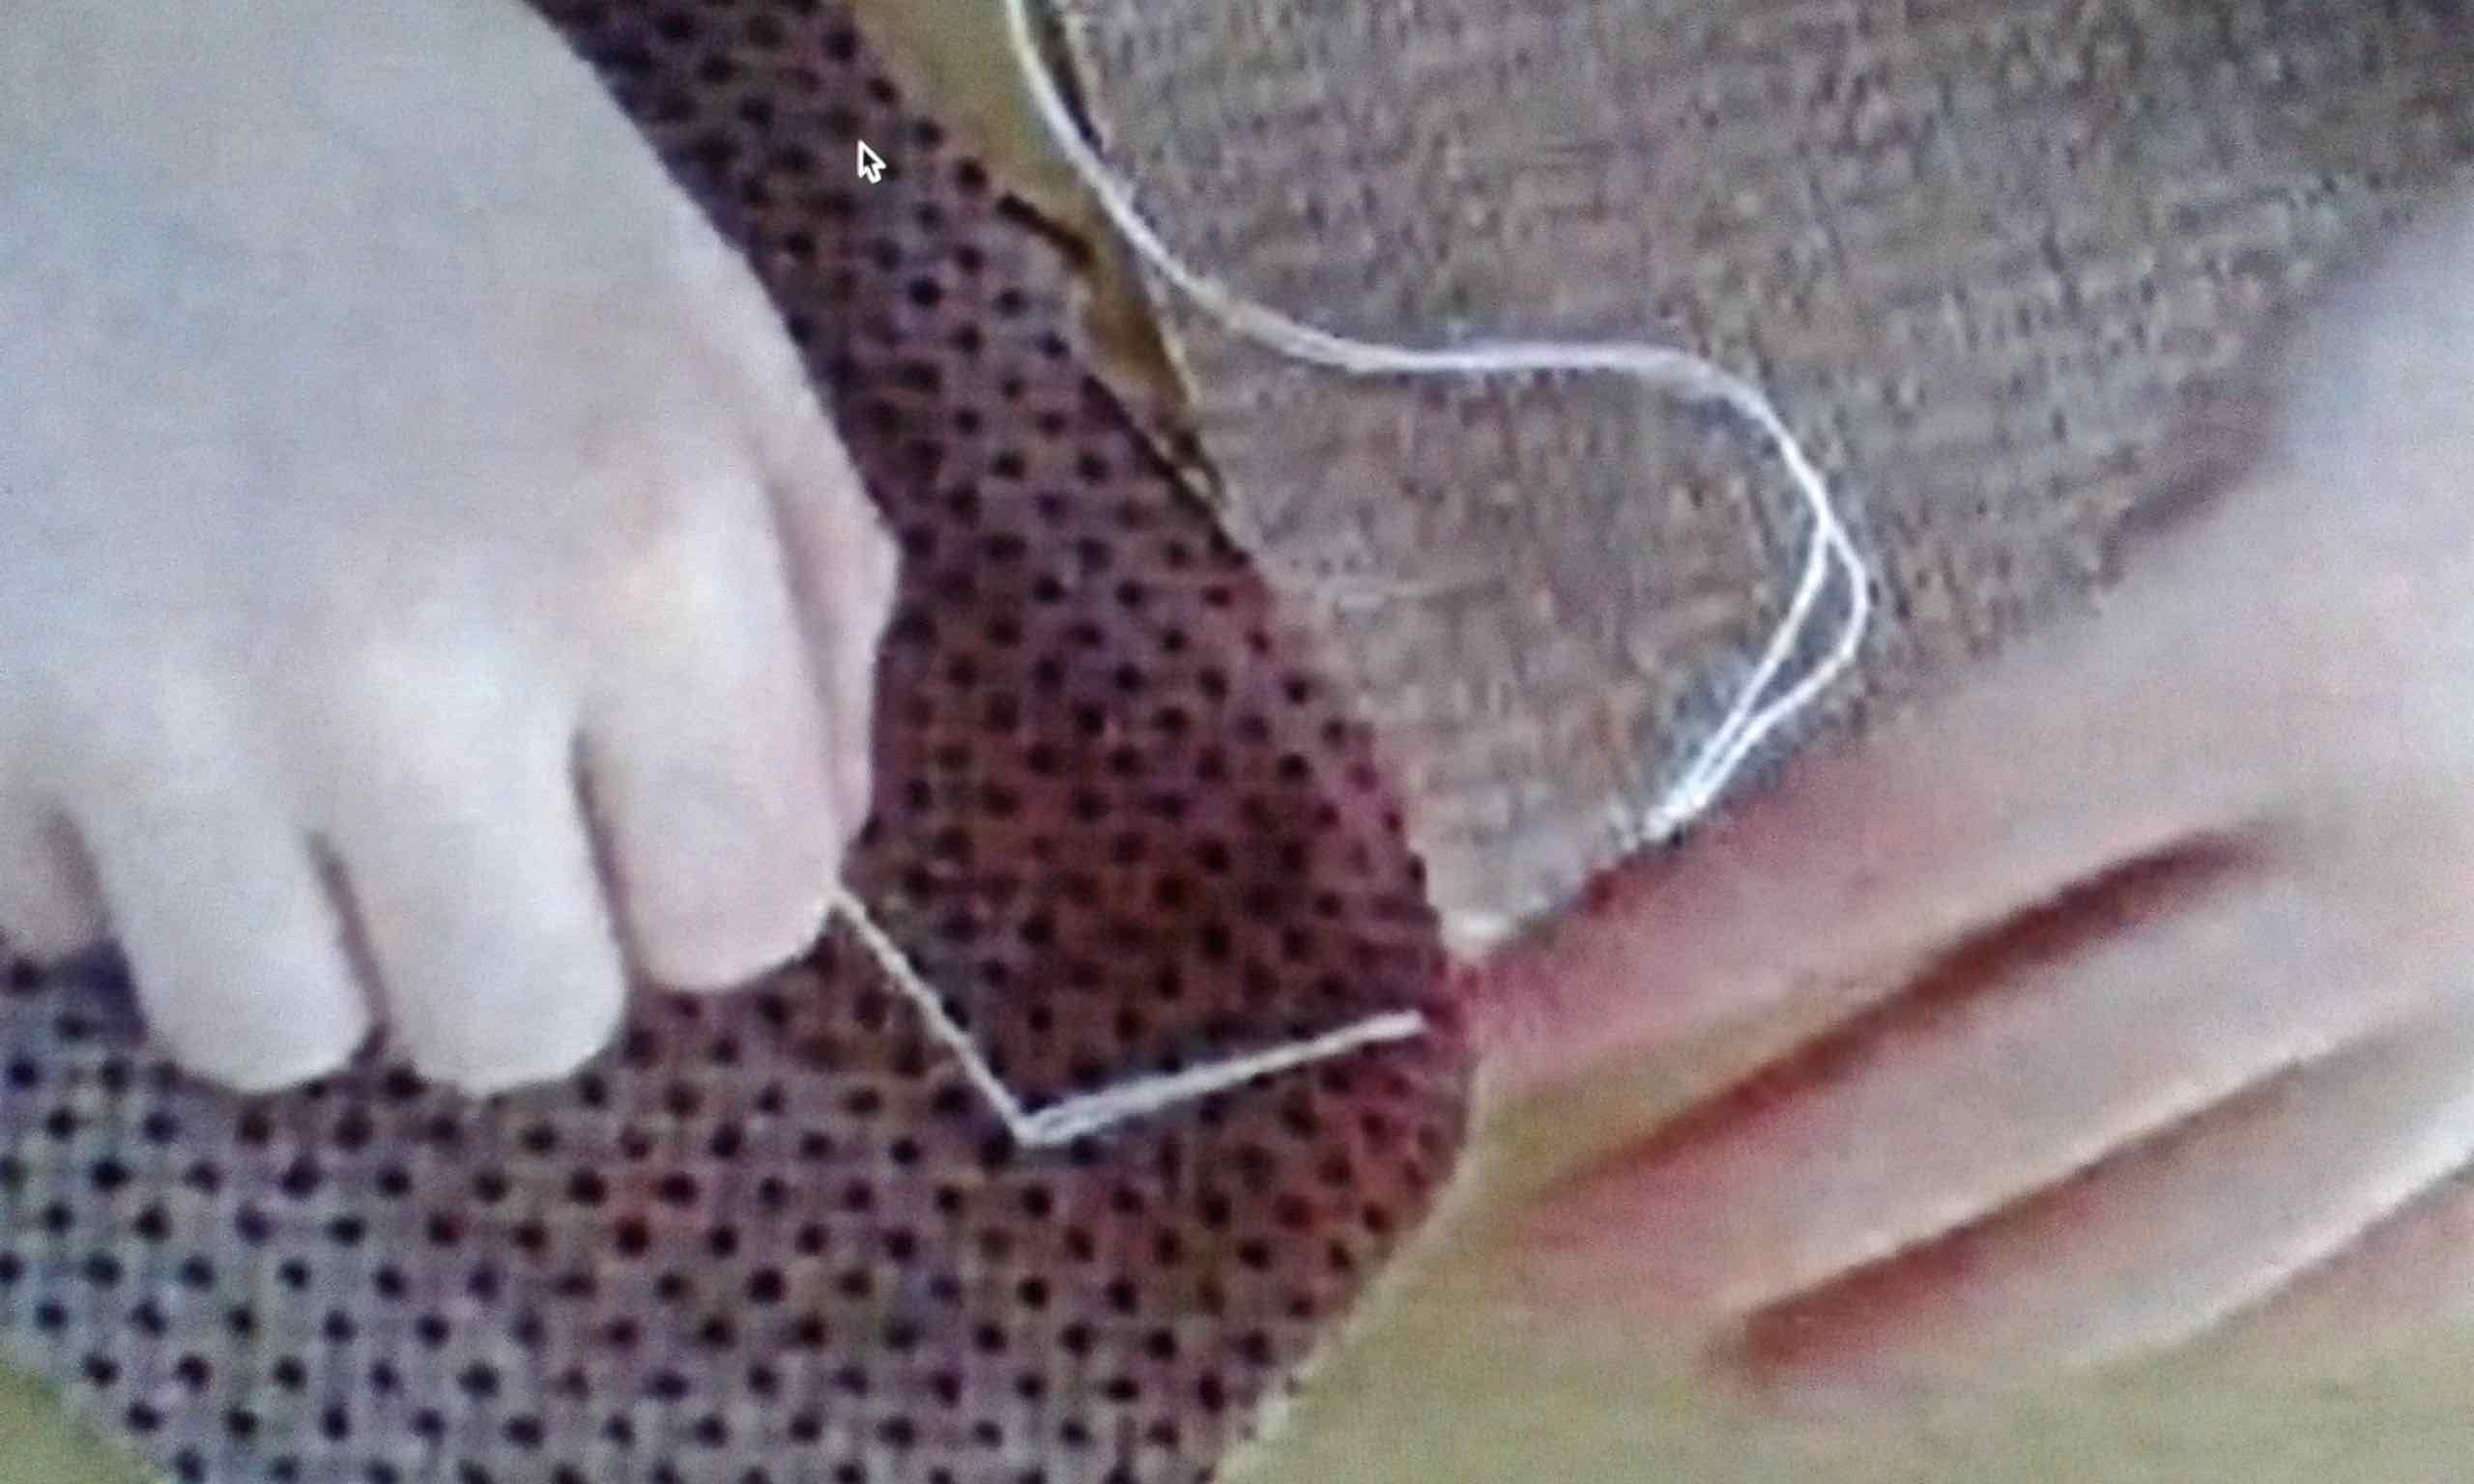
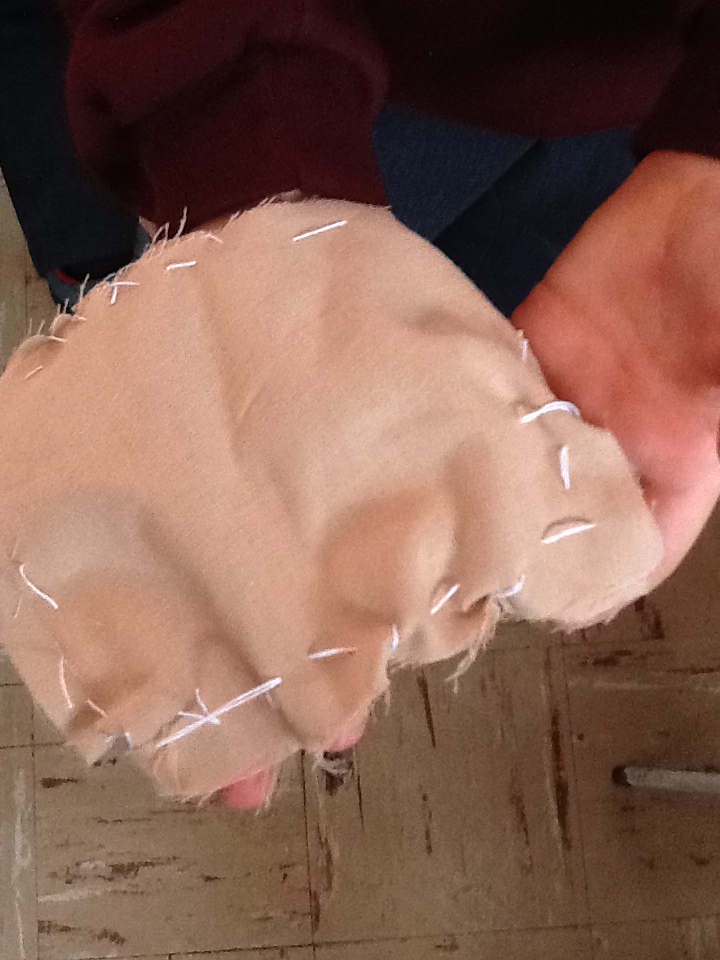
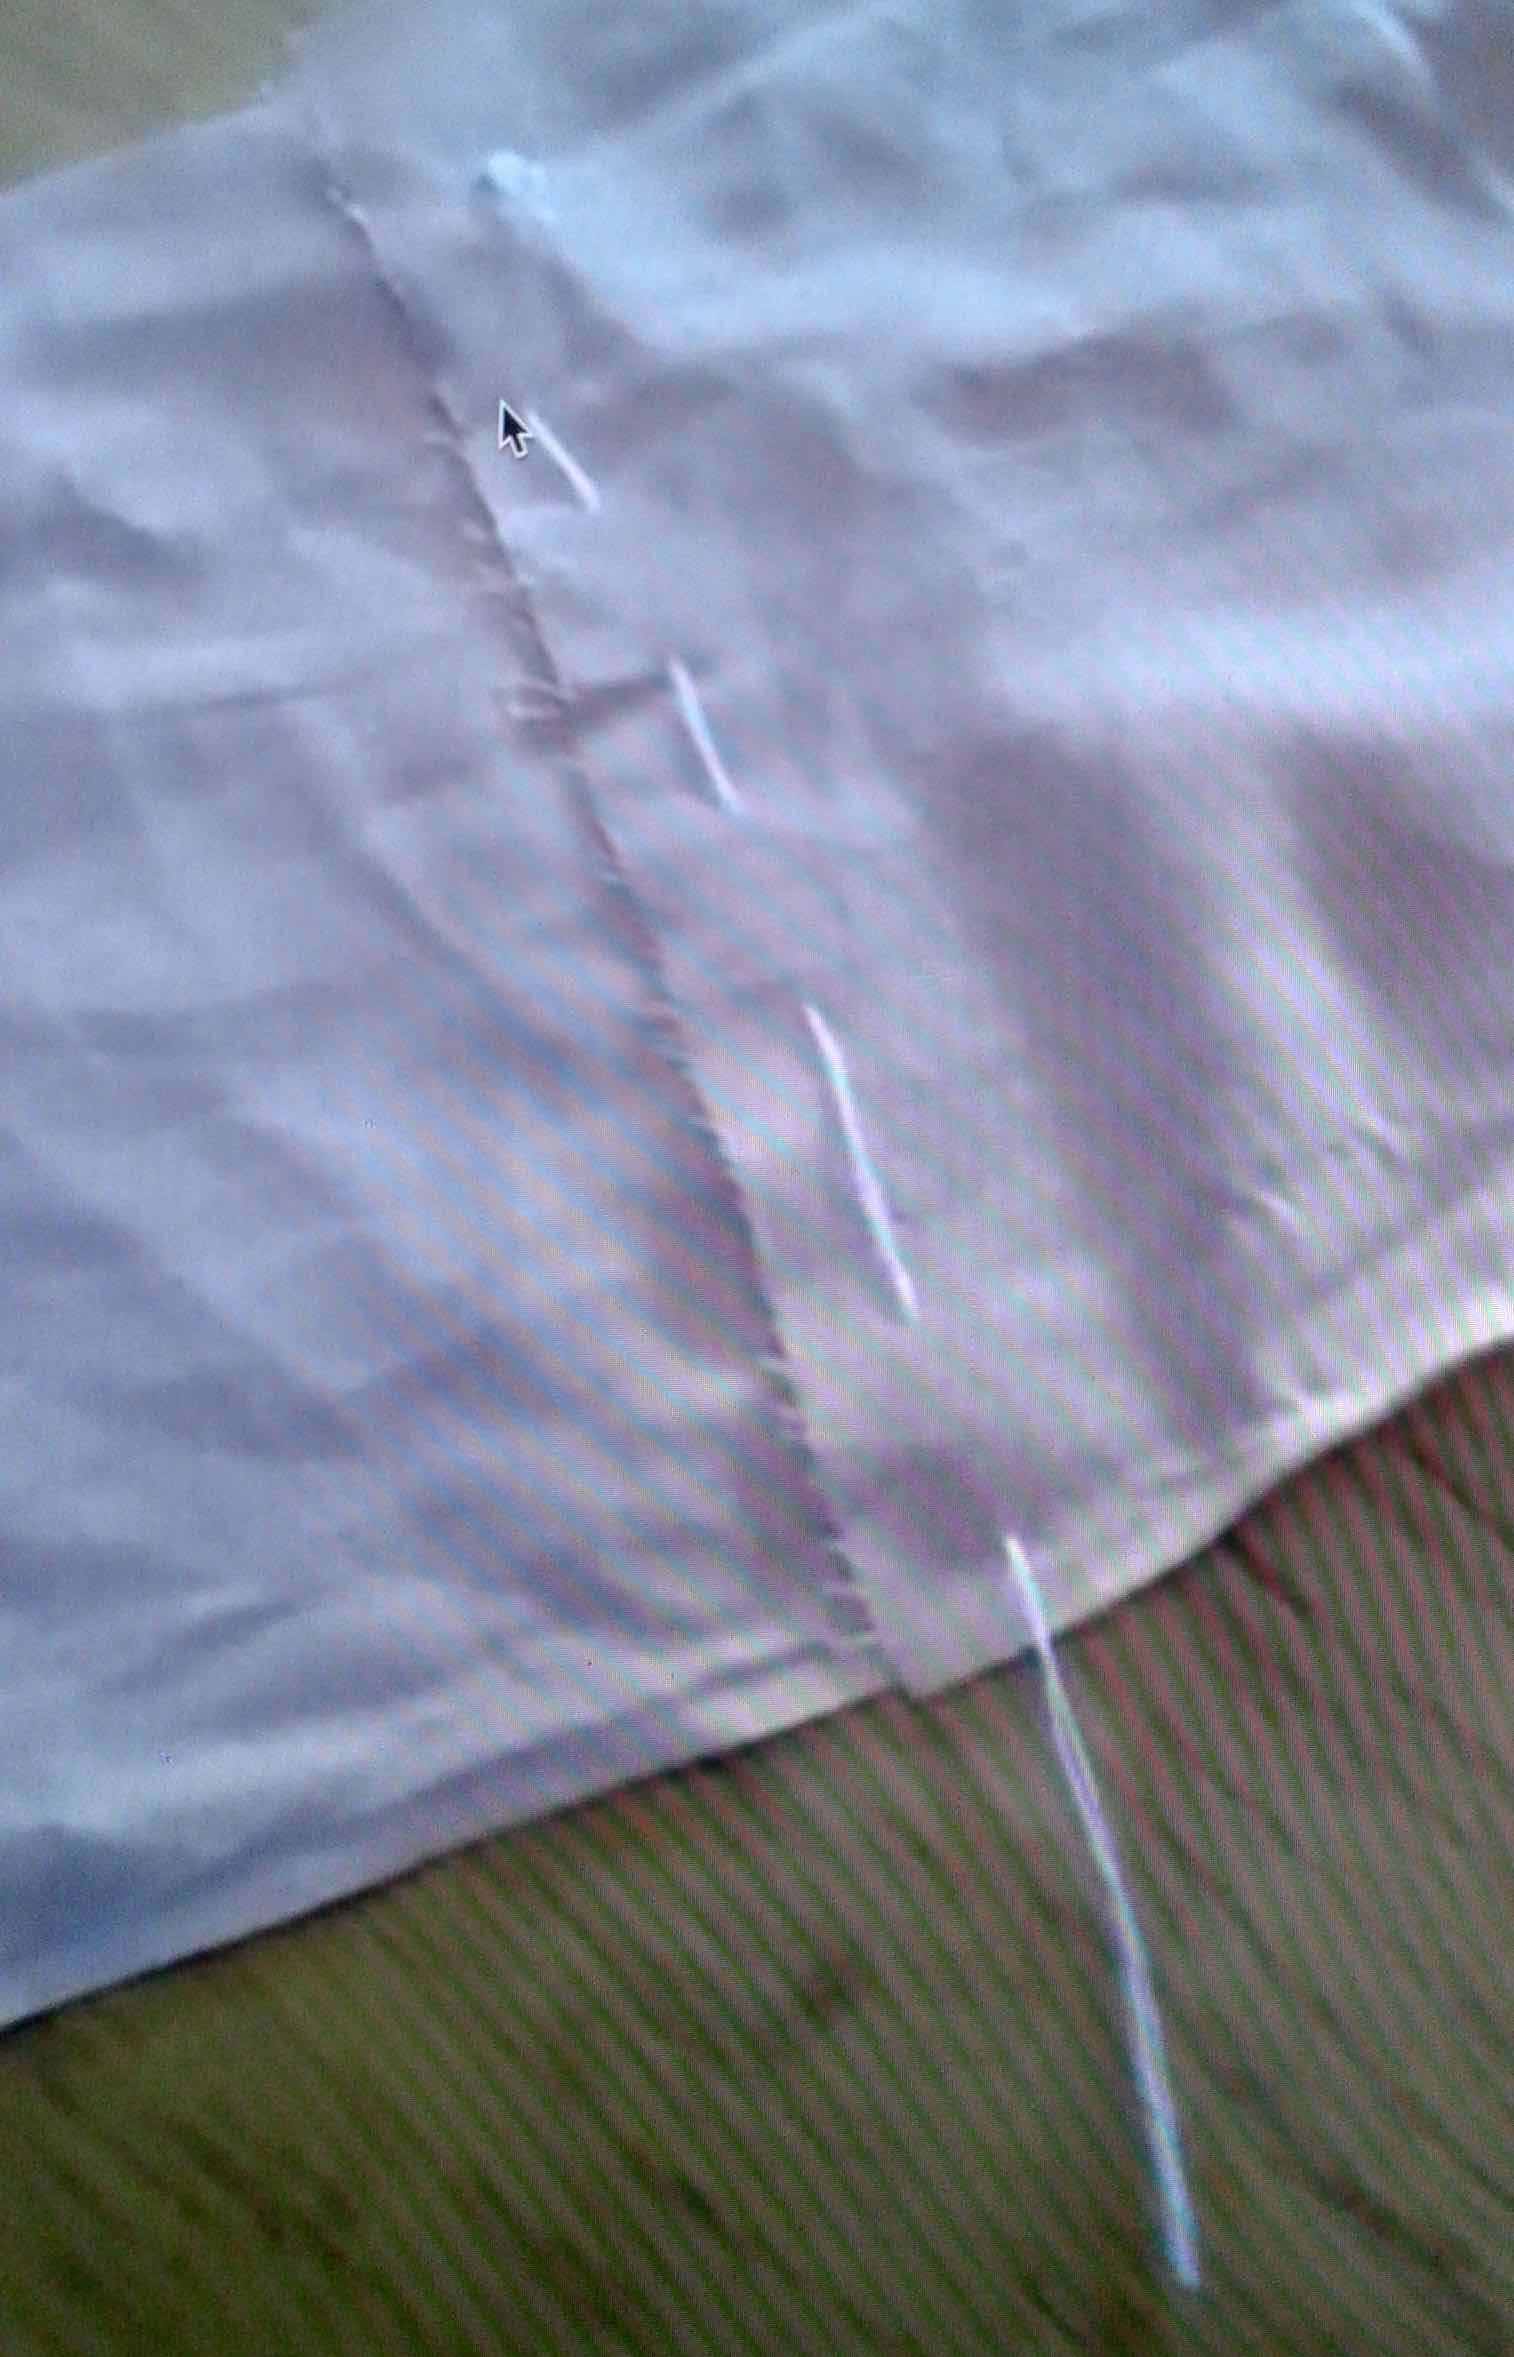
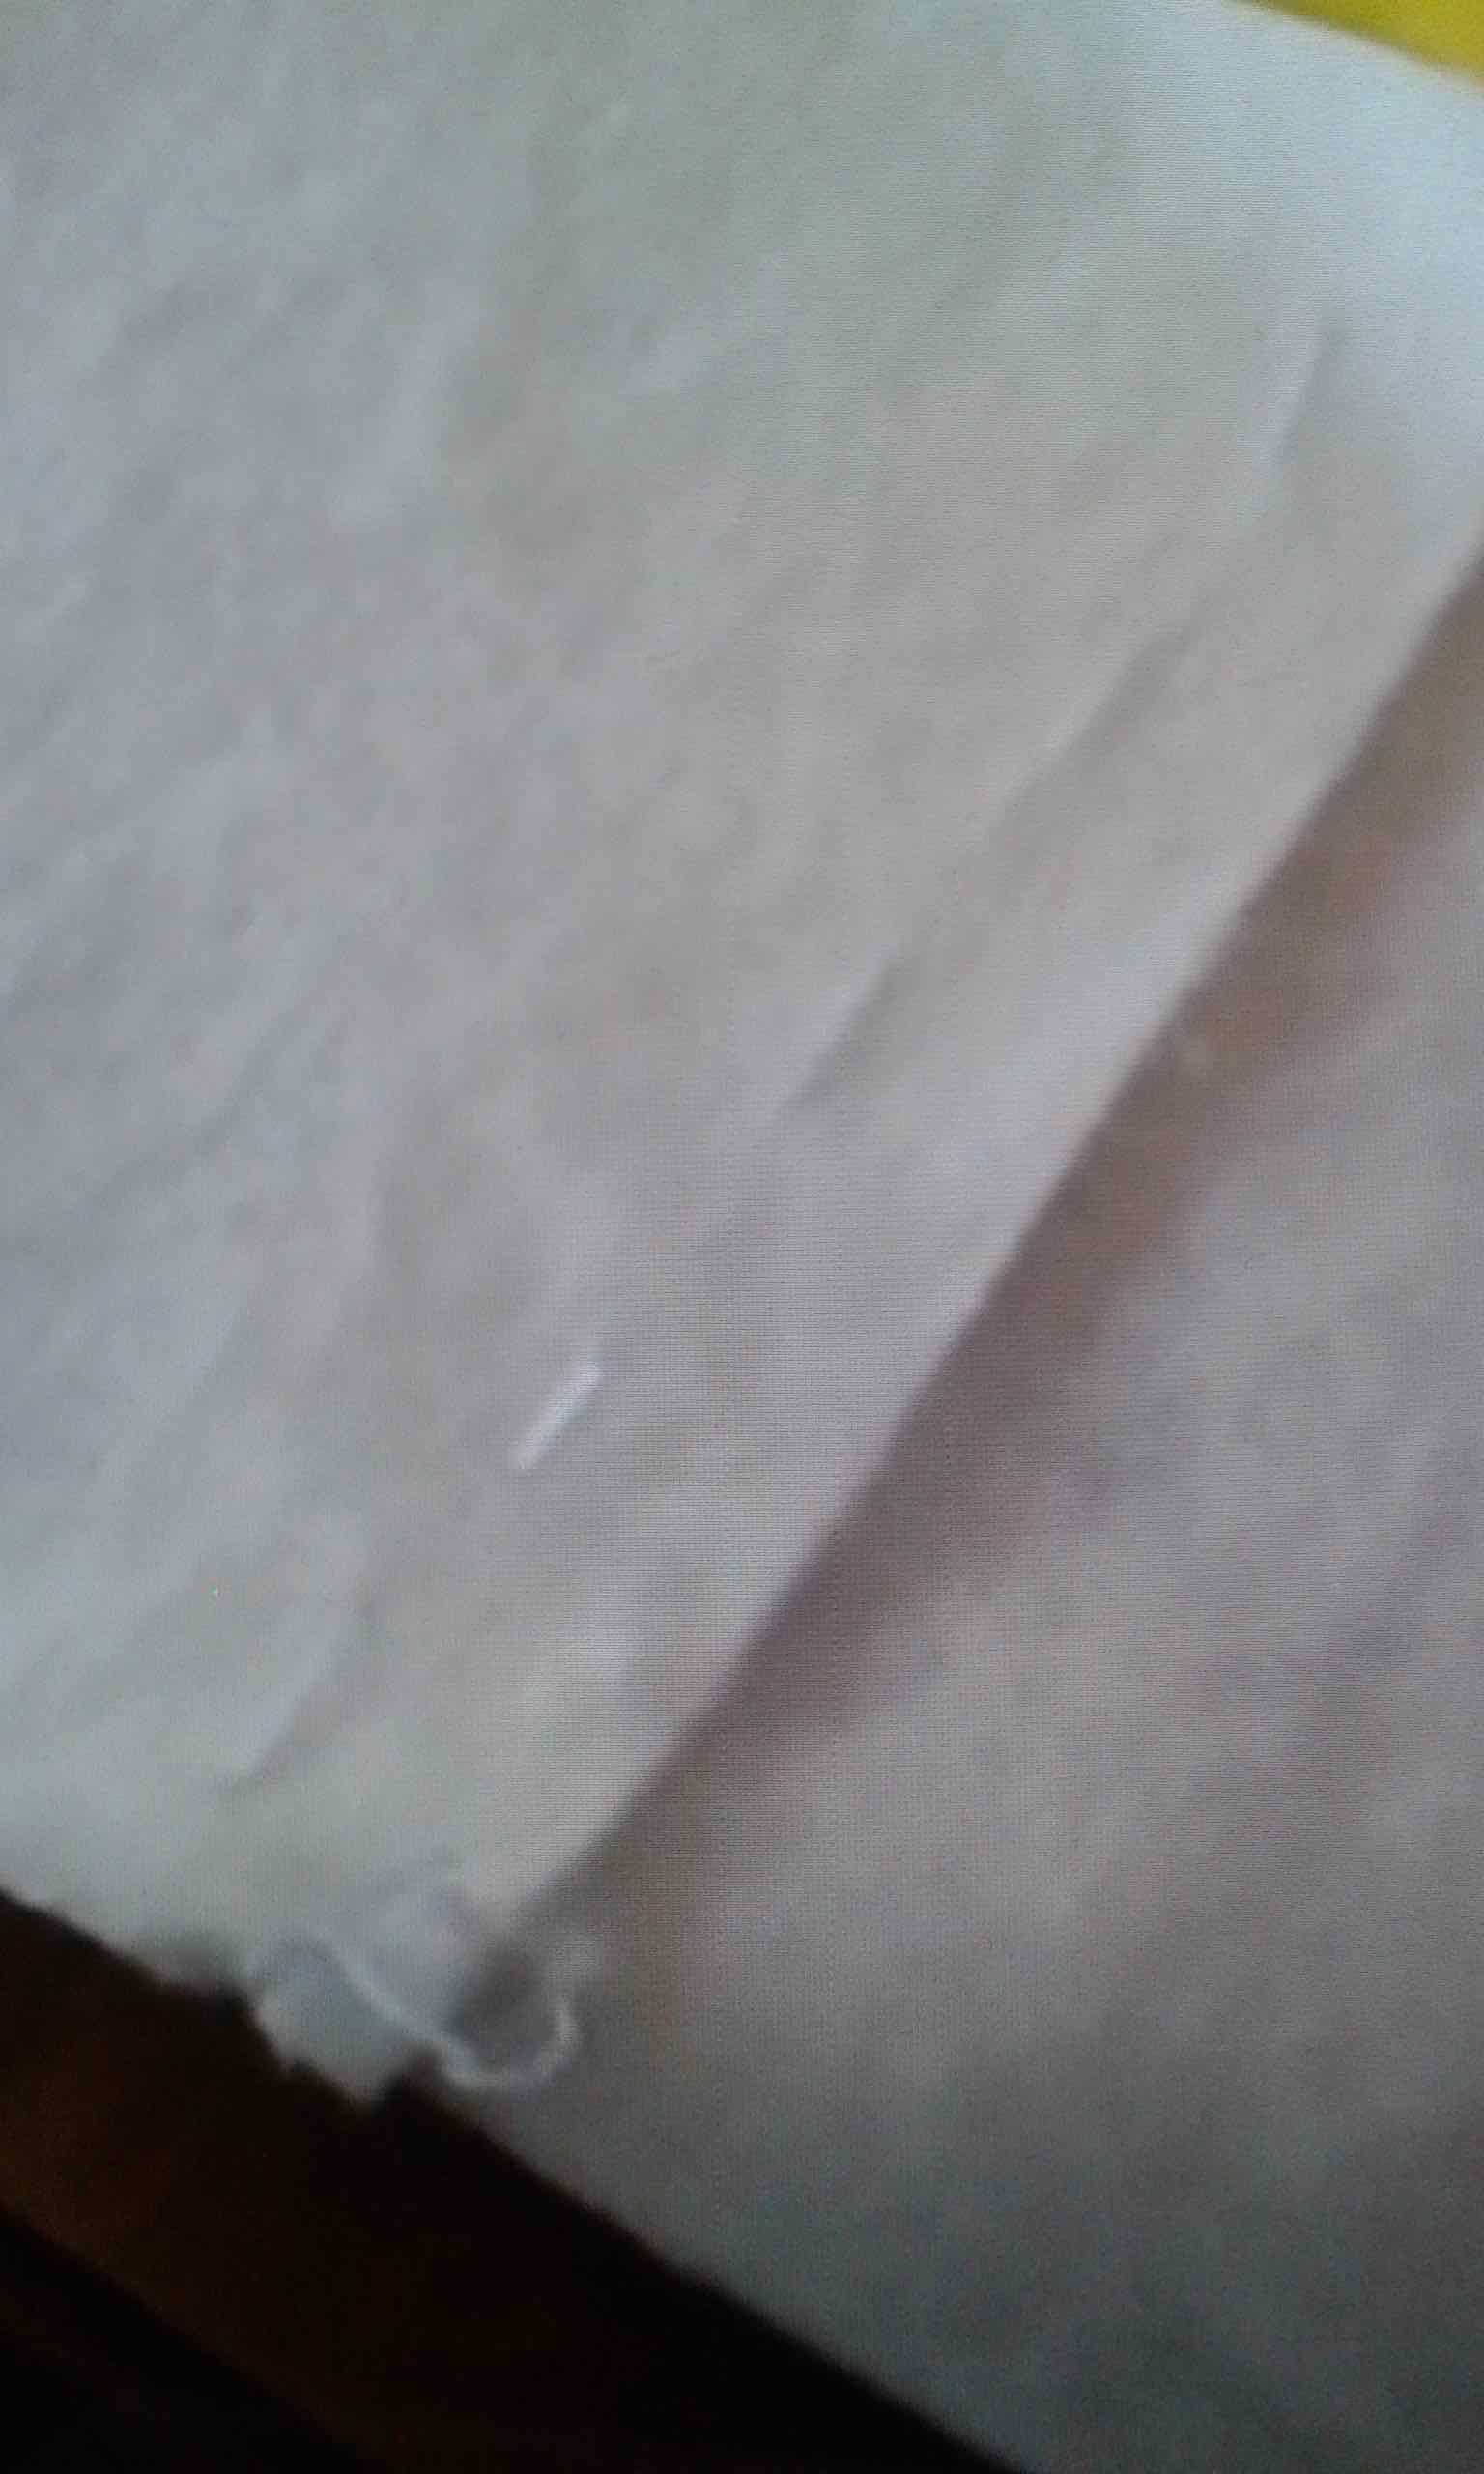
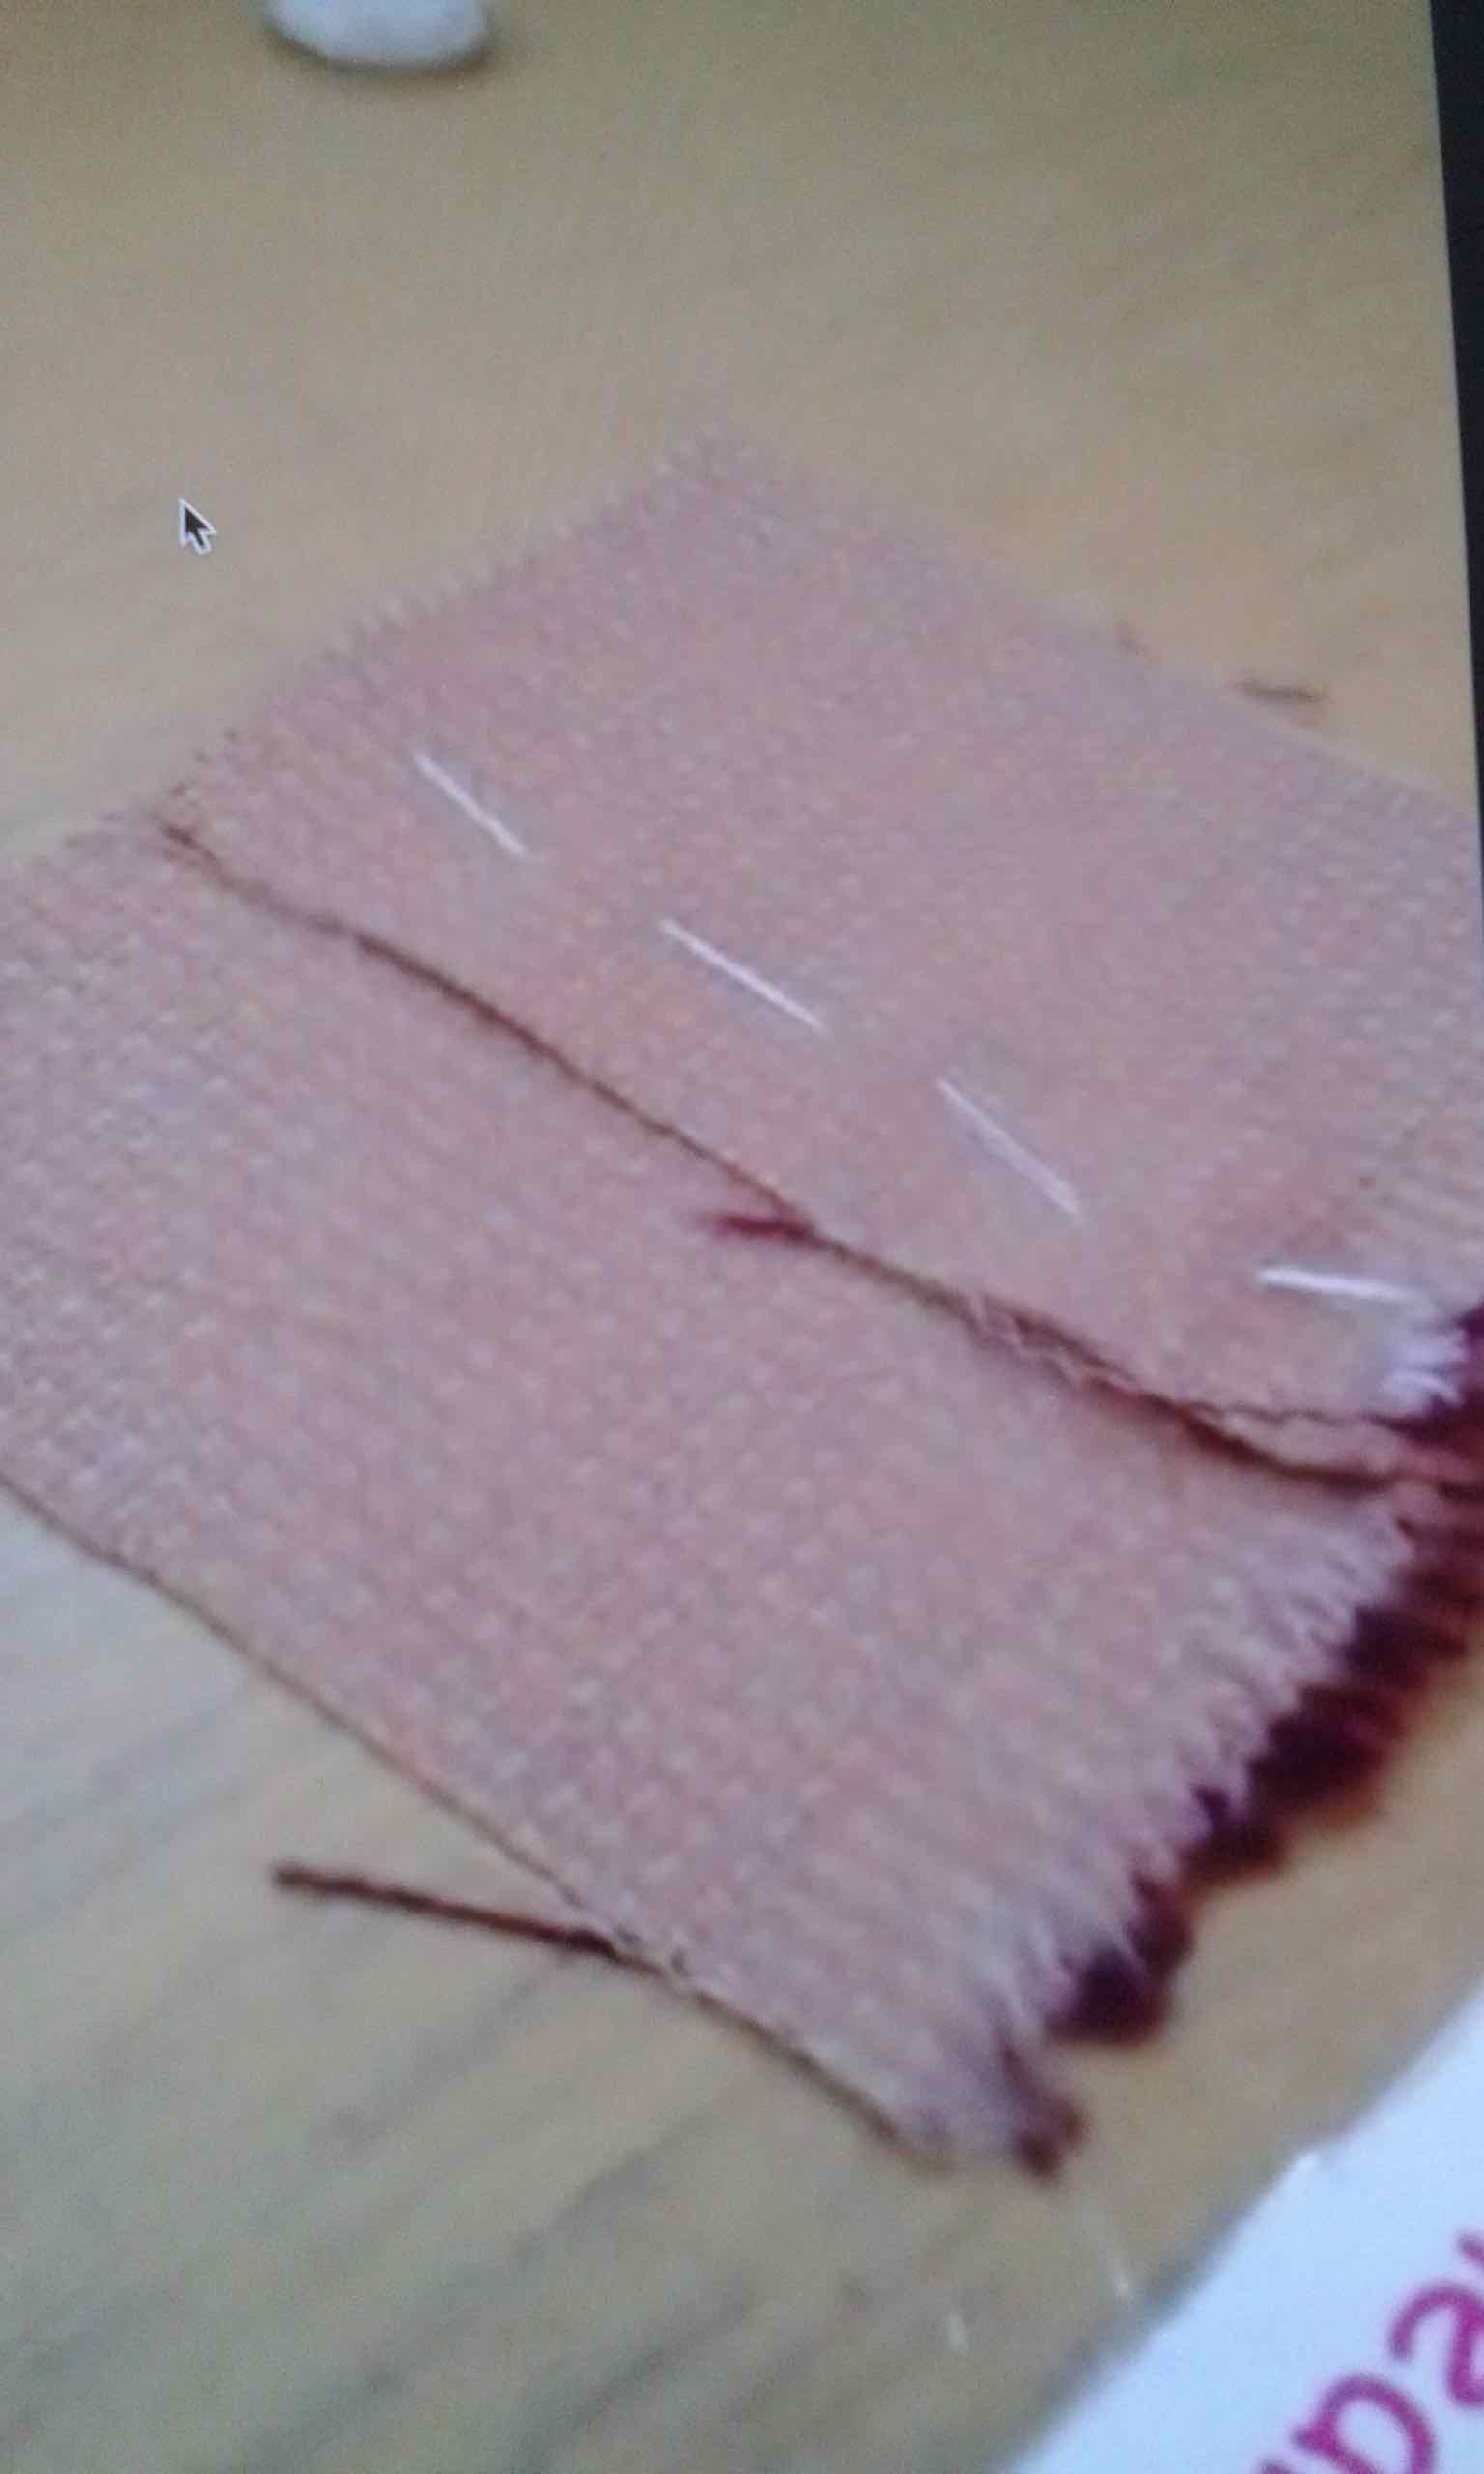
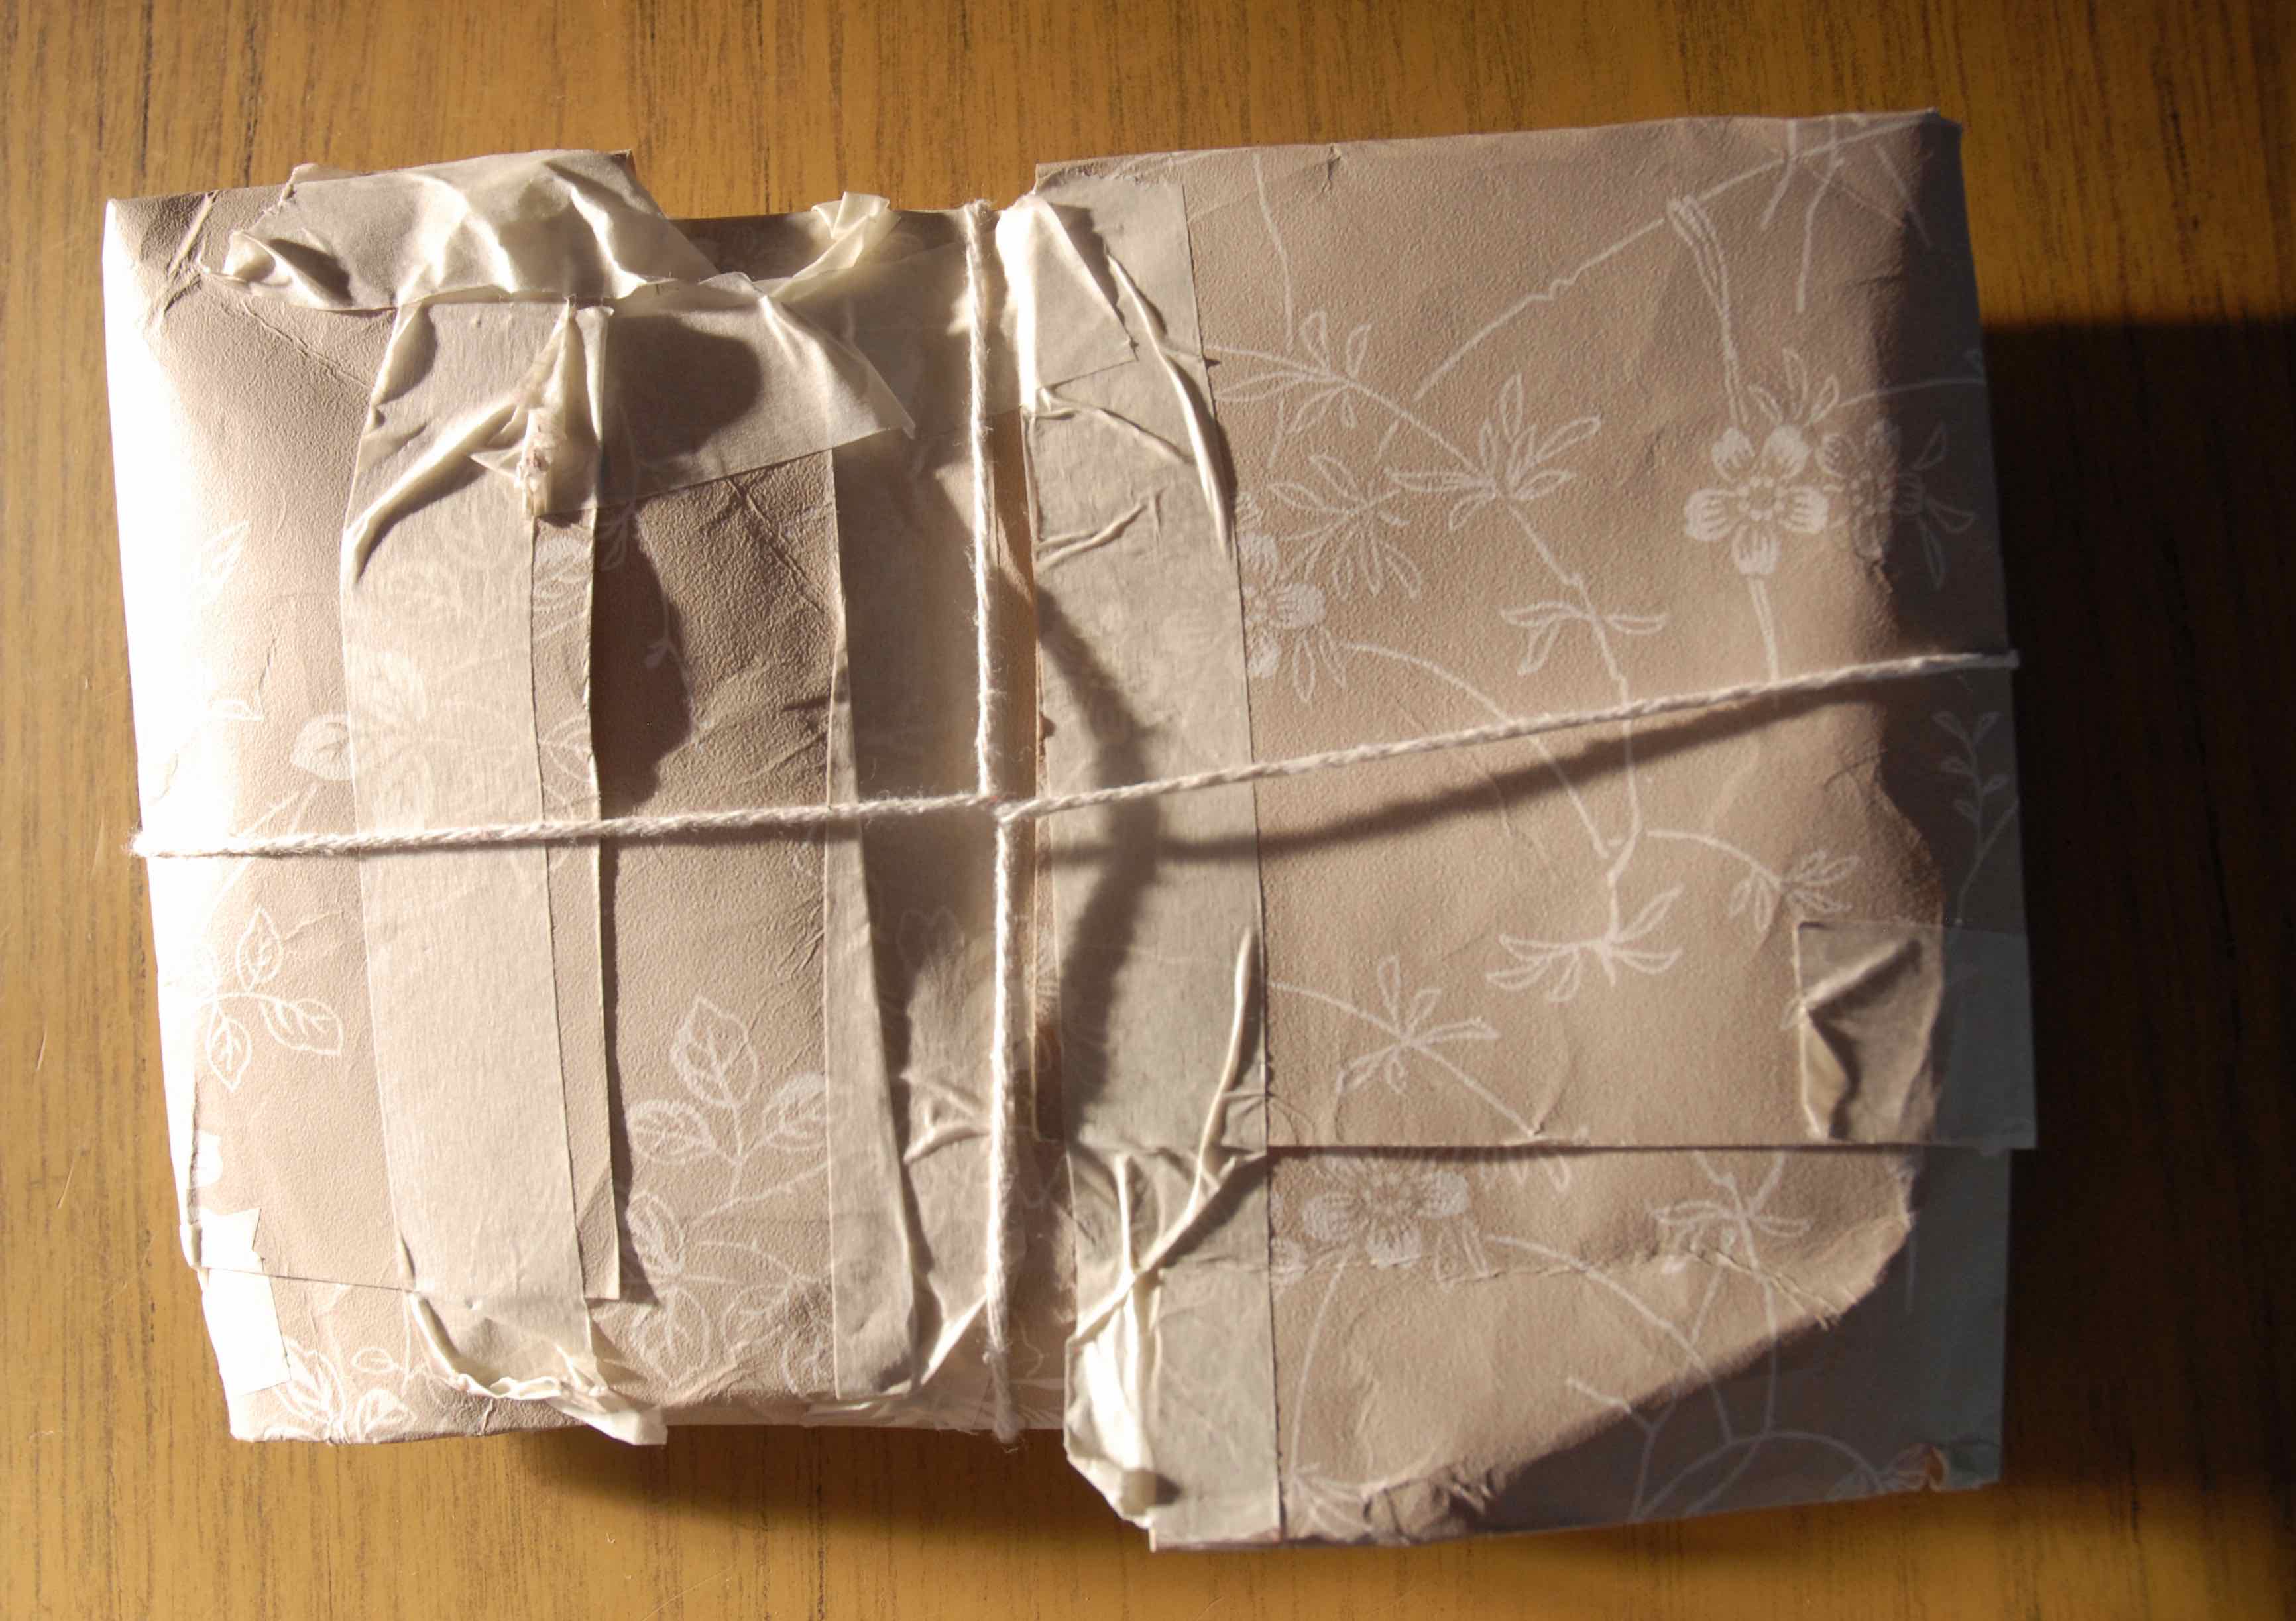
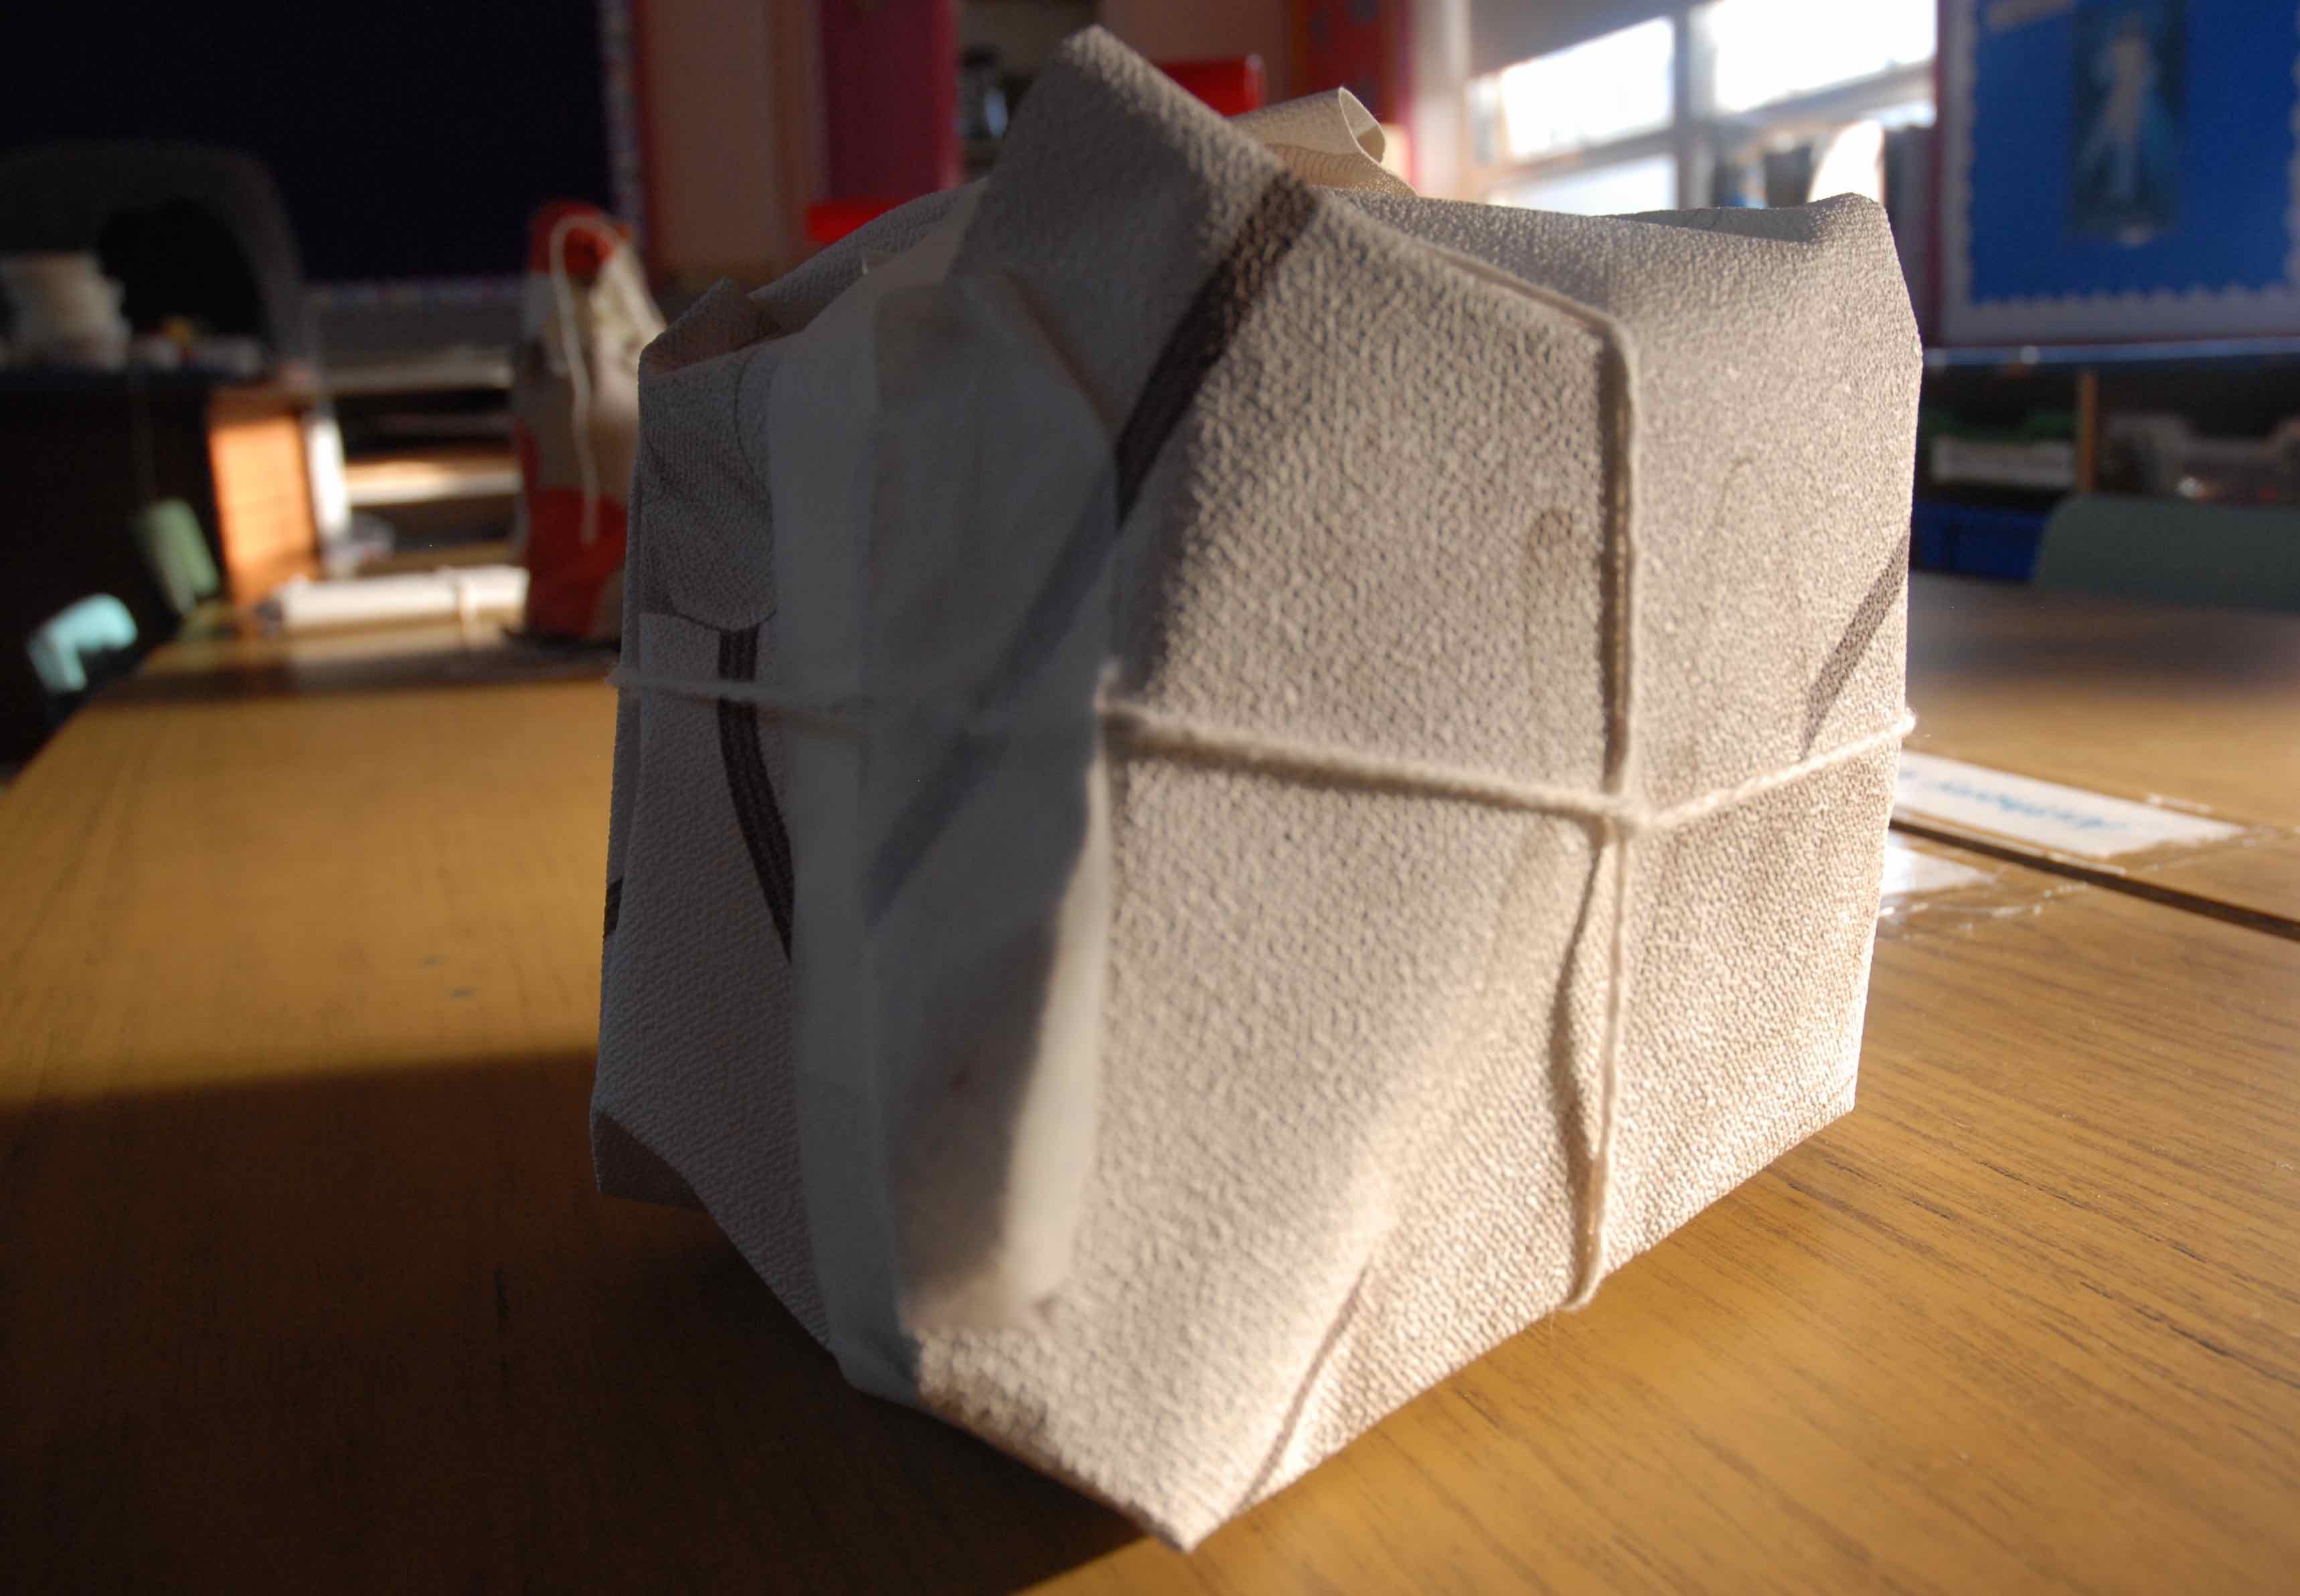
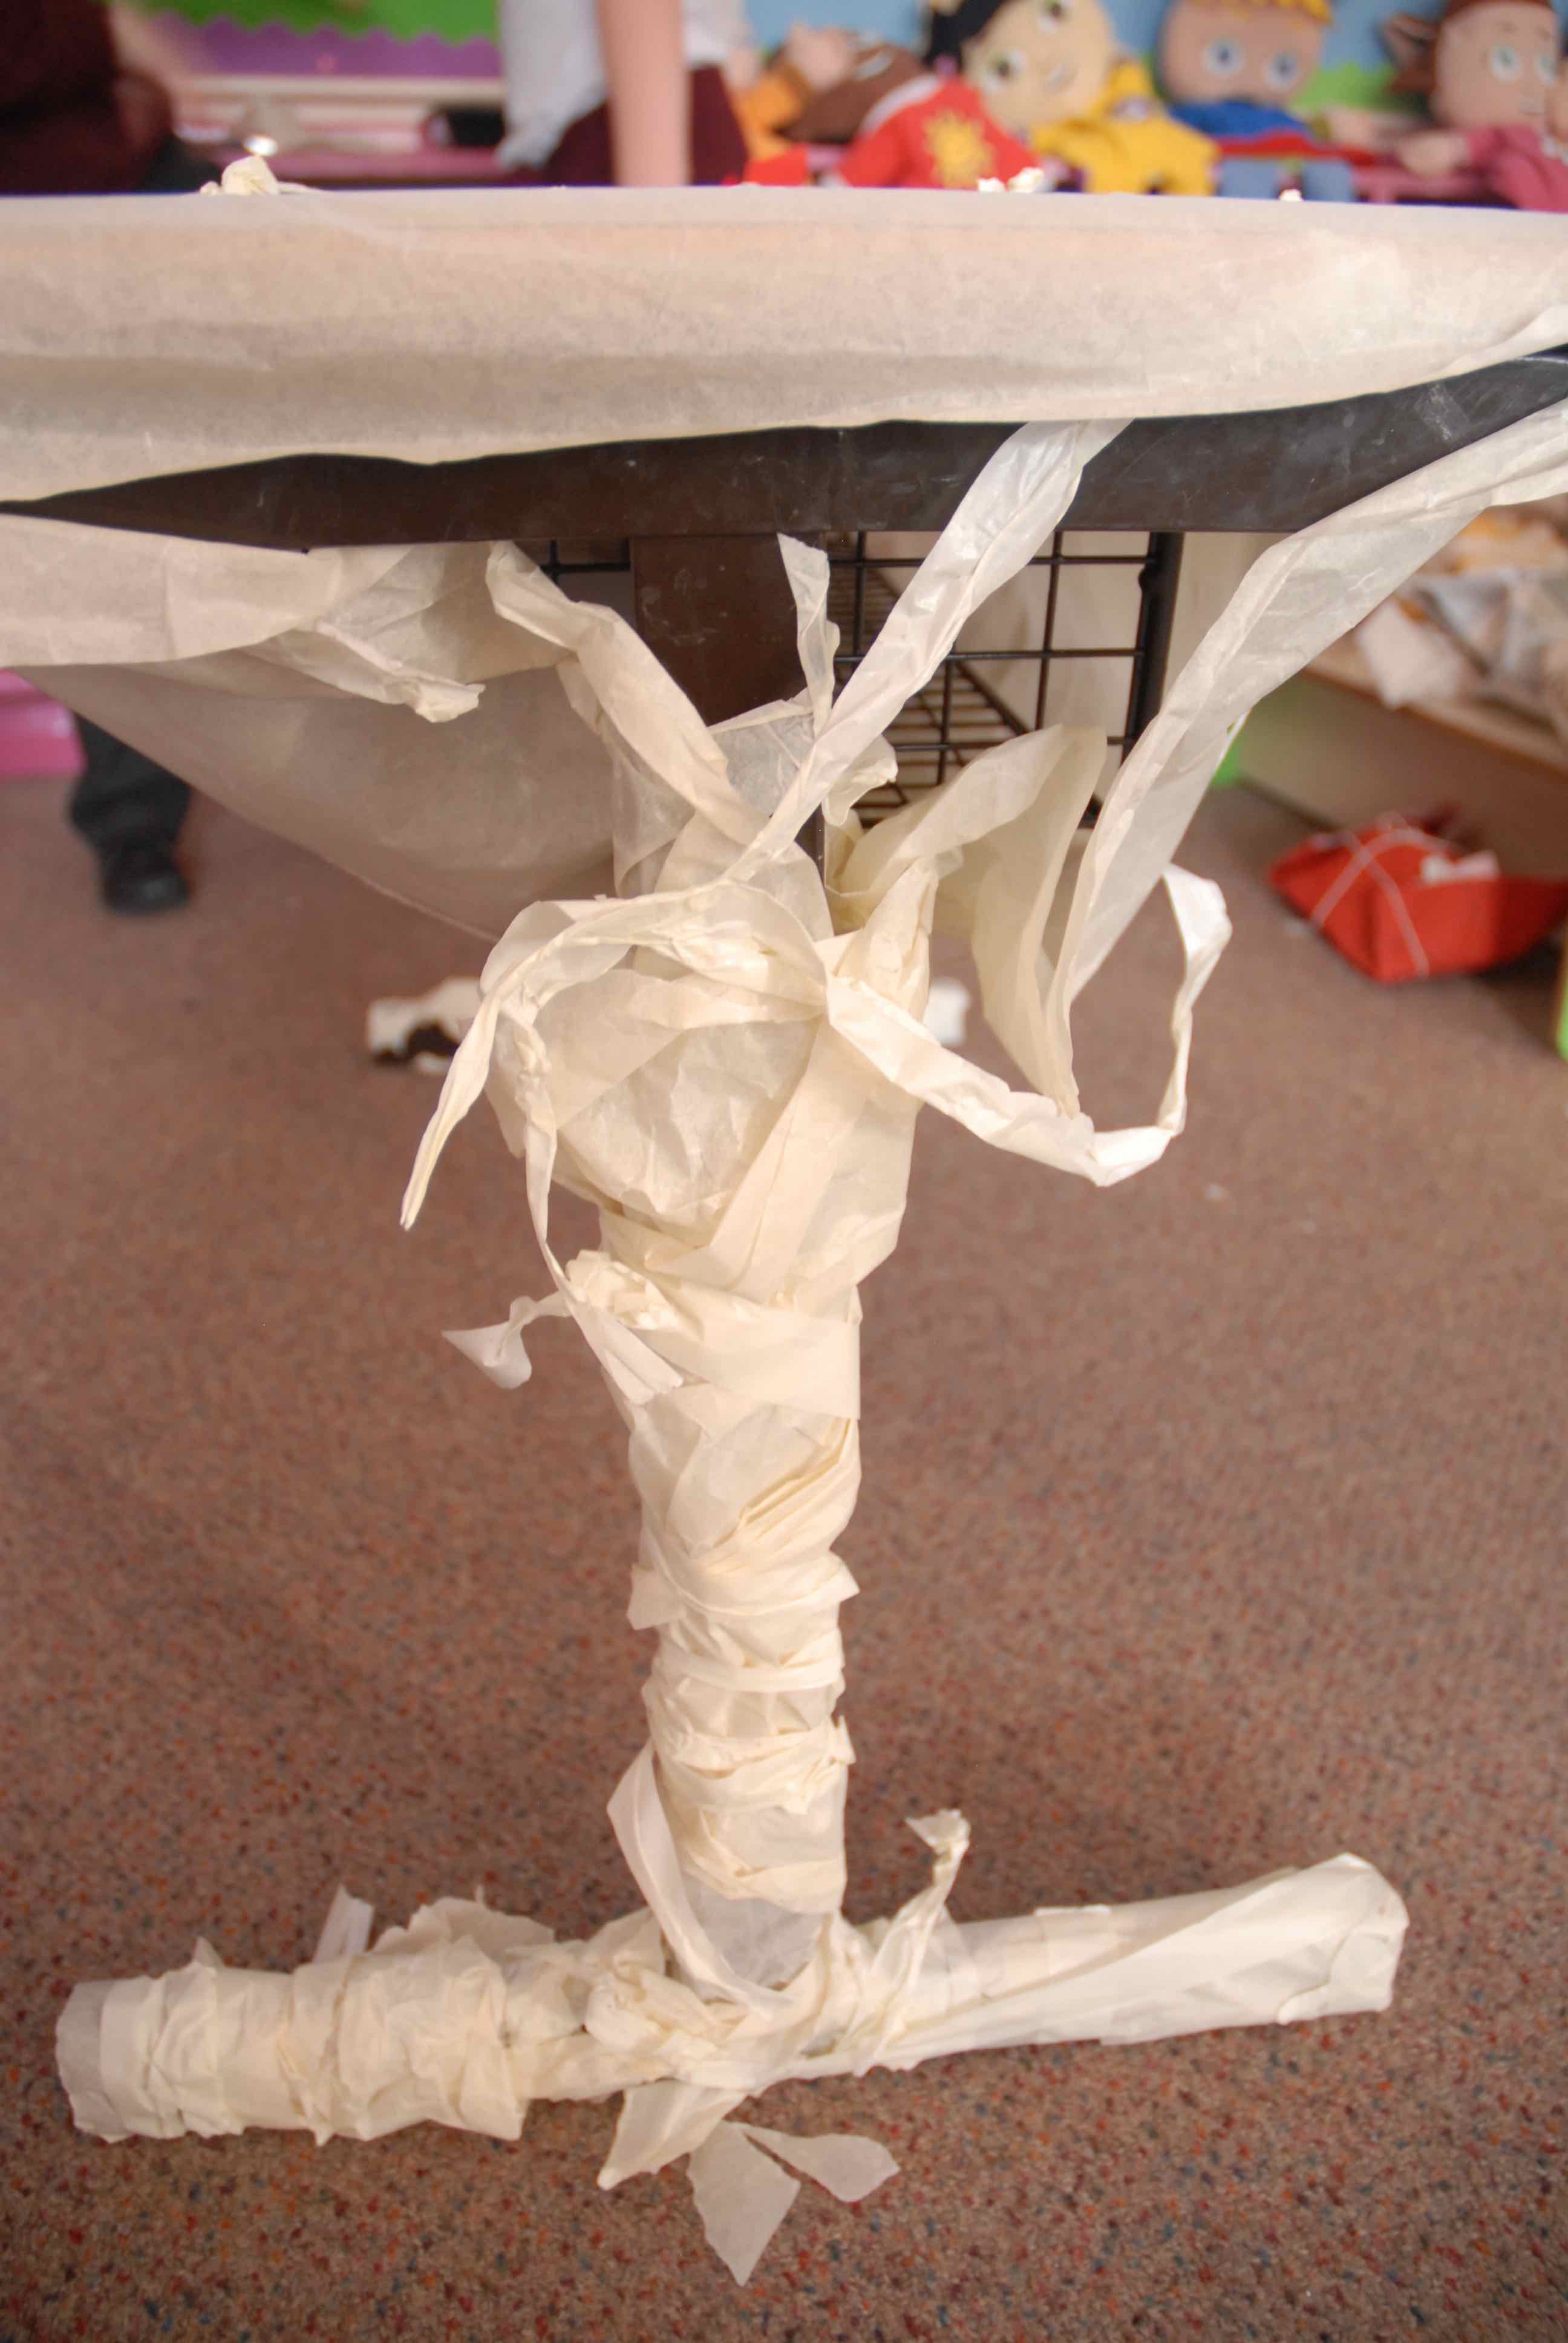
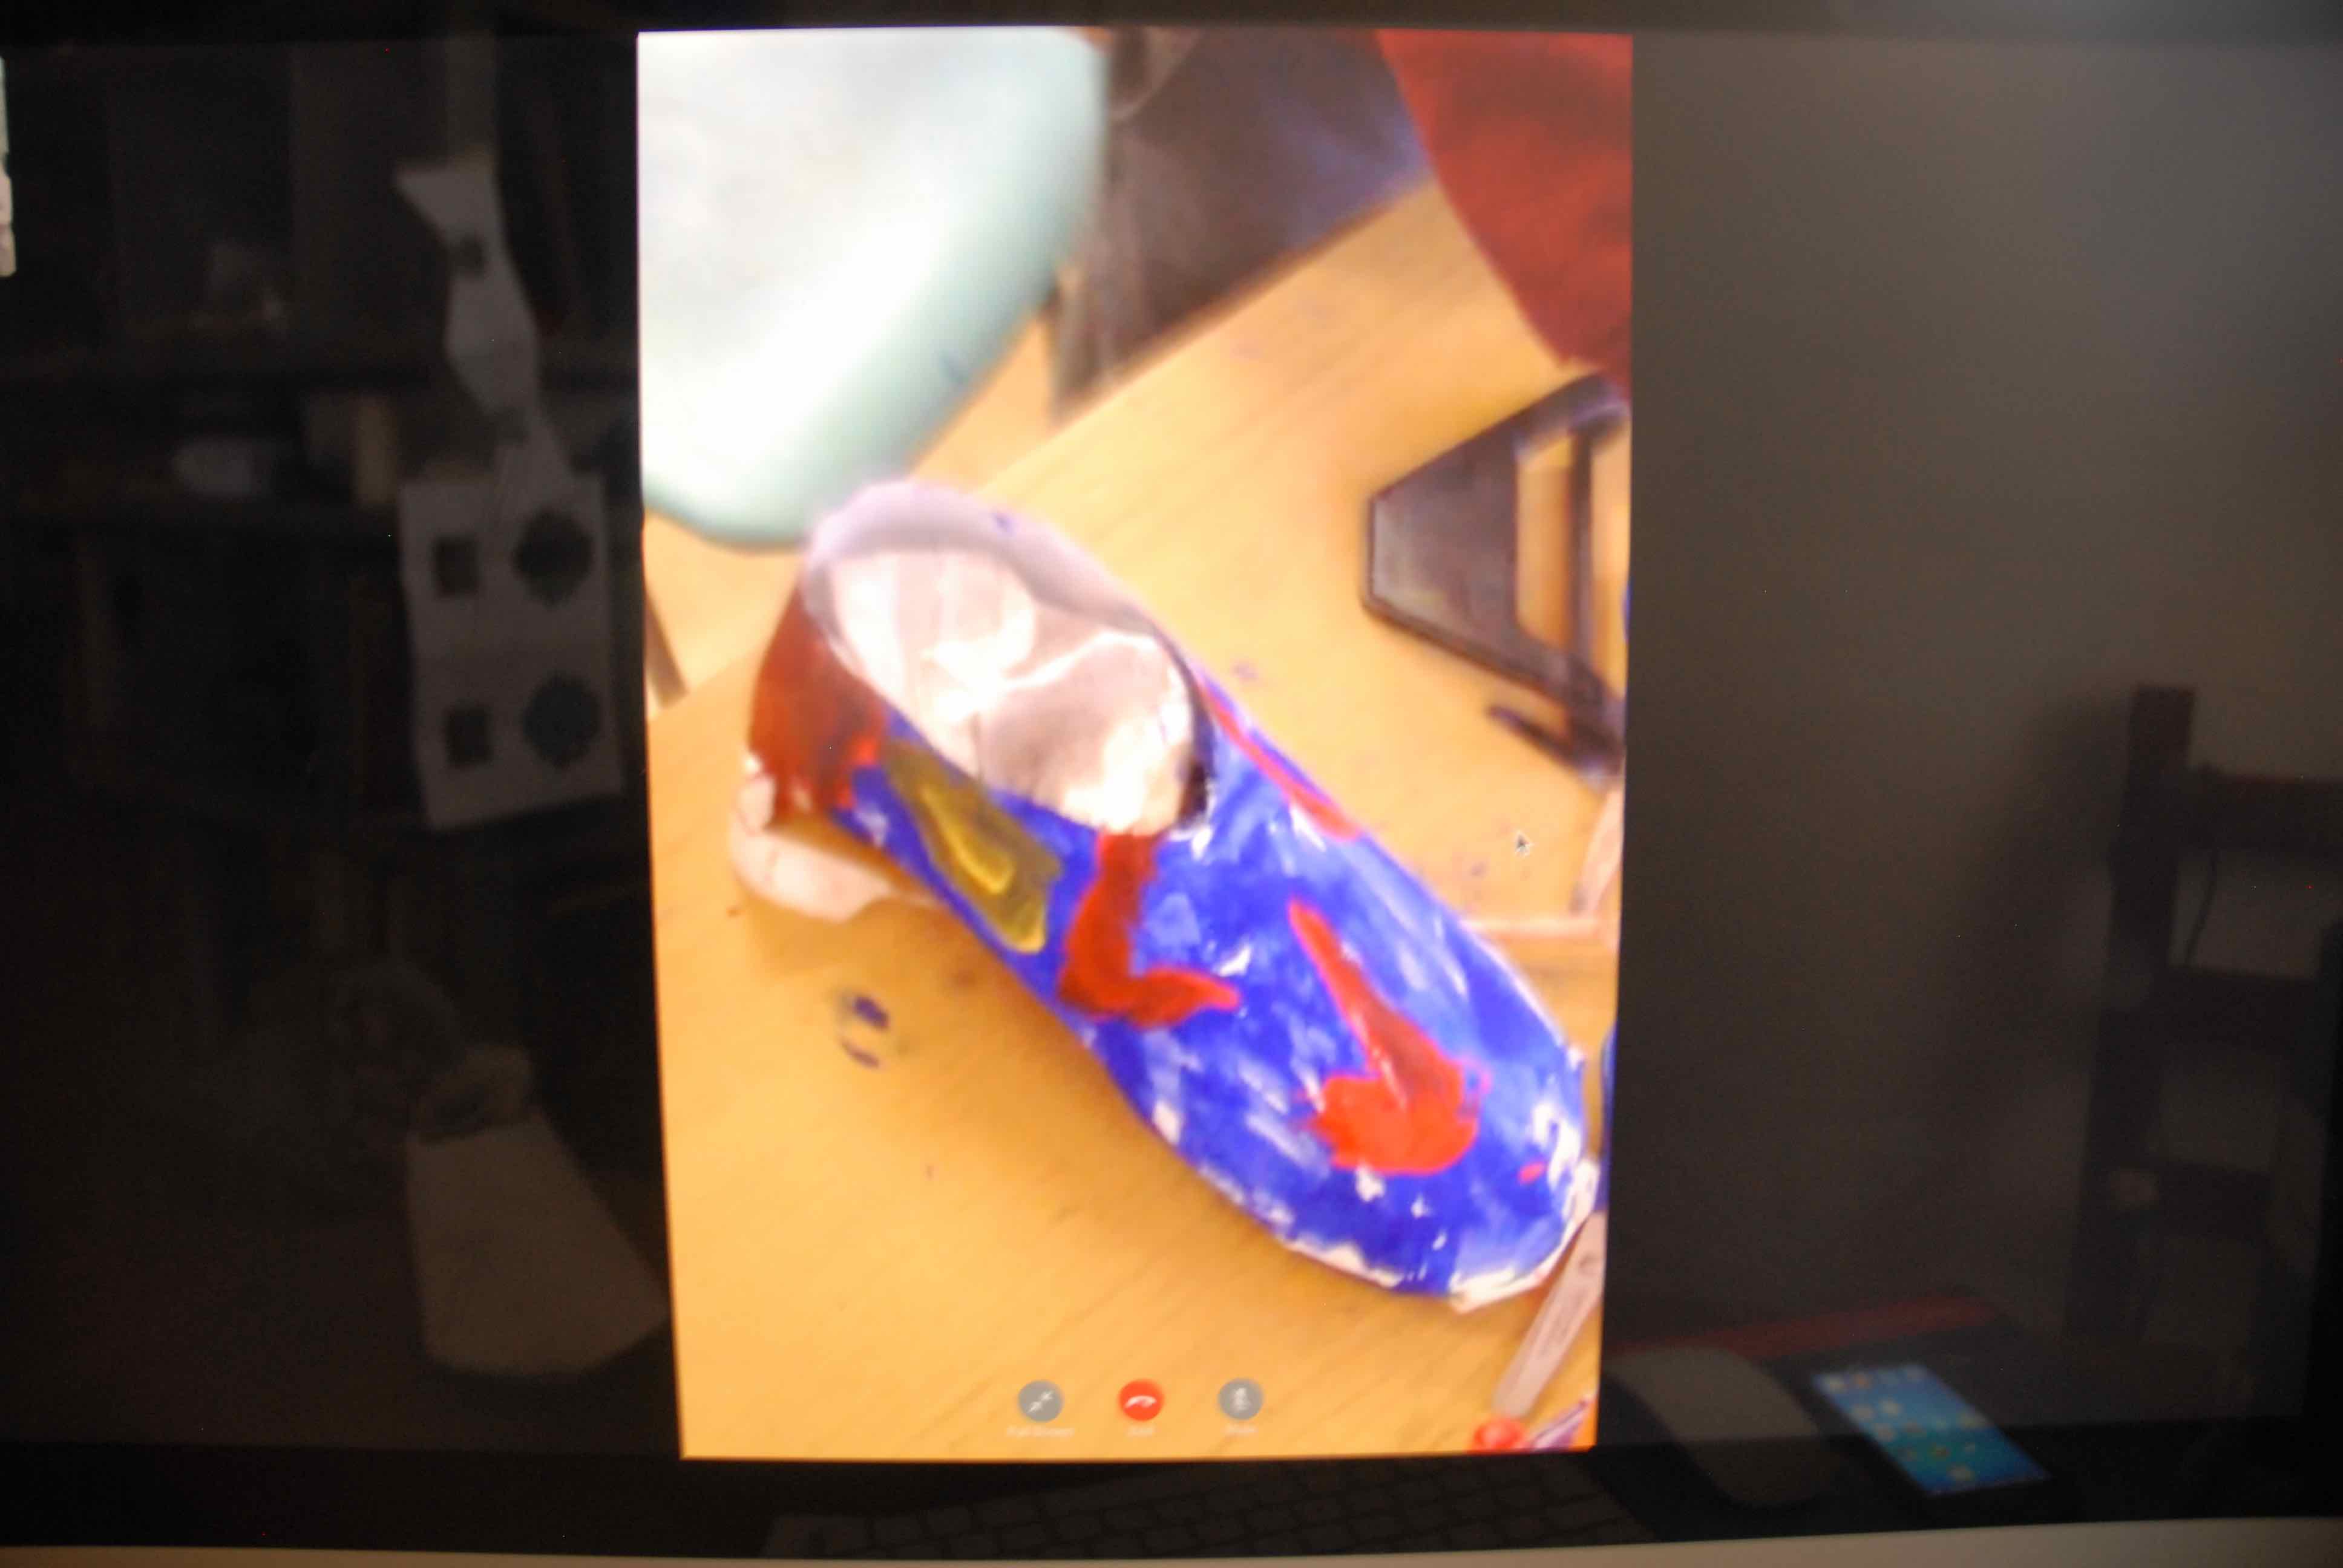
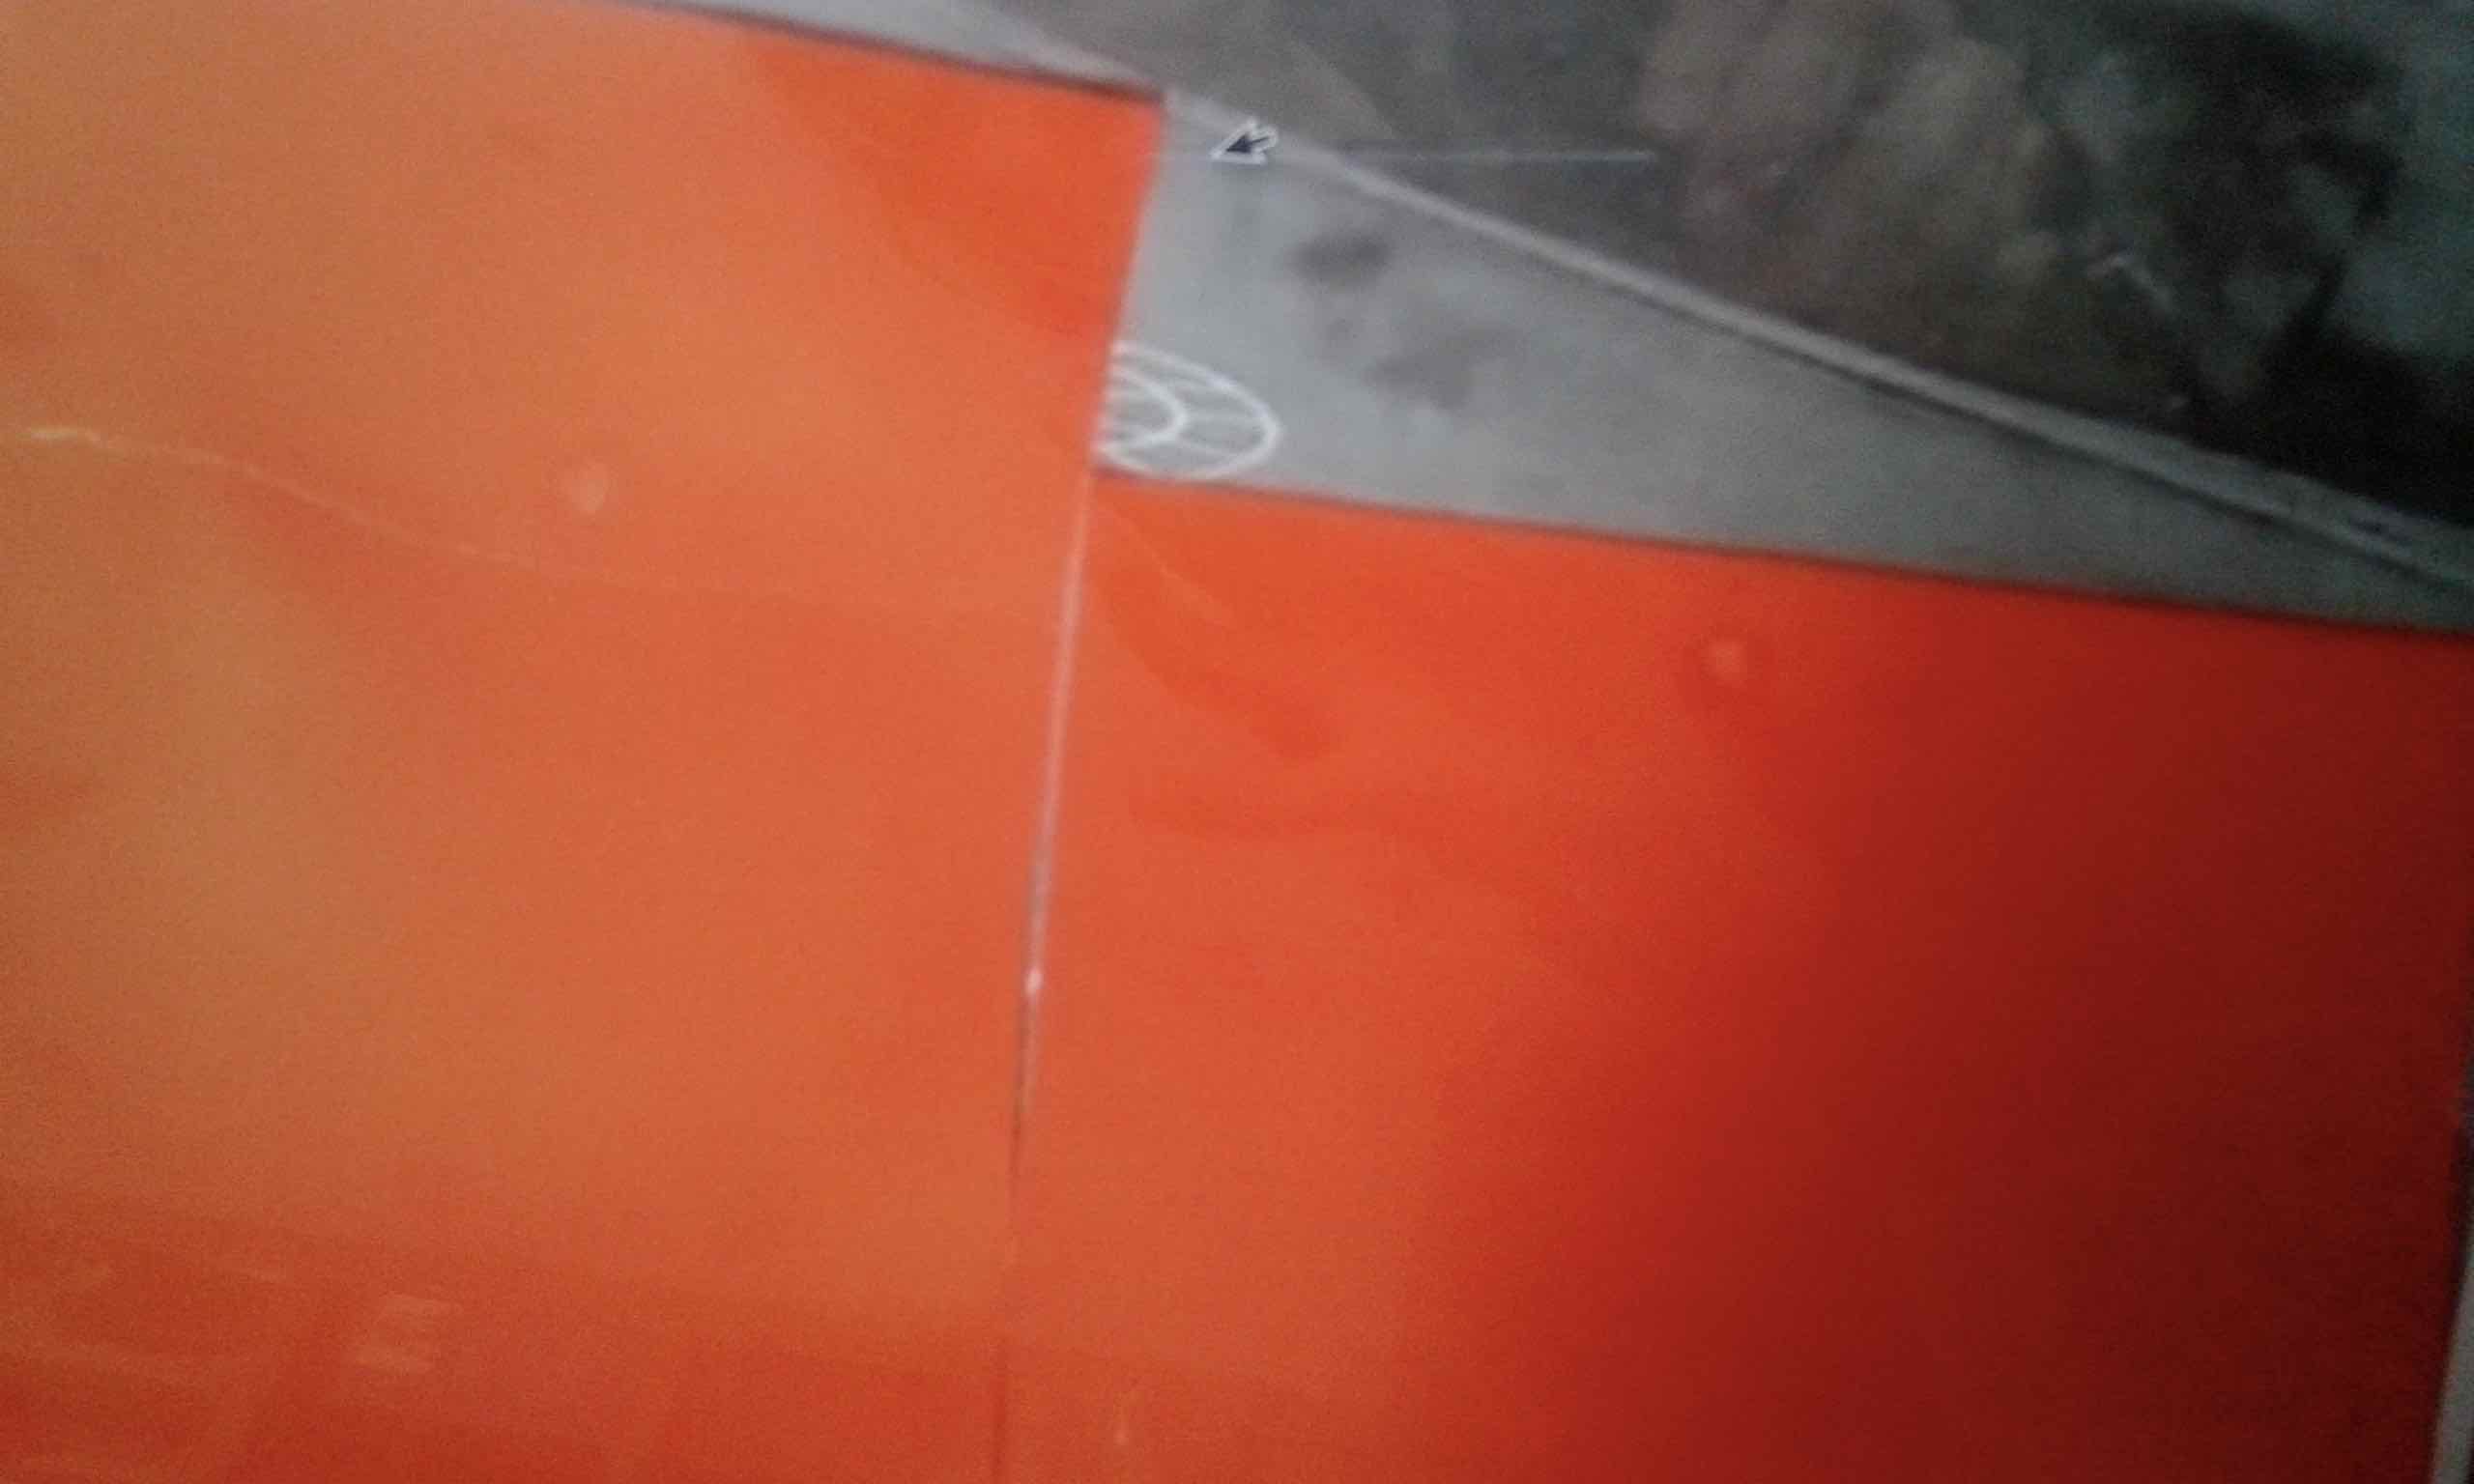
I explained how I had folded and creased the material to make the surface stand out:

session 10 - 02
The children thought the folds made the pitch look 3D!


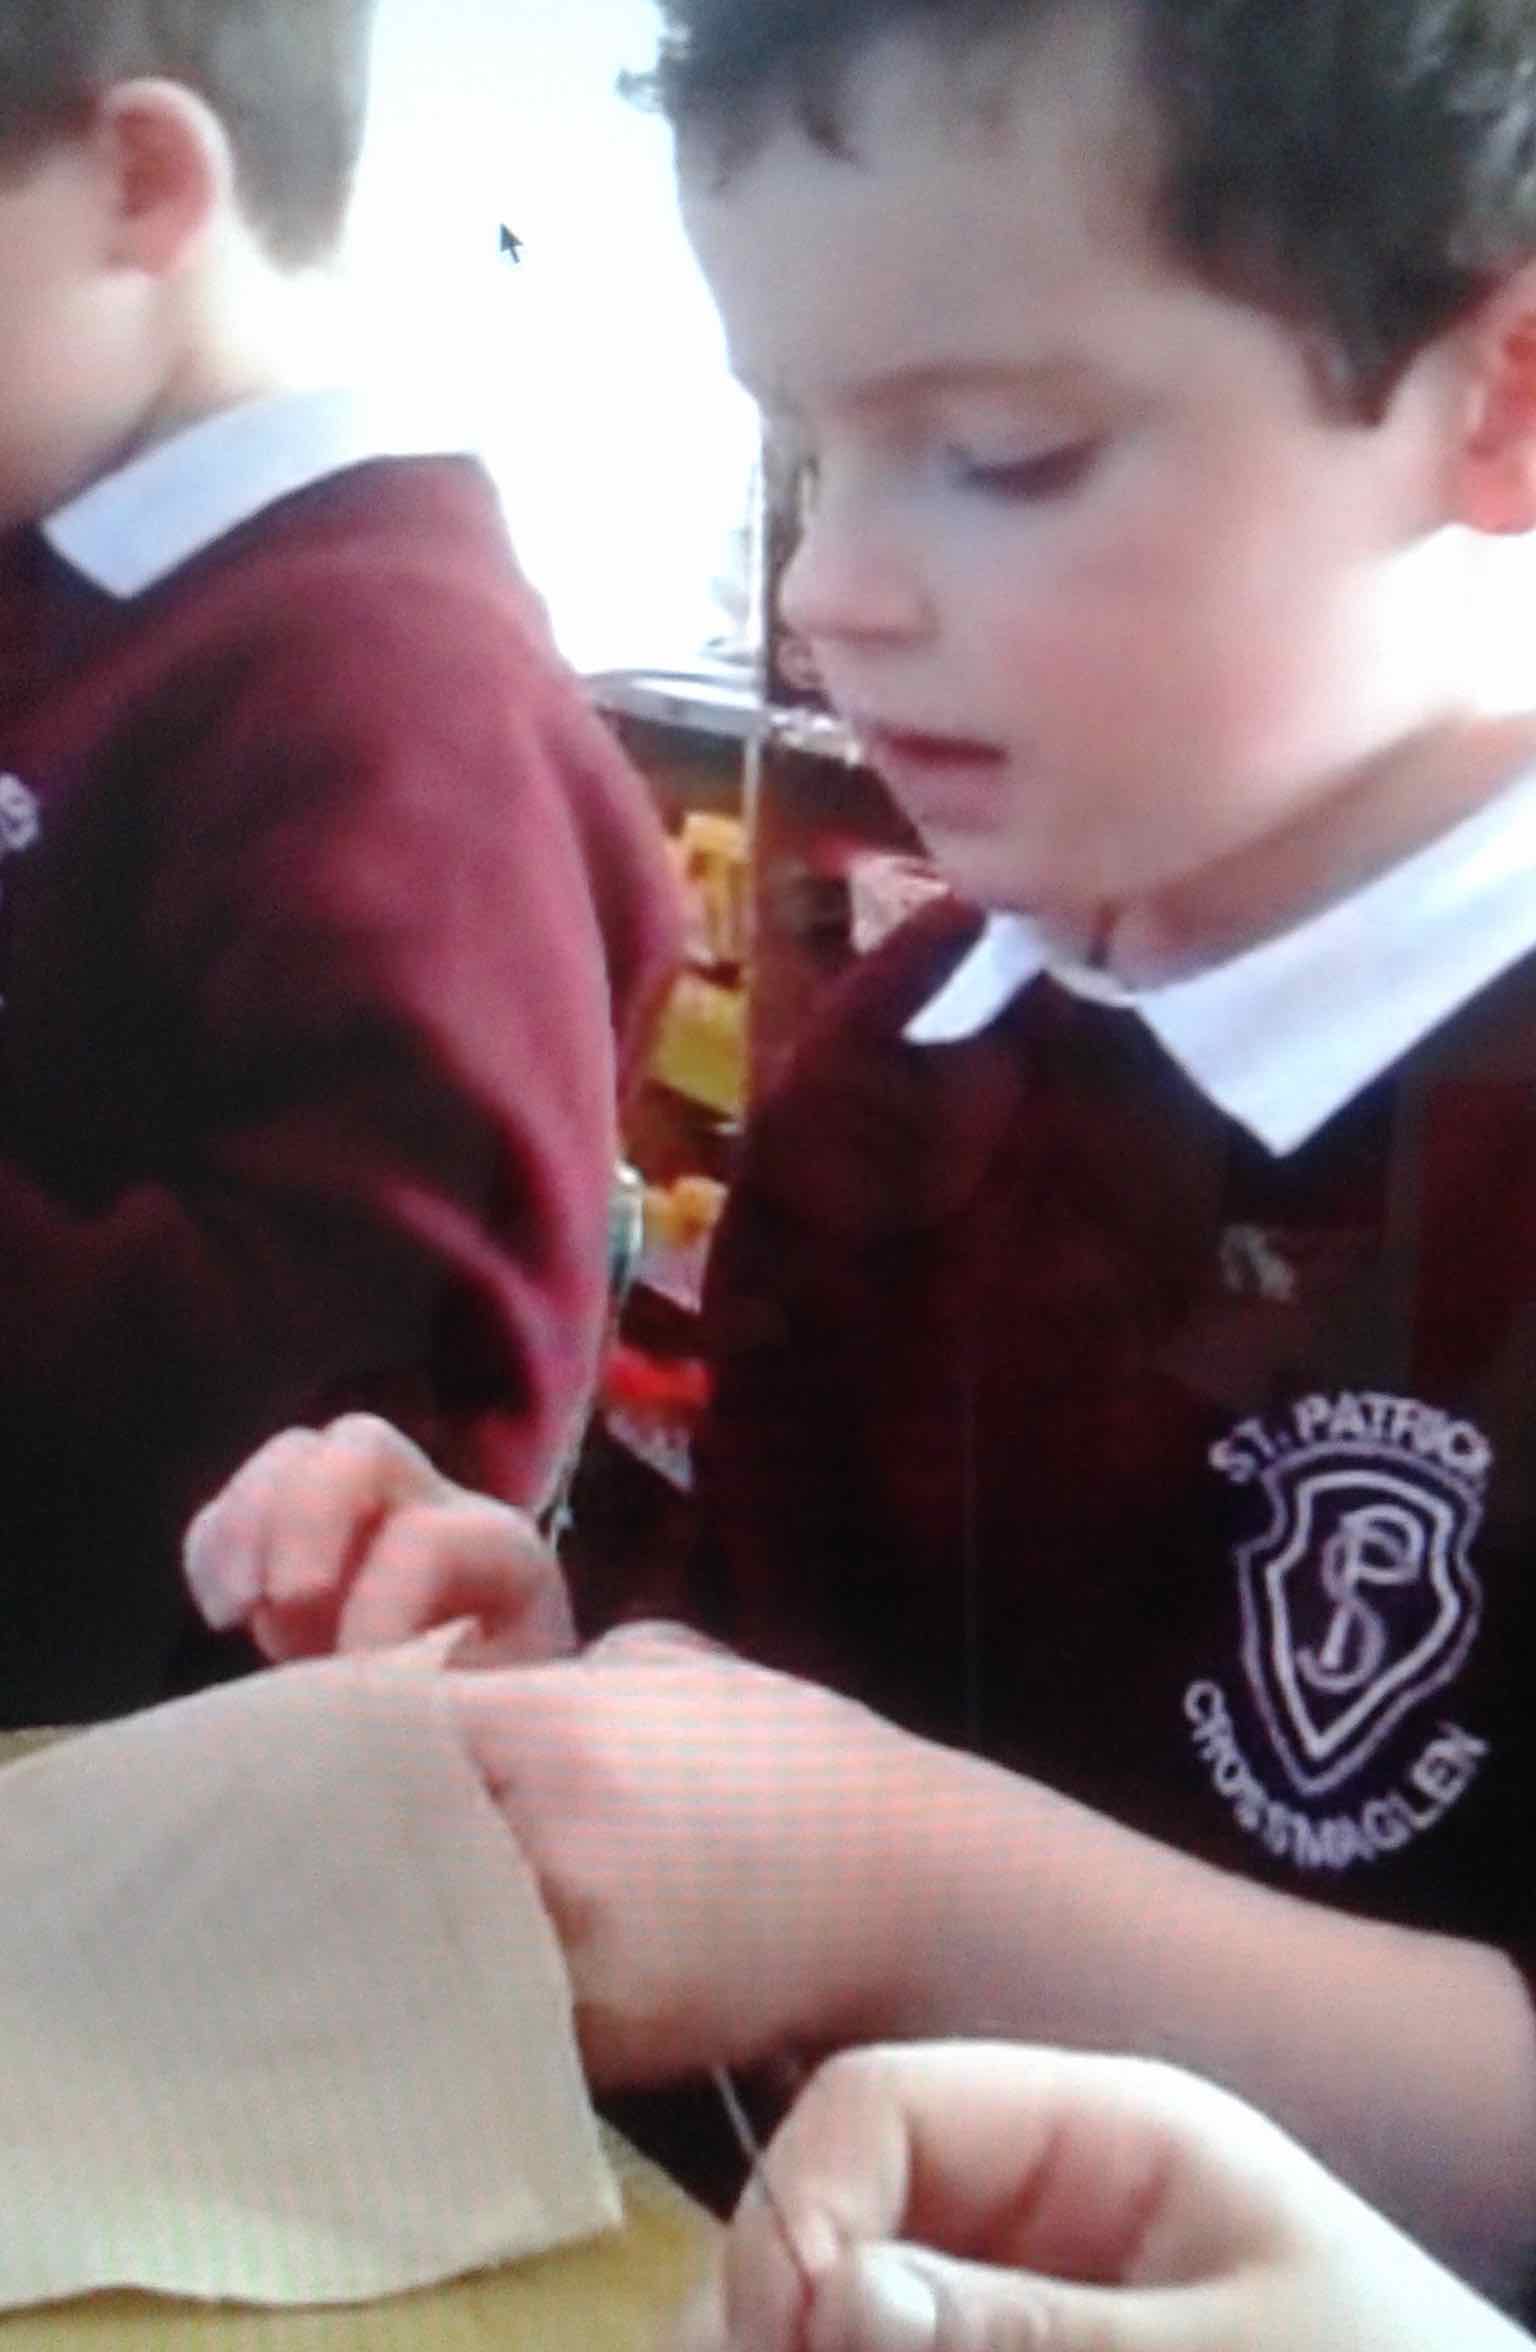
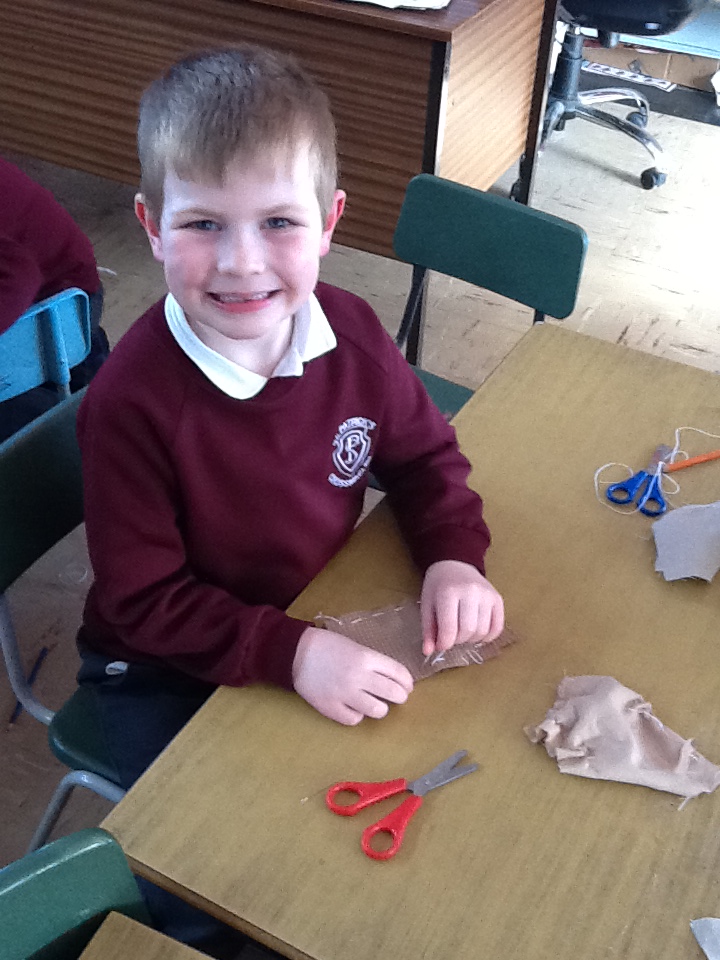
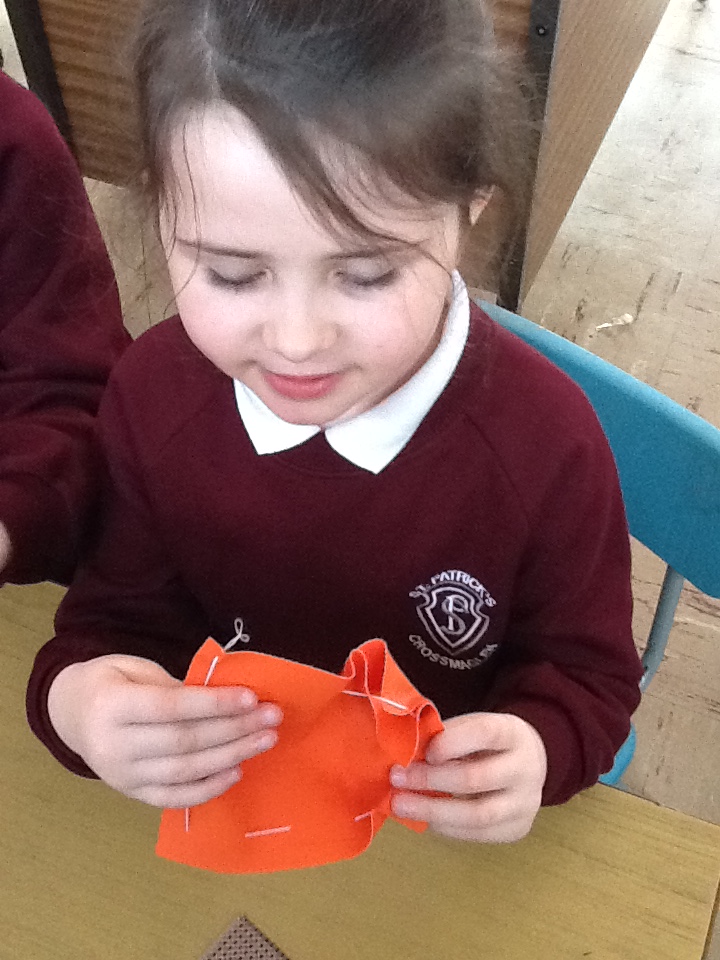
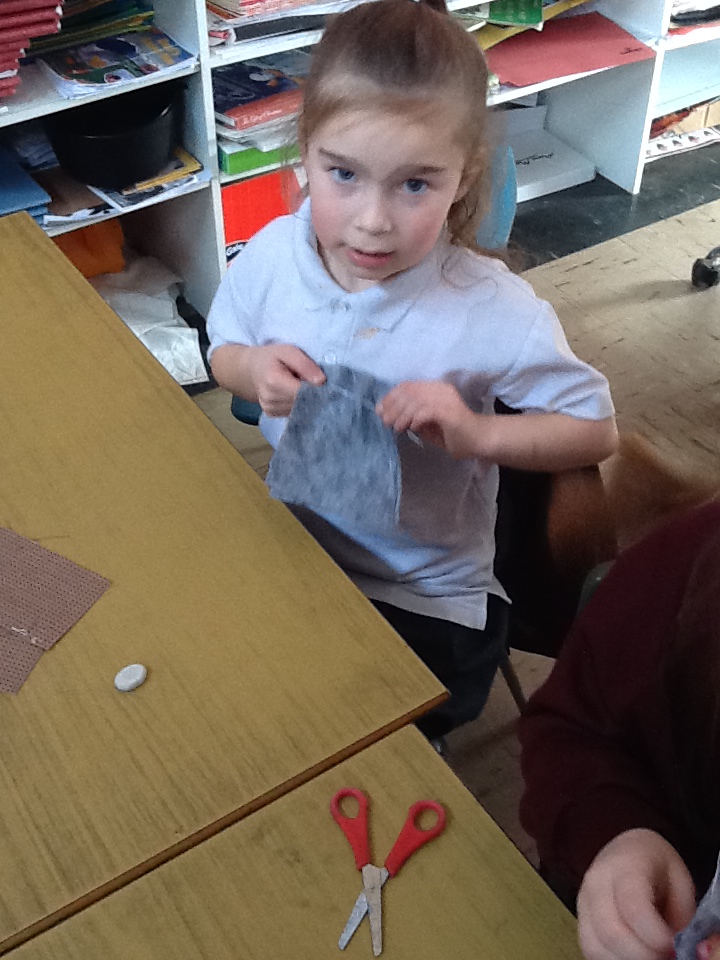
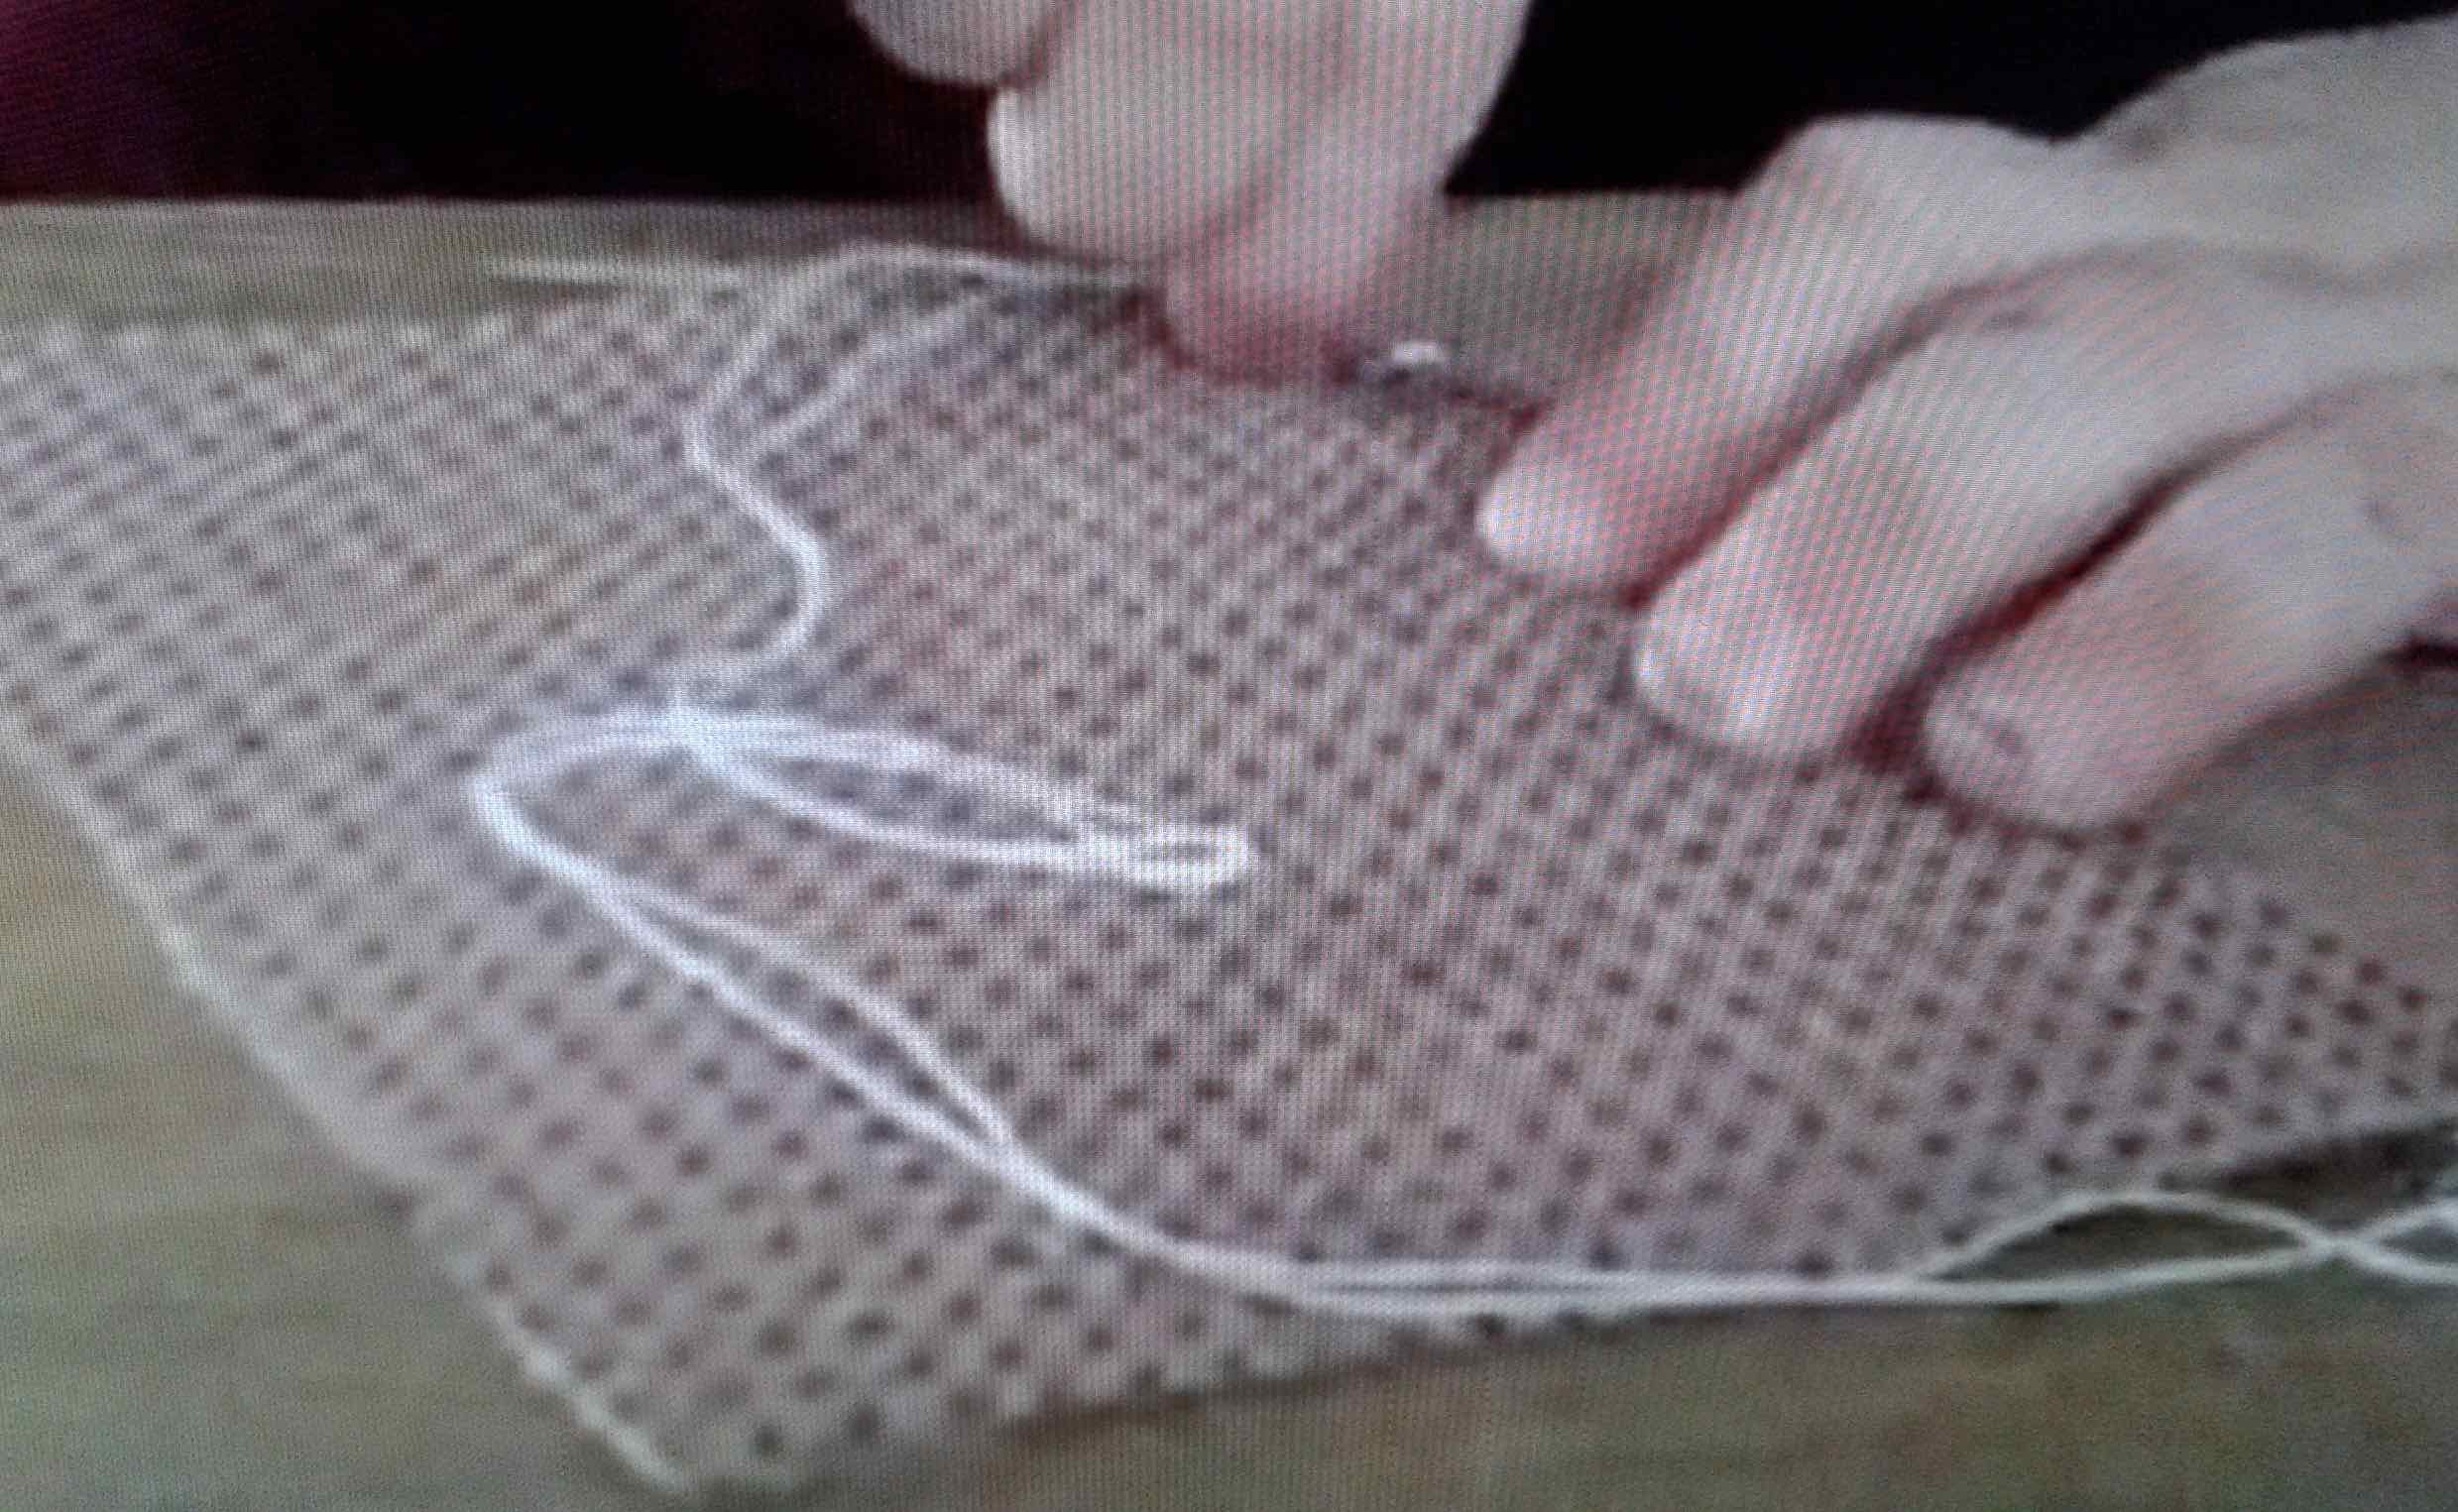
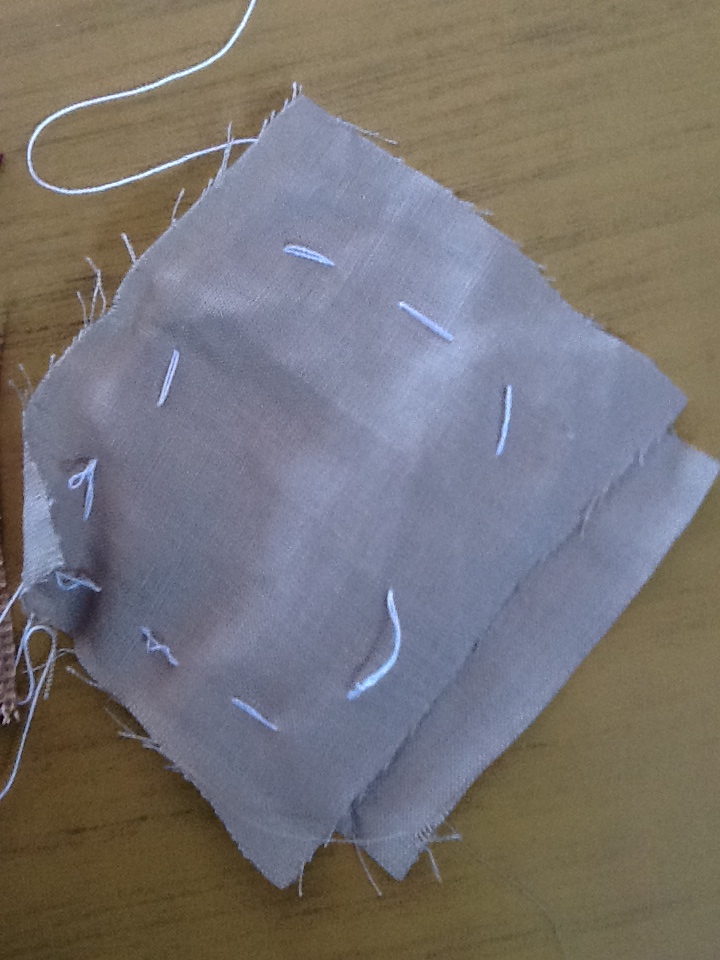
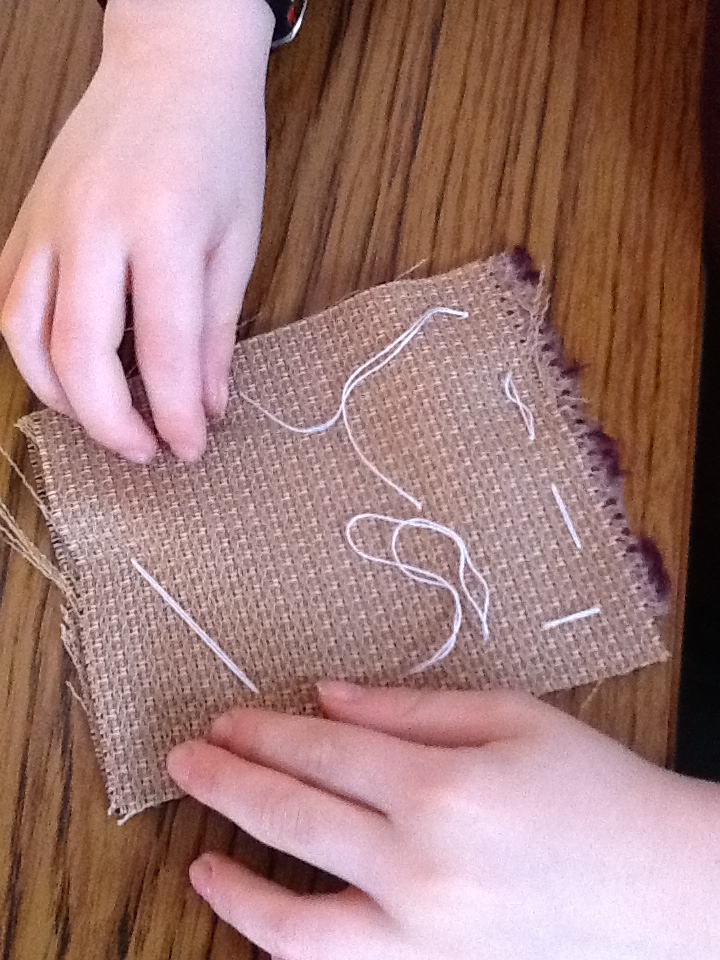
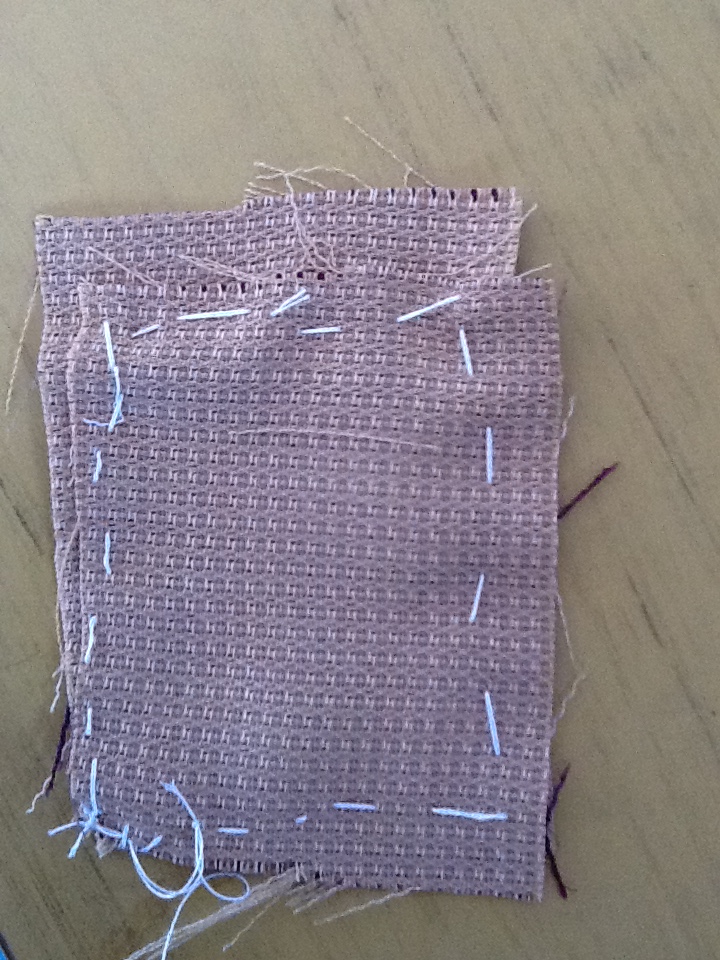
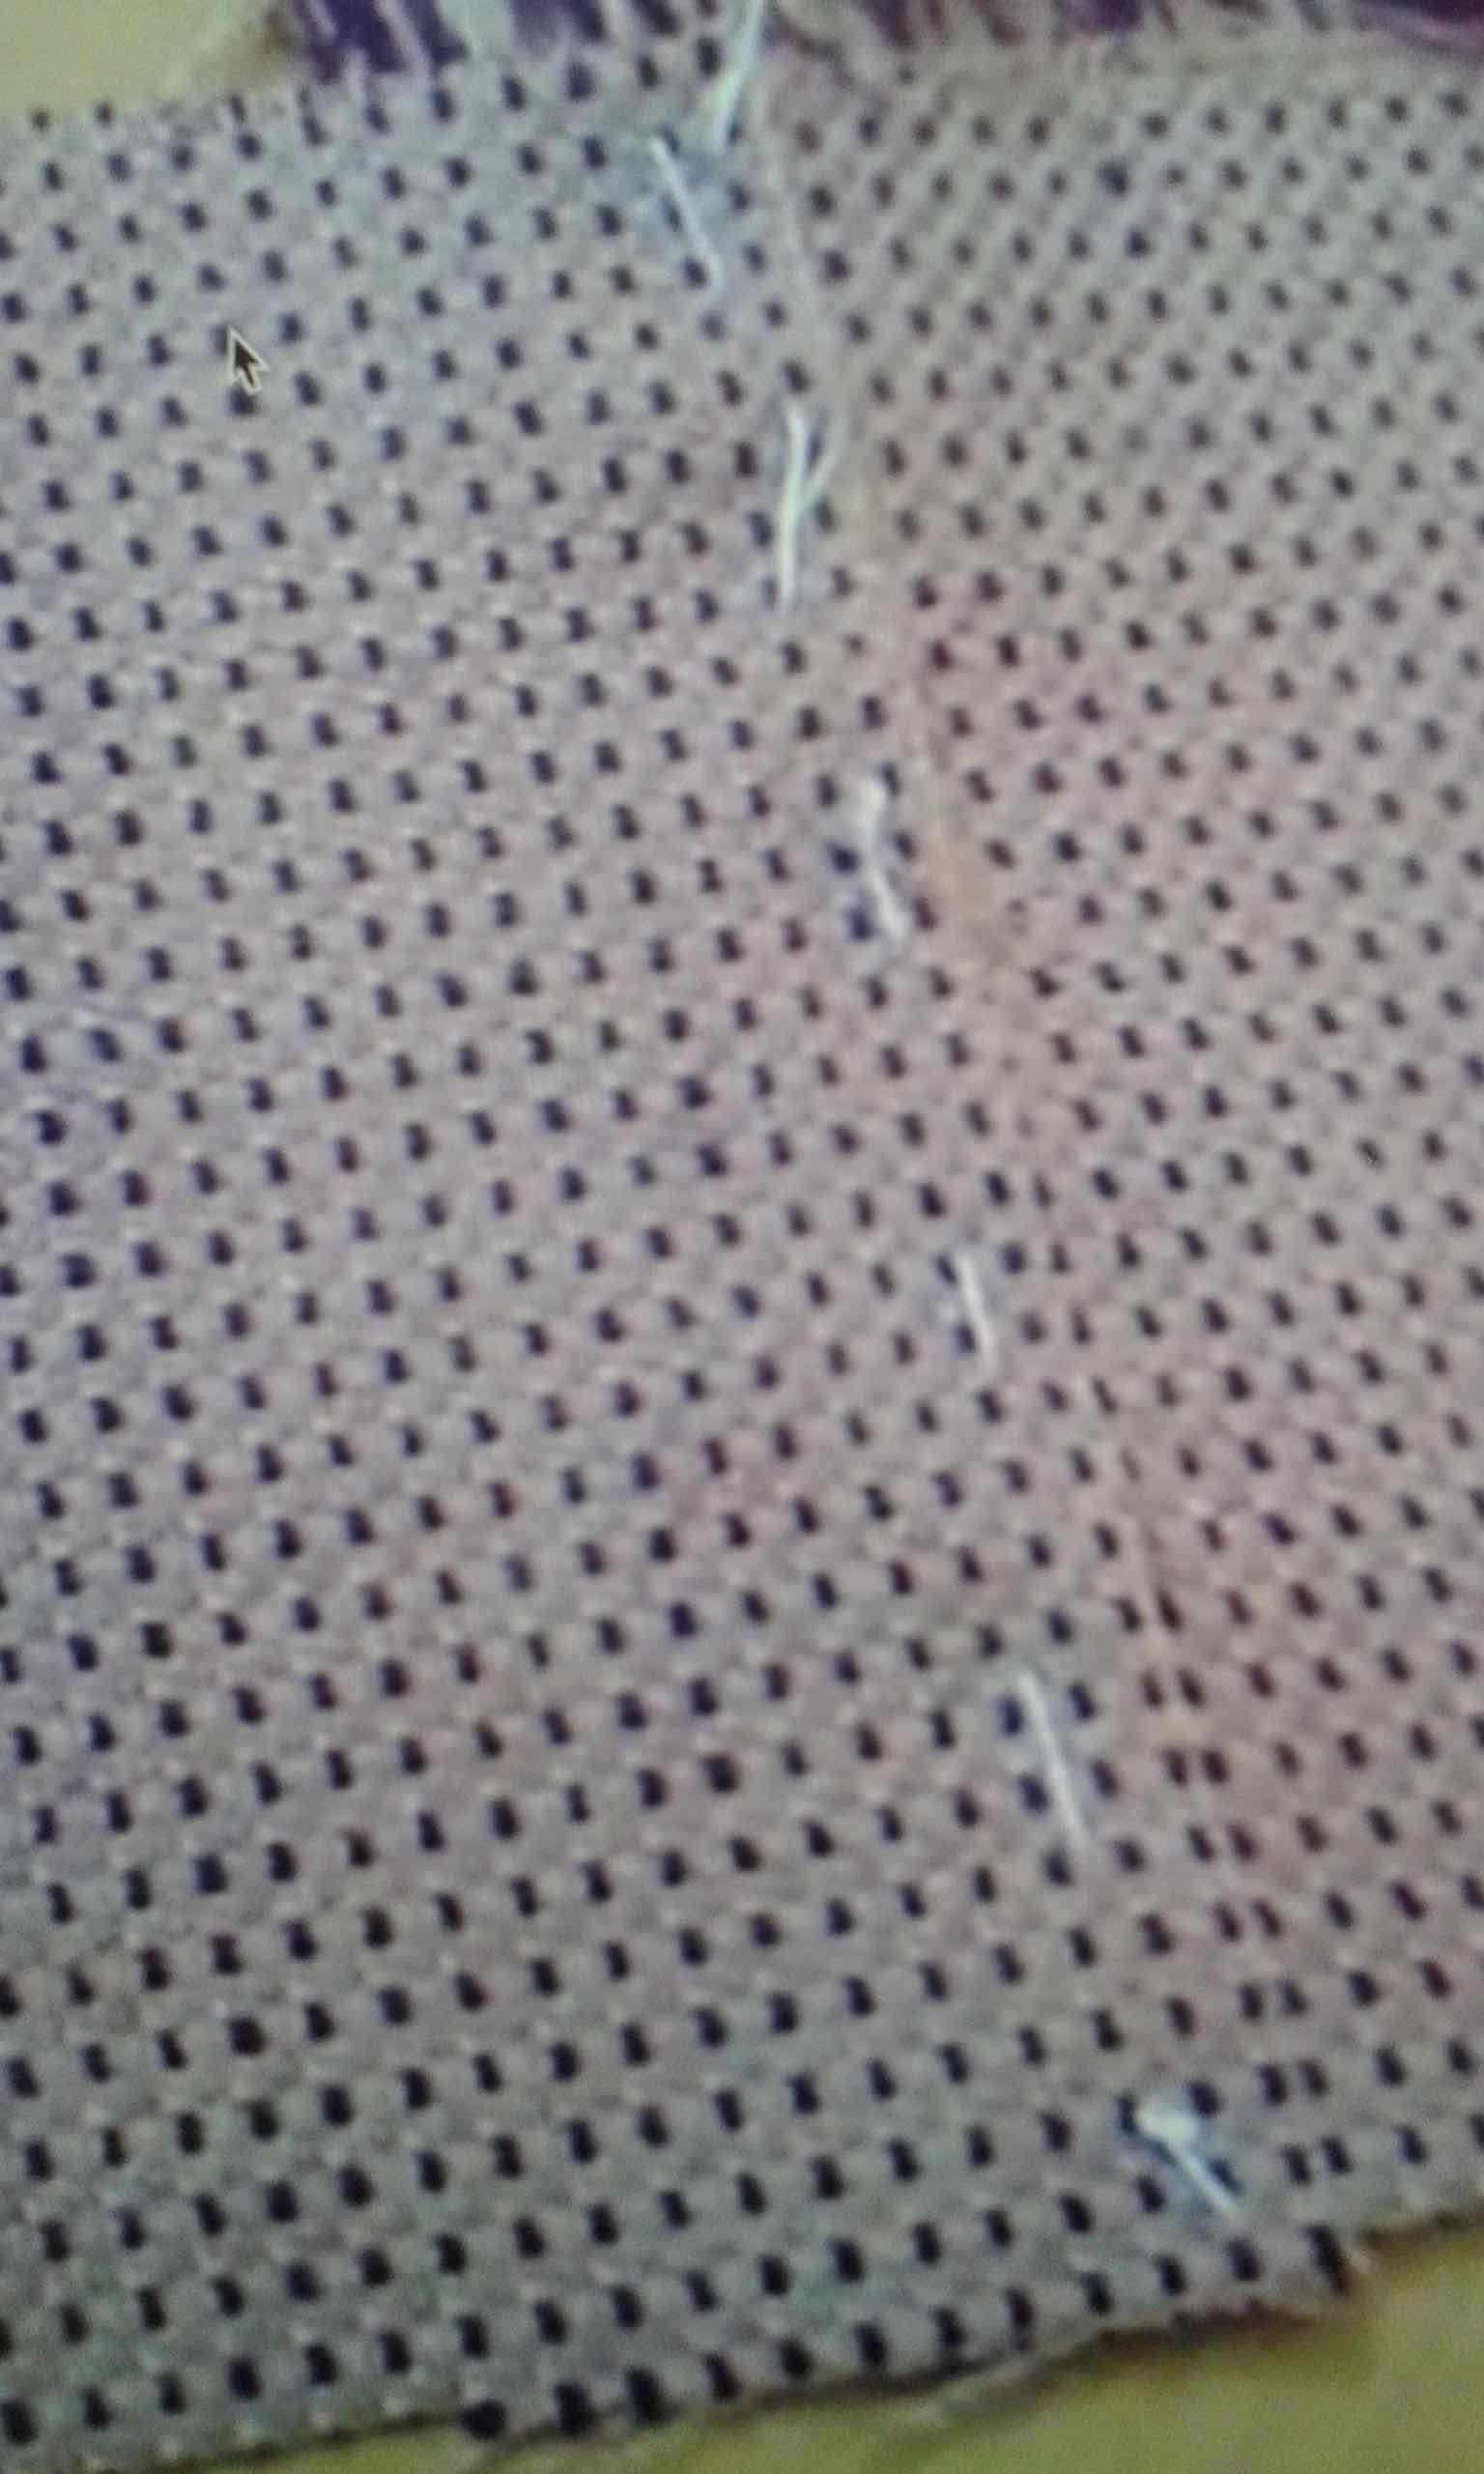
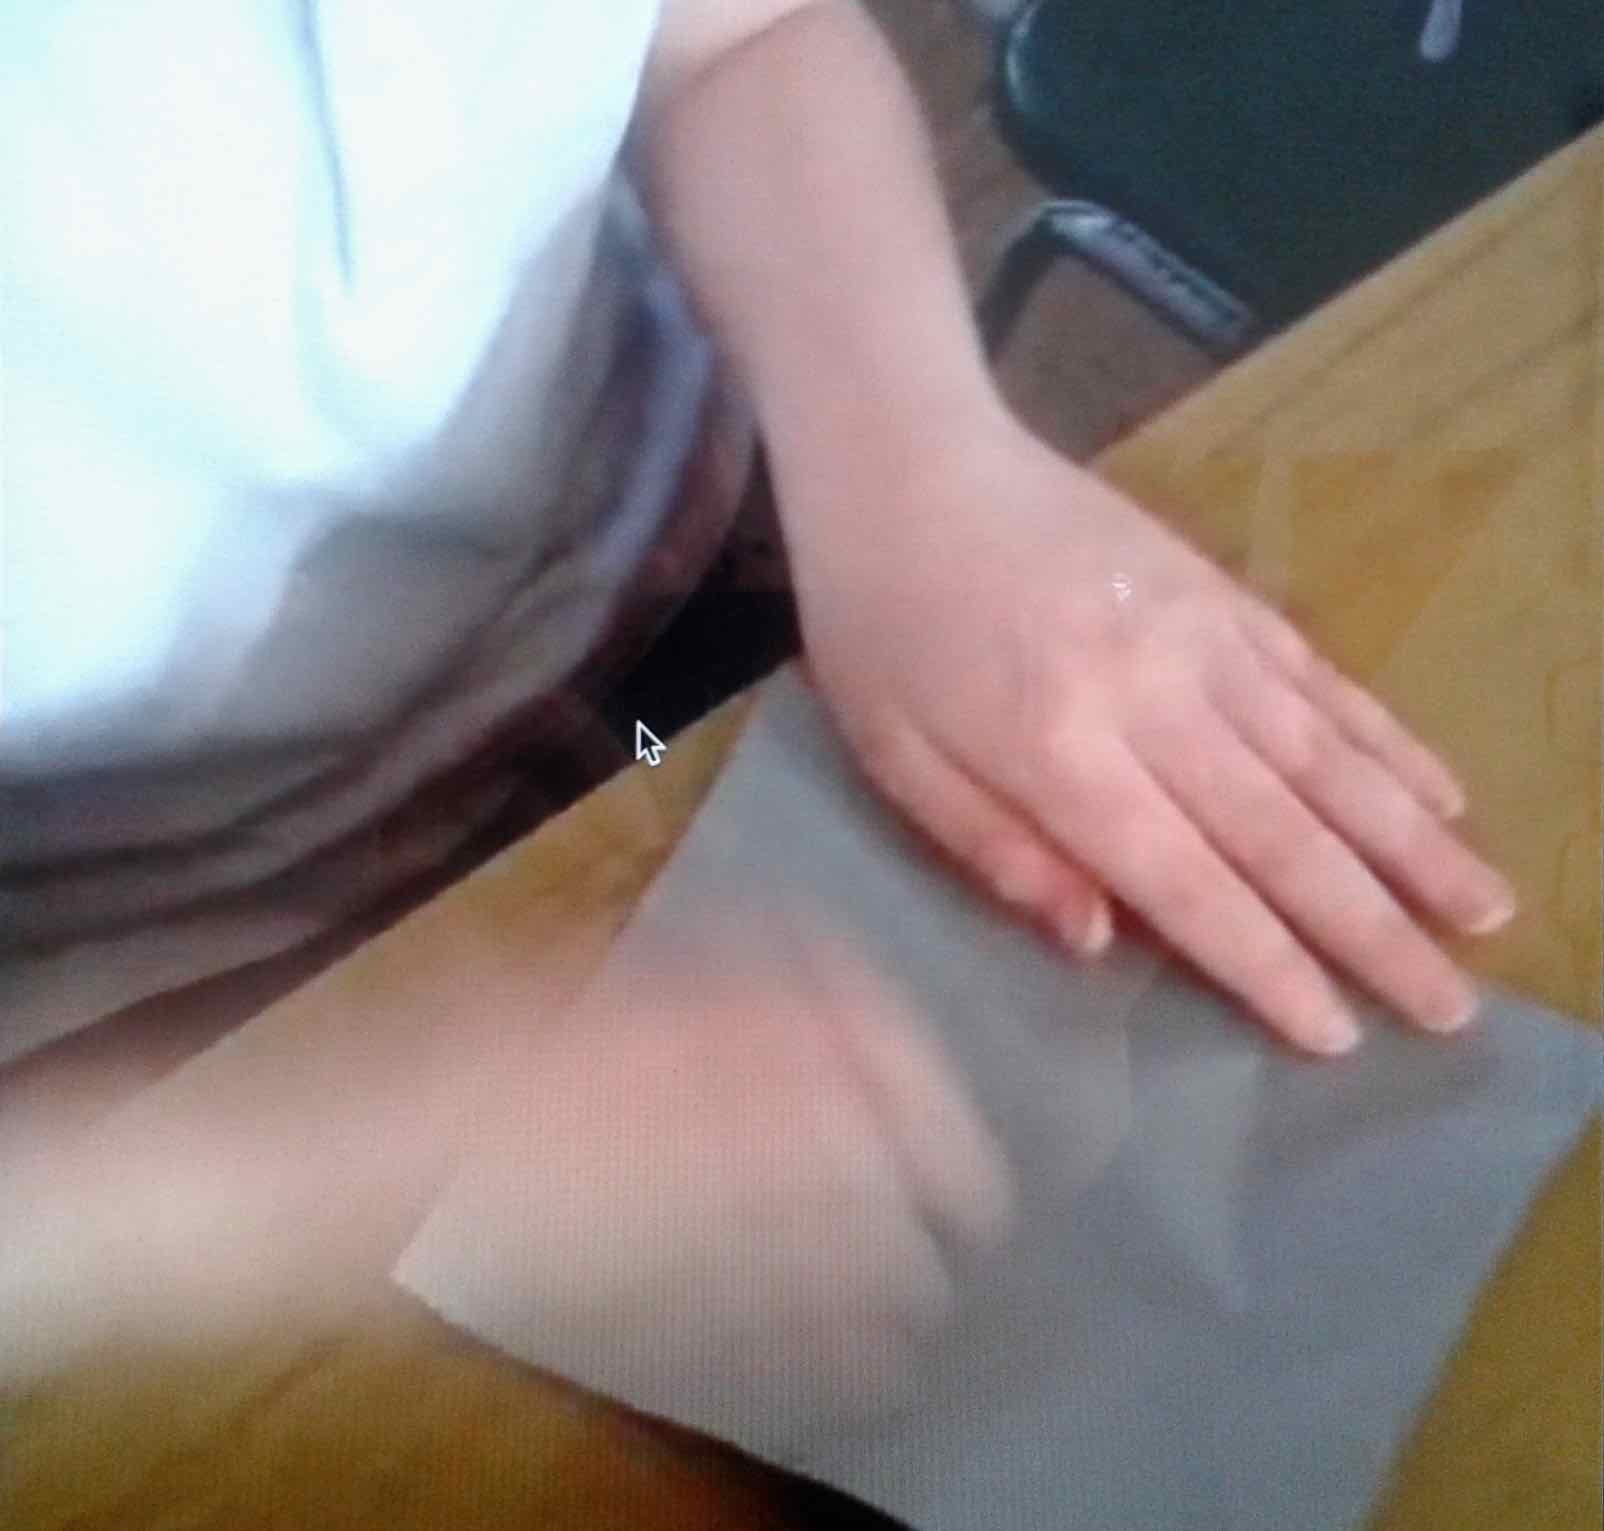
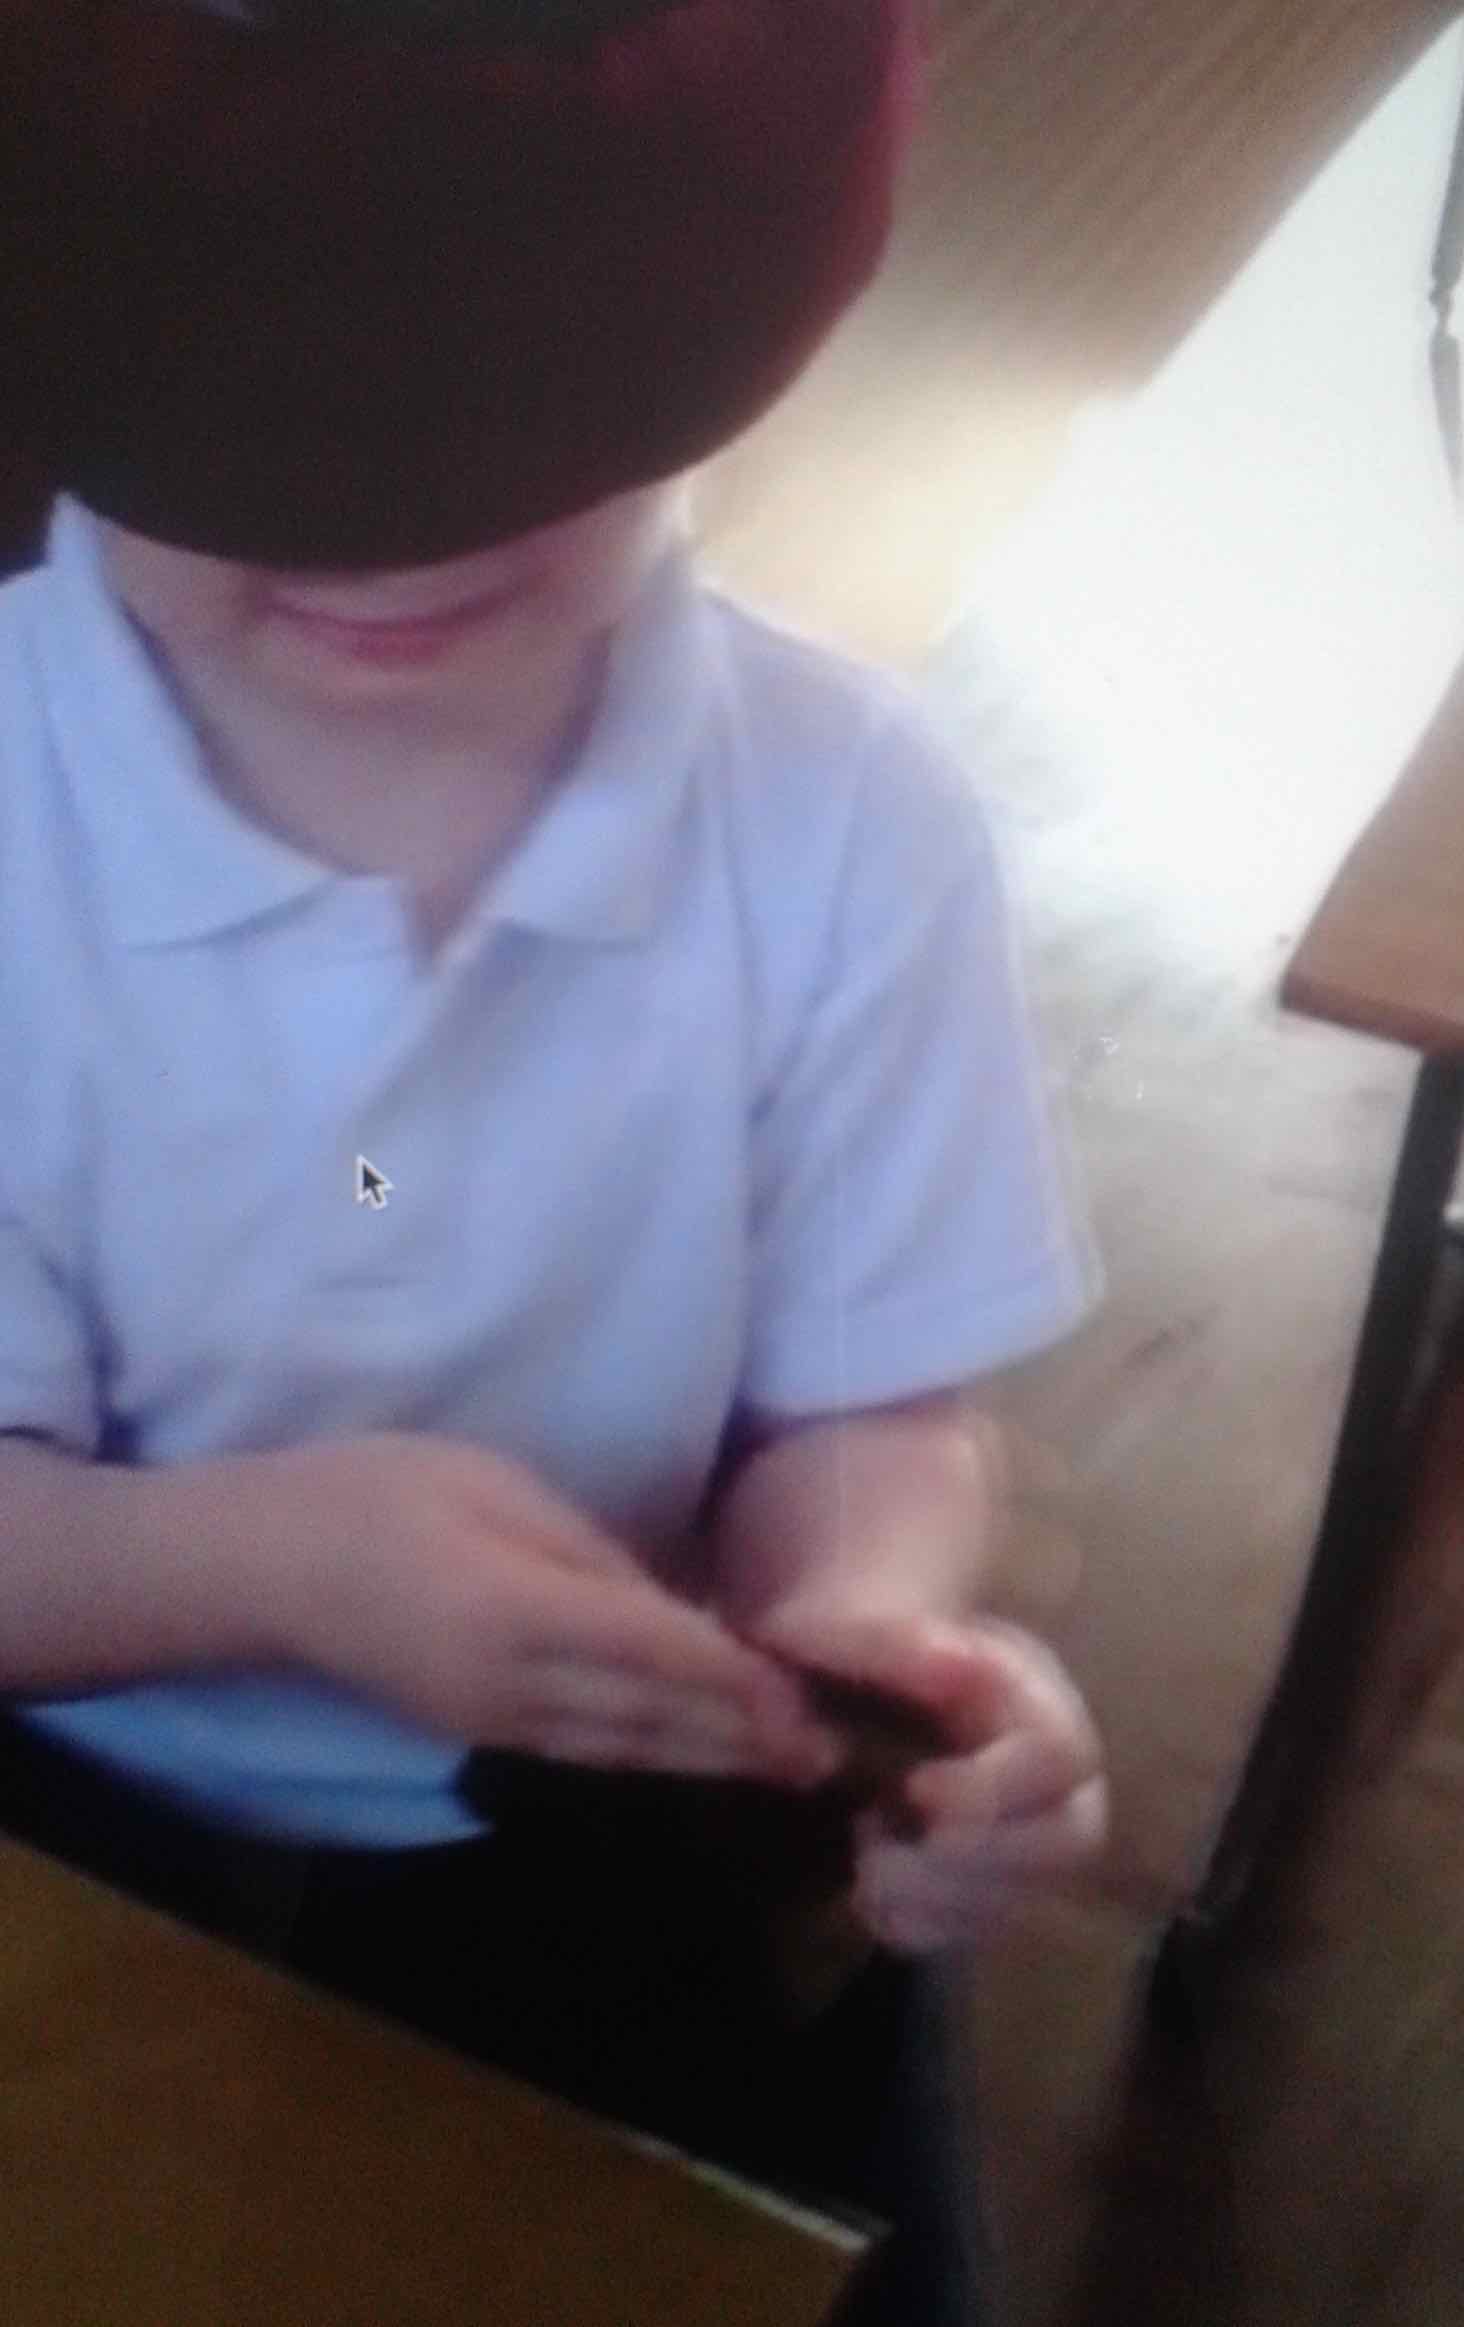
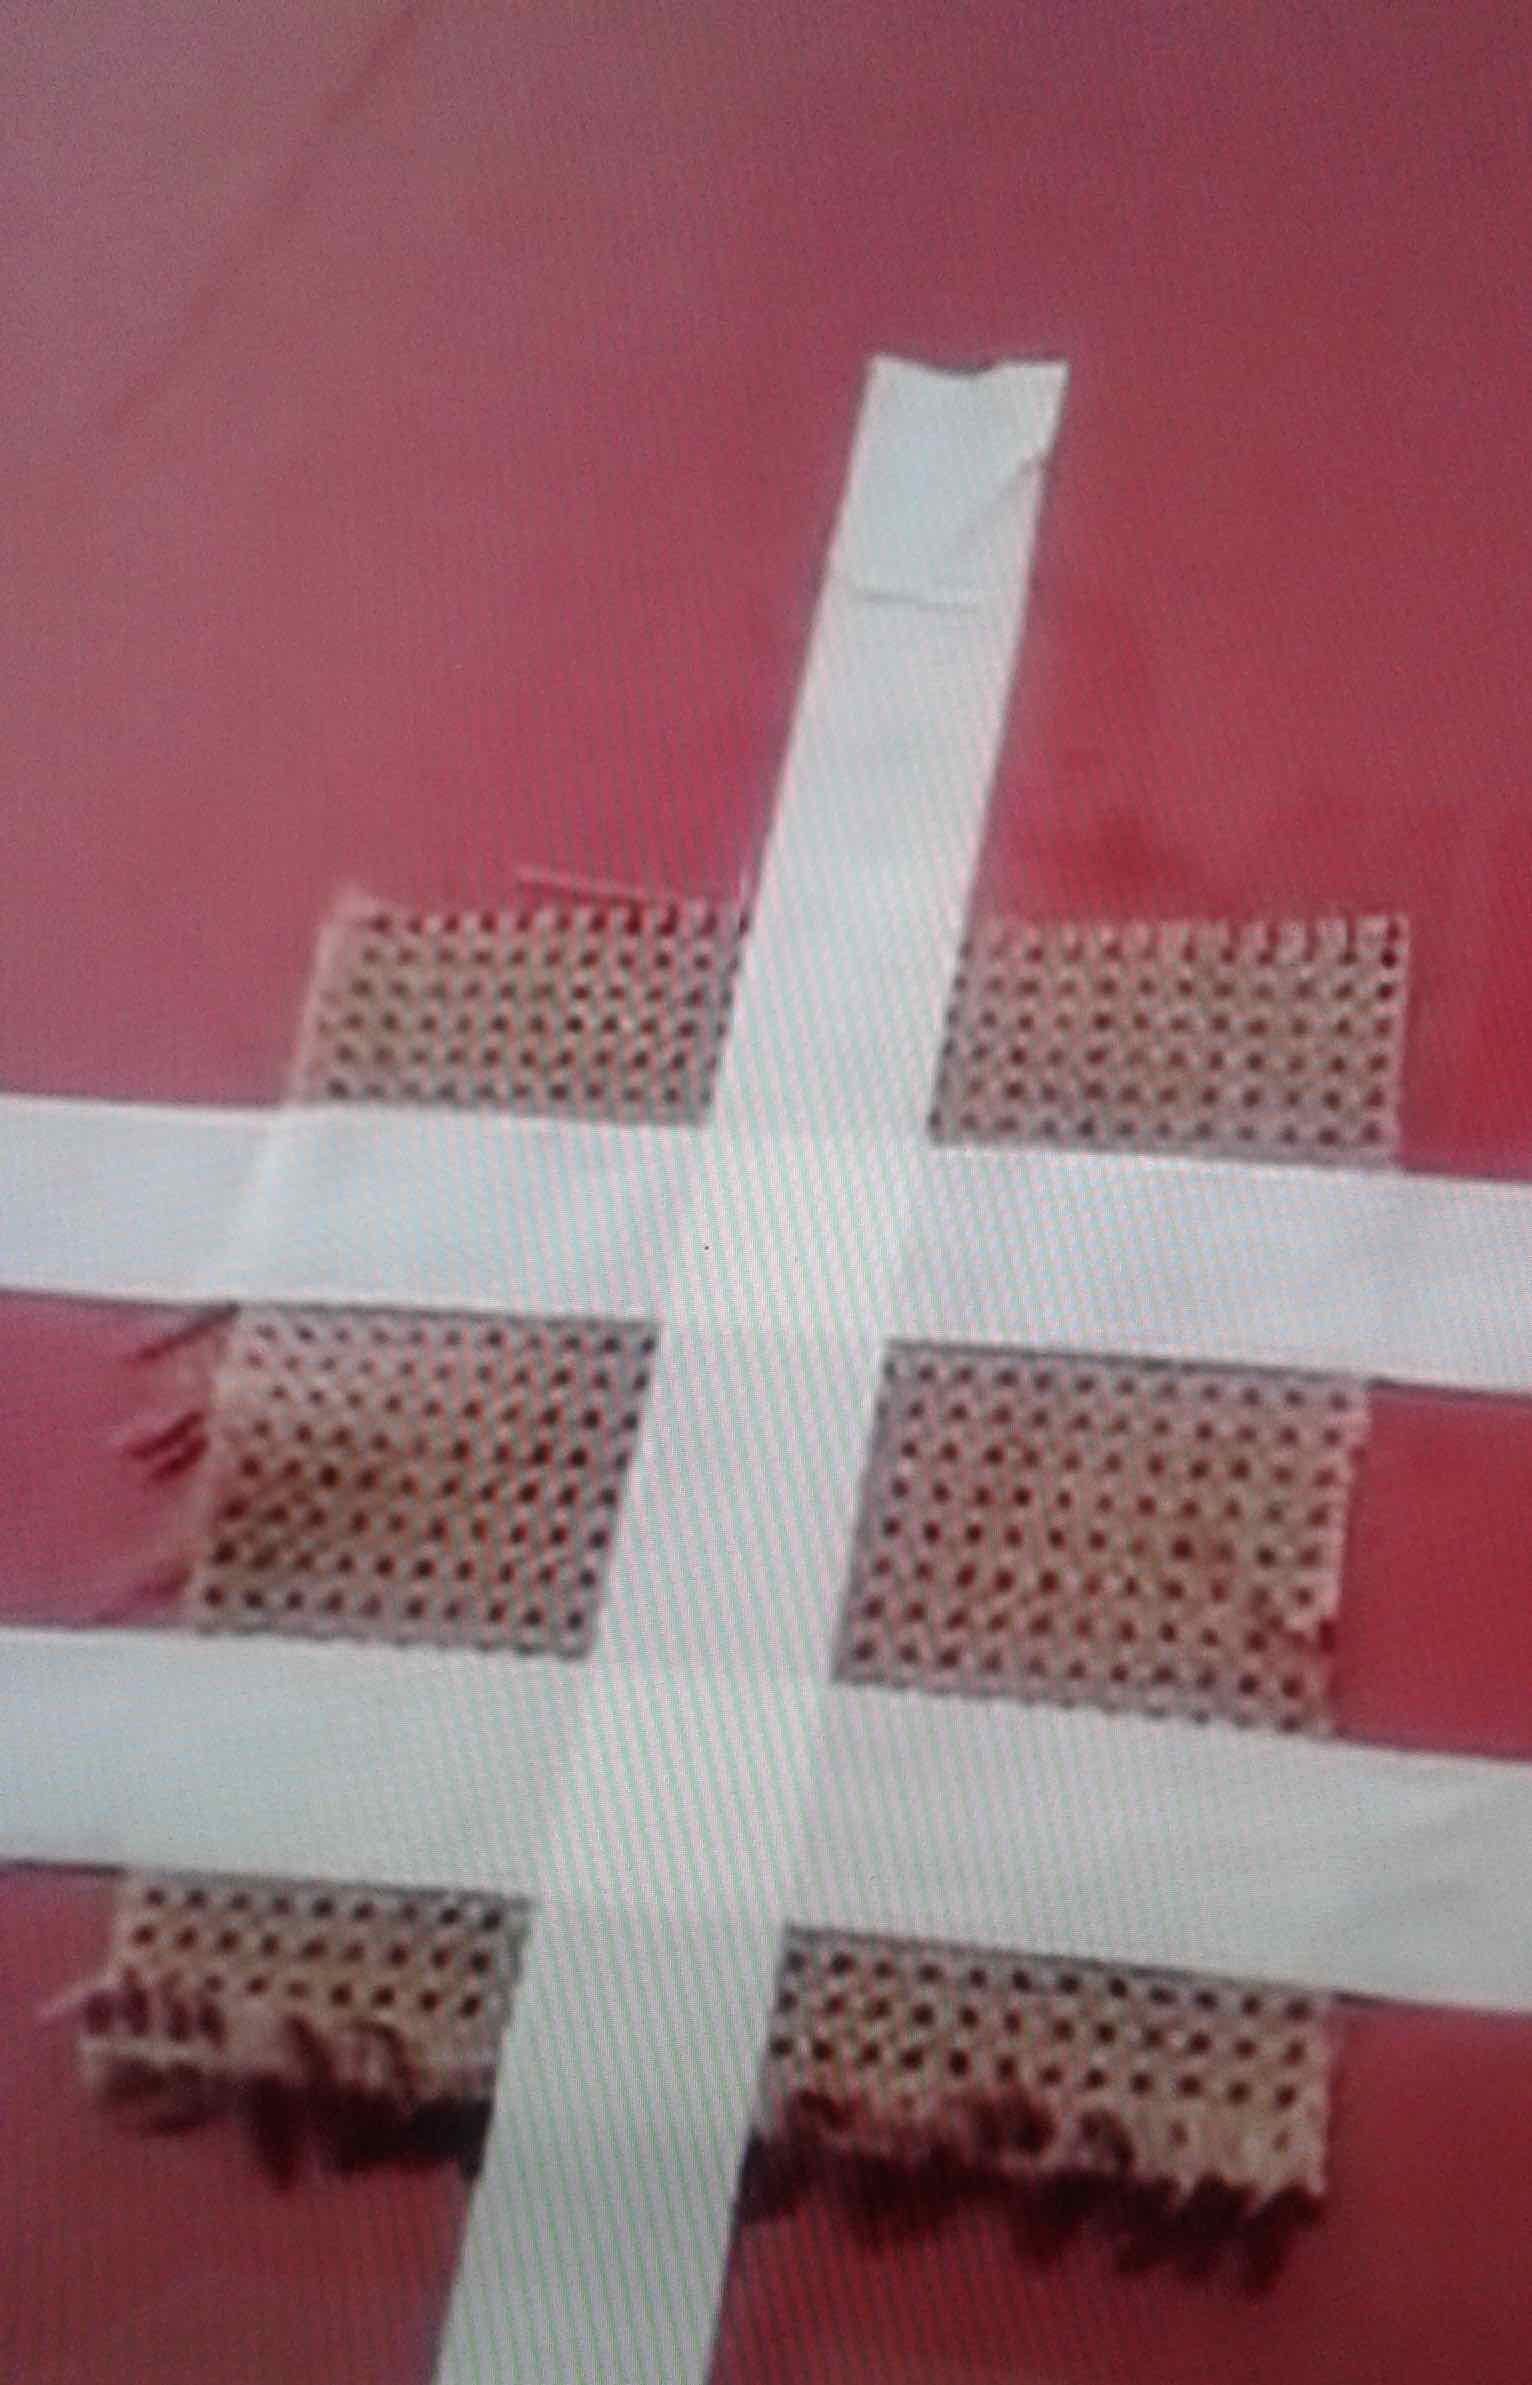
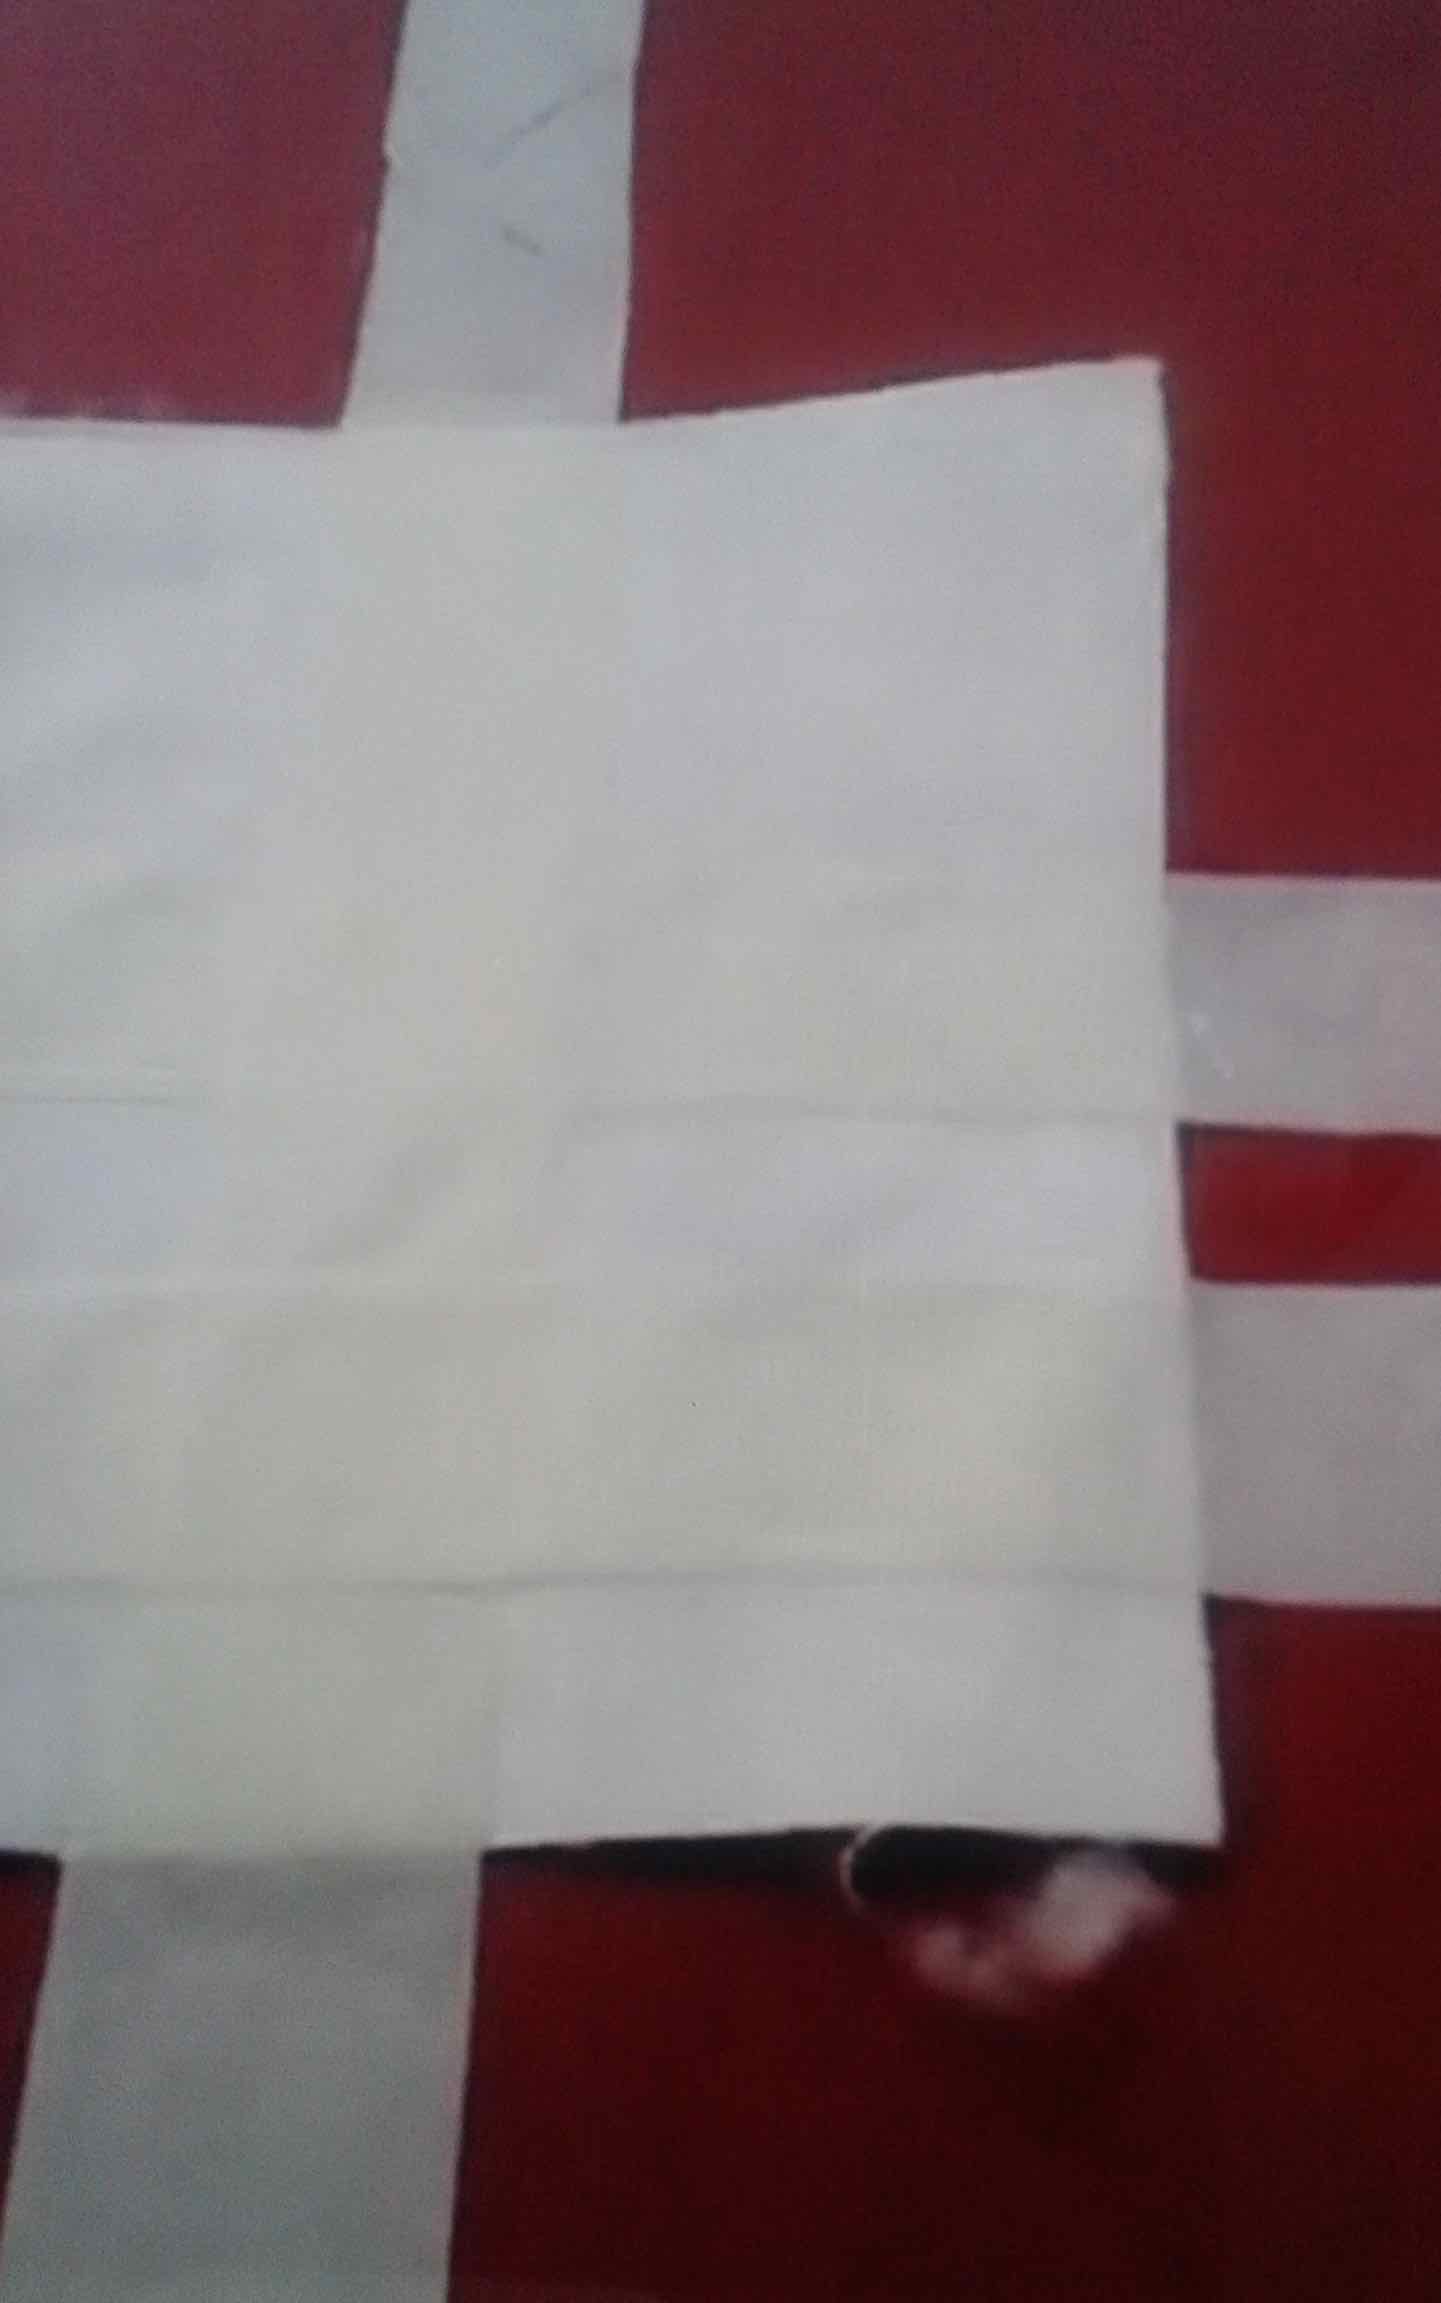
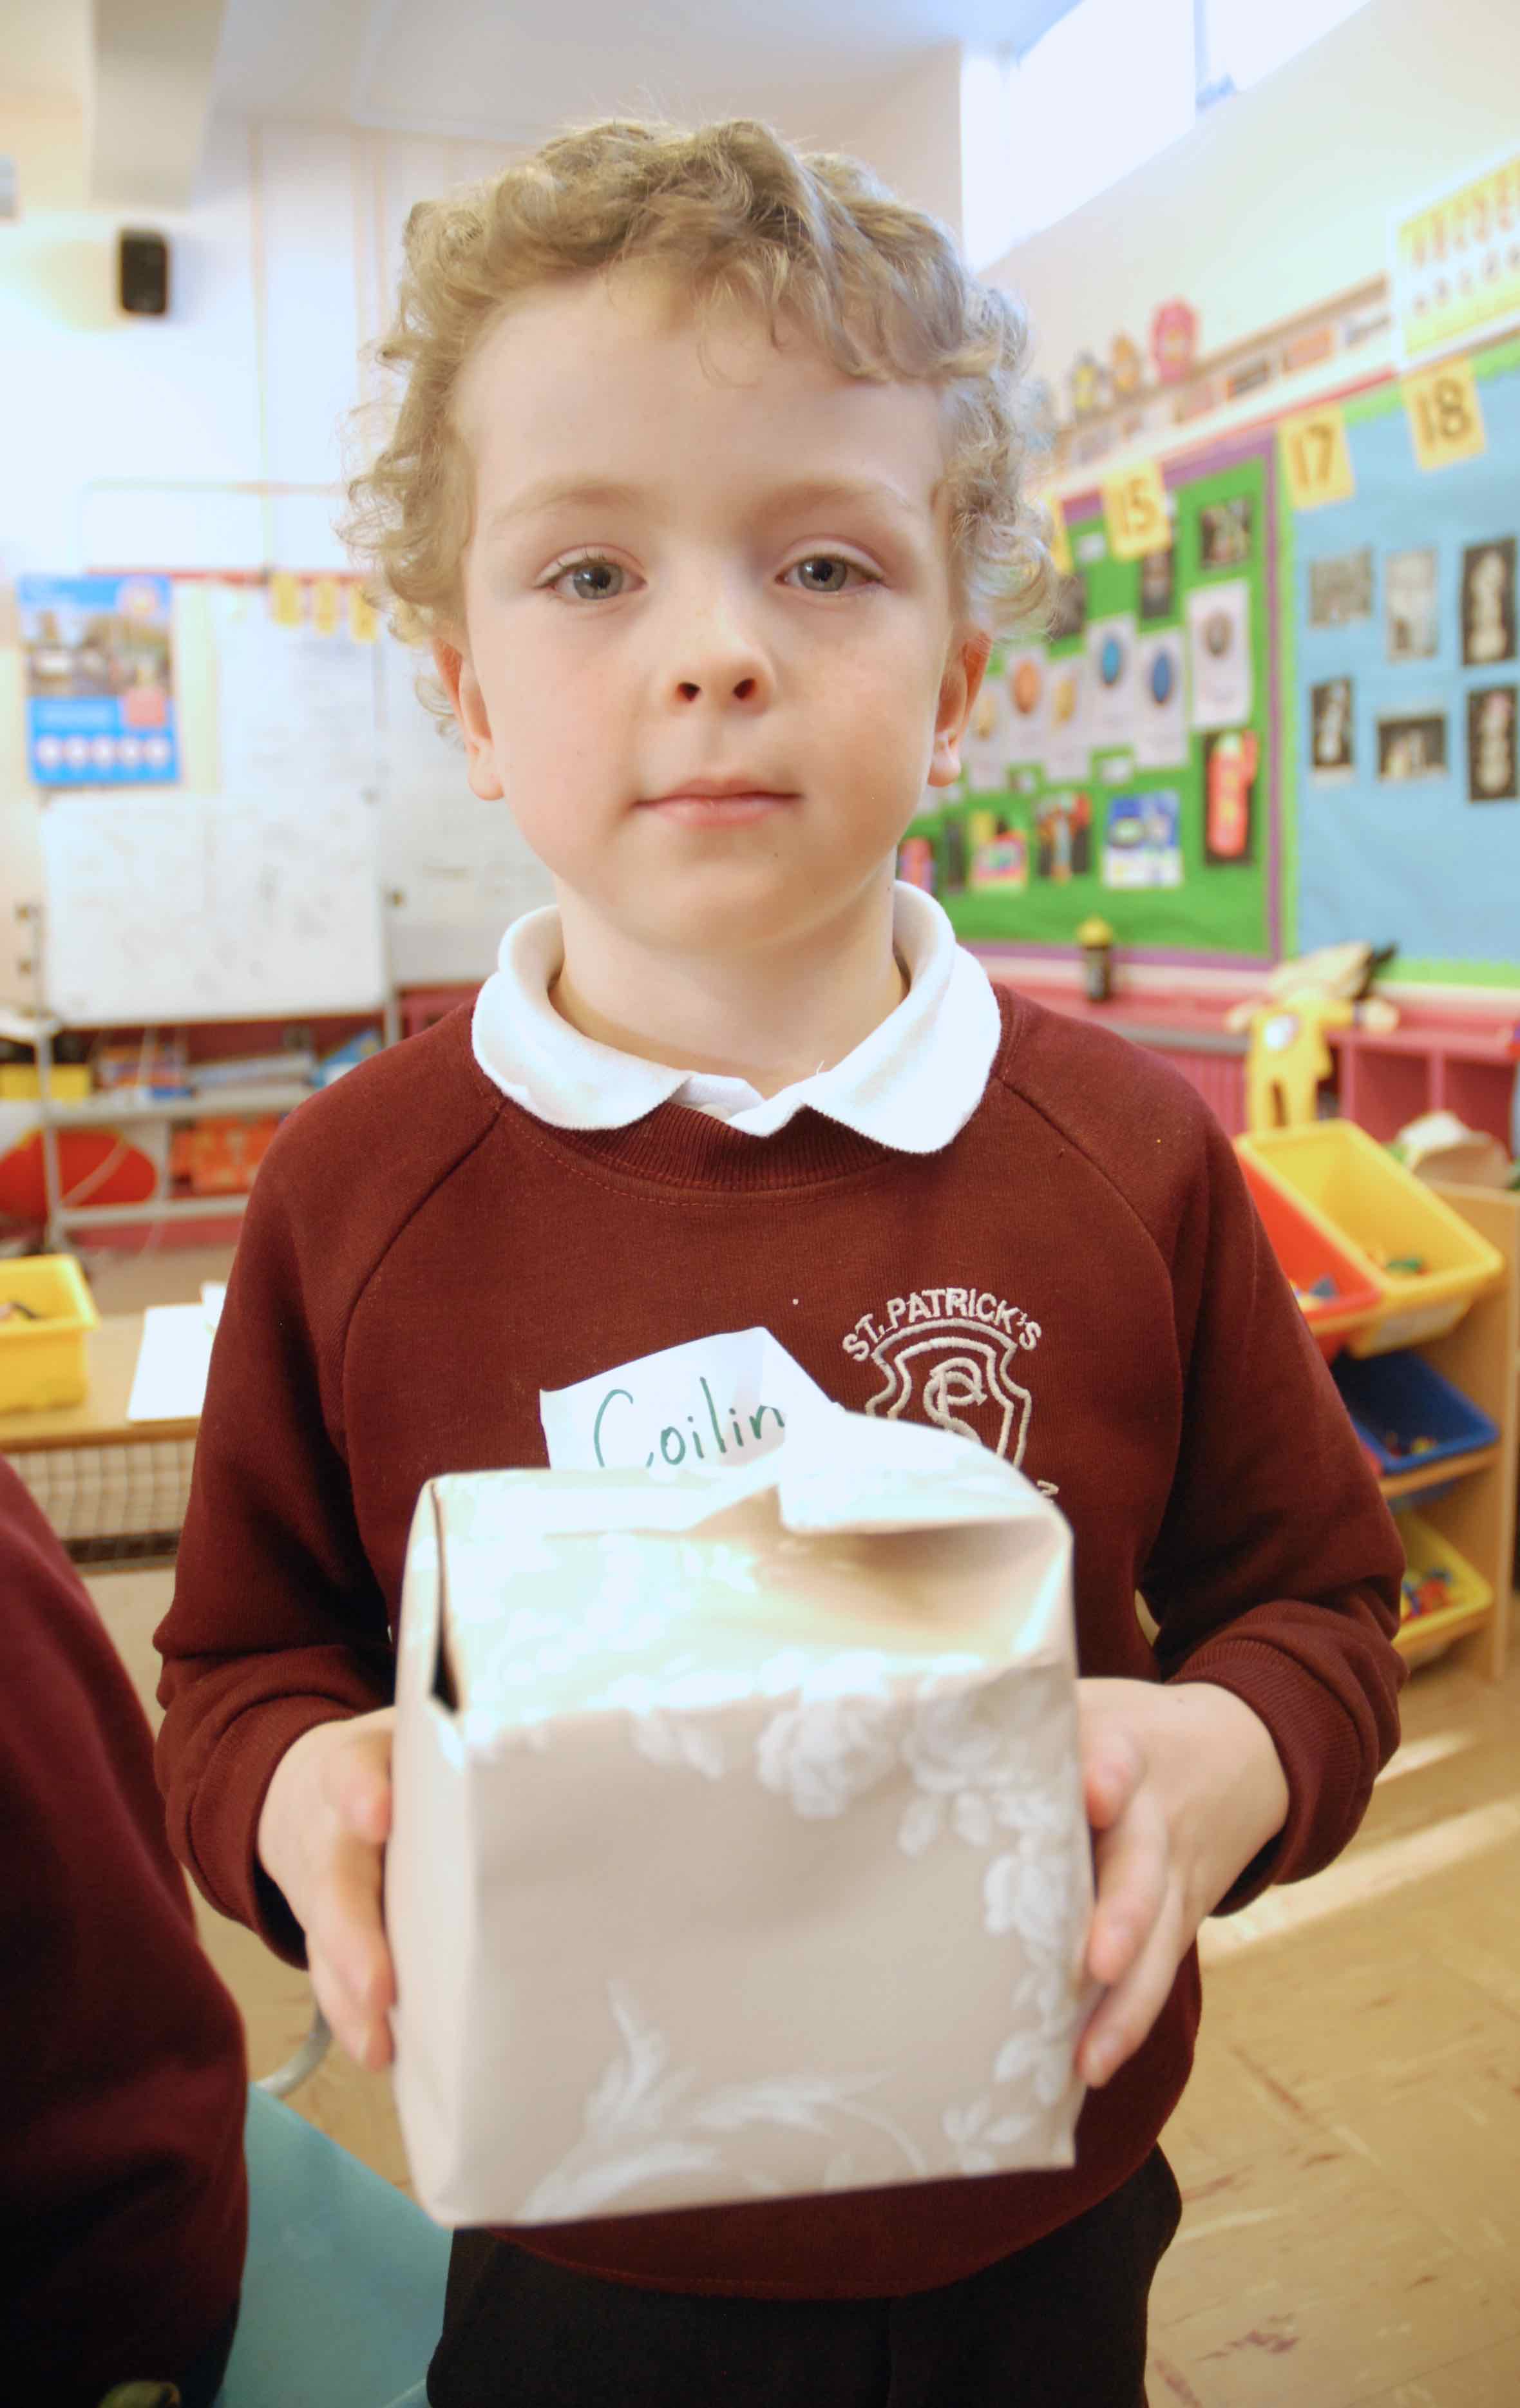
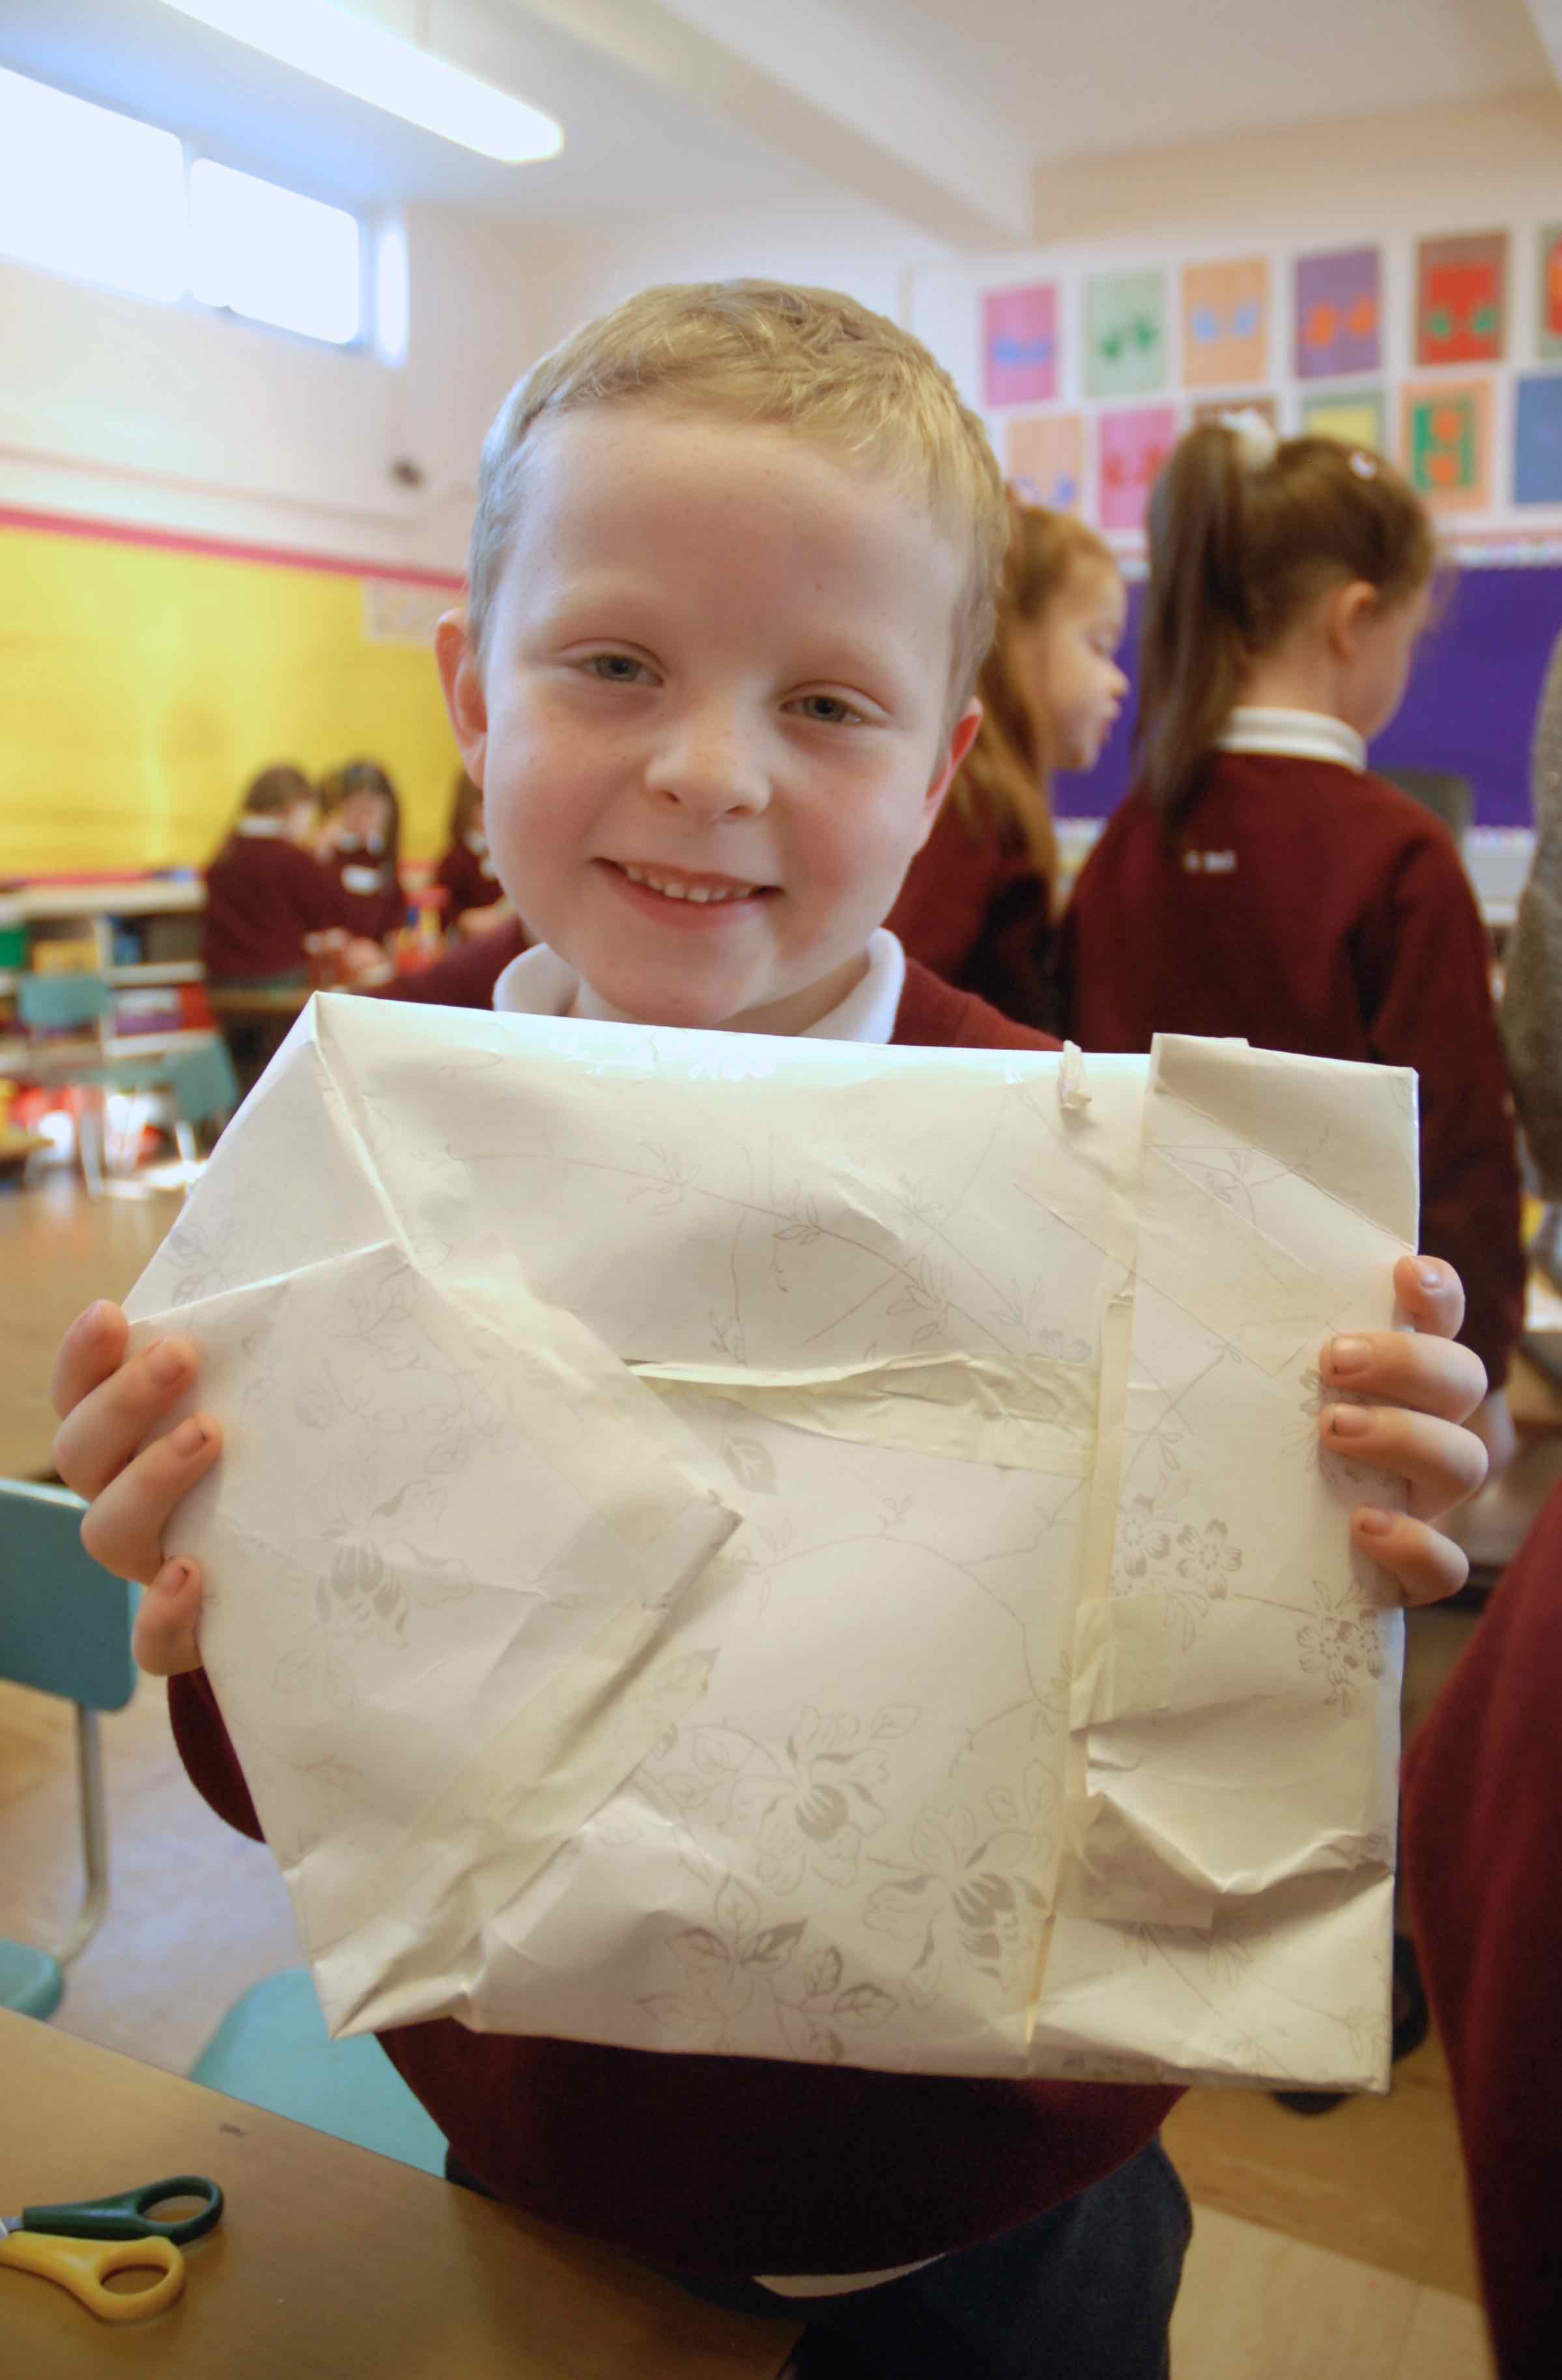
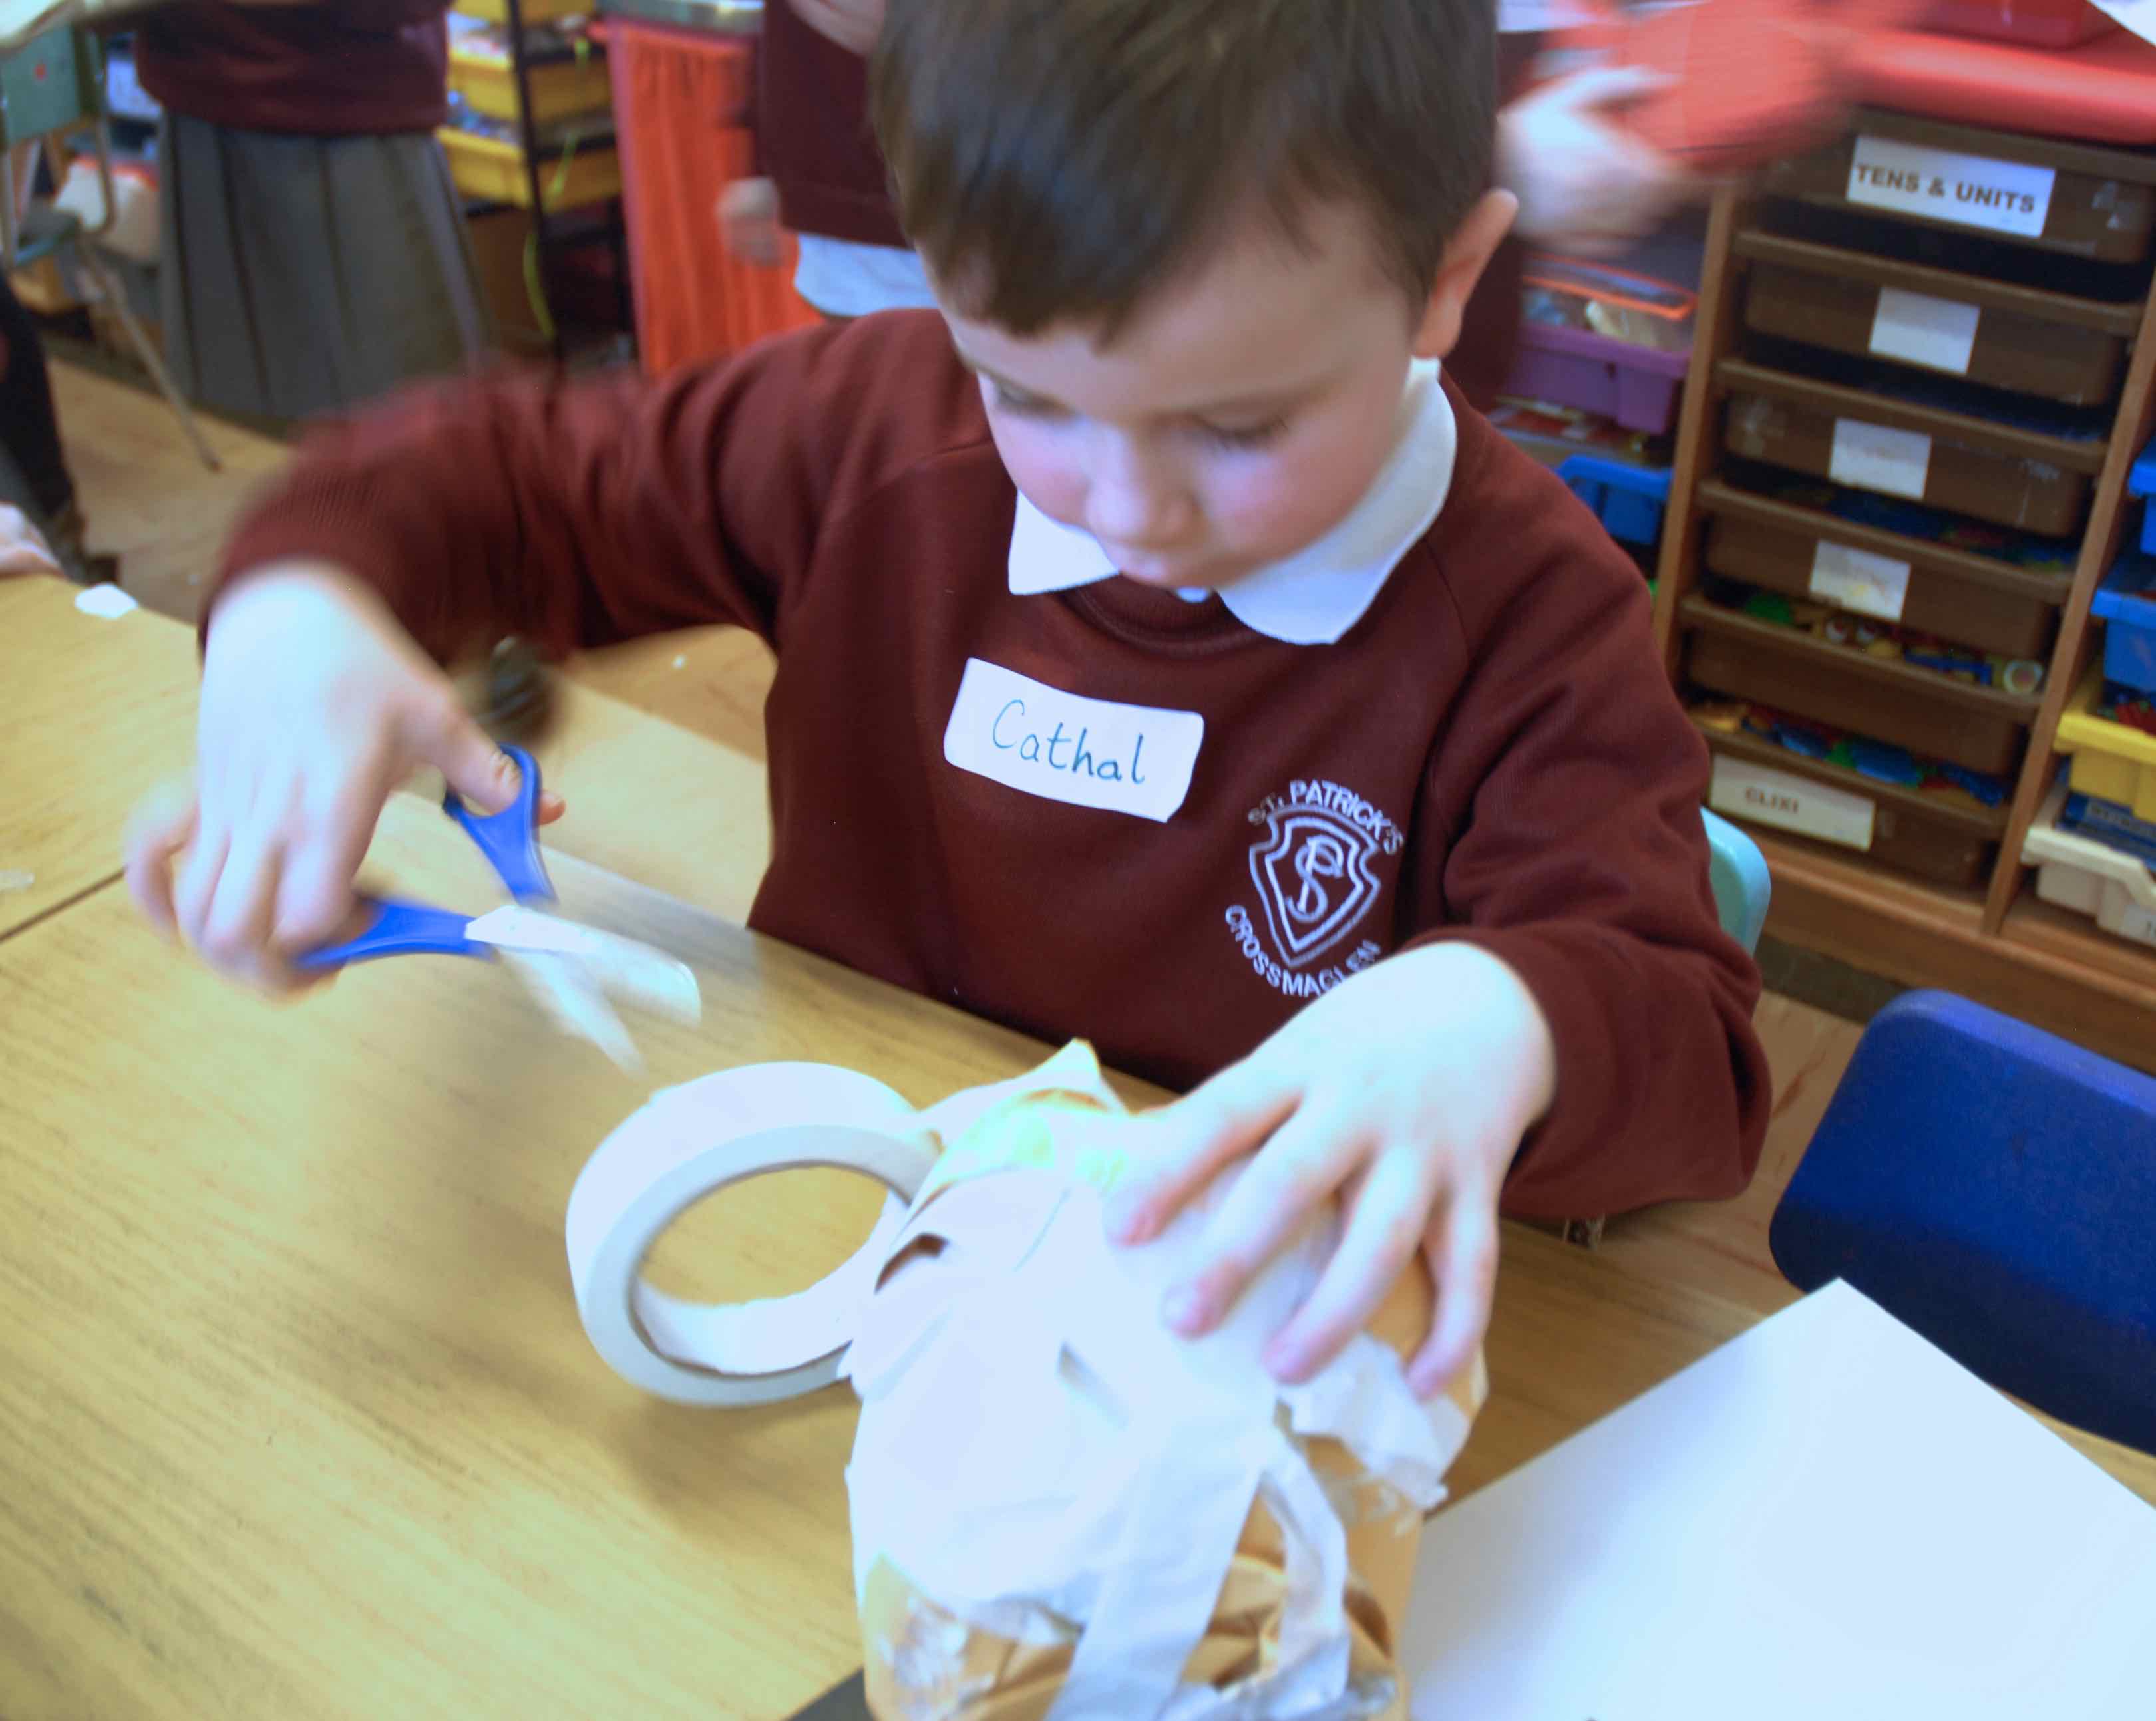
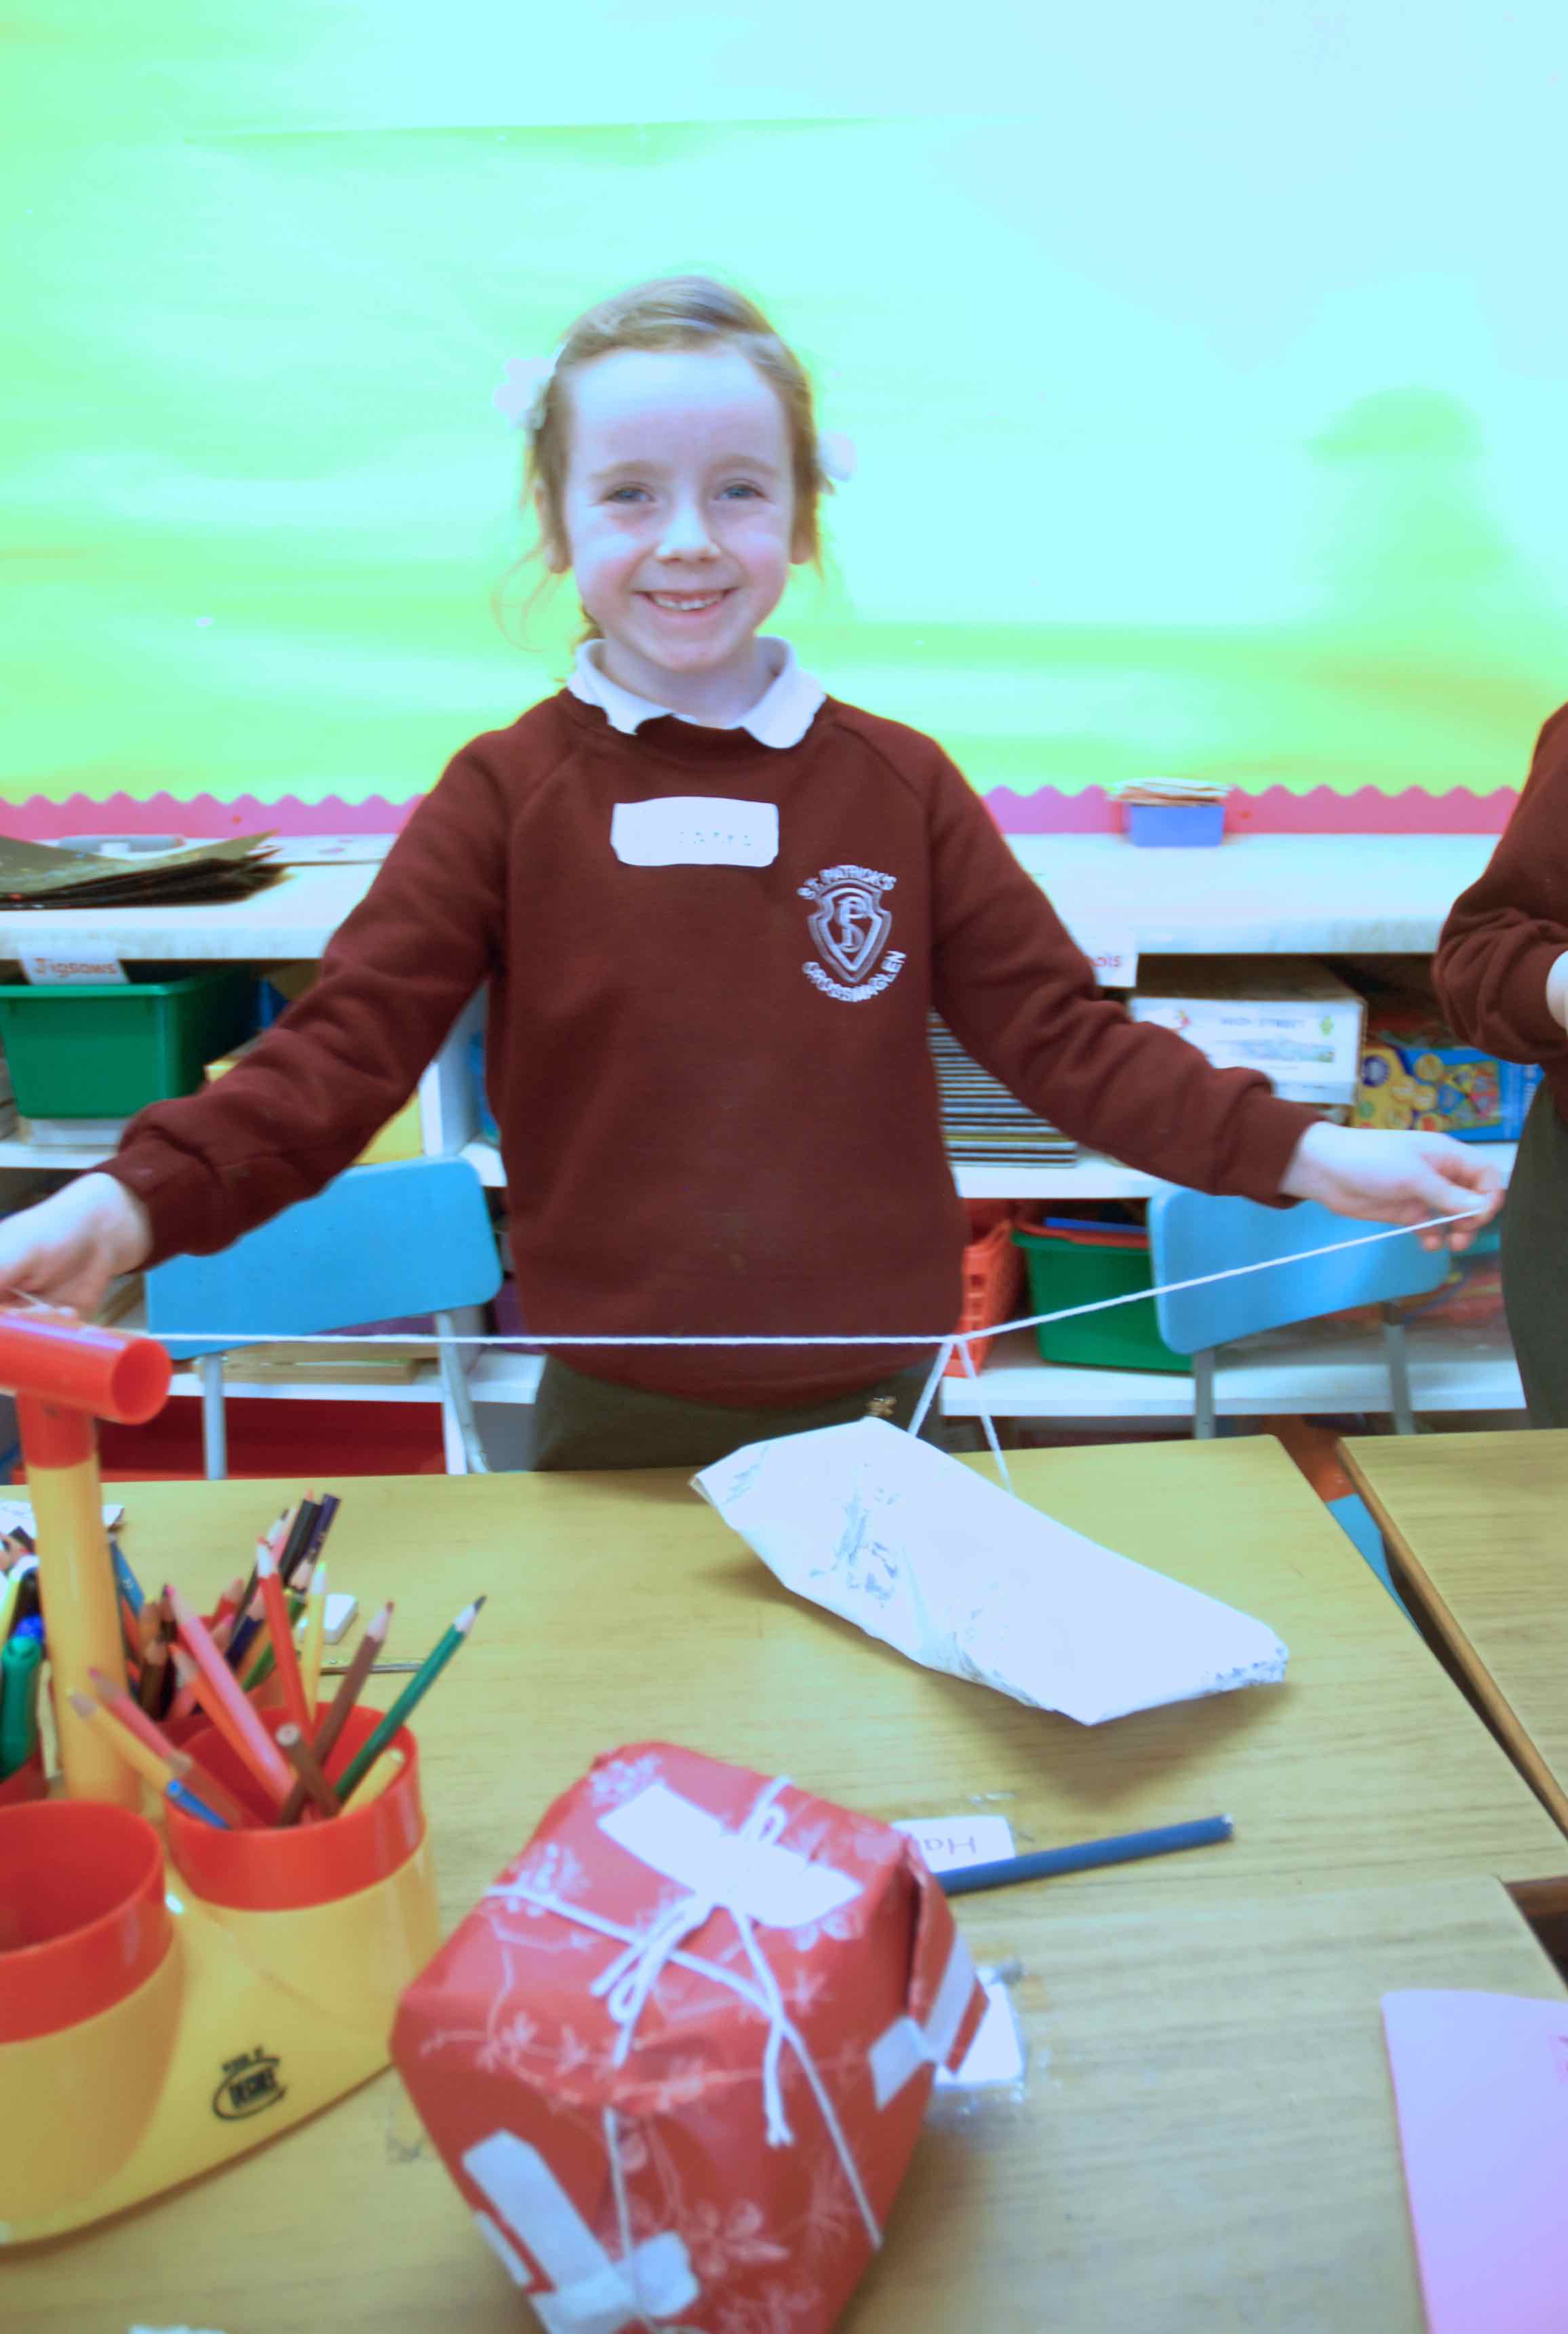
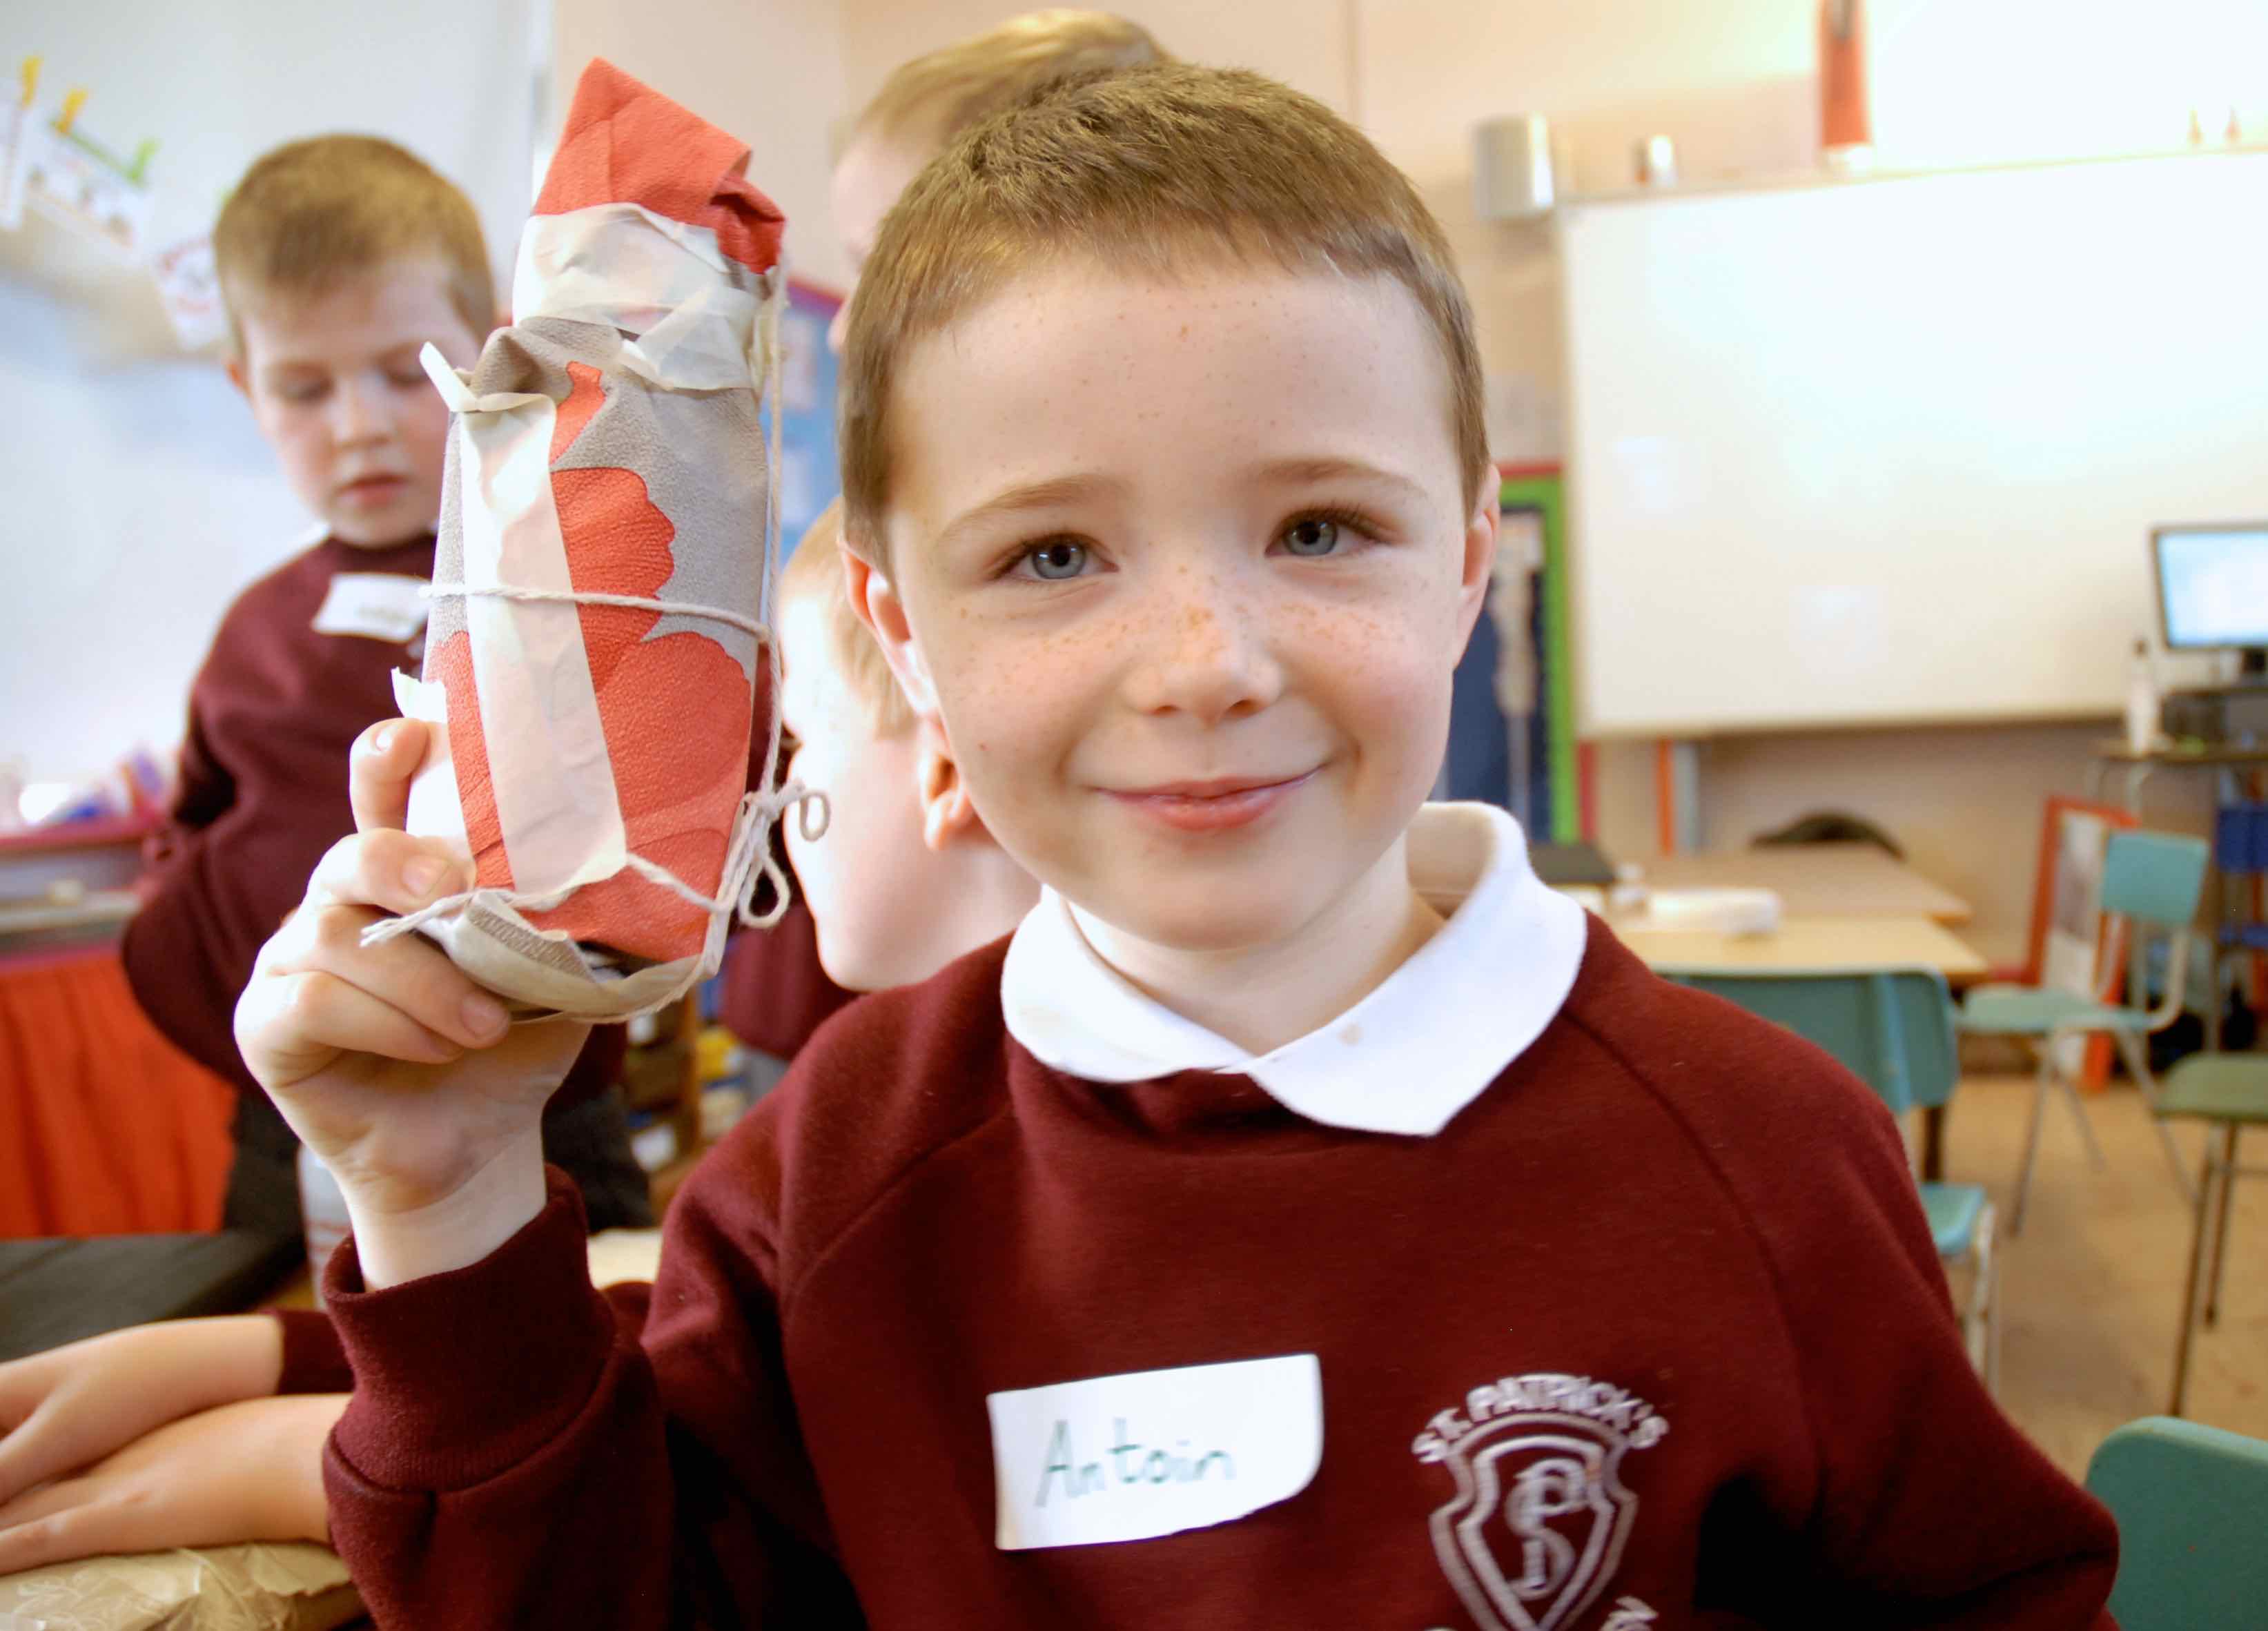
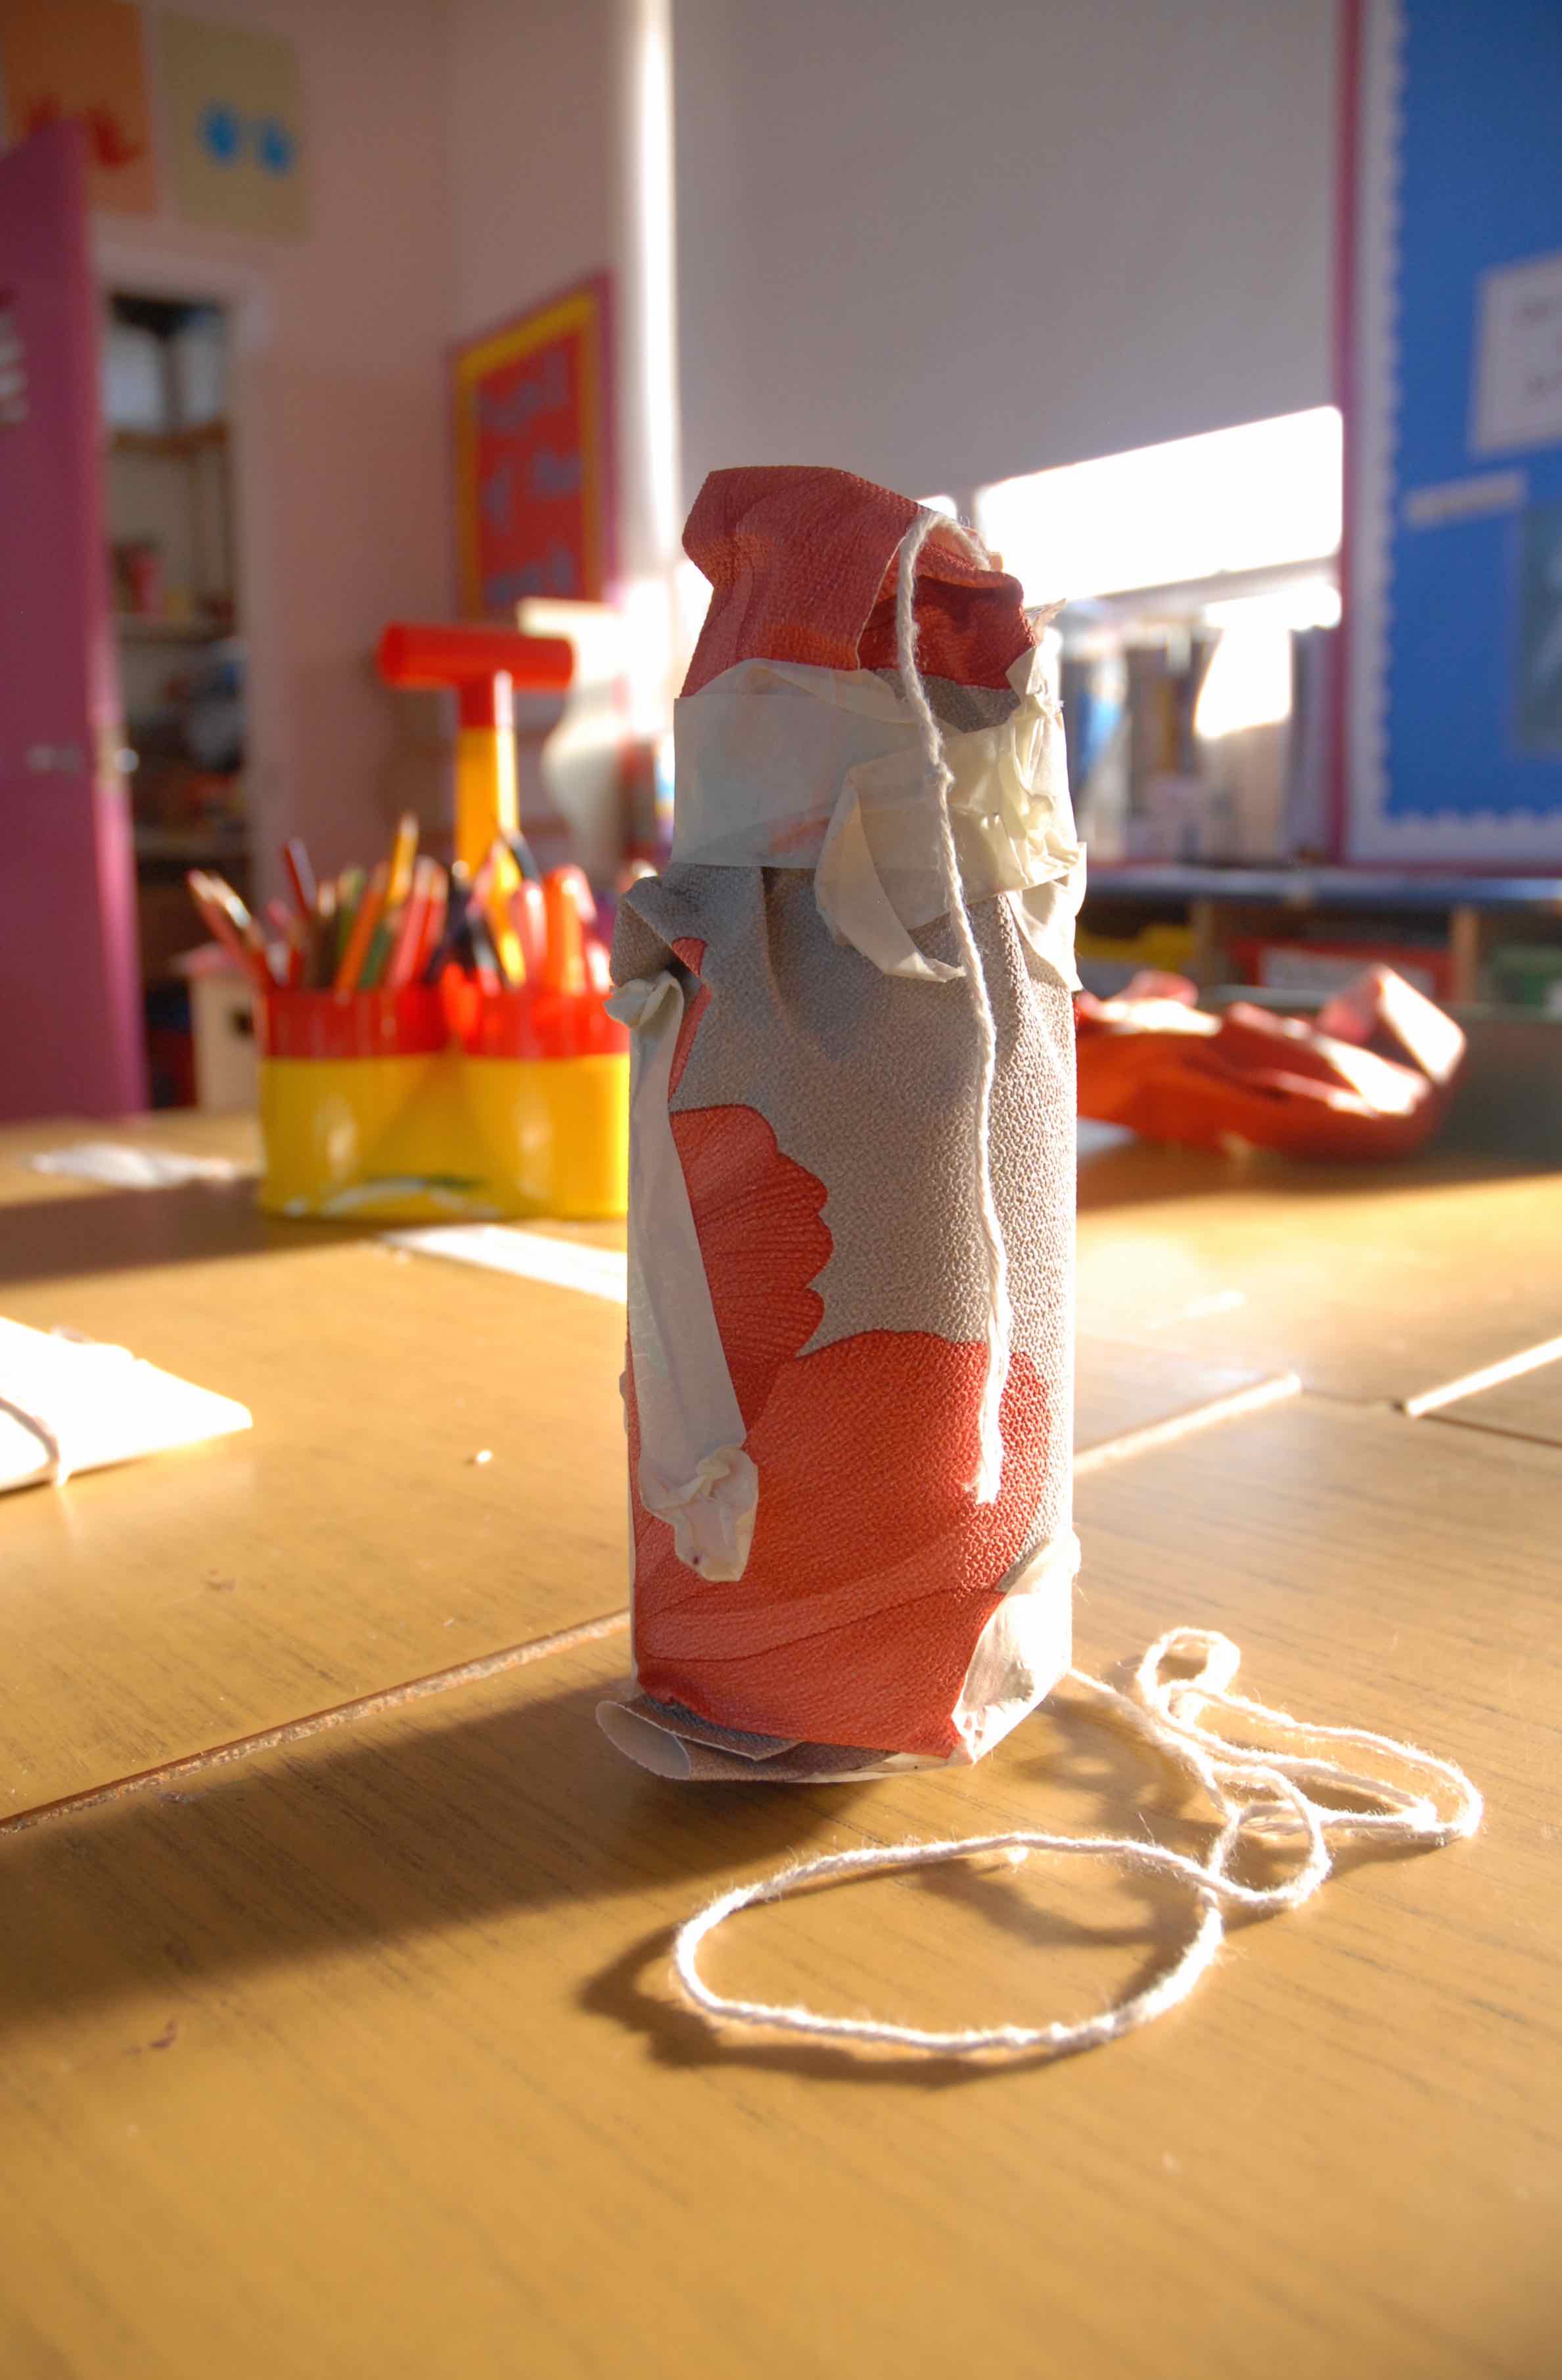
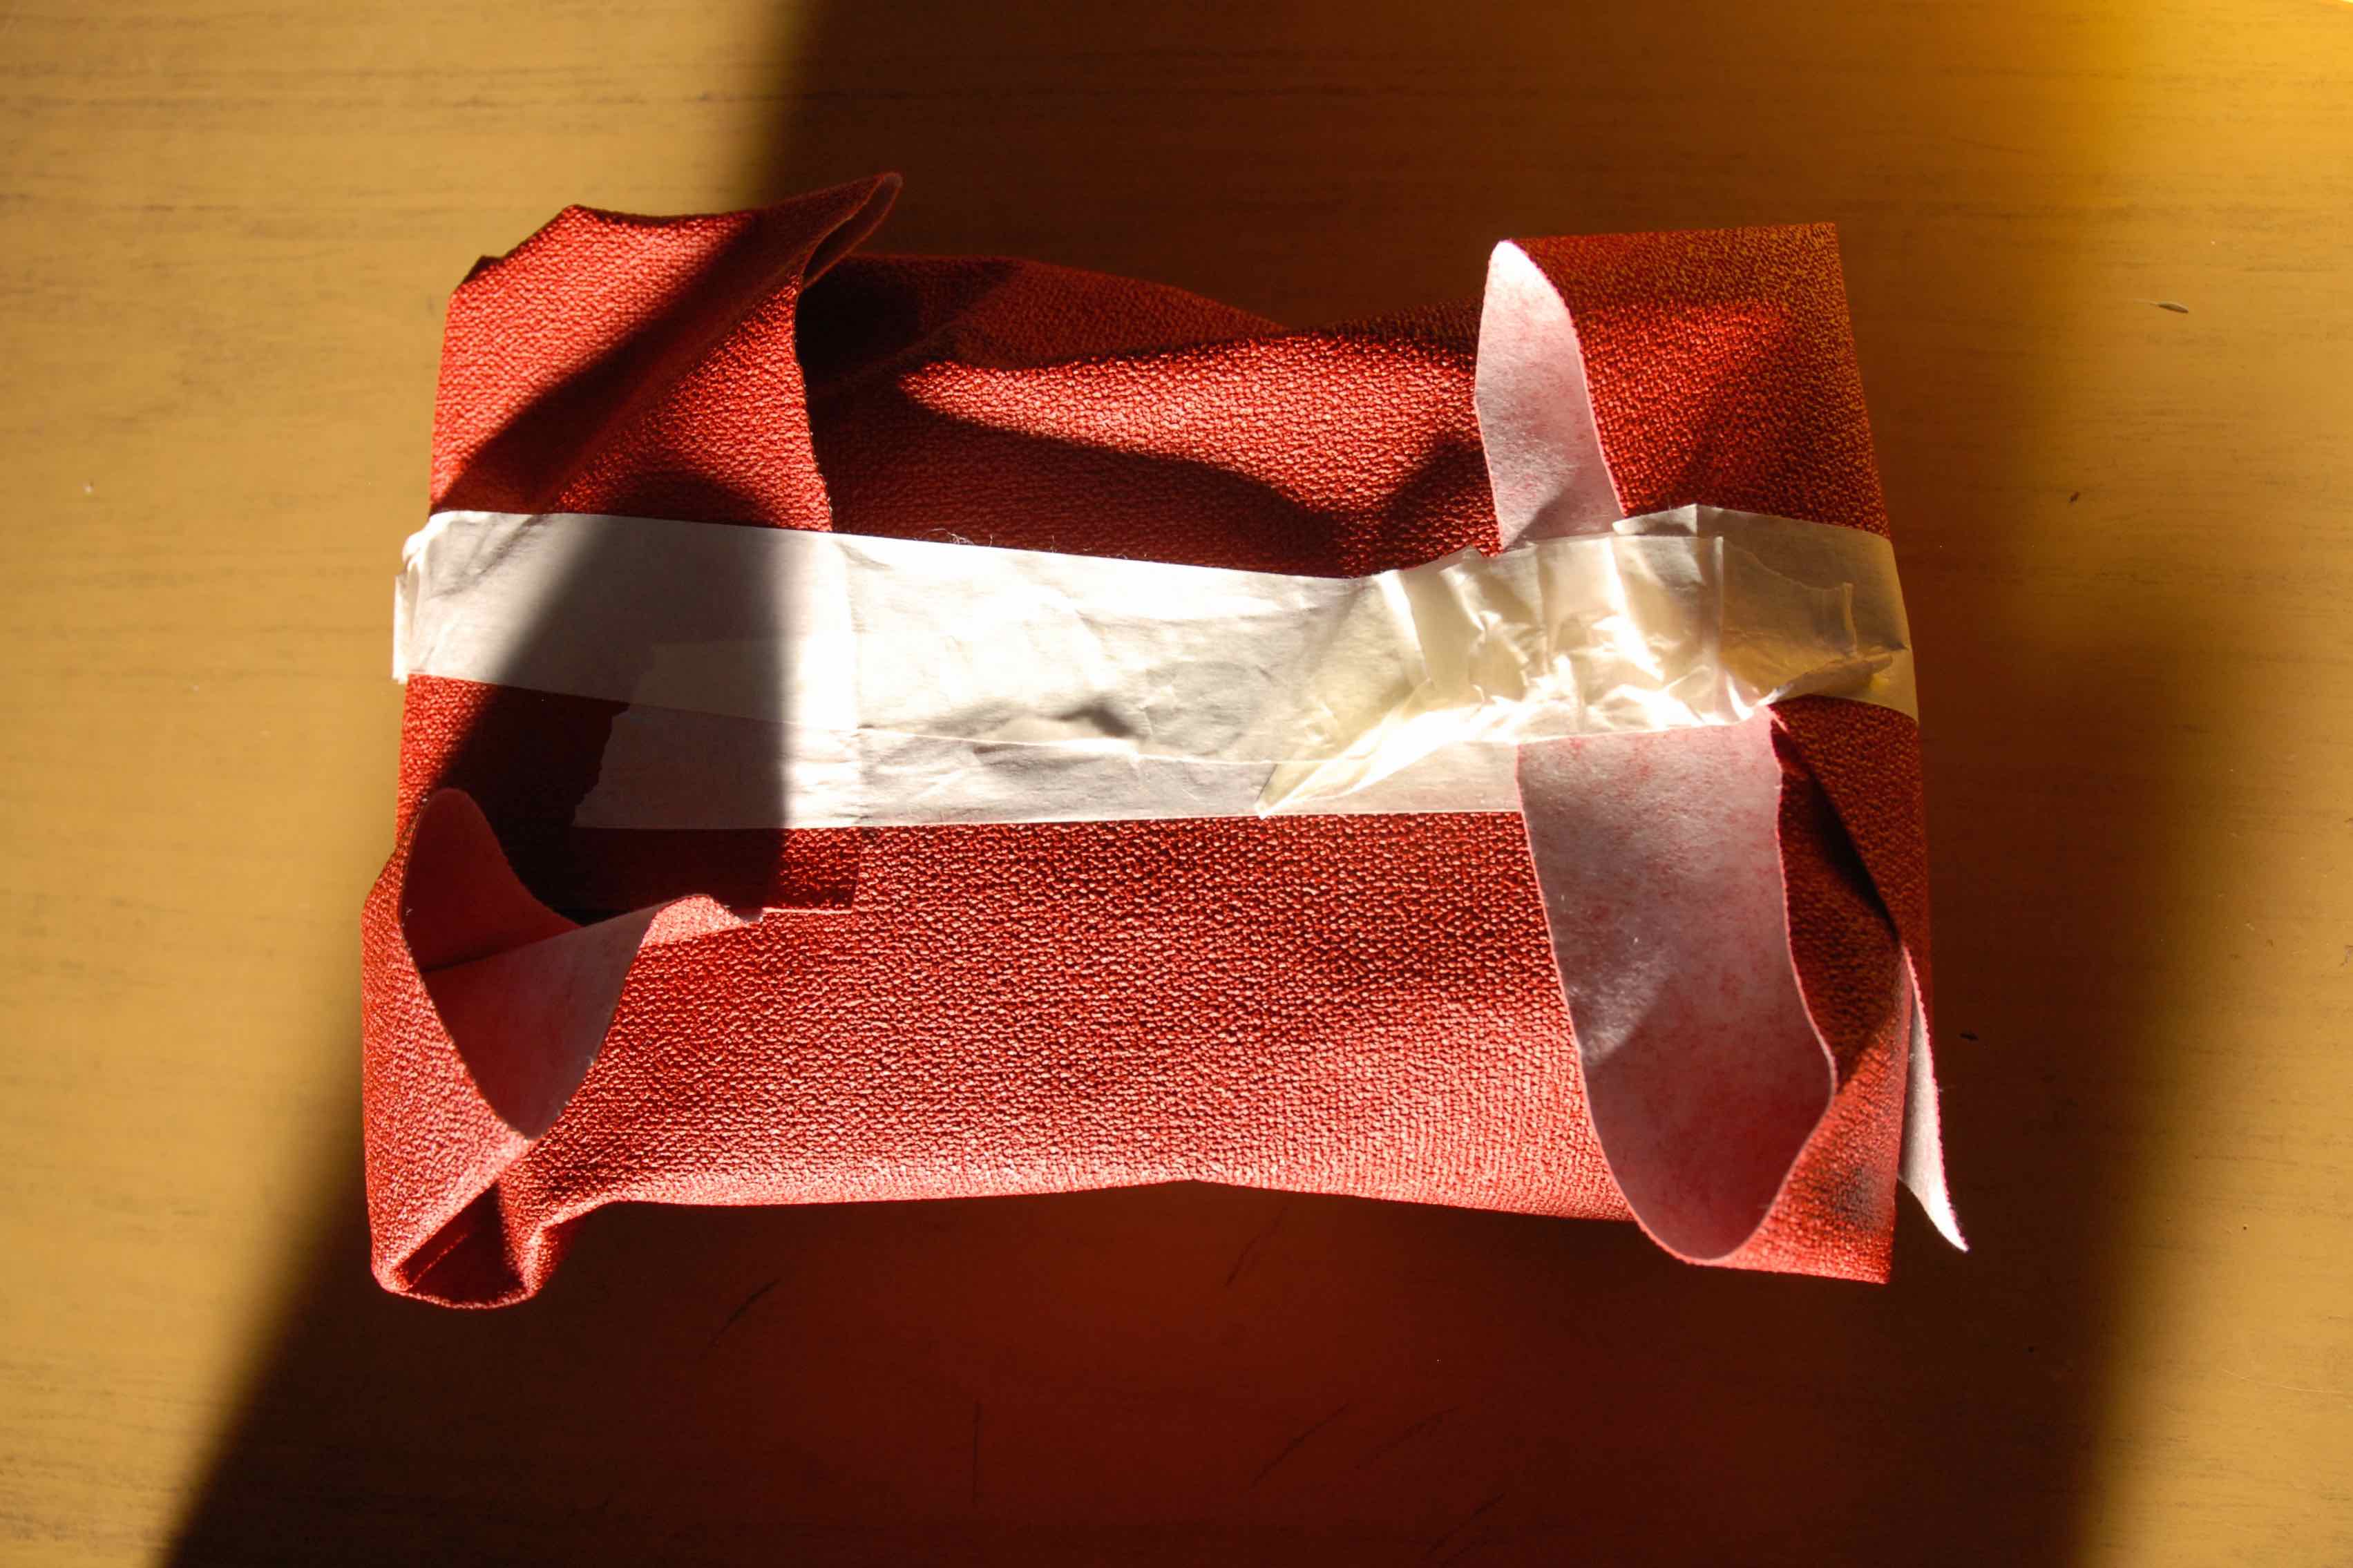
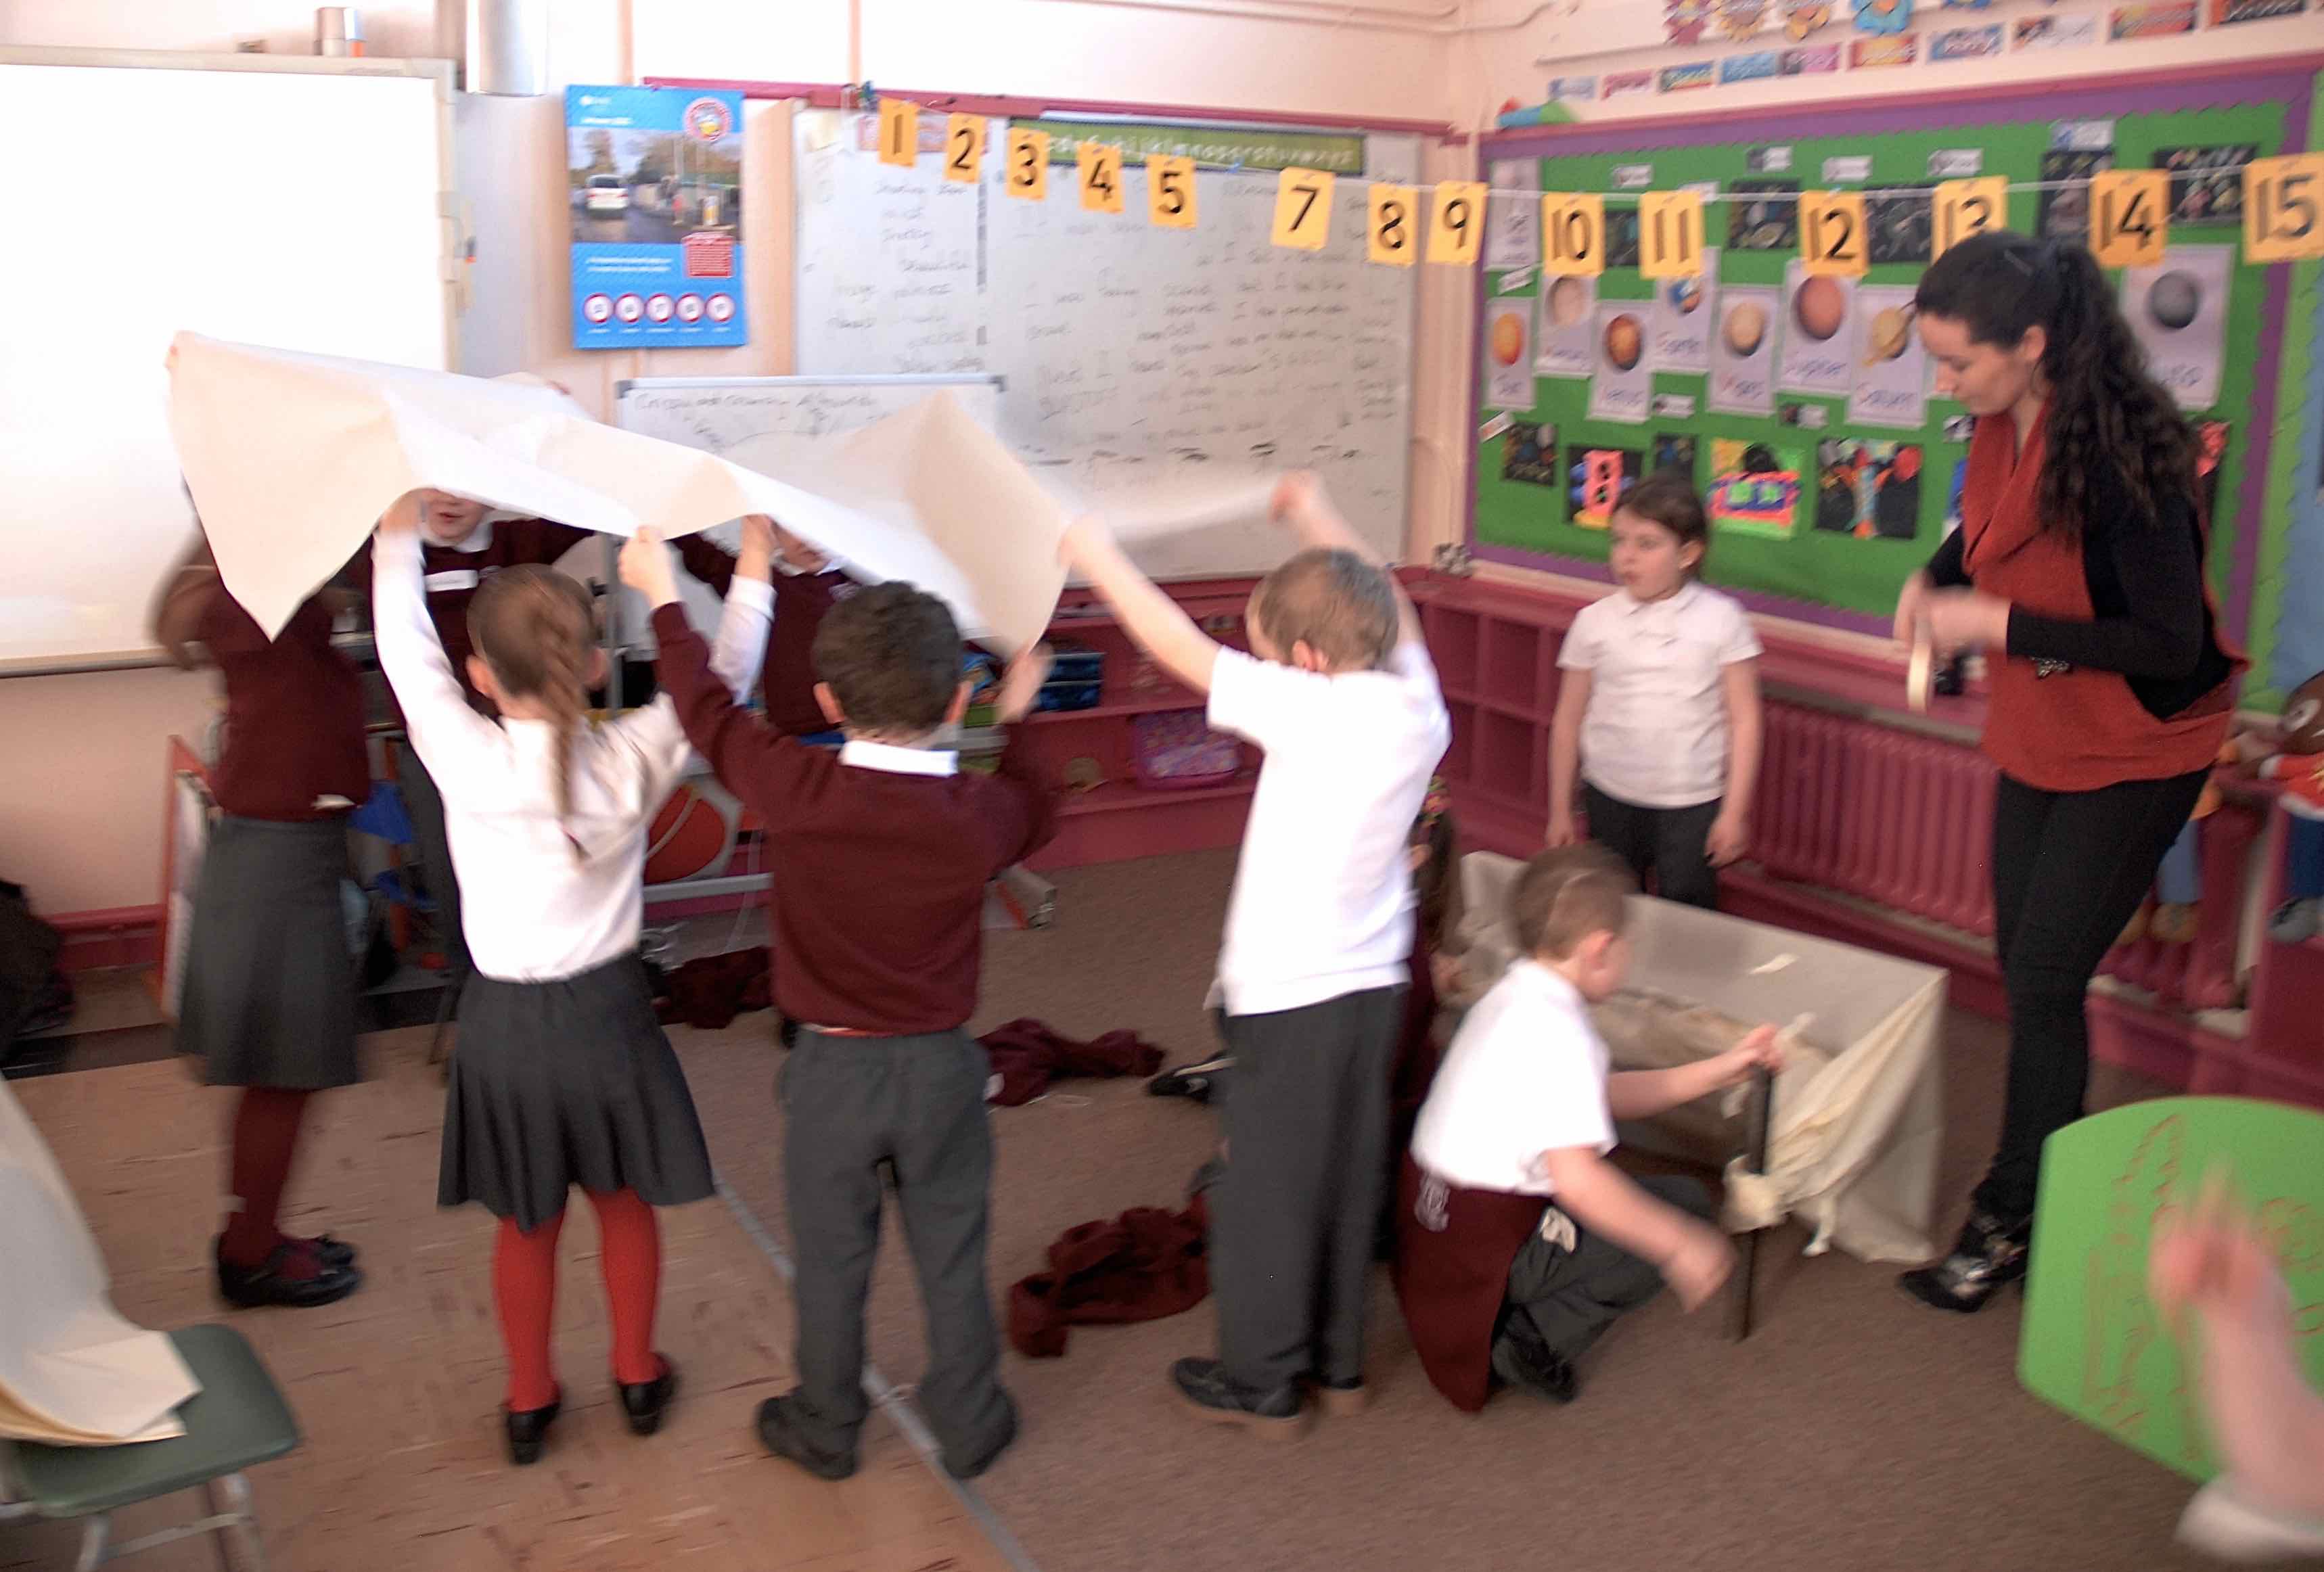
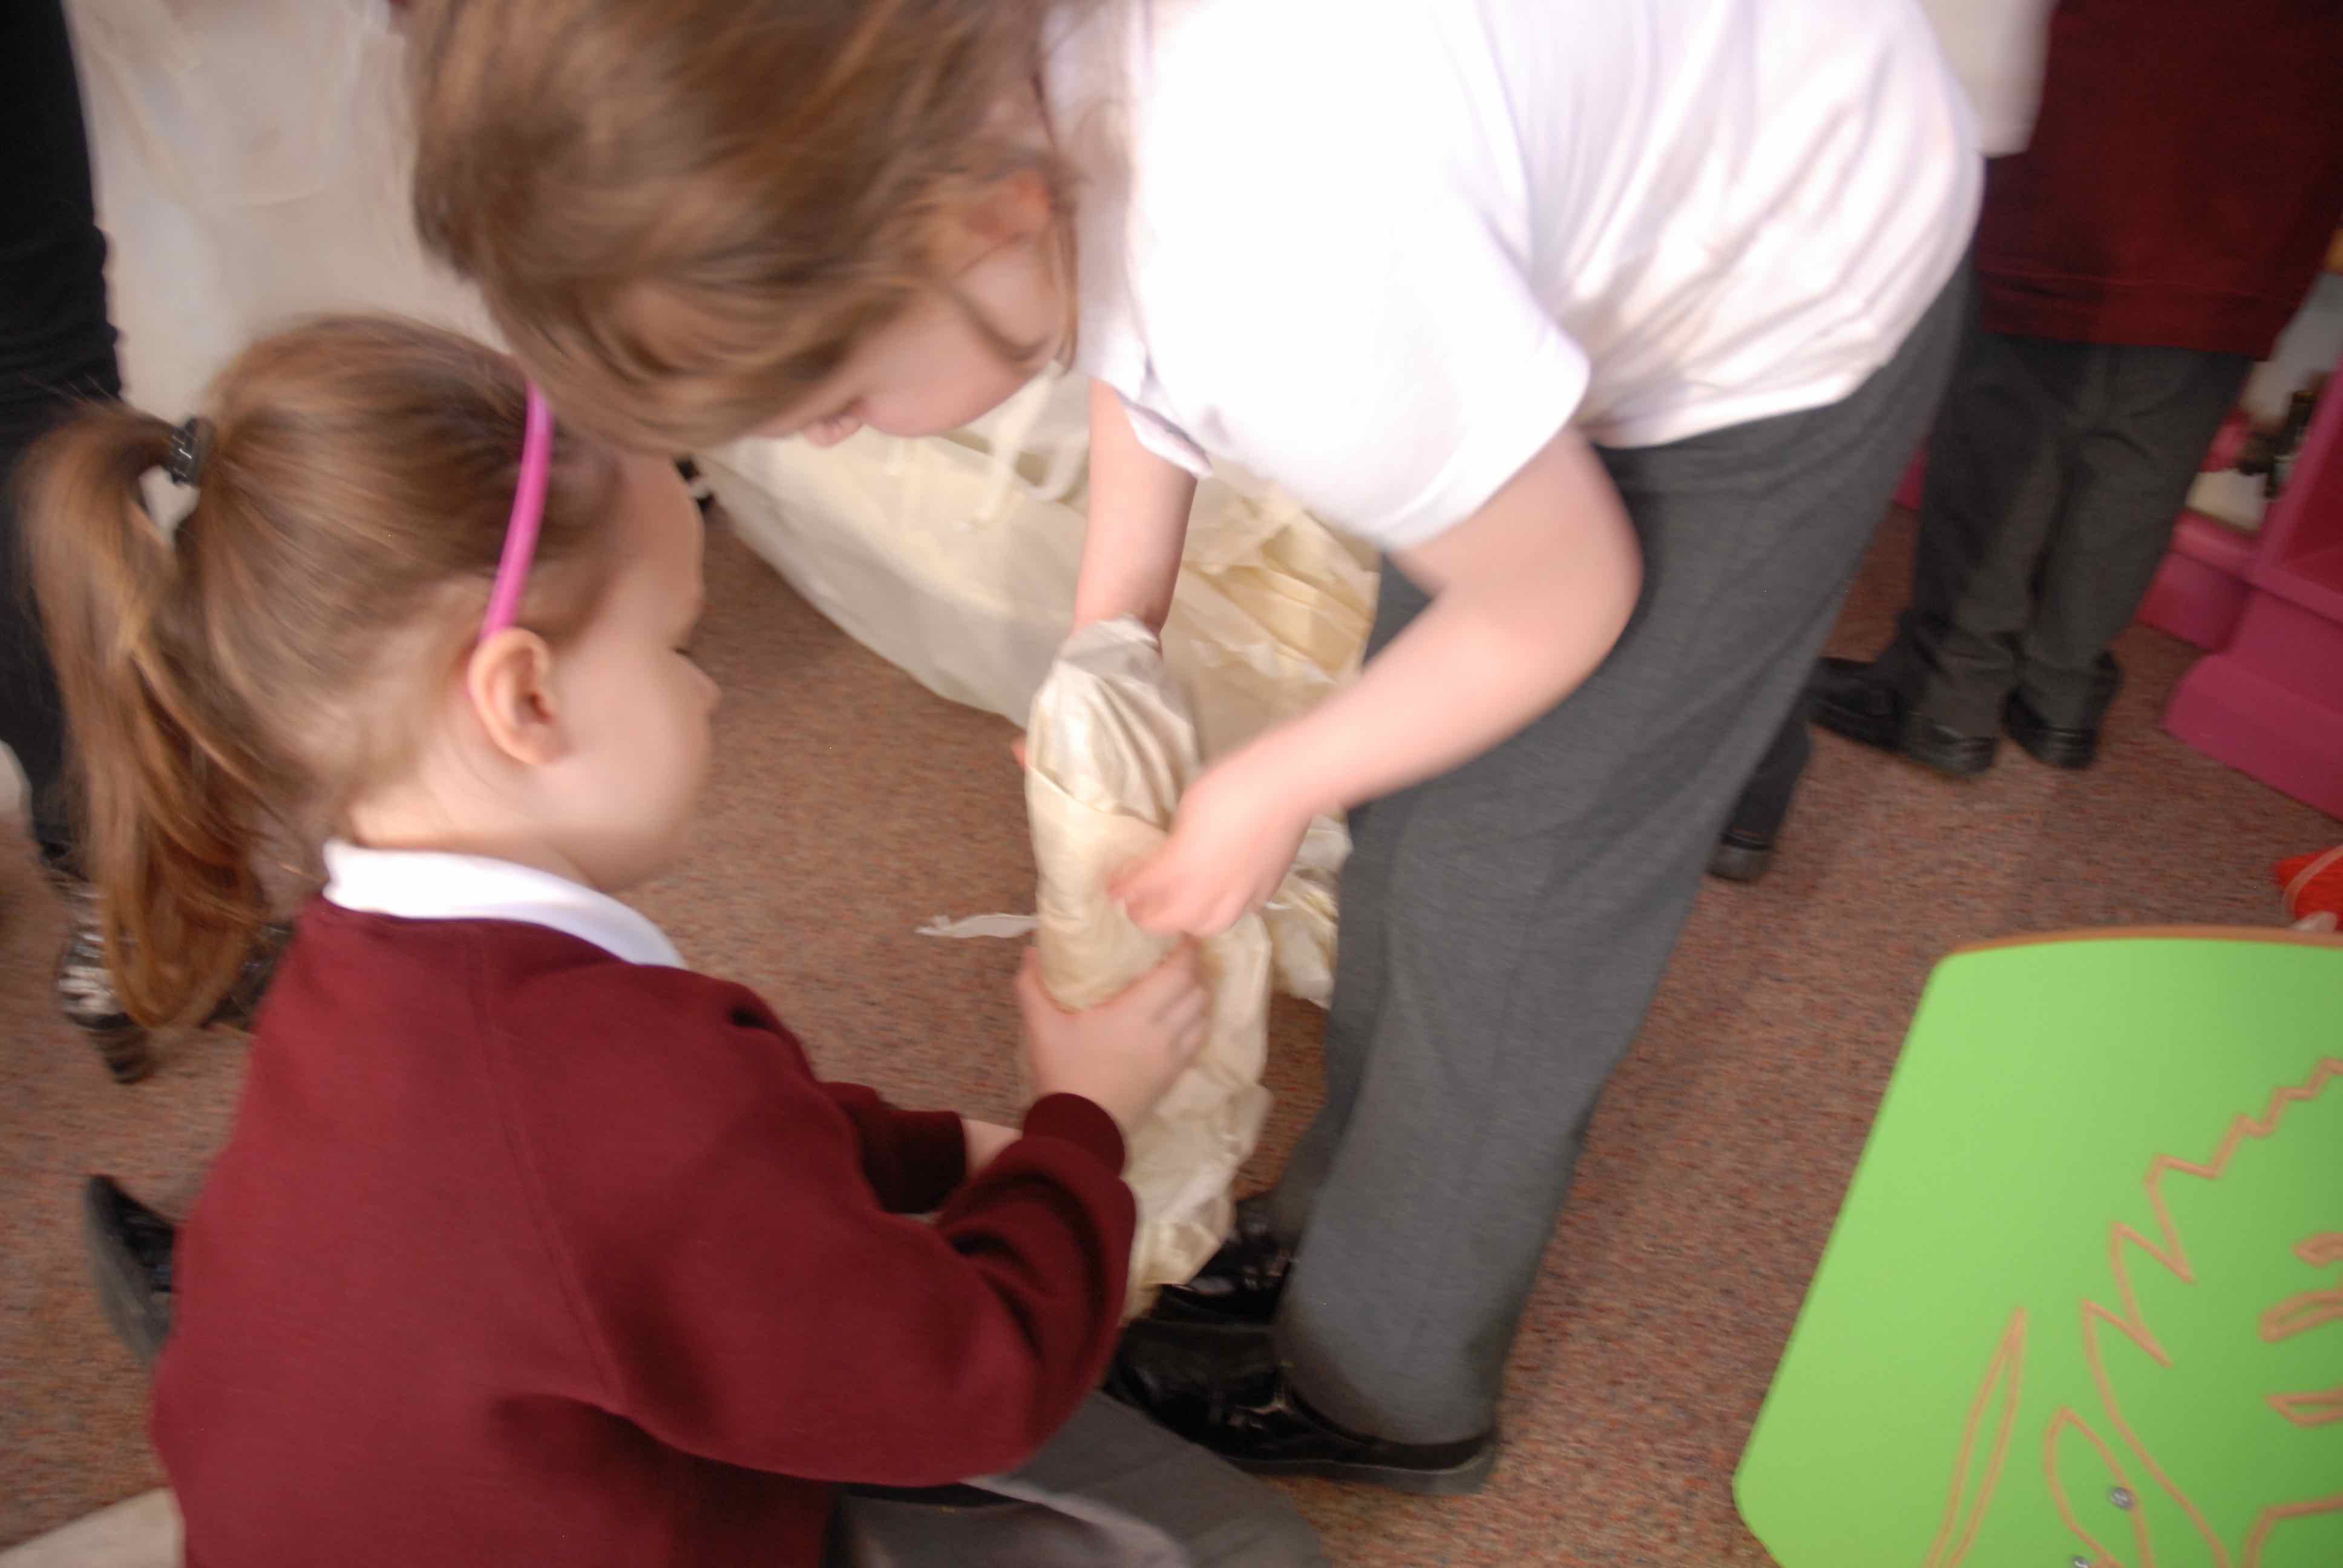
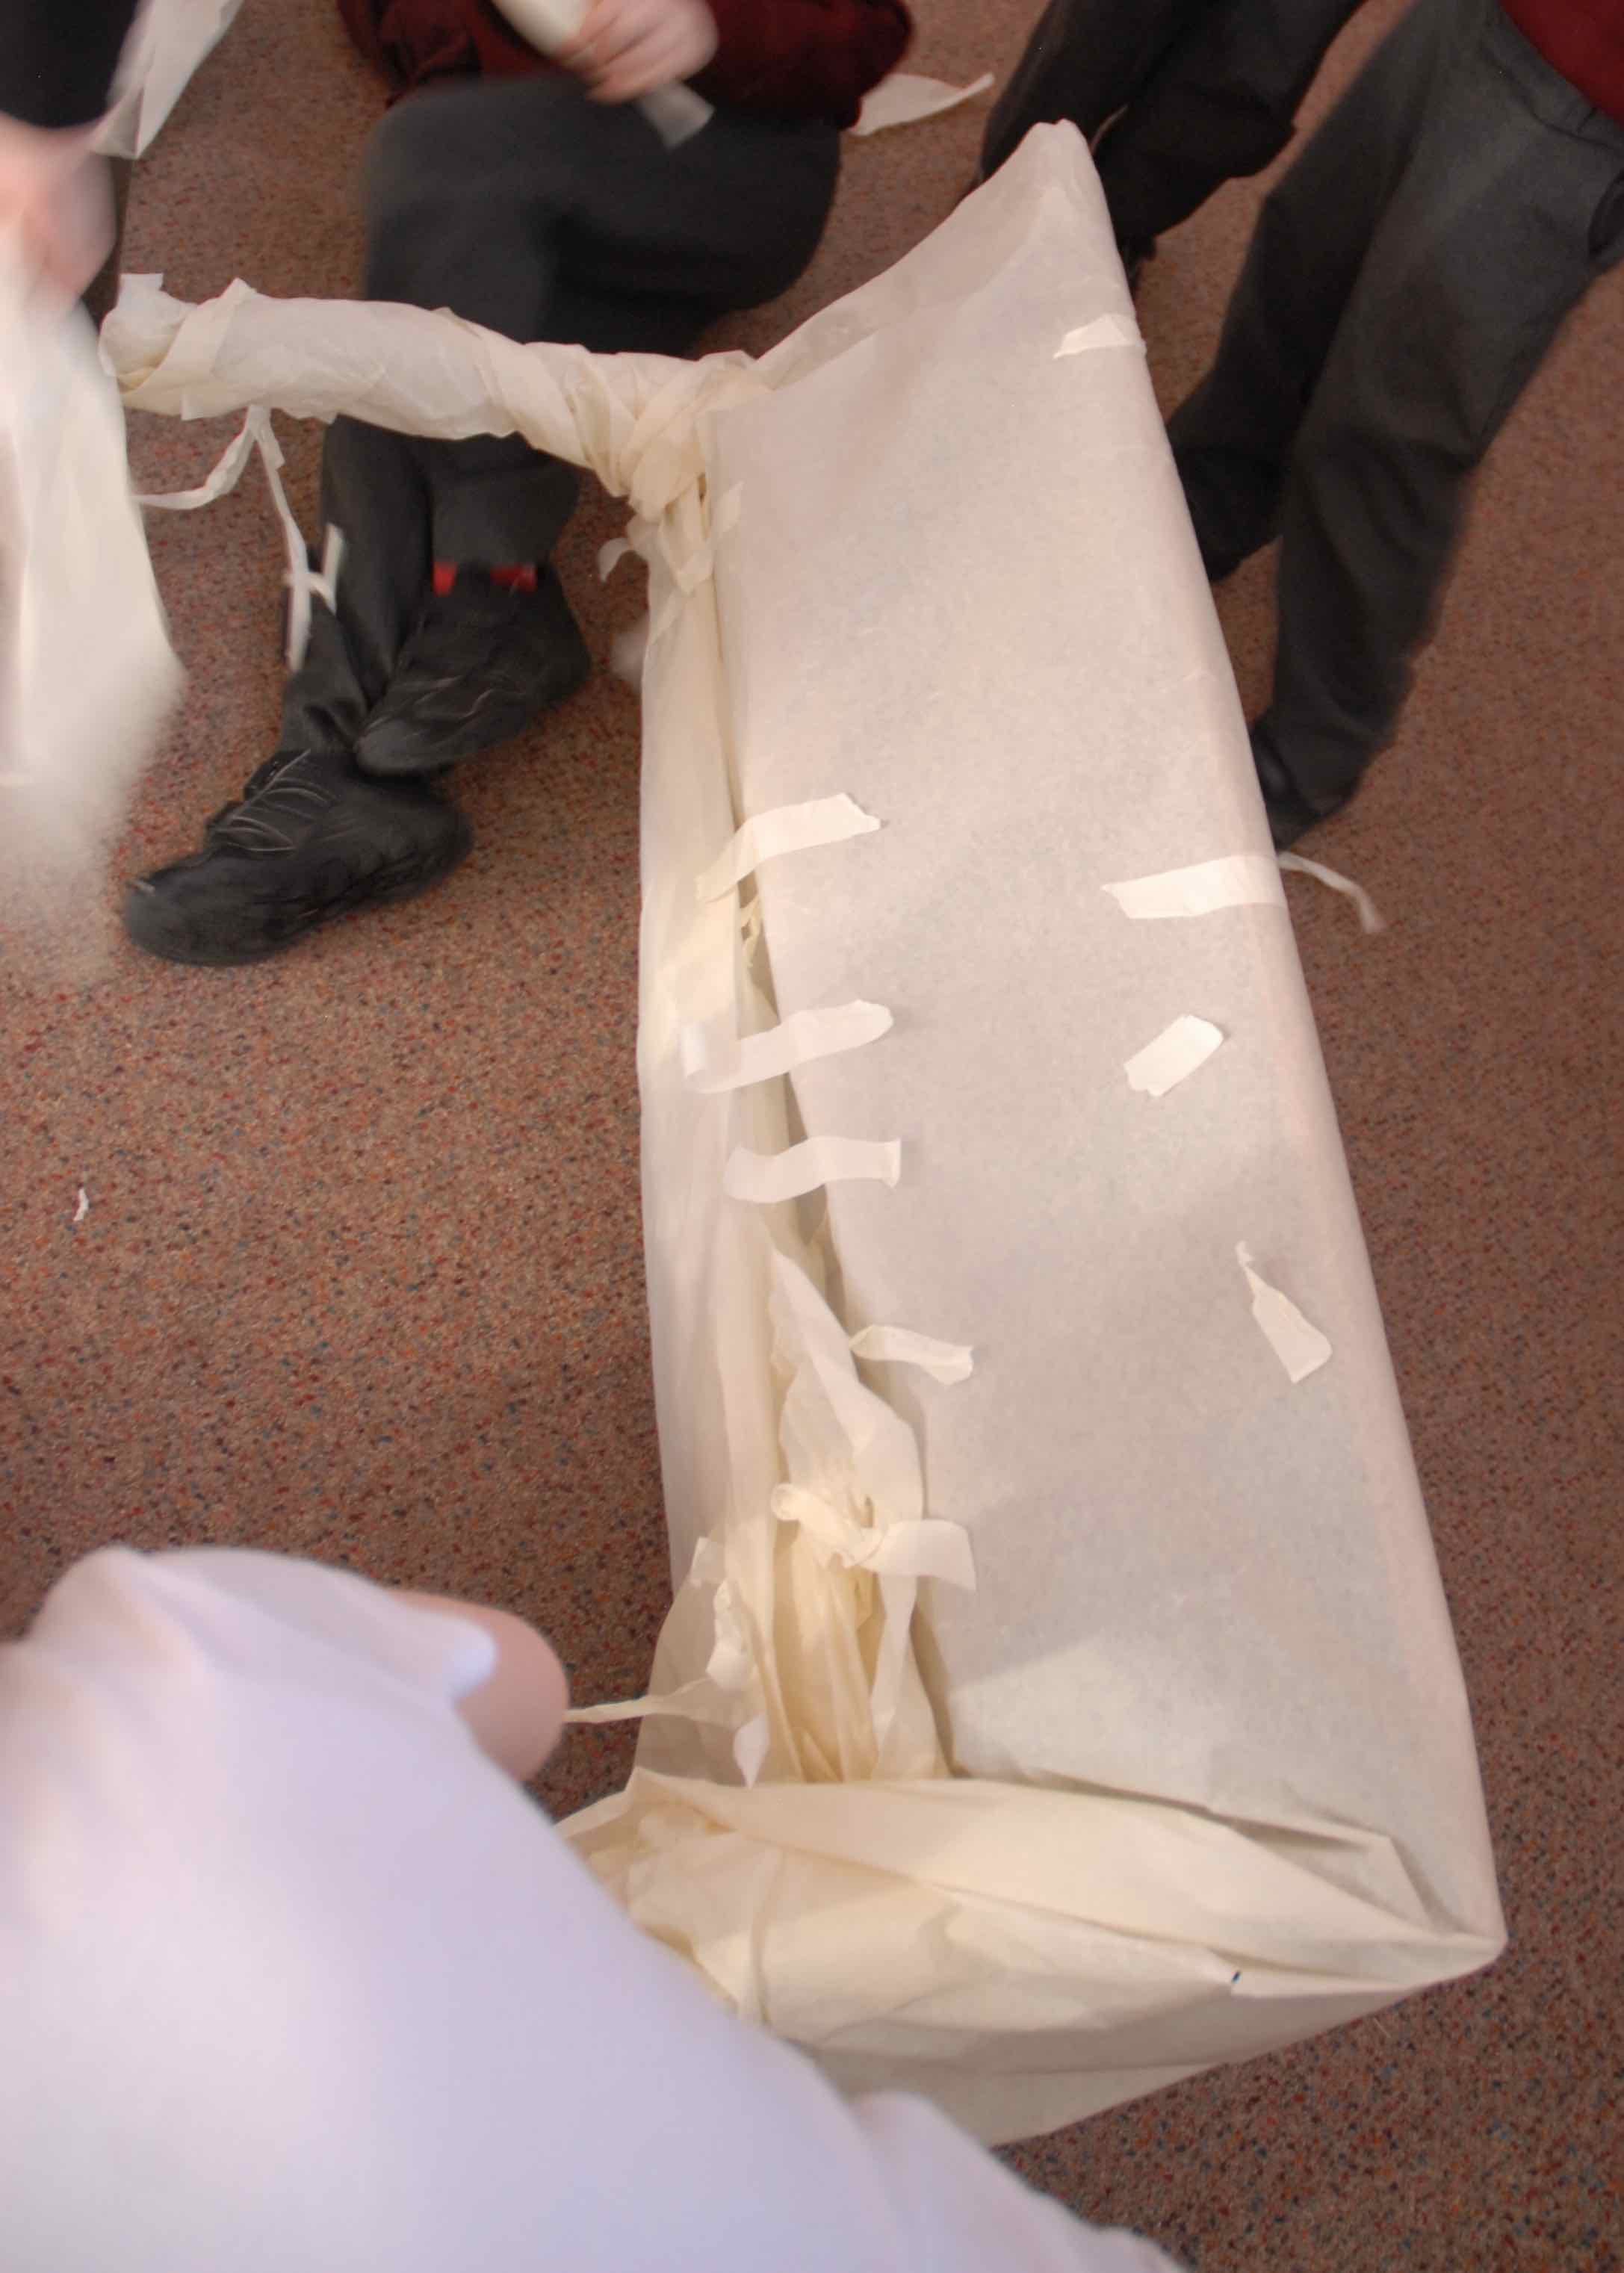
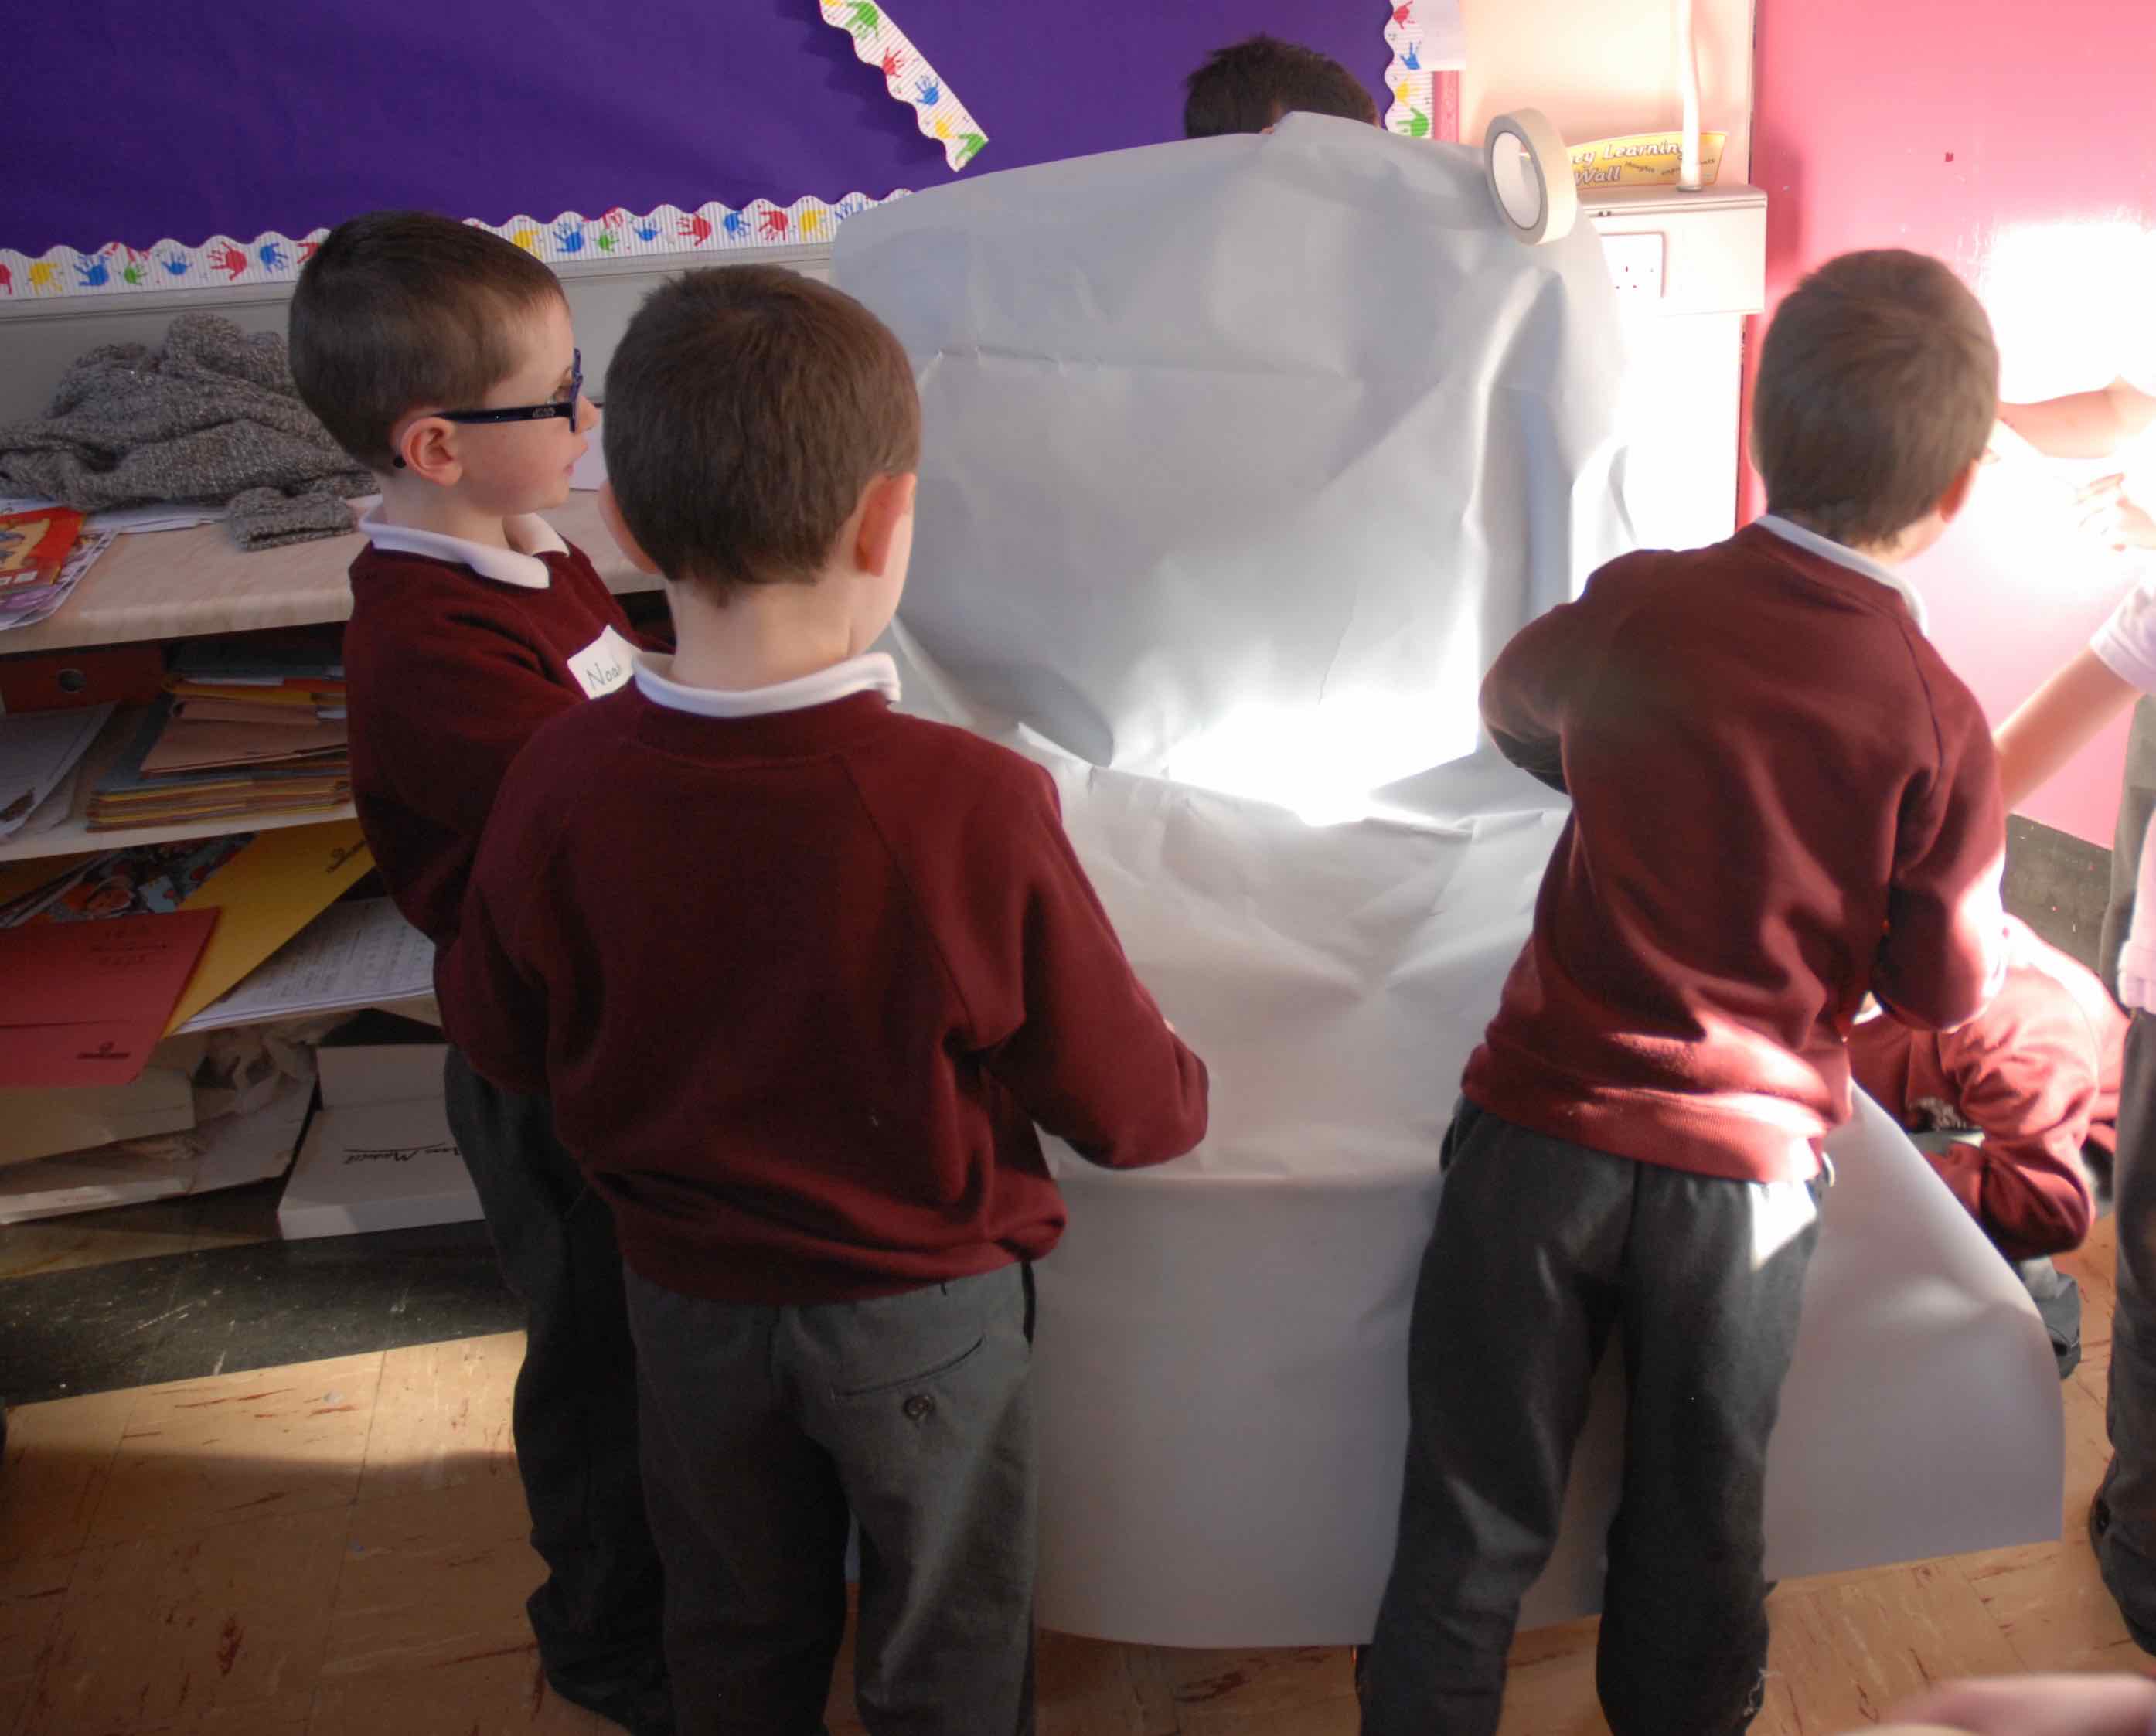
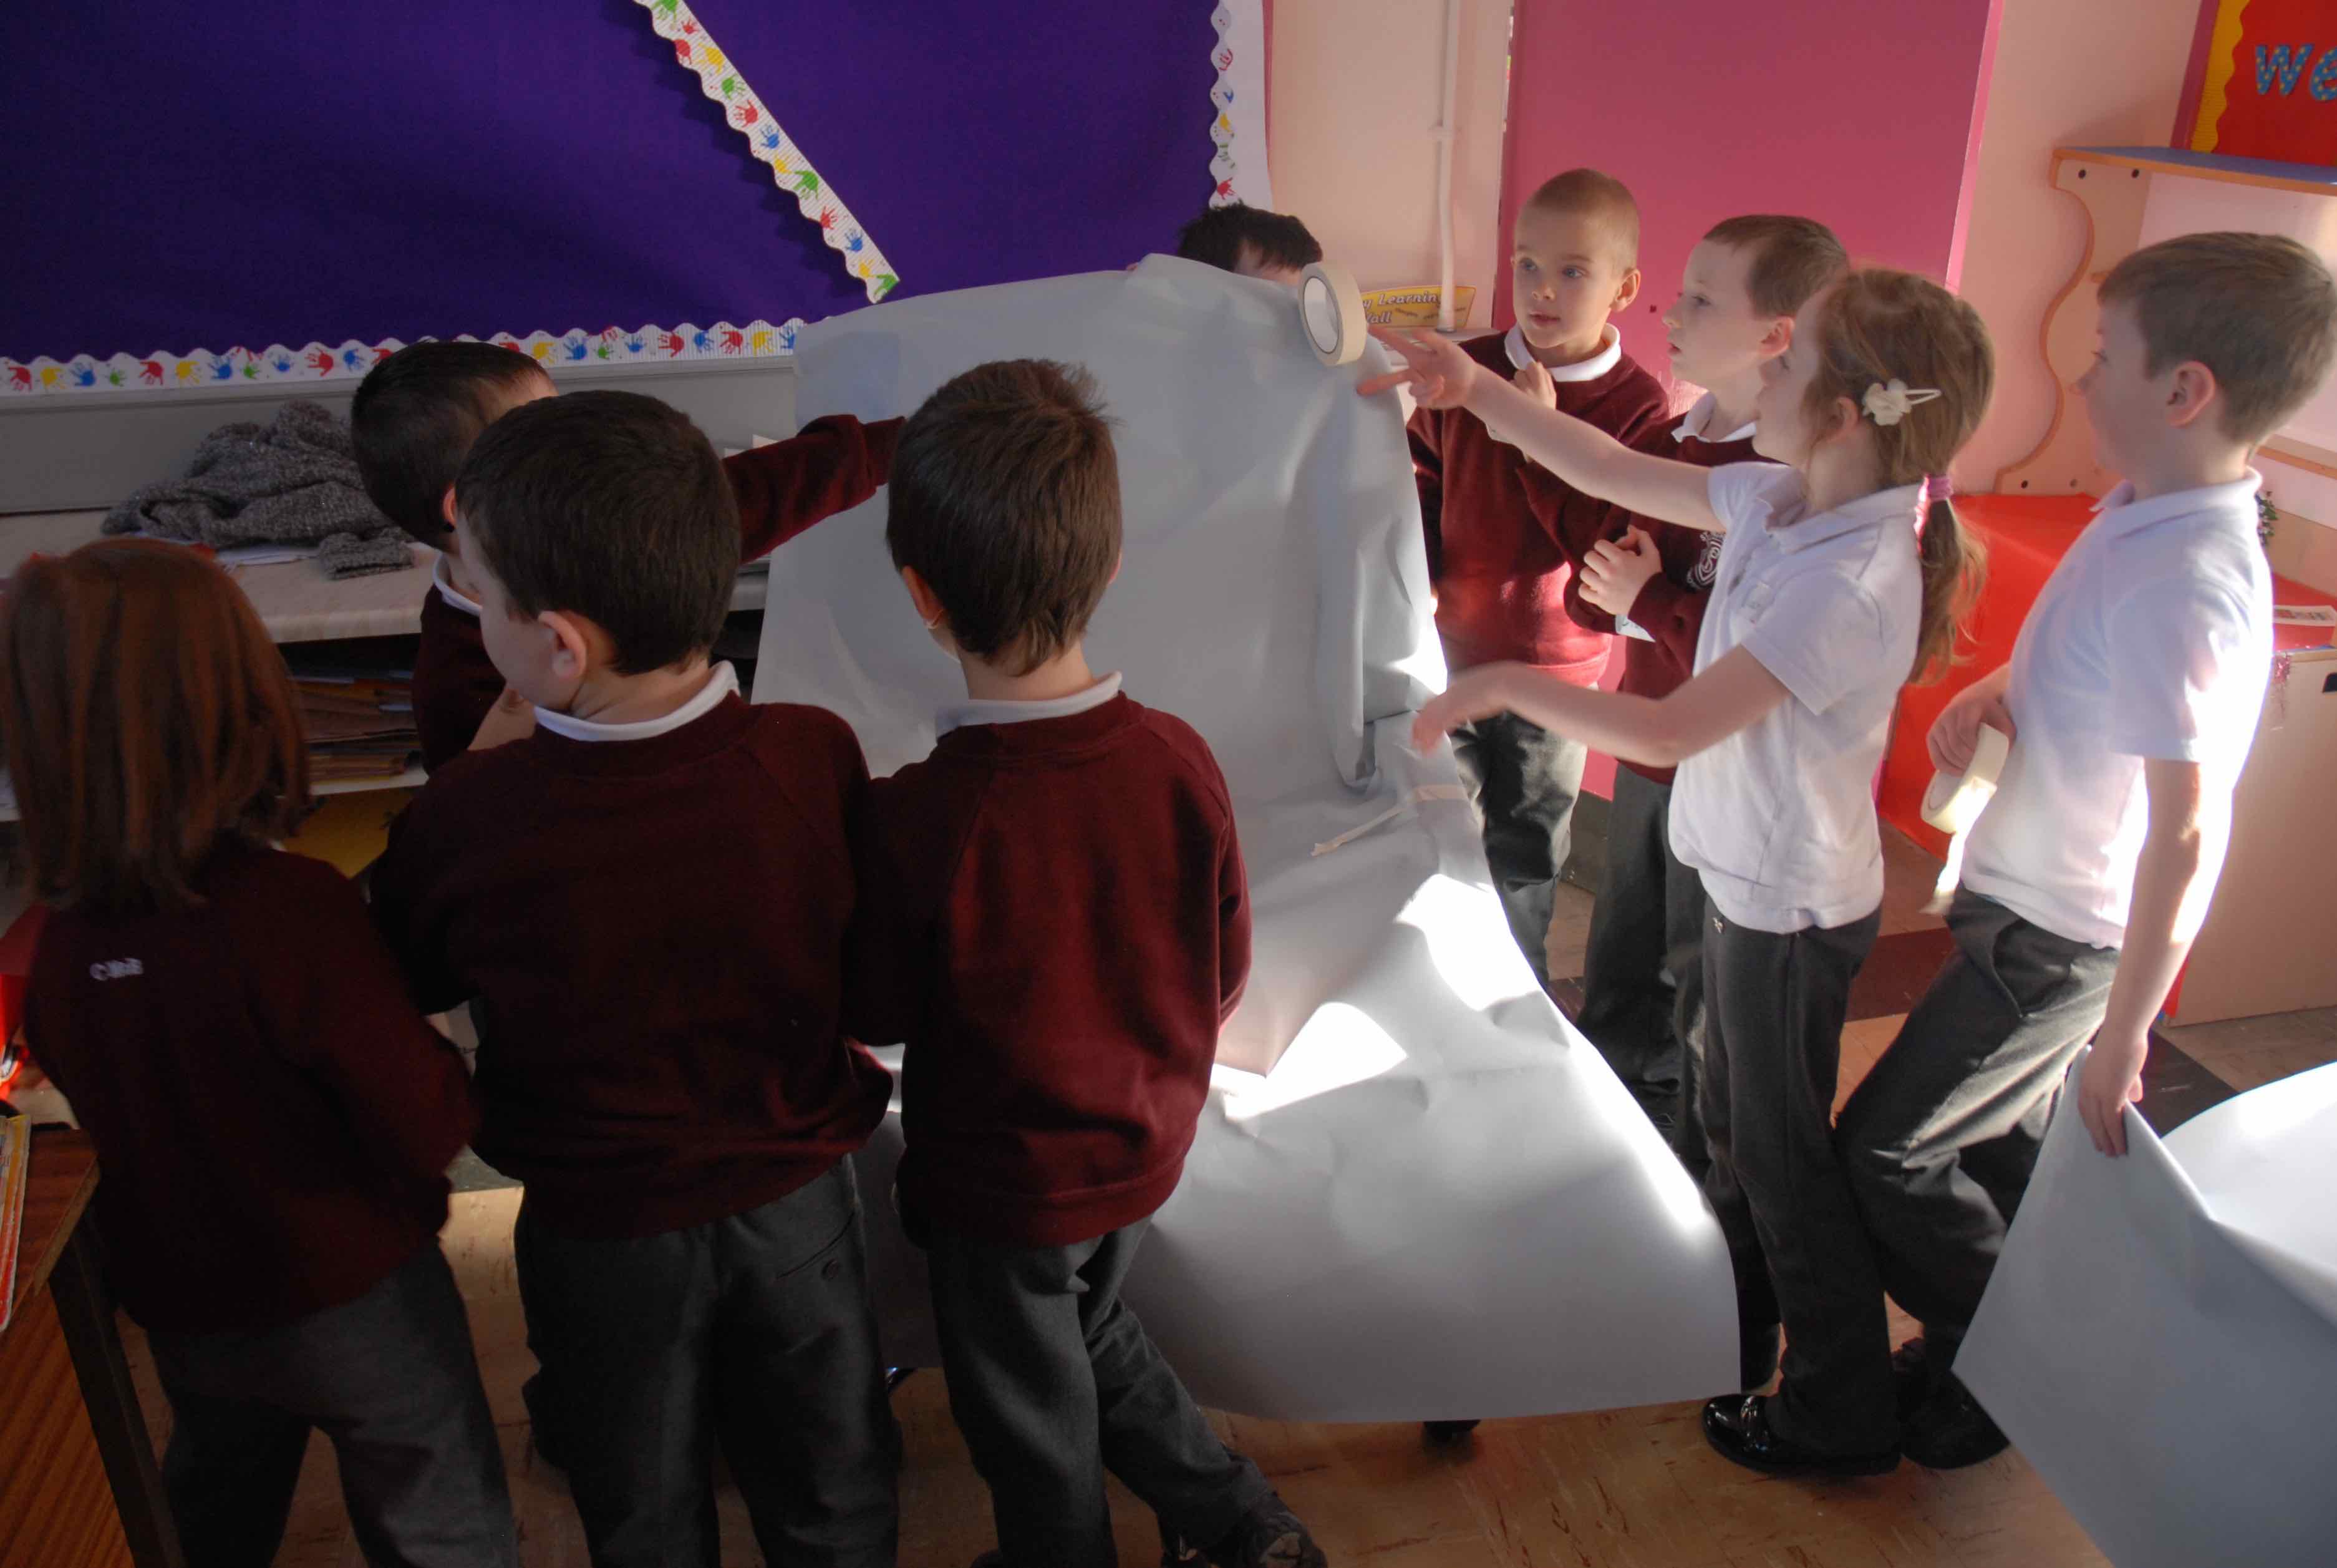
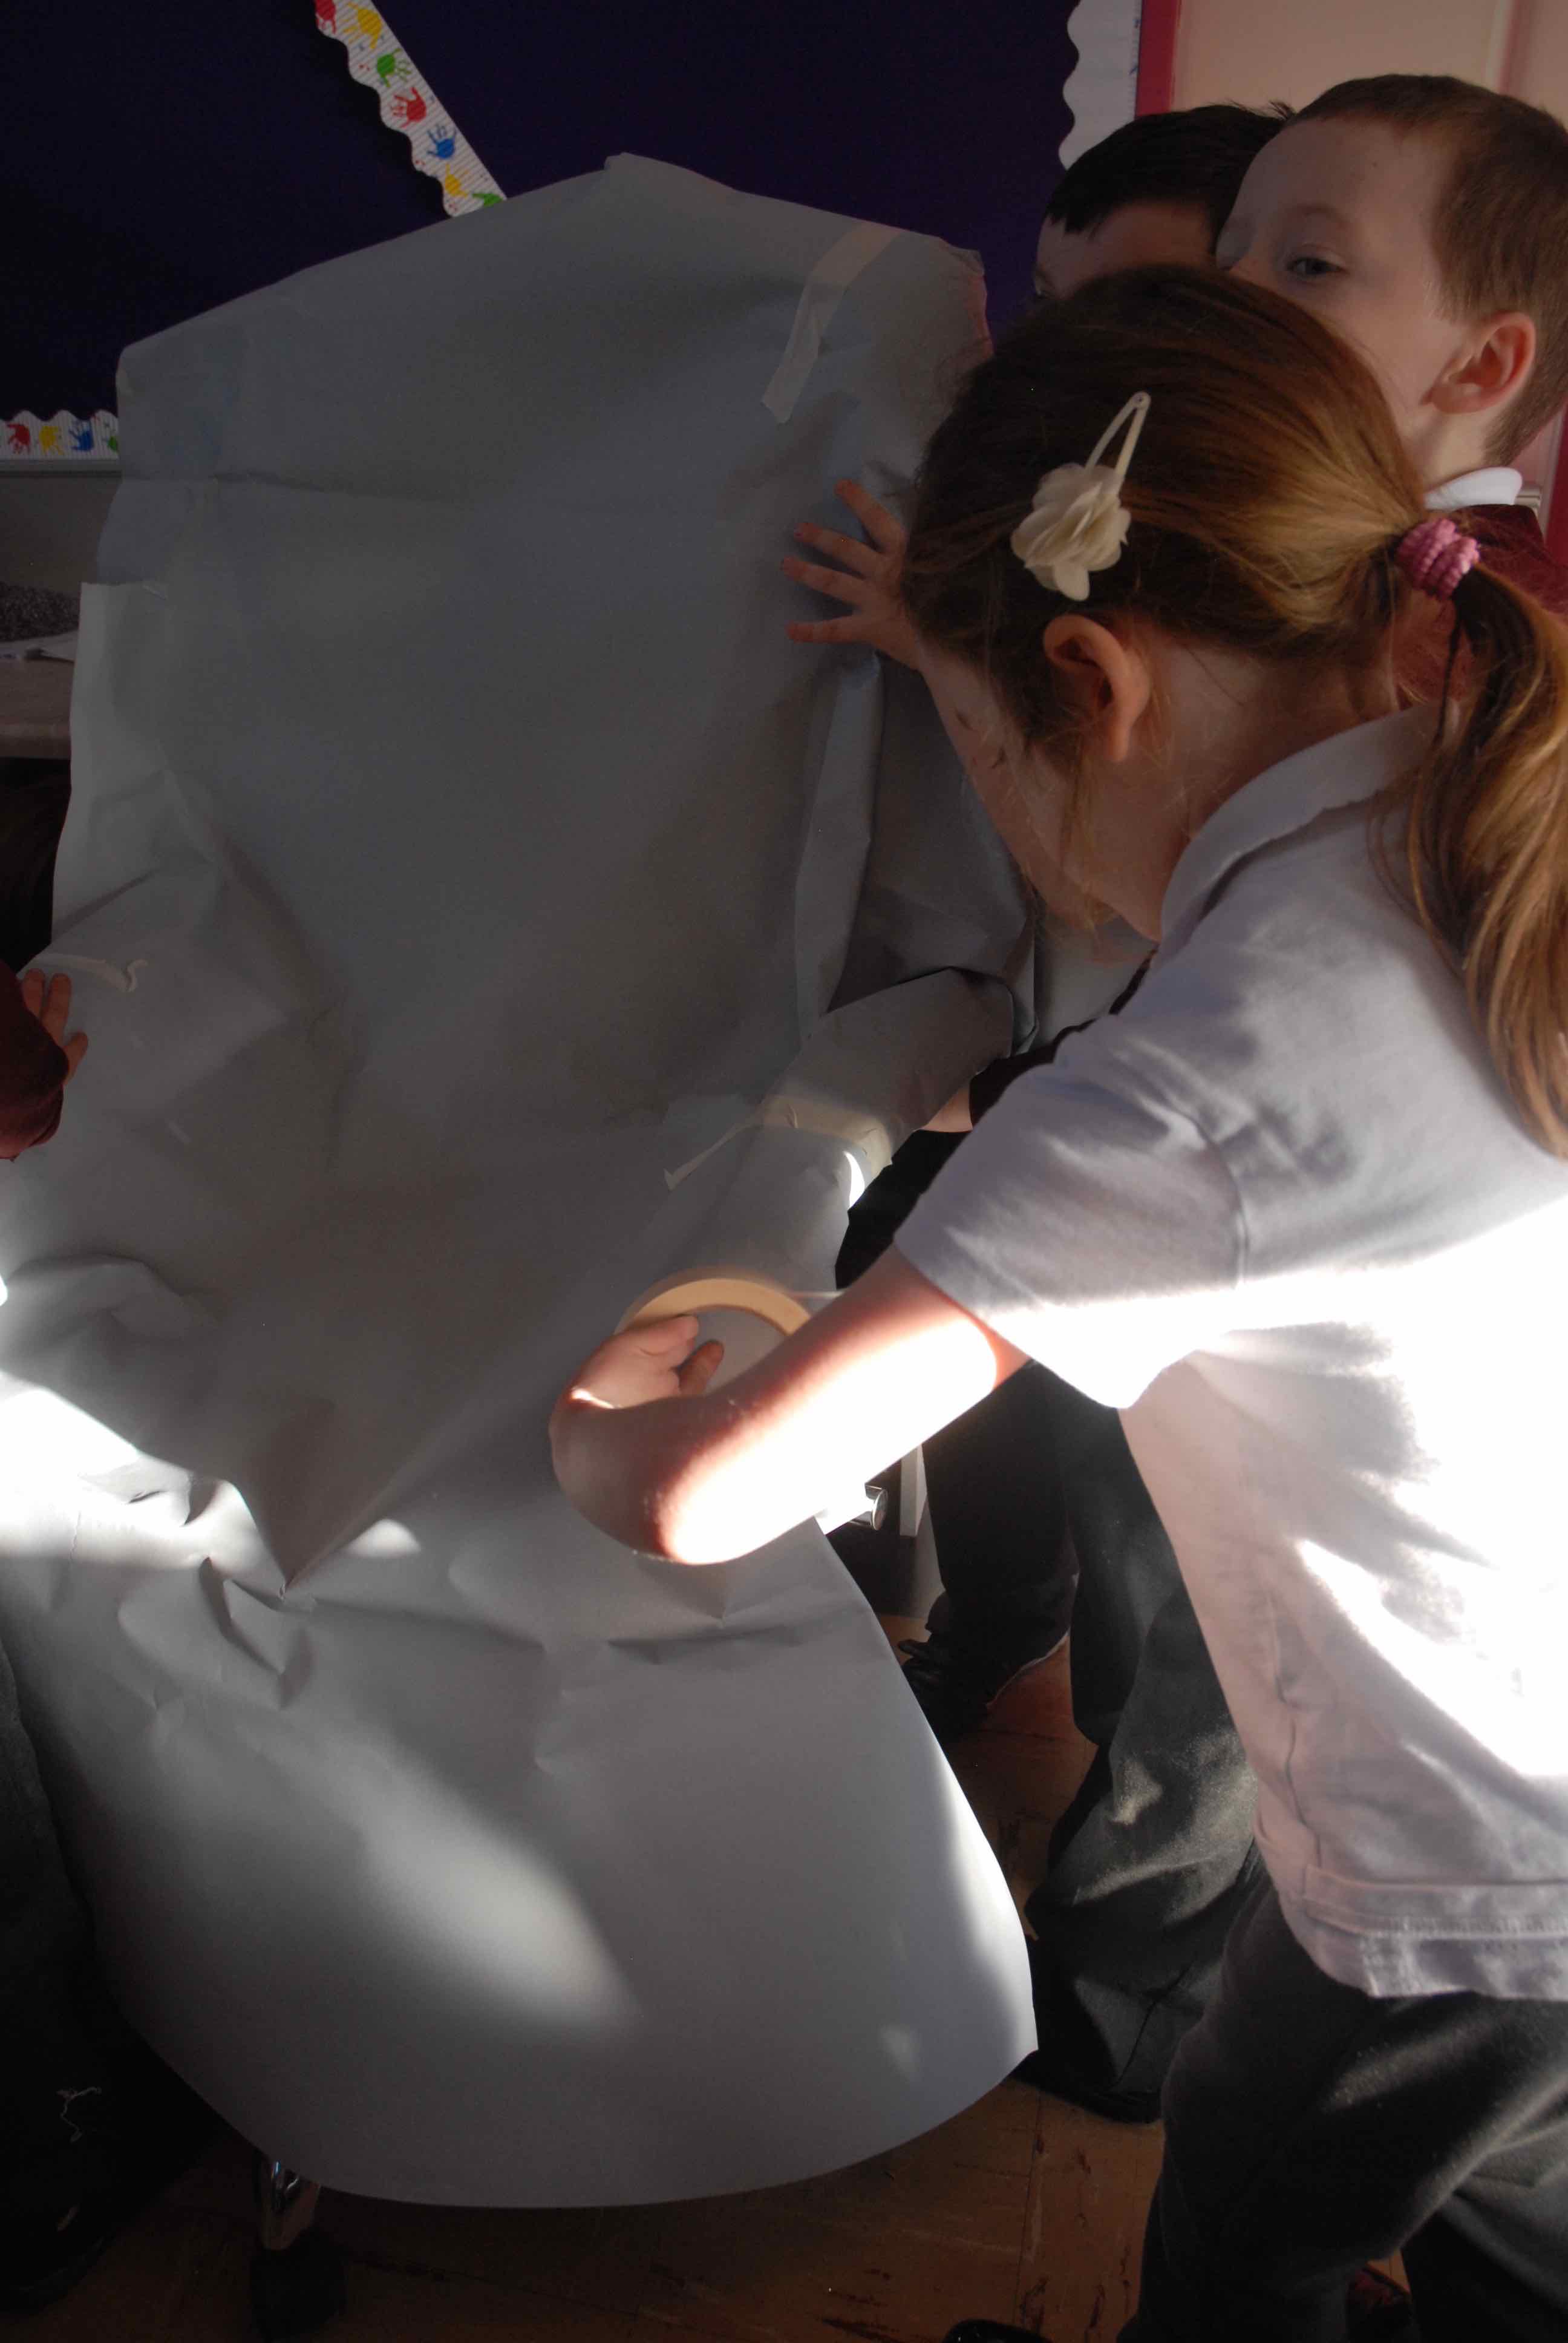
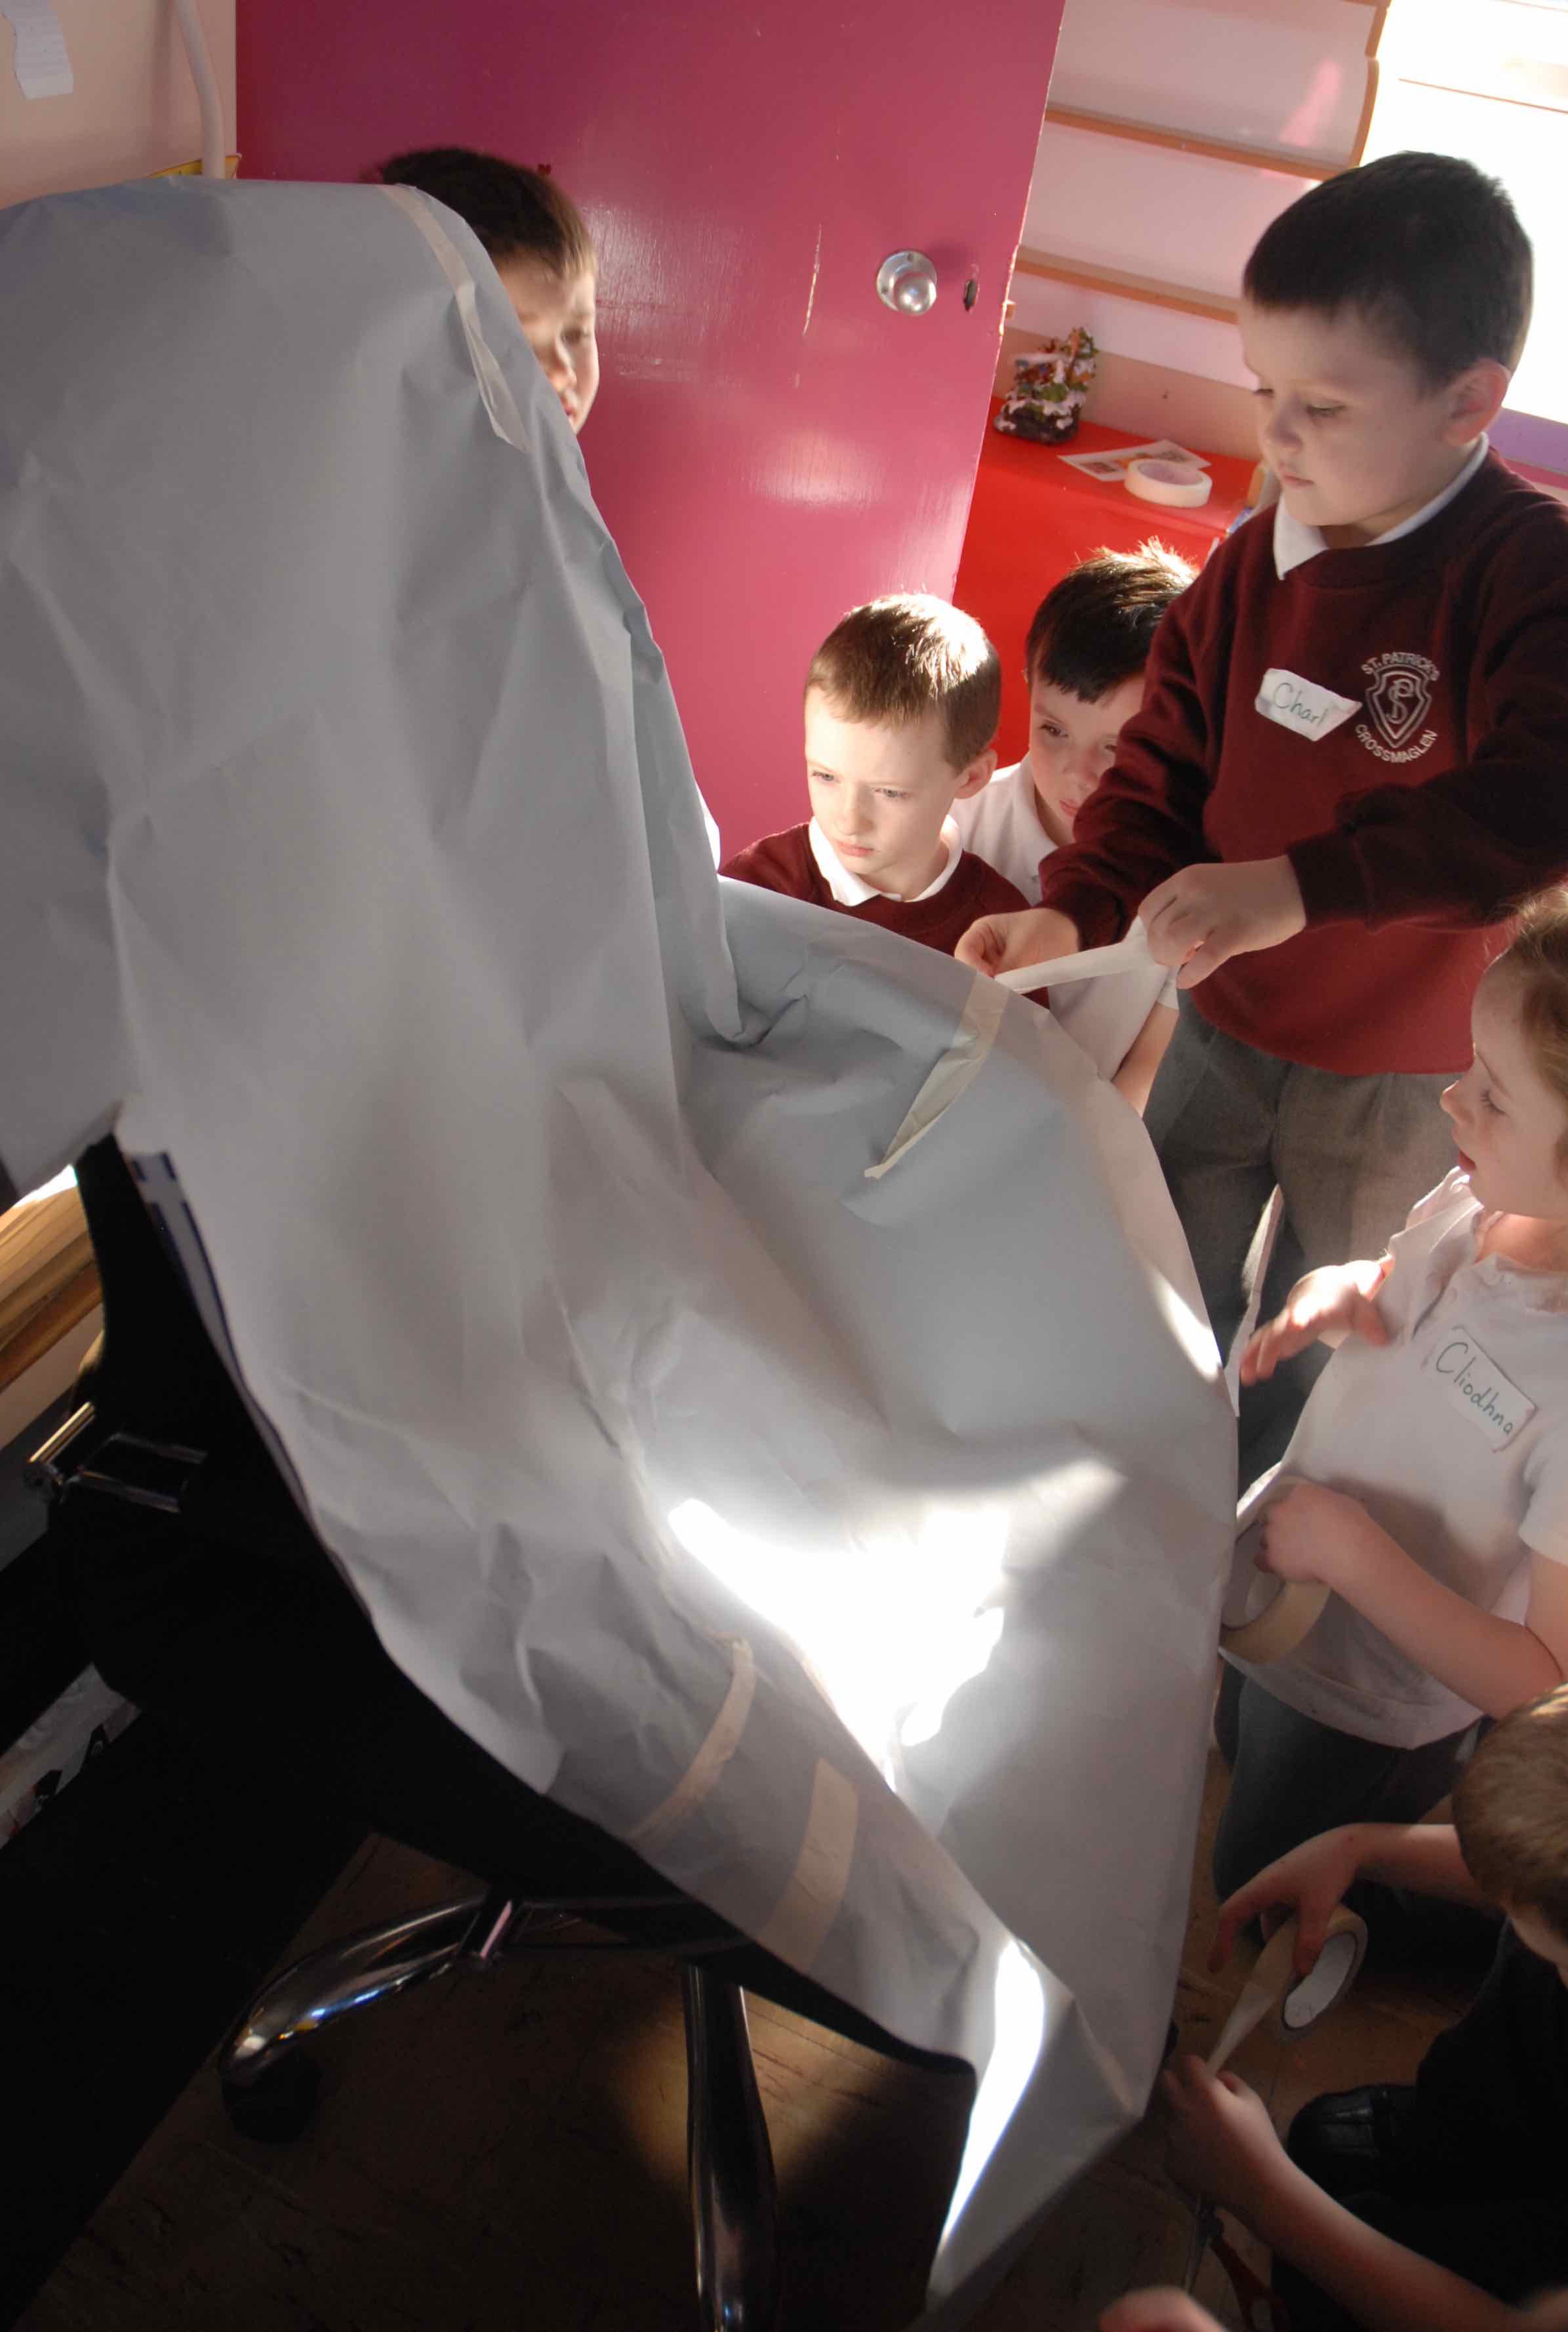
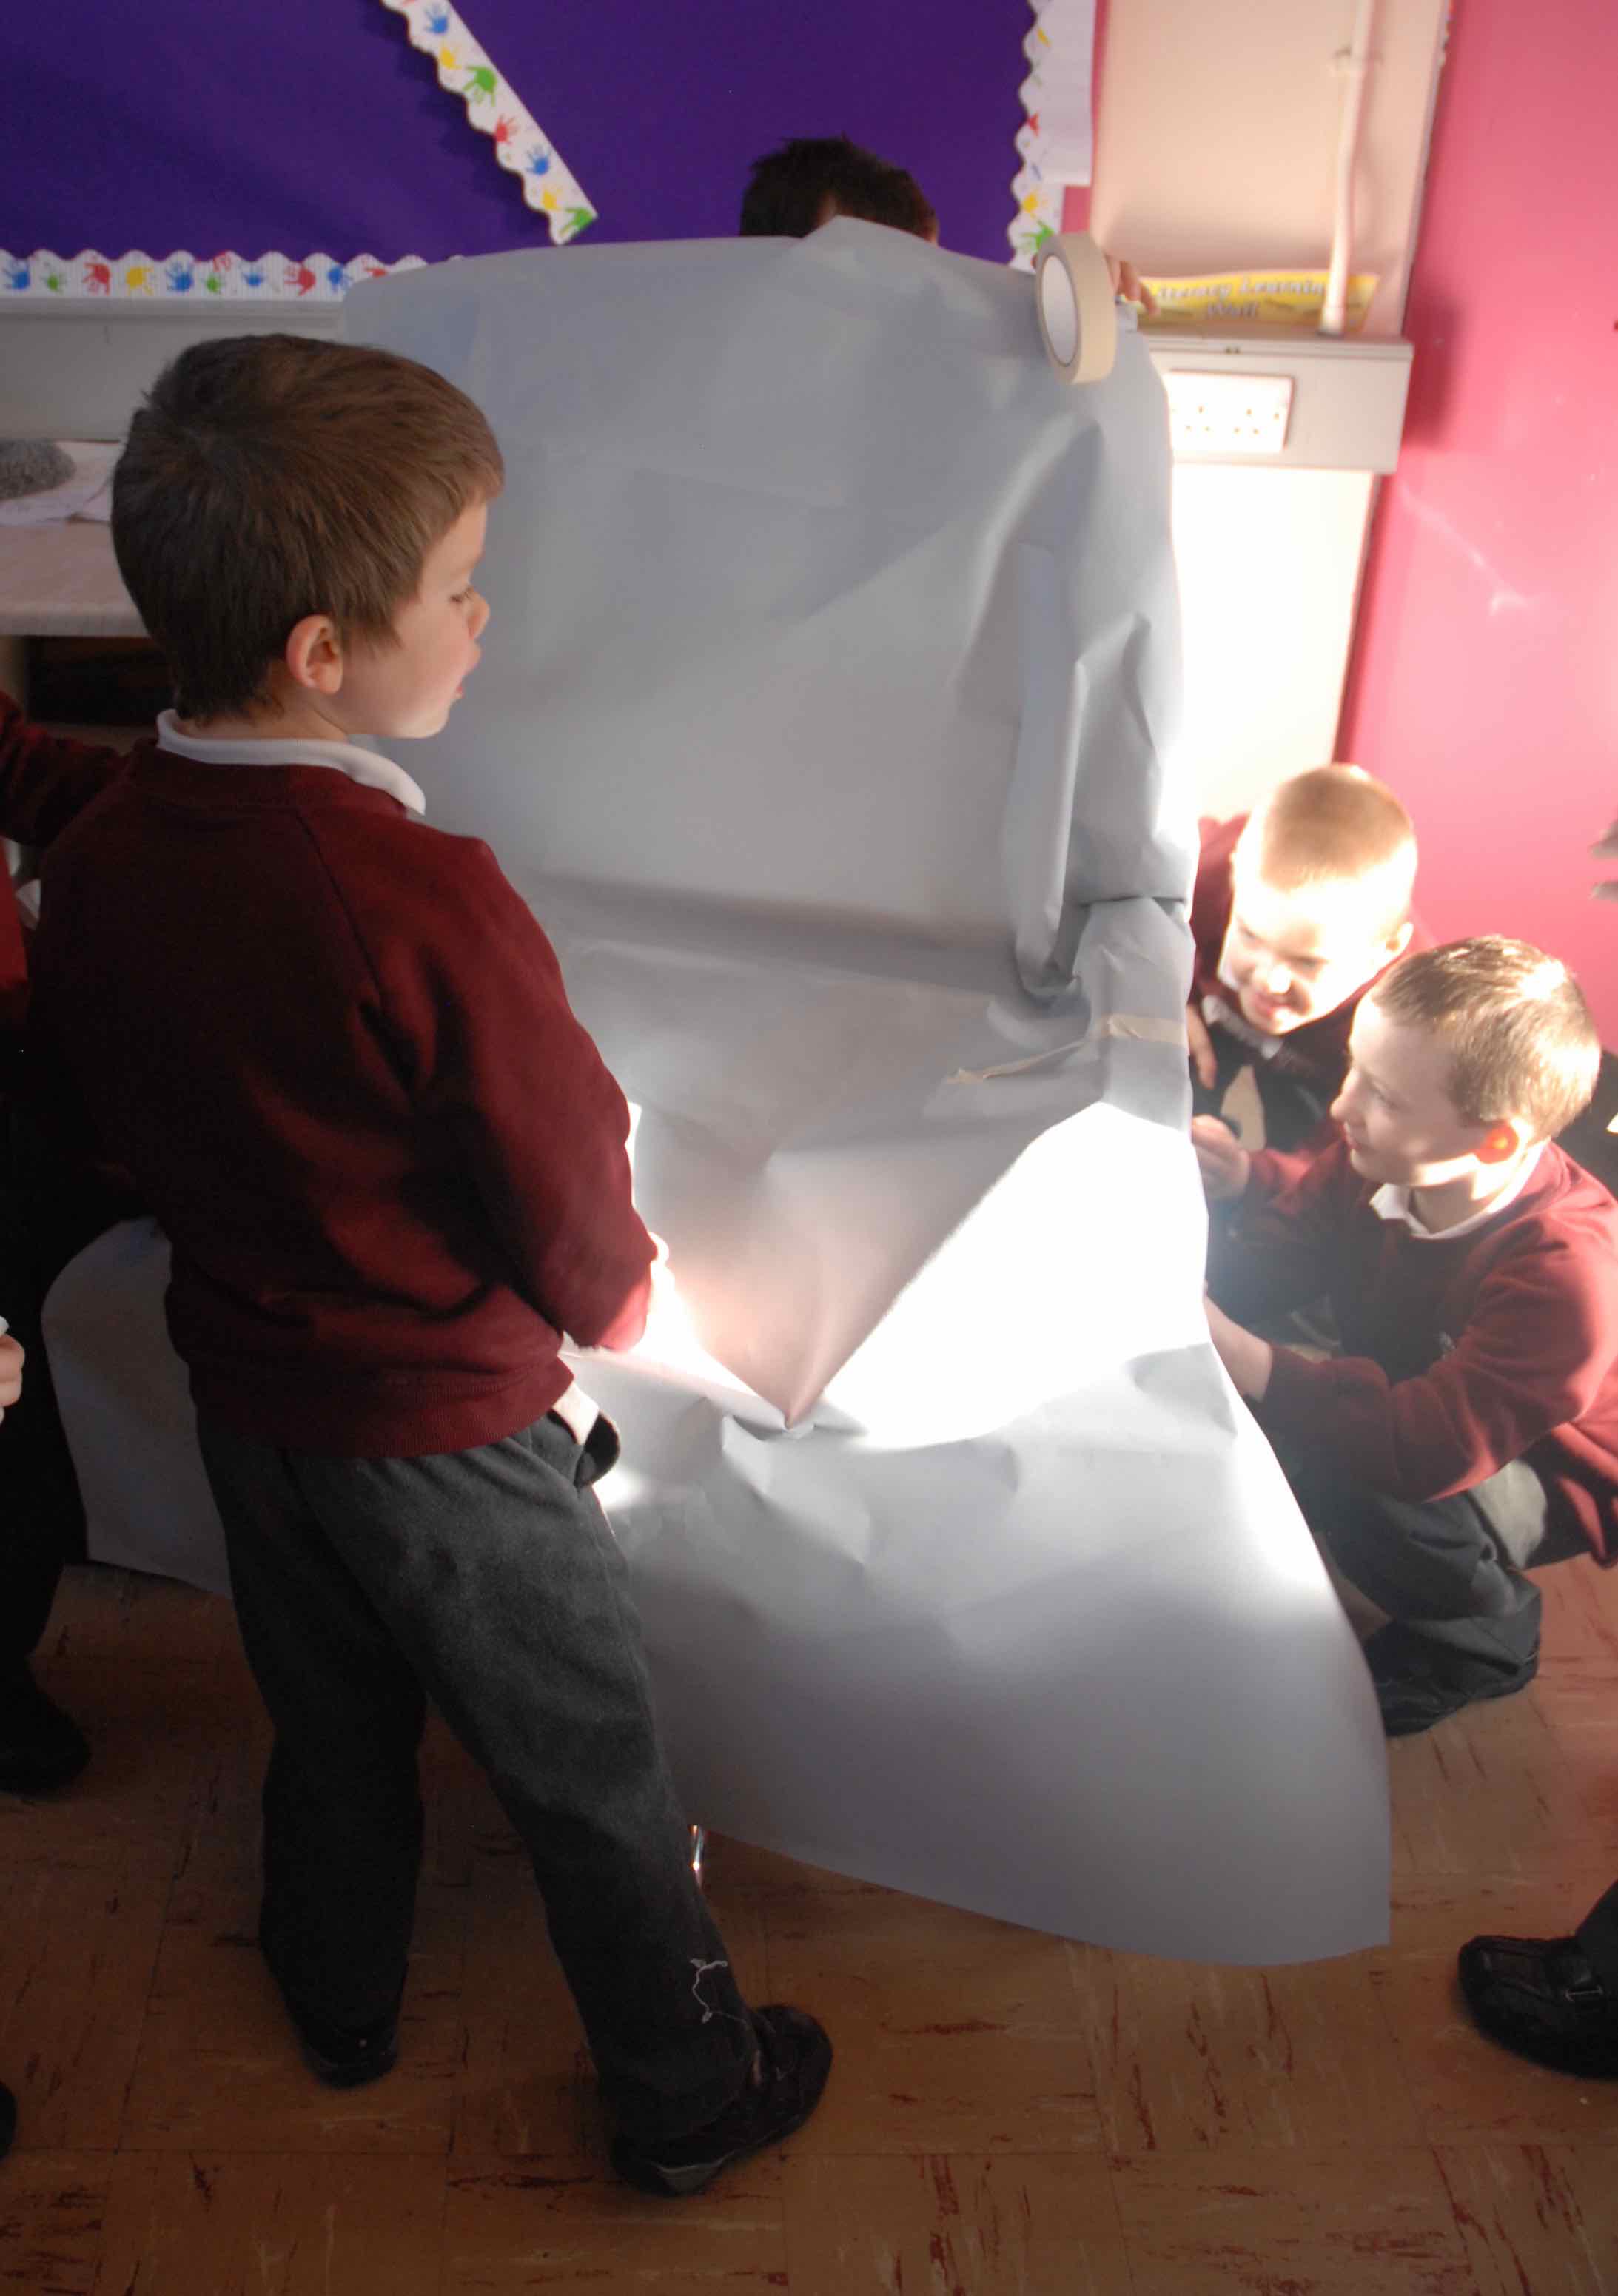
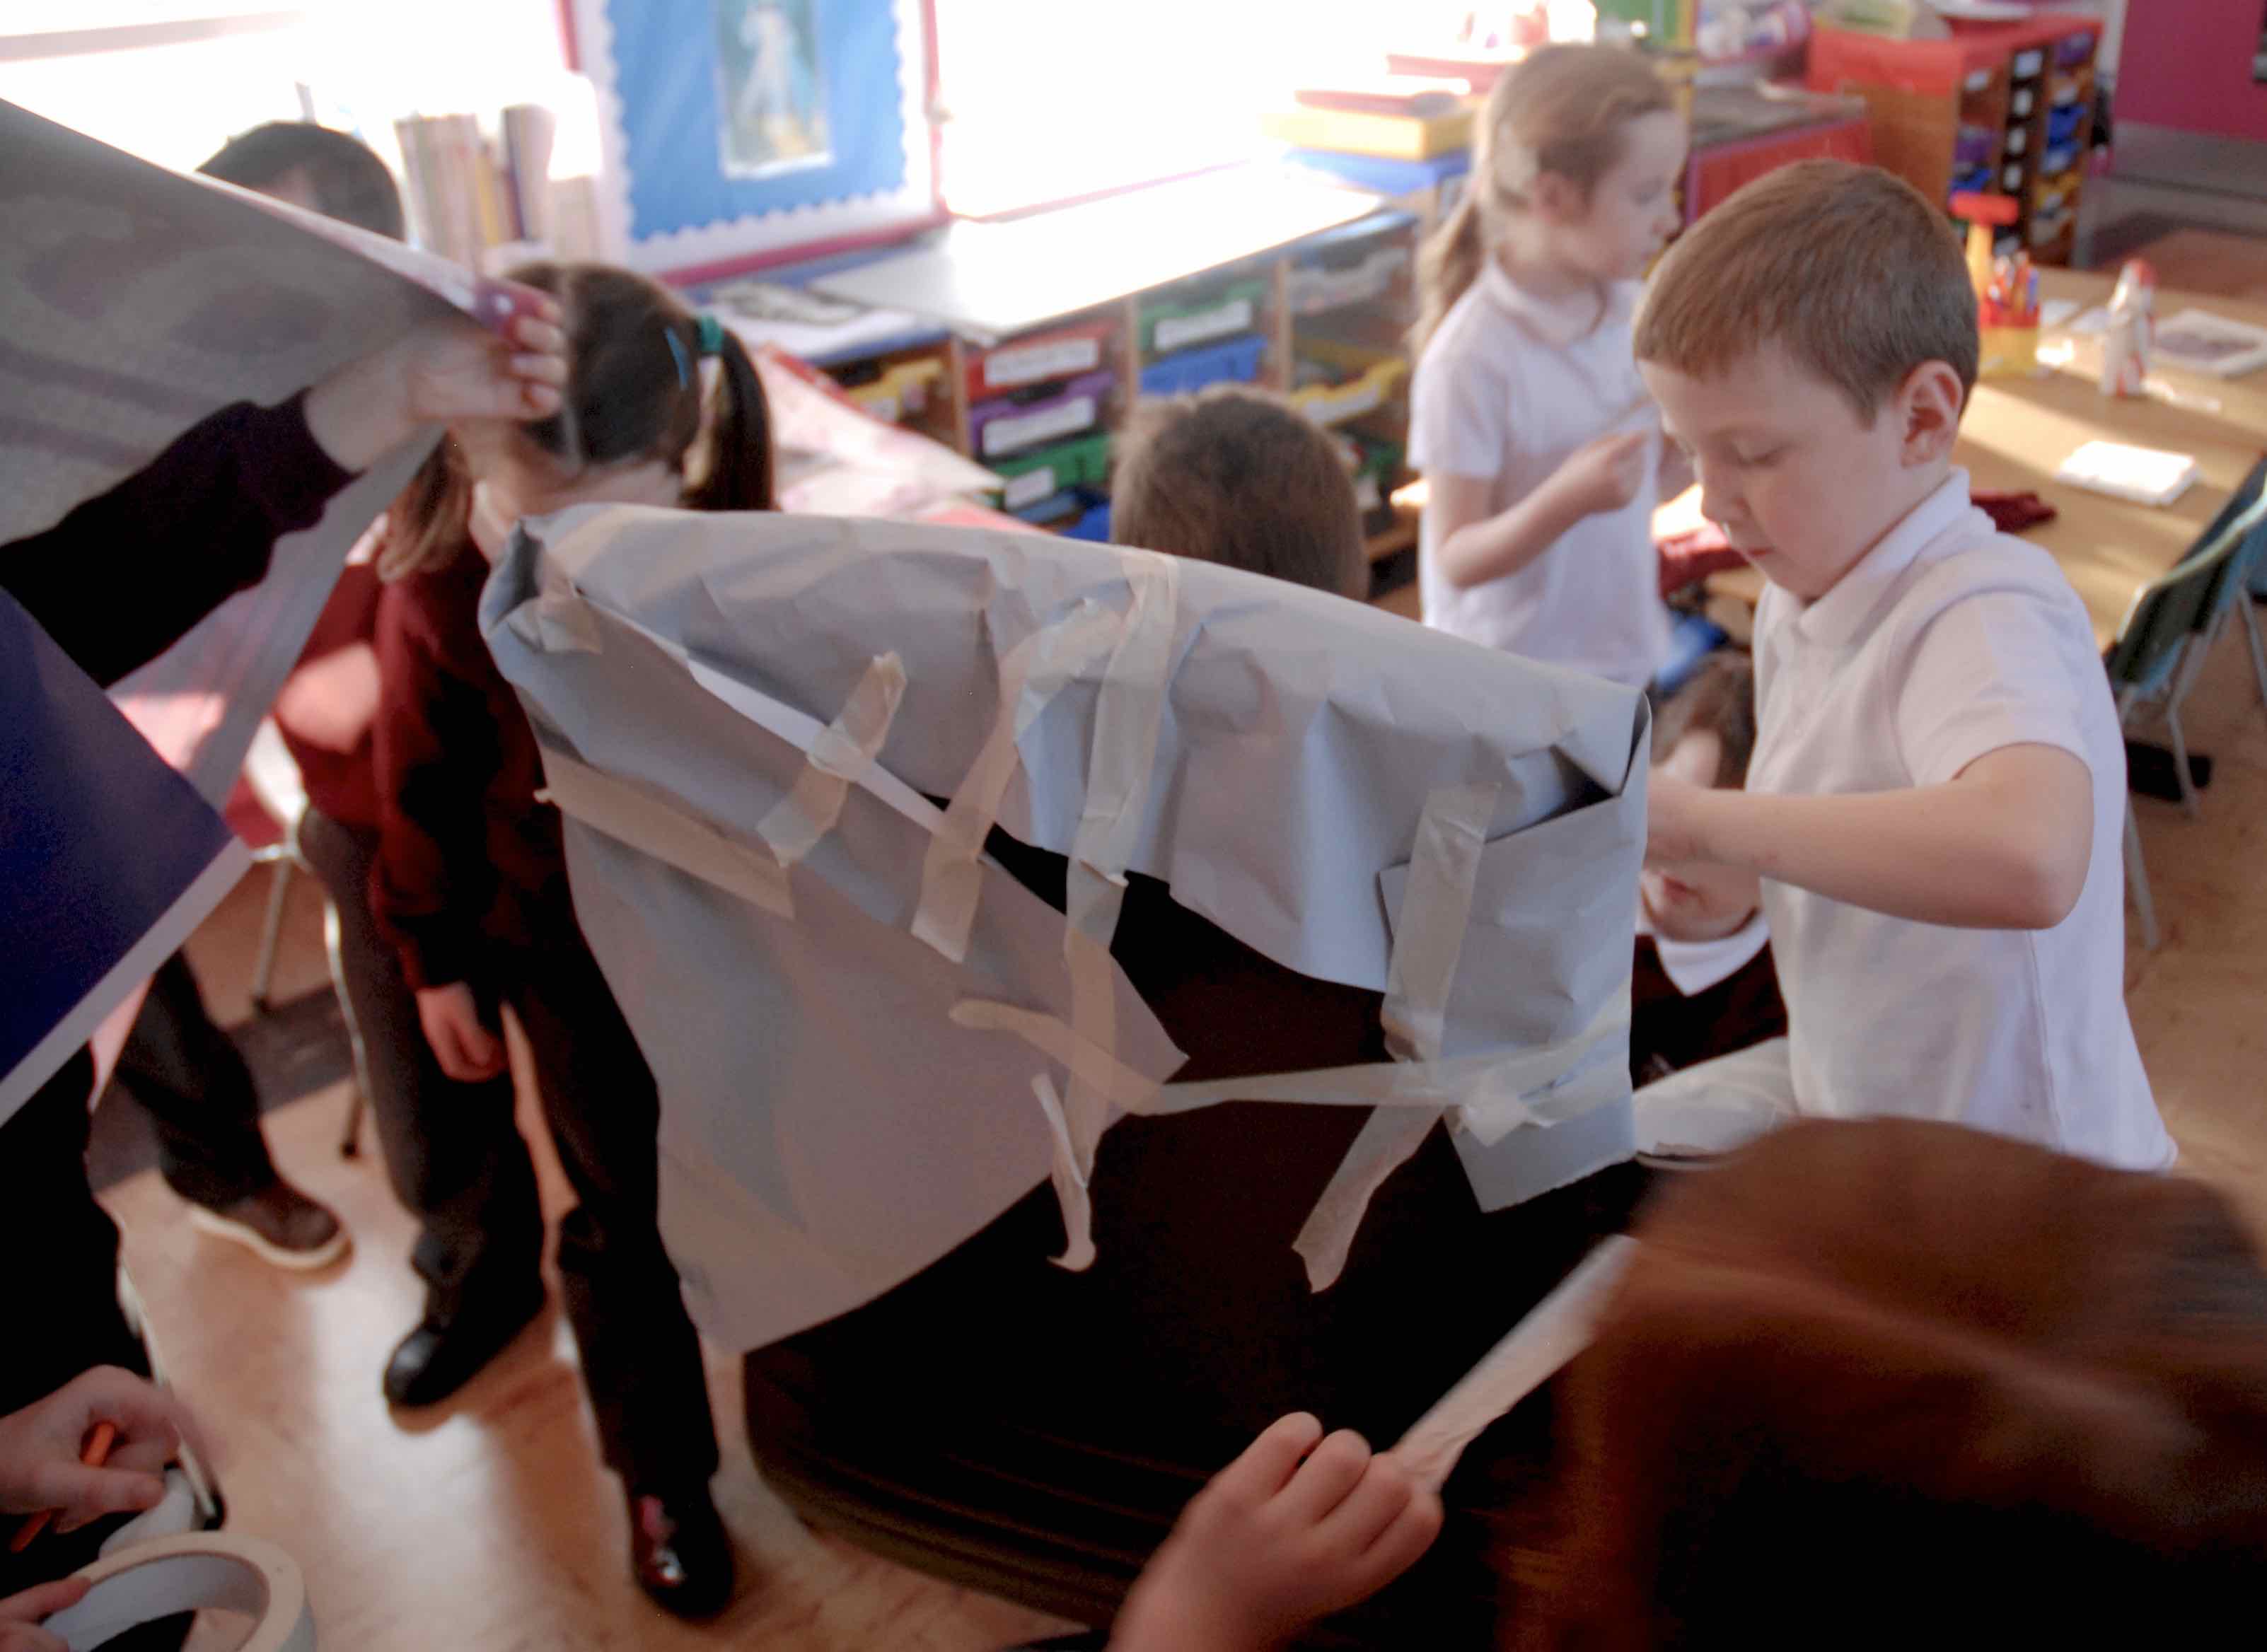
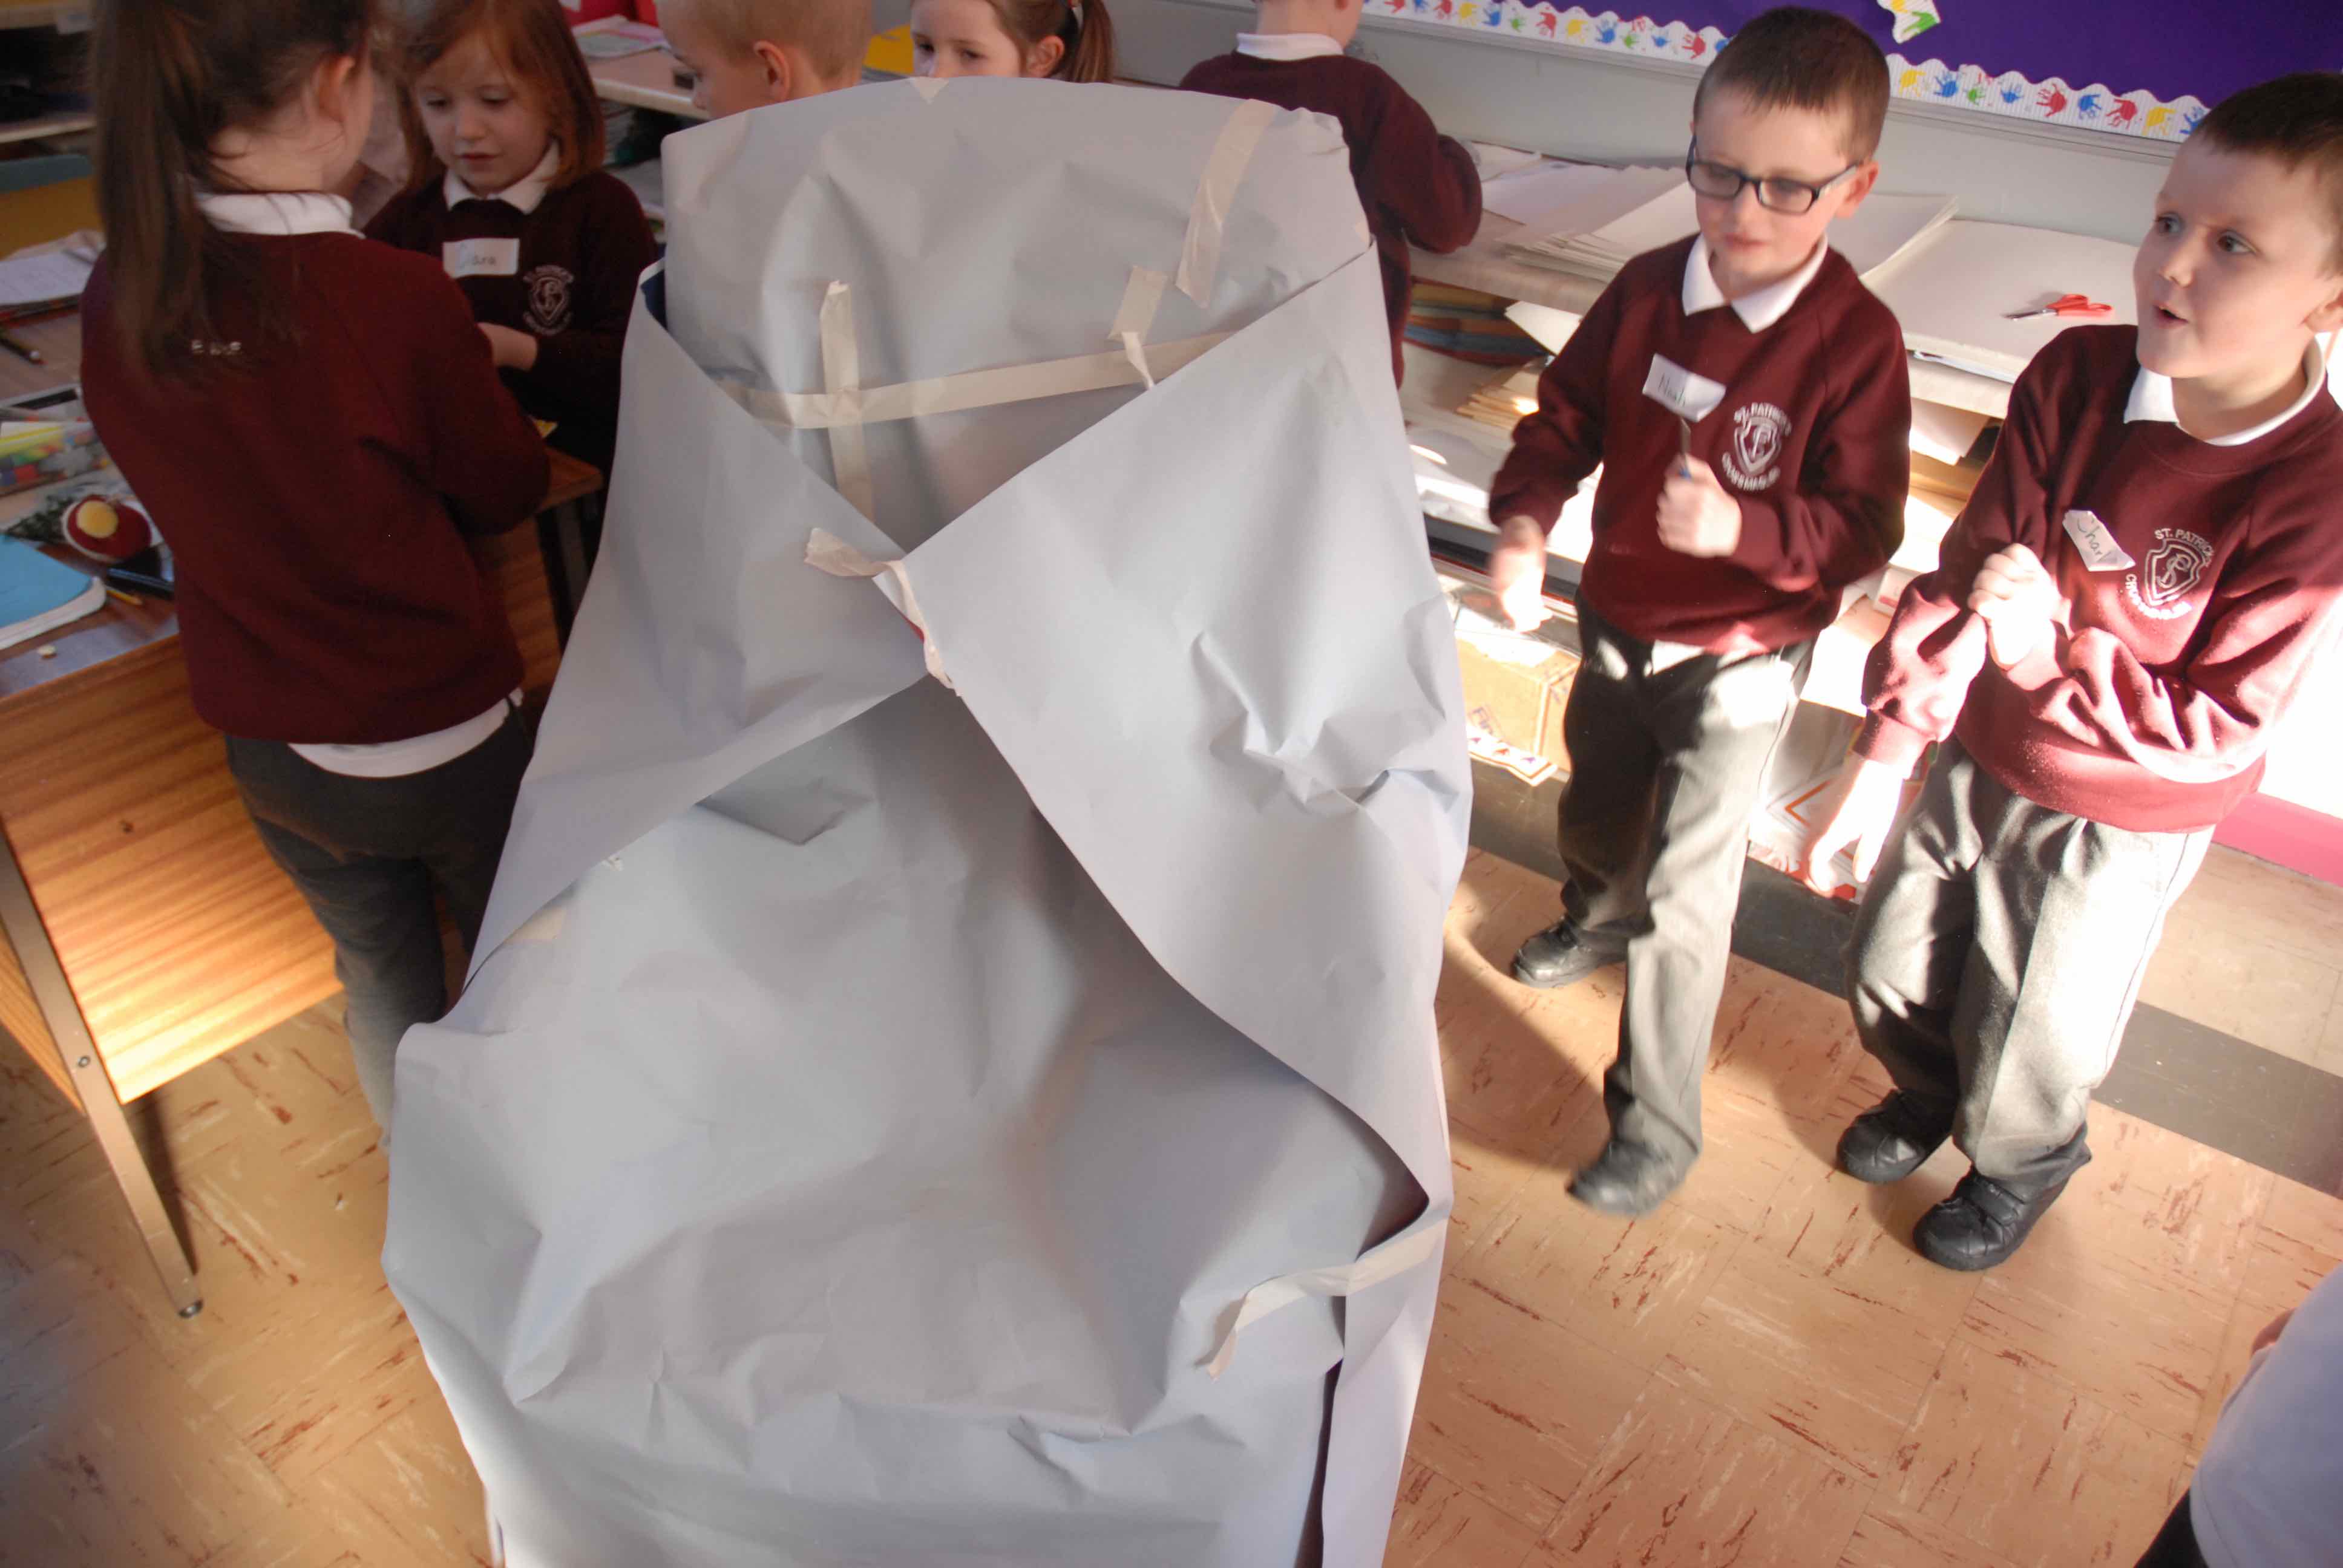
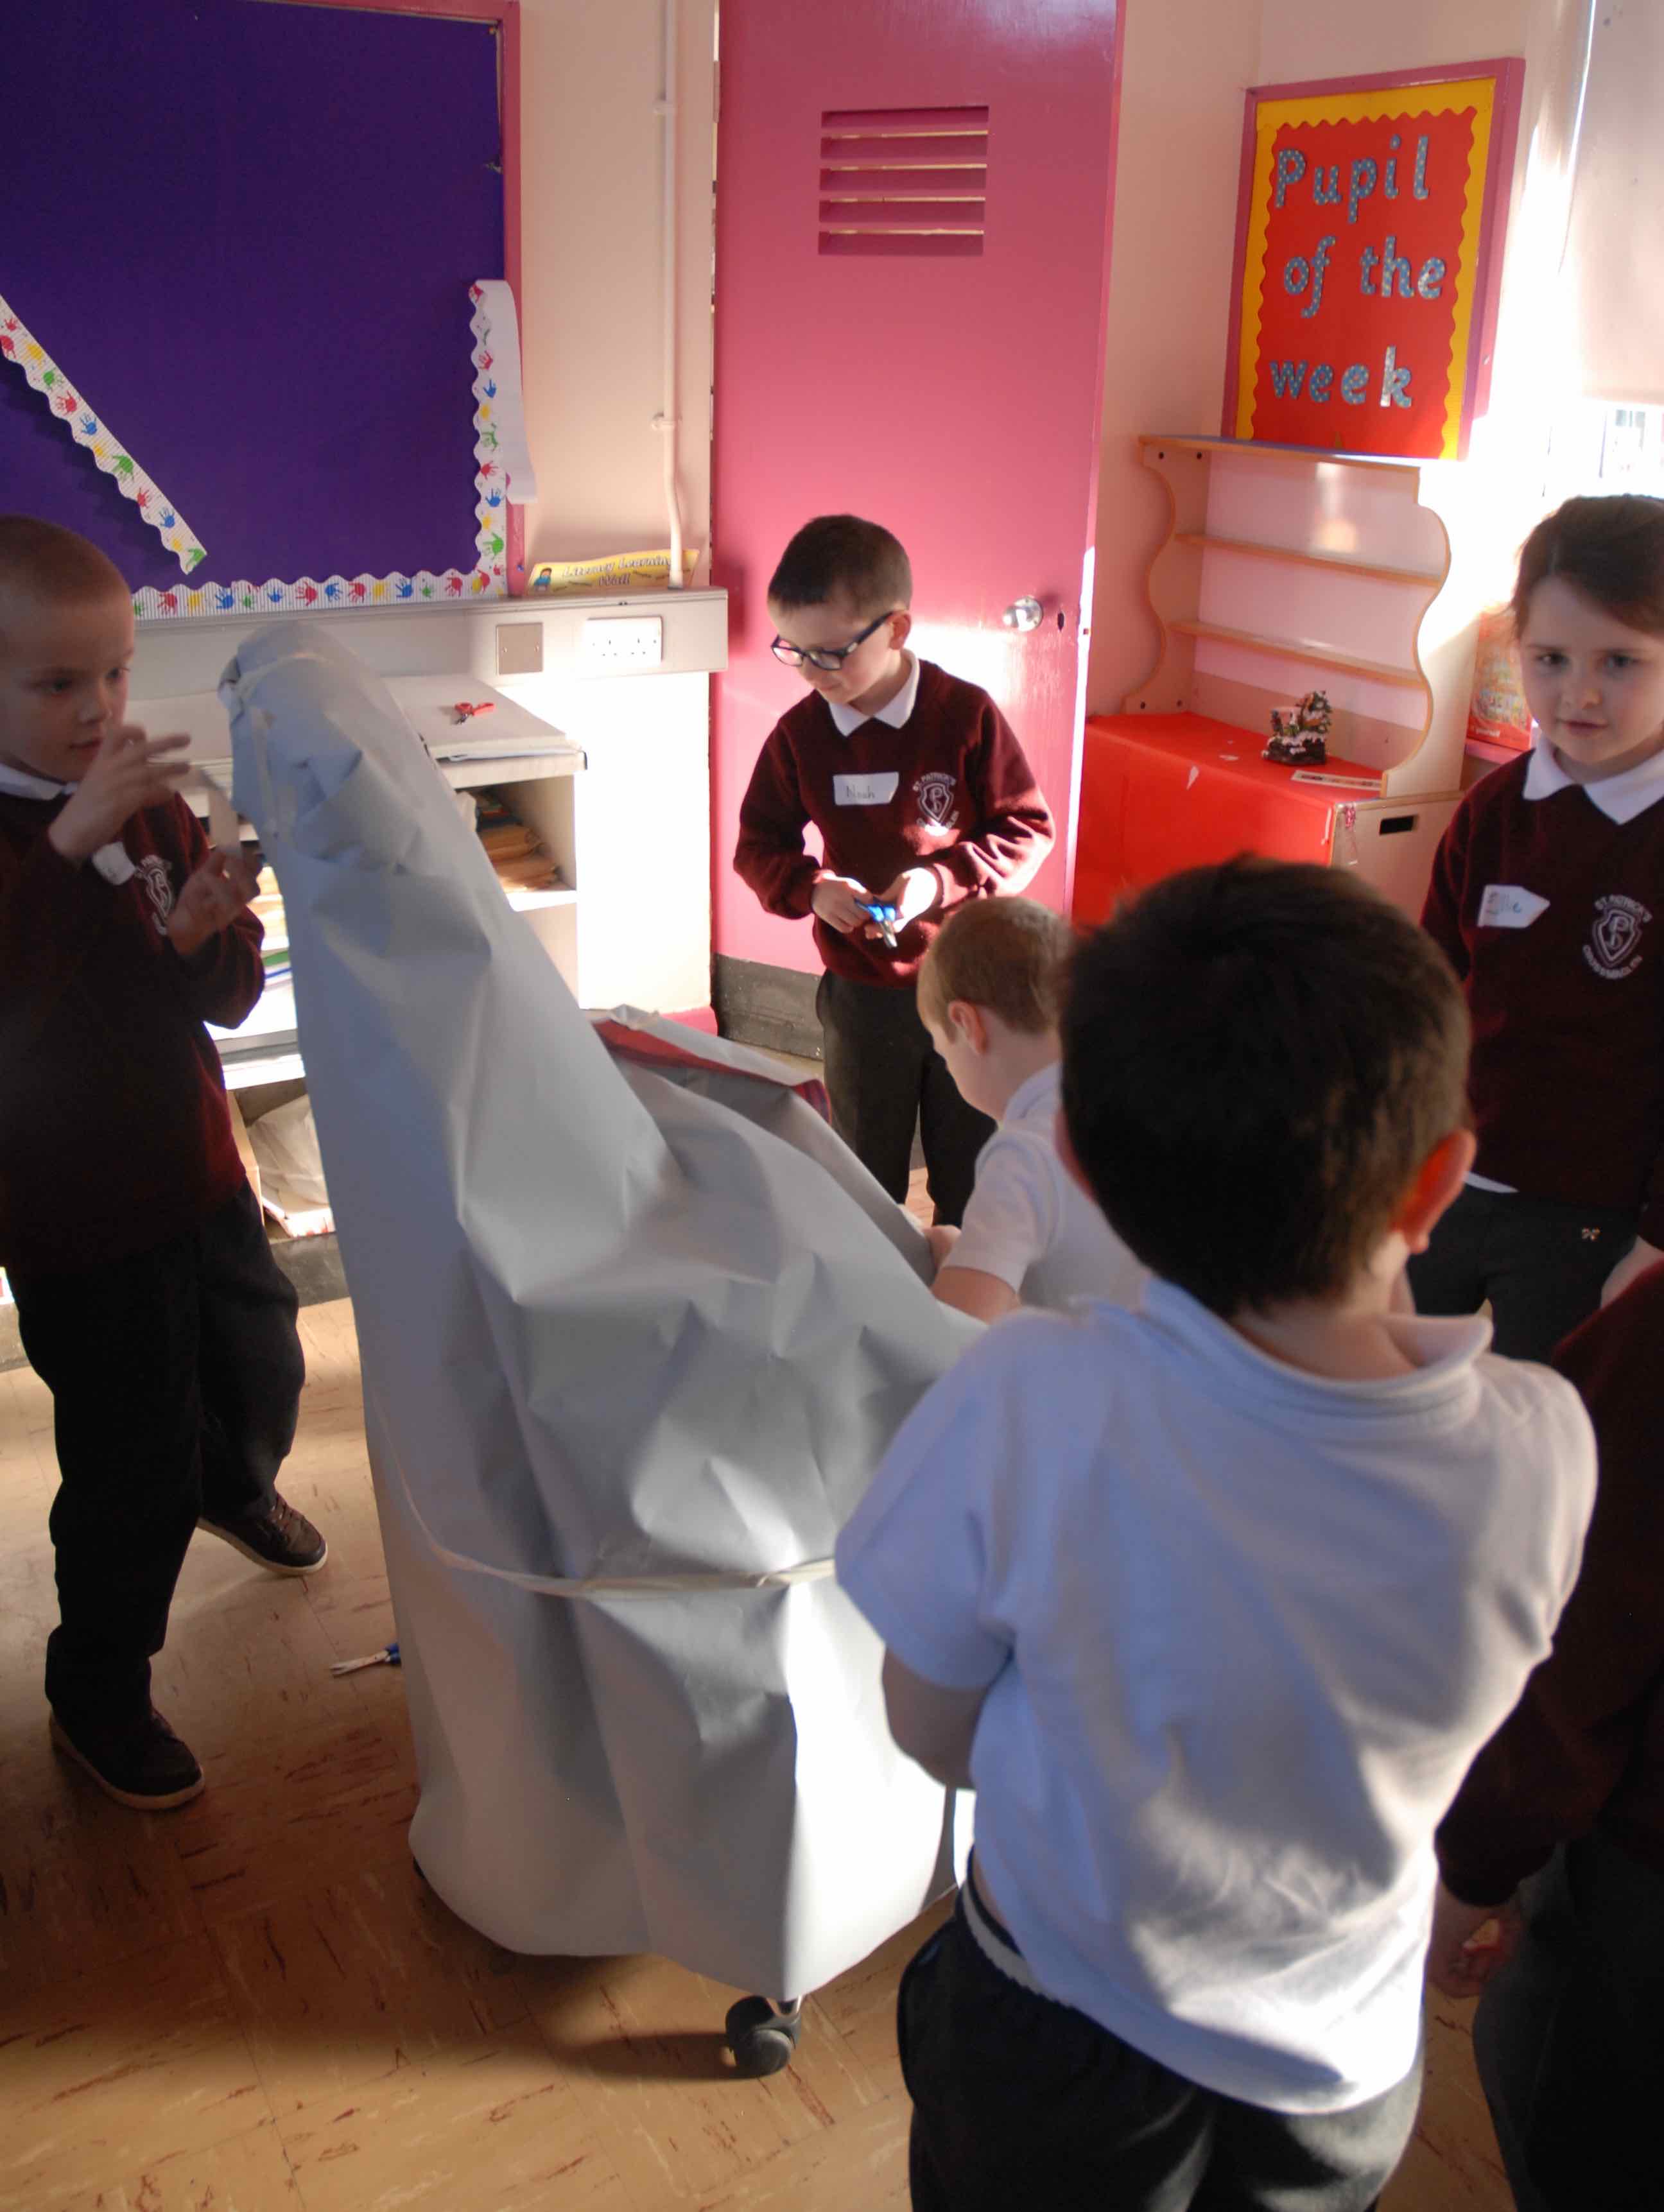
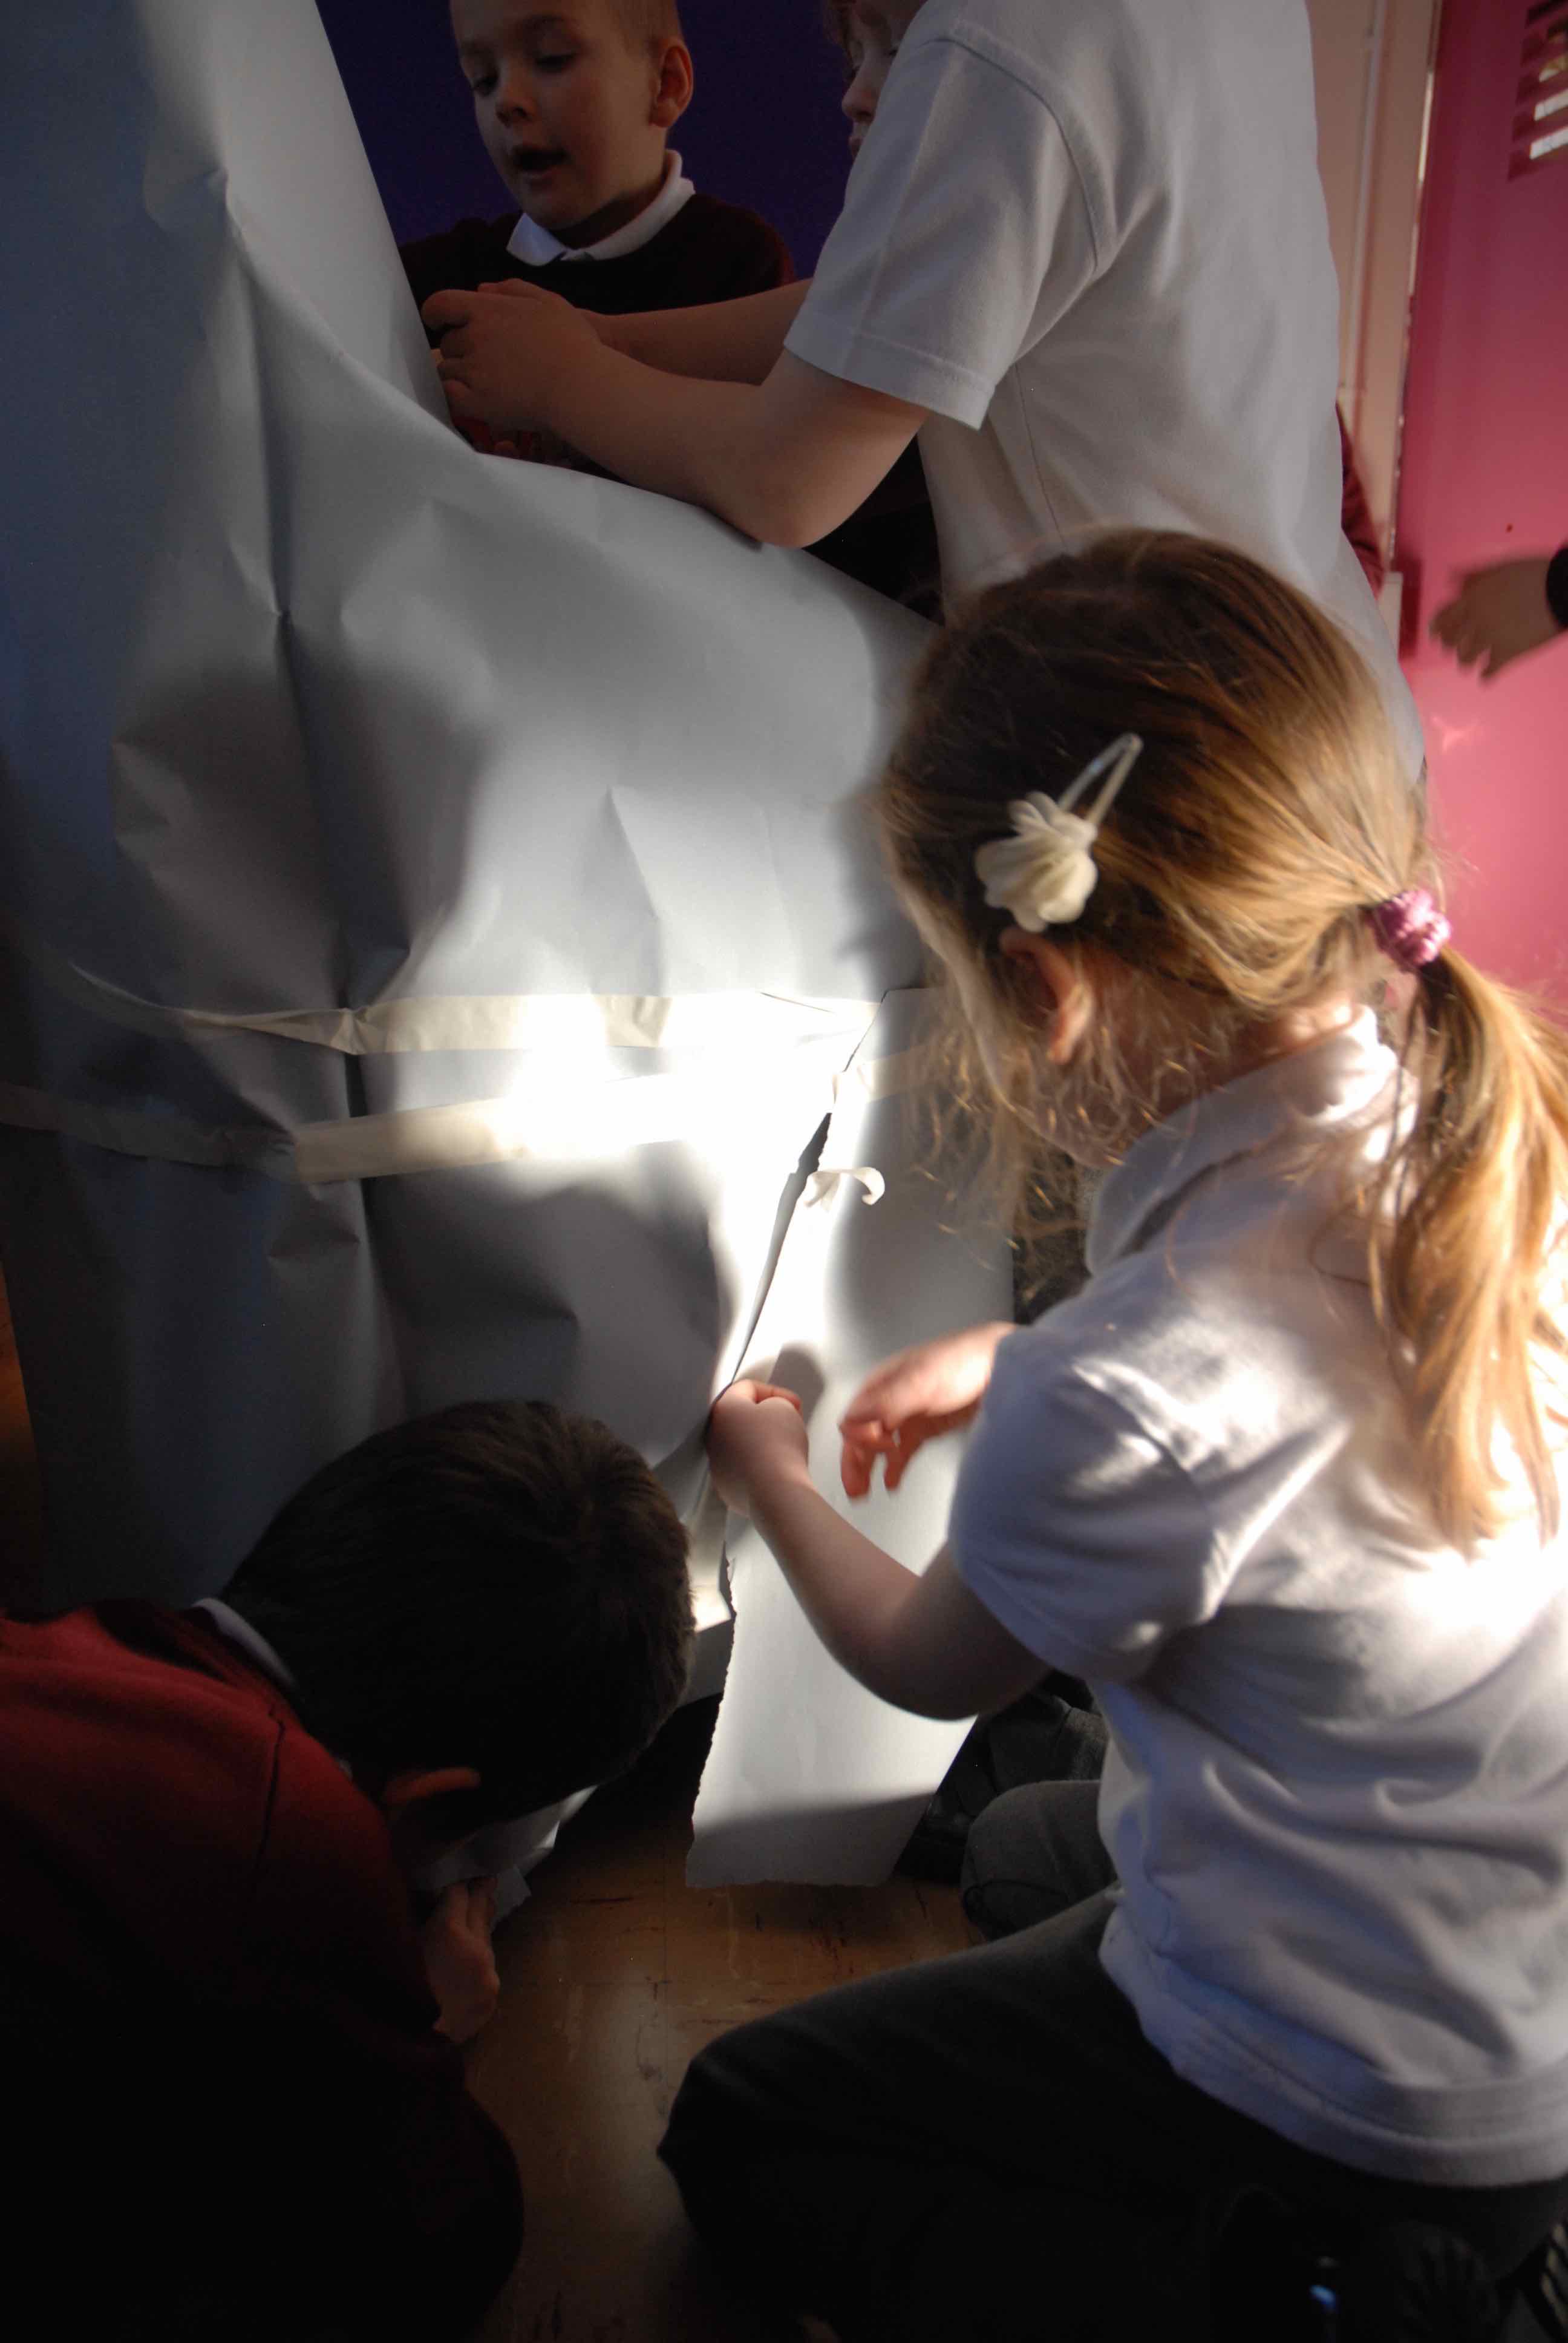
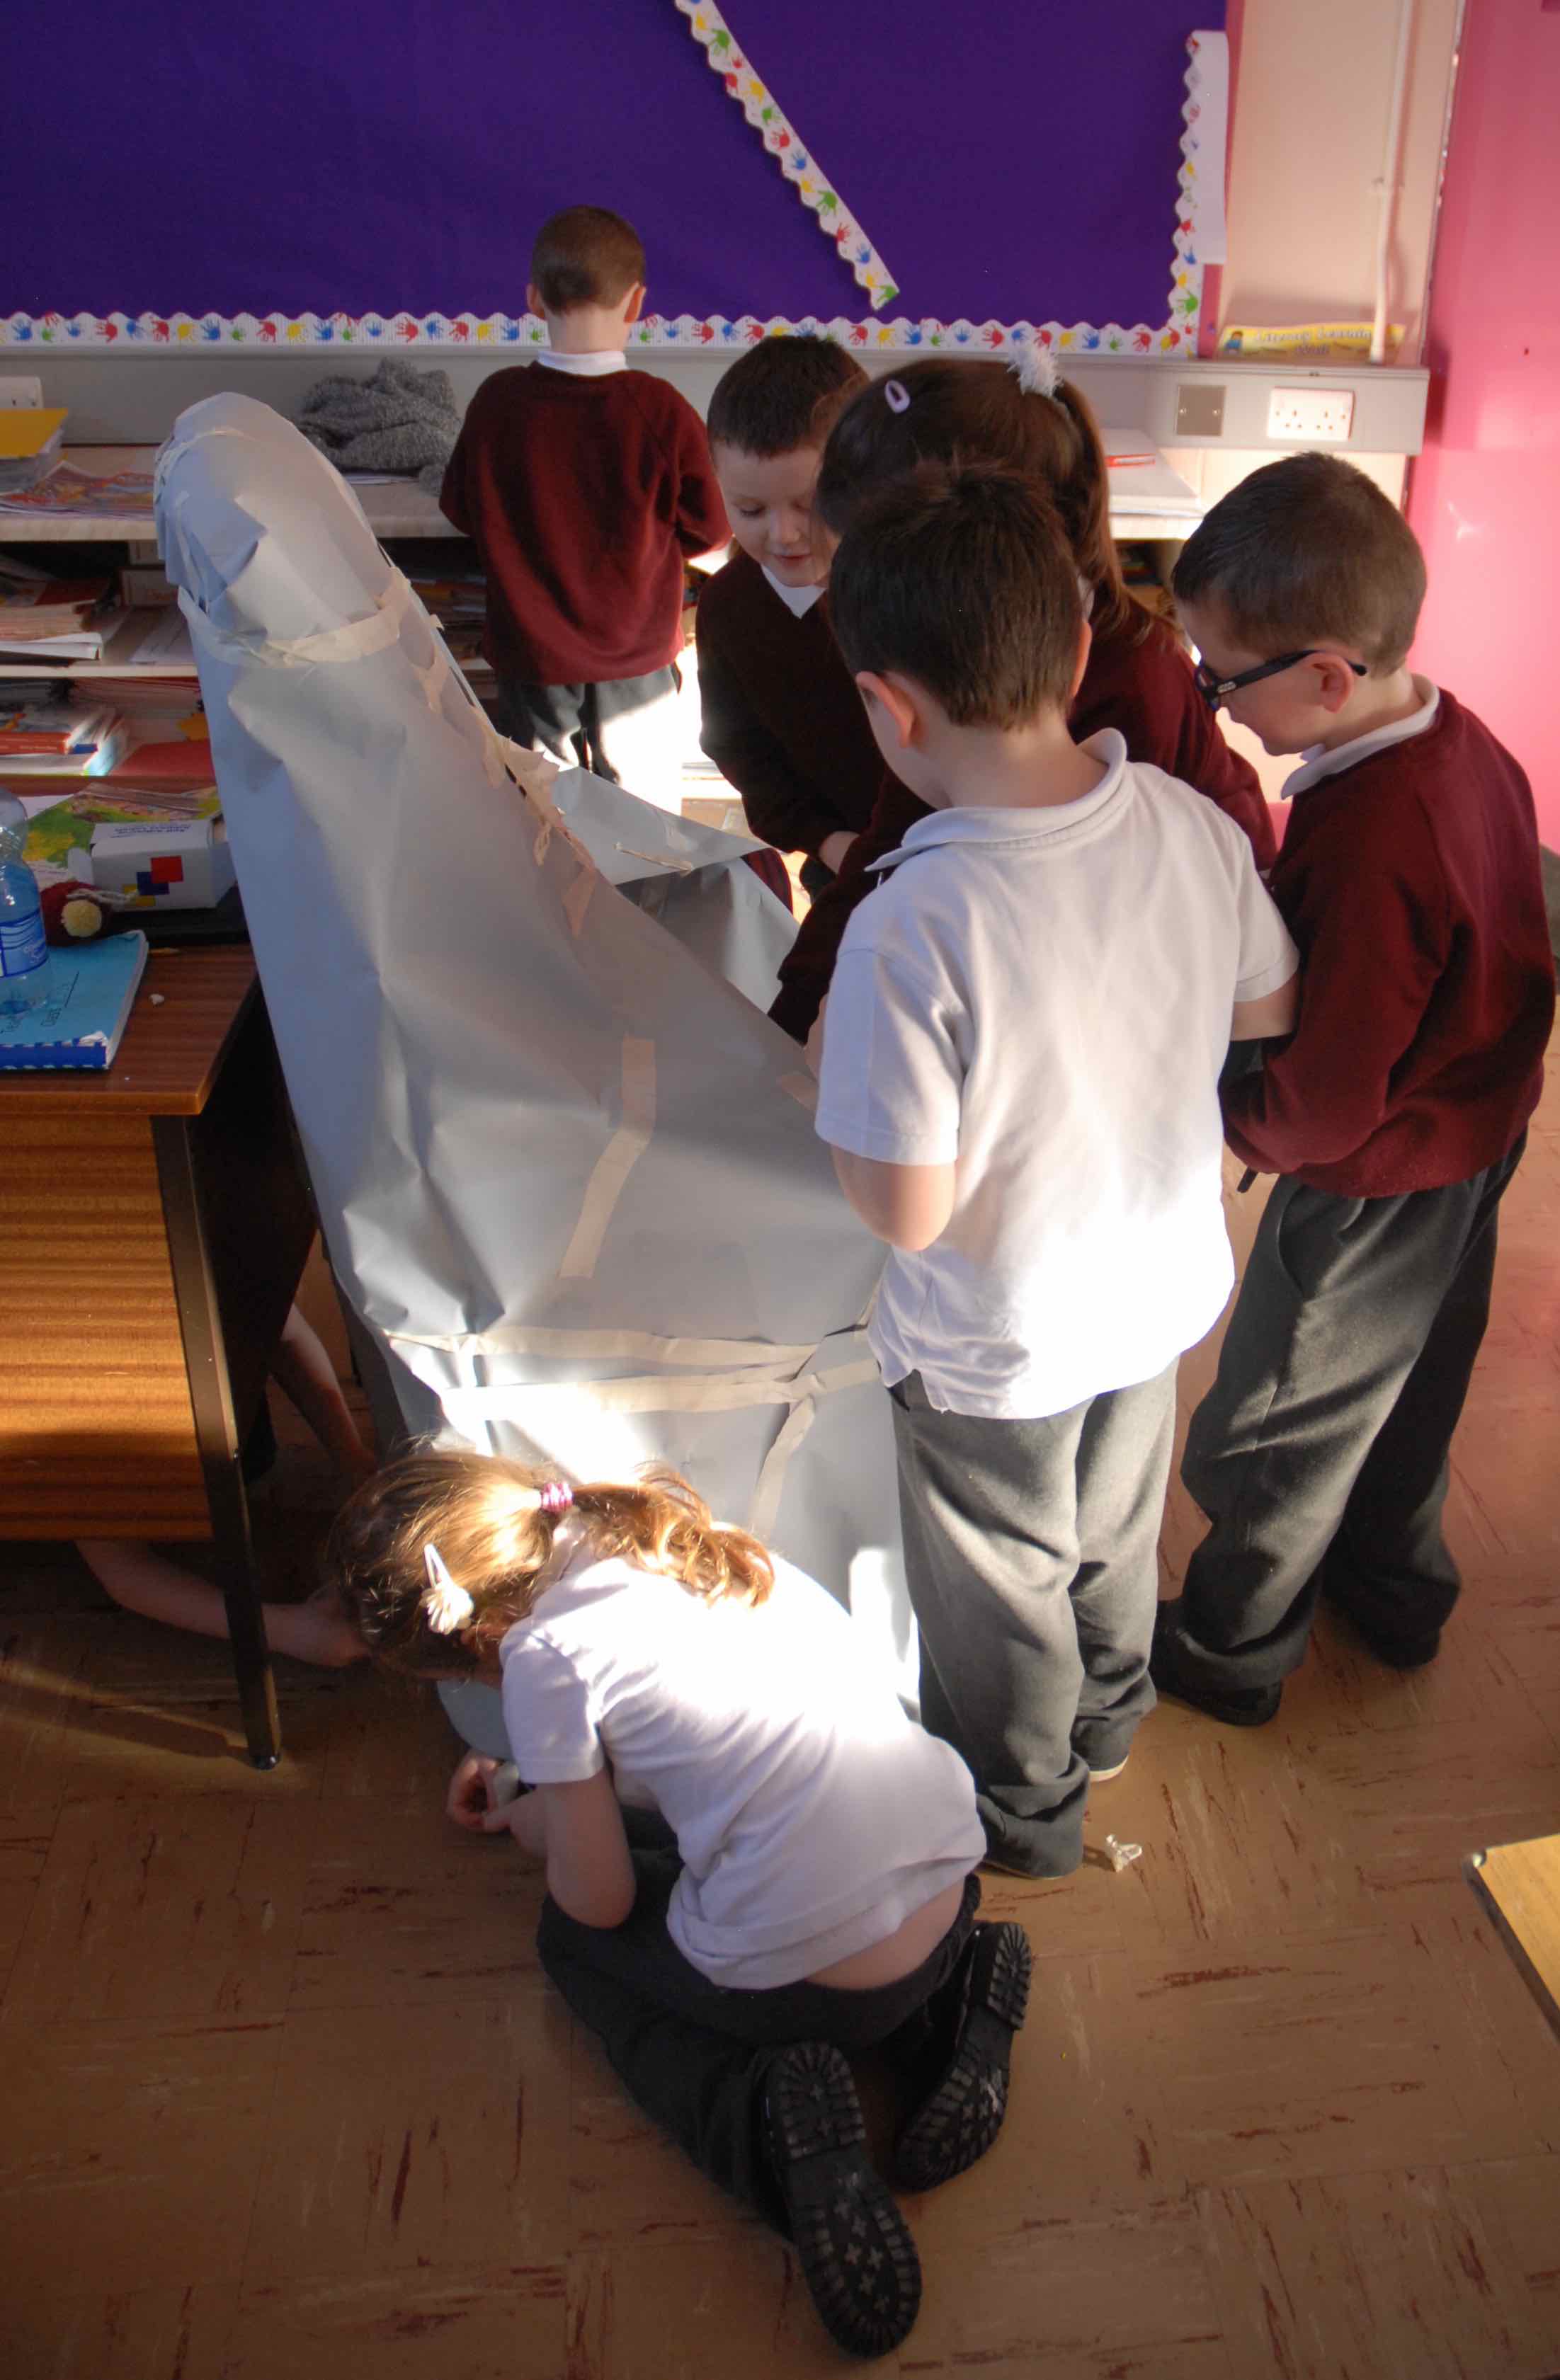
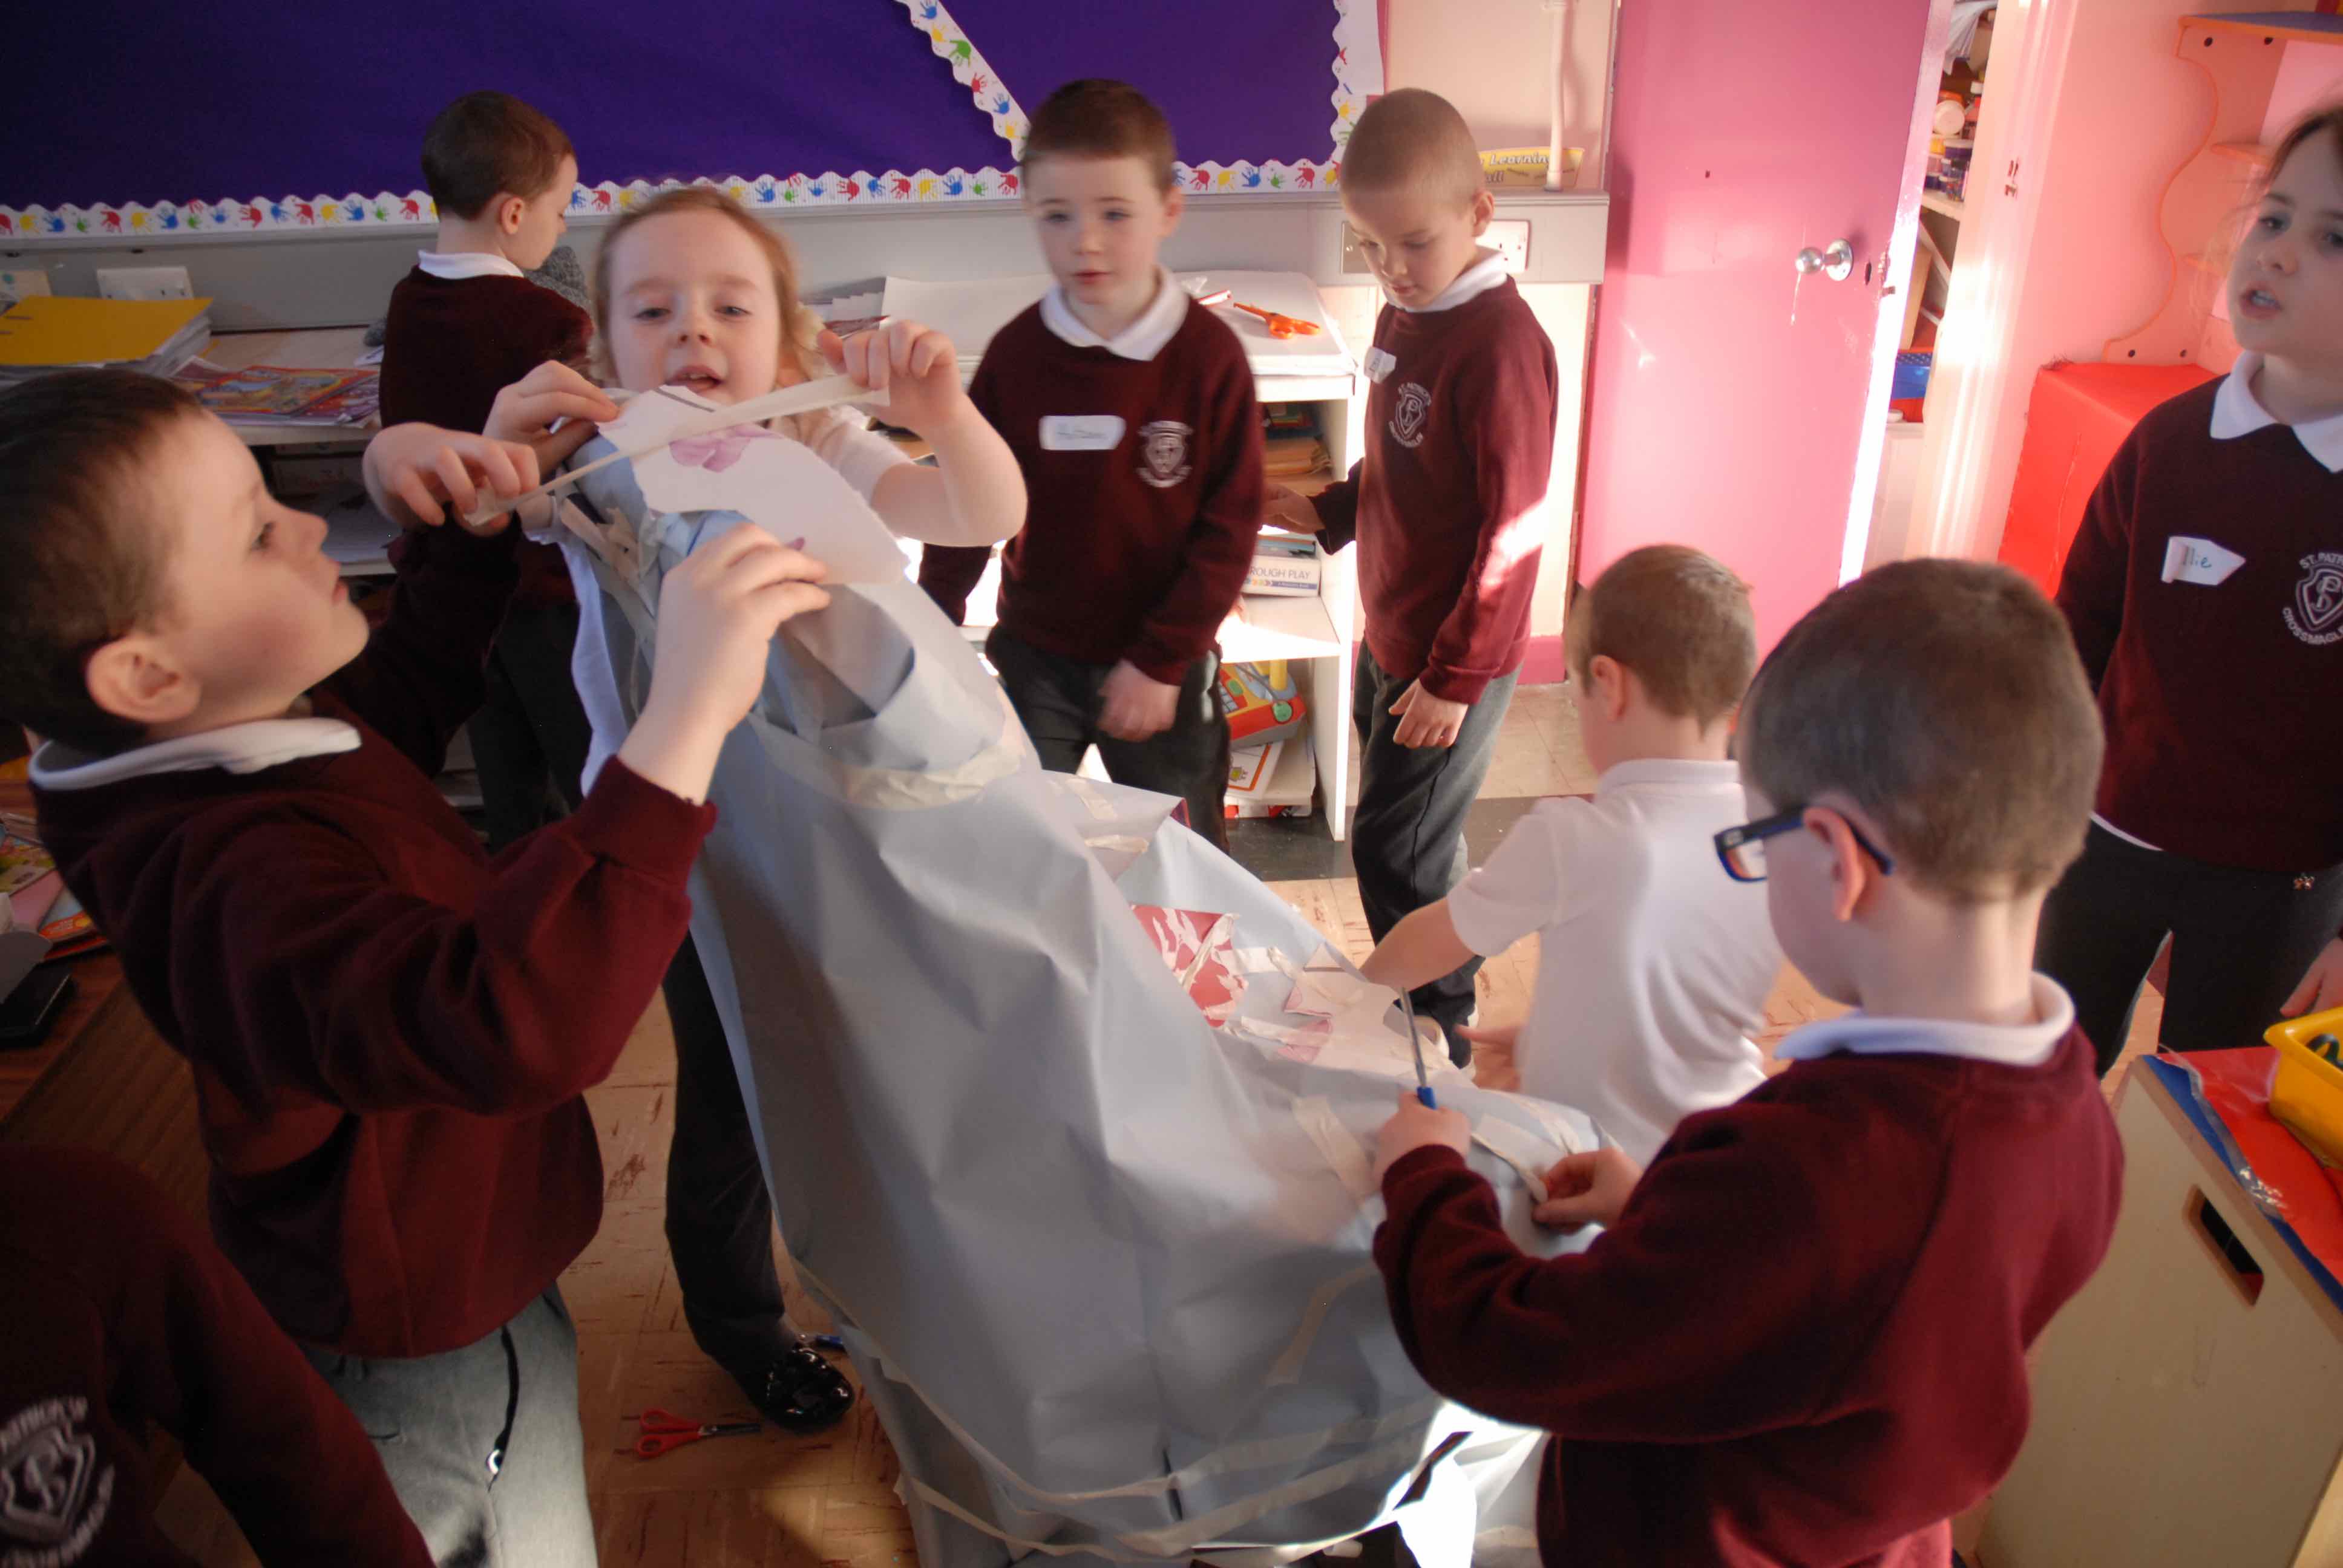
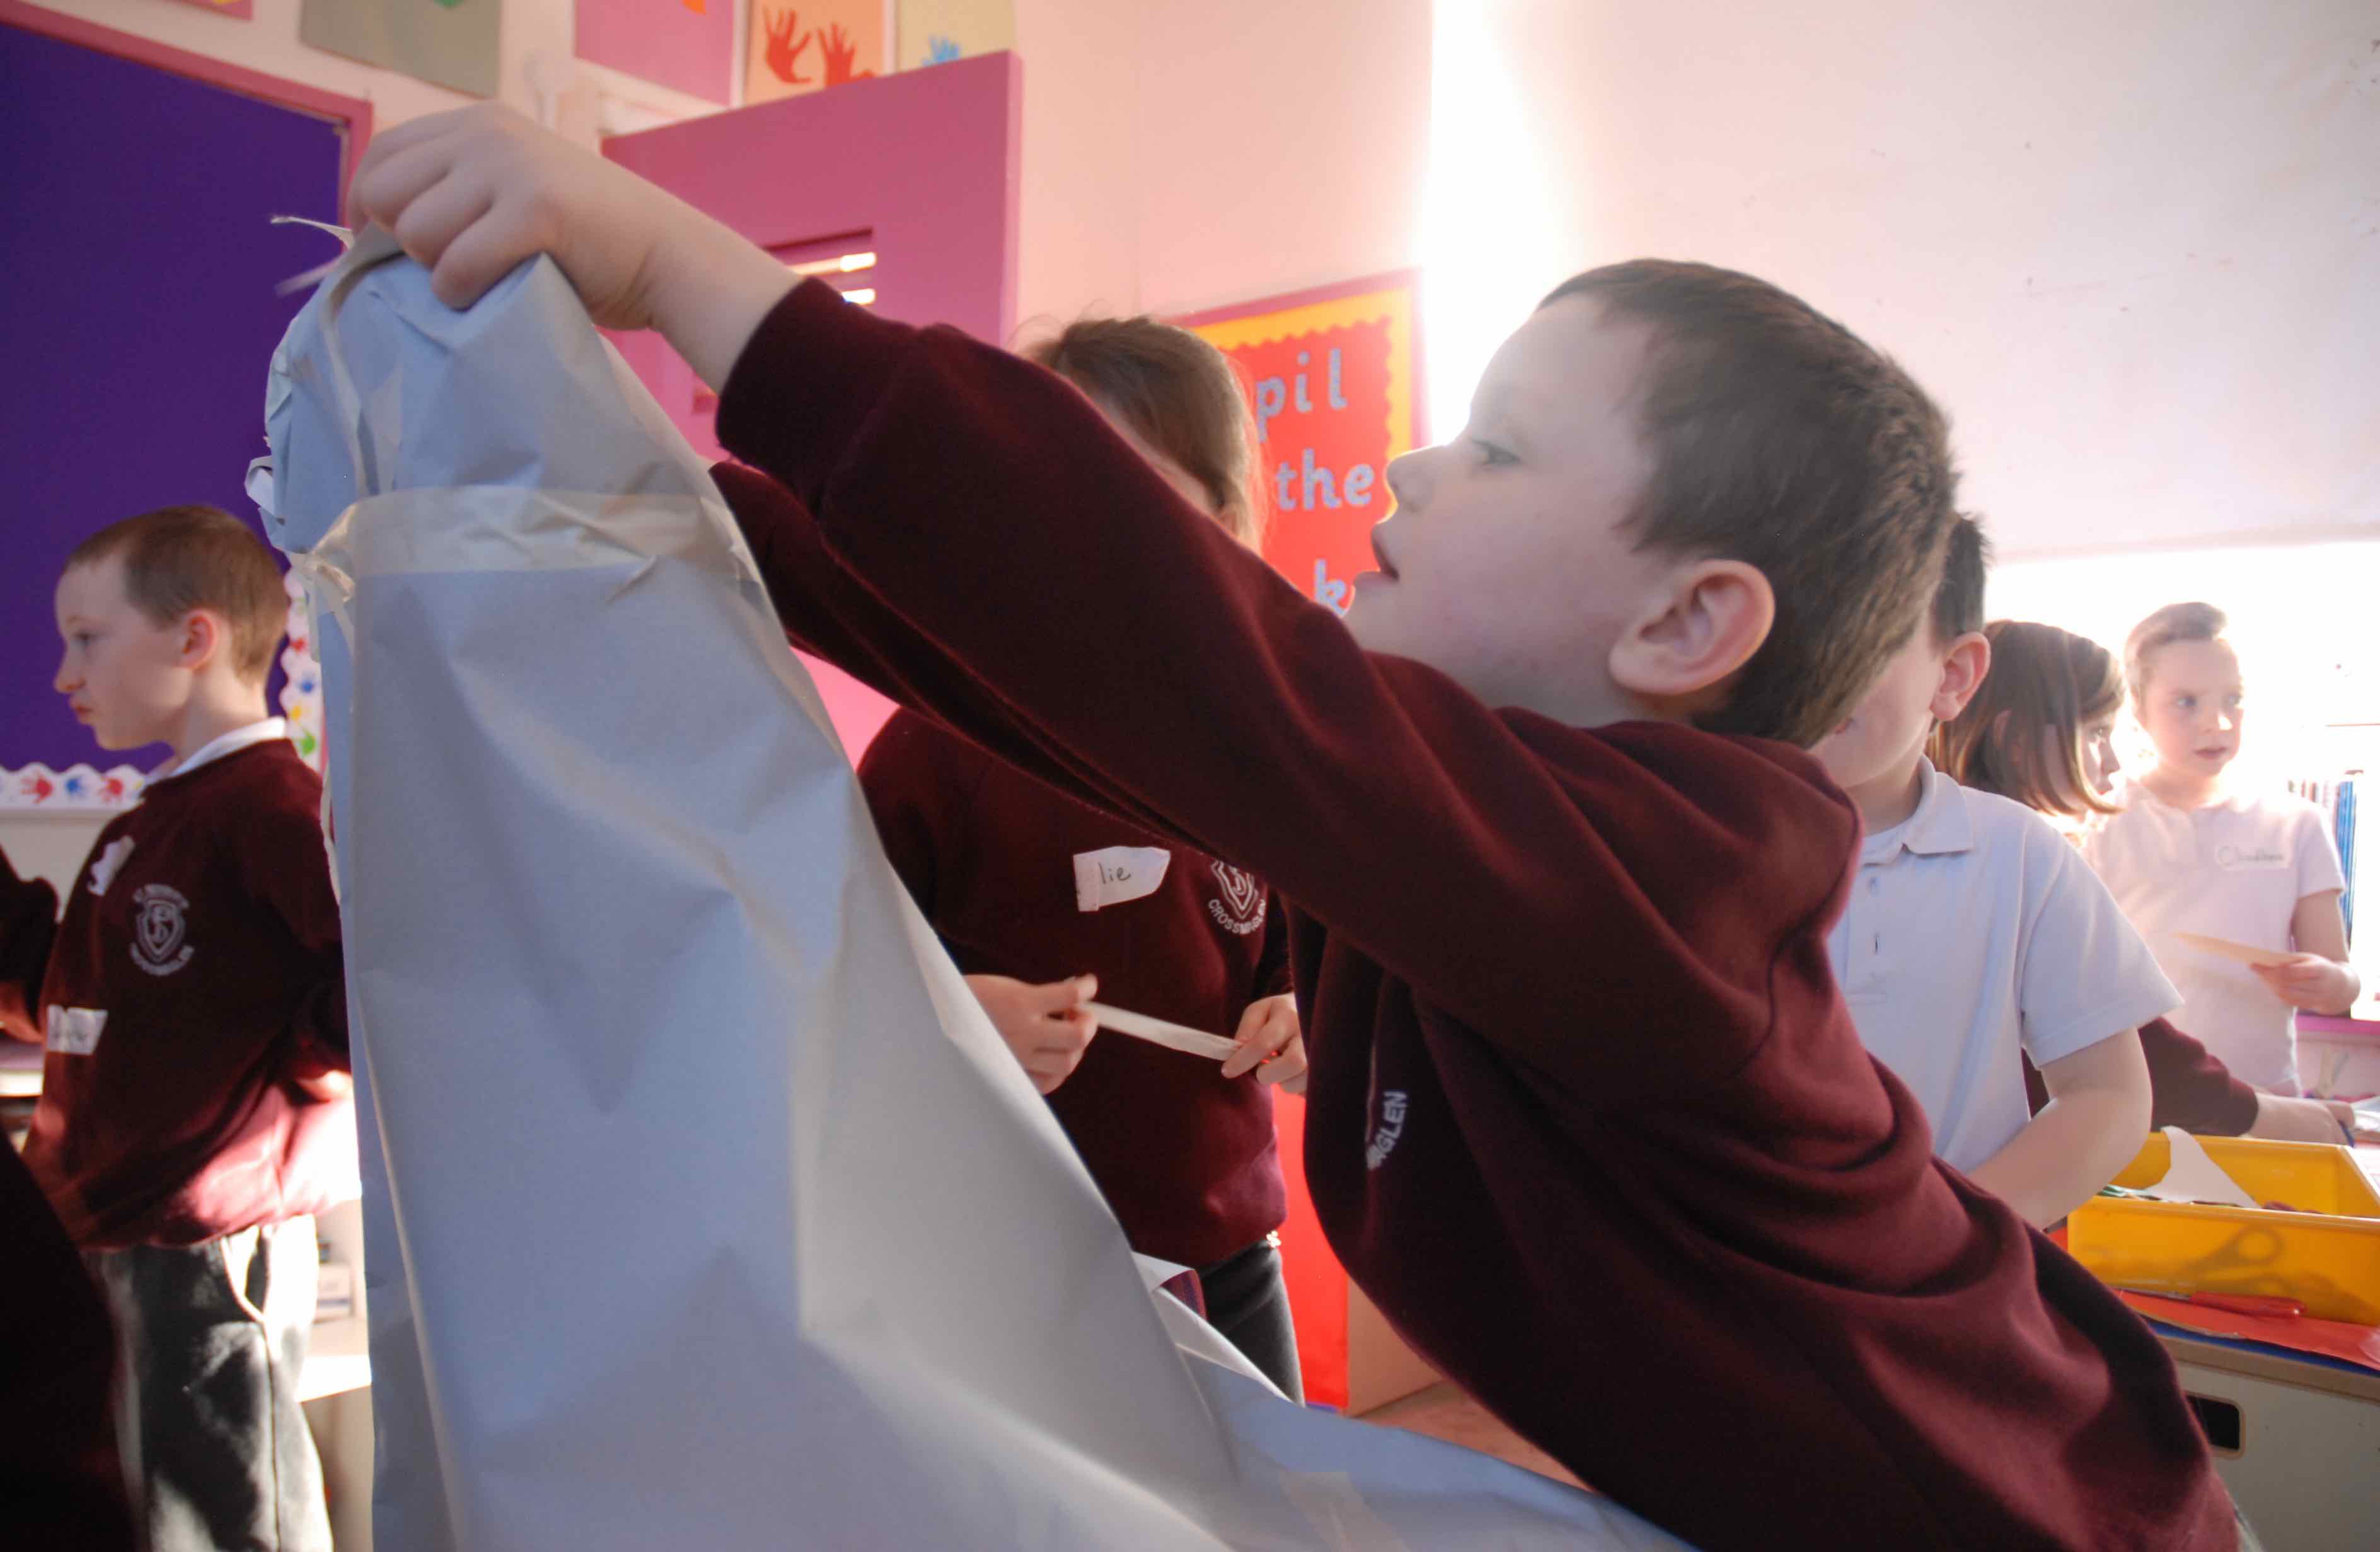
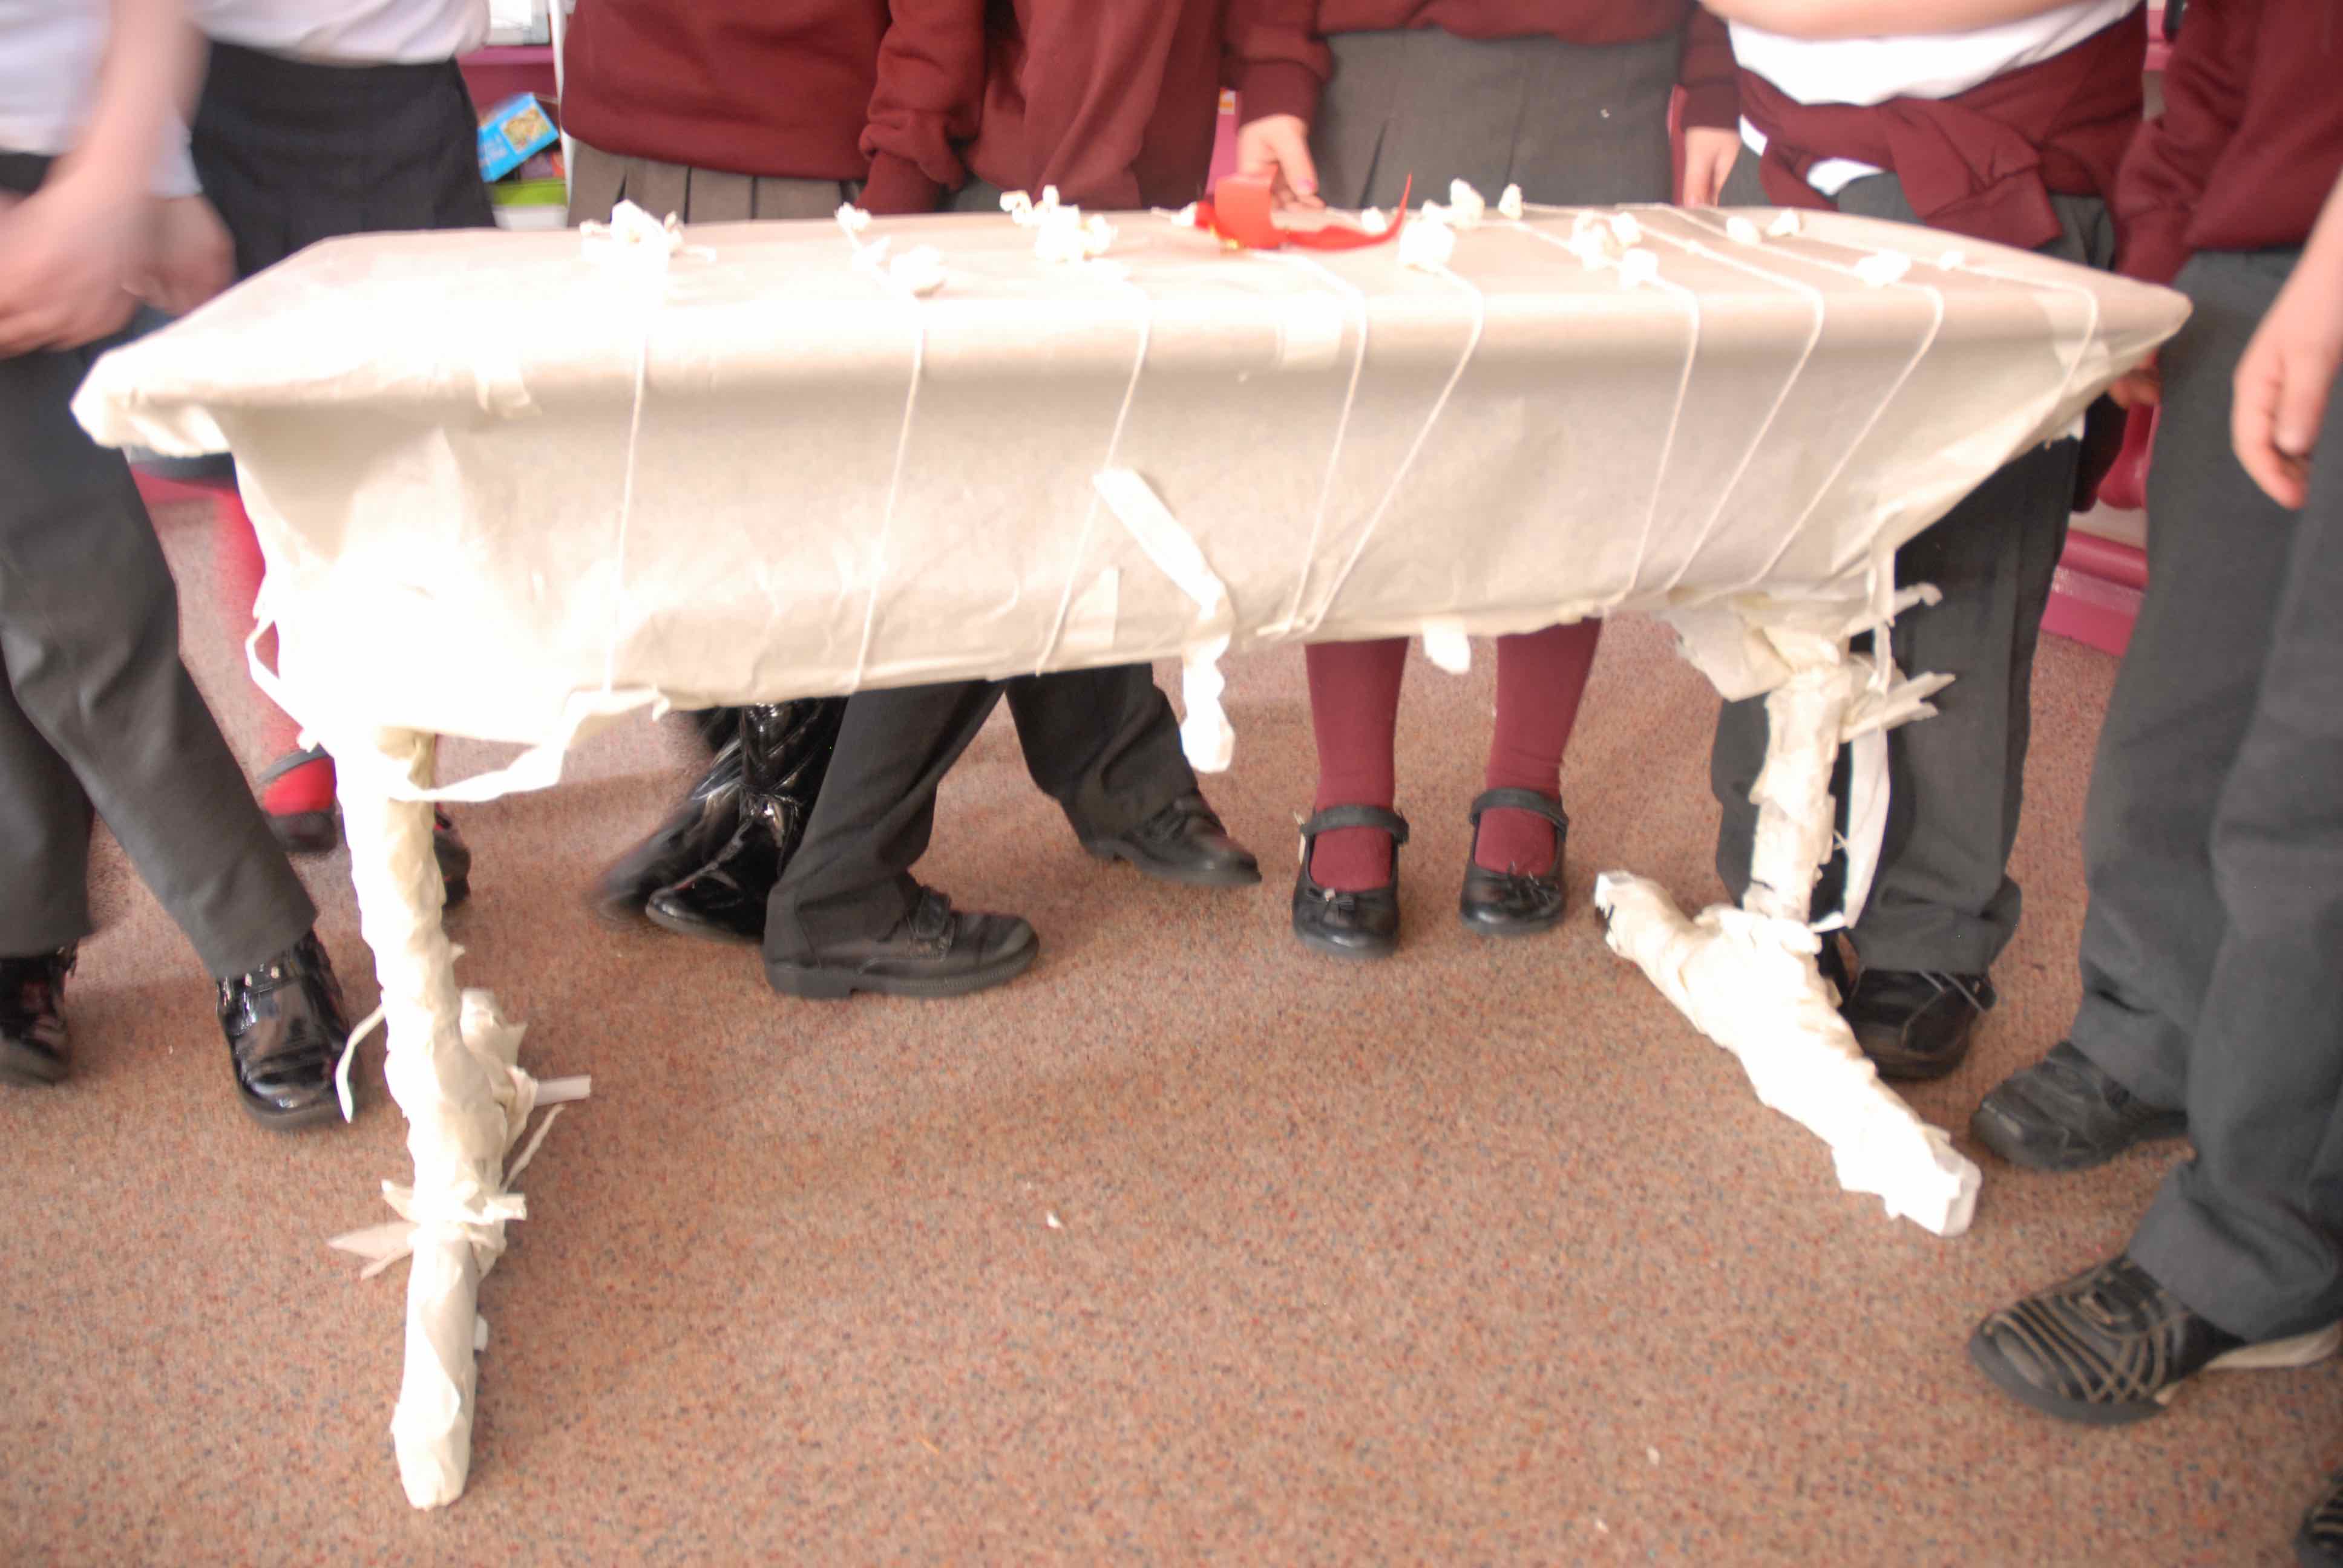
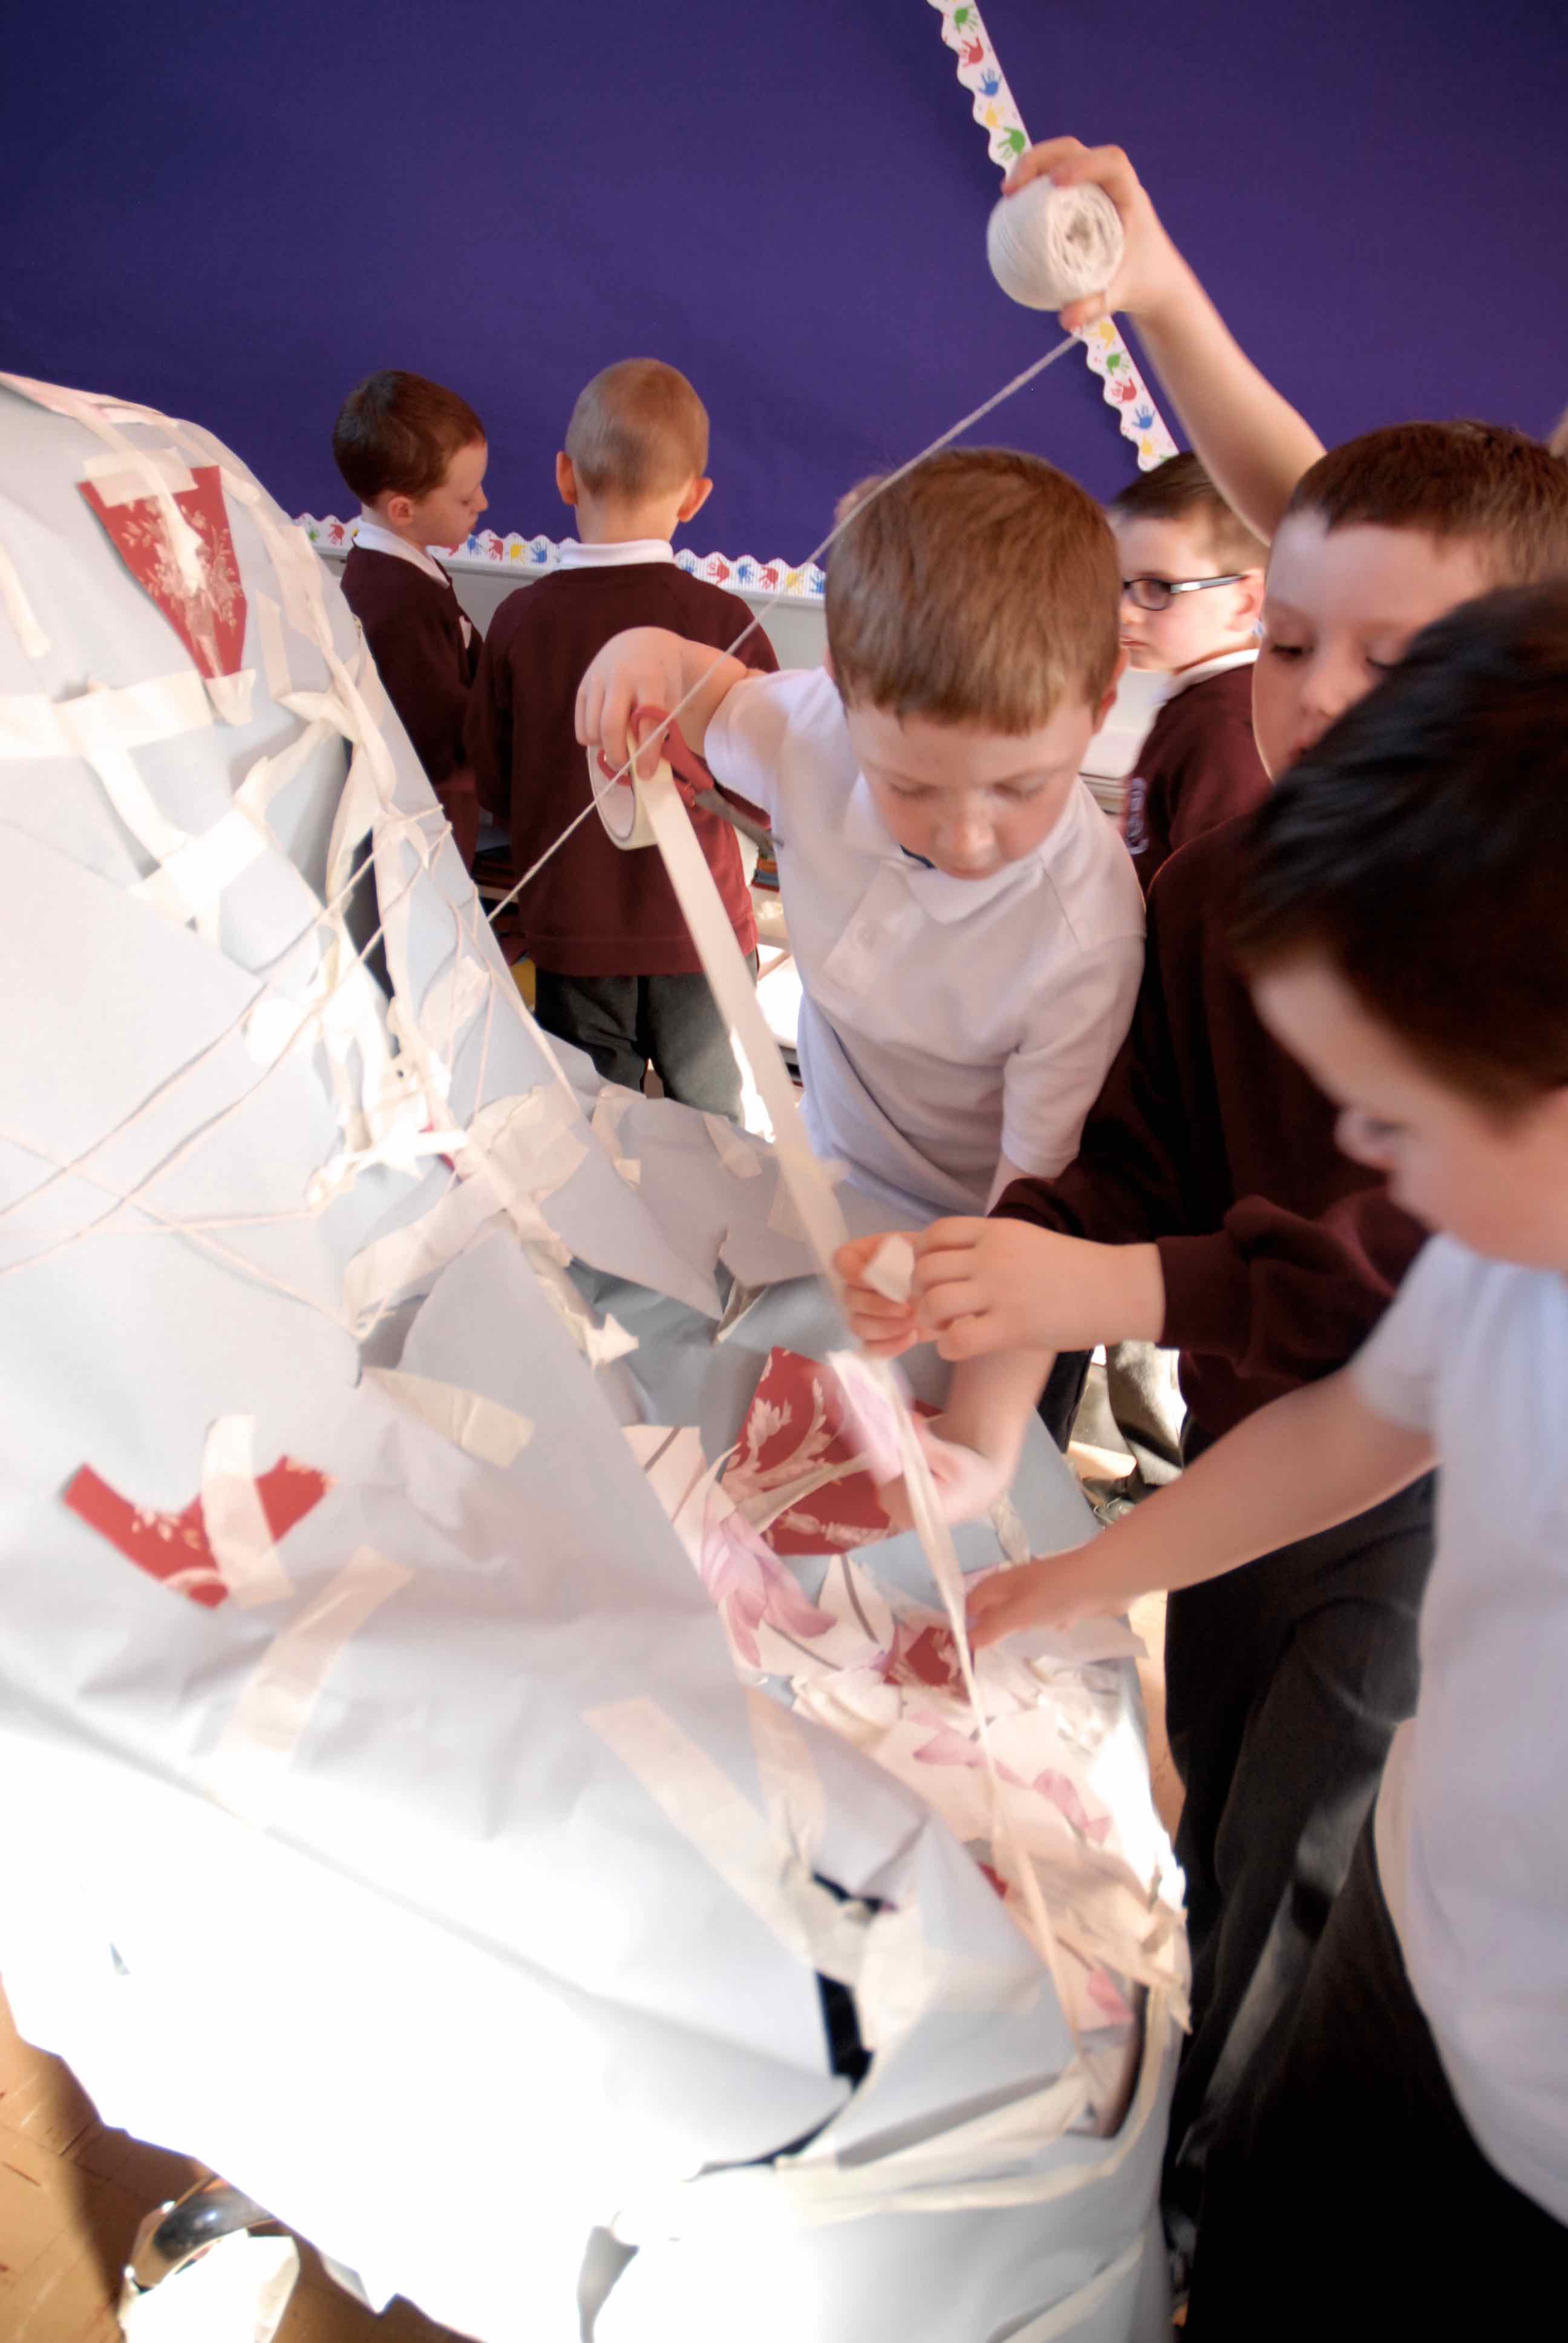
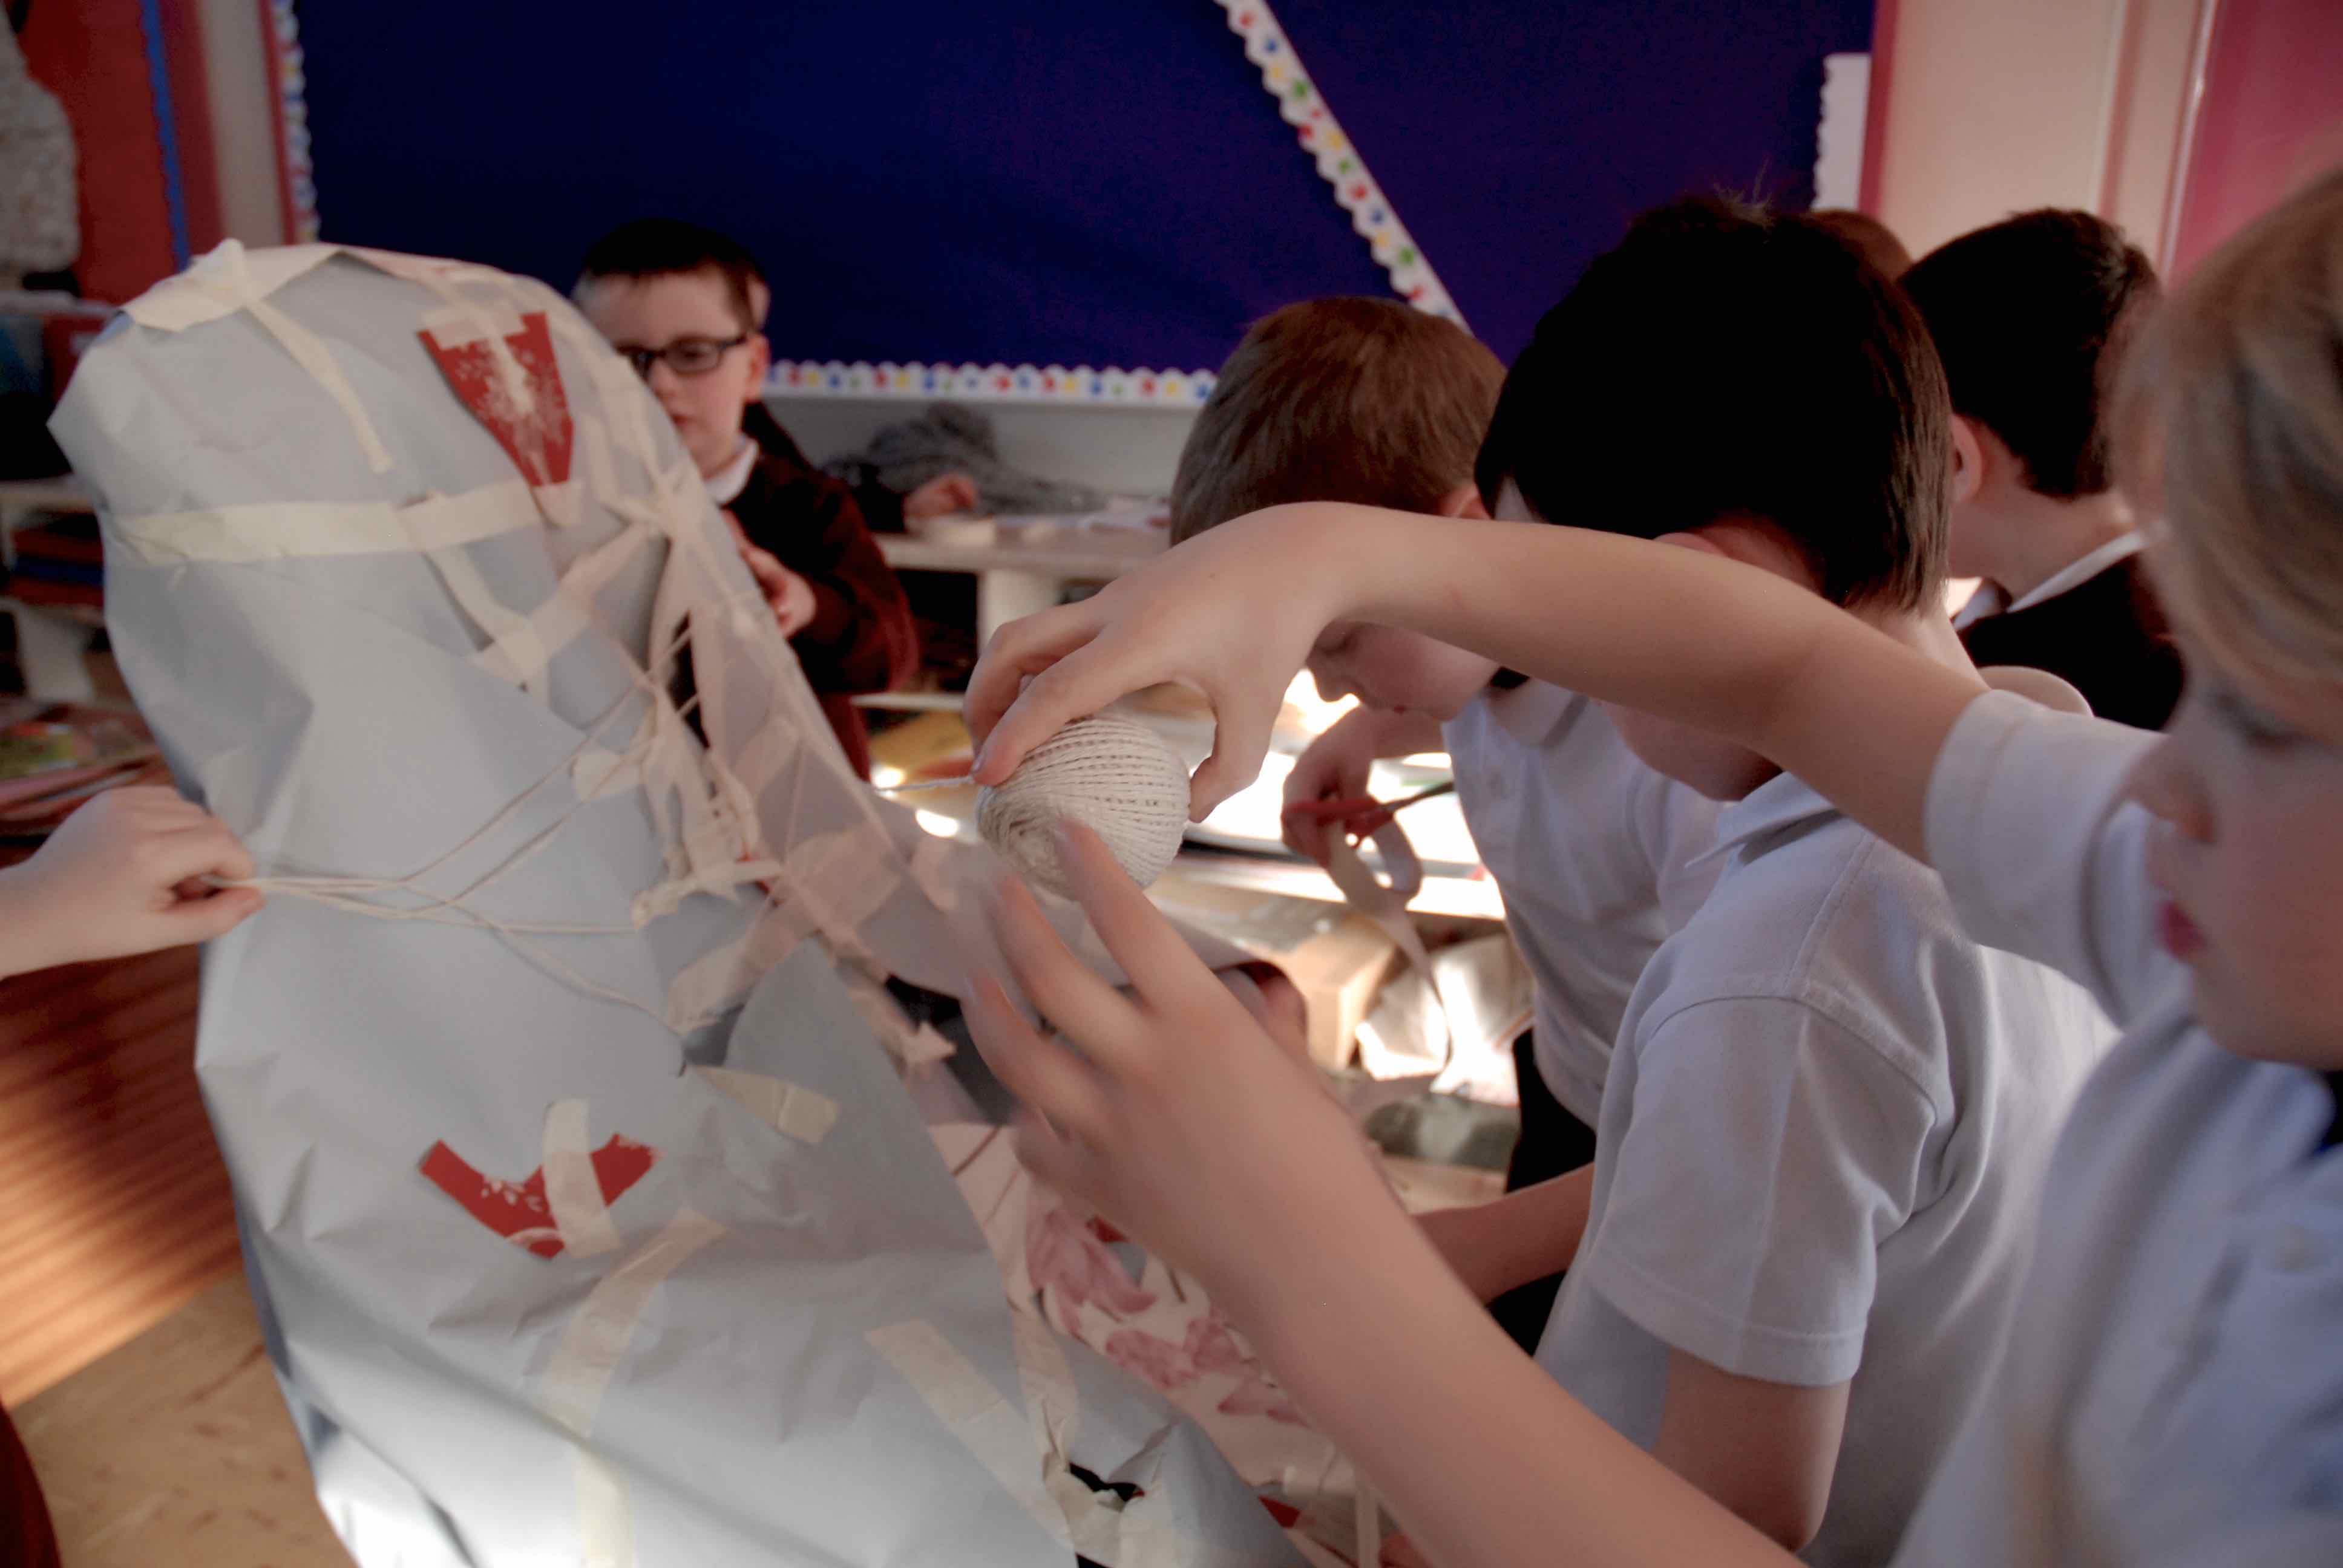
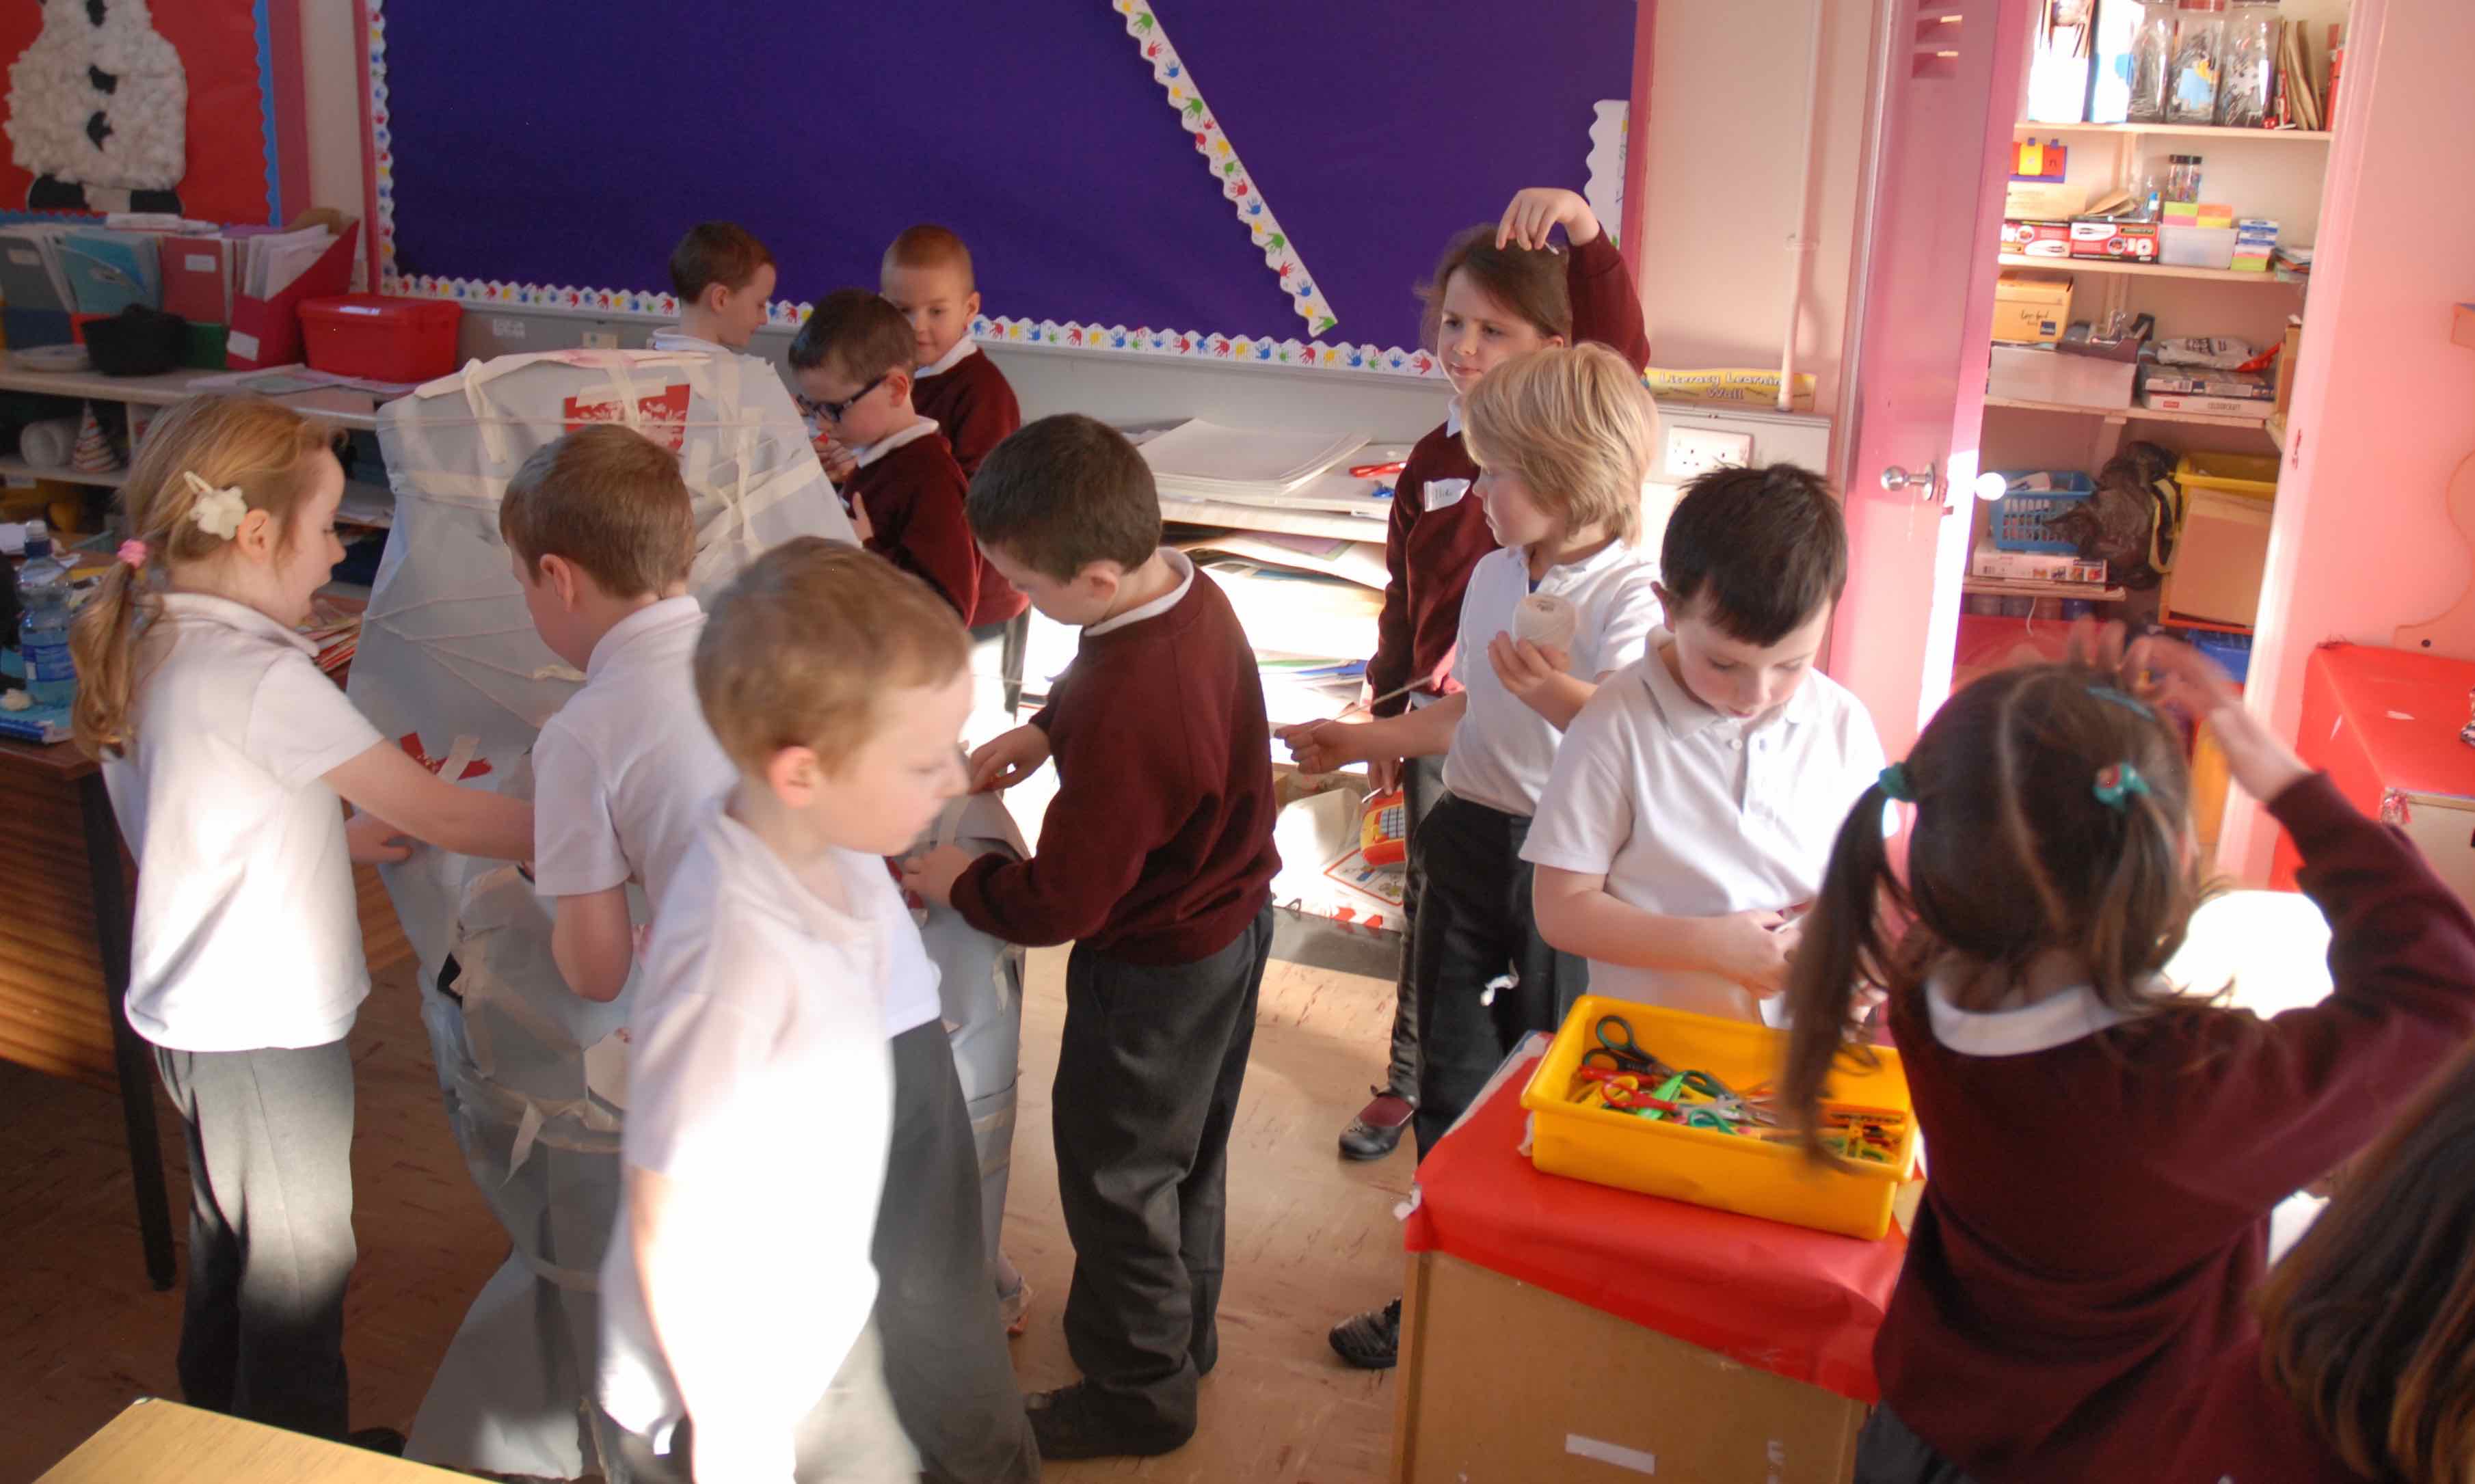
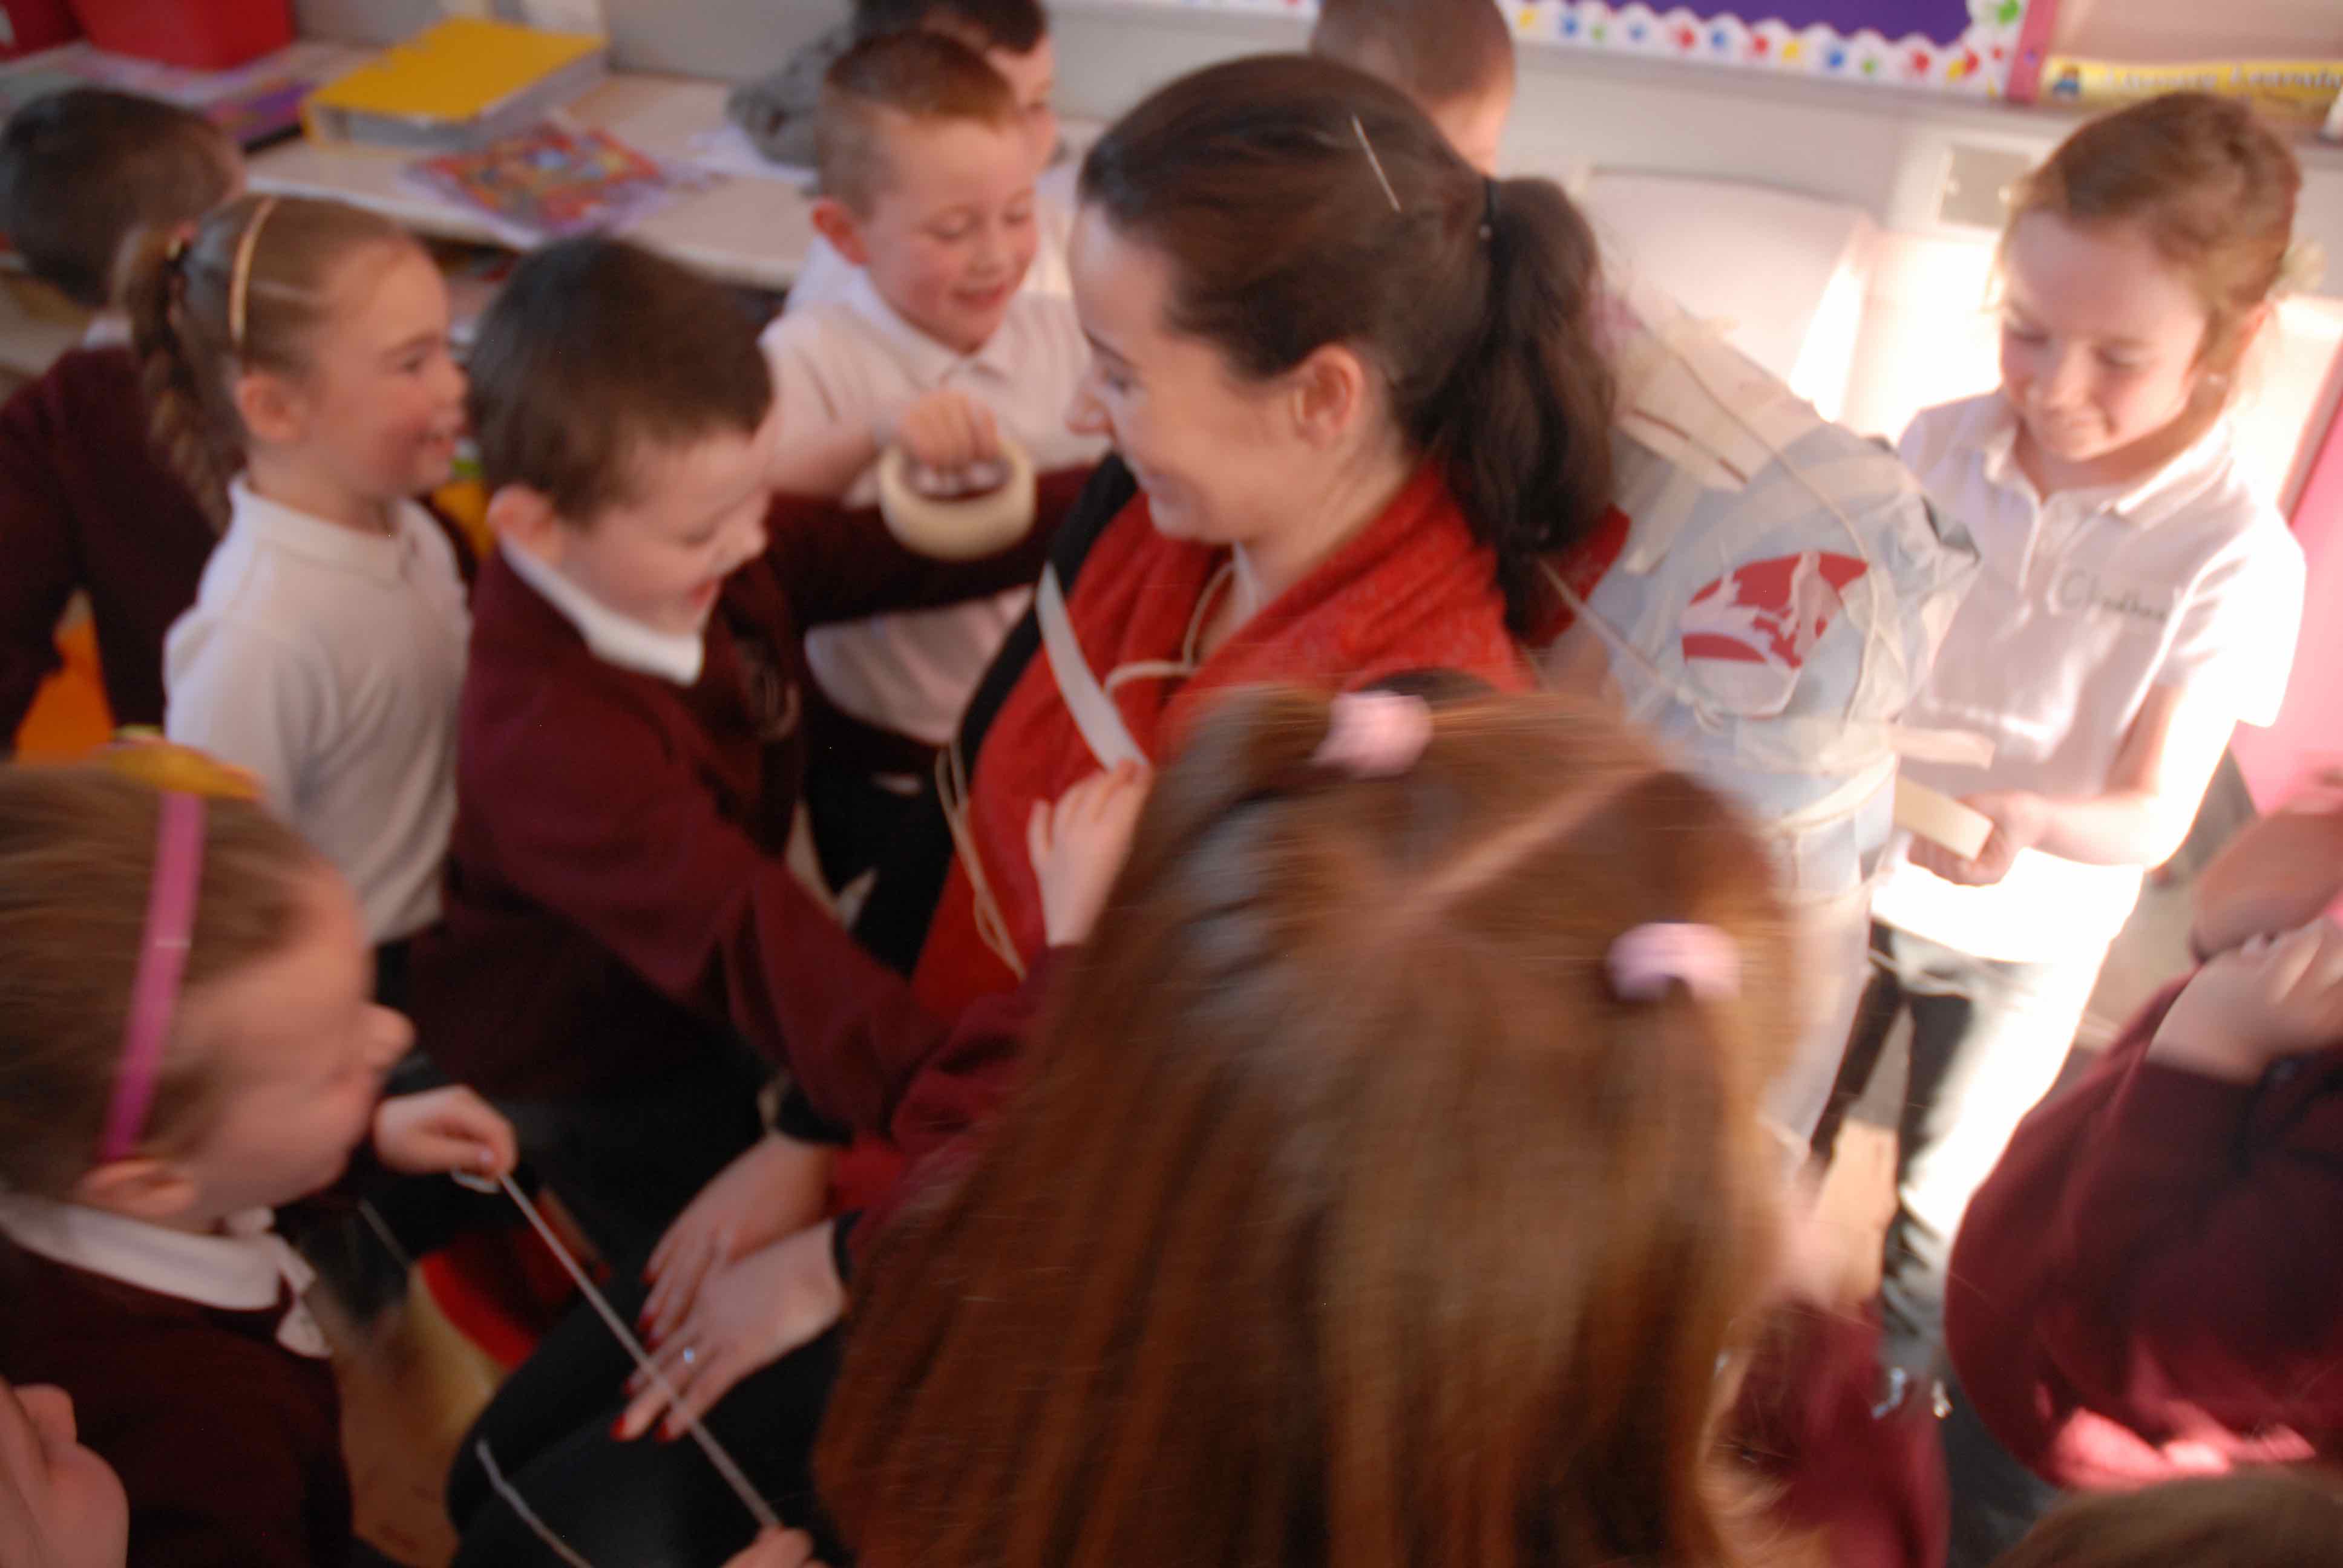
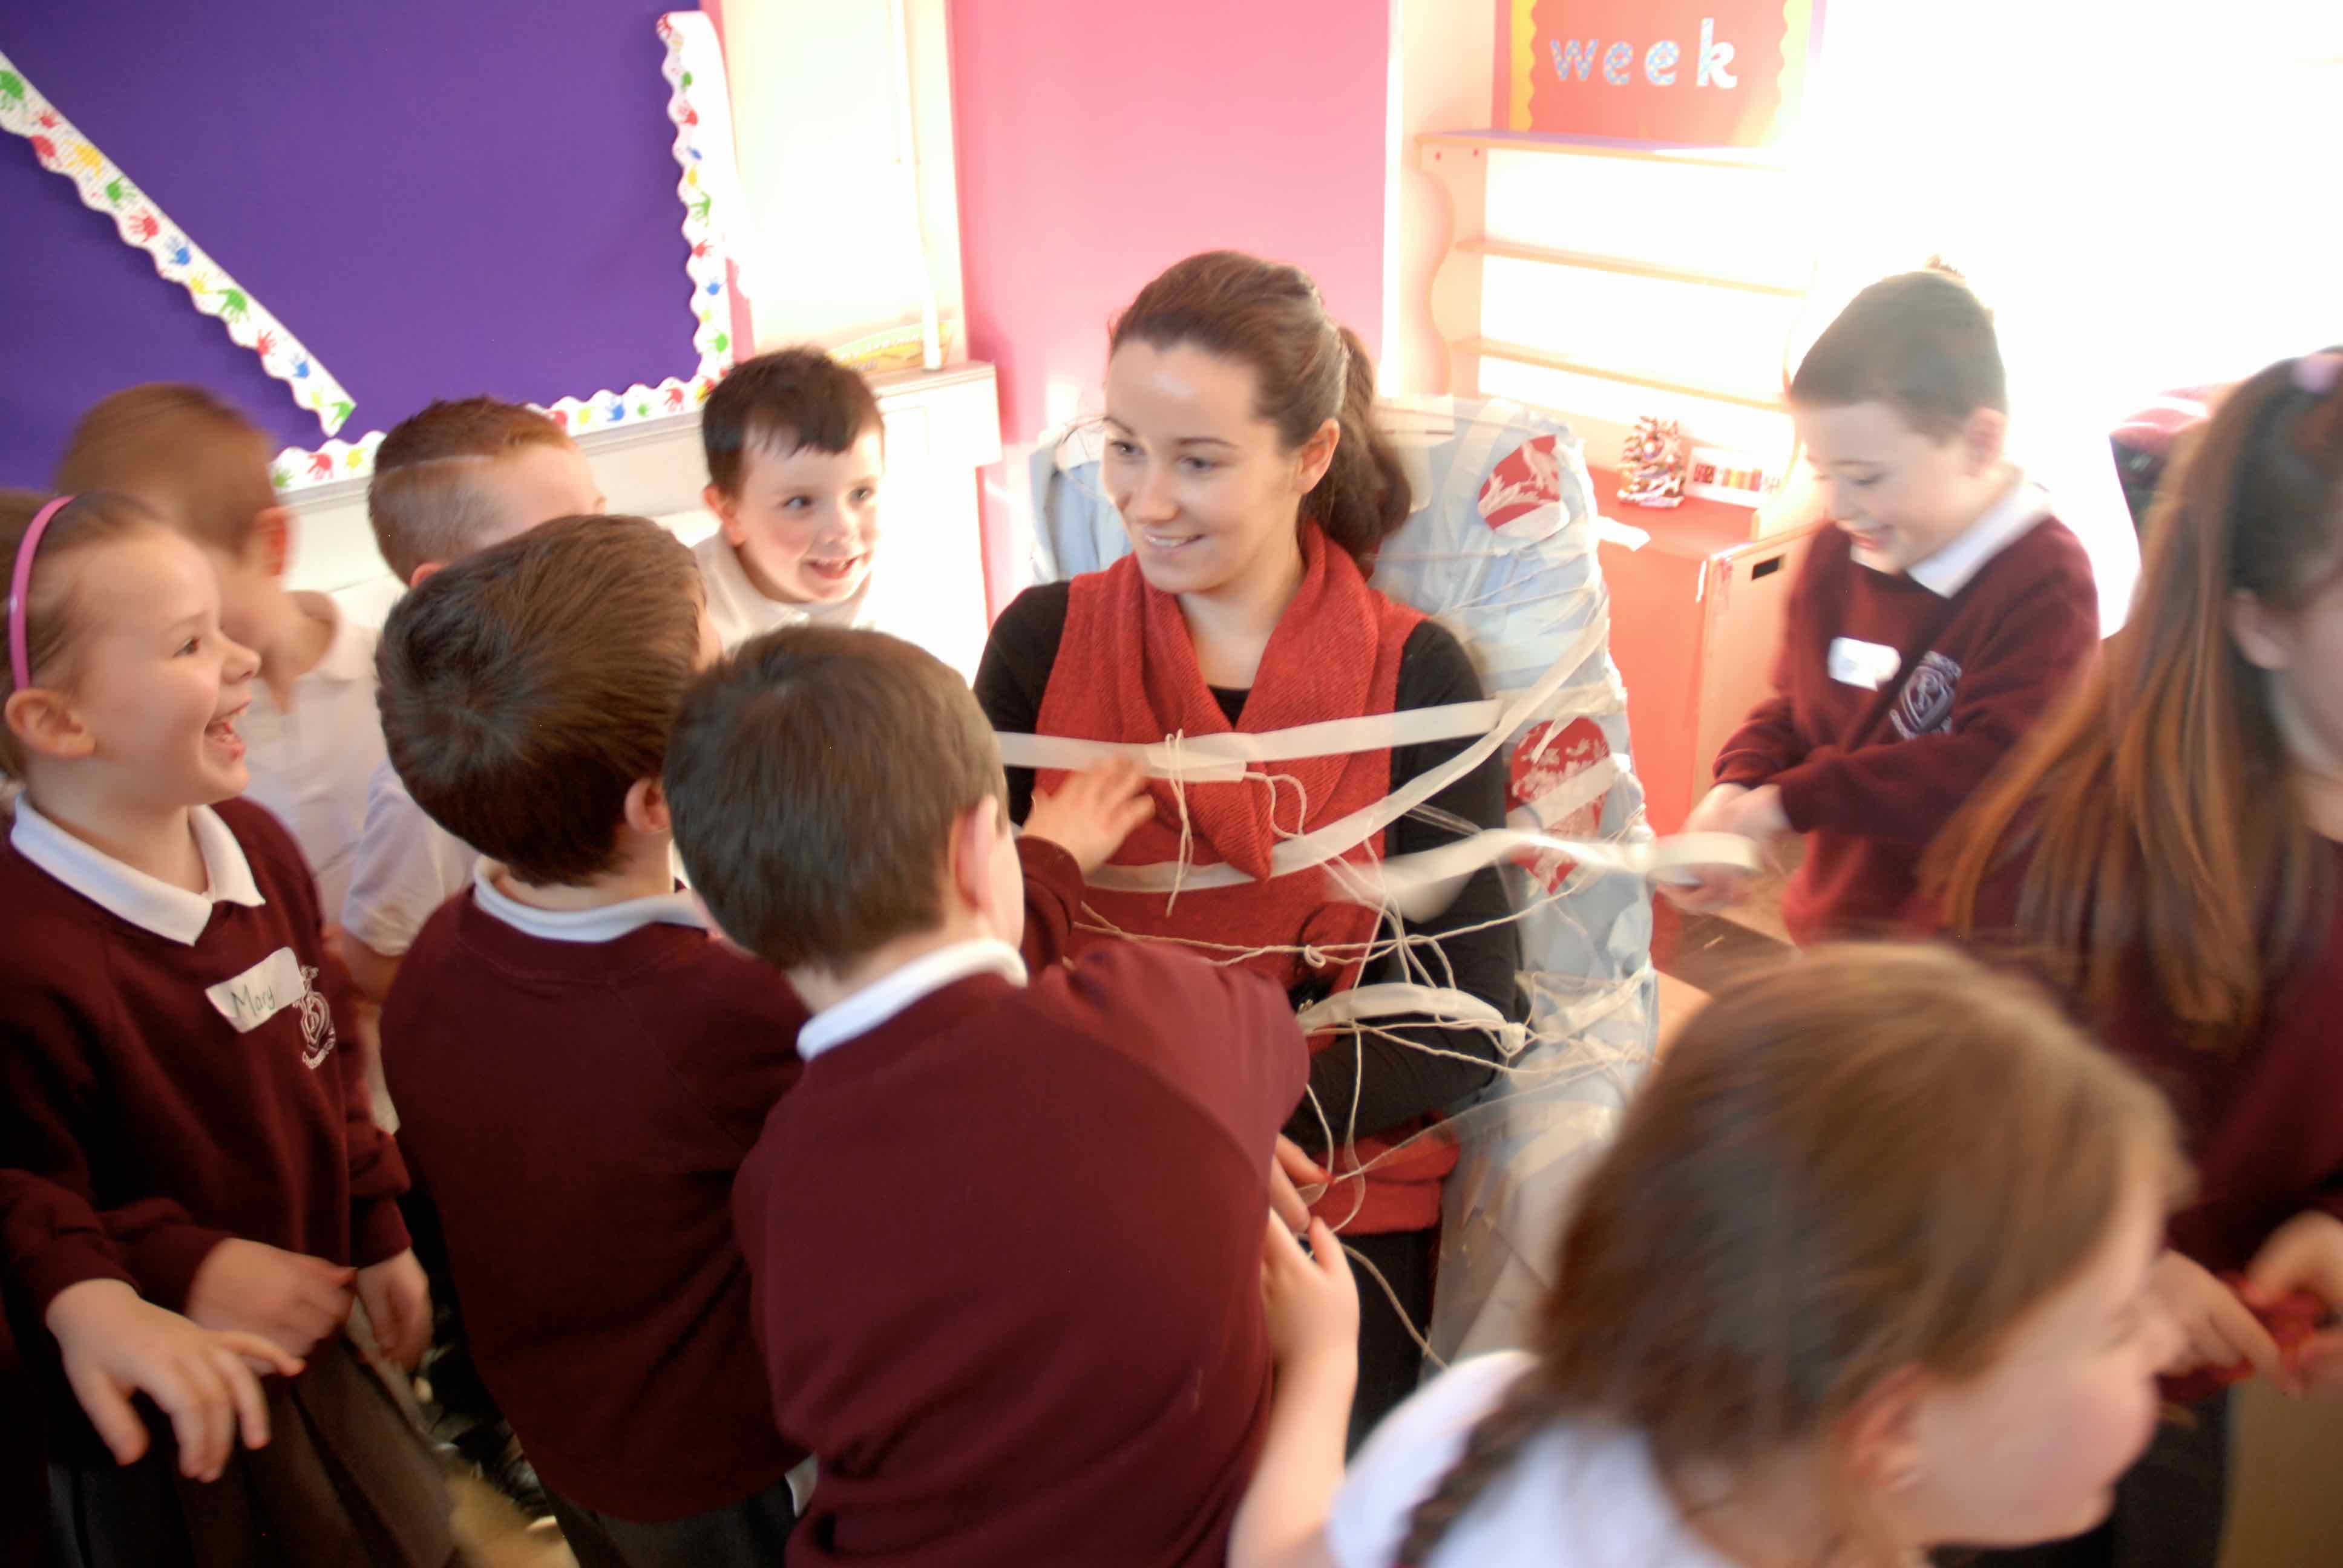
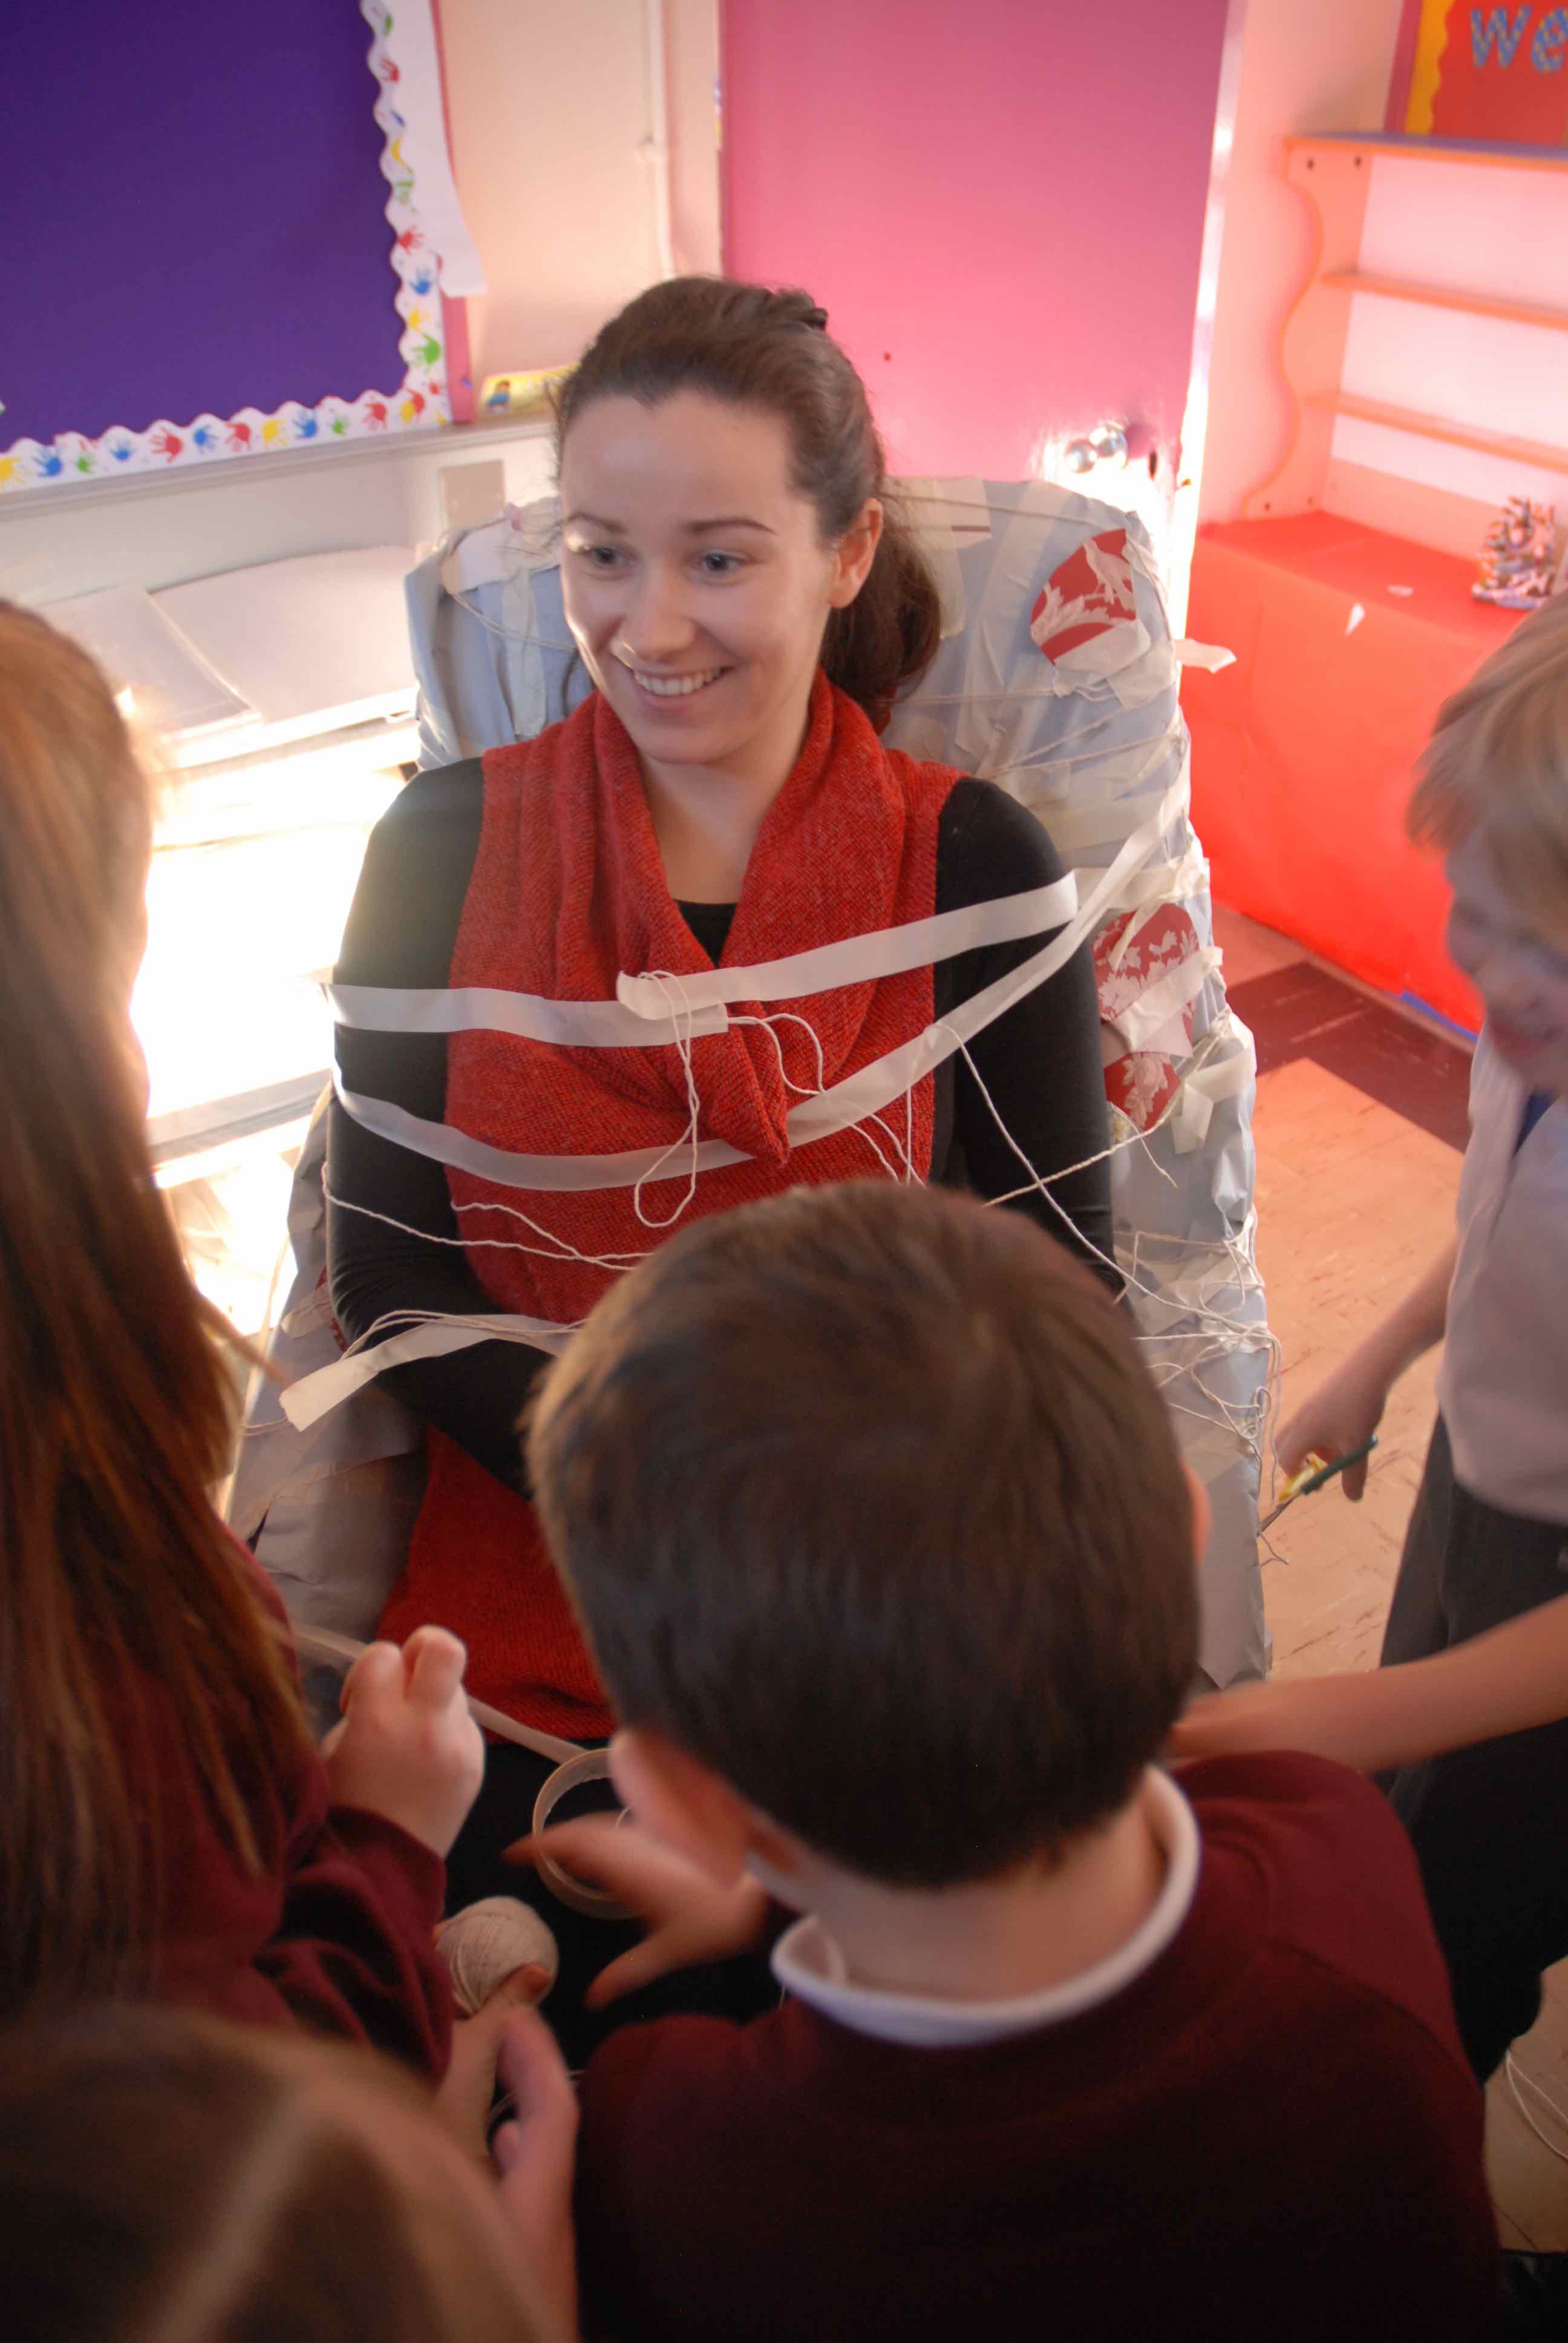
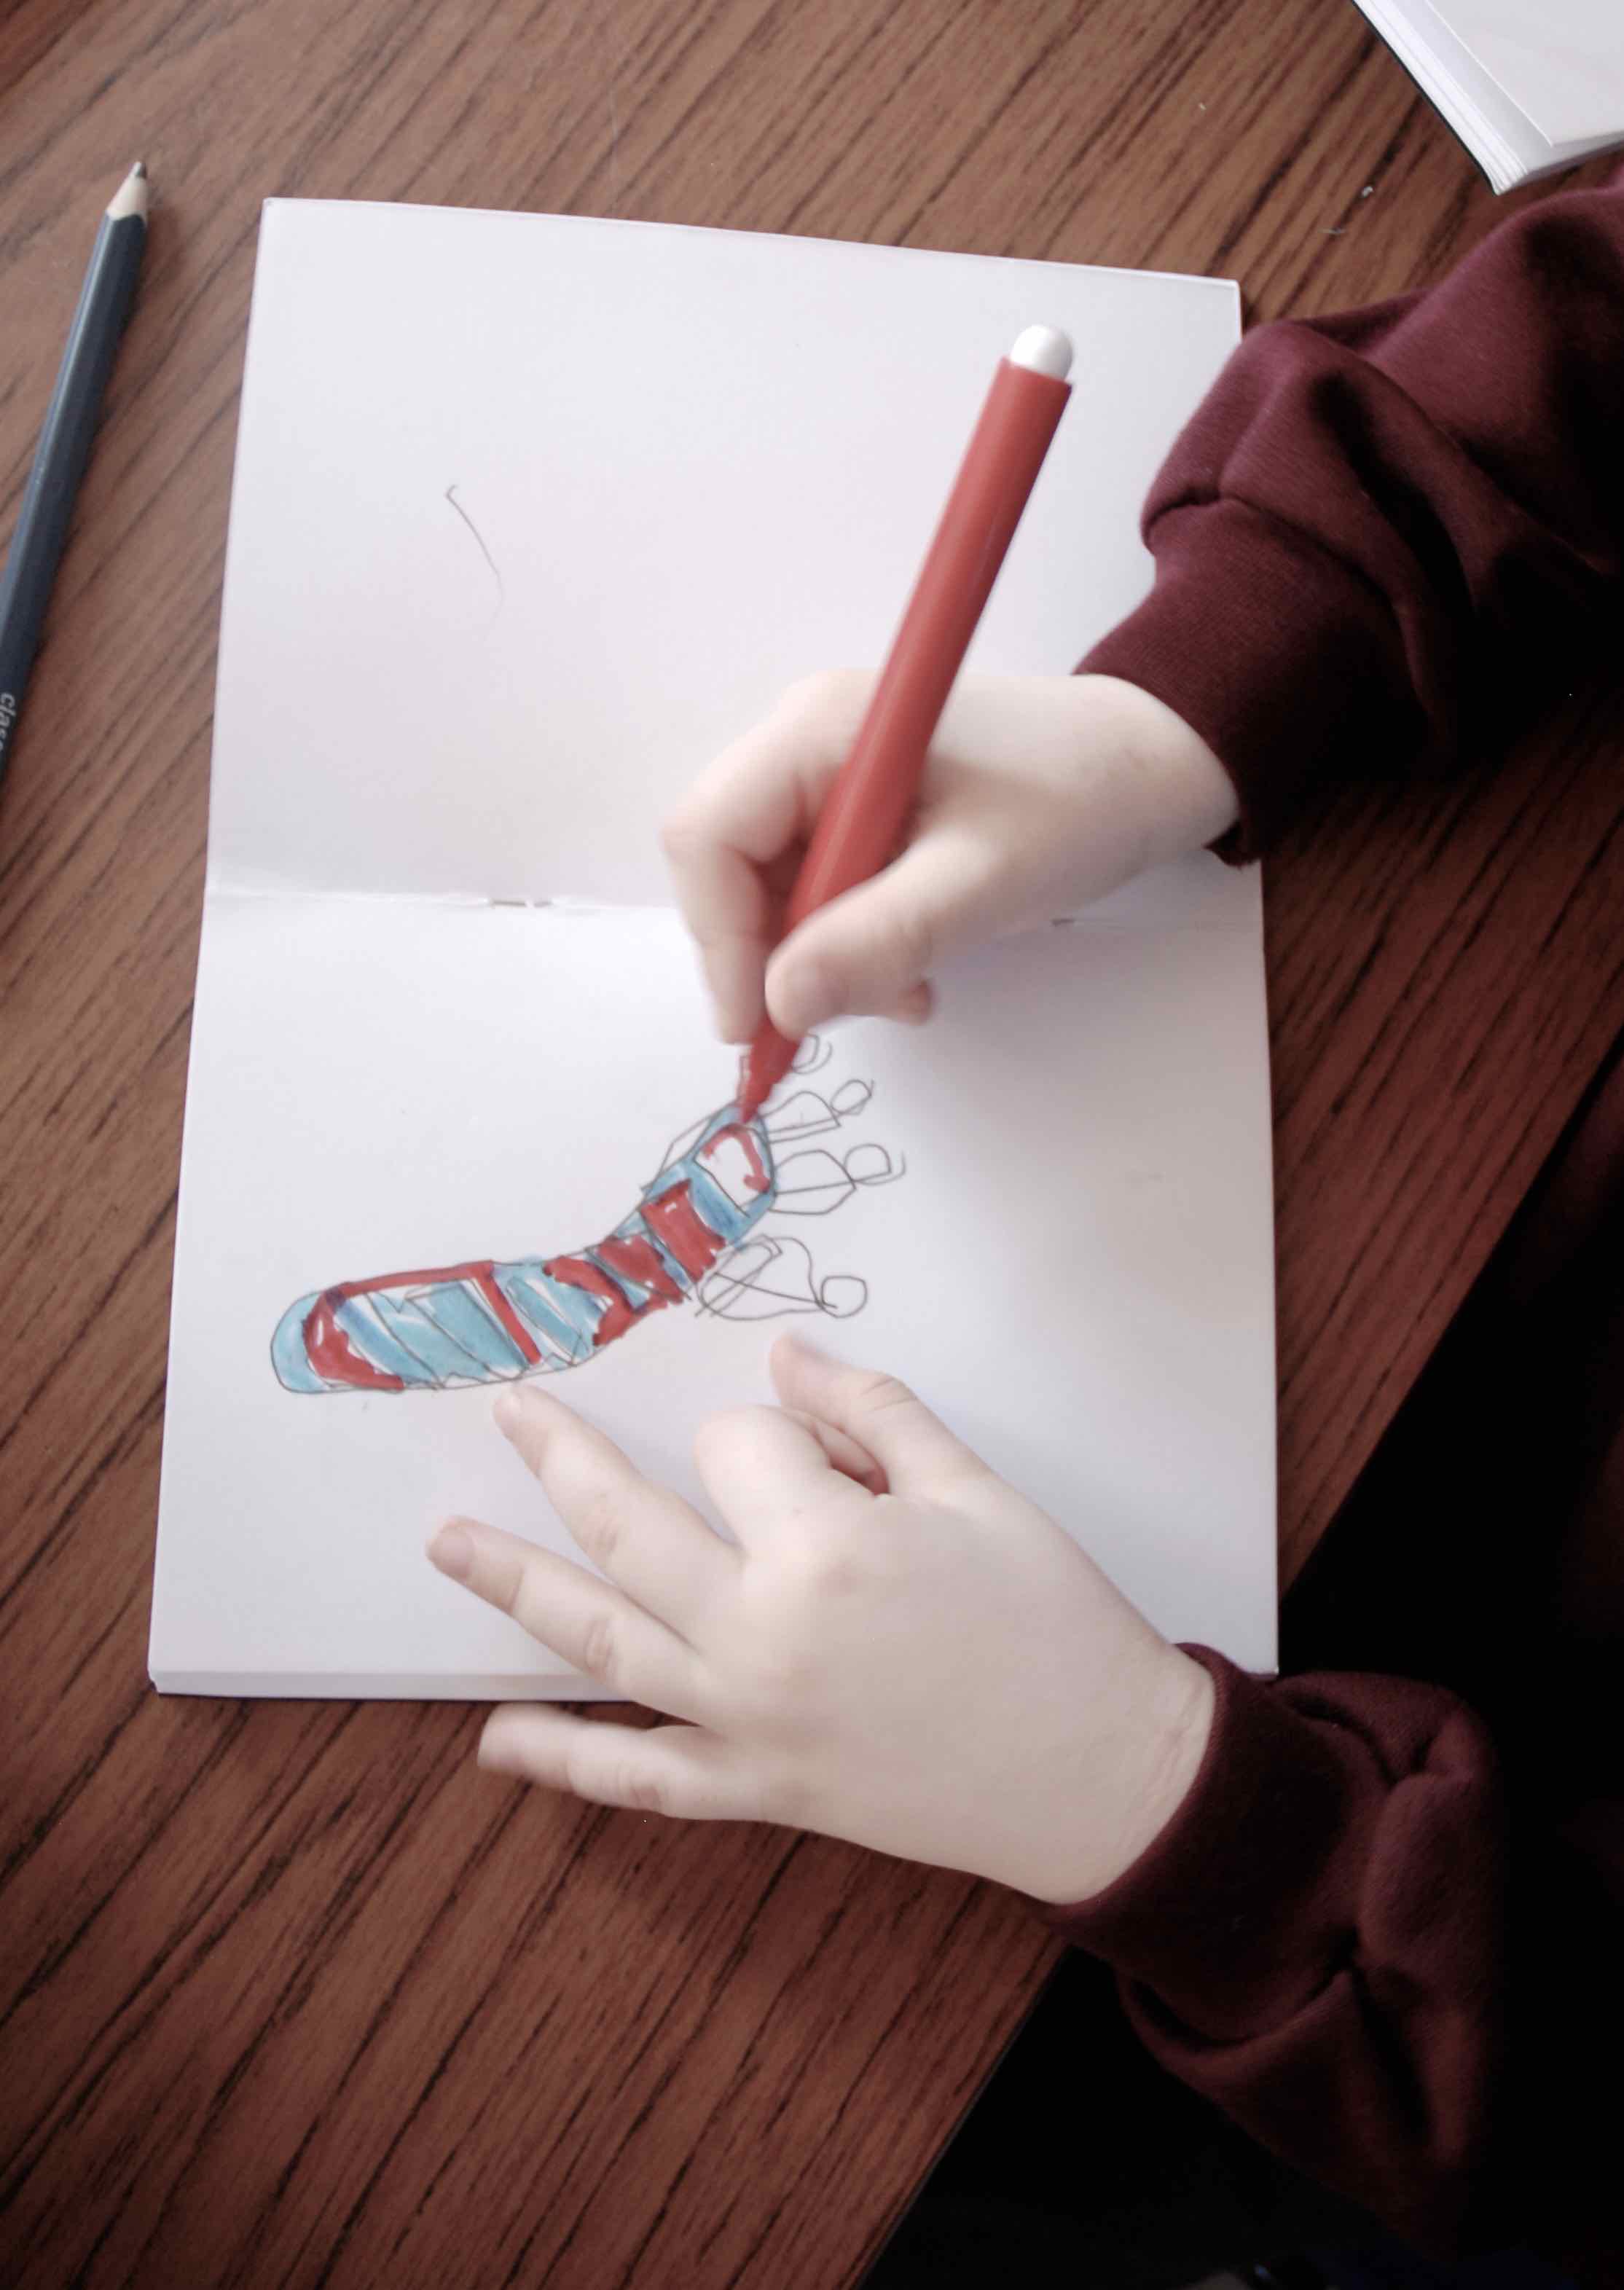
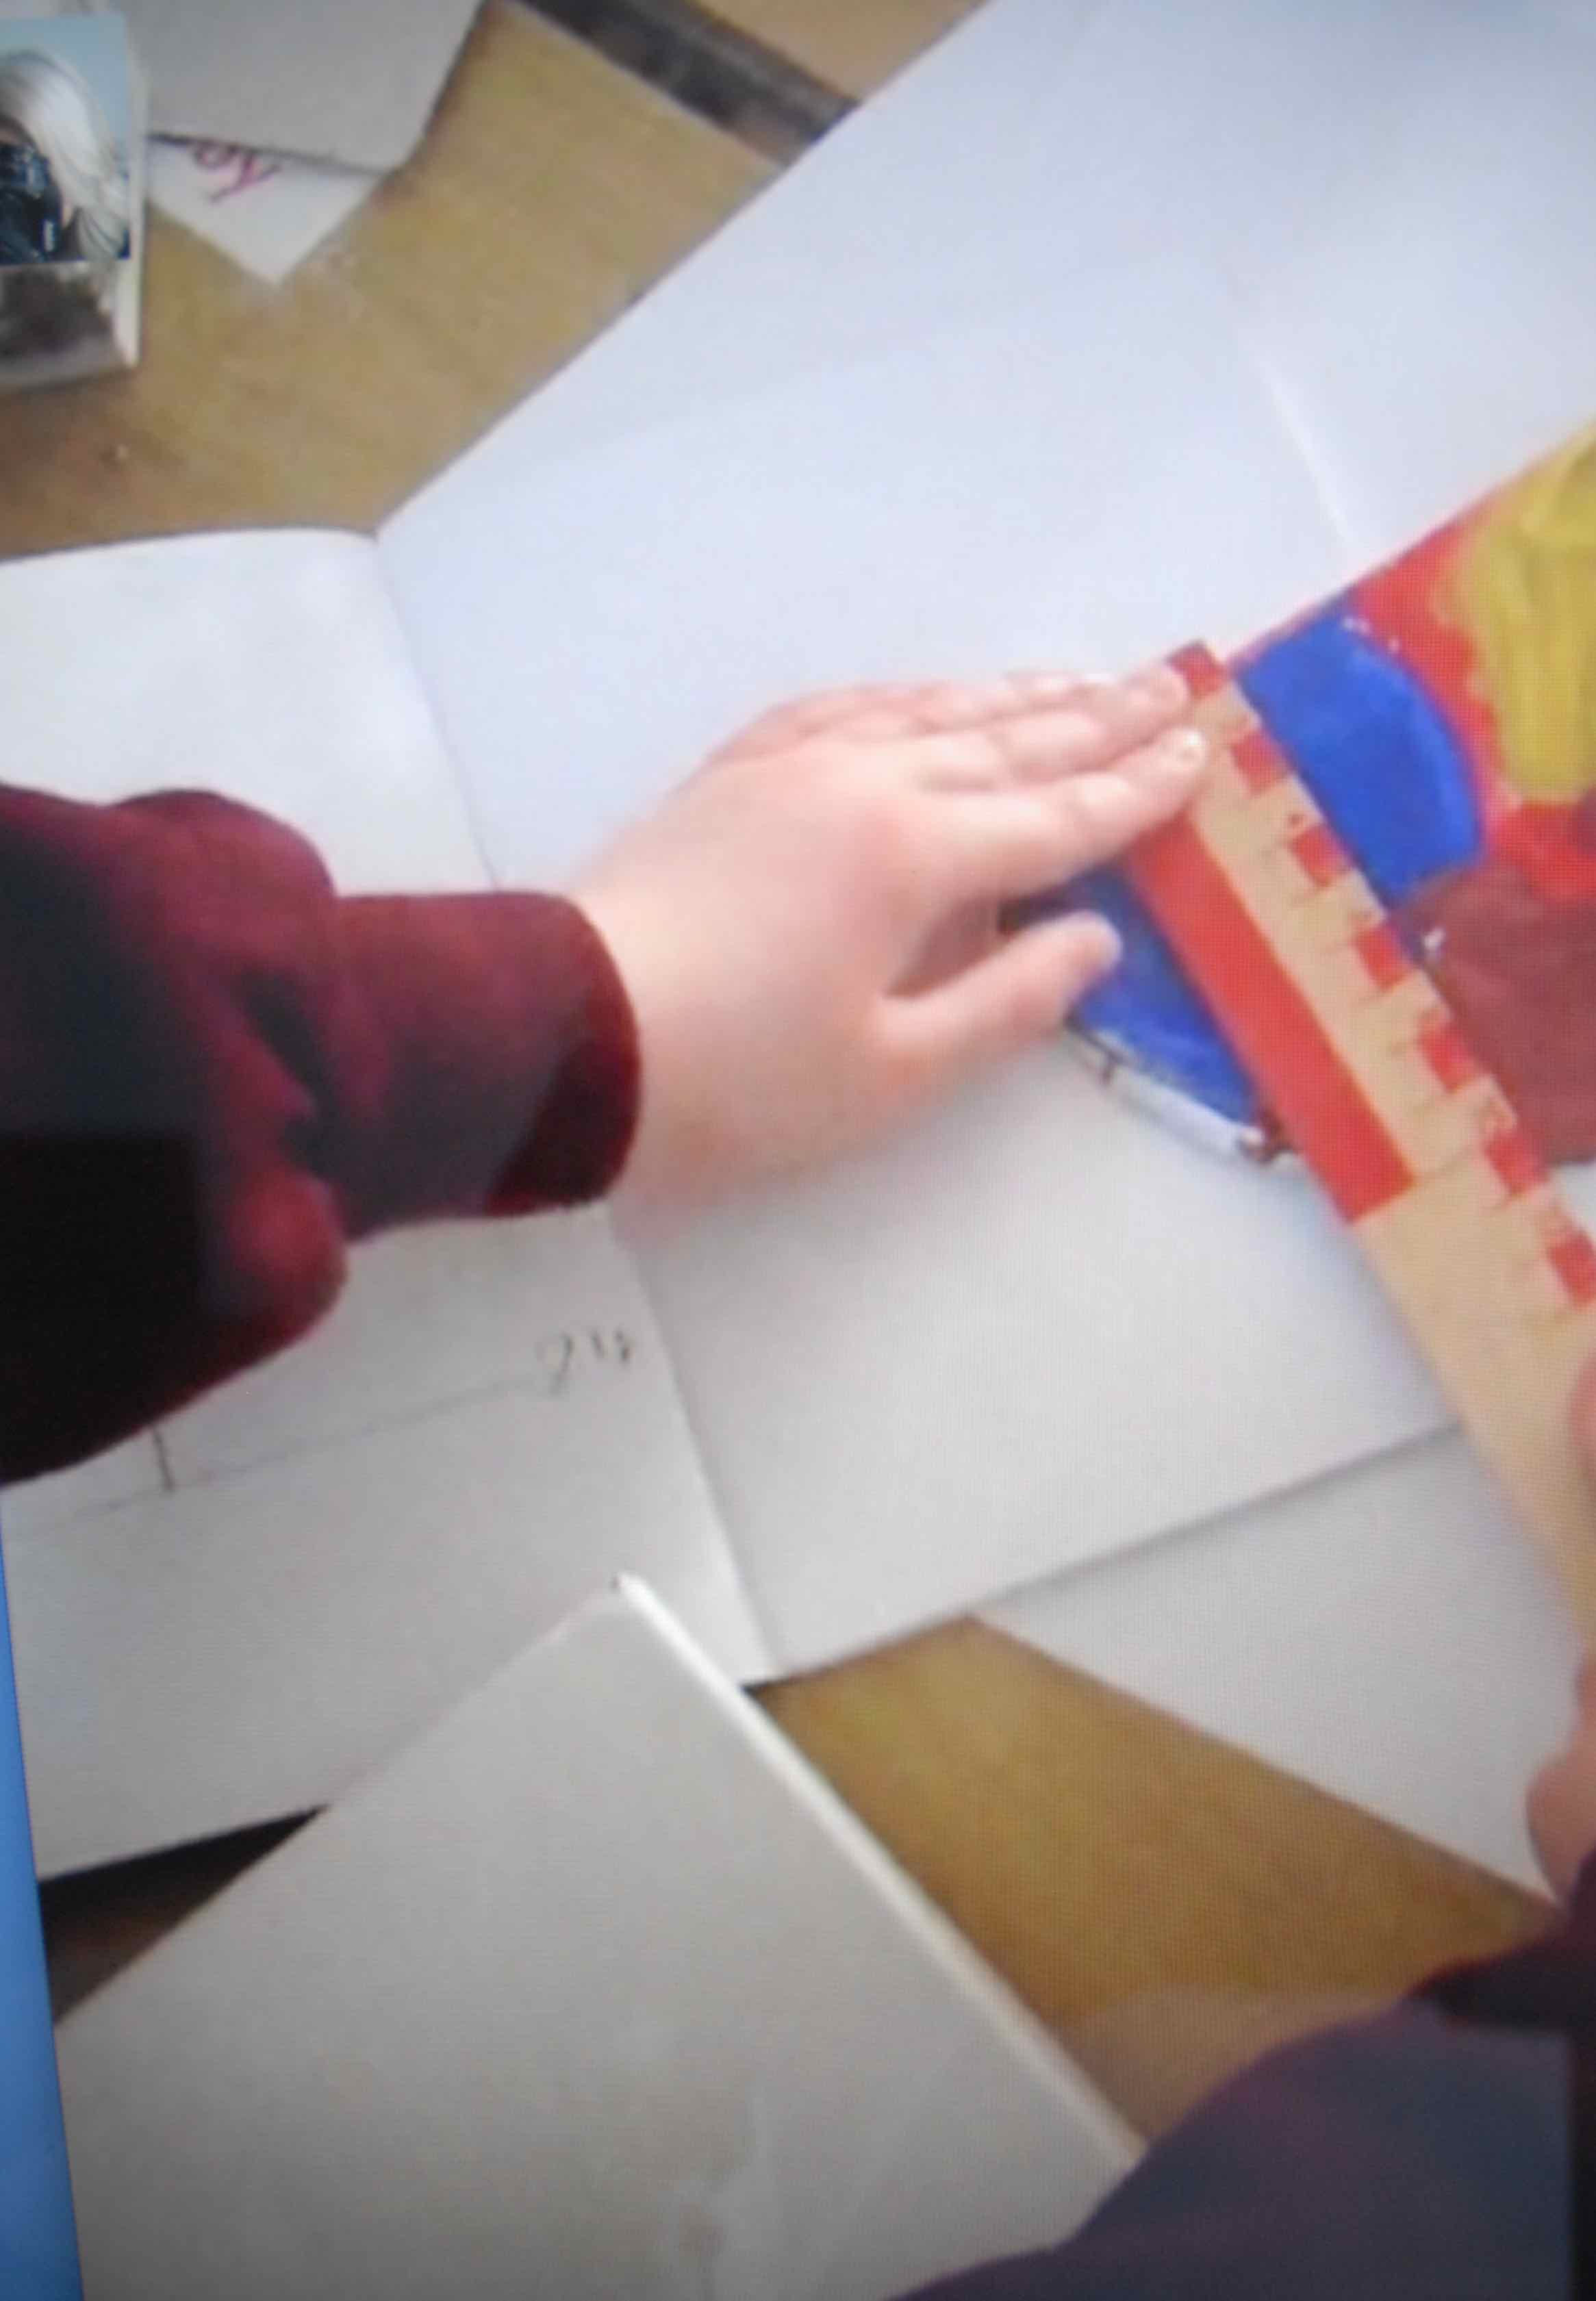
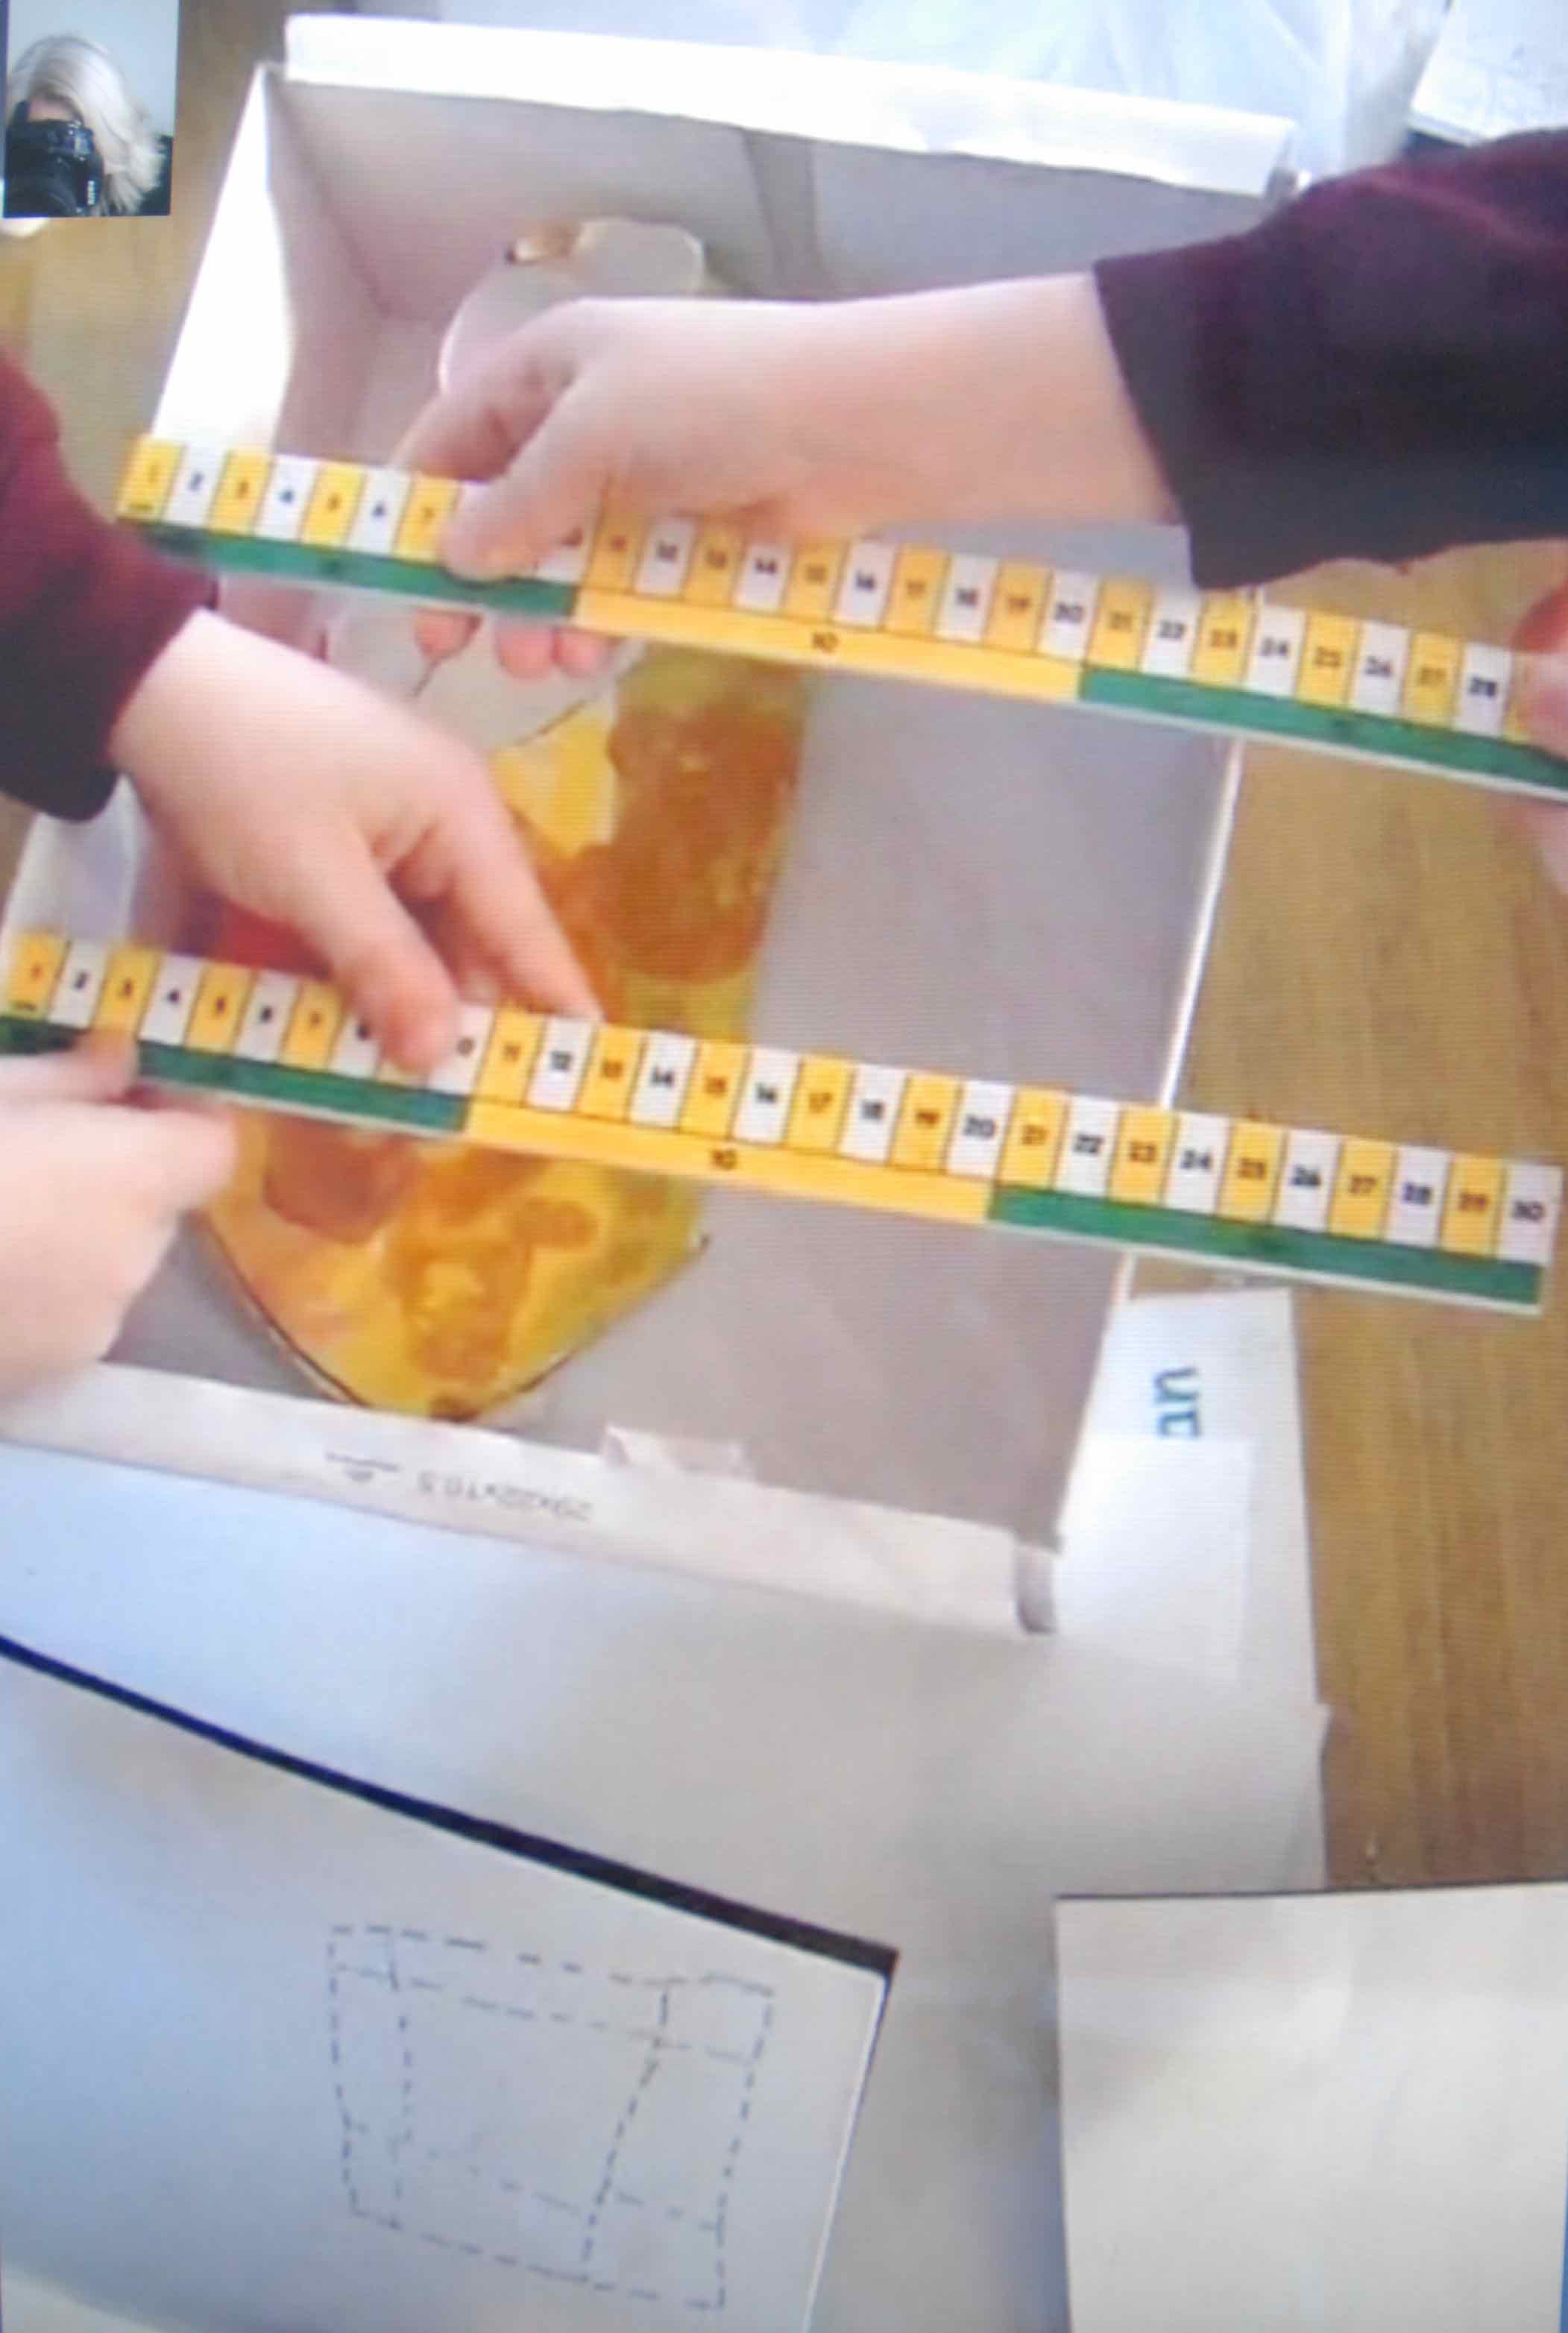
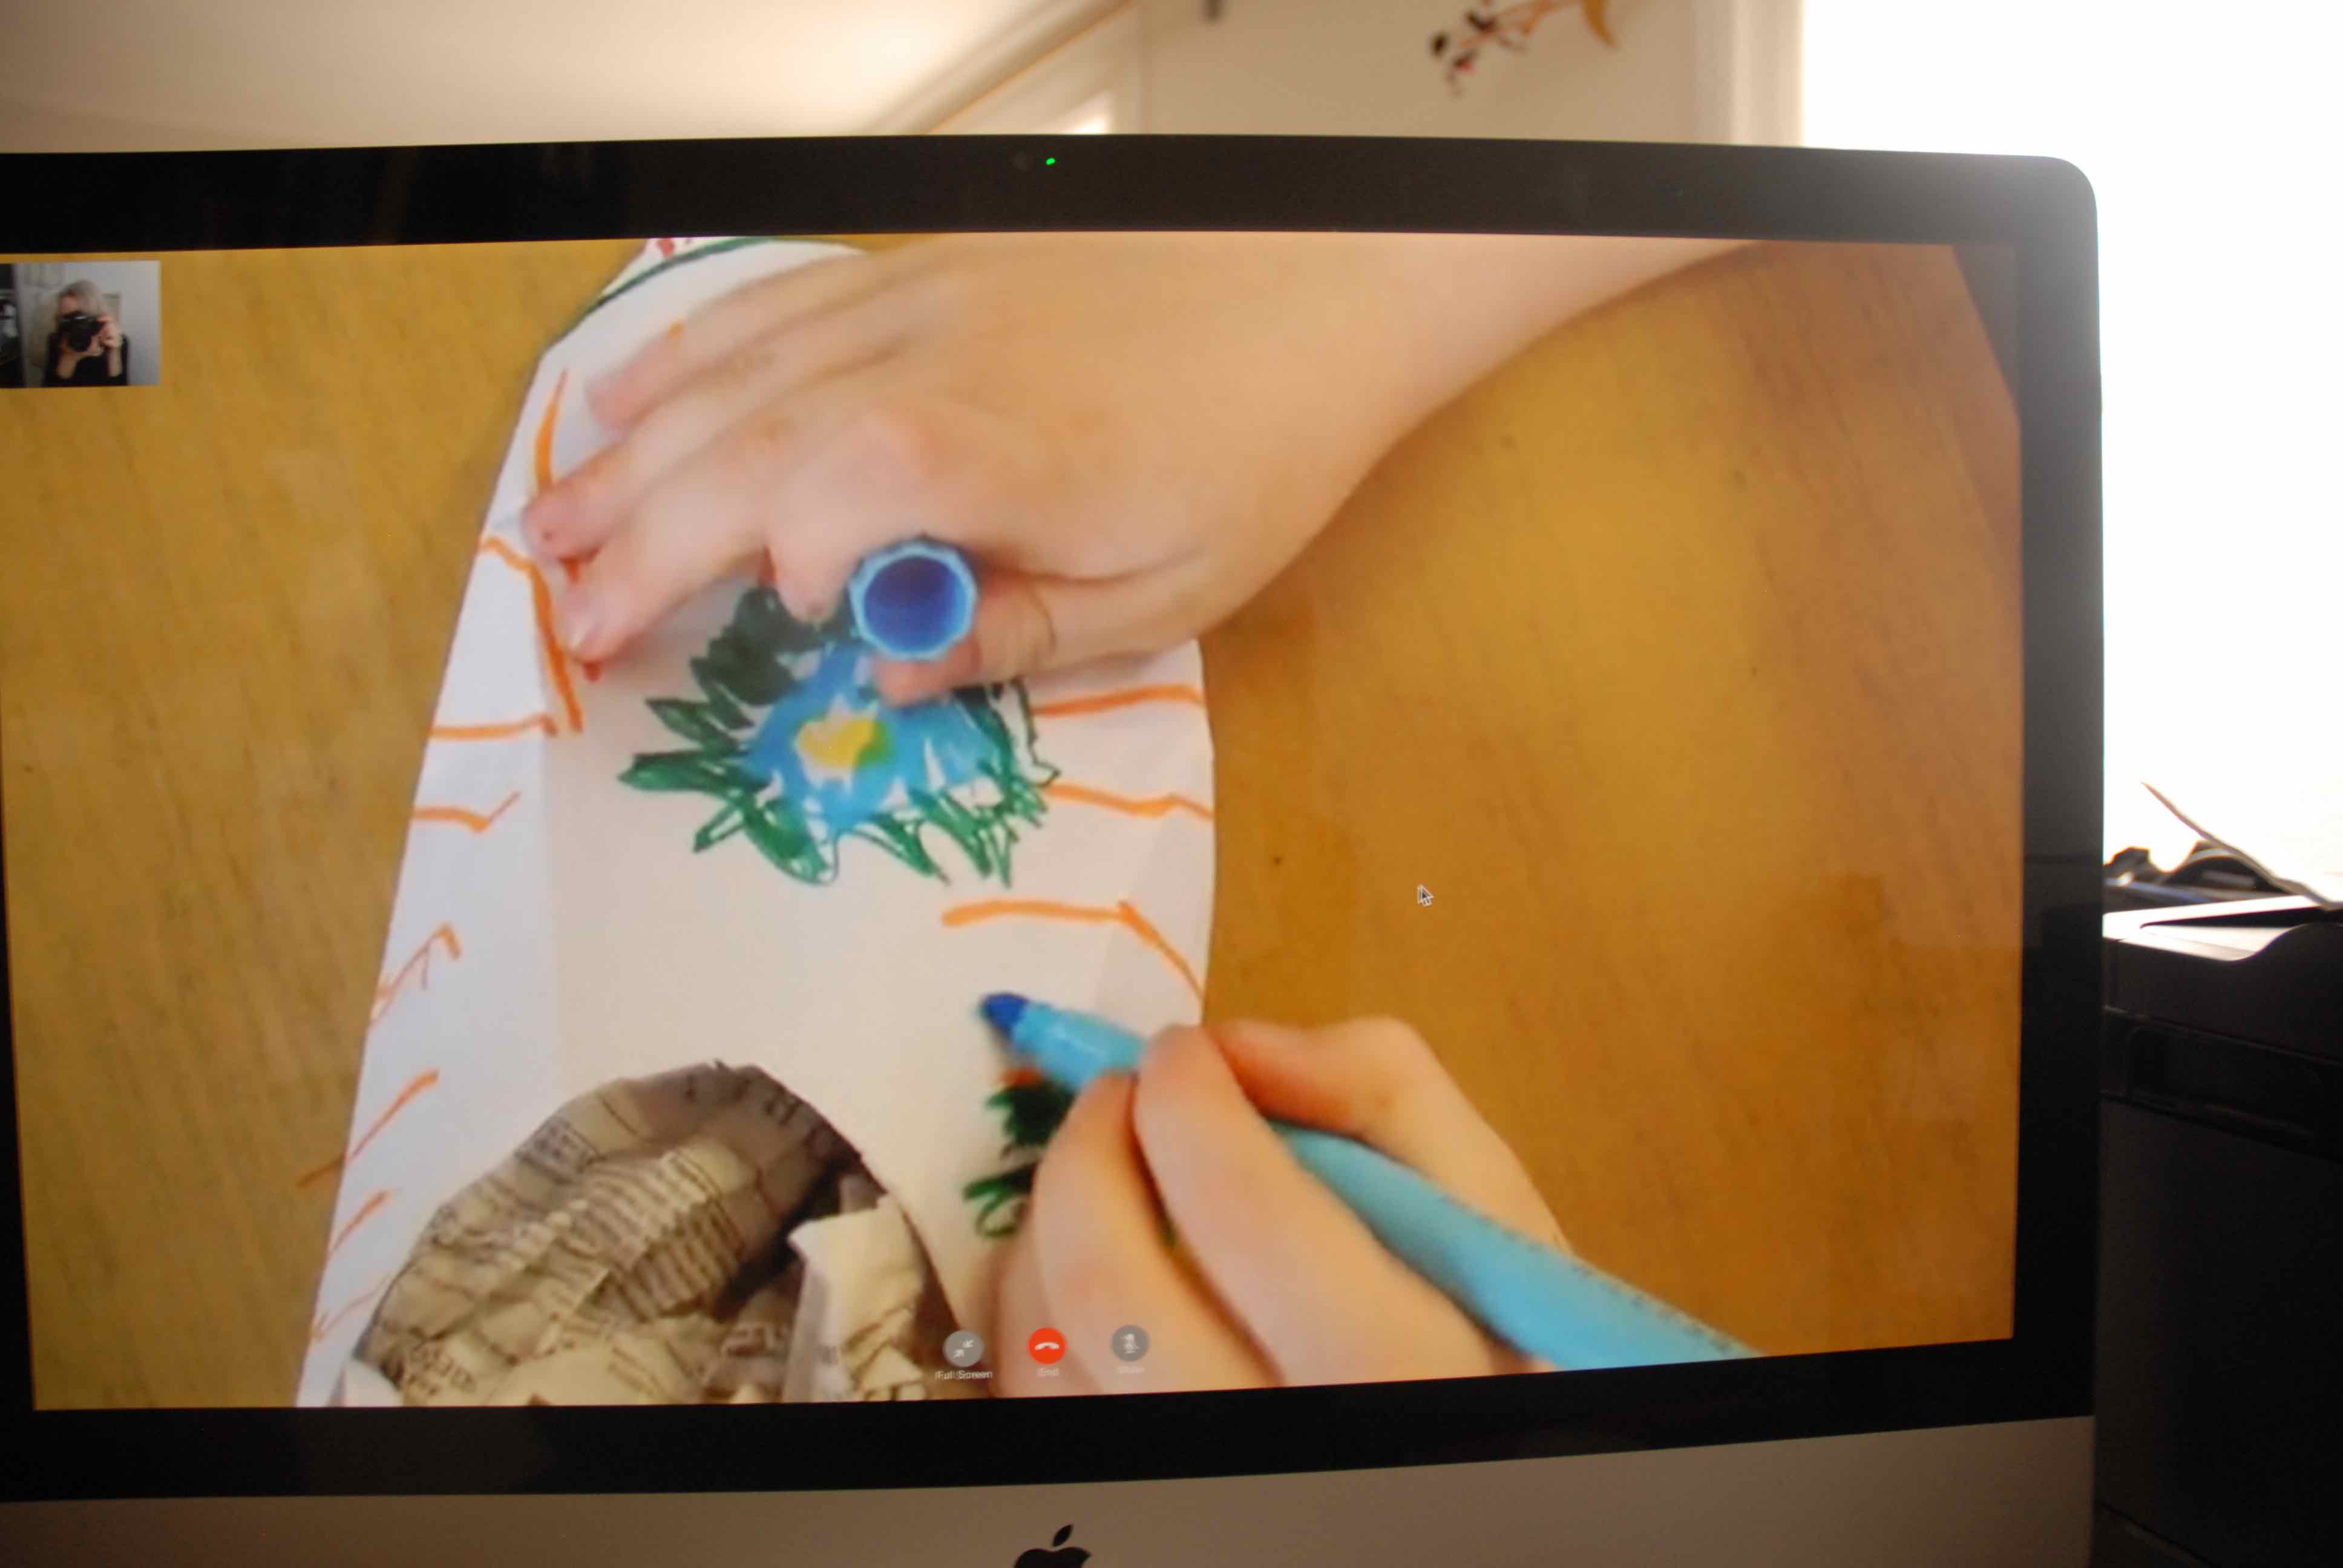
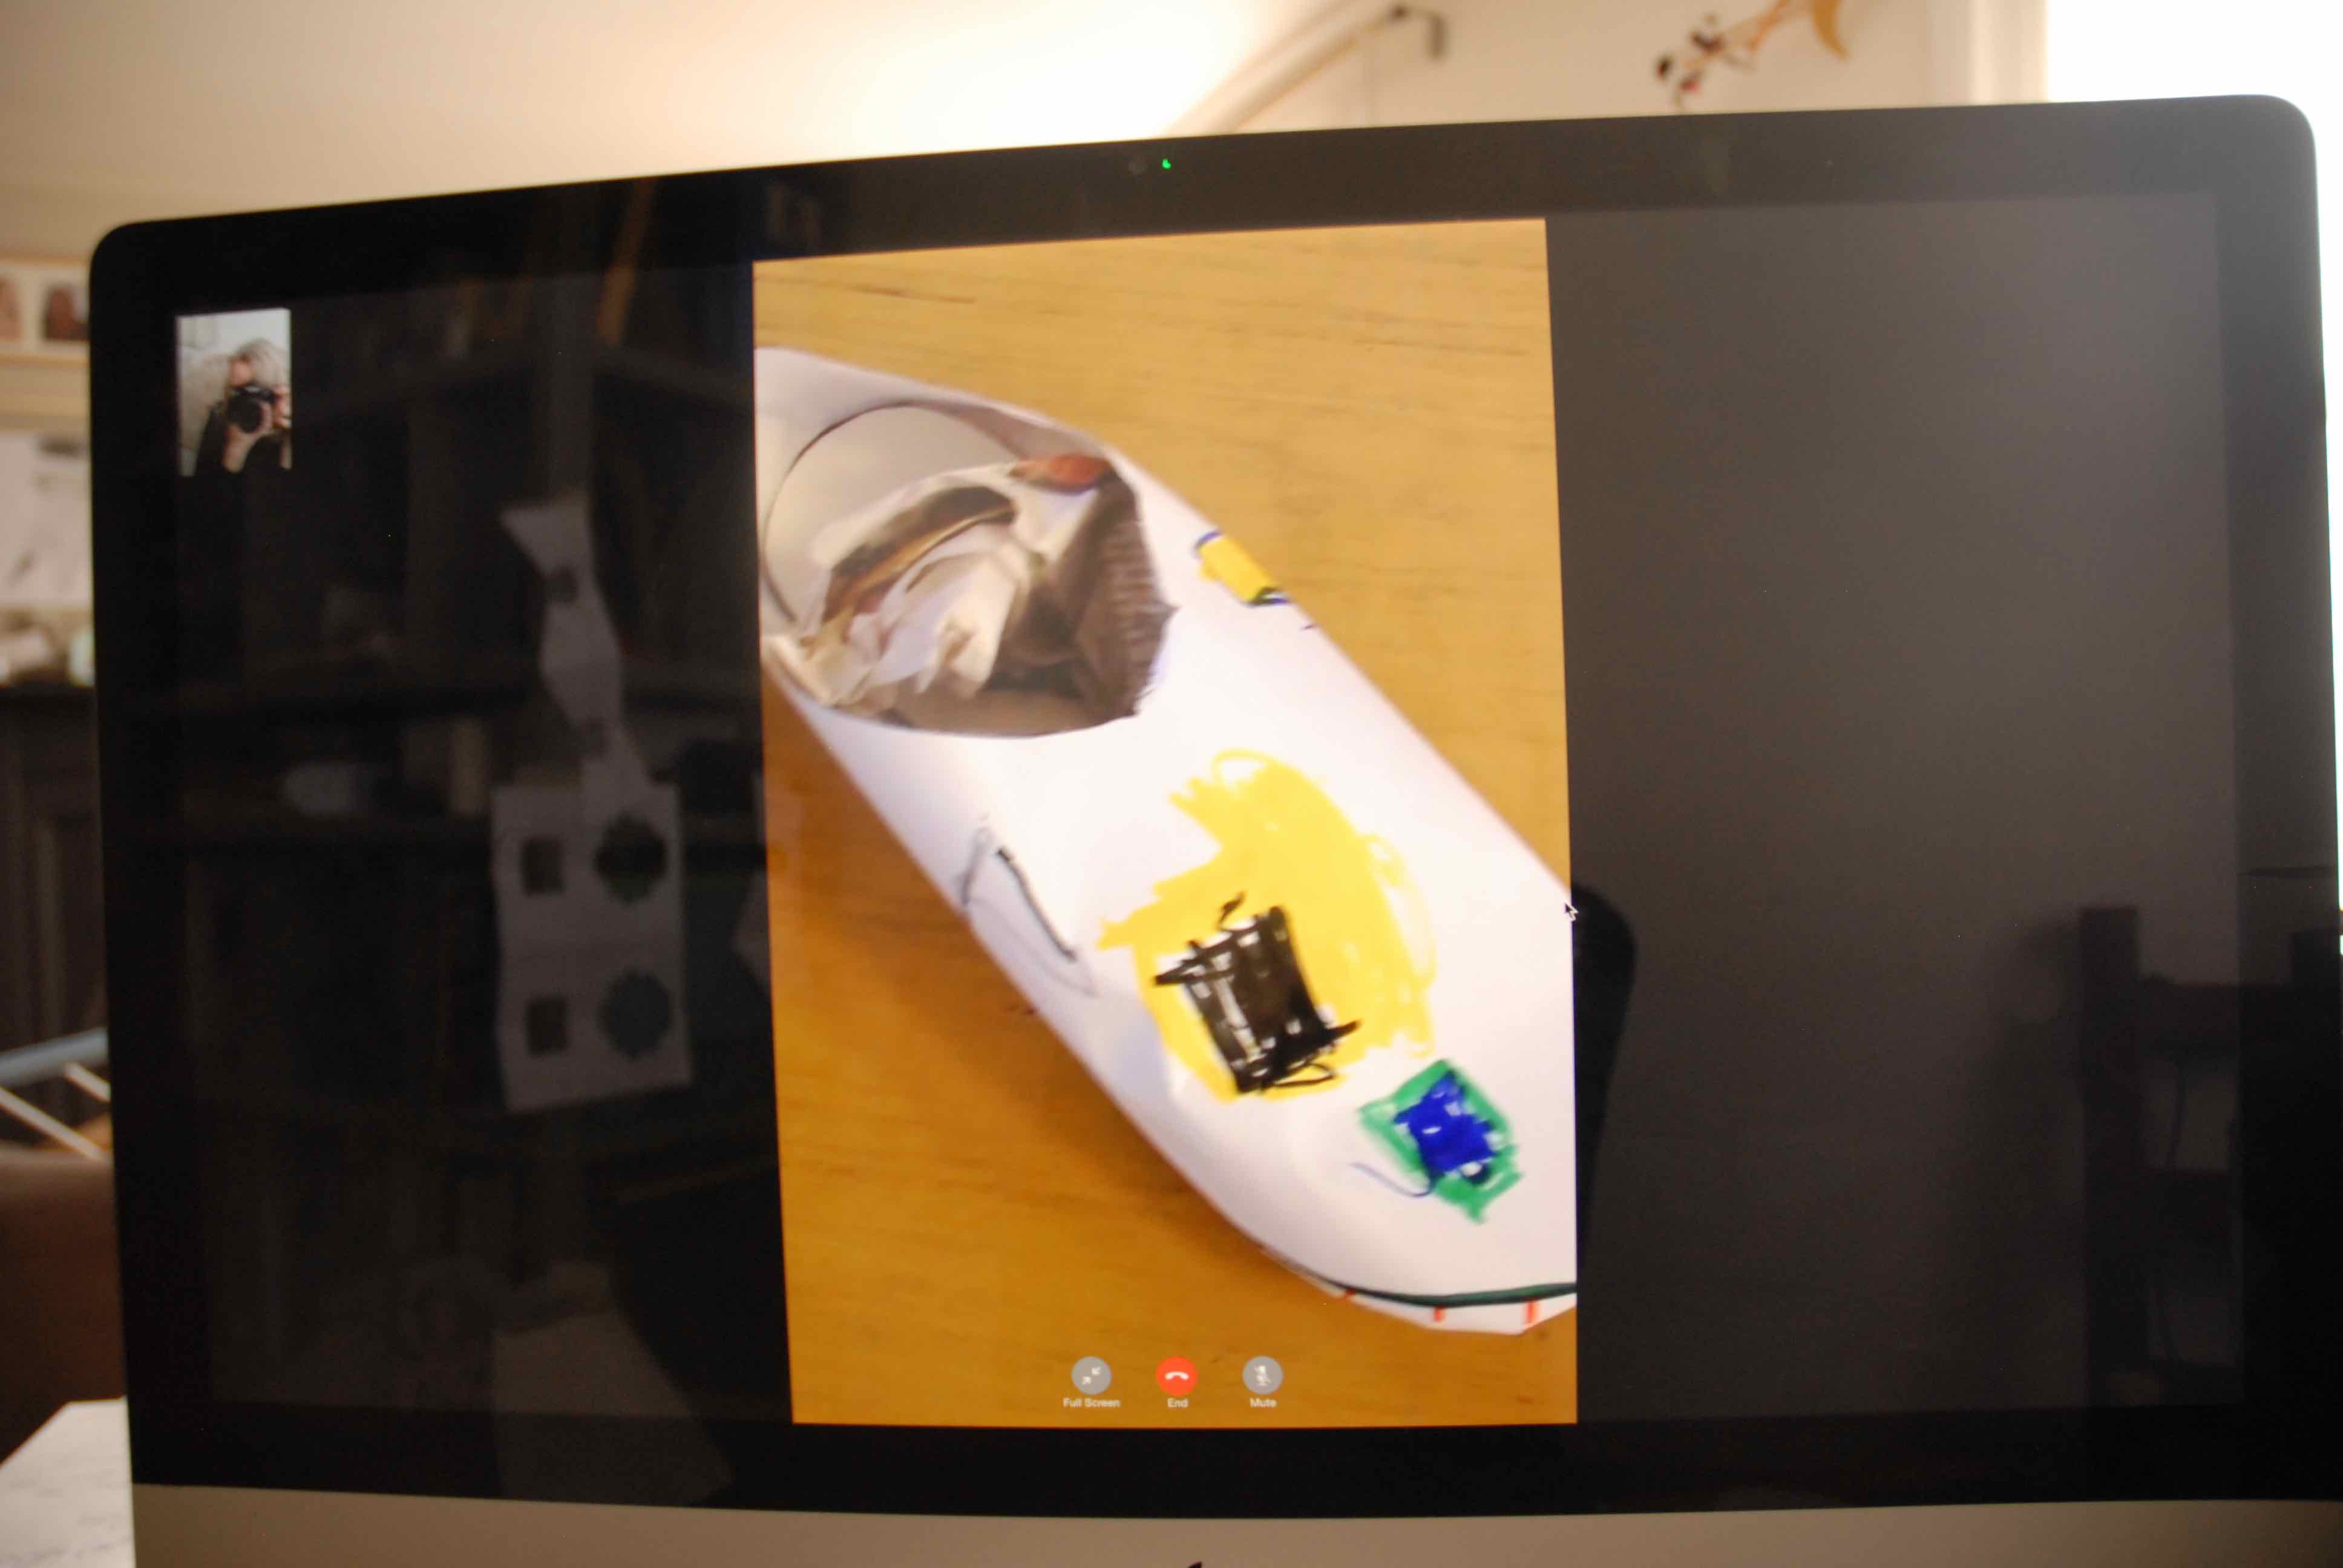
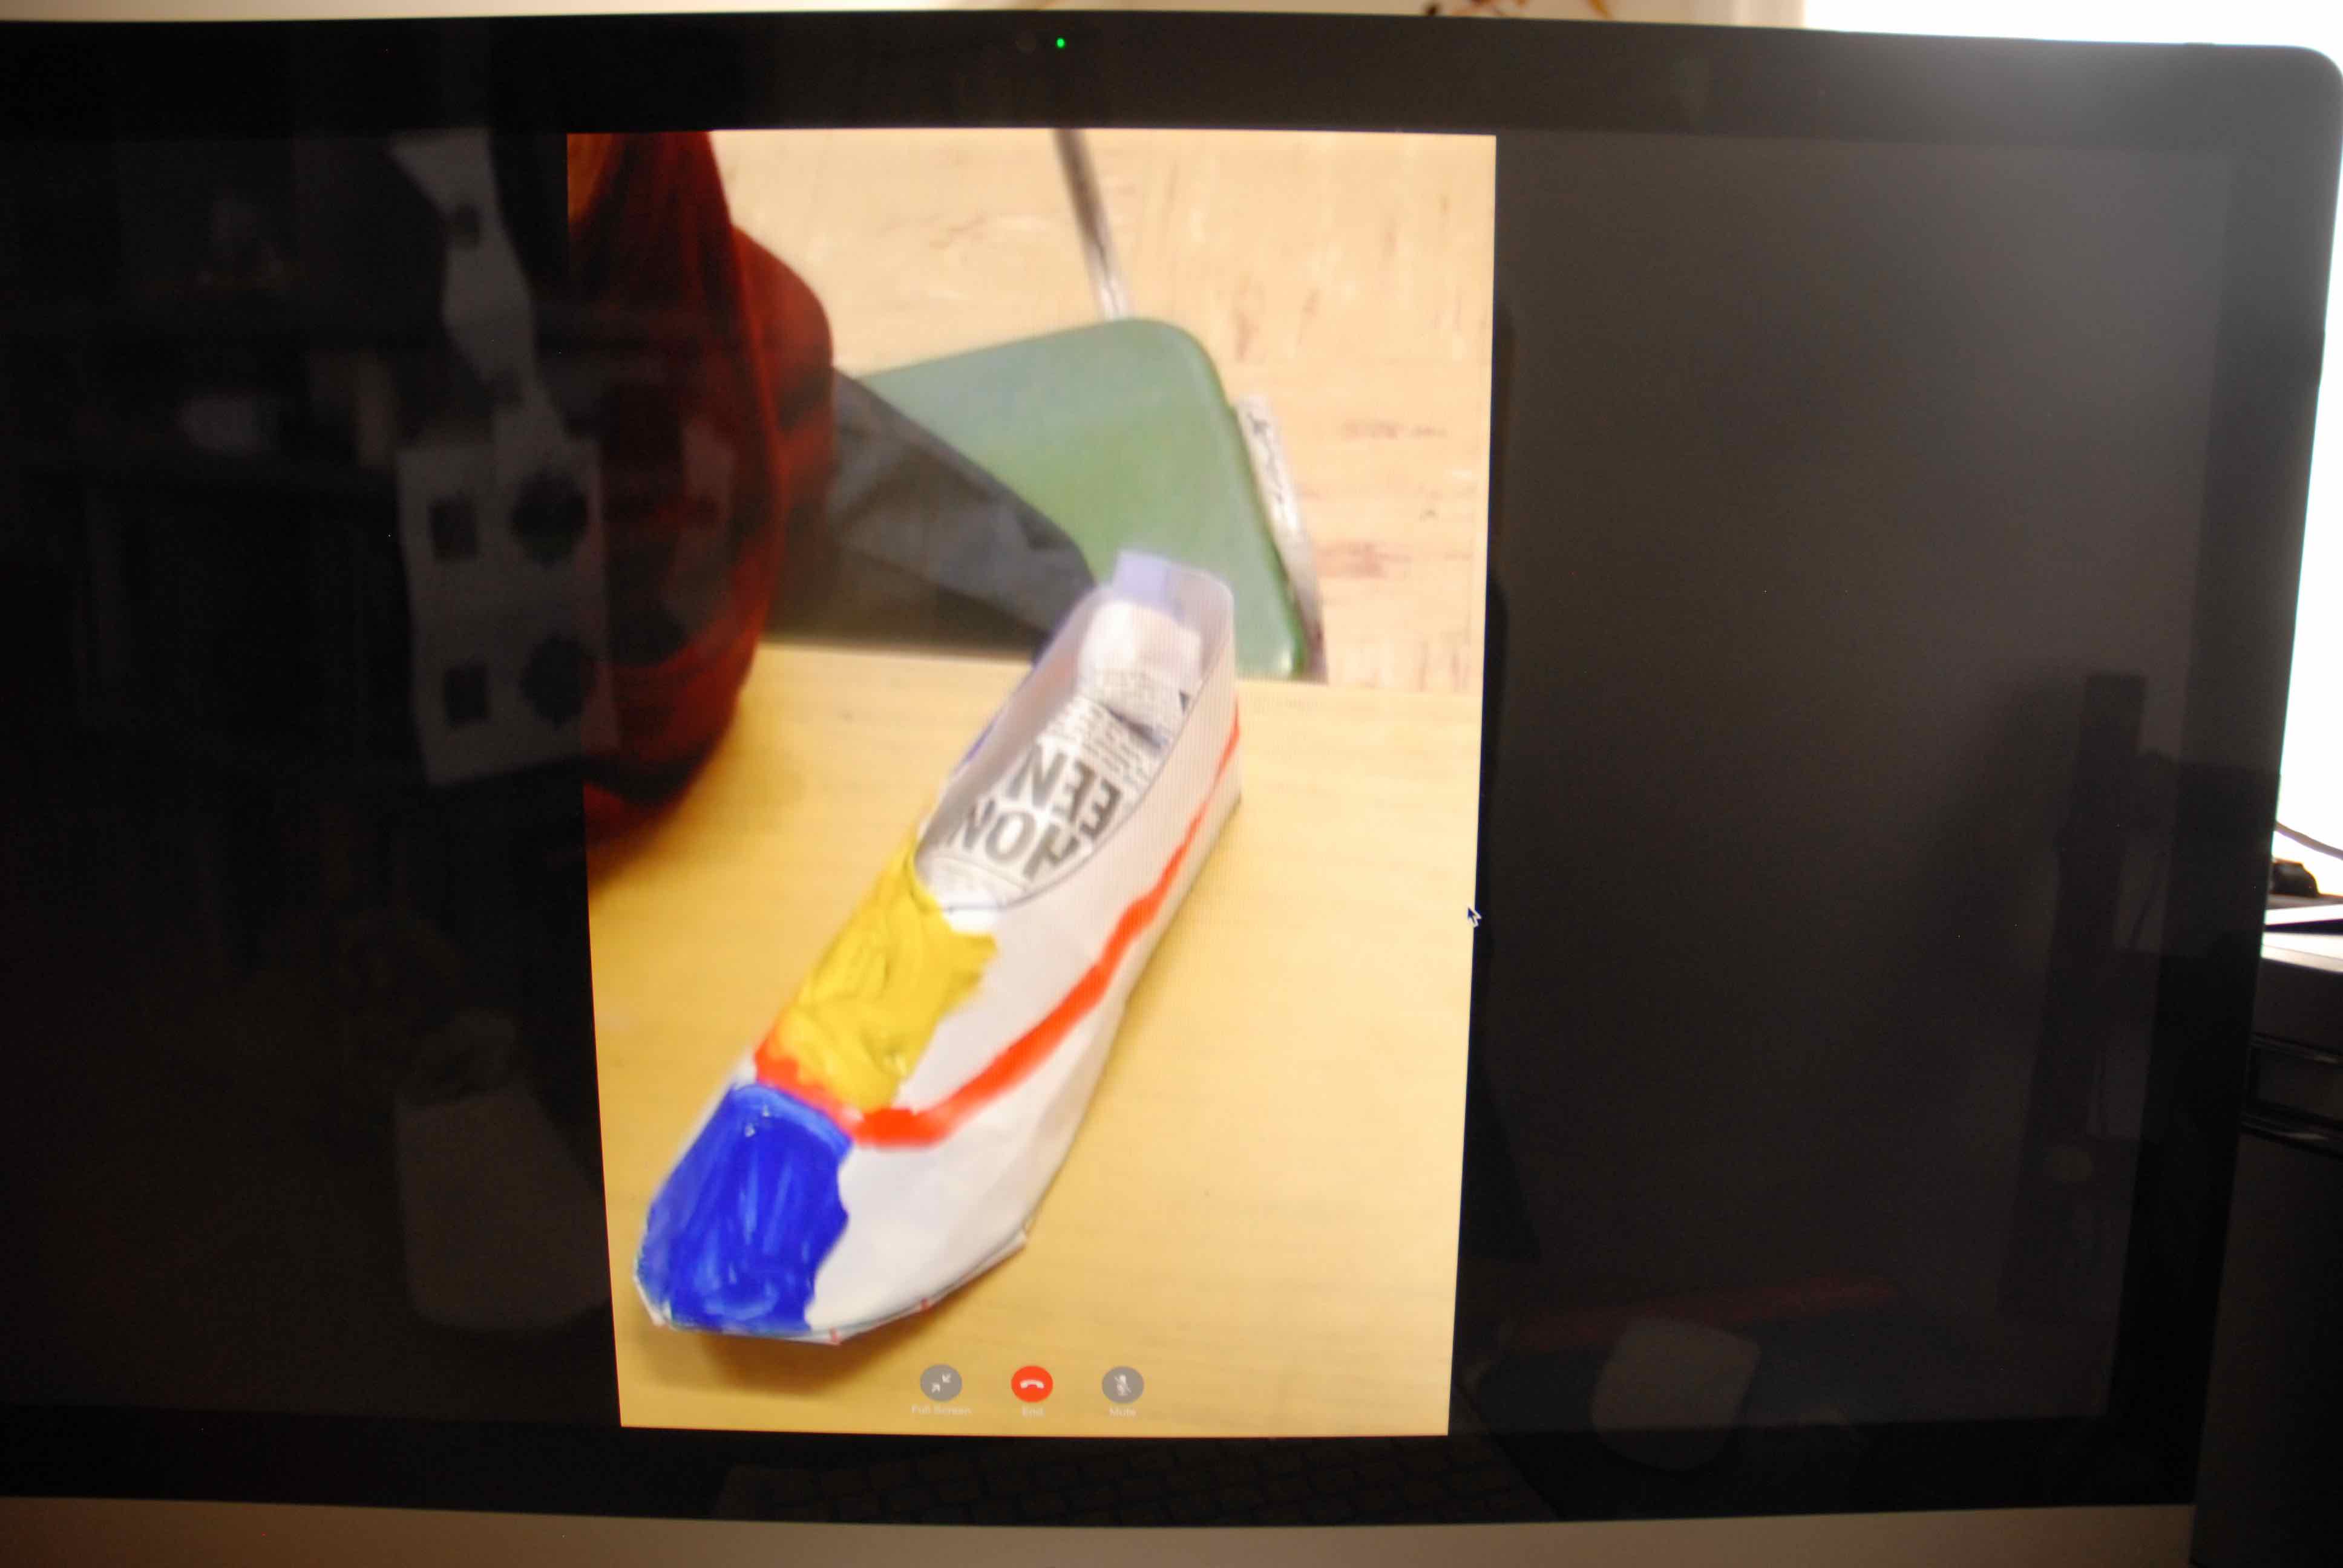
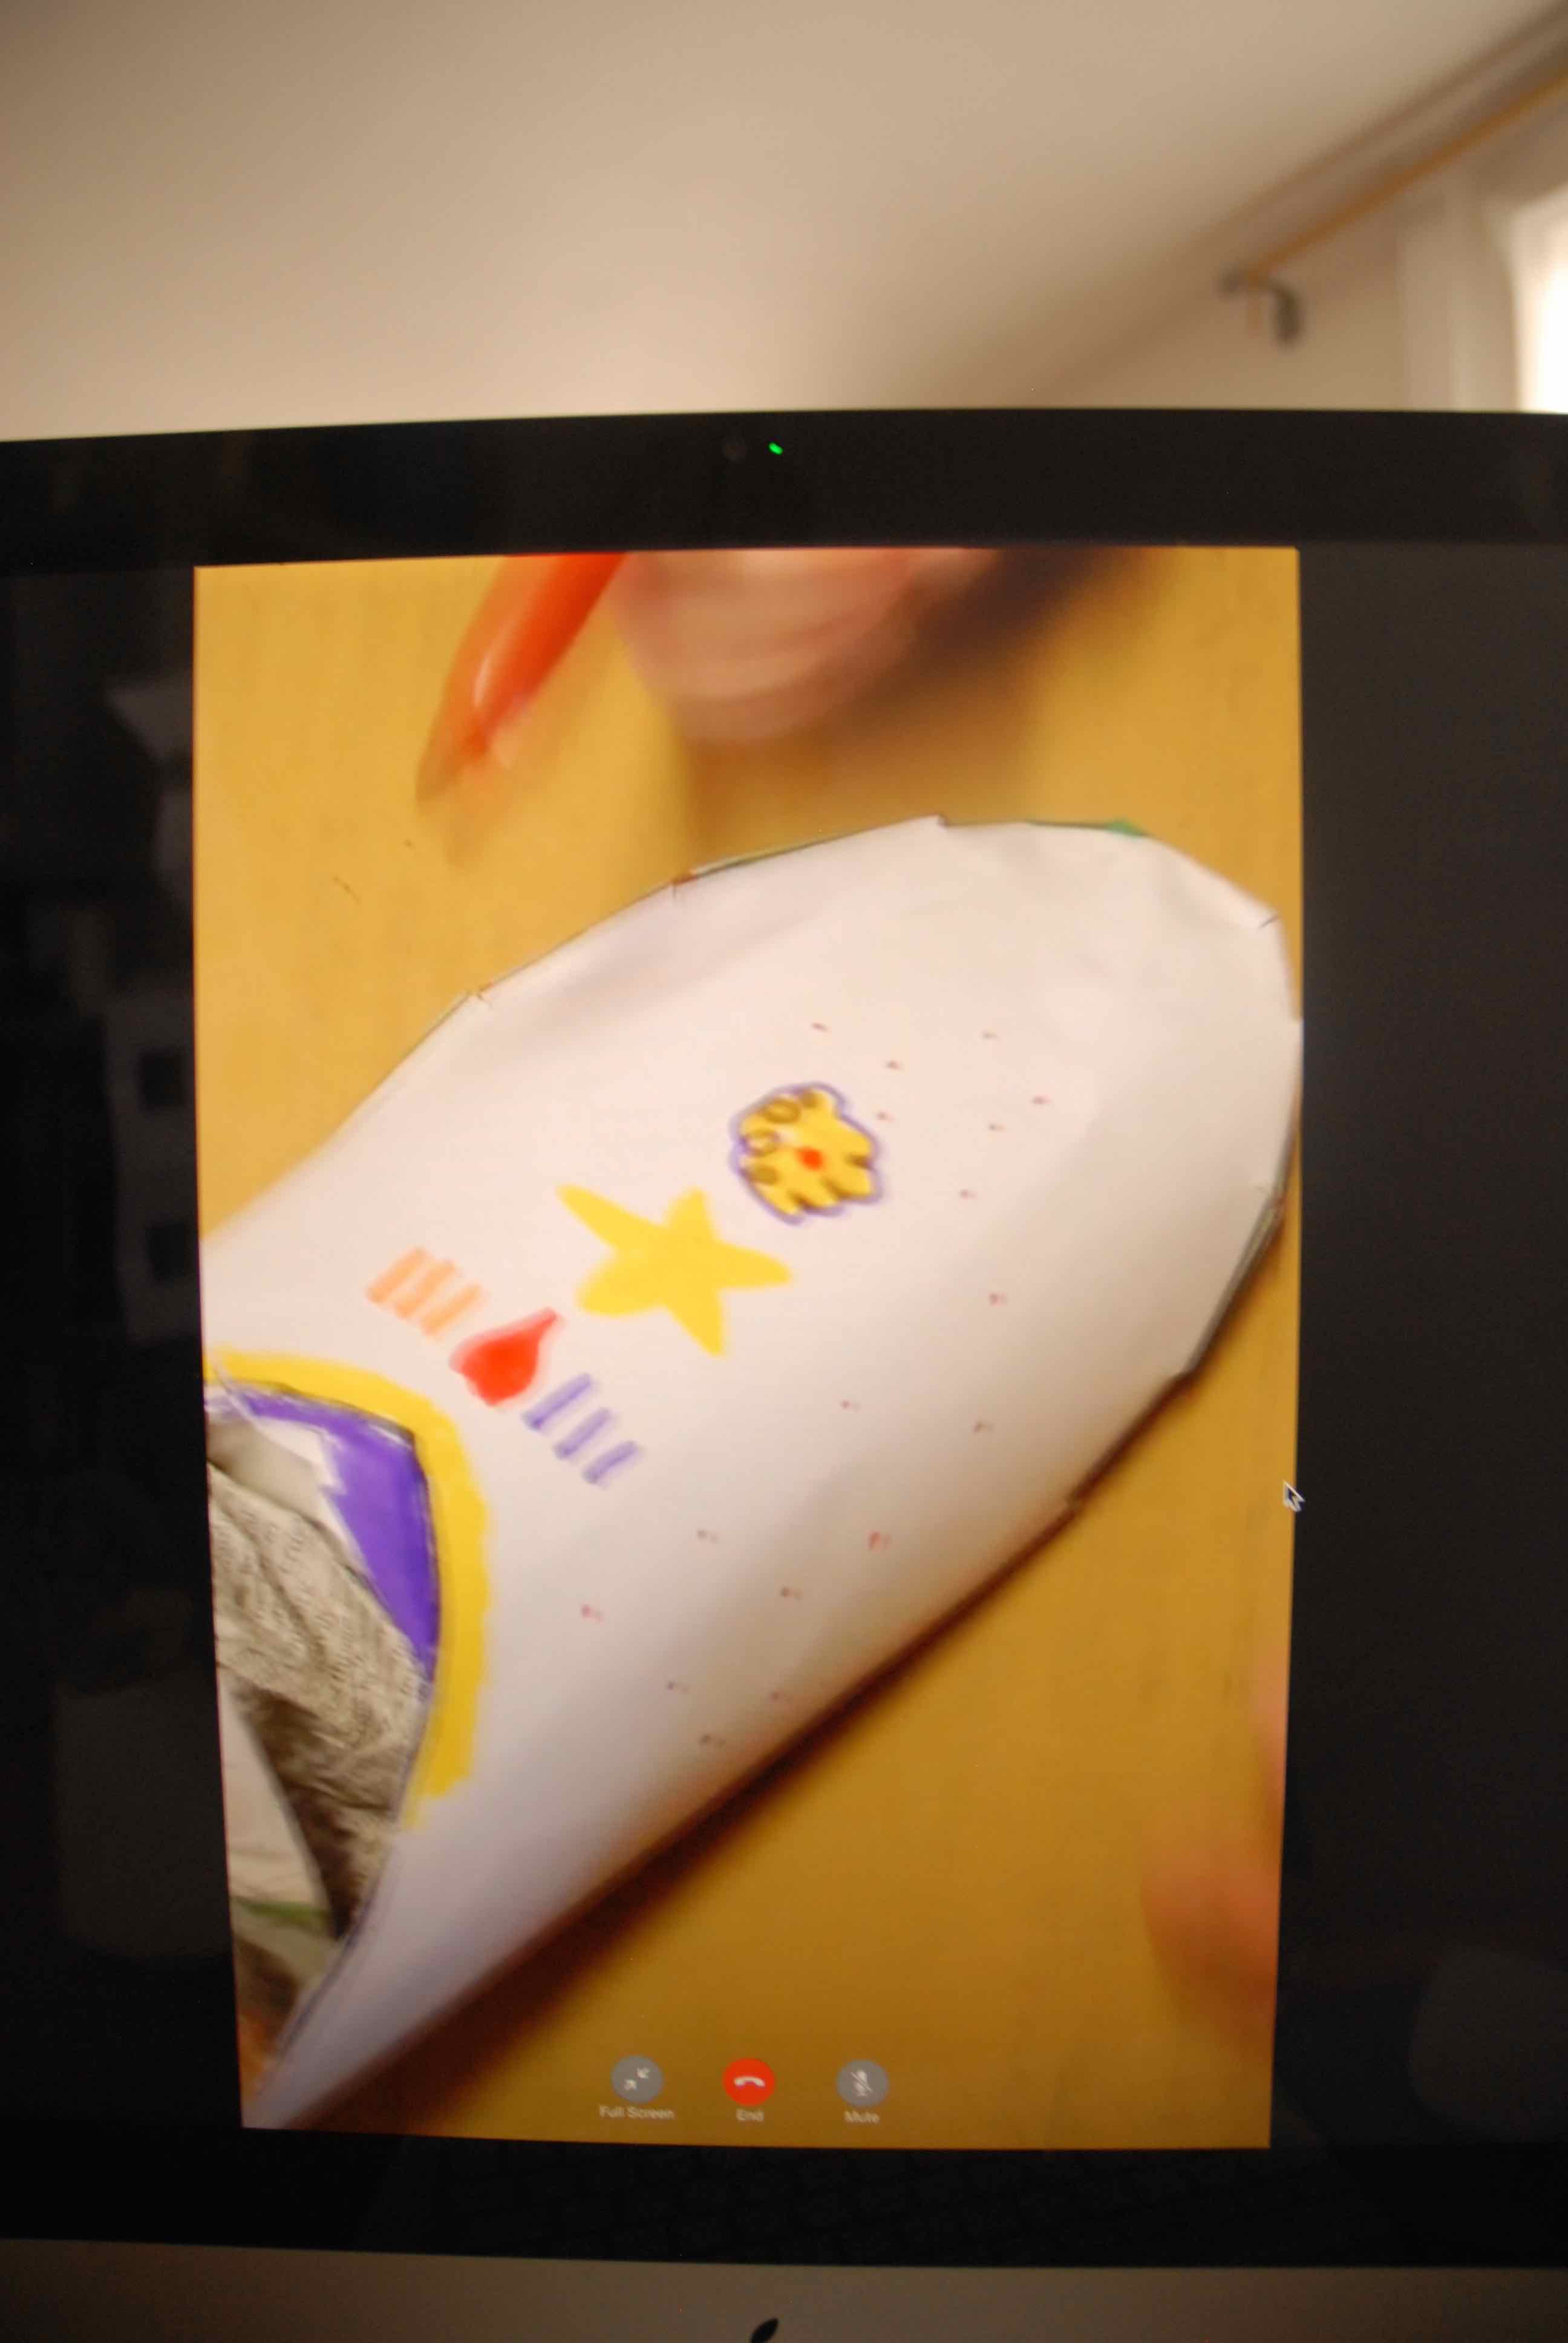
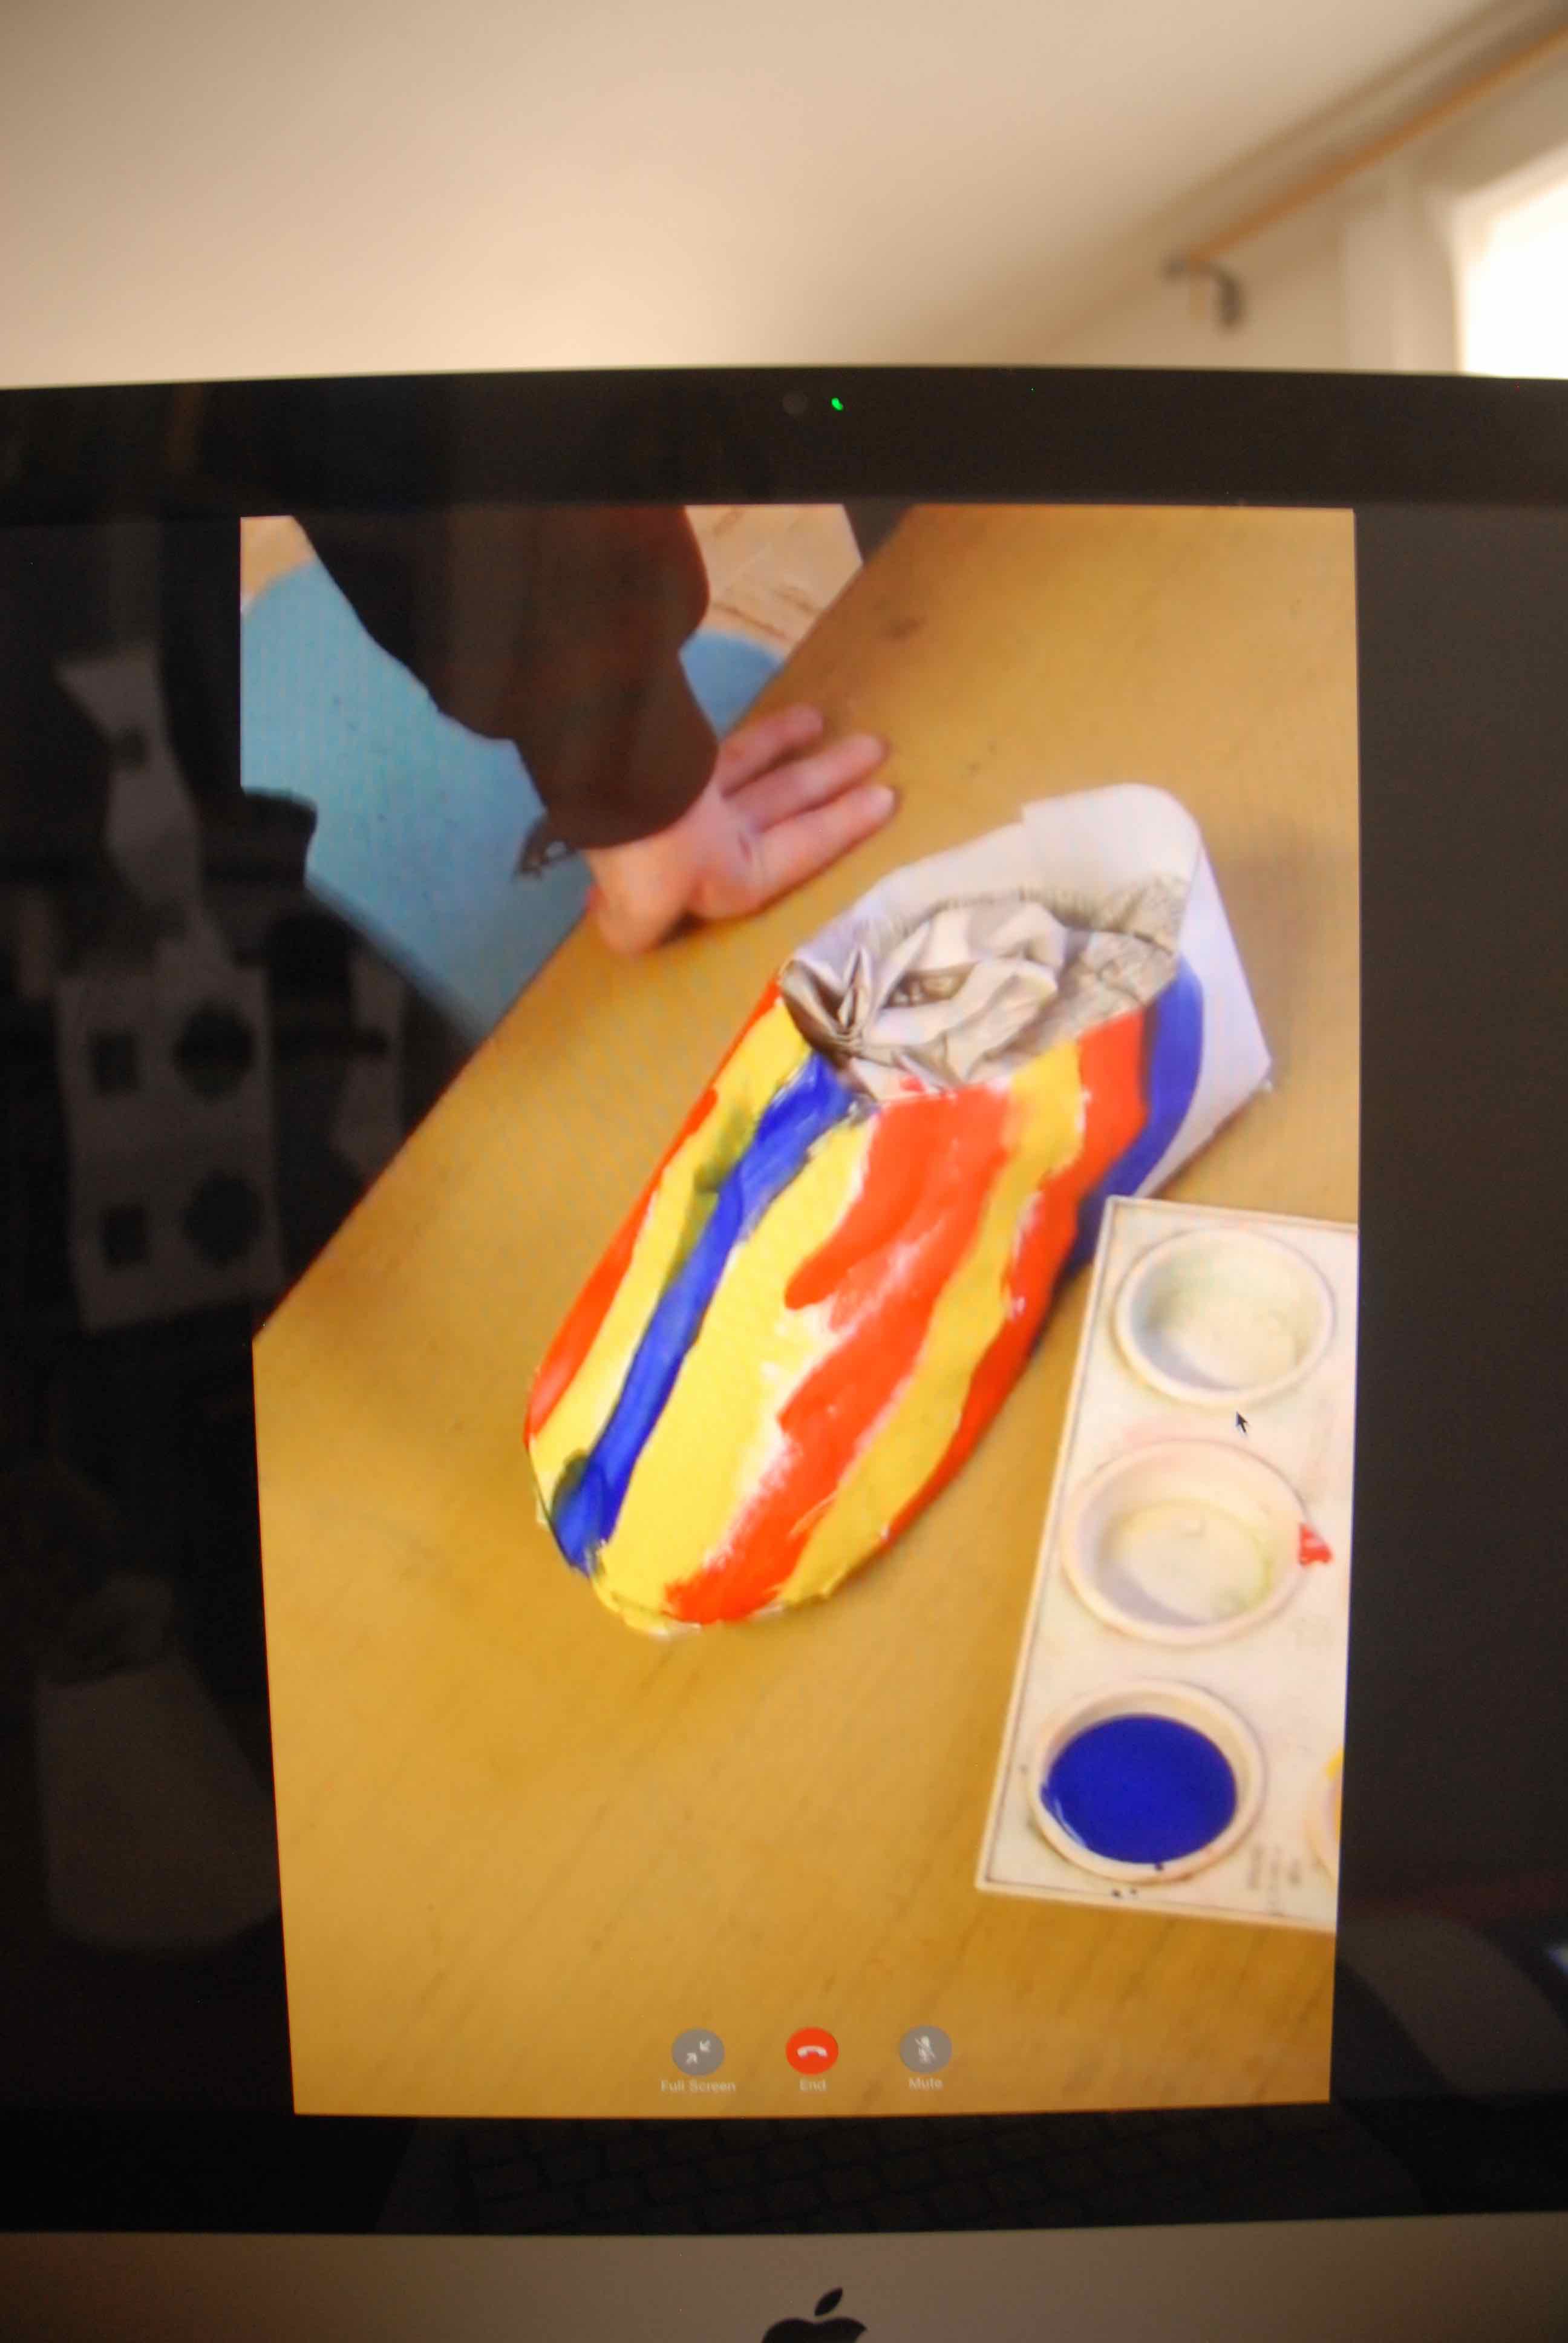
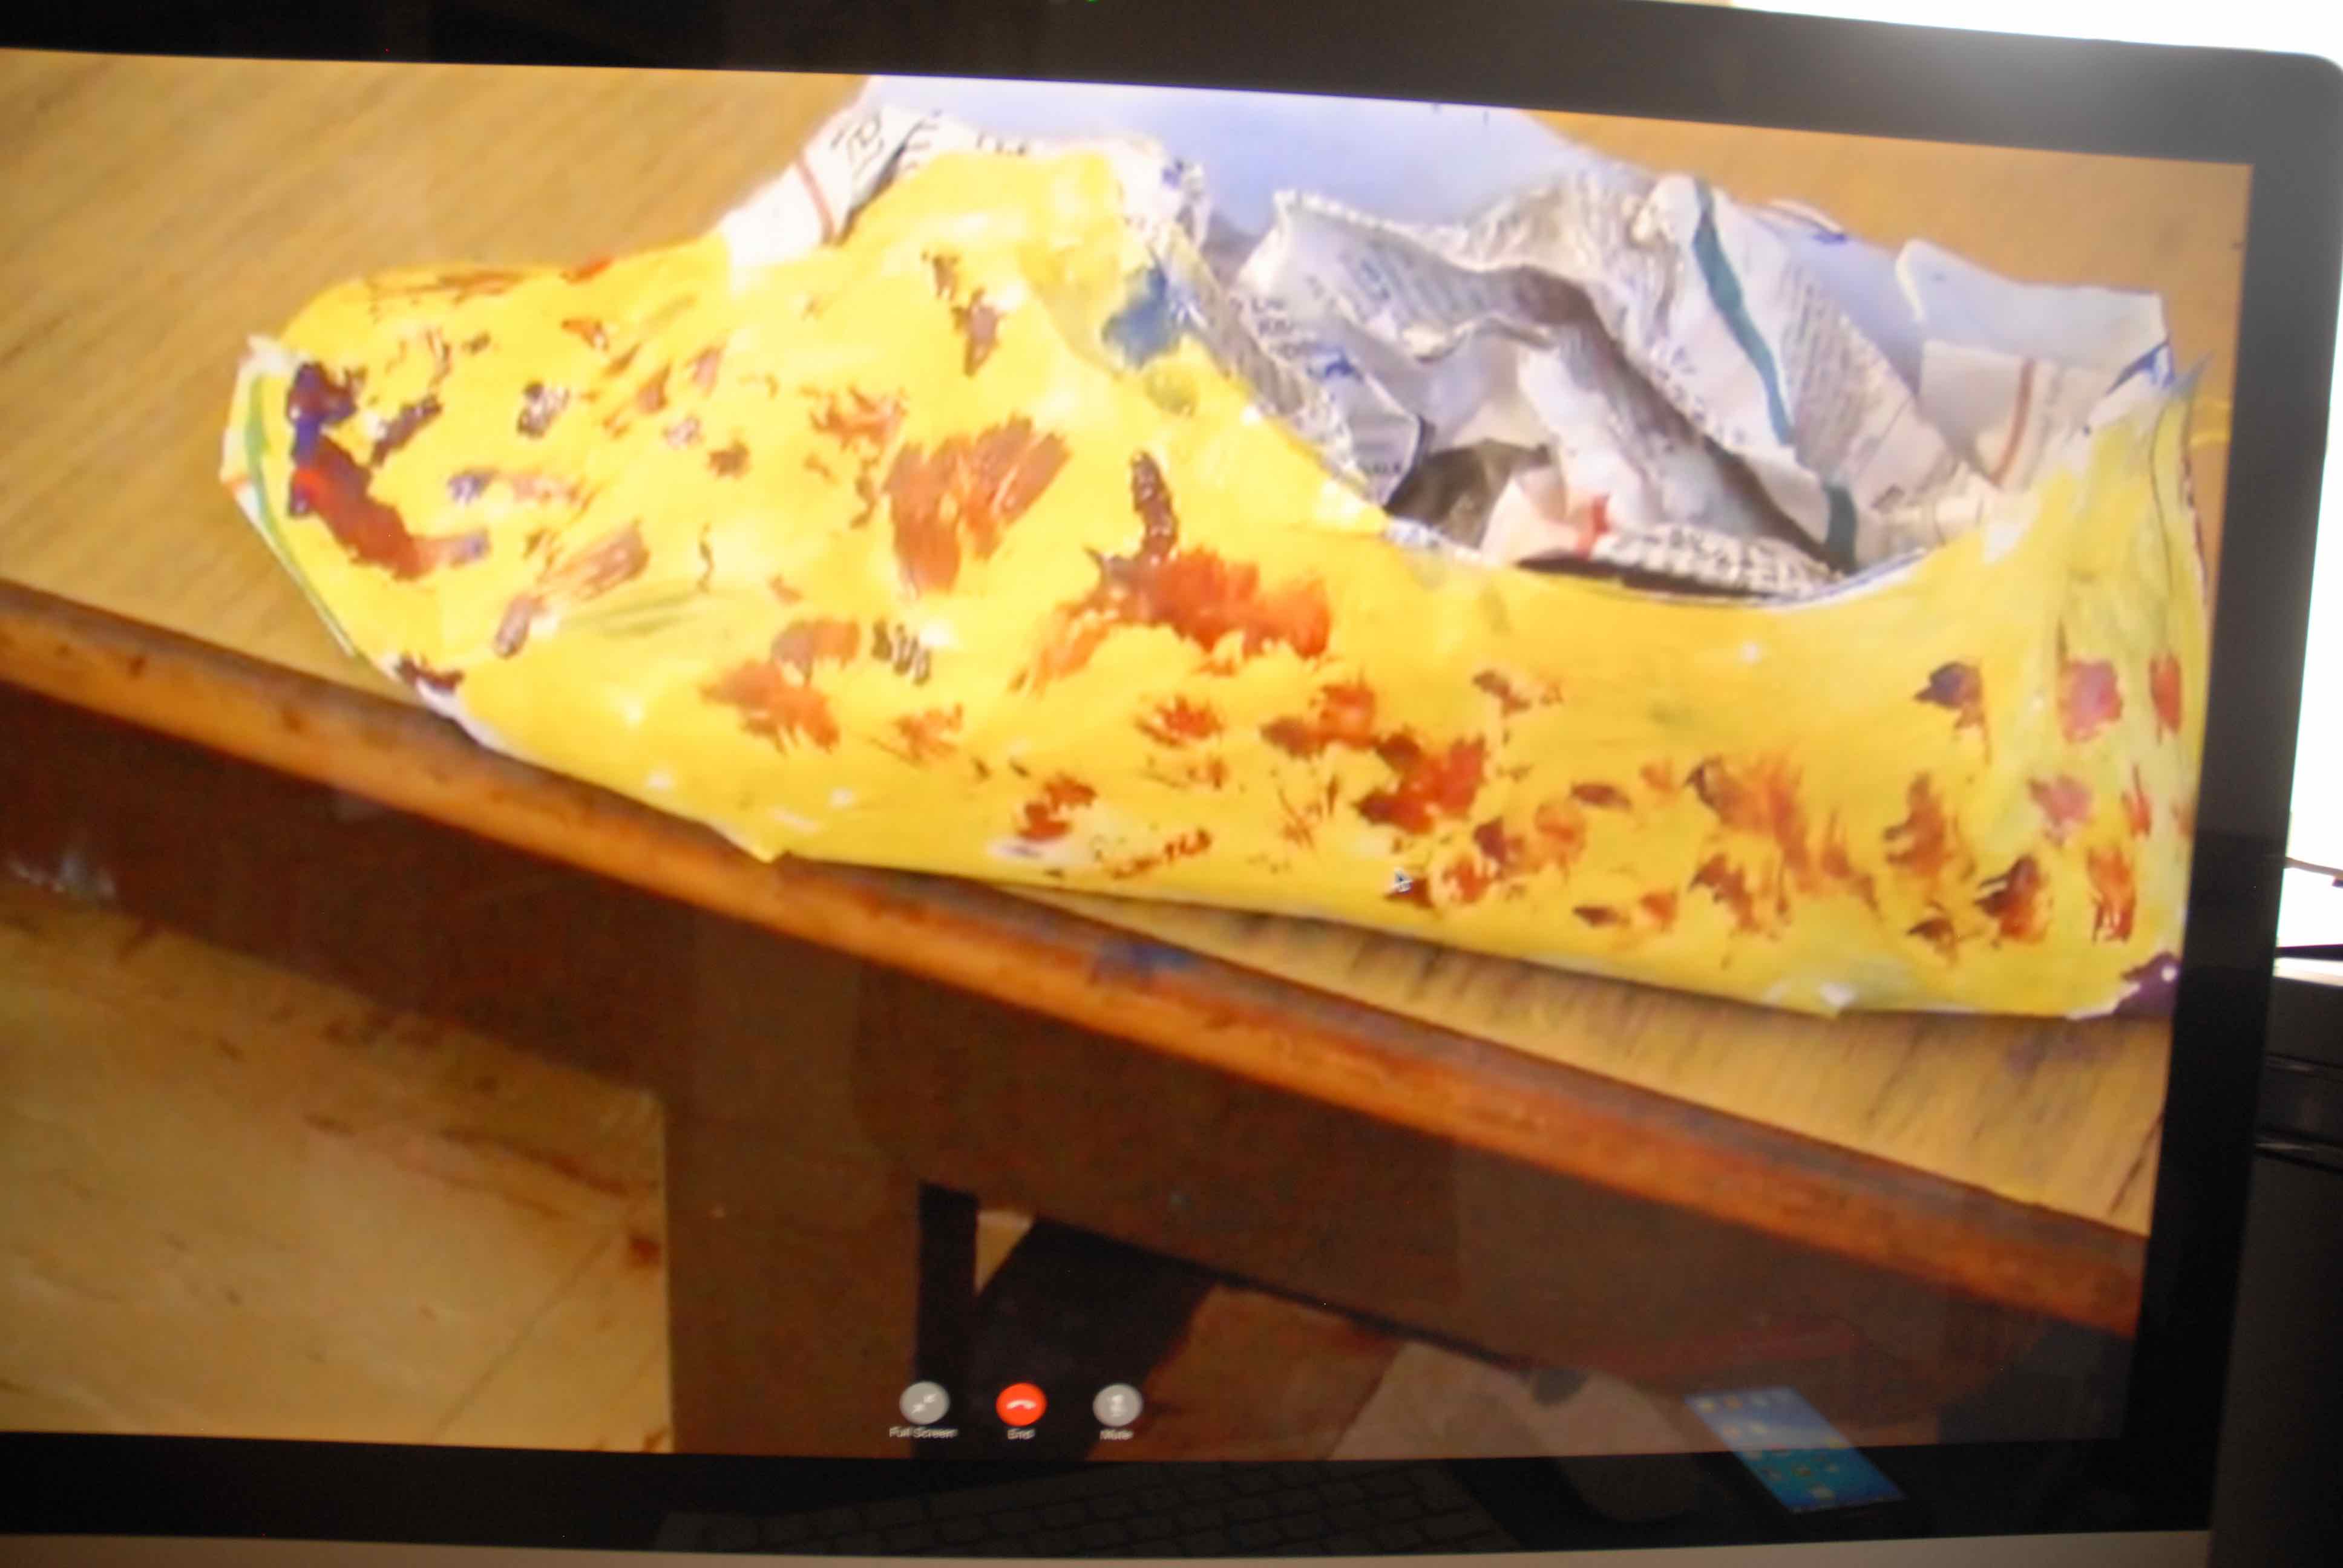
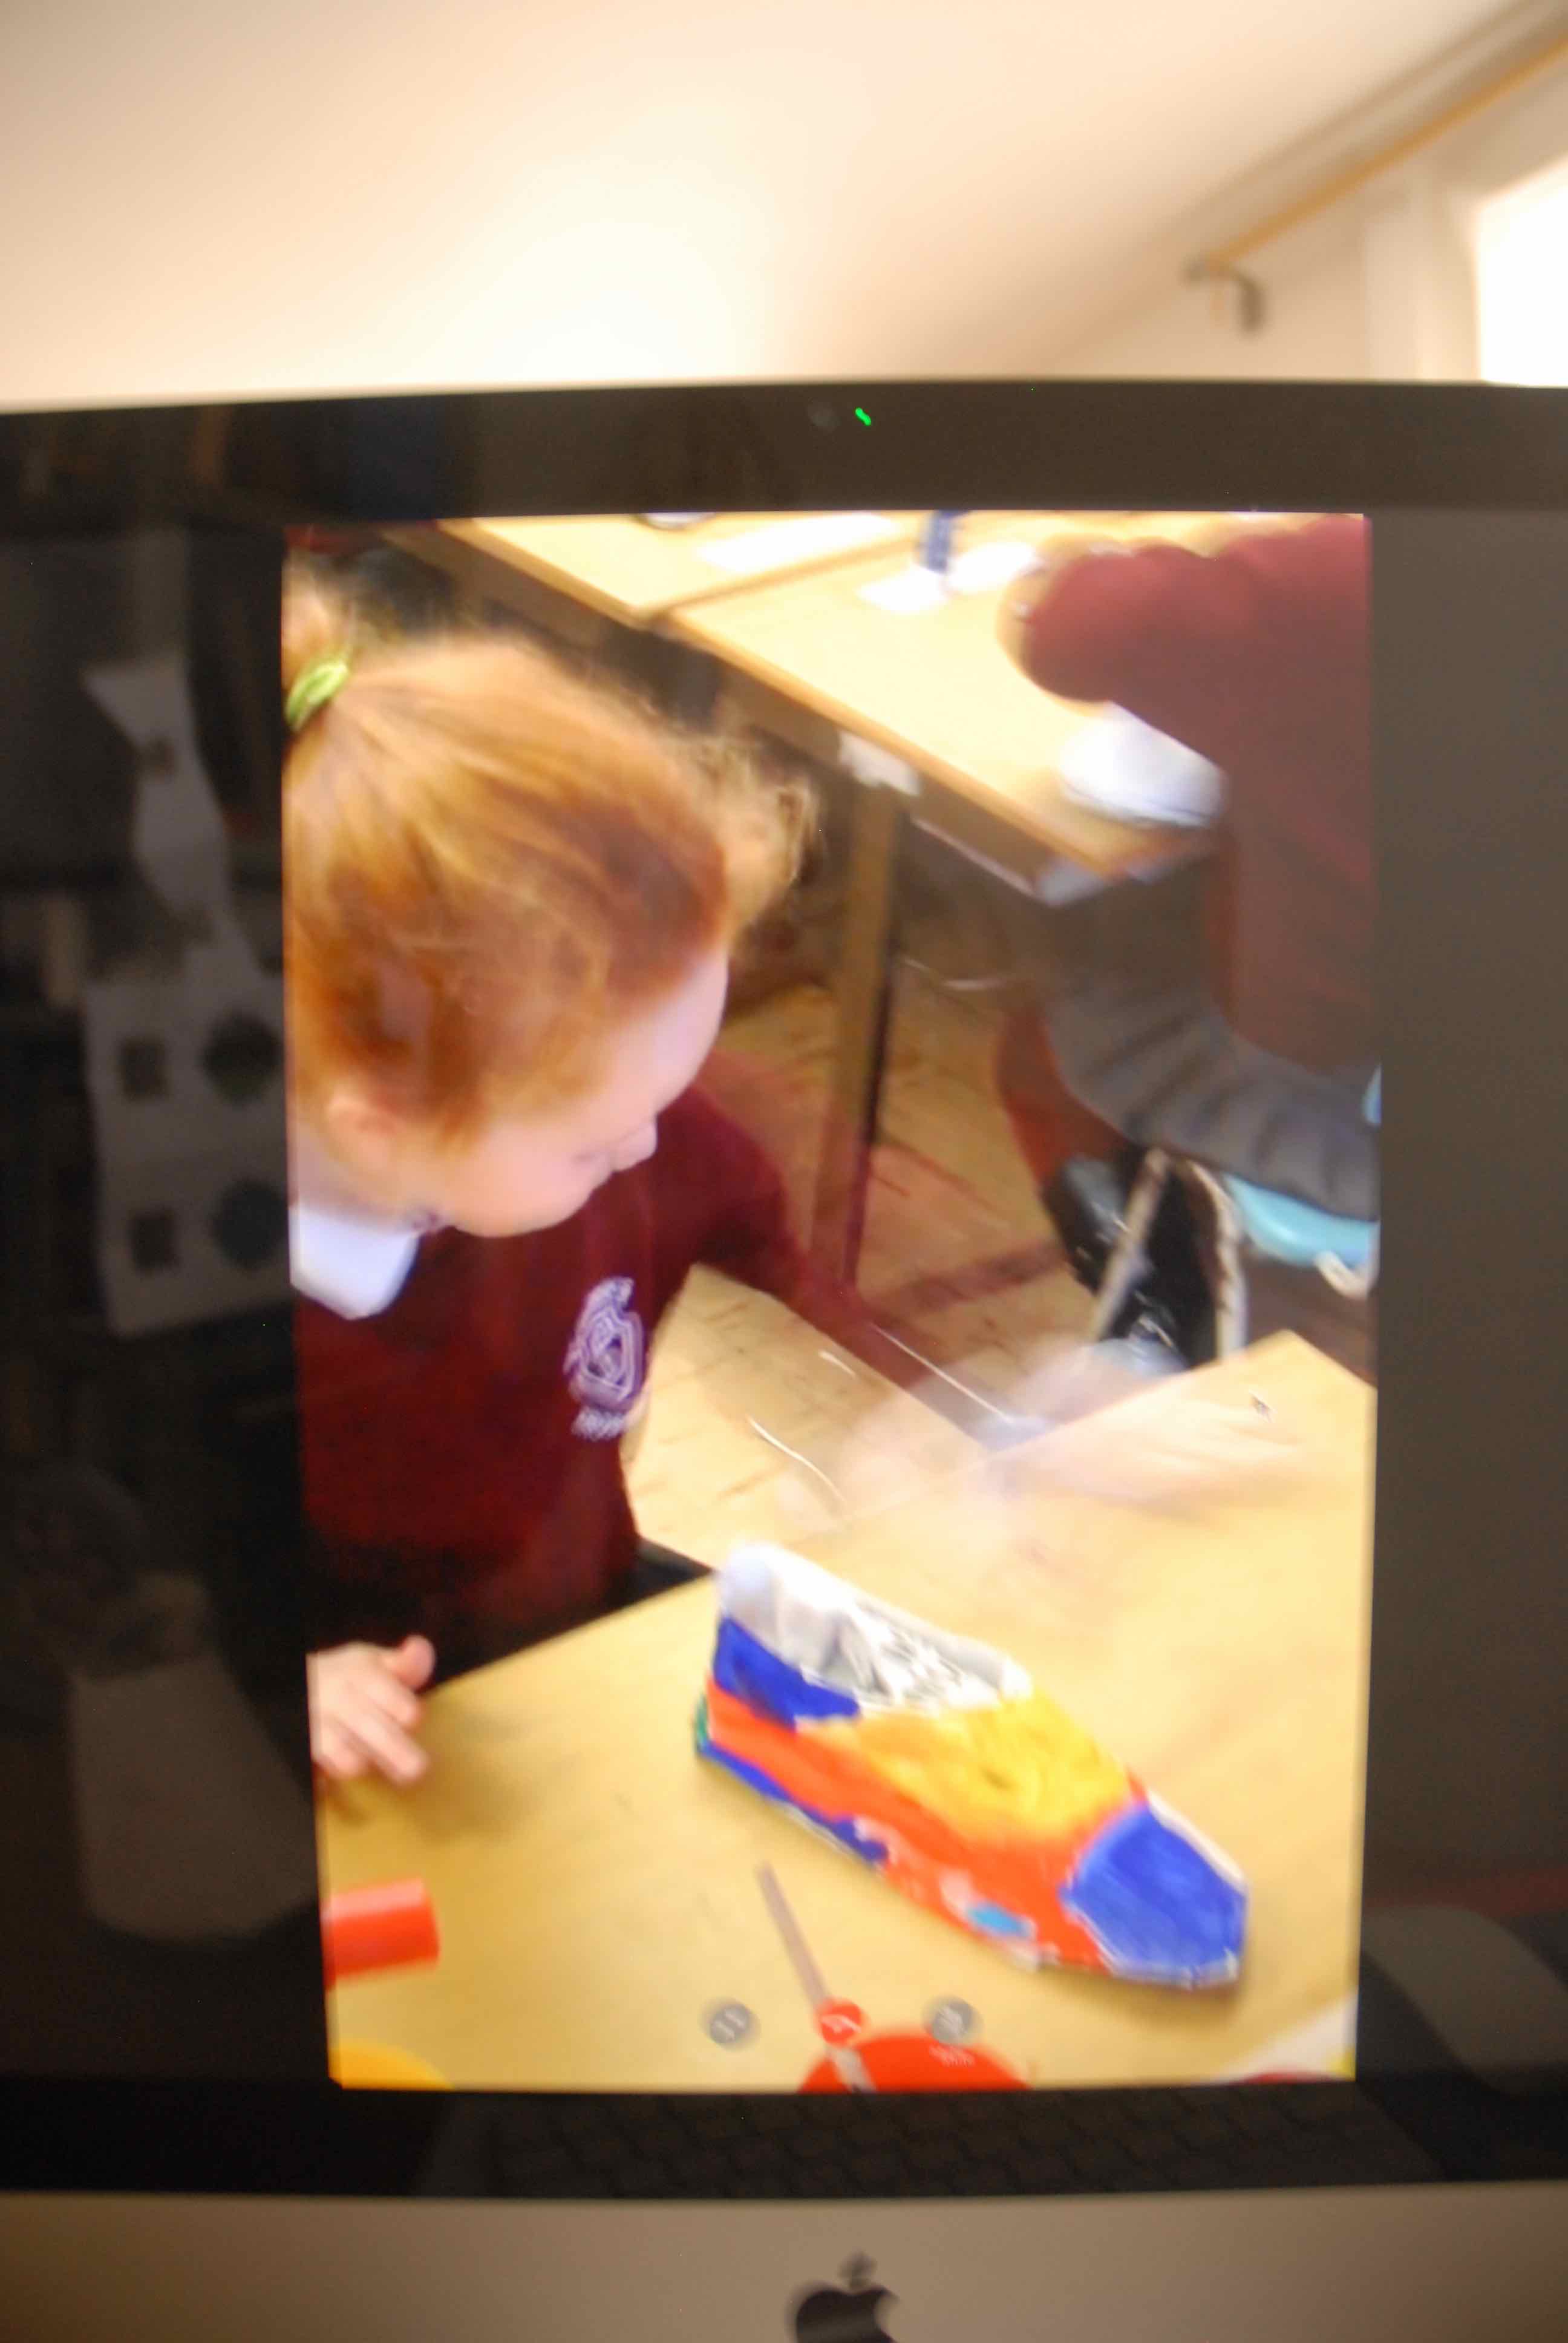
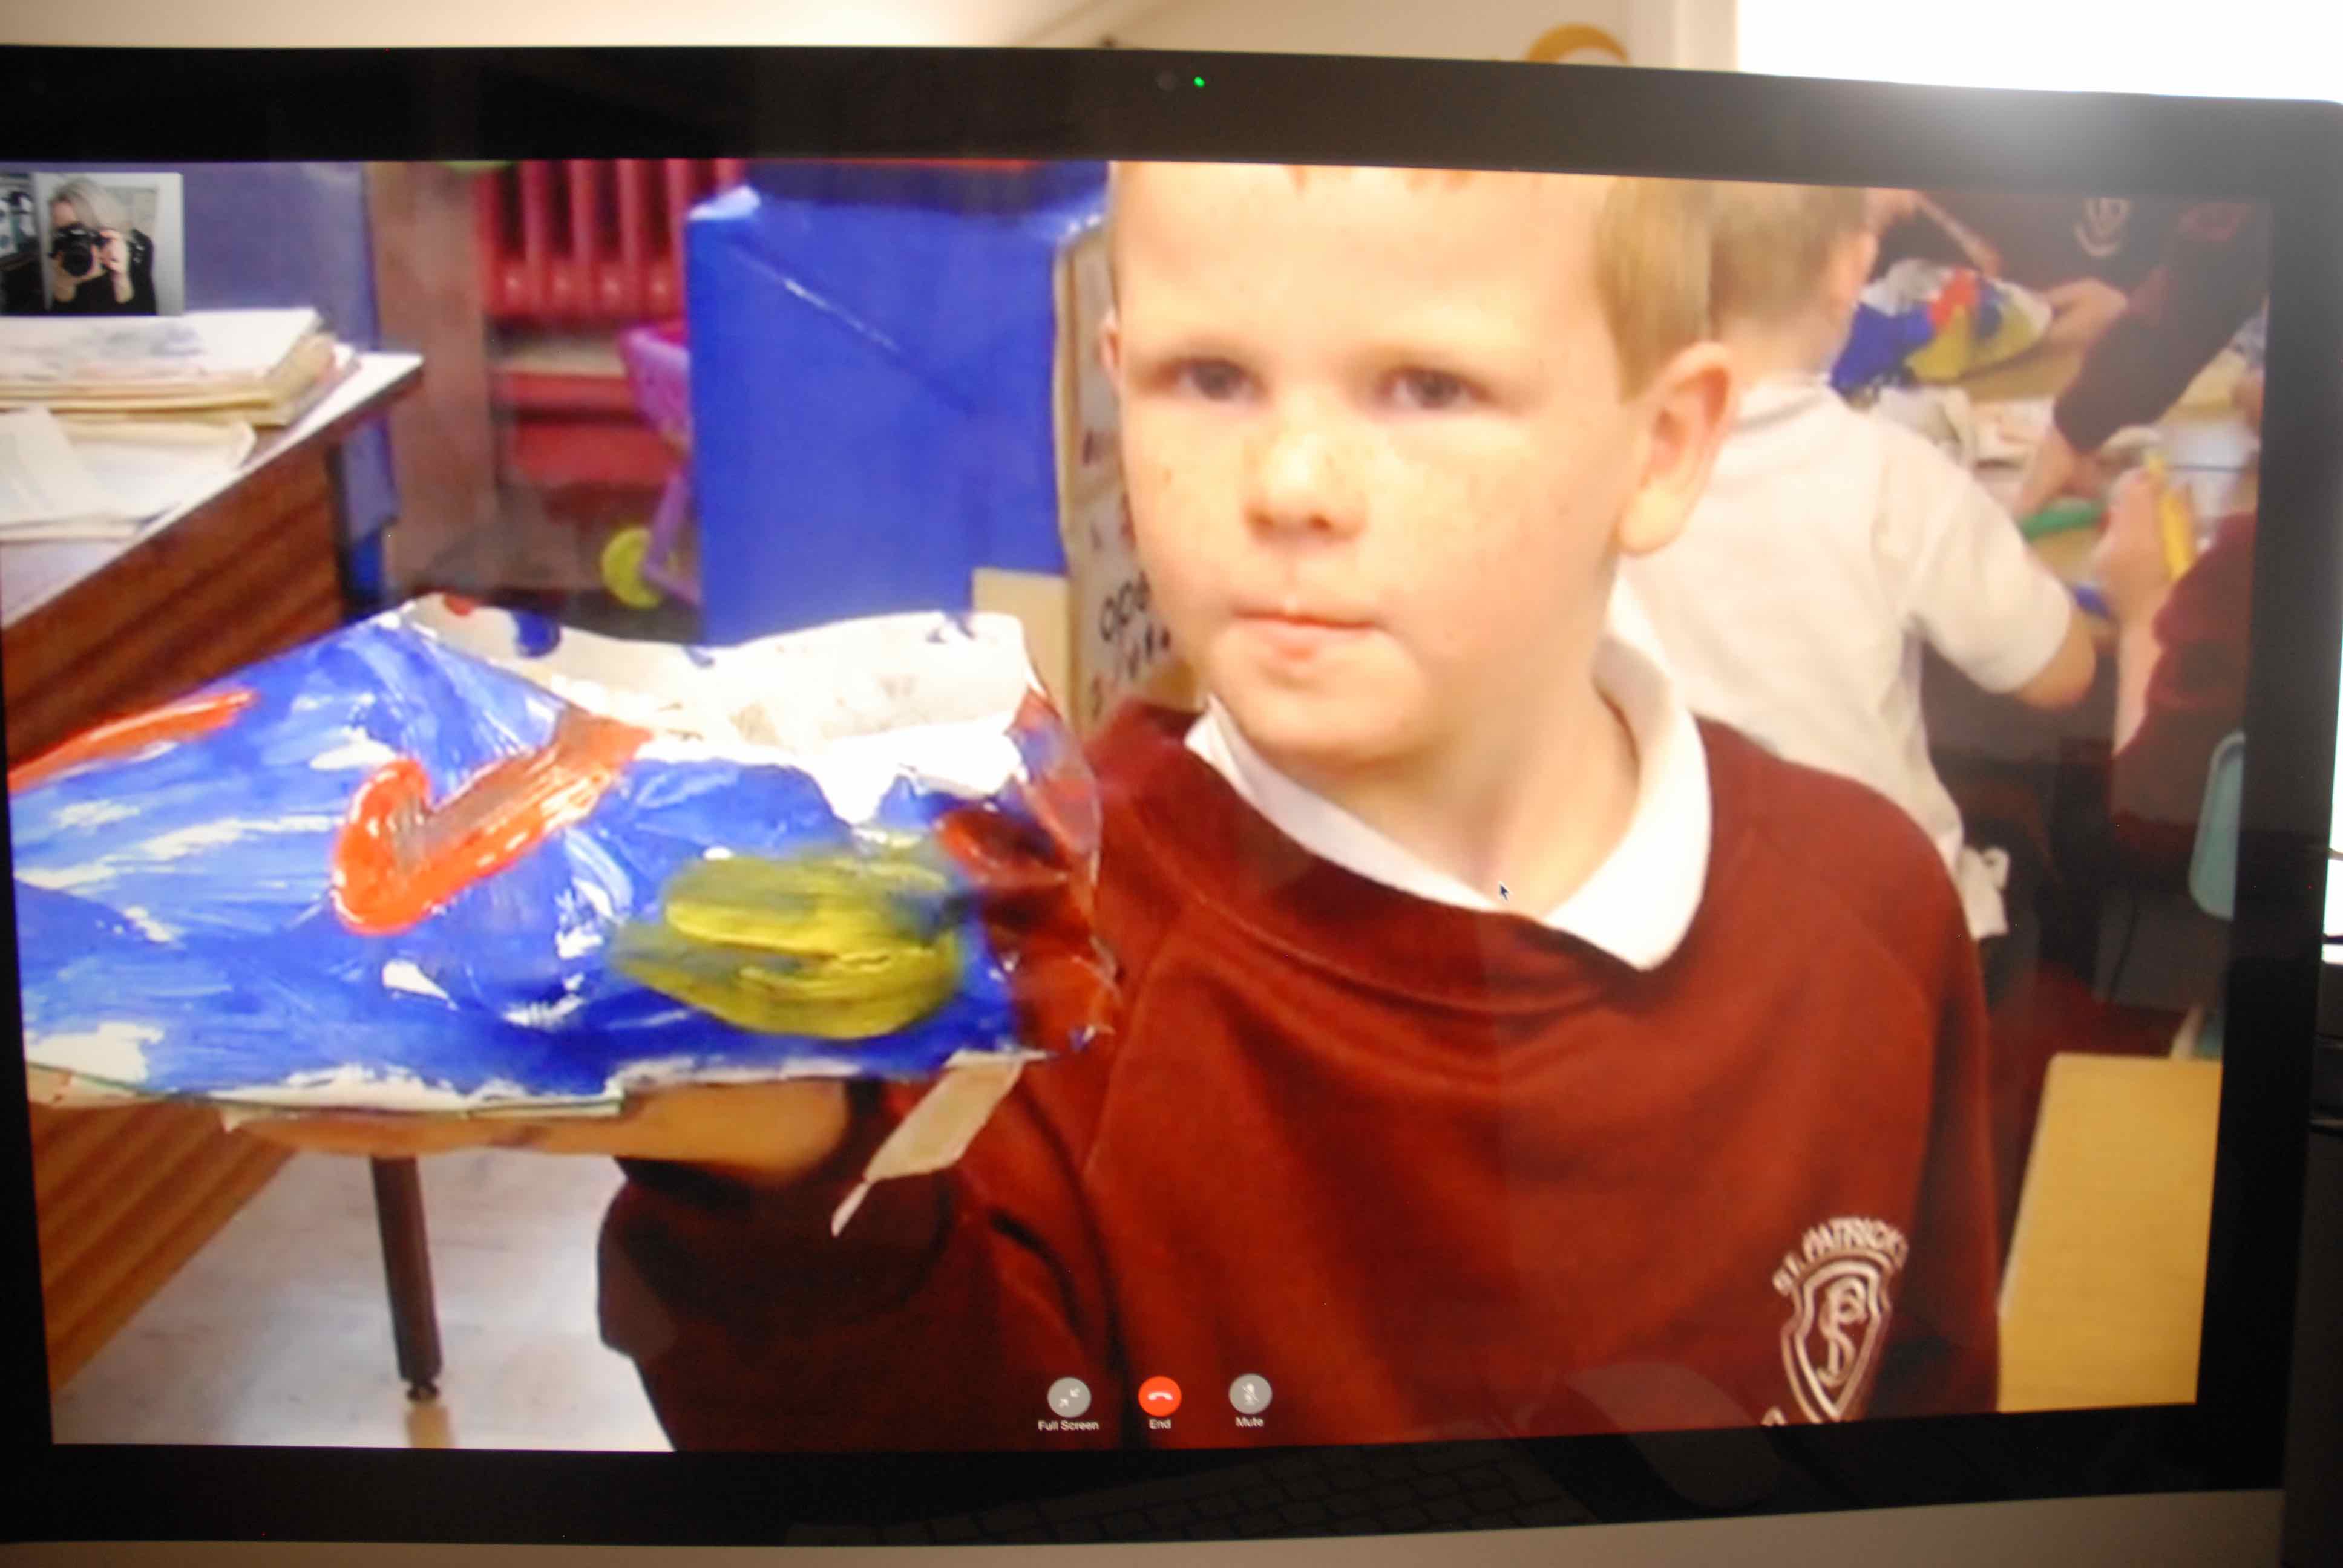
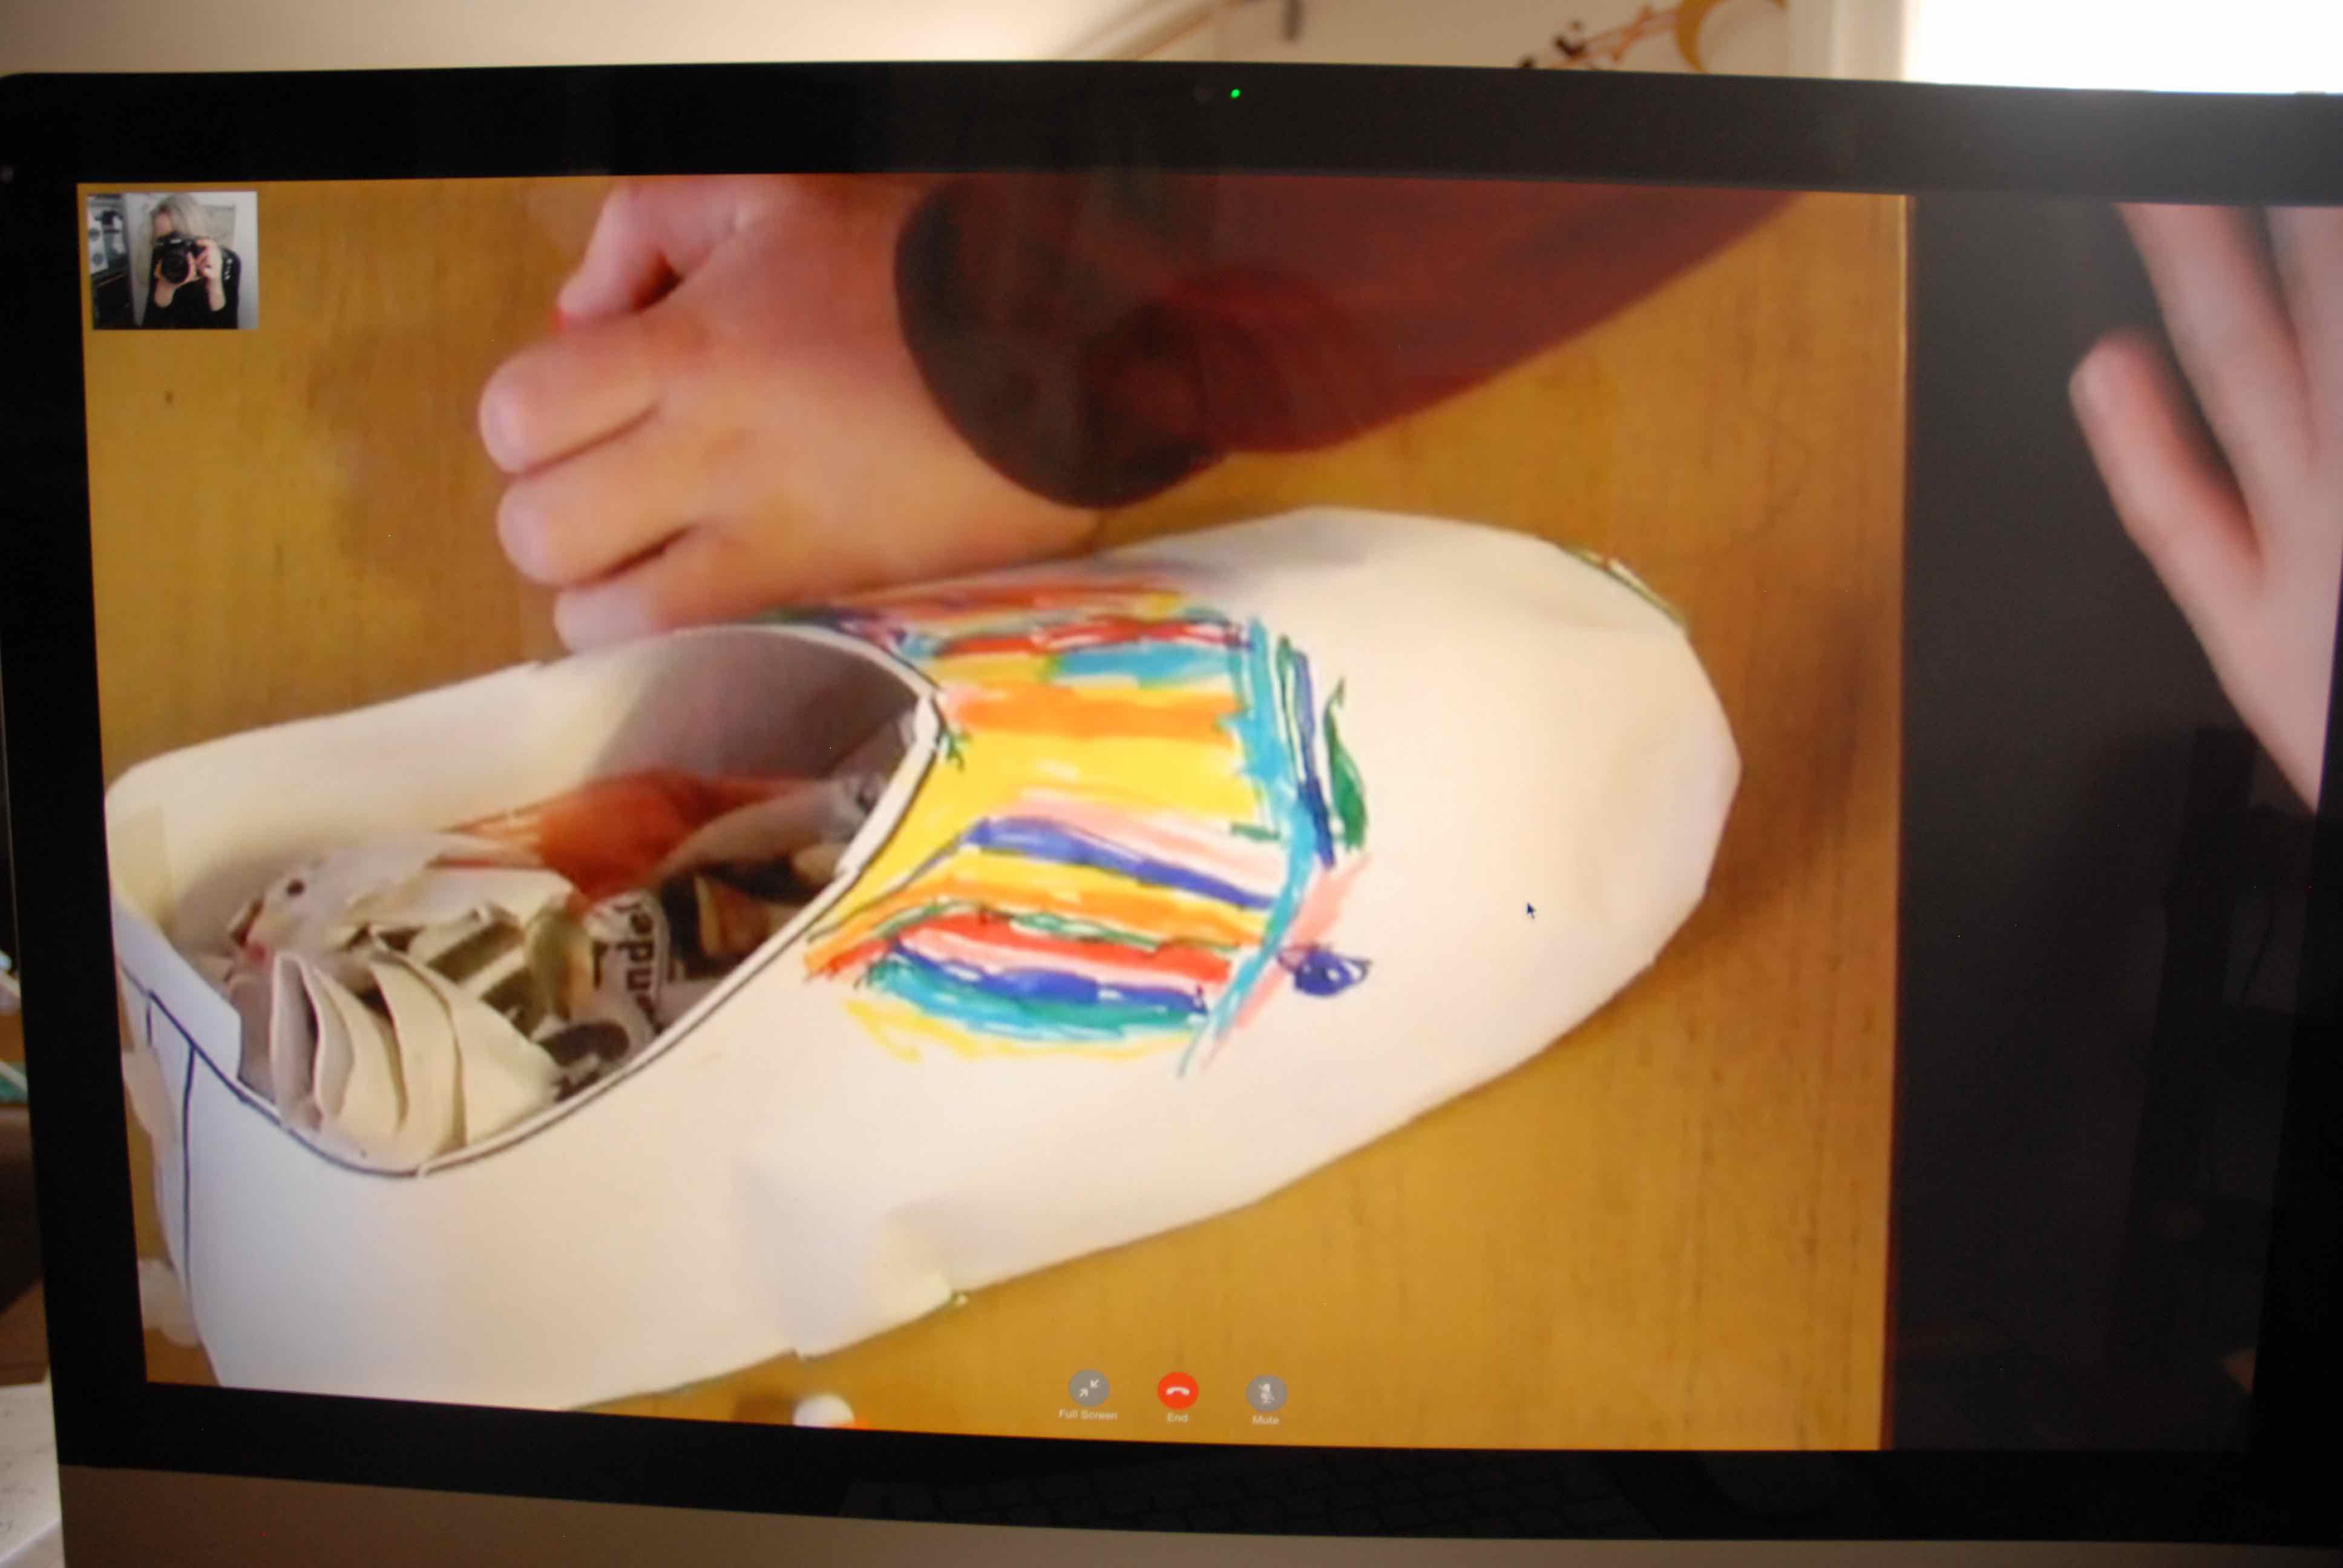
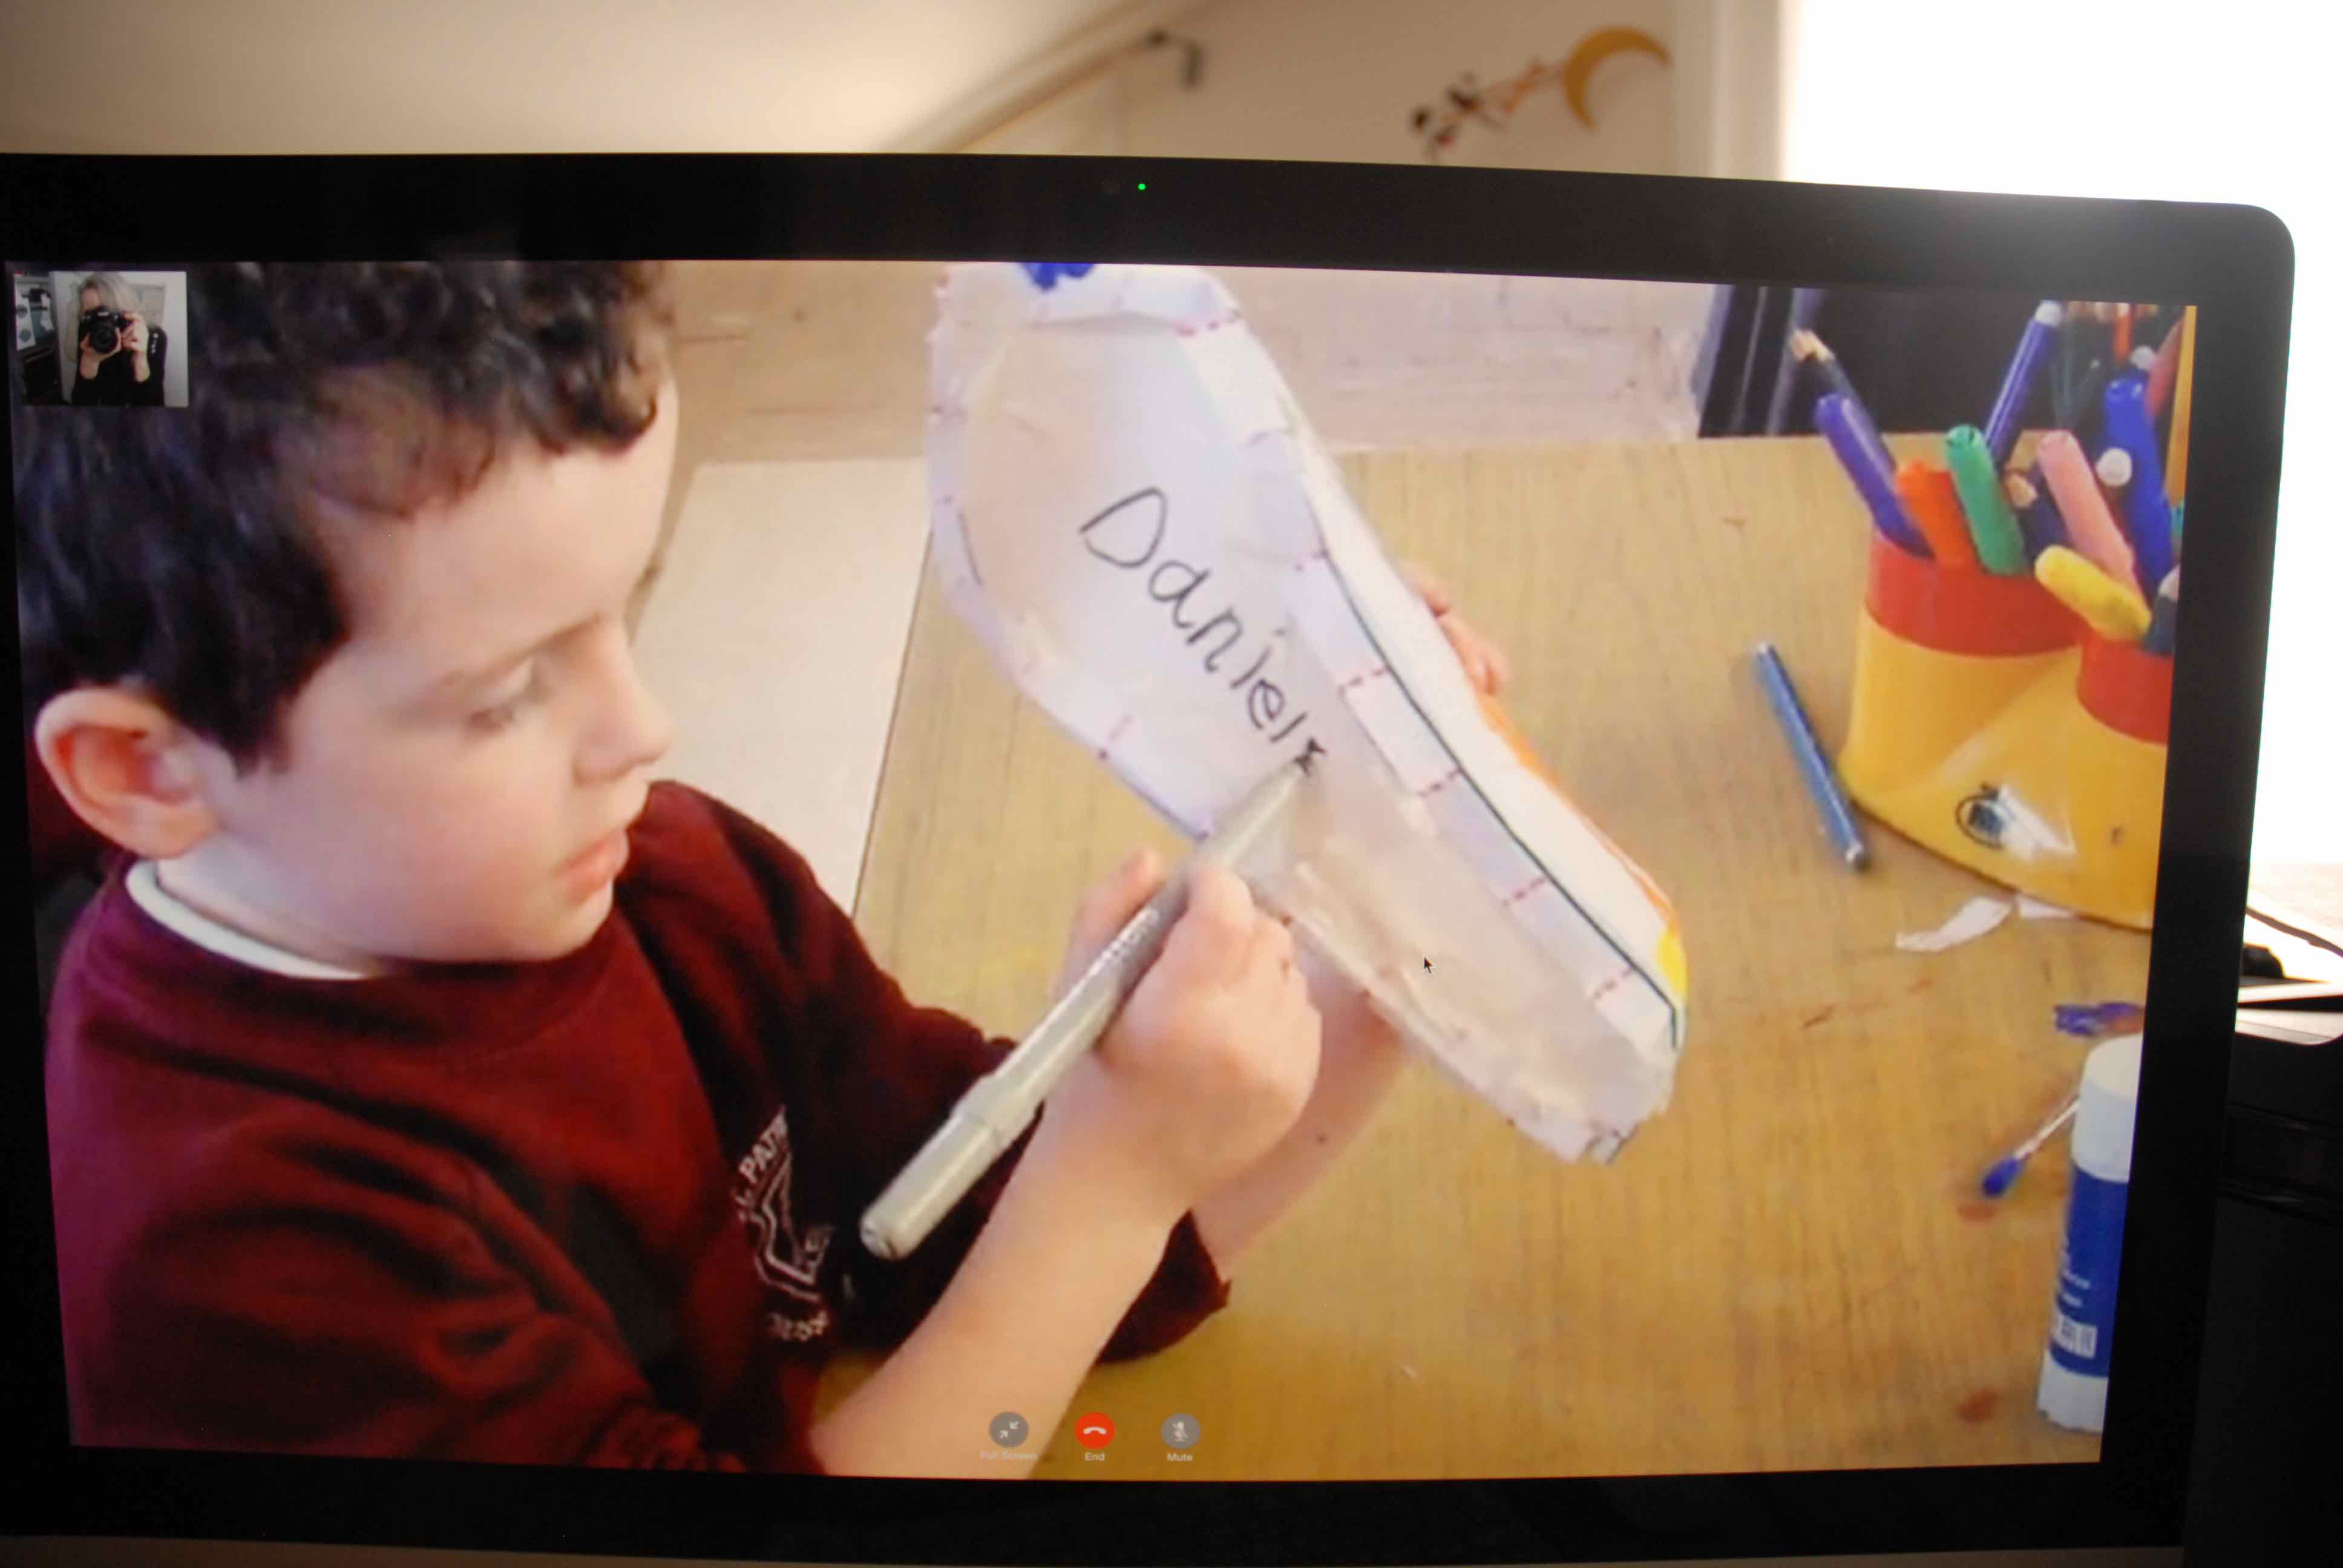
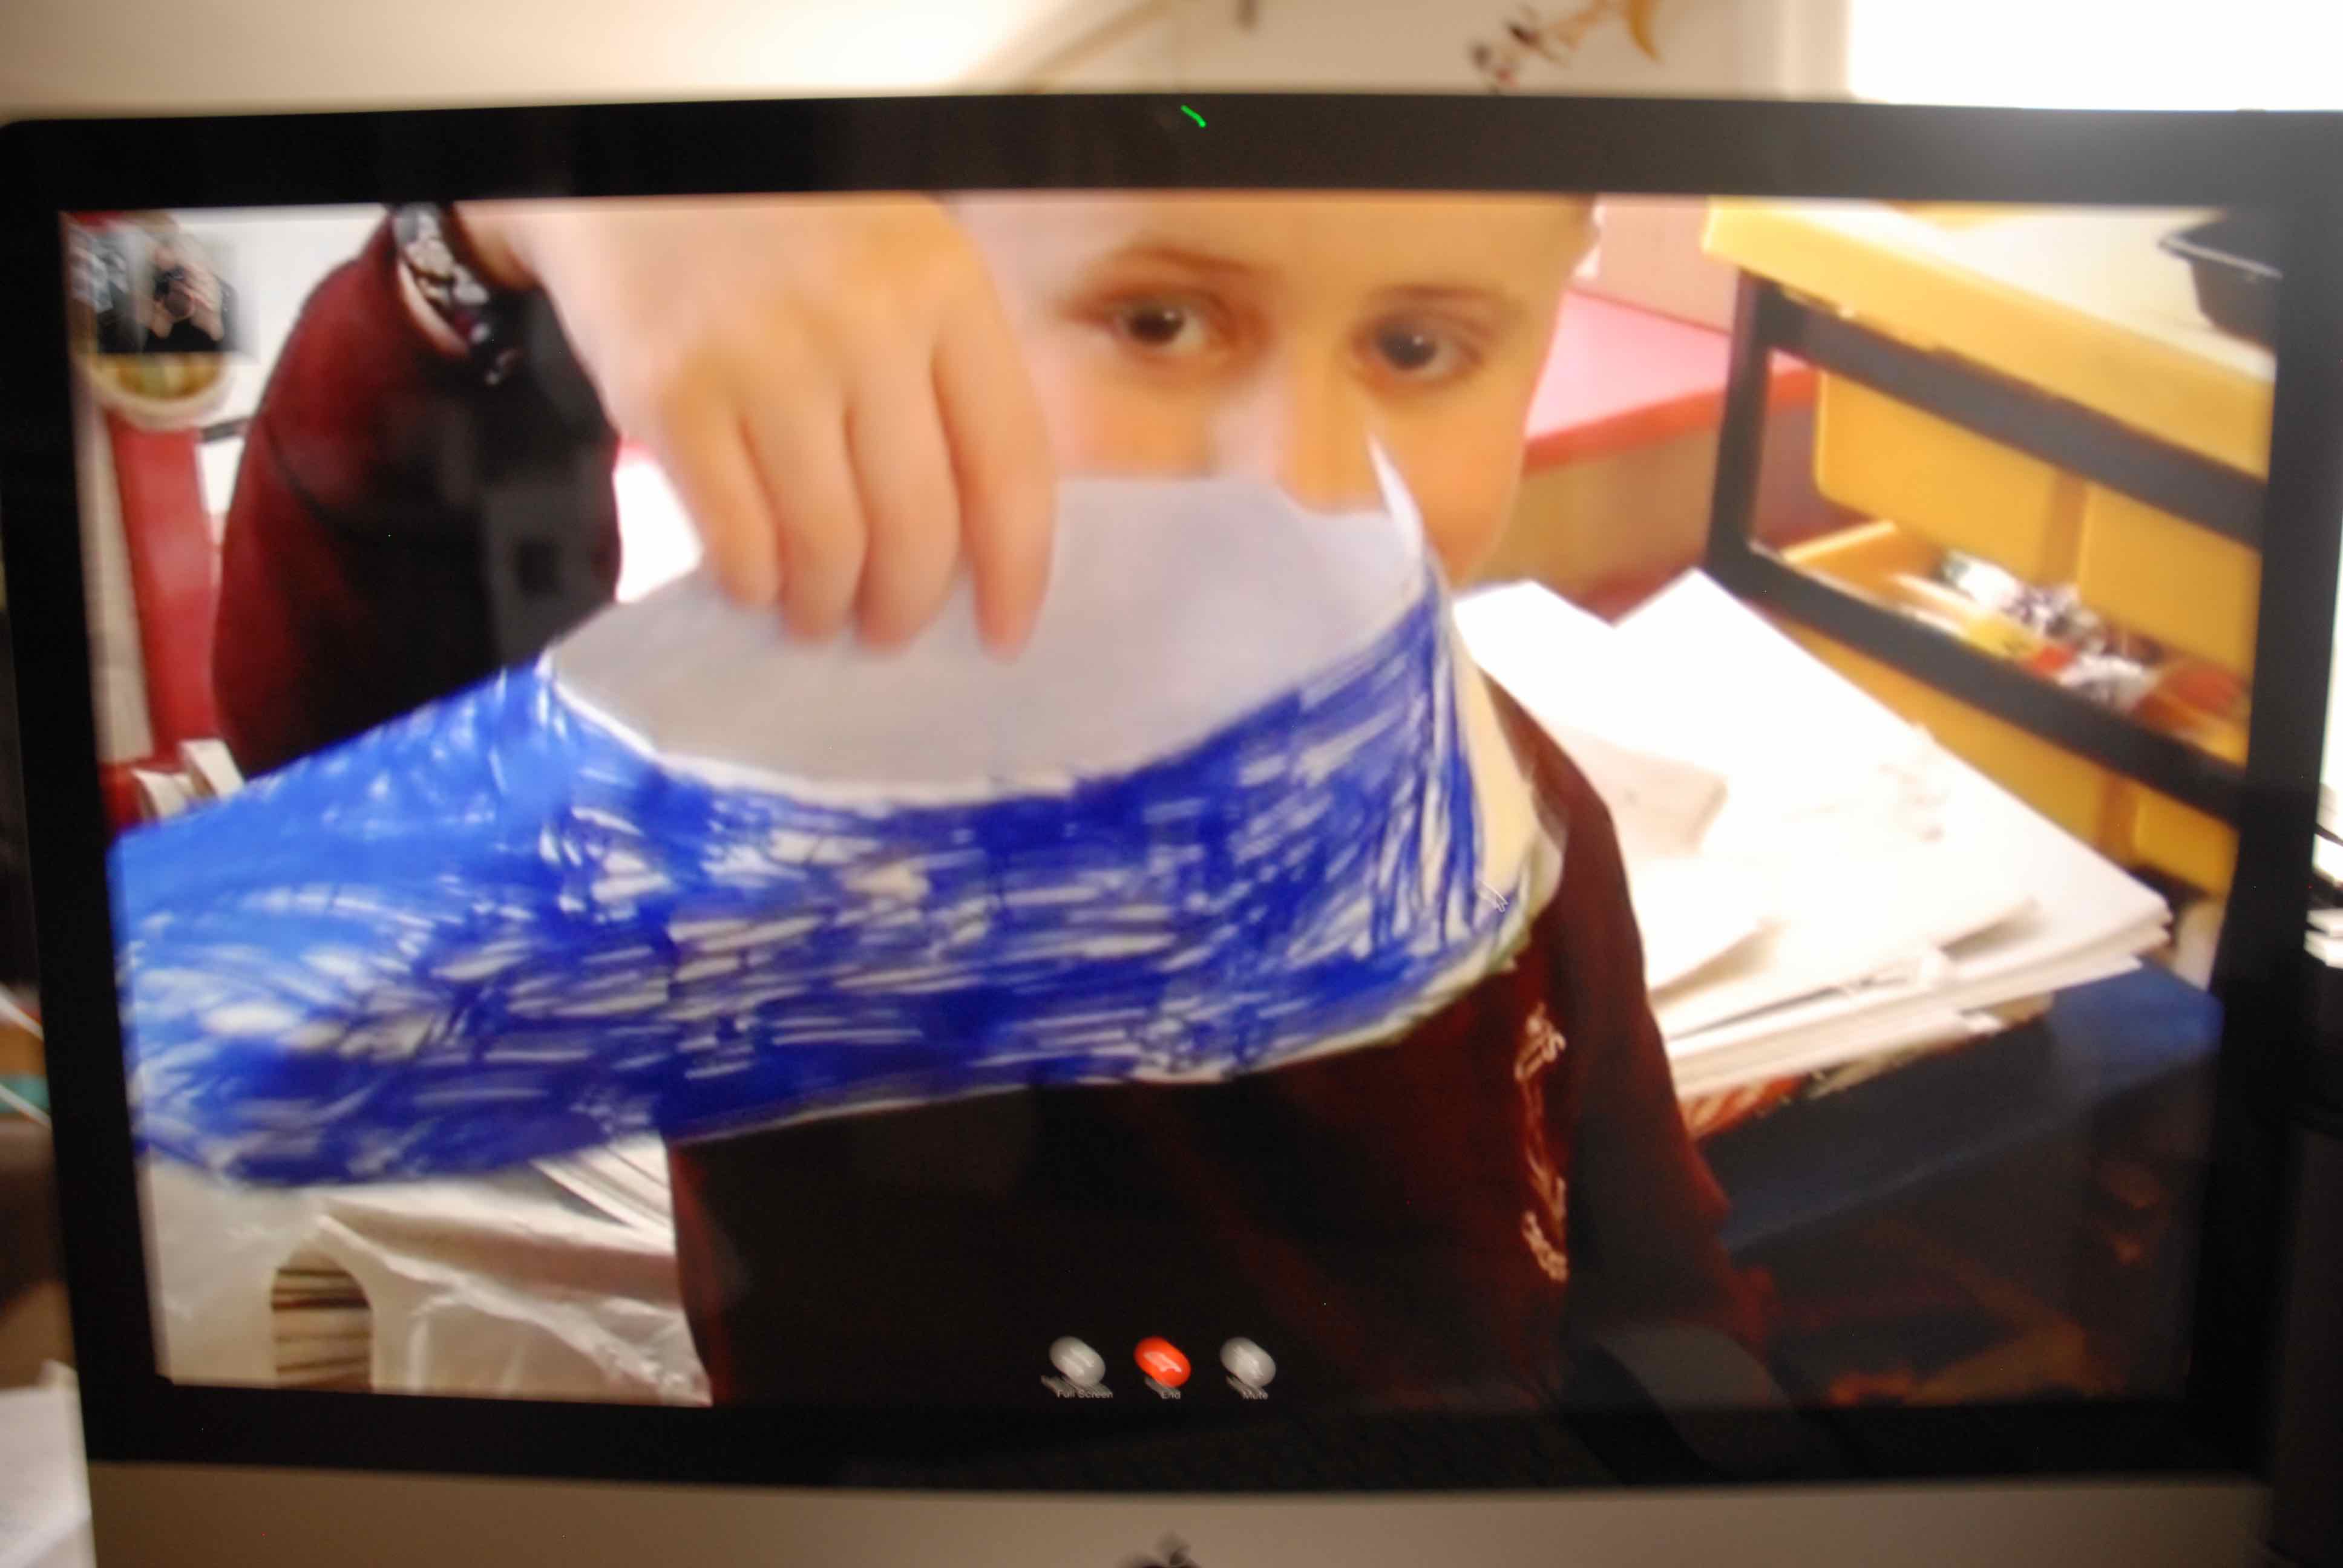
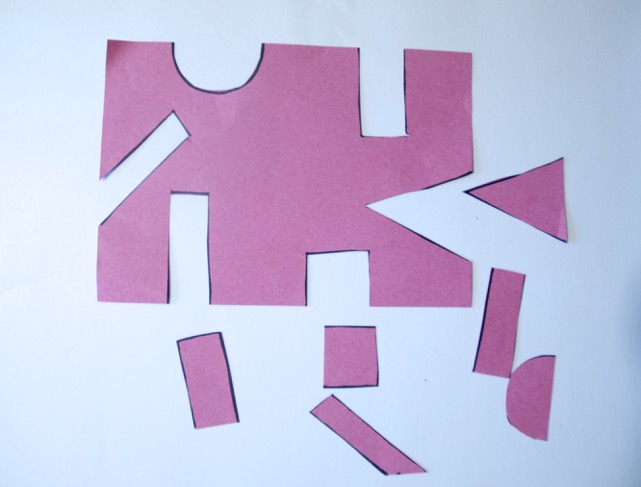
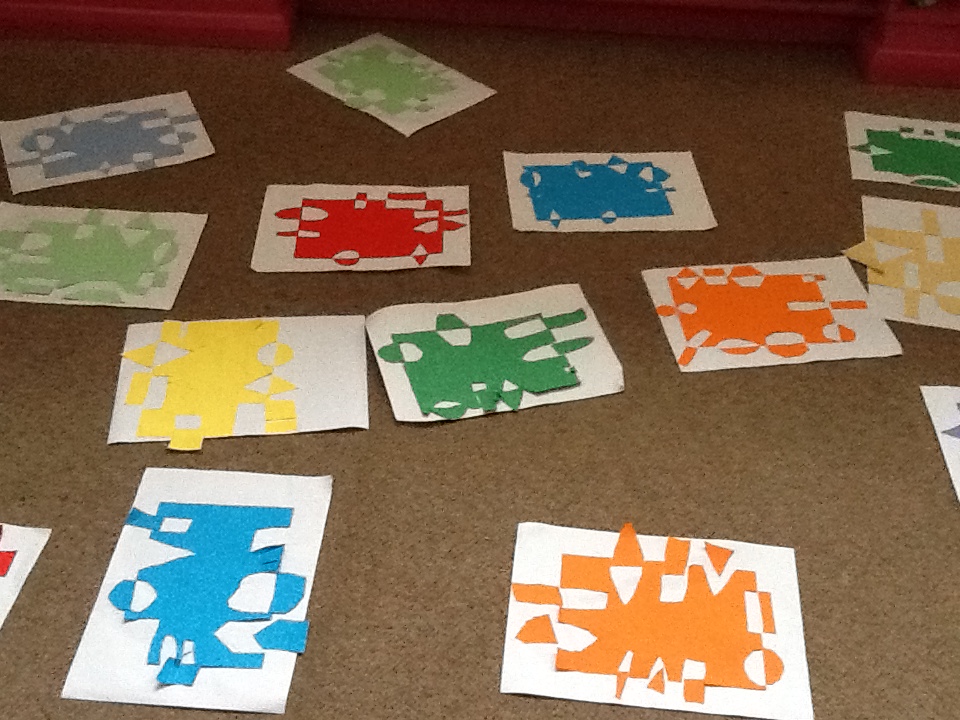
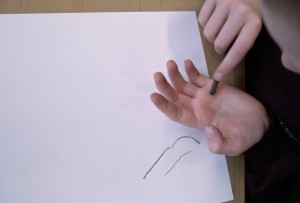
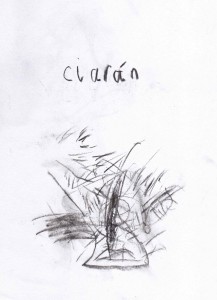
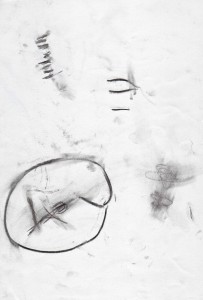
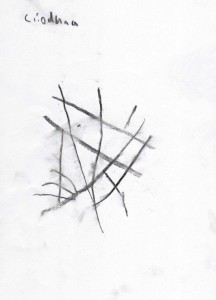
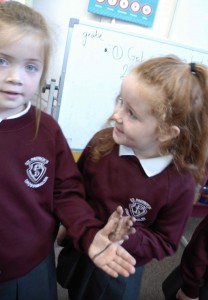
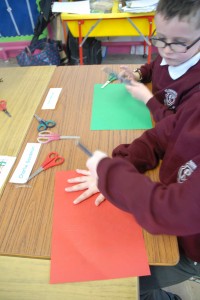
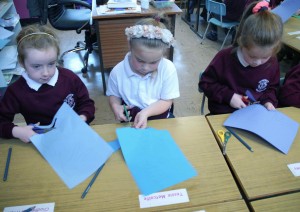
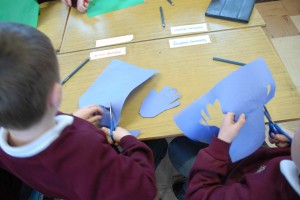
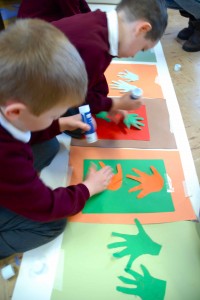
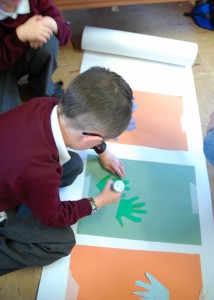
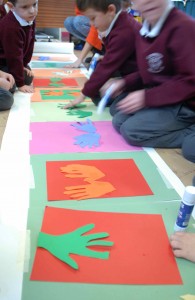
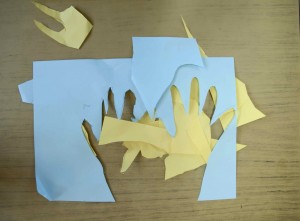
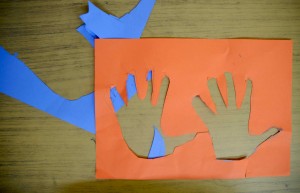
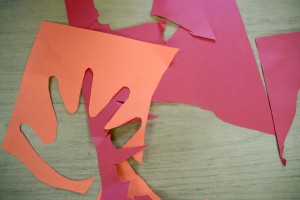
The children used samples of fabric that we had used for testing to create their own vision of how the playground would look!

session 10 - 03
shapes were carefully considered and then laid down to fit the space.


session 10 - 08
Shapes were cut and glued onto the surface of the photocopy using PVA glue.

session 10 - 09

session 10 - 14

session 10 - 13

session 10 - 11

session 10 - 04

session 10 - 06

session 10 - 07

session 10 - 05

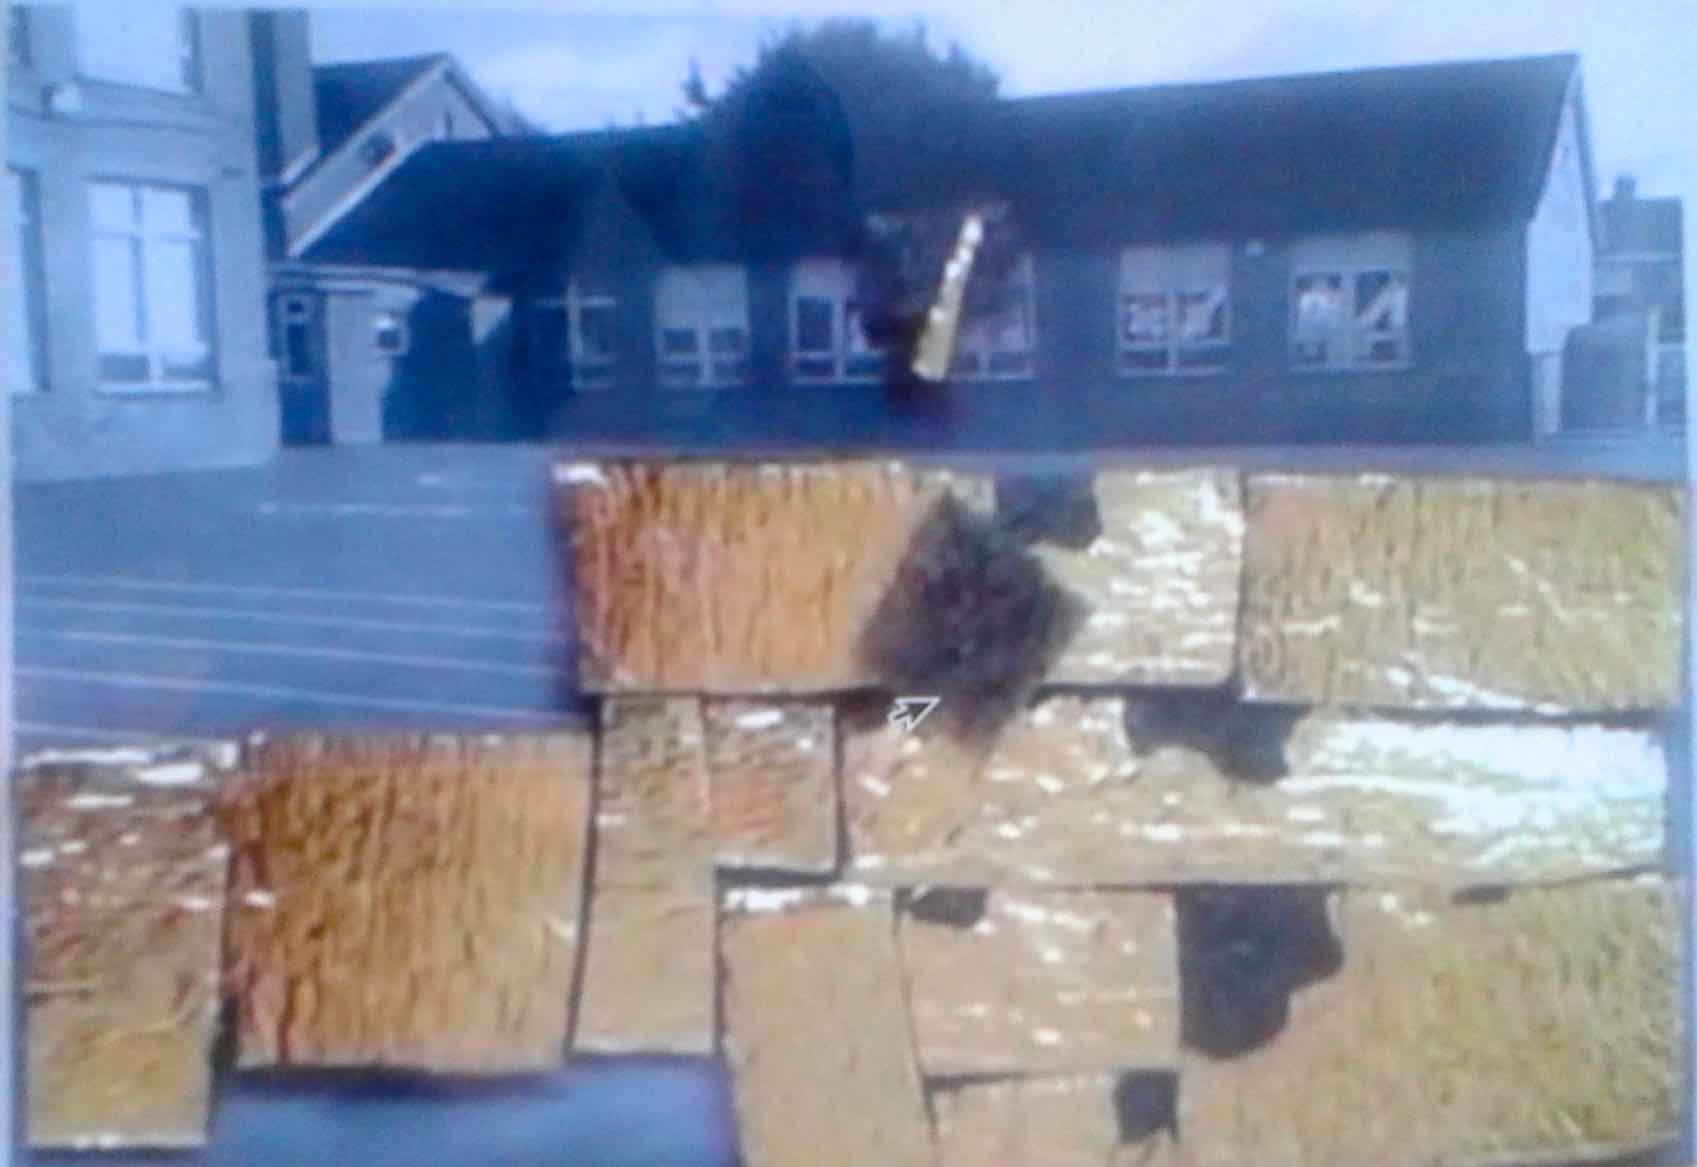
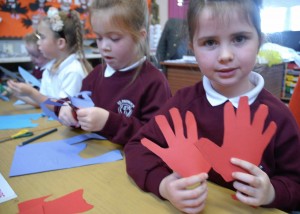
Look at the fantastic results!

session 10 - 19       session 10 - 16

session 11 - 40


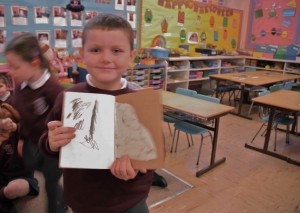
Thank you P2/3 for all the great discussions and photo-collages!

Posted in Uncategorized | Leave a comment

Assessing weather damage and making stitches

session 8 1:3:15 - 29


After a weekend of weather the children brought their samples in from outside.

We discussed the effects of the weather on them:

Charlie’s was a wee bit dirty…

Michael’s had blown into muck …

Ella’s was found on the fence..

Edvinas’ was lying on the ground…

Jack’s was stuck to the wall….

Another’s had blown to Mrs O’Sullivan’s door…

5 samples were lost altogether to the weather!

We recorded the changes to our samples by drawing them.

Some edges were badly frayed.
Some edges were badly frayed. 
Some samples rolled or curled up..
some samples were tired looking and the surfaces were peeling off.

session 8 1:3:15 - 31

session 8 1:3:15 - 30       session 8 1:3:15 - 05

This sample was creased and the lines and patterns recorded carefully.


session 8 1:3:15 - 07           session 8 1:3:15 - 06 session 8 1:3:15 - 08

session 8 1:3:15 - 09


session 8 1:3:15 - 11


All this weathering made us look closer and closer…

next we discussed the results of trying to join the samples by using tape.

The children reported back that the strongest tape seemed to be the black duck tape. The next strongest was the double sided tape and the masking tape was no good for the job at all! We realised that the making tape was meant to be only TEMPORARY!

Our task now was to try and join samples by sewing.

We would need a needle and thread and possibly a thimble....
We would need a needle and thread and possibly a thimble….

The children sought out examples of stitching on the clothes they were wearing. In fact they found stitches on sleeves, cuffs waistbands belt loops and on their shoes! They said they found hundreds and millions of stitches… they went in and out, in and out of the material.

The children said “real stitches” were

carefully done

nice and straight

had a lovely pattern

One child said they had bought  some clothes in Newry and the stitching was higgledy piggeldy and came undone and so the clothes had to be taken back.

So the children tried the stitches of their own…..

session 8 1:3:15 - 35   P2-3ec 234

P2-3ec 235   P2-3ec 238

P2-3ec 241     P2-3ec 243

P2-3ec 250    P2-3ec 244

P2-3ec 240

session 8 1:3:15 - 37

session 8 1:3:15 - 15

session 8 1:3:15 - 16

session 8 1:3:15 - 14


Look at the great results!


P2-3ec 245   P2-3ec 254

P2-3ec 252   P2-3ec 251

session 8 1:3:15 - 26   session 8 1:3:15 - 28     session 8 1:3:15 - 25

session 8 1:3:15 - 24

session 8 1:3:15 - 27   session 8 1:3:15 - 23    session 8 1:3:15 - 22

session 8 1:3:15 - 21    session 8 1:3:15 - 19

session 8 1:3:15 - 20       session 8 1:3:15 - 32


Posted in Uncategorized | Leave a comment

testing… testing…

session 8 - 006


This week’s session was devoted to testing the suitability of materials for our project.

The children suggested the material needs to:

– Stay in one place

– be flat like the playground, not bumpy

– waterproof

– strong so it doesn’t blow away in the wind

We discussed the notion of TIME and our project……

How long would the material be down on the playground?

some said:

3 hours

wee while

2 days

overnight

a week

one hour and 1 minute

We talked about the fact that Christo and Jeanne-Claude’s wrapped walkway was not PERMANENT and the idea of something being TEMPORARY.

We had lots of suggestions for the idea of temporary – it stayed a while but NOT FOREVER.

We also discussed the idea of how it might look? Was that important?

We mostly decided the material should be a very NOTICEABLE COLOUR!

It was time to explore some materials and in preparation I posted a lot of samples of materials down to the school. To make the exploration of the sample of material more mysterious, I suggested to the Teacher that the children be blindfolded so they relied on other senses than their eyes to  find out about the sample…….

session 8 - 010
Relying on other senses than our sight to find out about the material sample… how does it feel? Is it soft?


session 8 - 011
Is it smooth?
session 8 - 013
What are the edges like?

session 8 - 004

session 8 - 005

session 8 - 007

session 8 - 009

session 8 - 008
Does it make a sound? Is it noisy?
session 8 - 017
  Do bits fall off it?

The children offered lots of descriptive words:

rubbery

loud sound

scratchy

rough

like cheese

squishy

flat

bumpy

spongey

And then the children took their blindfolds off and were very surprised and interested in their small sample of material…….so they looked more closely and noticed  things about its appearance as well….

Daniel noticed there was a sort of texture and pattern to his material and he said it”looks like a maze” “like lots of wee stairs….”

The children made a drawing of their sample in their sketchbooks…..


session 8 - 027   session 8 - 024

session 8 - 023        session 8 - 037

session 8 - 031

session 8 - 033

session 8 - 040    session 8 - 039    session 8 - 043

session 8 - 038                session 8 - 041


The next step was a discussion about how we could TEST  material to see how it would fare outside. The children decided the material samples could be tied, taped or weighted somehow. They also said they would guard it in case anything happened to it!

As the children began to go outside I got to witness the activity through the Teacher’s iPad!

The children's enthusiasm for outside activities is wonderful!
The children’s enthusiasm for outside activities is wonderful!
Discussions took place as to where the samples should be placed.... "over at the edge of the playground"!
Discussions took place as to where the samples should be placed…. “over at the edge of the playground”!

session 8 - 078   session 8 - 081    session 8 - 082

There was plenty of tape for the job!
There was plenty of tape for the job too!

Samples of materials were tied, pegged and taped using duck tape and masking tape. The children made sure all the different samples were fixed outside using DIFFERENT  METHODS…….

session 8 - 084      session 8 - 086           session 8 - 089

session 8 - 098     session 8 - 099    session 8 - 100

session 8 - 101     session 8 - 107      session 8 - 103

session 8 - 102    session 8 - 111     session 8 - 108

We look forward to seeing what happens when we come back to school on Monday and re- connect on Tuesday to report on the findings!

Posted in Uncategorized | Leave a comment

Democracy is overturned and a new plan is hatched…………

session 7 10th Feb - 31

Session 7 began with a decision to wrap the children’s playground instead of the Dinner hall. The children were just as happy with this location so it did not seem to matter that the yard had got no votes on the last session!

I was not familiar with their playground so it was necessary for me to ask the children what they could recall about the playground.

What shape is it?

Who uses it?

Does Mr Madine use it?

It seems it was P2 / P3 playground but other classes use it too.

It was interesting to hear what they recall about the playground that they see everyday. They discussed what it was covered with and whether it was painted. I told the children that Christo and Jeanne-Claude found out as much as they could about the spaces they worked with, so we should do the same.

So then I suggested they go outside with a clipboard and paper and gather as much information as possible. We were connecting on FaceTime and so Mrs Crummy the teacher took the iPad outside so I too could travel outside with the group as they undertook their research!

session 7 10th Feb - 03

The children organised themselves into 4 groups and with help from the classroom assistant Irma, divided the playground space into 4 sections using chalk lines. Each group would take a section and stand back to back to draw the playground from their perspective.

Irma draws chalk lines to divide the playground into 4 sections

session 7 10th Feb - 26 session 7 10th Feb - 27 session 7 10th Feb - 33

By doing this we would have many different views of the playground (just like our chair drawings from our previous session) and we would be able to bring all our drawings together later.

The children also measured the playground using footsteps and it was by pacing out the scale of the yard that they found the centre point for chalking…… very clever!

session 7 10th Feb - 18 session 7 10th Feb - 19 session 7 10th Feb - 17 session 7 10th Feb - 13 session 7 10th Feb - 06

While all this was going on, I was noticing some amazing sounds through the iPad. I could hear children’s voices, footsteps and birds singing!

Back in the classroom we  attempted to transfer our small drawings onto a much larger sheets so that we could joint all the parts together and have a large scale plan of the playground.

This was not such an easy task since the children had to negotiate  the position from where they had drawn the playground… they needed to know the DIRECTION they faced….

DSC_0795 DSC_0798

DSC_0818 DSC_0816 DSC_0813 DSC_0828 DSC_0819 DSC_0843 DSC_0804 DSC_0807 DSC_0808

When break time came, I had asked the children to notice something about the playground that they had not noticed before….

The children told me that thee were manholes, pipes at the corner, trees at the edges and that the playground was an irregular shape.

Once each group had transferred their information all 4 parts could be joined together…..

DSC_0825 DSC_0832 DSC_0831 DSC_0840 DSC_0846

The children decided that the drawing / plan would be much nicer in colour as there were a lot of coloured markings in the playground.

DSC_0869 DSC_0884 DSC_0899 DSC_0881 DSC_0877 DSC_0861


DSC_0856
I was able to see the giant plan the children had spread out on the floor!


An interesting conversation took place about how we drew the playground outside and how we transferred the information to the large sheet of paper. One child observed that the tree they had drawn looked as if it was lying down. Mrs Crummy explained the idea of bird's eye view... in this picture she is explaining how a bird would fly over the playground and view a tree... from the top!
An interesting conversation took place about how we drew the playground outside and how we transferred the information to the large sheet of paper.
One child observed that the tree they had drawn looked as if it was lying down. Mrs Crummy explained the idea of bird’s eye view… in this picture she is explaining how a bird would fly over the playground and view a tree… from the top!


Posted in Uncategorized | Leave a comment

Questions, decisions and voting

Session 6 on-line entailed a little more discussion than is usual due to the nature of our explorations and the short gap since the last session. We needed to refresh our memories and spark some further ideas about wrapping…..

Did the children think we could plan a bigger project for wrapping something? 

Some suggested:

school chairs, the whiteboard, the whole school the whole classroom wall….

How could all this wrapping relate to our project on PATTERN?

I reminded the children that the last I visited there was snow that day.. Mrs Crummy described to the children the snow that lay on the playground like a blanket. So if we had a sort of blanket covering on the surface we could notice the footprint patterns, like the footprints in the snow.

We talked about how the sole of our shoe would make a pattern if we walked in snow or stepped in paint and walked over a blanket! So I asked the children to think of places around the school where we might be able to collect footprints…

These thoughts sparked ideas about template / pattern, so for example having a shape and cutting something to fit it or pattern as decoration or even the idea that pattern could mean a pattern of movement, like the birds flying in formation.

I reminded them of Christo and Jeanne-Claude’s wrapped walkway project that they planned very carefully for many many years. They used their imagination to dream up their idea, then drew and photographed as research for their ideas for wrapping things and places.  One of the things they did was to draw their objects / locations from different angles / viewpoints.

LOOKING AND DRAWING FROM DIFFERENT ANGLES:

As a first task in preparation for something larger, we can practice making a drawing of an everyday object from many different angles. The children placed a chair on top of the desk of each table so that it was positioned differently each time. Then I asked them to sit in different positions around the table to each draw the chair. We would end up with many different drawings of the same object, so it tells us different information about each side of the chair. The children used A3 paper and charcoal.

session 6 - 02   session 6 - 01 session 6 - 07          session 6 - 20 session 6 - 15  session 6 - 16       session 6 - 19          session 6 - 10     session 6 - 21 session 6 - 09    session 6 - 12

GATHERING MORE INFORMATION for our plan:

I suggested that we should find a location suitable to wrap. I asked the children to go outside in groups to have a look at suitable locations round the school.

These could be inside or outside.

They could notice how big it is, where it is and what sort of shape it is and so on.

When they came back they told me what they saw…..

One group went outside, two stayed inside one at one end of the school and the other group at another end.

Some suggestions:

The mat at front door

The school dinner hall

stairs

yard

football pitch (someone noticed foot marks on the goal posts at the football pitch!!)

corridor

Another discussion took place where identified 5 possible places and decided to vote on each location so that it was DEMOCRATIC.

The votes were as follows:

Dinner hall 13

Football pitch 1

Yard 0

Stairs 3

Main corridor 5

So the Dinner hall was to be the subject of our wrapping project.

FINALLY… 

I reminded the children that this was only a plan and that we also needed to gain PERMISSION – just like Christo and Jeanne Claude did for their projects. In our case we would have to ask Mr Madine the principal.

The children had some ideas on this

“just ask’

“beg”

“Give him a fiver… or a new car….”


session 6 - 25 session 6 - 24 session 6 - 23 session 6 - 14 session 6 - 03 session 6 - 29 session 6 - 28 session 6 - 13 session 6 - 06 session 6 - 26 session 6 - 04 session 6 - 02 session 6 - 05

Posted in Uncategorized | Leave a comment

Wrapping

Session 5 Wrapping - 097

For this session I travelled to Crossmaglen to make a real visit. It was lovely to re-connect with Mrs Crummy and the children! The teacher and I had planned for new explorations taking the idea of the packaged Christmas tree  as a starting point. So this session was all about wrapping!

We began by making a big circle and playing a game of pass the parcel….

(I had prepared 3 wrapped objects for this) At first we stood and looked at the shapes to see if we could guess what was in the parcel! Some interesting ideas were offered. A hat… socks etc

Pass the parcel with 3 parcels going at once!

Session 5 Wrapping - 003

Session 5 Wrapping - 016      Session 5 Wrapping - 021

Look what came out of one parcel!
.. and another
.. and another
and finally all three objects were revealed!
There had been huge excitement playing pass the parcel and these were some of the things we discussed. How did it feel to wait for the parcel to land in your hands and what might be inside!
There had been huge excitement playing pass the parcel and these were some of the things we discussed. How did it feel to wait for the parcel to land in your hands and what might be inside! The whole class enjoyed a few minutes of singing and dancing as Mrs crummy turned the music up a beat!


Now it was time to try wrapping something ourselves. We had all brought an object small enough to wrap on our desks. We used heavy patterned paper, tape and string. We took care to fold and crease our paper so our object was covered up and then we secured it with tape and then string. Look at the great work by the children!

Session 5 Wrapping - 025

Session 5 Wrapping - 026

Session 5 Wrapping - 034

Session 5 Wrapping - 044

Session 5 Wrapping - 047

Session 5 Wrapping - 048


Session 5 Wrapping - 052


Session 5 Wrapping - 062


Session 5 Wrapping - 065


Session 5 Wrapping - 084

Session 5 Wrapping - 085

Session 5 Wrapping - 086

Session 5 Wrapping - 092


Session 5 Wrapping - 089

Session 5 Wrapping - 094

Session 5 Wrapping - 095


The children began to get very enthusiastic about wrapping and before break bell had rung there had already been suggestions about wrapping the school! At this point, I introduced the work of artists CHRISTO and JEANNE – CLAUDE.

They are internationally renowned artists who together over many years have planned and realised many large scale art projects such as the wrapping of whole buildings and structures, for example The Reichstag (German Parliament building) in Berlin and Pont-Neuf in Paris and such projects as the wrapping of a coastline in Australia and the installation of a 39.4 kilometre Running fence across Sonoma and Marin County, California, USA.

We had the good fortune to have the opportunity to look at some books about the work of these artists and to research their projects online.

http://christojeanneclaude.net

Here some of the boys browse books on the work of the artists:

Session 5 Wrapping - 072

Session 5 Wrapping - 074

Session 5 Wrapping - 081


There was great interest in what they saw. One of the books “Christo: Wrapped Walkways” was especially interesting because we discovered that Christo had proposed to wrap a walkway in St Stephen’s Green in Dublin in 1977! However, permission had not been granted. A similar project had been realised in Kansas Missouri, USA and the book showed the plans and details and even a sample of the fabric used for the wrapping had been included. This was of great interest to us because the last time we met online we had planned, designed and made a box for our shoe.

Although what we had done was small scale, the imagination of the children was indeed large-scale! What is important is the ambition and imagination that we could harness!

We took inspiration from these art projects and decided to wrap something much larger than the objects on our desks. The children quickly decided that they would wrap a desk and a chair! Not any chair, but the TEACHER’s chair!

The children worked in two groups and got to work very quickly!


THE DESK

Session 5 Wrapping - 120

Session 5 Wrapping - 142

Session 5 Wrapping - 143

Session 5 Wrapping - 145

Session 5 Wrapping - 165

Session 5 Wrapping - 187

Session 5 Wrapping - 189

Session 5 Wrapping - 191

Session 5 Wrapping - 218


Session 5 Wrapping - 222


THE TEACHER’S CHAIR

Session 5 Wrapping - 105

Session 5 Wrapping - 106

Session 5 Wrapping - 107

Session 5 Wrapping - 111


Session 5 Wrapping - 104

Session 5 Wrapping - 112

Session 5 Wrapping - 118

Session 5 Wrapping - 125

Session 5 Wrapping - 128


Session 5 Wrapping - 137

Session 5 Wrapping - 146

Session 5 Wrapping - 158

Session 5 Wrapping - 174

Session 5 Wrapping - 178

Session 5 Wrapping - 184

Session 5 Wrapping - 177

It was an extraordinary period of time. There was total collaboration to pass rolls of paper around the object, to pass and cut tape and place securely. There was no argument only serious focus on the very exciting task of wrapping the object.

Once wrapped, the children intuitively set about decorating the wrapped object:

Session 5 Wrapping - 219


Session 5 Wrapping - 172

Session 5 Wrapping - 195

Session 5 Wrapping - 196

Session 5 Wrapping - 205

Session 5 Wrapping - 207

Session 5 Wrapping - 215


Every part of the chair and table had been considered:

Session 5 Wrapping - 213


Mrs Crummy had been working with the children wrapping the table so when she was invited to look at the wrapped chair, the children encouraged her to try and sit in it…..

Session 5 Wrapping - 224

Session 5 Wrapping - 225


Within seconds the children had begun wrapping her in the chair! Mrs Crummy  was going nowhere fast!

Session 5 Wrapping - 230

Session 5 Wrapping - 234

Session 5 Wrapping - 236

It took a little time before the excitement of this activity had died down so I suggested the children draw the wrapped objects. Here’s some of the drawings!

Session 5 Wrapping - 246

Session 5 Wrapping - 247

Session 5 Wrapping - 251

Session 5 Wrapping - 252

Session 5 Wrapping - 253

Session 5 Wrapping - 254

Session 5 Wrapping - 257

Session 5 Wrapping - 260

Session 5 Wrapping - 267

Session 5 Wrapping - 271

Session 5 Wrapping - 273

Session 5 Wrapping - 277

Session 5 Wrapping - 279

Thank you Mrs Crummy for the wonderful day and the children for all the focus and enthusiasm. There are very many ideas that might spring from all this and so now time to think……..


Session 5 Wrapping - 239


Posted in Uncategorized | Leave a comment

Sketchbooks, Christmas boxes and maths….

DSC_0088

Today’s session, was governed by reflecting on the fact that the children had told me that making the shoe was fun, but very hard because it was a tricky shape to work with and the fact that I had made the template and instructions and sent it to them.

So I thought if we worked with a more simple shape and handed the reins to the children to research, plan and design a box then it may seem a little bit easier. To help this process, I had posted a sketchbook for the children to record their explorations…….

The children took it upon themselves to find out all about a BOX! Mrs Crummy brought in lots of boxes and we invited the children to explore and take apart to see how they were made. There was a lot of discussion and we all learned a lot about boxes.

DSC_0062
The children discovered the box was one big shape that was folded up!

DSC_0076 DSC_0071

With this information we now had a clearer idea of how to make a box… for our shoe!

DSC_0107
The children make drawings of the boxes then as flattened out shapes……  

DSC_0109 DSC_0110 DSC_0114 DSC_0116 DSC_0121 DSC_0125 DSC_0128 DSC_0135

DSC_0120

We decided to find out a little information about our shoe so the box would fit the shoe!

The children told me they needed to know how long, tall and wide the shoe was and that to do this they needed to MEASURE the shoe with either a TAPE MEASURE or a RULER.

They had lots of rulers in class so they set to work to find this information….

DSC_0144 DSC_0156 DSC_0163 DSC_0165 DSC_0170

These are the measurements that the children found….

DSC_0236 DSC_0239  and 8 cms high!

So that the shoe would fit comfortably into the box, we talked about extra room so the children decided to add on an extra 3cm to the measurements for the box.
  So that the shoe would fit comfortably into the box, we talked about extra room so the children decided to add on an extra 3cm to the measurements for the box.  

I was mighty relieved that the children and Mrs Crummy could help with maths and I was very impressed with the great thinking powers of the children!

All the dimensions were noted down in the sketchbook so we could record everything we did.
After some deliberation we began to make a start on the actual box.. we folded the paper in half both ways so we could easily find a centre point.
After some deliberation we began to make a start on the actual box.. we folded the paper in half both ways so we could easily find a centre point.  

DSC_0246

Using the information about boxes from earlier we could work out how to fold the paper so that we could make the box! The children were delighted when they realised the box!

HOWEVER some moments before all this we had had a group discussion about whether it would be better to decorate the box BEFORE it was made or AFTER it was constructed. First of all almost half the children thought better one way and half the the other way… HOWEVER  once they had realised how the box was made and thought about the benefits of having a flat shape to work on, almost all of the children decided it was better to decorate the shape when it was flattened out. There were a lot of very good arguments in this debate! I was very impressed with the focus and patience of the children who worked so hard to find out everything today!

We closed our session saying that the boxes could be decorated and we could share the results next time!

Thank you Mrs Crummy, assistants and children!

DSC_0253


AND …………… Look Christmas came a little early for me… a new pair of running spikes… and a lovely black and white box!


DSC_0196


DSC_0208
While on the subject of boxes and packaging… I showed the children this… they were surprised to see a CHRISTMAS TREE PARCELLED UP!
Posted in Uncategorized | Leave a comment

Two paper shapes…

An old pattern that was used to make my daughter a dress! Look at the shapes and  a sheet of instructions.
An old pattern that was used to make my daughter a dress! Look at the shapes and a sheet of instructions.


Our session  on Friday 21st November explored the idea of PATTERN / TEMPLATE:

How we can use a shape (template) and cut out lots of shapes all the same…

How we can follow instructions (a pattern) to construct something…..

First of all we spoke together about these ideas and decided to use something very familiar to work from. The children looked very carefully at their own school jumper to see exactly how it was constructed… some thought it was made up of lots of parts joined together and others thought it was one shape. When we looked closer we found out for sure!

The children work in groups to spread the jumpers out flat on the table on large sheet of paper
The children drew around the outline edge of the jumper...
The children drew around the outline edge of the jumper…
Exploring all the parts of the jumper.. the joins and edges, the children added these details to their large outline drawing.

So we had discovered a lot of things about the clothes we wore and how they were made. We wondered if we could make other things from a TEMPLATE / PATTERN!

The children suggested we could :

trousers, frock, scarf, swimsuit, vest , hat etc

In anticipation of this session I had prepared templates and materials, parcelled the these up and sent them to St Patrick’s Crossmaglen.

session 3 Nov 14 - 003 session 3 Nov 14 - 005

Here’s the templates I used. What do you think these shapes would make?


Some thought the shapes were like the inside of a shoe… others thought shapes looked like an igloo, a bridge a tunnel, a hat..

session 3 Nov 14 - 020 session 3 Nov 14 - 018 session 3 Nov 14 - 019 session 3 Nov 14 - 020

or maybe a shoe….

session 3 Nov 14 - 017

The children had a pattern for a shoe!

We followed instructions to cut out shapes from a template and put these together to create a shoe.

shapes were placed on paper and drawn around then cut out.
shapes were placed on paper and drawn around then cut out.  
Part of the shoe was a round shape so we had to cut and bend part of the edges so it would fit the sole of the shoe.
Part of the shoe was a round shape so we had to cut and bend part of the edges so it would fit the sole of the shoe.  
The the sole shape was put together with the upper. This was very tricky work!
The the sole shape was put together with the upper. This was very tricky work!  
The template, shape and shoe.

There was a lot of concentration by the children and hard work to tape the two pieces together, but it worked!

A finished shoe ready to decorate!
A finished shoe ready to decorate!  

The children all thought the shoe would look better if it was decorated so there was a frenzy of activity as the children set to work again…

Look at these fantastic designs!

session 3 Nov 14 - 033 session 3 Nov 14 - 034 session 3 Nov 14 - 035 session 3 Nov 14 - 036 session 3 Nov 14 - 037 session 3 Nov 14 - 040 session 3 Nov 14 - 042 session 3 Nov 14 - 043 session 3 Nov 14 - 044 session 3 Nov 14 - 045 session 3 Nov 14 - 046 session 3 Nov 14 - 048 session 3 Nov 14 - 049 session 3 Nov 14 - 050 session 3 Nov 14 - 053 session 3 Nov 14 - 055 session 3 Nov 14 - 056 session 3 Nov 14 - 057 session 3 Nov 14 - 059

session 3 Nov 14 - 060

After all this work we discussed the fact that these were PAPER shoes and wondered if they might be useful?

No the children decided that the shoes were NOT practical!

They might tear  a lot

someone might stand on them

they wouldn’t be strong enough

they would get soggy in the rain

They wouldn’t protect your feet

they wouldn’t keep your feet warm

they wouldn’t be safe if you jumped off a wall or landed on a stone!

Lastly we wondered who they might fit?

They were too big for the children, but they did fit Mrs Crummy!

The children thought that they wouldn’t fit Mr Madine, the Principal because he would have bigger feet because he was older!


Posted in Uncategorized | Leave a comment

Left-over inside – outside shapes

Our second session took place virtually and we used facetime.

A sea of happy faces greeted me when I connected up! We briefly discussed where we left off from the real visit, during which we created some great hand shape patterns and in the delight of that we forgot to remember that there were a lot of left-over shapes on the tables……

A little time passed since the real visit and these shapes got lost, but today we wanted to explore a little more about the shapes. Matisse knew all about the magic of the left-over shape!


here's documentation of Henri Matisse at work cutting his shapes from paper.
here’s documentation of Henri Matisse at work cutting his shapes from paper.


We talked about how Matisse found both the cut shape and left-over shape very important. We decided to try something for ourselves to try and see the left-over shapes more clearly.

We thought about all the different shapes we could make… triangles, squares, rectangle, oval, circle and so on and drew them on a coloured sheet of paper. But for this experiment we wanted to draw one edge of our drawn shape right on the very edge of our paper and repeat this all around the paper edges:

DSC_0079

draw shapes
We placed one edge of our shape outline right on the very edge of the paper…..


Then we cut out our shapes…..

image001


then placed the cut out shapes outside of the sheet so as to create a sort of mirror image..

A positive and a negative shape!

image002

Next we lifted our centre sheet off to reveal the composition below.

image003


october p23 364

october p23 362

october p23 361


october p23 363


Here’s a selection of photos of the children’s work taken by their teacher Mrs Crummy!


october p23 365          october p23 366


october p23 368         october p23 369


october p23 370            october p23 371


october p23 372


october p23 373


Our connection was interrupted and we continued to communicate using text. the explorations continued….

image005


Looking forward to catching up again soon!

Posted in Uncategorized | Leave a comment

First Hand Drawings

Scan 6


On Monday 20th October I made a first real visit to meet the children of P2 and P3 and their teacher Mrs Crummy.

It was lovely to return to St Patrick’s School and this time I brought my daughter Aoife who is studying art in London and who was keen to experience a little bit of the VIRTUALLY THERE PROJECT! We had a lovely opening discussion with the children about what an artist does and about this new phase of the project and the theme which we were all about to explore.

The children spent a wee while having a look through a pile of sketchbooks that I had brought to show them………

Day one real visit Oct 14 - 002
The children share and explore the sketchbooks
Day one real visit Oct 14 - 003
Aoife the art student helps the children unravel a very long sketchbook!
Day one real visit Oct 14 - 001
We were surprised to find the sketchbook was full of scribbles!

We began to talk about the theme of PATTERN and all of a sudden we were seeing patterns EVERYWHERE!

The children offered up some wonderful examples:

Colour combinations:

Blue / yellow

amber / black (The Crossmaglen Rangers kit!)

zebra stripes

patterns on the wall

patterns on Mrs Crummy’s clothes

Even the pattern of clapping that the teacher used to bring the children’s attention together, so we tried a few more clapping patterns offered by the children. The enthusiasm was so great they may have missed break time!

Taking the HAND as a starting point after all the clapping patterns, I asked the children to try a group clapping pattern on the floor… we did our best to form a circle but our circle was wobbly and shaped in wavy lines…

then we decided to look for patterns on our very own hands…… and we drew them on paper using willow charcoal!

Day one real visit Oct 14 - 011
One child noticed a lot of overlapping lines on her hand.

I suggested that they need not draw their actual hand, but only the patterns that they saw. This was quite difficult and lots of children wanted to draw their hand shape (by tracing around it) to contain their lines and marks!

Day one real visit Oct 14 - 018Day one real visit Oct 14 - 015

Day one real visit Oct 14 - 016

Here are some of the patterns the children found on their hands!

Day one real visit Oct 14 - 008

Day one real visit Oct 14 - 007

Day one real visit Oct 14 - 009


Scan 7 Scan 8Scan 15Scan 13Scan 14Scan 12    

I wondered whether we could actually trace along these lines on our actual hands with bolder charcoal – we used compressed charcoal  which is much darker and messier! I suggested that they try and join up with a friend and create a long joined up line of marked hands…..

Day one real visit Oct 14 - 023

Day one real visit Oct 14 - 026

Day one real visit Oct 14 - 025

Day one real visit Oct 14 - 030

Day one real visit Oct 14 - 028

Day one real visit Oct 14 - 033

Day one real visit Oct 14 - 020

The exploring patterns and hands did not stop there! I told the children about a wonderful exhibition I had visited in the summer in London…

The Cut-Outs by the French Artist HENRI MATISSE (1869 – 1954)

Matisse did some very interesting artworks with his hands using scissors! We looked at some images and saw how when he was an old man and unable to move around easily, he would draw from his bed or sit in his chair and explore shape and colour……..

'La Gerde' (The Sheaf)) by Matisse 1953
‘La Gerde’ (The Sheaf)) by Matisse 1953
Matisse in his studio making the cut-outs.

All the children  proceeded to place their hands on a bright coloured paper sheet and to trace around the outline so they could cut it out with scissors…

Day one real visit Oct 14 - 037

Day one real visit Oct 14 - 038

Day one real visit Oct 14 - 044

There was great focus to do this task well and once done the children laid their hands out on a large roll of paper (wallpaper lining paper) on the floor. We created our own giant scroll of cut-outs just like Henri Matisse!

Day one real visit Oct 14 - 054

Day one real visit Oct 14 - 066  

Day one real visit Oct 14 - 060

Day one real visit Oct 14 - 065

Day one real visit Oct 14 - 062

Day one real visit Oct 14 - 110

Our time went in so fast and it was lunchtime so as the children got ready for their break, I wondered what about all the lovely shapes left behind on the desks…….. ?

Day one real visit Oct 14 - 081

Food for thought for next time when we meet online. The left-over shapes were gathered up carefully for a new challenge.

Day one real visit Oct 14 - 100

Day one real visit Oct 14 - 106

Day one real visit Oct 14 - 115

Day one real visit Oct 14 - 112


Day one real visit Oct 14 - 104

When Matisse created his cut-outs with scissors, he saw all possibilities…. the shapes he was cutting out and the shape left behind!


Day one real visit Oct 14 - 118

Posted in Uncategorized | Leave a comment